
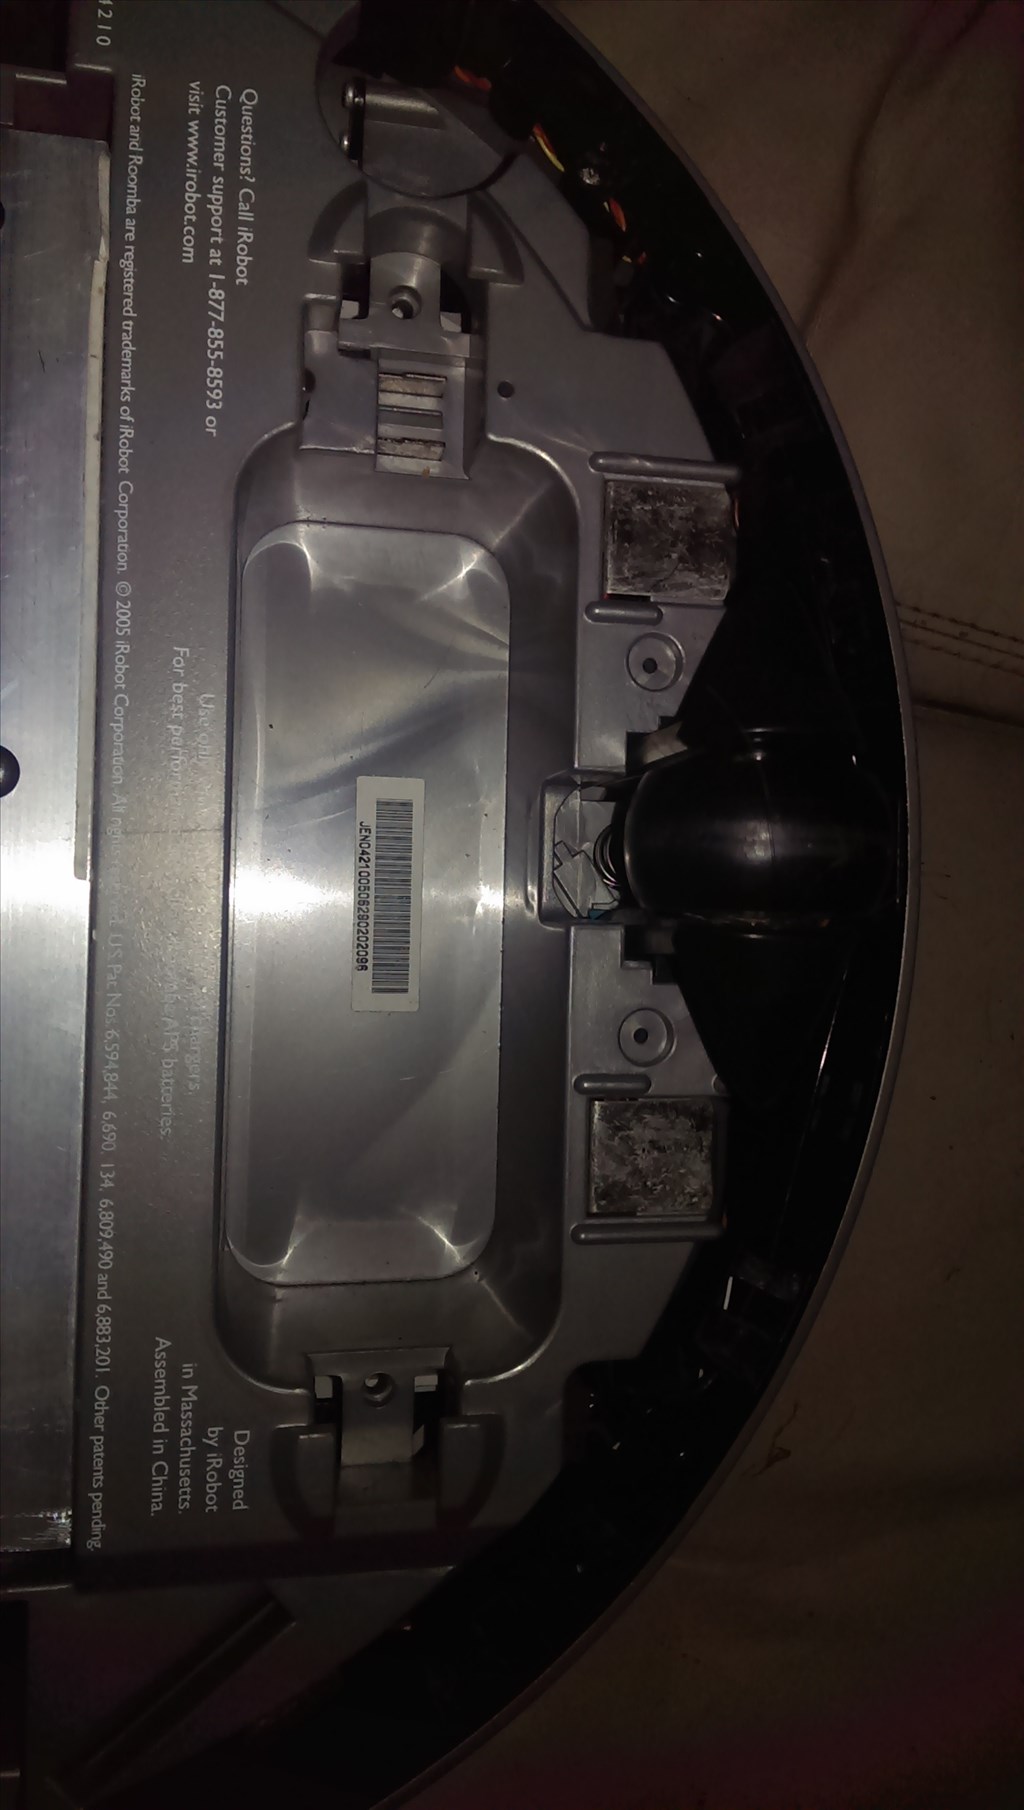


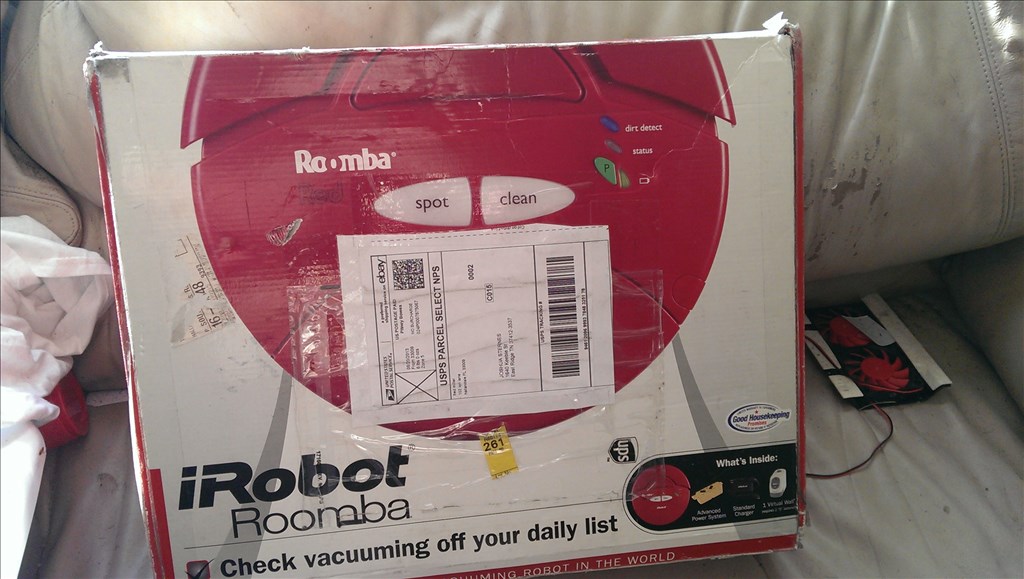
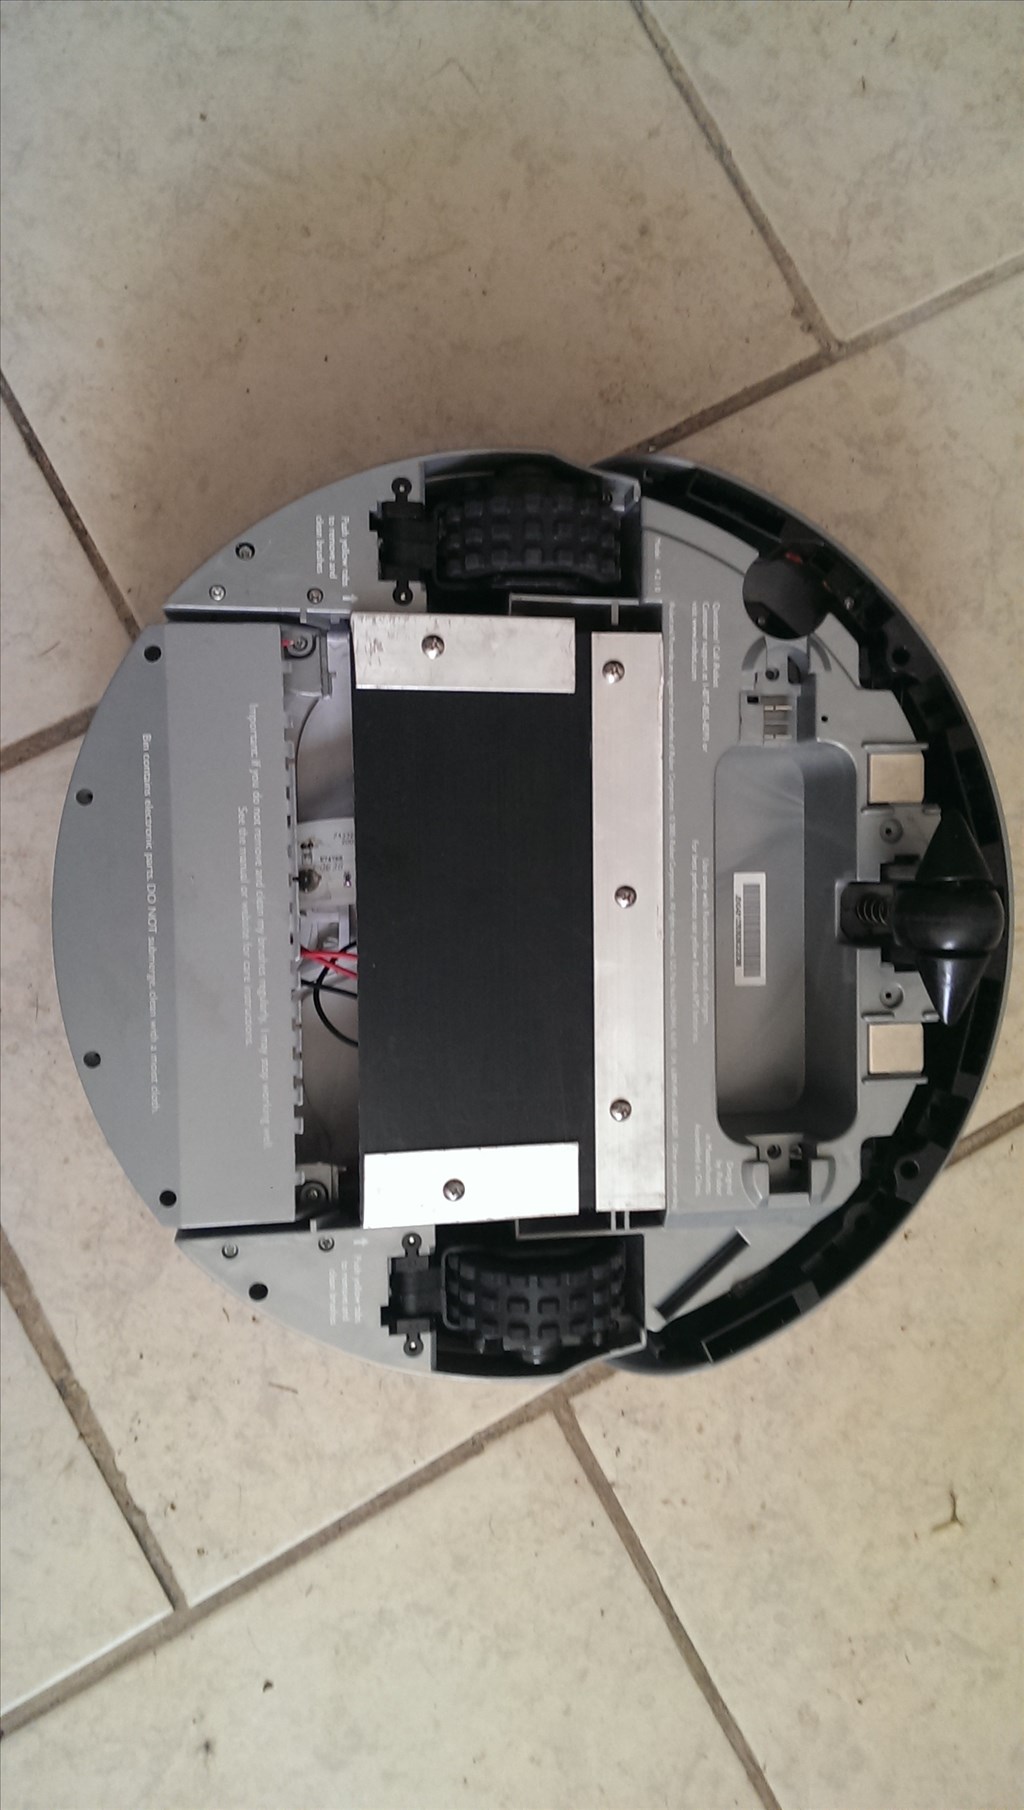
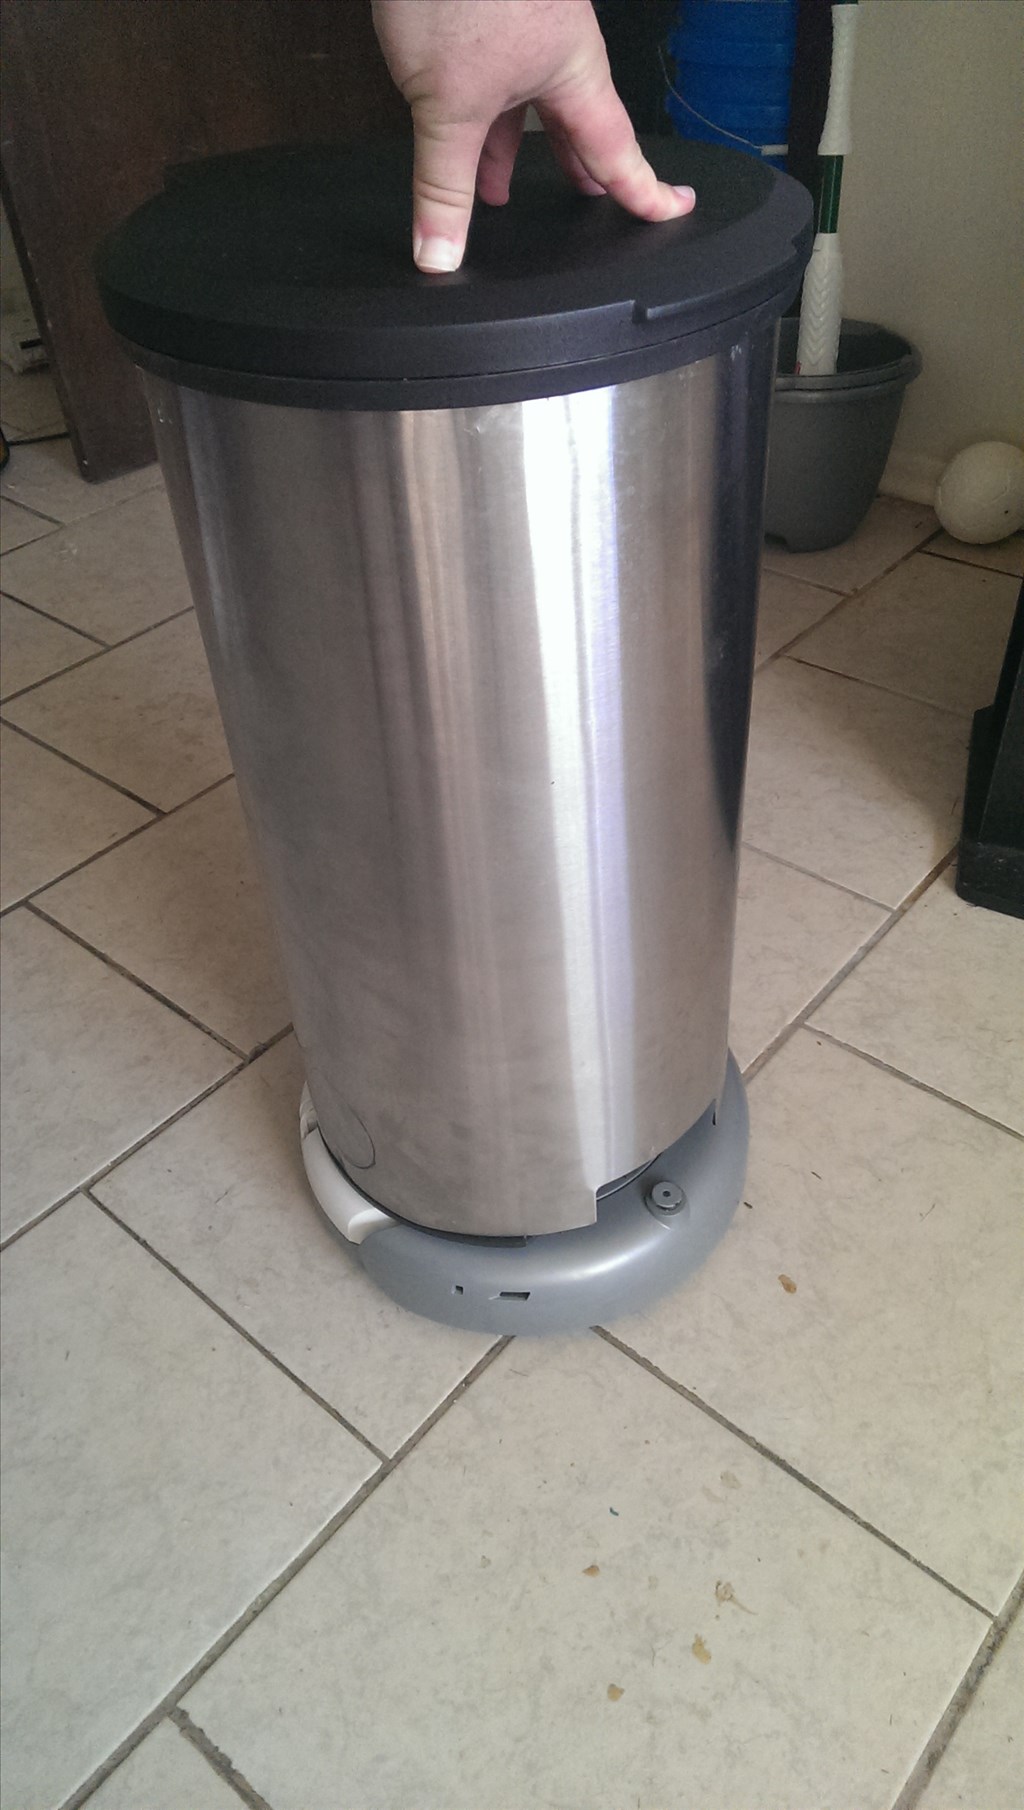


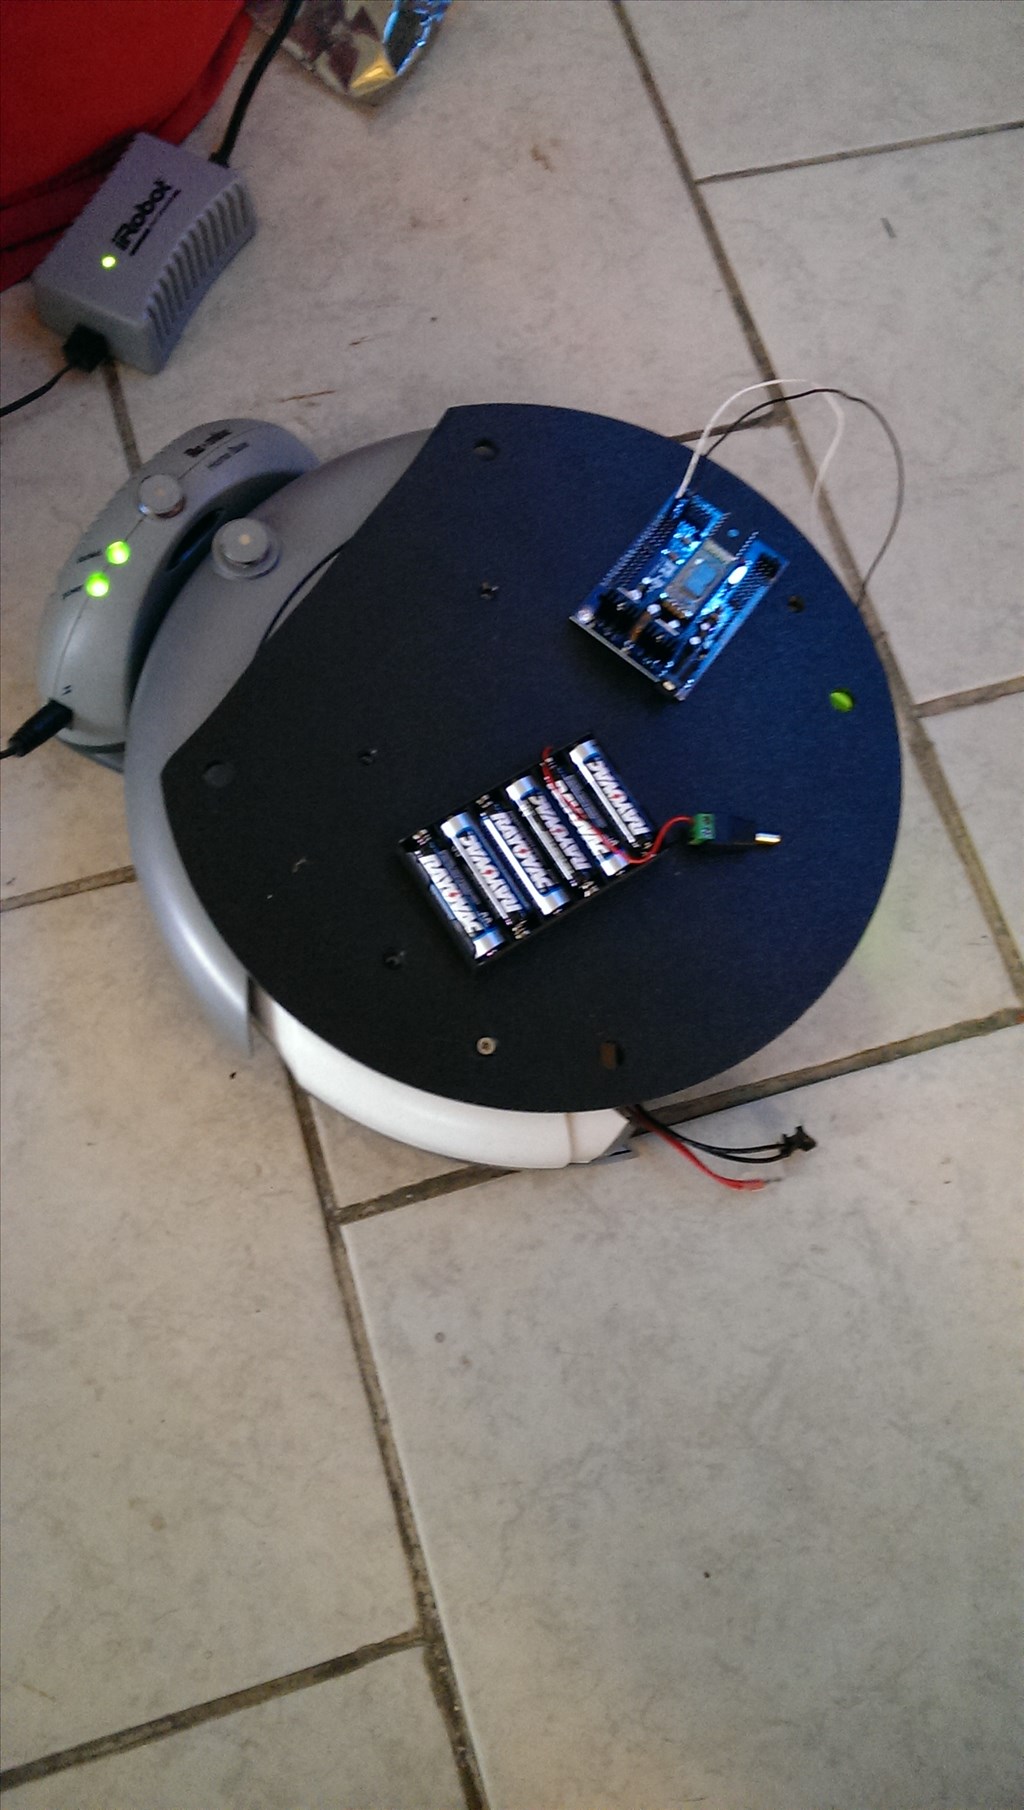
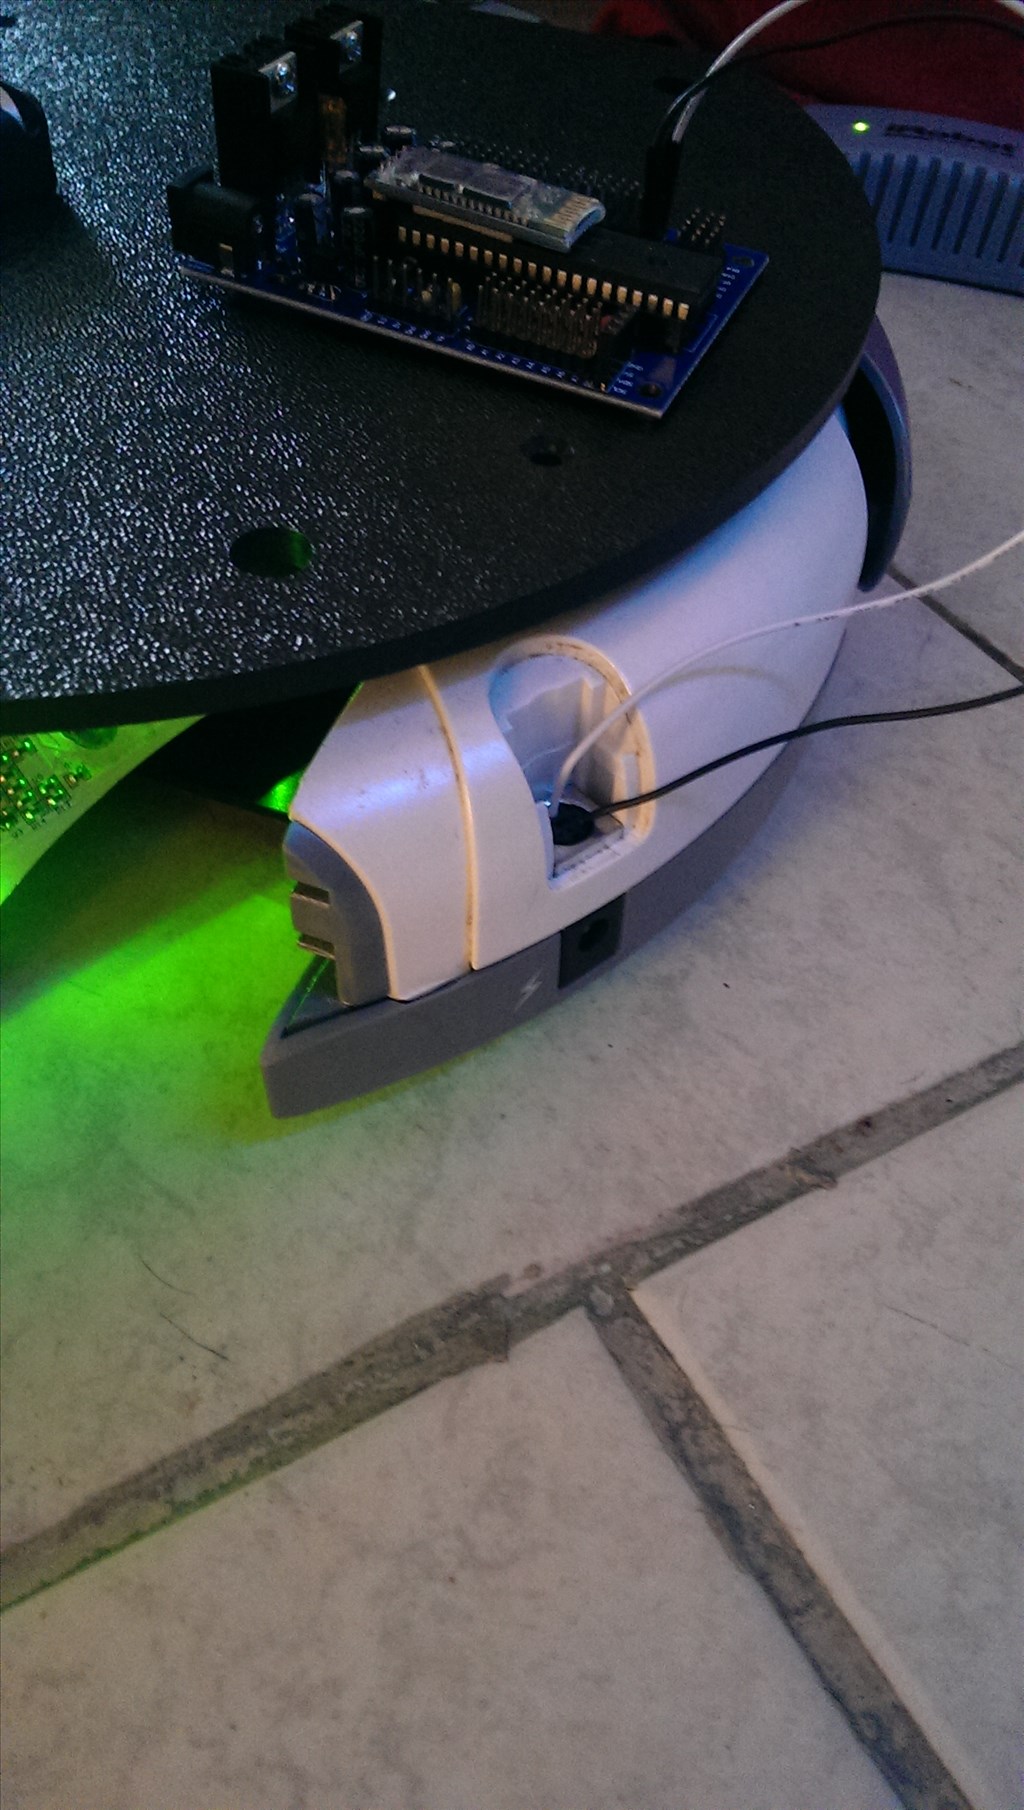
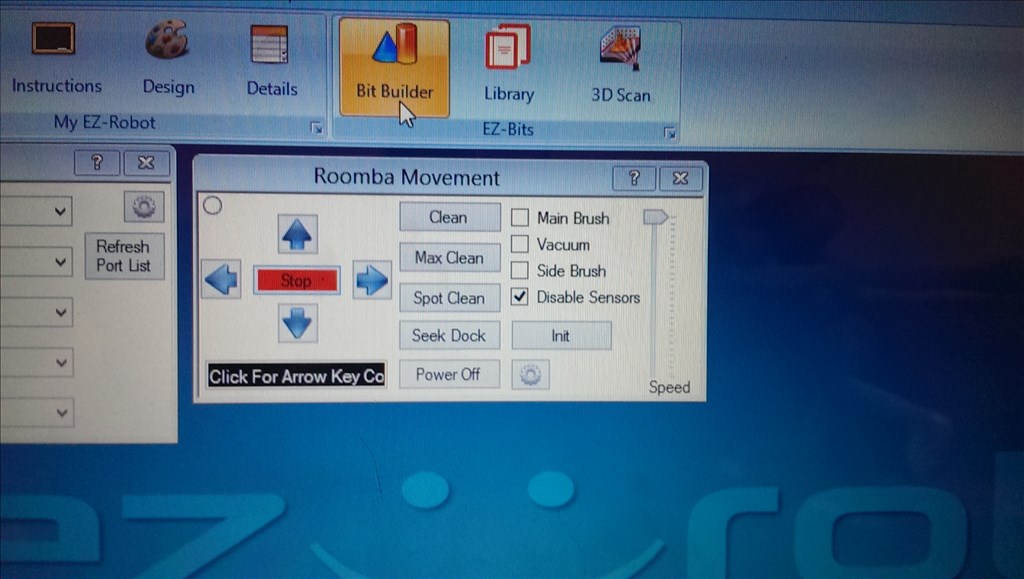
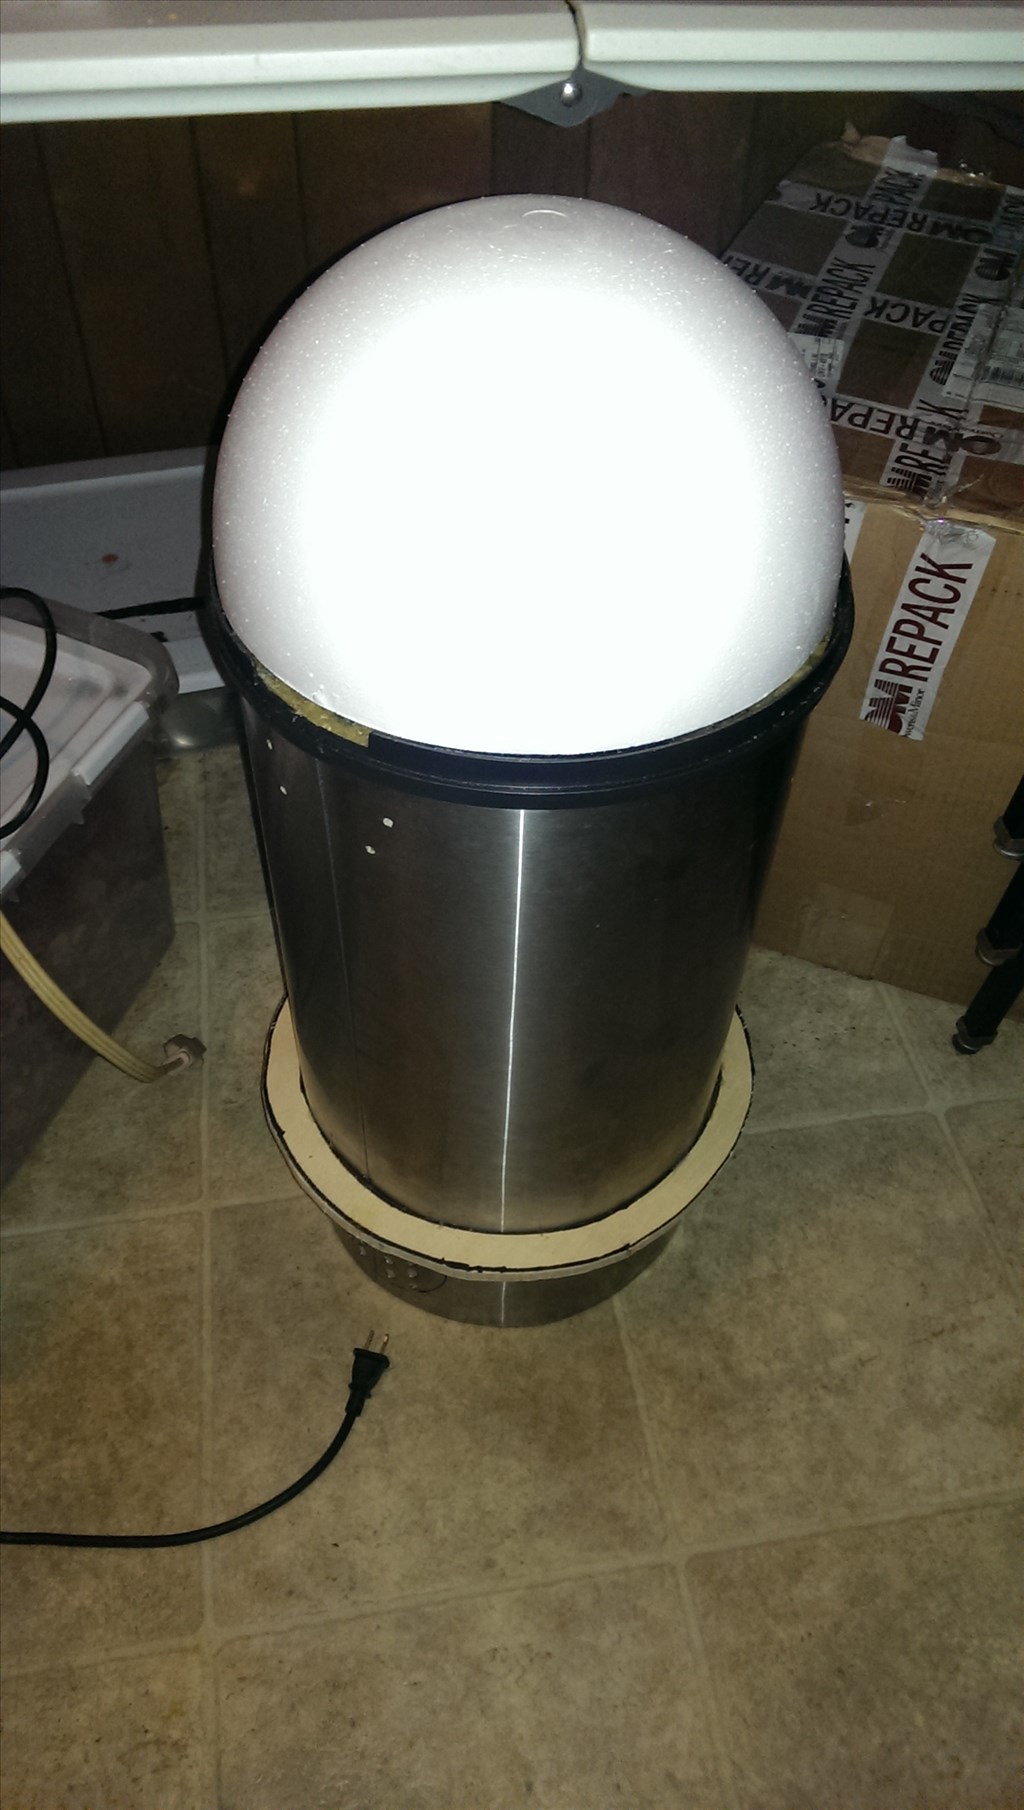


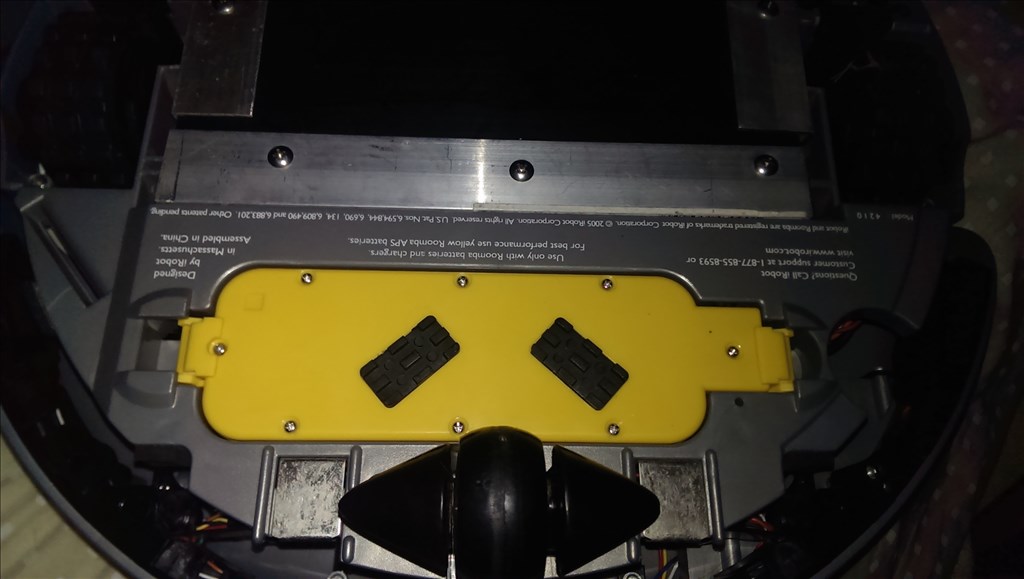
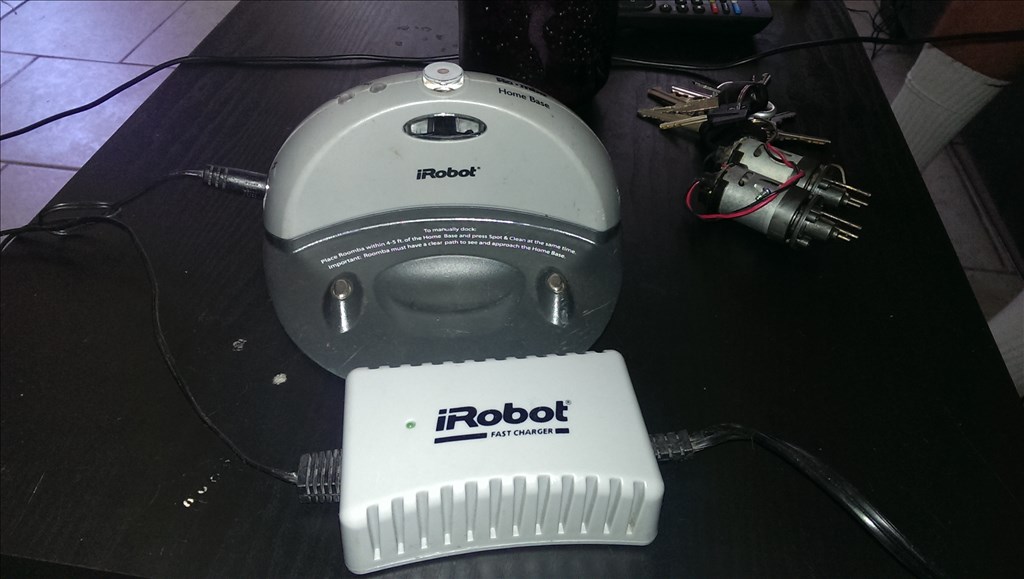


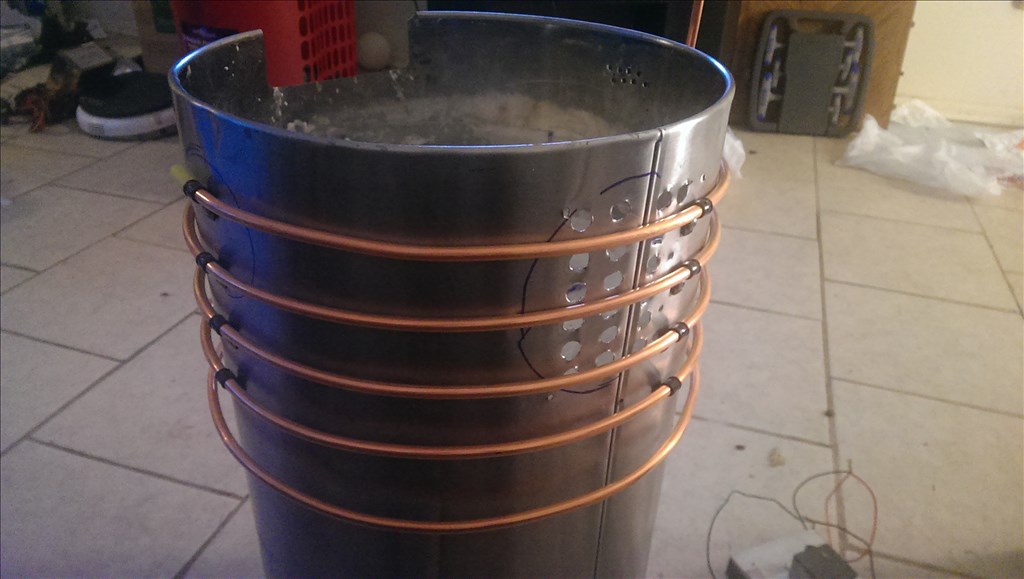


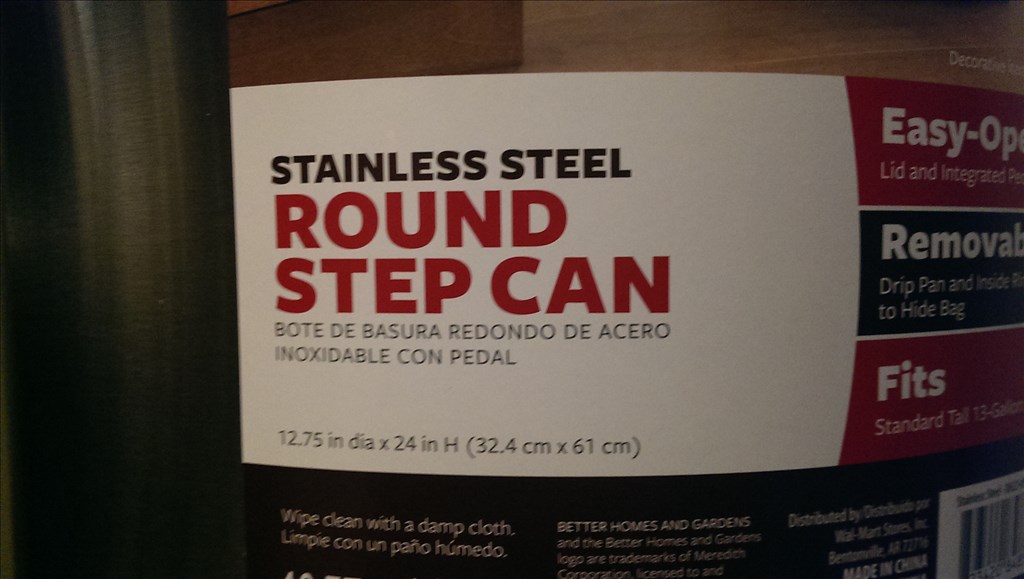
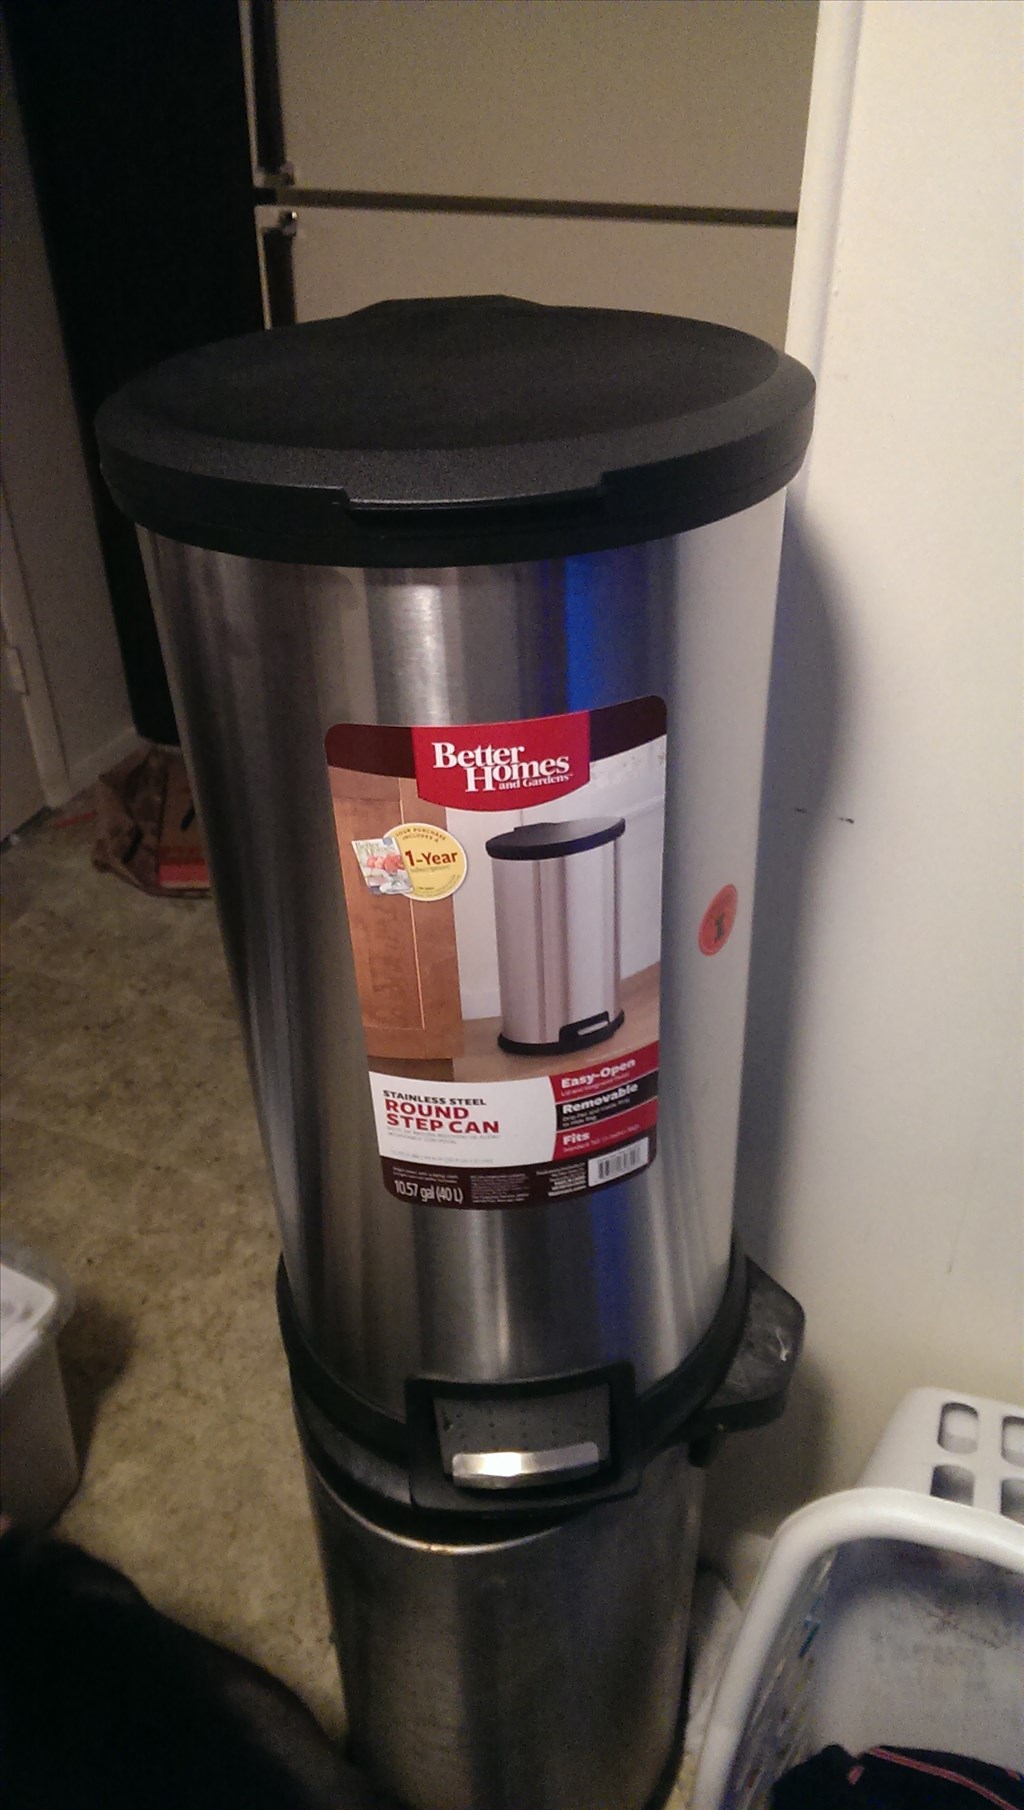


This is a challenge issued by friends and family. The goal here is to make a robot that can bring beverages from another area to wherever the people are , allow the person to get their drink , then leave. It does not need to be fully autonomous , even remote control is acceptable. It does not need to grab them from the fridge, preloaded beverages are acceptable. This is Ez Robot though, I believe we could do better than that! Well anyways to start the project off I am using a roomba base. I picked up a stainless steel trash can last night as a outside casing. I will show you the rest as we go
By jstarne1
— Last update
Discover more robots
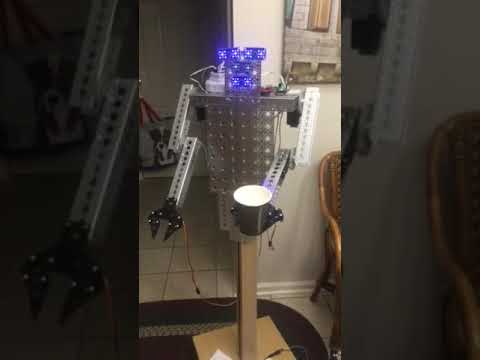
Ezang's New Mr. Metal Robot 2020
Build Mr. Metal robot with Synthiam ARC using EZb4 controller, EZrobot 1300 camera, four EZ 360 HDD servos, Servo City...
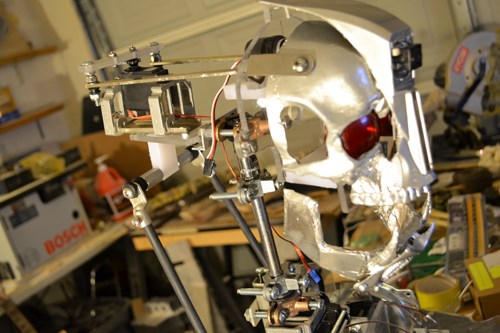
Doombot's Doombot V1.0
DoomBot V1.0 - 5-ft robot with wheelchair drive, DC window motor arms, pneumatic cylinder and sculpted exoskeleton...
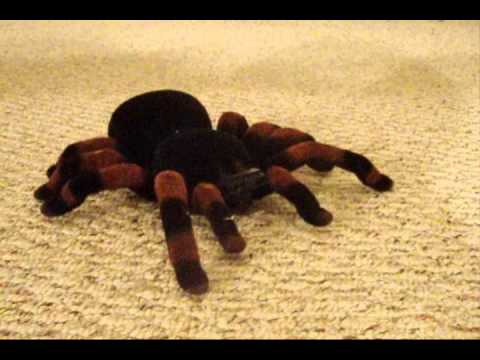
DJ's Spider Robot
Control a converted RC spider using its DC motors and Sharp GP2D05 distance sensor; C# autonomous mode adds twitchy,...

@mike yup I have a couple projects in rotation , sometimes you need time away from the project for the creative process of building. I have your parts ready do go with new envelope, I had to wait till my local post office is back open to remail. If you've emailed I been having problems getting emails since my gmail upgraded to this new thing. I don't get ez-robot update emails now either so I'm trying to figure that out. Right now I have Jarvis my big bot and long term development project , squeegee , the automated fish tank controller, my little sister did the electronic cat tail , and there's the two airsoft robots which I only work on when my brother is around. It's a group project.
About squeegee , I descided I will update the sensors because radar worked to avoid objects but a cleaning machine needs to get closer so I'm going to change the setup to be more accurate. It's an overall experiment as to what works best. It's a fun project. Each project I learn stuff I apply to the others so they are kinda interconnected in that way.
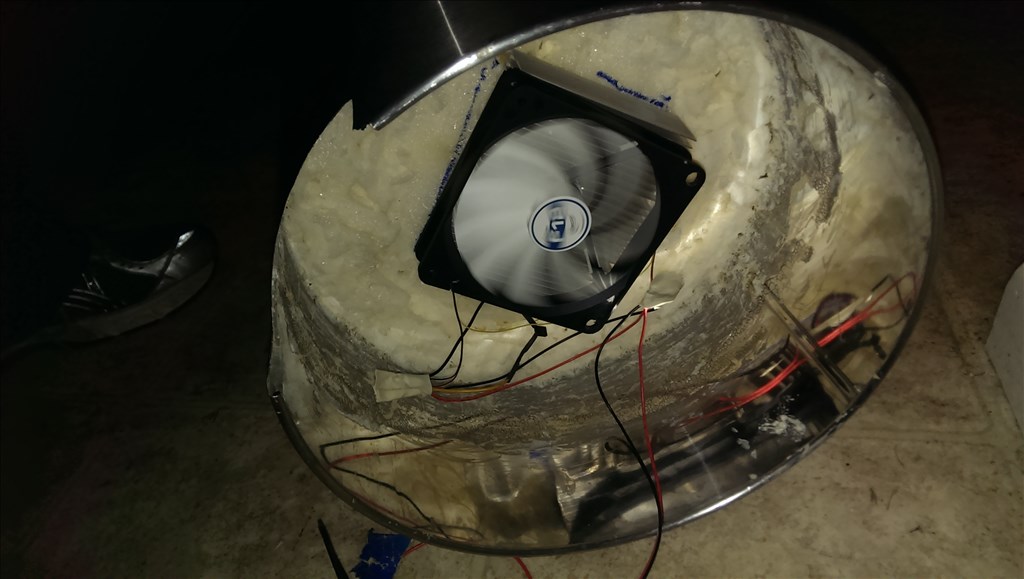
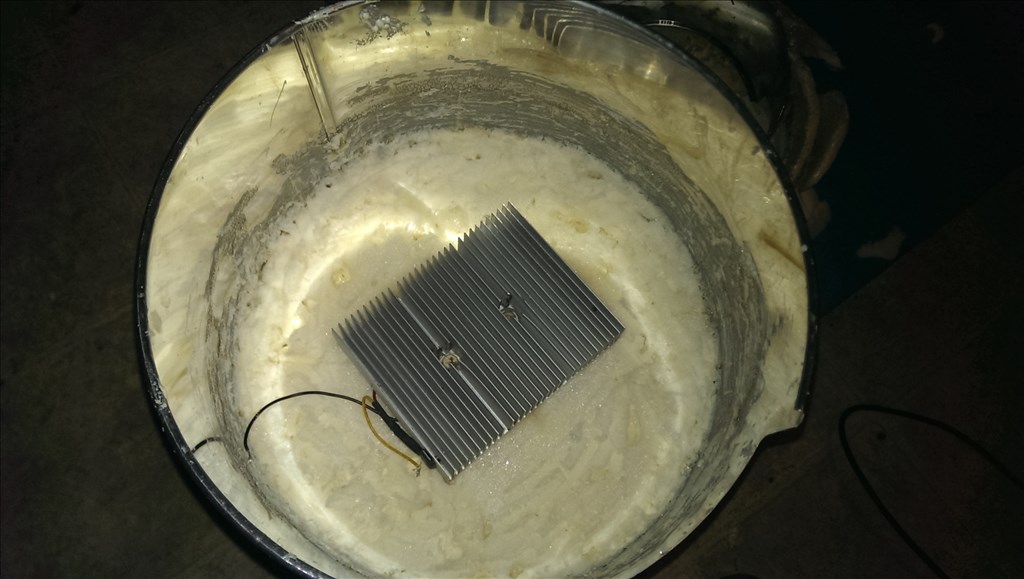
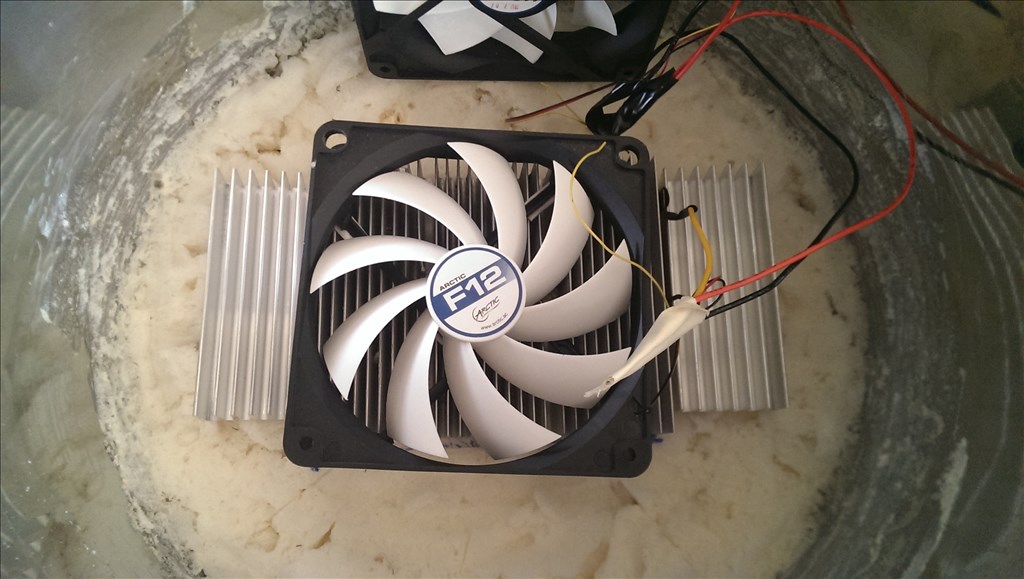
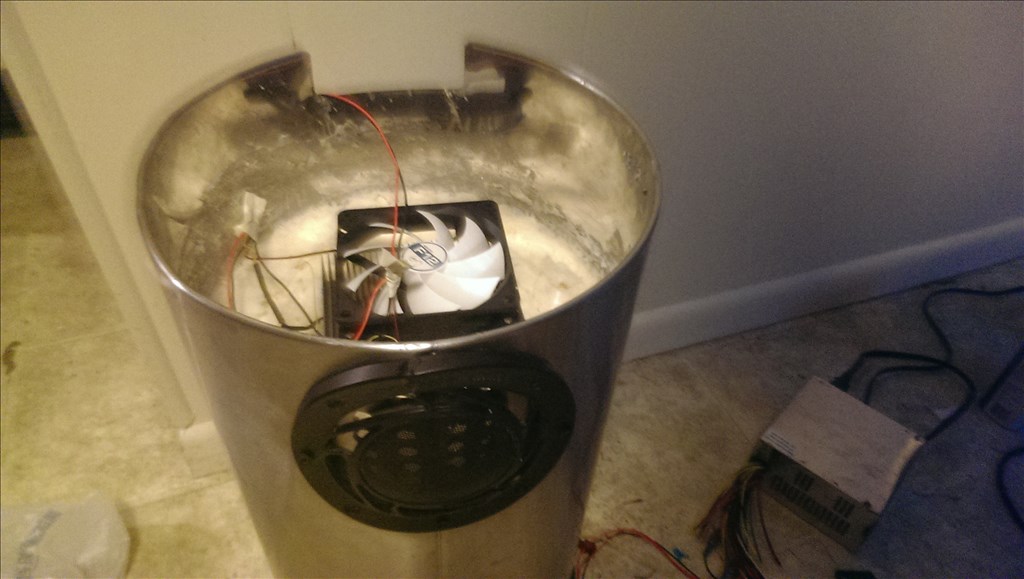
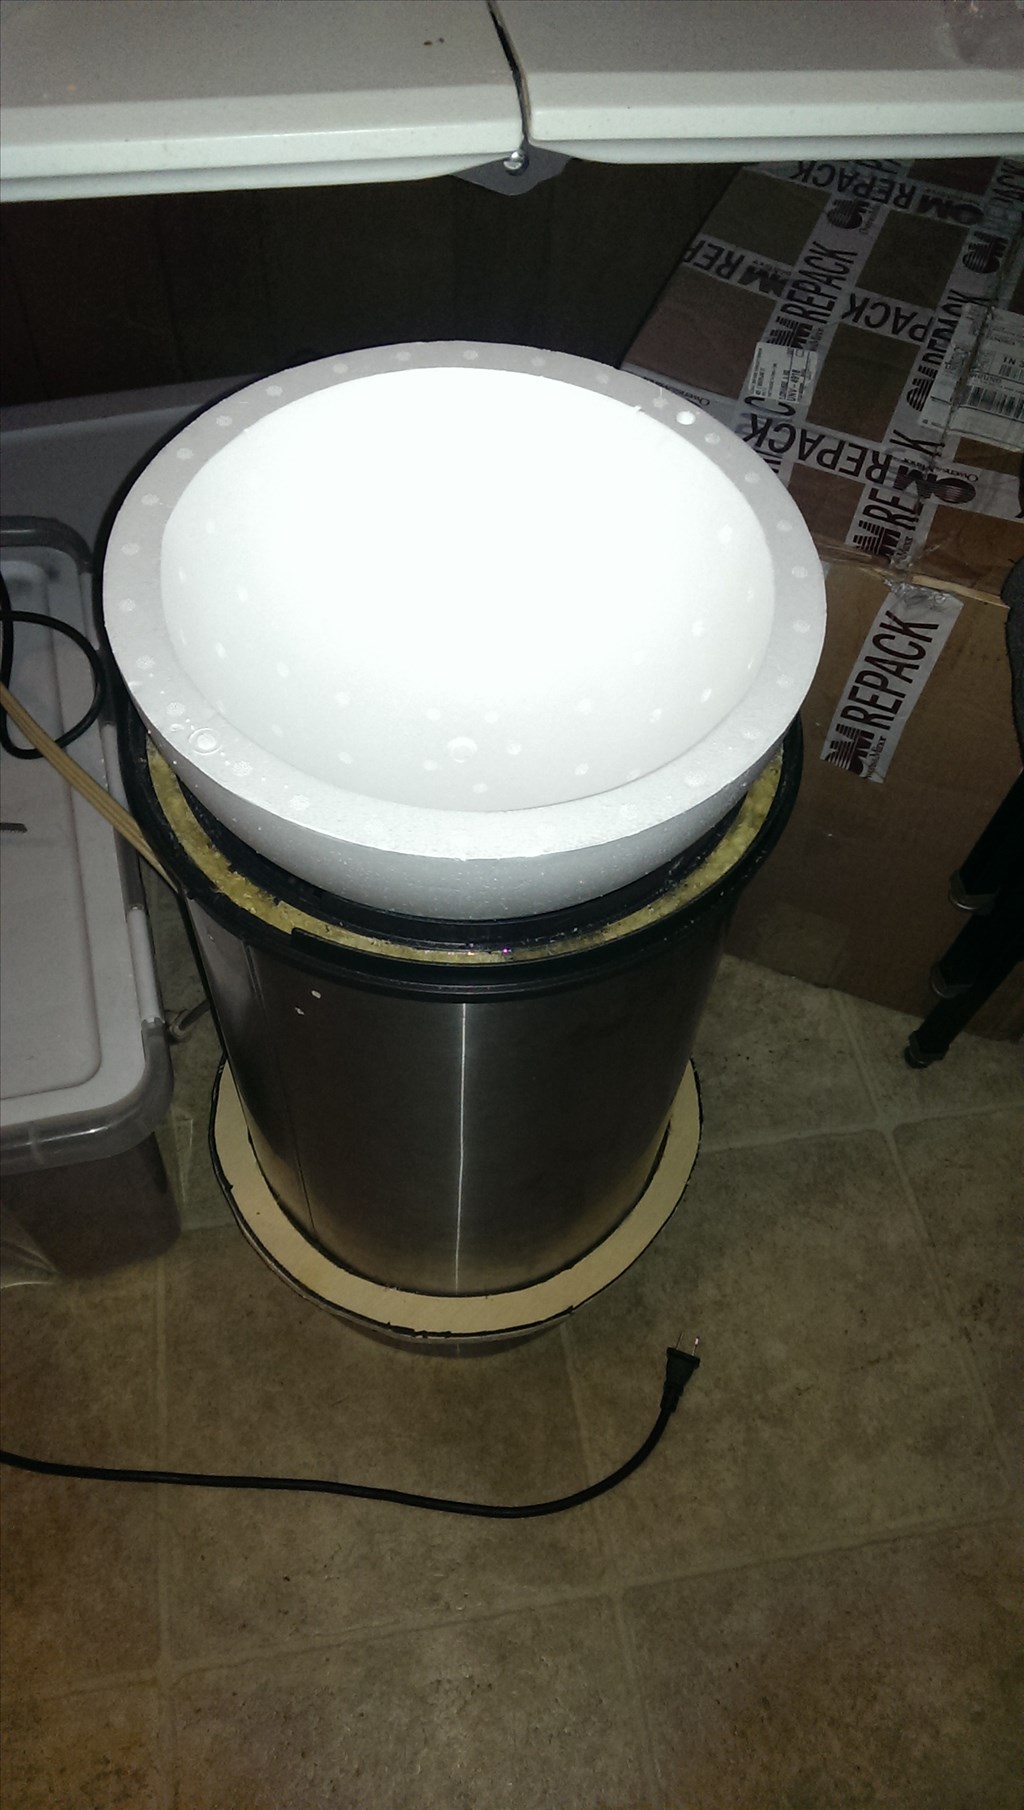
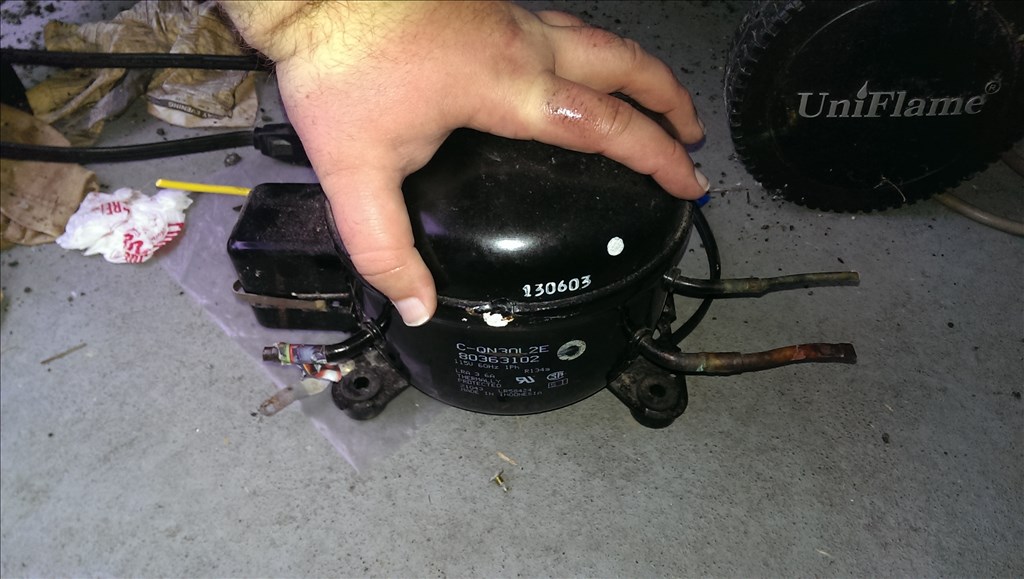
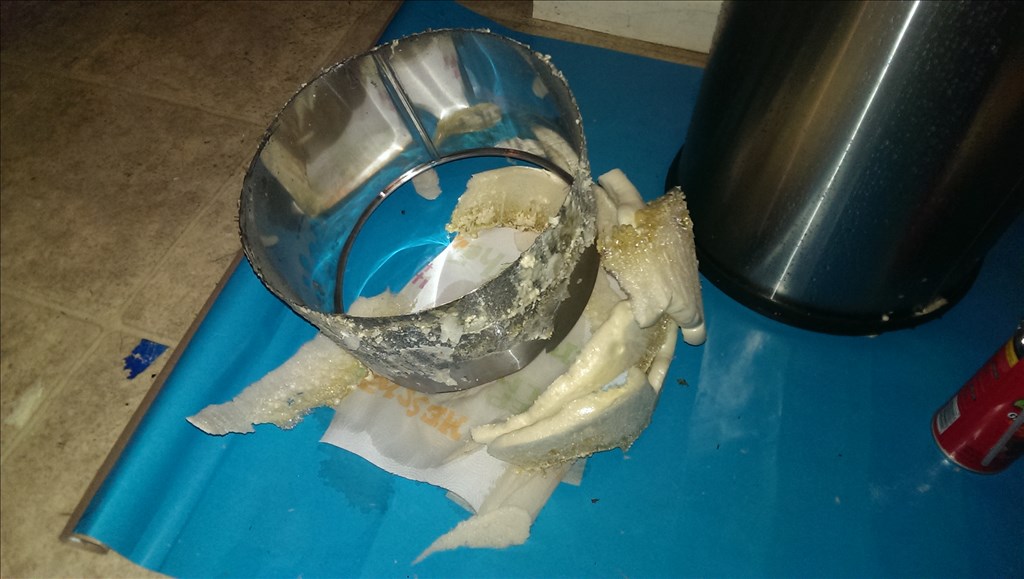
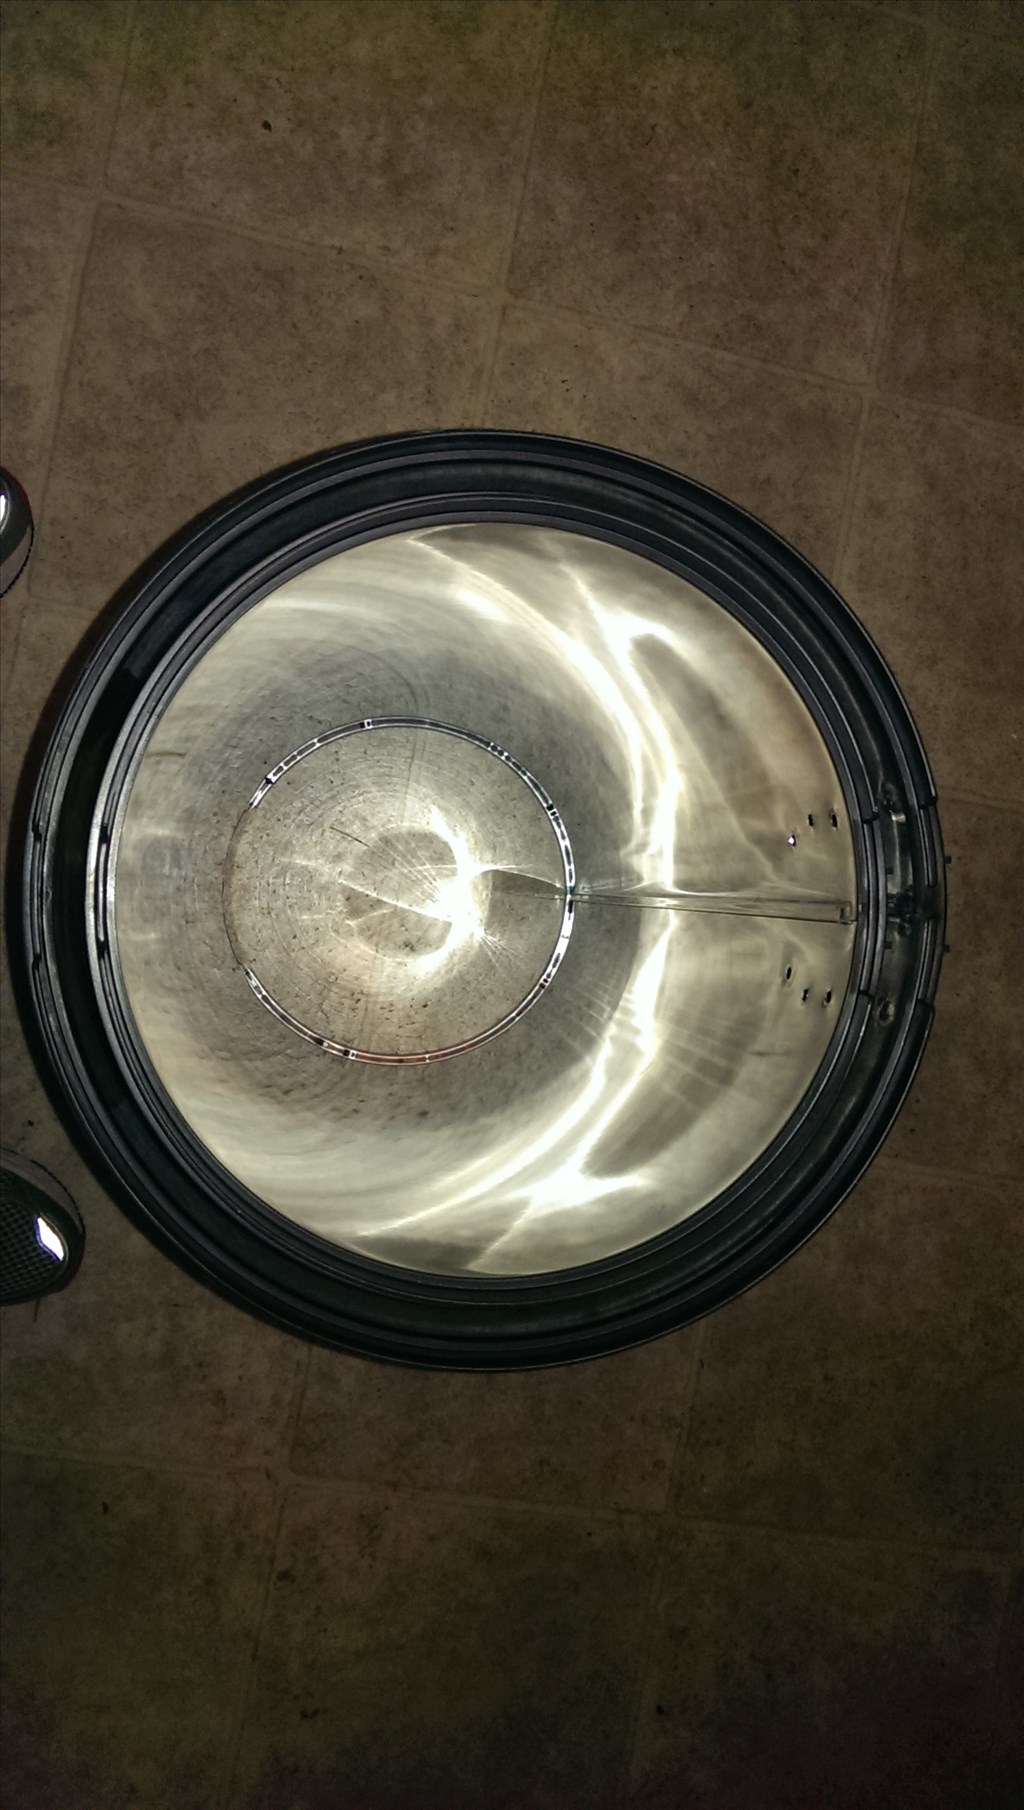
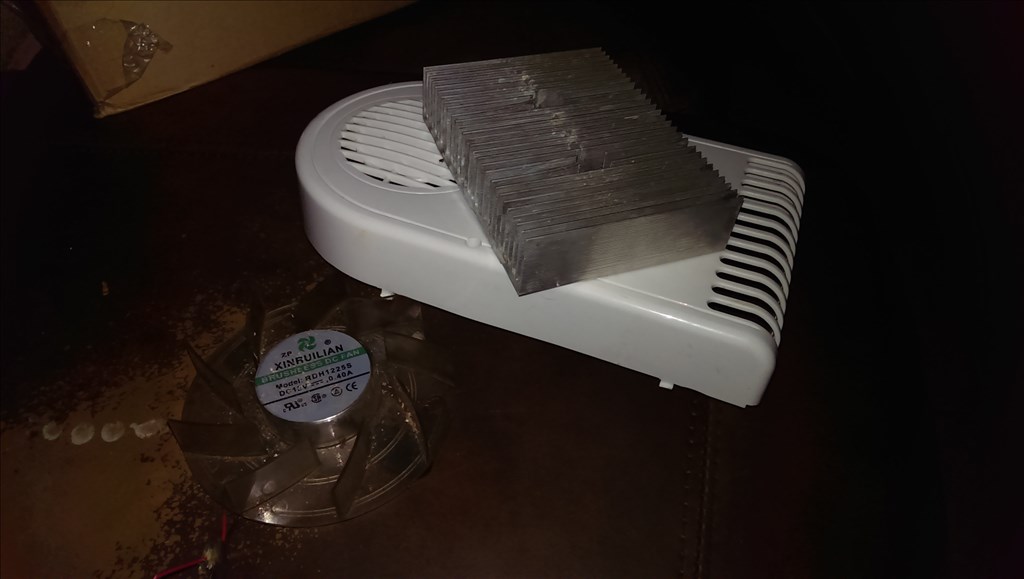
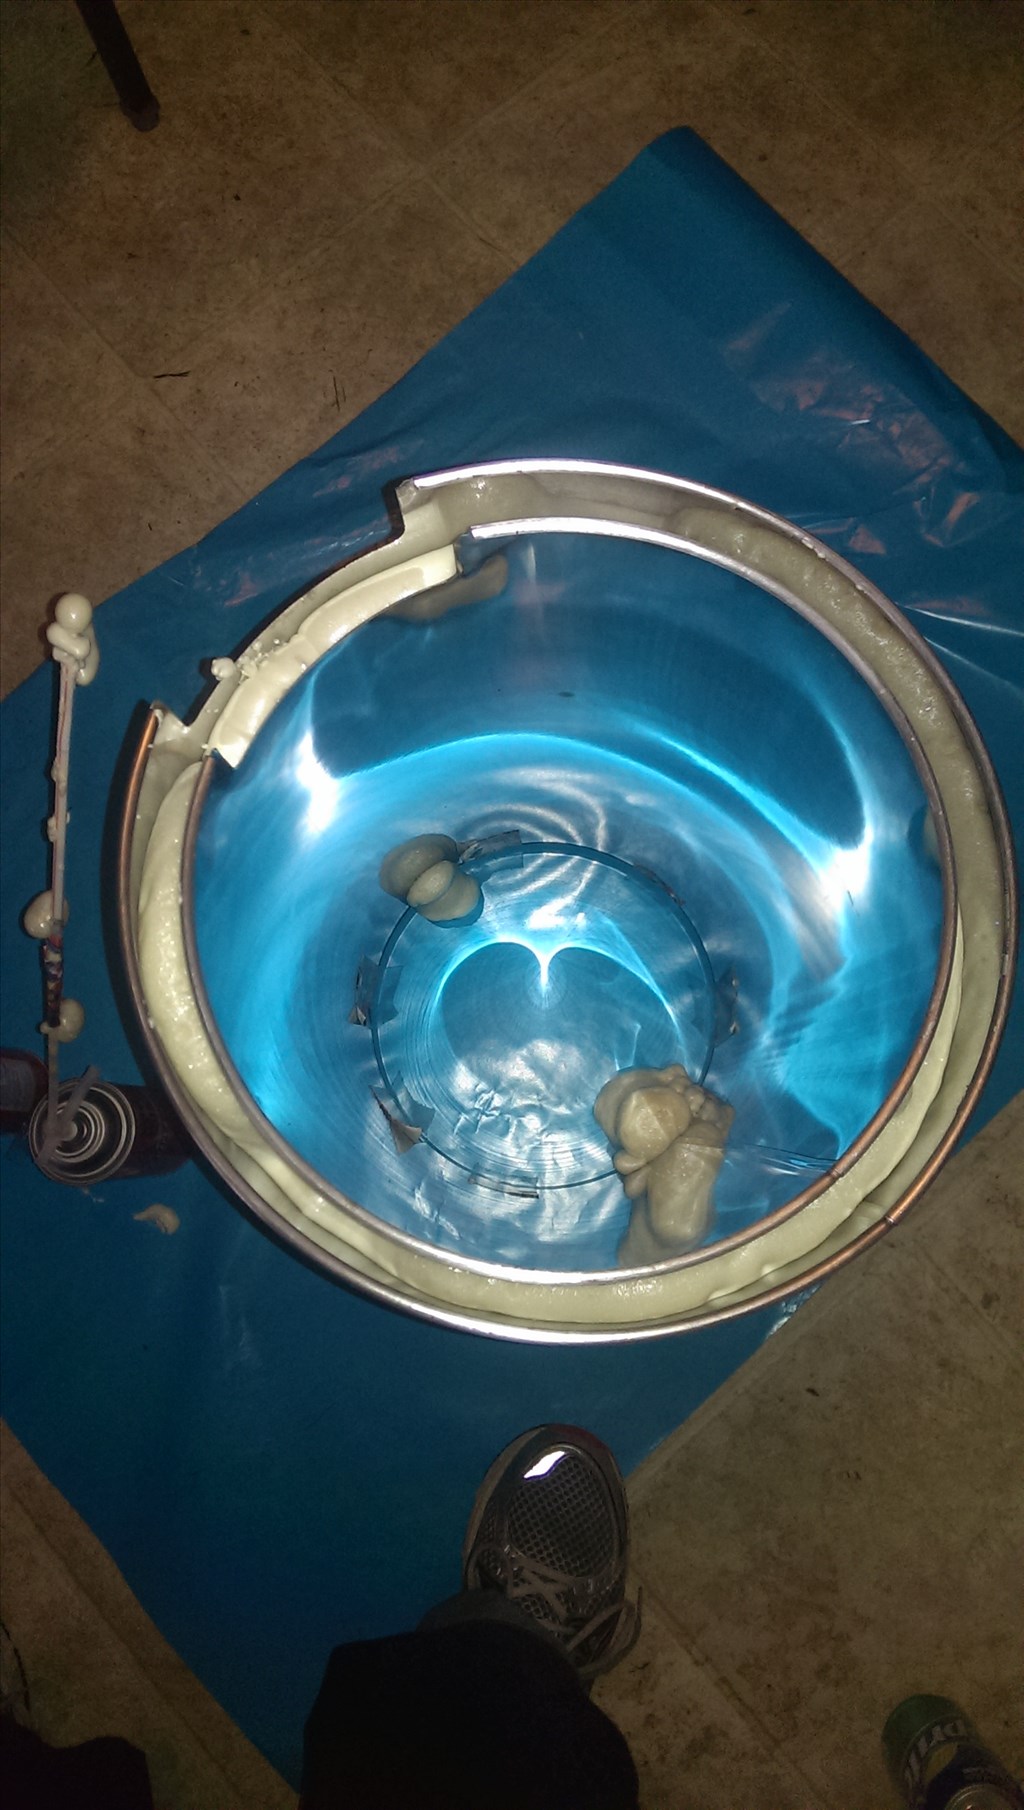
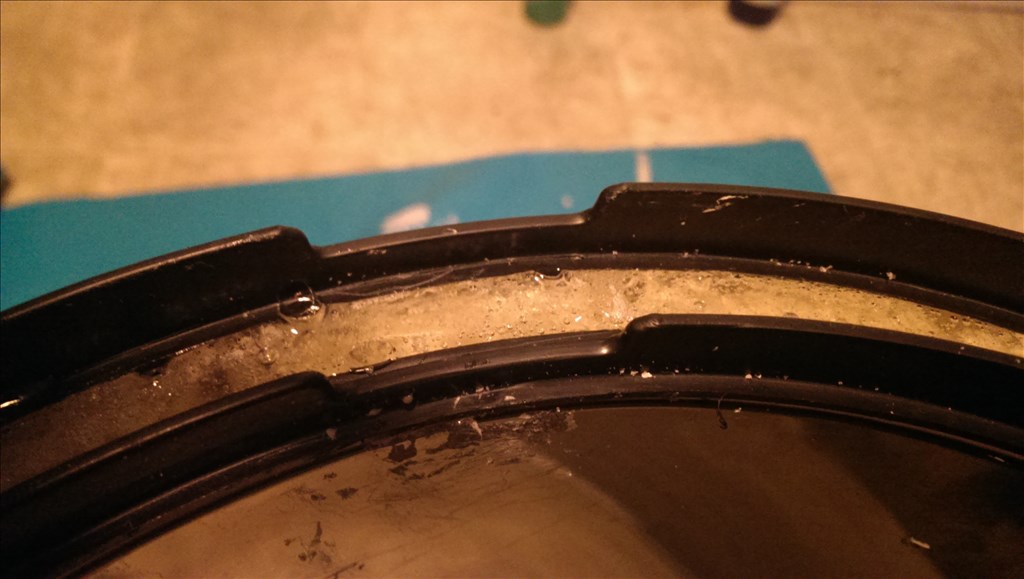
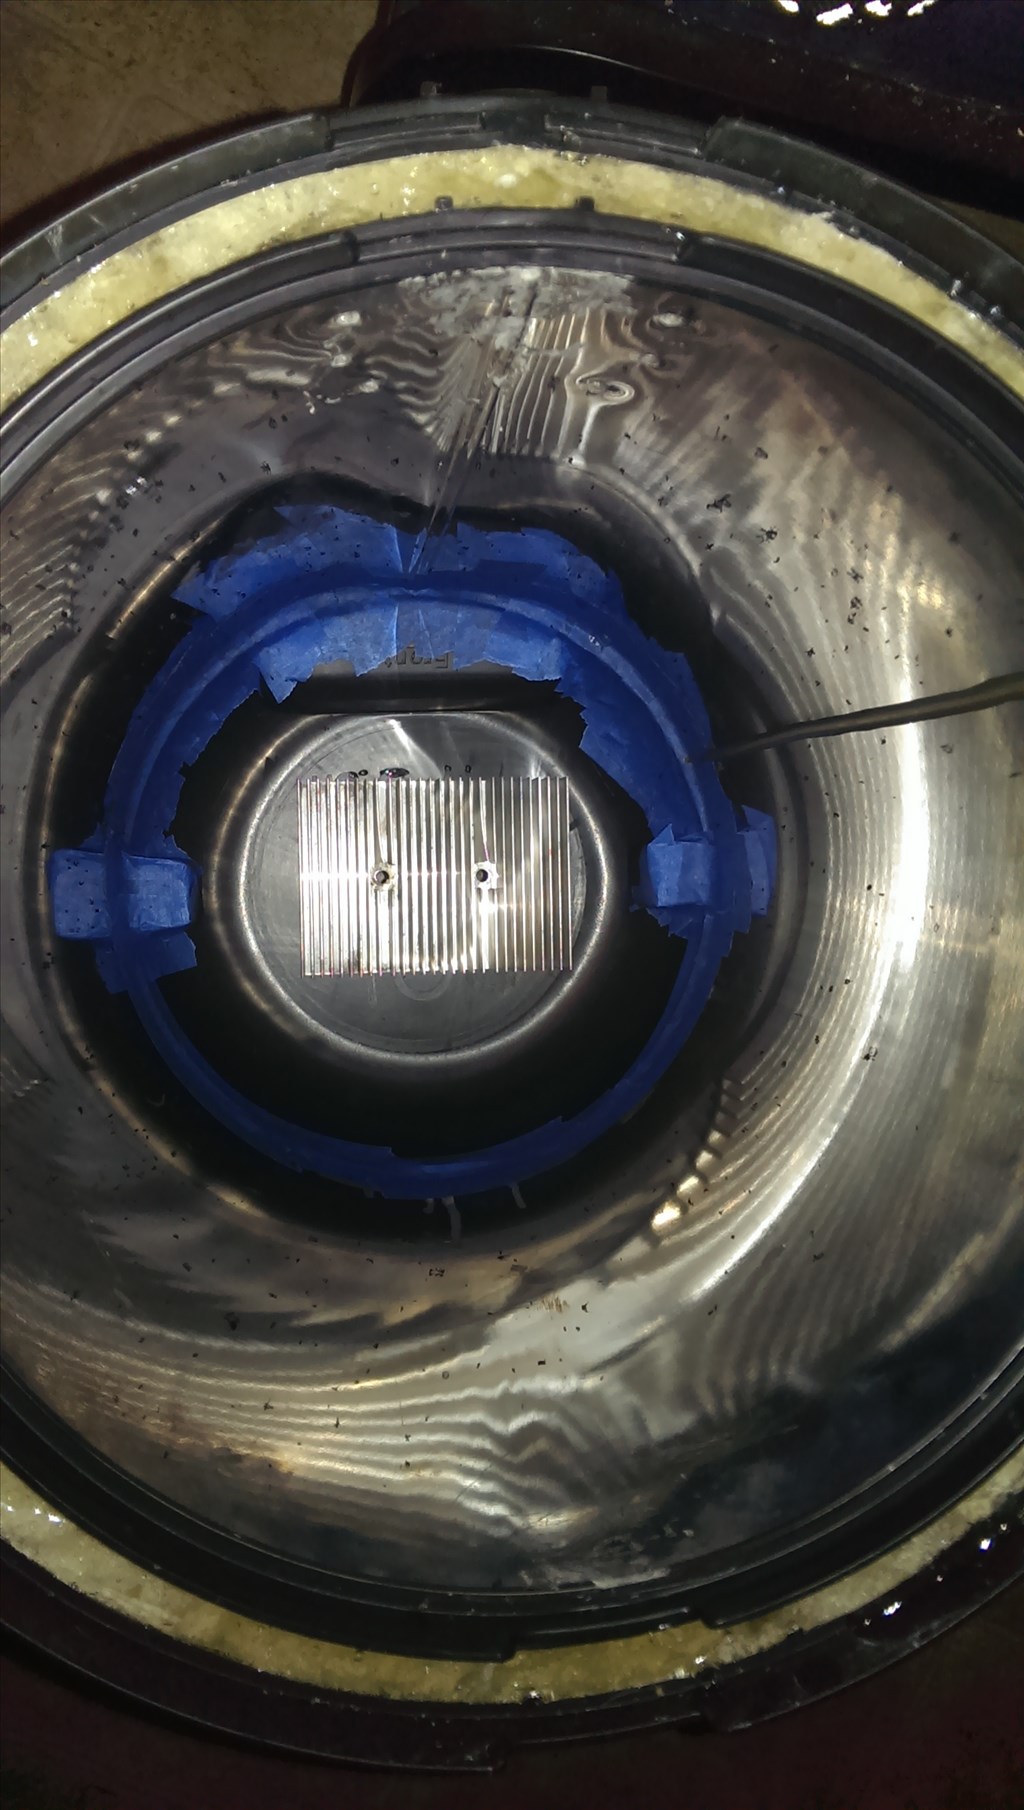
Quick update -the first piece of the bottom is super glued in. I must cut two half circles and epoxy them over the two ledges in the bottom. Then cut a hole for the heatsink to pass through. The heatsink will be silicon in place and fan placed on top like seen here.

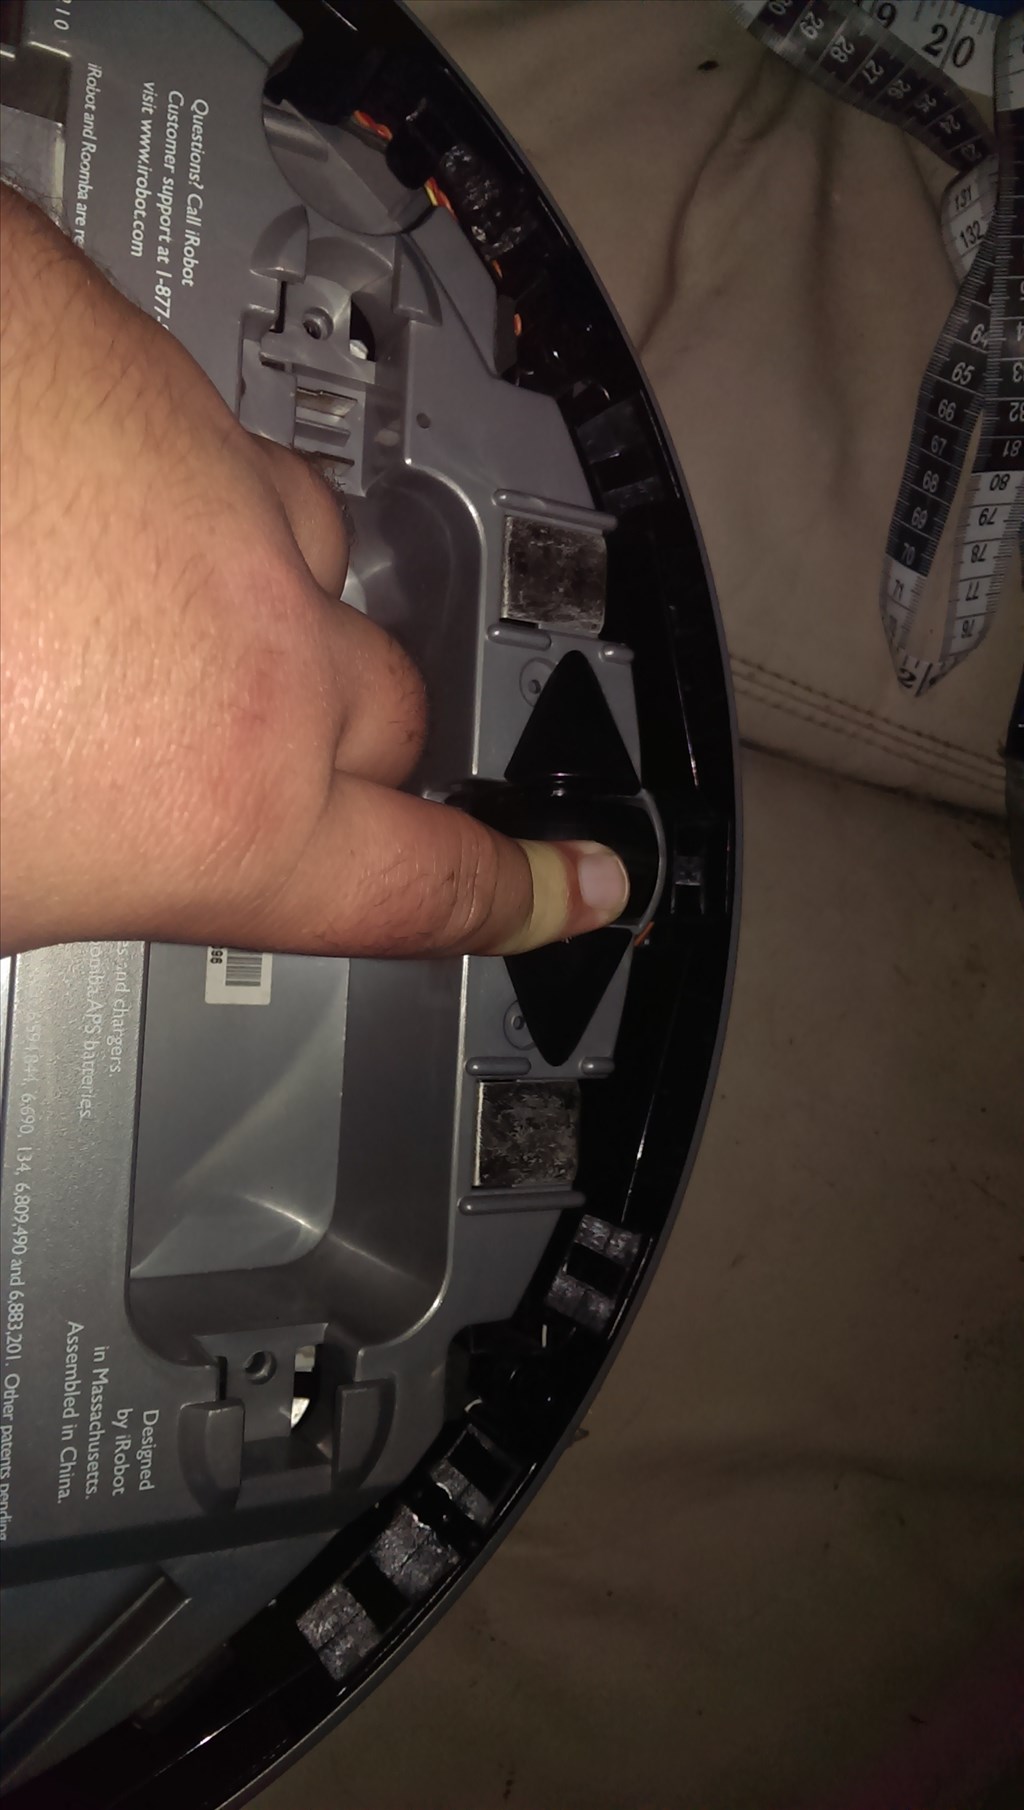
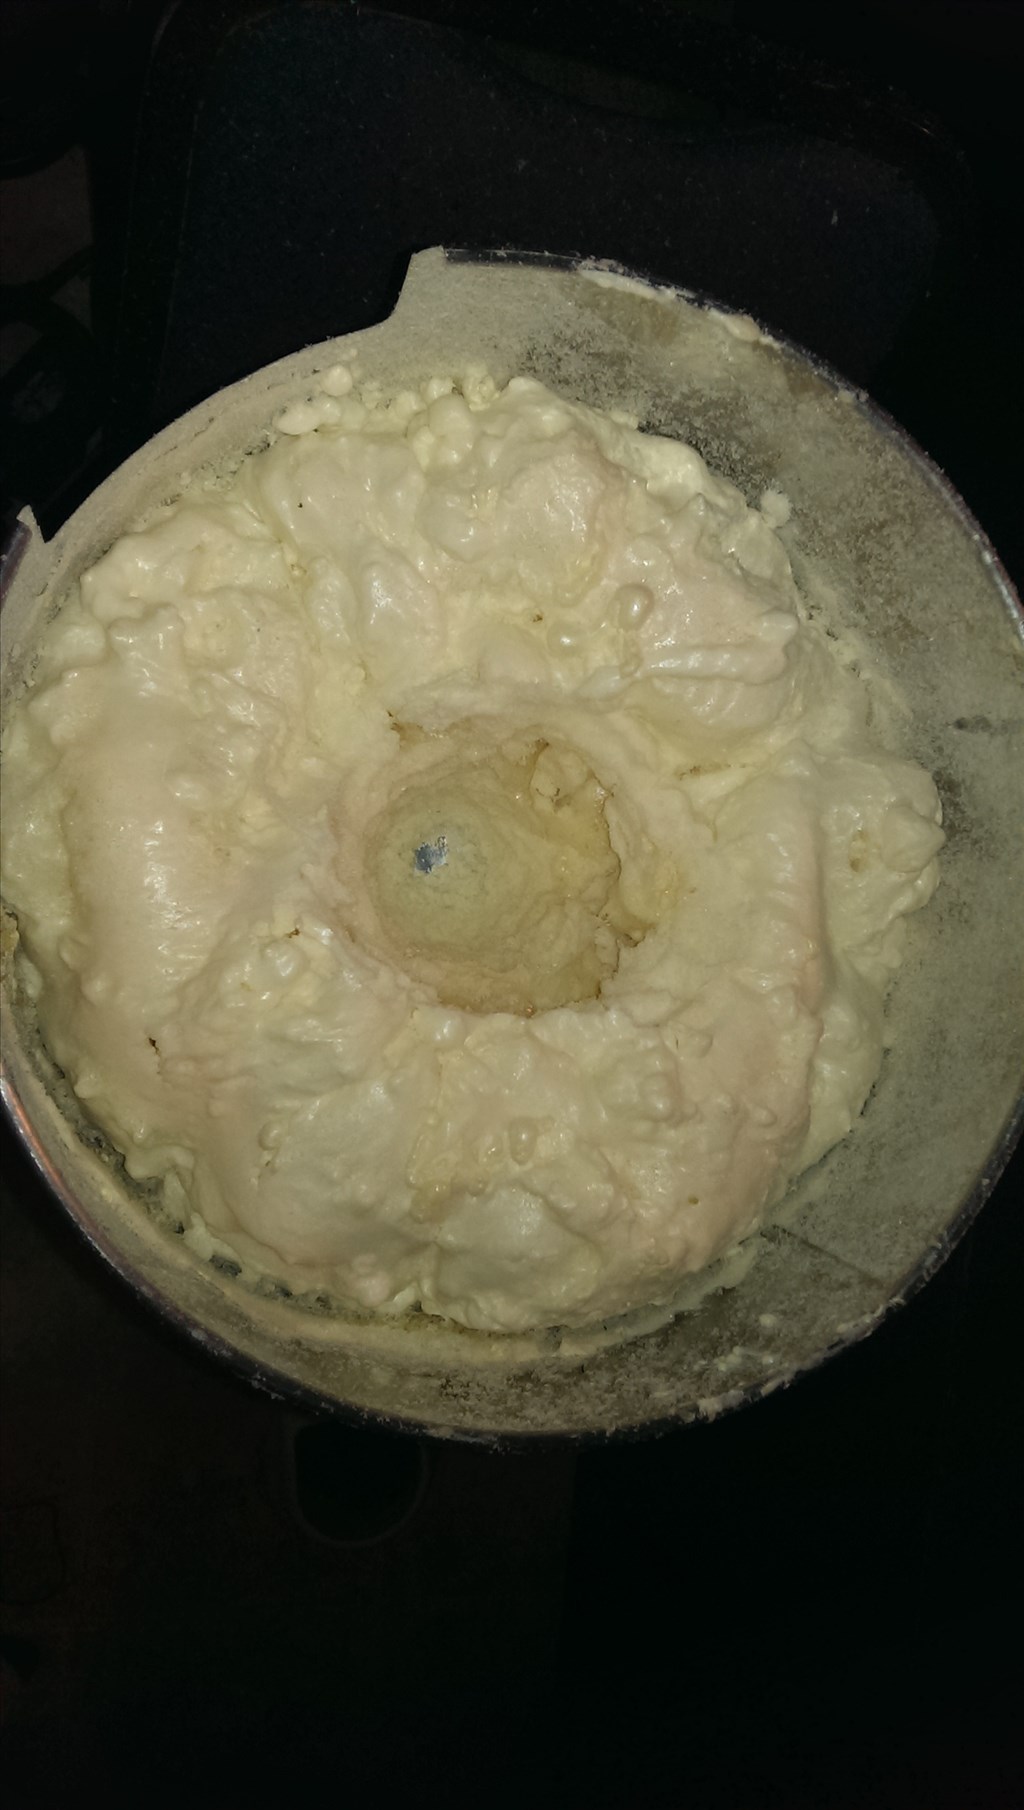
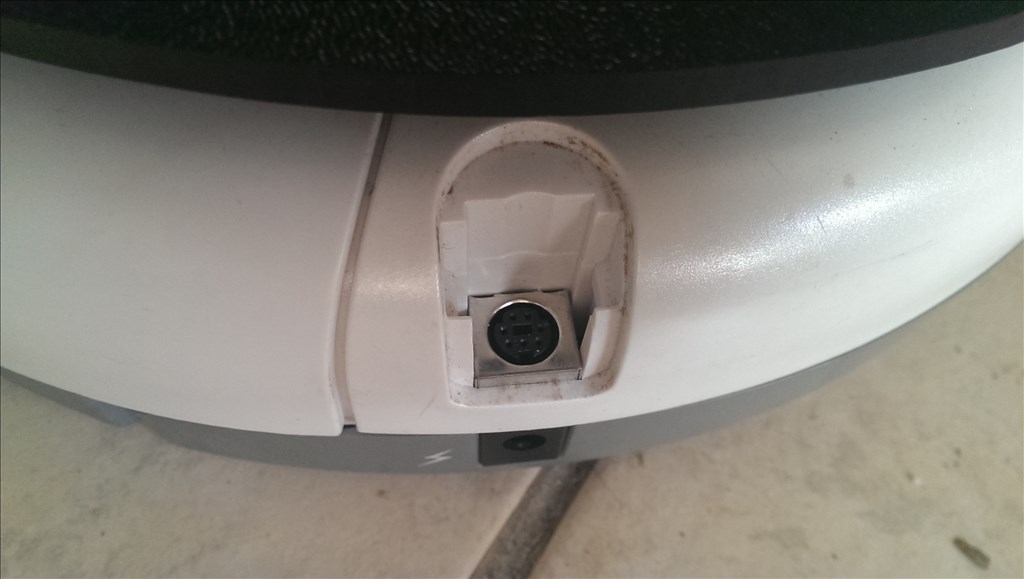
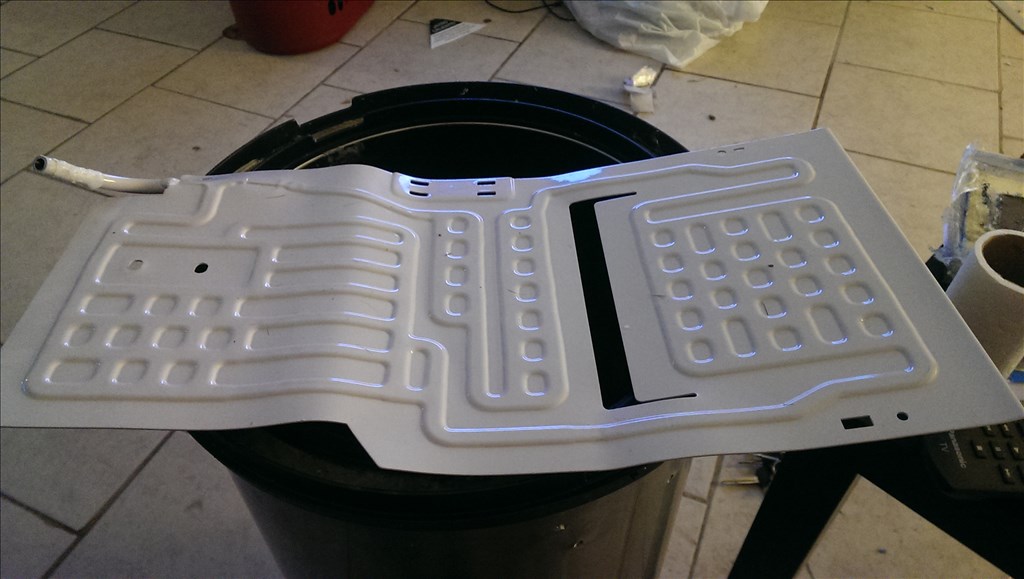
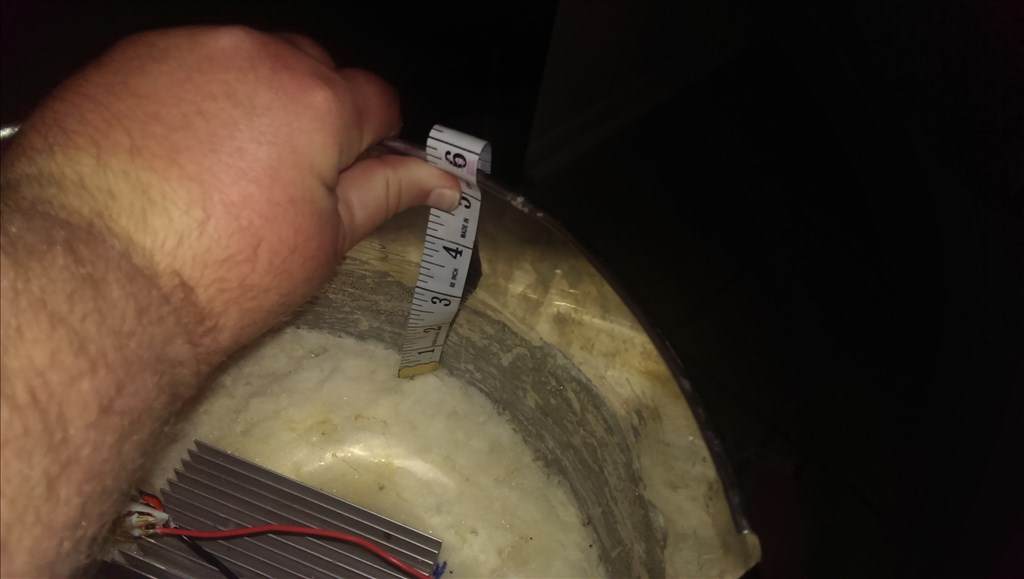
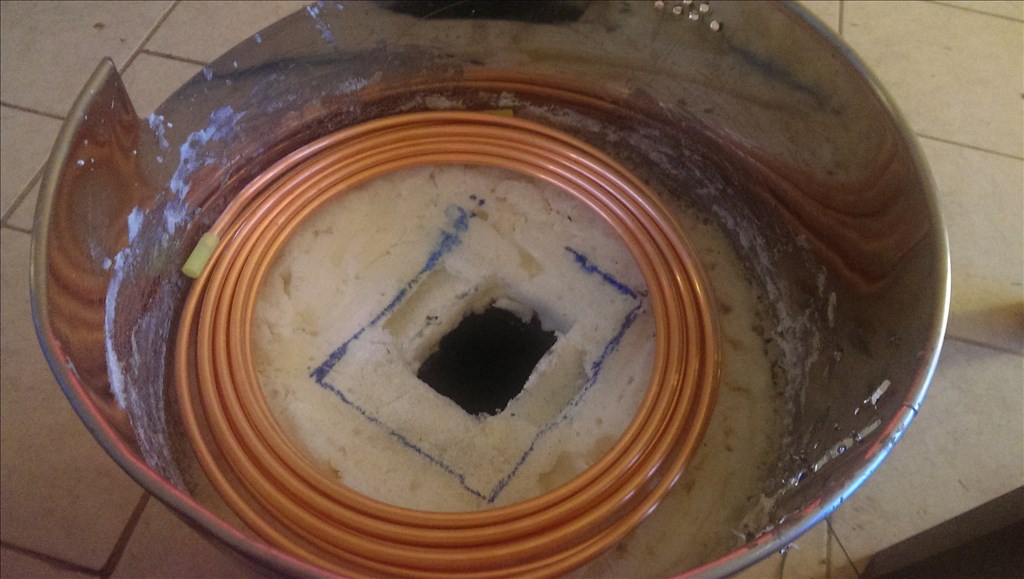
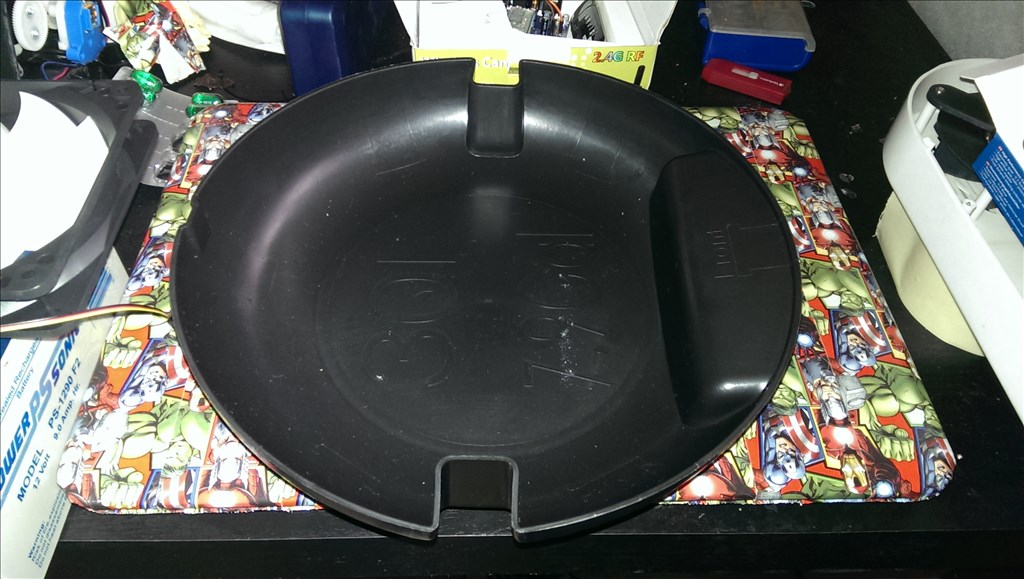
This is the bottom drip tray where the heatsink will be.
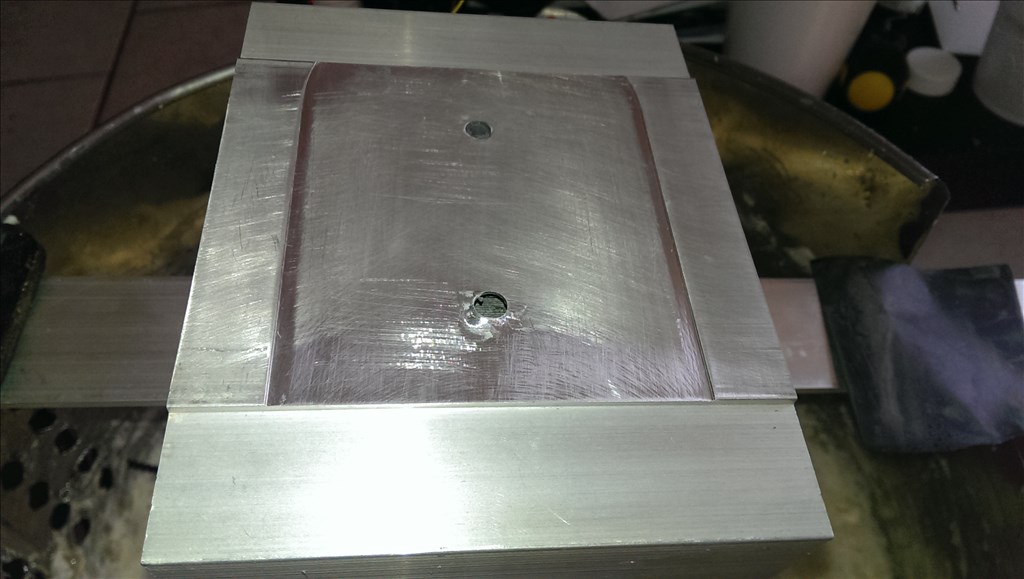
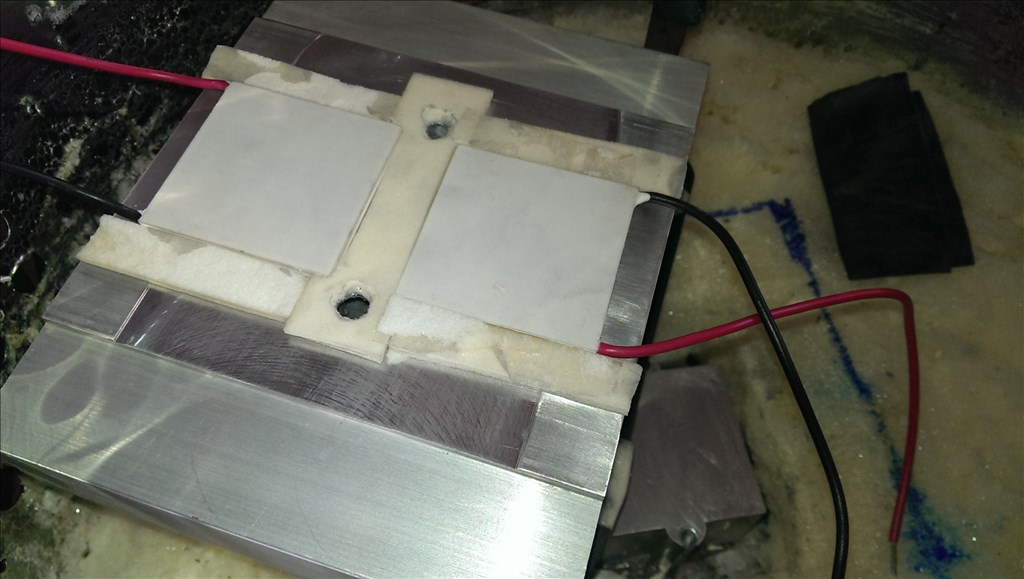
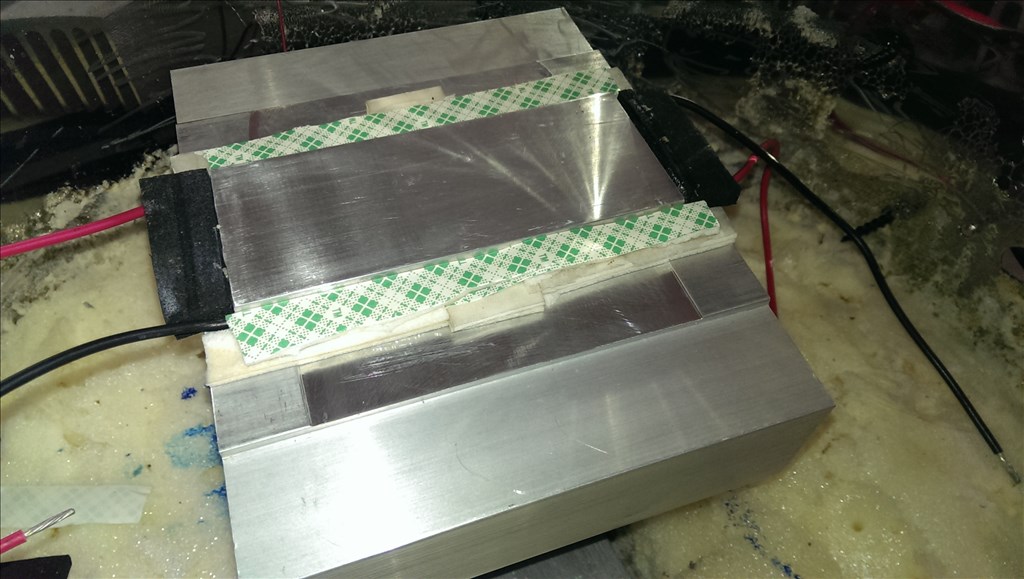
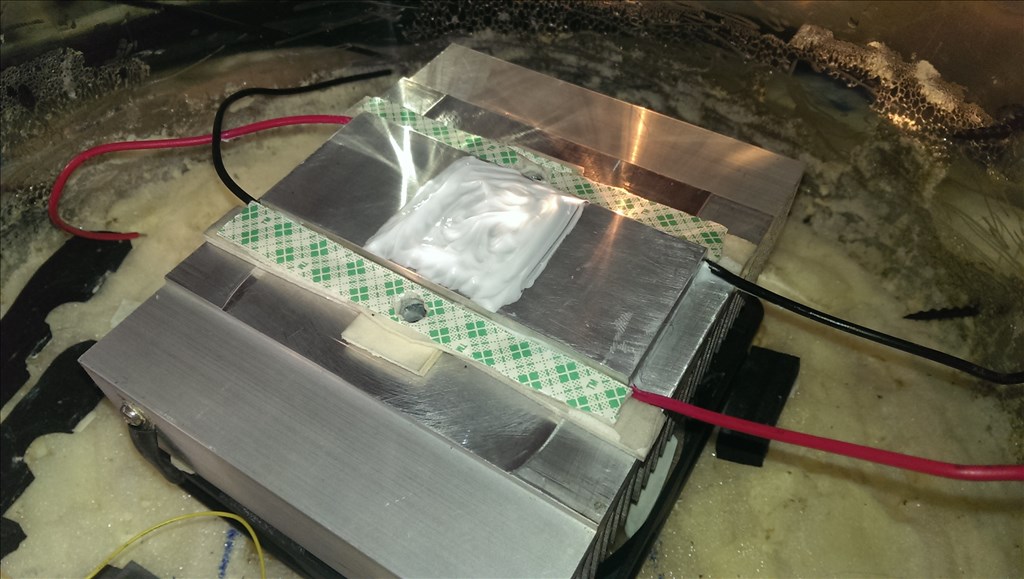
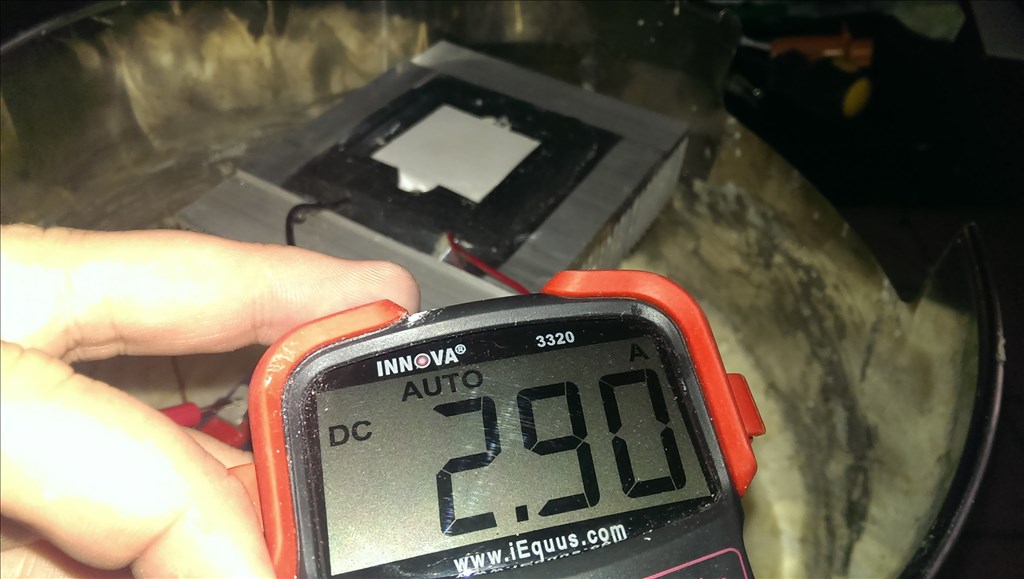
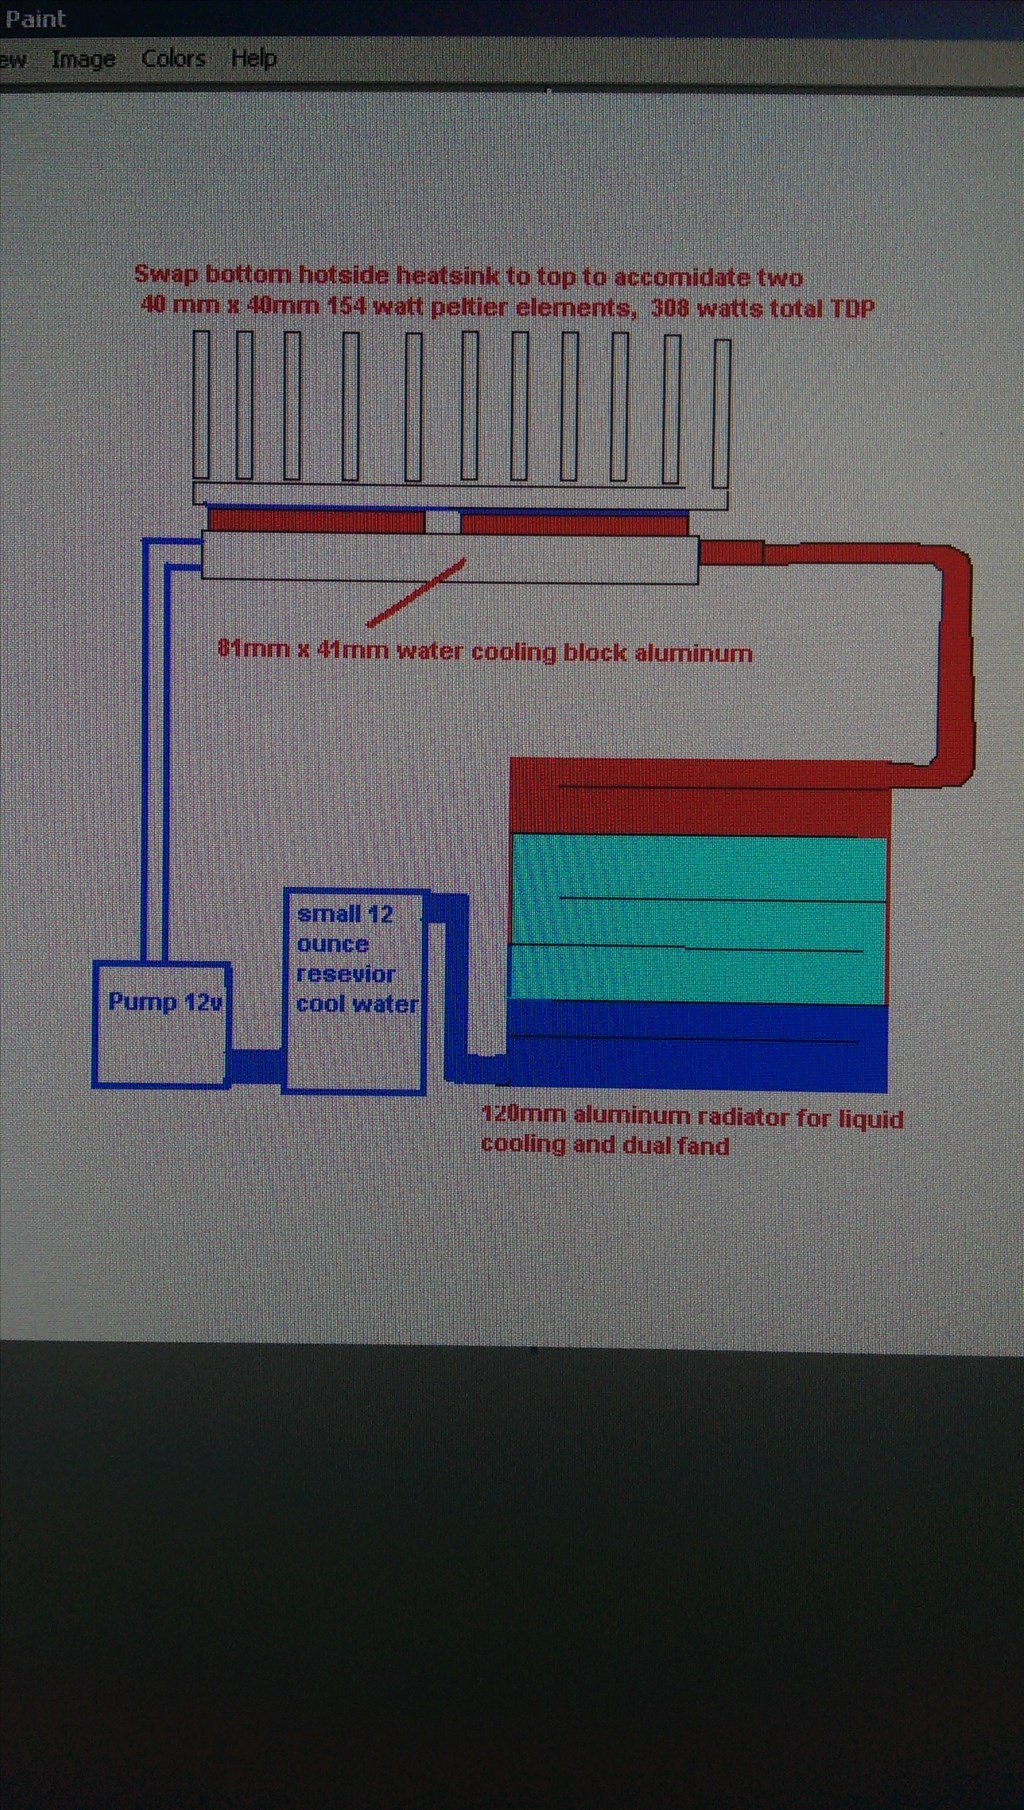
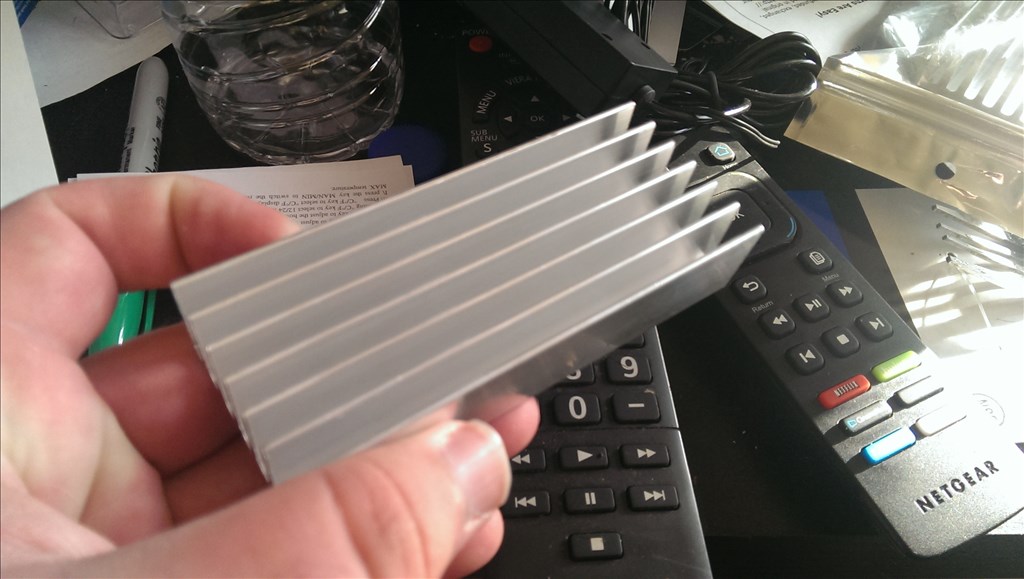
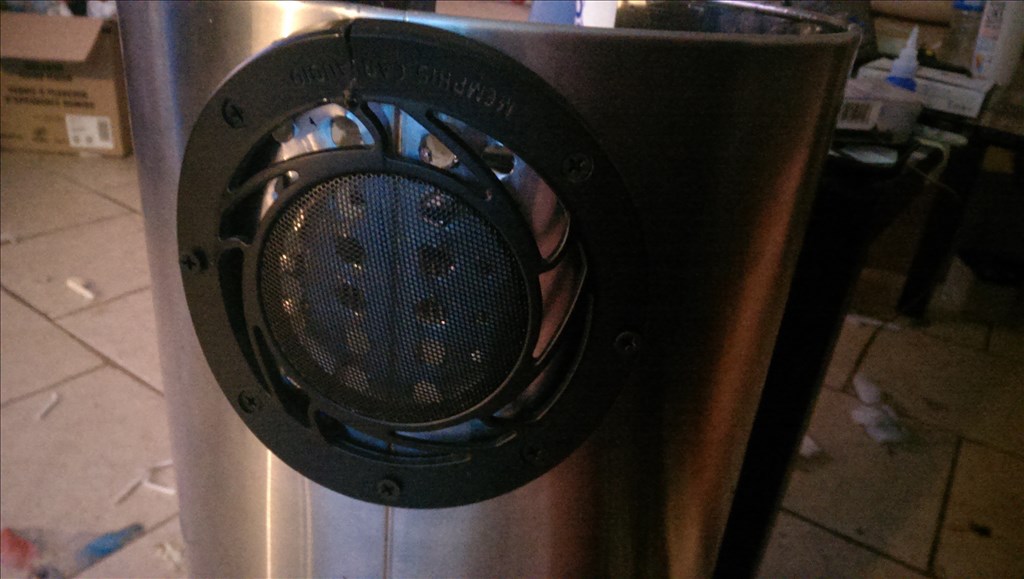
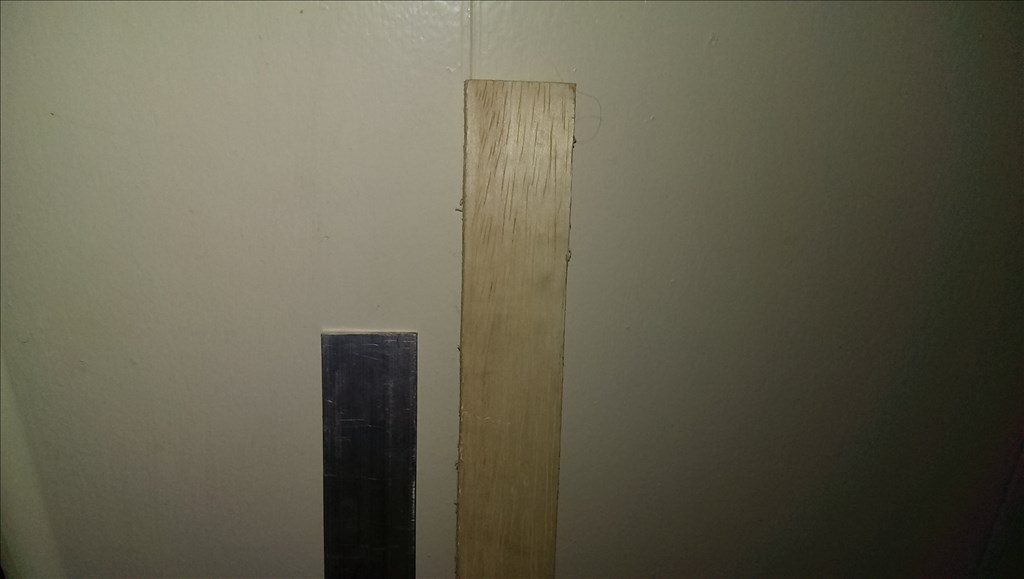
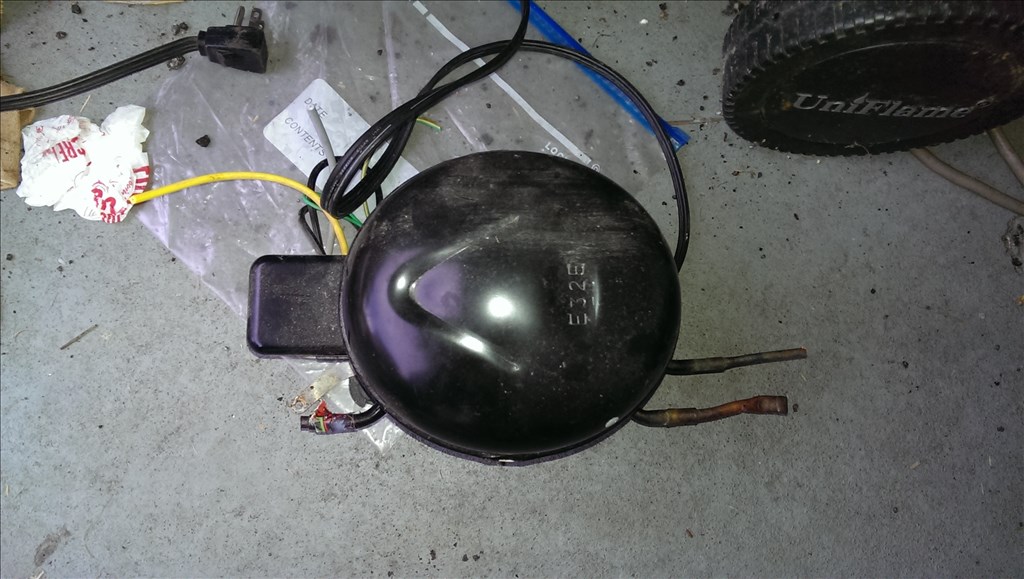
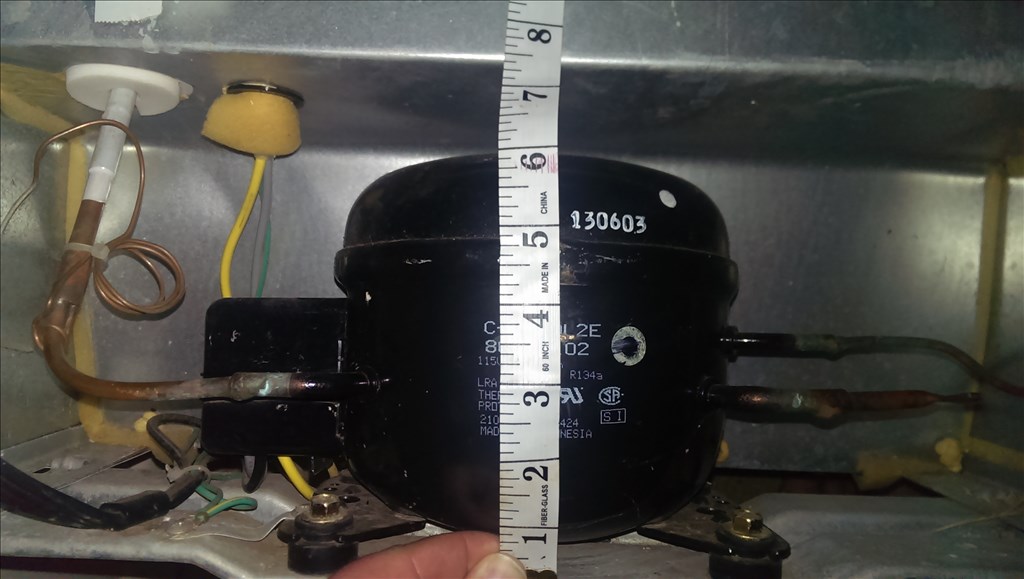
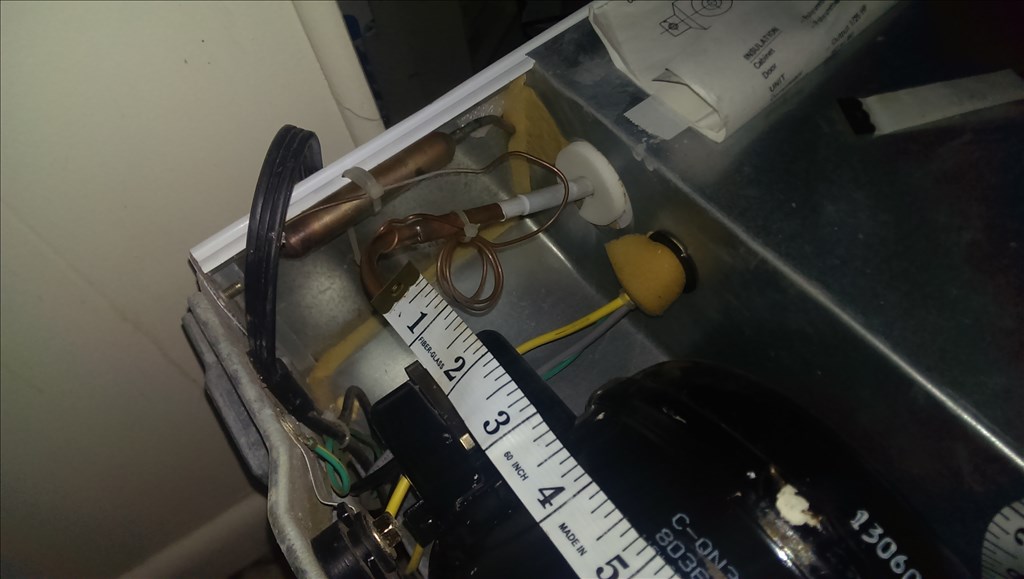
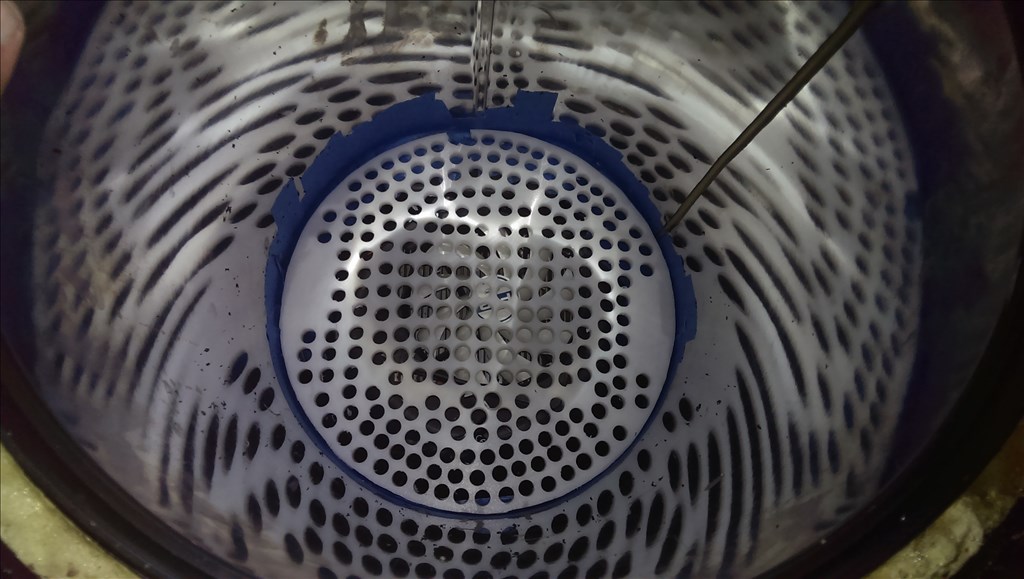
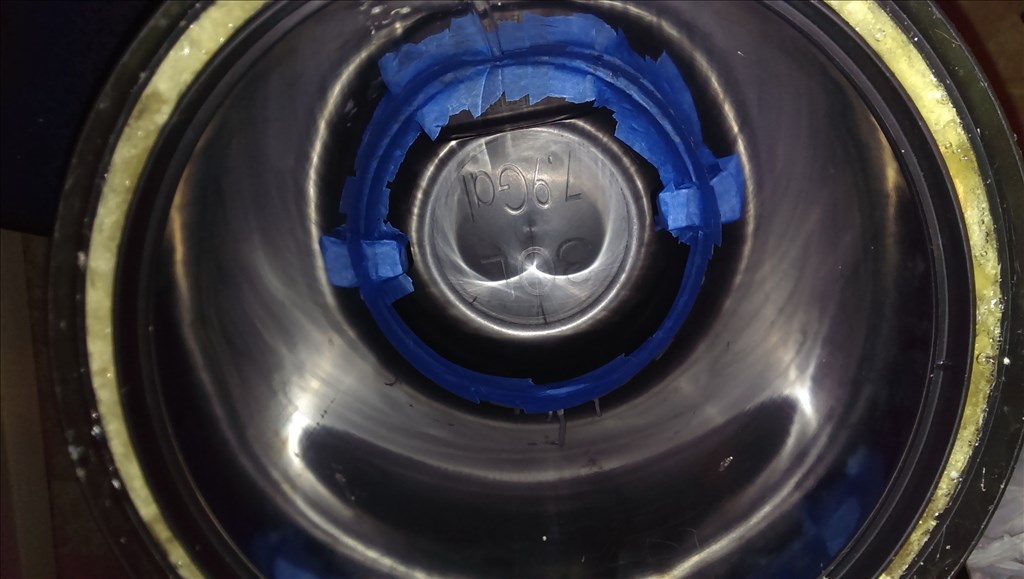
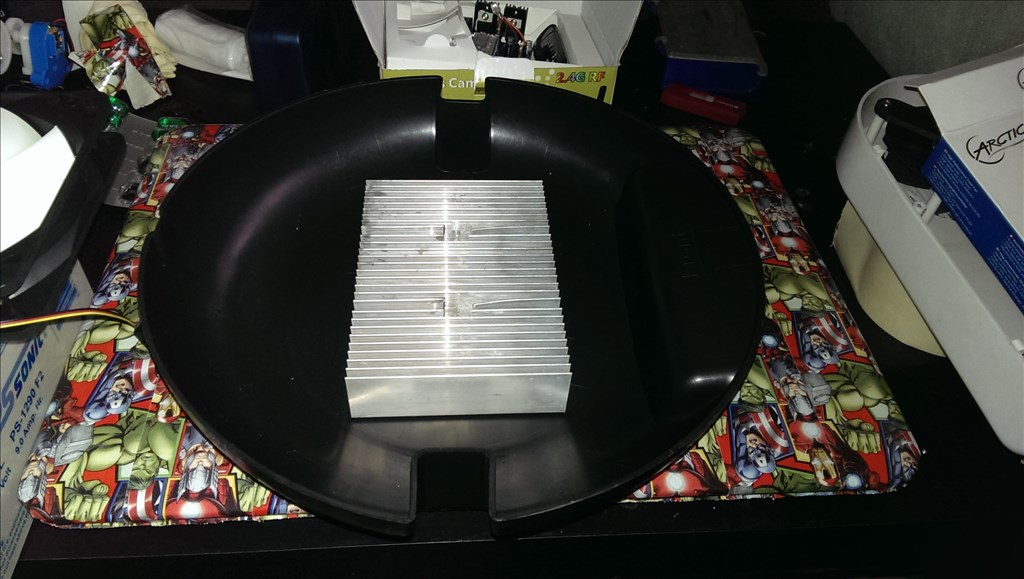
Here is my proposed cool side of the chiller.
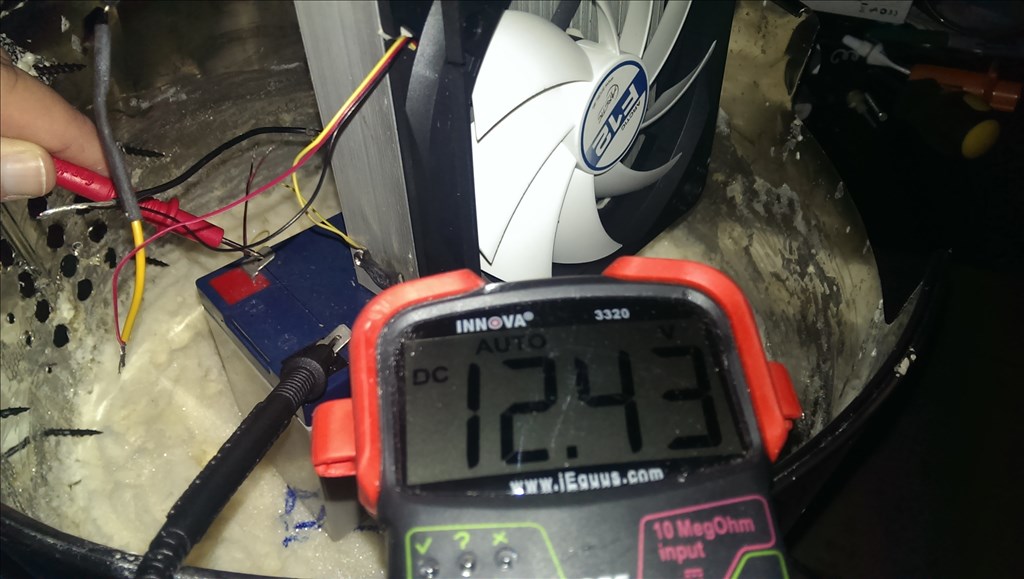
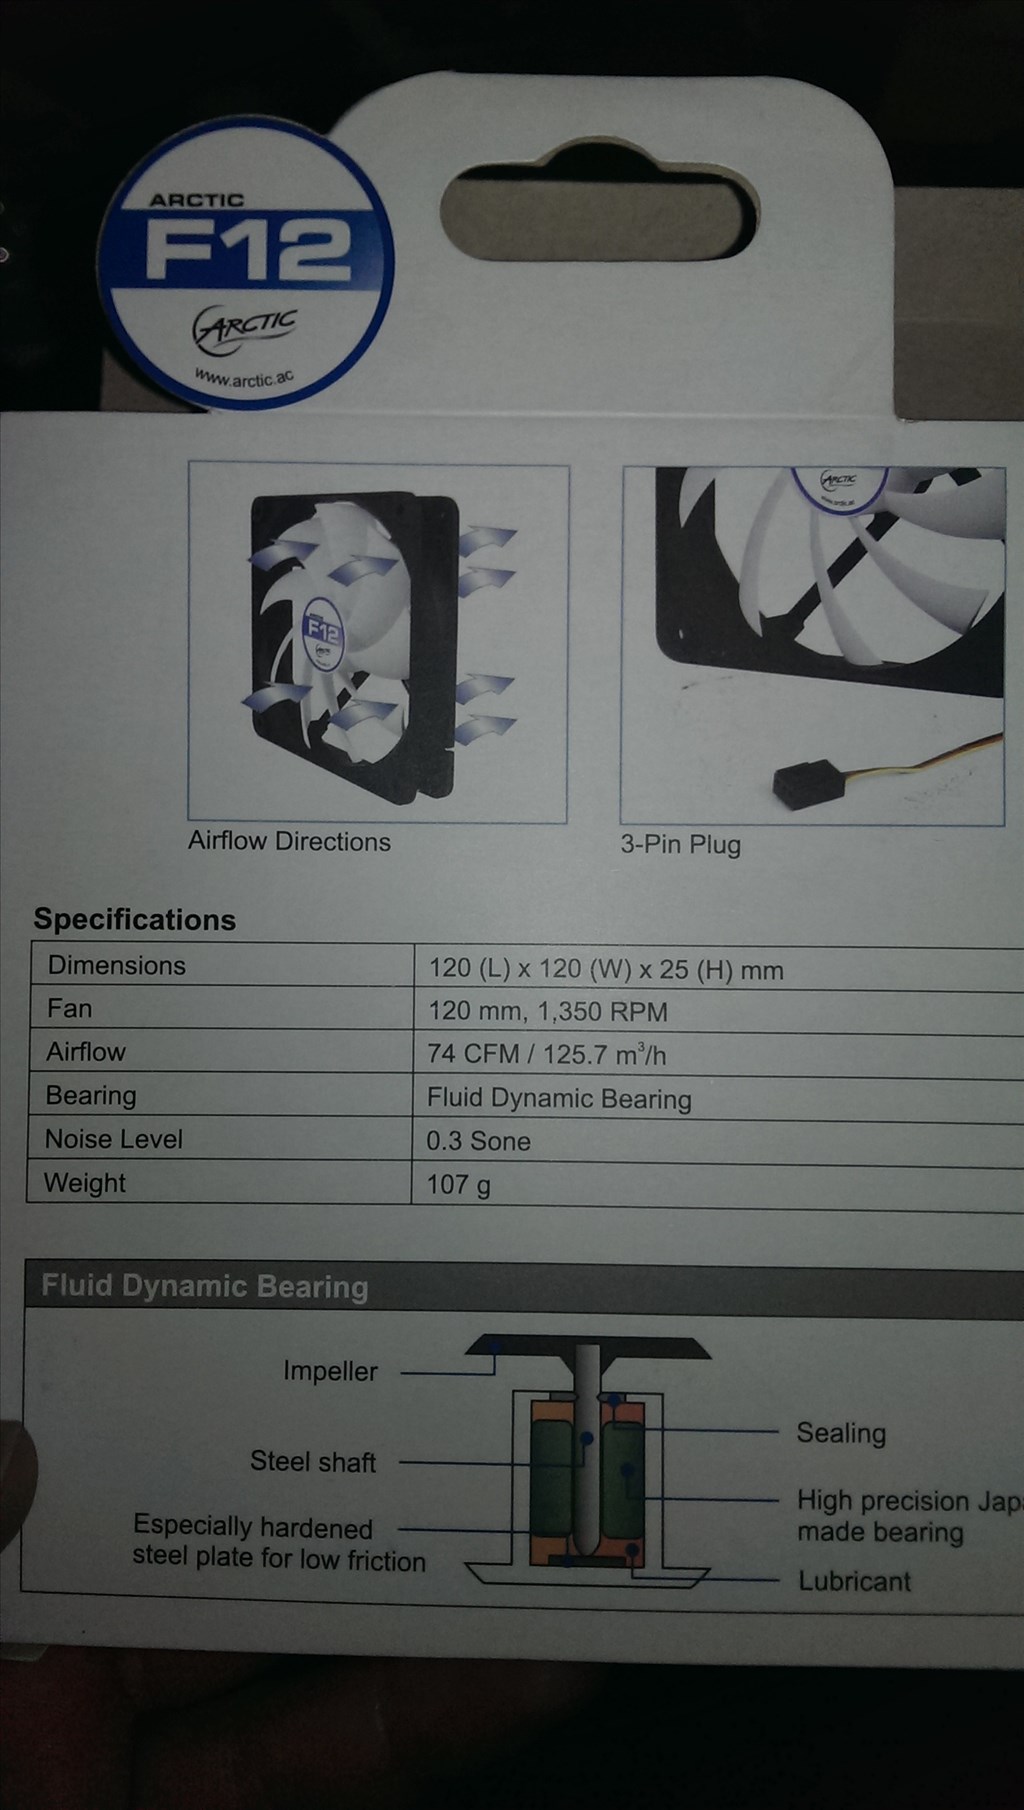
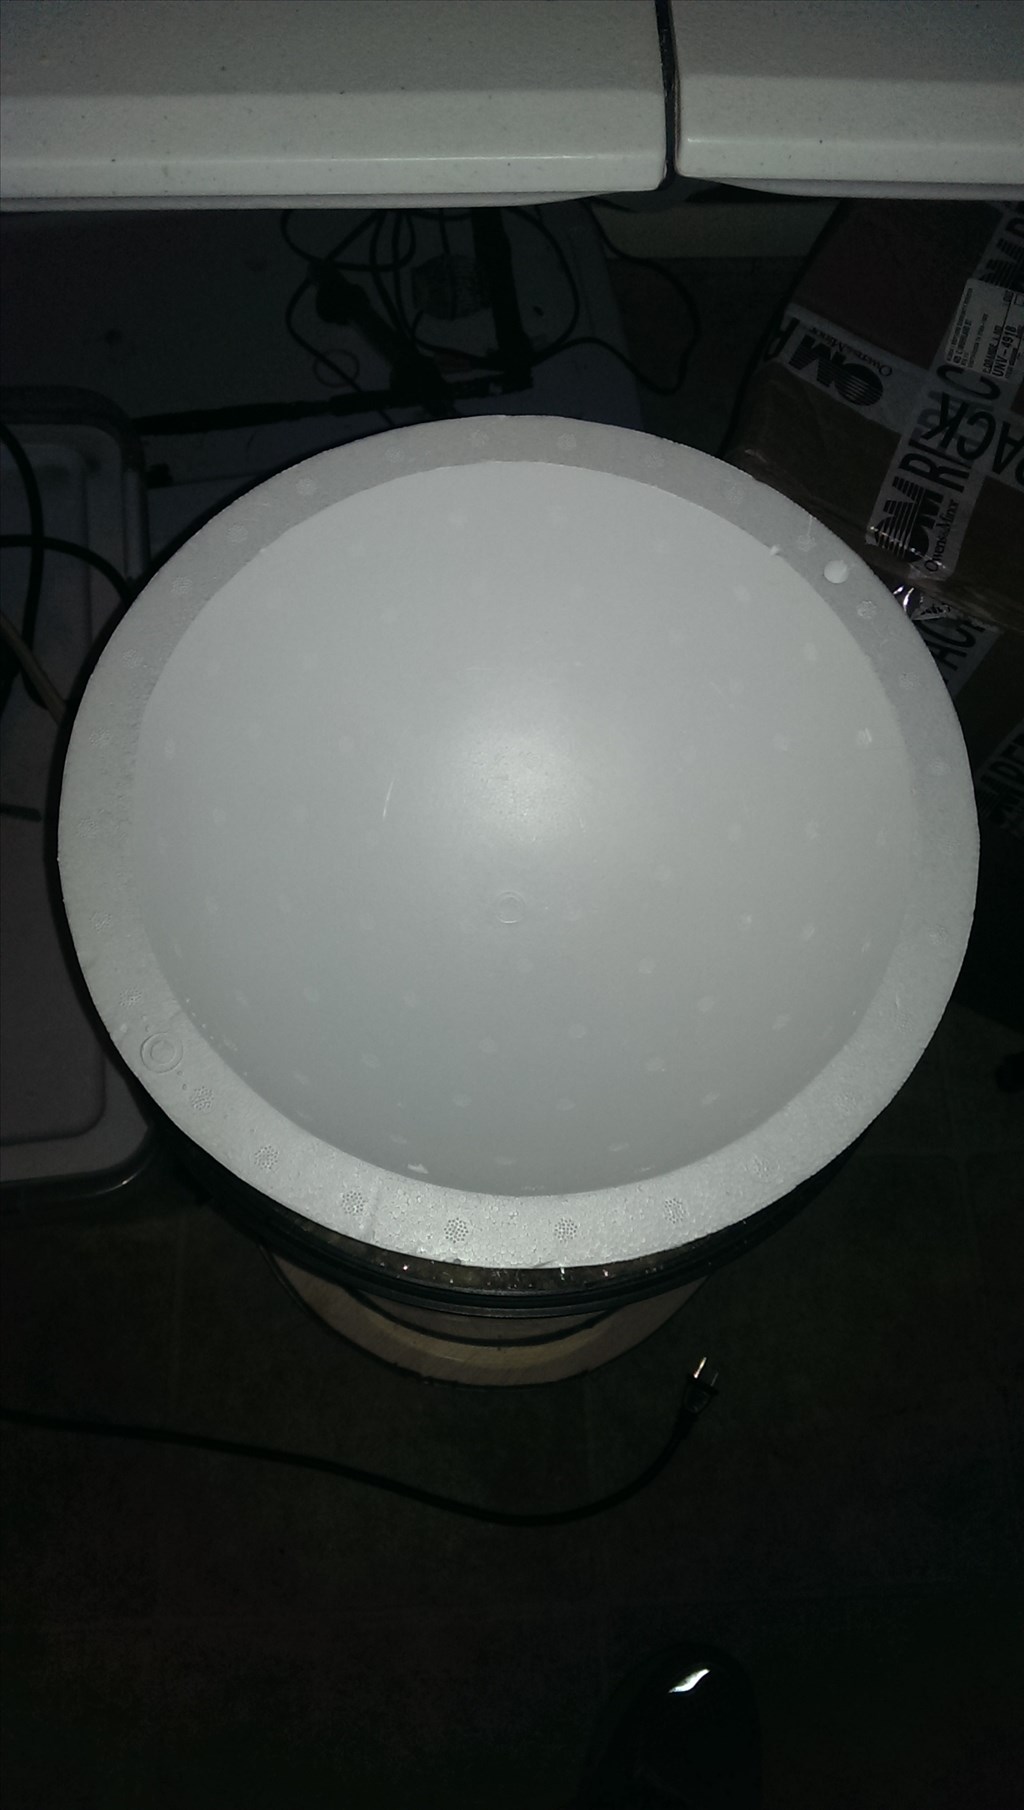
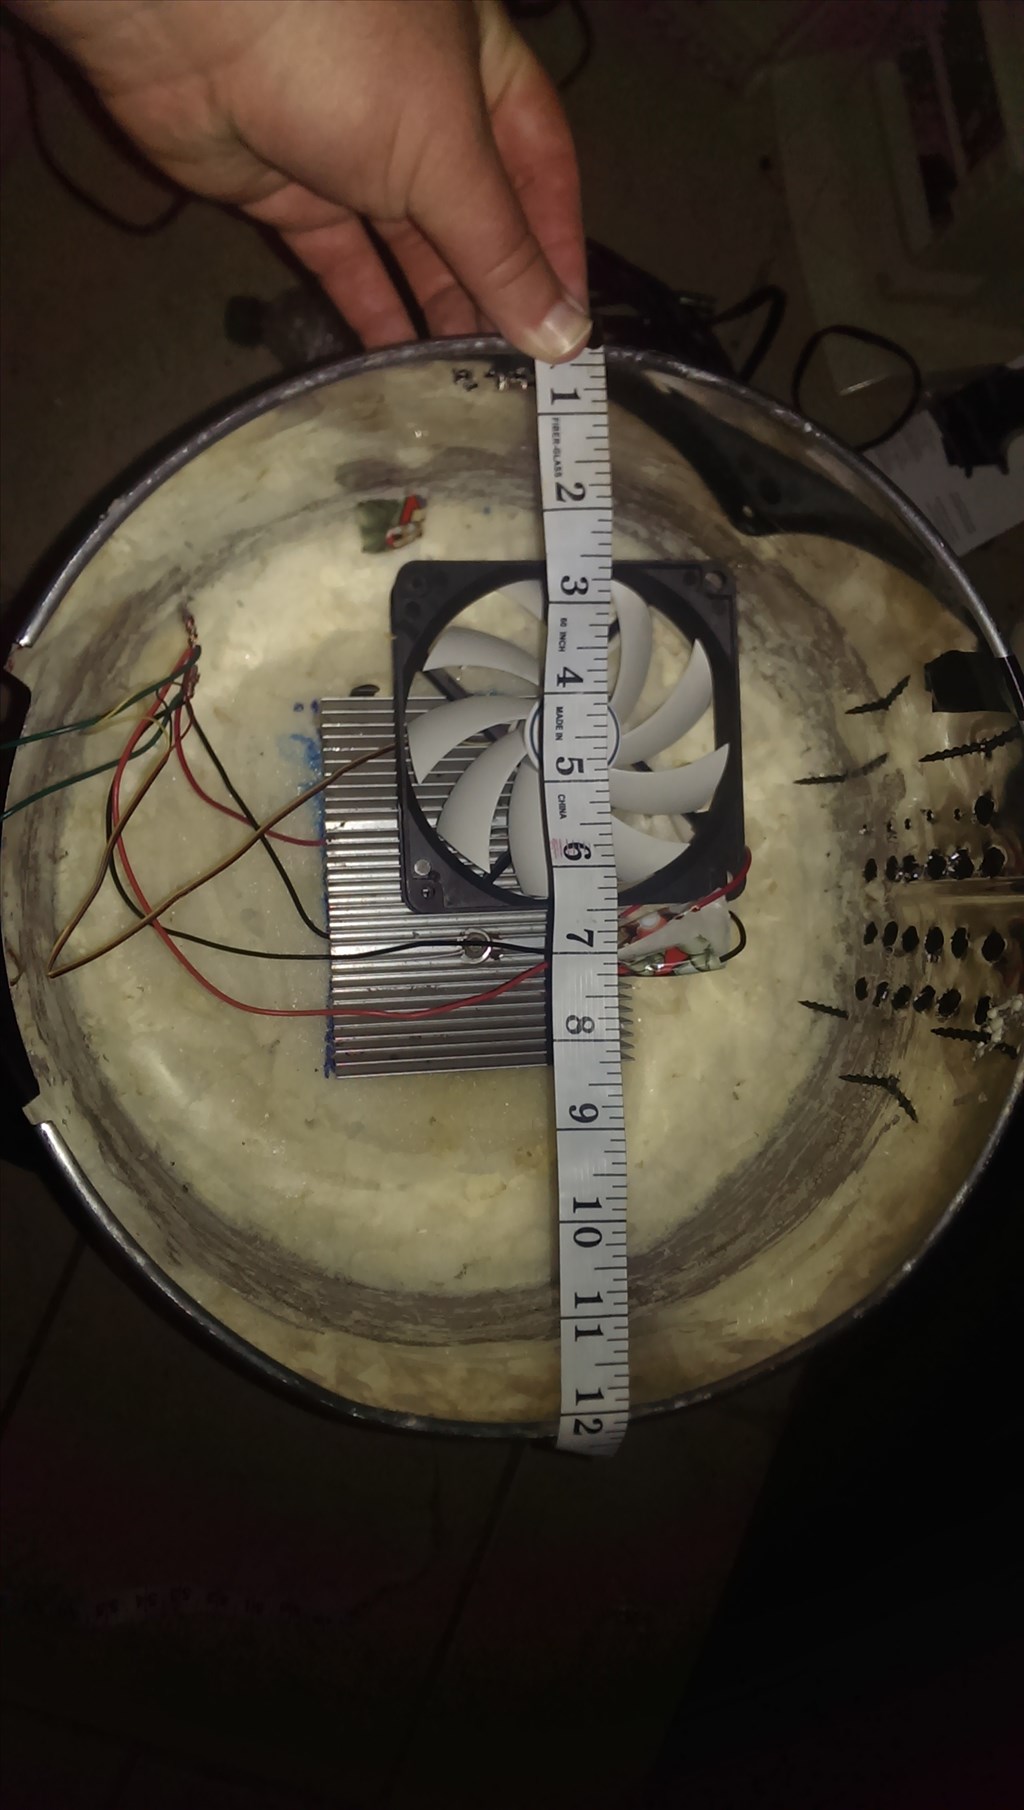
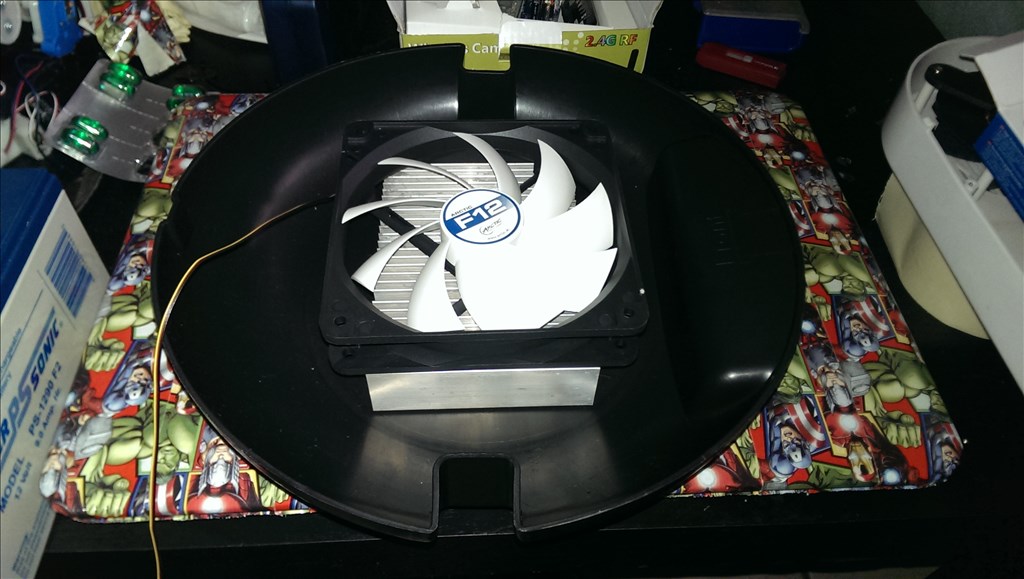
Seen here is a 120mm fan over the chiller . I'm considering doing two fans but I think it may not make a difference since the space is small.
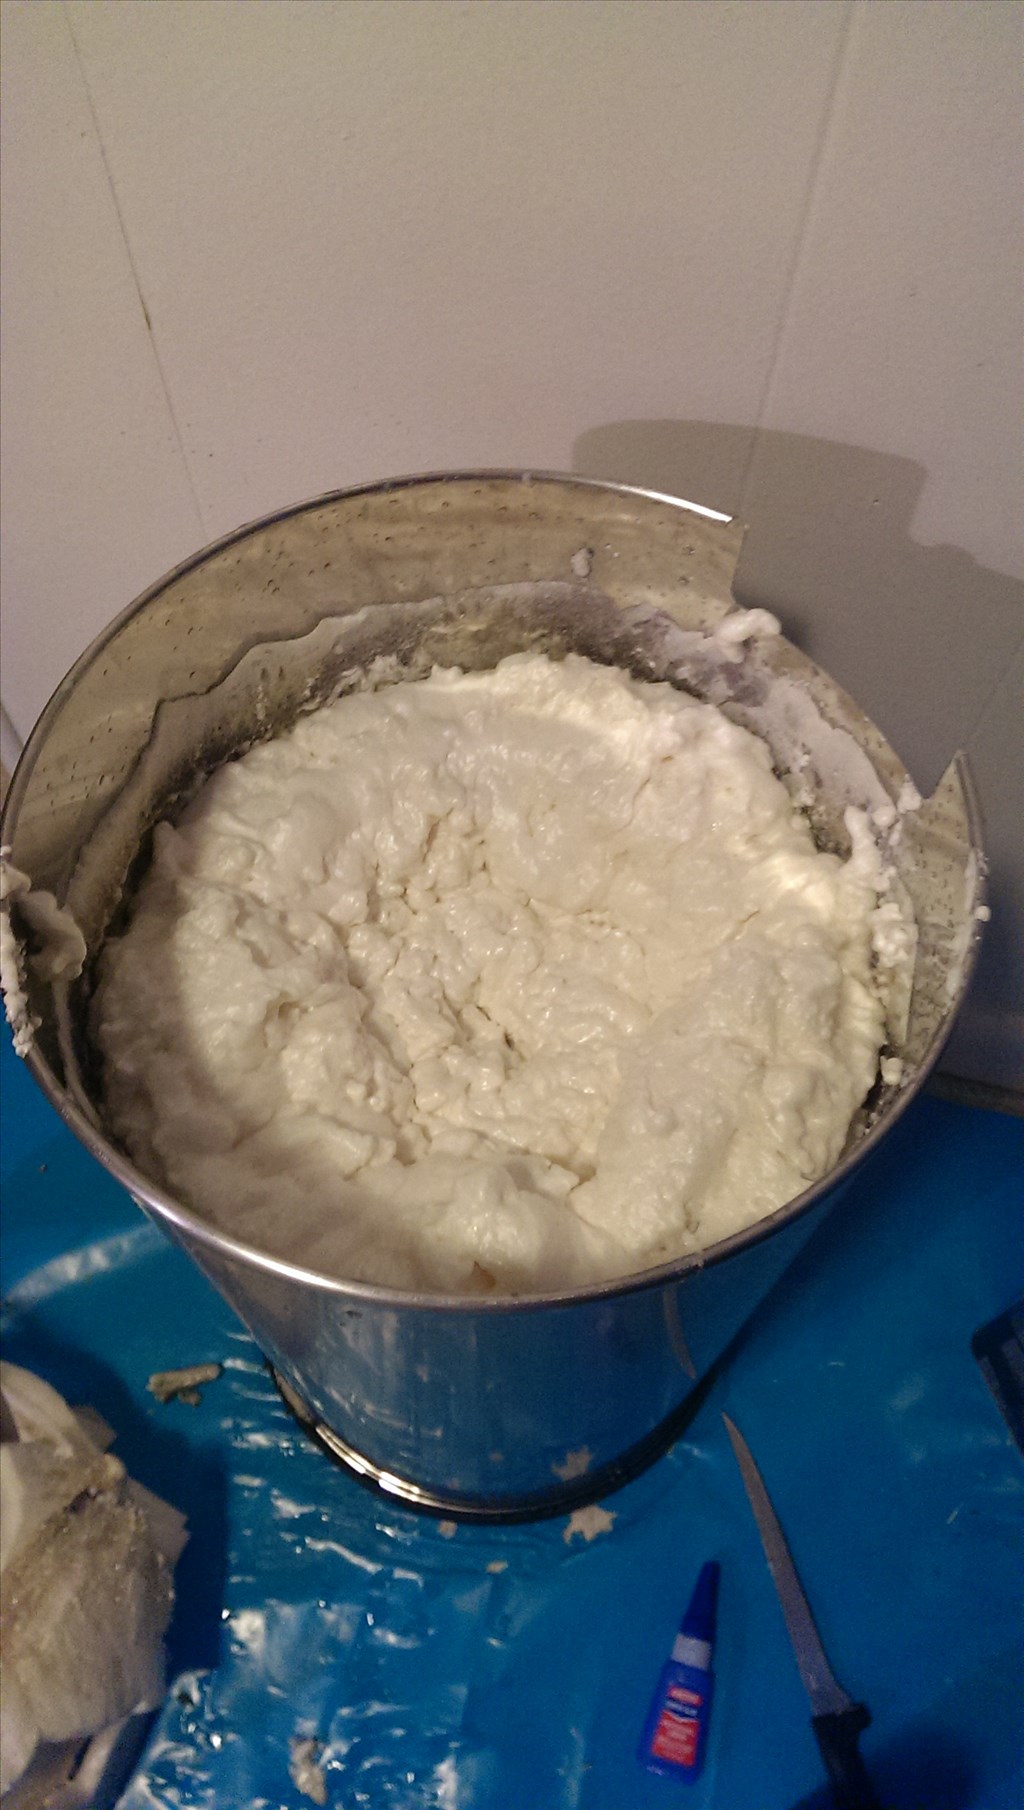
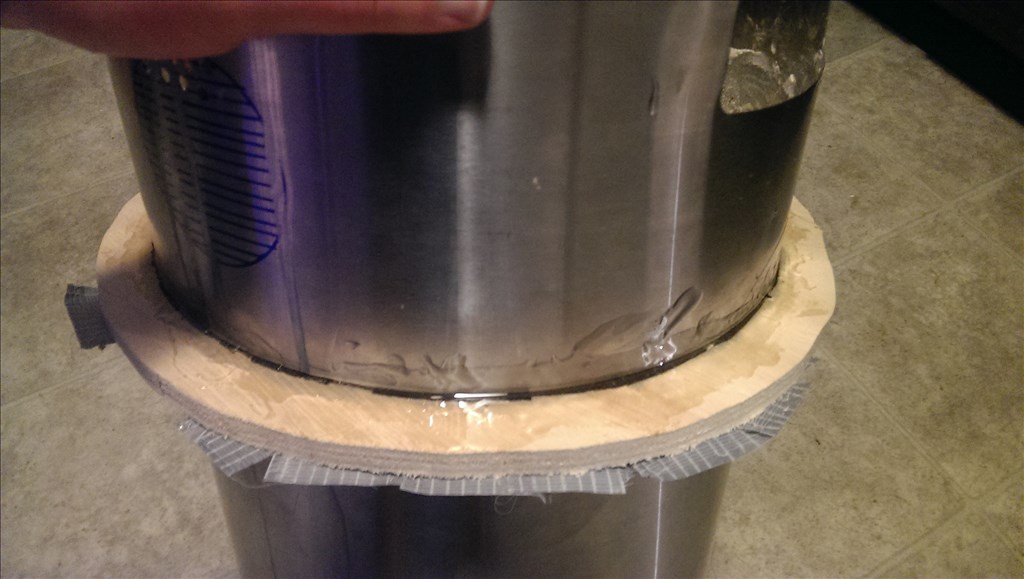
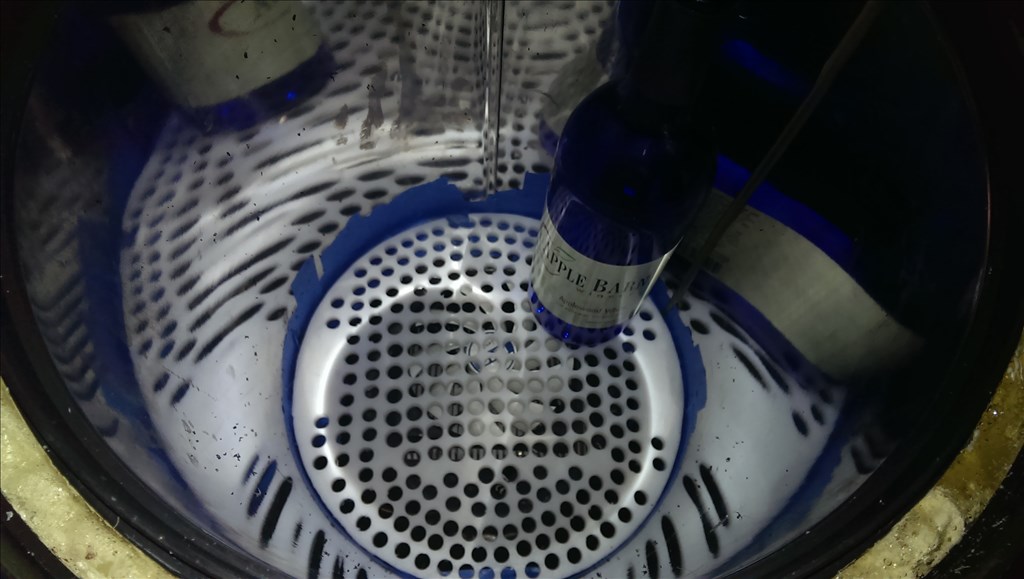
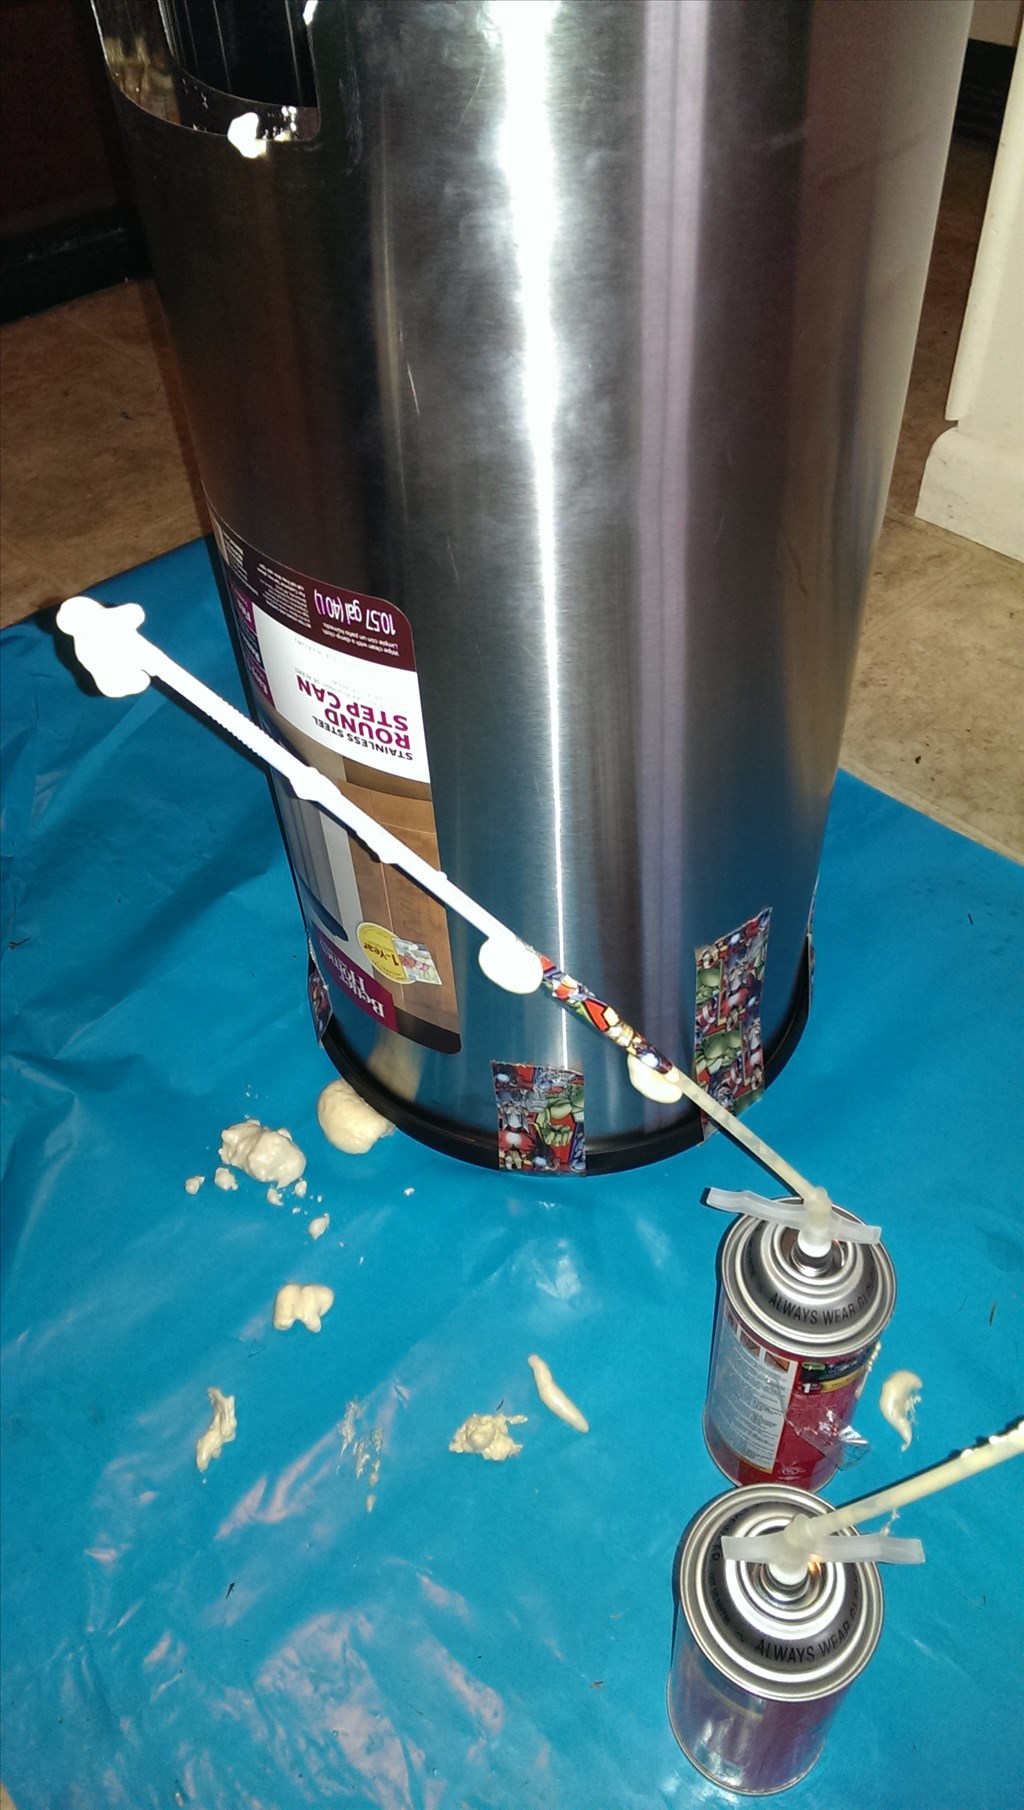
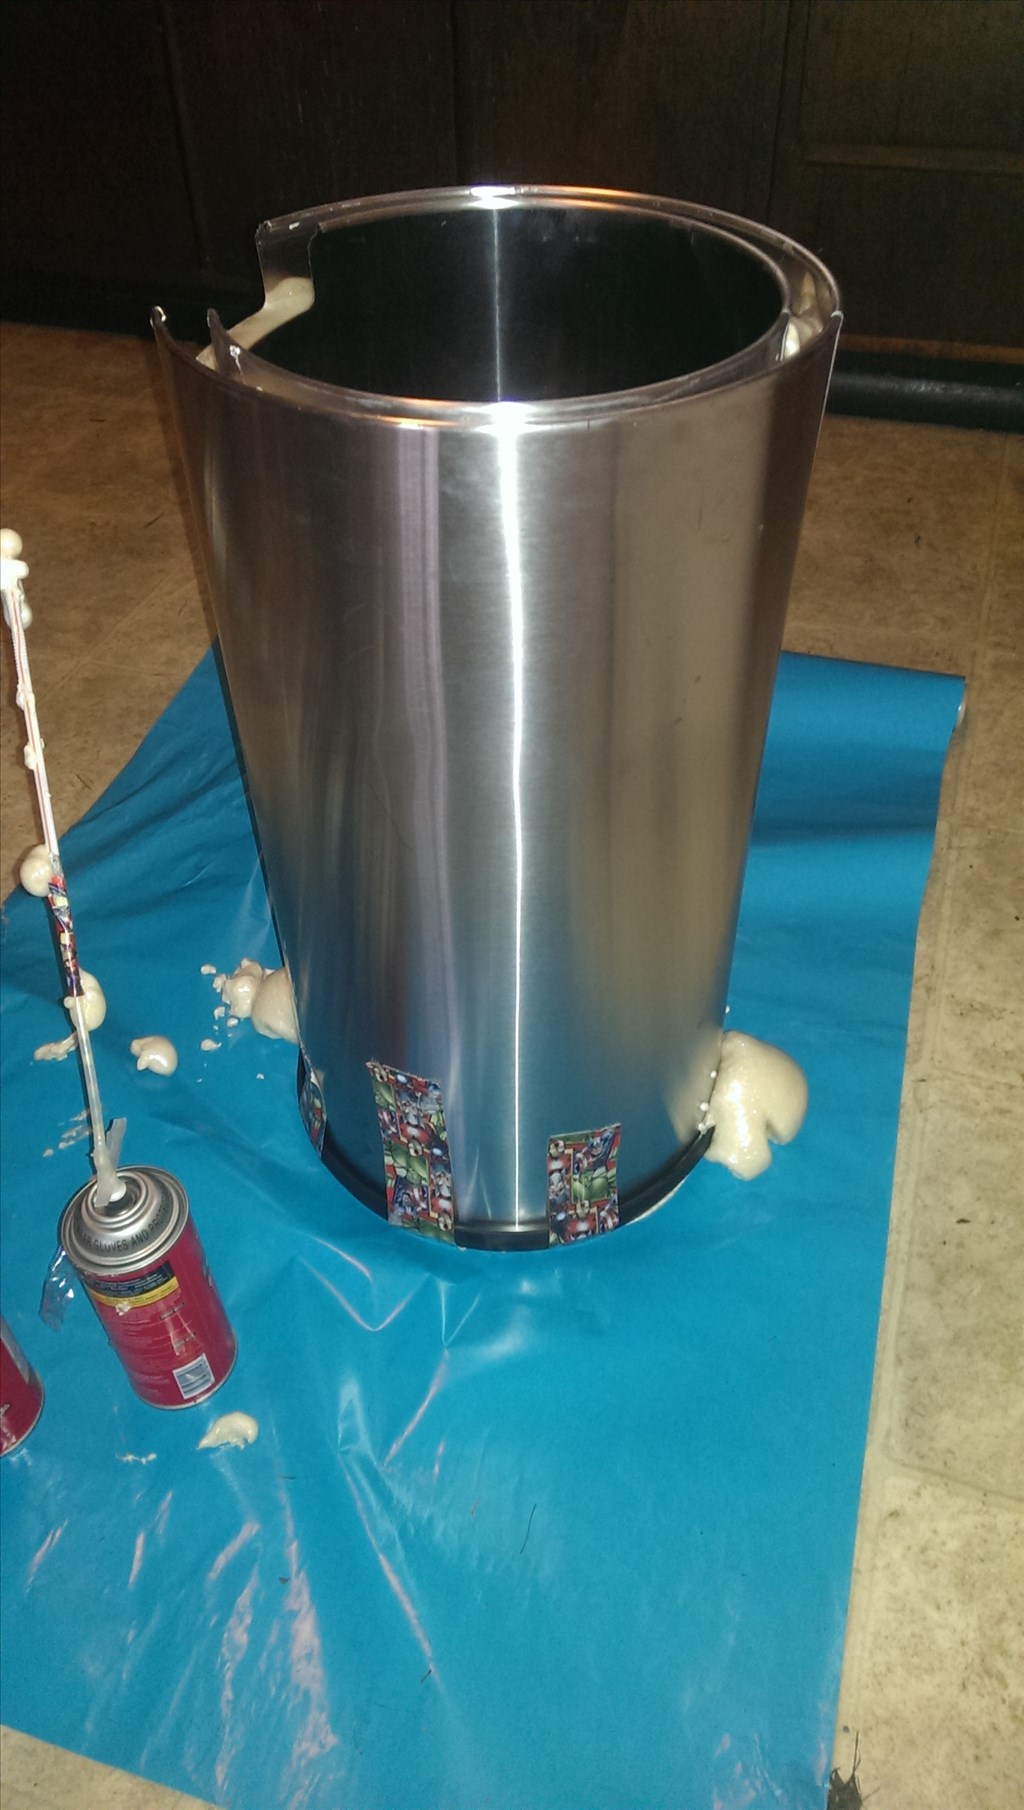
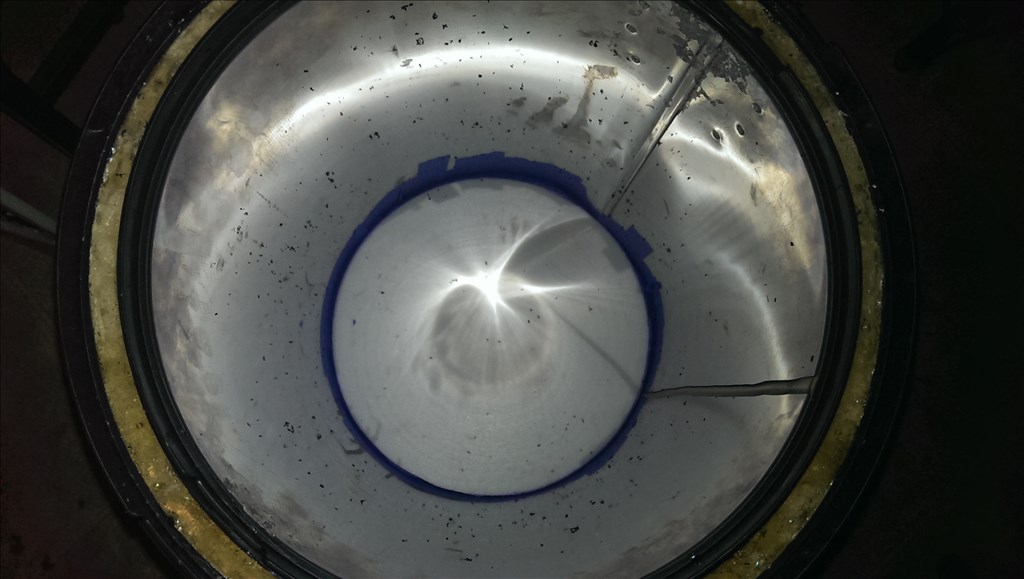
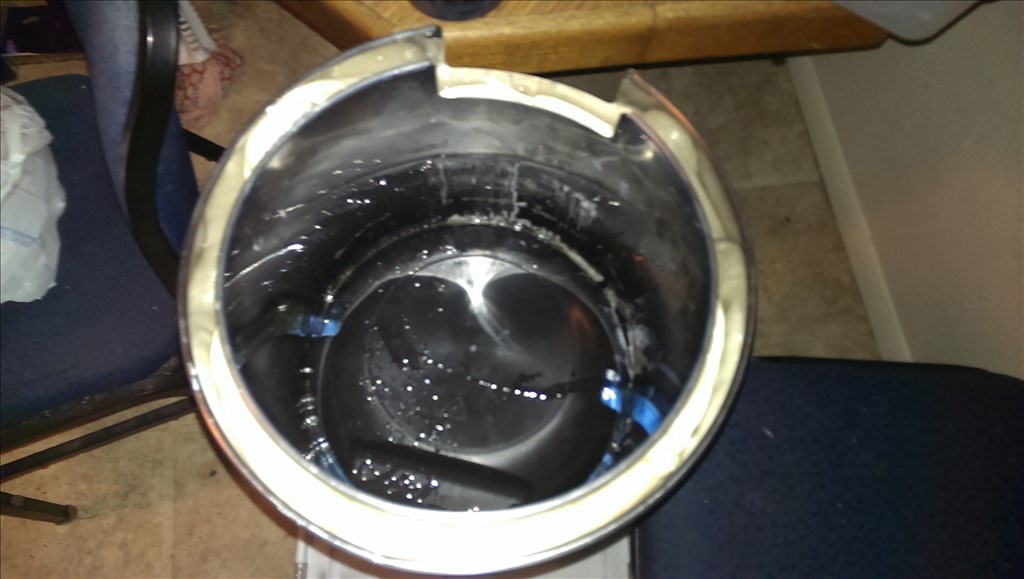
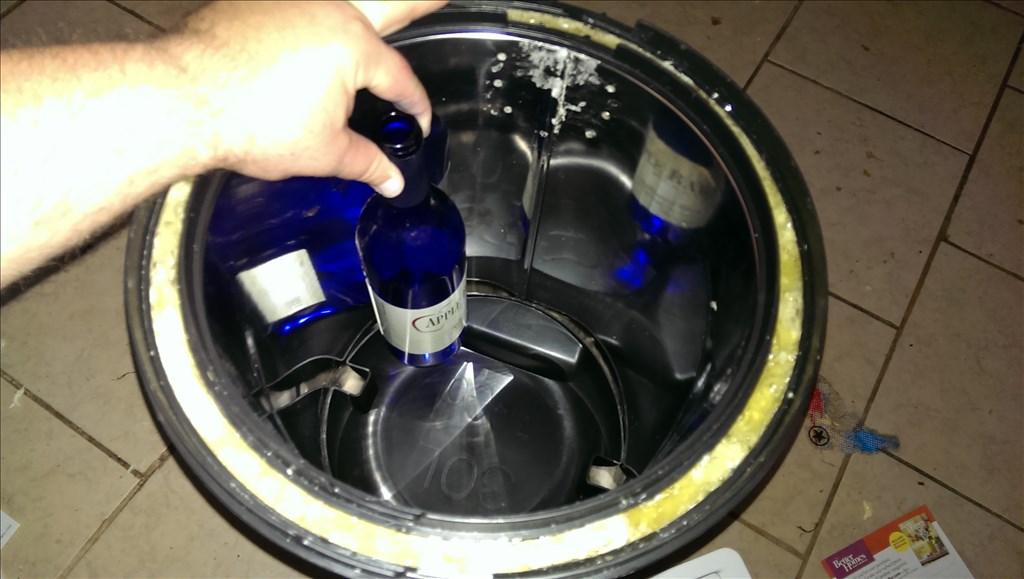
Here the bottom is super glued in. I will let it sit for about 30 minutes before doing anything else as it's difficult to get this level inside a big tube. Inserting a wine bottle for reference you can tell this party entertaining robot can hold plenty of beverages.https://www.youtube.com/watch?v=nZVUhd6MUus&feature=youtube_gdata_player
2nd video part one , attaching the bottom drip pan. Unfortunately my phone is only allowing to copy and past one YouTube link at a time so I apologize for multiple posts.
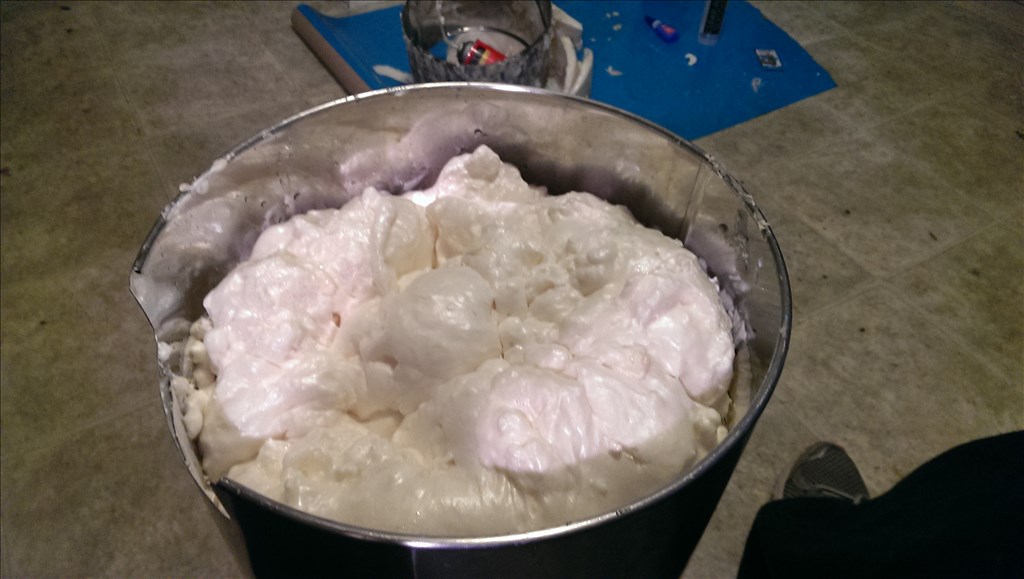
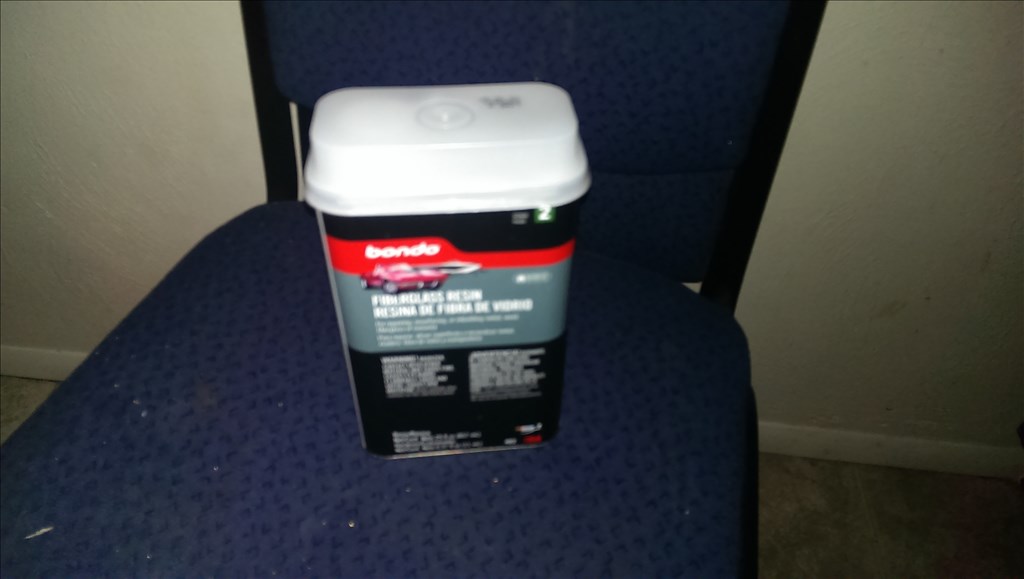
2nd video part two - backfilling the edges of the drip pan with polyester https://www.youtube.com/watch?v=KB7TkaiVk24&feature=youtube_gdata_player
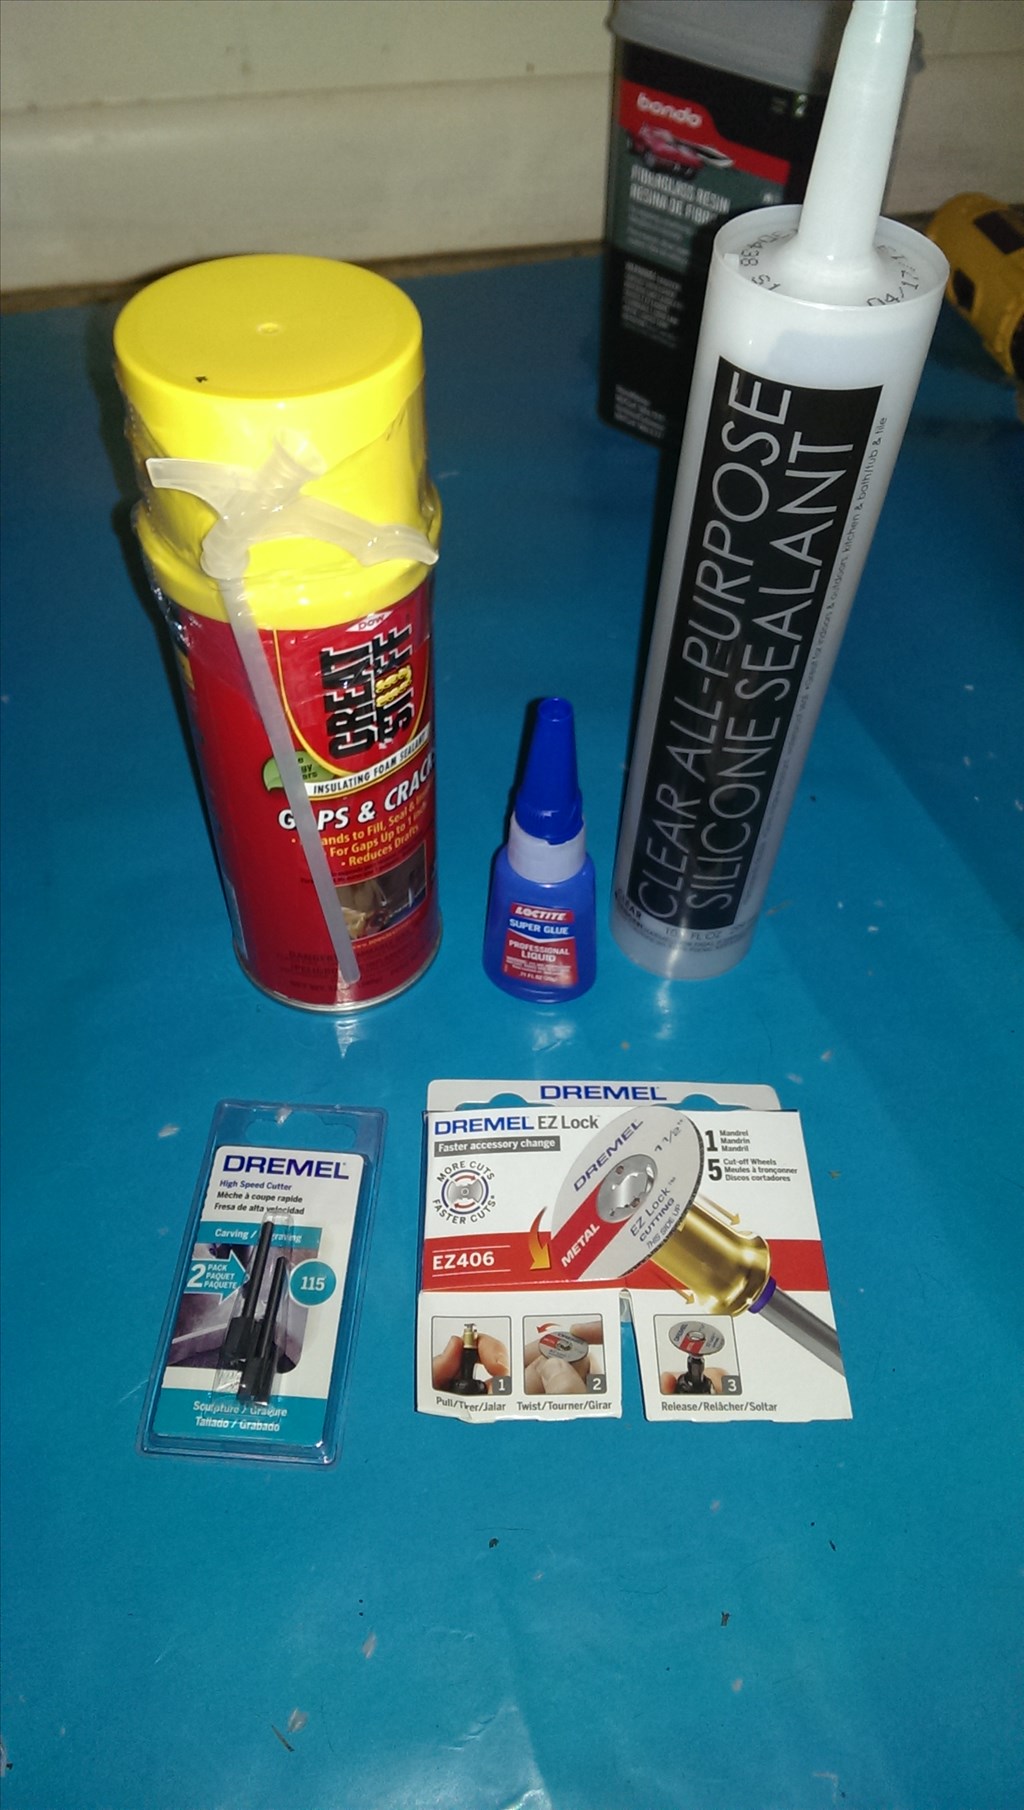
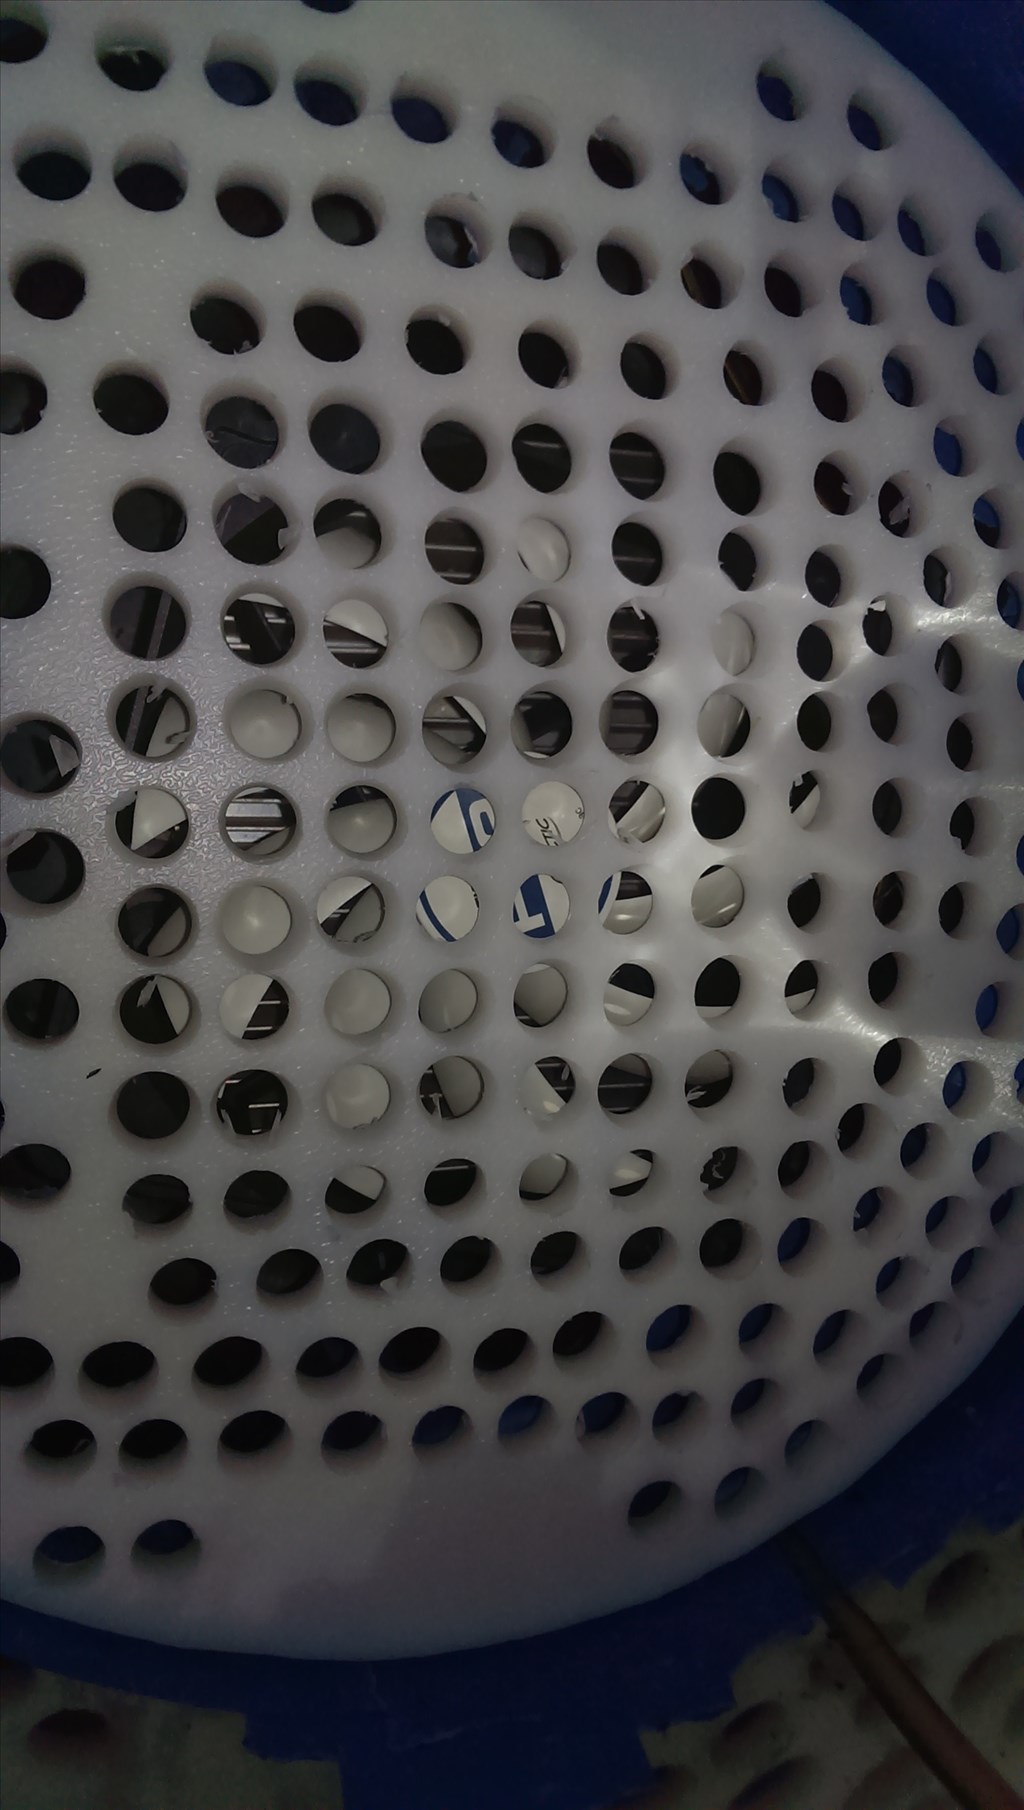
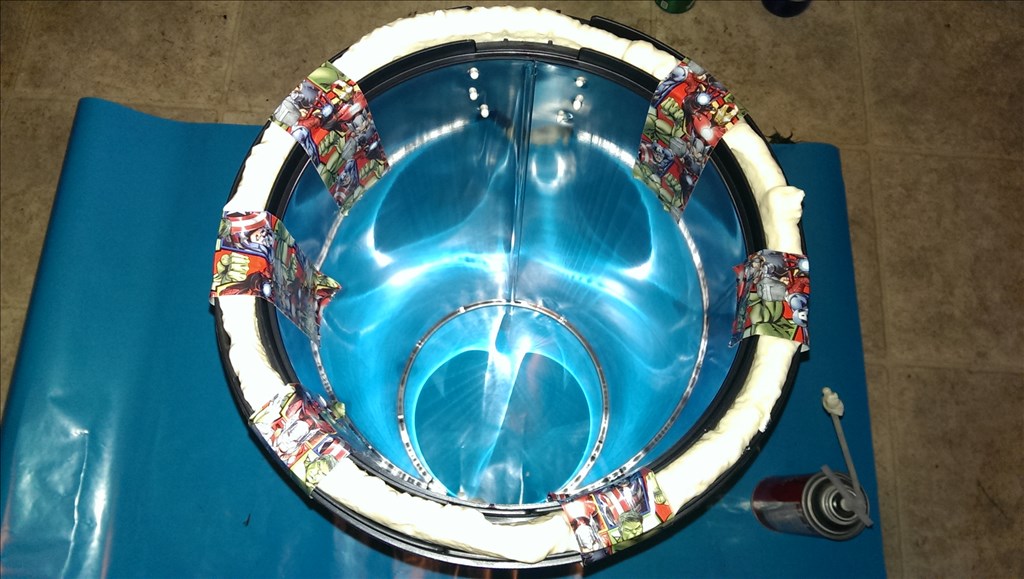
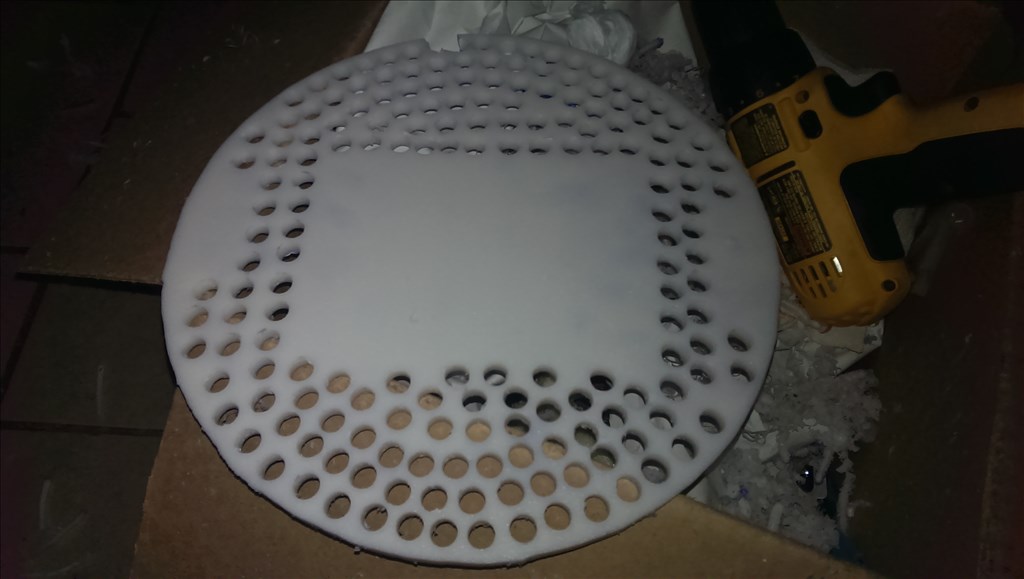
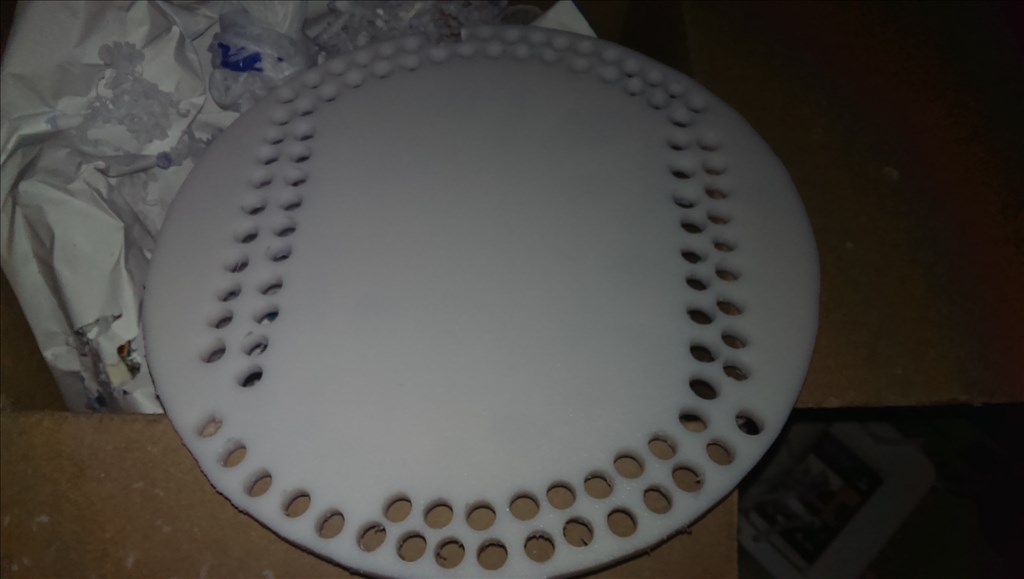
Once this hardens which might take a few hours due to the rain outside I must cut the grate to cover the drip pan and pattern drill it with large 1/4" holes. The bottom will be covered with a sheet of styrofoam and the gaps filled with great stuff foam. I have silicon all the edges with a caulking gun.
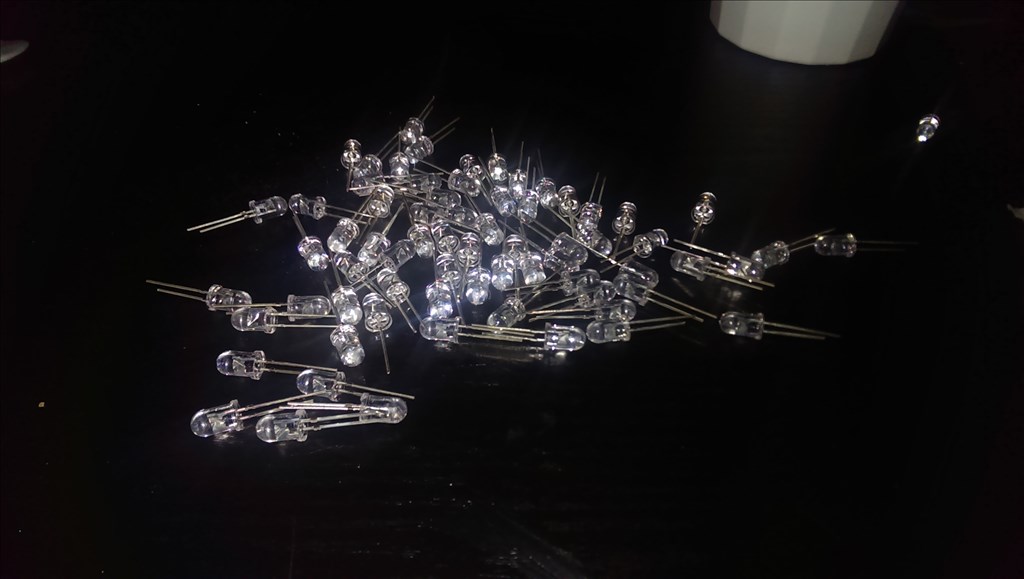
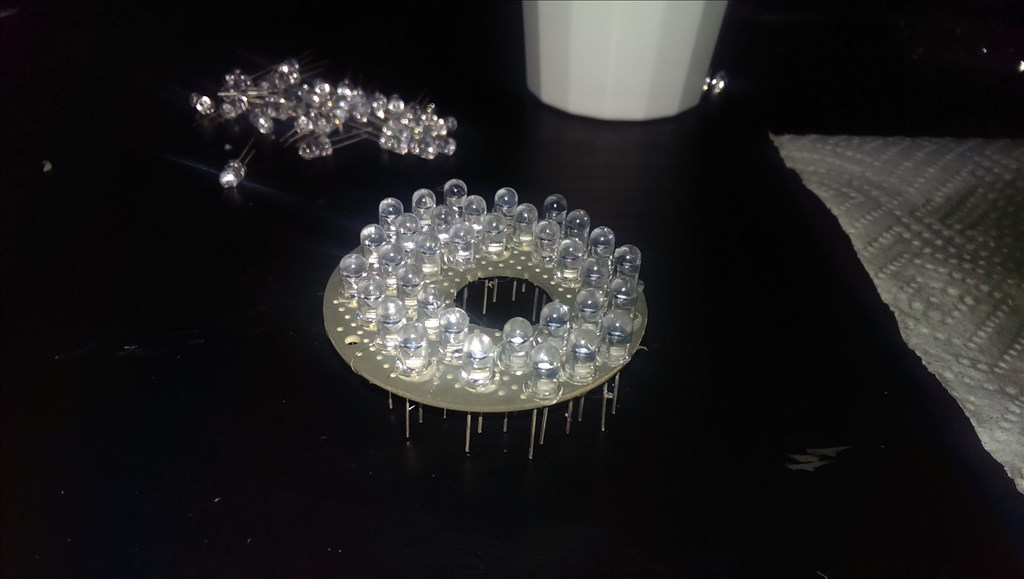
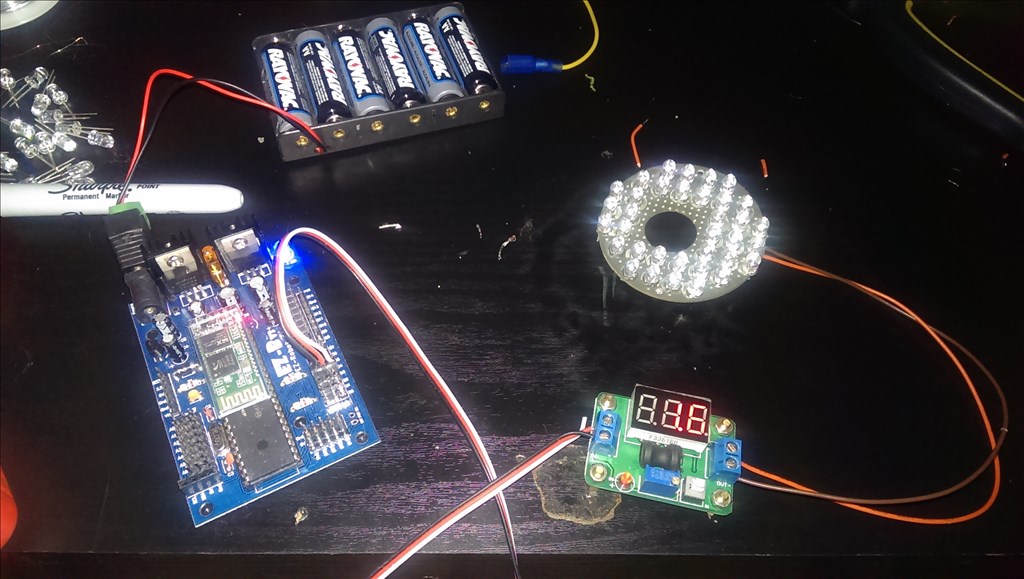
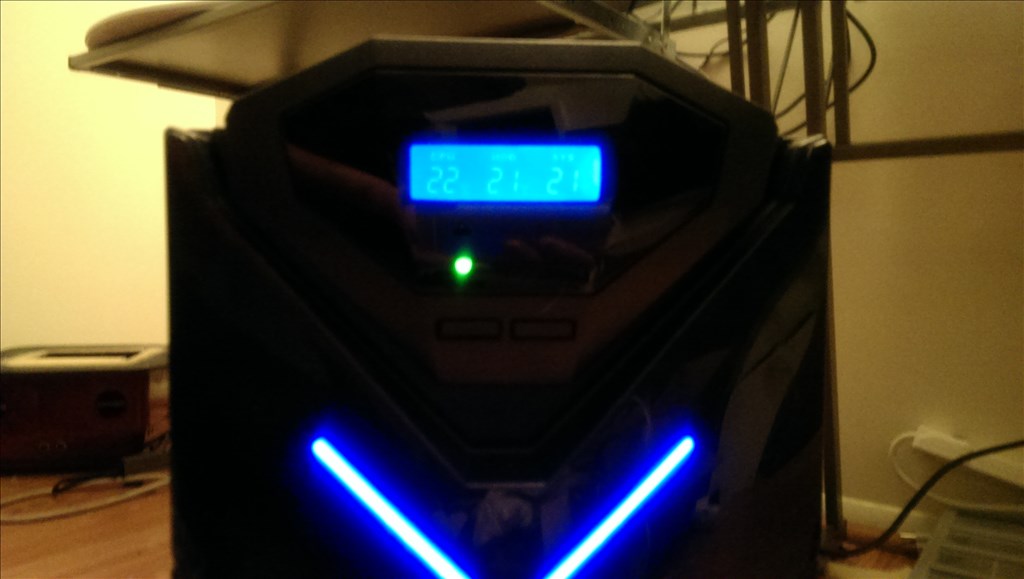
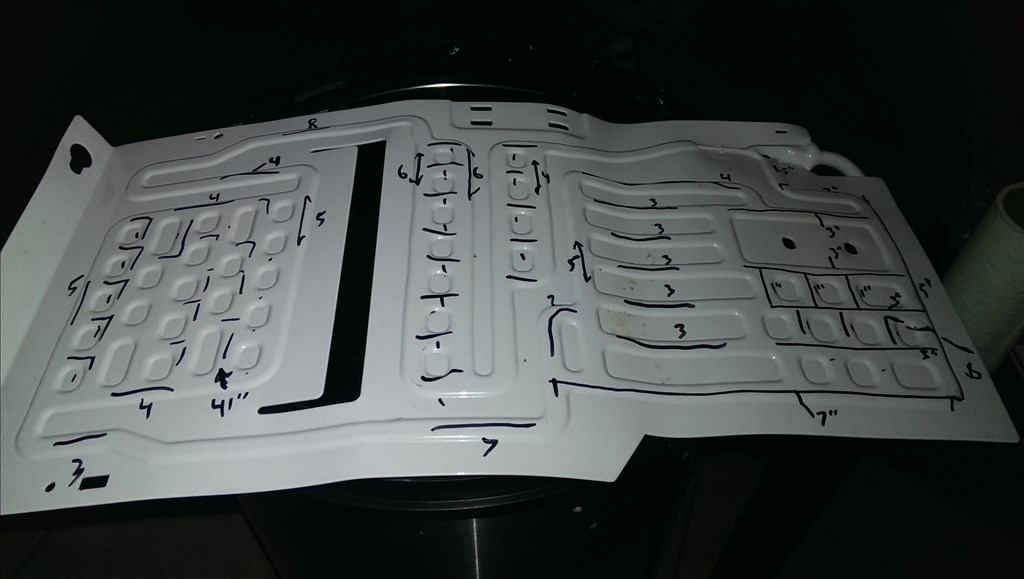
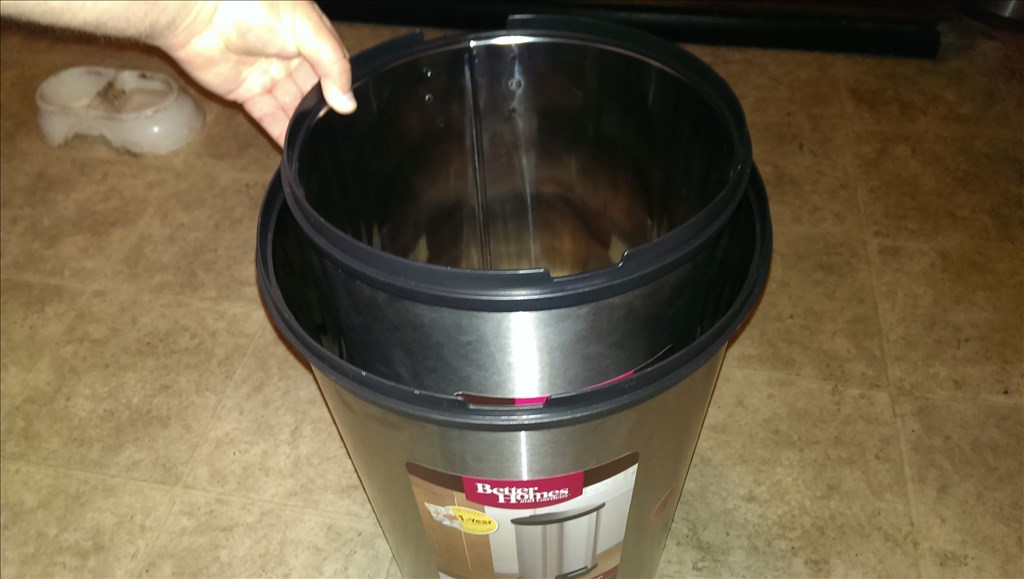
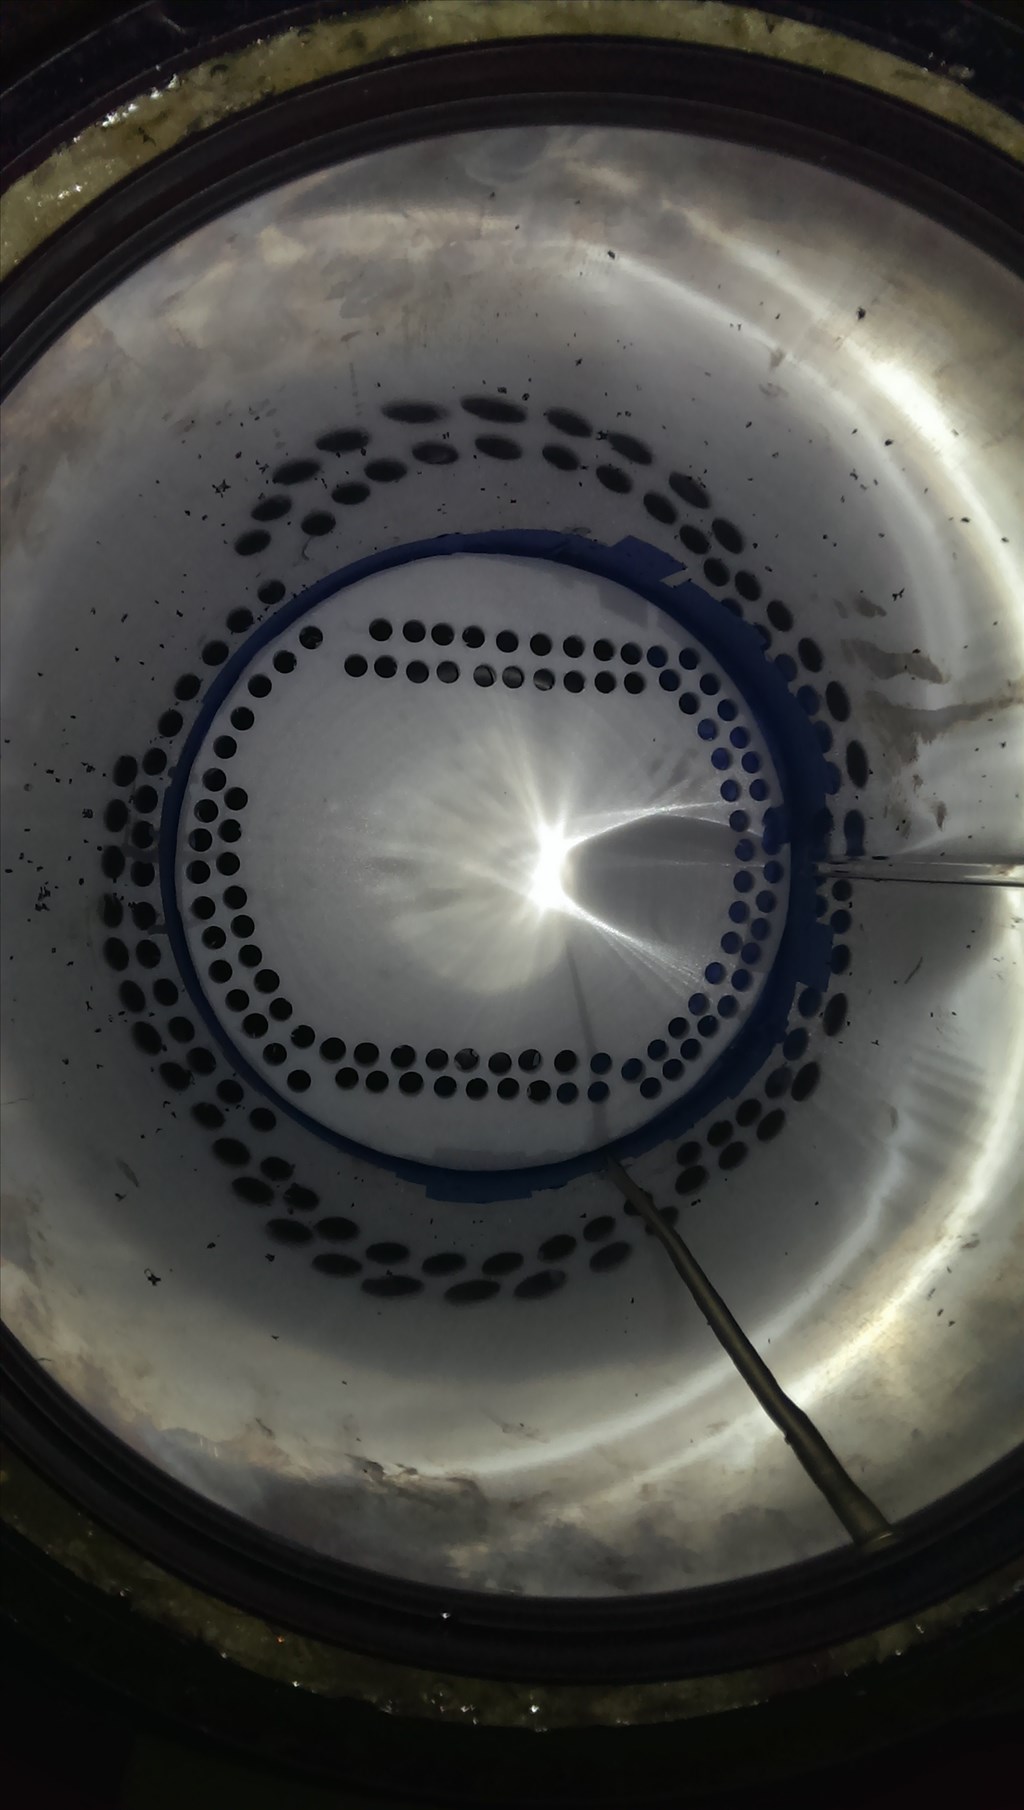
It's getting late here and I don't think my drill is charged up but here is the tracing of the inside steel liner in the sheet of 1/4" food grade plastic. This will be screwed down to the drip pan we just installed so it cannot move and will be pattern drilled for excellent airflow. Also I am thinking that I will install a few LEDs somewhere in the bottom to light up the chilled area when grabbing a drink or even just for cool factor. Blue is the preferred color here.
On the lid I'm considering a clear top but solid also sounds good. Any suggestions? The lid ofcourse will be servo powered opening the lid .
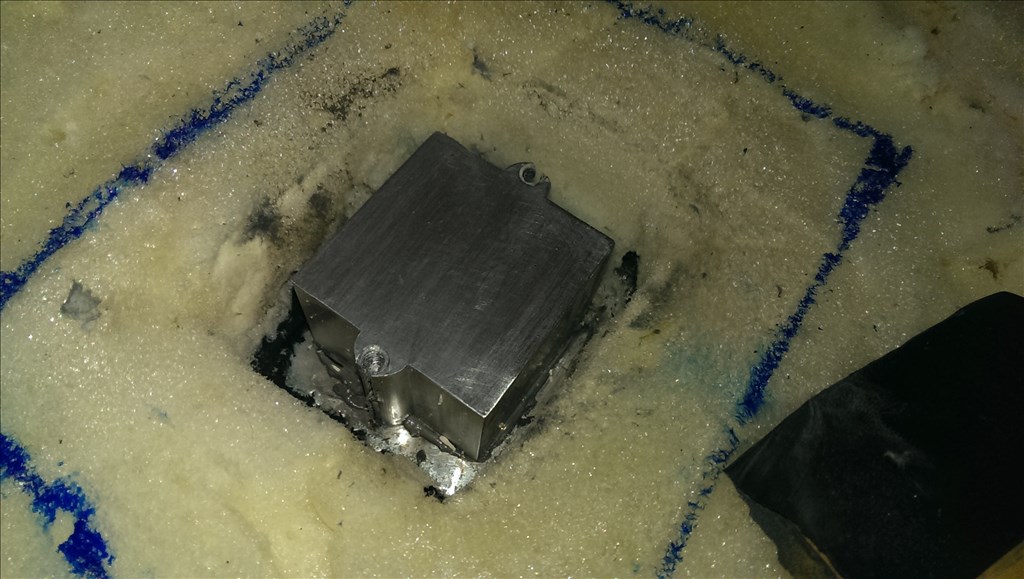
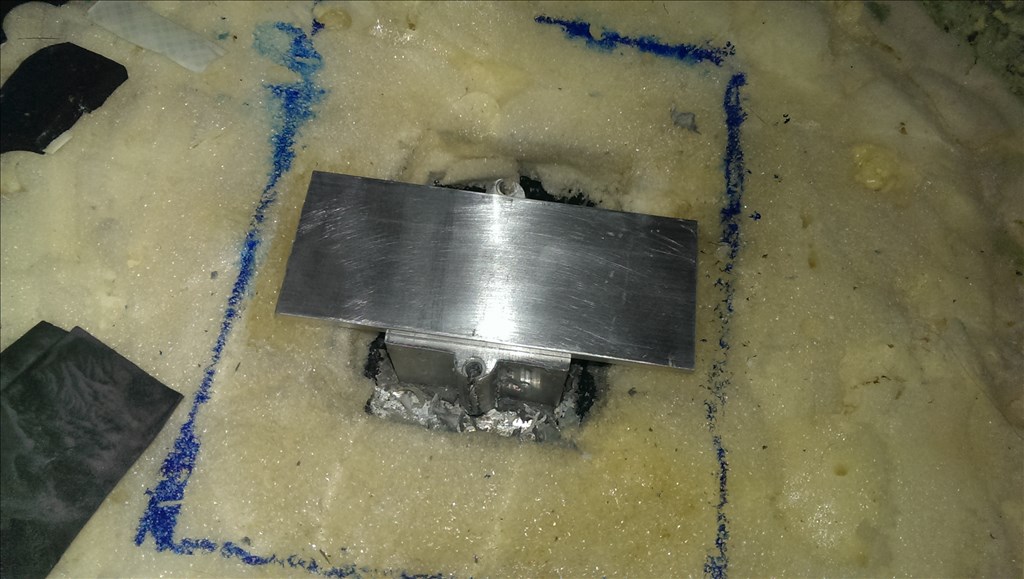
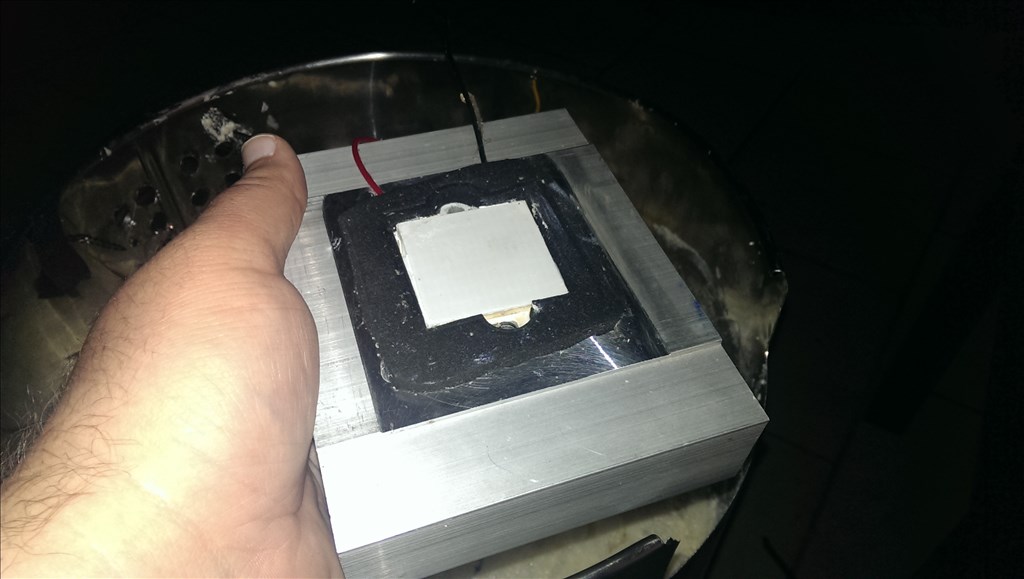
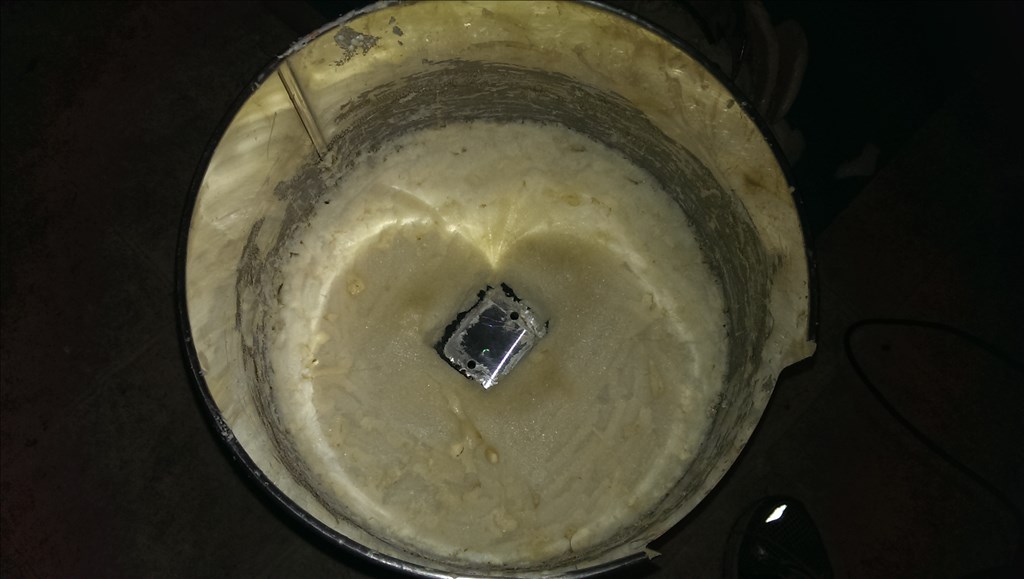
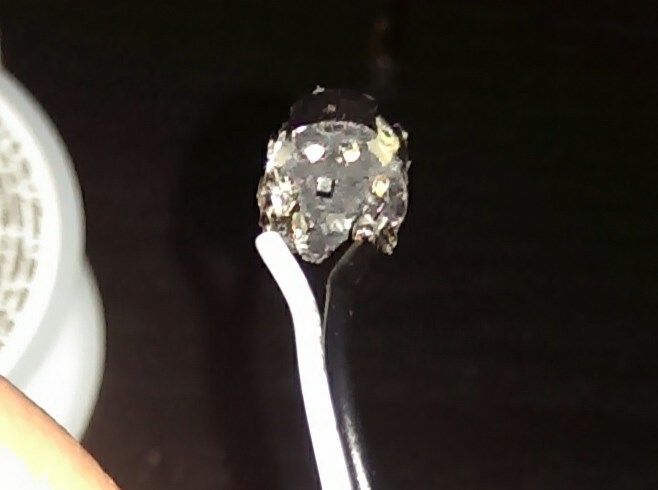
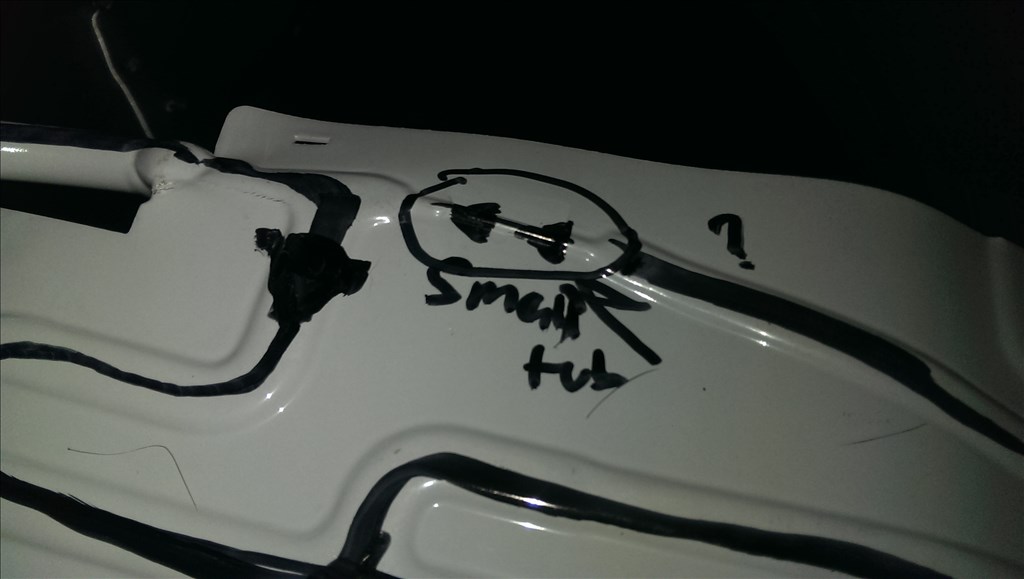
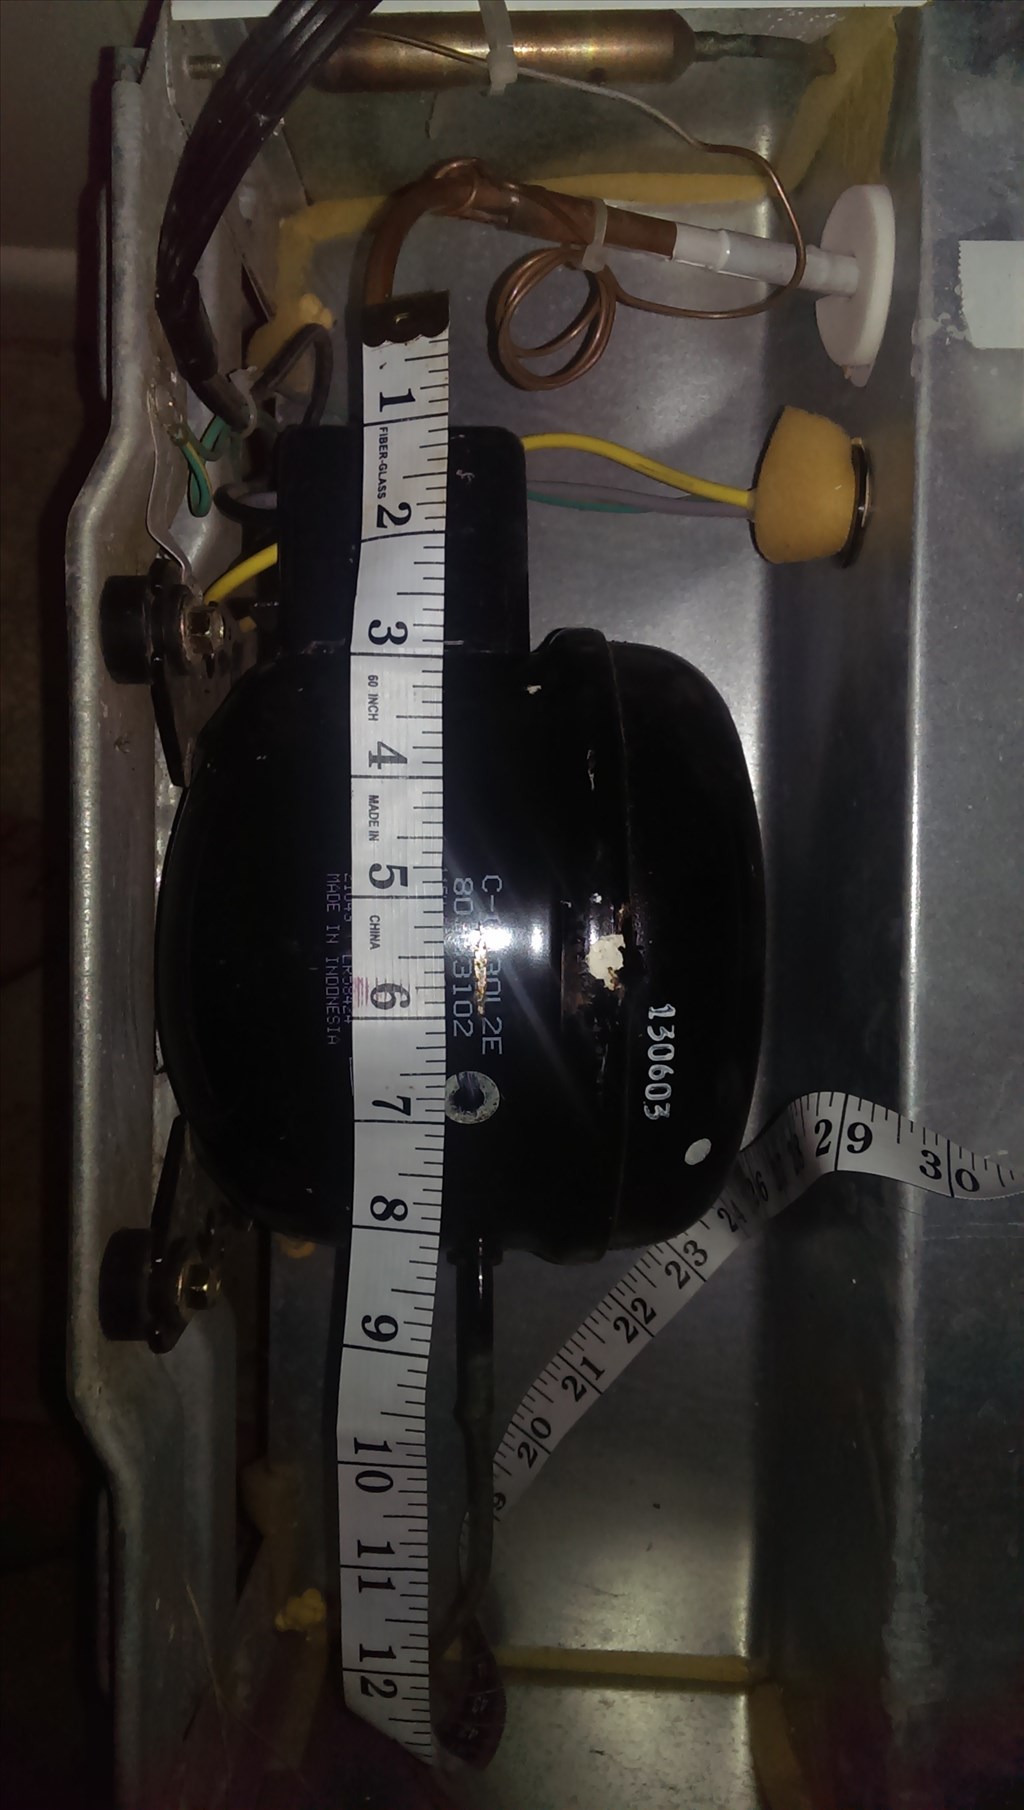
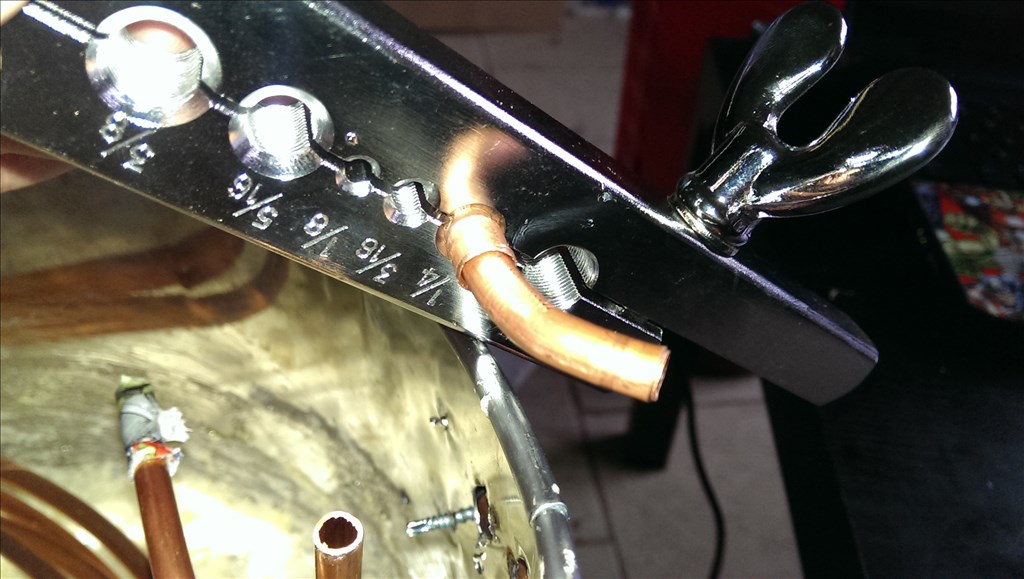
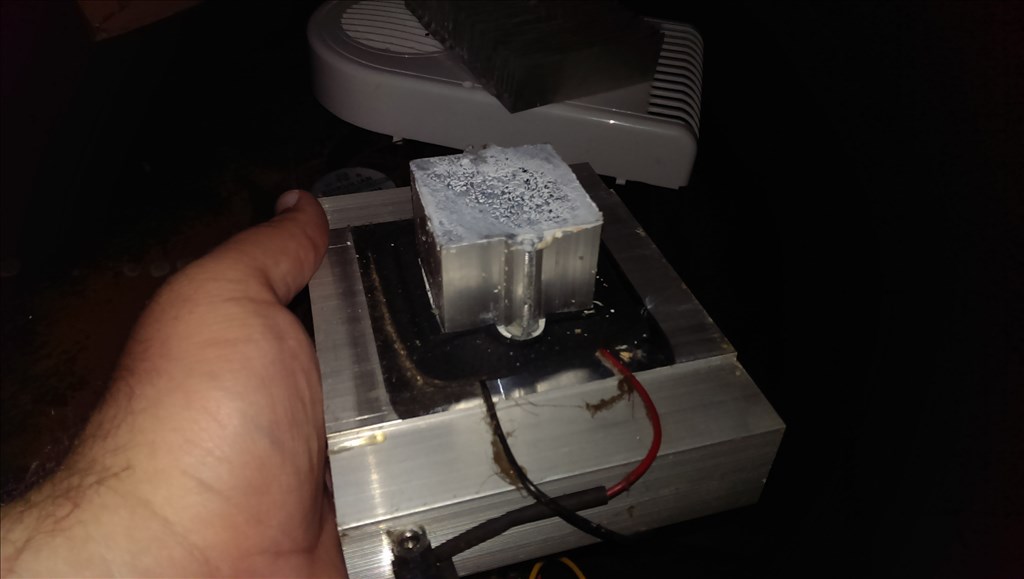
Ok so I cut out about a 2" x 2" hole for the aluminum block to pass through. This is the conducter to pull heat from the chilled area. The chiller side of the heatsink I epoxied down because I don't have a second person to hold things in place to put them together.