


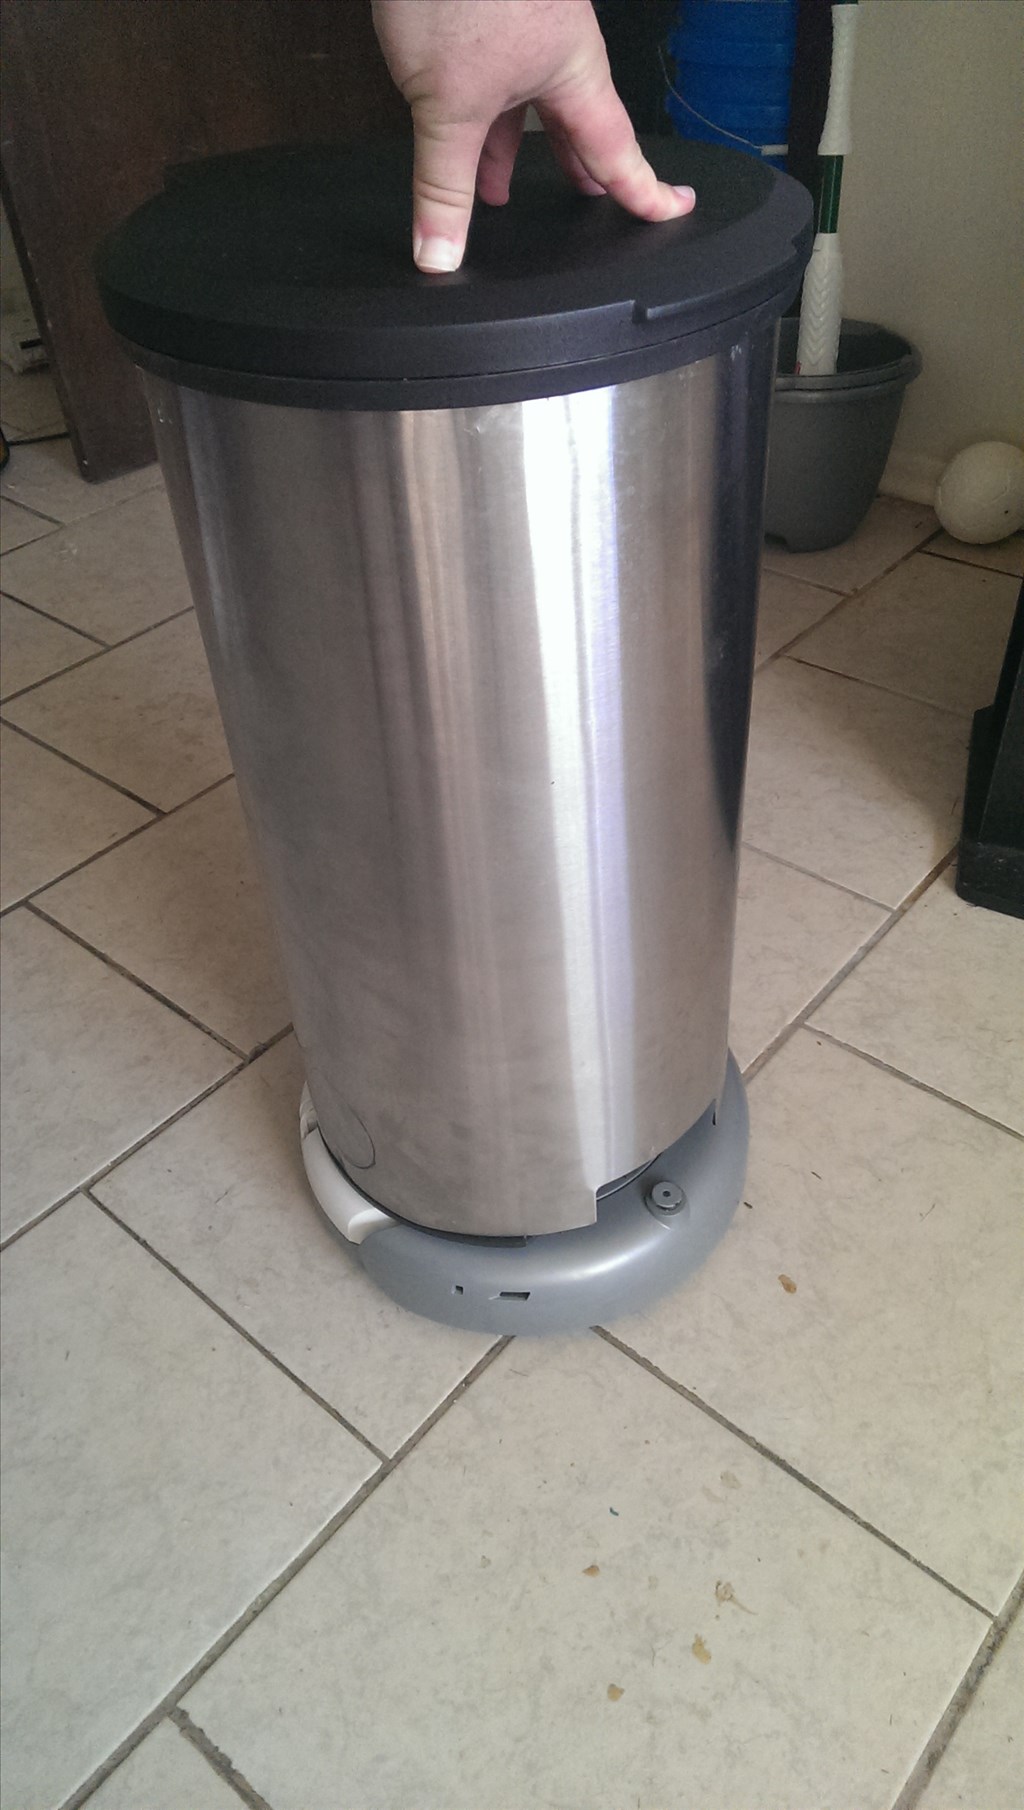


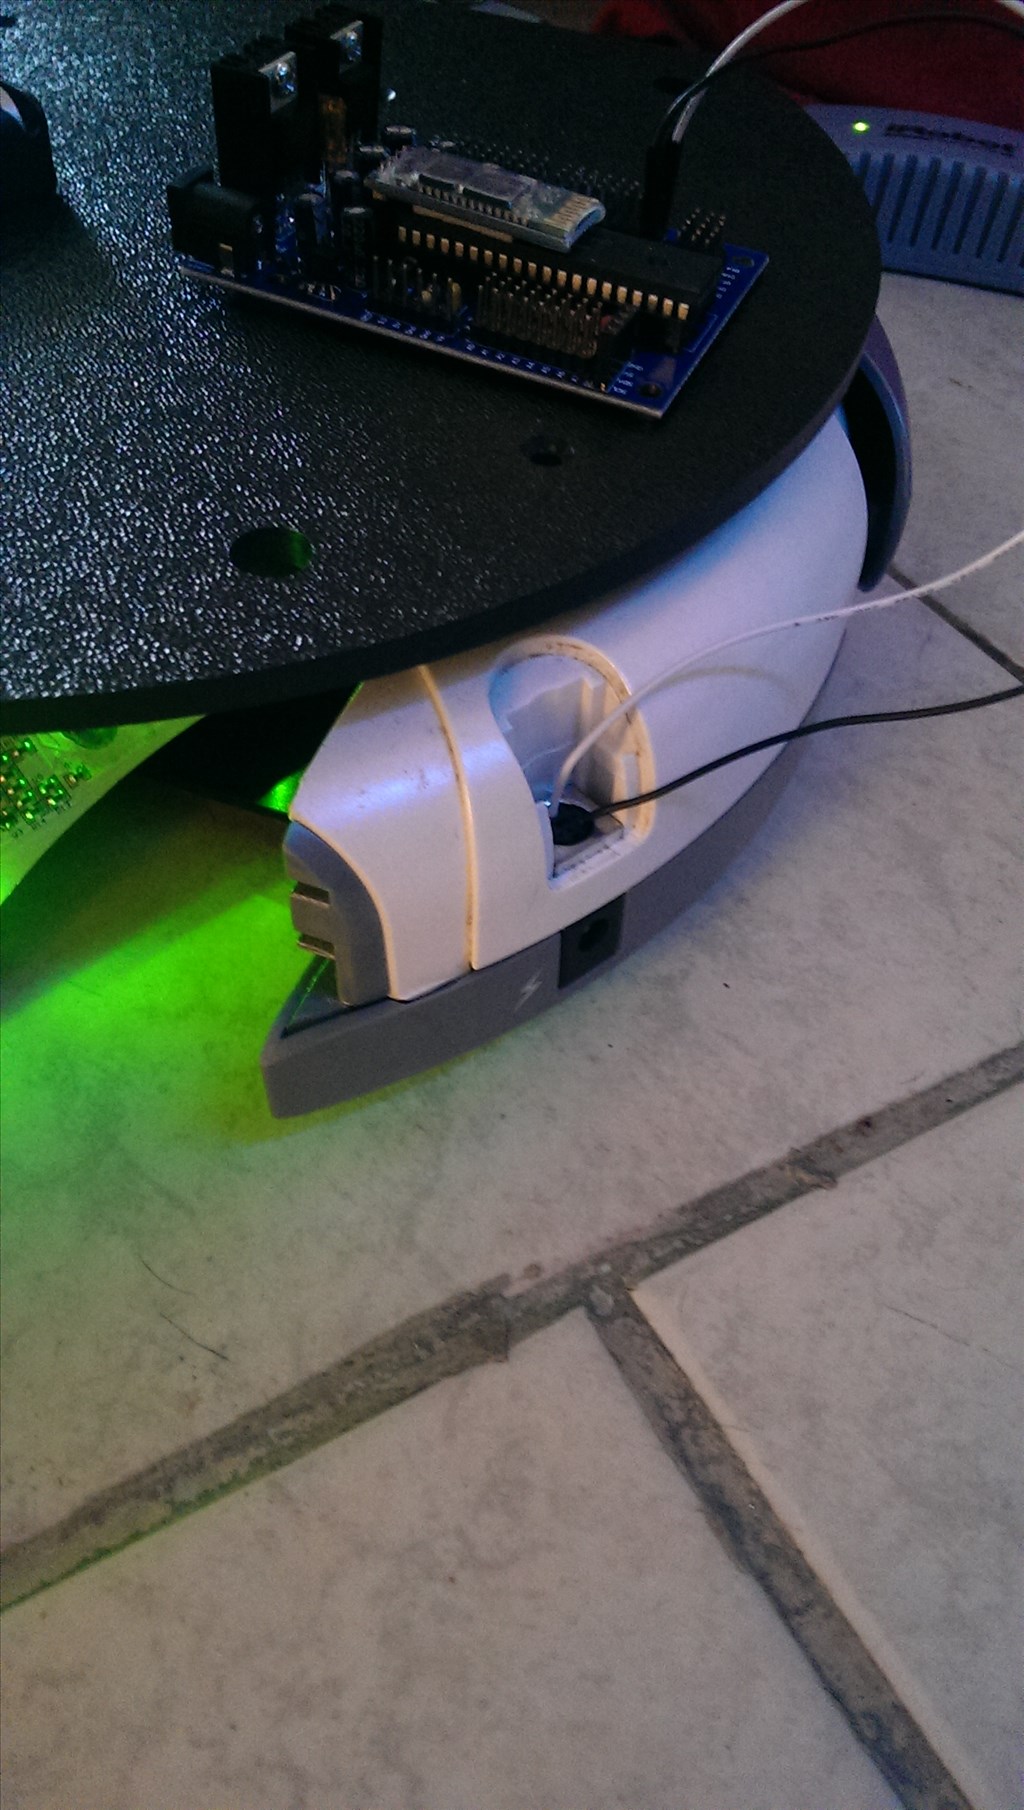
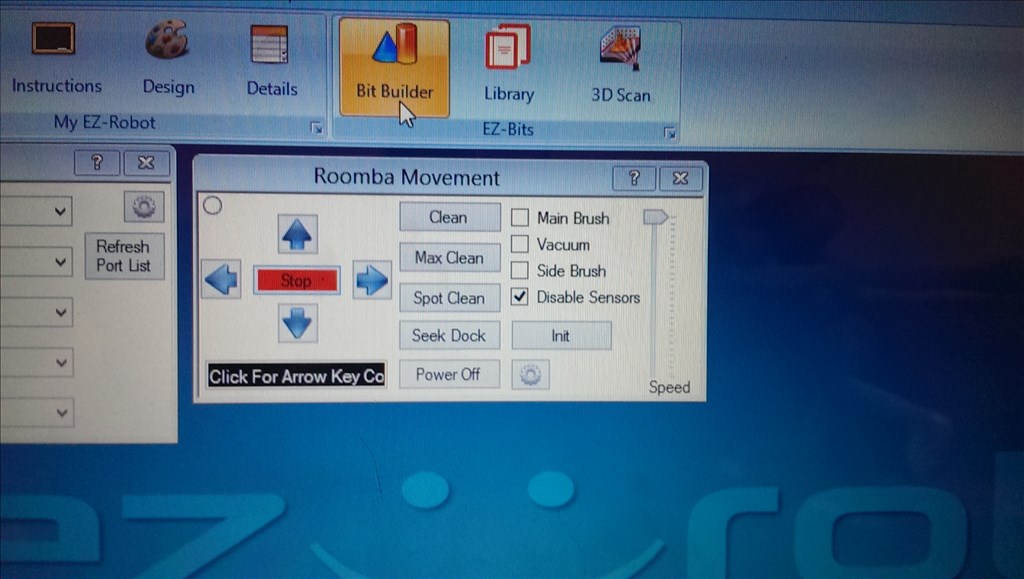

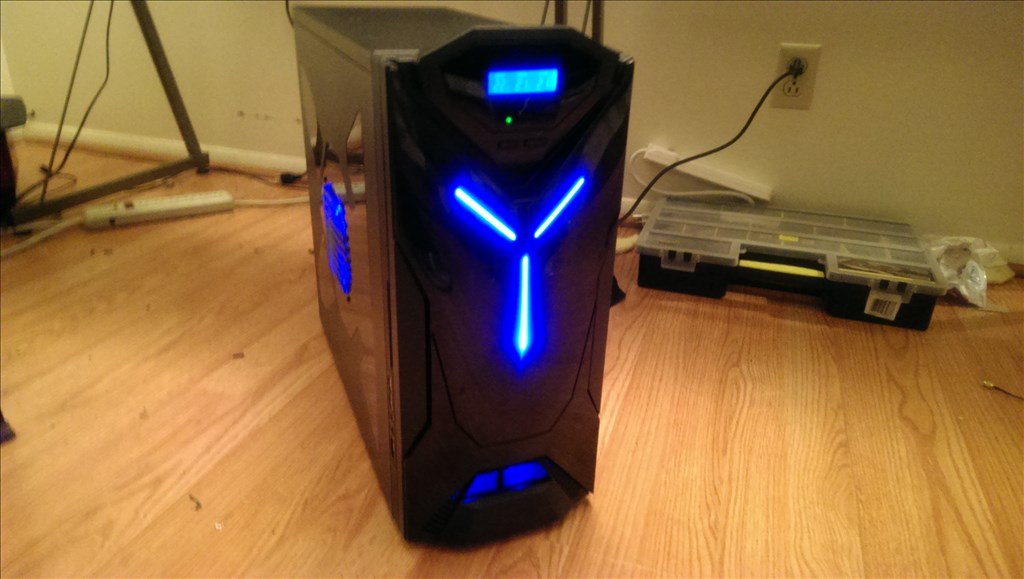


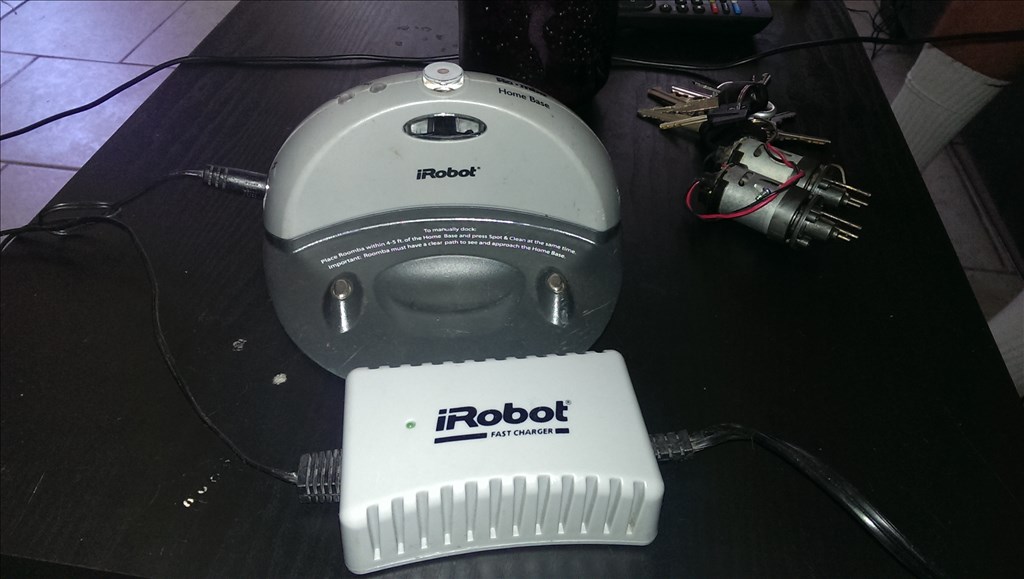


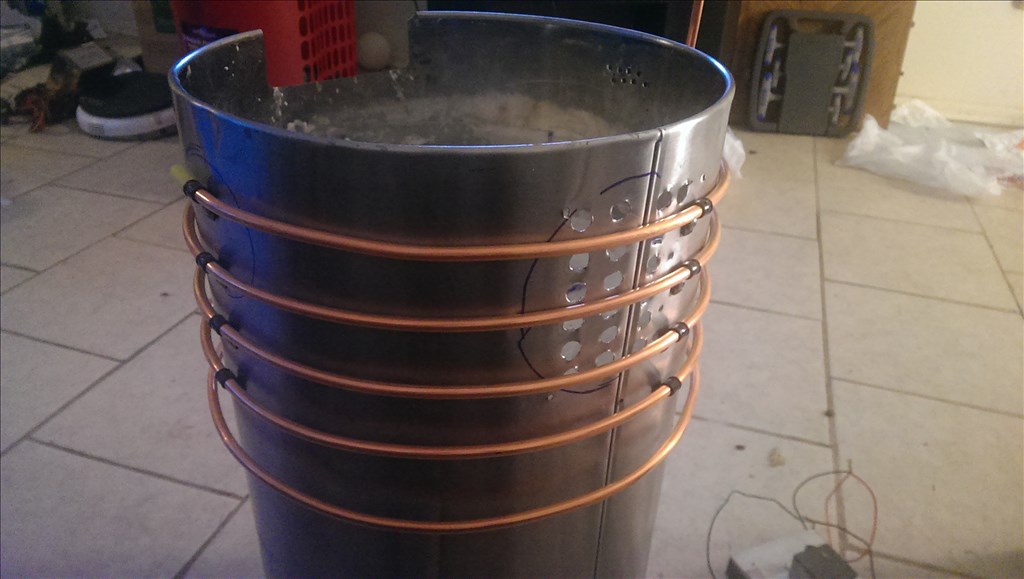
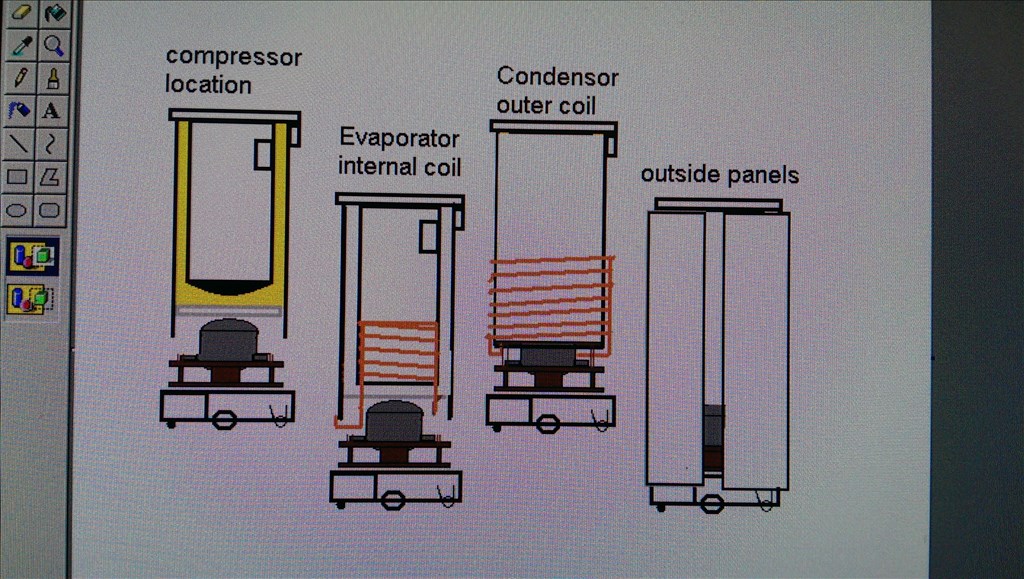


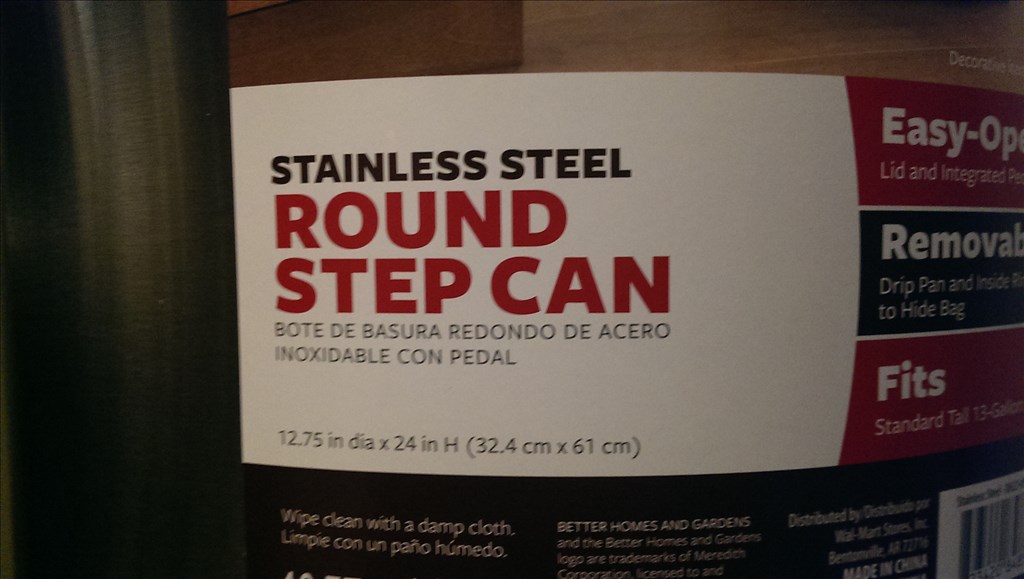
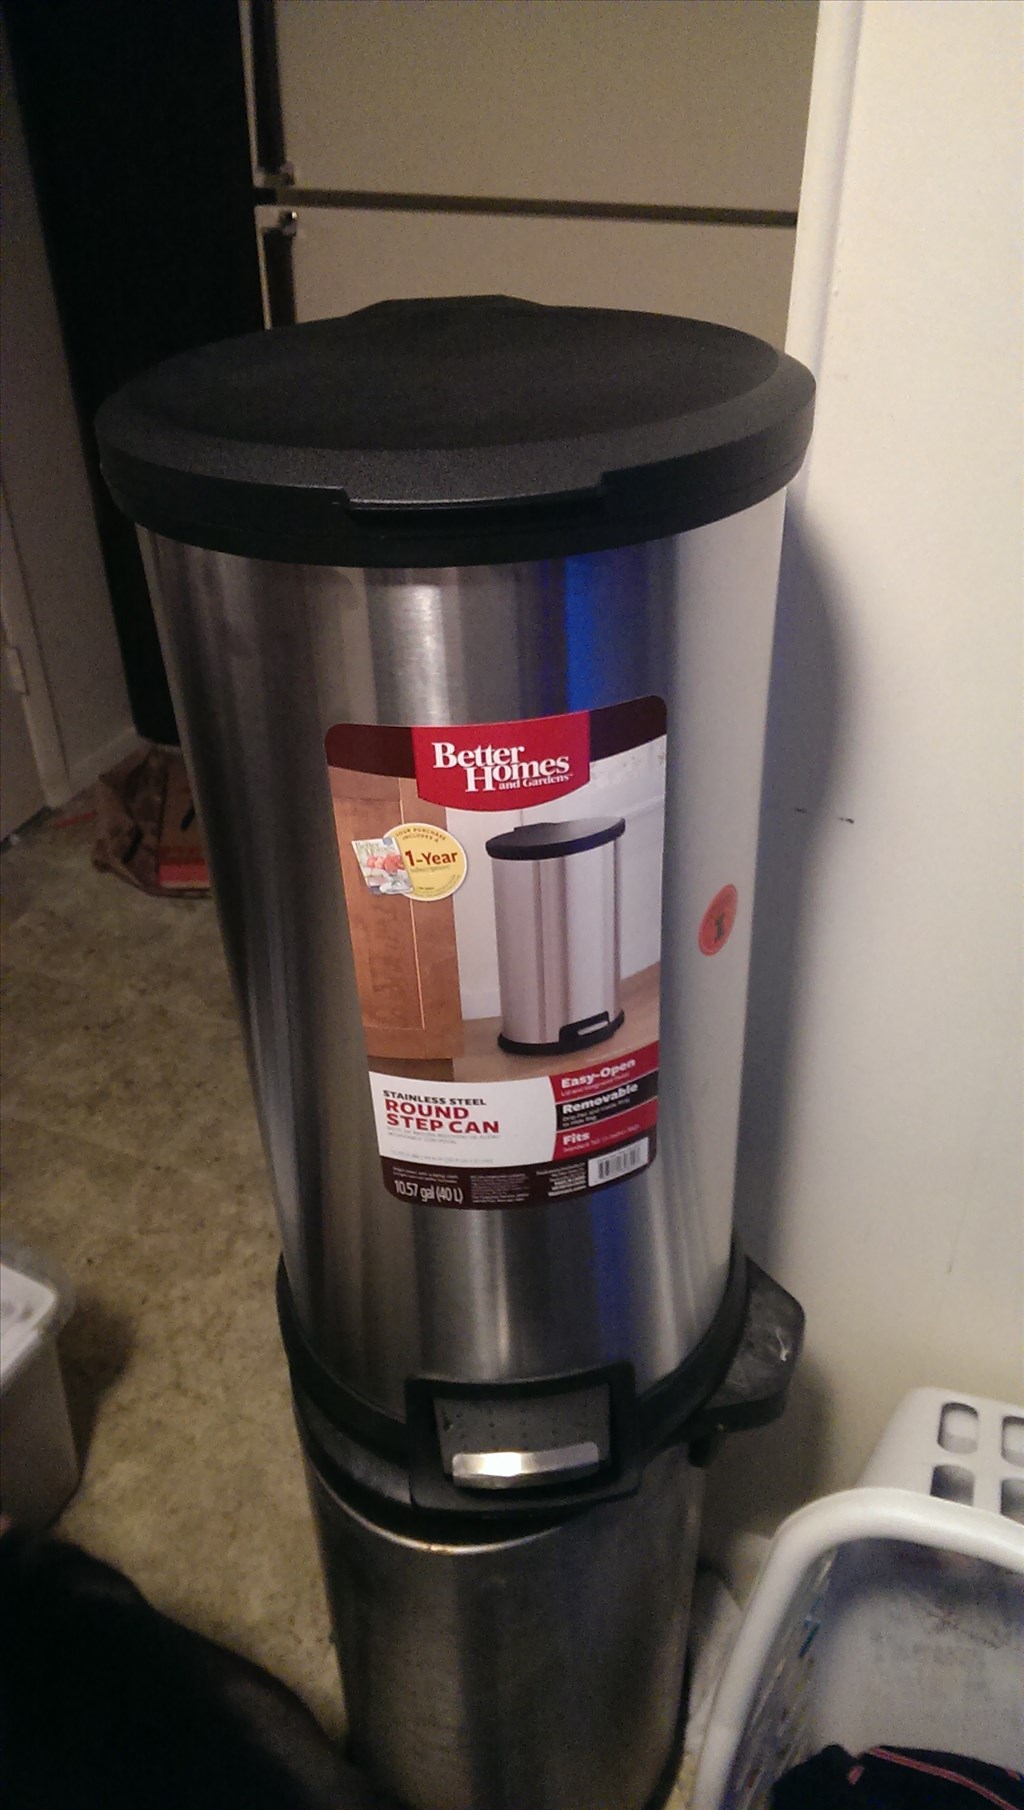


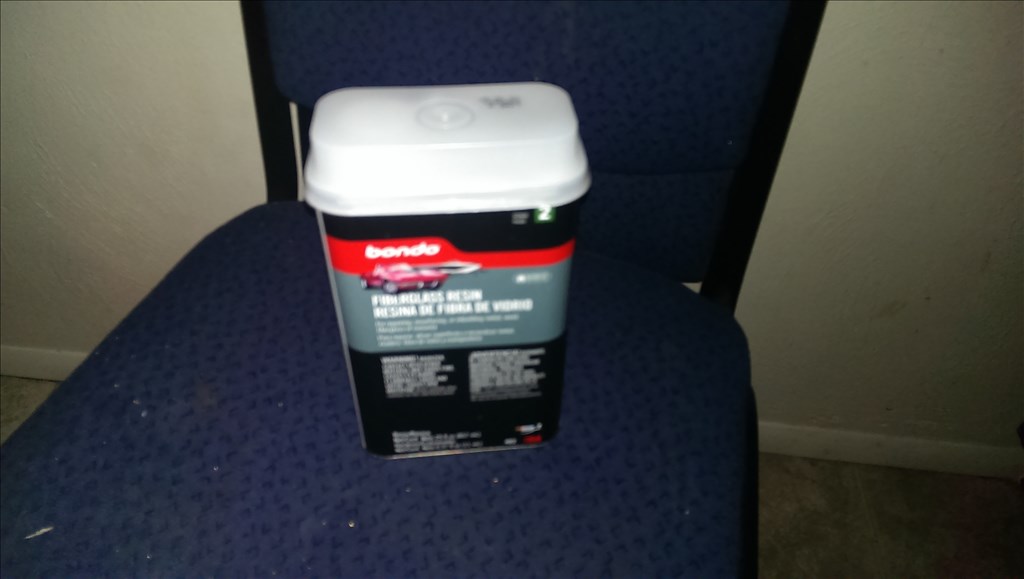

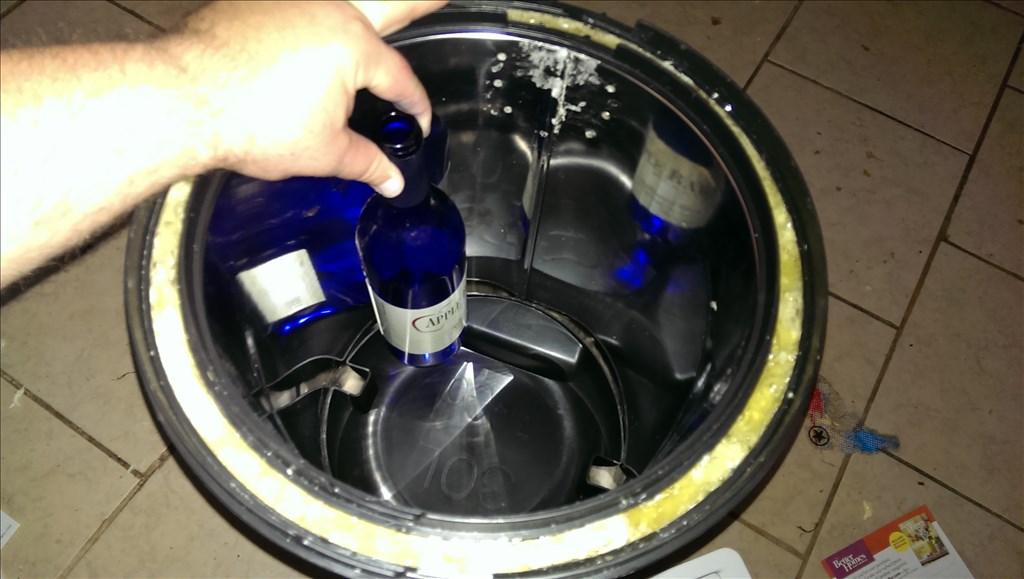

This is a challenge issued by friends and family. The goal here is to make a robot that can bring beverages from another area to wherever the people are , allow the person to get their drink , then leave. It does not need to be fully autonomous , even remote control is acceptable. It does not need to grab them from the fridge, preloaded beverages are acceptable. This is Ez Robot though, I believe we could do better than that! Well anyways to start the project off I am using a roomba base. I picked up a stainless steel trash can last night as a outside casing. I will show you the rest as we go
By jstarne1
— Last update
Discover more robots
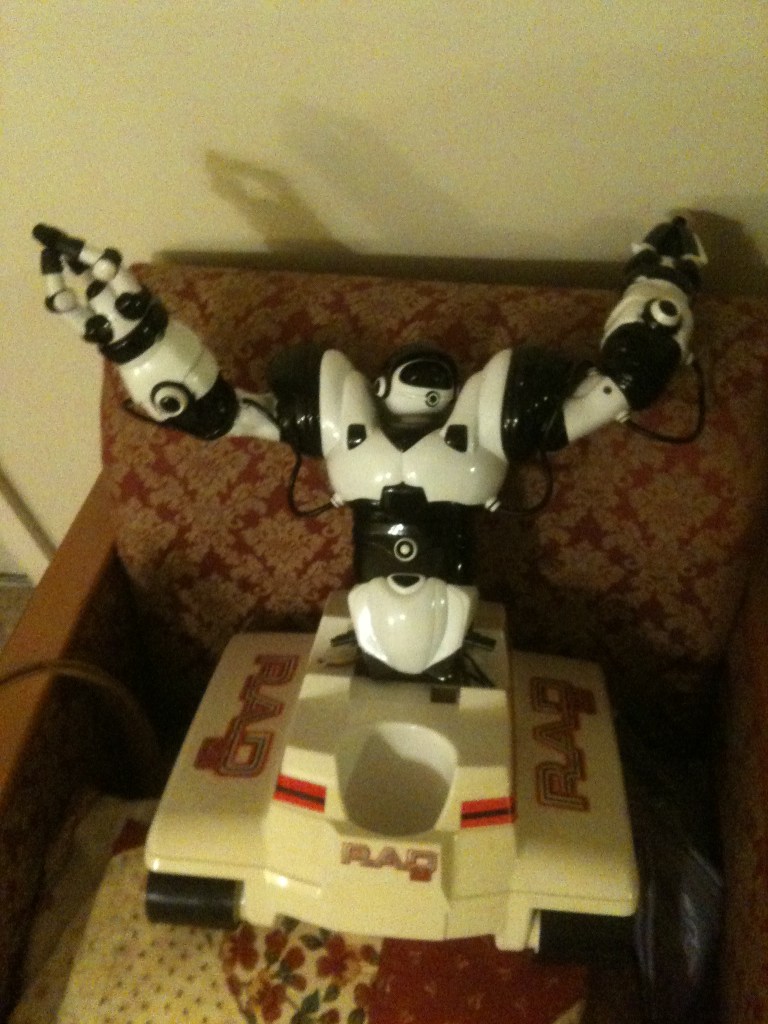
Bret's Roborad
RoboRAD combines a RAD 2.0 base and a Robosapien into a hybrid robot for hobbyist builders

Mickey666maus's UNITY LINK / ARC
Link Unity 3D to Synthiam ARC using Flask and Python to send virtual servo positions to real servos, sync motion via COM...
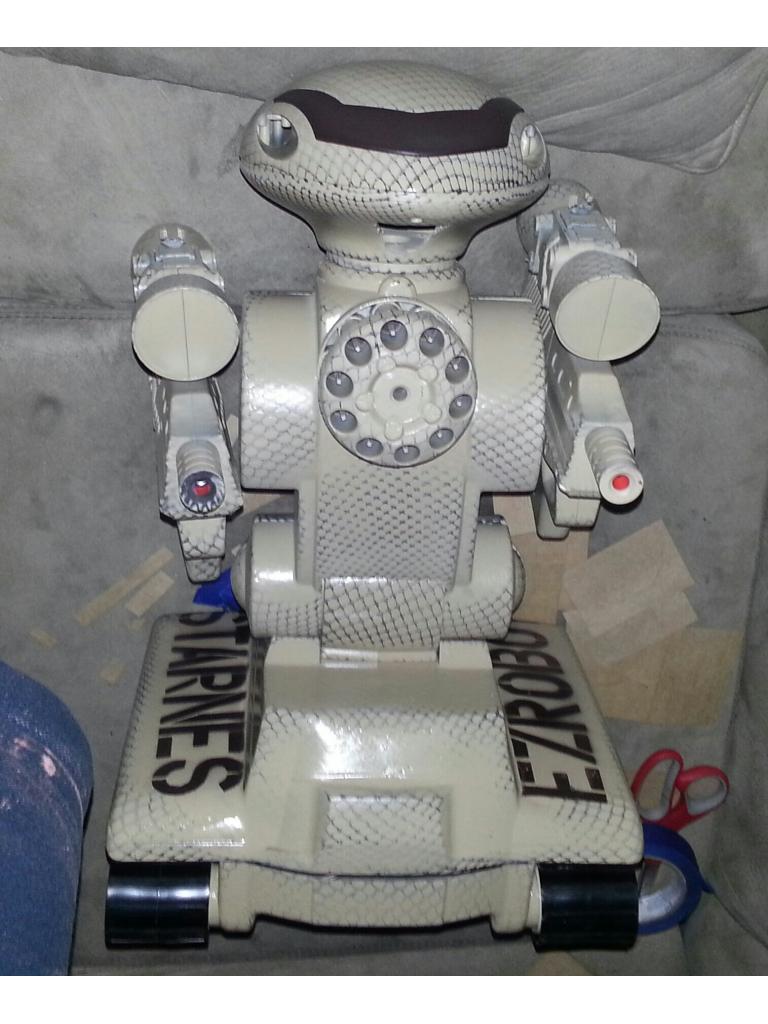
Jstarne1's Rad 2.0 Mech Warrior #3 Air Soft And Nerf...
Trio of outdoor FPV robots with EZ-Robot wireless cameras, each equipped with airsoft automatic guns and a dart...

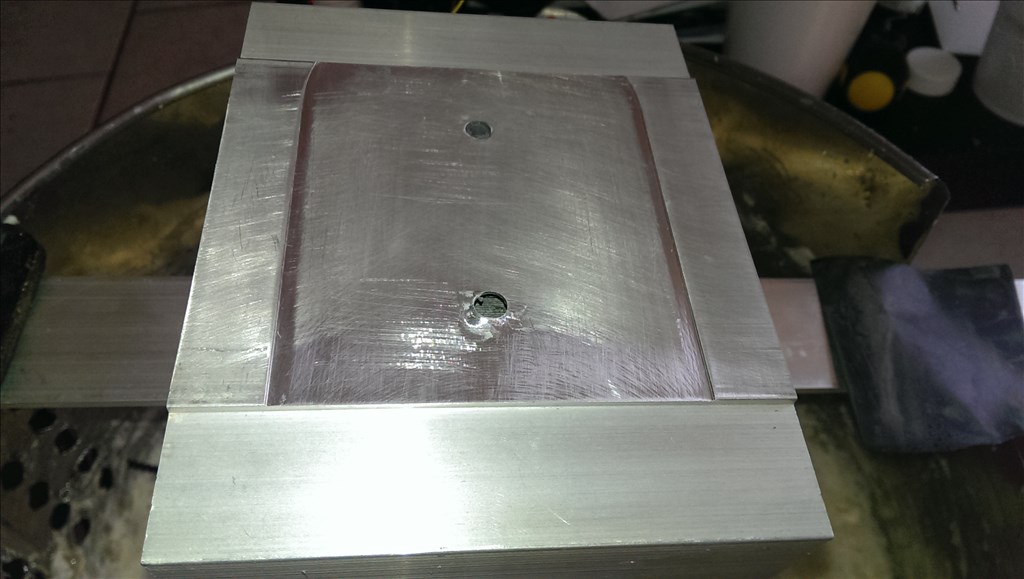
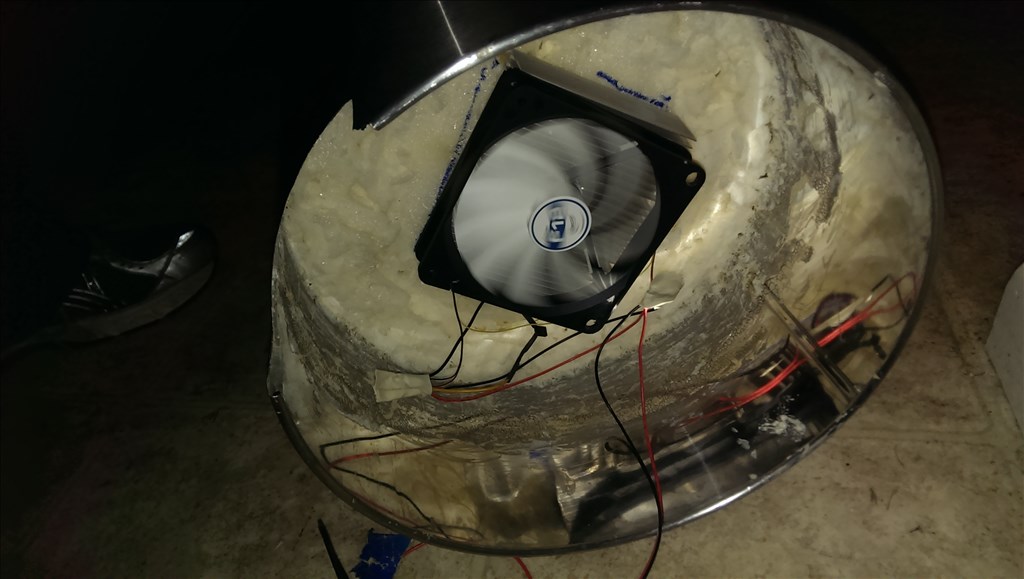
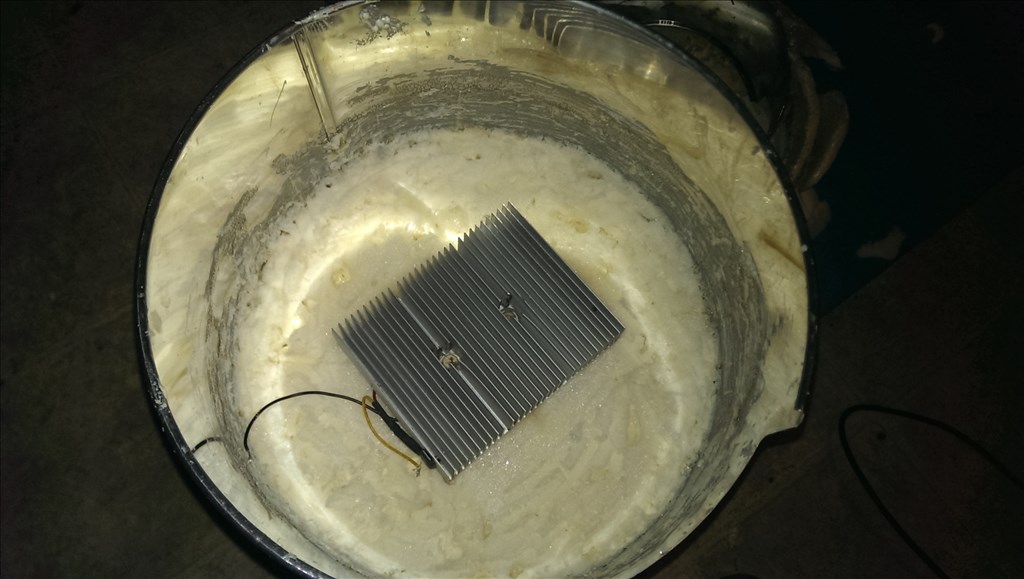
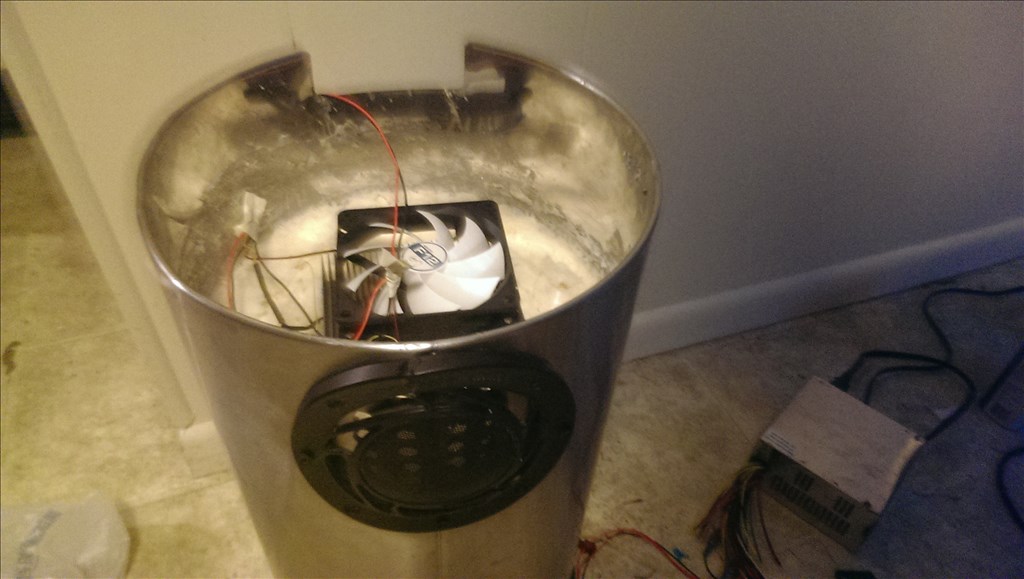
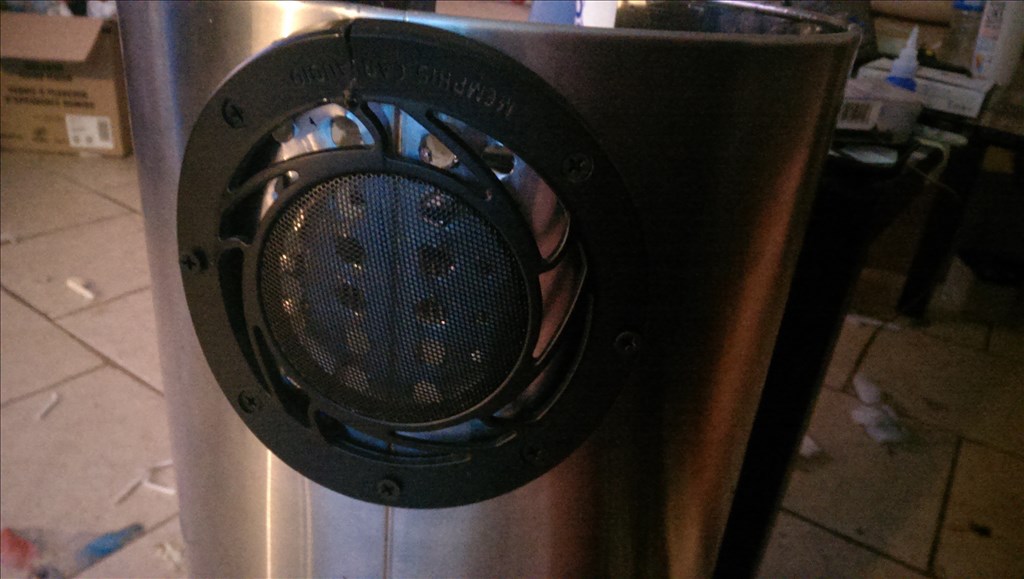
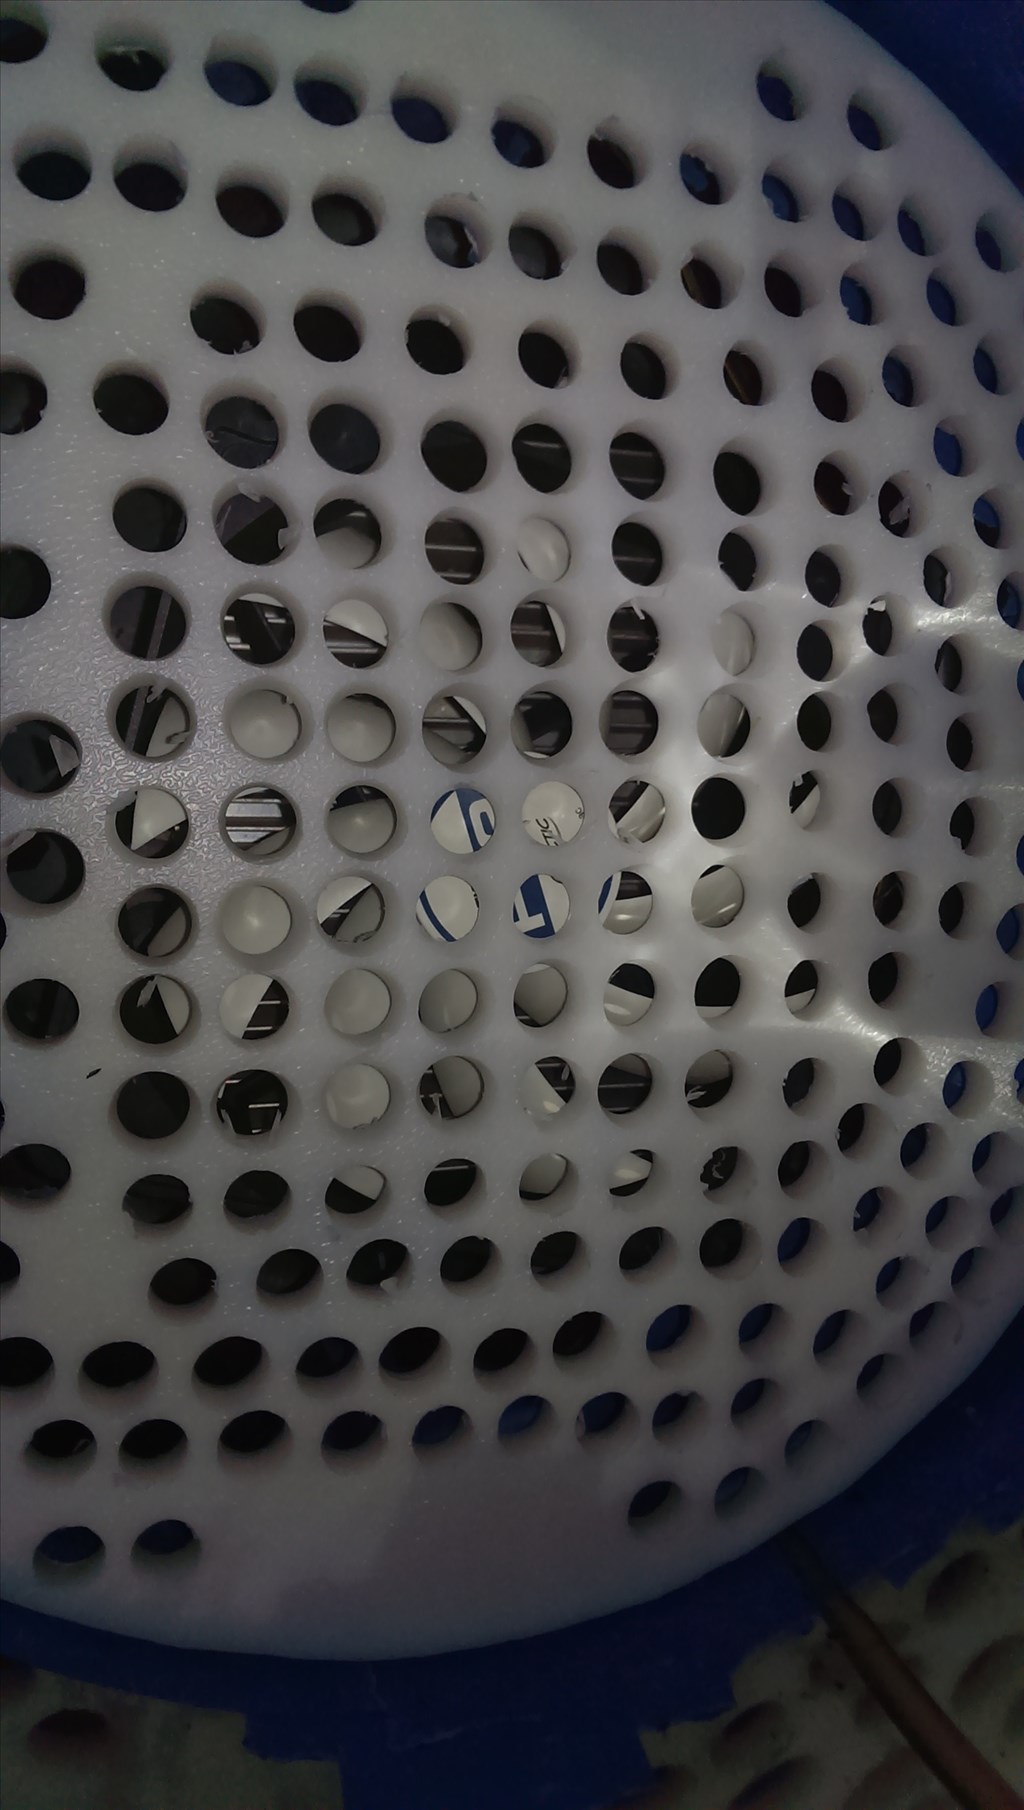
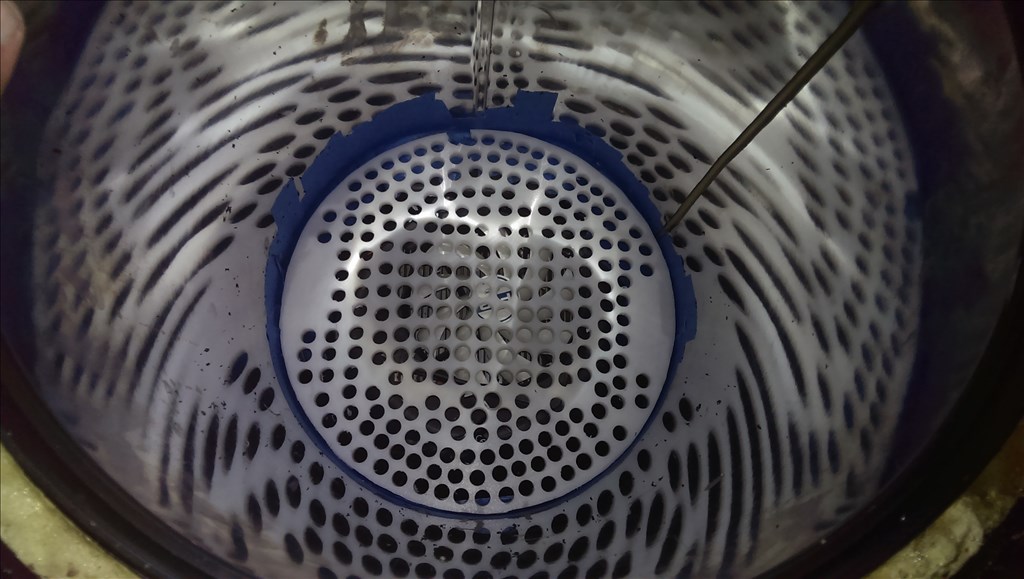
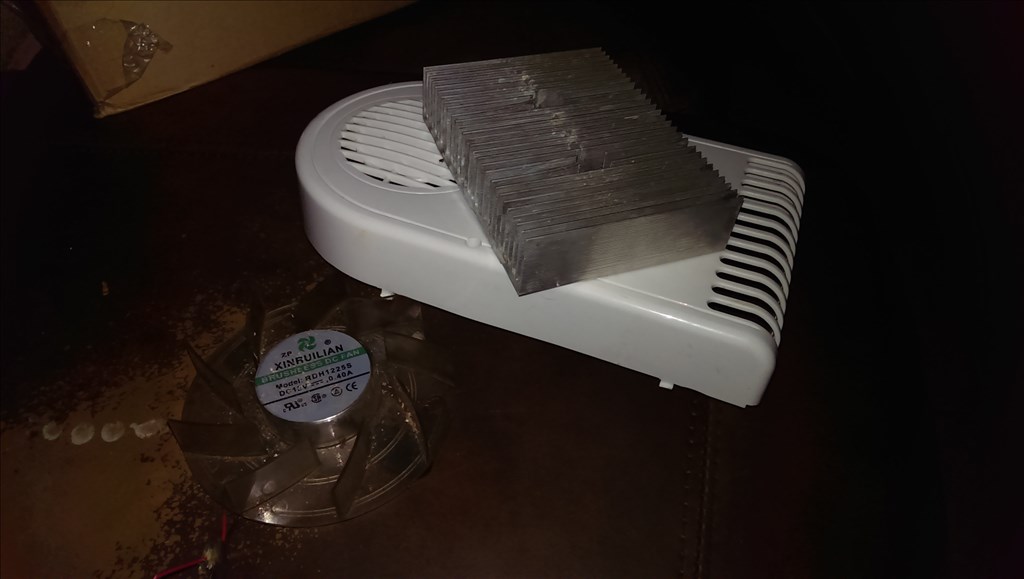
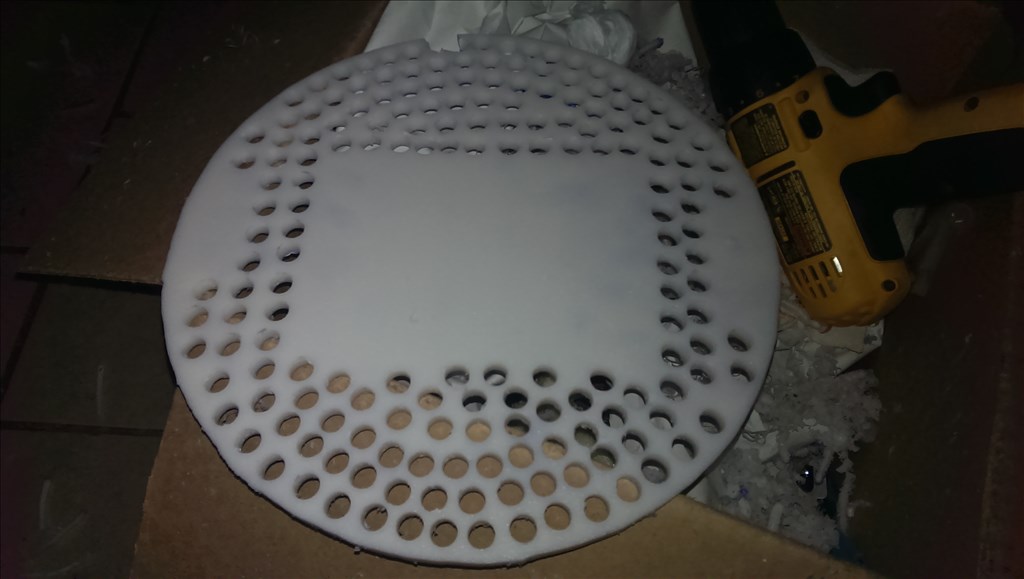
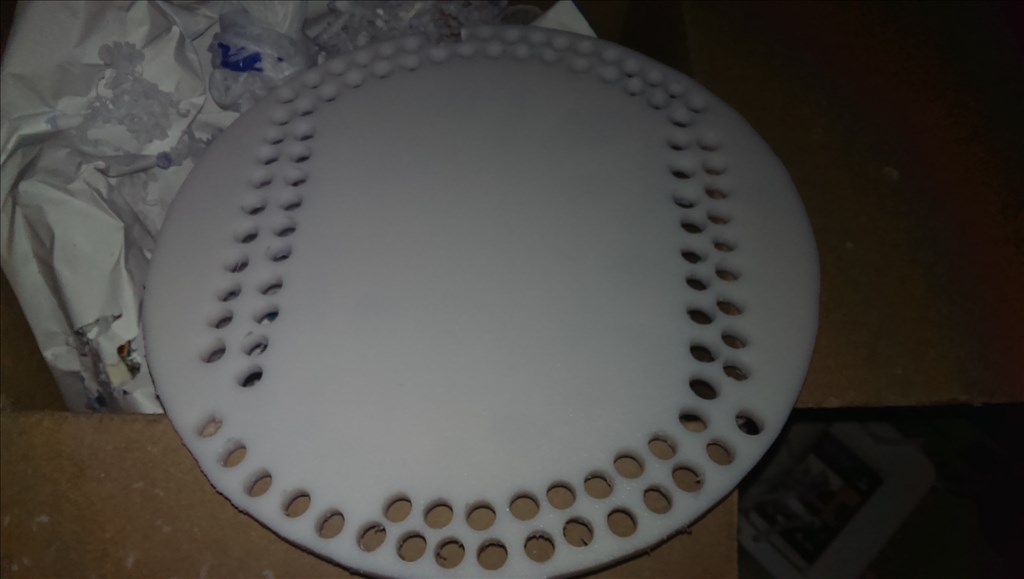
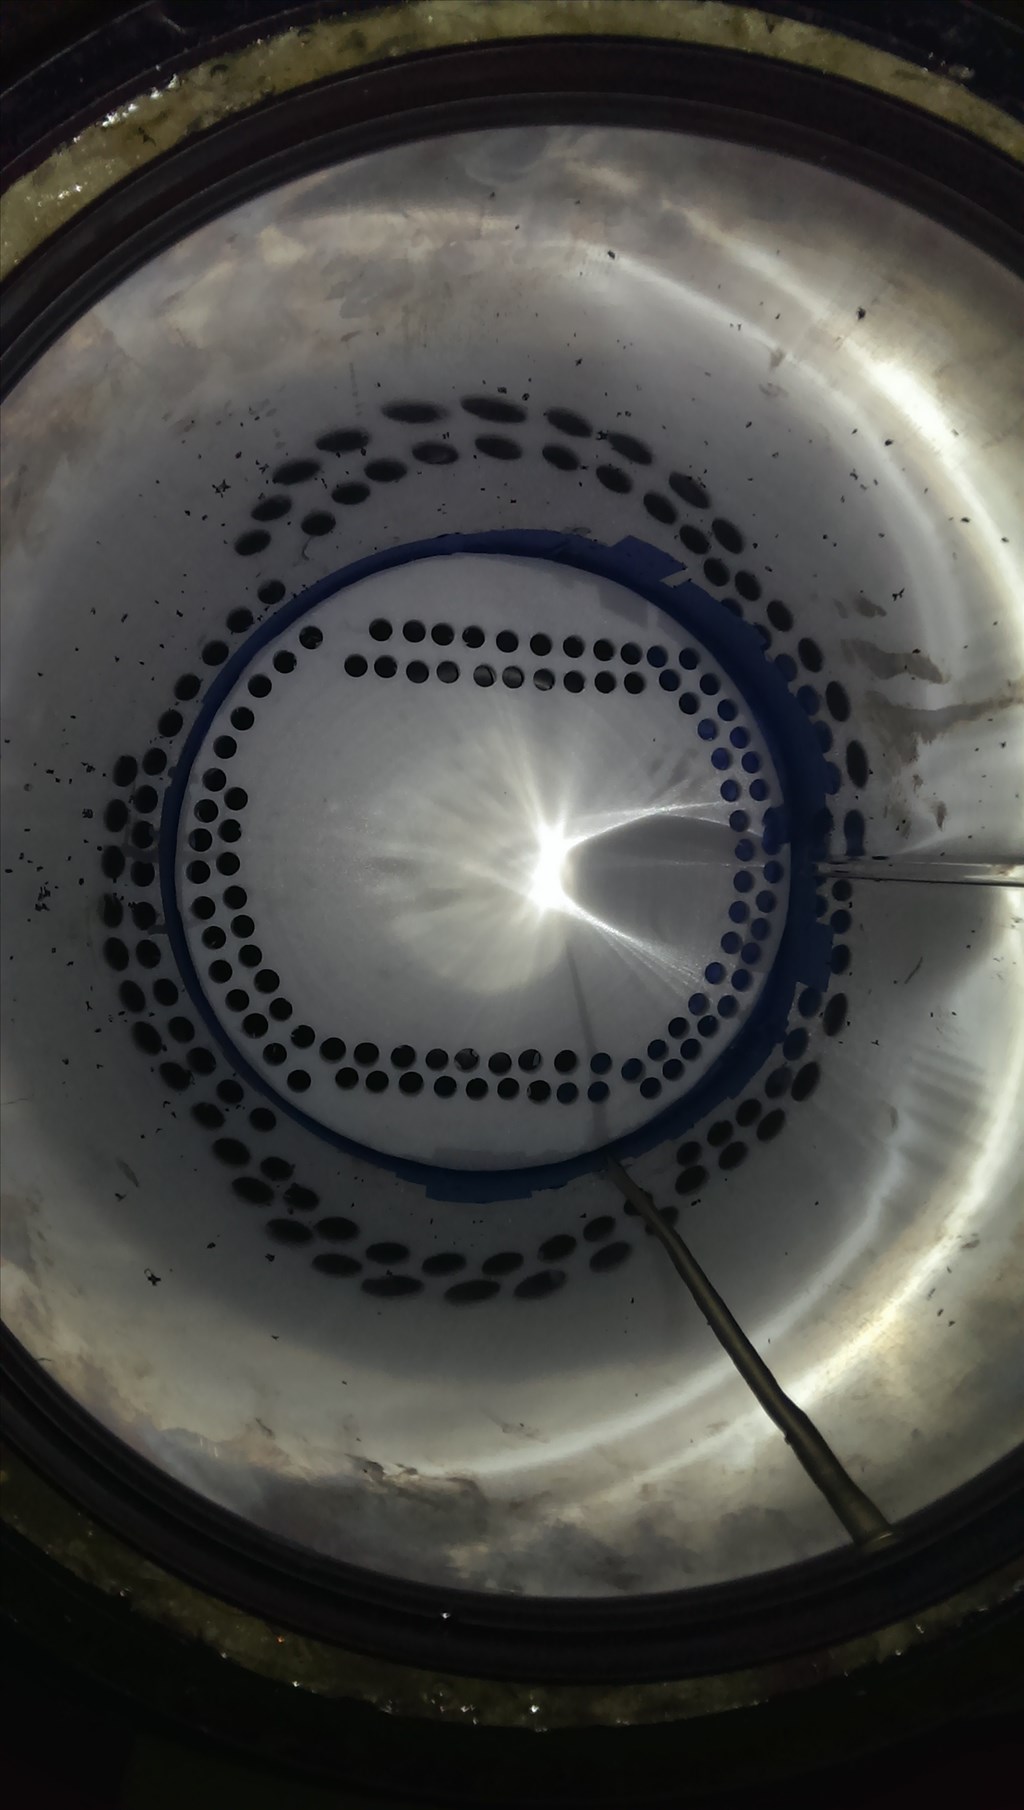
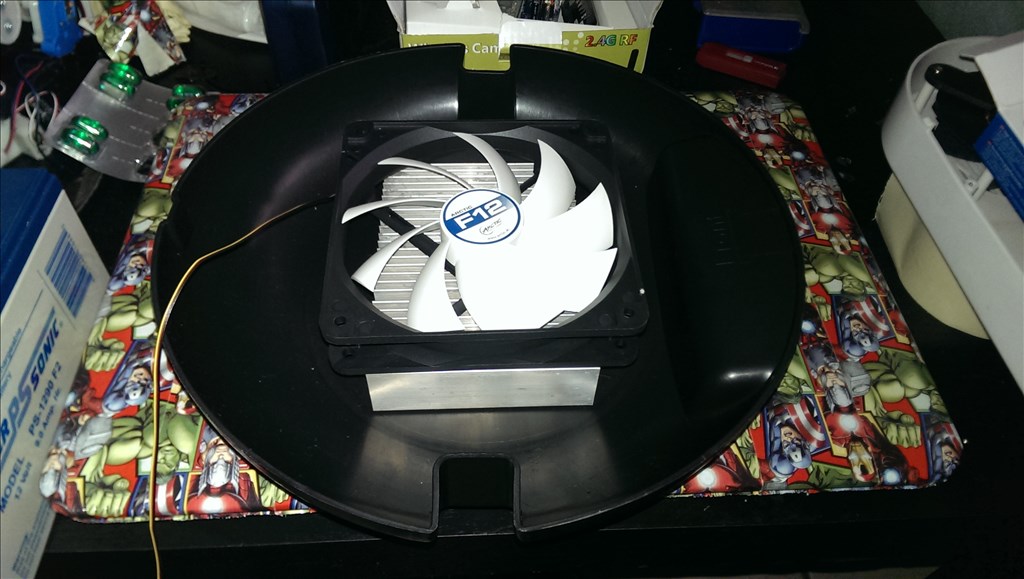
Ok so lots of air holes here. After the holes were finished I wallowed them out like a venturi. This increases airflow to the fan. Basically the next step is cutting spacers and mounting the grate with a couple screws. Then hooking up the fan...
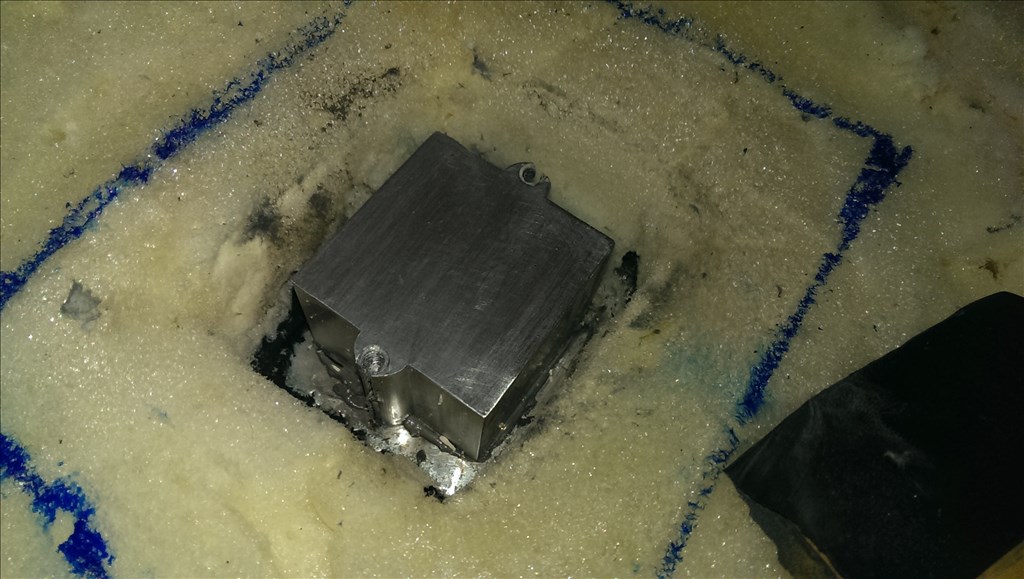
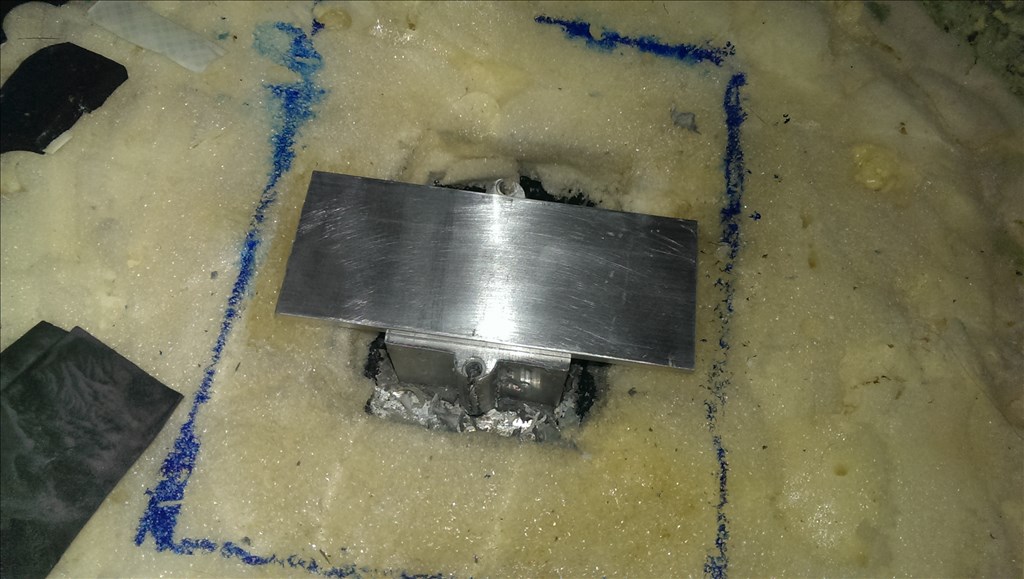
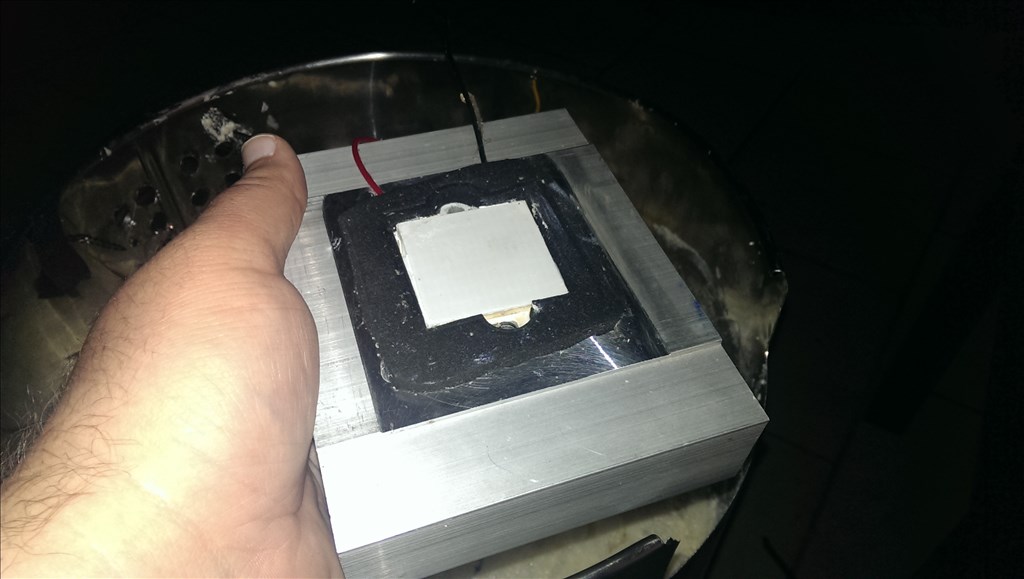
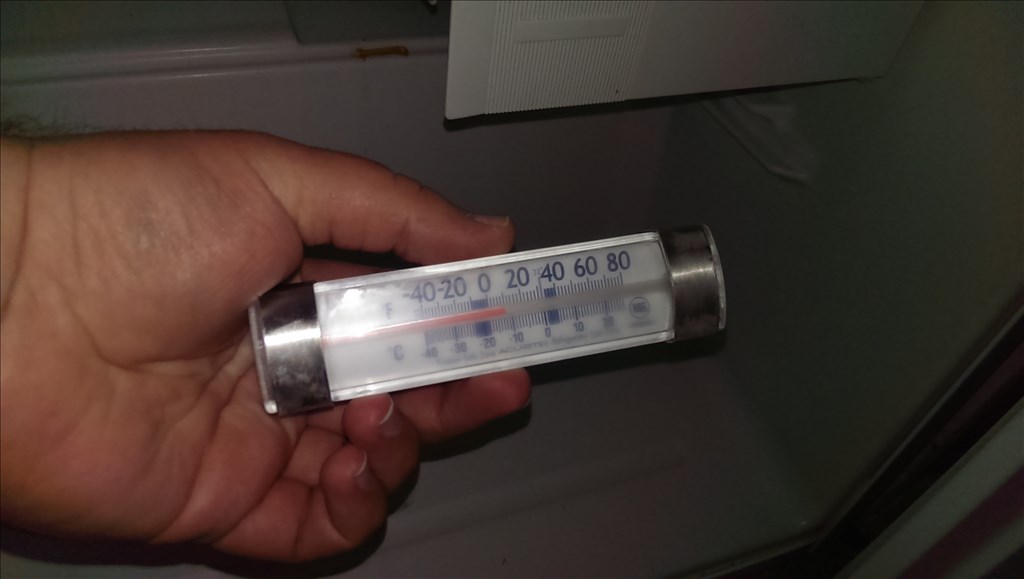
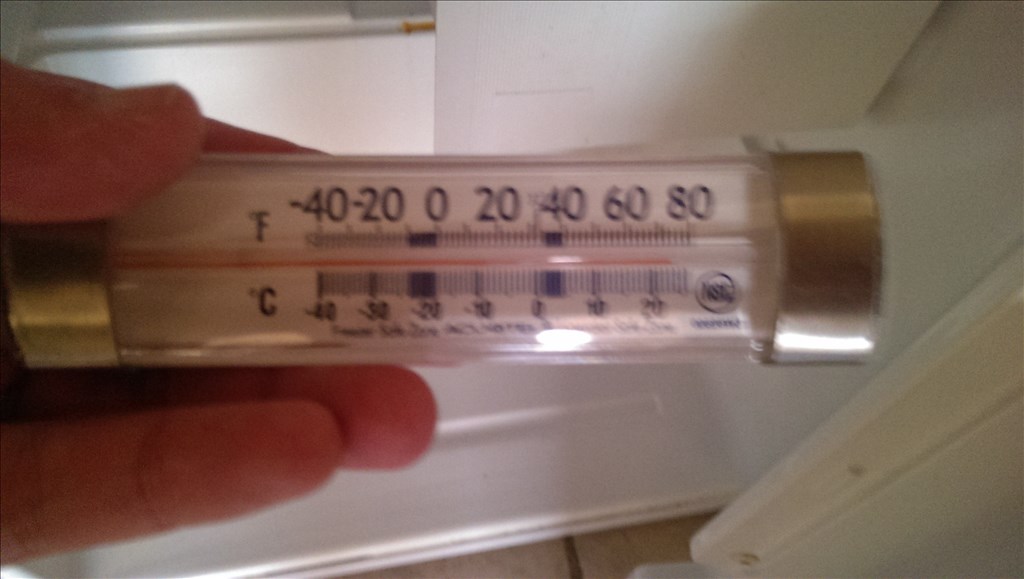
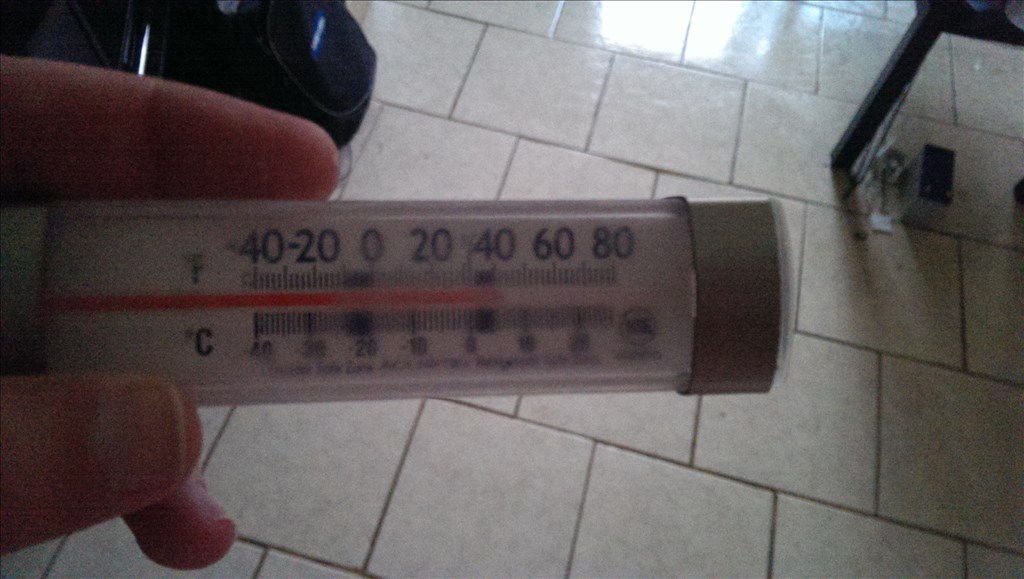
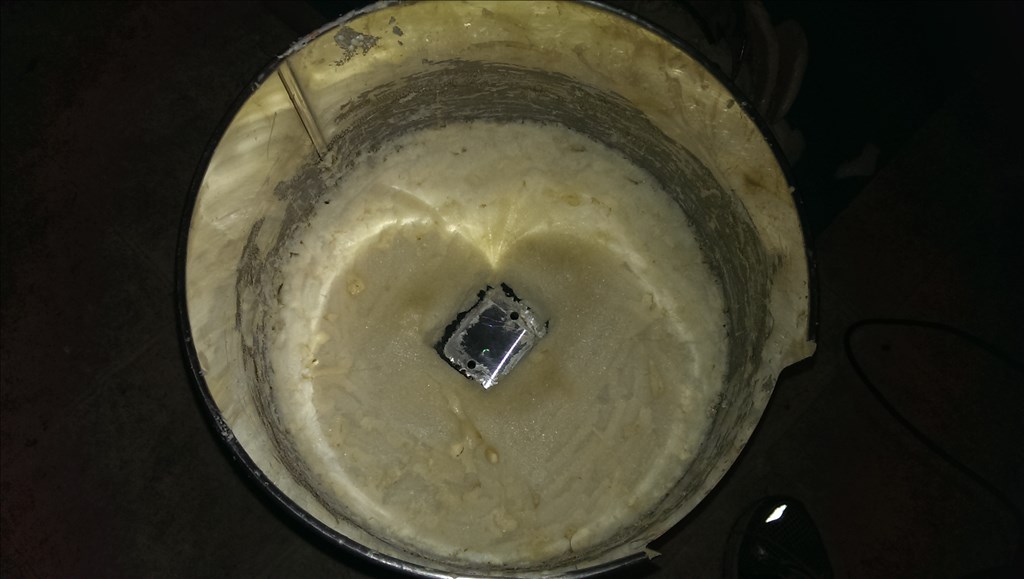
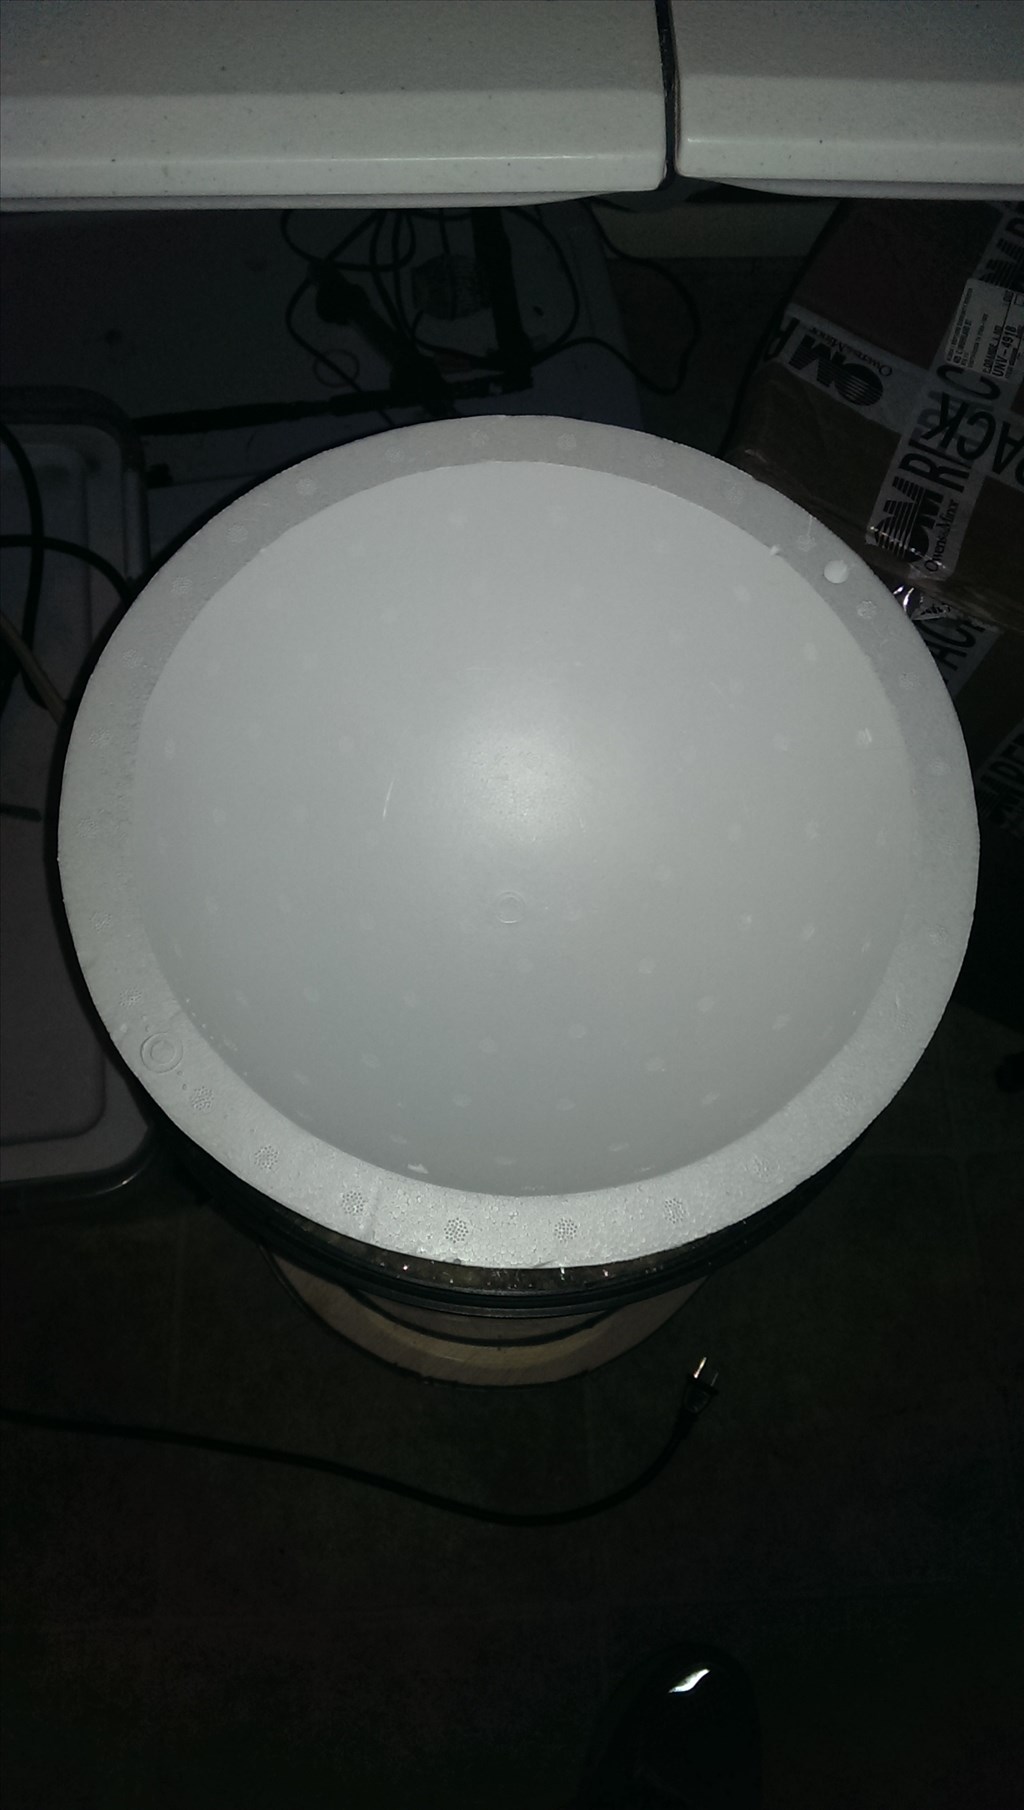
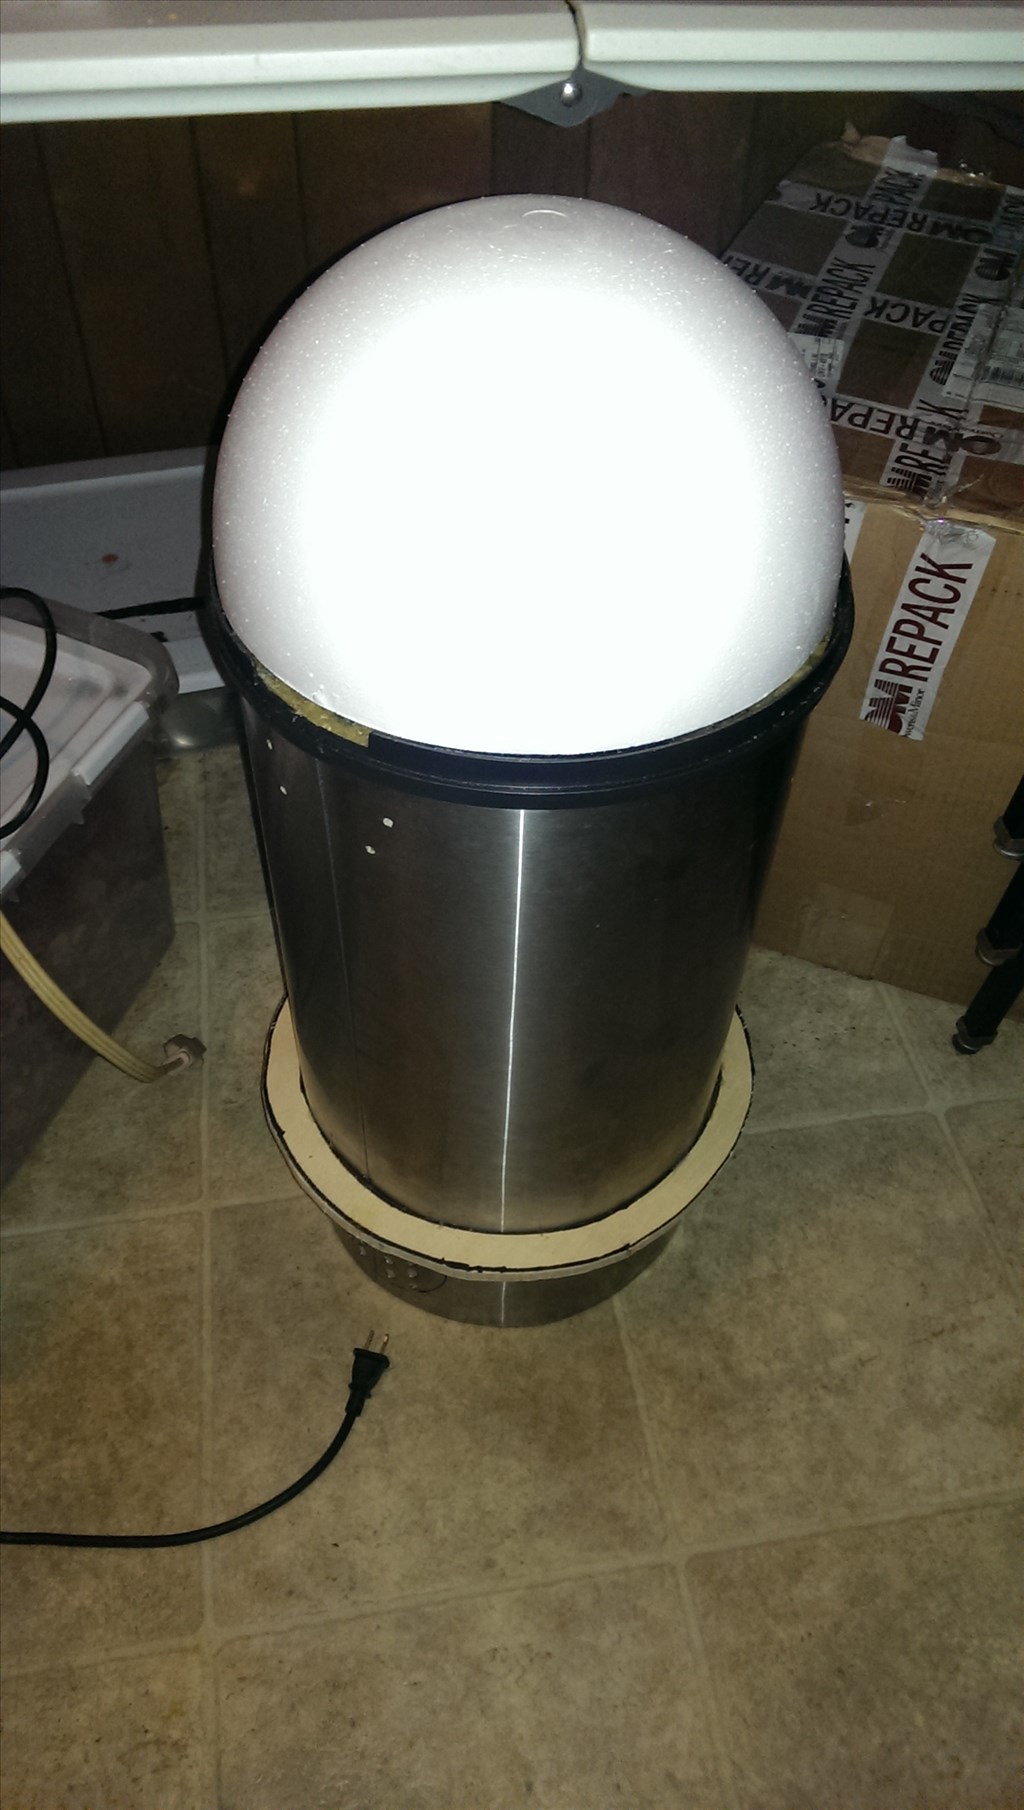
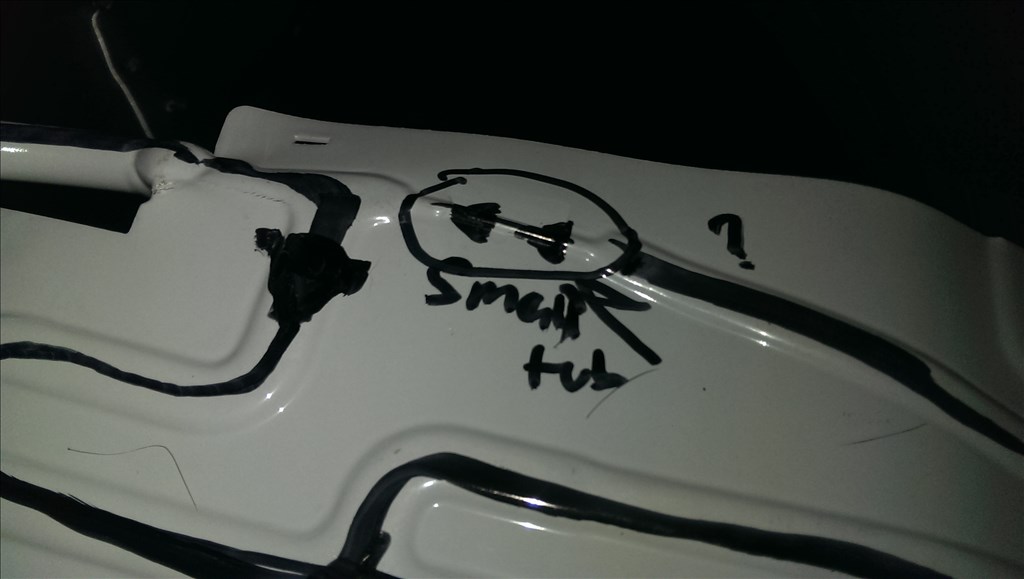
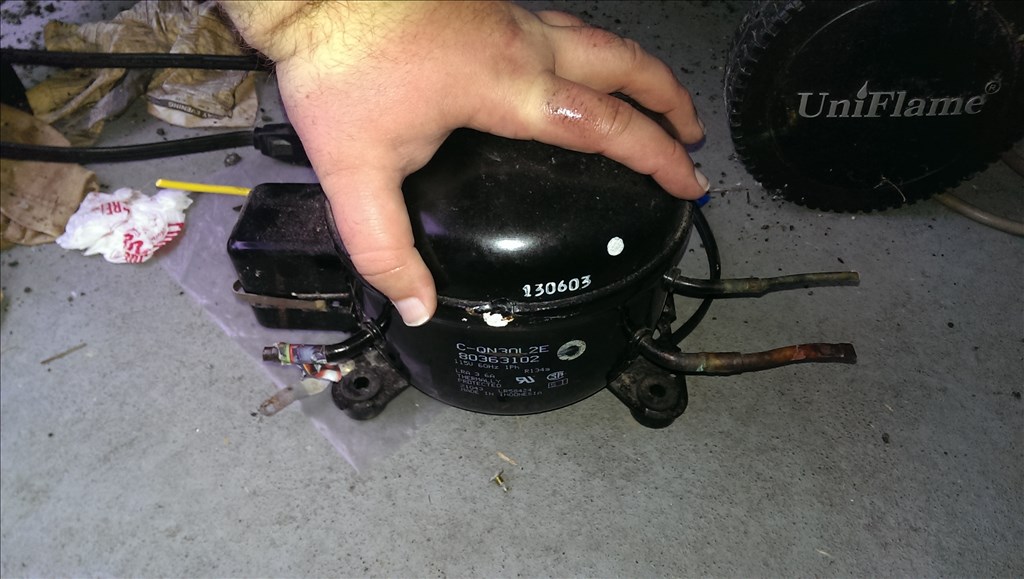
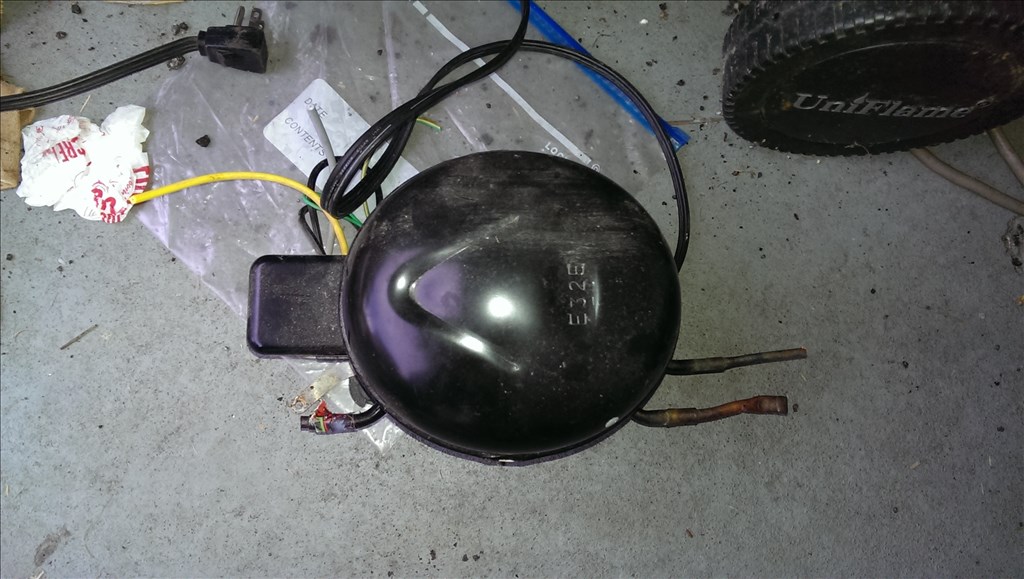
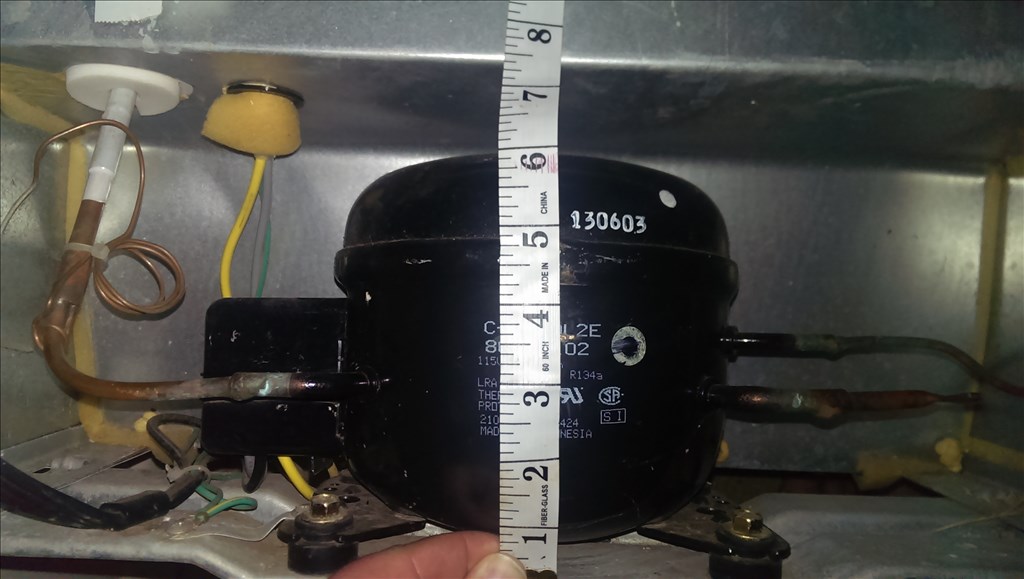
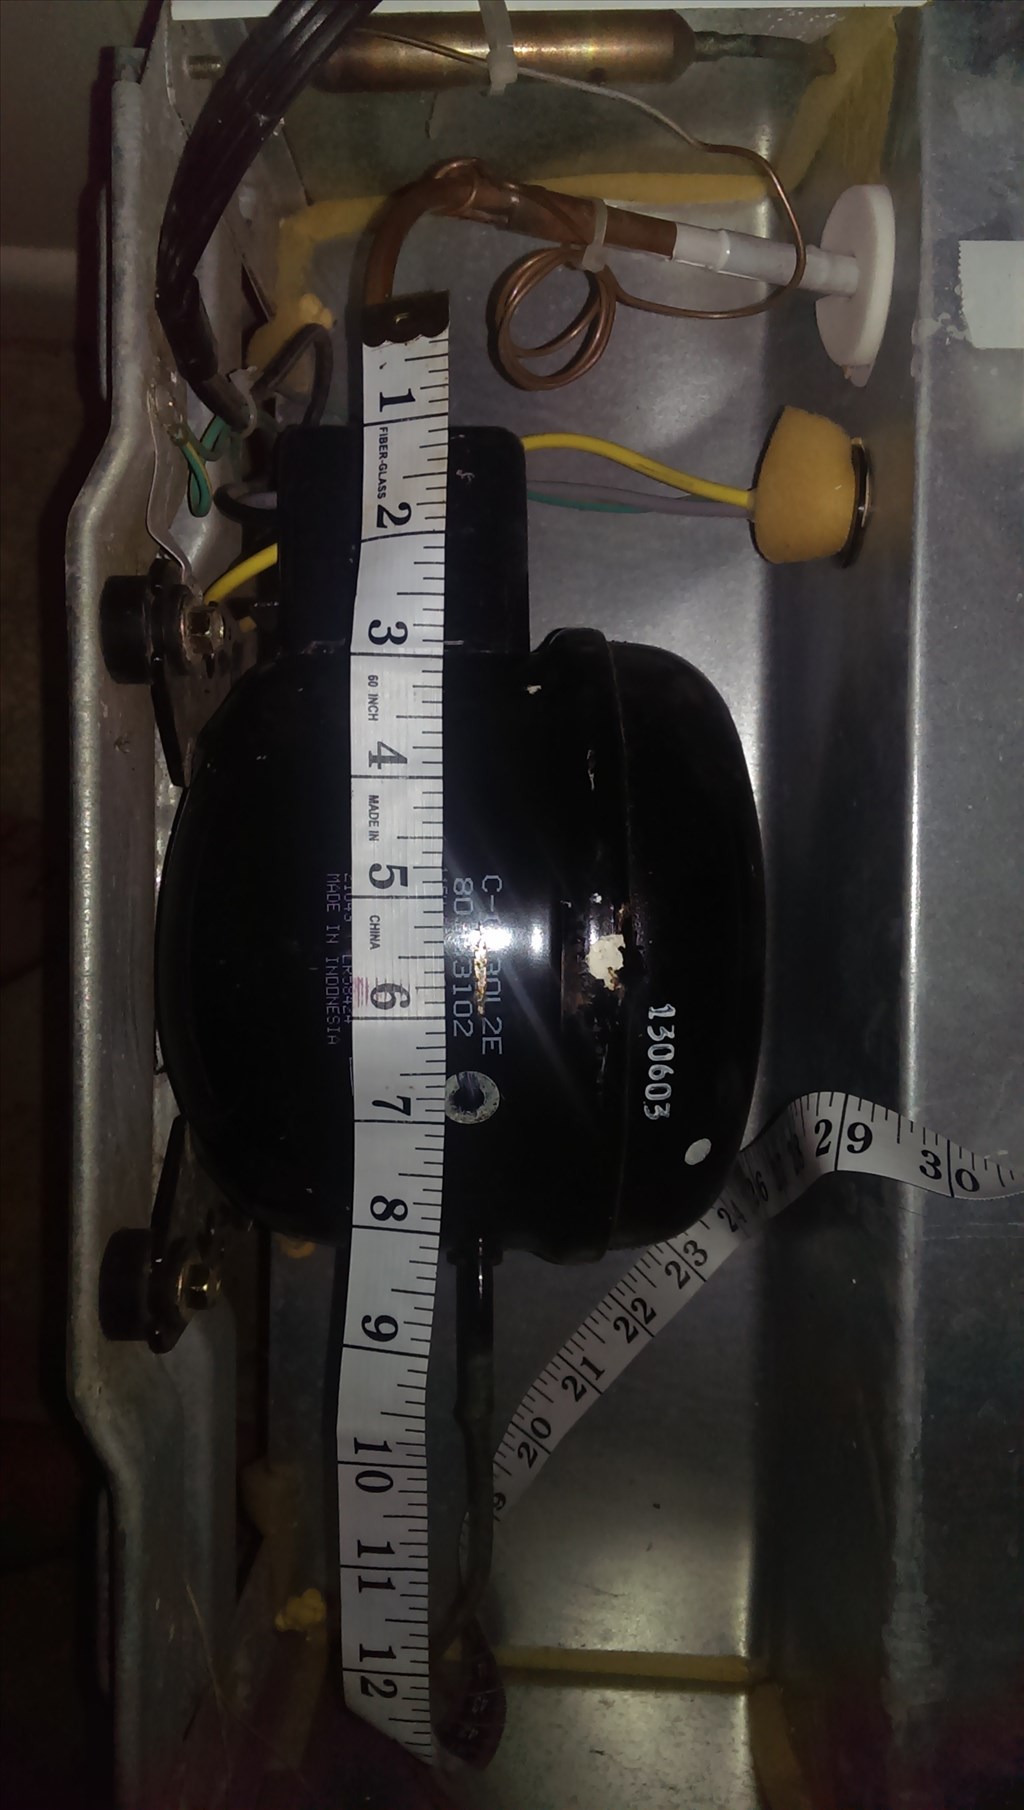
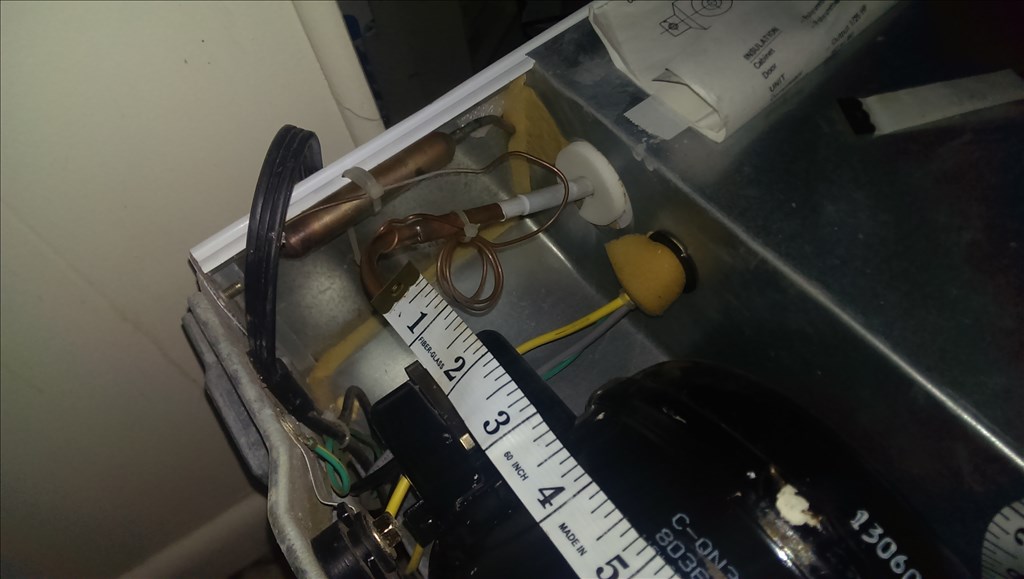
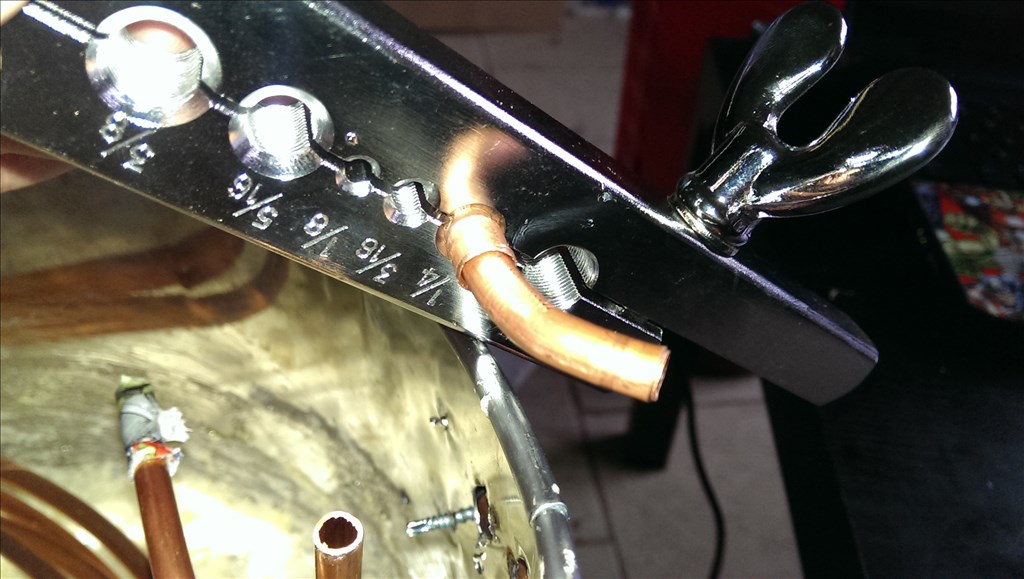
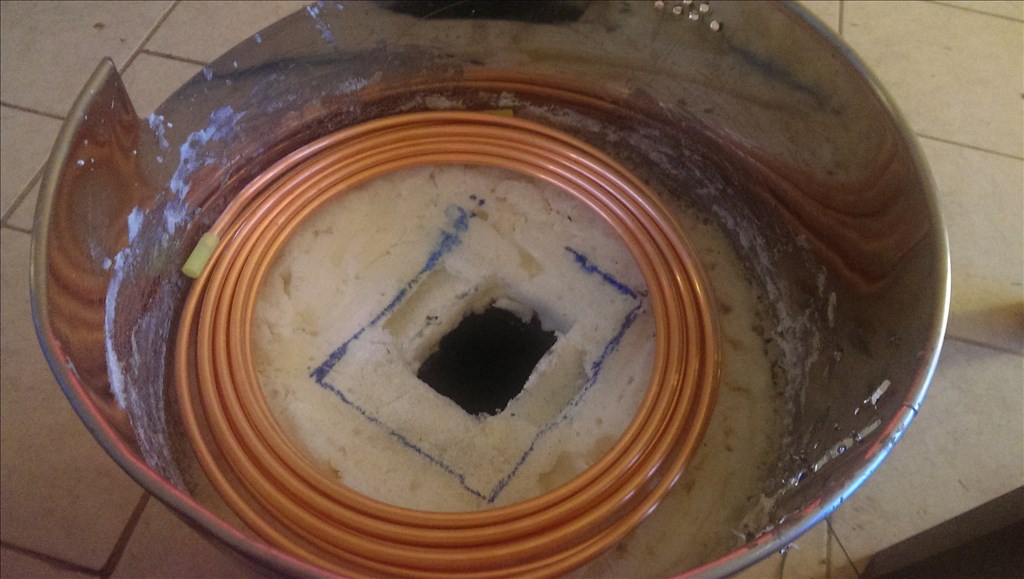
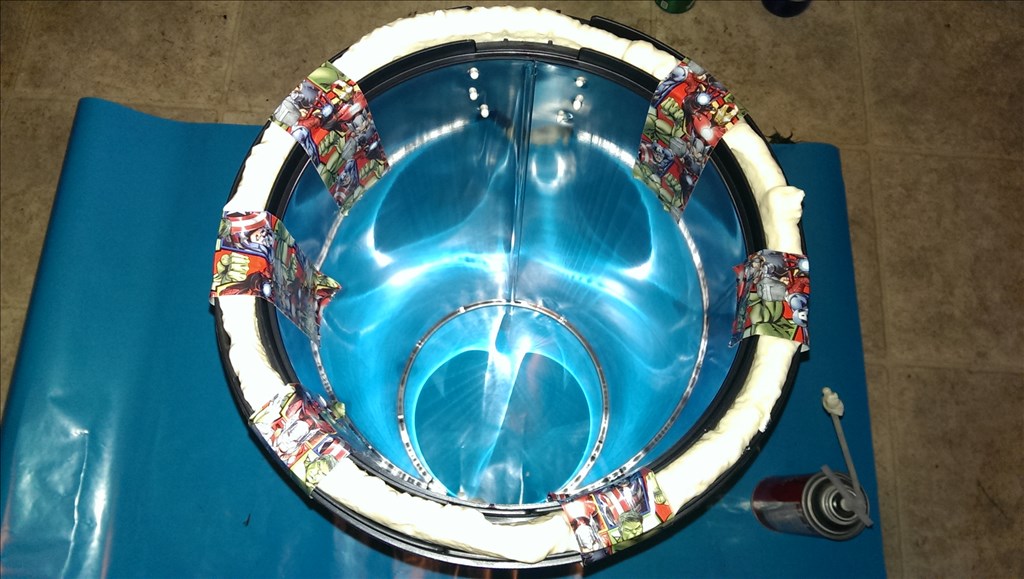
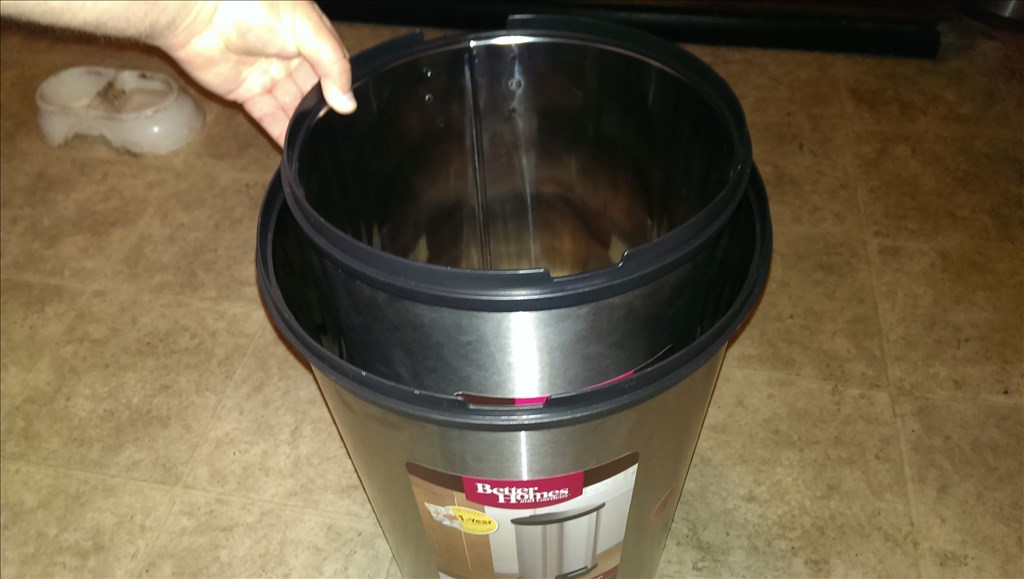
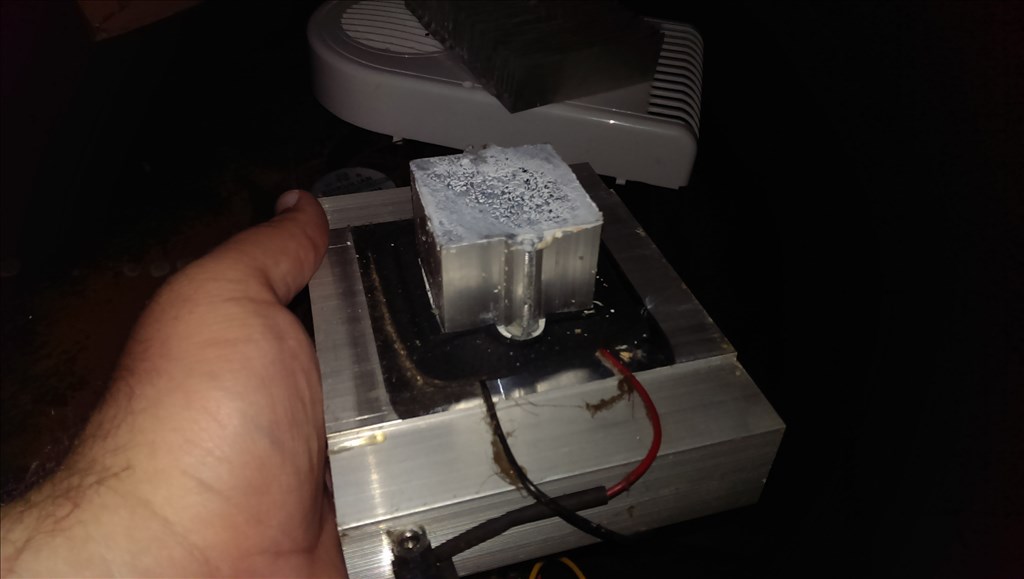
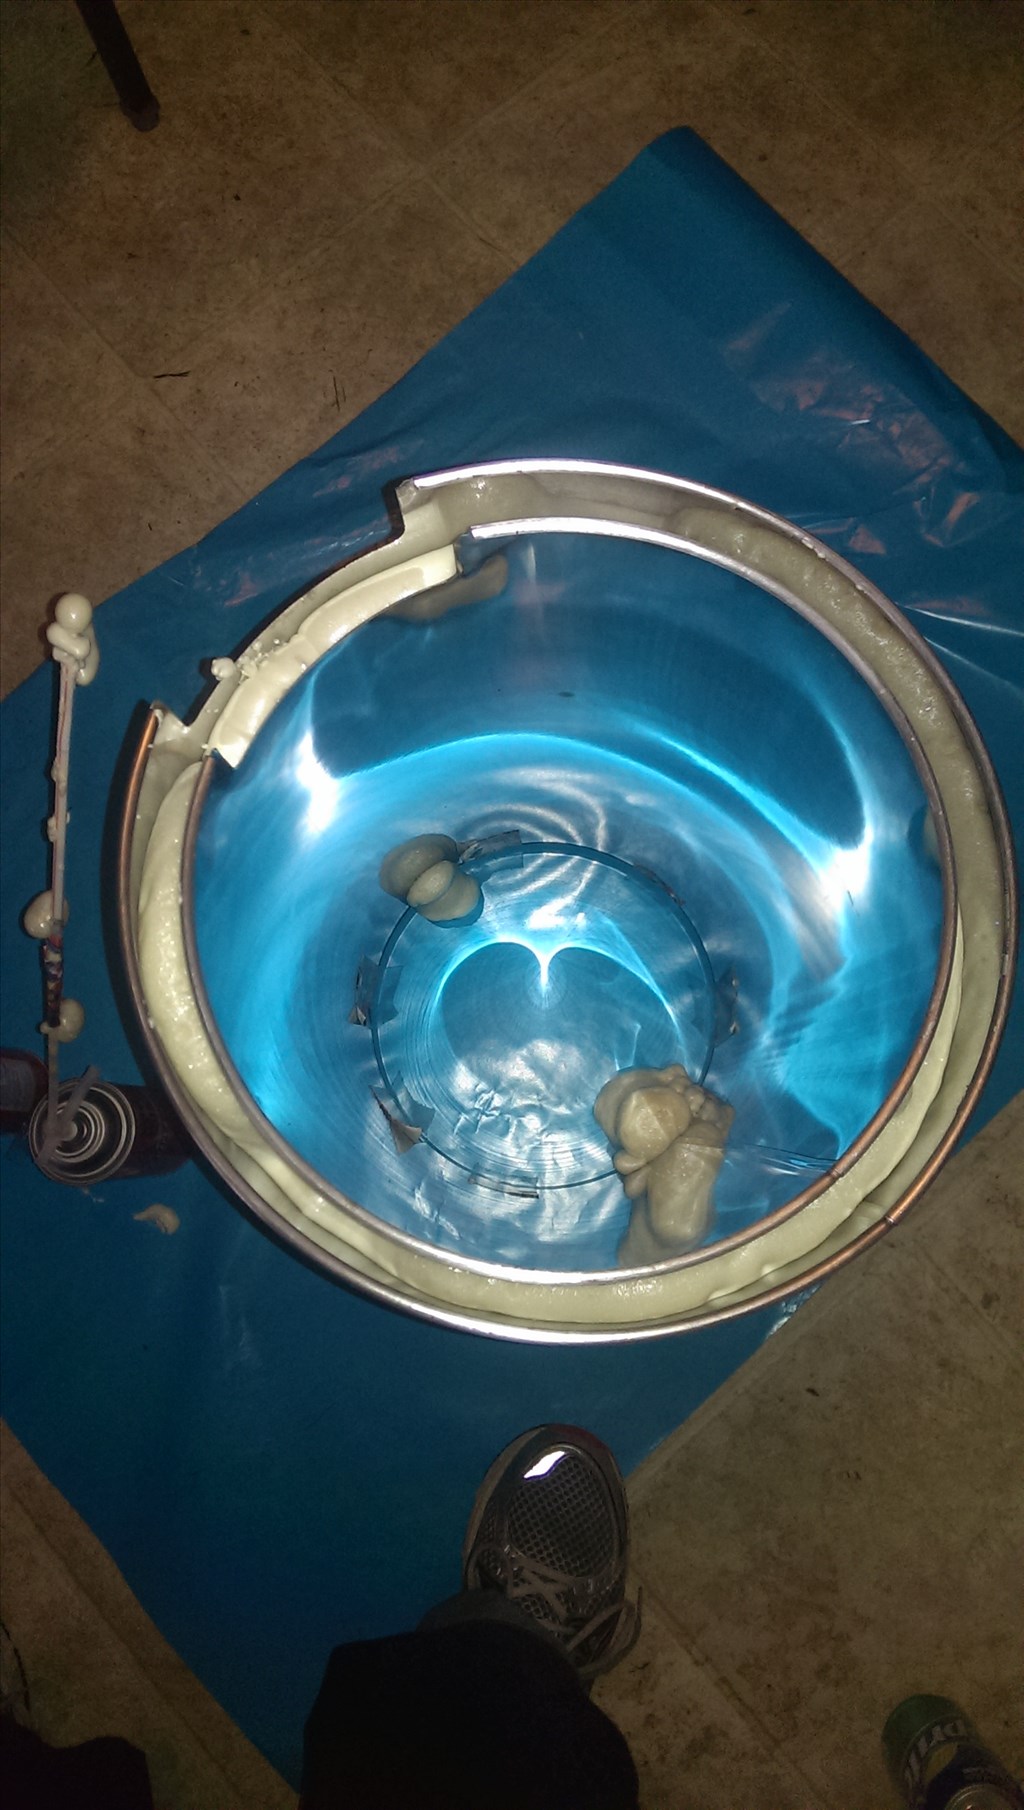
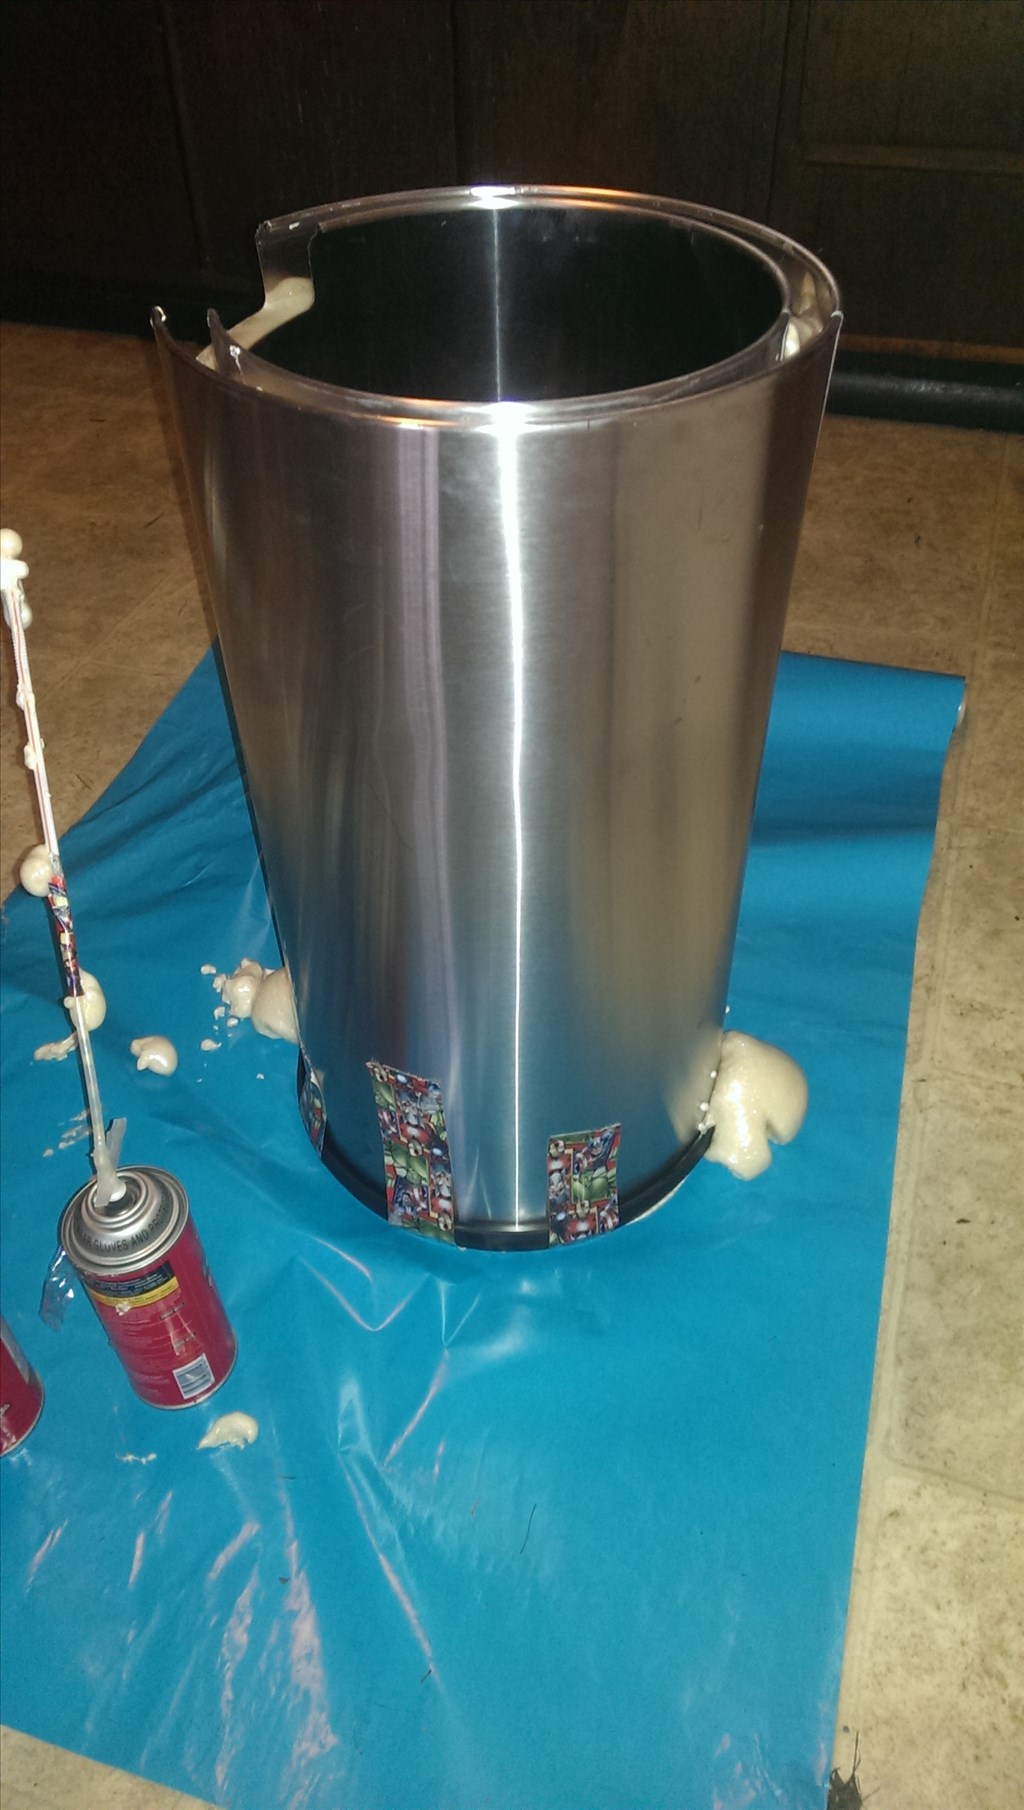
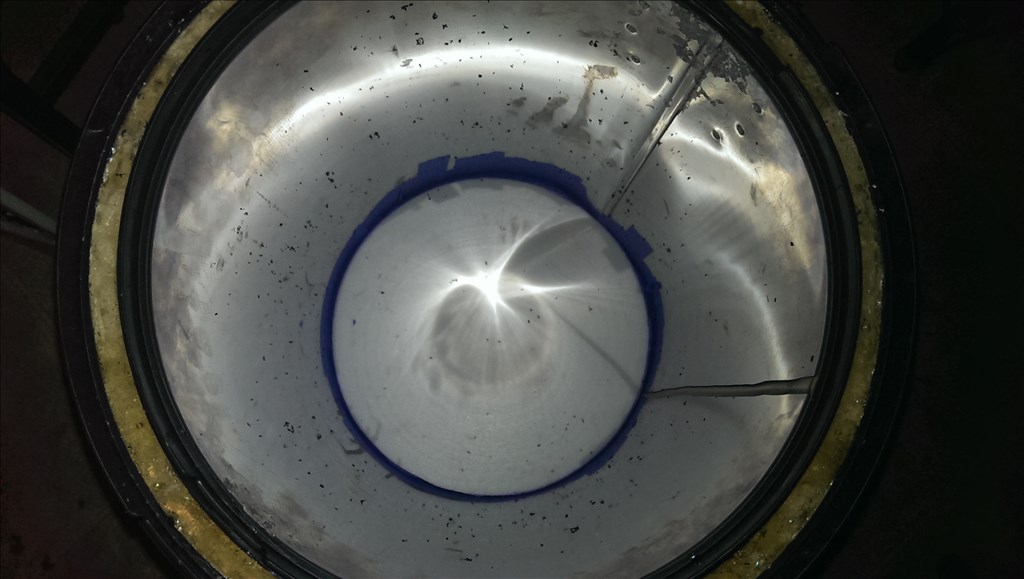
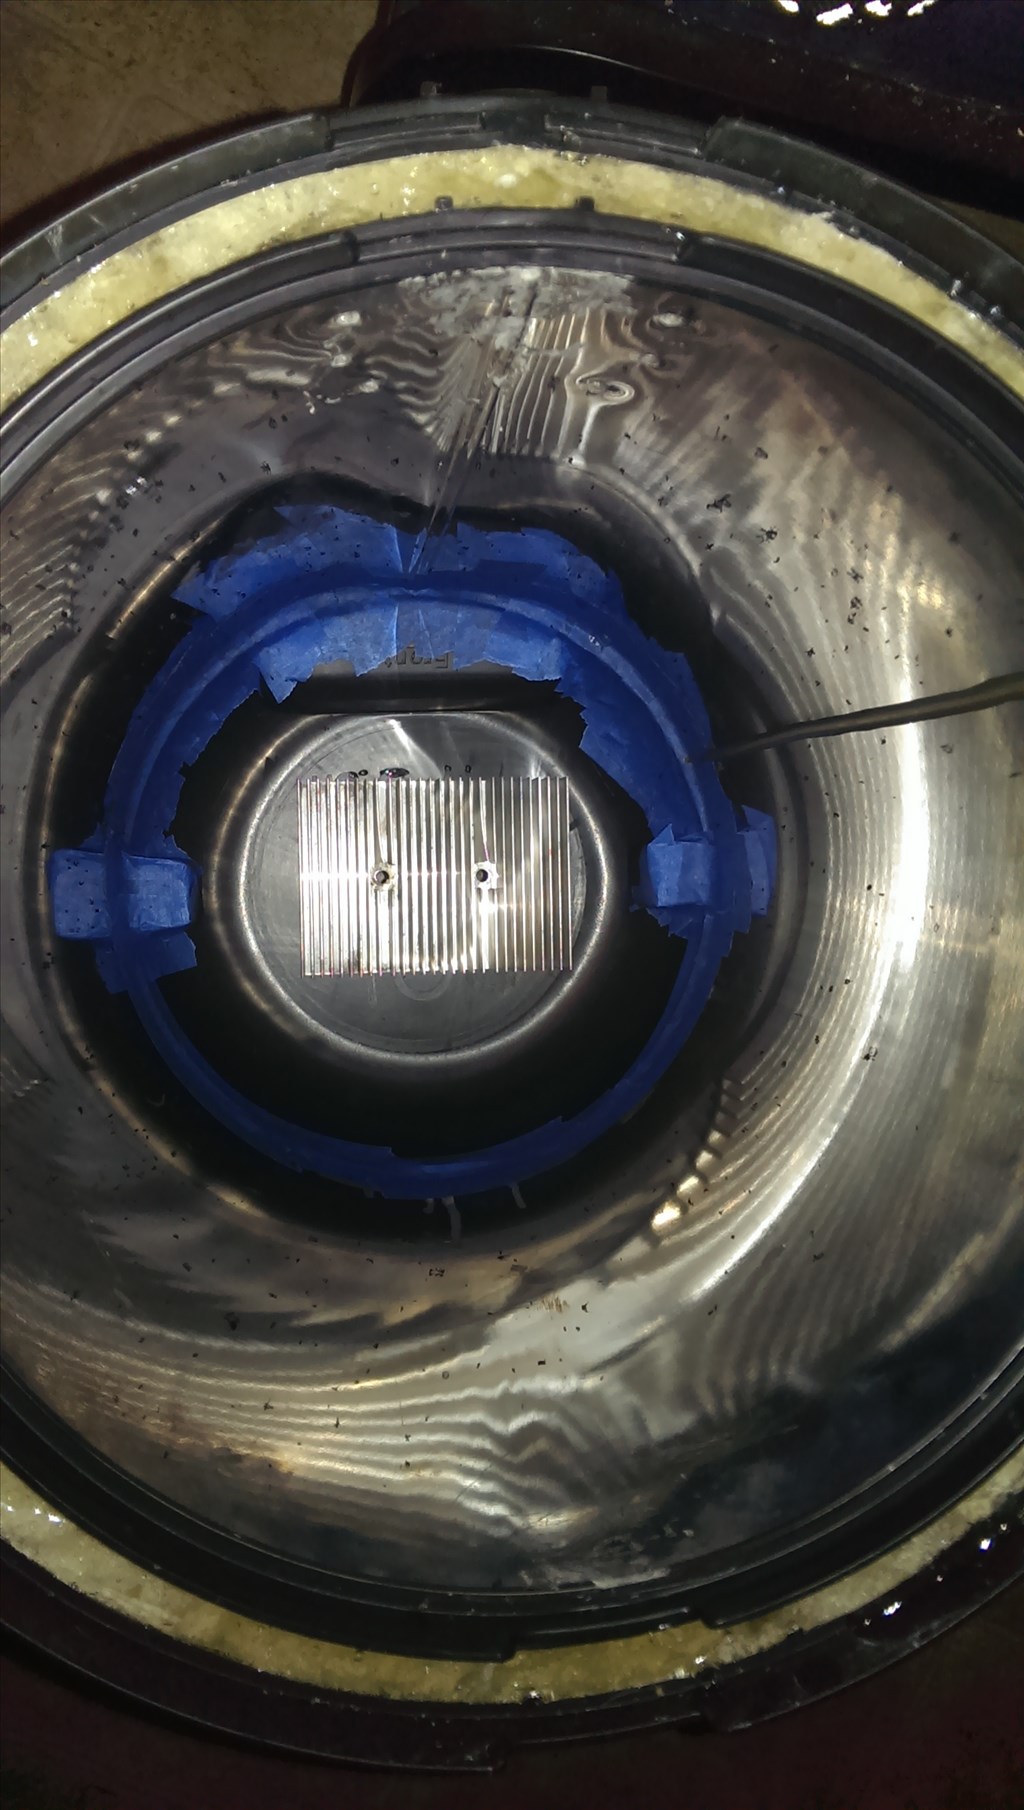
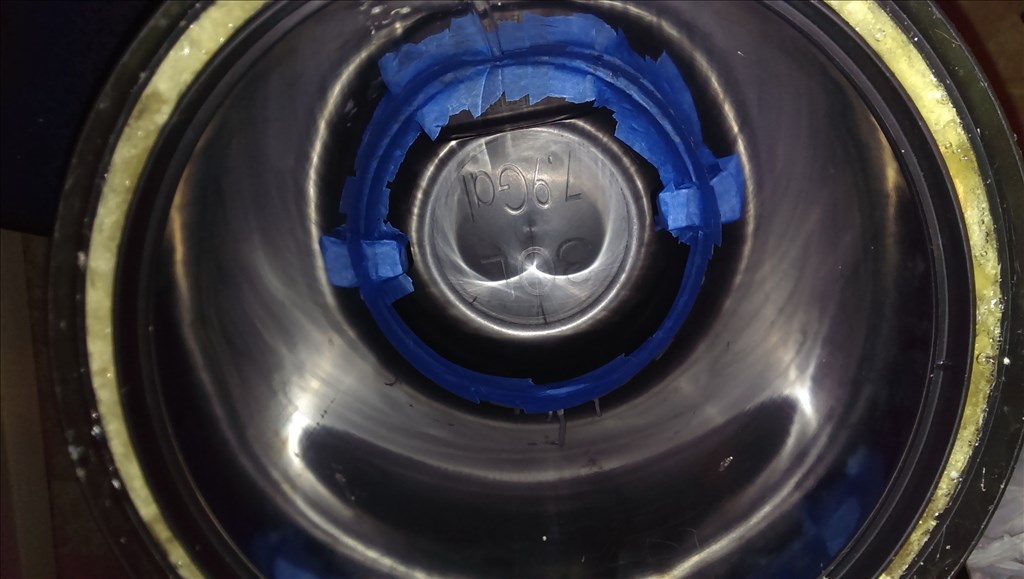
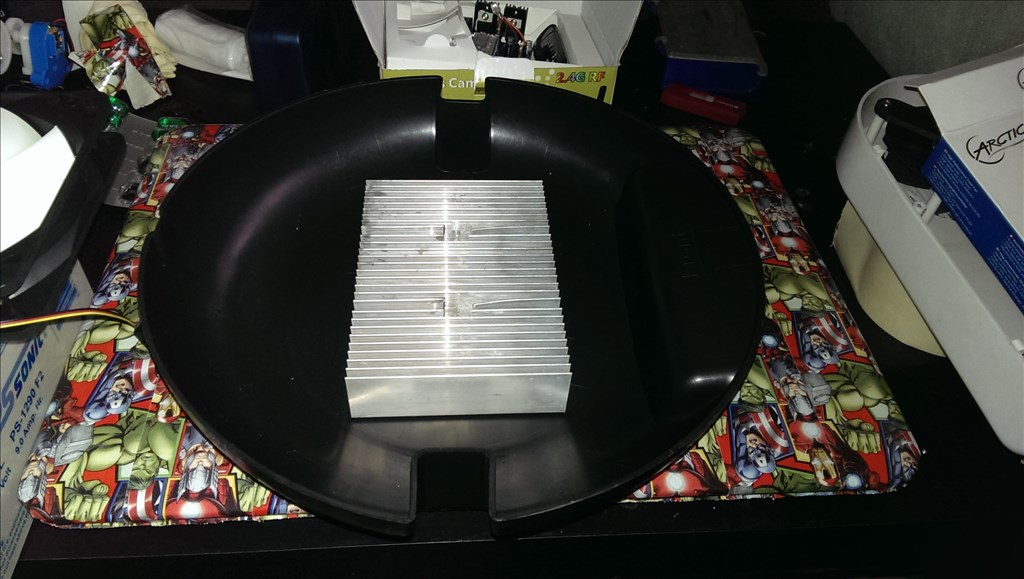
Alright after the appropriate adult beverage I started back work on the booze bot. I used a cutting disc to cut a line all the way around the interior liner . This must be removed because the attached metal has direct exposure to the chilled section. It would let heat in like a giant heat sink.

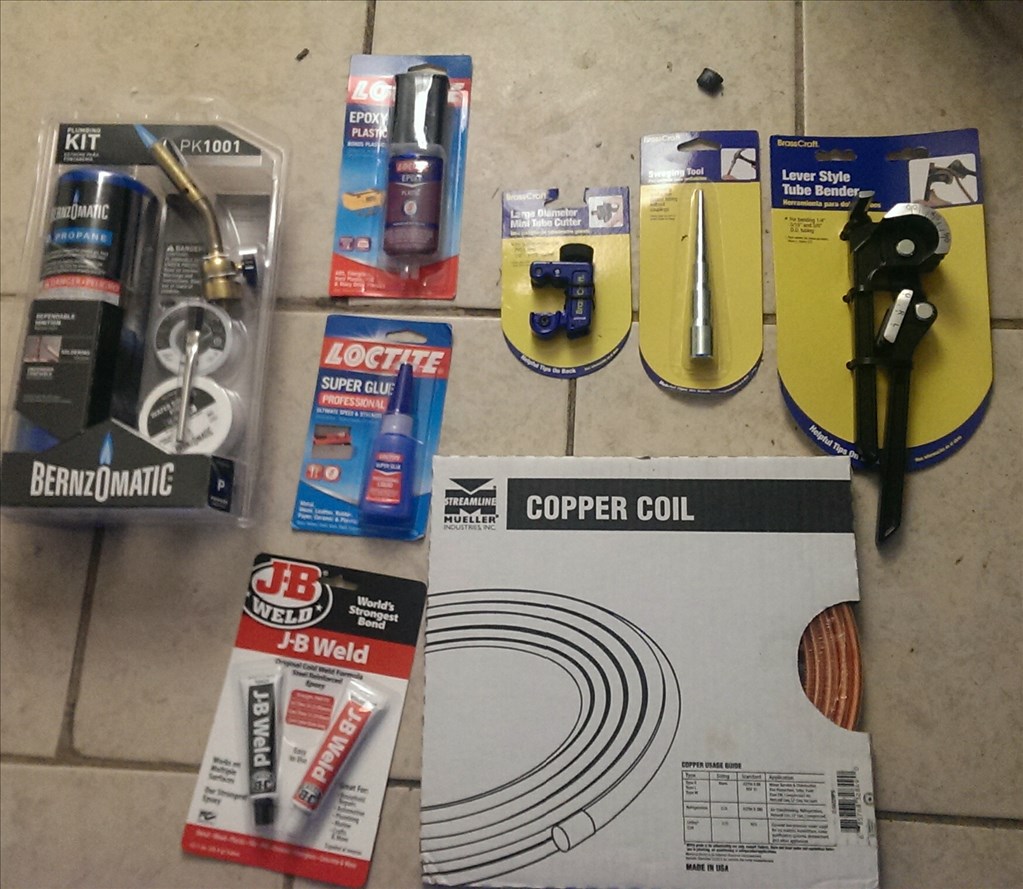
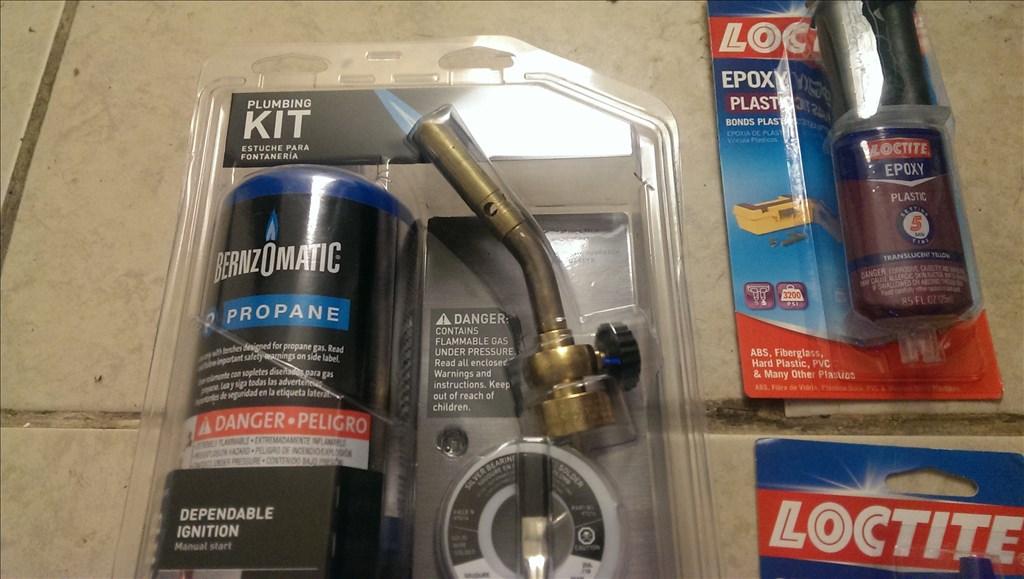
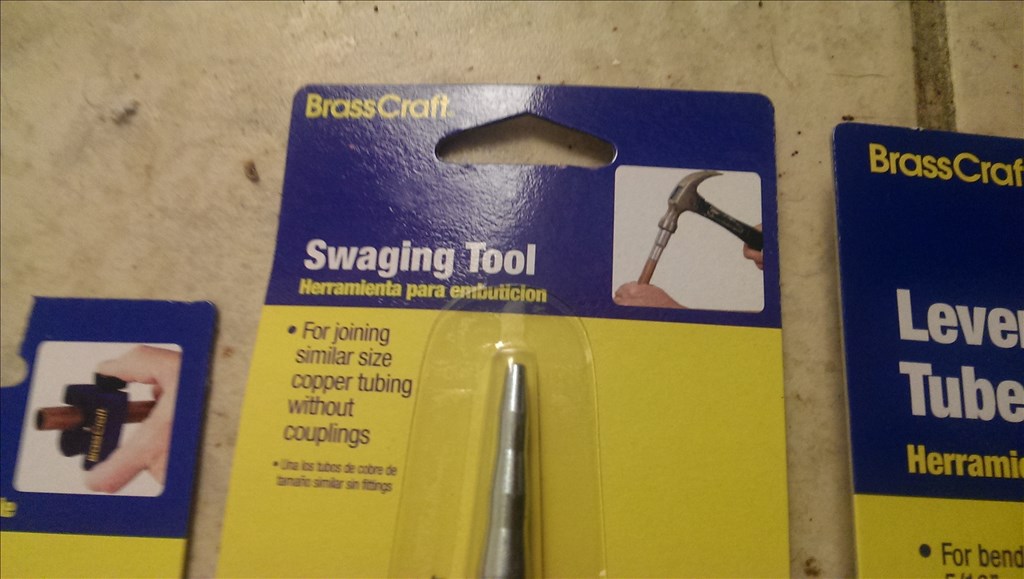
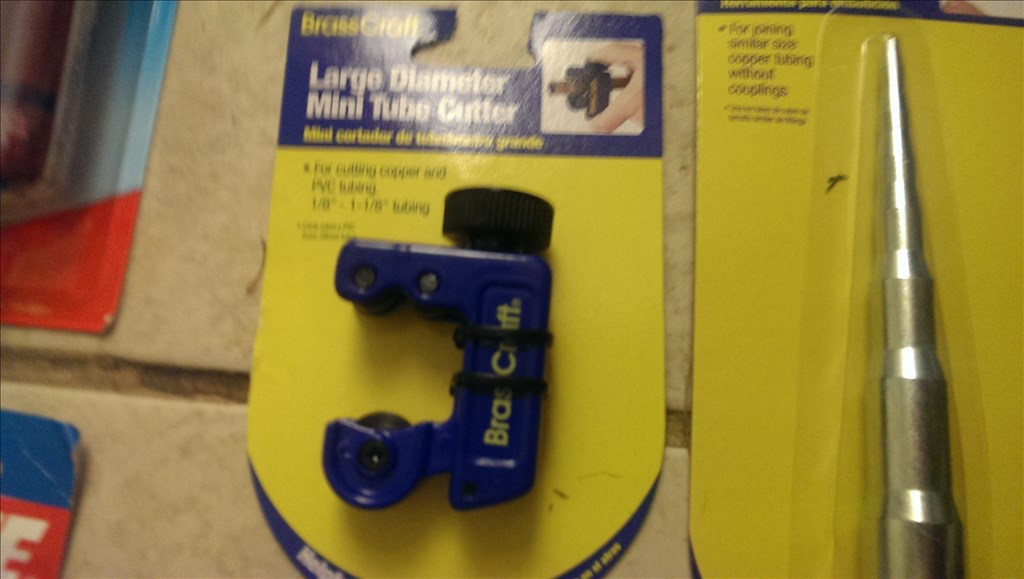
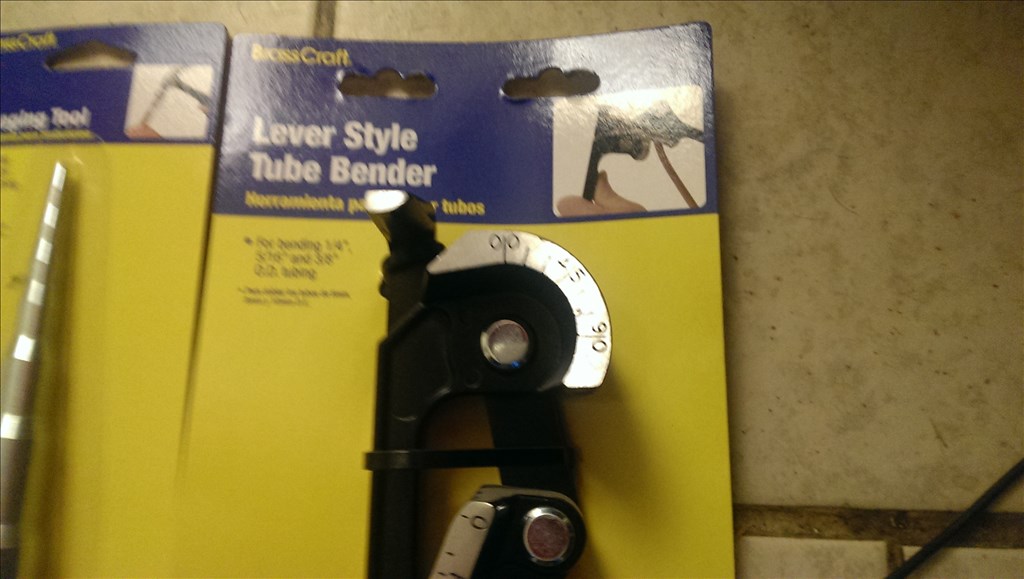
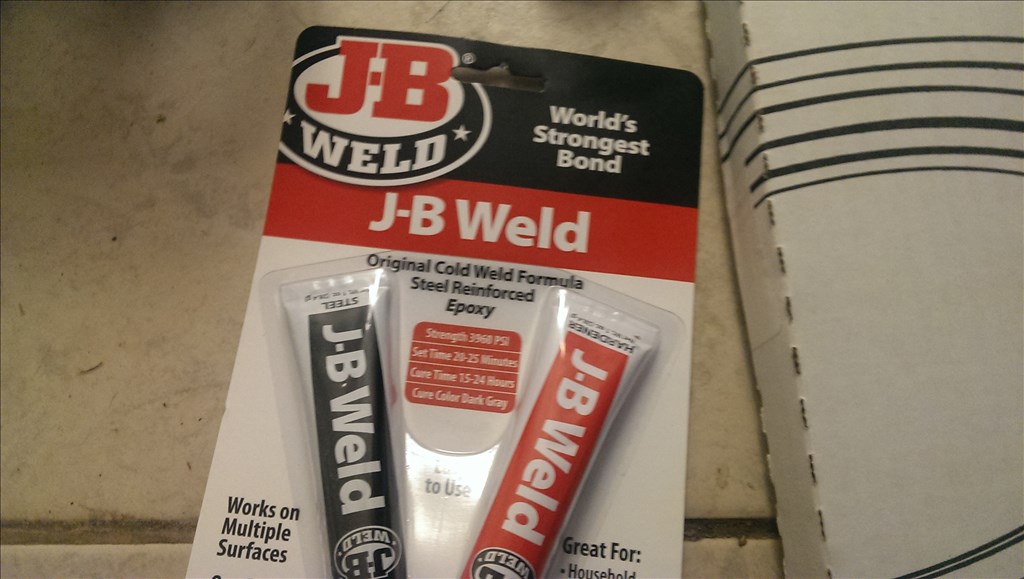
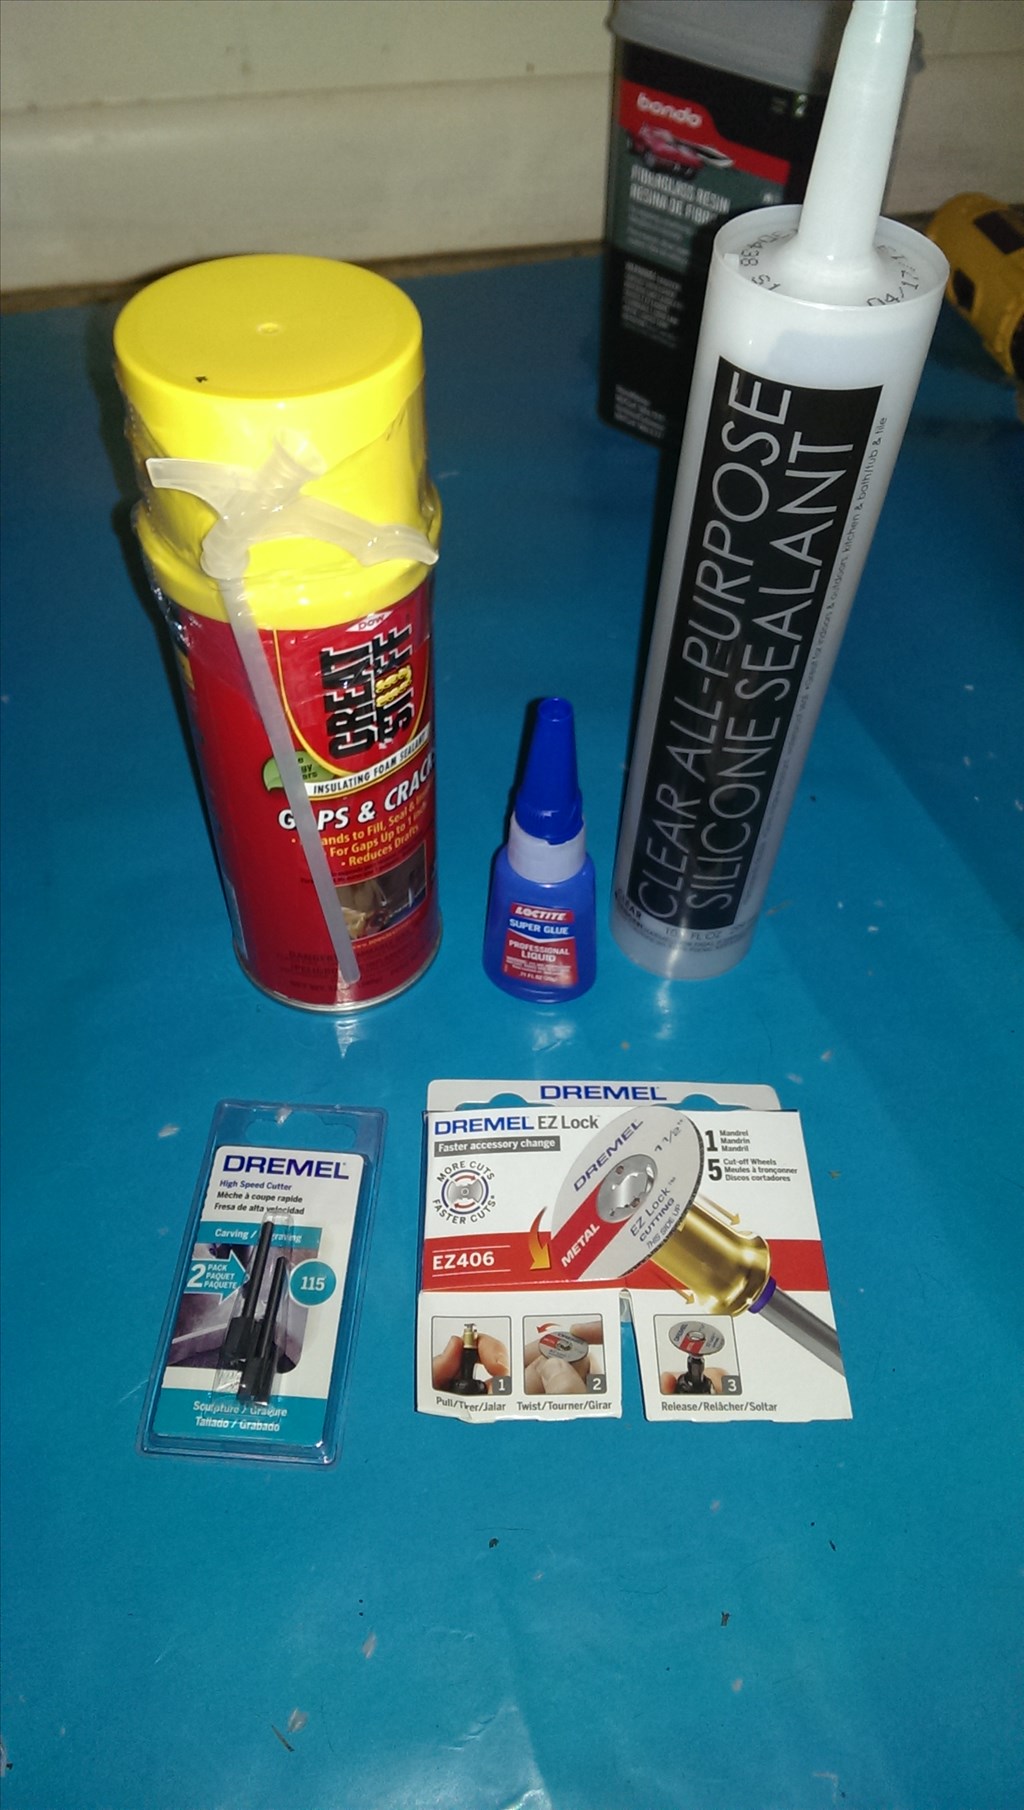
Materials
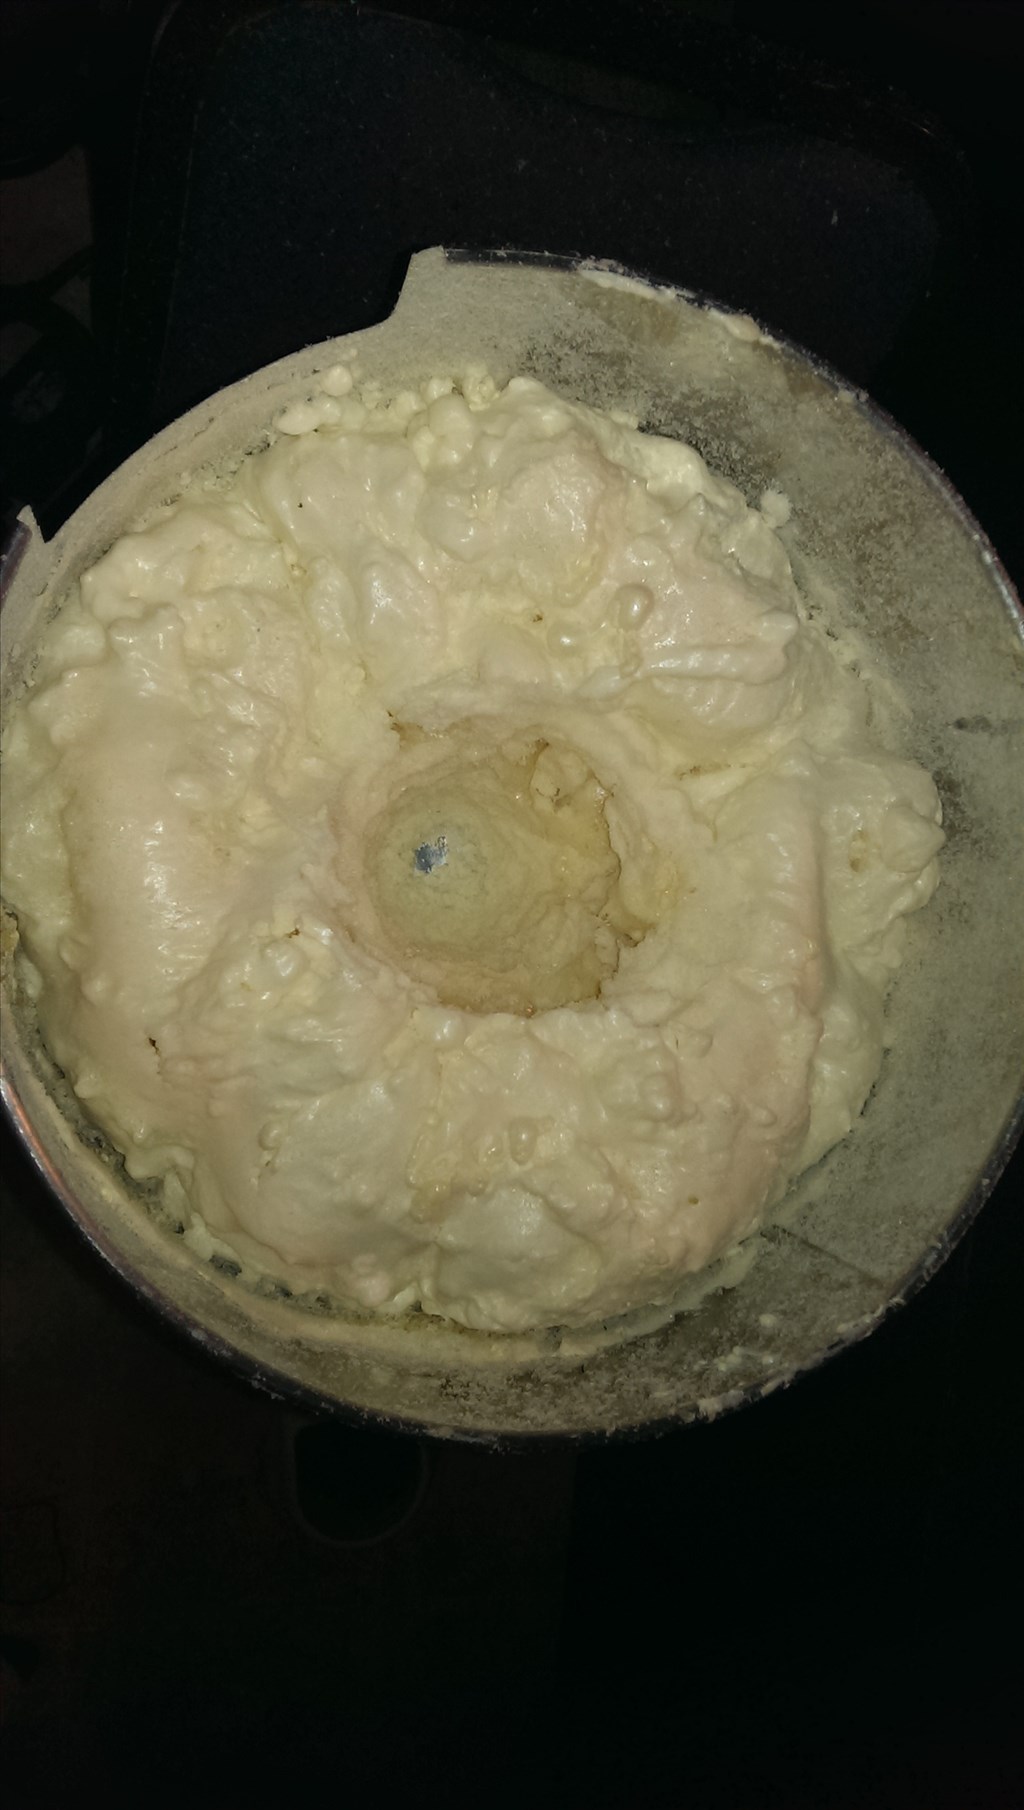
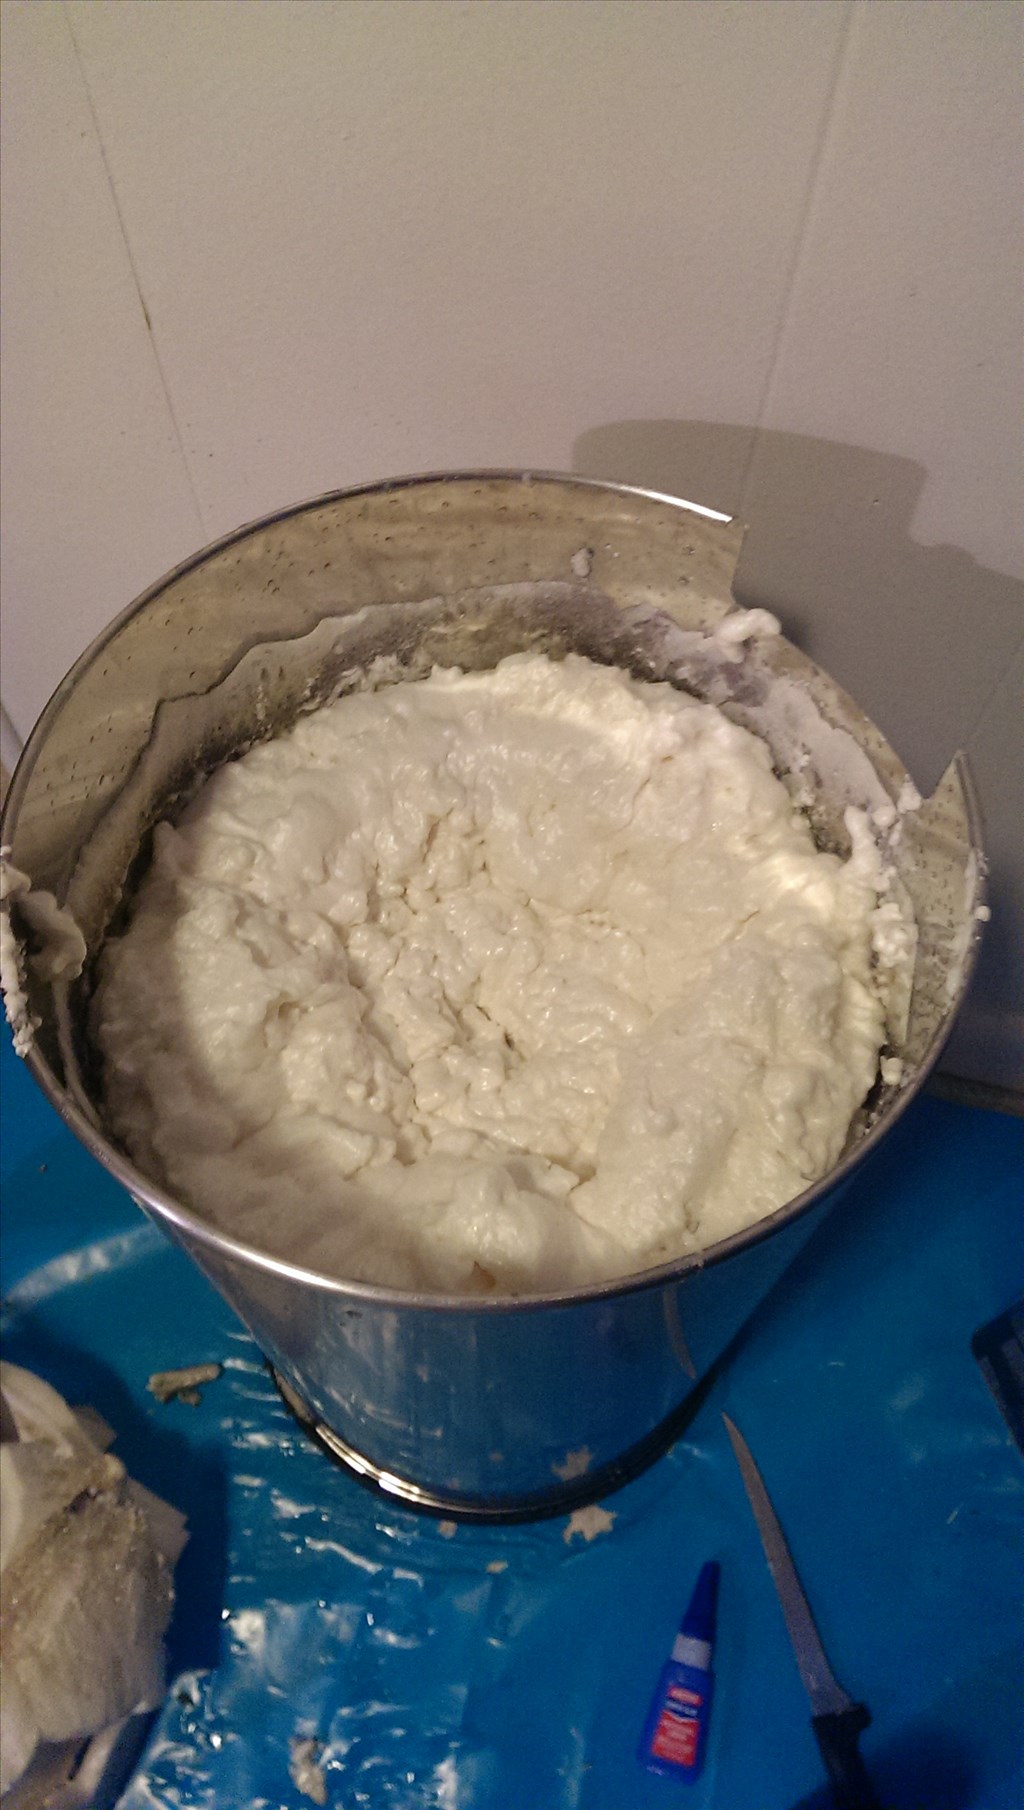
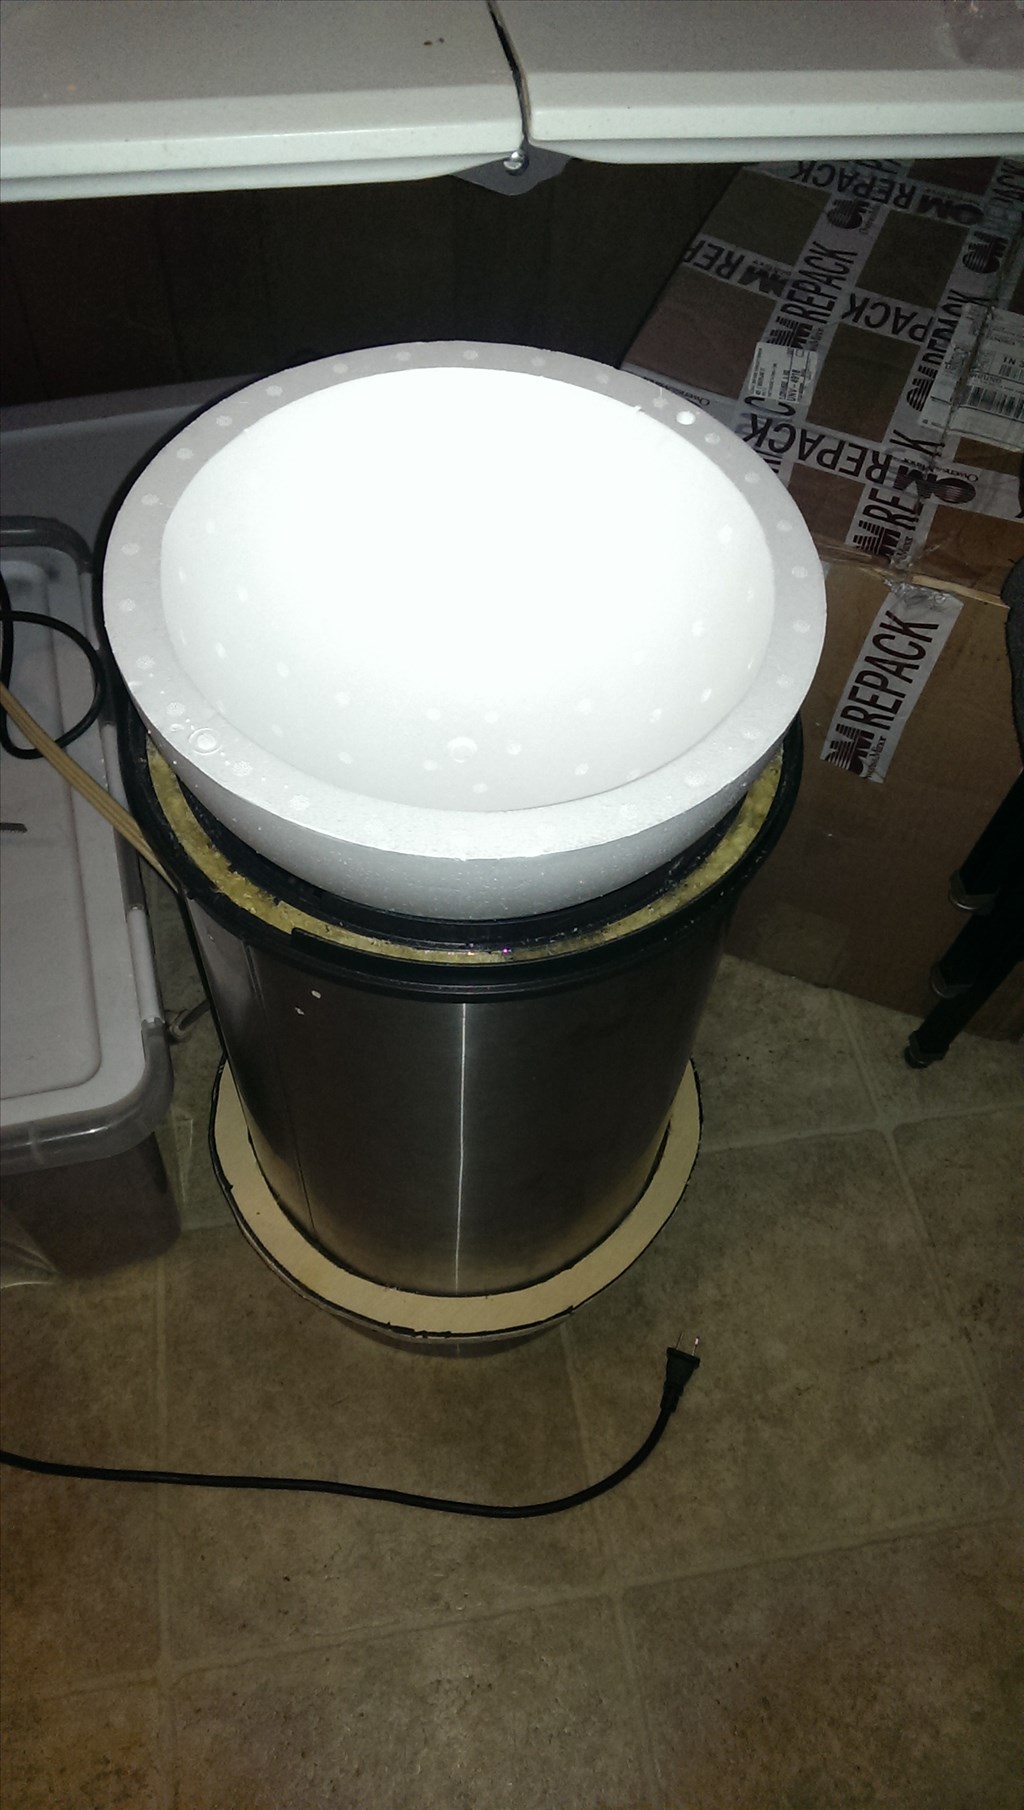
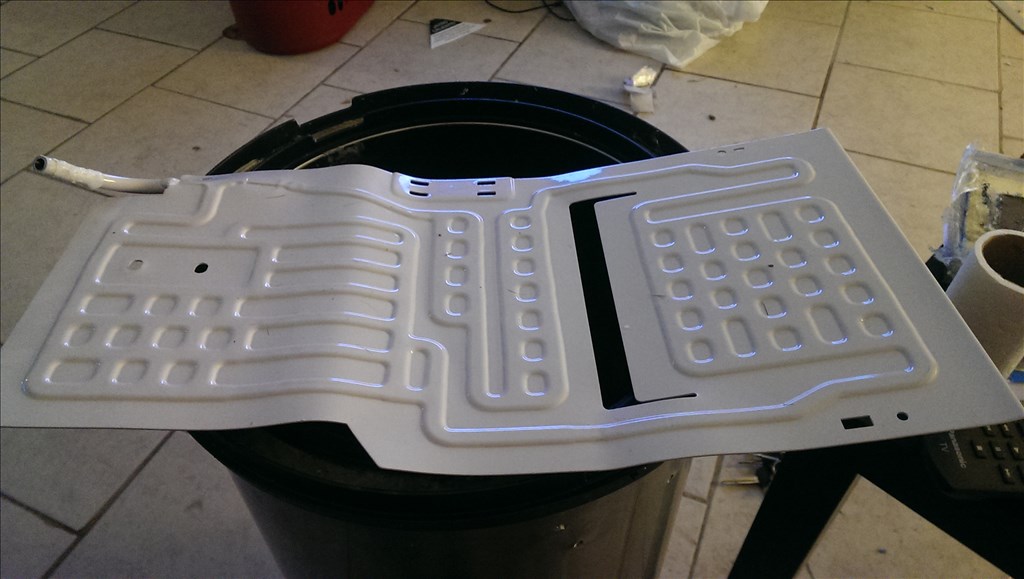
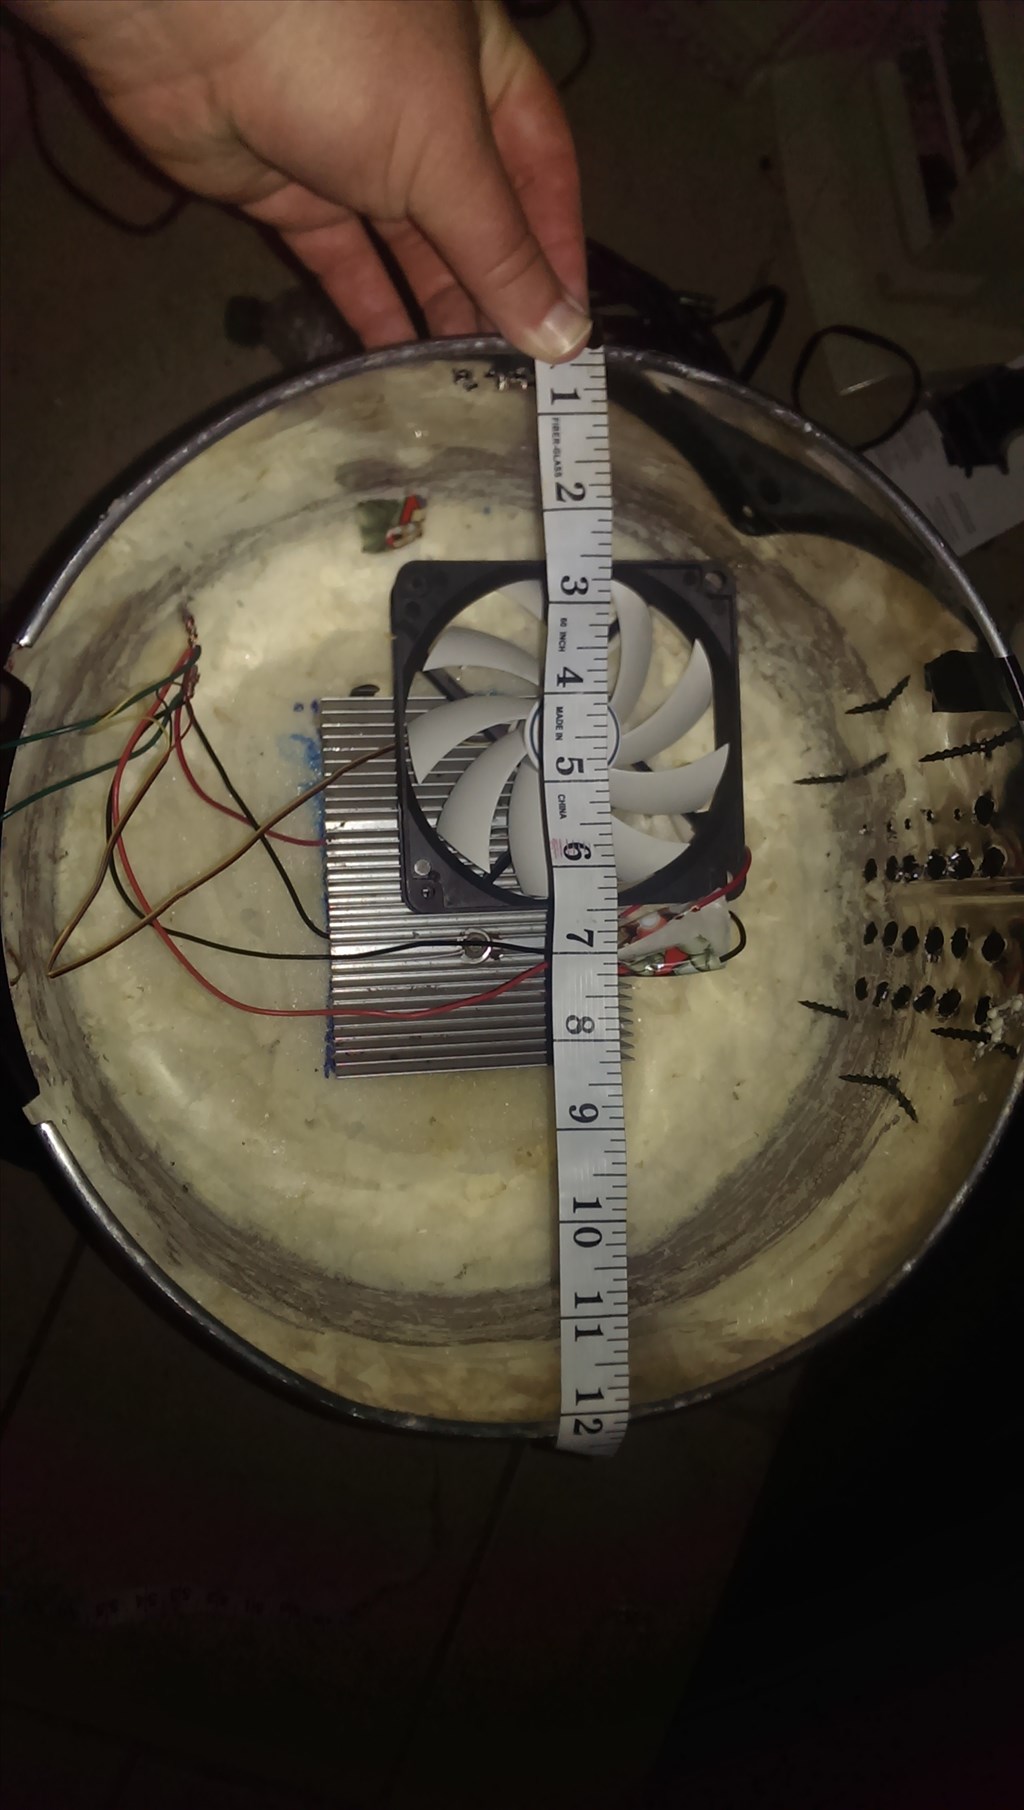
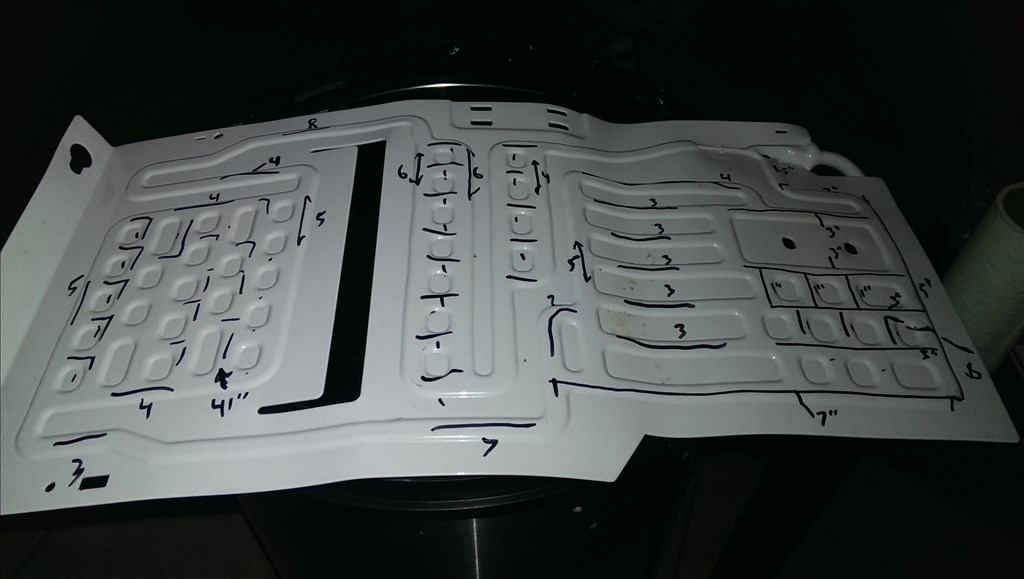
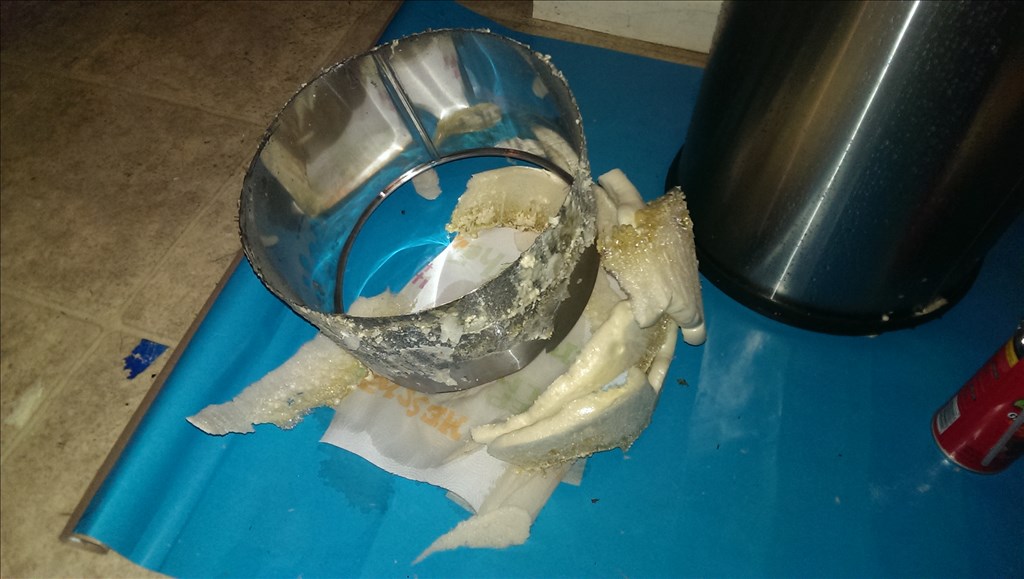
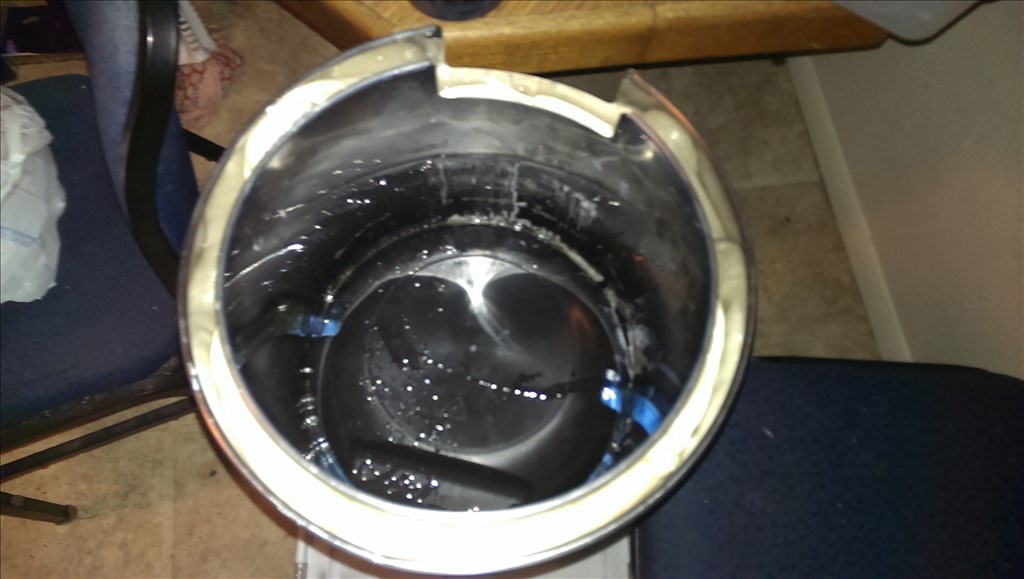
The 8 inch tall hot side of the liner removed and excess foam. This revealed something I was afraid of. The foam in the center never cured and eventually deflated into an uncured goop. The only thing I could think of was to expose it to warm water in the shower to speed up cure time.
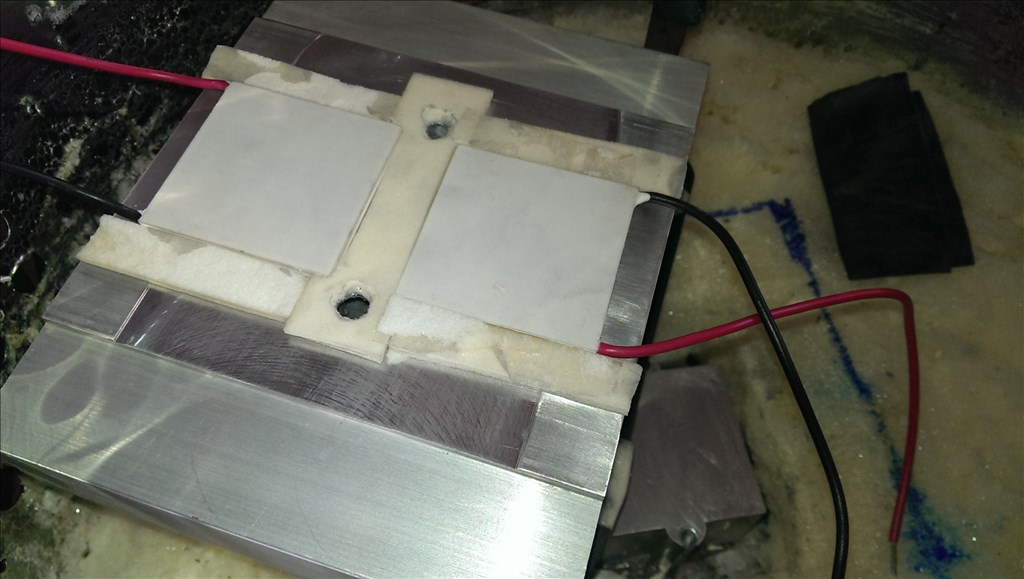
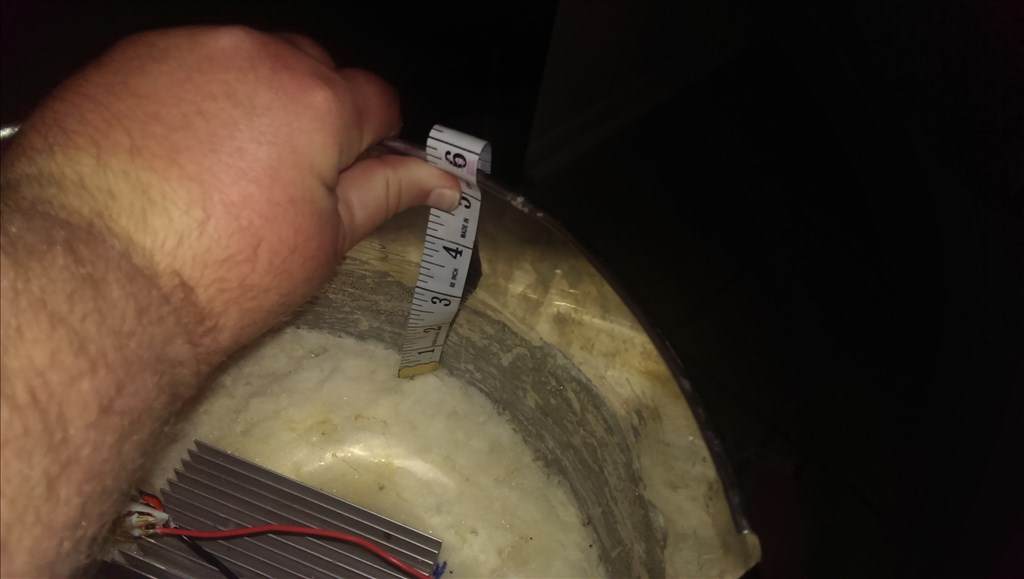
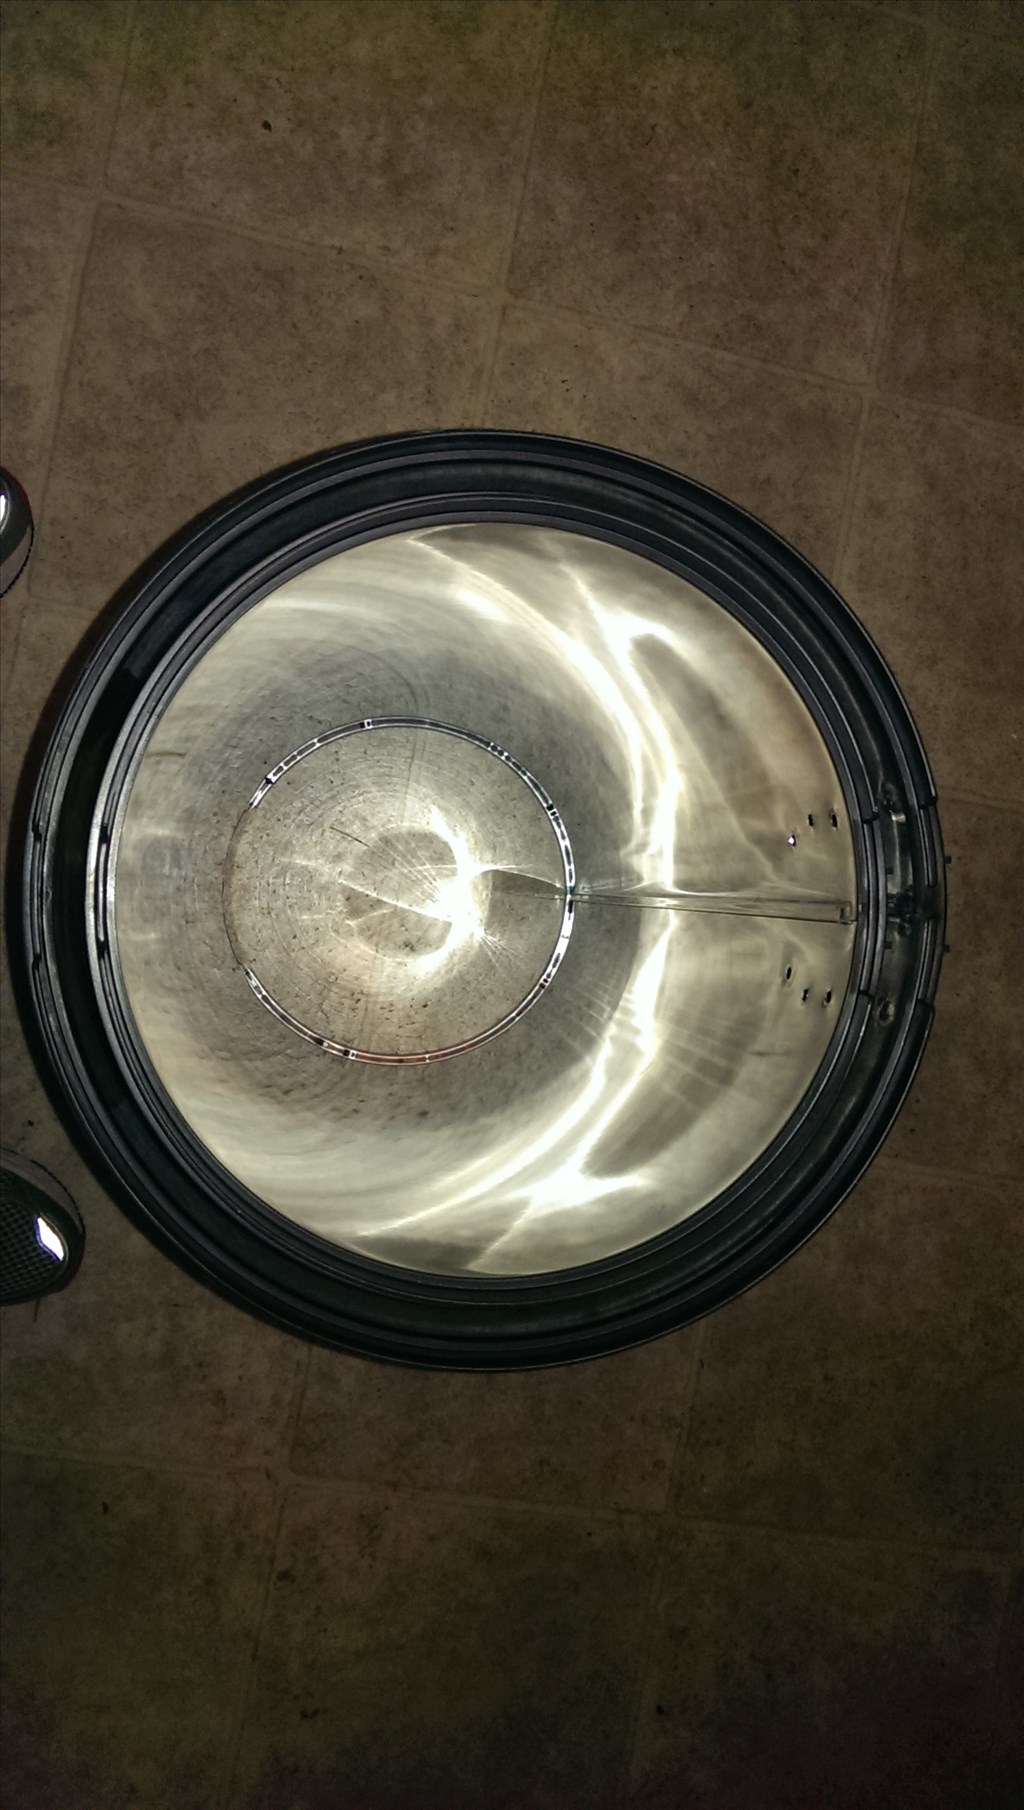
You can see there is a gap all the way around the chiller section. I'm thinking I will fill this but I will do some internet research first of foam vs dead air space. I believe foam is the answer though.
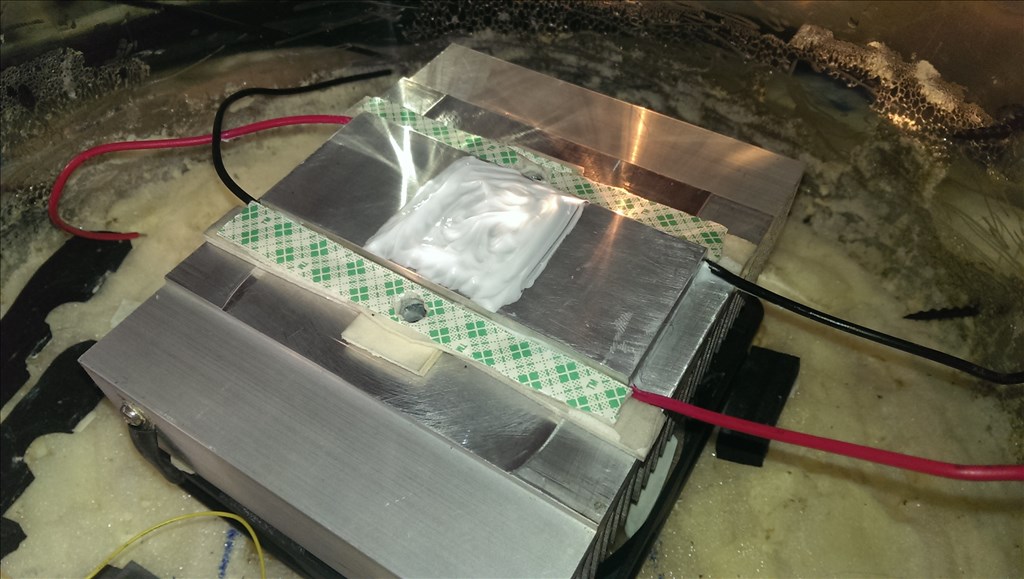
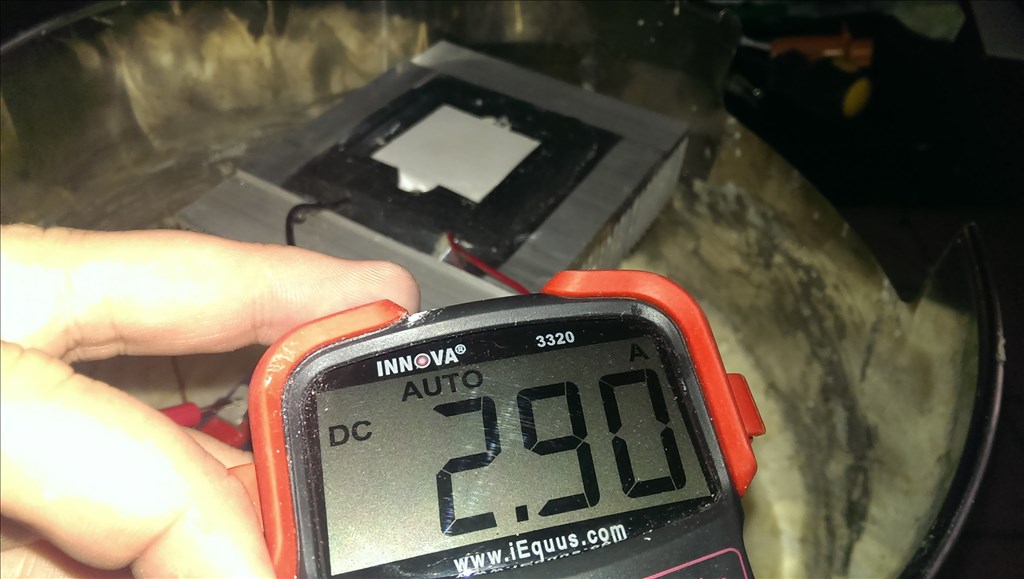
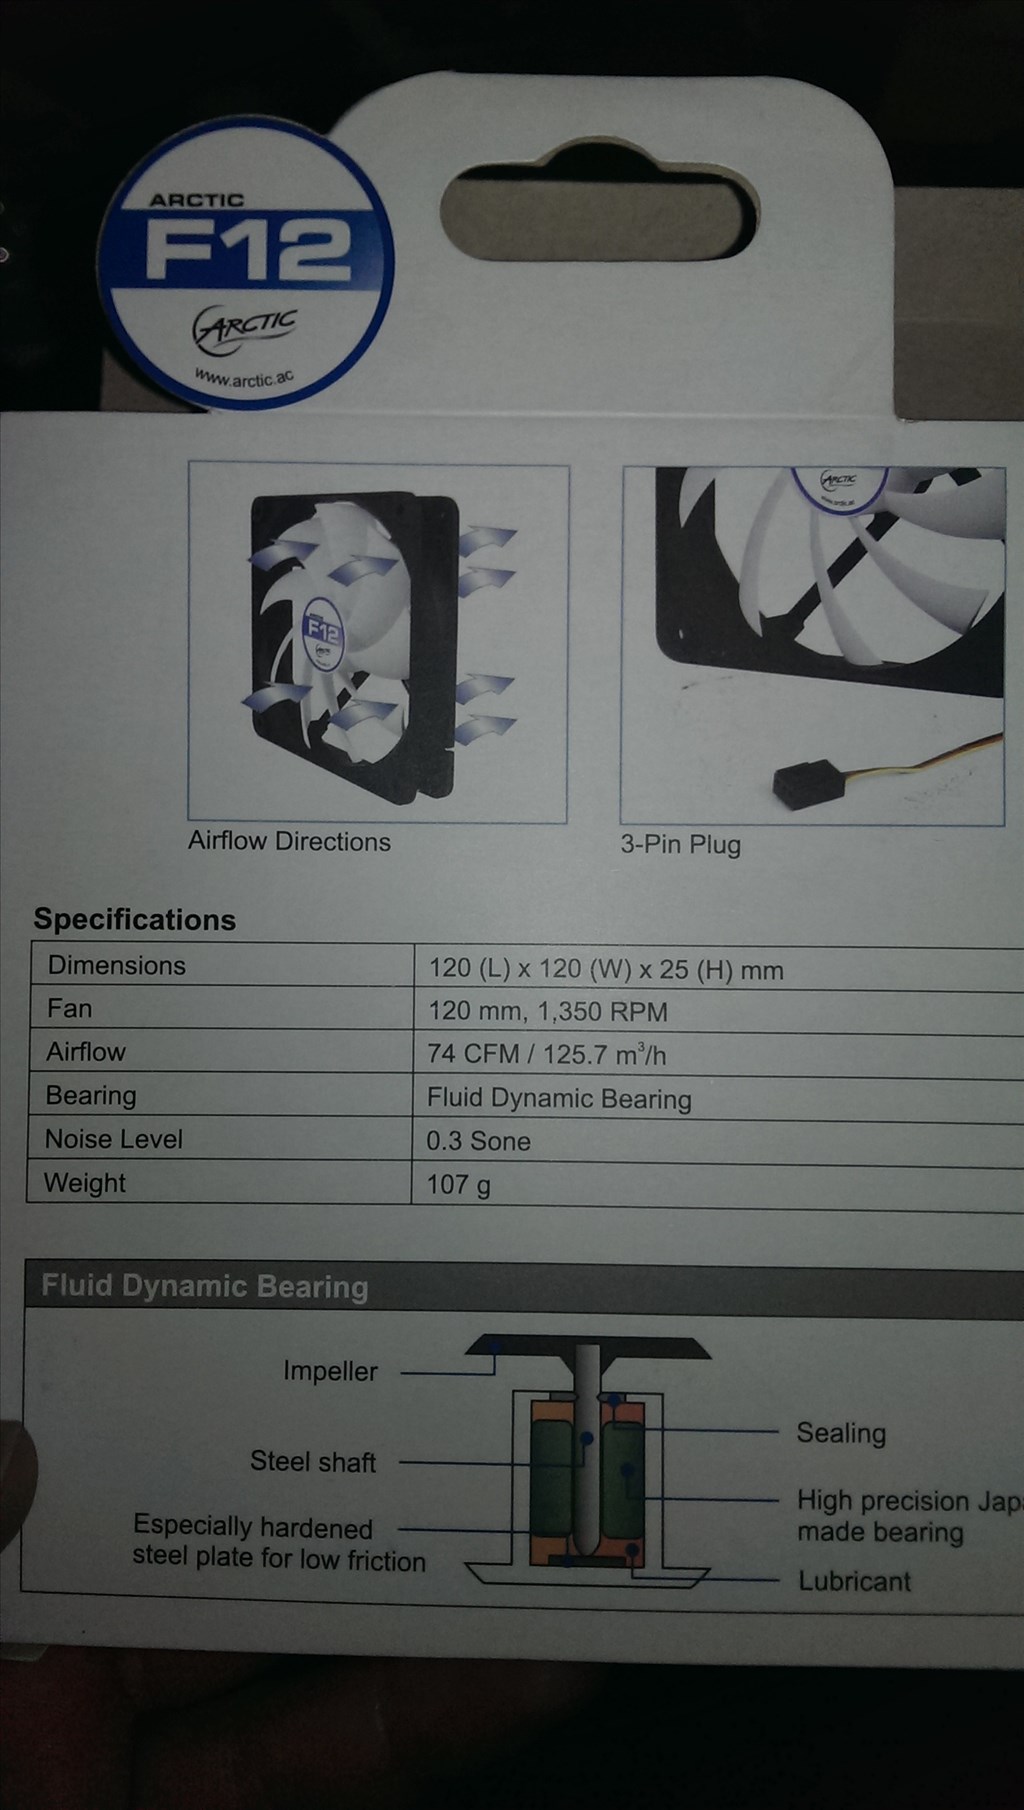
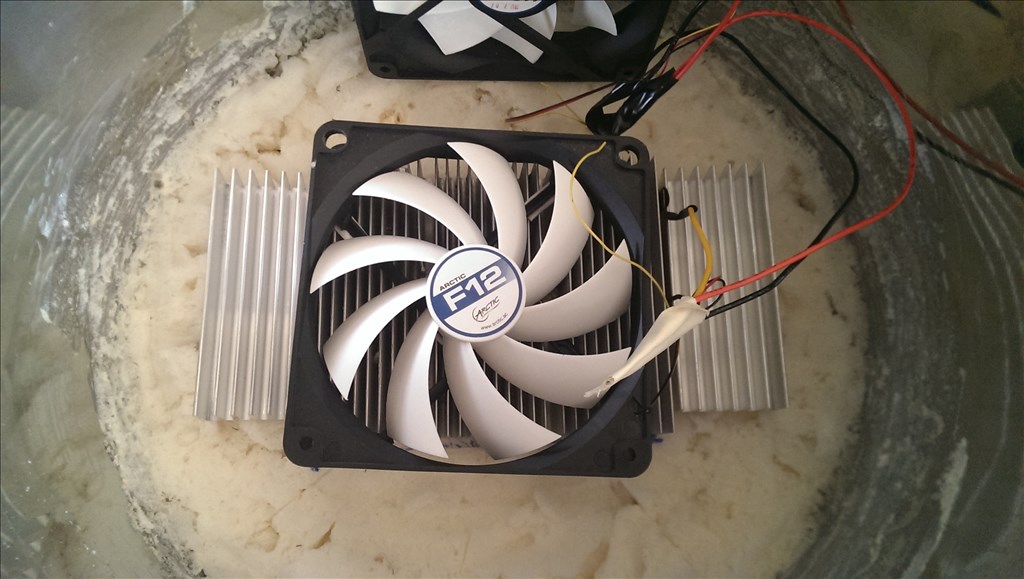
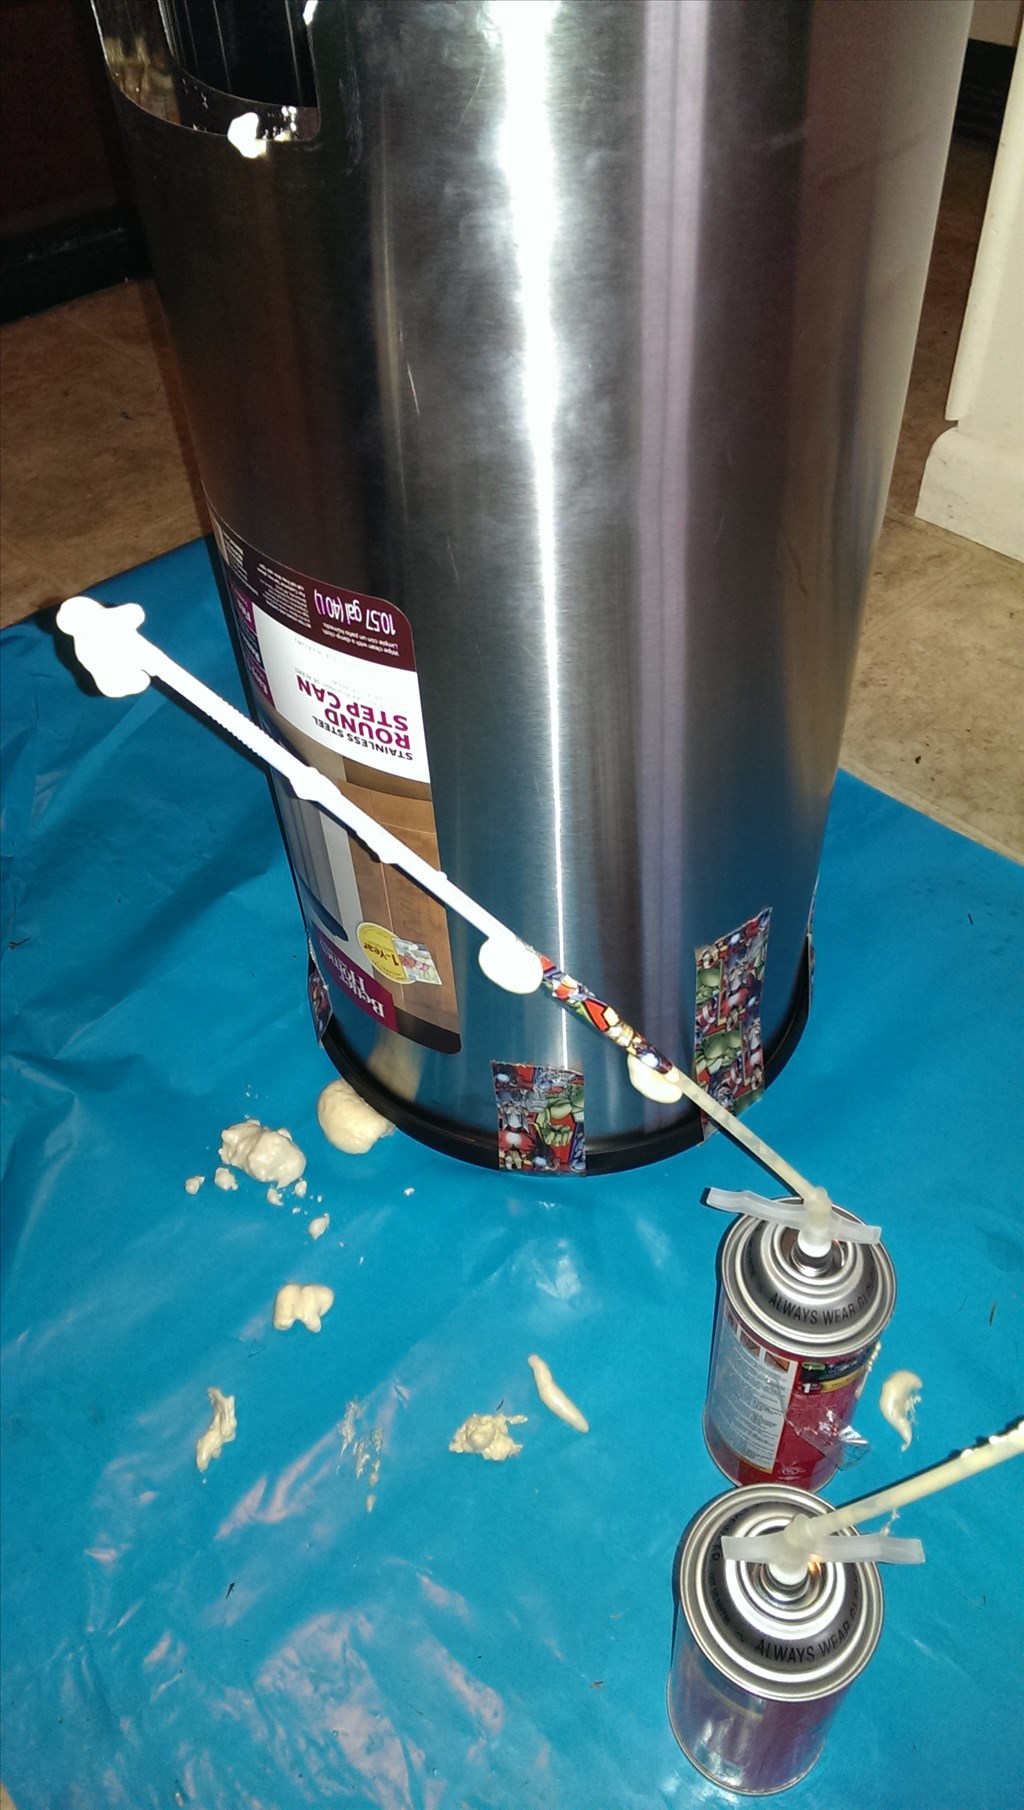
This is a ver highly rated pc fan Arctic F12. The specs are at 12 volts but I'm considering overvolting to 16 -24 volts to increase airflow.Ok foam won. I filled the lower end of the sides and bottom of the beer robot body with another can of great stuff foam insulation from DOW. That's 10 dollars worth or three cans if your counting. I was going to just use a solid foam sheet to cover the bottom but there's no point in more work as this is made to do the job I'm asking of it. I made a video and posted to YouTube. I meant to say water speeds up the process and drops cure time in half but I said it doubles it on accident at first in the video. Sorry about the gaff!
https://www.youtube.com/watch?v=FfM6iF8WoYg&feature=youtube_gdata_player
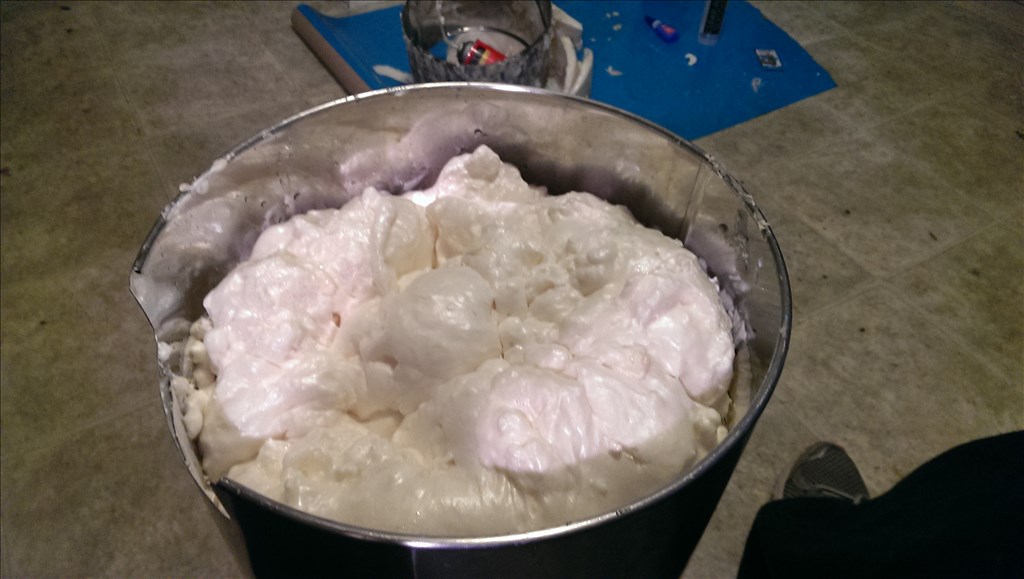
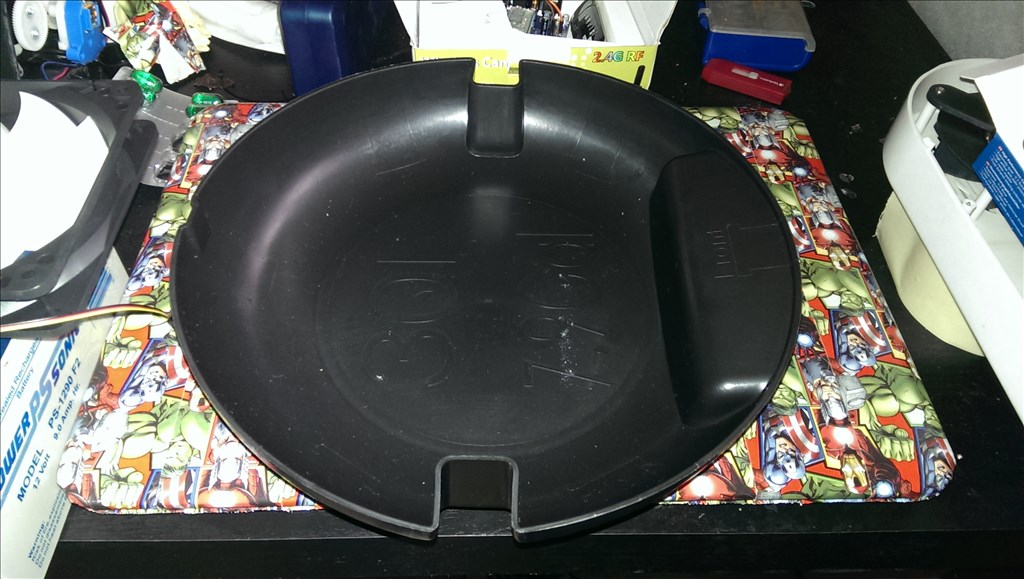
Tiny update , this stuff expanded a great deal. I'm only concerned I put in too much at once because I don't want the inside to deflate and be mush. If I must I will buy one more can for touch ups. I poked lots off holes with a long knife with hopes it would allow air into spots that otherwise would not have hardened. What I've learned is it's probably best to avoid getting it deeper than 4 or 5 inches then dry and add more.

At ten min afterwards...
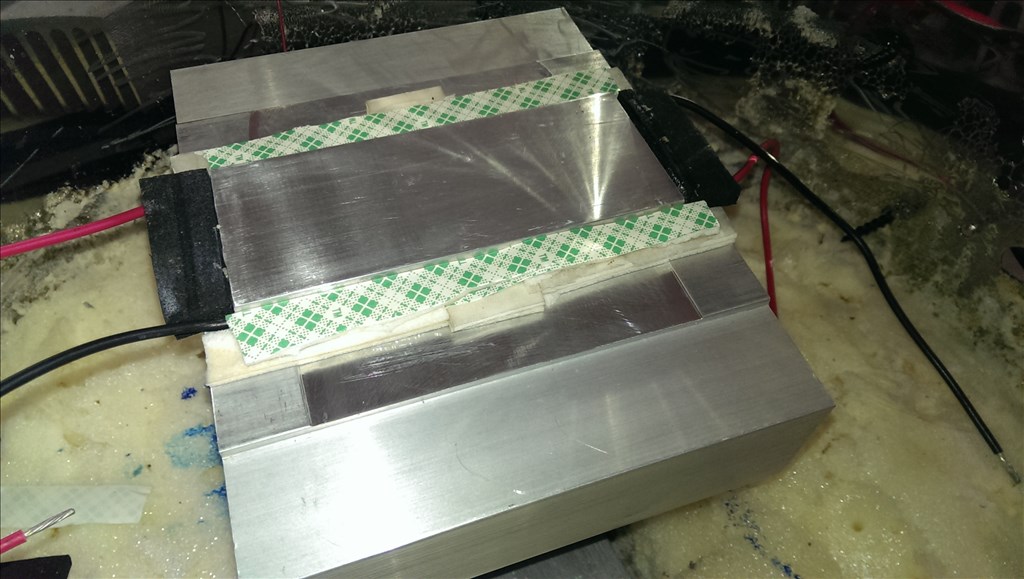
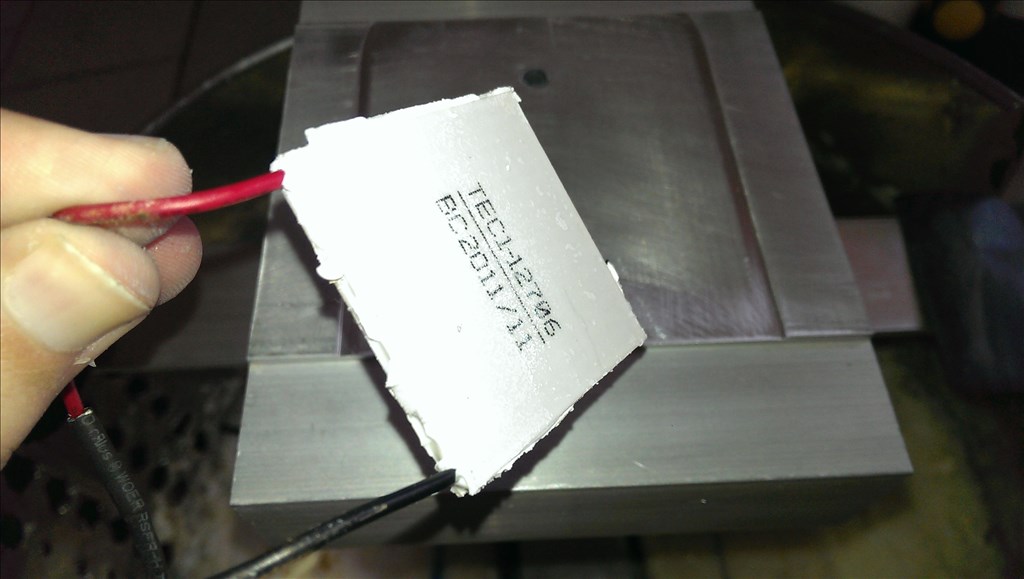
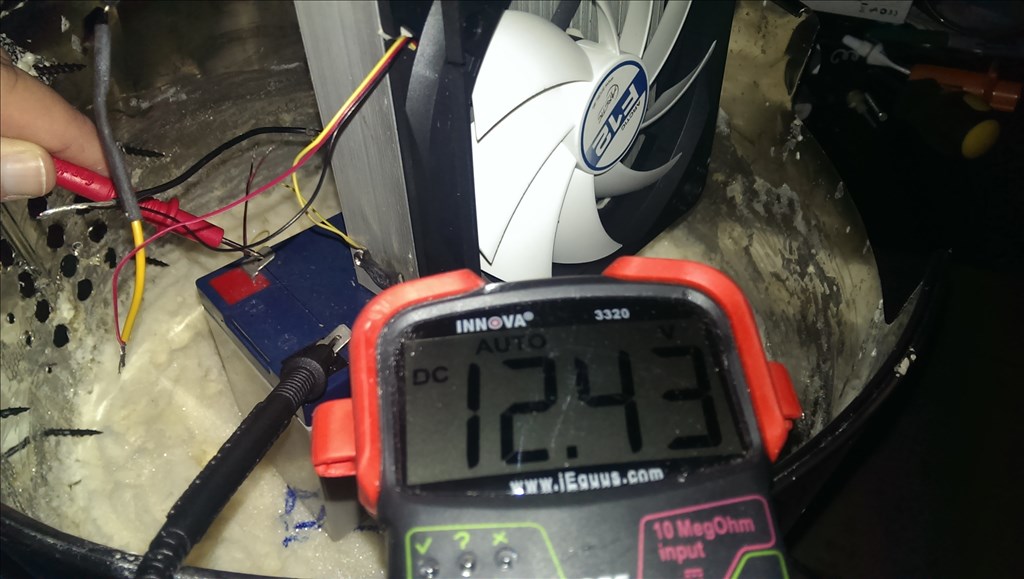
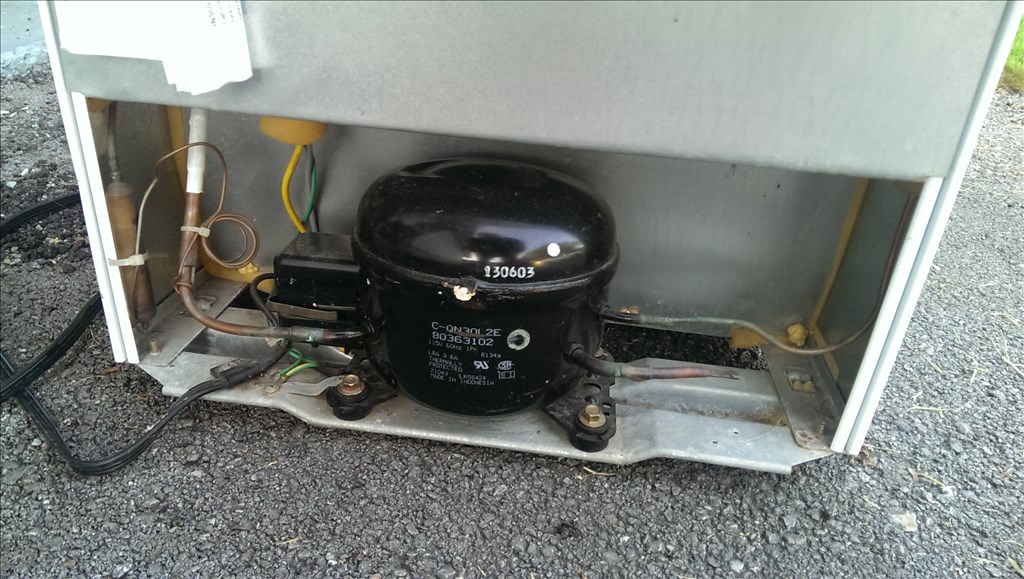
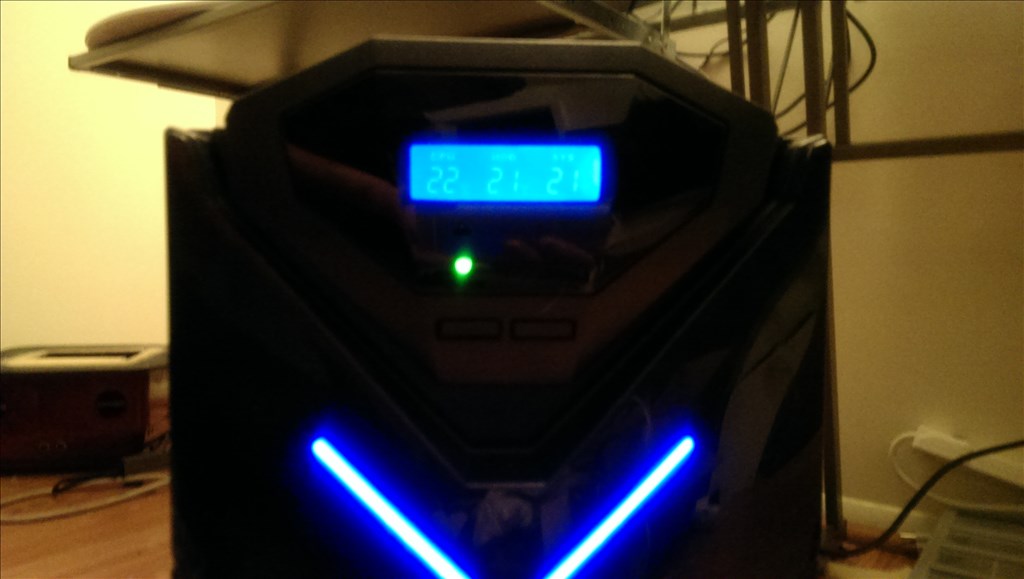
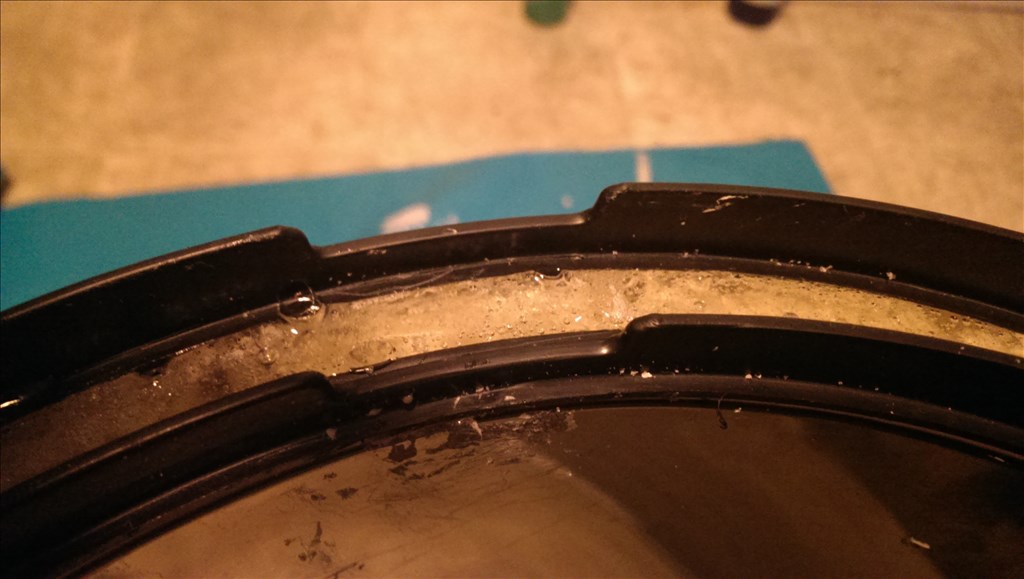
45 min afterwards.. the outside couple inches have dried it's deep down I'm concerned with. We will see tomorrow when I get to trim it back if it worked.Lastly tonight I used the silicone caulk and sealed up the edge all the way around the chiller heatsink and around the drip pan edges. I don't want this to leak condensation in any way unless it's on purpose. My phone was dead so I couldn't do a video for that. To touch in the video I talked about the fans im using and considering raising the voltage to them to at least 16 volts if not up to 24 volts. The pc fans are 12 volts from the manufacturer. At 12 volts the fans produce about 18 db which unless your ear is 5 inches away is practically silent. This is due to the larger 120mm size and sickle blade style which produces the most volume with the least noise.
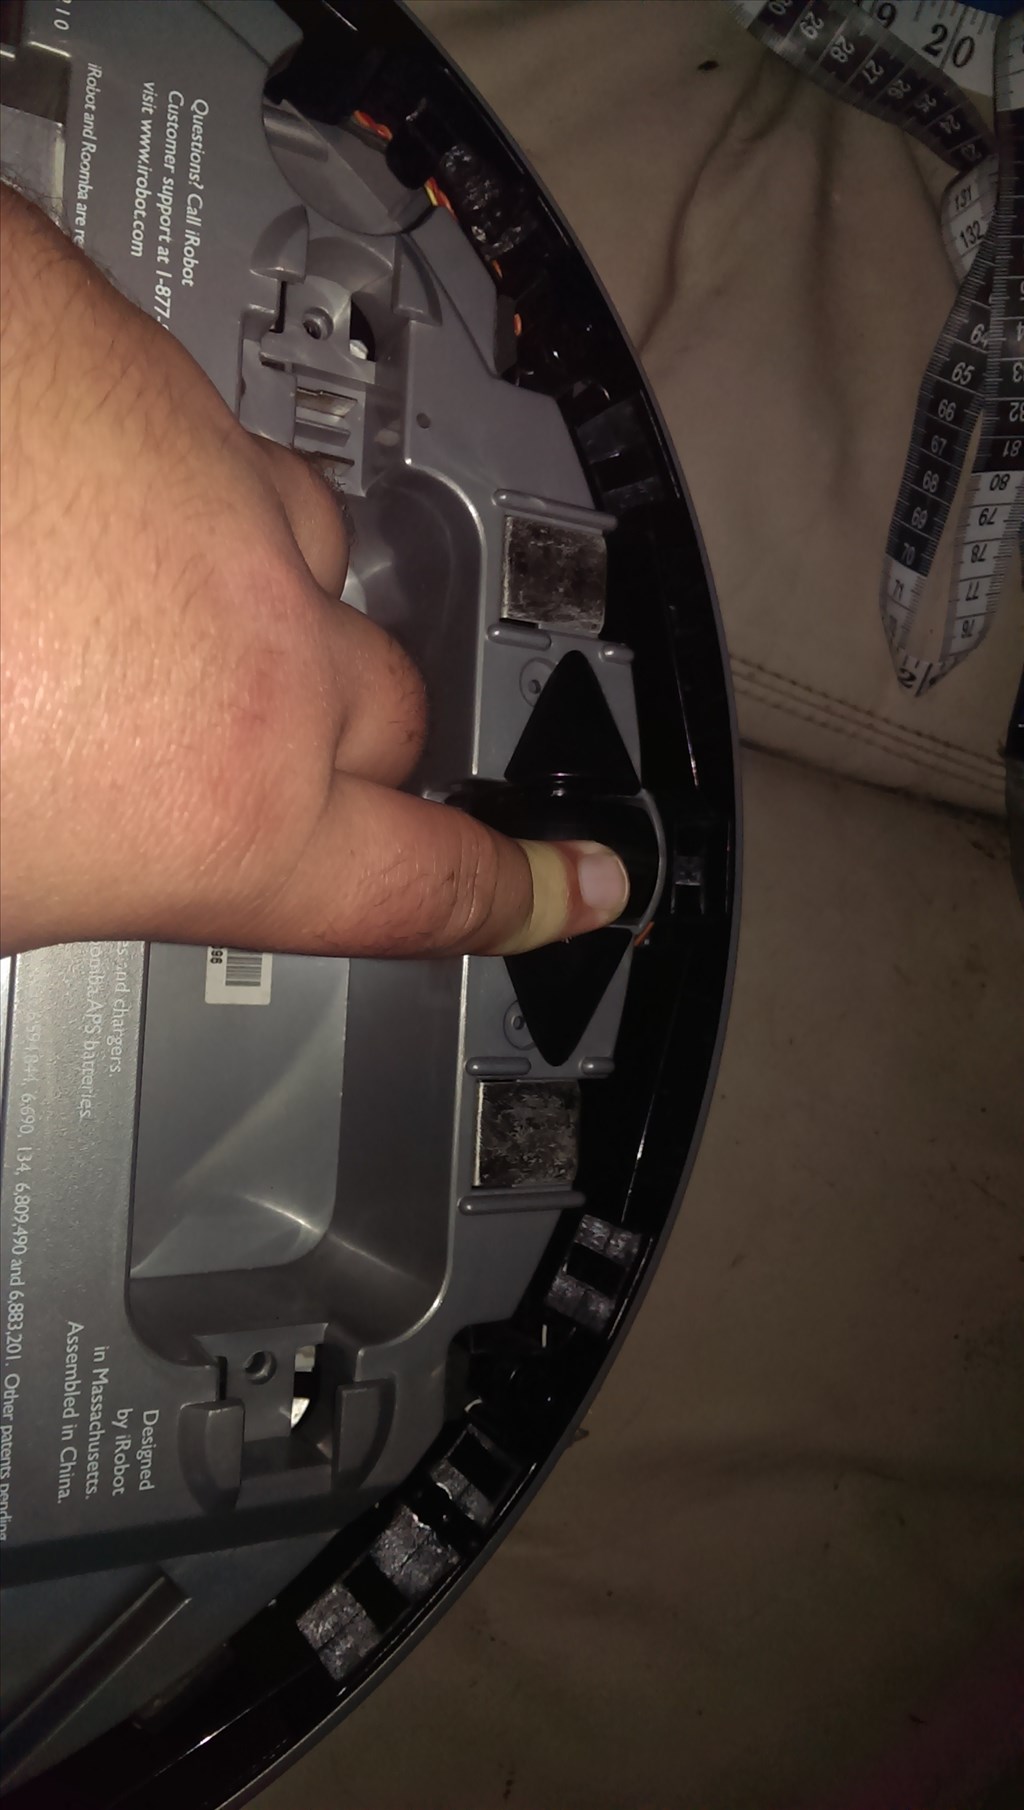
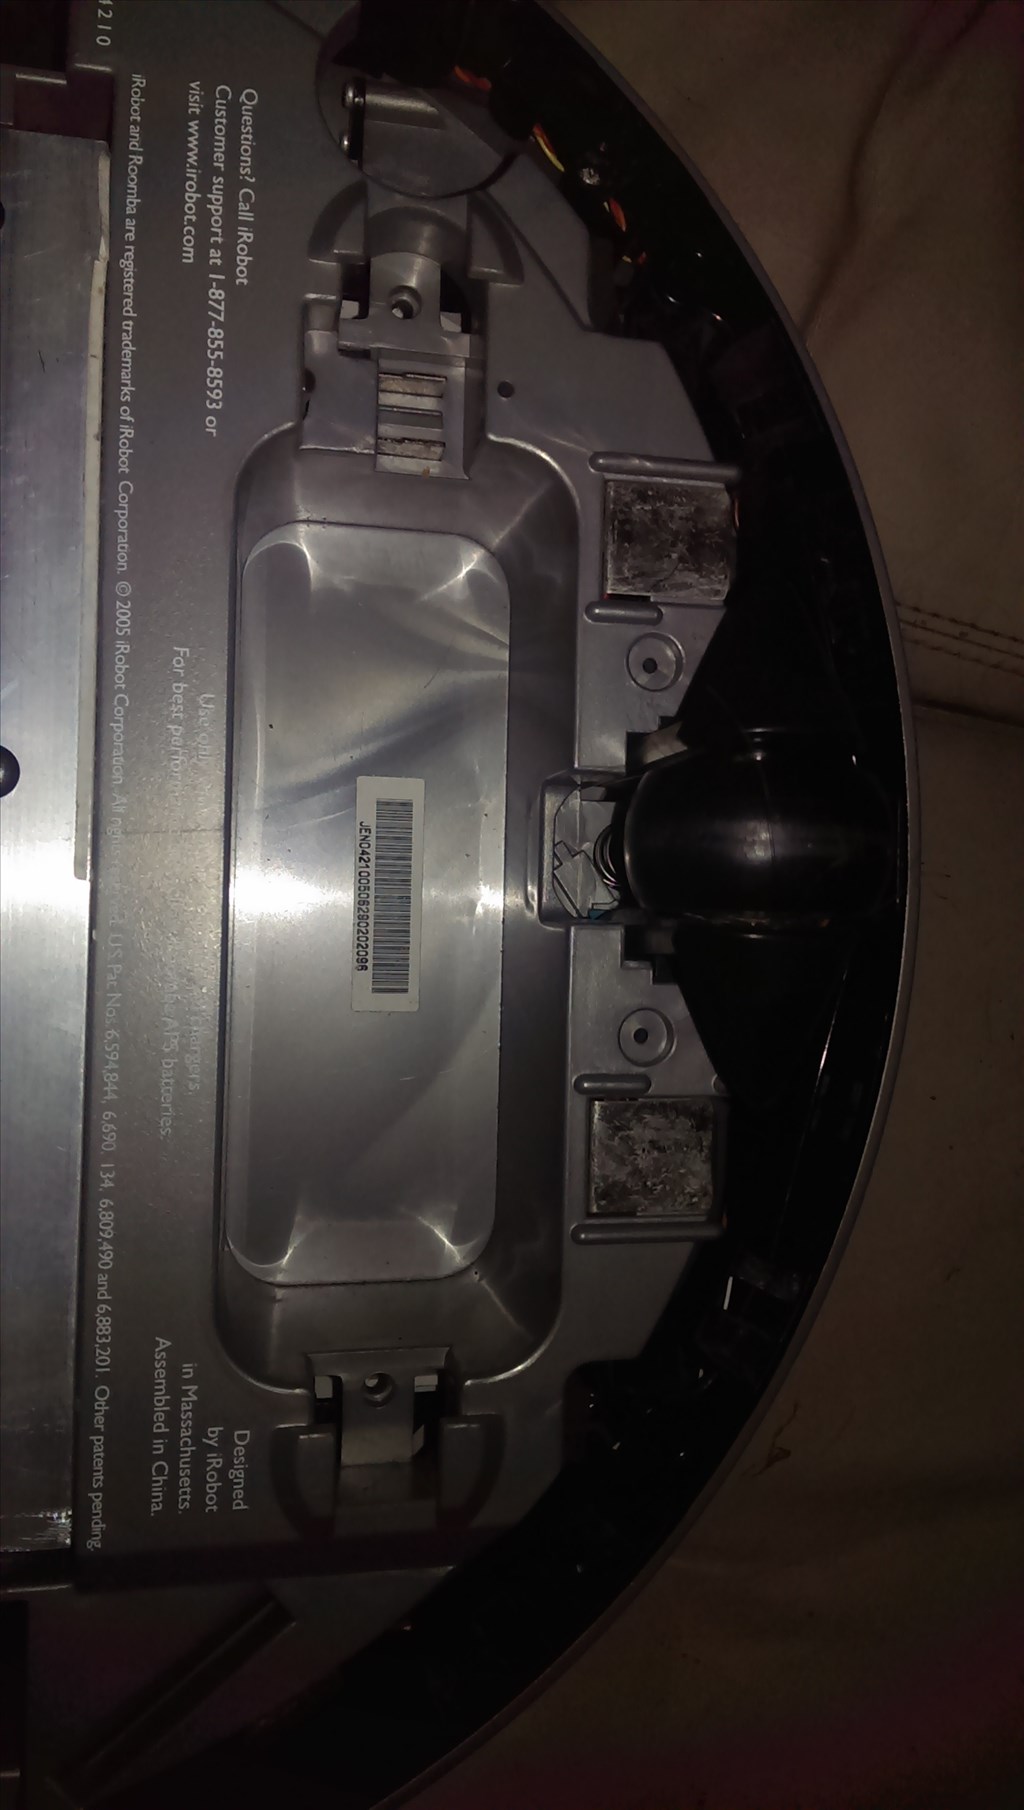
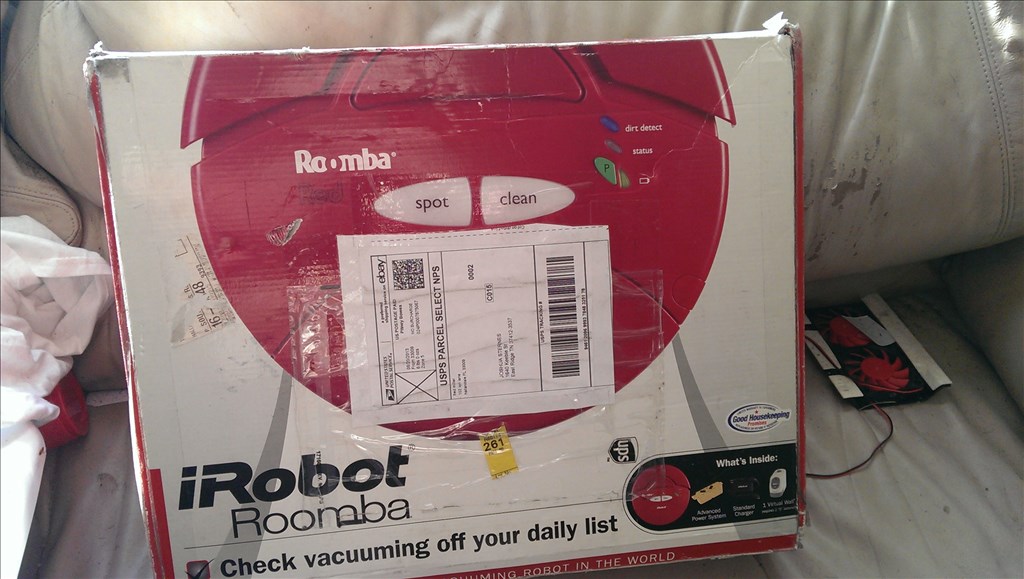
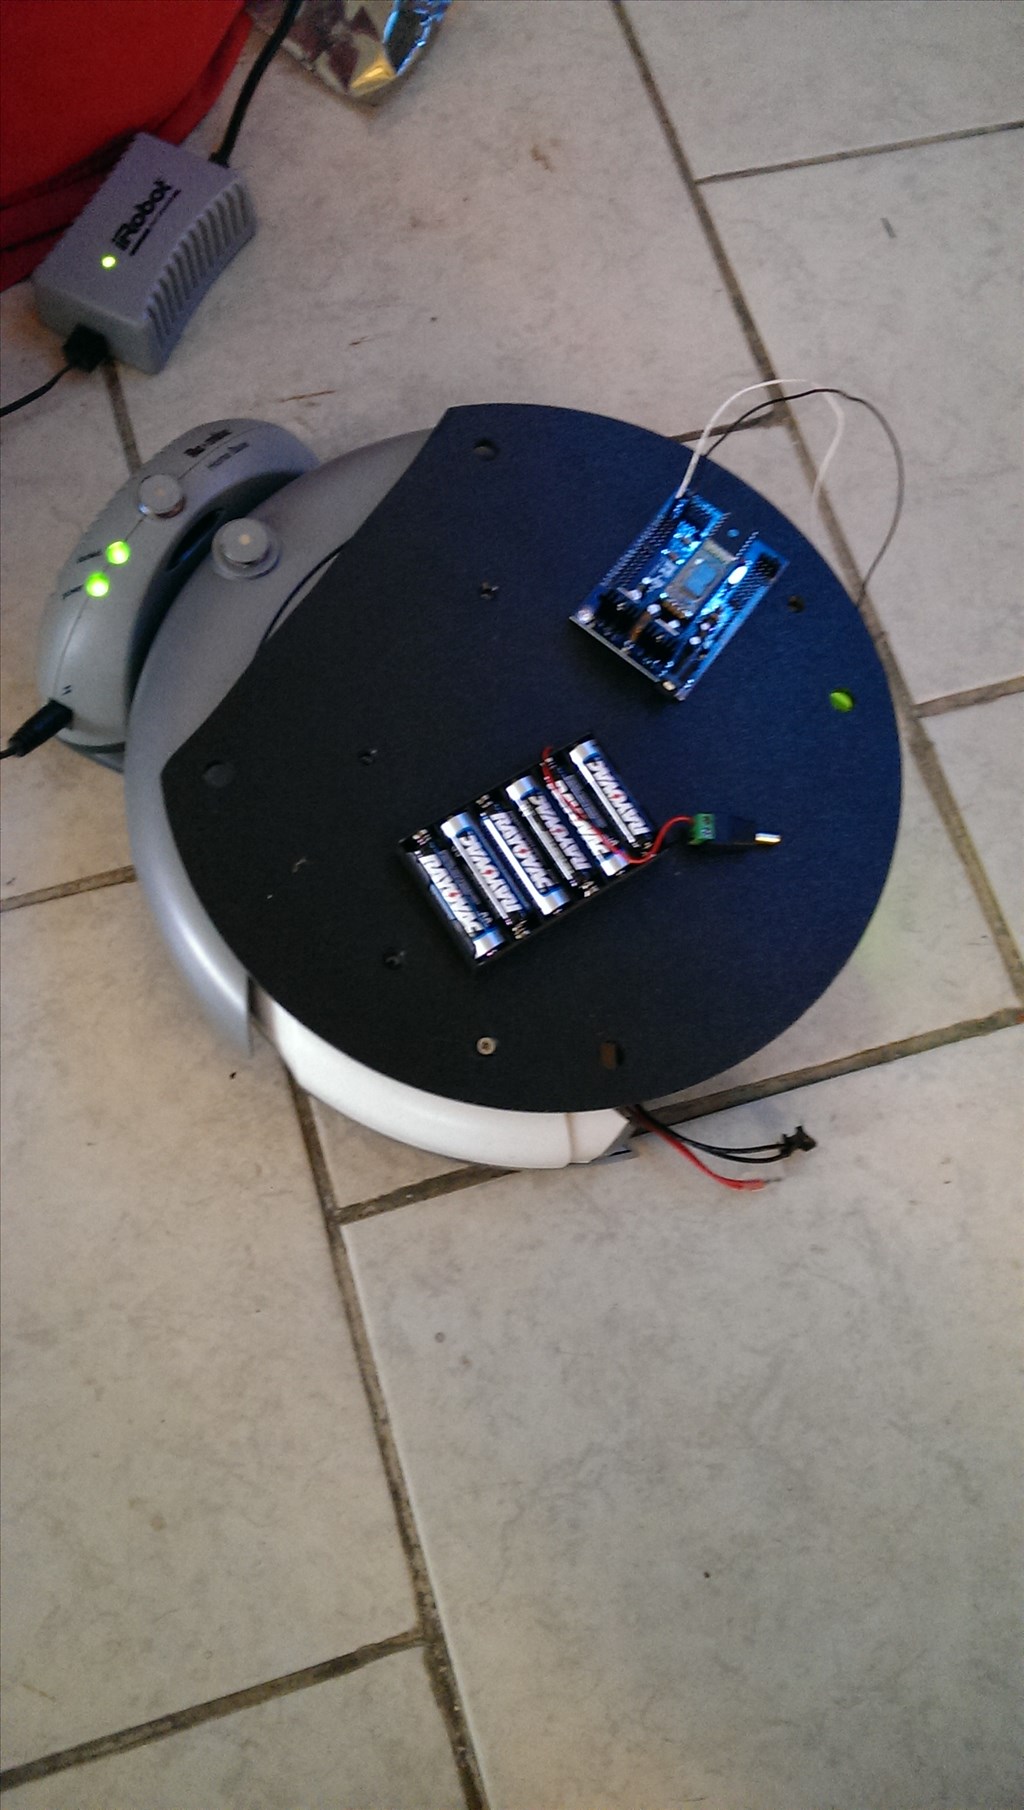
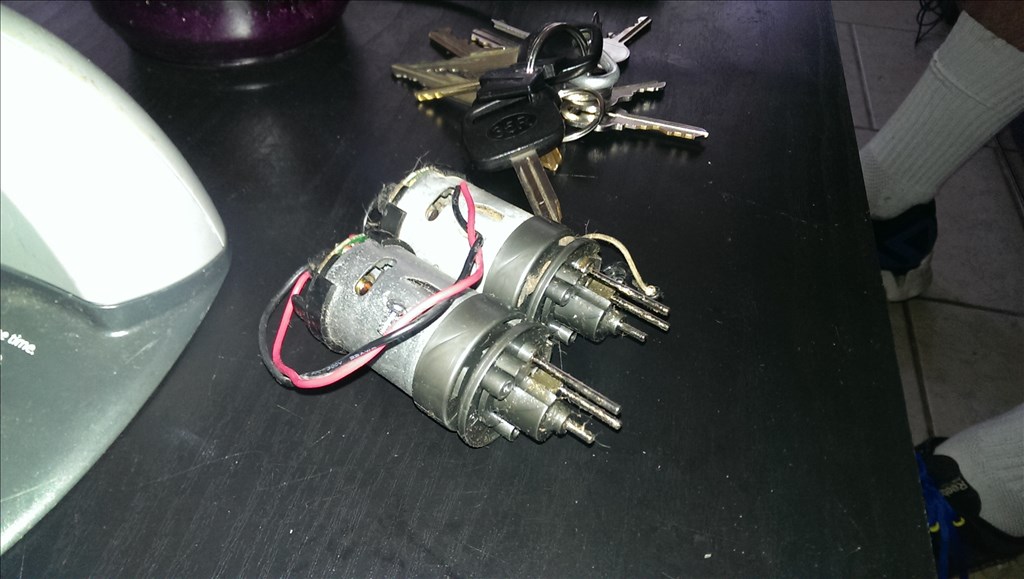
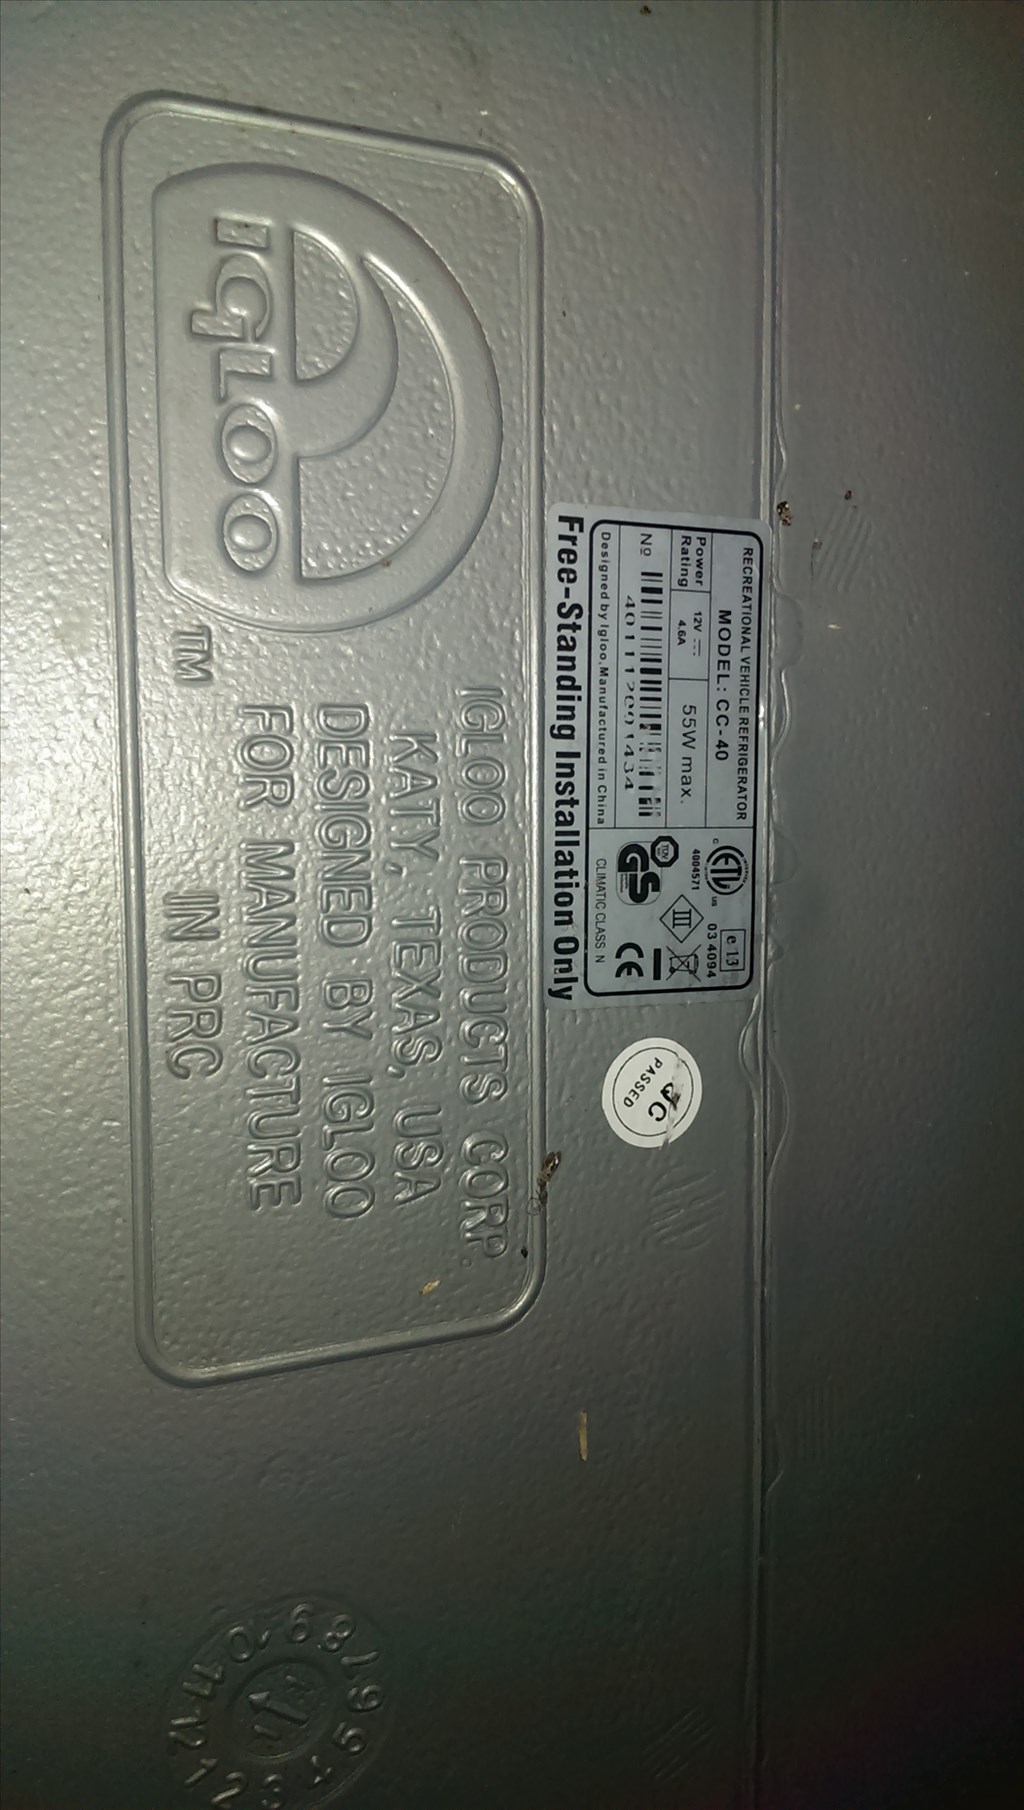
After sitting 6 hours it appears to have hardened up. I believe the holes poked allowed air to get past the outside skin so the inside could cure. Next is to use the dremel and a carbide drum bit to clear out the excess foam because it expands way past where I want insulation to stop. Hopefully all the foam hardened and everything is peachy. Worse case scenario I cut it back and need to make touch ups. As far as the base I'm getting a Roomba 4xx series I believe from Fred /robotmaker. He is doing a battery mod on it so I can run it from a regular 12 volt battery instead of needing a special roomba battery. Hopefully he will be able to get this out today as the time to start fitting the case onto a motorized base is right around the corner. Other things I can do if the base is not here yet.