
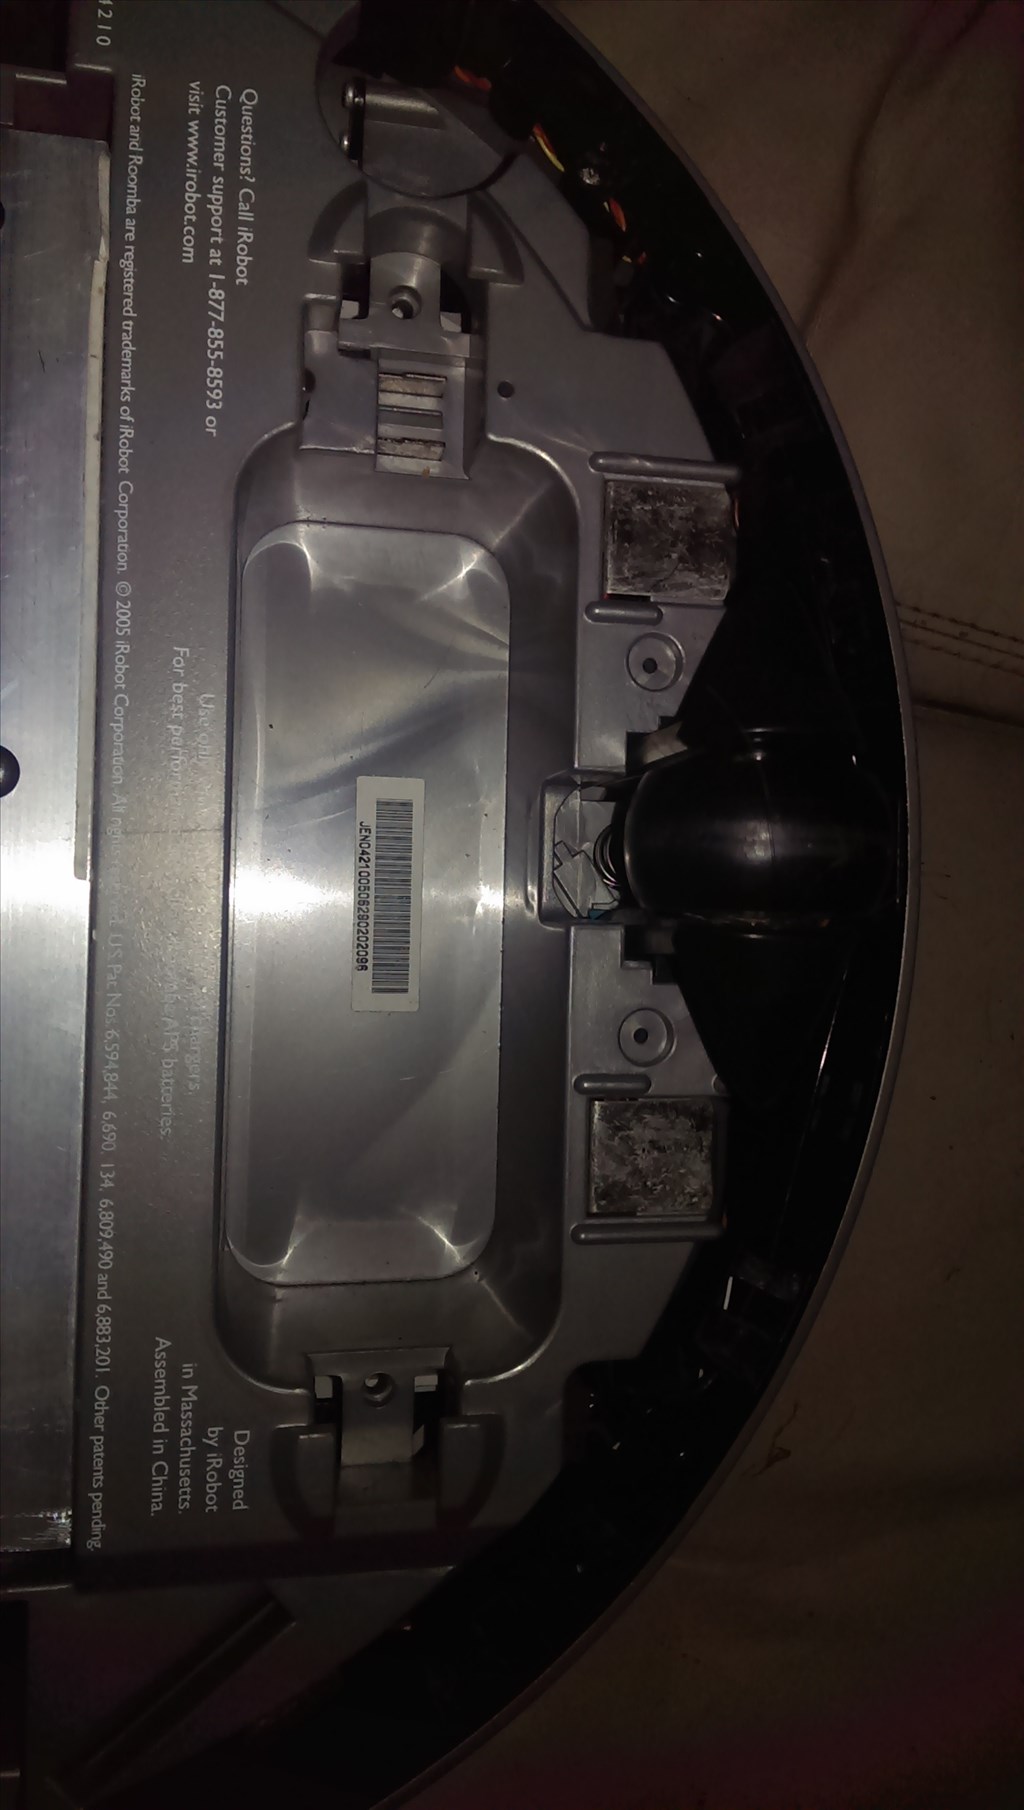

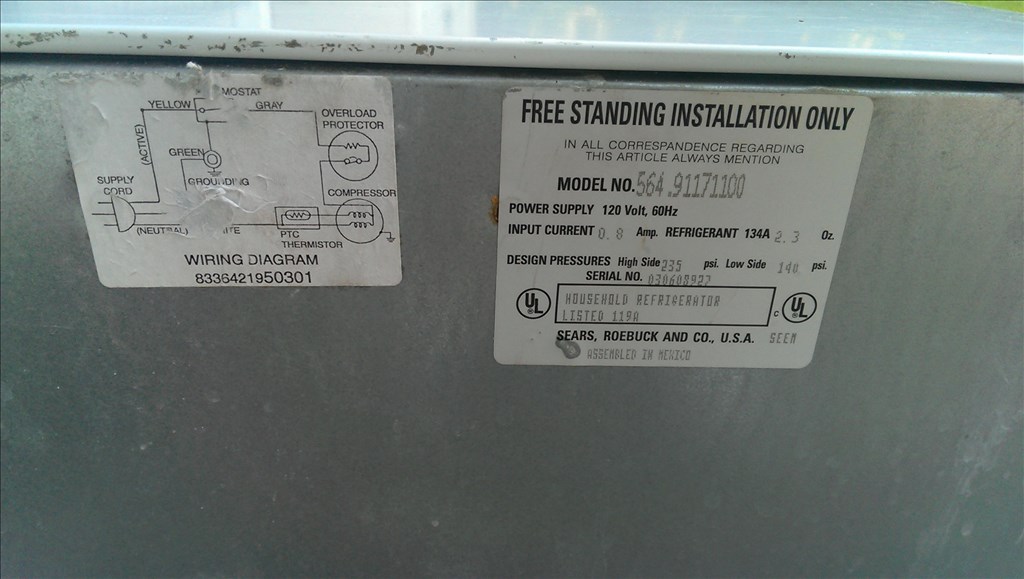
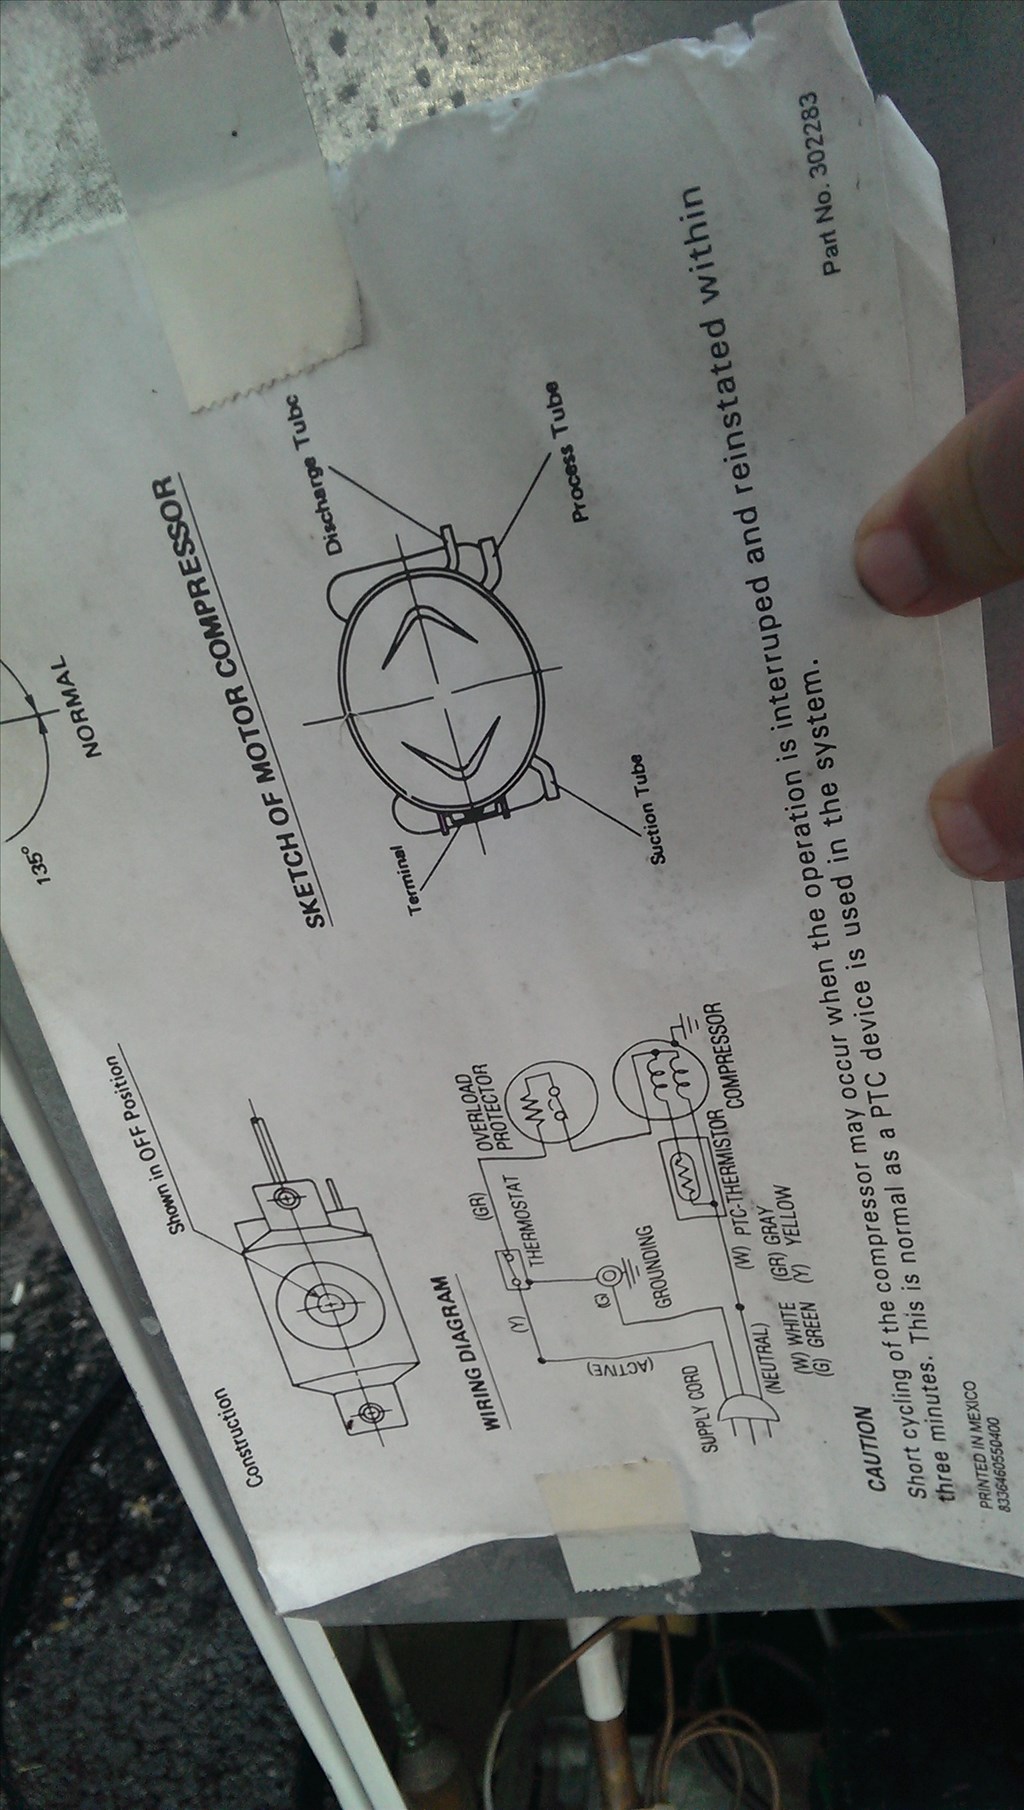


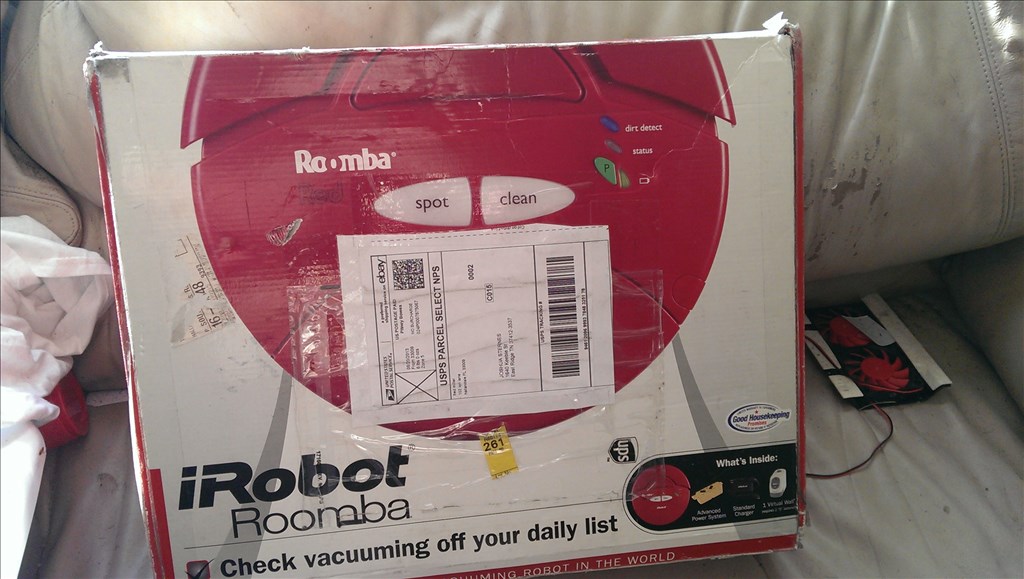
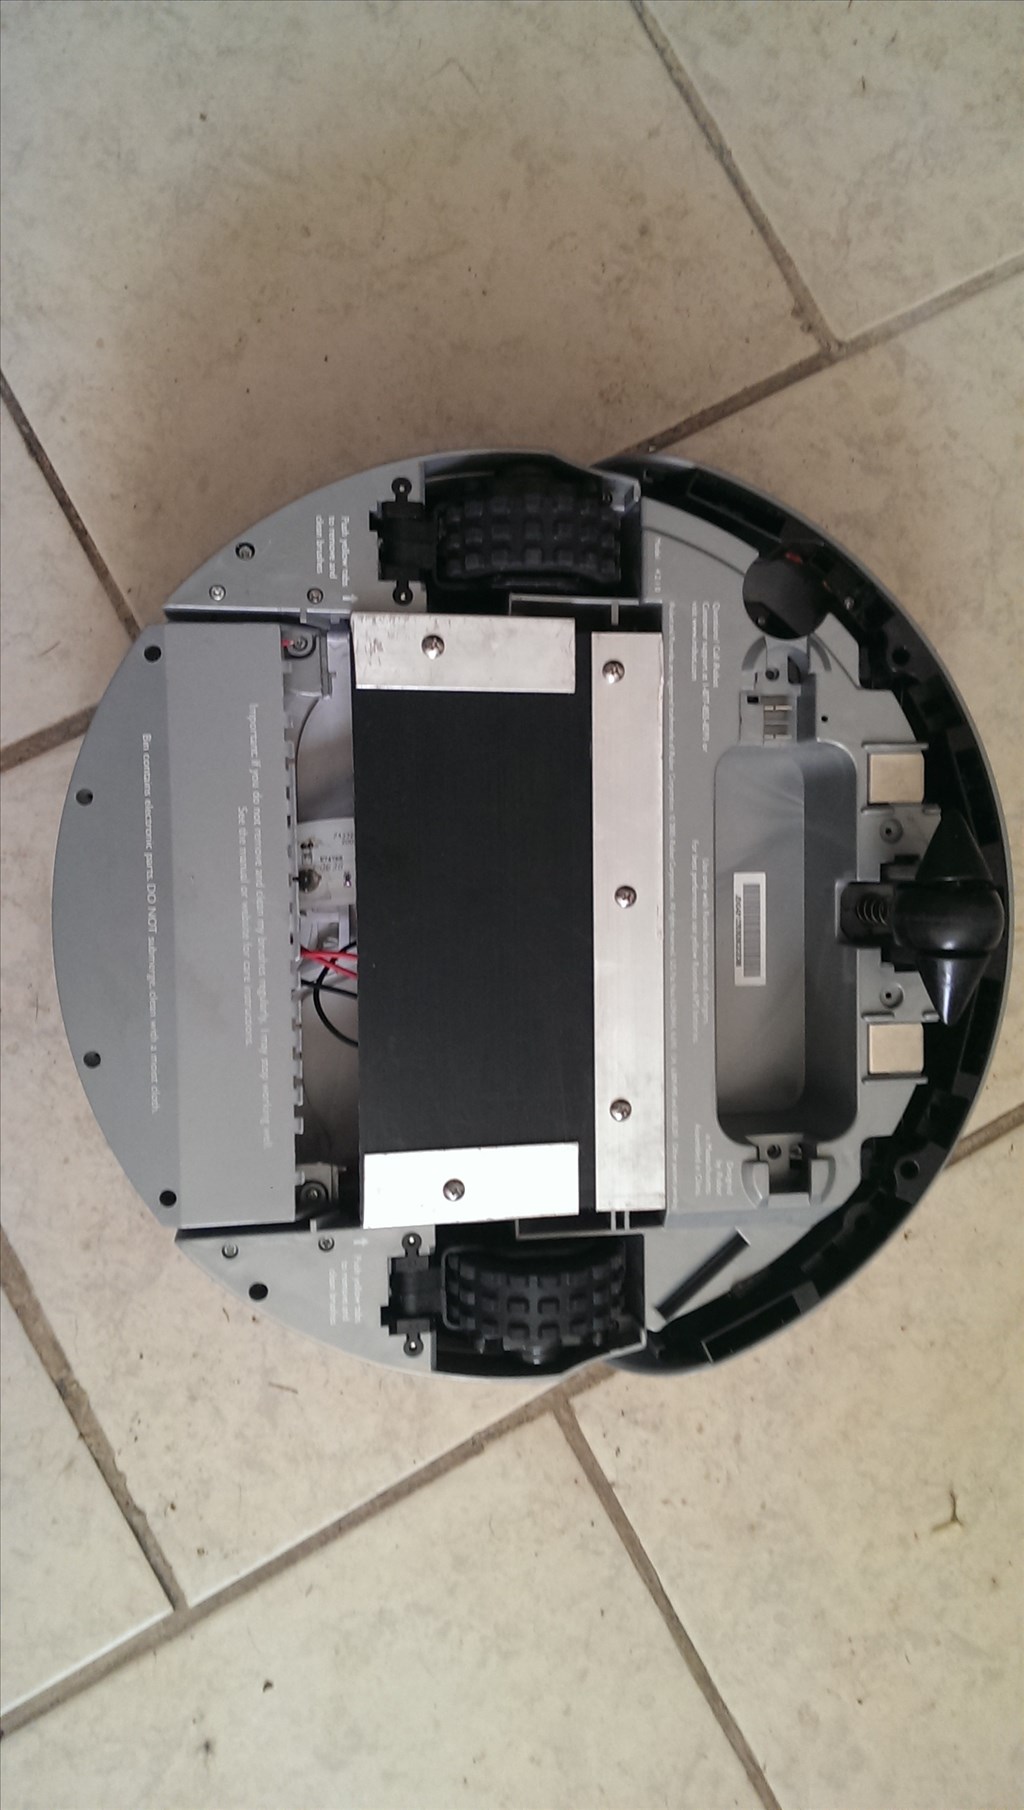
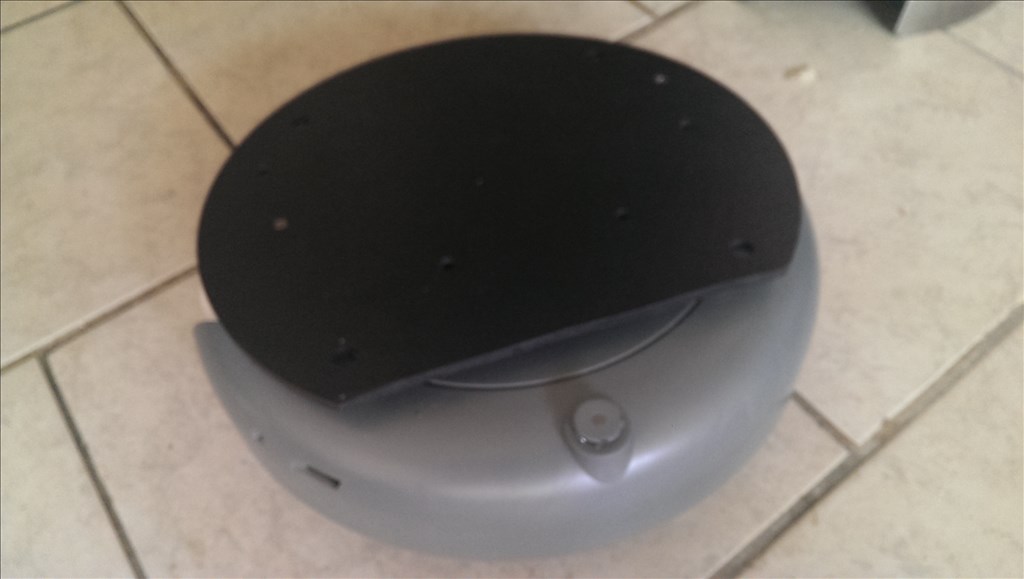
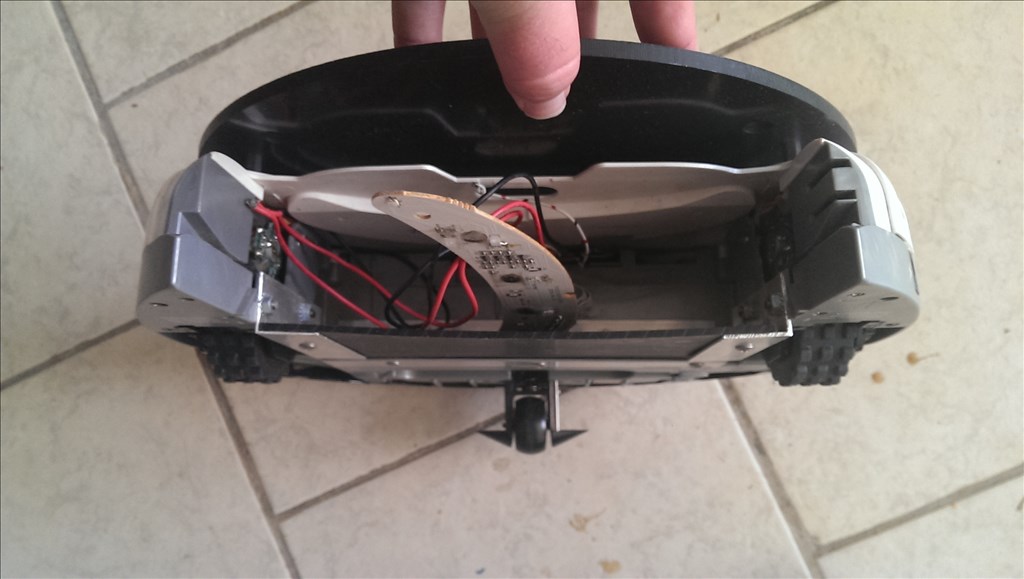
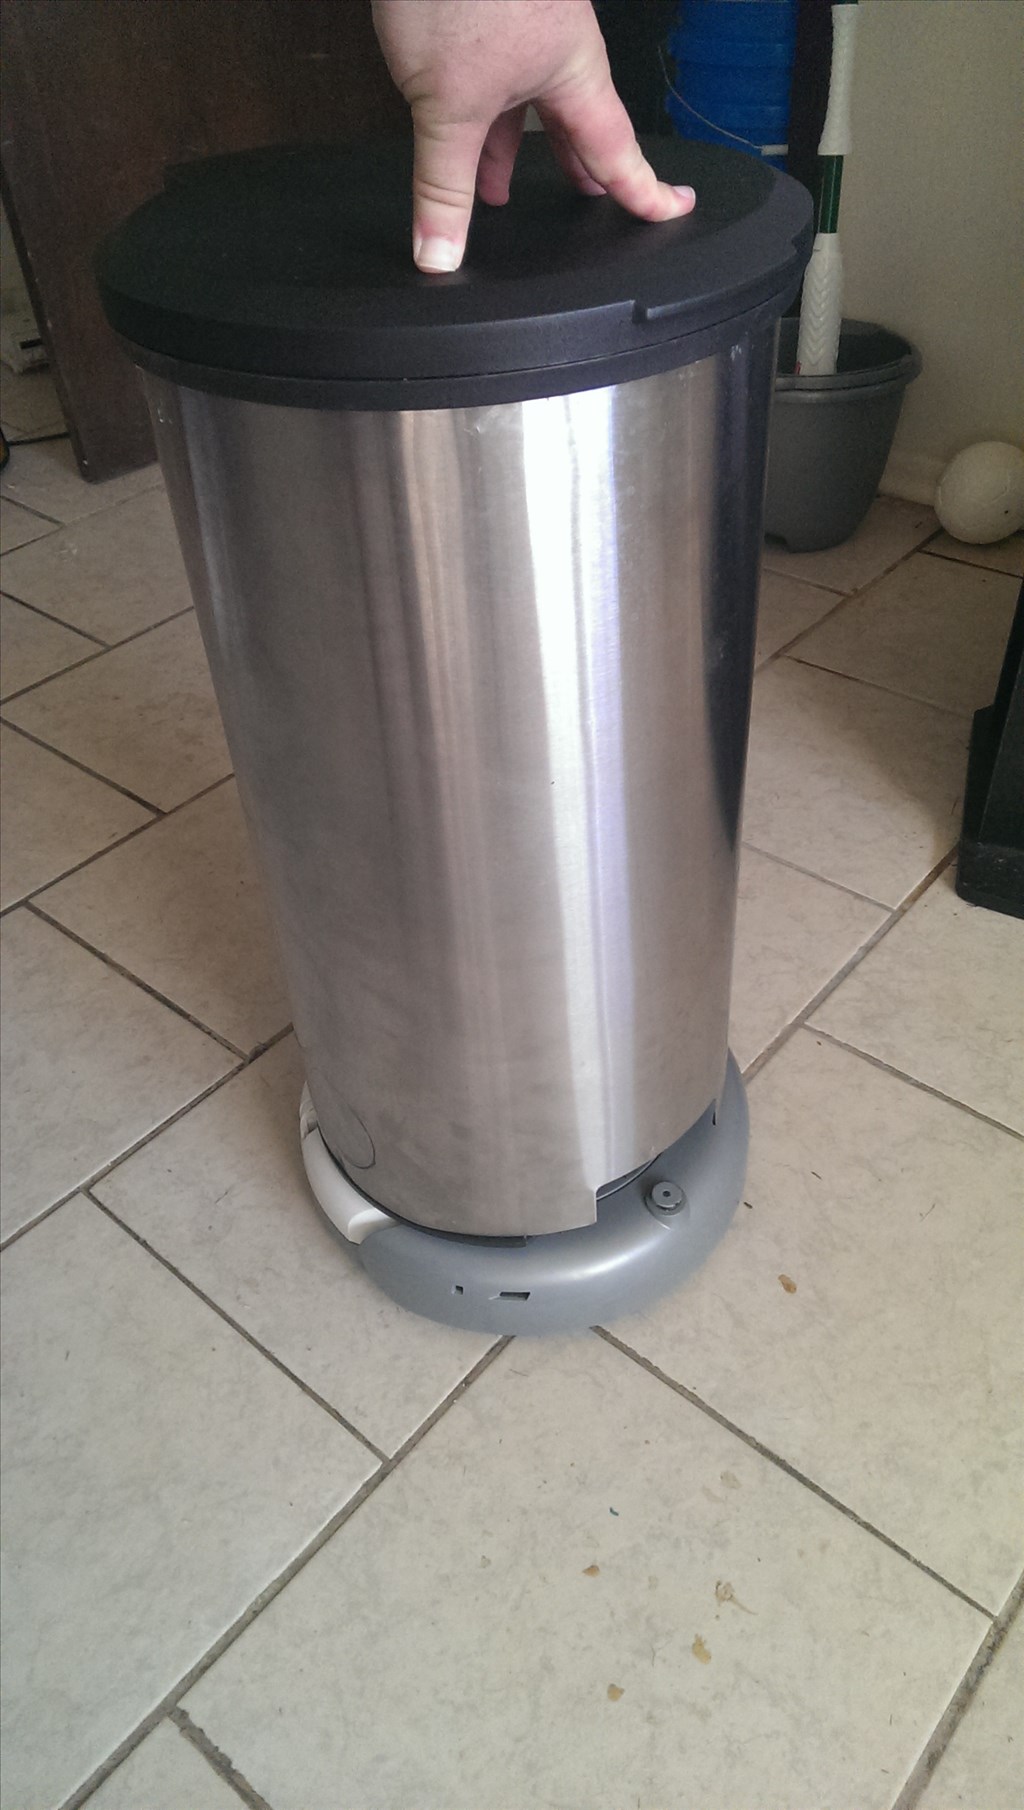

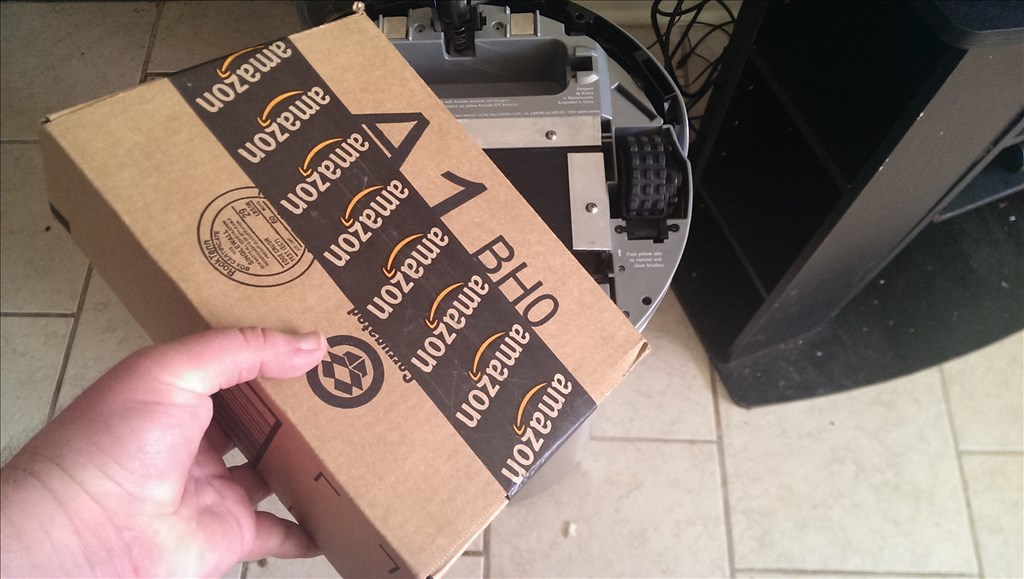
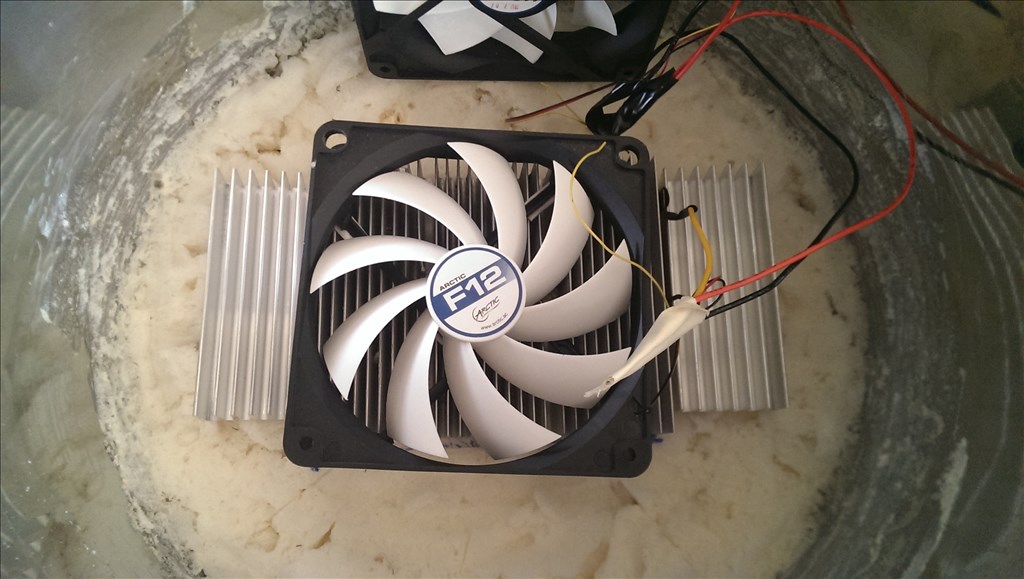


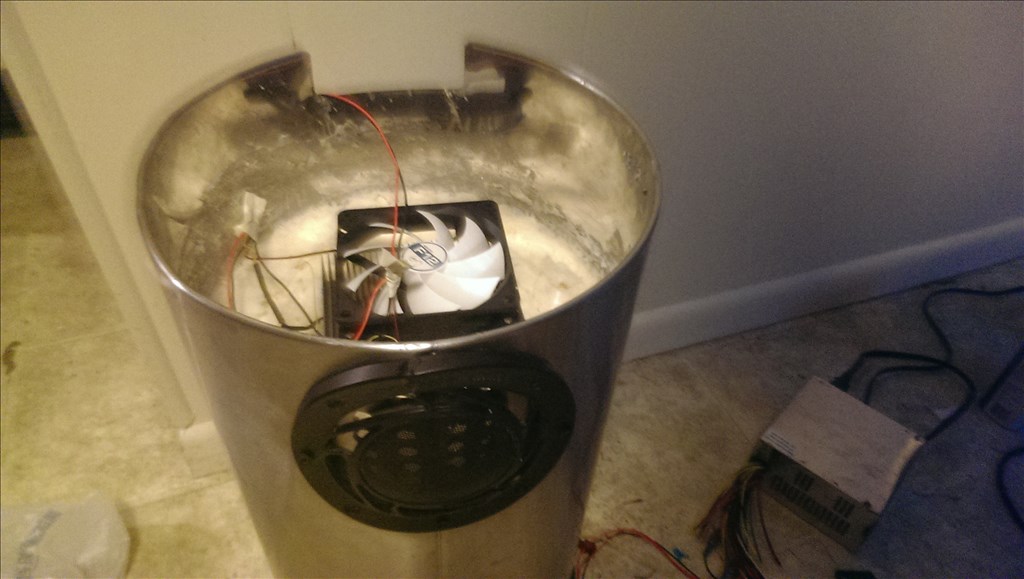


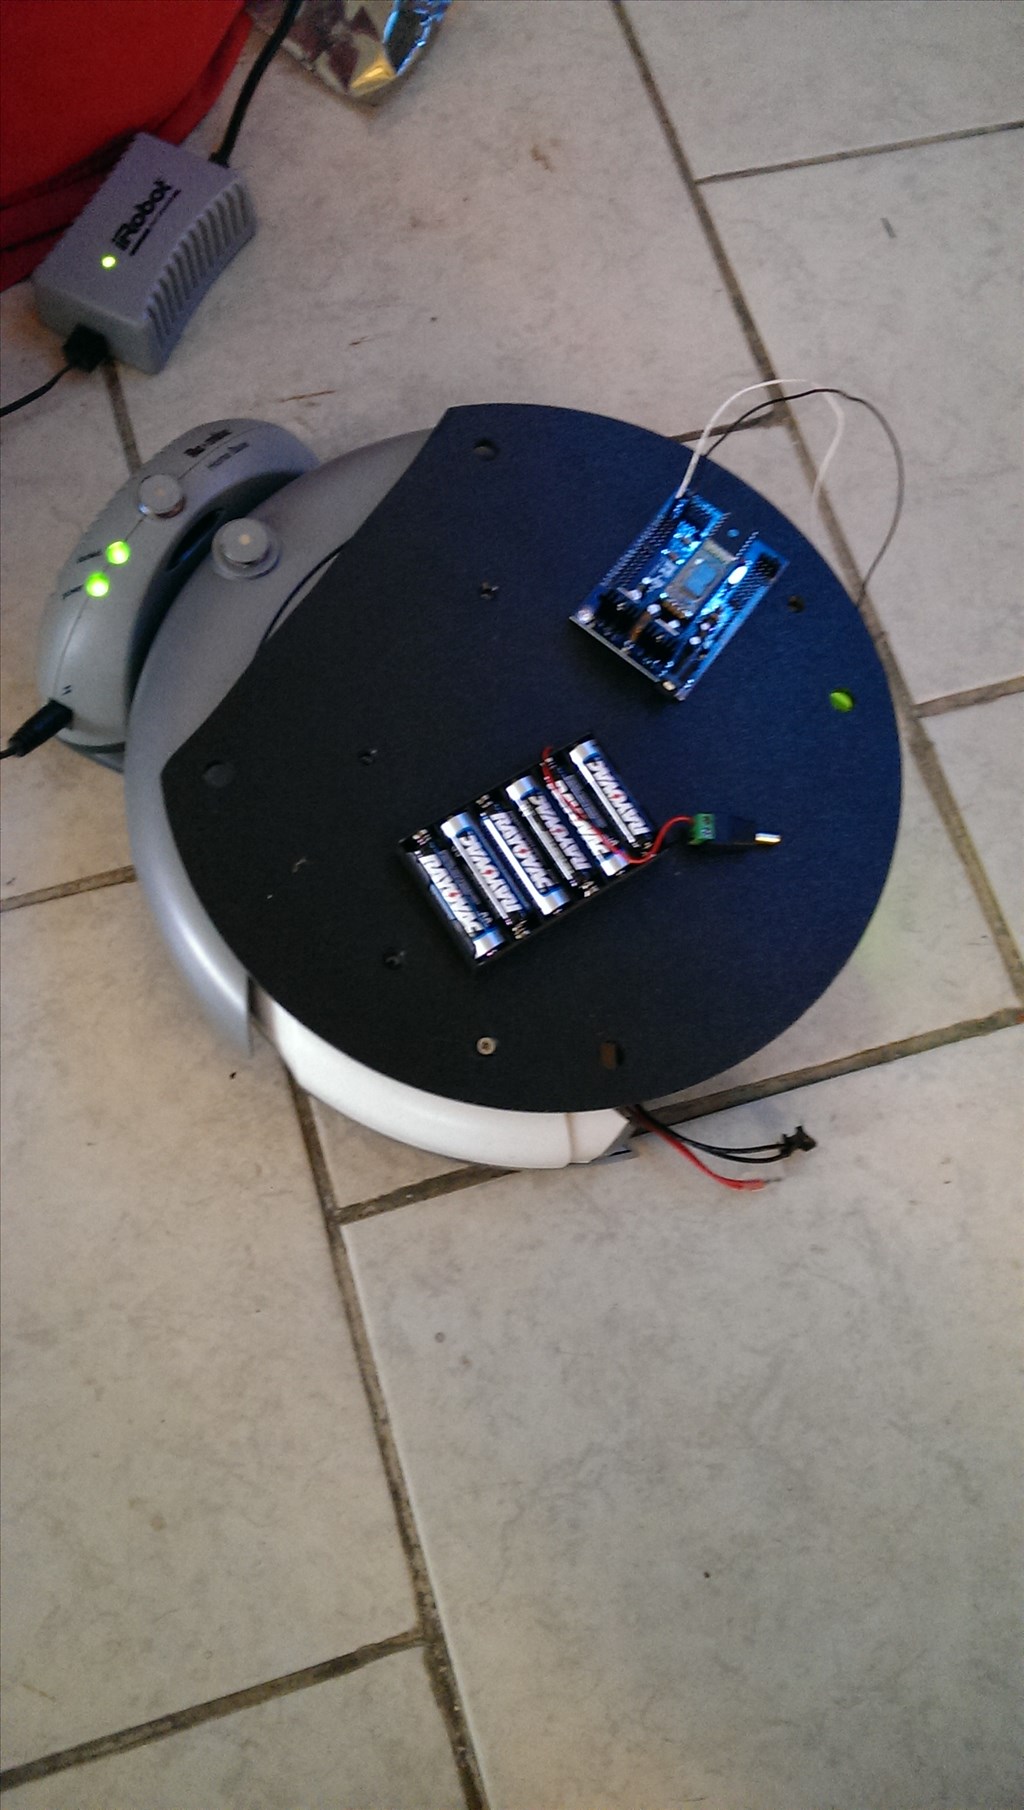
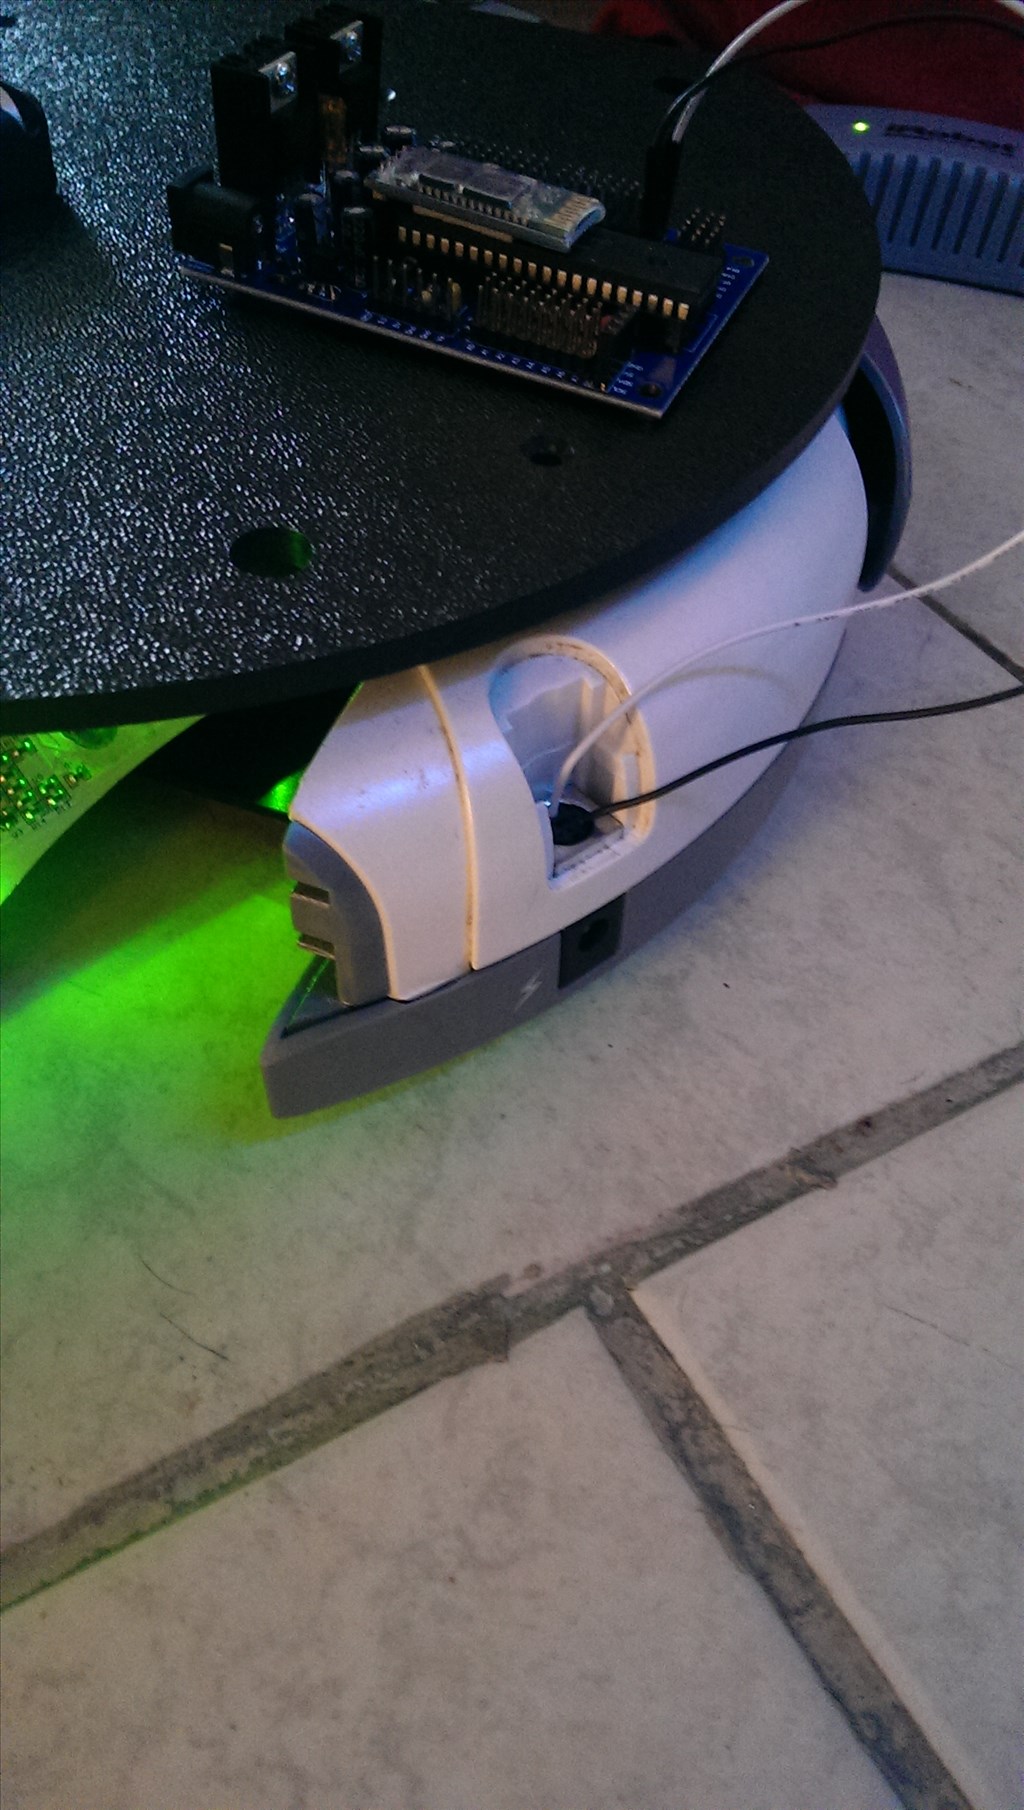
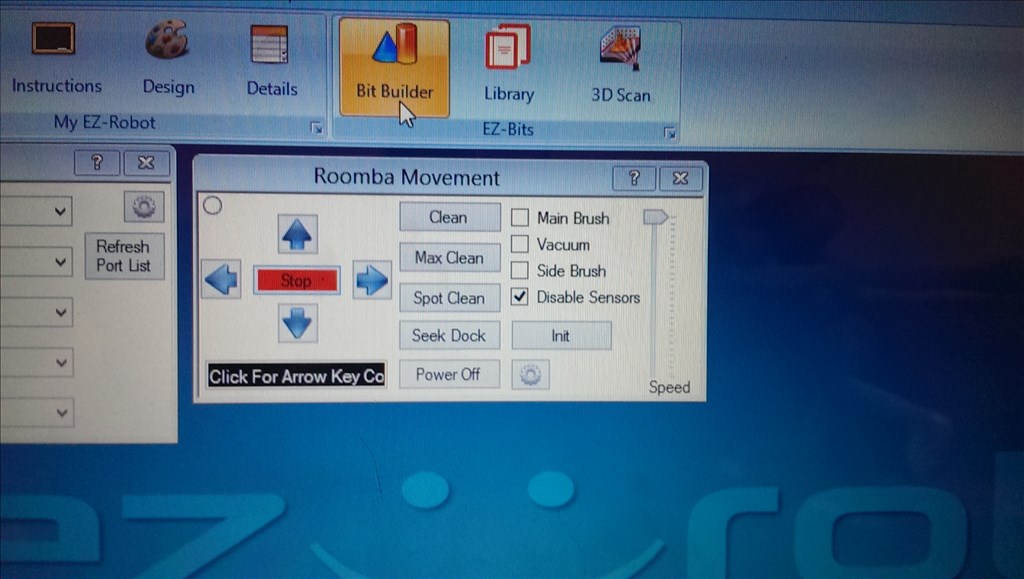
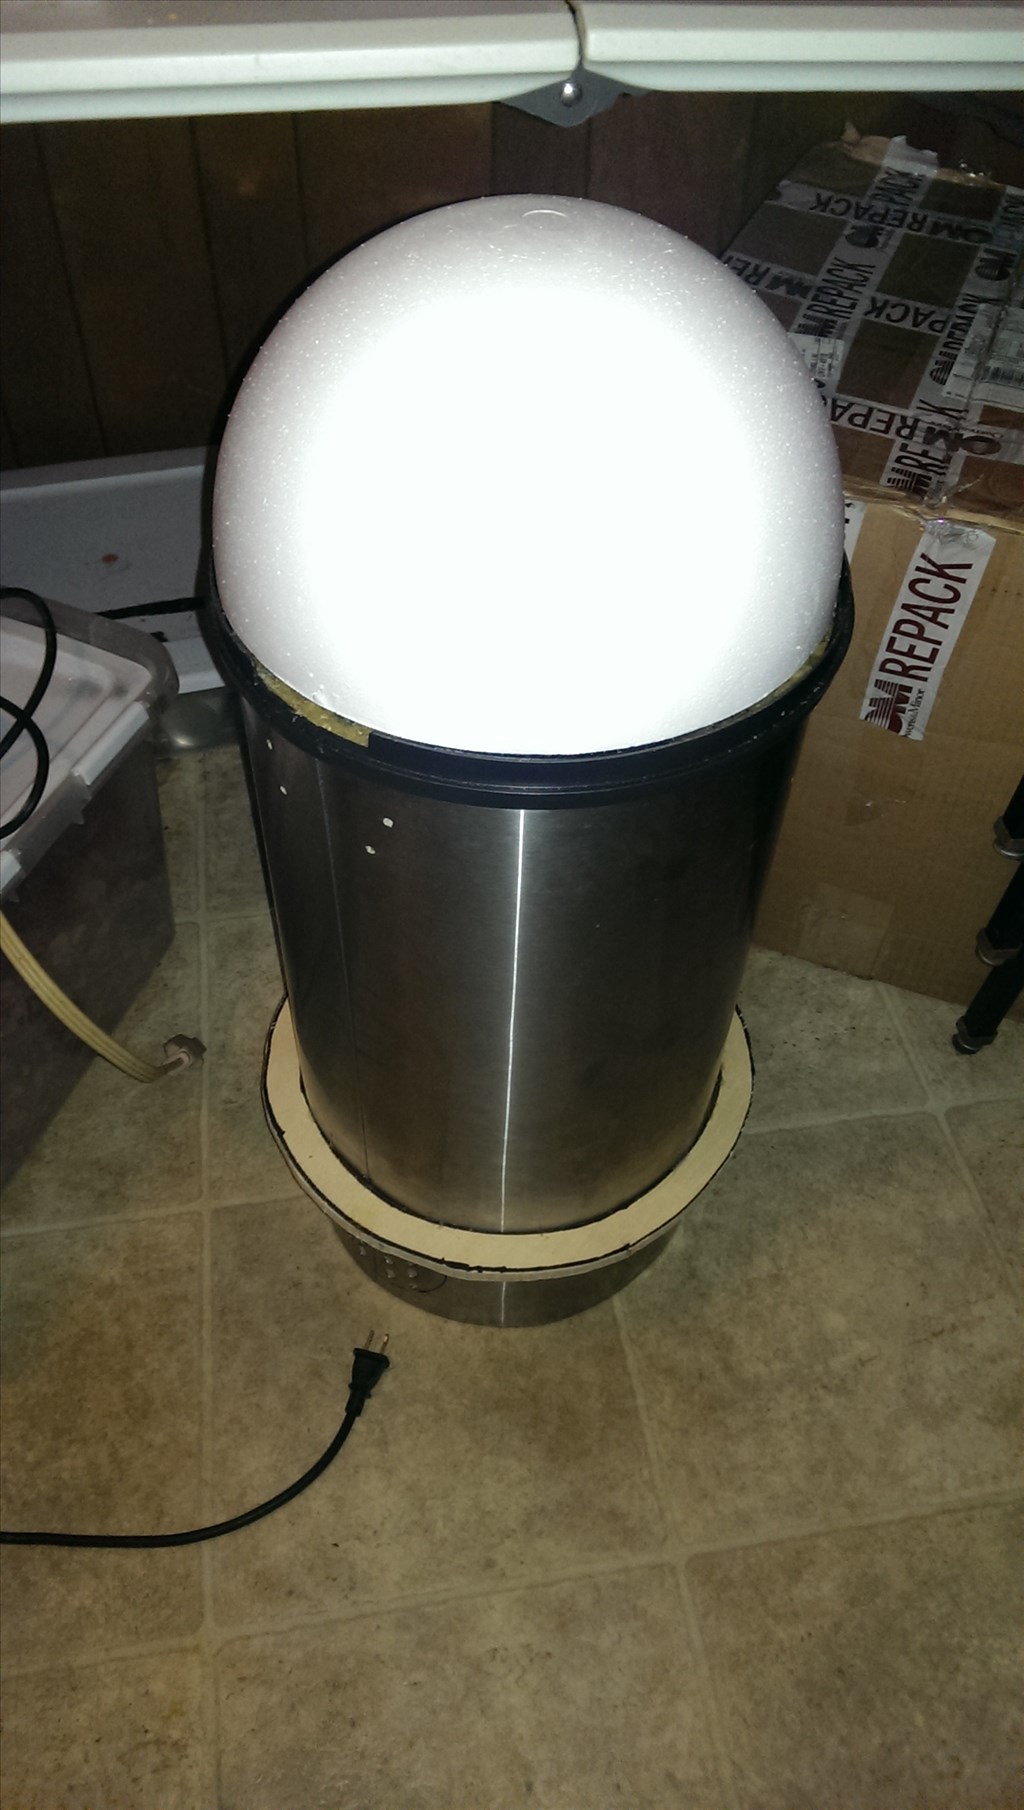


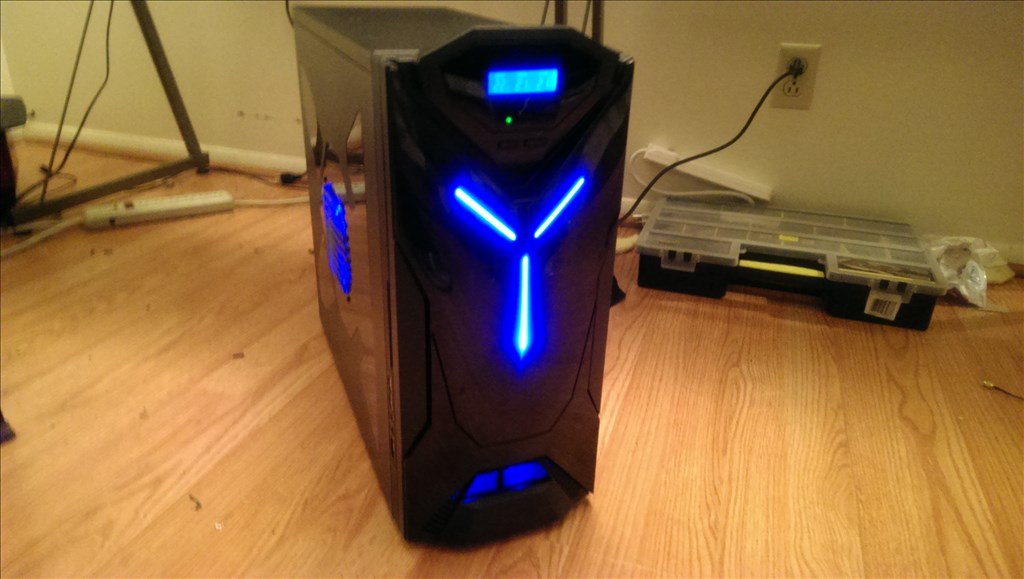


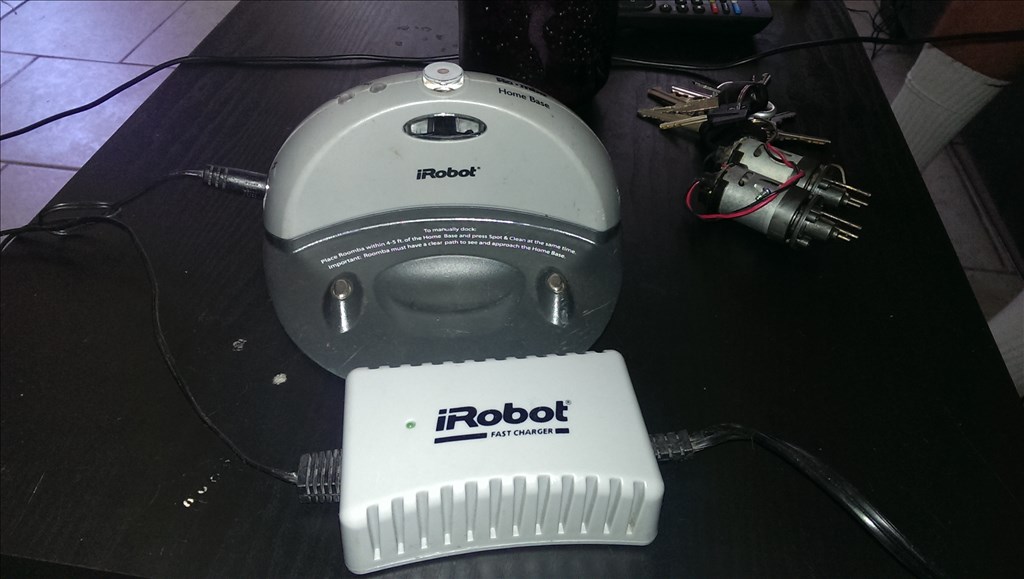
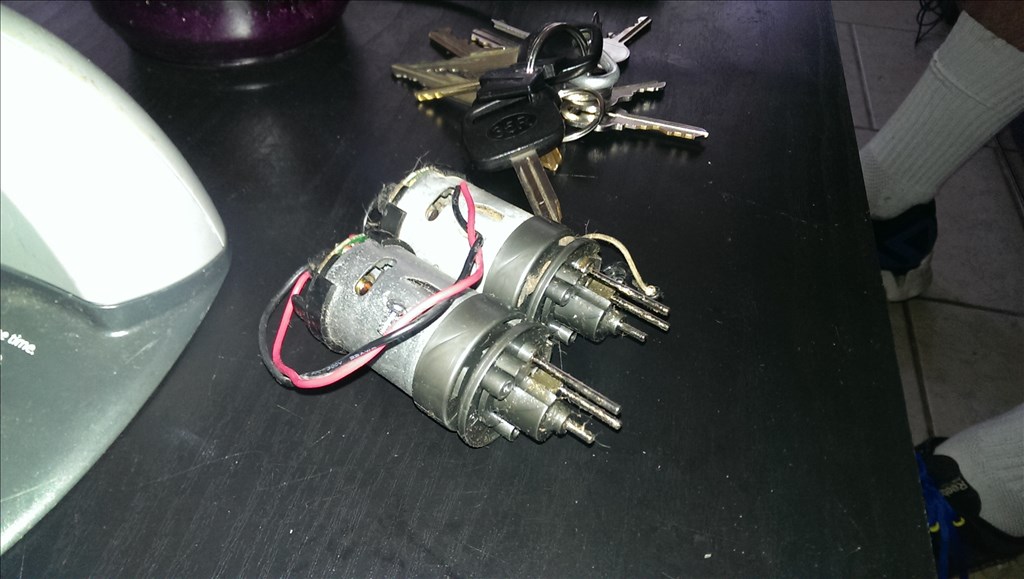


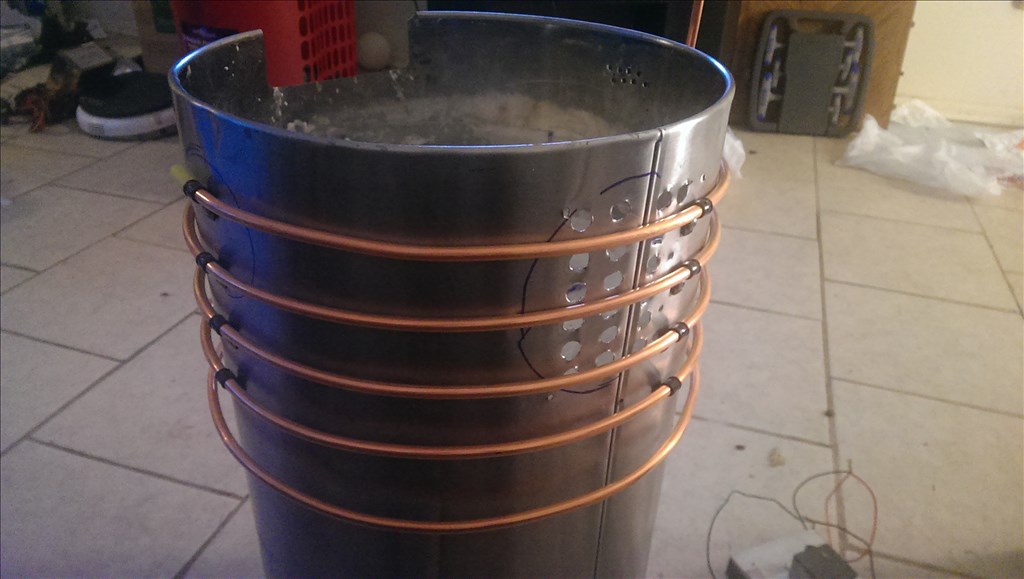


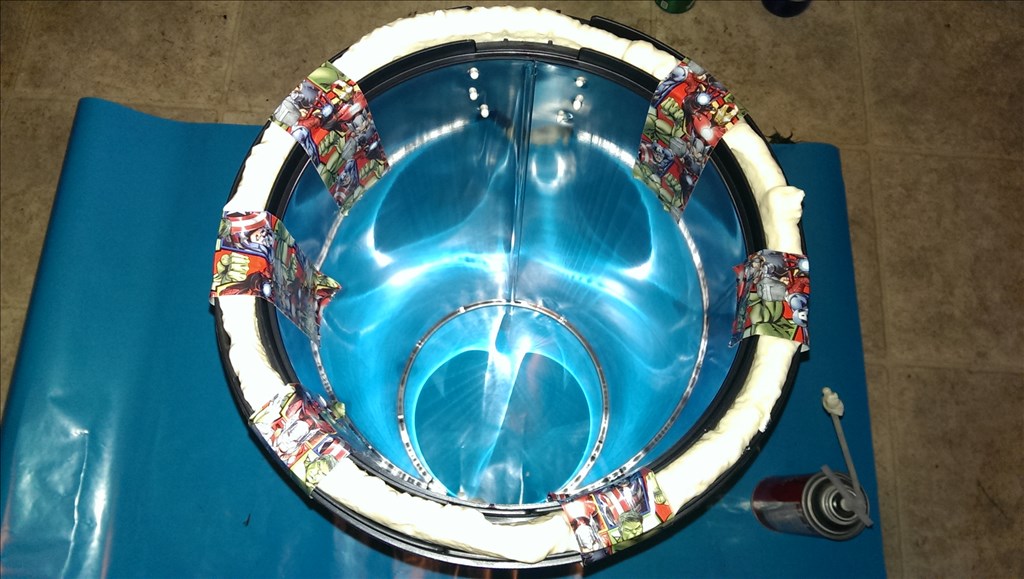


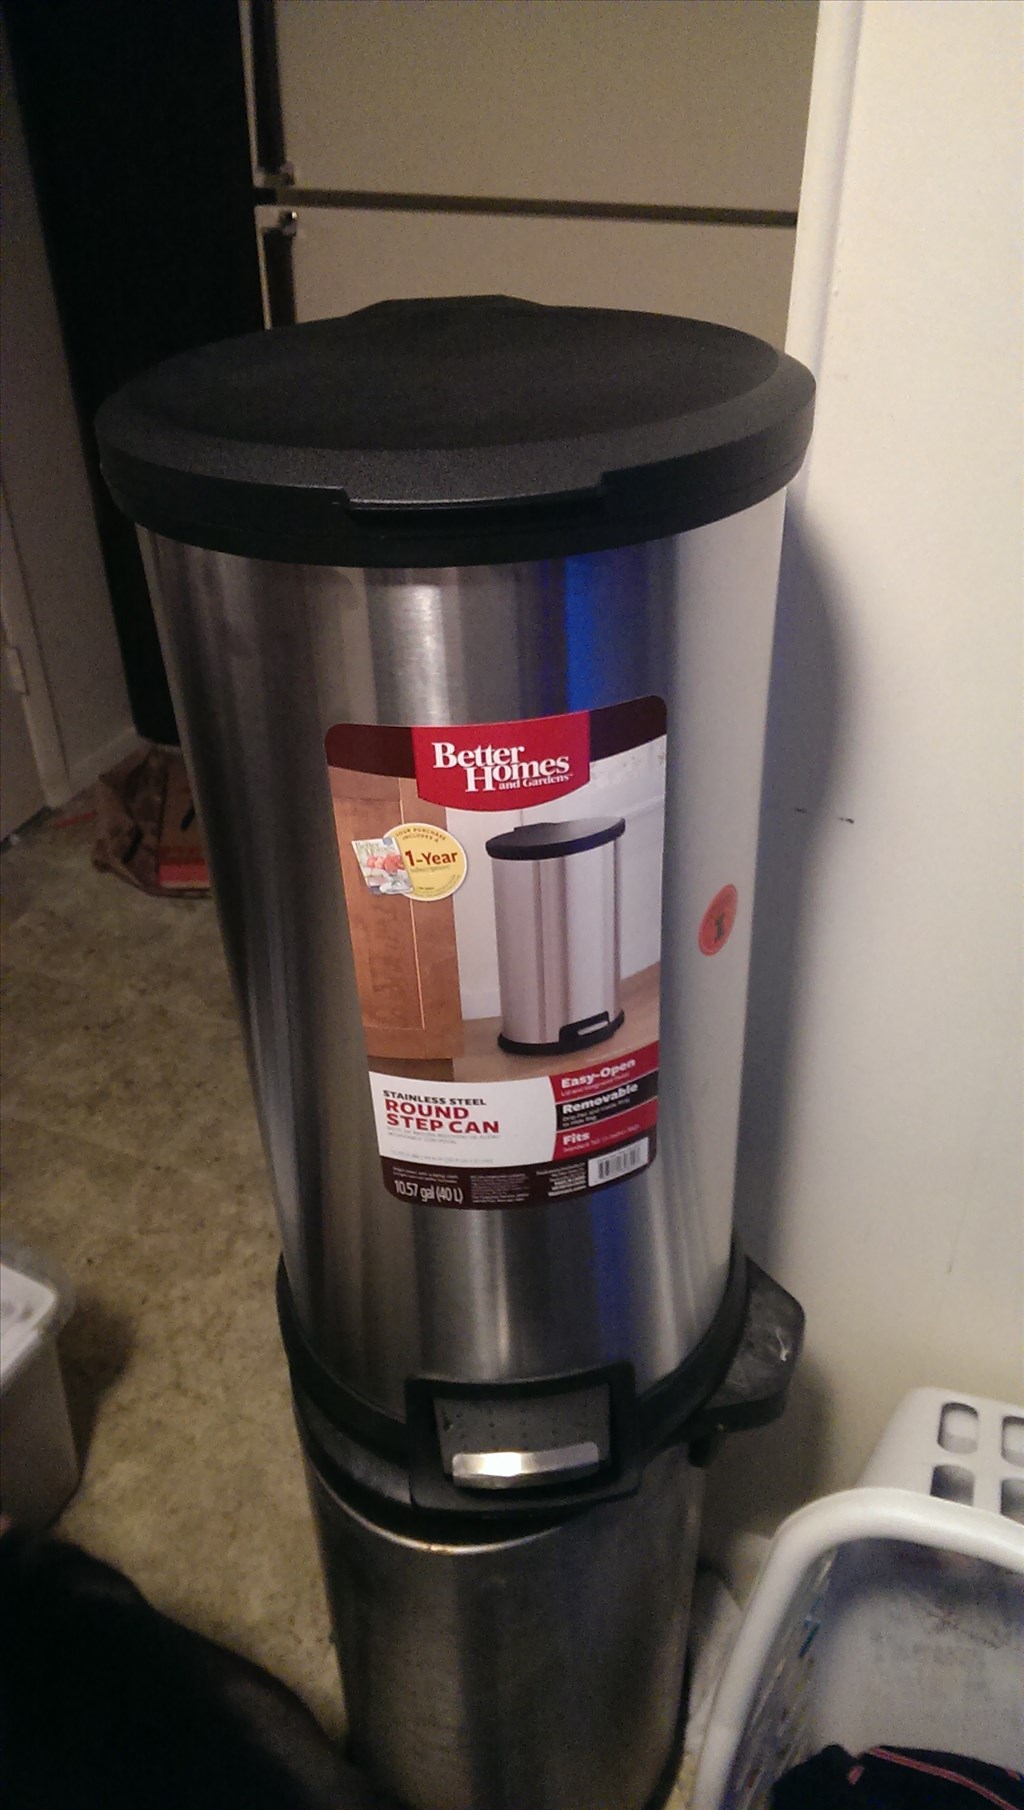


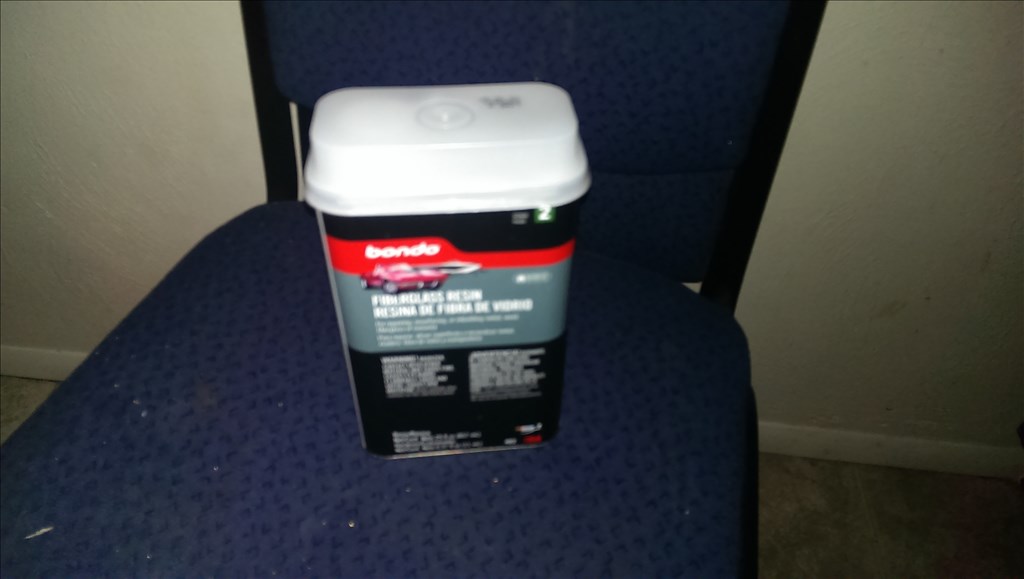


This is a challenge issued by friends and family. The goal here is to make a robot that can bring beverages from another area to wherever the people are , allow the person to get their drink , then leave. It does not need to be fully autonomous , even remote control is acceptable. It does not need to grab them from the fridge, preloaded beverages are acceptable. This is Ez Robot though, I believe we could do better than that! Well anyways to start the project off I am using a roomba base. I picked up a stainless steel trash can last night as a outside casing. I will show you the rest as we go
By jstarne1
— Last update
Discover more robots
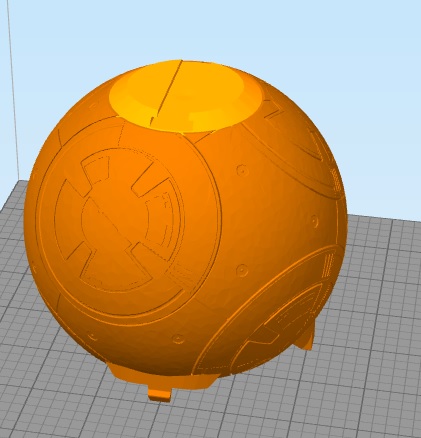
Justinratliff's Ez-Robot Bb-8 Hexapod Body
BB-8 hexapod body for EZRobot: mountable EZBit head, Thingiverse STL and Synthiam community tips.
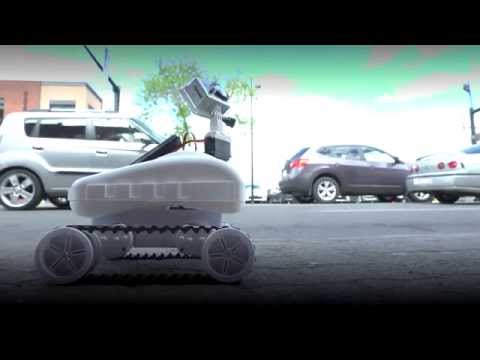
Jason's Roli Time-Lapse Video Robot
Roli time-lapse rig with printable GoPro EZ-Bit and simple code to nudge the chassis, plus a $25 film rail for smooth...

DJ's Jd Wants His Rubber Duck
Deciding whether to give it to him-lighthearted reflection on sharing, choice, and a playful "lol"

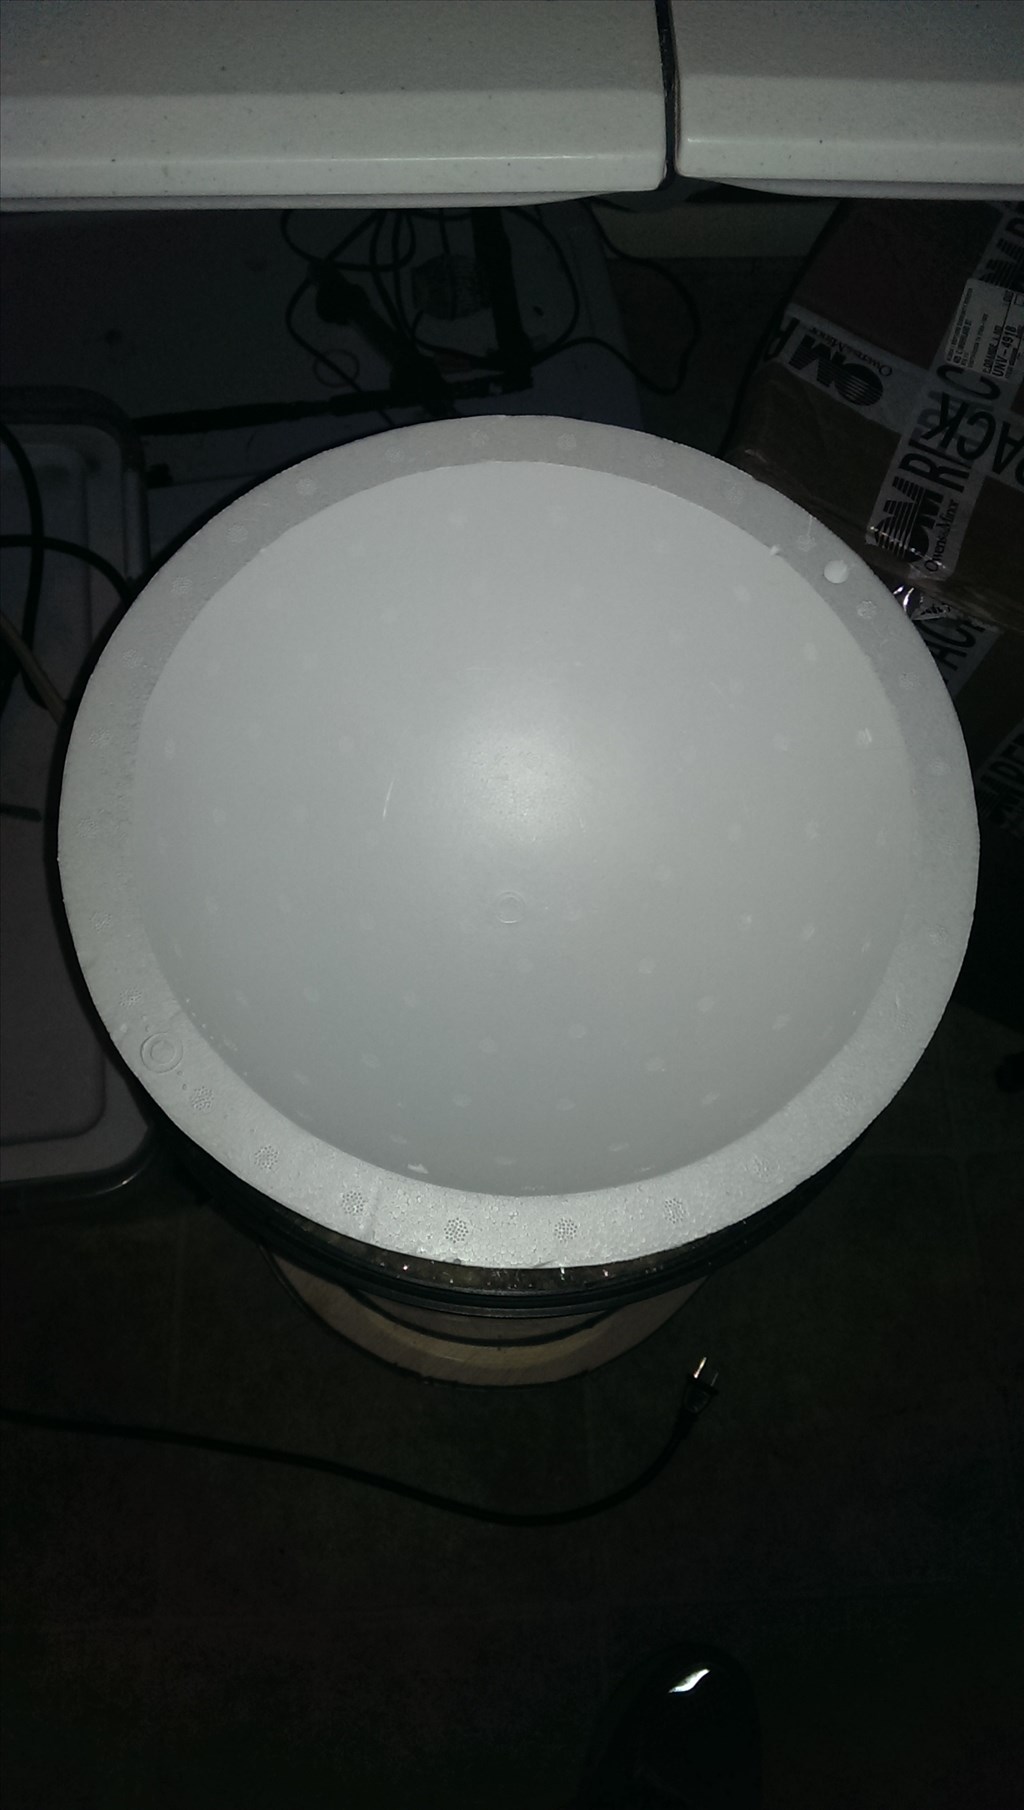
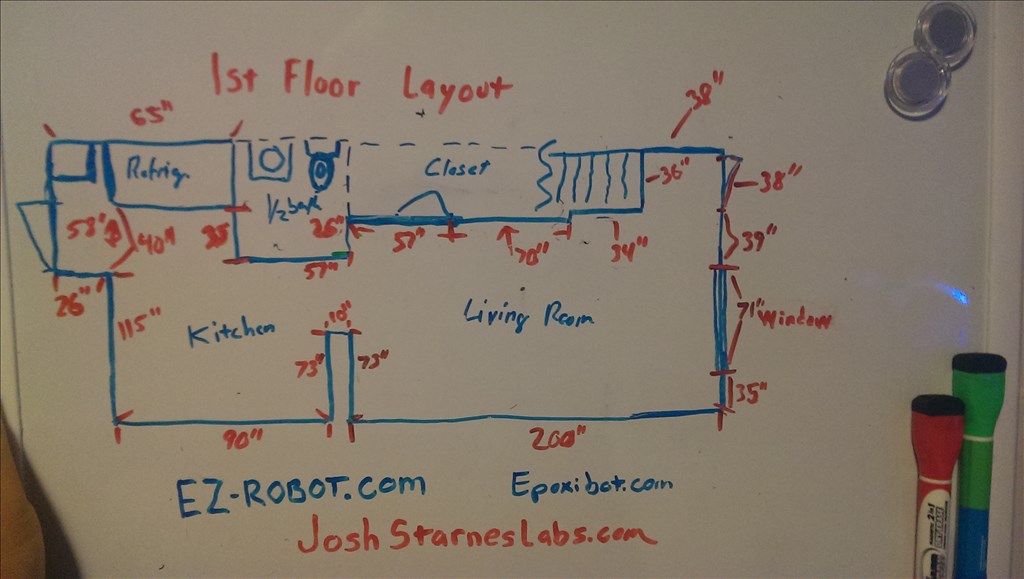
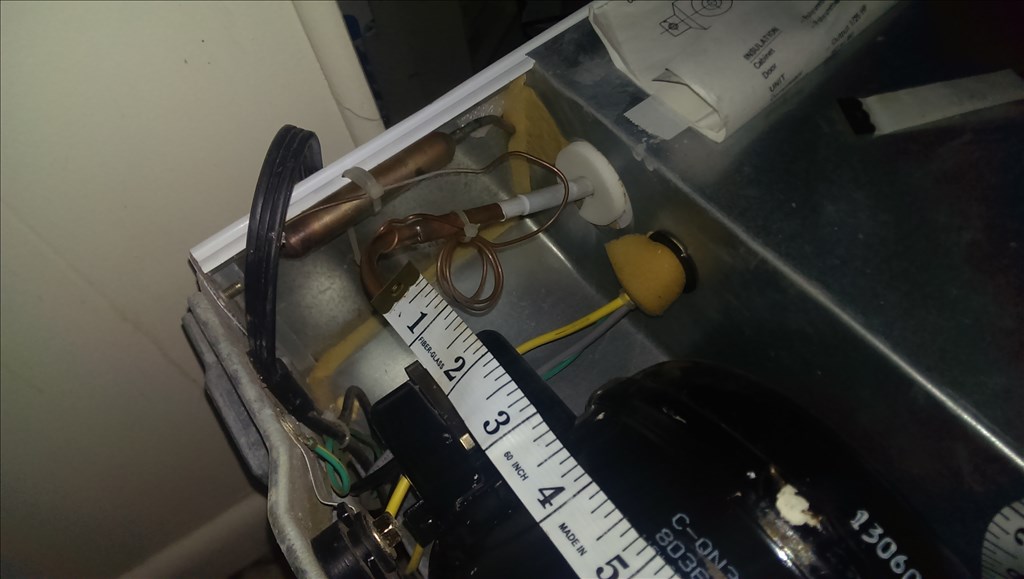
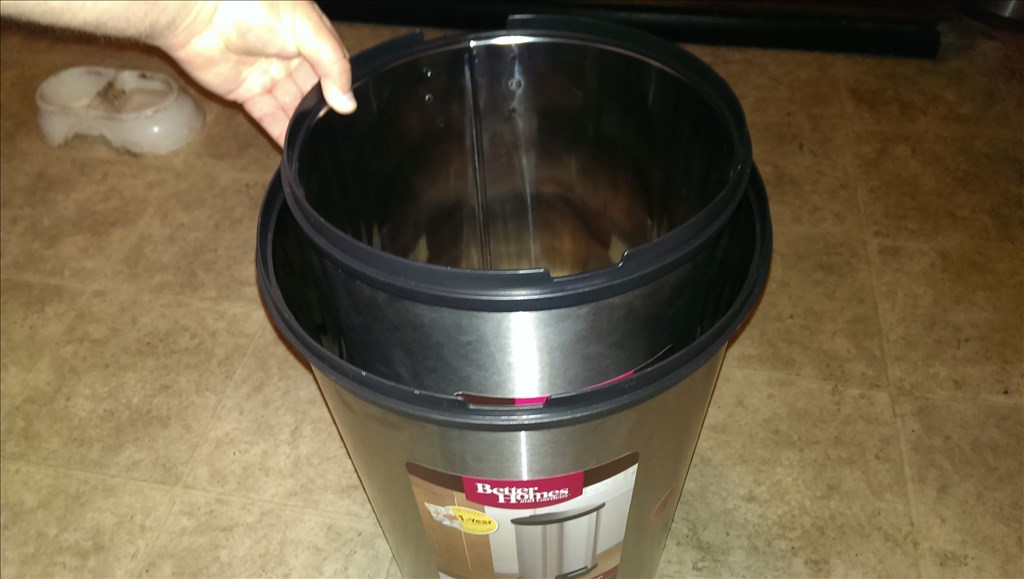
Alright just checking on how much room I have here. Basically I would like the refrigerated area to be at least deep enough to store 12 bottles or a 24 pack of cans. I would like for it to be deep enough for a standard sized 750ml wine bottle of which it could hold three of. Here are the pics for reference.
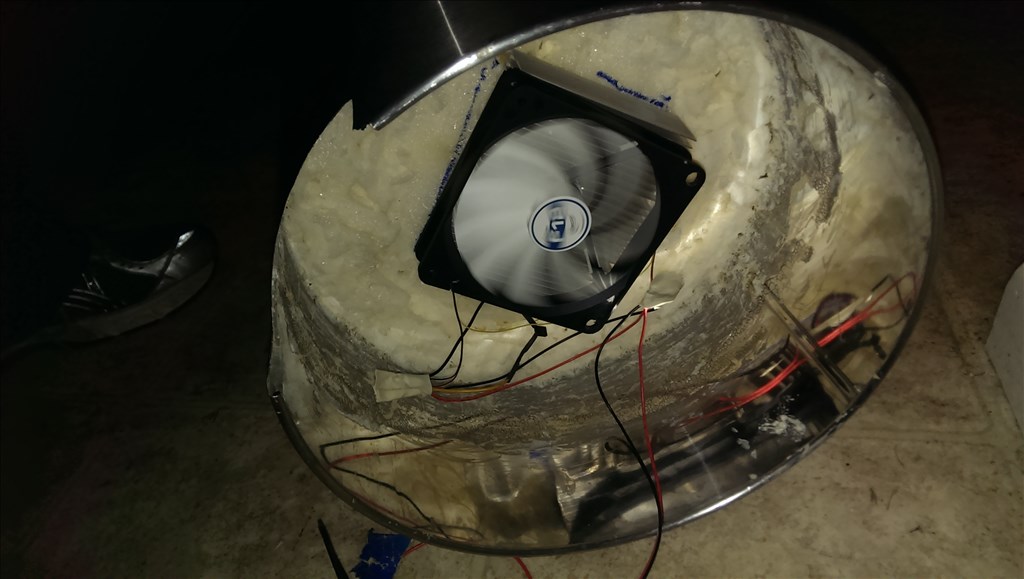
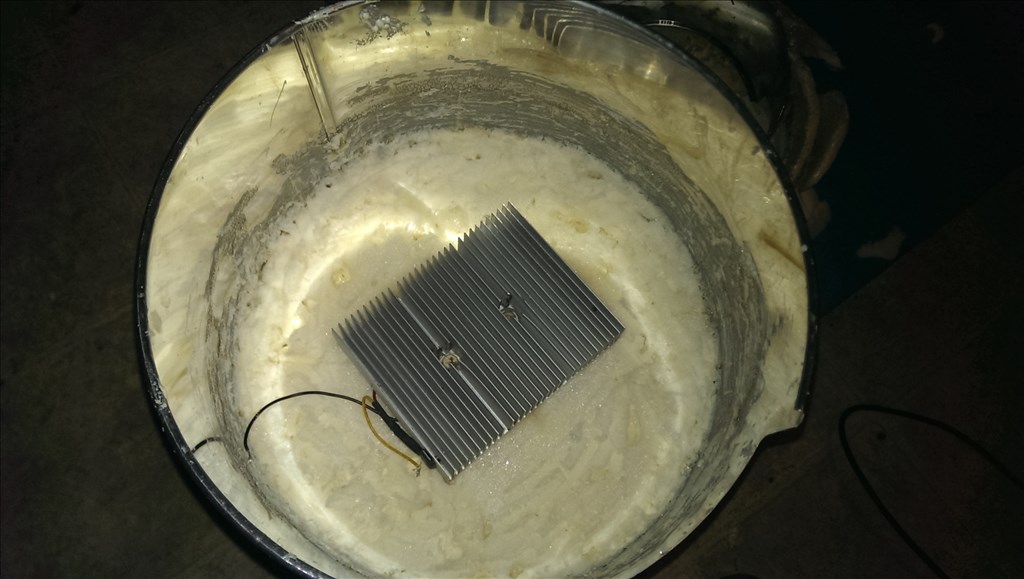
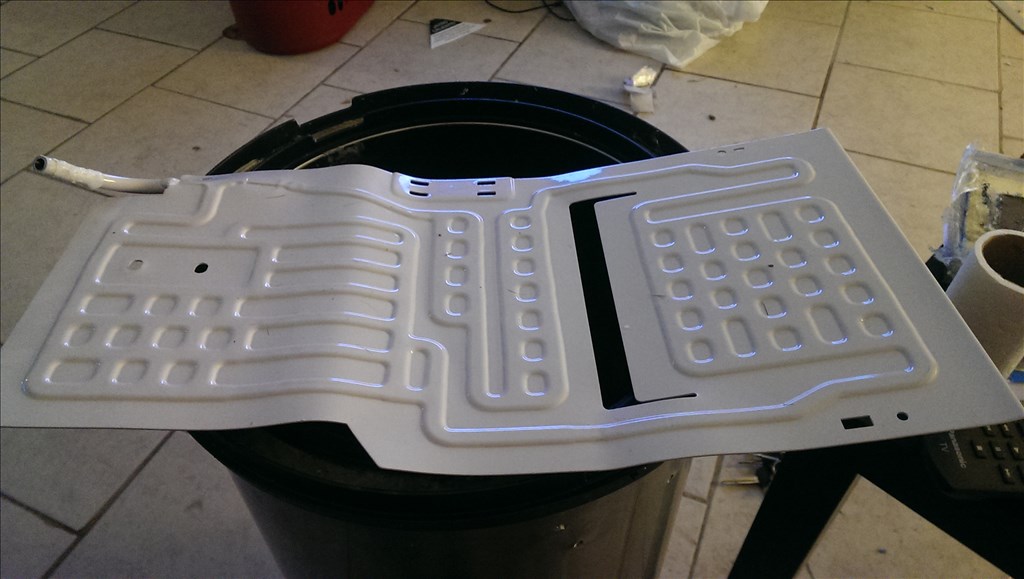
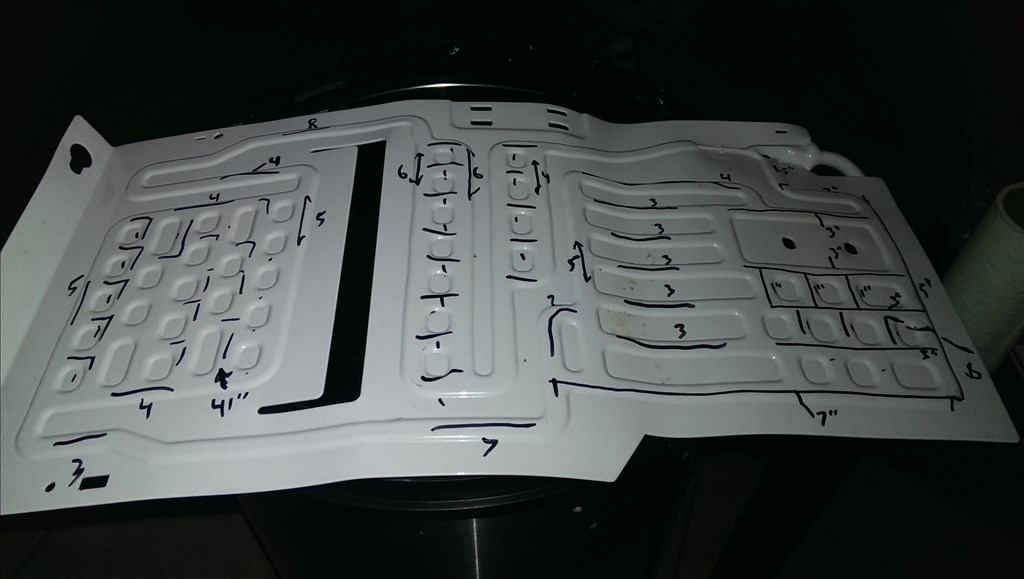
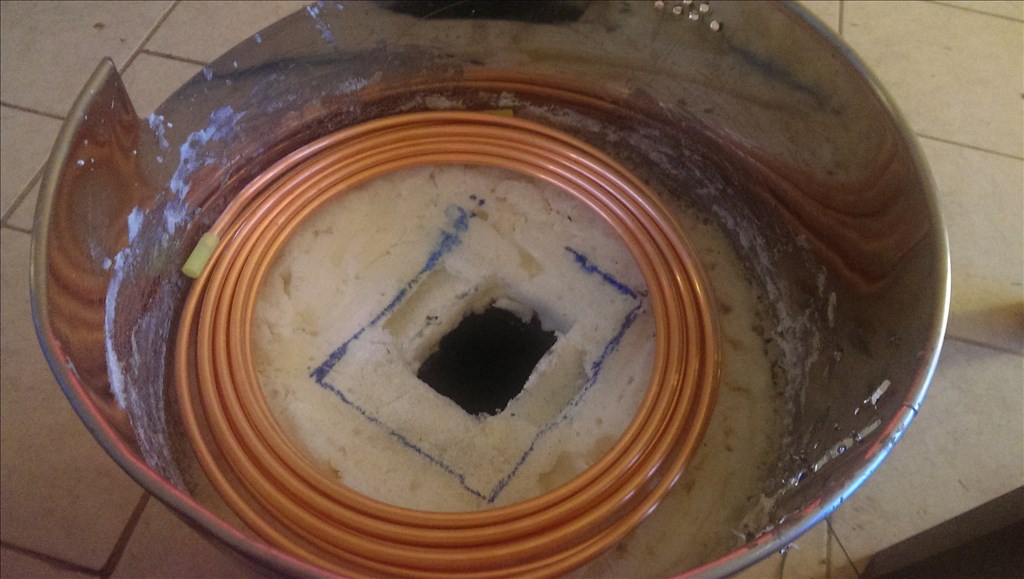
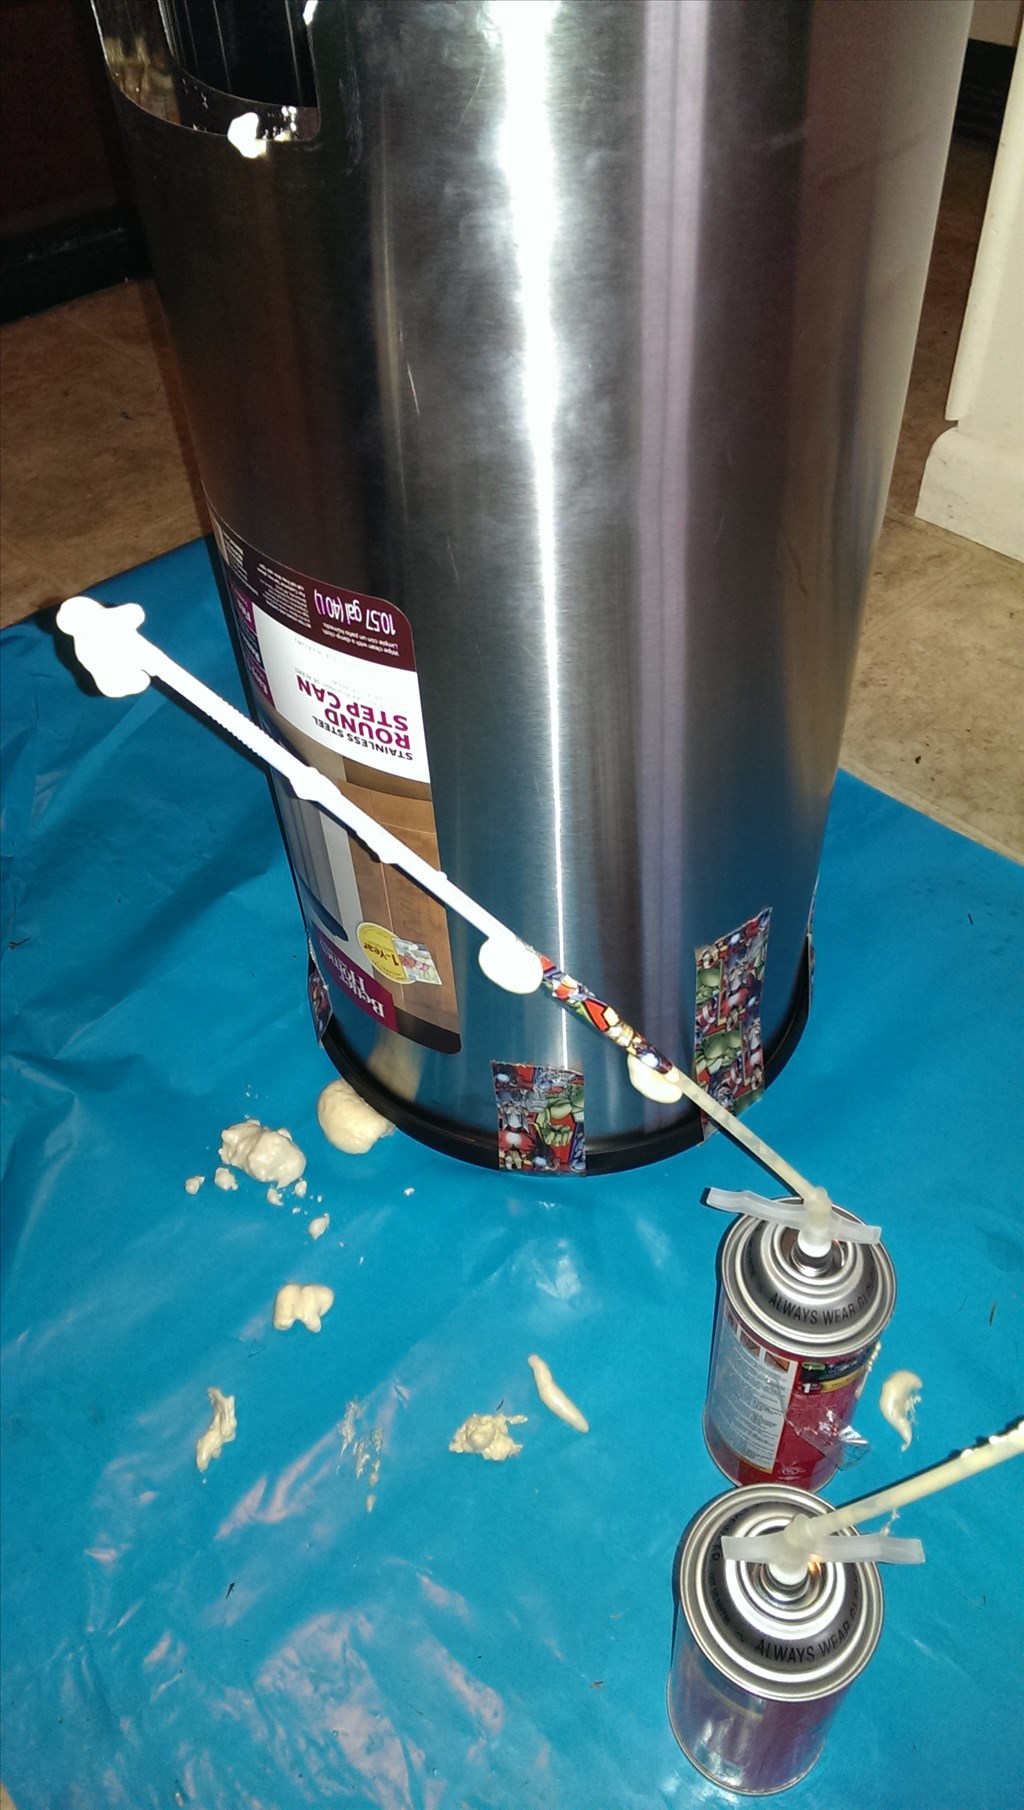
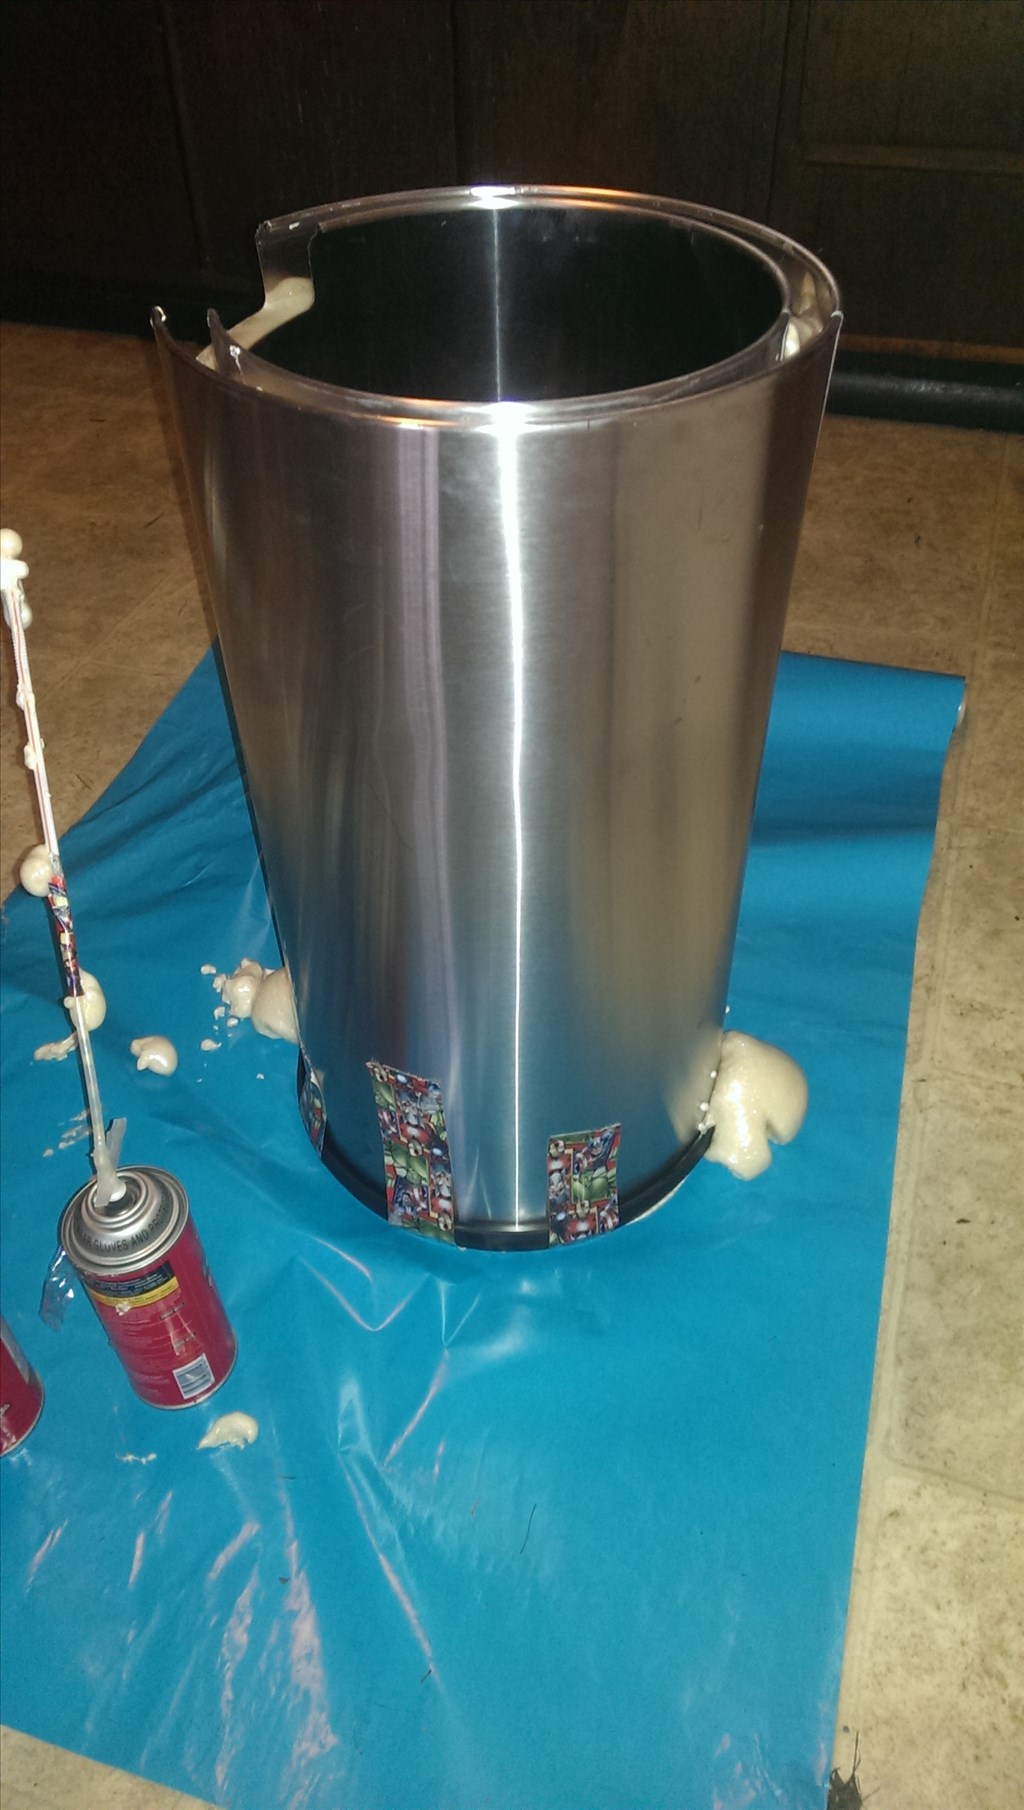
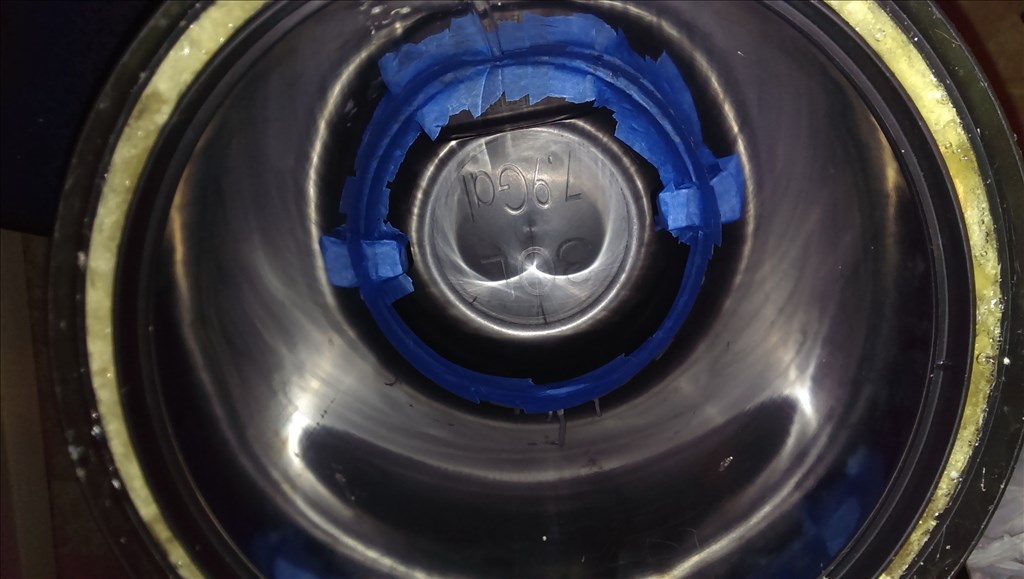
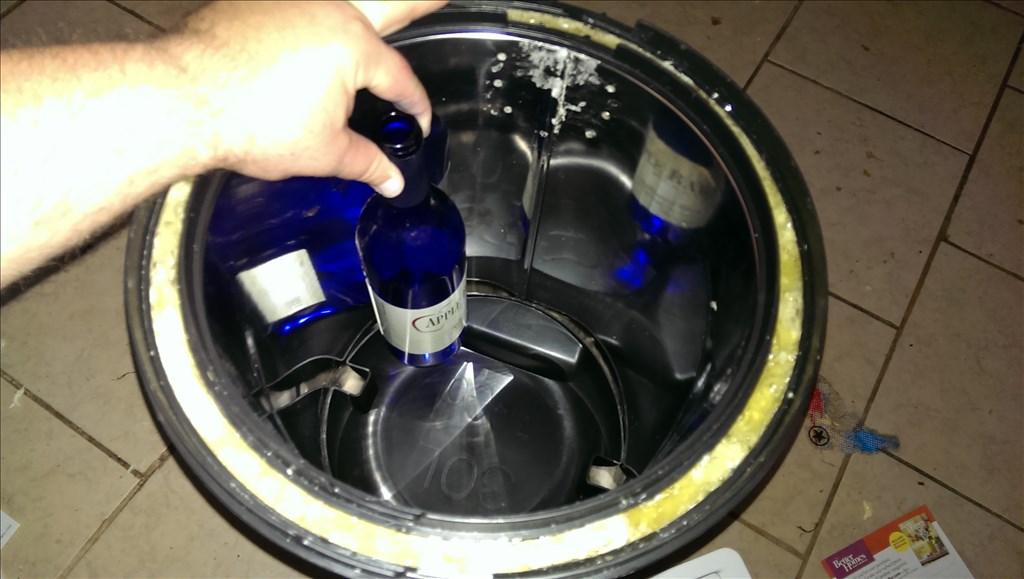
The area I'm insulating is very deep and longer than the original straw. I used some duck tape and connected a drinking straw to extend how far I could get the foam in the crevice. It took two cans of great stuff expanding foam to fill the gap all the way around.
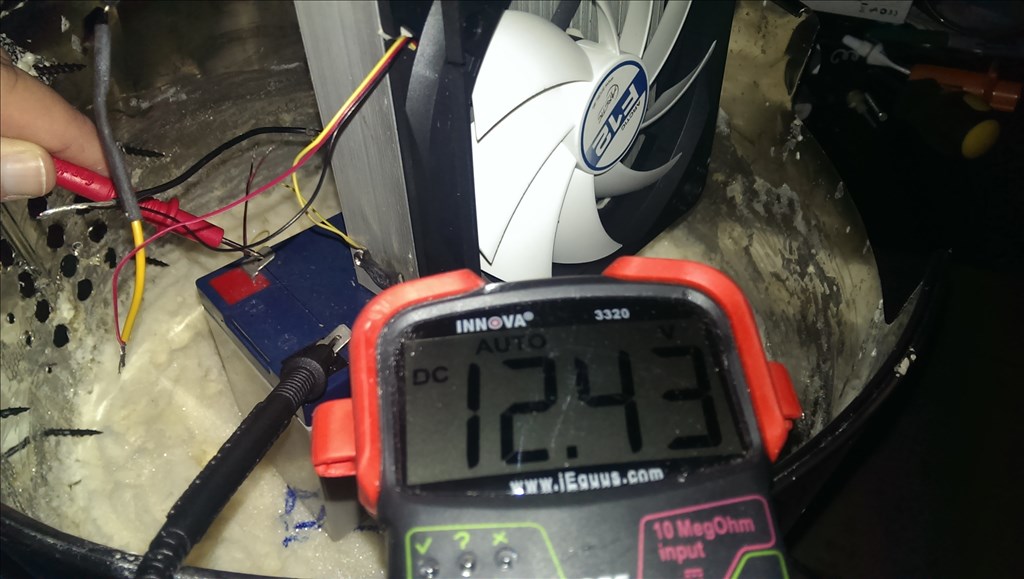
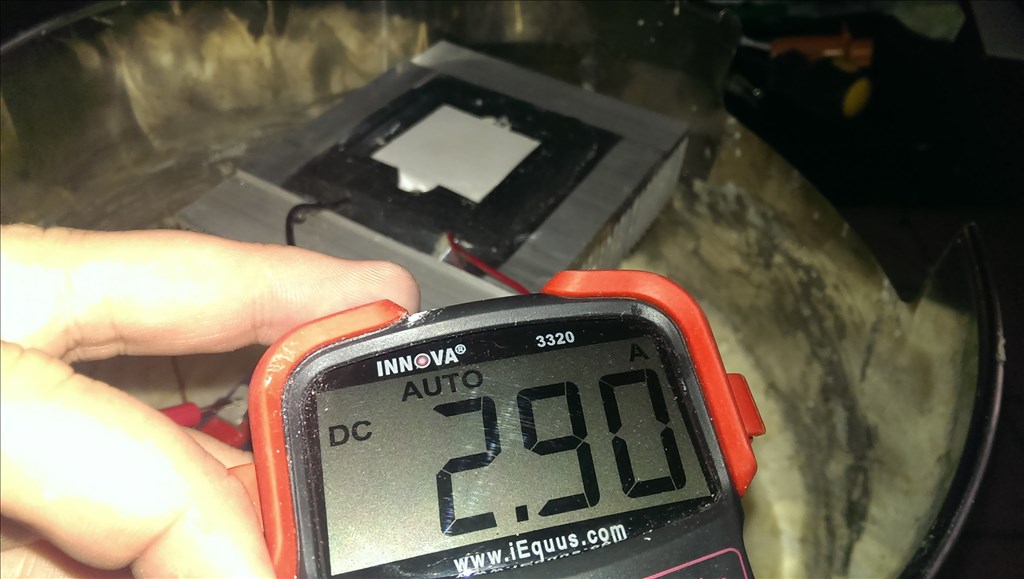
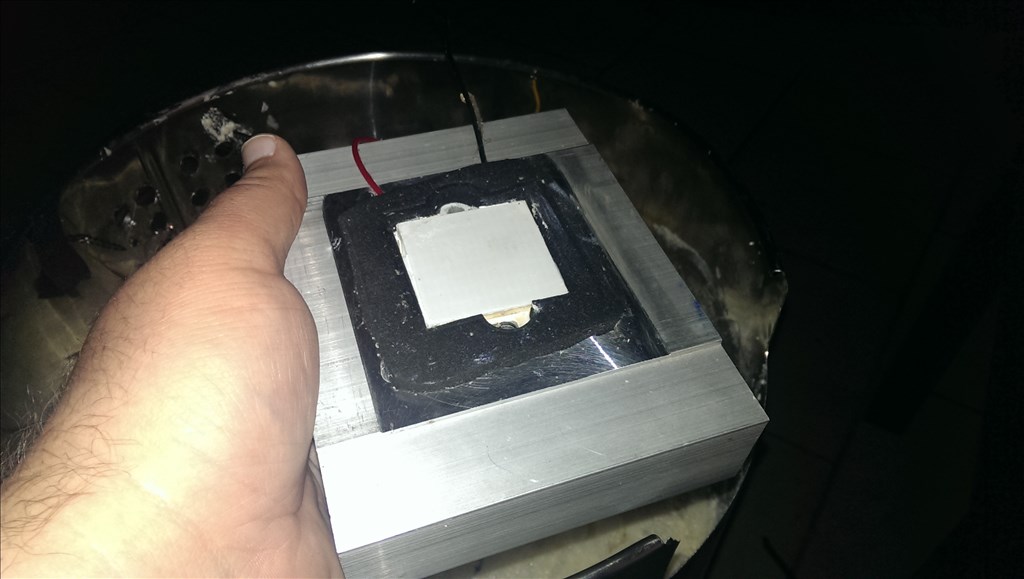
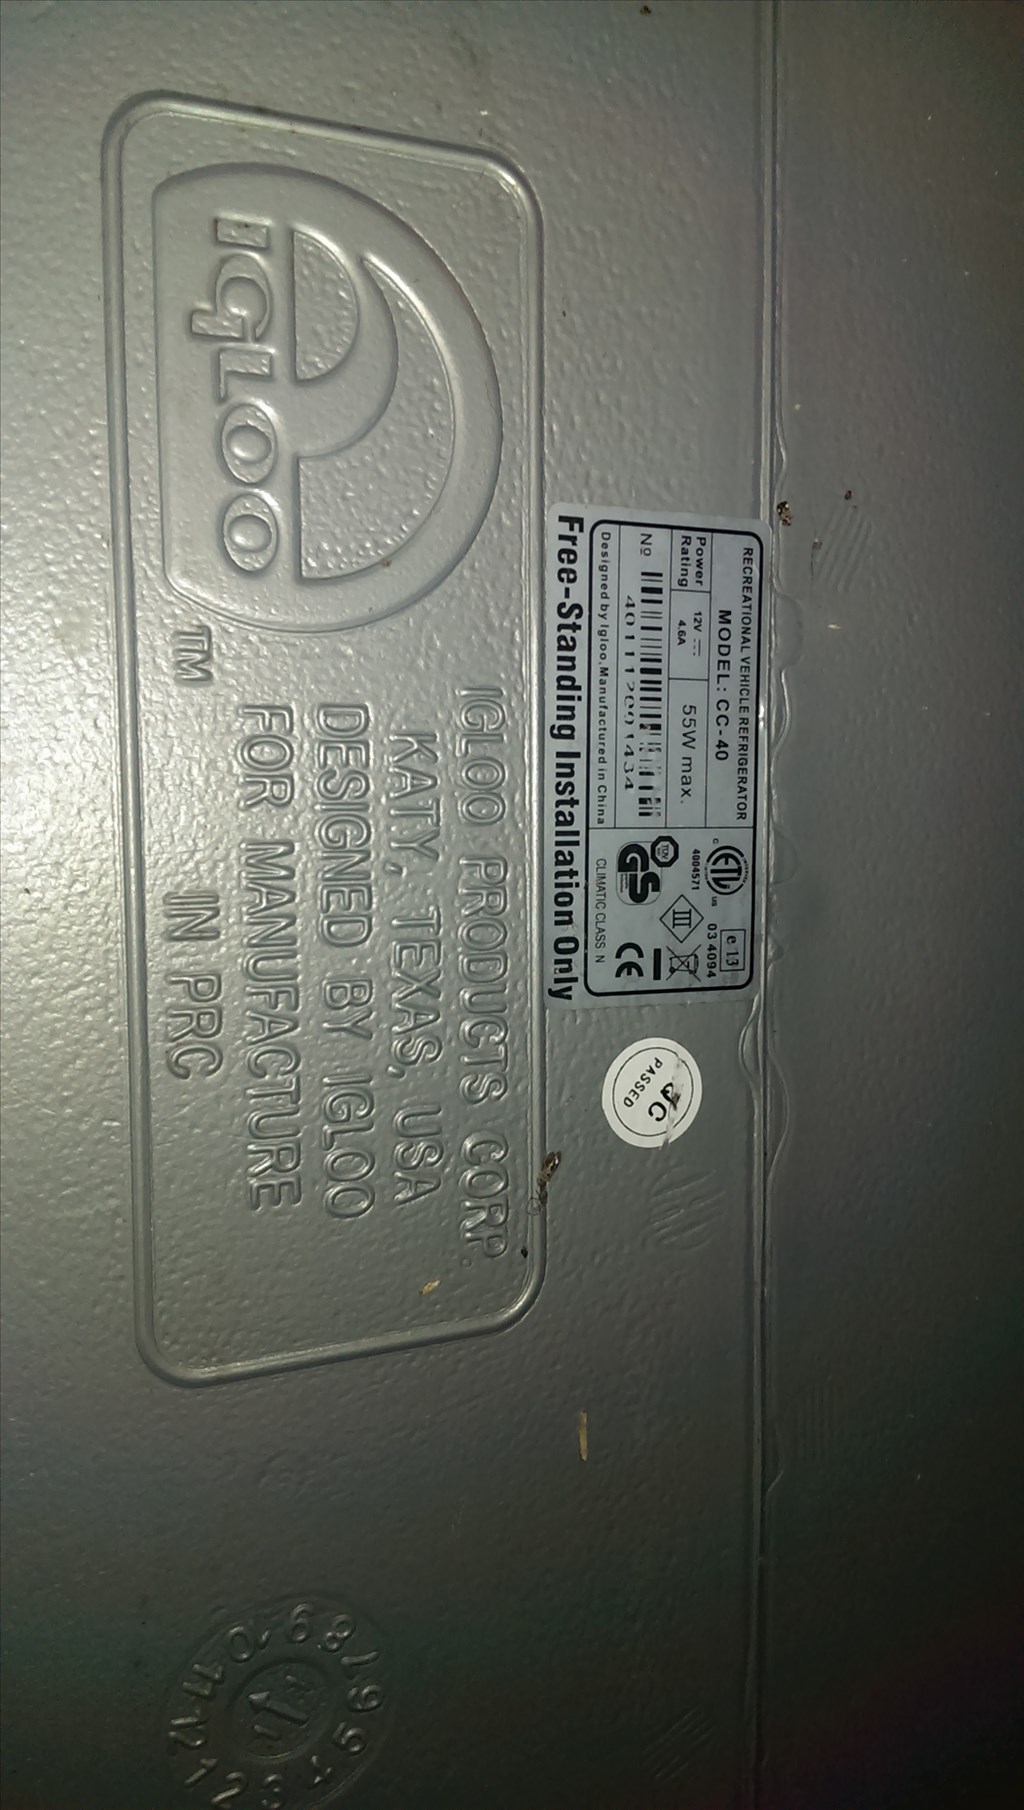
Josh, that's coming along pretty well so far. Here is something to consider. I have had a lot of those 12v coolers over time. They work pretty well, but the cold side does create condensation. You might want to incorporate some sort of removable drip tray in the bottom.
https://www.youtube.com/watch?v=jiyRDyGcEEM&feature=youtube_gdata_player
This is a ten minute video explaining how the insulation works and how you can do this too. I fill from half way up to the top with foam in this video. I explain the product used , how I am modeling the refrigerated area after commertial units ect.
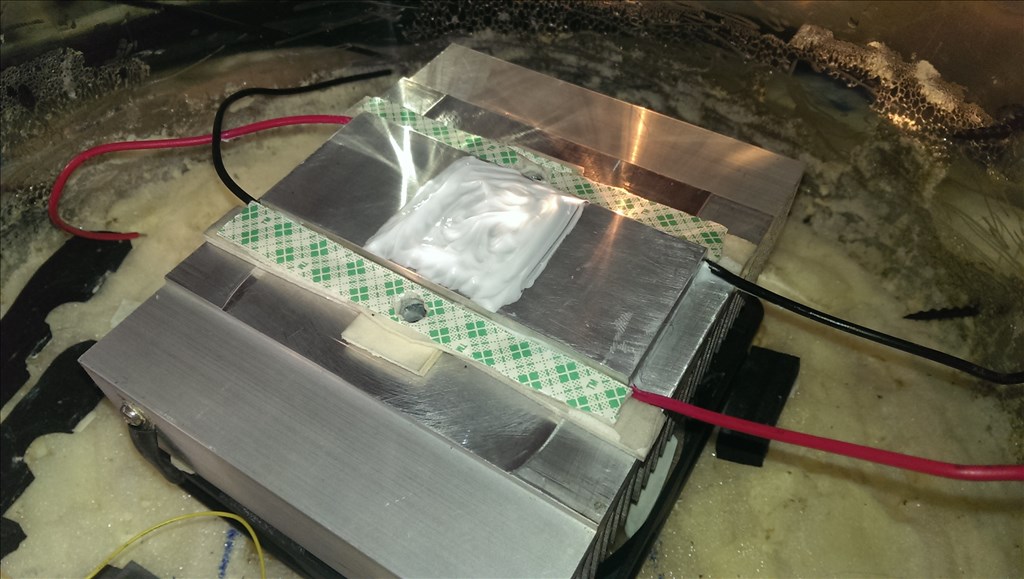
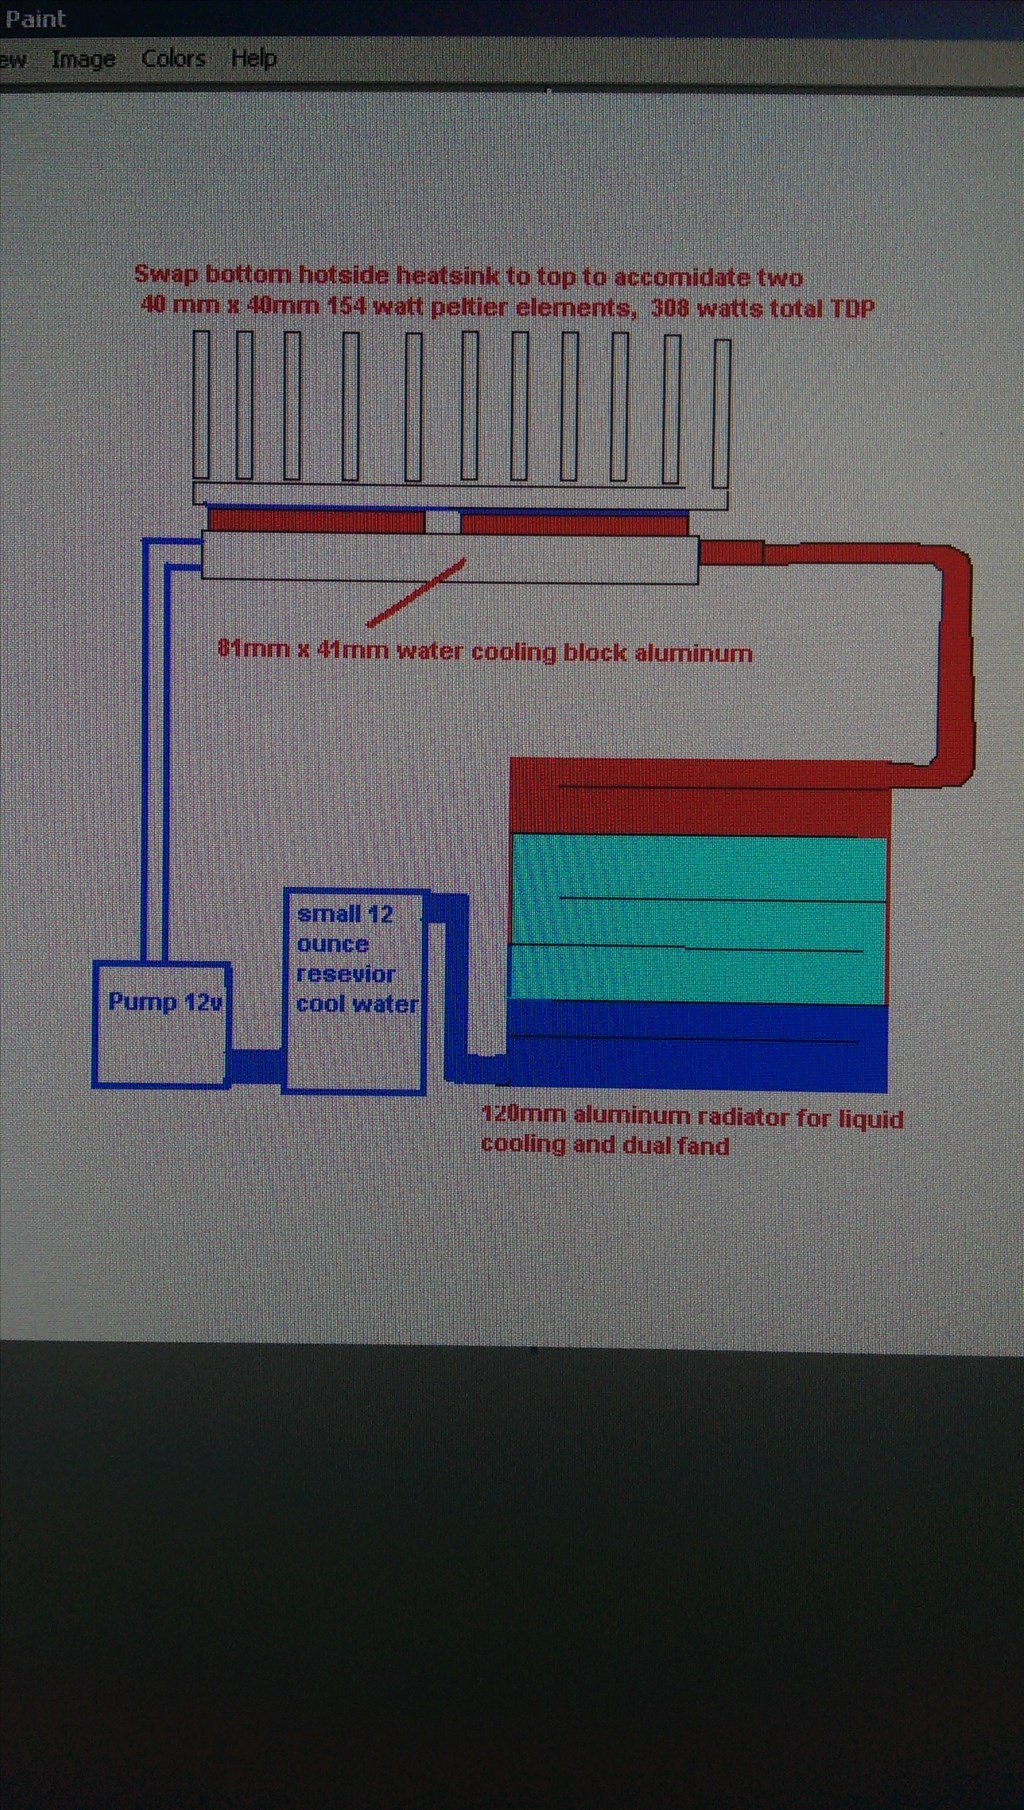
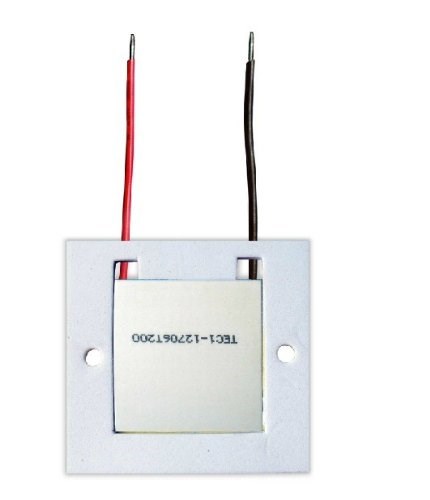
@Danger - thanks for the tip , if it builds condensation too much I will use a small pump I have to spray water on the hot side making a evaporative booster.
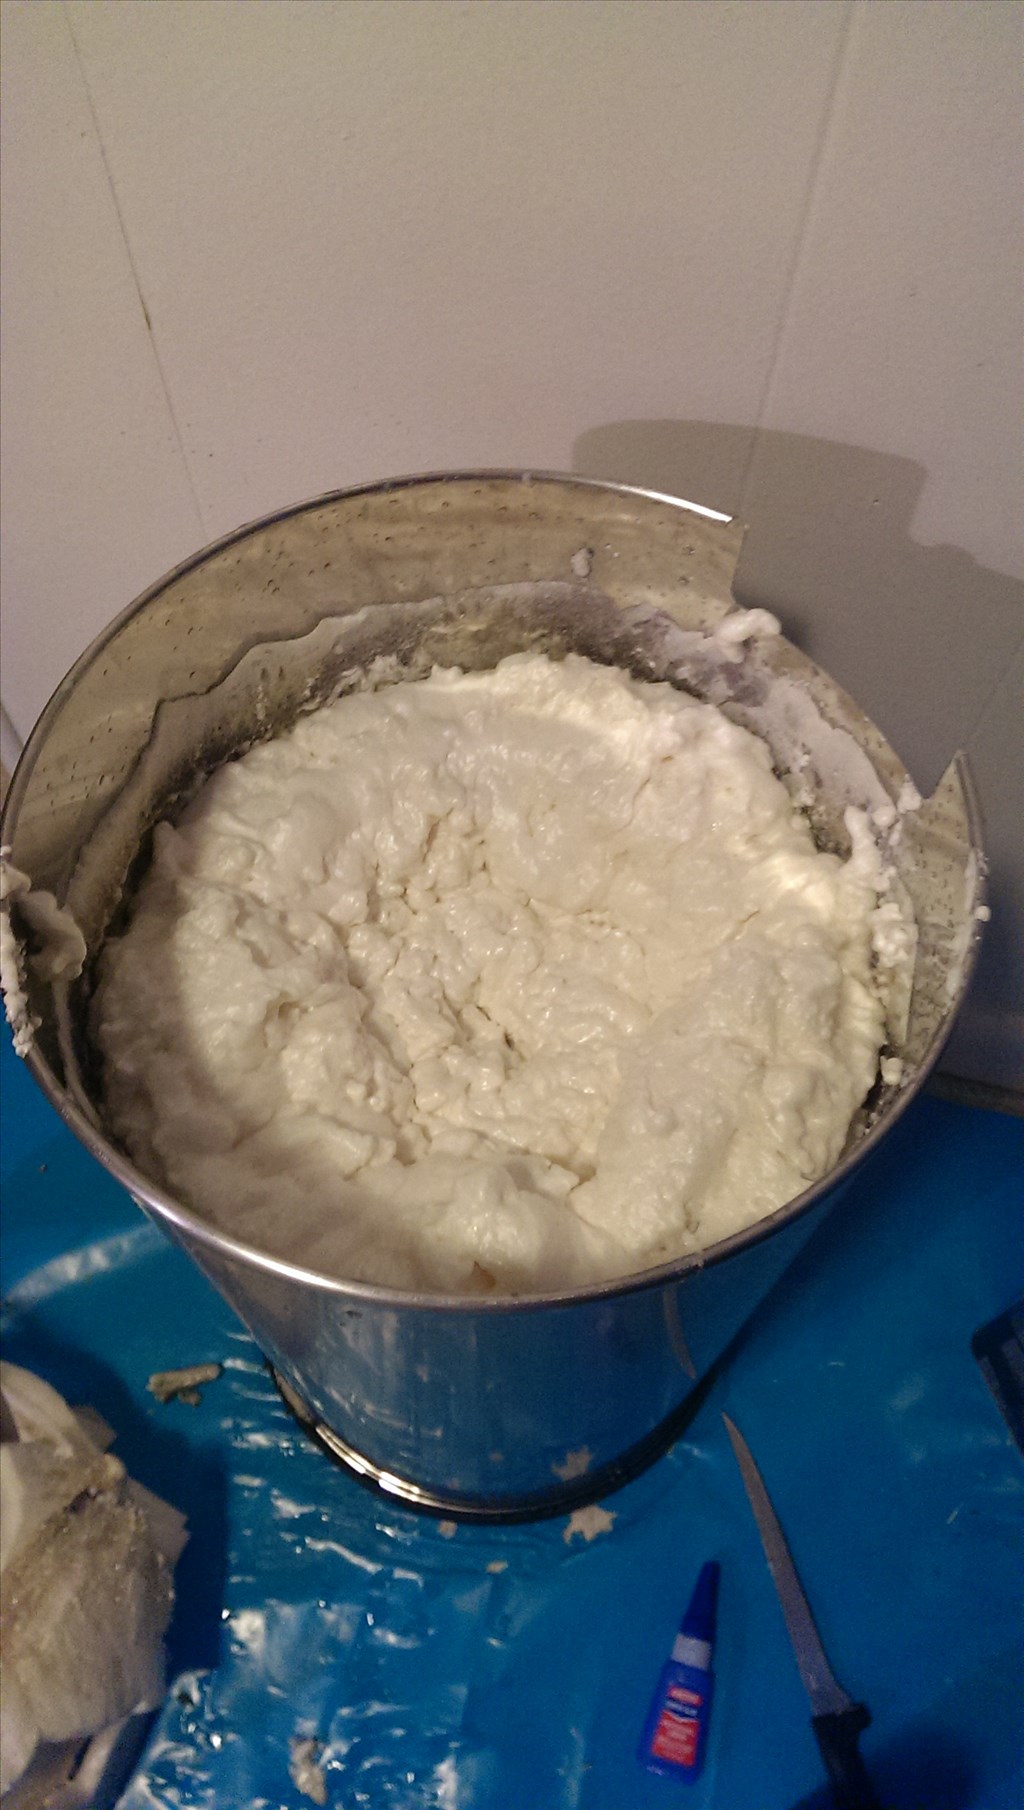
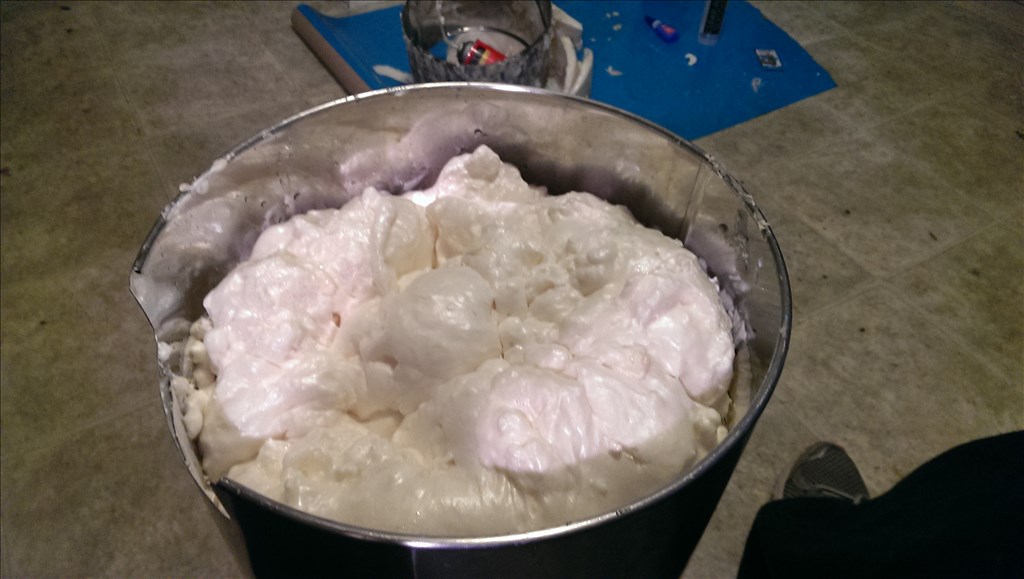
30 min update , you can see that the two cans for sure is enough because it has continued to expand almost filling the entire body now. For the next 30 minutes it will expand a tiny bit more.
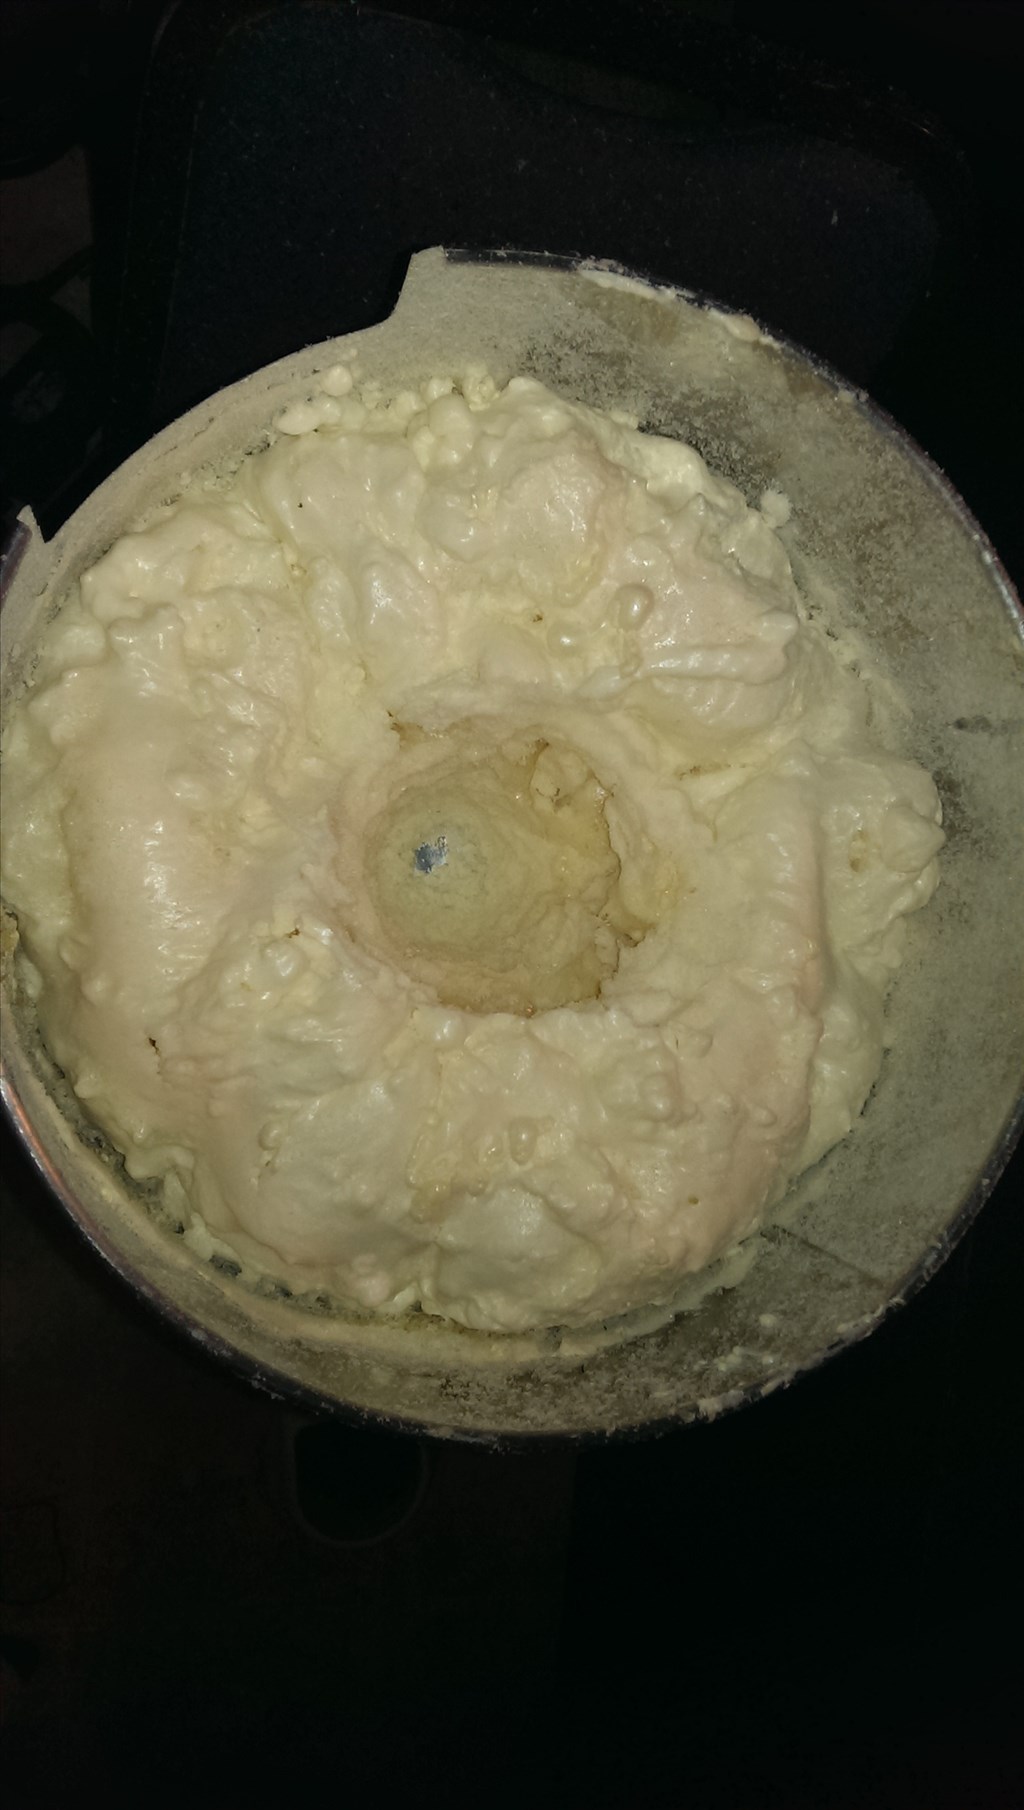
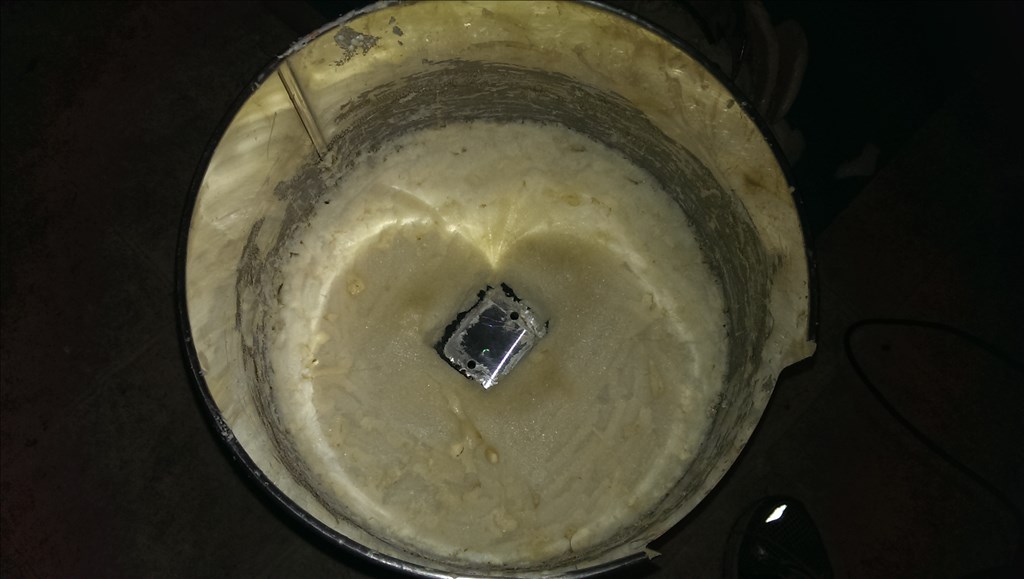
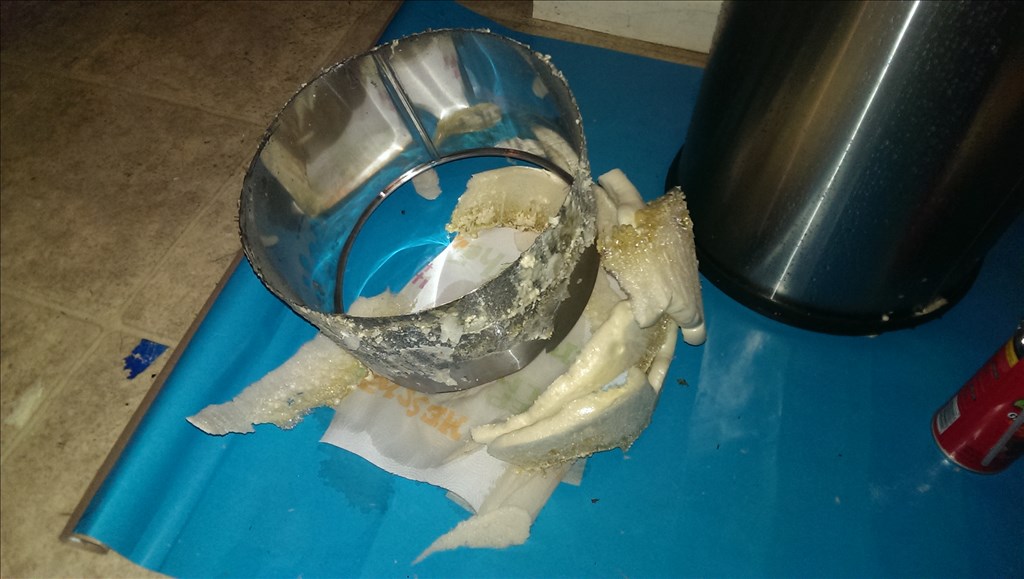
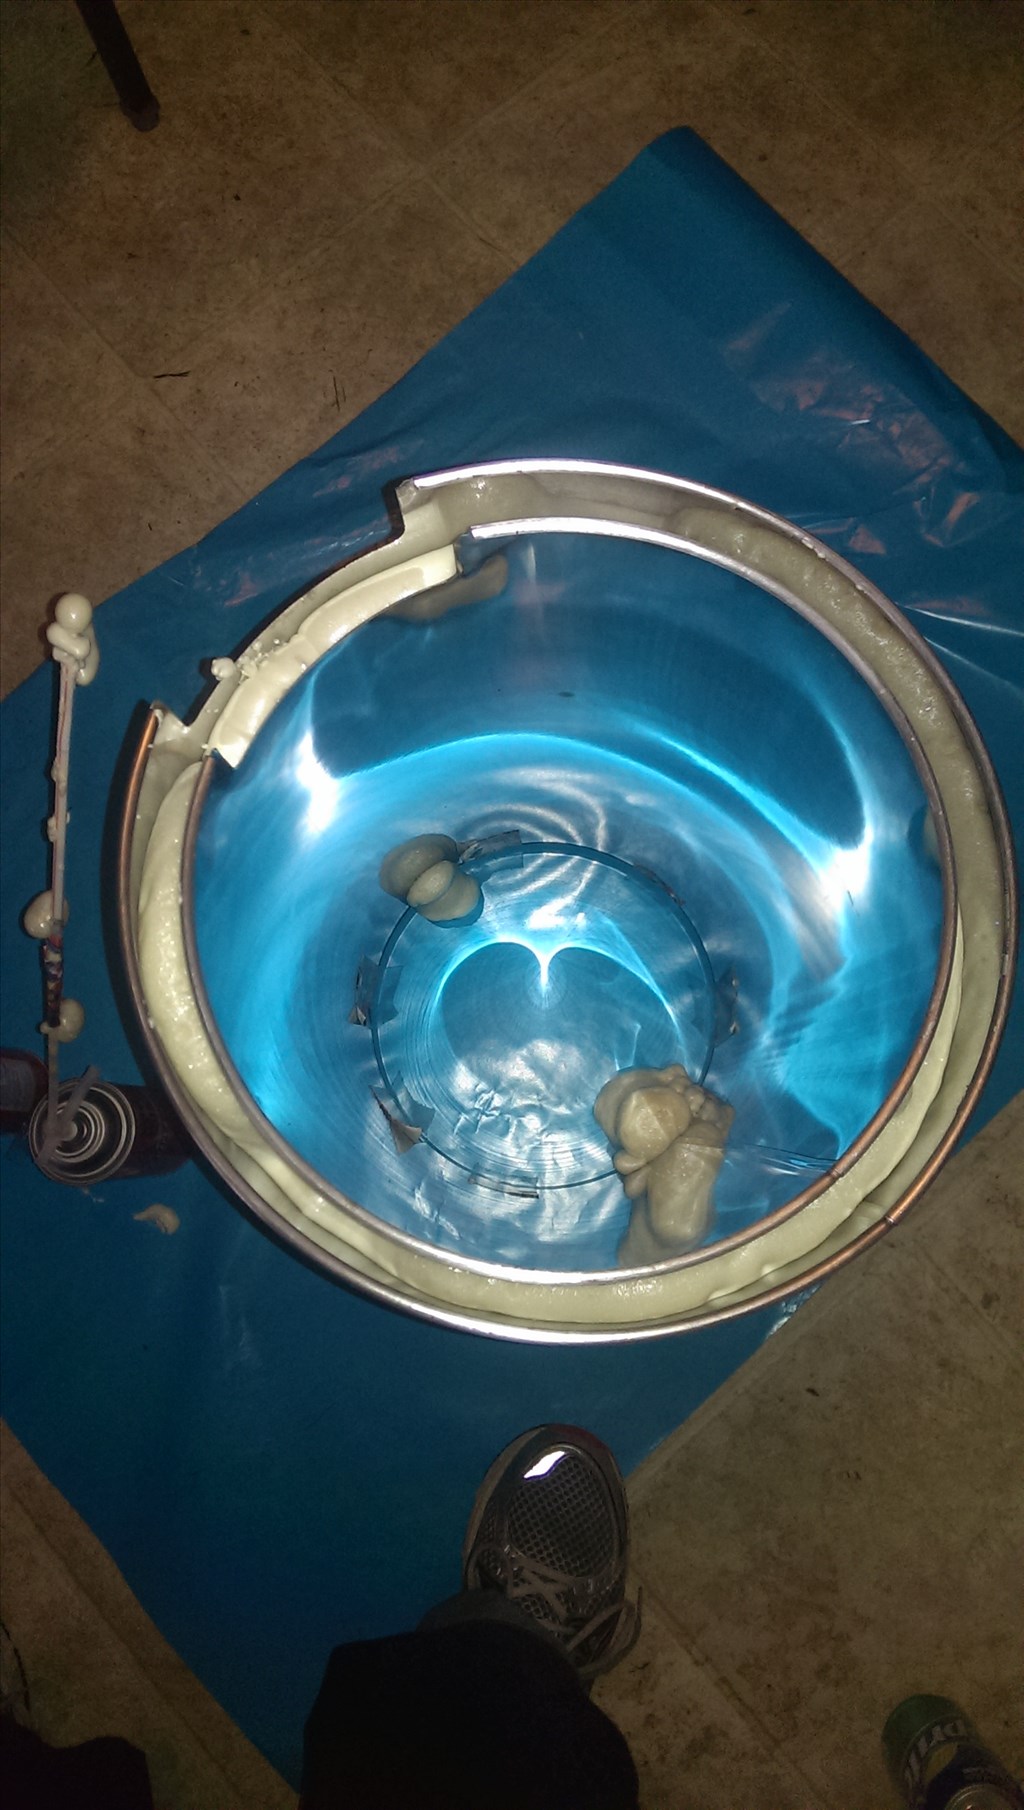
This stuff feels every crevice and screw hole. It looks like I will have some excess to clean up after it hardens later tonight or tommorow.
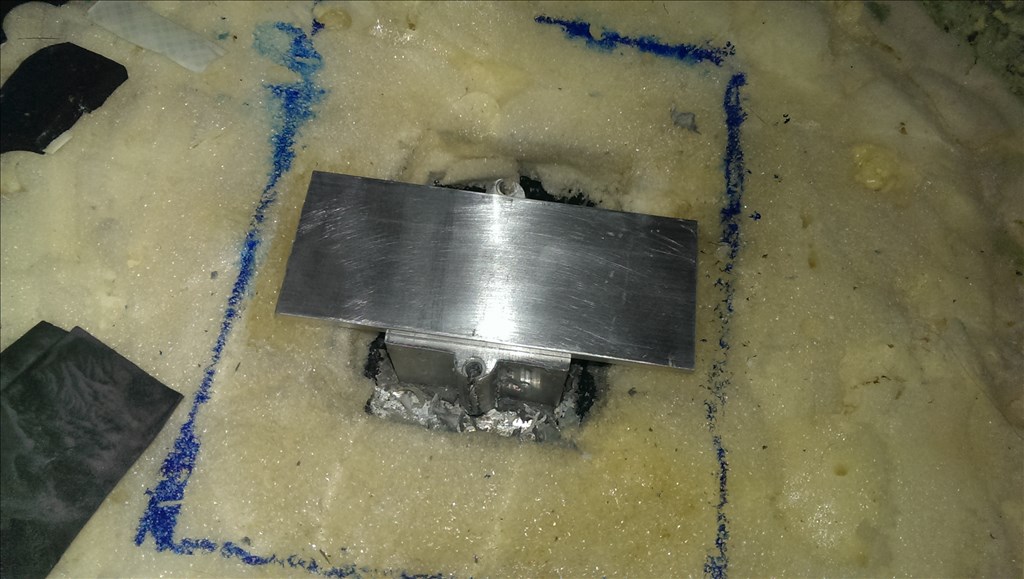
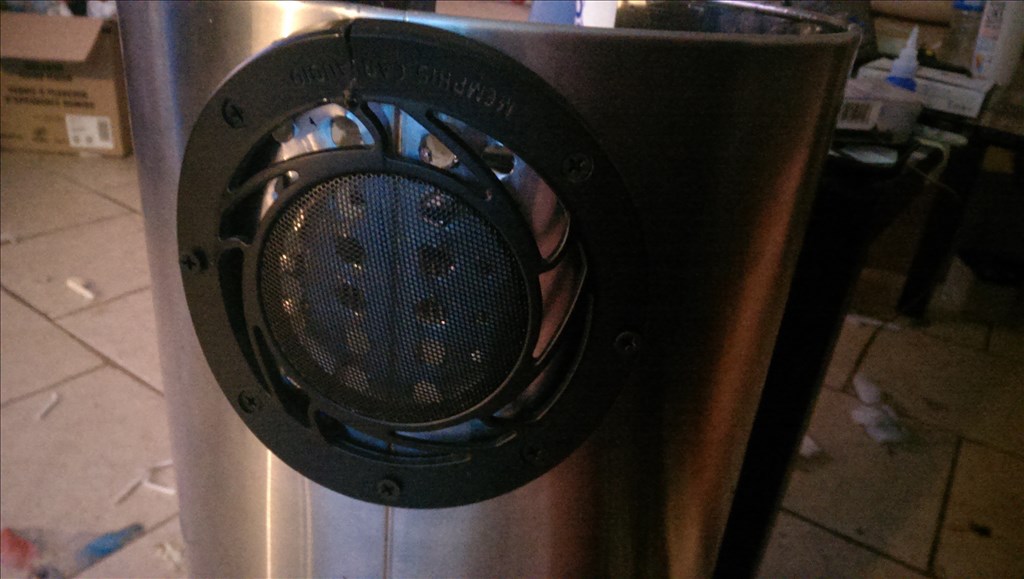
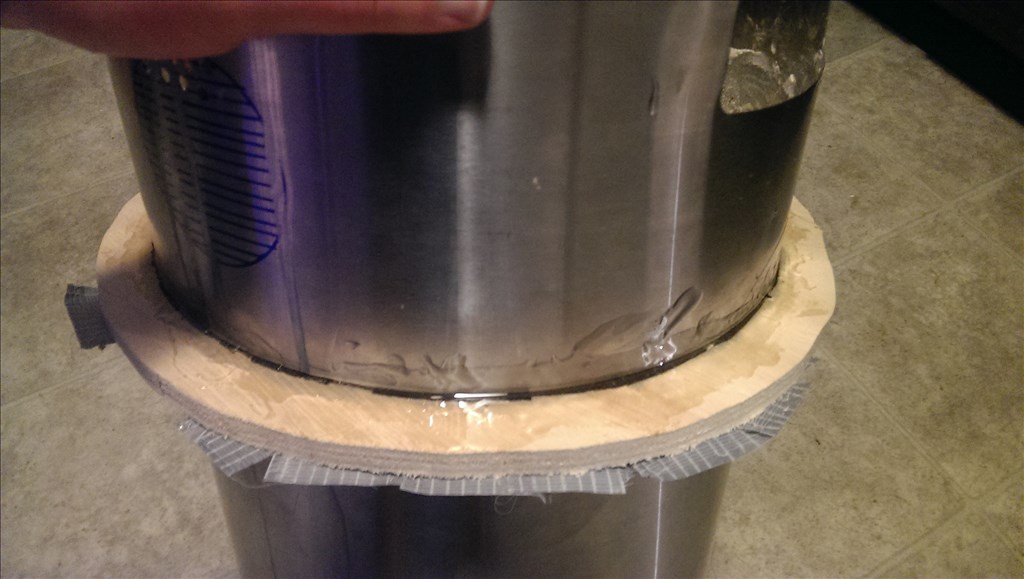
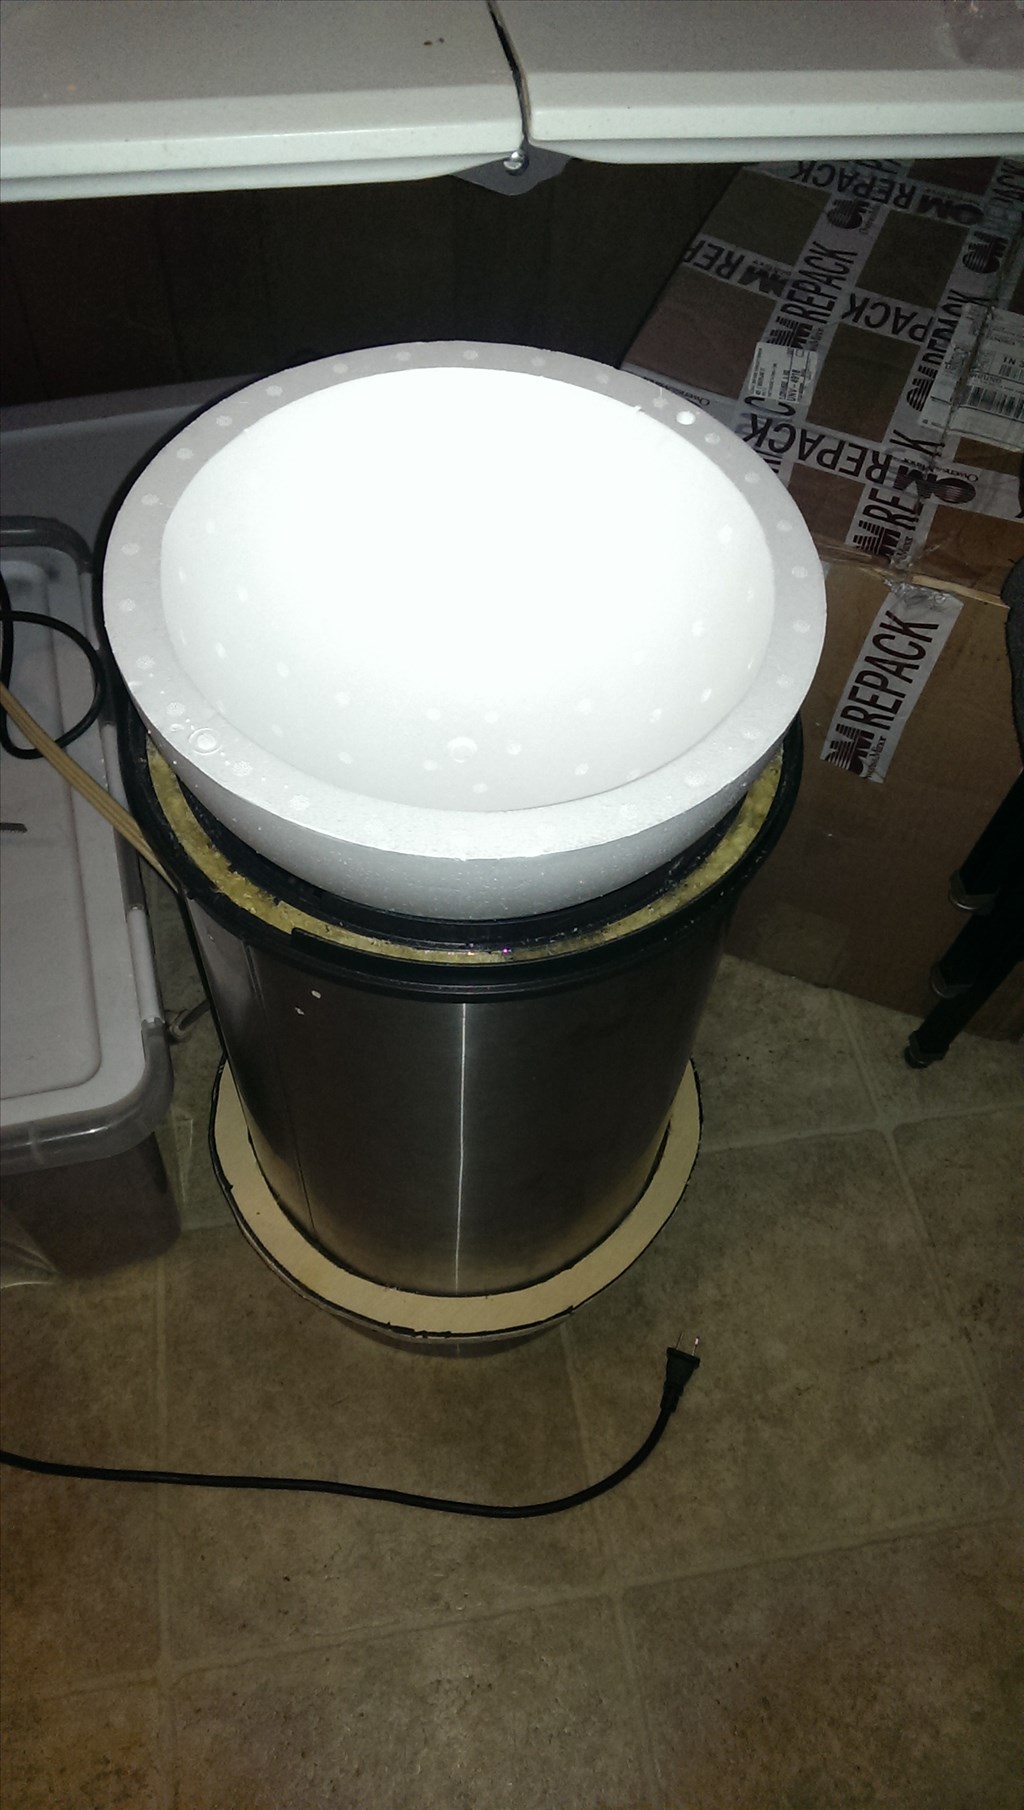
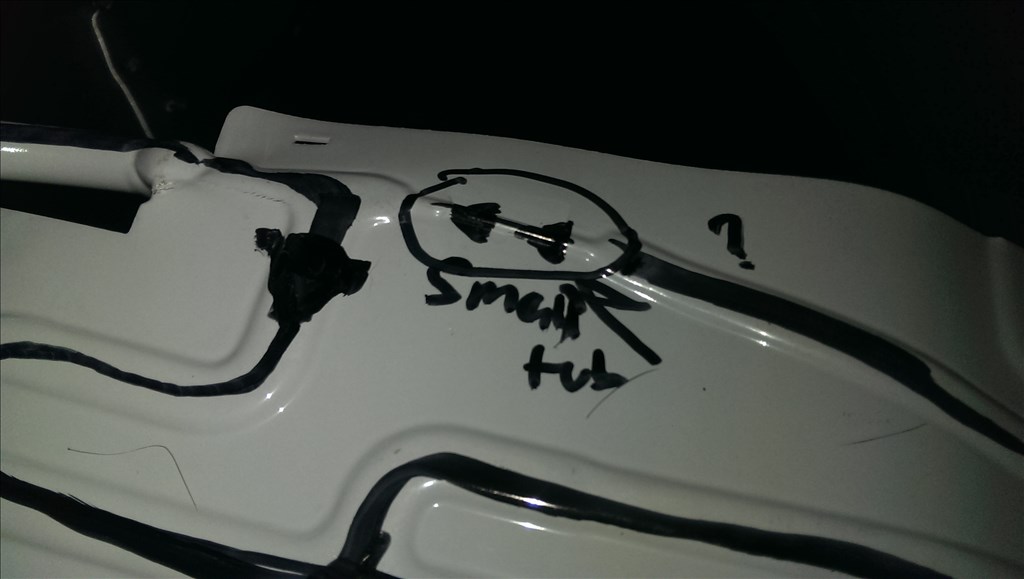
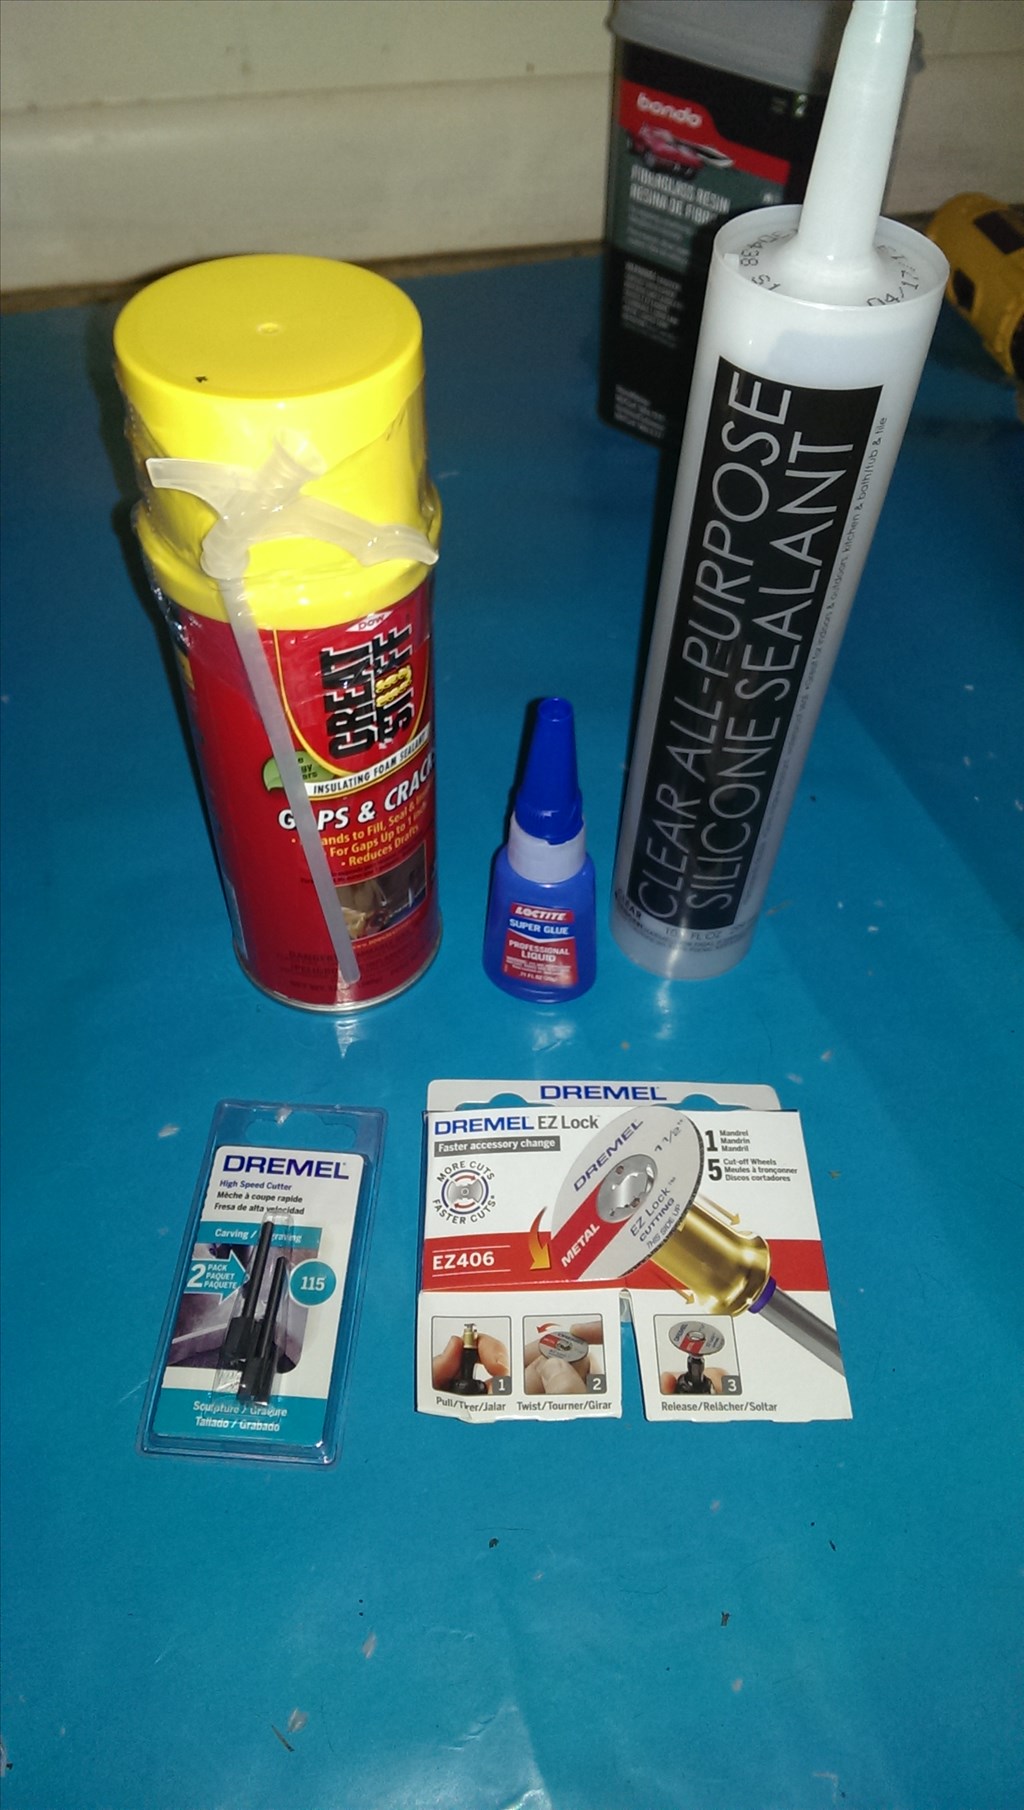
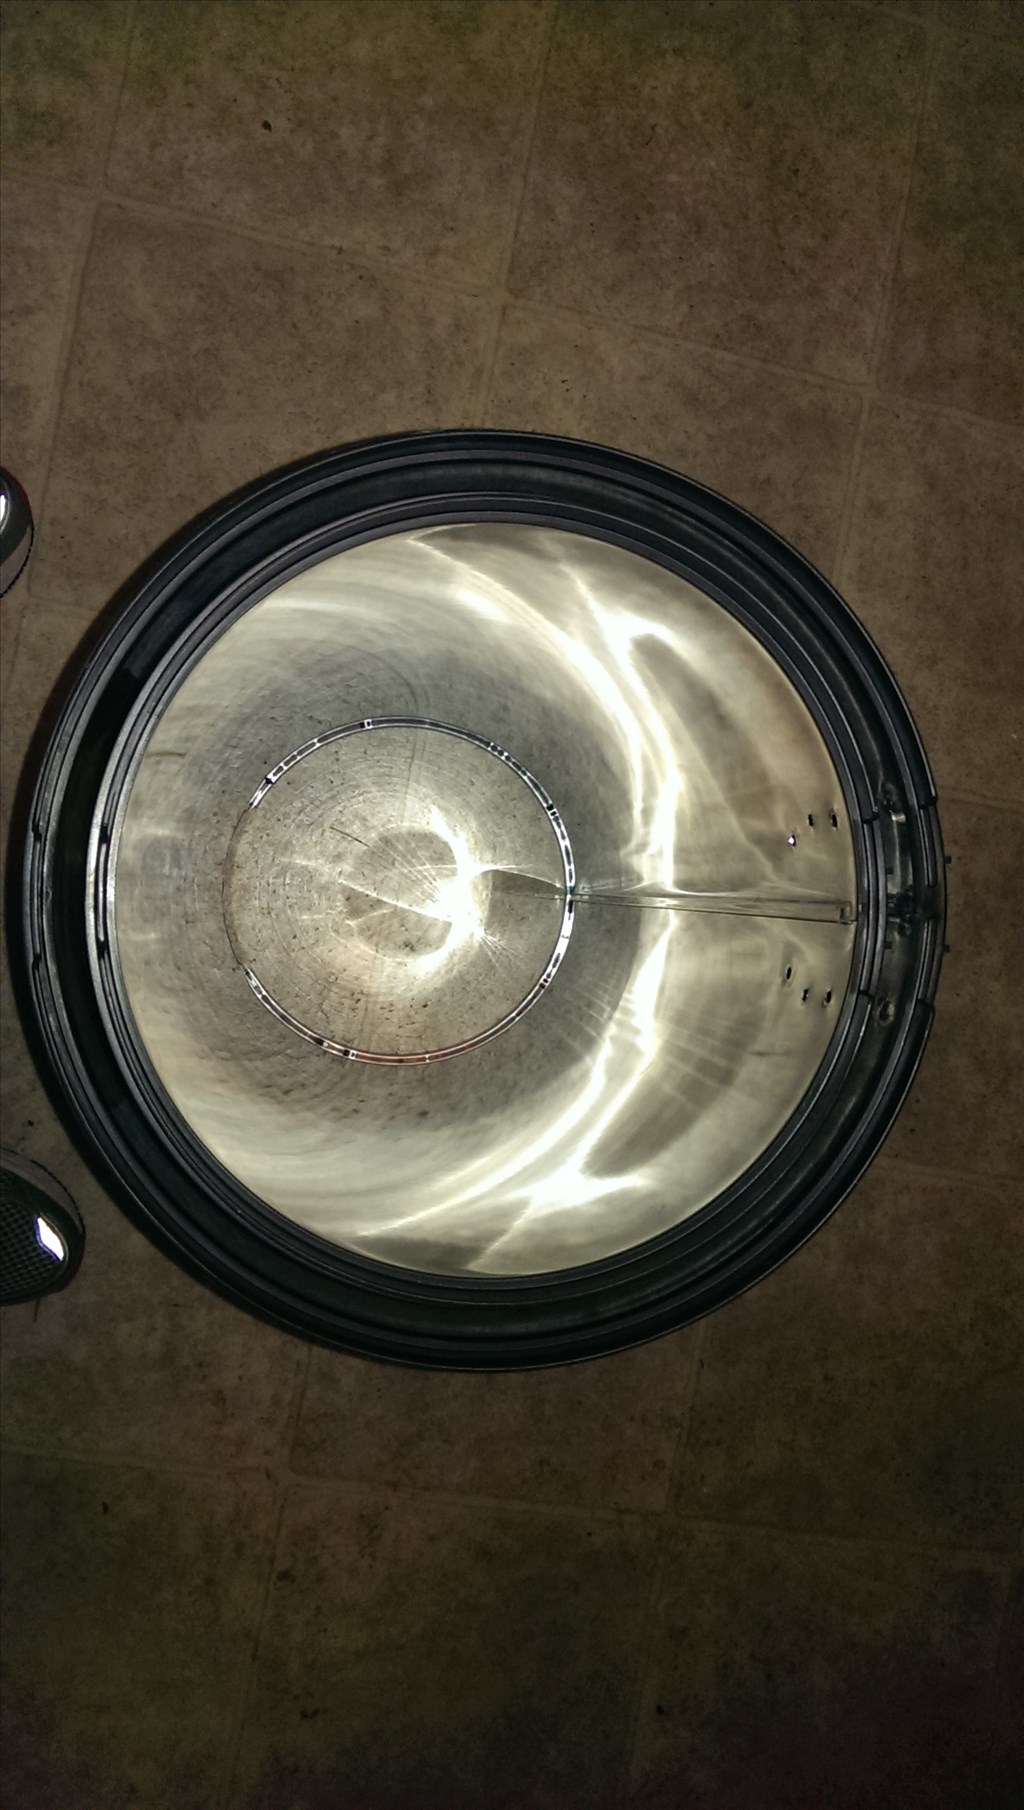
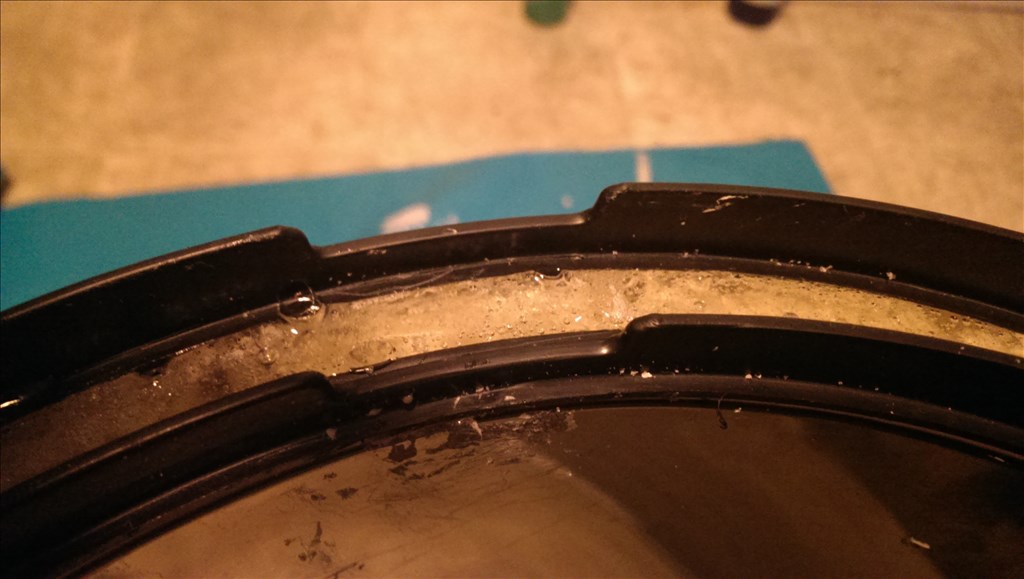
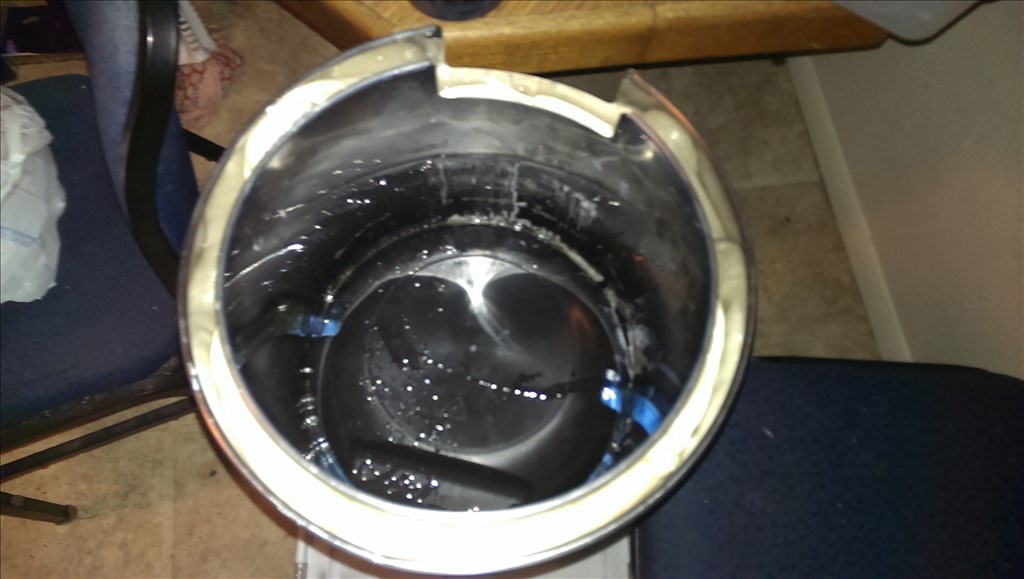
Ok so after it hardened I used a steak knife to saw away the excess below the level of the top plastic ring. Then I used a few ounces of epoxy that I filled the gap with all the way around. This is hardening. The last step in this area is to make a silicon rubber seal to make it air tight when the lid is closed.
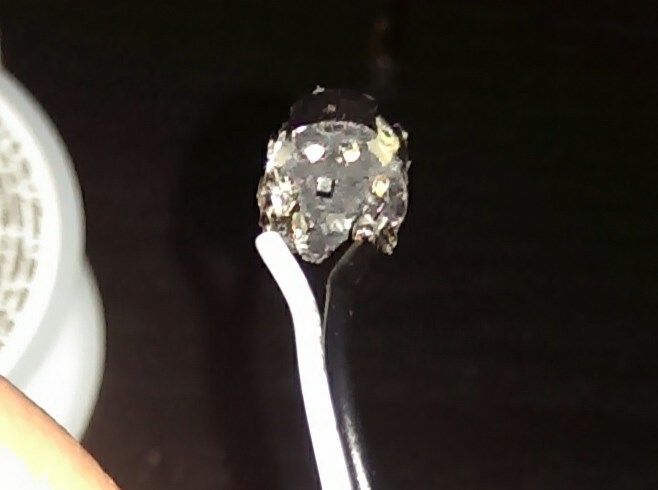
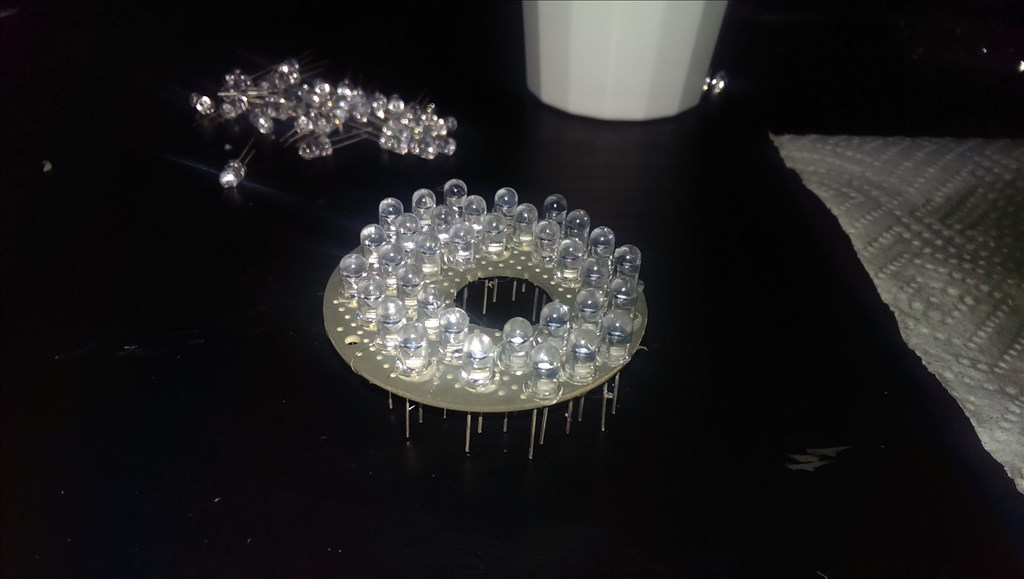
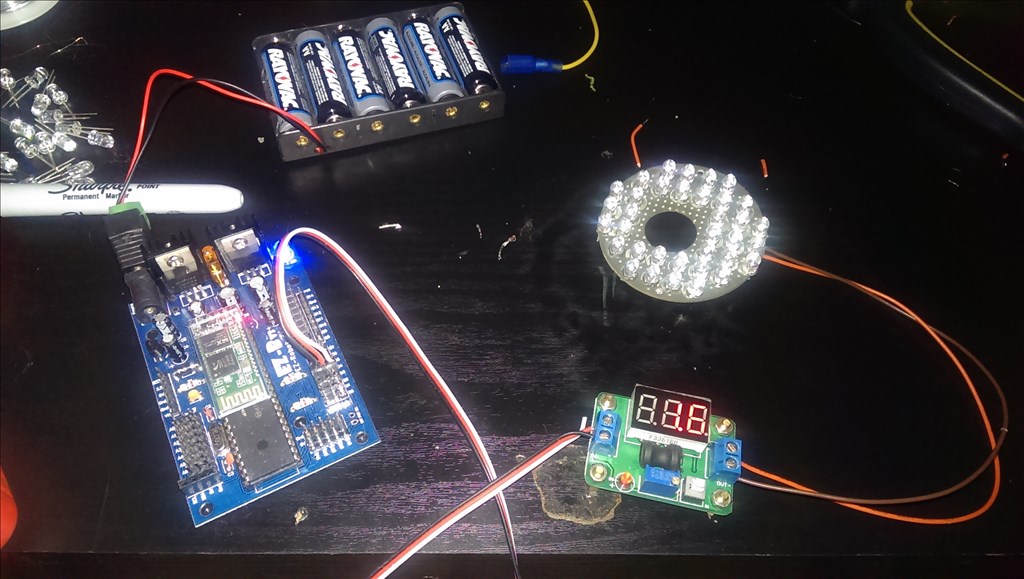
The lid - the lid is going to be lifted by a servo with a IR sensor.
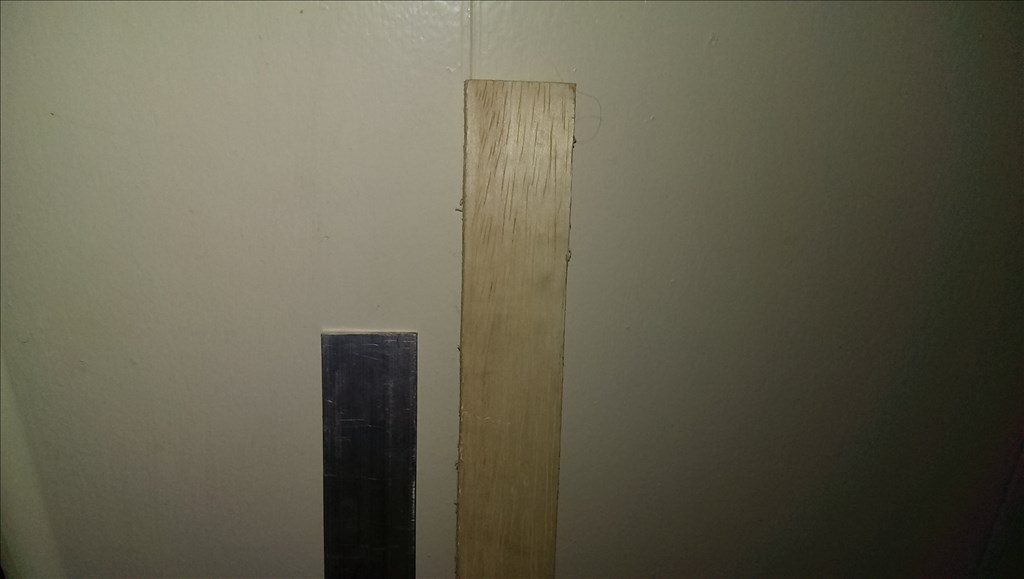
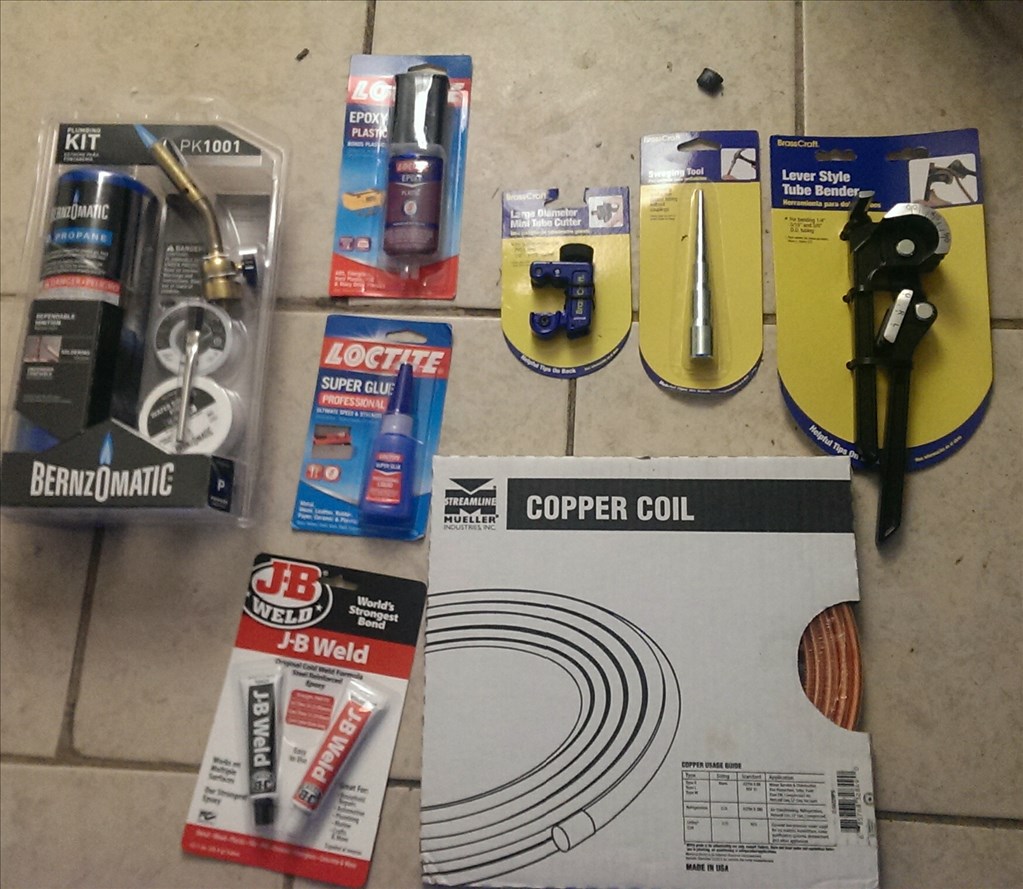
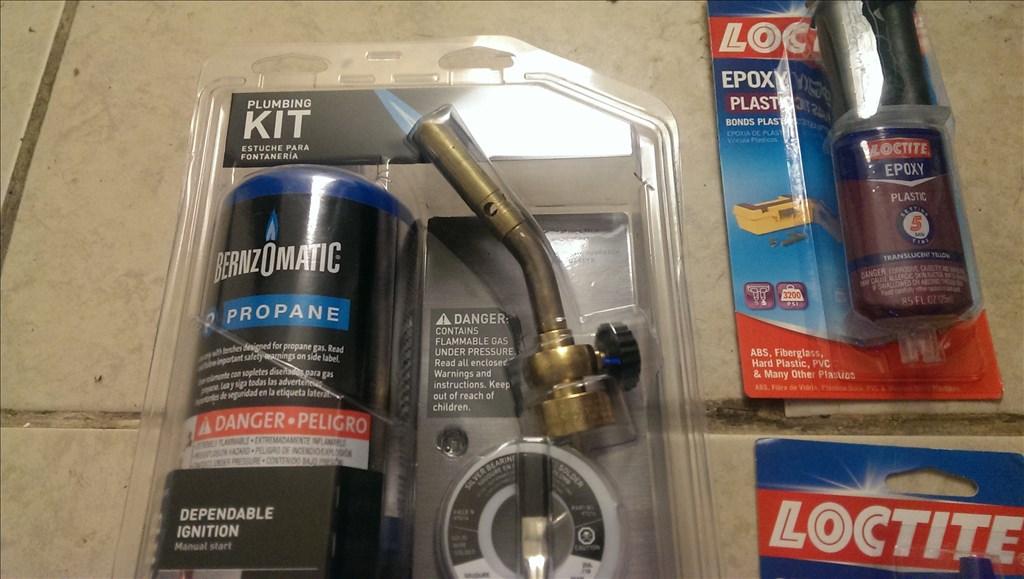
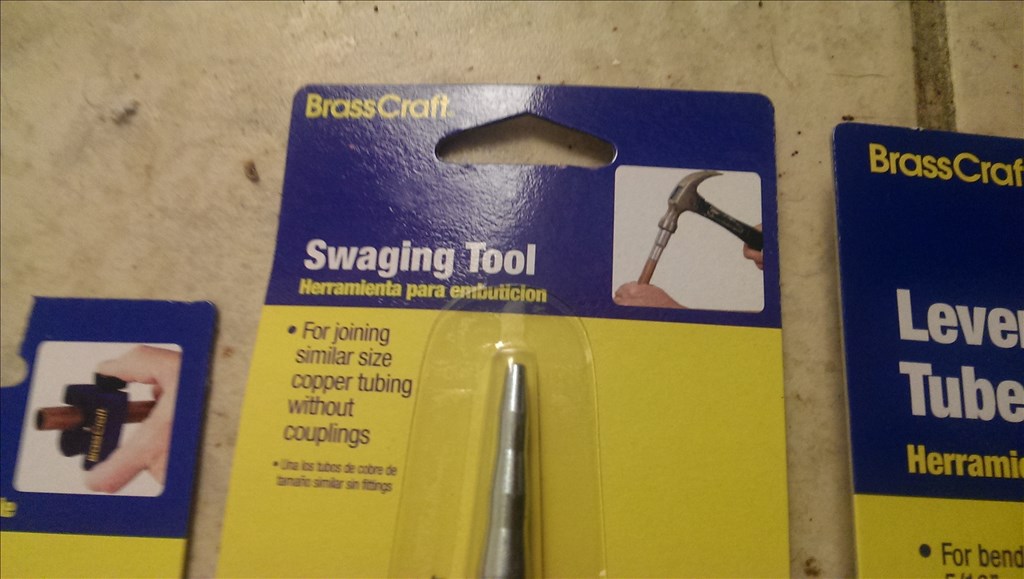
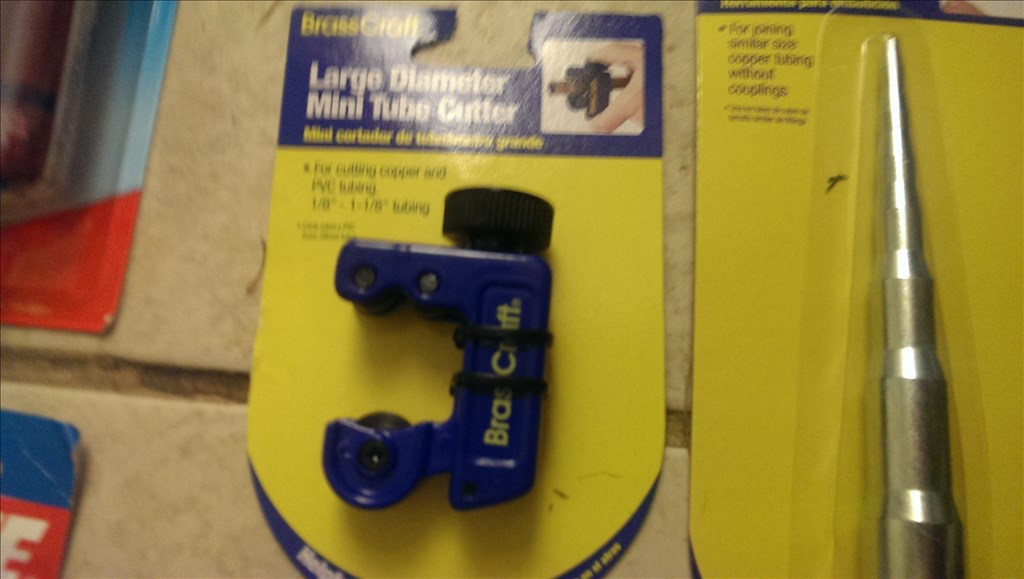
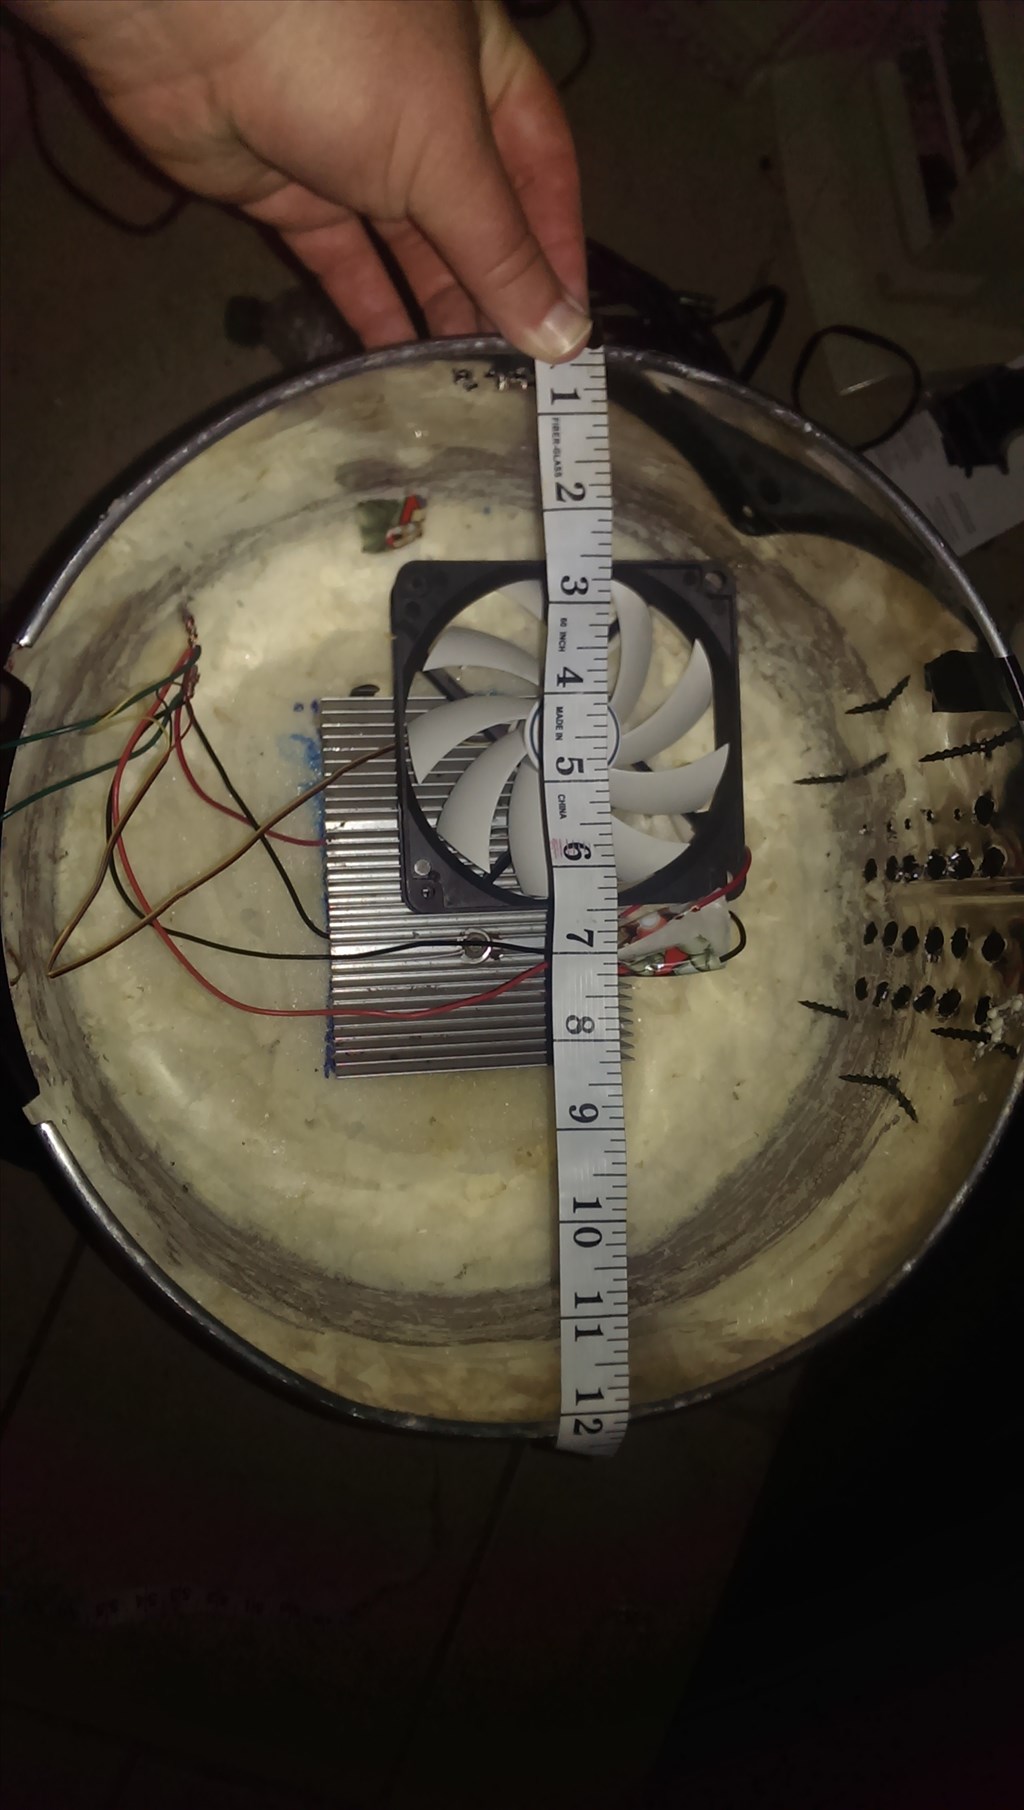
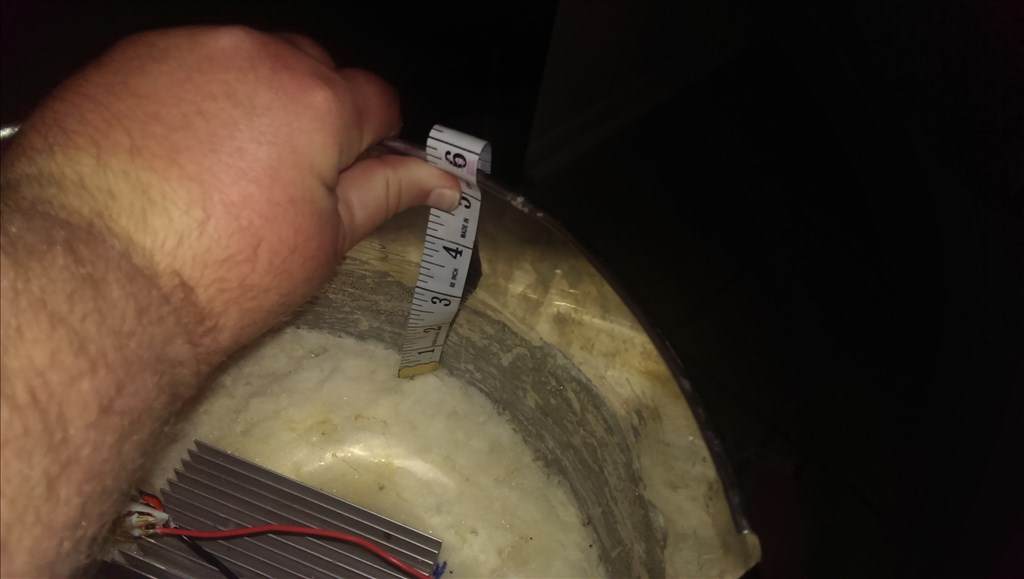
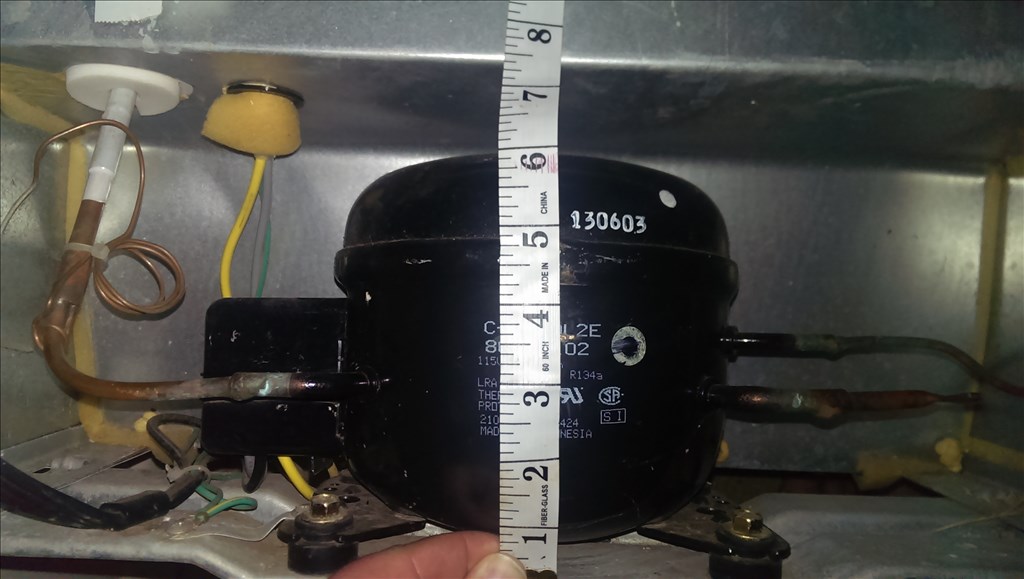
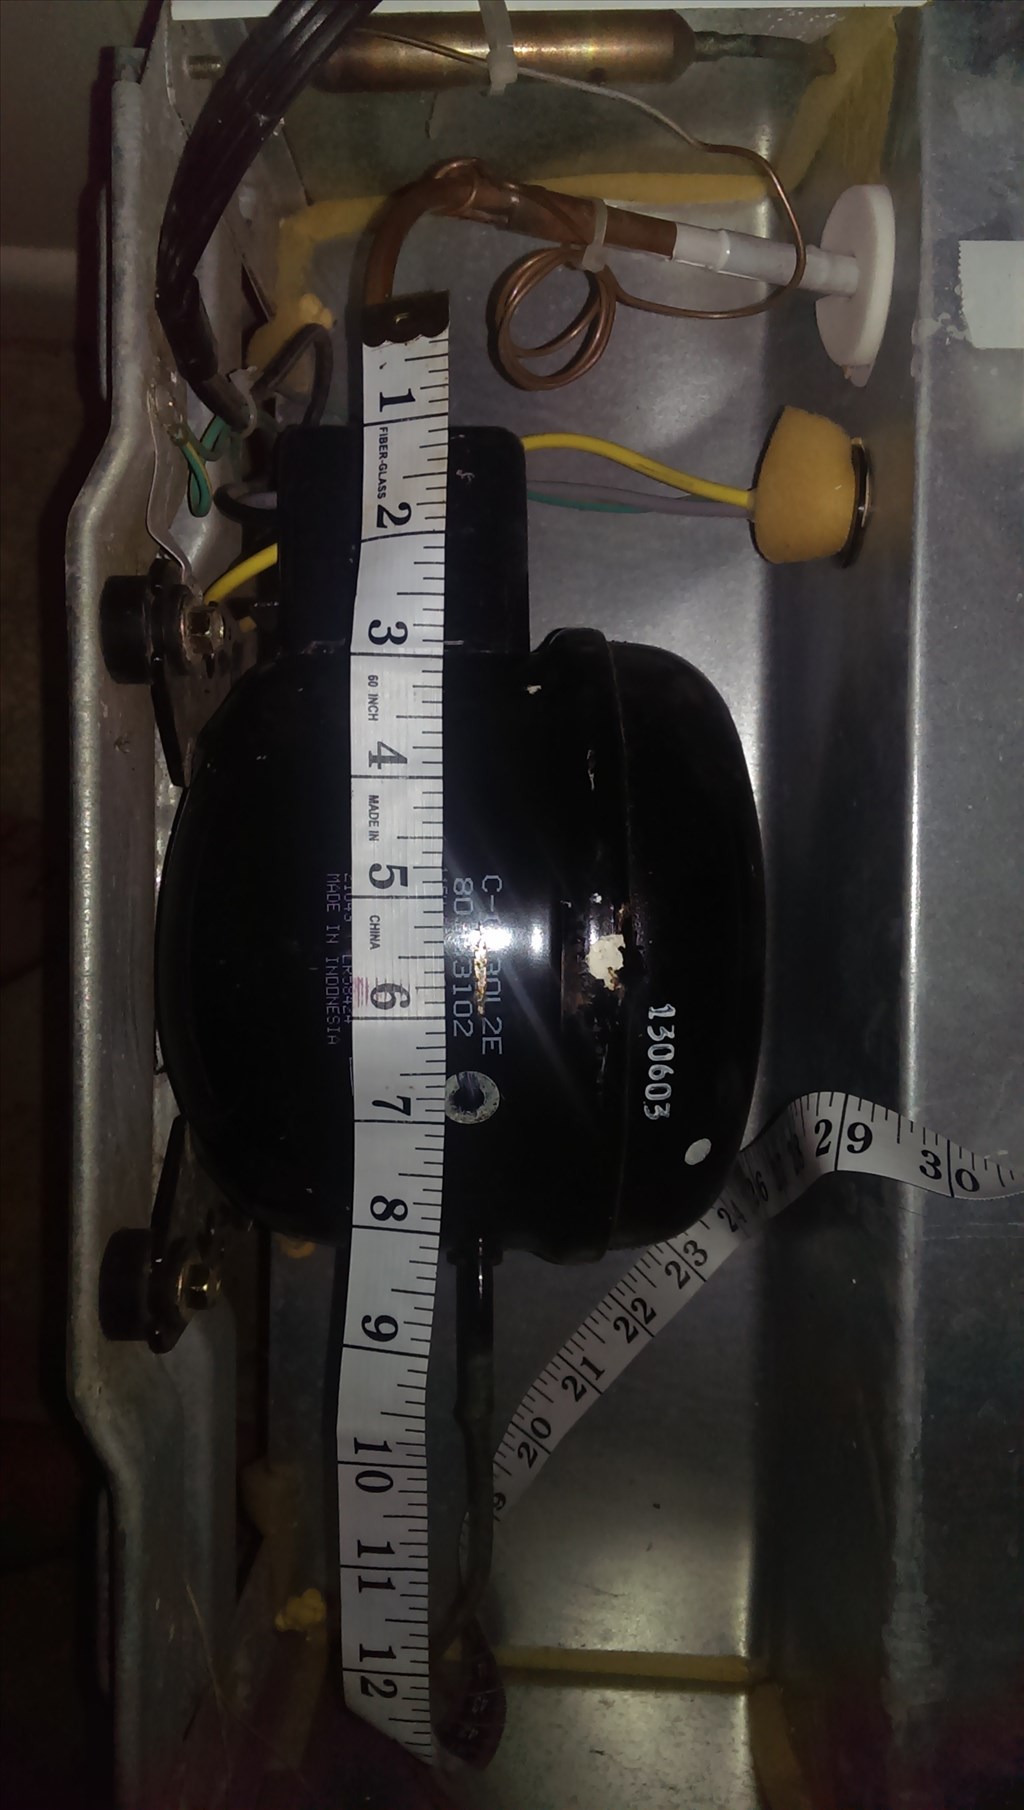
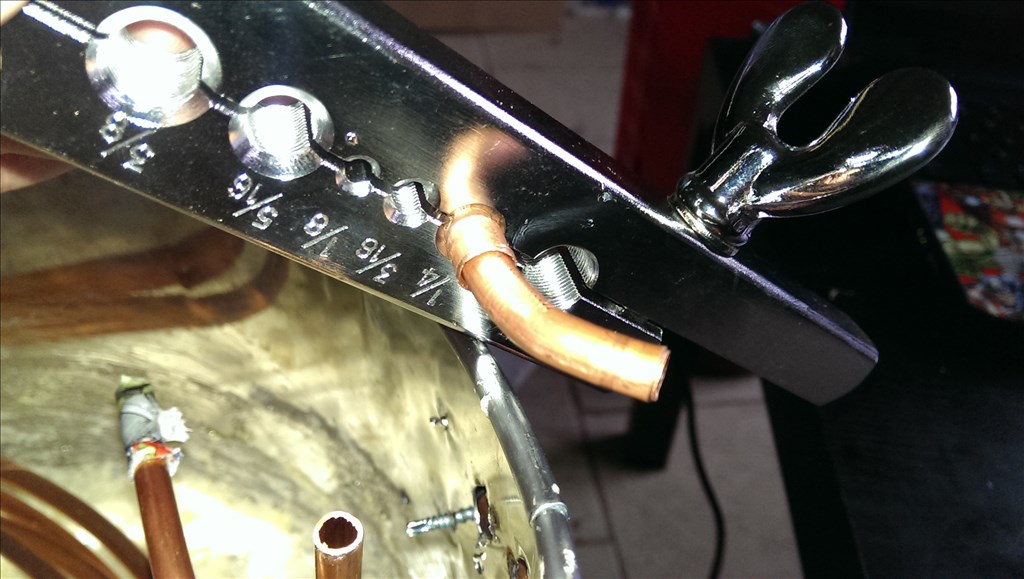
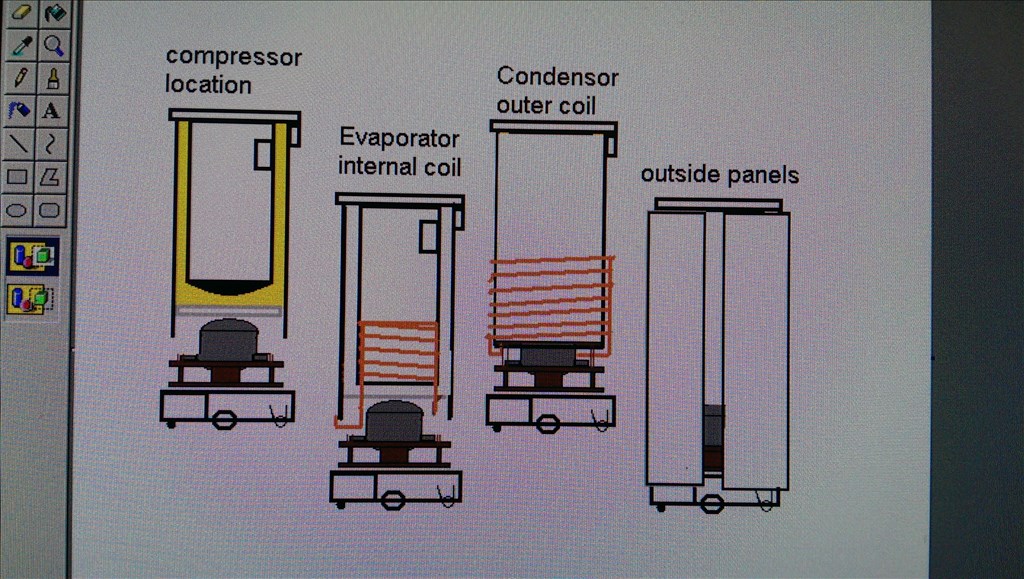
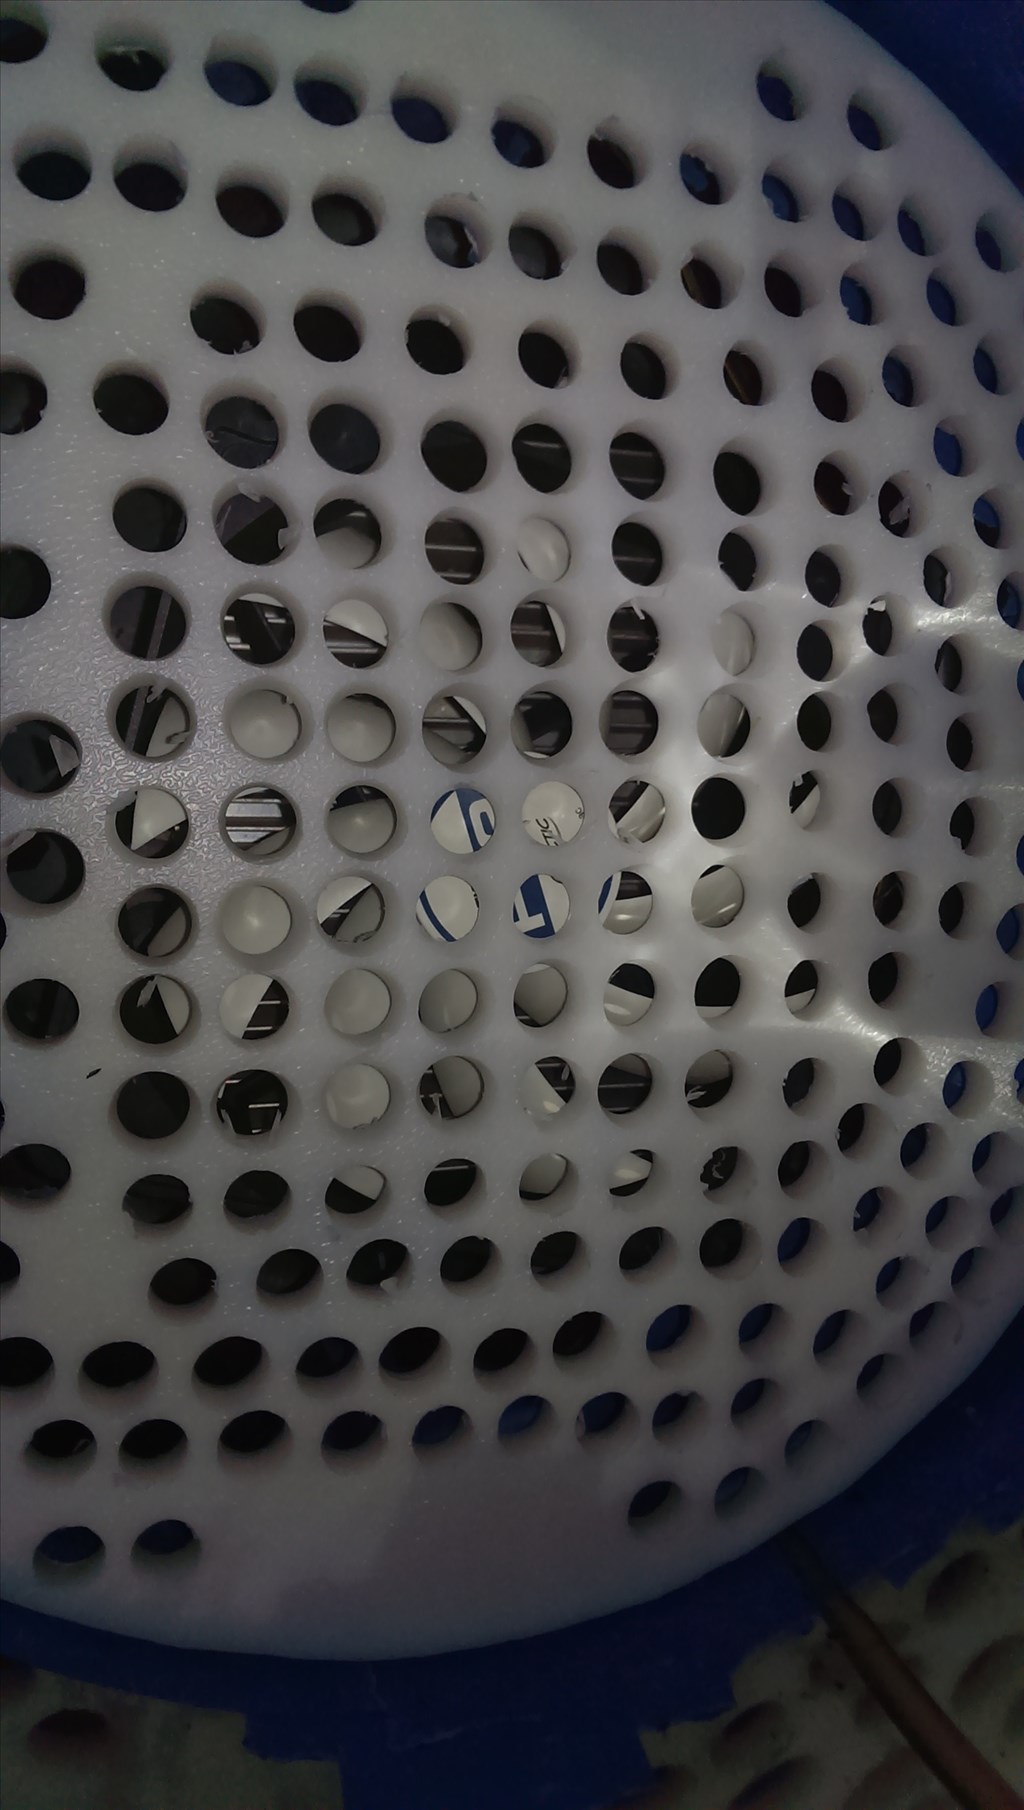
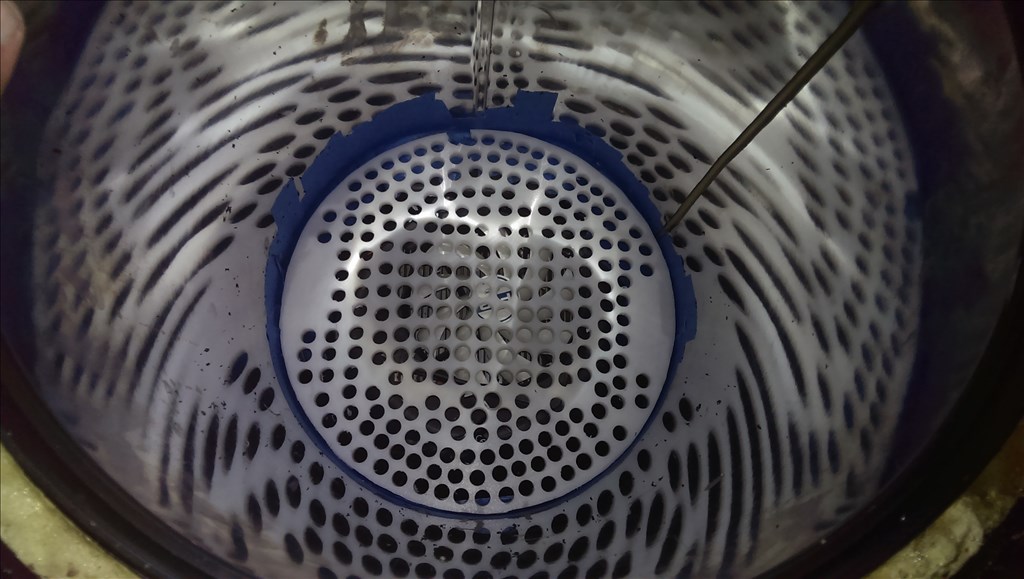
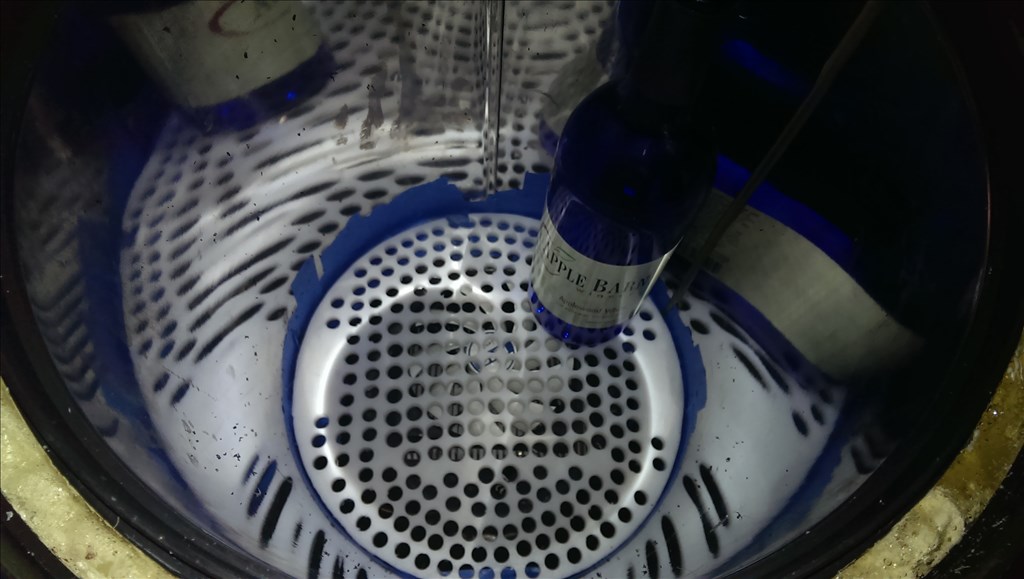
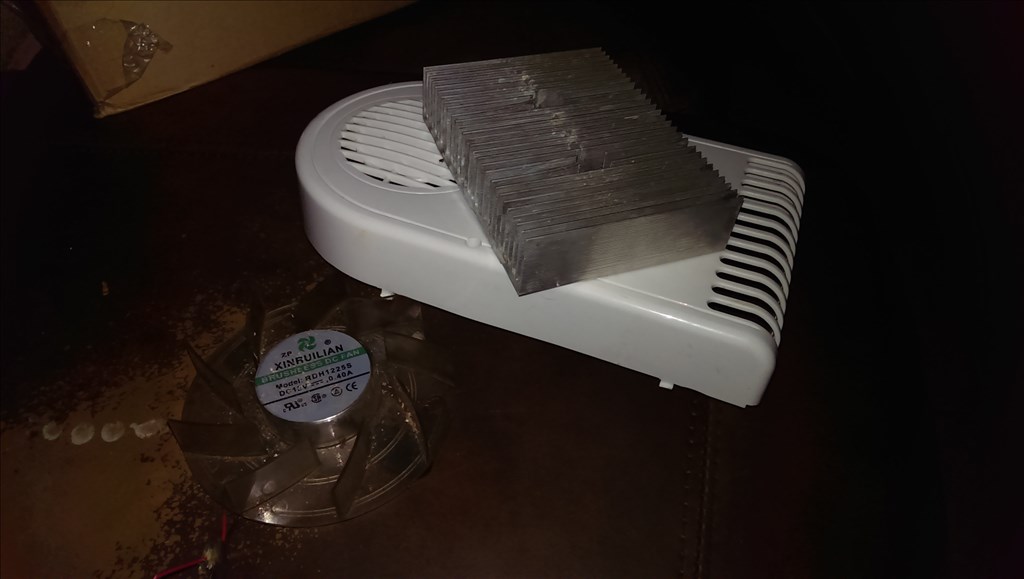
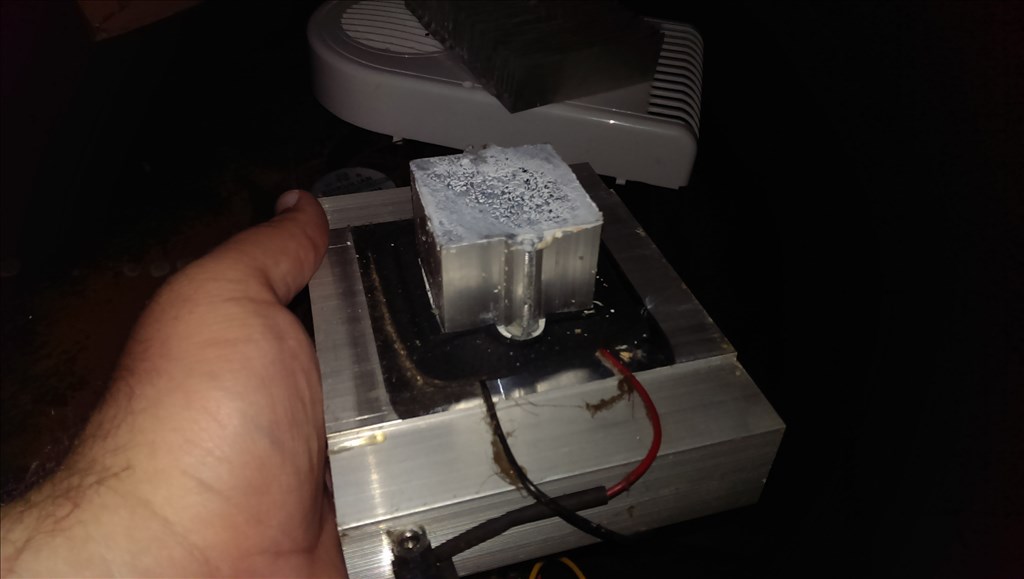
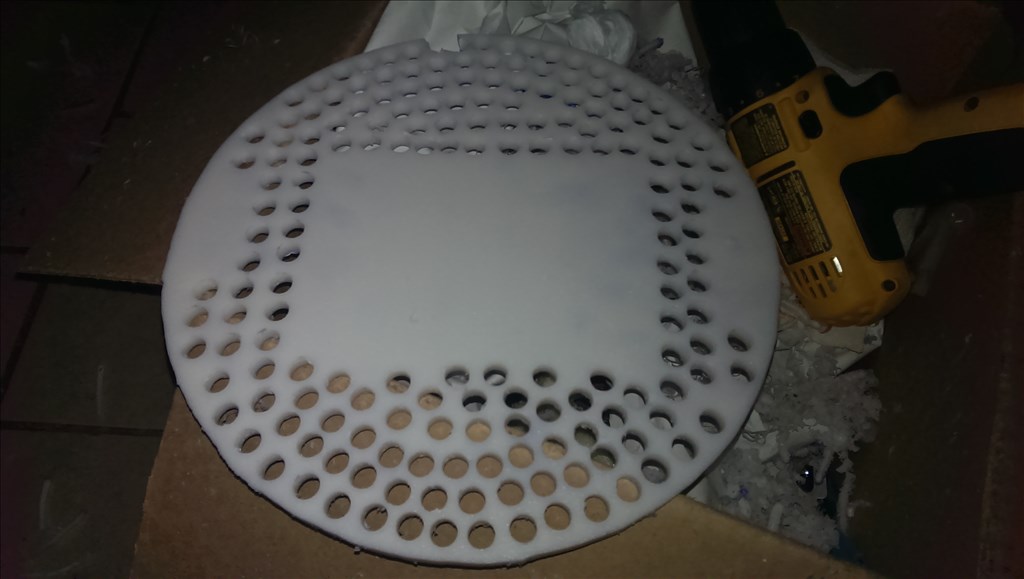
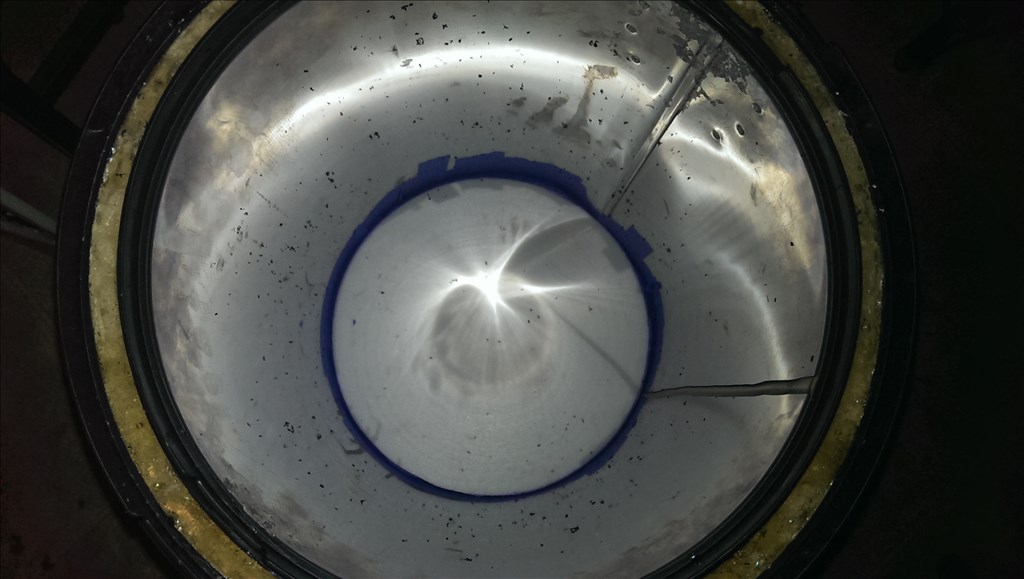
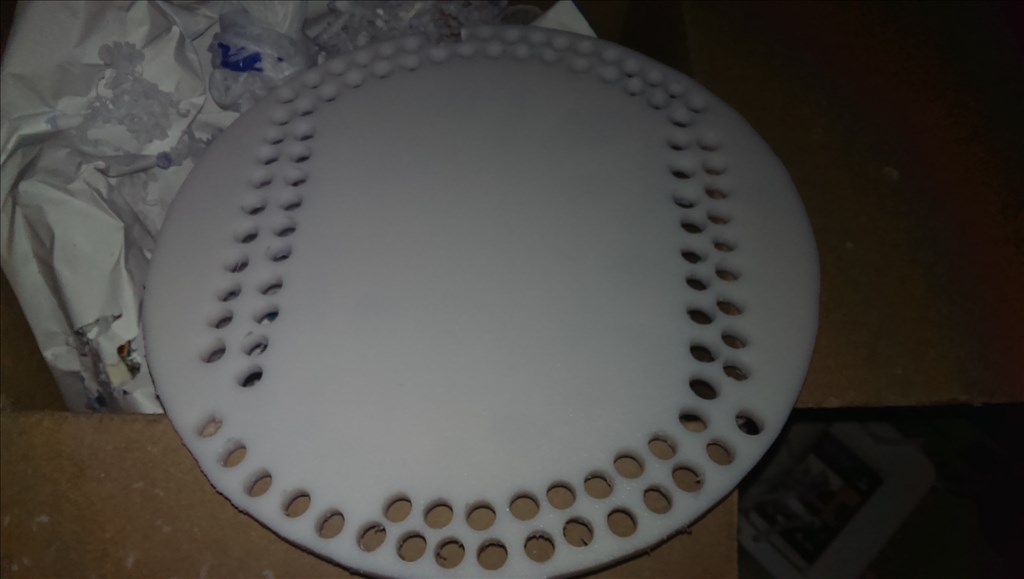
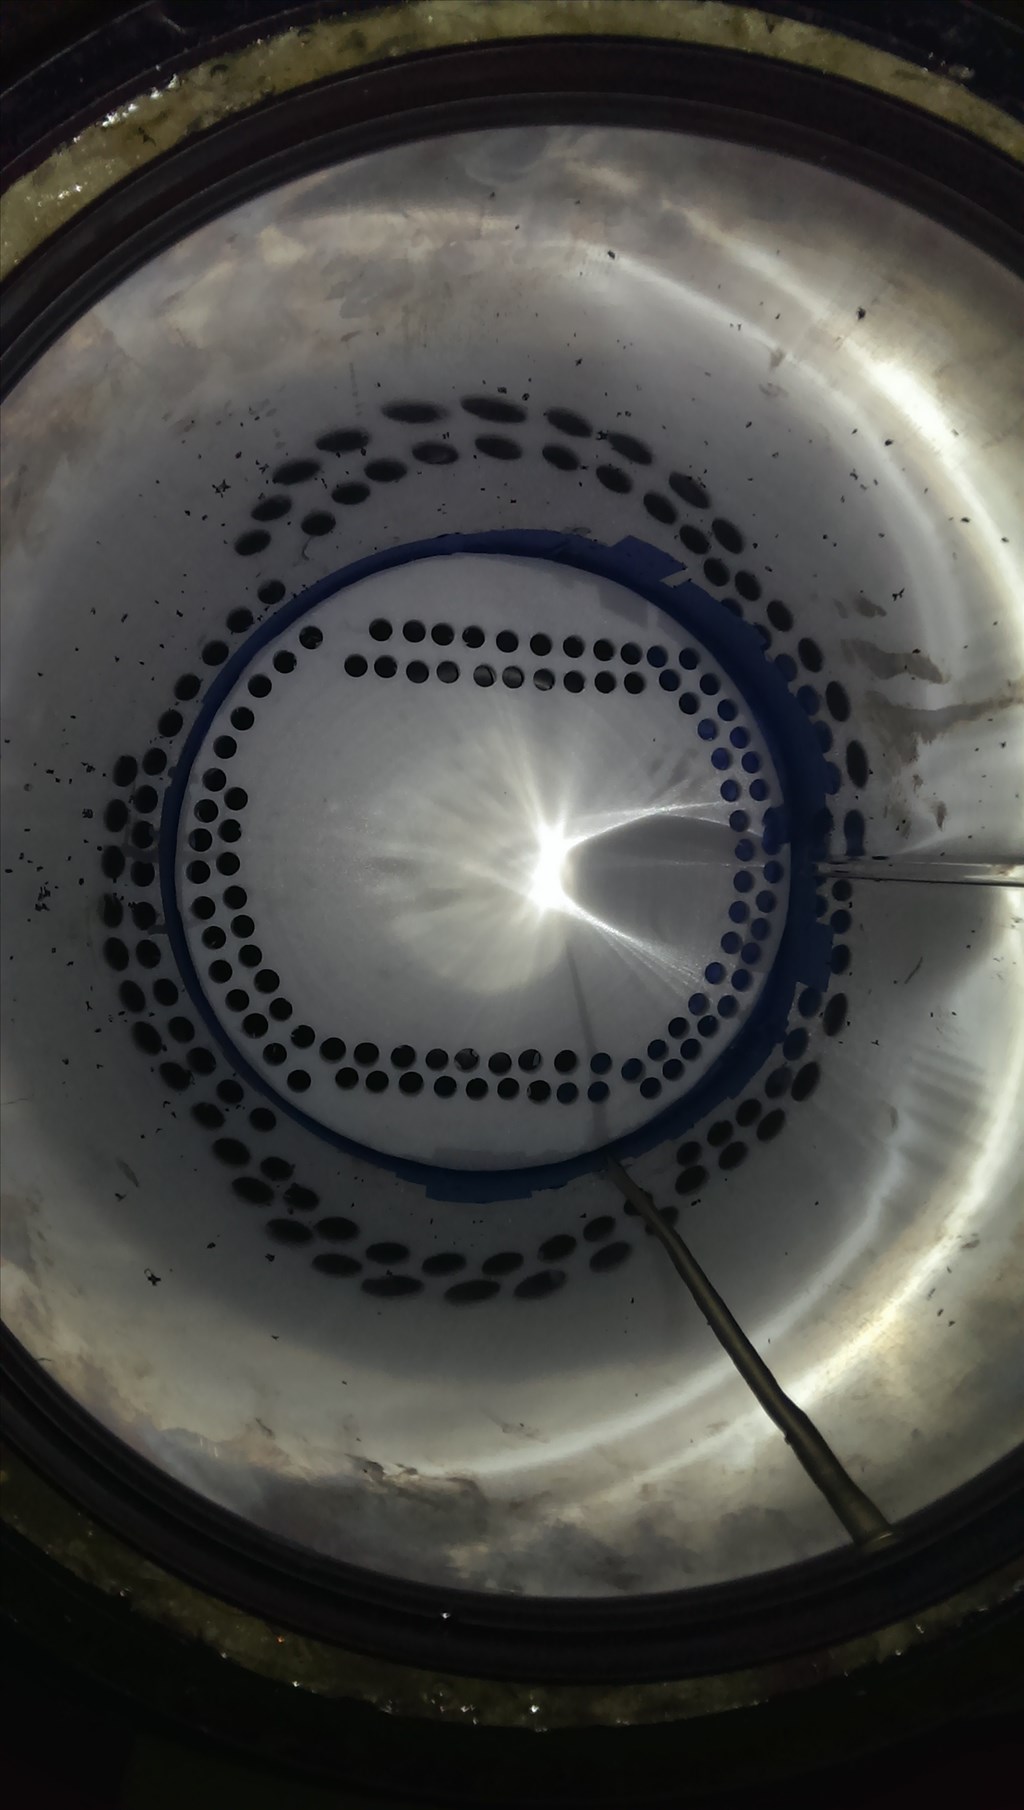
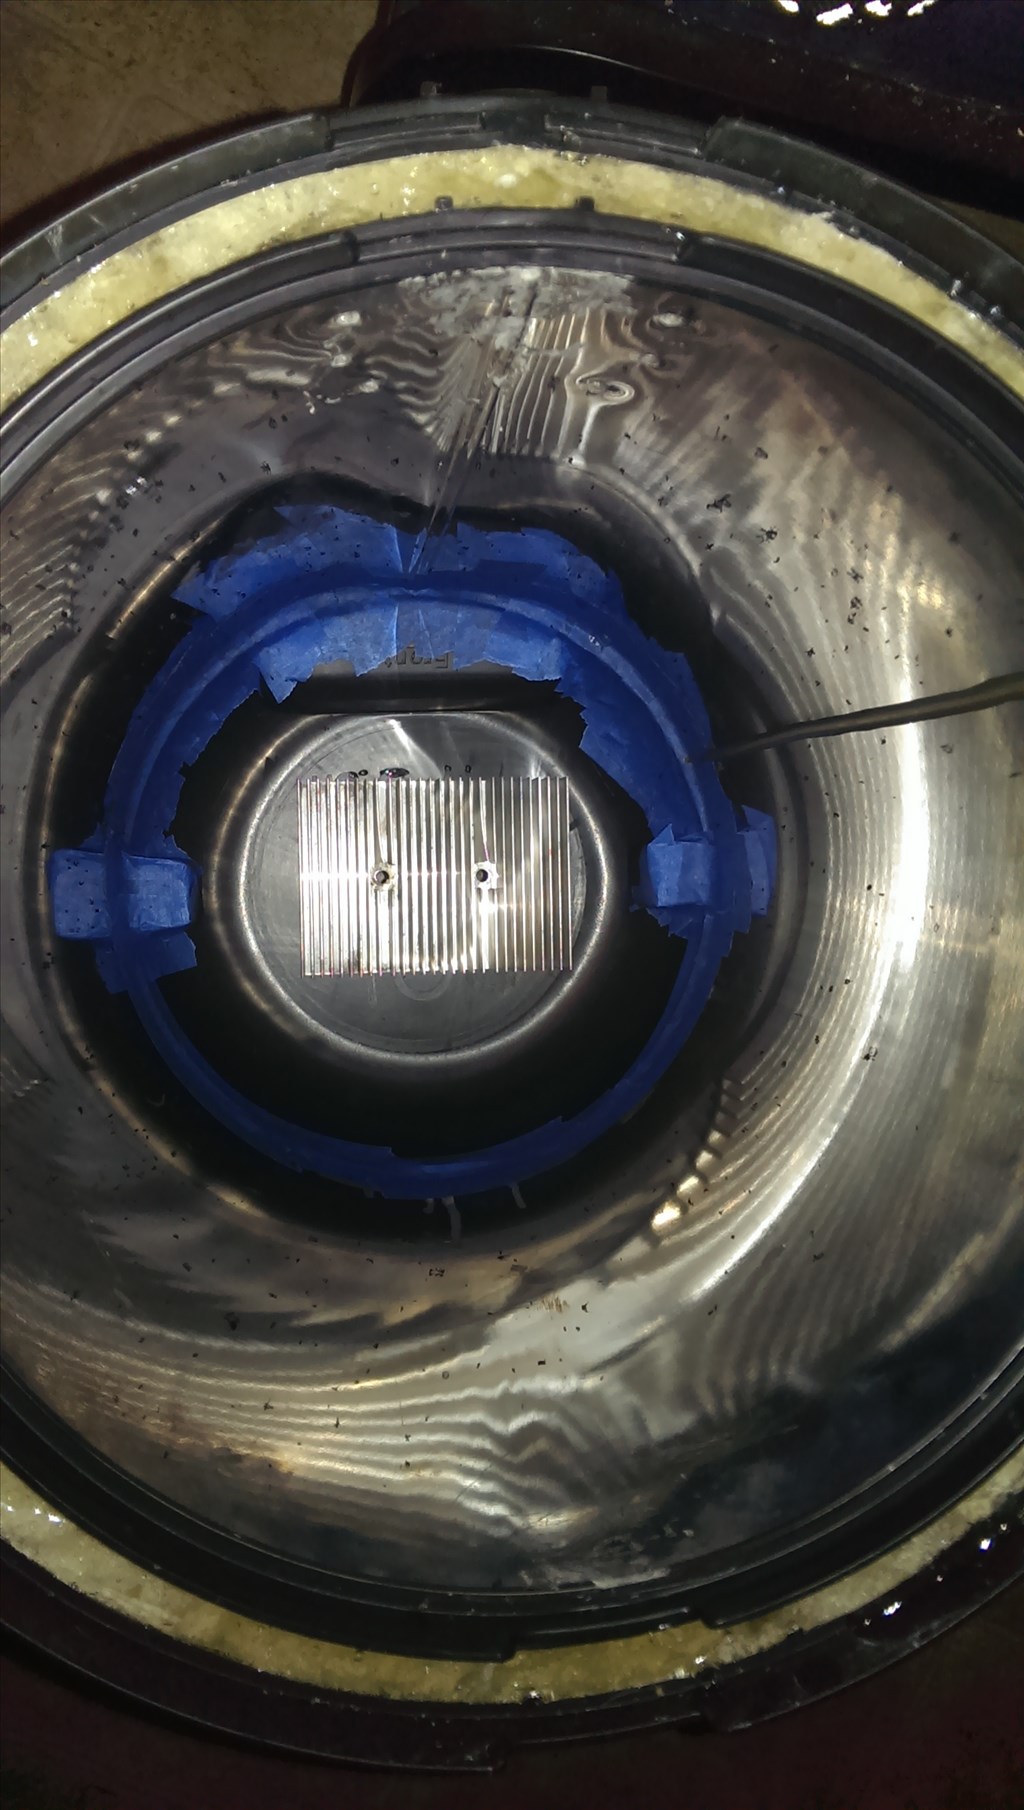
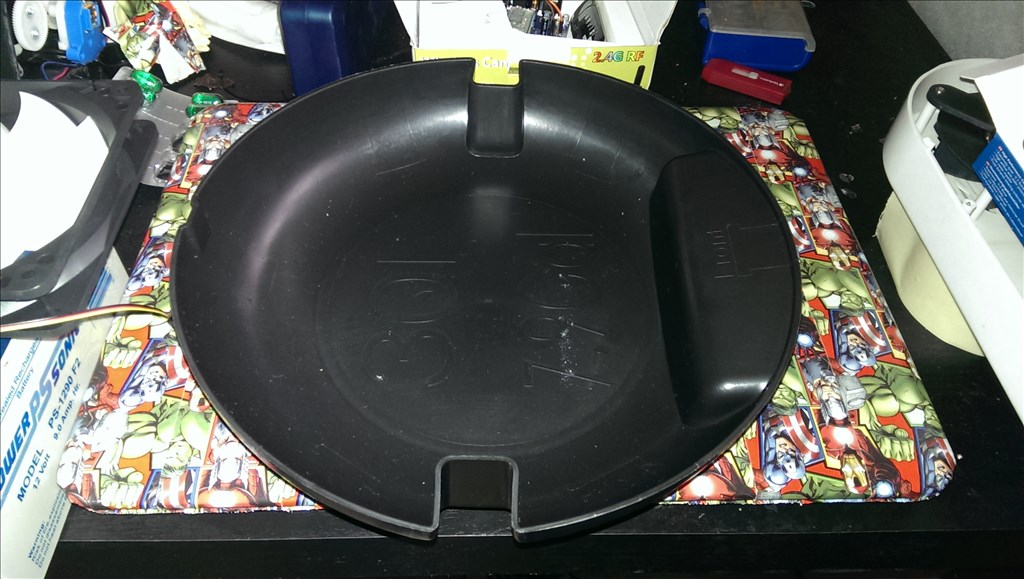
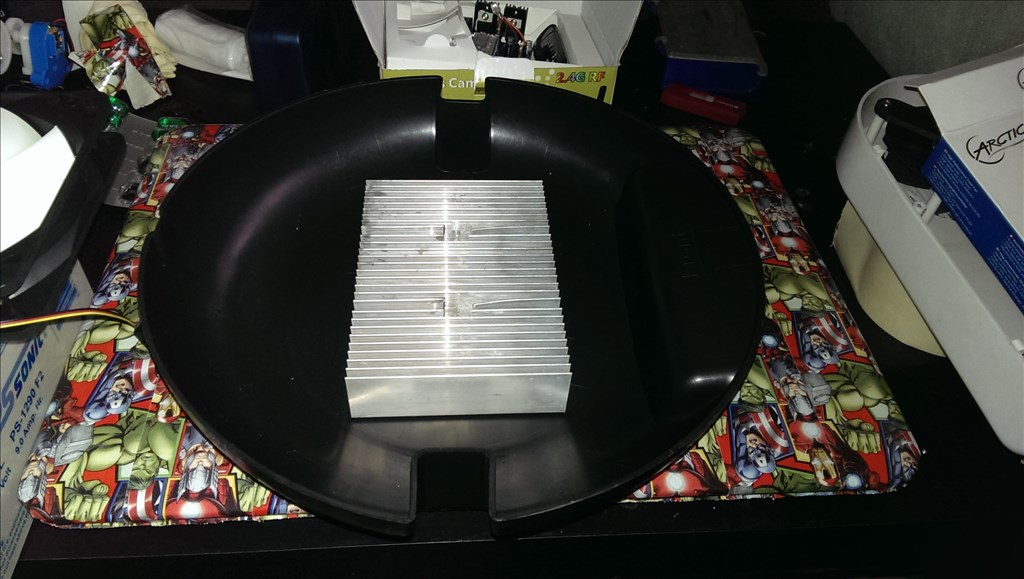
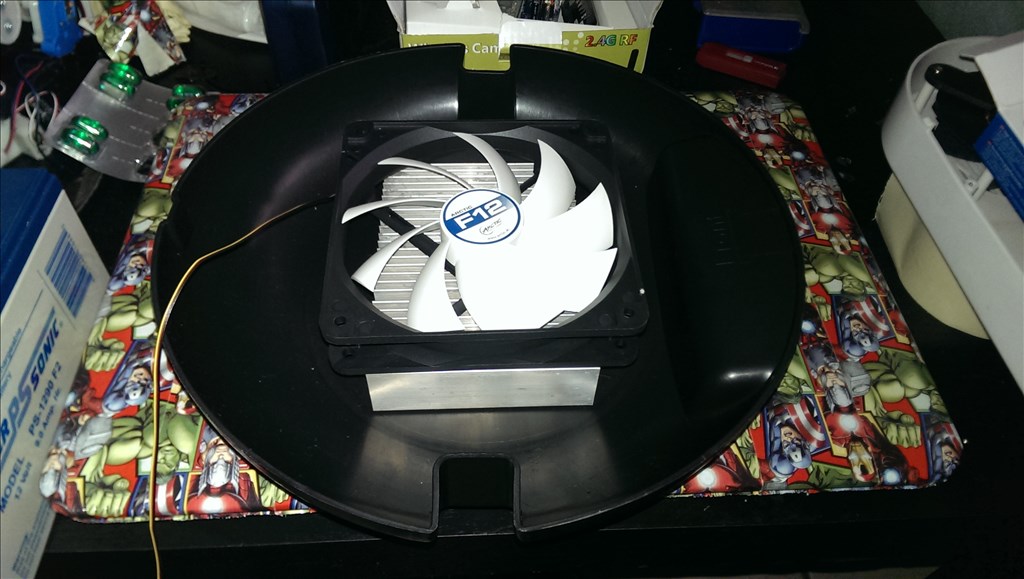
Ok all is going well , I started to trace out the bottom of the refrigerated section and then realized what time it was. Basically the next steps are to epoxy a bottom in place and cut out a grate from foodgrade white 1/4" thick plastic. Then I will use pattern drilling accross the grate so air passes through easily regardless of how the cans may be stacked. I will post some of the equipment I plan on using and also research possible upgrades.
Wow Josh - you seem to be never sleeping! How many projects have you started? =) What happened to Jarvis and that little floor-mopping fellow? Have you had a chance to mail out the spare parts again? Mike