
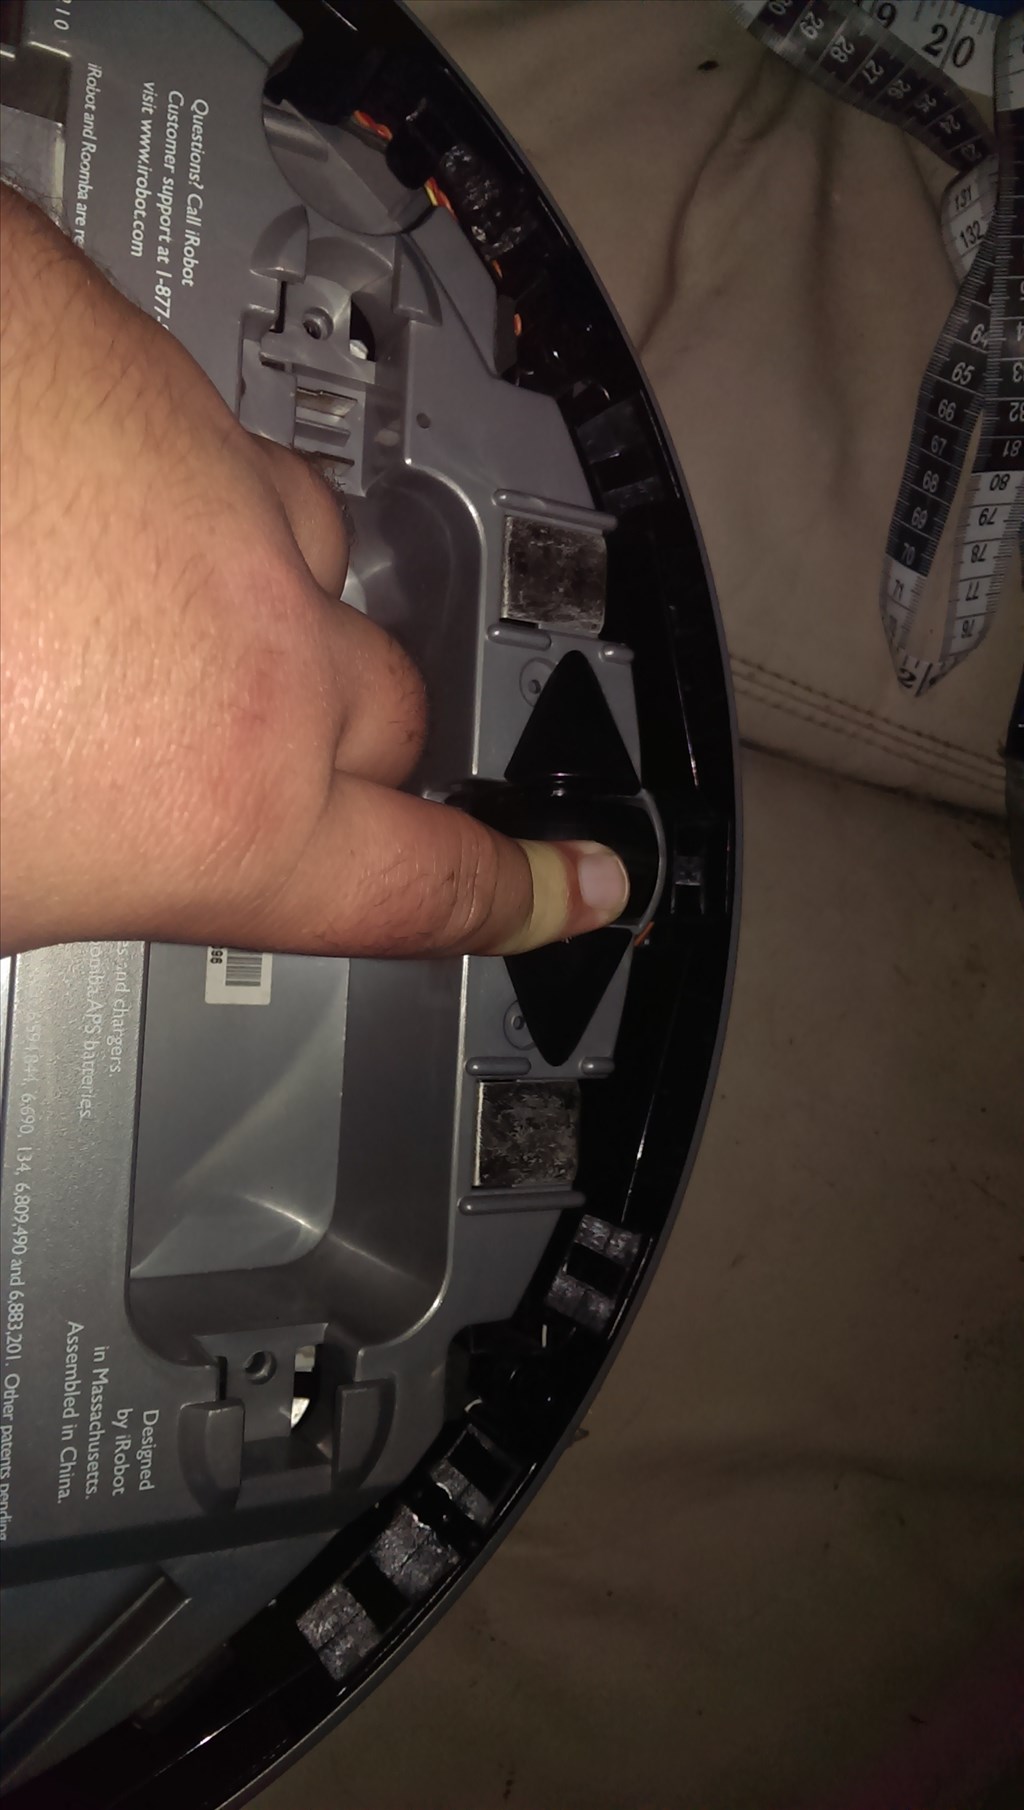
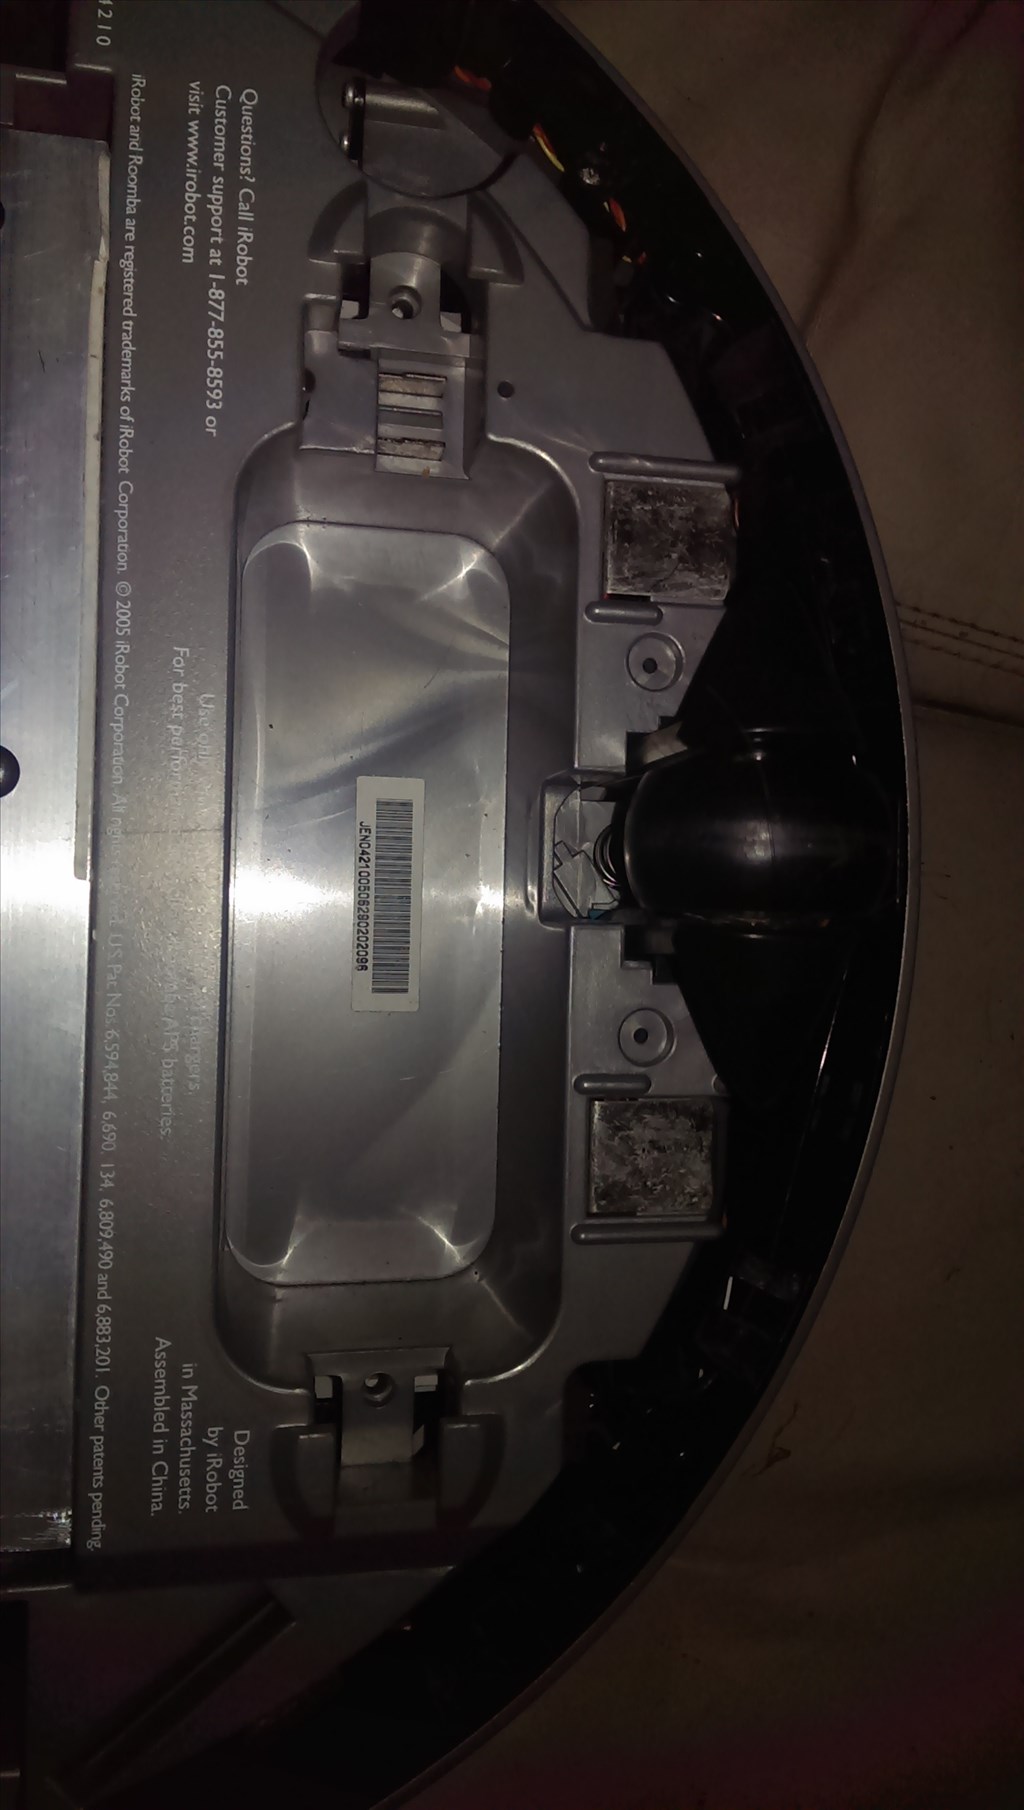


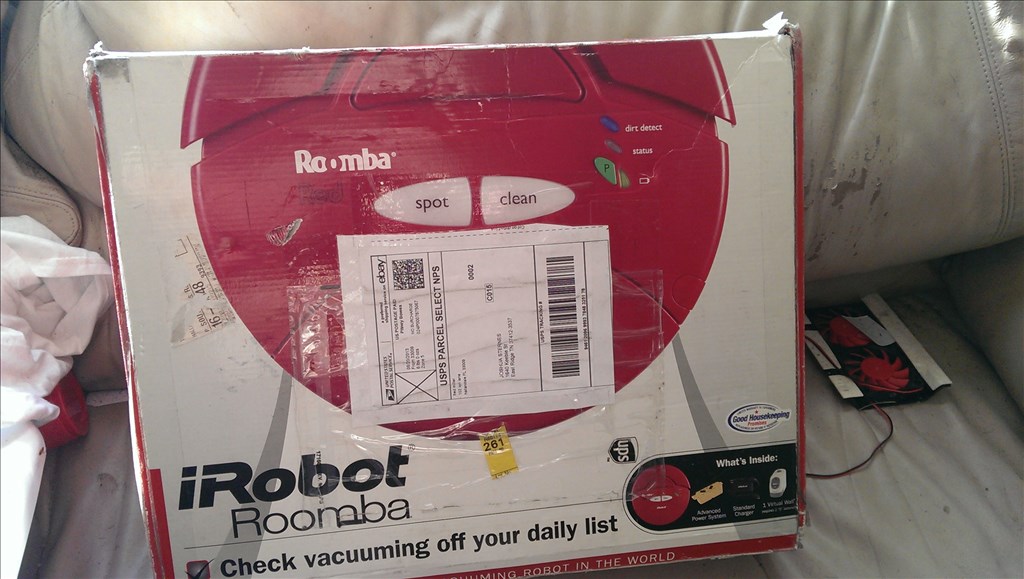
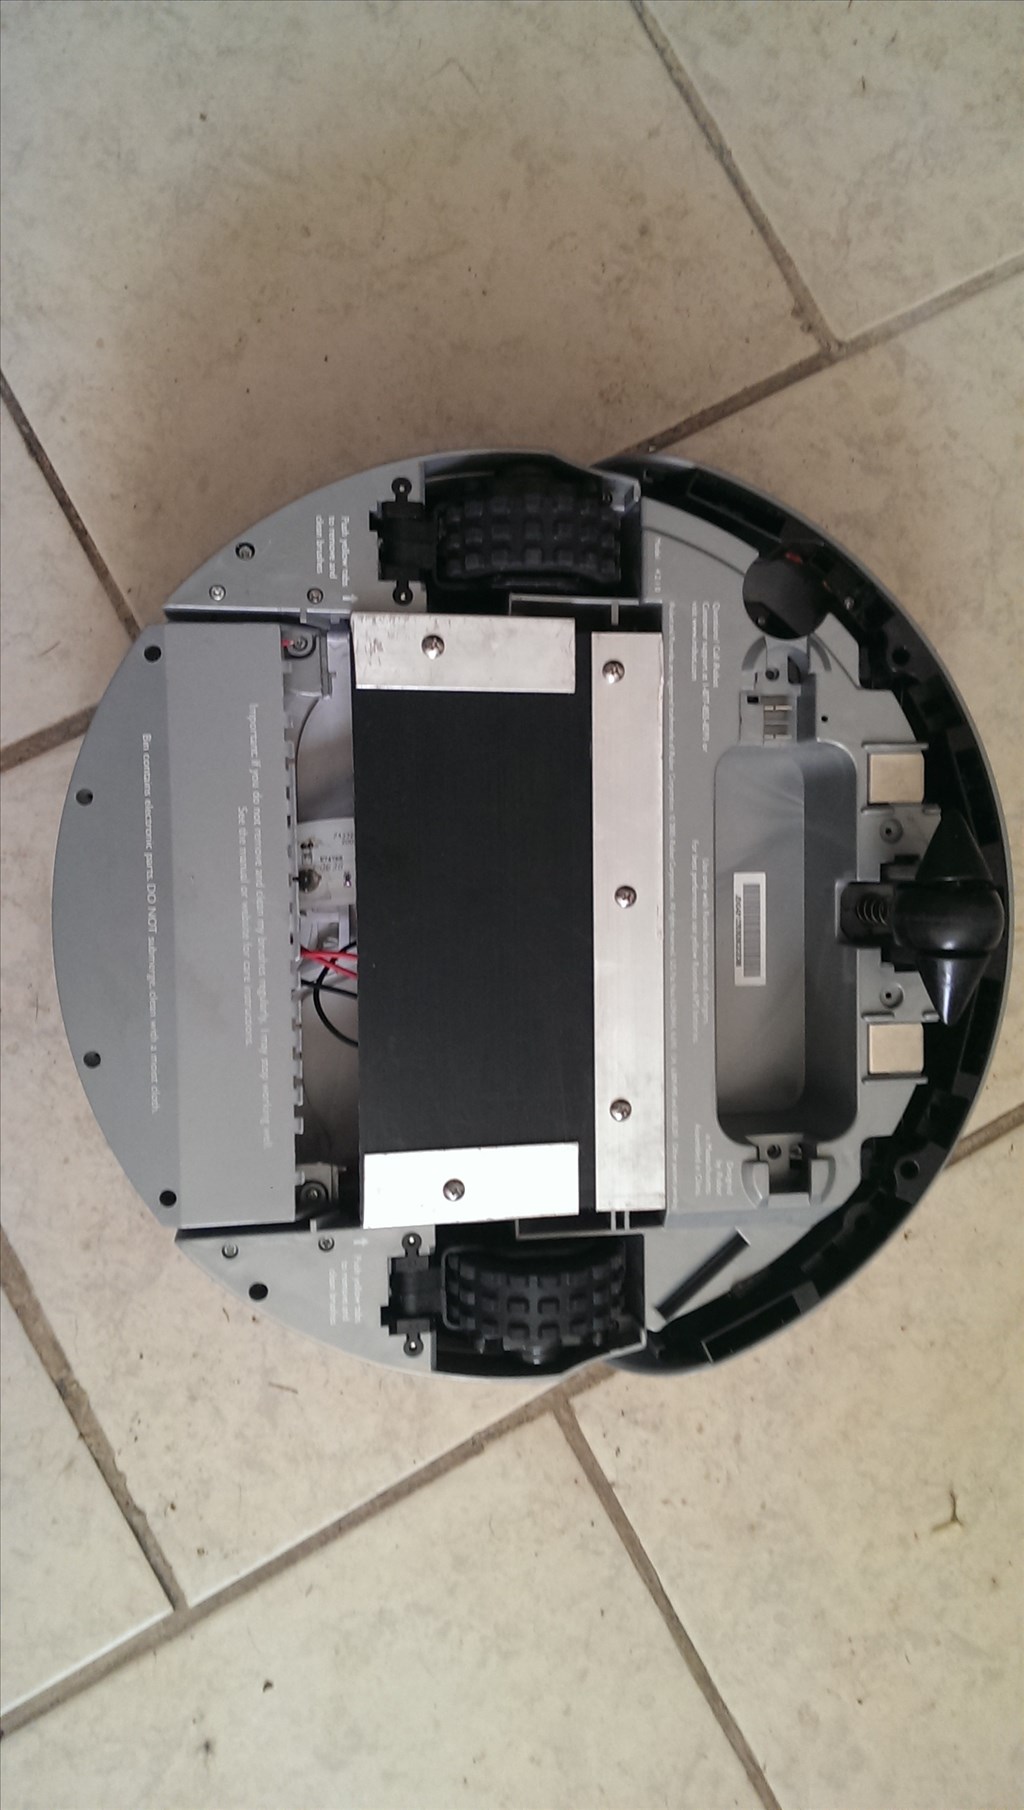
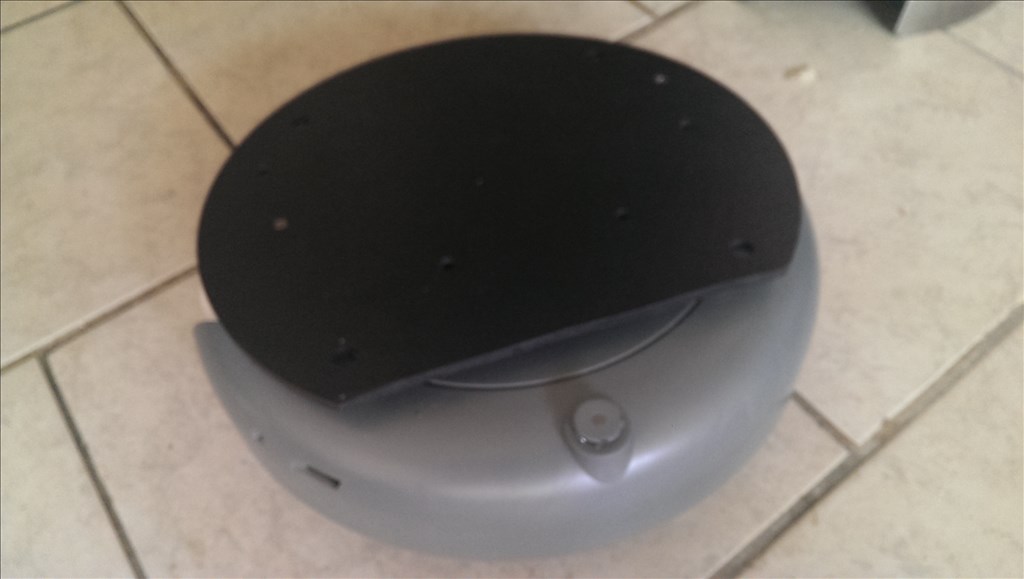
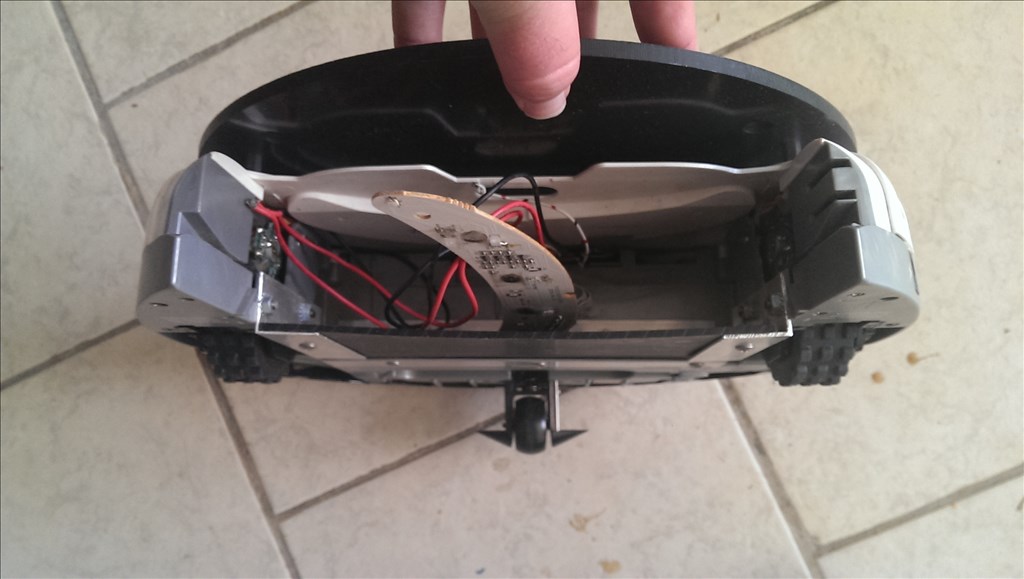
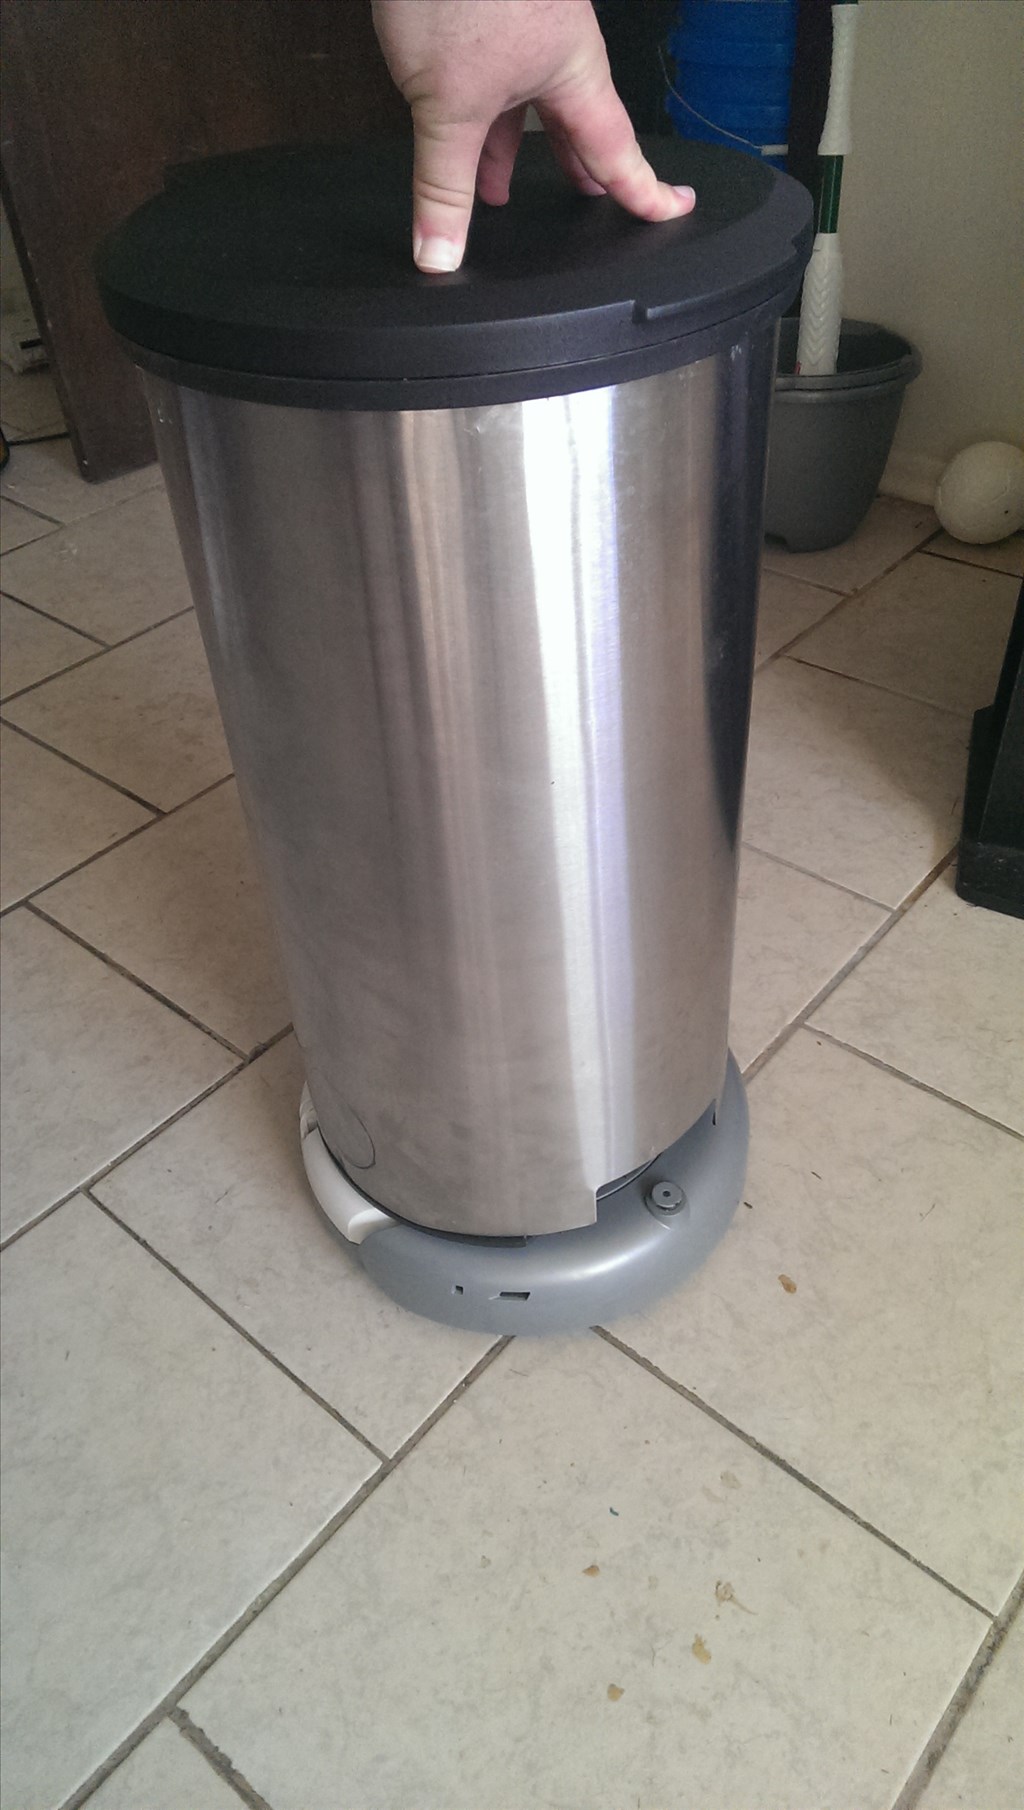


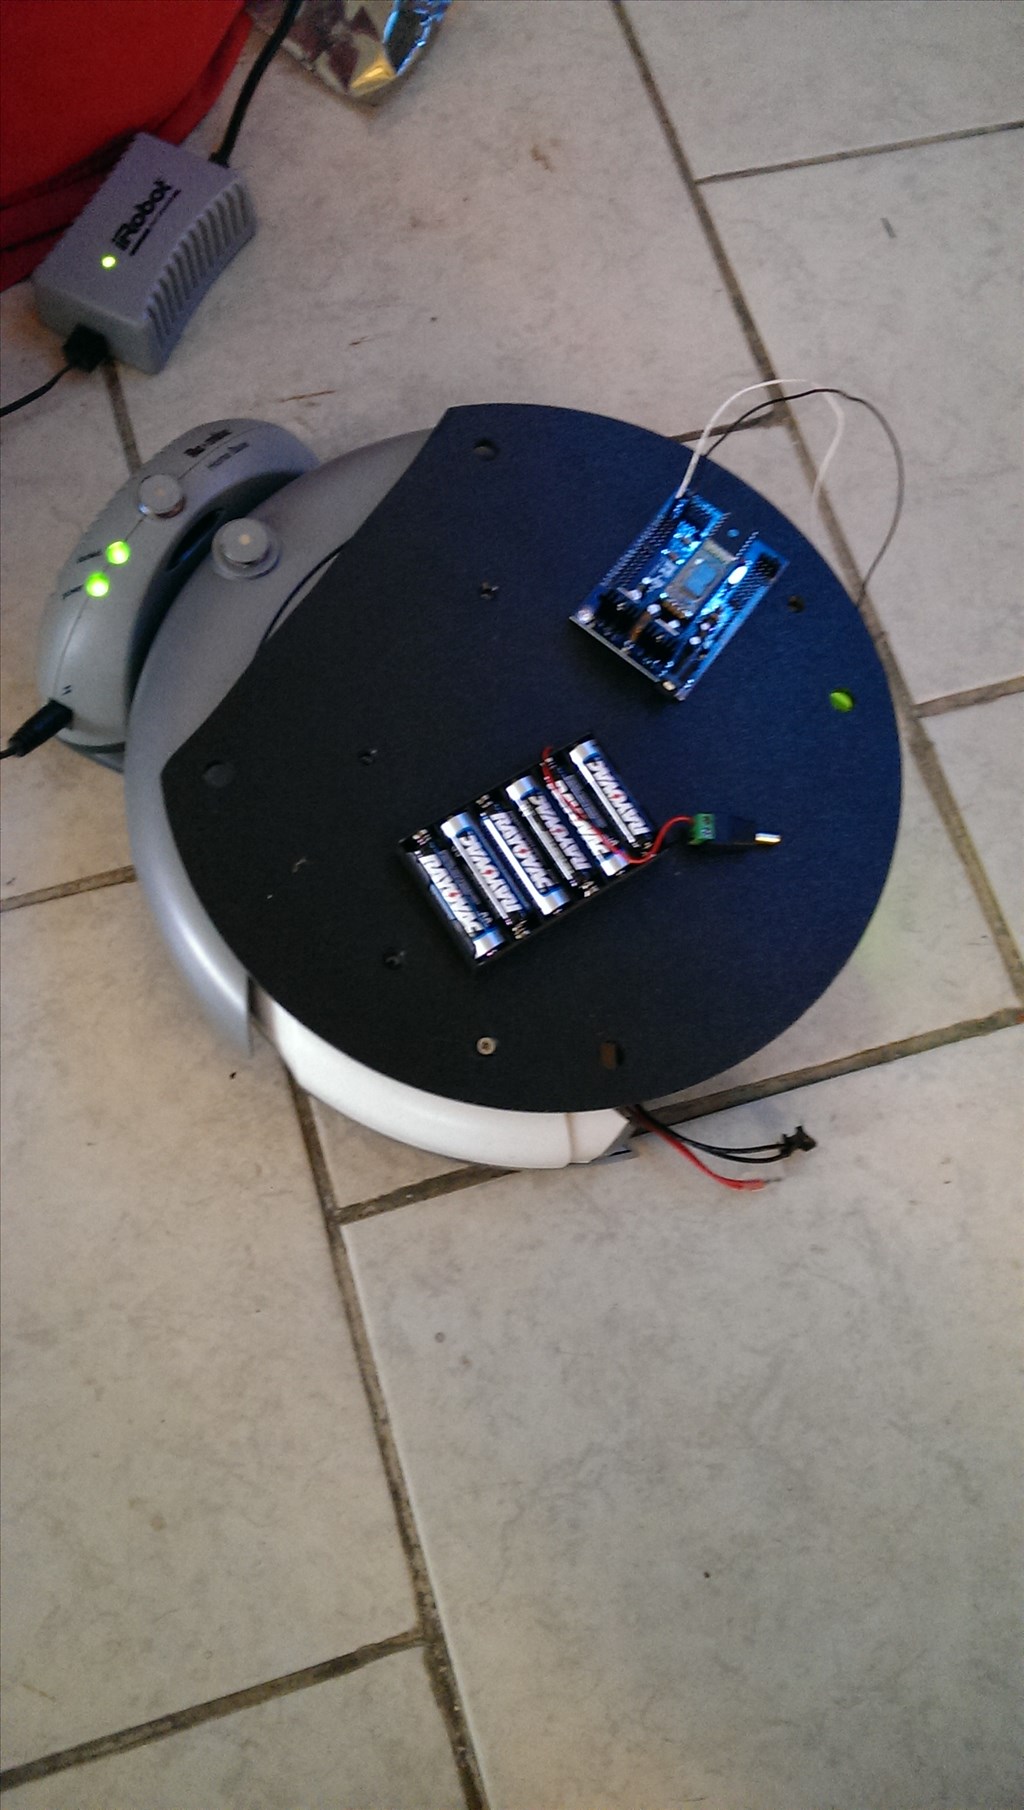
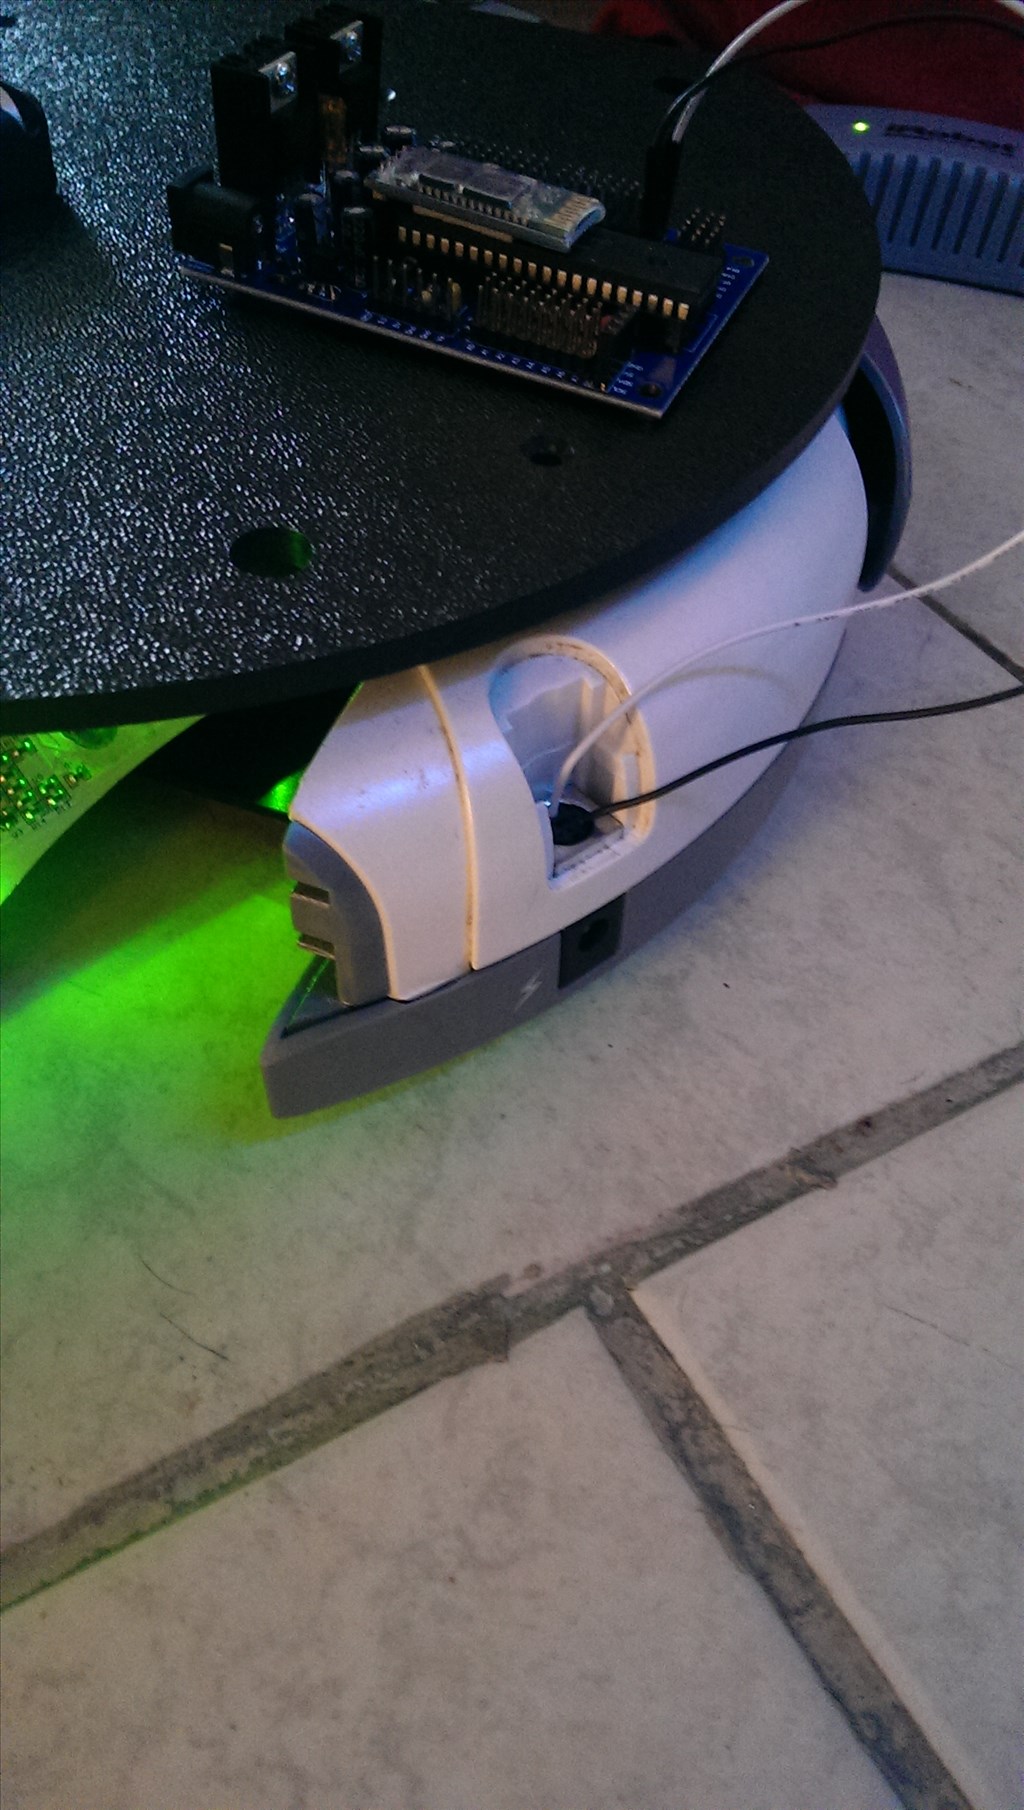
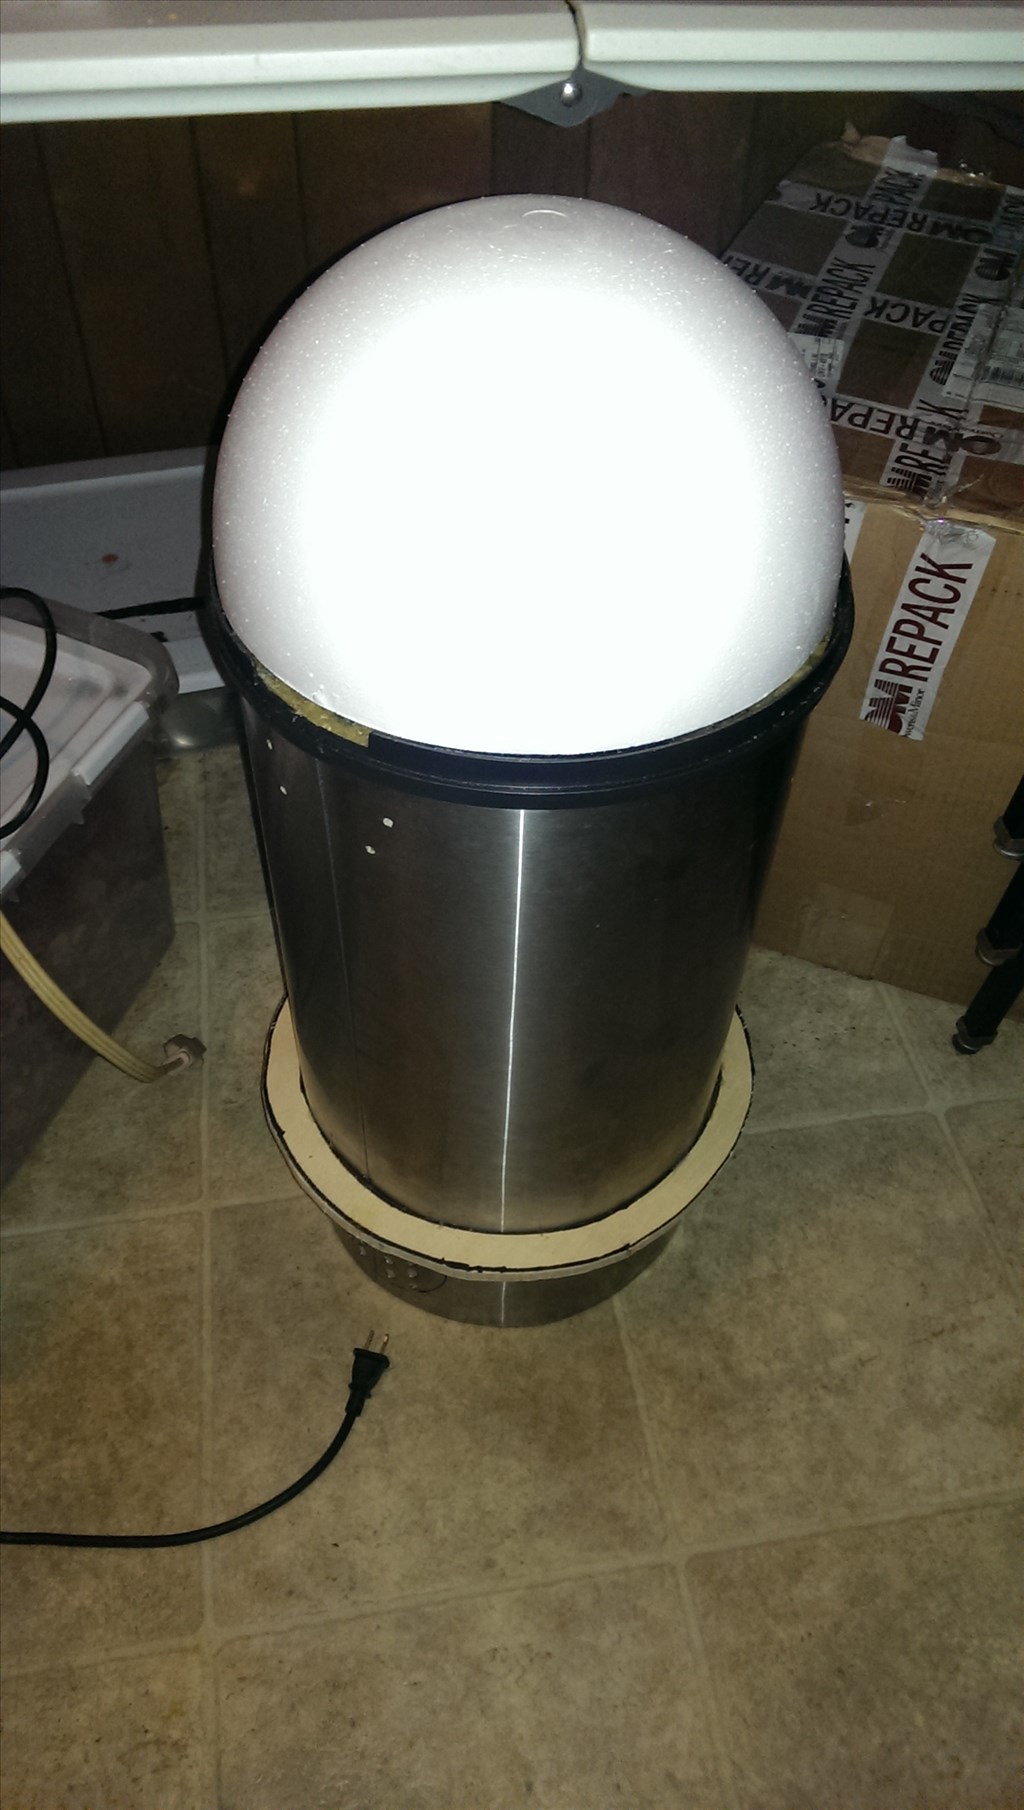

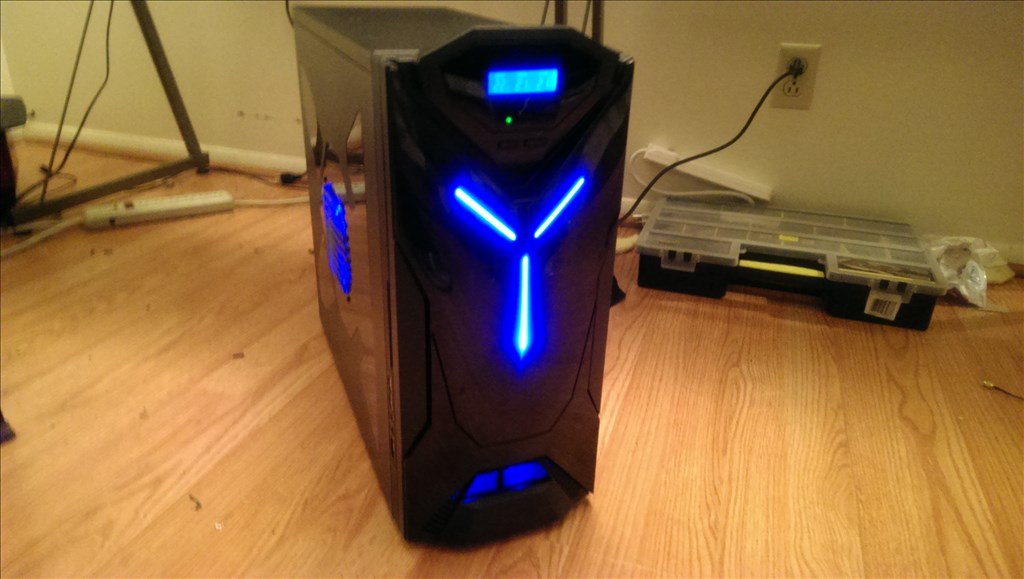


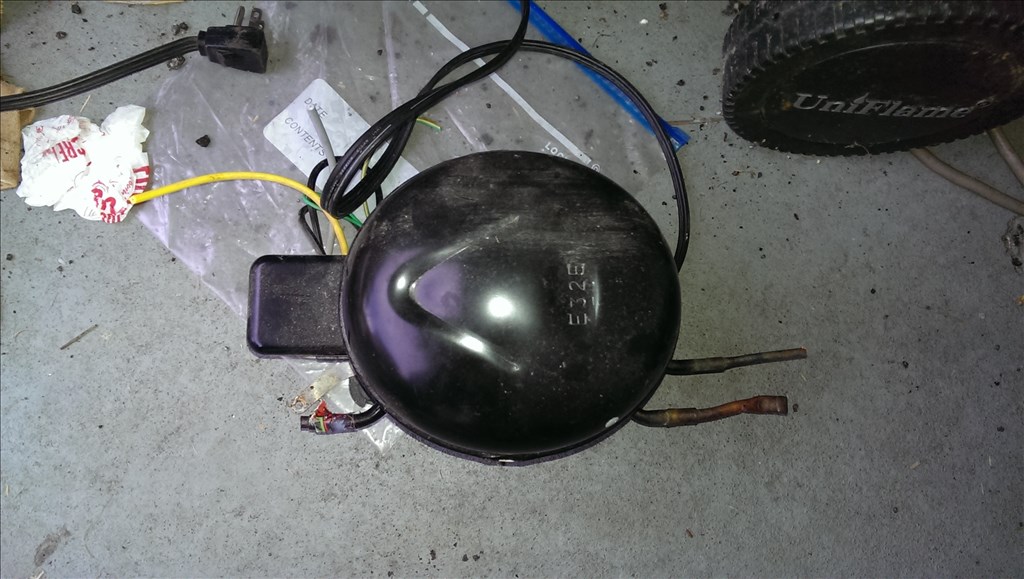
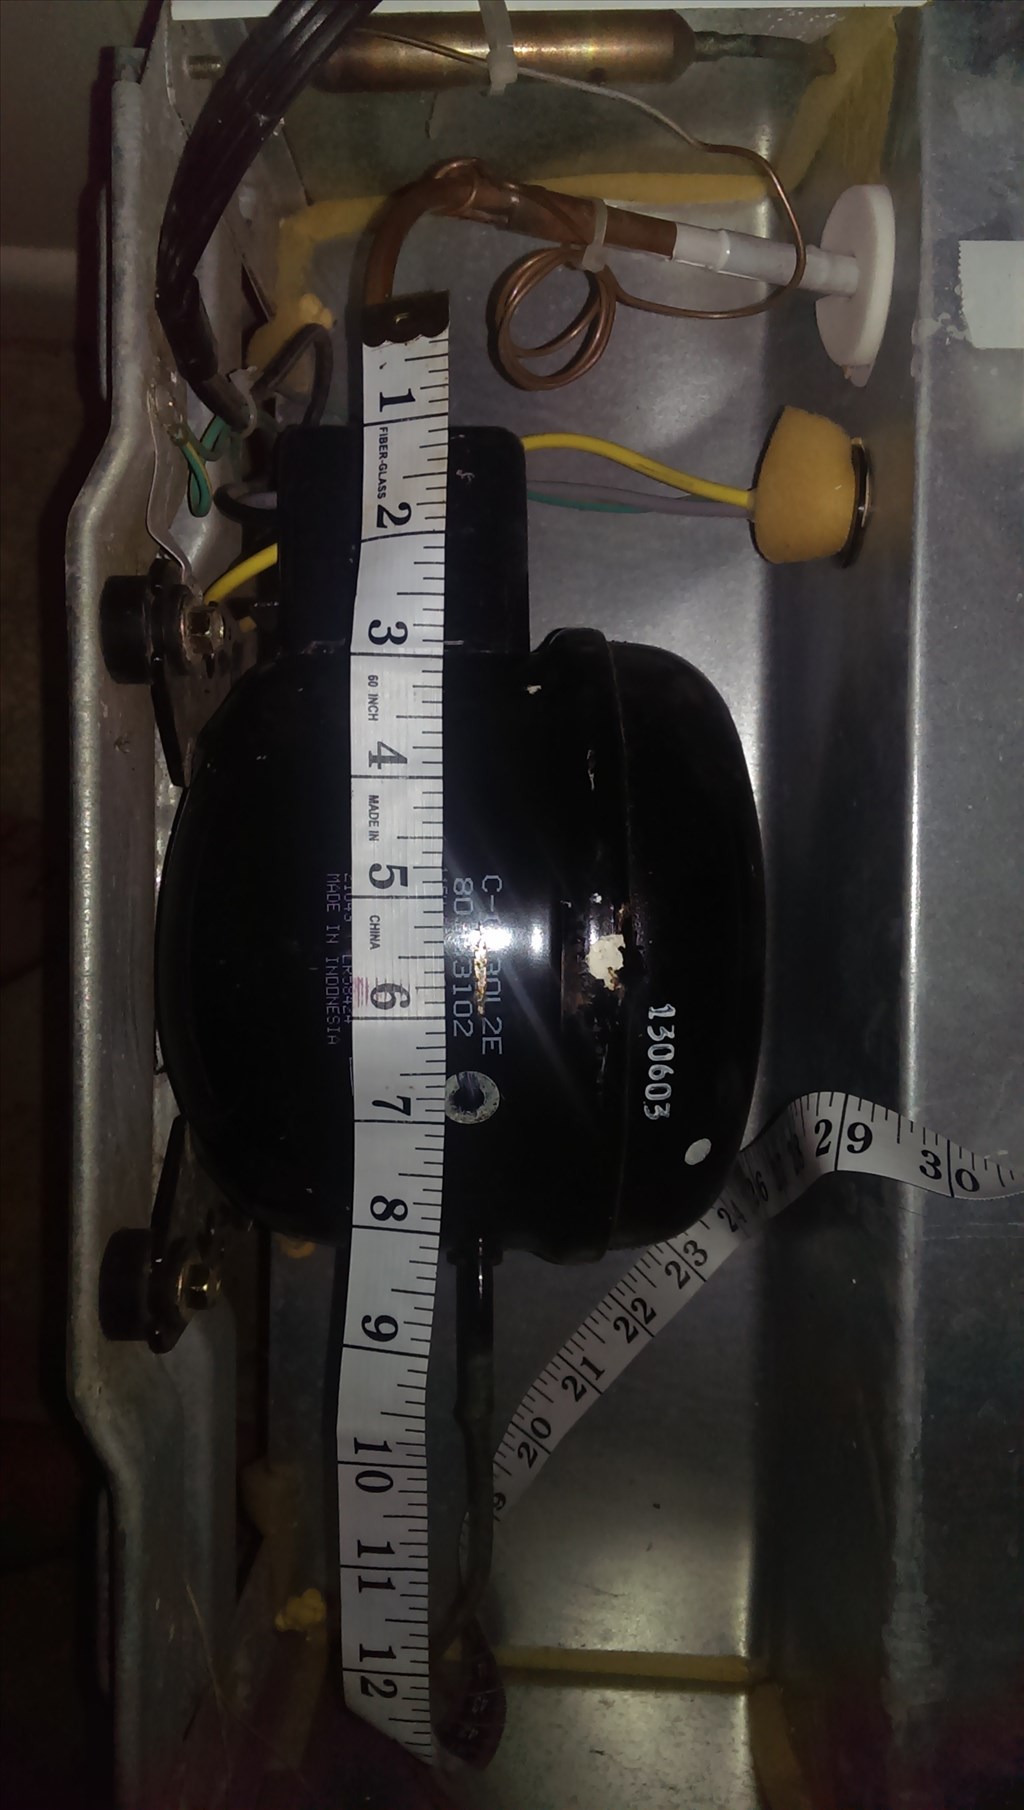
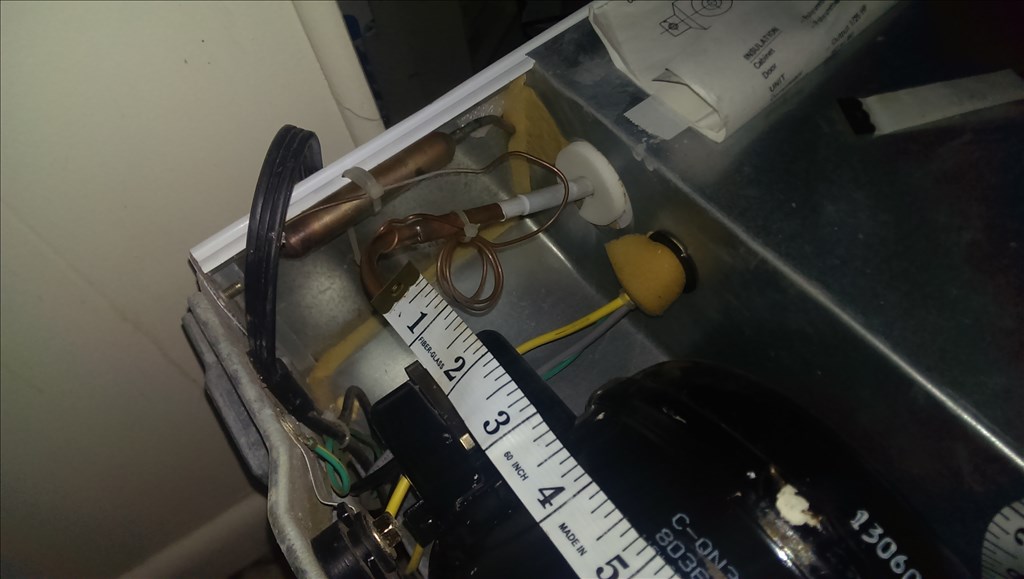

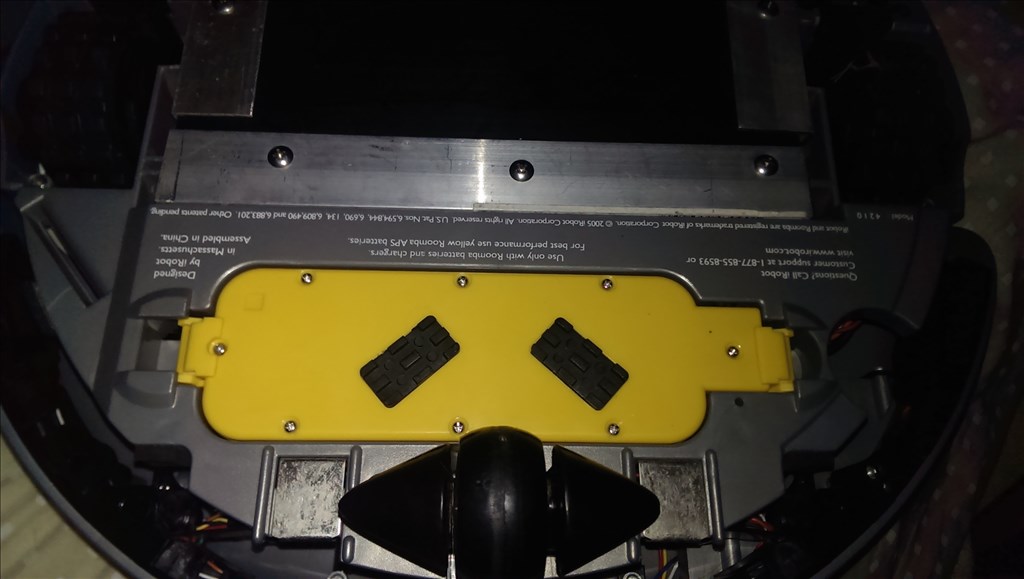
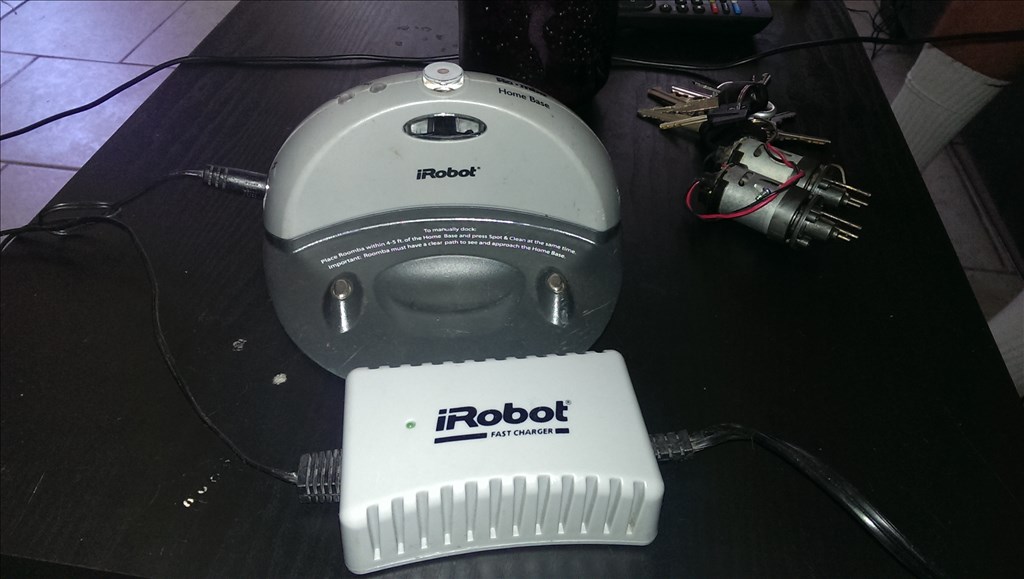
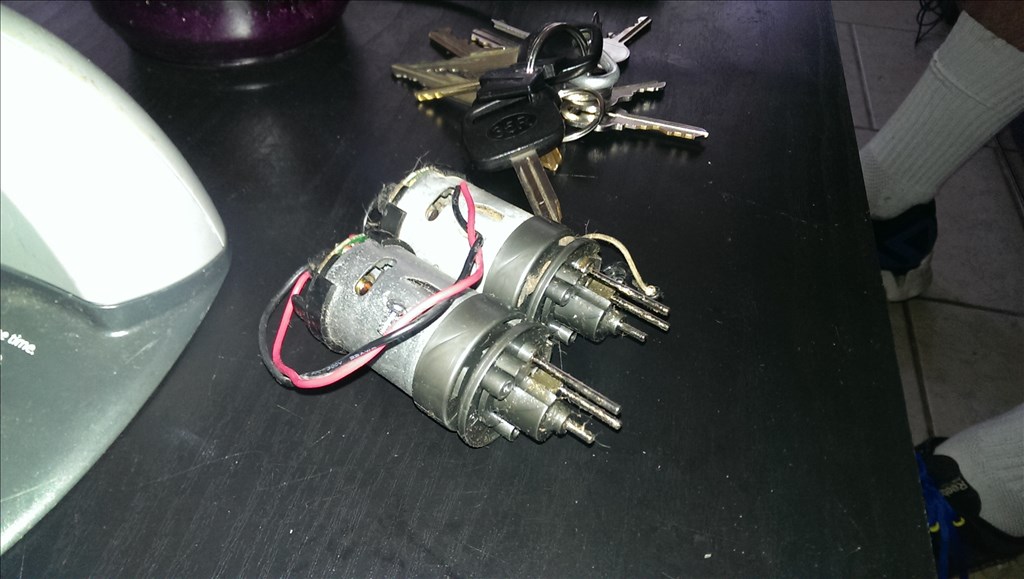


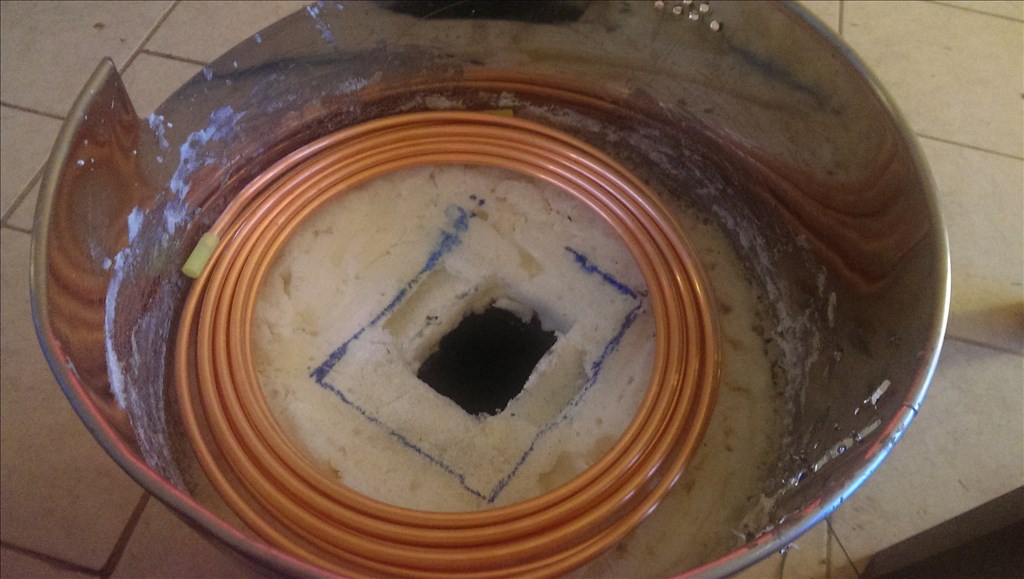
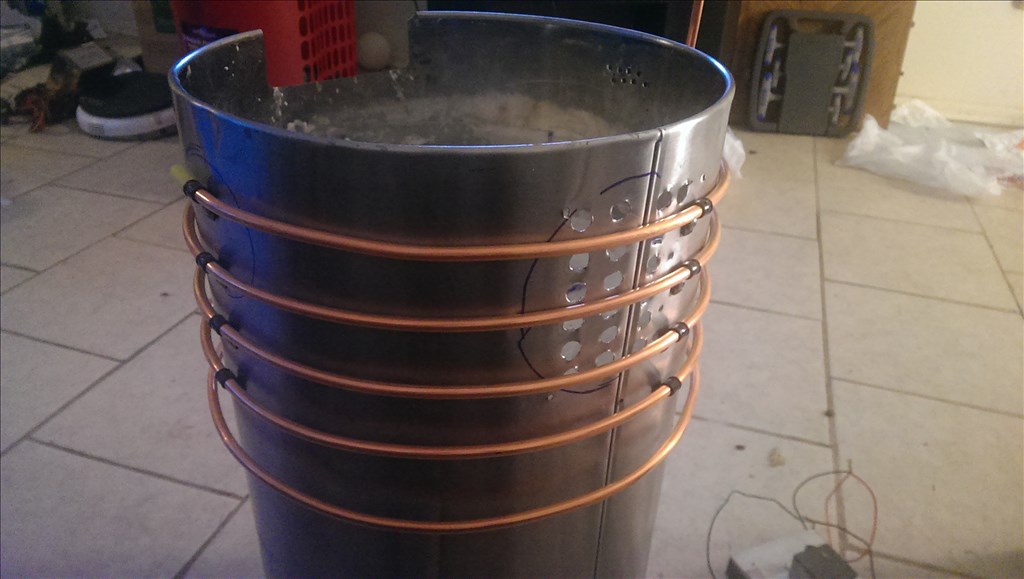


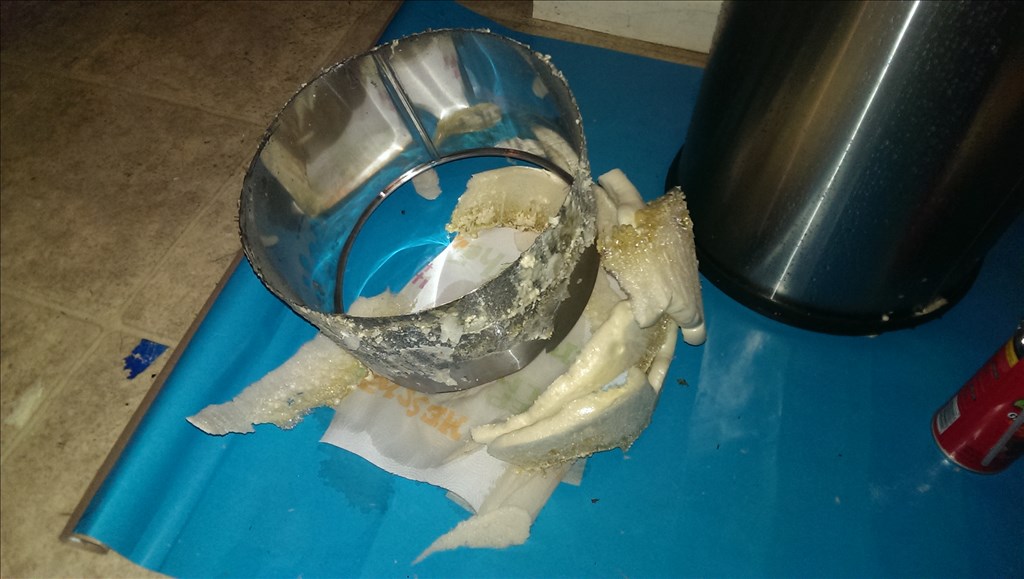

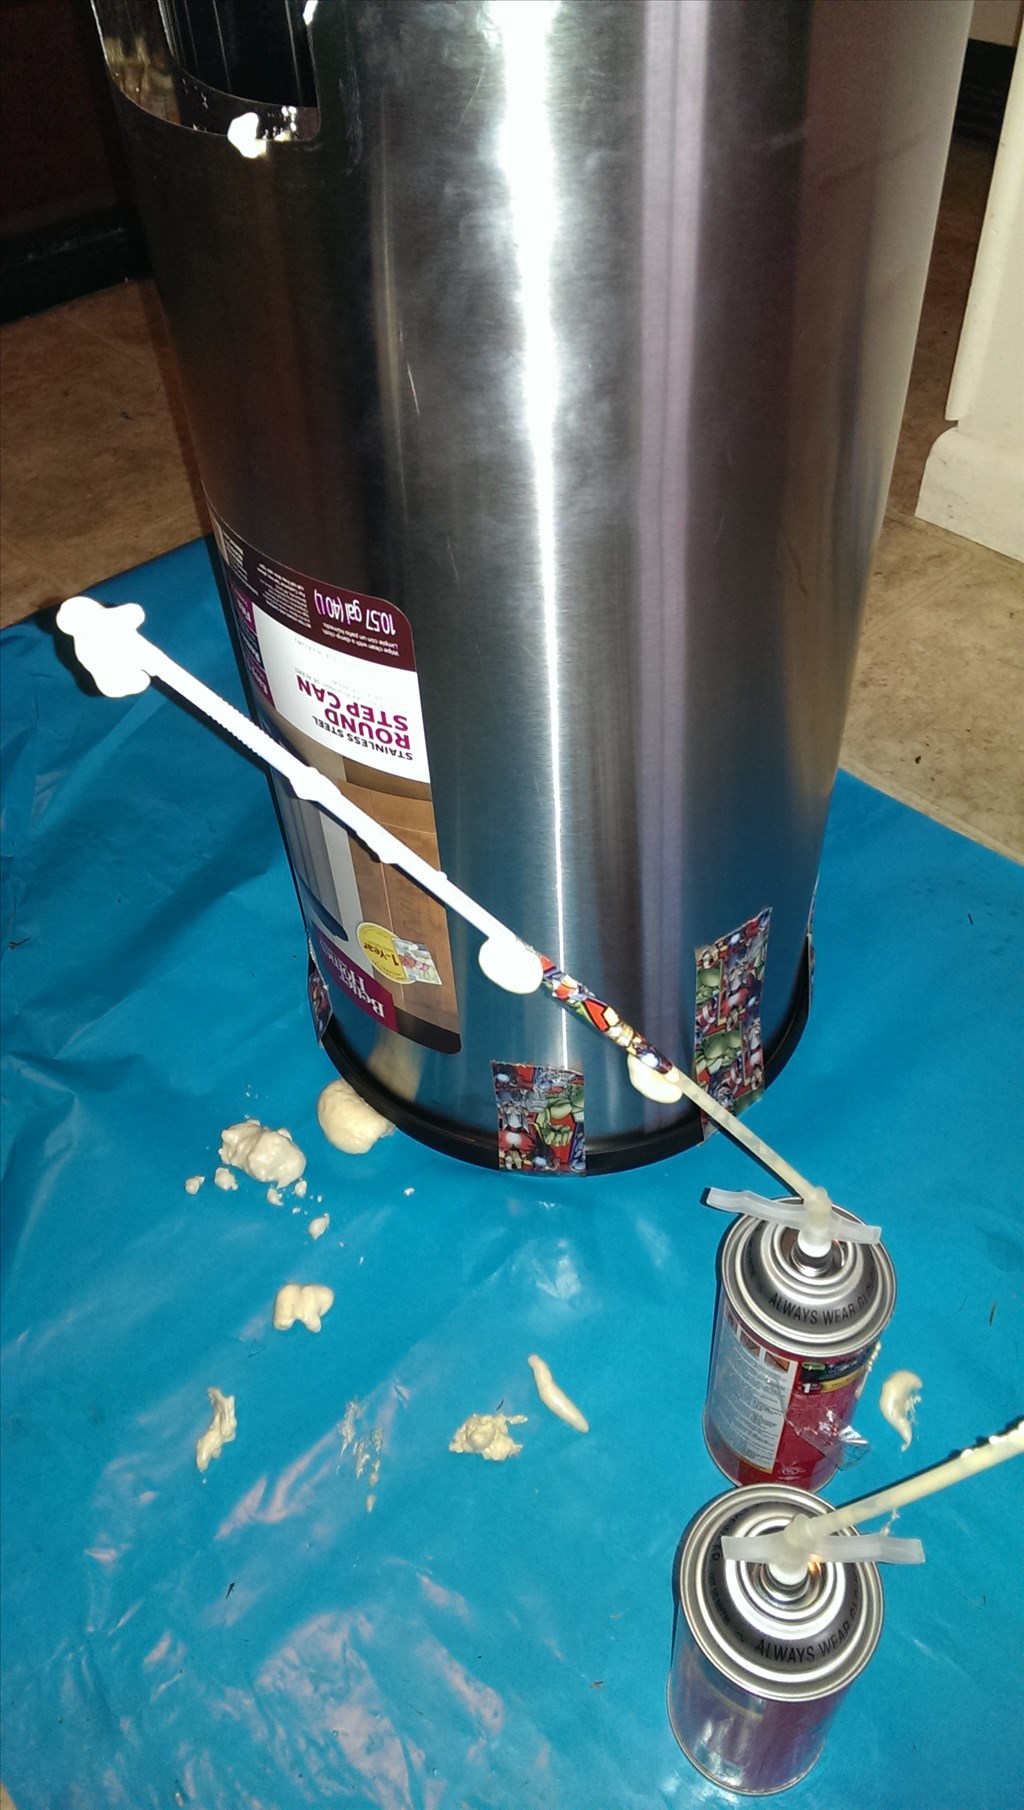

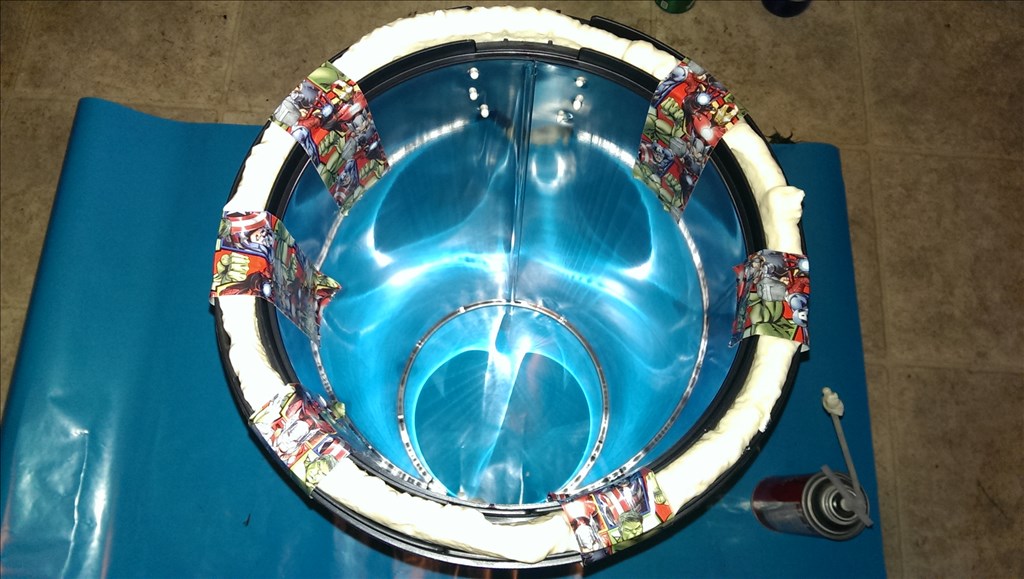


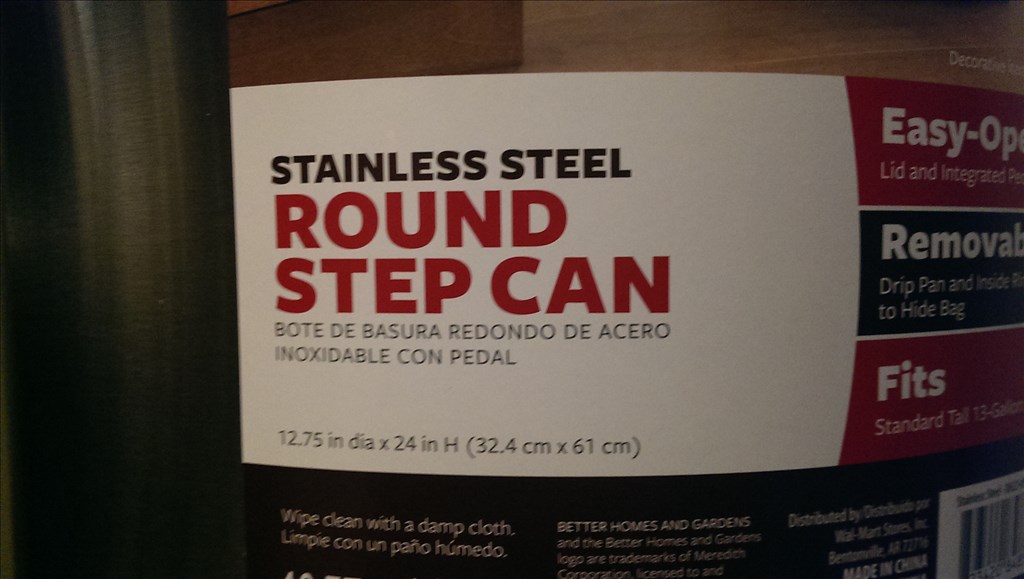
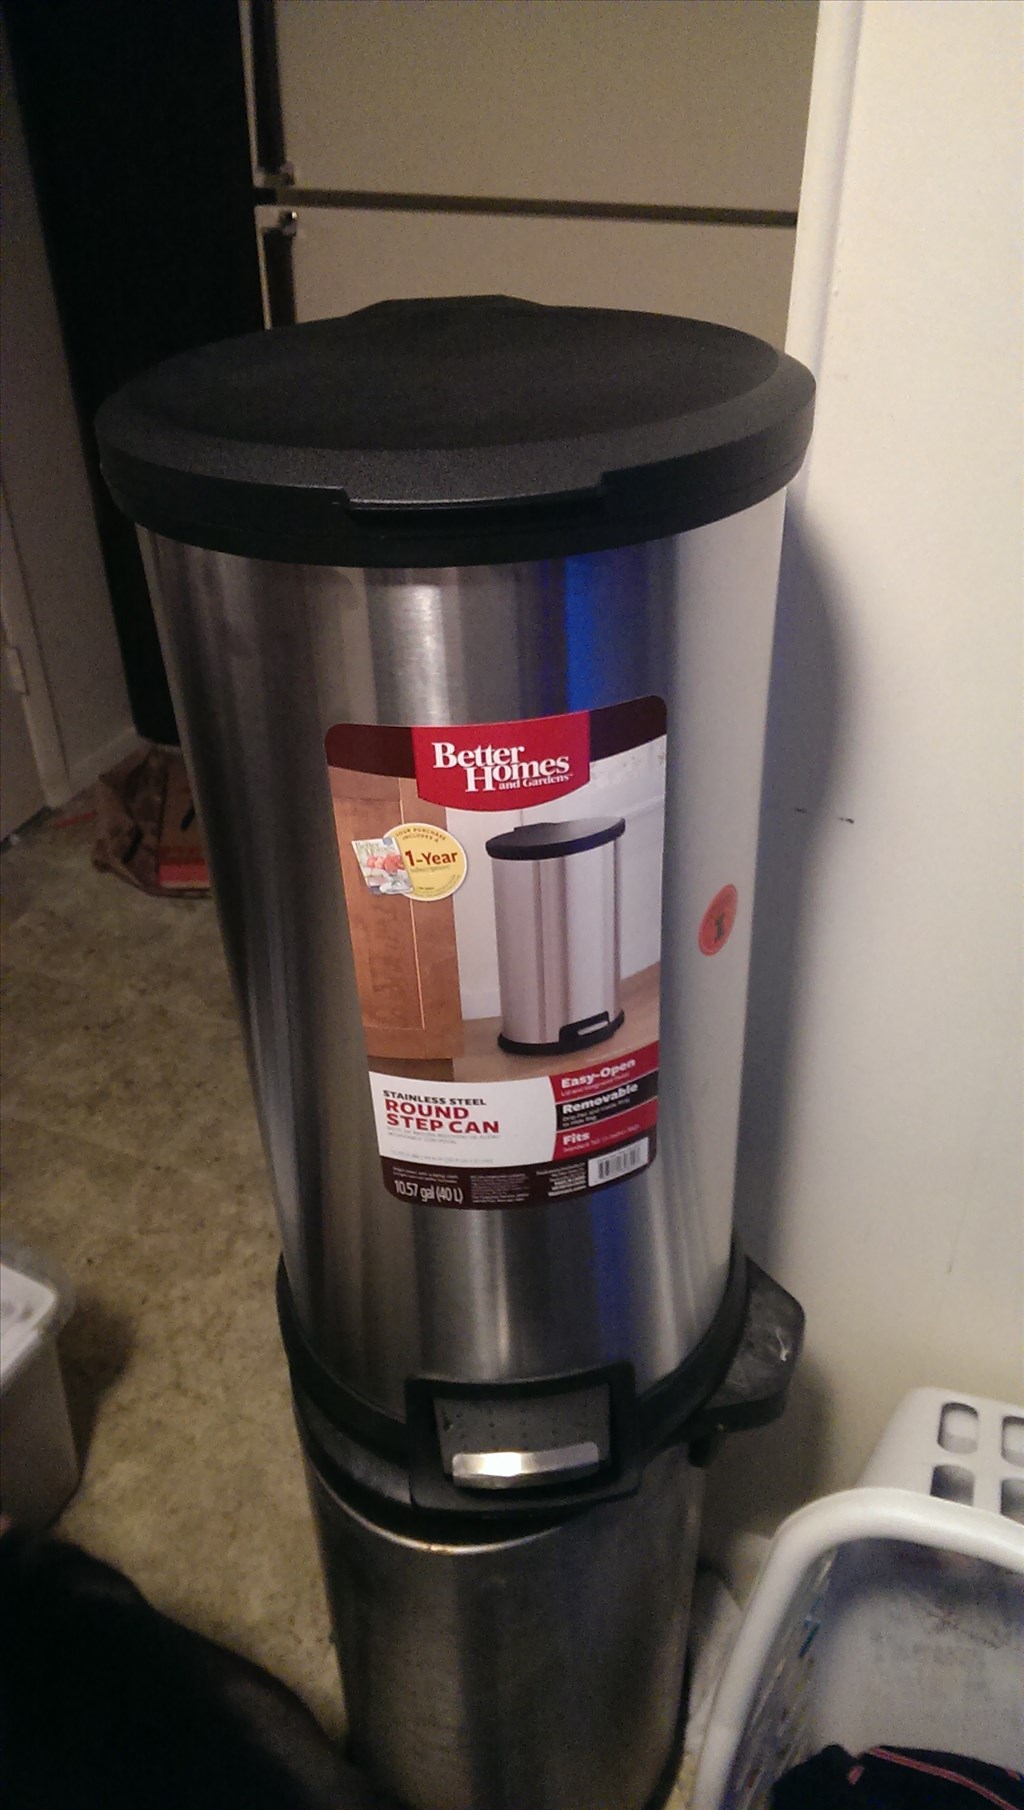
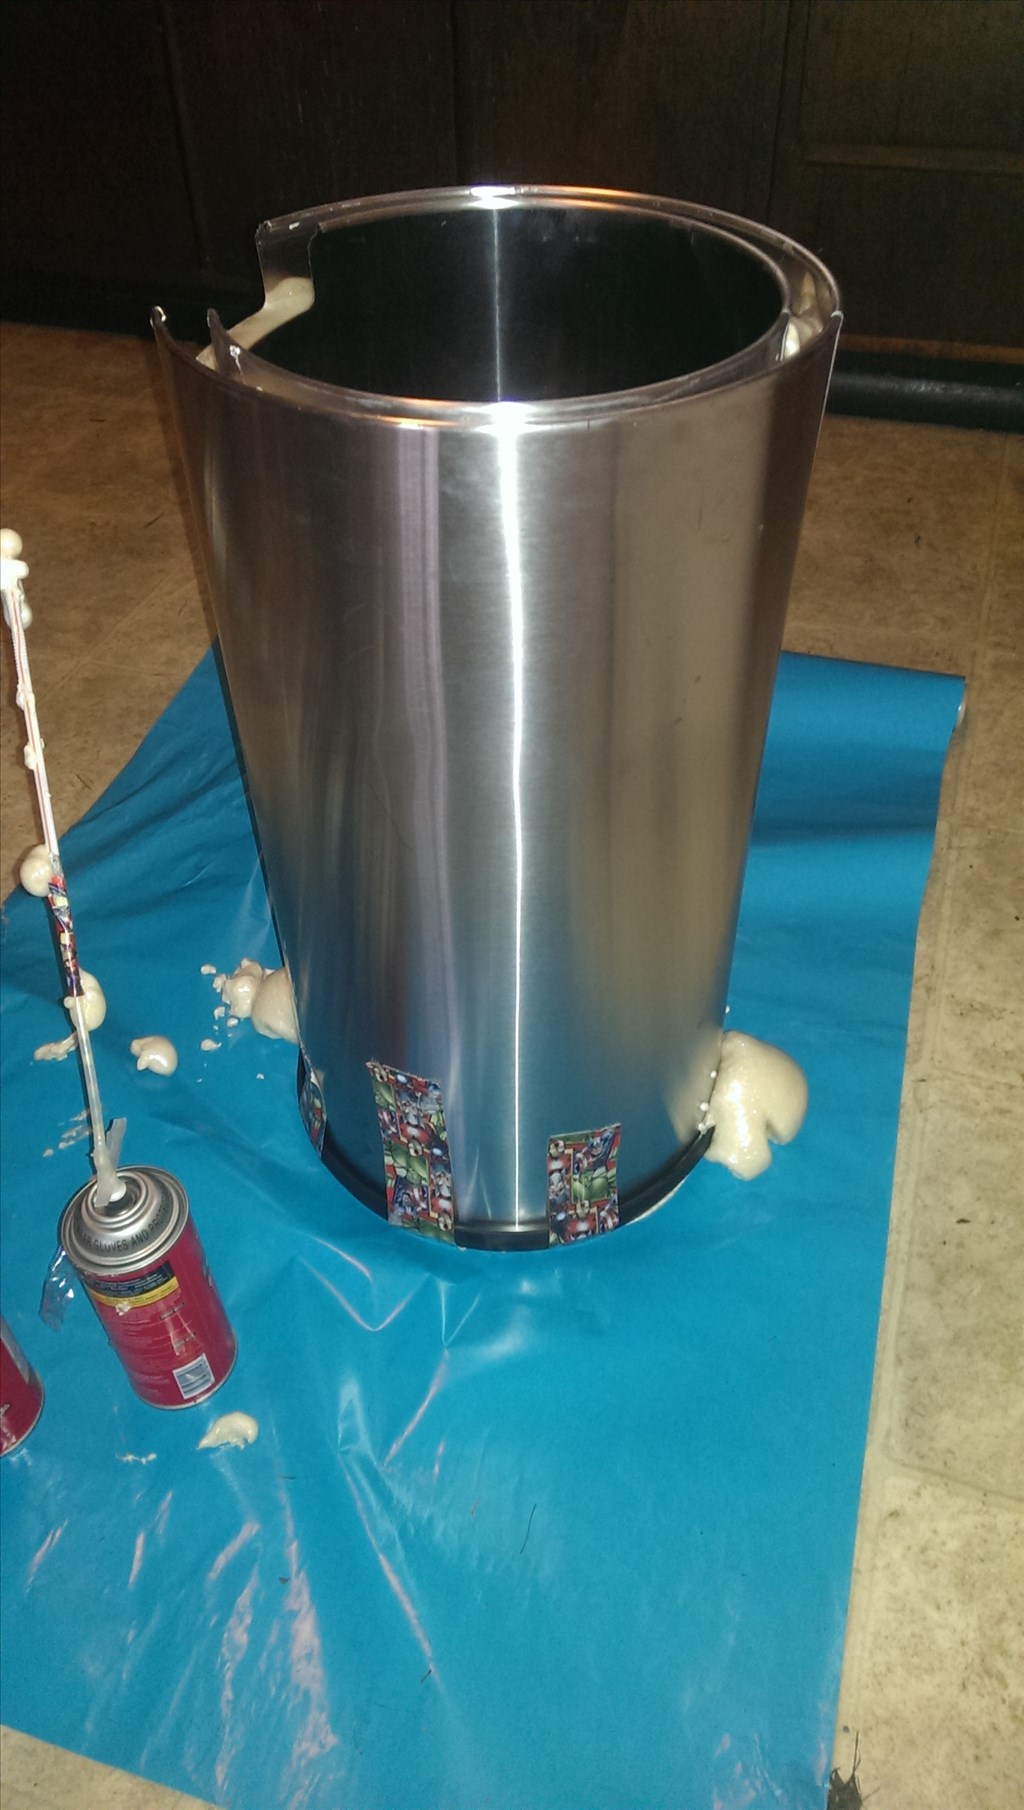


This is a challenge issued by friends and family. The goal here is to make a robot that can bring beverages from another area to wherever the people are , allow the person to get their drink , then leave. It does not need to be fully autonomous , even remote control is acceptable. It does not need to grab them from the fridge, preloaded beverages are acceptable. This is Ez Robot though, I believe we could do better than that! Well anyways to start the project off I am using a roomba base. I picked up a stainless steel trash can last night as a outside casing. I will show you the rest as we go
By jstarne1
— Last update
Discover more robots
Daman's Meet Ray. My Custom Friendlybot
Custom Ray box-bot with foam board body, tracked drive and ping sensor, explores servo torque limits and DC...
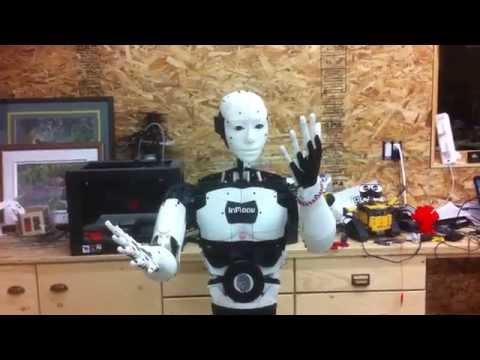
Bhouston's My Inmoov Running On Synthiam
InMoov robot running on EZBv4 with 24 servos controlled successfully, demonstrating reliable single-board servo...
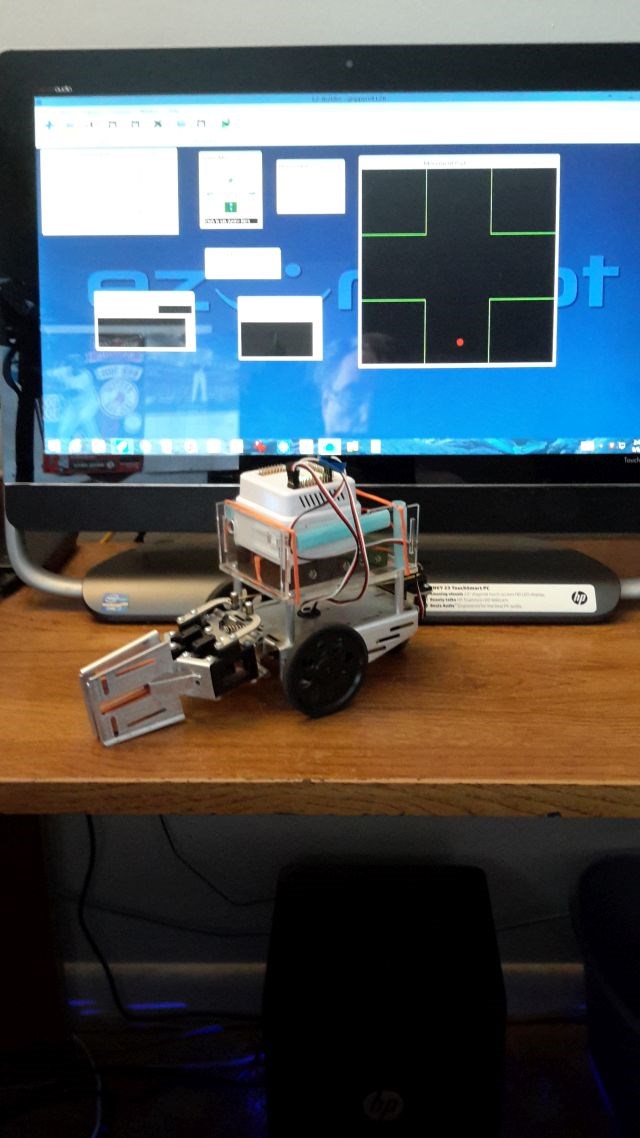
Jdebay's Gripperv4 Old Parts And New Parts
Build Gripper V4 from old and new parts; updated design now includes an added camera.

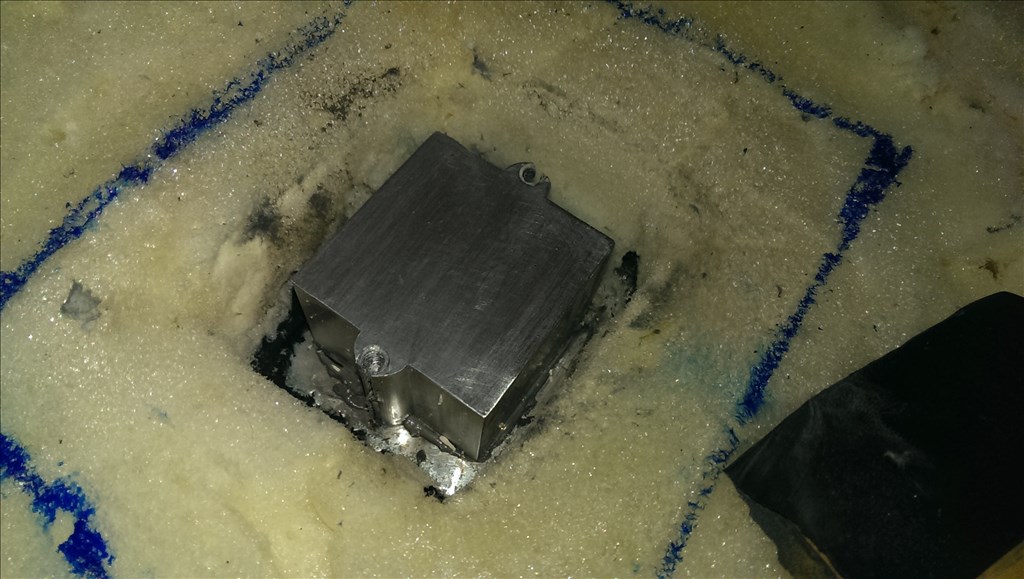
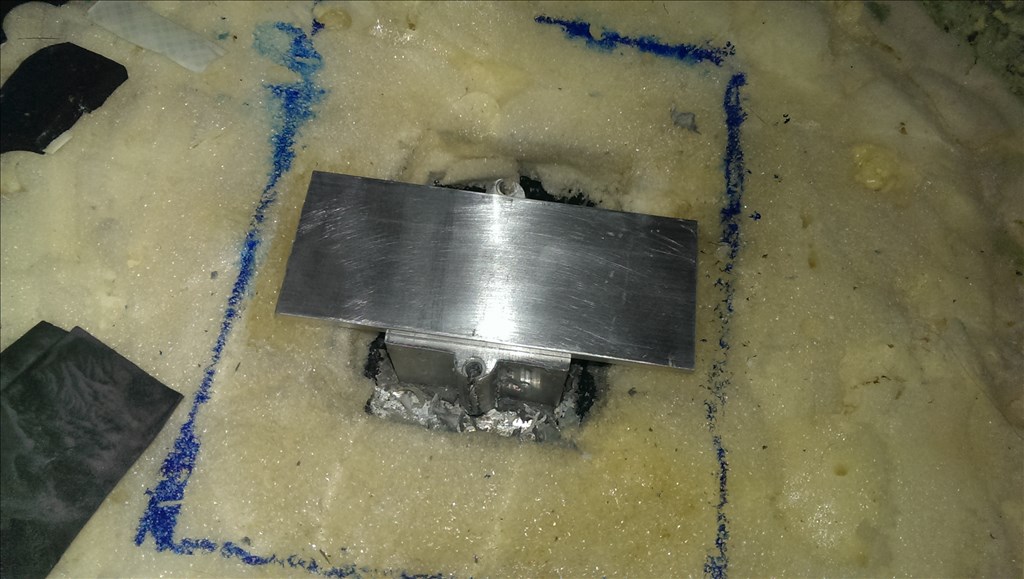
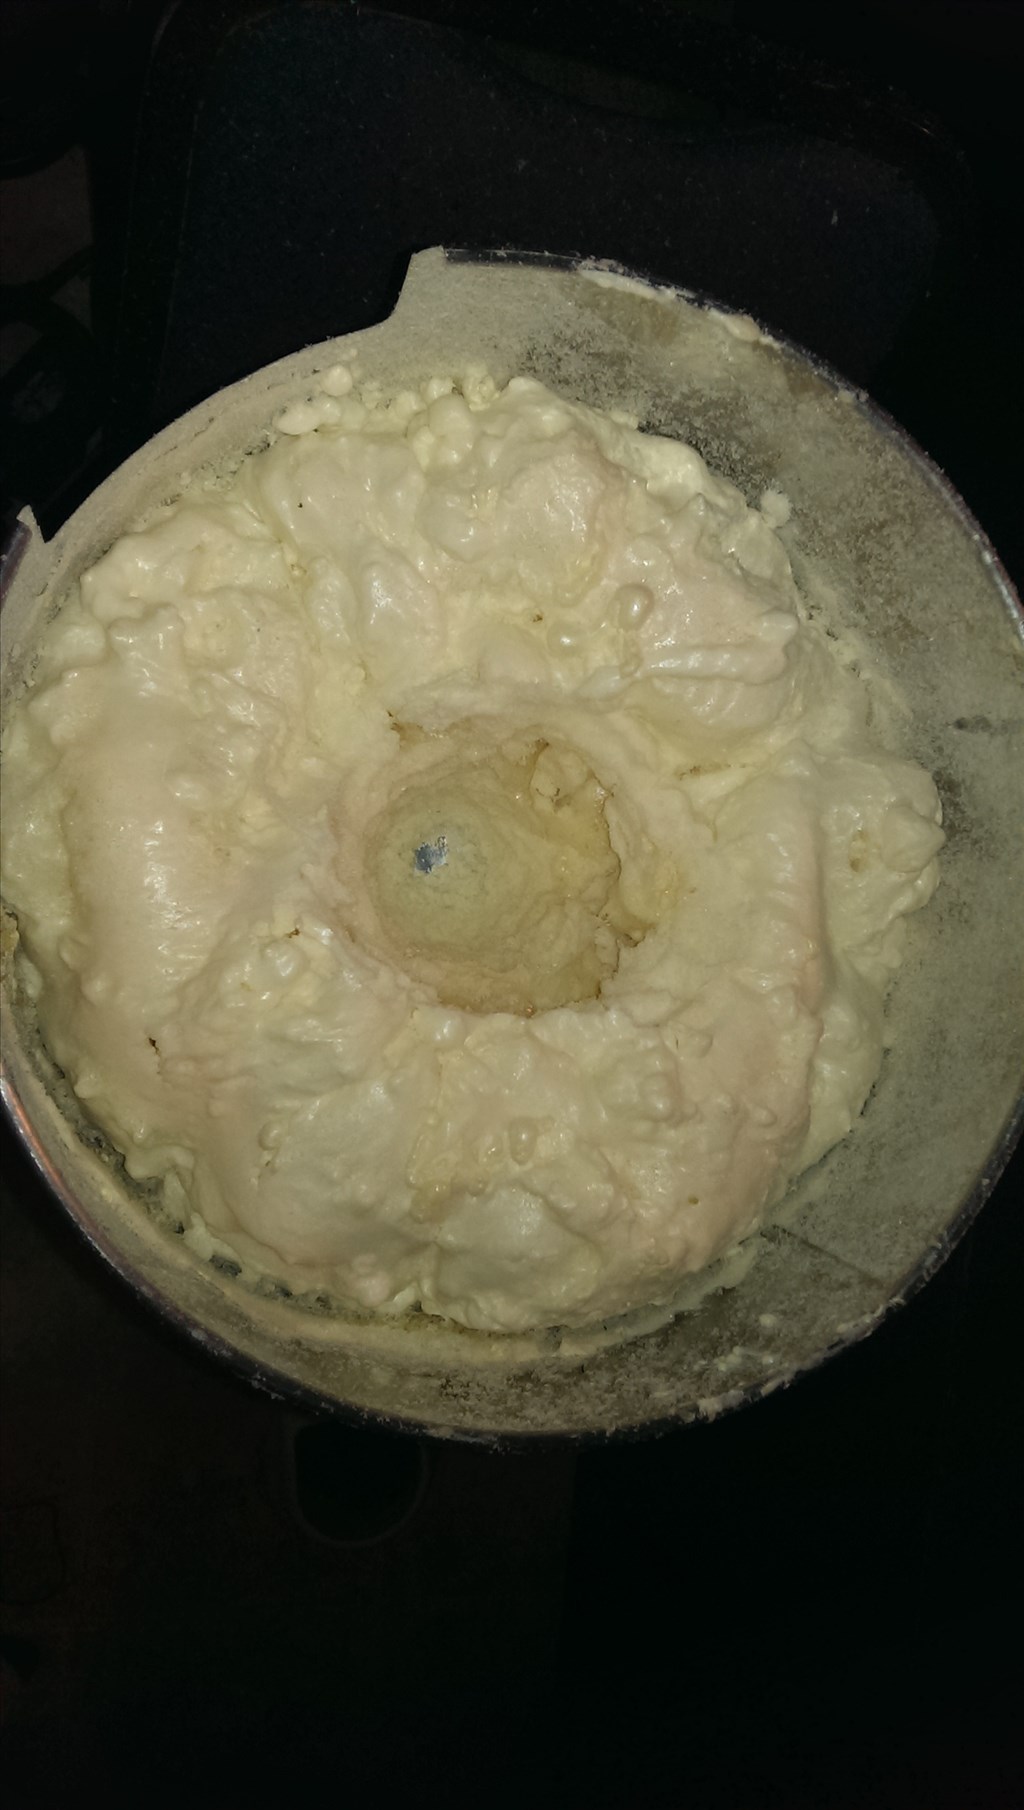
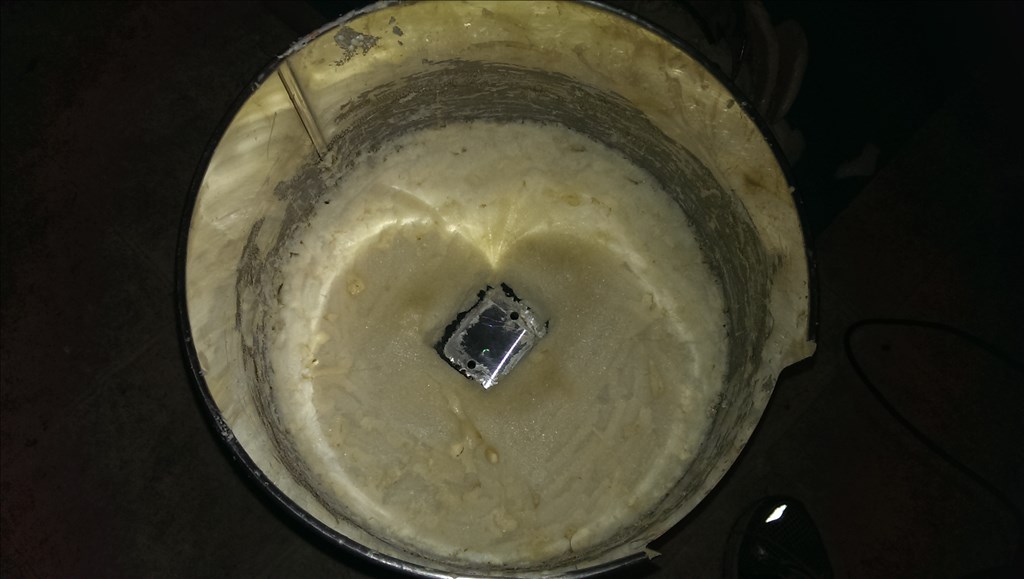
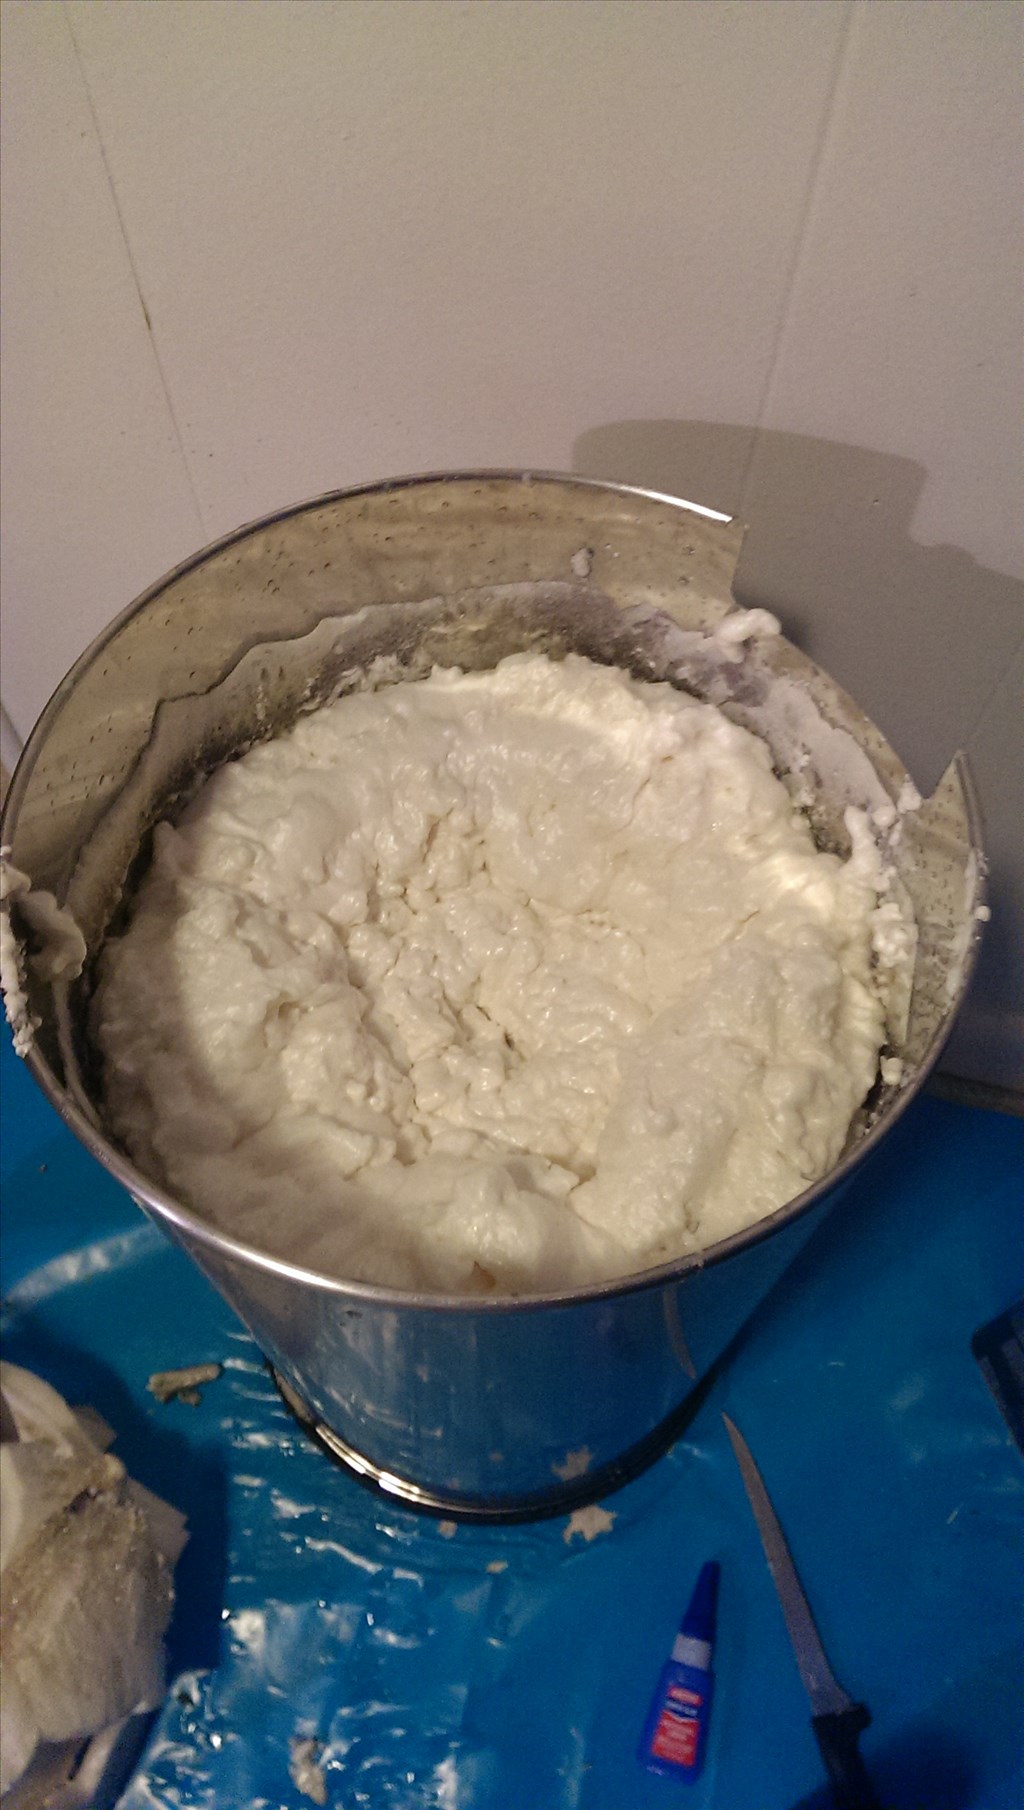
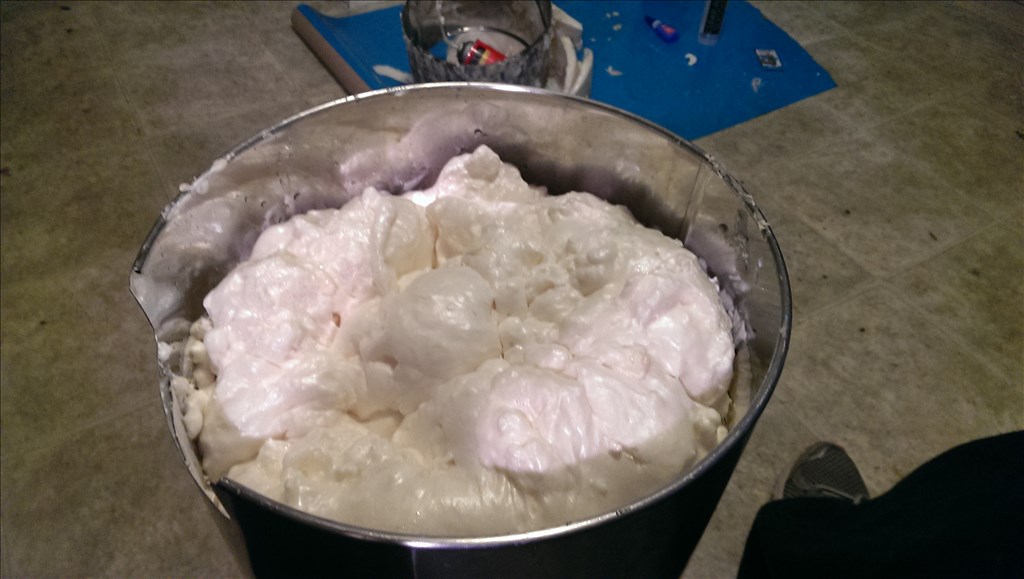
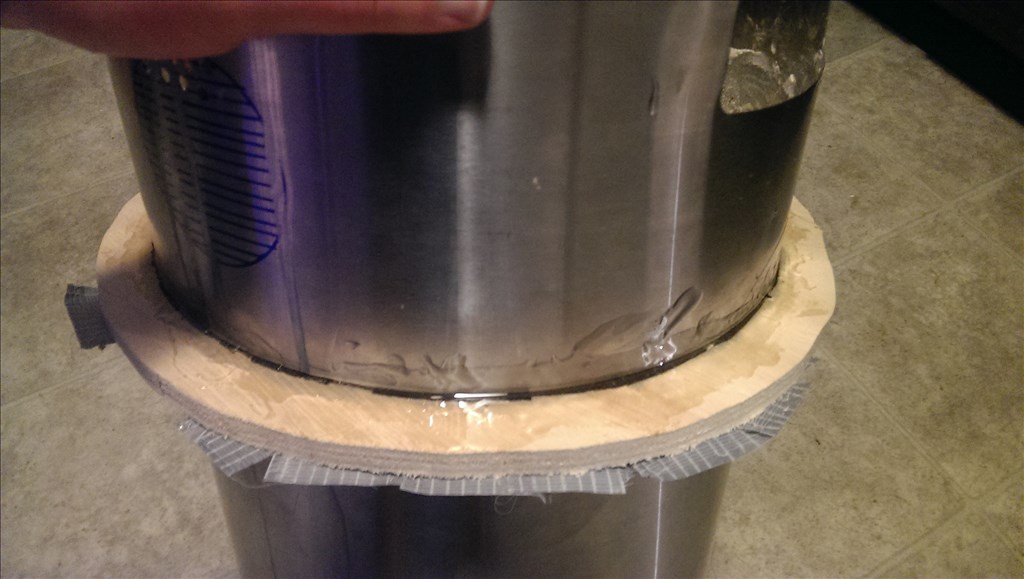
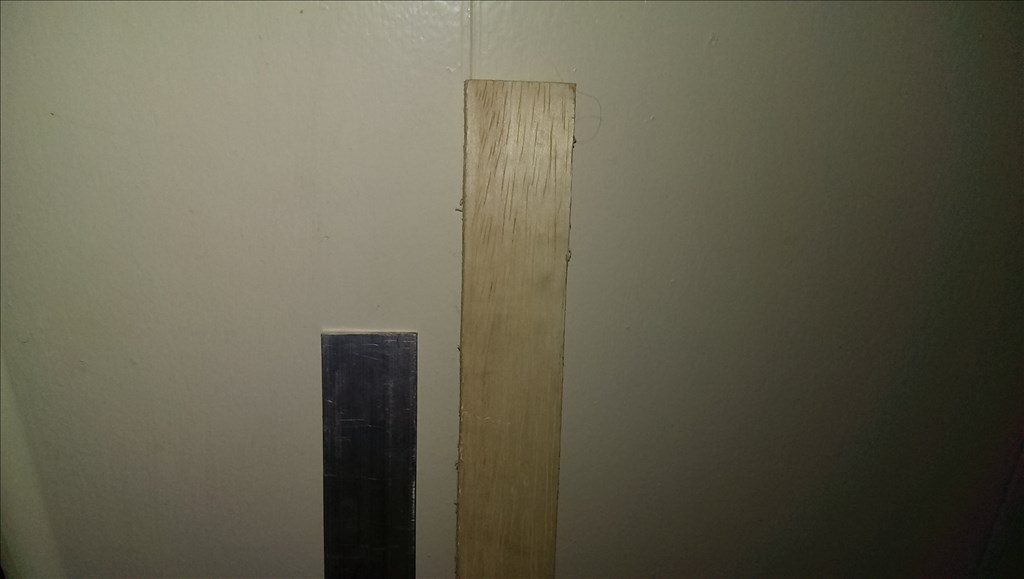
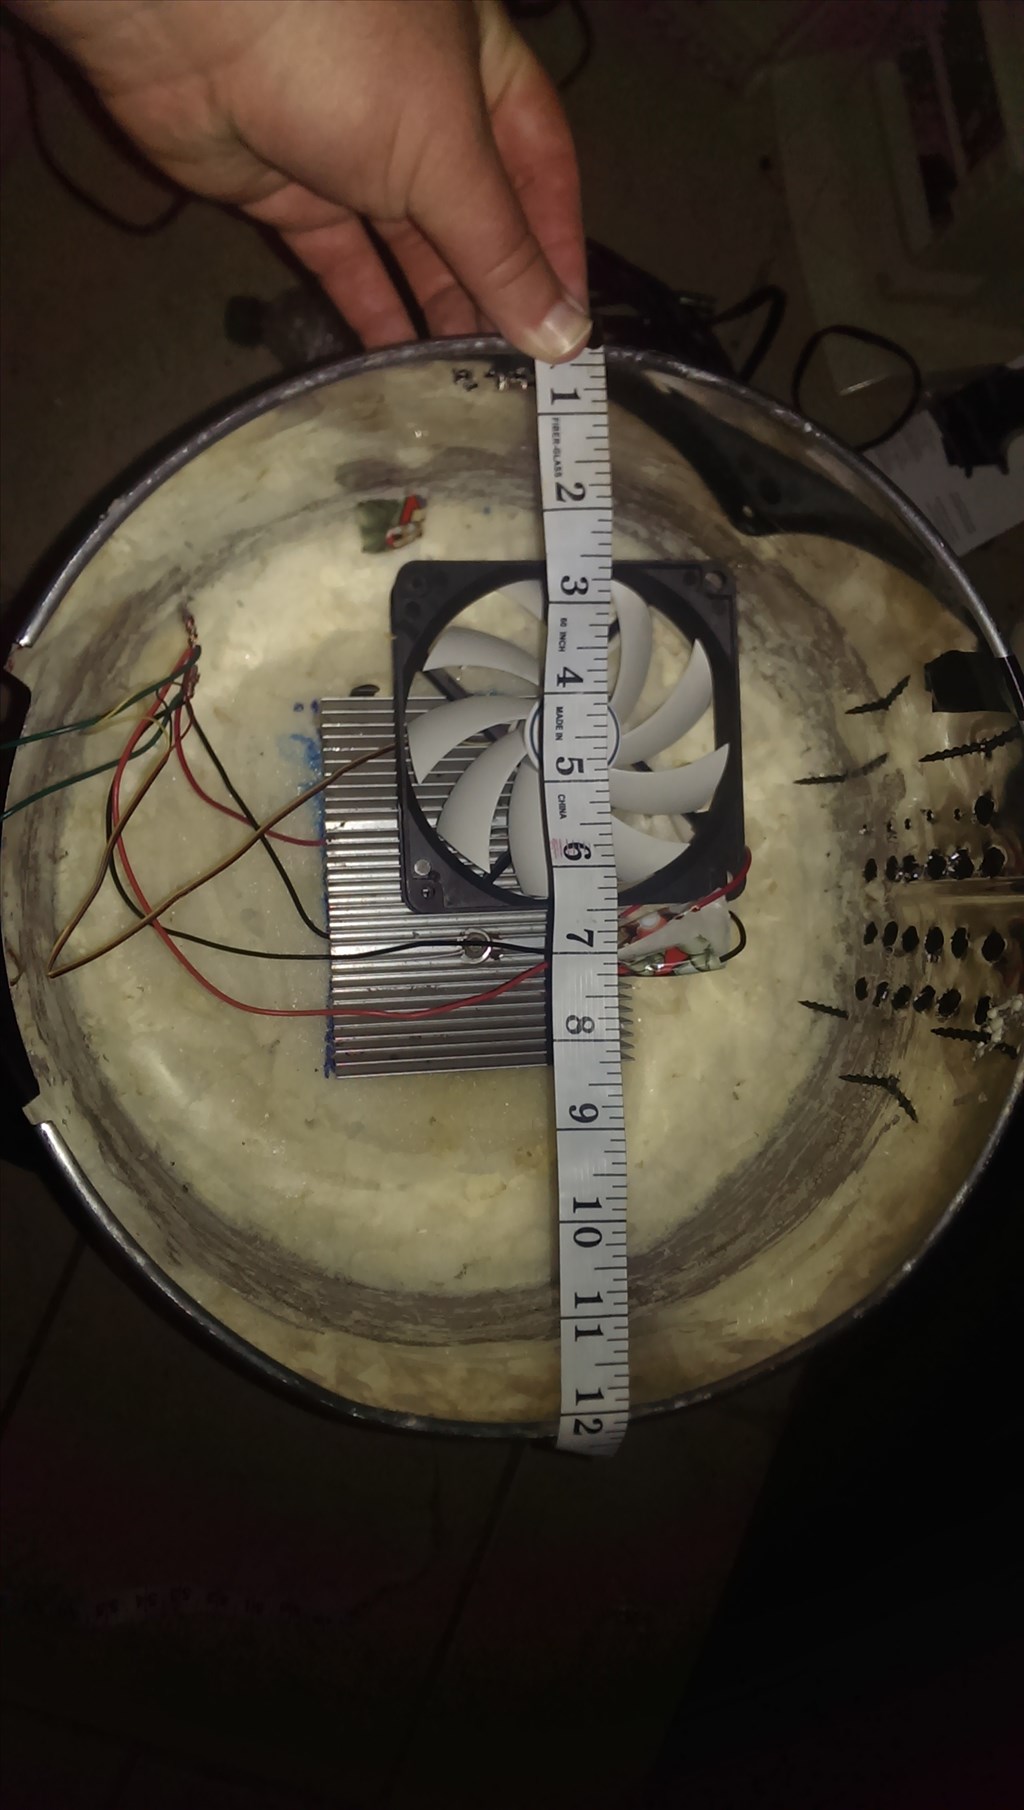
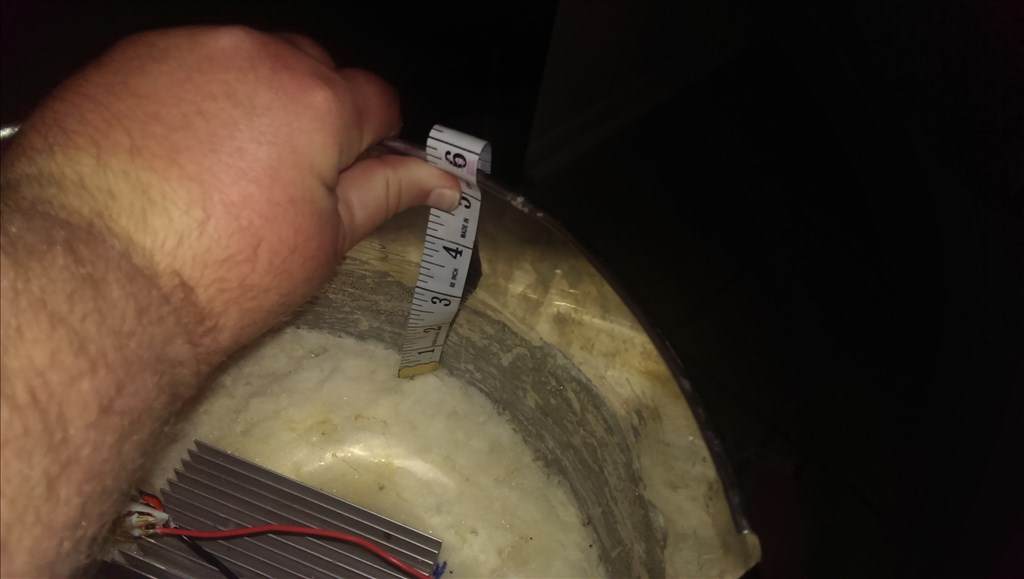
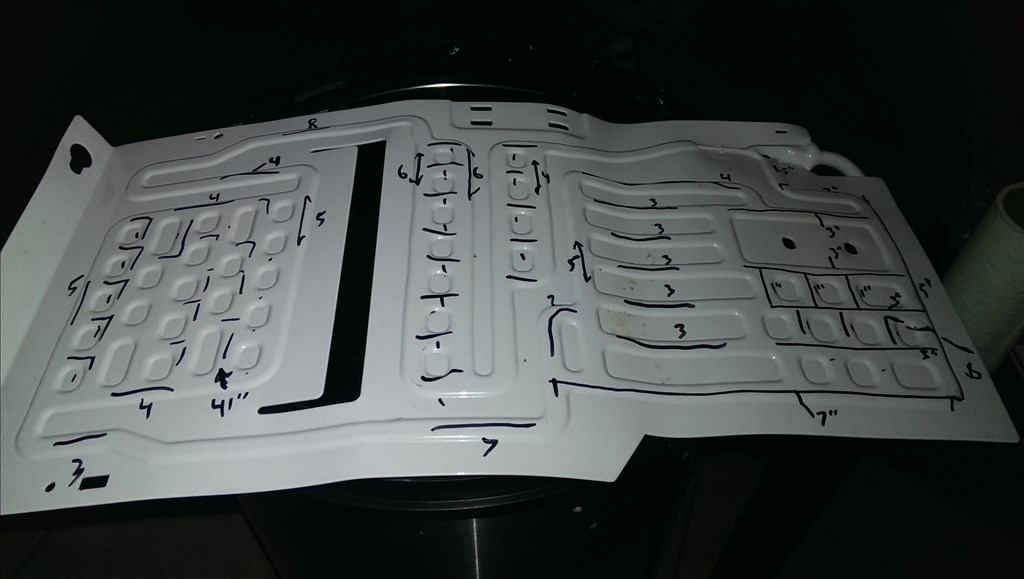
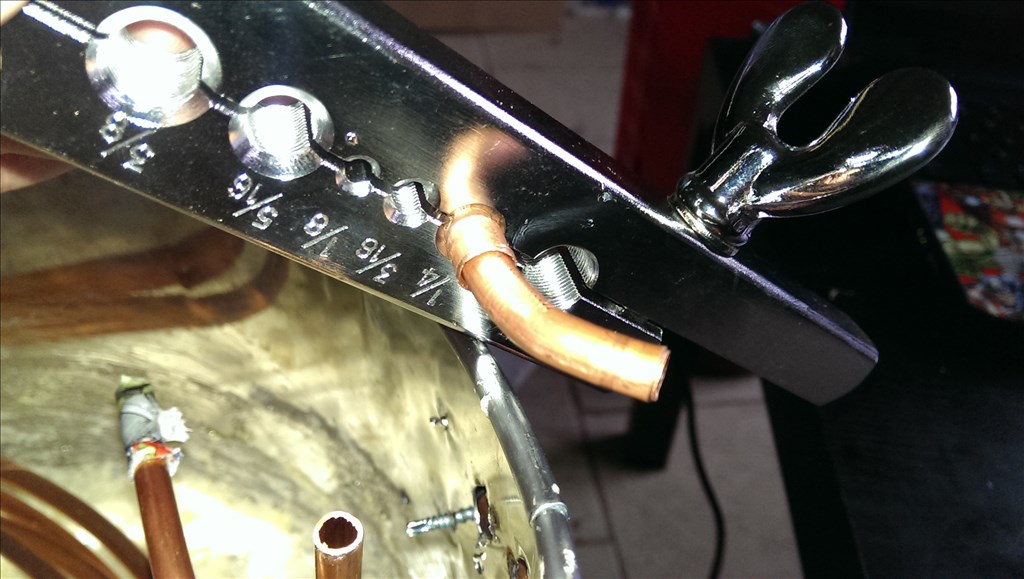
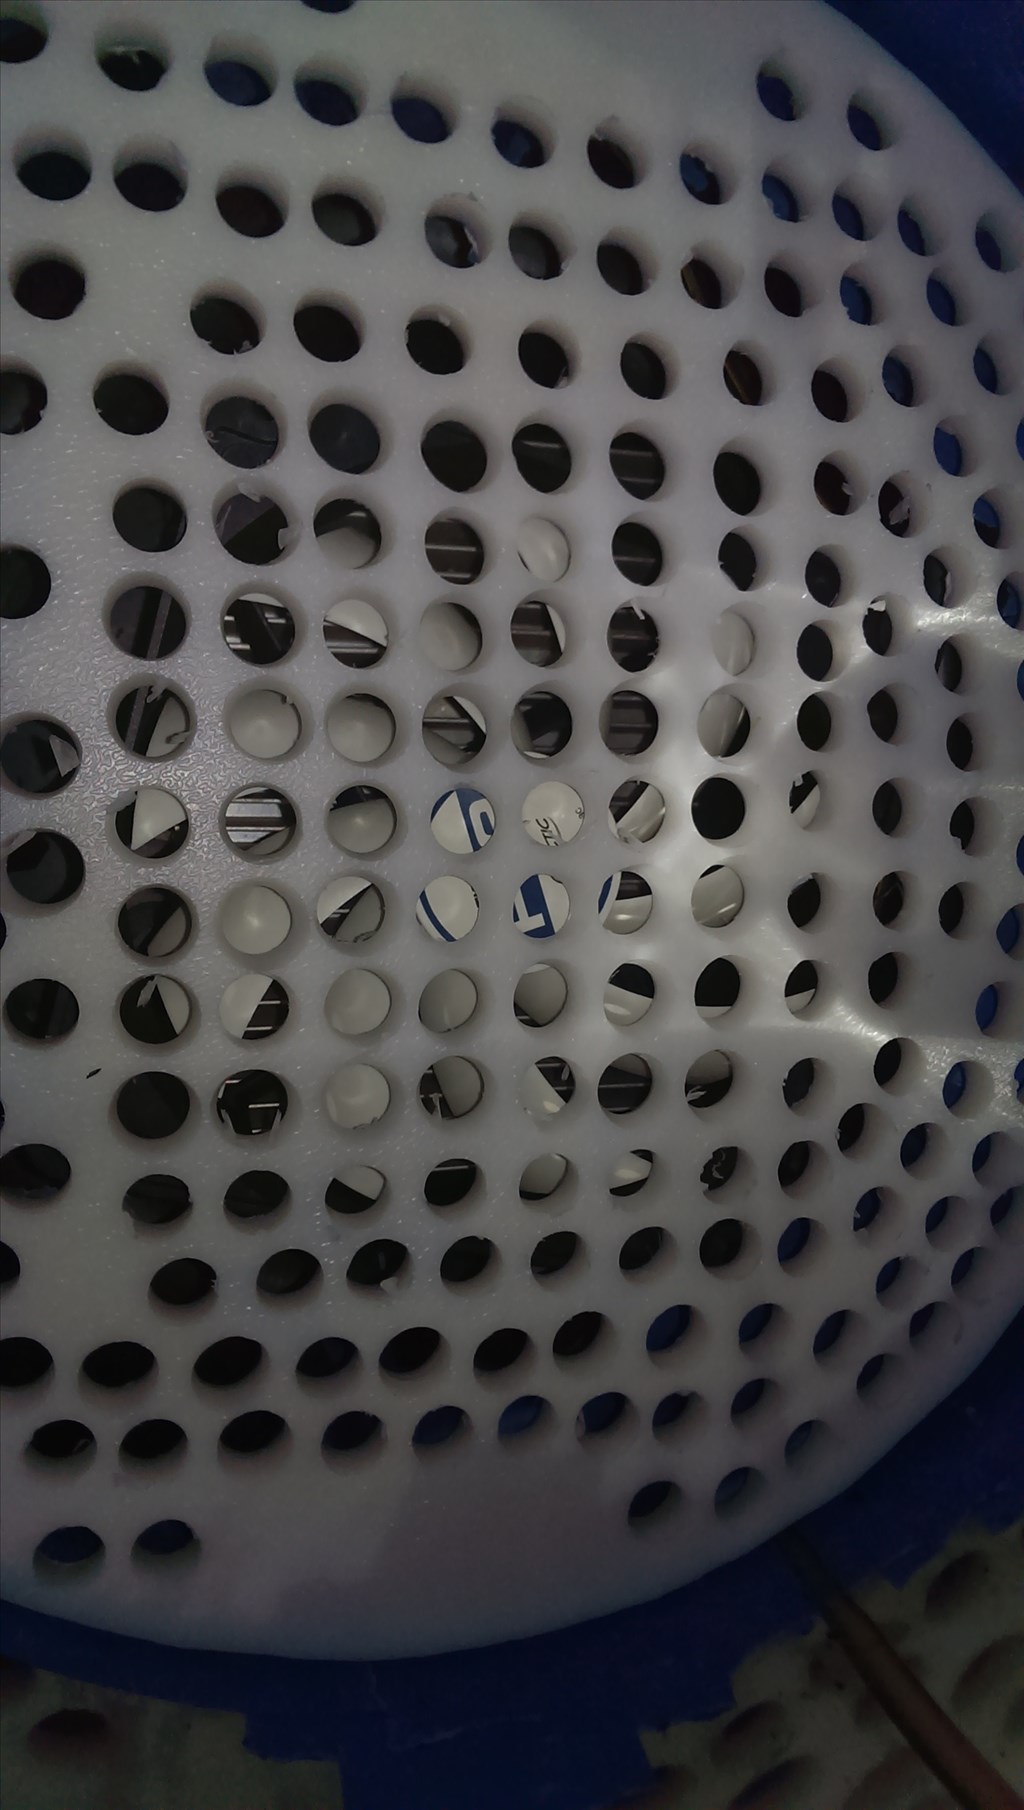
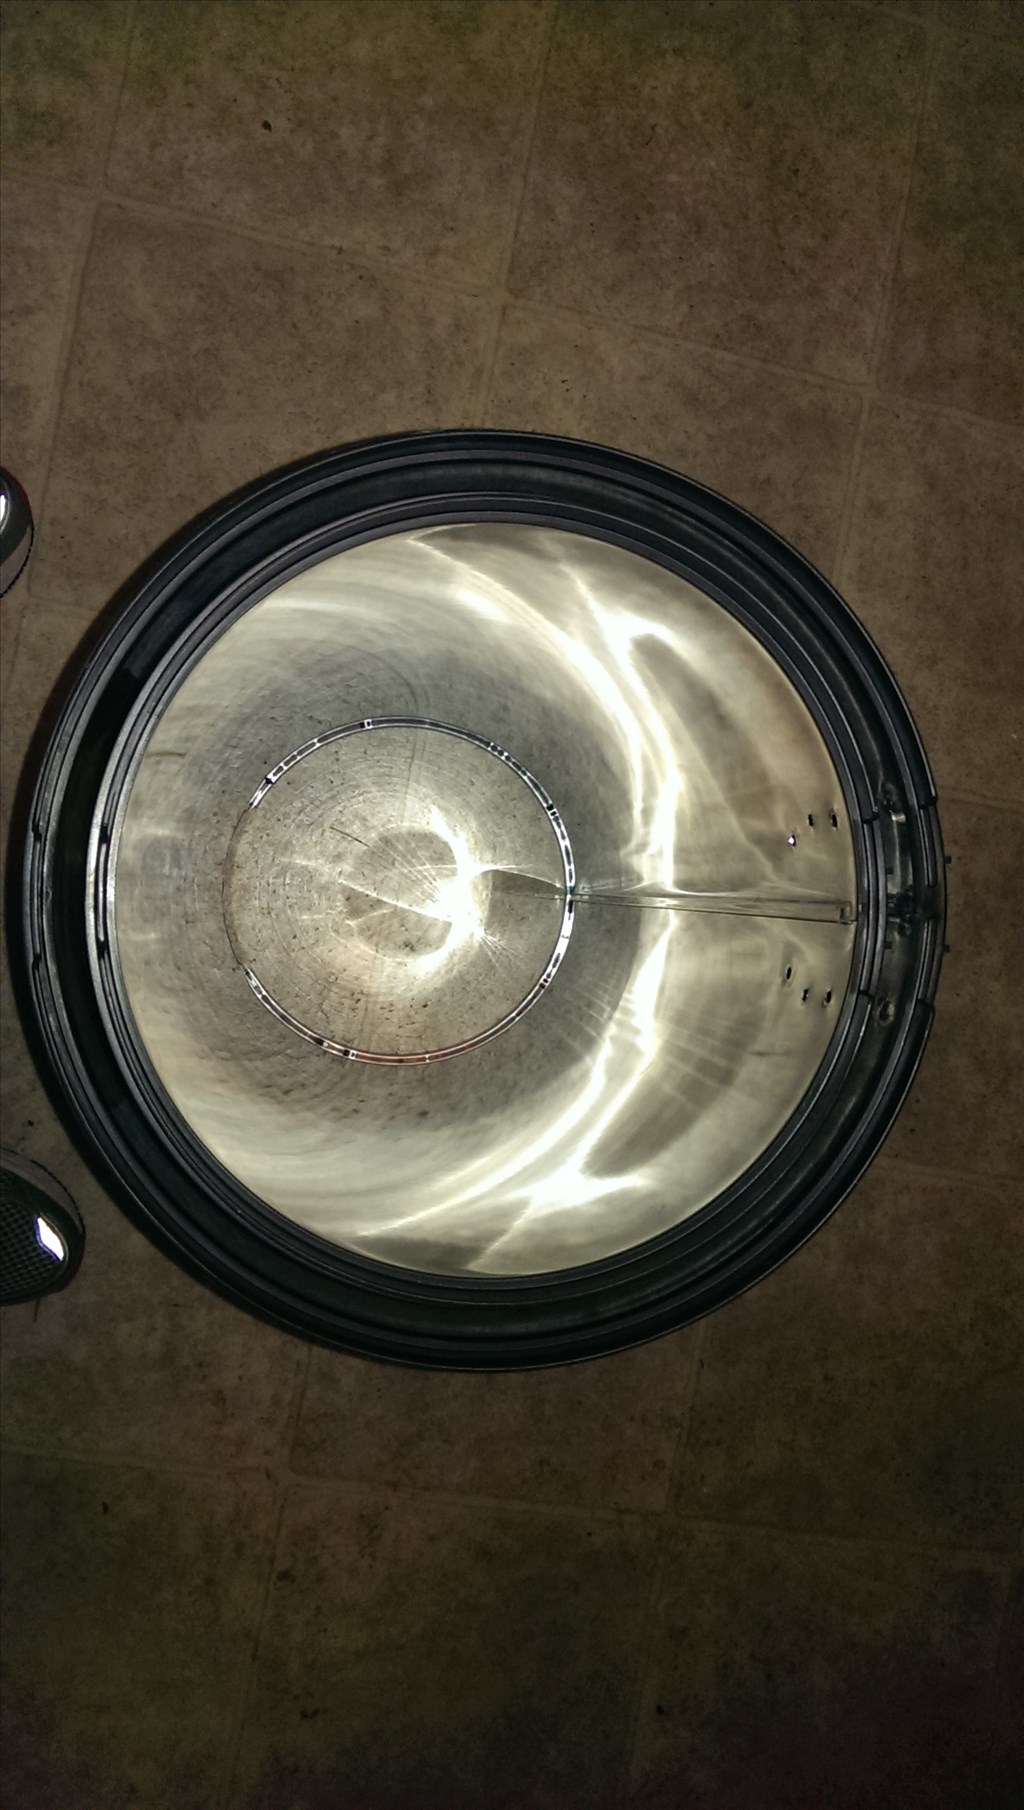
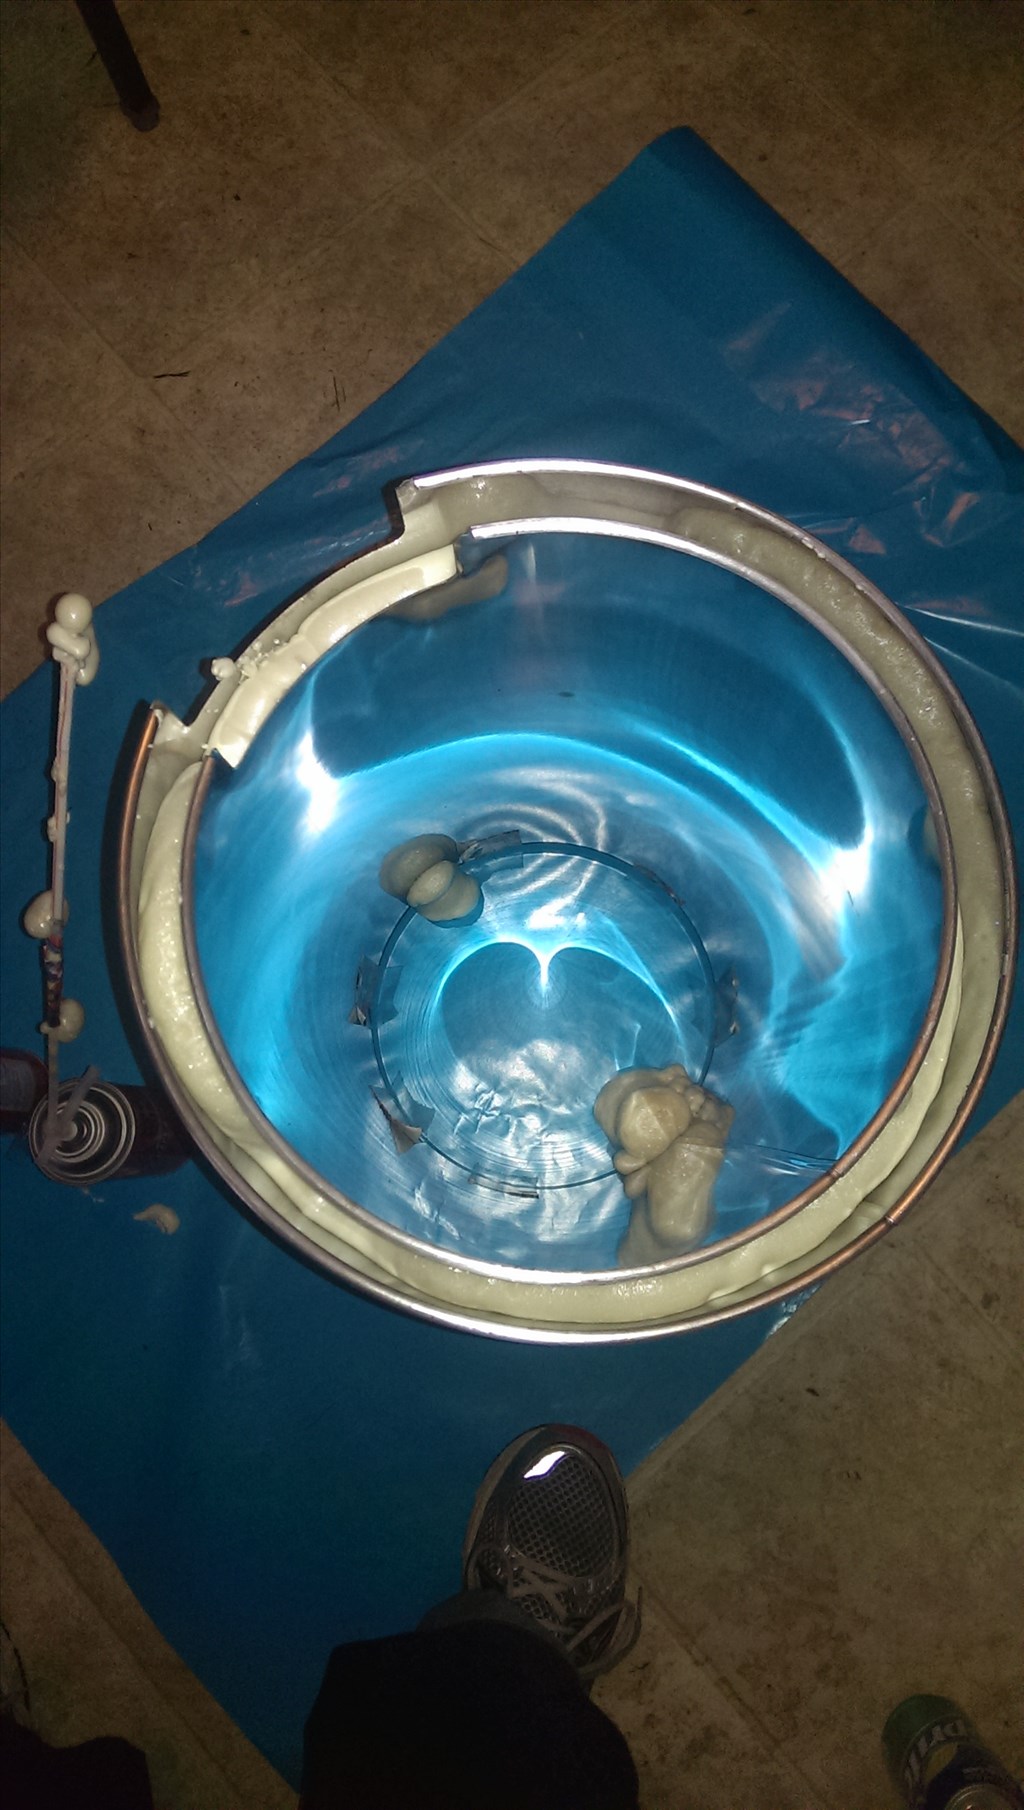
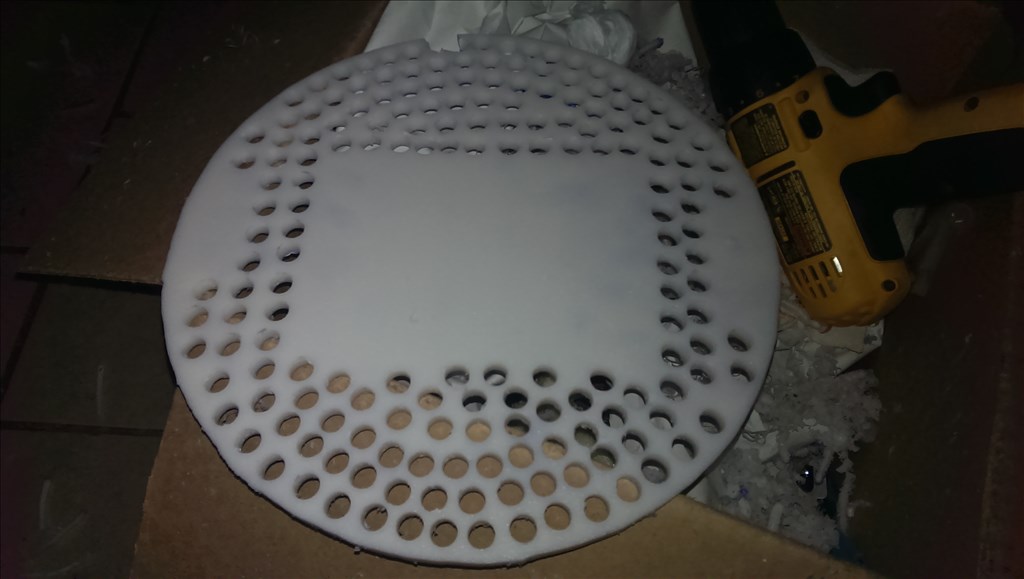
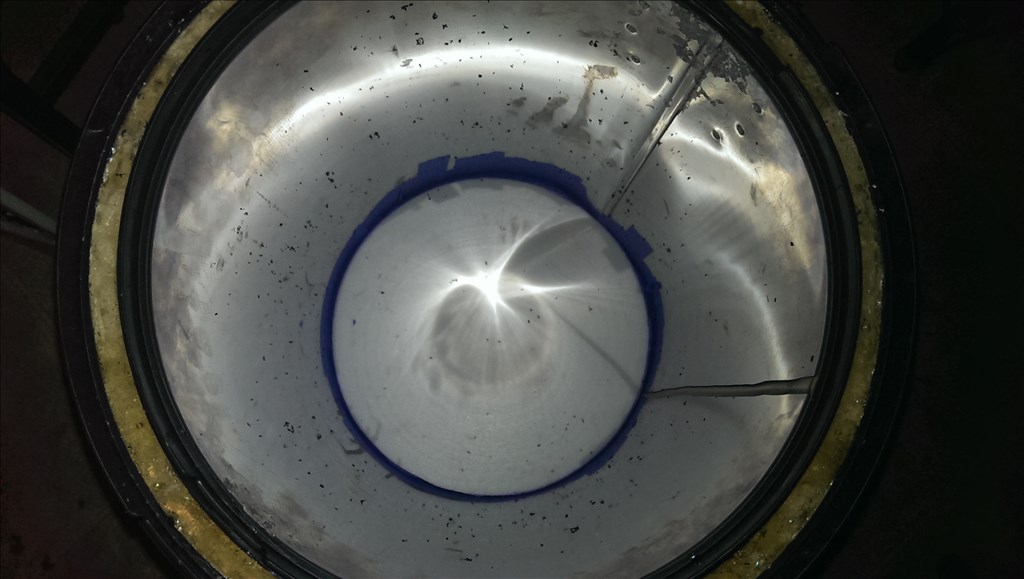
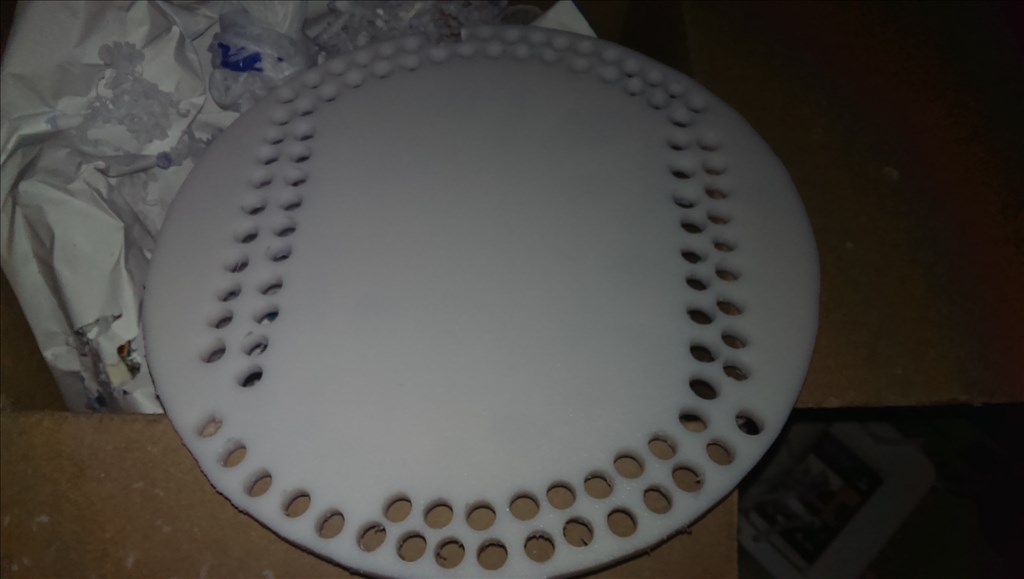
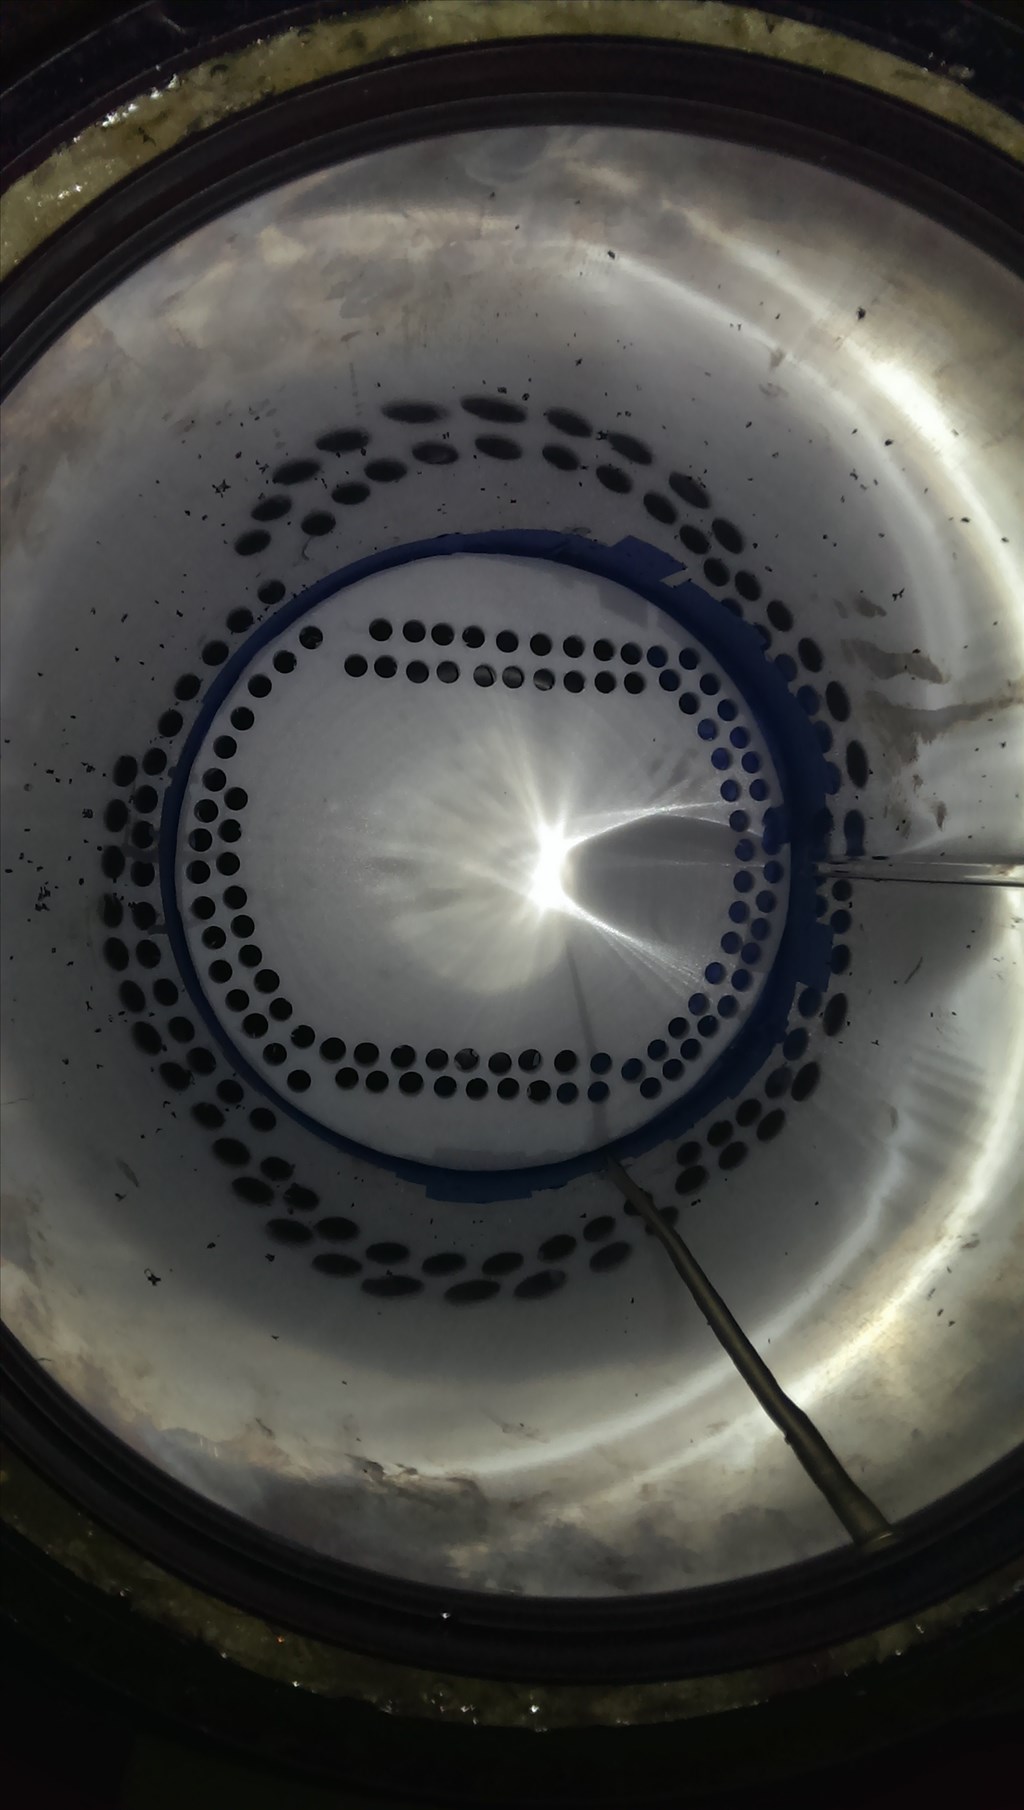
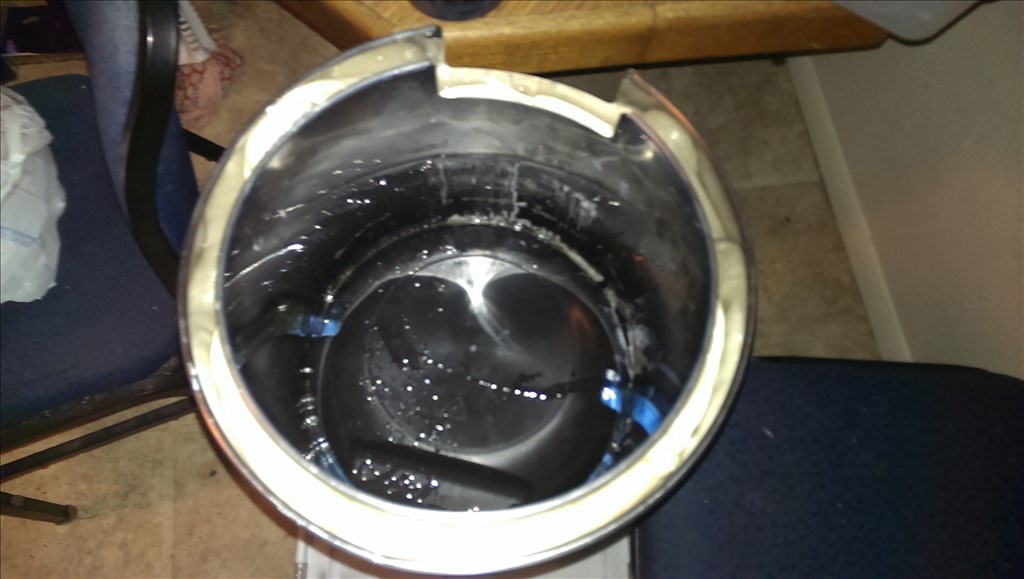
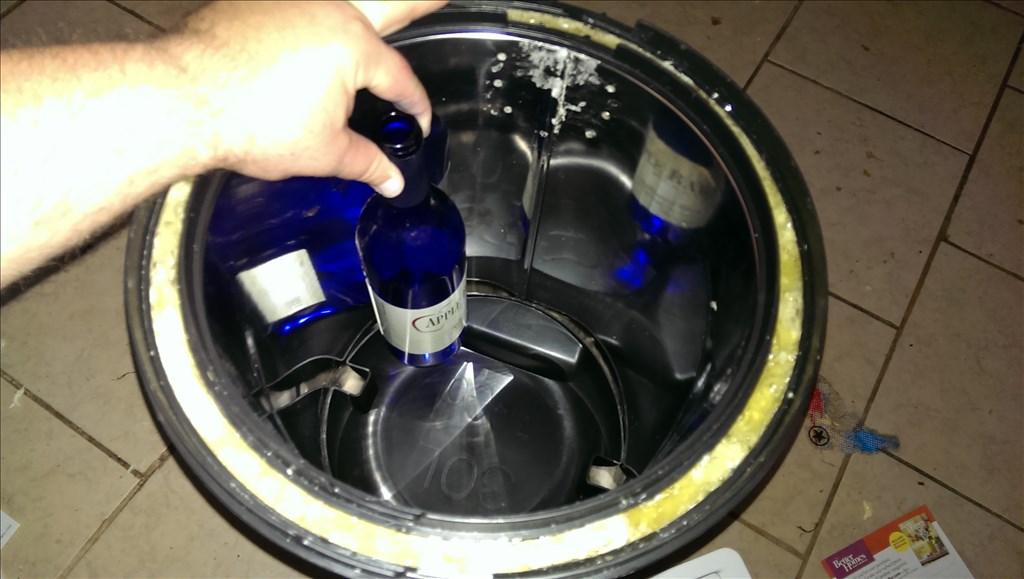
Ok update on the bottom half of the insulation. I waited all day till I was off work to insure the 12 inches thick of foam was fully hardened. I used a steak knife to saw out the big sections like I was cutting a round cake. Once I had it sliced down to the last 5 inches I carefully started trimming away like a human cnc one line at a time. A hour later I had it cleared away to a ideal thickness which is about 3 inches thick solid accross the bottom.
Man, super progress Josh!
Thank you bret! It means a lot to hear that. I appreciate it
https://www.youtube.com/watch?v=FiH5Z6RGphs&feature=youtube_gdata_player
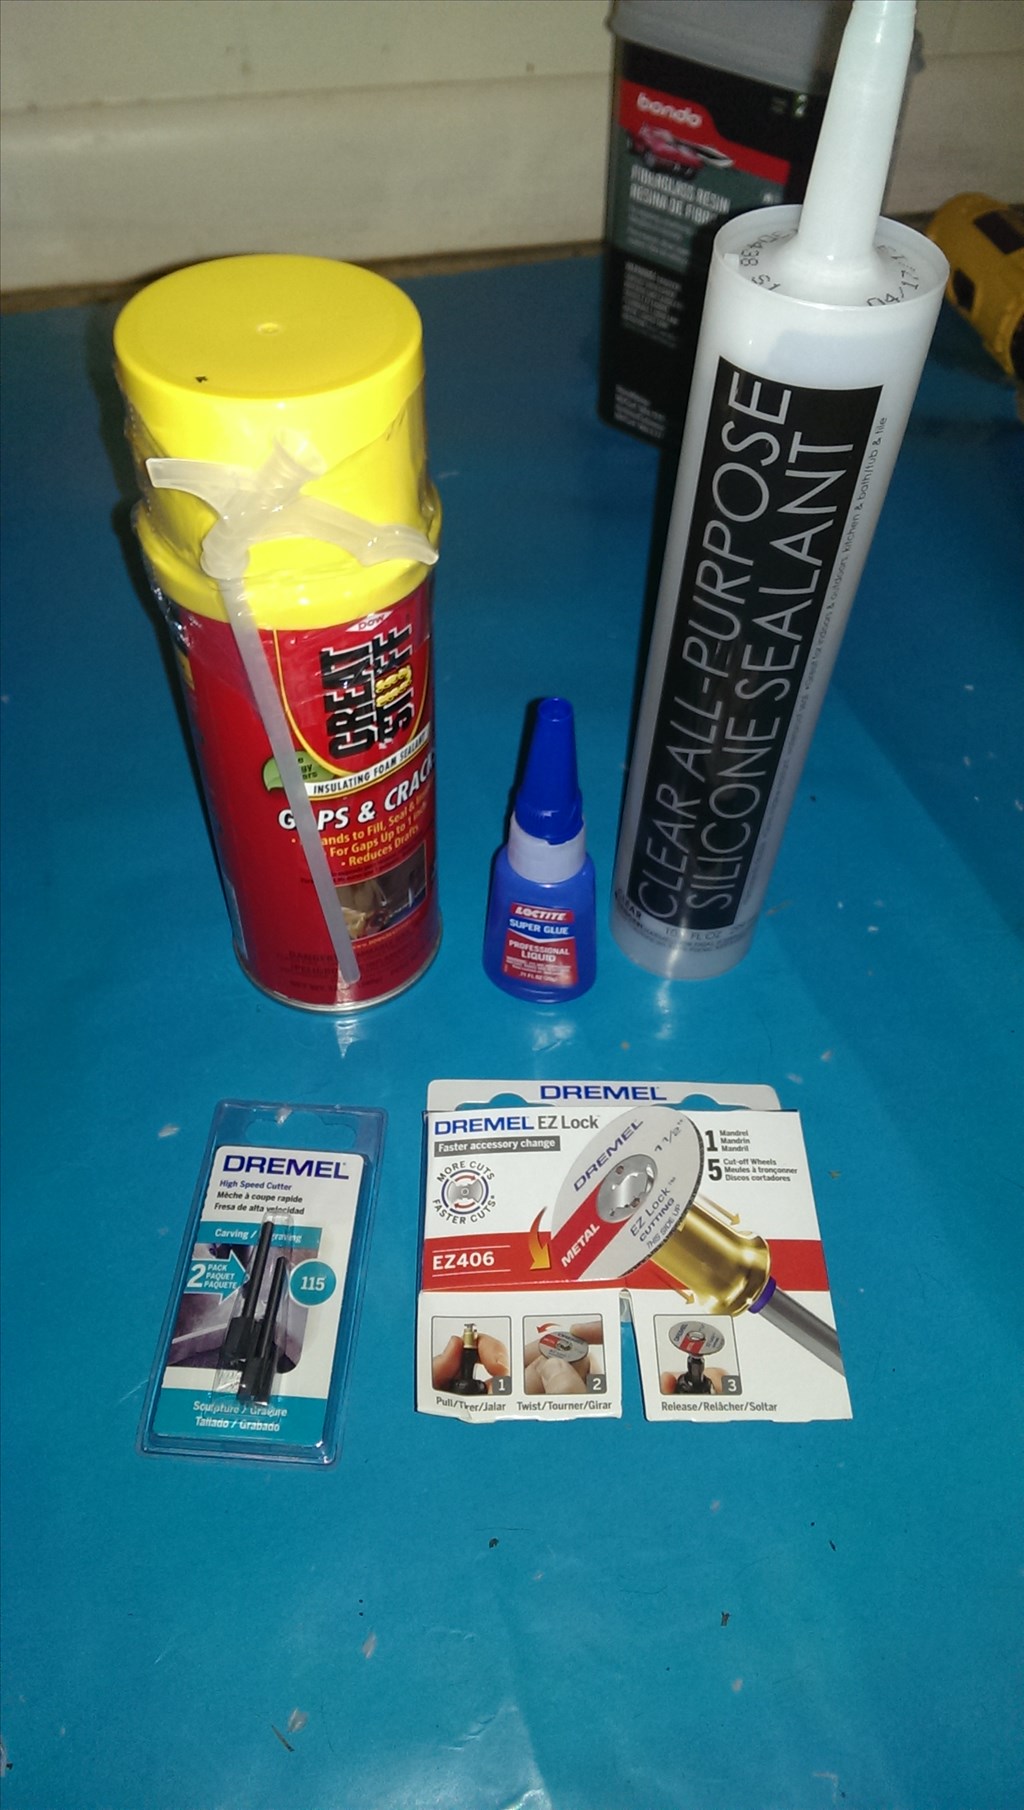
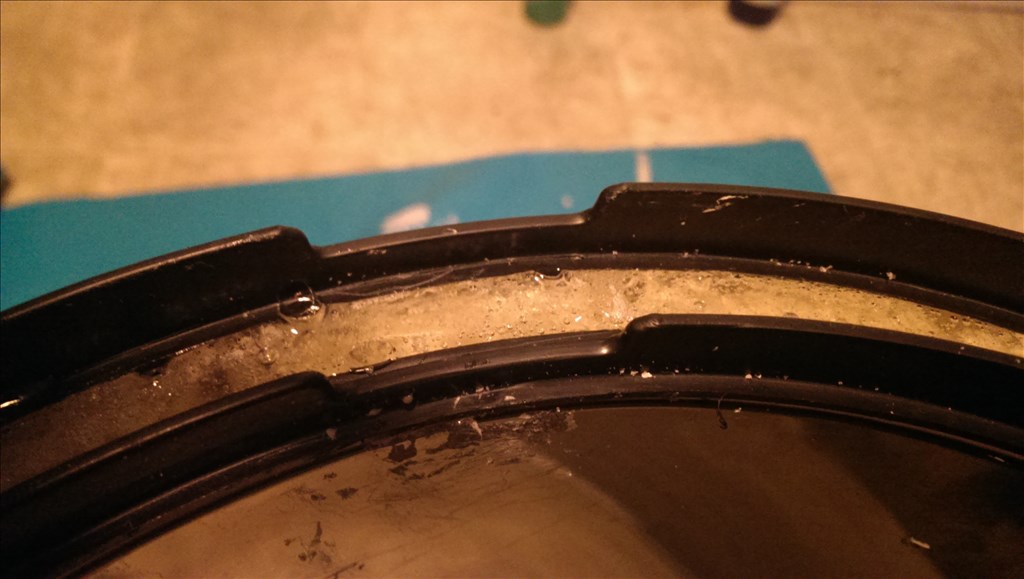
This is a video showing what I did tonight and the next steps in mounting a couple cooling fans. Also how I intend on sealing the lid as well.
https://www.facebook.com/photo.php?v=670209156330666 I edited update video with music I made for Facebook but I think it's a good 30 second summary of the different aspects of the projects progress
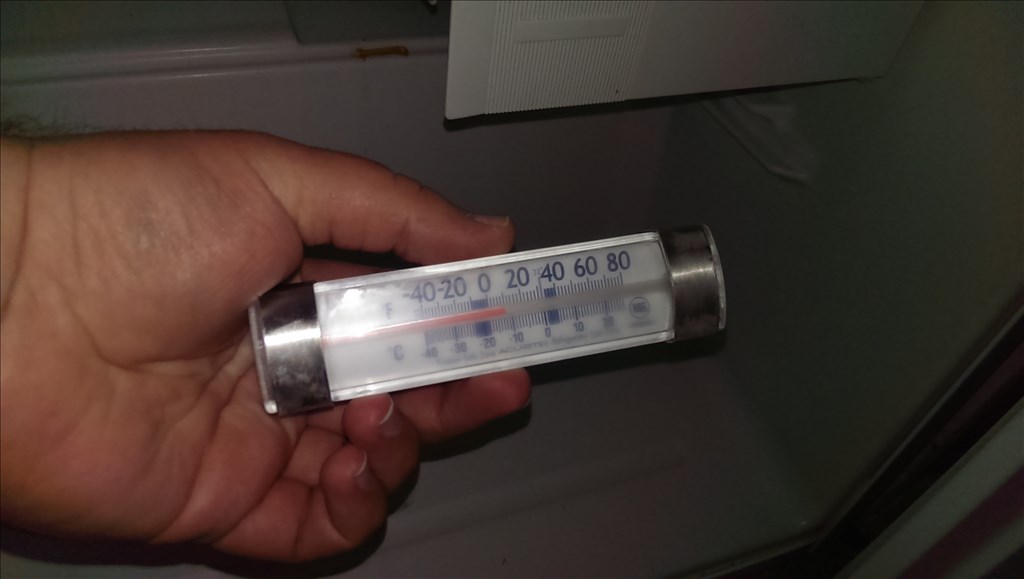
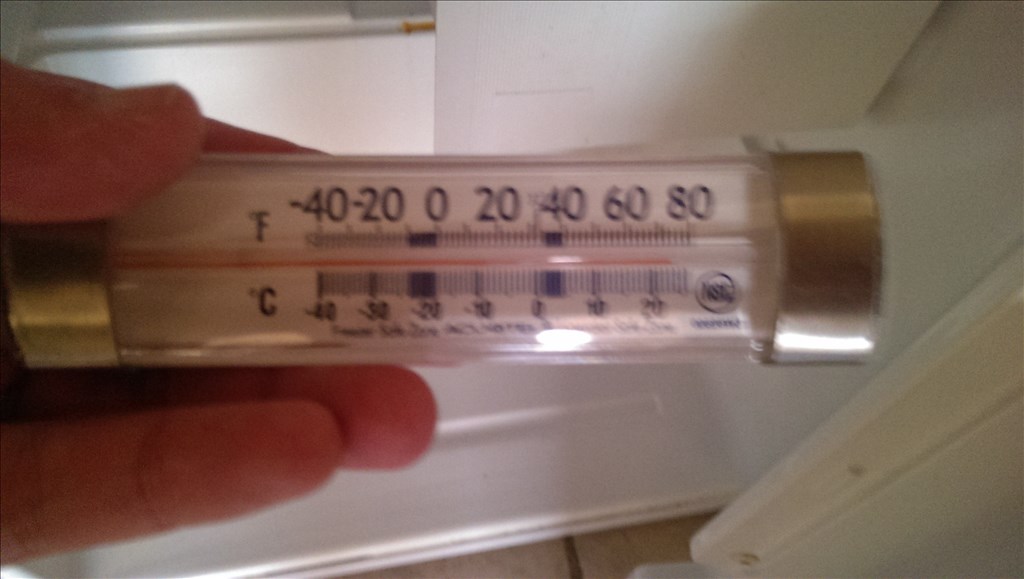
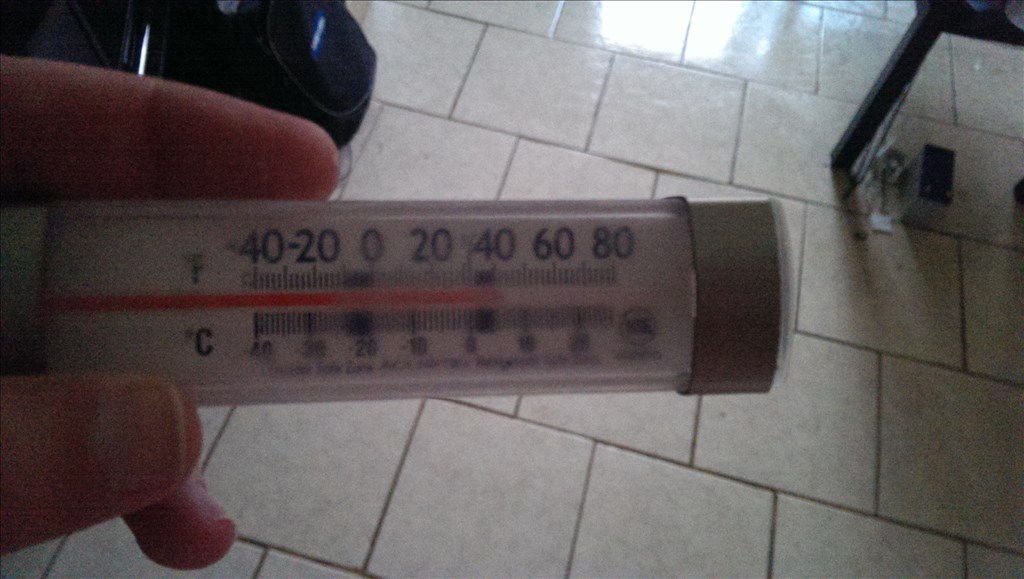
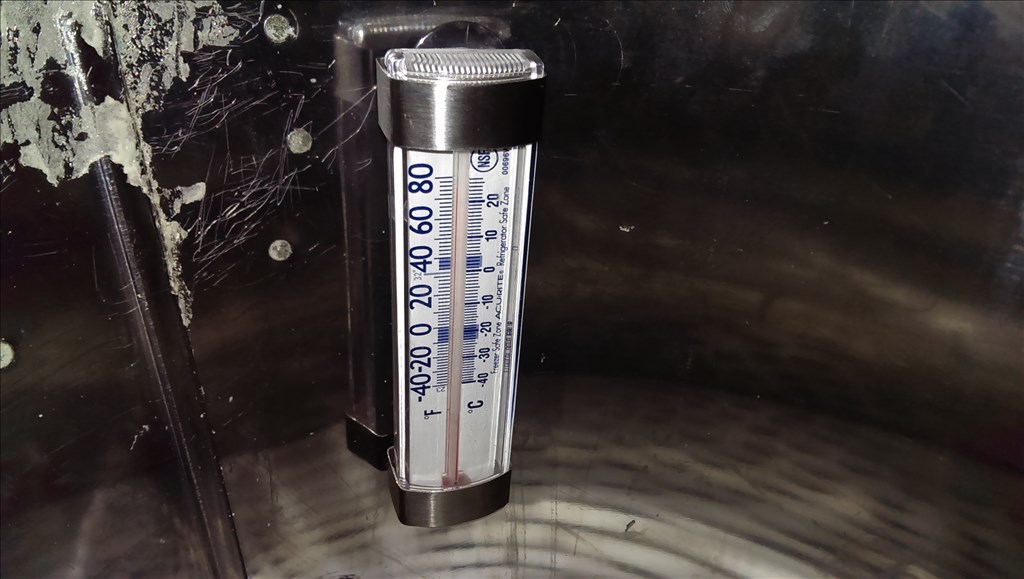
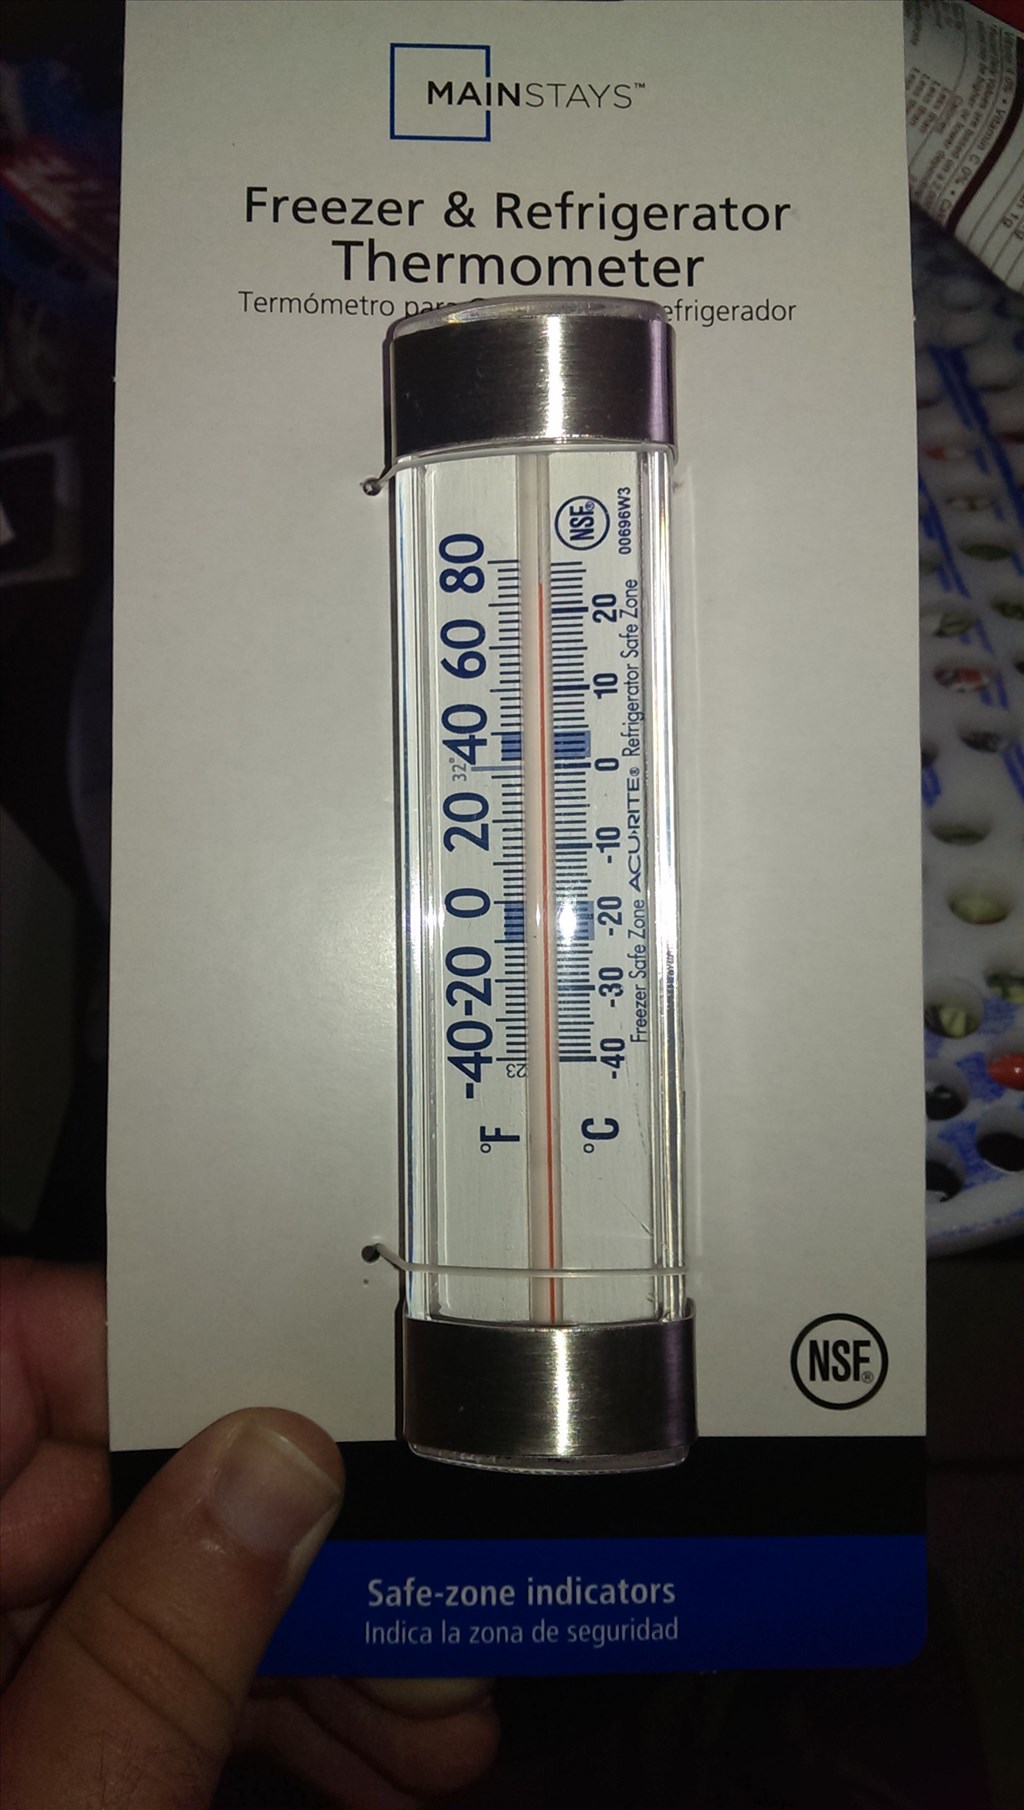
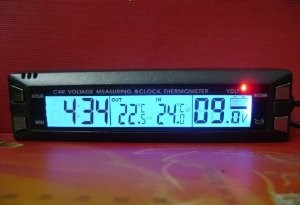
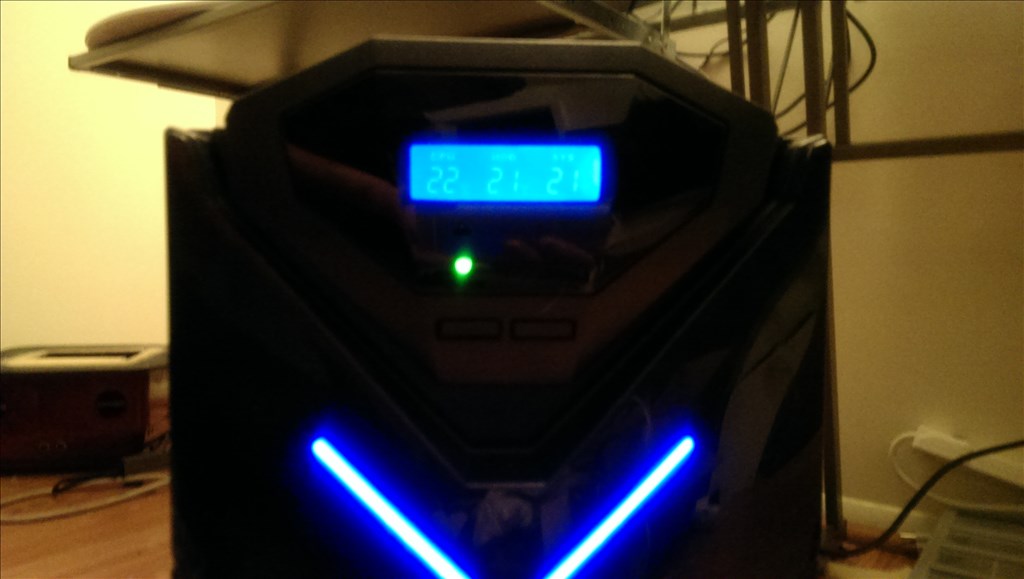
I picked up a refrigerator thermometer to stick inside the chiller. This way when I test it I can get an idea of how fast it cools and how low I can get the temp in this real world test.
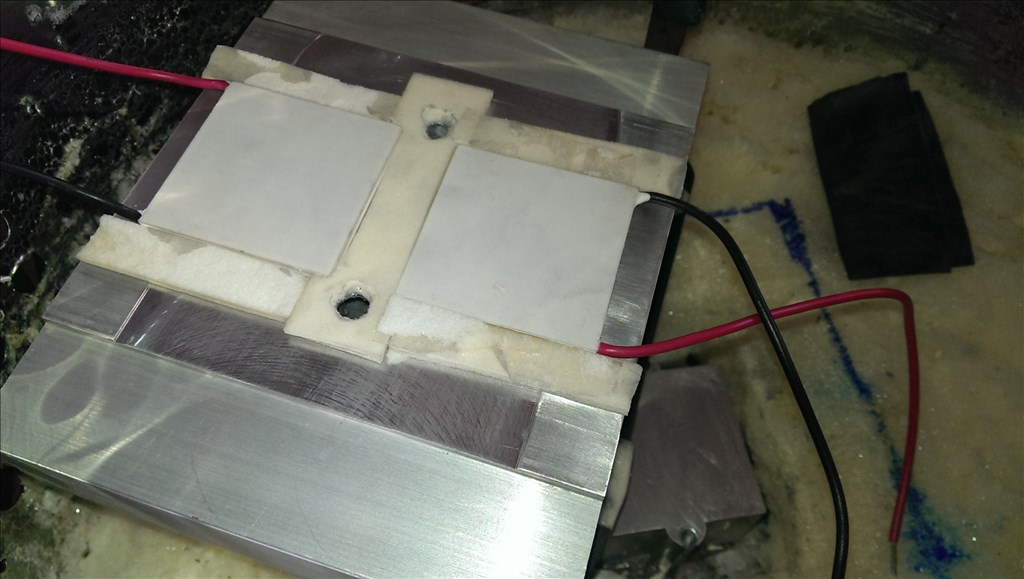
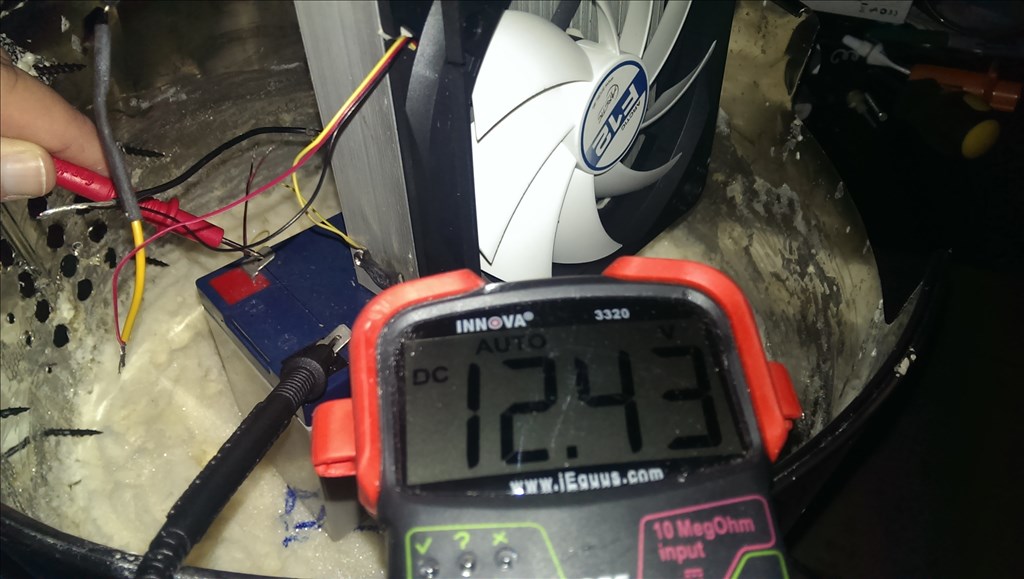
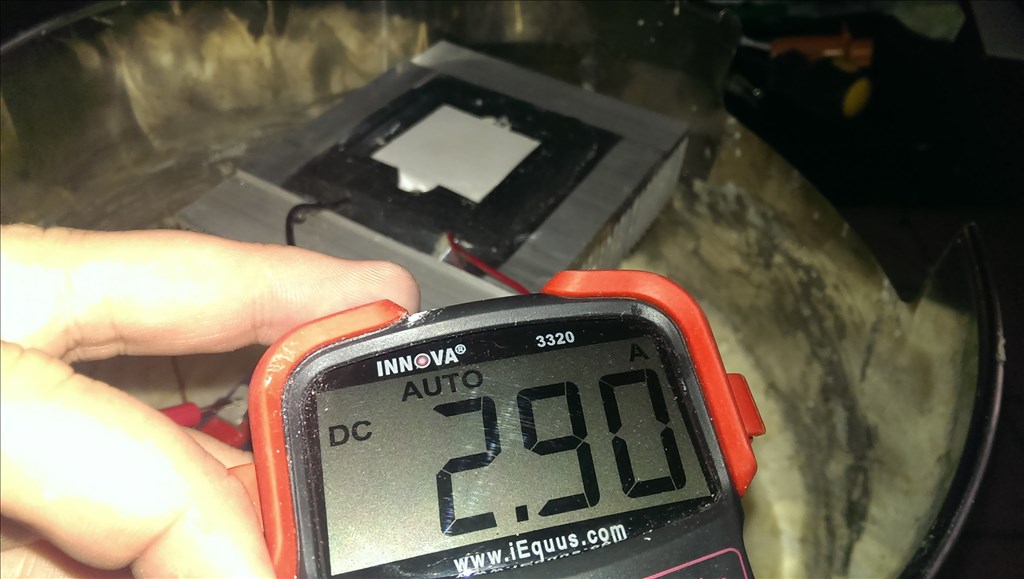
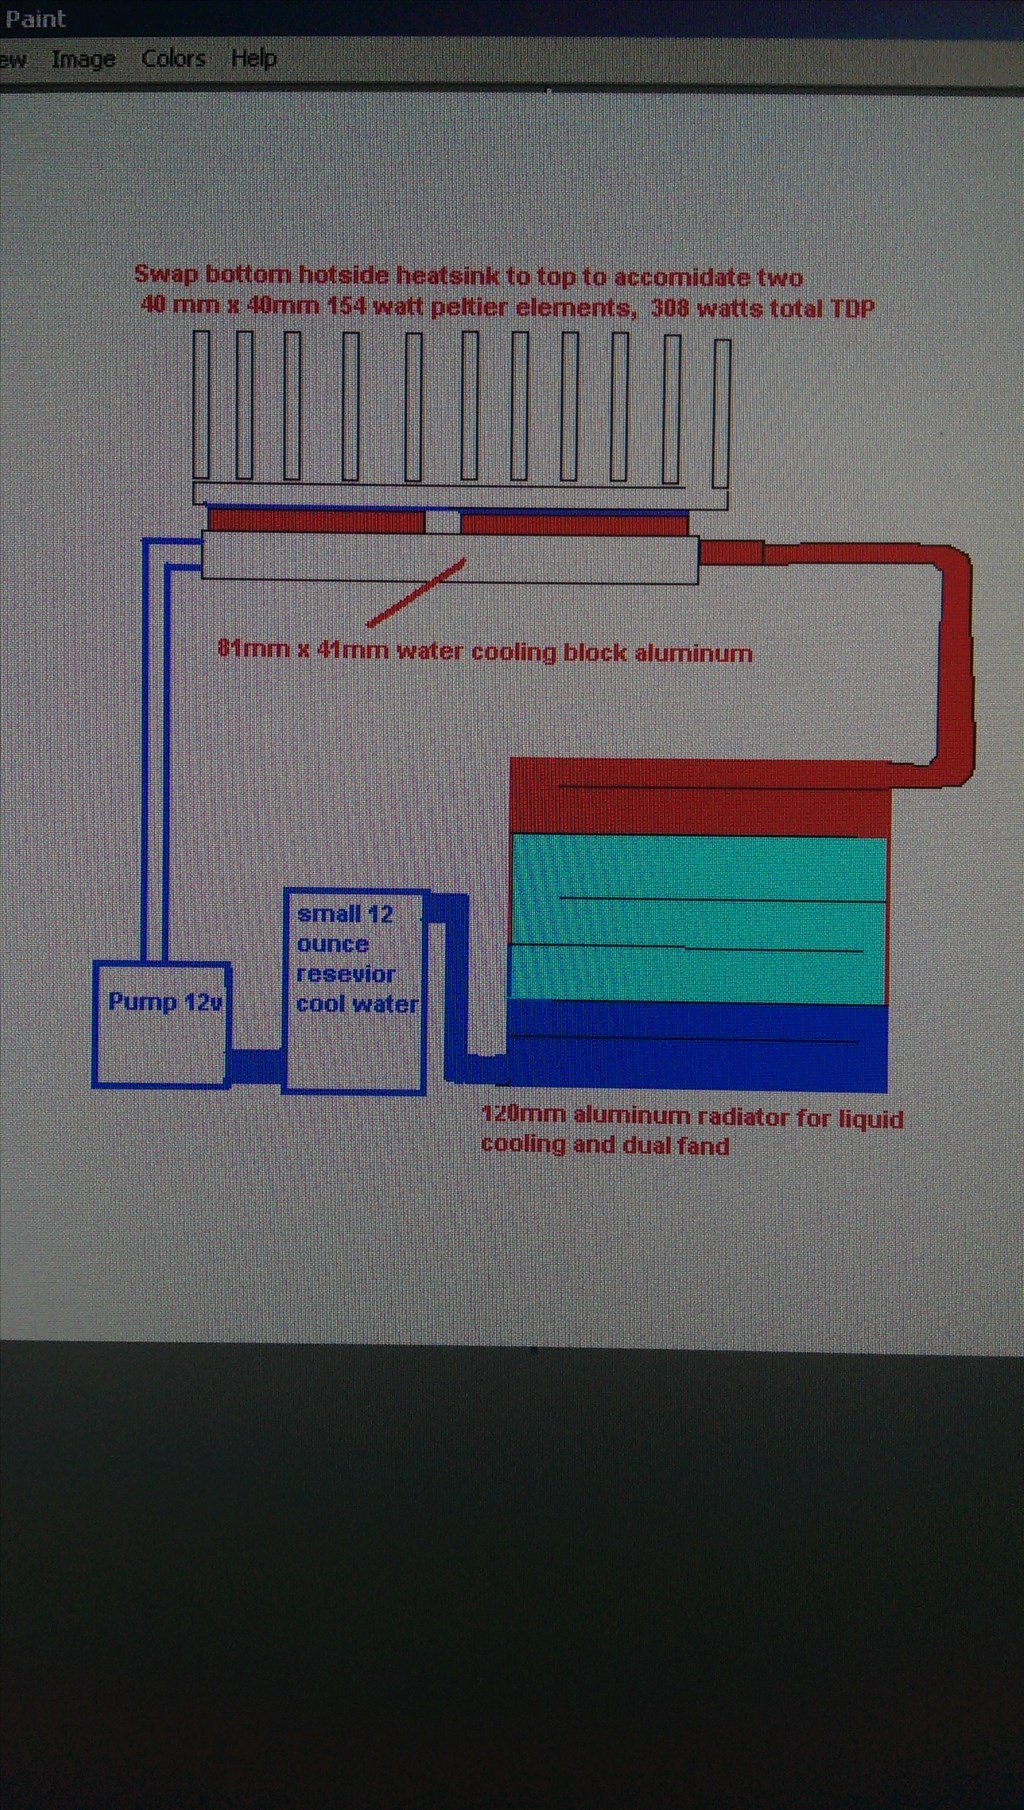
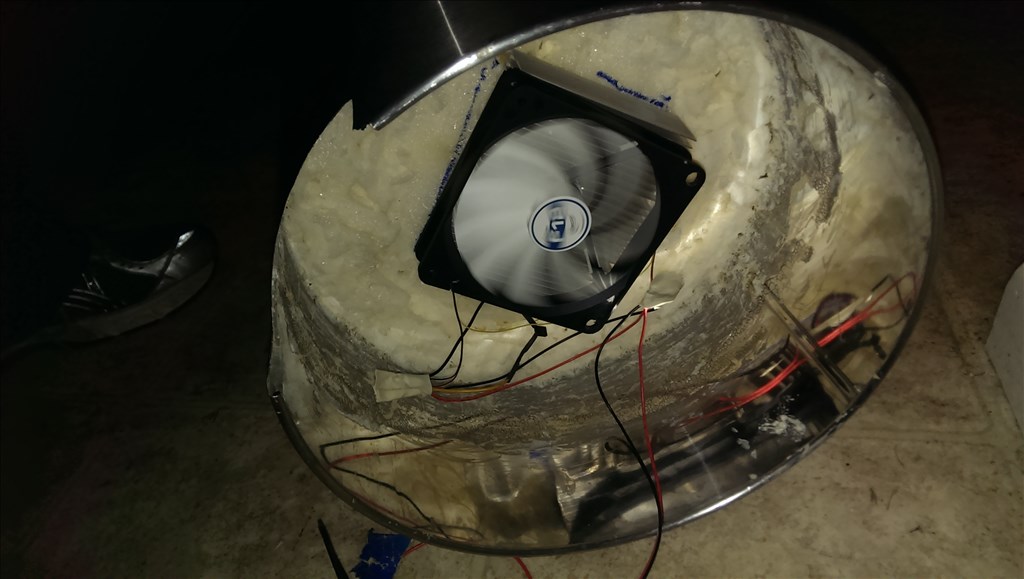
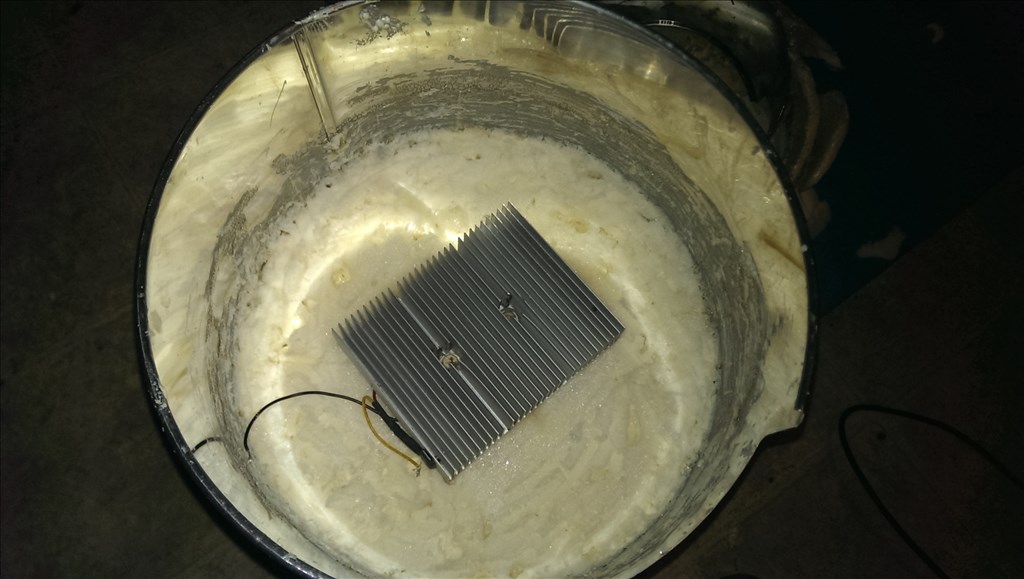
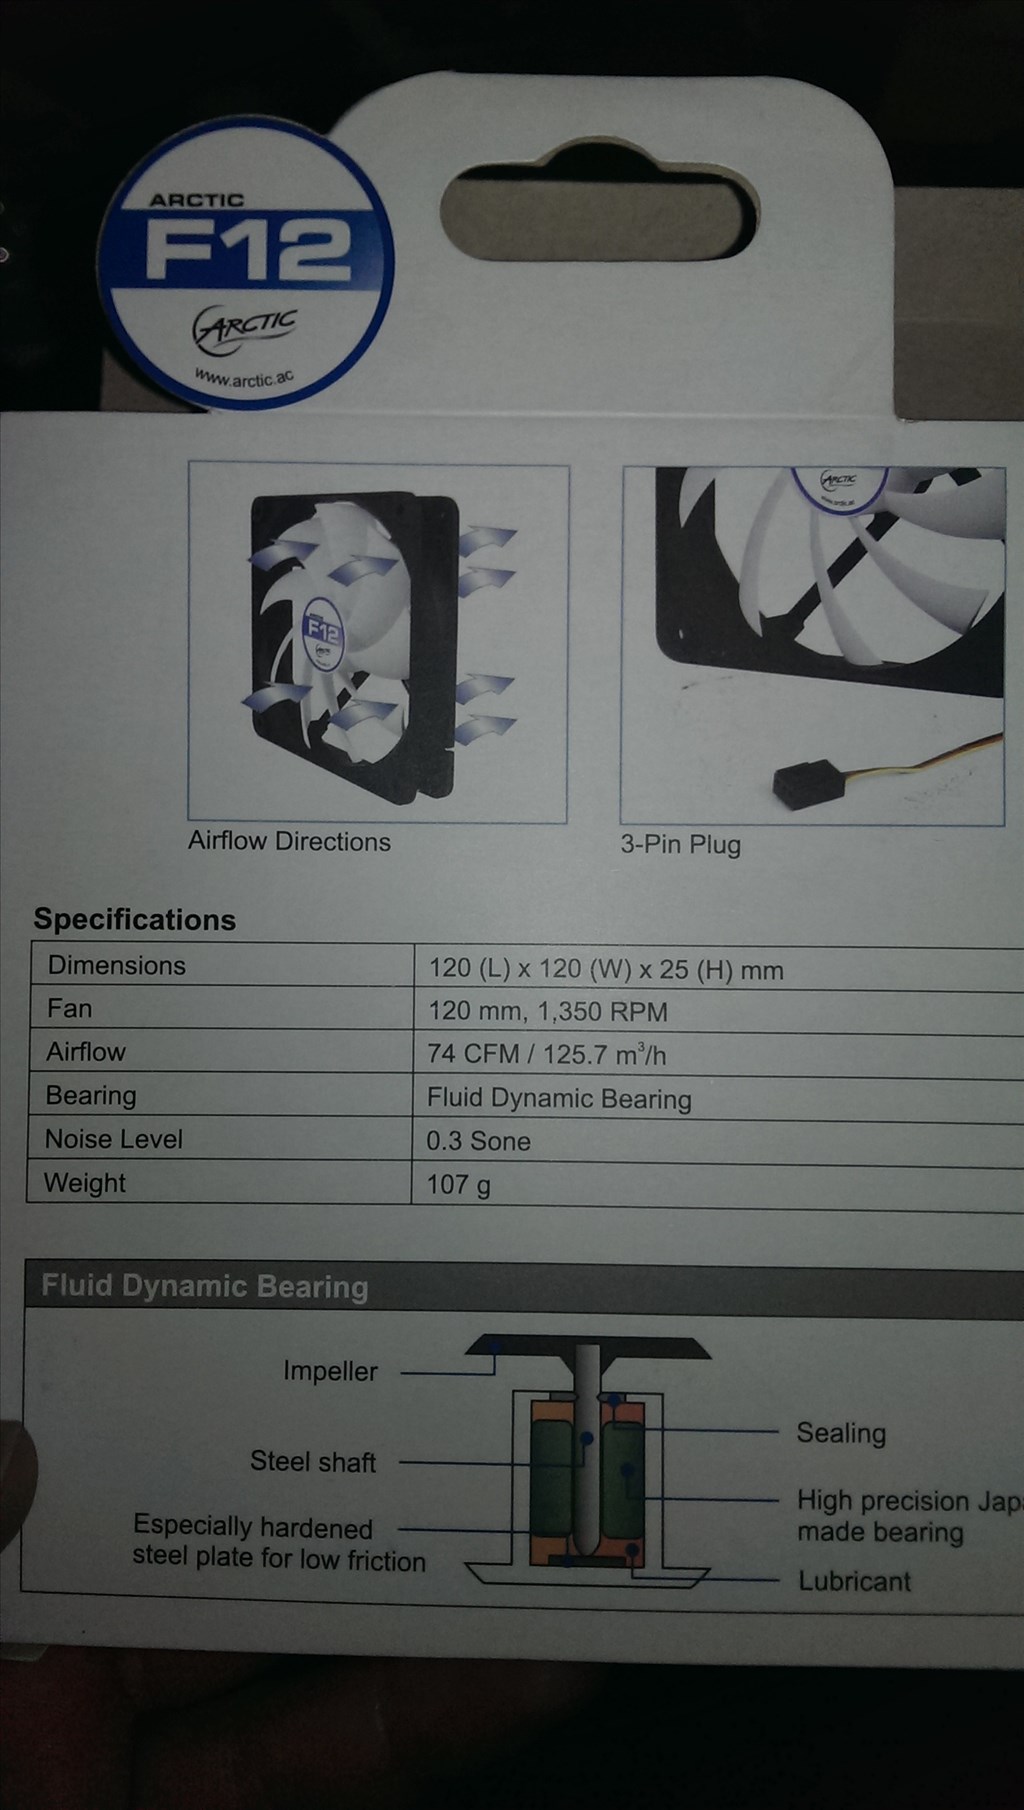
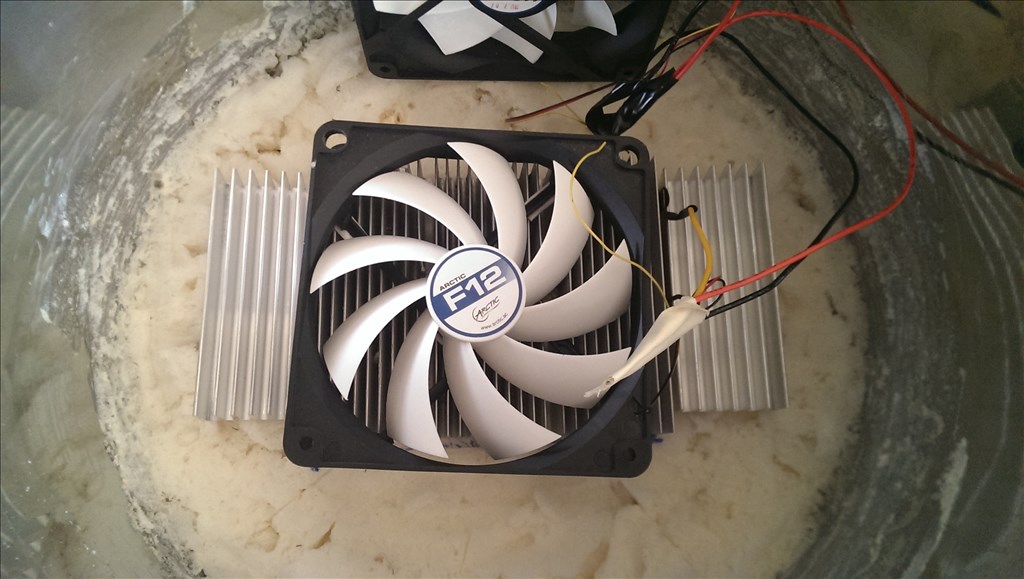
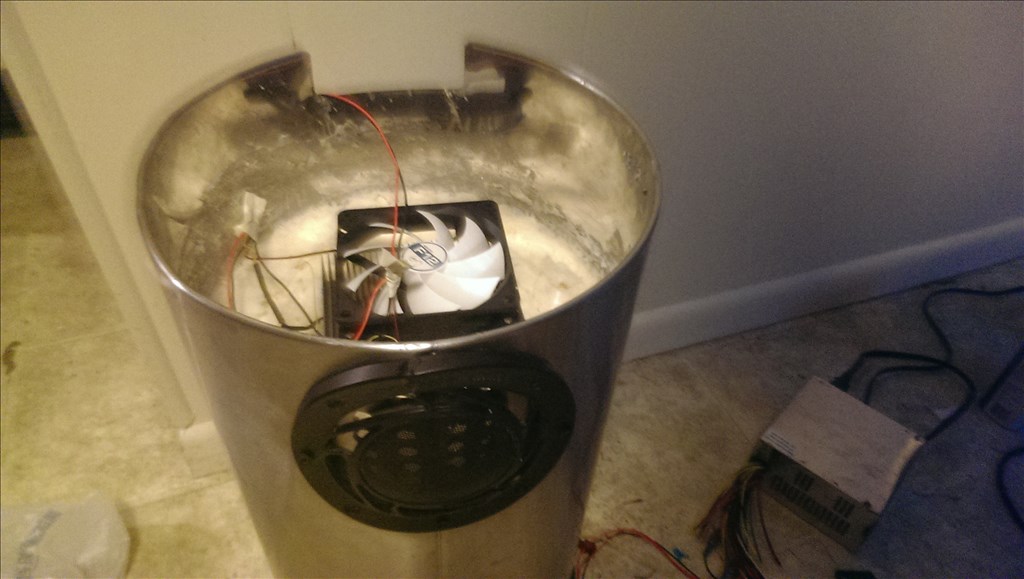
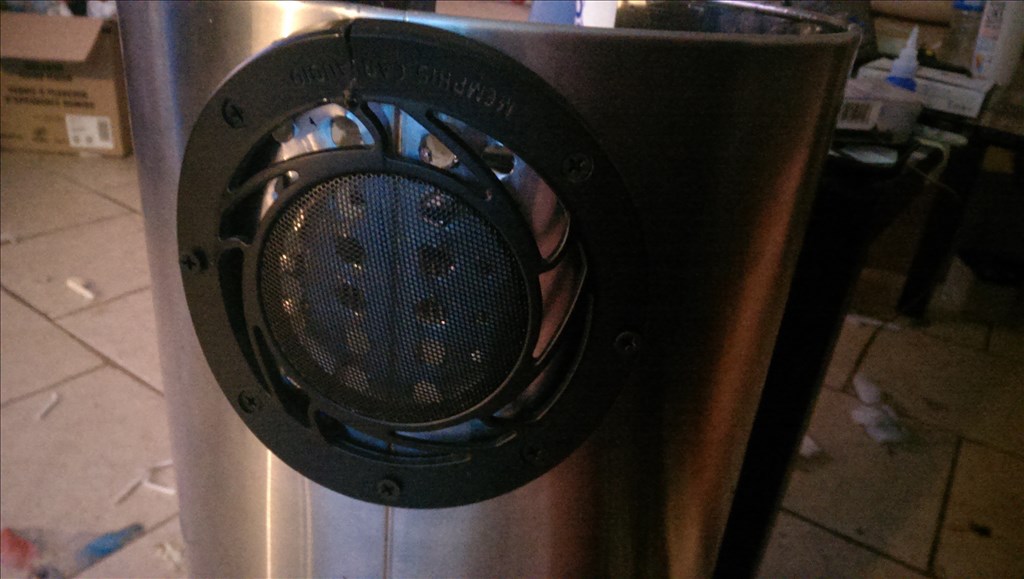
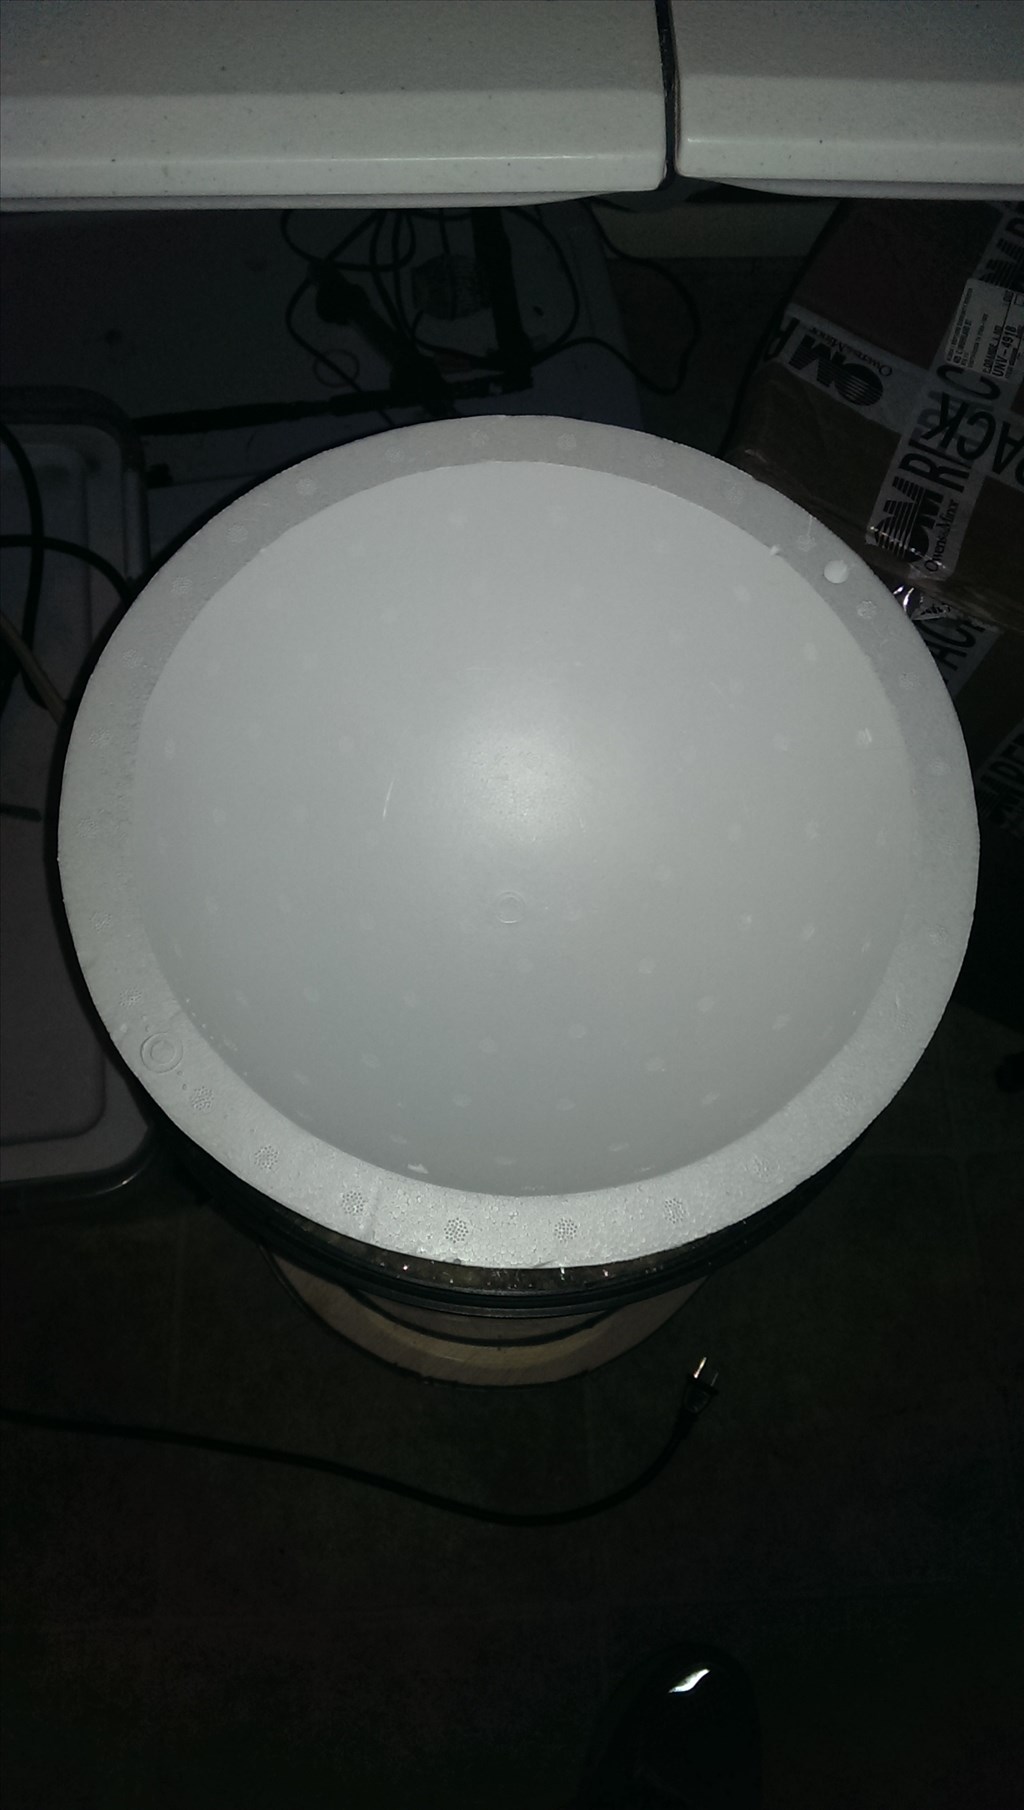
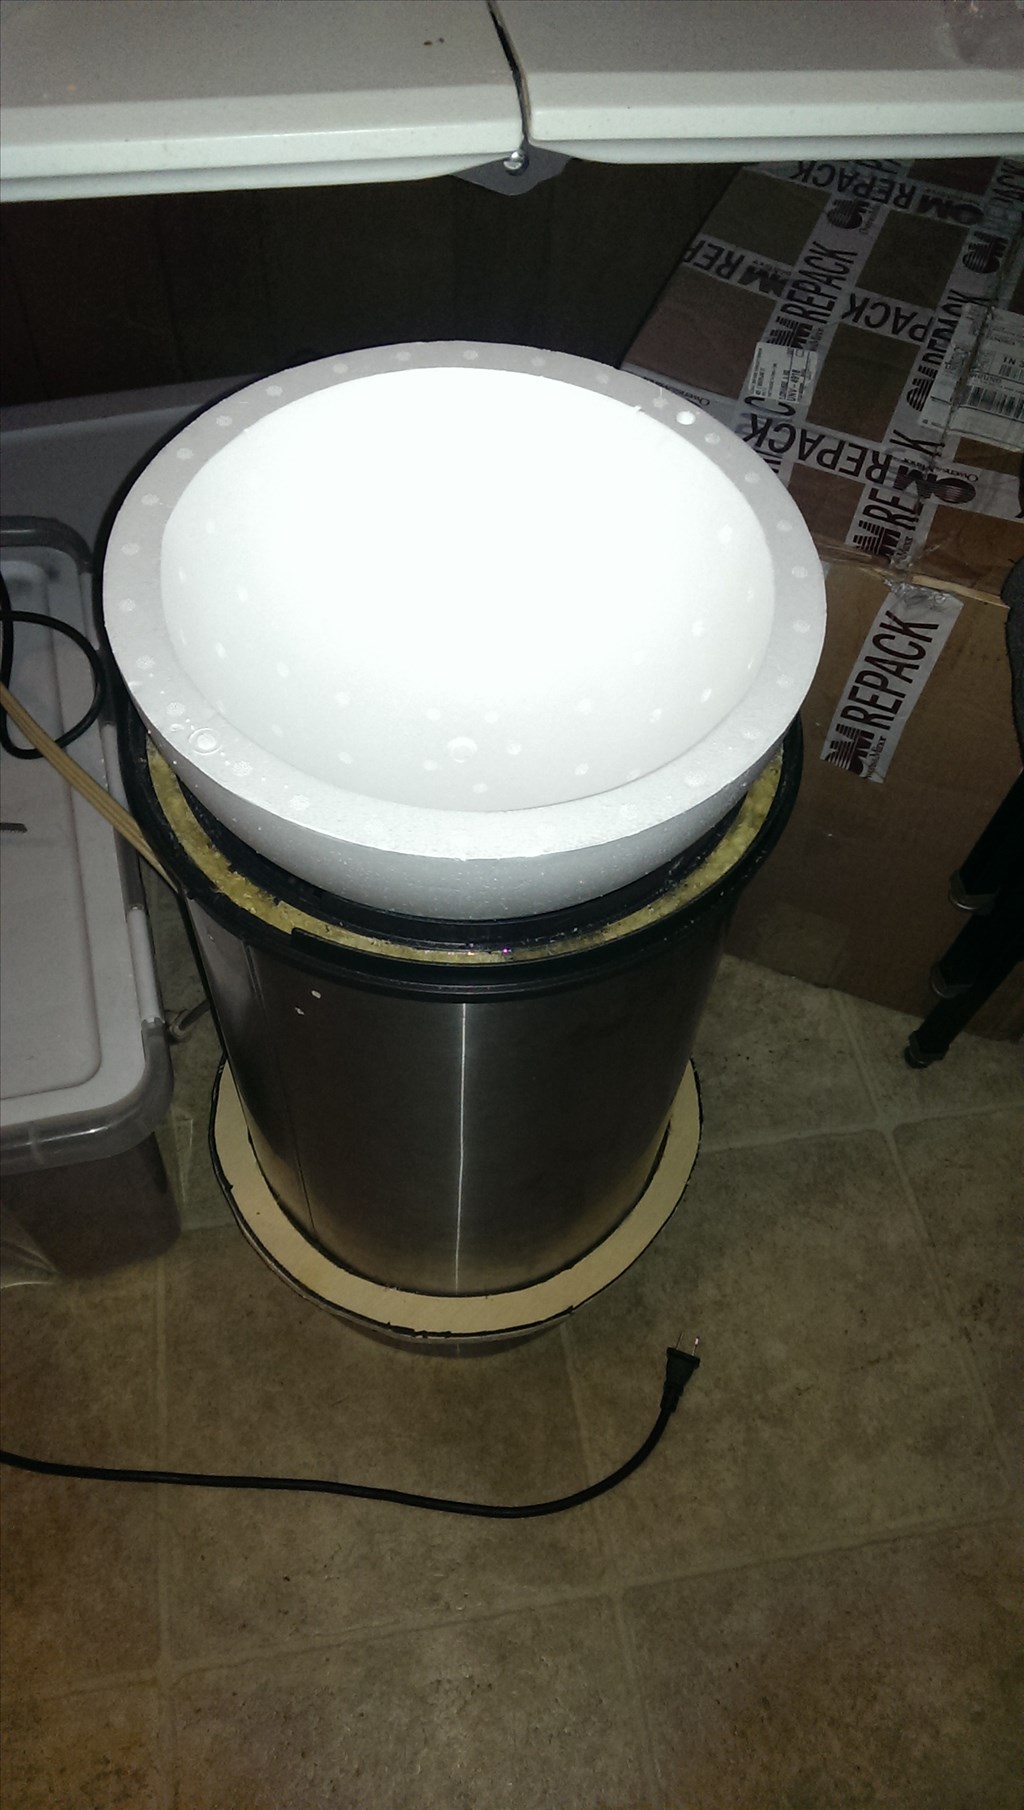
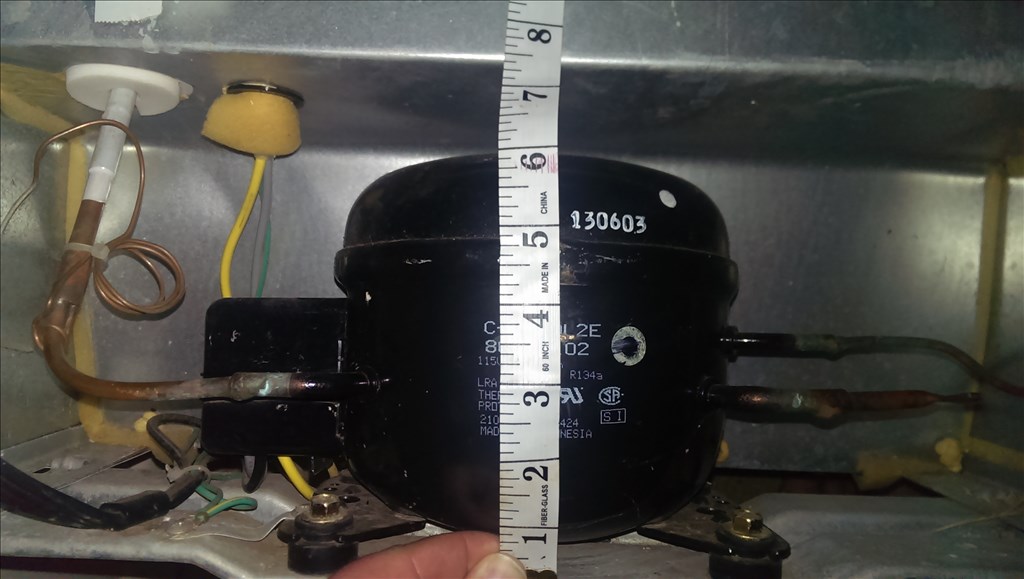
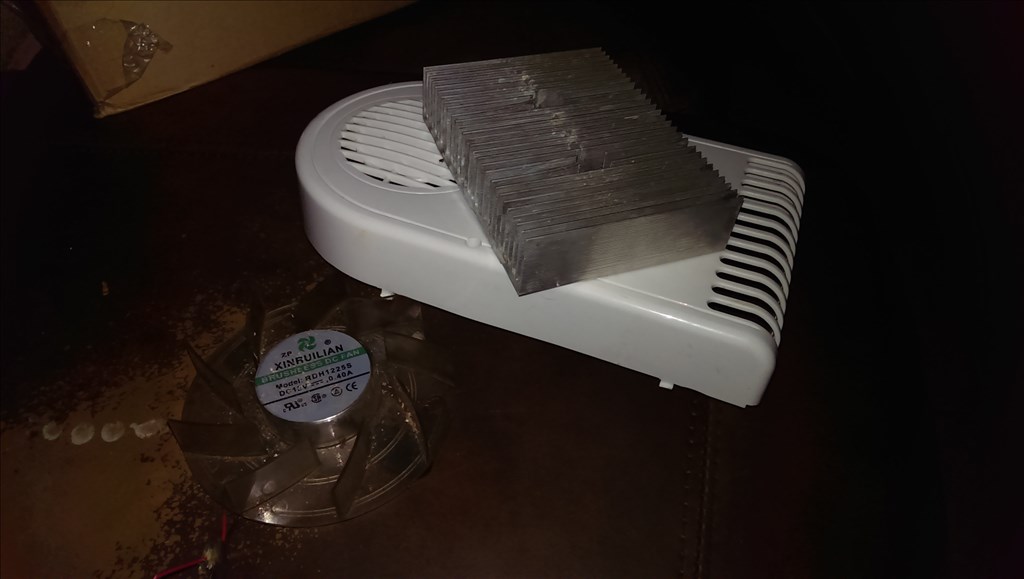
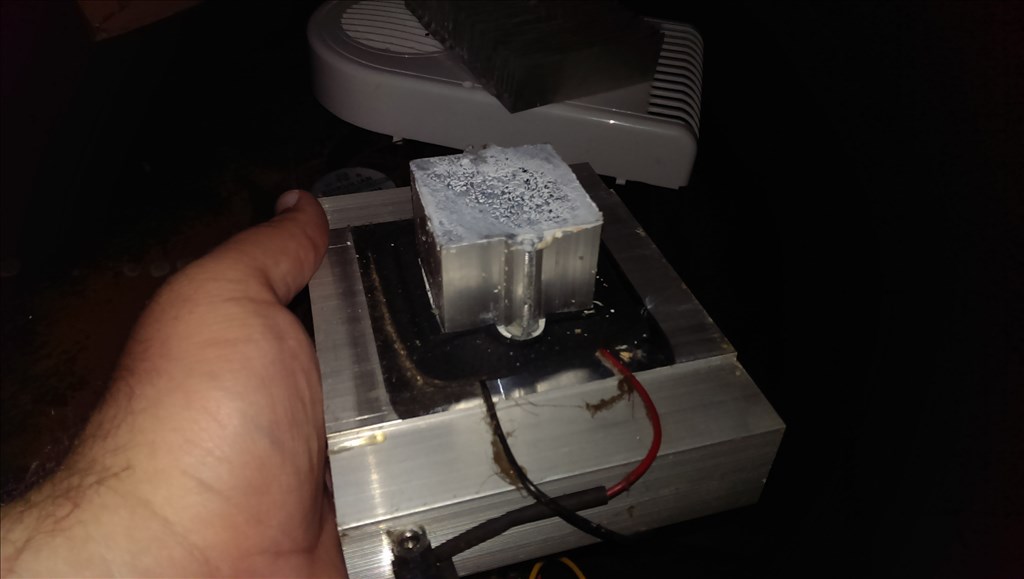
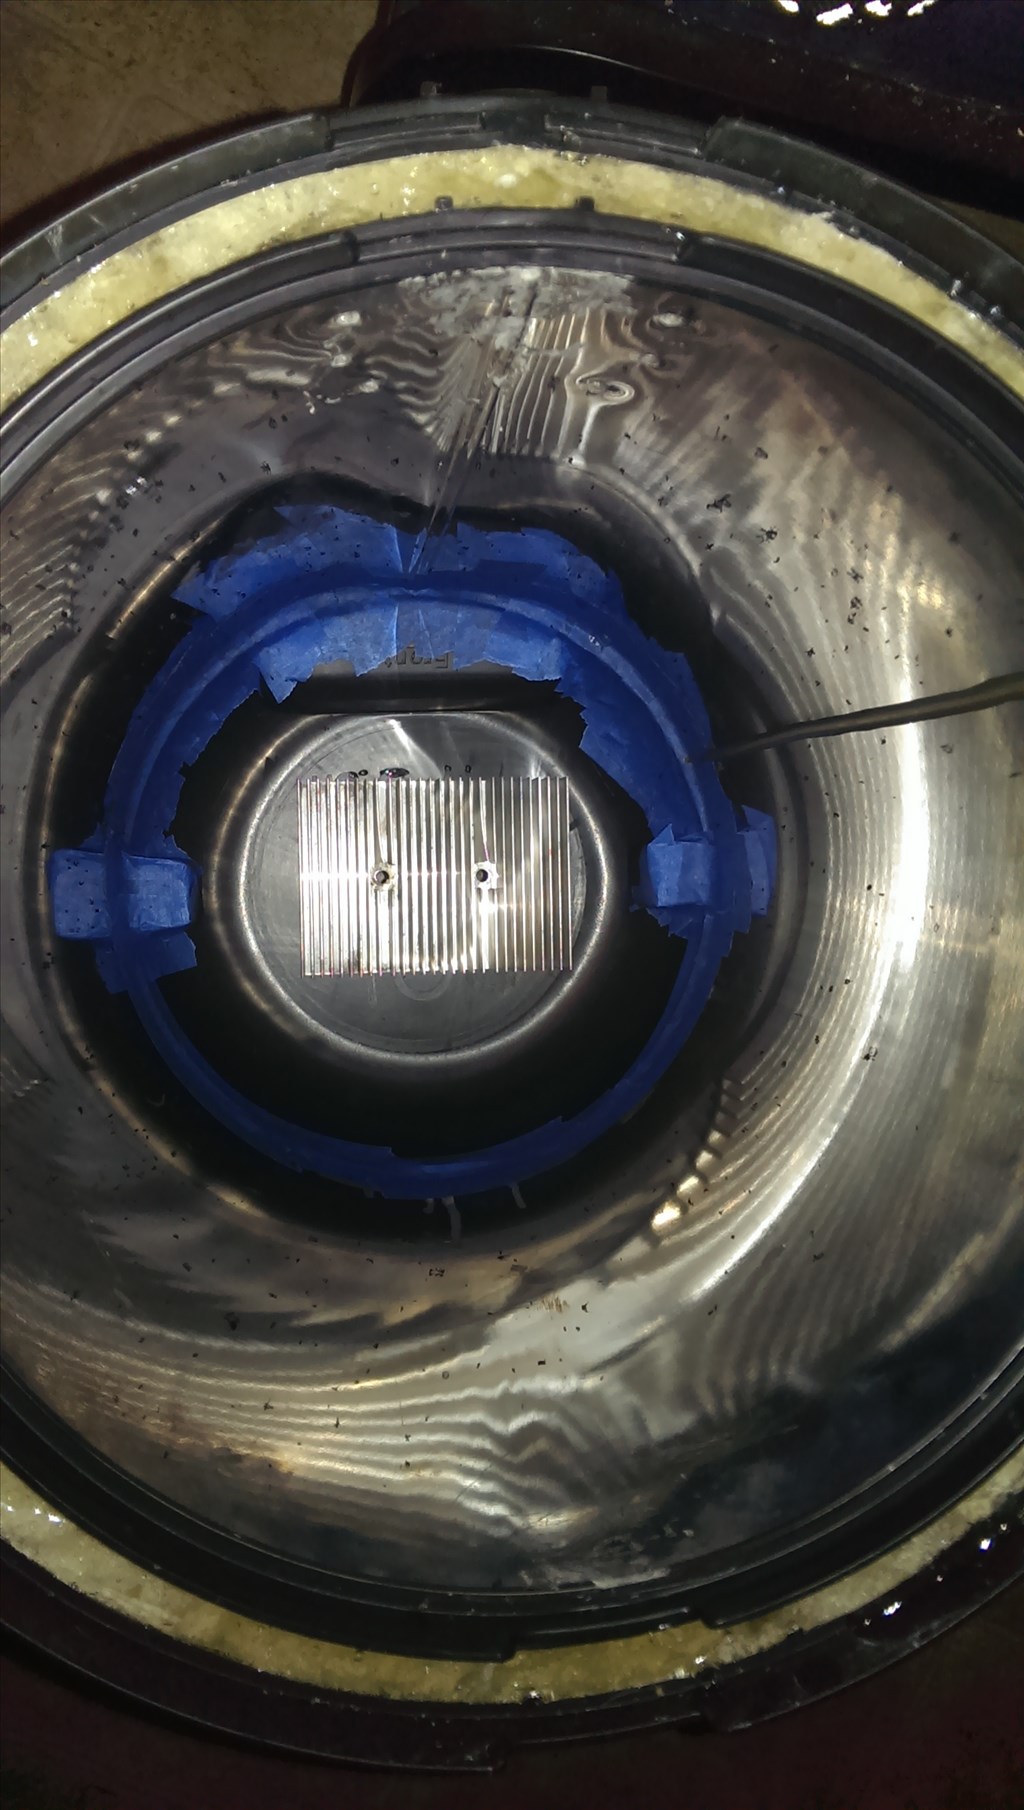
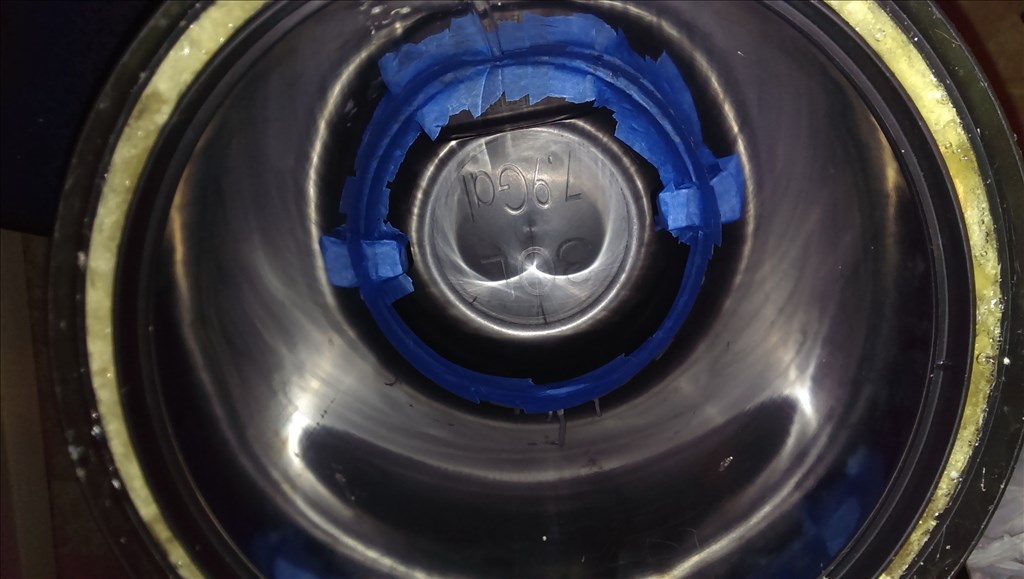
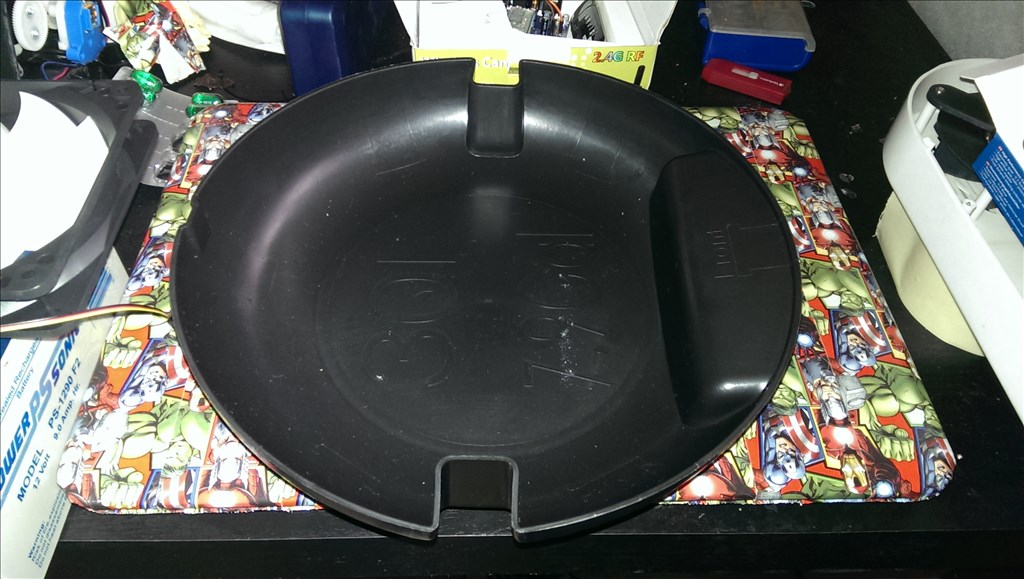
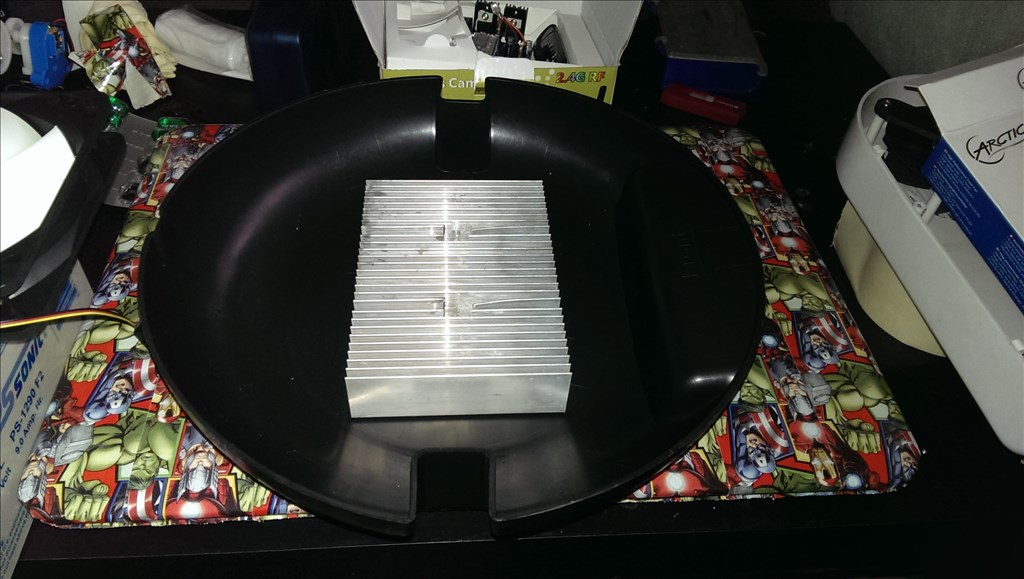
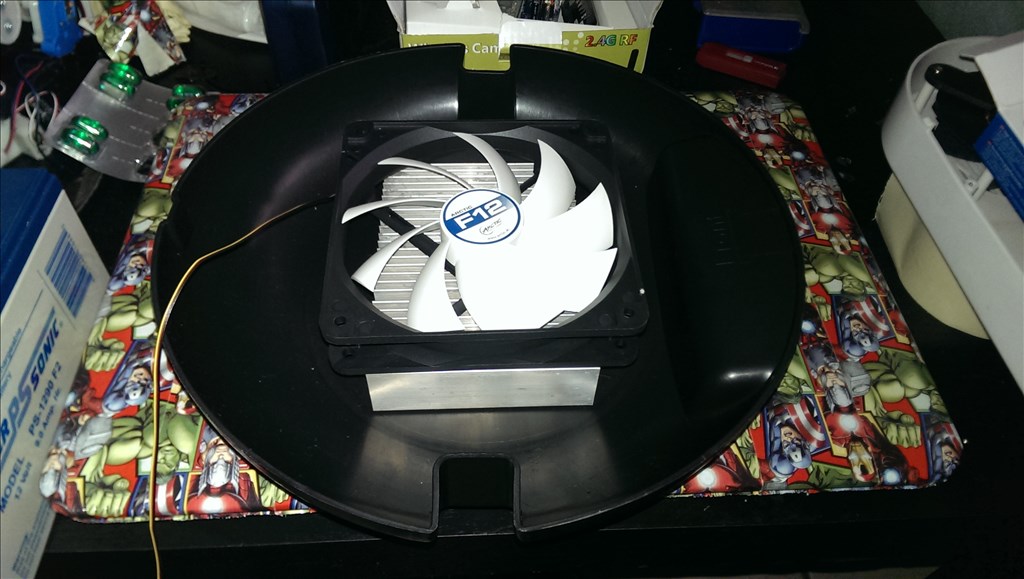
Ok great news , tonight is the first test for the chiller. I'm running it empty first for minimum load and checking that the system can handle pumping enough heat out to hit 34 - 36 degrees F is the target within 3 hours. I took a short video to show the setup so far. I'm using a pc power supply modded to be a 12v bench supply to ensure I have a consistent voltage to the chiller. I estimate that the system draws at the most 6 amps at peak. The original fans are not being used. I am using 120mm F12 fans which are the highest output silent running fan I've ever purchased. There is no bottom ventilation fan to push air in or out of the body and also I did not install the blower in the top yet. Those things will increase efficiency but I want benchmark data , lets walk before we run!

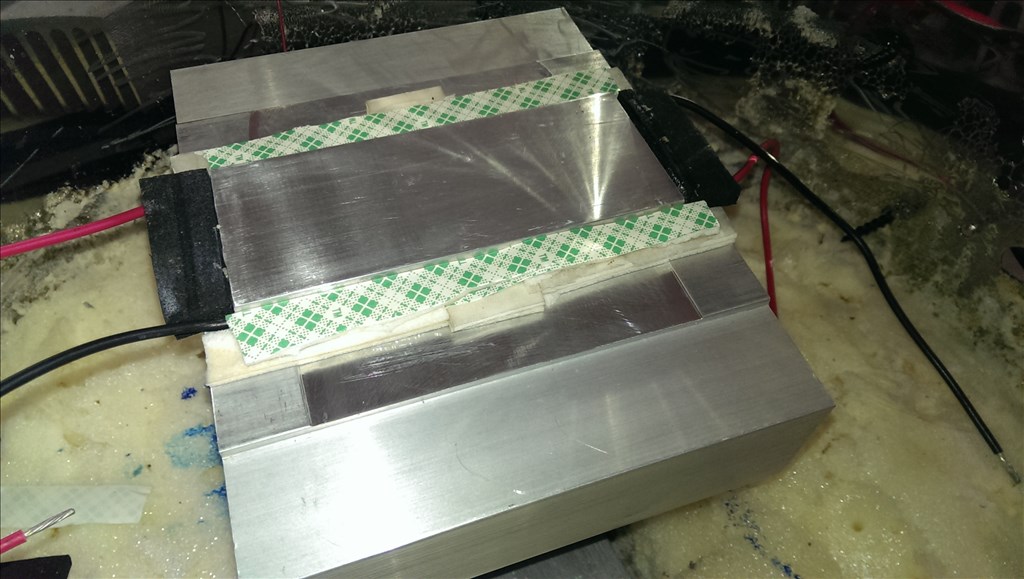
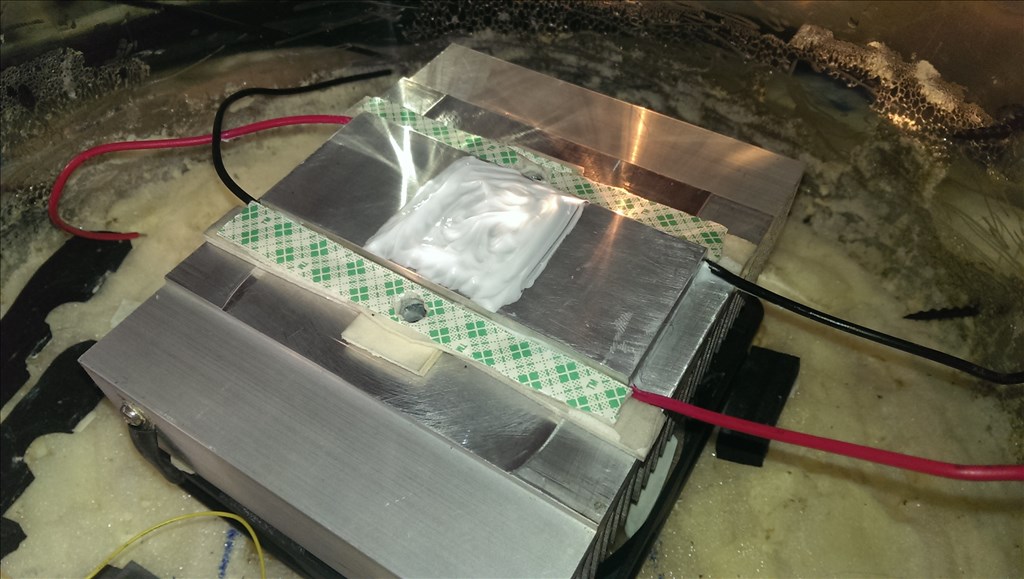
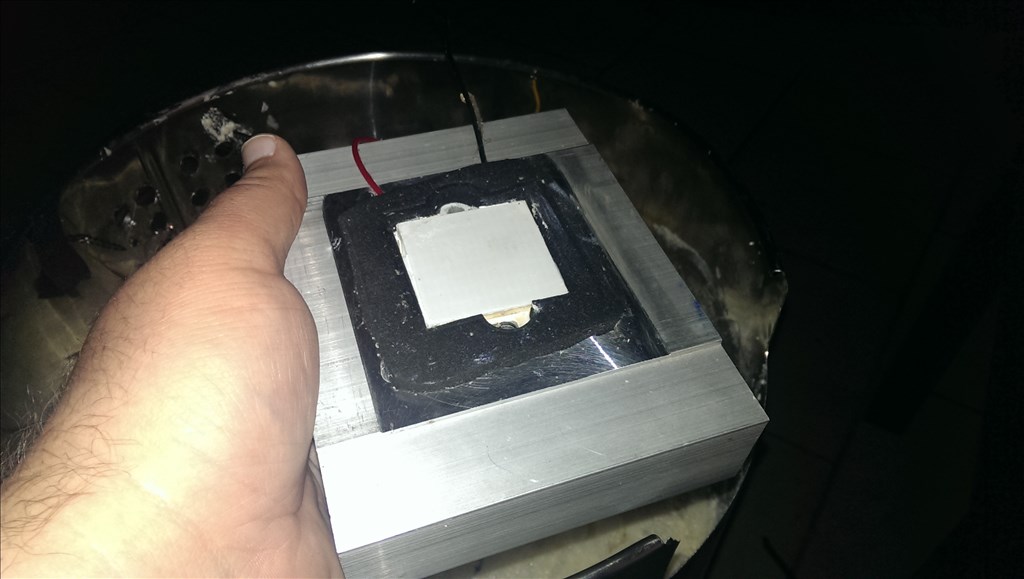
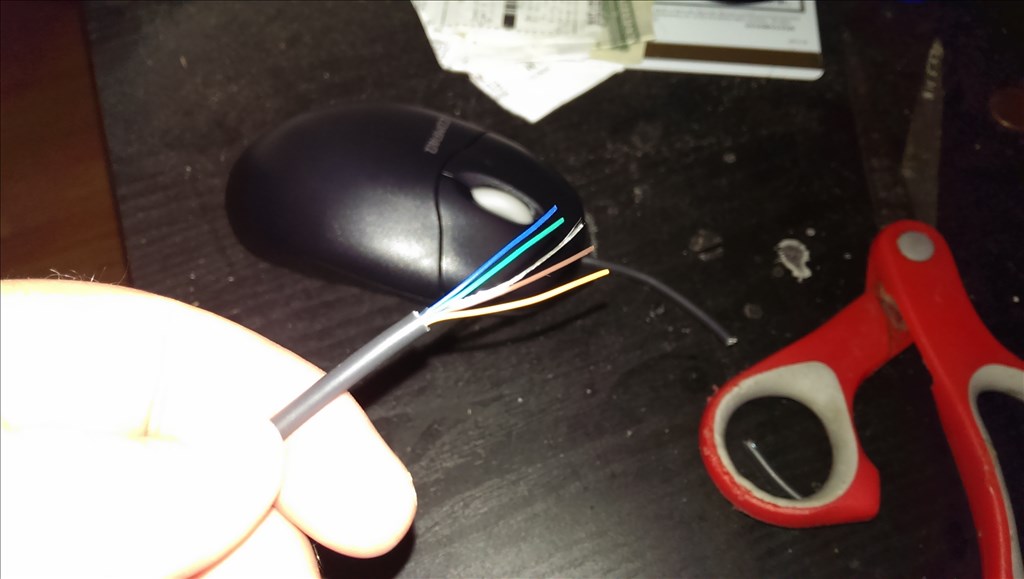
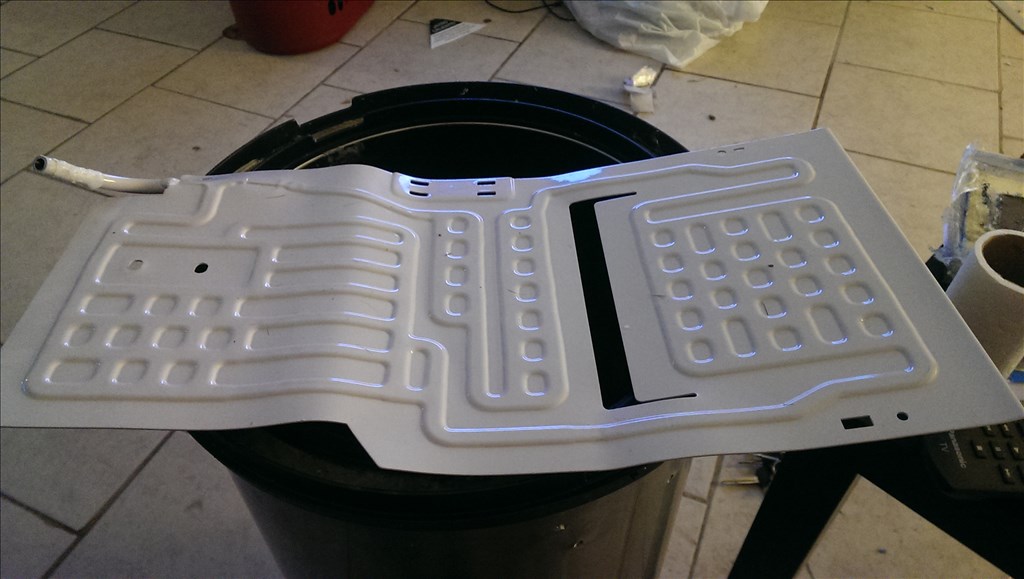
Three things I needed for tonight's segment , arctic silver thermopaste , hookup wire and double sided tape to ensure the fans didn't vibrate.you can see the 120mm fan covers the hot side nicelyhttps://www.youtube.com/watch?v=k2lm2p84Dwk&feature=youtube_gdata_player
Video showing the conditions set for the first test of the chiller. If I must I will swap to a higher wattage peltier and/or up the voltage from 12 volts to 17 volts to get more power to the heat pump and fans.
I'm going to let it run overnight , which in my case is about 6 hours , lets hope nothing goes wrong. Honestly though they are pretty safe to begin with.
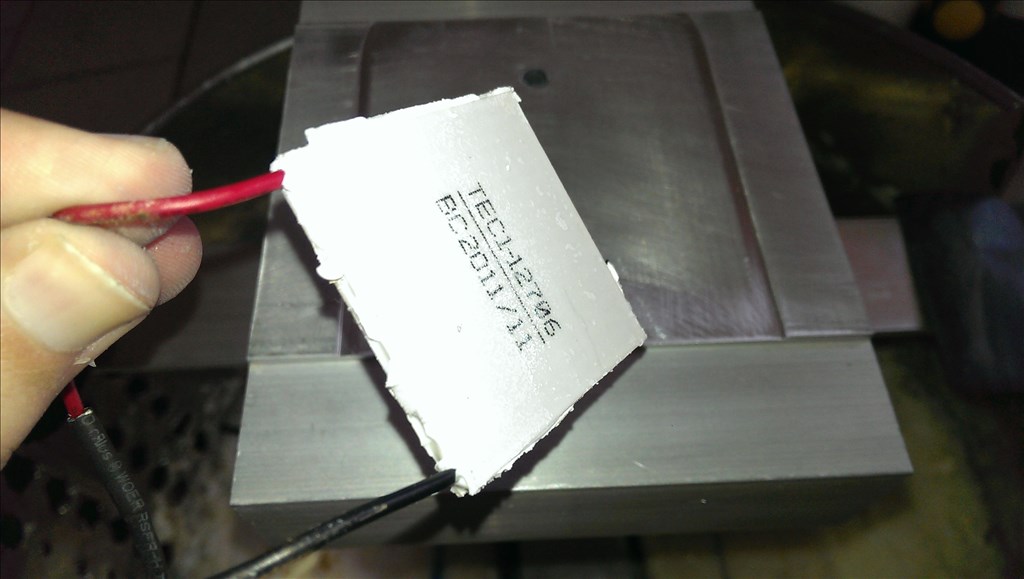
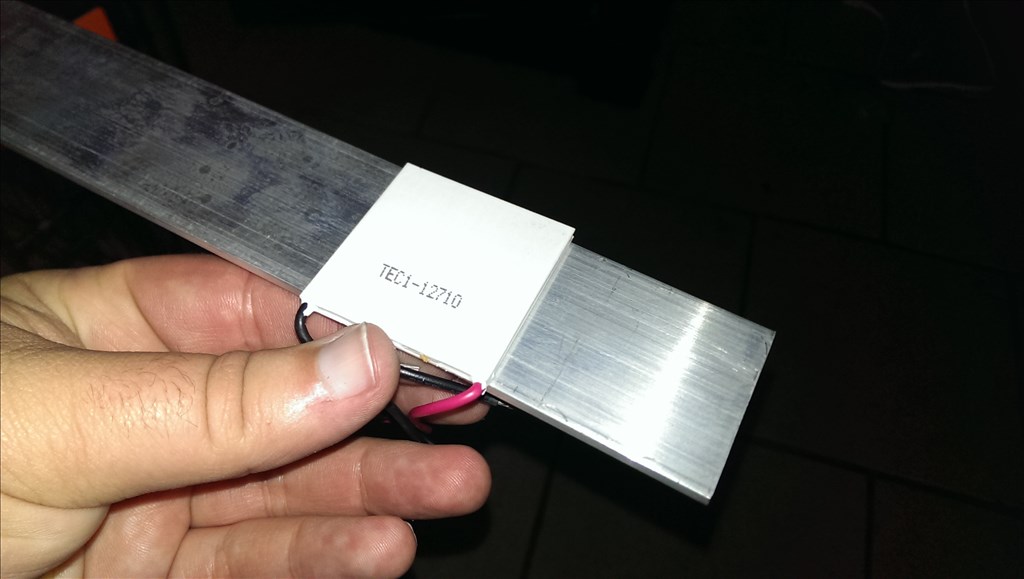
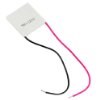
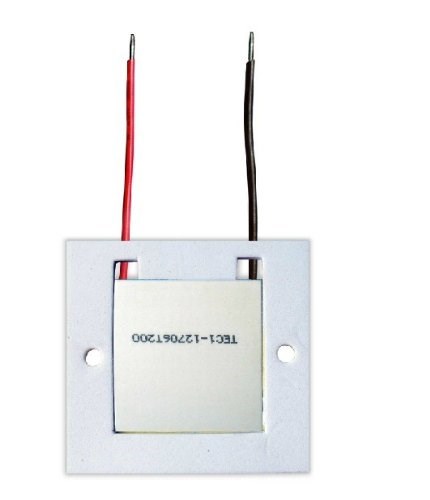
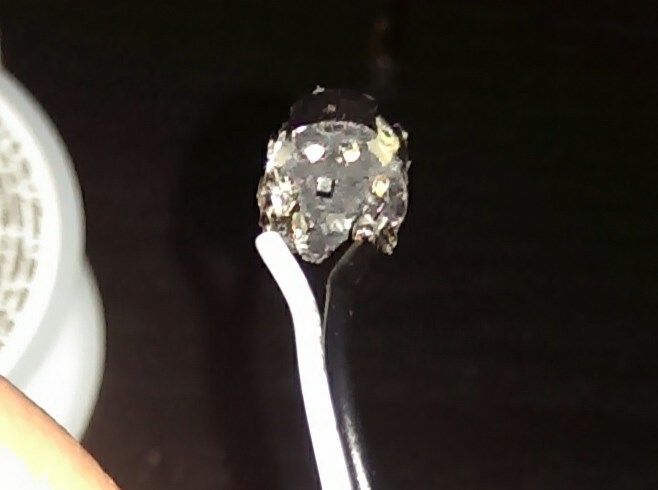
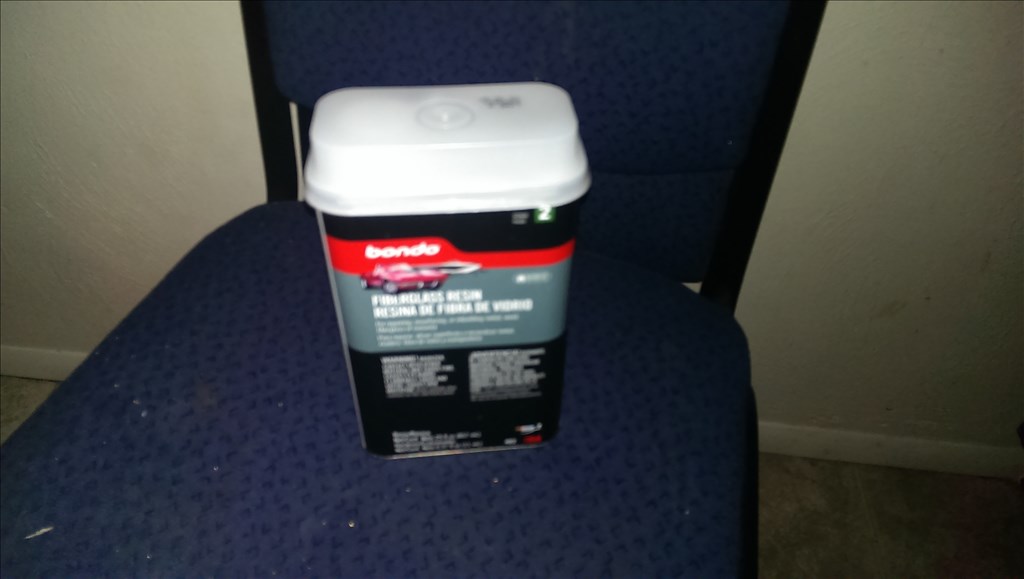
The highest Peltier replacement I could find was 154 watts that was 40mm x 40mm in size Tec1-12710 154watt Peltier @15.4 volts
Reverse the polarity to get ice cold in minutes or heat to boiling Used for many applications from CPU coolers to alternate power sources Great for your own custom car drink warmer/cooler as well
https://www.amazon.com/TEC1-12710-Thermoelectric-Cooler-Peltier-Plate/dp/B00ATWGN9G/ref=sr_1_23?s=electronics&ie=UTF8&qid=1376971238&sr=1-23&keywords=thermo+electric