

One of the things that I am doing that I'm not sure others are is; once i am satisfactorily done with the creation I'm going to seal him up. I am going to use the power switch that came in the original design for the RAD and use it to power on and off the ezb so I don't have to open it every time i want to turn it on.
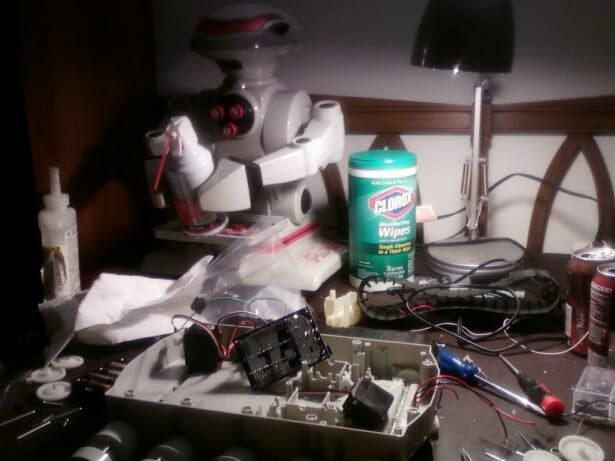
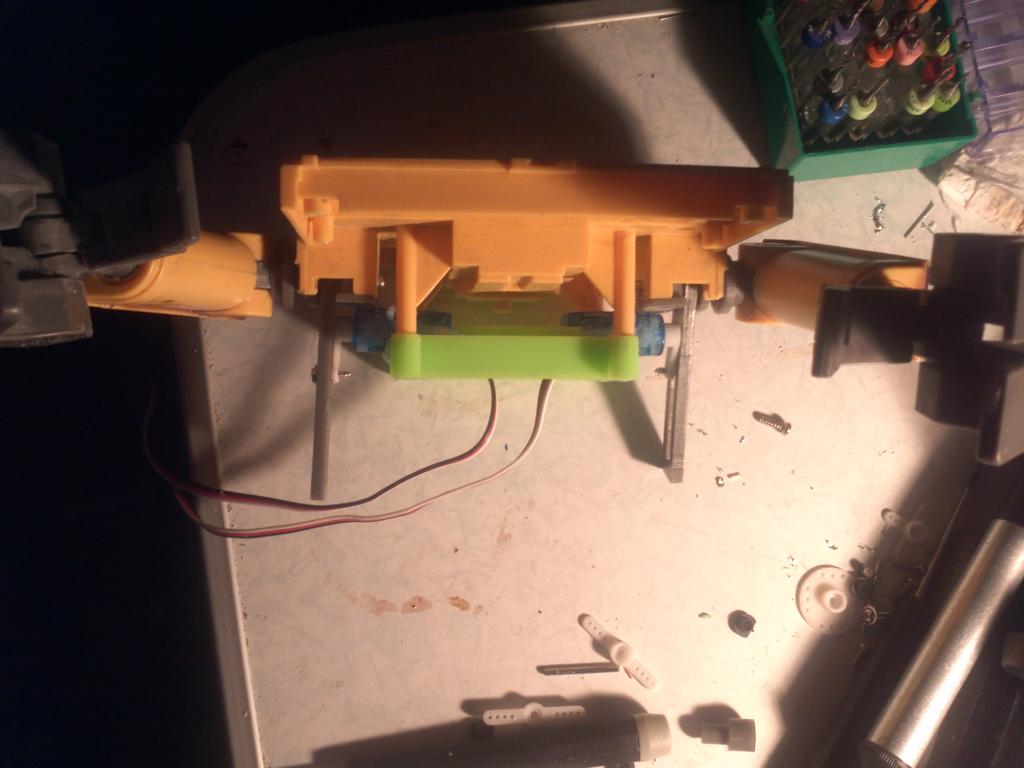
I was having trouble with the treading and how i was going to mount the servo's for correct torque and speed. But i think i finally have that figured out.
Let me know what you think, feed back and suggestions are always welcome.
By jamerperson
— Last update
Discover more robots
Djandco's Djandco's Wall.E
EZ-B Wall.e arm mod using small Arduino servos to retain clutch and deliver about 80 arm travel; neck servo planned.
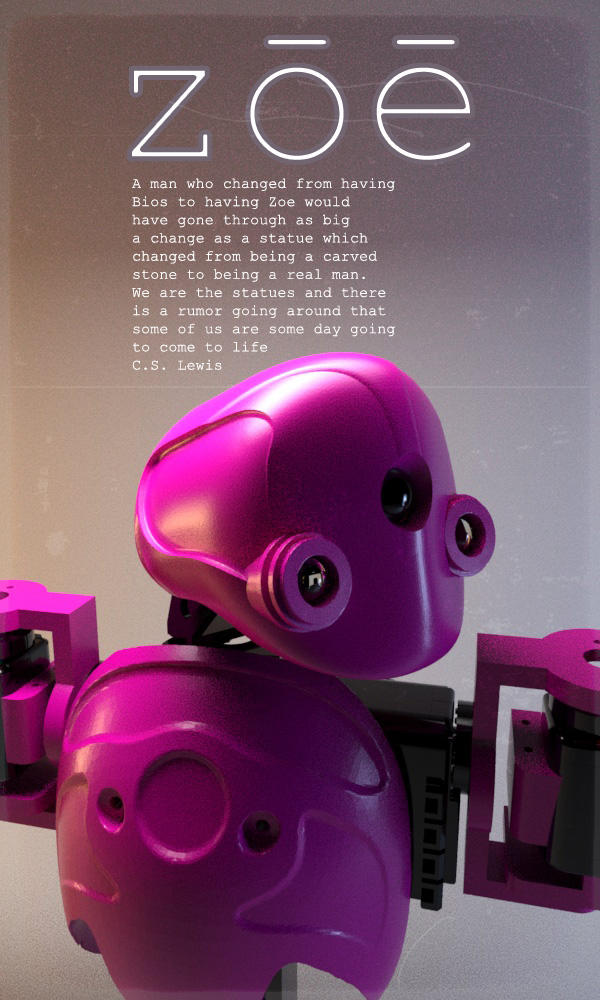
Mickey666maus's ZOE : A Machine That Resembles A Living...
Synthiam ARC supports Raspberry Pi: evolve K[8] into ZOE with Dynamixel servo setup and new conceptual robot design.
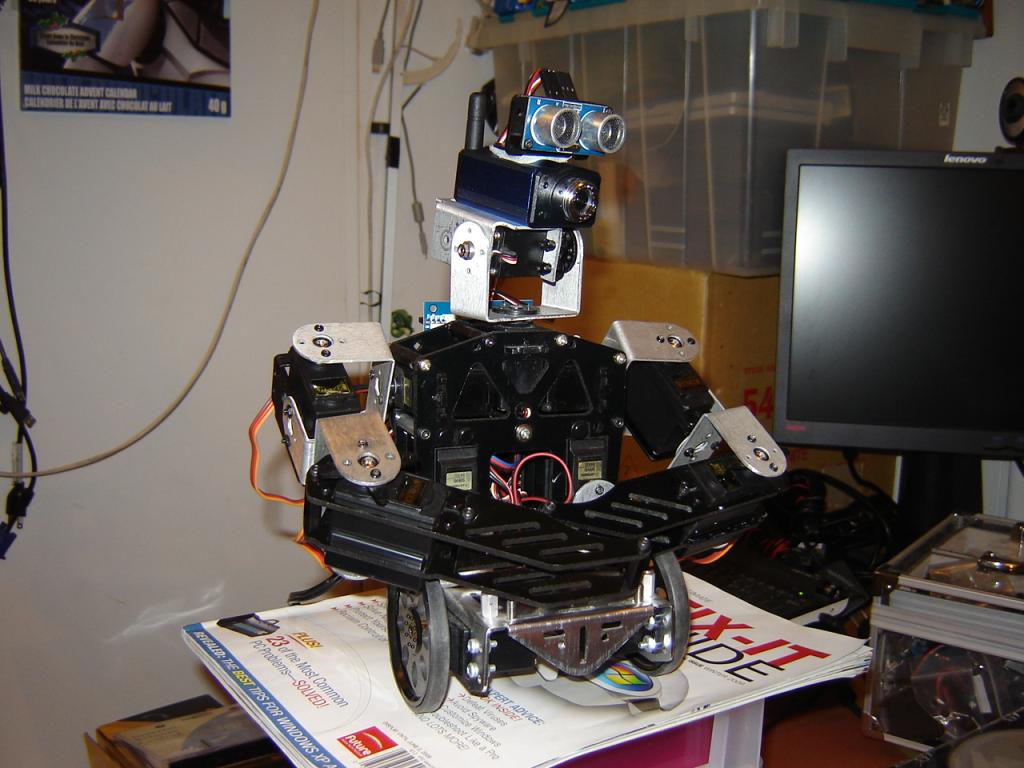
Putt's Shorty
Custom EZ-B bot built on a Parallax BOE base with a LynxMotion torso and brackets; work-in-progress assembly

That's sad to hear. I feel for your loss also.
Hot glue tip: Scratch the smooth plastic surfaces so the glue holds better. Make sure you are not using hot glue for wood only. Attach things when the glue is still hot. Don't use hot glue. Buy some small 6/32 or similar threaded machine screws and nuts, washers and lock washers (to keep vibration from loosening the nuts)
Also instead if taking out motors that control the body and arm, use them! Just control them using a motor controller board. Search eBay and google for Arduino motor control or Arduino relay may work. Also try gorilla tape with the glue(after the glue dries) for added support.
Visit harborfreight.com and visit that store to get cheap tools and ideas.
Be sure to "window shop" at true value, lowes, Walmart, any hardware store. Look at tools and materials, electronics, toys, everything so that you can solo brainstorm with yourself and fill your head full of ideas.
And after you tried everything else, The last thing to do is: Don't give up.
TheGoodRobot
Thank you TGR, I used the scratch method, and that seemed to work quite well. So far it seems to be holding.
Have you thought of using LEDs instead of the lights that came on the bot? A lot more durable and less power drain. Plus they will last forever. I really like your bot. I had one of those in my younger days (I was still an adult haha, just younger). I also started using 5 minute plastic epoxy (Lowe's or Home Depot) to mount my servos. It is super strong but is kind of a pain to remove.
I actually just did actually! I was mounting my wires to the existing lighting and broke the eye light. So I ended up having to replace the bulbs with some bright LEDs. ( think the LED's look better anyways )
)
I haven't been able to work on my bot for a while, but I am going to get back on it in the next two weeks or so.
I am finally back to working on BRAD. I do have a question. I am looking into using a hbridge (probably the new one for sale here) and I am wanting to use it to control the arms of my robot. The system is already in place i just need to attach some wires and get the motor controller. I do have a question though. While I was messing around with the latest ARC. I noticed that I can't have a servo Movement Panel for the base and a control for the motor controller to activate the arms. Is there a solution that I am not seeing?
You can only have one Movement Panel at a time.
If you need to control an HBridge for arms, etc - I suggest you create a script and talk to the BV directly. A script for Left Arm Up, Left Arm Down, Right Arm Up, Right Arm Down. And in each script, send the raw commands to the hbridge.
*note: a Movement Panel would be useless for arms anyway. Sure you can connect two motors to it, but when you don't have seperate control with a movement panel. It's either both on one way, both on the other way, or both opposite ways.
You need to send custom commands
jamerperson,
Awesome BOT! It sounds like things are moving along very nicely. I also have started work on a RAD 2.0 as well. I am sorry your head fell off on your bot...! My first modification was to the head. I used a few pieces of lego and hot glue. I mounted the servo on the arm piece that connects both RADs arms (on the inside). The servo has a small piece of lego (one of the round barell pieces) glued to a servo adapter. I then used a lego 'rod' to extend it up through the head of the RAD. The head of the rad has a small opening. I used hot glue and another straight piece of lego to span across the opening (so it will move the head). The rod goes through the lego and is connected to another round piece which is glued to the straight piece of lego. When you put his head back on, it goes into the original head grooves as the RAD head moved when it was stock but not as far as you may want. You can adjust this if you like by modifying the plastic ring (that goes into the front/back chest plate grooves. I did have to loosen the screws that screw the plastic ring to the head so the head moves easier in the grooves. I may put a little white grease in the grooves to reduce friction when the servo is moving the head.
Here are my pics and a short vid. I hope they can help. Its Gonna Be RAD
I have an H bridge on the way for the track motors and will put a servo in for the gear box shifter. I am planning to get another H bridge for the arms and waist movement and will have to script that manually as DJ describes above.
How do you plan to mount your ping sensor. Right now I am thinking about putting it where the Tray went but will be experimenting with that.
Right now I am planning on a camera and upgrades lights. While I like that stock look, I am going all out for a new look and maybe even a paint job.
I look forward to seeing your progress....Nice Work!
(I just realized you have RAD 1.0 eek .....I think RAD 2.0 was fairly simular and hope you can use some of the stuff I did with my RAD 2.0.)