
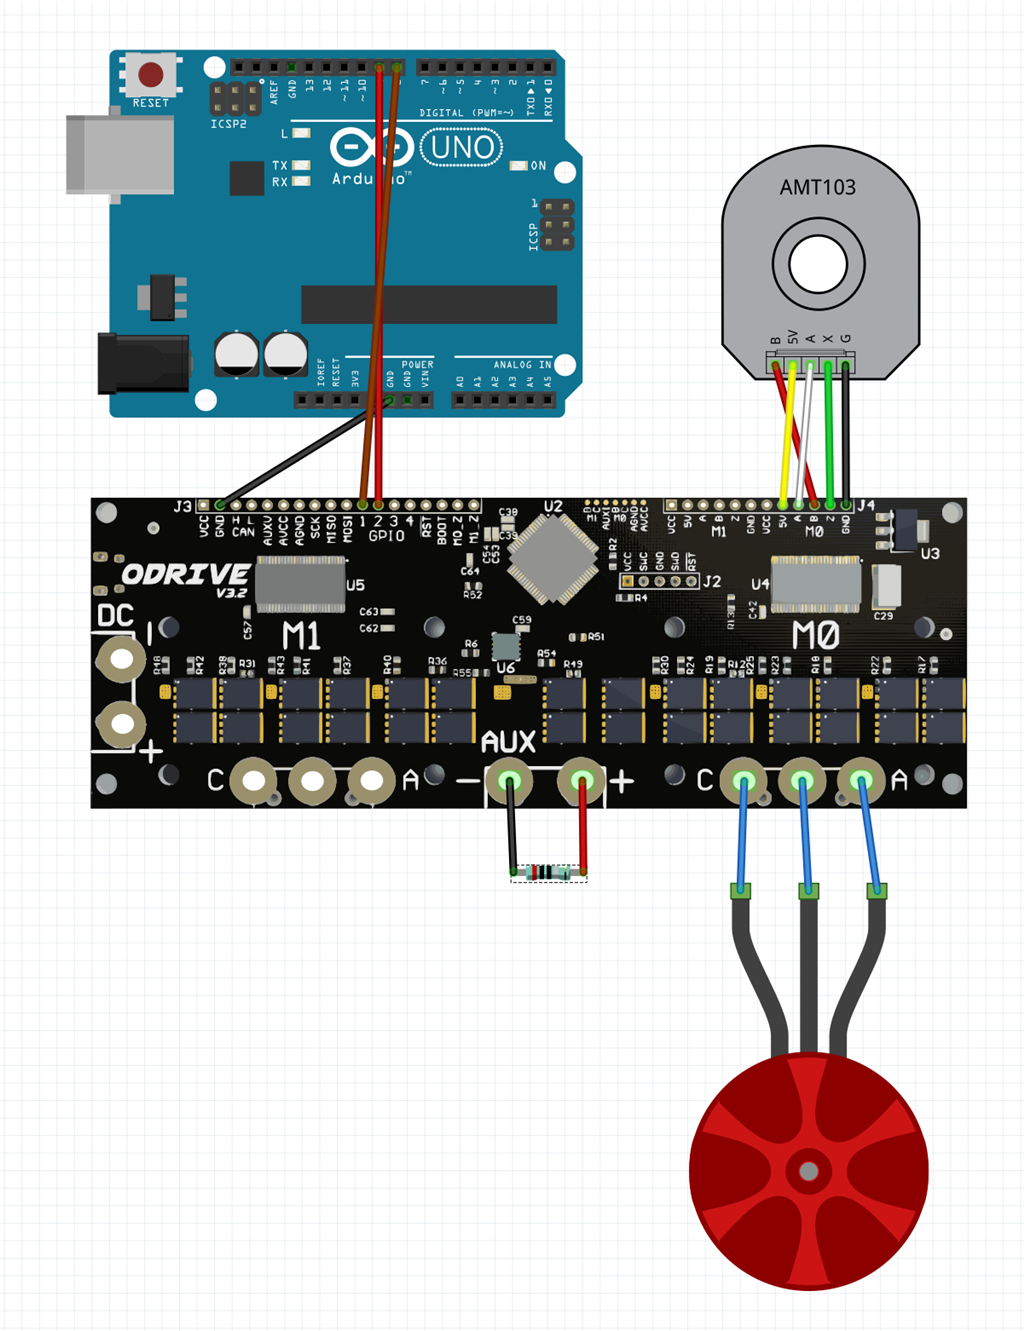
This is the setup for my Tarot 6S 4108 KV:380 BLDC motor to be used like any other servo in ARC...
It is just MY PERSONAL setup and meant to get you started, please READ THE manual over at the official Odrive website! https://docs.odriverobotics.com/
First you will need to install and configure your Odrive Software... I am running Linux, please check the installation guide for Windows found at the official Odrive website if you are running Windows! This will just be needed for the first time setup. After the setup you will use an Arduino connected to a Windows PC running ARC!
https://github.com/SwannSchilling/ODrive-for-ARC/blob/main/setup
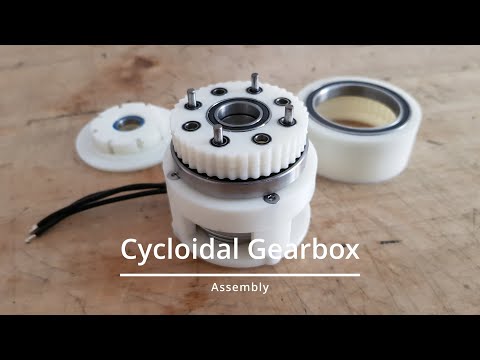
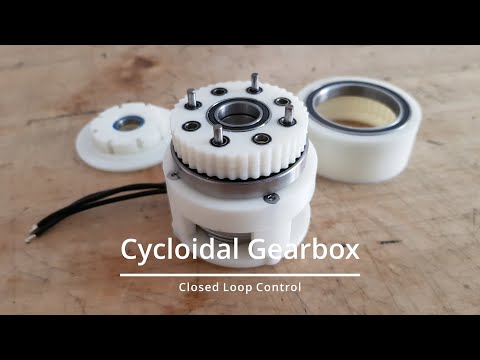
You should see your BLDC motor moving, after being put to closed loop and receiving the odrv0.axis0.controller.pos_setpoint command...
Next you will have to upload this code to your Arduino Uno https://github.com/SwannSchilling/ODrive-for-ARC/blob/main/ODriveArcArduinoTest.ino
In ARC just add a servo control to your project, and connect to the Arduino! https://synthiam.com/Community/Tutorials/Connecting-Arduino-to-ARC-17526 The Arduino sketch will receive those servo positions and send them to the ODrive...
All non-power I/O is 3.3V output and 5V tolerant on input, on ODrive v3.3 and newer.
This tutorial is just meant to be a starting point, please mess around with my settings and share your experience, so we will get a better understanding on how this whole setup can be utilized!!
Discover more robots
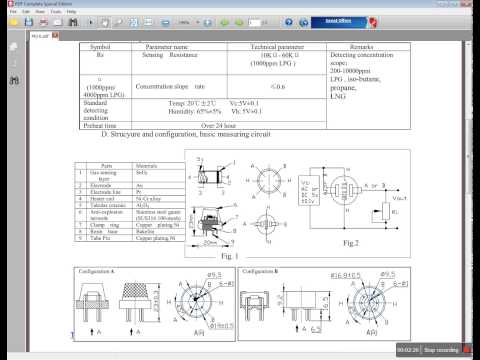
Luis's Using A Mq-? Sensor With The Ezb4 And ARC

Toymaker's My Little Dewey (Drone 1) New Home

Hi Mickey, nice tutorial! In the ino file, you are only sending the position received by ARC to the ODRIVE, and no positional feedback or speed to ARC am i right?
Yes, it is just the basic setup... It allows you to use your BLDC motor just the way you would use any other servo in ARC! But there is a lot more that can be done...check this code, to get started!
https://github.com/odriverobotics/ODrive/blob/devel/Arduino/ODriveArduino/examples/ODriveArduinoTest/ODriveArduinoTest.ino
Hey guys...a little bit of salt here, I recently updated the firmware of my ODrive, and the Arduino code is no longer working for me! So if you are still on v0.4.12 you can go ahead and use it, if you are updating, it will break your motor settings and the code!
But I took some time to revisit my settings and tuned the BLDCs again, so everything is working just fine, if there is anyone using the script and wanting to update, hit me up!
I also chopped together a quick script that lets you control your BLDCs with a PS4 controller in Python, to test a setup and put it to Github... https://github.com/SwannSchilling/ODrive-for-ARC/blob/main/ODrive_PS4.py
Good info! So your fix was just going back over and redoing all your settings..and it started working again?
The company Flipsky (which I've used for my hoverboard project) has created a clone of the ODrive. Its slightly cheaper at $92, so a little less than $50 a channel. Might order one to compare with the ODrive...
Flipsky ODrive clone
@Fxrtst: Is the same company ? They don't sell hoverboards maybe I'm missing something.
Yes, sorry, they manufacture ESCs for electric skateboards. I used one of their ESCs (velocity control only) for my hoverboard project. They are now making and selling a clone of the ODrive because its open-source (velocity and position). You use the ODrive software for their clone, and I used VESC Open Source Project for their ESCs.
Ha ok makes sense. They are "experts" in cloning, the original vesc: https://vesc-project.com/Hardware
btw ODrive since 3.5 is not open hardware anymore, only the firmware is open source: https://discourse.odriverobotics.com/t/3-5-odrive-schematic-release/1246
So the hardware is not an "official" ODrive 3.6 clone, maybe they studied and cloned the design, but, they shouldn't advertise the compatibility... maybe is nothing wrong.
What makes the difference is the firmware, community and support so unless they (Flipsky) spends the time and resources to build their firmware, I would pick the original product.
@Fxrtst: Does VESC supports position control with encoders ?