Asked
— Edited
Can you show me some examples in Javascript of how to Setashome for V21? Can you also show me some examples in Javascript of how to Calibrate V22?
Related Hardware (view all EZB hardware)
EZ-B V4
by EZ-Robot
EZ-B v4/2 robot controller: dual Cortex ARM, Wi-Fi, audio/video, 24 servo/digital ports, I2C/UART, camera and Synthiam ARC control for custom robots
Wi-Fi / USB
Servos
24
Camera
Audio
UART
3
I2C
ADC
8
Digital
24
Related Robot Skills (view all robot skills)
Stepper Servo
by Synthian Inc.
Control up to 127 stepper motors via Arduinos mapped to ARC servos; supports any stepper driver, serial network, home calibration, speed/accel.
Requires ARC
v21
Inverse Kinematic Arm
by Synthiam
Customizable inverse/forward kinematics editor for robot arms: add joints/bones, map XYZ in cm, auto-calc joint angles for precise 3D positioning.
Requires ARC
v10


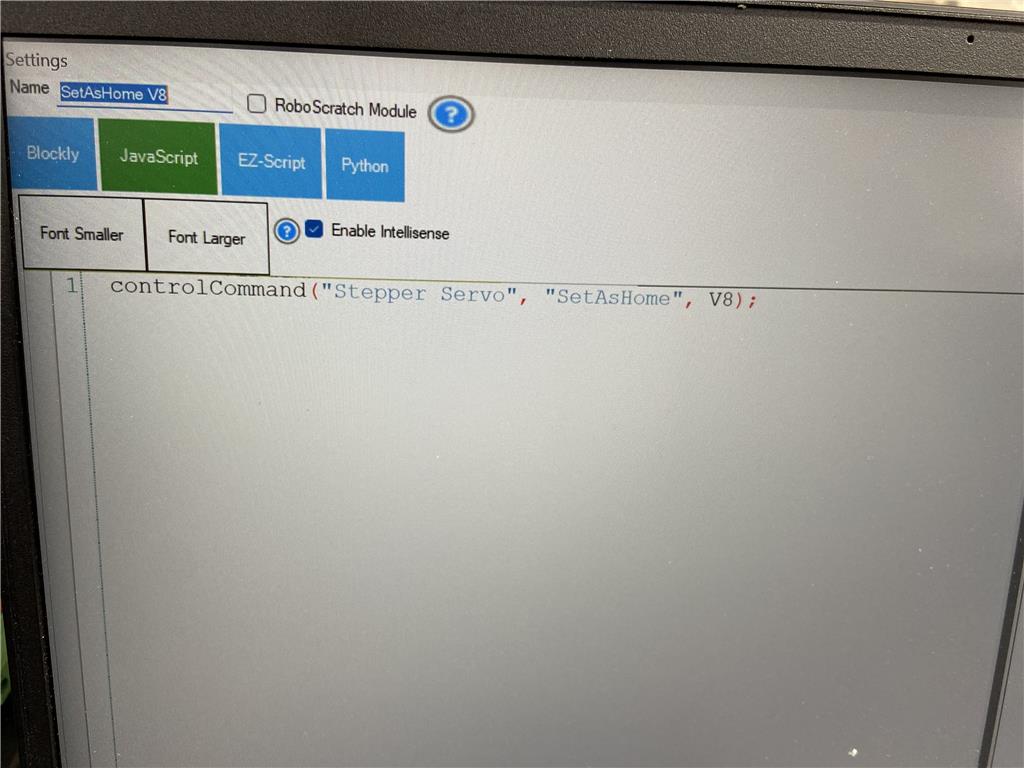
I backtracked and started with new project with just the stepper skill, new gaming computer with updated software, new Arduinos, new stepper drivers, new breadboard and new wiring. Started with making sure steppers work and they work fine. Used the Blockly ControlCommand for Stepper servo then went into Javascript and input V8. Ran the SetAsHome and it says it went through but it still moved when I input position 1 (had it at position 2000). Checked the debug log and nothing showed up. Did the same procedure for the calibrating and had same unsuccessful results. I tried using the Javascript cheatsheet and to make sure there was no different script but the results were the same.

Not sure what we are doing differently, but we are getting different results.I dont understand the screenshots.
Why are you sending both of those commands? I have explained this a dozen times, the SetAsHome is part of the Calibrate. You cannot send Calibrate and then SetAsHome. Well, you can, but it will have some funny behavior because you're setting it HOME as it is calibrating.
Stop sending both, please.
Lastly, perhaps there's something silly with your configuration or wiring. I know you have changed firmware stuff and tried editing your own things in the past. Maybe you need to debug the cmd == 0 in the arduino to make sure your SetAsHome is even being triggered.
Before
What I suggest you do to add LED debugging...
This change will move the digitalWrite for the LED debugging into the SetAsHome condition. Therefore the LED should change state from OFF to ON when ever the SetAsHome is sent. You will be able to verify the command is actually being received.
And, of course, make sure DEBUG_COMM_WITH_LED is uncommented in the config section of the top of the source file
Lastly, you can move that digitalWrite for the Status LED into other conditions to ensure they are executing as well.
Remember, if you leave that digitalWrite in more than one condition, it will flash the LED no matter what and you will have no idea what triggered it. An LED for debugging means you are debugging ONE condition at a time. It's tedious, so welcome to our world
The only reason that I made the screenshot of each is to verify that it is the correct code. I do not run them at the same time as I try each one individually. These are brand new Mega and Uno. The cmd is new to me and I will dig into it and your suggestions to see if I can figure it out. If it worked for you then it should work for me, just have to figure it out. It was only 1 year ago that I entered the Arduino world - had no clue on any of this type of programming. Thanks
If you're using a Mega or Uno, ensure you're not using the LED pin for anything.
Uno: built-in LED pin #13 Mega: built-in LED pin #13
(i used google to find those two pins)
As I was digging in to the Arduino code saw some things that I was looking for (sorry for the sideways pictures, if I take the picture horizontally it doesn't do this). Seems like if it is pinging properly then it is actually sending the cmd properly. Is there a way that I can manually send different cmd to Arduinos? Looks like right now we are only using cmd0 and cmd7 but it would be nice to manipulate the other ones as well. Today I got the photoeye to see the edges very well and go to the exact center of the box, had the single 6" suction cup pick it up nice and smooth. It's sweet and powerful!!
Your question is out of scope. We're focusing on getting your stepper motors working. It would be best to concentrate on one thing at a time.
If you want to research creating firmware to perform additional functions and developing a robot skill, this will help you: synthiam.com/Support/EZB-Firmware/extend-ezb-protocol
Your example code still has the digitalWrite for the LED debugging outside of the conditions for testing. I don't know if you read my instructions correctly.
I instructed you to put it here...
I only was browsing will tackle the insertion tomorrow, but thanks for the circle highlighting things that I need to do and the location of where it needs to be.