Example: Camera Custom Tracking Type
As you've seen in the previous tutorial step about detecting and attaching to the camera, there are a bunch of events that you can use. One of the events allows you to create a custom tracking type as a plugin, which is real cool!
Uses for creating a custom tracking type is if you want to experiment with OpenCV or any other vision libraries. Because ARC leverages .Net, we recommend the x86 nuget install of EMGUCV (https://github.com/emgucv/emgucv). Installing from NUGET is the easiest and most convenient.
The camera events that we'll use for creating a custom tracking type are...
        // assign an event that raises when the camera wants to initialize tracking types
        _camera.Camera.OnInitCustomTracking += Camera_OnInitCustomTracking;

        // assign an event that raises with a new frame that you can use for tracking
        _camera.OnCustomDetection += Camera_OnCustomDetection;
Once inside the OnCustomDetection() event, you have access to a bunch of different bitmaps throughout the flow of the detection process. They are...
// **********************
// From the EZ_B.Camera class
// **********************

    ///
    /// This is a temporary bitmap that we can use to draw on but is lost per tracking type
    ///
    public volatile Bitmap _WorkerBitmap;

    ///
    /// This is the resized original bitmap that is never drawn on. Each tracking type uses this as the main source image for tracking, and then draws on the _OutputBitmap for tracking details
    ///
    public volatile AForge.Imaging.UnmanagedImage _OriginalBitmap; // resized image that we process

    ///
    /// Image that is outputted to the display. We draw on this bitmap with the tracking details
    ///
    public volatile AForge.Imaging.UnmanagedImage _OutputBitmap;

    ///
    /// Raw image unsized directly from the input device
    ///
    public volatile AForge.Imaging.UnmanagedImage _RawUnsizedBitmap;

    ///
    /// Last image for the GetCurrentImage
    ///
    public volatile AForge.Imaging.UnmanagedImage _RawUnsizedLastBitmap;
Understanding the images available, the ones we care about for creating a tracking type of our own are...
    ///
    /// This is the resized original bitmap that is never drawn on. Each tracking type uses this as the main source image for tracking, and then draws on the _OutputBitmap for tracking details
    ///
    public volatile AForge.Imaging.UnmanagedImage _OriginalBitmap; // resized image that we process

    ///
    /// Image that is outputted to the display. We draw on this bitmap with the tracking details
    ///
    public volatile AForge.Imaging.UnmanagedImage _OutputBitmap;
This is because we can use the _OriginalBitmap for our detection, and then draw on the _OutputBitmap where our detection was.
Example This is an example that fakes detection by drawing a rectangle on the _OutputBitmap that bounces around the screen. It moves with every frame in the CustomDetection event.
    // faking an object being tracked
    int _xPos = 0;
    int _yPos = 0;
    bool _xDir = true;
    bool _yDir = true;

    private EZ_B.ObjectLocation[] Camera_OnCustomDetection(EZ_Builder.UCForms.FormCameraDevice sender) {

      if (_isClosing)
        return new ObjectLocation[] { };

      if (!_camera.Camera.IsActive)
        return new ObjectLocation[] { };

      List objectLocations = new List();

      try {

        // This is demonstrating how you can return if an object has been detected and draw where it is
        // The camera control will start tracking when more than one ObjectLocation is returned
        // We're just putting fake bouncing rectable of a detected rect which will be displayed as a tracked object on the screen in the camera device

        if (_xDir)
          _xPos += 10;
        else
          _xPos -= 10;

        if (_yDir)
          _yPos += 10;
        else
          _yPos -= 10;

        var r = new Rectangle(_xPos, _yPos, 50, 50);

        if (r.Right > _camera.Camera._OutputBitmap.Width)
          _xDir = false;
        else if (r.Left  _camera.Camera._OutputBitmap.Height)
          _yDir = false;
        else if (r.Top <= 0)
          _yDir = true;

        var objectLocation = new ObjectLocation(ObjectLocation.TrackingTypeEnum.Custom);
        objectLocation.Rect = r;
        objectLocation.HorizontalLocation = _camera.Camera.GetHorizontalLocation(objectLocation.CenterX);
        objectLocation.VerticalLocation = _camera.Camera.GetVerticalLocation(objectLocation.CenterY);
        objectLocations.Add(objectLocation);

        AForge.Imaging.Drawing.Rectangle(_camera.Camera._OutputBitmap, r, Color.MediumSeaGreen);
      } catch (Exception ex) {

        EZ_Builder.EZBManager.Log(ex);
      }

      return objectLocations.ToArray();
    }

Thanks for the quick response.
This what happens when you are working on robotics when its way past your bed time.
You miss the obvious
No problem - i get it
Sorry but can I ask you something why I didn't see the ARC library when I added visual studio even though I set up the C ++. DLL library and there's another way to execute it and send / receive console in out but I don't know how to do it with EZ_builder?Please follow the tutorial. It’s impossible to know why you’re plug-in isn’t showing up without asking you if you followed each step of the tutorial . Reviewing your screenshots, it doesn’t appear as if any of the tutorial steps have been followed.
Hi i fixed it. thanks
Hello, I am trying the tutorial to get the robot to speak. I am using Visual studio. Currently, the sound is output from the pc instead of the robot. Is there a code I can attach so that the sound comes from the robot speakers instead of the pc?
Look in this tutorial for the step labeled "output audio from ezb". It’s lower down in the list. There’s instruction examples for either playing audio (ie mp3) or text to speech.
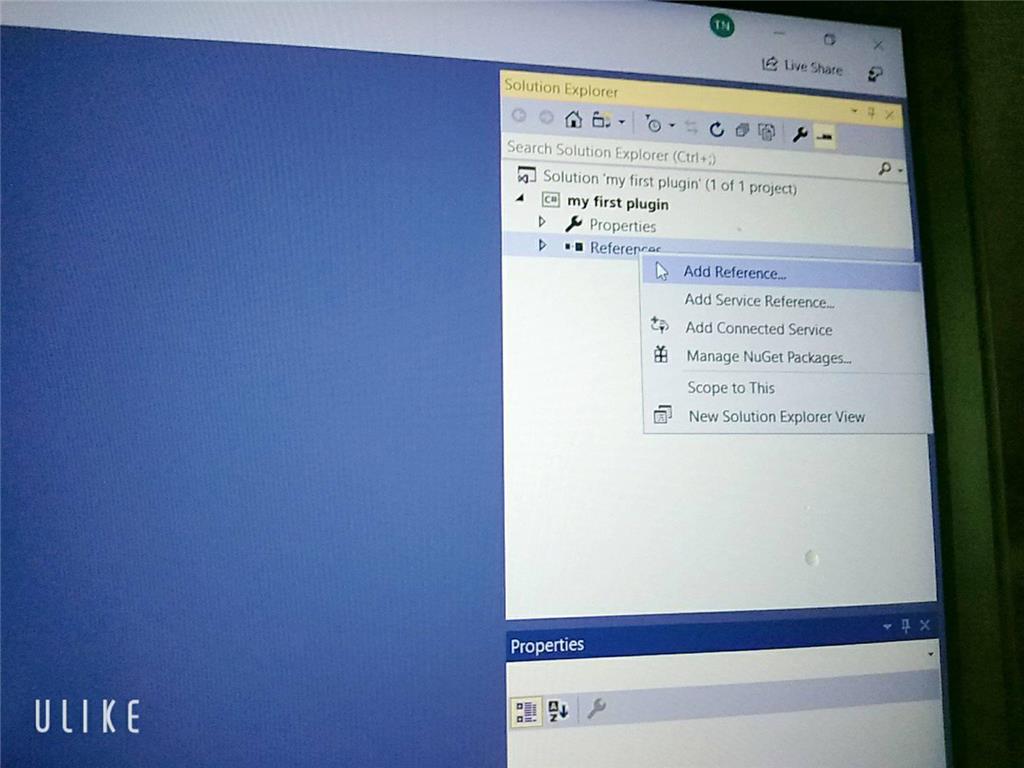
Error: the referenced component" EZ_builder,EZ_B" could not be found, DJ Sure i hope you can help me !

Joinny, you have to add the referencing by following the instructions in this tutorial. They are outlined with step by step to easily follow. Click add references, and browse to the appropriate files as directed in the tutorial. I can’t write anything clearer in response. The step to add references is incredibly clear but you’re skipping it.