Auto Positions
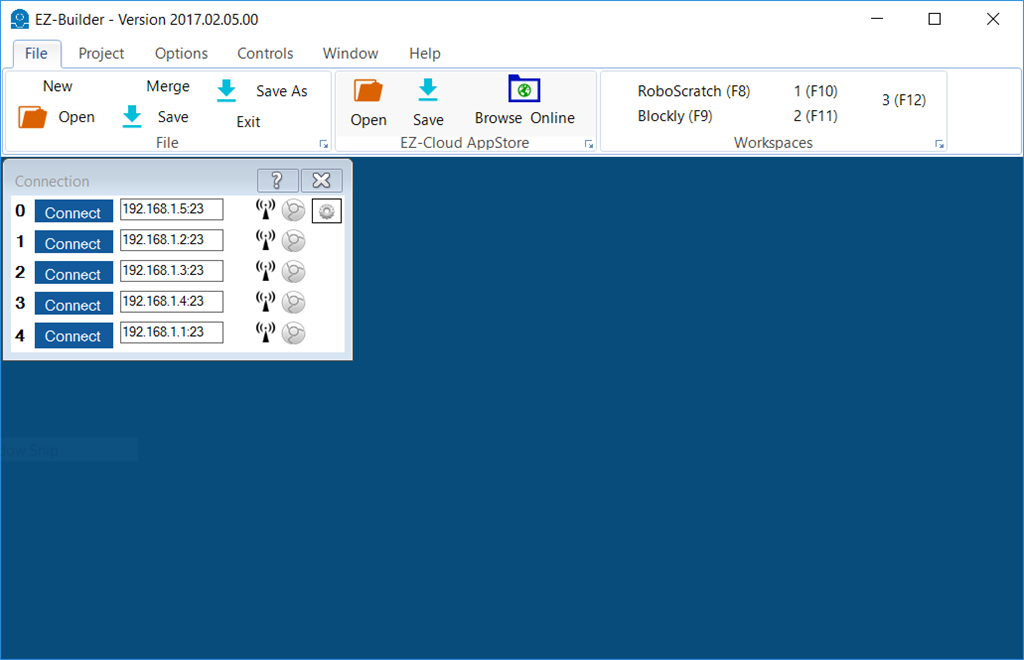
The E-Builder project should be empty, except for the connection control, which has IP addresses entered for each robot.
We will now add an Auto Position for each robot. Remember, we connected... EZ-B Index 0 -> Six EZ-B Index 1 -> Six EZ-B Index 2 -> JD EZ-B Index 3 -> JD
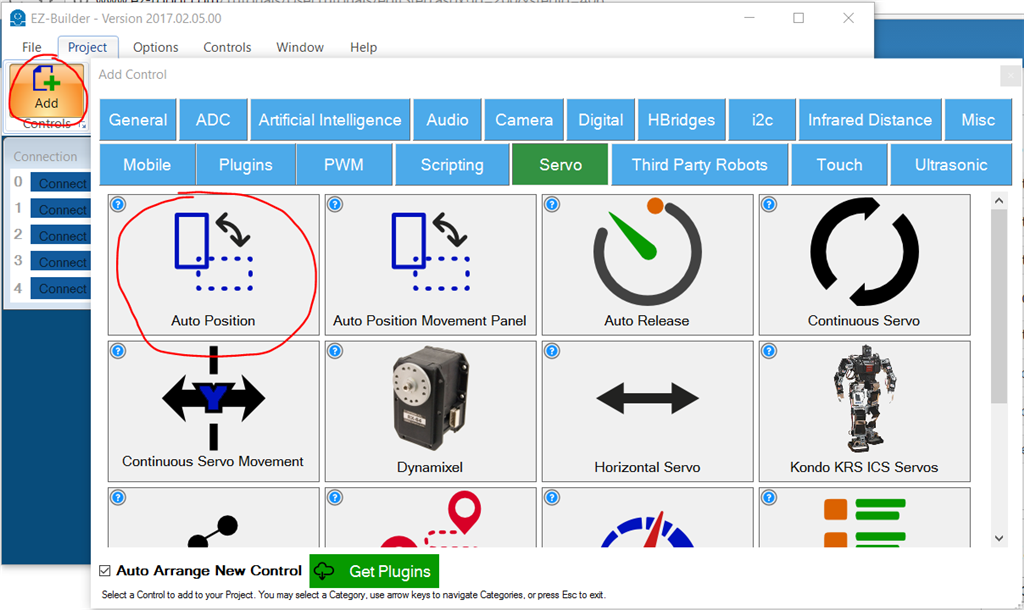
Step 1 Add an Auto Position for the first SIX robot. Press Add Control->Servos->Auto Position
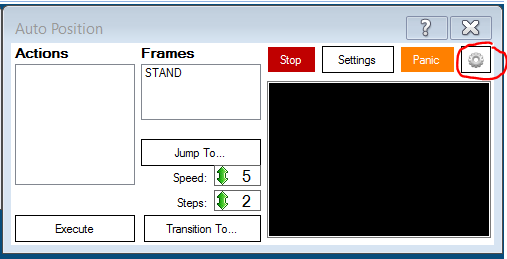
Step 2 Press the Config button on the Auto Position.
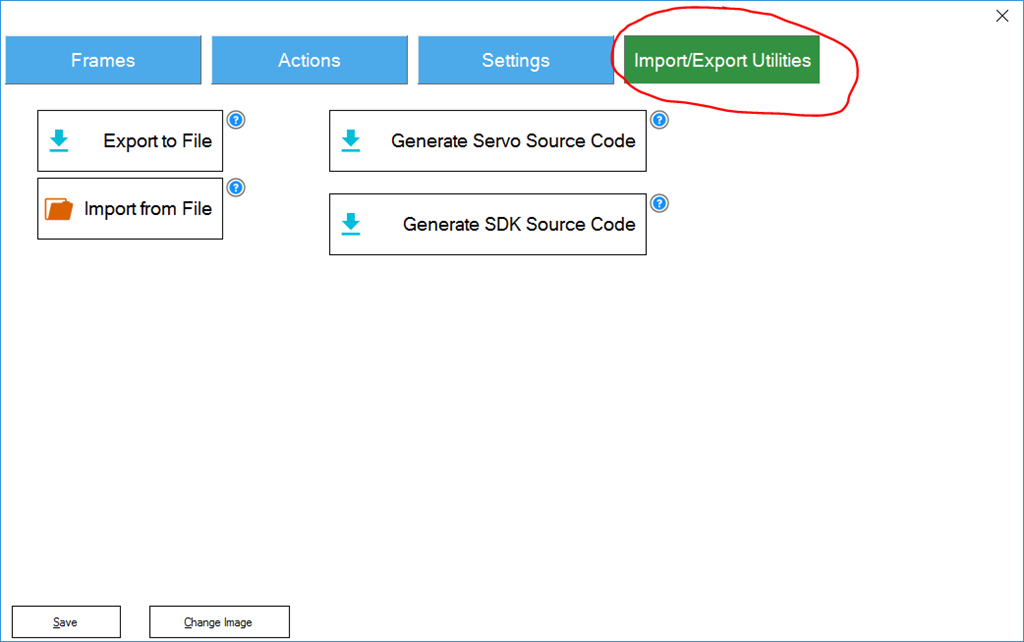
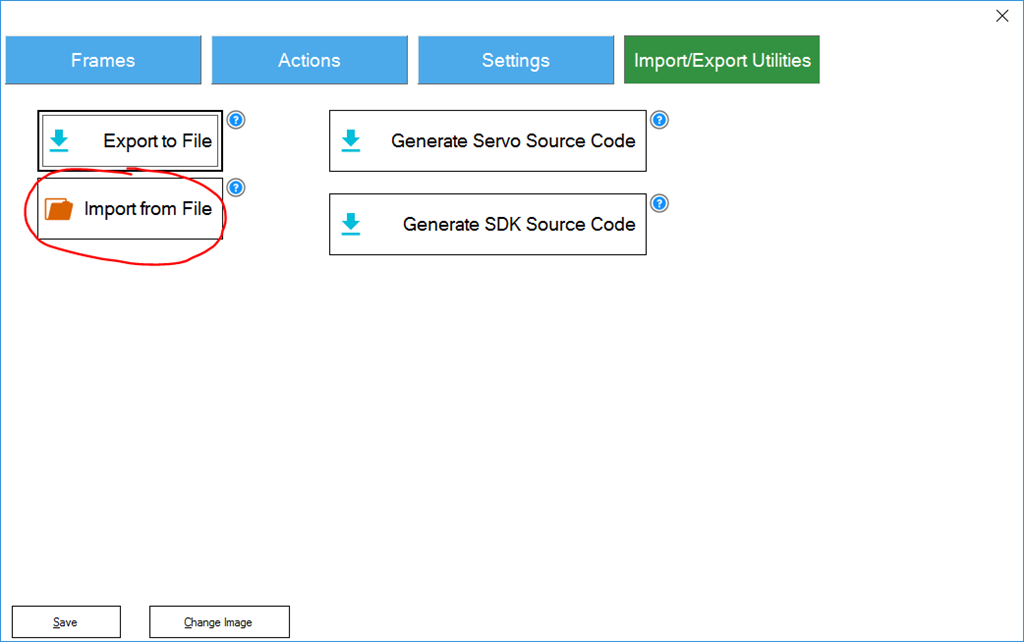
Step 3 Select the IMPORT/EXPORT tab
Step 4 Select IMPORT FROM FILE button
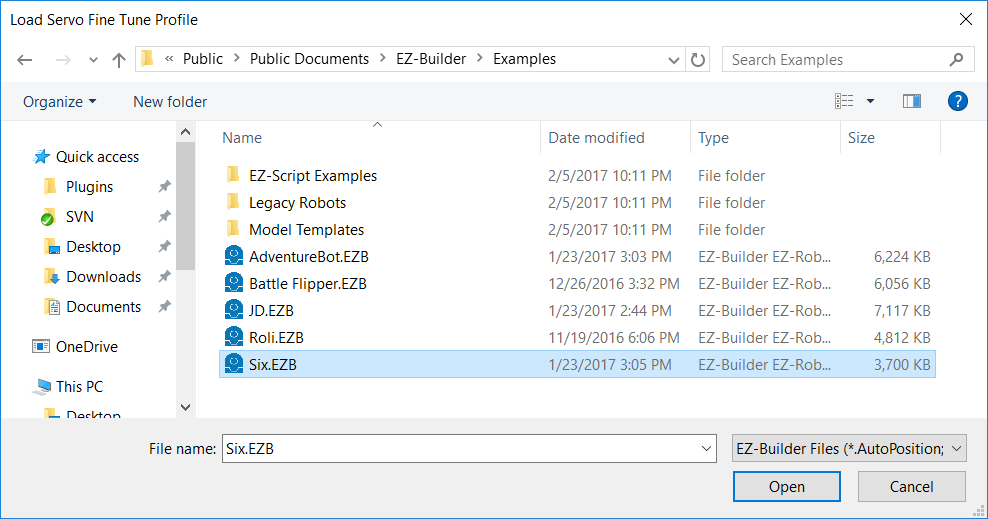
Step 5 Navigate to the appropriate project and select it. If using the public Six and JD projects, they will be located in C:\Users\Public\Documents\EZ-Builder\Examples. Again, remember that in this example we are adding SIX for EZ-B index 0 & 1. JD is for EZ-B index 2 & 3. So this first time we will be loading a SIX project.
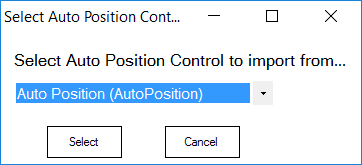
Step 6 A dialog will display prompting which Auto Position control to import the settings from. There will be only one control in the default SIX and JD projects, so simply press SELECT.
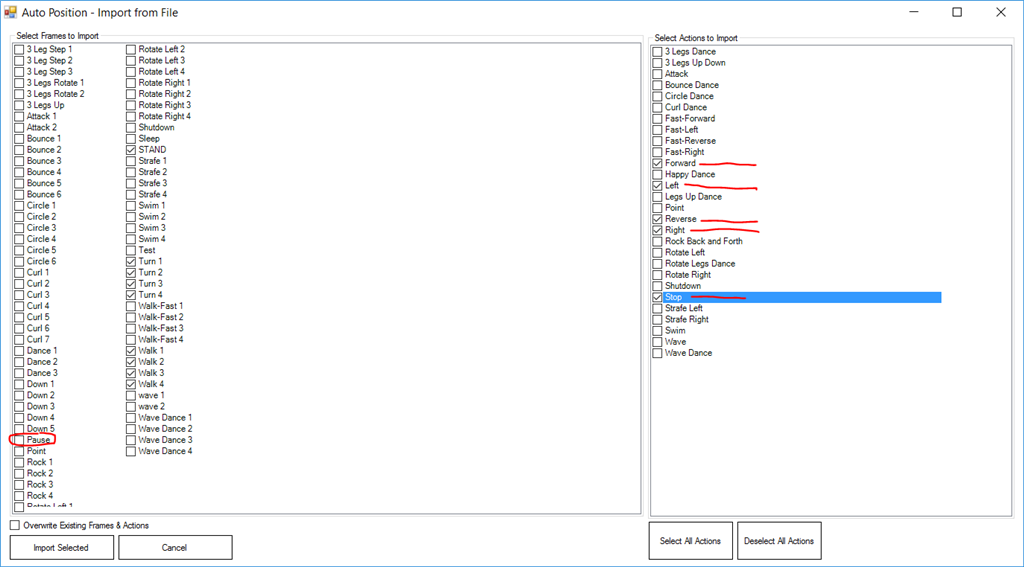
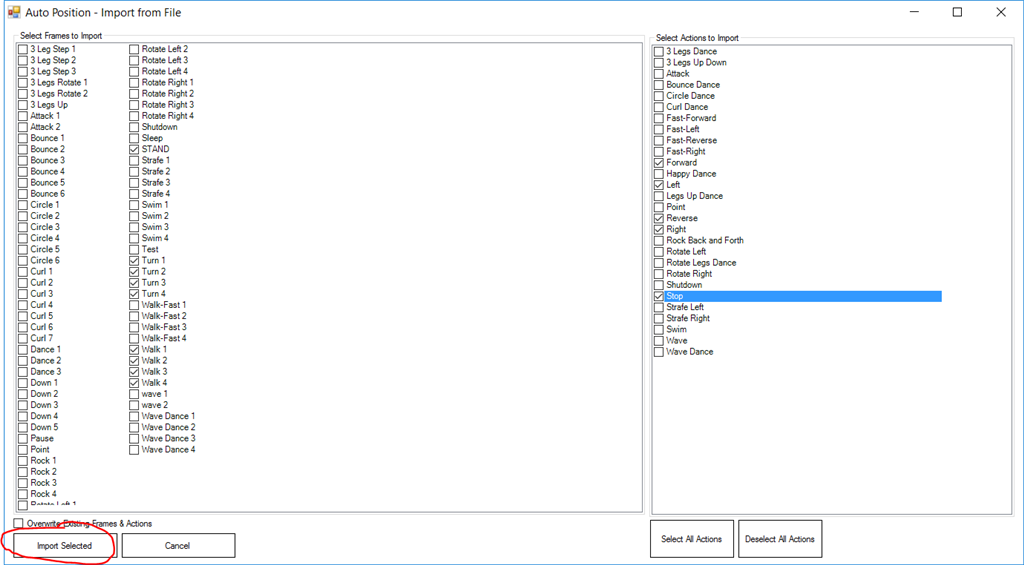
Step 7 A window will be displayed with all ACTIONS and FRAMES of the Auto Position control. Select the FORWARD, LEFT, RIGHT, REVERSE, and STOP actions. Ensure the PAUSE is UNCHECKED in the FRAMES list. This is because PAUSE is a default frame and cannot be imported.
Step 8 Press IMPORT SELECTED
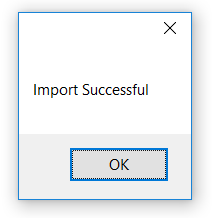
Step 9 Import should now be successful
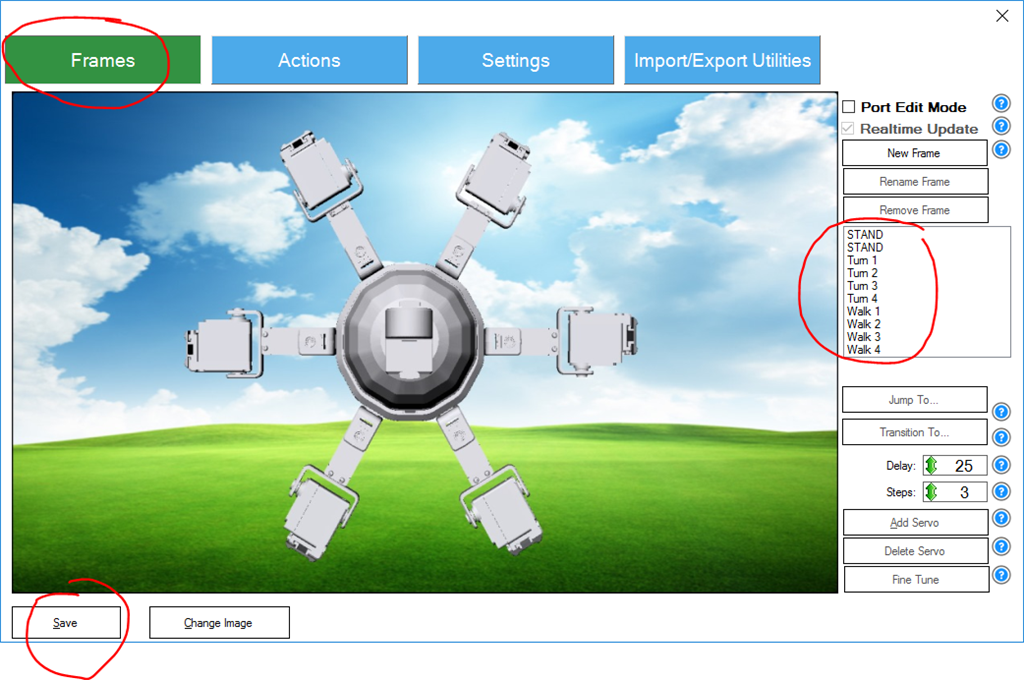
Step 10 You may now press FRAMES tab to view that all frames have been loaded. And press SAVE to save this configuration.
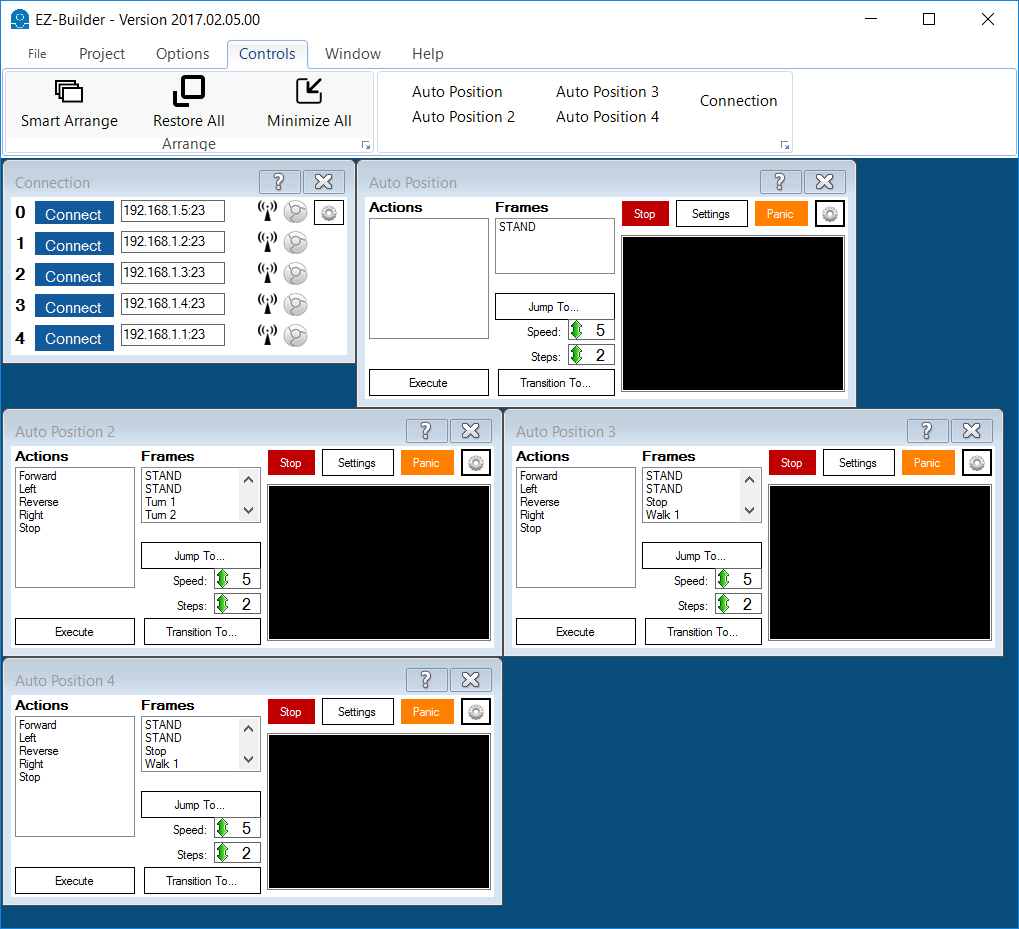
REPEAT Repeat these steps for each robot, remembering that Index 0 & 1 is SIX, and index 2 & 3 is JD. When complete, your project should look like...
