


hi all
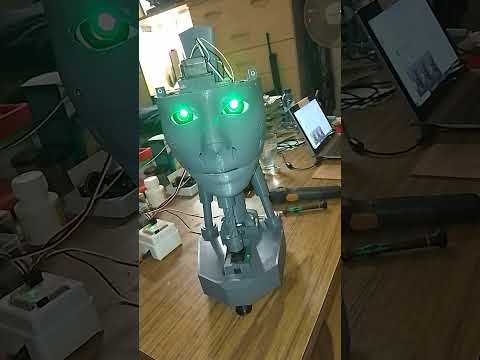
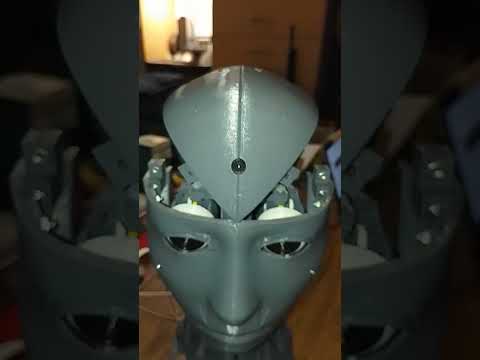
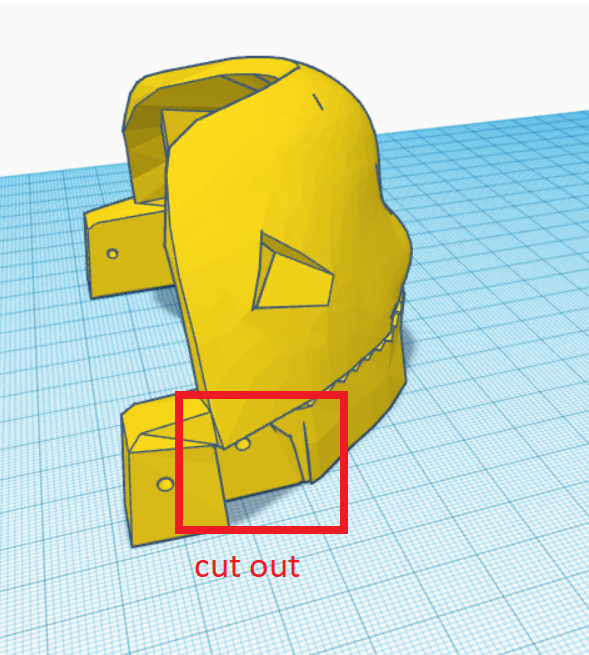
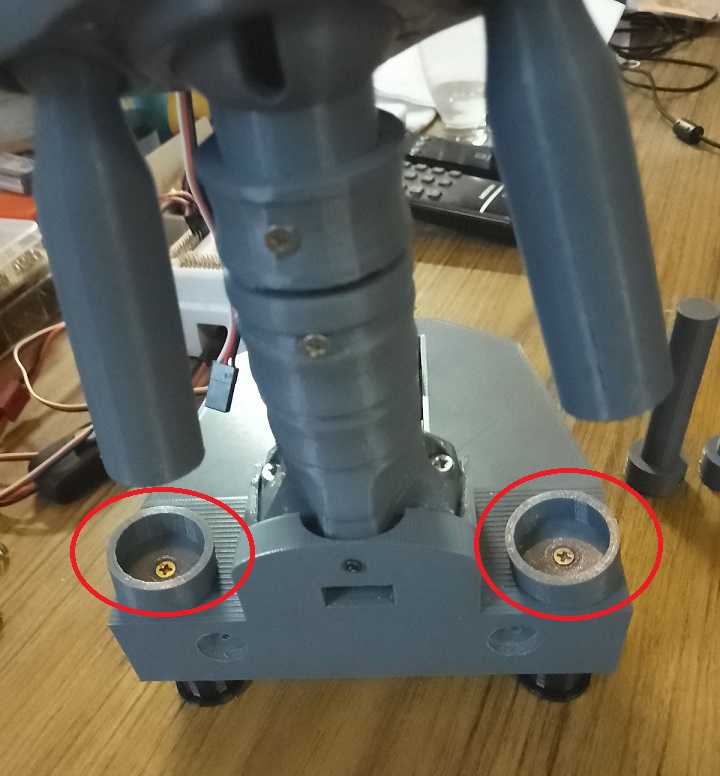
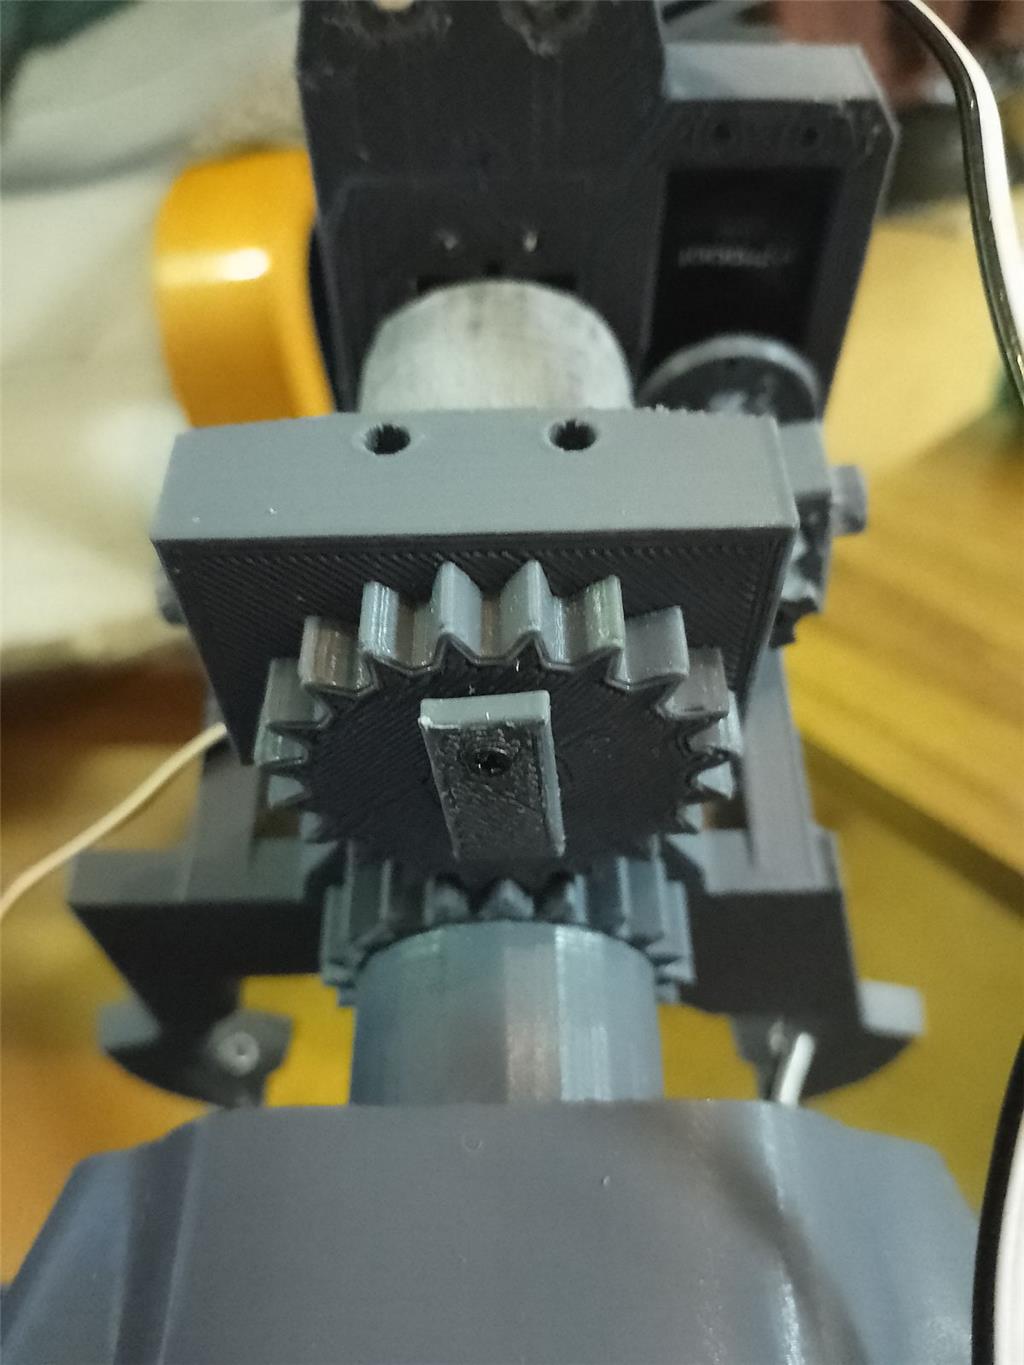
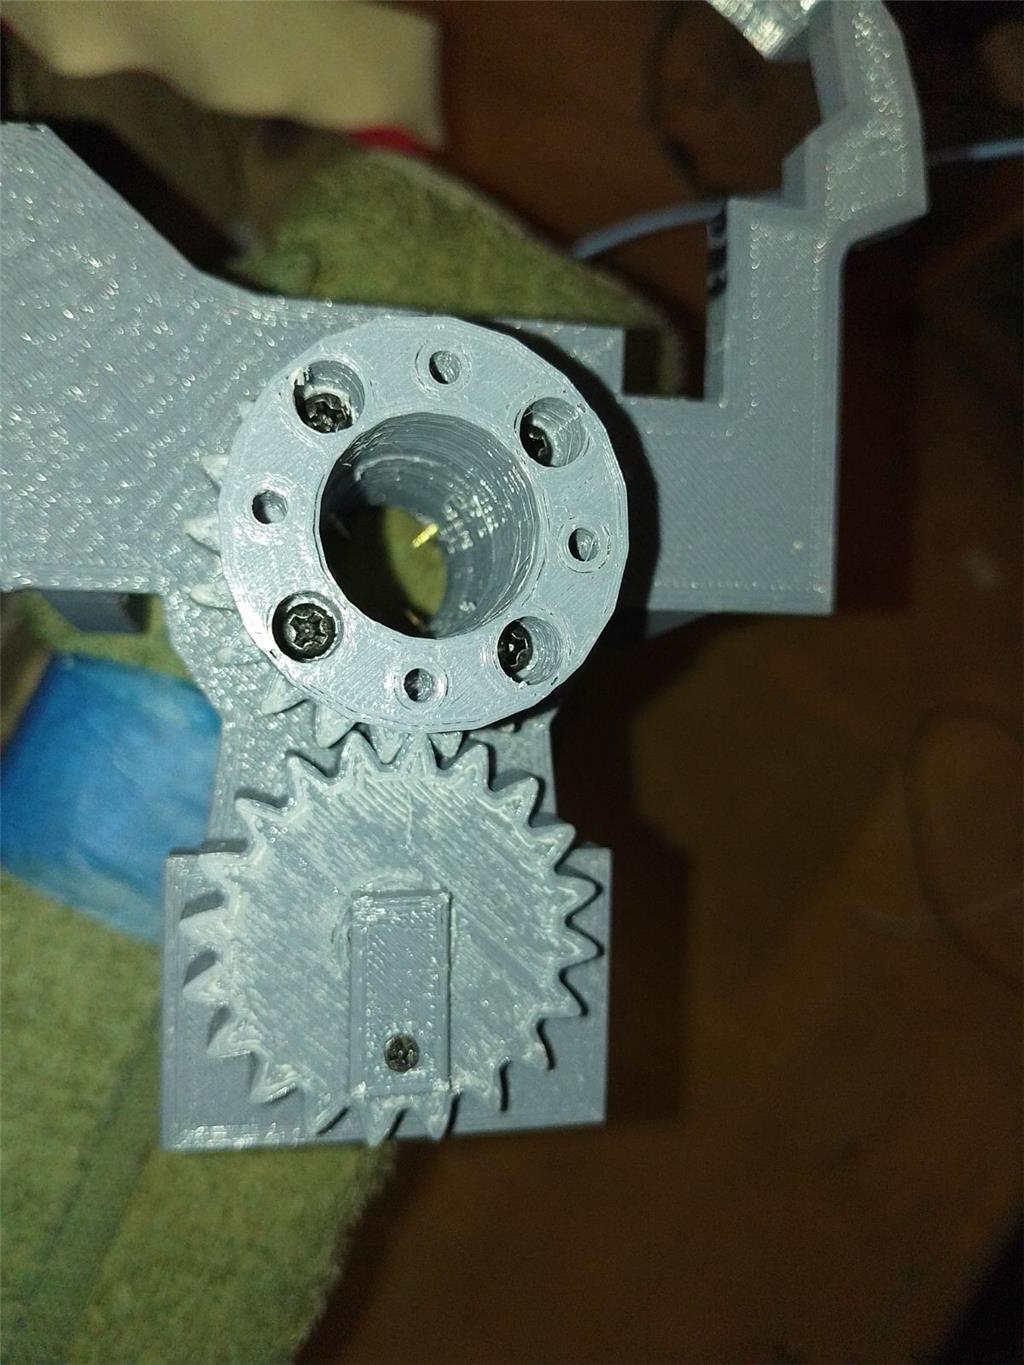
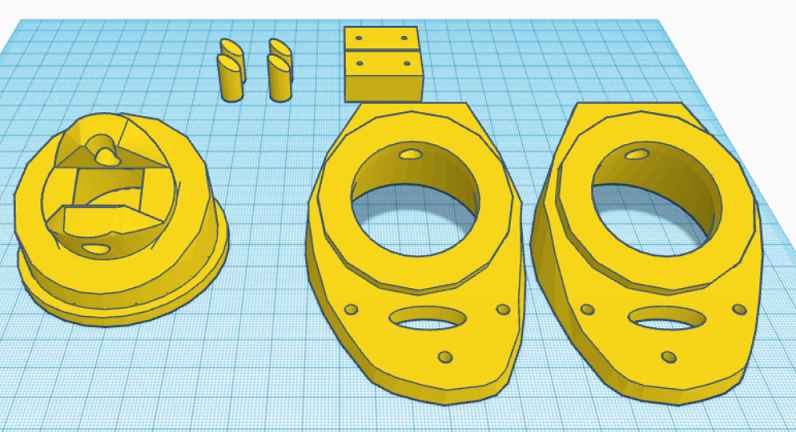
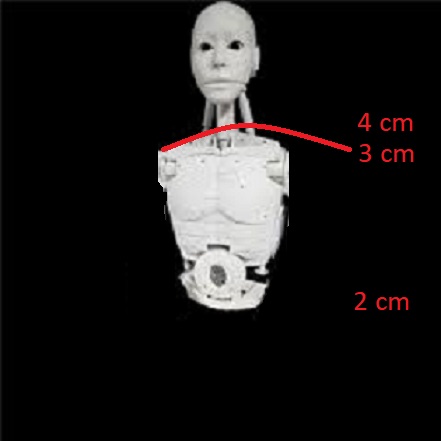
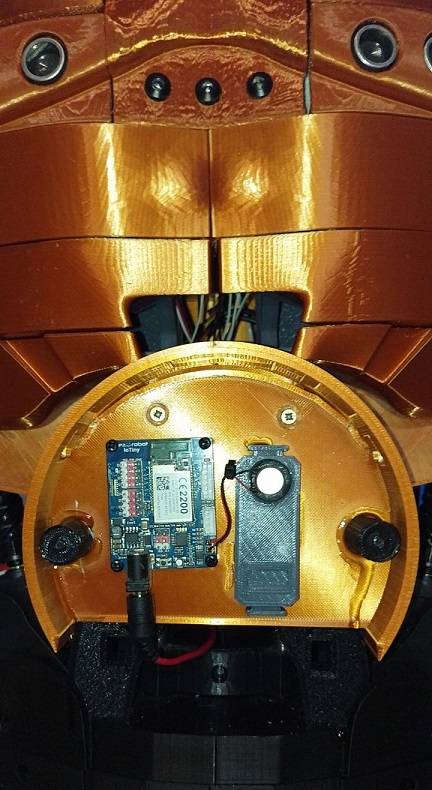
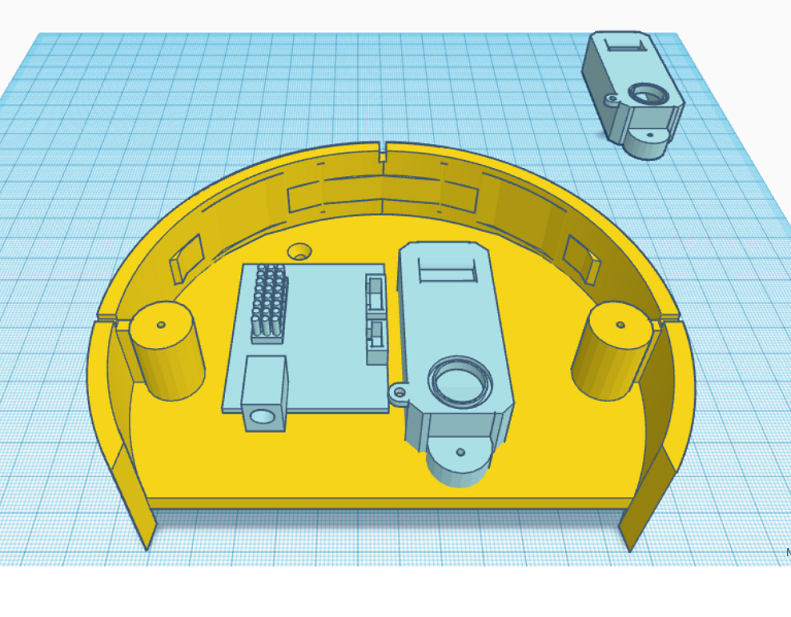
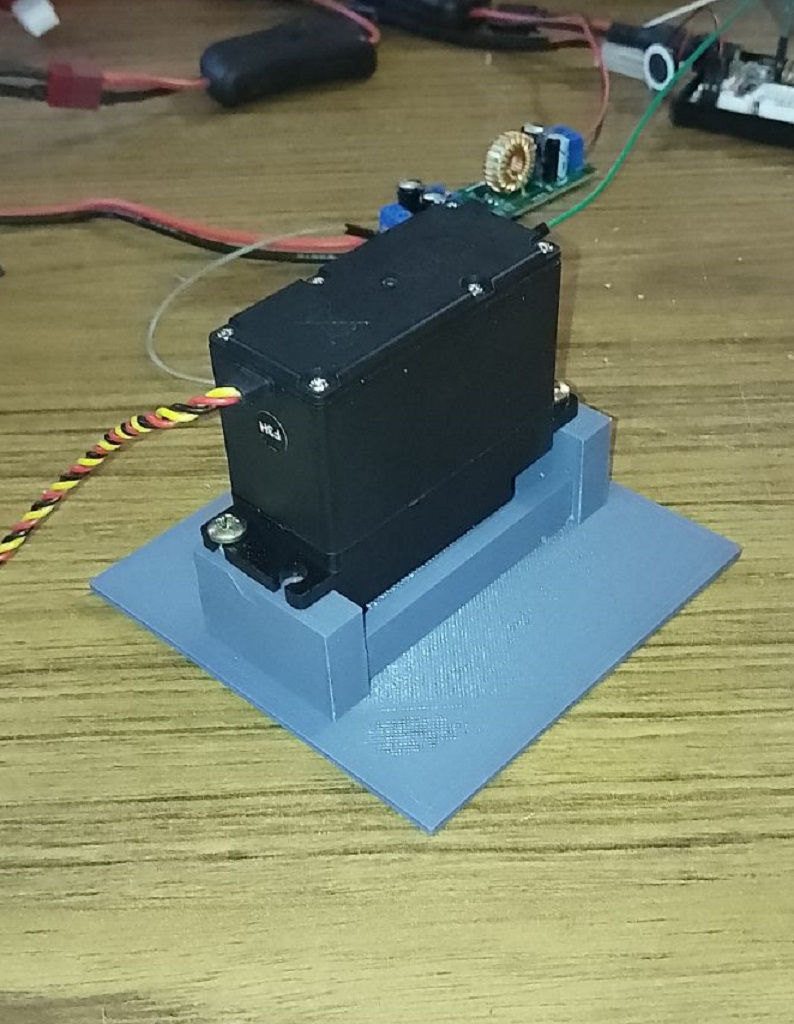
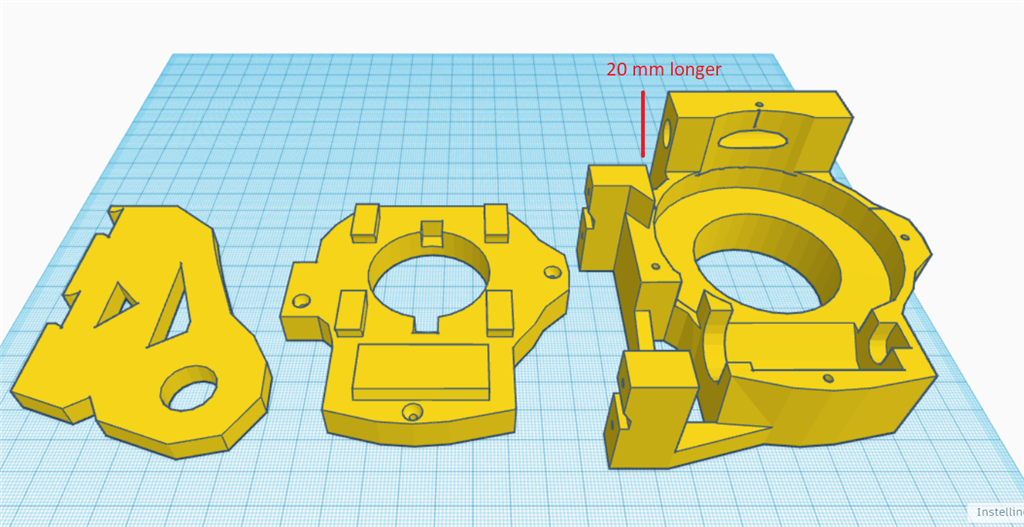
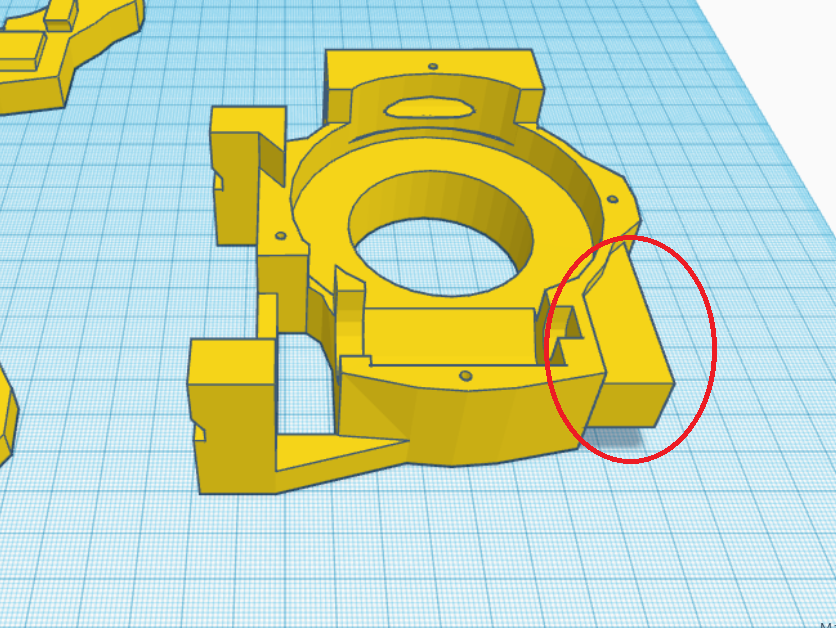
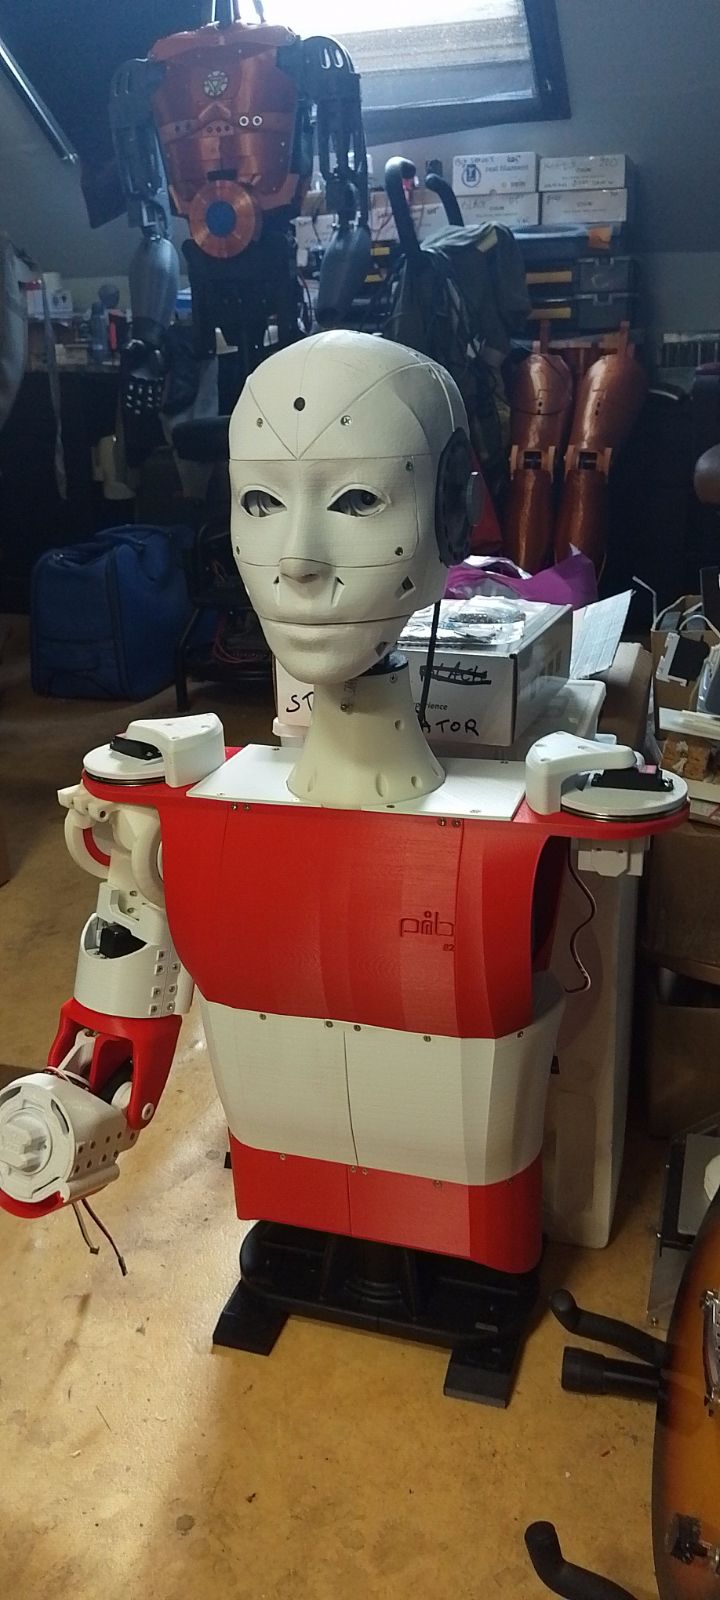
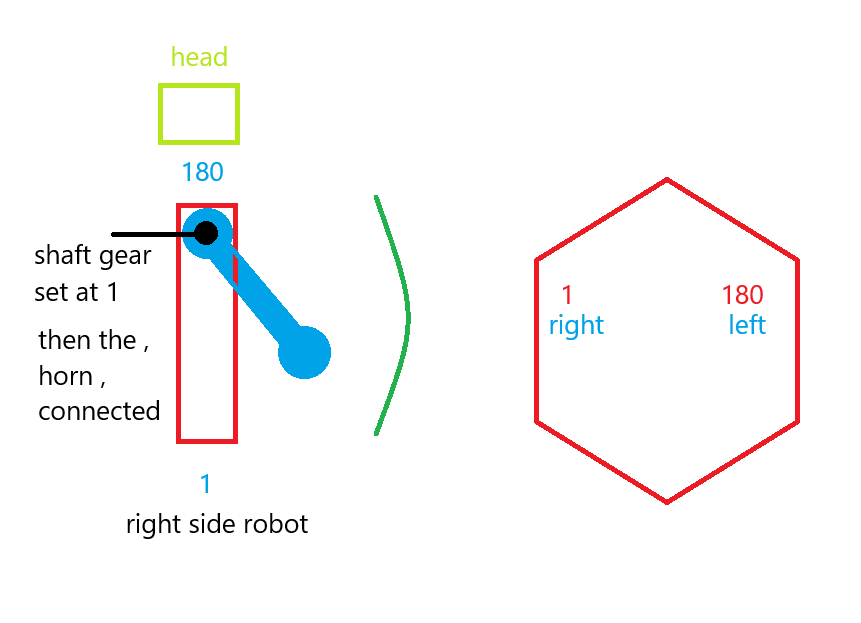
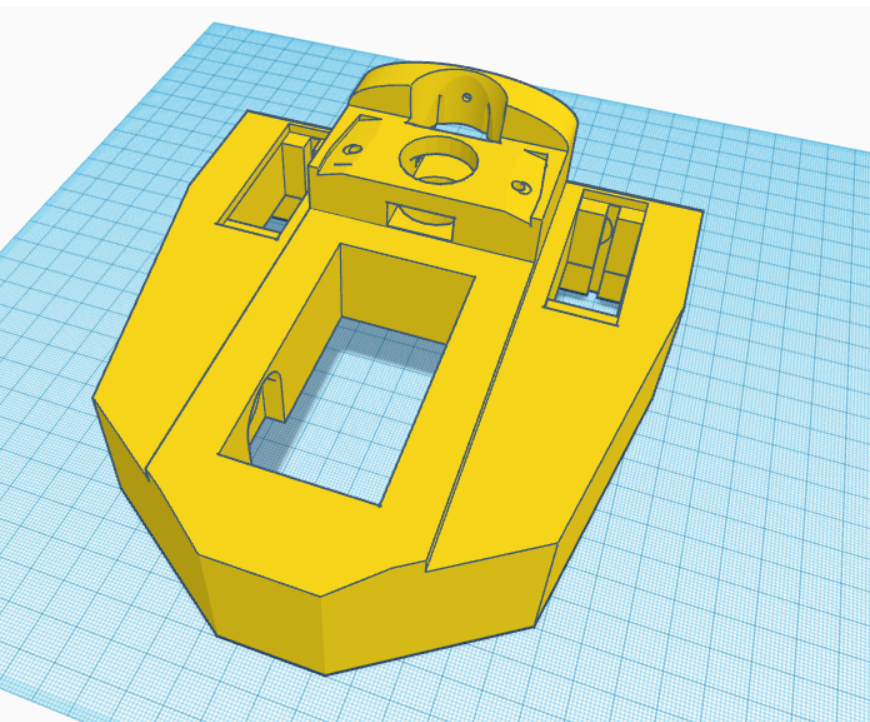
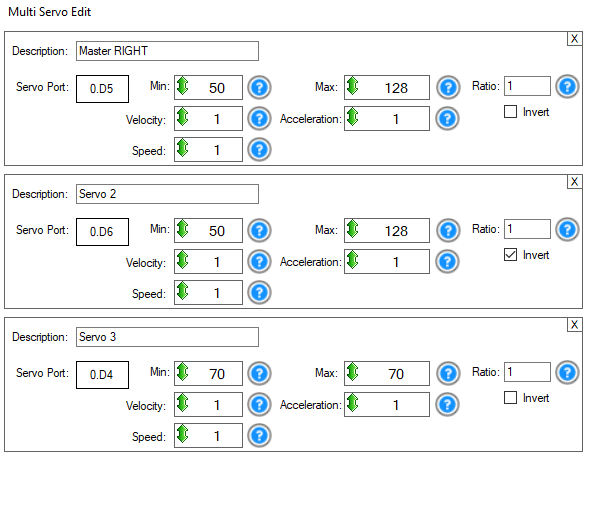
I've created a modified version of the EZ Robot head, featuring both side-to-side and up-and-down (yes) movements. This new design includes an improved base for the head, accommodating three additional HDD servos. There's an option to install two cameras, with the base designed to allow passage for a second camera cable. This setup is ideal for incorporating additional IoT devices or EZBV4, for instance, for LED lighting. Conveniently, there's no need to remove the potentiometer from a servo, as the 1 to 180-degree range provides ample movement. The base height is 7.2 cm.
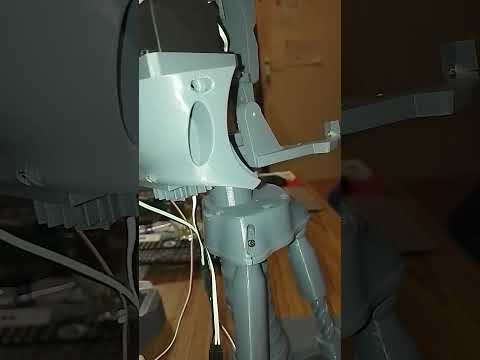
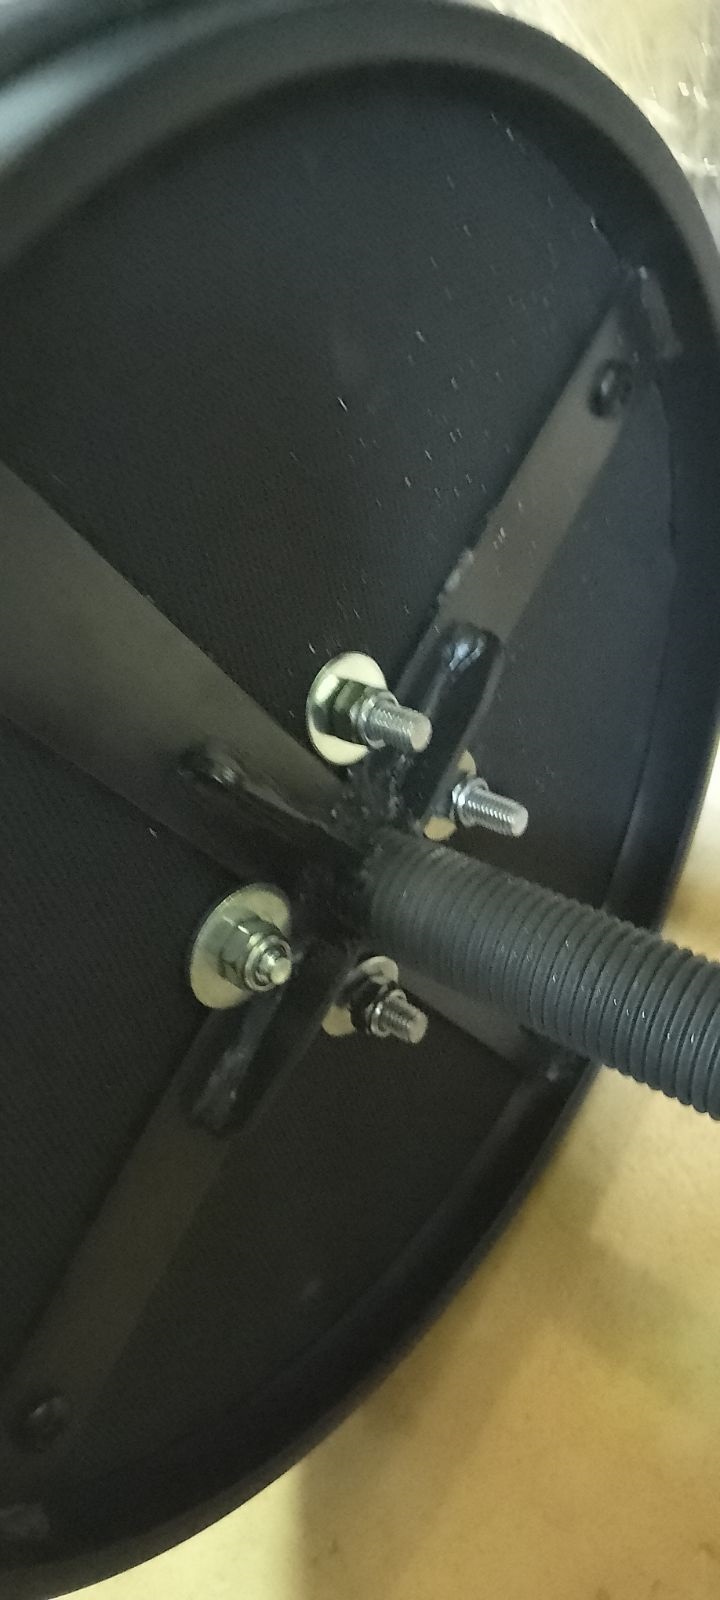
The pistons are original components from InMoov, and the neck base in EZ Robot is correctly designed.
For moving the side pistons, adhere to these settings:
Programming
Adjusting the side pistons can be a bit complex. Start by calibrating your HDD servos. Then, align the inner piston with the holes in the piston base and secure it with a screw. For the second side piston, align it similarly, then disconnect the IoTiny. This allows you to manually adjust the previous piston to properly position the second one. The original documentation on EZ Robot is extremely helpful in this process.
Parts & Materials
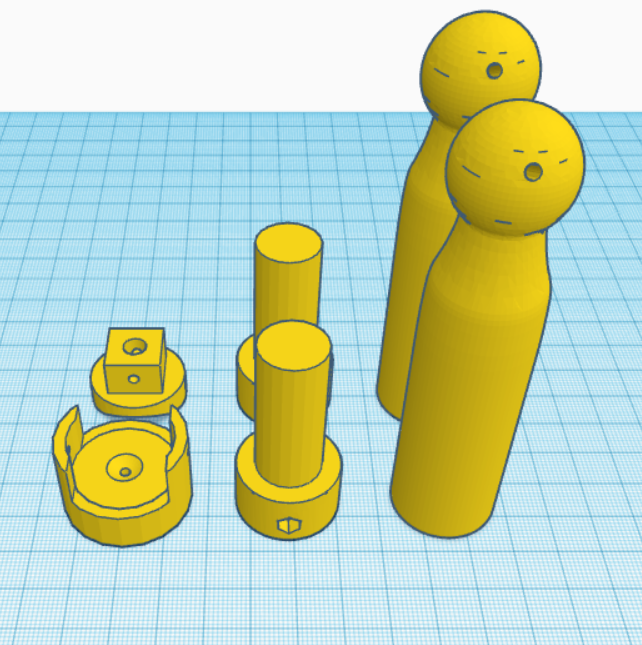
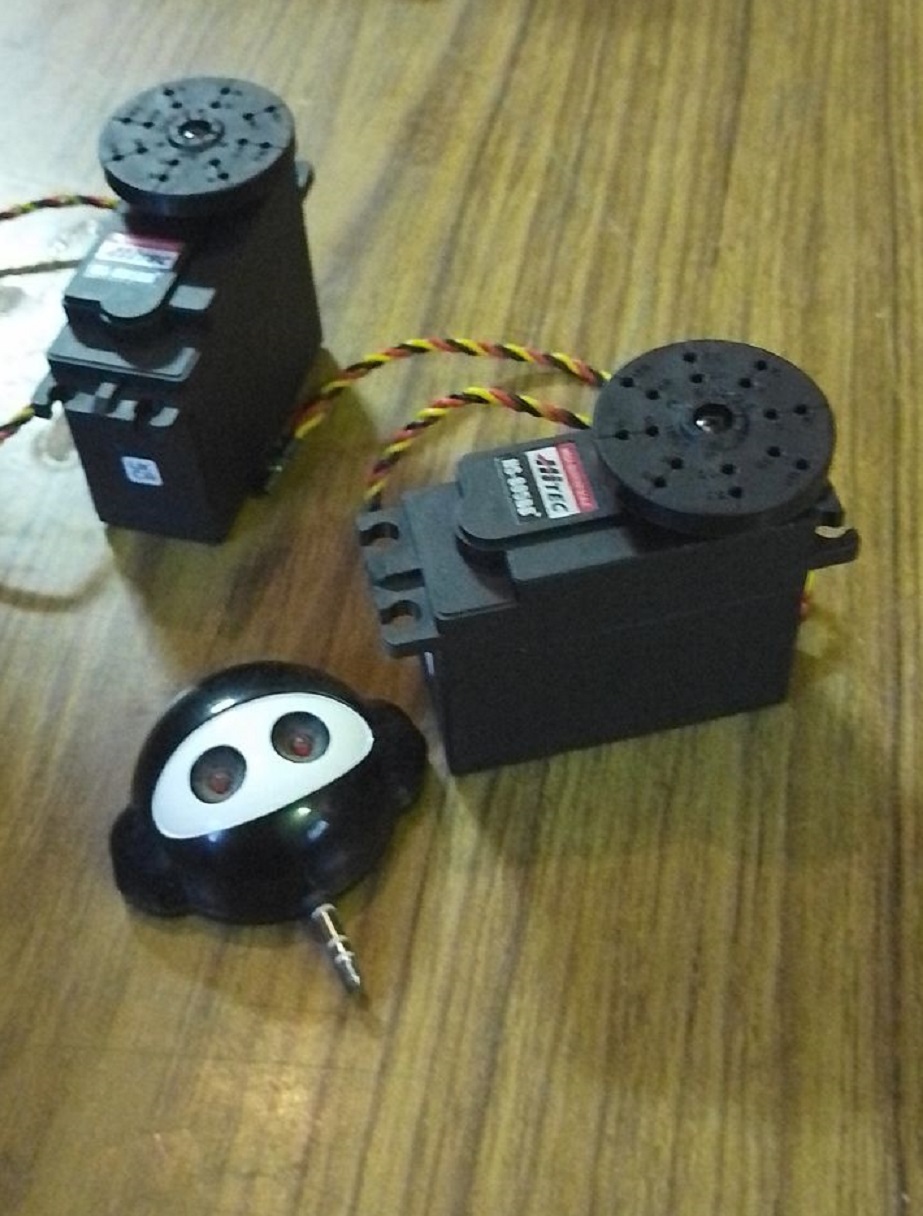
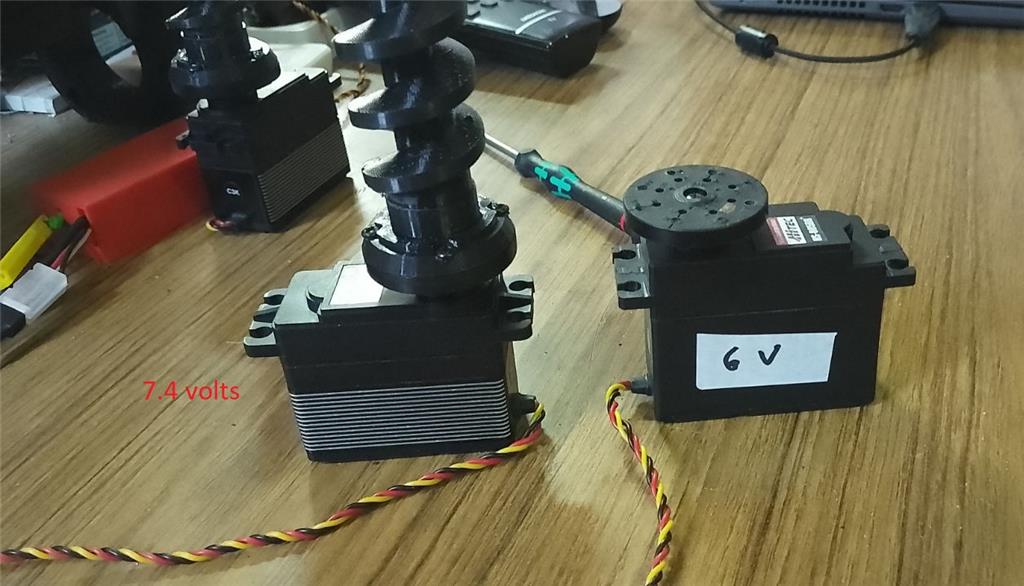
You'll need 3 extra HDD servos and grey PLA filament. The drive shaft parts should be printed with a 35% infill and a gyroid pattern in your slicer for enhanced strength. Other parts can be printed according to your preferences. Additionally, there's an optional neck extension, offering one to three extra vertebrae for more piston movement space. In my experience, the two-vertebrae option works best.
Discover more robots
Doombot's Dirgebot V1
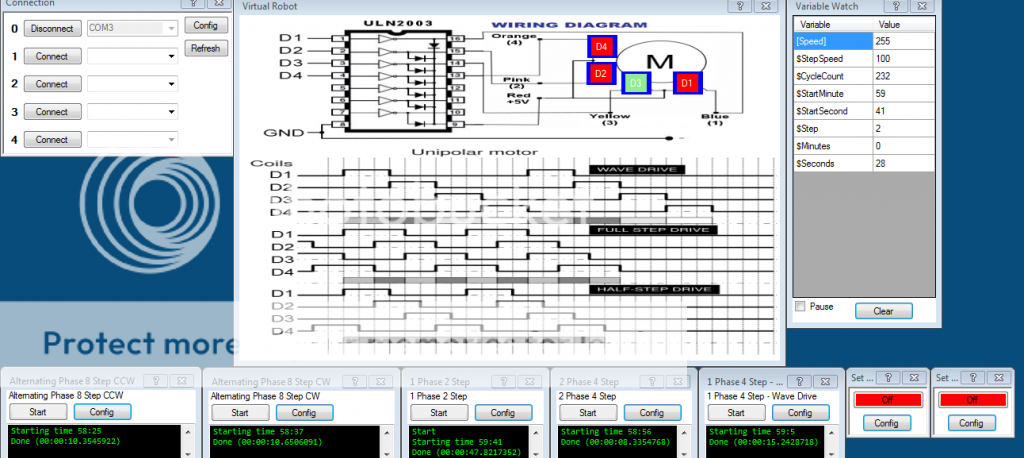
Leversofpower's Un2003a 28Byj48 Stepper Motor Project


hi all
some random testing .
merry X-mas and happy new year soon averyone .
Merry Christmas and Happy New year to you too Nomad! Thanks for sharing your progress with us!
hi averyone
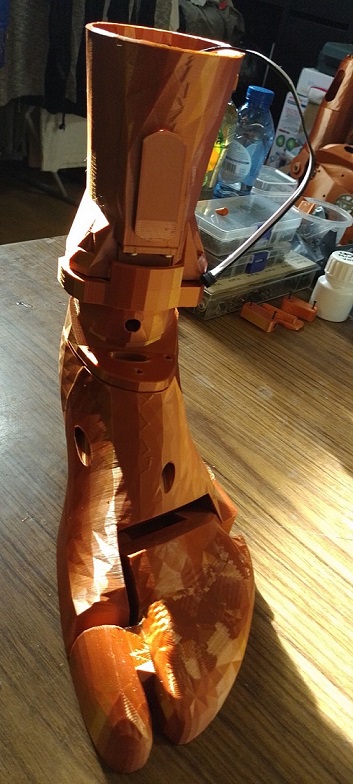
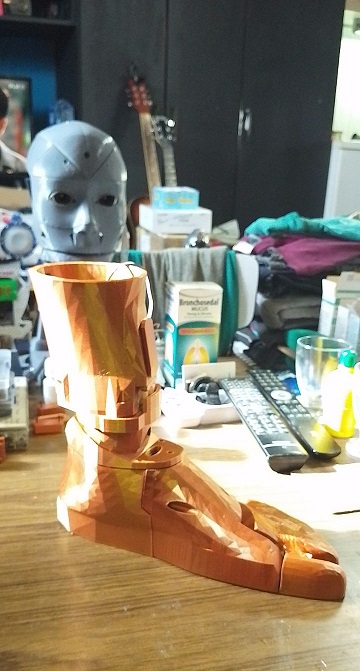
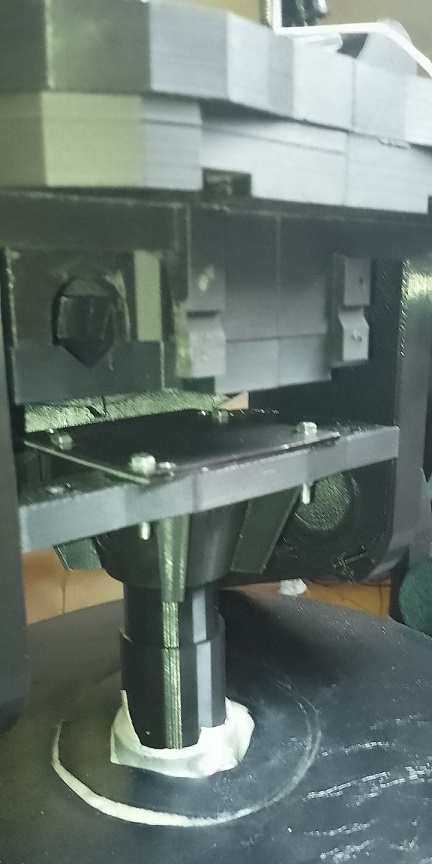
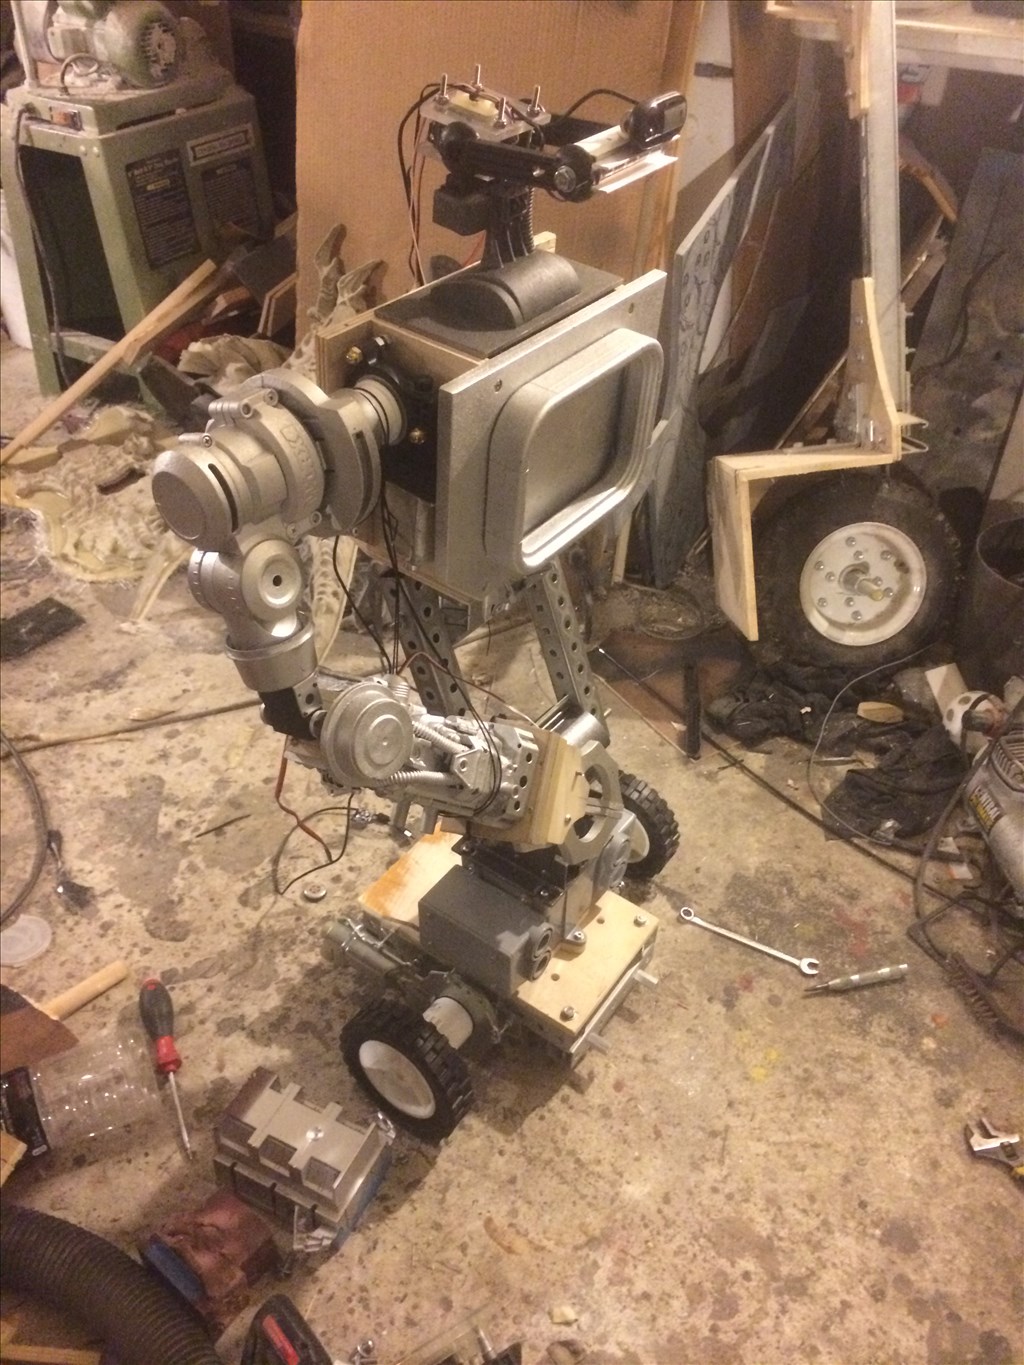
almost have one foot reddy . and the foot is going to be moveble . i post the folder later when all is bin tested . pictur is ankle leftfoot . the foot will be turnble left&right . the knees will be moveble by hand .
hi all
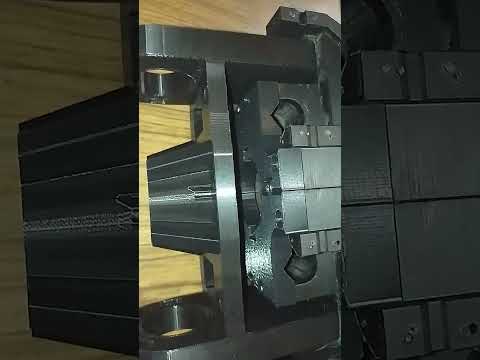
i notest that the ankle and hiel doesn lock . so i set my brain to thinking . and this is the solution . 4 tiny pins and a little block . the little block prevents from the pins comming out . i will test this ,when reddy i post the folder here .
https://www.youtube.com/shorts/_x5j6v0LEtk
hi averyone
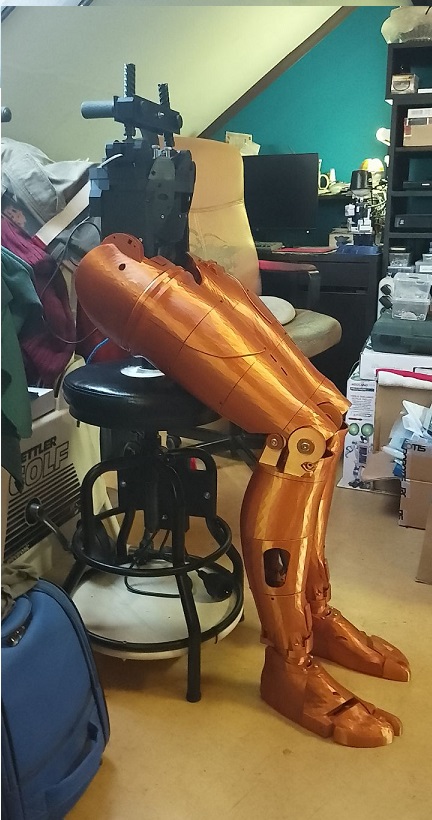
left foot almost reddy for testing .
some pictures
hi
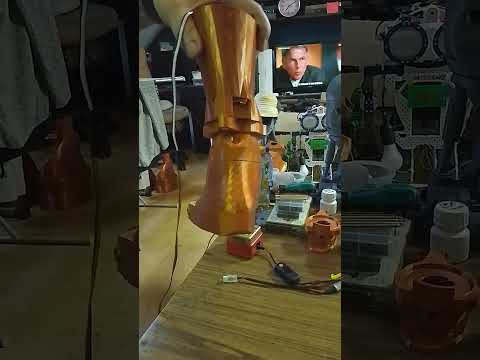
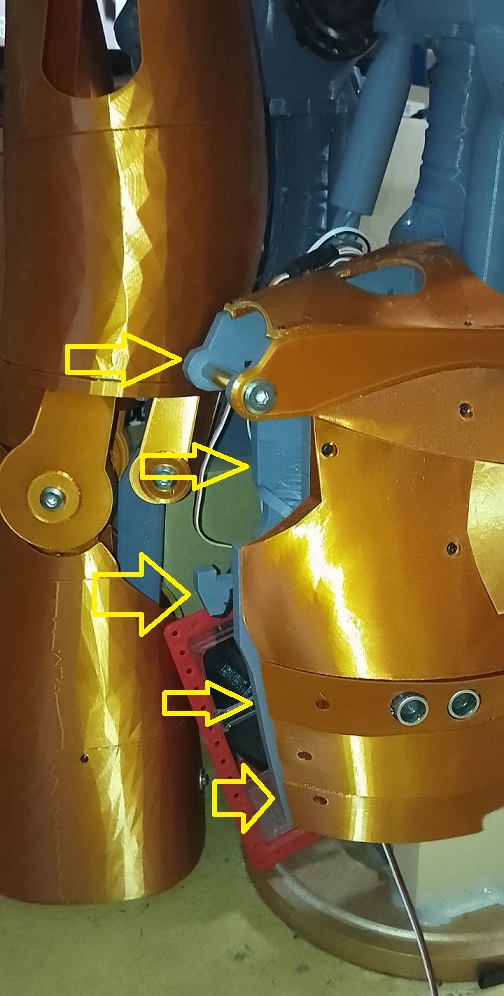
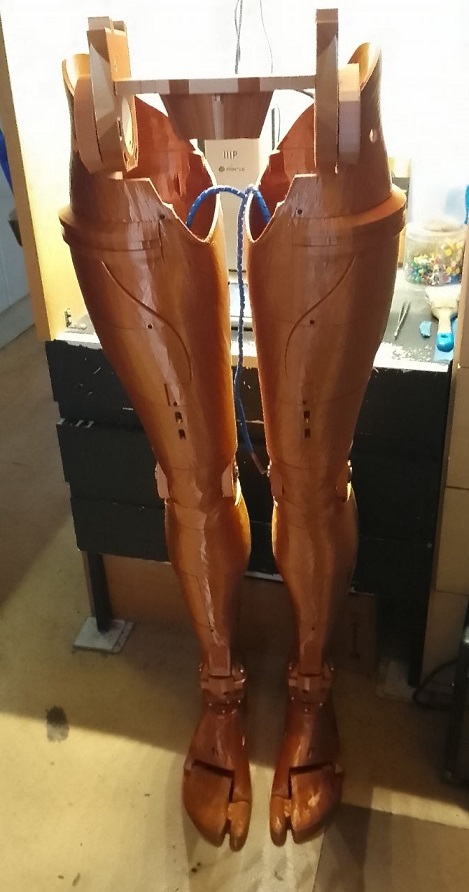
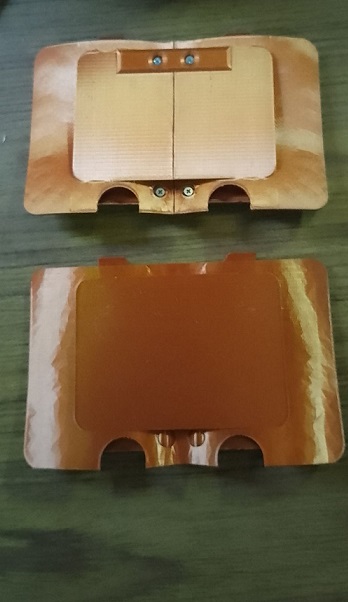
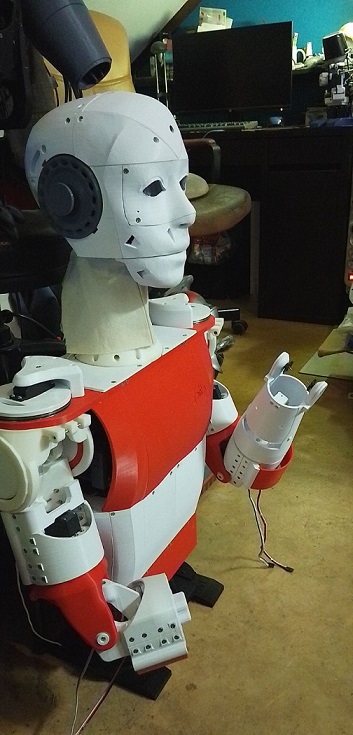
one left turneble foot reddy . the color copper is a little like glas , not so very strong as regular grey , black , green , yellow PLA . copper is good for excample outher body parts , not the main , body parts that carry most of the weight .
little videocool
send.zip
Very smooth. So you say the copper color is not as strong as the others. Are you going to reprint this part in a stronger PLA?
hi dave
yes the copper is not so strong . its good for out side parts . i keep the foot cause it doesn need to carry a load or stand on it . so no reprint is needed . i keep the main structure of the inmoove , in grey PLA .as you can see in the picture . the main structure is grey , and ontop that is the copper .