


hi all
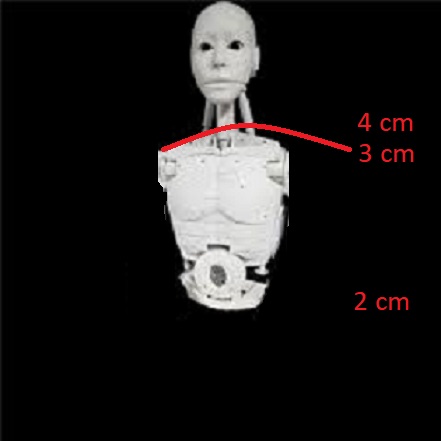
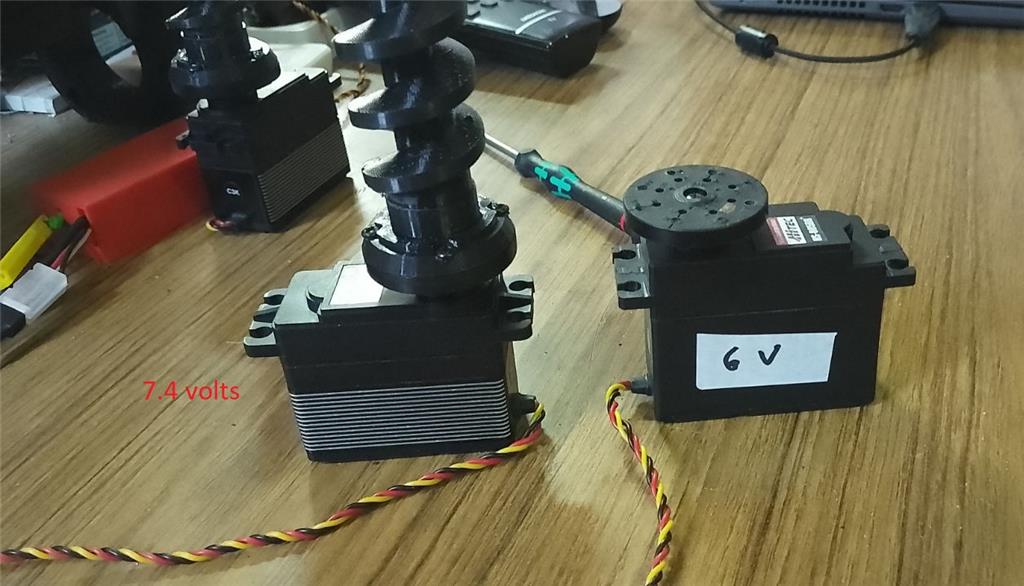
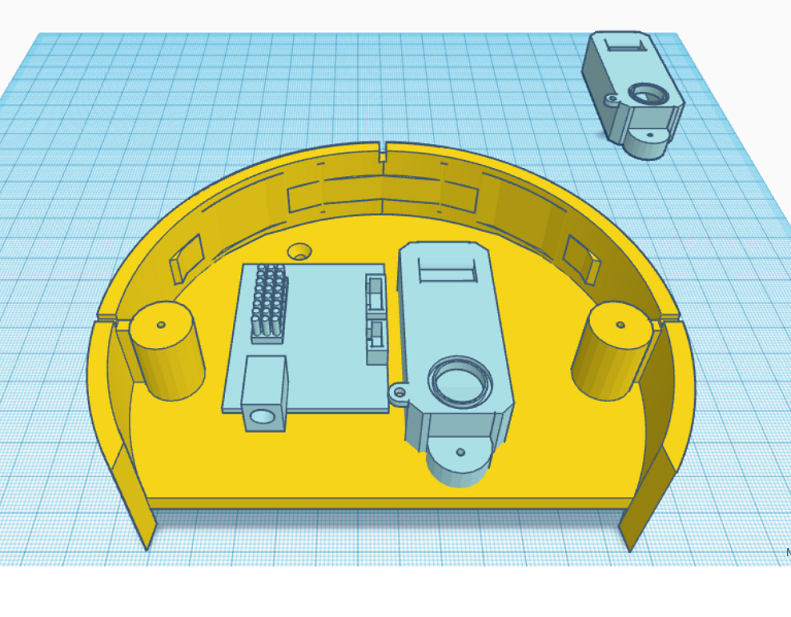
I've created a modified version of the EZ Robot head, featuring both side-to-side and up-and-down (yes) movements. This new design includes an improved base for the head, accommodating three additional HDD servos. There's an option to install two cameras, with the base designed to allow passage for a second camera cable. This setup is ideal for incorporating additional IoT devices or EZBV4, for instance, for LED lighting. Conveniently, there's no need to remove the potentiometer from a servo, as the 1 to 180-degree range provides ample movement. The base height is 7.2 cm.
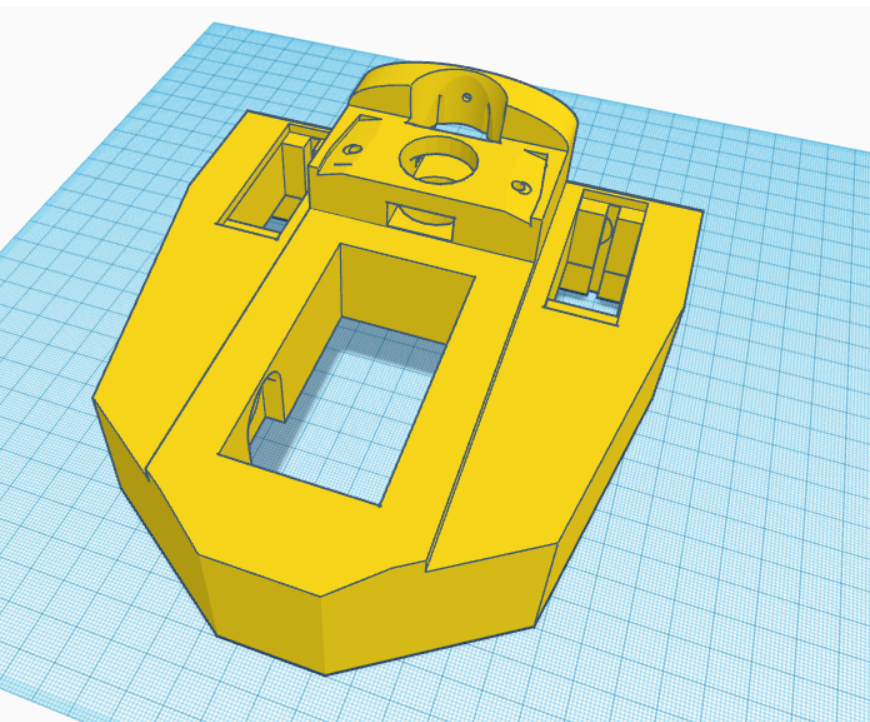
The pistons are original components from InMoov, and the neck base in EZ Robot is correctly designed.
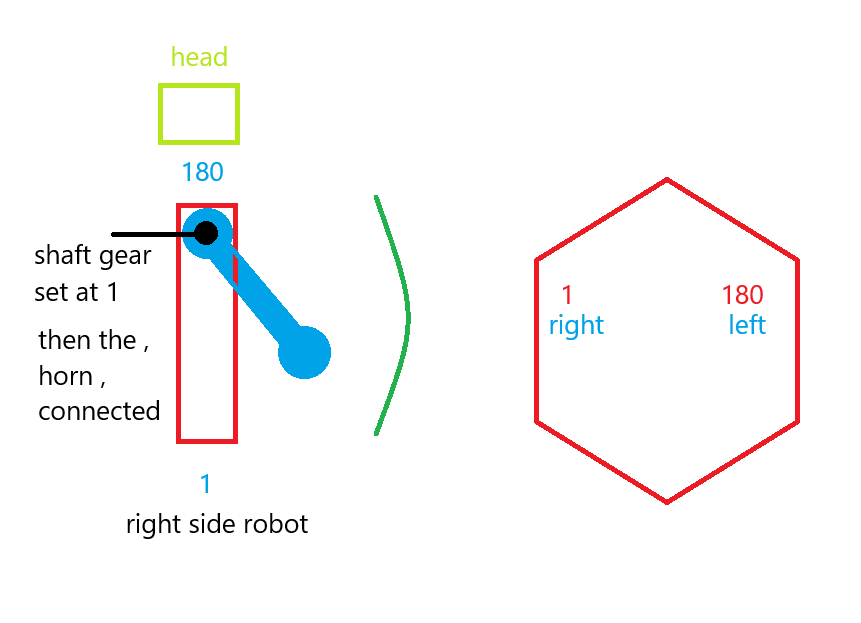
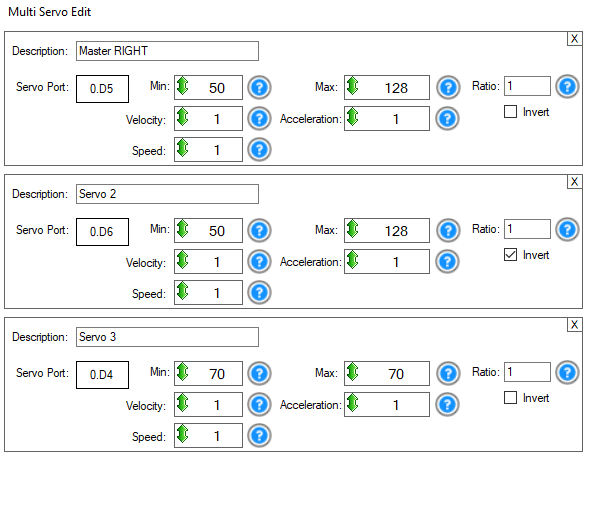
For moving the side pistons, adhere to these settings:
Programming
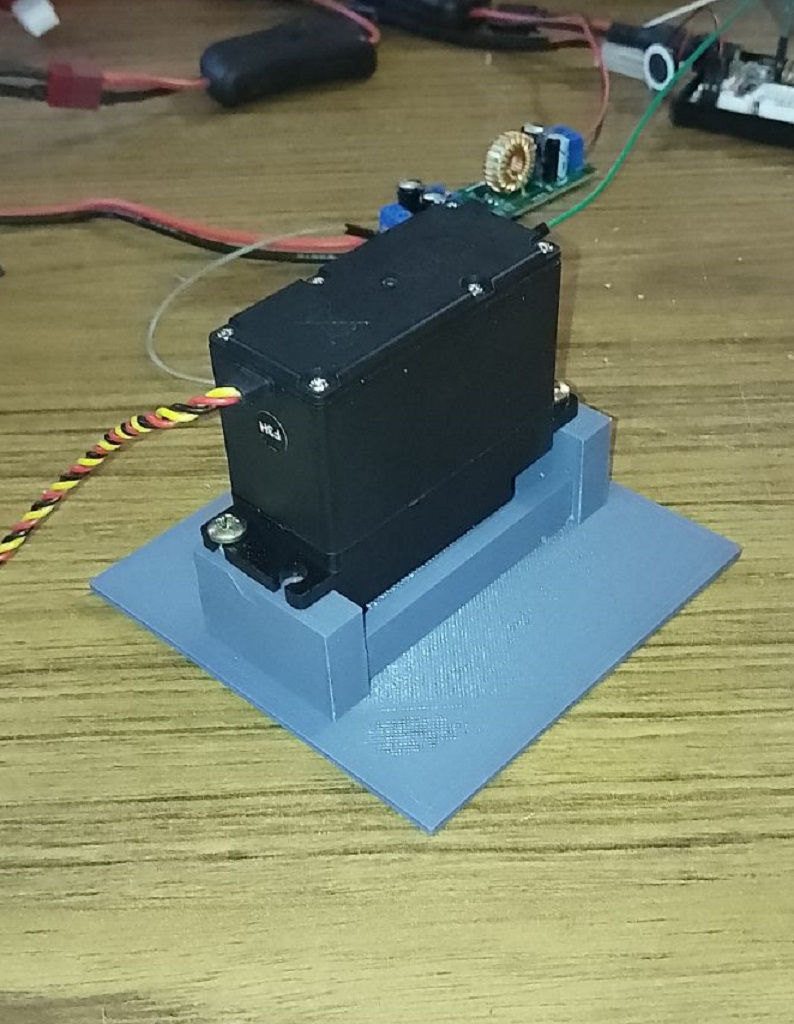
Adjusting the side pistons can be a bit complex. Start by calibrating your HDD servos. Then, align the inner piston with the holes in the piston base and secure it with a screw. For the second side piston, align it similarly, then disconnect the IoTiny. This allows you to manually adjust the previous piston to properly position the second one. The original documentation on EZ Robot is extremely helpful in this process.
Parts & Materials
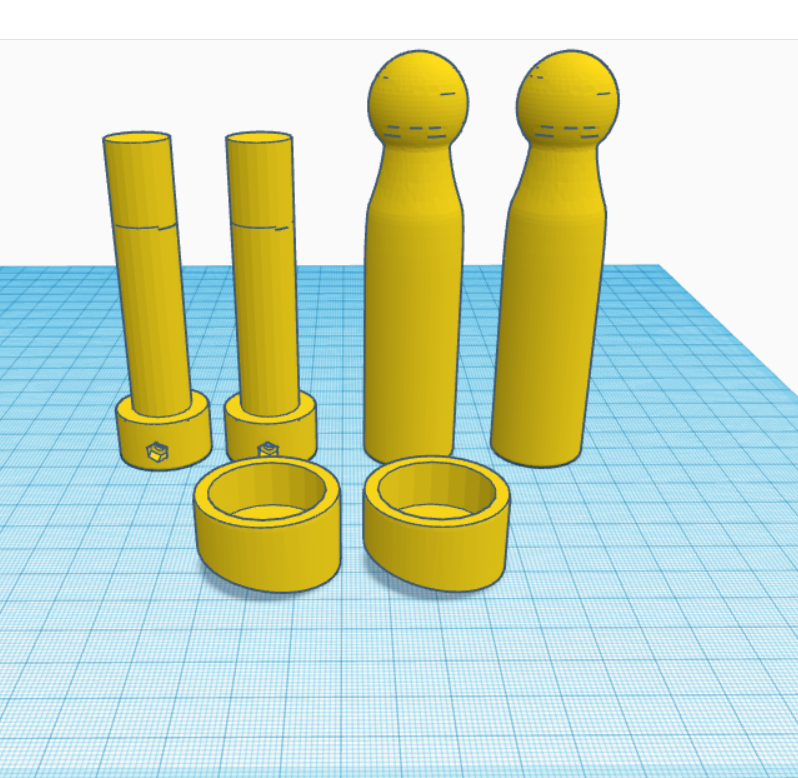
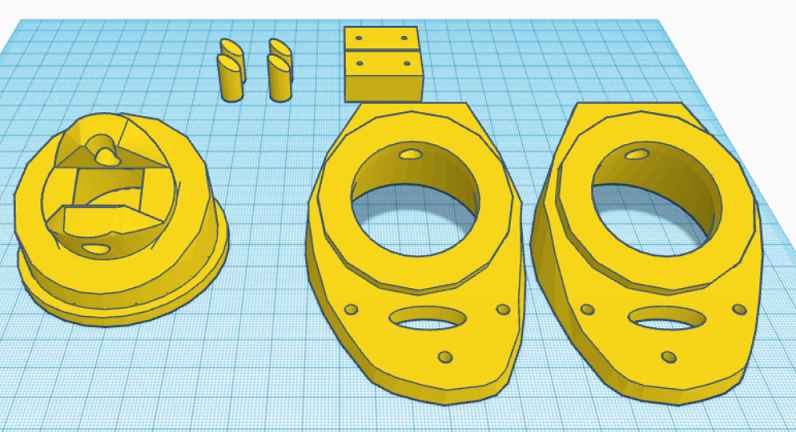
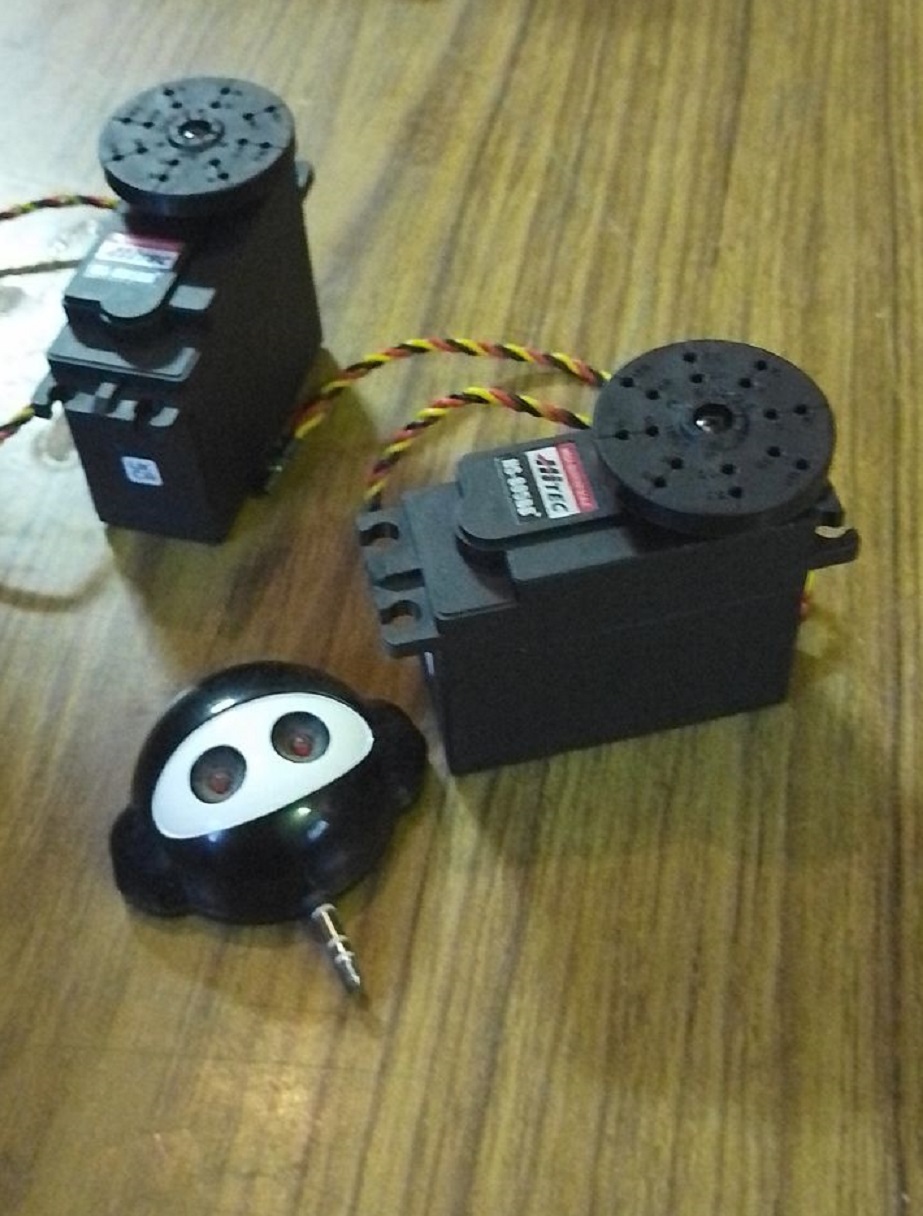
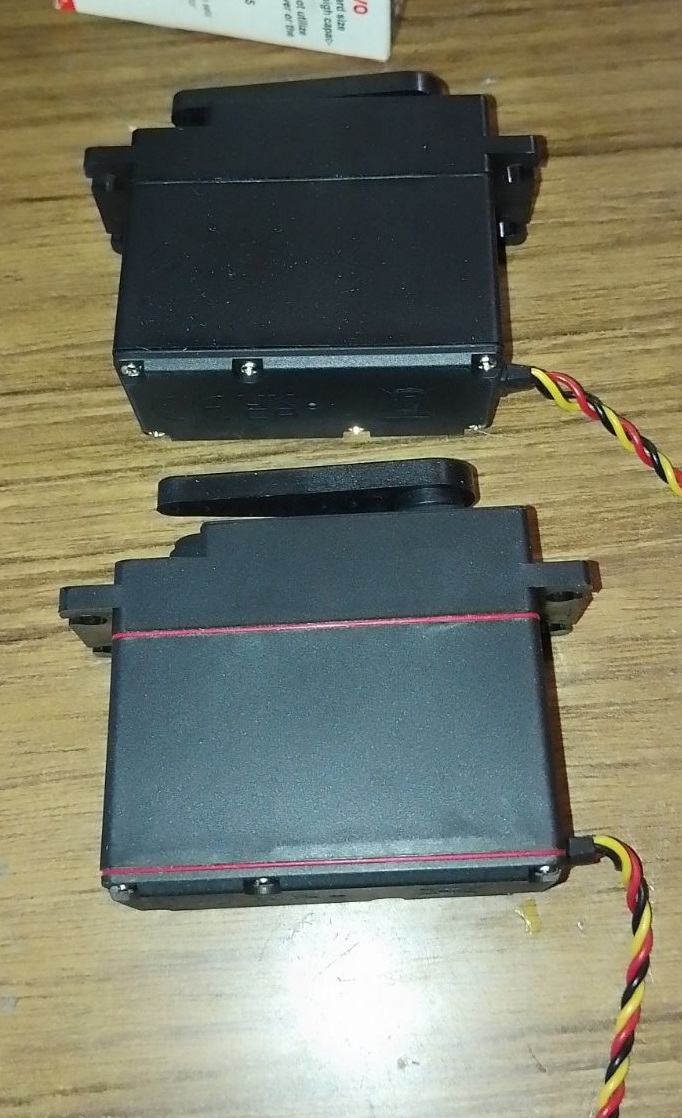
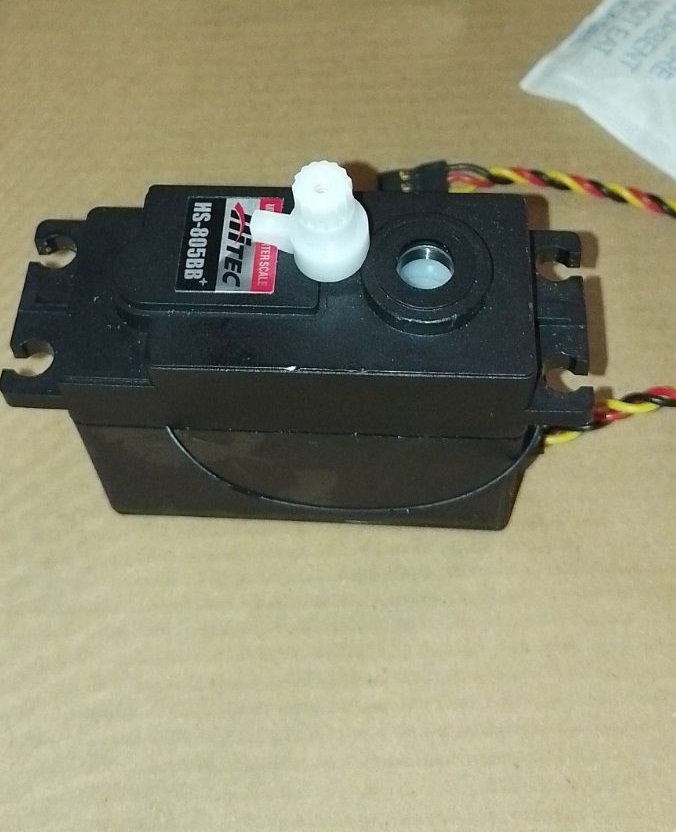
You'll need 3 extra HDD servos and grey PLA filament. The drive shaft parts should be printed with a 35% infill and a gyroid pattern in your slicer for enhanced strength. Other parts can be printed according to your preferences. Additionally, there's an optional neck extension, offering one to three extra vertebrae for more piston movement space. In my experience, the two-vertebrae option works best.
Discover more robots
DJ's Cyborg Snowman
Dave's First Real Look At My Ez-B Controlled Full Size Lis...

hi
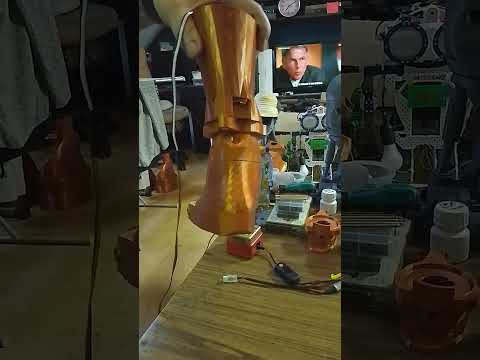
first part is in place . can you see what i changed ?
hi
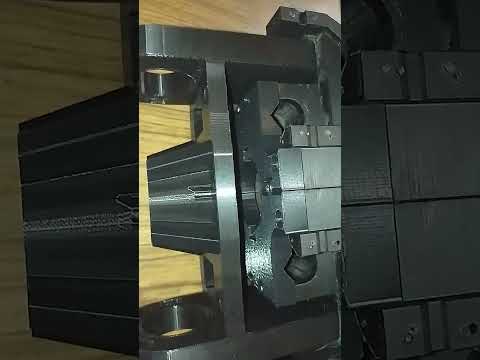
made a simpel tool to dril your tiny holes in the right place . using a bad servo or older one .
https://www.youtube.com/shorts/8G8yfa1uN6s
hi
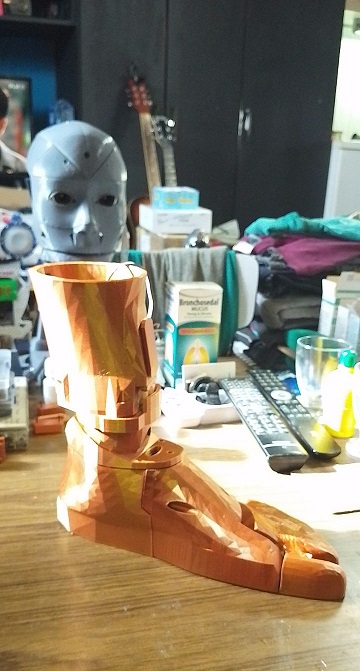
i'm making two inmoove heads . one with the cam in the left eye , and one with the cam in center .
hi all
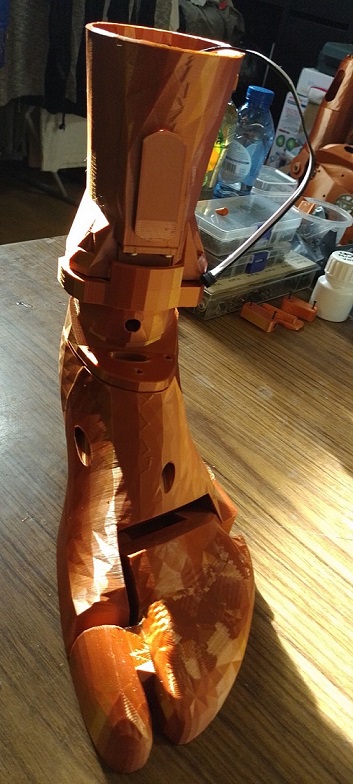
i adjusted the files for the camera in the front of the head . i use some hot glue to keep the cable and cam in place . its a long print but it looks great .
frontcamera.stl
Nomad I am really enjoying watching the progress on your build. I look forward to future updates and seeing the finished project. Thanks for sharing. .
hi nink
i'm printing the new base for it . all parts are adjusted and modified . i post the folder and video later .
thanks for following along .
hi averyone
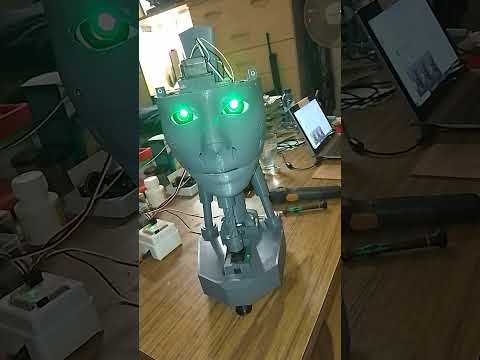
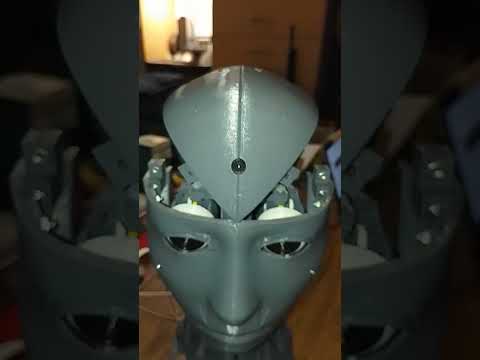
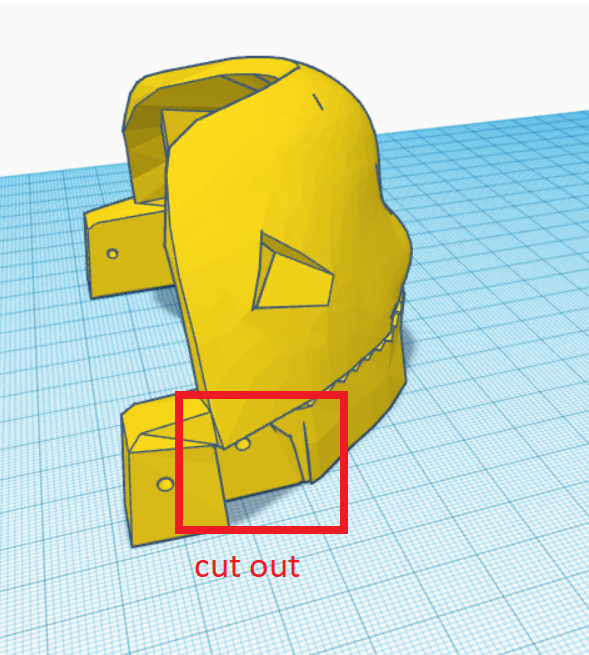
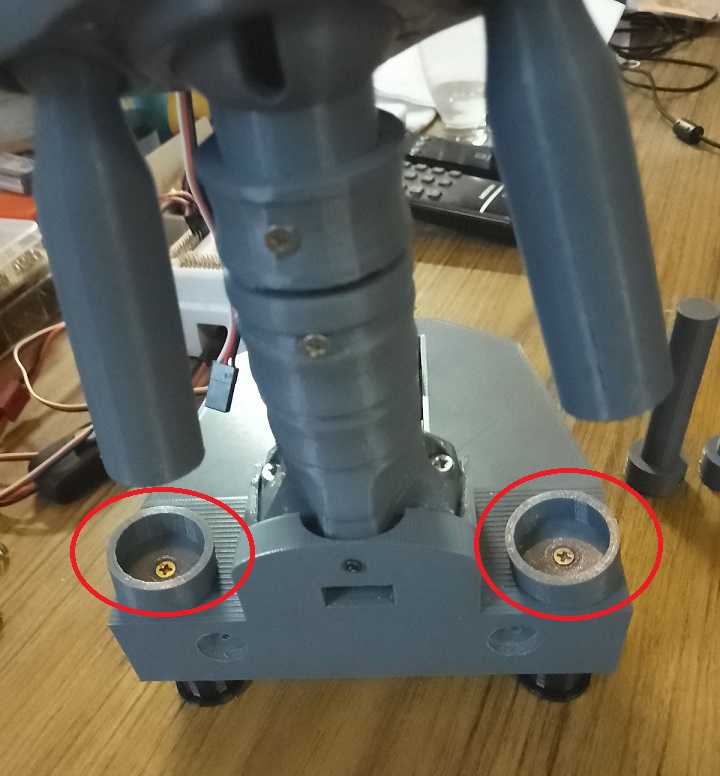
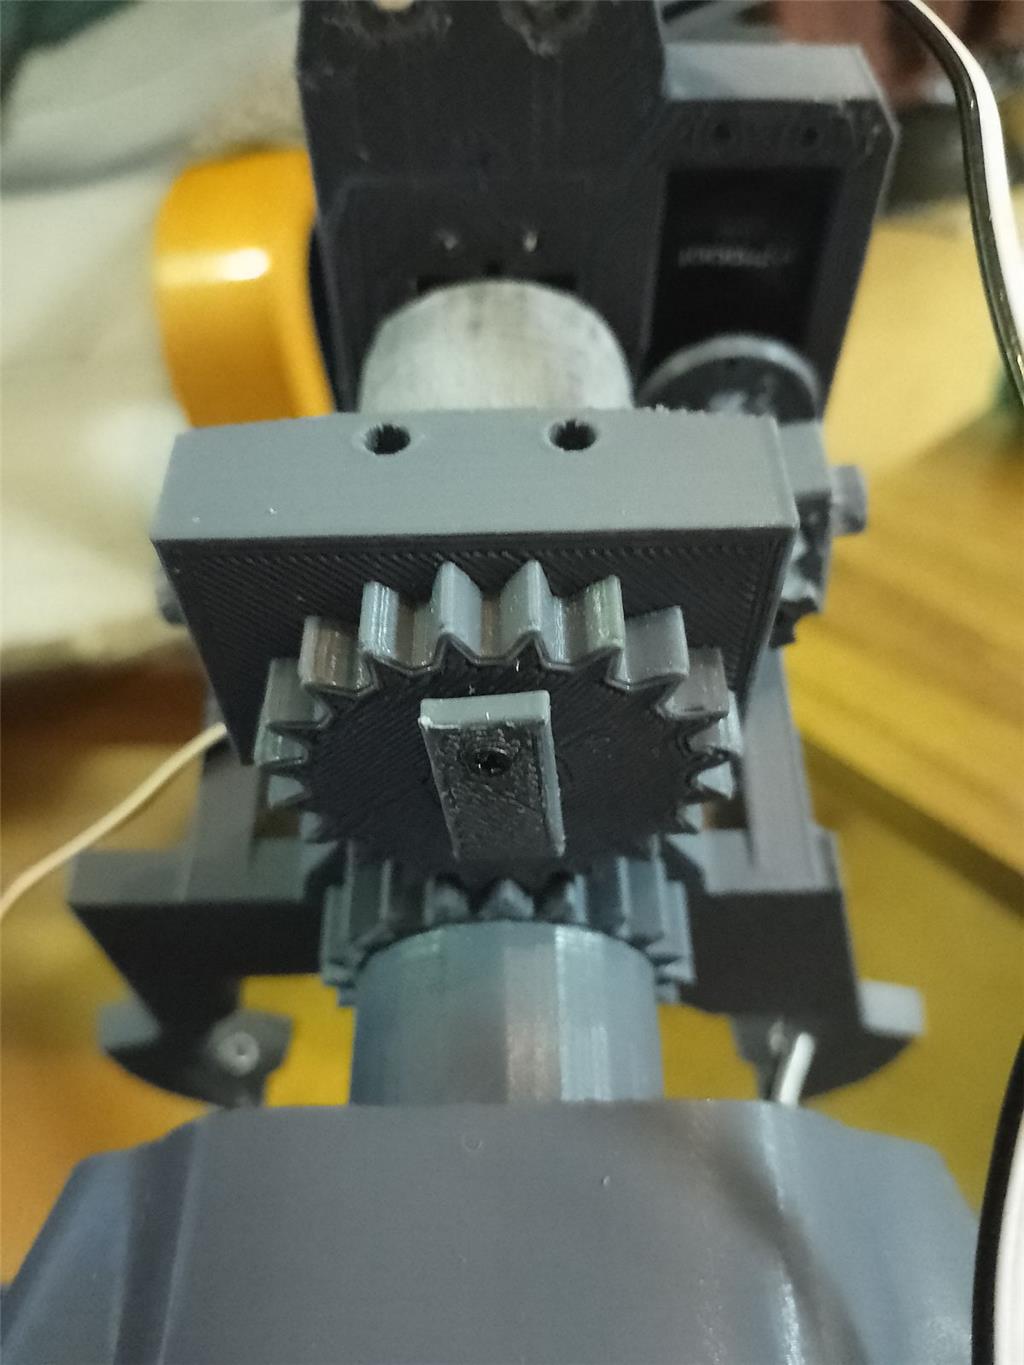
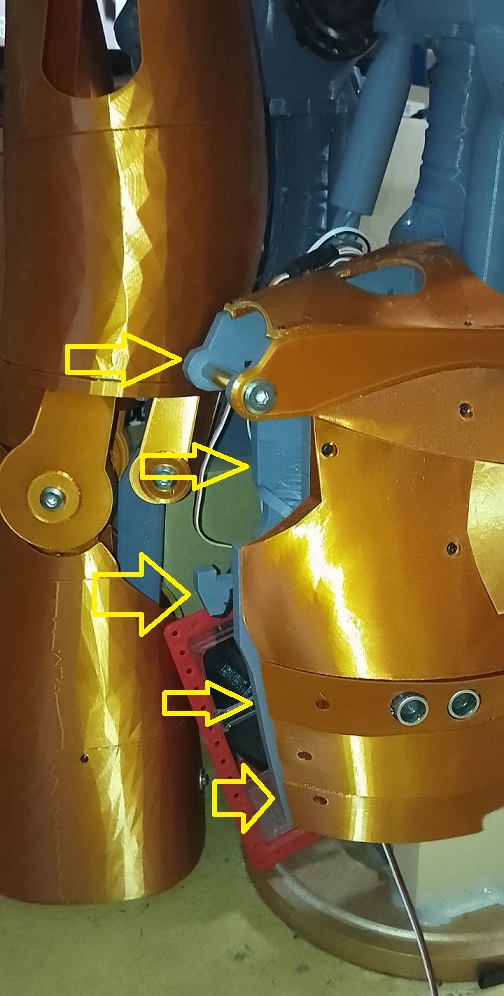
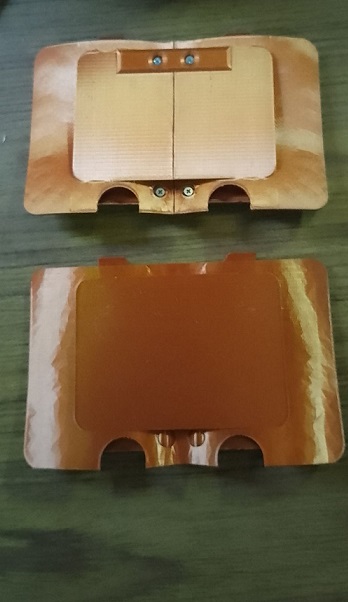
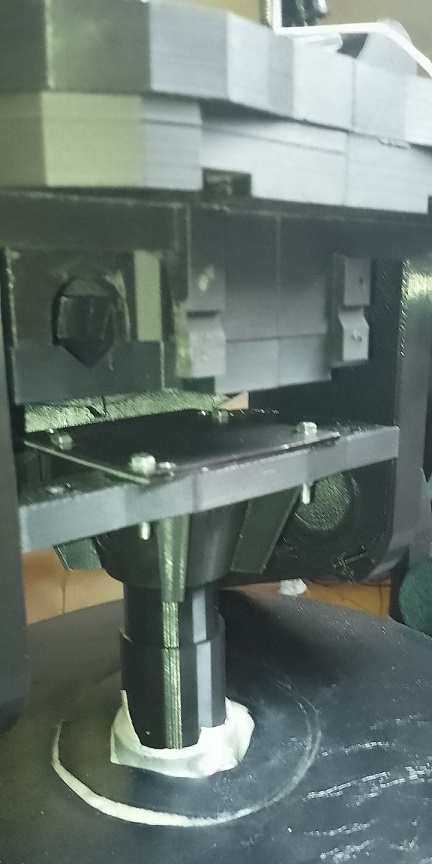
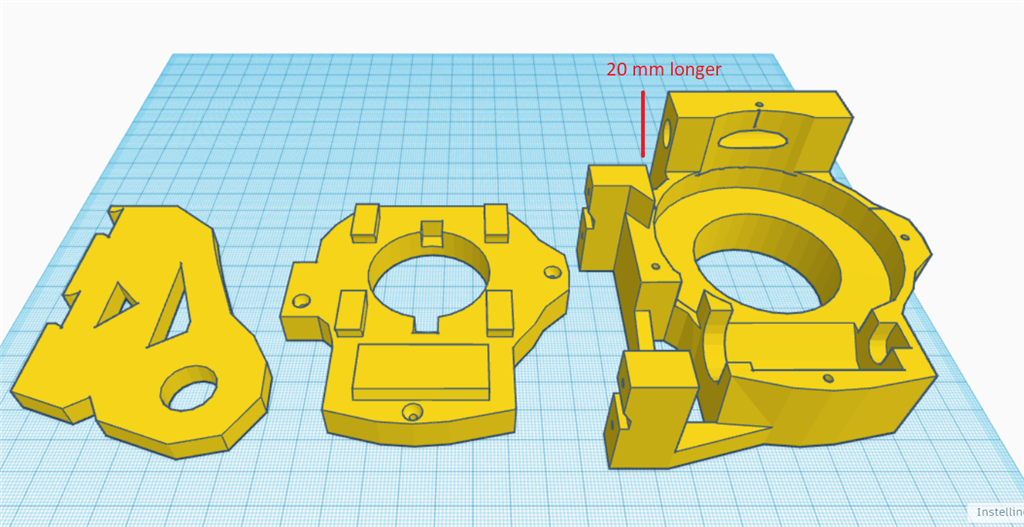
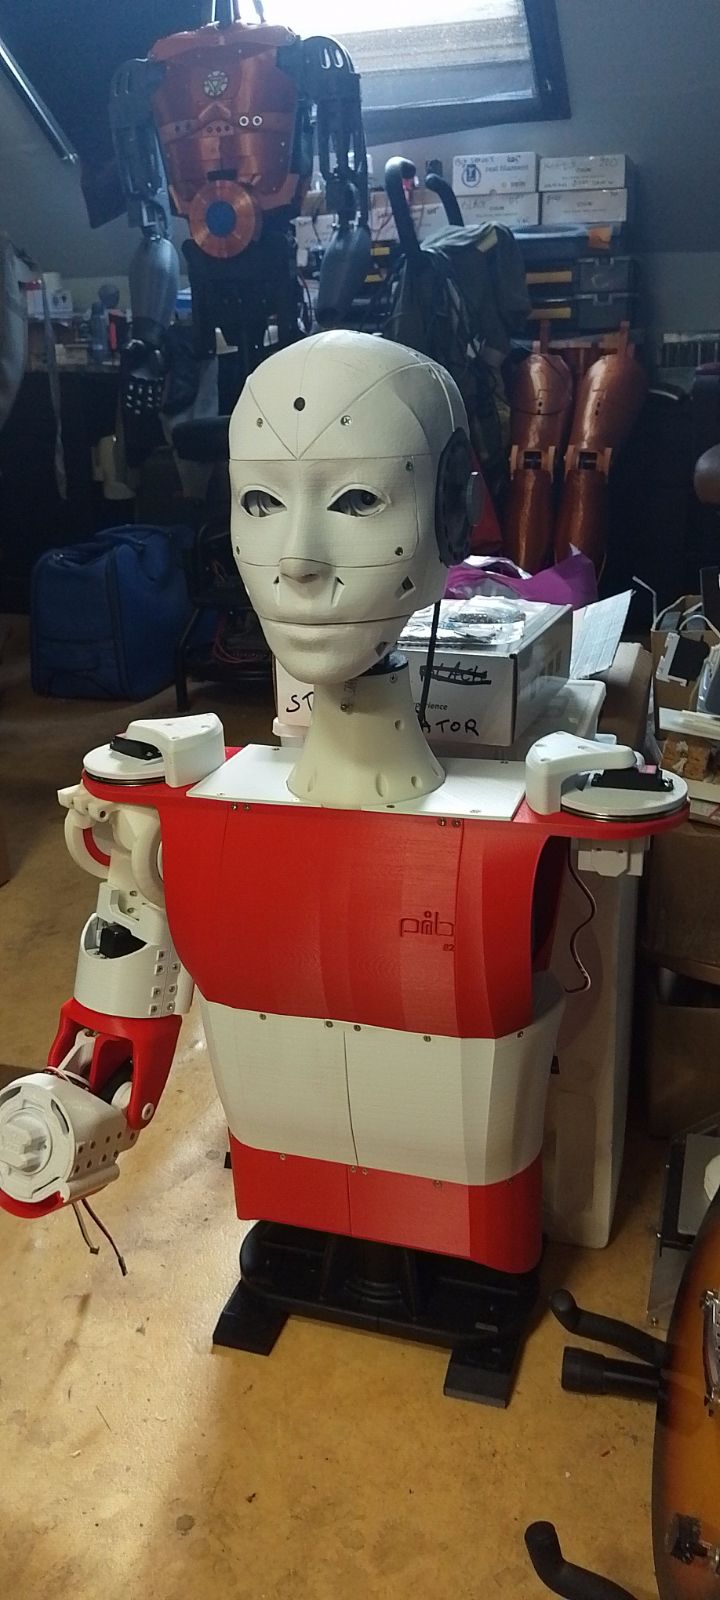
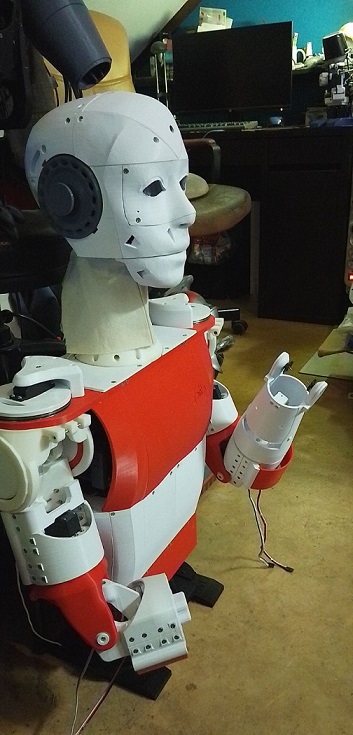
the springloaded head is reddy . only needed one extra servo for the yes motion . the base takes about 2 days to print . modified parts are . the mouth , mouth hinges , lowerbackskull , front top head for the camera to fit ,longer neck ,side inner pistons . headframe .more pictures to come later .averything els is original .there is also, a lockpin for the back servo for the no motion . to keep the screw in place .
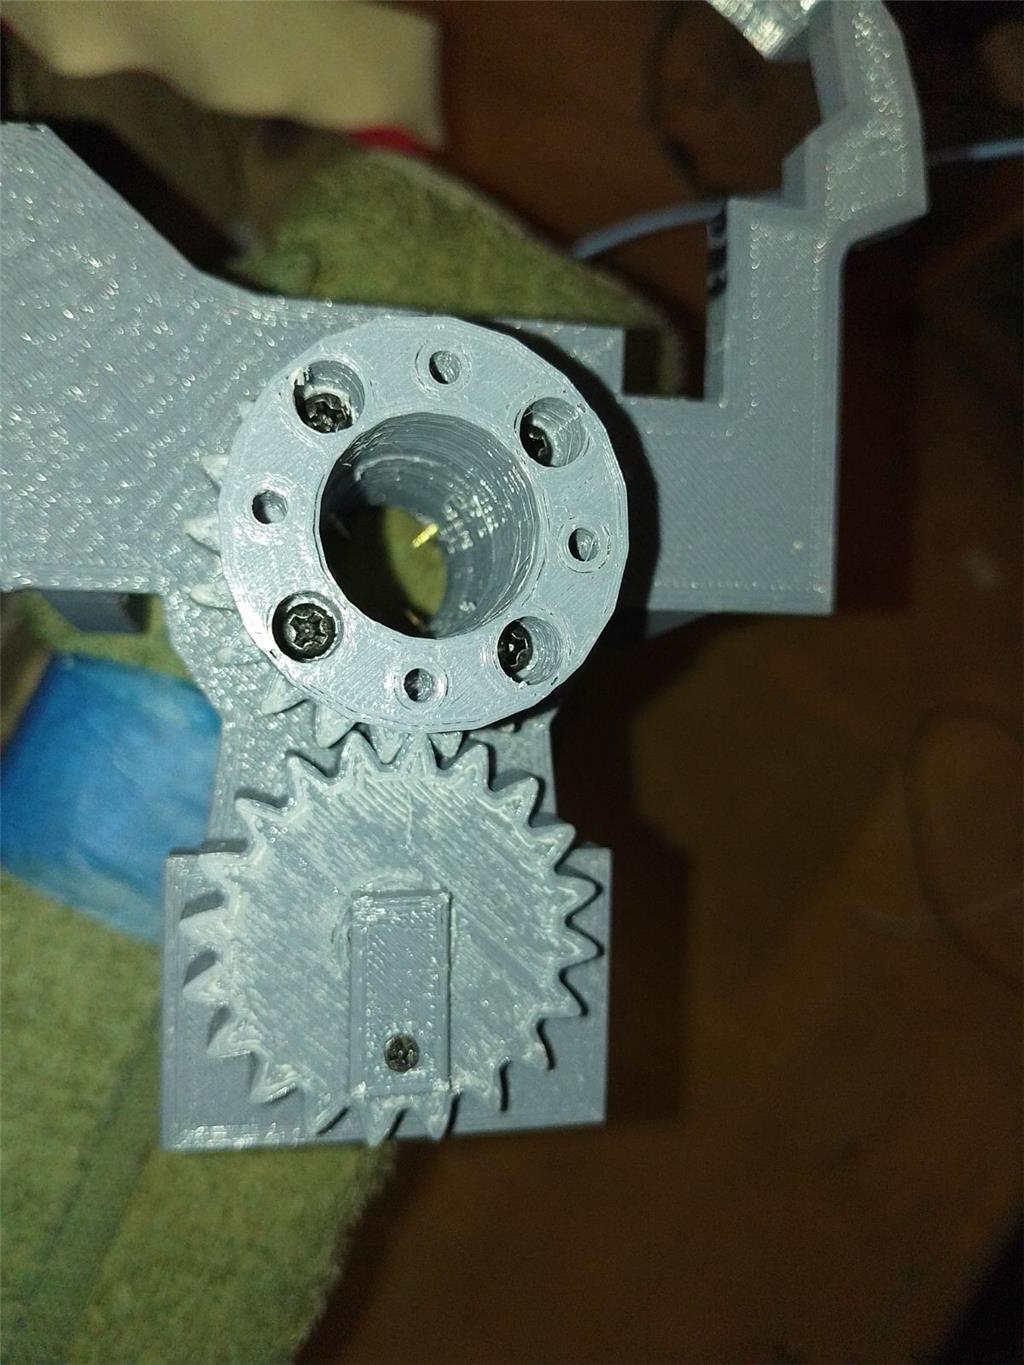
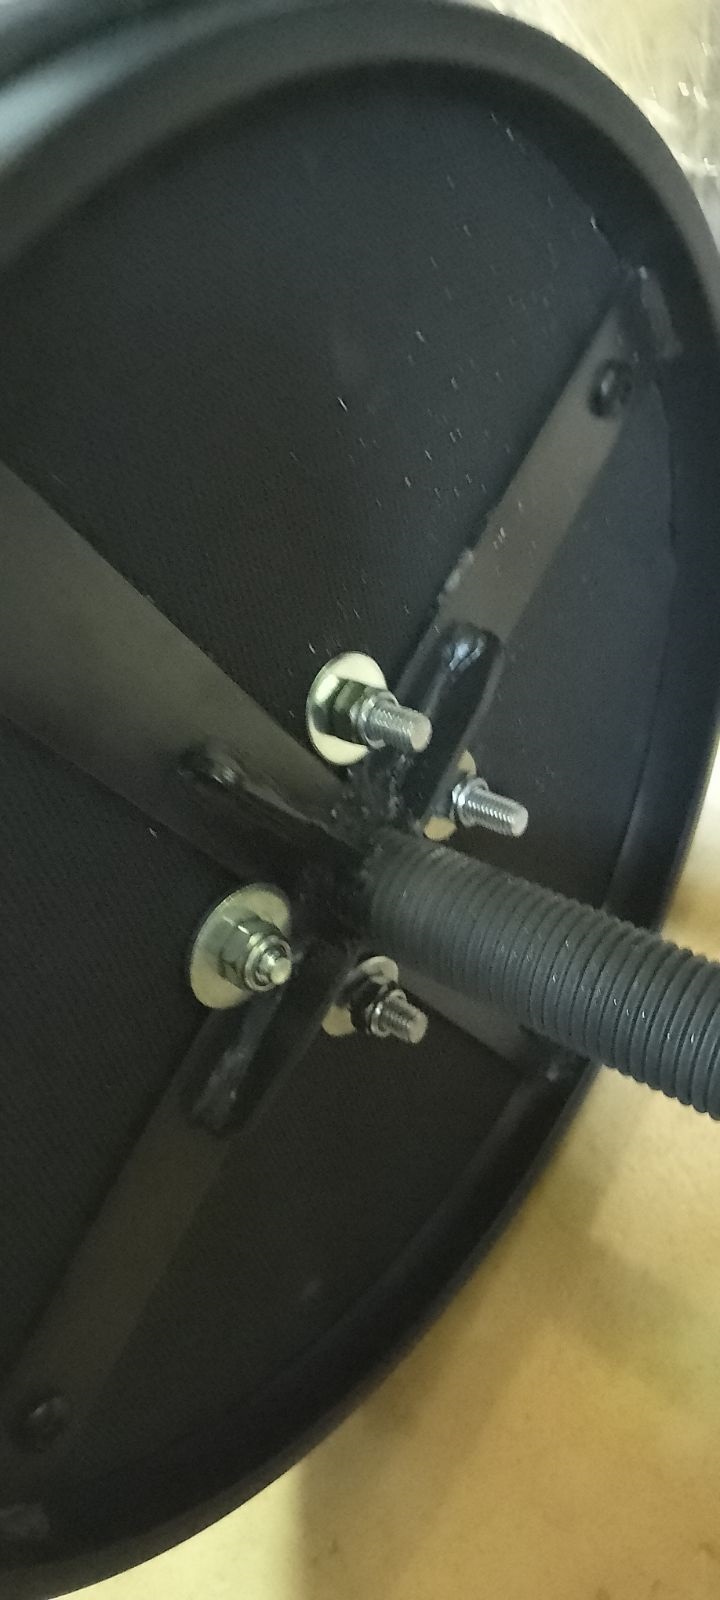
lockpin inside the hole gear . it prevent from the servo screw to fall out . also you can see the 20 mm spacer below .
little video . https://www.youtube.com/watch?v=2ZVNEoLbEHw&ab_channel=EDP
and the folder springloaded head
sendFolder.zip
hi
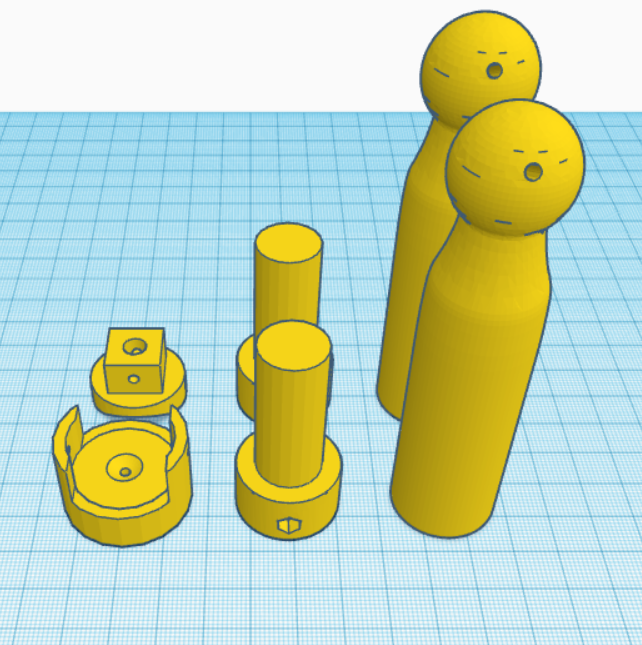
some more pictures.
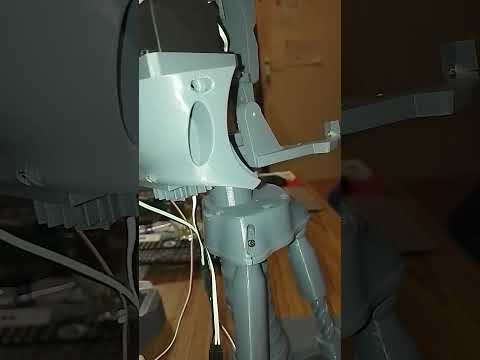
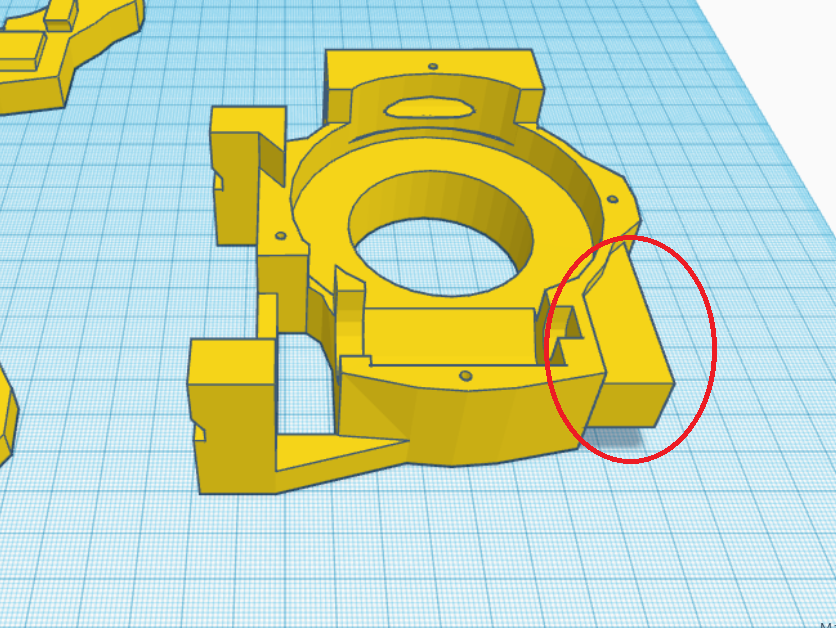
lockpin for keeping the servo screw in place so it cant fall out .
gear aline , spacer mounted.
tomorow more pictures . open neck mounted .