


hi all
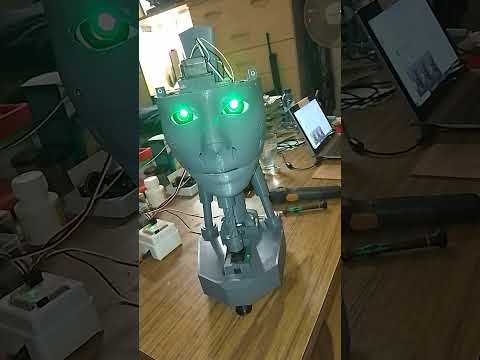
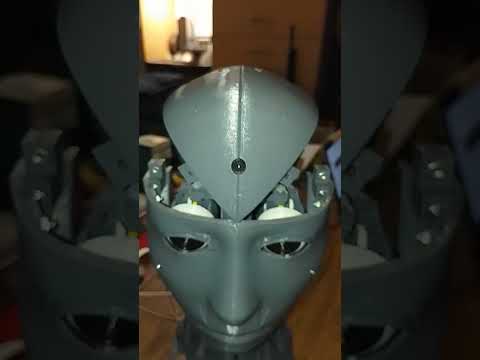
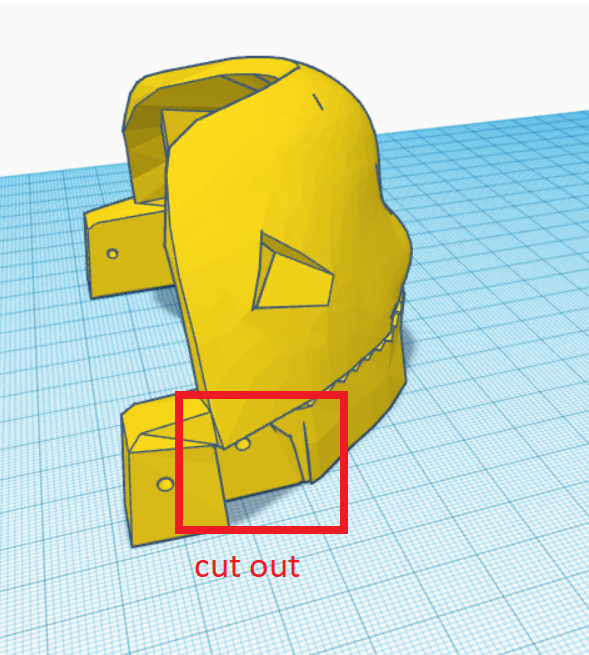
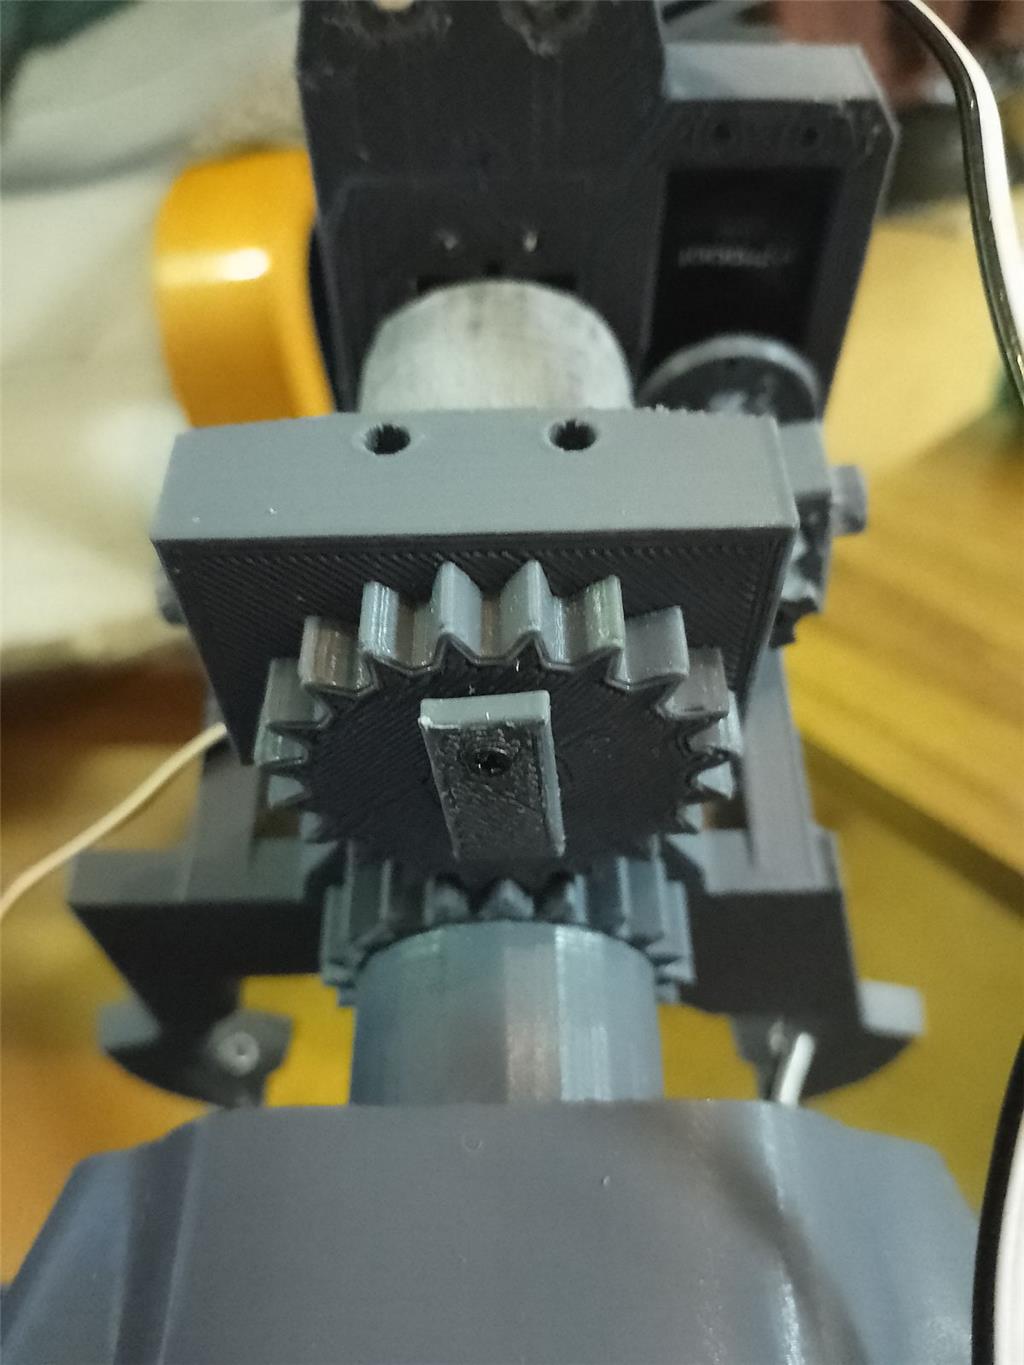
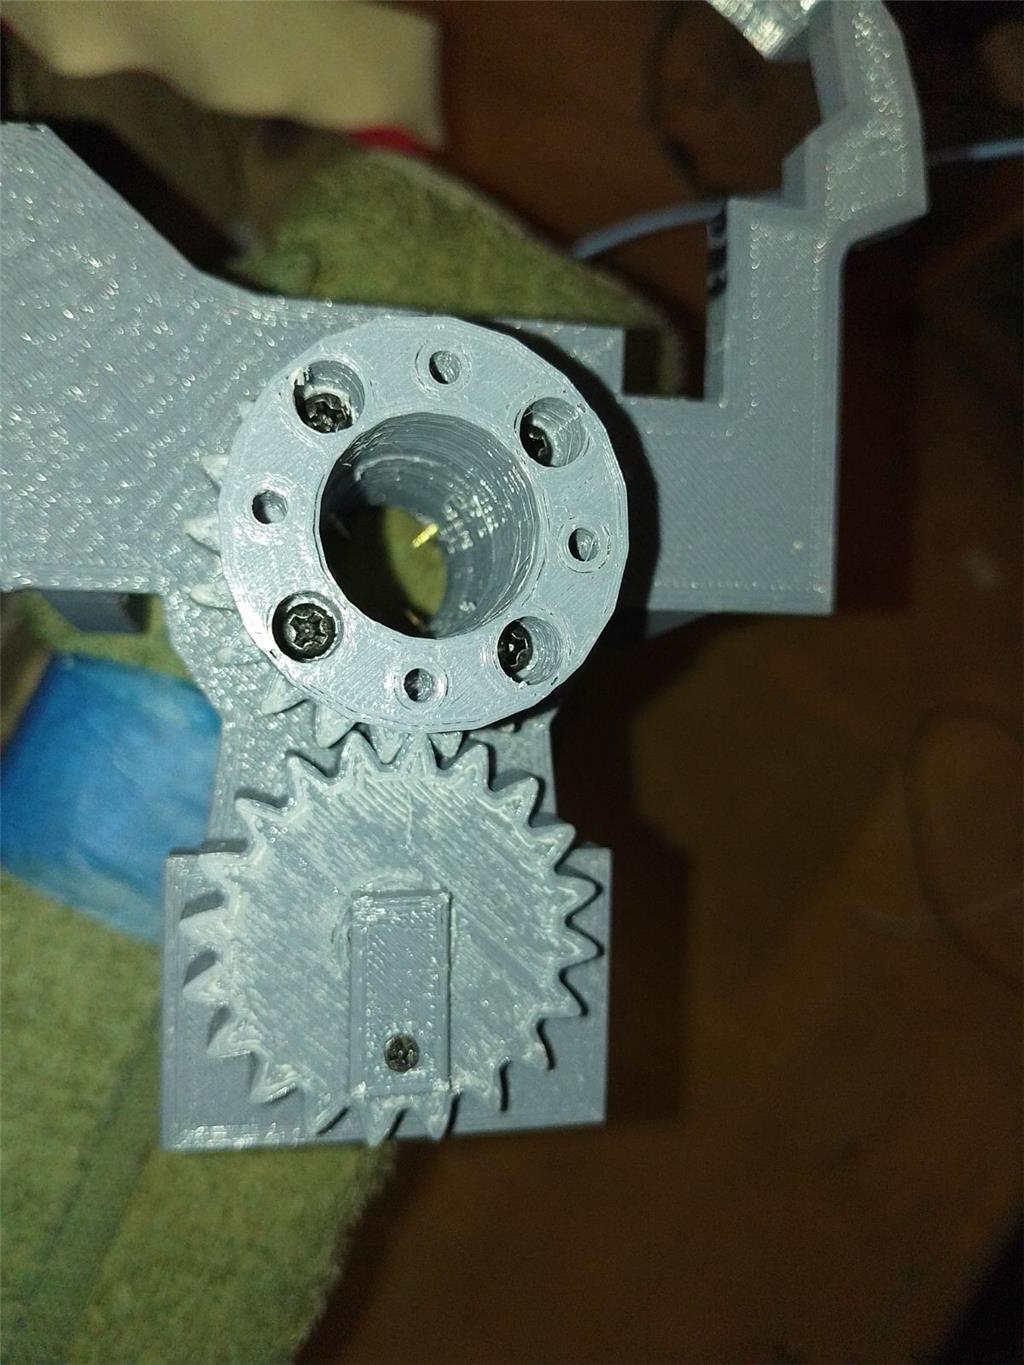
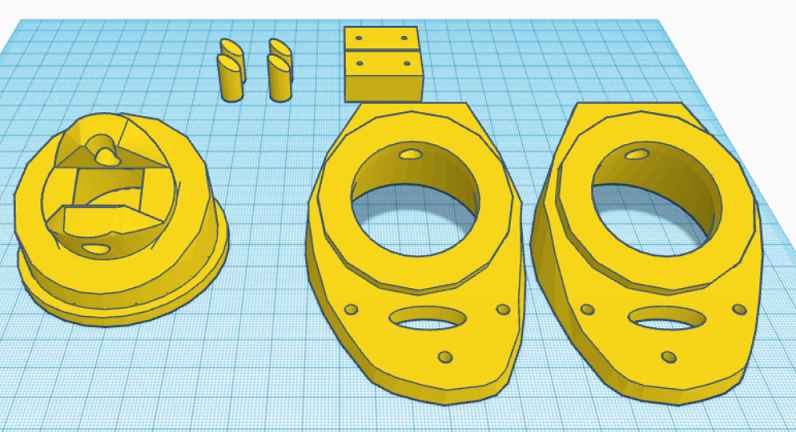
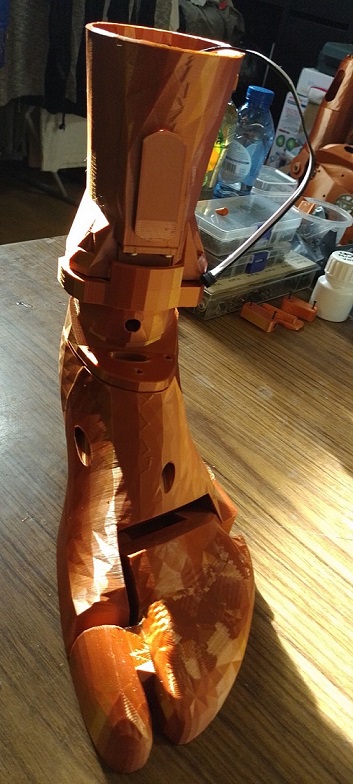
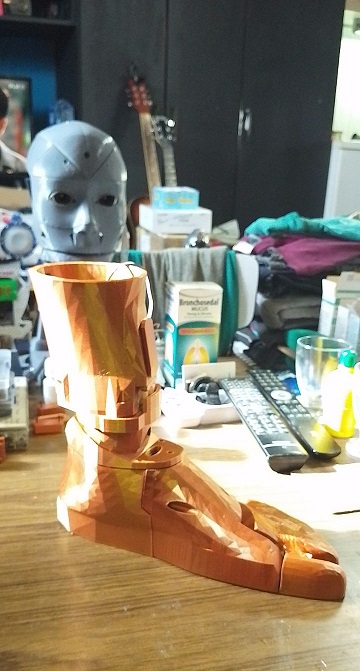
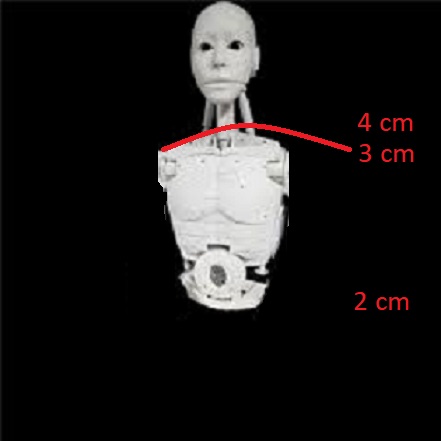
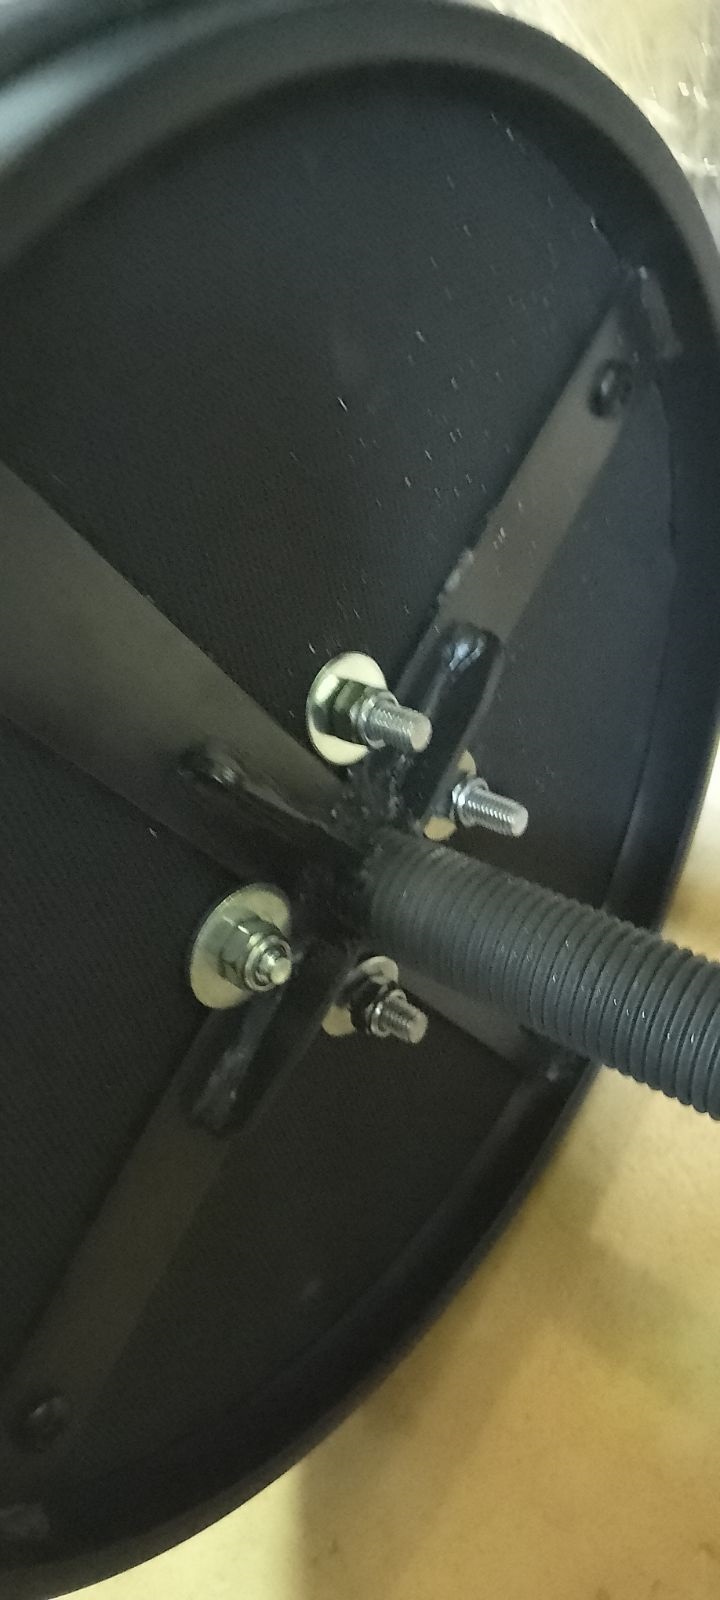
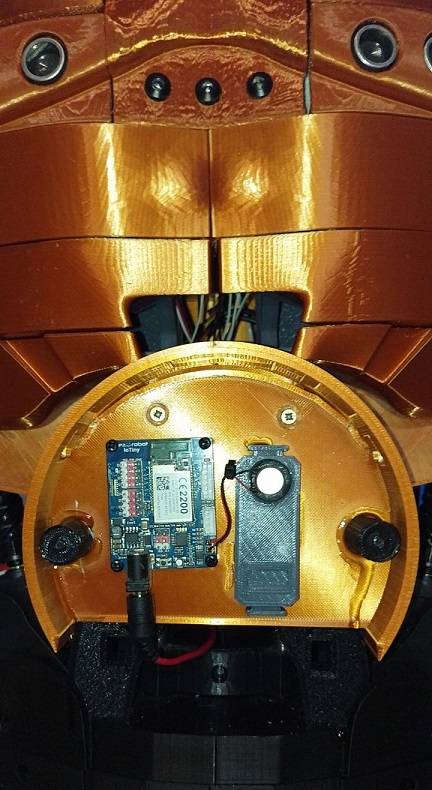
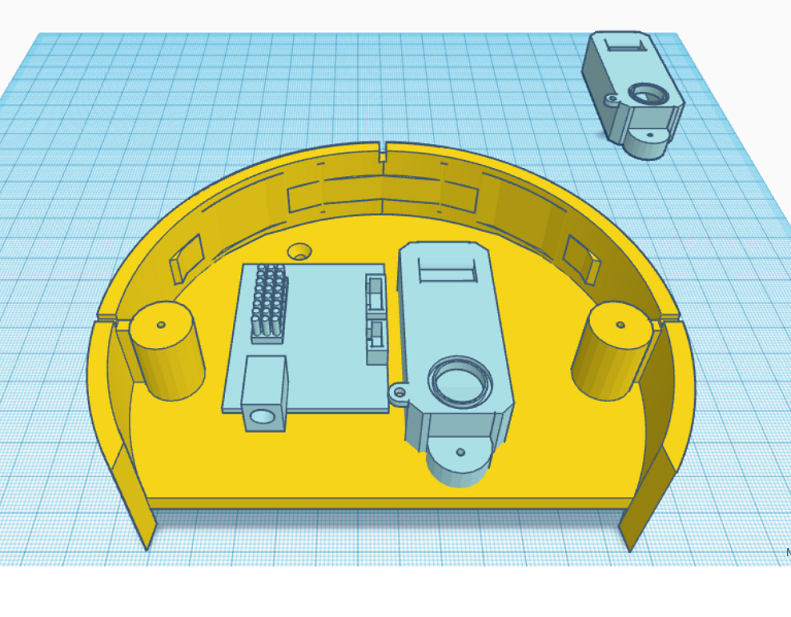
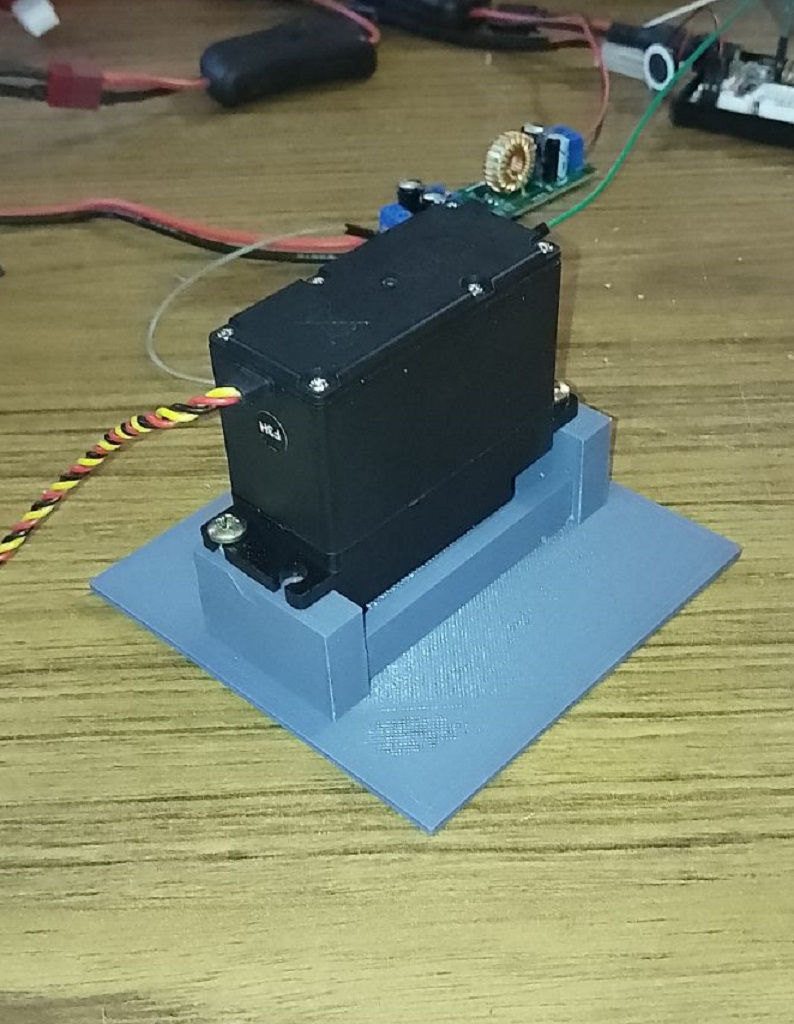
I've created a modified version of the EZ Robot head, featuring both side-to-side and up-and-down (yes) movements. This new design includes an improved base for the head, accommodating three additional HDD servos. There's an option to install two cameras, with the base designed to allow passage for a second camera cable. This setup is ideal for incorporating additional IoT devices or EZBV4, for instance, for LED lighting. Conveniently, there's no need to remove the potentiometer from a servo, as the 1 to 180-degree range provides ample movement. The base height is 7.2 cm.
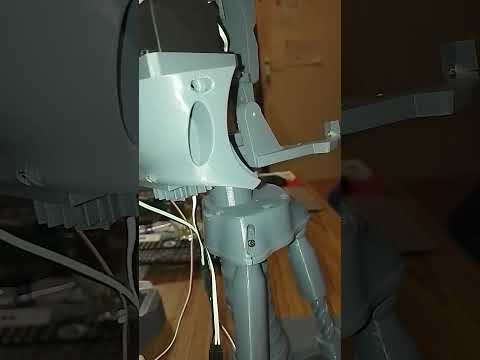
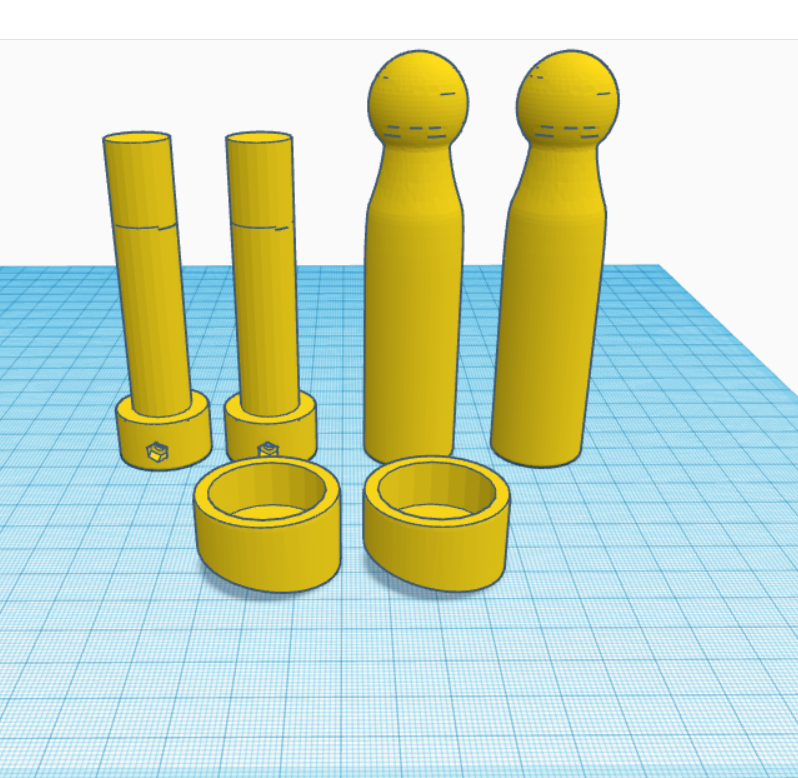
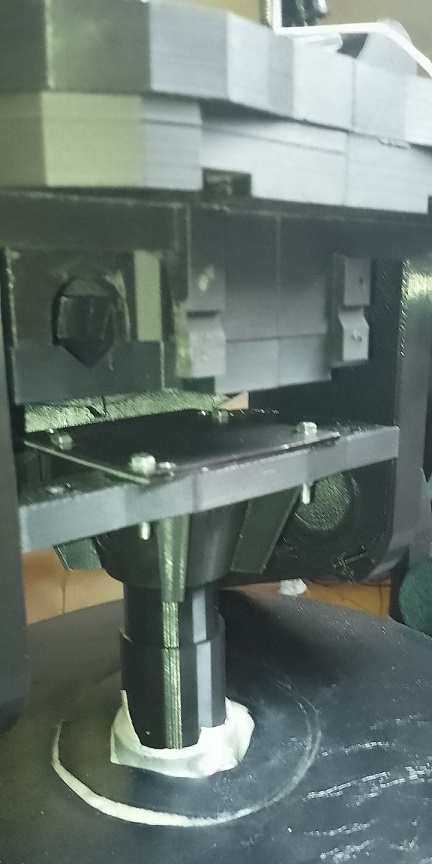
The pistons are original components from InMoov, and the neck base in EZ Robot is correctly designed.
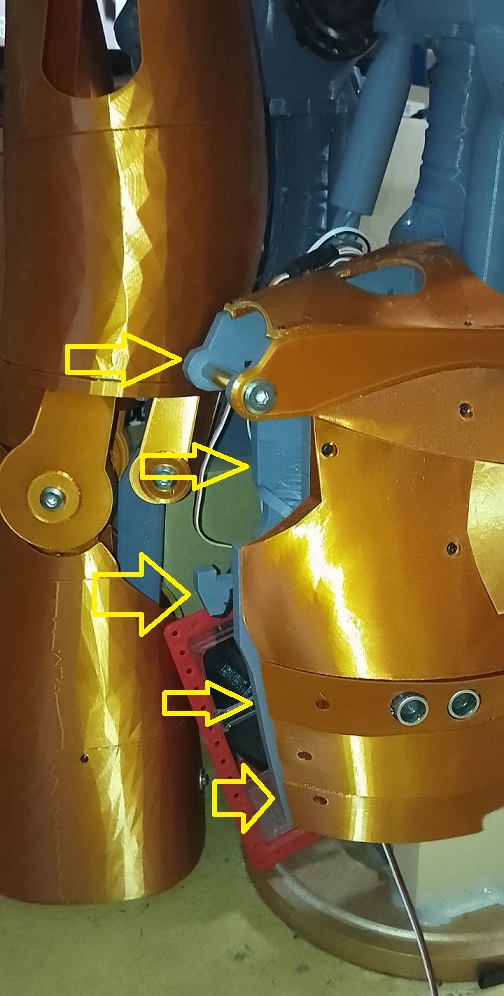
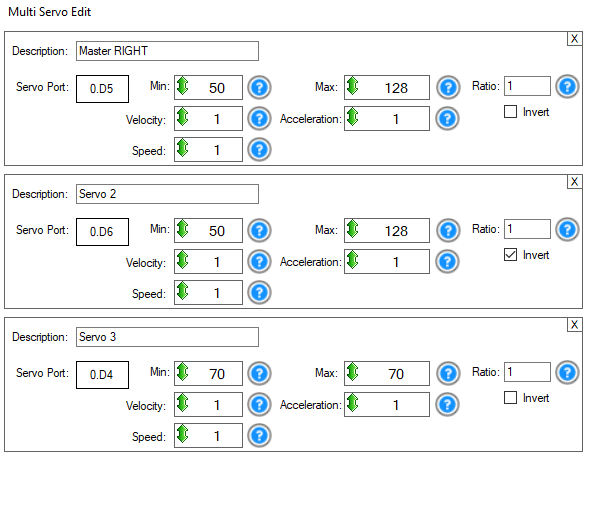
For moving the side pistons, adhere to these settings:
Programming
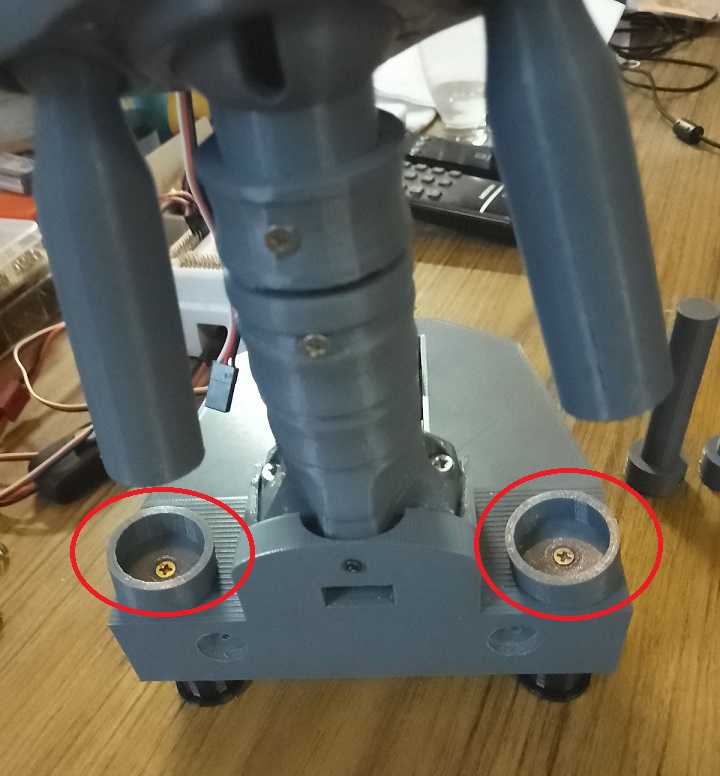
Adjusting the side pistons can be a bit complex. Start by calibrating your HDD servos. Then, align the inner piston with the holes in the piston base and secure it with a screw. For the second side piston, align it similarly, then disconnect the IoTiny. This allows you to manually adjust the previous piston to properly position the second one. The original documentation on EZ Robot is extremely helpful in this process.
Parts & Materials
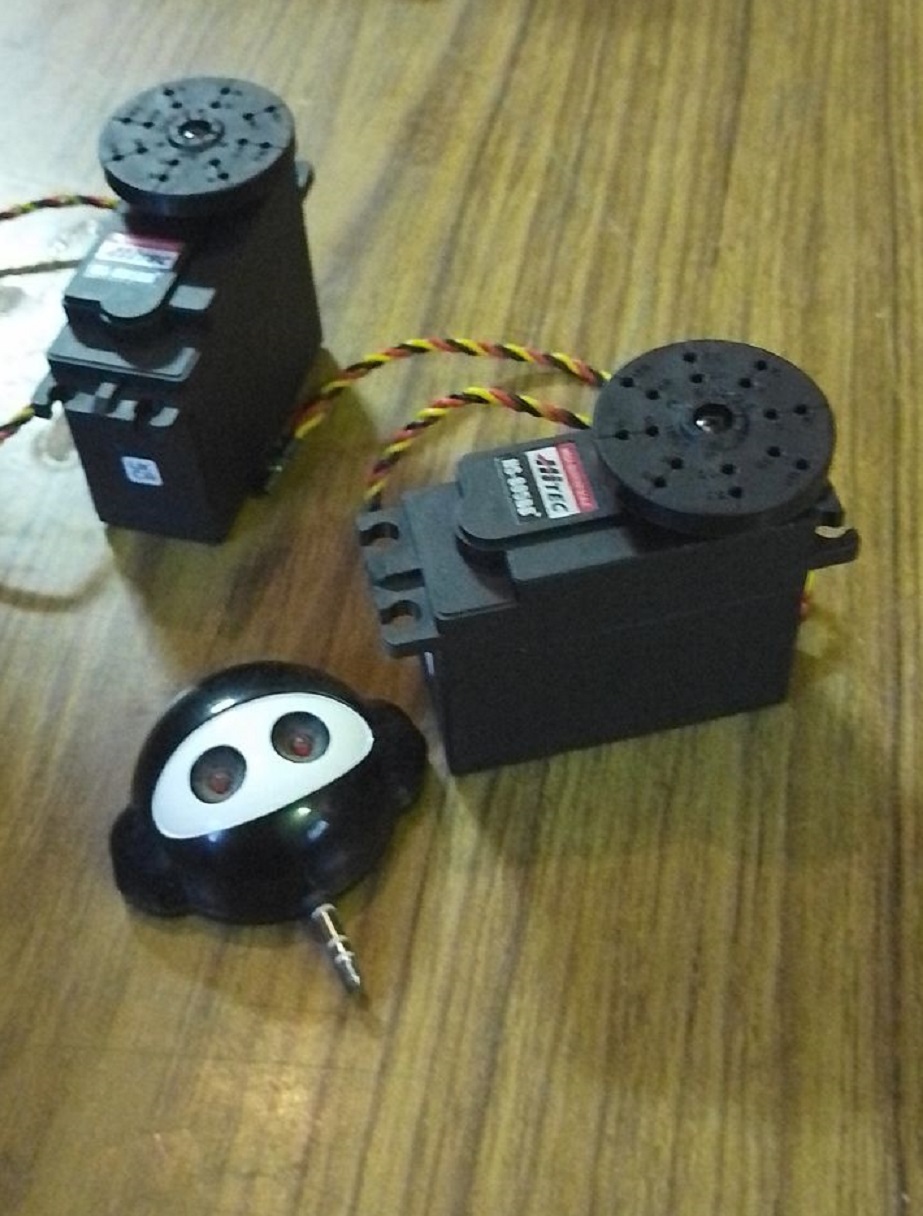
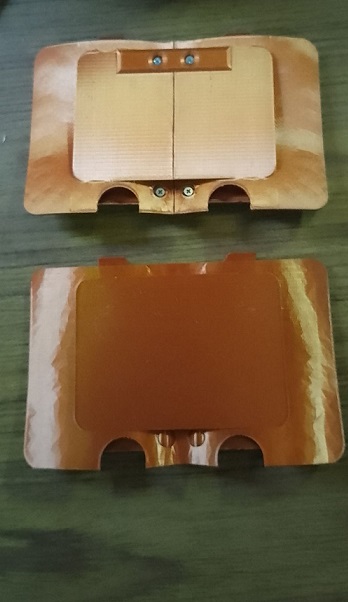
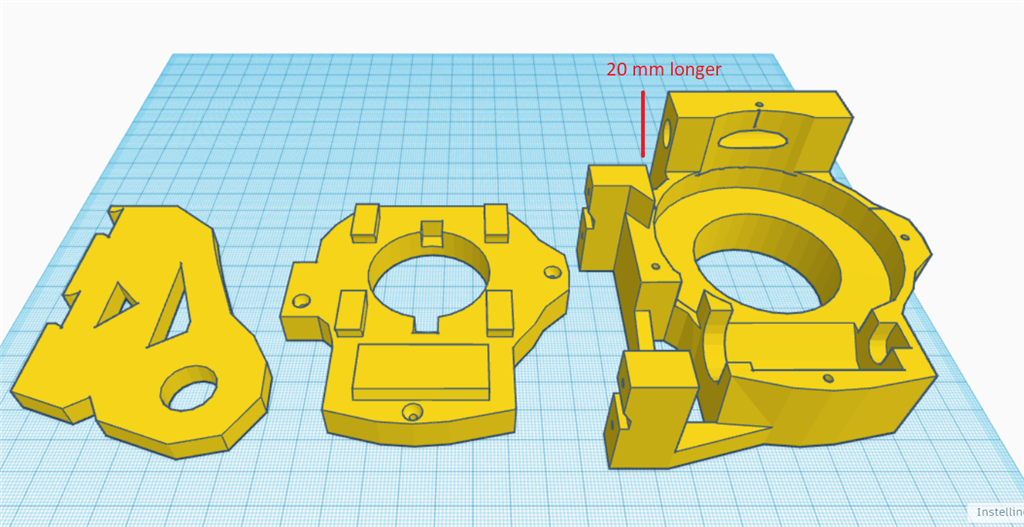
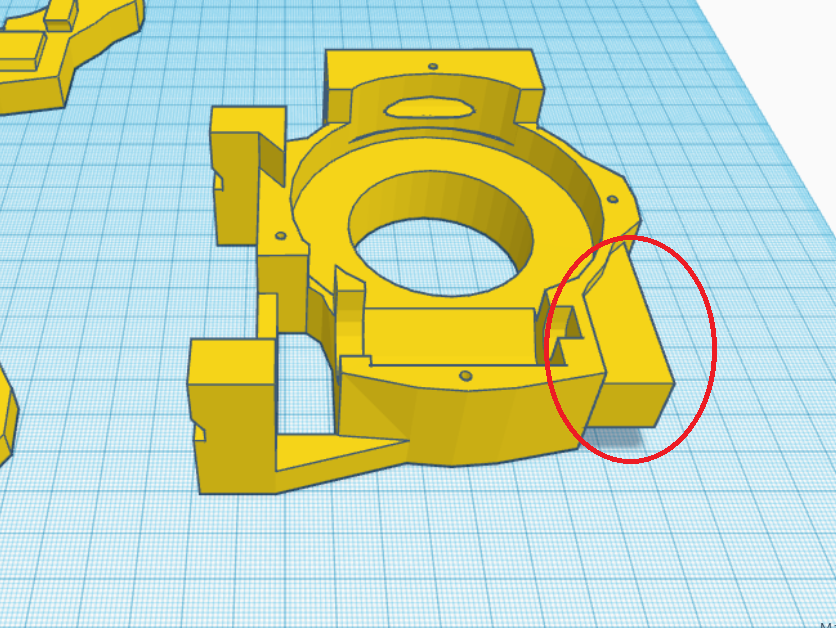
You'll need 3 extra HDD servos and grey PLA filament. The drive shaft parts should be printed with a 35% infill and a gyroid pattern in your slicer for enhanced strength. Other parts can be printed according to your preferences. Additionally, there's an optional neck extension, offering one to three extra vertebrae for more piston movement space. In my experience, the two-vertebrae option works best.
Discover more robots
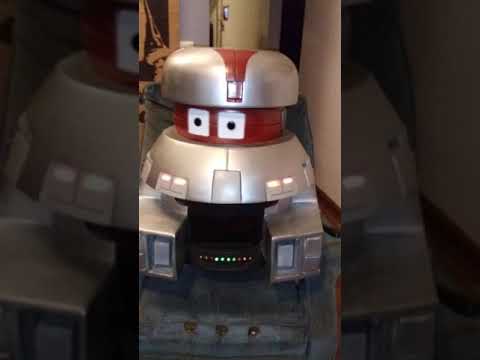
Kashyyyk's VINCENT From The Black Hole
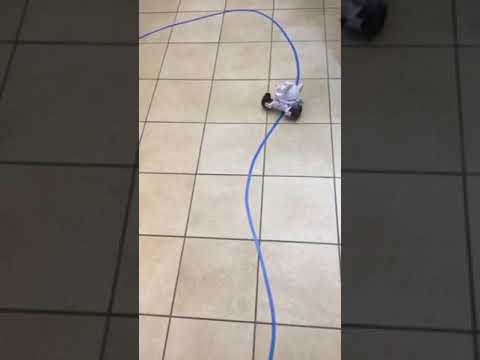
Ezang's Following, Tracking The Blue Line With ARC

Great work Nomad
hey ezang
yeach looks nice . aldo its regular inmoov head .
hi all
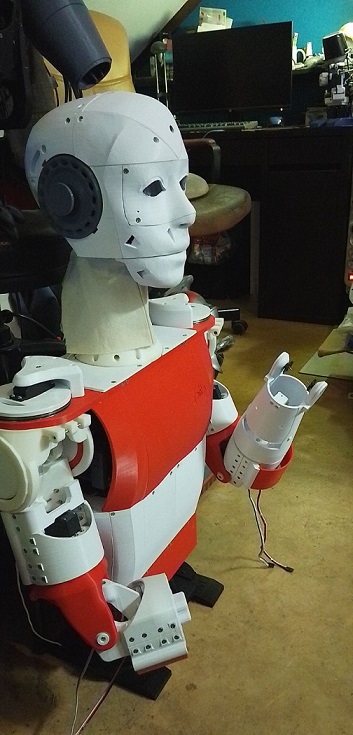
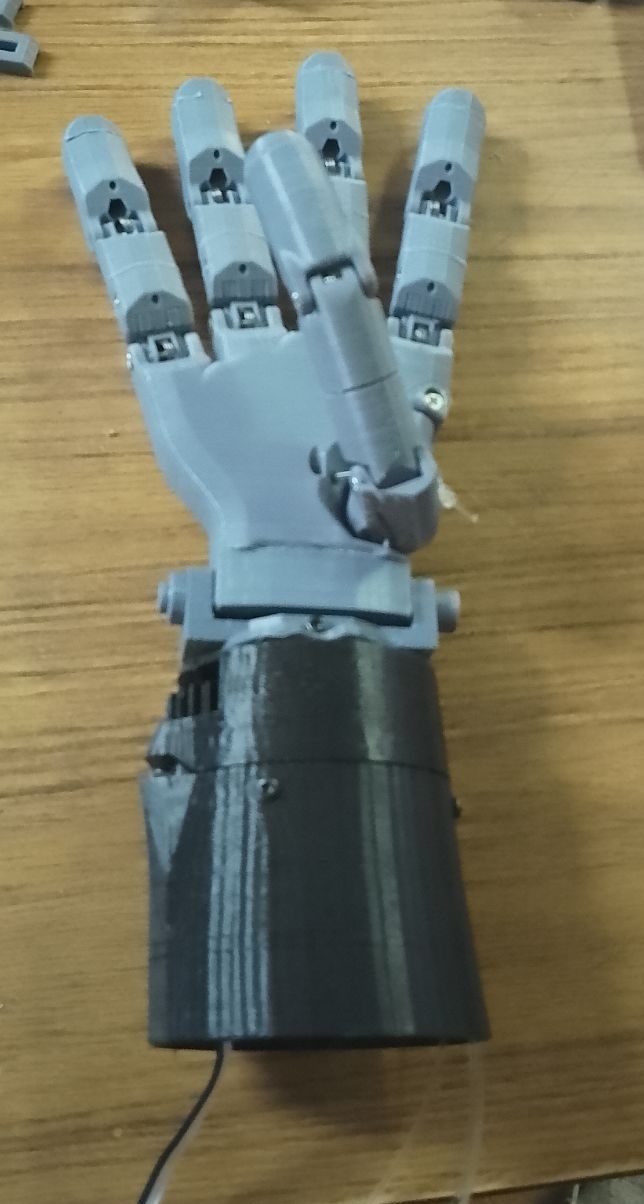
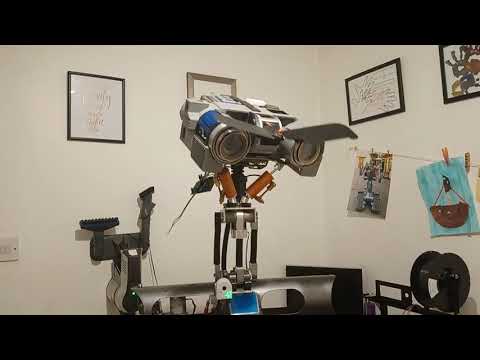
the pib robot is finiched . soon go's to his new home . so tinkering with the inmoov-pib hand.
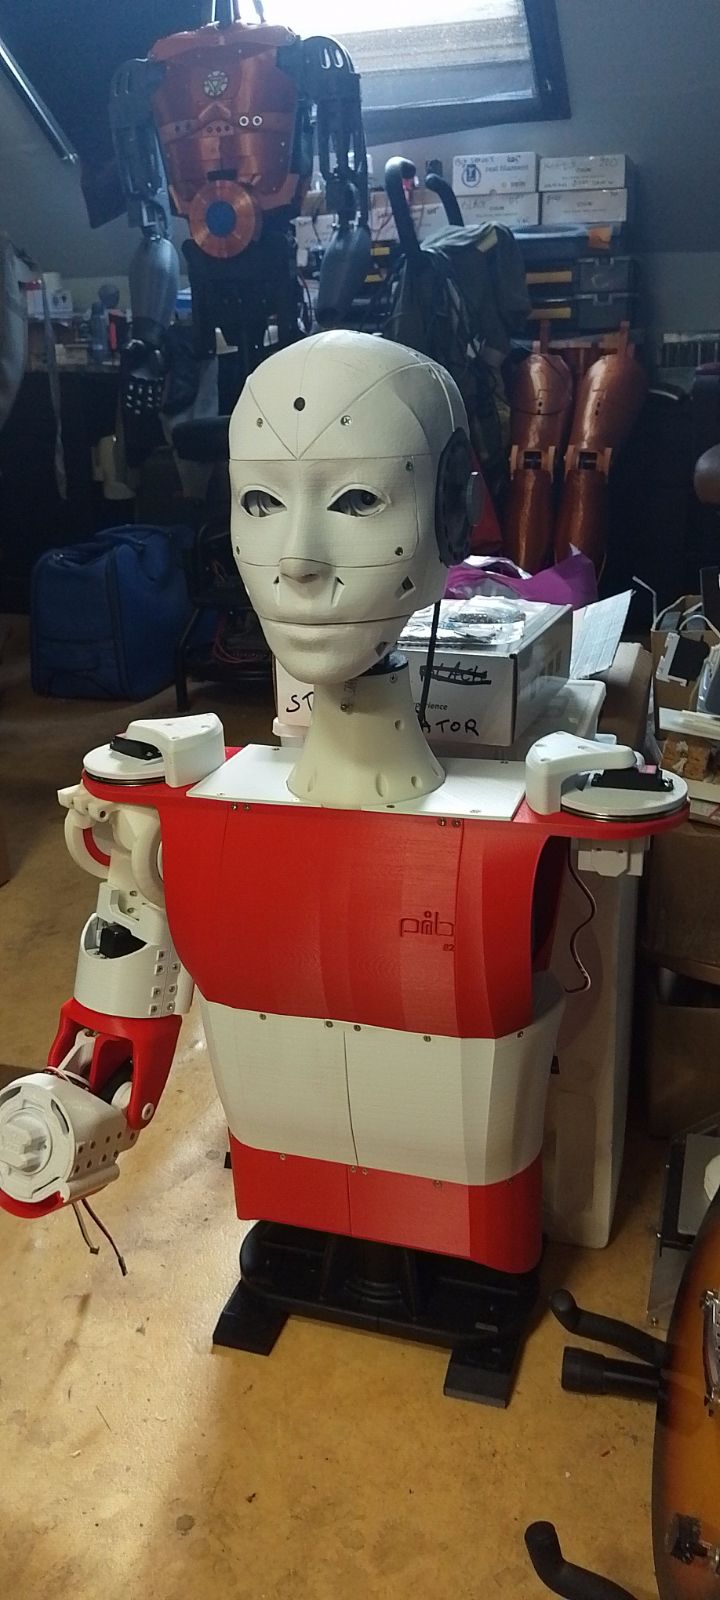
hi averyone
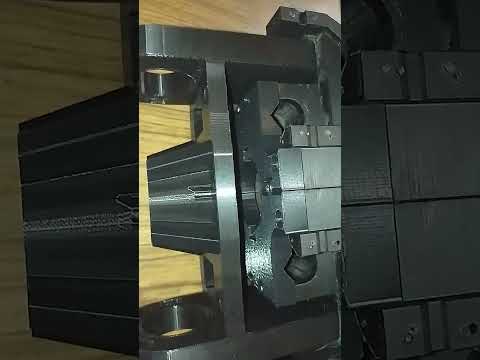
the pib robot version-2 . first i was not going to print it cause , very long prints 3 day per piece . allot of parts needed , also expencive 80 euro servo's . then i tought what the heck . print this robot .:p
short video
https://www.youtube.com/watch?v=gwtLVm2UpsY
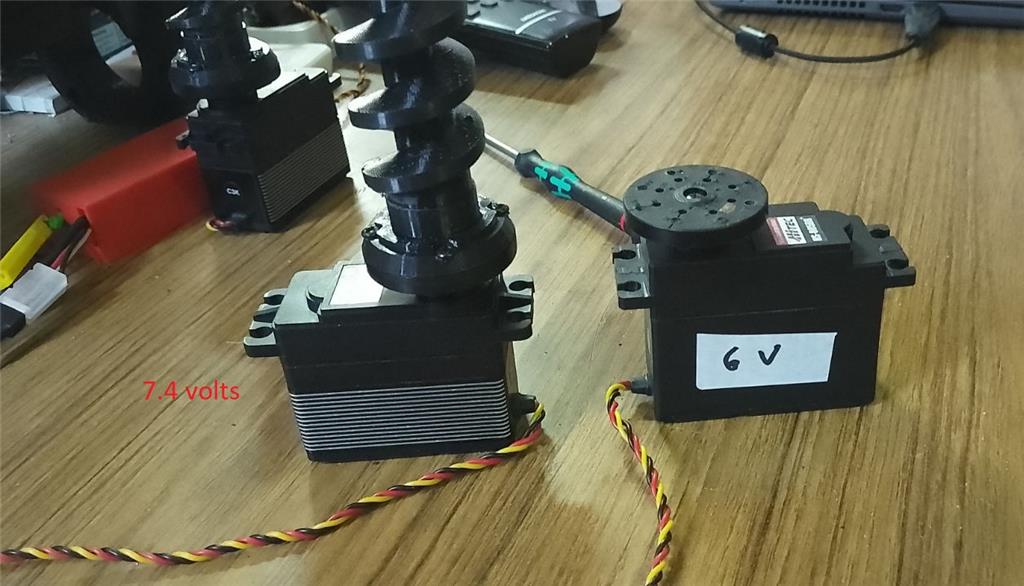
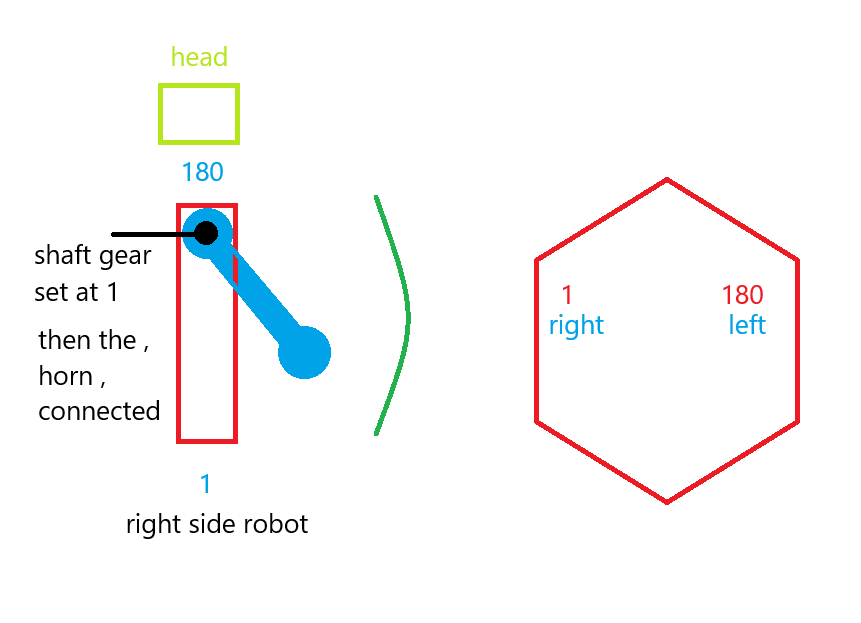
a drawing and some settings . make sure you calibrate your new servo's whithout anything connected .avery pc is diff . set your servospeed to 2 ,excample servospeed(d1,2). you dont get surprises with a violent servo movement . after calibration set the servo axel to 1 for the right side .all the way forwart to get the arm next to the body . for the left that wil be 180 . then and only then mount the horn on the servo . now you can play a little with the arm .excample you want the arm to go higher , then you can set the lower 1 position to excample 20 , that means the arm wil go 20 more upwarts .
Nice joint. Thanks for showing this.
hey dave
yeach its looking good .its a good design .
thanks
hi averyone:)
pib's schoulder calibrated . just finich up the elbow.
https://www.youtube.com/shorts/T4U9qI76rrg
That's really cool. It moves nicely in any direction. Brilliant