


Hello to All,
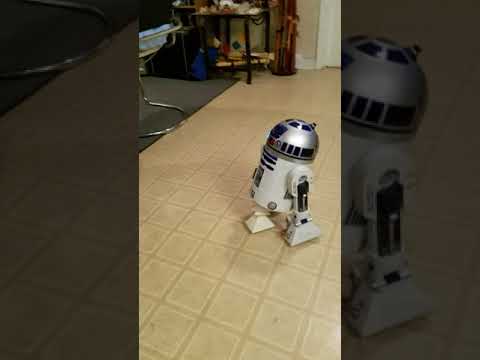
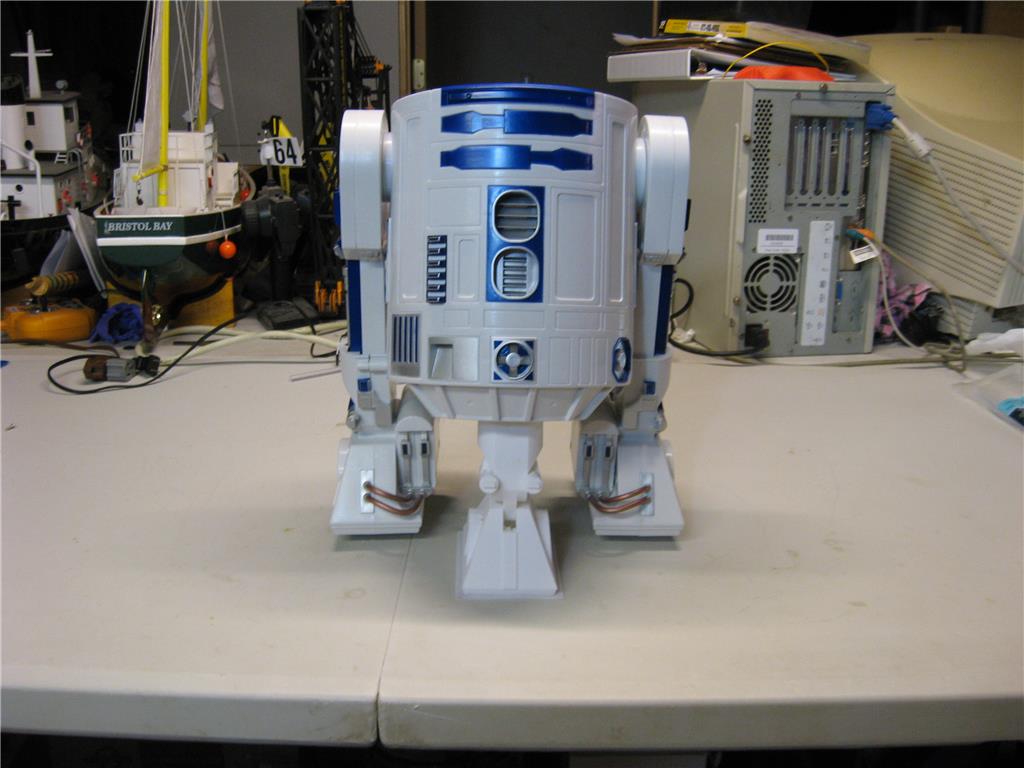
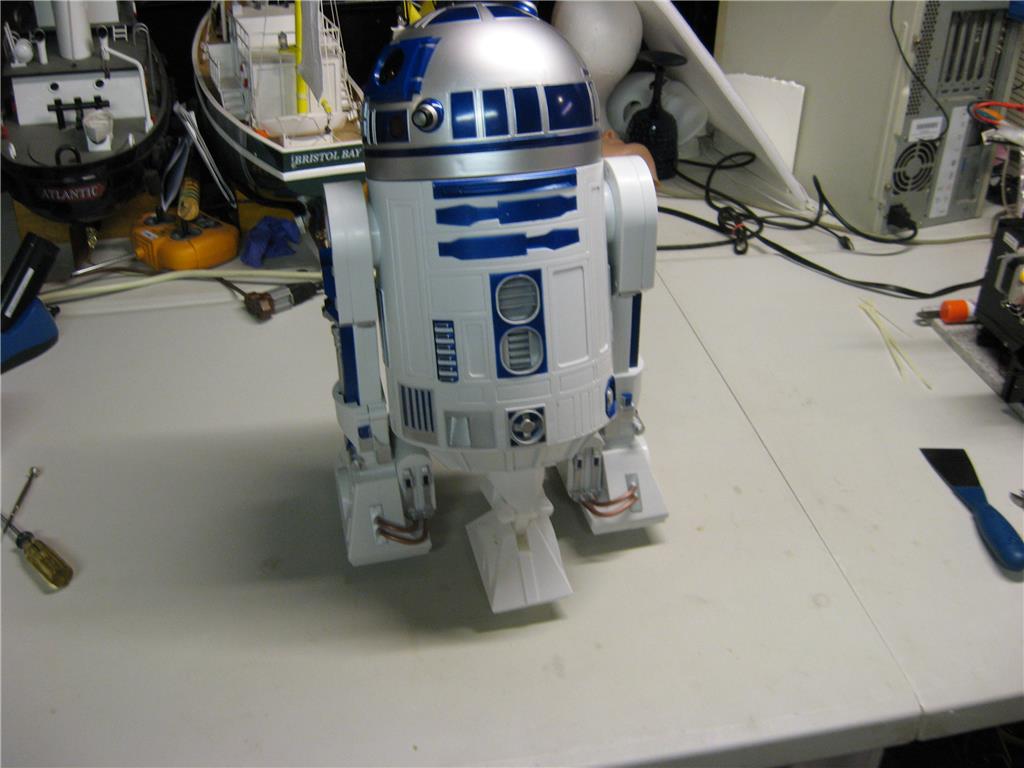
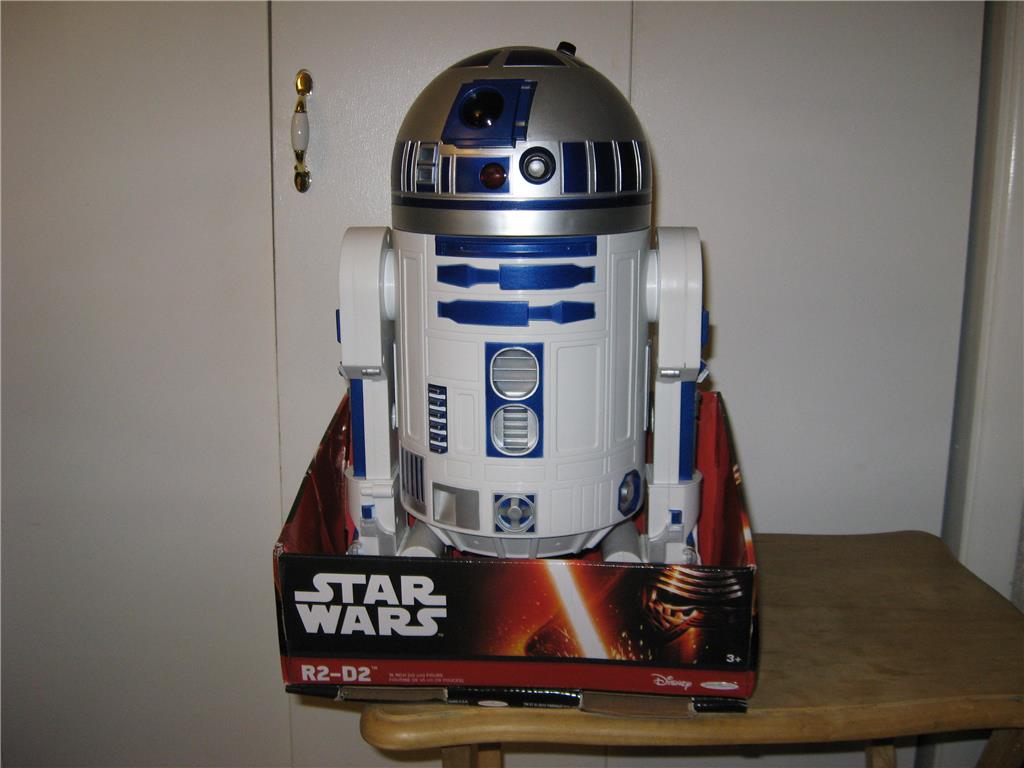
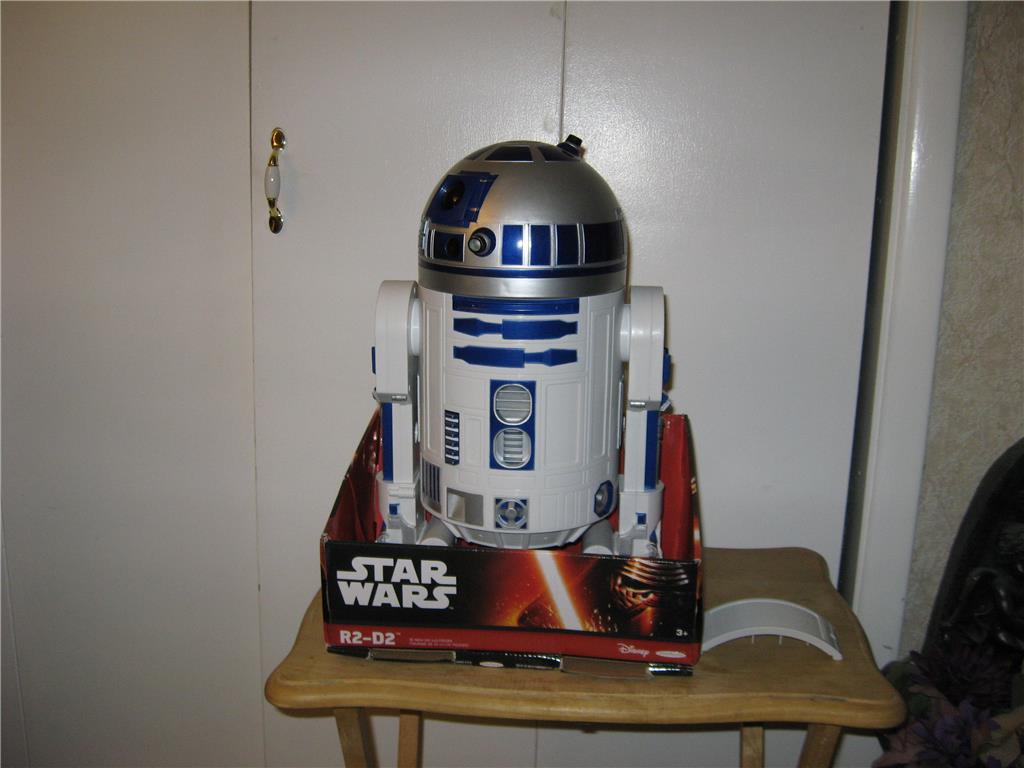
Here is the Walmart R2D2 project.
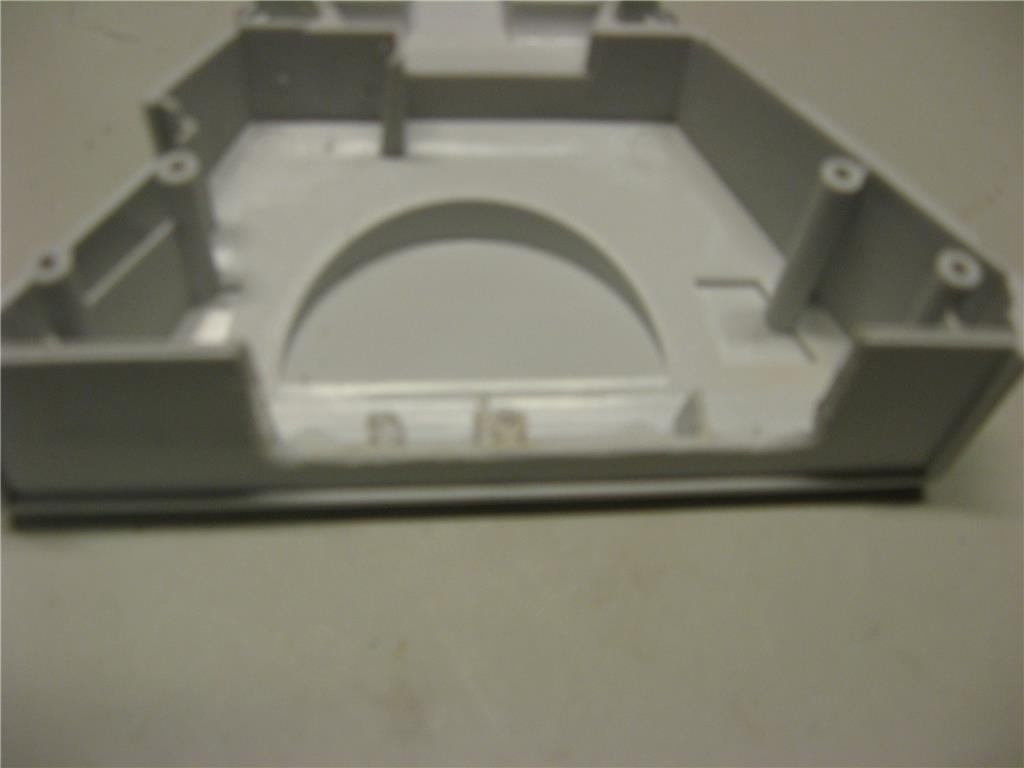
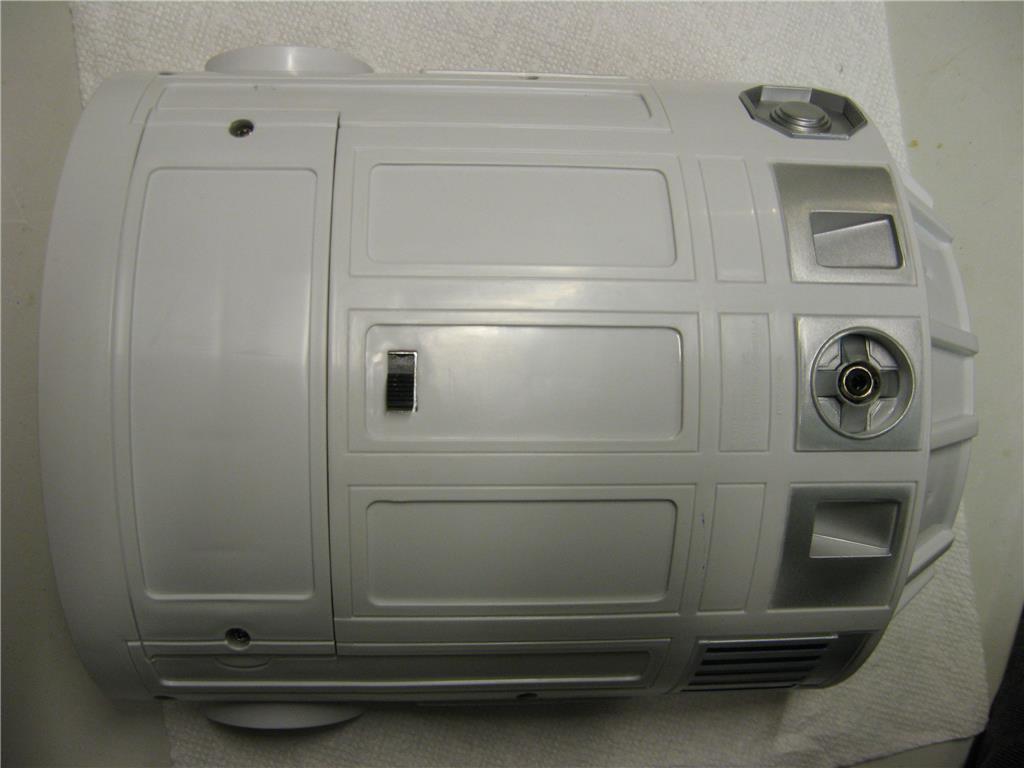
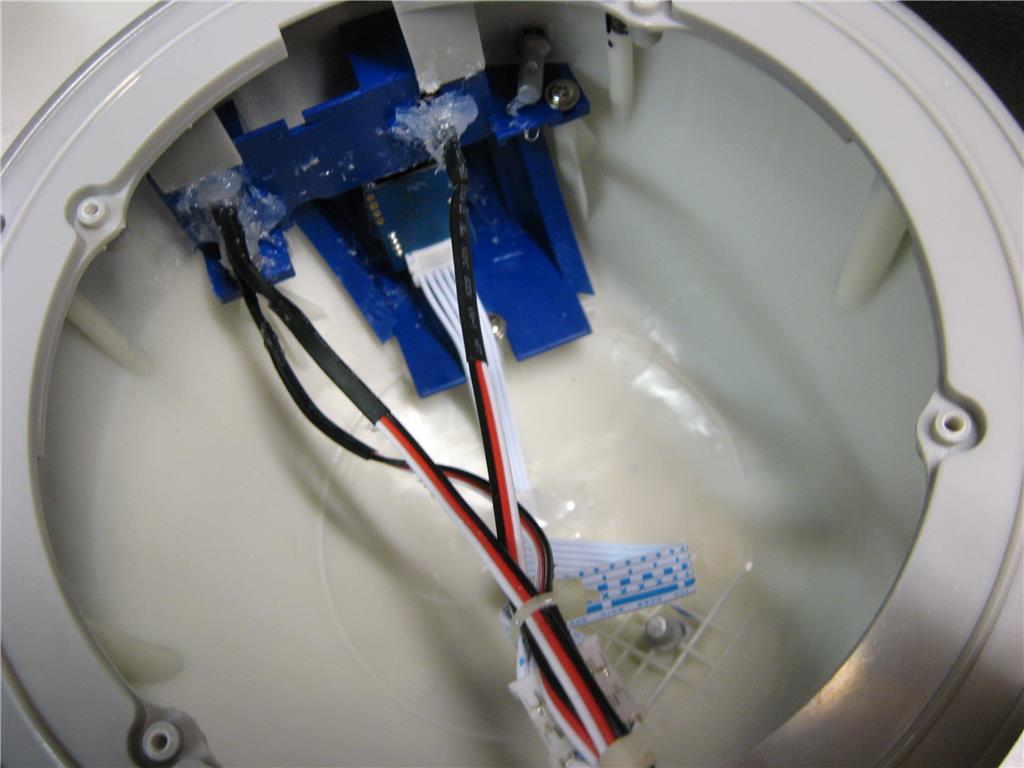
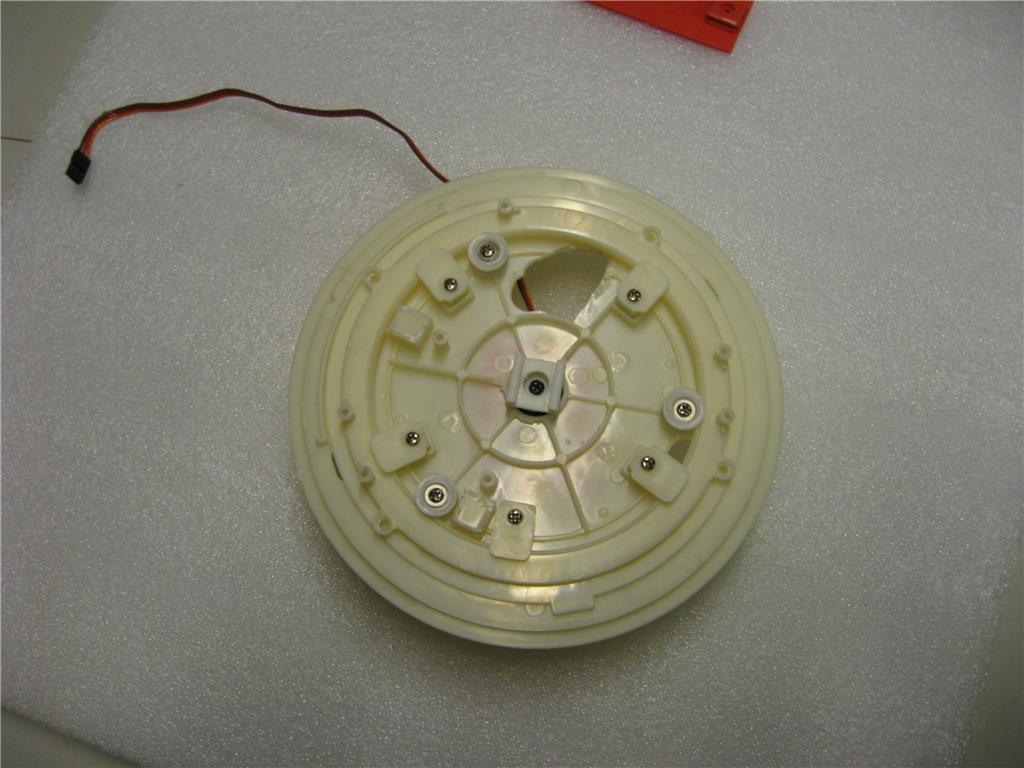
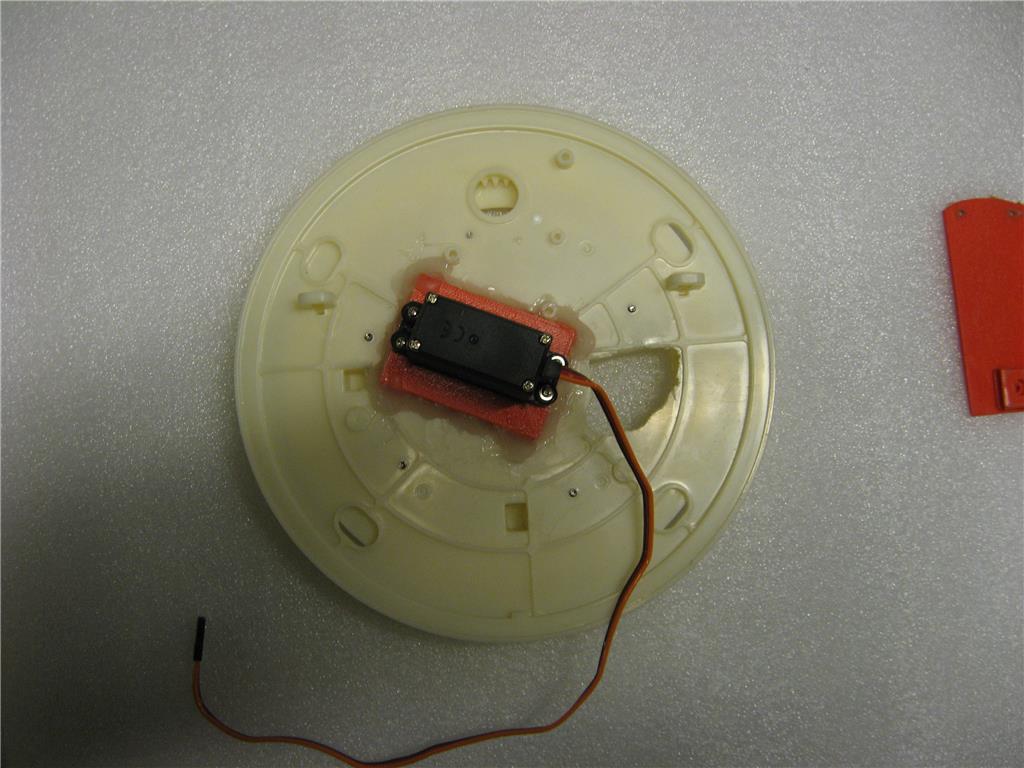
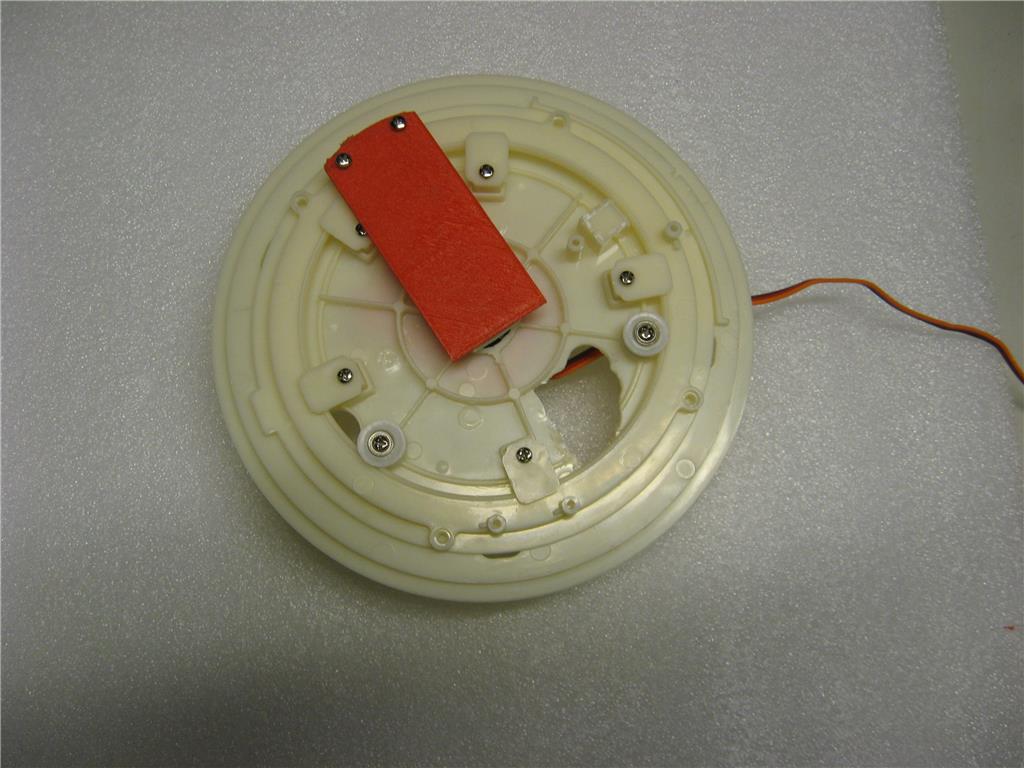
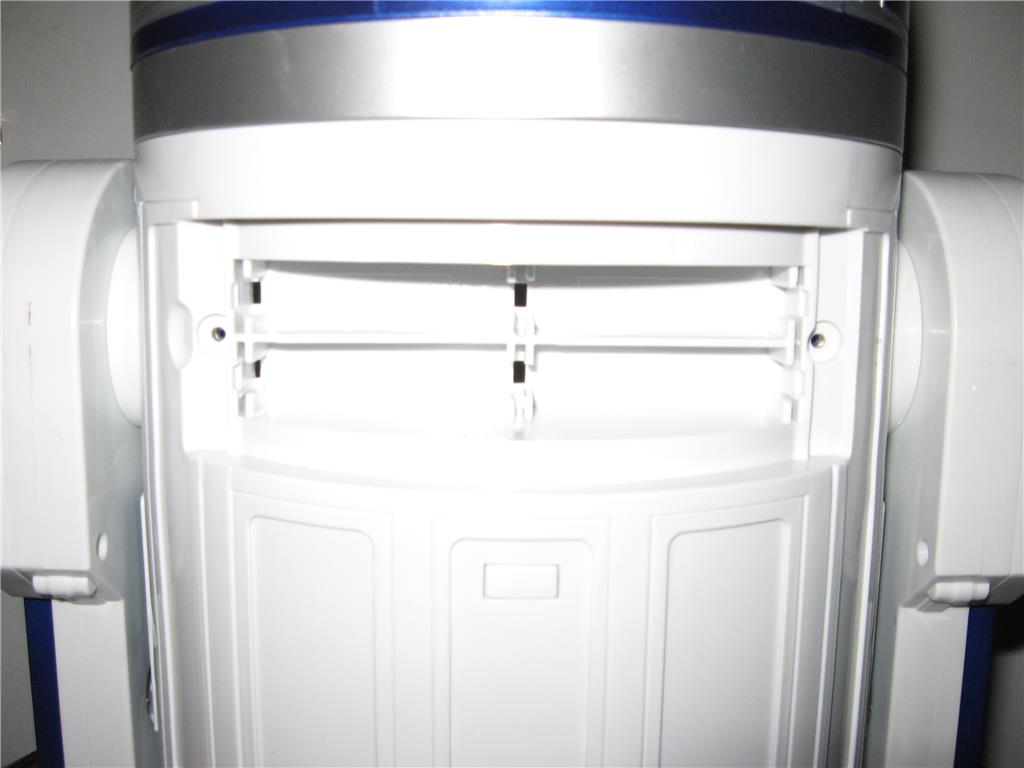
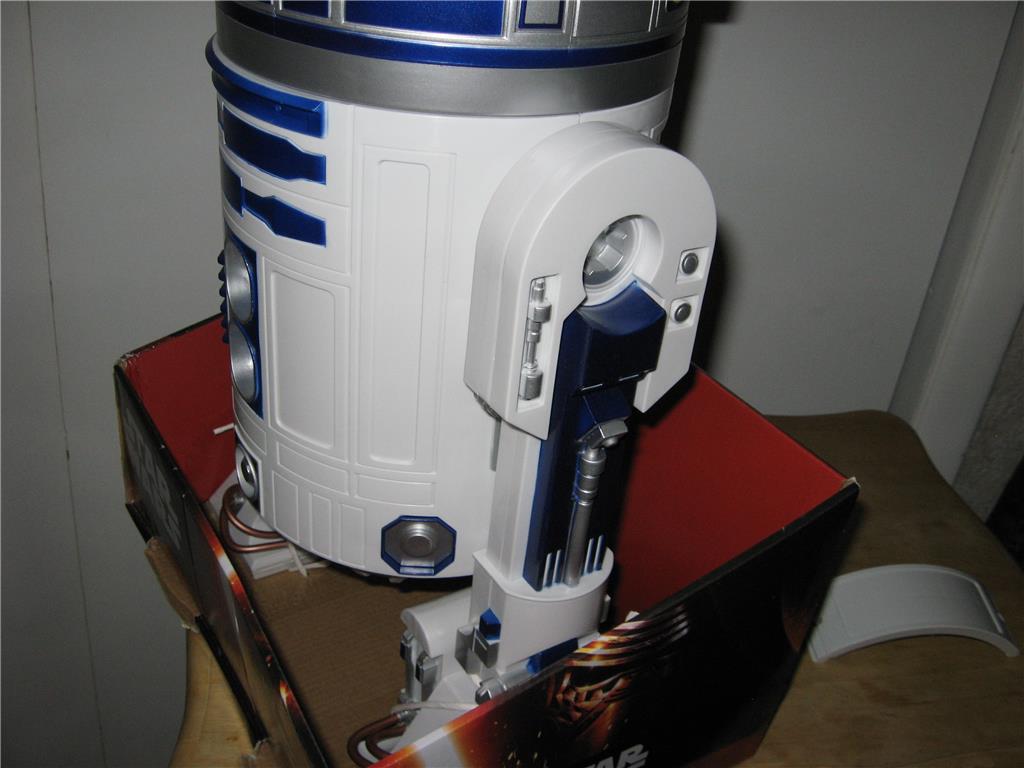
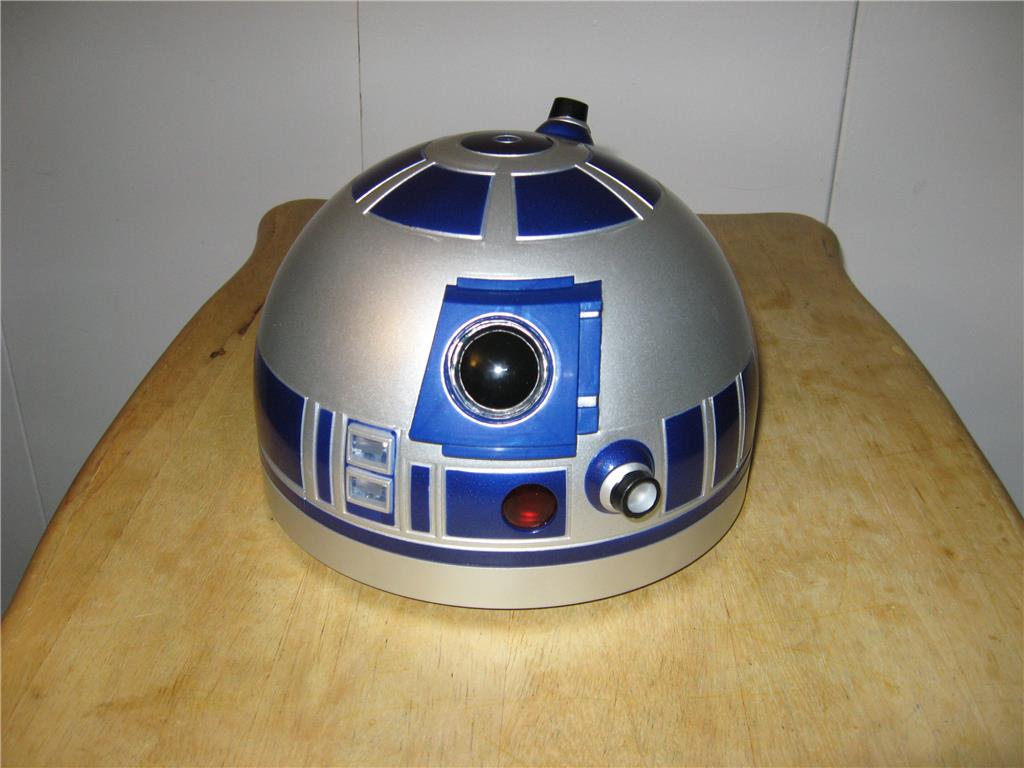
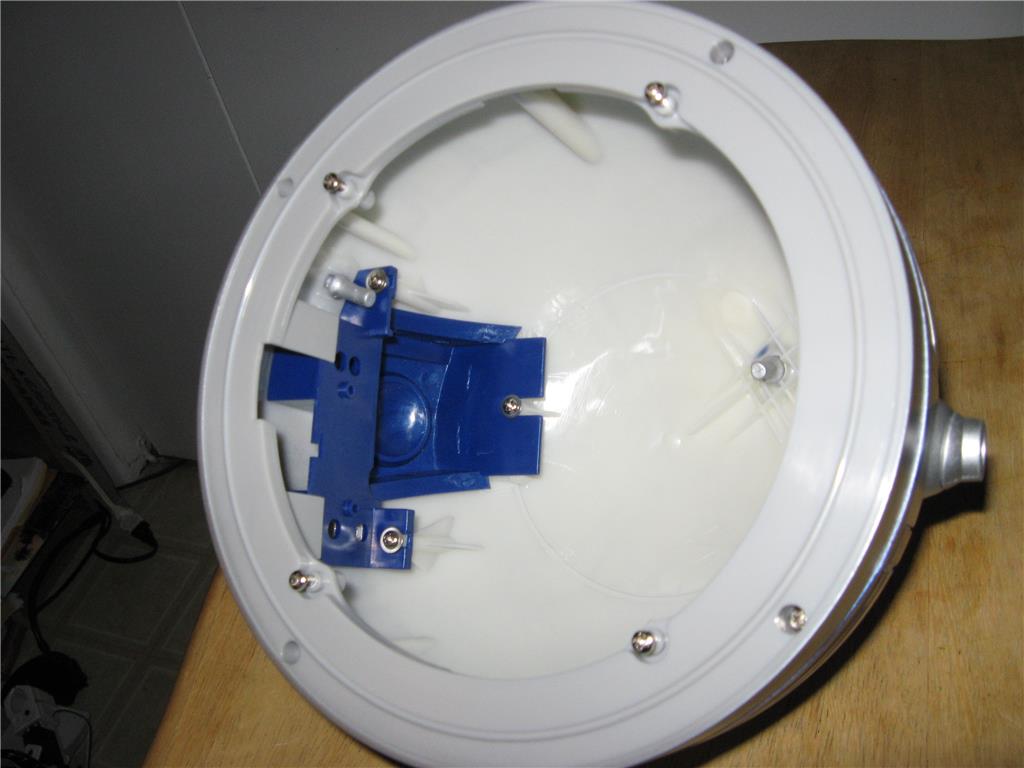
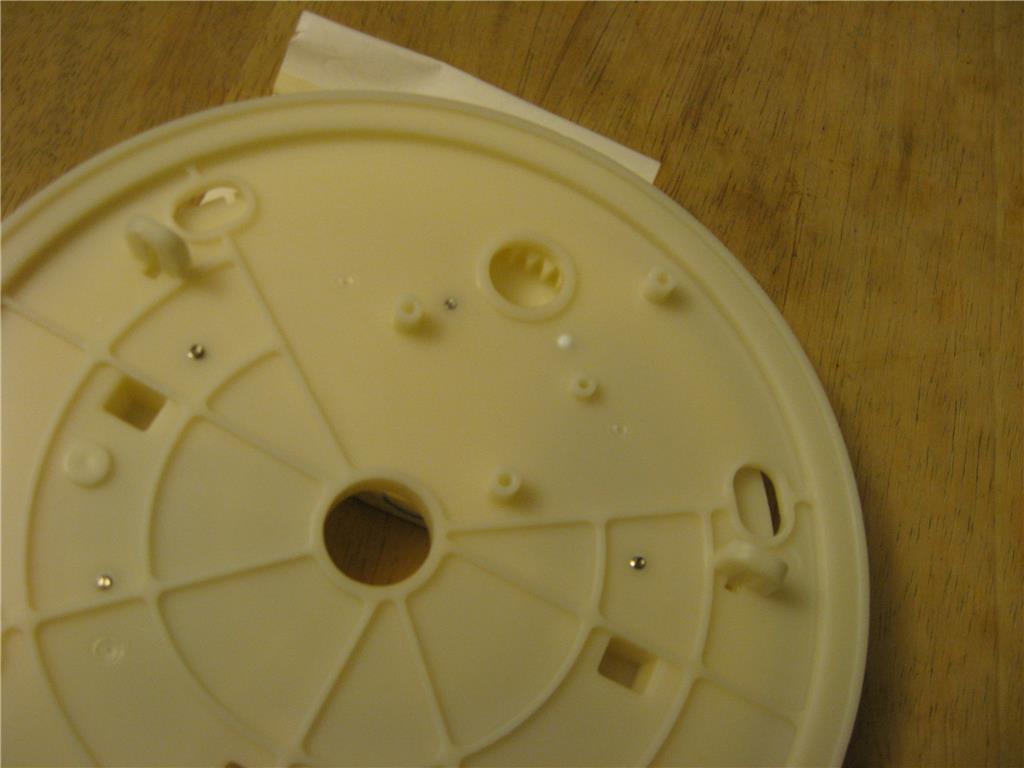
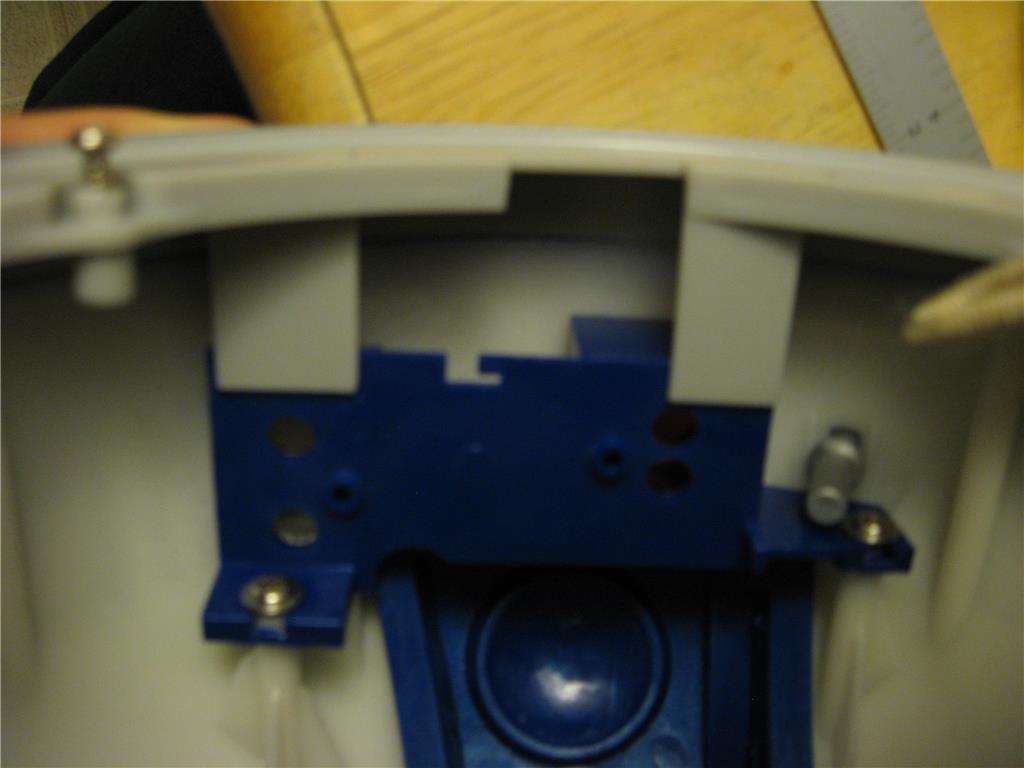
I disassembled the unit and was surprised to find it was more than a shell. There are opportunities to use the inserts in the dome to mount LEDs and a camera, and a bearing ring which has a ring gear to allow the easy installation of a servo or gearbox to move it. I found, using a flashlight, lights can be mounted against the skin to light up the panels.
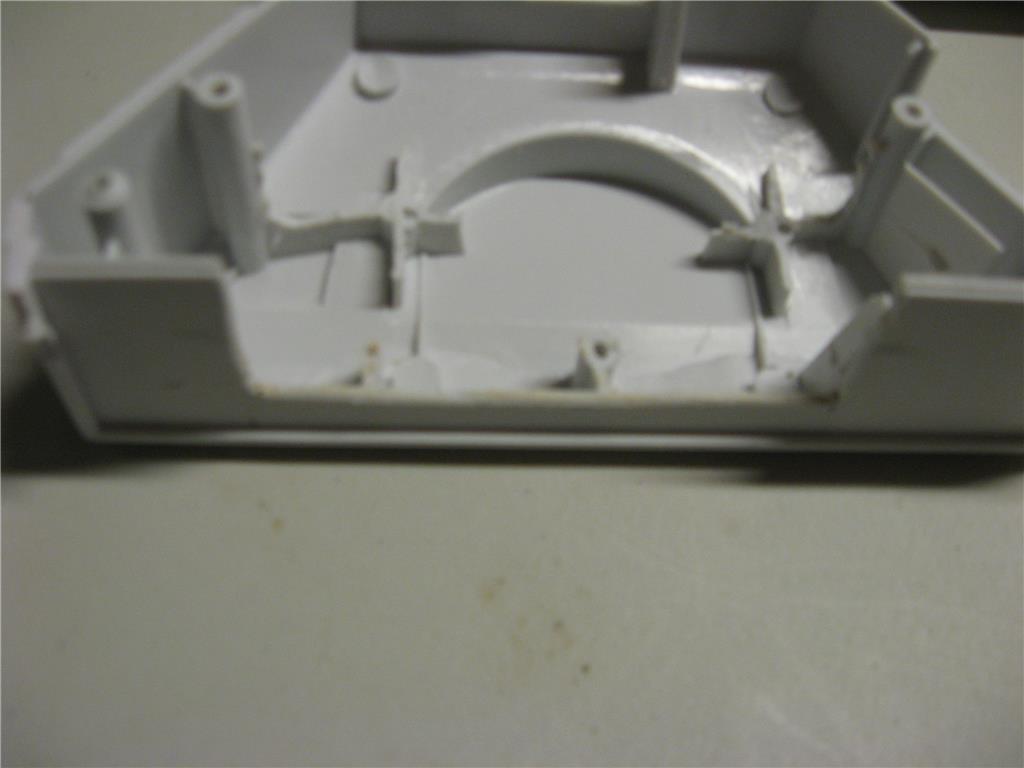
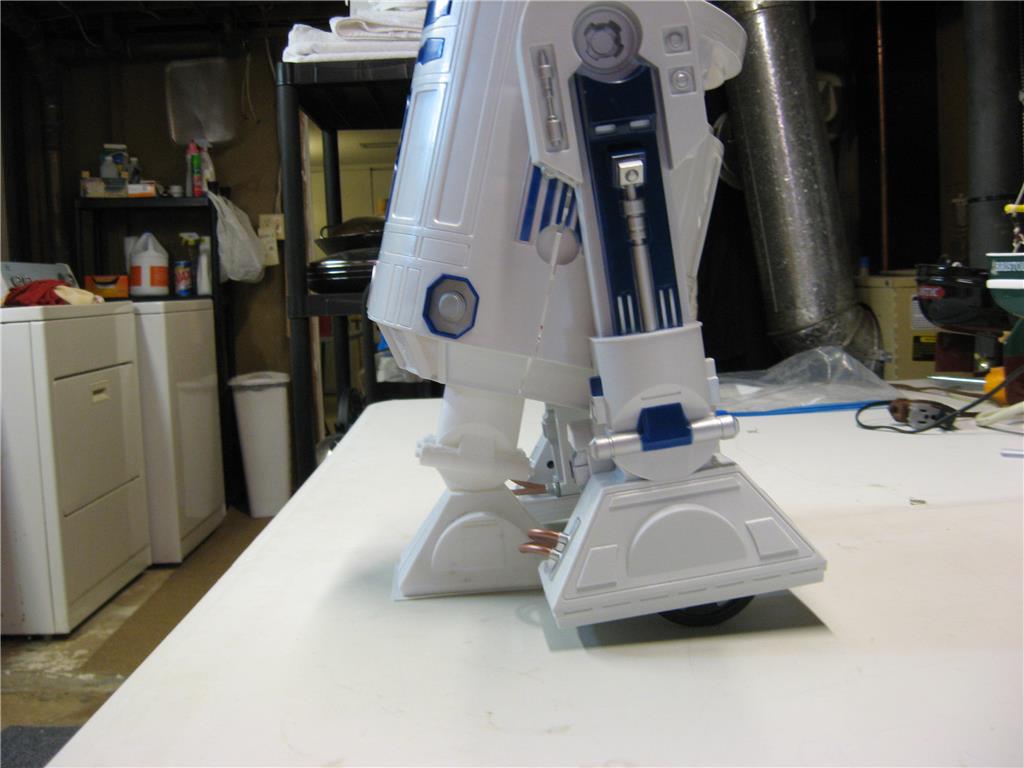
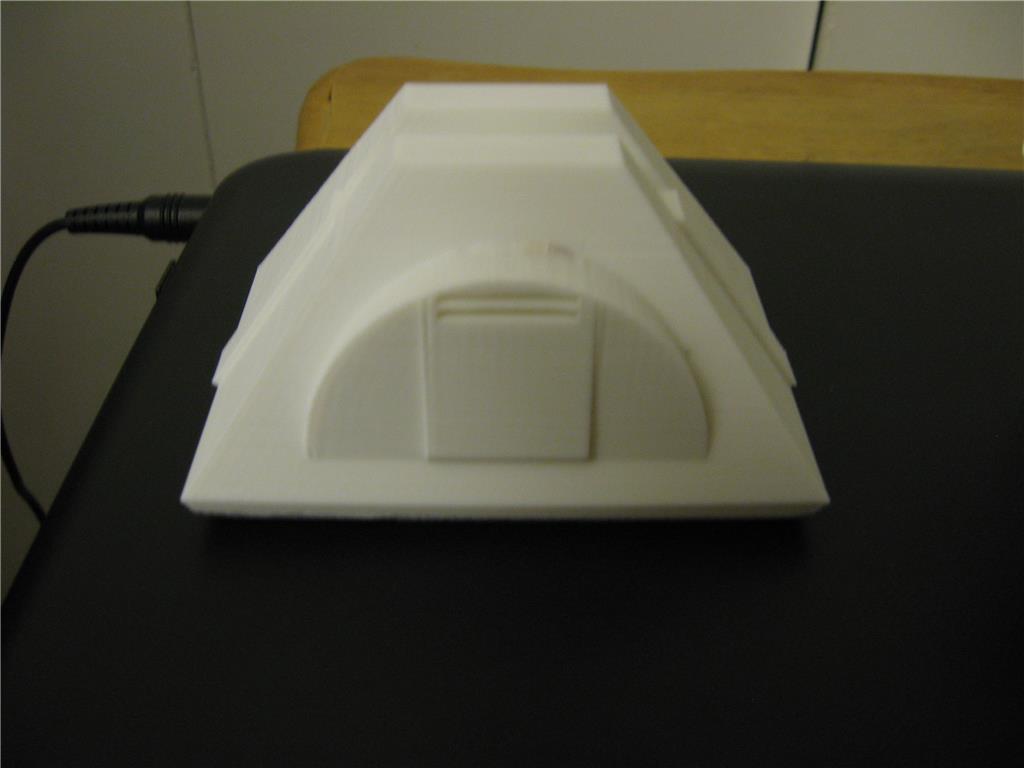
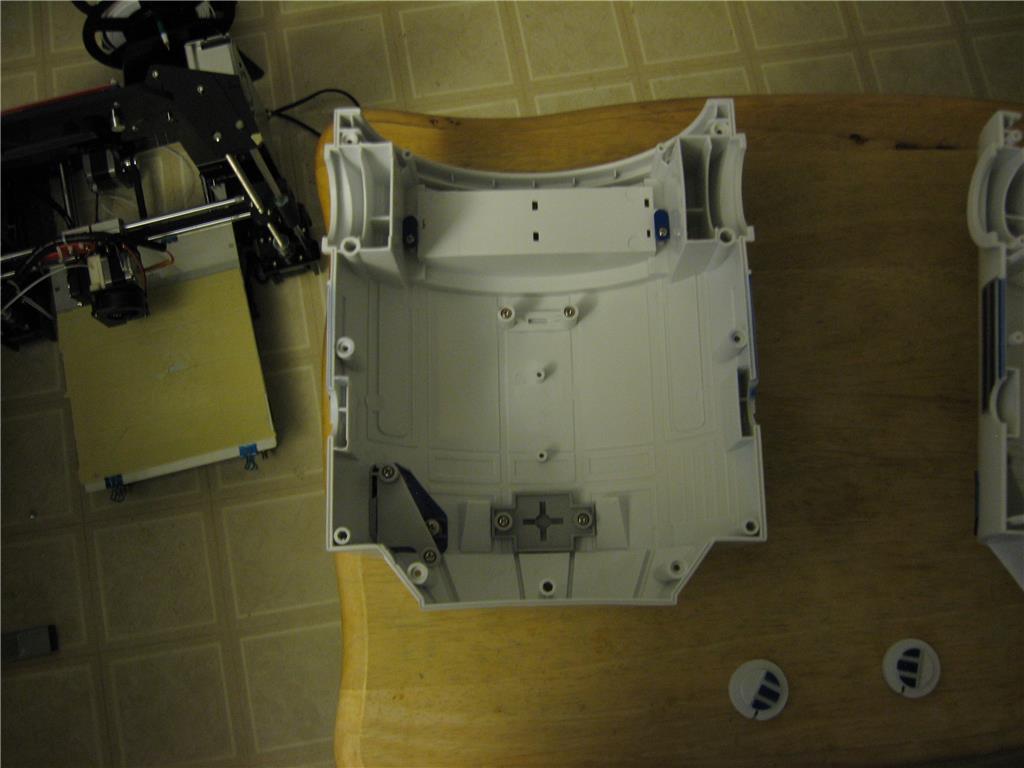
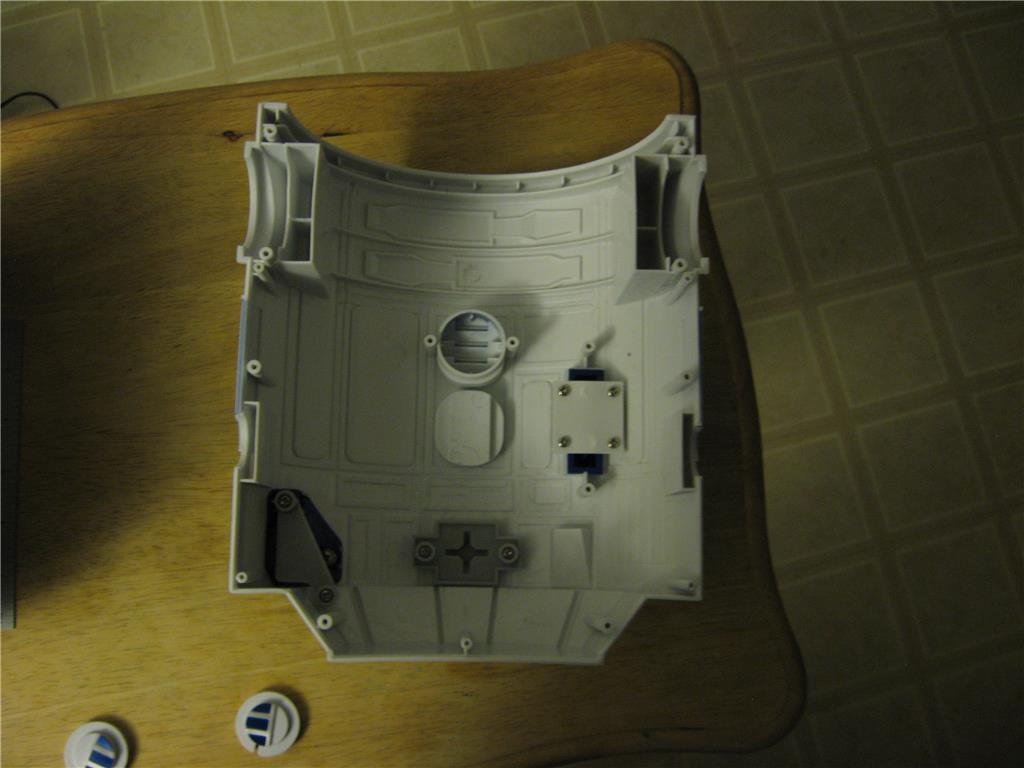
The body has some areas which can be modified or changed out for more flaps or lights. Due to flat areas on the bottom of the body, mounting an additional front foot should be somewhat easy.
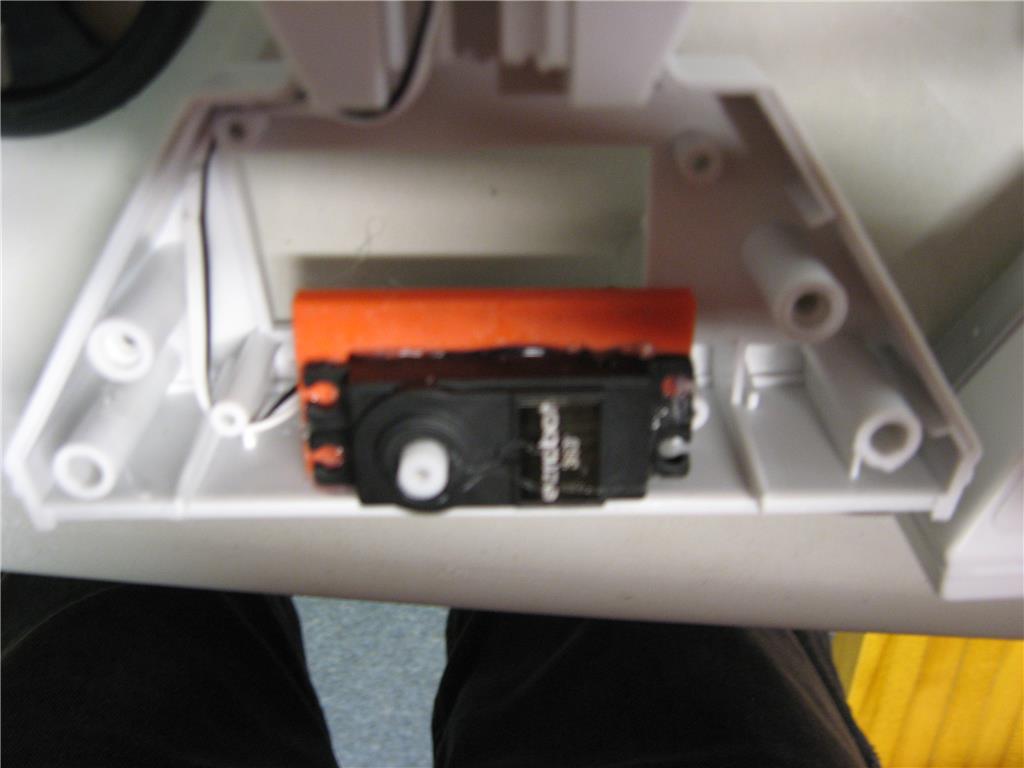
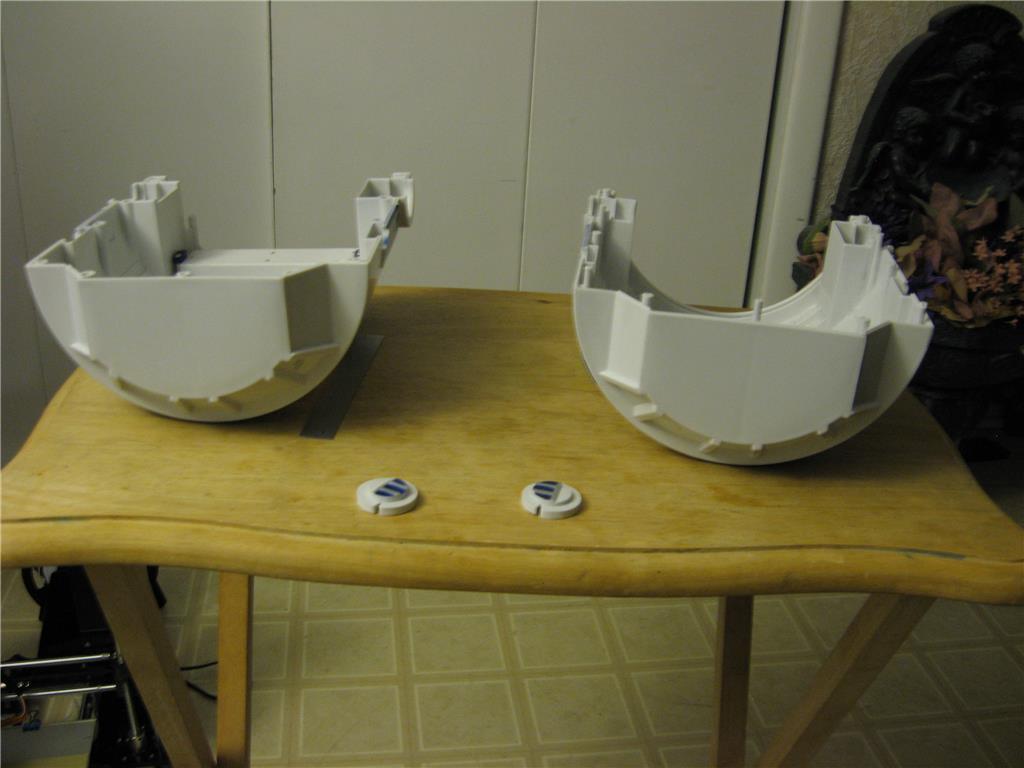
The legs have a flat bottom and a pod to mount either a motor or continuous servos for the drive.
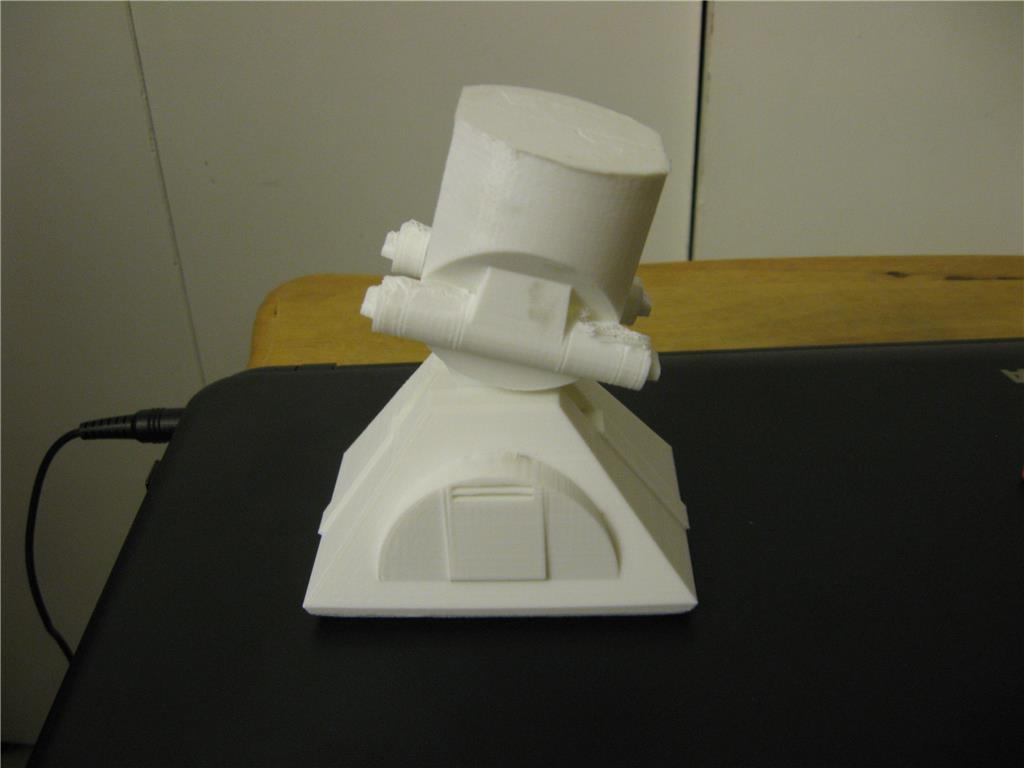
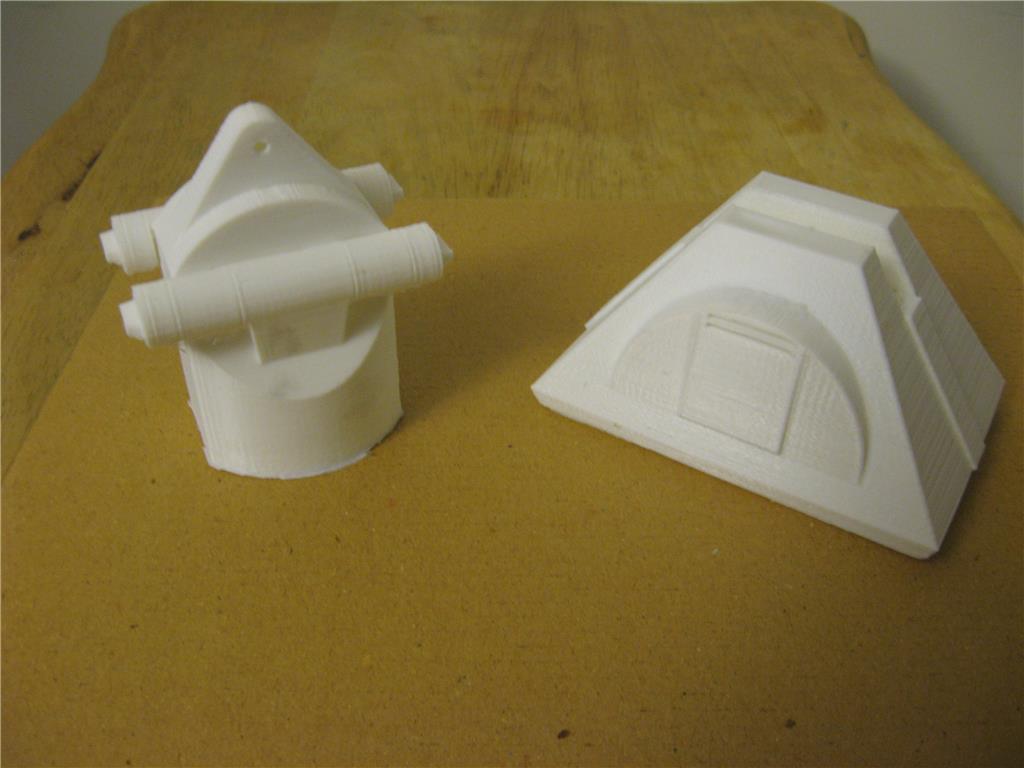
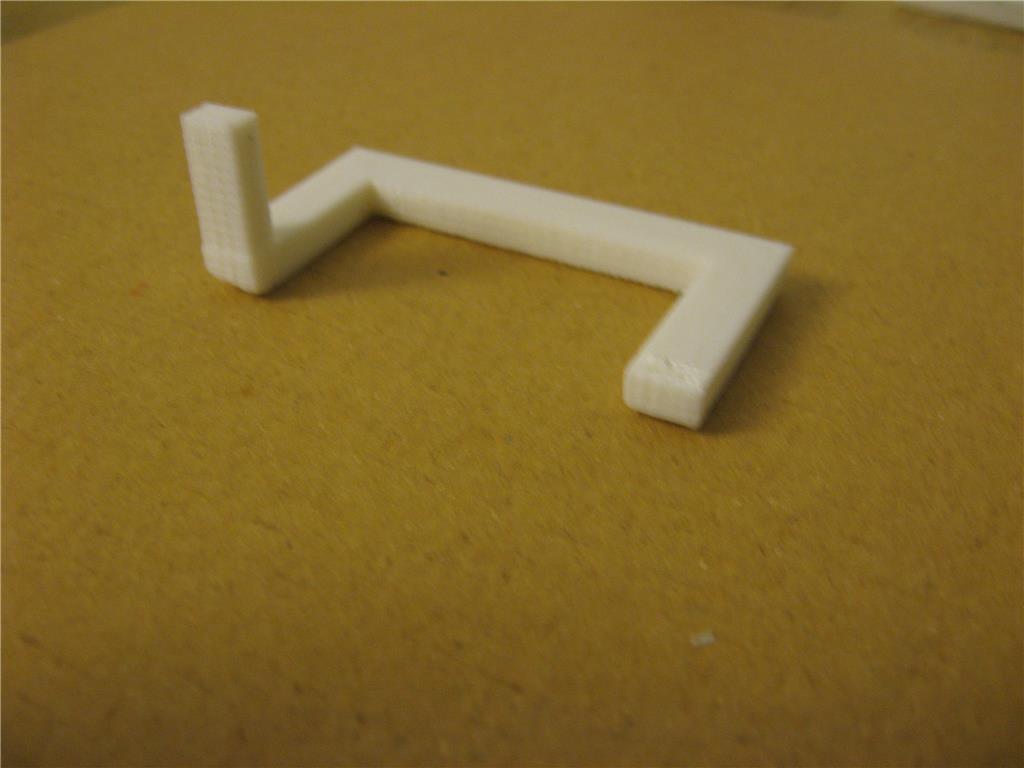
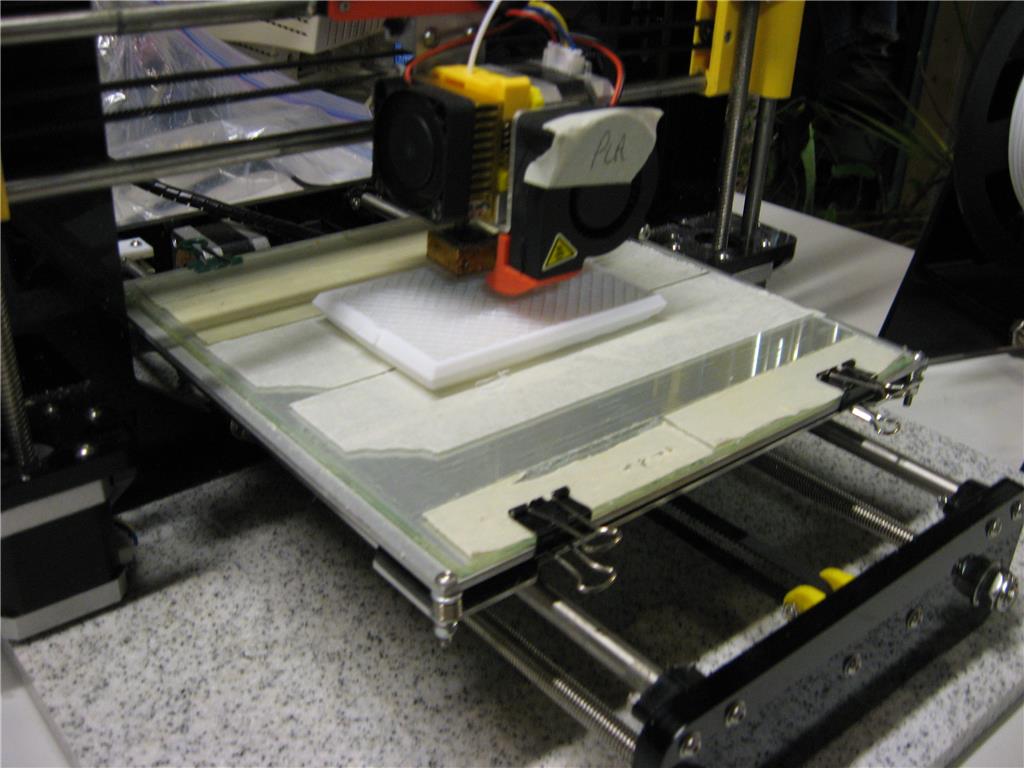
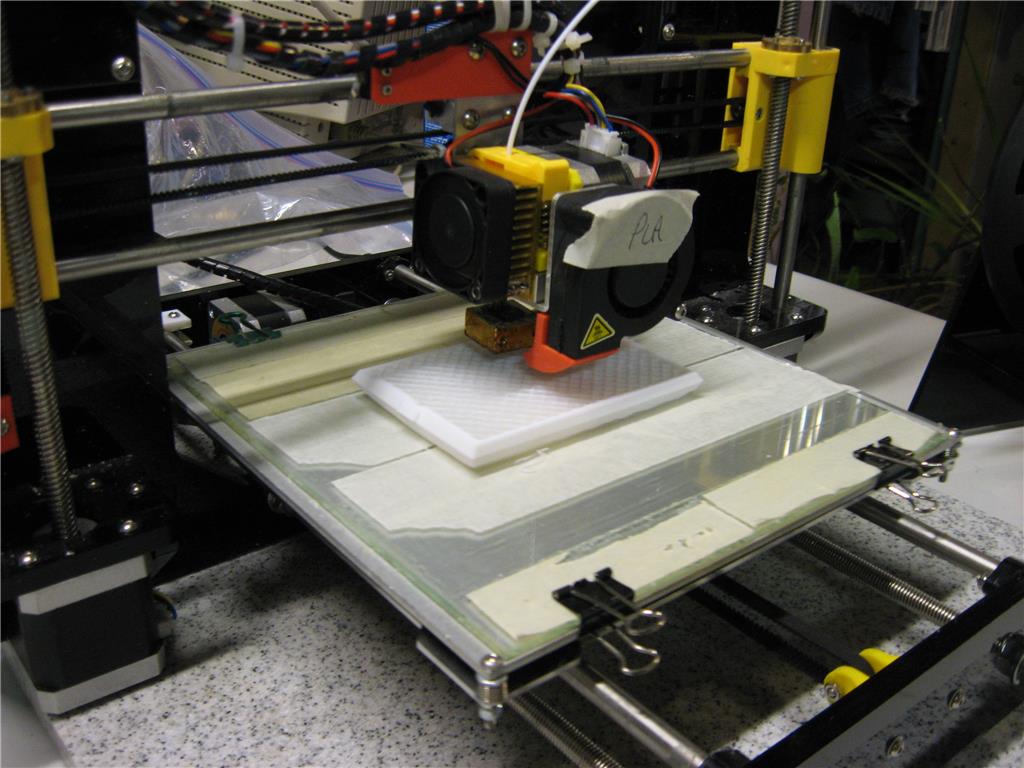
I will soon begin the build by 3D printing a front foot and mount to see how the project will come together.

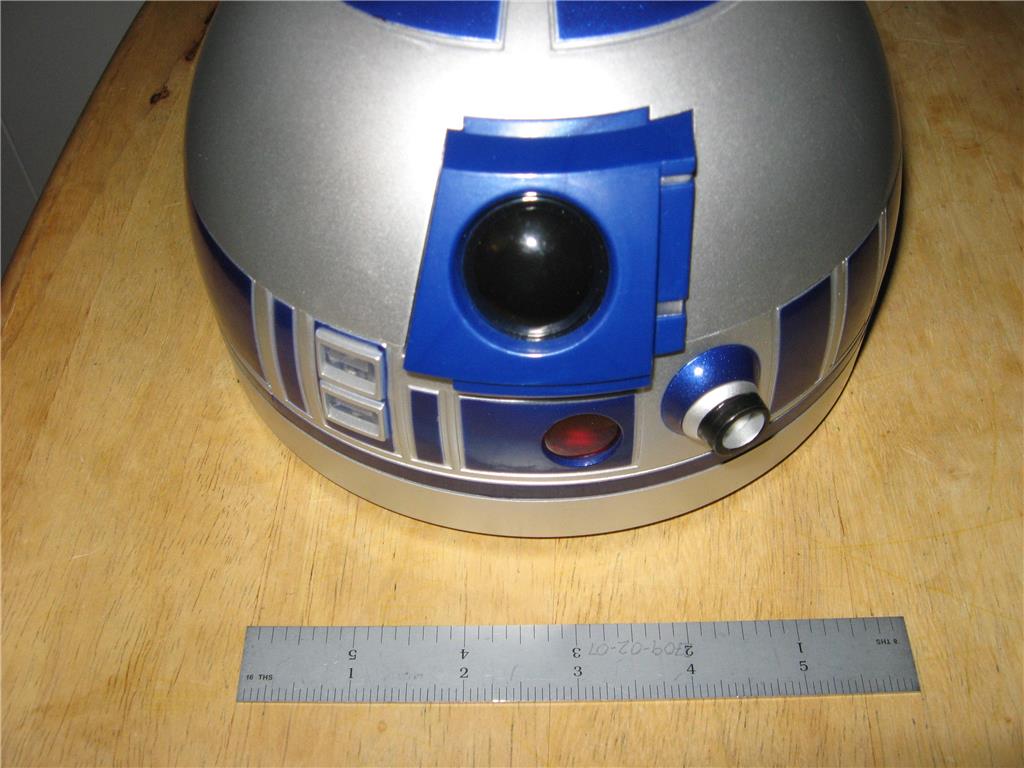


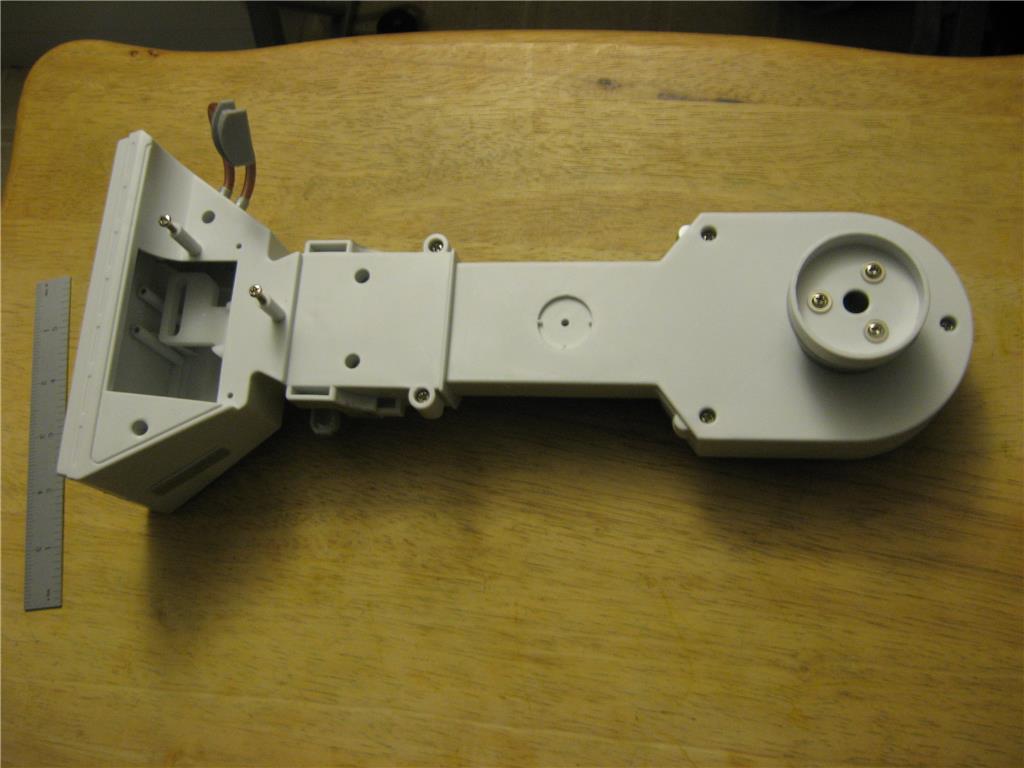

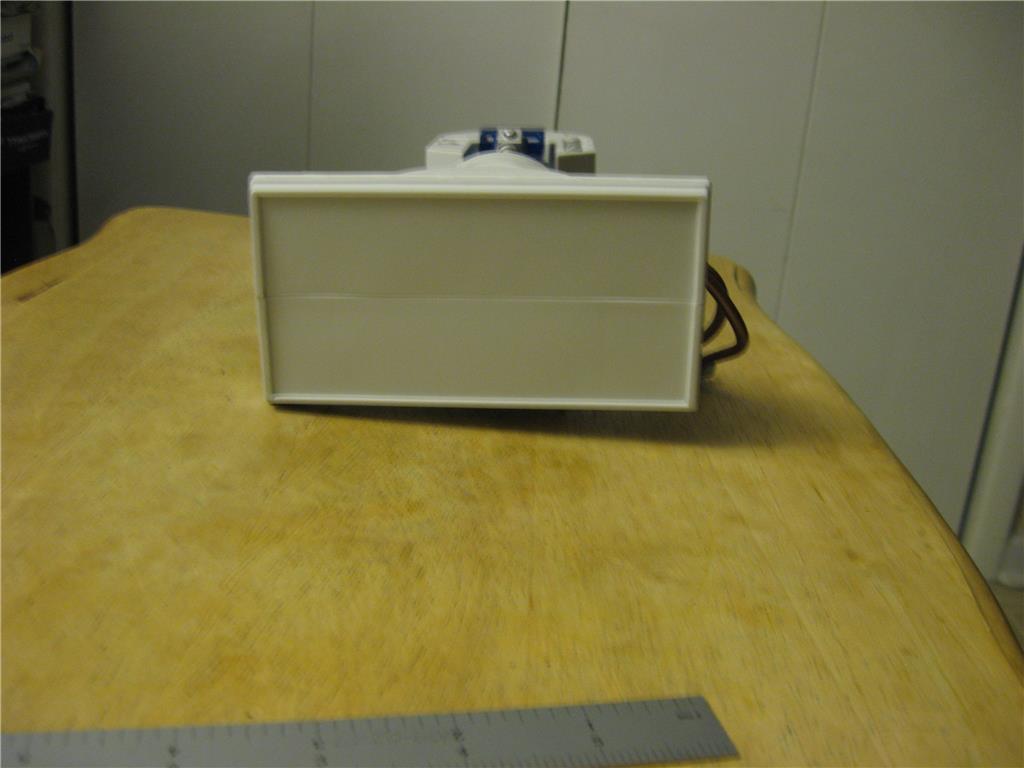

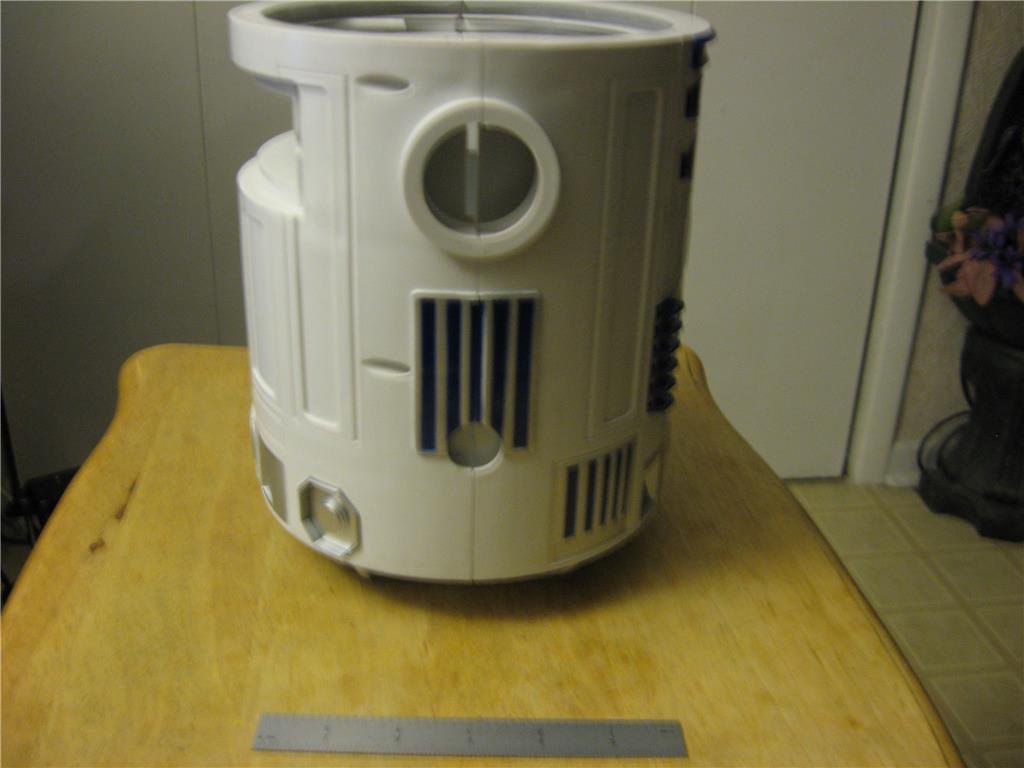
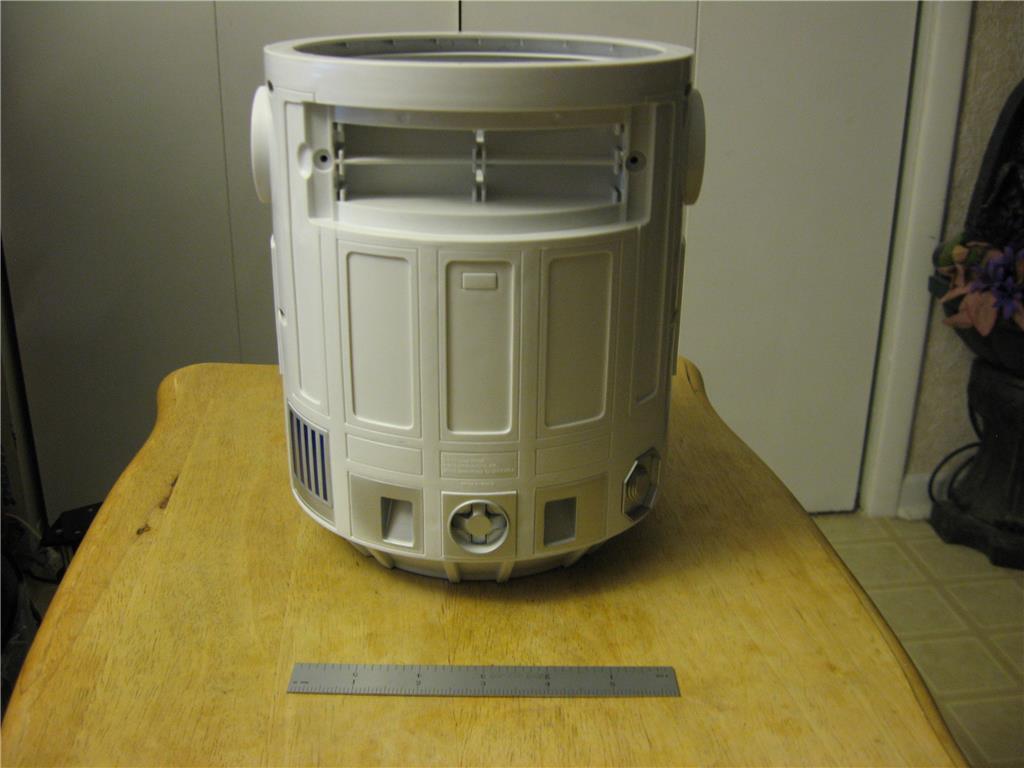
There is a 6" Ruler in the front of the pictures for reference.
Ron R
Discover more robots
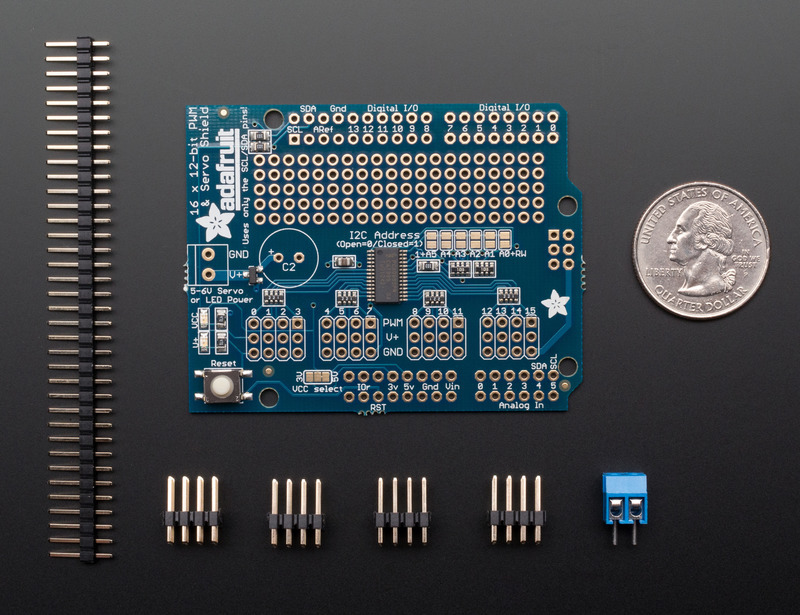
Mickey666maus's Hey Guys...This Adafruit 16-Ch
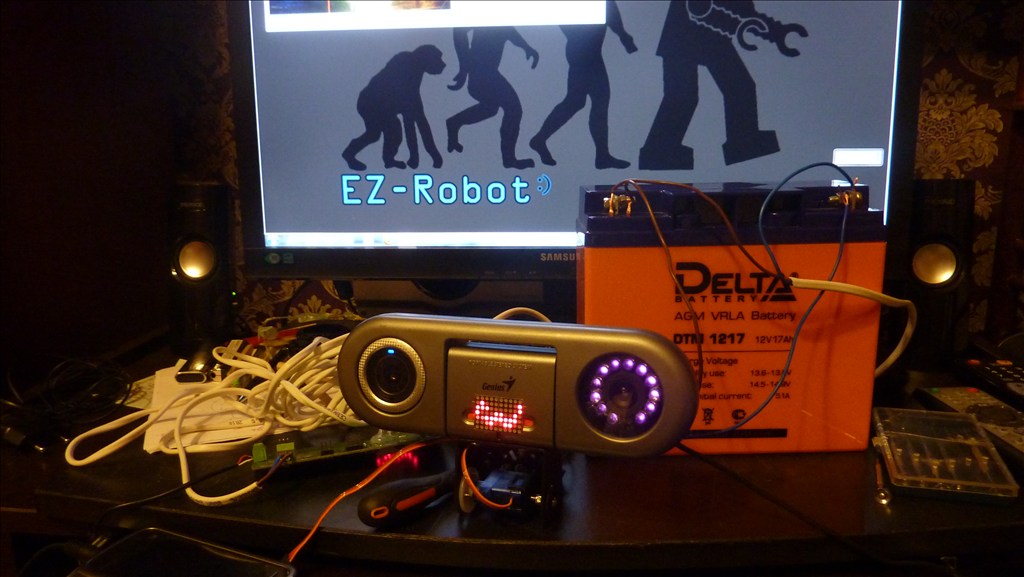
Igor's Robot Guard

The parts you've printed look good. The improved quality ones you plan on printing should look and work great.
Update 12/8
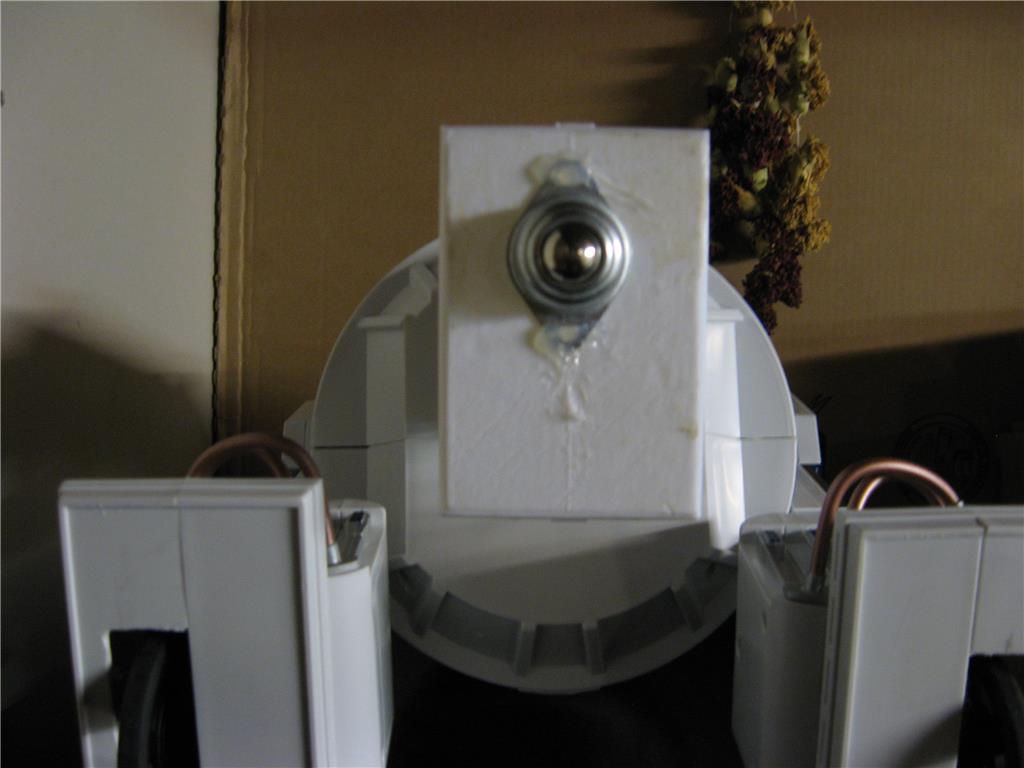
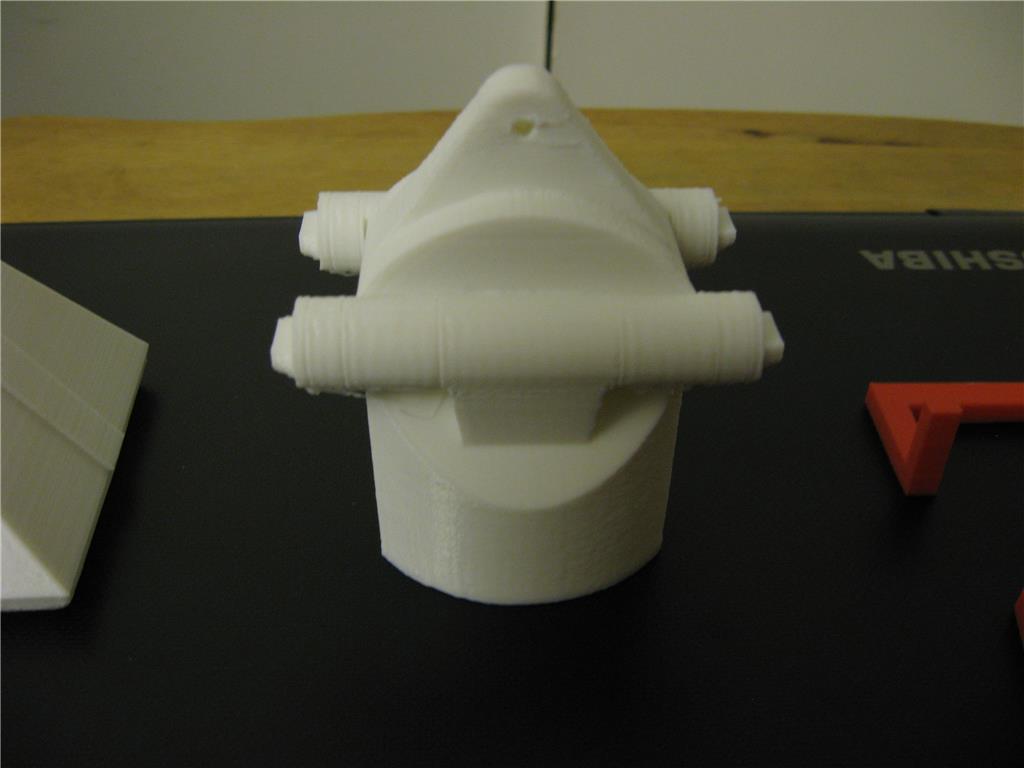
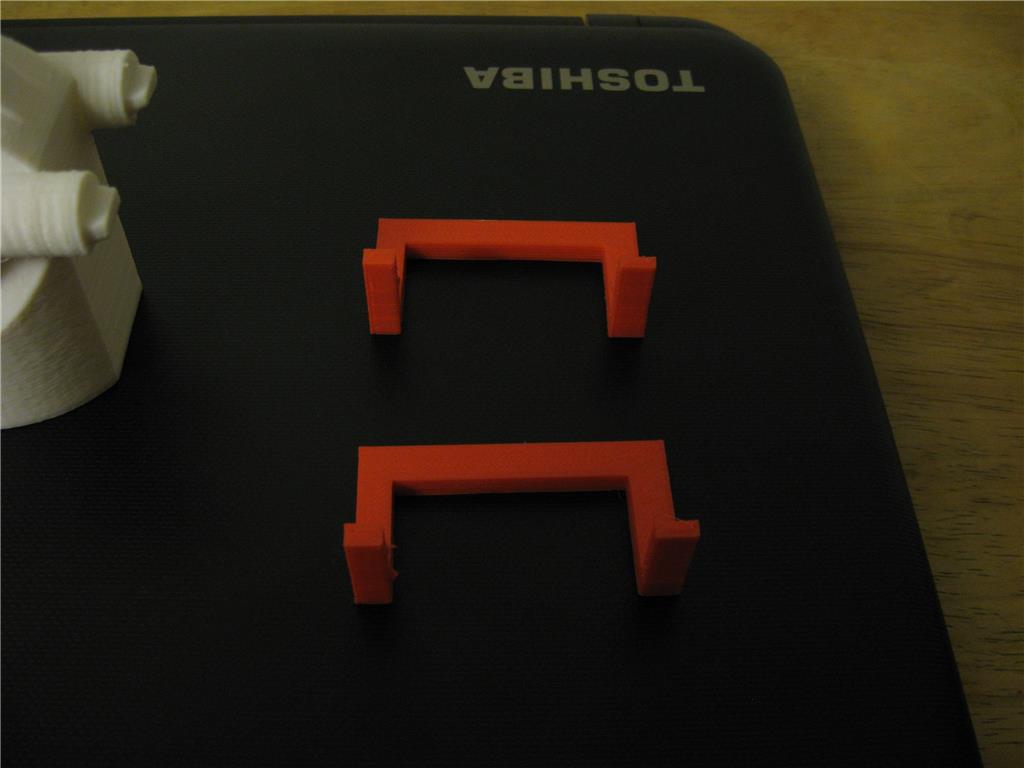
Finally printed front foot and leg. Also printed 2 servo brackets to give more strength in the foot in case this gets heavier than hot glue can hold. If anyone wants the .stl files let me know and I will post them.
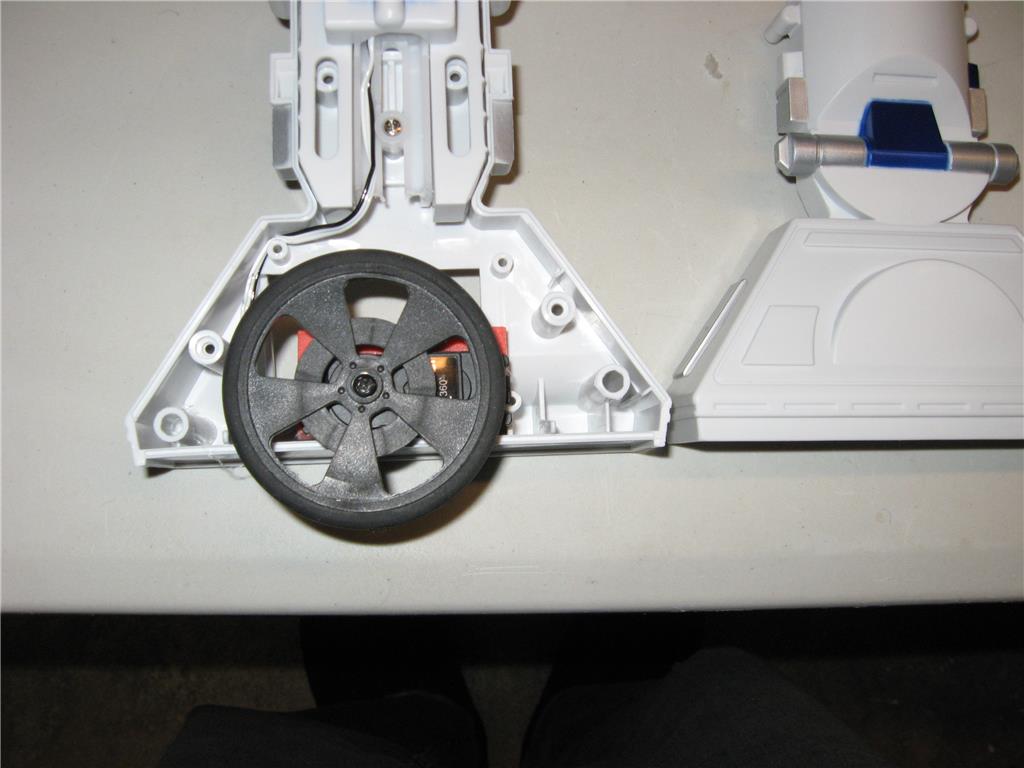
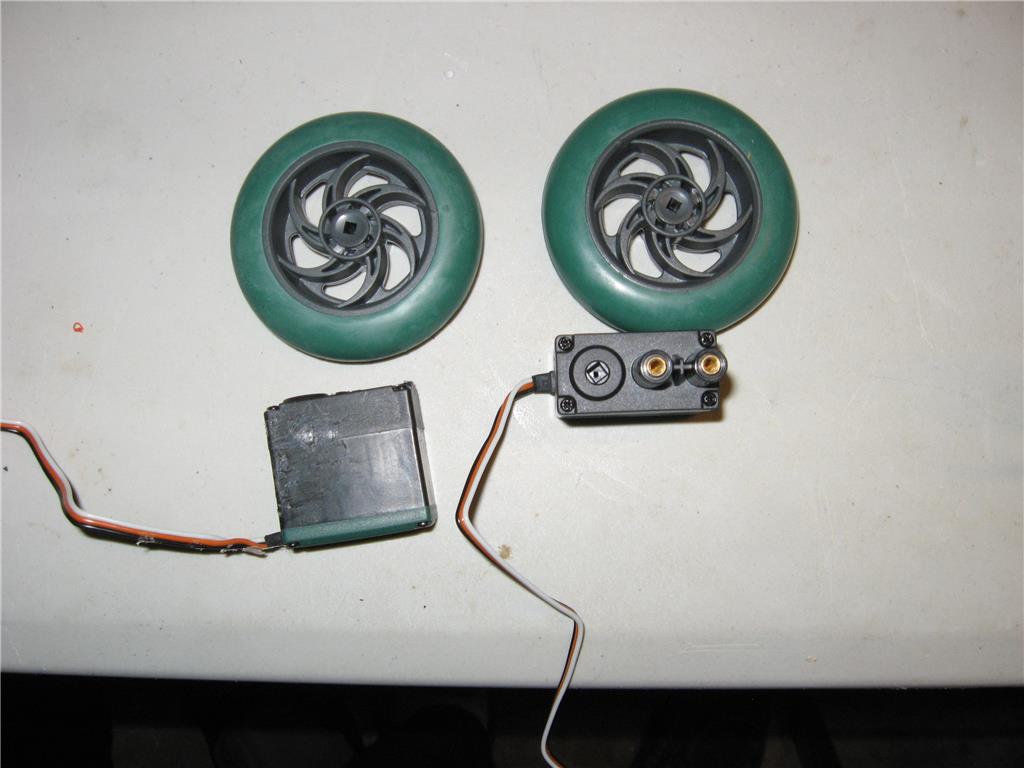
Once I get the developer kit and confirm which wheels I will use, I will begin the installation of the drive. I am using the continuous rotation servos. I think they will do the job.
I may build another continuous rotation servo for the dome drive from a new servo and some parts I have. I think I have a 330 degree 5k pot around somewhere and will use it for feedback.
Ron R
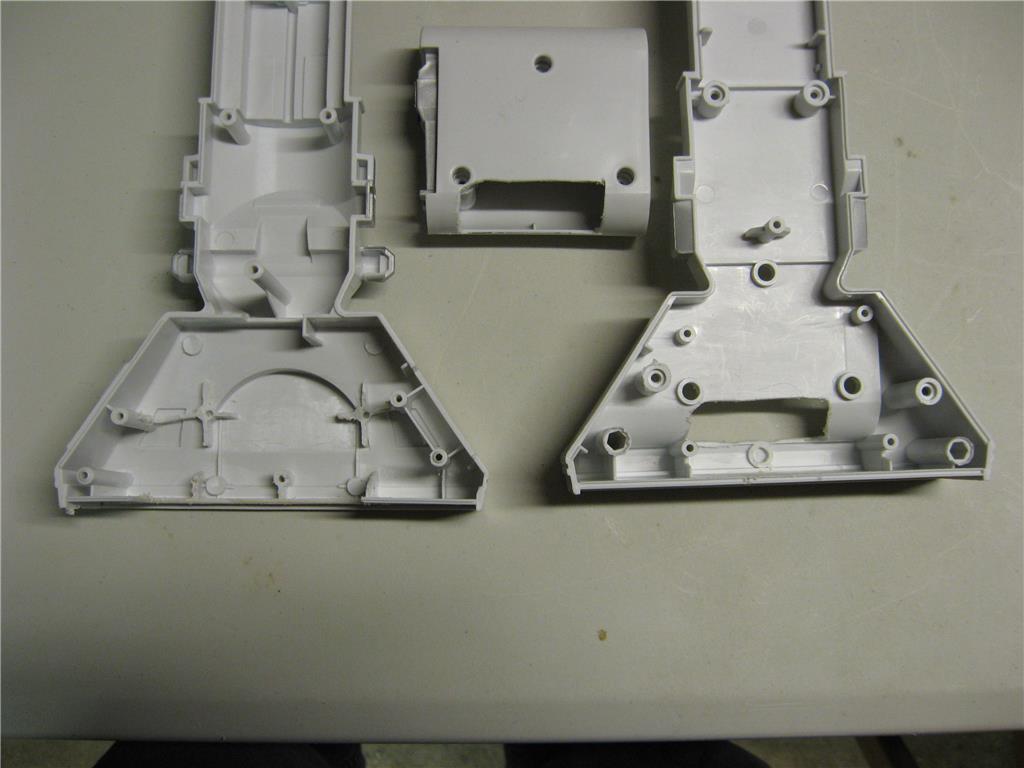
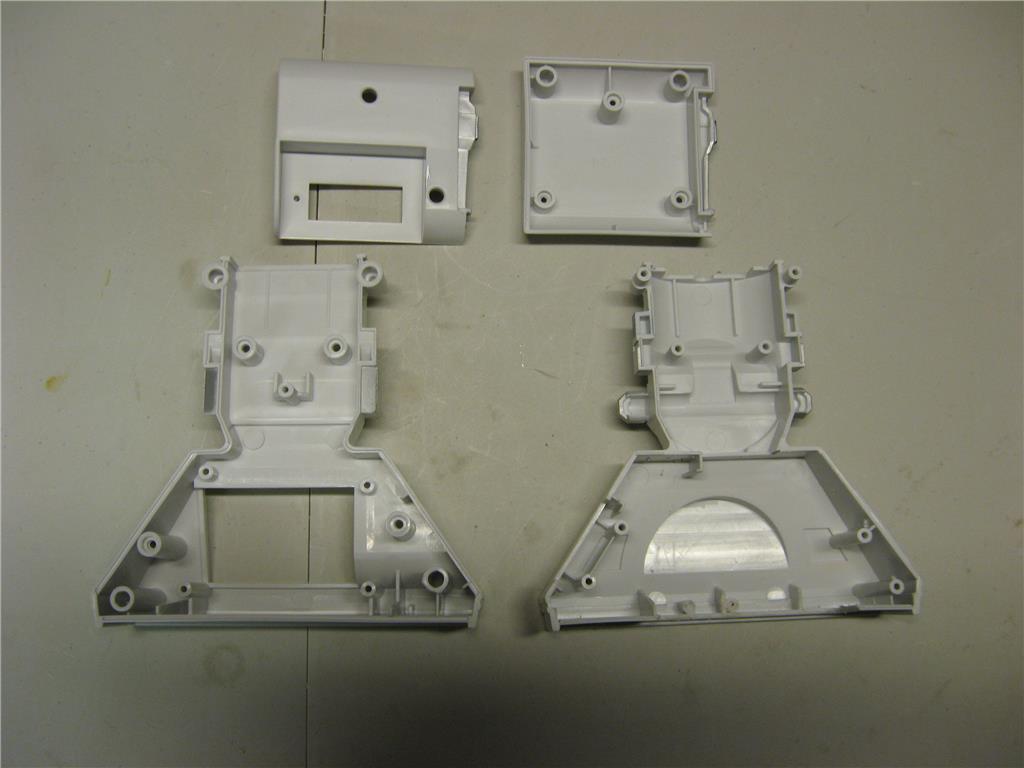
12/15 Leg update:
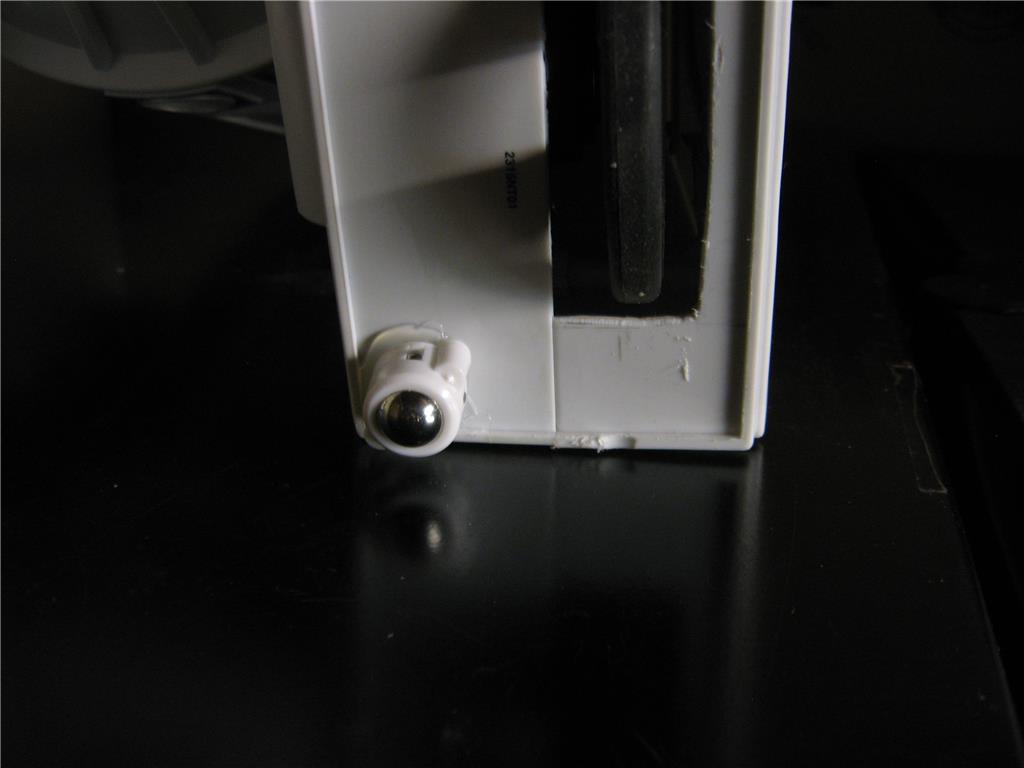
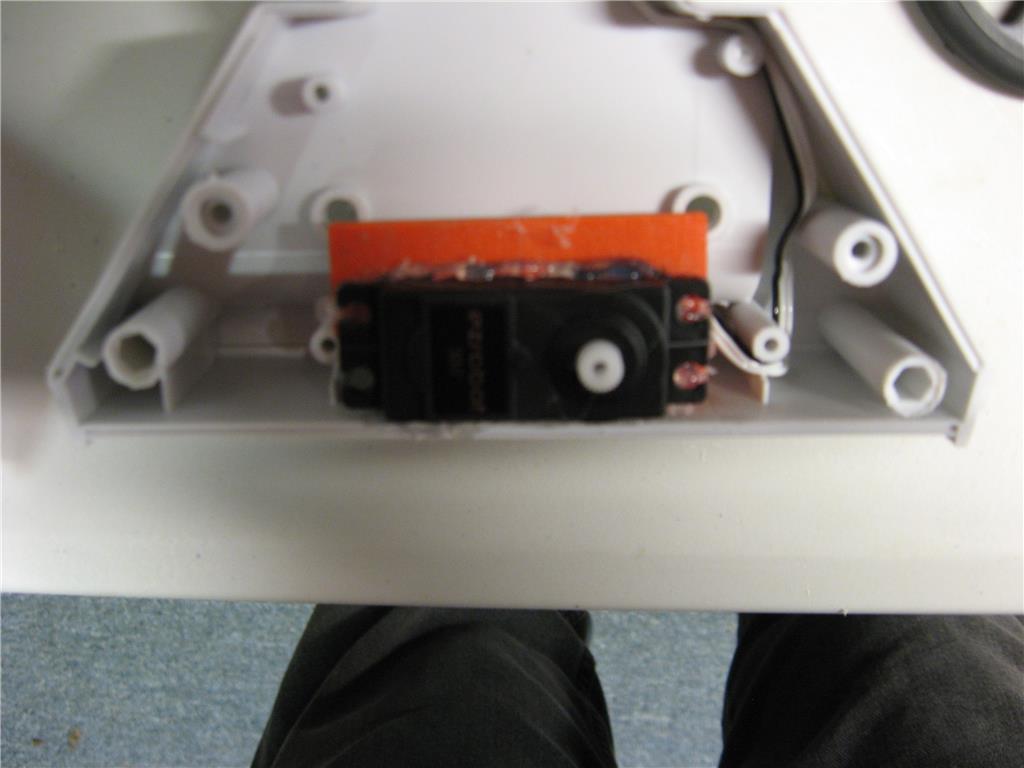
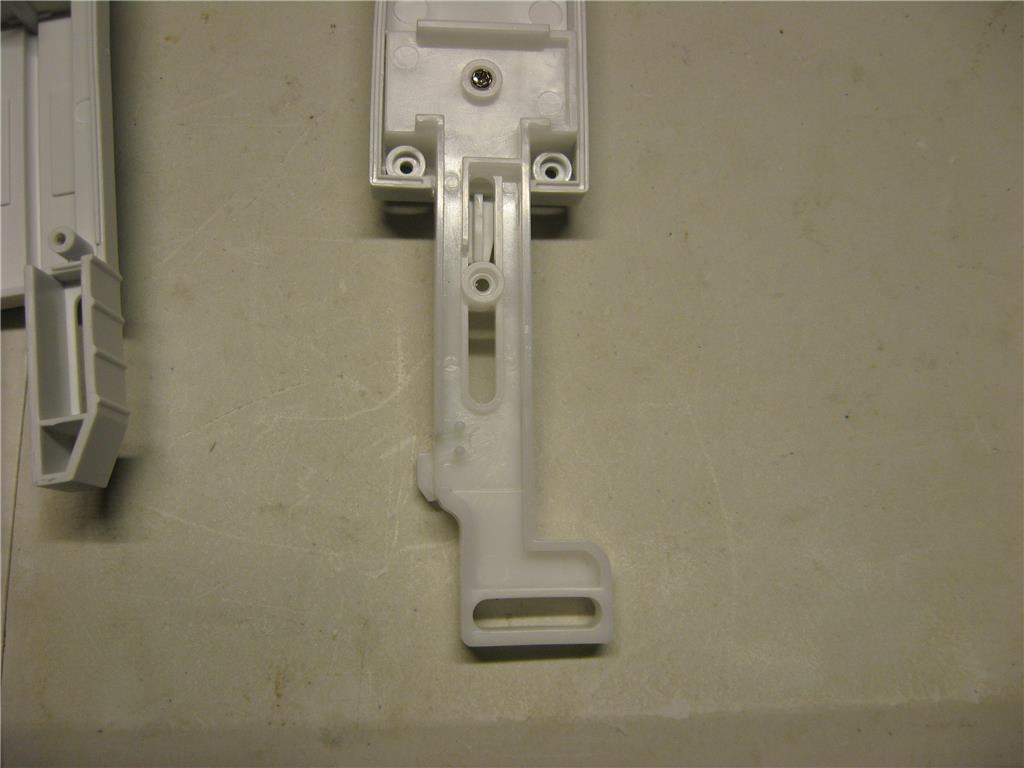
I assembled the servos in the legs. Legs are not the same construction so consider it if you do the build. I haven't decided on what to put under the front leg once I mount it. I may use a large ball caster I have instead of a regular caster.
The next step will be the front leg mounting and caster. I will lock the side legs once I get everything lined up.
I will be slowing down due to the holidays, but I will continue to update.
Ron R
@Andy - decided to take the plunge and mod mine as well. Do you have the stls so I could print the parts ?
Cheers
Hi @nanomole40
Here they are:
servo_tray_1.stl
CenterfootBorlee.stl
CenterlegBorlee.stl
I used Cura.
Cut the un-needed portion off the servo tray to fit. I haven't bothered to use a screw to make it stronger. I think it will be fine as is.
The leg needs to be cut to length to fit correctly.
Ron R
@AndyRoid - thanks very much. will print and cut to size
12/16
@nanomole Have fun..
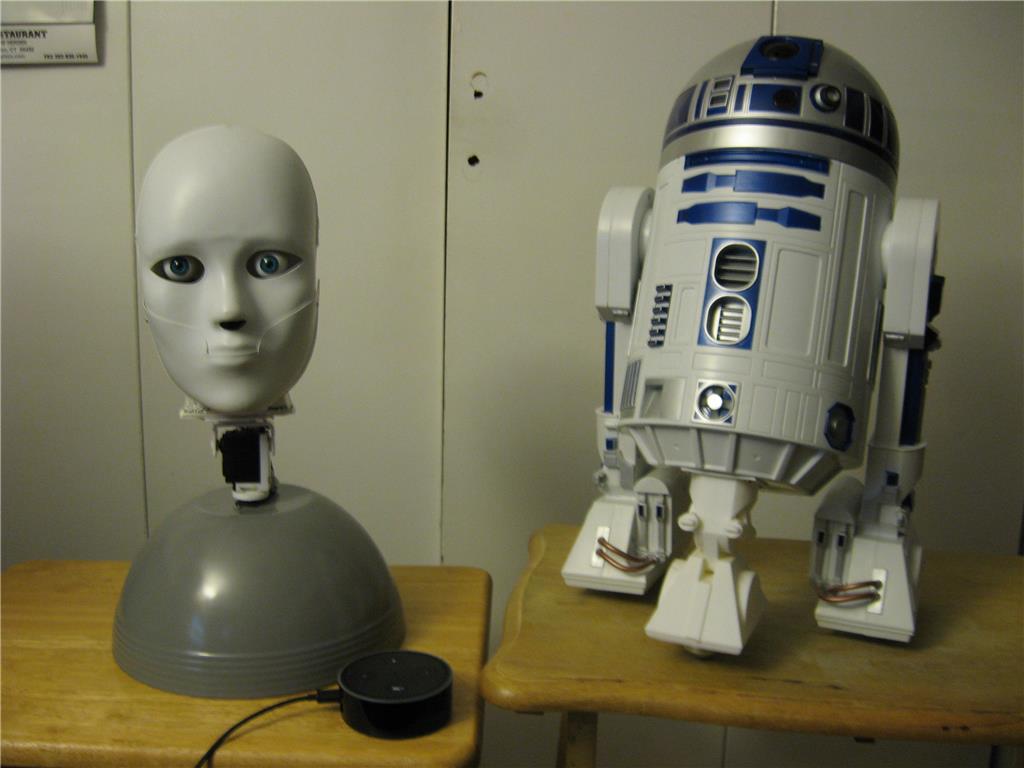
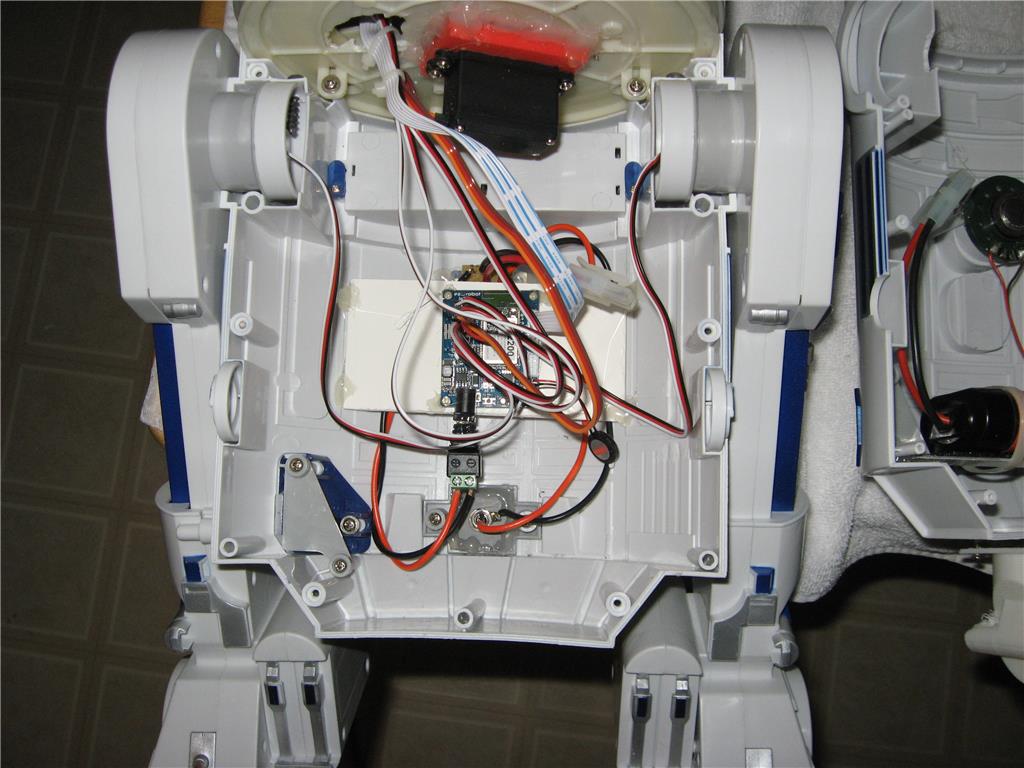
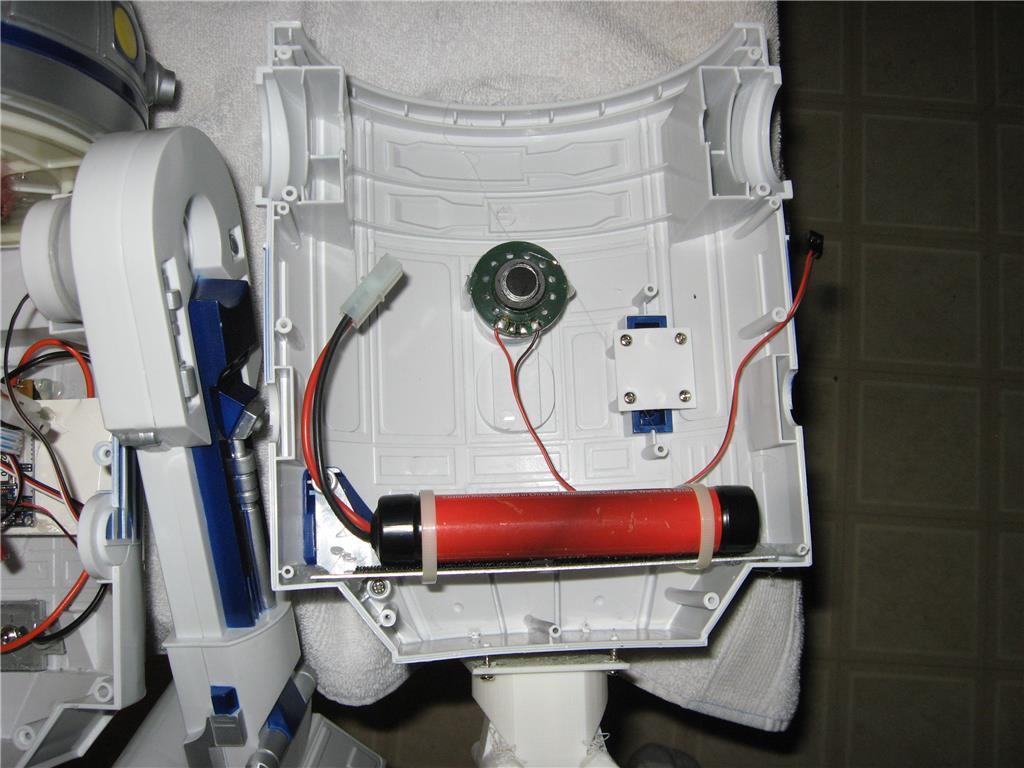
Here is the lastest update:
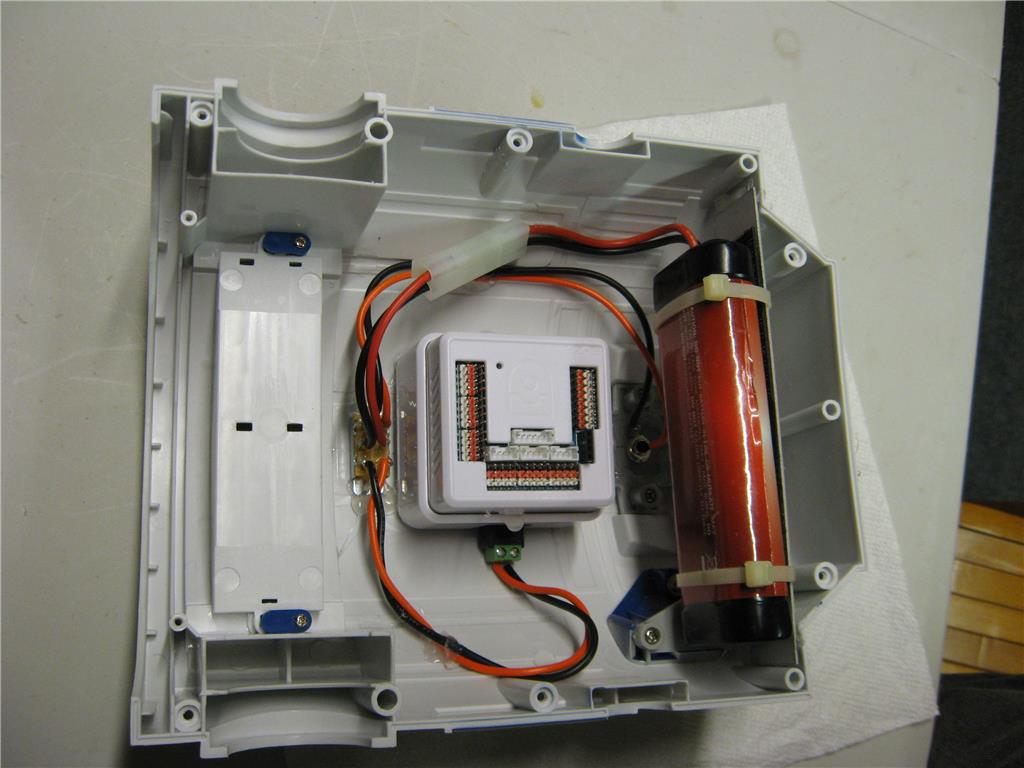
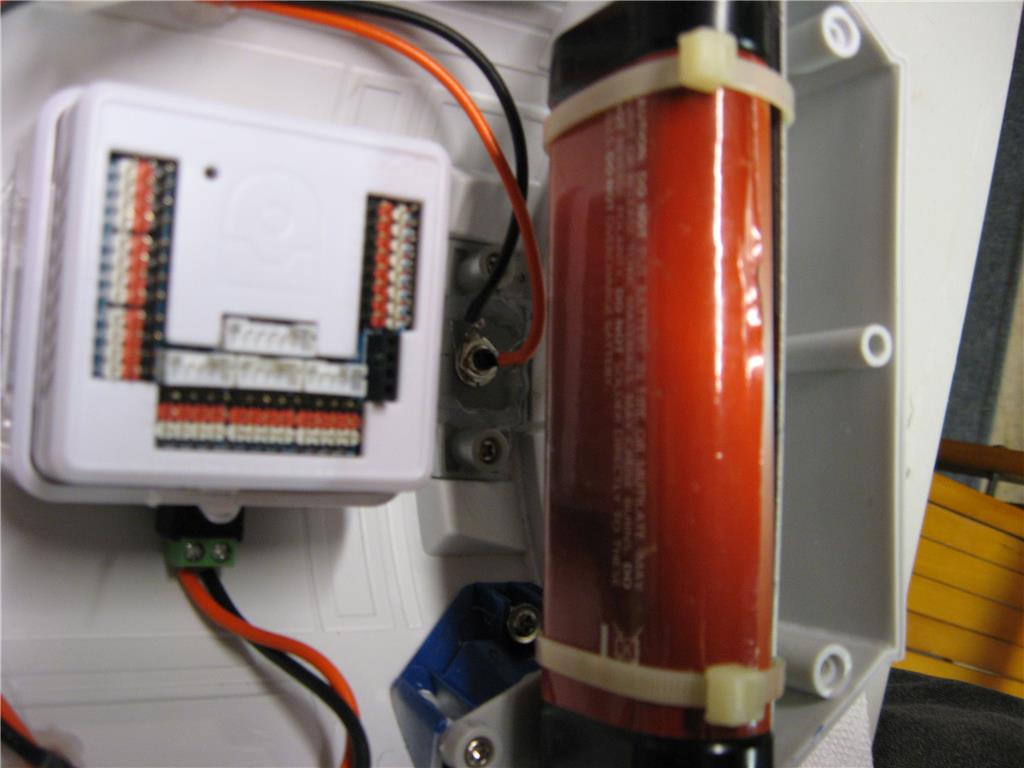
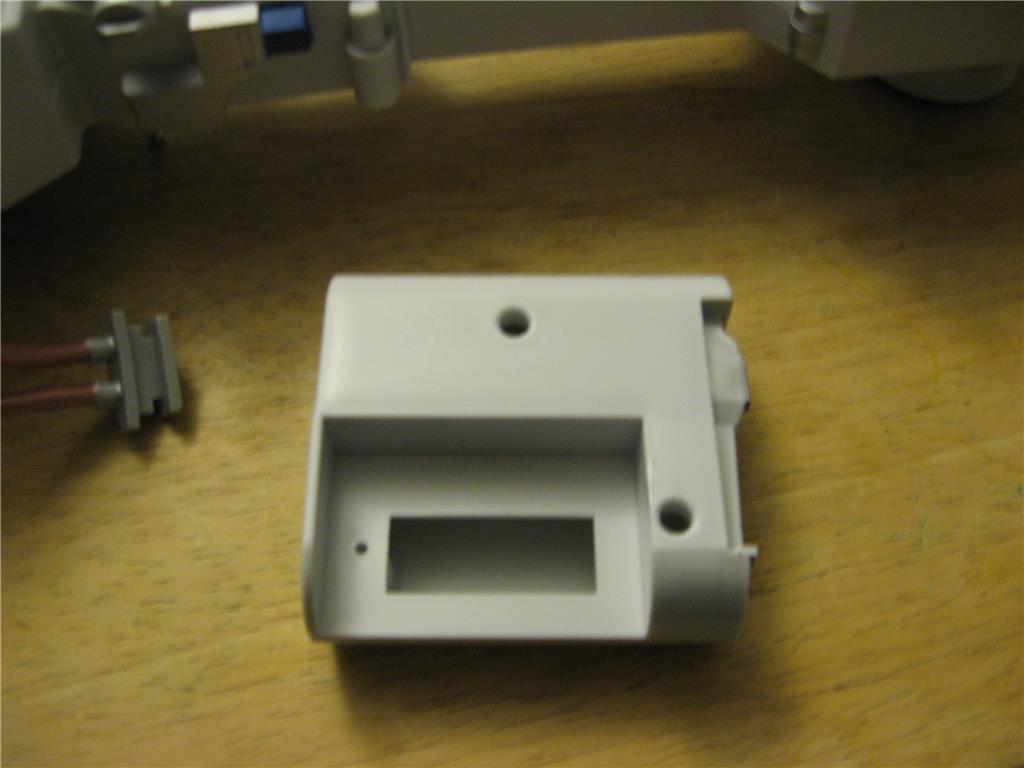
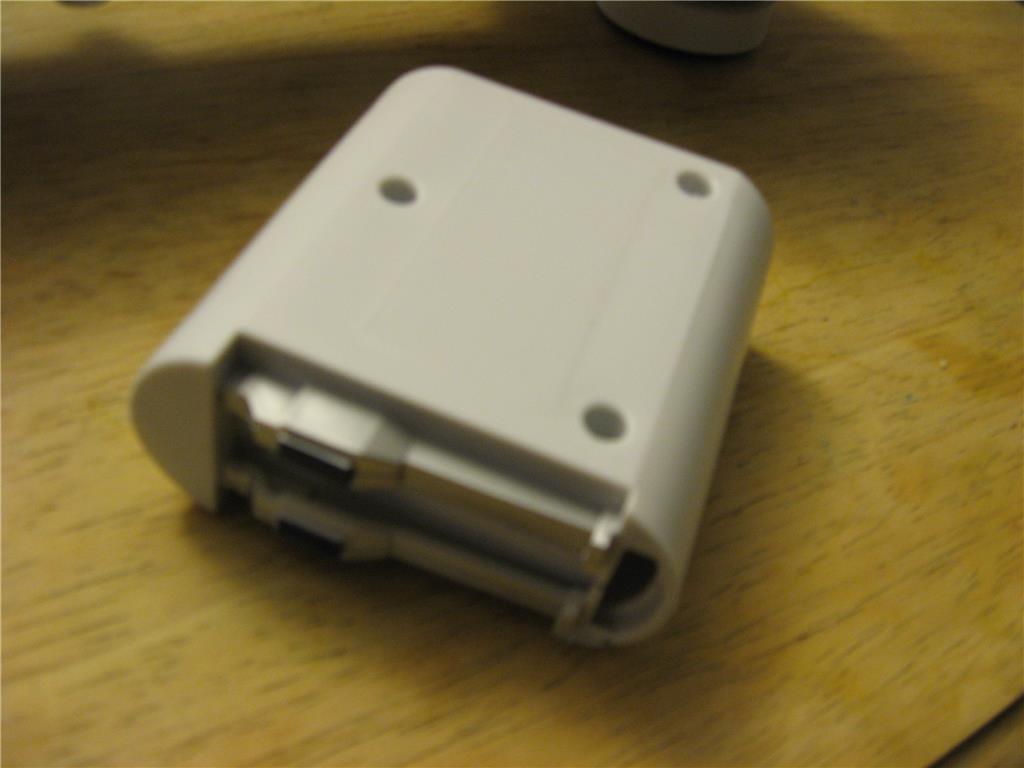
Installation of switch, EZBv4, charging plug, battery tray and battery.
I used the switch location blocked off with a plate for the power switch and modified the lower charging port to become the real thing.
Ron R
It's coming along nicely Ron. Love the charging port idea.