


Hello to All,
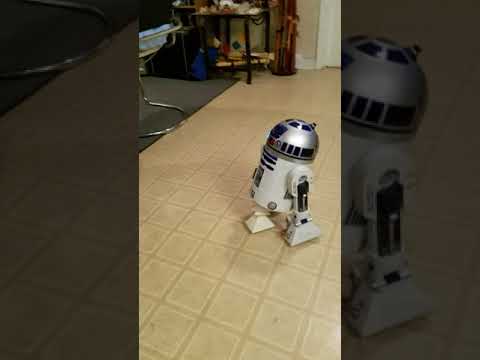
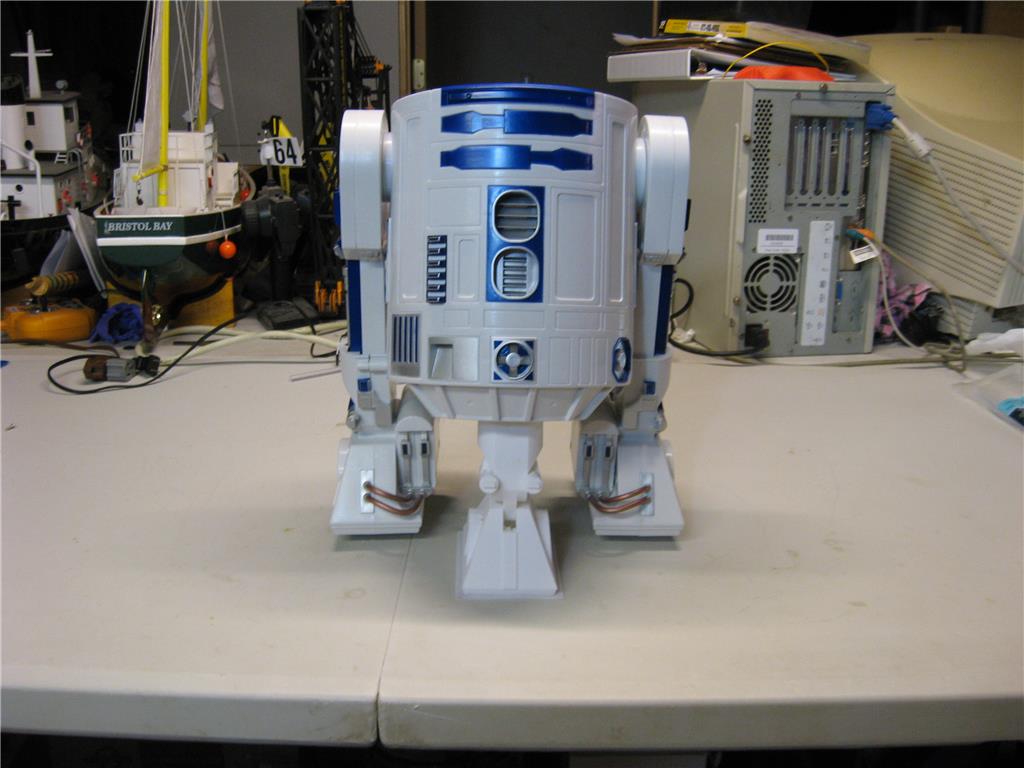
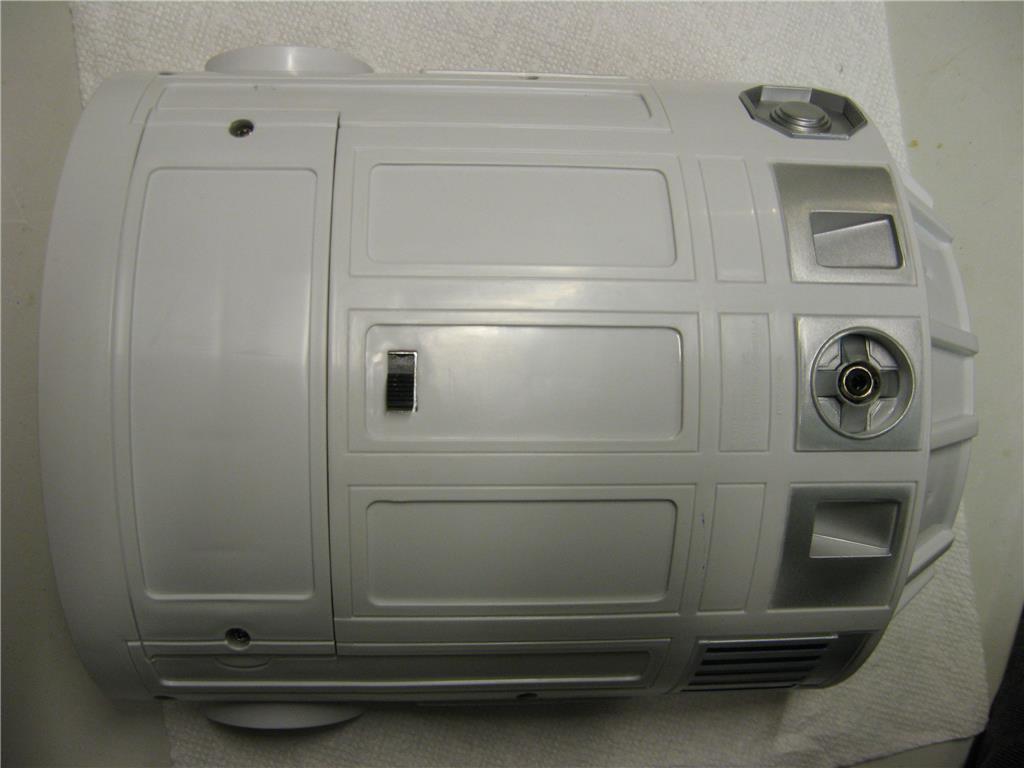
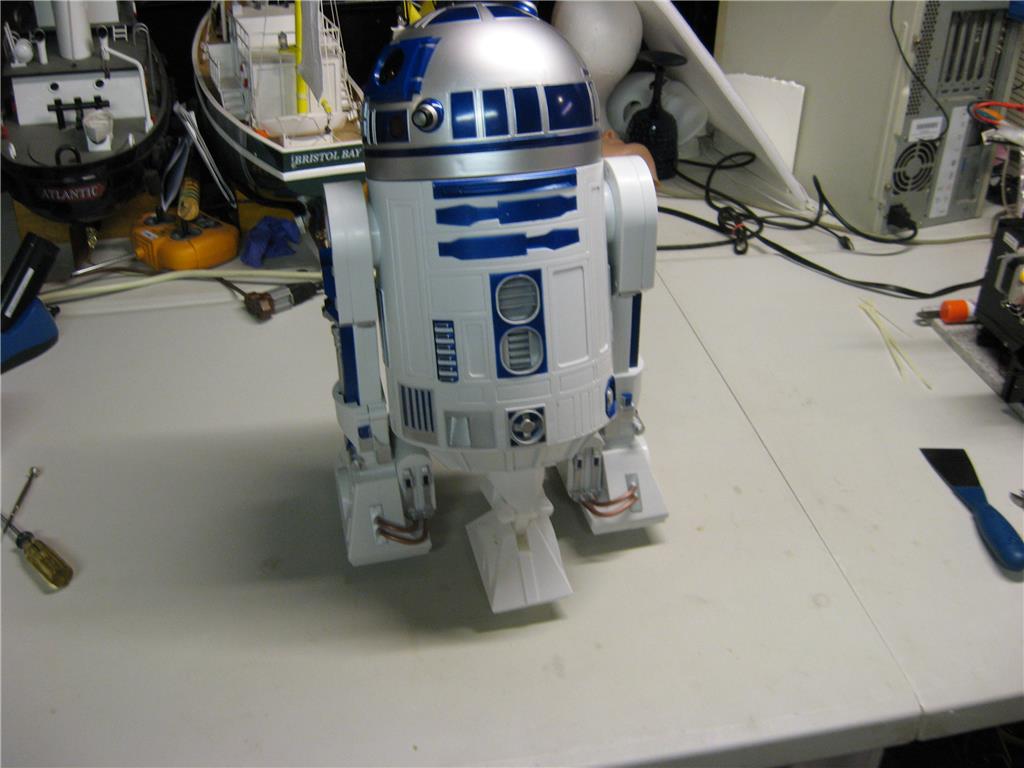
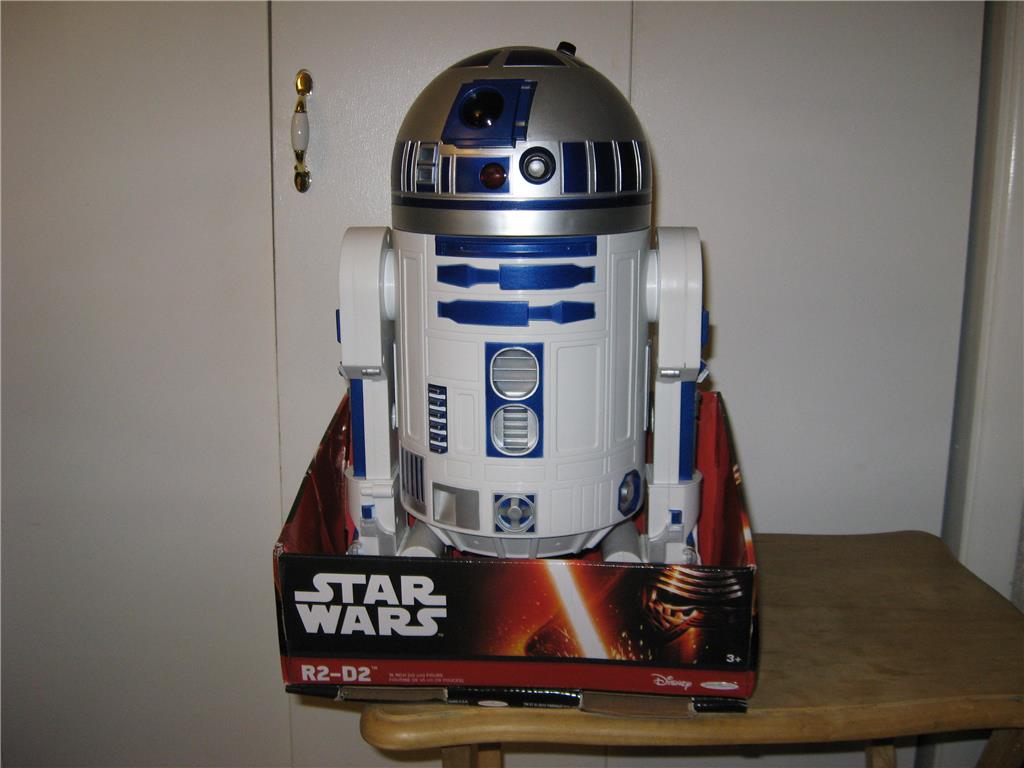
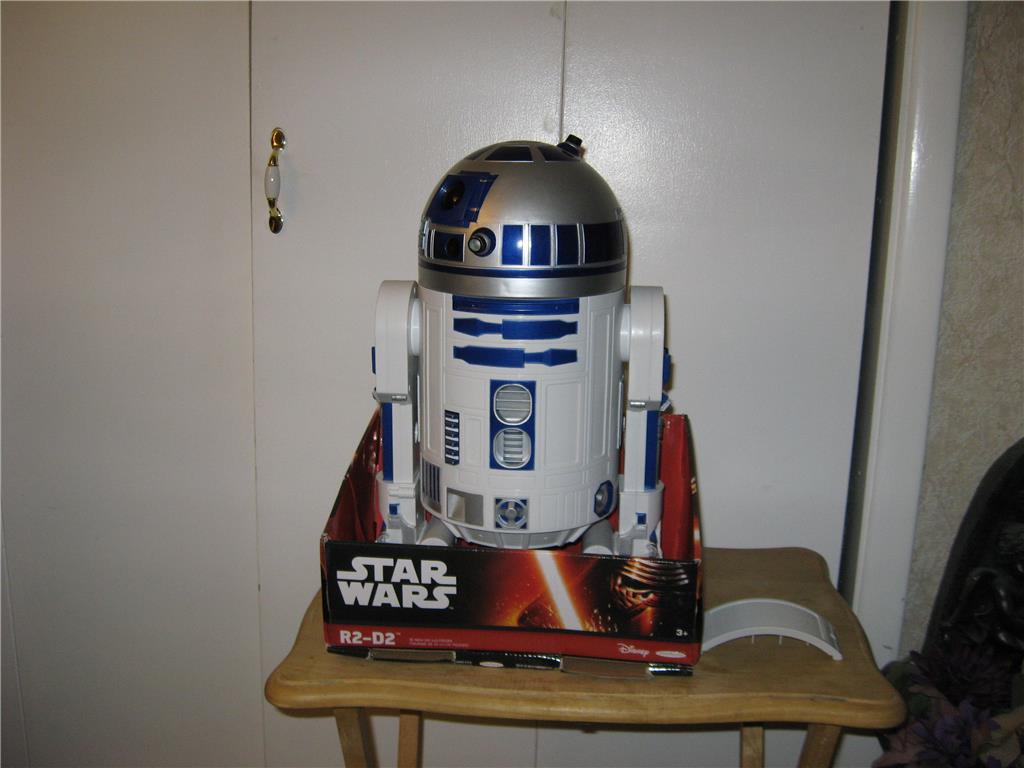
Here is the Walmart R2D2 project.
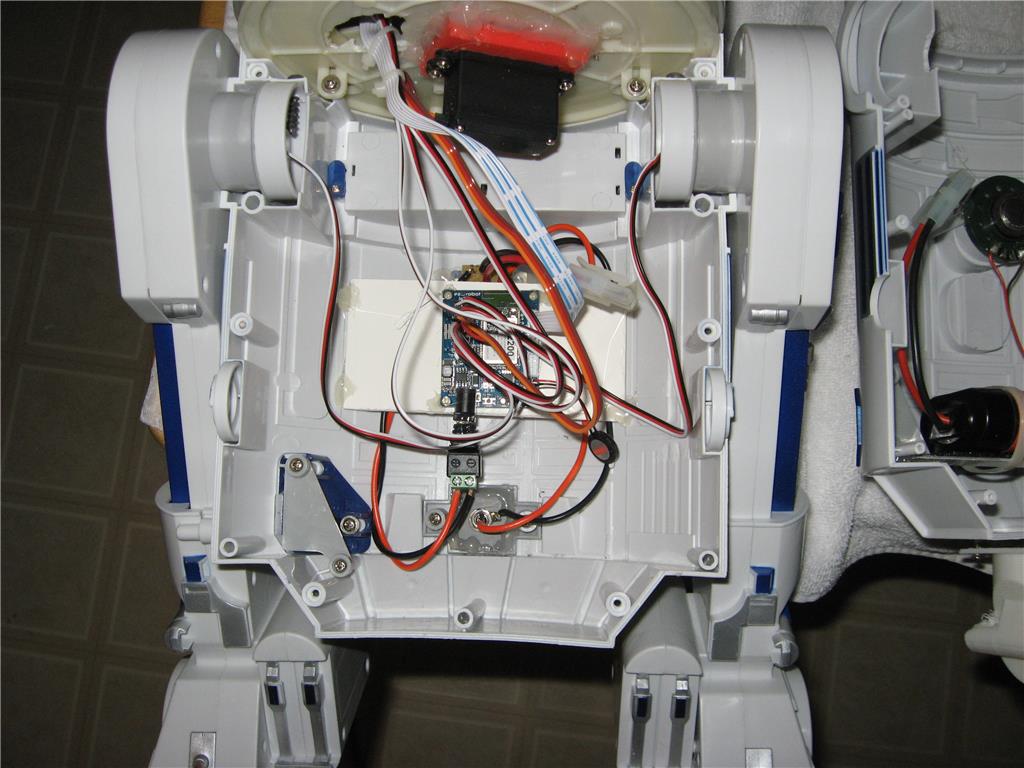
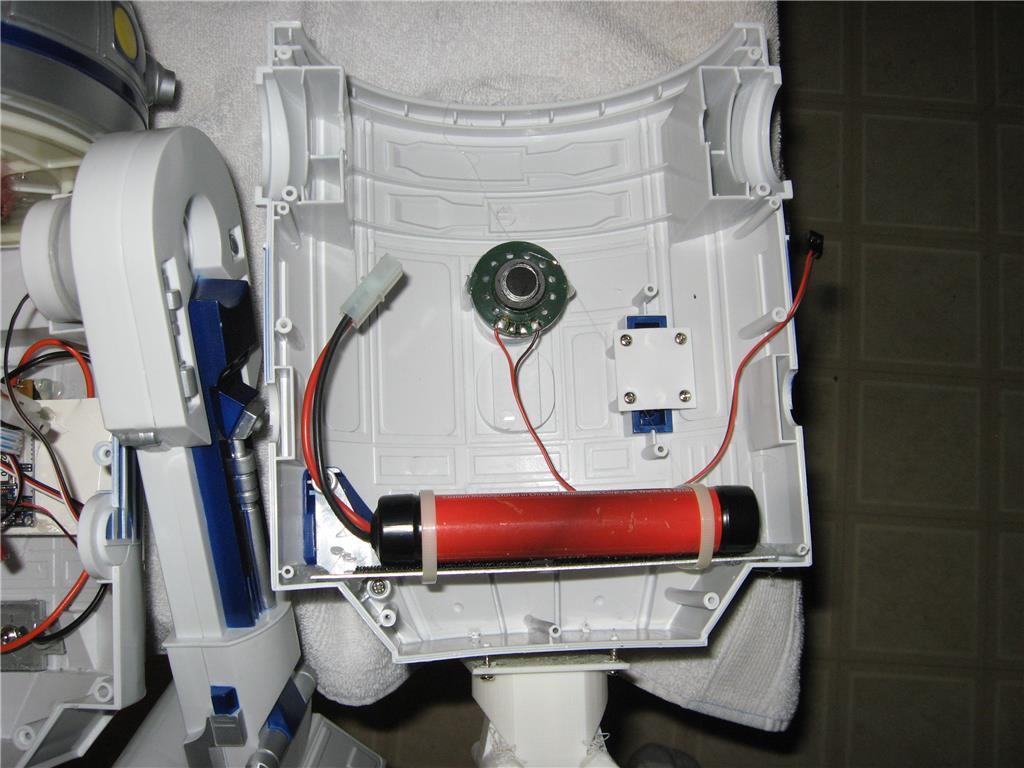
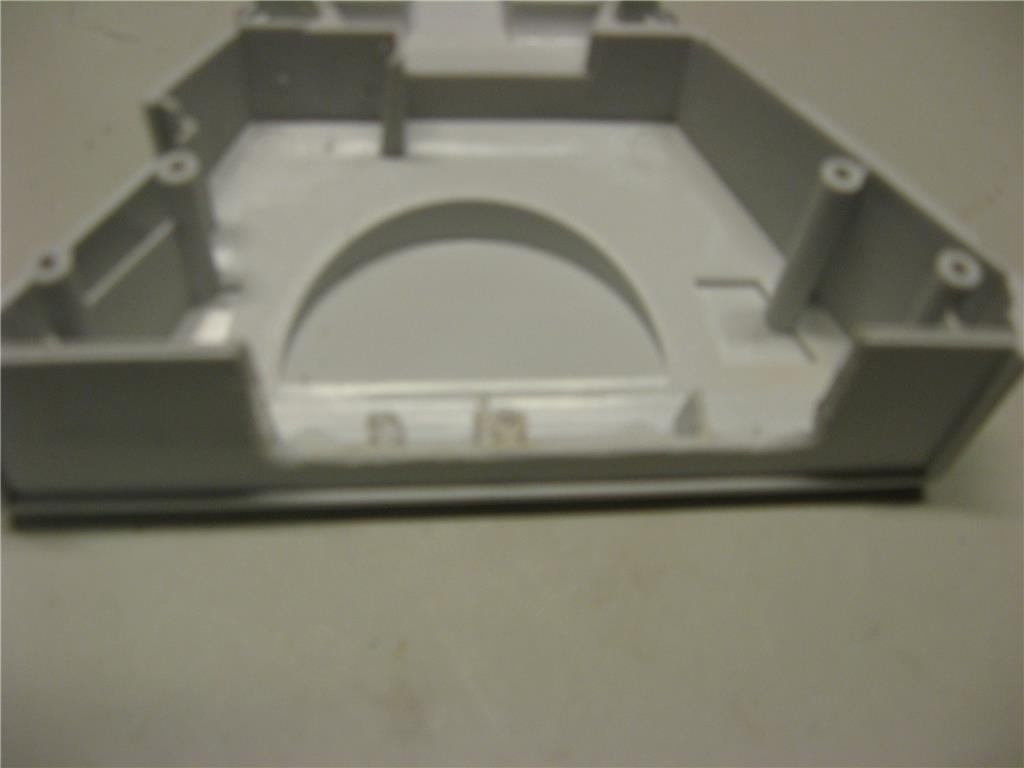
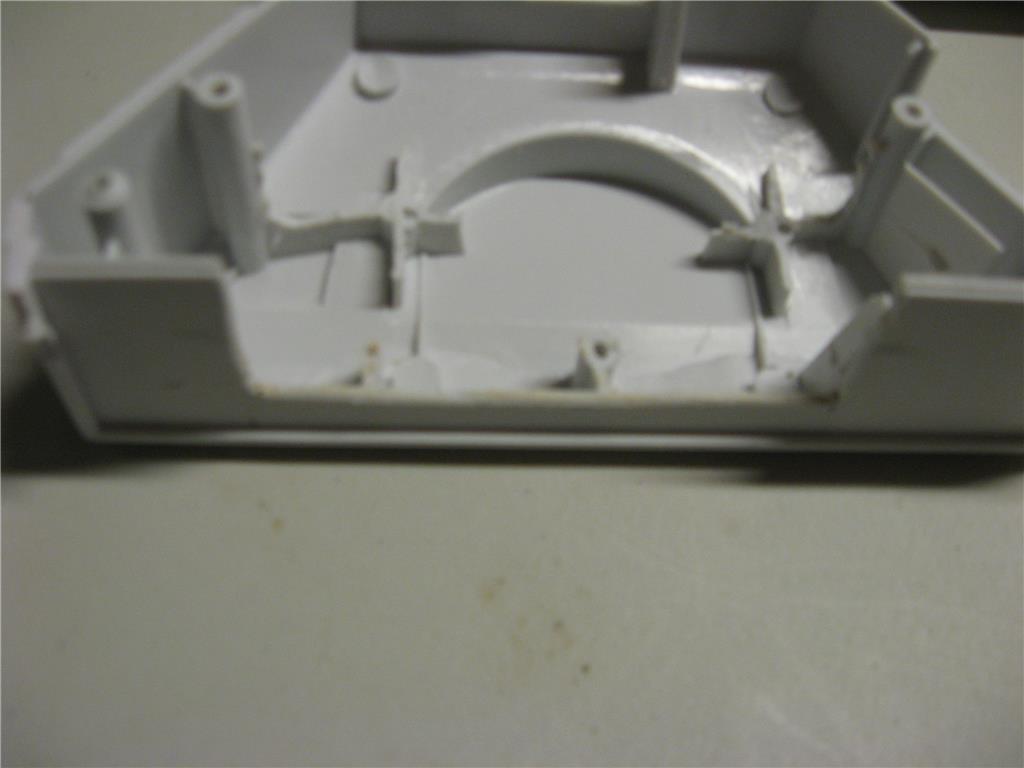
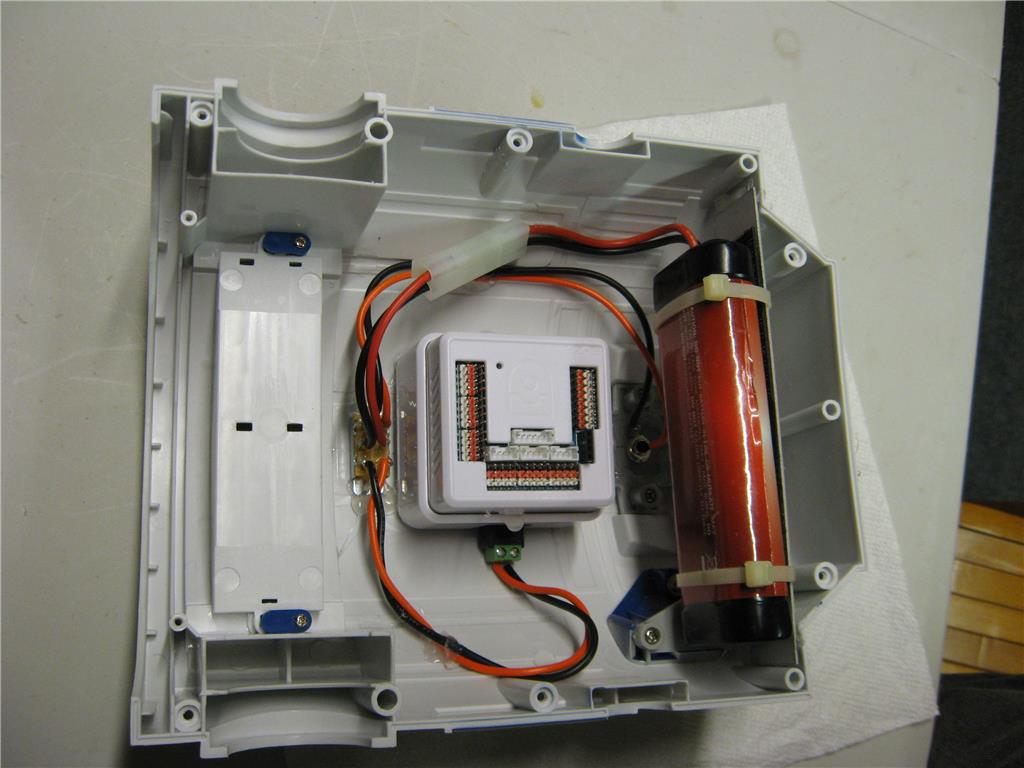
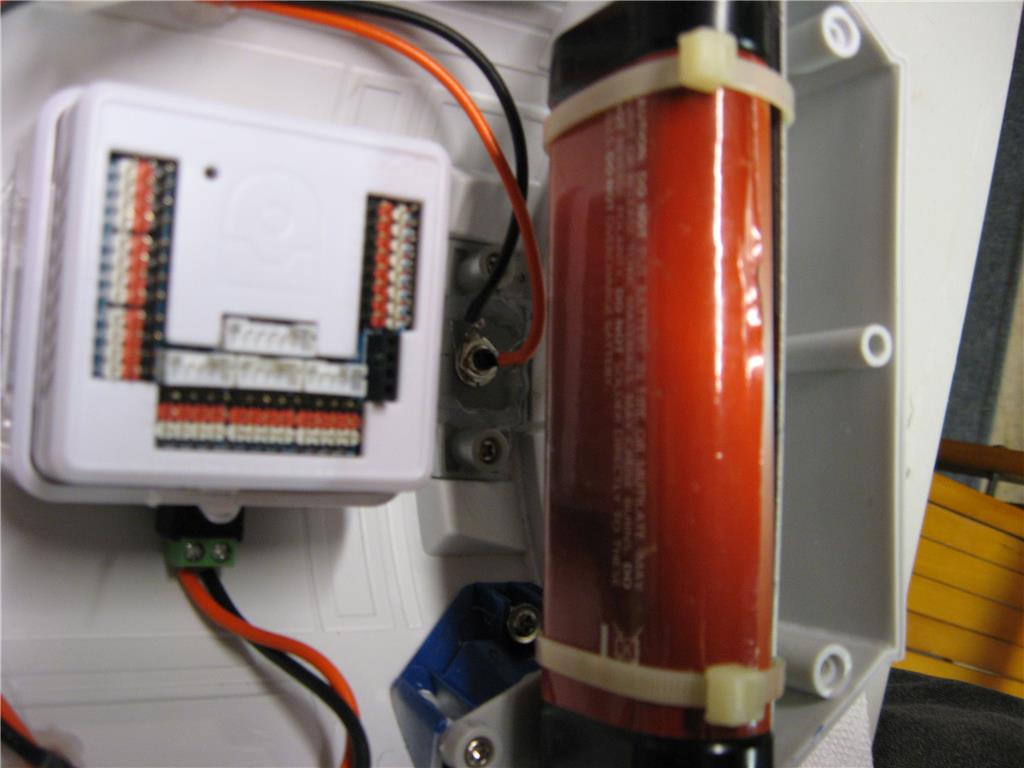
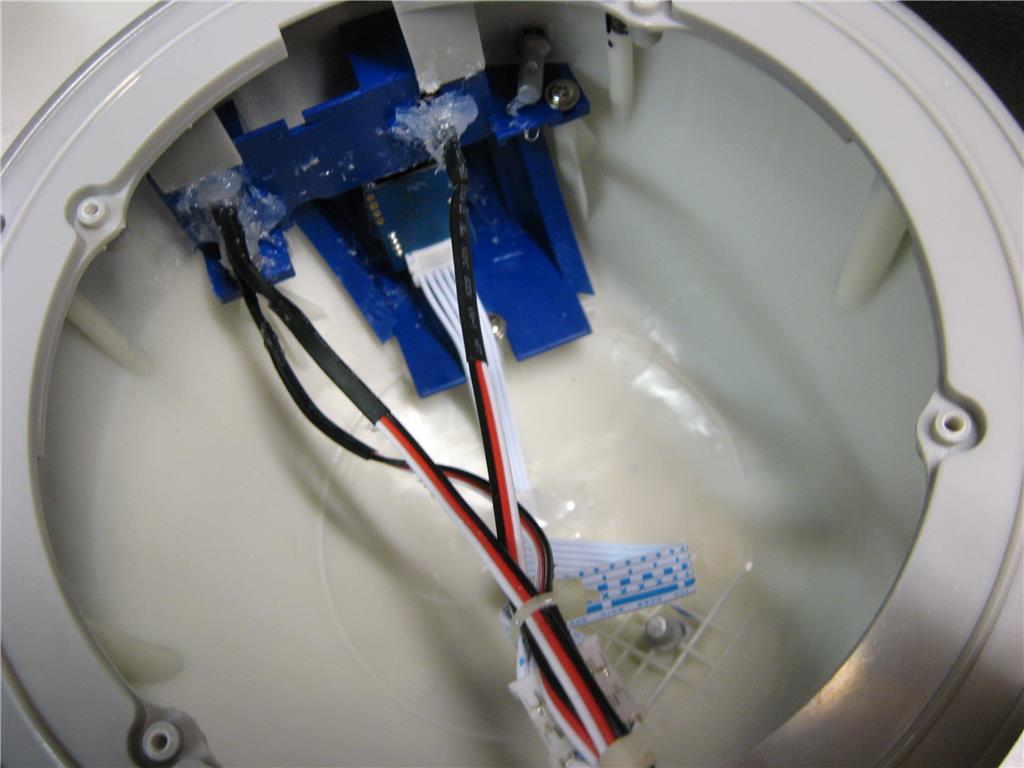
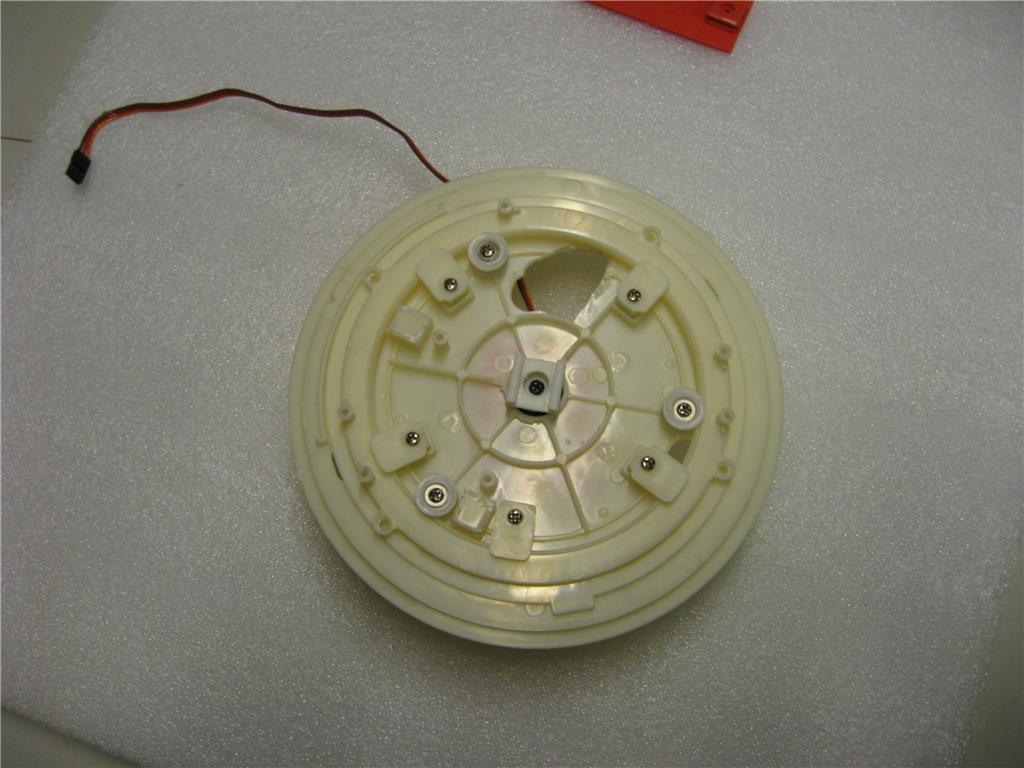
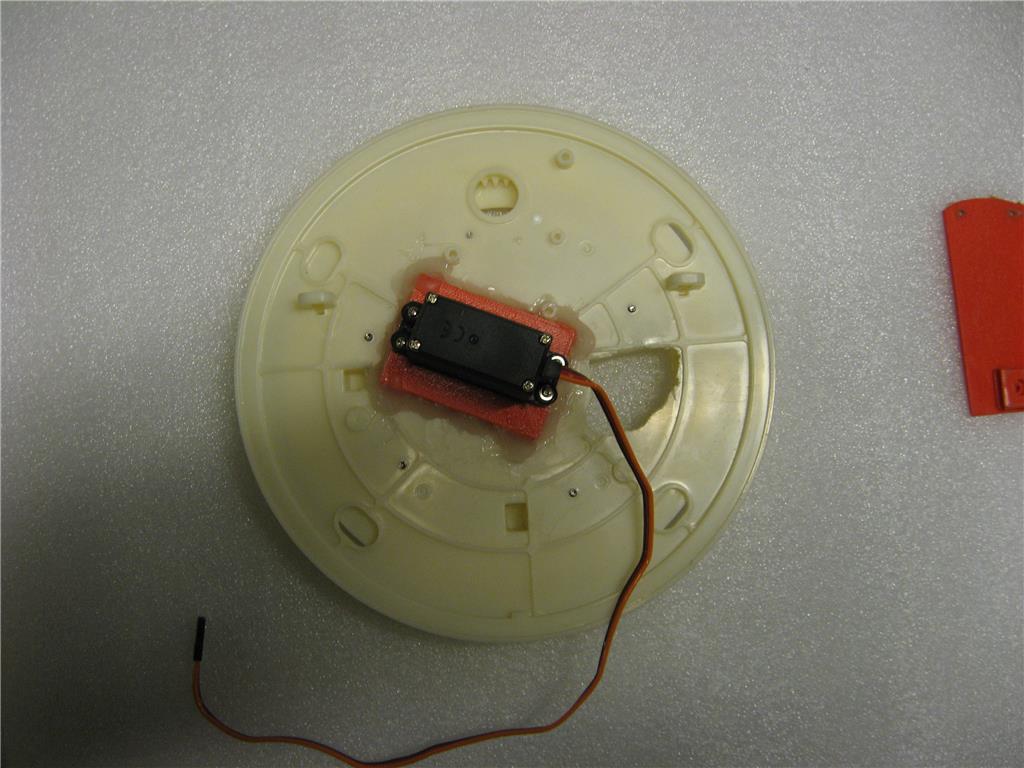
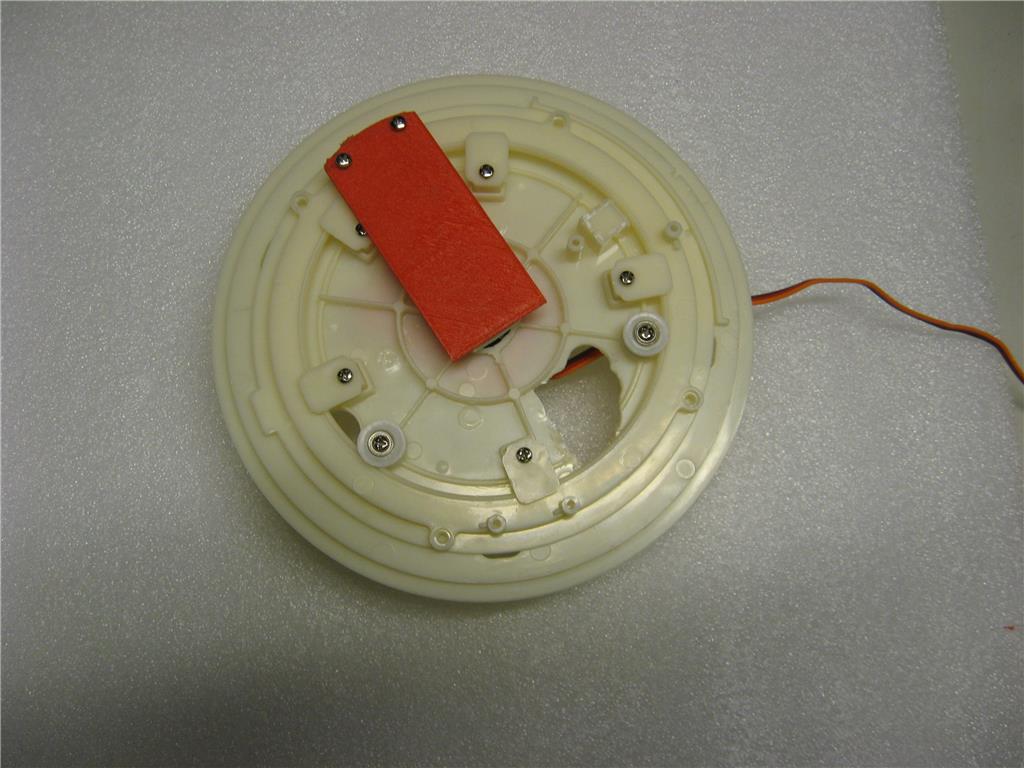
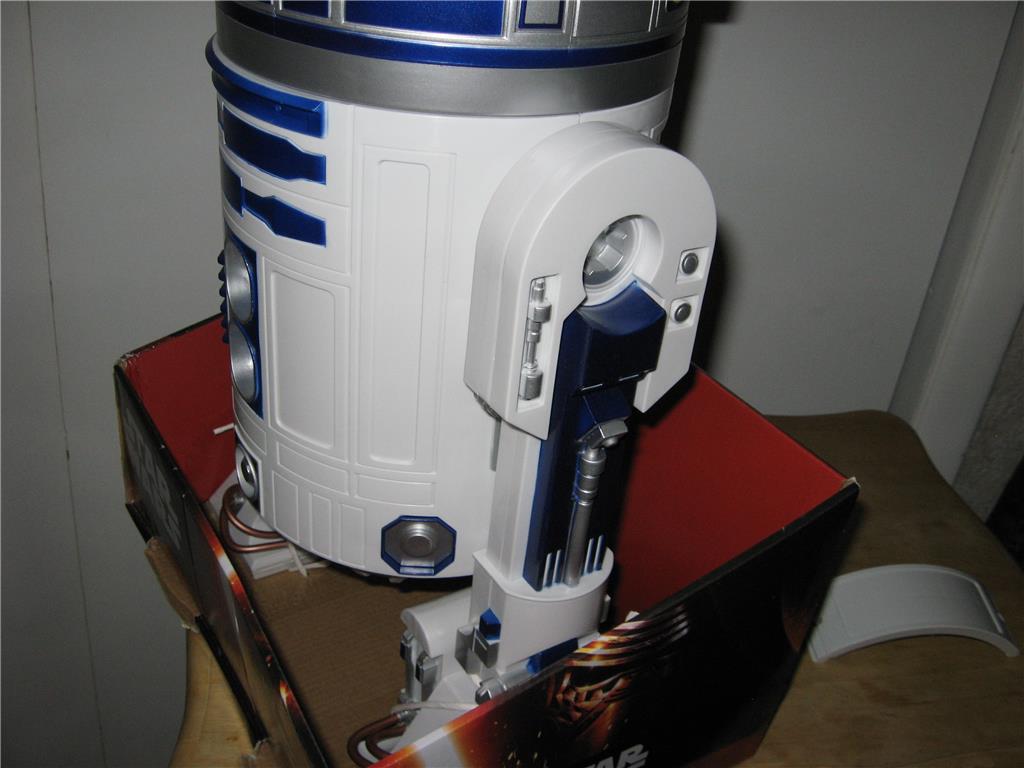
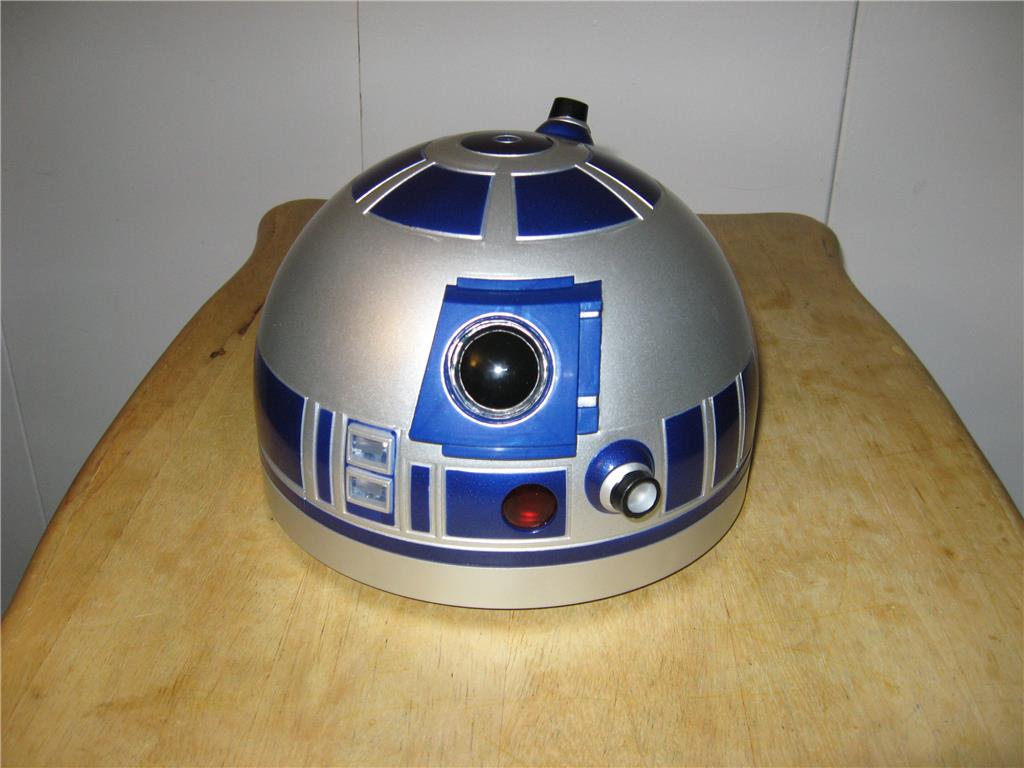
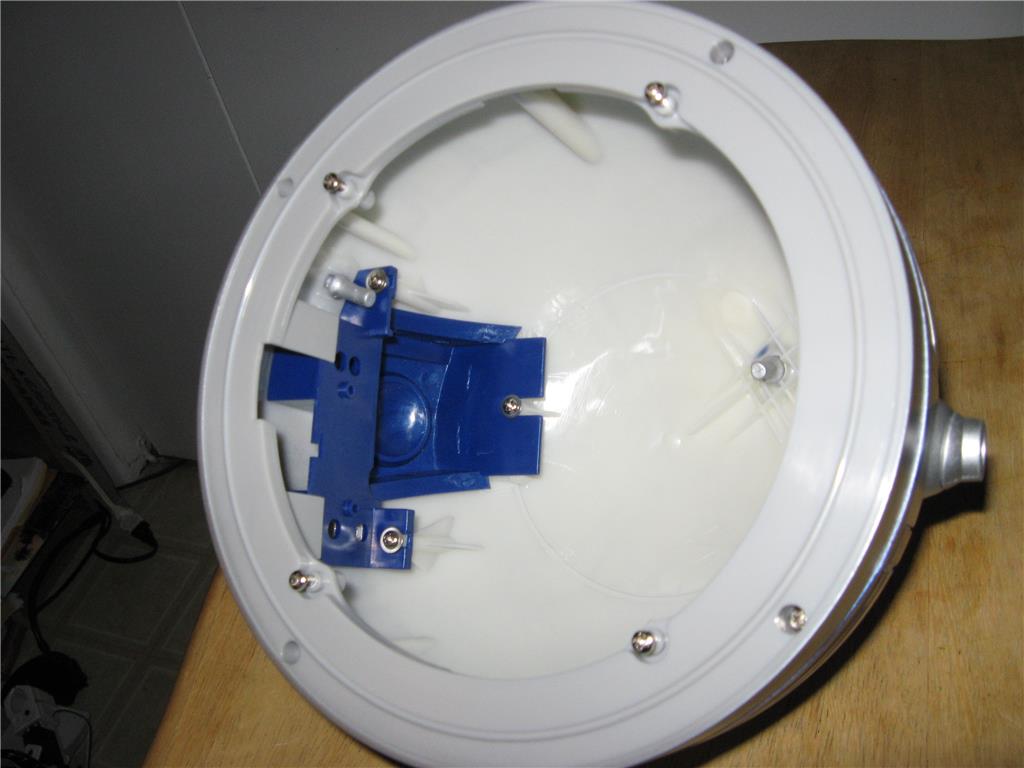
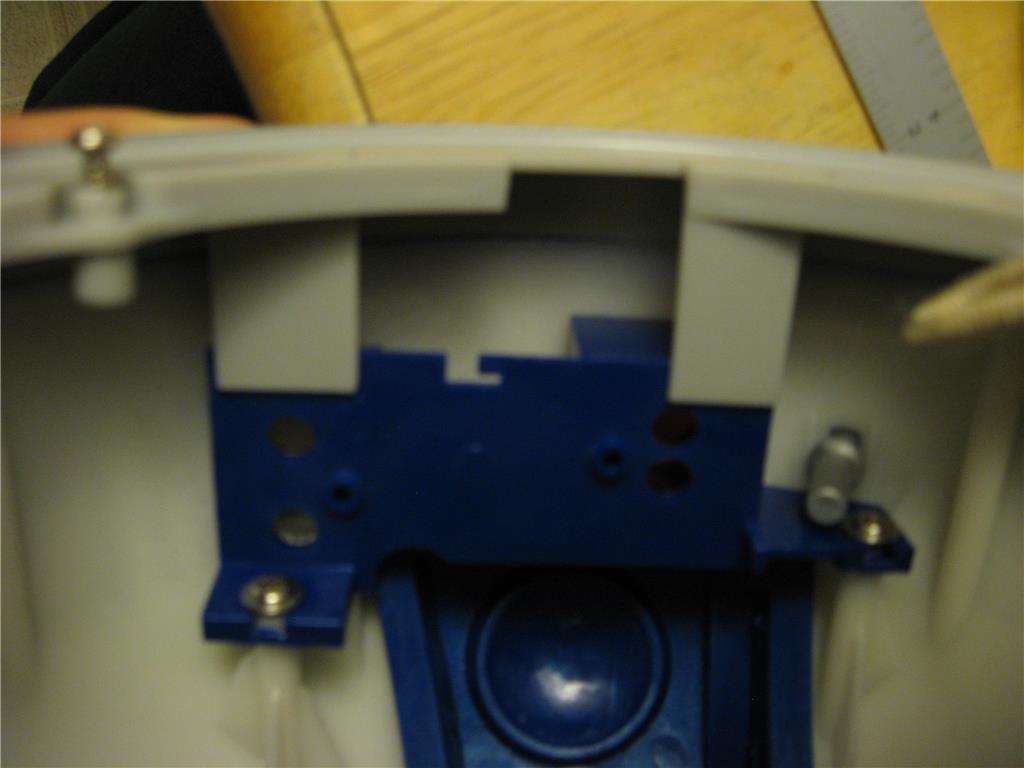
I disassembled the unit and was surprised to find it was more than a shell. There are opportunities to use the inserts in the dome to mount LEDs and a camera, and a bearing ring which has a ring gear to allow the easy installation of a servo or gearbox to move it. I found, using a flashlight, lights can be mounted against the skin to light up the panels.
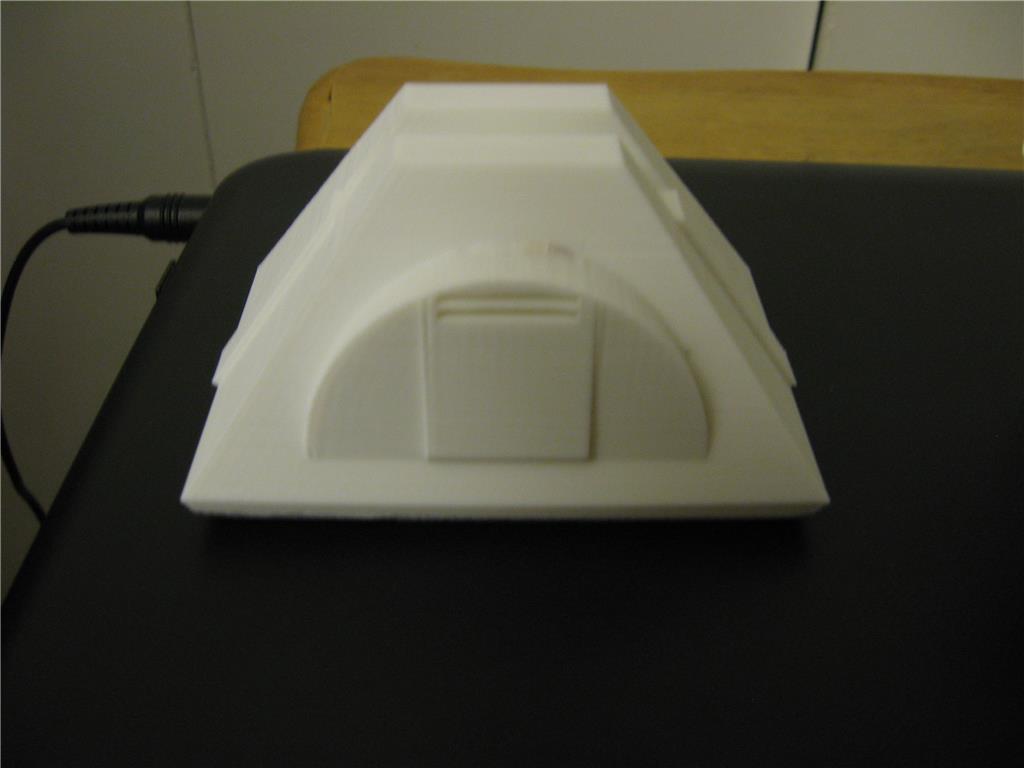
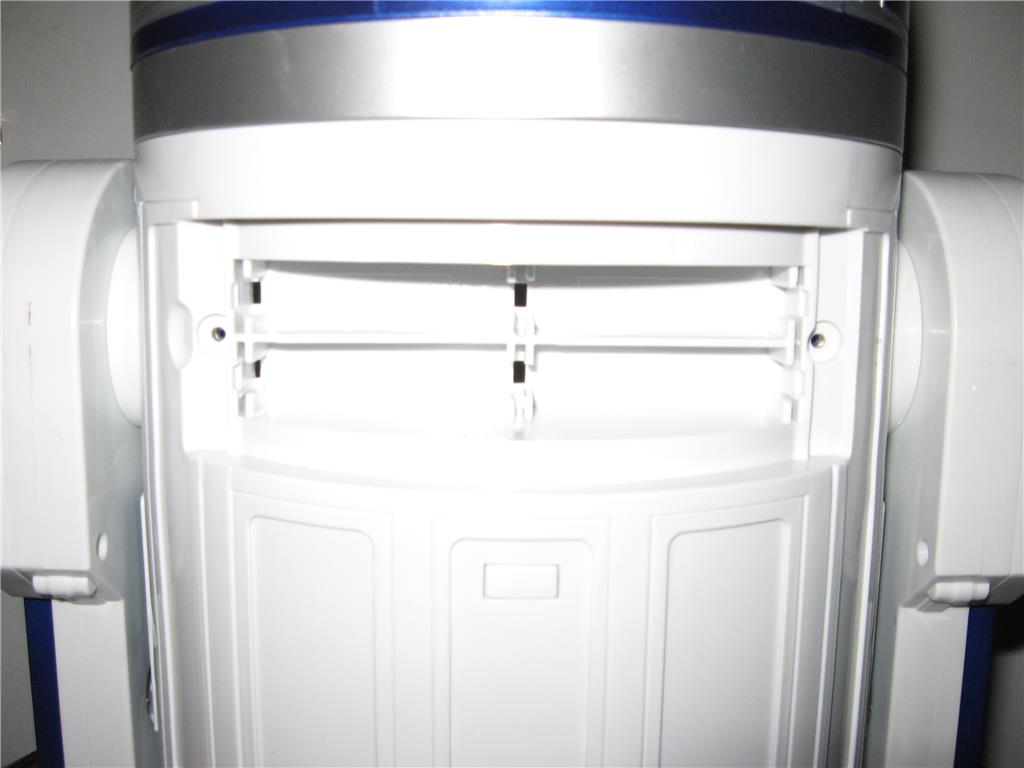
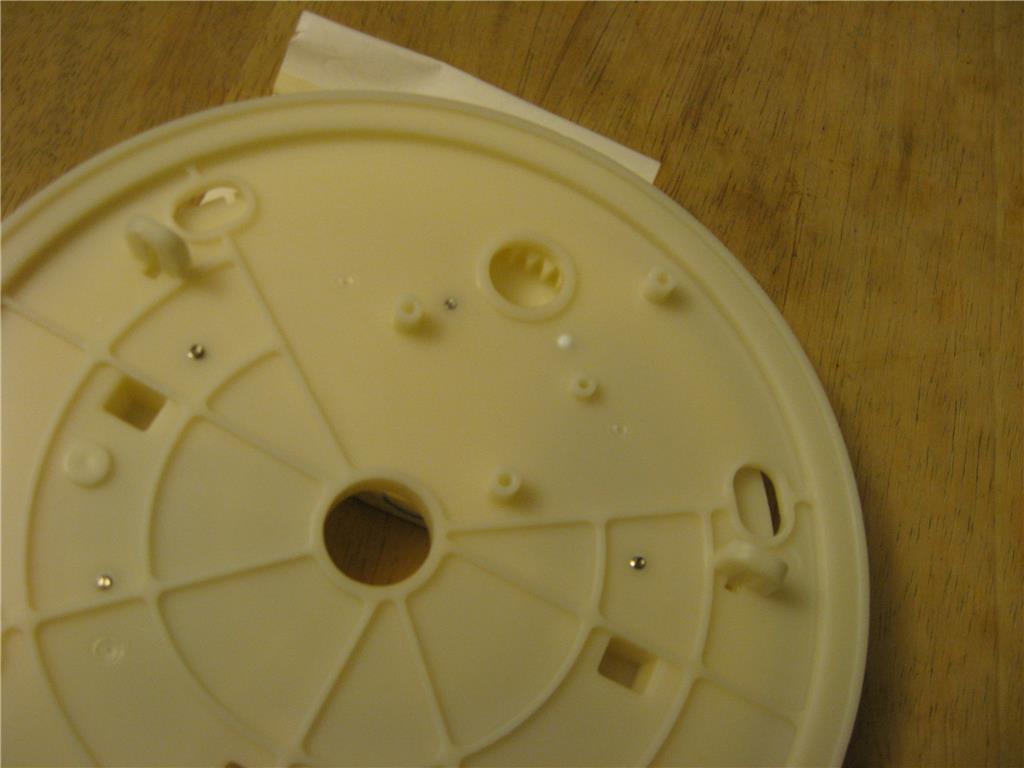
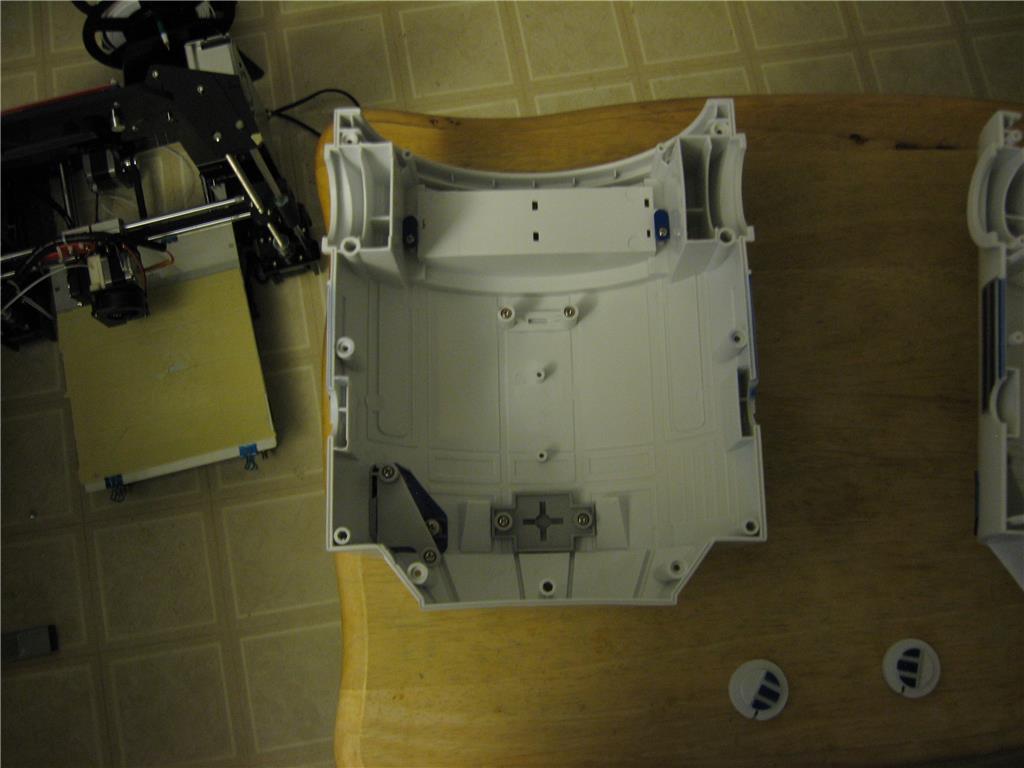
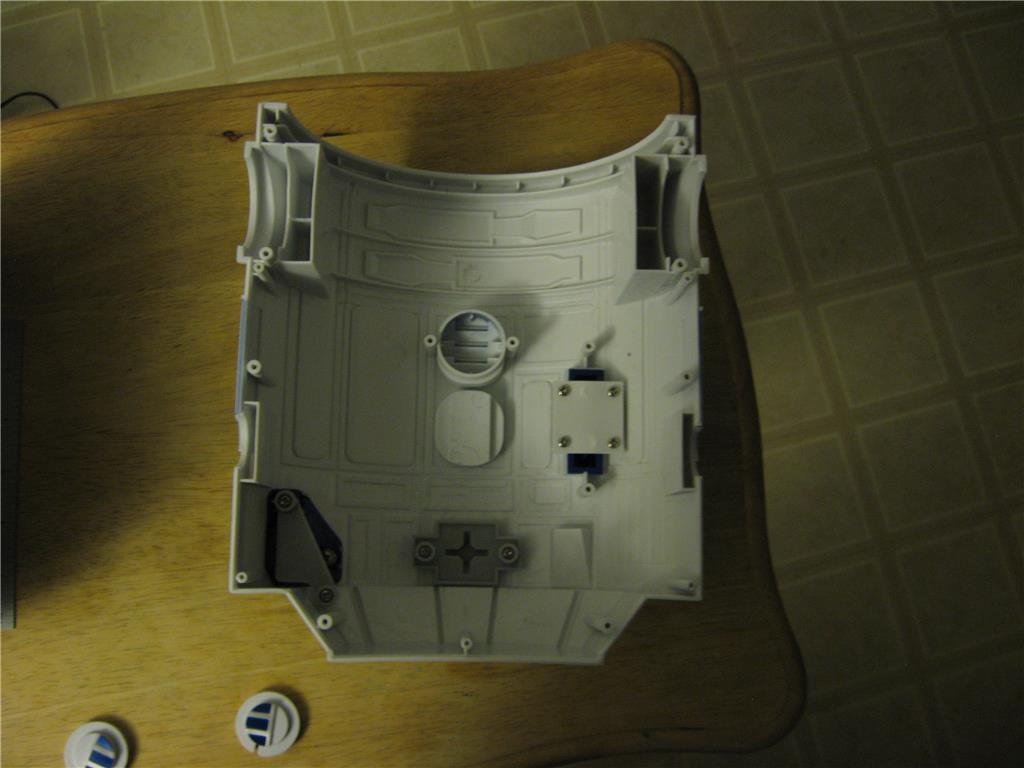
The body has some areas which can be modified or changed out for more flaps or lights. Due to flat areas on the bottom of the body, mounting an additional front foot should be somewhat easy.
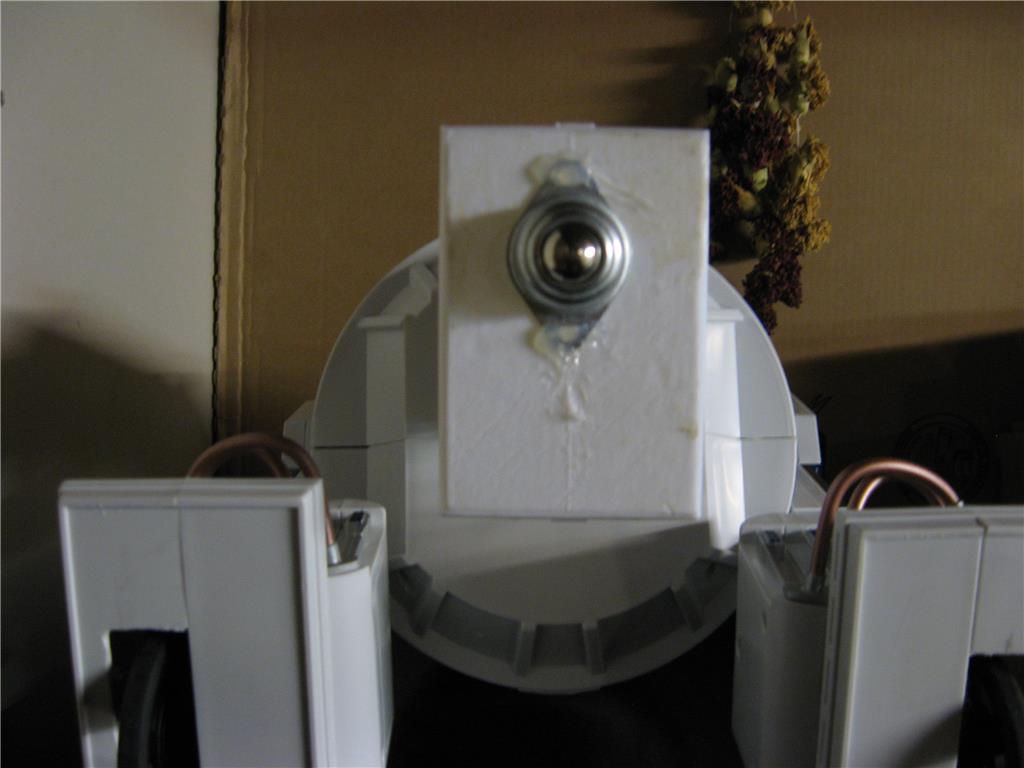
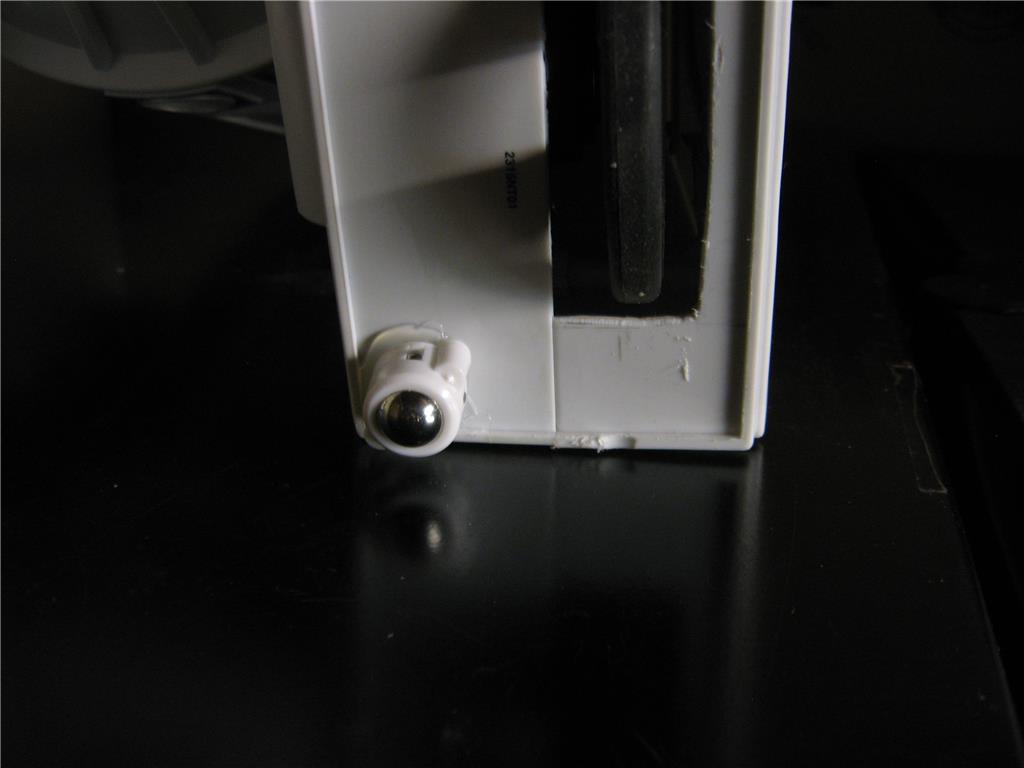
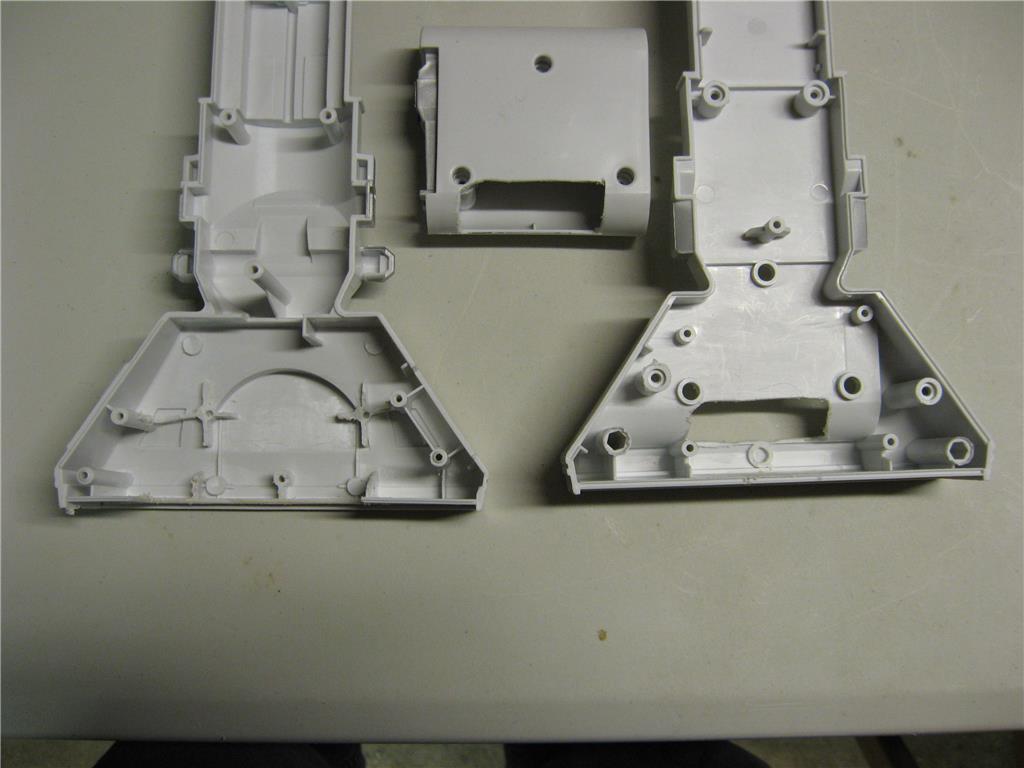
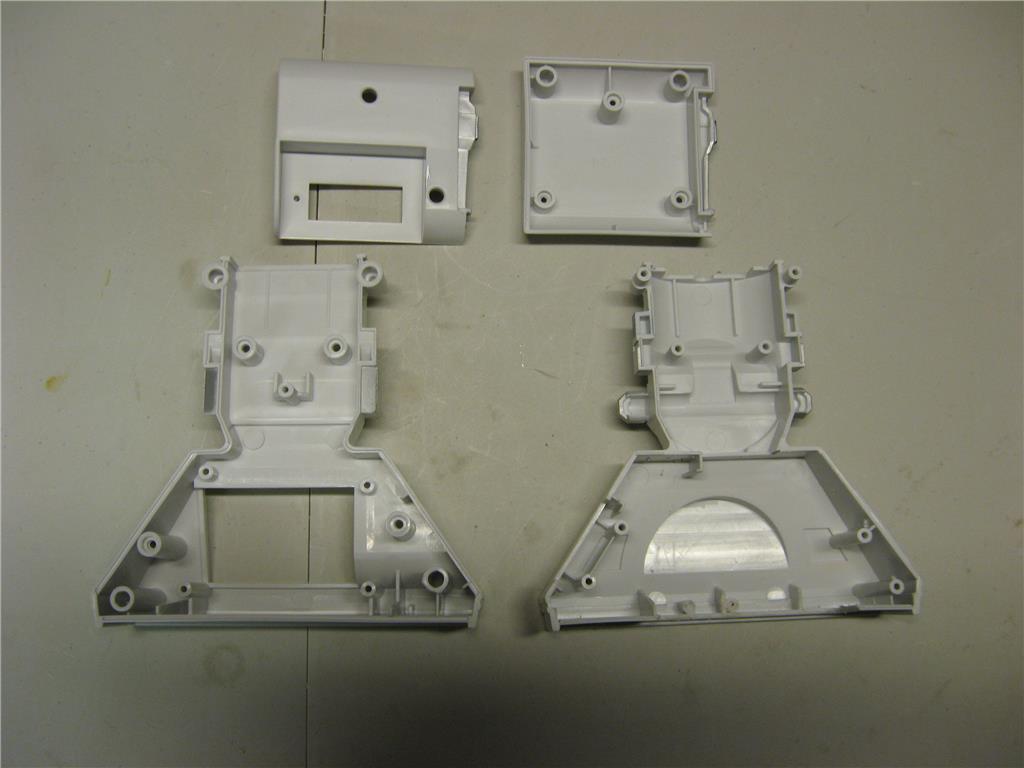
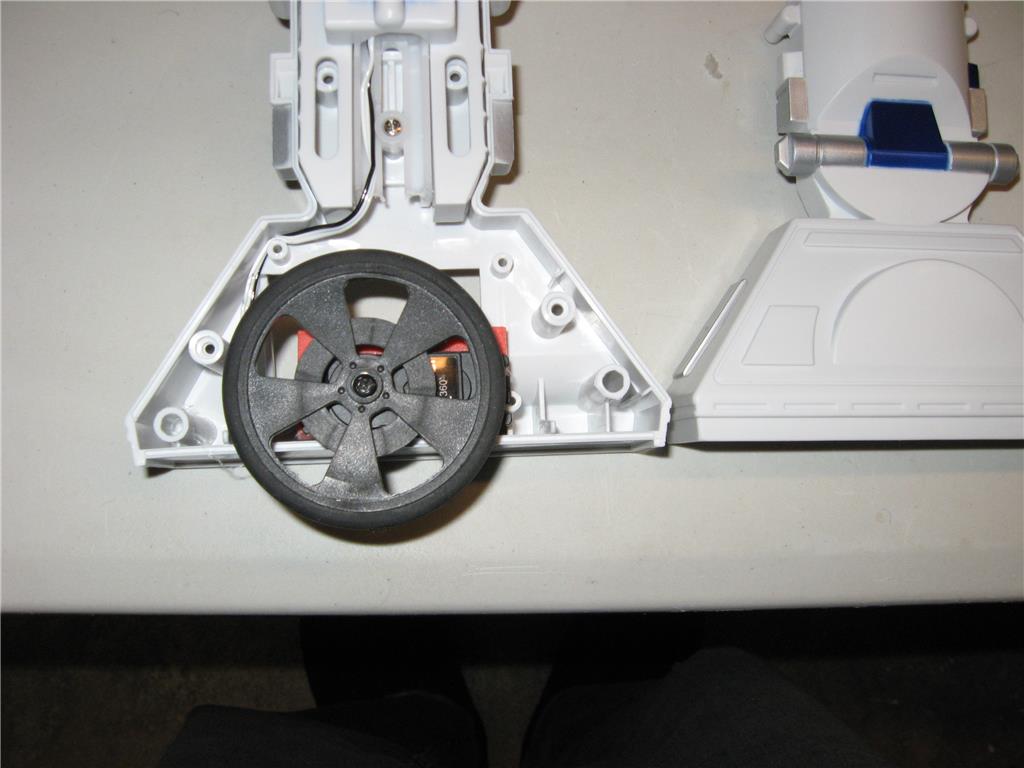
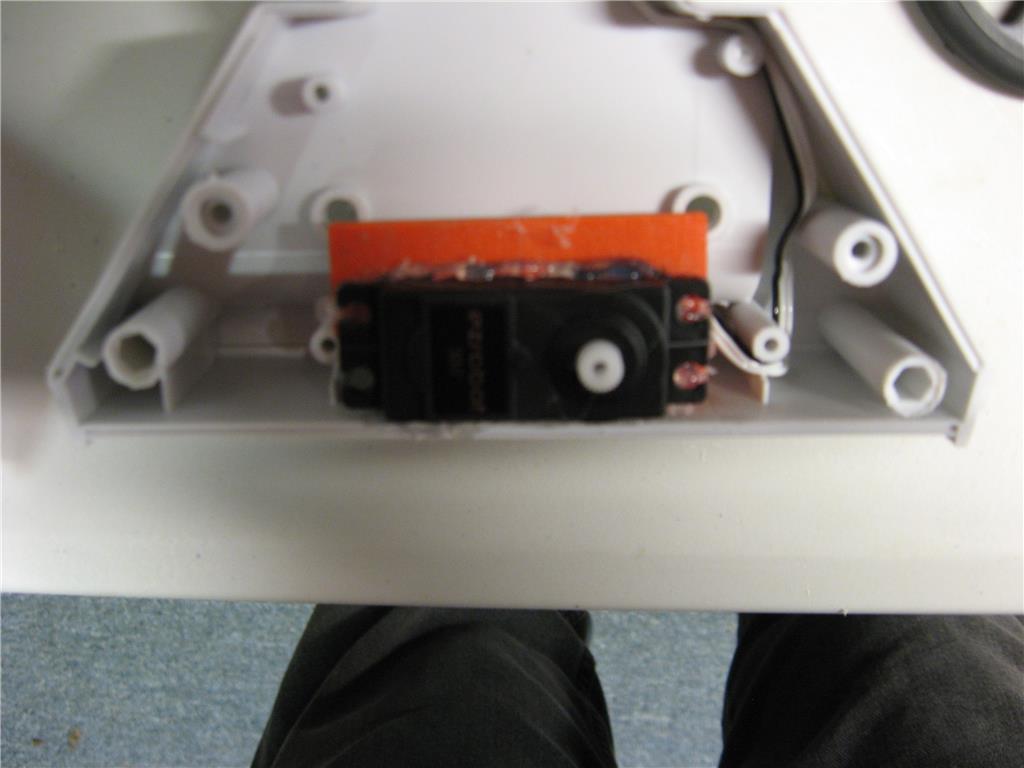
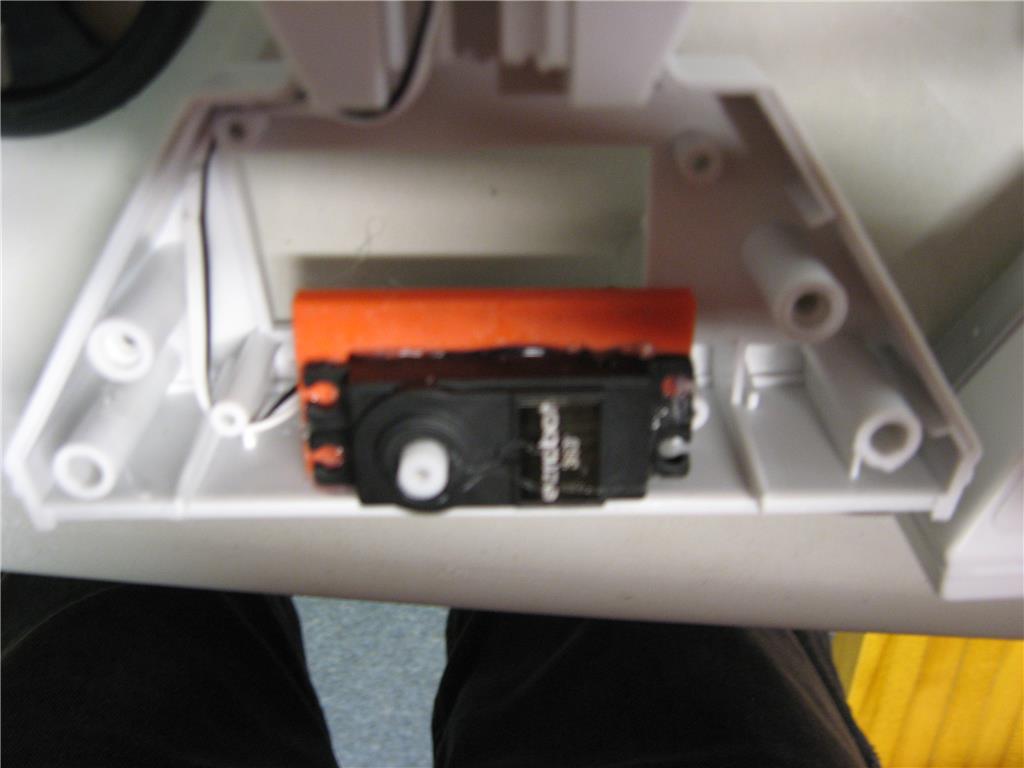
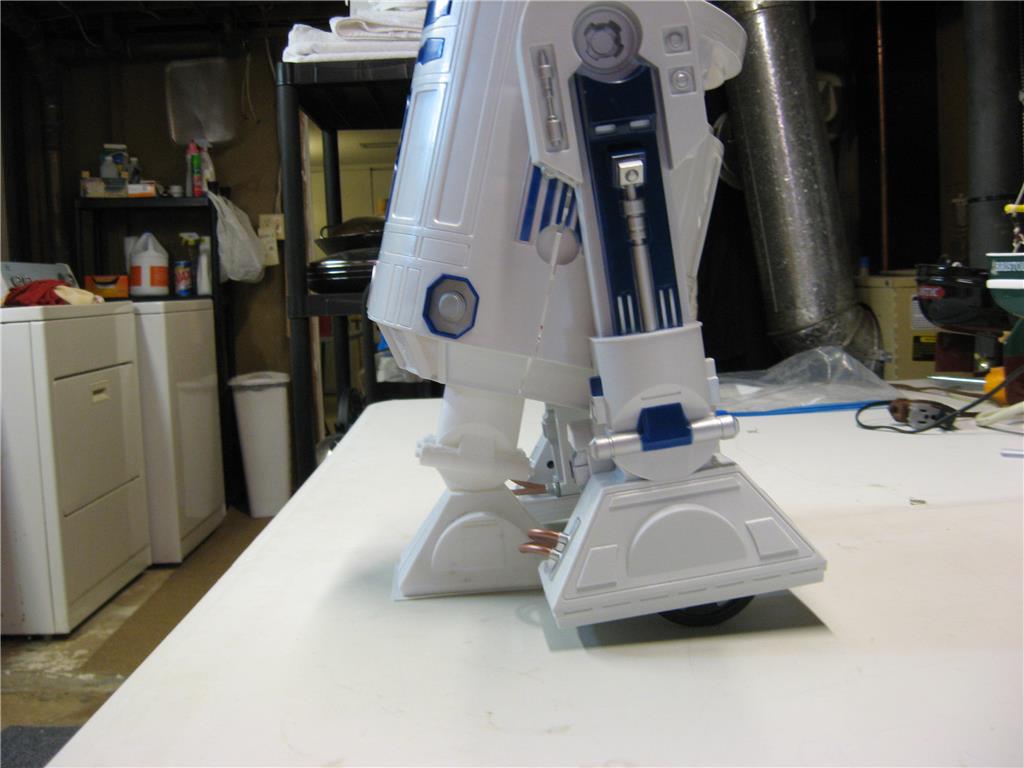
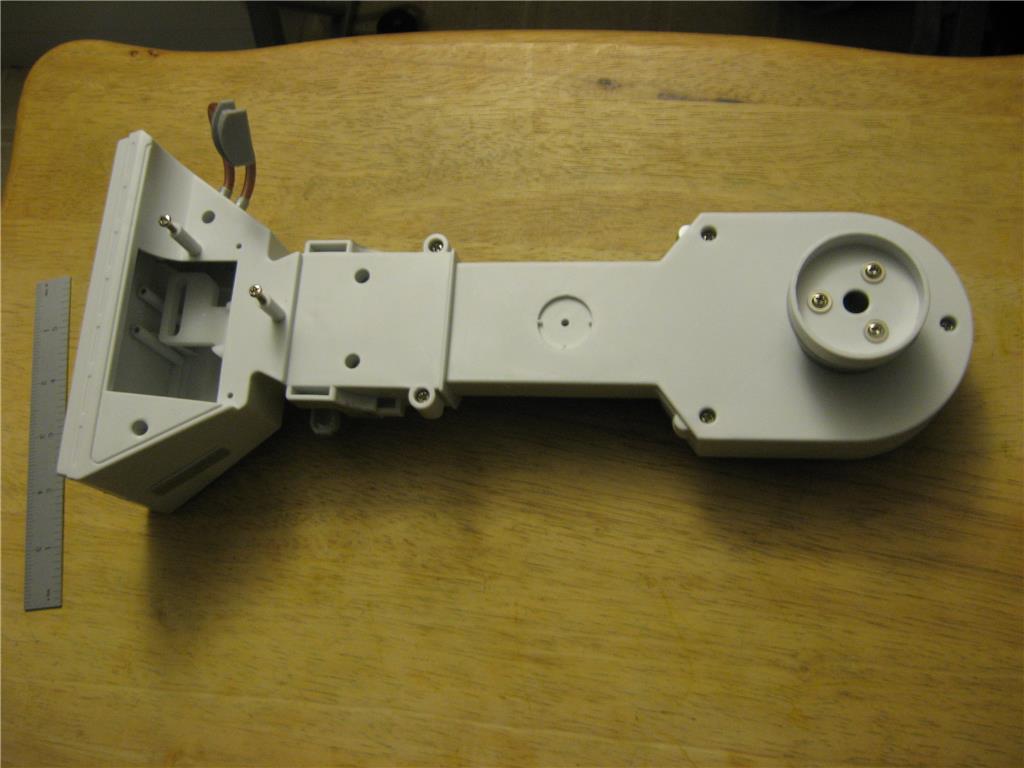
The legs have a flat bottom and a pod to mount either a motor or continuous servos for the drive.
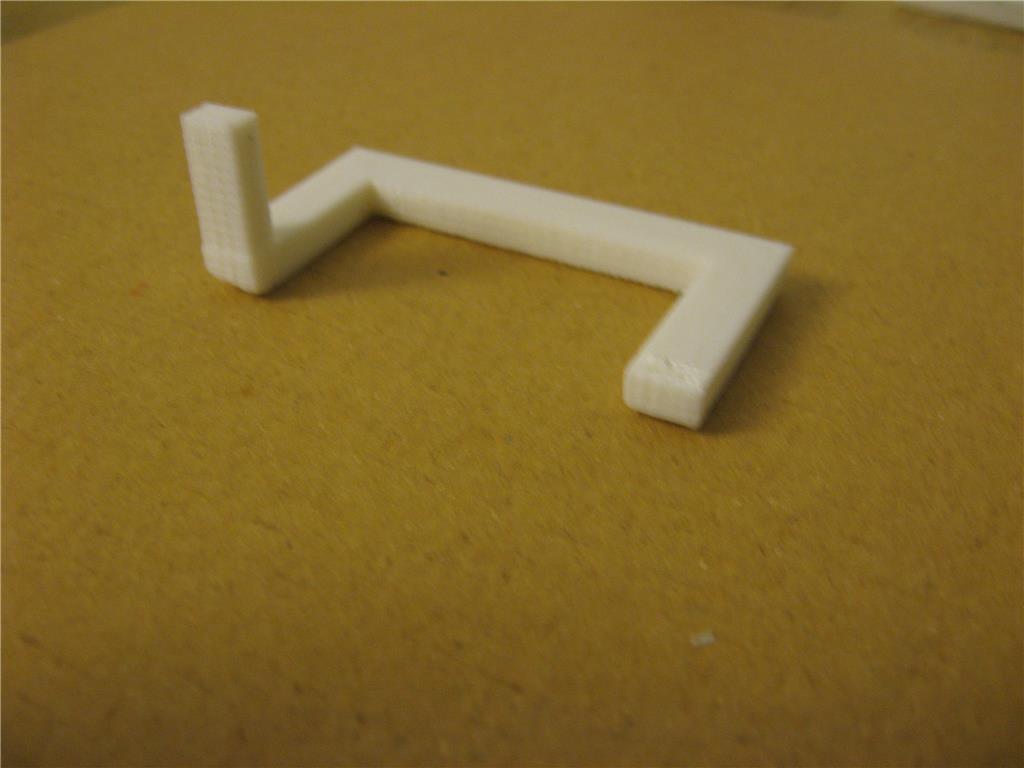
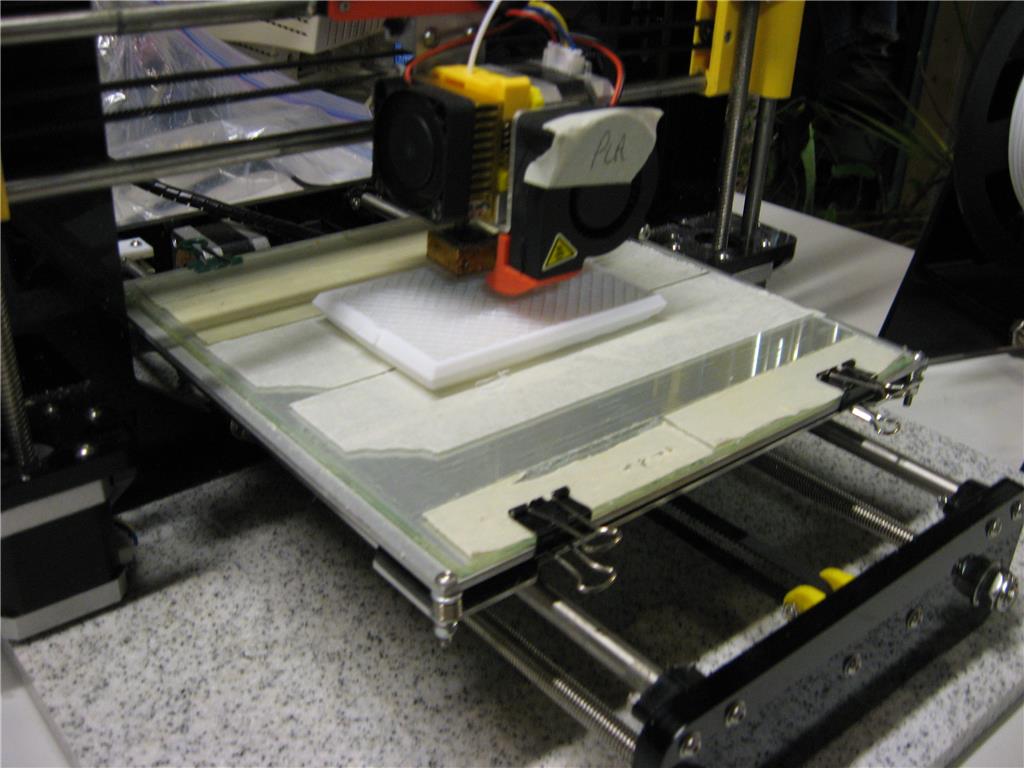
I will soon begin the build by 3D printing a front foot and mount to see how the project will come together.

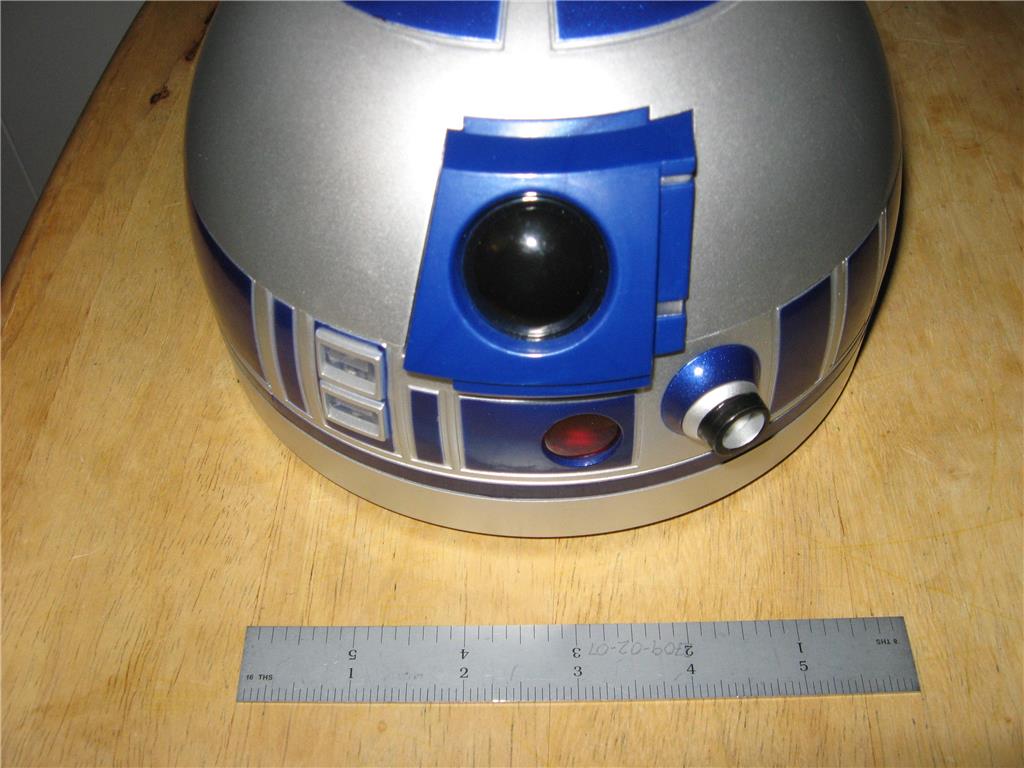


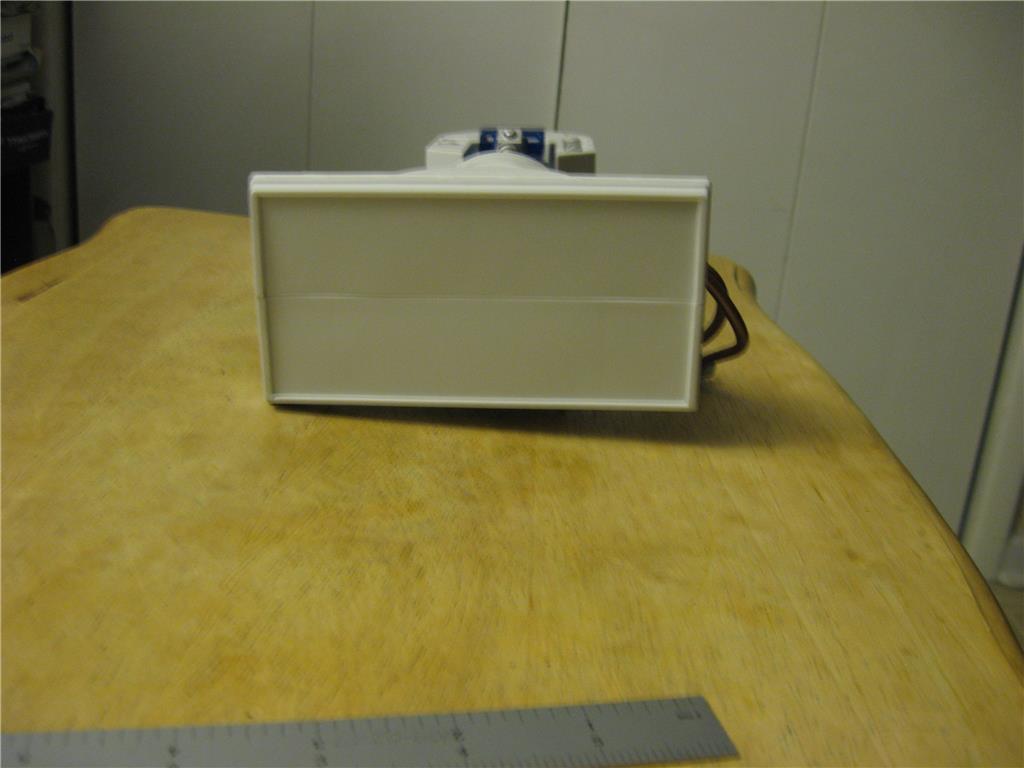

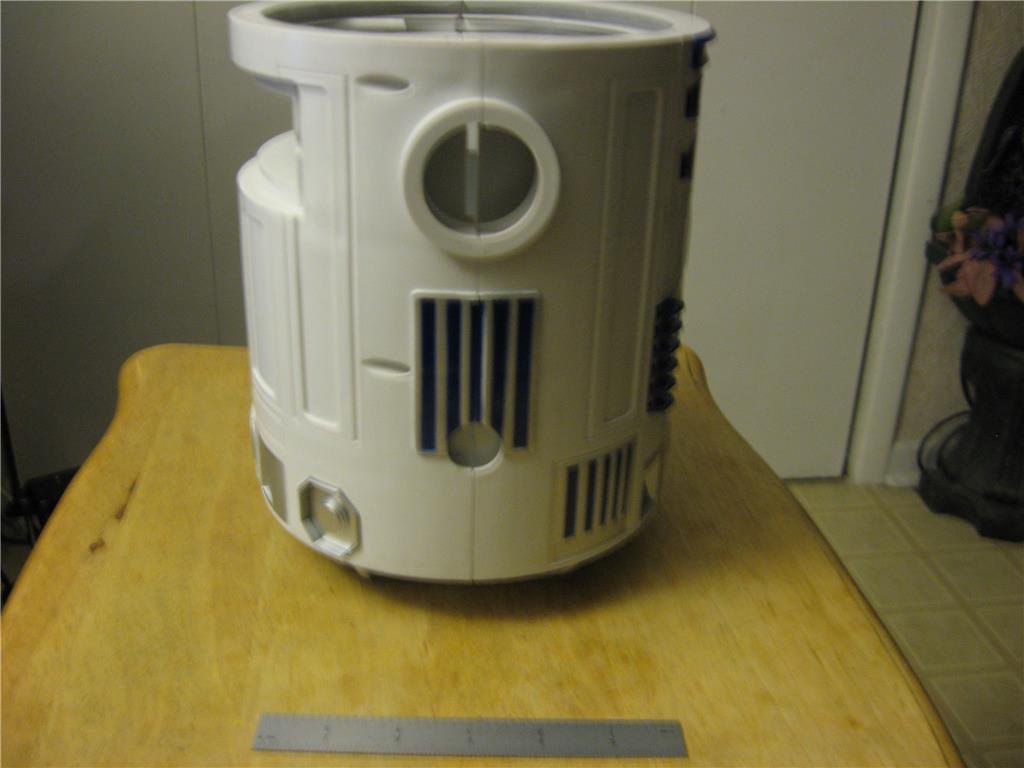
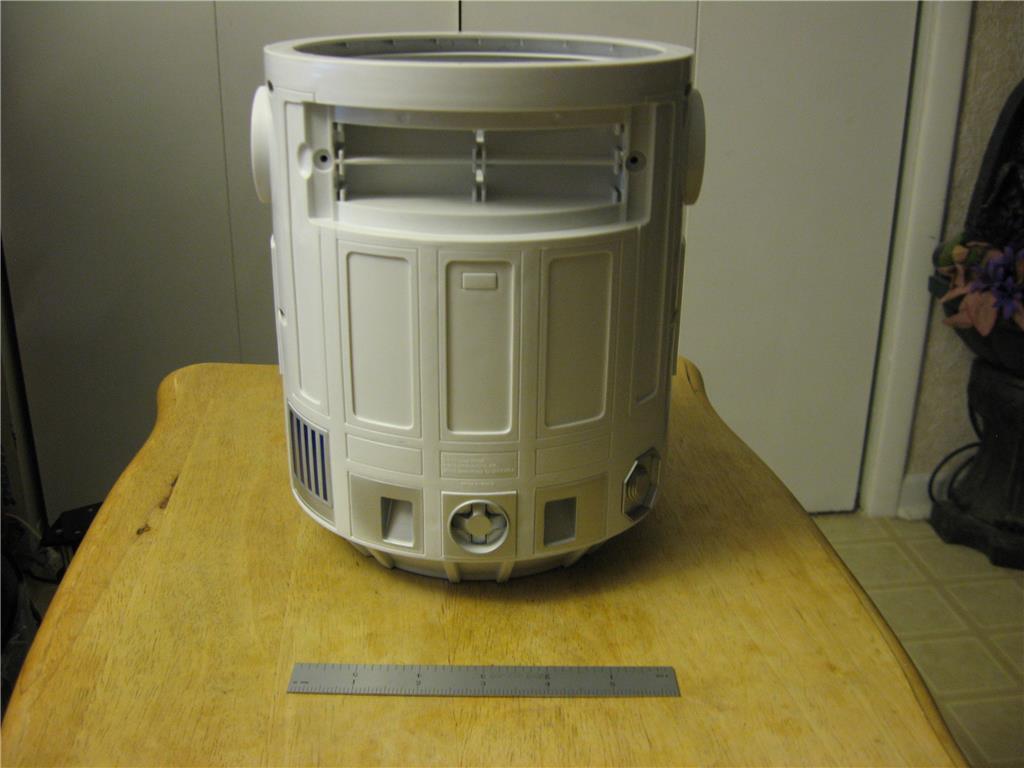
There is a 6" Ruler in the front of the pictures for reference.
Ron R
Discover more robots
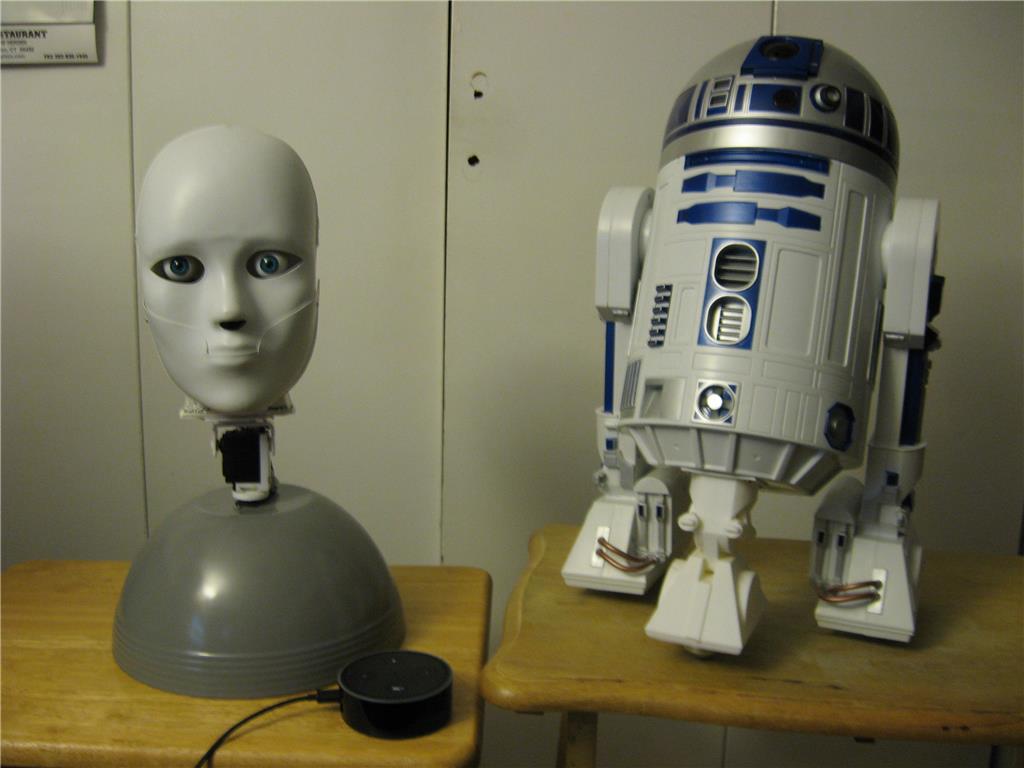
Artbyrobot's Advanced Realistic Humanoid Robot Named Adam
Ezang's My New Whirlybird Project For You To View

Wow, it's a nice size but it really is just a shell isn't it. Well, there's plenty of room for lots of bits and pieces. I look forward to see what you do and how you'll do it (and don't forget the videos later, lol).
@Andy
Is this the one you got ?
Star Wars Classic 18" R2-D2 https://www.walmart.com/ip/Star-Wars-Classic-18-R2-D2/44298638
And the price ?
To put some motors the arms need to be fixed ?
if you move the arms, the bottom part is fixed or can be rotated ?
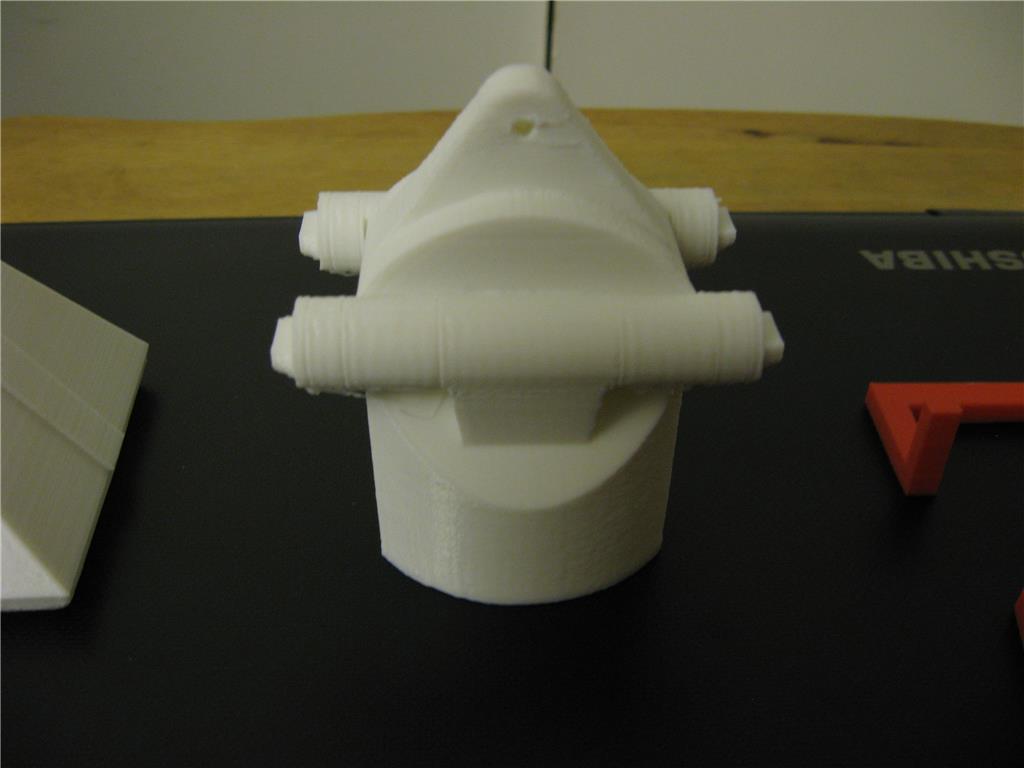
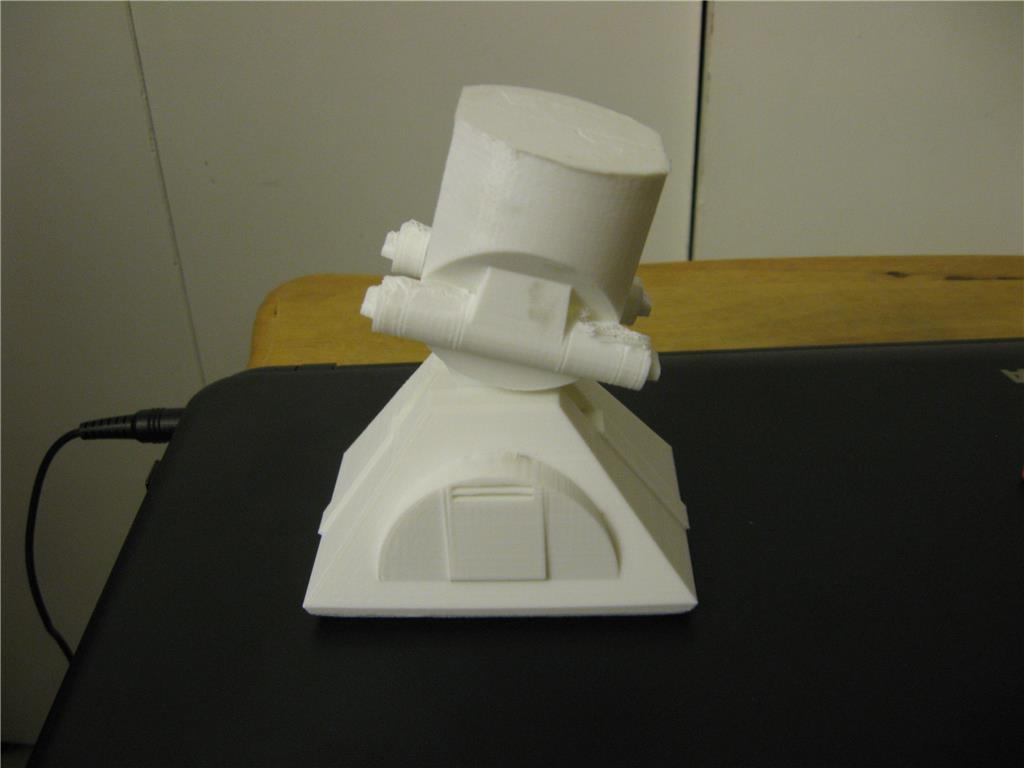
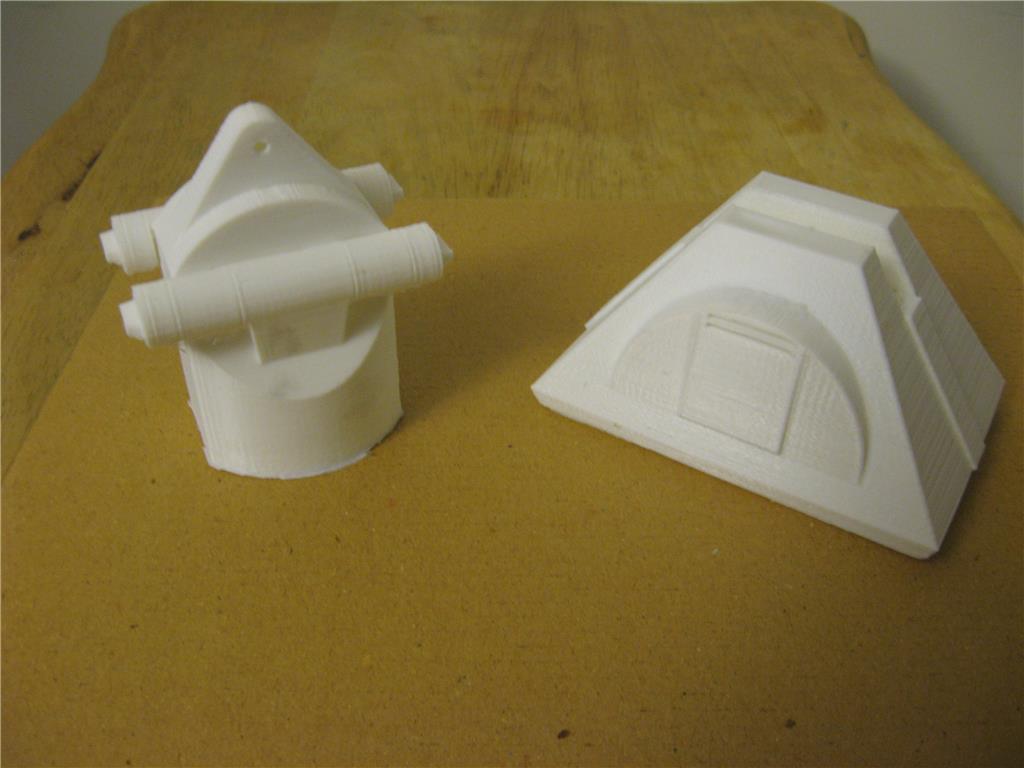
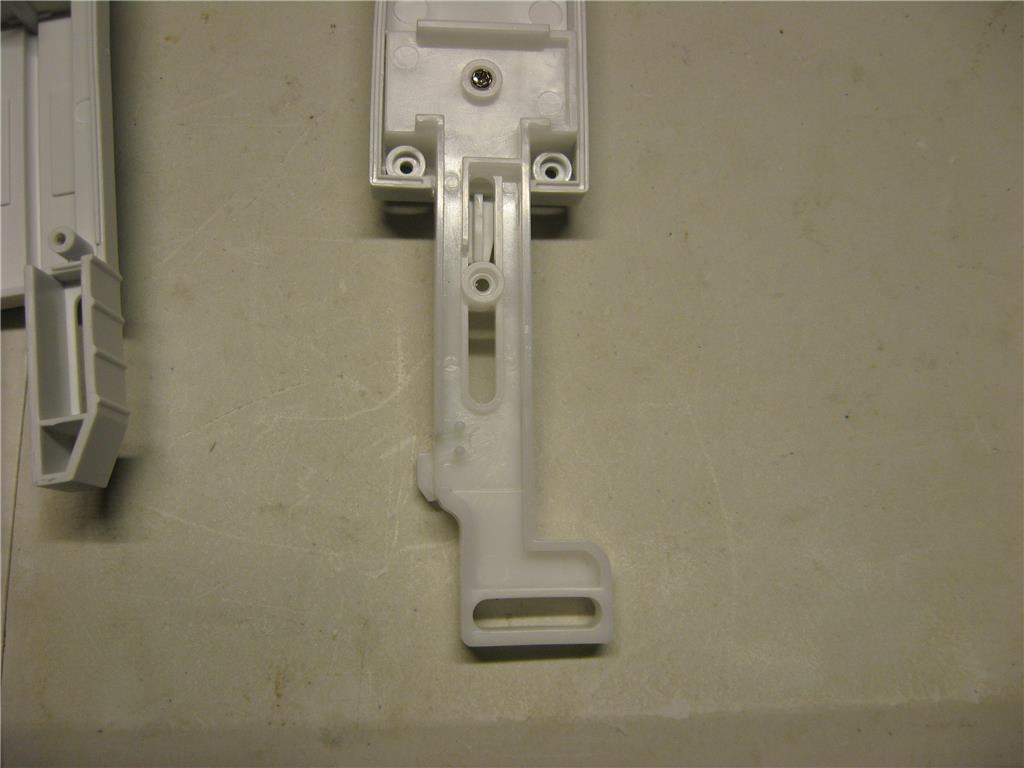
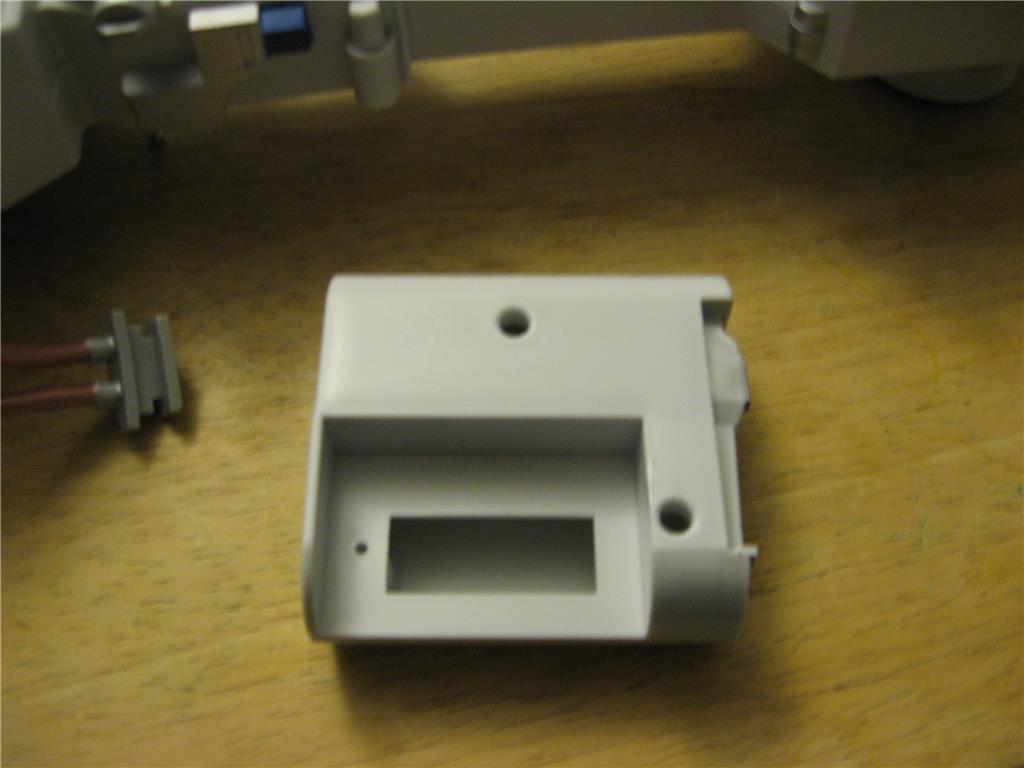
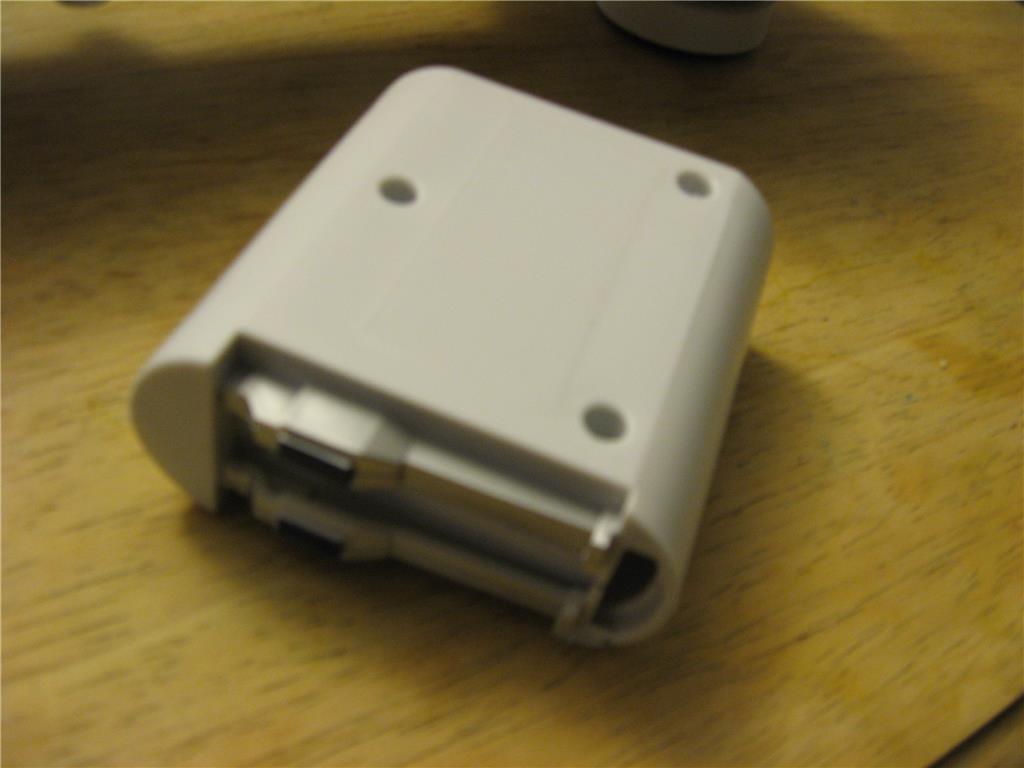
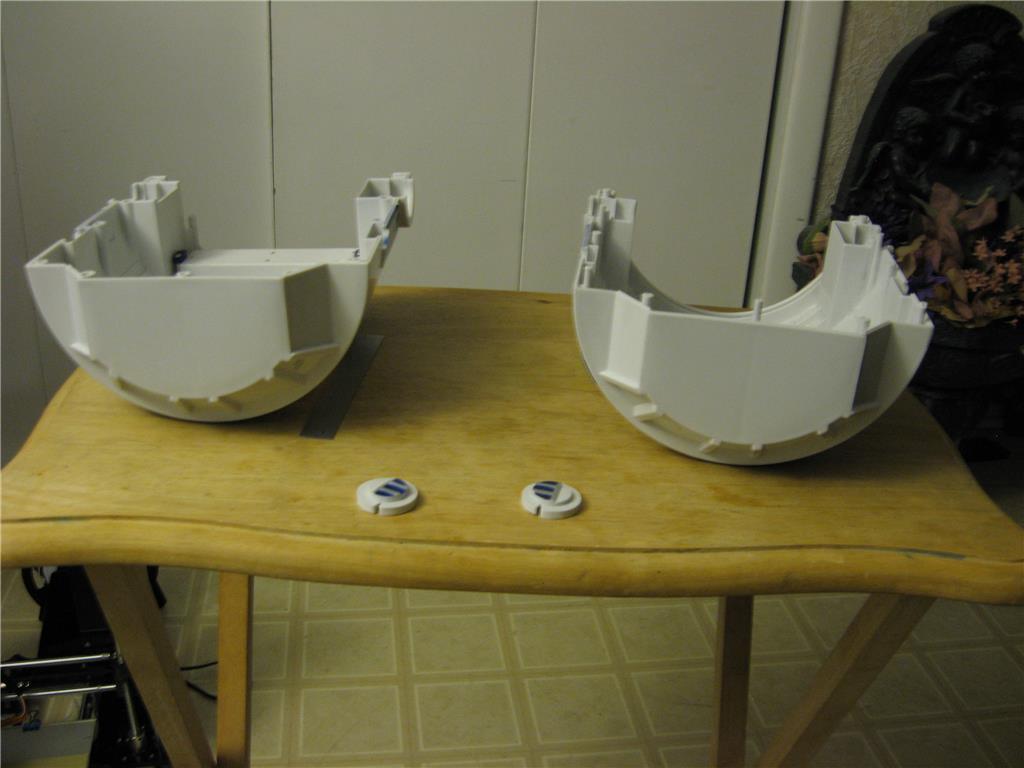
Leg update:
It looks like there was going to be an actuator to extend and retract the wheel. I don't think I will use the strut. I want the space for the motor or servo.
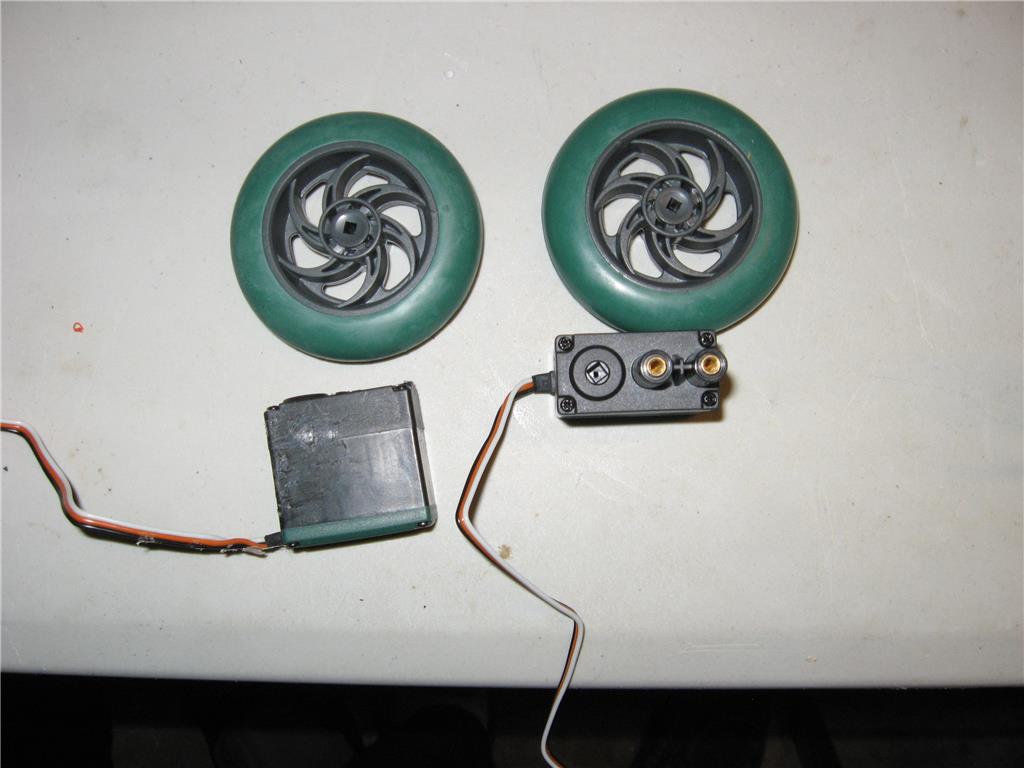
I have these continuous servos and wheels from a VEX kit I was given. I may use them for the main drive.
That is about it for the teardown.
Ron R
@ptp Yes that is the one. Not cheap, but a lot is done for a hack. The leg pictures should answer your questions. I plan on having the legs locked for now. The bottom of the body will tip forward to allow the mounting of the front foot The wheels I am using extend out of the pods enough to keep the pod from dragging on the ground.
Hi Steve, The dome is nice and should allow the mounting of a camera, lots of LEDs, maybe some solenoids to wiggle things, and a speaker, if I don't mount the ezb up high. The matching of the gear for the dome rotation drive will be the hardest part.
I don't know if I will try to cut out the flaps and doors. I am not sure of the best way to cut them. The shell is styrene plastic and I don't want big gaps if I cut them. That will be a detail I will look at later.
It won't be as nice as your project, but should be a fun hack.
Ron R
By the way, how do I move the first group of pictures to the ribbon?
Ron R
@Ron.
Unfortunately, you can't. When you add new pictures, the picture carousel puts these new pictures in place of previous ones, and will keep doing so every time you upload new ones.
Ok, the EZB v4 Developer kit is on order! The price is right so I went for it. I wanted to use good servos, an ezb, a camera and ultrasonic sensor so why not get new while on sale!
I hope the wheels which come with the kit are big enough to do the job, or I will have to convert the VEX ones I have.
Ron R
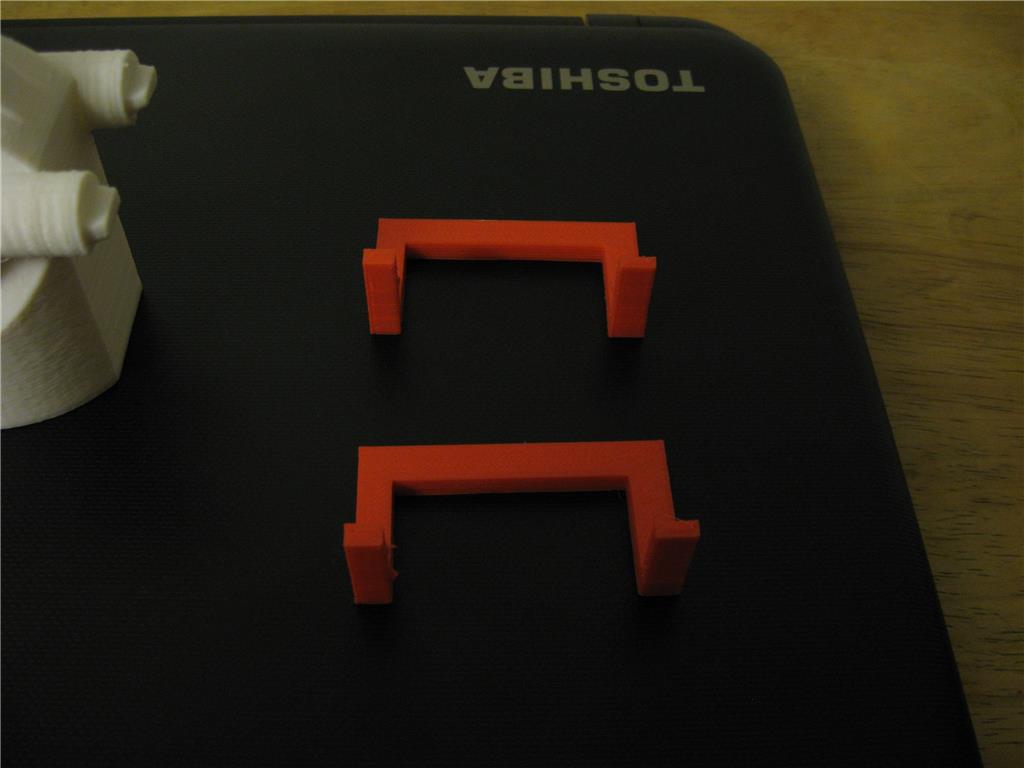
Update:
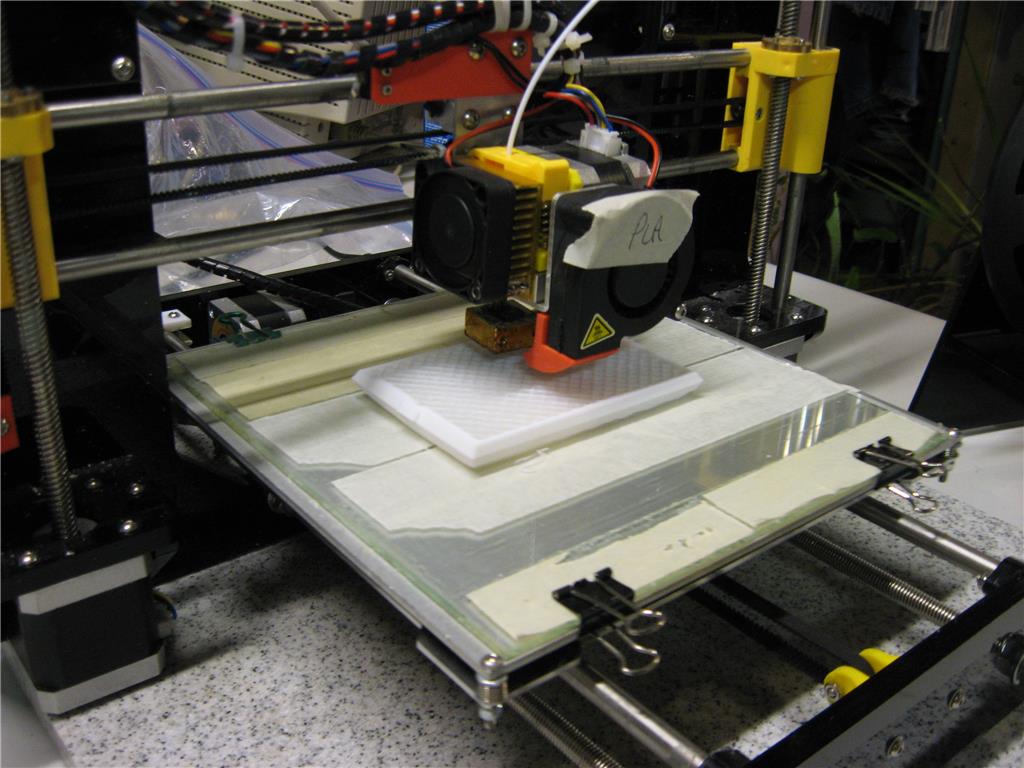
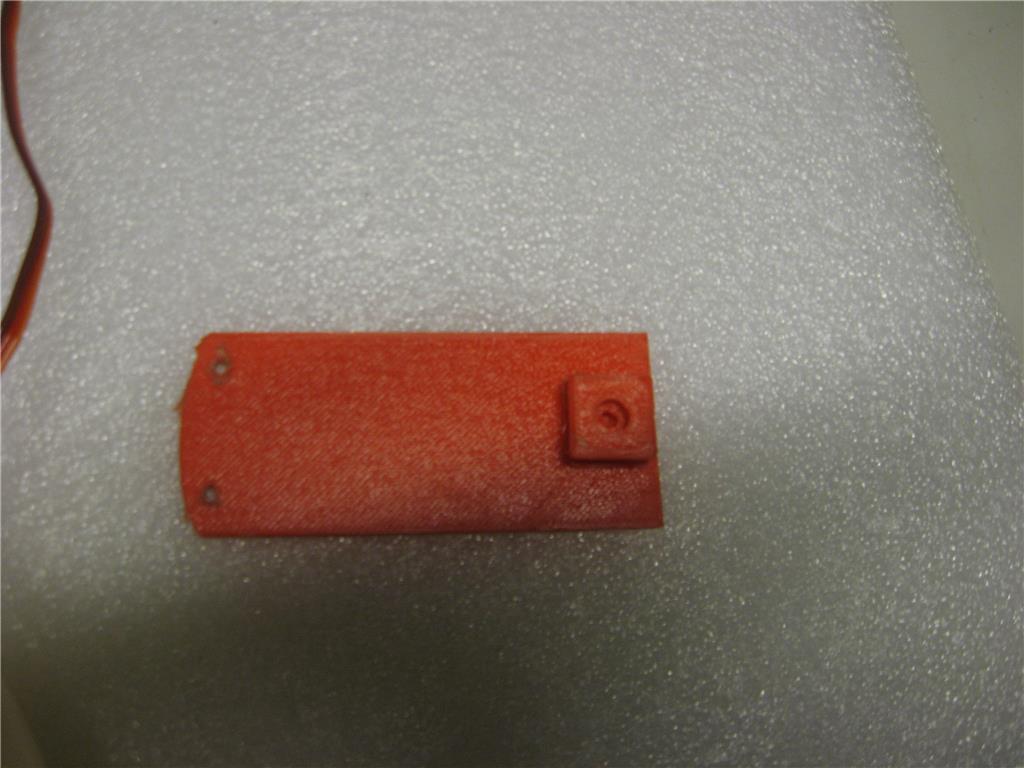
I have been busy and my 3D printer is acting up but, I scaled and printed a test front foot, leg and continuous servo mount for the two side foot drive motors. I will post the .STL files later in the project once I print out the higher quality parts, and are sure they are correctly scaled.
I have 2 printers and 1 runs ABS better than the other but has a bug in it at the moment, so that needs to be fixed first.
Ron R