


Hello to All,
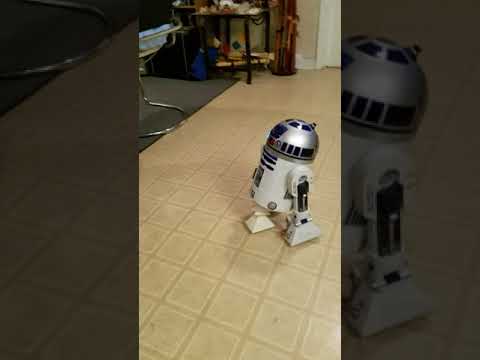
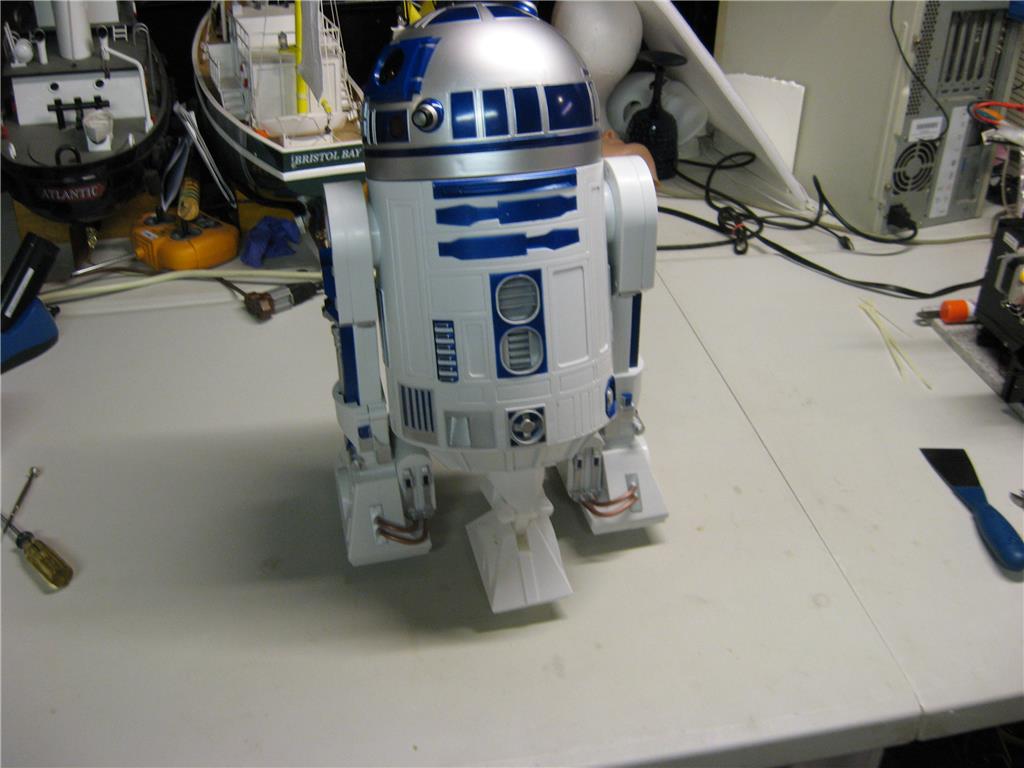
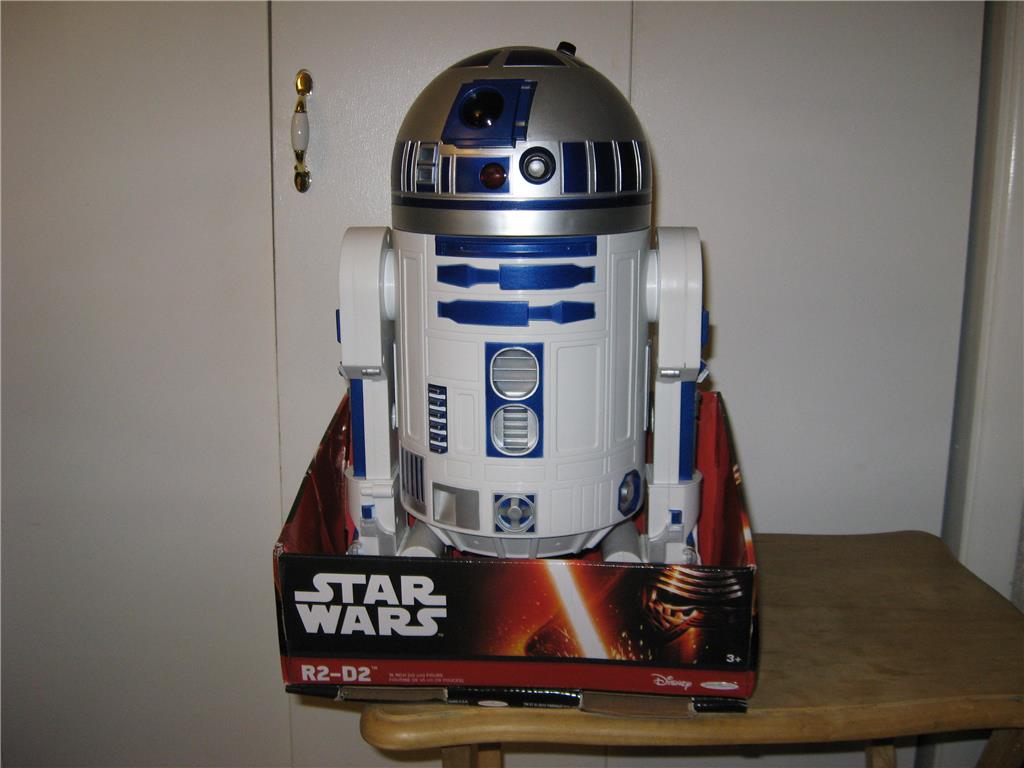
Here is the Walmart R2D2 project.
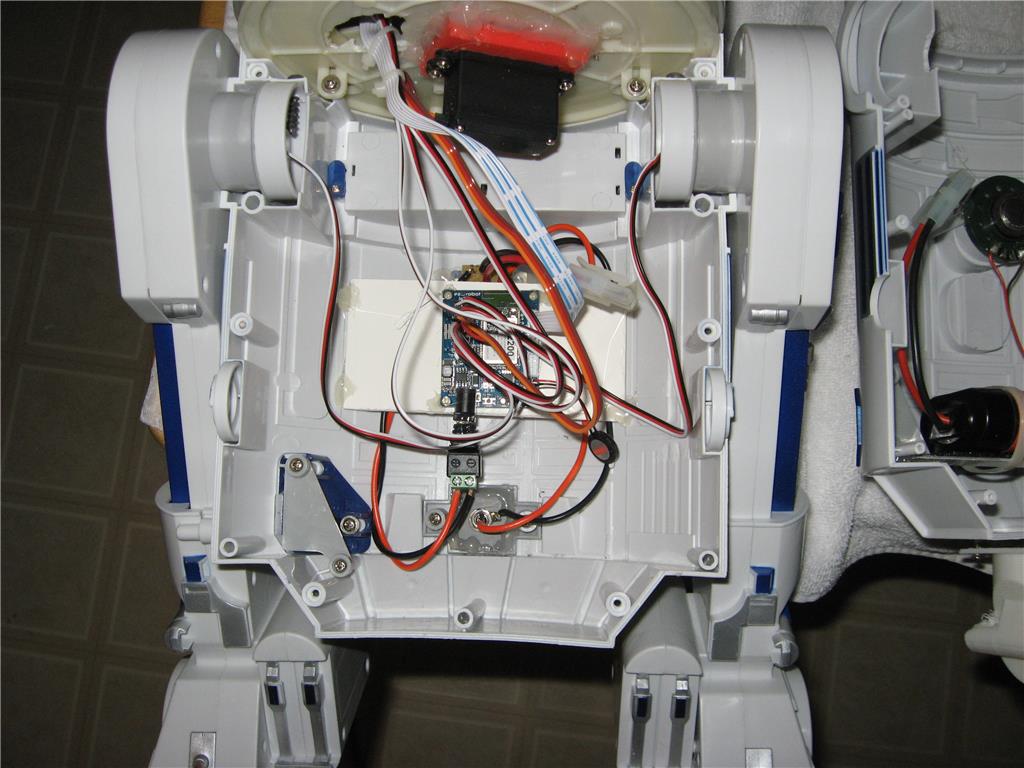
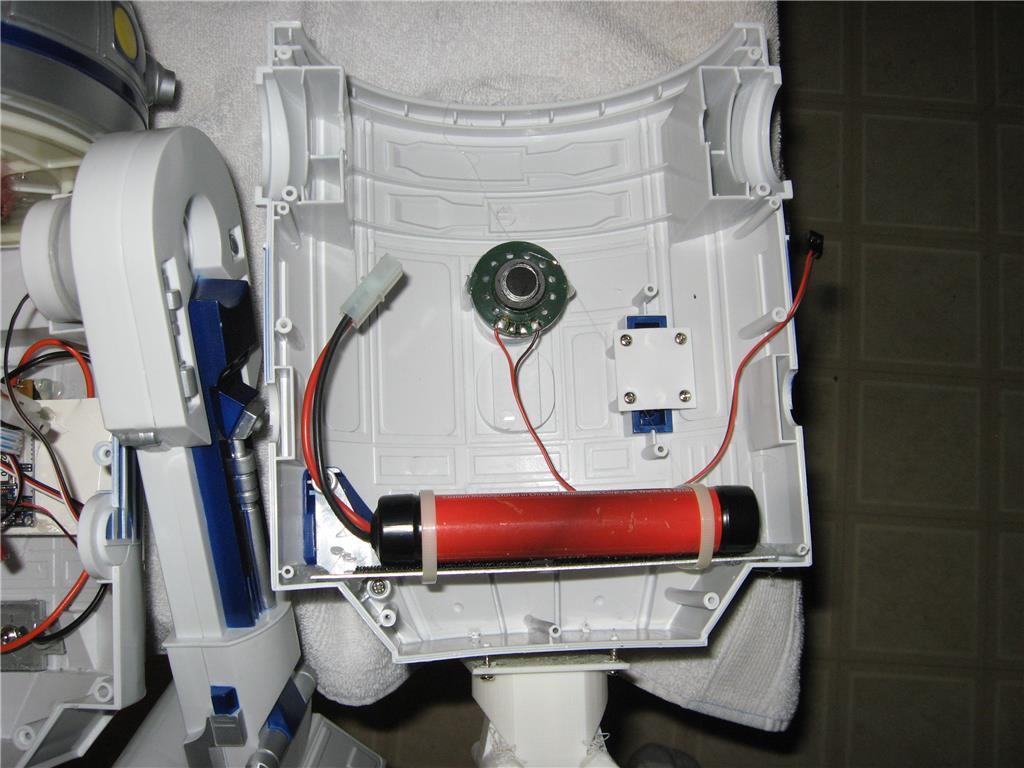
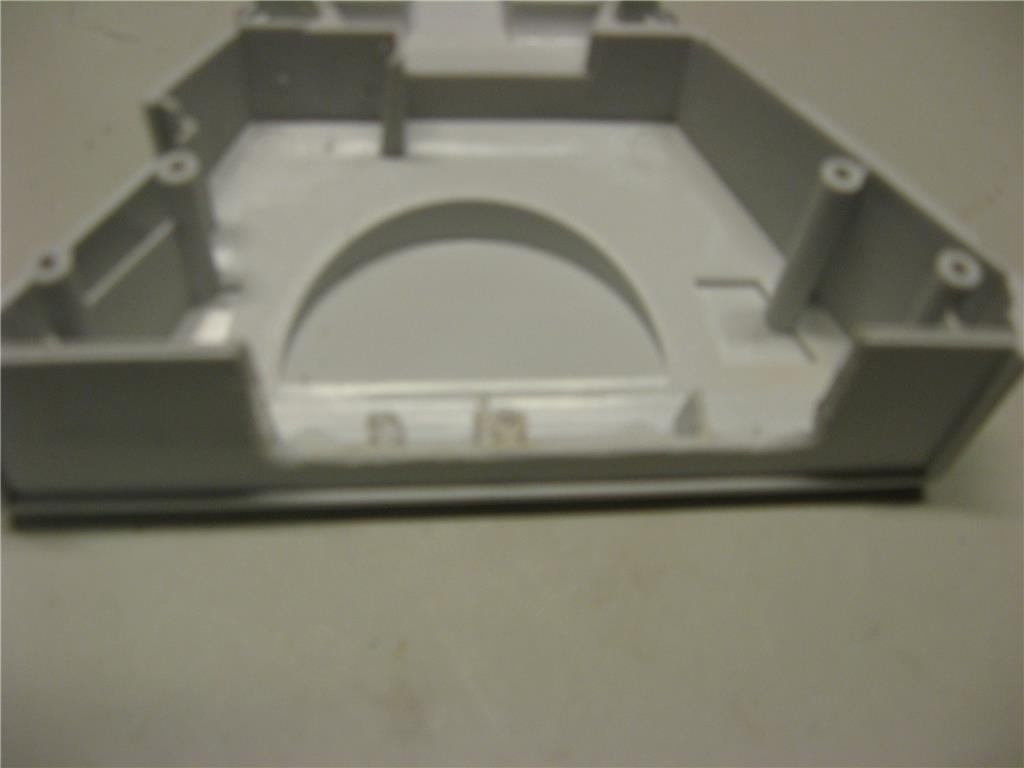
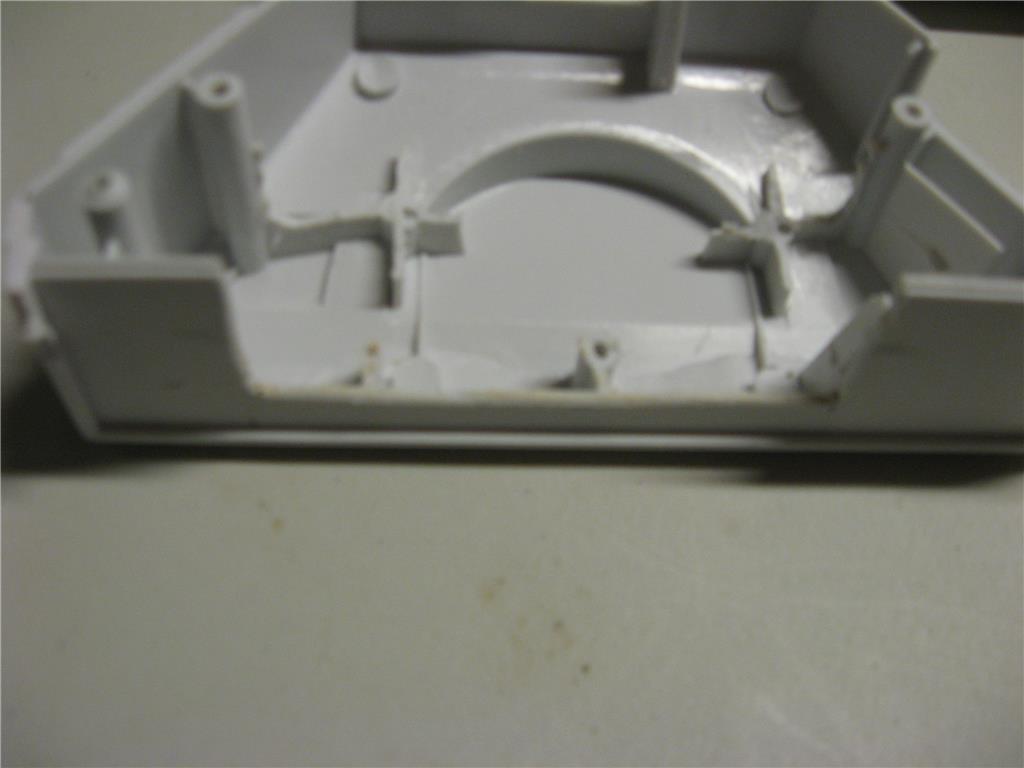
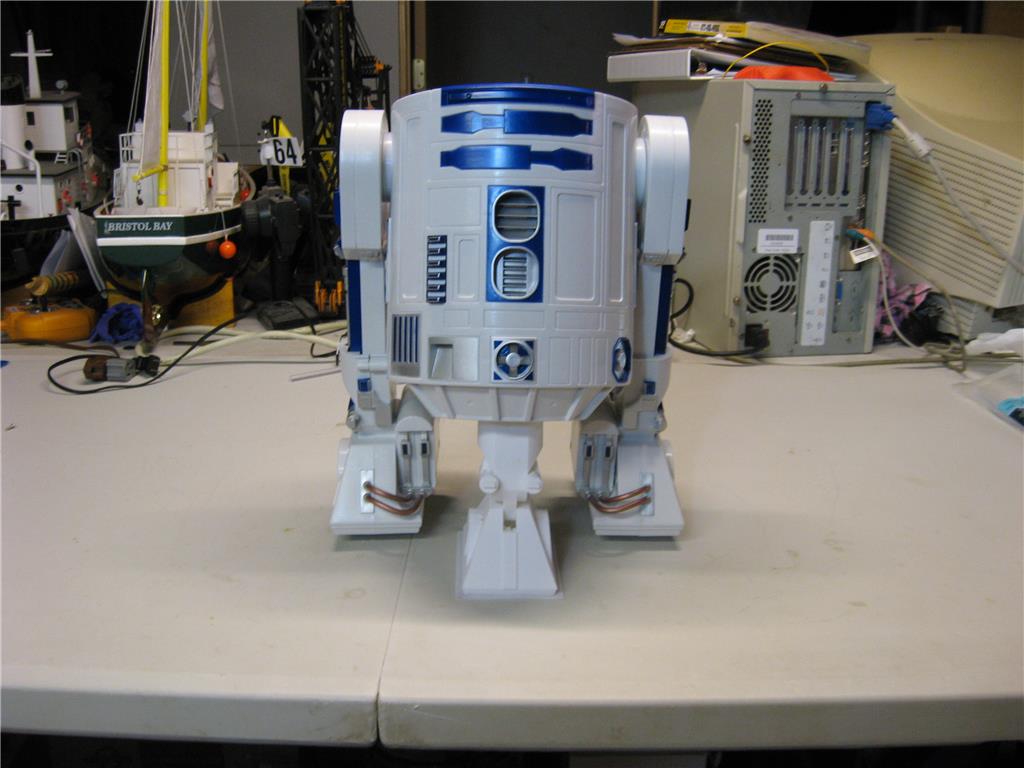
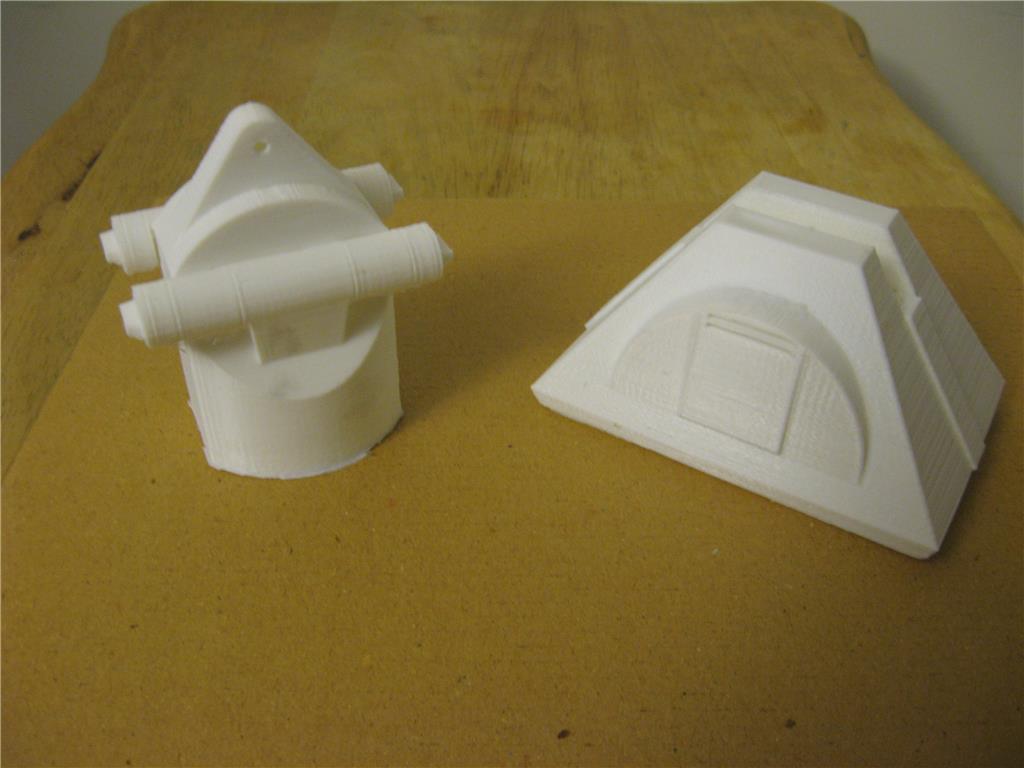
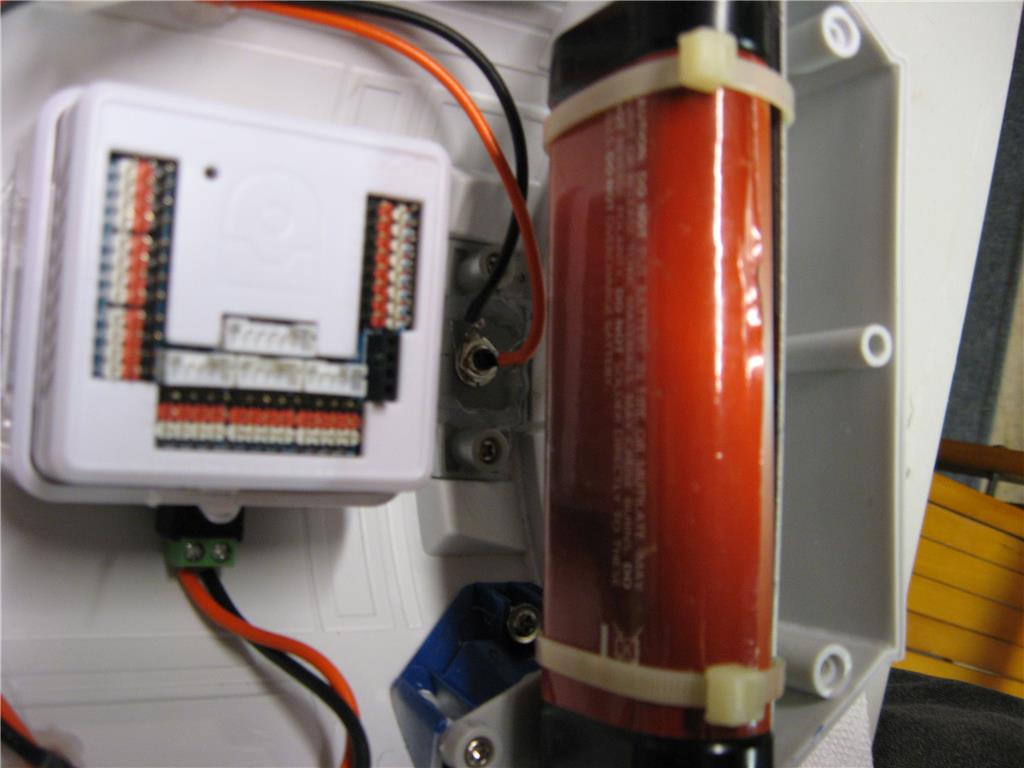
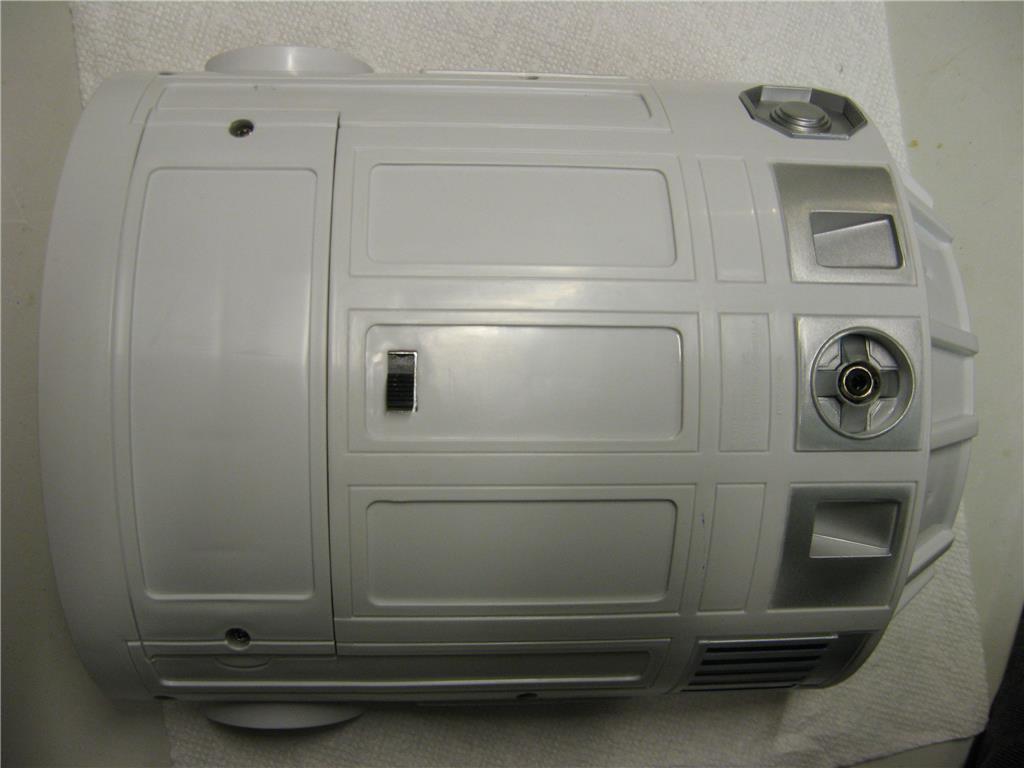
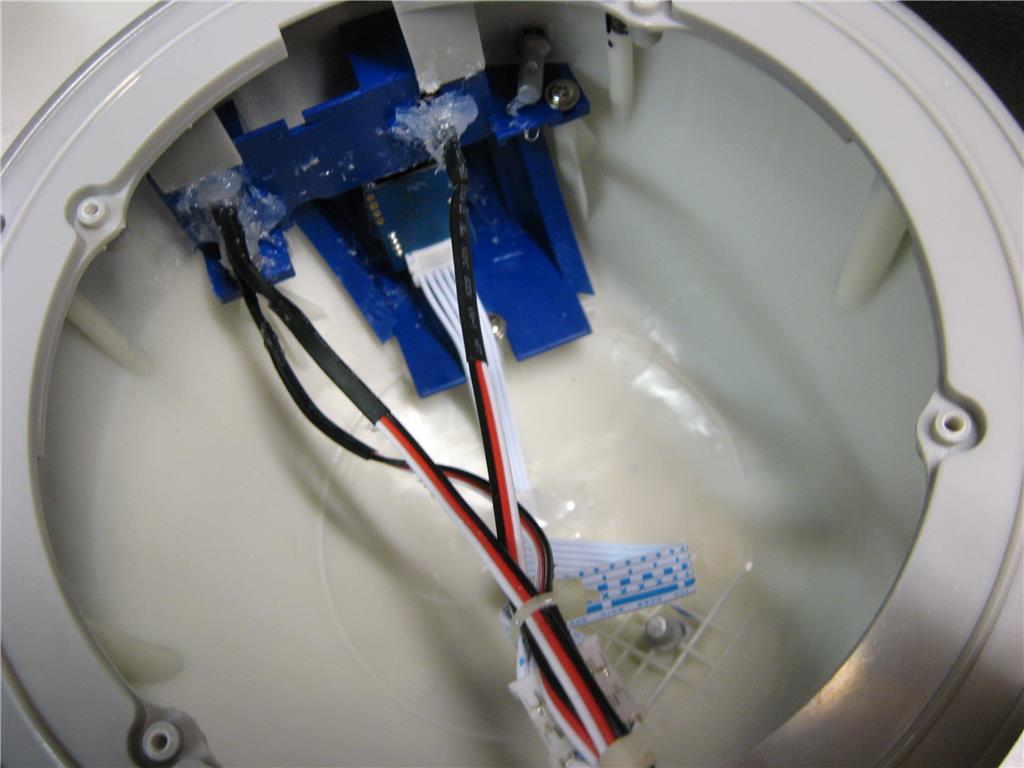
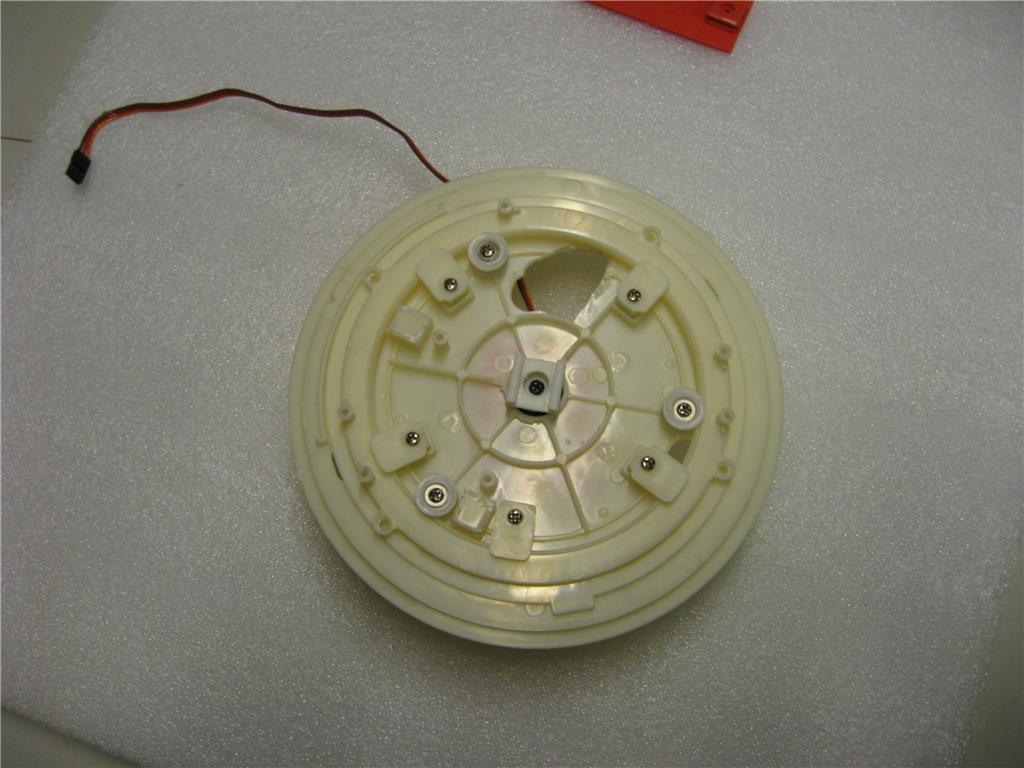
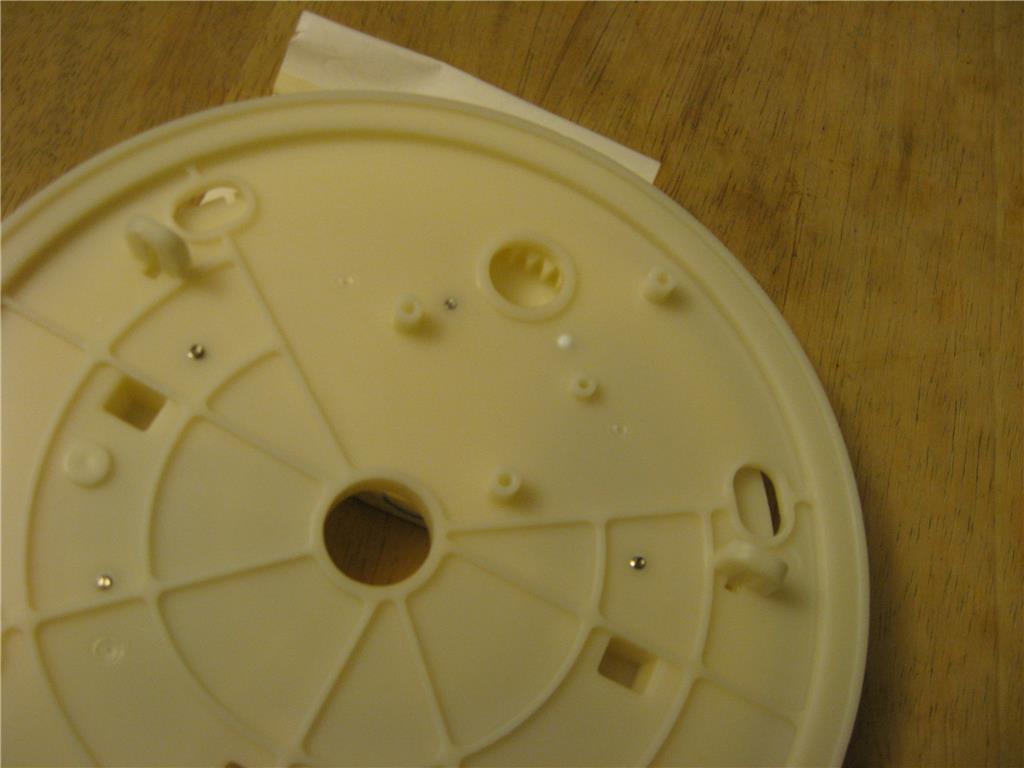
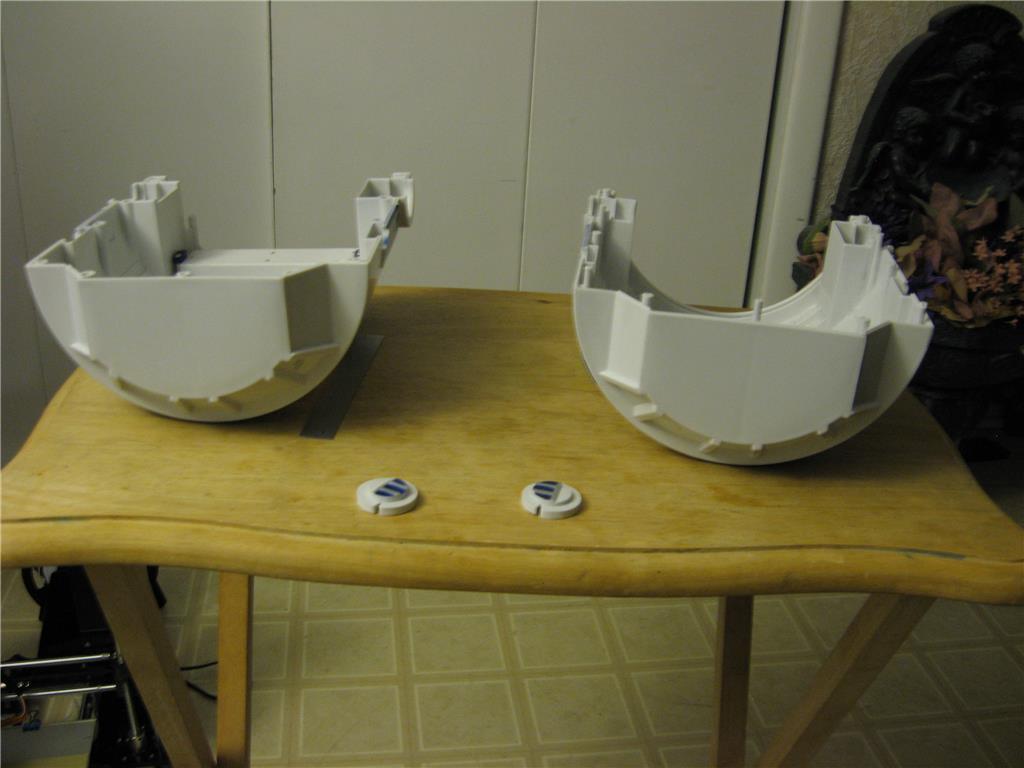
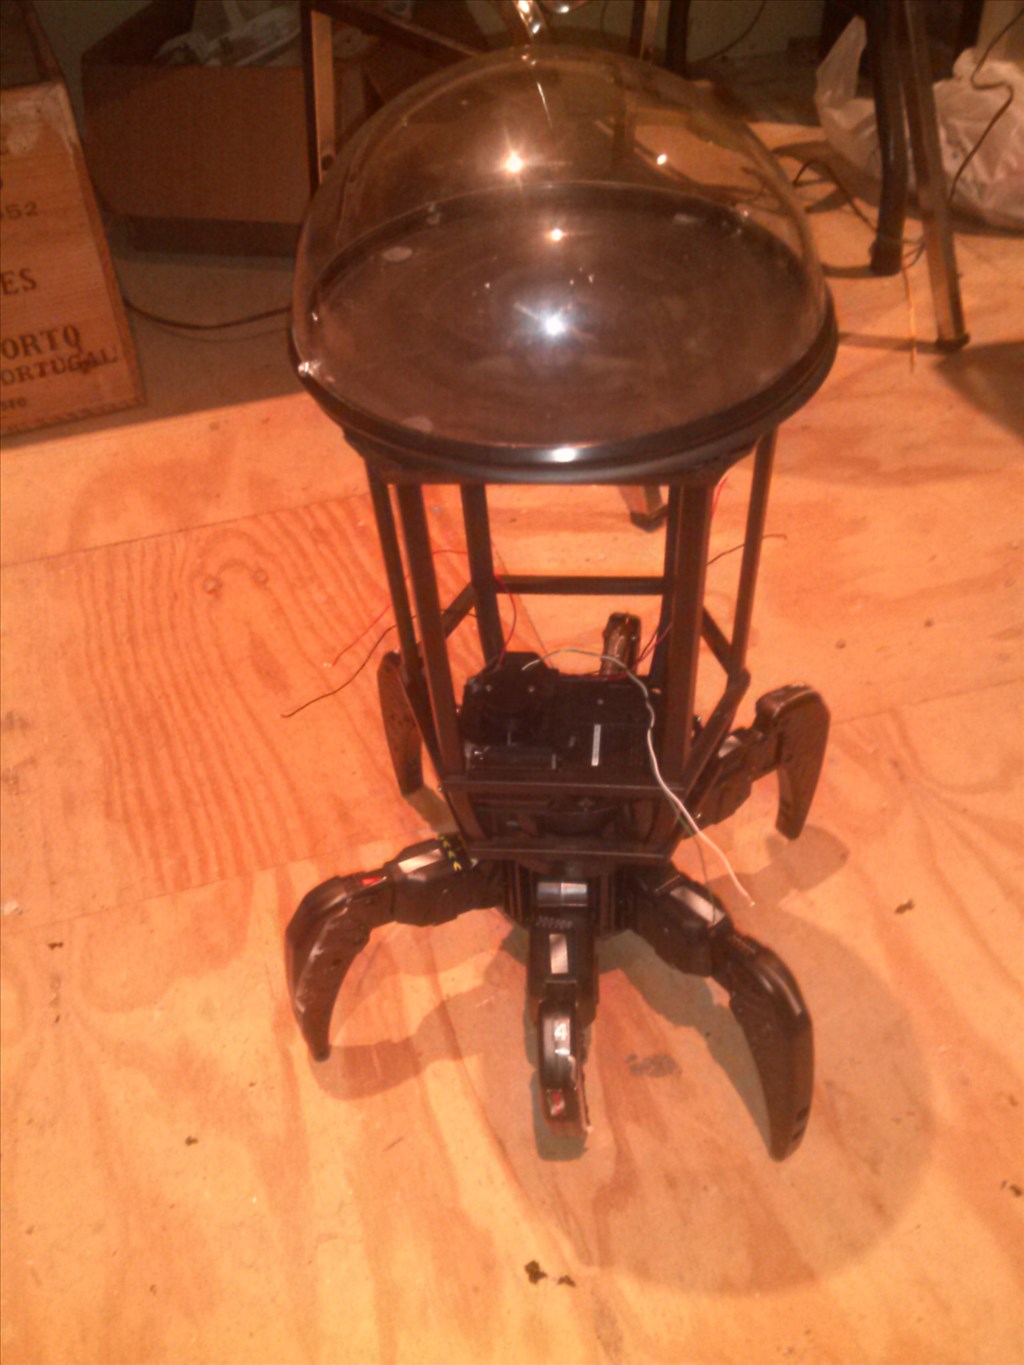
I disassembled the unit and was surprised to find it was more than a shell. There are opportunities to use the inserts in the dome to mount LEDs and a camera, and a bearing ring which has a ring gear to allow the easy installation of a servo or gearbox to move it. I found, using a flashlight, lights can be mounted against the skin to light up the panels.
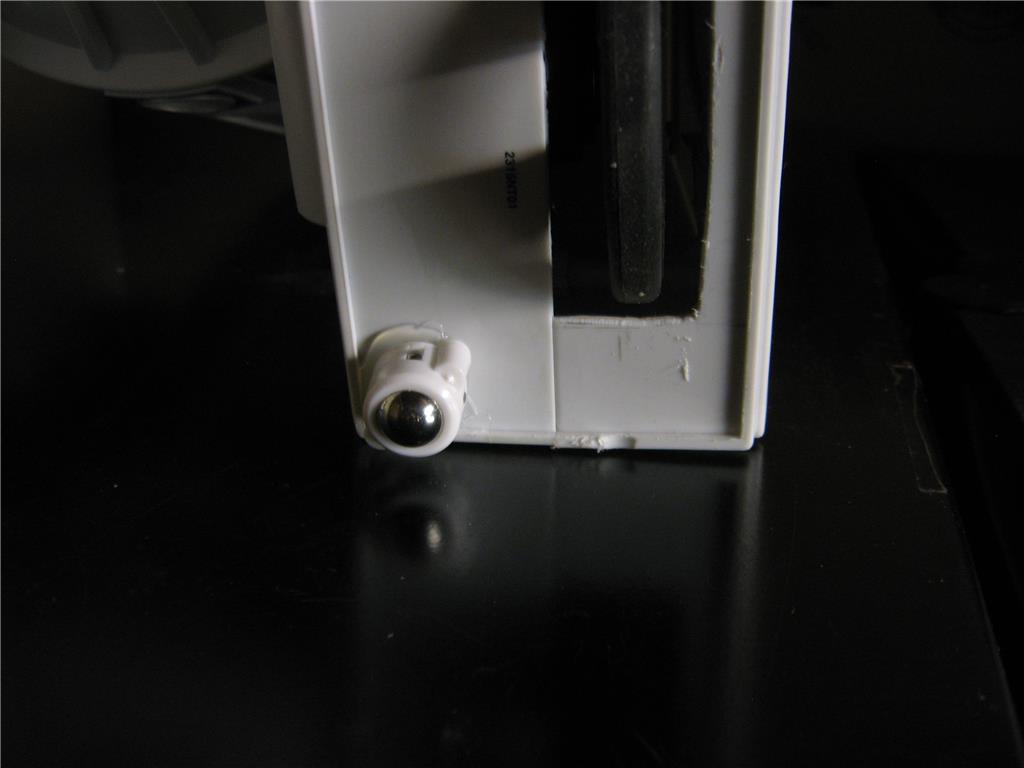
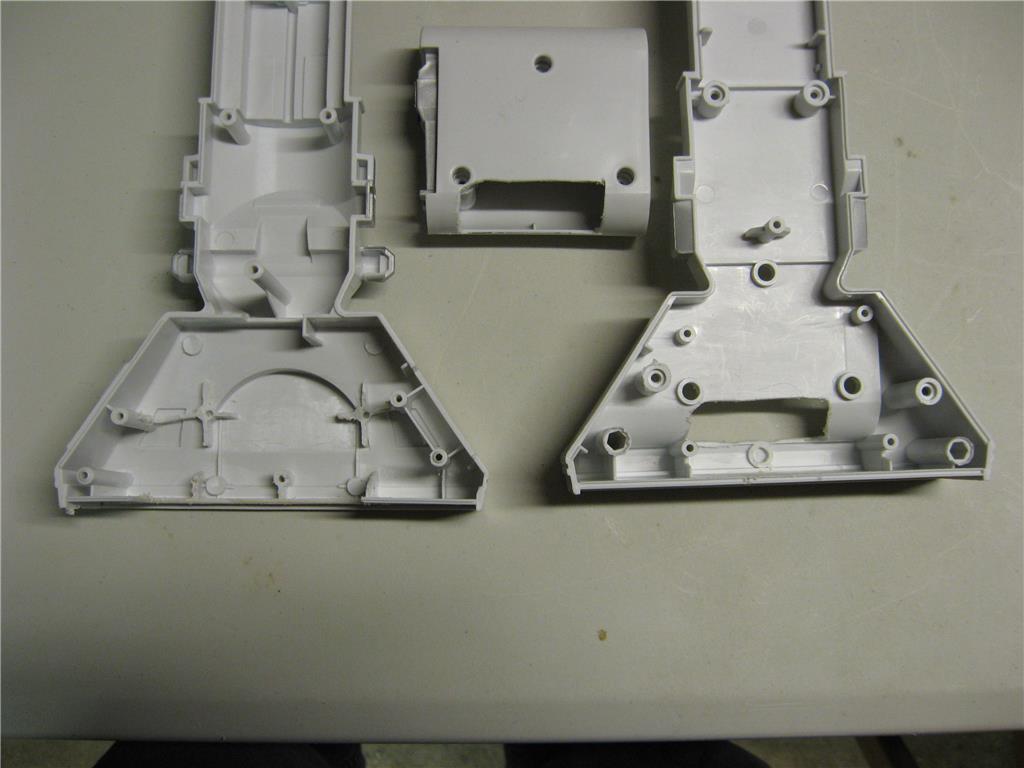
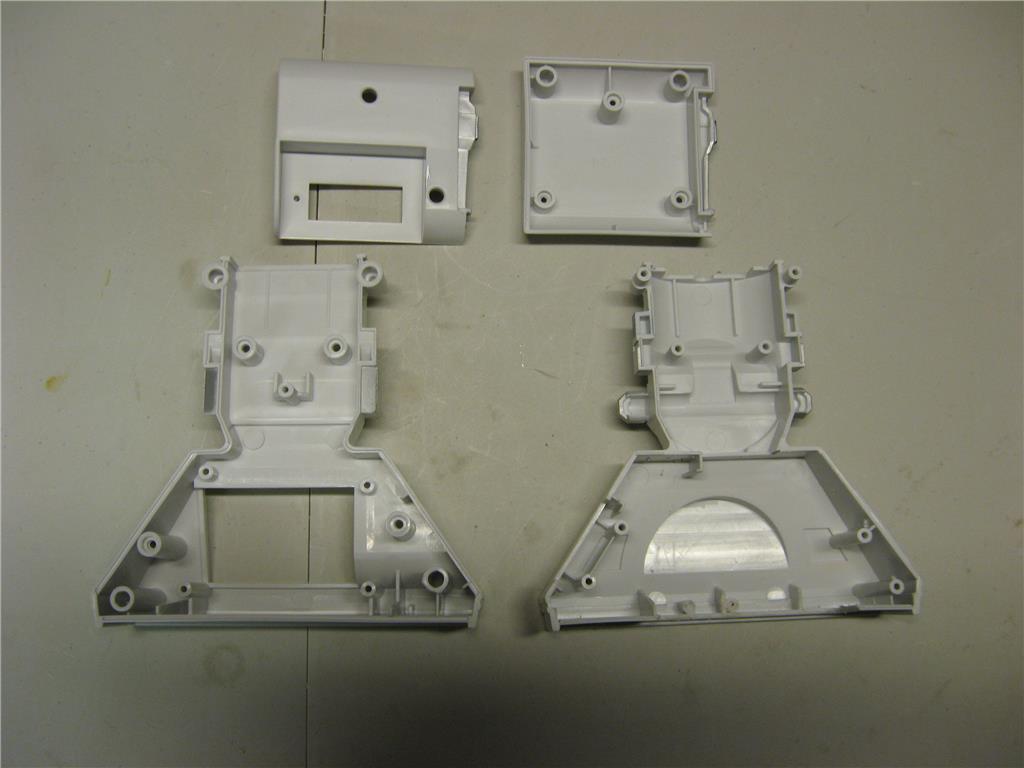
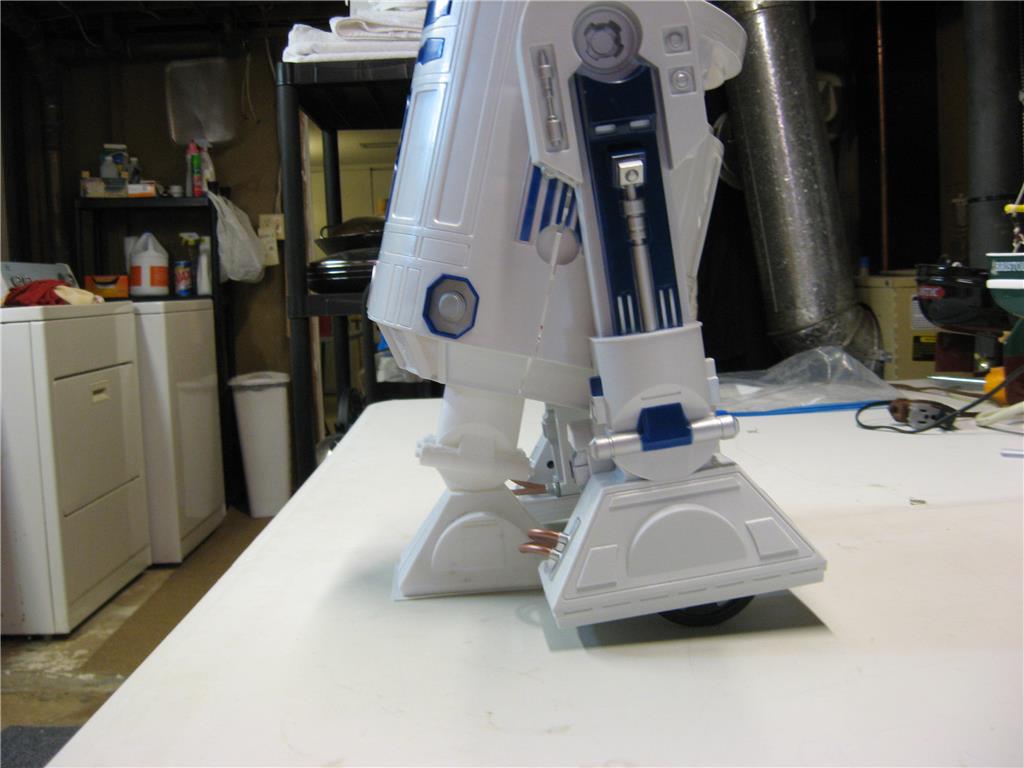
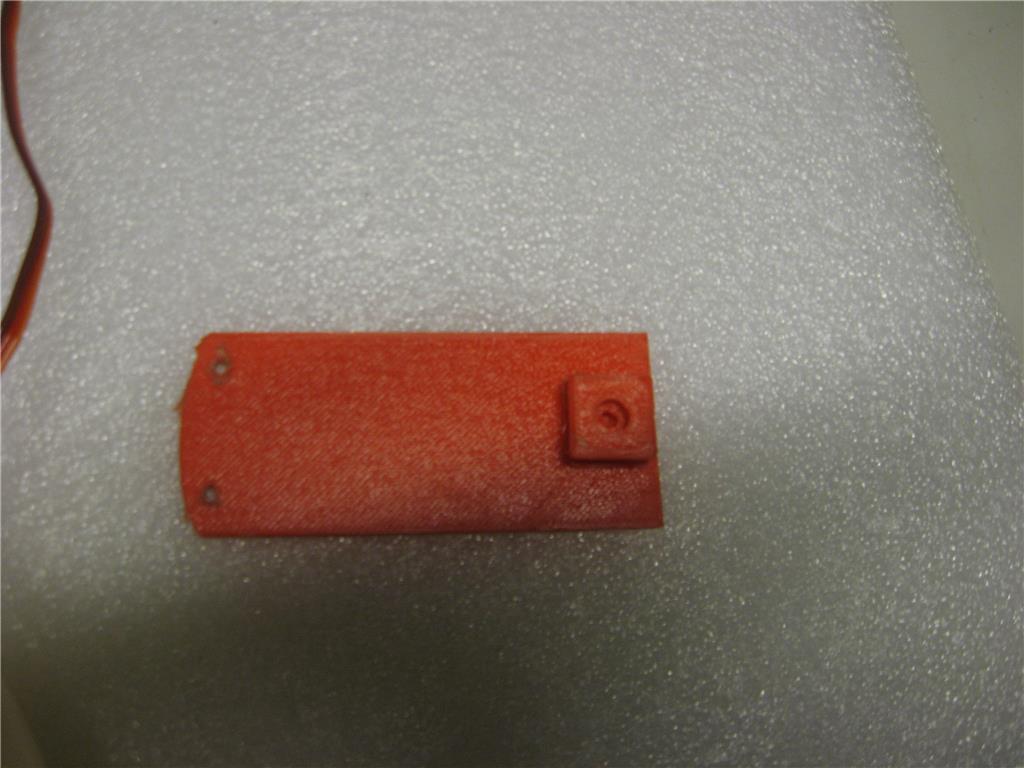
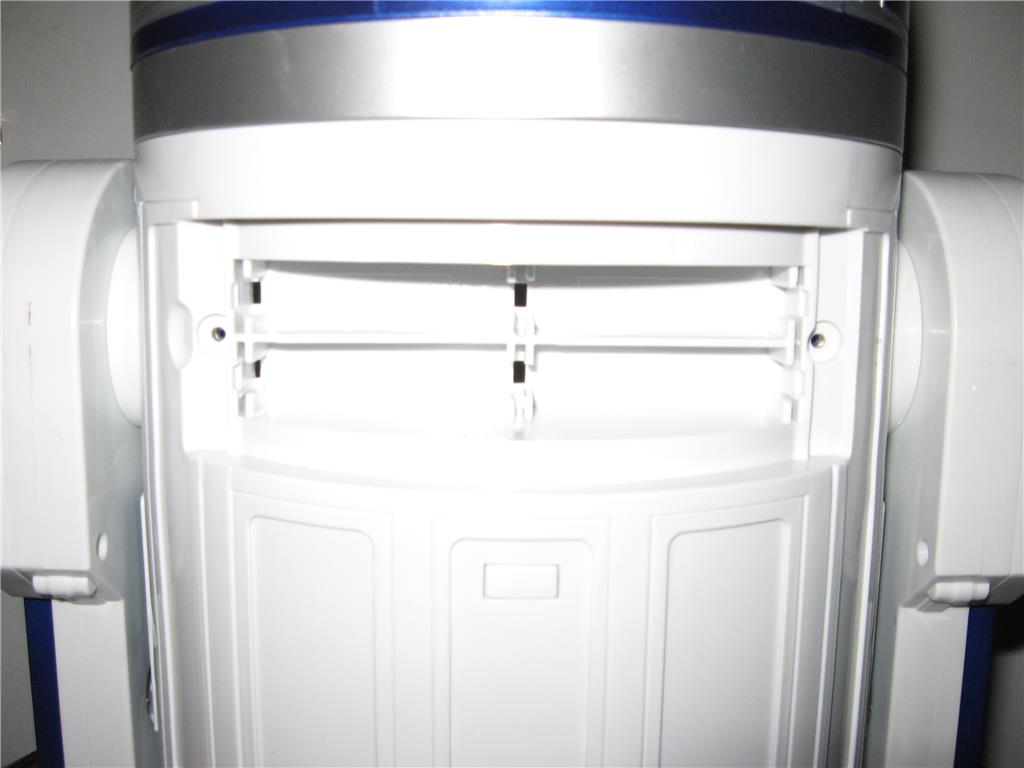
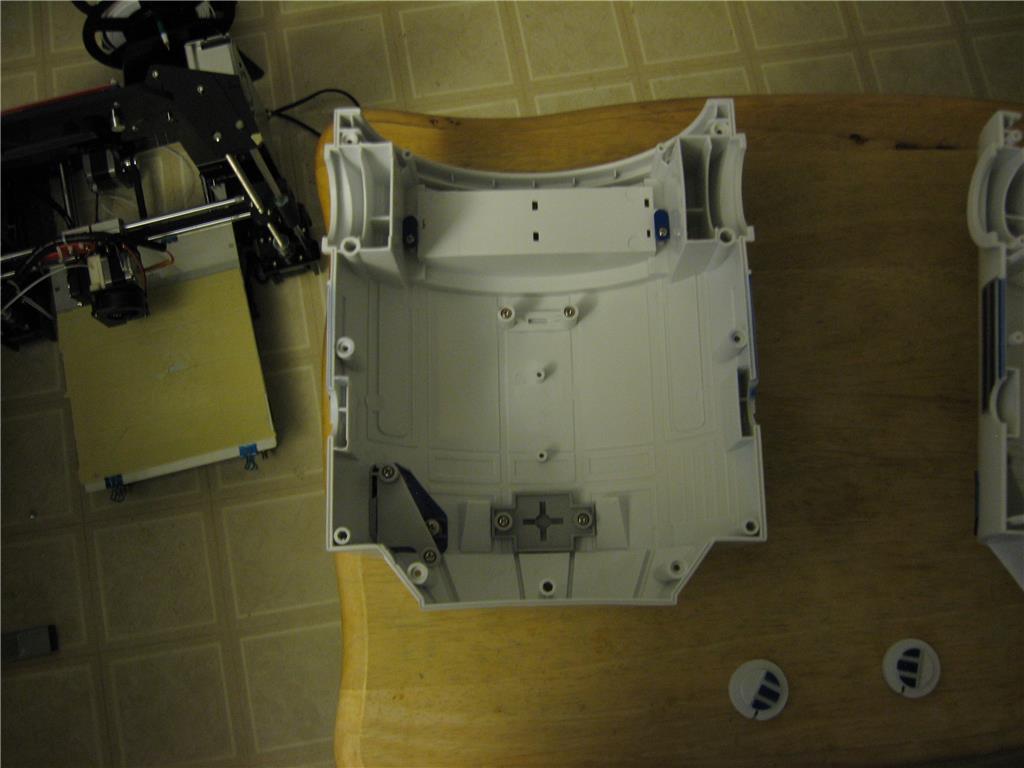
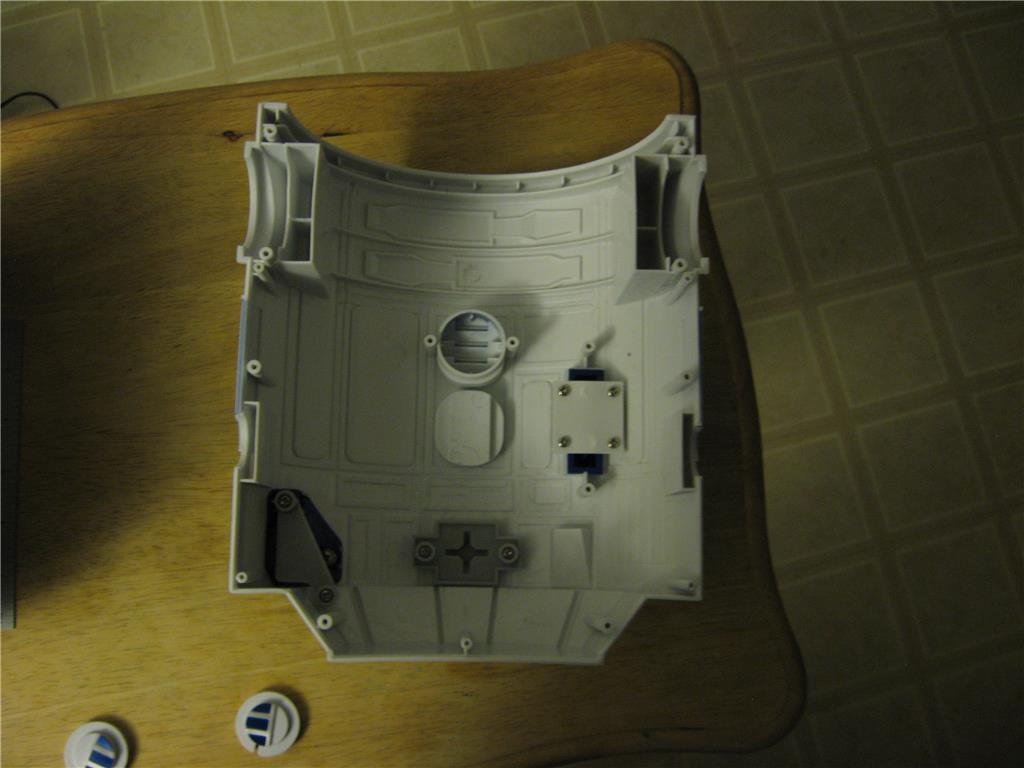
The body has some areas which can be modified or changed out for more flaps or lights. Due to flat areas on the bottom of the body, mounting an additional front foot should be somewhat easy.
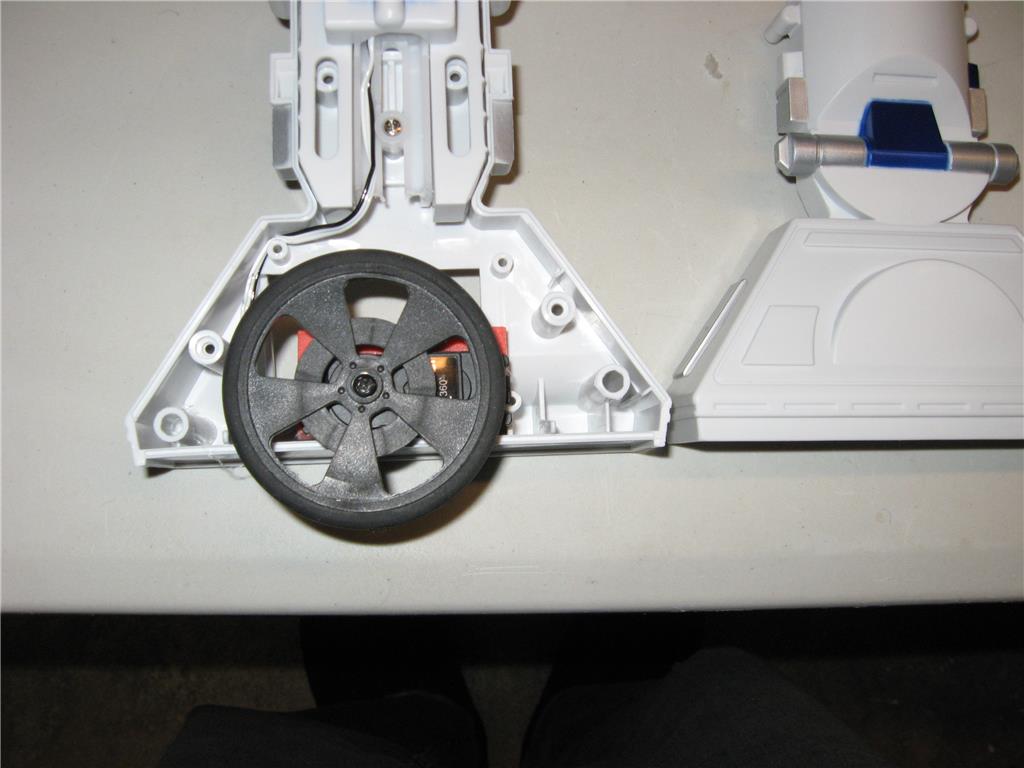
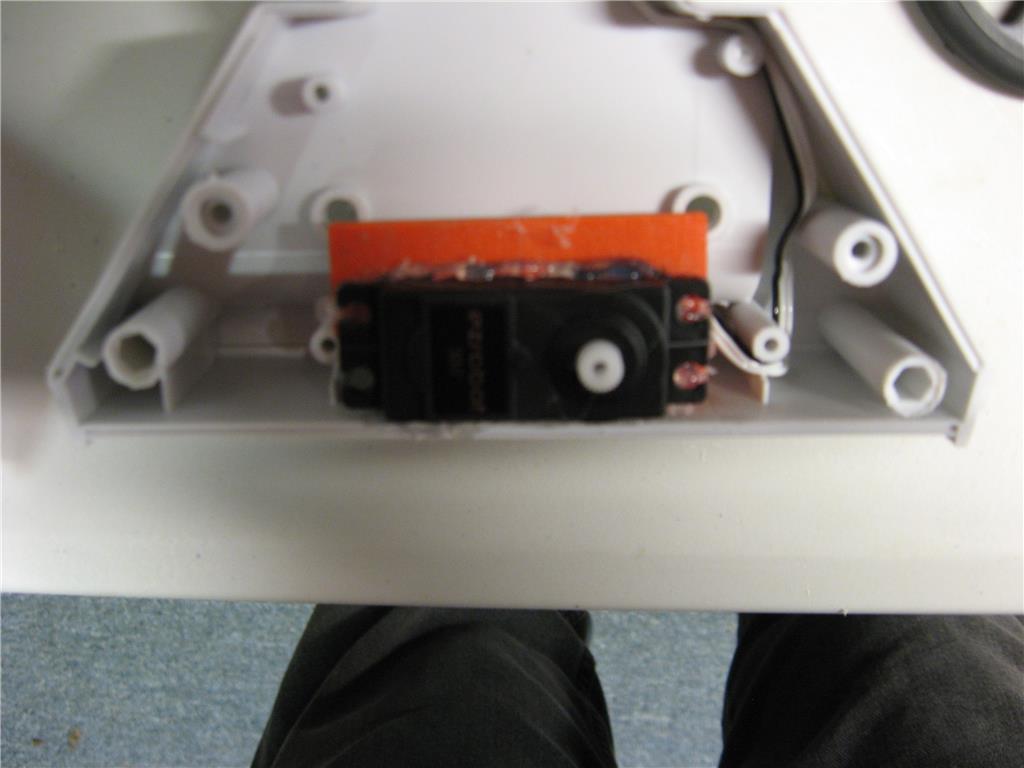
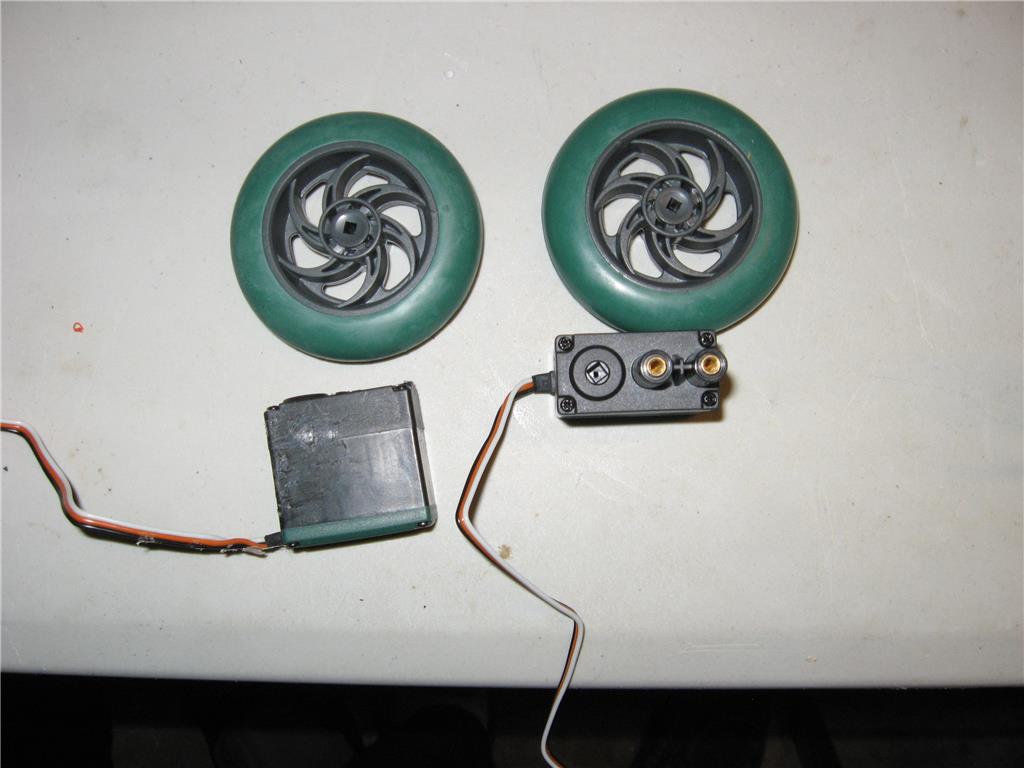
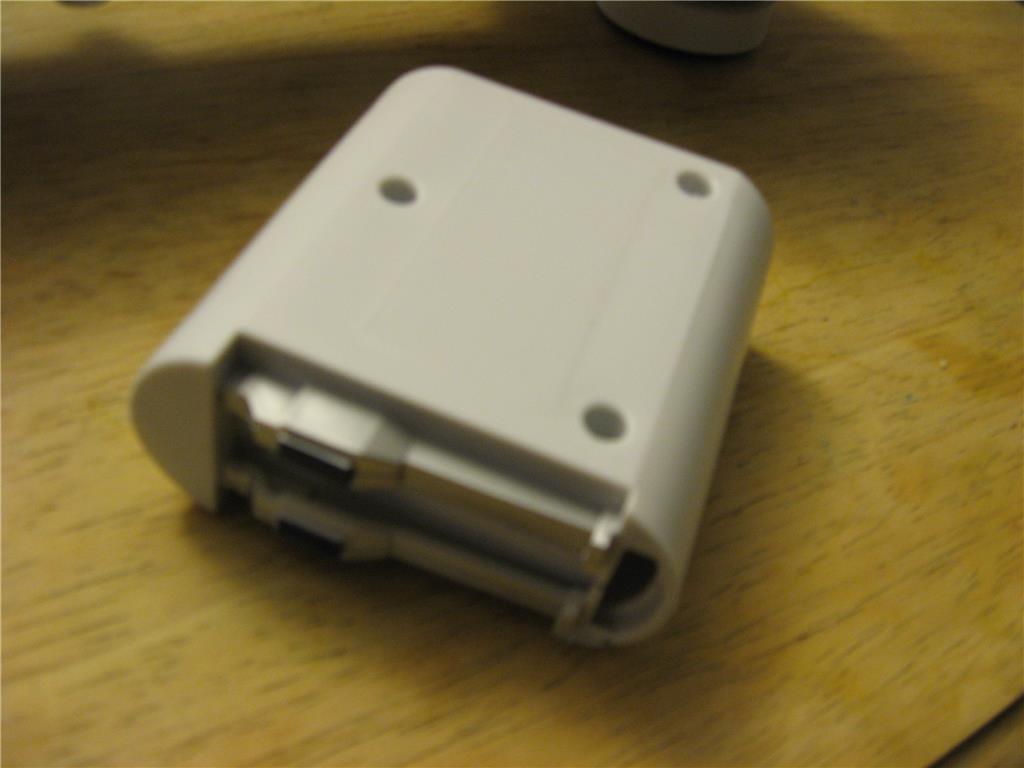
The legs have a flat bottom and a pod to mount either a motor or continuous servos for the drive.
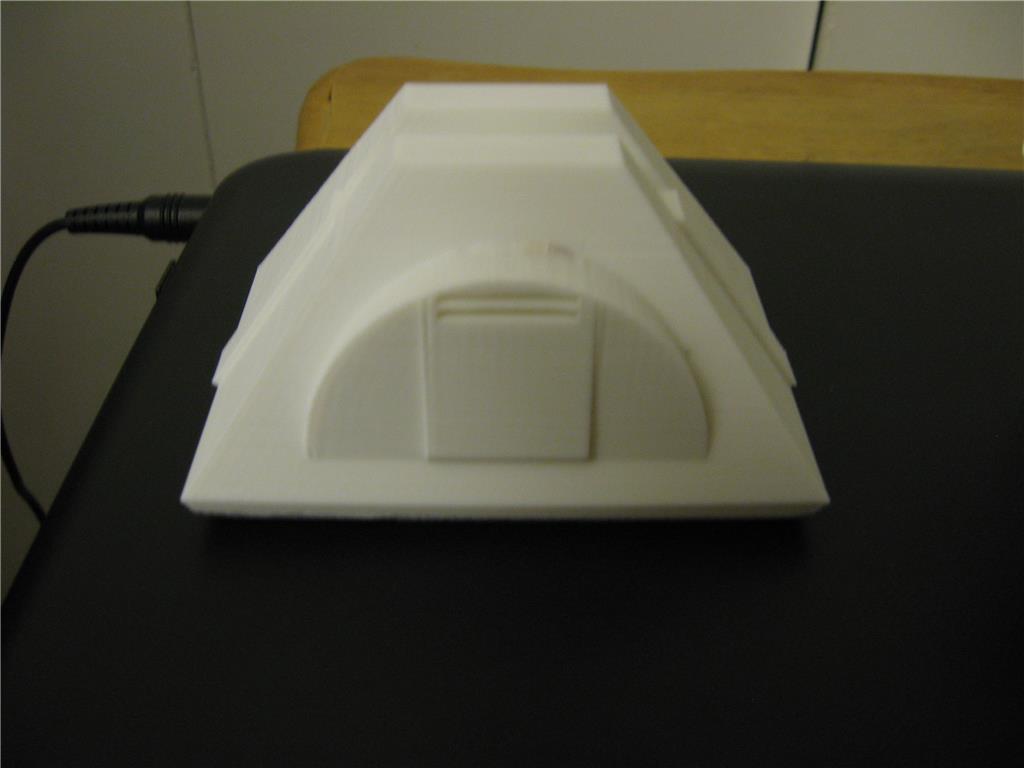
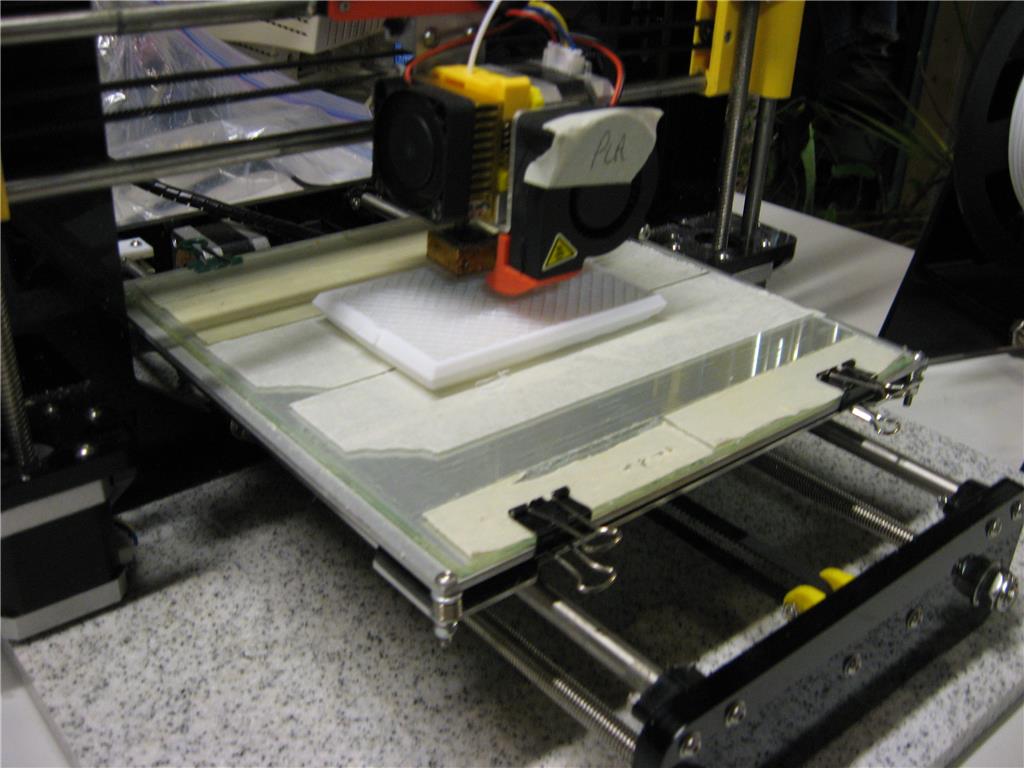
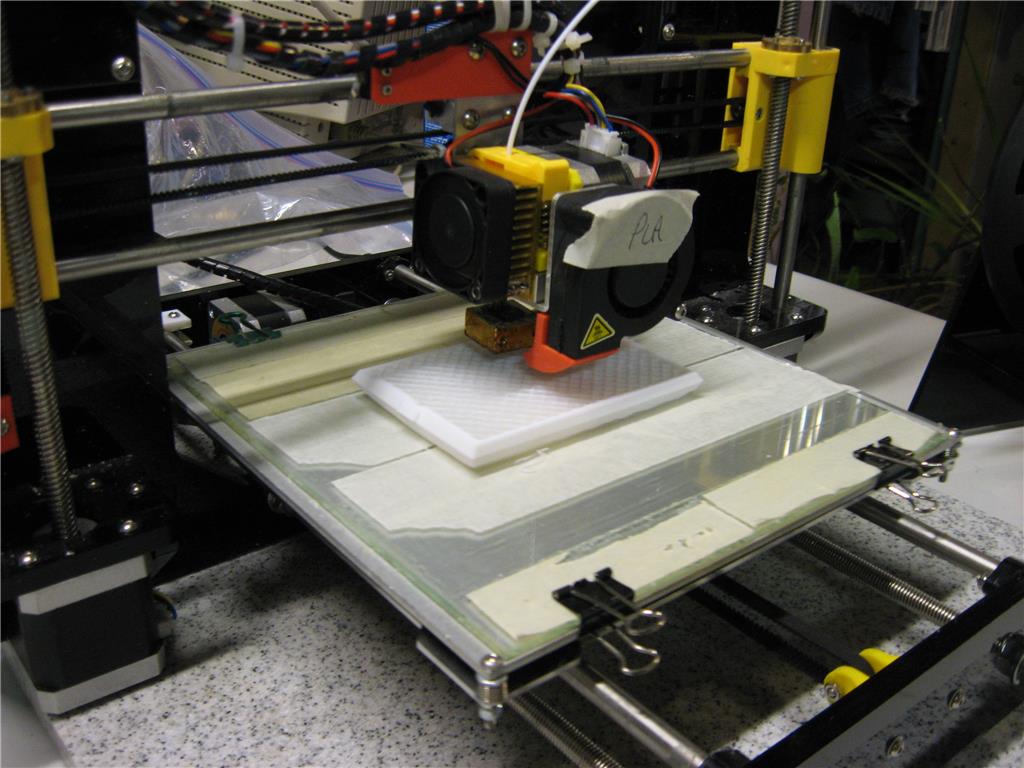
I will soon begin the build by 3D printing a front foot and mount to see how the project will come together.

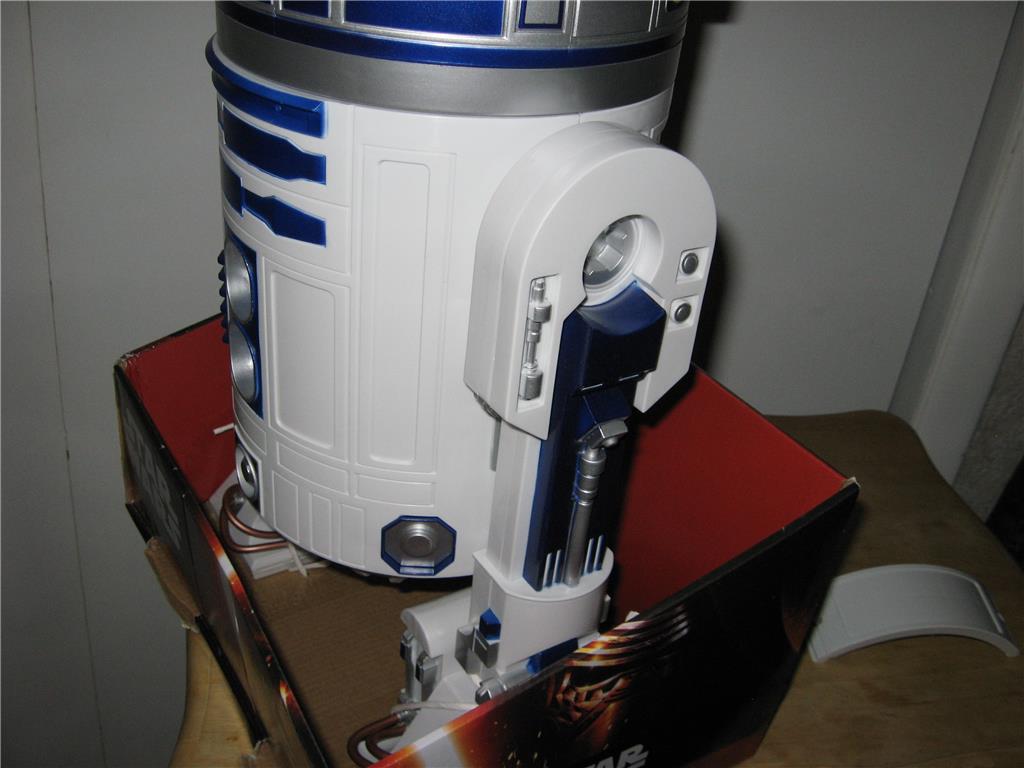
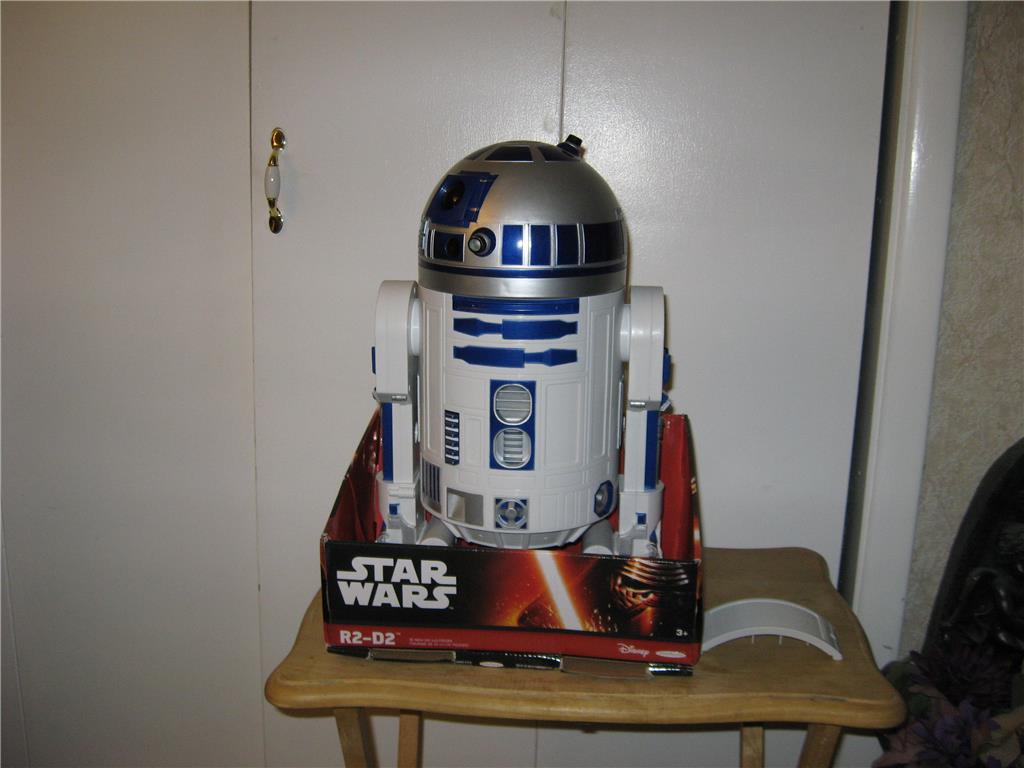
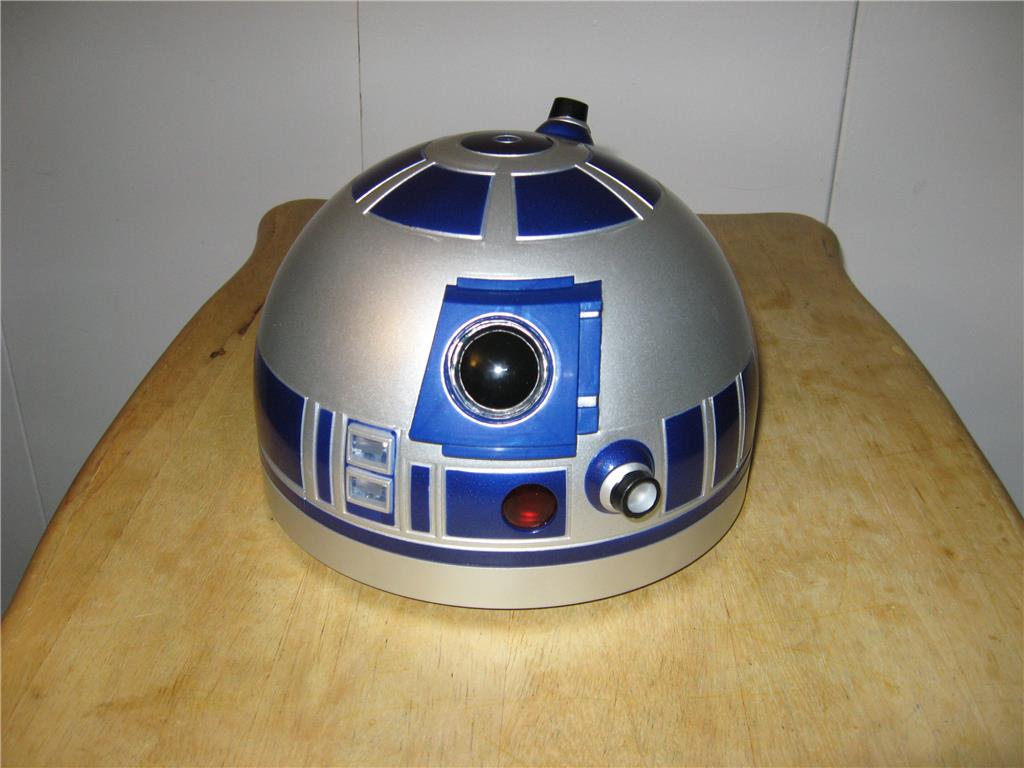
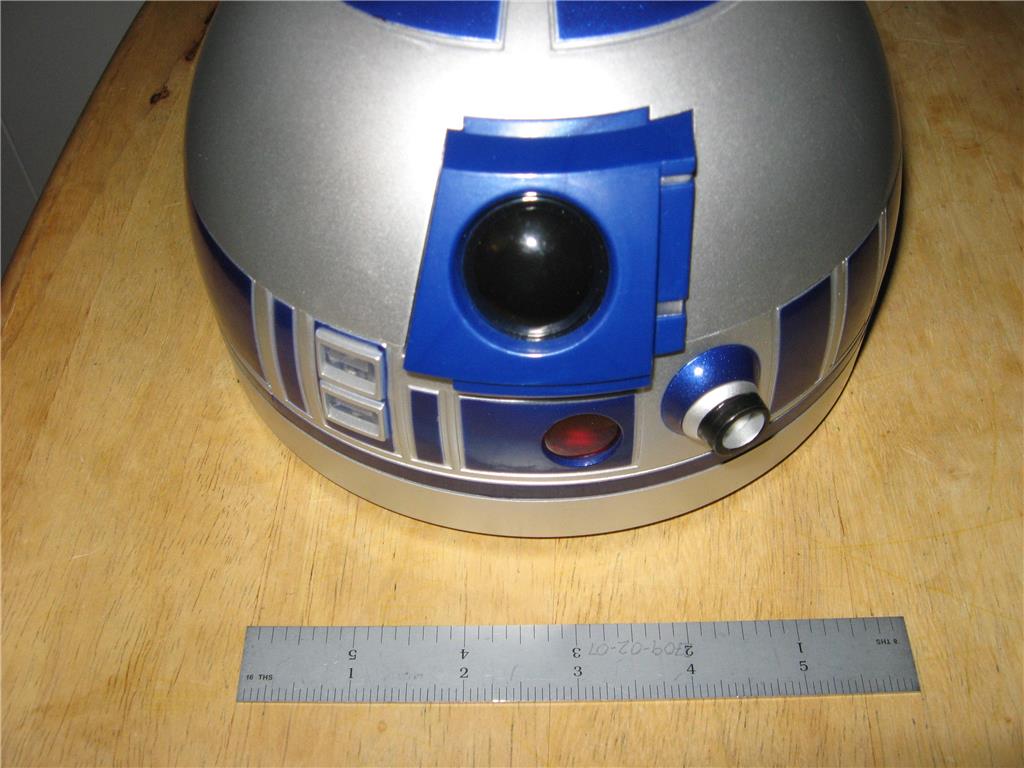
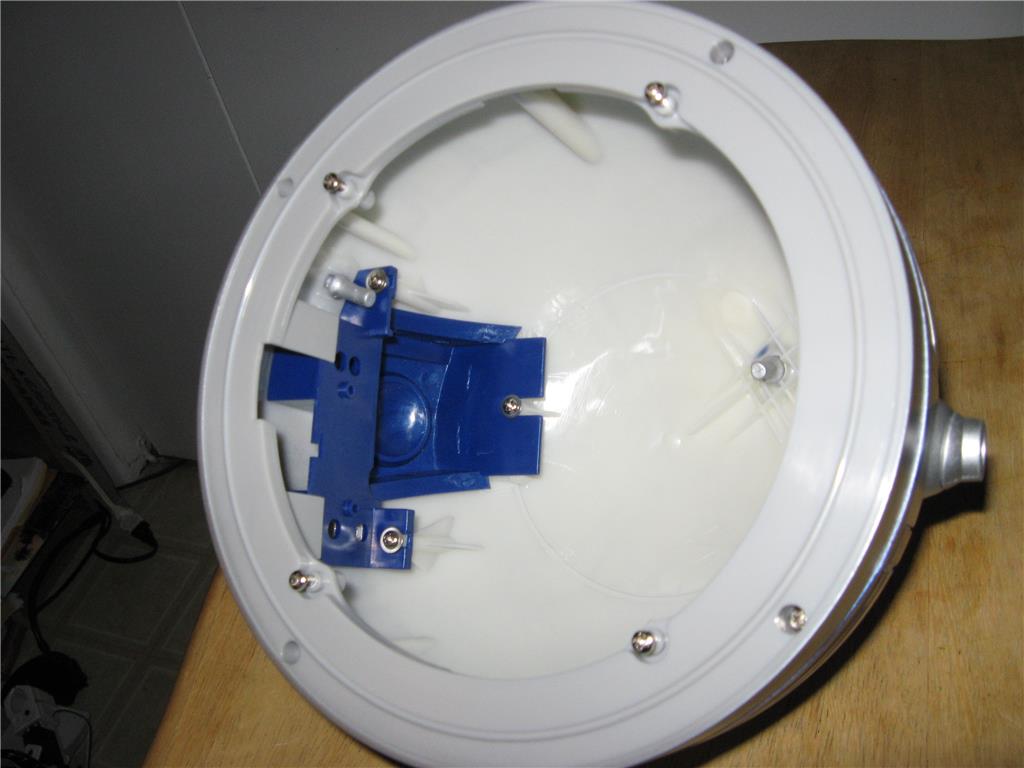


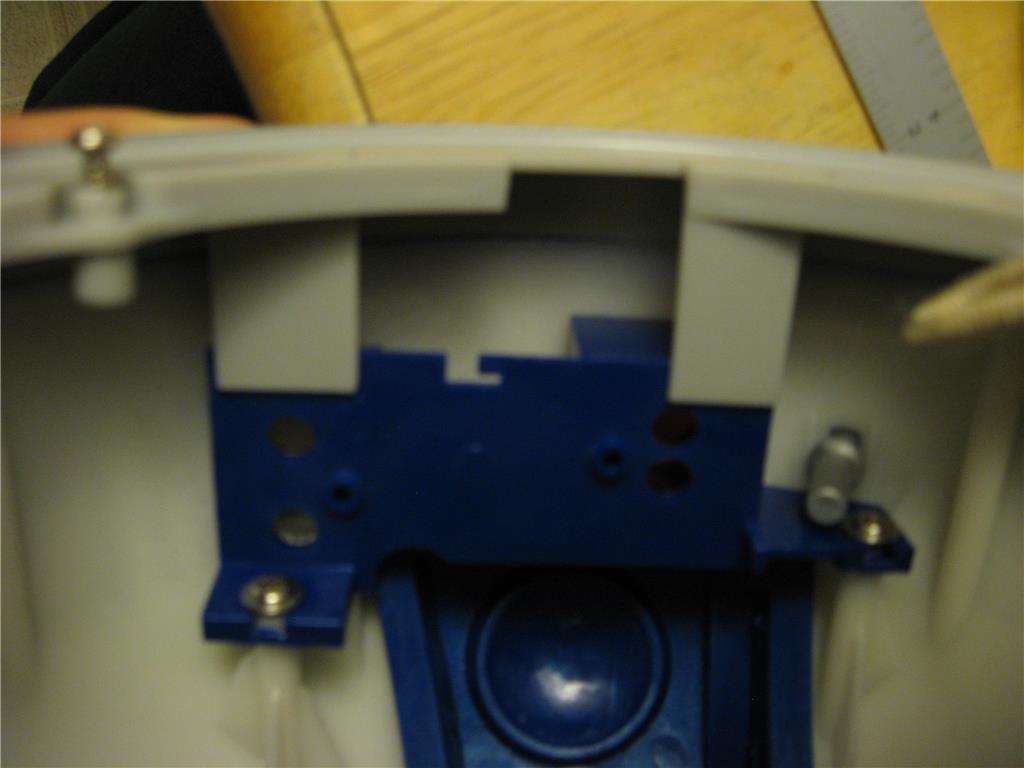
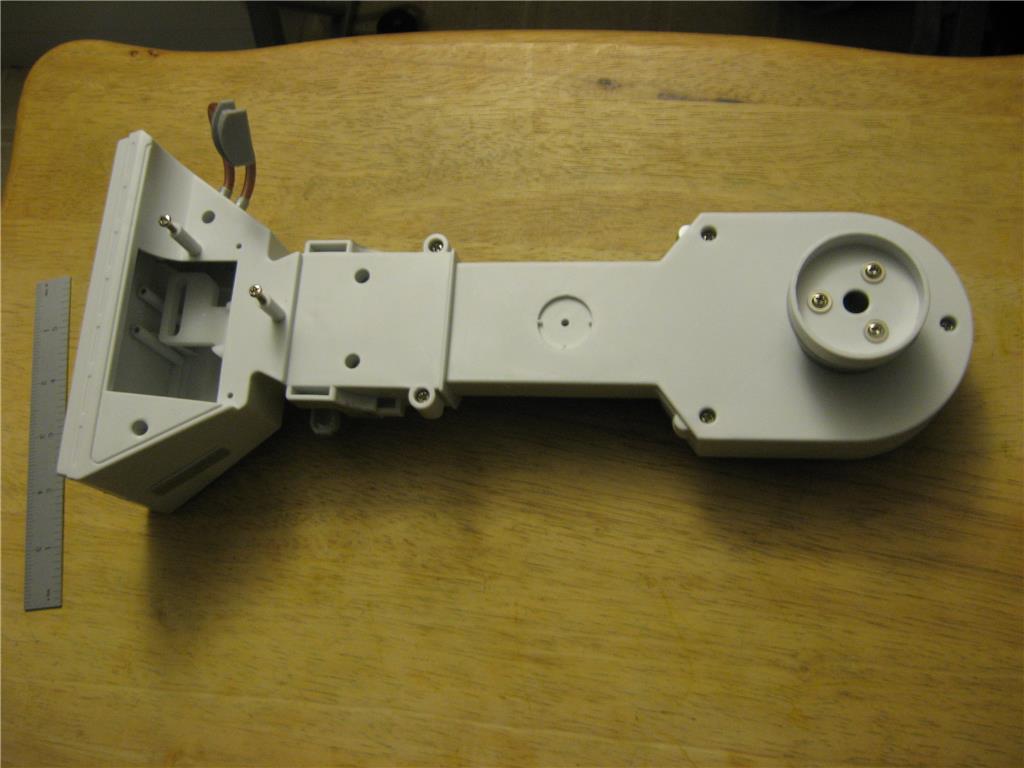

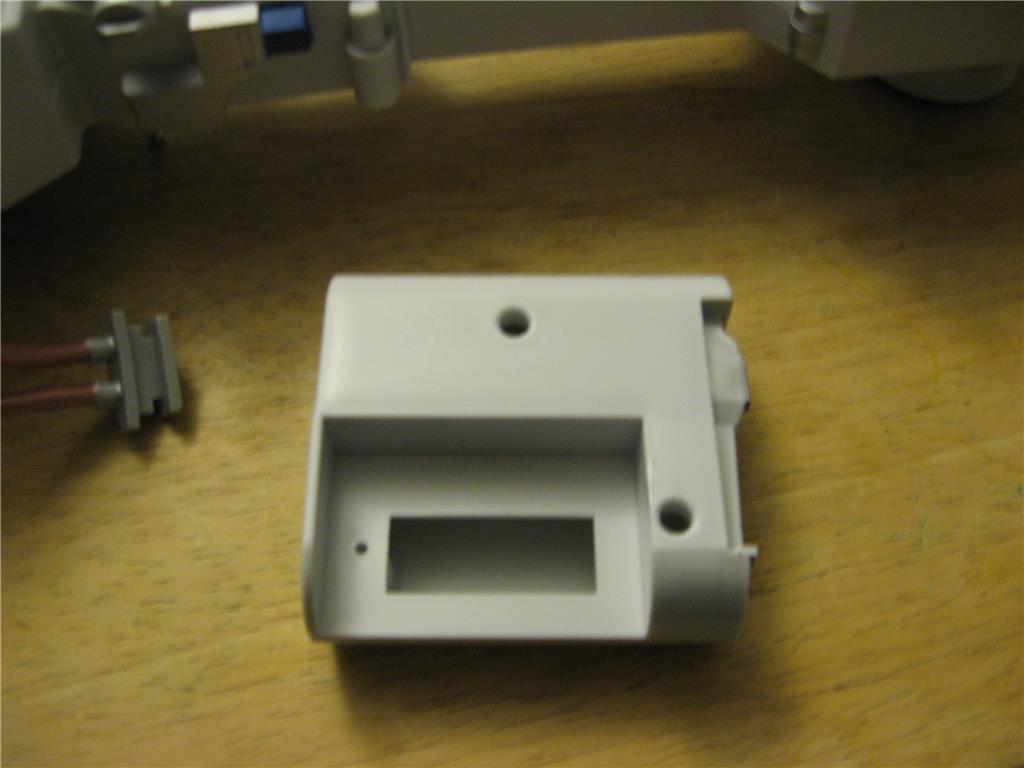
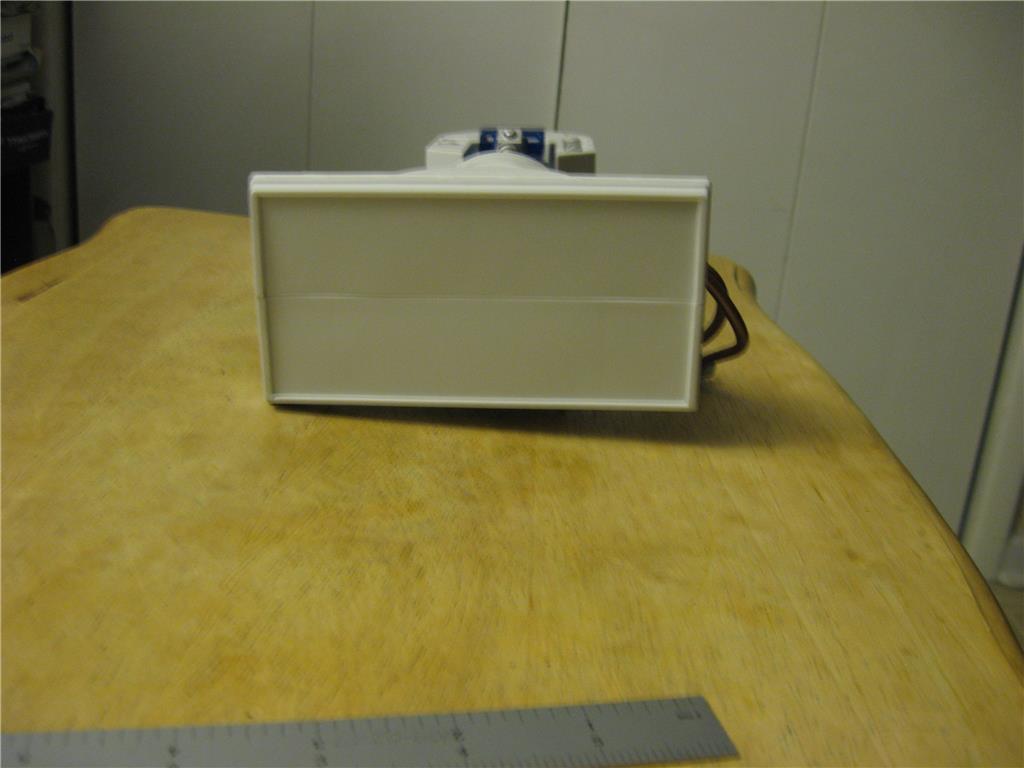

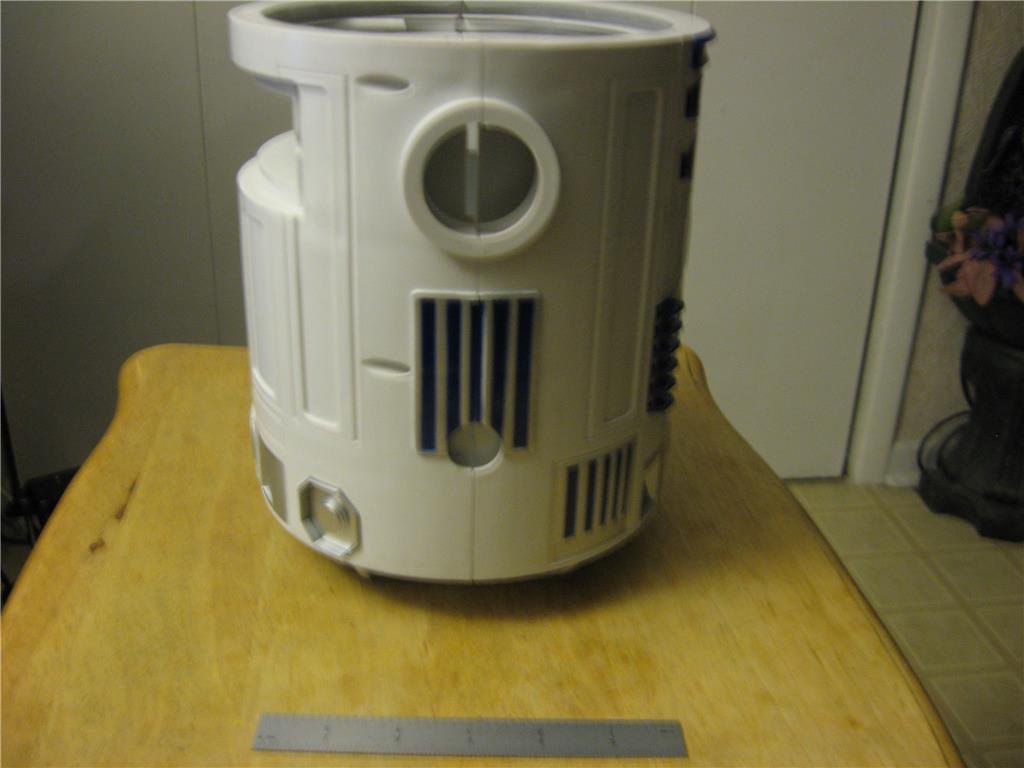
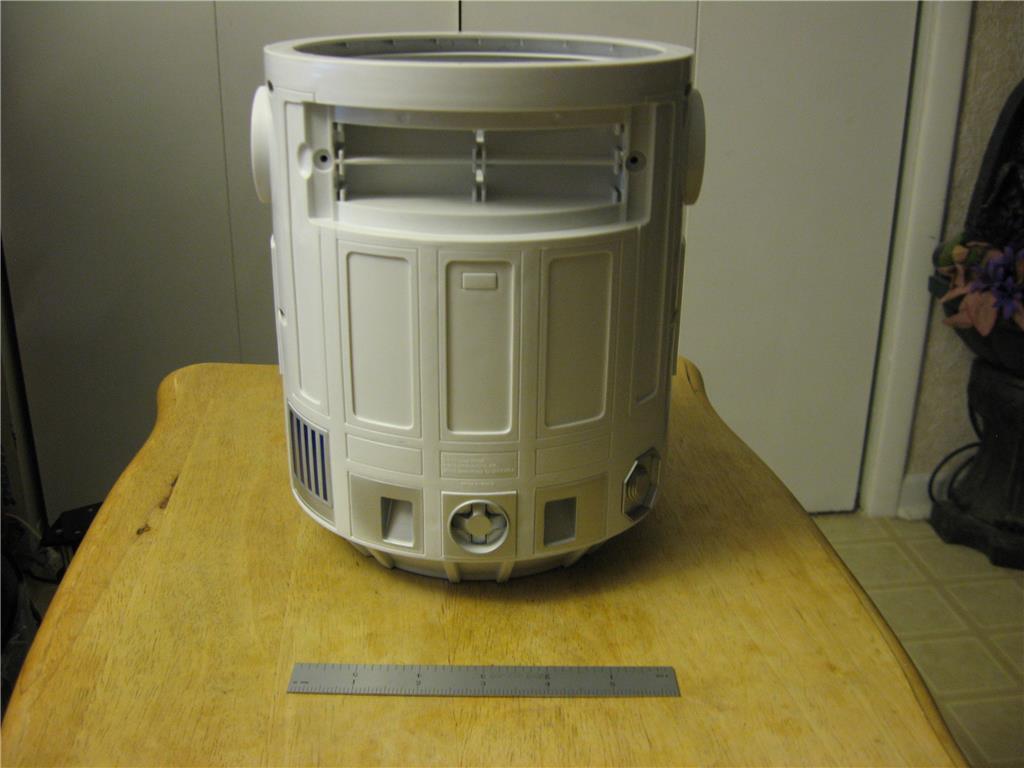
There is a 6" Ruler in the front of the pictures for reference.
Ron R
Discover more robots
Rb550f's Ez Robot Attacknid
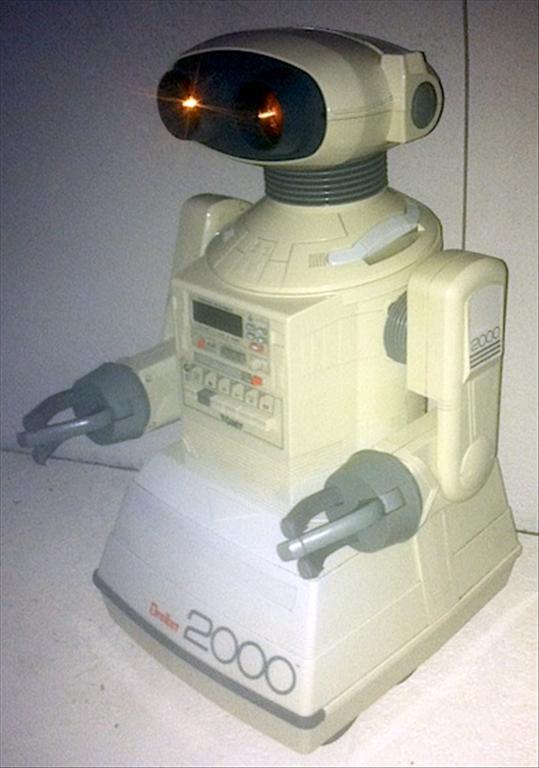
Randez's Randez's Omnibot2000 Thread...

12/17
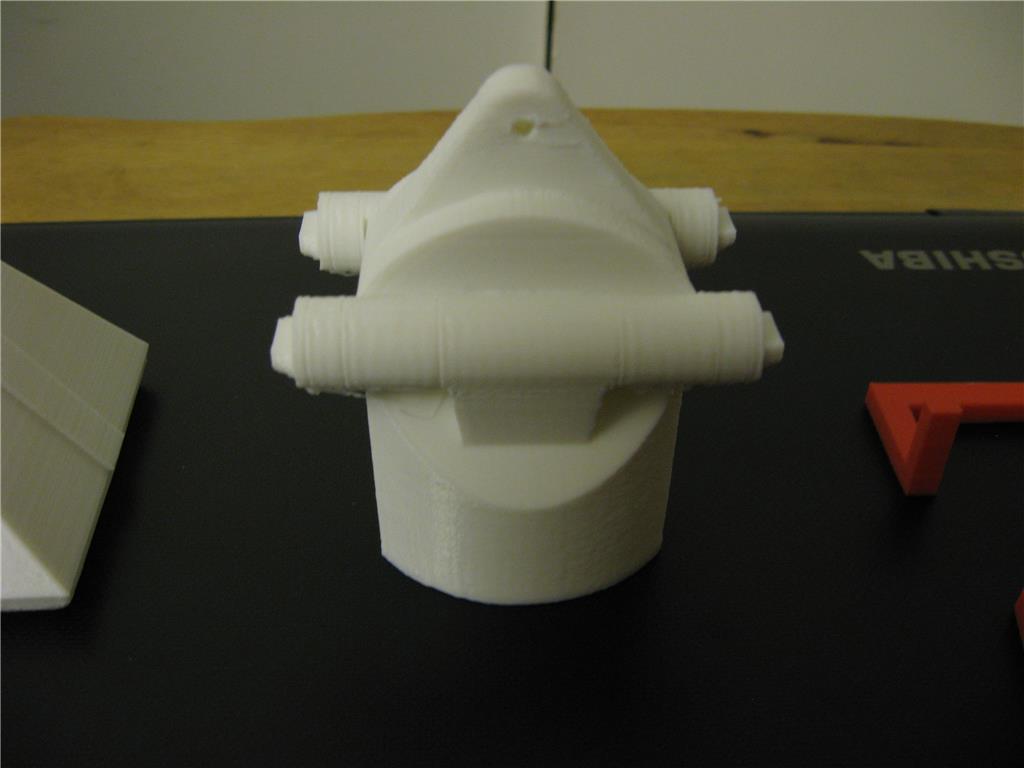
I found a dome gear. Here is the file. :
Domepinion.stl
It will need to be modified to mount on the servo shaft, but the tooth profile seems ok.
Next is the mounting tray for the servo and the potentiometer mount and drive.
Ron R
Am so glad I came across this thread. I've been eyeing up the ezb for my build but was apprehensive cause I know nothing about programming etc. My initial thought was to take apart my interactive r2 and put those into my new R2. Am building a 2:3 scale version that I would really like to make autonomous like my interactive one which is the same size pretty much of the one you're modding. Was tempting to buy one of those as well lol. Nevertheless I hope by watching this thread to learn somethings to help Me out with mine. Thanks and keep up the postings and great work!
Pic below is what I've got this far. Also have the legs and feet somewhat done but awaiting for me to pick out wheels, motors, etc.
Hi @jkcweber,
Happy your building one too. You should really consider an EZ Robot Developer Kit for your build. It comes with the continuous servos, controller, battery pack ( can be changed out to a larger one later) and extra servos for doors and hatches. I know this sounds like a sales pitch, LOL , but this will really open the door for your robot. I think they are still on sale, and considering you need to buy motors battery stuff etc. it would be a good time to look at it now.
There is a lot of pre-configured pull down menus which you can use for movement, voice control, etc. Programming is easy and you can learn as you go. There are a lot of people here thank will help if you get in a jam. More complex programming can be done after you learn the basics.
By the way, Check out Steve G 's Project if you want to see a great droid !You can get some real good ideas there..
Have fun with your new project, and I will continue to post my progress.
Ron R
12/18 Update
I am not happy with the speed of the dome rotation using the pinion gear and a continuous servo. Too slow. I am going to make a tray and use a standard servo for now. If I decide to go more than 180 degree rotation, I may modify the servo with an external pot and pull the pin out of the gear to get the extra rotation. I will post pictures once I complete assembly and tests.
Ron R
12/18 Update
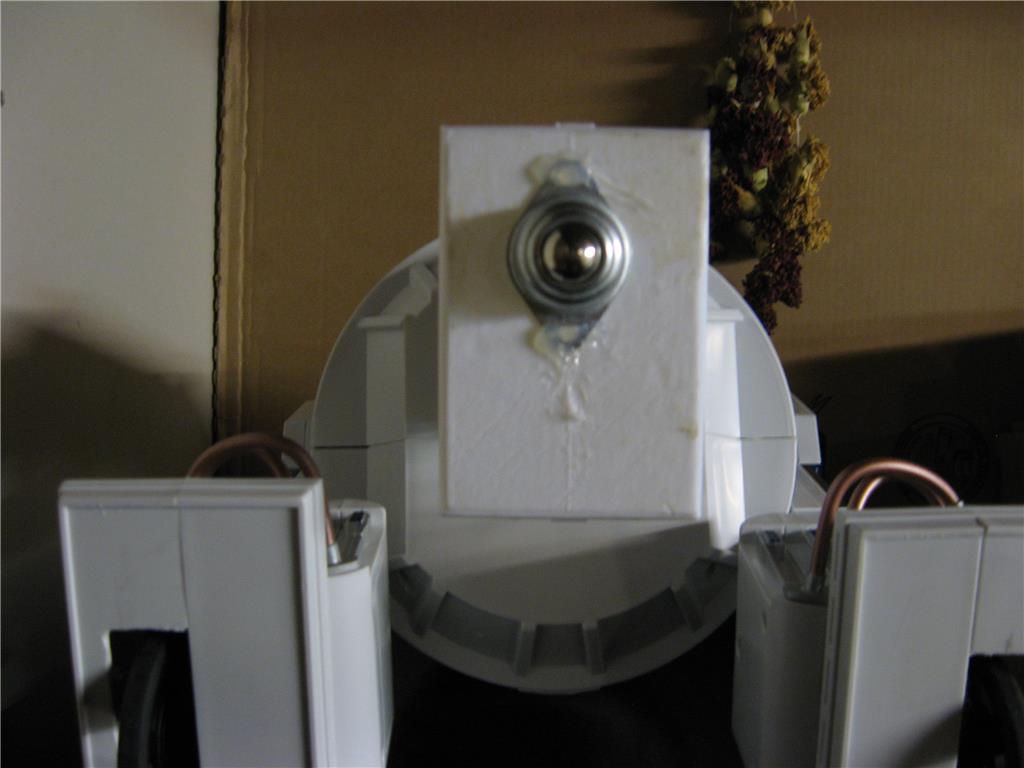
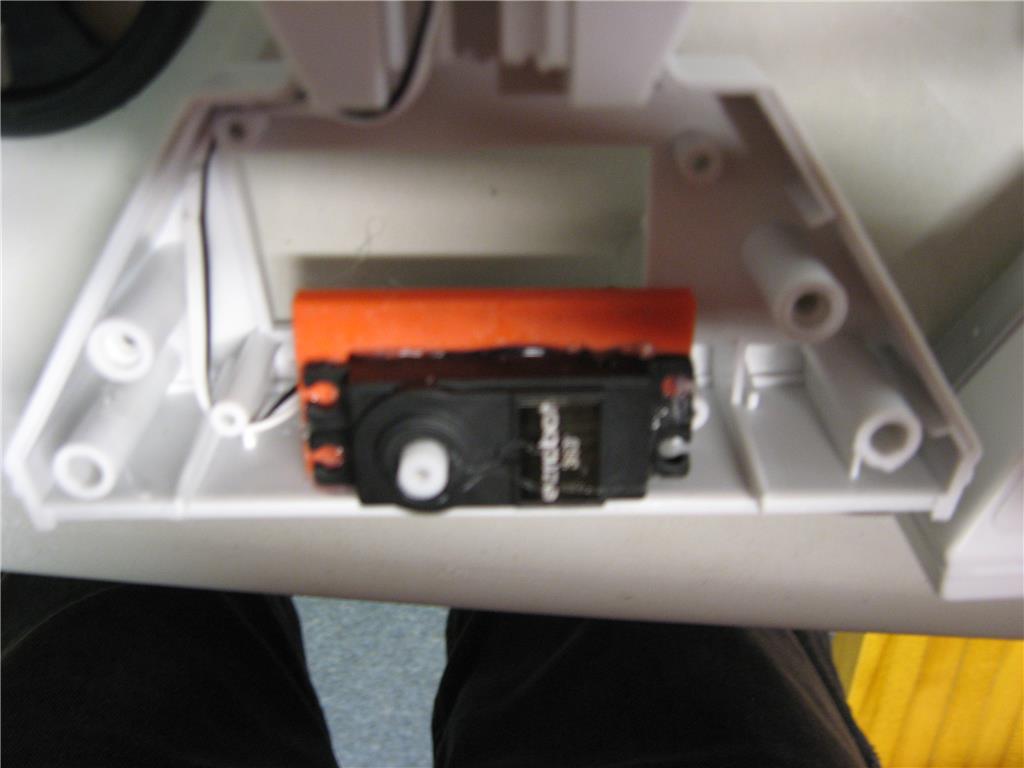
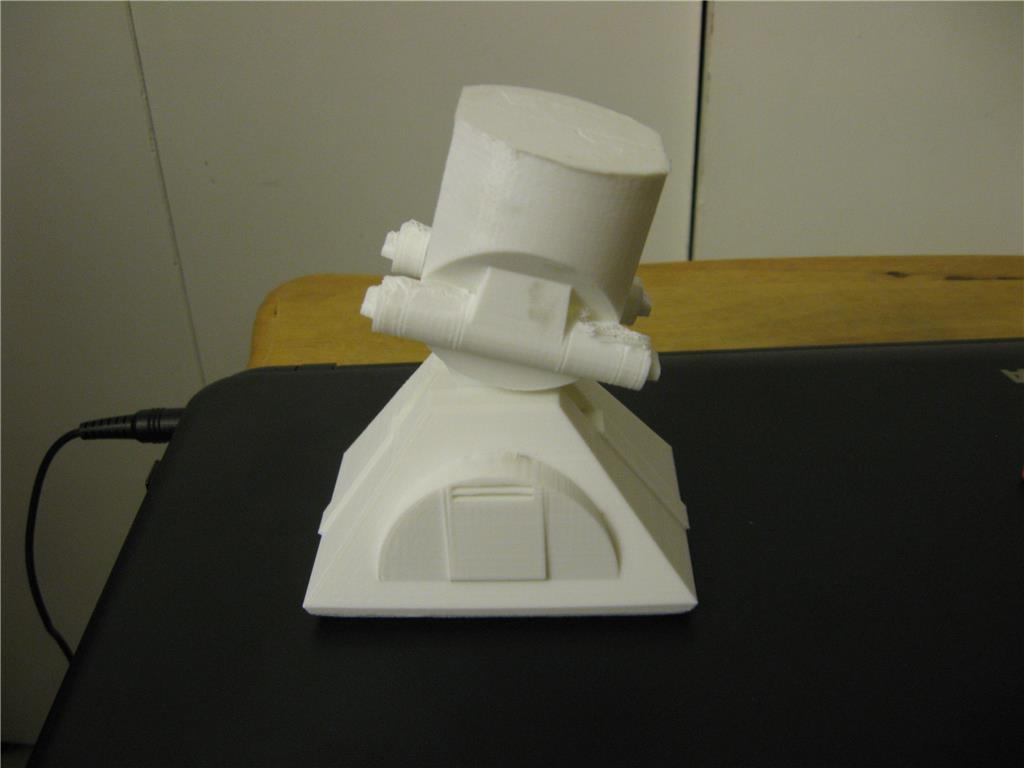
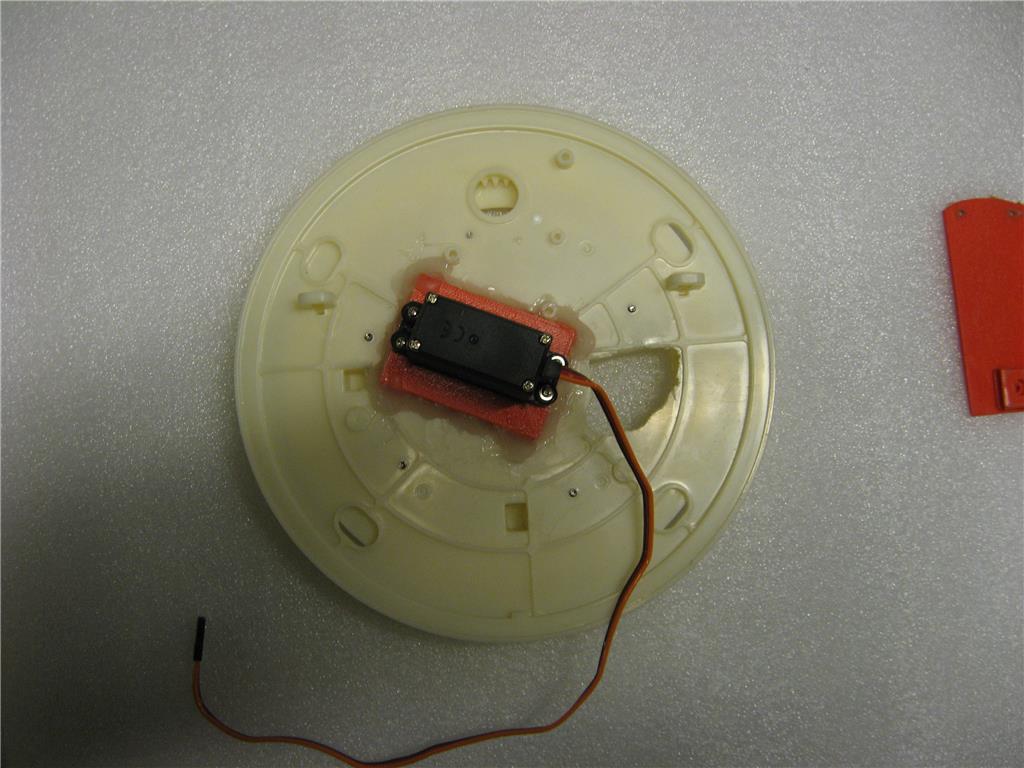
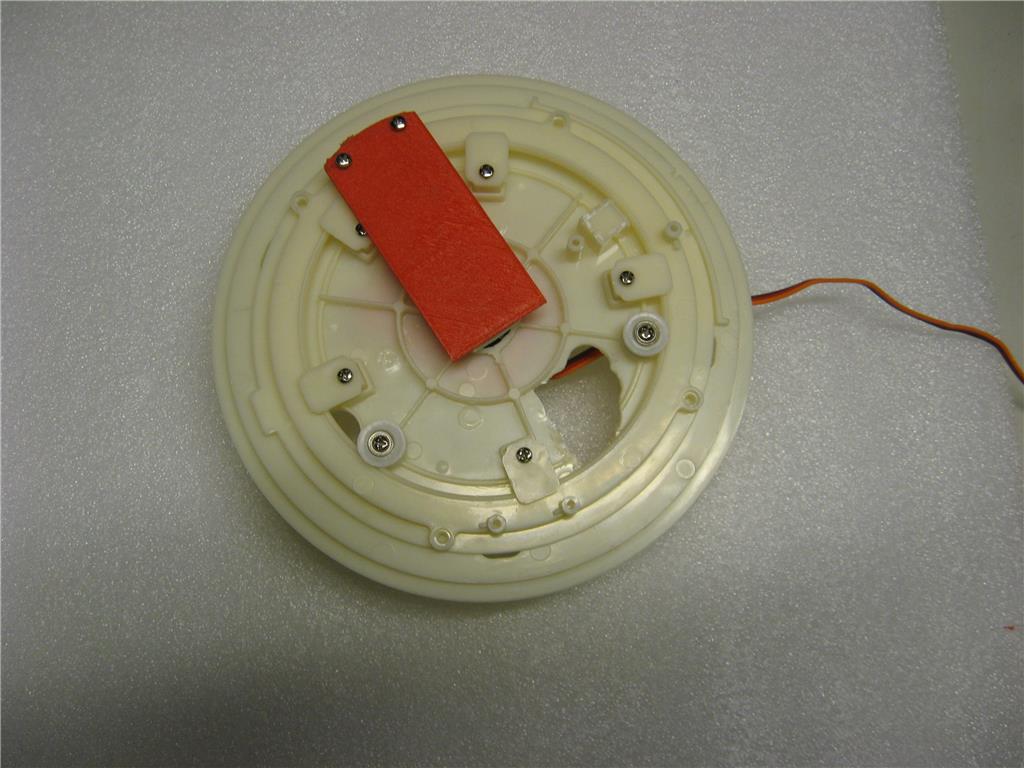
Dome actuator
I built a tray and mounted a standard servo to drive the dome. I used the standard JD shoulder servo arm and made an arm which slides into the servo arm and extends out to two standoffs on the outside ring of the dome bearing unit. It works great. If I decide to make the dome rotate more than 180 degrees I will modify the servo with an external pot and remove the stop pin.
I cut some holes in the bearing plate to allow the led, camera and other wires a way to pass from the dome to the ezb.
Stl files:
8_mm_thk_servo_tray.stl
domearm.stl
Pictures:
Enjoy
Ron R
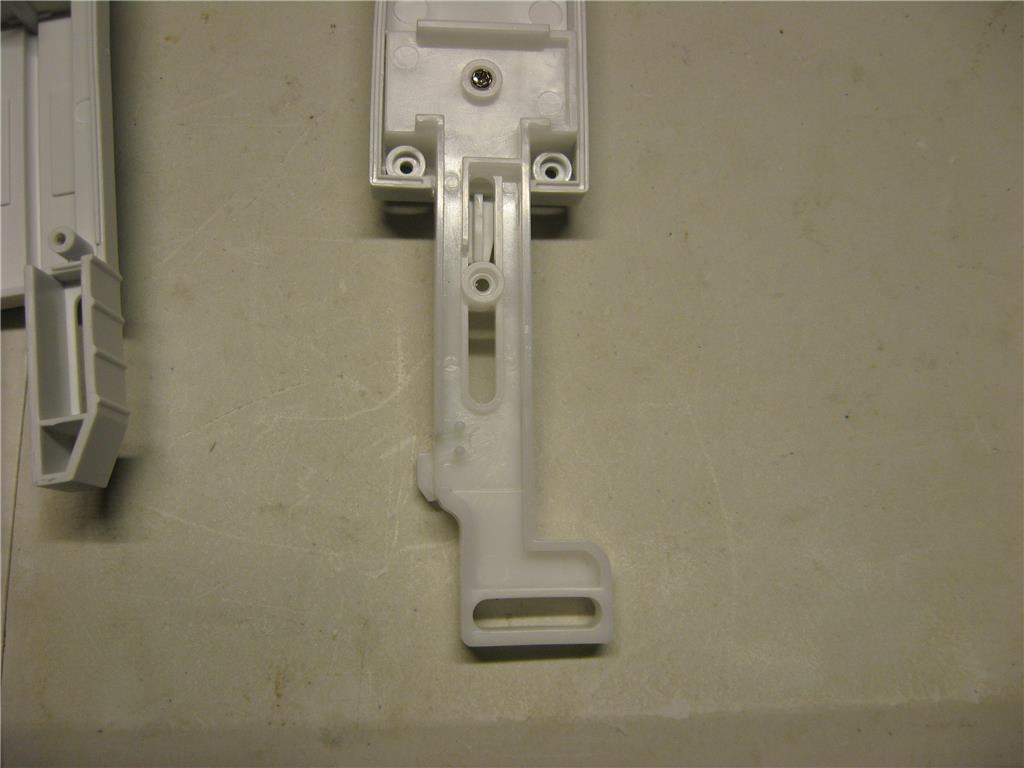
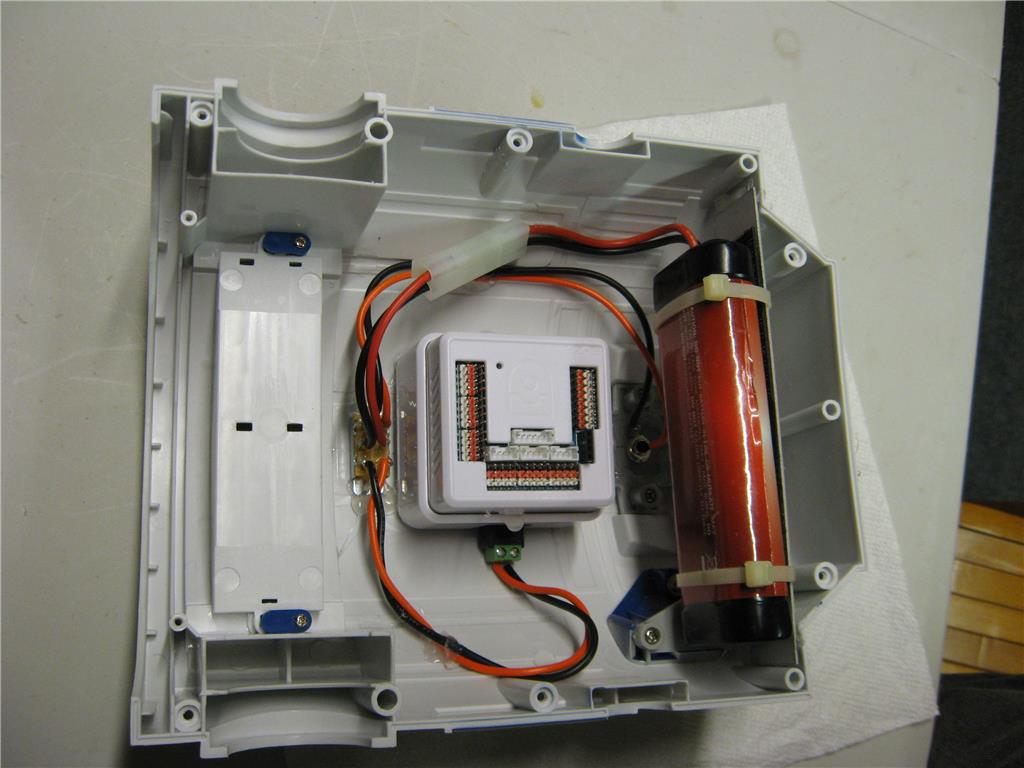
Update: 12/21. I did a mock up and tested the drive. I had to relocate the battery to the same place on the front shell. This way the weight was more forward eliminating wheelies and allowed better steering. I made a new front leg and foot which will mount easier and is a little heavier. I wired up some led.s and mounted them in the dome. My last issue is how and where to mount the camera. Once that is figured out and done I will post all the pictures of what I did so far.
Ron R
12/22/15 Update:
Camera installed and leds are in the dome.
Wiring is connected and final assembly is done for testing.
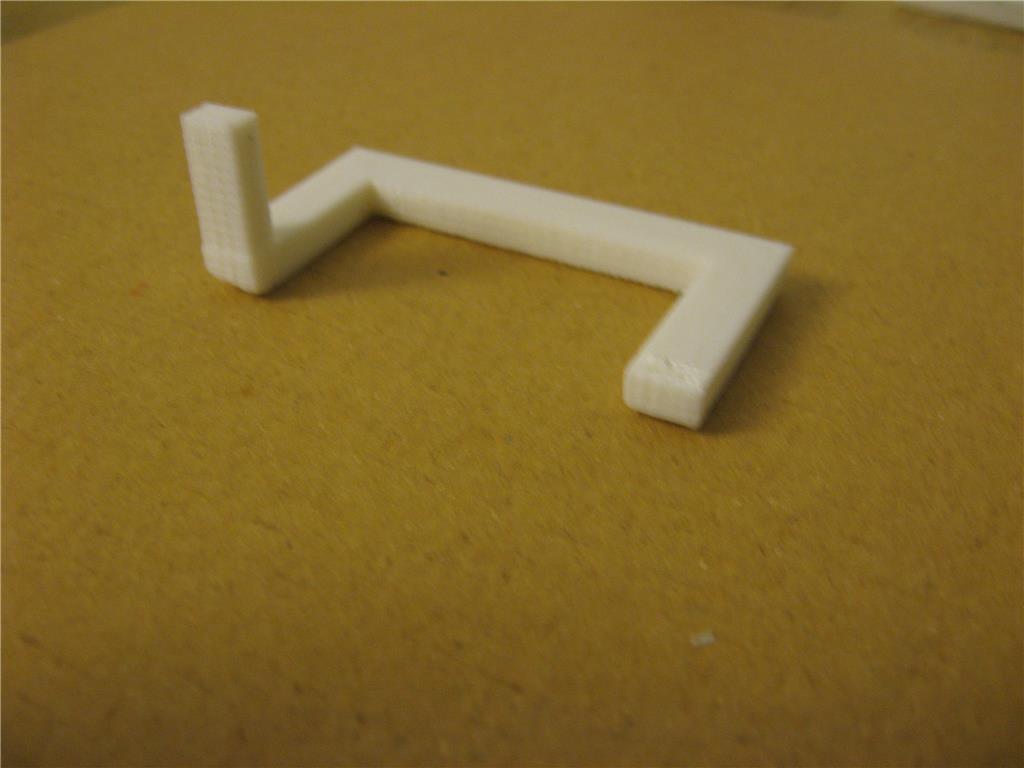
I am still trying to print a front foot to my satisfaction. I had two failures and hope this next one will be ok. I need better filament instead of the stuff I am using.
Next will be a movement test and a check to be sure everything works. I will post a video, (no way like Steve G makes . LOL I’ll be lucky to keep stuff in the frame.) if I can. The Holiday is going to take over my time.
Ron R
Your conversion looks fantastic!
I picked up the electronic version of this from Costco and have been slowly making it more scale. In case your interested I have been working on a bearing supported shoulder pivot for it. With the eventual goal on making the center foot retractable.
https://www.thingiverse.com/thing:1239839
It's still a work in progress but I've just about nailed it.