


I've been thinking a lot about how I should post my Wall-E. Whether to post the finished product and possibly a video of a dance routine or to show the work in progress. I decided to show the work in progress and my plans in hopes to give ideas to others. And also because updates may be in long intervals.
I dont have pictures yet but will soon.
Here are my plans I want to implement.
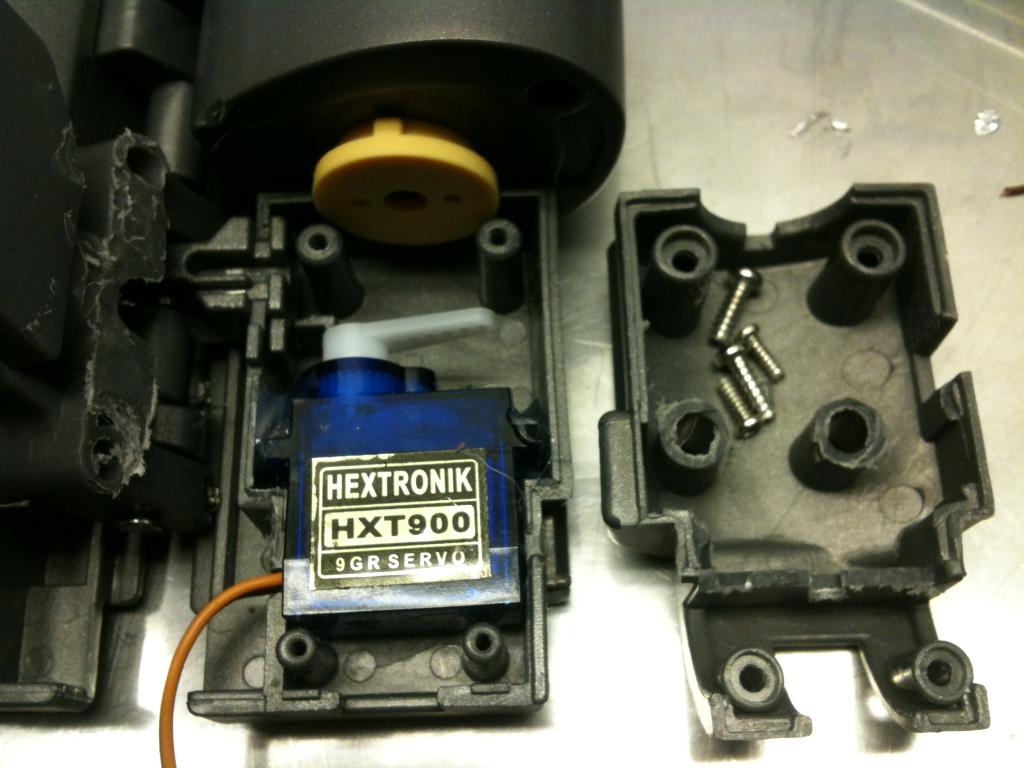
Articulate each eye using 2 HXT900 servos. Its possible that the smaller SG-50 will work too. (Completed)
Articulate neck vertically in two places using HXT900 servos. Completed. In hindsight I should have used a stronger servo at the bottom. The additional items added to the head puts it at its limit.
Give left and right movement greater than original. (Completed)
Install a pinhole type camera beneath the head. Not inside the eye because of #5. (Completed however I havent received the receiver yet so I dont know if it will work right) UPDATE Doesn't work right.

Install BlinkM LEDs inside eyes.
Make arms move up and down.
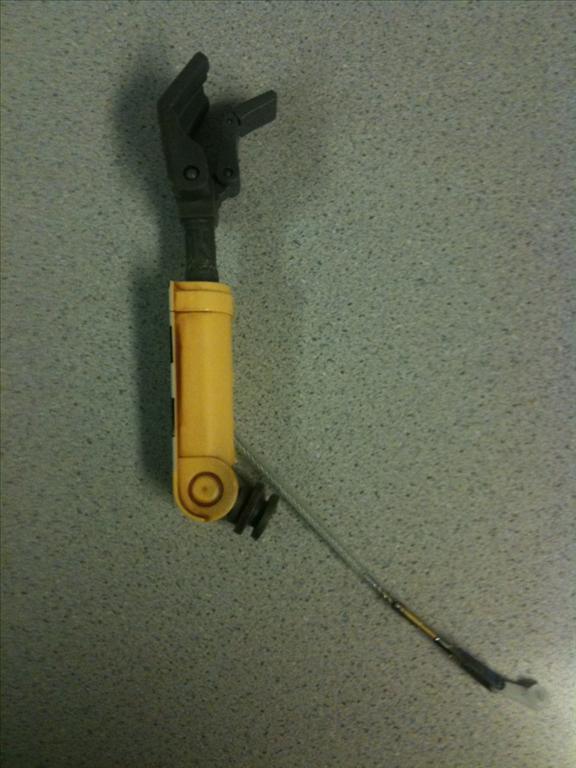
Make arms telescope in and out using flexible pushrods. (Complete...kinda...still working out servo placements.)
Use tamiya dual motor drive. Why you ask? I want to play around with the gearing so I have enough play in it for #9. (Partially installed. Need to order a hex rod to extend the driveshaft.) UPDATE I fixed the drive shaft but in hindsight once more I could have used a modified servo and it might have worked.
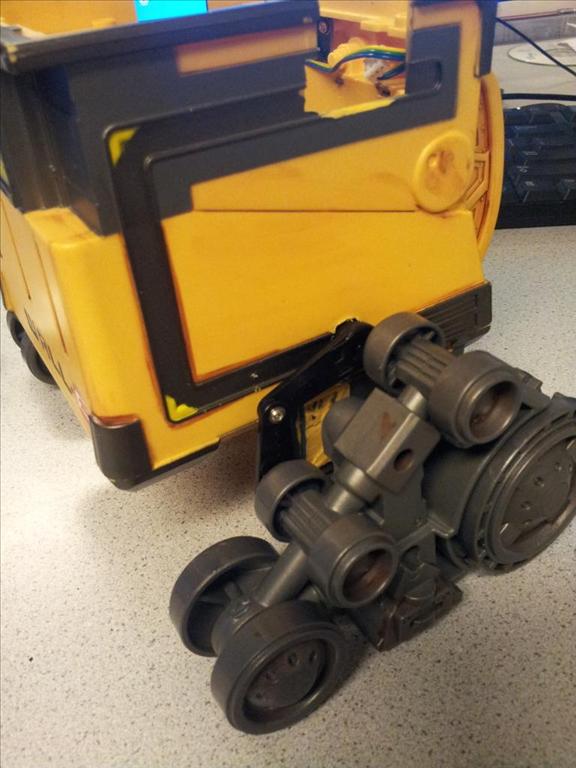
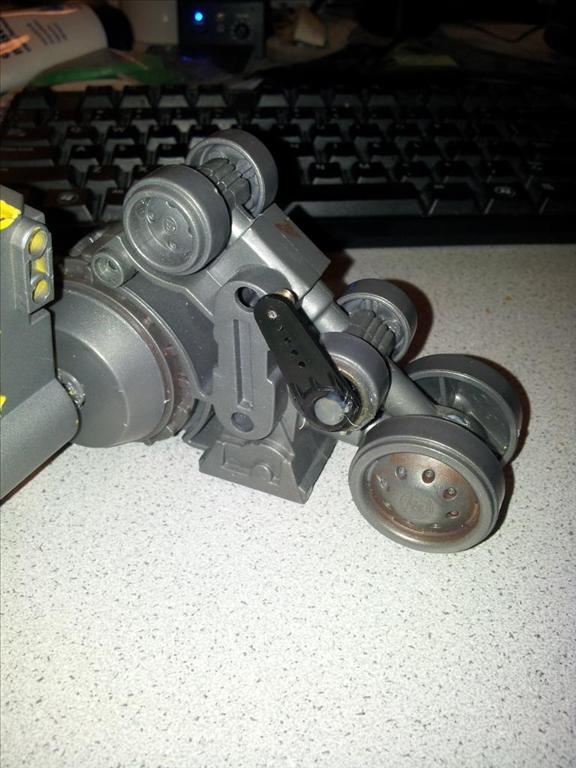
Make Wall-E be able to tilt forward and back like in movie. I think this may enable him to move the front of his tread in a foot tapping motion. Hope that works. UPDATE Completed. works like a charm.
Sound capability for voice clips.
High capacity battery pack installed very low to prevent tipping. (Completed)
LOL Maybe some EL wire underneath for that ghostly glow.

I feel like I forgot something. If I remember I will edit the post.
Thank you DJ for EZ-B!!!
....and thank you to the inventors of the Dremel tool and glue gun!! Both god sends!
Discover more robots
Intellamicrorobotics's Meet @Arti_Robot

Smarty's Ez-Robot Halloween Witch Esmeralda

I can't wait to see pics! I love the el wire idea, I used some for my omnibot and it really sets him off.
Wow! pics, pics, pics!
Ok but it's pretty rough right now. Hmmm image url? I dont have photobucket.

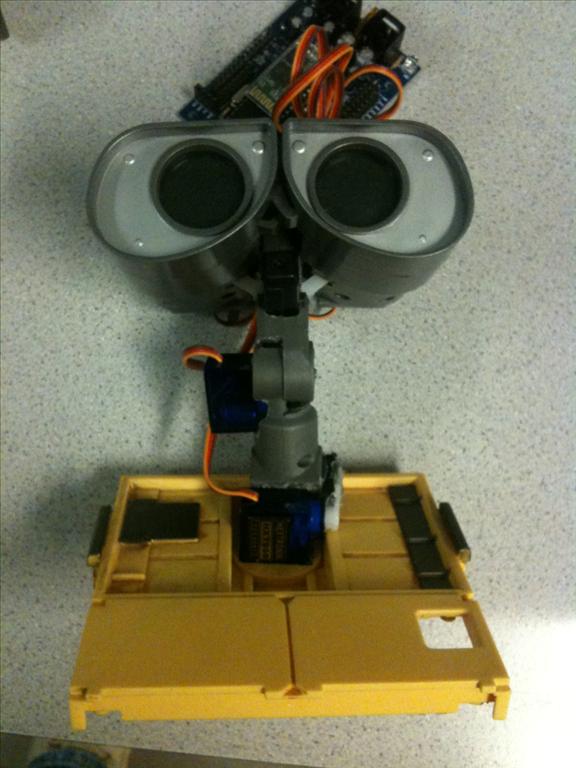
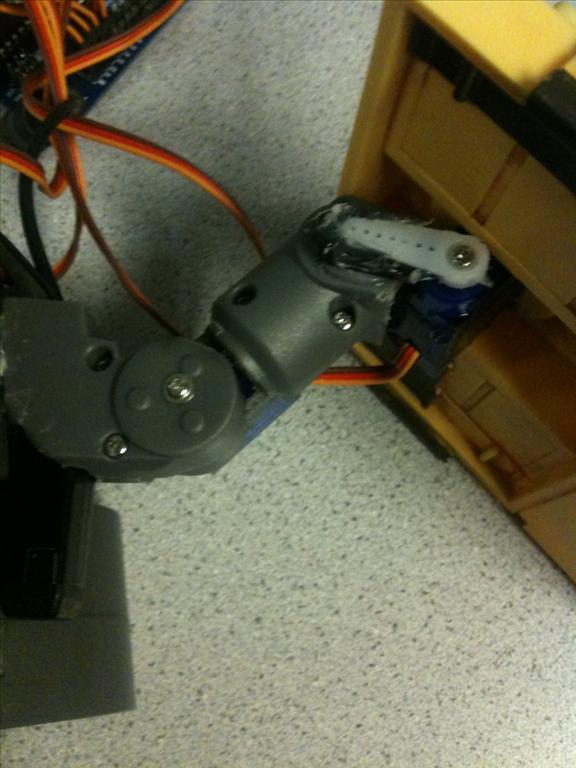
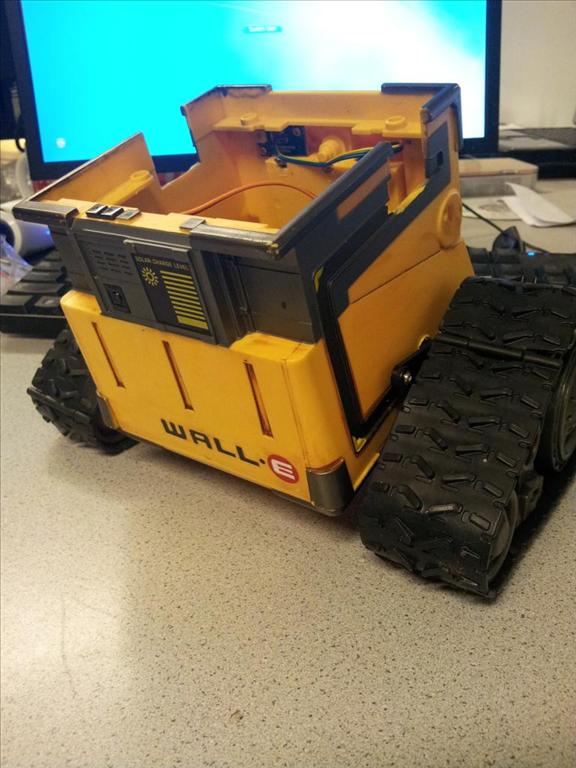
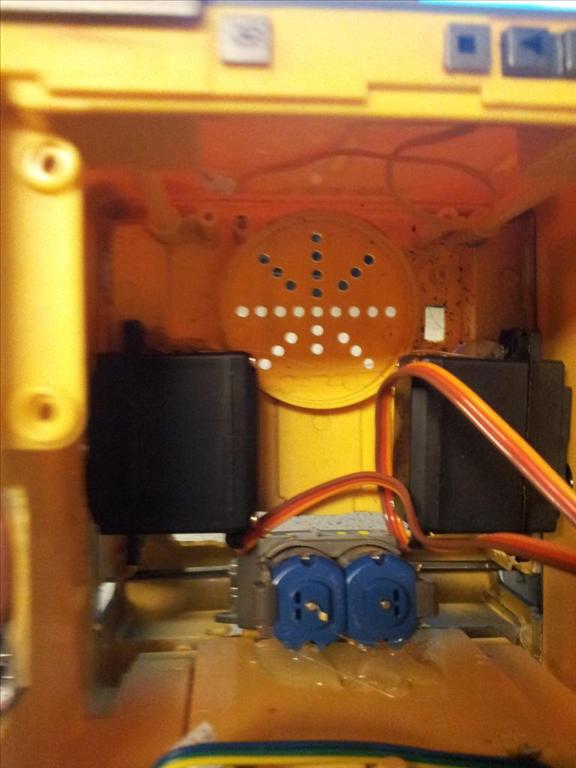
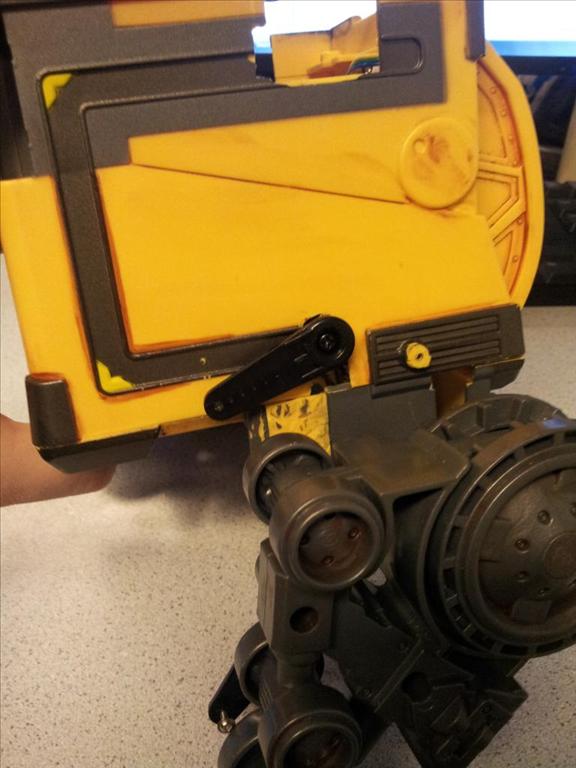
Here you can see the camera and the two servos for the neck. One is embeded inside.
I plan on replacing the lower servo because its a bit wobbly with all the weight on that servo horn. I will post the part info tomorrow.
I wish I ordered a thinner push rod. This one isnt as flexible as I wanted.I forgot to mention that I had bought AA sized Lion batteries to install in Wall-E back plate to power the EZ-board. You can find them on Ebay really easily. However you will have to modify the wiring as each of them are rated at 3.7v. If you remove the tab that joins the middle two batteries and dremel it into two, then all you need to do is join both pos(+) and negs(-) together with additional thicker gauge wire. Dont use the original wire just in case you add more current demand in the future. I would imagine it will heat up pretty good. This should give you 7.2v to pass to the EZ regulator. I plan to only use to power non-servo electronics.
Happy New Year from Qatar. For me it was 8.5 hours ago.
PS. Of course if you go the Lion route dont forget to order the charger too.!
DJ, My video receiver doesnt seem to work in EZ-B. It is recognized as a camera option but no video shows. However it does work in other programs. As a side note though....there is a fair amount of lag with this receiver when used as a webcam. (nothing to do with EZ because it isnt even open when I tested it.)
Here is my receiver and Here is my camera.
I hope I can find a solution so that I wont have to add the camera IN the eyes. :/
hey click
any chance you can post some pics on how you articulated each eye, im having trouble with this....
thanks buddy
dont leave me hanging G-lick
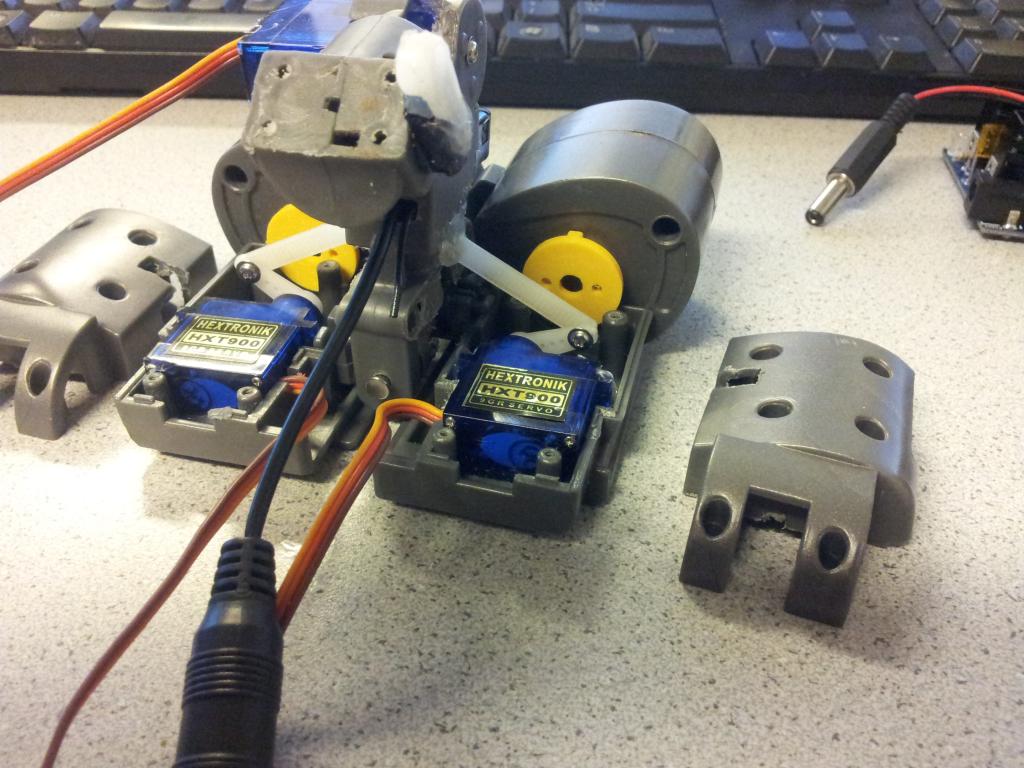
Sorry for being late. Here is how i put the servo in. As you can see, with a little dremel action and hot glue the micro servo fits inside nicely. All you need is to figure how to connect a push rod to the center stalk. It doesnt show it on this pic but I used a section of thick tie wrap i had. What will work better is a thin metal rod.