


I've been thinking a lot about how I should post my Wall-E. Whether to post the finished product and possibly a video of a dance routine or to show the work in progress. I decided to show the work in progress and my plans in hopes to give ideas to others. And also because updates may be in long intervals.
I dont have pictures yet but will soon.
Here are my plans I want to implement.
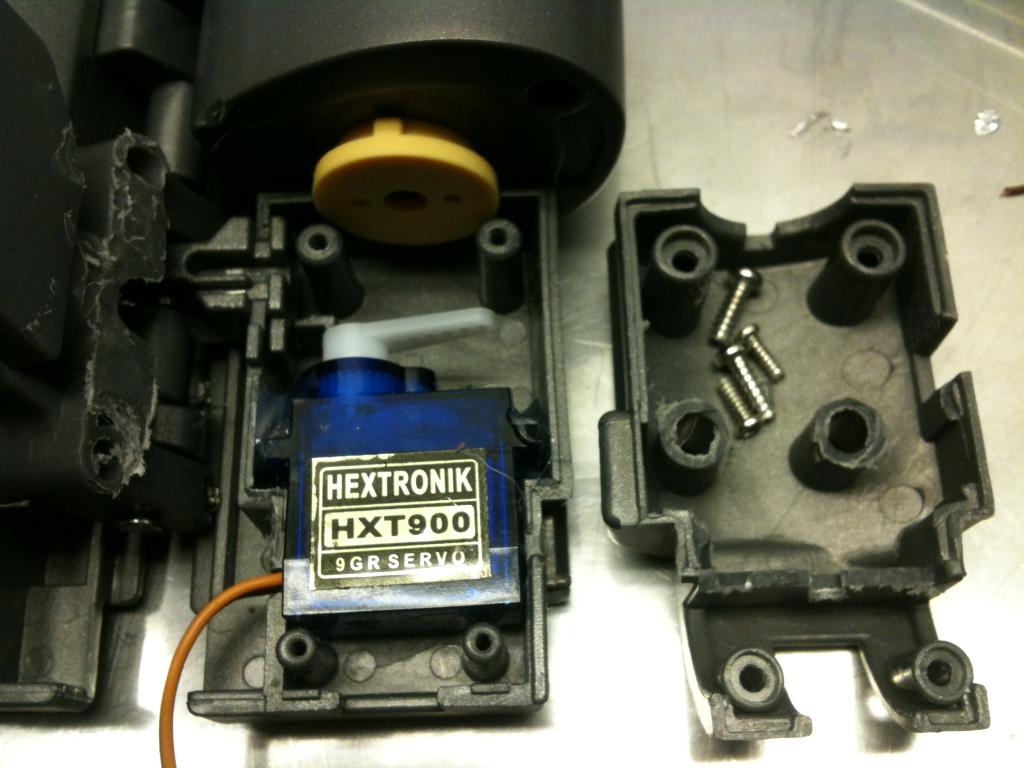
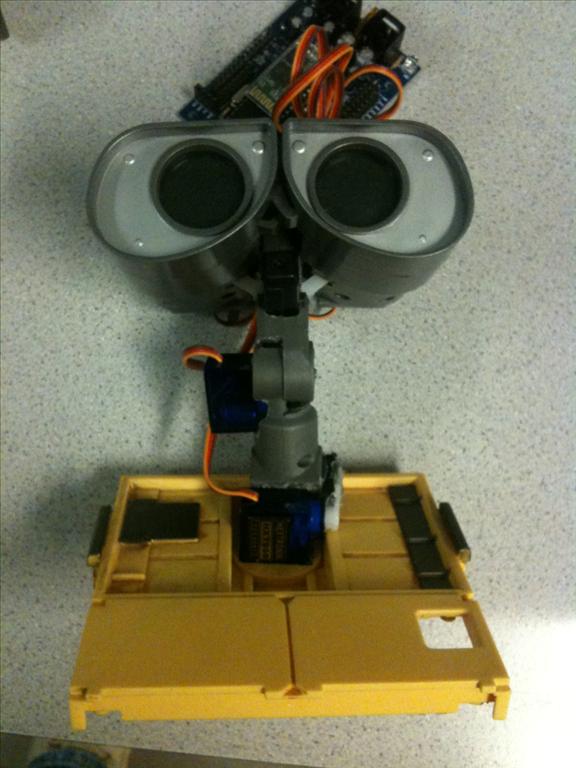
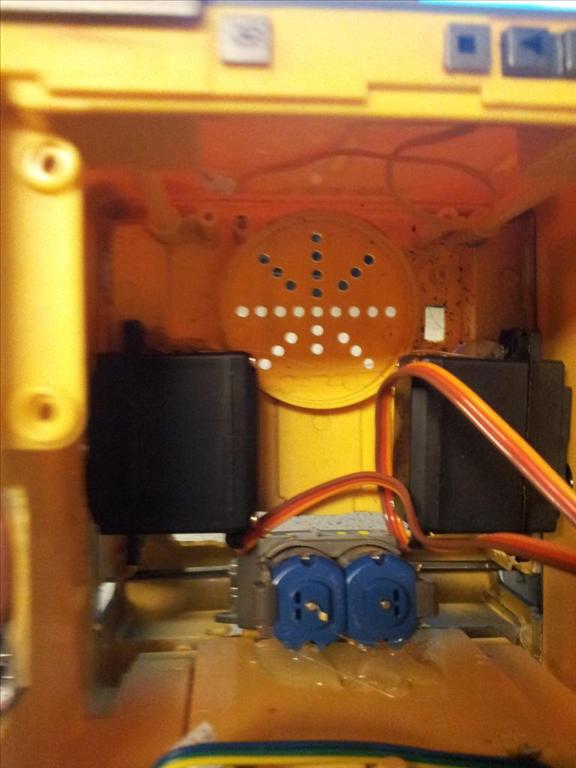
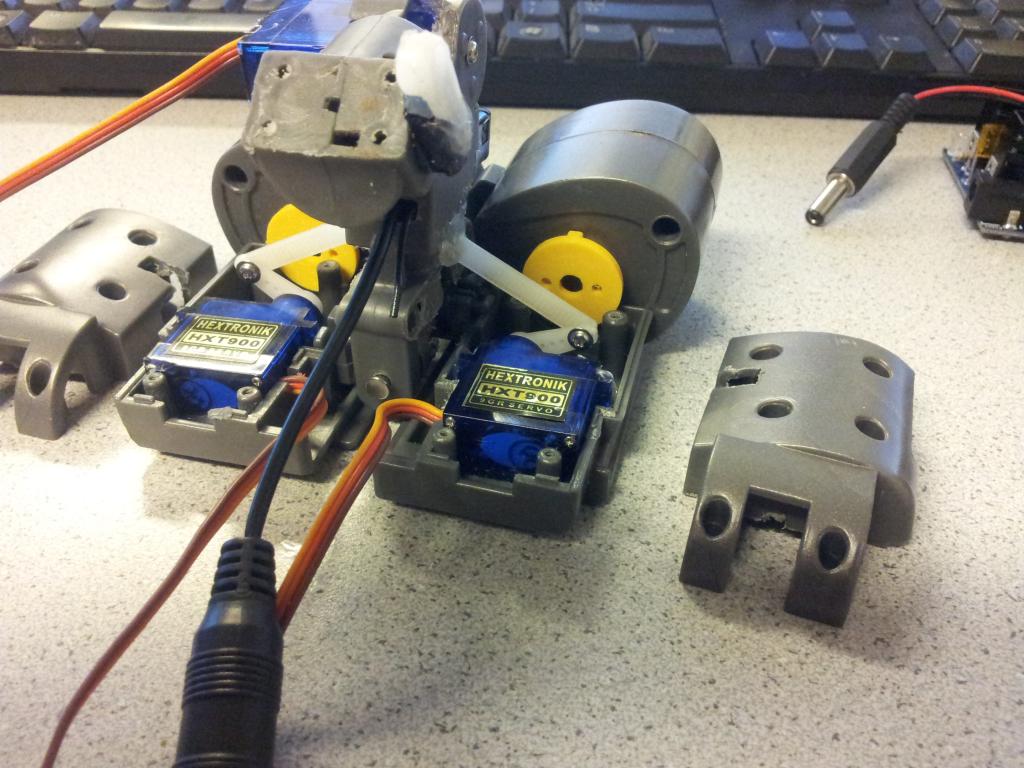
Articulate each eye using 2 HXT900 servos. Its possible that the smaller SG-50 will work too. (Completed)
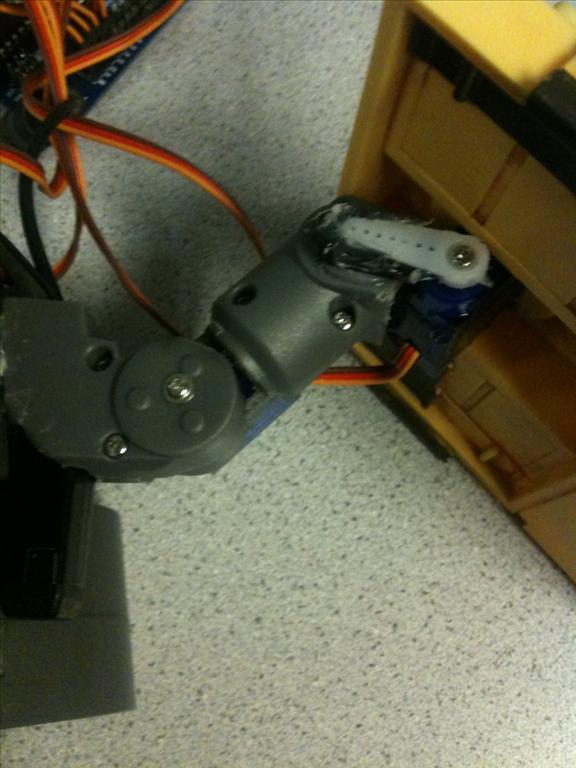
Articulate neck vertically in two places using HXT900 servos. Completed. In hindsight I should have used a stronger servo at the bottom. The additional items added to the head puts it at its limit.
Give left and right movement greater than original. (Completed)
Install a pinhole type camera beneath the head. Not inside the eye because of #5. (Completed however I havent received the receiver yet so I dont know if it will work right) UPDATE Doesn't work right.

Install BlinkM LEDs inside eyes.
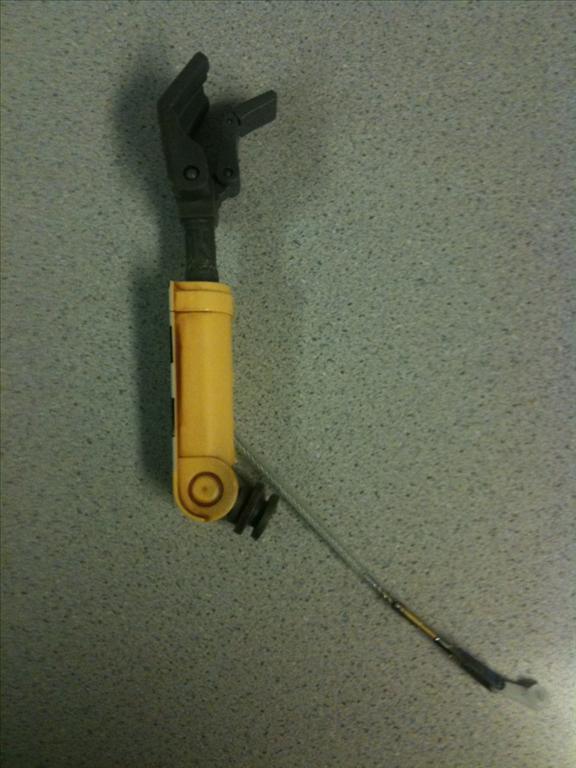
Make arms move up and down.
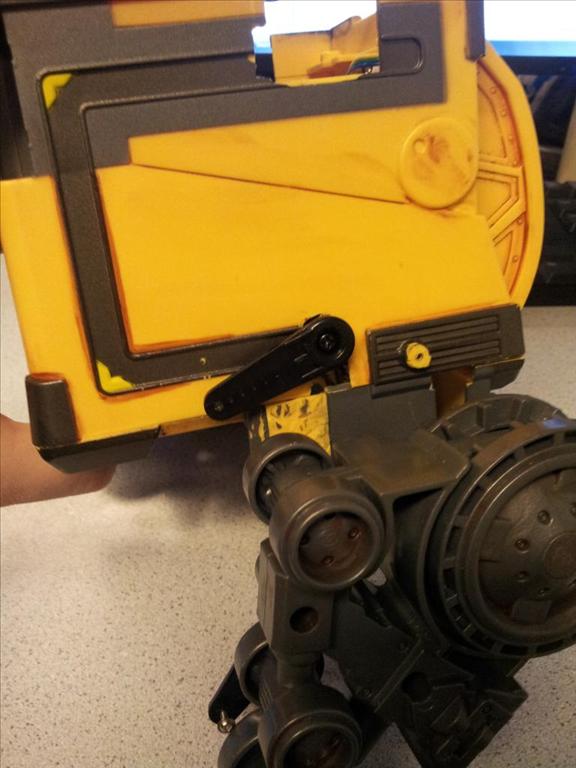
Make arms telescope in and out using flexible pushrods. (Complete...kinda...still working out servo placements.)
Use tamiya dual motor drive. Why you ask? I want to play around with the gearing so I have enough play in it for #9. (Partially installed. Need to order a hex rod to extend the driveshaft.) UPDATE I fixed the drive shaft but in hindsight once more I could have used a modified servo and it might have worked.
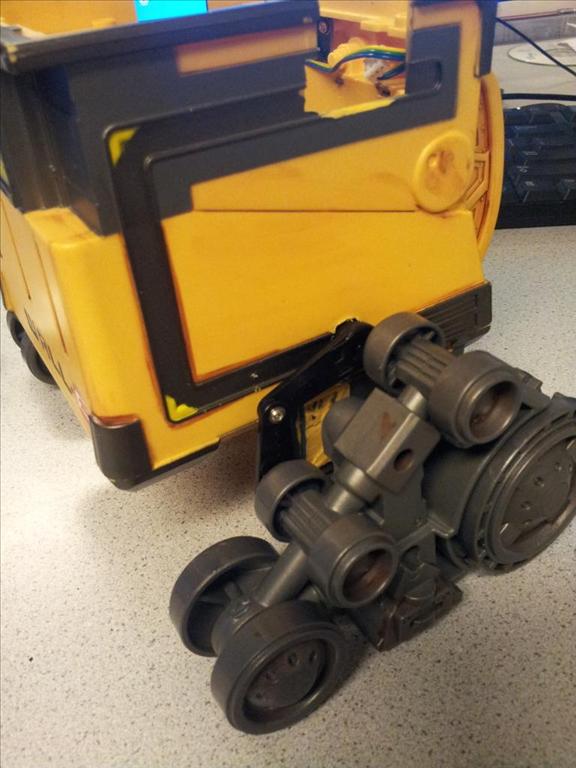
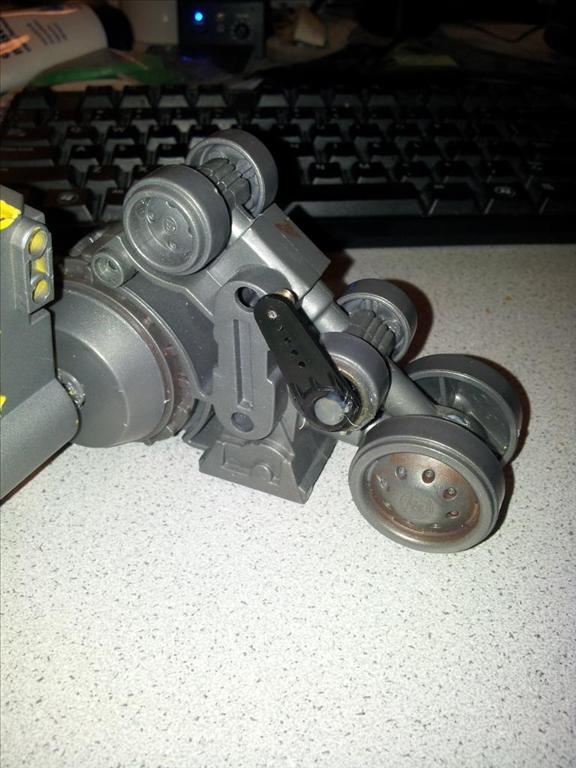
Make Wall-E be able to tilt forward and back like in movie. I think this may enable him to move the front of his tread in a foot tapping motion. Hope that works. UPDATE Completed. works like a charm.
Sound capability for voice clips.
High capacity battery pack installed very low to prevent tipping. (Completed)
LOL Maybe some EL wire underneath for that ghostly glow.

I feel like I forgot something. If I remember I will edit the post.
Thank you DJ for EZ-B!!!
....and thank you to the inventors of the Dremel tool and glue gun!! Both god sends!
Discover more robots

Jstarne1's Diy Airsoft Mech Warrior From A Rad Robot Video...
Ptp's Ezb V4 Custom Firmware V2

Click To Watch Video
nooooooooooooooo linky no workie
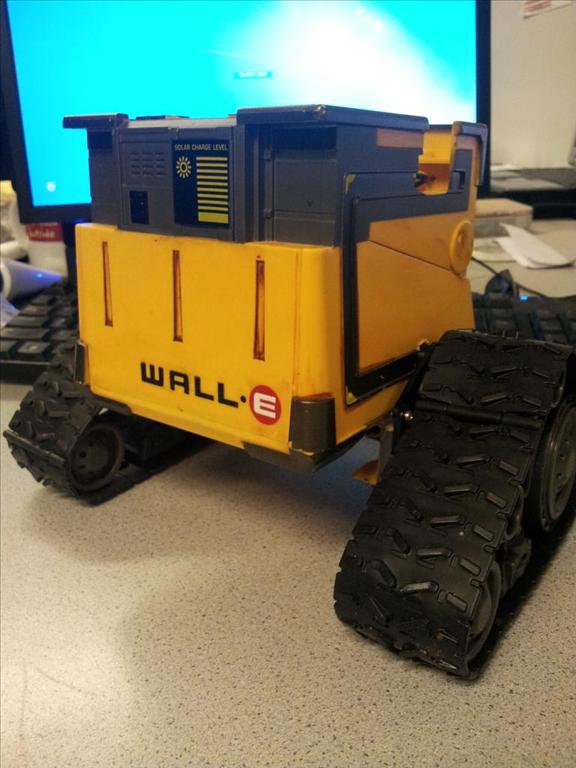
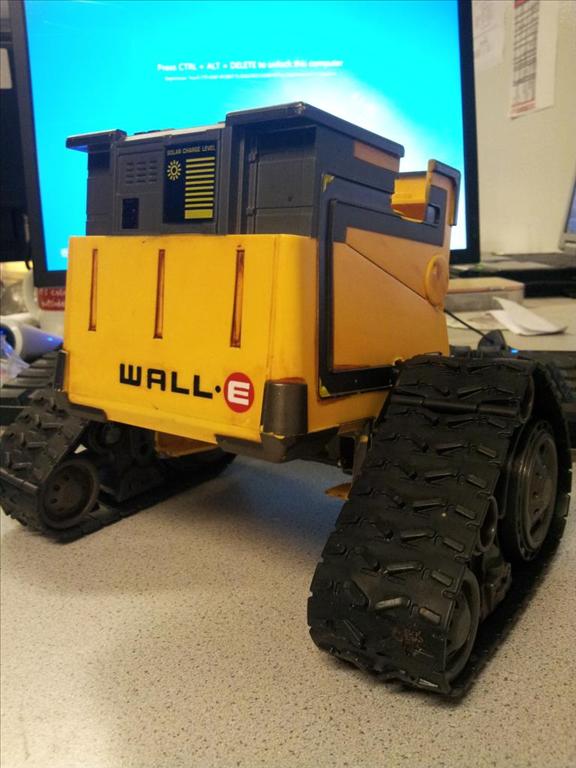
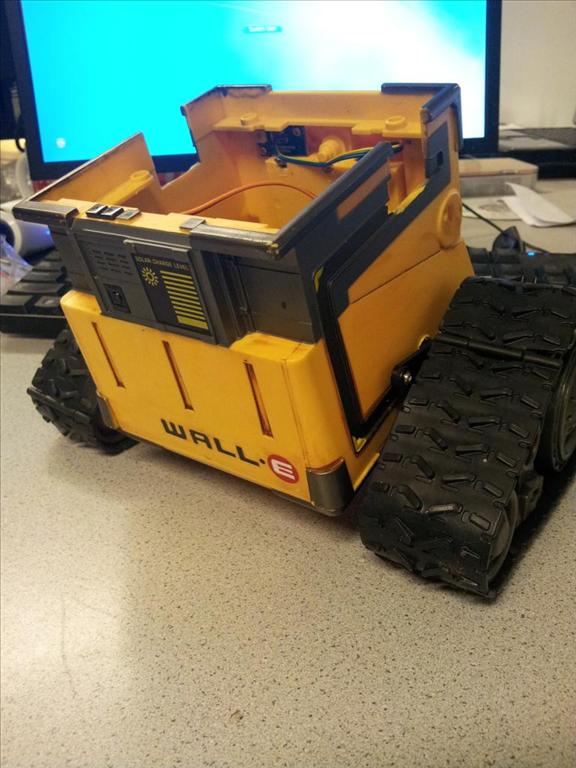
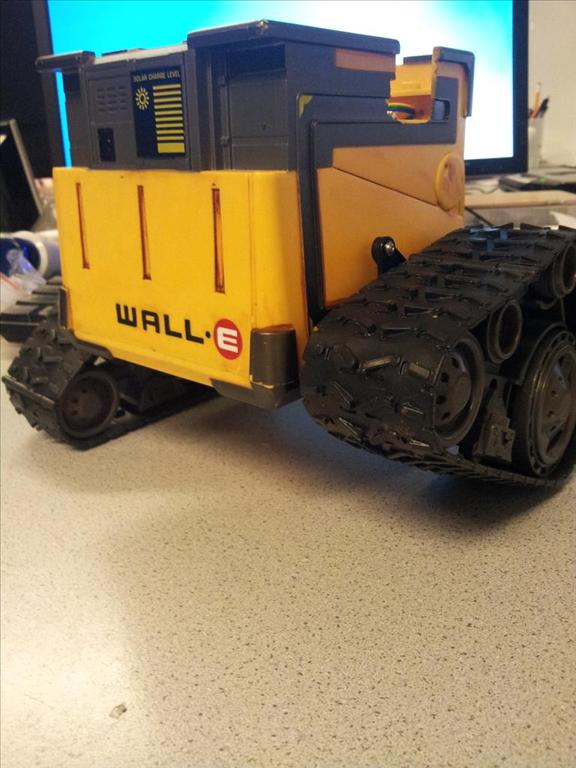
Fixed it. and oh yeah here are the other pics you wanted.
sick!
i just saw the pics, thanks a million man!
That is soooooooooo cool. Great job!
@hoolagen1 You're welcome! I didnt do it yet but the servo arm that's attached to the free spinning wheel needs a spacer to give it clearance from the treads. Maybe 1/8".
@bookmaker Thank you! It was a lot of trial and error. :/
I, for one, am glad you decided to show the work in progress instead of just waiting until it was done. Quick question: why are you planning on using BlinkM LEDs for the eyes insetad of just RGB LEDs? I bought a BlinkM but found that because of the EZ-B, RGB LEDs basically do the same thing for 1/10th the cost. I'm saving the BlinkM for a future Arduino project.