Day One: The Box
Hello, my name is Peter. I have been playing with robots for some time now. I have owned a few of the WowWee products, including the original Robosapein. I have had Roombas, Wall-Es, Robbies and many other toys. I like experimenting with Arduino circuits and have done a little with the Raspberry Pi. I owned two of the earlier EZ-Bs v.3, the Bluetooth model. Well, now it’s time I came into the revolution.
I plan to be using the Revolution Six. I hope to undergo a continual exploration of all the things I can do with this robot. And, of course report back, so that others can critique and offer comments. I expect to make quite a few mistakes, but I hope to share these, so that others can avoid some of them. I have a lot of ideas to explore. Some will be very serious and some will be very whimsical. My style is more toward exploring and experimenting that completing a finished robot. The Revolution Six is already pretty complete. My style is also very lighthearted.
All too often I see family members spent hundreds of dollars on a robot, put it together, move it across the floor and then put it away in the closet until next summer. Luckily, I get a chance to buy them at the lawn sale.
With this series of posts, I hope to continually inspire you to try new things with your robot, even if it's only for the fun of seeing things move or light up.
Hey @pashley, great to see you back! It's been a while. Enjoy the Six Hexapod! He was my favorite for a long time!
did you check if the v2 not needs to be rewired?they all have bad wire, insulation.
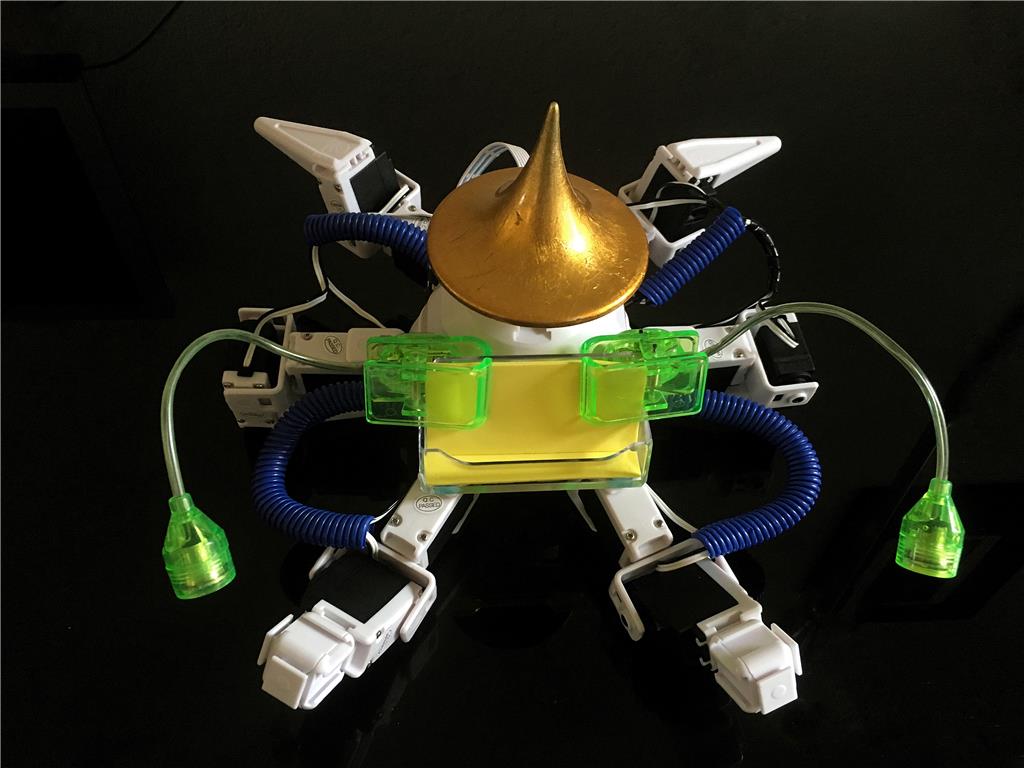
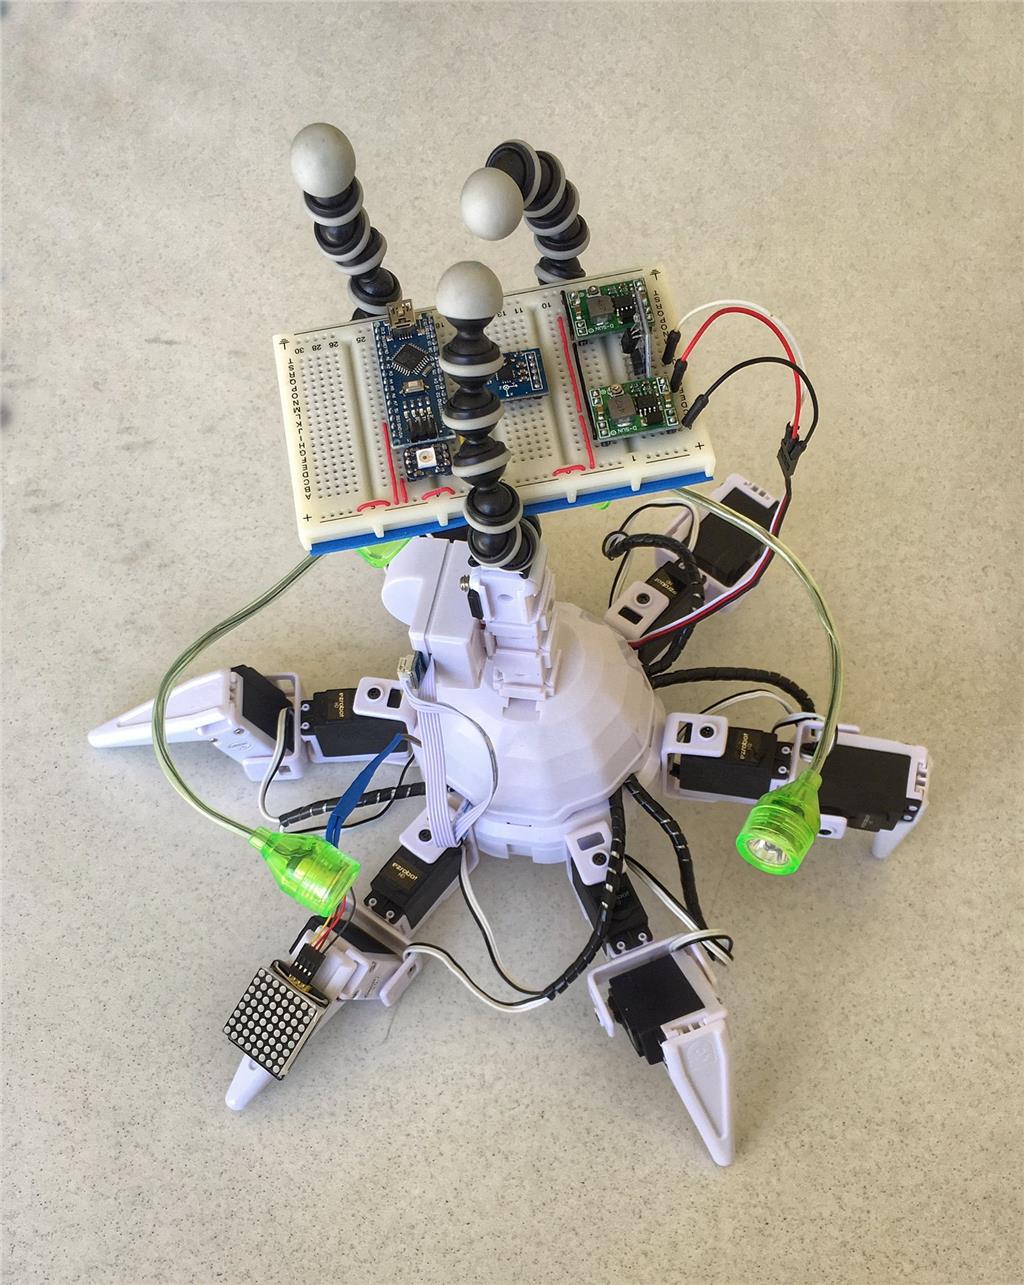
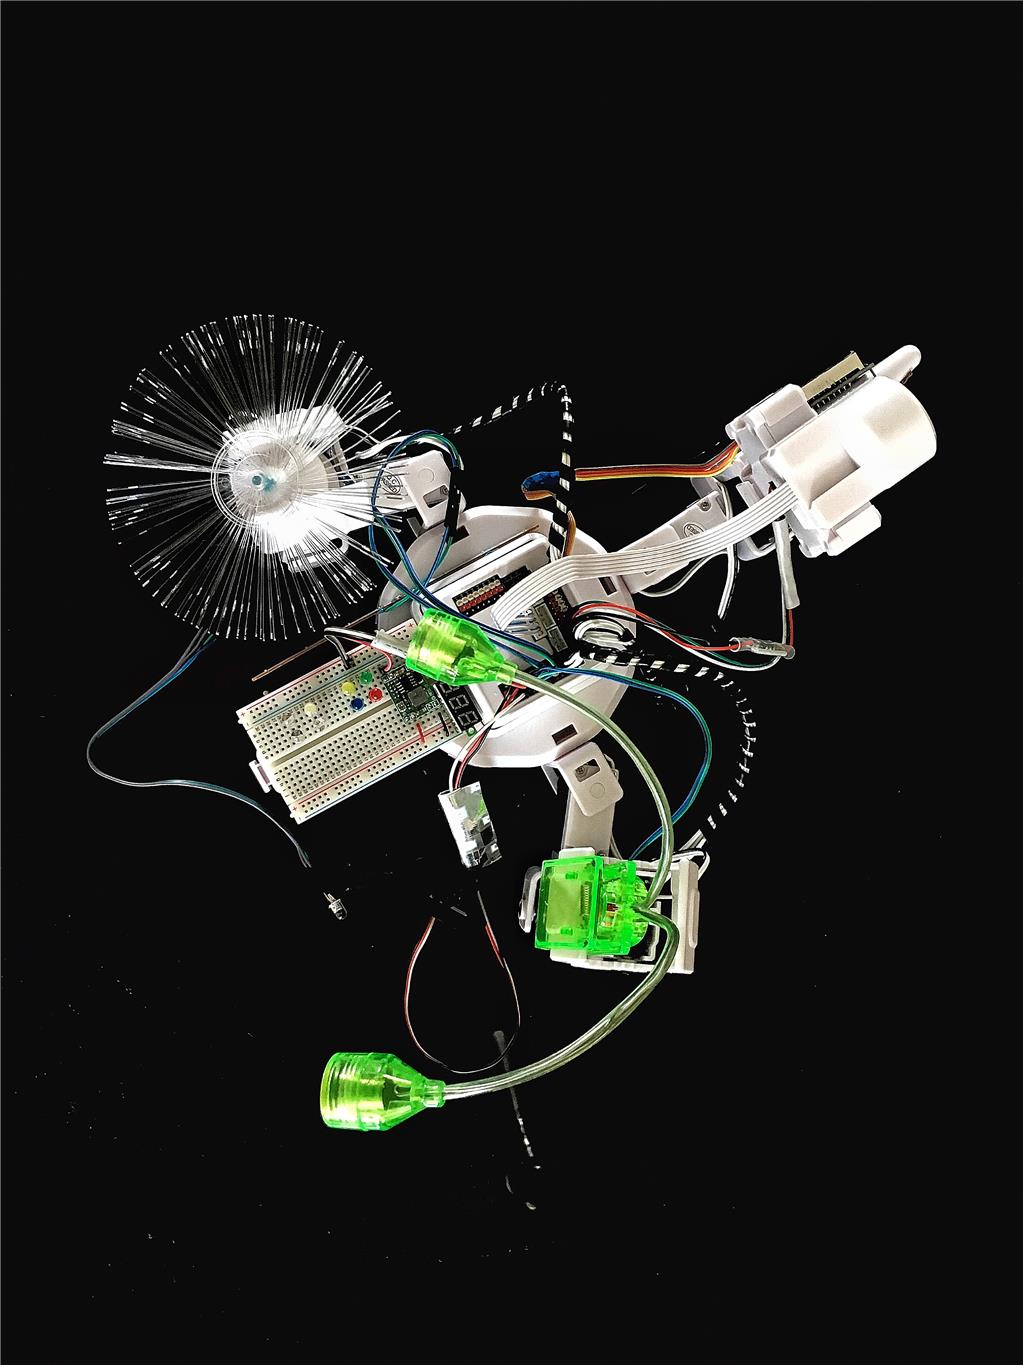
Thanks DJ. I have a lot of activities planned for the Six, but I plan to take them one day at a time, day by day. here is a sneak preview of my work transforming the Six into a "electro-plastic steam punk" sculpture.
Thanks for the info Nomad 6R. My Robosapiens are now retired. They have not seen electricity for years.
Day Two: Assembly
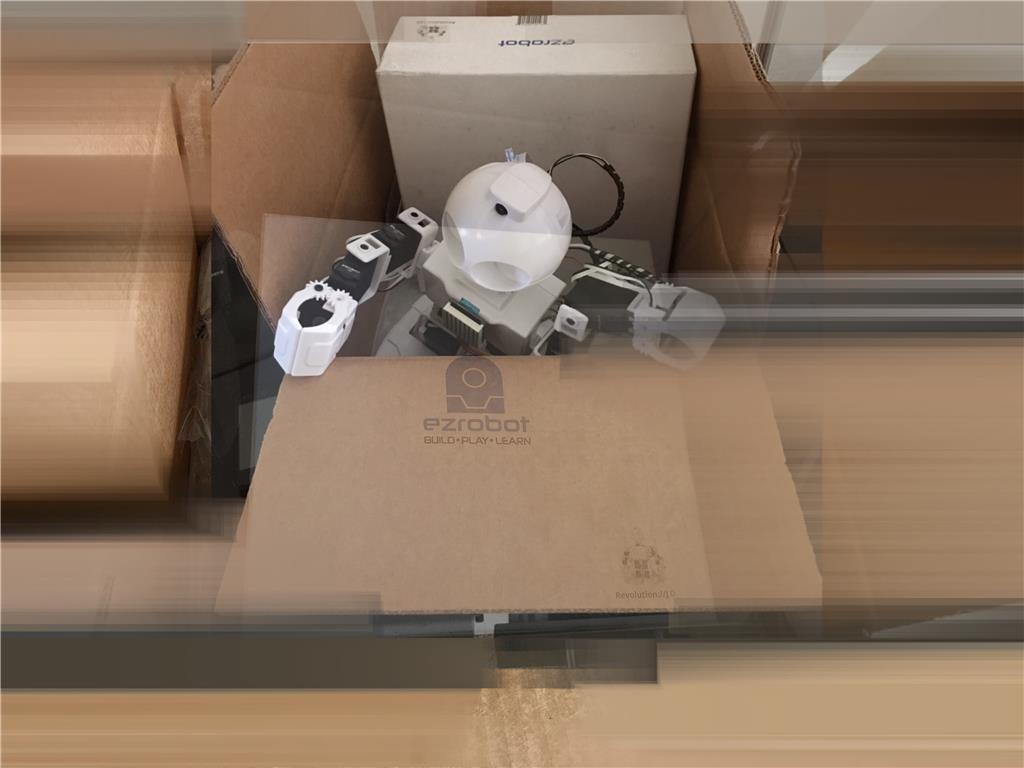
When I first opened the box I thought wow! that's a lot of motors. Note to self: create a list of all the best tutorials and references to servo motors and study them.
Learn > Getting Started > Revolution Six > Making Six Move Learn > Getting Started > Revolution Six > Lever servo Calibration Learn > Getting Started > Revolution Six > Introduction to servo Motors Learn > Getting Started > Activities > servo Control Learn > ARC manual > Servo
Oh, and by the way, begin a notebook of references to things that will be handy, when I'm not online.
At first, I wanted to quickly charge the battery and immediately begin plugging things into the ports, but I resisted. As it was, I didn't pay enough attention to the directions and failed to skip a port between every pair of motors going around the body. Moral, take my time and do it by the book the first time. The Six Getting Started Course (Learn, Getting Started, Revolution Six - all the lessons) is very good. I have already done it twice and will probably do it again after I finish this post. By the way go through the EZ-B v4 course too.
One of the motors didn’t look quite right, during assembly, but straightened out after the first power up. Per the instructions, I took a little spin around the servo Profiles window just lining legs by sight, not sure what that proved.
Those little black wire harnesses helped prevent excessive visual dizziness.
I thought it would be cool to record my own first-time wake sounds to the soundboard, but of course Windows didn’t recognize my microphone get back to that on another day. For now, we will use King Kom.
Well, it looks like everything went ok, because it's moving. Here is a video.
Wow that's excellent! Thanks for sharing your positive experience - I really appreciate that. The forum is usually for people complaining. It's great for the team to receive positive feedback
Glad your six is rock'n!
DJ, What is your favorite Robot now?
Darius, Jd is my favorite. Thanks for asking! I have one that has traveled with me around the world over the last year and half. He's actually one of the original prototypes! From Cuba to China to California to my cabin in Ontario and way more places. Don't do what I've done, but my Jd has been in the beach sand, in puddles, in the rain and on a jet ski! I literally bring him everywhere. Never even had a failed servo and still using the same battery. Must have been recharged 1,000 times and still rock'n!
I'm very fond of Jd. And now that RoboScratch works on mobile, it makes him even more fun. Because I can have him sing happy birthday to my friends. Or make little funny skits. Or have him use a fork at a restaurant to feed my friend their meal! I've done hilarious little skits with RoboScratch and Jd.
Sure, it'd be great if he was $8,000 of servos with more articulation, but his $400 of servos adds character and personality.
ELECTRO-PLASTIC STEAMPUNK MACHINE WAIT FOR IT!
Day Three: Motion, Movement, and Motors
OK, ARC has so many ways to control motors my imagination has gone wild. In fact, I think I'll need a spreadsheet to manage all the variations. In the spreadsheet I'll have categories or columns like; one motor, six legs, four legs, two legs, one arm, two arm, multiple arms. And then there's the little motor jobs like rotating, something wiggling, or lifting something up and down.
Perhaps it would be better to think of motor control as a motion control and then we can categorize all the different options.
There are a lot of options for movement and it was overwhelming in the beginning. First I tried the horizontal and vertical servo control to get a feel for the range of the servos. This gives one a feel for where you can go with motion. But then, there is the Auto Positioner control. That name does not do justice to all the things this control can do.
I found playing around, creating new frames (with Real-time Update checked ON) helped me understand where the different servos were located around the Six. It also gave me a sense of how frames, Actions and GAIT related to each other. The Auto Positioner control is great use it! Create a simple frame and export it. If I understand it correctly (please correct me if I am missing something) this does most of the movement things the basic horizontal and vertical servo controls do, and can continue on with movement creation, all the way through frames and actions to create an entire dance.
I planned to build a library of movements (frames and actions), but I think much of this has already been done. I simply need to explore all the frames in all the various saved robot projects the wheel may have already been invented. Many of these movements have already been created, I just have to find them. I suppose there is no need to limit my actions simply to the Six. Why not borrowed (import) them from some of the other robot projects?
That's just the beginning. What about continuous servos, stepper motors, and simple DC motors? And finally there are all the other controls that include motor movement as part of their process, e.g. speech, joystick camera, etc.
Here is my simple frame experiment created using the Auto Positioner control:
Love the message in the video! Super awesome.
Have you started with the original Six project? And began modifying it?
The Auto Position does control the servos similar to the vertical/horizontal but it also has a lot of math in the background. The transition between "frames" uses interpolation and quantization. It ensures that the position of each servo arrives at their destination position at the same time. This is why the movements can be used for gait creation.
DJ, yes I did start with the original Six project. I will be going back to it off and on. I see many other things, there to experiment with and explore.
nice - that's a super fun video. glad you are enjoying the Auto Position control... it's a powerful tool!
ELECTRO-PLASTIC STEAMPUNK MACHINE 02
I like that! Looking forward to seeing it live!
I am enjoying watching your experiments. Some interesting concepts.
Alan
Day Four: The Six Lab
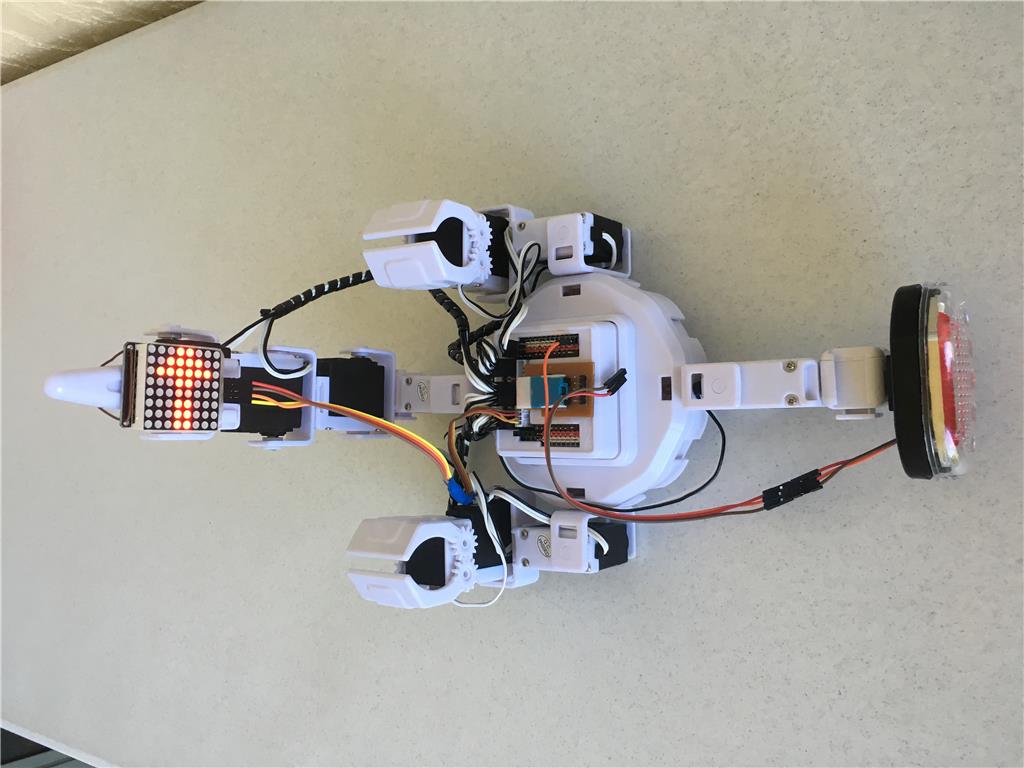
It’s time to put together a little lab where I can test out all the sensor, LED, and motor, ideas for future Electro Plastic Steampunk machines. The Six offers a good place to experiment. Take off the dome, remove a few of the appendages and you have 12 places to attach EZ bits, which in turn can have a variety of things attached to them.
I want at least:
one solderless breadboard a place to experiment with the famous 37 Sensor kit PWM experiment area ADC experiment area the ability to drop voltage form 7.4 volts to 5 volts a camera with horizontal and vertical movement at least one gripper with horizontal and vertical movement one pointing finger A place for 8x8 matrix display at least one continuous rotation servo a place for my motor controller for DC motors
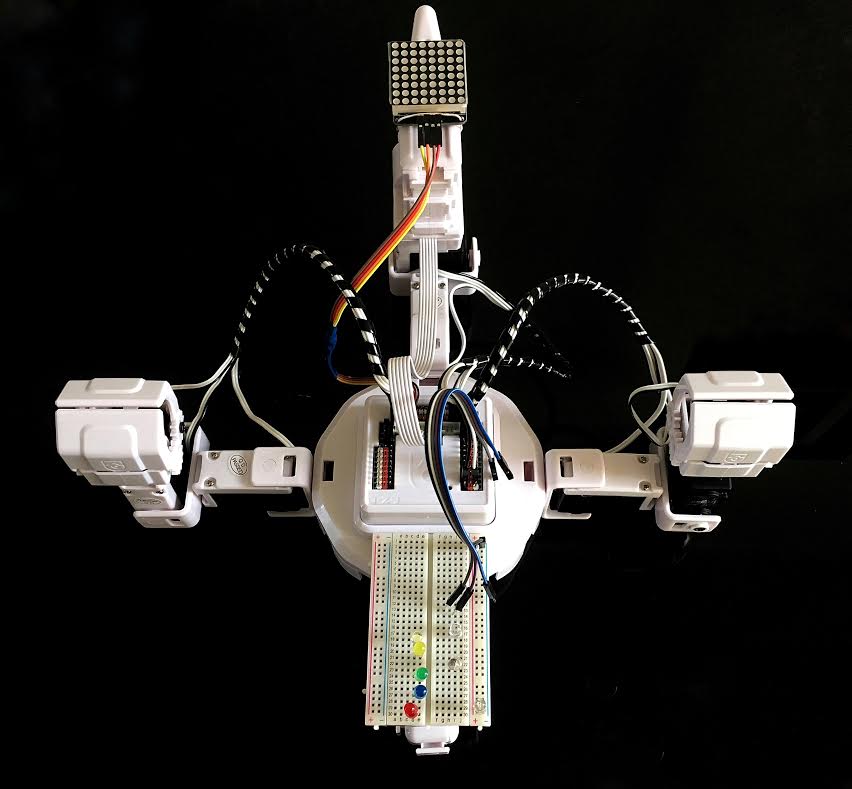
I thought I would start by redesigning a new interface and create a project called the Six Lab. This ongoing project can be found on the EZ Cloud (Public, Revolution, DIY, Incomplete) as Six Lab. Here is a picture of my version, preparing to test some LEDs via PWM.
Day Five: PWM Experiments
I enjoy doing visual things with computers and robots, like blinking LEDs and moving gauges. Sometimes the simplest controls offer an opportunity to explore in new directions. How about if I achieve the visual effects simply by means of changing the voltage.
I keep going over the tutorials, looking for new inspirations. while was looking over the lessons and I noticed the PWM control and decided using this as a good place for experimentation. Just by using the PWM control and sliding the slider I can change the voltage to alter LEDs move meters maybe other things. Let’s get started.
What things can undergo visual changes, making interesting robot activity by altering the voltage applied to one or more of the ports? Let's set up a little PWM lab and gather these components:
Pulse Width Modulation is very useful and fun, but I only wish I knew how to change the voltage over a greater range than three volts. Does anybody know how to do that? Anyway, on with all the different things I decided to PWM.
These ideas merit a trip to the dollar store for supplies. I was able to find the fiber optics (a plastic flower with one changing RGB LED, 4.5 volts), the pulsing LEDs (a pair of blinking happy birthday glasses), and the eye-possible LEDs (a cheap reading lamp - one white LED each).
A little cutting and soldering of DuPont cables, and some bending and breaking of plastic and I have three useable PWM experimental pieces.
I use digital ports D3, D4, D5 and D6 for the PWM experiments. Be sure to read the tutorial in the learn section. It is a great start to Pulse Width Modulation.
Here is a photo of the finished project and a video of all the PWM accessories going at once.
Now of course pwm is not really changing the voltage, it is poweringn on and off very very fast and appears to most devices that the voltage is lower because it is not getting full voltage long enough to come up to full power (or something like that. DJ could explain better). If you view an LED getting less than 100 PWM with the EZ-B (or any digital) camera, you can see that it is actually blinking, but your eye can't see it on its own.
Alan
Digital ports logic voltage is 3.3v, the only voltage you get in a port is 0 or 3.3v.
PWM has a specific frequency depends on the Microcontroller timers, when PWM a port between 0 and 100, you are changing the duty cycle.
For example if the pwm frequency is 1 Hz (1 time per second), and your PWM is 25 you will see the LED blinking.
if the pwm frequency is 100 Hz (100 times per second) and your PWM is 25 you can't see the led blinking instead you see it less bright.
Arduinos default PWM frequency is 490Hz, and 980Hz. I have an Arm Cortex M4 and the default frequency is 480 Hz, but it depends on the micro controller clock.
i don't know the EZB PWM frequency and if it varies per version (v3,v4) but my bet is arround 500Hz.
DJ demos the pwm duty cycle: https://synthiam.com/Support?id=164
Thanks thetechguru and ptp for the great comments. They are helpful and appreciated.
Question - what is the simplest way to turn on a 5 volt digital device using the Digital Write Control? I have some 5v circuits on little boards that I just need to turn on and off under EZ Script control. Should I use a transistor switch and power the little board from its own battery or is there a simpler way?
short answer: yes you can use a transistor, but, not all transistors are equal.
e.g. TIP120 can fit in a scenario where you need to control a Motor or a Light.
Good information about how to wire a TIP120 here: https://synthiam.com/Community/Questions/3050
However, the thread was polluted somewhat by a troll (Robotmaker). For a while his posts were hidden, so it was both easier and harder to read the thread. They are back in now, but most of what he has to say is useless, so just stick with the first two pages of the thread.
The other option is to use a relay board, but typically you would only need that when dealing with higher voltages.
Alan
If you are enabling or disabling a digital circuit not sourcing or powering, you will need to provide a logic level (1) or (0 if inverted logic).
some circuits will accept 3.3v as logic level (1).
To protect the EZB pin, use a 1k resistor between the EZB PIN and the circuit you are enabling/disabling.
if the other digital circuits needs a 5v, you will need a logic level circuit.
One good fit for you breadboard is the SN74HCT:
http://www.digikey.com/product-detail/en/texas-instruments/SN74HCT245N/296-1612-5-ND/277258
although the ic needs 5v.
don't confuse with the 74LVC245:
http://www.digikey.com/product-detail/en/SN74LVC245AN/296-8503-5-ND/377483
the 74LVC245 does the opposite converts 5V to 3.3V, one could use to interface to EZB, and use it as input, but, is not necessary EZB pins are 5V tolerant.
https://synthiam.com/Community/Tutorials/163/3
Those circuits are not bi-directional, if you need one you will find cheap ones on ebay.
If you are powering the circuit, the correct transistor family is a mosfet.
A TIP120 is very simple to use, i have a few to interface with motors, fans etc, but is not efficient. Is old tech before Microsoft & Apple.
http://hackaday.com/2015/08/17/you-can-have-my-tips-when-you-pry-them-from-my-cold-dead-hands/
there are a few well know mosfets:
http://www.digikey.com/product-detail/en/on-semiconductor/NTD4906N-35G/NTD4906N-35GOS-ND/2194521
http://www.digikey.com/product-search/en?keywords=IRLB8721PbF
http://www.digikey.com/product-detail/en/infineon-technologies-americas-corp/IRF540NPBF/IRF540NPBF-ND/811869
recently i used this: http://www.nxp.com/documents/data_sheet/2N7002.pdf
to turn on/off the XV11 Lidar's motor (100 ma max peek), unfortunately the mosfet is surface-mount only.
@Alan:
Rich's thread make me laugh:
"Useless post, please ignore." .... "Useless post, please ignore."
Did the trolling started in another thread ?
He deleted all of his responses to RobotMaker, and yes, there was a great deal of disruption. It was unfortunate, RobotMaker thought he was helping, but his communication skills were horrible, and he was wrong most of the time but thought he was right, so commented on almost every technical thread with bad advice and then was argumentative about it. This thread you can actually read what he is saying in most of the posts. In other places his spelling and grammar was so bad I thought English was not his first language, but then he said "I just don't have the time to spell check and proof-read" (one of those items I covered in the "why people don't take tutorials" thread. His time was more valuable than ours, so we had to suffer through trying to read unintelligible junk. Unlike someone like Nomad who also has horrible grammar and spelling, but English is not his native tongue, so we are happy to put up with him). He was the first member DJ had to ban who wasn't just a spammer.
For quite a while he was "ghosted" where logged on members didn't even see his posts, but in one of hte web page upgrades all of his posts came back, so if I refer someone to a thread he participated in I give a warning to ignore his comments.
Probably more than you wanted to know, but there it is.....
Alan
That's video is great! The LED Eyes remind me of a robot from Red Dwarf or Farscape
Day Six: The Ride
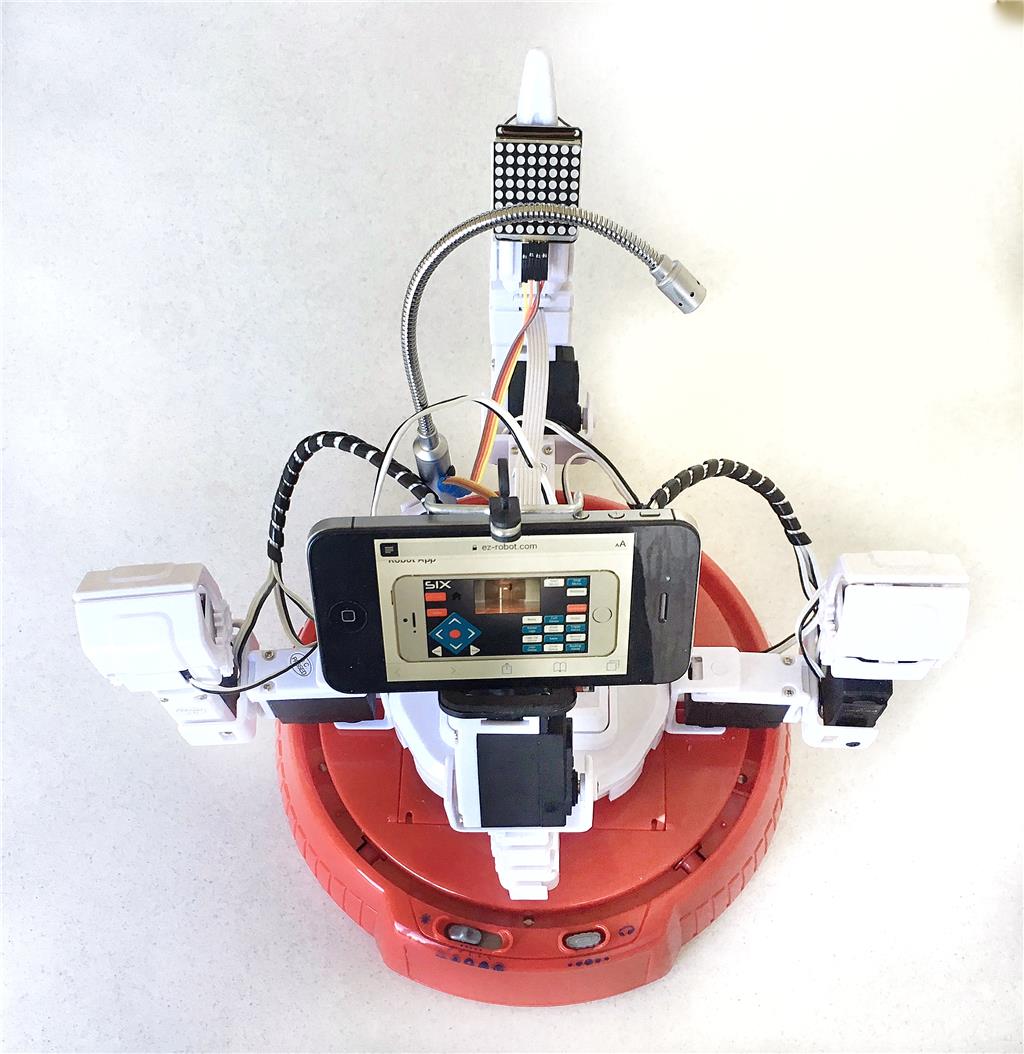
Sure, crawling around on six legs is super cool, but who doesn't like a little freewheeling? It wasn't so long ago that we invented the wheel, so let' see how we can adapt it to the trusty old hexapod Six.
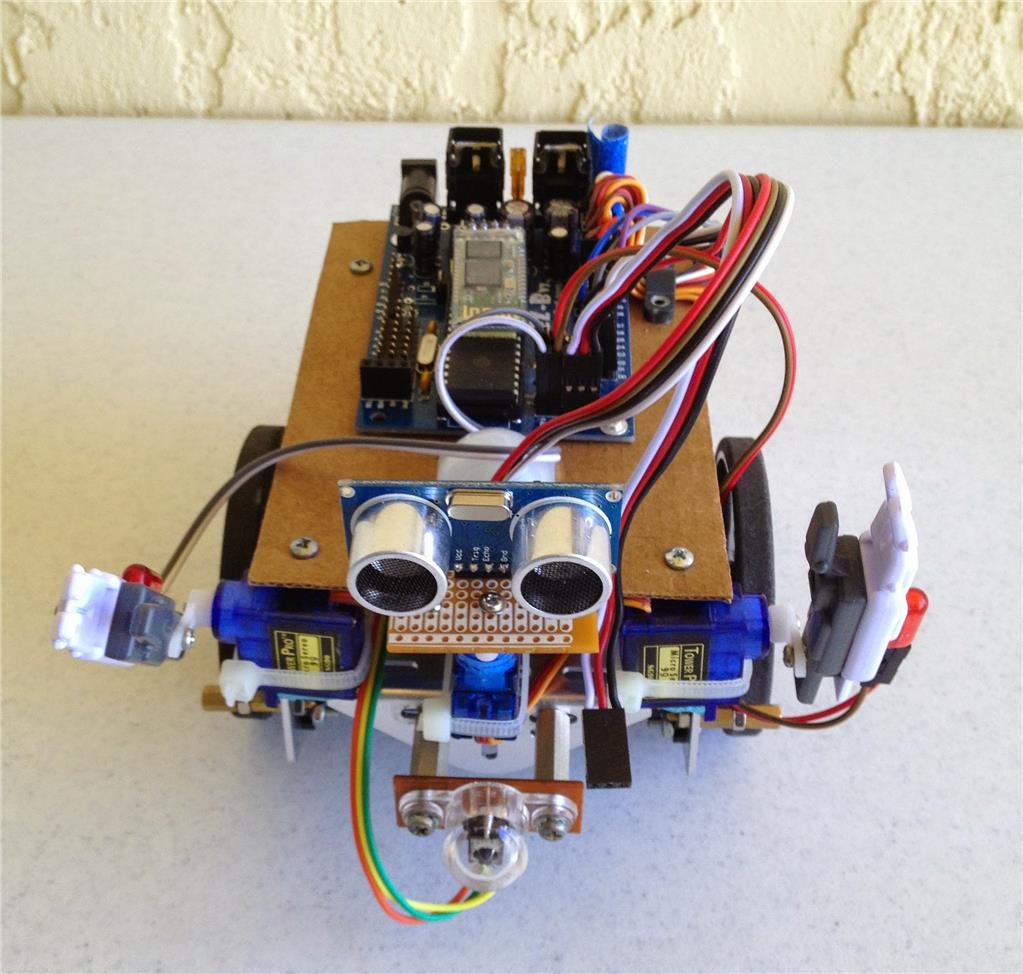
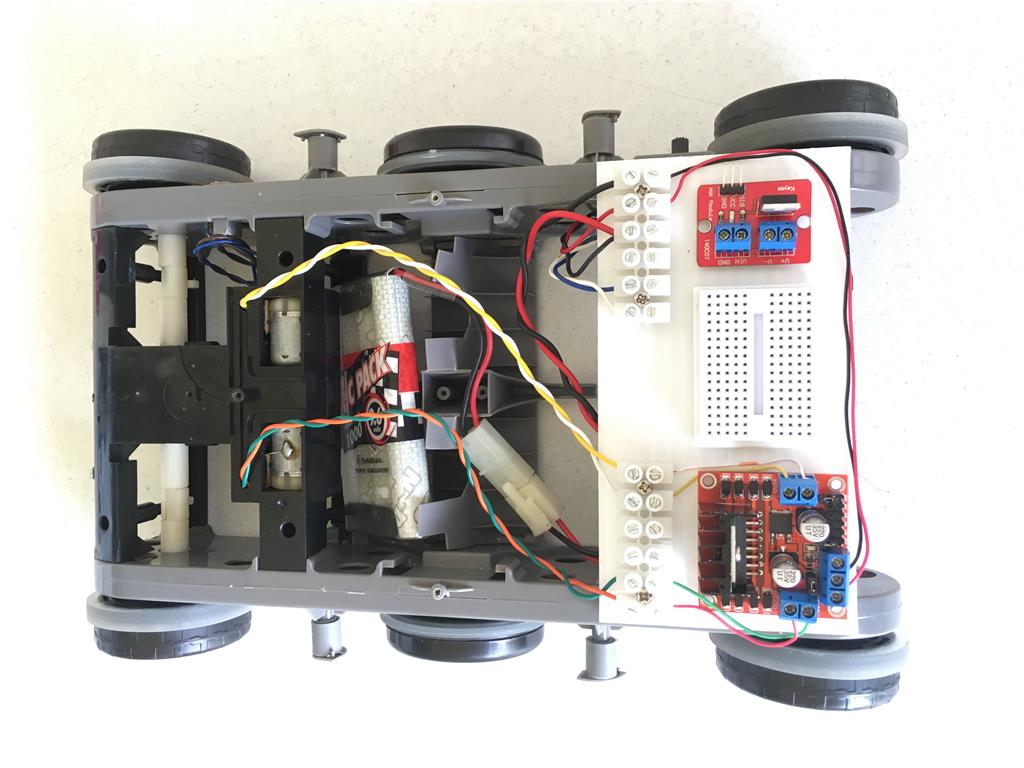
I lined up all my favorite motorized wheel-enhanced robots. They will all get a chance to carry Six (the ole girl) around at some point, but today I have decided to focus on a RC body I have had around for some time. I think this was once a tank-like vehicle that could actually climb up walls. Those days are long gone.
I stripped out everything but the two DC motors an on/off switch, and the 9.6 NiCad battery. I added a L289 HBridge controller and voila, ready to go - maybe.
I never really got the direction arrows, using the HBridge control to go the right way. My right and left arrows seem to go forward and backwards, while the up and down arrows make left and right turns. Also the motors are far from precise at slow speeds and require some adjusting to keep Six going on the straight and narrow.
Here's a video of my Mobo-Six in motion.
Electro-Plastic Steampunk Machine 06, The Ride
Whoa - where did you find those? That's trippy!
Day Seven: Light Stick
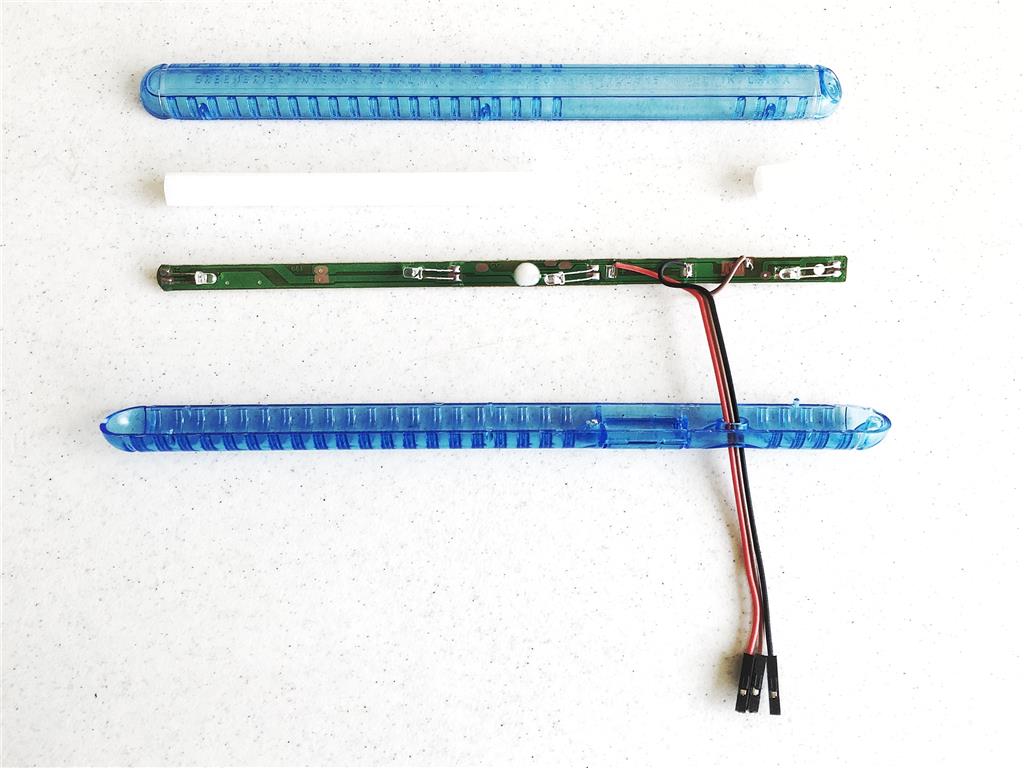
Where did those colorful LED displays from Day Six come from? They are sold as "light sticks", and are available at the Dollar Tree. They are pretty cool by themselves and can be powered by the included batteries. However, it's also possible and even more fun to control them with EZB.
This is how I modified mine:
Remove battery screw Remove batteries Gently pry apart the case Remove all the switch parts Remove circuit board Slide off diffusing foam material
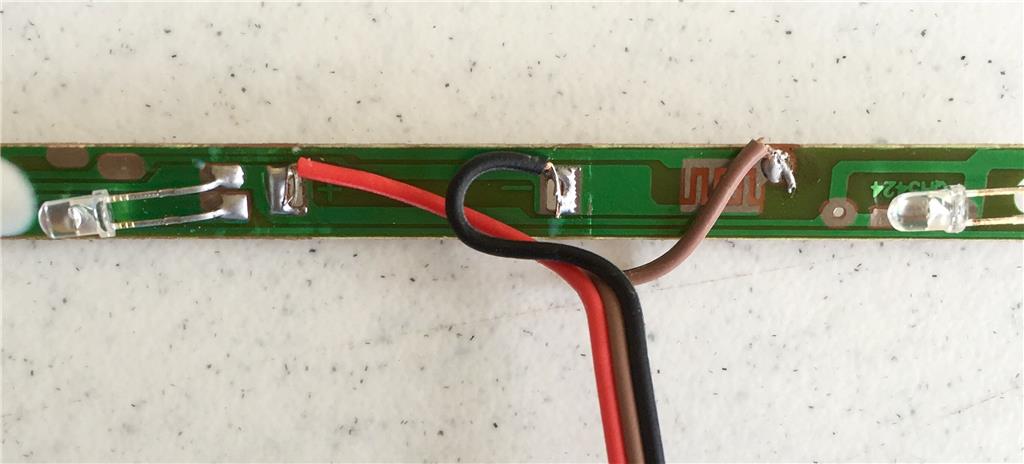
Desolder battery clips Make a three conductor cable with female connectors on one end Solder red wire to + Solder black wire to ground Solder signal lead to top conductor of switch contacts Be careful not to over work the solder connections. The foil on these little boards is mighty thin. A little dab will do it.
Feed wires through original switch opening (You may want to do this before doing the soldering, but I had no trouble feeding all three connectors through the switch opening.) Snap the case back together
They seem to work fine using 3.3 volts and the PWM control.
Thanks so much for all your videos Peter, I enjoyed reading about and watching your creative builds. I especially loved Six 3a!
Day Eight: Exercise
Six has a new look. I have added some blue eyes, and an oscilloscope to keep track of the her talking. I also put the dome back on, and gave her a blue hat.
This is a video of her exercising with the light sticks.
A fitness bot, now there's an idea.
Health instructor writes script for client's daily schedule and uploads to cloud. Clients robot auto retrieves that script from cloud at a set time, ready for client to exercise. Robot mimics moves to inspire and 'be with' client during work-out.
Haha the video made my day!
Whoa - where did you get that oscilloscope? Super cool! I'm a huge fan of your videos
That is cool!
I just got some time to check in on your build after seeing you posted a vid a few days ago.
Woho! I absolutely love the new look! That oscilloscope is the BOMB! This brings it to life in a whole new way! I really am flipping over the old time science fiction look it adds. The shape and style of the light sticks and the dome bring it all together. Nice architectural work. Very artist.
Where Did you get the oscilloscope?
Haha, we're all going nutty over that oscilloscope!
Found this diy on eBay, which would be a fun project: https://www.ebay.ca/ulk/itm/191827754952
Day 9: Watching Six Speak
Who doesn't like to watch their robot talking? ARC has a pretty good built in speaking mechanism but it's always nice to see a little action when you hear your Six speaking. So let's explore some ways that we can watch our robot talk.
Here are the options I considered:
I like the android option best because it has a built-in microphone, so that you can just capture the audio. Android also includes the option to use the ARC mobile and lots of other gauges and handheld devices. I find Android has a better collection of this stuff than does iOS. However, it can be expensive so you might want to look for a cheap Android phone. I chose the Galaxy S4 because it has all the sensors one would ever want.
I plan to experiment with the android devices a little bit more on another day.
Here is a video showing a series of clips panning from one option to another ending with the android oscilloscope. Most of this video is a script with heavy use of sayezbwait.
pashley
love the voice sounds so clear.and perfect motions. now i know what an Oscilloscope is,thanks.
Wow, setup looks great and the voice is clear as day! Pretty new to the forum, looking forward to the forward progress and updates!
Day 10: Farewell V3
At first, I planned to combine some of my previous projects using the v3 EZB with my new EZB v4, but with some sadness, I have now decided it might be just as well to return them both for store credit.
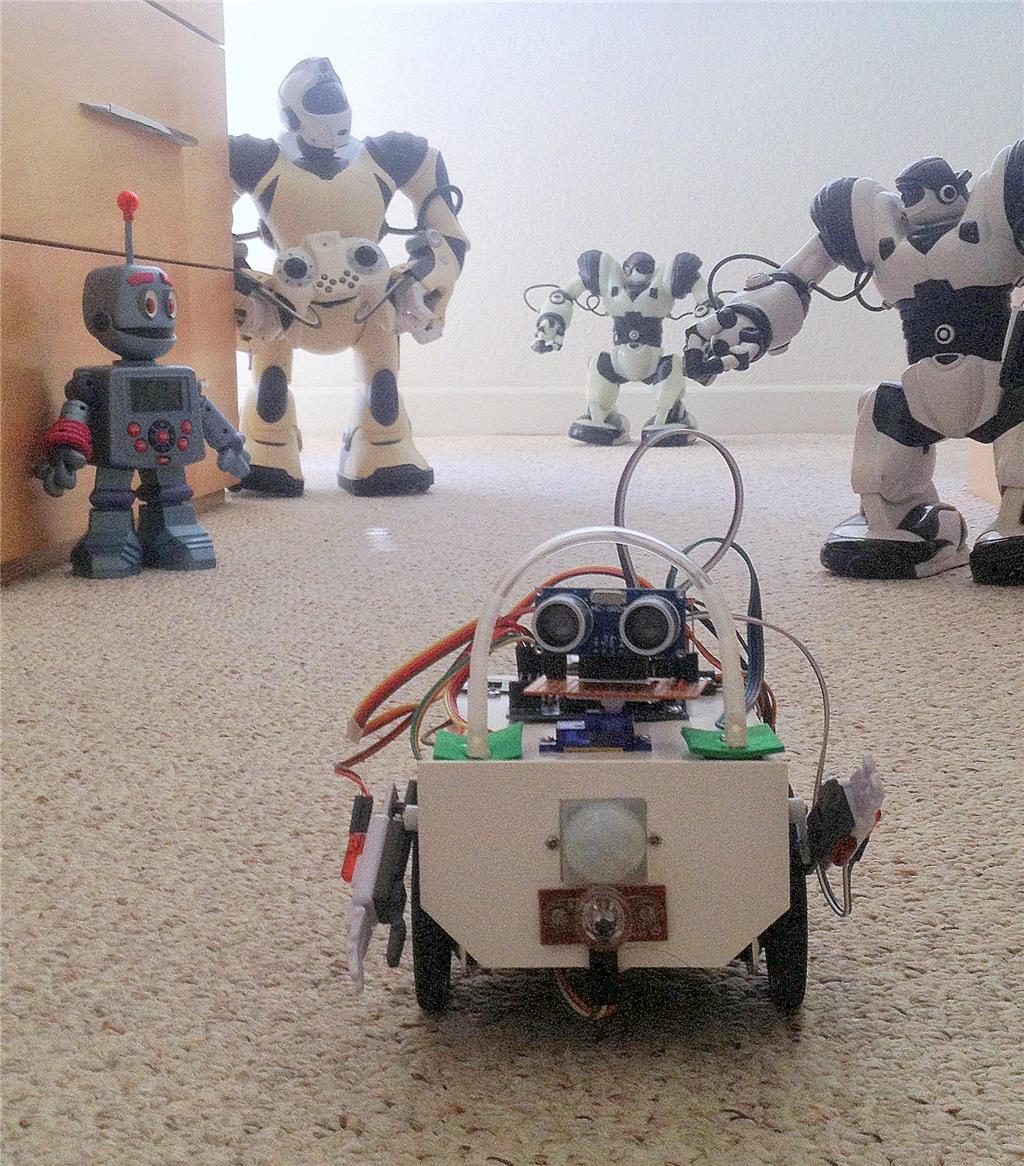
Six encountered the ole EZ V3 models today.
Here's a video of how it all went down. You may need to crank up the volume, these guys speak softly.
:feels:
Alan
Ok, now I'm all choked up. tired
Tear
Day 11: The Switch
The switch is everywhere in robotics. It is behind everything that makes Six the machine she is. She has digital switches, sensor switches, switchable motors, etc. But it is the humble physical switch that we have gathered to honor, today.
Six depressed this majestic device for our entertainment and enlightenment. And, this video, shows how it all went down.
Cute. Reminds me of the first Star Trek movie where they had the scenes where they were doing the long and slow fly byes of the starships.
I'm on a plane and it won't buffer to play... Super eager to watch it! Will have to wait until I land in a few more hours.
Oh oh, look what came in the mail. Check out the little logo in the corner. Yeah it's JD. It' all a bit hazy in my memory, but ...
Fear not Six, The Chronicles will continue. No I probably will not be abandoning the six Chronicles.
Perhaps I'm going to have to start this all over again this time calling the thread, "JD Days".
congrats you have a very good mailbox.fully assembled jd.