
I found this robot on Thingiverse; www.thingiverse.com/thing:2471044 and thought it would be a fun project. Check it out they've really created a great robot. Printing it takes about 70 hrs. and then you need to go shopping for baking supplies (Raspberry Pi's and such). So I thought why not make it run with EZ-Robot hardware (most people here have lots of that) and software. I modified the camera holder to accept an EZ-Robot camera and the arms to accept EZ-Robot HDD servo horns and connected everything to an IoTiny. Building it was pretty straight forward. Programing it to solve the cube was another matter, so I got ahold of forum member ptp and asked if he would be interested in helping out and he was. He doesn't have a 3D printer however so I built him the robot and sent it to him. He has been busy working on an EZ-Robot plug-in to solve the cube as well as calibrate the arms and grippers. We are hoping to have the Plug-in ready to share by the end of the month, so start printing. This would be a fun project for both kids and adults. We'll keep you posted.
Discover more robots
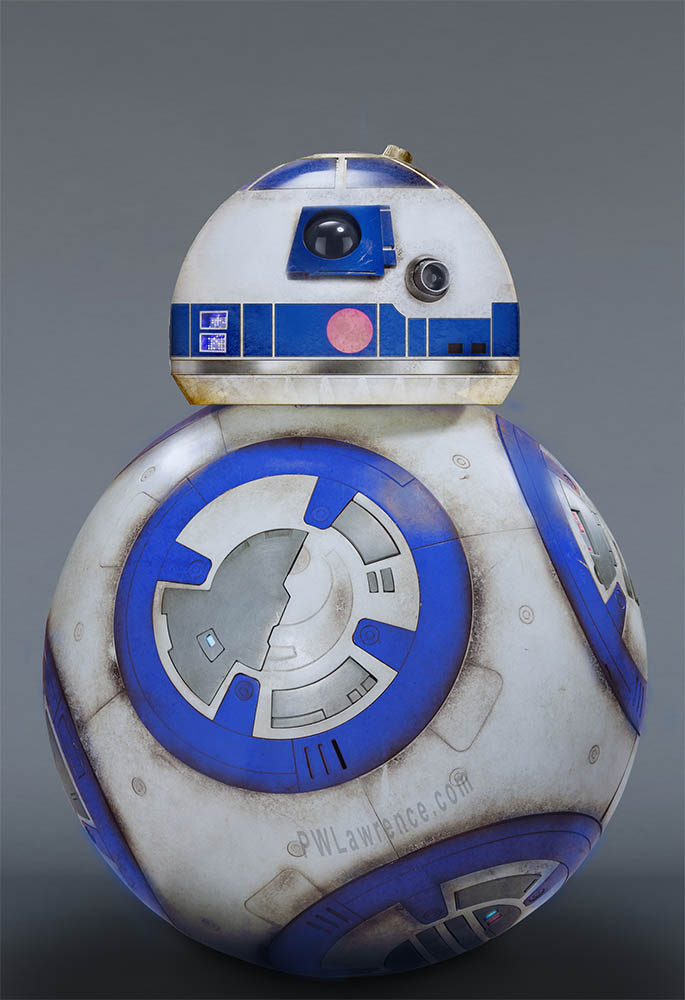
Sulla's R2d2 Bb-8 Mashup Robot Project
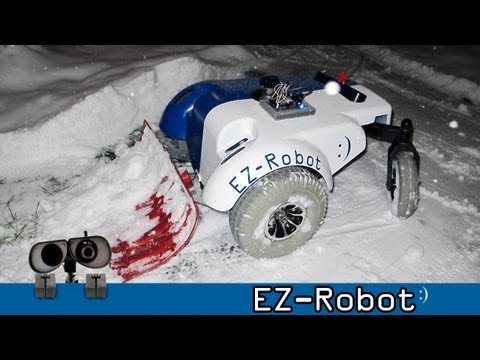
DJ's How Do I Shovel My Snow?

@DJ,
Thanks, the information is useful.
I didn't want to reinvent the wheel... I had idea to explore the color profiles so we are on the same page
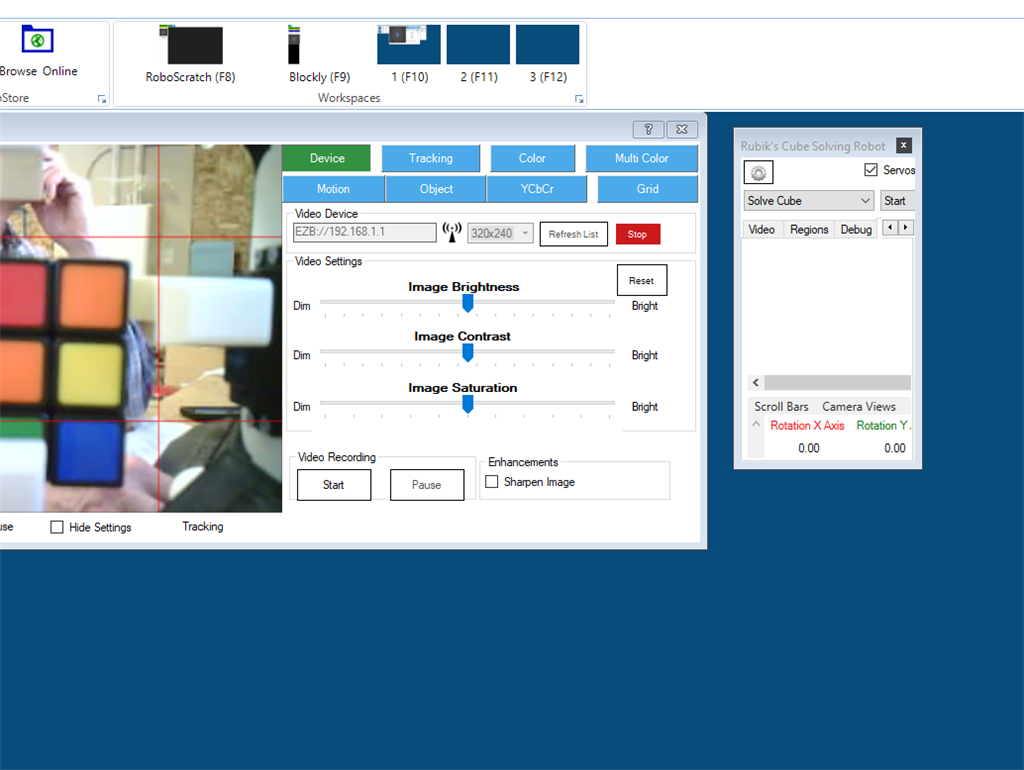
btw I'm already using the camera guidelines to reduce the ROI area.
Oh, almost forgot... to edit the color filters for each color, this is how you do it...
Guys,
The plugin is 99% done.
Demo:
PS: Sound level is low.
Woooo! Now THAT is a plugin. Maaaaan what a great implantation. You have blown me away man
@ptp,
Great Job As Always...., You are unbelievable, and you have surpassed yourself, AGAIN....
Ron
Ya, looks great, Pedro. I'll be playing with it today.
@DJ/All, Thanks for the incentive.
The EZ-Robot HDD servos are a must for this project.
Initially i used only 4, after a few minutes i changed my mind .. and i borrowed (no way back) the other 4 from another project. The robot/machine is near my monitor and i do the code during the nights, i could not concentrate with the analog servos buzzing my ears.
All, Thanks for watching, It's a cool robot to demo...
I'm involved in a few meetups so is a good opportunity to talk about robots and discuss bored stuff e.g. C#, C++, OpenCV.
is amazing what you can build with a 3D Printer, 8 servos, camera and wifi controller and ARC!
ptp, I can't expand the control window for the plugin to see all of the controls. Any thoughts?