
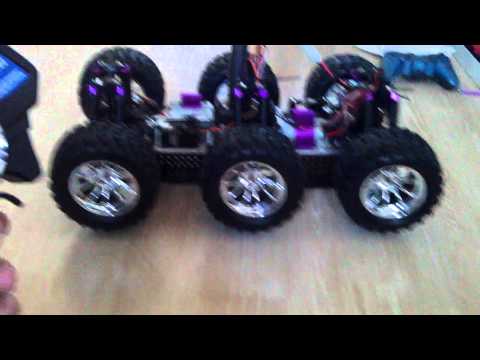


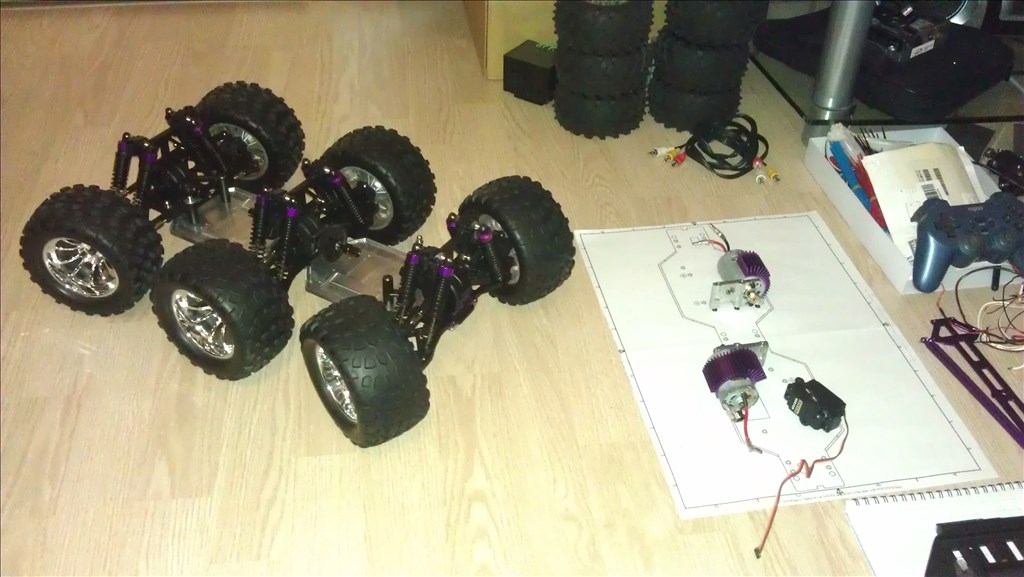


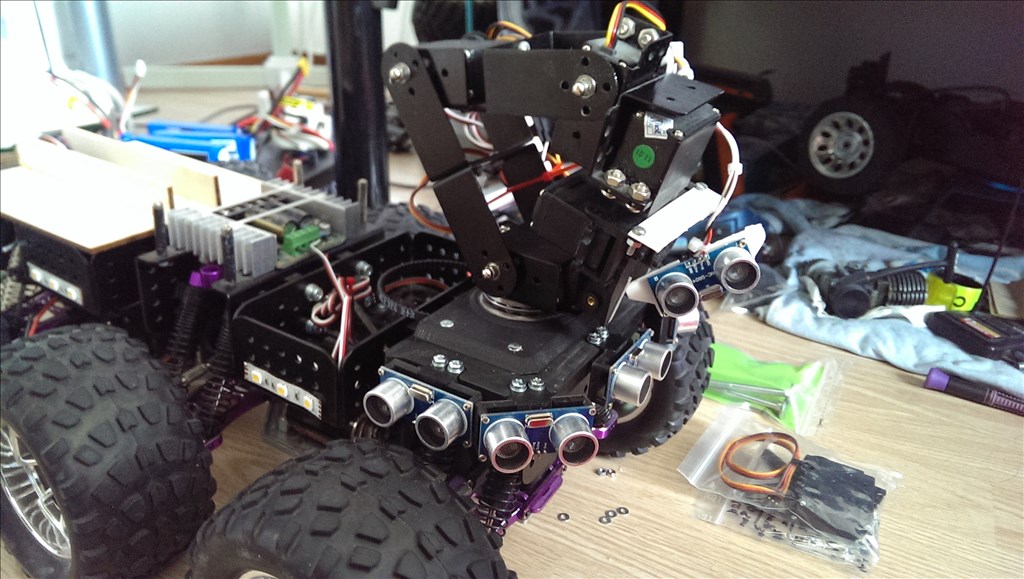

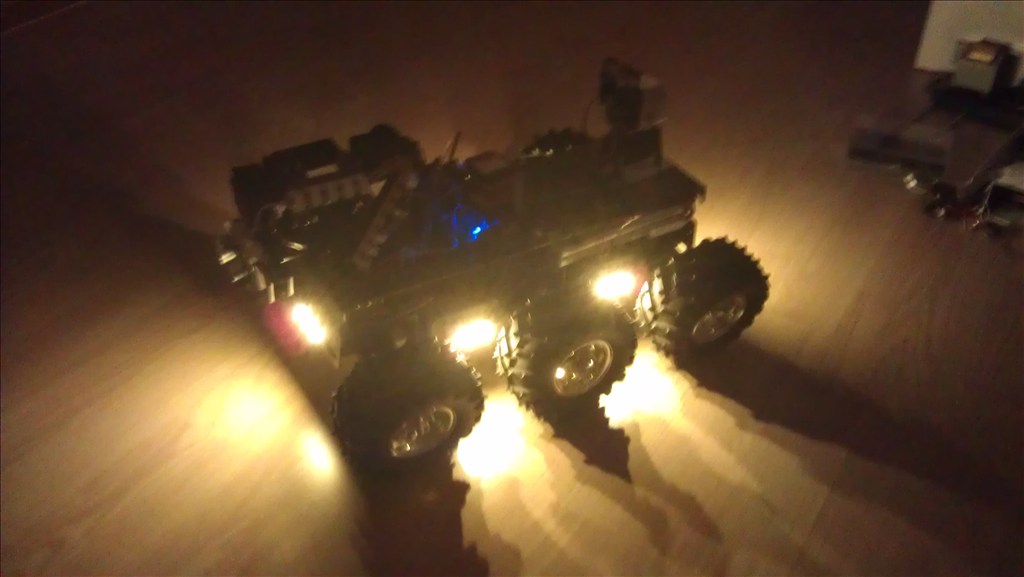

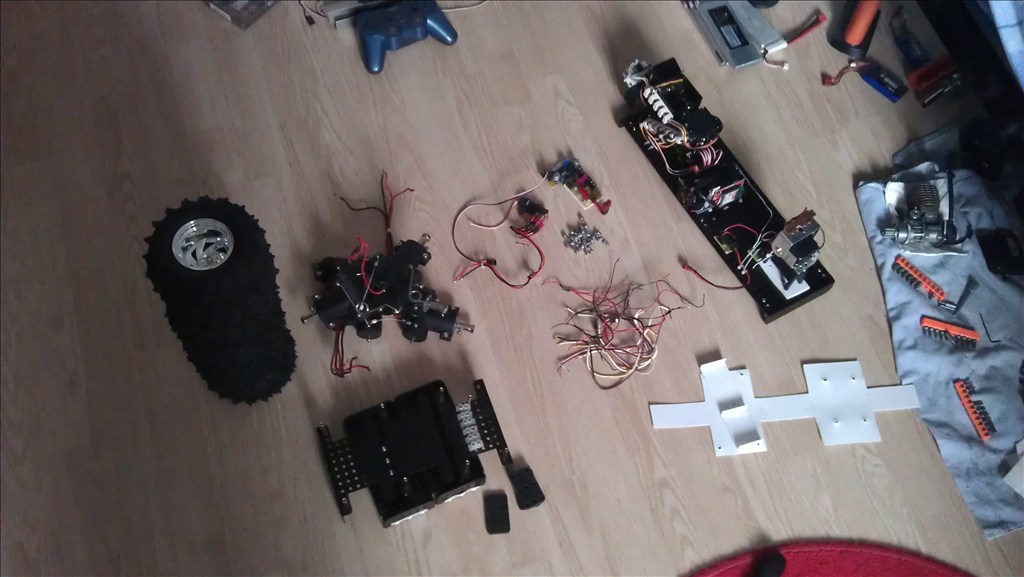

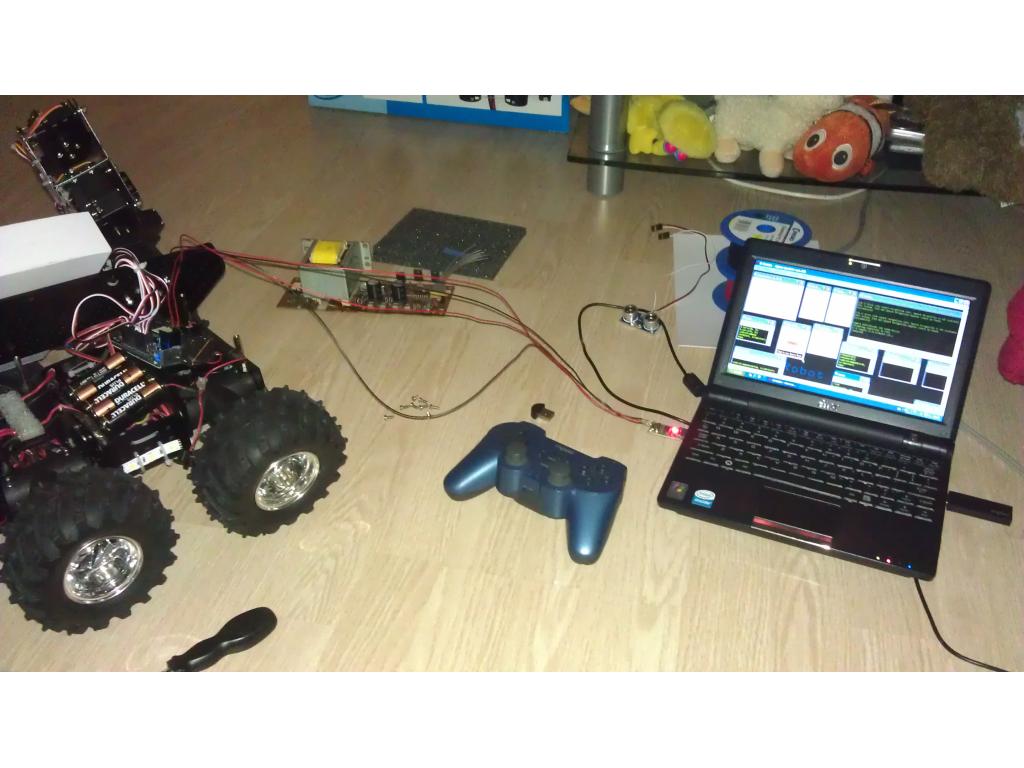

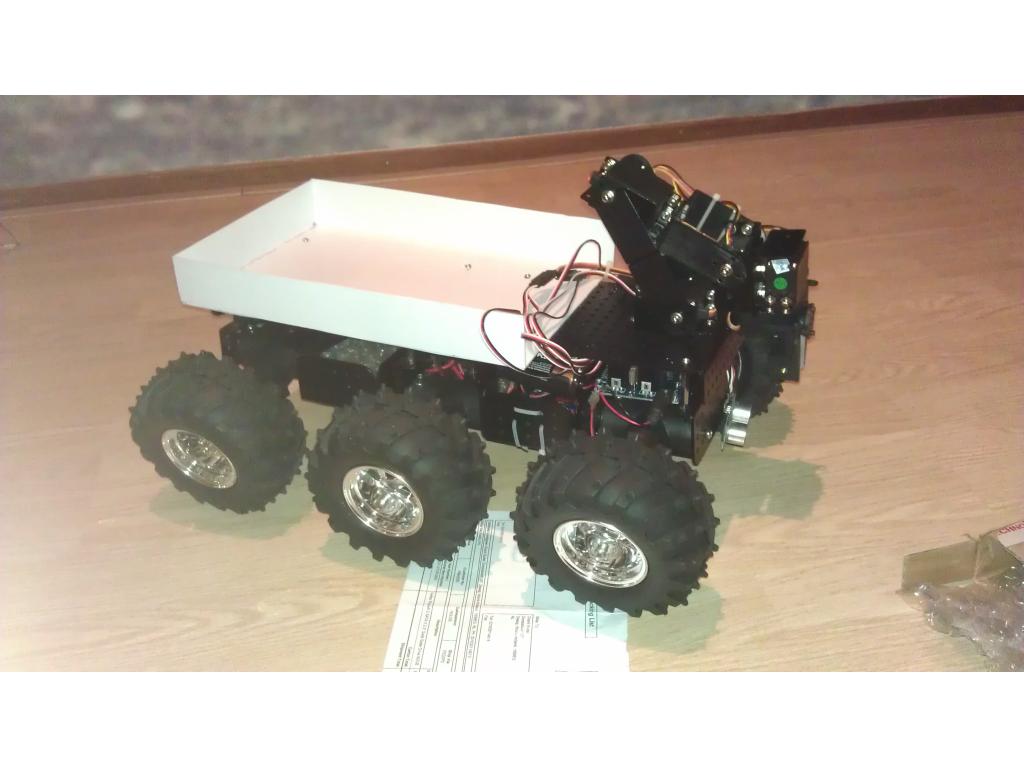
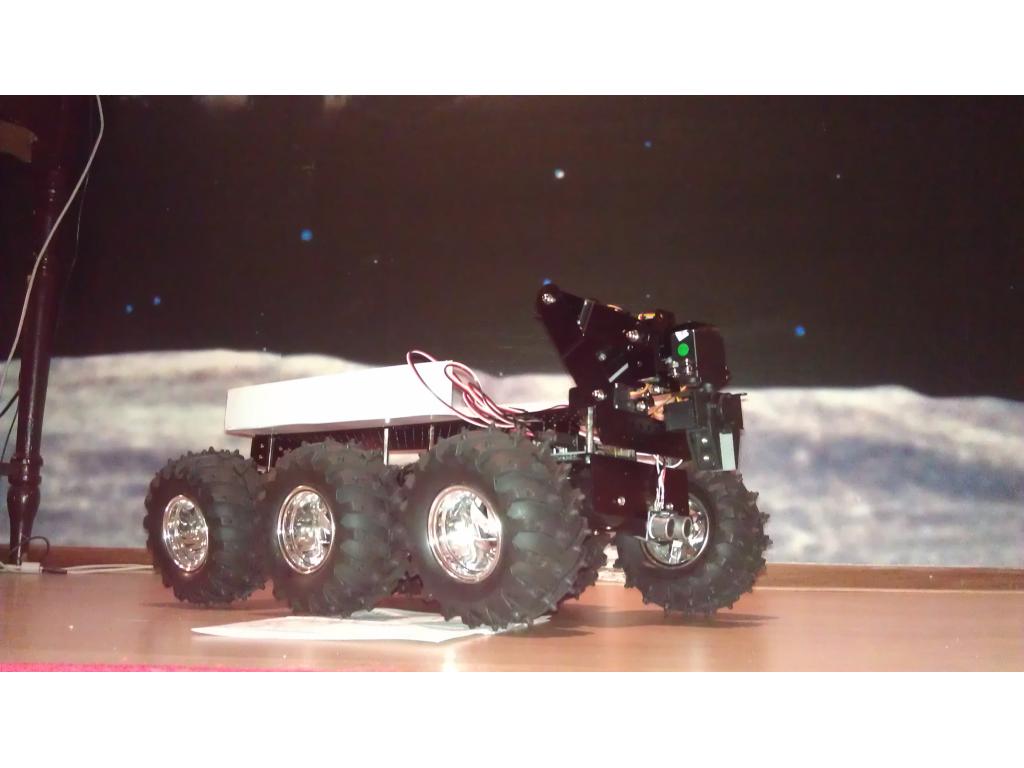
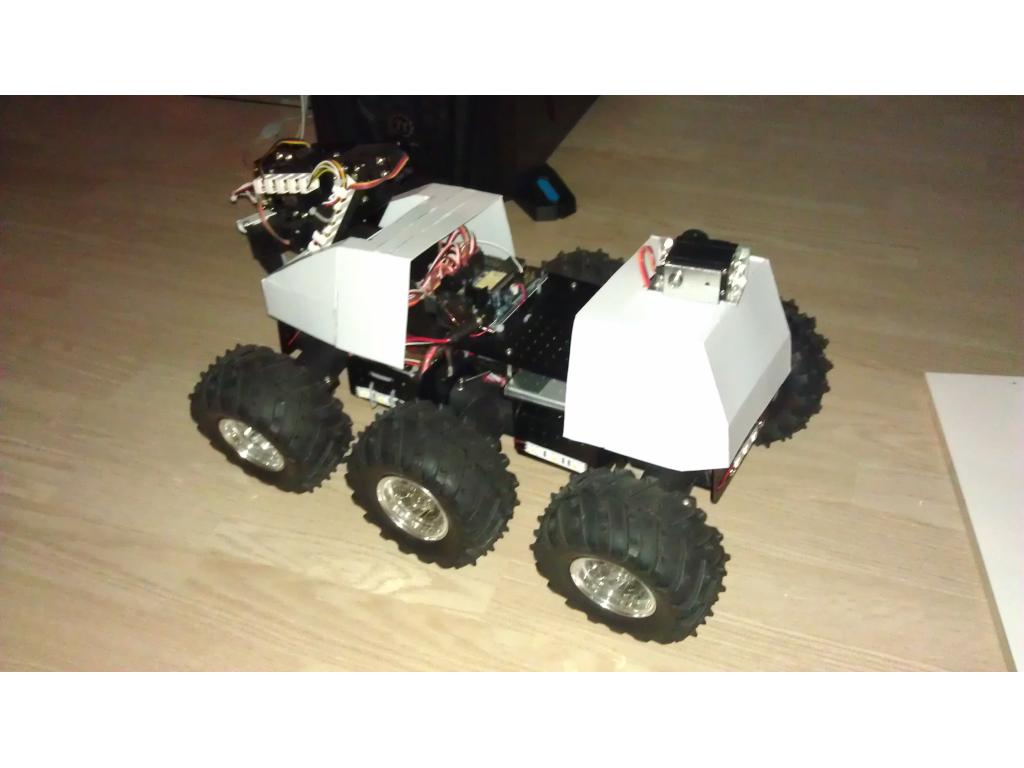
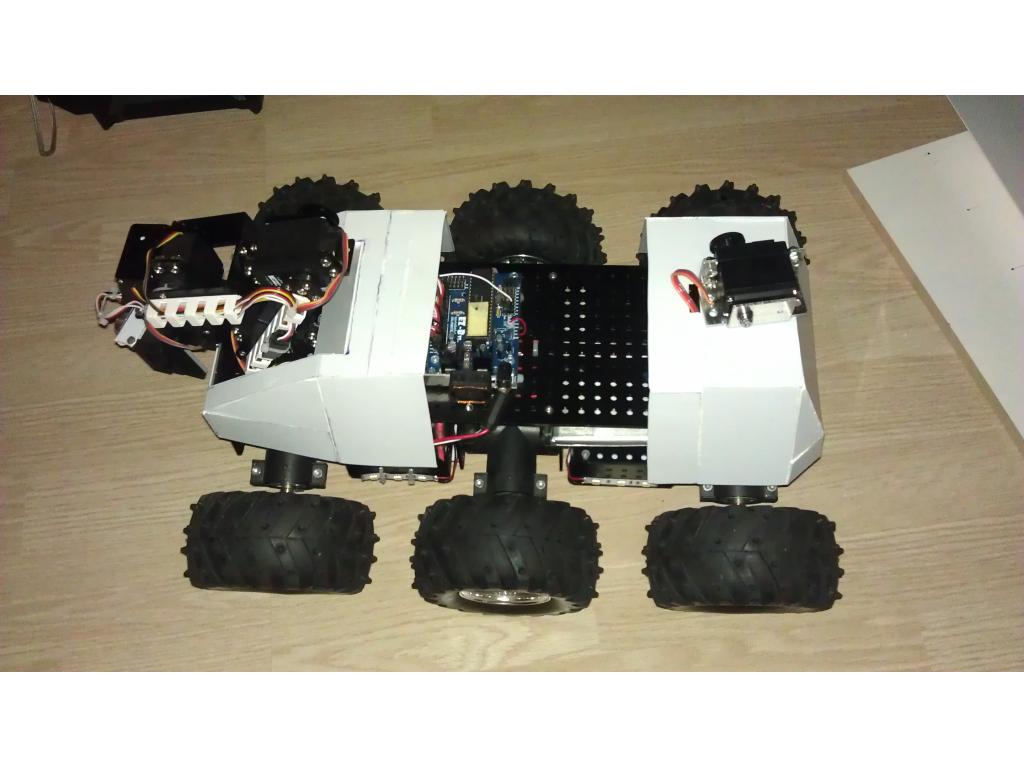
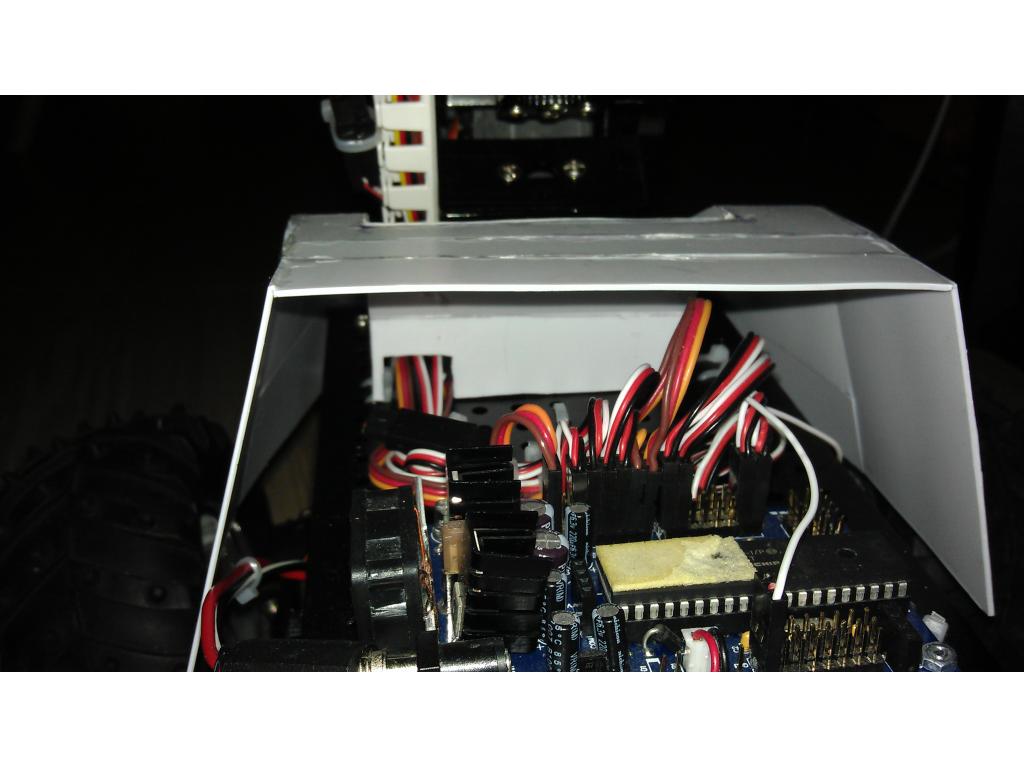

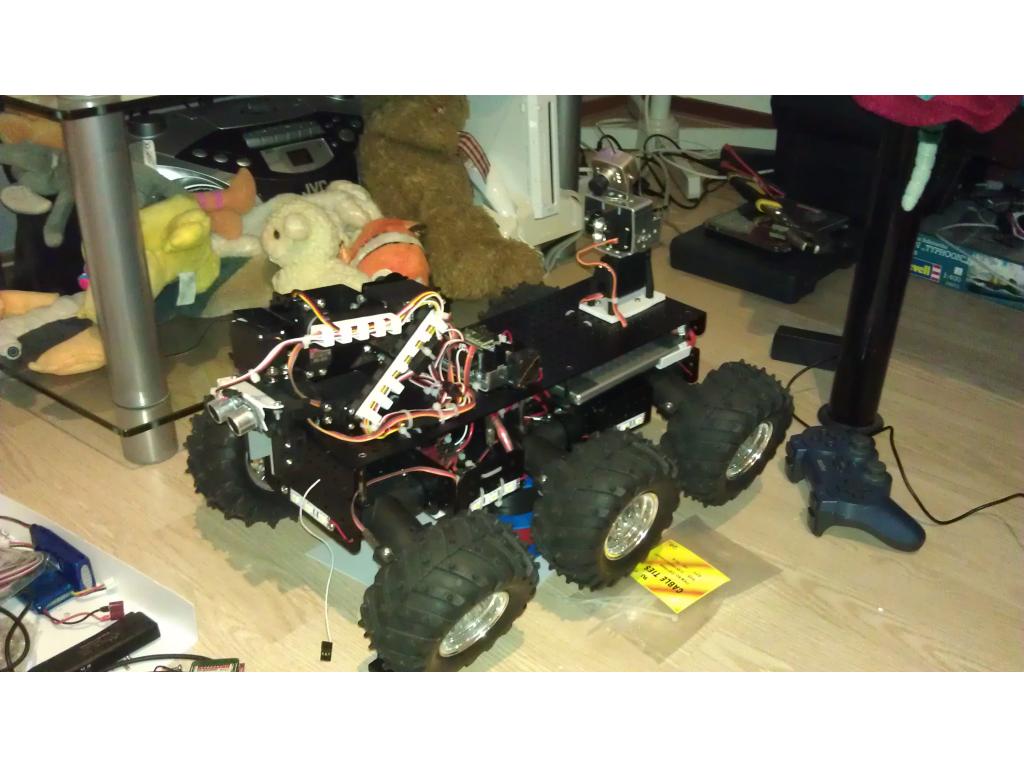


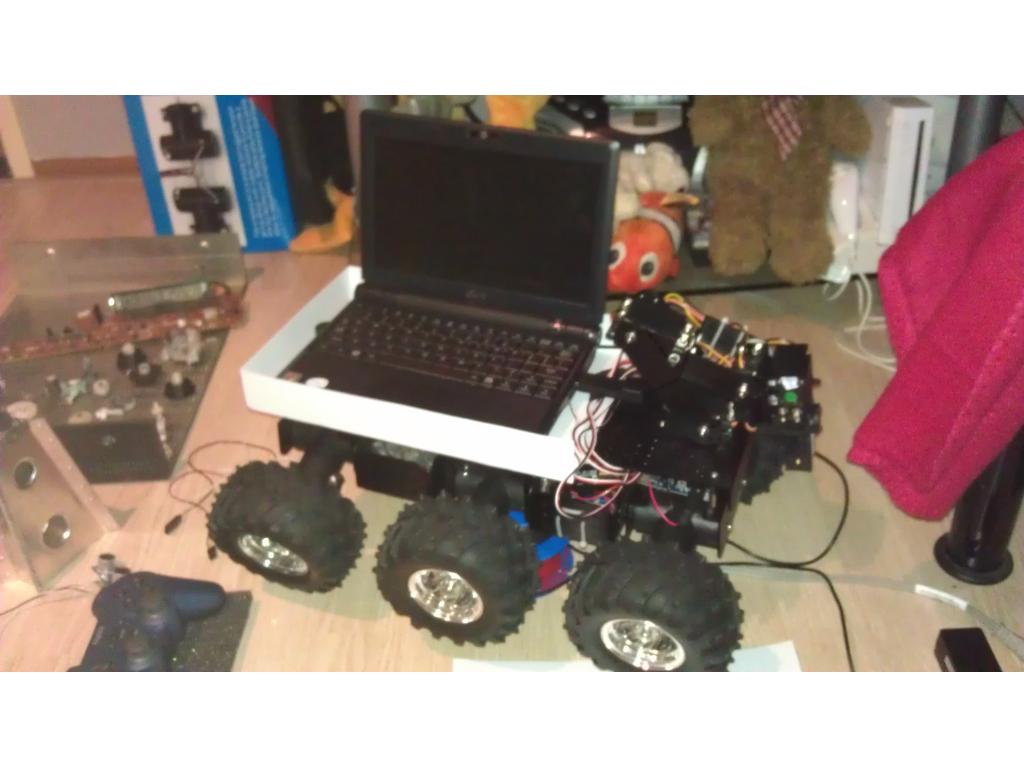
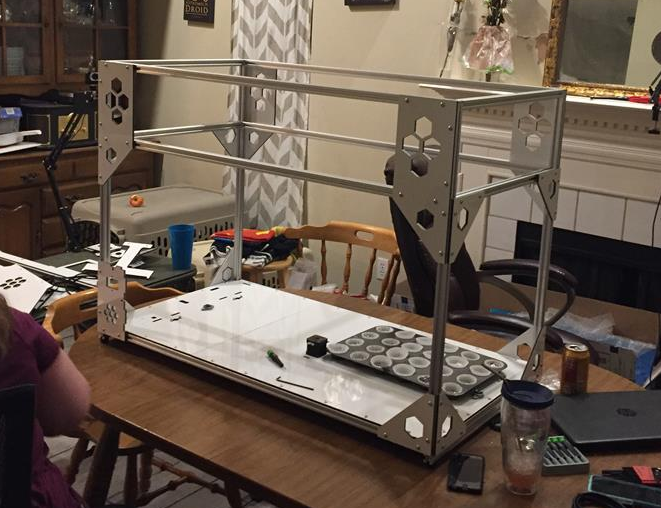
Hello fellow EZ-B'rs, As I finally discovery how to upload photos I thought it was time to share my robot with the world. It's called R.O.O.S.T.E.R which stands for: Remote Online Operating Scientific Testing Electronic Robot (took me about an hour to come up with that, but I like it).
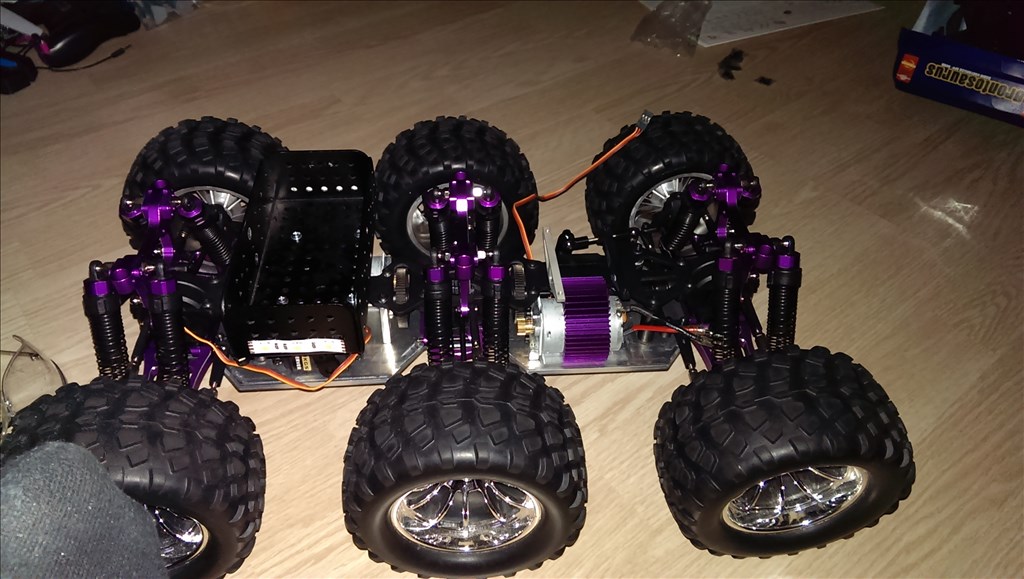
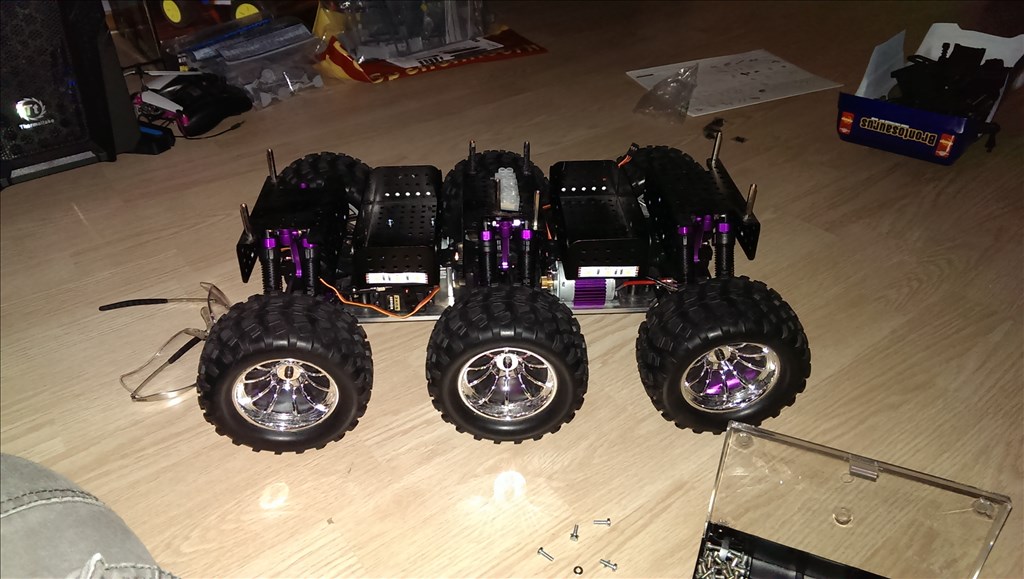
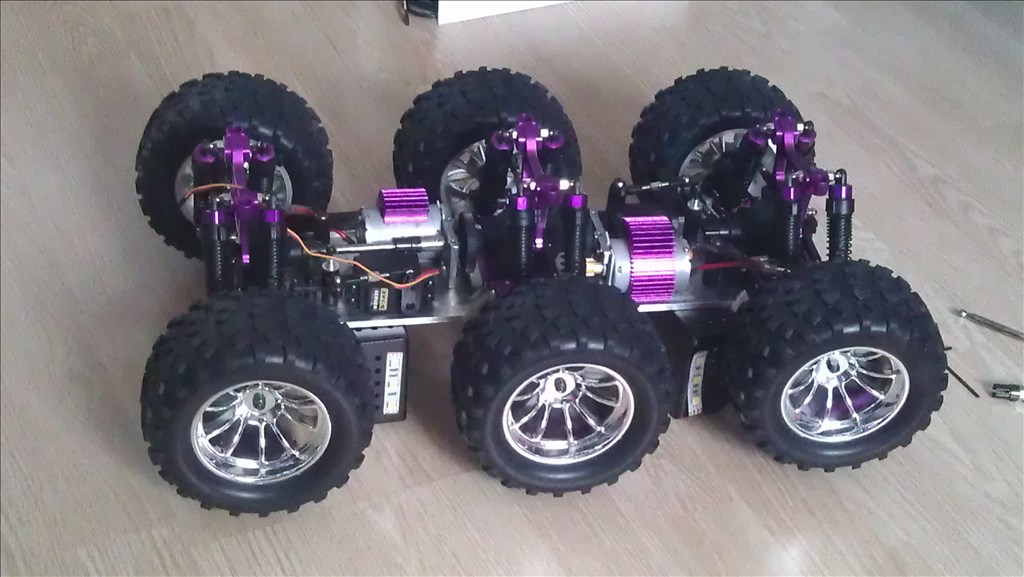
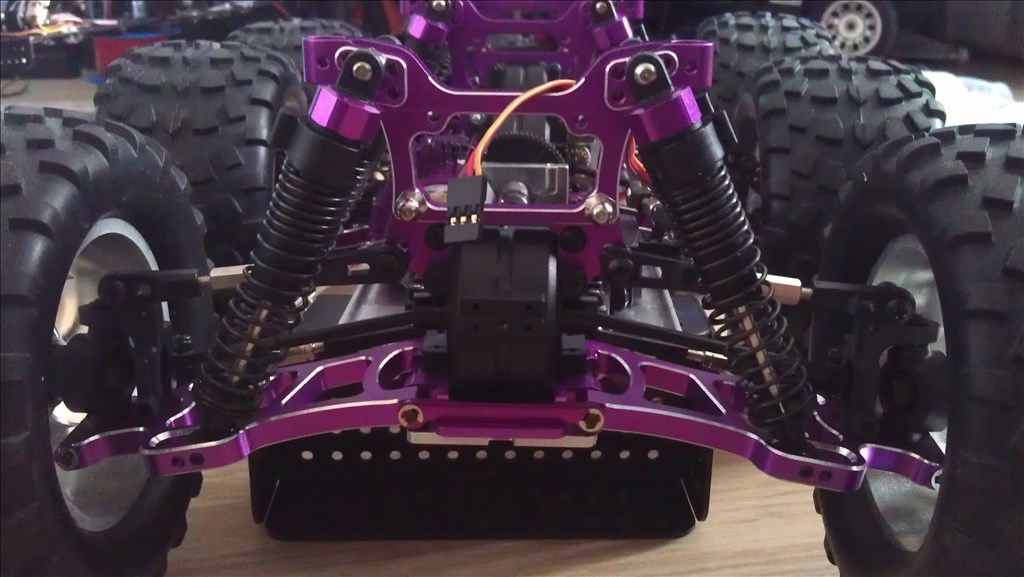
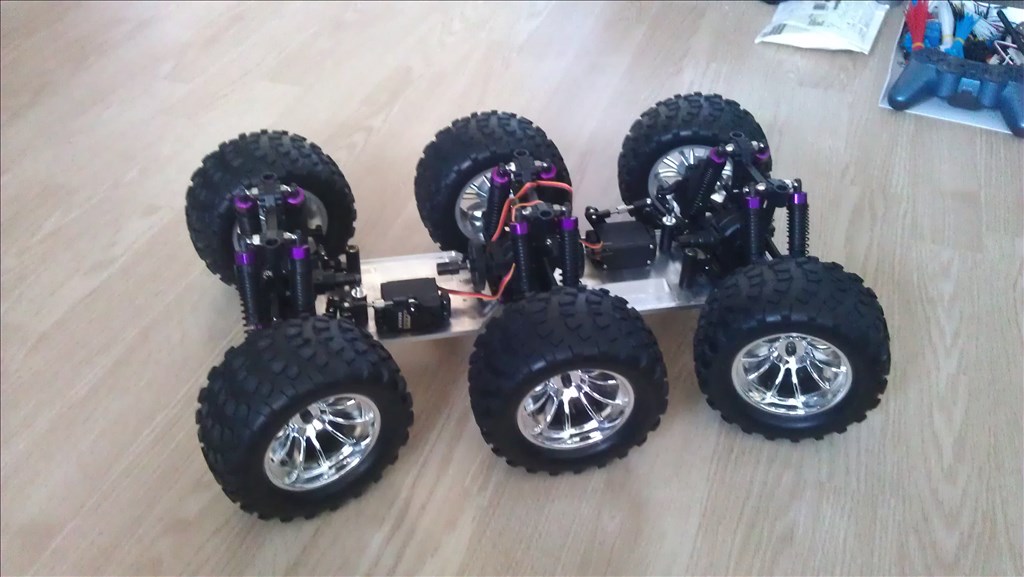
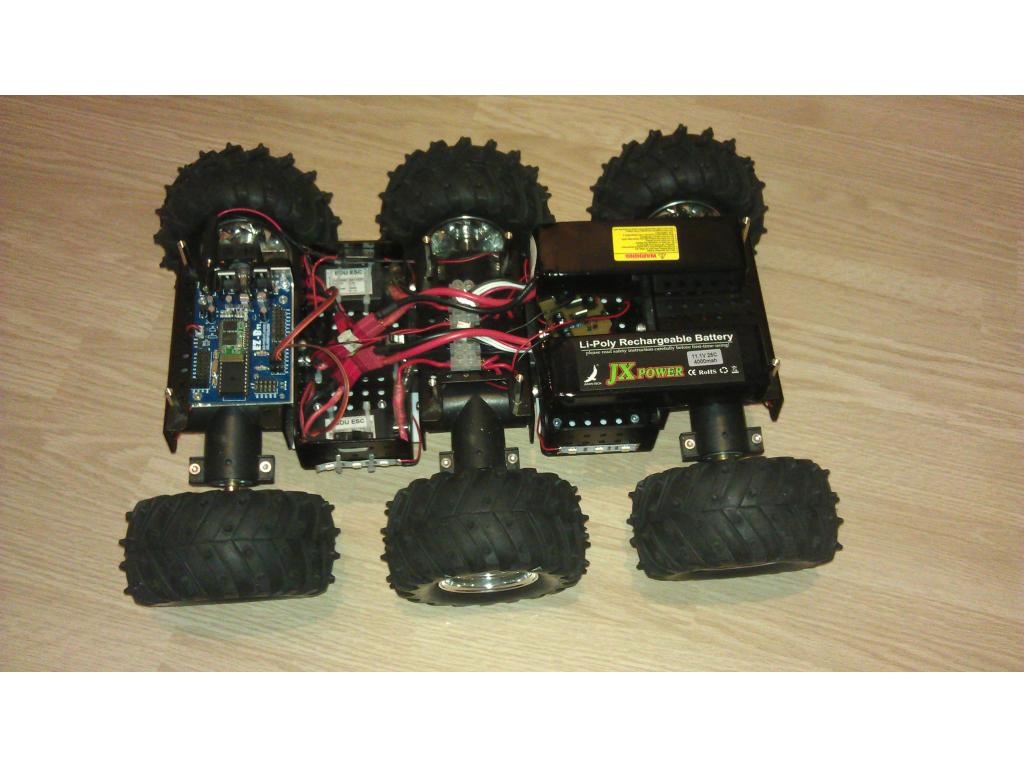
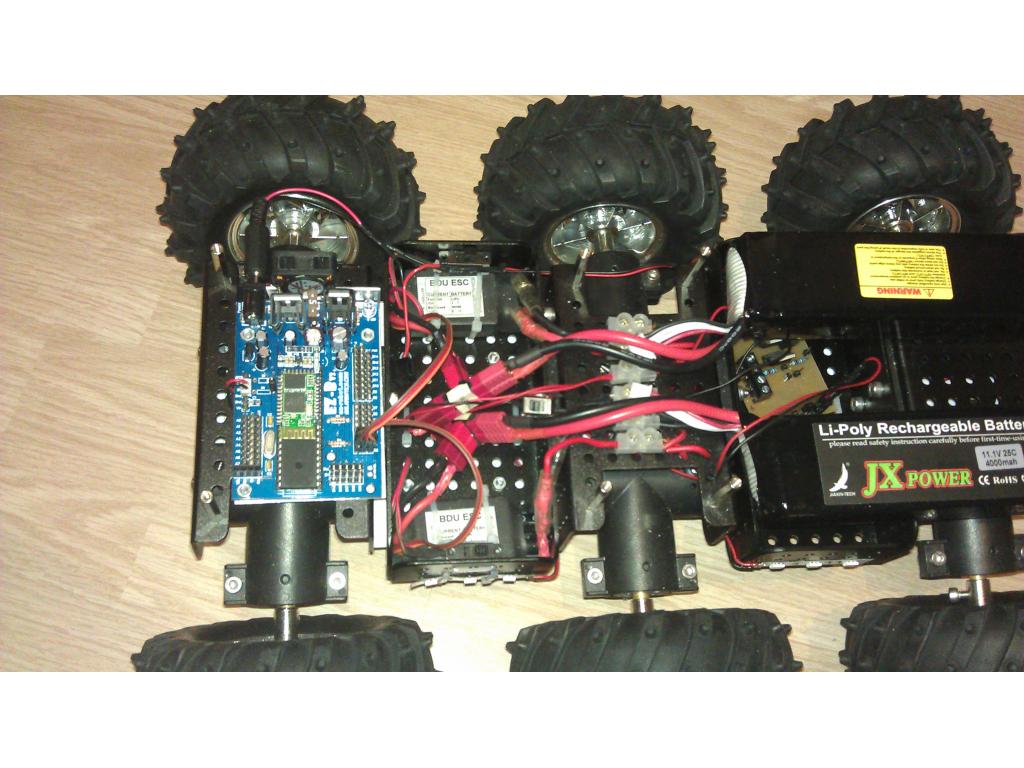
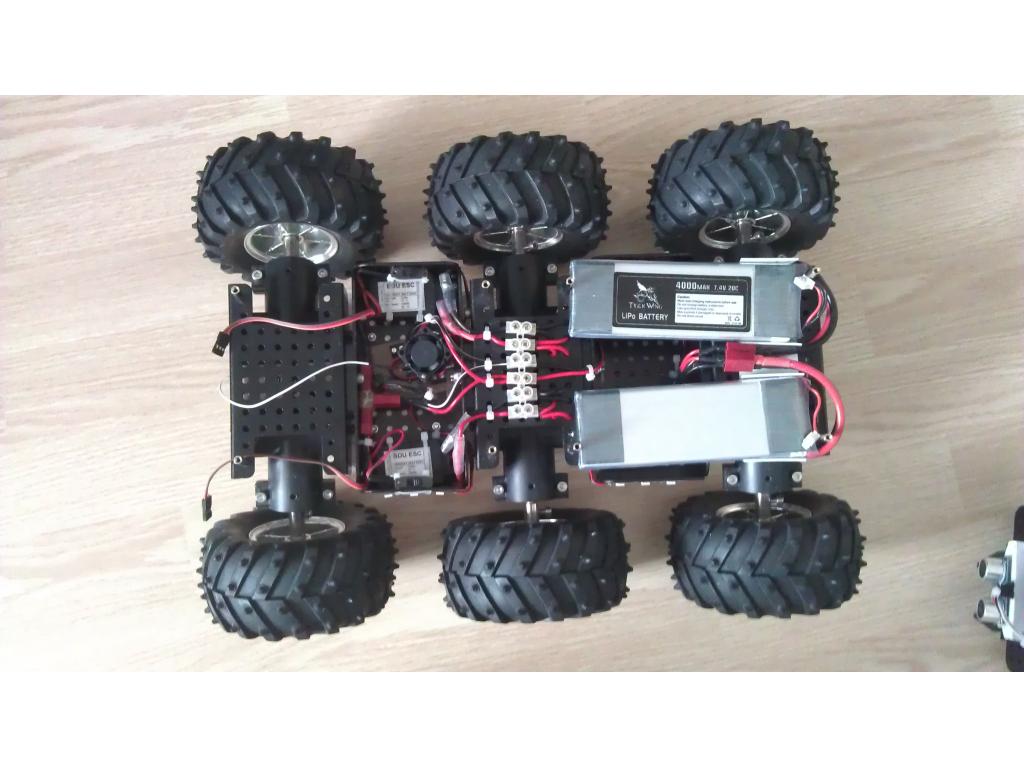
The specs:
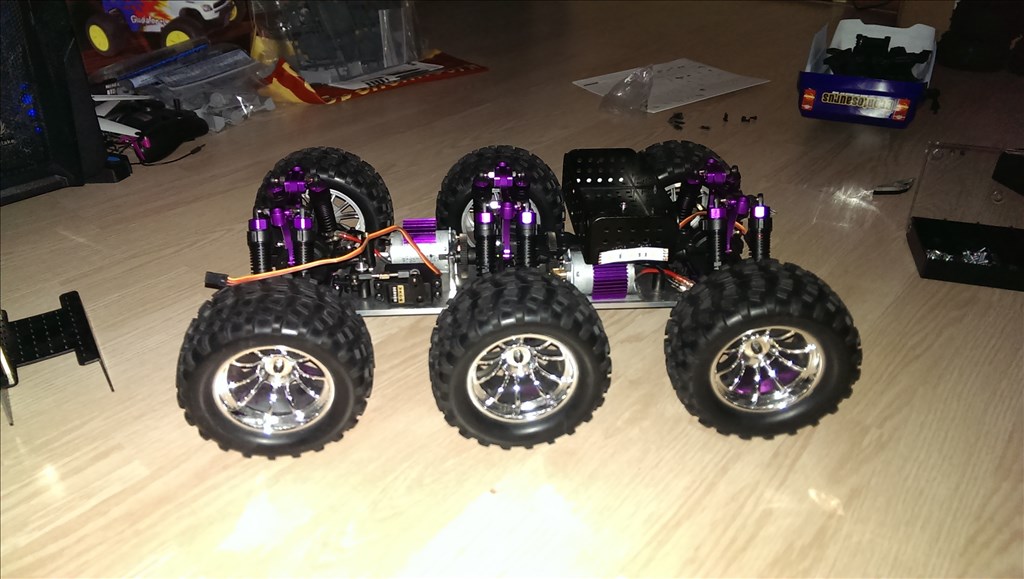
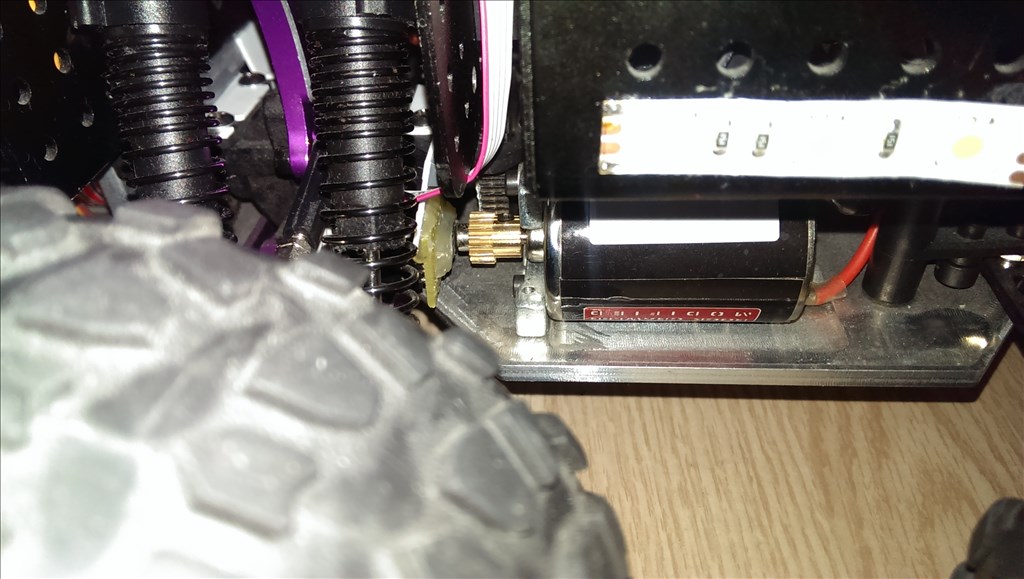
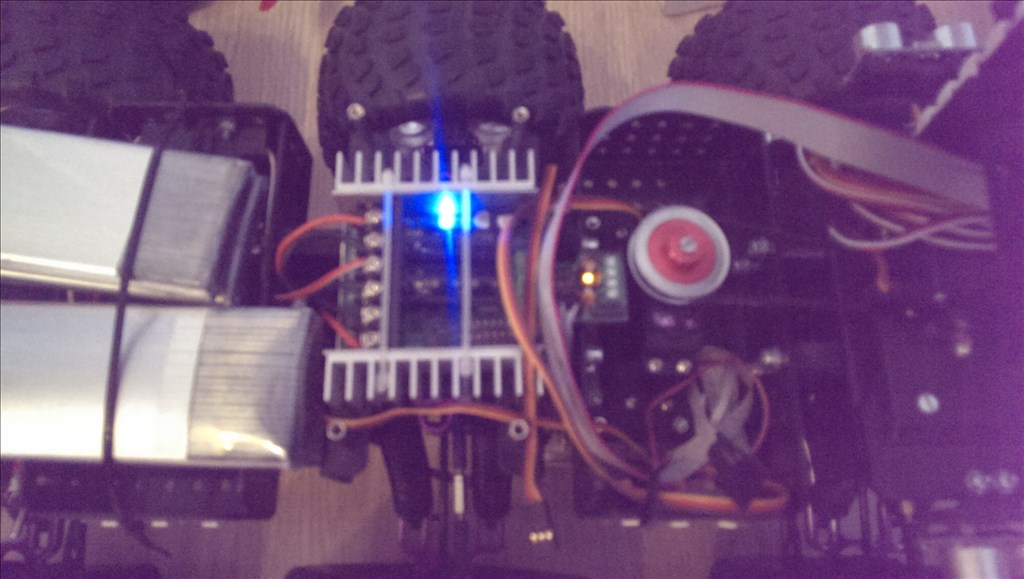
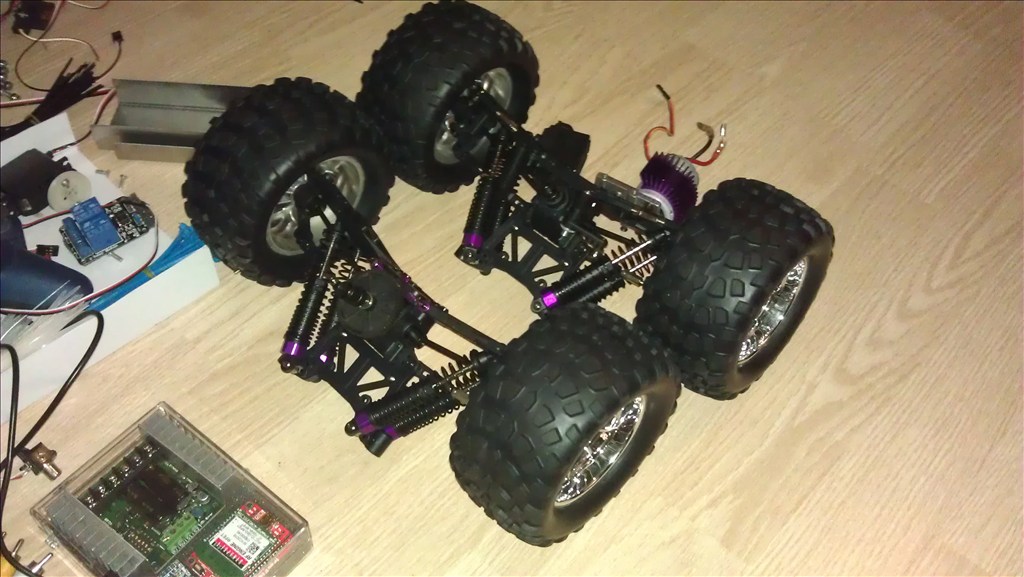
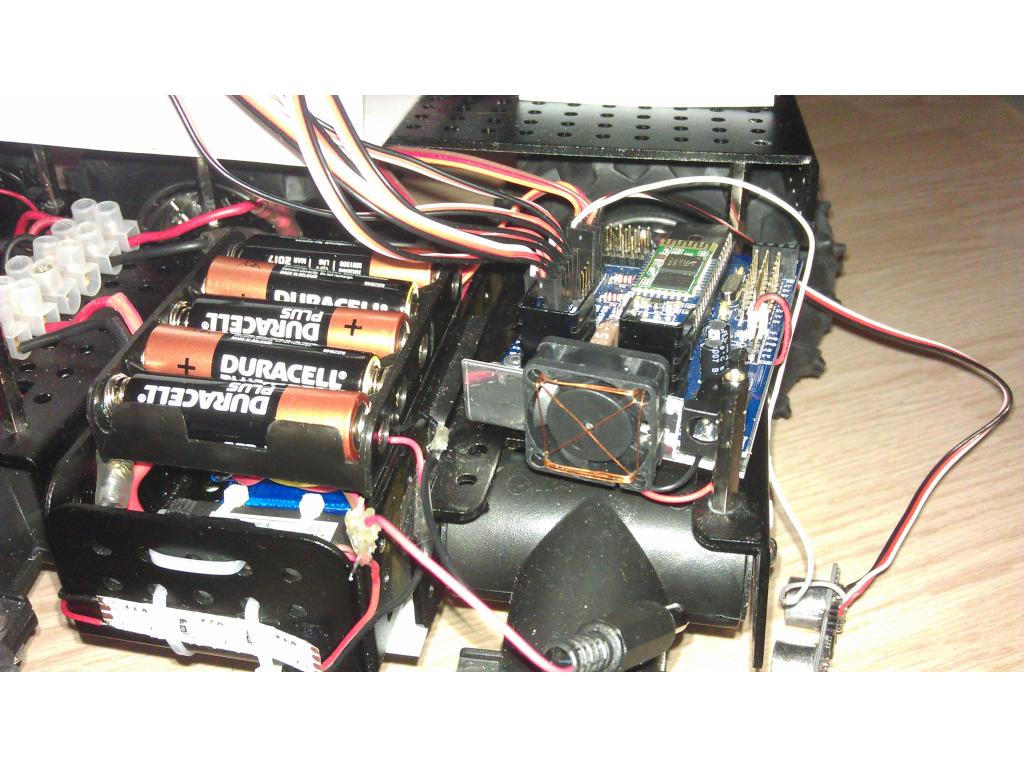
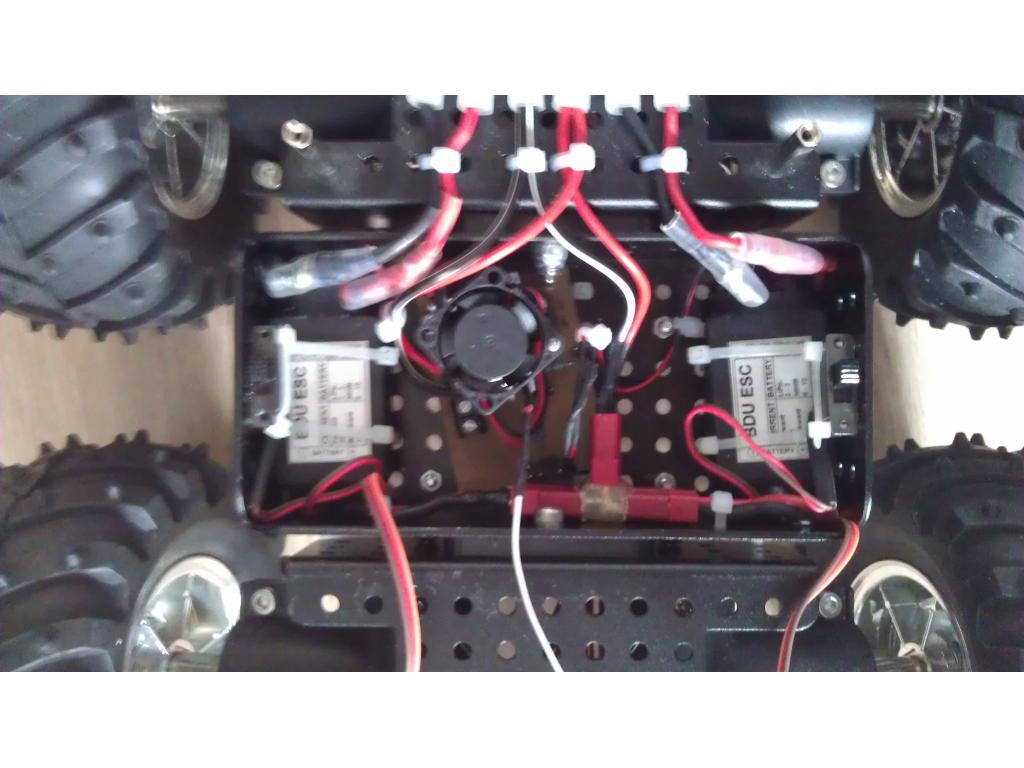
- 6x 6v 6A motors
- 2x 20A Rc Car ESCs
- 2x Reddragon 2s 25c 1200mAh
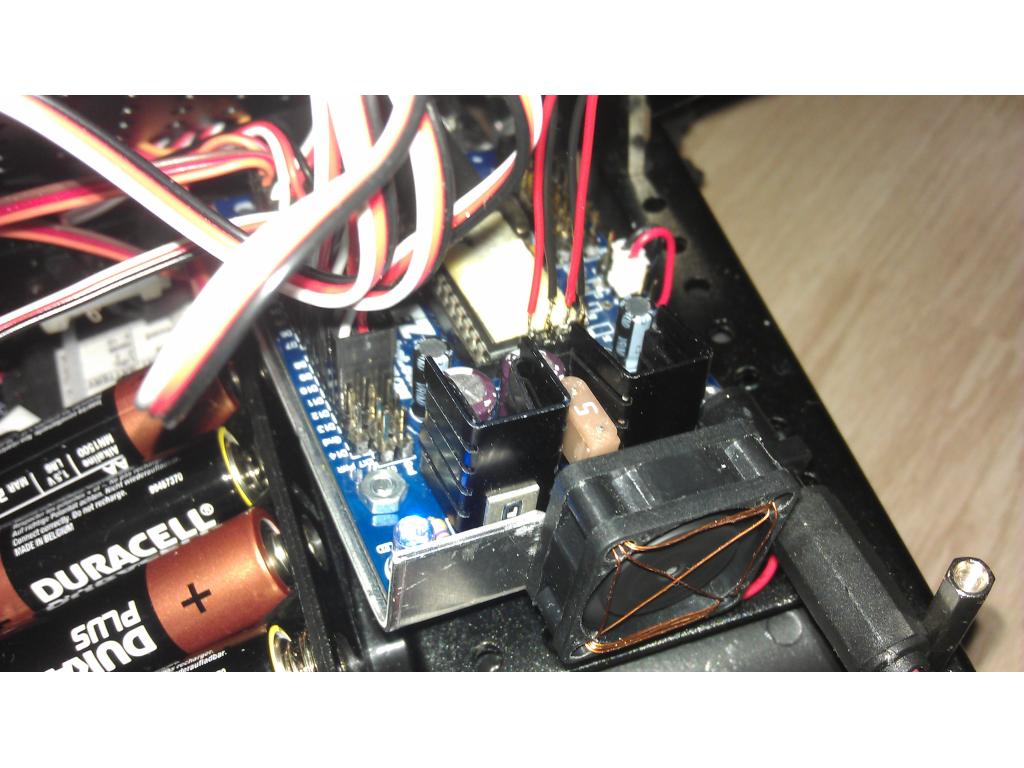
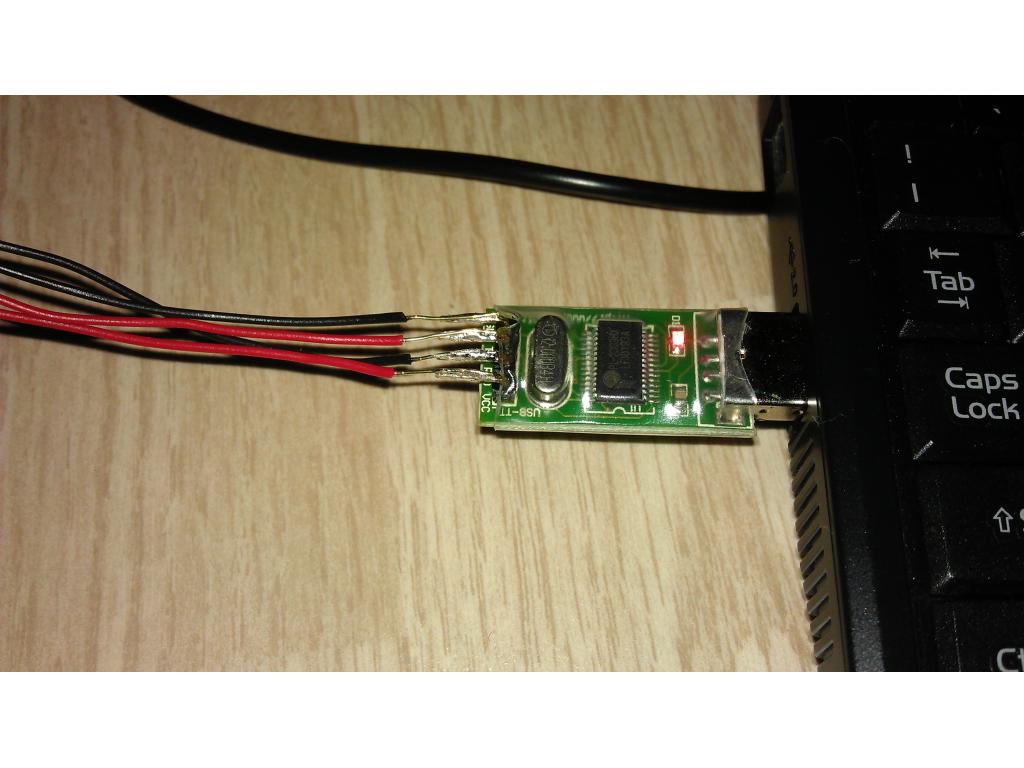
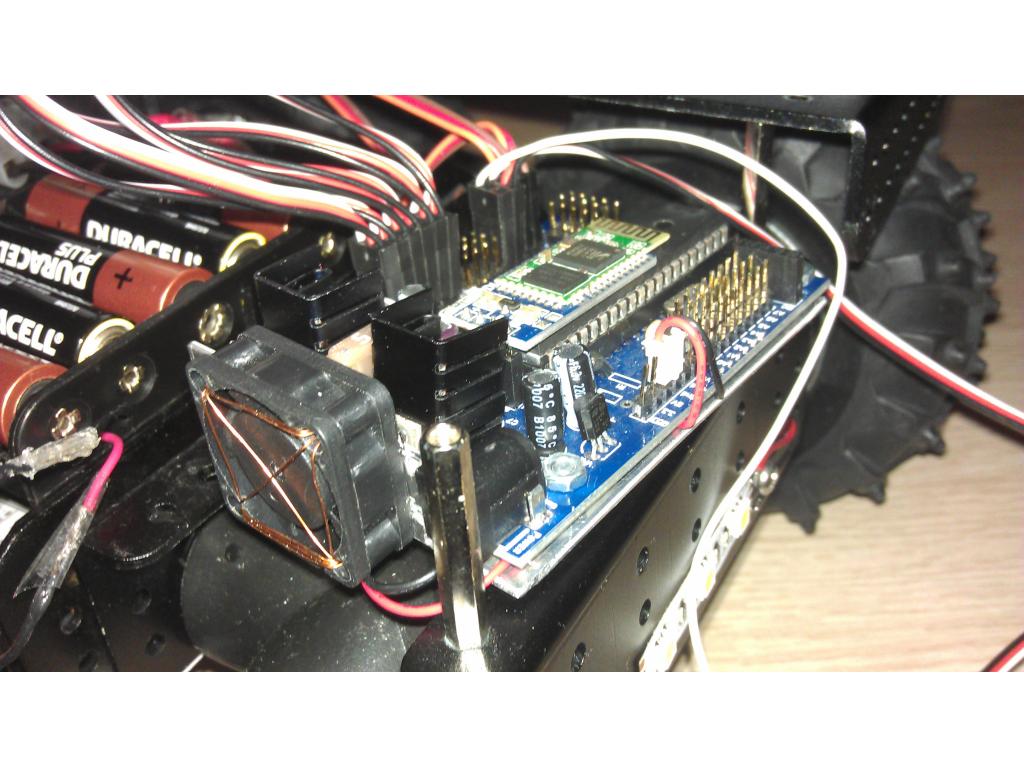
- Ofc the Ez- B
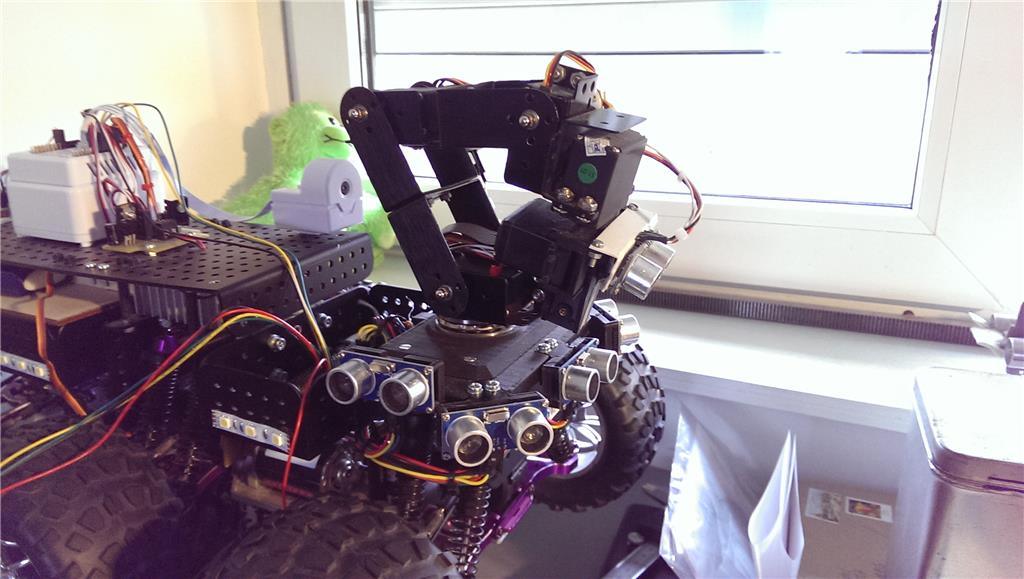
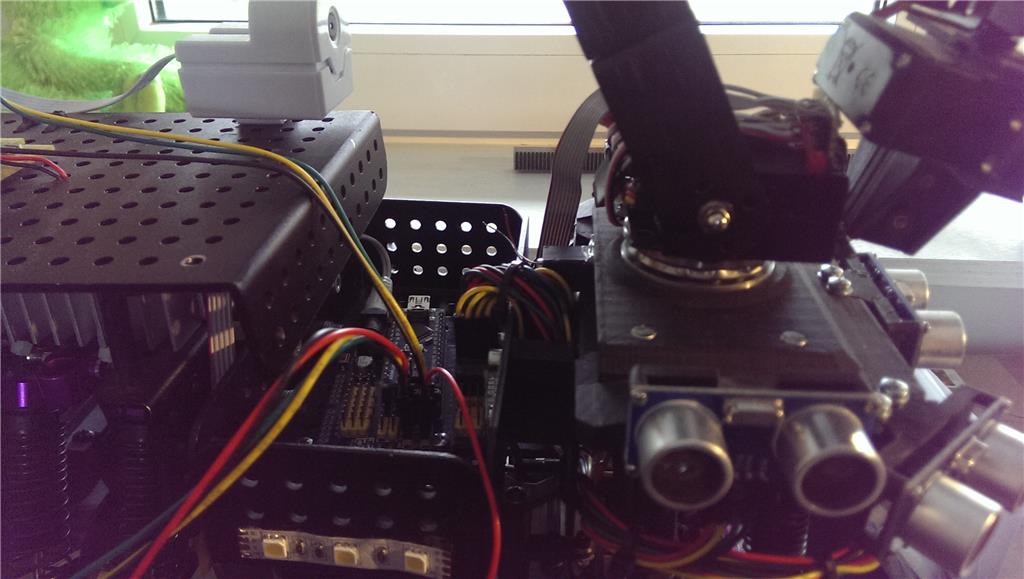
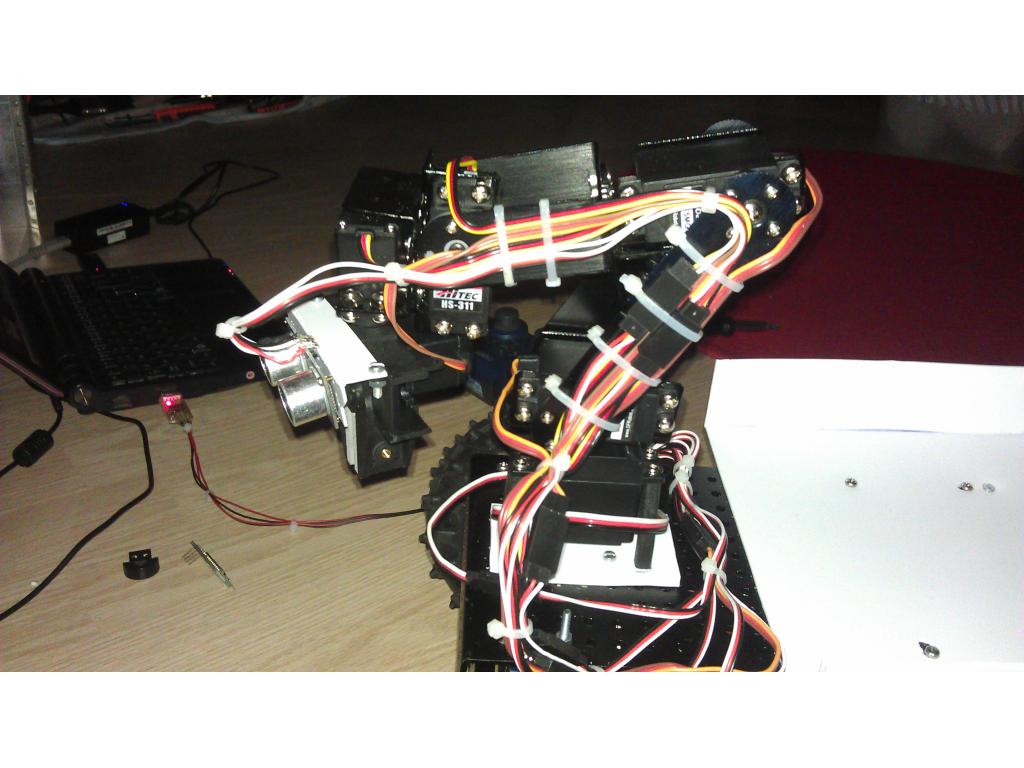
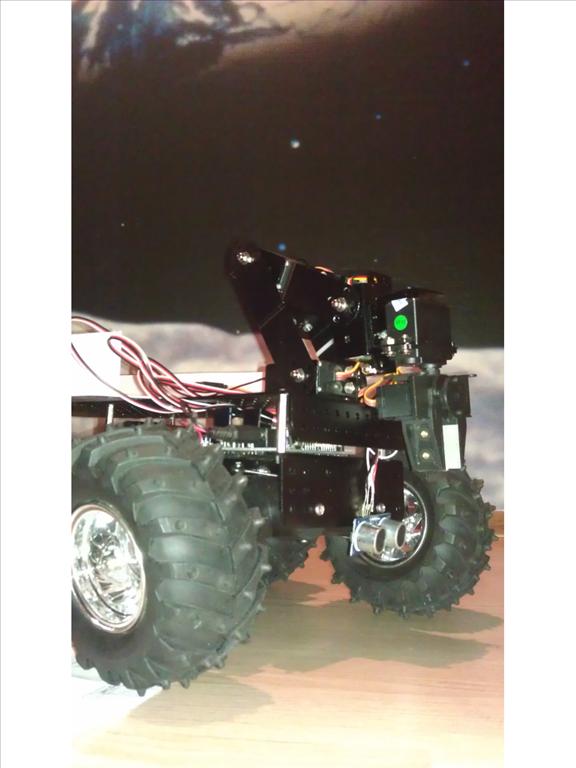
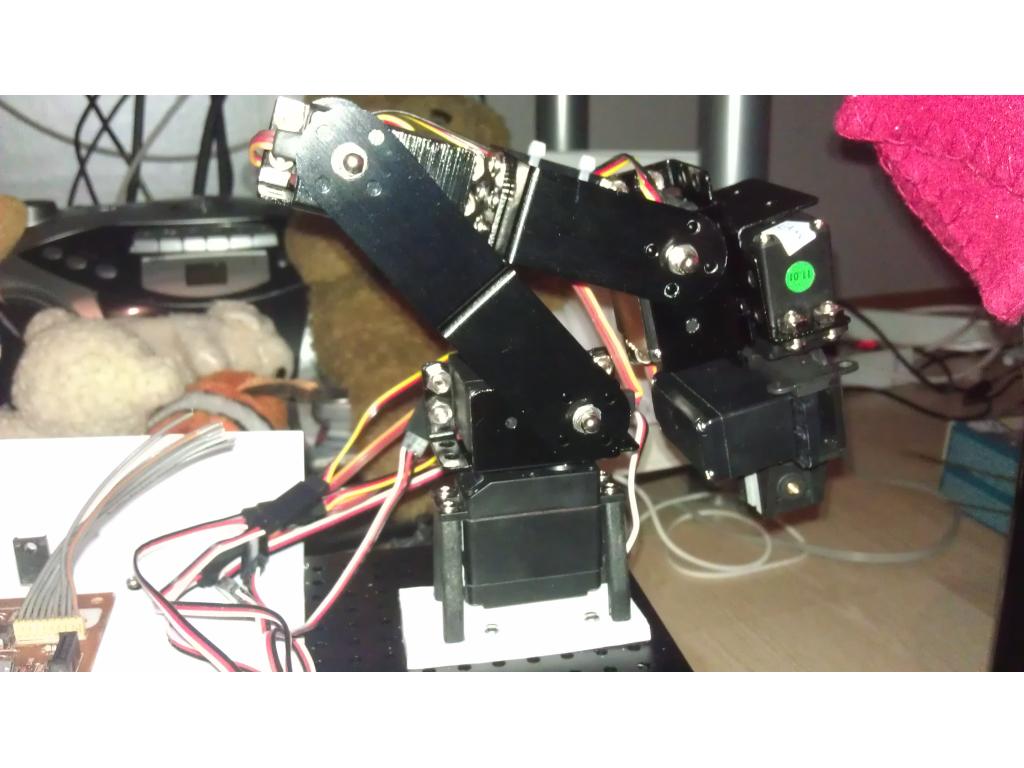
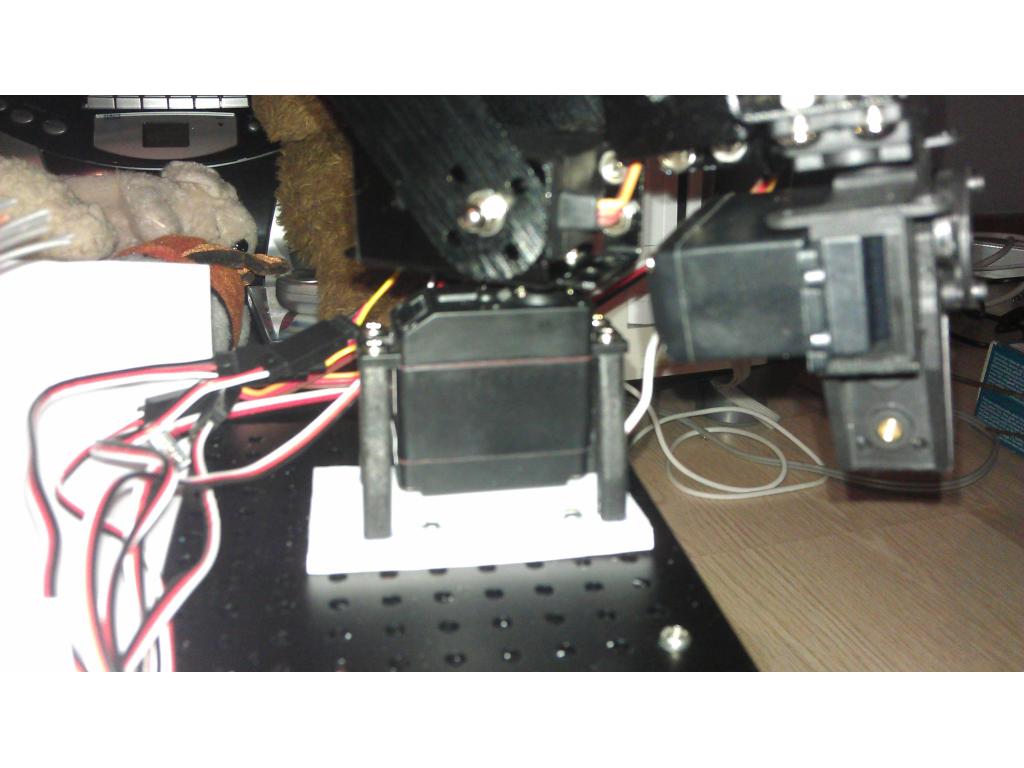
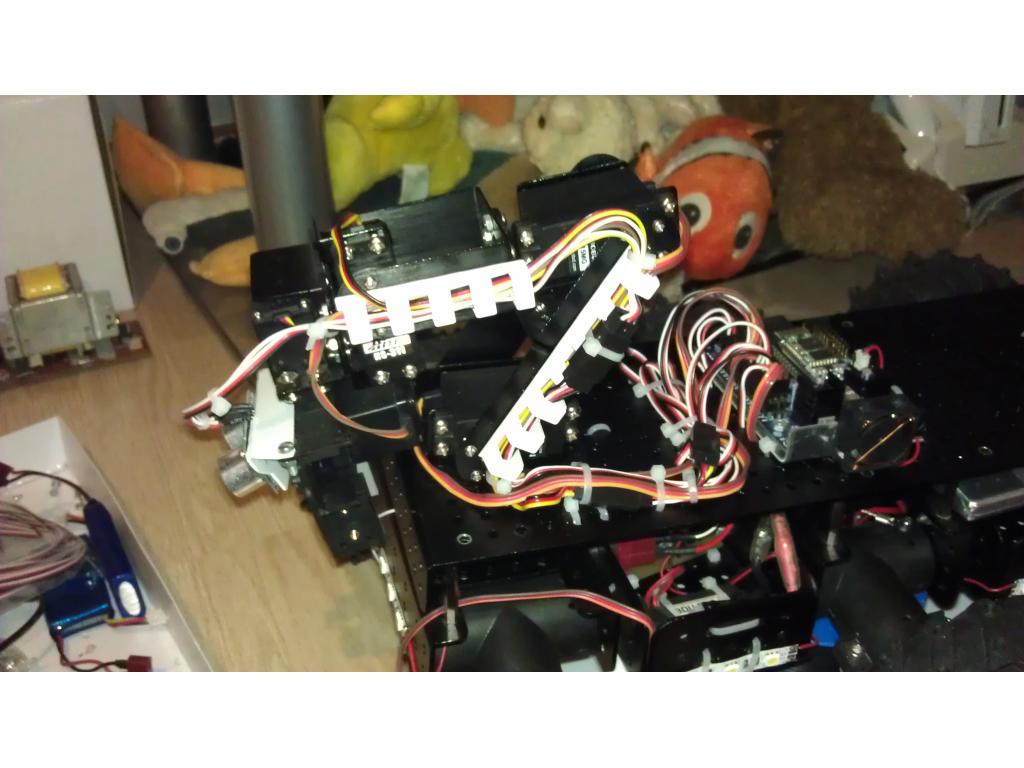
- Dfrobot 5dof robotic arm
- Asus Eee pc 900hd
- Ping sensor (well... I sort of broke it... It got stuck between the robot and the wall...)
Why I'm building it? Because I can, robots are Awsome, the EZ-B rules and I got tired of burning/shocking myself when I'm testing one of my "crazy" contraptions.
Up coming updates for robot:
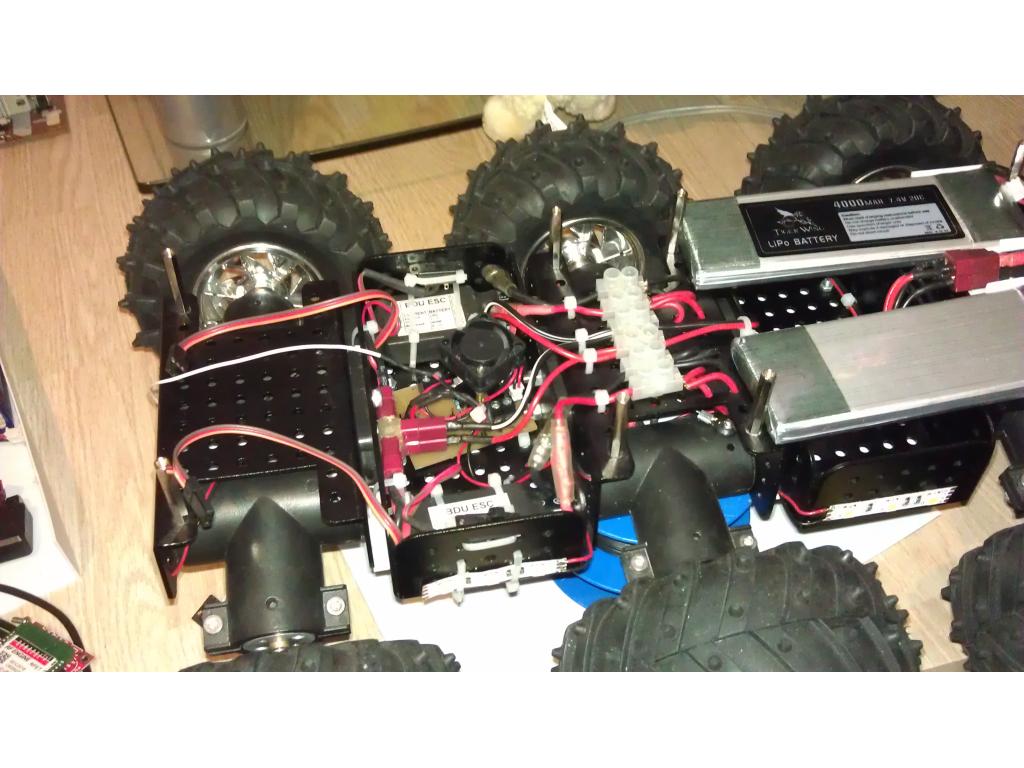
- A rotationplatform for the arm.
- 2 gigantic lipo batteries.
- camera+ pan/tilt turret.
- Small rockets
- mini mini-gun
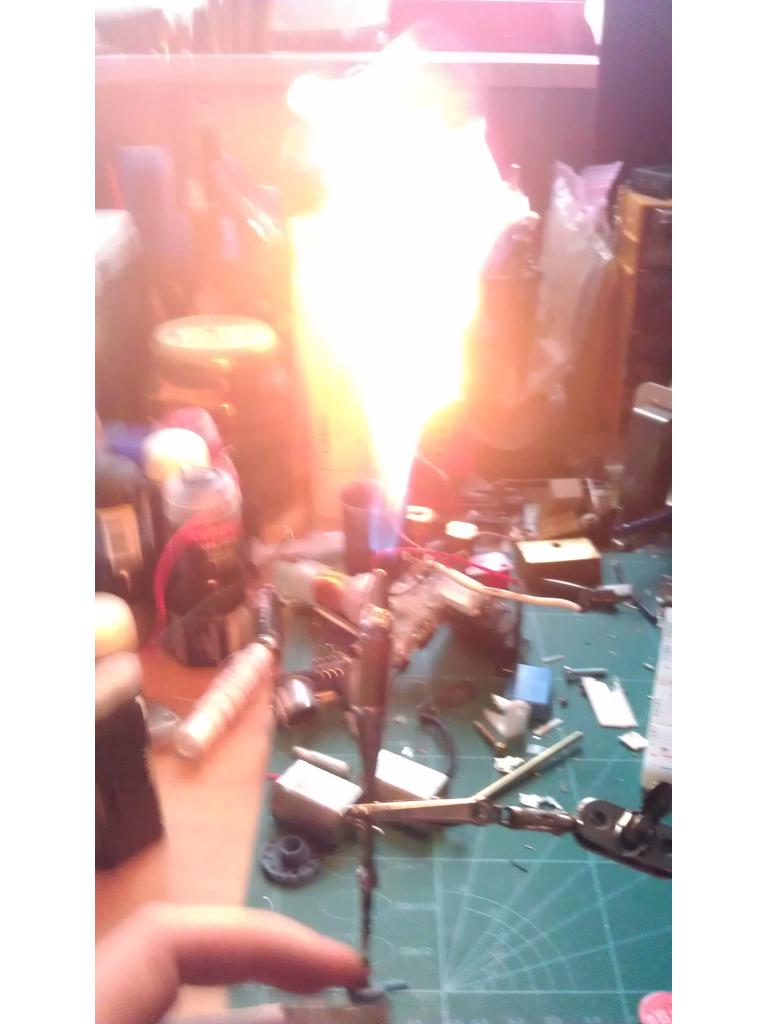
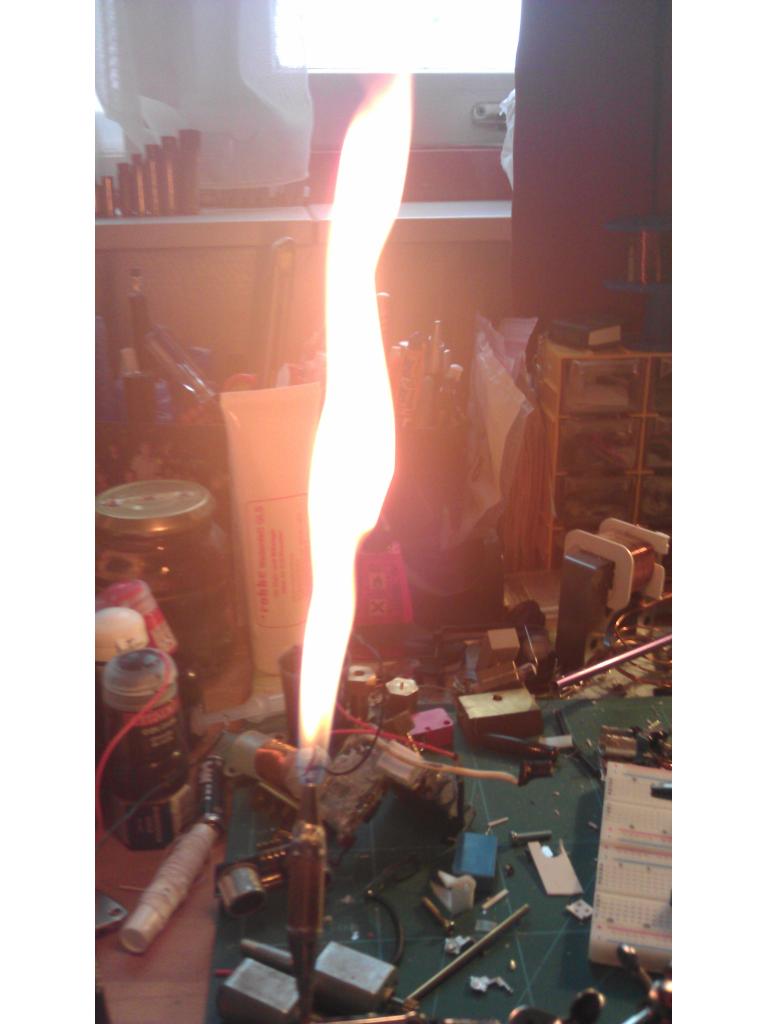
- Flamethrowler (a failed version of a liquid fueled rocket, but it's working if you call it something else)
- coilgun
- railgun
- Lots of other things I can come up with.
By budel0
— Last update
Discover more robots
Bravia's ?? Automation Project
Auto conversion of a standard car automating steering, clutch and gears with switch-to-AUTO, EZB controller testing,...
DJ's Robot Head
Develop a humanoid head with Synthiam ARC, adding new features to support head functions for a humanoid-type platform.
Jstarne1's Building A Giant 3D Printer 720X350x~400Mm Build...
Build a giant FT-6 3D printer: 720×350×400mm print area, 50m resolution, dual-color bowden, heated bed, Marlin...

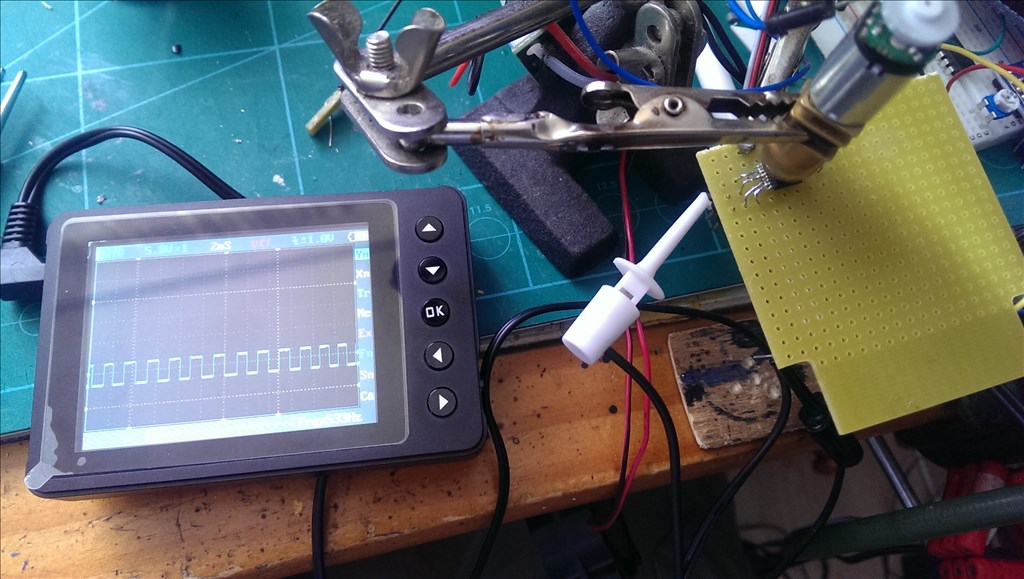
Hi Samantha, I had simular problems, but the synapse modules fixed it, although it took me about 3 weeks to get it running and about 30 mails to solarbotics(that's where I got them). But now that I figured everything out it works great.
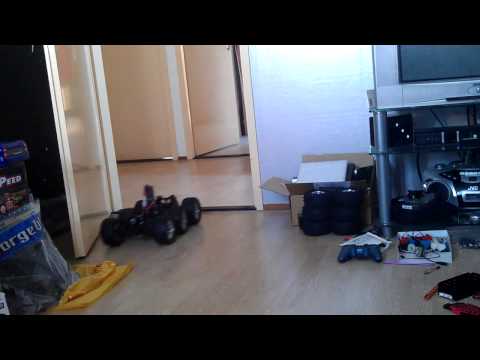
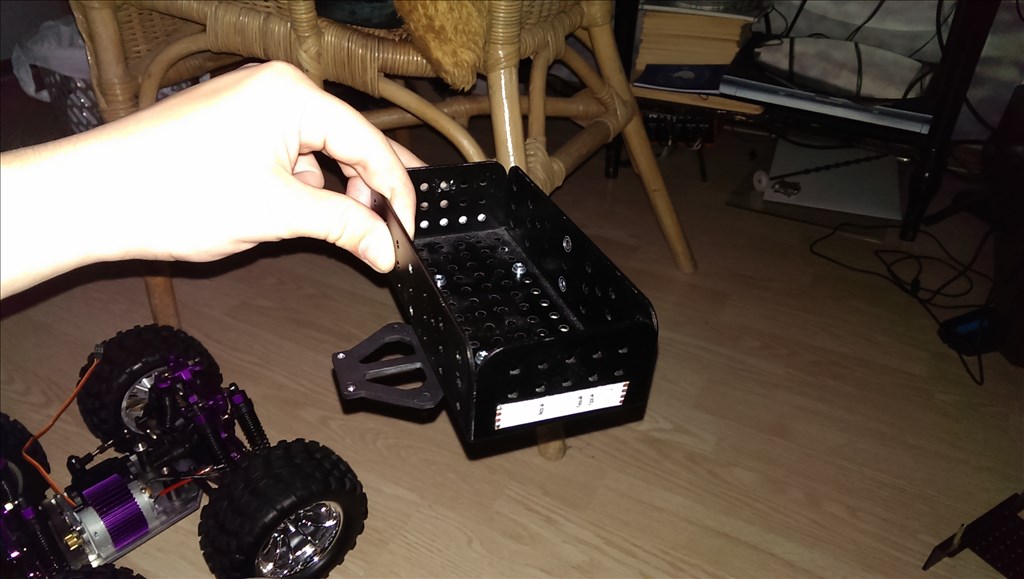
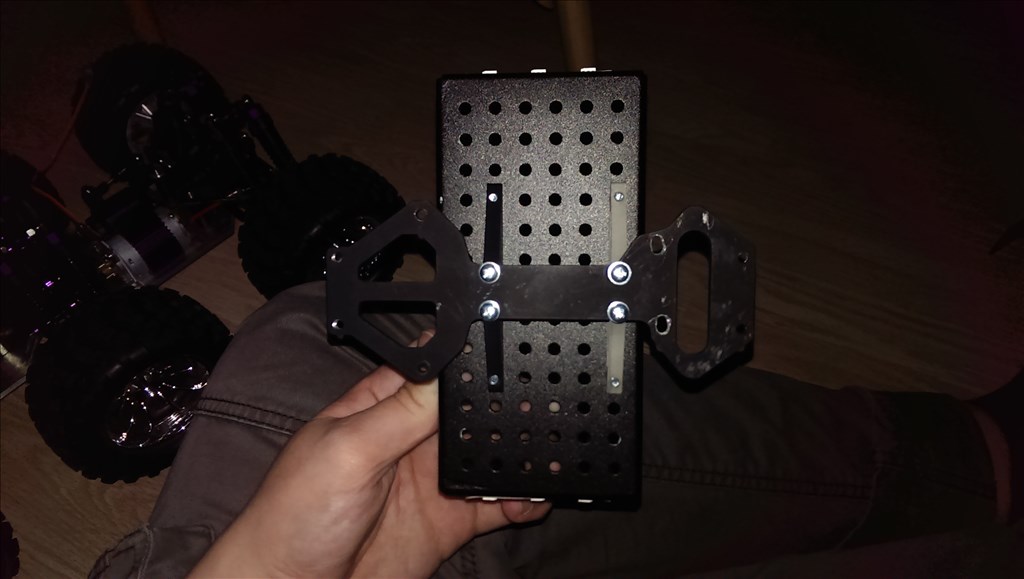
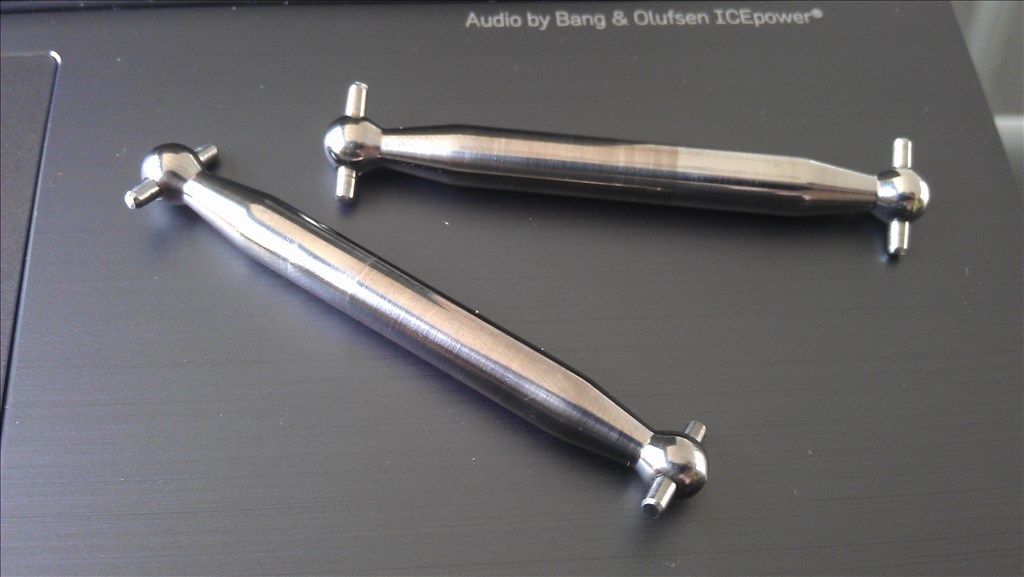
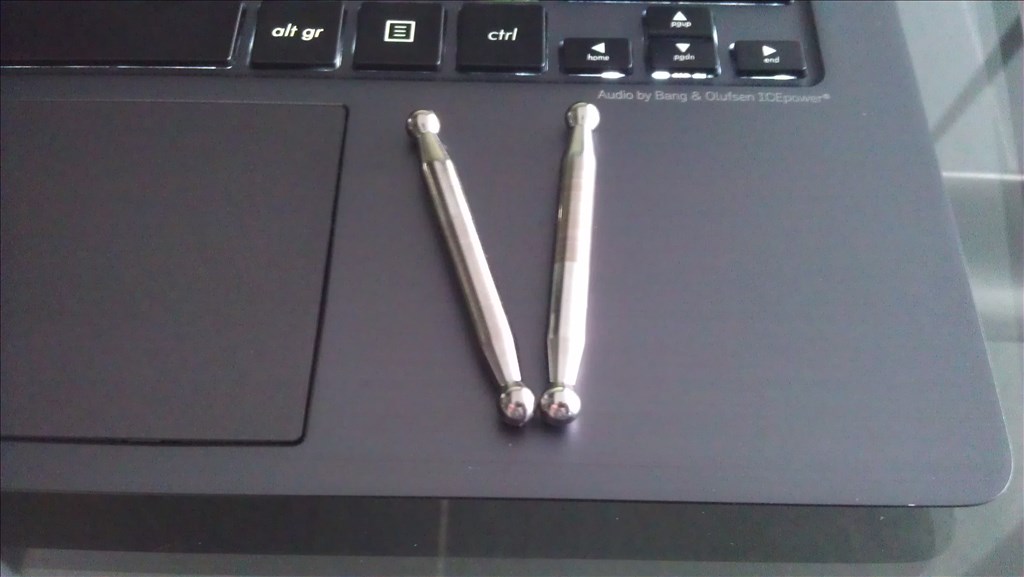
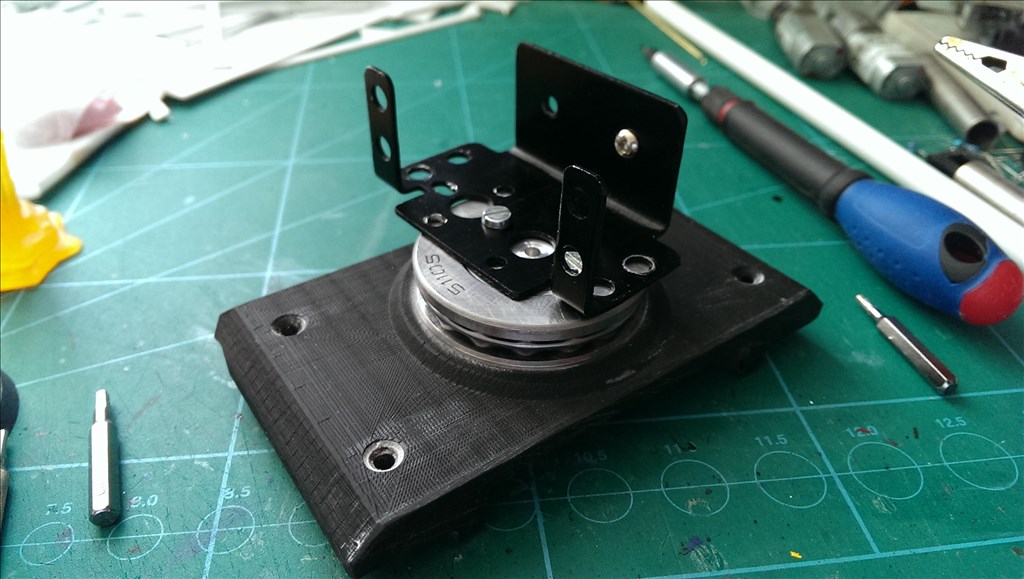
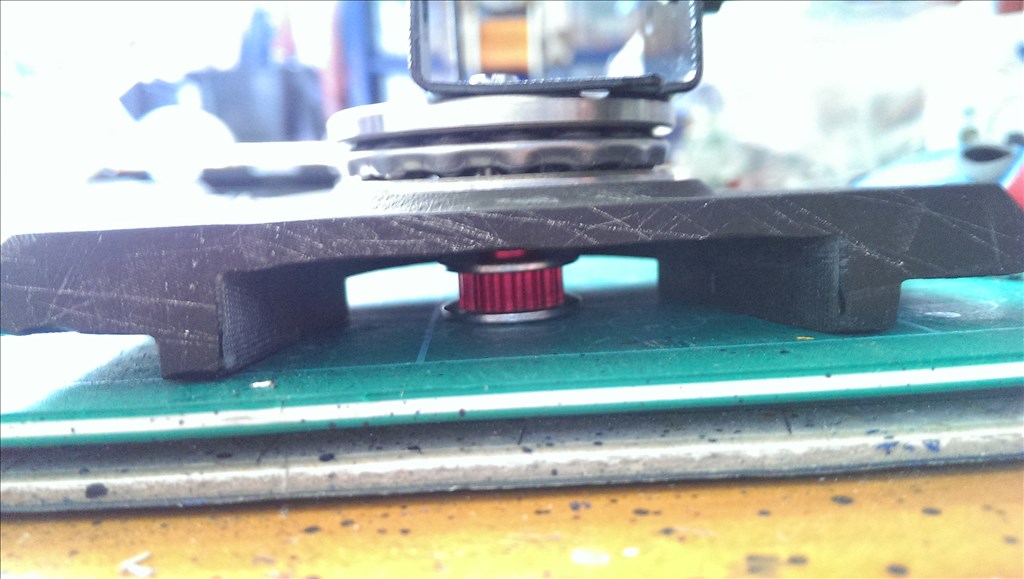
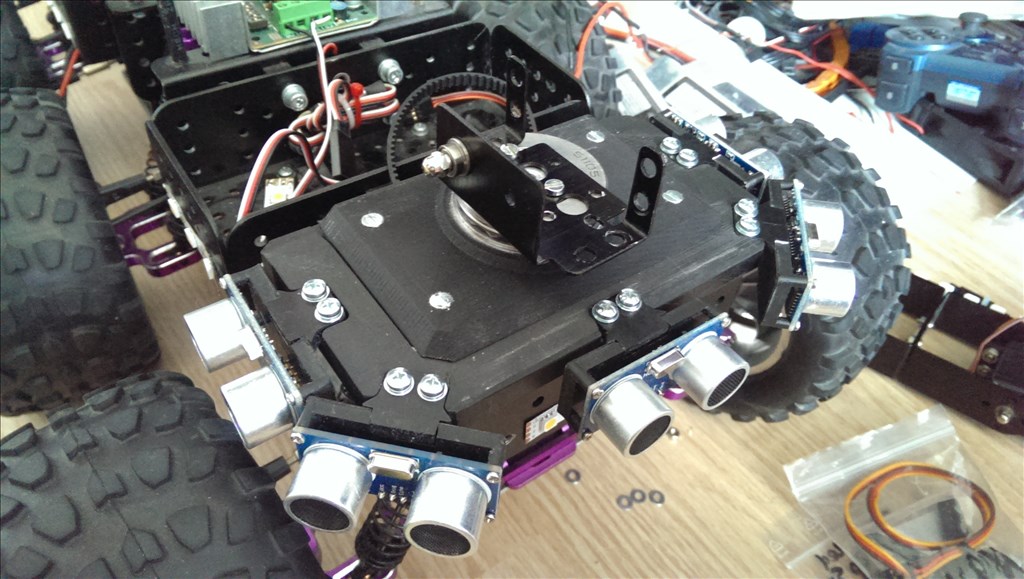
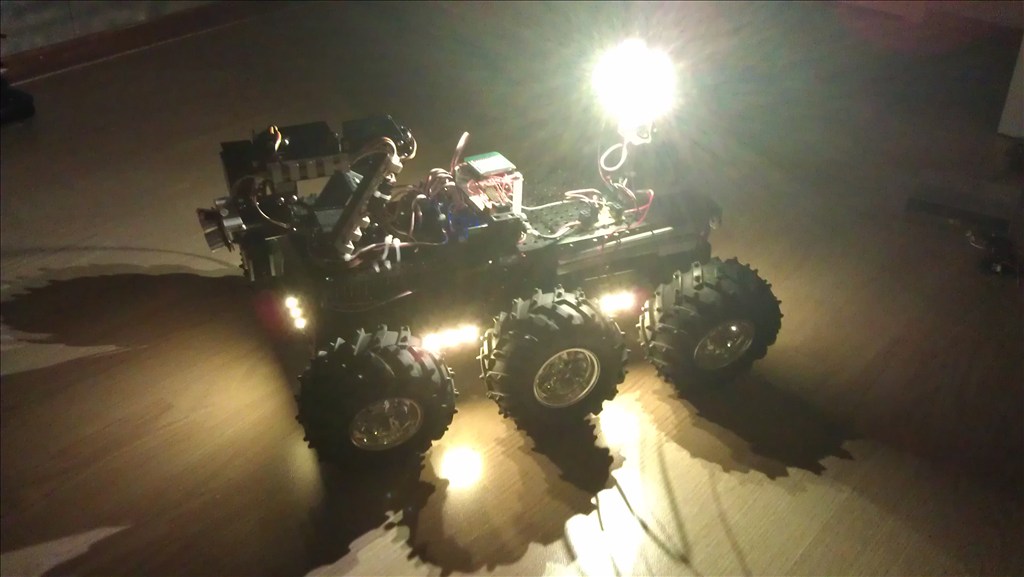
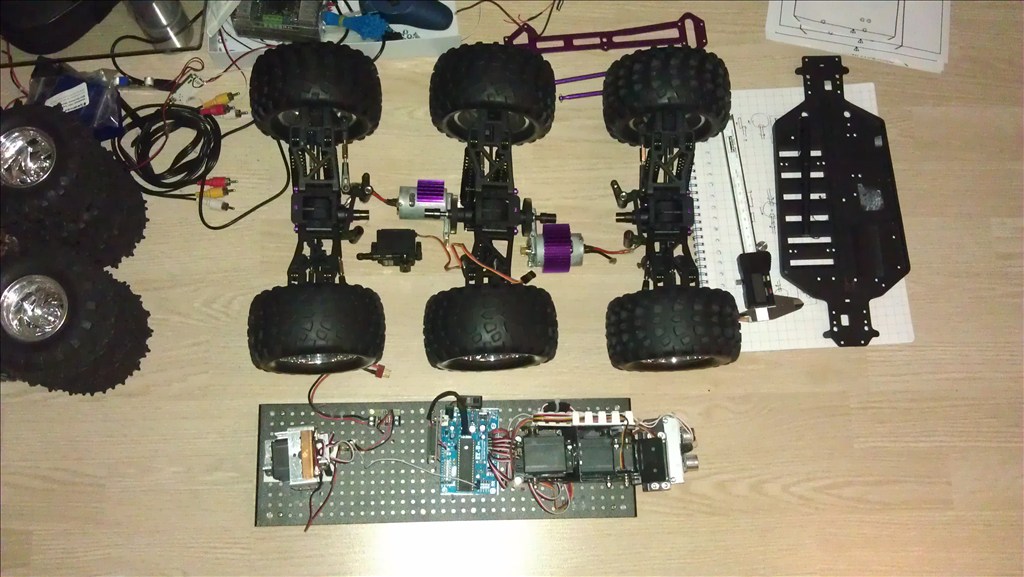
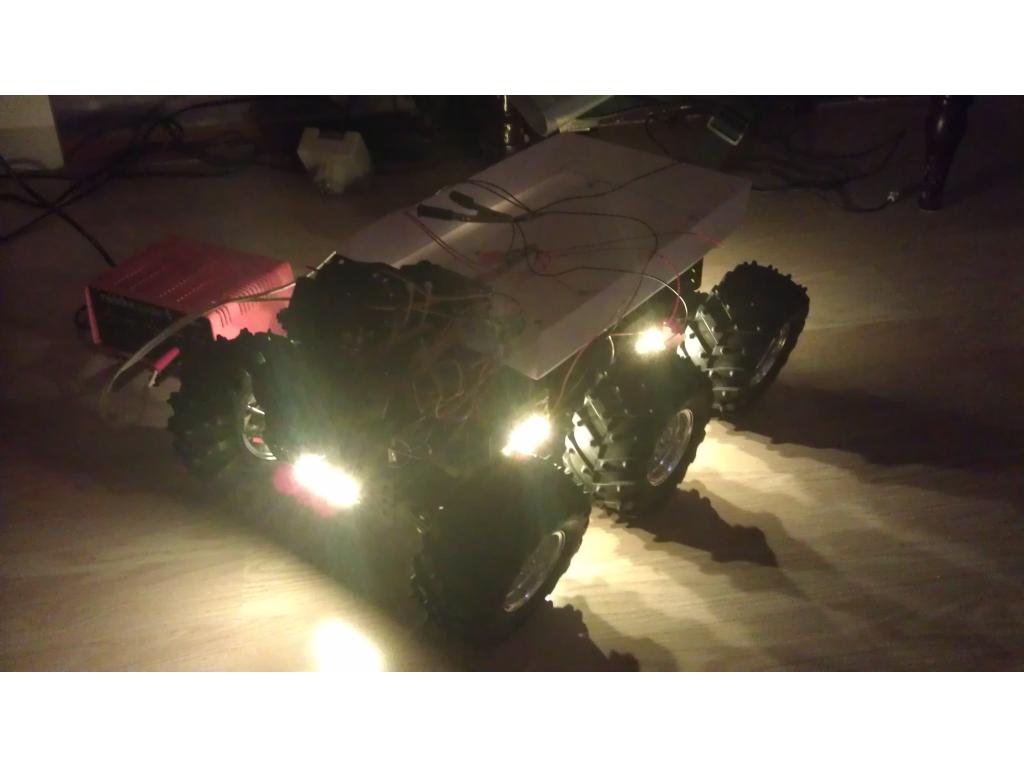
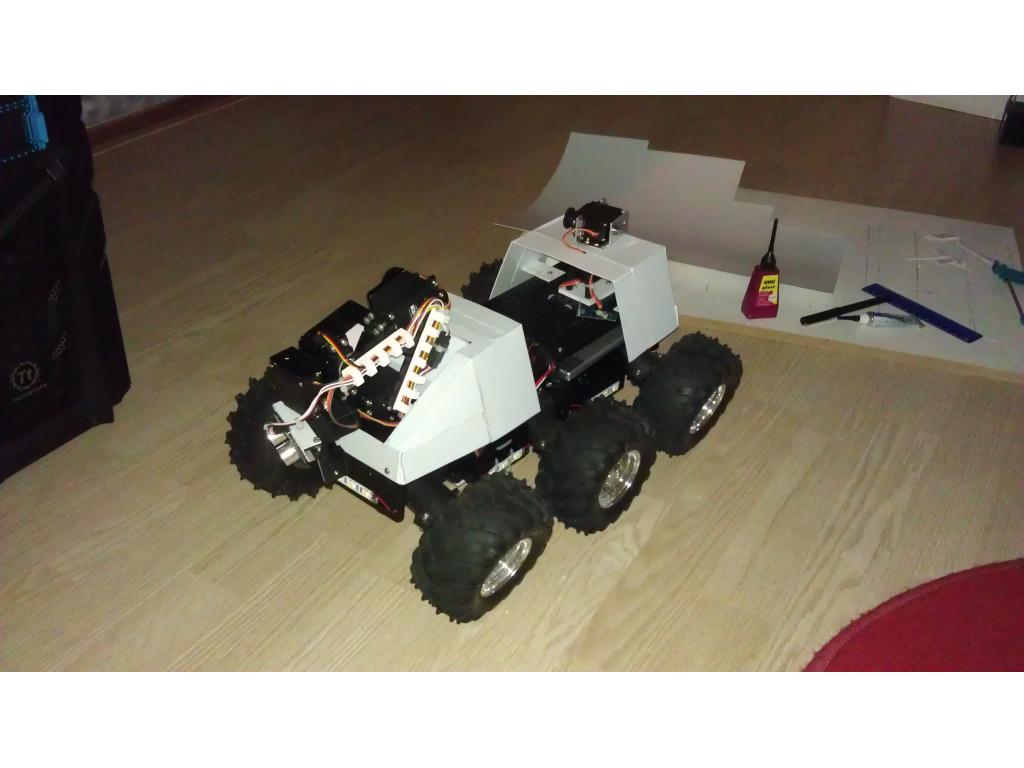
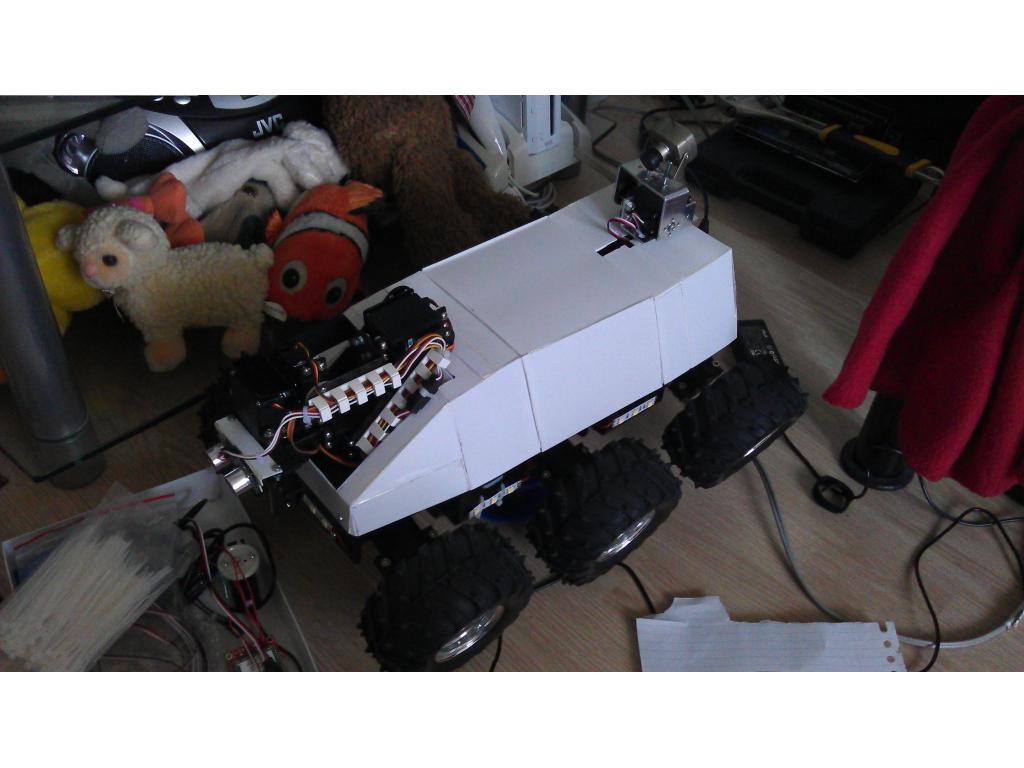
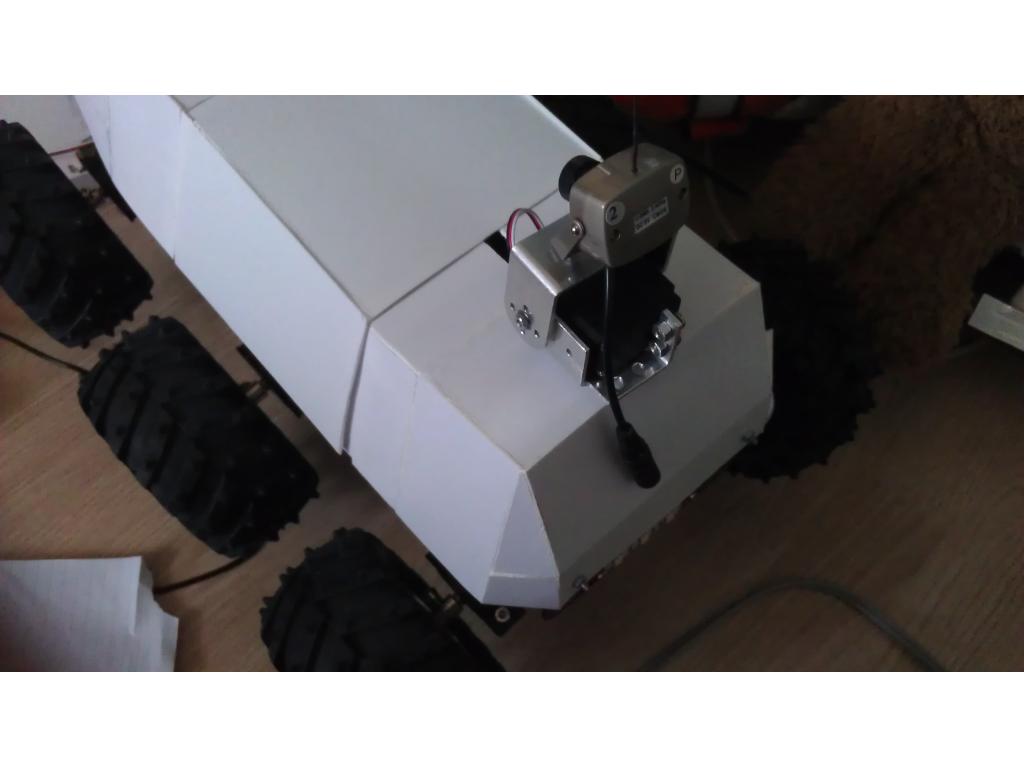
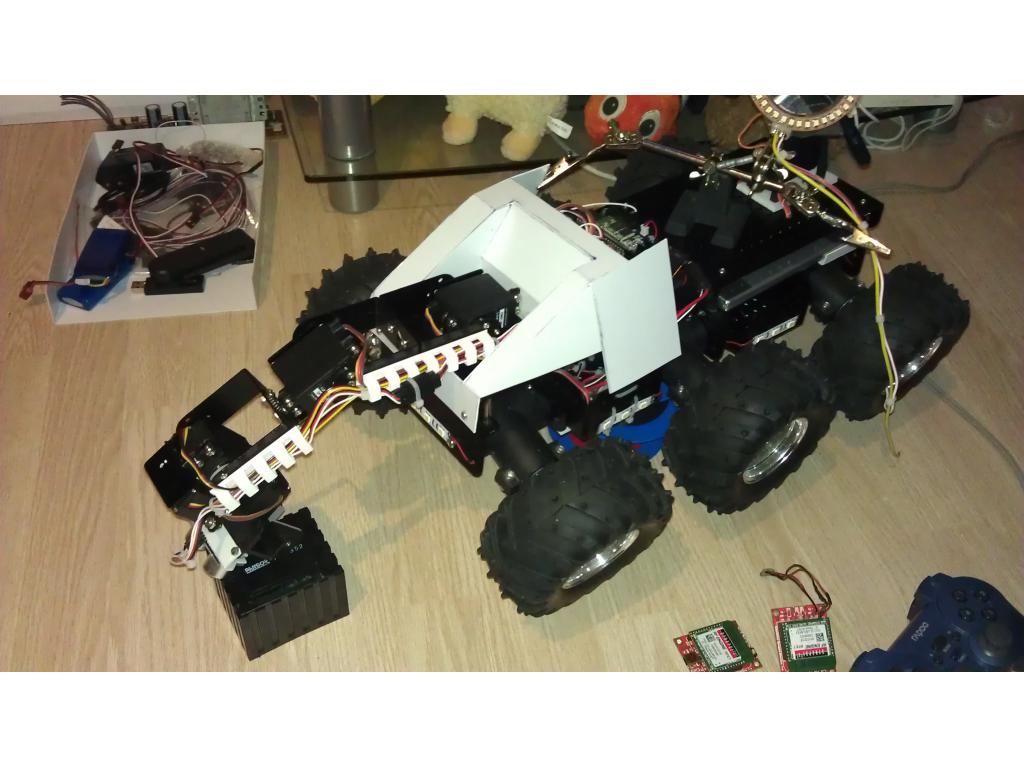
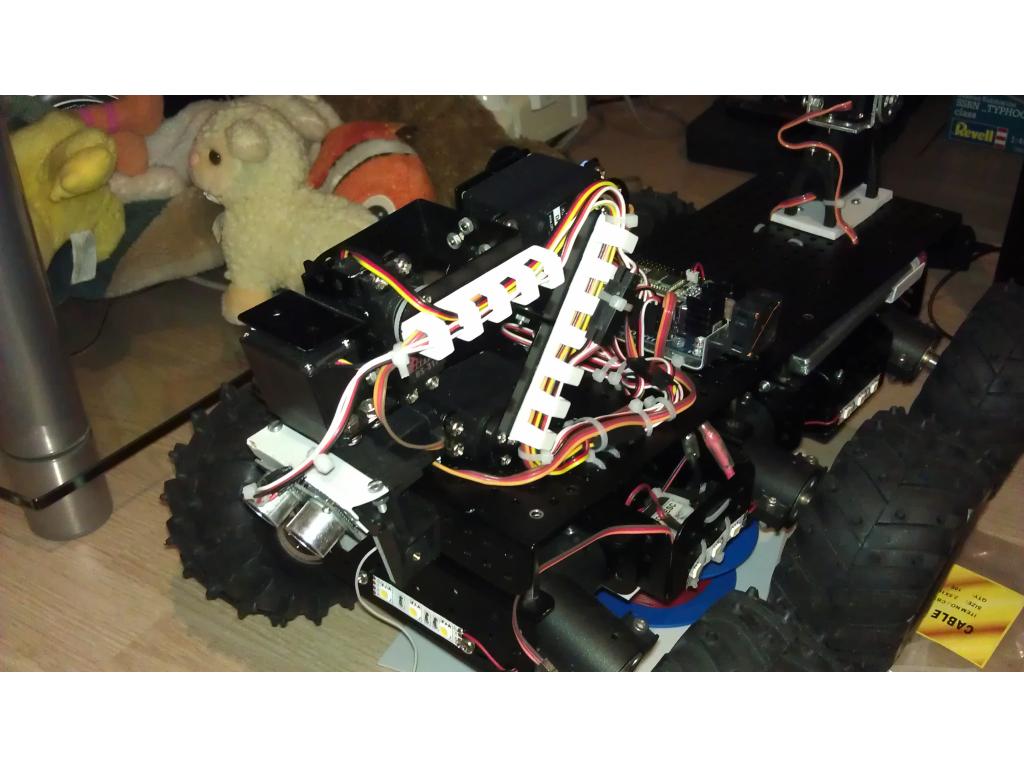
Rest of my update: I added a camera on the back, it sits on a "turret" from which you can look around from. And when I've build the weaponery shoot things like small metal balls or rockets.
Camera view:
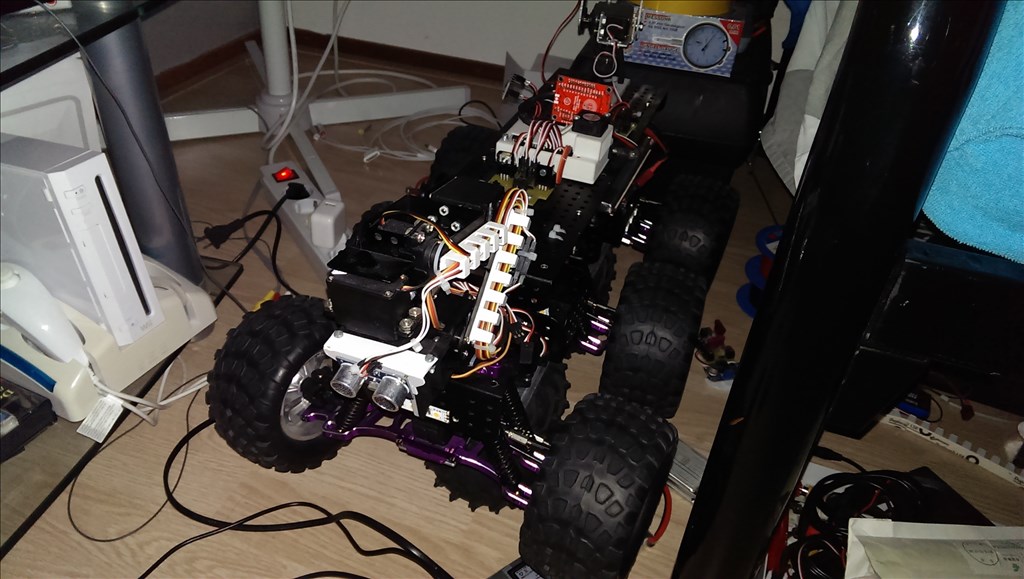
Also I have been working on something rather dangerous, in my first post I said I would add a flamethrower. Here is my prototype:
These tests used lighterfull in gass form, when using liquid flames would get about 1 meter long.
Note: this is very dangerous, don't try it if you can't control it I did this on my own risk and it almost burned my room down because of curiosity... Checked if the fire was hot. And it was. It started an uncontrolable fire on a small piece of paper, which wouldn't stop burning.
When its finished I will mount it on my robot arm. The cool part of my design is that it has chambers that in following order to the nozzle each become larger. So the gass can expand in each chamber sucking warmth from its environment and thus freezing it when used long enough.
Next update: More things I can come up with, maybe even a video. And I might make a body to cover the chassis.
Oh S&*t. Careful now. Video would be awesome but not at the cost of your house. Not a fun thing (had a house burn down, faulty wiring) sucked.
I don't know enough about things like that to attempt it. This place has classes if you happen to be in the Bay Area.
The Crucible
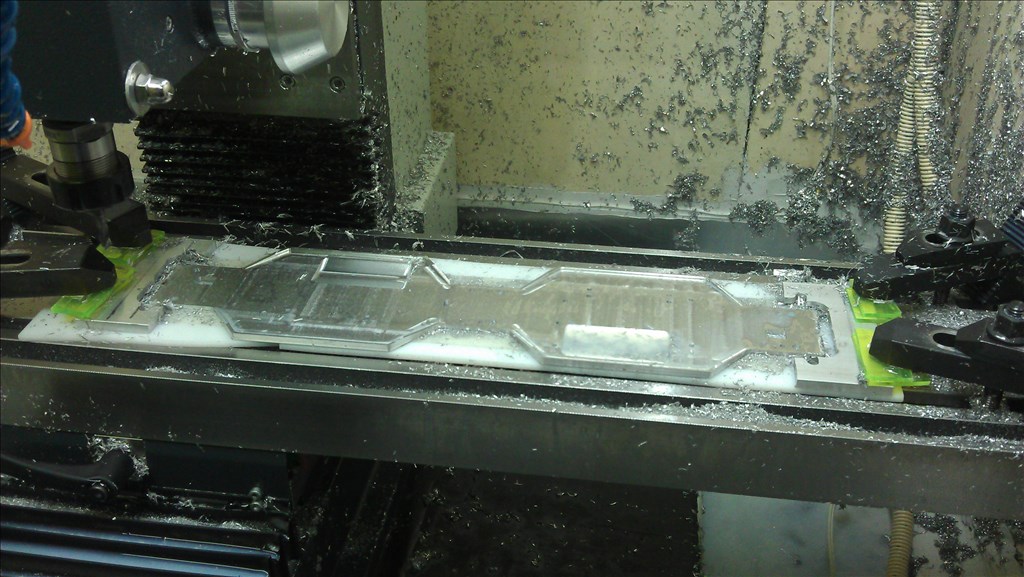
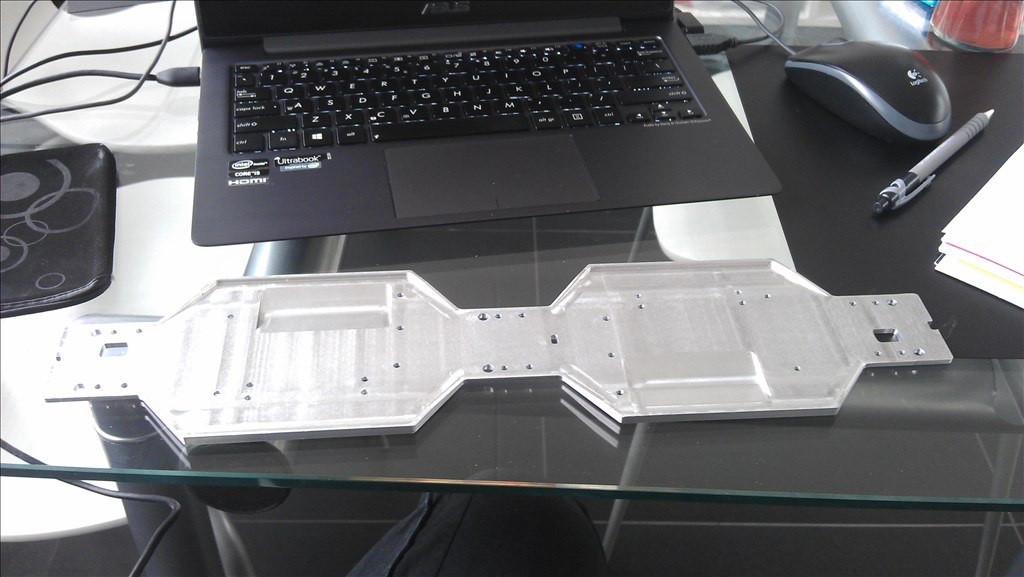
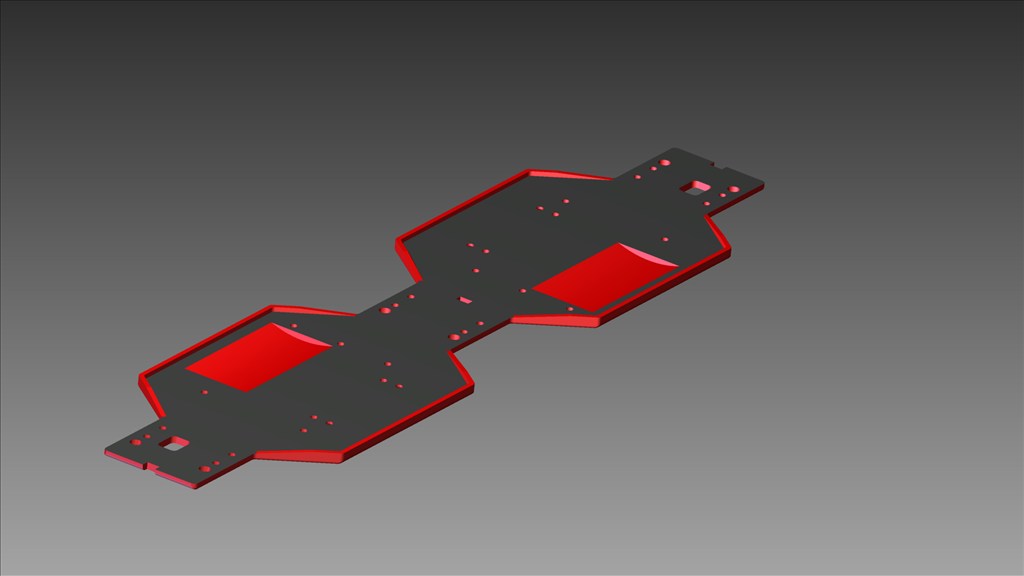
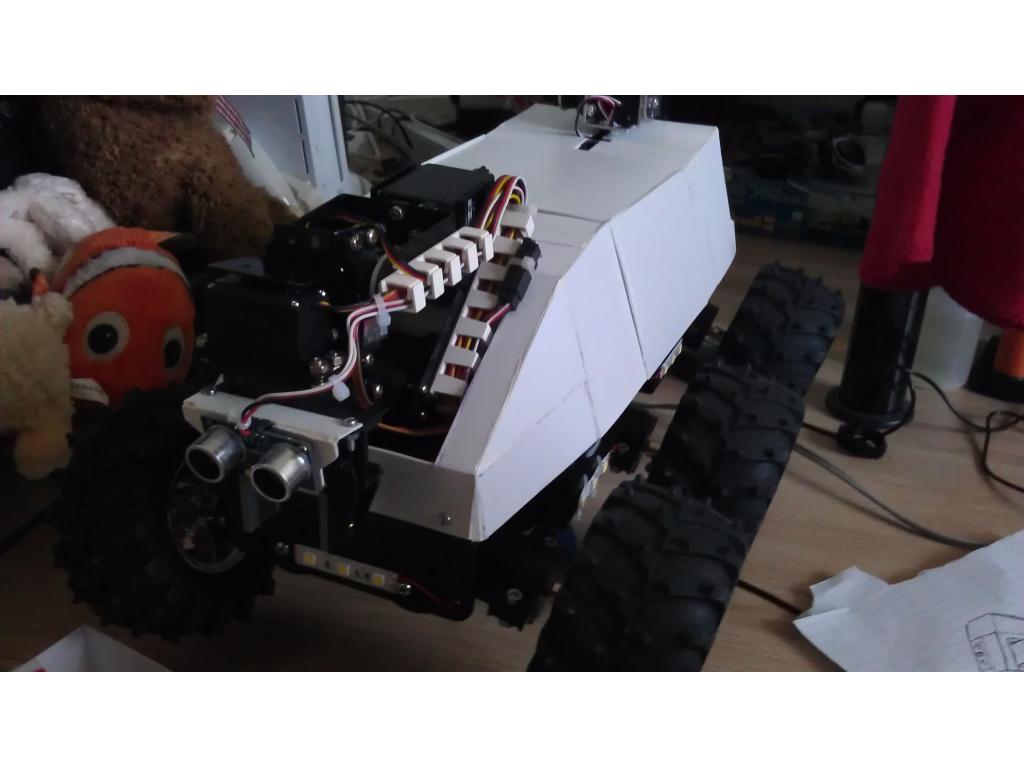
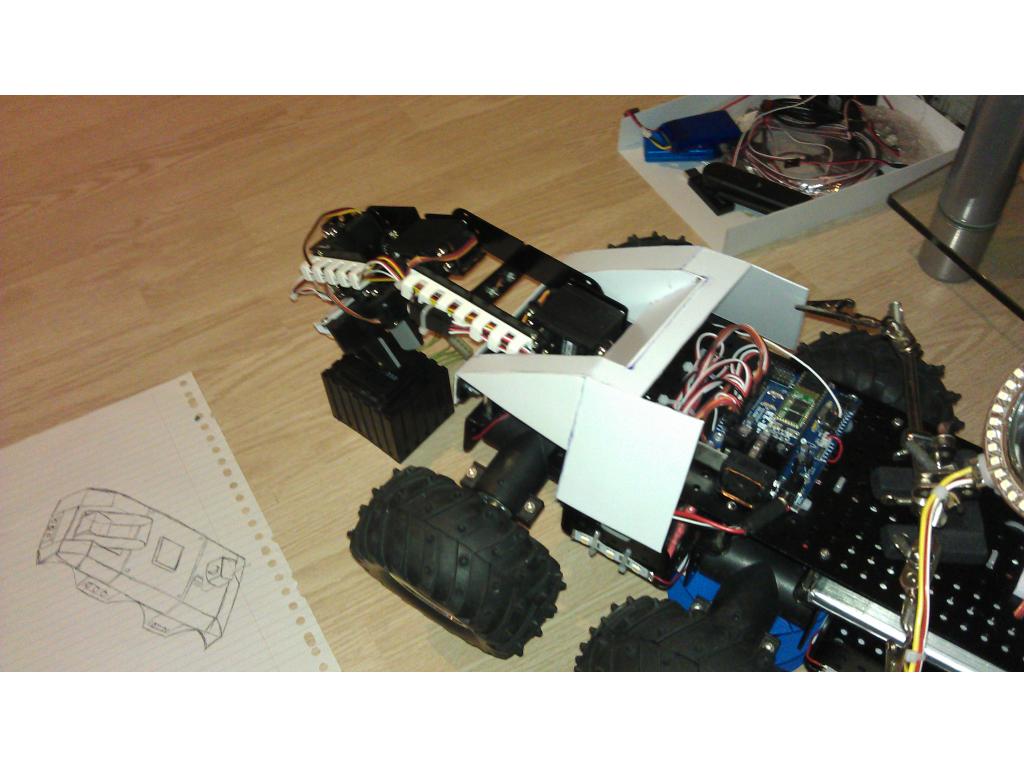
Body kit build part 1: So I started with a body design
And then I started to cut plastic and glue them together until it looked like:
To be continued! I'll probably finish it in a week or 2.
That's gonna look really slick.
What type of plastic are you using? How does it glue together?
Samantha
@ Samantha
I'm using solid polystyreen sheet plastic which is working out pretty good so far. To glue it together I'm using a glue simular to Revell model glue. It dissolves the plastic slightly and makes it soft so if you apply it to an edge and wait about 1 minute and then hold it to another piece of plastic it will stay together. But it's fragile until it's hardend and if it can't hold by it's self you have to hold it in place with something. Like the 3rd hand thing in my picture in my previous post or tape, or dentel floss, just holding it for like 10-15 min will also work(it isn't fully hardened yet, but it will stay put). It depends on the situation .
.
If there are gaps you can fill them with with plastic sawdust or small pieces of plastic, add enough glue to cover the pieces you use to fill the gap and then wait. Usually it fills the gap completely and else it requires more glue + plastic. I usually use modeling putty, kosts less glue and less time.
Note: don't use to much glue on a flat surface because it makes the plastic soft so it will warp and in a worse case senario it will make a hole in the plastic.
I see, sounds similar to working with the clear plexi glass like stuff. I made a clear display case out of it but used that liquid solvent stuff. You put them together and then drag the liquid stuff across seam. All though you only have to hold it for like a minute. Does take like 24 hours to cure.
As far as a putty I really like this sculpting epoxy. Gets really hard and very easy to smooth out.
Thanks for providing more info.
So I just finished up the upperbody. So behold:
Next up:
Awesome job! I love the look.