


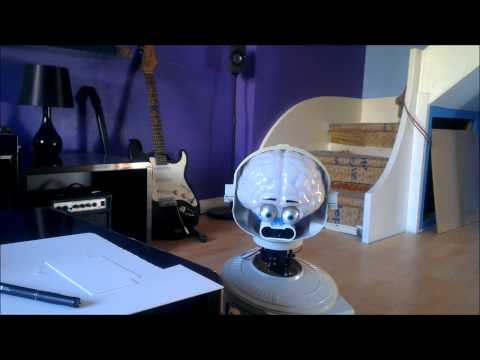

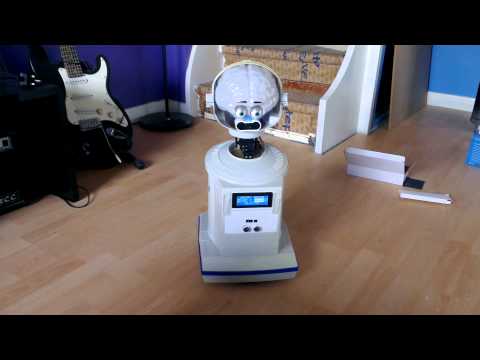


Now I have the EZ-B kit and the Hearoid it's time to start my Showcase thread.
I still haven't decided on a name for him yet, all suggestions are welcome.
I won this robot on ebay weeks ago, for the past 2 weeks he has been waiting for me to collect him...
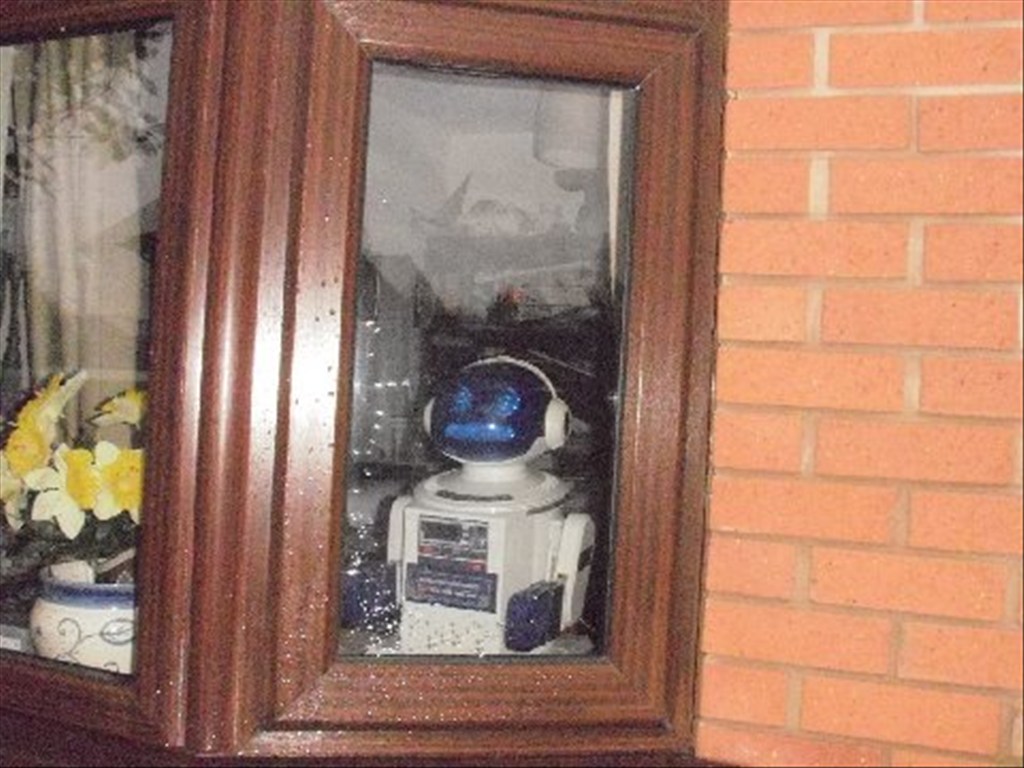
Today was the day, a road trip to pick him up and bring him back to his new home...
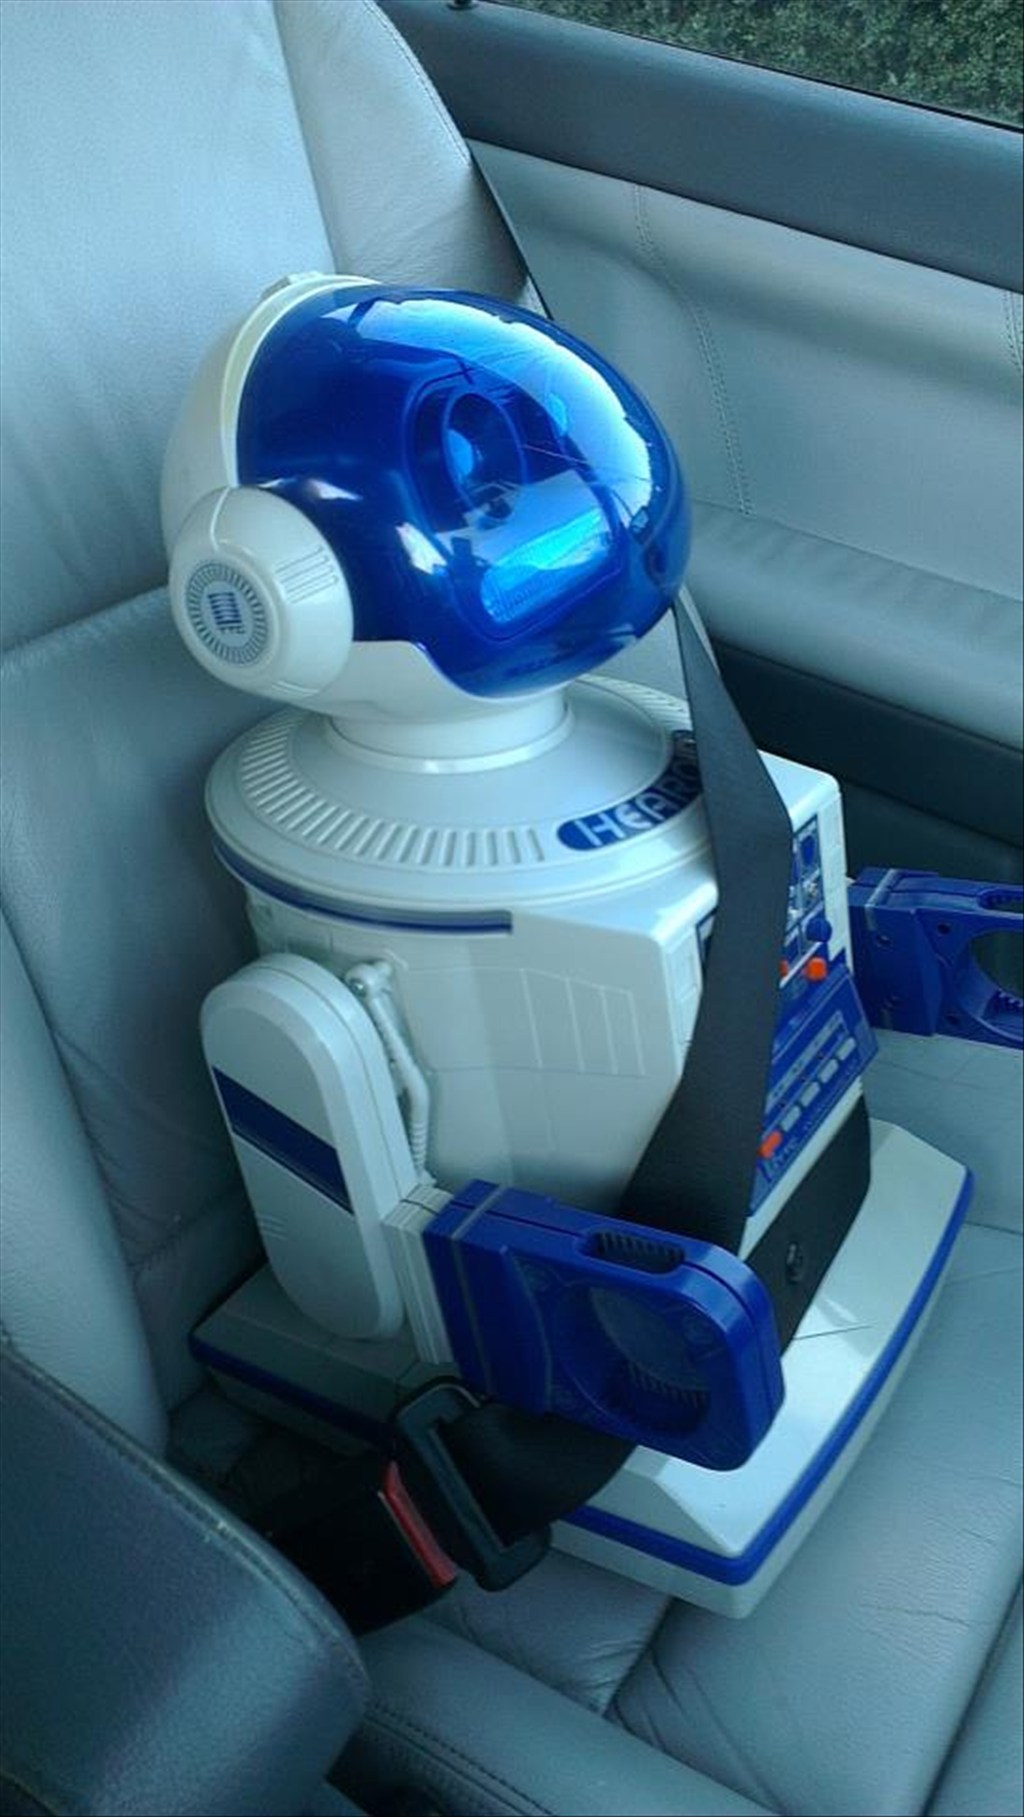
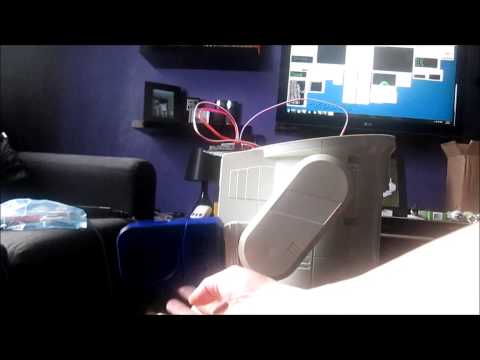
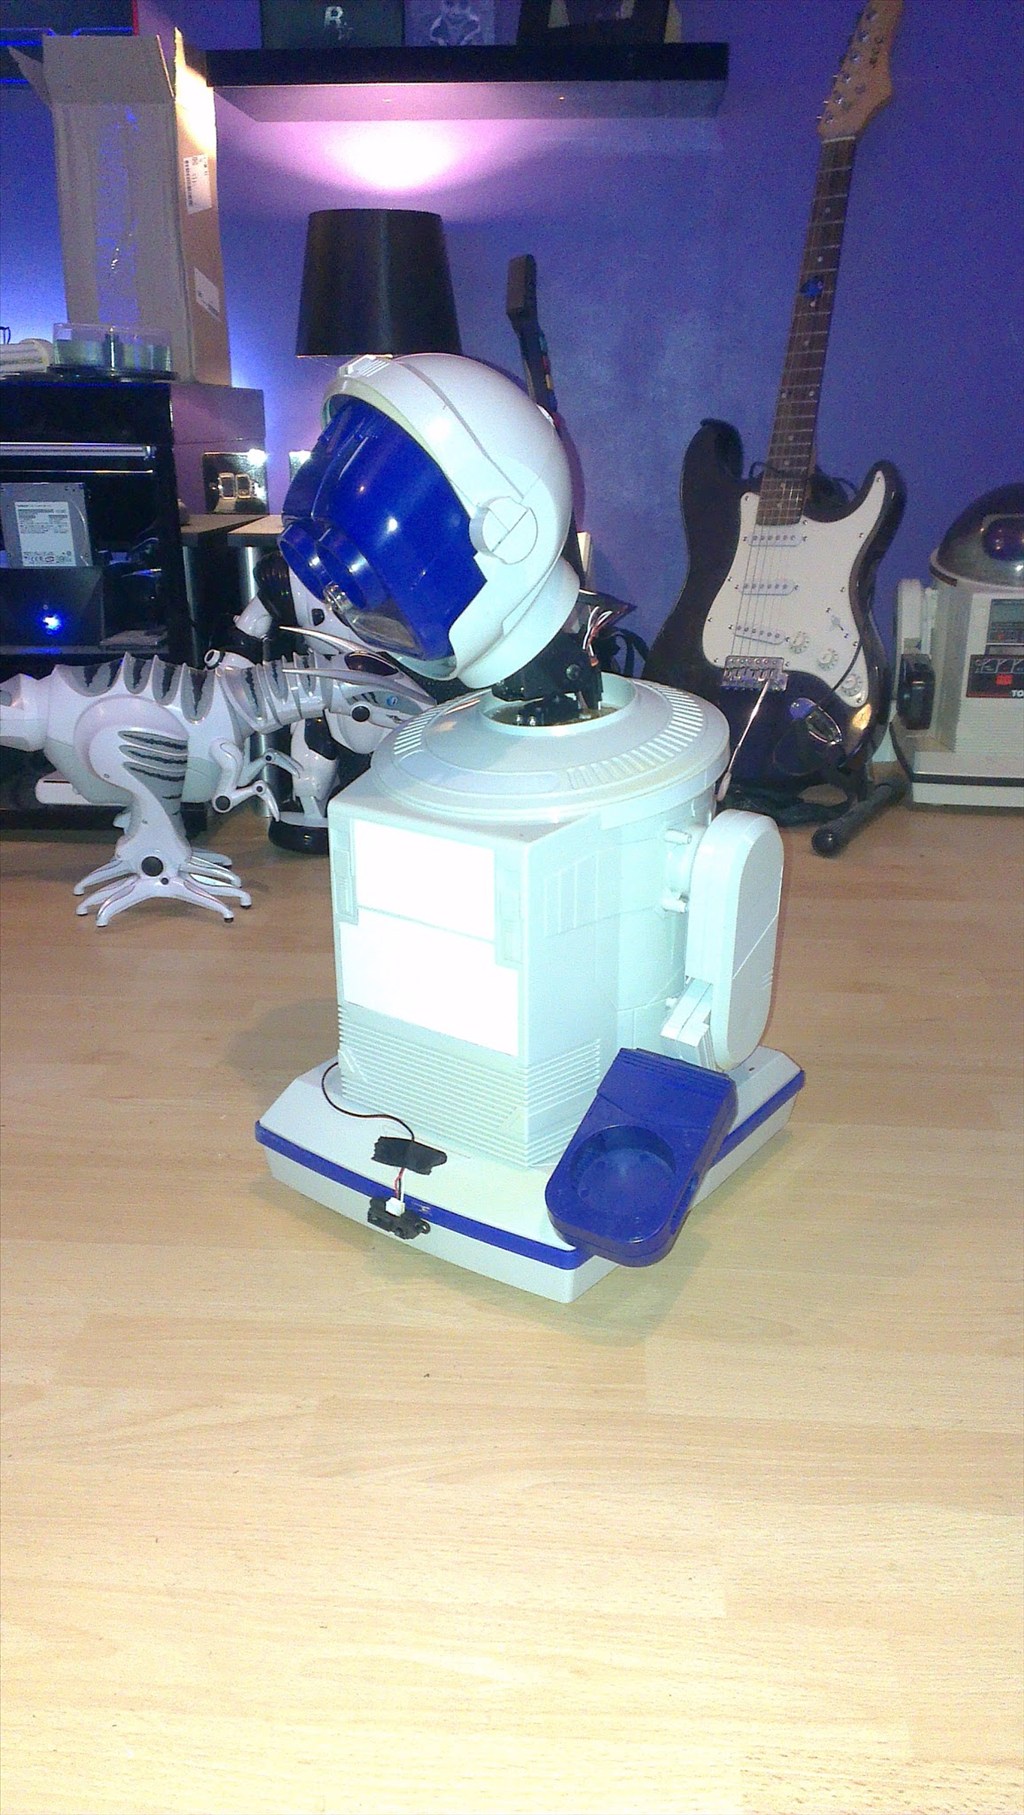
In his new home (with Omnibot and Wall-e in the background totally unaware they are next in line to be opened up)
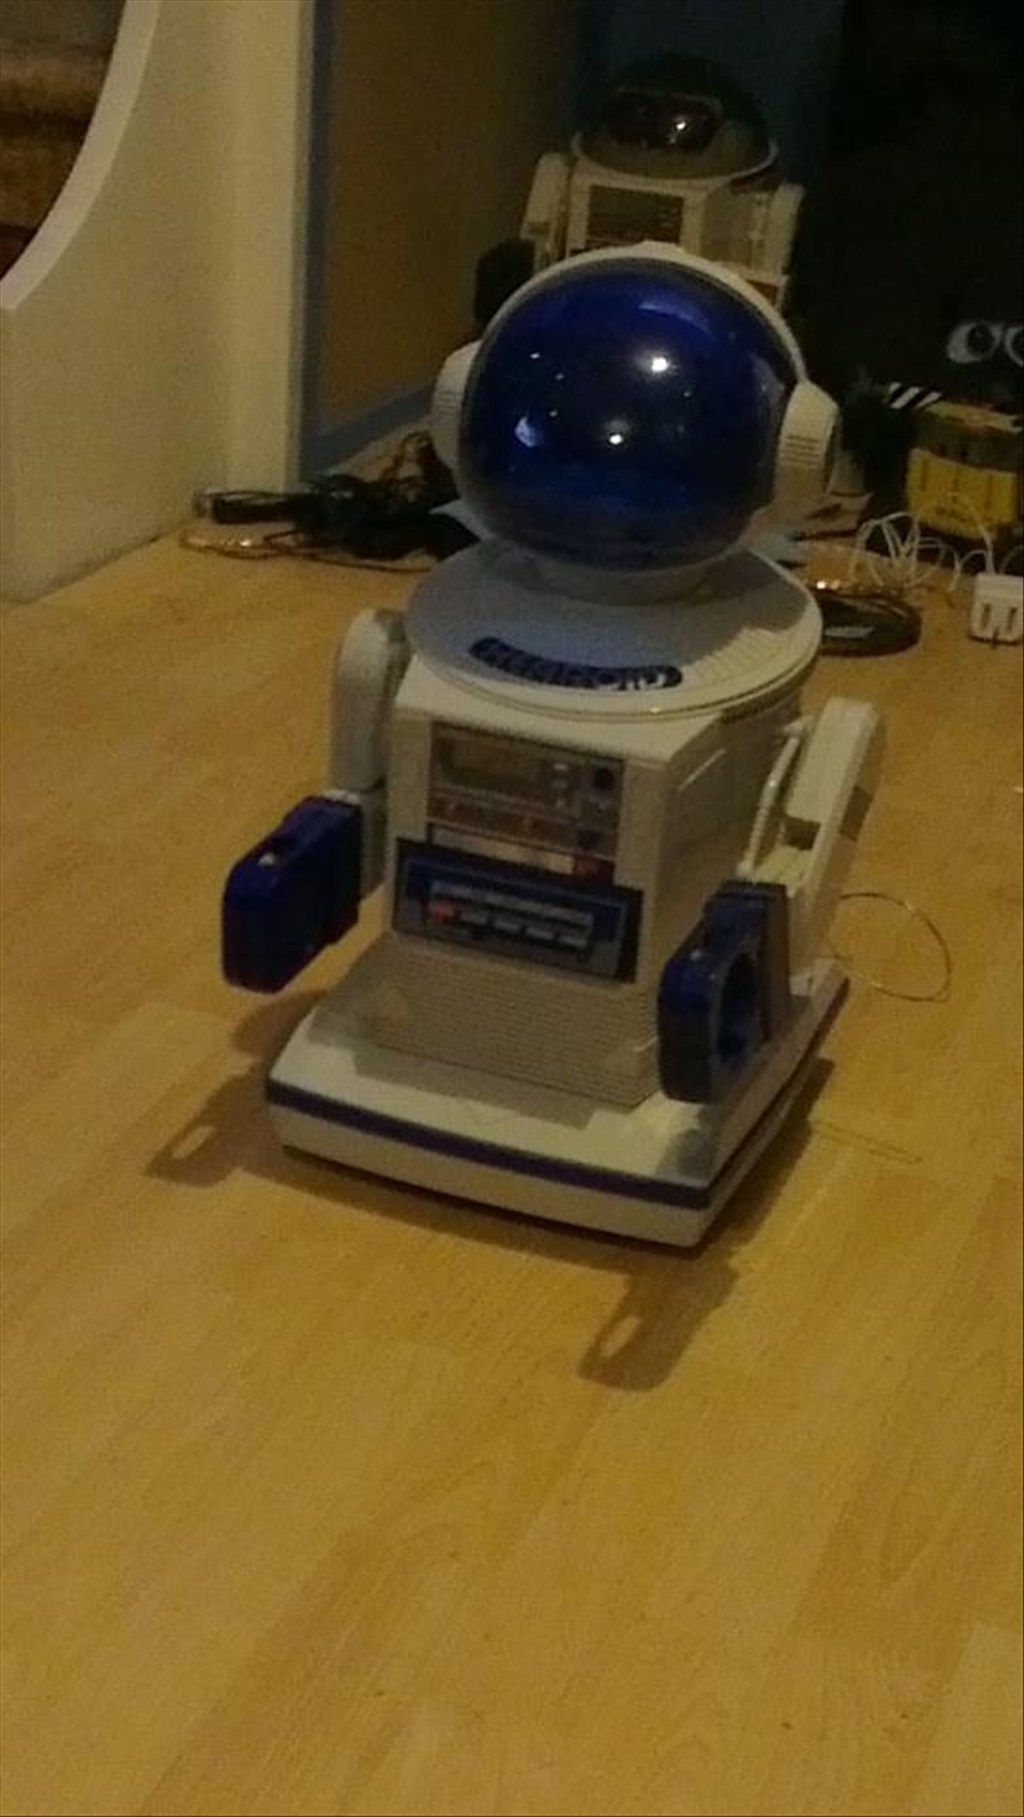
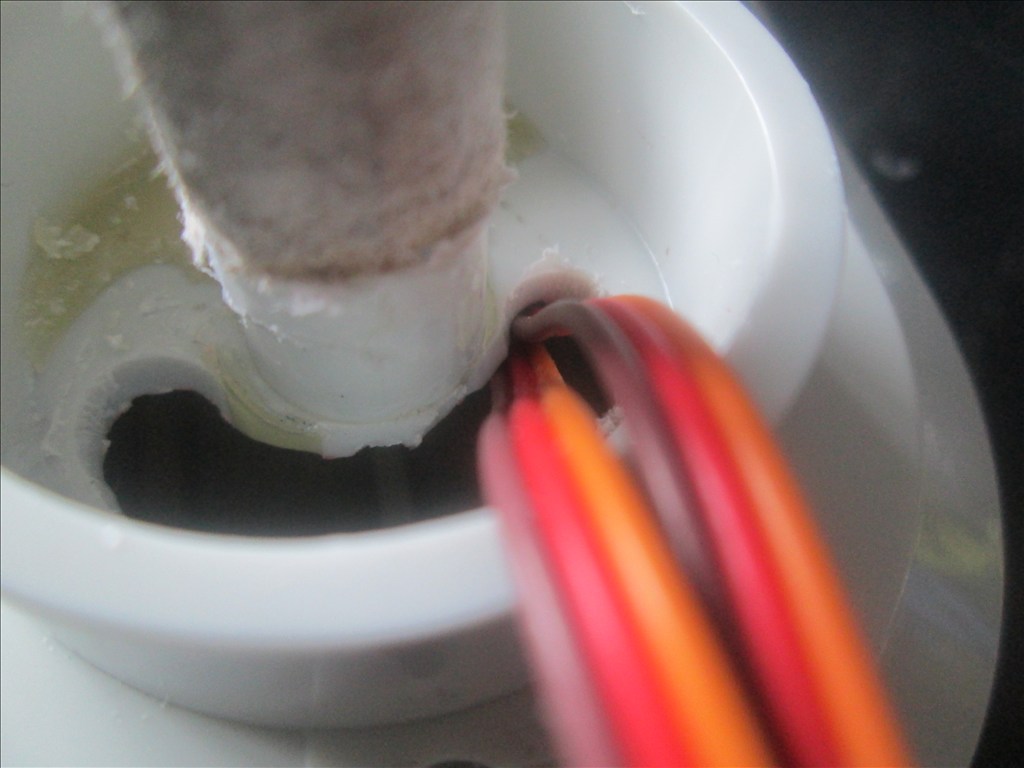
It wasn't long before this happened...
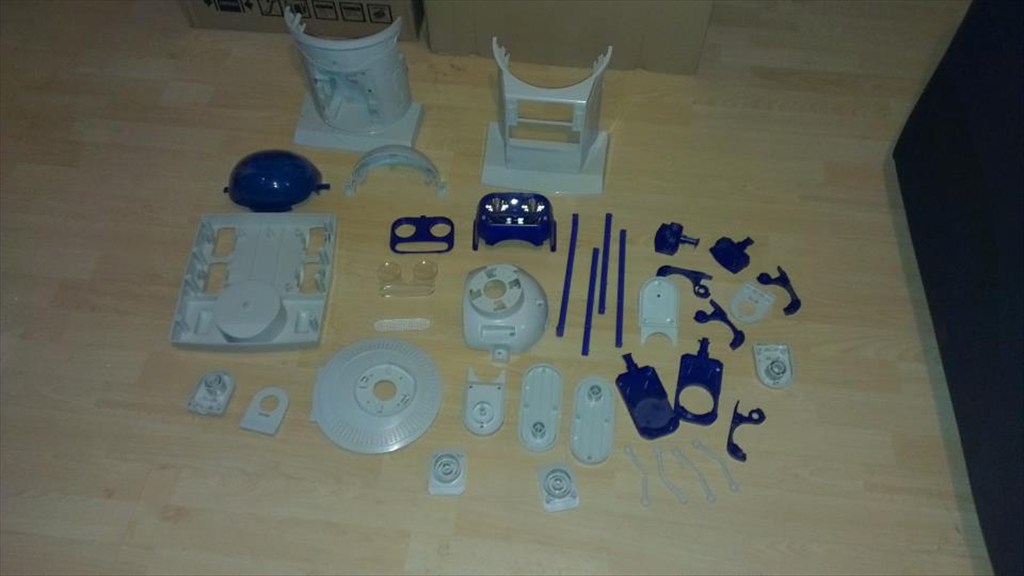
Now waiting to go in the dishwasher to get nice and clean.
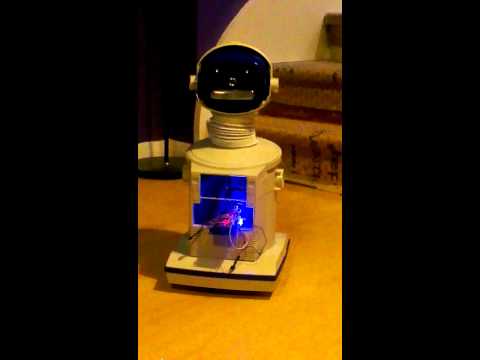
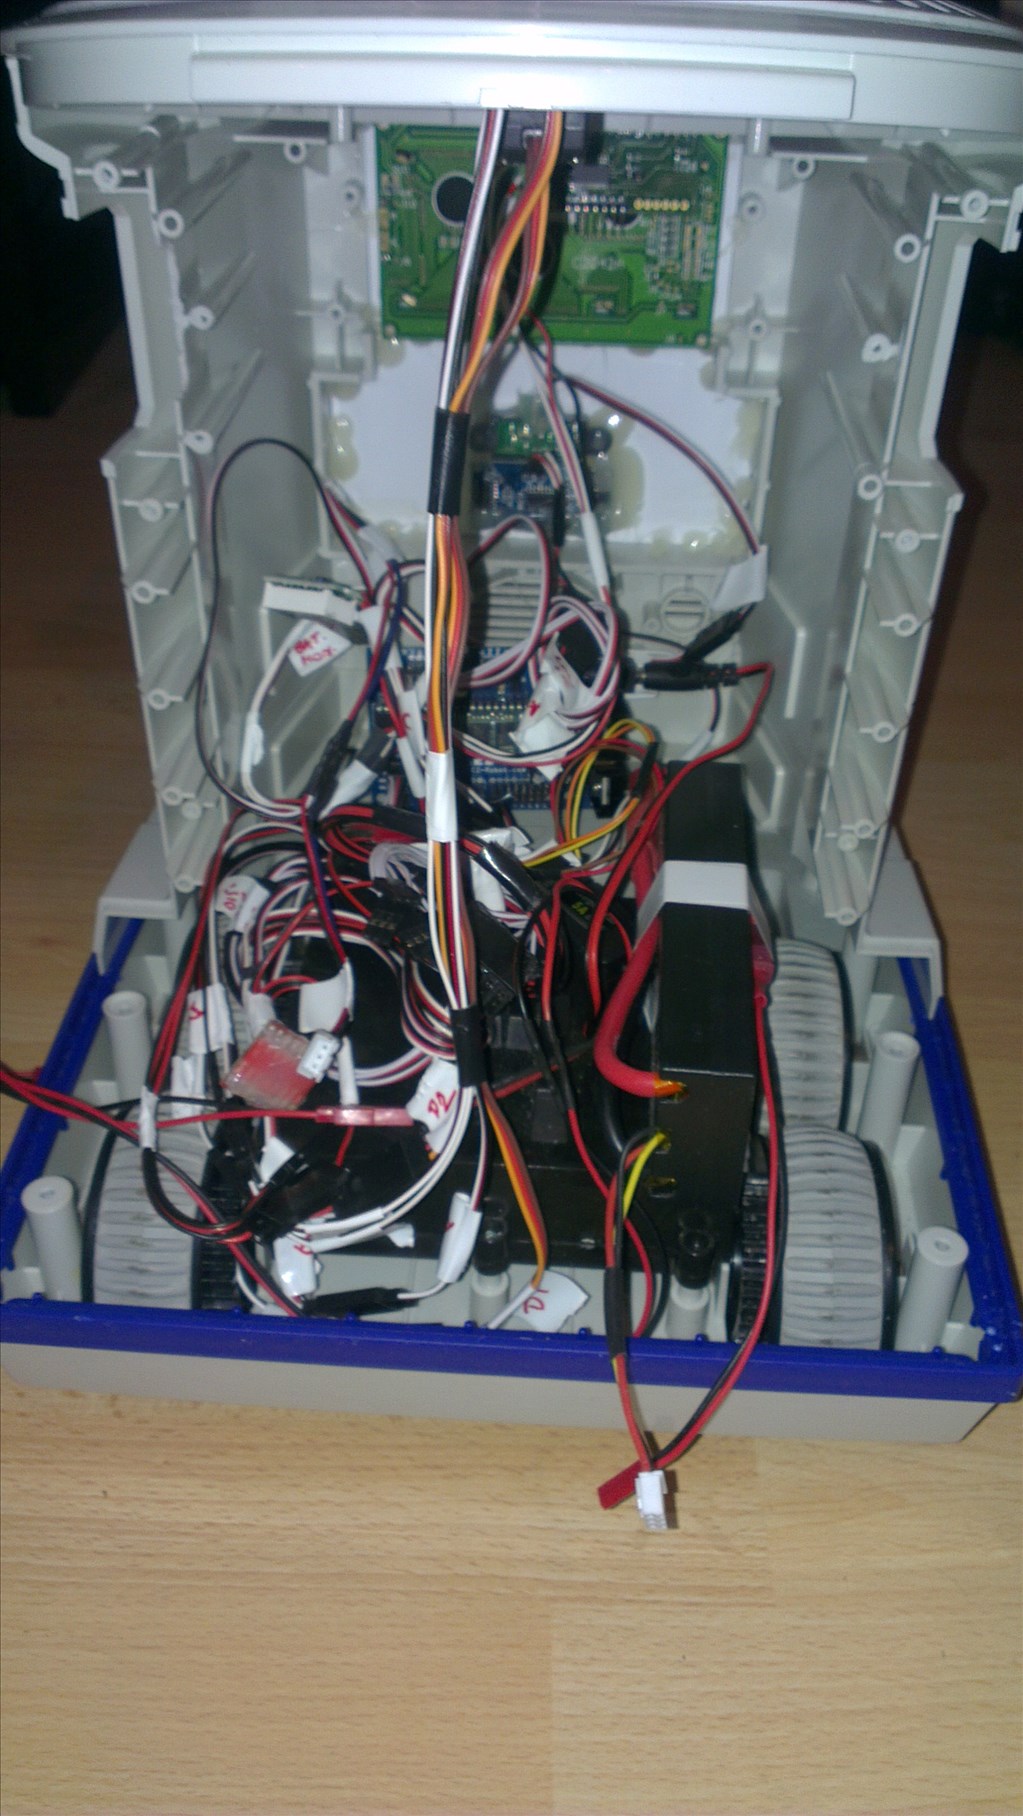
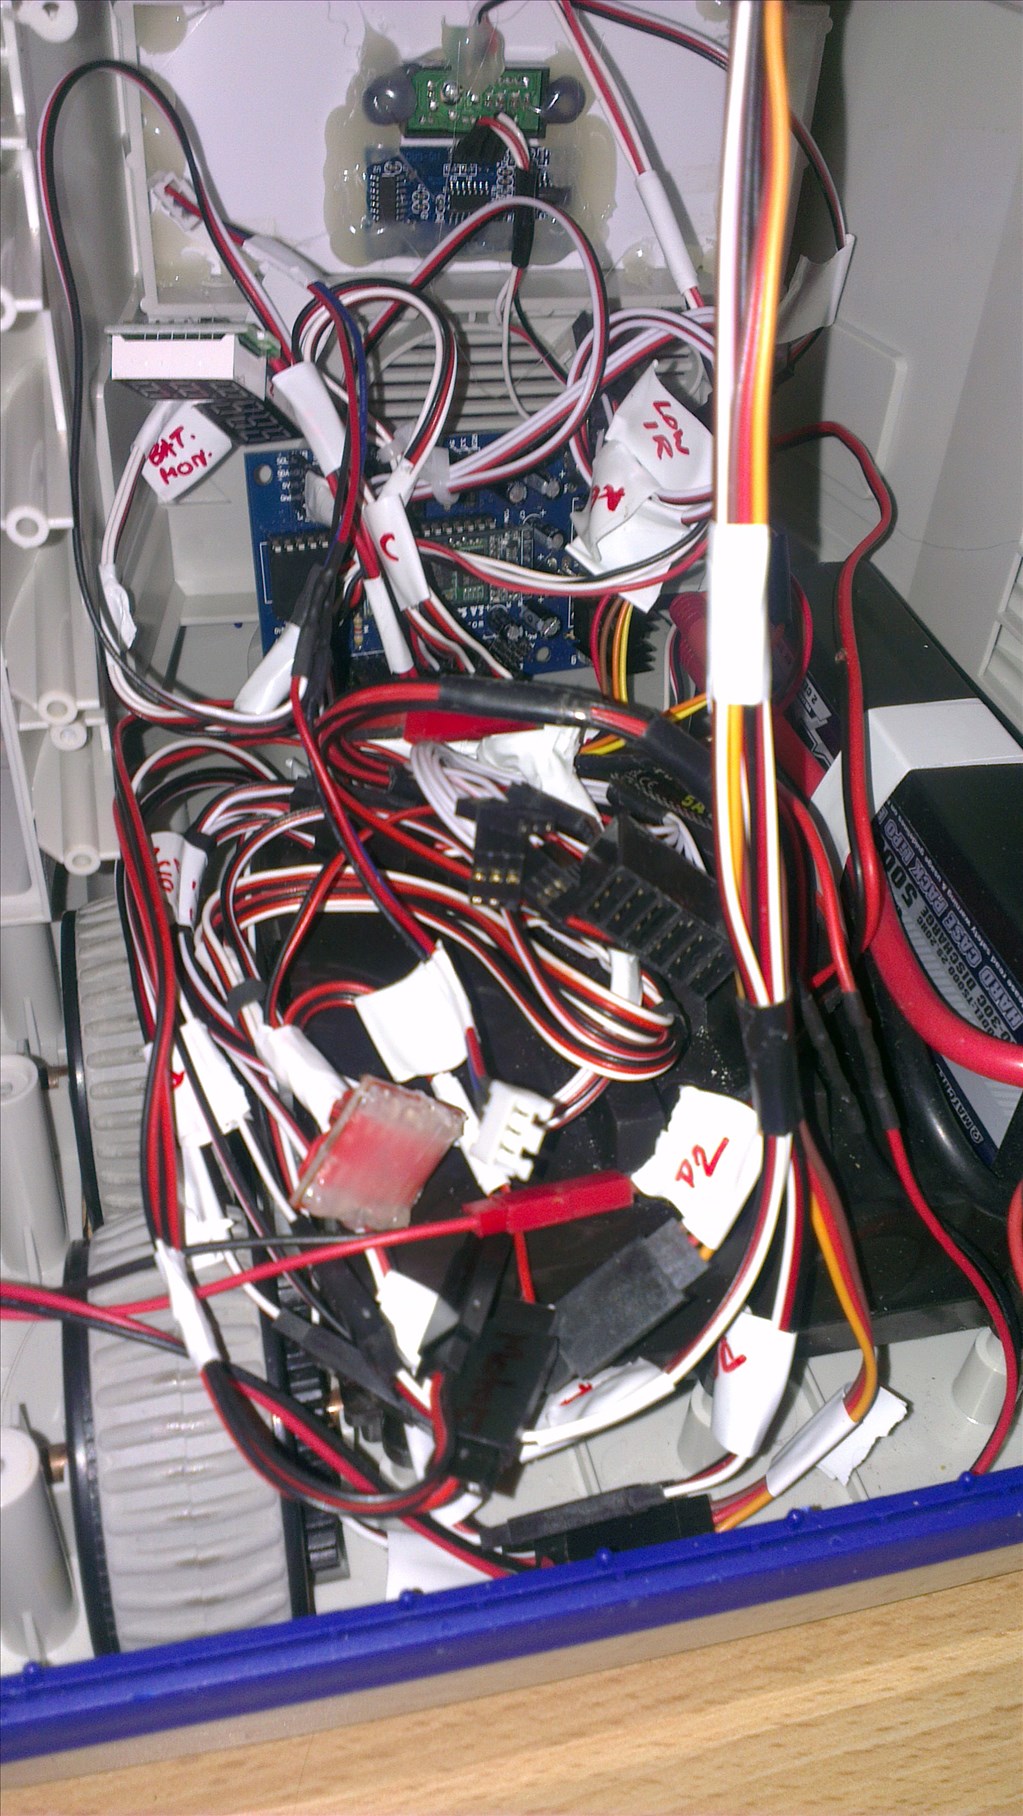
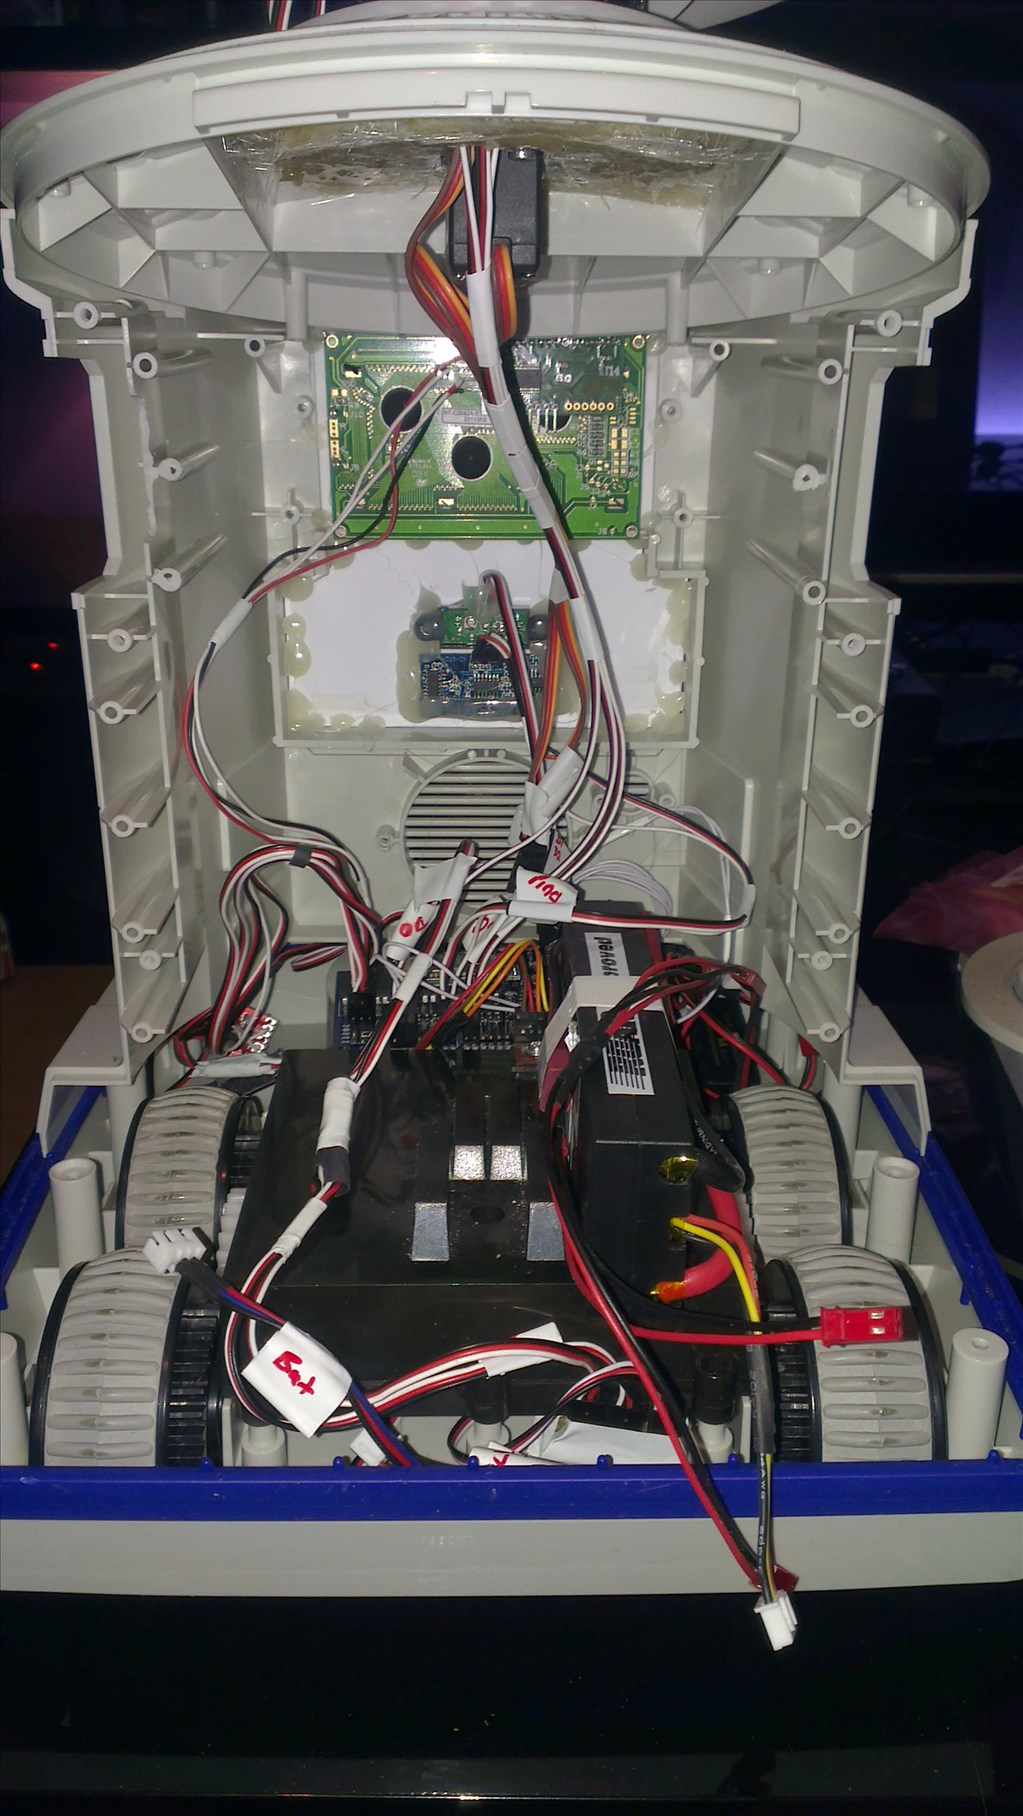
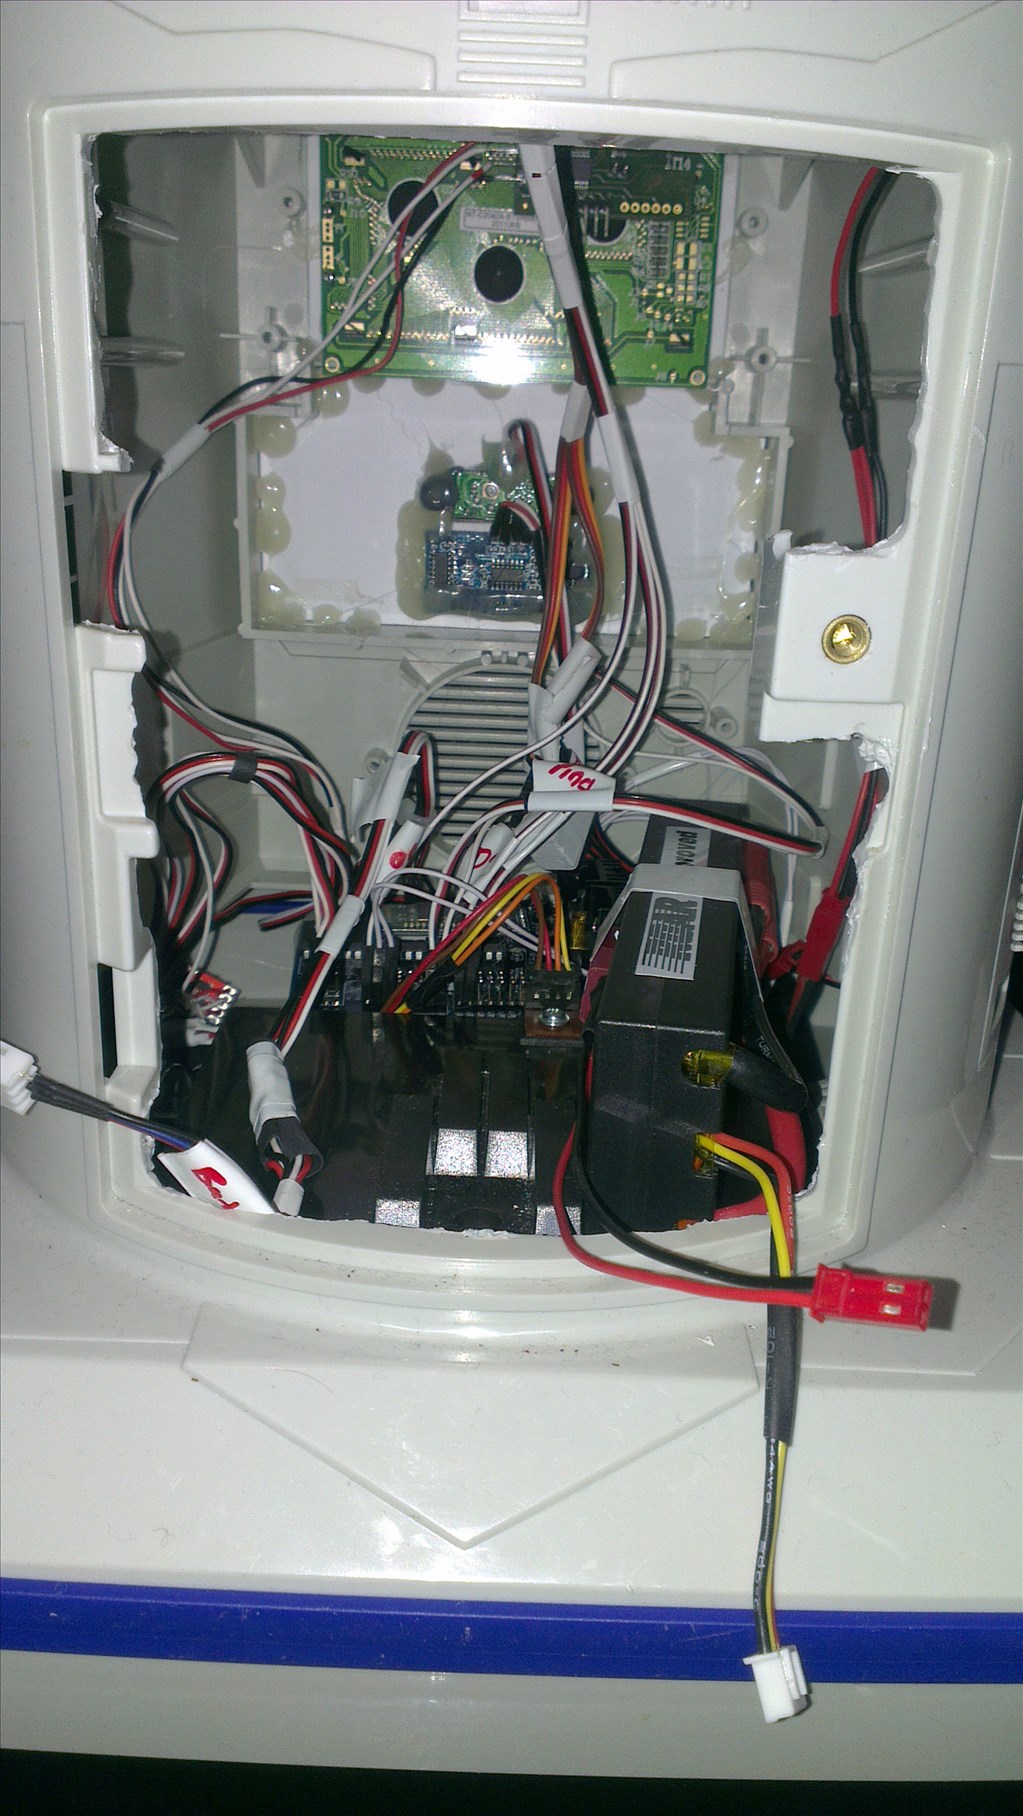
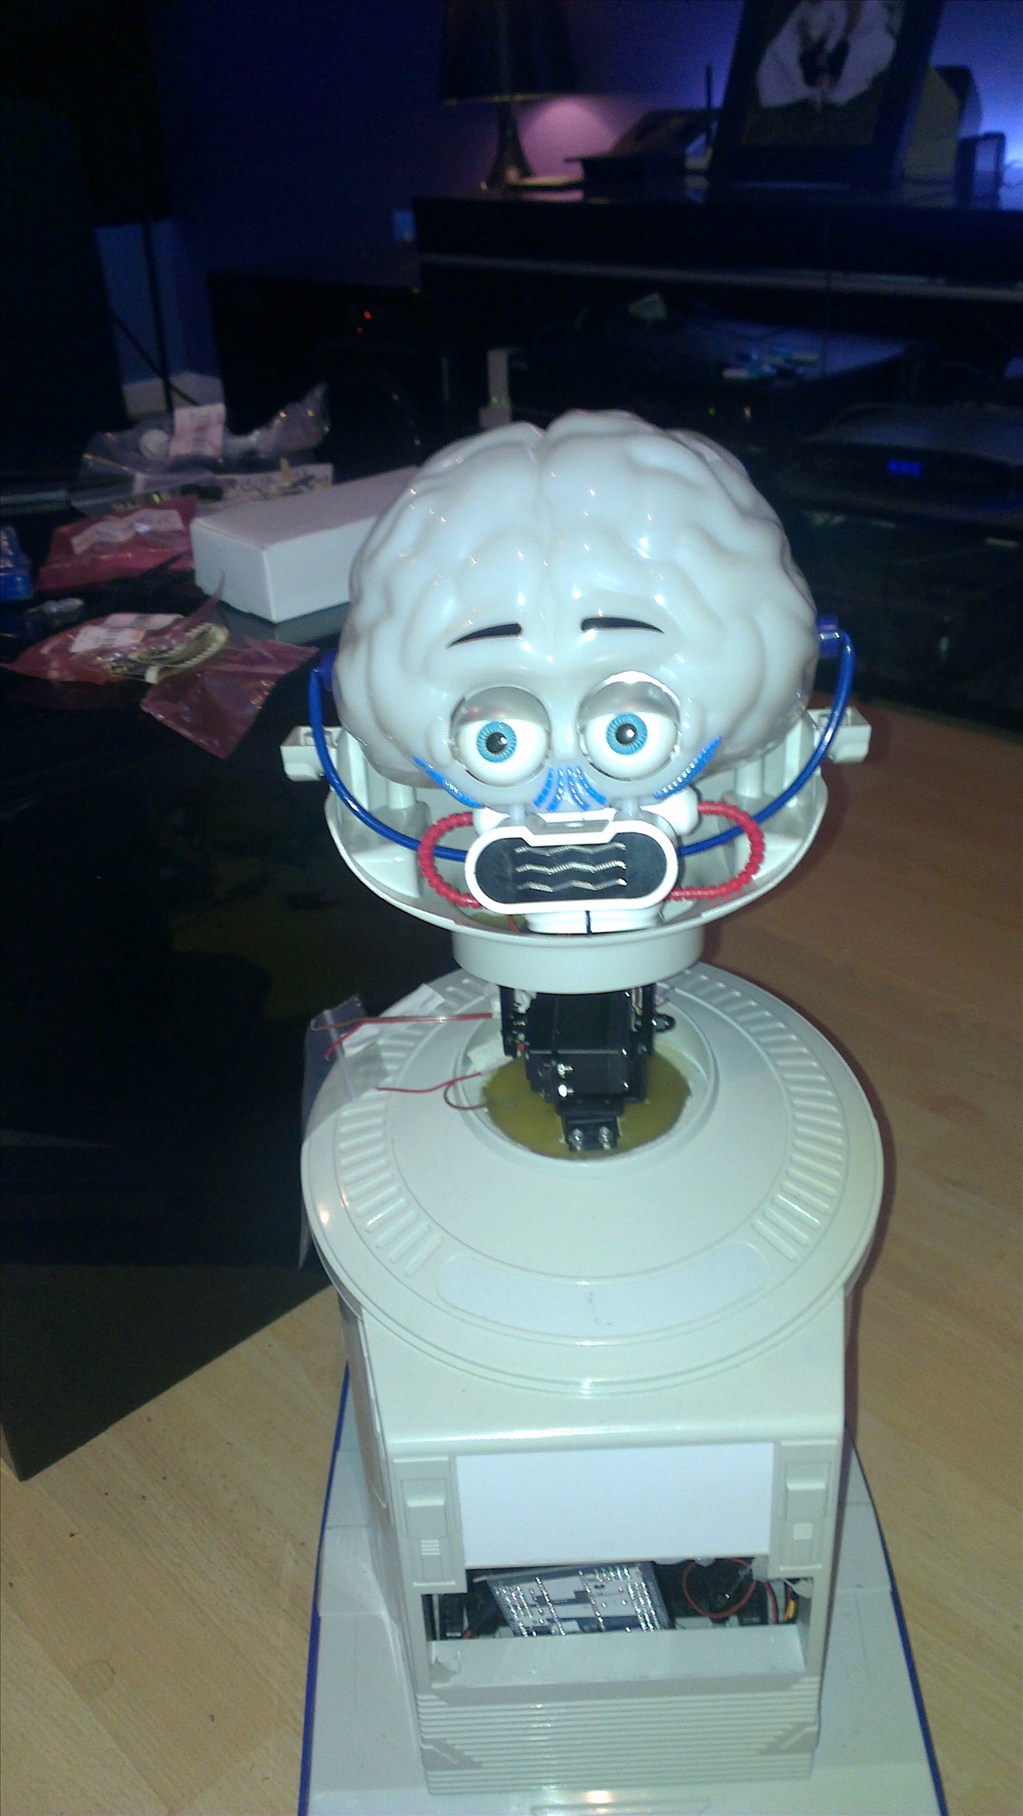
The plan is to make him autonomous, running 24/7 (except for when he knows to go charge himself up) but will also be adding in the various image tracking options.
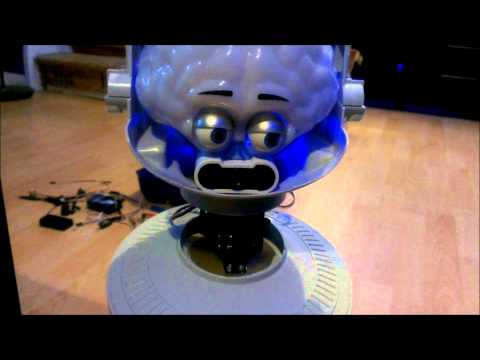
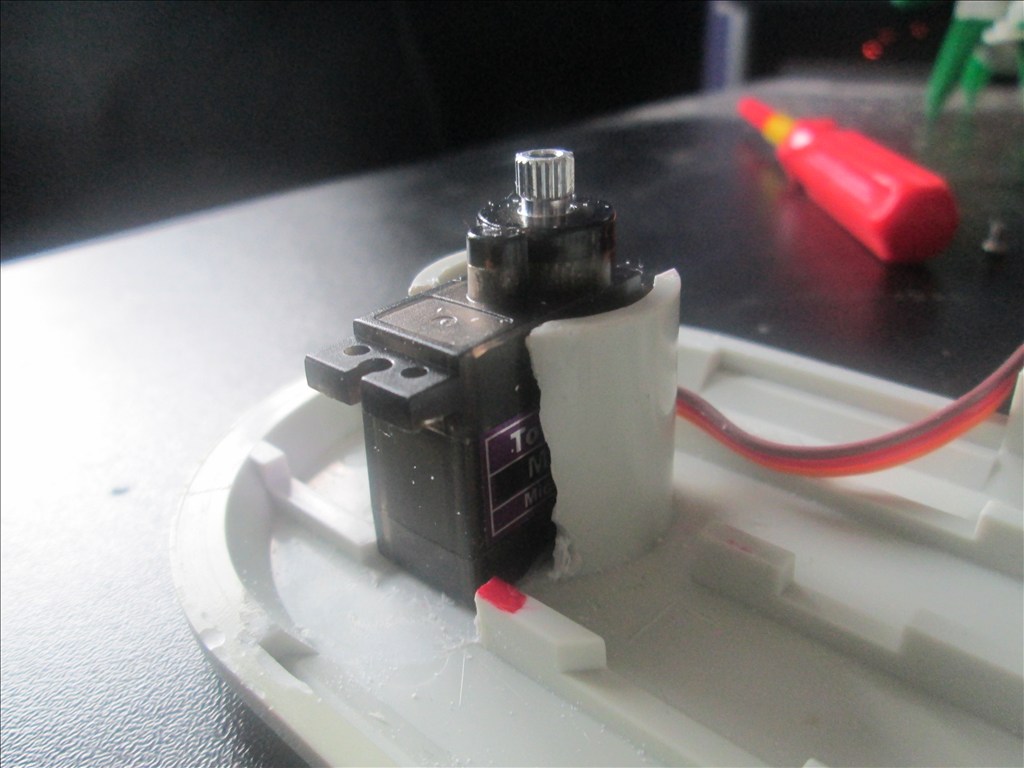
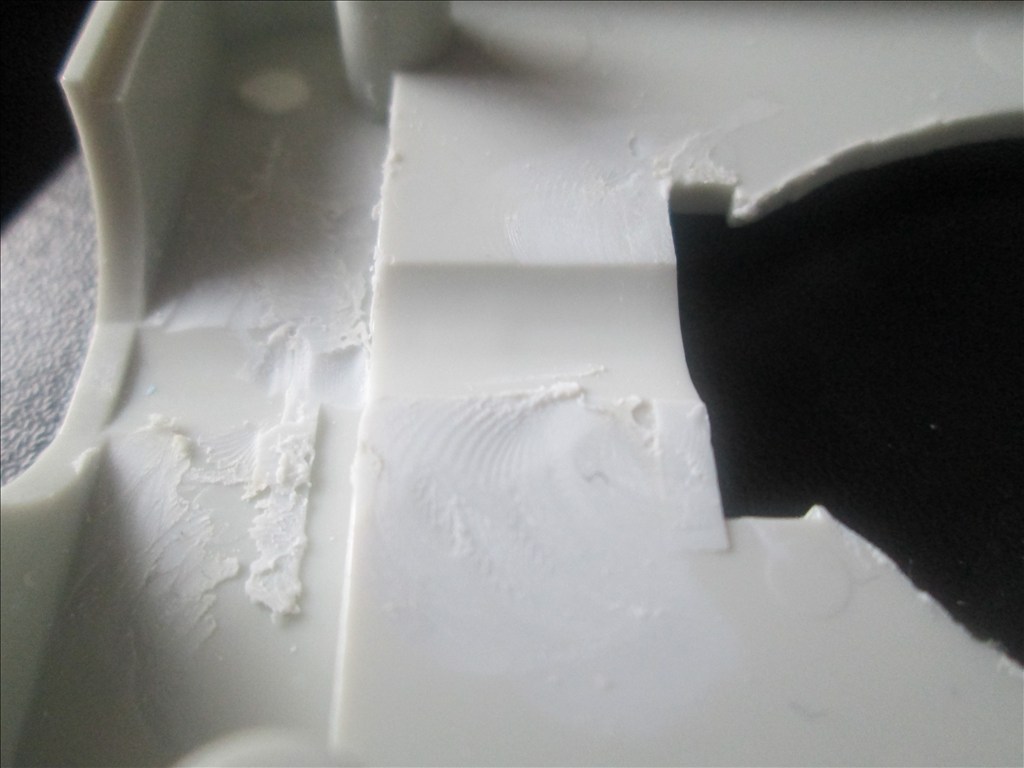
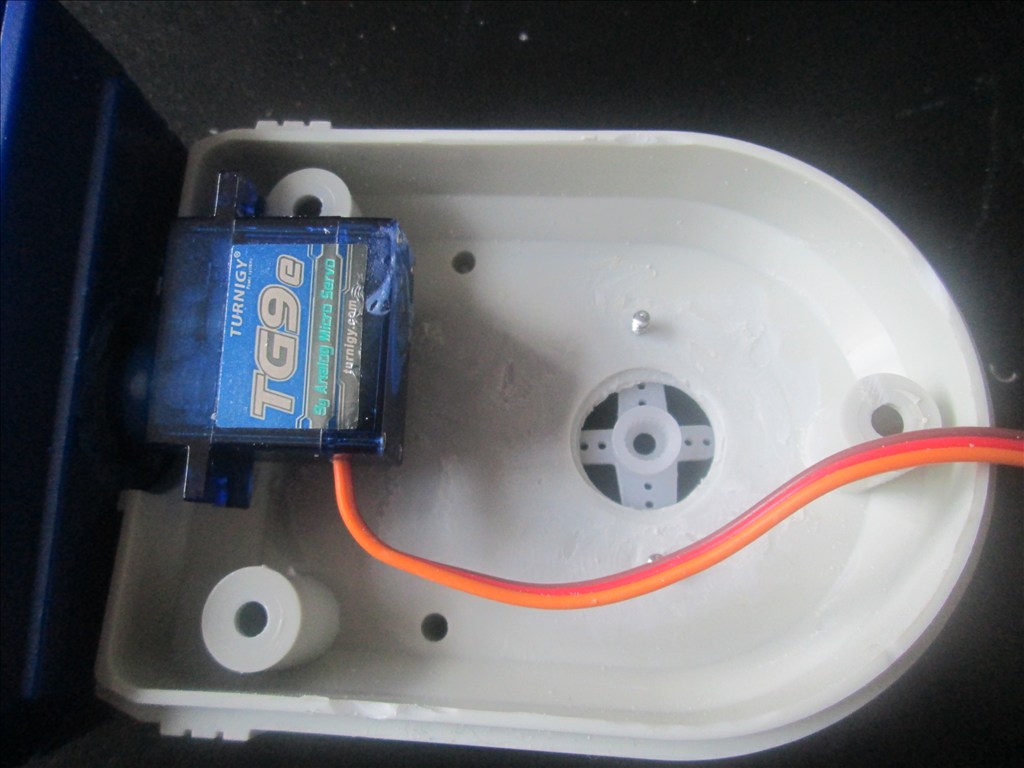
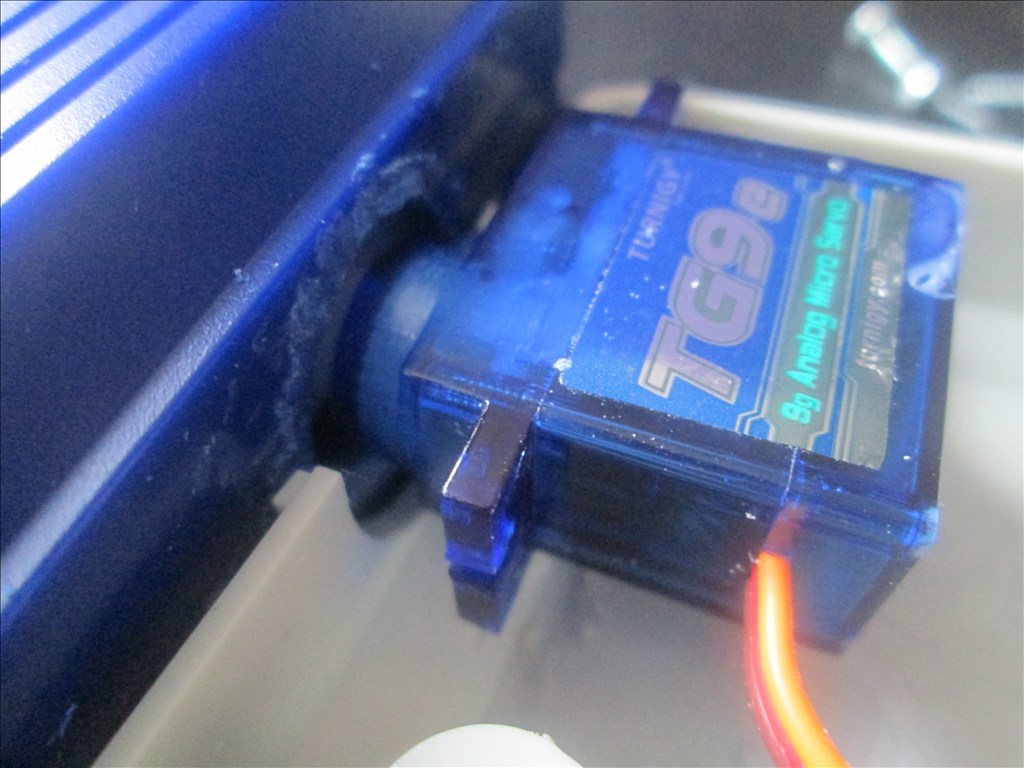
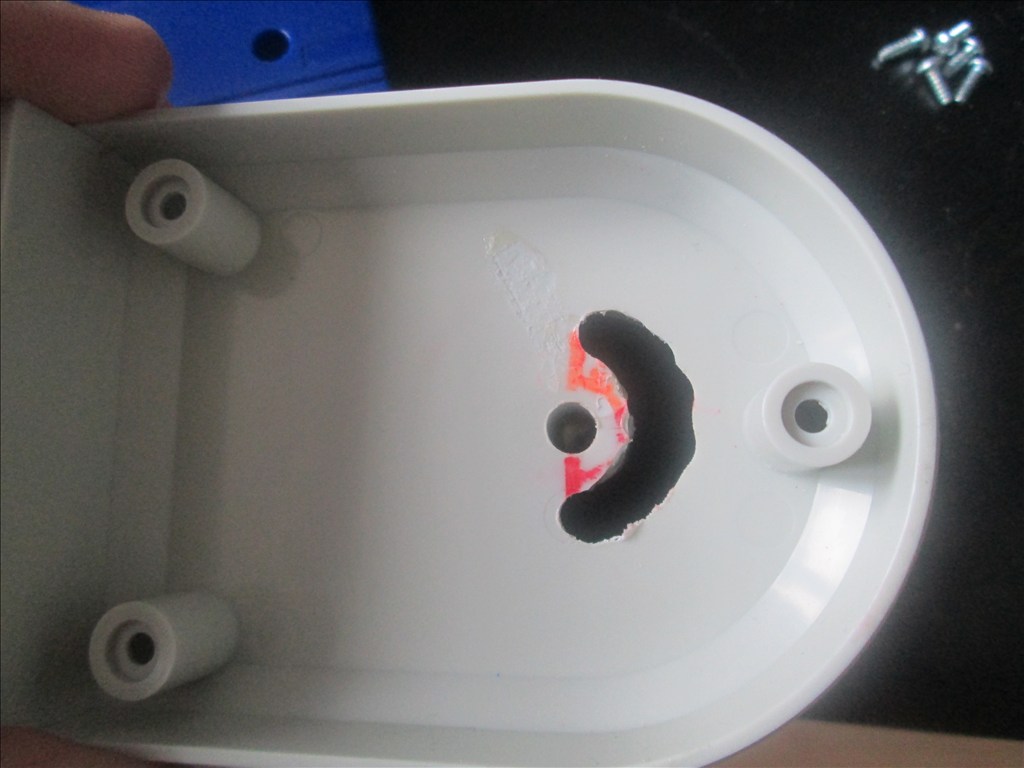
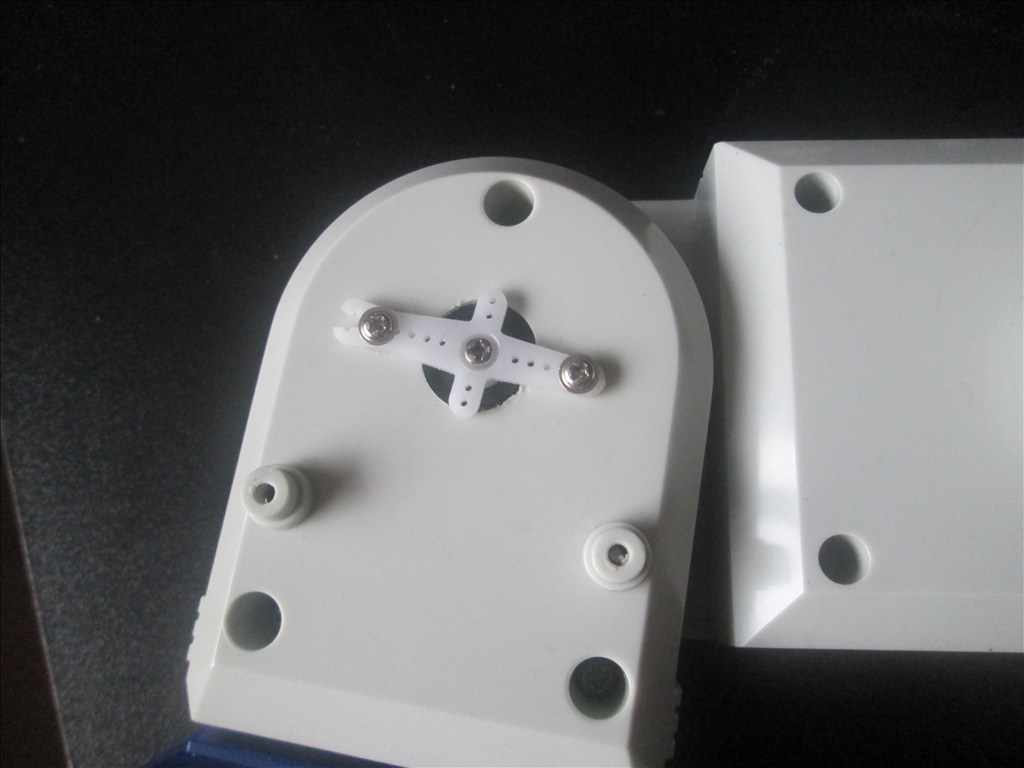
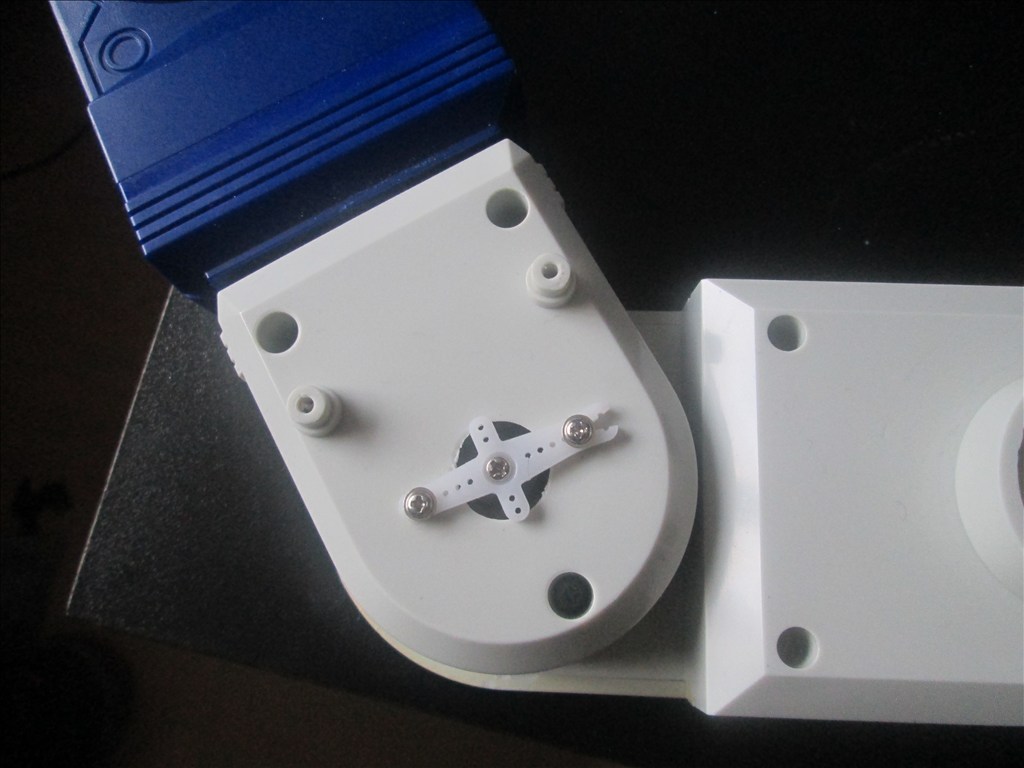
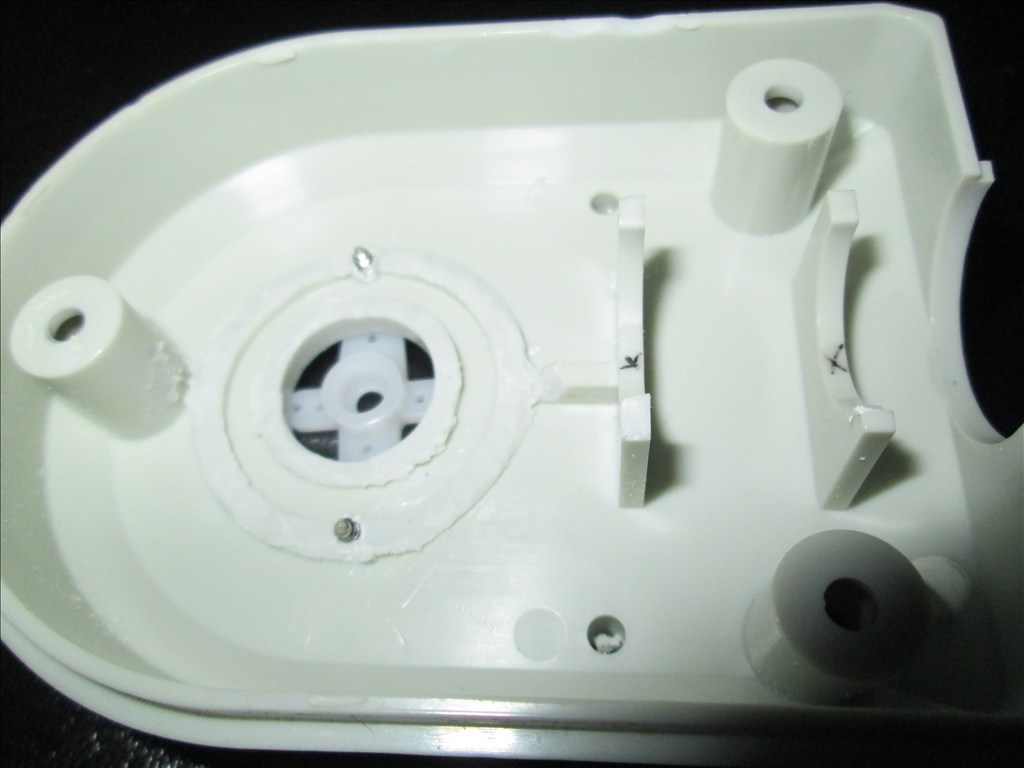
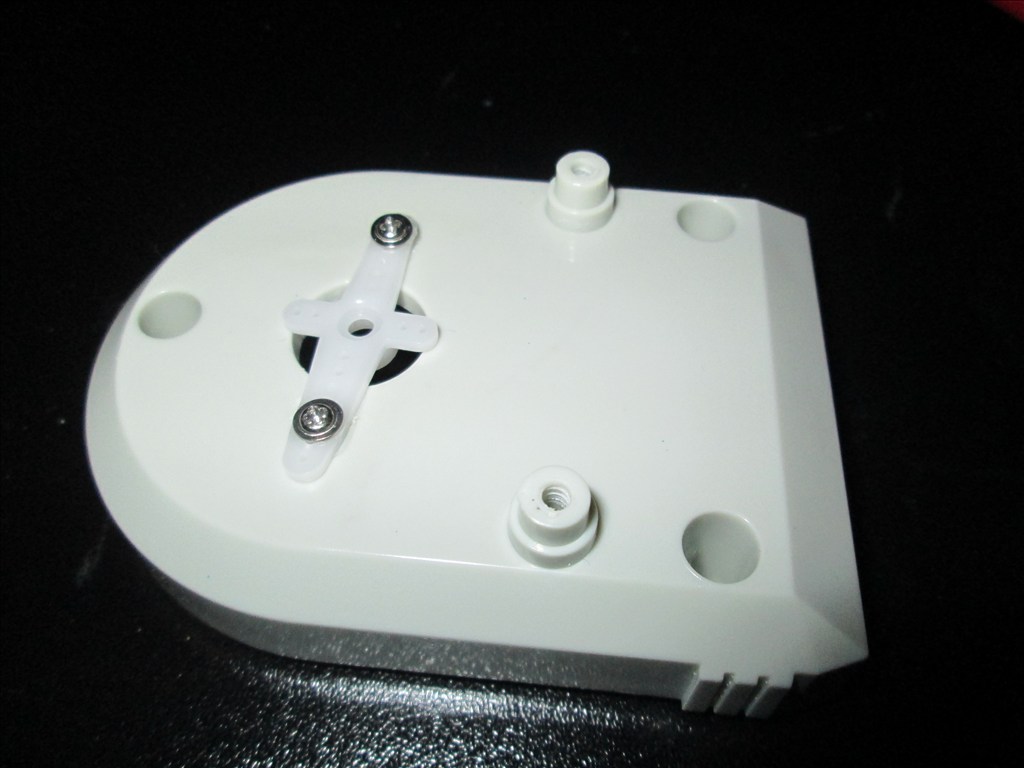
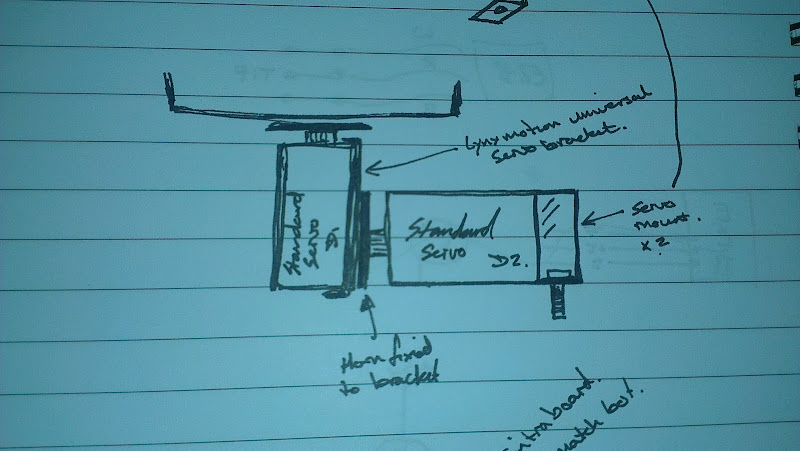
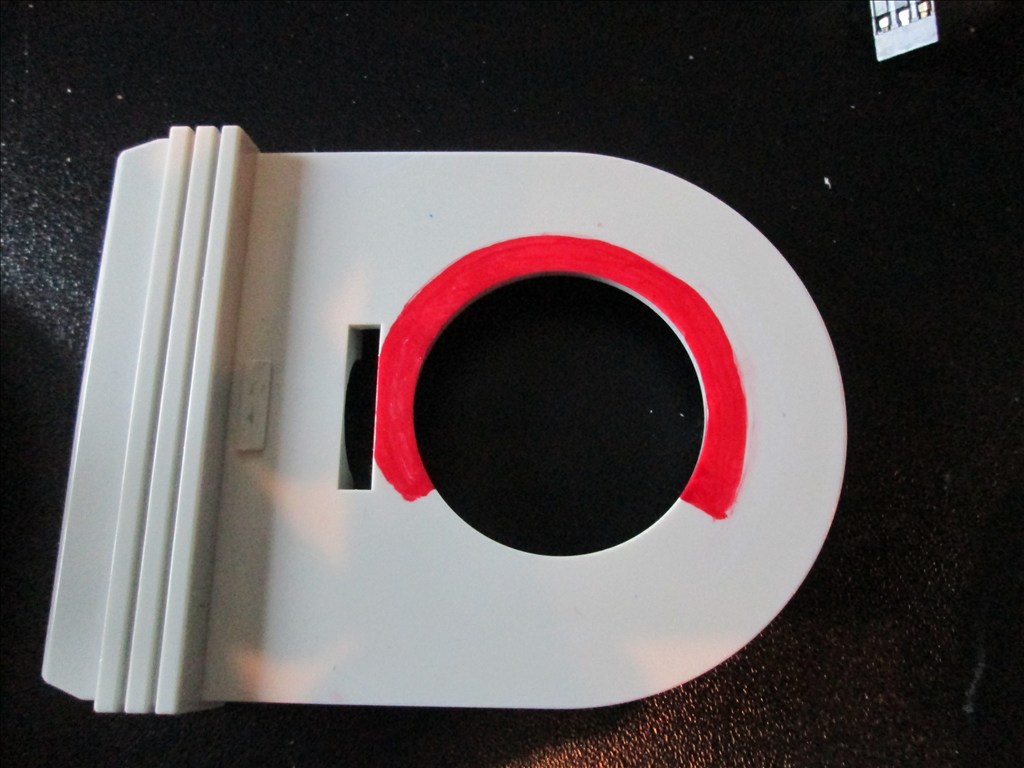
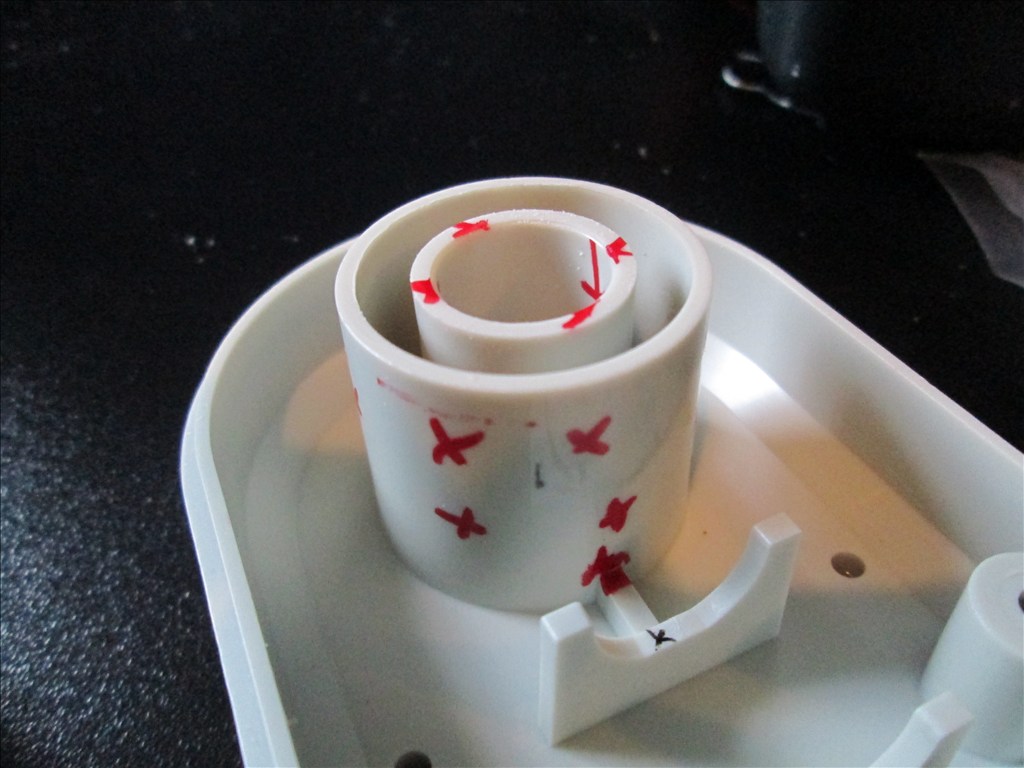
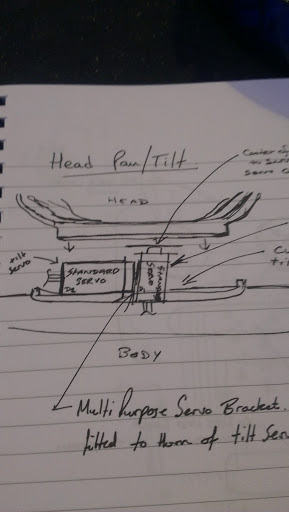
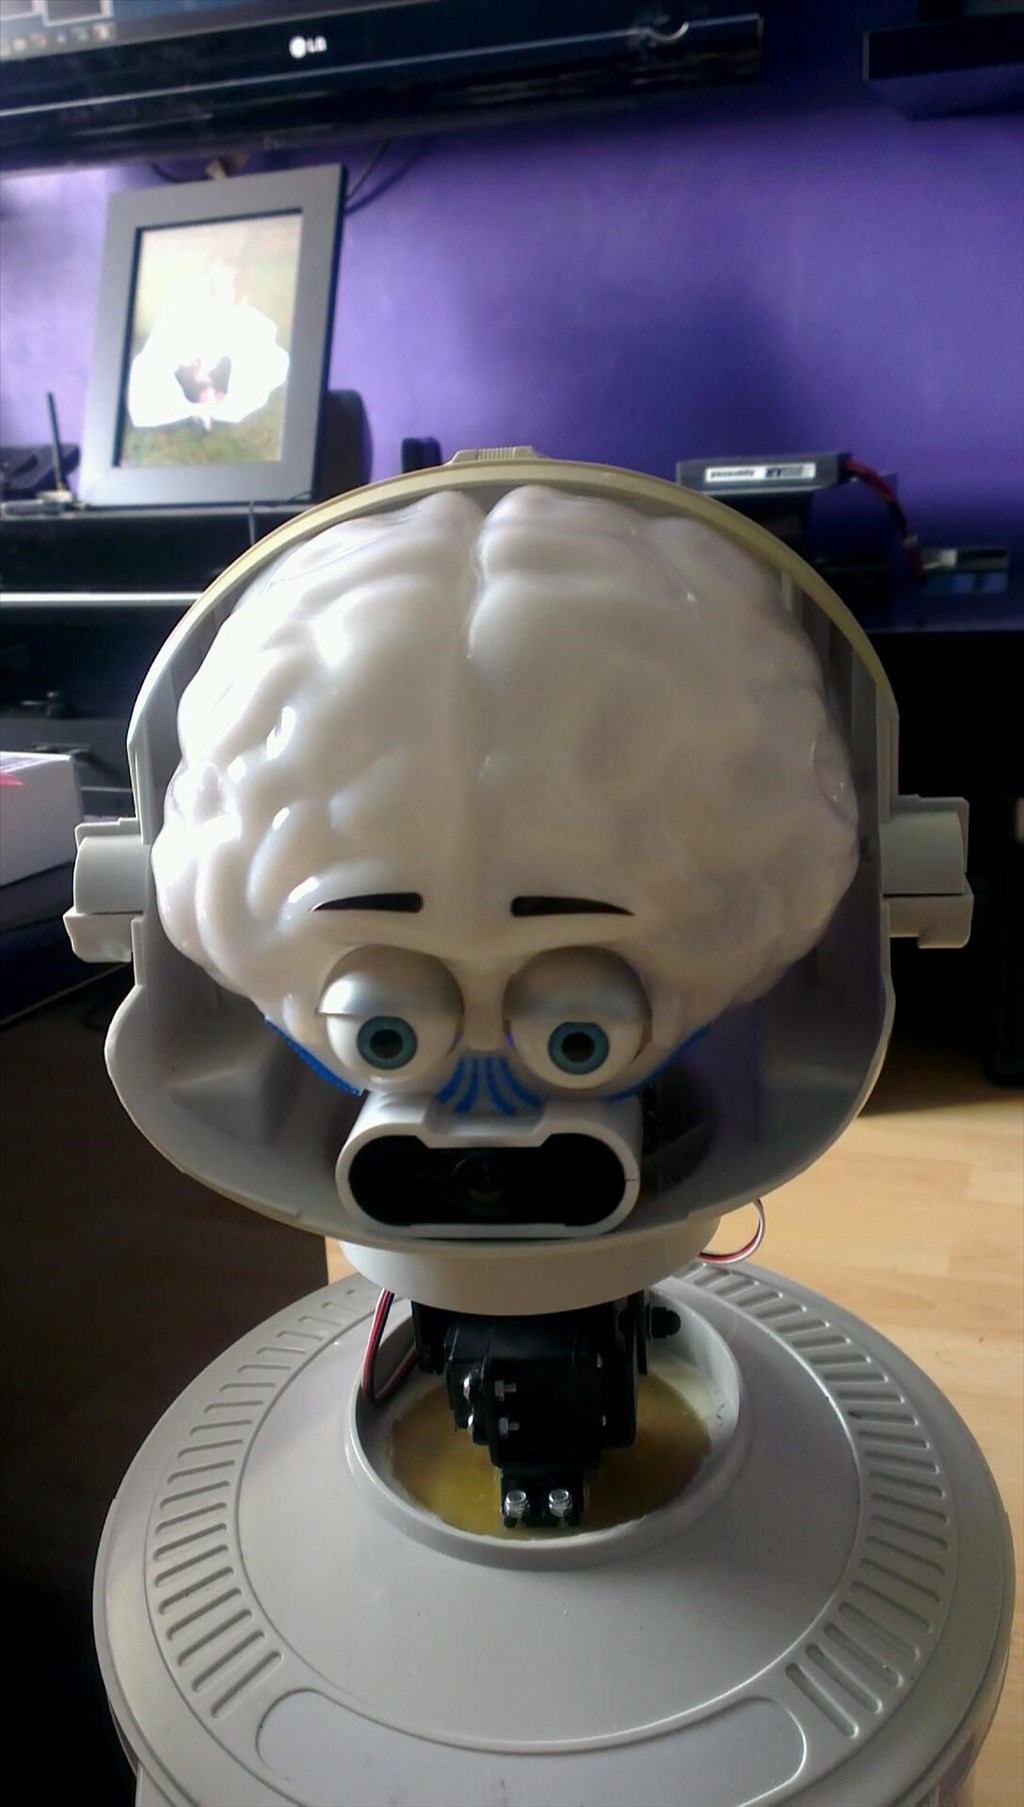
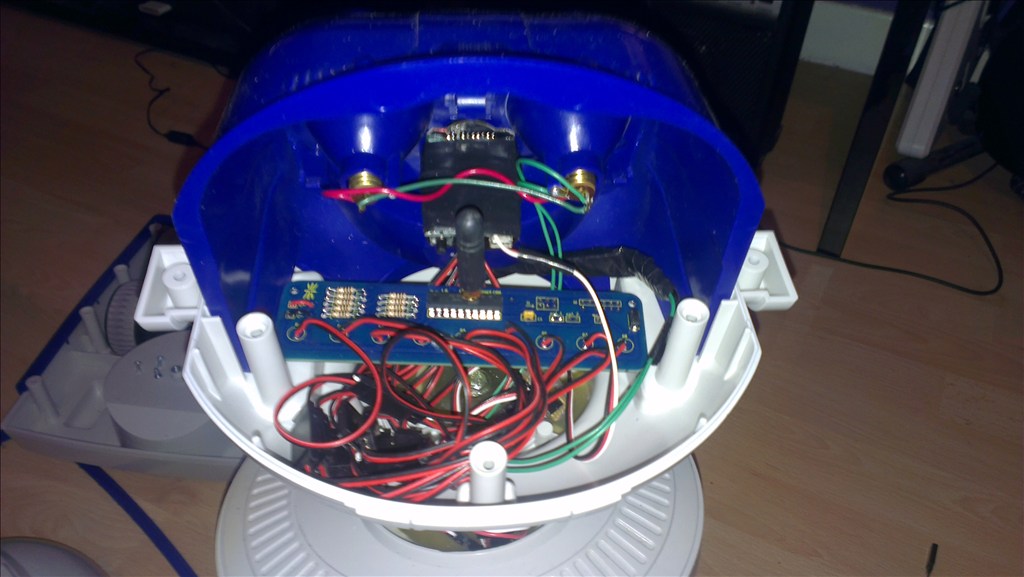
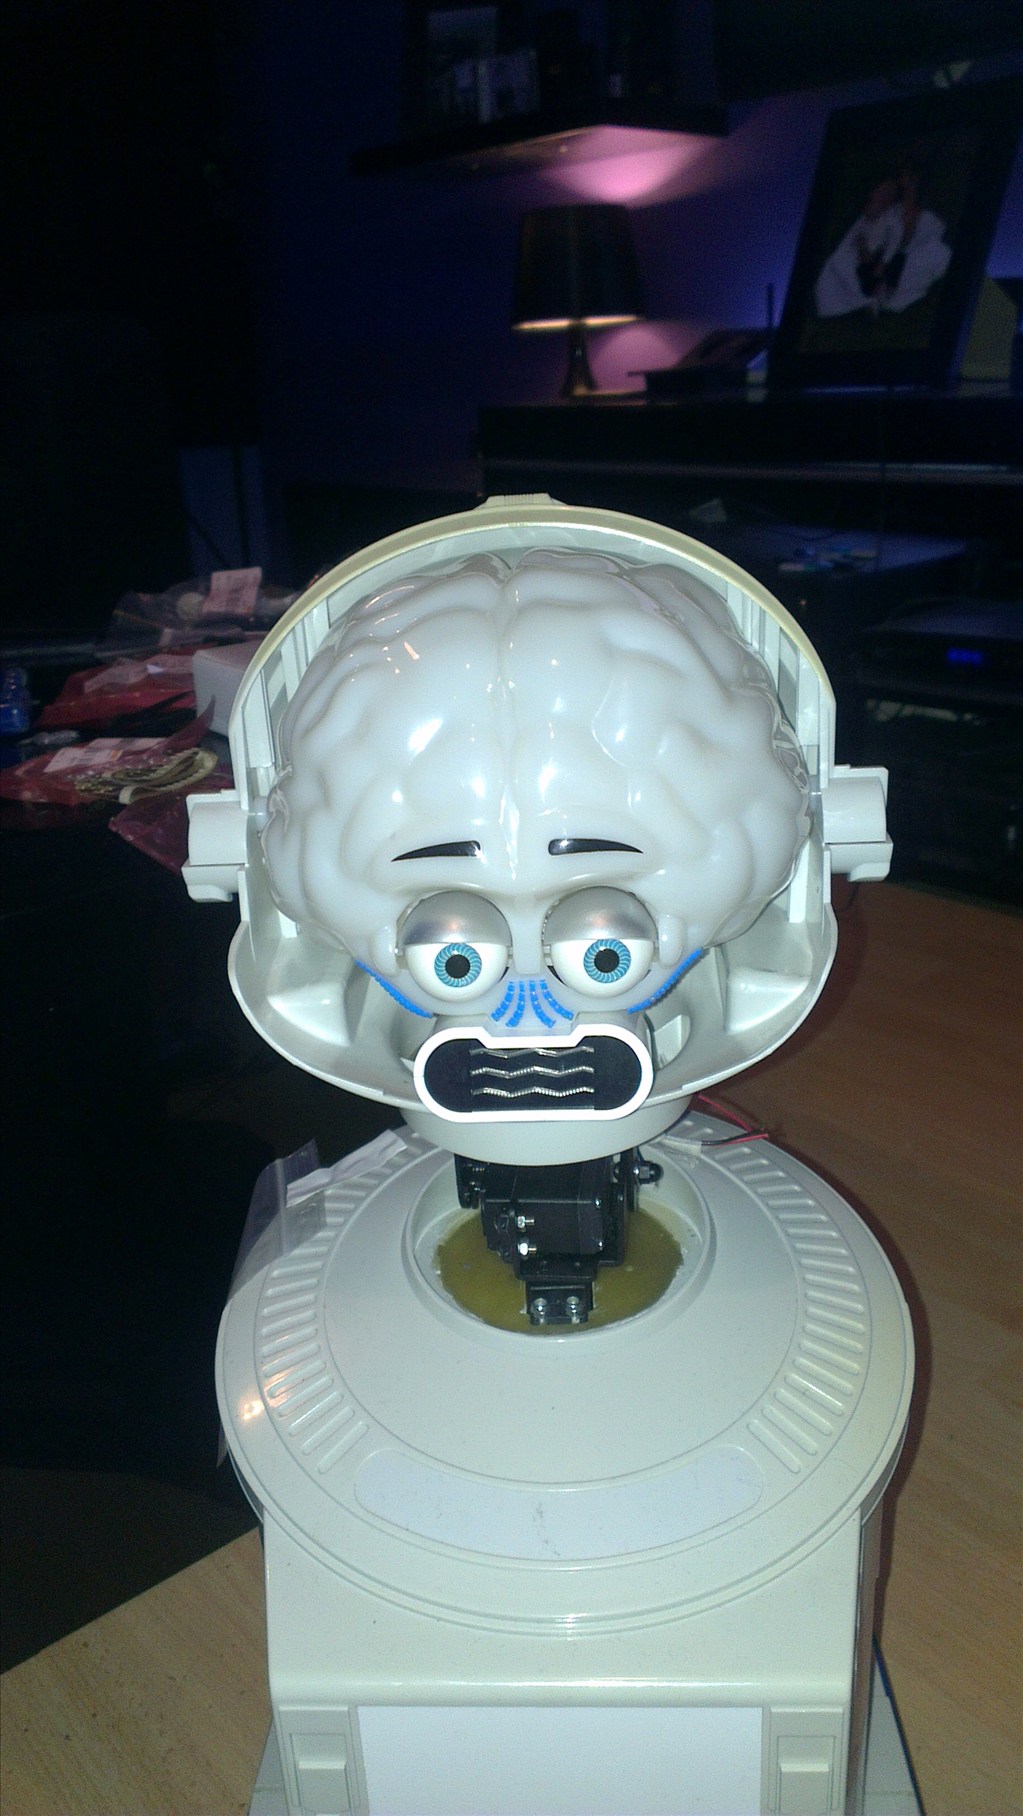
The only other slight modifications to be made to him are to convert the head to tilt & pan which will involve having to give him a small neck.
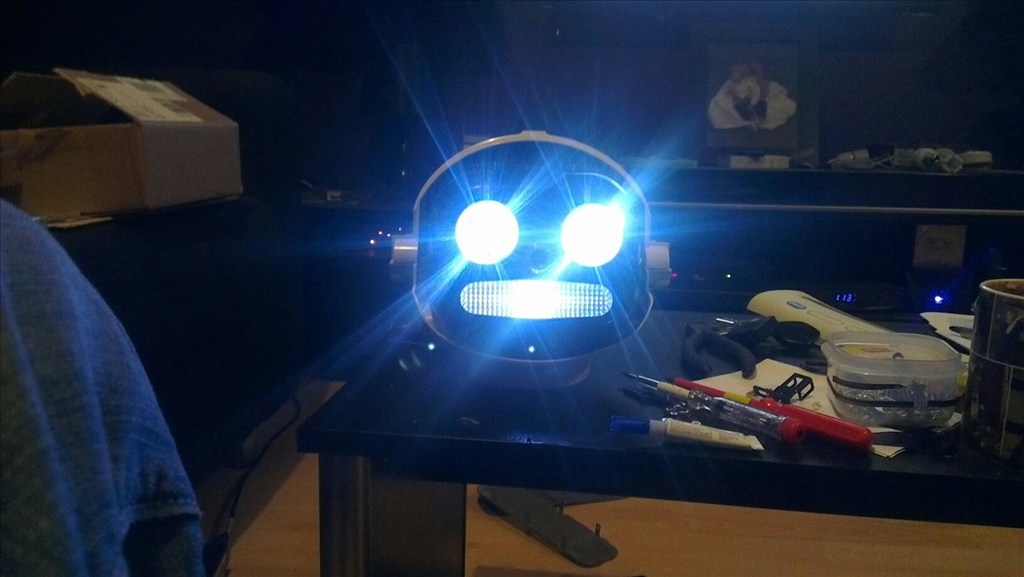
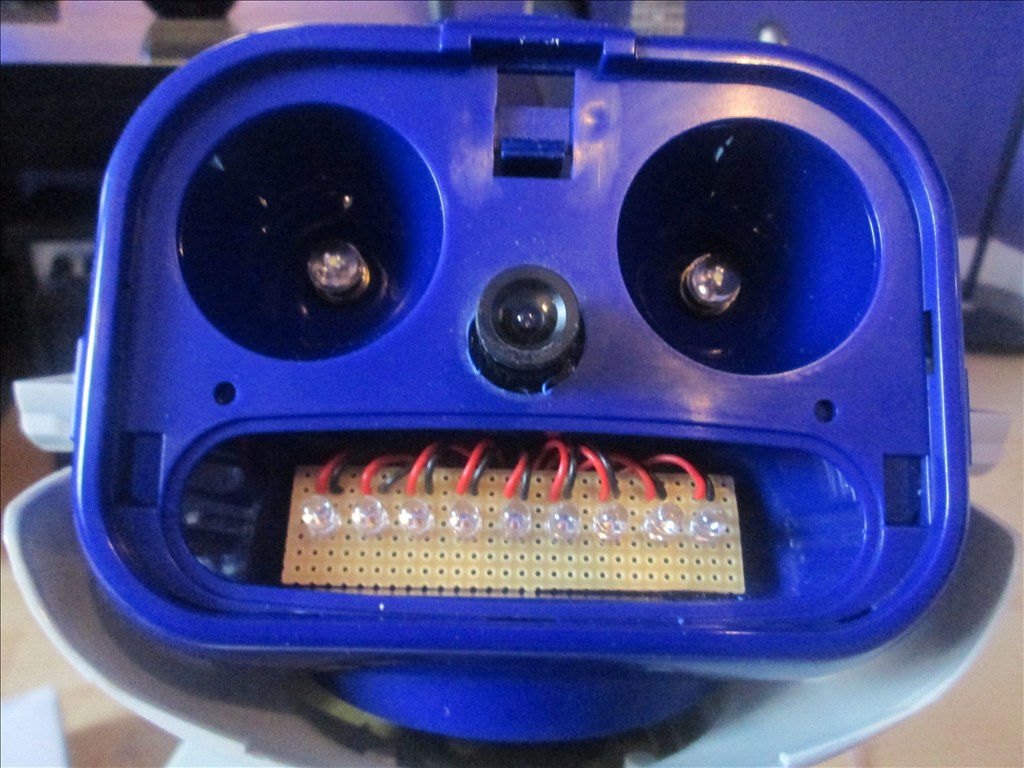
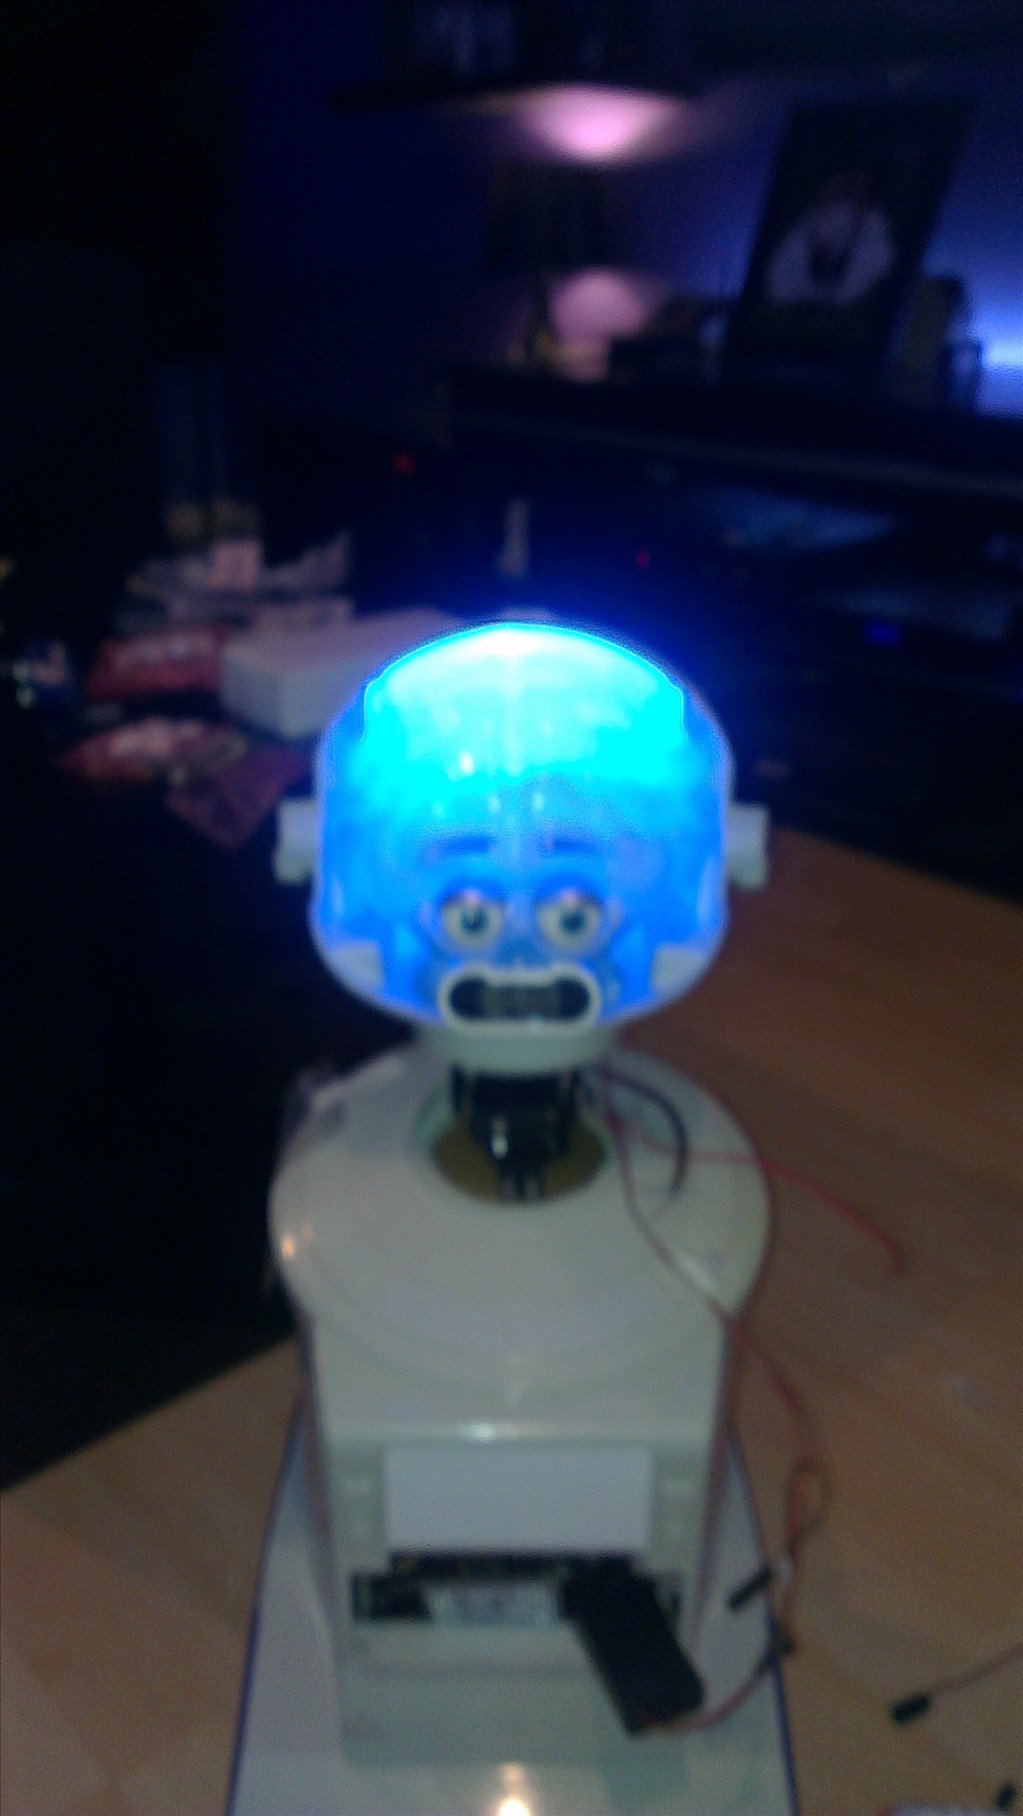
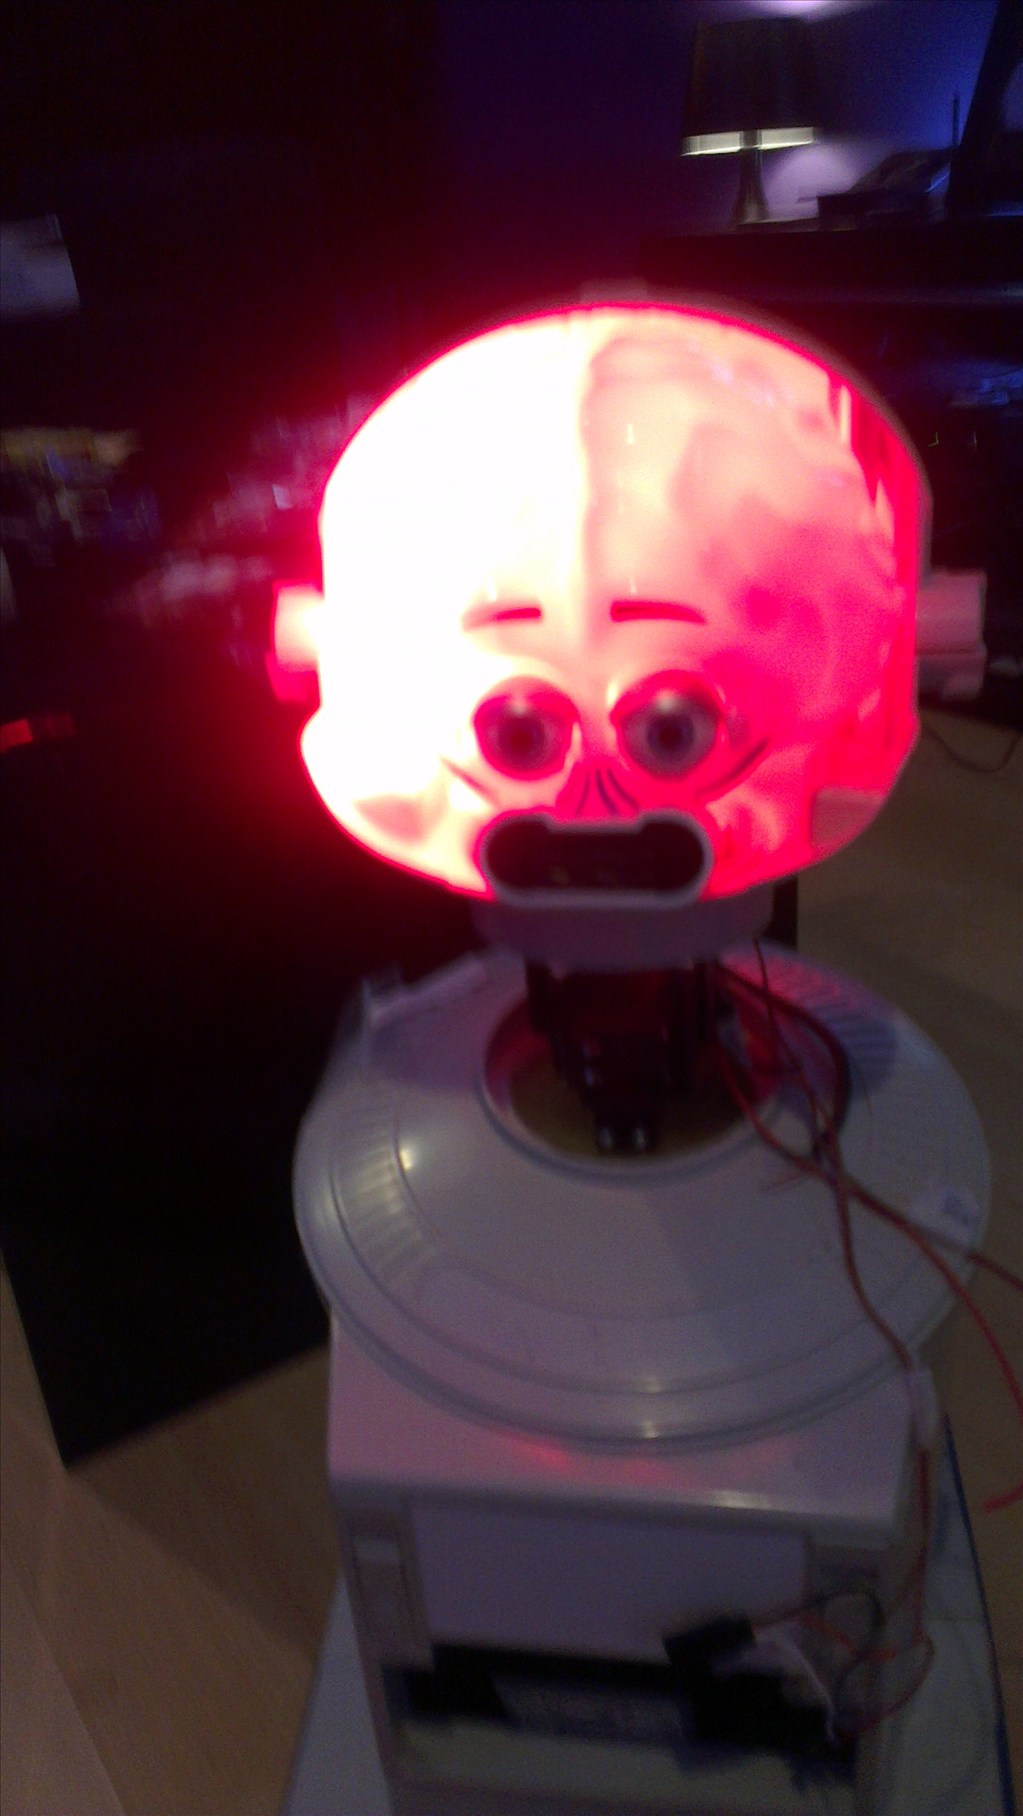
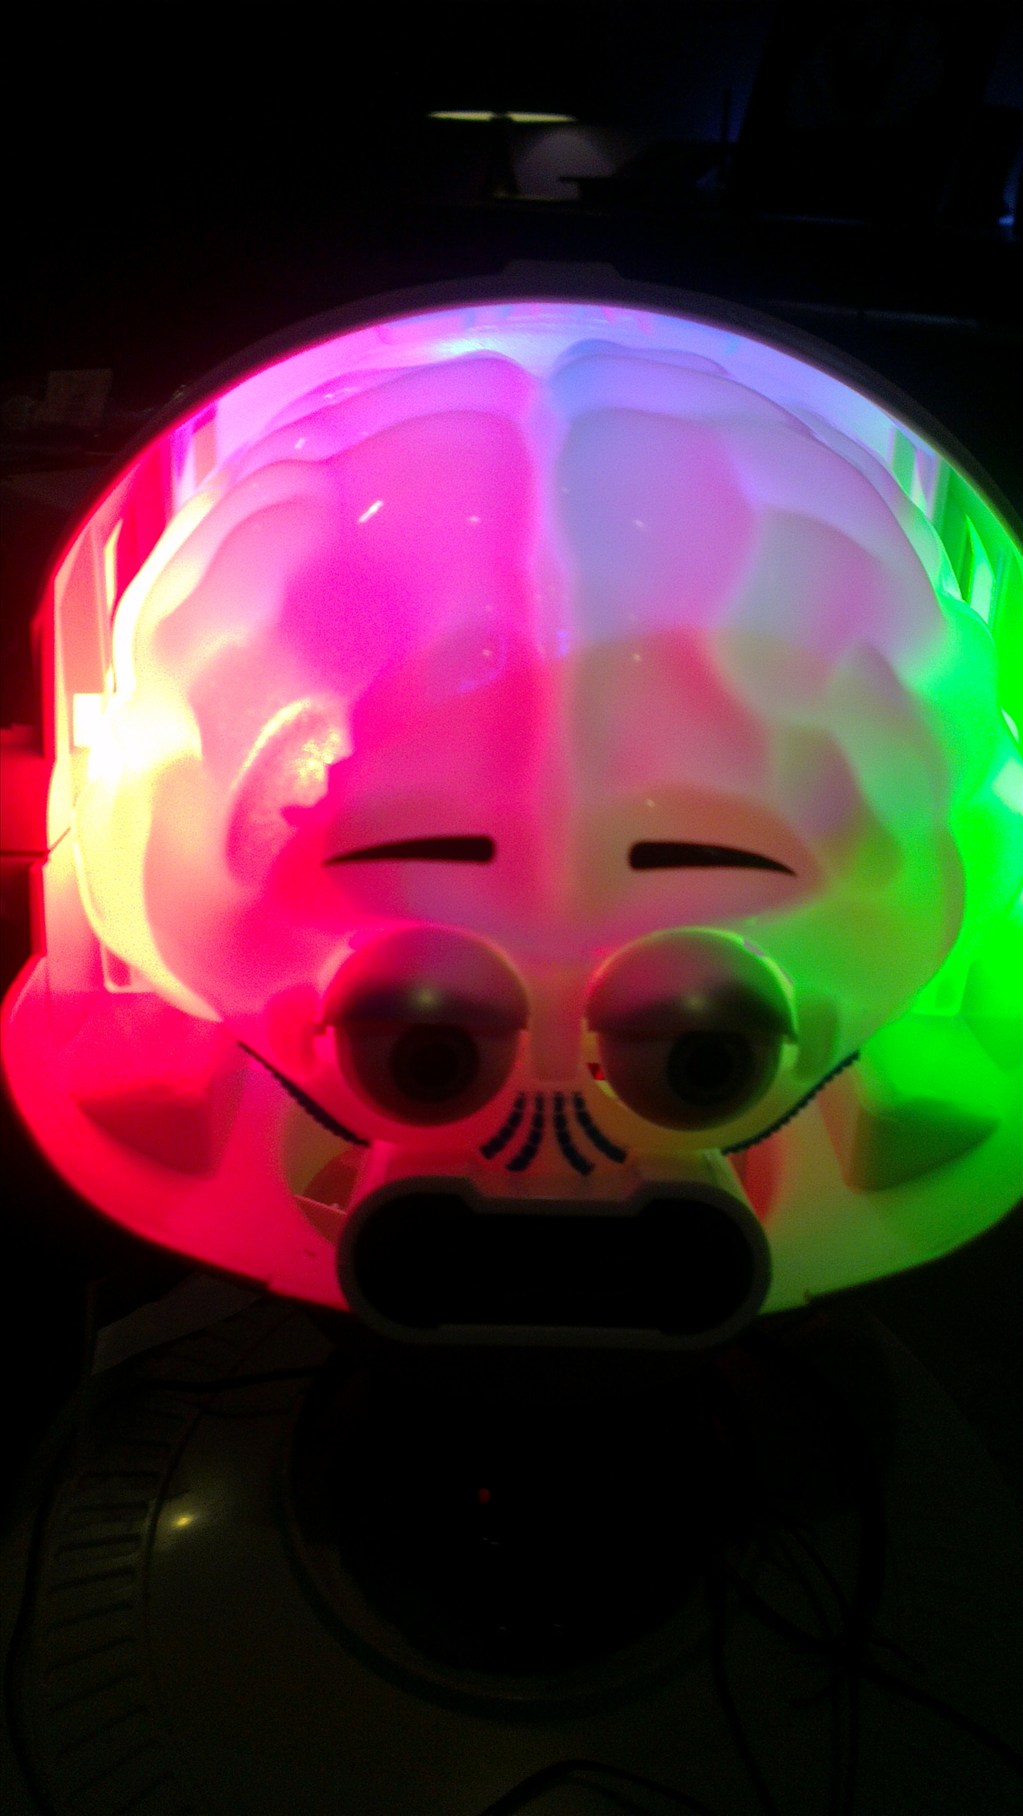
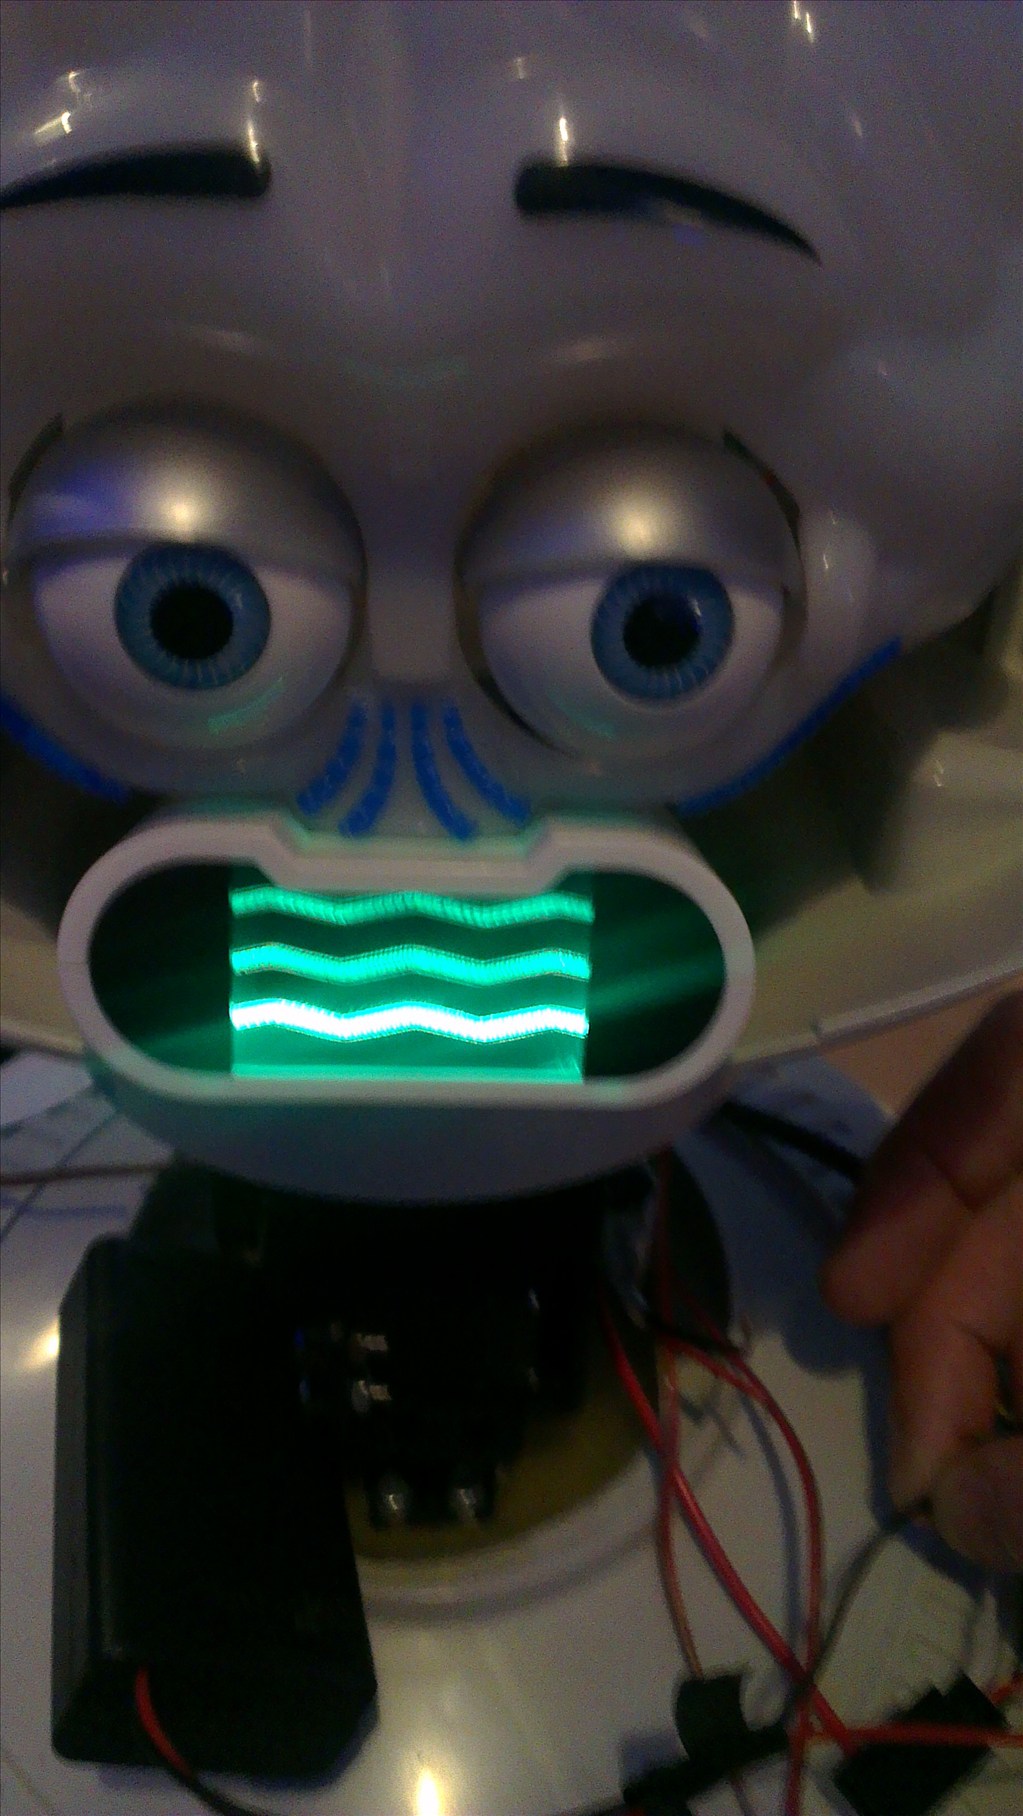
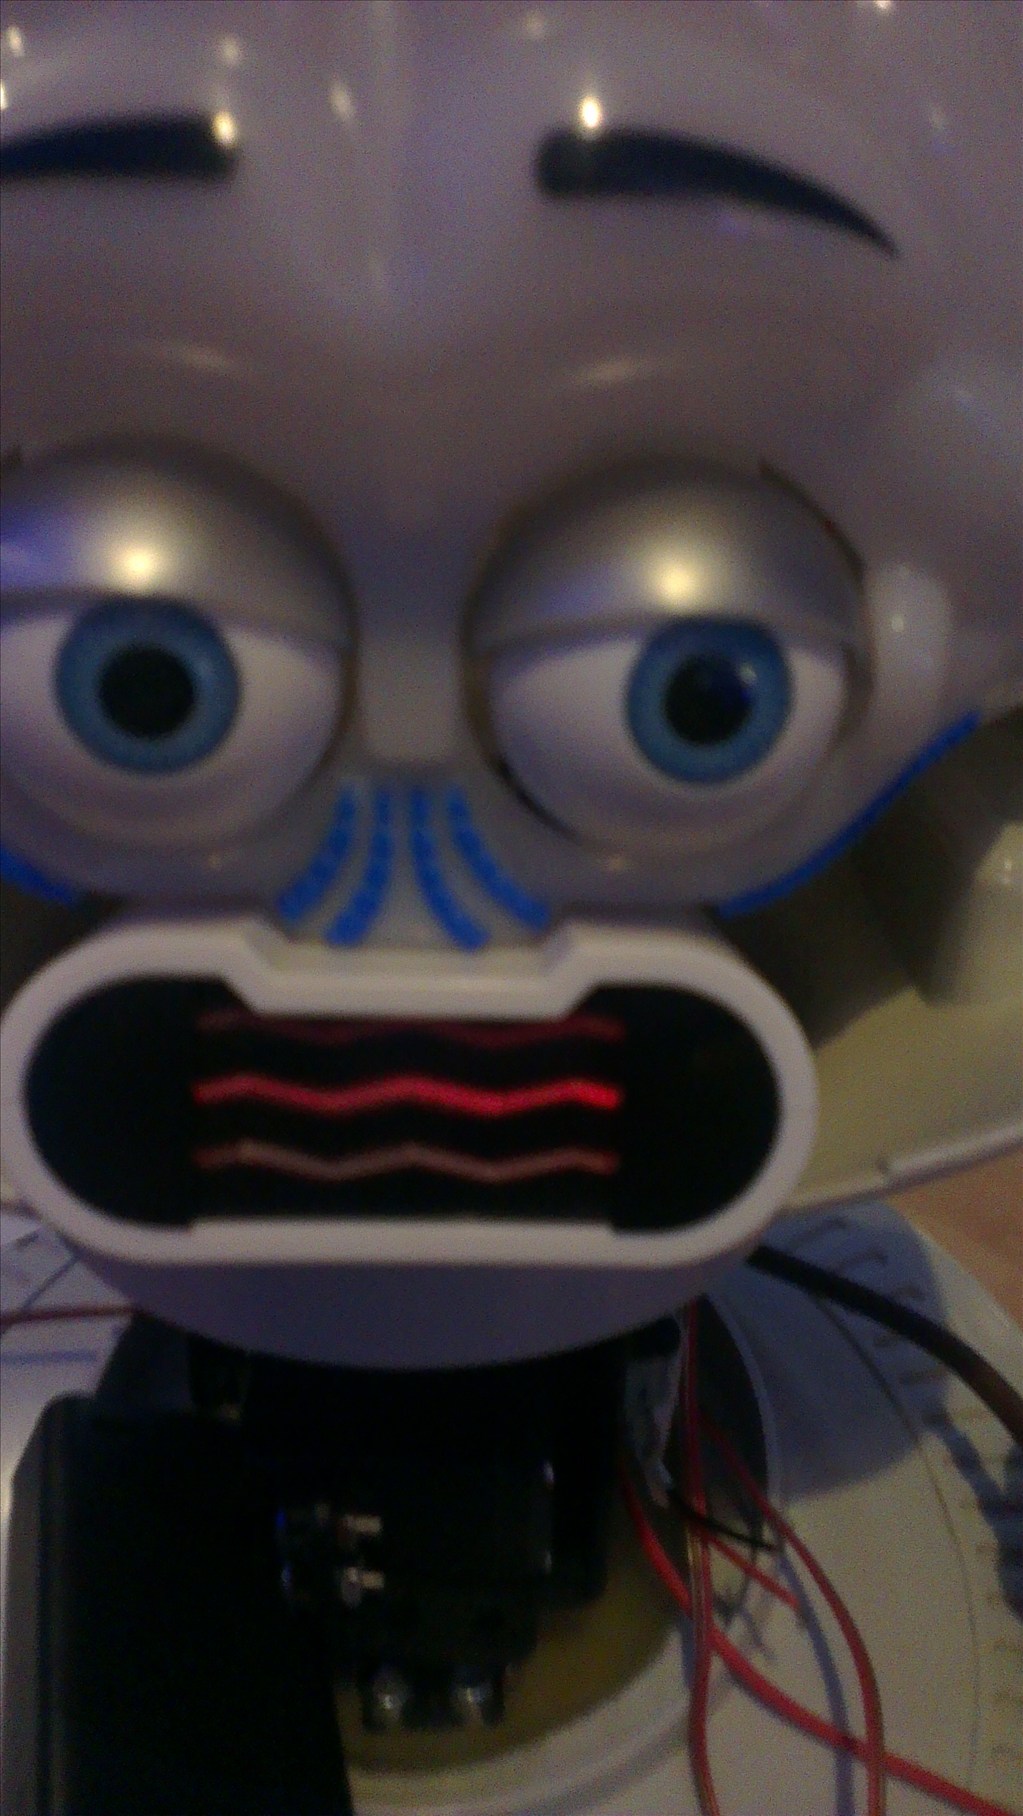
The head will include the camera. I haven't yet decided to fit it in one of his eyes or to make it his nose. The issue to overcome with this is the blue tint on the bubble head. The mouth will have a light or some lights in which flicker when he speaks.
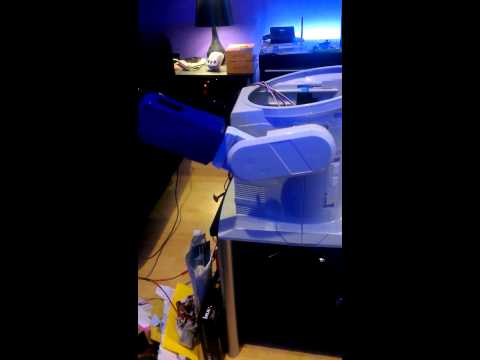
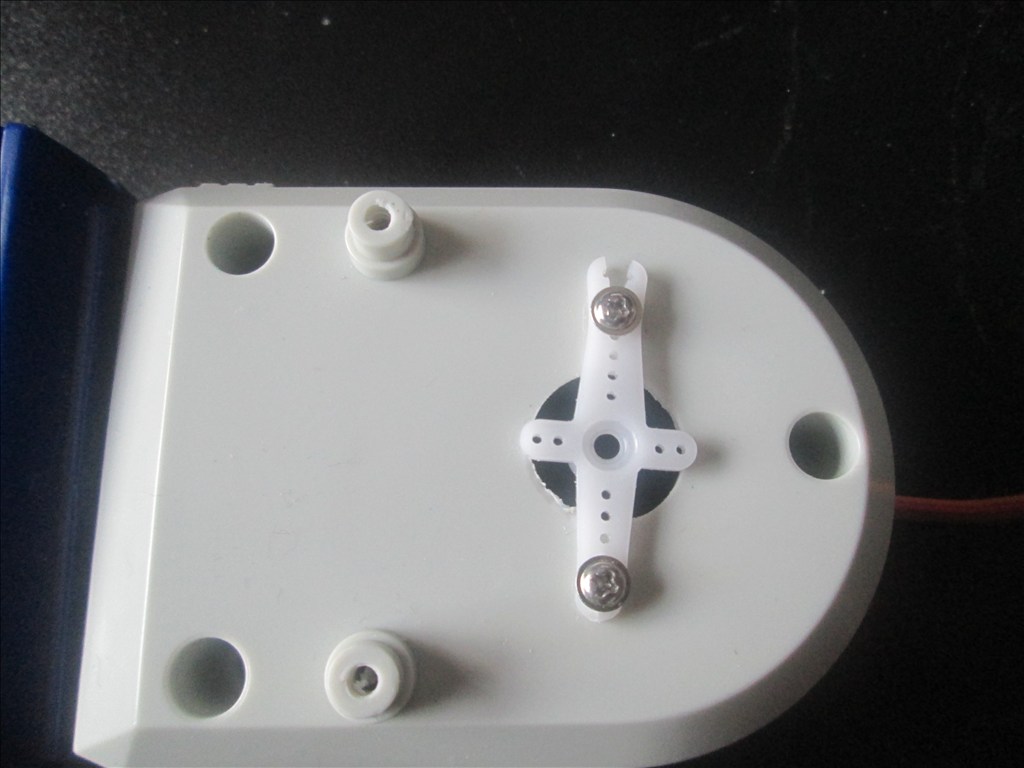
The arms will be given some life with servos at the shoulder joints and the elbows provided I can get them to fit in there nicely.
Ultrasonic sensor will be in his chest, probably on a servo to give a wider view.
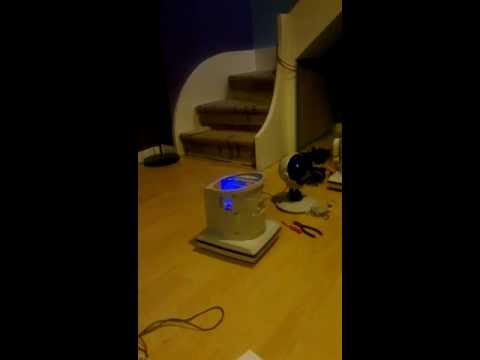
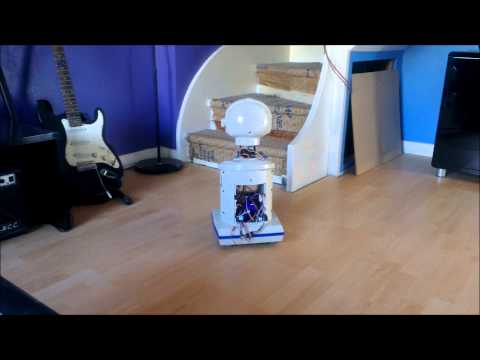
Original drive wheels and gearbox seem to be in very good shape so will plan to reuse those and just replace the existing motors for the modified servos if they can manage the task.
Speaker and microphone will be in the original positions - if it's not broke why fix it?
Not too big a project but enough to give me a test, help me learn and bring an old robot back to life.
Discover more robots

Halbinath's Traxbot - My First Robot

Ezang's Richard The Robot For Exsophere 4/19/2020 Exciting...


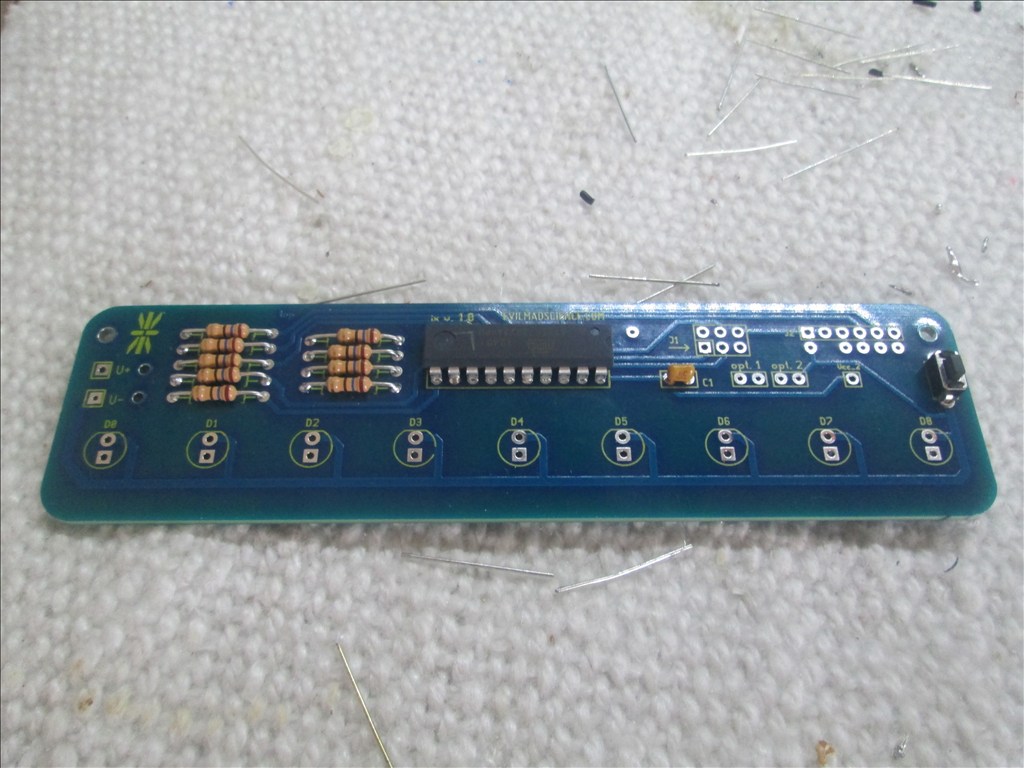
ExpressPCB costs far to much for one off PCBs, the cheapest is over 175 delivered to the UK, multiply that by roughly 1.5 and you get dollars...
I do use ExpressPCB for schematics but the problem is I can't use it everywhere, this I can hence moving everything over to it. Works on tablets and any PC regardless of OS and all stored in the cloud so it's better than ExpressPCB on that account. Plus you can simulate circuits to make sure they will work, check voltages at specific points etc.
Following the link and choosing Open In Editor, as mentioned above will allow you to view it, zoom in, pan around, copy and paste etc.
But if that's too difficult for you here's a bigger version (click it)

However this one doesn't automatically update when I amend the schematic.OK.expresspcb in usa is super cheap PCB I HAD MADE IS 19sq inches total cost me $89.12 for 2 boards including shipping, 2 layers plus holes miniboard service is 3.25 inch by 2.5 inch 3 boards with shipping and holes $51
plu on the first one for about $89 if you buy more price really goes down alot per board
wow $262 prices are high in UK
WILL TRY the EDITOR
also looking at my pcb i guess i forgot i see its 3.75 by 2.5 inch so if i move the parts together with i can easy do it will cost me $51,i need to do that tonight
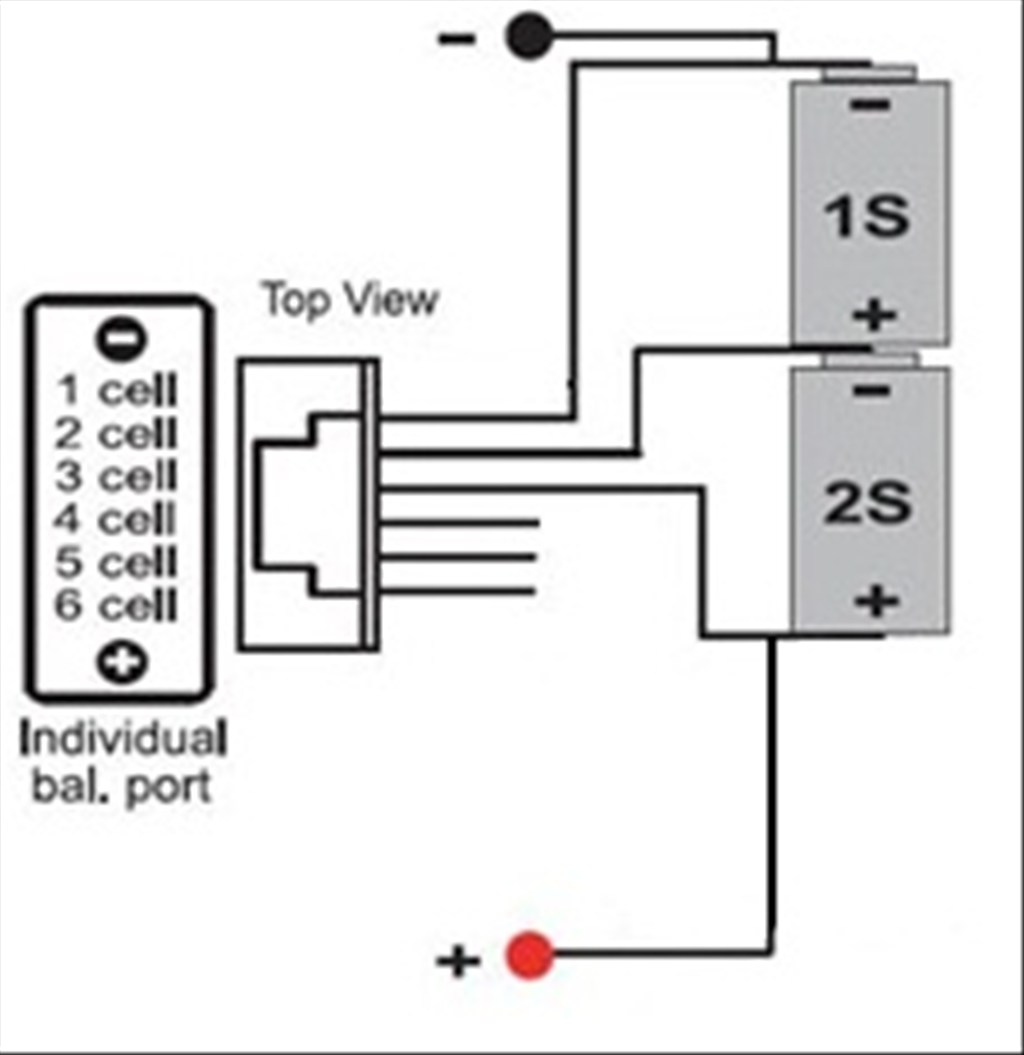
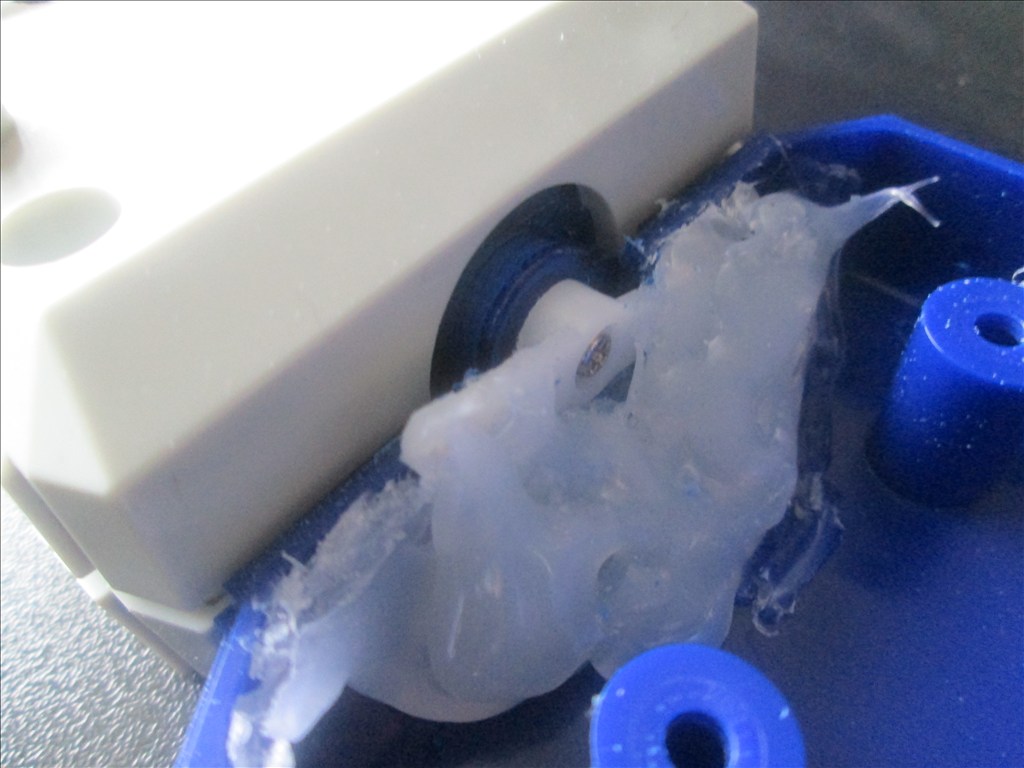
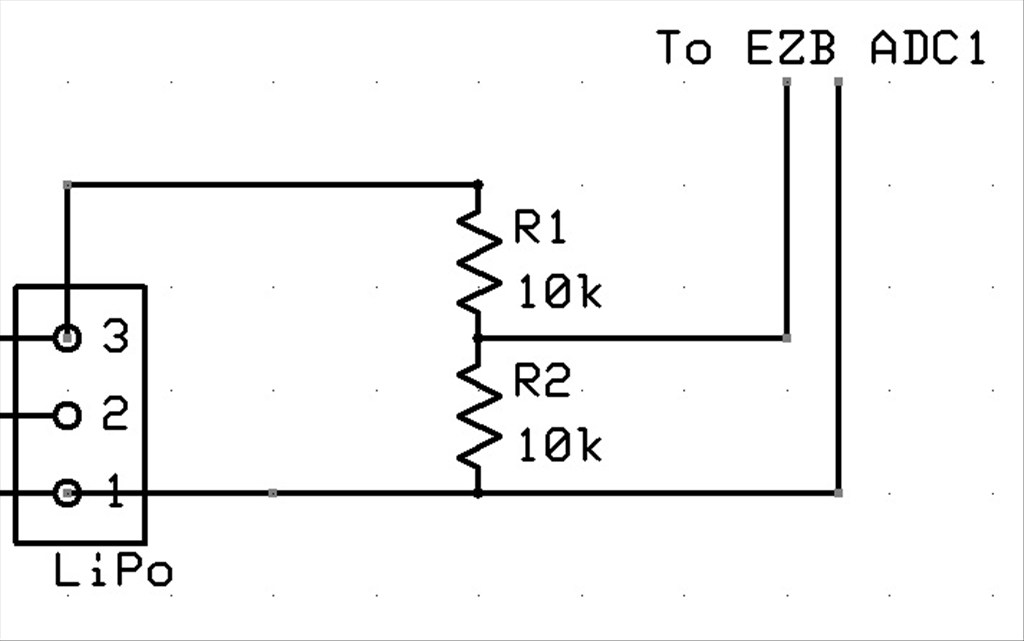
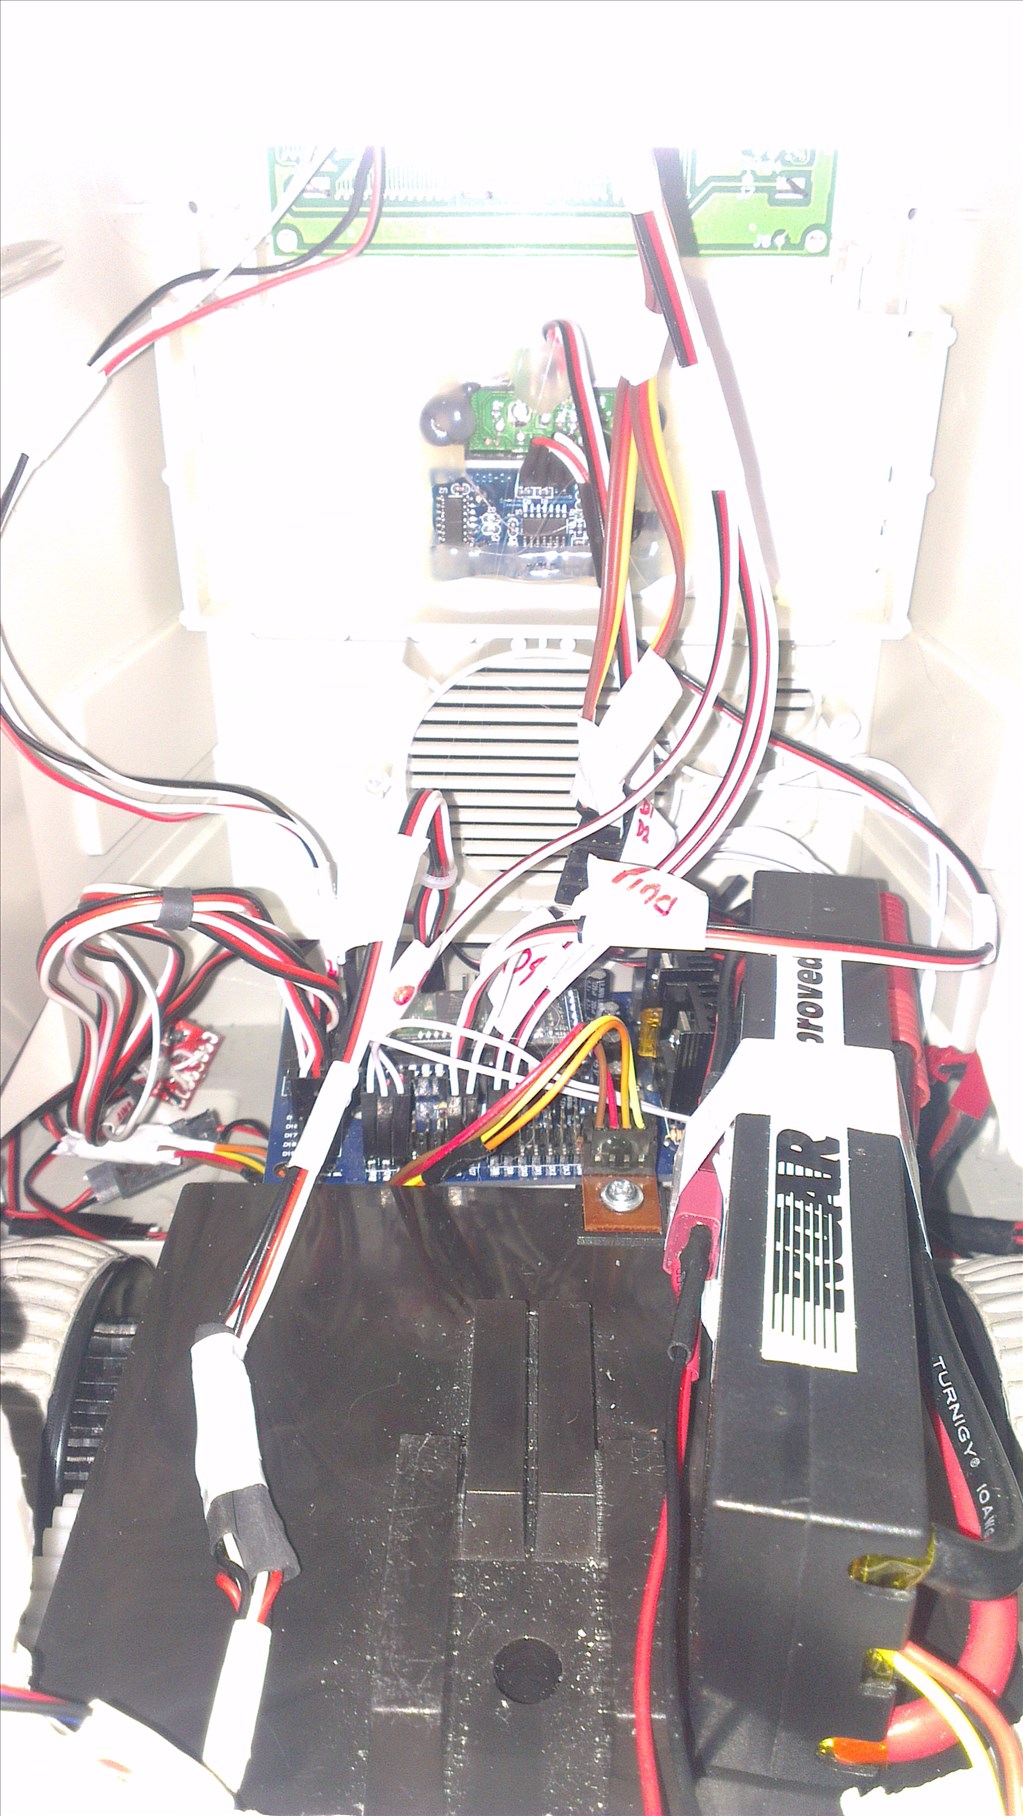
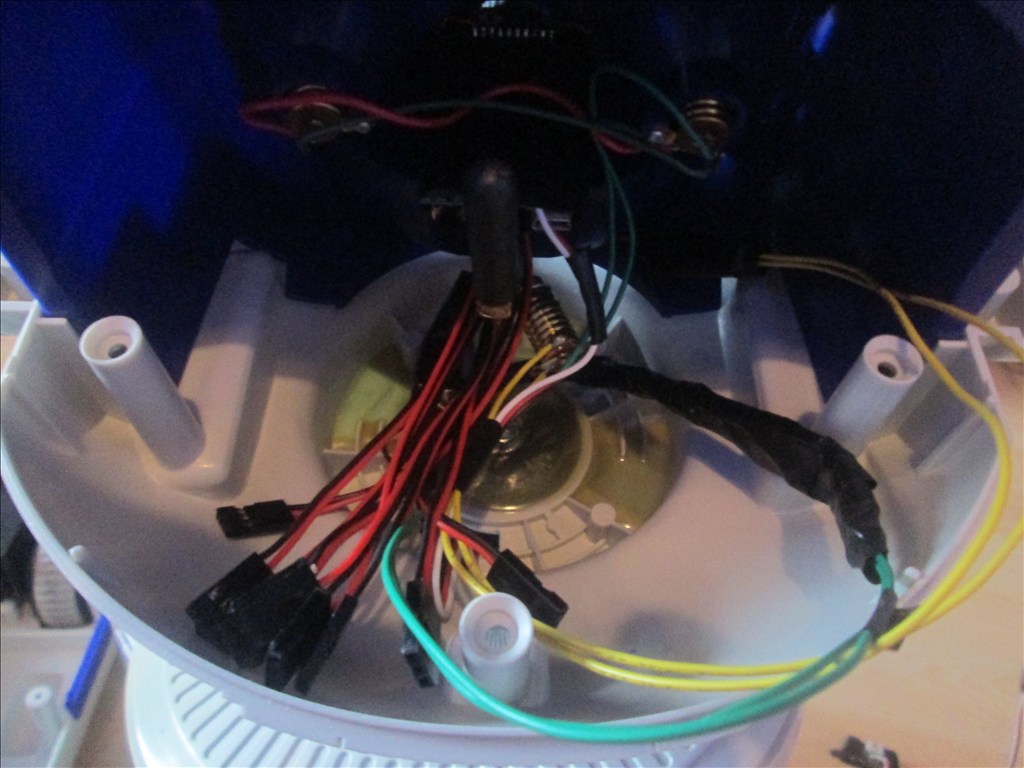
Finally got the robot back out of the spare room to do some work on him tonight but that didn't quite go to plan when I checked the voltage of the LiPo and it was 3.6v for both cells... It looks like one of the cells is now under voltage if not both which sucks!.. (I may try a dangerous repair by charging it as an NiMh if I can find something fire proof and am feeling like risking burning down my house)
2 more are on order though. Now I need to decide if I want to rock two in parallel or keep one in reserve just in case I make the same mistake again. Do I really need 10,000mAh of juice?
A small set back and further expense but it'll be worth it. It just means I need to wait a little longer to buy that second EZB for project 2 (details will come shortly but want to finish this one first).
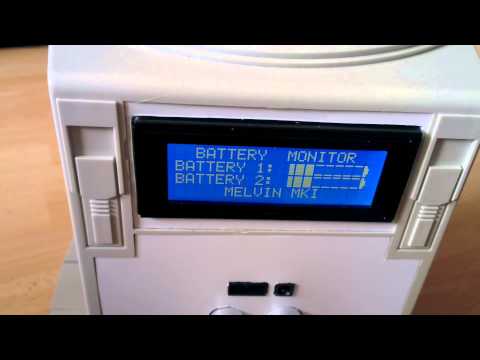
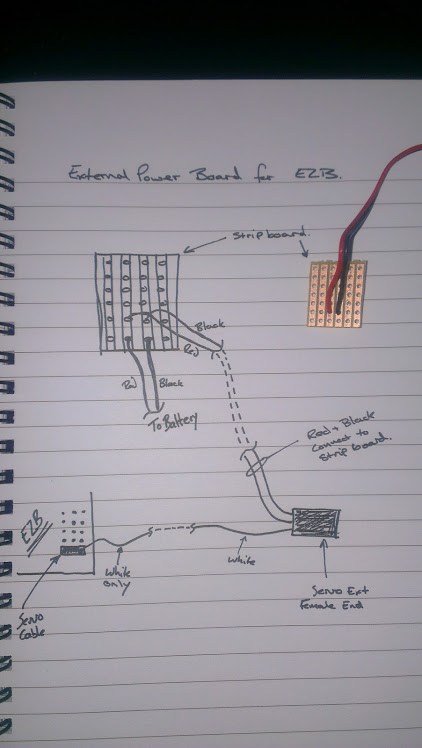
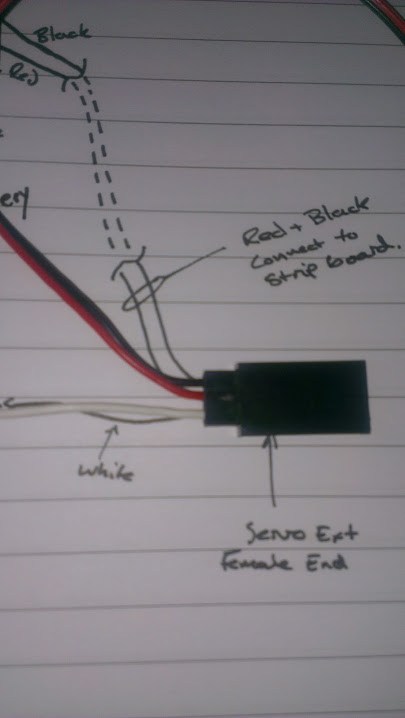
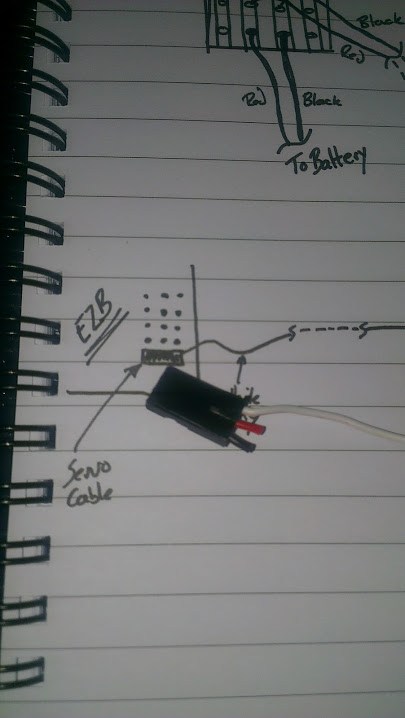
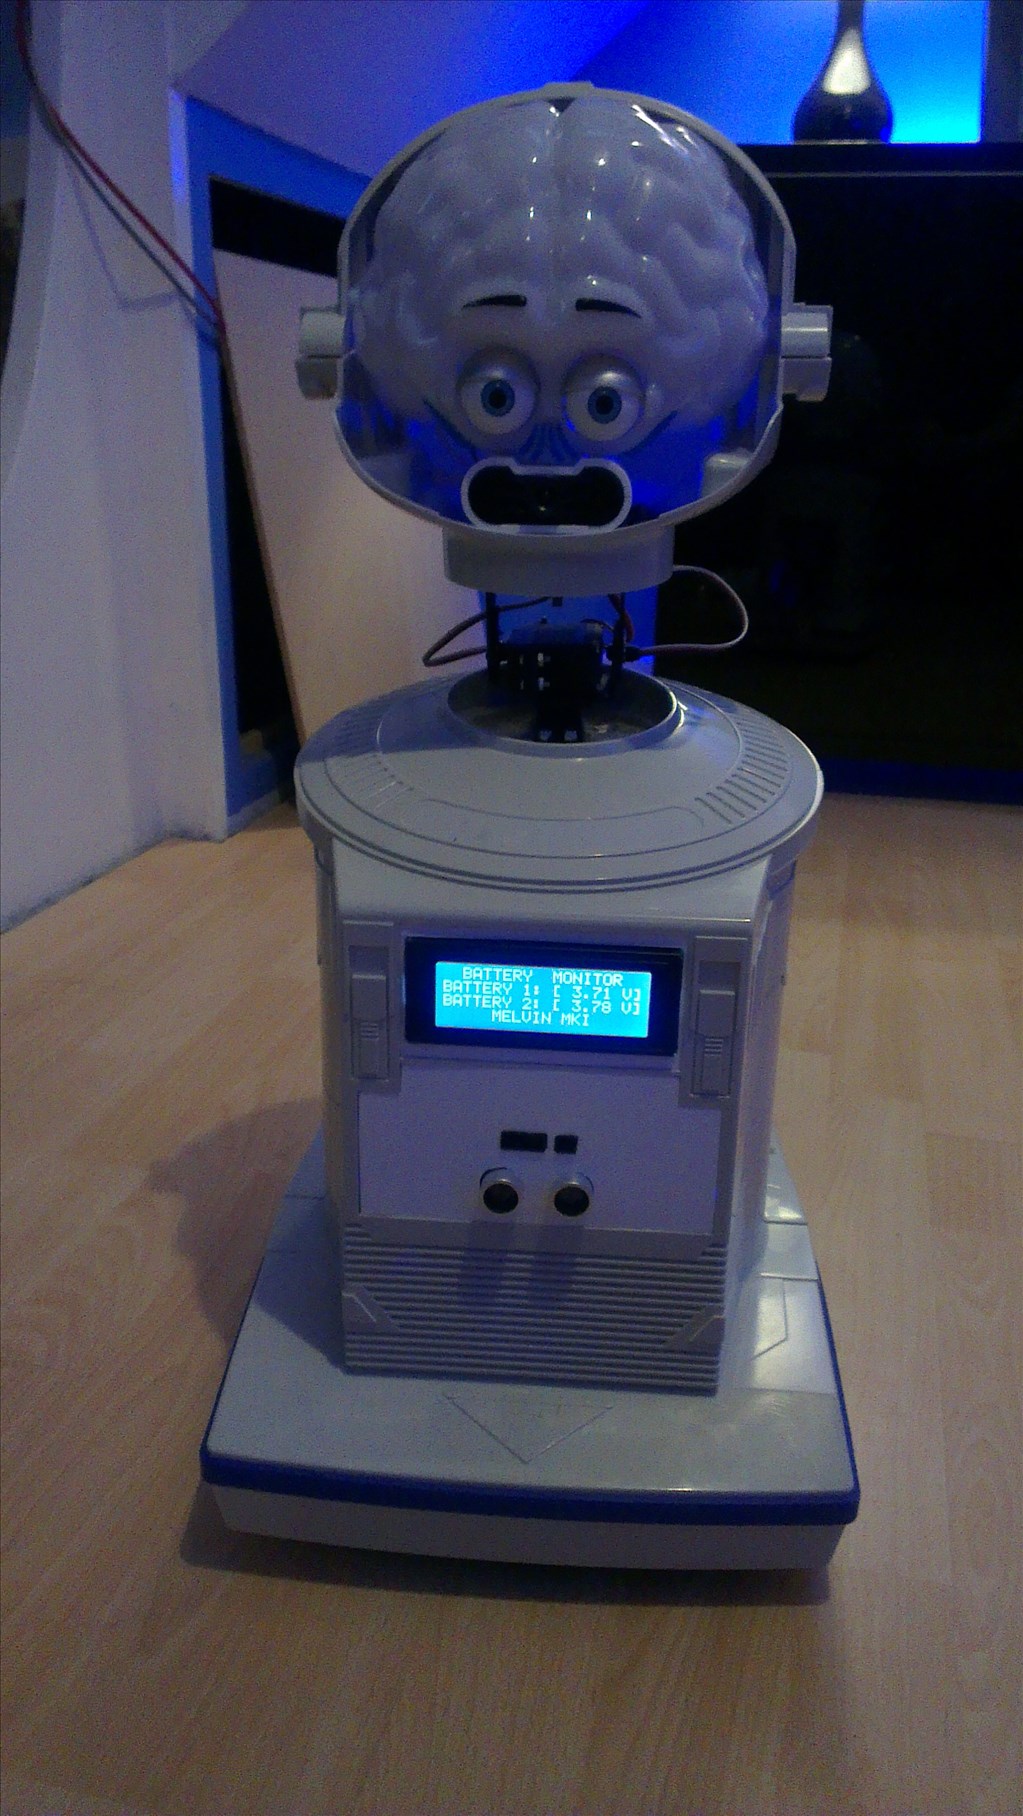
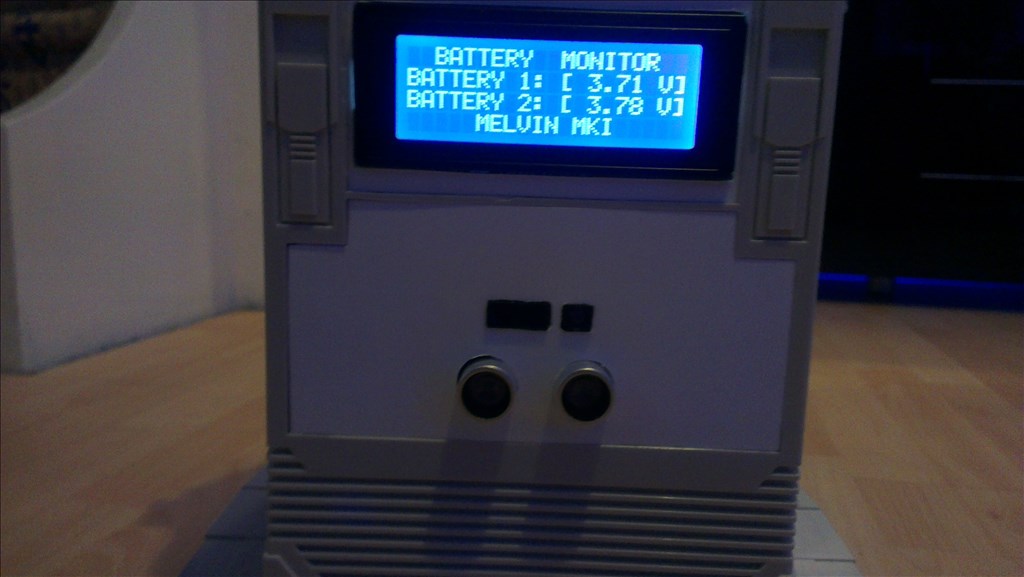
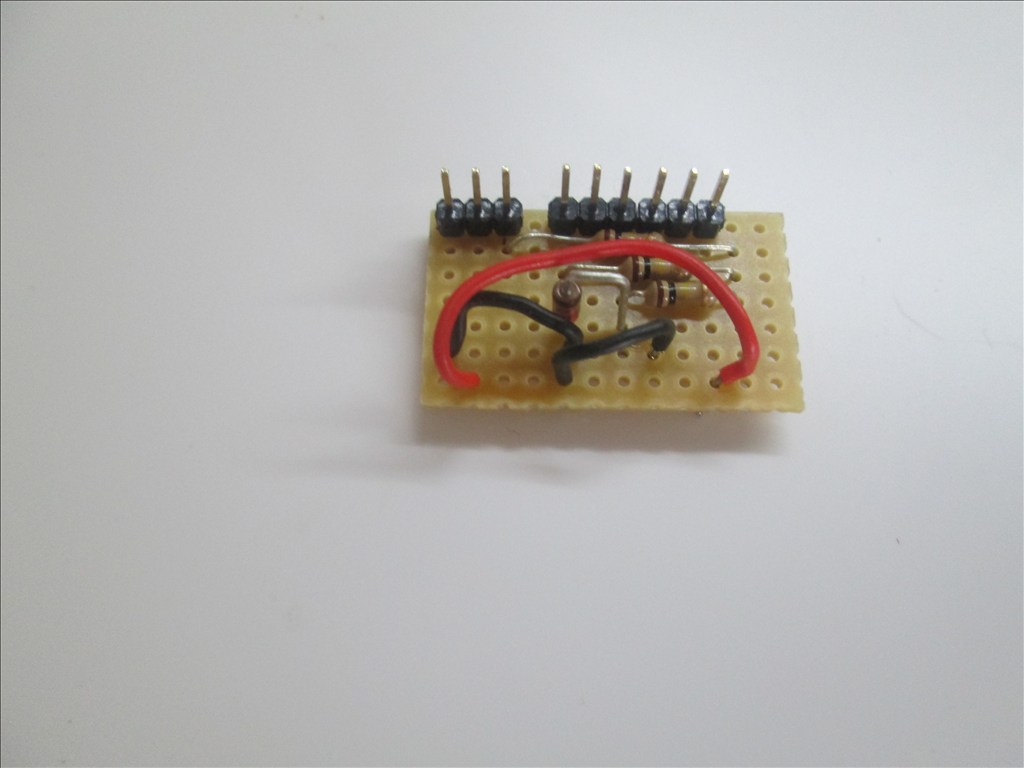
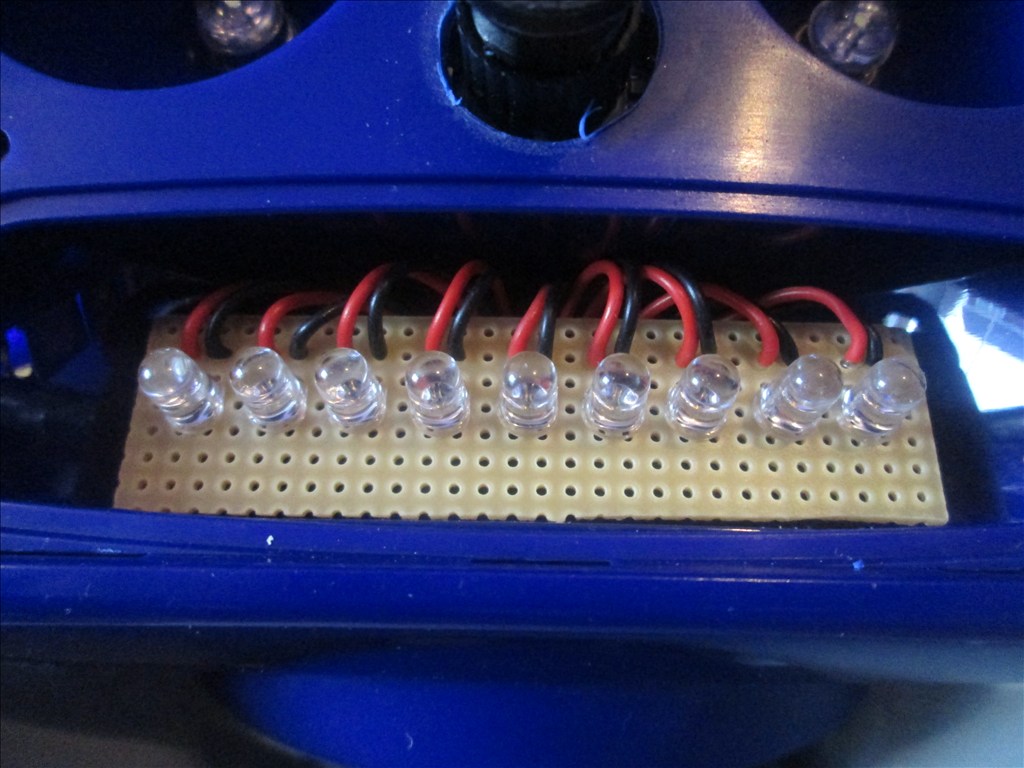
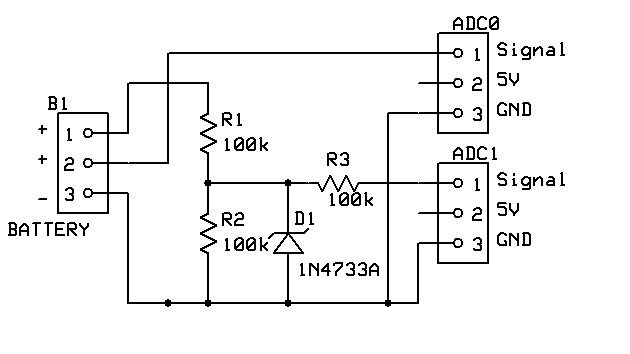
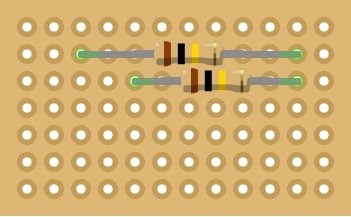
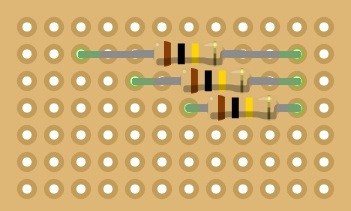
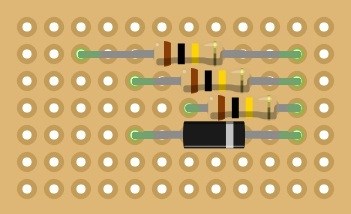
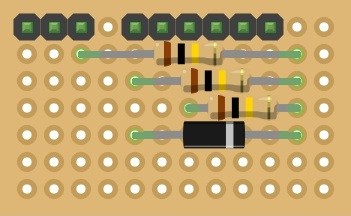
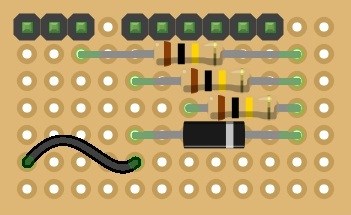
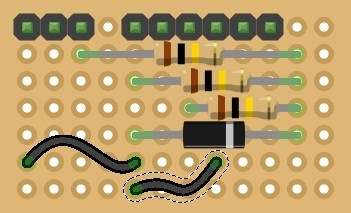
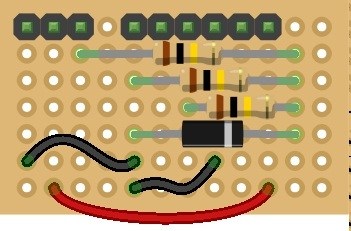
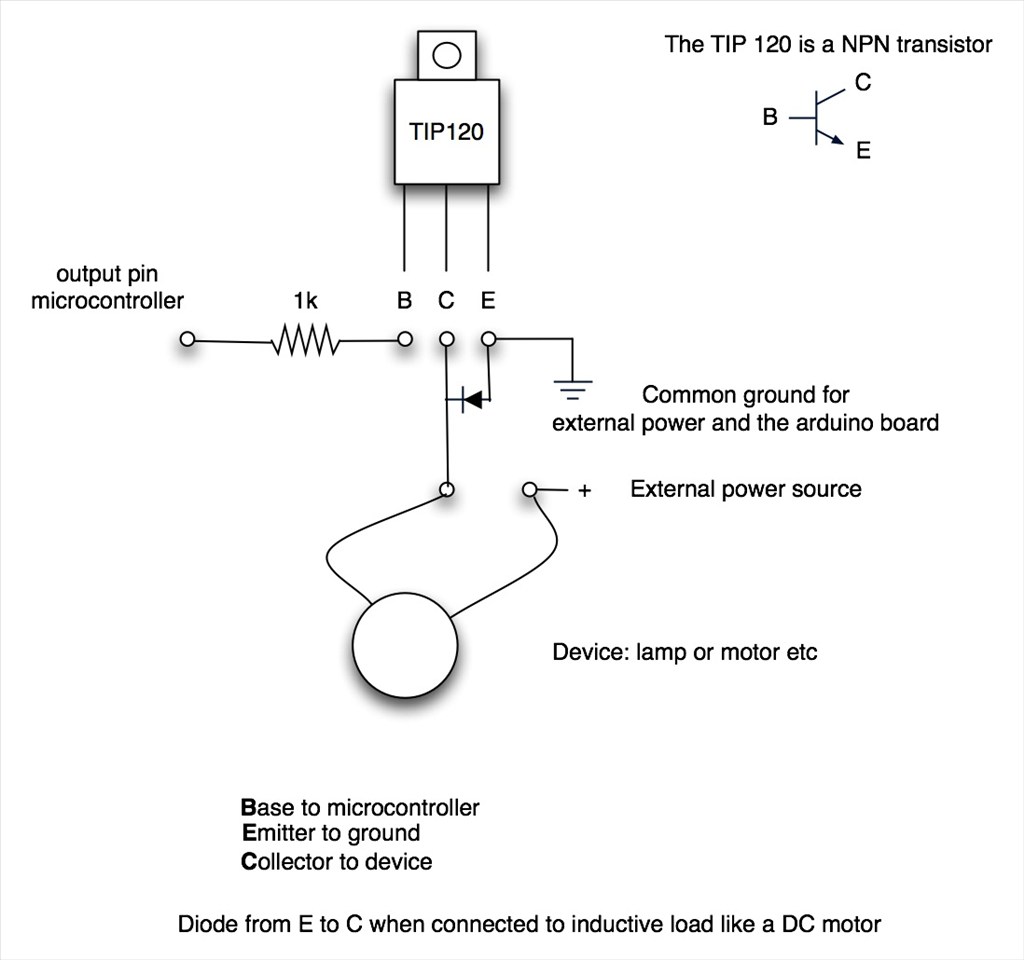
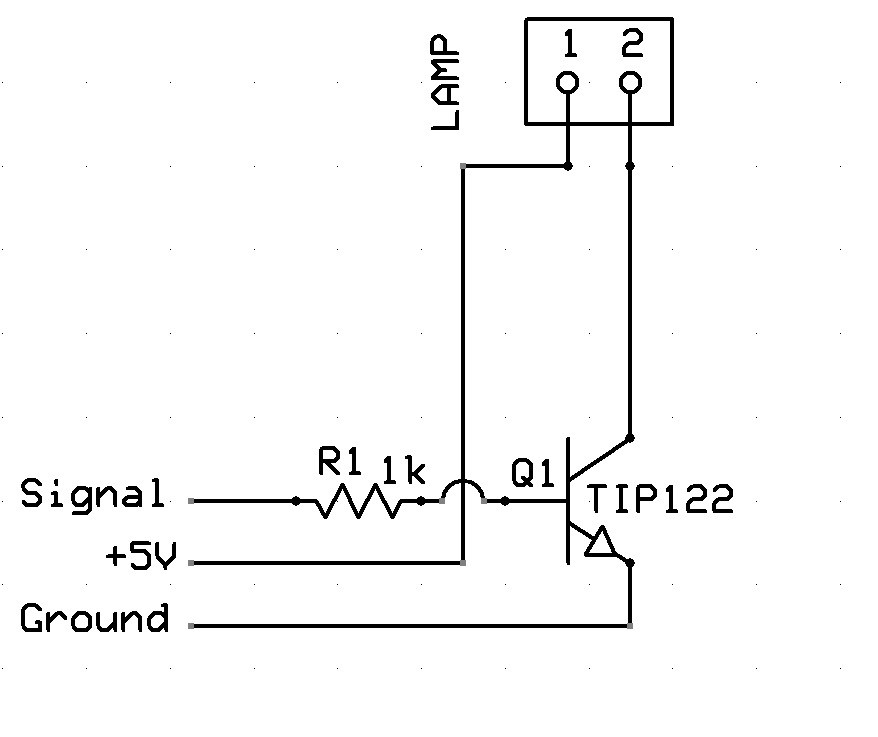
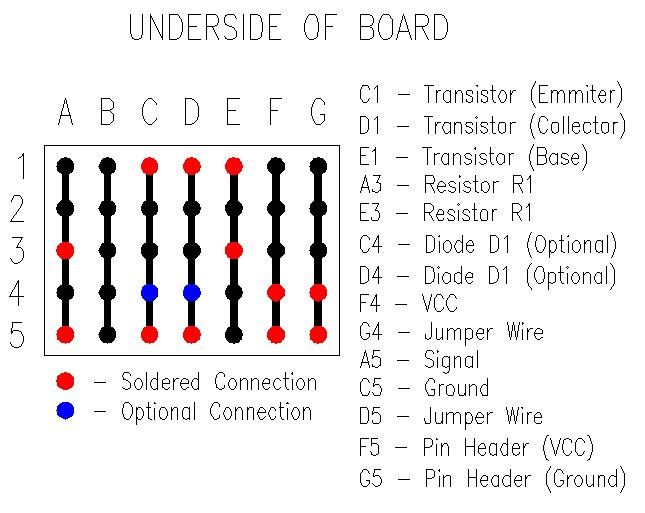
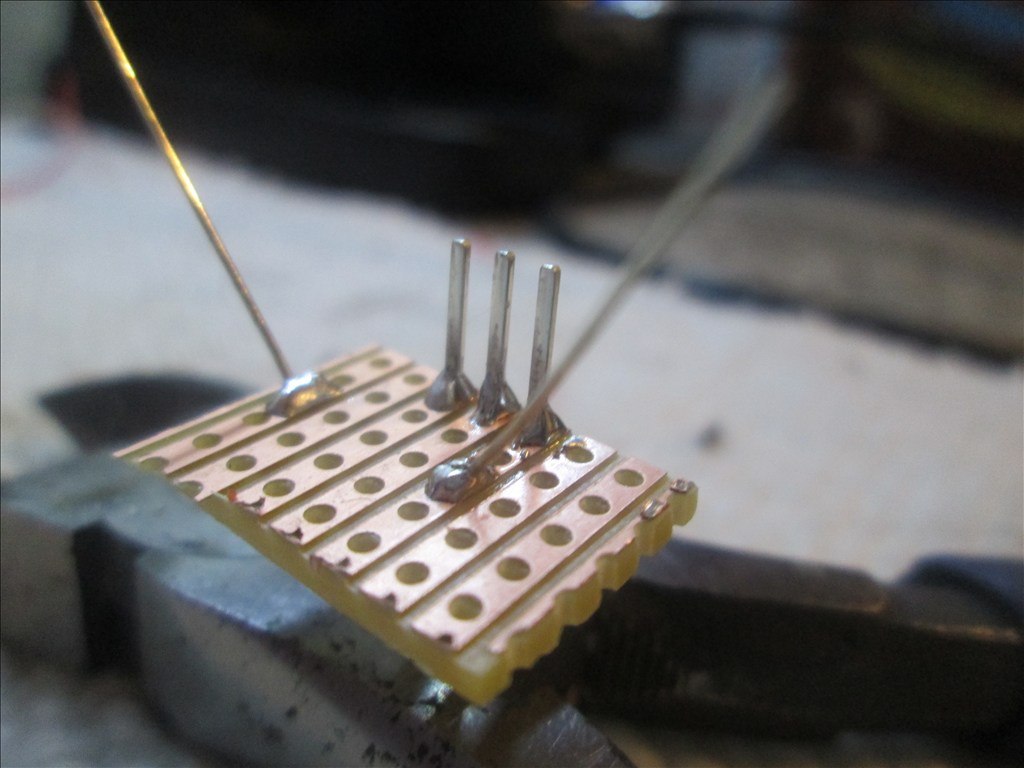
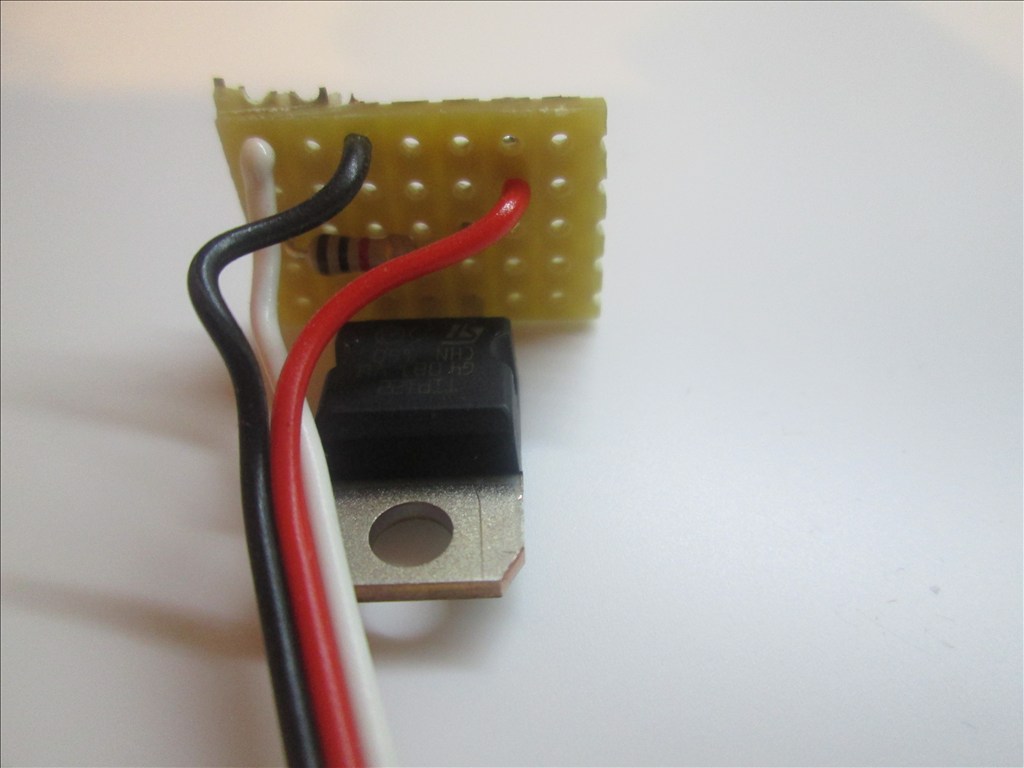
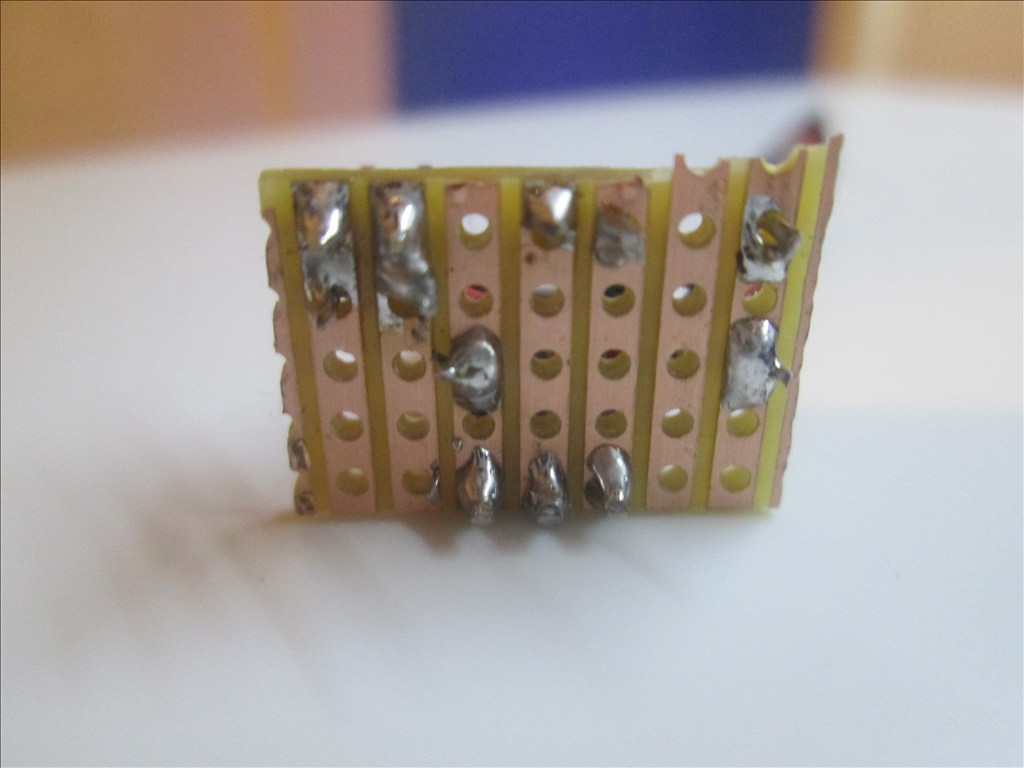
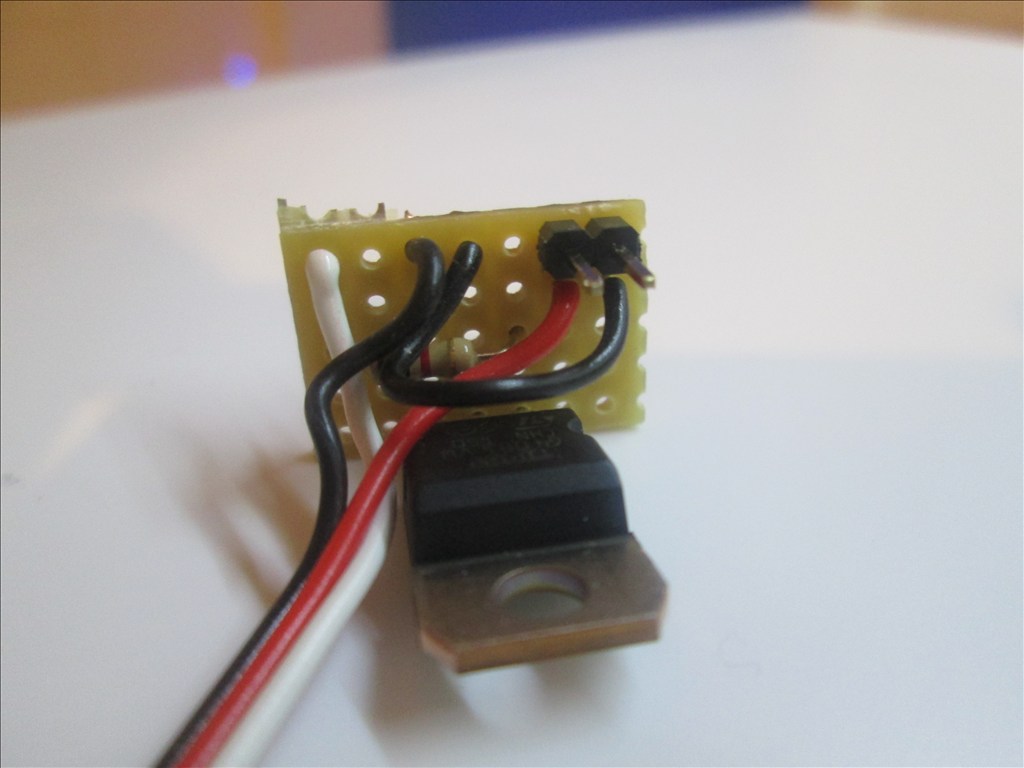
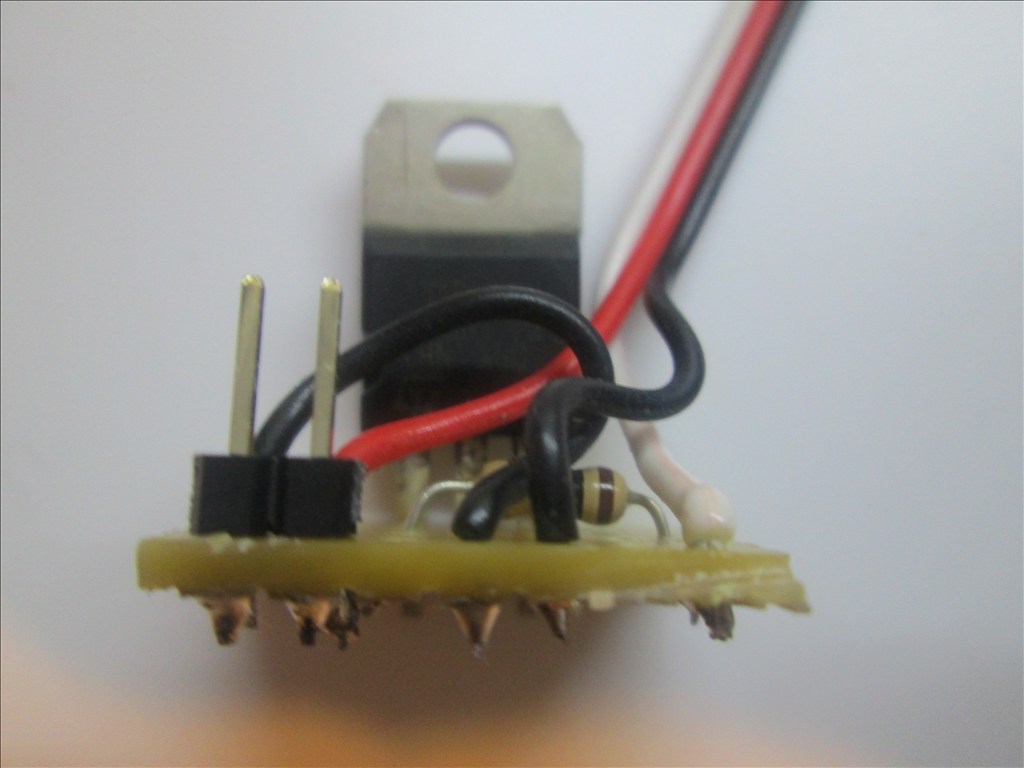
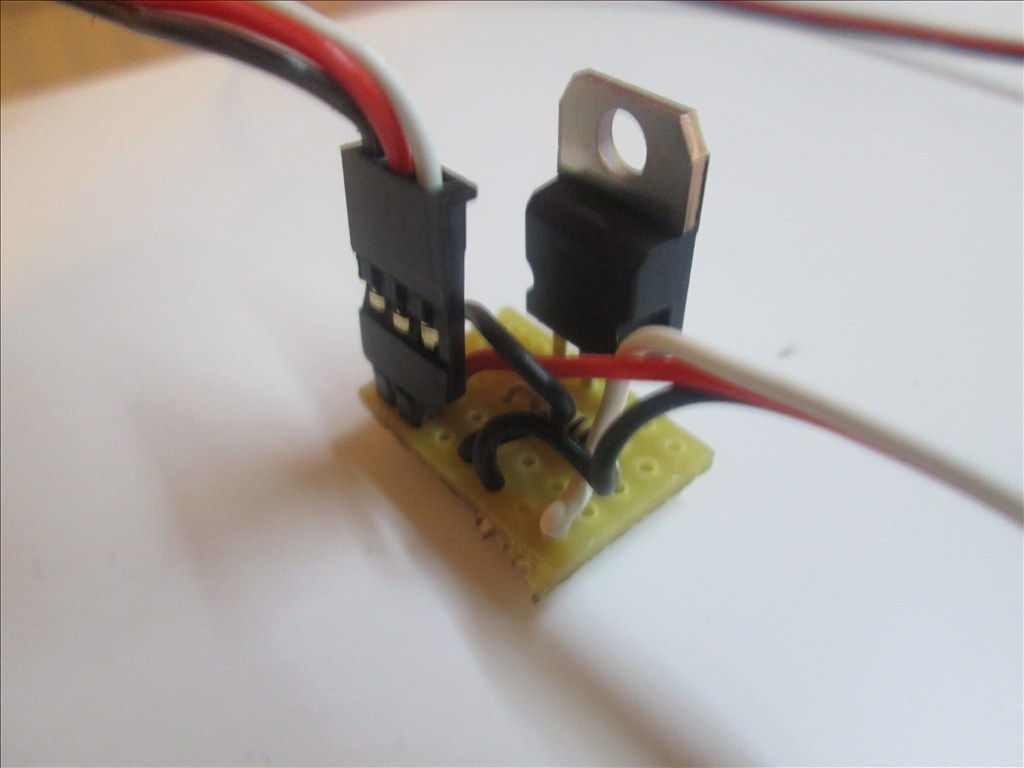
Also decided to redo the small circuits for the switching of the lamps and the battery monitor using some stripboard and adding in the Zener diode to the monitoring circuits (since I had to take the whole thing apart to get the battery out anyway I might as well).
So no new photos yet or videos. But it's the perfect opportunity to make some tutorials on those circuits. Every cloud has a silver lining and all that
I did the same thing to one of my lipos. Try recharging it outside.
Den
Looking forward to it. Wouldn't mind learning everything I can.
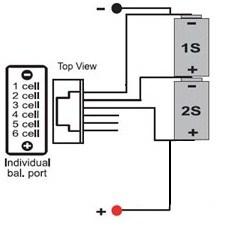
You need a special charger for LI-PO ,it needs CC and CV out and a balance board
On the current need its little hard,but a good rule of thumb is find out total current is needed and hours you want it on and add 25 to 30 %
Useless post removed
LI-PO dont have a memory effect,and can keep them on the charger after they are charged ON yours may be hard to tell what happen