


Now I have the EZ-B kit and the Hearoid it's time to start my Showcase thread.
I still haven't decided on a name for him yet, all suggestions are welcome.
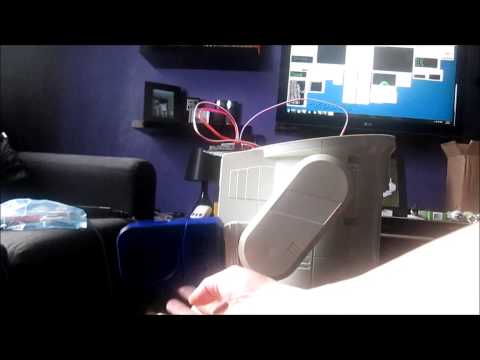
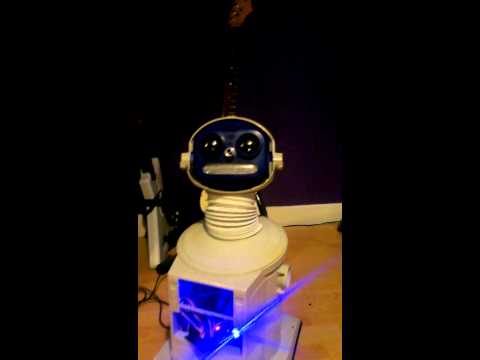
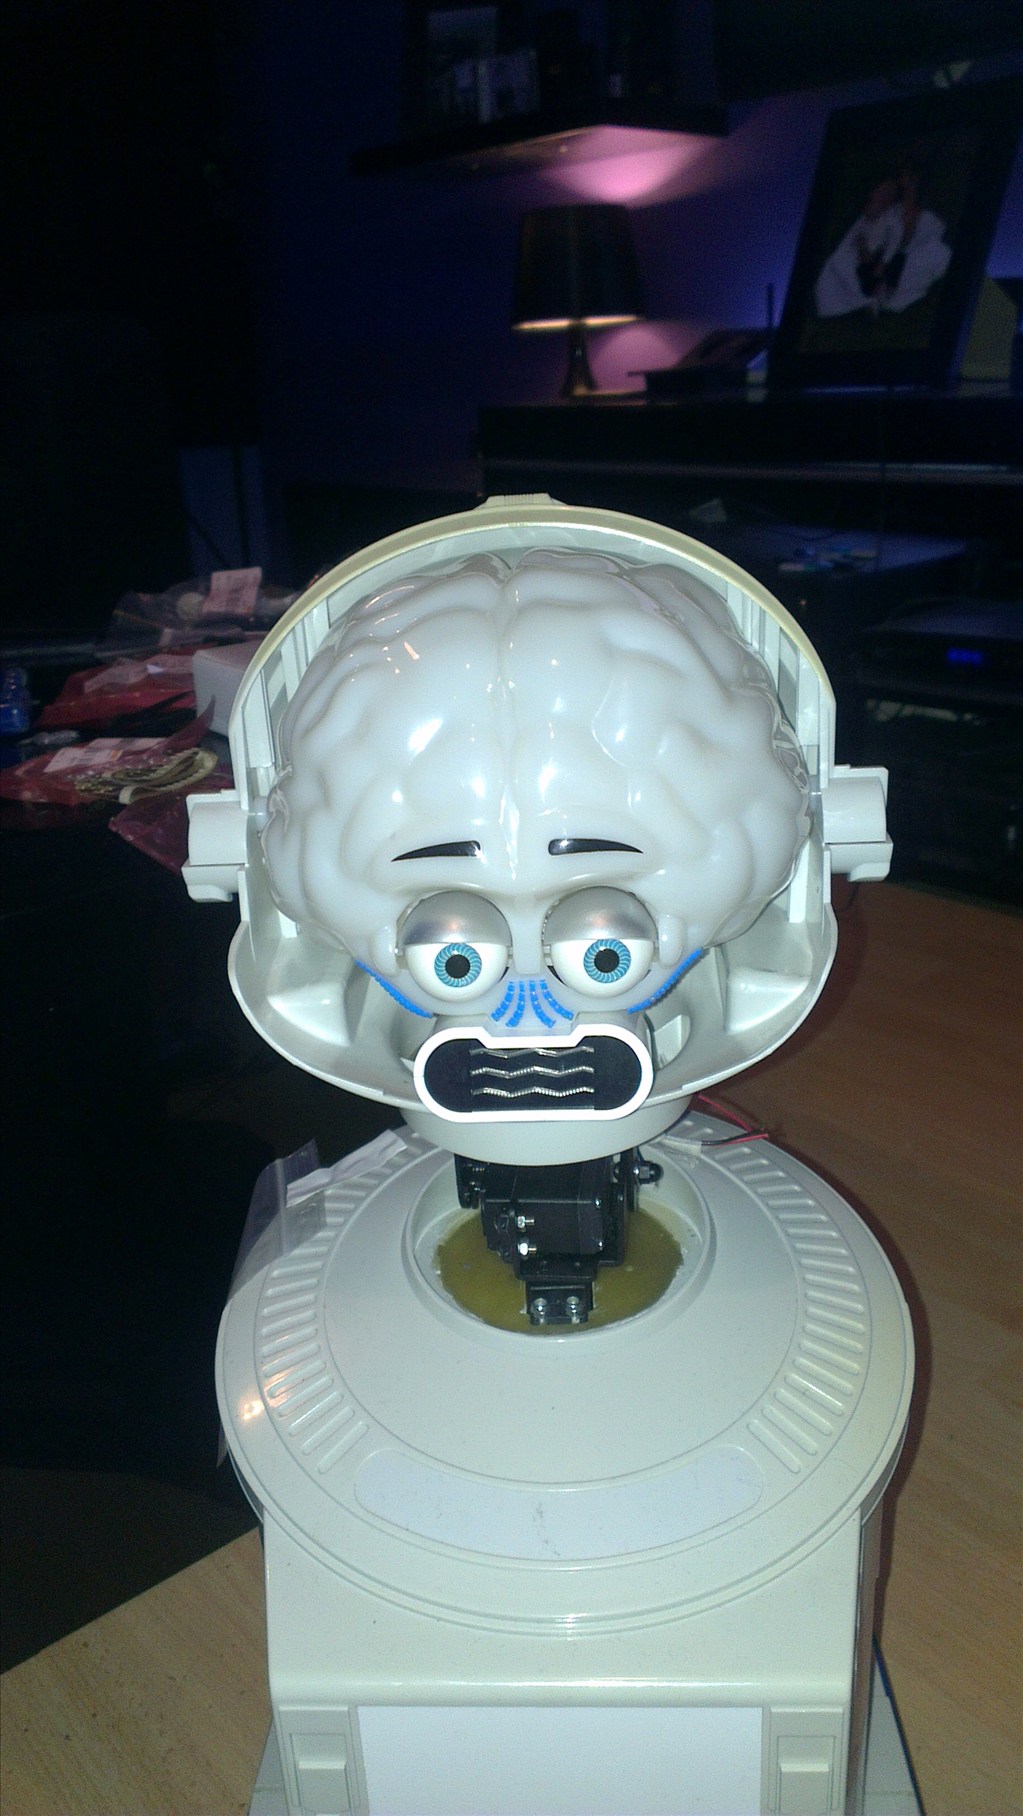
I won this robot on ebay weeks ago, for the past 2 weeks he has been waiting for me to collect him...
Today was the day, a road trip to pick him up and bring him back to his new home...
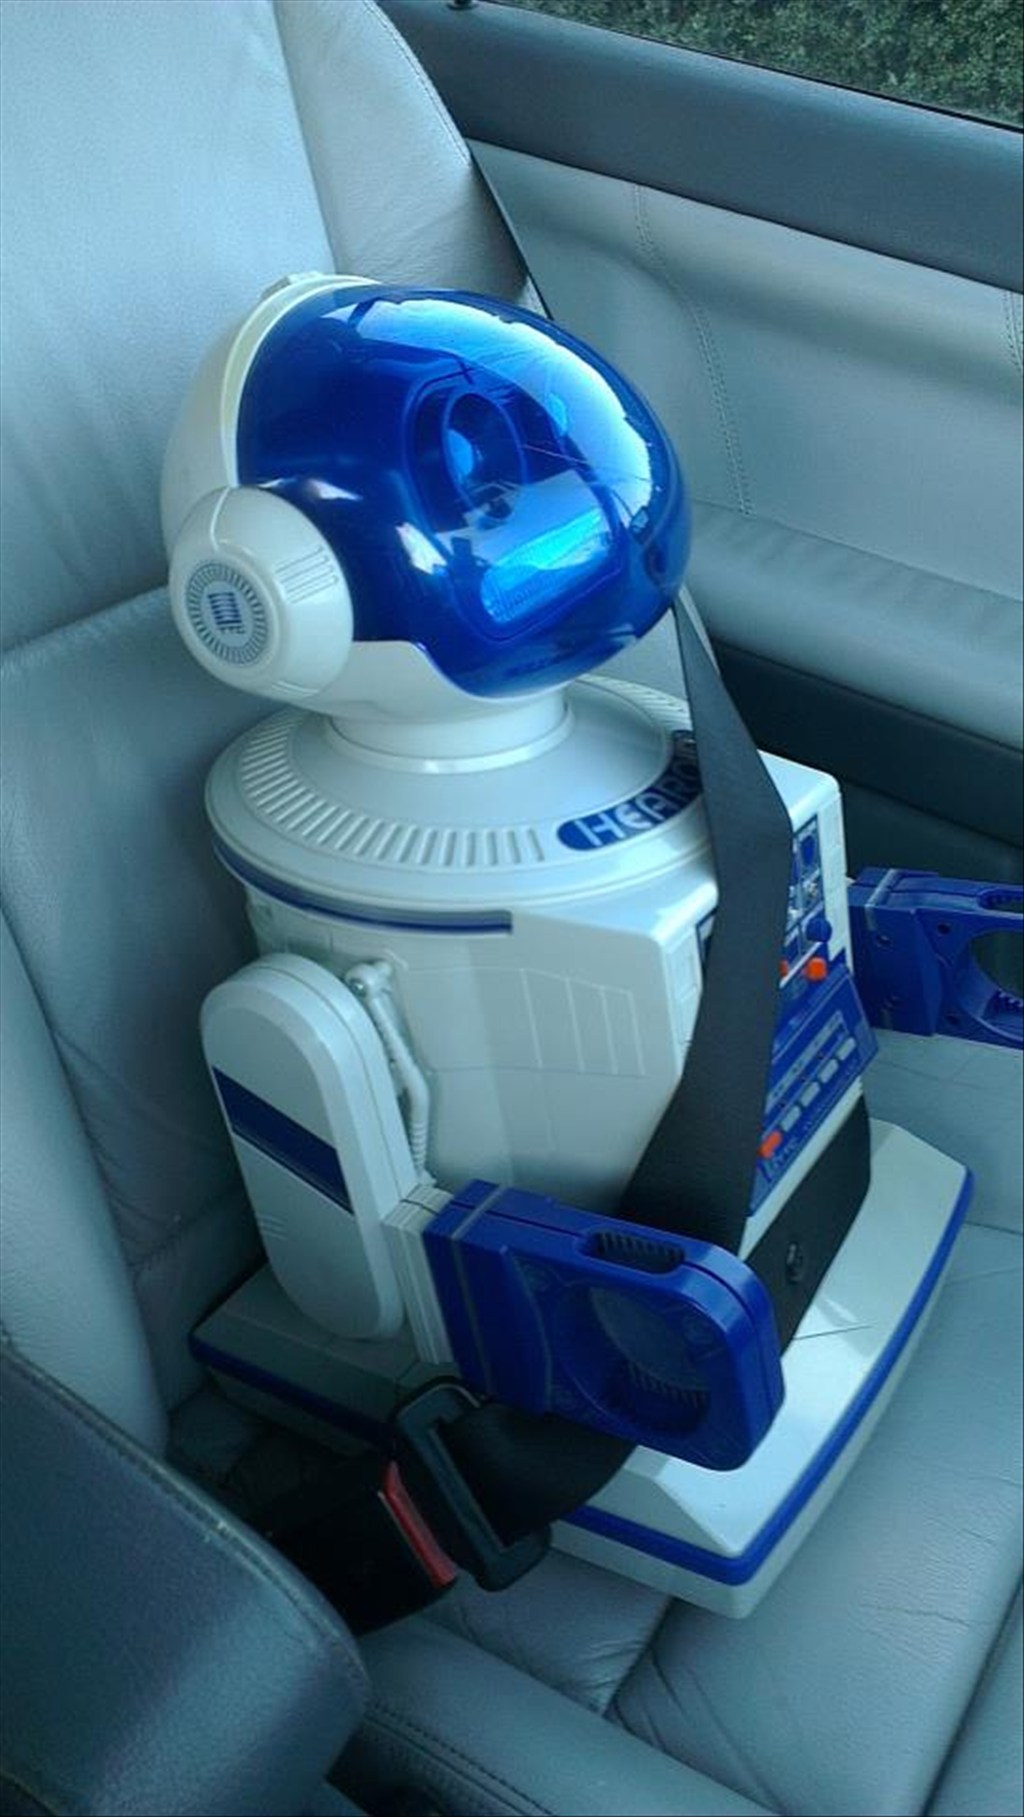
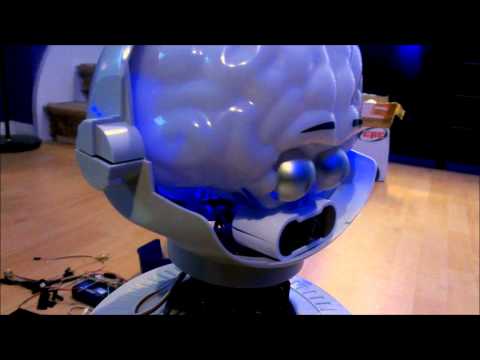
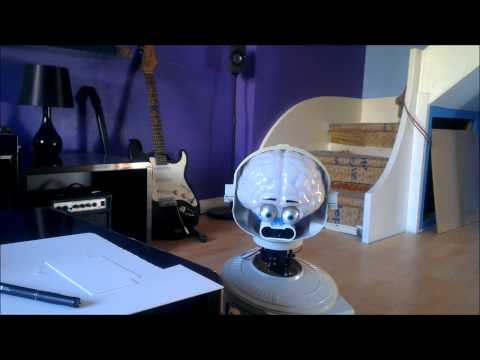
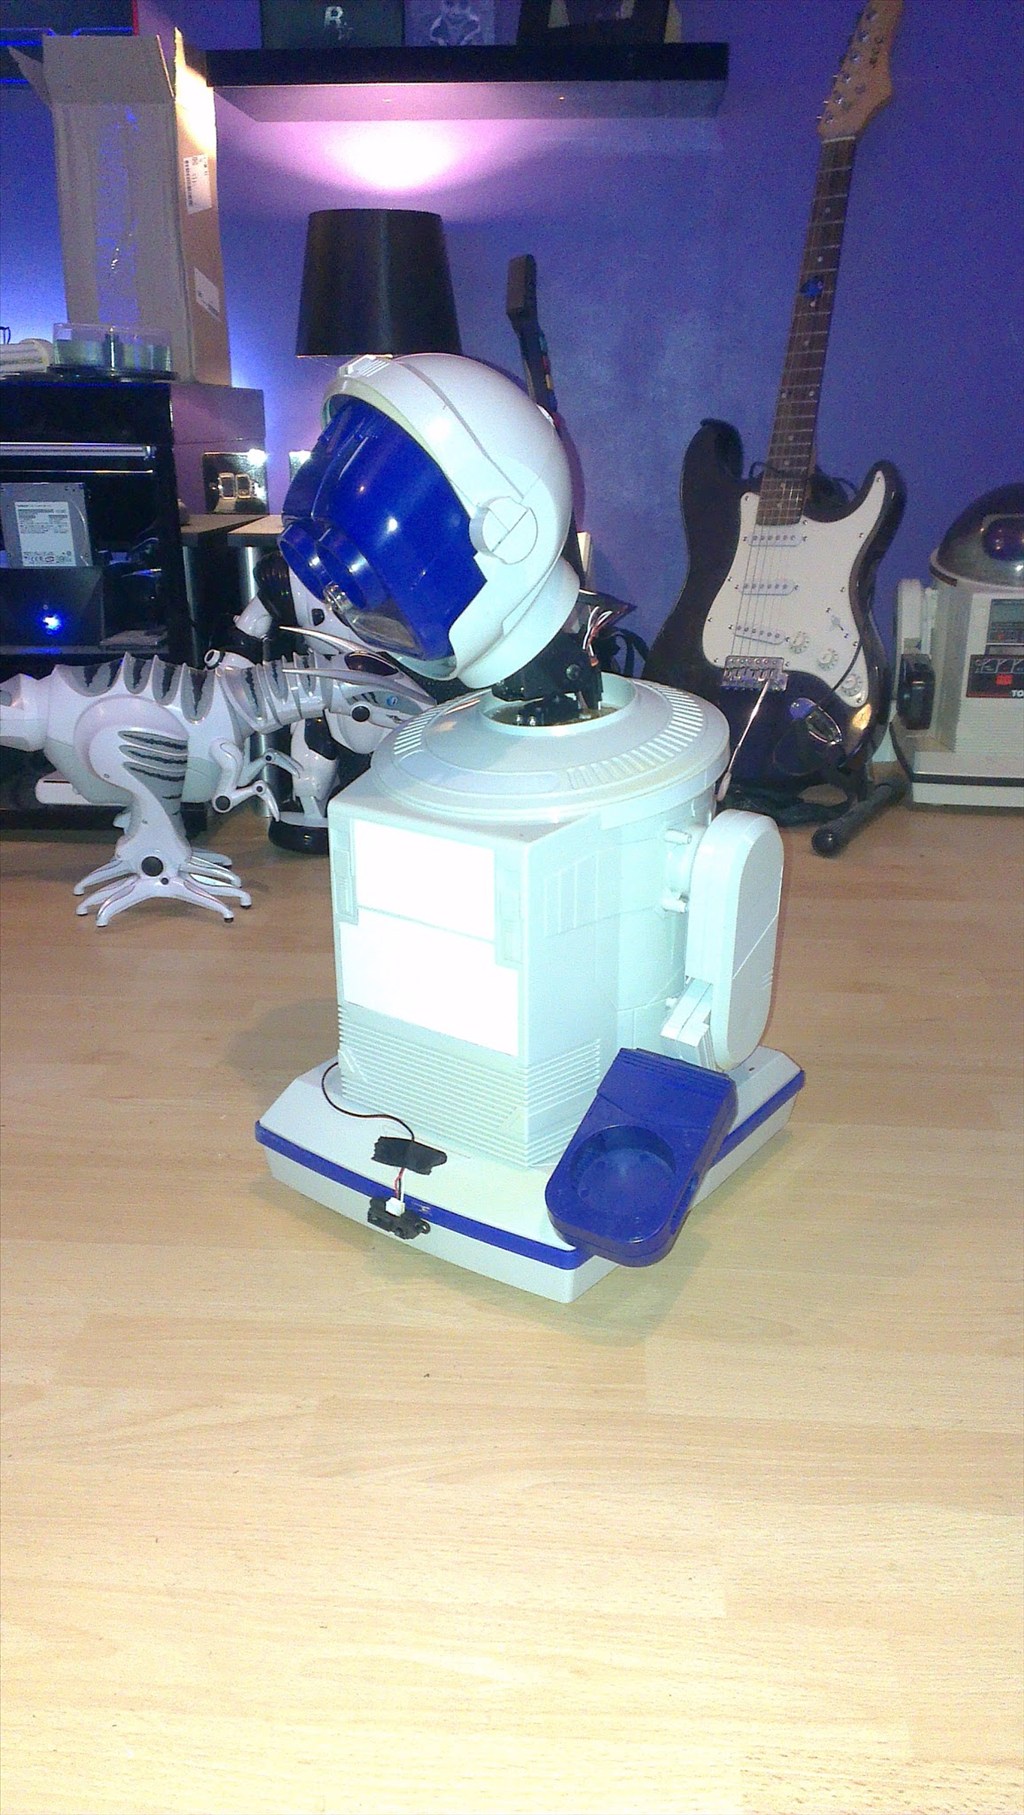
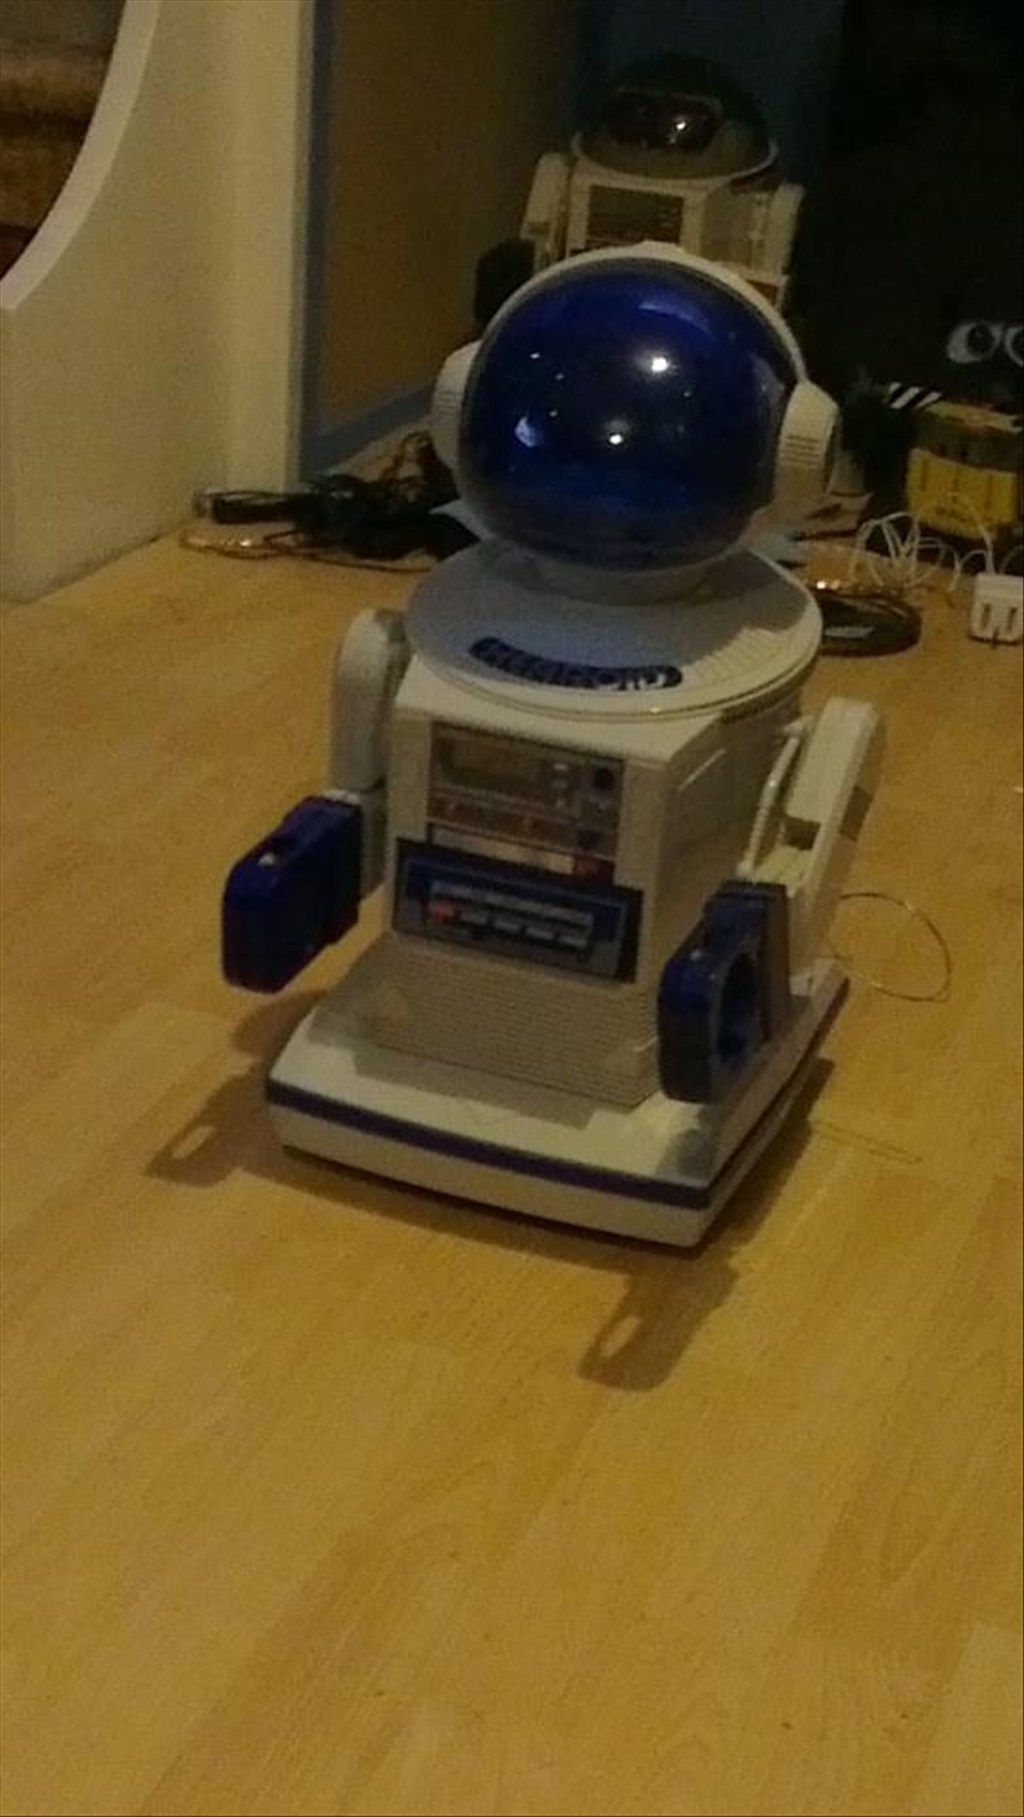
In his new home (with Omnibot and Wall-e in the background totally unaware they are next in line to be opened up)
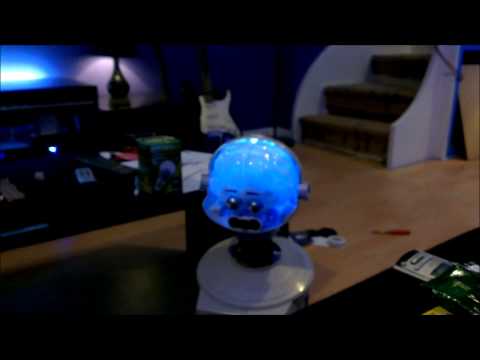
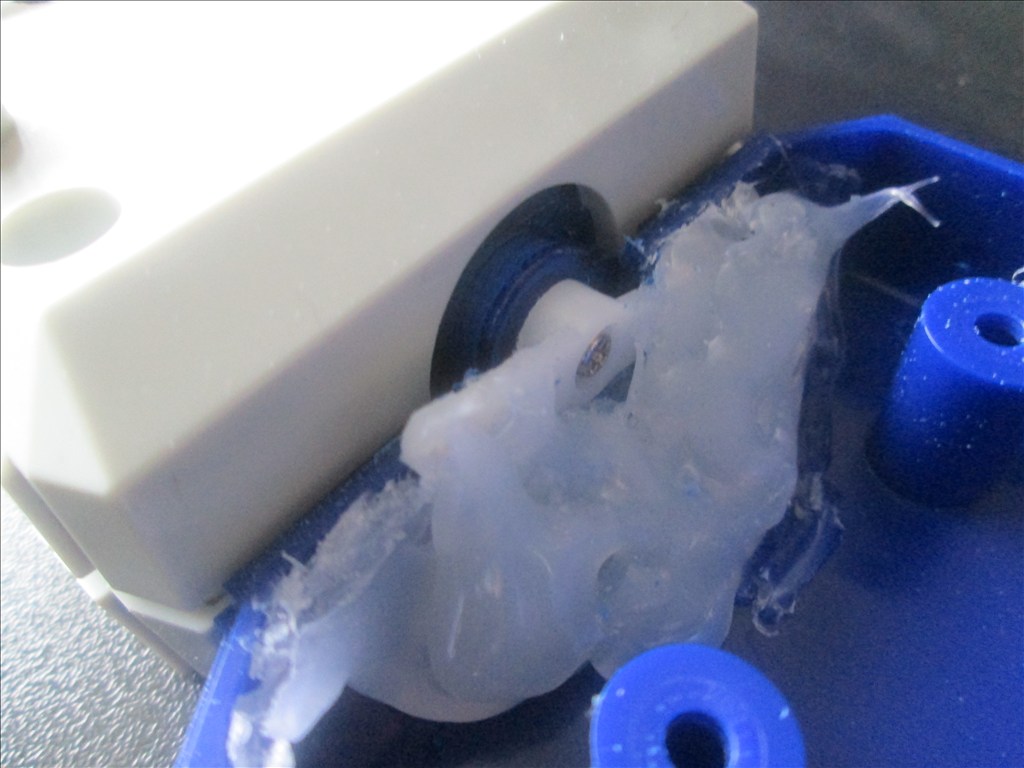
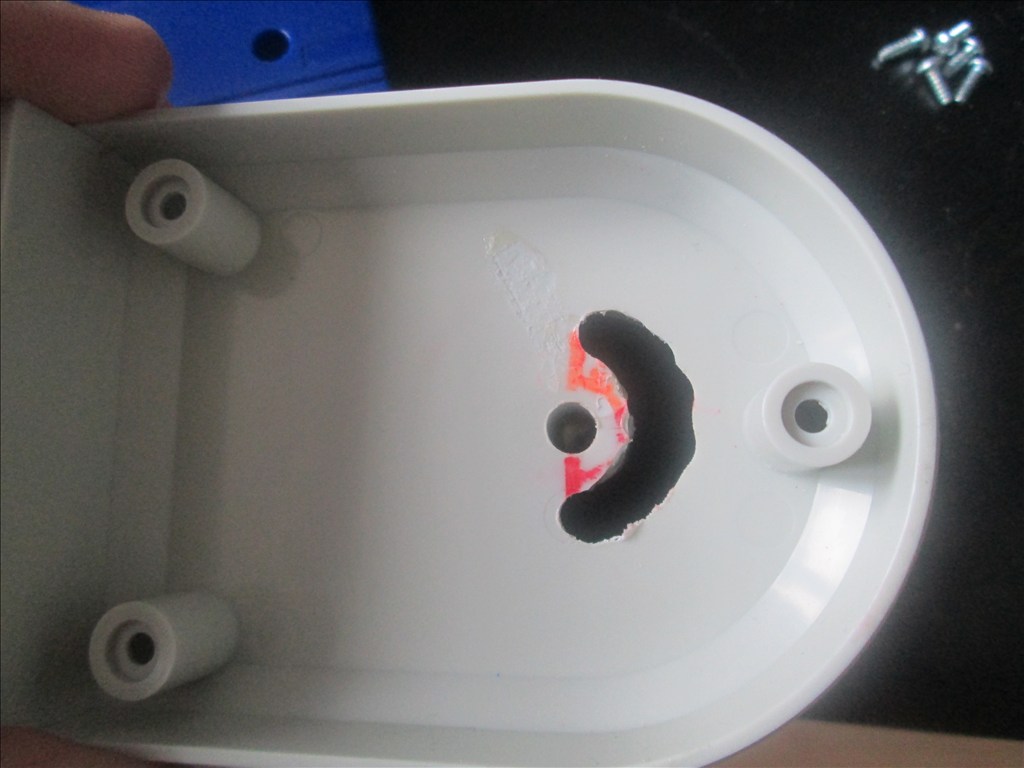
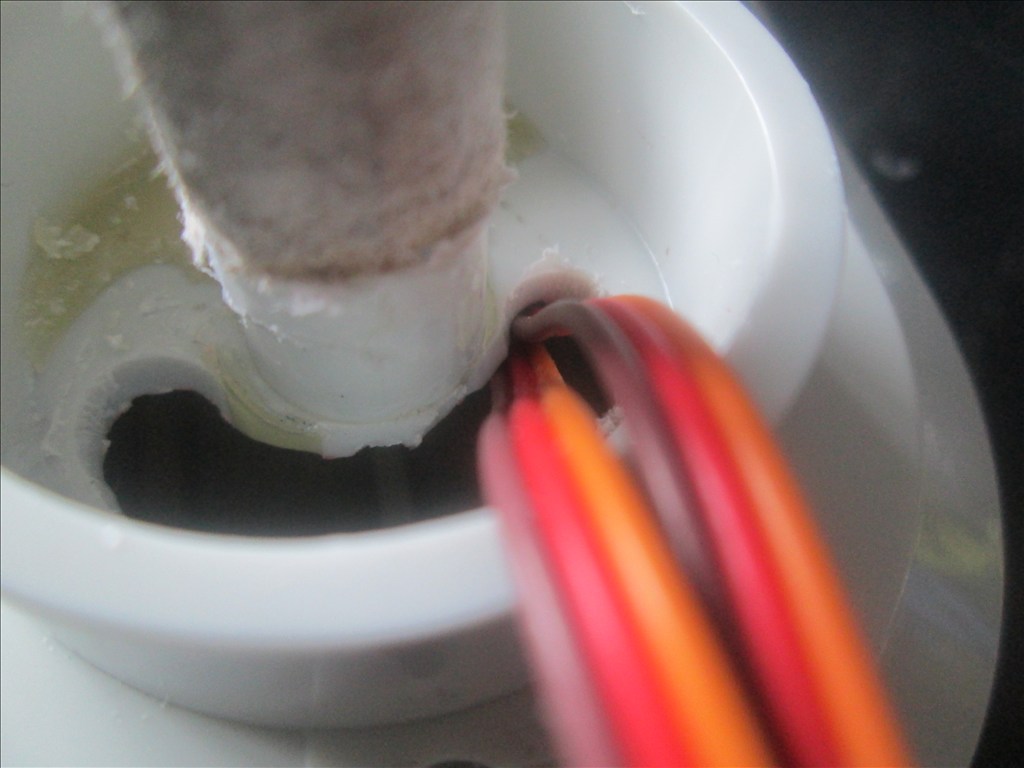
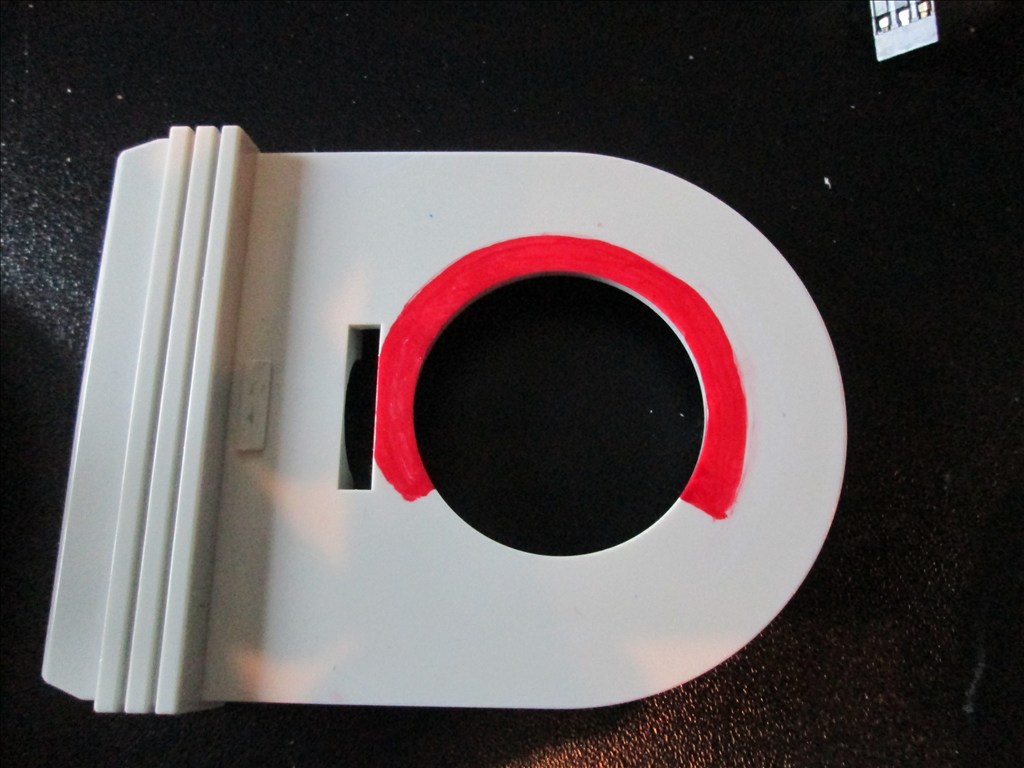
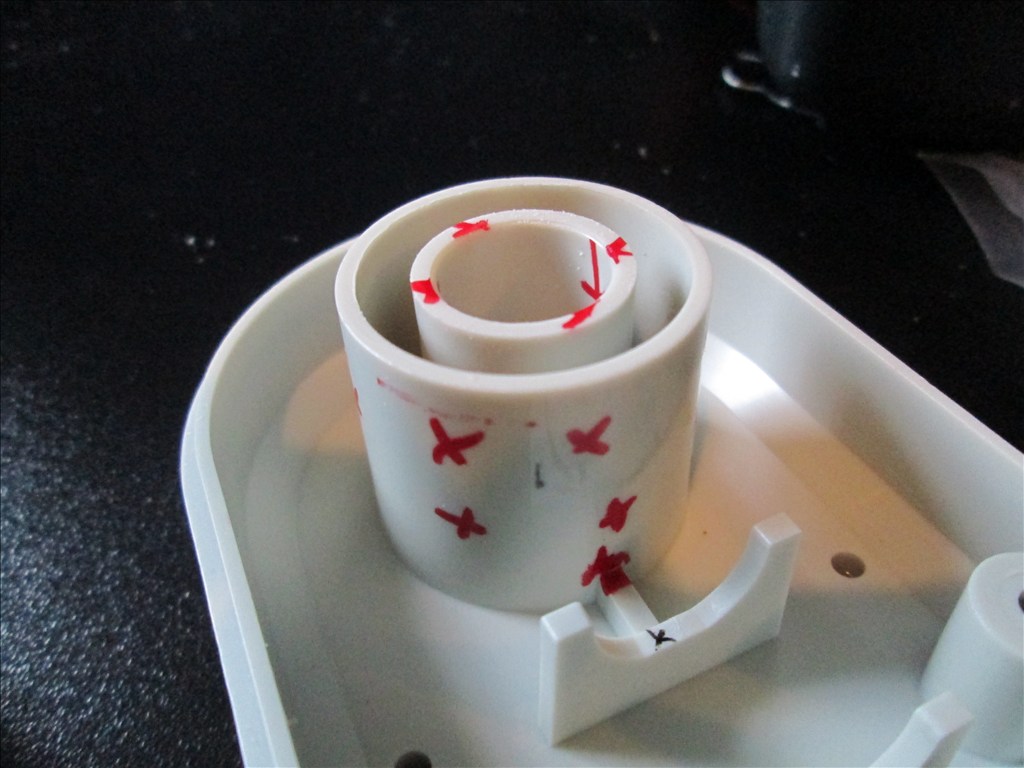
It wasn't long before this happened...
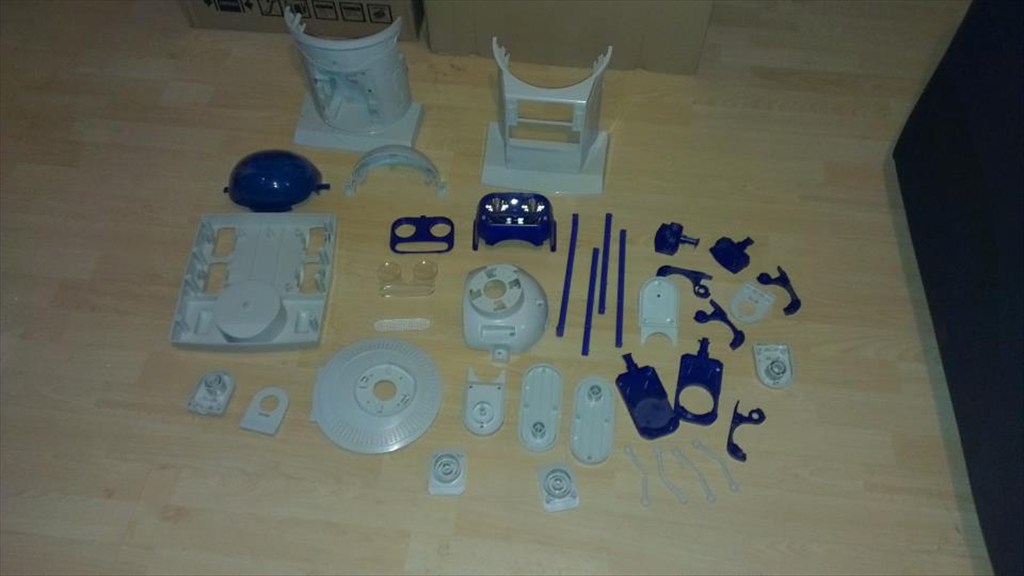
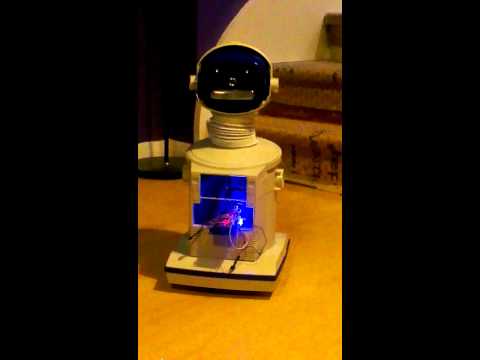
Now waiting to go in the dishwasher to get nice and clean.
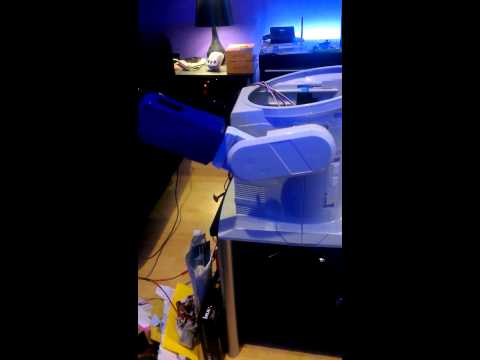
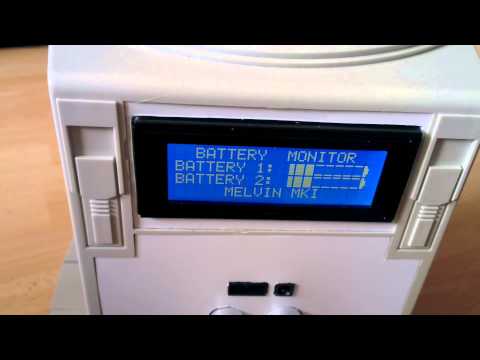
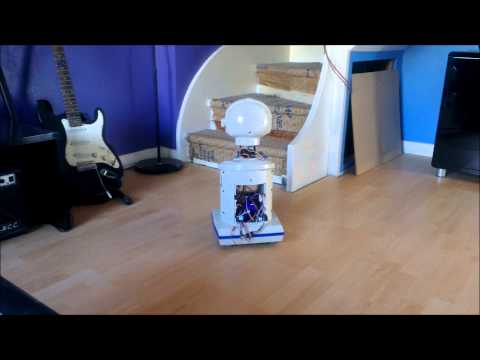
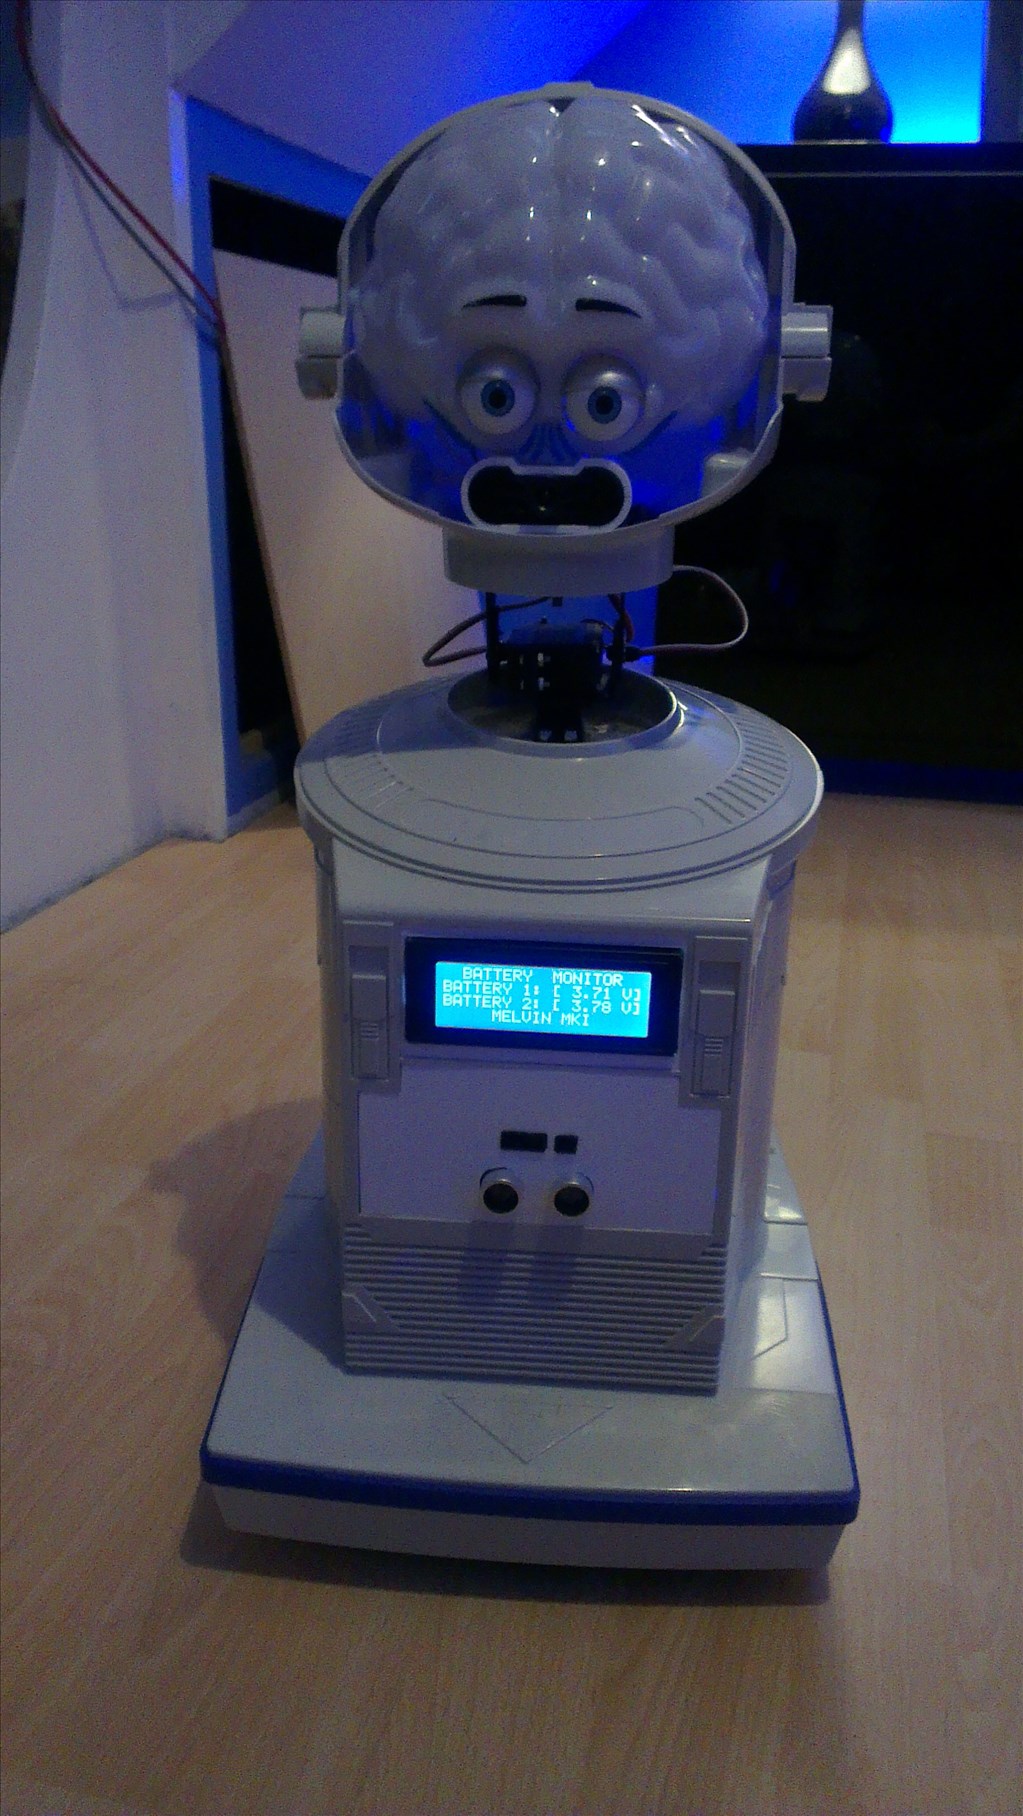
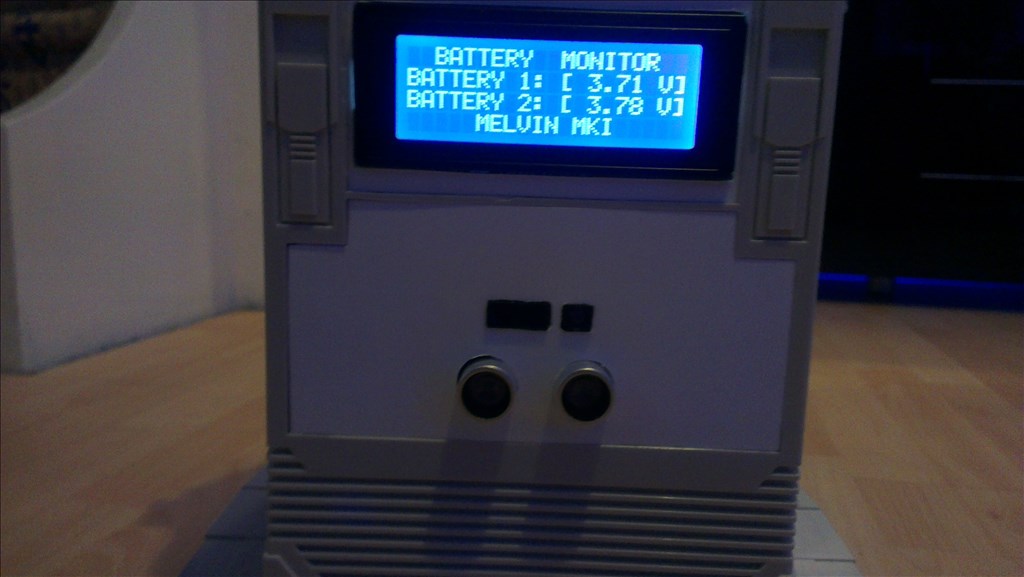
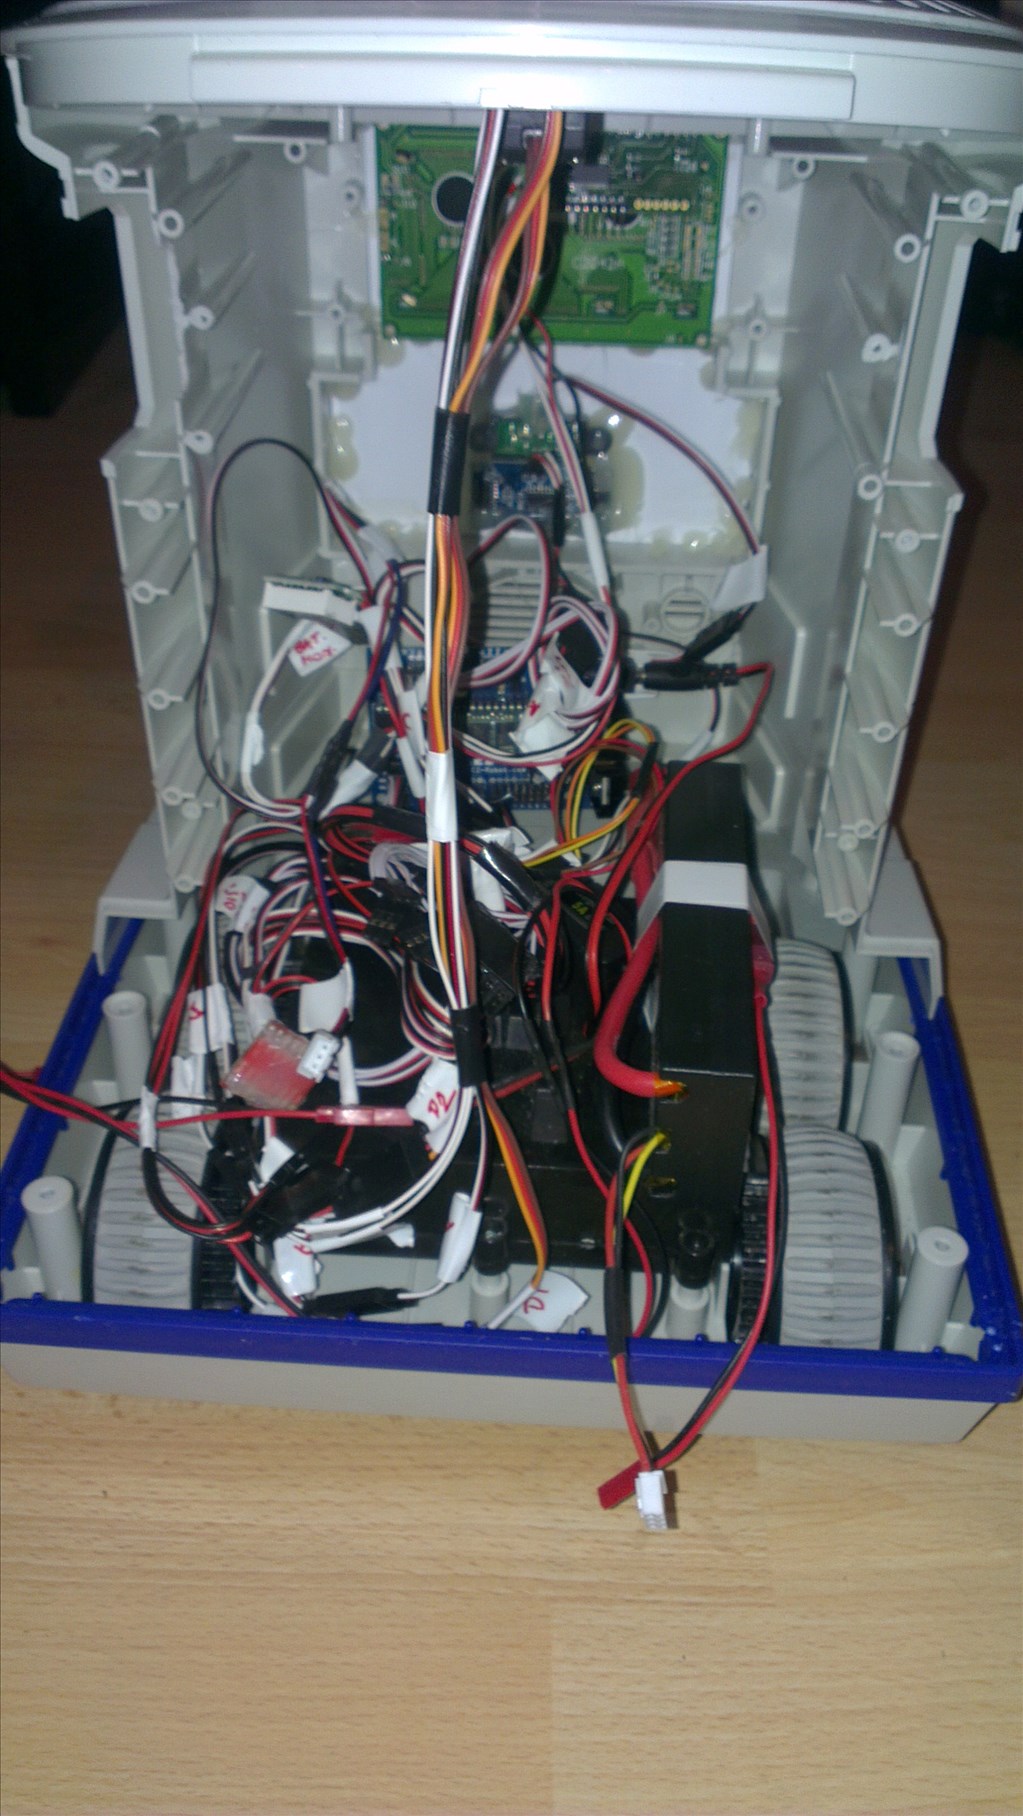
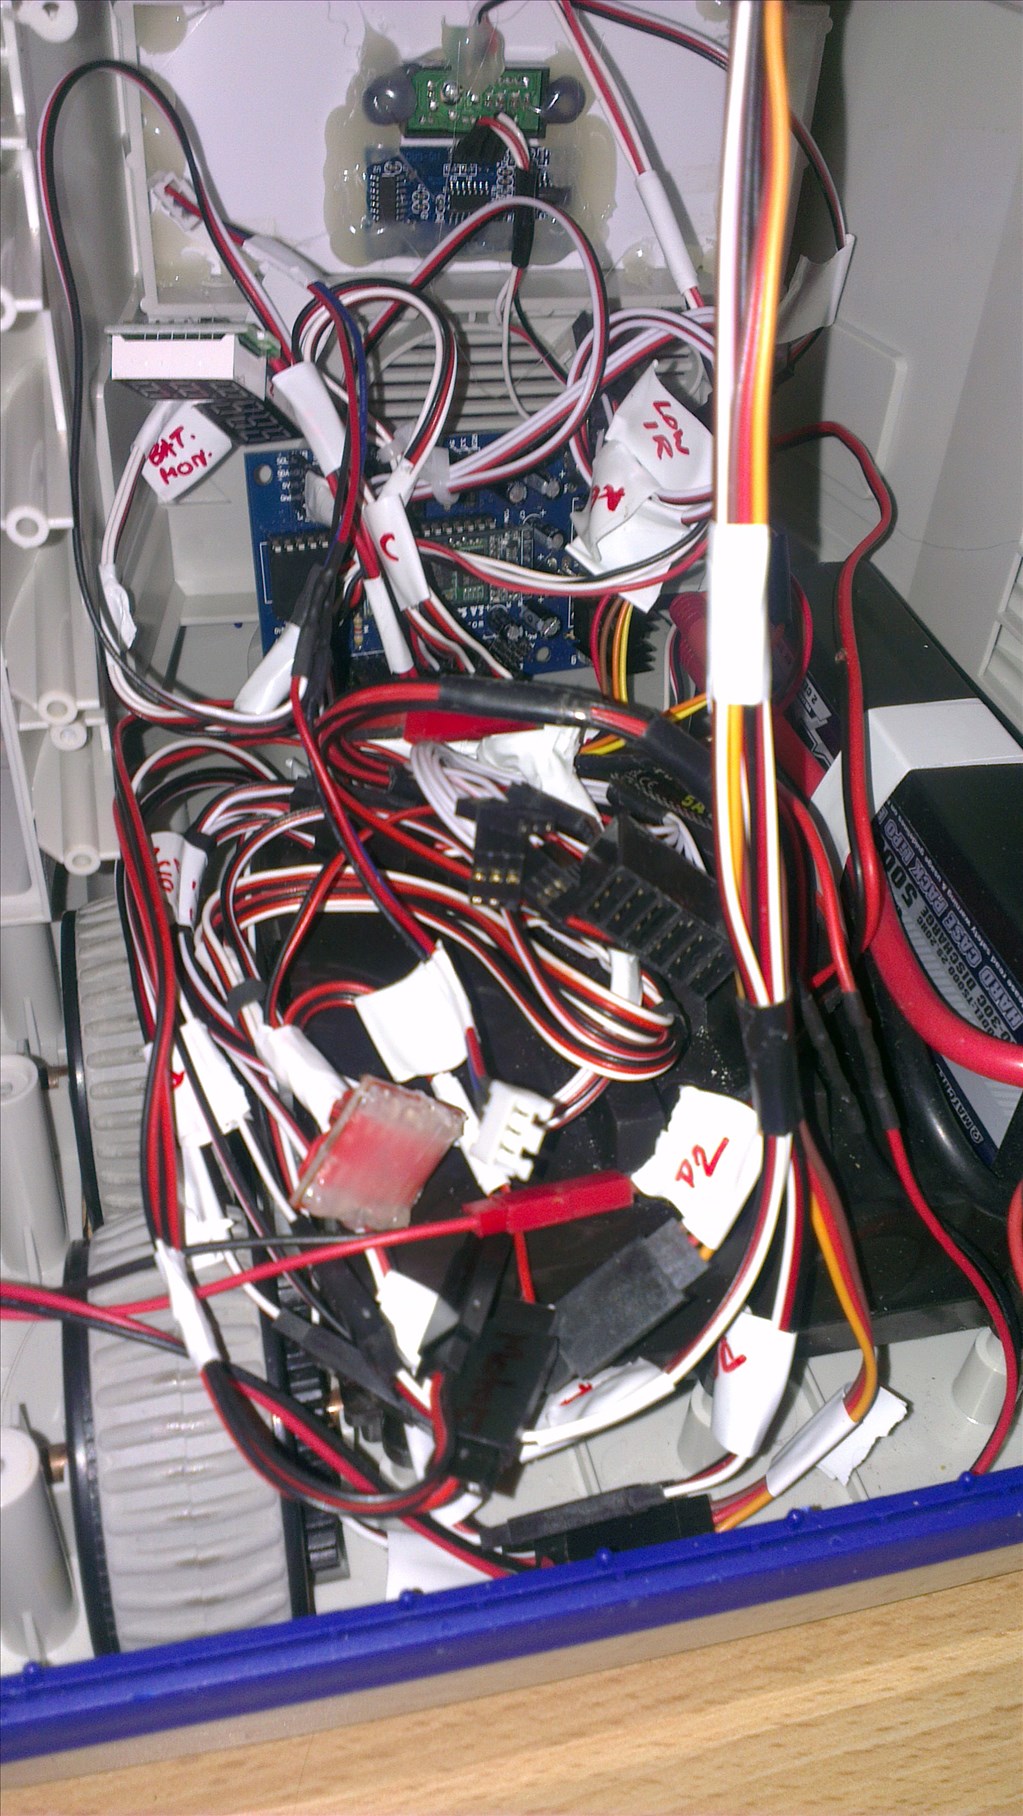
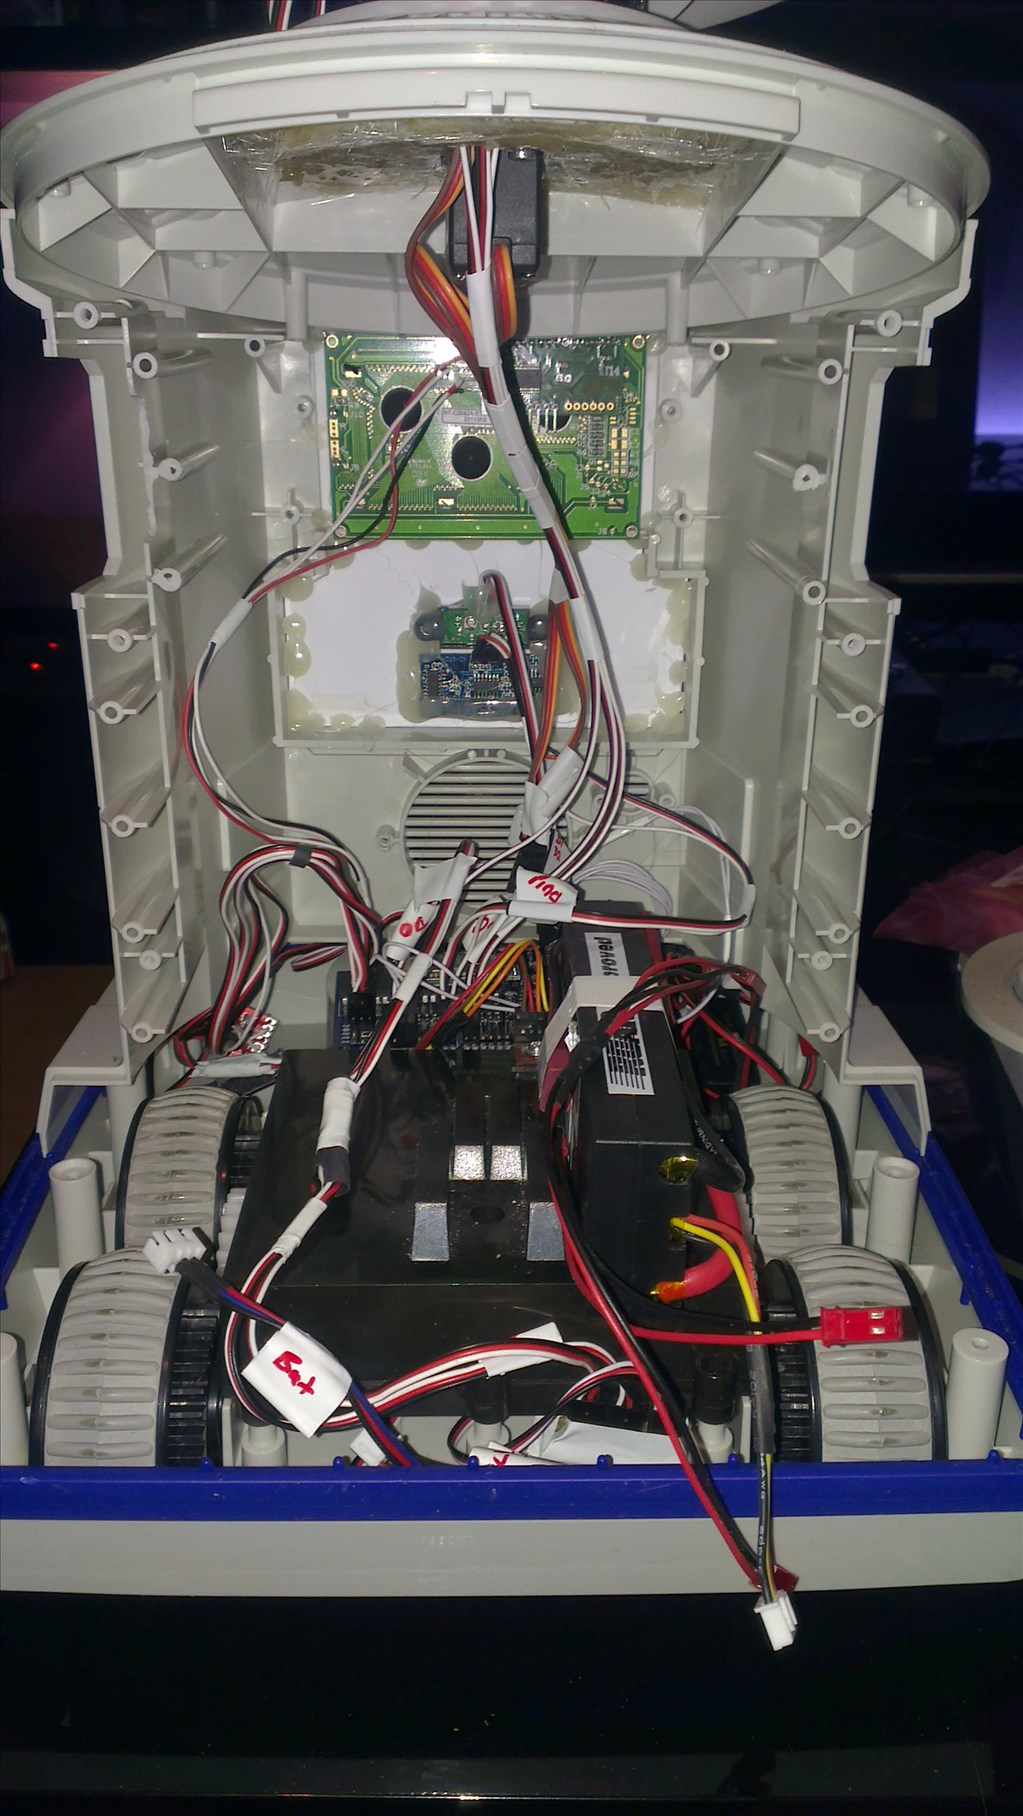
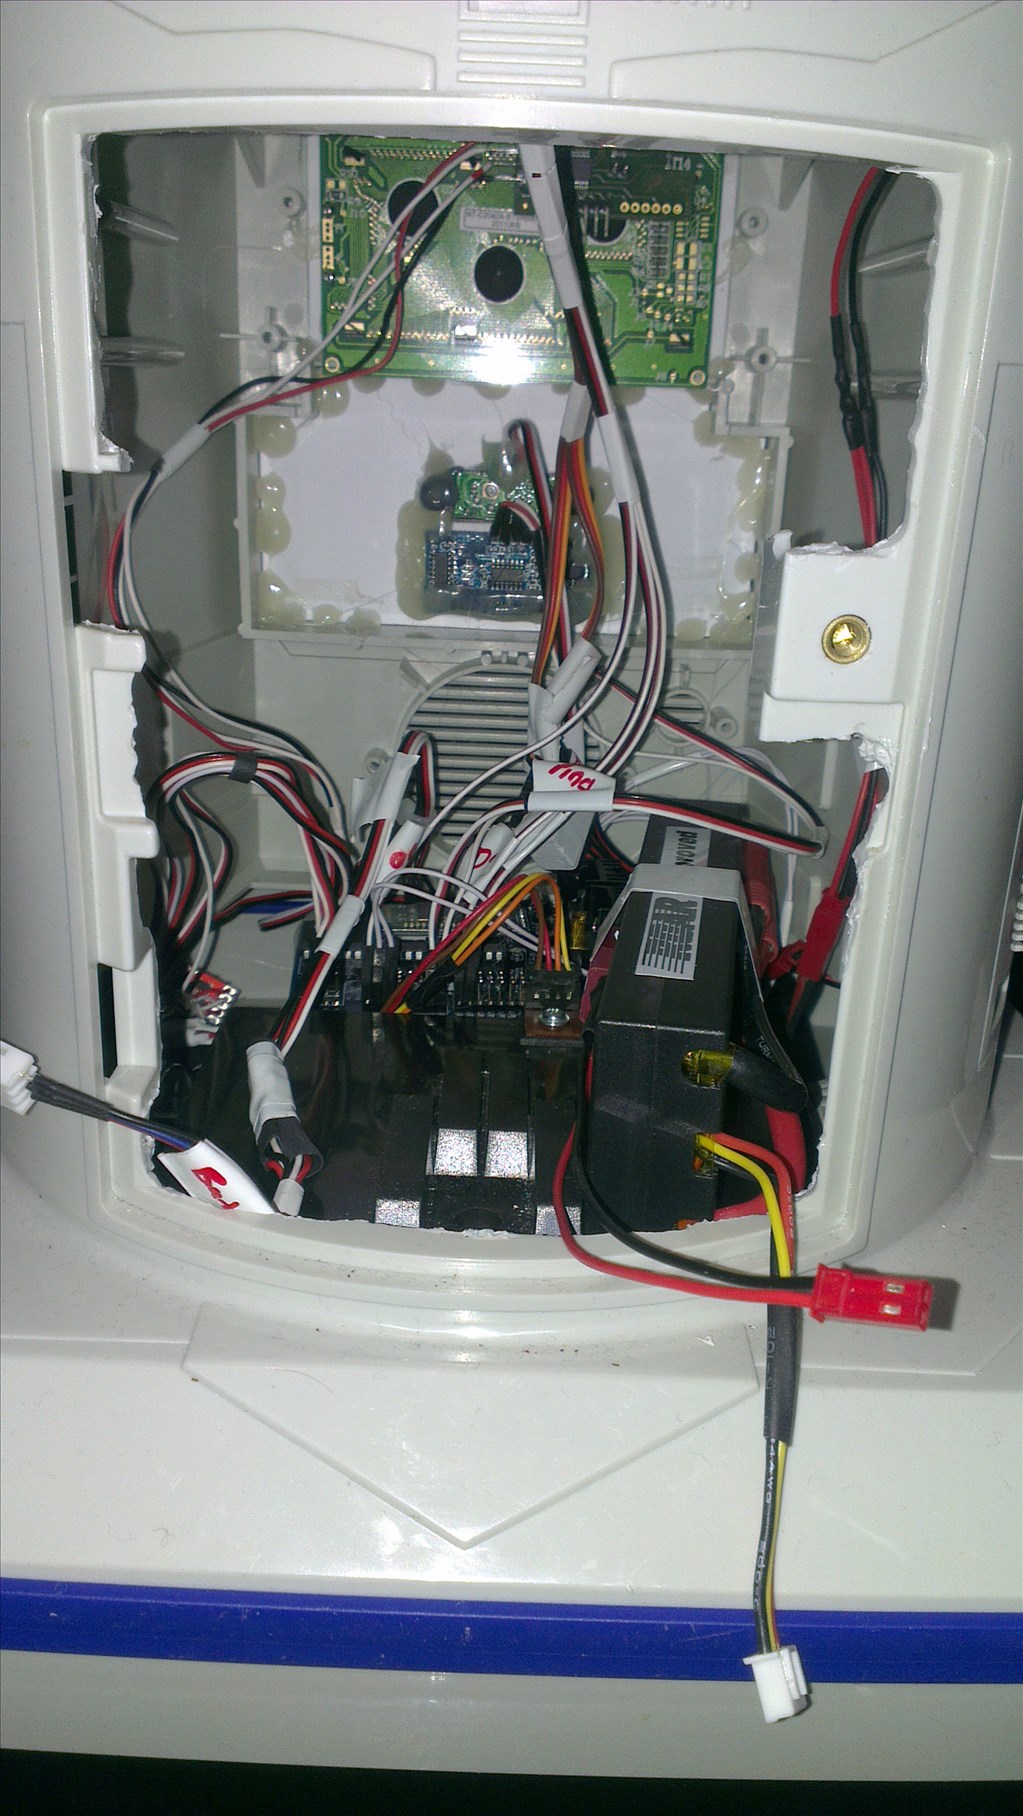
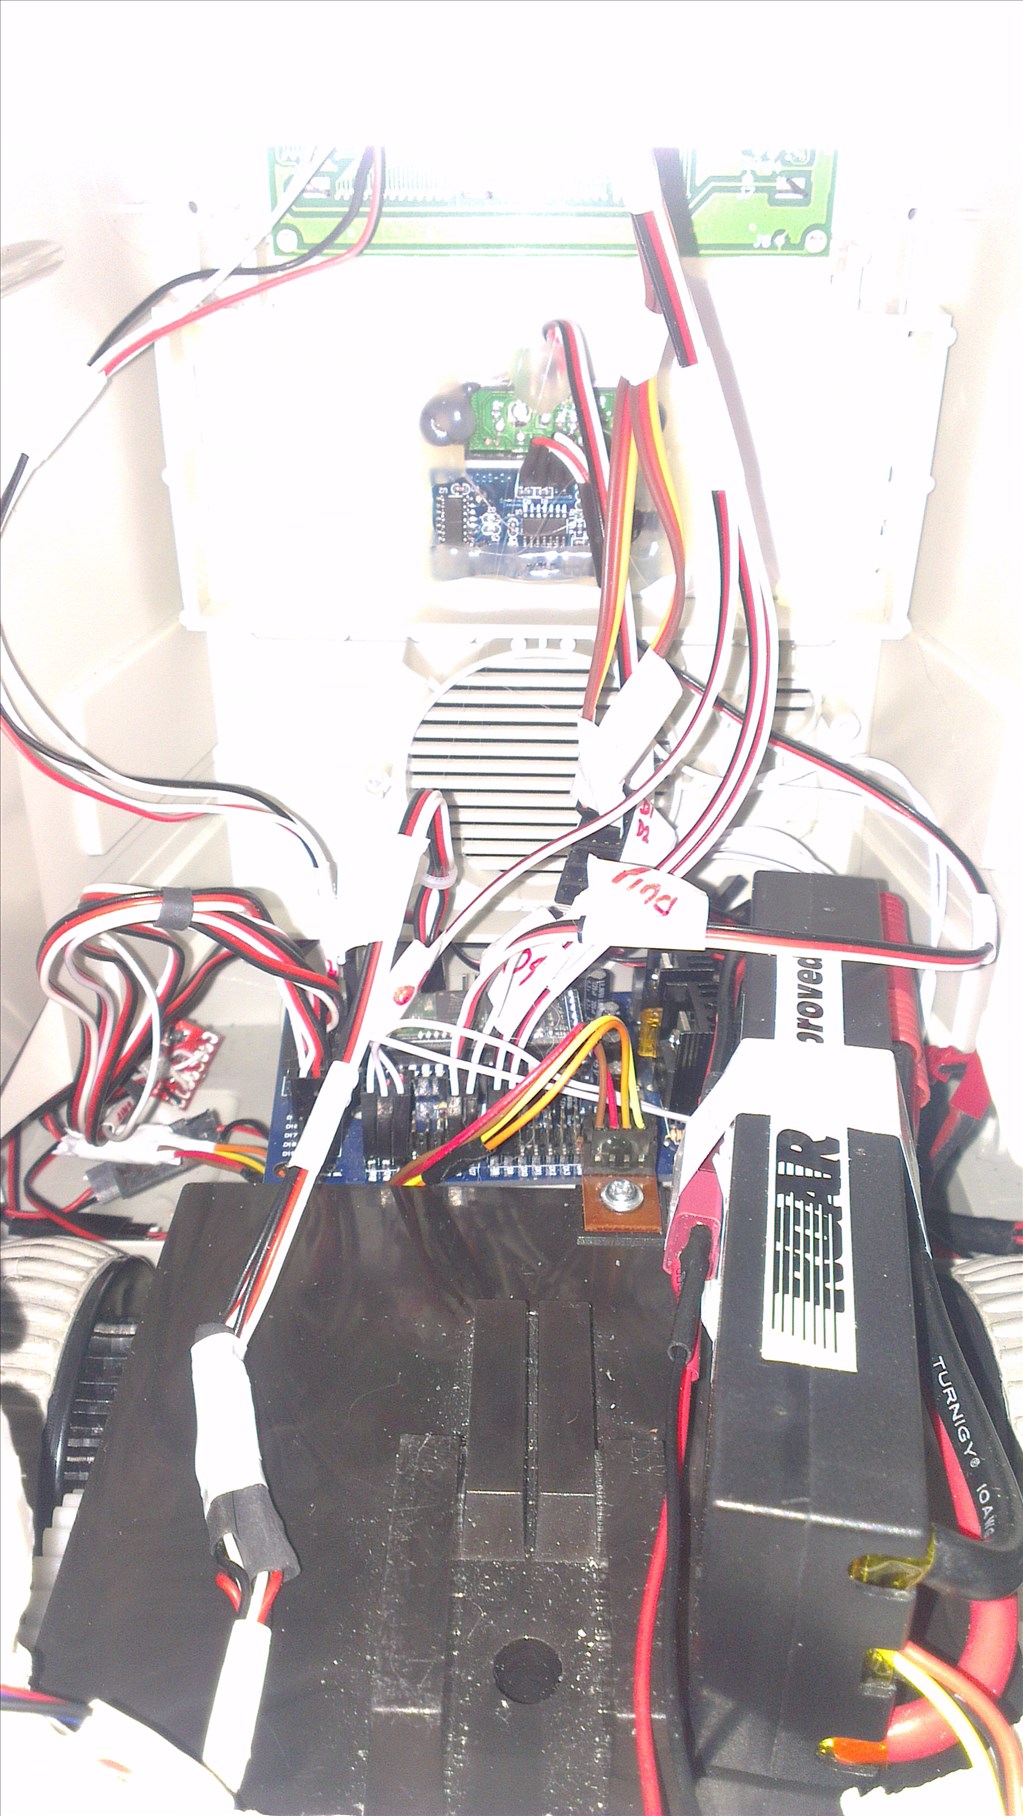
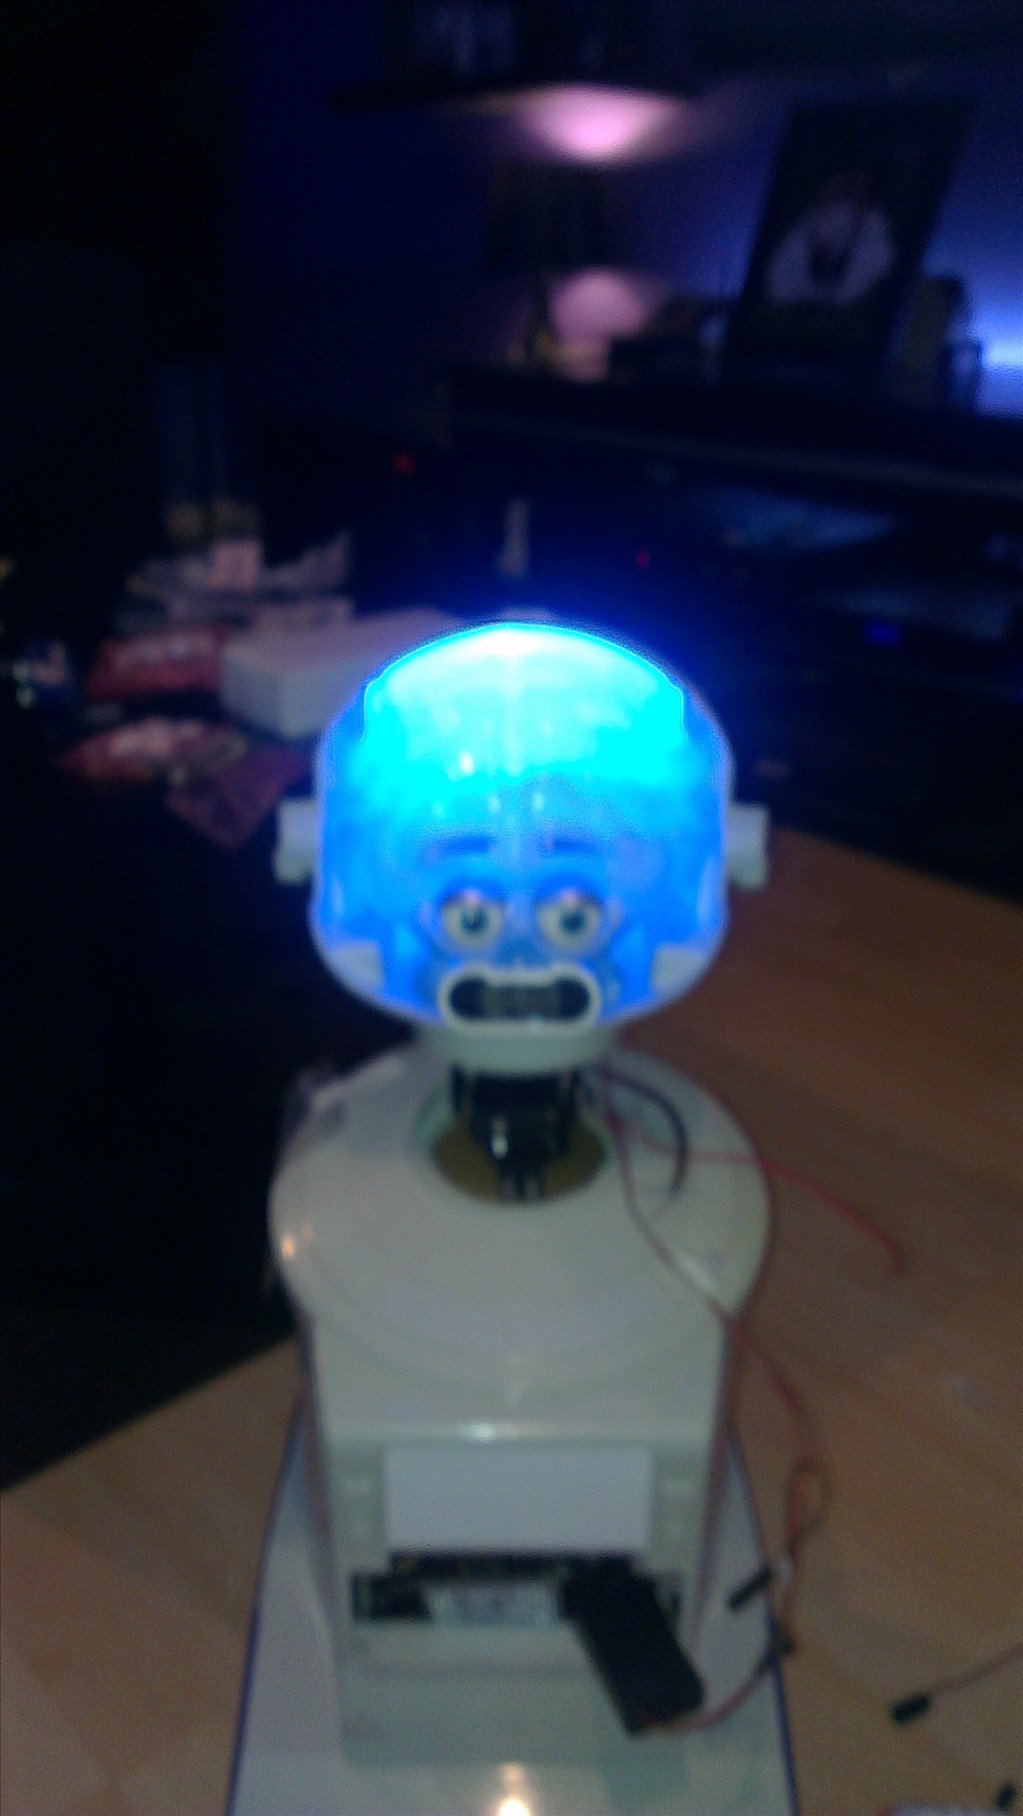
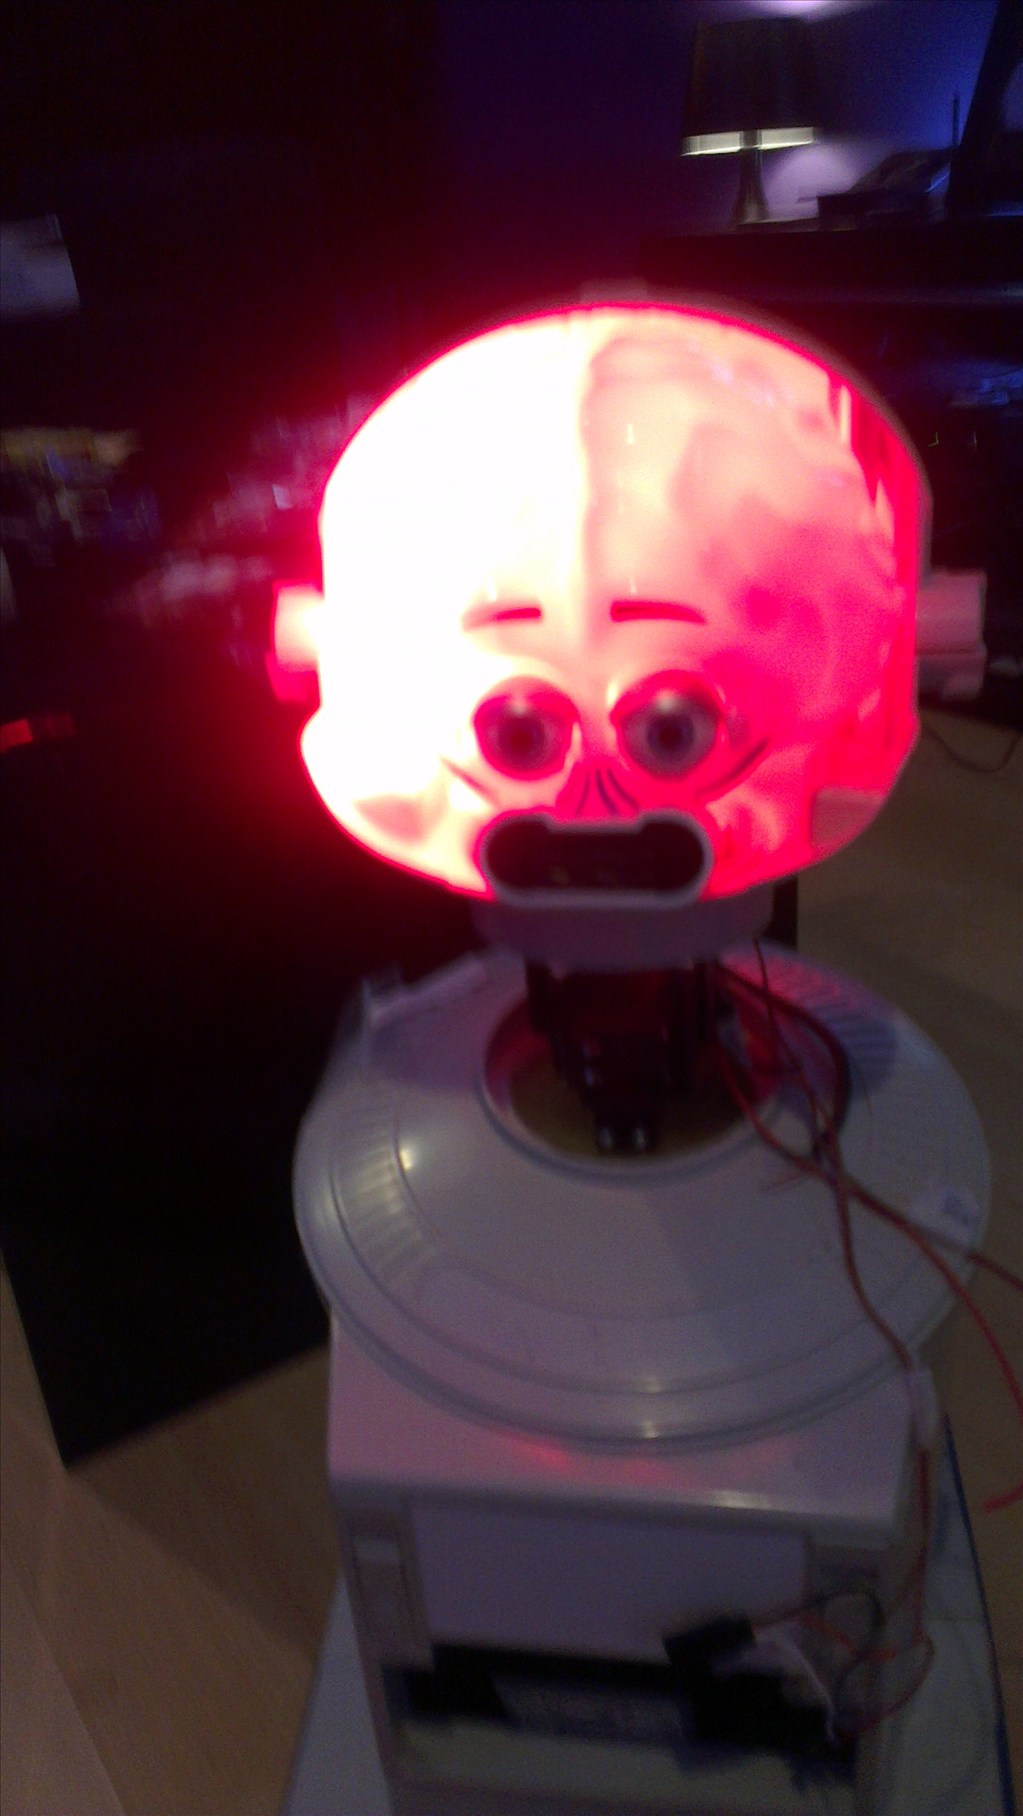
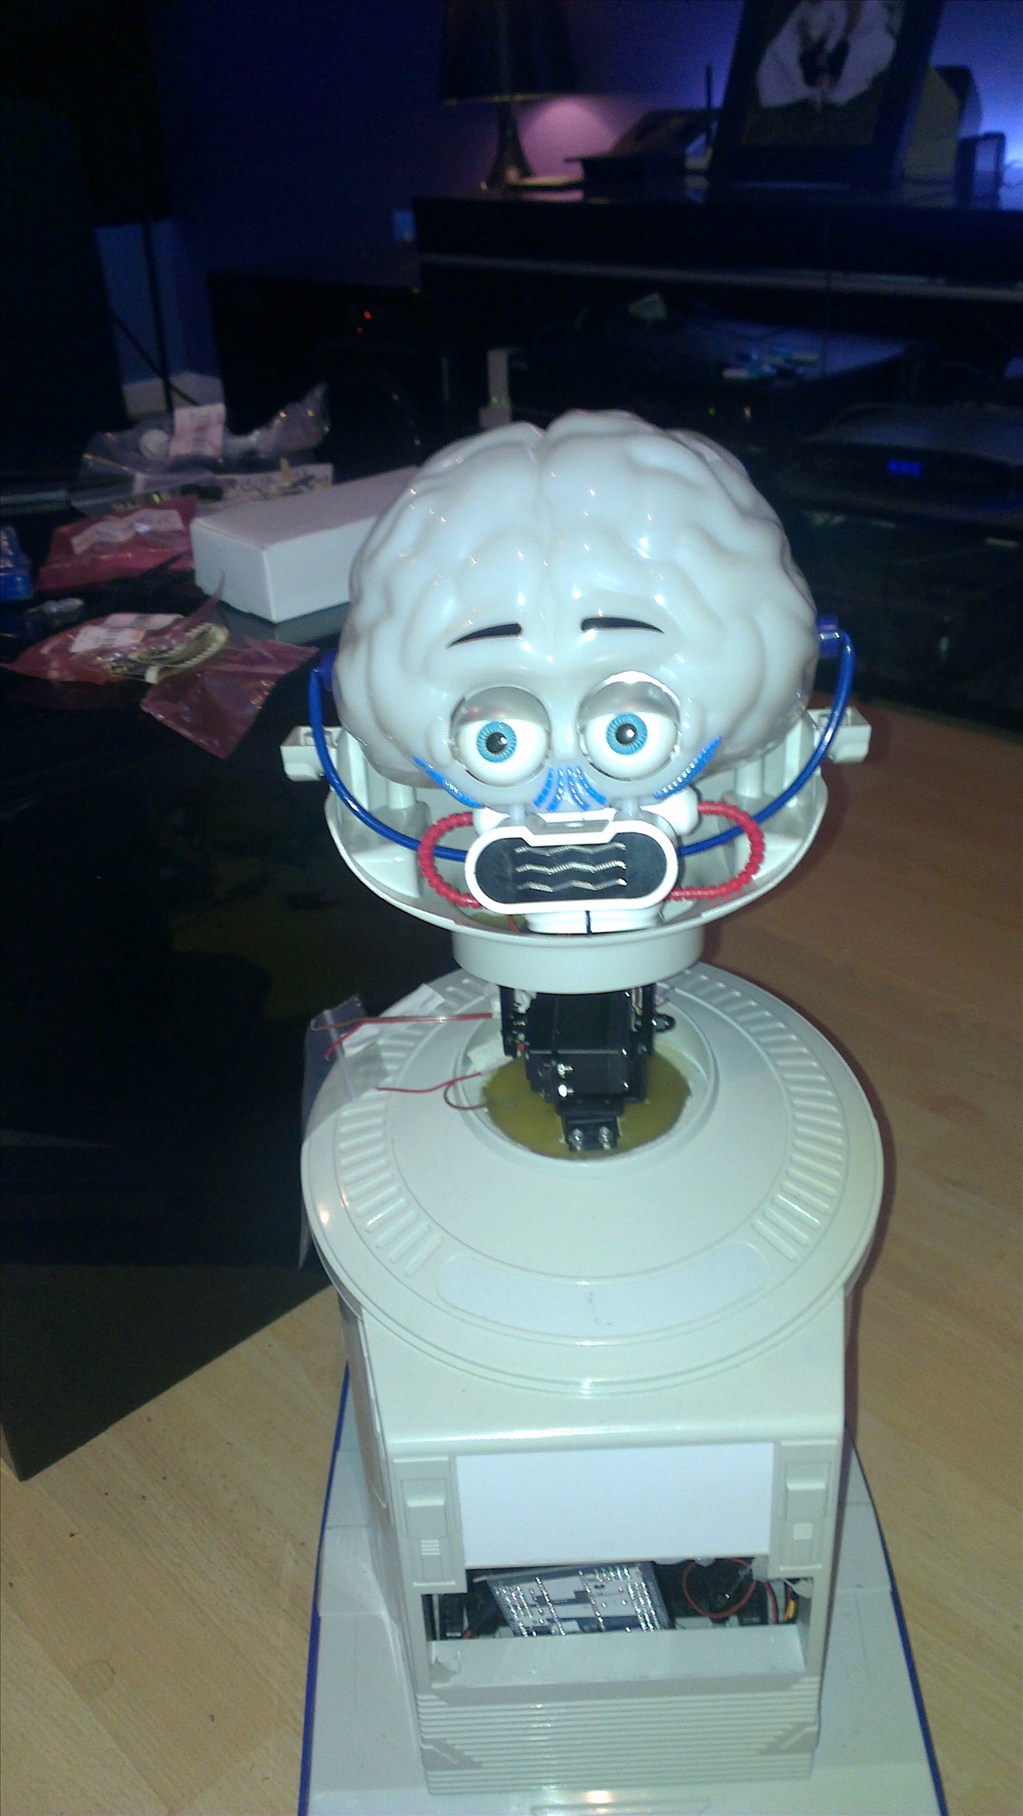
The plan is to make him autonomous, running 24/7 (except for when he knows to go charge himself up) but will also be adding in the various image tracking options.
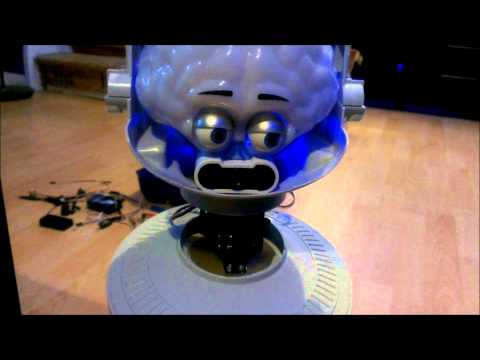
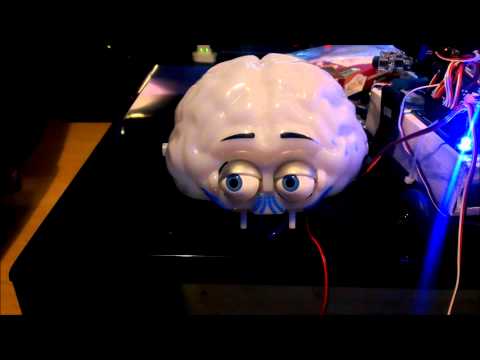
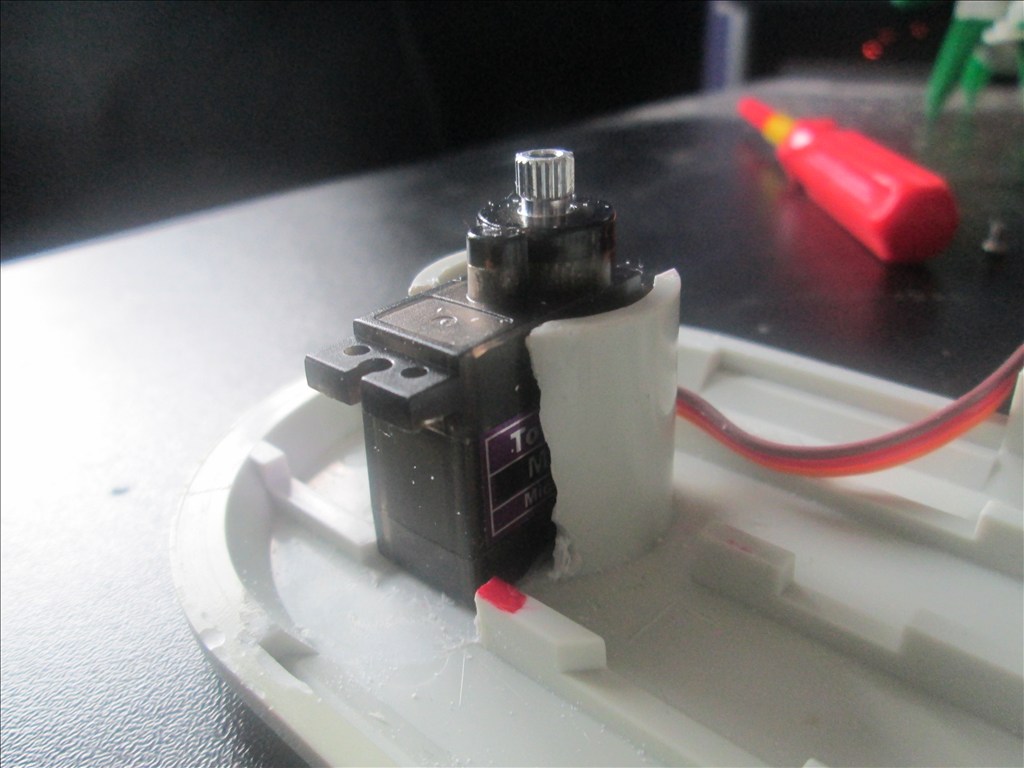
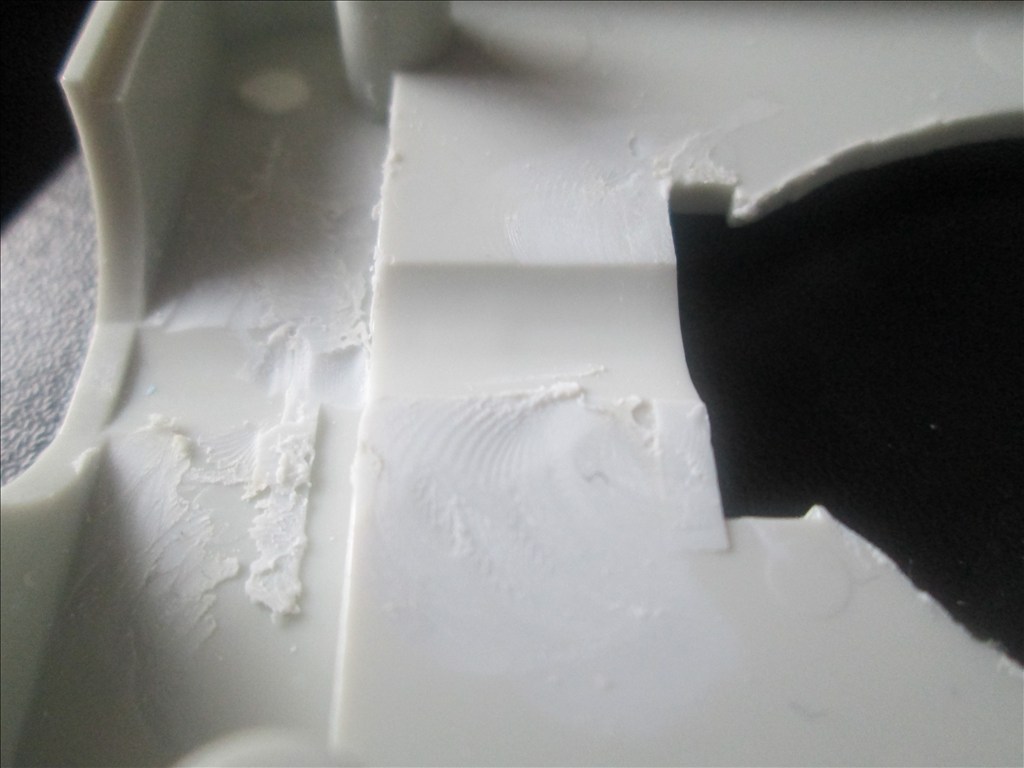
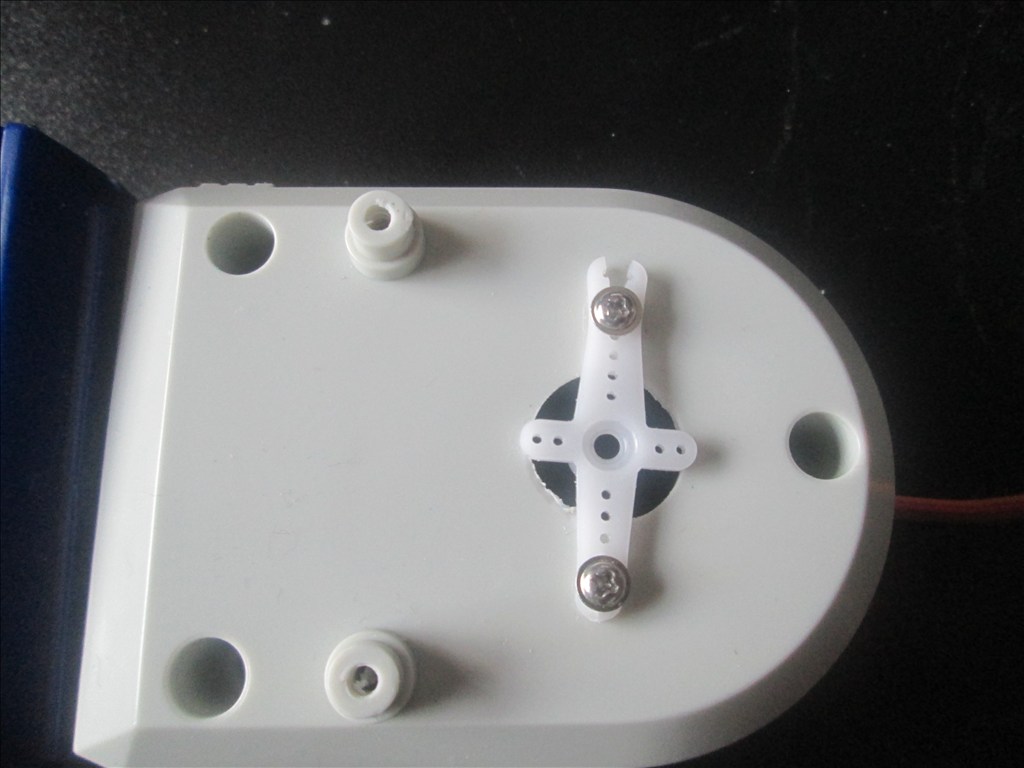
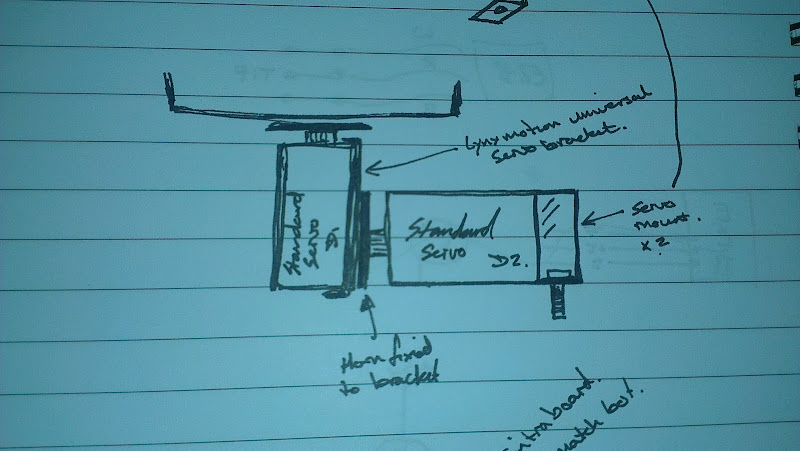
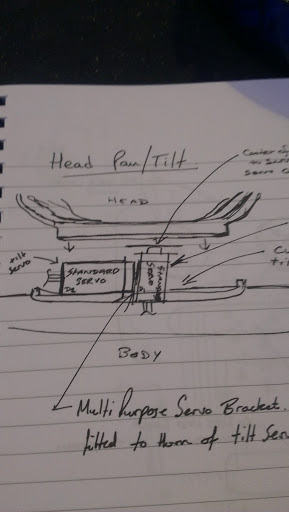
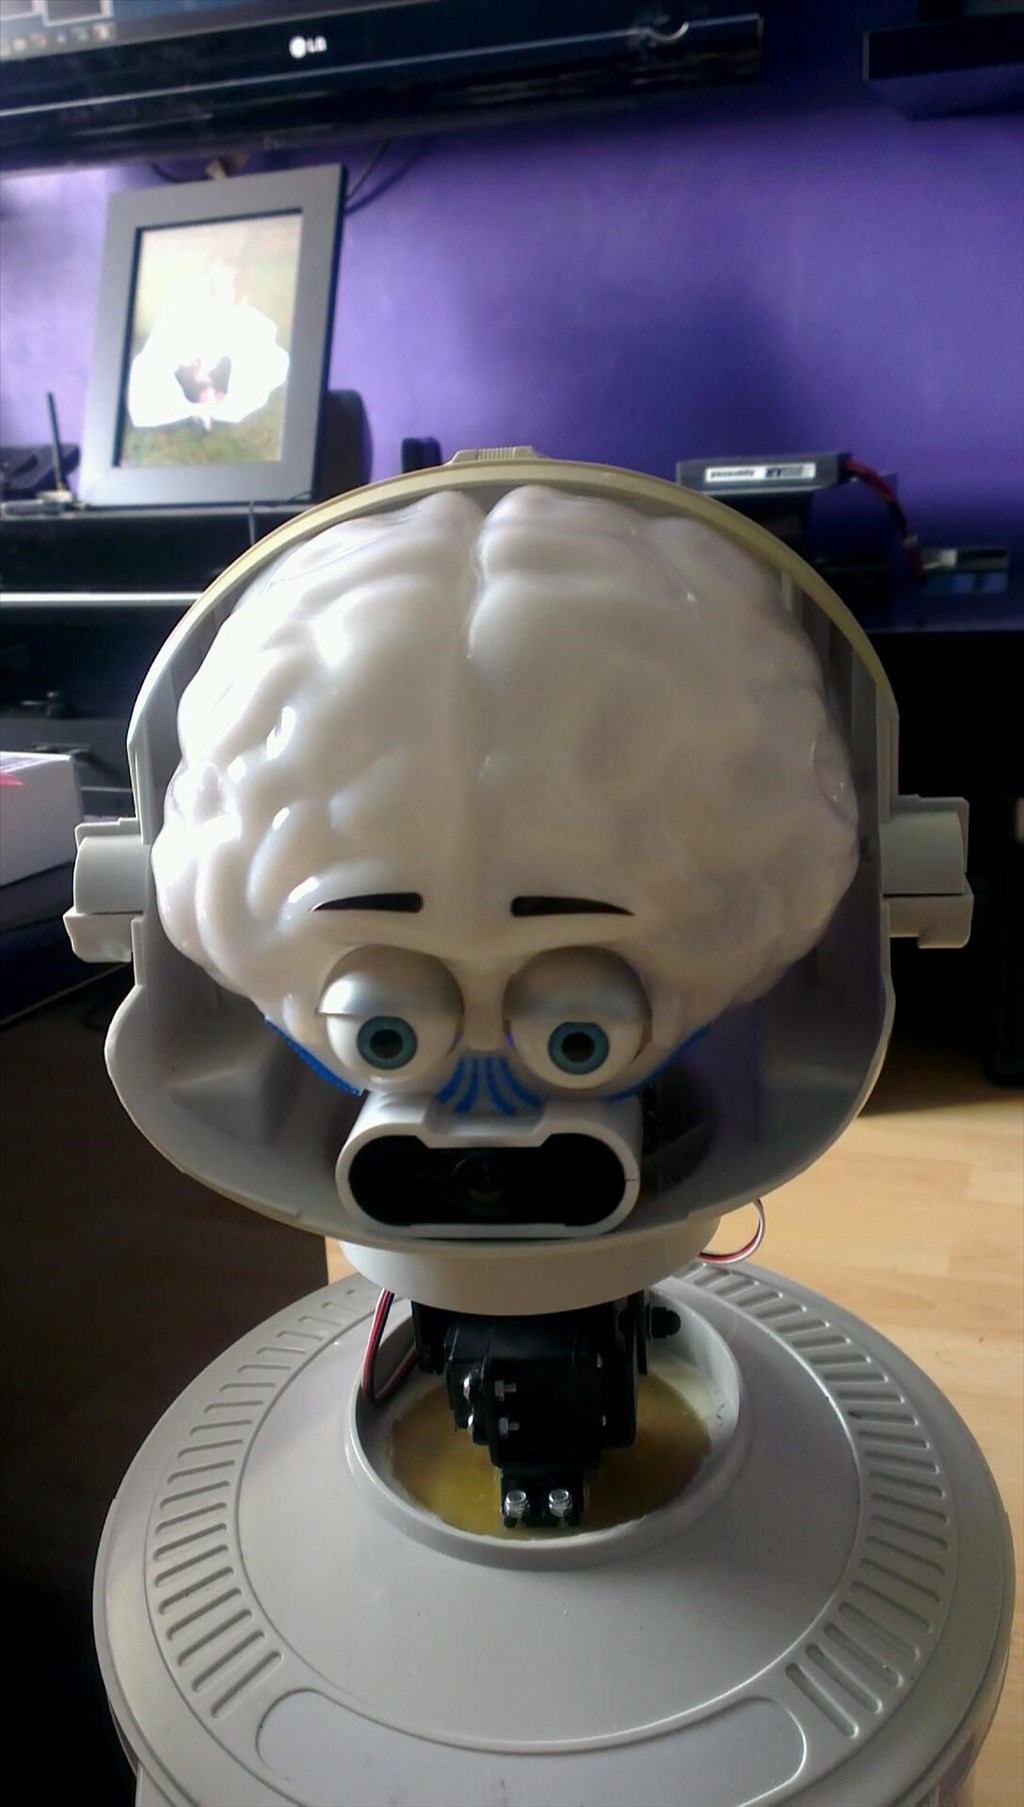
The only other slight modifications to be made to him are to convert the head to tilt & pan which will involve having to give him a small neck.
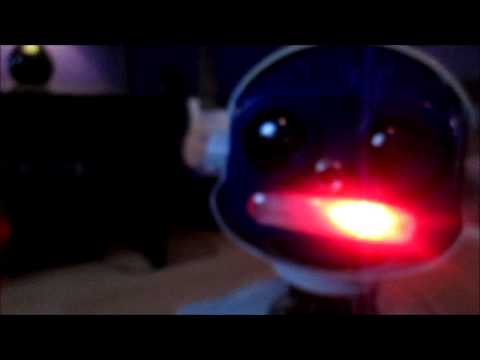
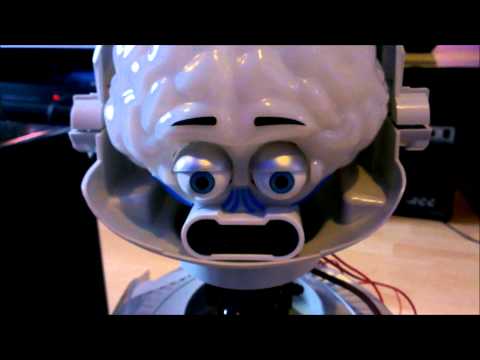
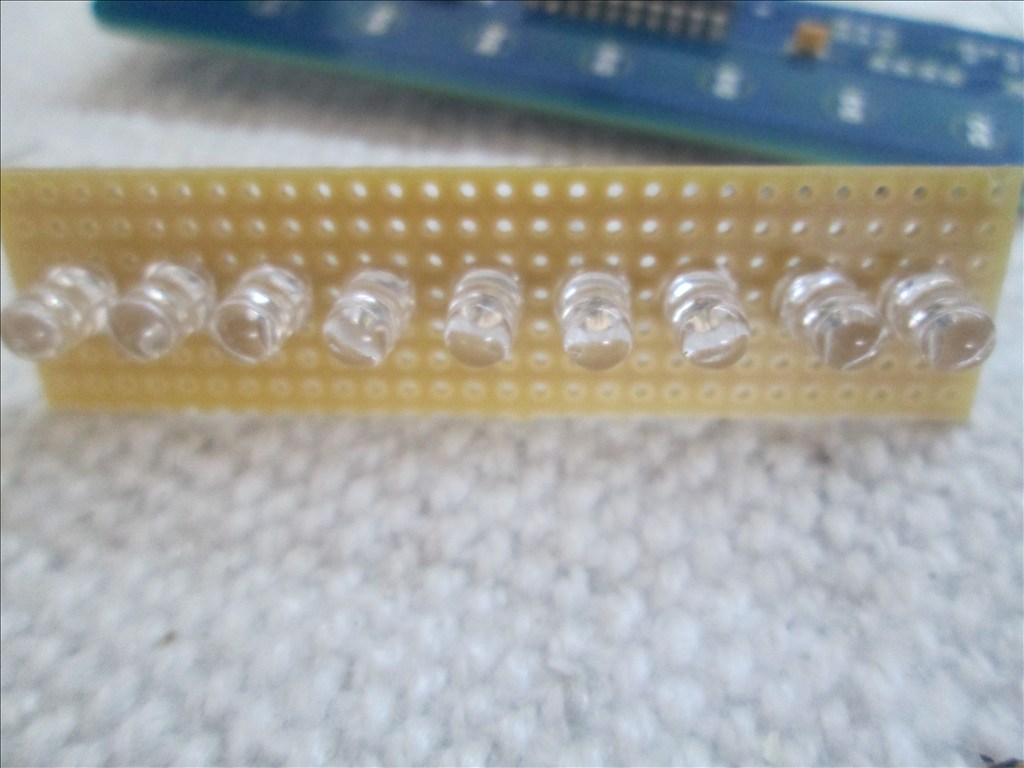
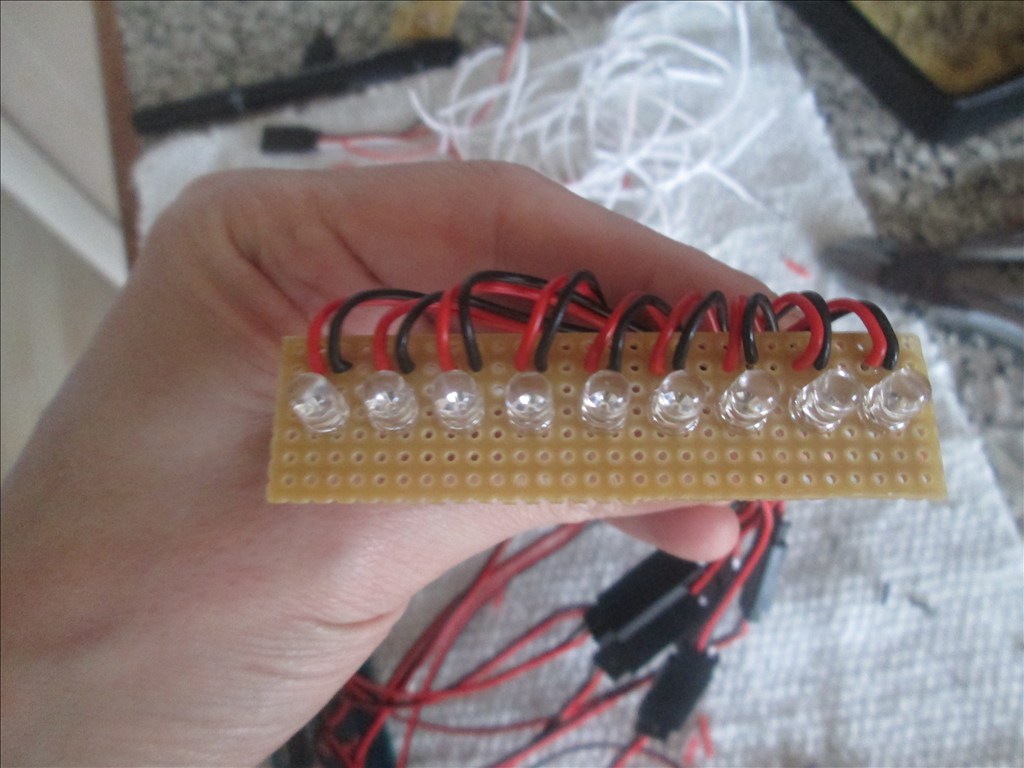
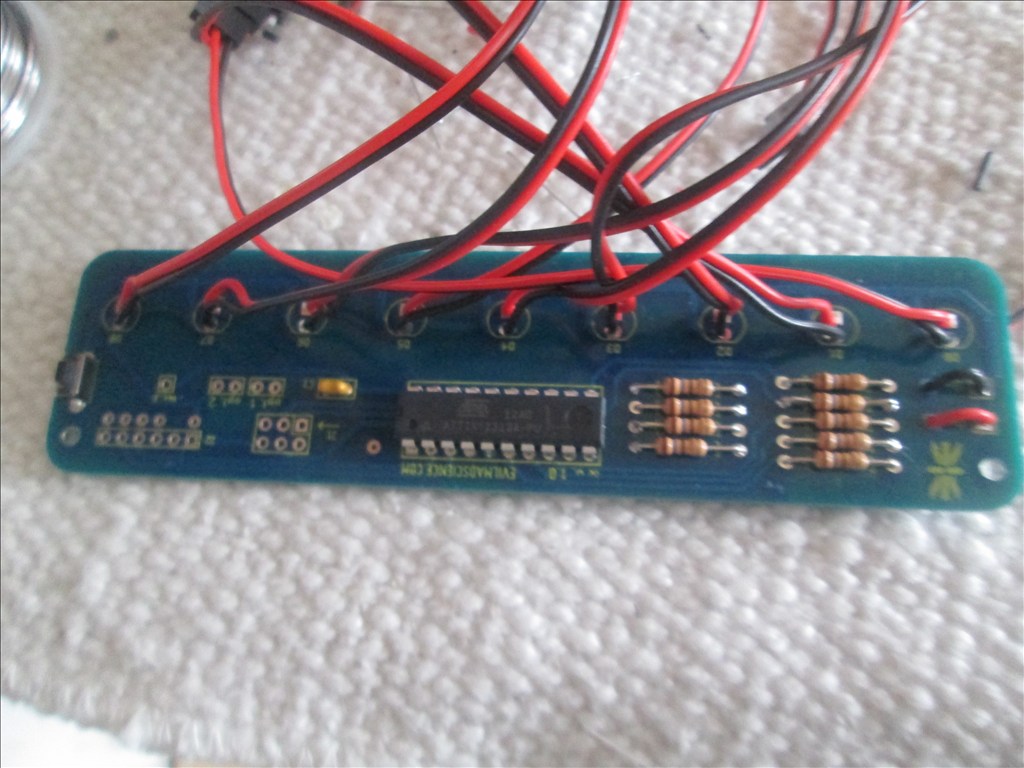
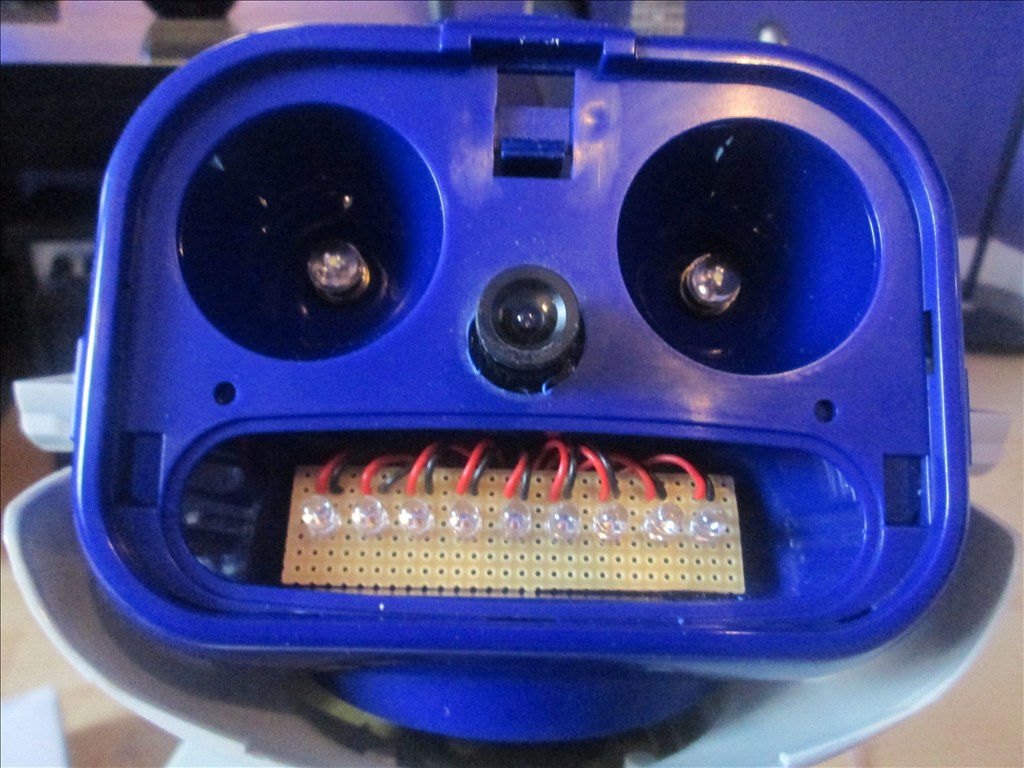
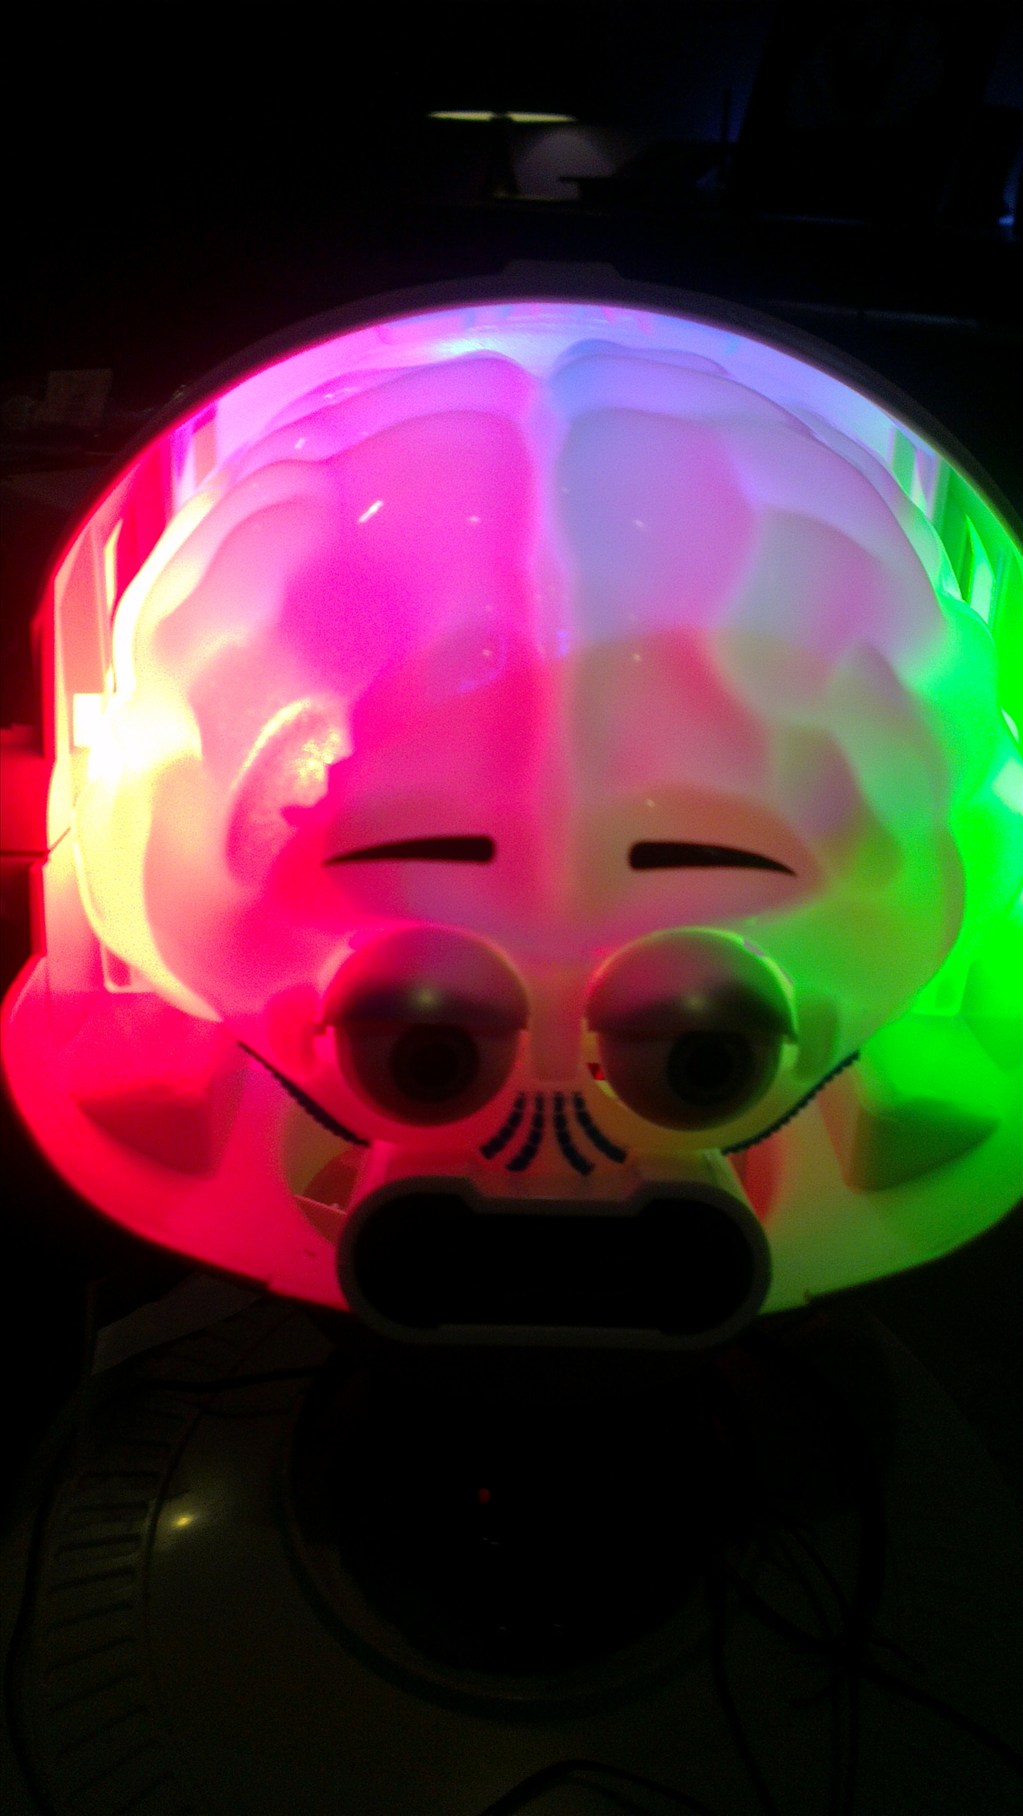
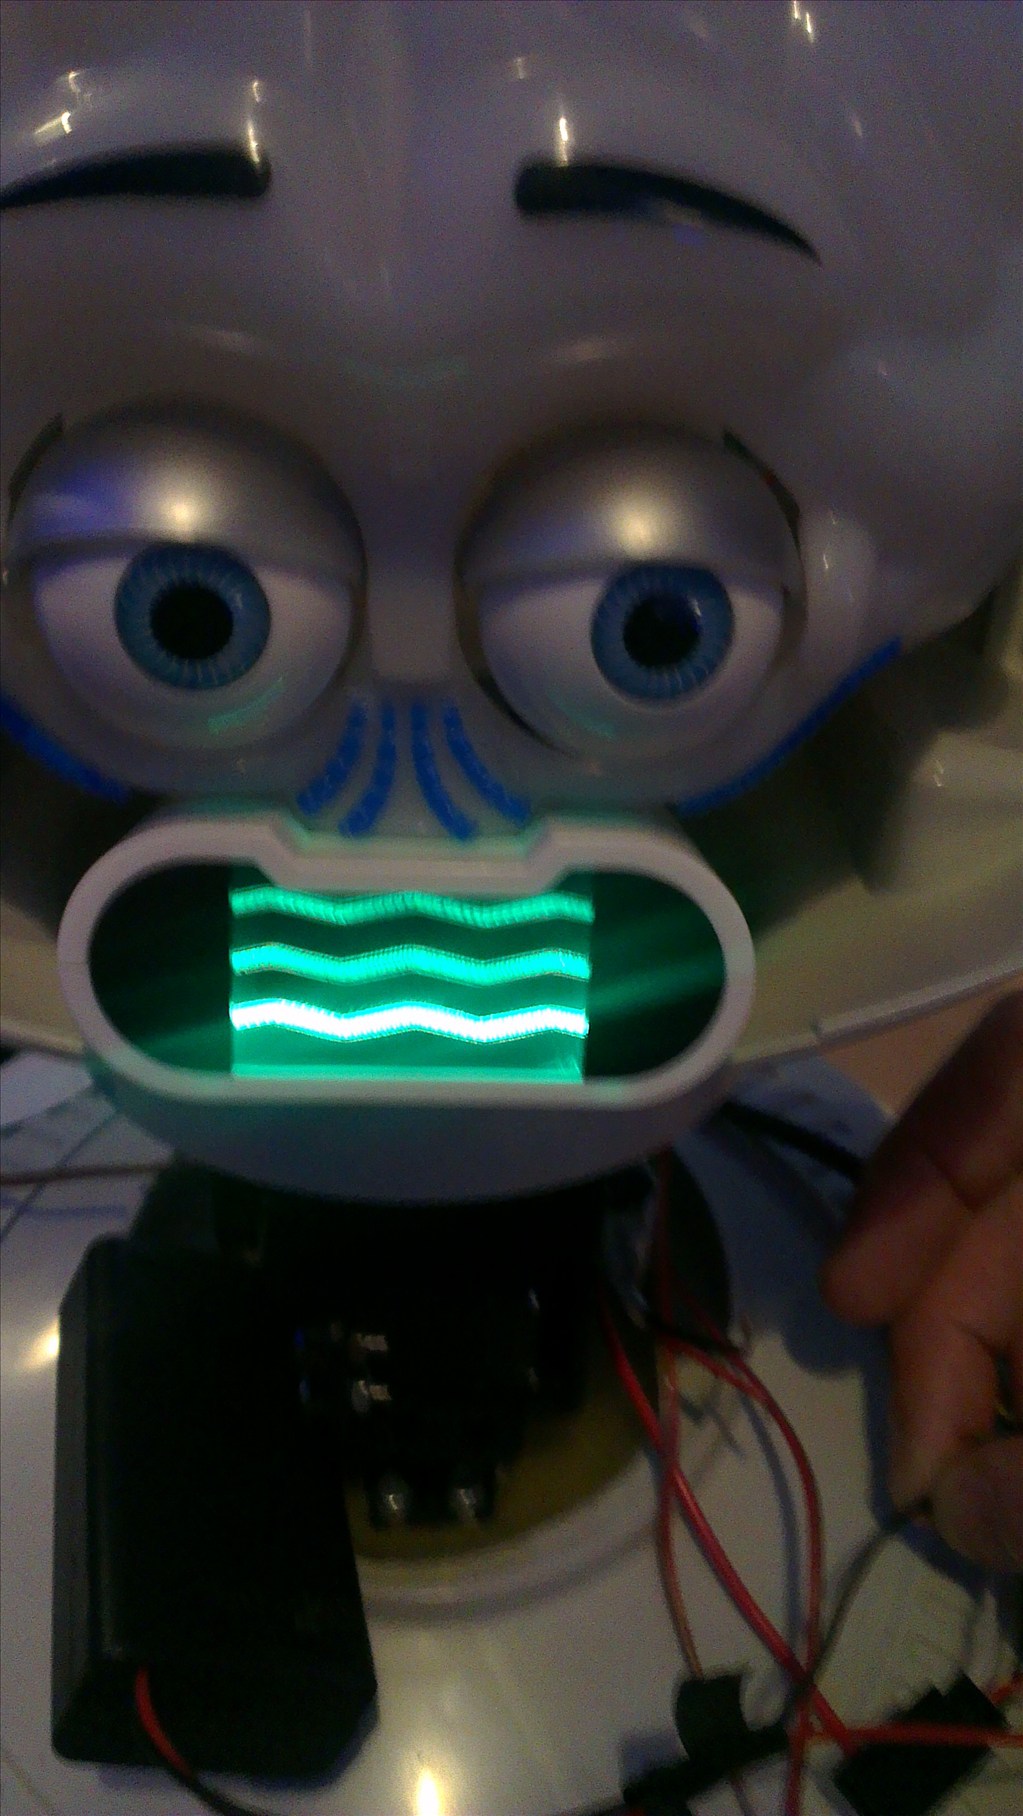
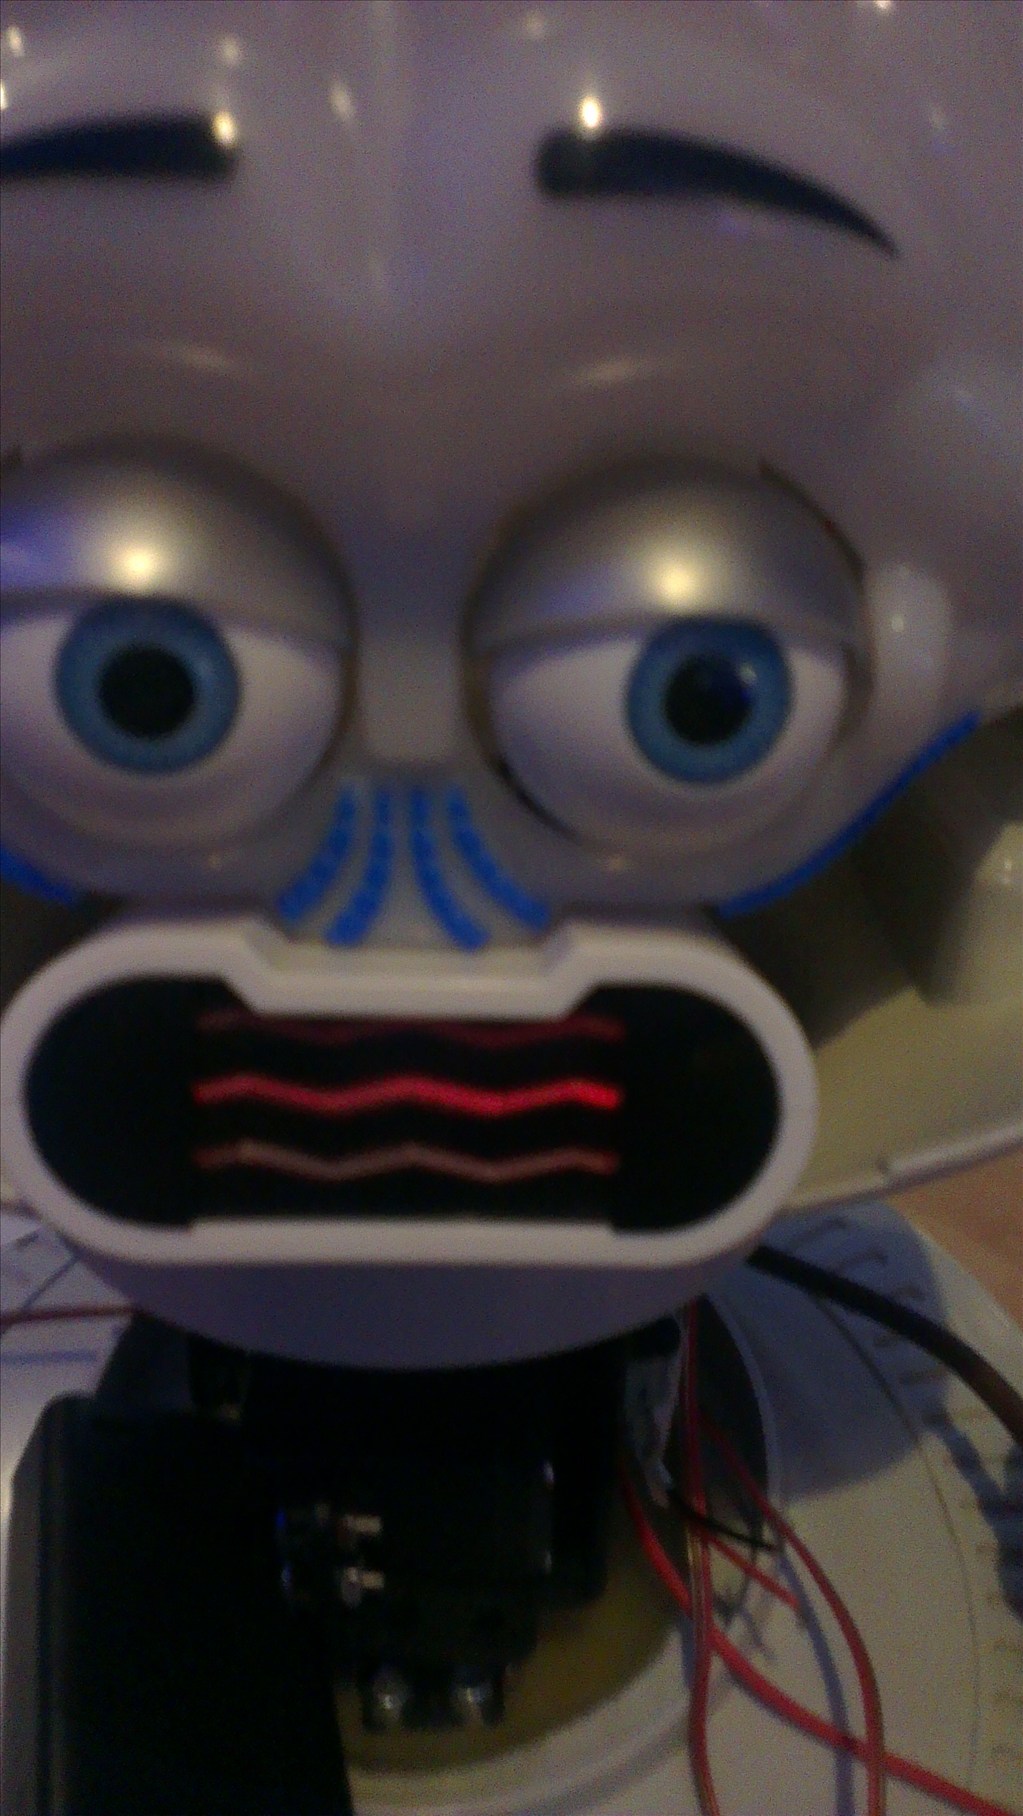
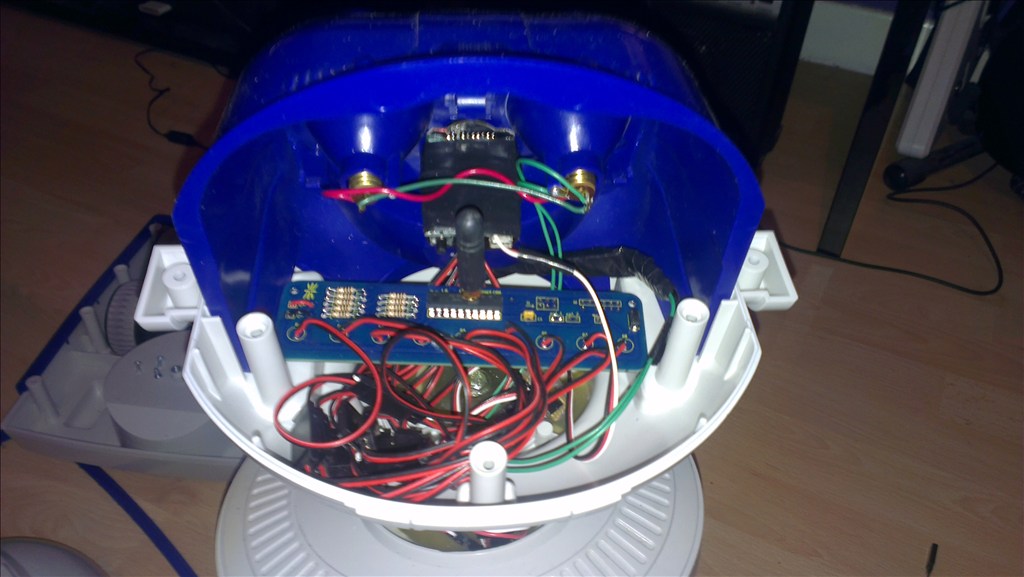
The head will include the camera. I haven't yet decided to fit it in one of his eyes or to make it his nose. The issue to overcome with this is the blue tint on the bubble head. The mouth will have a light or some lights in which flicker when he speaks.
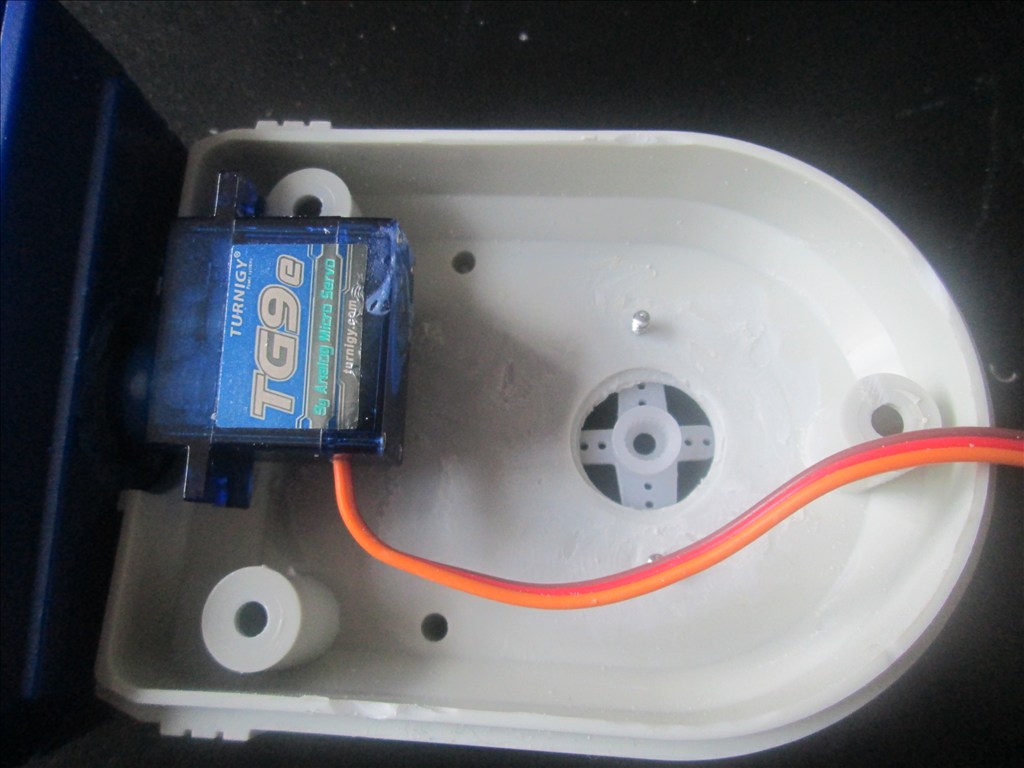
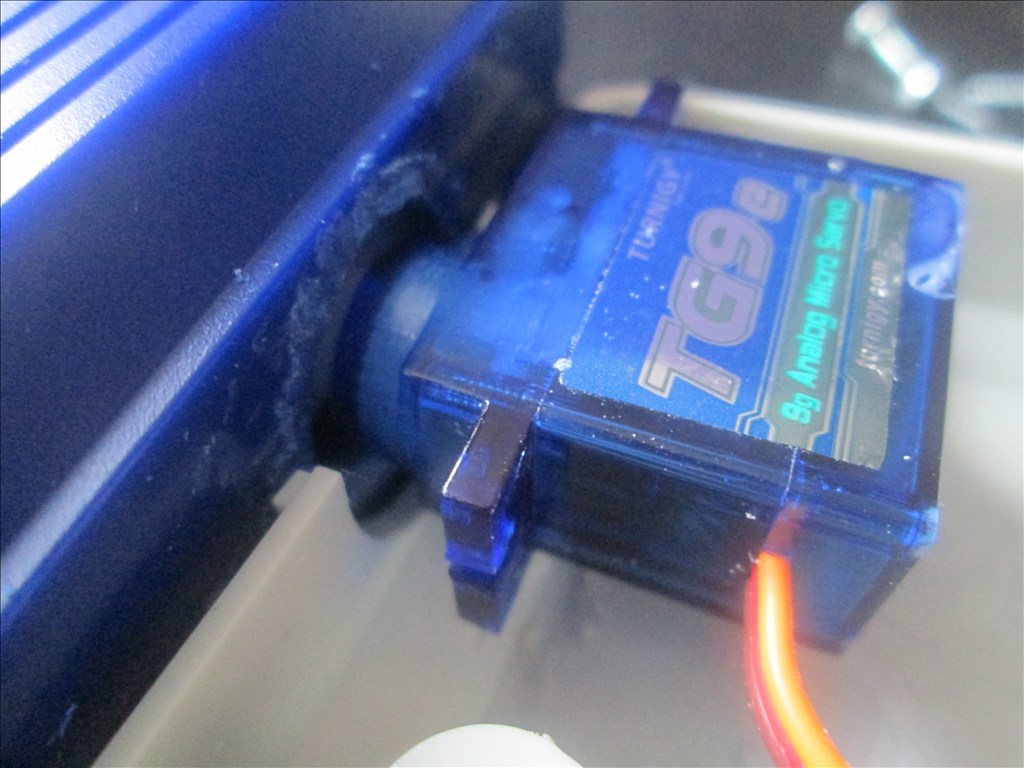
The arms will be given some life with servos at the shoulder joints and the elbows provided I can get them to fit in there nicely.
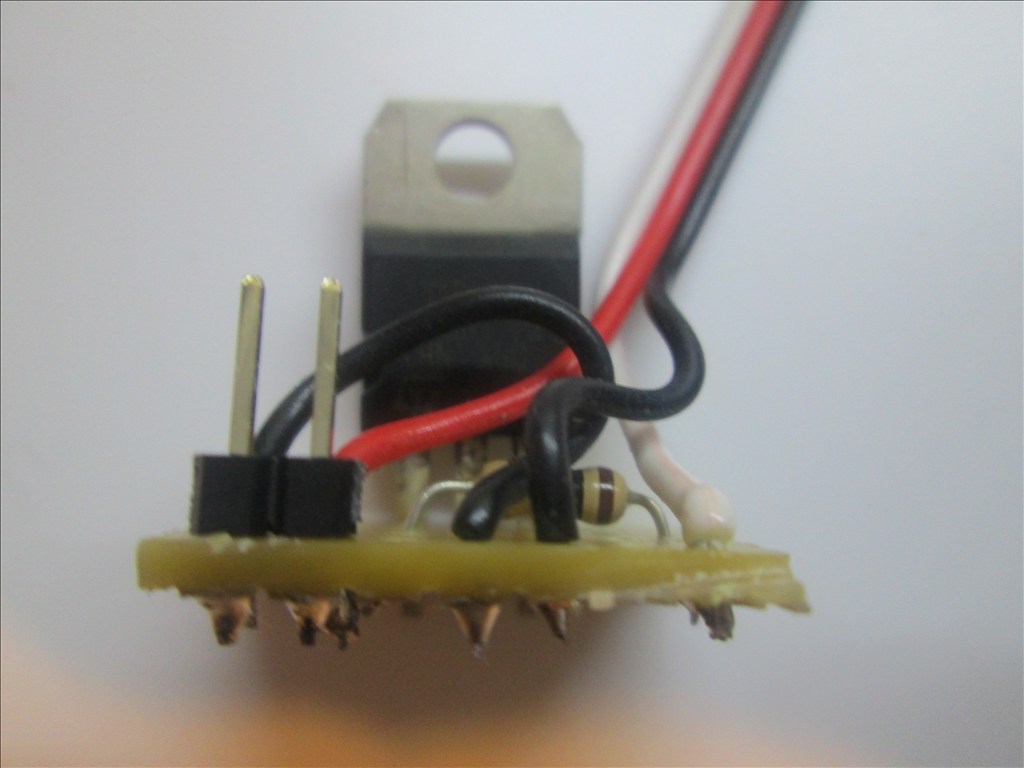
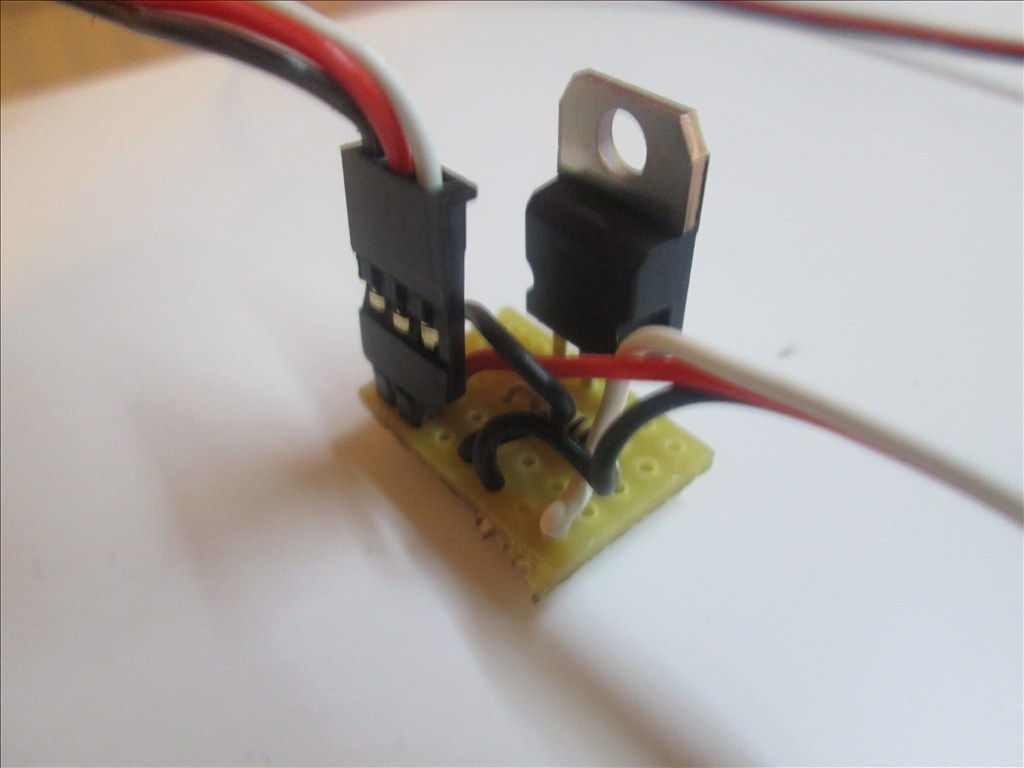
Ultrasonic sensor will be in his chest, probably on a servo to give a wider view.
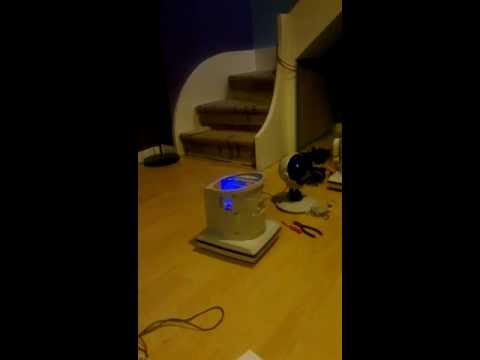
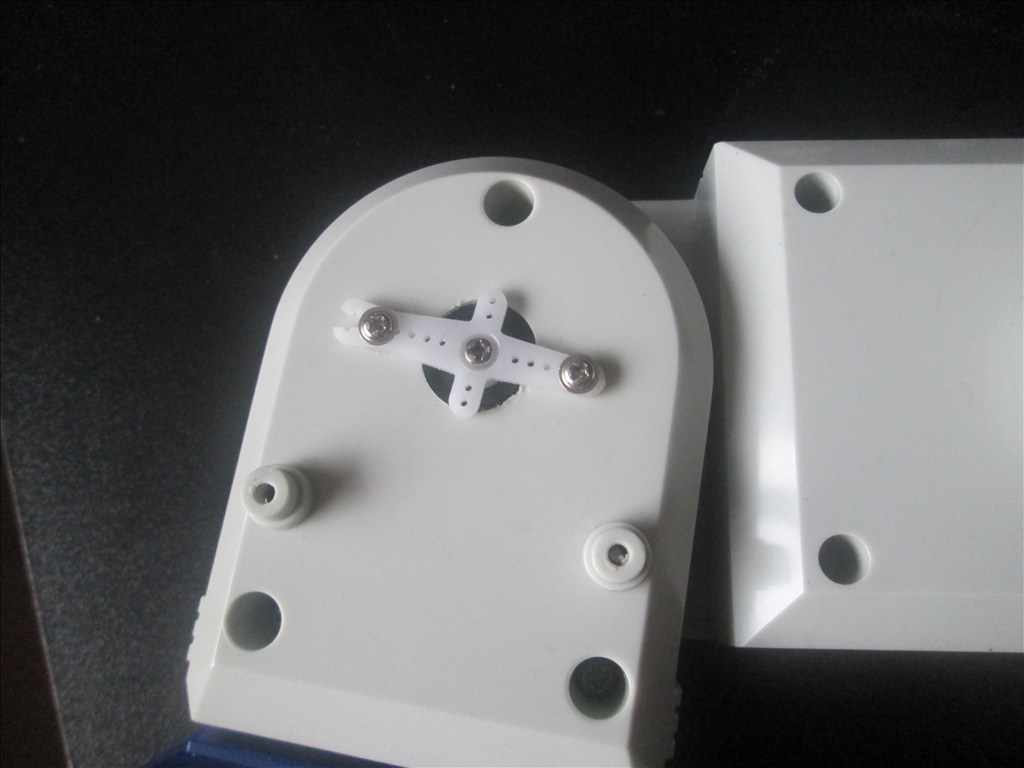
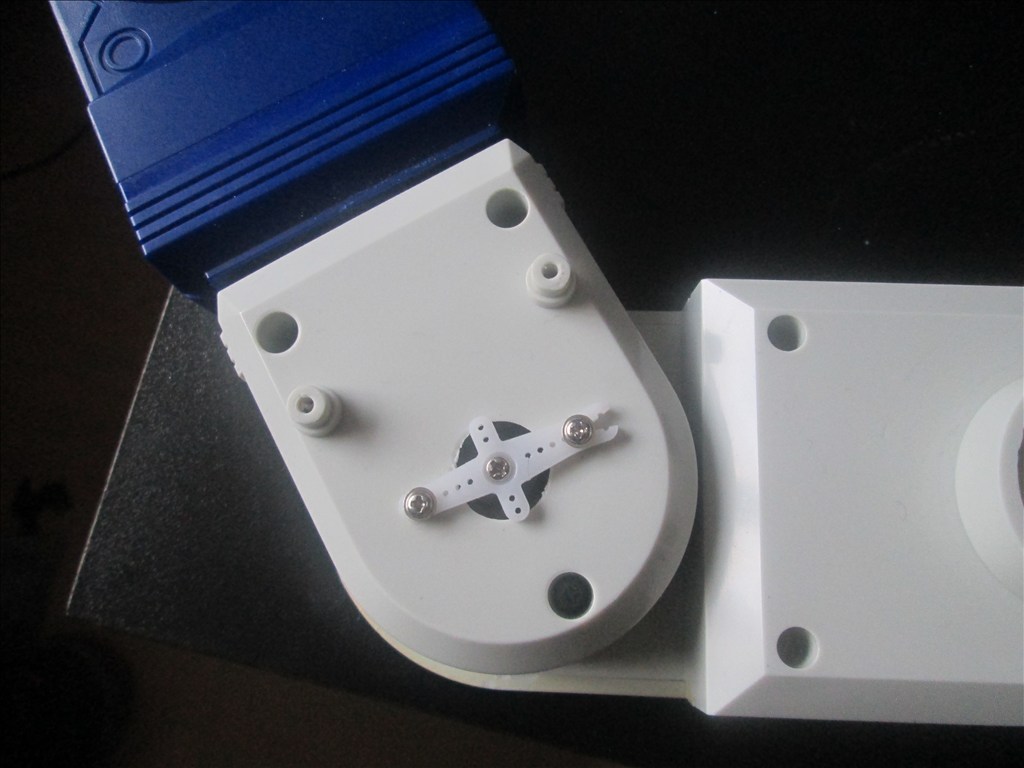
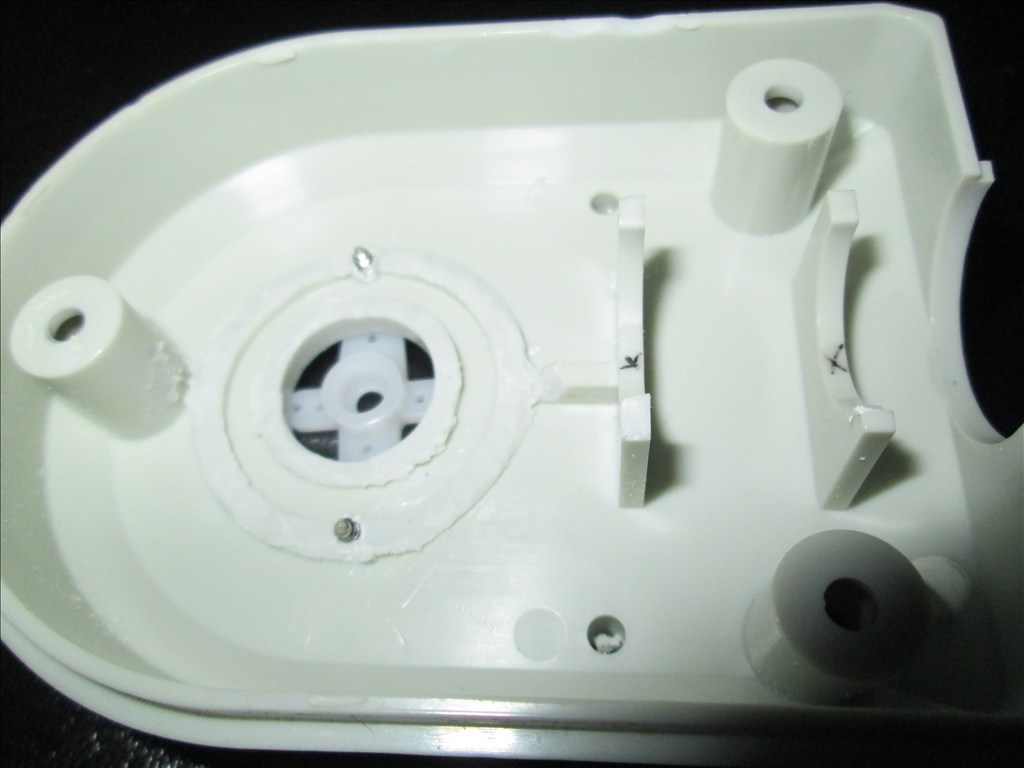
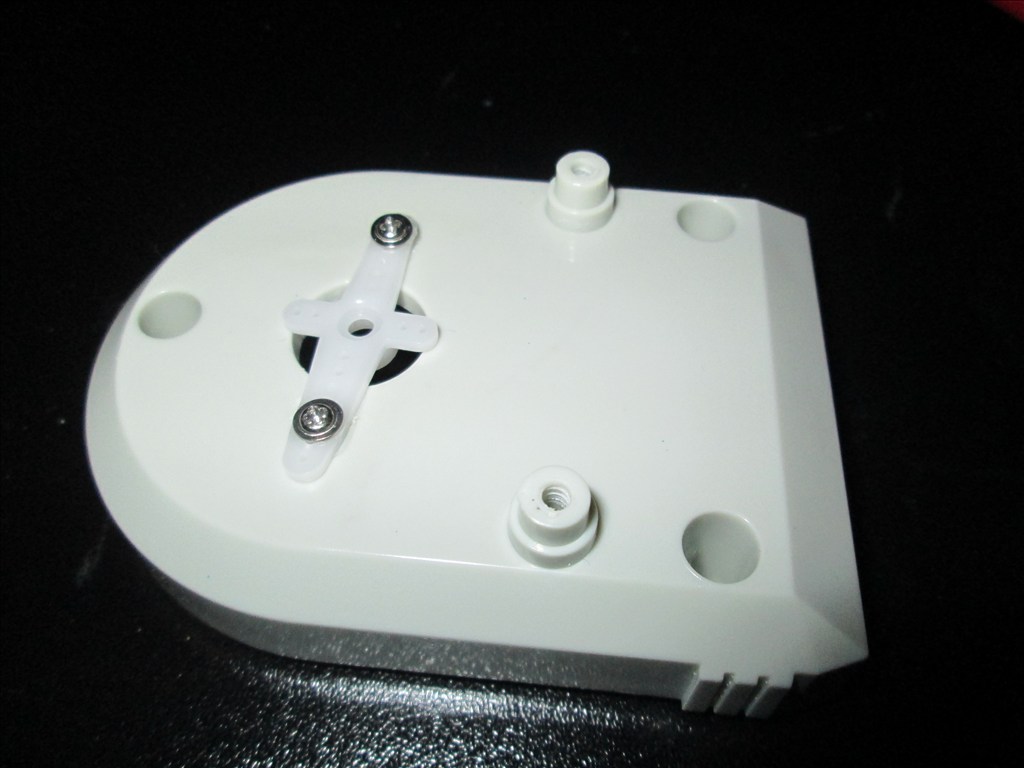
Original drive wheels and gearbox seem to be in very good shape so will plan to reuse those and just replace the existing motors for the modified servos if they can manage the task.
Speaker and microphone will be in the original positions - if it's not broke why fix it?
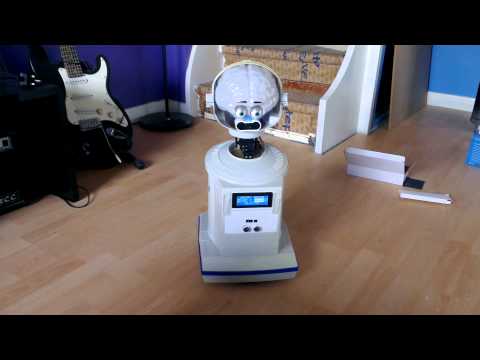
Not too big a project but enough to give me a test, help me learn and bring an old robot back to life.
Discover more robots

Mastersailor's Noisy Boi (Trademark Pending)
Ezang's Roman The Robot

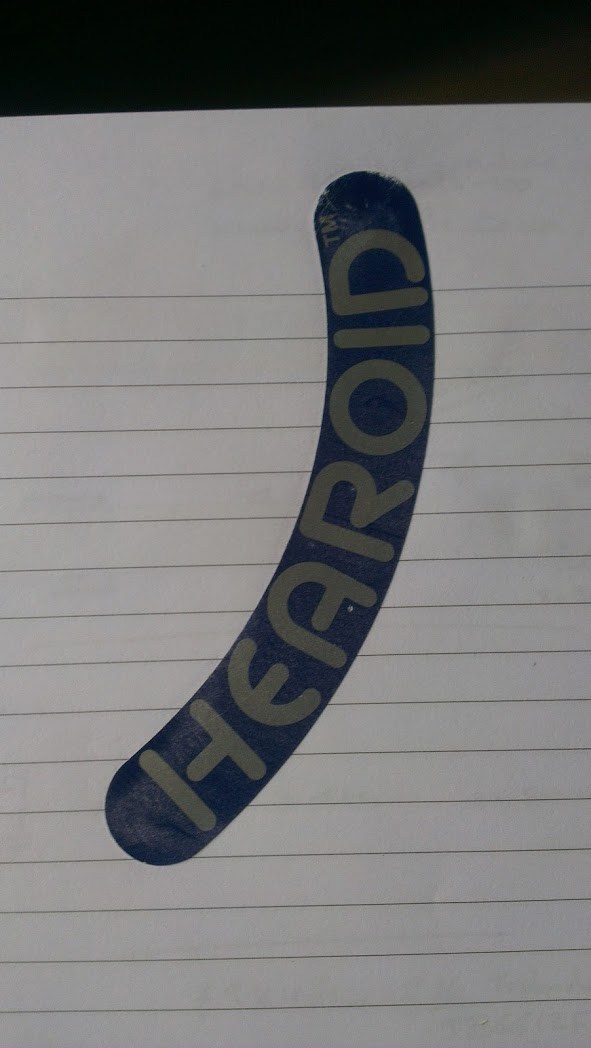
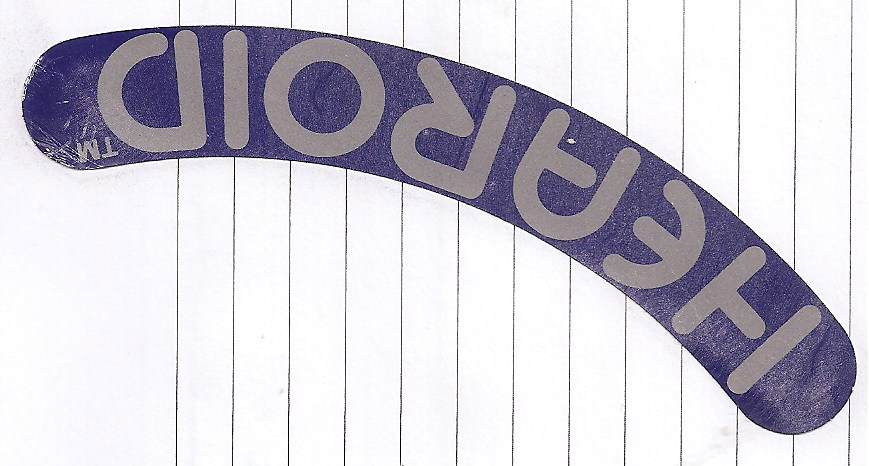
One part of this build I was quite interested in was the sticker on the top. Sounds small and insignificant but it will make the world of difference.
The original sticker was a little worse for wear;
So I needed to make a new one. Quite simple really. Start off scanning in the original;
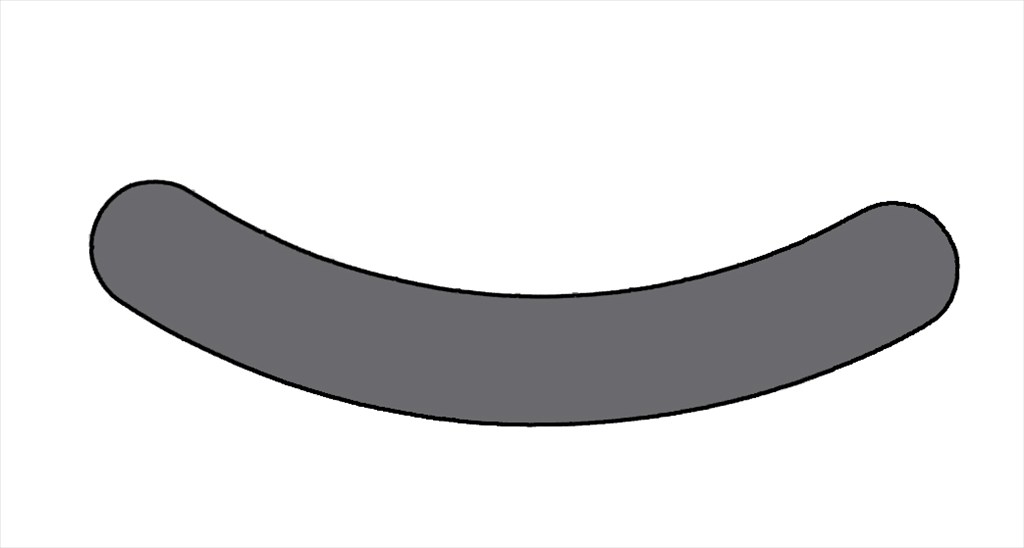
Clean it up and remove everything but the general size and shape of it
Sort out the outline/edge
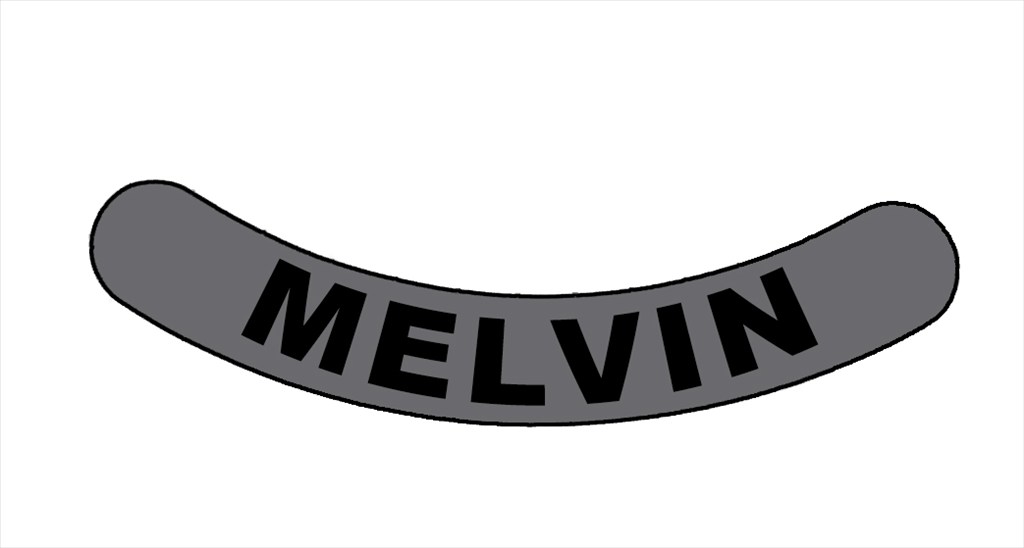
Add in the robot's name
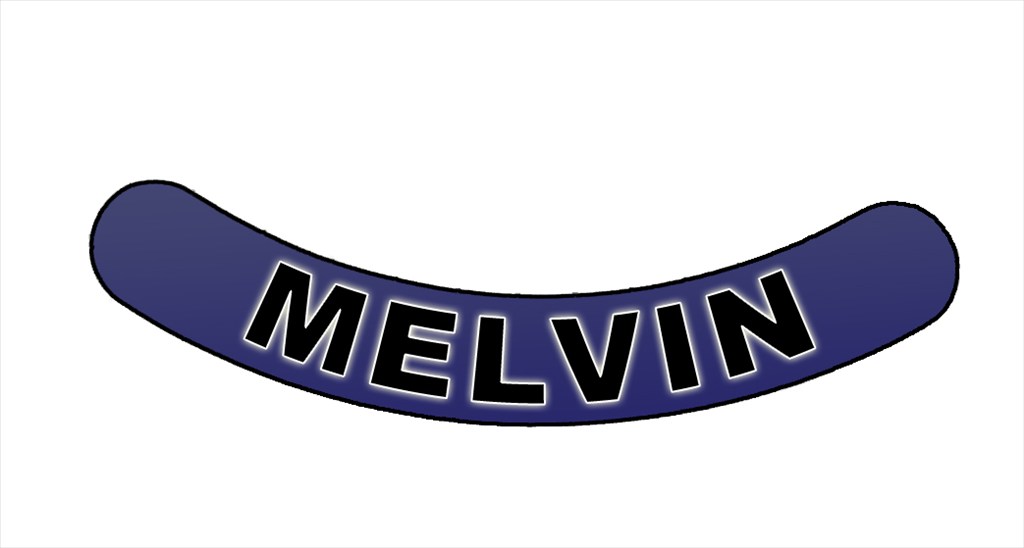
Then make it look almost as if it was stock (matching the blue of the Hearoid sticker)
Next stage is to print it and stick it. I have ideas on how to achieve this, the first is to use a specialist tattoo paper which is clear but takes ink very well. Until I try it and am satisfied with the results I can't really post the details, but they will come as soon as the robot is painted.
If anyone wants the photoshop file for this, well, here it is... hearoidsticker.zip
This should also fit a Robbie Sr.
I did something similar on my Gunslinger Bob, only I hand cut the letters out of self adhesive vinyl decal material. Not nearly as neat as yours though.
My standards are stupidly high and my skills with a knife are stupidly low (you should see me chopping veg for dinner - I buy it pre cut now...). I did think about vinyl, and it's a back up plan. Luckily I have contacts in the sign writing business I could call on and get the sticker made for cost price but I like to do everything myself where possible. Plus it was fun to design
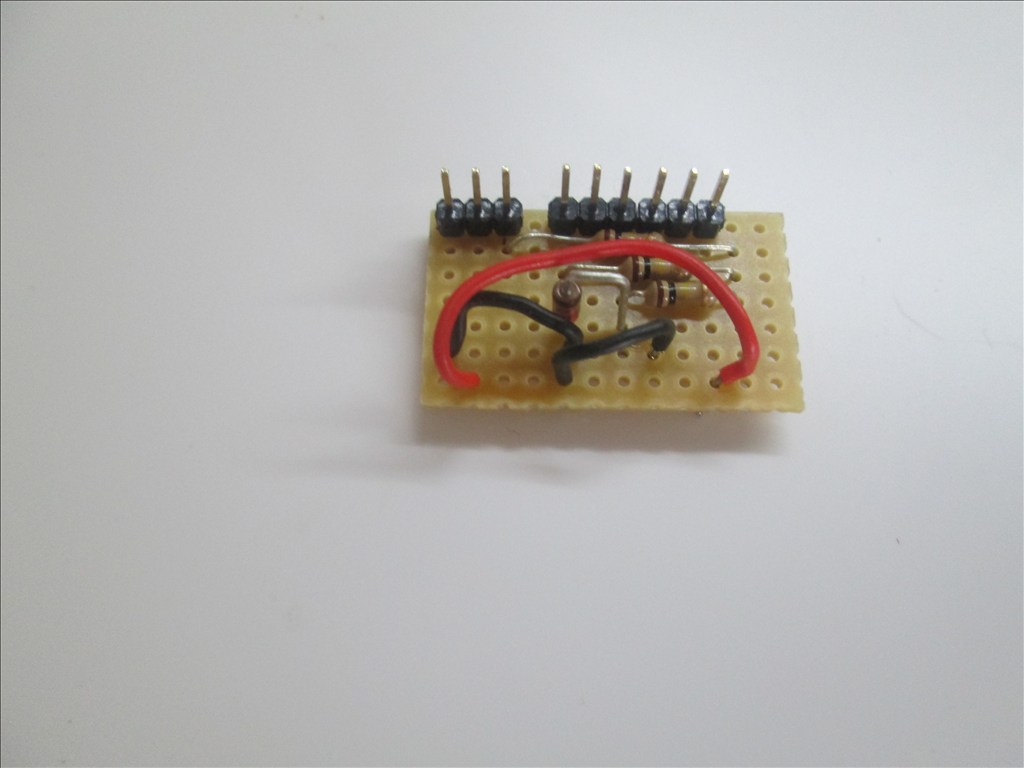
label you made does look good RICH,me not great at art work
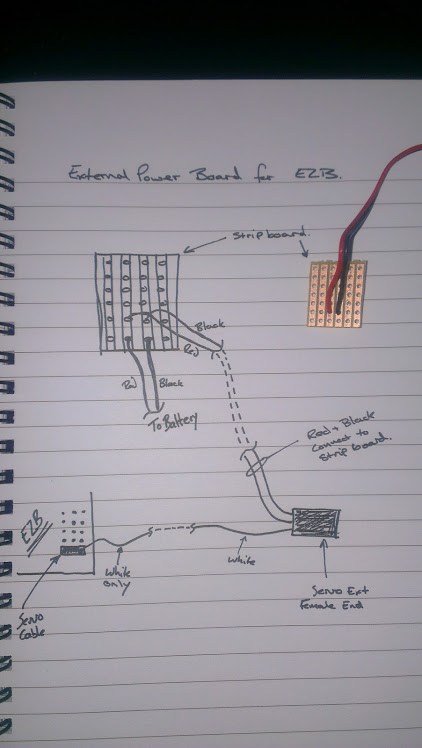
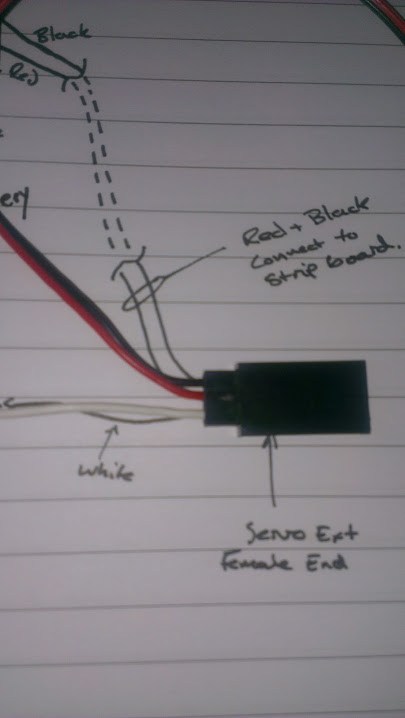
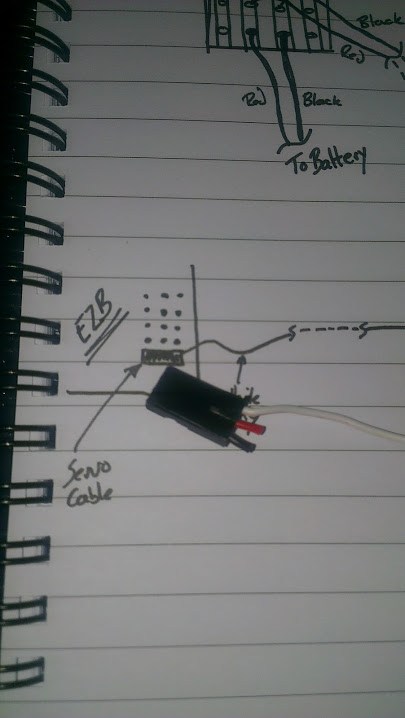
BUT as i see idea that i think is good or better i will post like on barrier strip and why its might be better,not many have circuits to cut ,second hard to mount it
on my idea you unscrew the terminal a little place wire and done.mostly high current and very low cost $1 and they have a strip of terminals at that price and you cut with a wire cutter to size second to mount it they have holes on the bottom and takes little space
Slick idea Rich
I think being a Canadian I try to be a peacekeeper in any situation, haha. I think I remember you posting on Roborad? I understand that the creator did a name as well, did you consider using his process?
See the previous page. It's plan B but as my knife working skills are next to none I thought I'd try this way first. If it comes to it I'll use a sign writer to make the sticker out of vinyl, one owes me a favour or two anyway but I prefer to do everything myself where possible. I know I wont be able to produce the sticker anywhere near as good by hand, for a start the slight gradient on the background blue would not be achievable.
True, that would take weeks by hand, and many frustrating crumpling of expensive parchments. That is from experience.