


G.day everyone,
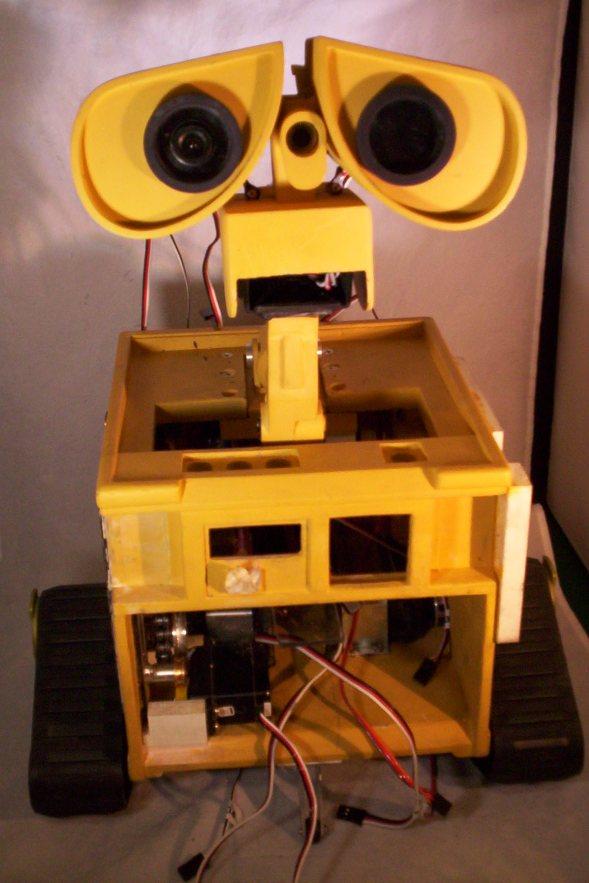
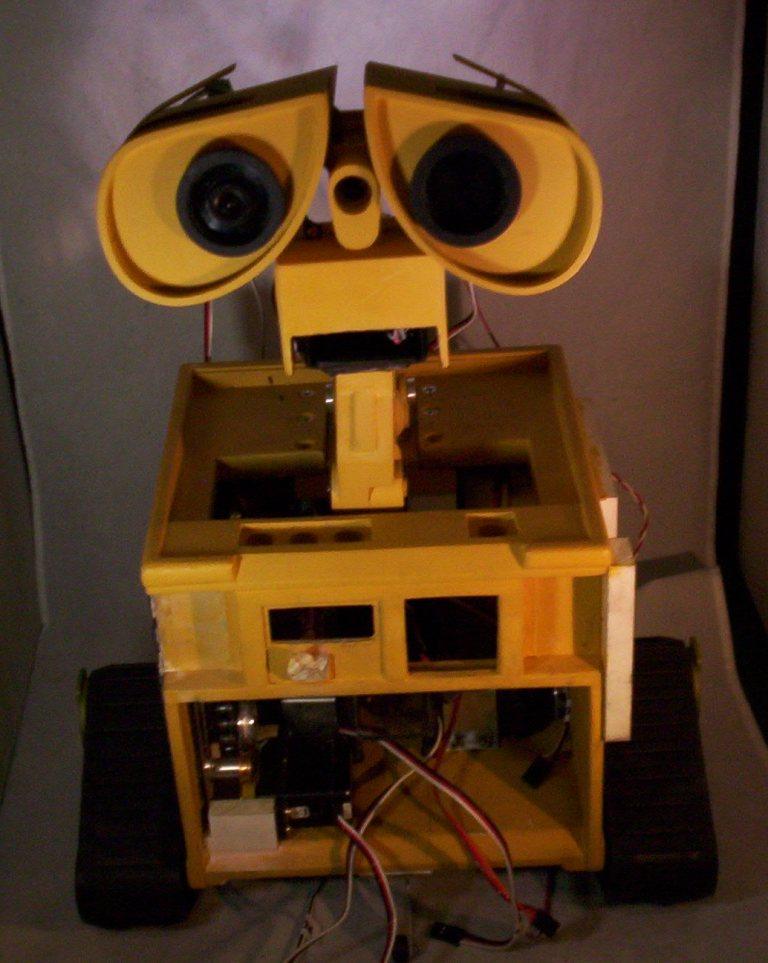
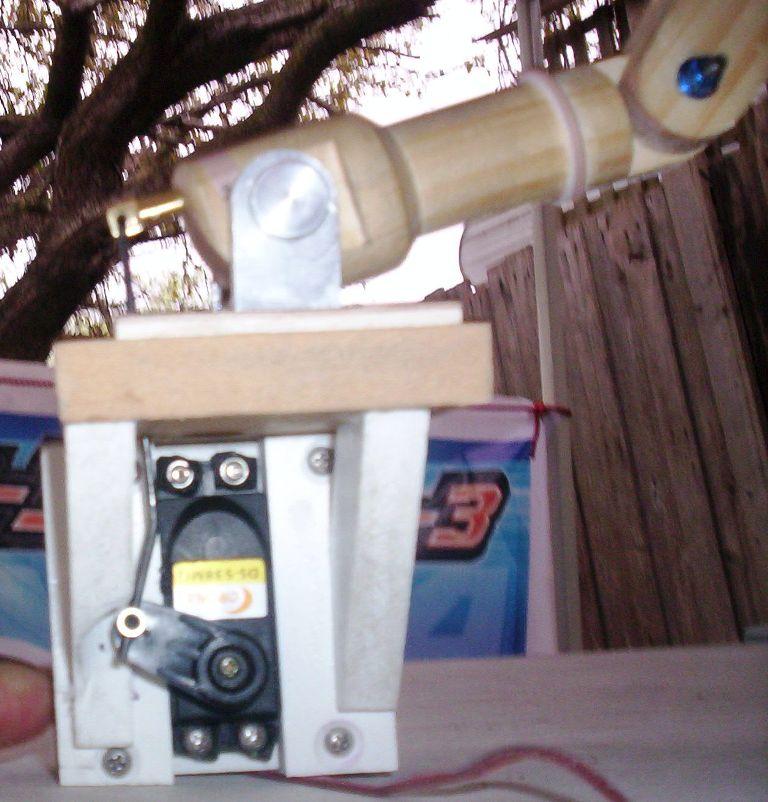
Here are the progress photos. will add to this post as we go along.

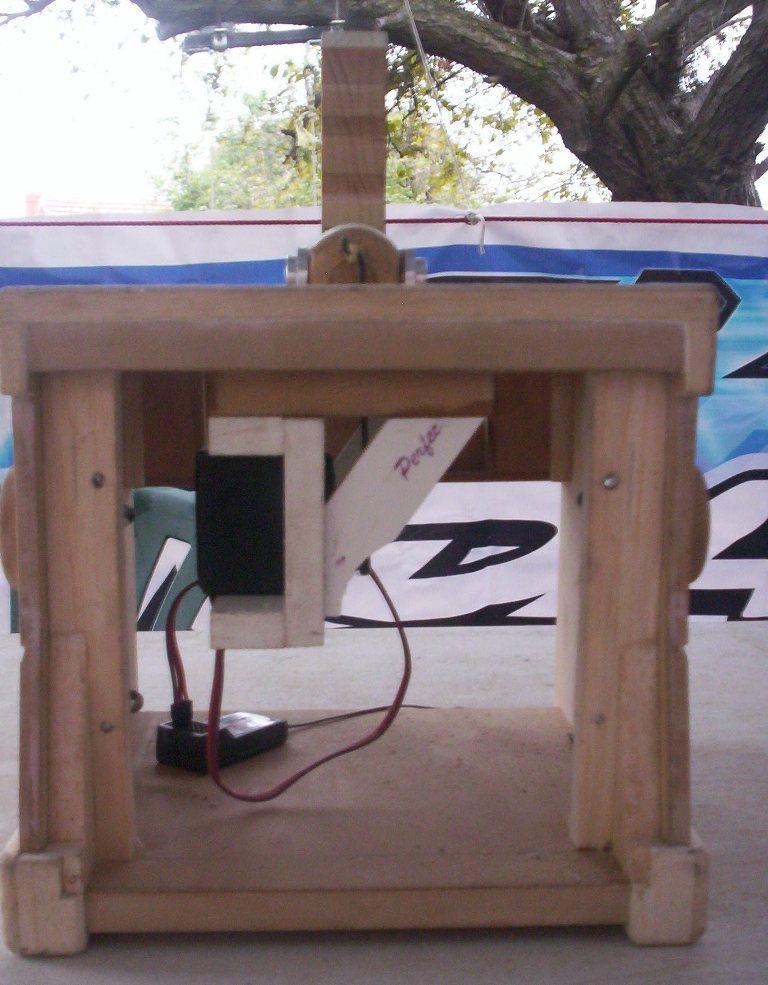
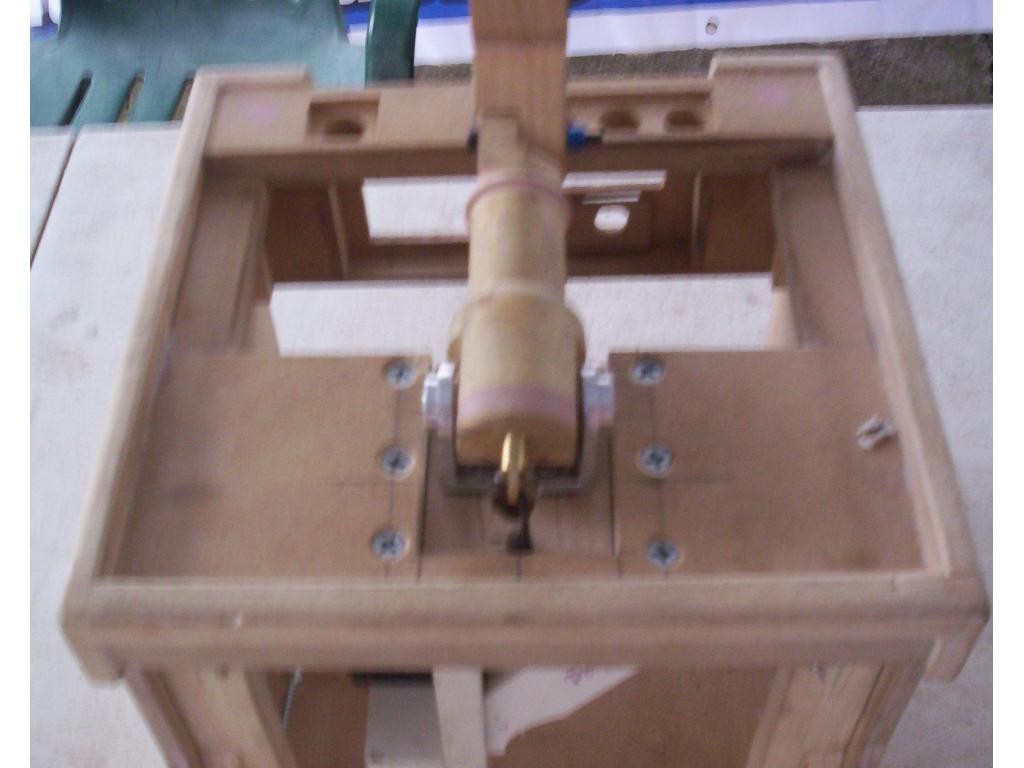
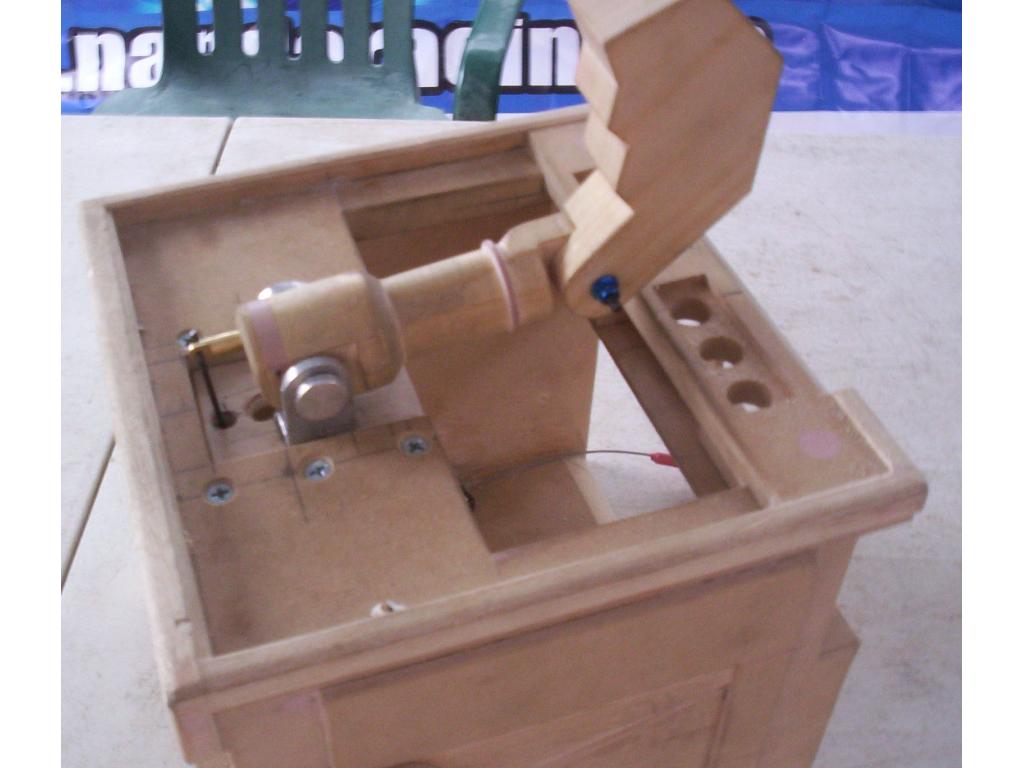
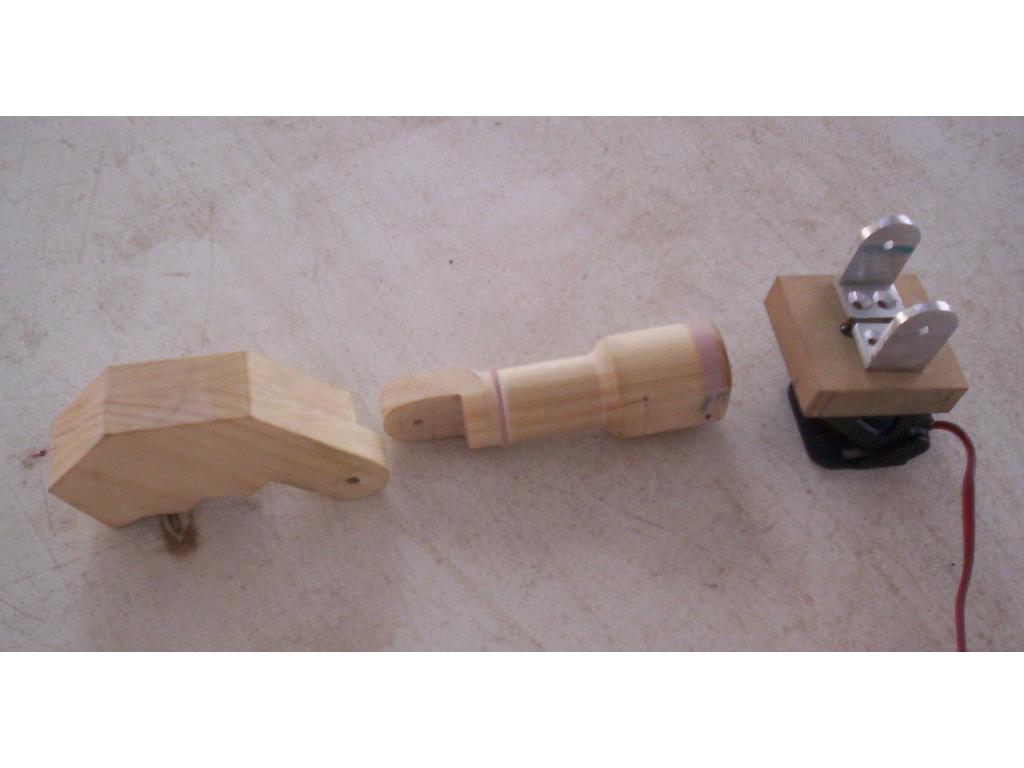
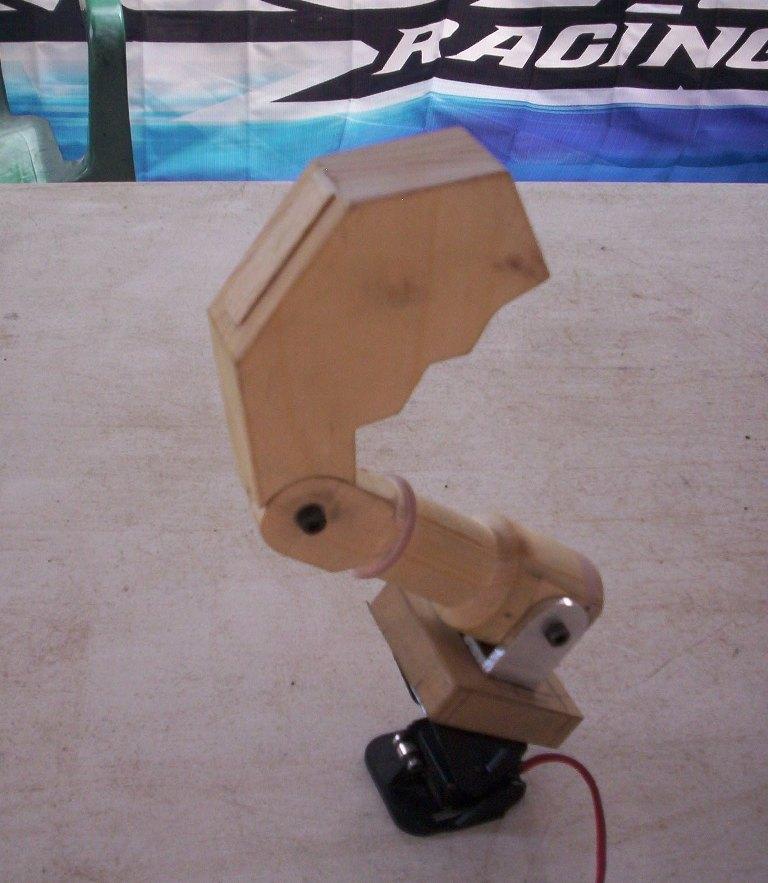
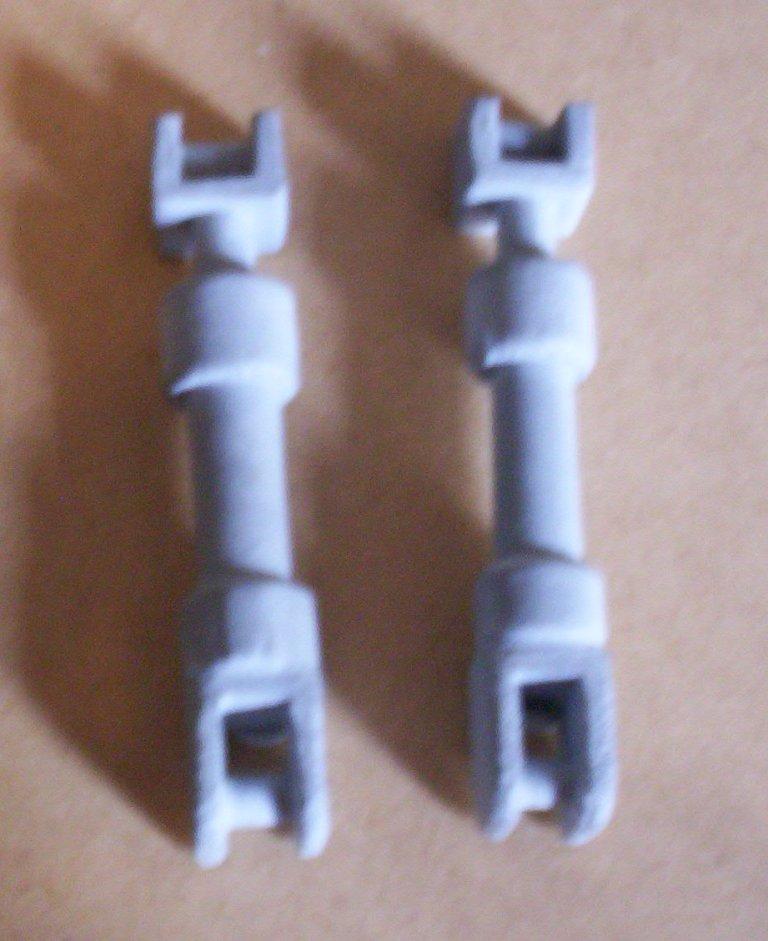
Undercoated and will get glued on after Wall-e is finished.
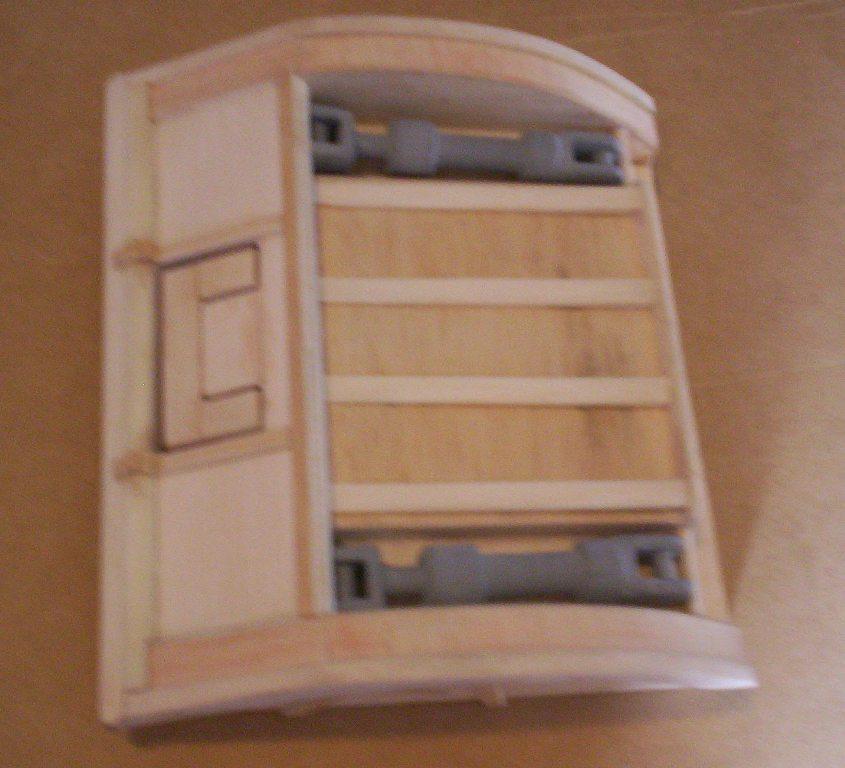
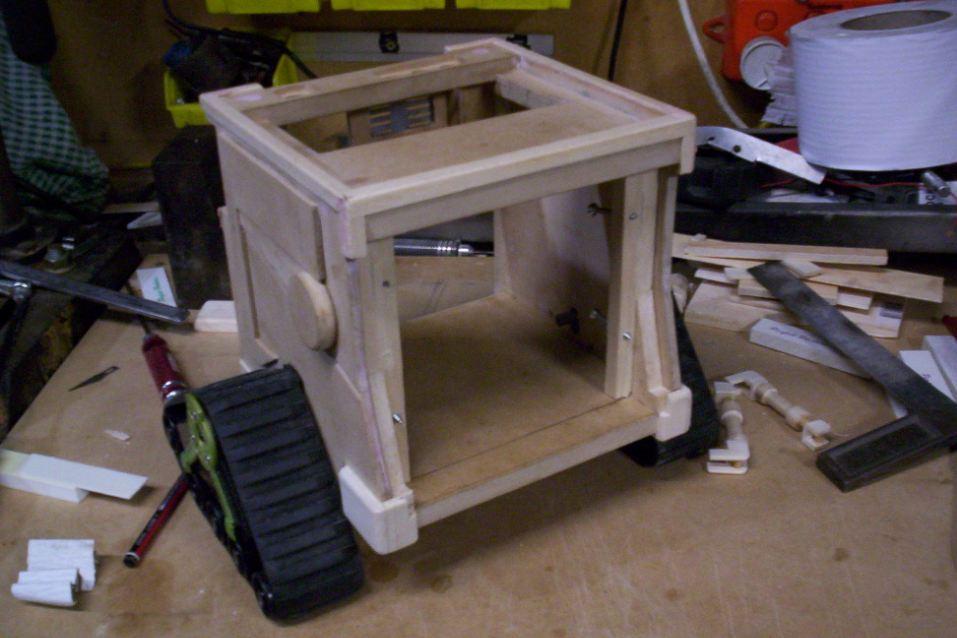
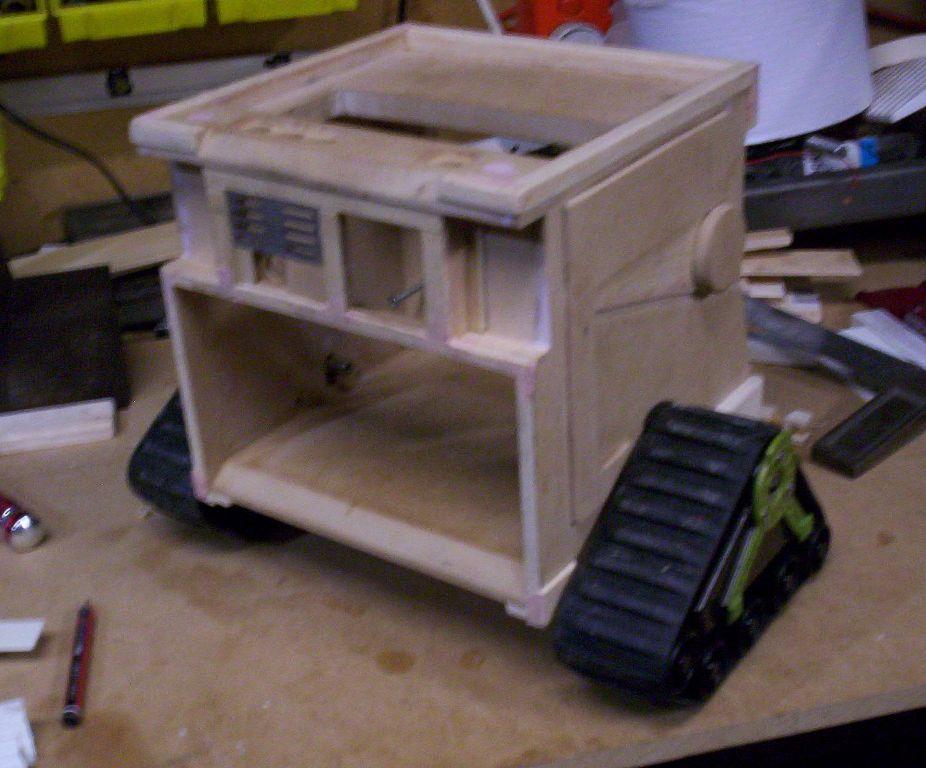
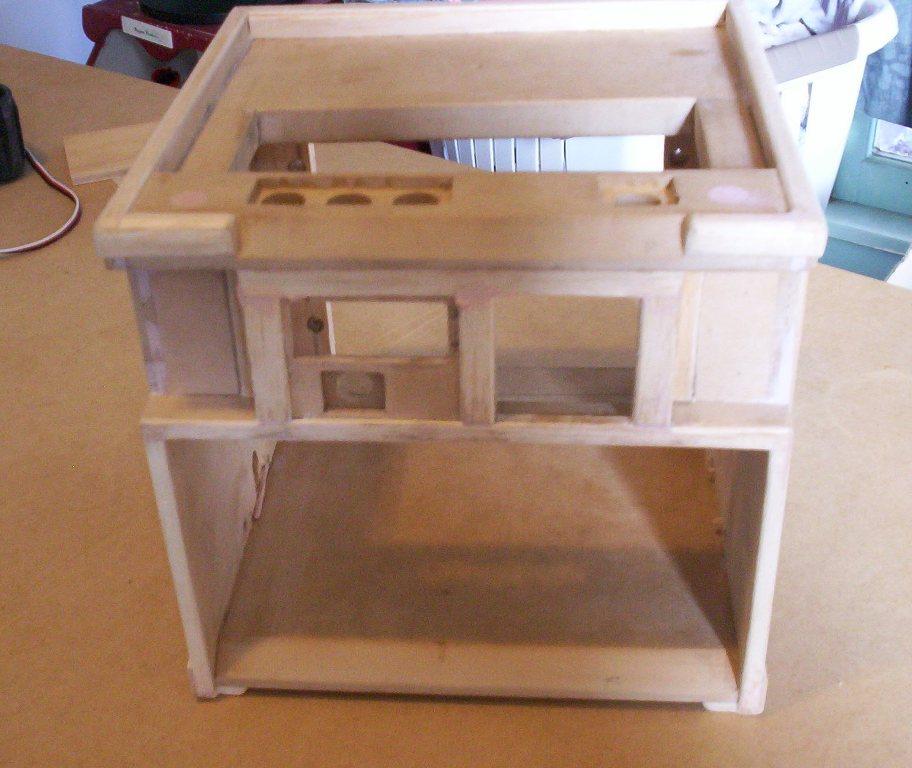
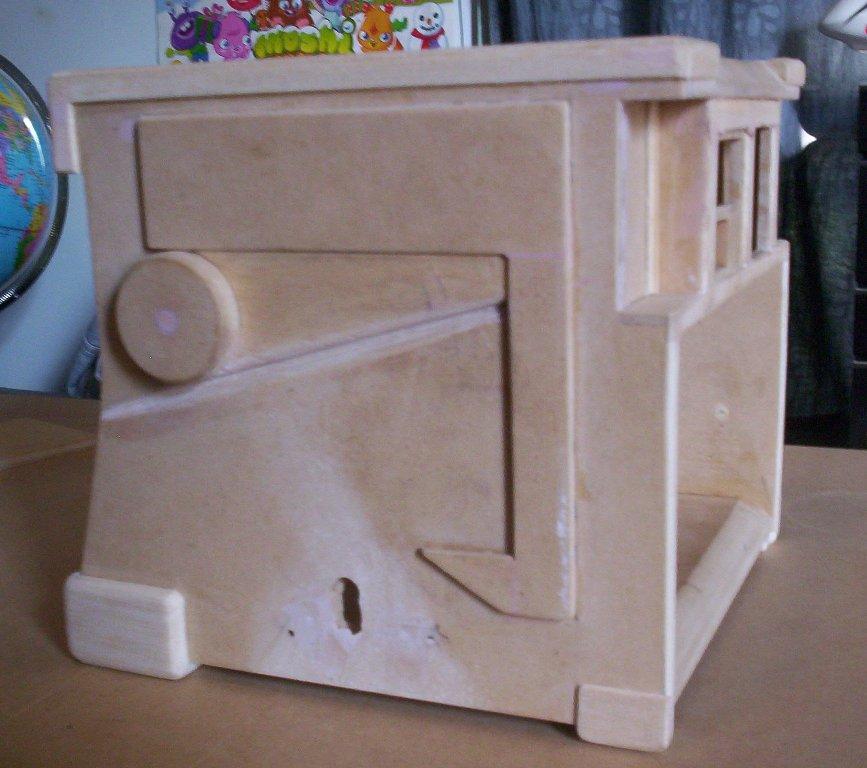
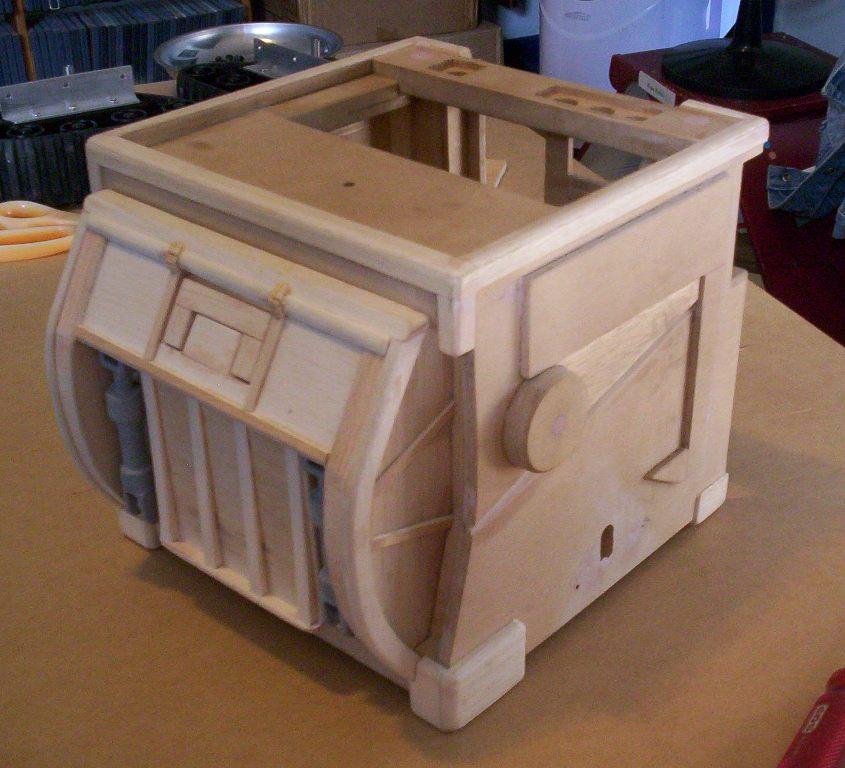
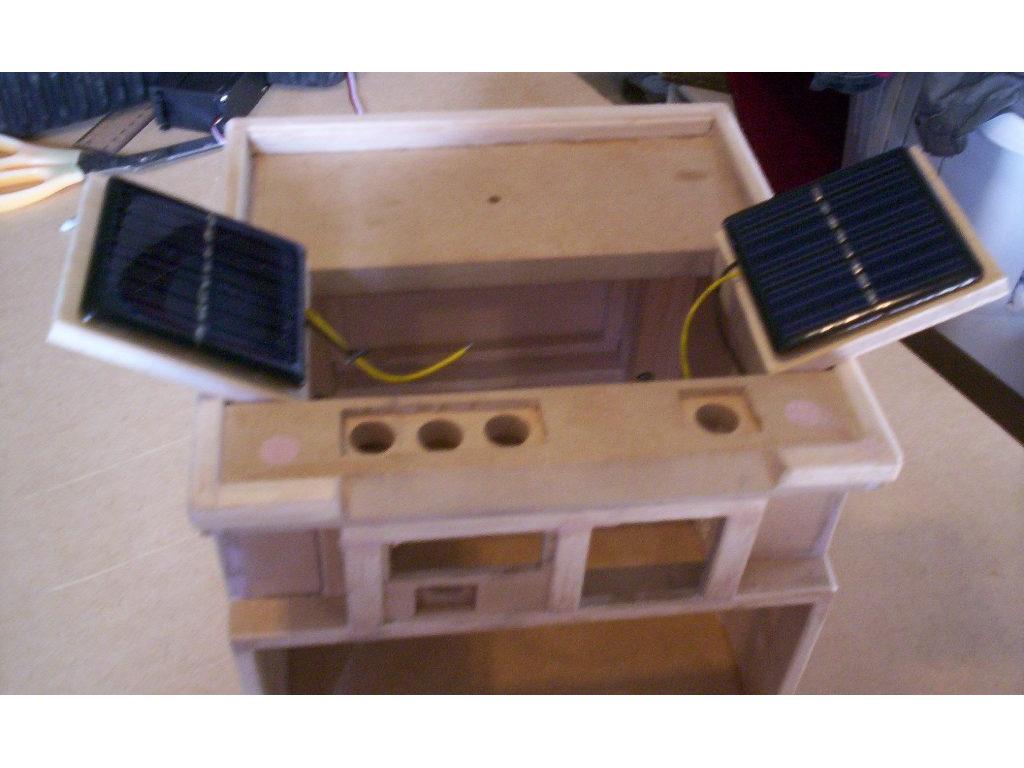
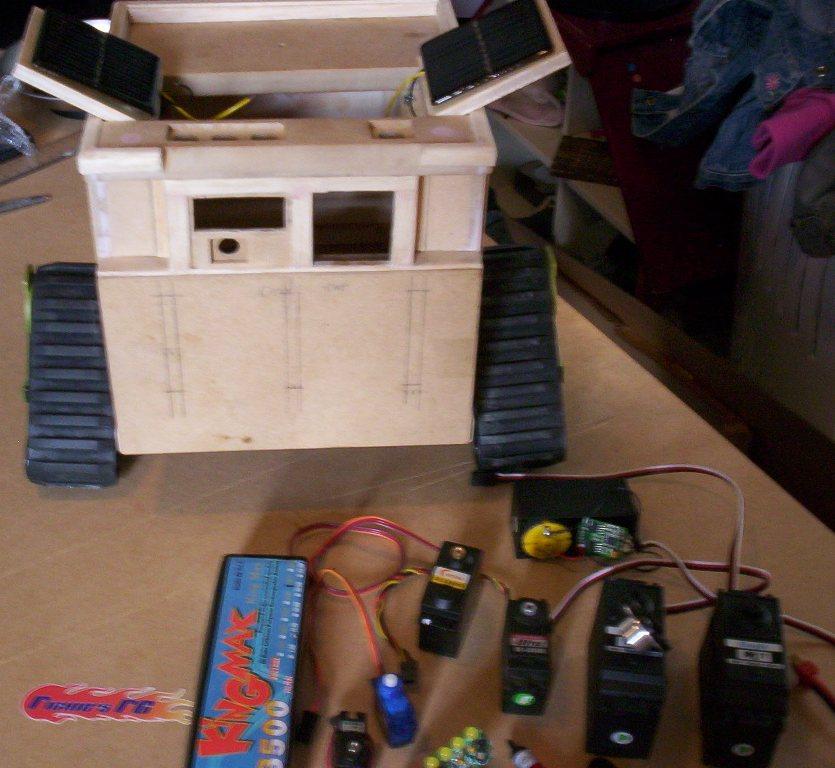
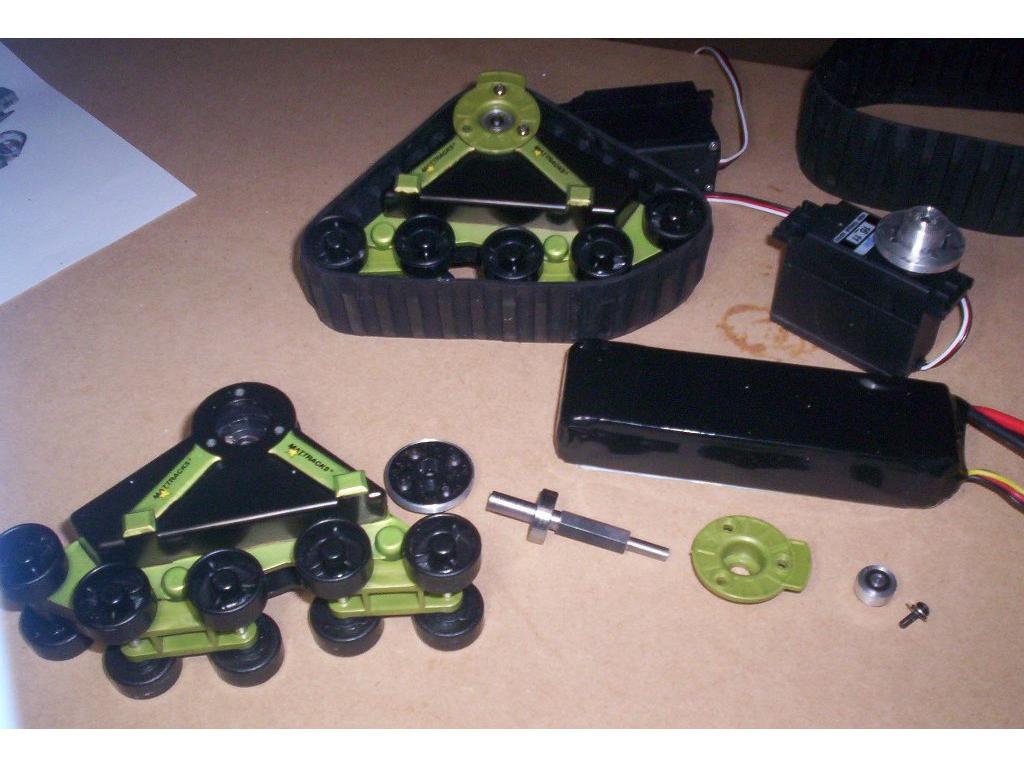
Arms and neck are next then his head, Don't worry the robotics are coming.
By RichiesRC
— Last update
Discover more robots
Robohappy's Introducing....HEMI Or HHCB1 (Home Health Care...
HEMI home-health robot prototype lifts and transfers patients using high-torque servos, actuator, sensors, EZ-B control,...
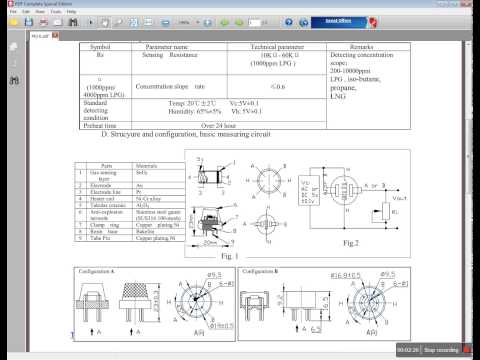
Luis's Using A Mq-? Sensor With The Ezb4 And ARC
Demo video posted-watch the demo and enjoy; creator happy to answer any questions.
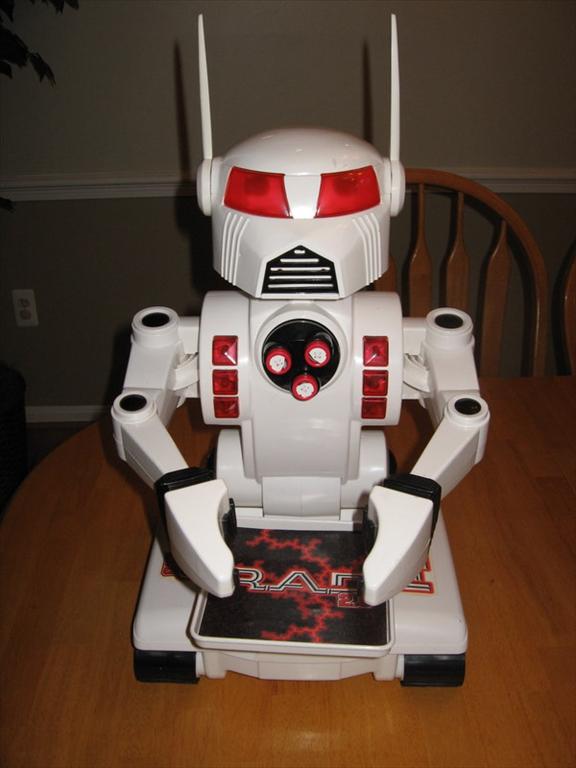
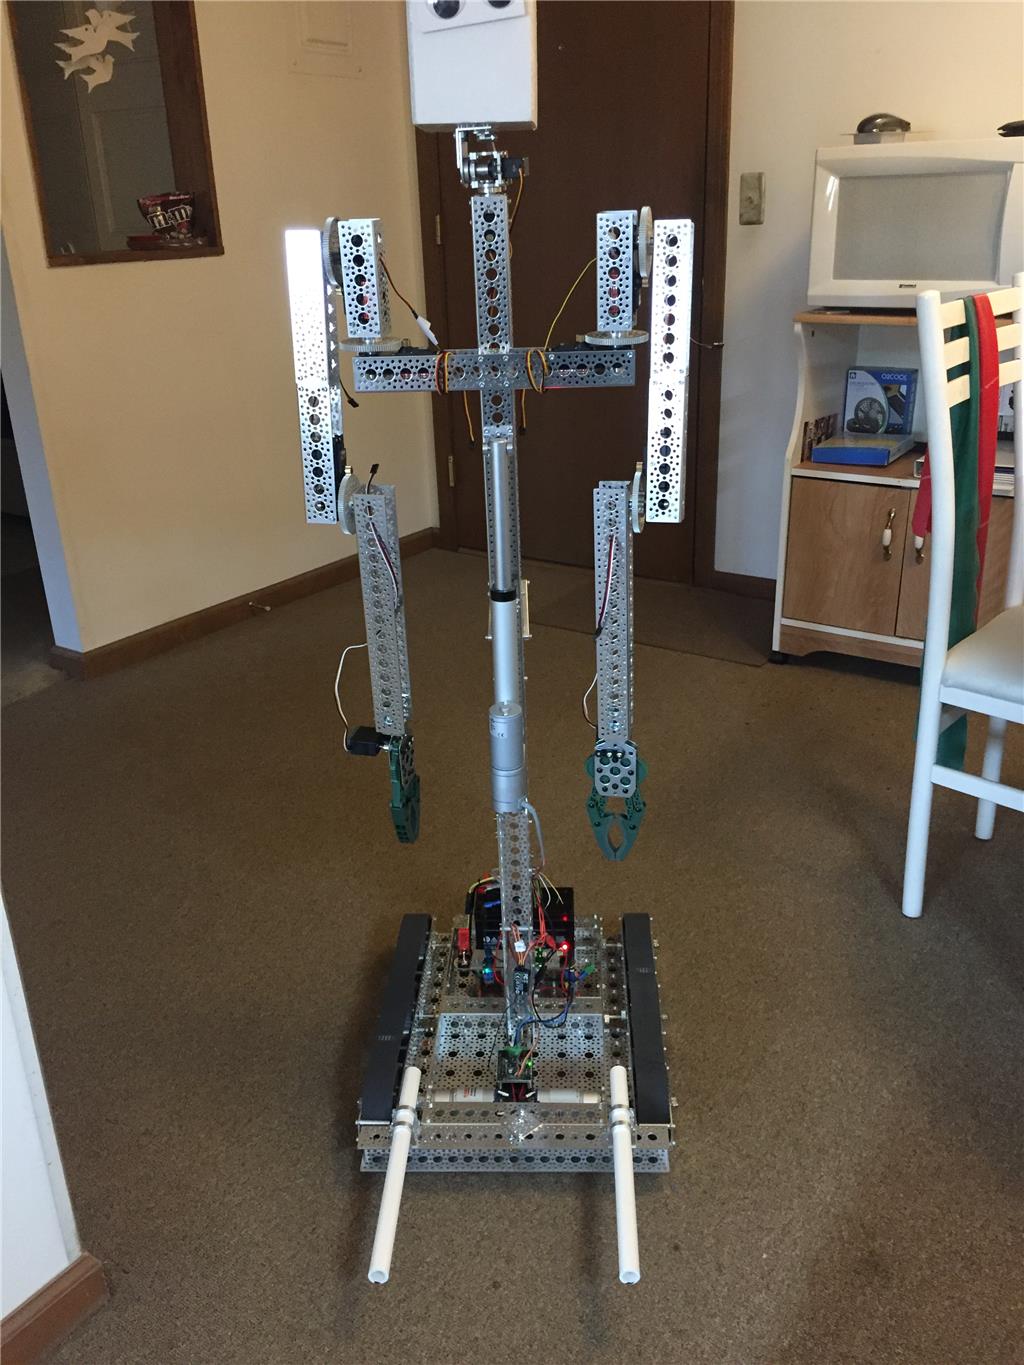
Kkeast's Its Gonna Be RAD
Mod RAD 2.0 with EZ-B: add H-bridges, servos, accelerometer, distance sensor, camera and MP3 for tracked, waist-bending,...

Man, this is sooooo awsome!!!!
WAAAYYYY COOL!
That is entirely sooooooooooo awesome!
Holy attention to detail!
Wow! How long have you been working on it? Looks fantastic so far. J.W.
J.W.
That is very nice wood work. Keep up the great job I'm sure I'm not the only one that will be waiting to see the finished project.
Waaay cool!!!!!!!!! Makes me want to do a scratch build. Think I will.
Wow,,,, you certainly have some skills there! Excellent!