G.day everyone,
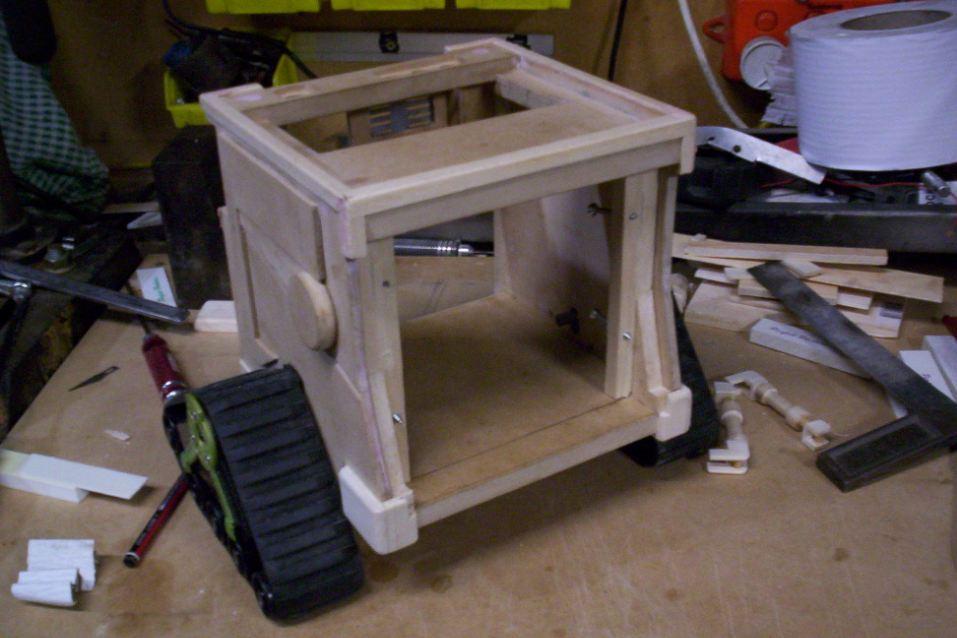
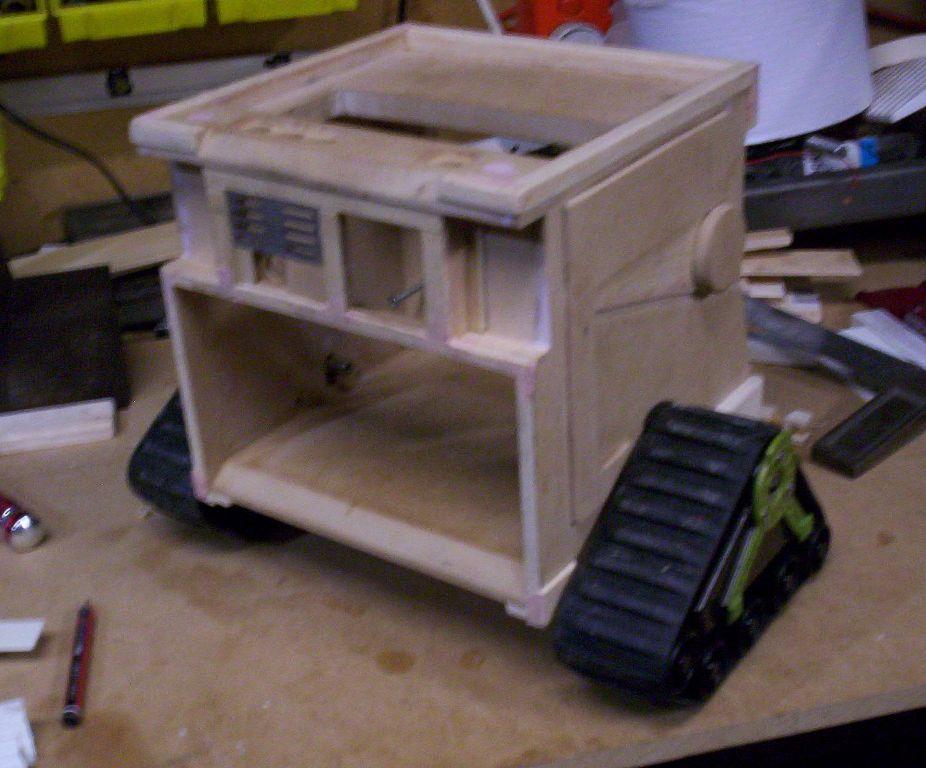
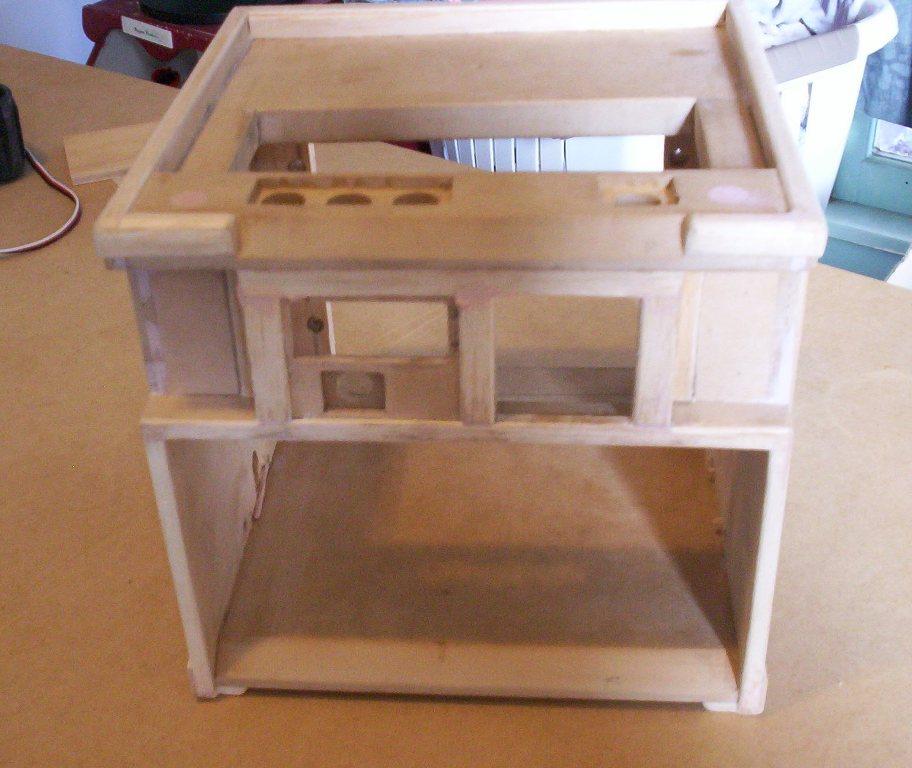
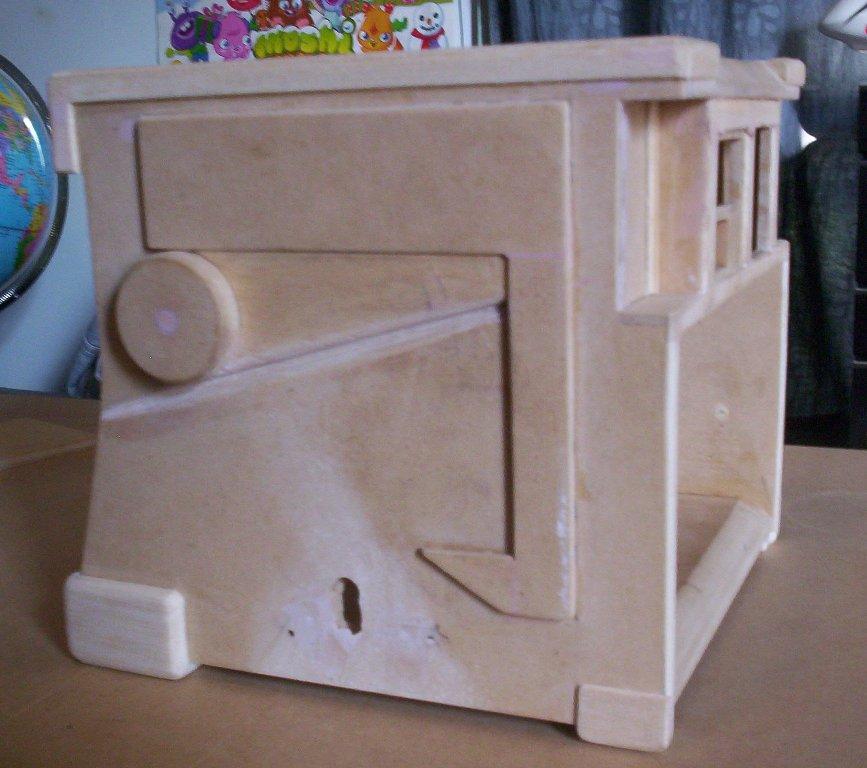
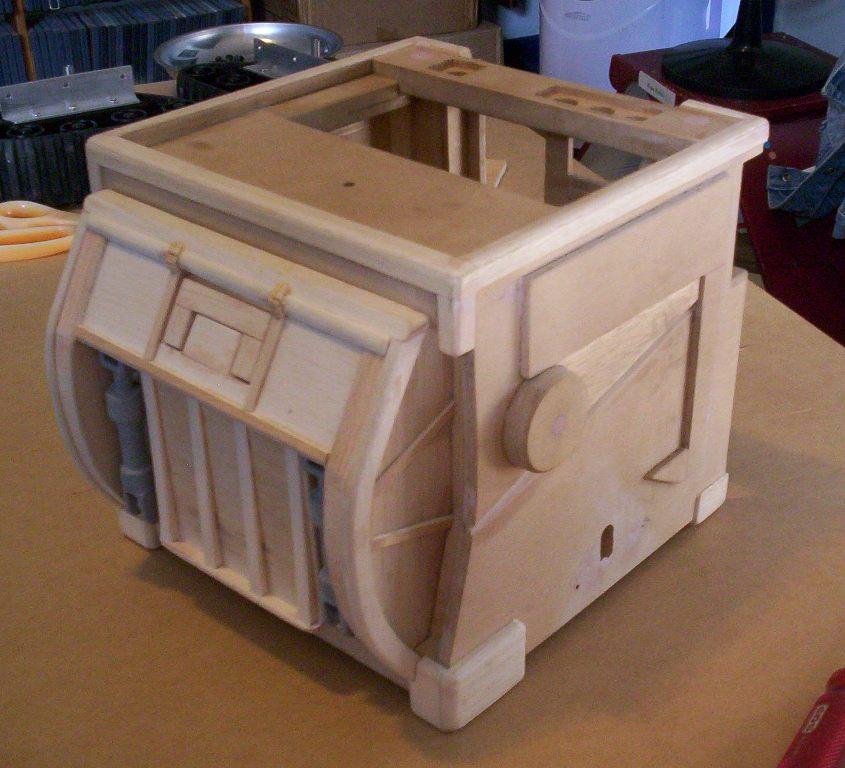
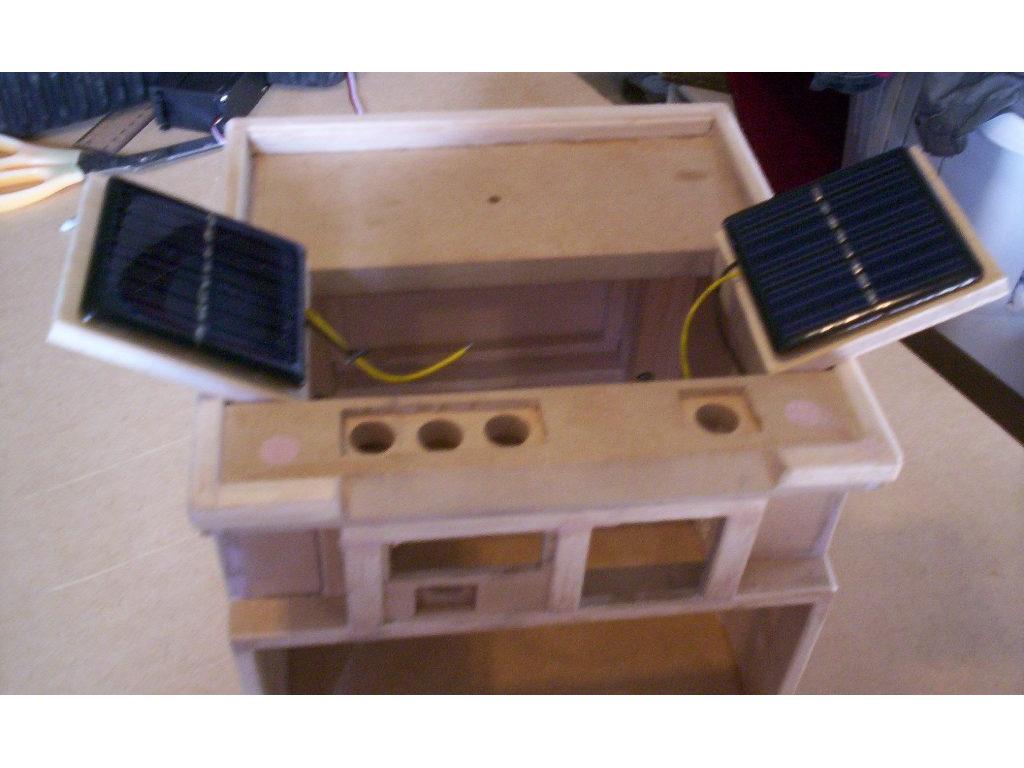
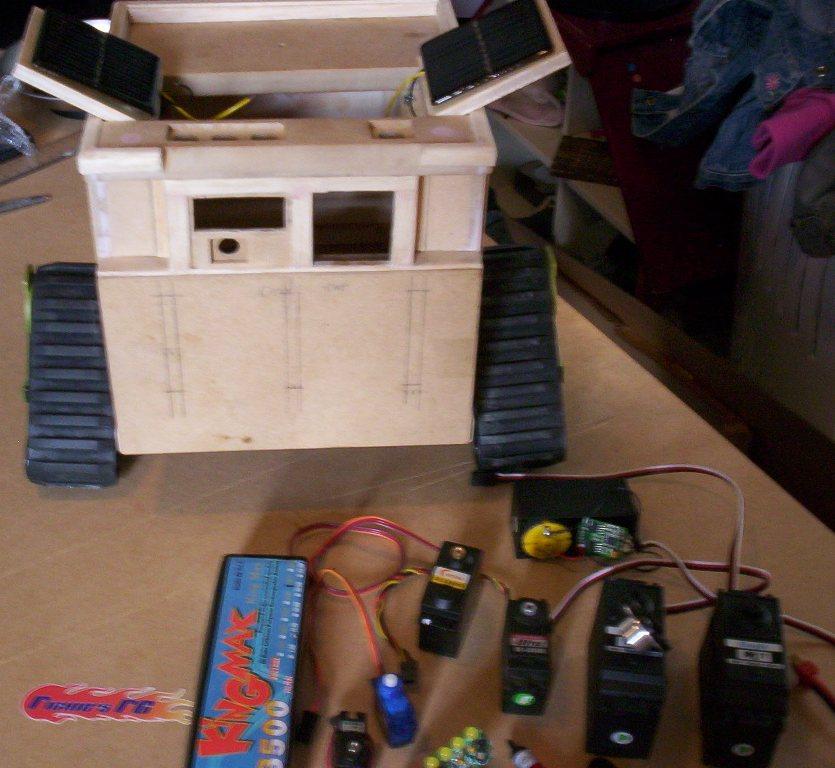
Here are the progress photos. will add to this post as we go along.
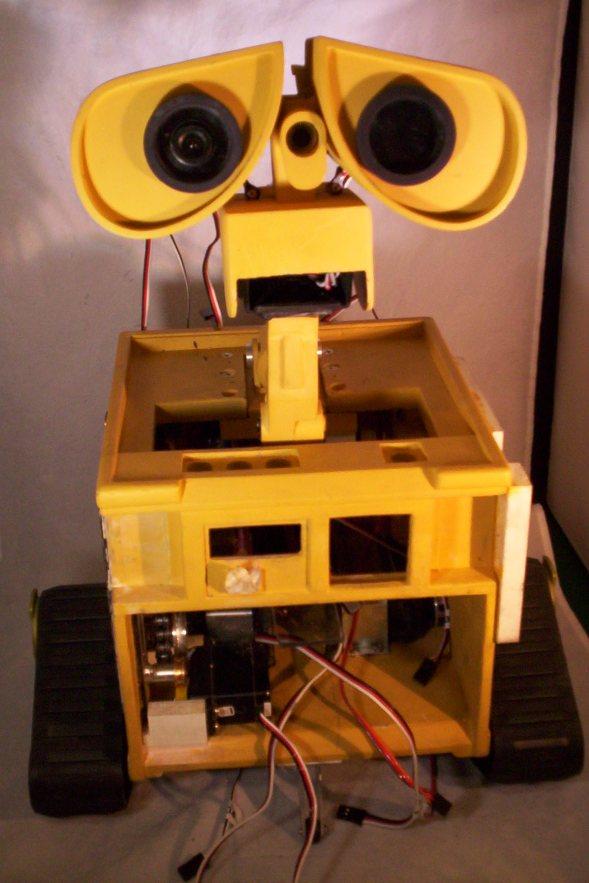
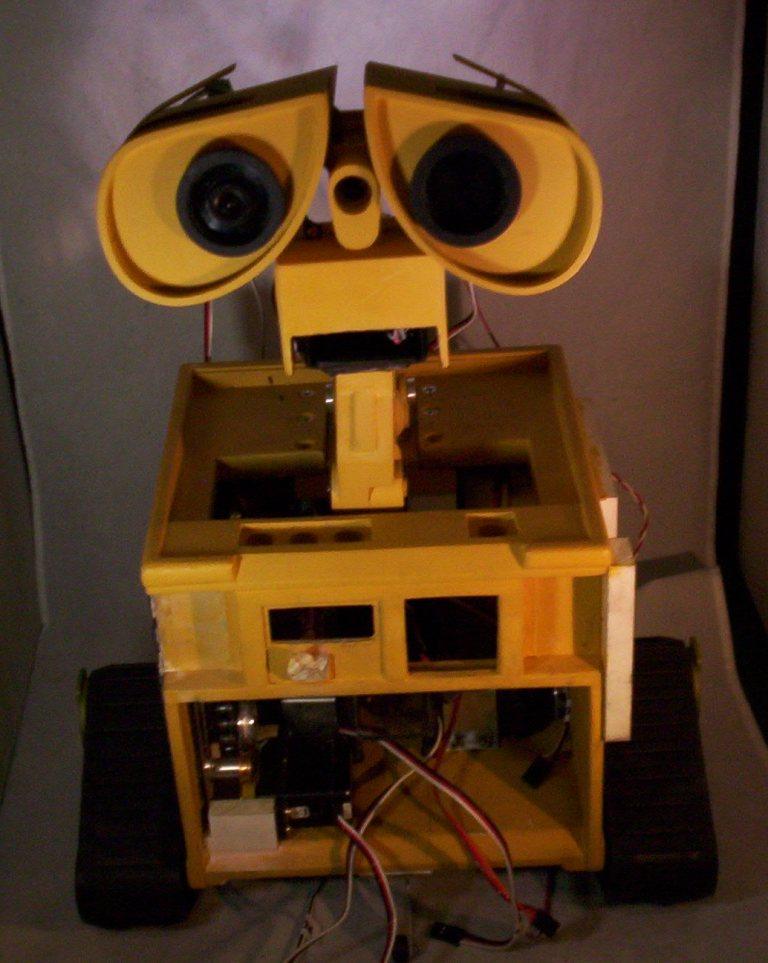
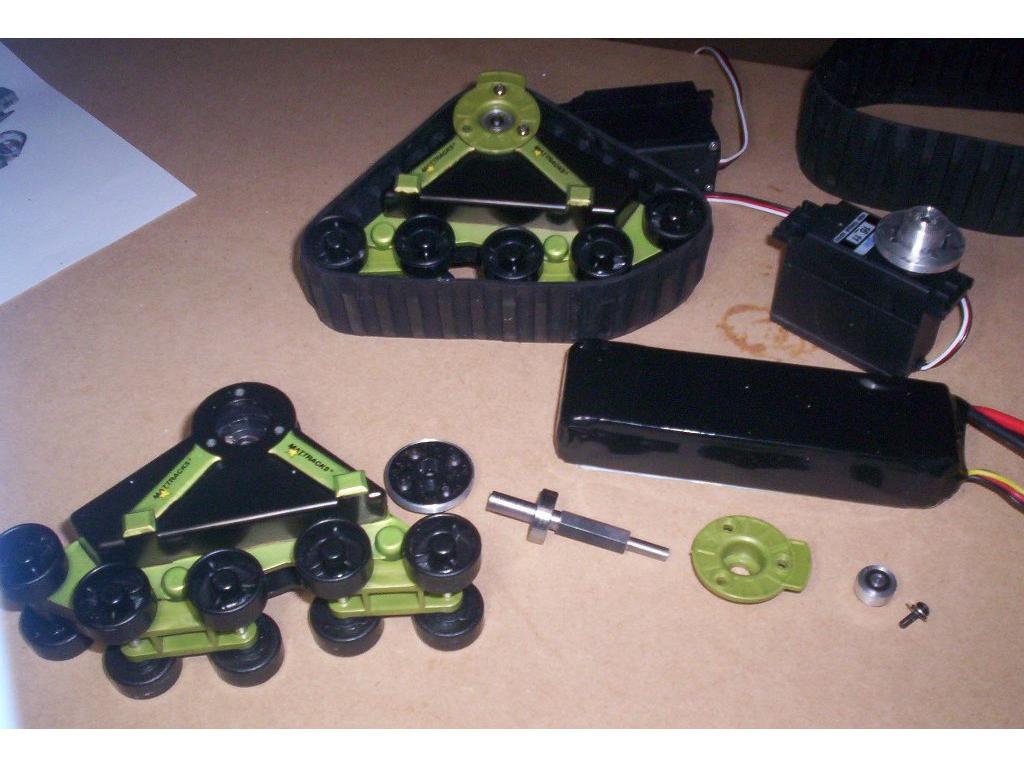
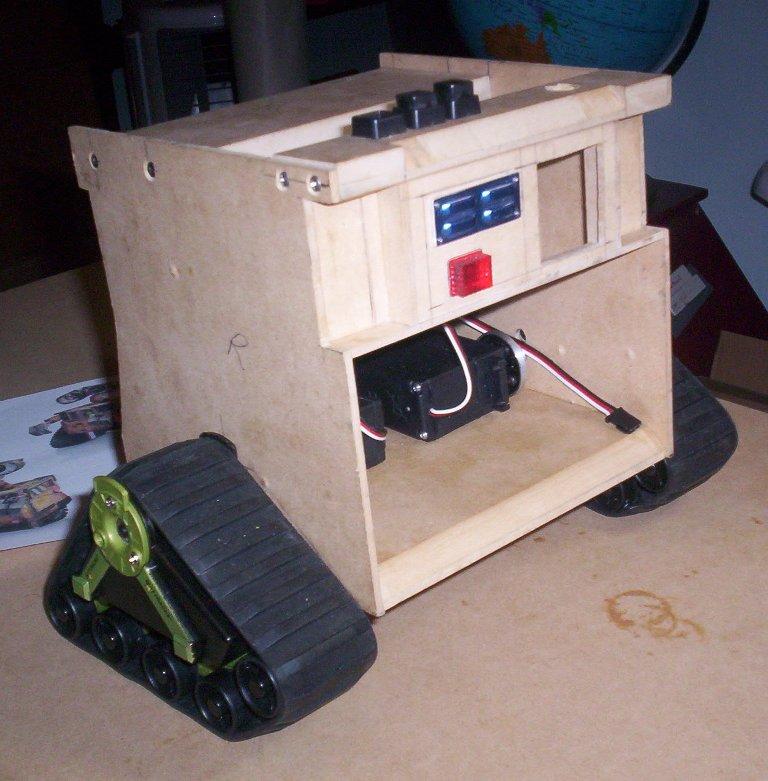
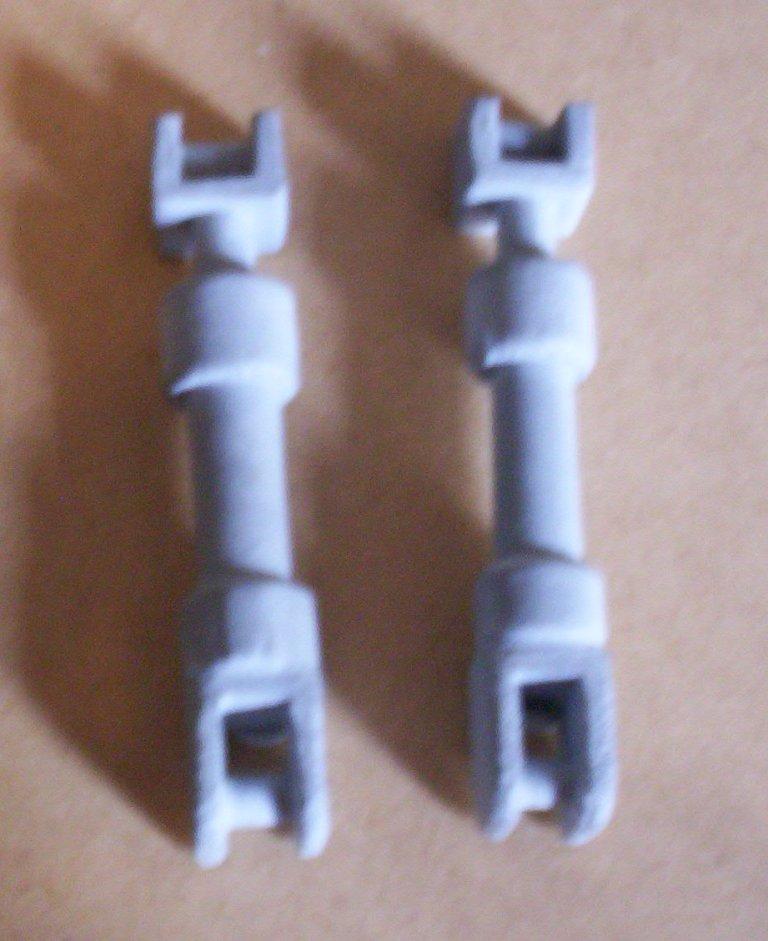
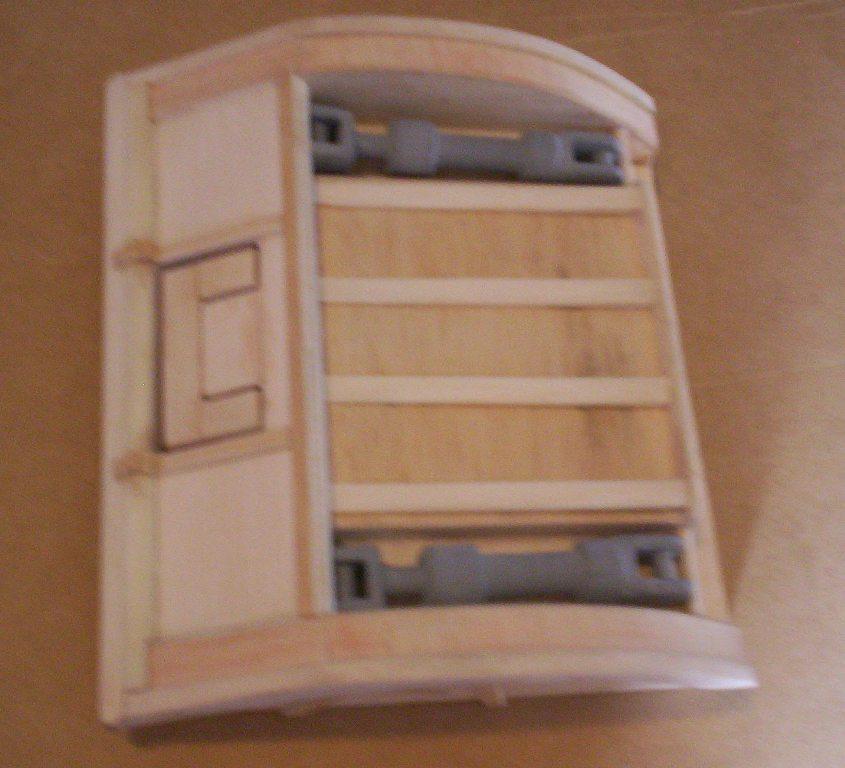
This and the next one are the same shots as in our first post. we have decided that his tracks are not the right look(not scale) so they will be remade to look right, that's a big job so may leave that to last and get him running as is for now. His motors/servos will end up mounted on his underside. you will notice quite a lot of changes since this oneUndercoated and will get glued on after Wall-e is finished.
Arms and neck are next then his head, Don't worry the robotics are coming.
By RichiesRC
— Last update
Other robots from Synthiam community
Winstn60's Omnibot Glyph Tracking
Heres my Omnibot tracking towards a glyph on the wall. As the camera is mounted in his head which flops about a bit and...
Cosplaying's Project Mini Rover
i tried to keep my second project as small as possible, and i think it turned out pretty good (though i need to get rid...
Smarty's Halloween Synthiam - Annabell
Dear EZ-Robot Friends, here my new Halloween EZ-Robot: Annabell! I hope you like it!
Man, this is sooooo awsome!!!!
WAAAYYYY COOL!
That is entirely sooooooooooo awesome!
Holy attention to detail!
Wow! How long have you been working on it? Looks fantastic so far. J.W.
That is very nice wood work. Keep up the great job I'm sure I'm not the only one that will be waiting to see the finished project.
Waaay cool!!!!!!!!! Makes me want to do a scratch build. Think I will.
Wow,,,, you certainly have some skills there! Excellent!
Looks great!
That's awesome man , loving it , if you cover your servos and inside with dynamat (or peel n seal from lowes) it will keep everything quiet and more high tech sounding. Awesome job though seriously. I plan to do what you are doing but a "wallA" robot which has a different head and larger hands for scooping in stuff.
Any ideas , or drawings you have would be awesome!
You should be famous for this project!
This work is really inspiring. My mind is racing with new ideas for my own Bot design now.
Alan
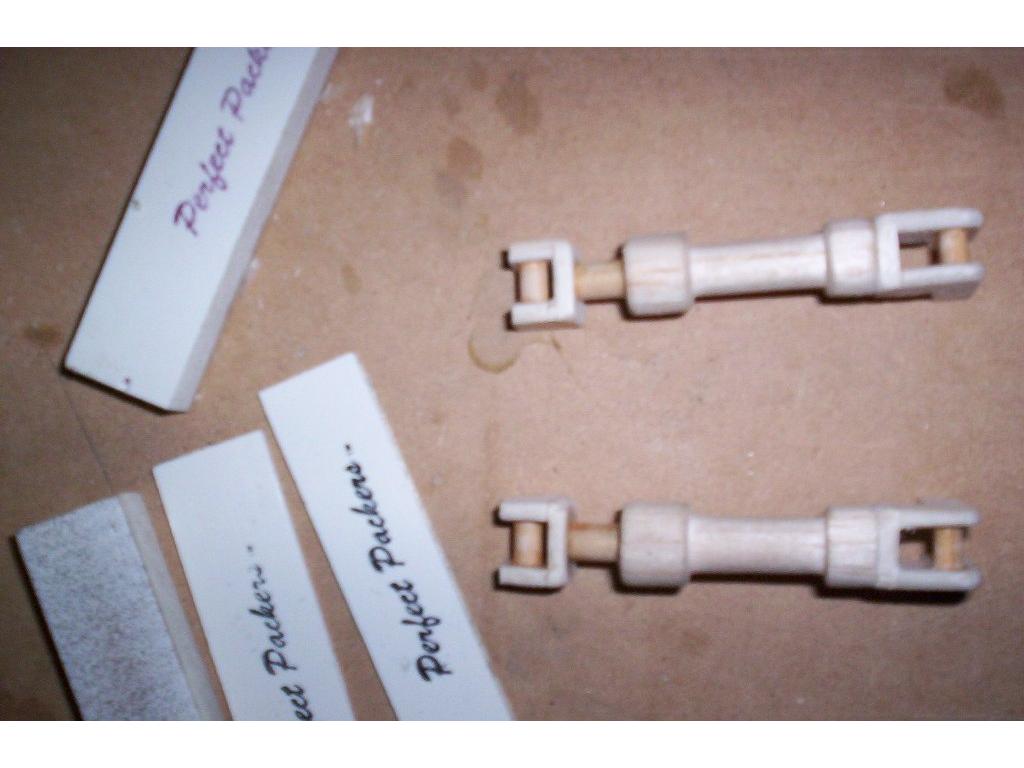
I'm speechless, didn't expect such a reaction and it's just another project to me as I've been building stuff since I was a kid, from model boats, planes, cars and helis to real homes, shops etc(reg-builder) to custom machines(wood laths.sanders, vacum forming. Perfect Packer machine(thought that one was going to make me rich, no such luck) and a heap of things I can't even remember.
Thanks so much for all the awesome kind words that only inspir me and Phoebe more and more. Phoebe is so stoked when she reads these posts each morning before school.
@ww321q I have no idea how many hours have gone into Wall-e so far but I started him a few days before my first post on this forum.
@jstarne1 Top idea, is "dynamat" like that stuff you dip tool handles in? Have a tin of it in the workshop. As for drawings, their are only a few chook scratchings and a heap af screen shots from the movie. I have just started some real drawings for his arms, neck and head. I will post them once they are finished. You may be interested in this awesome drawing program "eMachineShop"
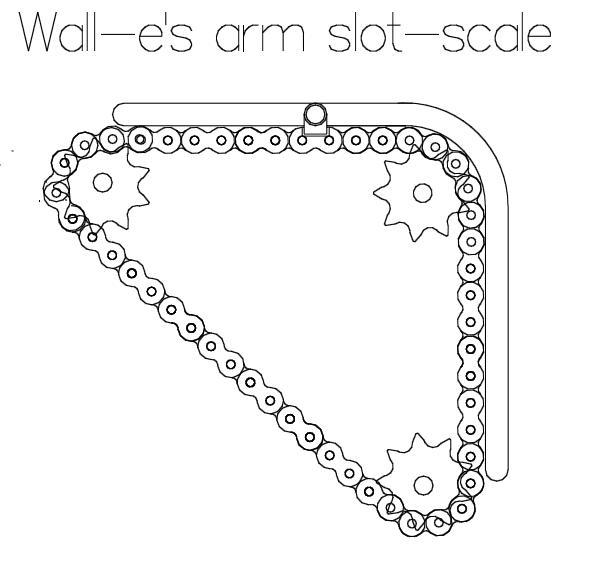
This drawing I have just started (edited by Rich, finished drawing,chain is slightly off scale)
@DJ Sures DJ Thanks heaps but I'm not trying to be famous, I just trying to be a good dad, your the famous one, after all our Wall-e would never be able to do what he is going to without your unreal EZ-B. You are a living legend.
Thanks again to everyone. Rich
Tool dip is rubber. Never tried that. It's "sound deafening Matt" check eBay for it or your local building supply for roofing repair "tar matt" or "peel n seal". It's sticky black tar that stays soft forever and a aluminum backing. Here's one of my servos done. With this much effort in your model I'm sure you appreciate a higher quality sound. ;D
@jstarne1
Thanks, yep I now know that stuff it's called something different here and have used it ages ago and the local hardware store(like "Home Depot" or "Lowes') has it and I will do that for sure as Wall-e will need all the sound deadening he can get with so many servos and other moving parts. I'm building his neck as I write this as I had to come inside and check a part of the movie(slow motion & pause) for the top half of his neck. Will post a pic of it later tomorrow.
Ohh found the perfect servos for his arms today, I've been looking for mini linear actuators but they are just to expensive. Anyway I didn't realise that servoless model plane retract servos were actually small linear actuators (rotating thread type) they will need a bit of a mod but for under $8.00 each can't go wrong and if they don't work for his arms there are endless possibilities for their use. Check out the video:
Rich
Nice! I see lots of potential uses for those. Thanks!!
Reminds me of some large scale ones i make as a kid i love how small that one is
@RichiesRC - great find on the servoless model plane retract servos! I've been looking for linear actuators, but as you said, they are just to expensive. Do you have a link for the under $8.00 each ones? I looked on the Hobby King site, but can't find them.
@Wolfie - Hmmm... you made some large scale ones? Are they simple enough to make?
Yes back about 30 years ago i seen a hydralick pistin and wanted to make one that worked off a battury so i took a long treaded bar hooked one end to a motor and the other end to a baring mount cant really remember what and had some nuts on the bar for my mounts to connect to what i was moving i dont remember alot about what i did i was trying to modle the yello hydralick cillenders on a backho i do remember i had to that ram on car batt thay was 2 feet long with a trough of 1 foot and would moveabout 200 bls with no problem
maybe i should get back into making them hehehe lol
@JT Here is the hobby king link: Digital Servoless Retractable system (1pc) up to 2.5kg Sorry no buddy code with that item, they come in differant sizes as well.
links to others here: Digital Servoless Retractable system (1pc) 4.7kg out of stock.
Servoless Retractable Landing Gear Front (Steerable) 2.5kg
Servoless Retractable Landing Gear Left & Right (1pair) out of stock.
I have had those first ones on my watch list for a while and they were also out of stock but they notified my that they were back so I snapped up half a dozen , that was yesterday just before my post.
I saw a YouTube video on how to make a linear actuator from a servo but it was way to large and pretty much useless for my needs but there are heaps of videos on and about the just search "linear actuator". Ohh there is a small one inside all cd, dvd and old floppy disk drives, they have potential too.
Rich
Have you ever hurd of Muscle Wires if its small your looking for maybe this will help mondotronics.com/AboutMuscleWires.php
here is a youtube vid that discribes them
@Wolfie YesI have but hey don't have enough travel or power for what I'm after. Great product though. There is a micro servo made with the same technology and is 1 gram in weight and 38 x 9 x 3 (mm) in size, it's called "Toki BioWire 1g Micro Servo"
Can get other micro linear servos to (the type used in micro RC helis) but the Torque is only about 29.5g of Force.
Rich
I moved this thread into the Showcase category... because it is awesome
Thanks DJ
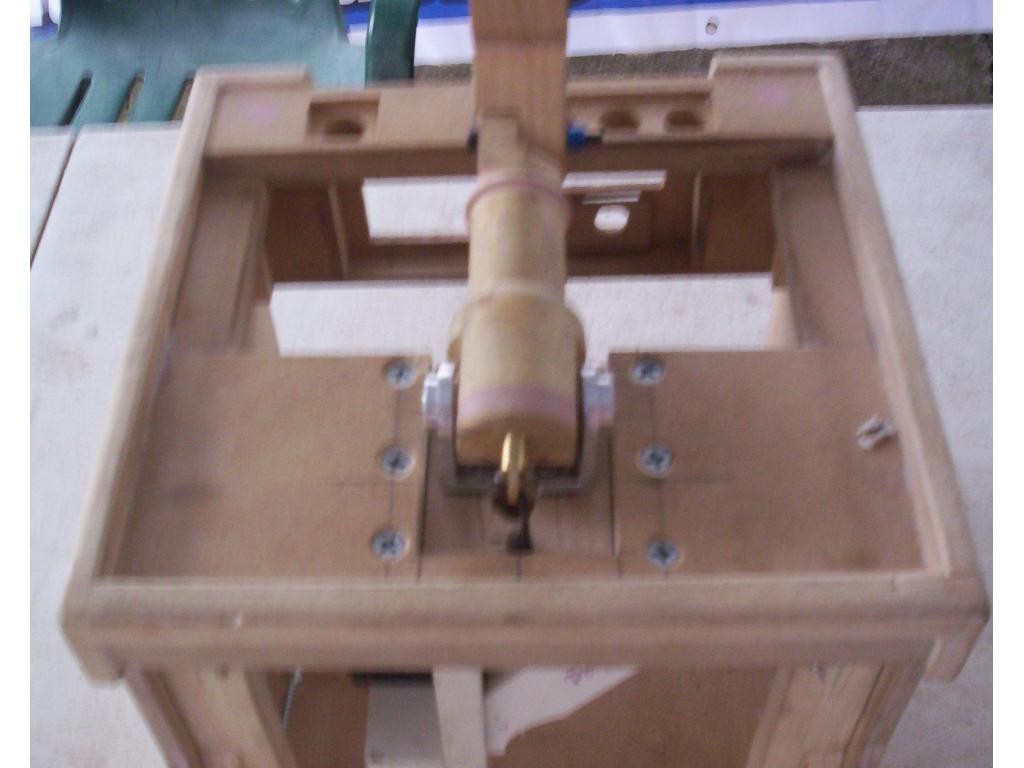
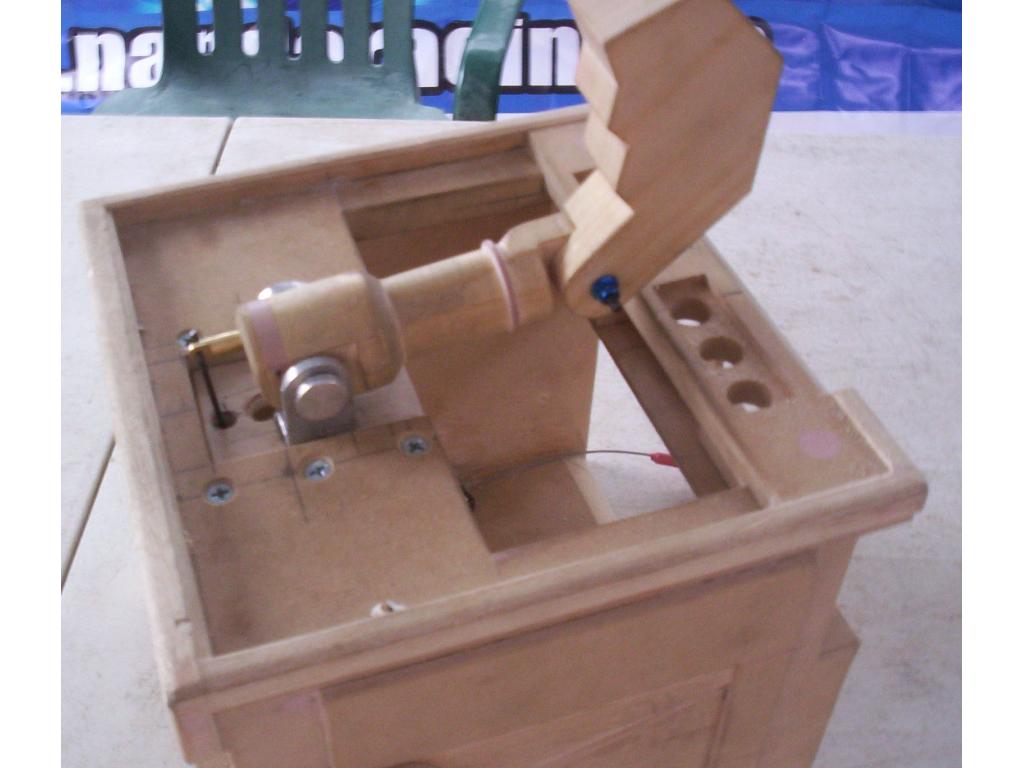
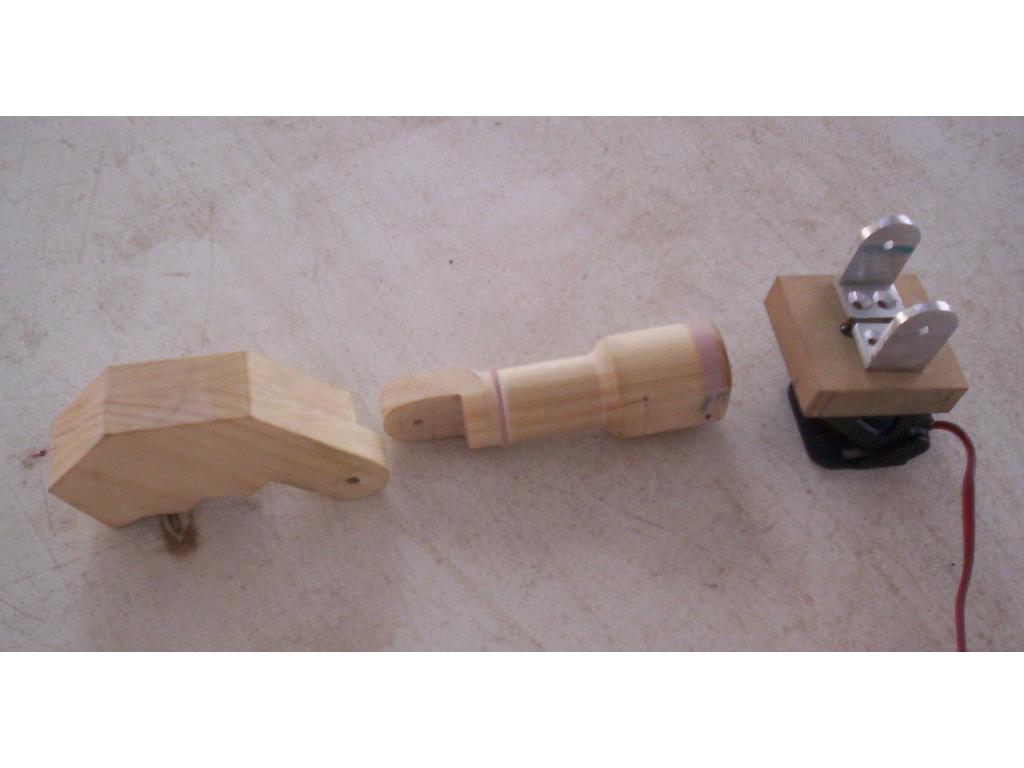
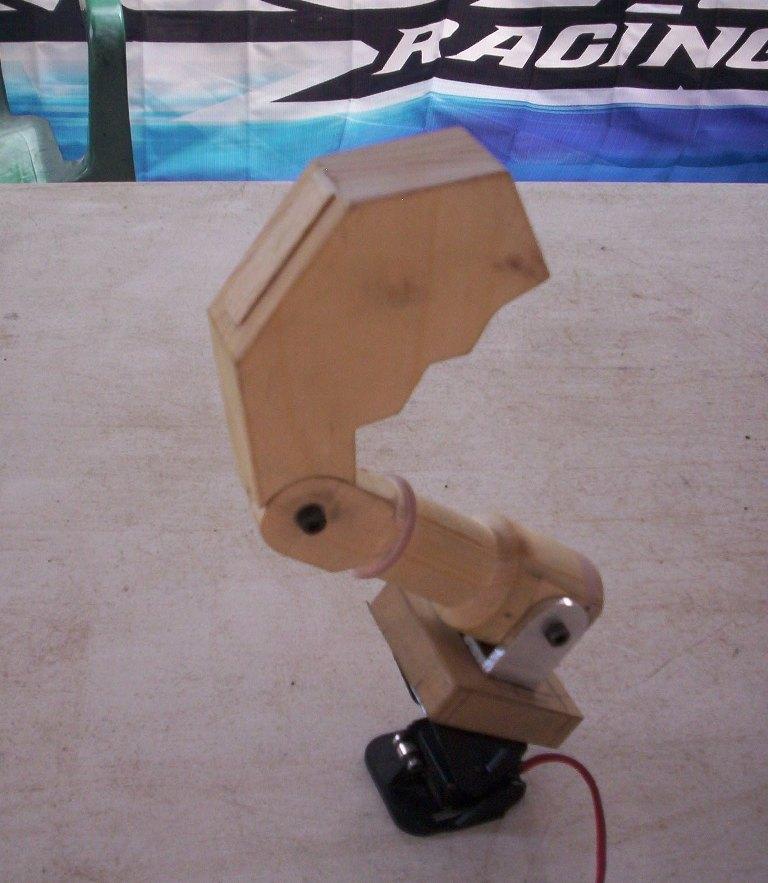
Here is the neck just about finished. The bolts are just temporary, will make some that look like the big pins that Wall-e has on most of his joints. Haven't worked out how I'm going to fit all the cables through the centre neck joint yet. The round bottom piece is hollow and the top piece will have a large hole drilled through it for the cables. I might have to have the cables come in and out at the centre joint in a cable cover.
Rich oops nearly put it together upside down.
Love it!
Can't wait to see the finished Wall-e
Hi Guys.
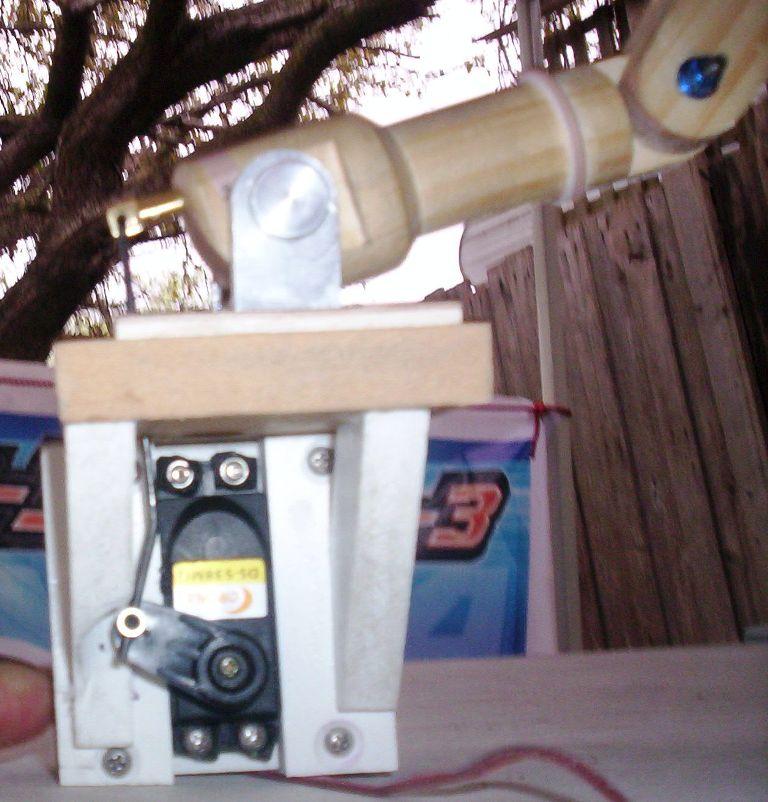
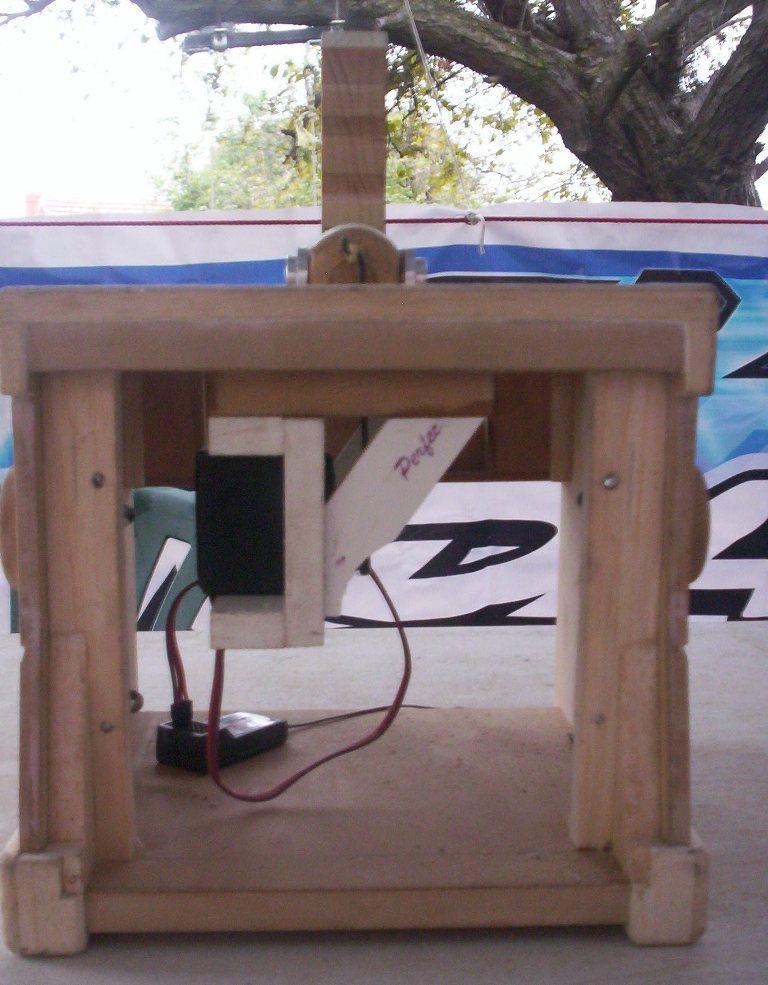
Finished the neck but it was terrible mounted on that cheap plastic tilt thingy so I totally re-made the mechanism using a good standard digital servo an a push rod.
Check the pics a videos, you really cant see how bad the first tilt mech was but it was to gutless a wobbled badly as it will be holding his head it has to be nice and solid. The problem was the plastic piece of rubbish and not the mini digital servo but I decided to use a decent servo as well the second time arround.
Just a tiny bit of detail work to go no his neck.
Rich
MK-2 Neck pics
Videos: sorry for the bad lighting in the vids MK-1 ...no good(piece of rubbish)
The MK-2 neck
amazing
Great , second video the servo had great control
I'm so excited to see what the head!
WHY did you mount the servo vertical and add braces , wouldnt you save several cu inches my mounting the servo horizontally? It would be only a minor change but you will have more room for the ezb, batteries and servos for the arms . If you had this planned in though I don't mean to criticize. Good job.
@jstarne1 You are spot on and I have already done that. I am happy for all suggestions and wouldn't call that a criticism as I'm just building Wall-e as I go along and don't have a plane as such it just all in my head. So tell me how would you make his arms work exactly as the real Wall-e's ones do and ideas on his head are most welcome. Ohh one thing that is very important, no servos are to be visible.
Rich P.S. Please don't yell at me.. "WHY"
This is a totally awesome project. I've been considering doing something similar to get my kids and nieces/nephews interested in robotics. Can you elaborate a little on the tracks? Did you buy them or make them from scratch?
Keep up the great work!
Sorry didn't mean to yell. , heres a couple ideas. First is get several matching gears. Filet off the gears in a continous strips. One unmodified gear would.be.attached to.the end of a servo. When servo turns it follows the gear strip , this servo must have.another slot with guide.pins to keep it from.just turning in place , then.mount this into the.shoulder of walled arm. You can do the same system without gears using the continous rotation servos and their tires attatched. Agian in the scenario it would need guides but as. The tire rotated the shoulder would move one.direction.or.the other. The trick is the guide pins must hold the tire or gear agianst.the.inside edge tightly so it doesn't slip.
@LJ and @jstarne1 Thanks and will answer you guys in a few days as I'm going into hospital in an hour for a couple of days and should be back on deck on Monday.
Hope to have some pics early next week. Ohh also started Wall-e's head.
Rich
Be sure walle has a "laser" between his eyes lol. Not a real probably a red led. And eye brows that flip up. I hope everthing.in the hospital goes well. - Josh S
js
dude thats a great idea.....
Guys just walking out the door but don't worry Wall-e's laser is already sorted...Talk next week
Rich
Rich, Just checking it to see how you are doing. Hope all went well with your visit to the hospital!
LJ
Hope he's ok , I would think we heard from.him by.now. get well man!
Hi Guys, Sorry for not being around for a while and thanks for kind words. It has/is taking me quite a lot longer to recover after my hospital visit than expected. I'm not going to die but some days it feels like I am. Anyway I have turned the computer on for the first time today in ages and have been trying to do a bit on Wall-e but it's slow going as I have trouble concentrating for long periods and spend most of the days sleeping or in pain. I will try and get some progress pics up over the weekend but Wall-e is coming along nicely just at a snails pace. Phoebe is doing well but wants dad to get better ASAP and so do I..lol
Rich
well heres to a speedy recovery.
ditto
Hi Guys,
Well as you may or may not know my health has slowed me down somewhat of late and some days I just cannot get off the couch. i don't have any life threatening thing going on just extremely painful. One of those things that very few people get and is pretty much untreatable except for tons of very strong pain killers that make everything just that much harder and slower to do. I manage with the help of my wife Jeanne with all the day to day tasks but it's been over 3 weeks since I've really been able to do much out in the workshop so I have been putting what time I can into rebuilding our online web store. I won't go on about my health any more as it is just something I have to learn to live with.
We are now the Australian distributer for EZ-Robot and have all the EZ-B controllers and cameras, kits and other periferials now avalible.(see the post in "General Discussions") or check it out at Richie's RC & Robotics. All the Aussies out there should be happy with this as we are doing the EZ-B products at the same prices as here but you will get great savings on shipping.
Anyway Wall-e is now looking like Wall-e but without arms, I'll post a couple of photos here but there are about 80 shots so I've put them on a separate web page were you can check them out. I have quite a few questions which I hope to get to over the next few days or so.
Hope everyone else is doing well.. Talk soon. Rich
The rest are here:Wall-e Progress Photos
Amazing Rich. I use your pictures often in demos and presentations of this project. It's very well done!
dude......wow.
i really hope things get better for you man....
and GREAT WORK!
I'm so pleased to have met you Richie - and your Wall-e blows my mind, the detail is excellent and your dedication inspiring. I hope your health holds up and you share many other future creations of brilliance with us.
All the best
Harry - AKA (Hazbot)
Montmorency
An amazing job, master crafter. :o)
Many blessings!
Samantha
Thanks Harry and Samantha,
Was great to meet you also Harry and glad you got those H-bridges working (I just love lipo's)
Rich
Your WALL-E is so awesome, I think I'm going to build one. are the arms going extend.
The track that wall-E's arm moves in, goes back at the bottom
I enjoyed all your construction pics. I am really looking forward to seeing more on how you do your tracks, sprockets, etc. I use a lot of off-the-shelf parts but am thinking of changing tracks over to 3D printed so I can make them smoother/less friction.
My first bot was walle-like and made partly out of wood. My woodworking skills are not in your league. I did manage to get some brains and 9 sonars on it among other things. I have always thought that was something of a challenge with the Walle configuration to get good sensor placement...how and where to put sensors to get good FOV coverage. Early on I put stuff above the level of the tracks...my last bot is bigger so I embedded sensors inside the tracks.
What do you plan on doing for sensors?
@Martint, I don't think you noticed, but this conversation is from 2012. I am sure RichieRC's daughter is college age by now. He is unlikely to be reading this thread since he hasn't been here is 8 years.....
Alan
Yes...oops. Thanks Alan. I get so excited about the projects (especially Walle's and anything with tracks) that I don't go back and try to figure out the back story on the people and the dates. I'll try to tone down my exuberance in the future.
Once again, its some gorgeous wood working. I gotta give some credit even if the makers aren't listening. Art is eternal.