
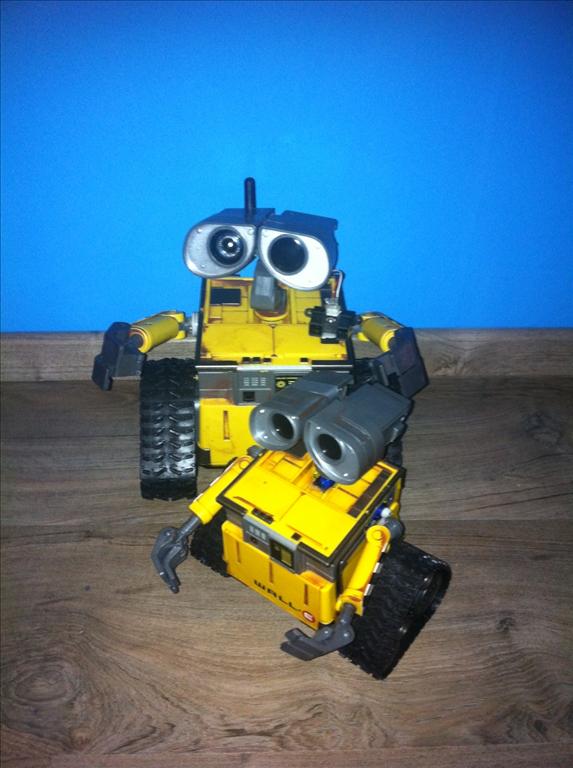
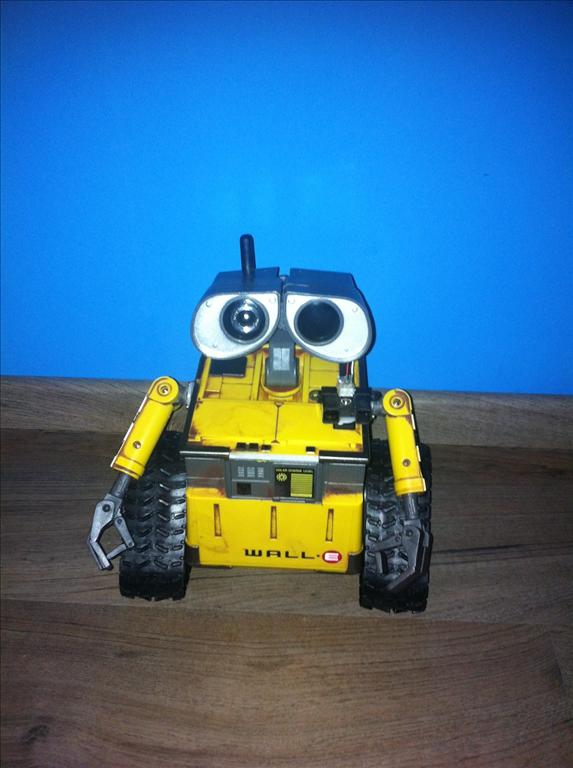
So I see a lot of wall-e's around That made me thinking, it's time to show my wall-e
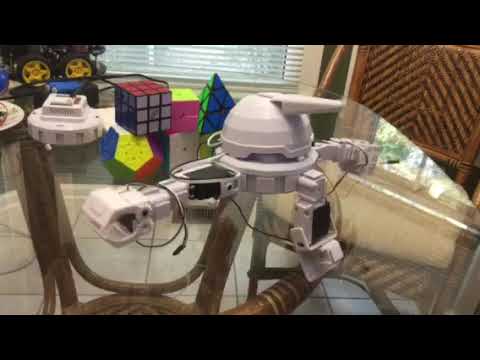
I started with the small wall-e ( the interactive )
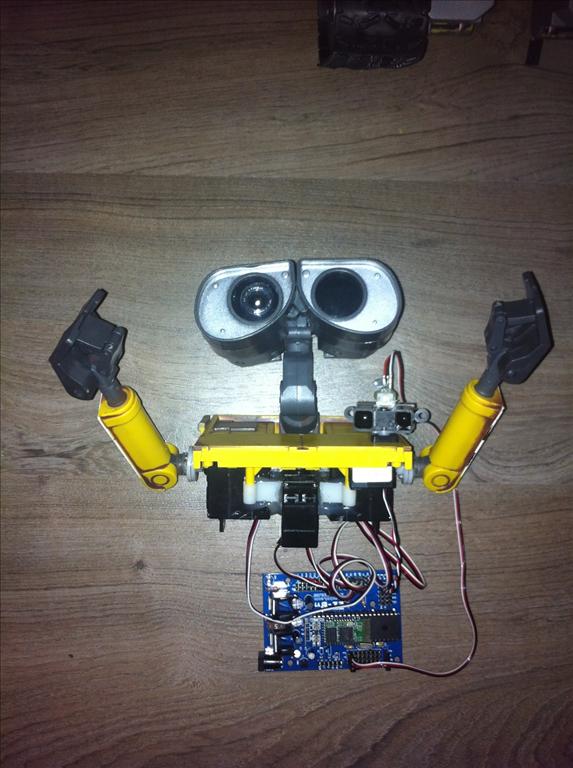
What i learned from him i put in the big wall-e ( a U-command )
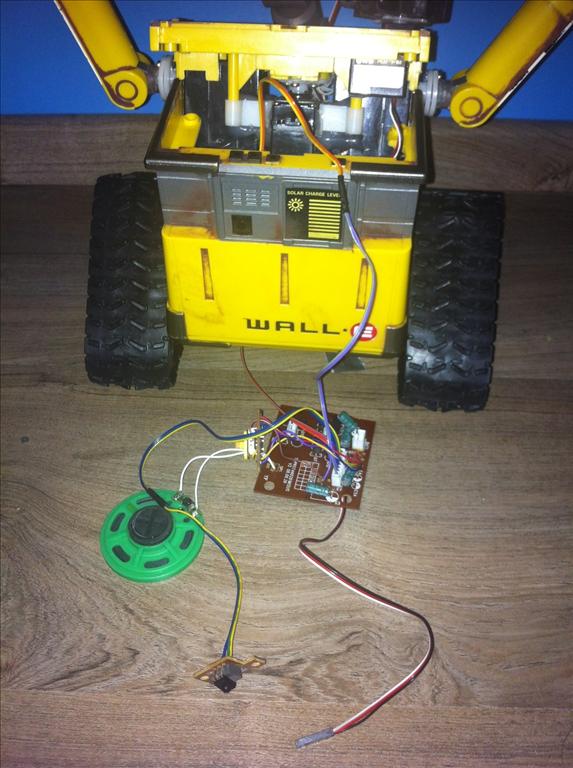
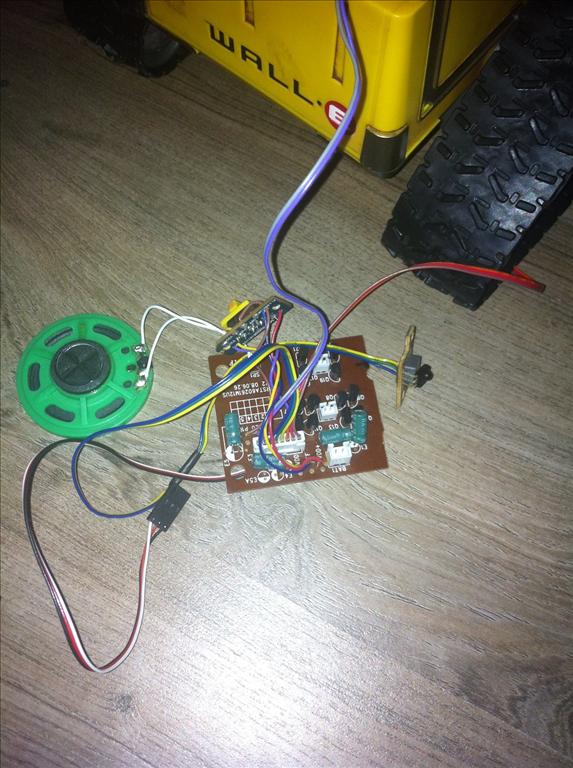
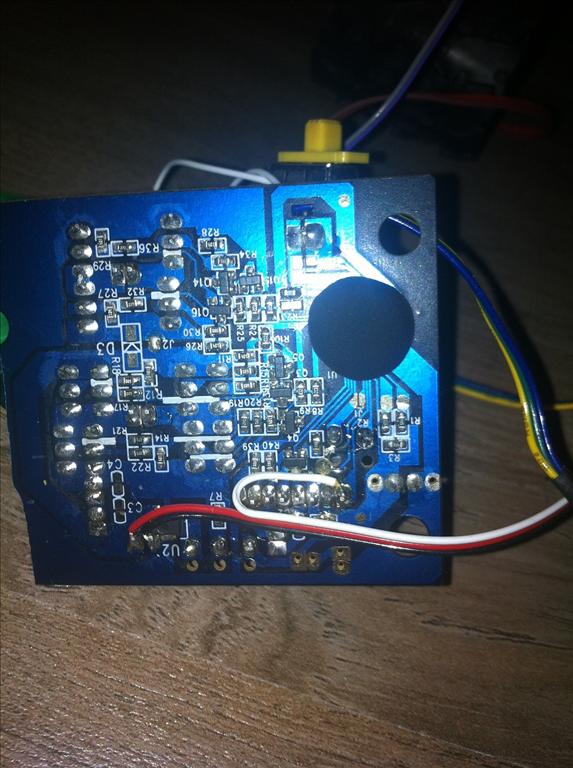
I used the old board from the wall-e for the sounds.
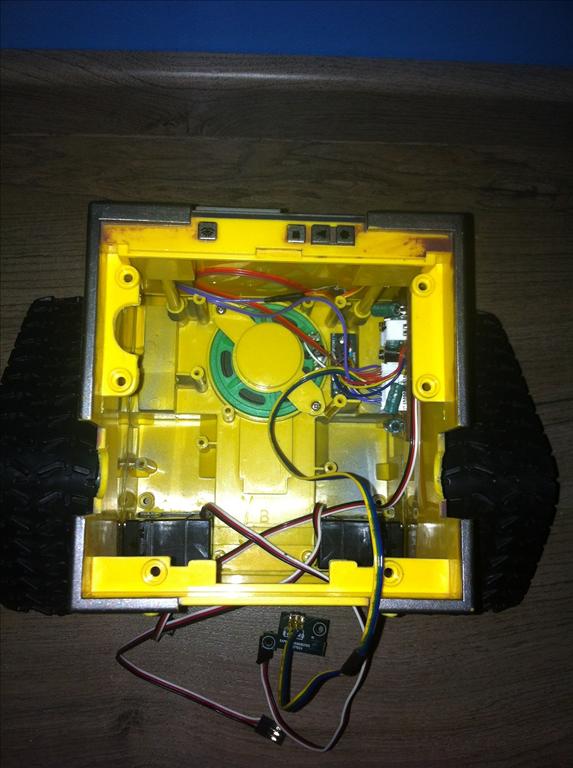
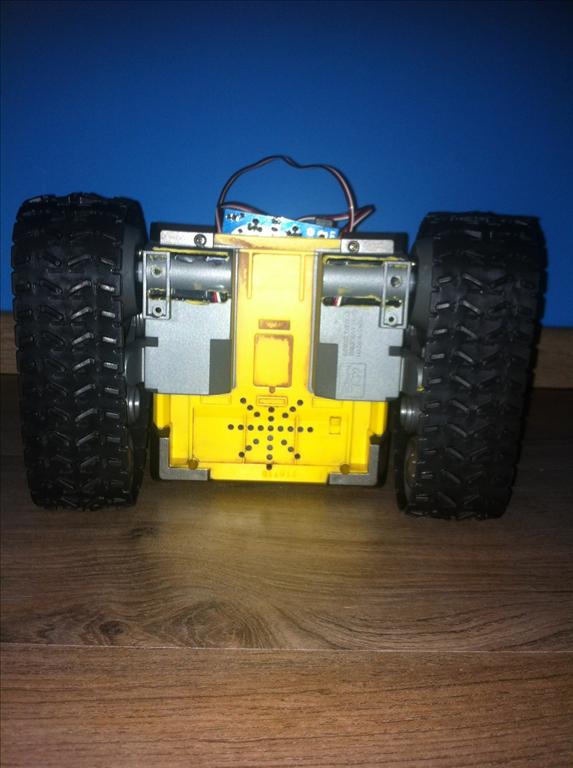
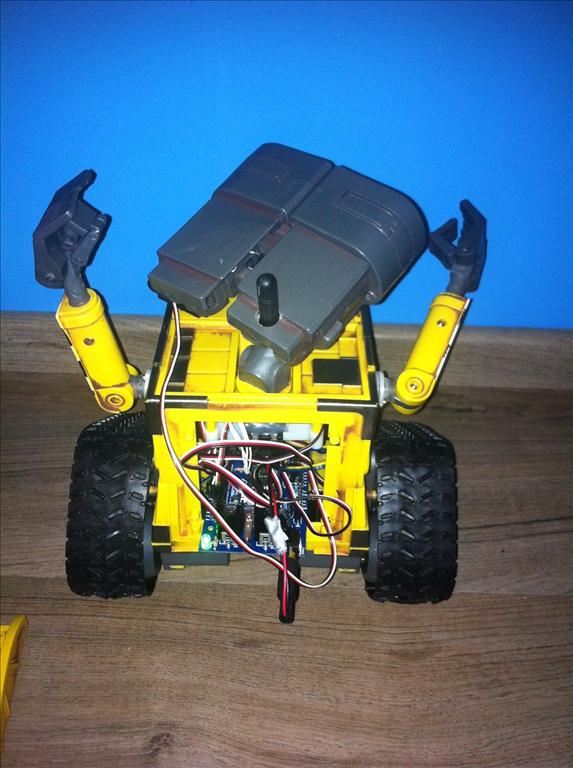
made the bot in 2 parts the upper half is full with servos..... and a sensor
And off course a good accu-pack is used for hours of fun ( 2,5 to be sure )
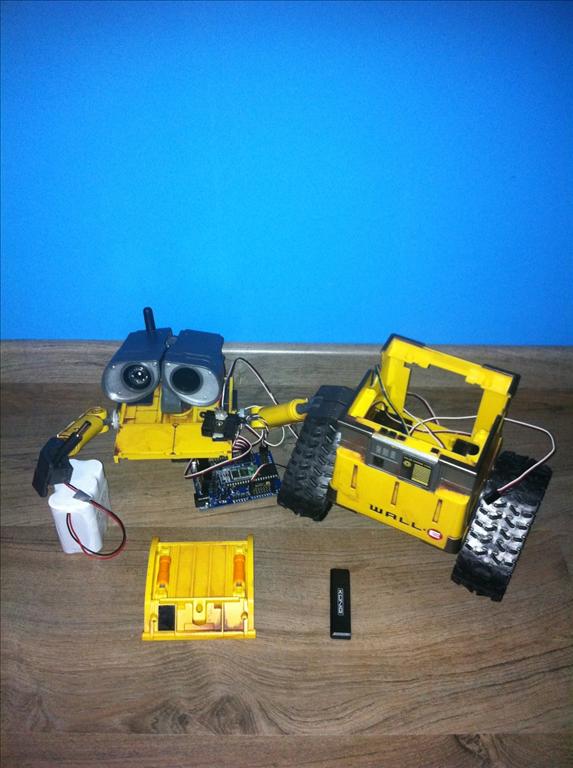
And that all together in a small compartment
So i proud show you all my wall-e and a lot of thanks to DJ ,radmeck and bret.tallent for helping me!!!
By Pabi!o
— Last update
Discover more robots
Bravia's ?? Automation Project
Auto conversion of a standard car automating steering, clutch and gears with switch-to-AUTO, EZB controller testing,...
Ericez's Mini Chappie Project
Create a mini Chappie head from 3D-printed parts, first movement demo using Ez-Board.
Ezang's Life Is Like A Tight Rope, Do You Agree?
Tight rope robot squeaking by once again, enjoy

Very nice! Real clean. What did you do for the tracks? Can you post a pic of the underside? It looks like you did a good job with them from the top side
hope you can see it!
I dremmeld the precise size for the servo and made the connection in the wheel.
NICE! You did a really nice job. Can't wait to see a video.
What that is REALLY clean!
I saved my board and speaker... How do you use it for the sounds? A beginner with electronics so help is welcome!
Anyways... Great job! I like it! Getting ideas for mine!
Thats a fantastic job! Like DJ said, its a very clean install! Love it.
For the sound I got the idea from DJ he sawed the board in half and used an servo connection to the power and signal. And in the ez-b use a set digital on/off for 200 ms When I'm home tonight I well make some pictures.
Pabi!o: I will be interested in the pictures... I keep playing with the board, got power to it and I still have the switch attached. I can get the startup sound by turning on the switch but can't get it to do anything from the EZ-B... progress.... a little bit! Thanks or your help!