
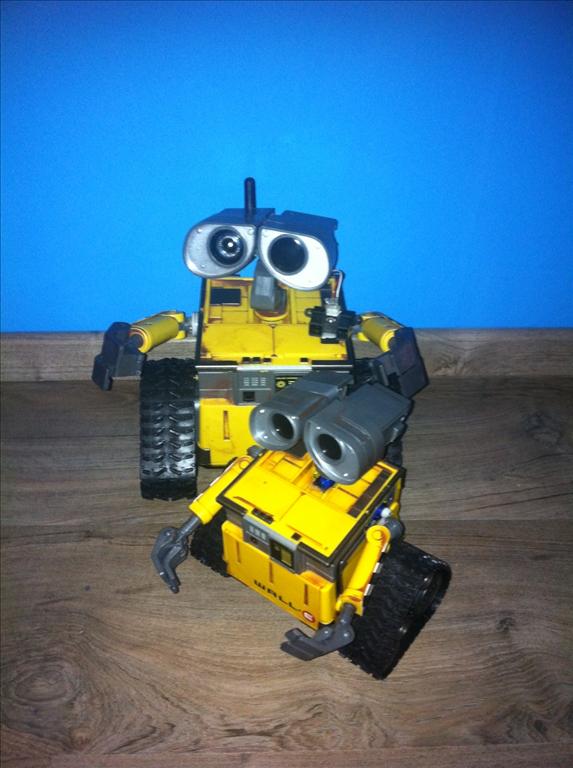
So I see a lot of wall-e's around That made me thinking, it's time to show my wall-e
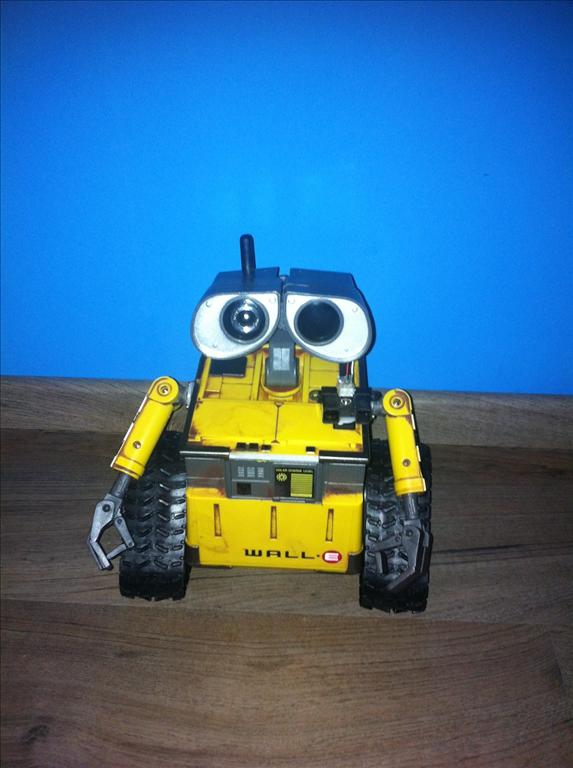
I started with the small wall-e ( the interactive )
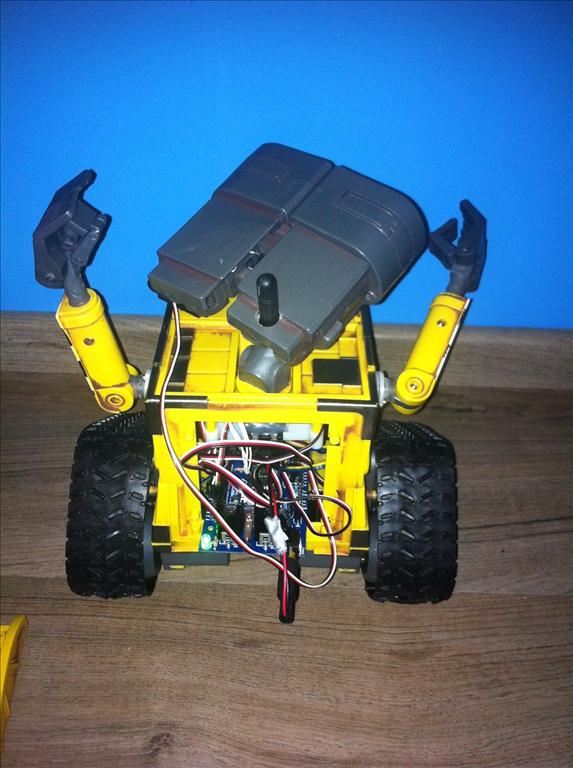
What i learned from him i put in the big wall-e ( a U-command )
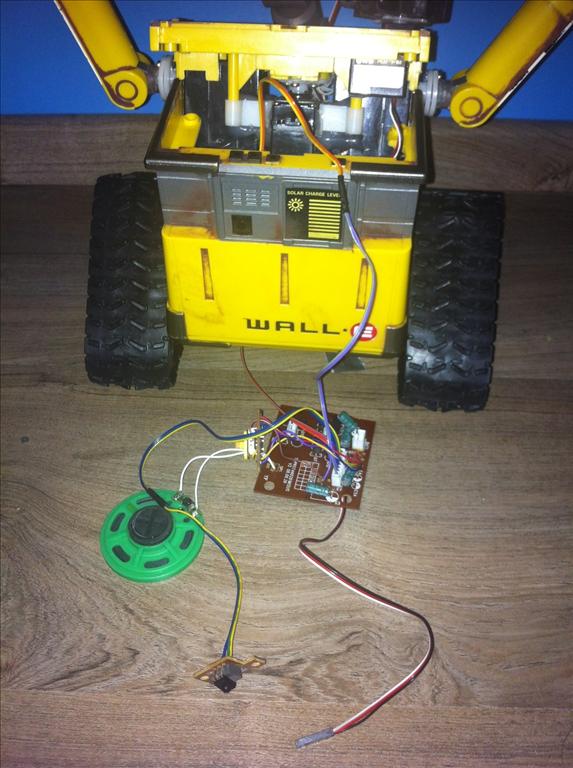
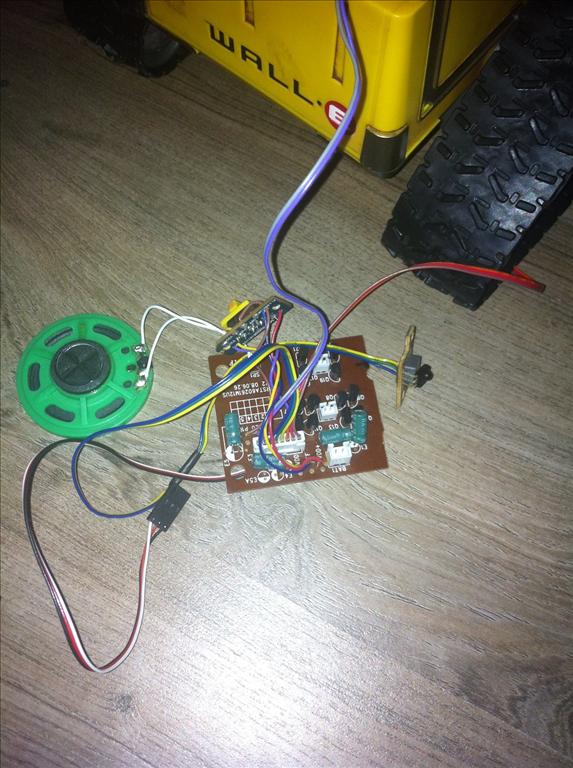
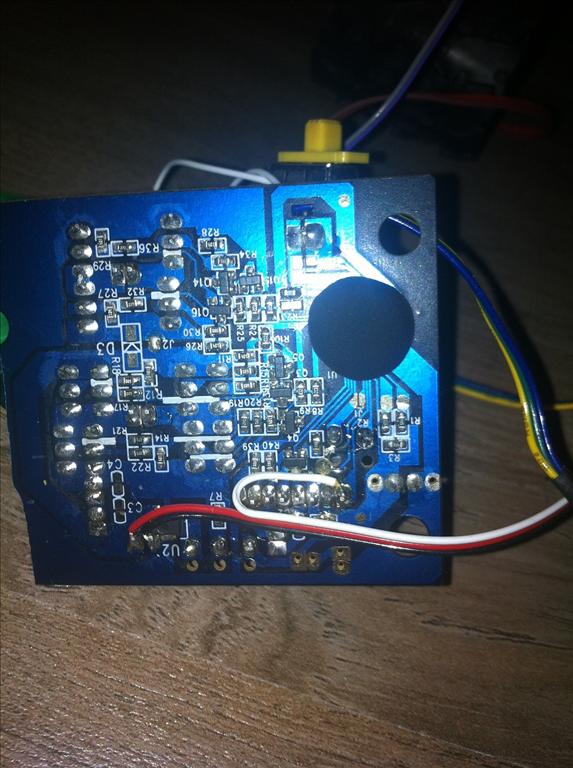
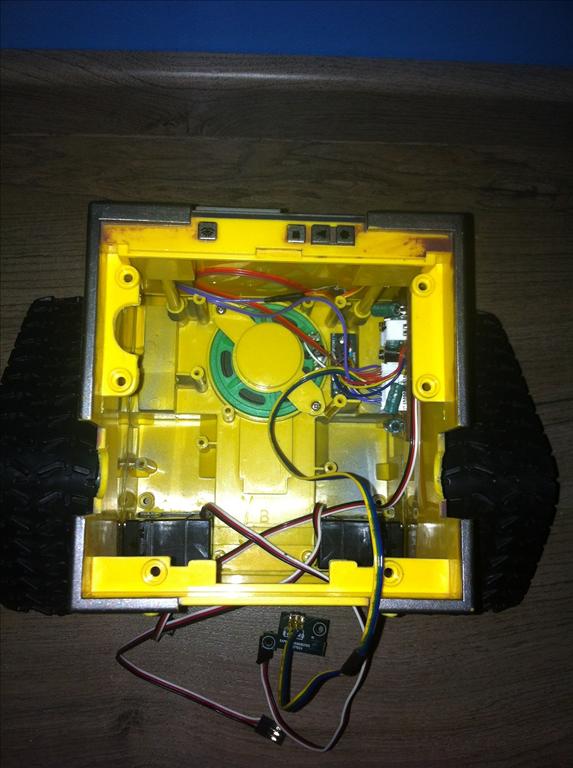
I used the old board from the wall-e for the sounds.
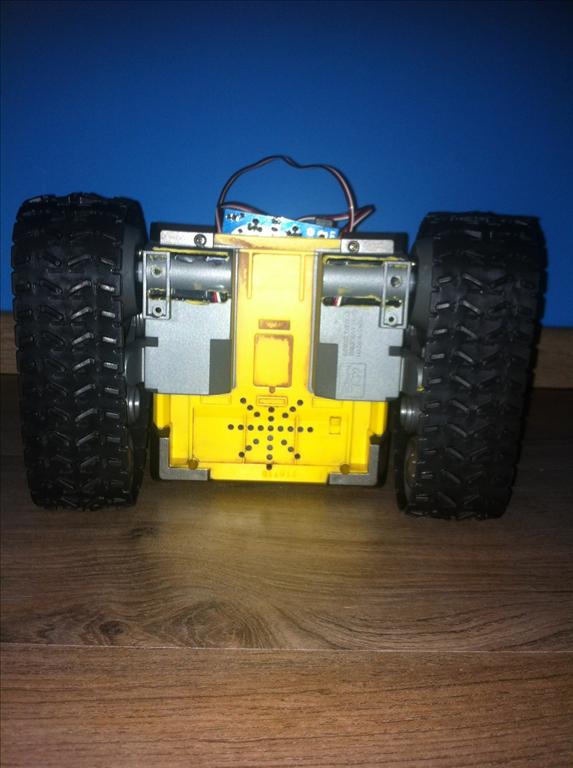
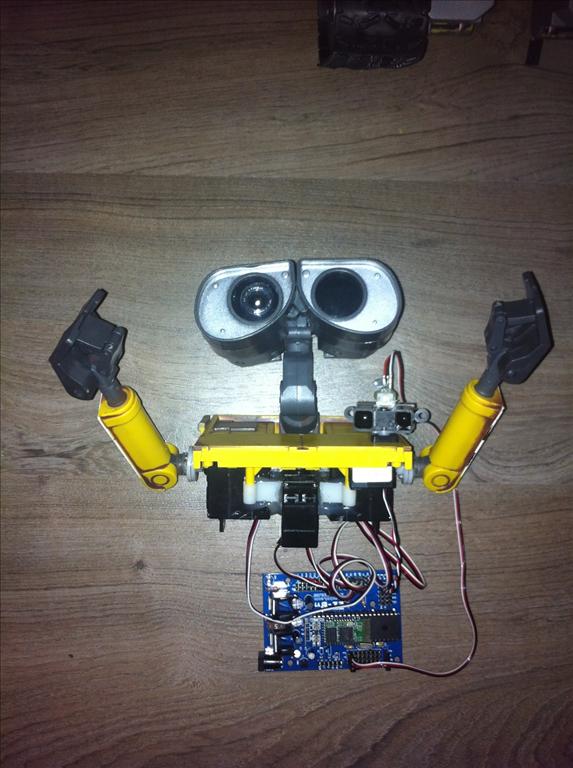
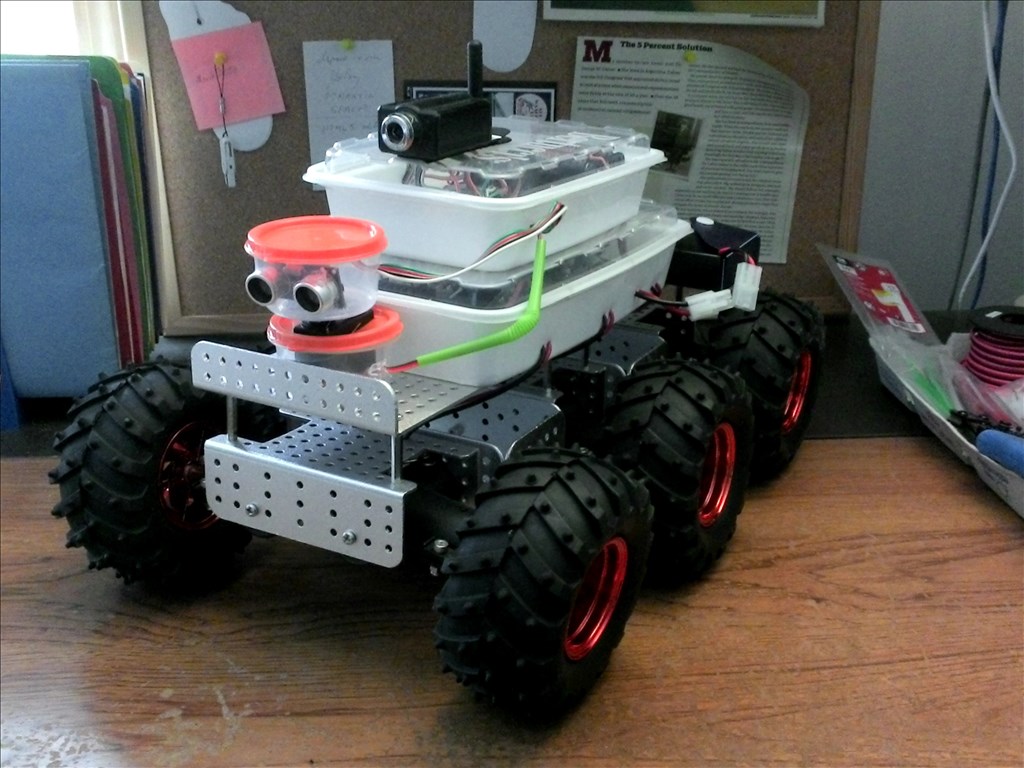
made the bot in 2 parts the upper half is full with servos..... and a sensor
And off course a good accu-pack is used for hours of fun ( 2,5 to be sure )
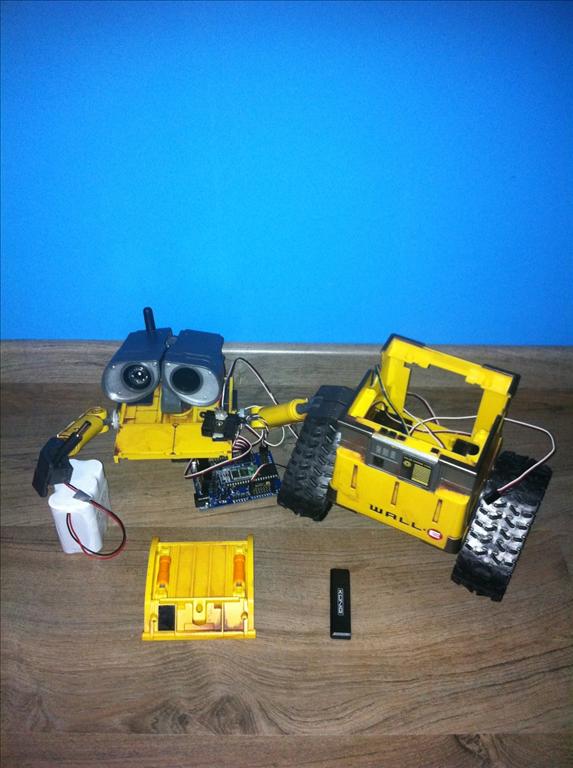
And that all together in a small compartment
So i proud show you all my wall-e and a lot of thanks to DJ ,radmeck and bret.tallent for helping me!!!
By Pabi!o
— Last update
Discover more robots
Ericez's I Create Baymax Doll Robot For Robot Theater Using...
Interactive Baymax robot for Big Hero theater: handmade costume with internal robot, Ez-B v4 for speech and...
Jstarne1's Omnibot 2000 , Rad 2.0 Vacuum Bot
Modding two Omnibots (regular and 2000) with two EZ-B kits; rad base shelved for noise but may return if drivetrain...
Jdebay's Garden-Bot Aka Gb Robot
Garden-bot parts, updates and build notes: 6WD Thumper chassis, EZ-B v4, motor H-bridges, battery options, camera,...

Hope you can see it in the picture. What i did was use the old connector from the main board to the small extension board
I split those is 2 groups one for the record-play-button to make a sound the other 3 for ir ( so you can control the sounds with the remote.)
on the other side i solderd the power and signal
Thanks, GREAT pics! Of course the one thing I didn't keep was that connector from the main board... I should still be able to figure it out. Also I want to use the EZ-B software rather than the remote so we'll see how that goes! Thanks again!