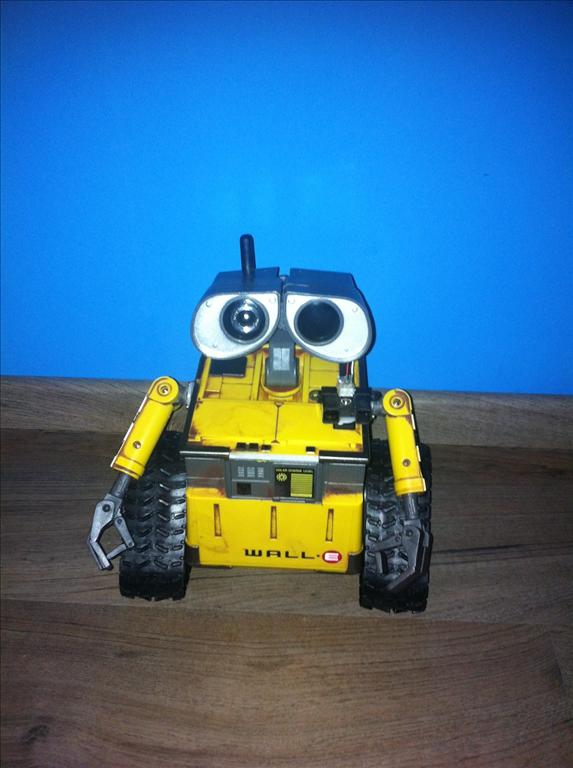
So I see a lot of wall-e's around That made me thinking, it's time to show my wall-e
I started with the small wall-e ( the interactive )
What i learned from him i put in the big wall-e ( a U-command )
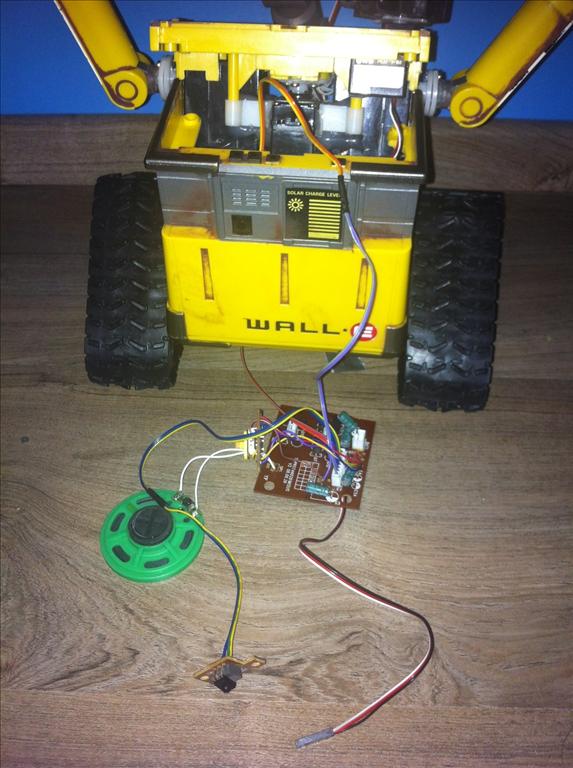
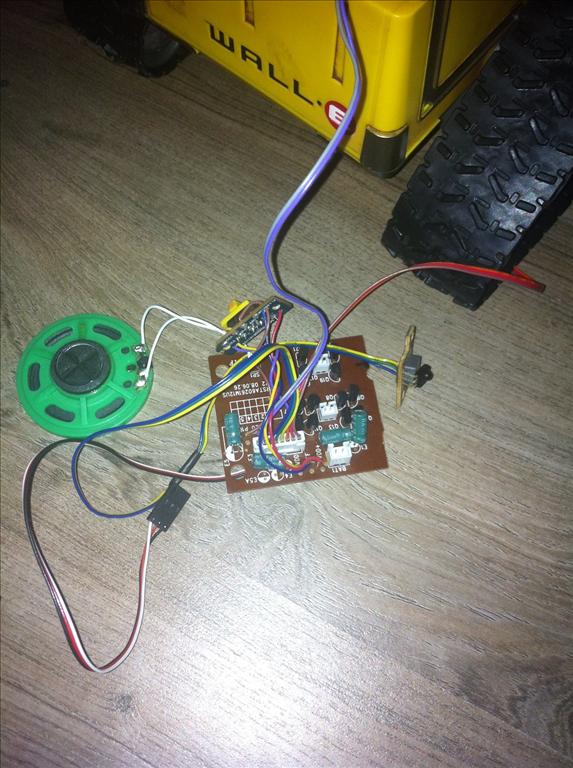
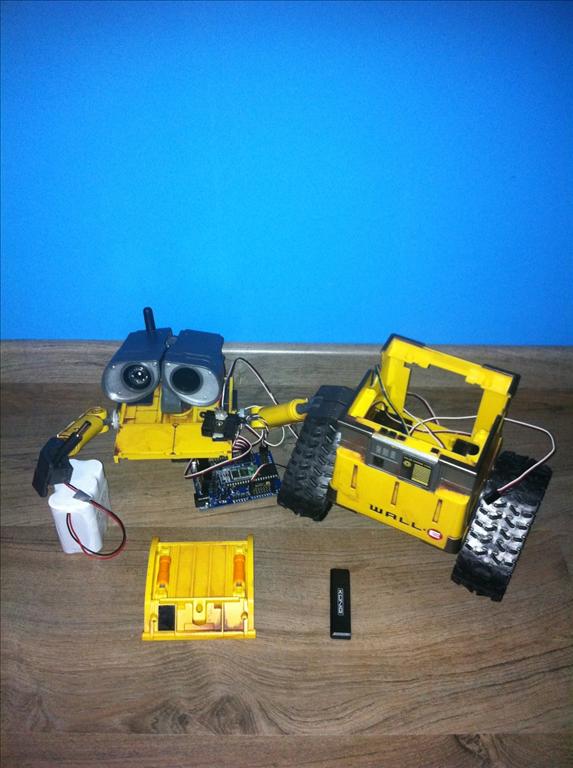
I used the old board from the wall-e for the sounds.
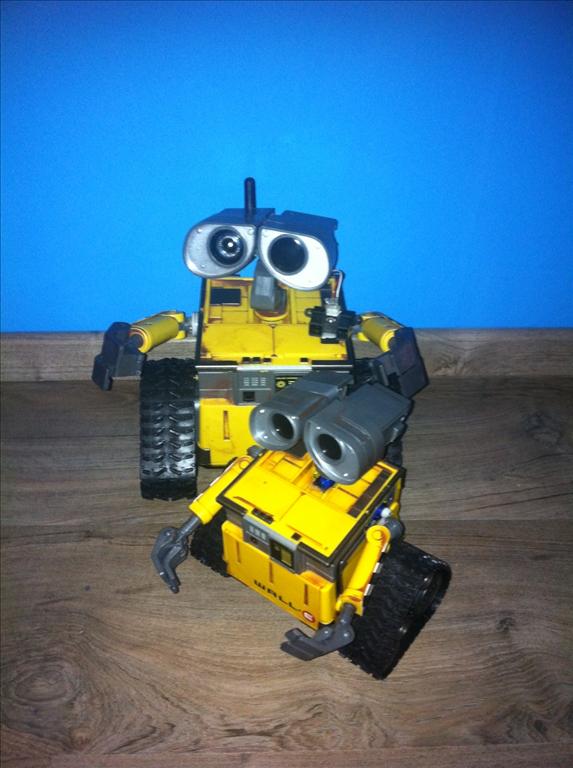
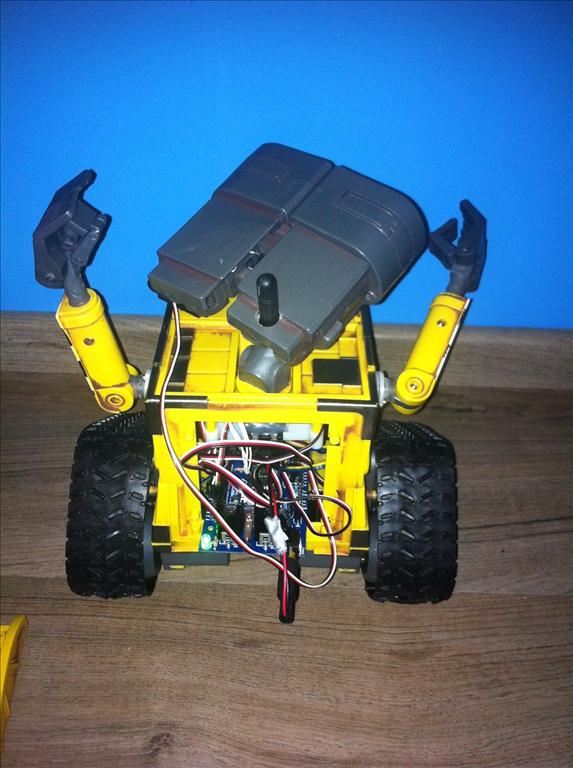
made the bot in 2 parts the upper half is full with servos..... and a sensor
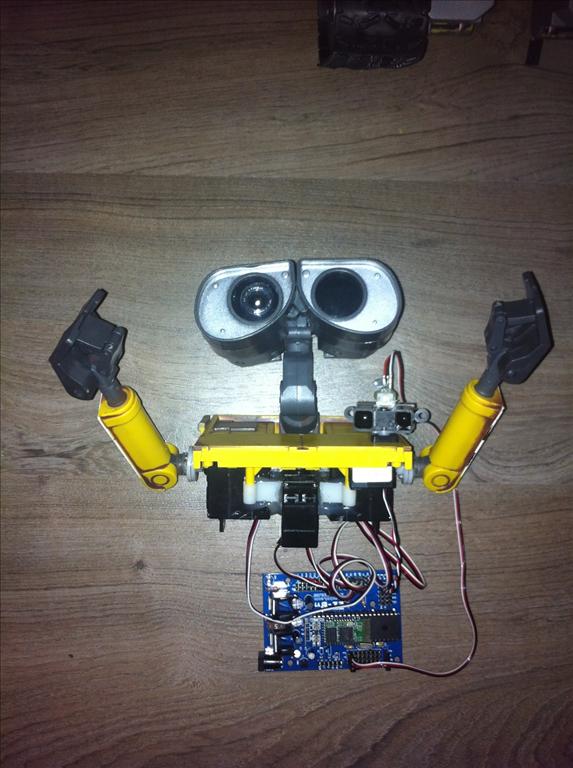
And off course a good accu-pack is used for hours of fun ( 2,5 to be sure )
And that all together in a small compartment
So i proud show you all my wall-e and a lot of thanks to DJ ,radmeck and bret.tallent for helping me!!!
By Pabi!o
— Last update
Other robots from Synthiam community
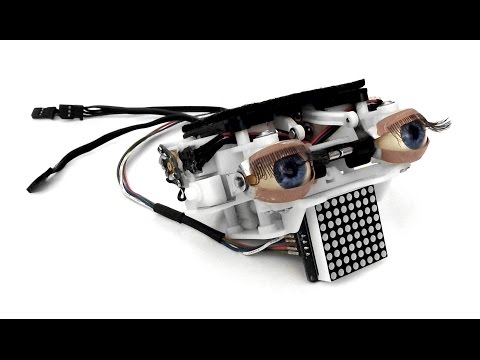
Smarty's Ez-Robot Kissmet
Kissmet humanoid robot with black Ez-Robot Backpack, puppet eyes, LED mouth and touch sensors, expressing varied...
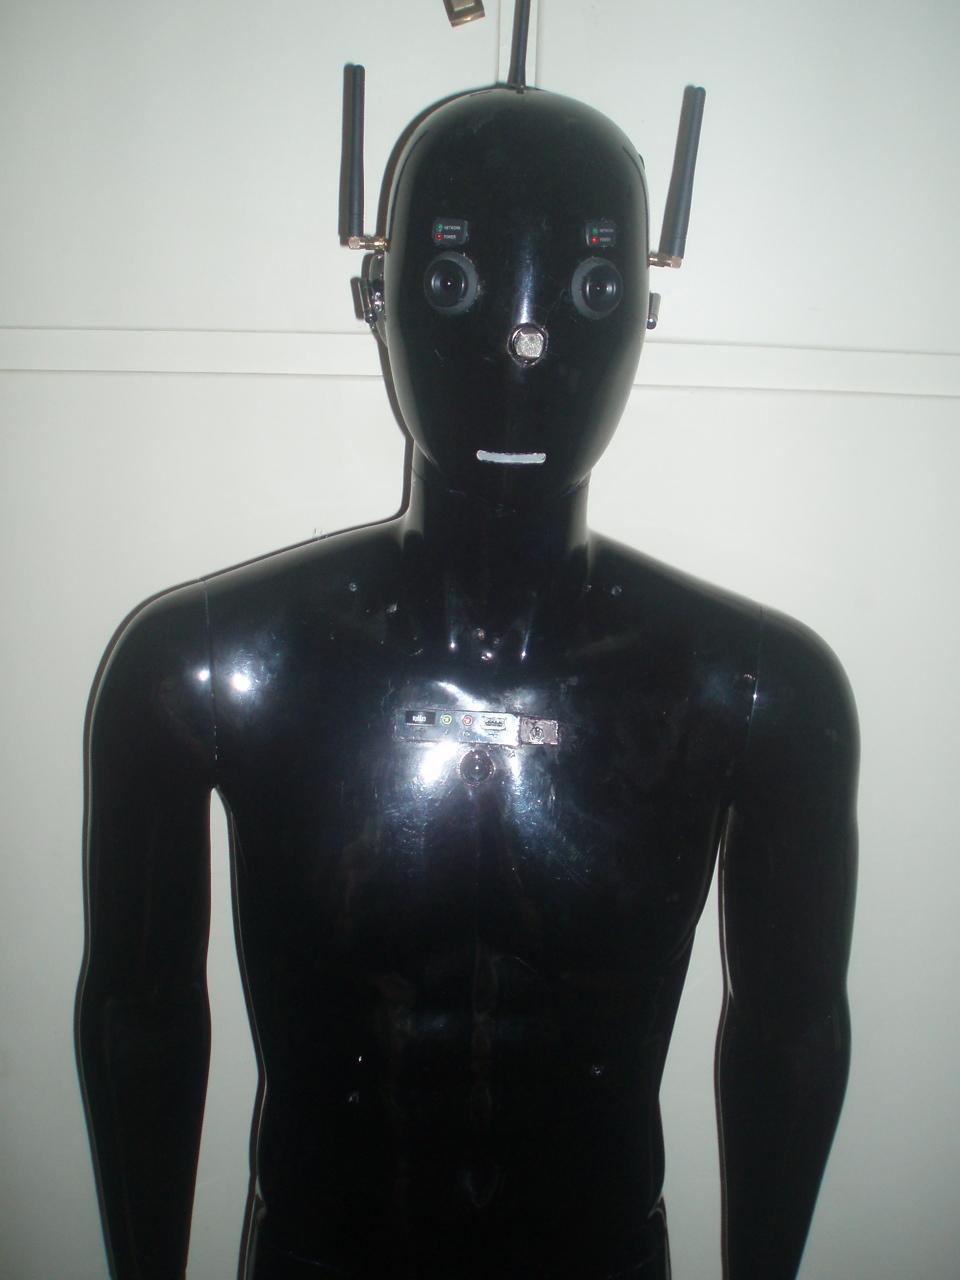
Daedalus's Android Robot
Talos 185 cm robot for home control and personal goods transport in supermarkets, inspired by the provided demo video.

Buratino's Luxor Cab As Seen In Back To The Future 2 -...
Luxor Cab BTTF2 replica: 3D-printed, CAD-refined Citroën Pallas model with servo-driven landing gear, integrated LEDs...

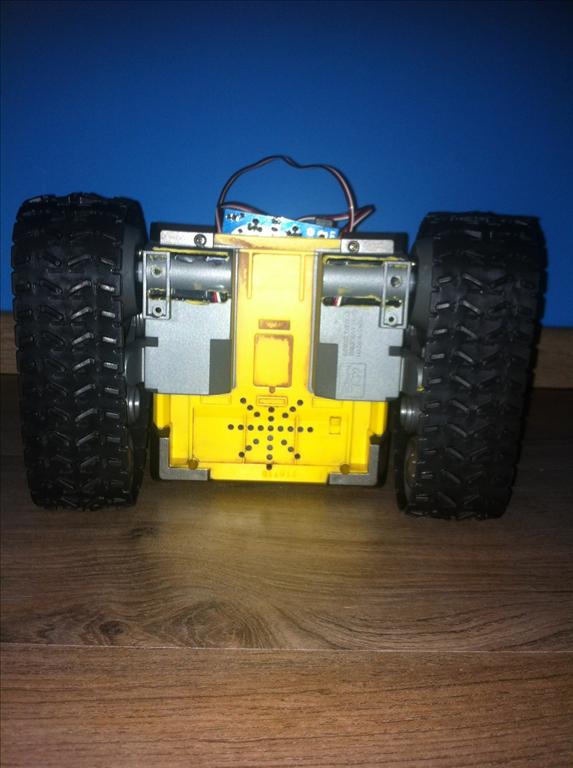
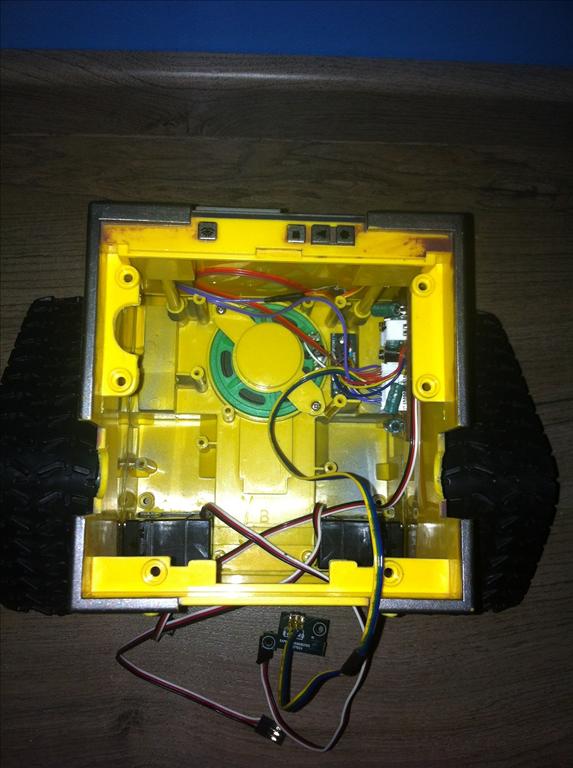
Very nice! Real clean. What did you do for the tracks? Can you post a pic of the underside? It looks like you did a good job with them from the top side
hope you can see it!
I dremmeld the precise size for the servo and made the connection in the wheel.
NICE! You did a really nice job. Can't wait to see a video.
What that is REALLY clean!
I saved my board and speaker... How do you use it for the sounds? A beginner with electronics so help is welcome!
Anyways... Great job! I like it! Getting ideas for mine!
Thats a fantastic job! Like DJ said, its a very clean install! Love it.
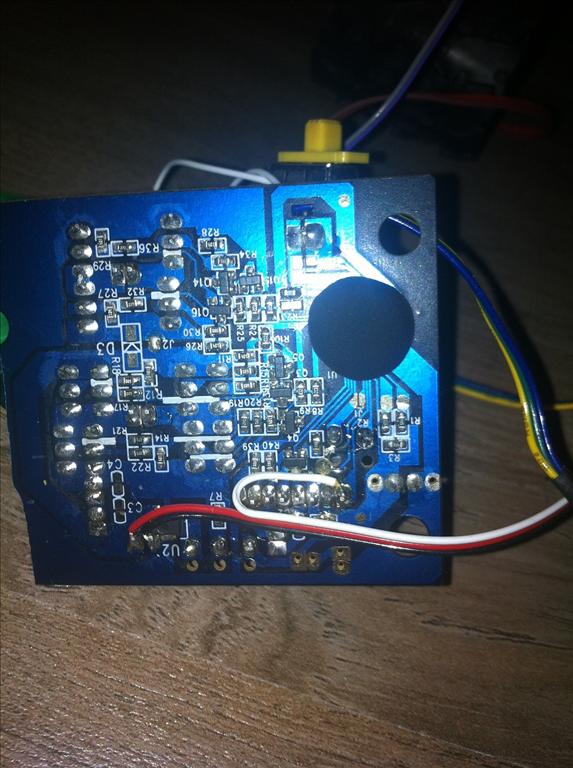
For the sound I got the idea from DJ he sawed the board in half and used an servo connection to the power and signal. And in the ez-b use a set digital on/off for 200 ms When I'm home tonight I well make some pictures.
Pabi!o: I will be interested in the pictures... I keep playing with the board, got power to it and I still have the switch attached. I can get the startup sound by turning on the switch but can't get it to do anything from the EZ-B... progress.... a little bit! Thanks or your help!