


cE9s4PsOgeBQIORwjd5!~~60_1-634818020230156250.jpg)


BO)Lupuc4g~~60_35-634706297915000000.jpg)
LupbT6!~~60_35-634706298769375000.jpg)


C5j!~~60_35-634655044863125000.jpg)


C5j!~~60_35-634659603510781250.jpg)


C5j!~~60_35-634651704046230469.jpg)
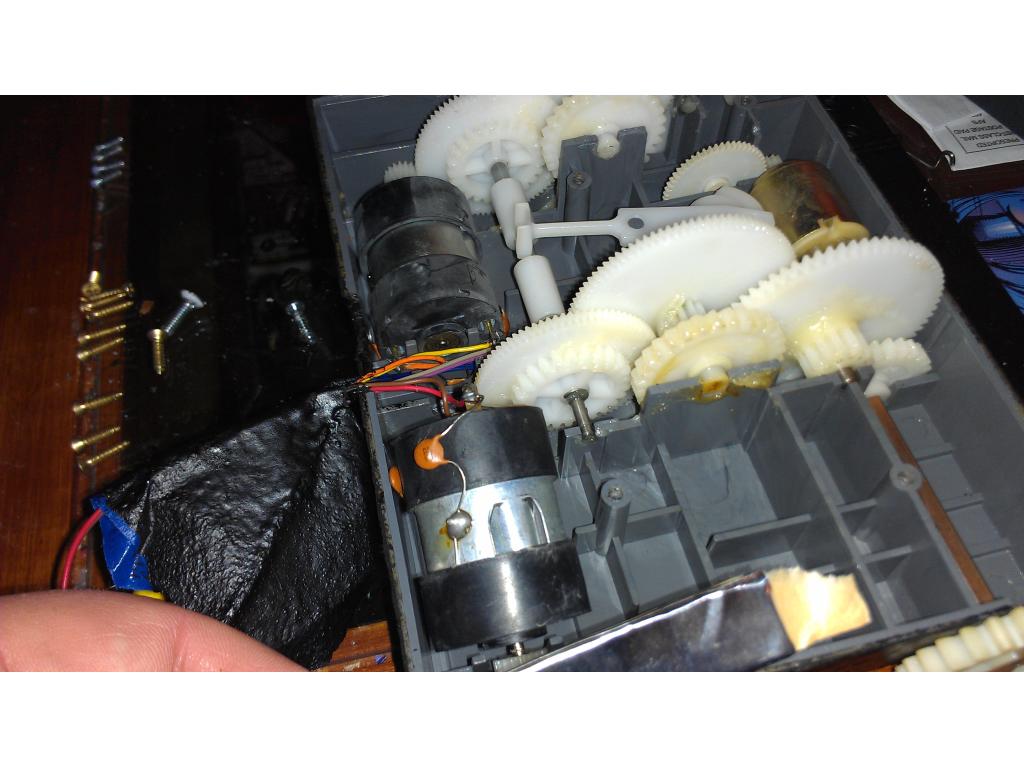
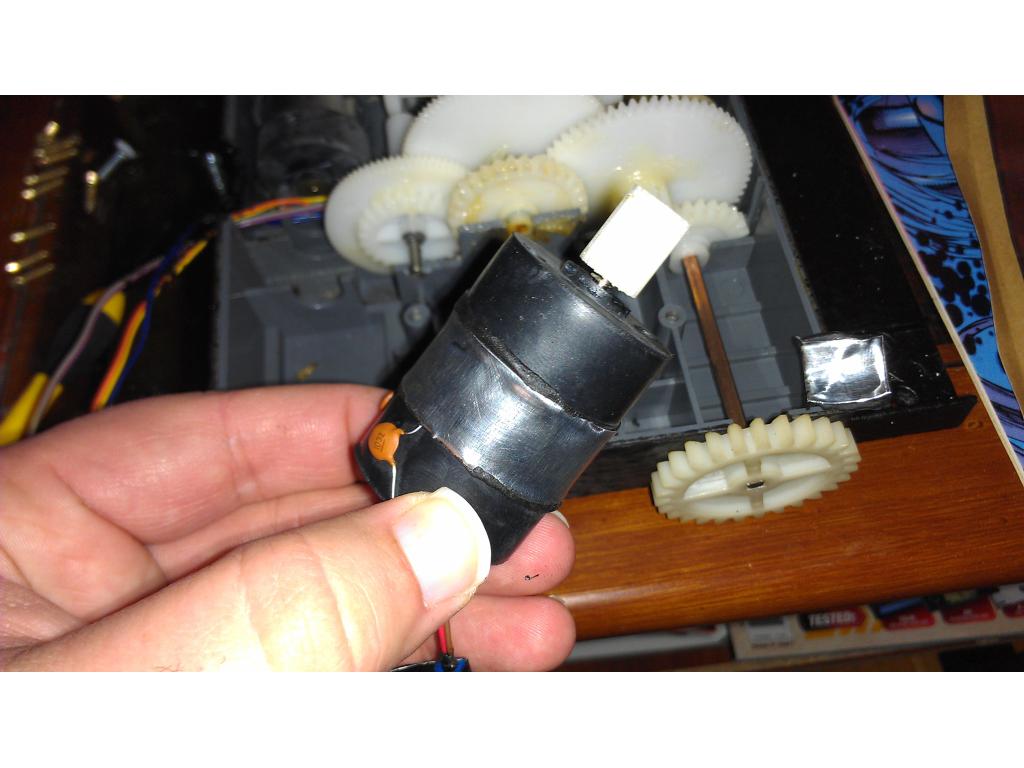
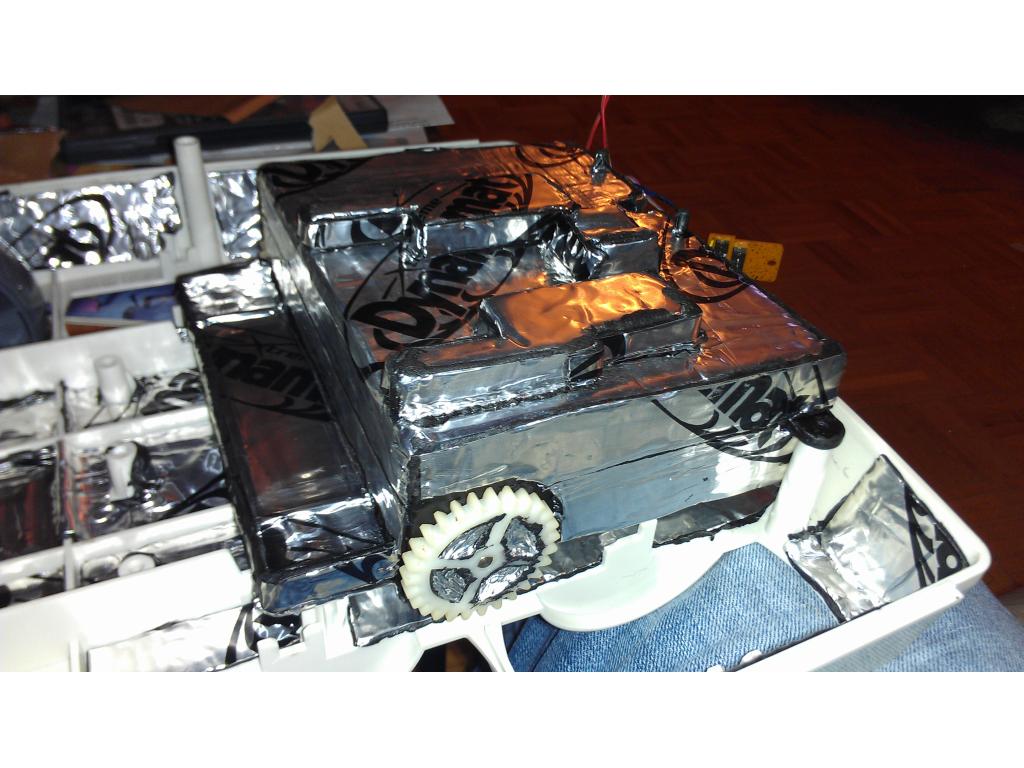


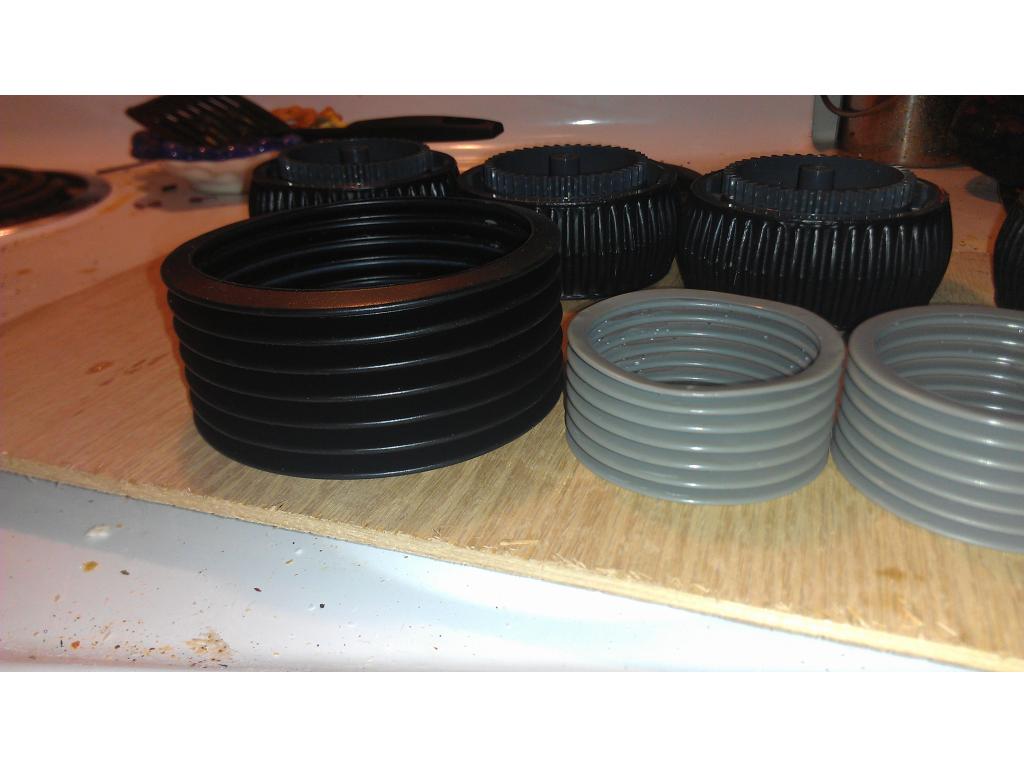


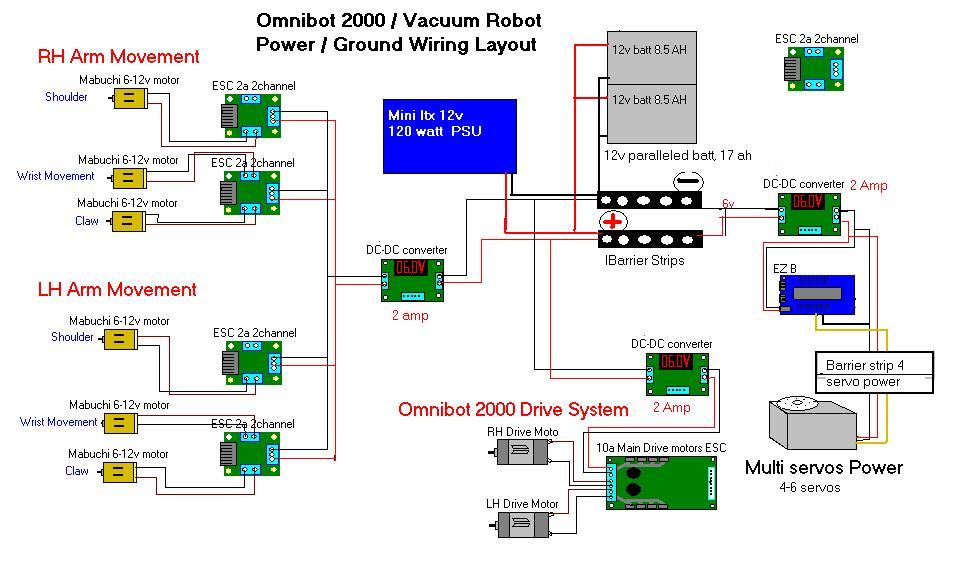


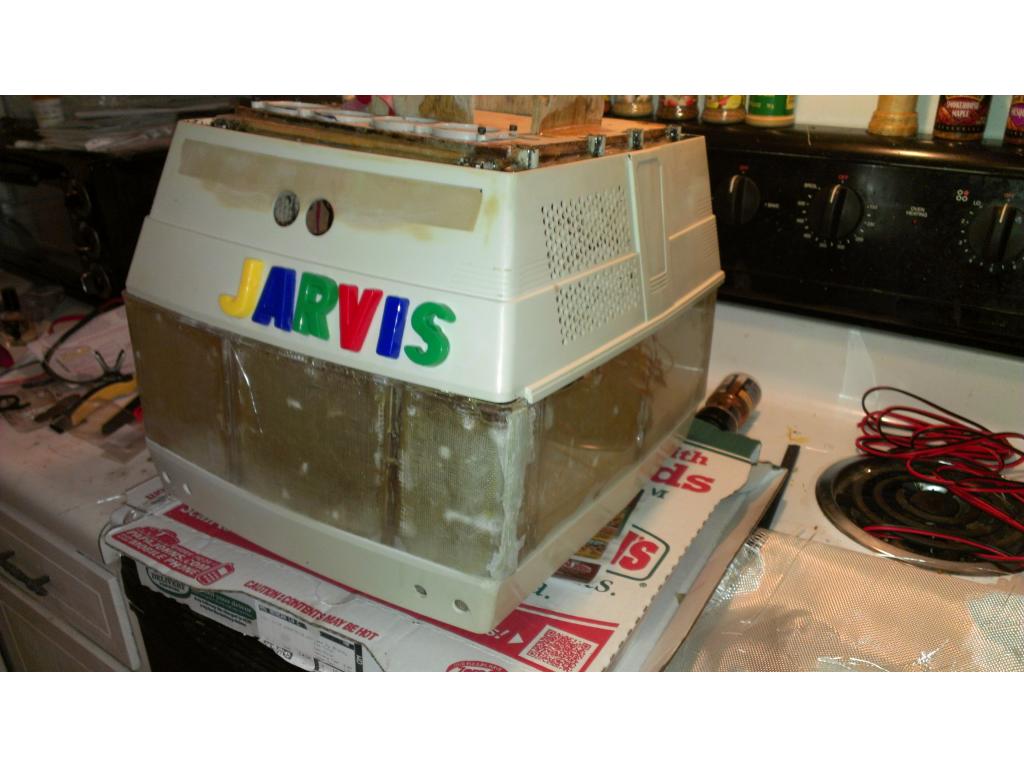
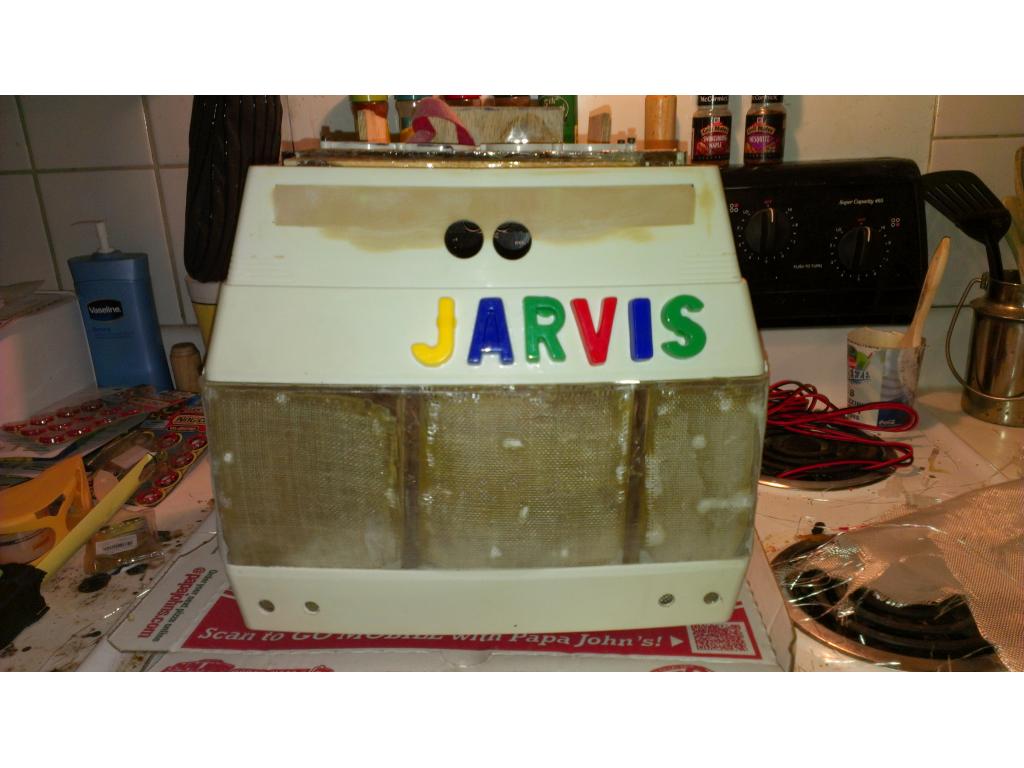


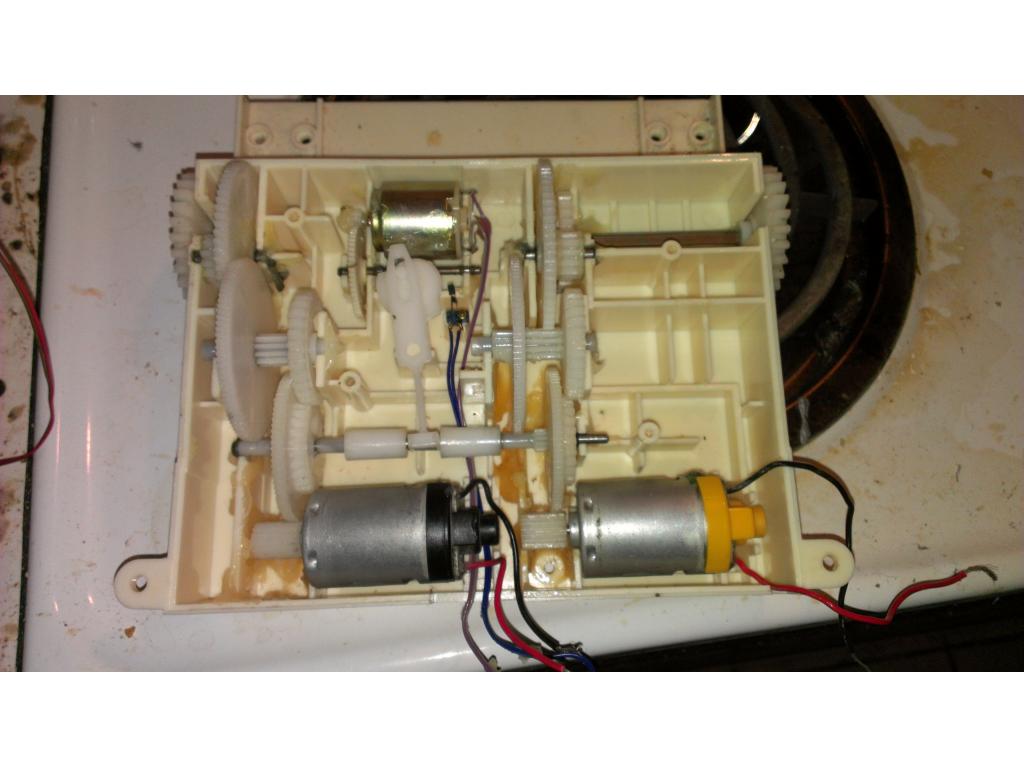
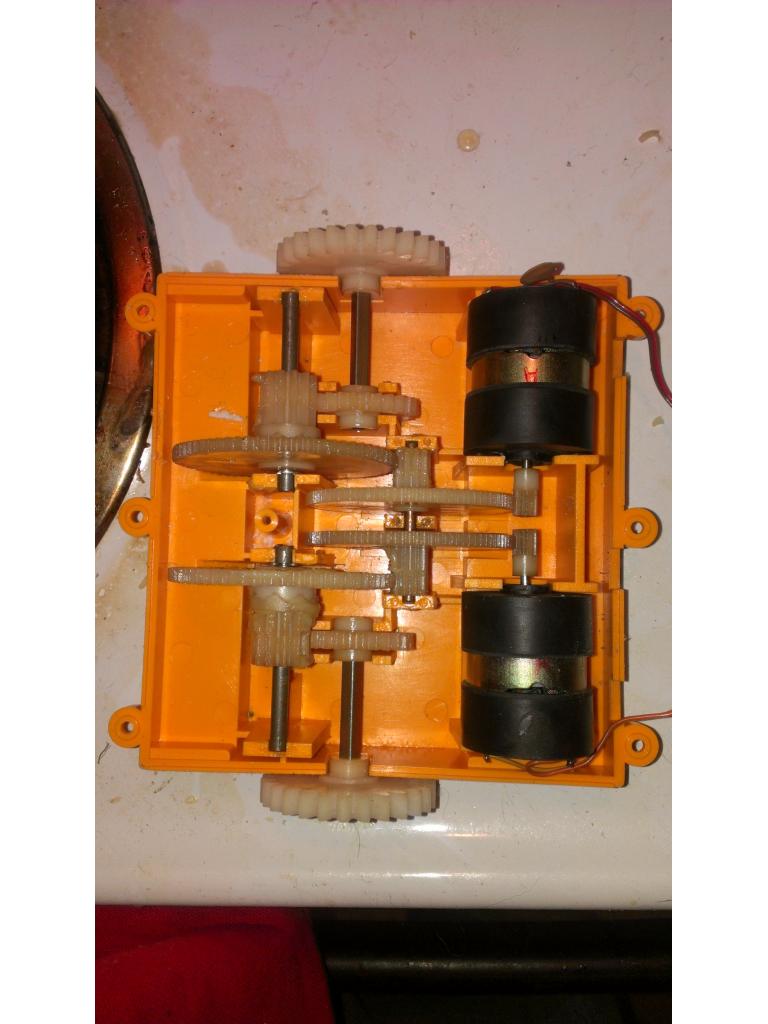
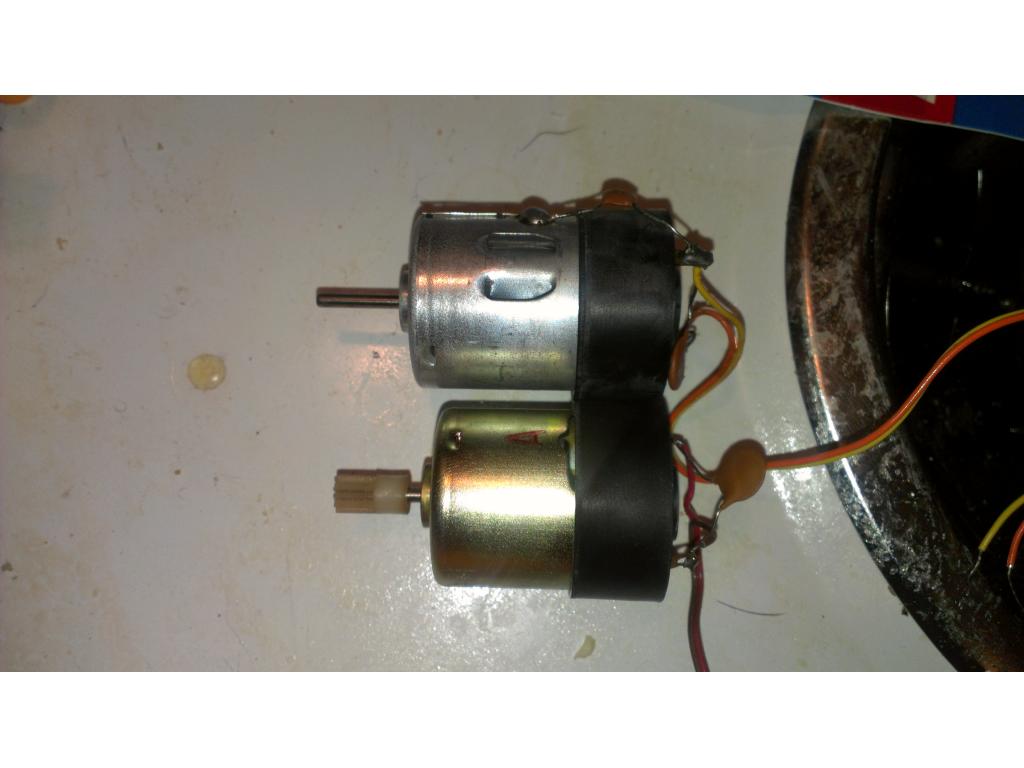


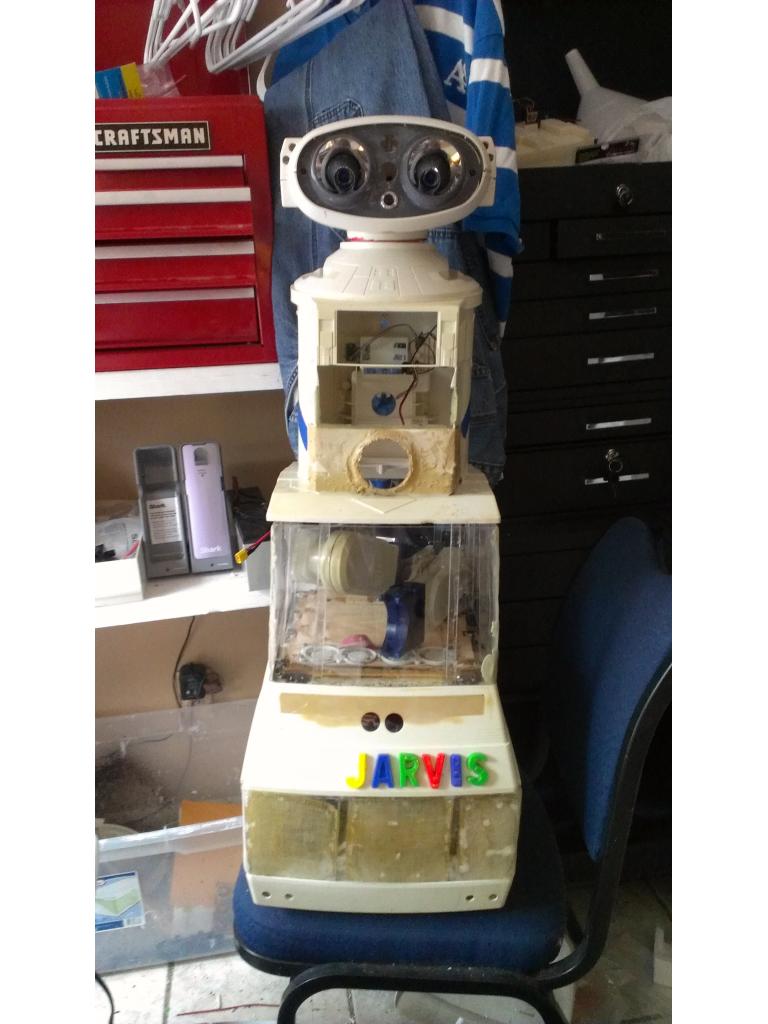
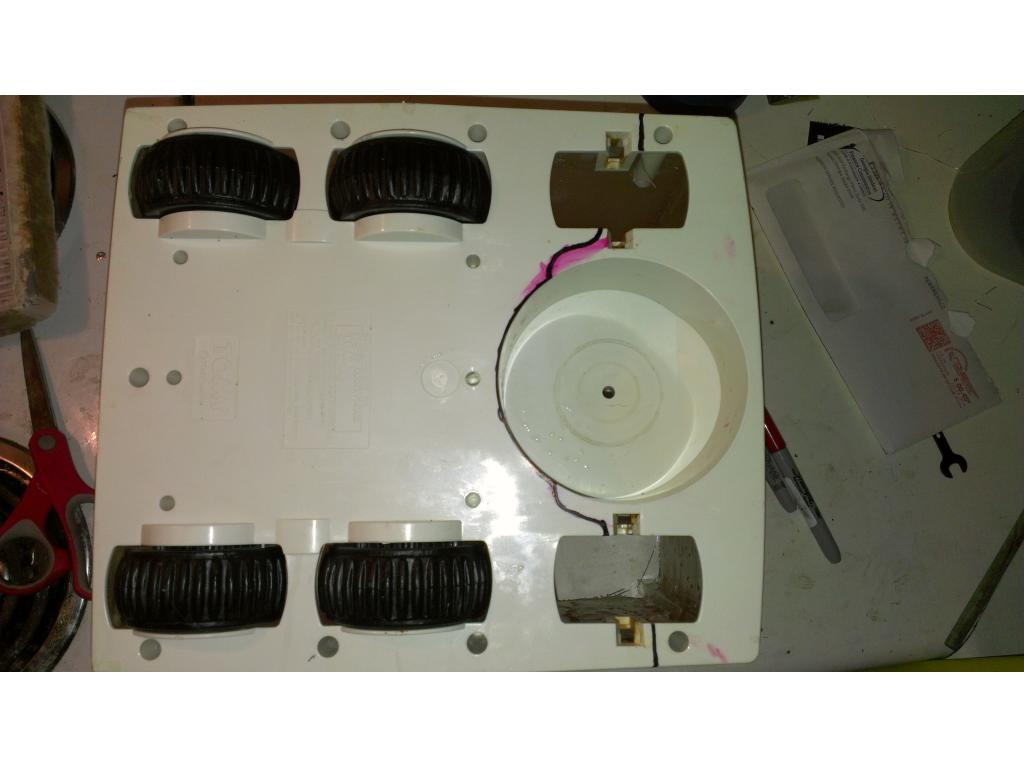
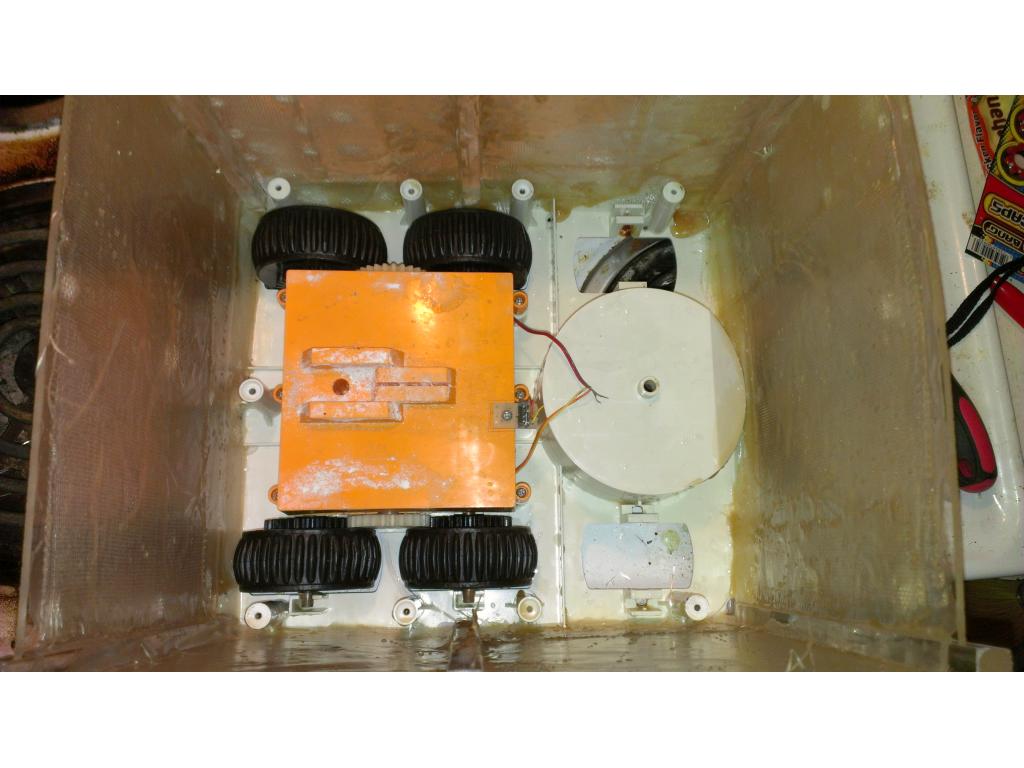

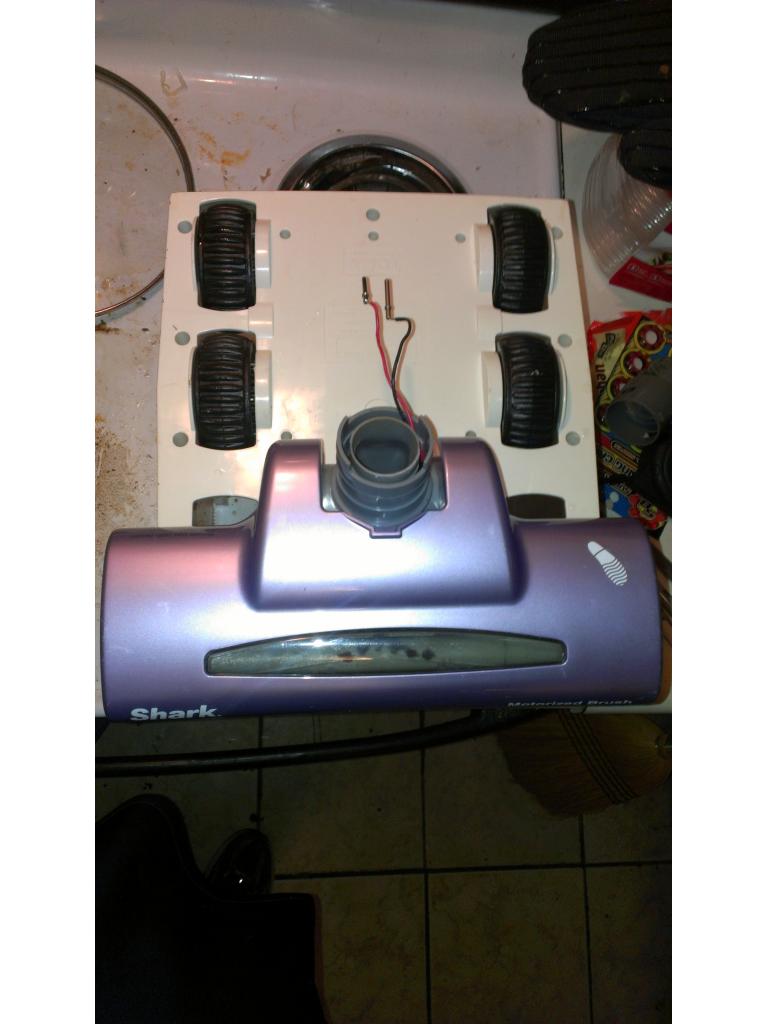


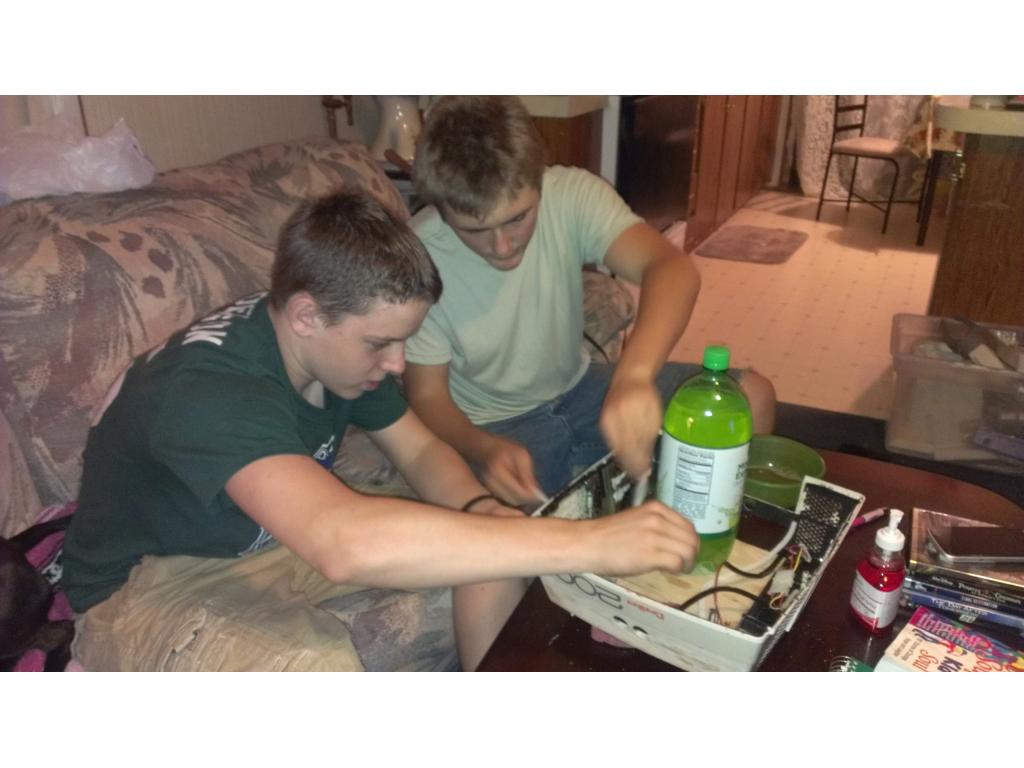


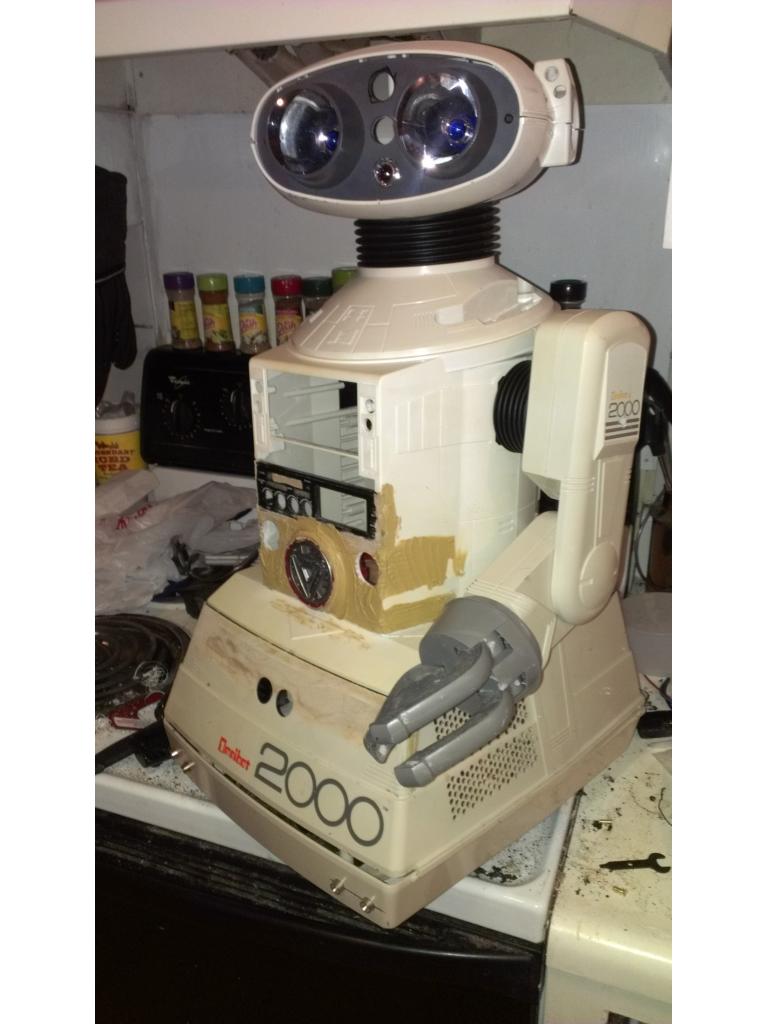


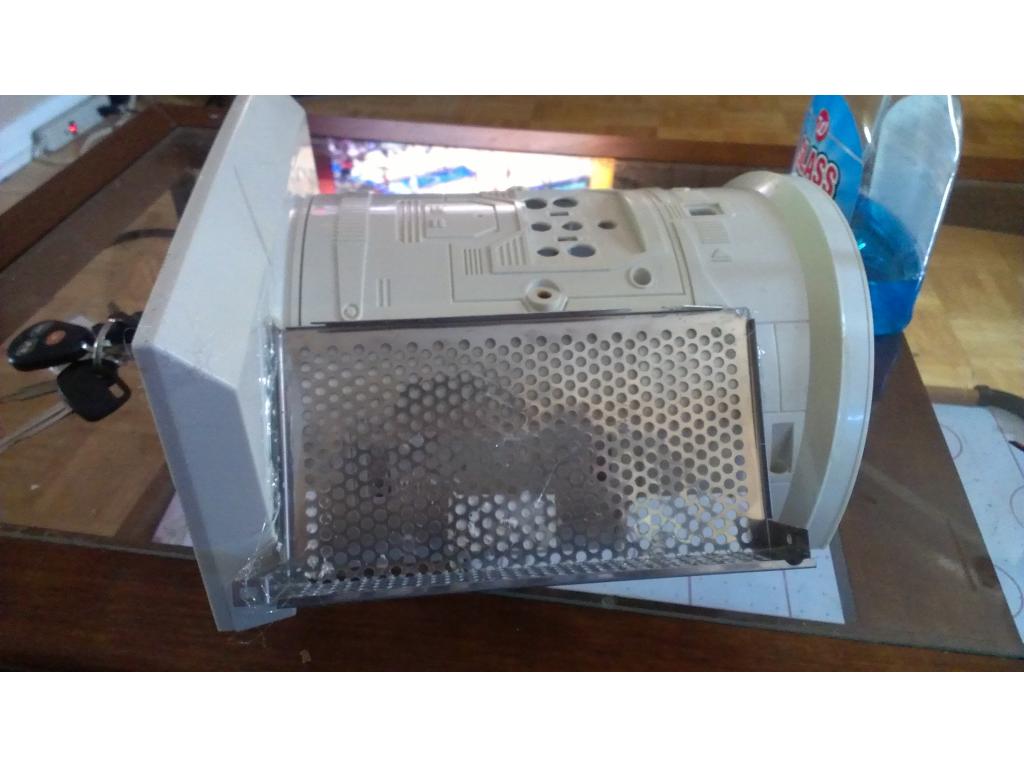
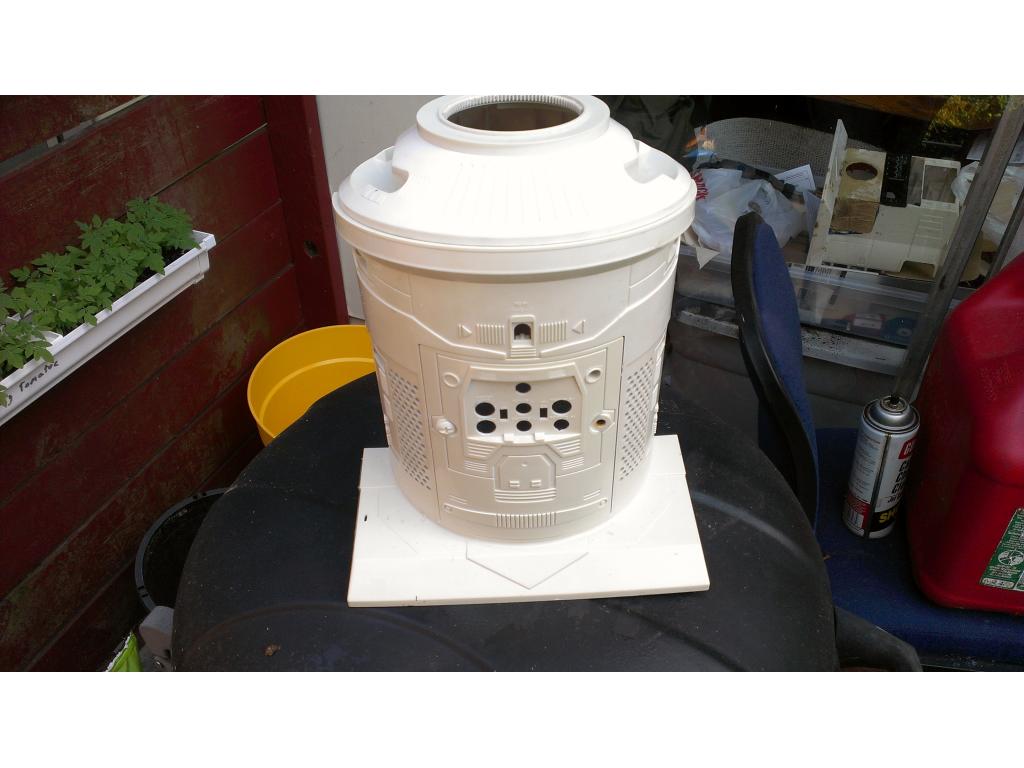


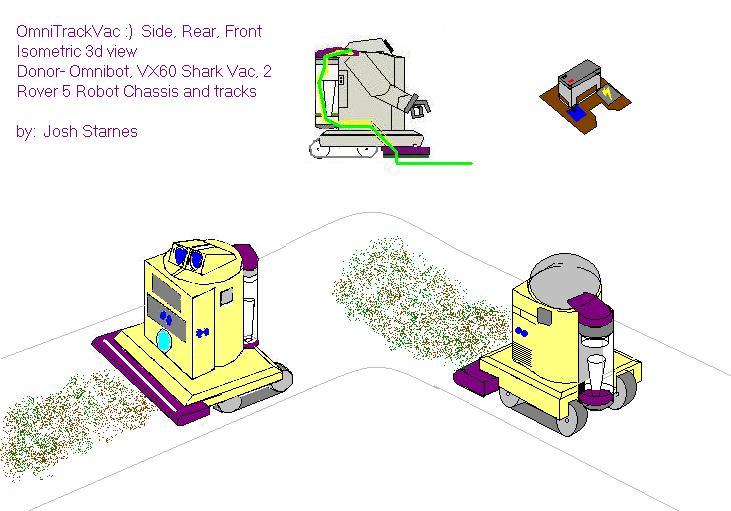

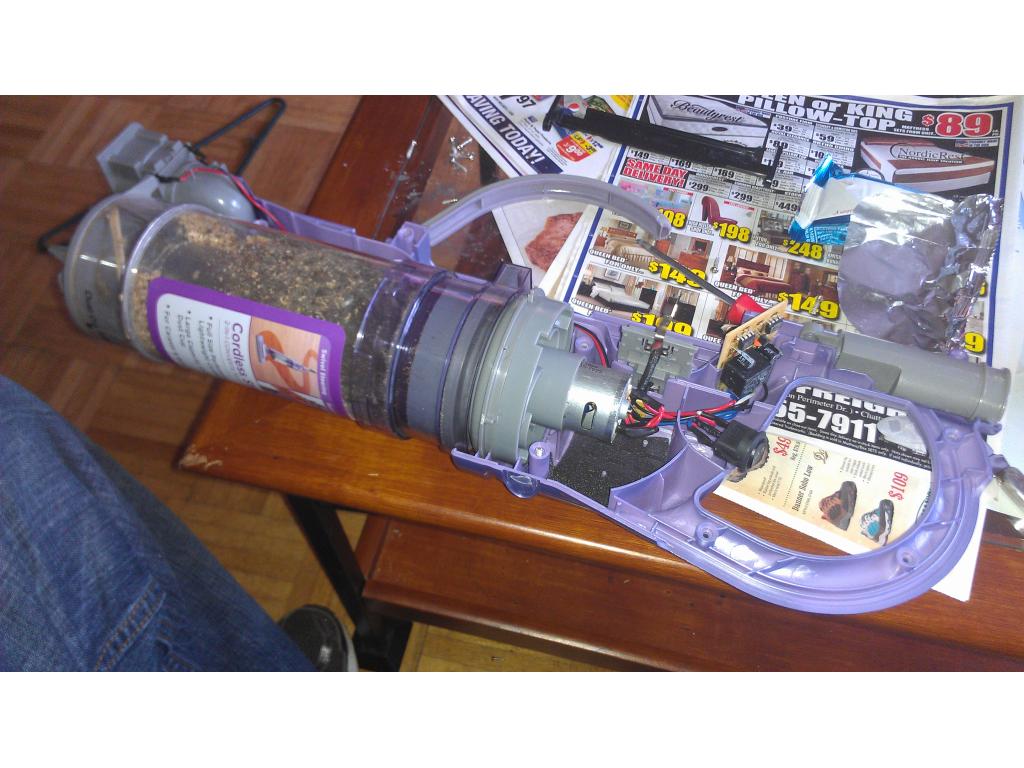

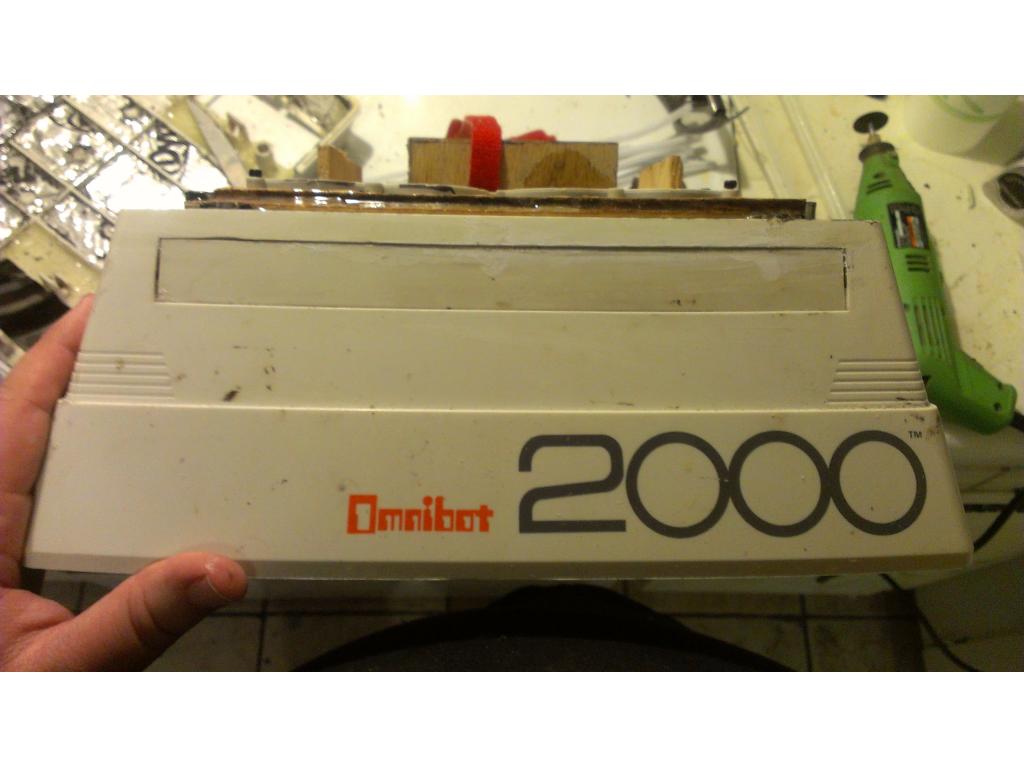
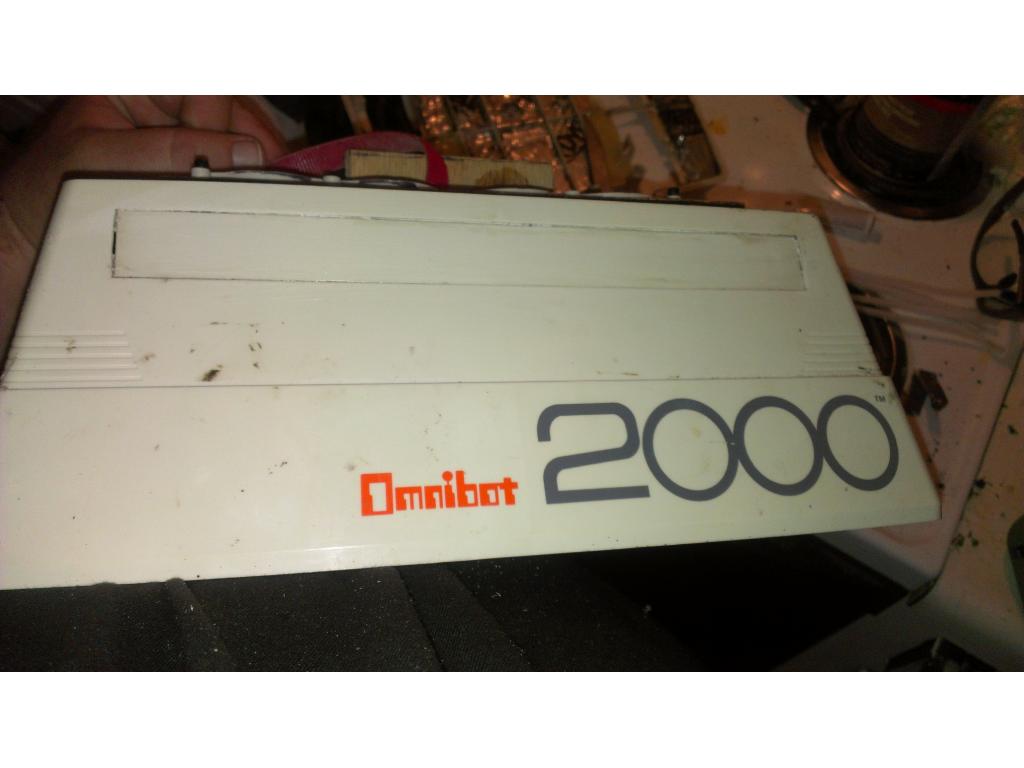


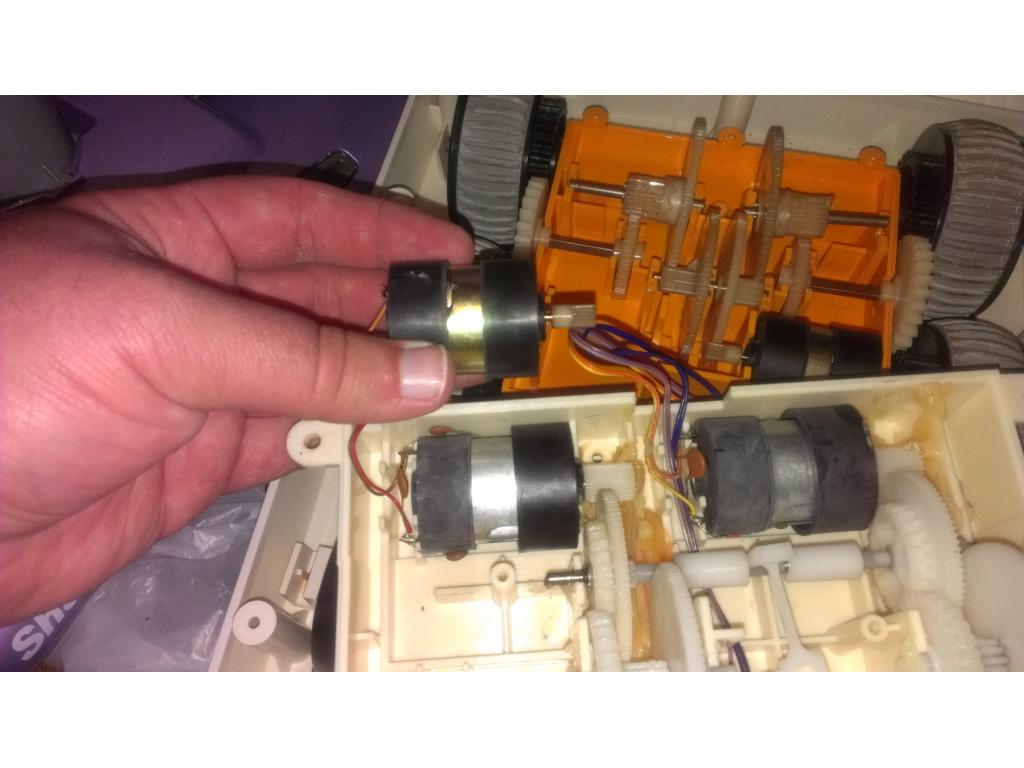


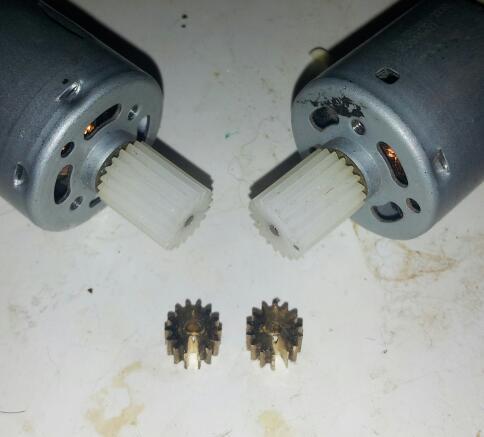
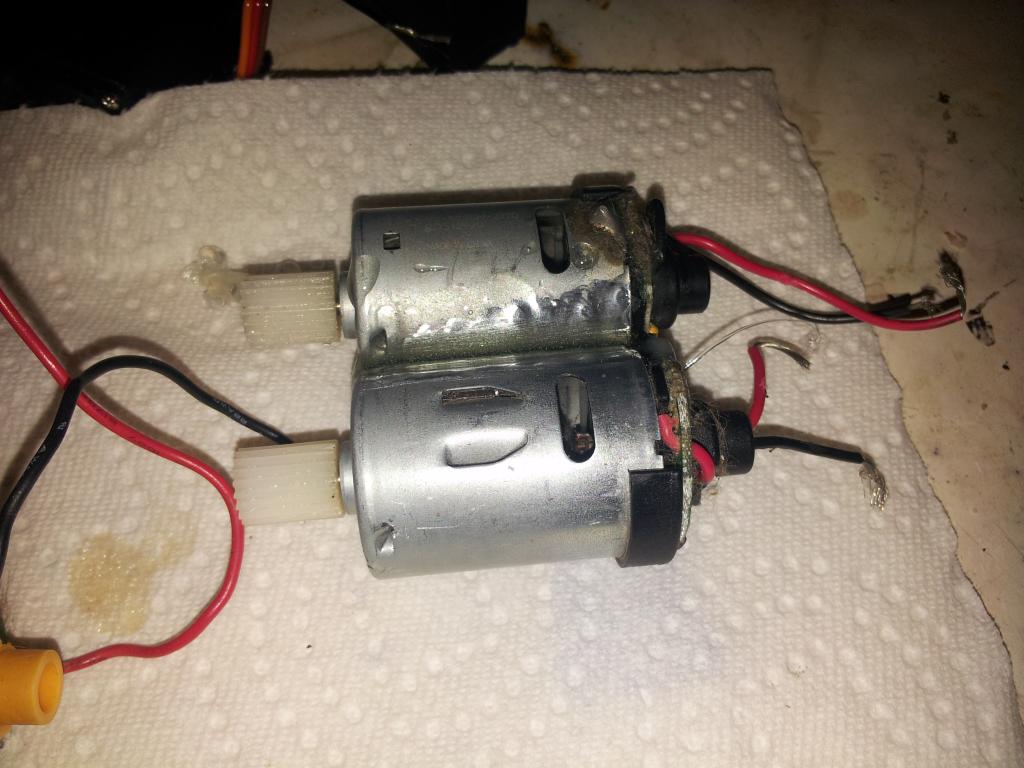
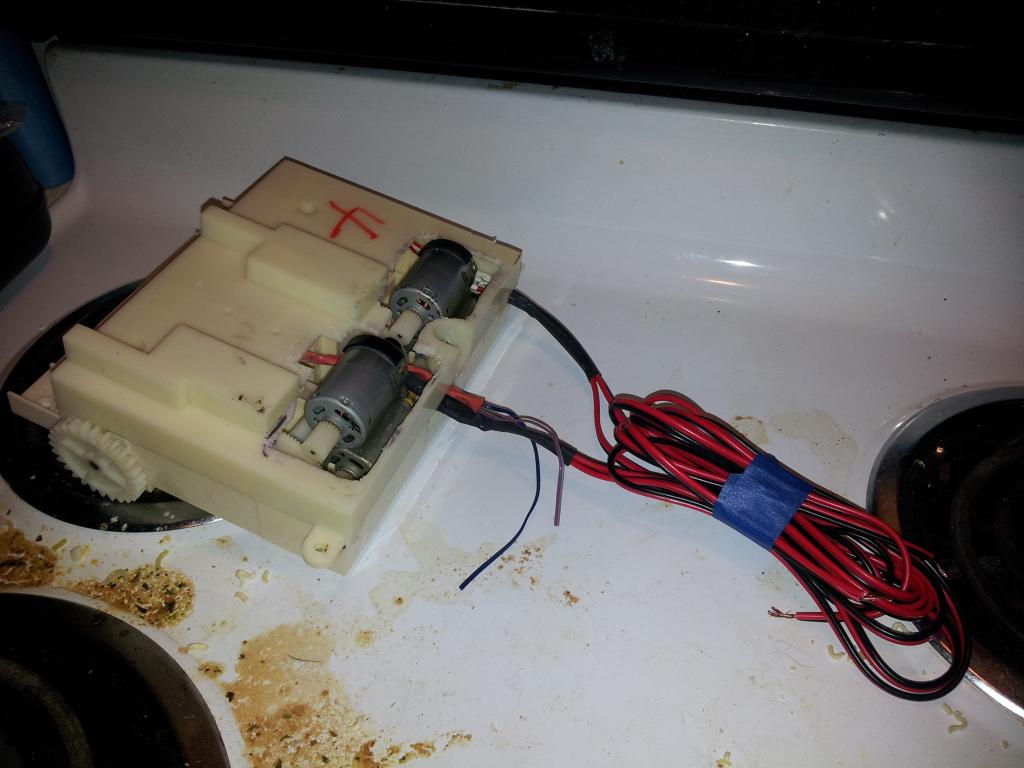
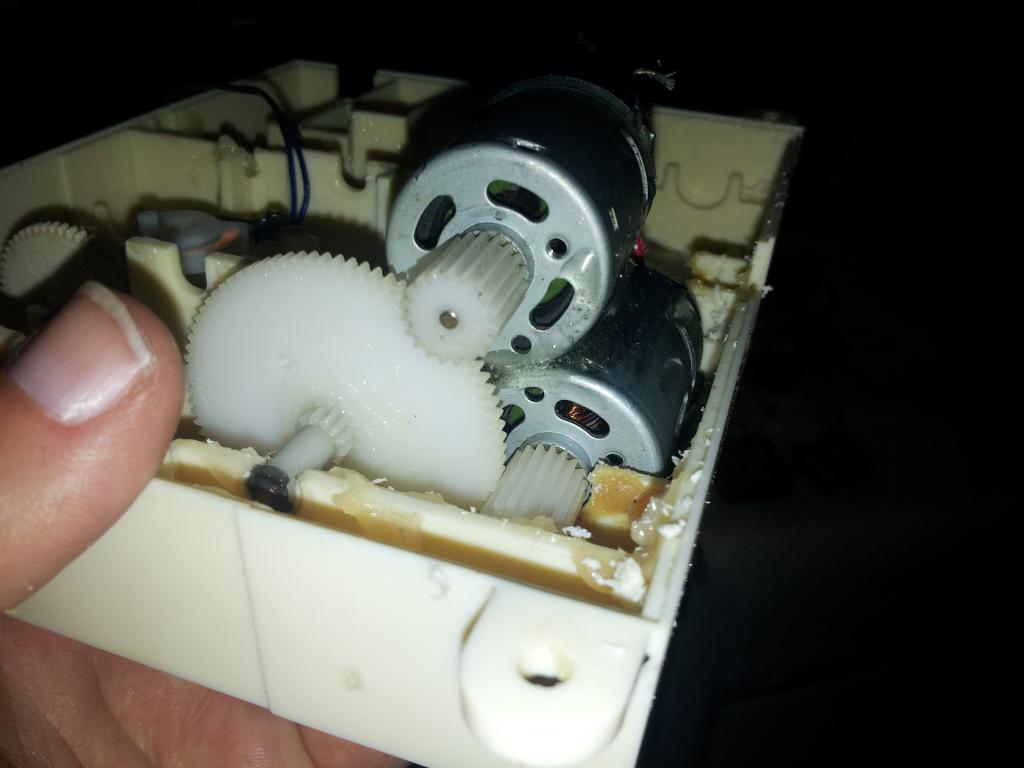
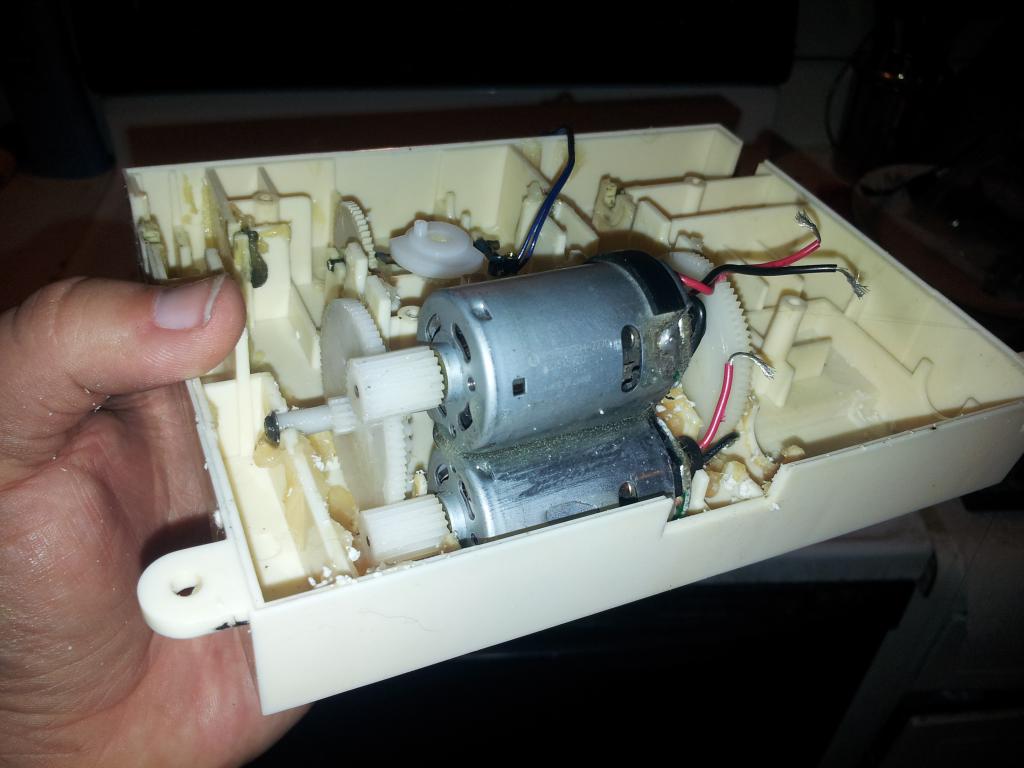
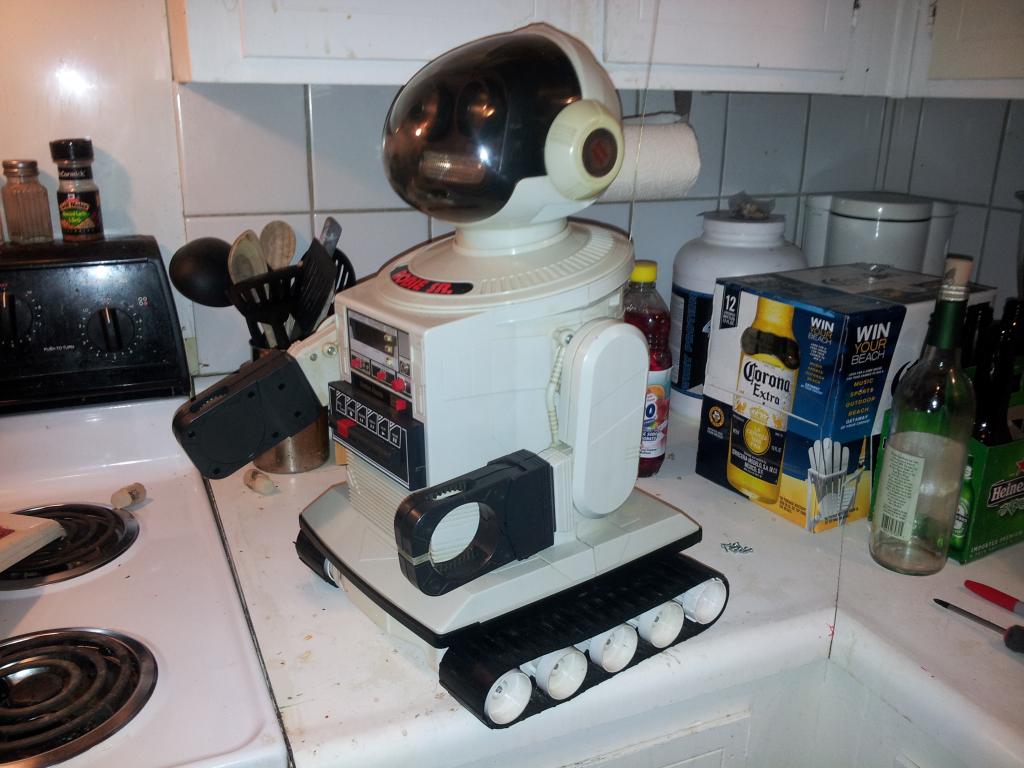
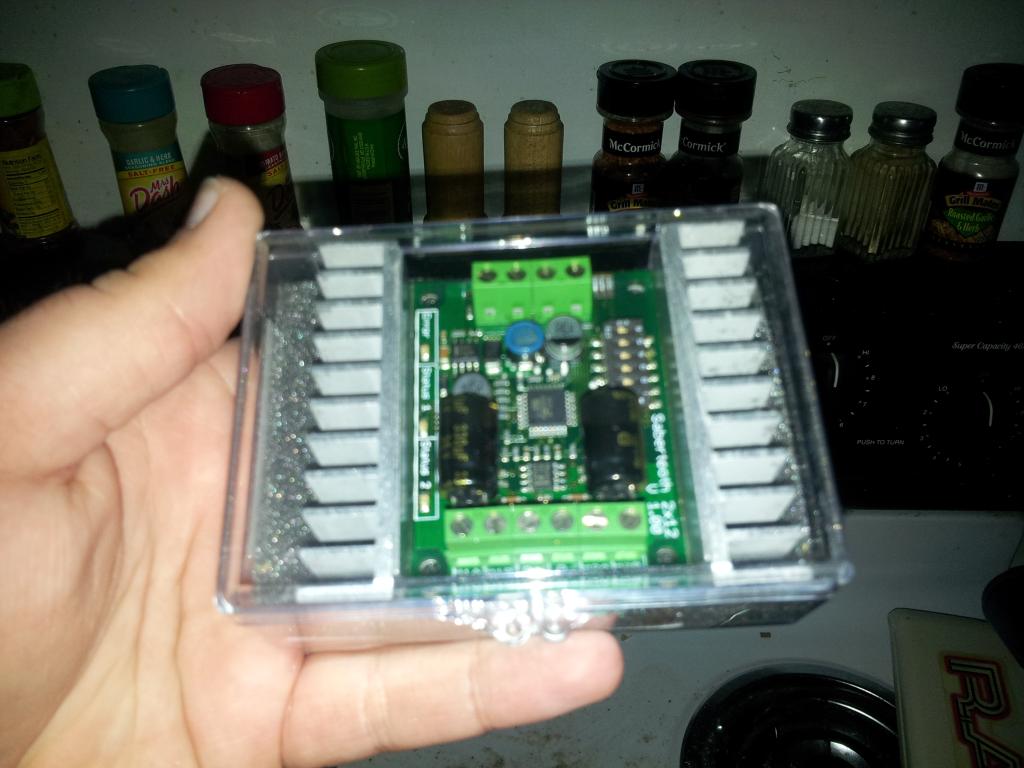
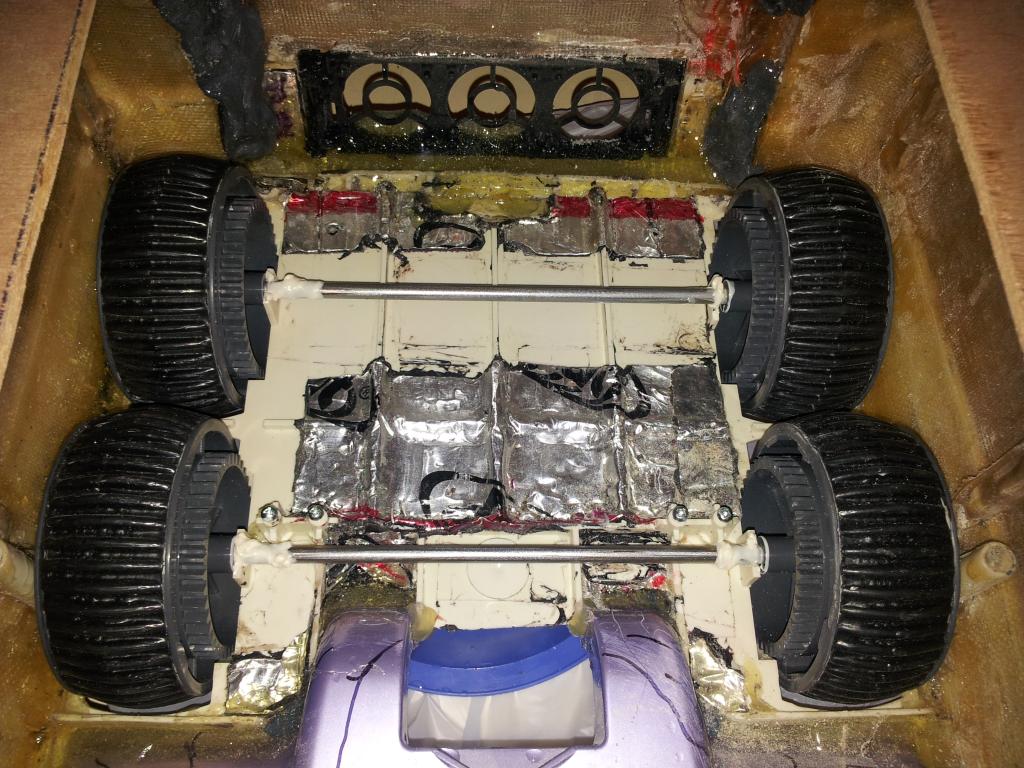
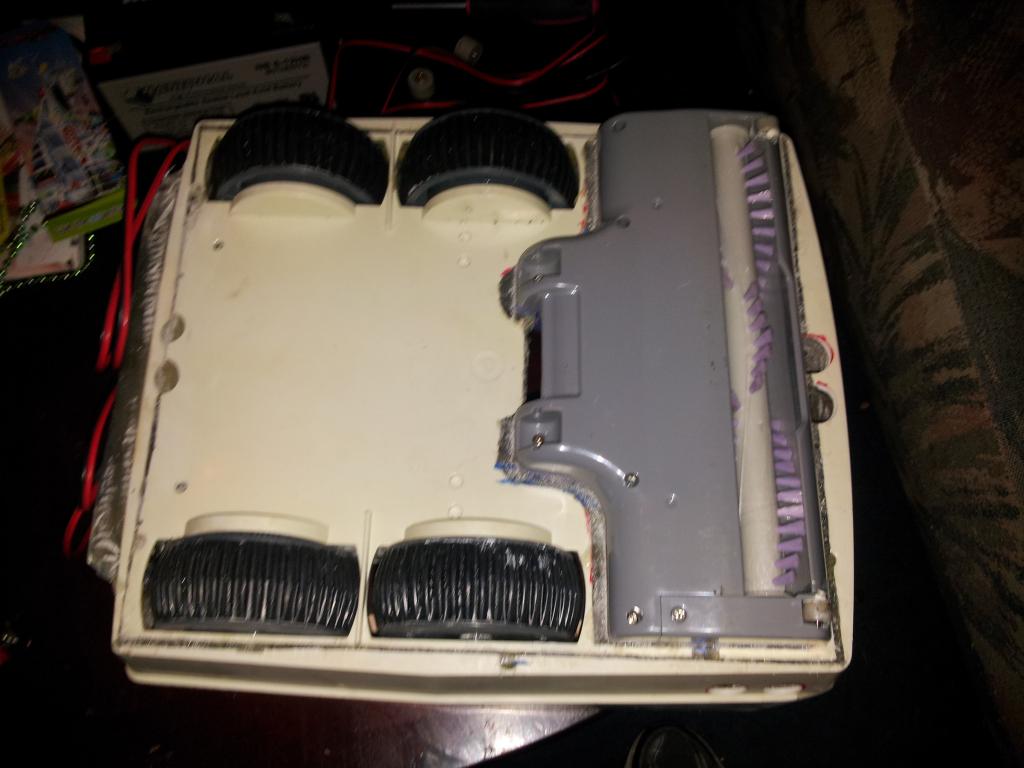
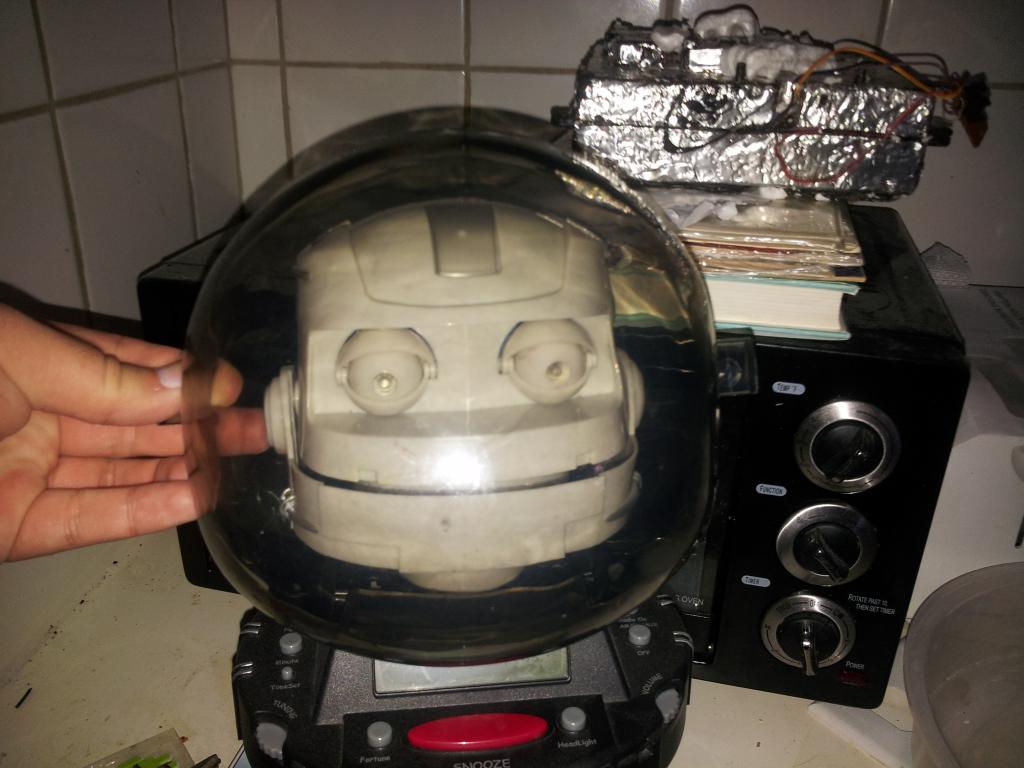
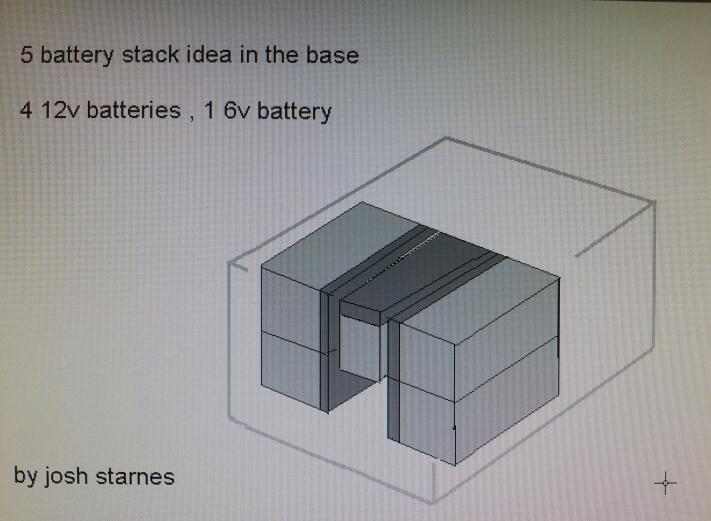
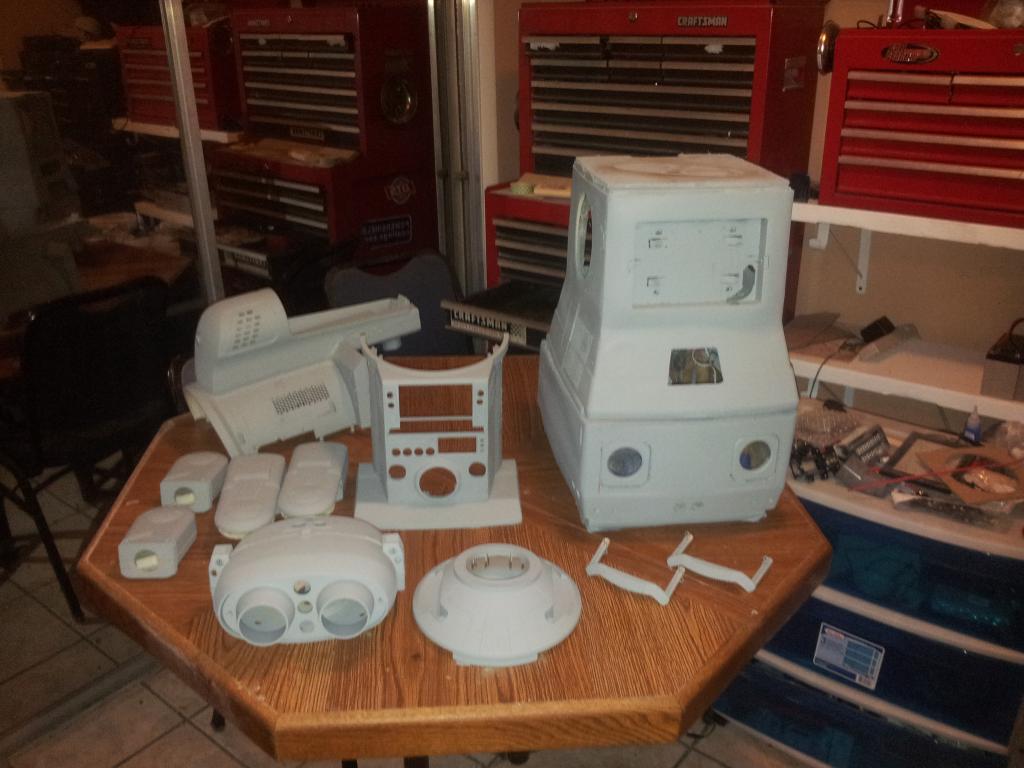
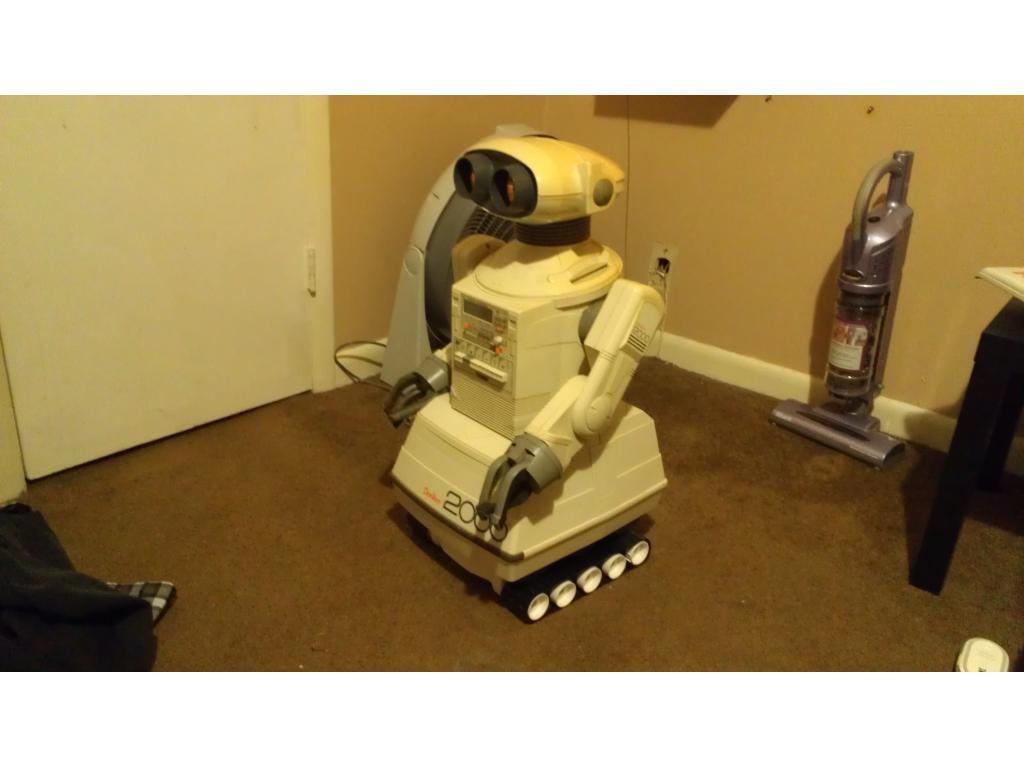
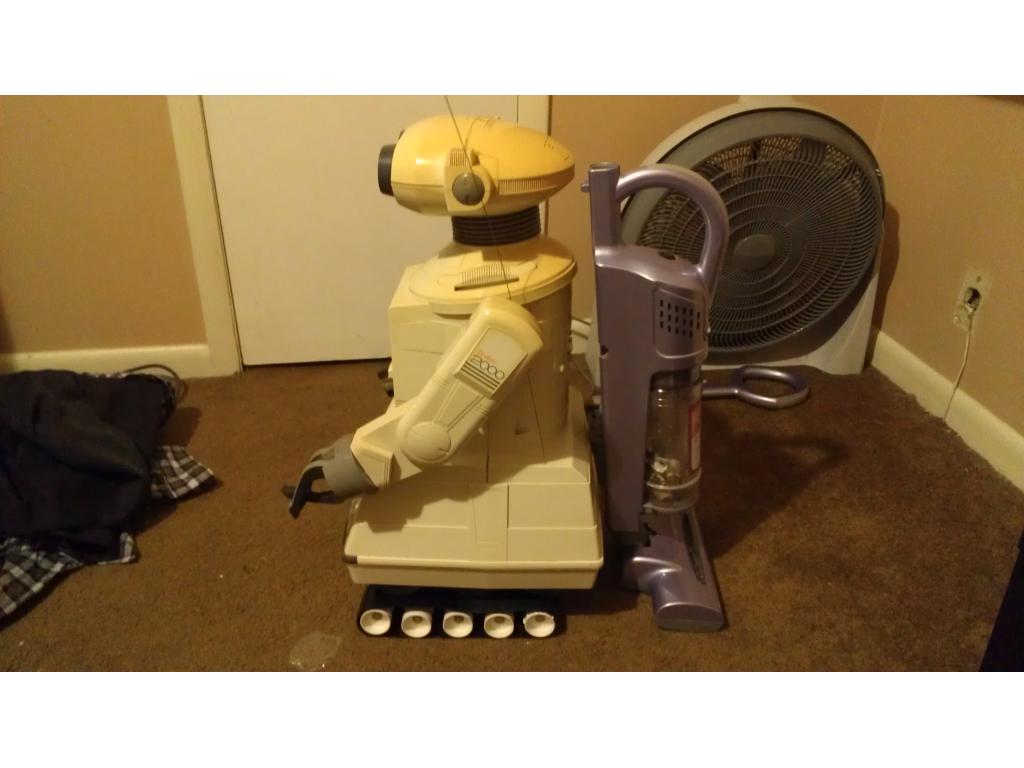
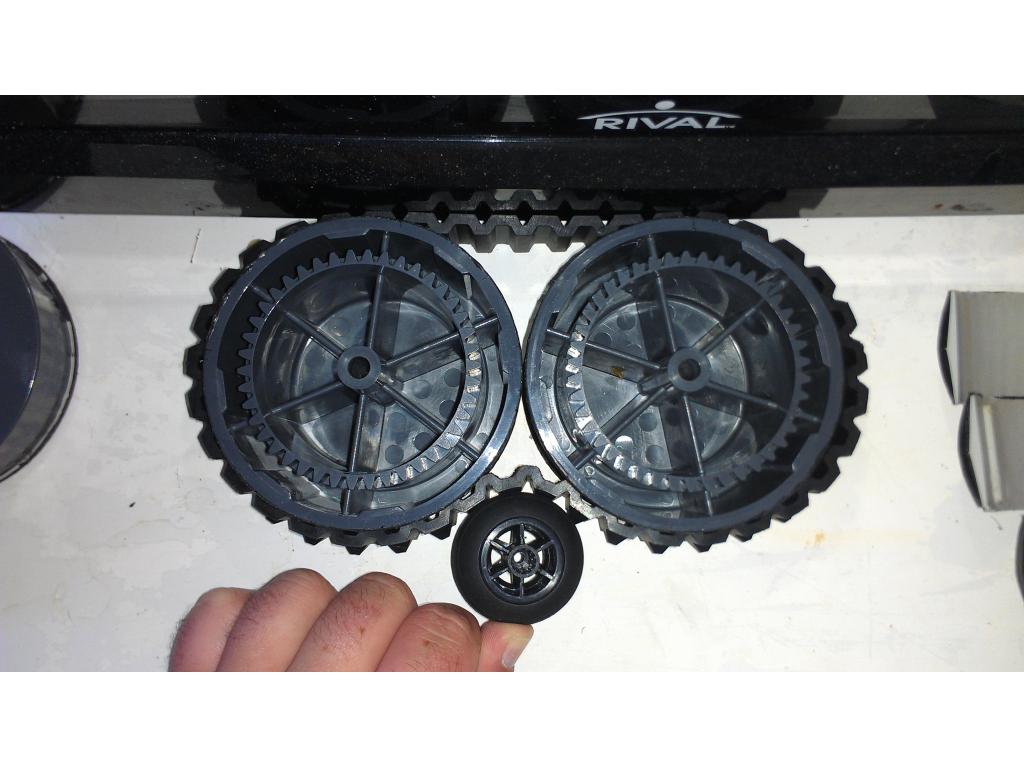
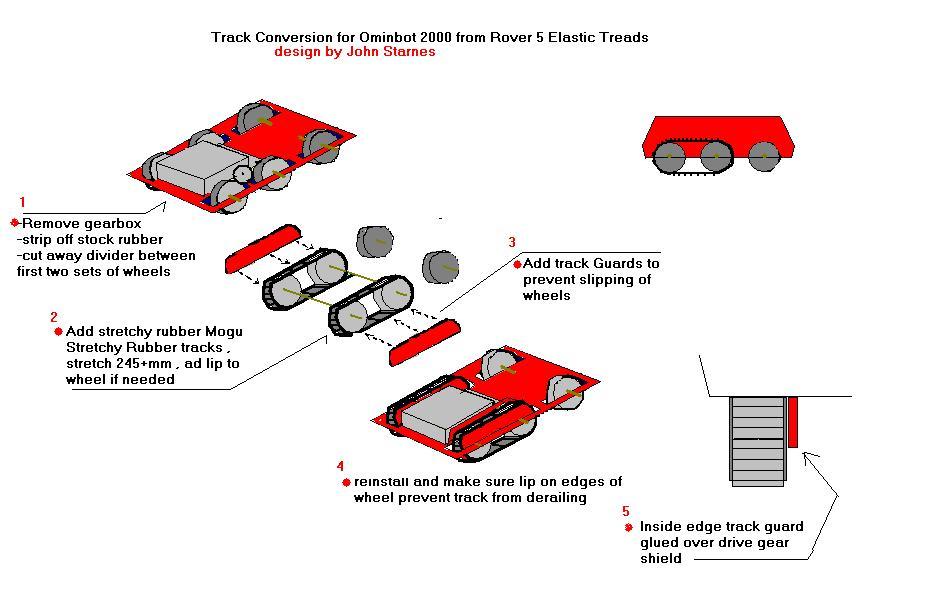
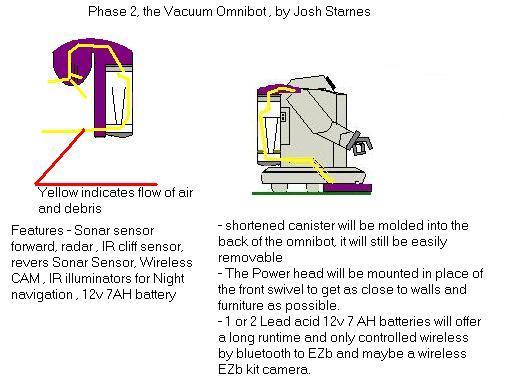
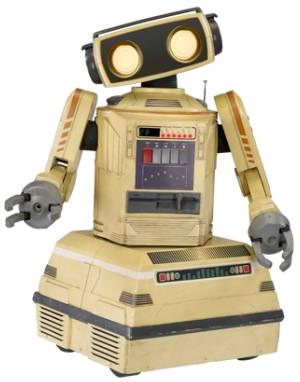
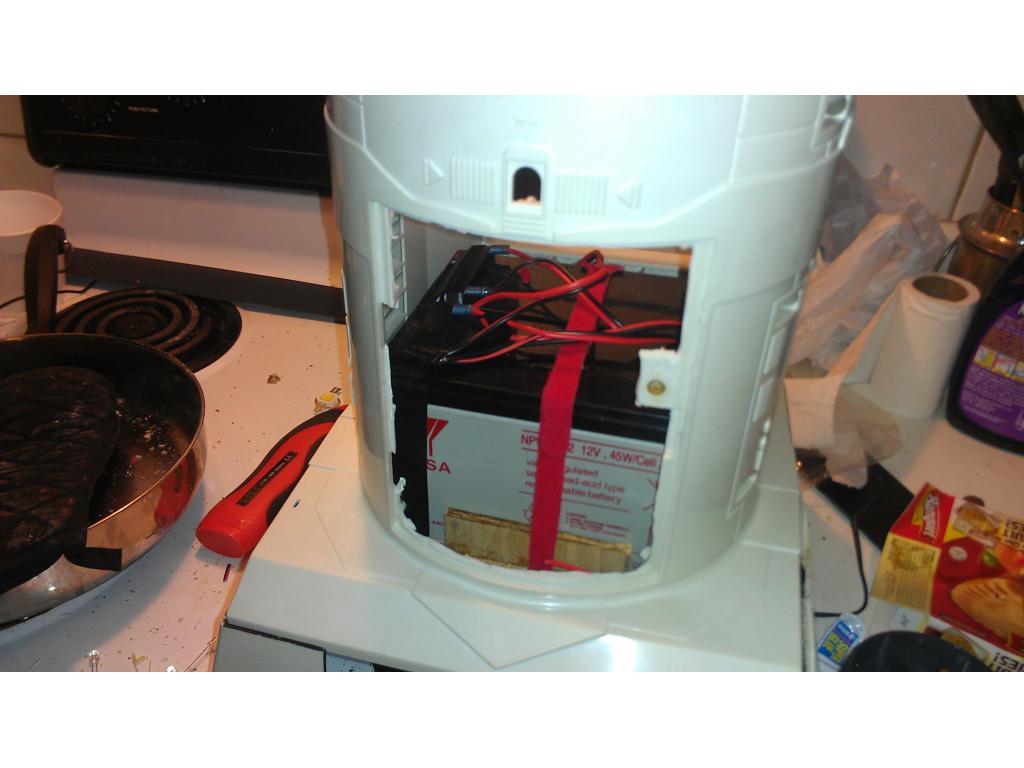
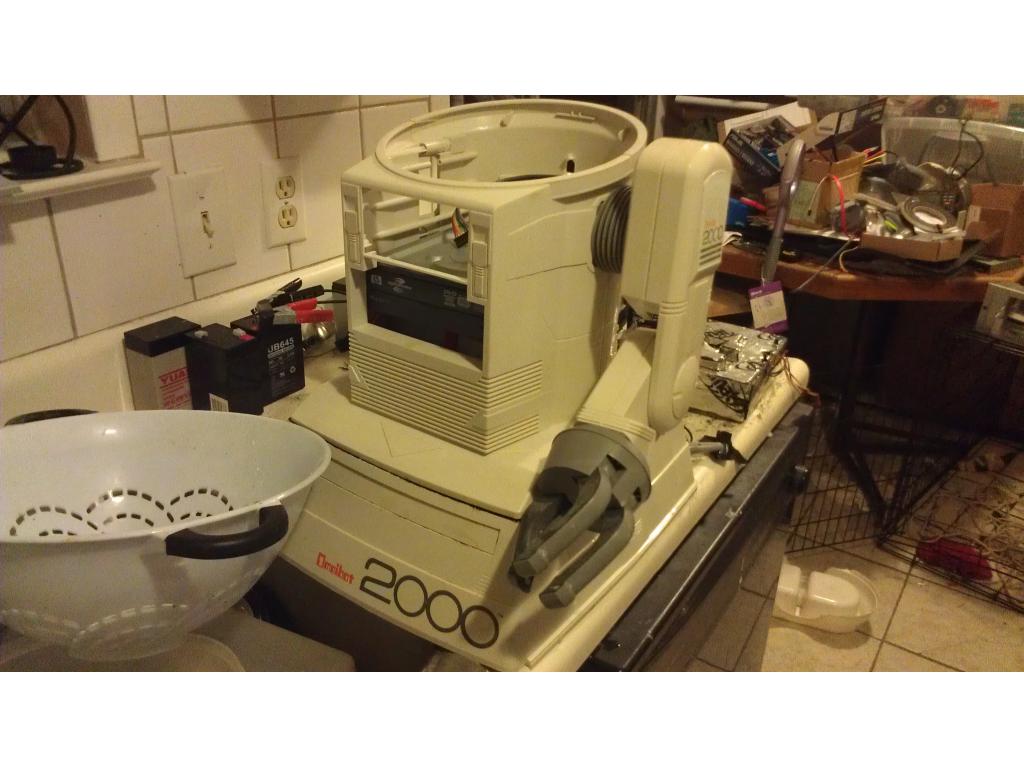
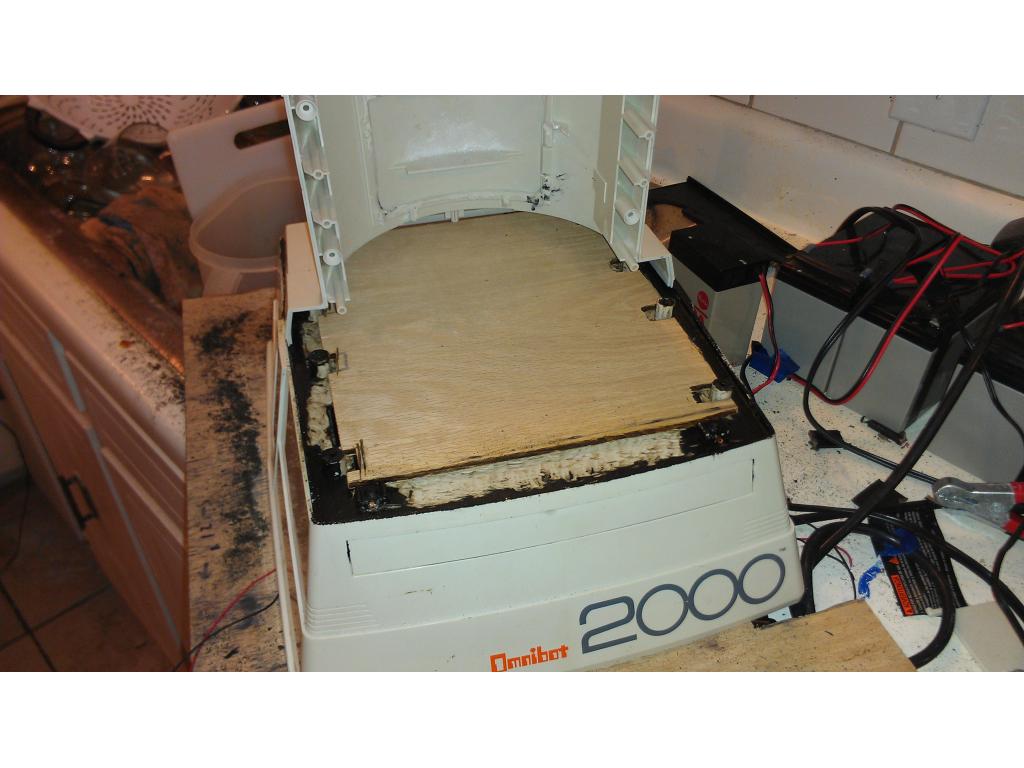
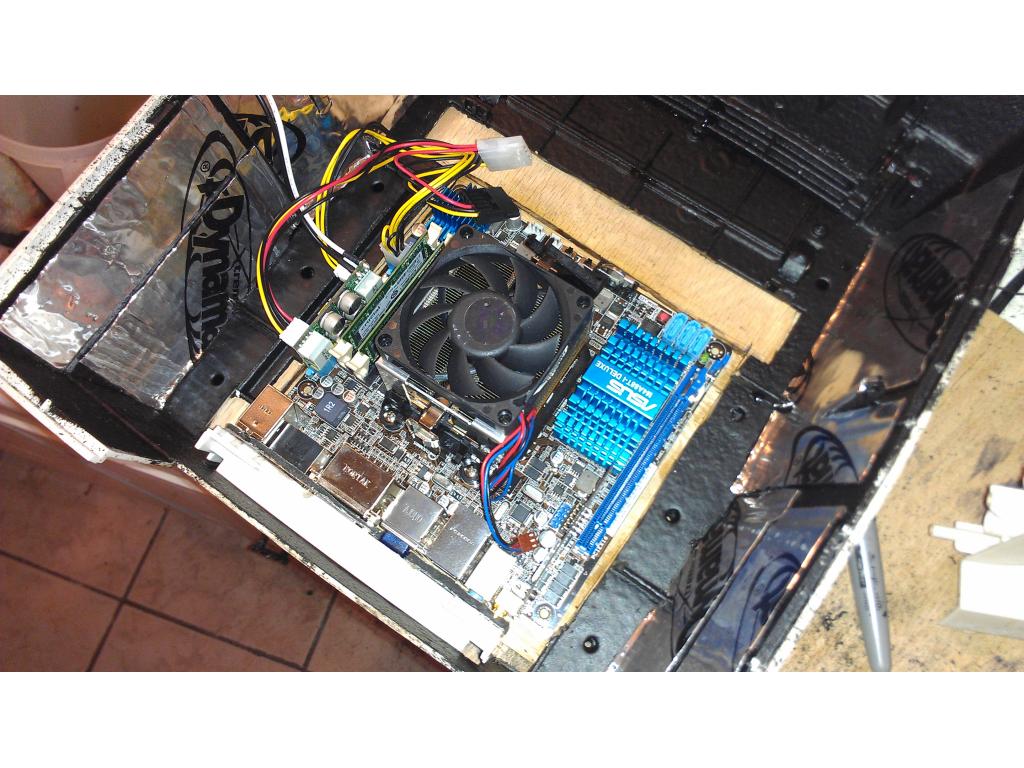
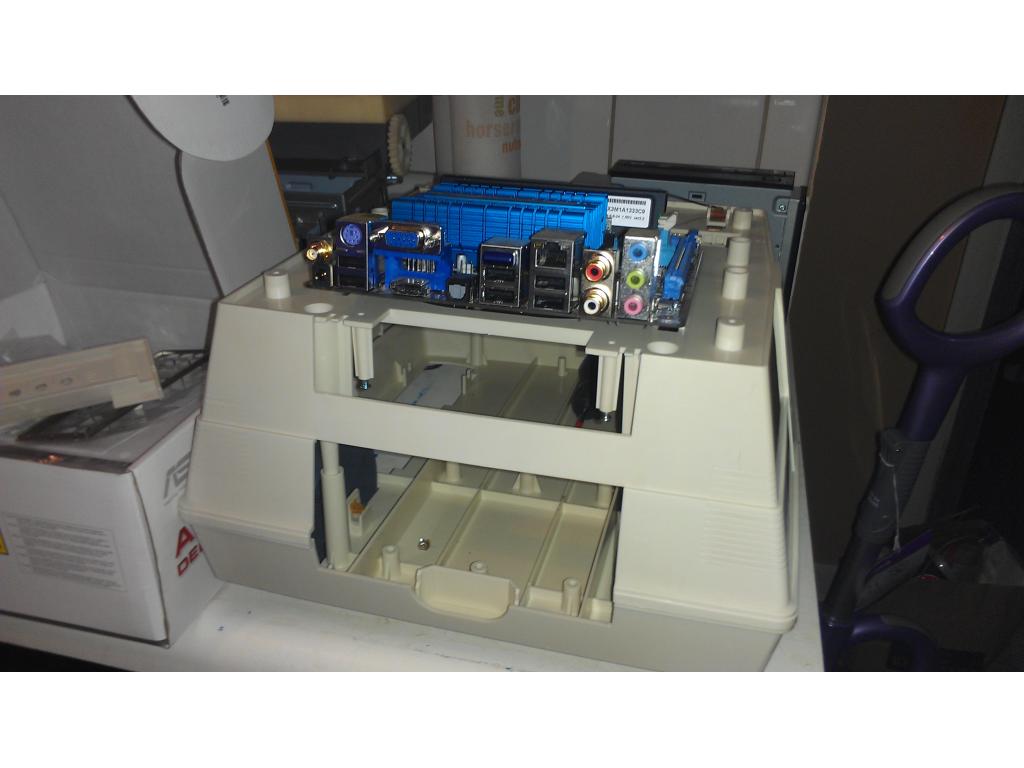
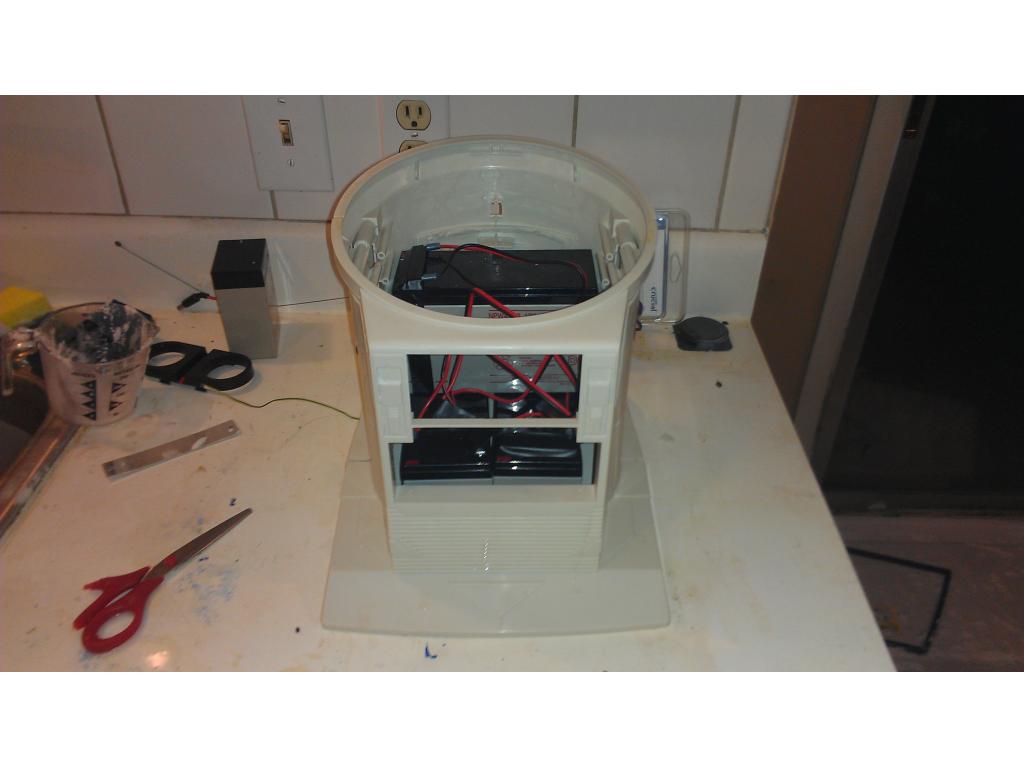
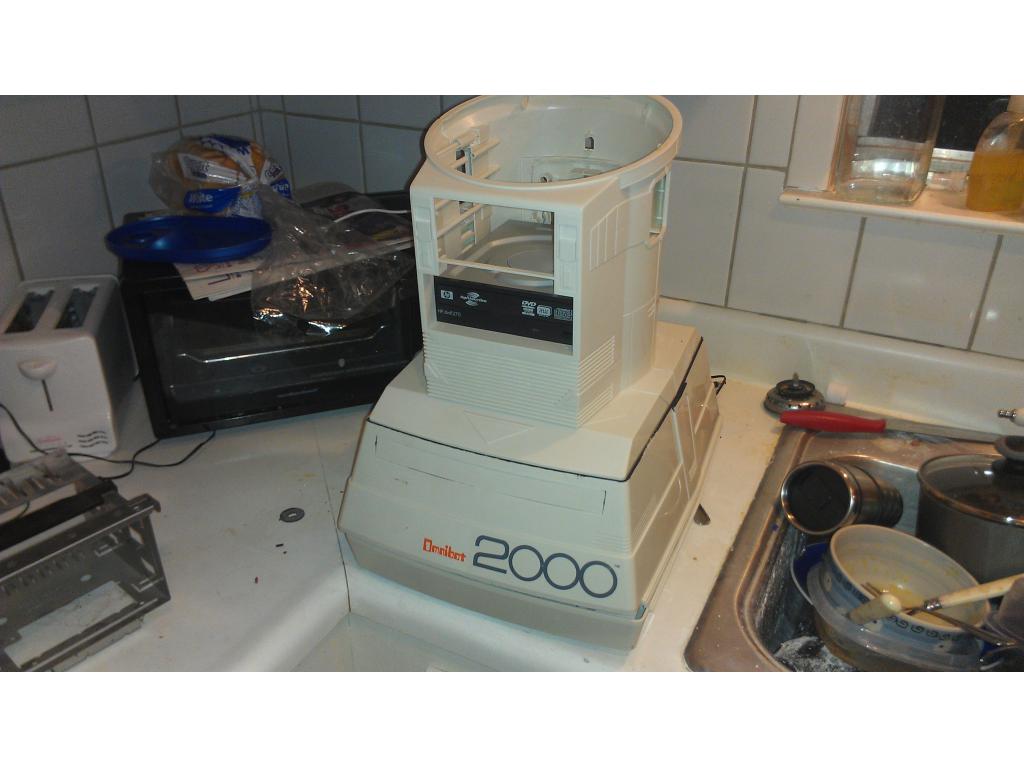
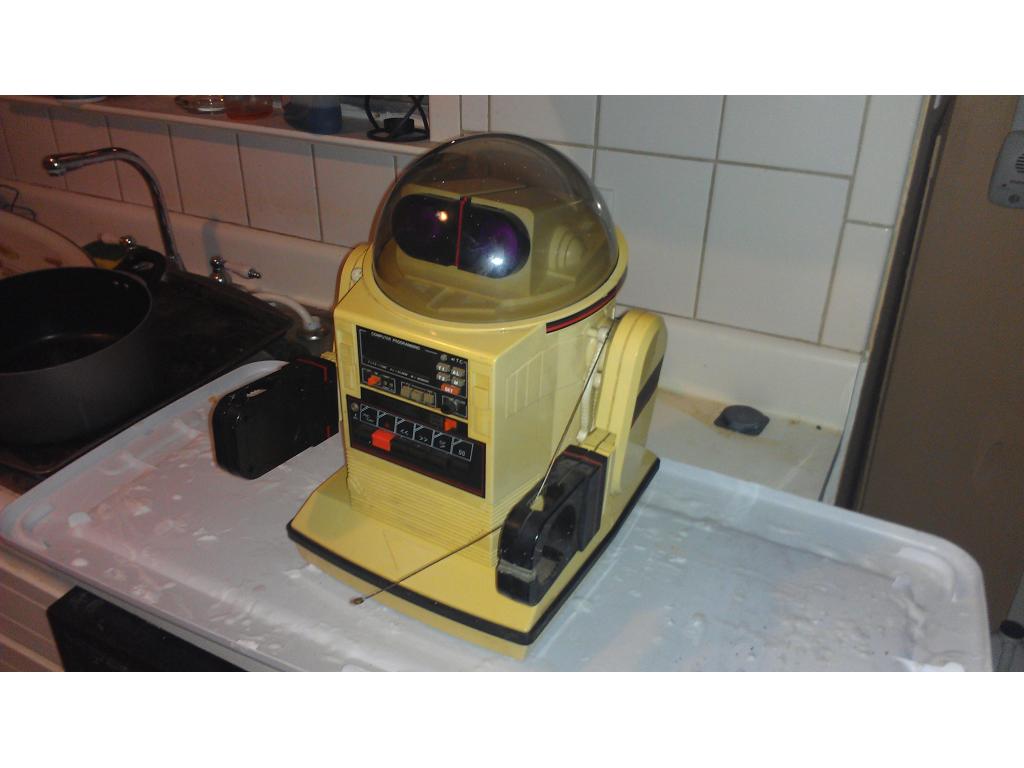
This project has evolved some , the basic rundown is I'm modding two Omnibots , one a regular the other a larger 2000 model. I will have two ezb kits , rad base idea was thrown out because of so much noise but could go back on the table if the omnibot drivetrain is too weak to pull it.


By jstarne1
— Last update
Discover more robots
Jp15sil24's Samantha
Synthiam ARC powers Samantha, a humanoid robot with Python voice control, servo movement, sensors, face tracking, and...
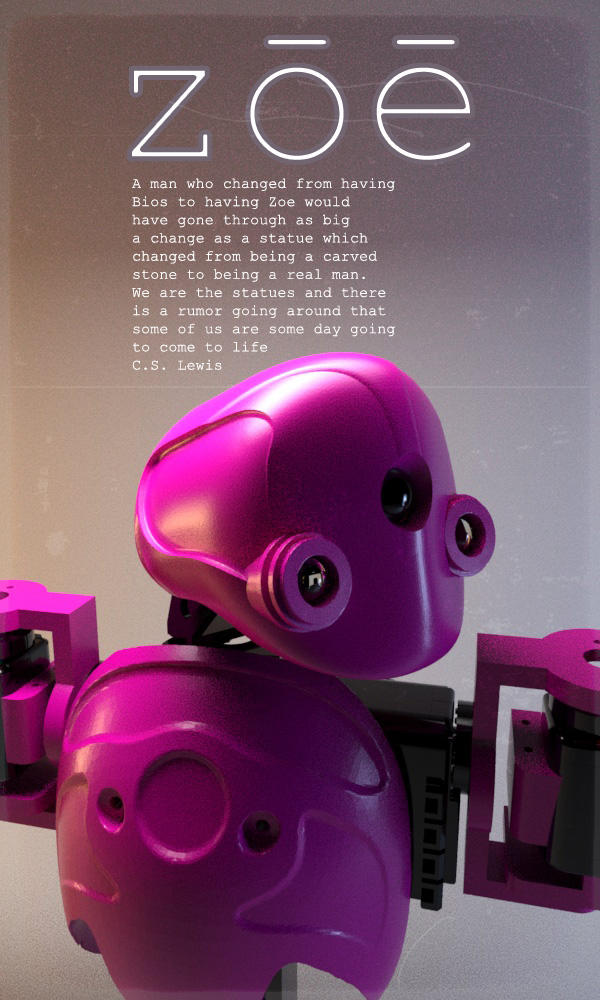
Mickey666maus's ZOE : A Machine That Resembles A Living...
Synthiam ARC supports Raspberry Pi: evolve K[8] into ZOE with Dynamixel servo setup and new conceptual robot design.
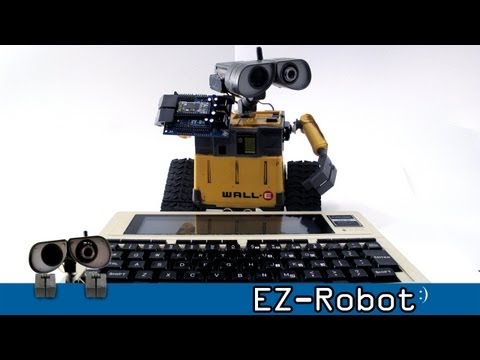
DJ's Trs-80 Model 100 Controlled Wall-E
Control an EZ-Robot Wall-e from a hacked 1983 TRS-80 via TTL Bluetooth; load BASIC programs over Bluetooth; EZ-SDK...

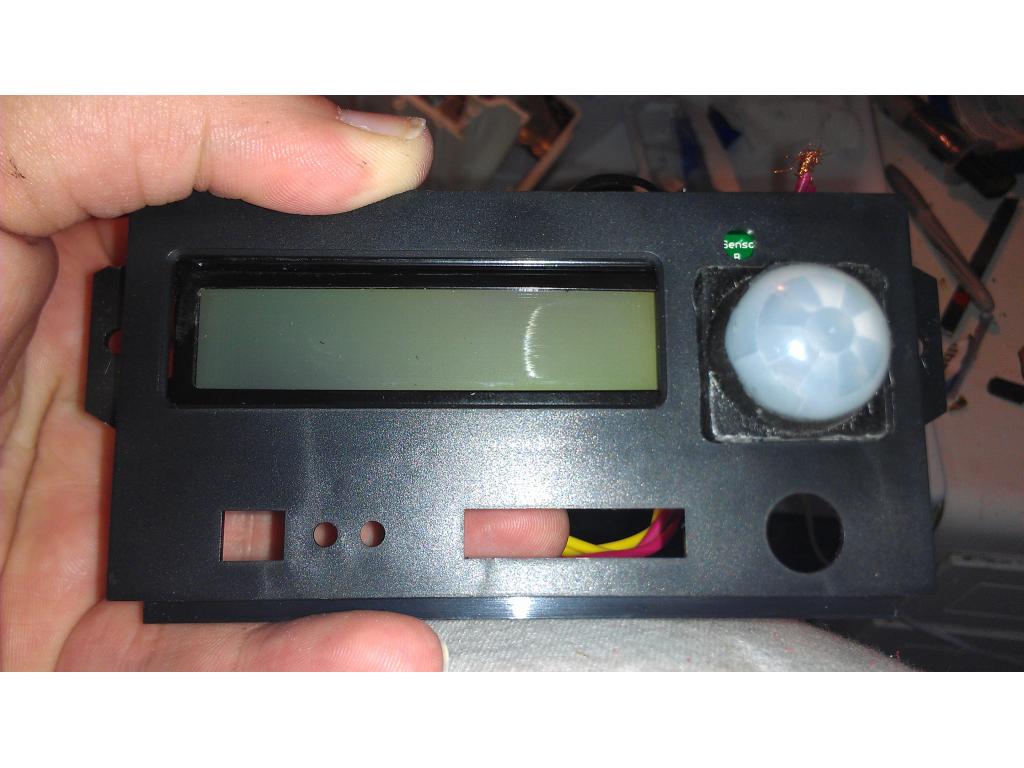
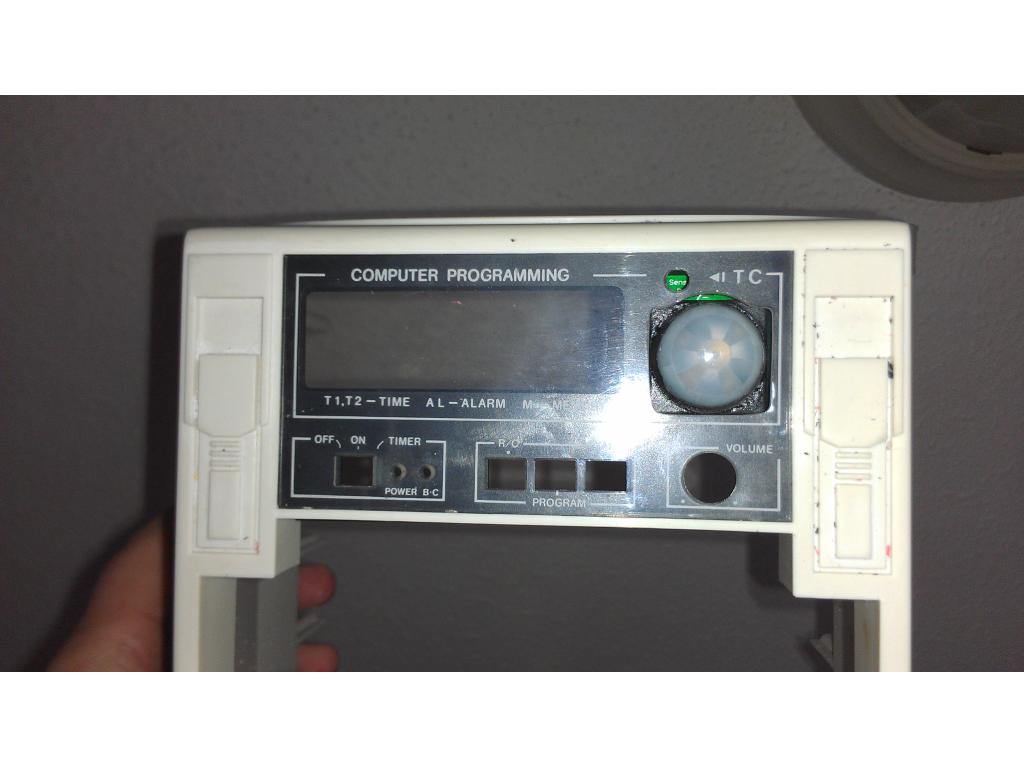
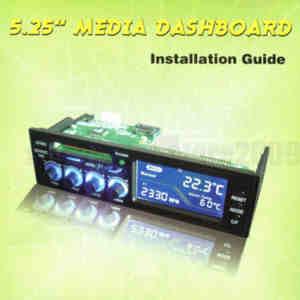
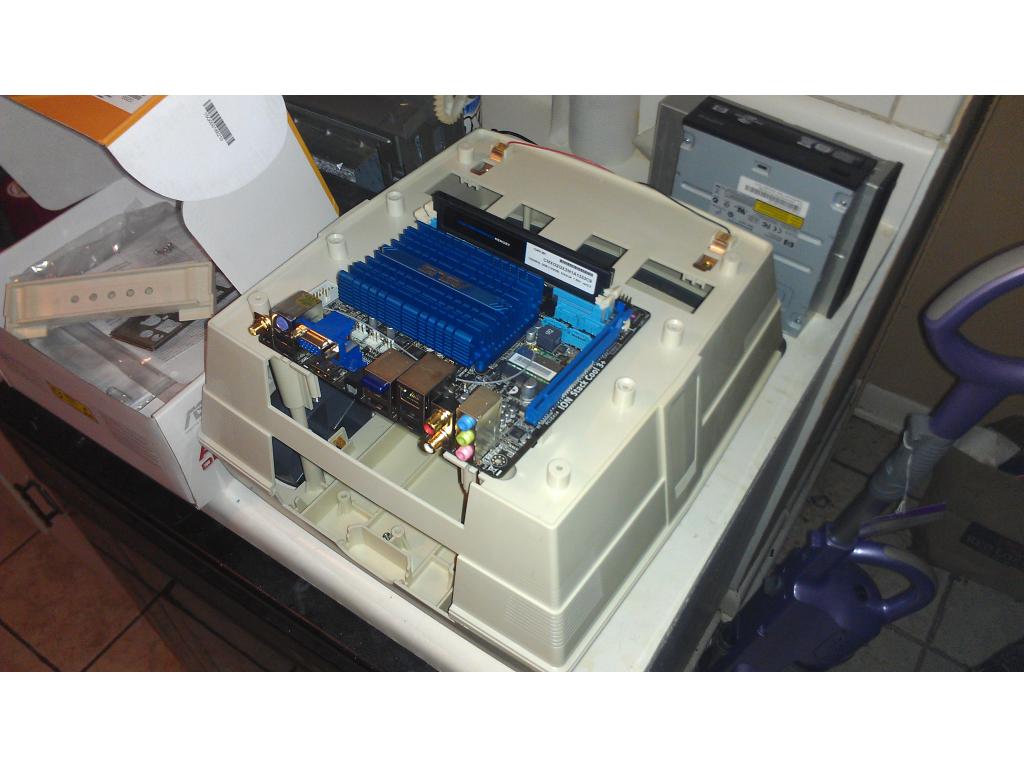
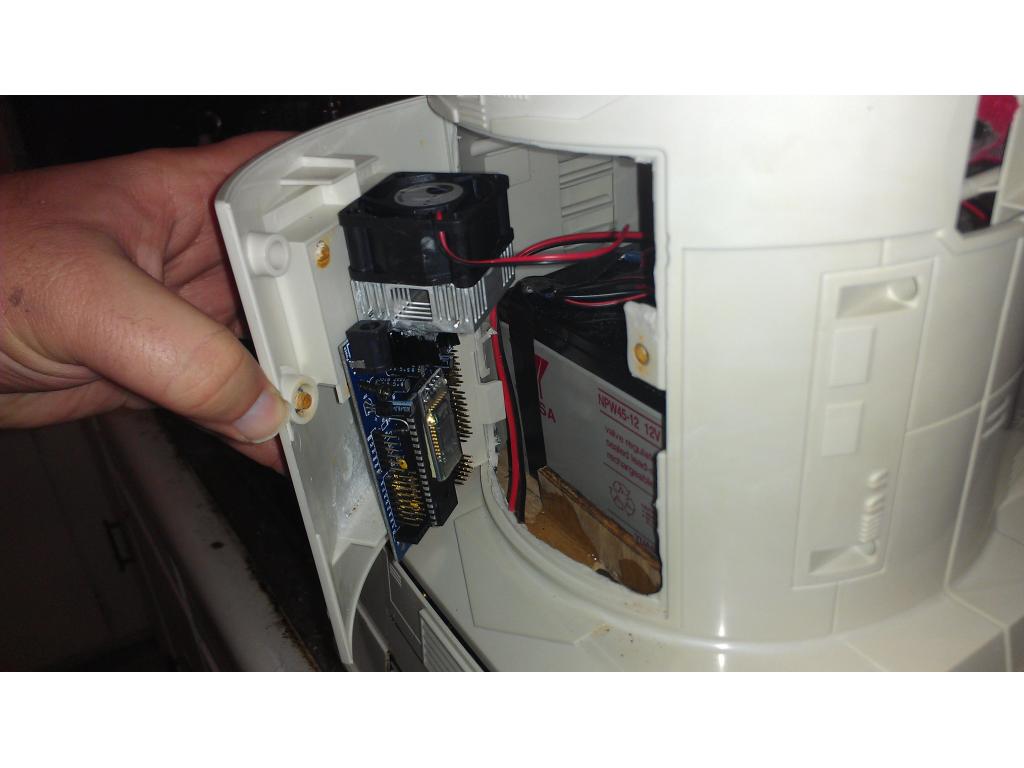
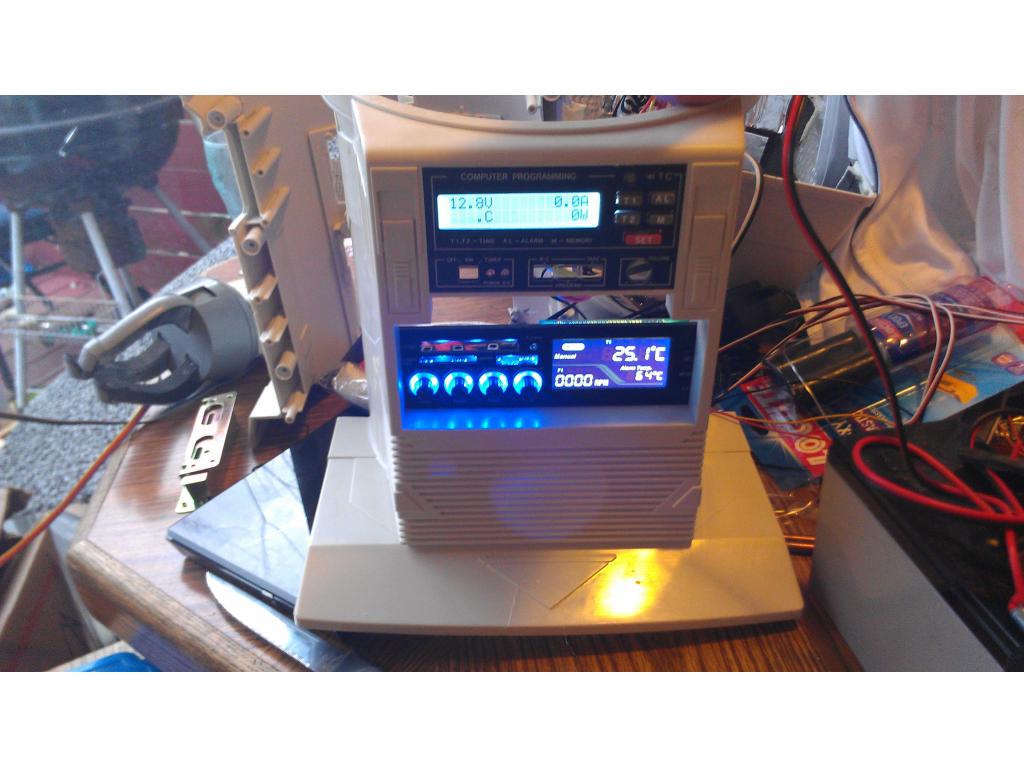
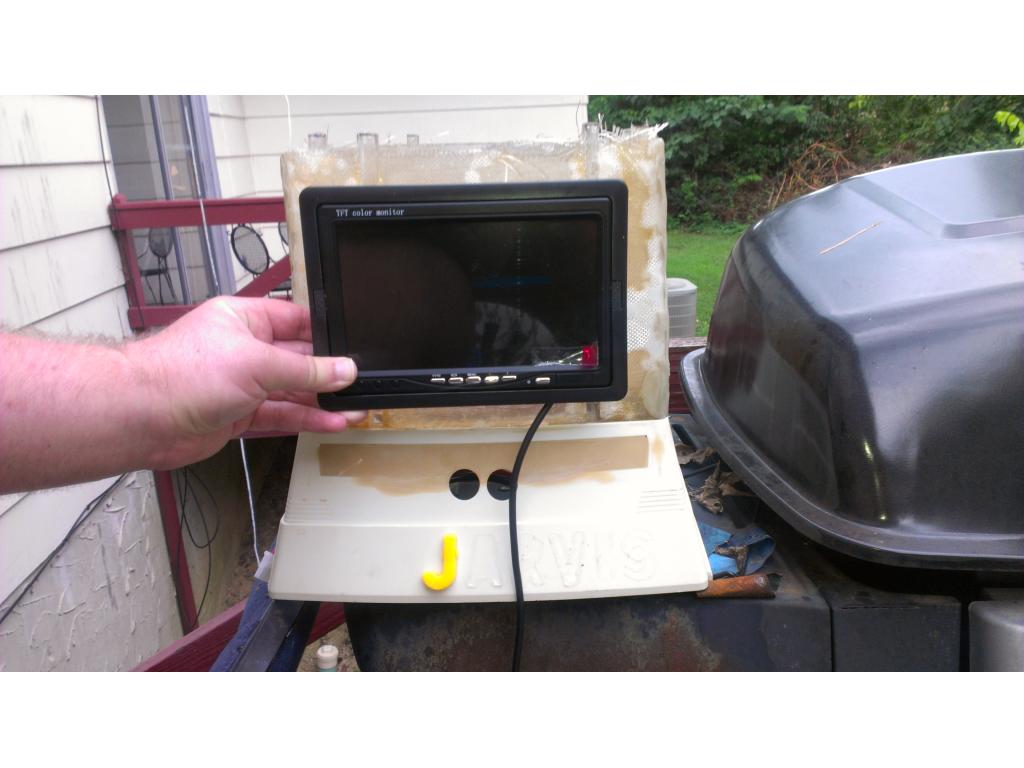
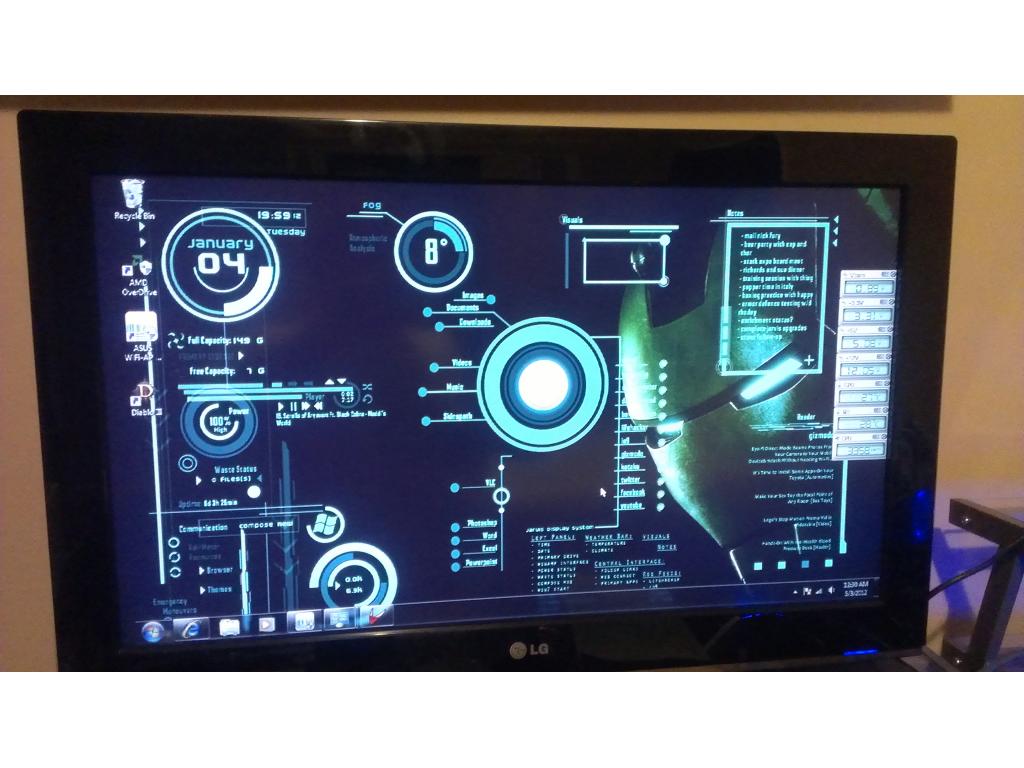
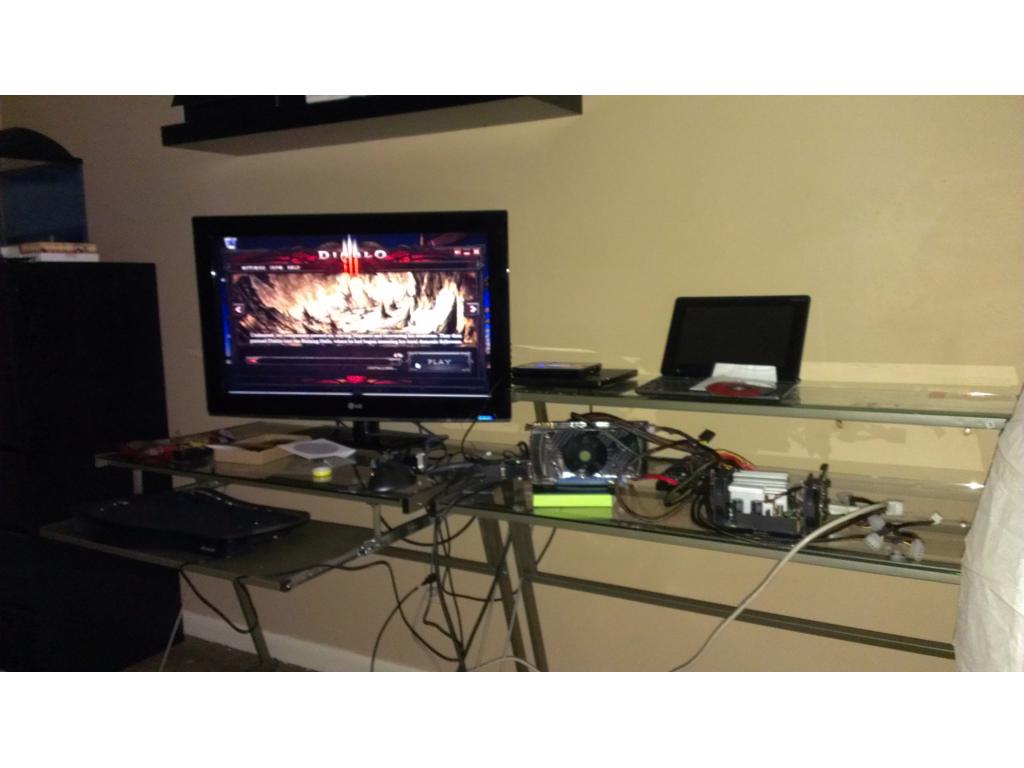
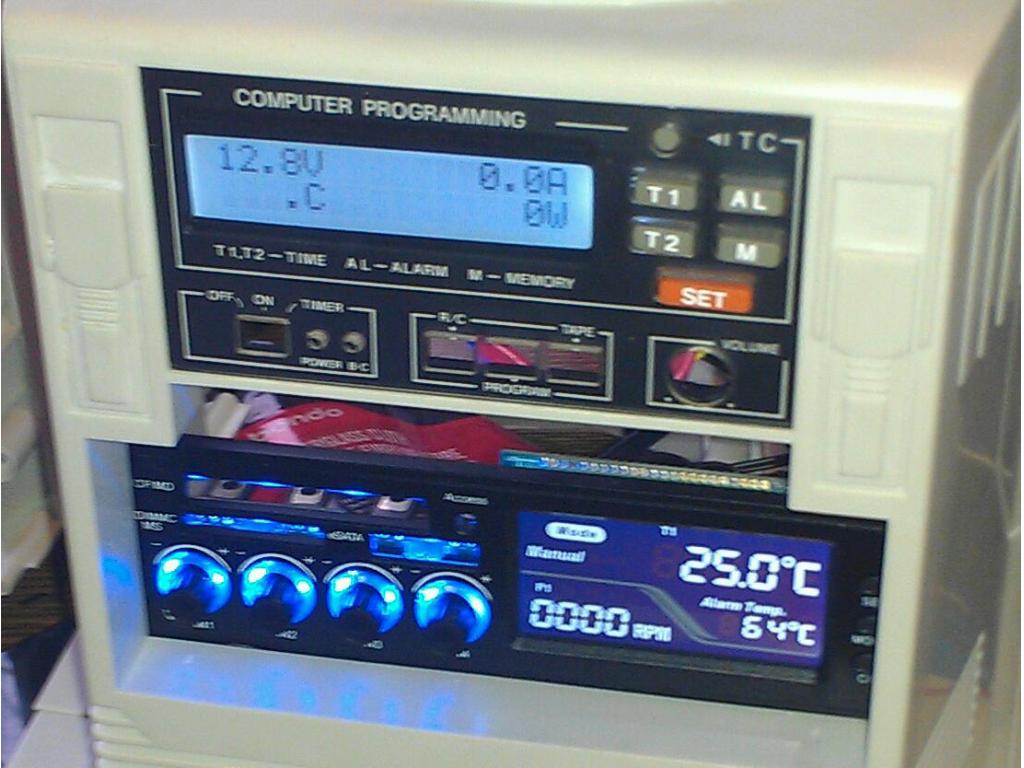
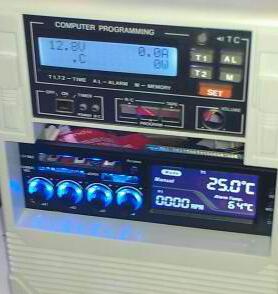
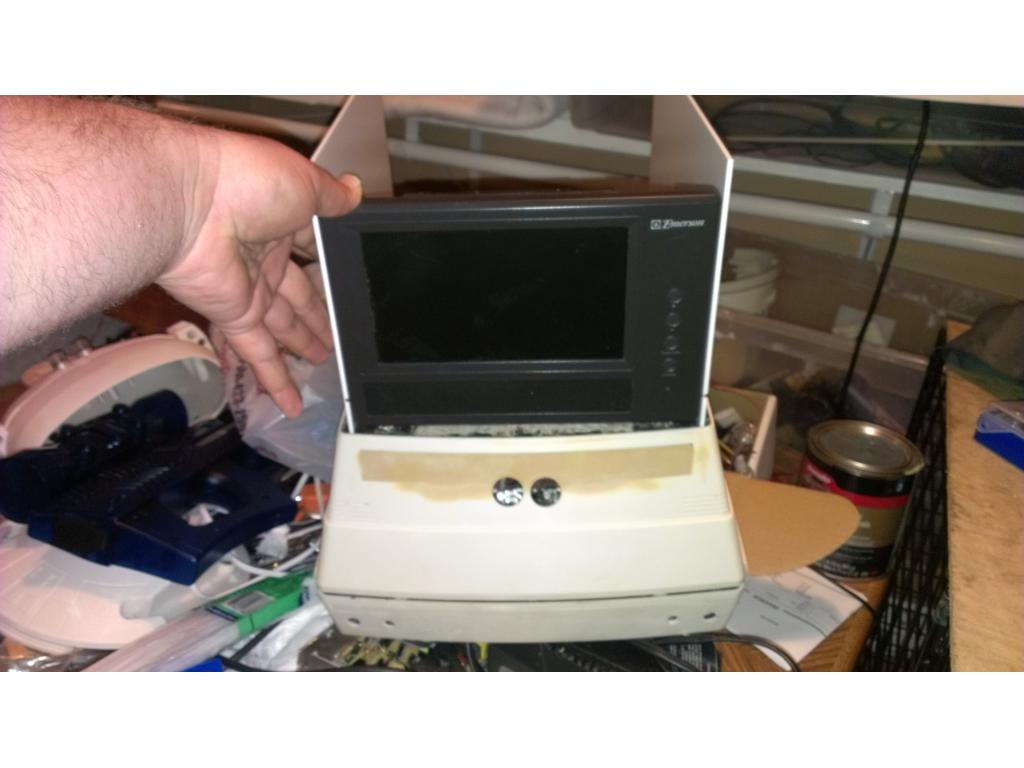
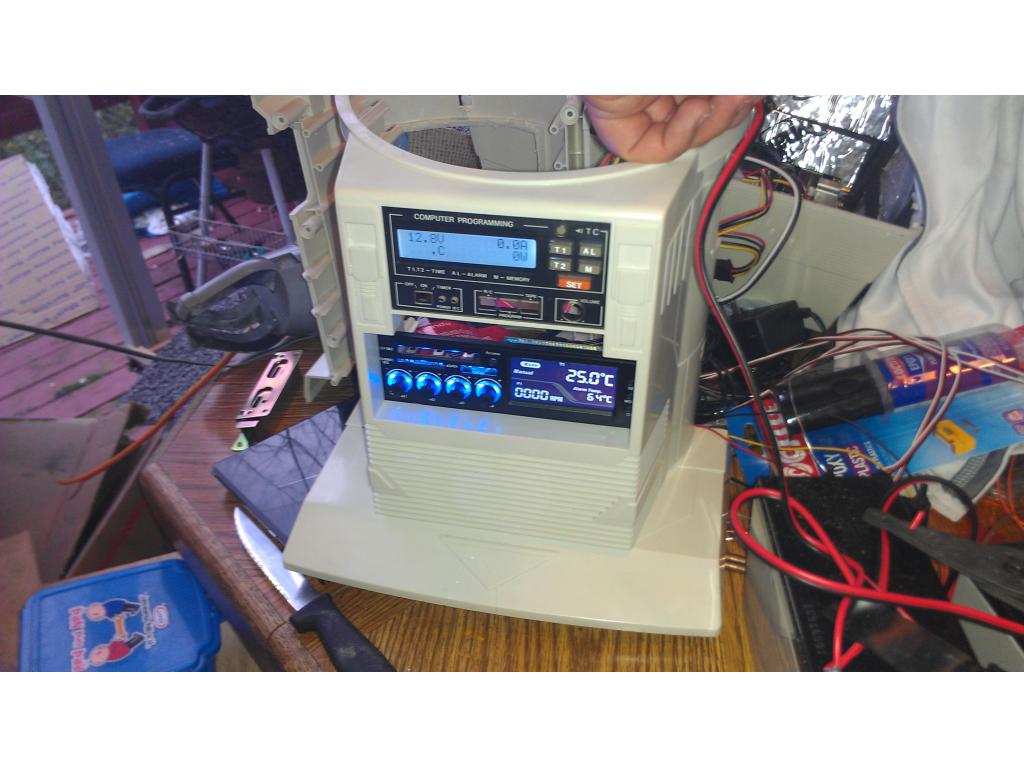
@DJ i like the LCD looks on your Omnibot, can you share which LCD model and how you get it to play EZ-Robot video? does it have itx board inside? Thanks.
@Robotmaker I'm not looking to put an itx computer inside but I'll keep that in mind. Thanks.
might have to see if they make TTL MONITOR or BLUETOOTH i dont think they do there are other mine computer boards ,like the rabbit or roboboard,EZB doesnt have a video output like the parallax propellor has,might be done sow how with that board using master/slave
@dj I super appreciate the tabs and "last" post button
Dj doesn't have a itx on.the omnibot 2000 , he is using a video out from a iPod
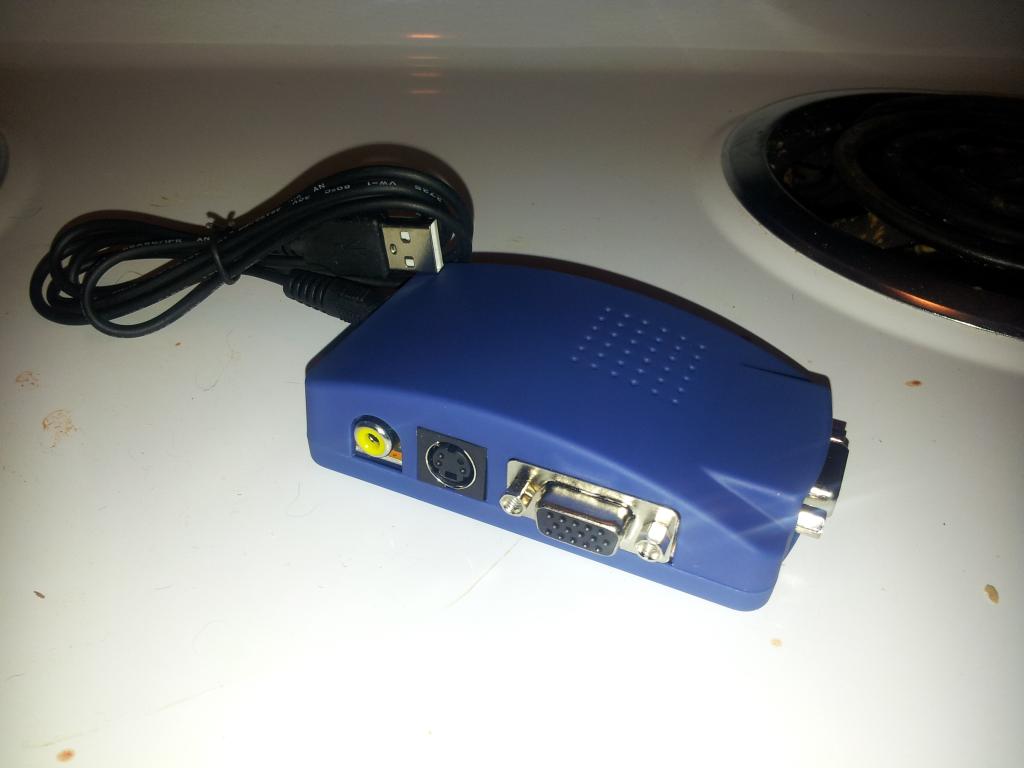
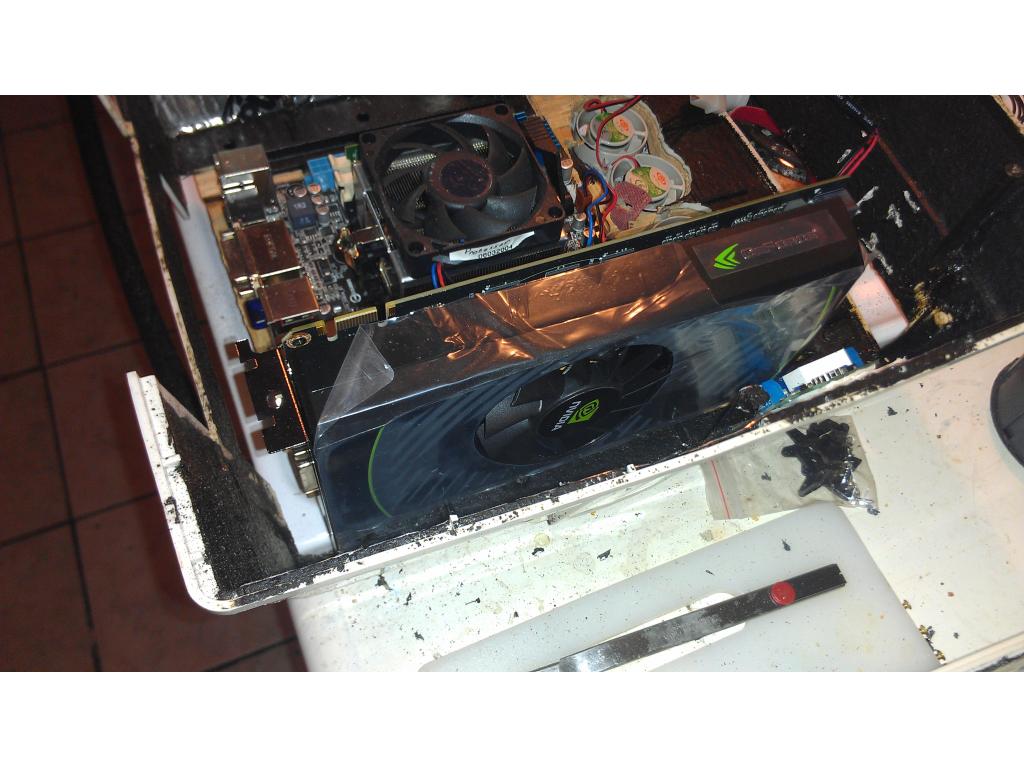
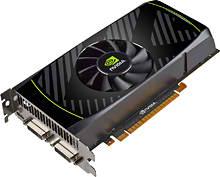
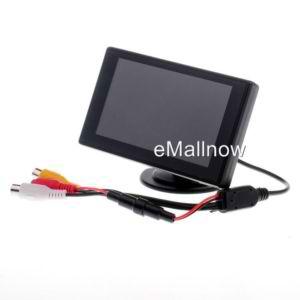
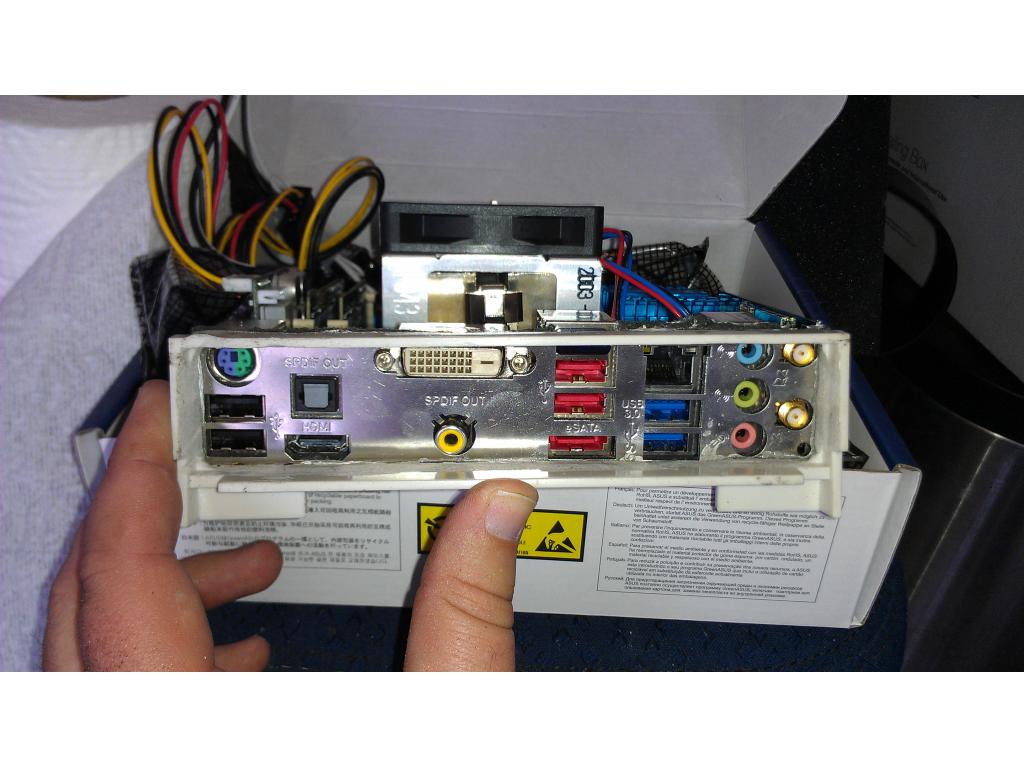
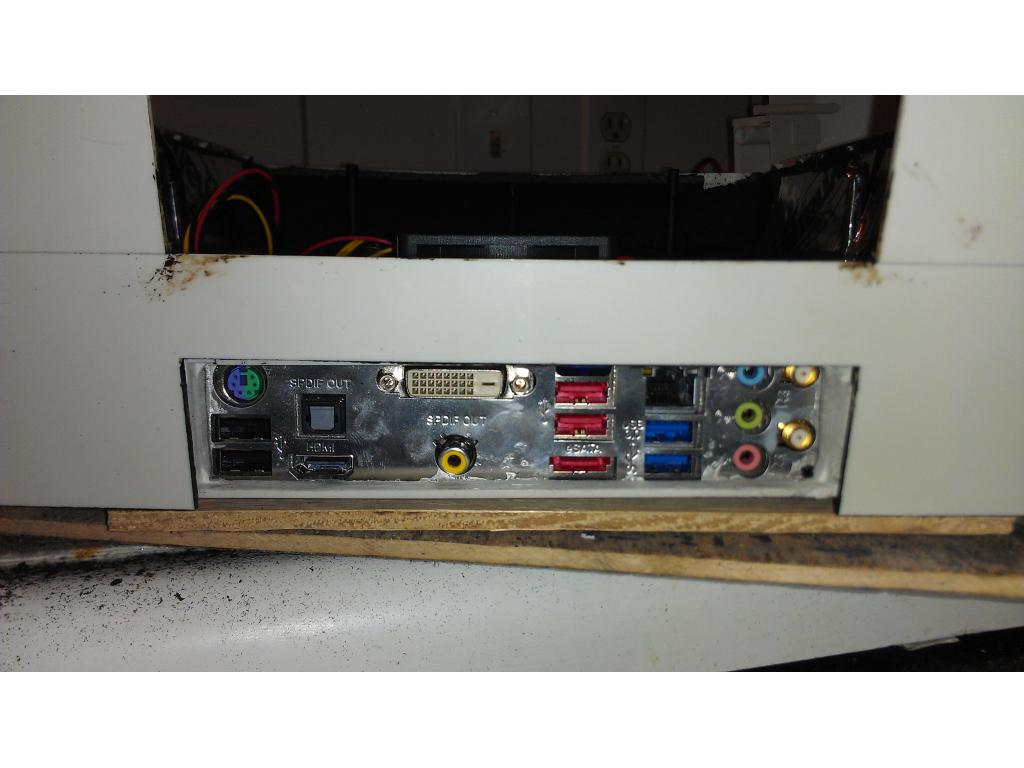
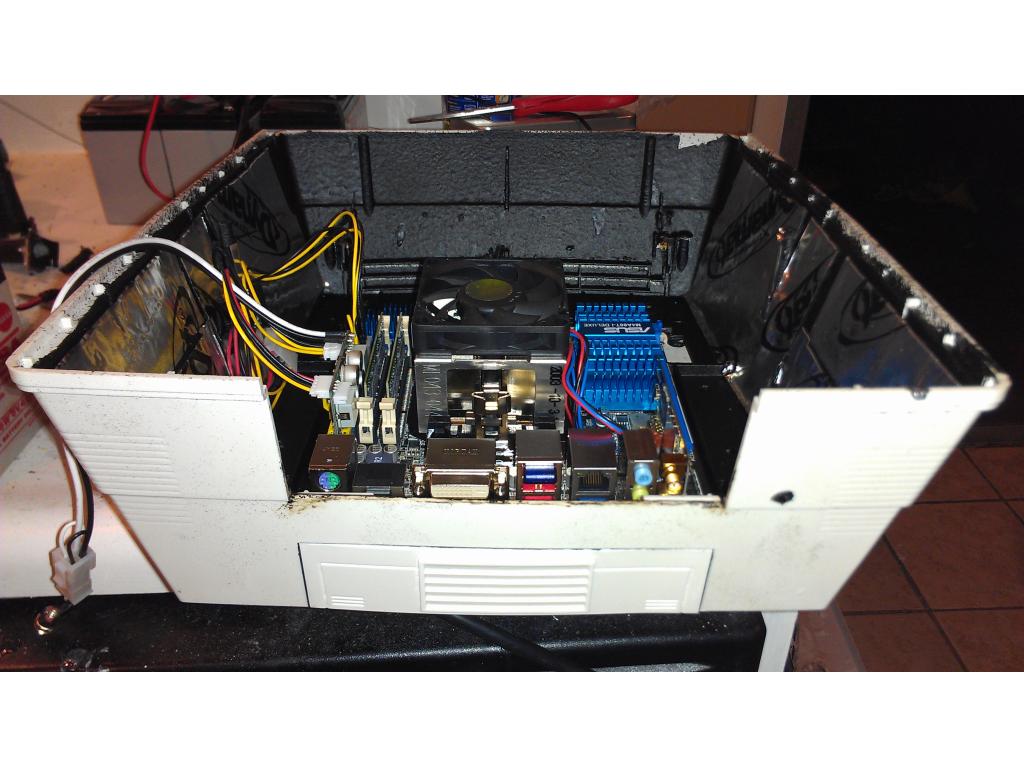
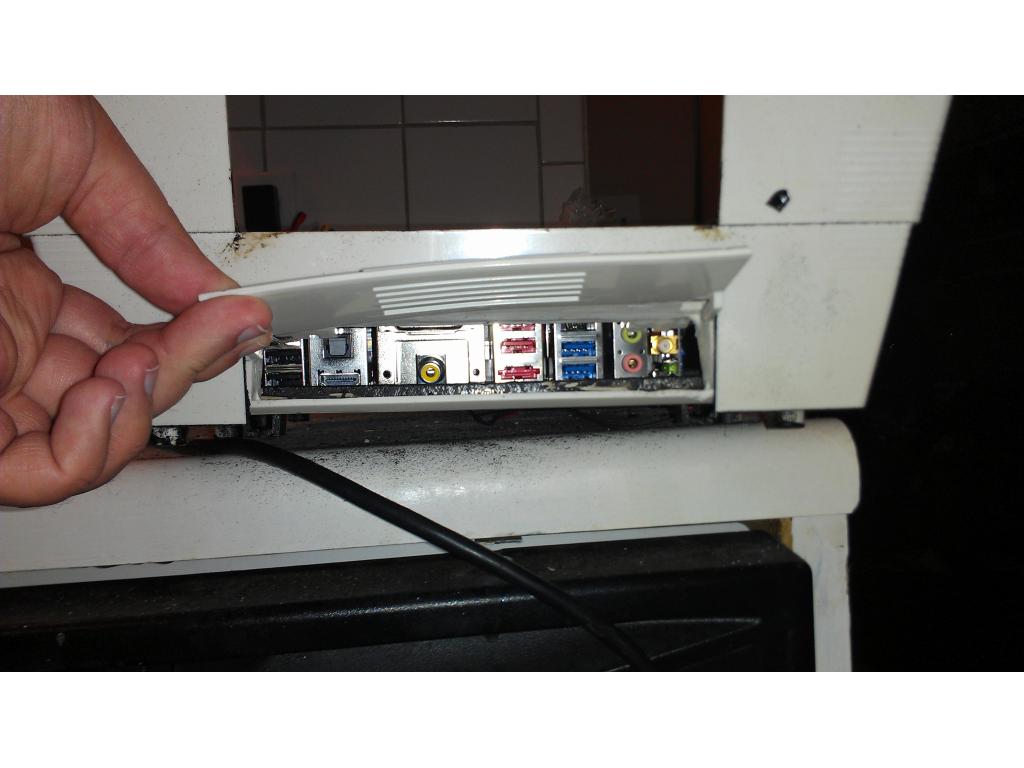
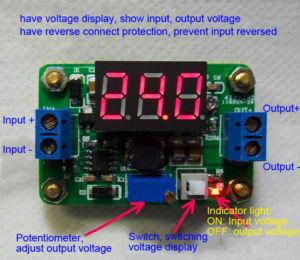
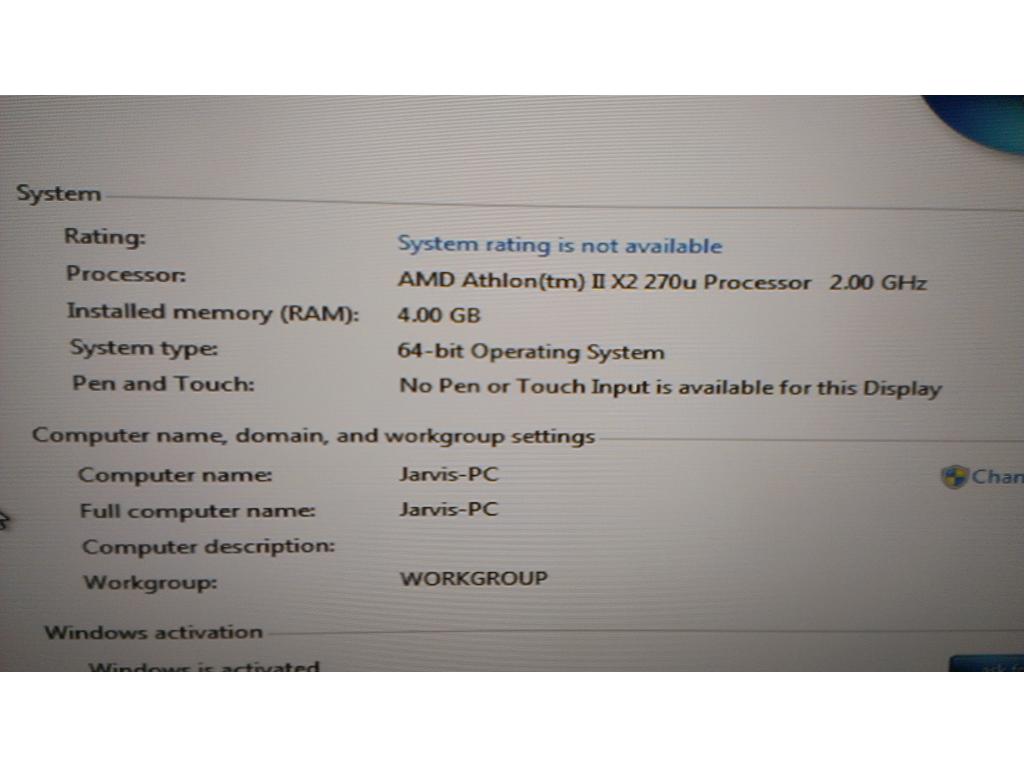
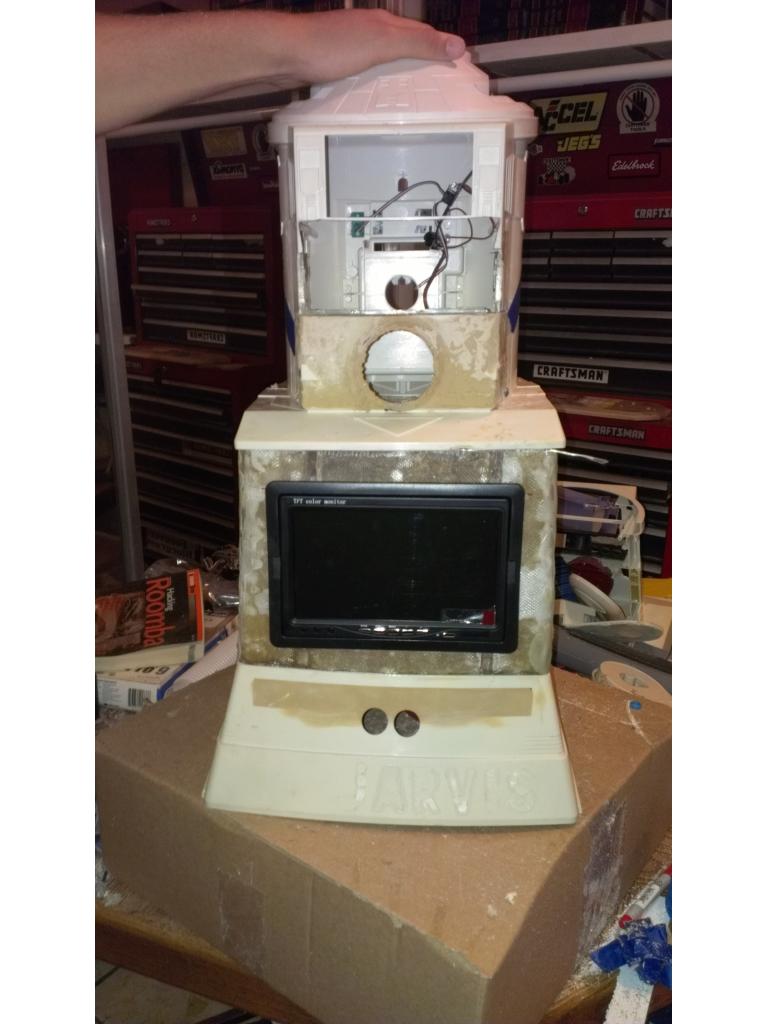
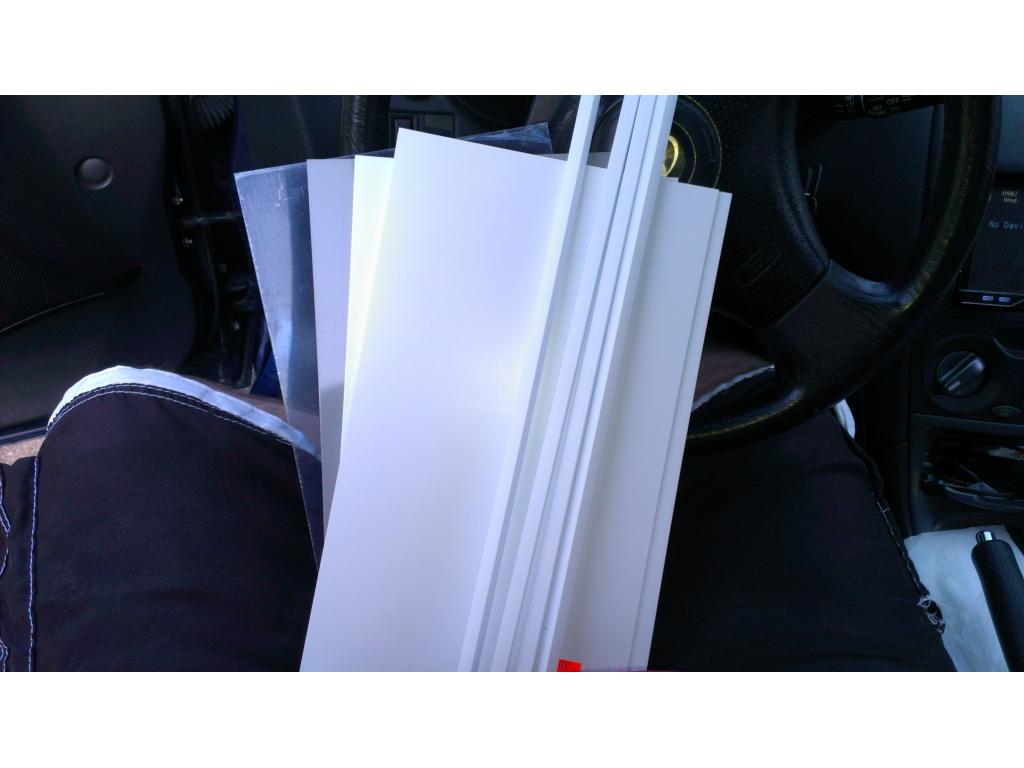
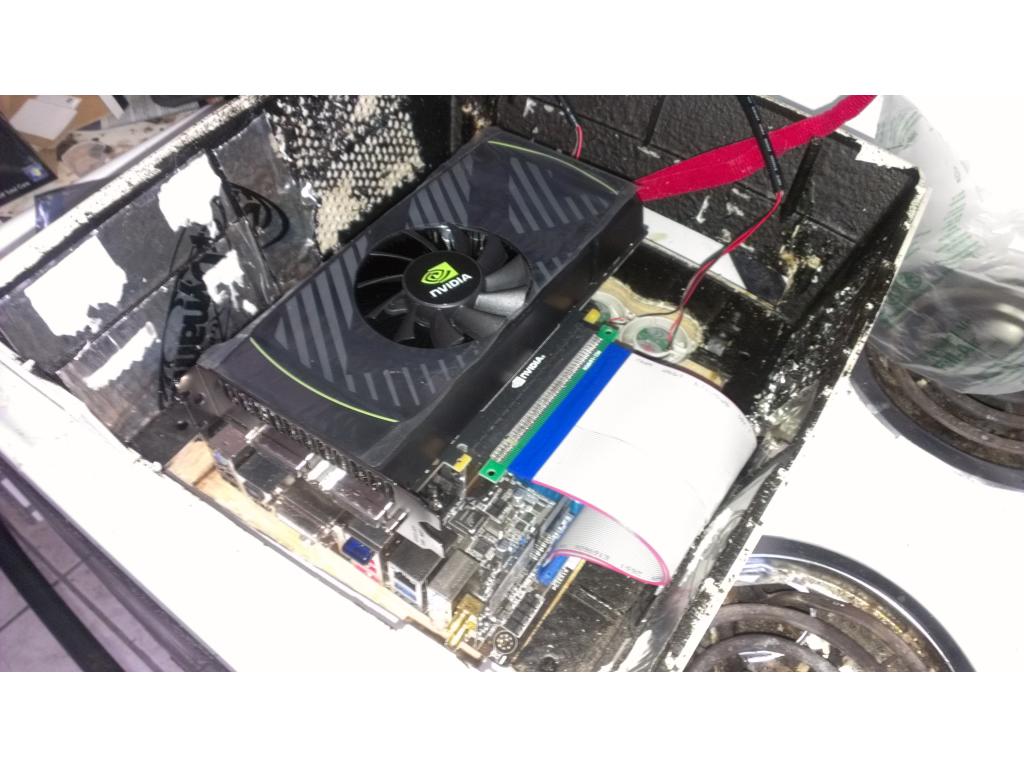
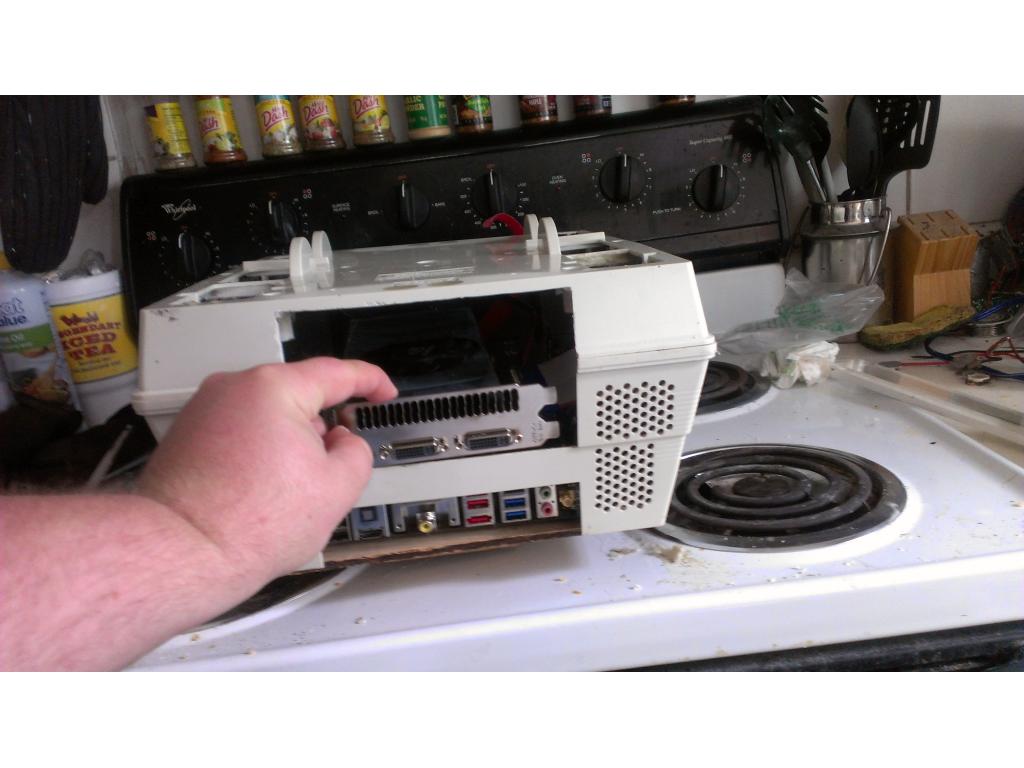
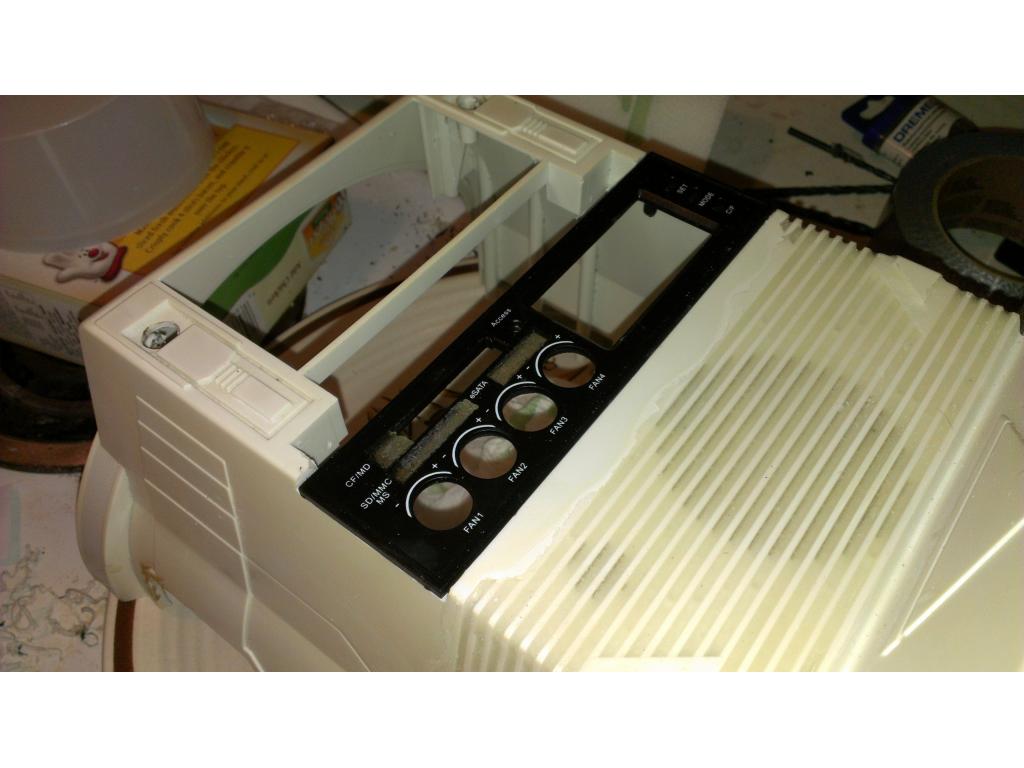
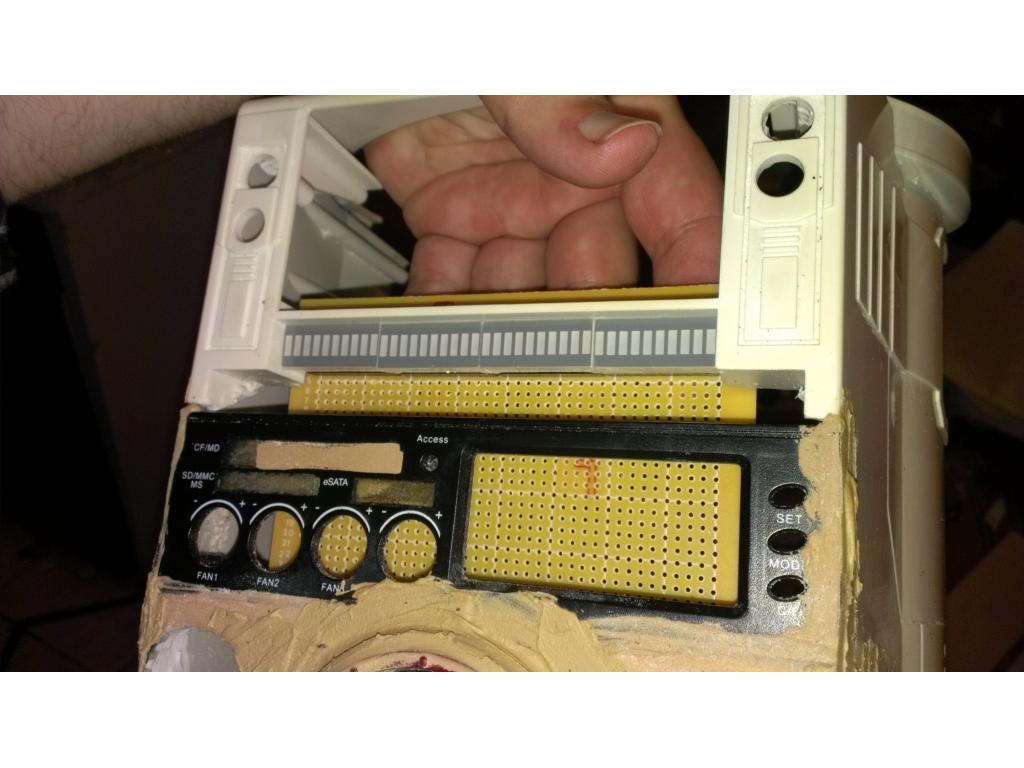
For mine I planned on using a USB dongle to composite video , you can set the resolution of the screen by pixels and adjust color ect. If you want to go a more basic route there are a couple pins from VGA out that produce a basic composite signal but I rather not solder anything to a connector on my mini.itx . You could use a iPod or a WiFi video bridge so video just comes from your computer controlling your robot to the video receiver you would have plugged in your little tv on your bot
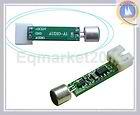
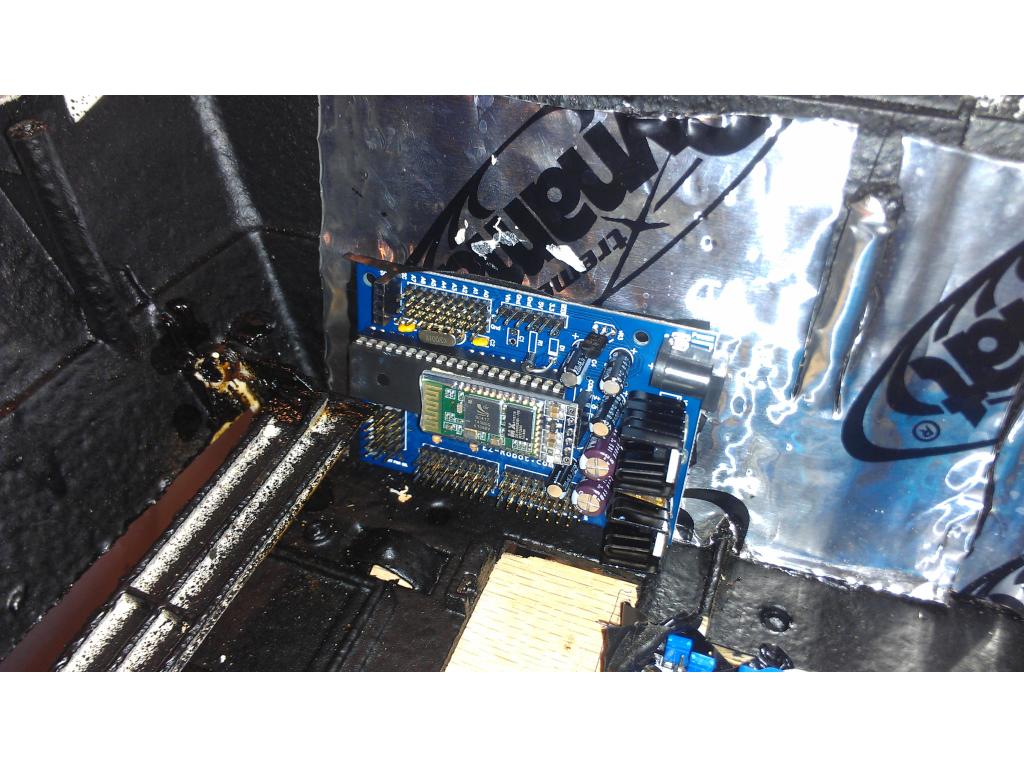
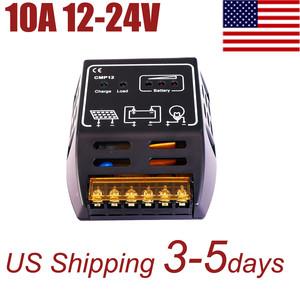
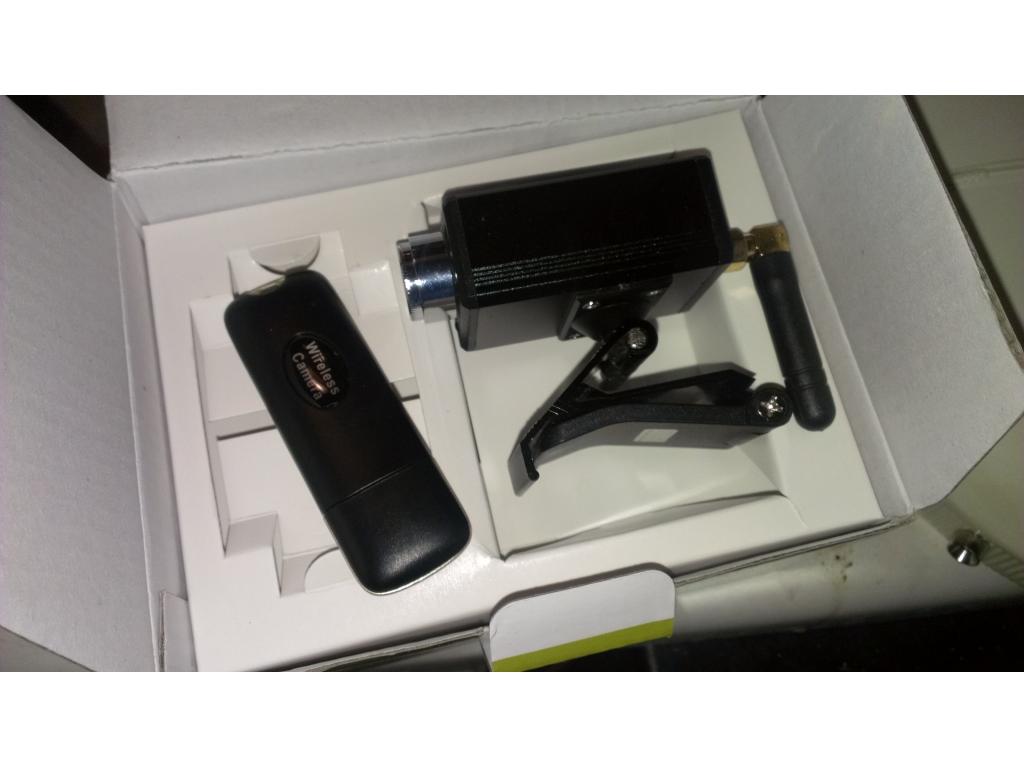
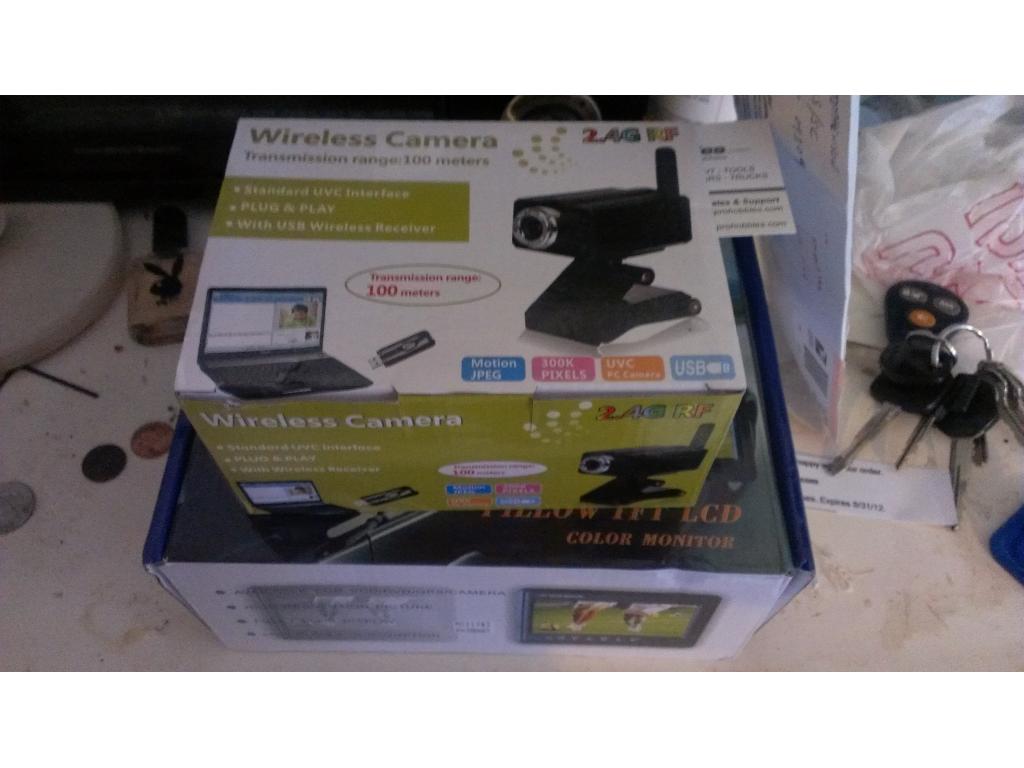
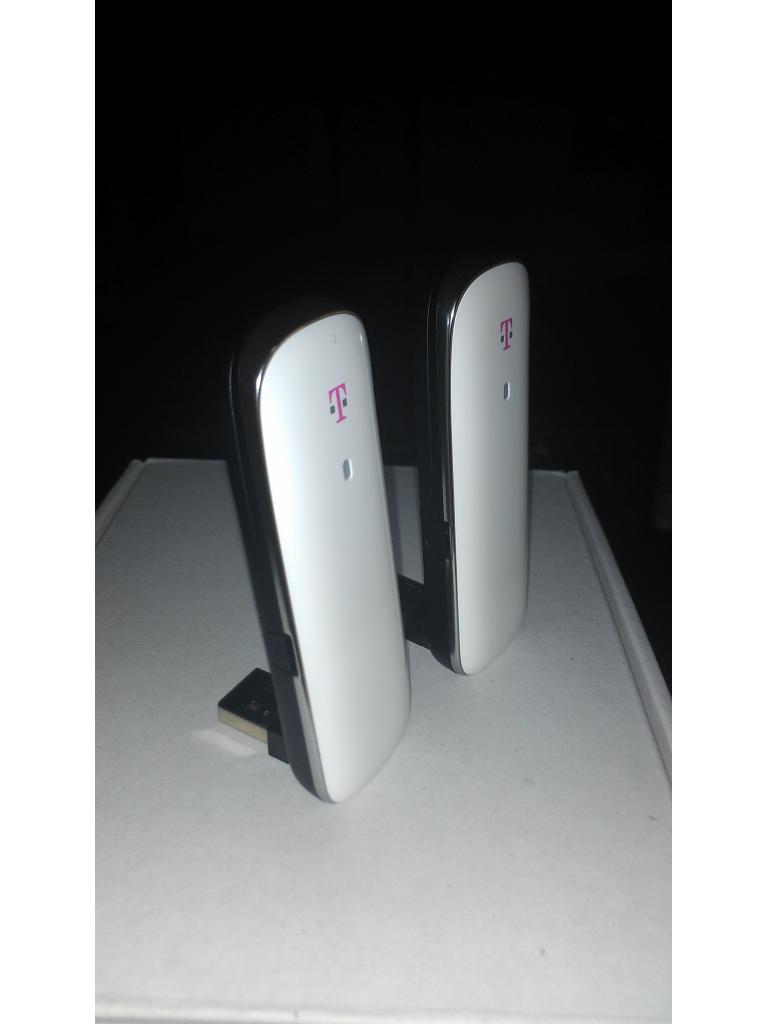
https://synthiam.com/Community/Questions/400 here is the thread on using a IPOD great about using a computer on a robot ,you got full control using ARC and remote desktop and WIFI,speed ,room to hold videos ,adding software for videos like roborealm and lot more cant do with a IPOD also there is a video WIFI bridge thats steams video,,but do need to change the bluetooth to WIFI FOR IT TO WORK this is one i bought
WIFI video bridge
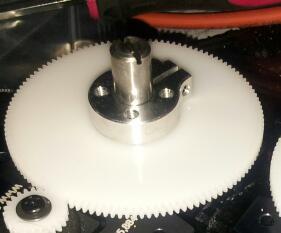
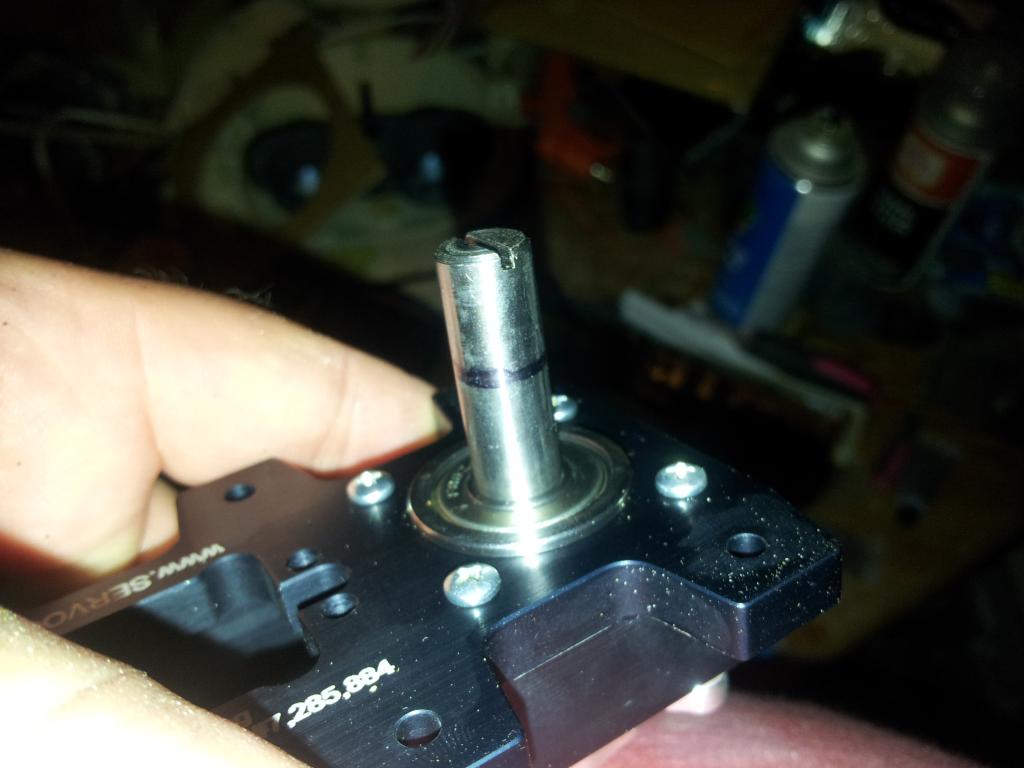
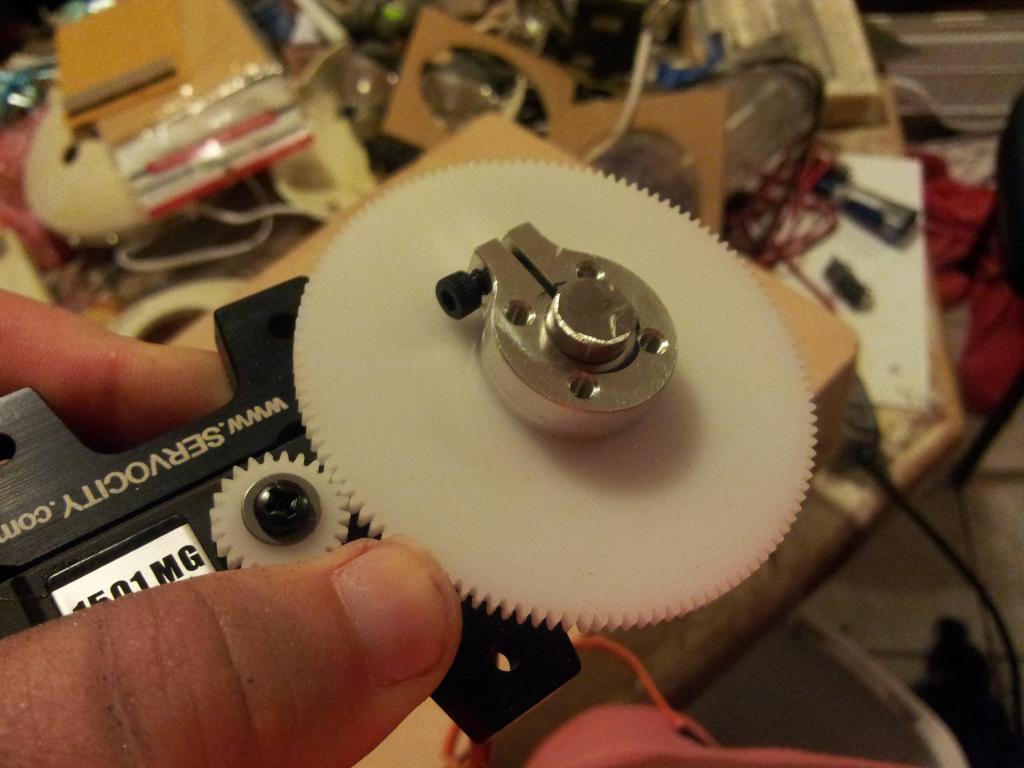
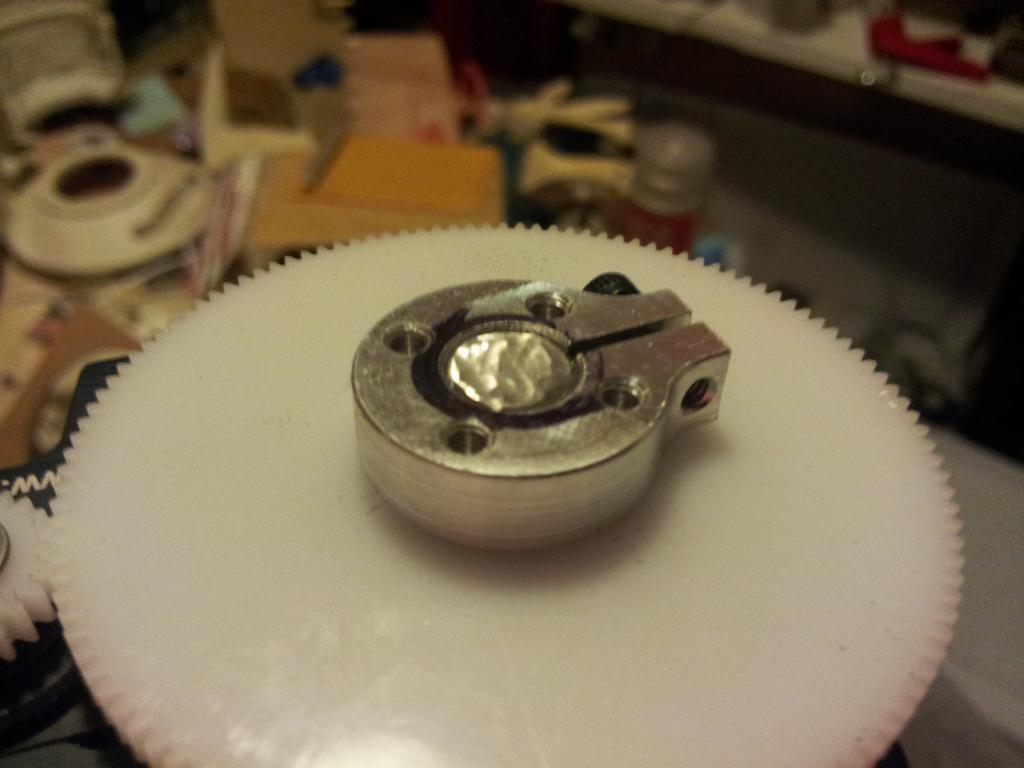
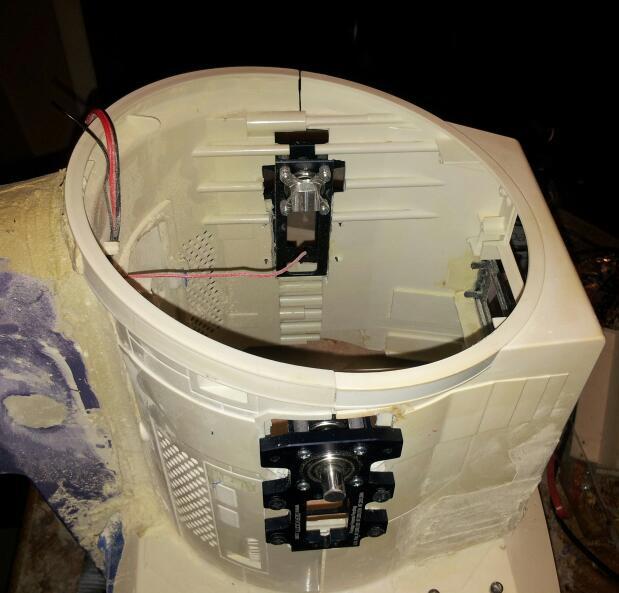
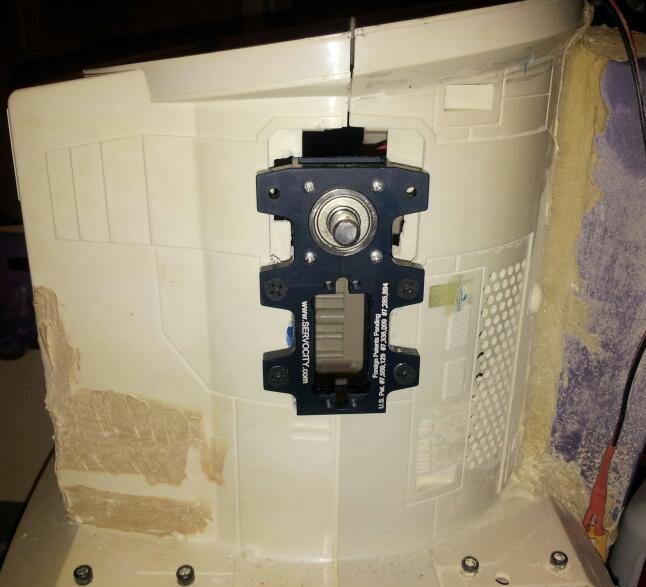
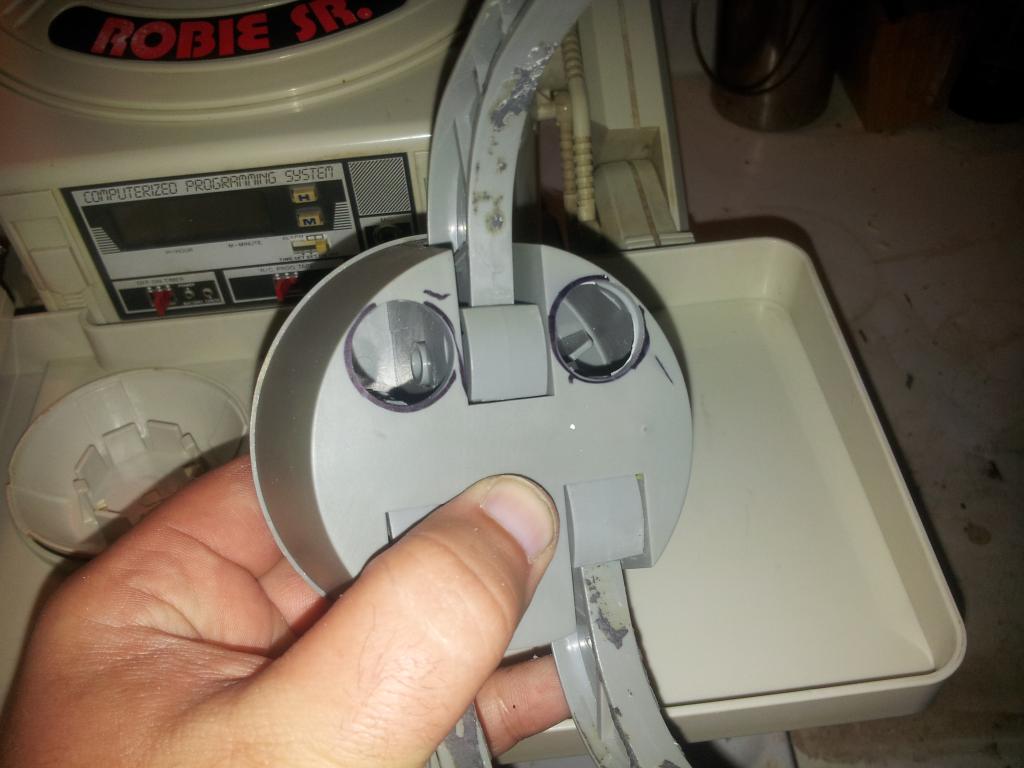
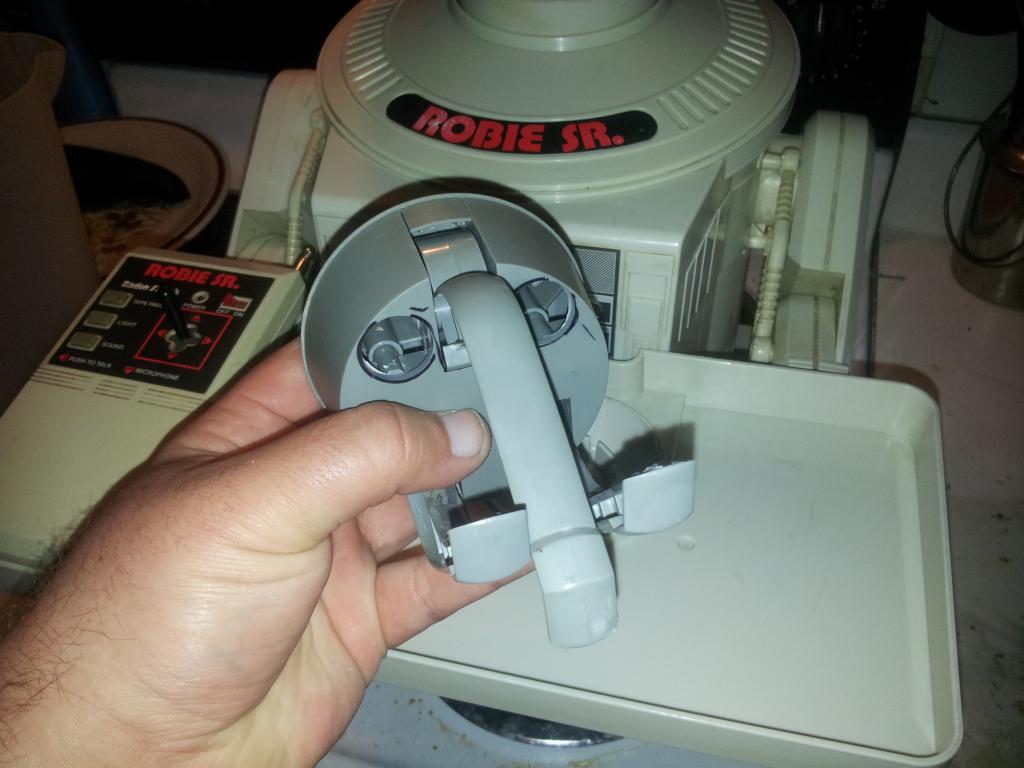
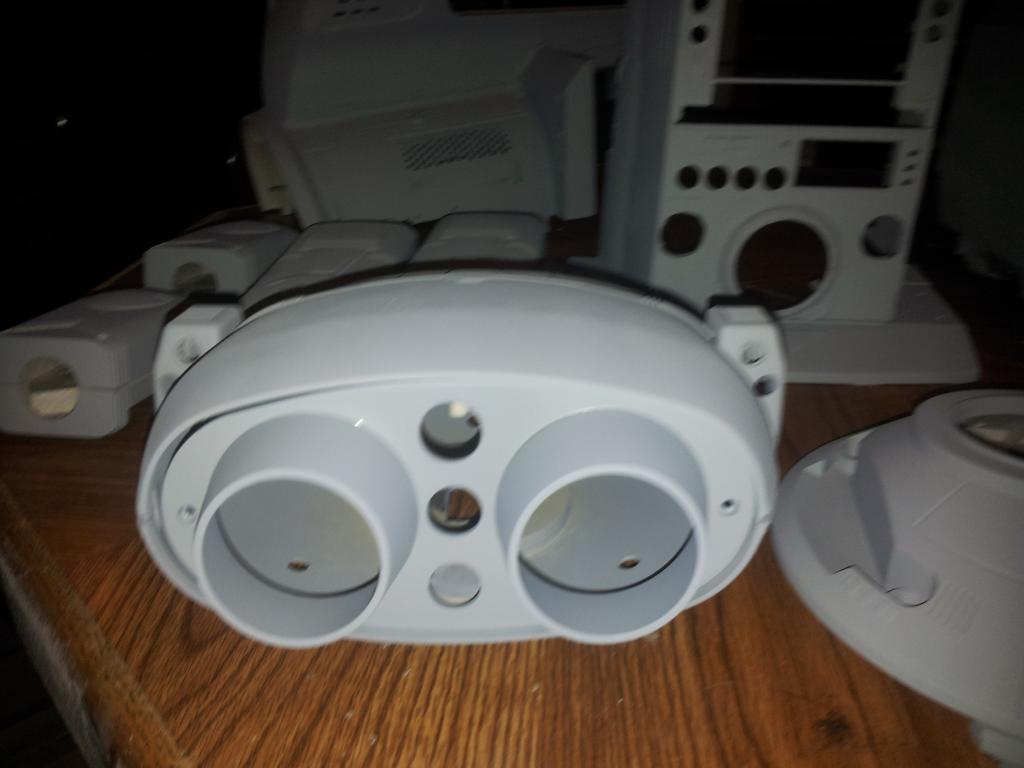
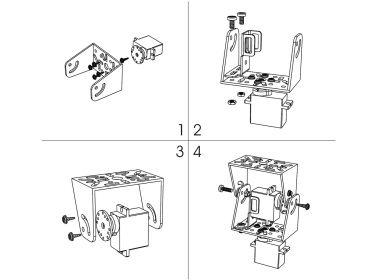
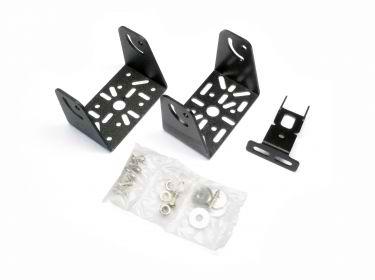
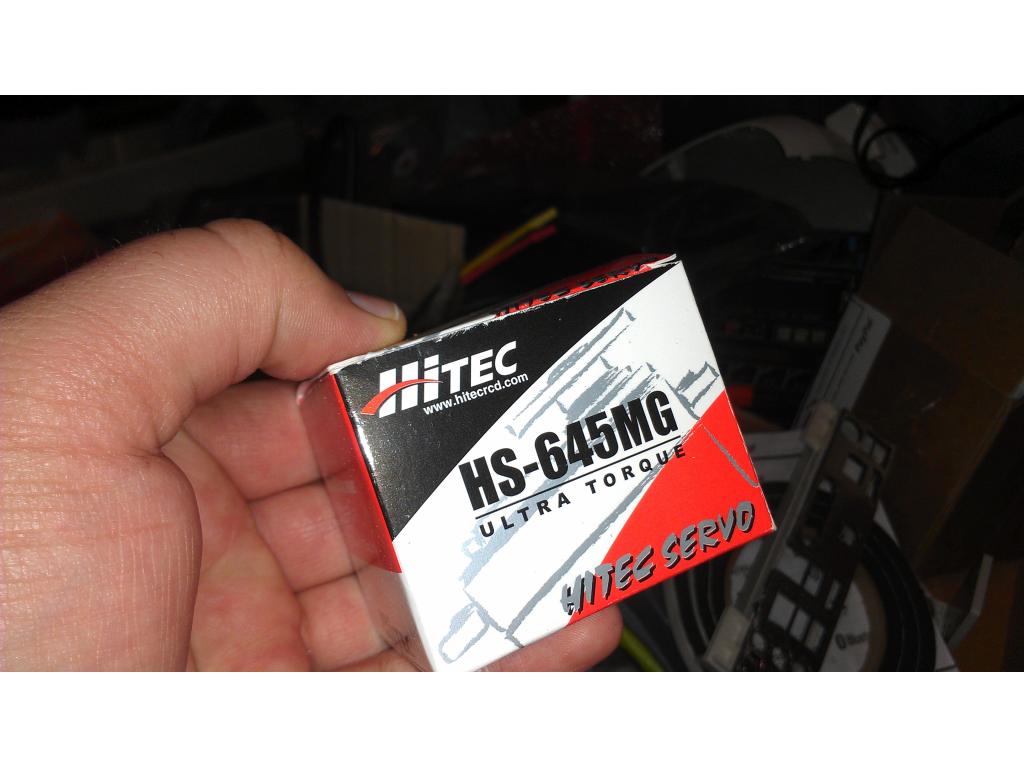
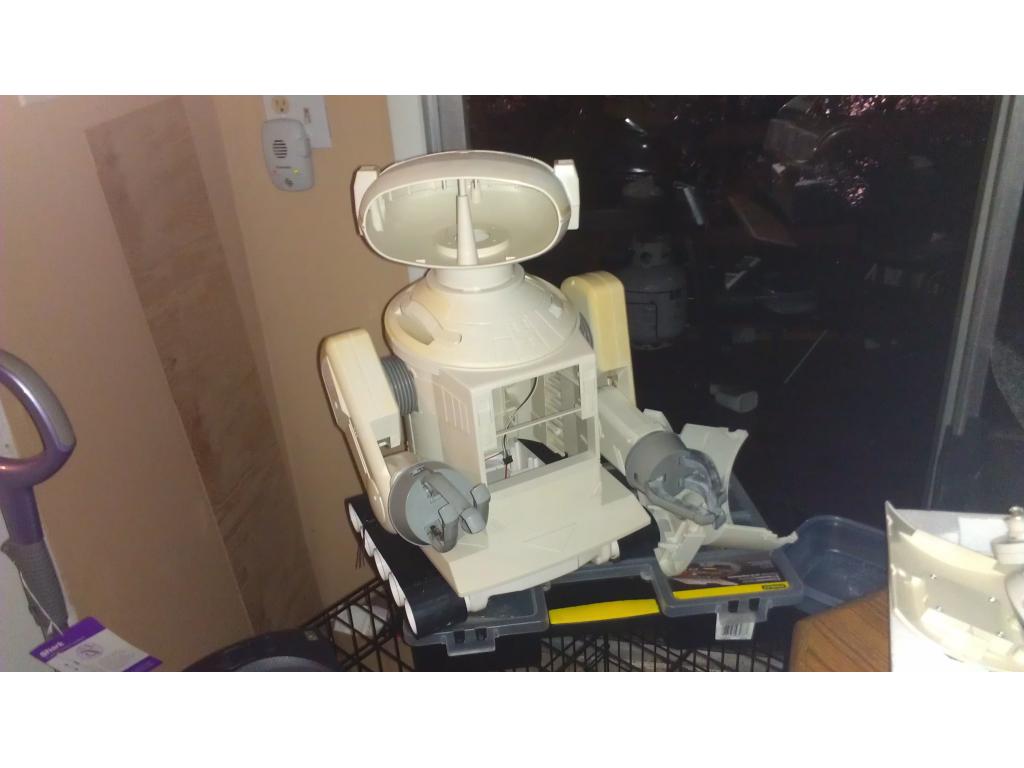
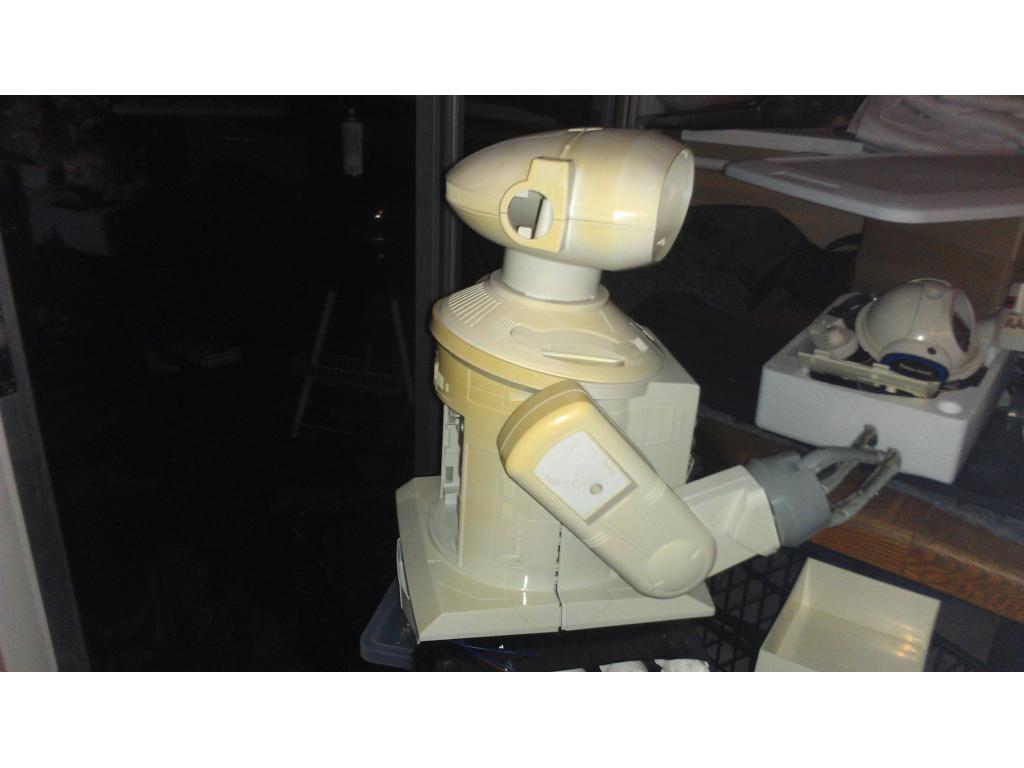
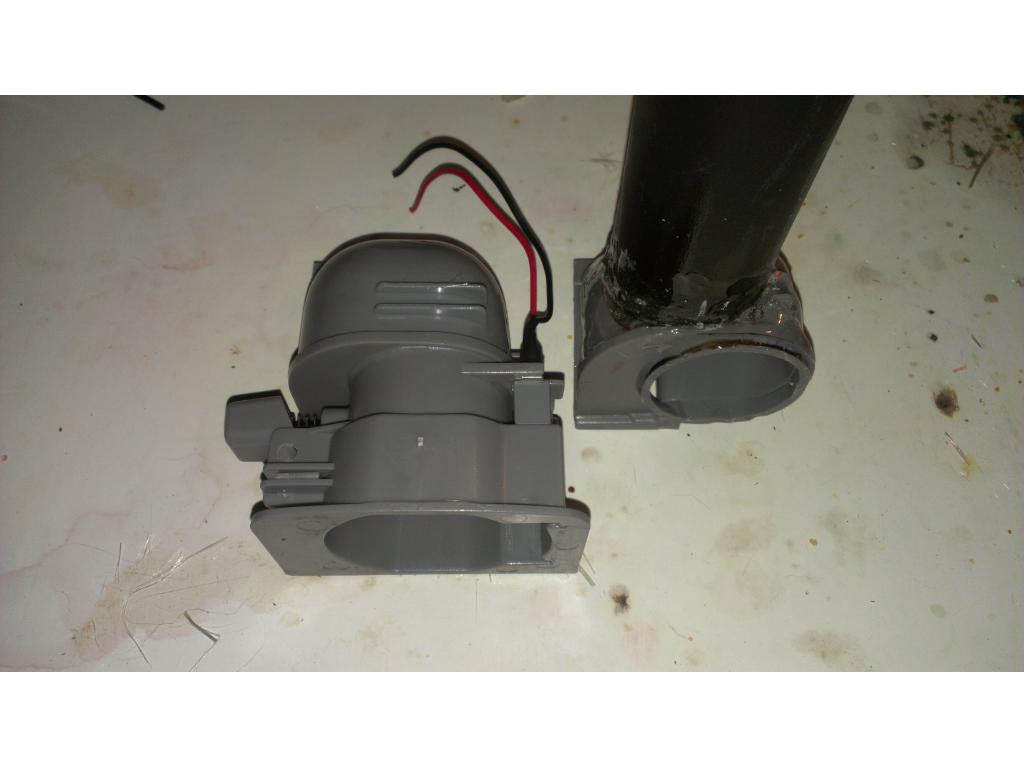
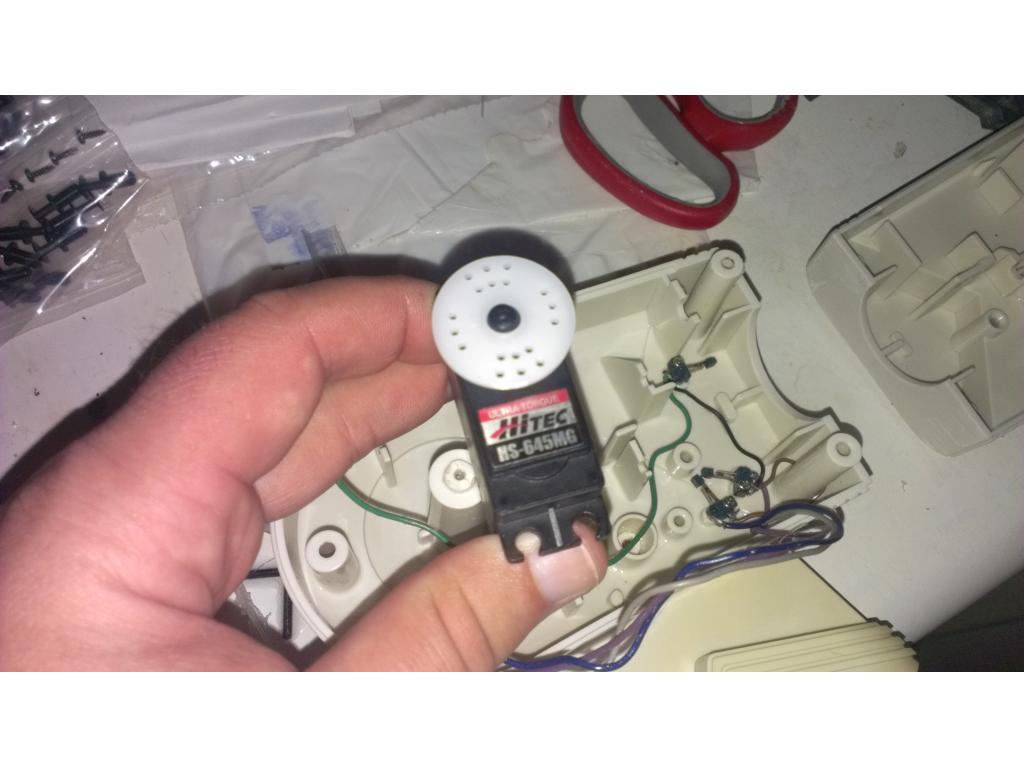
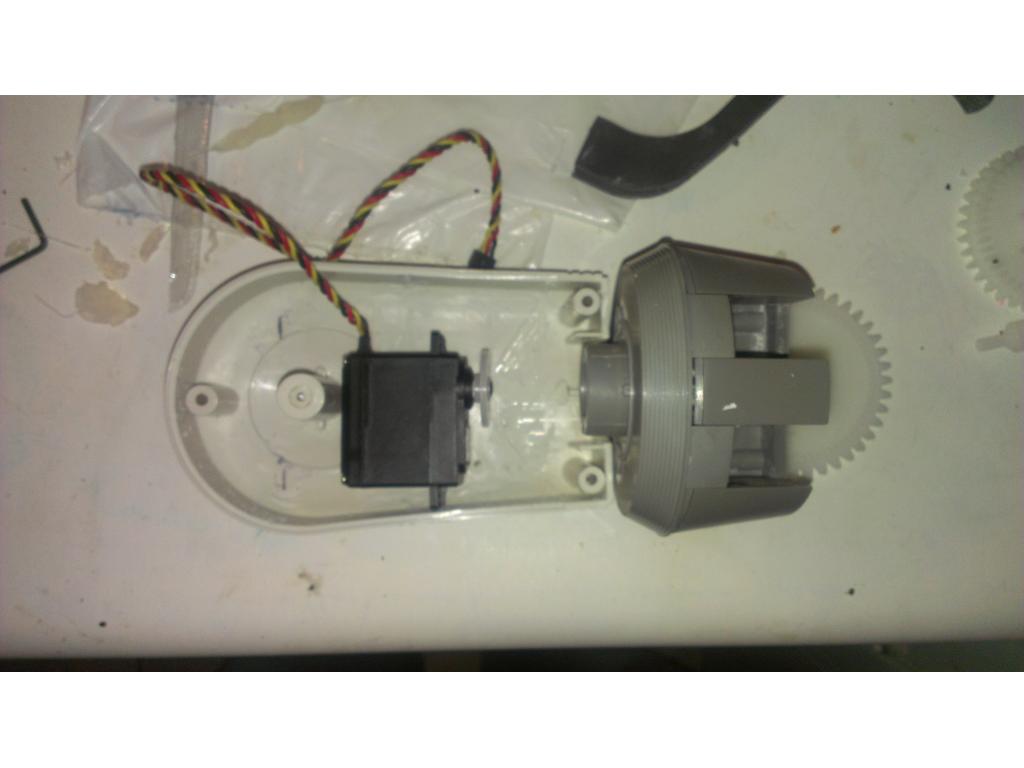
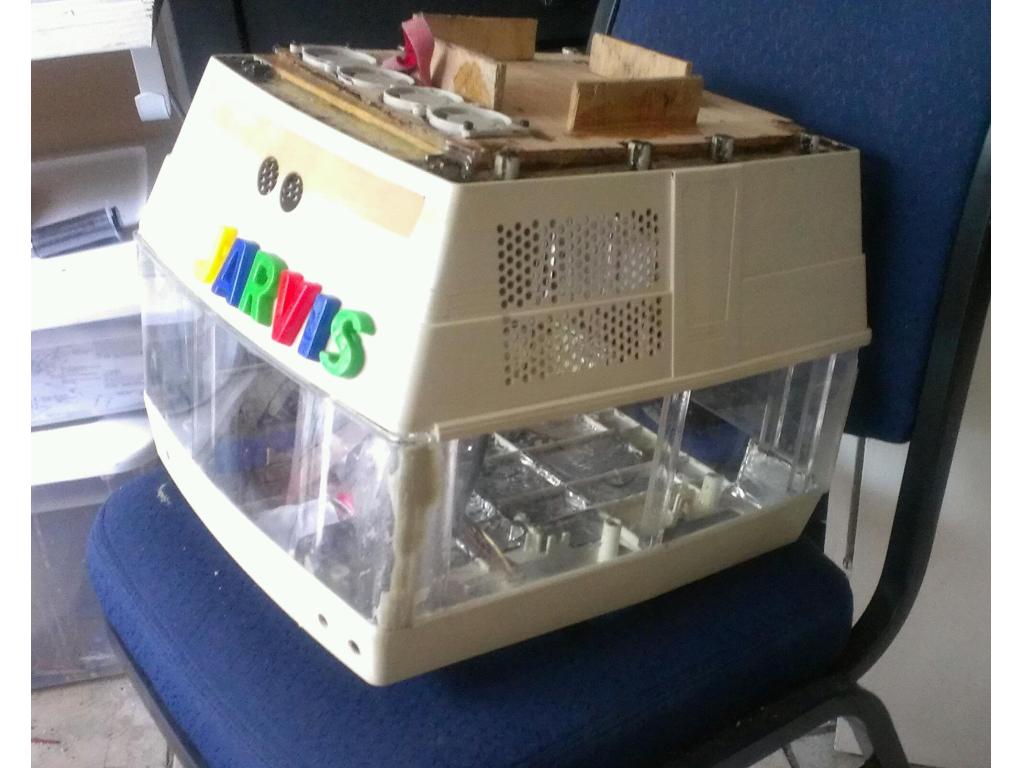
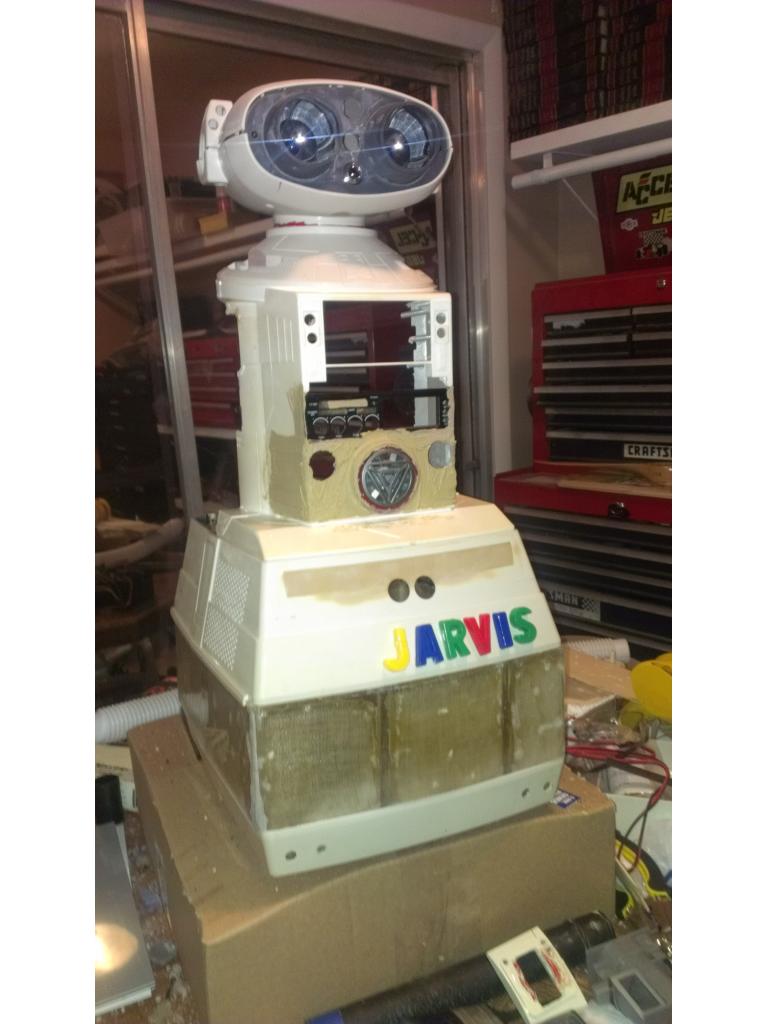
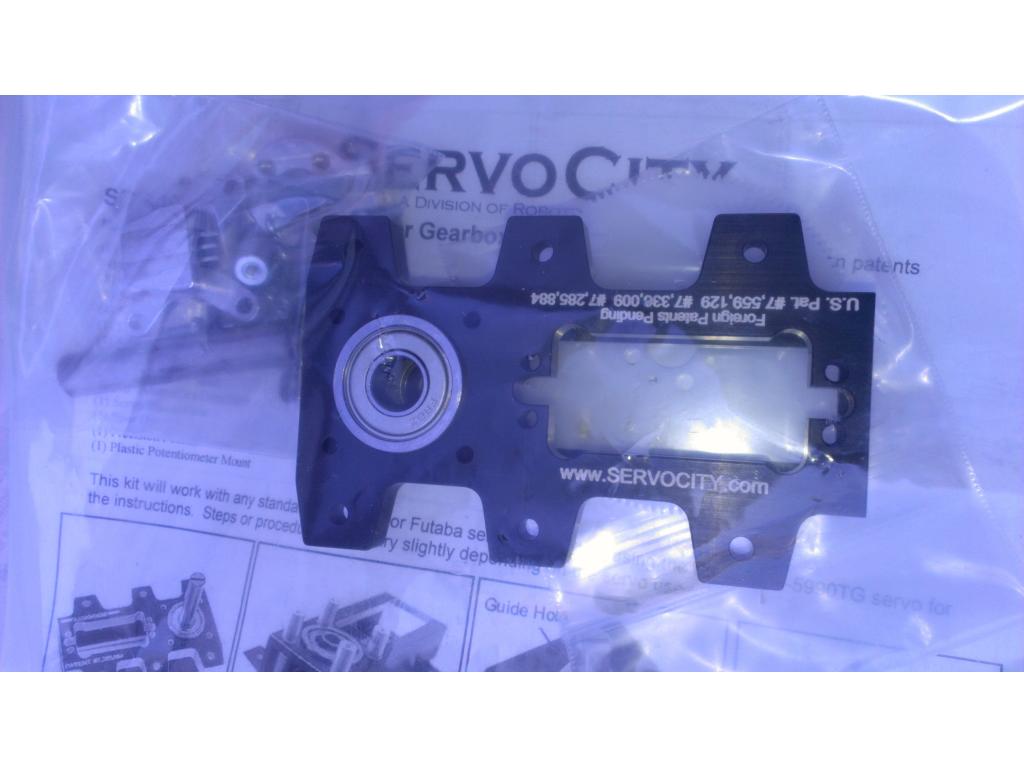
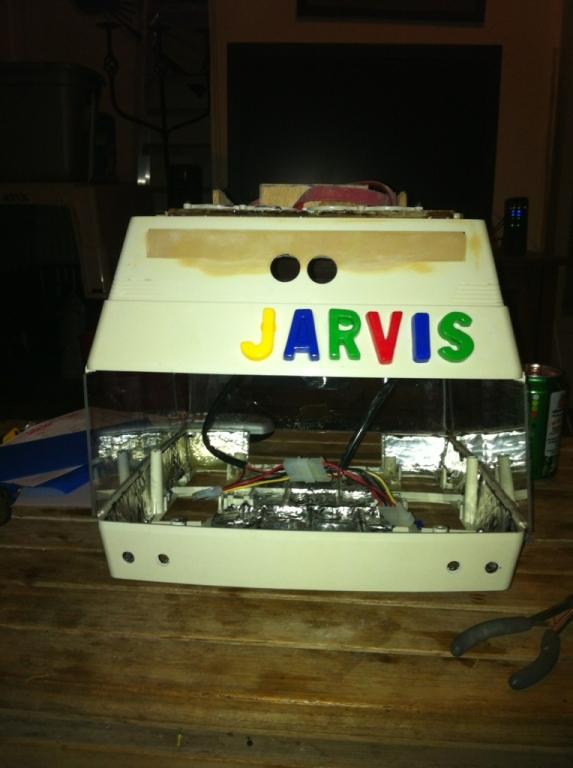
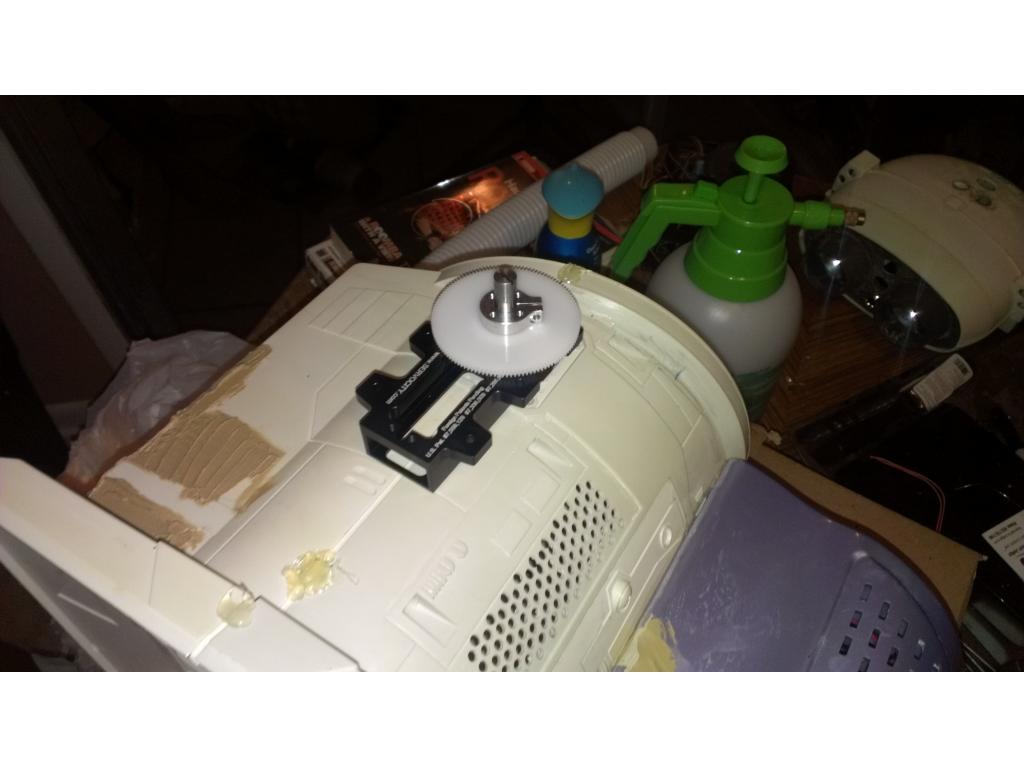
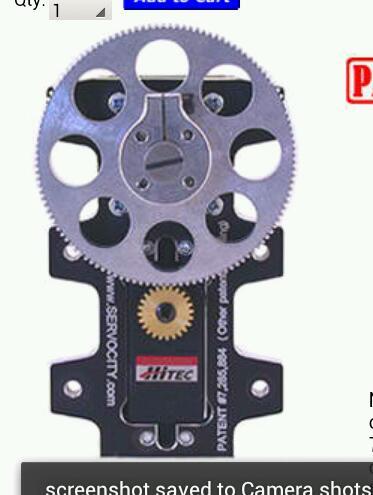
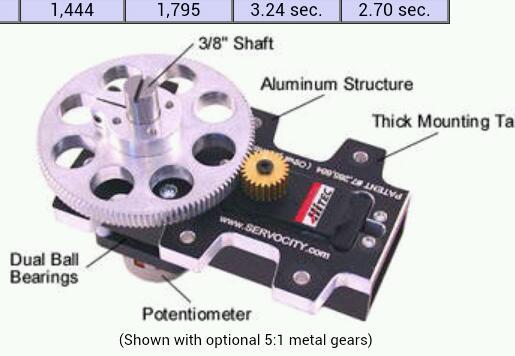
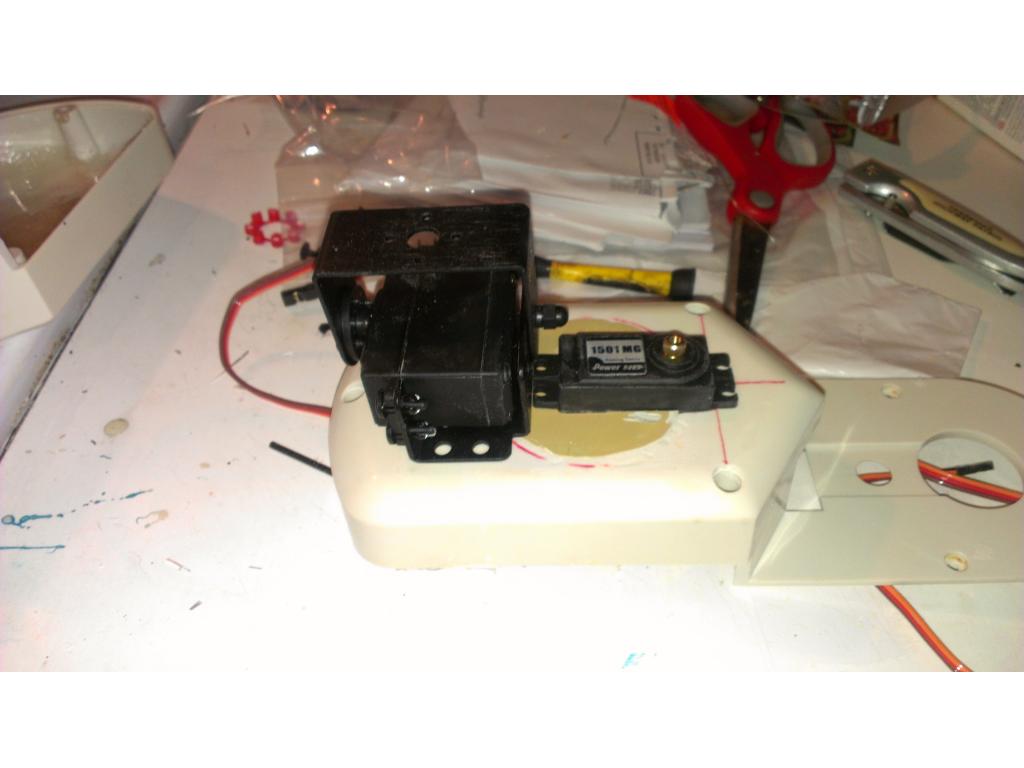
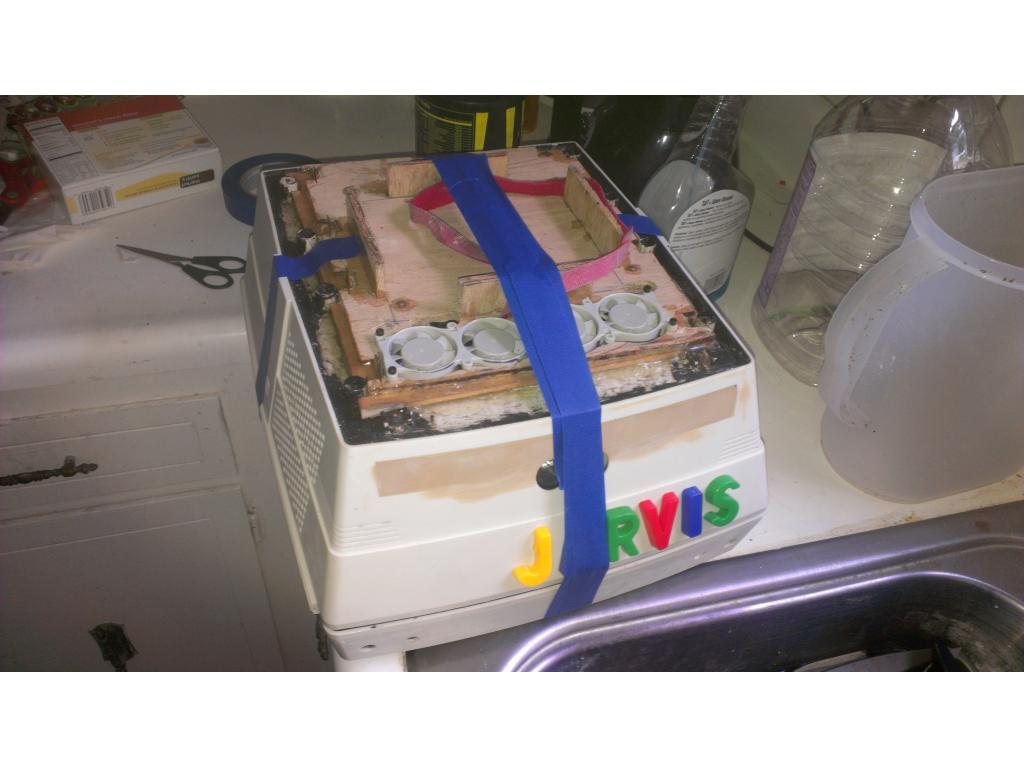
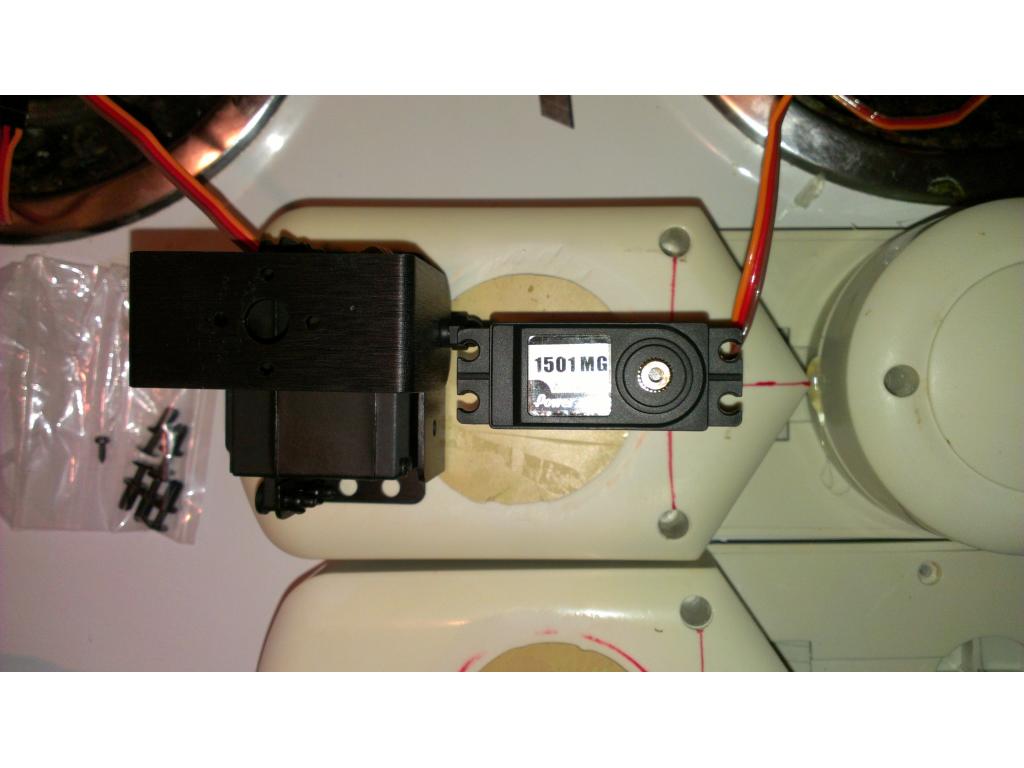
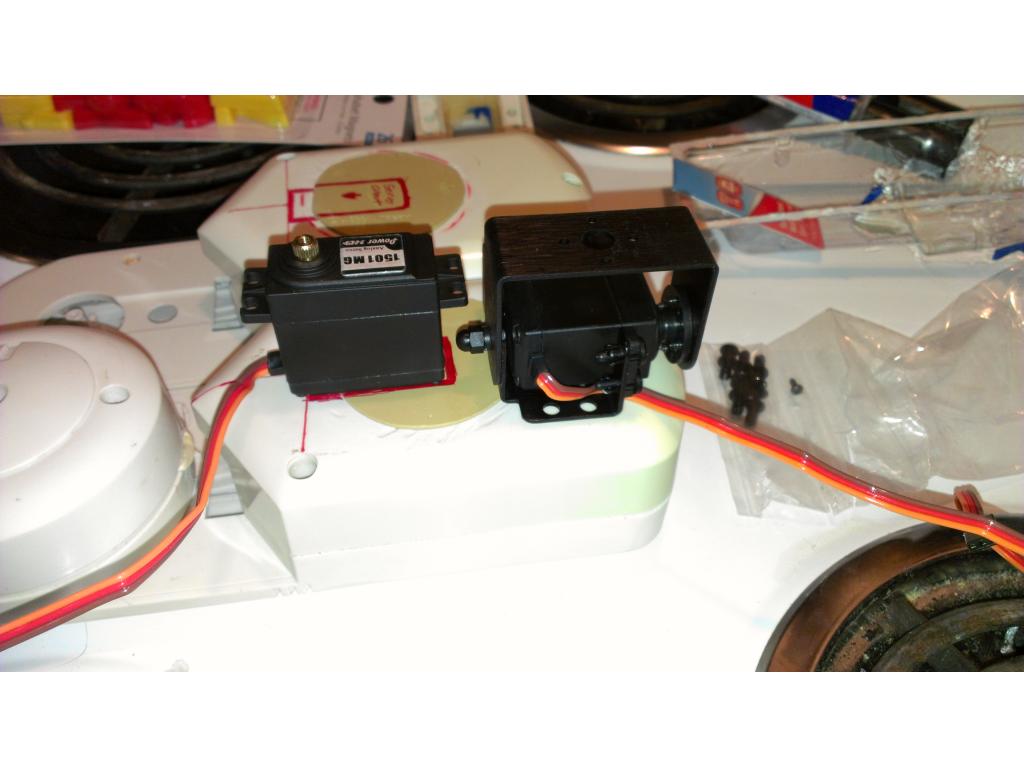
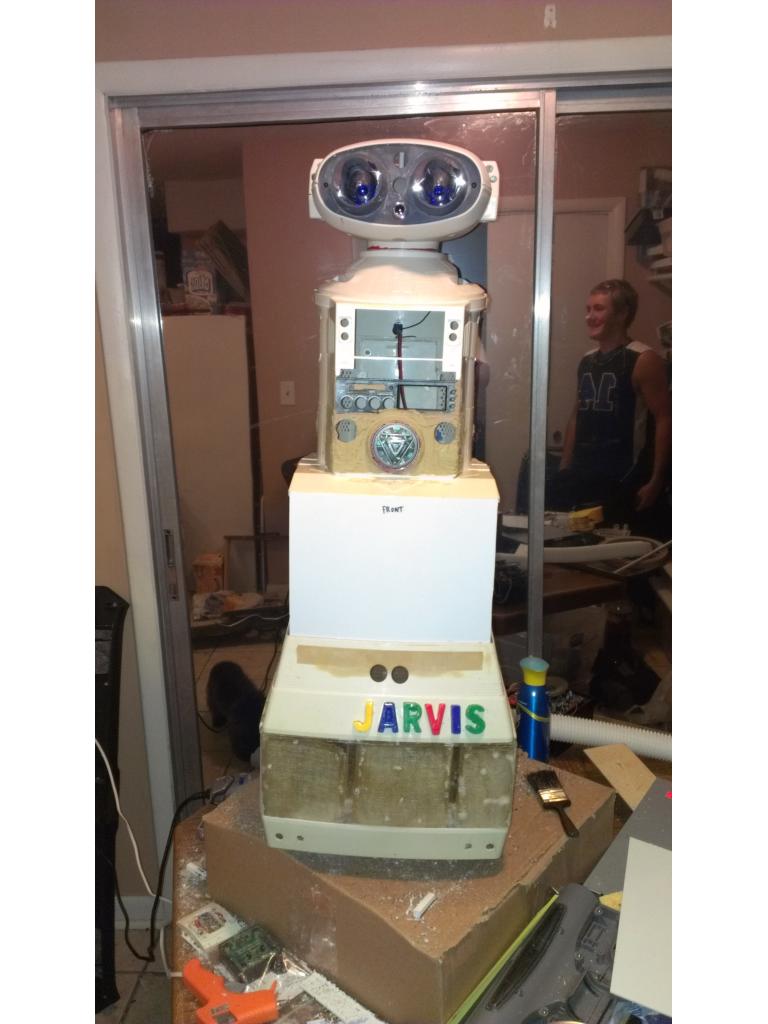
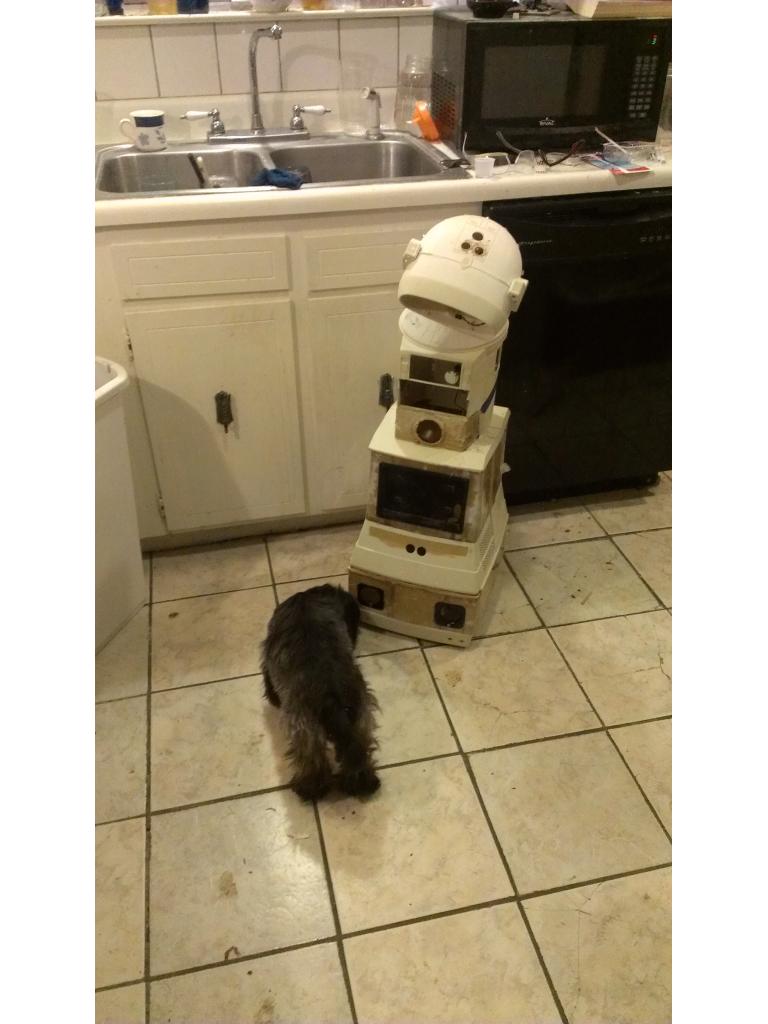
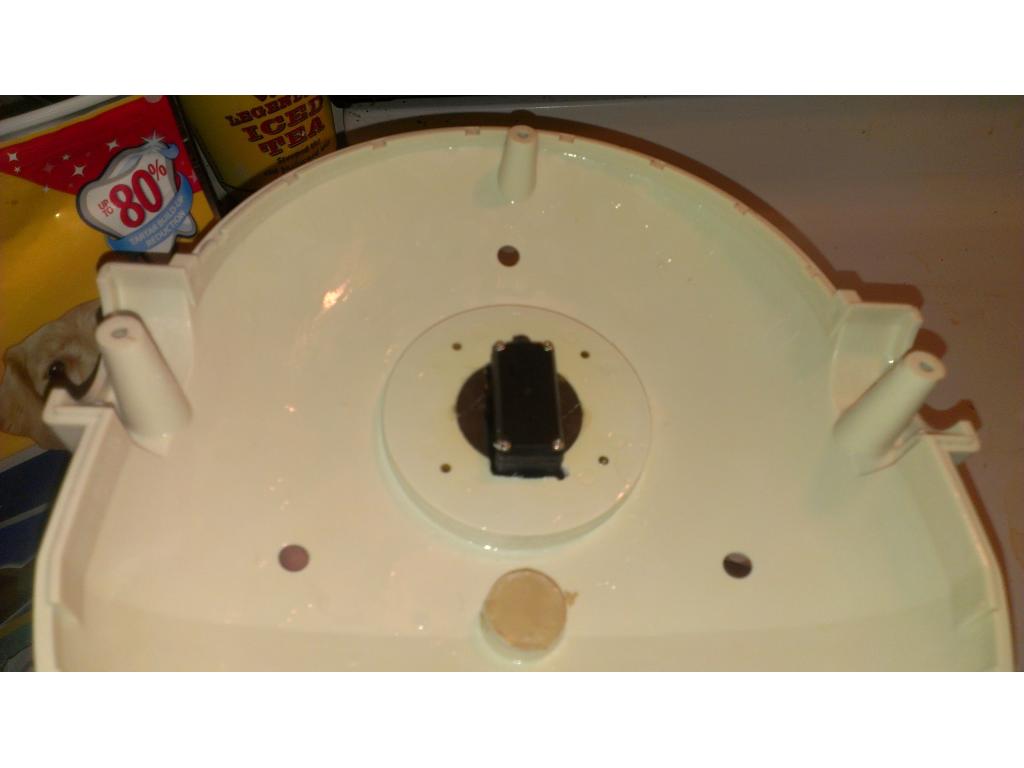
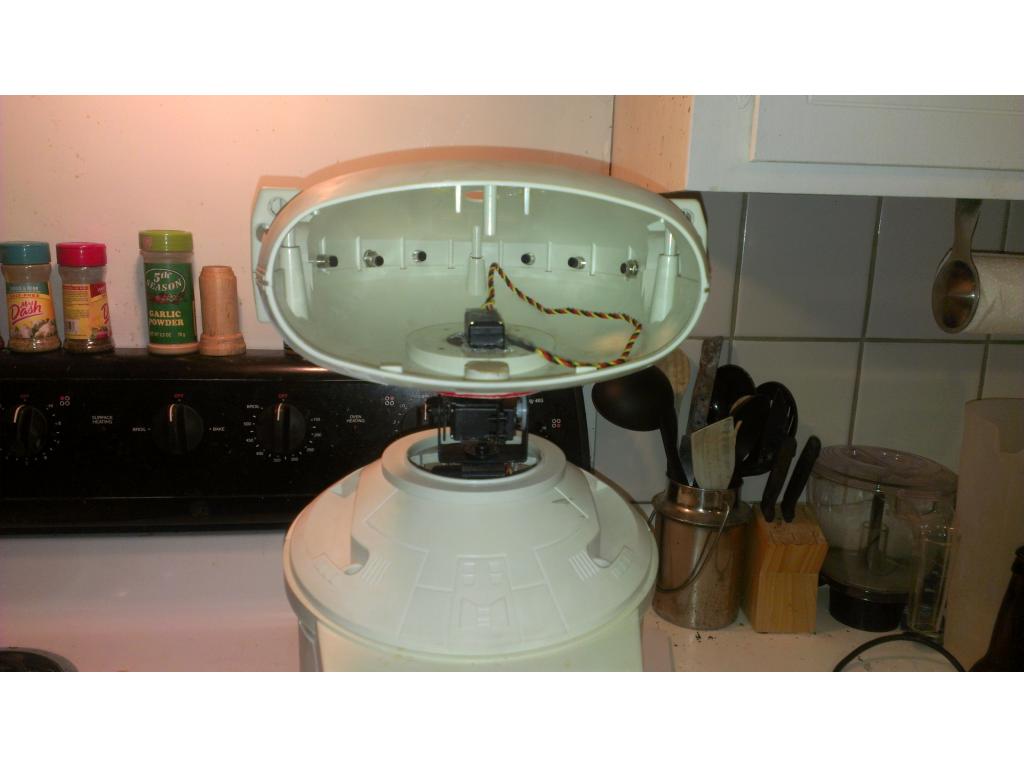
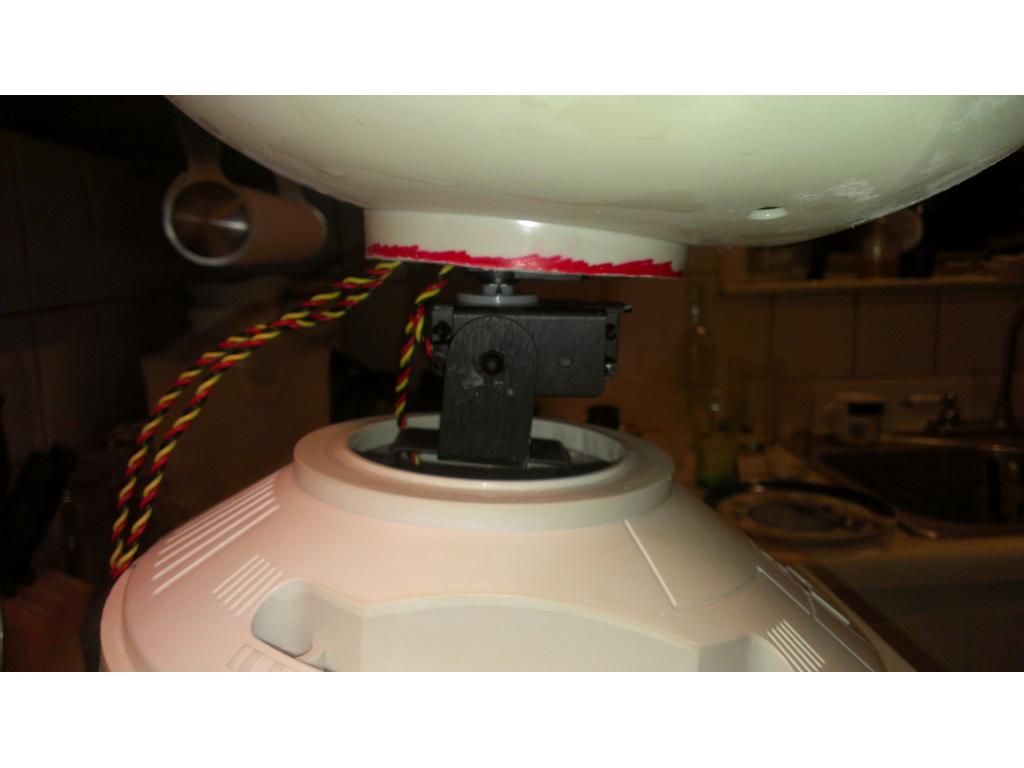
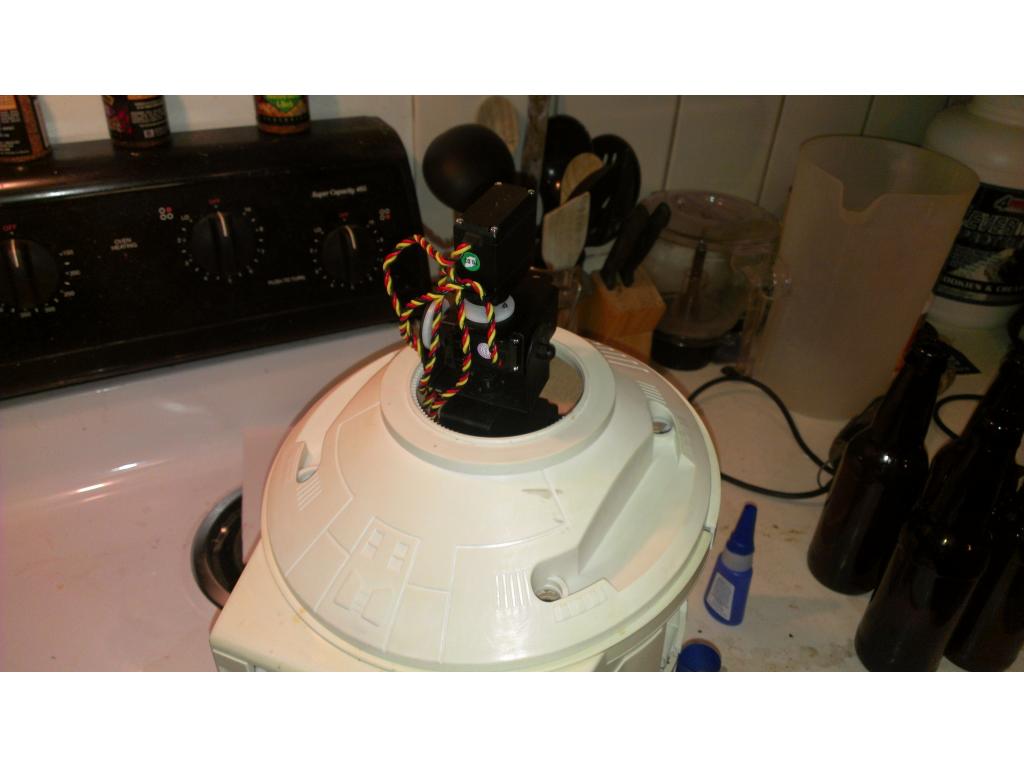
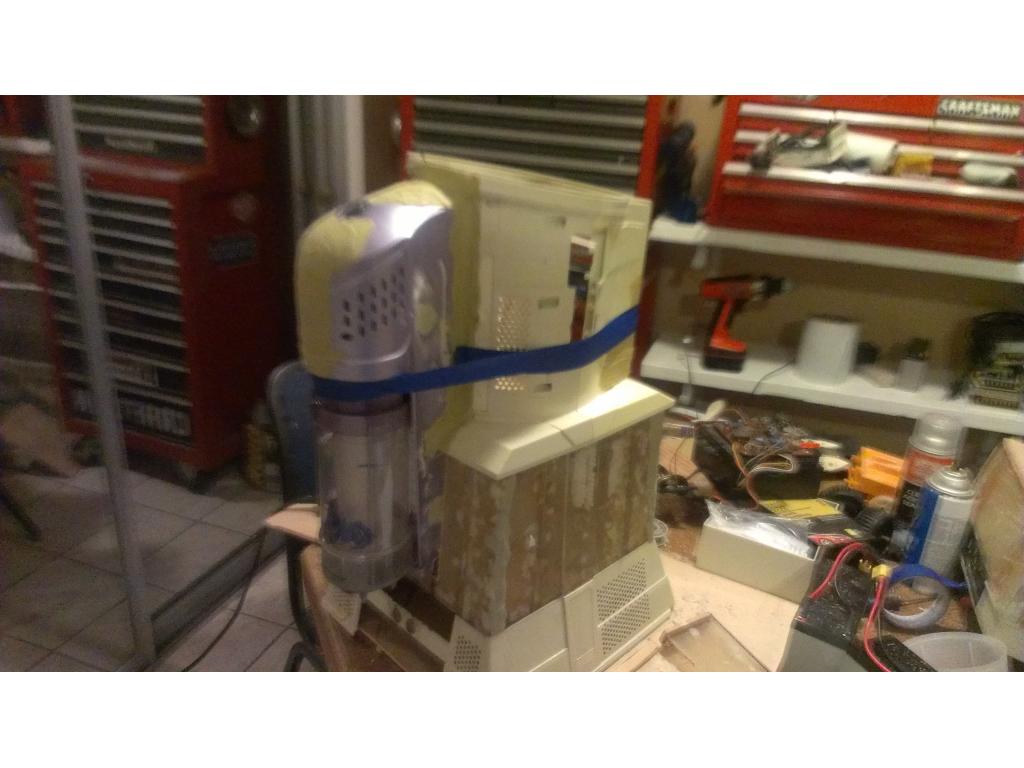
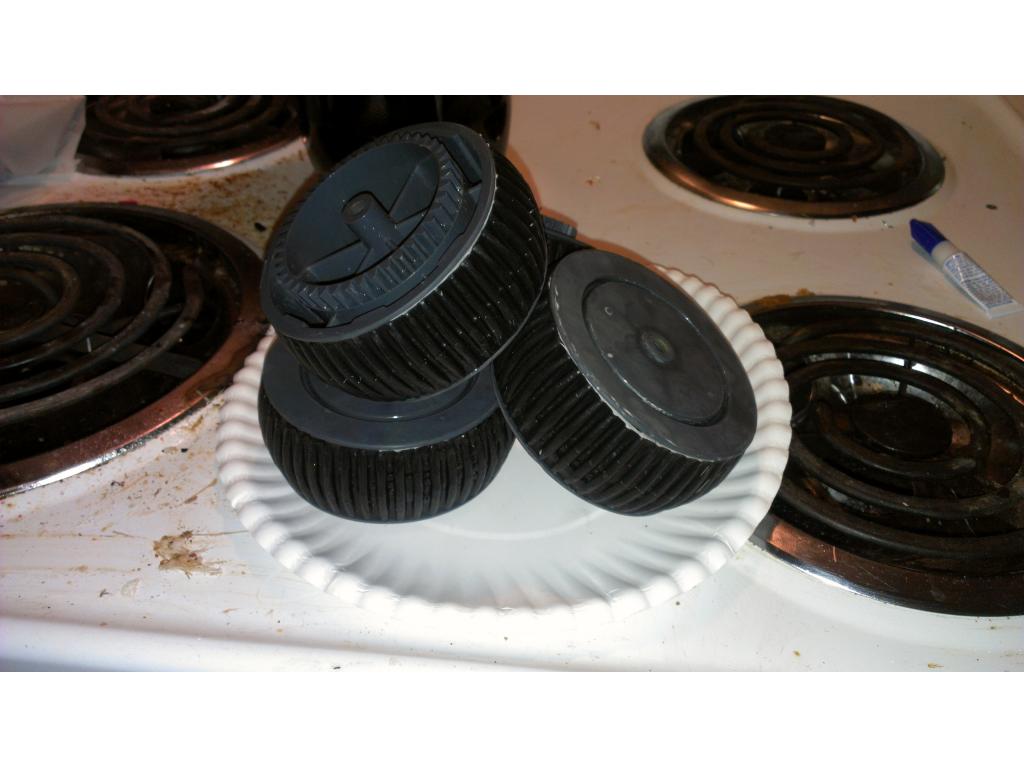
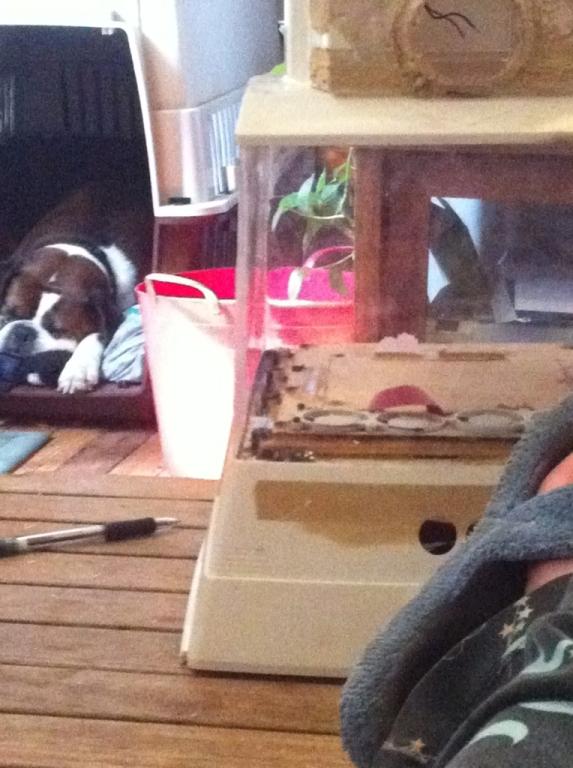
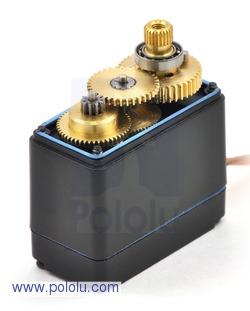
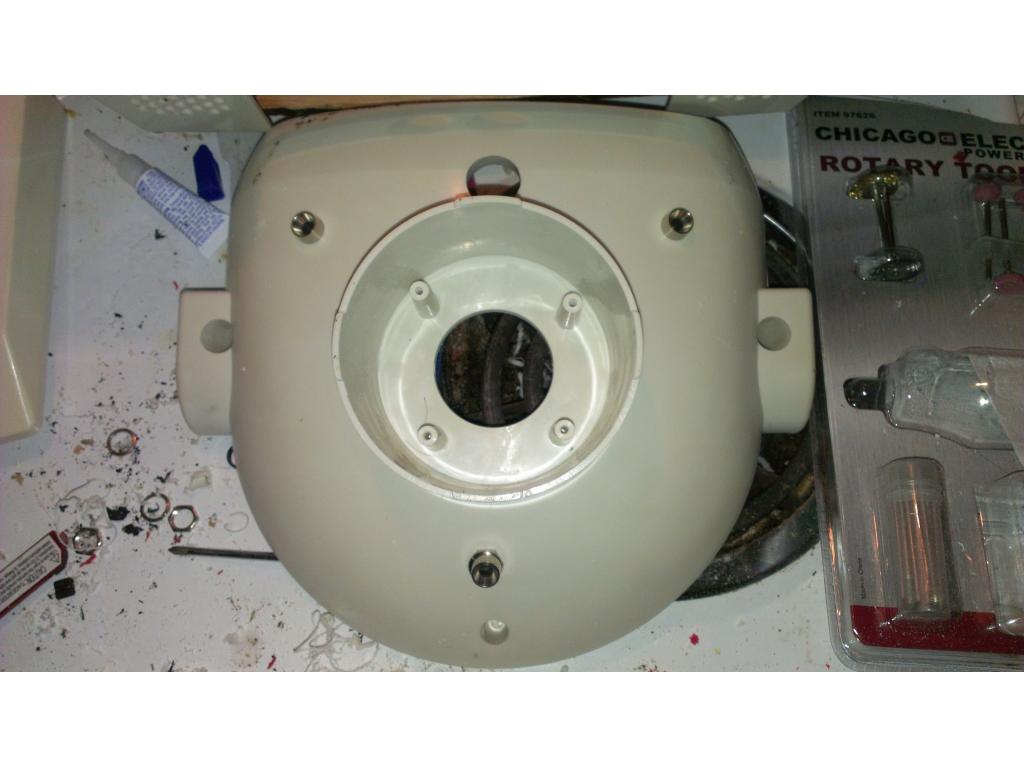
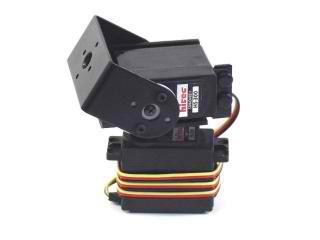
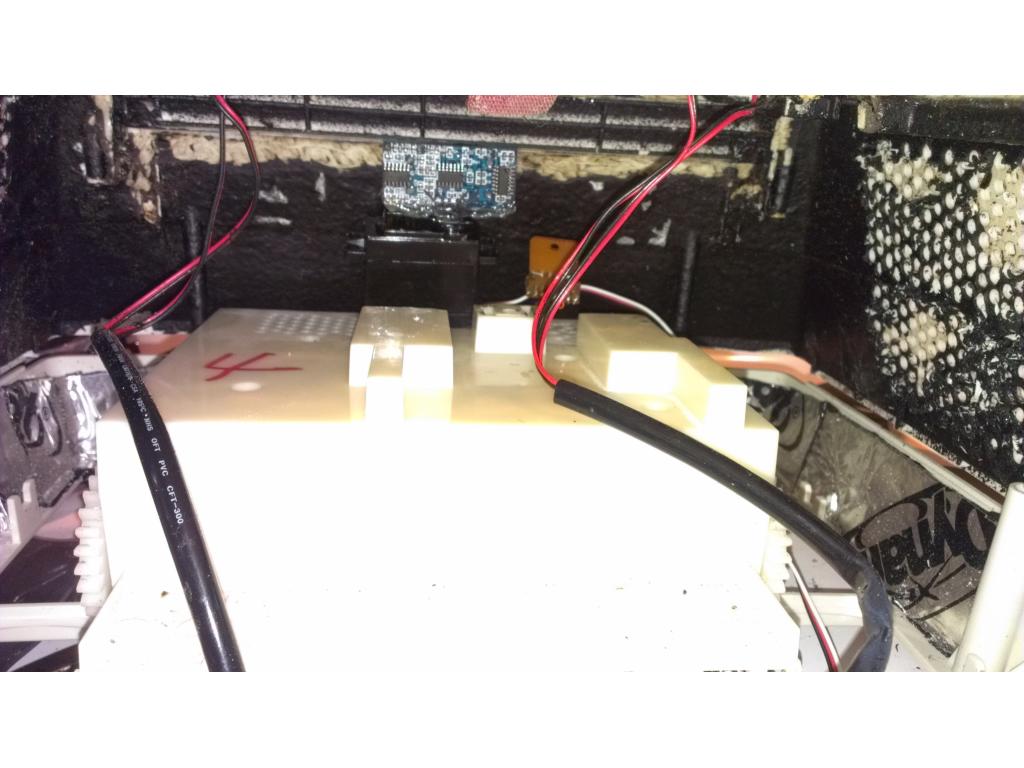
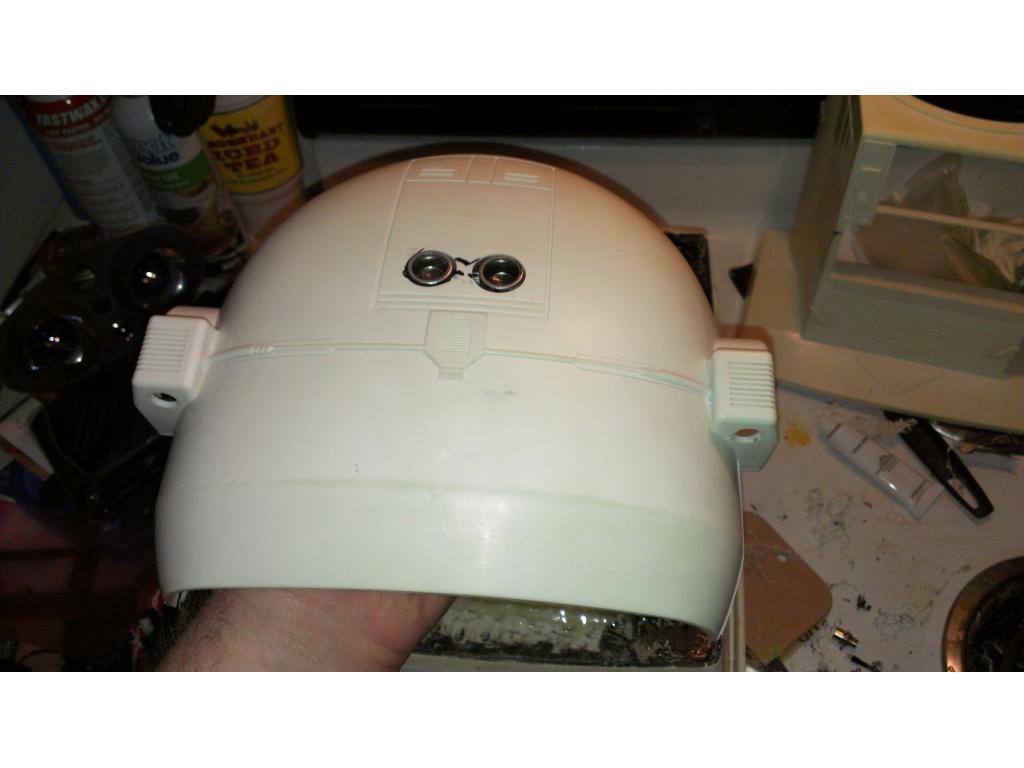
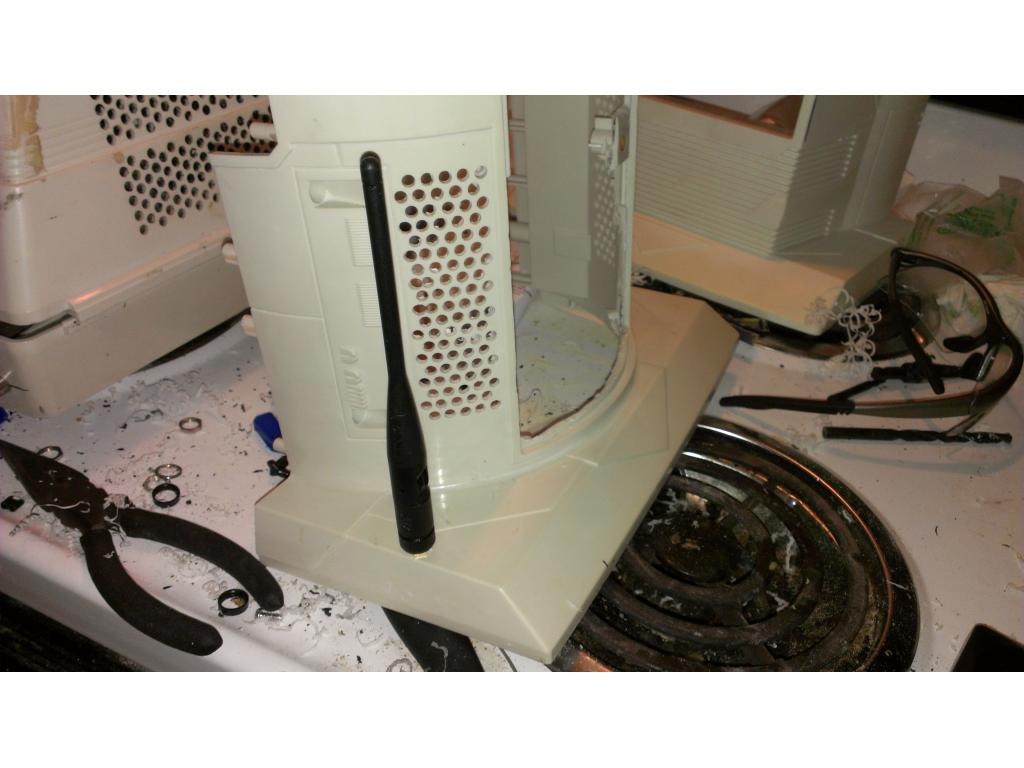
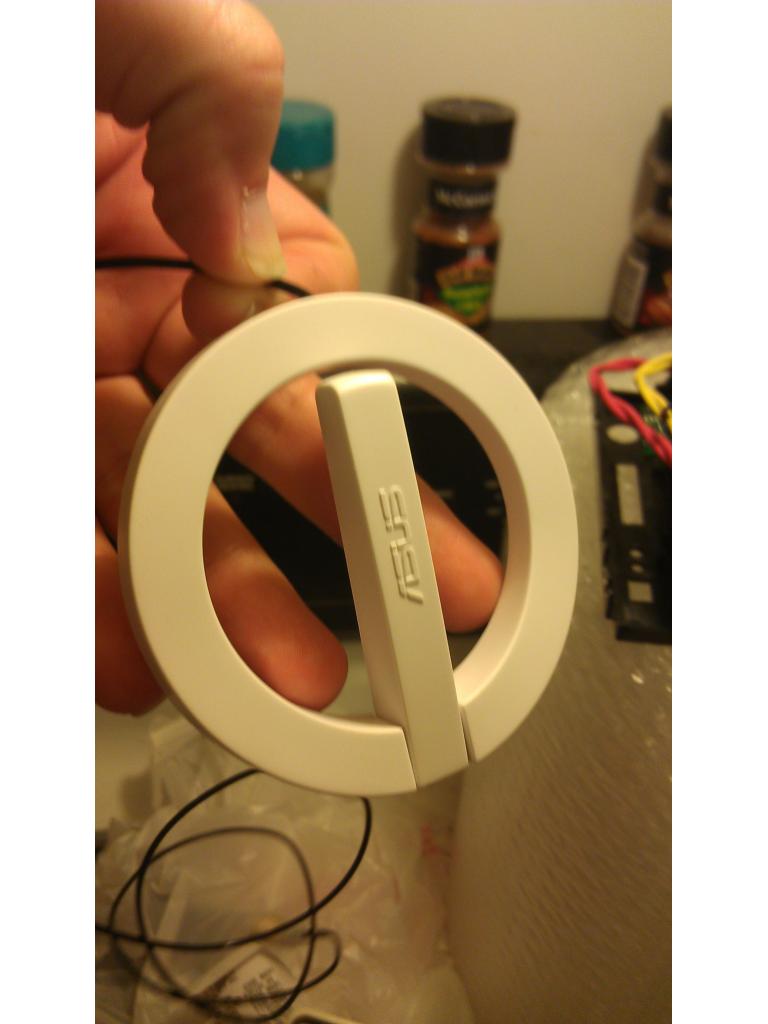
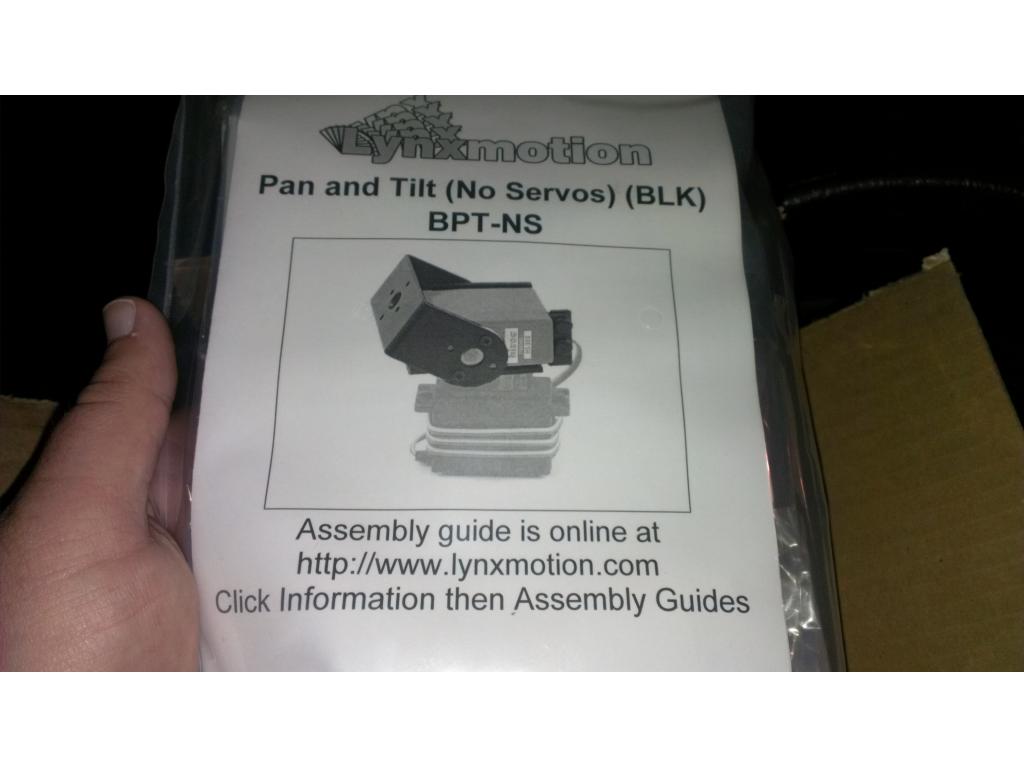
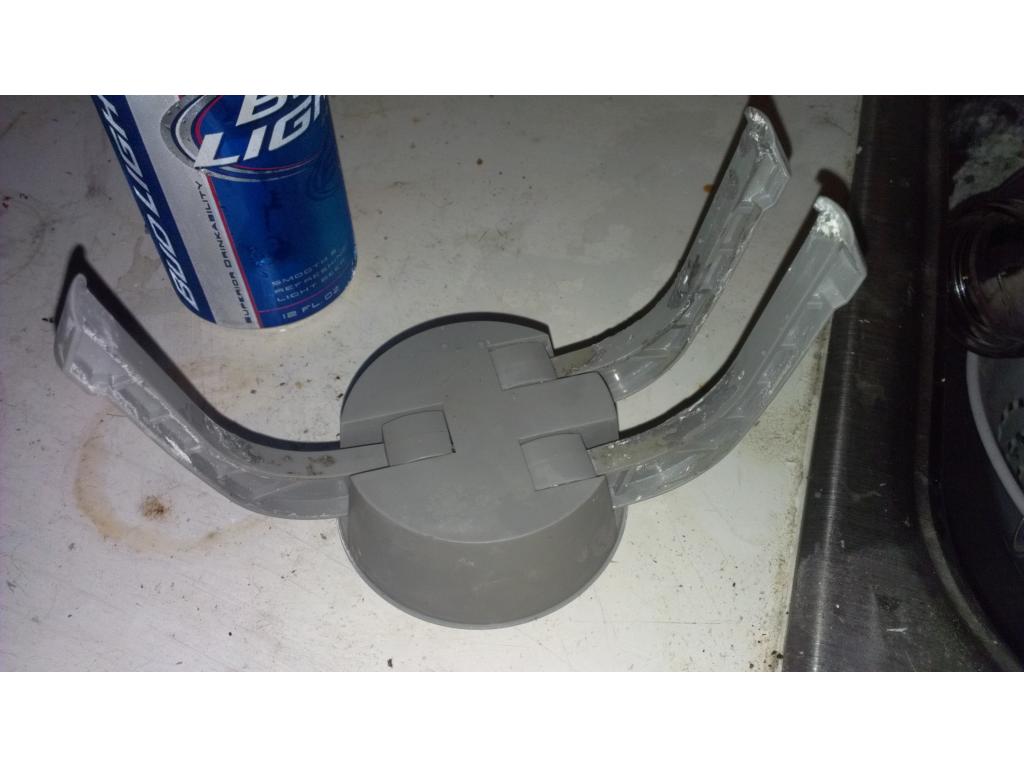
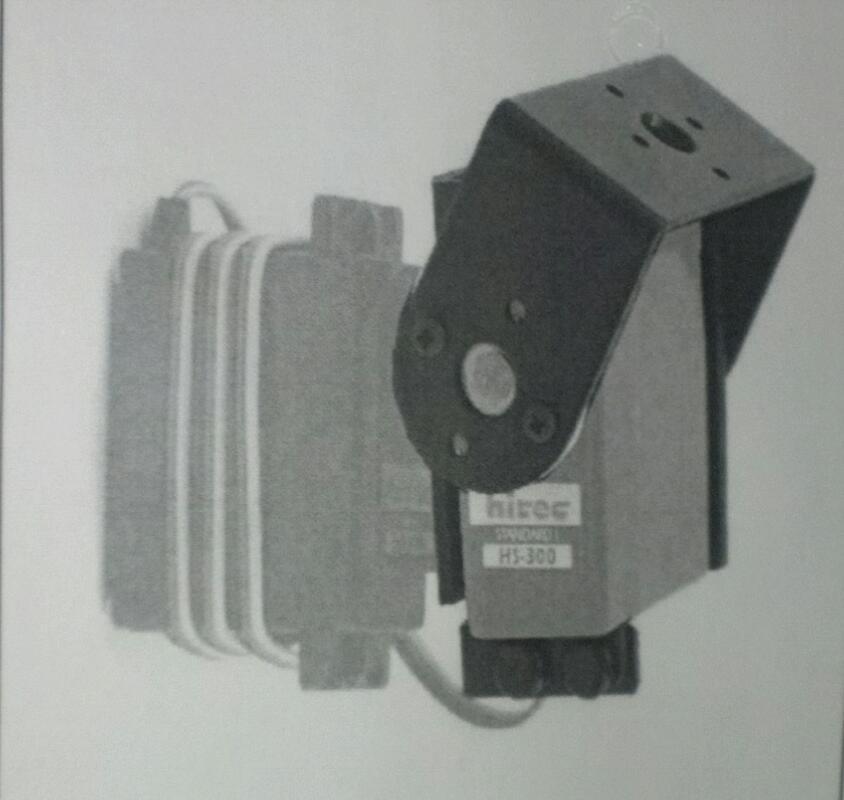
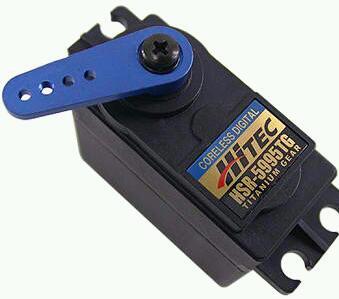
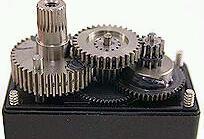
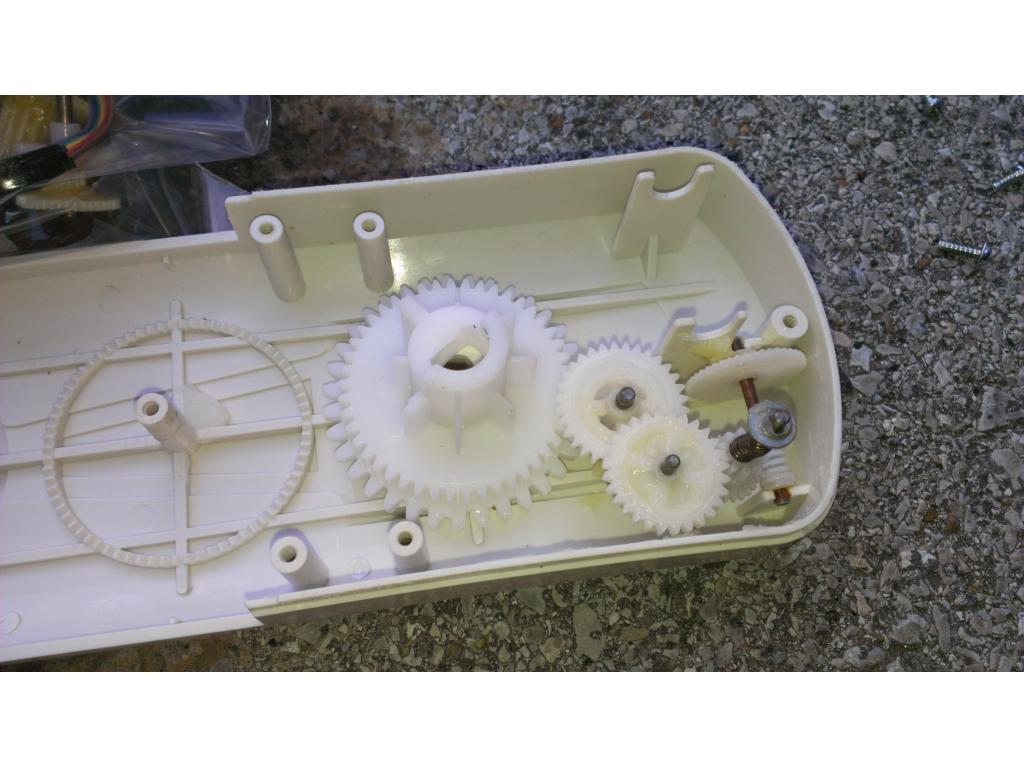
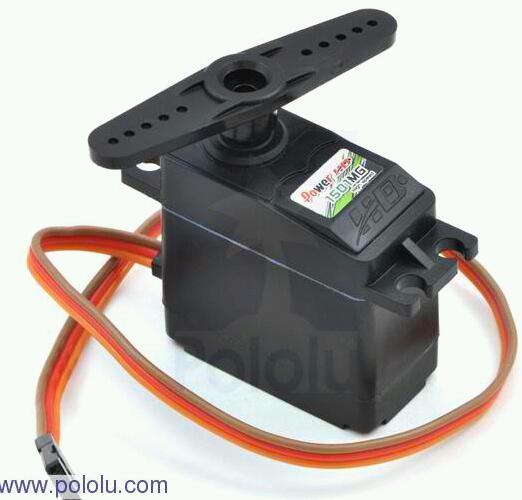
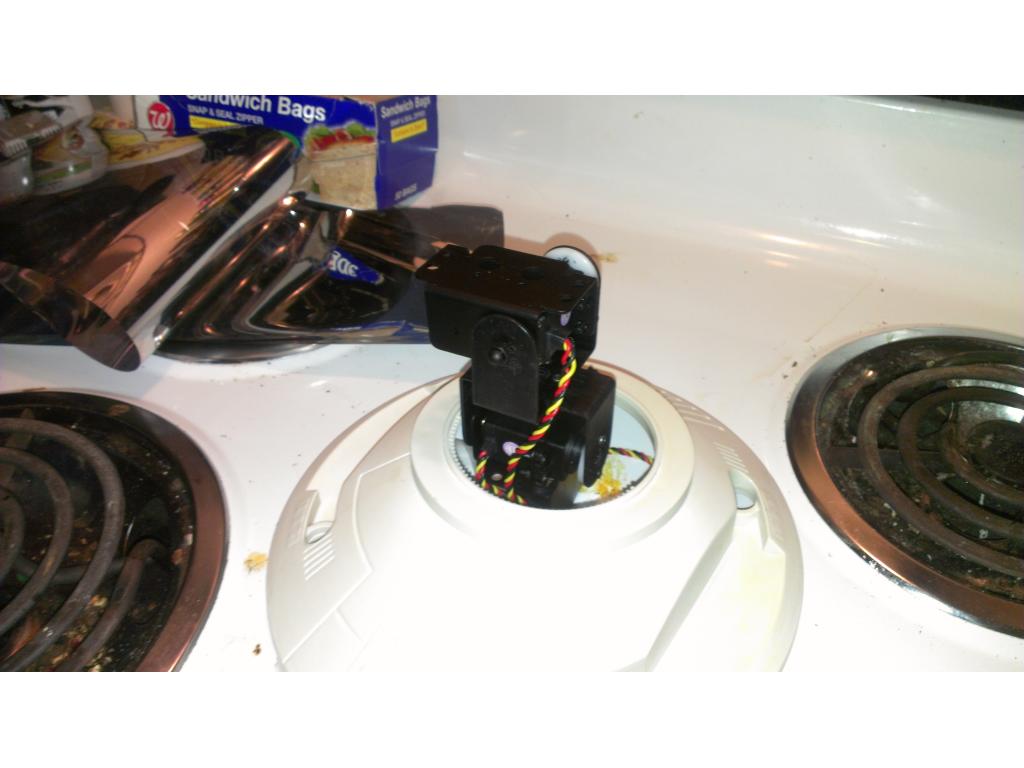
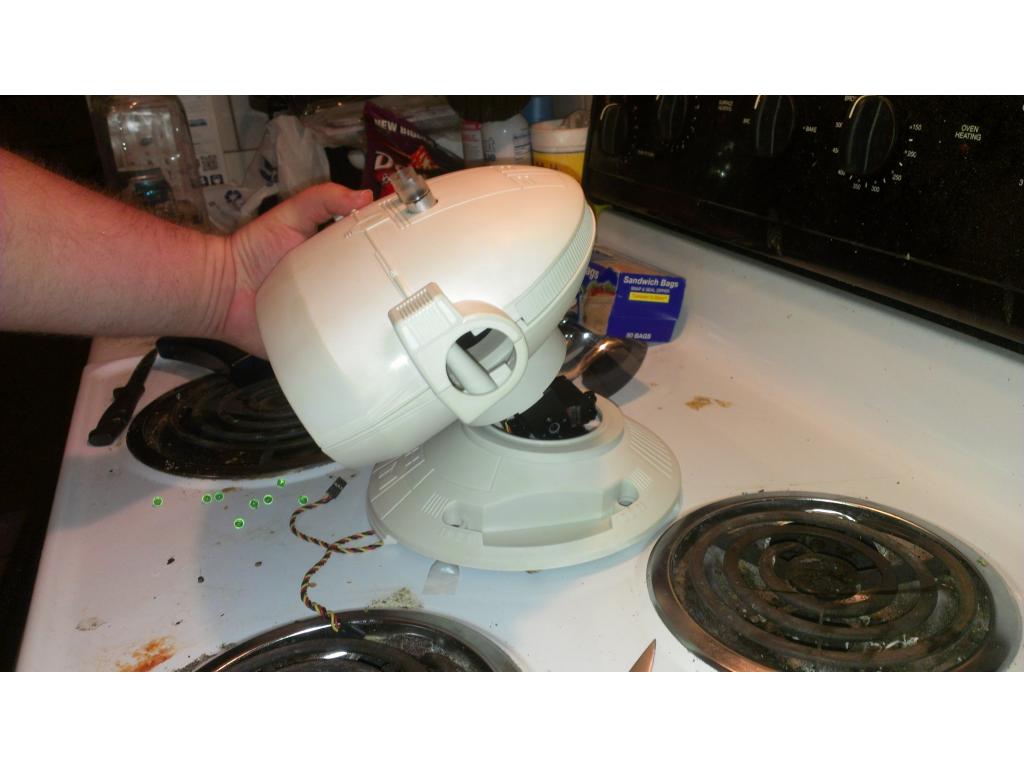
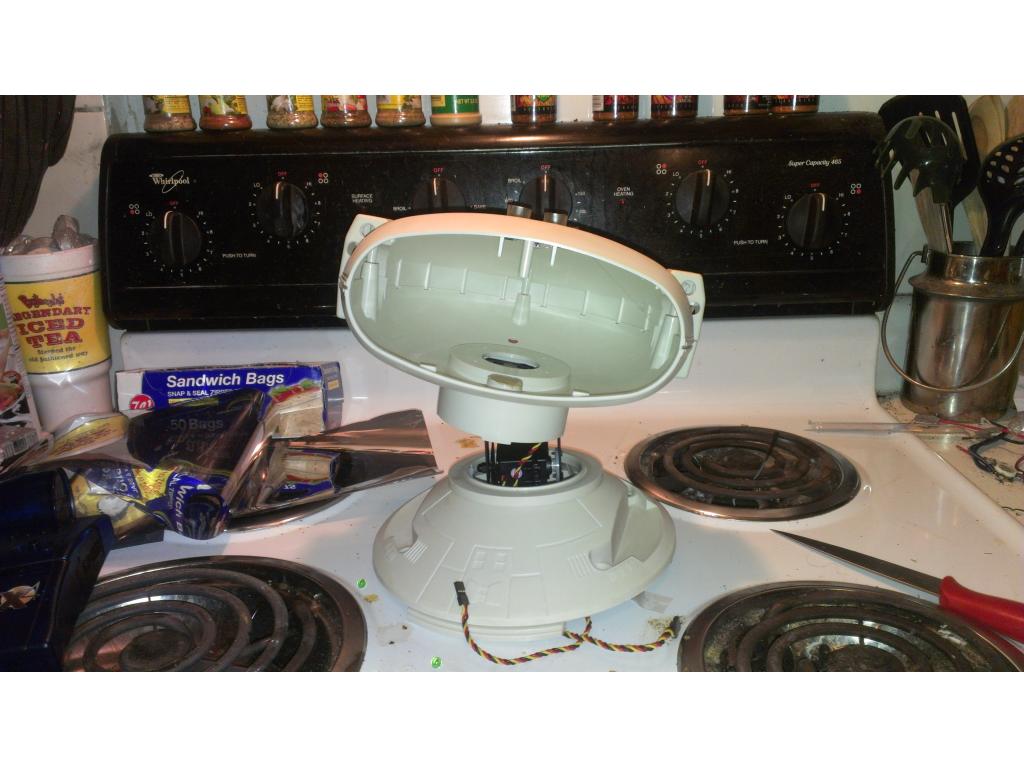
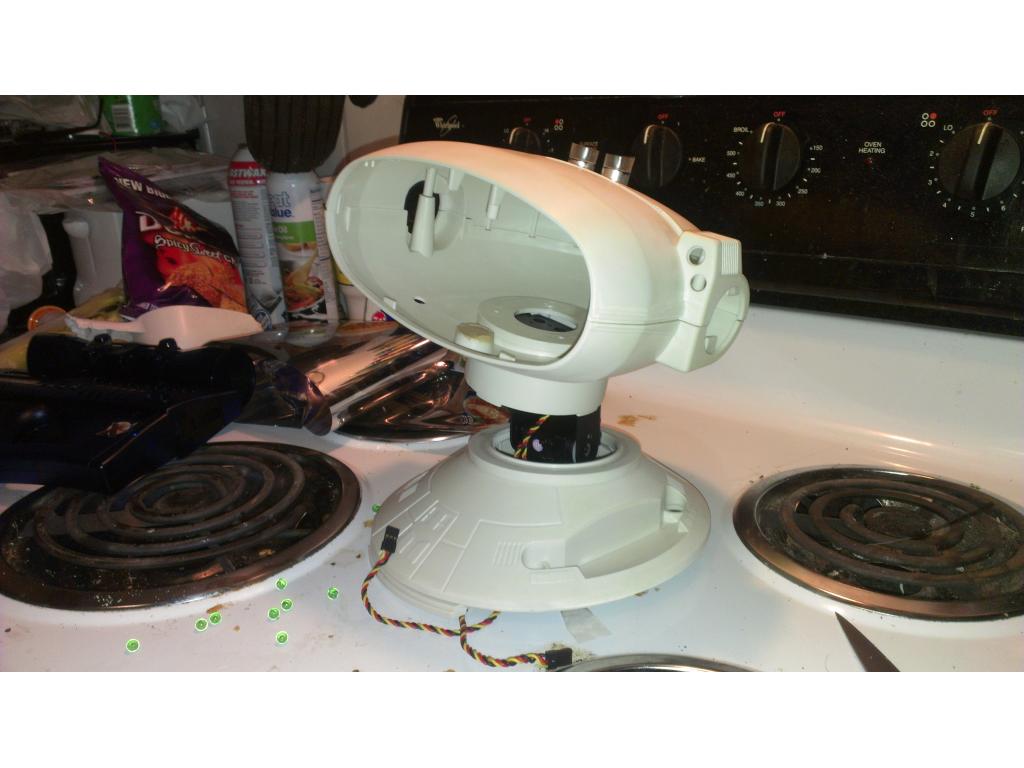
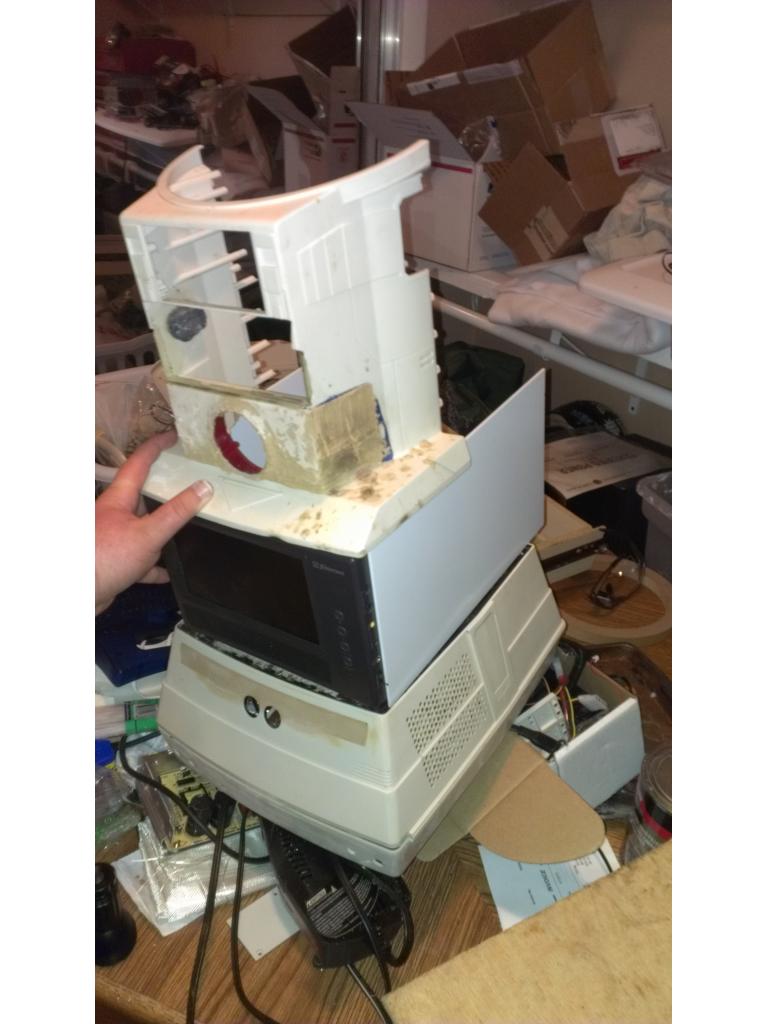
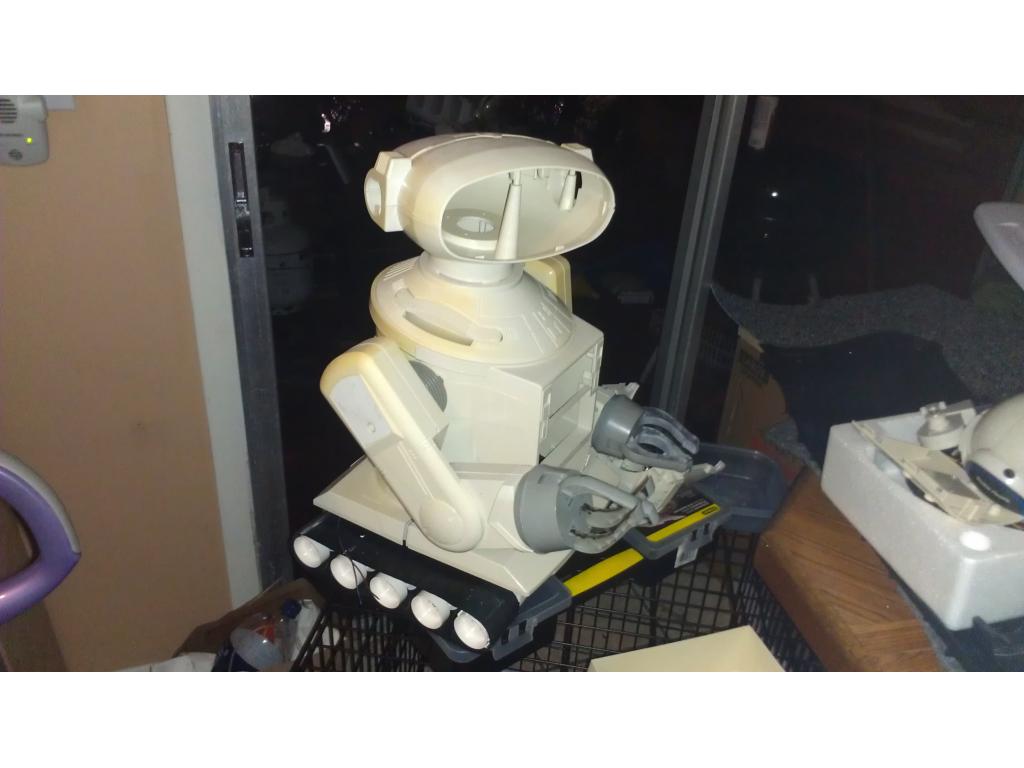
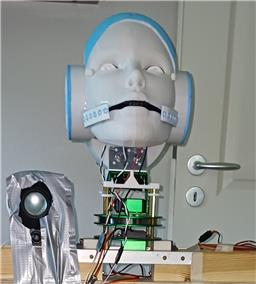
Goal for TONIGHT: After a week long battle with kidney pain I finally descided to be productive and do somthing. I was checking out Loki , also older Evolver robot from a high tech laser tag movie and even short circuit. One thing I noticed in common that allowed to give the robot depth of emotion and though was through the head movements. left right up down are a given but I noticed side to side tilting as being a excellent oportunity to add more personality. I mulled over it a couple of hours and realized my dog Ava does this often and when she does I always wonder what she is thinking, or mosre specifically I think in my mind that she is thinking even if I really dont know thats the case at all. Im no Dog wisperer lol. So I am using 3 Hitec 645mg 133 oz in servos to control forward back, left right aaaaand Side to side motion. No one out there I saw had a bracket made to do all three so I had to finagle somthing. I used a servo disc, 4 screws, a U bracket and additional pan tilt kit. One servo I intalled upside down so that it maintained the aprox neck length of original omnibot 2000. So now Jarvis will have addtional gestures for the future whan AI comes along. ( pokes DJ) lol This neck costs $130 plus whatever shipping was to assemble.
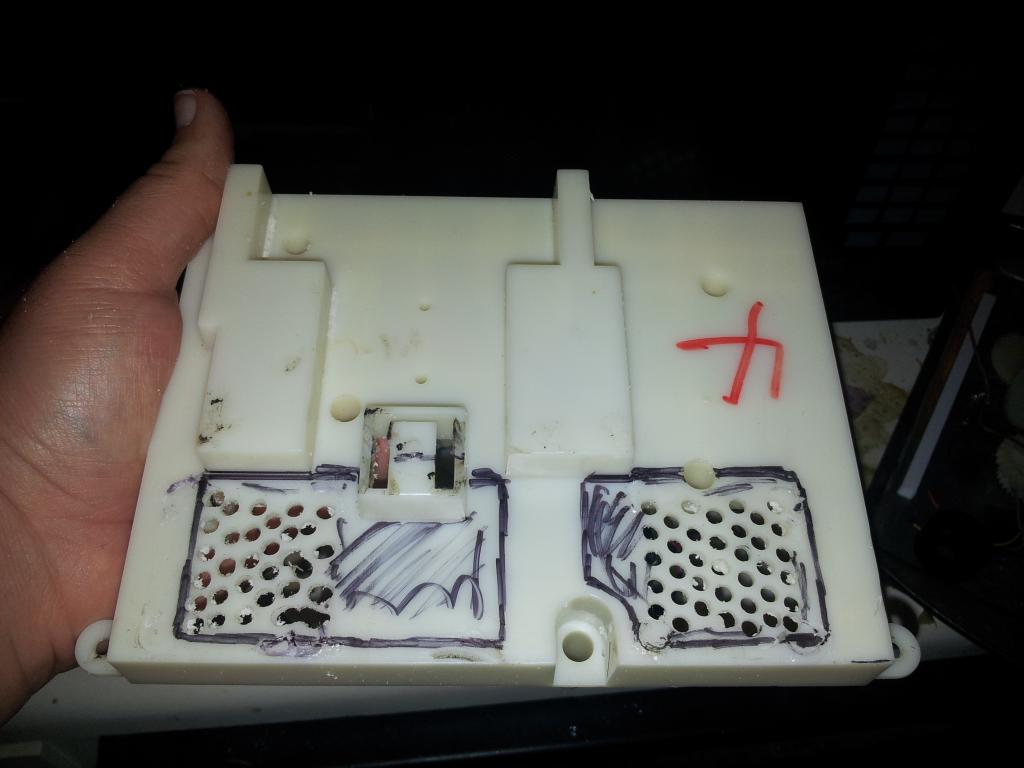
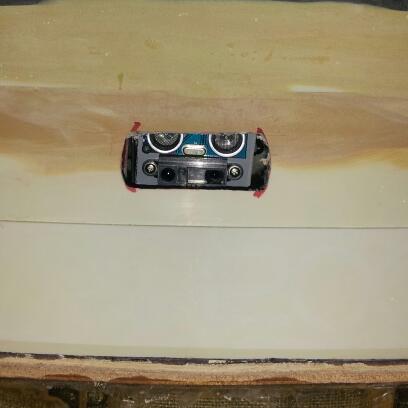
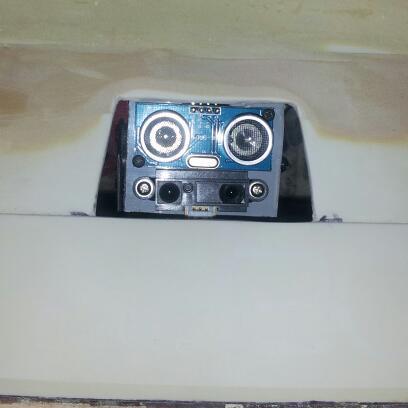
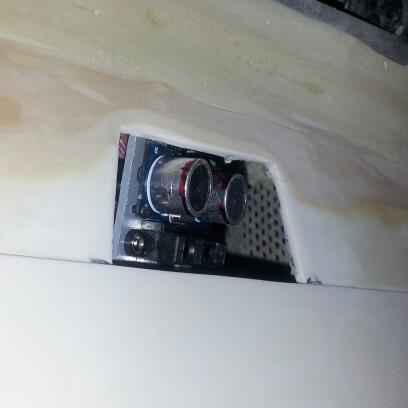
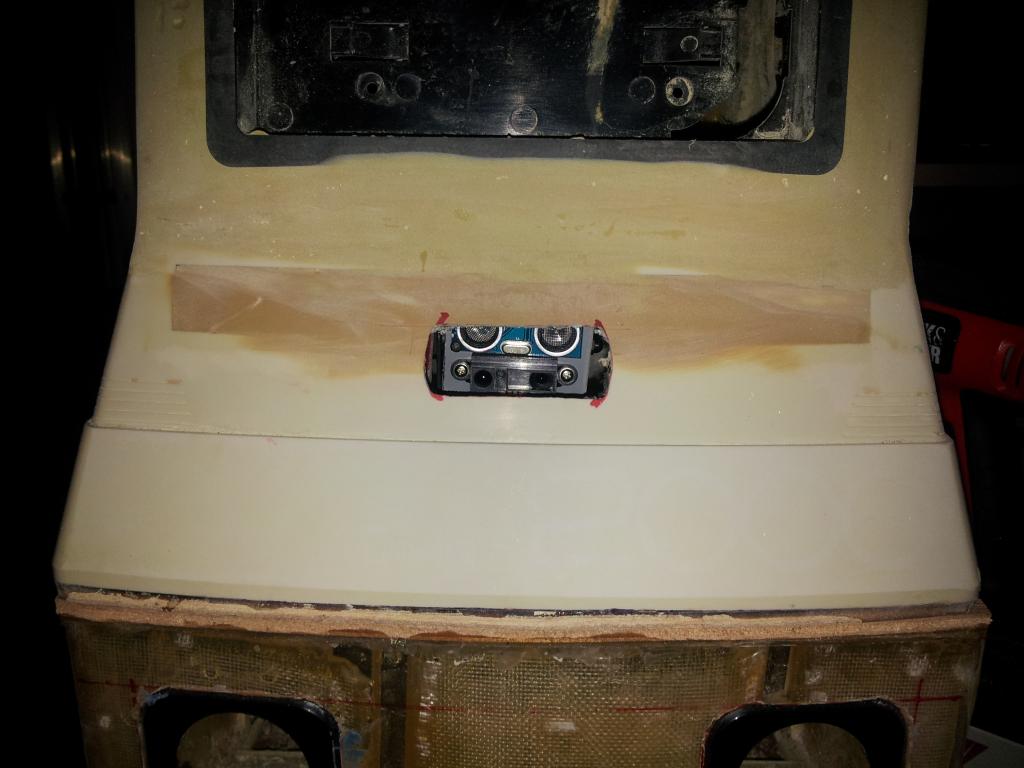
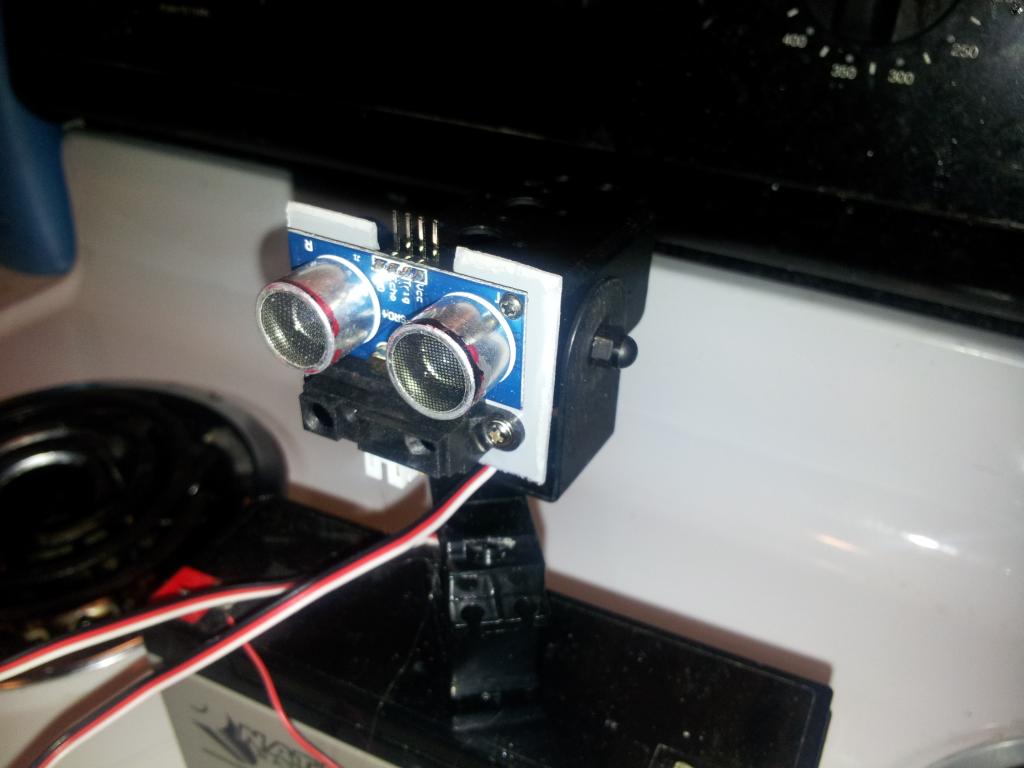
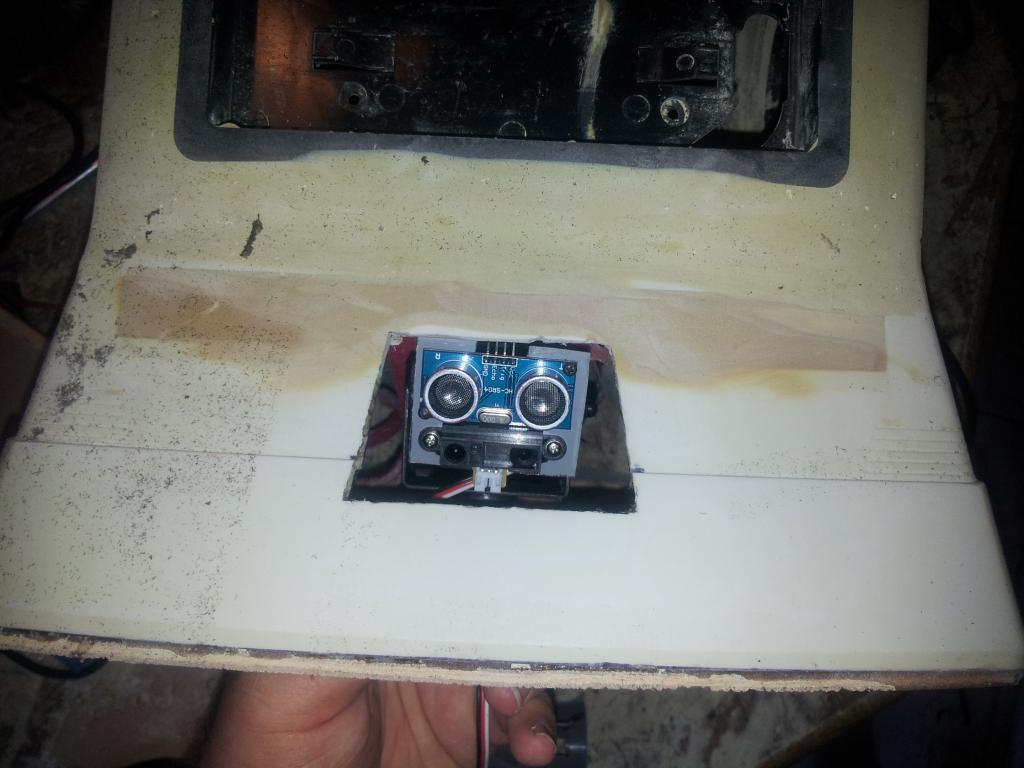
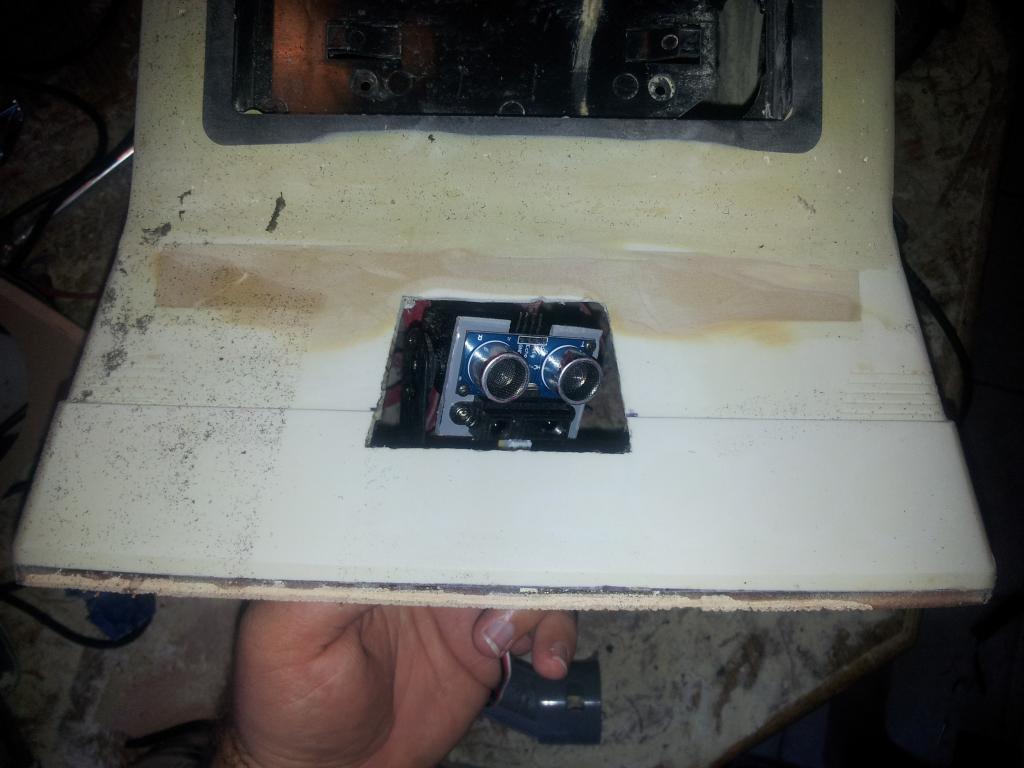
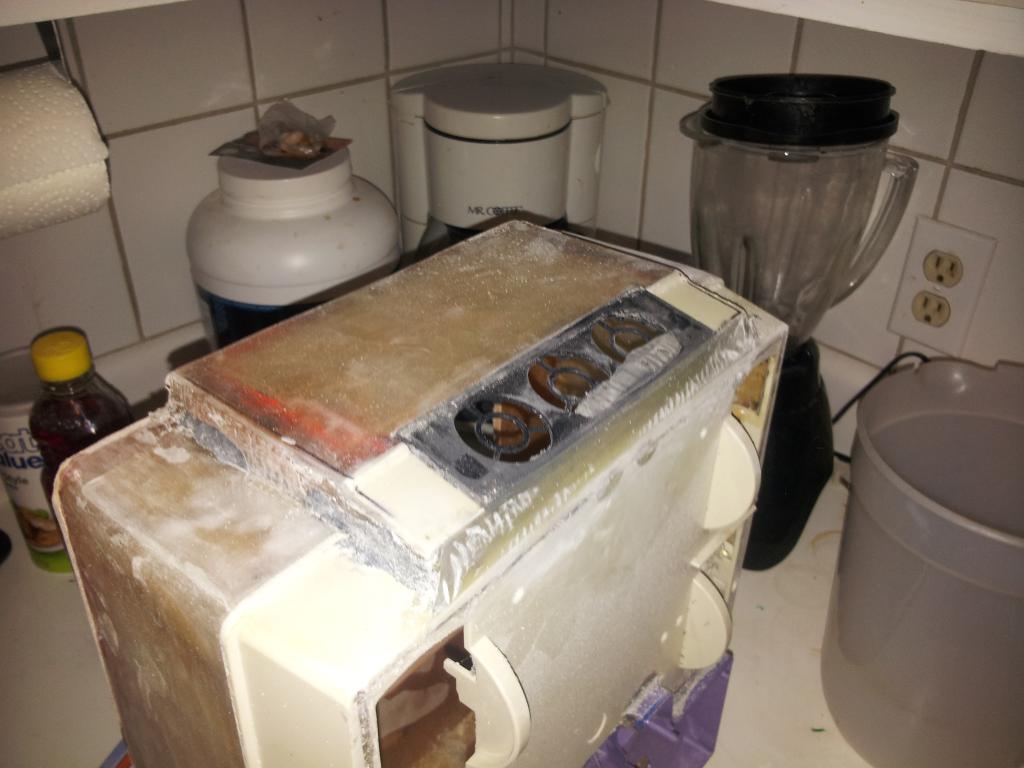
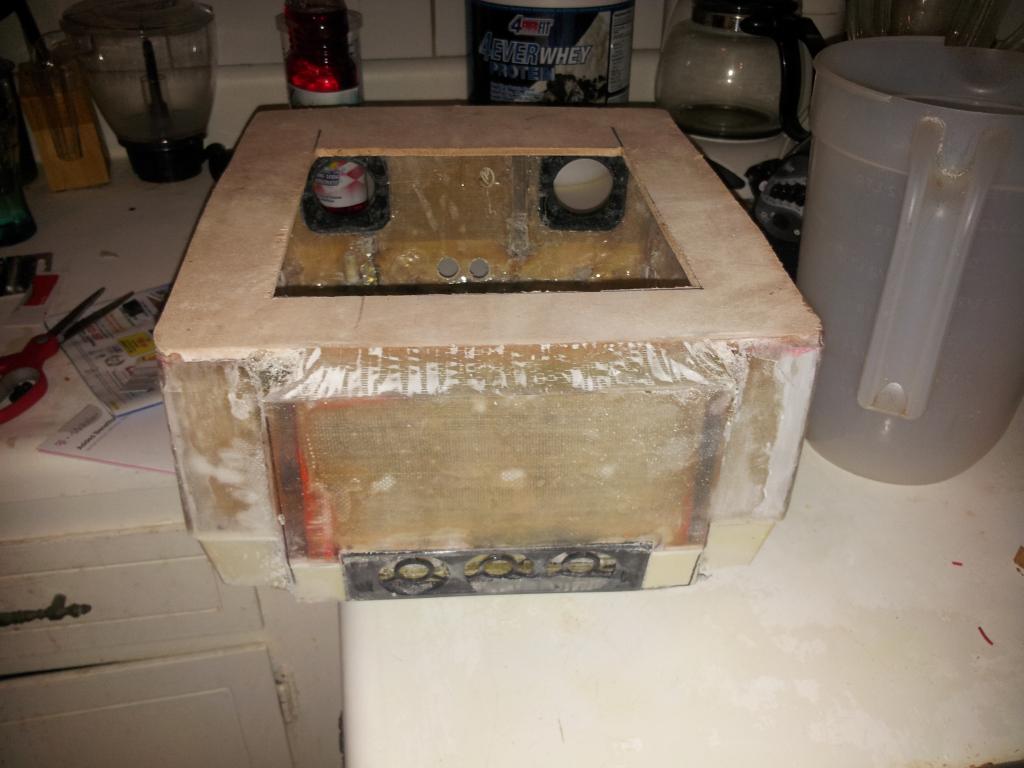
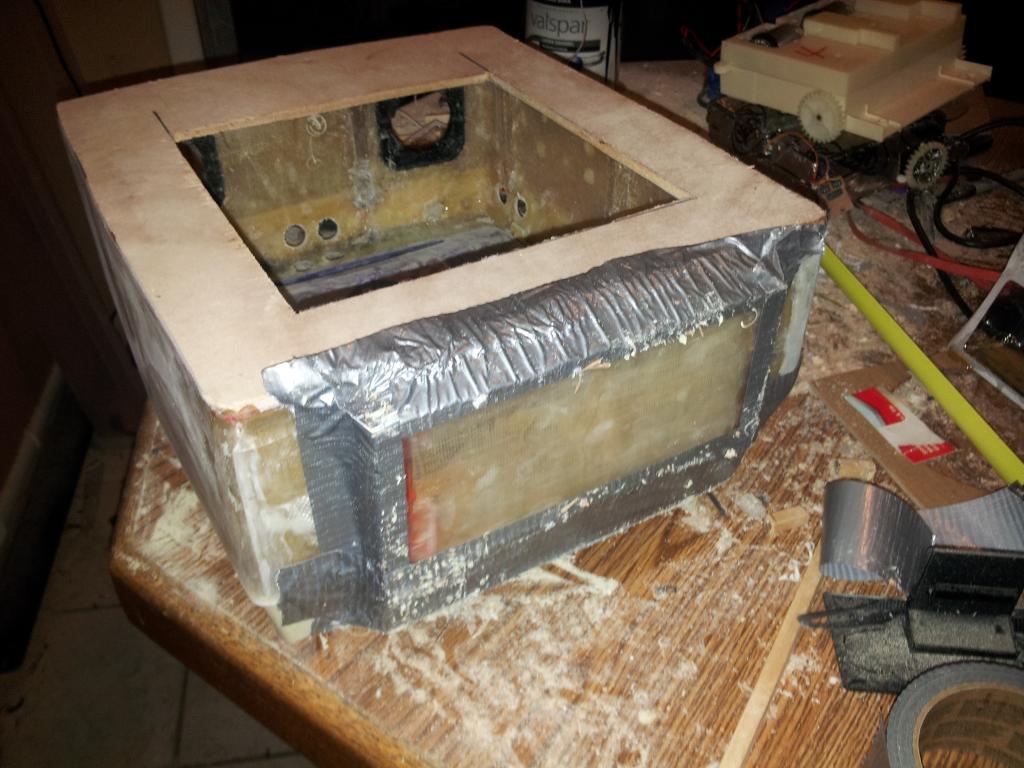
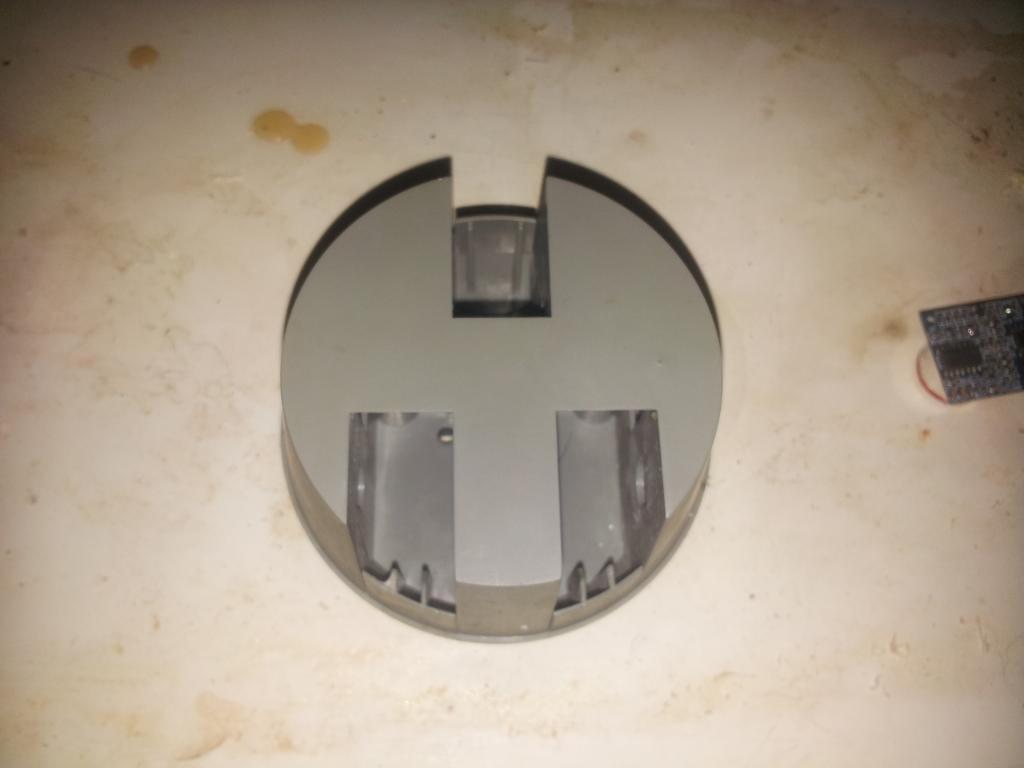
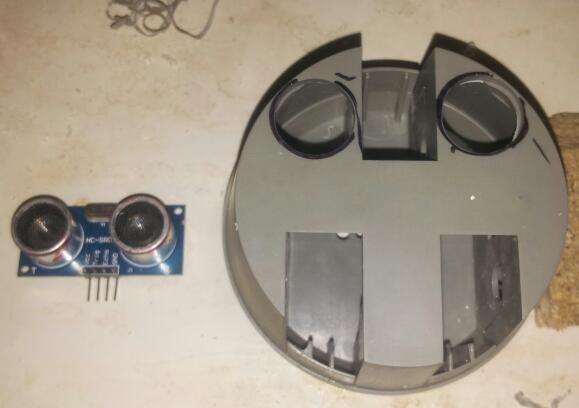
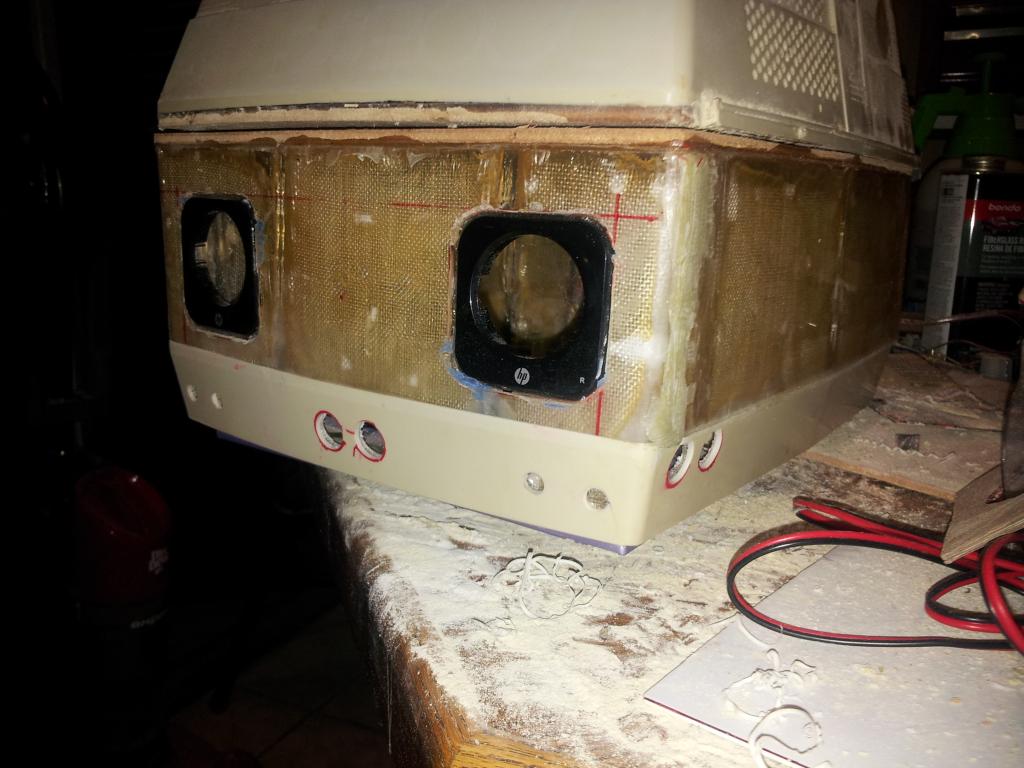
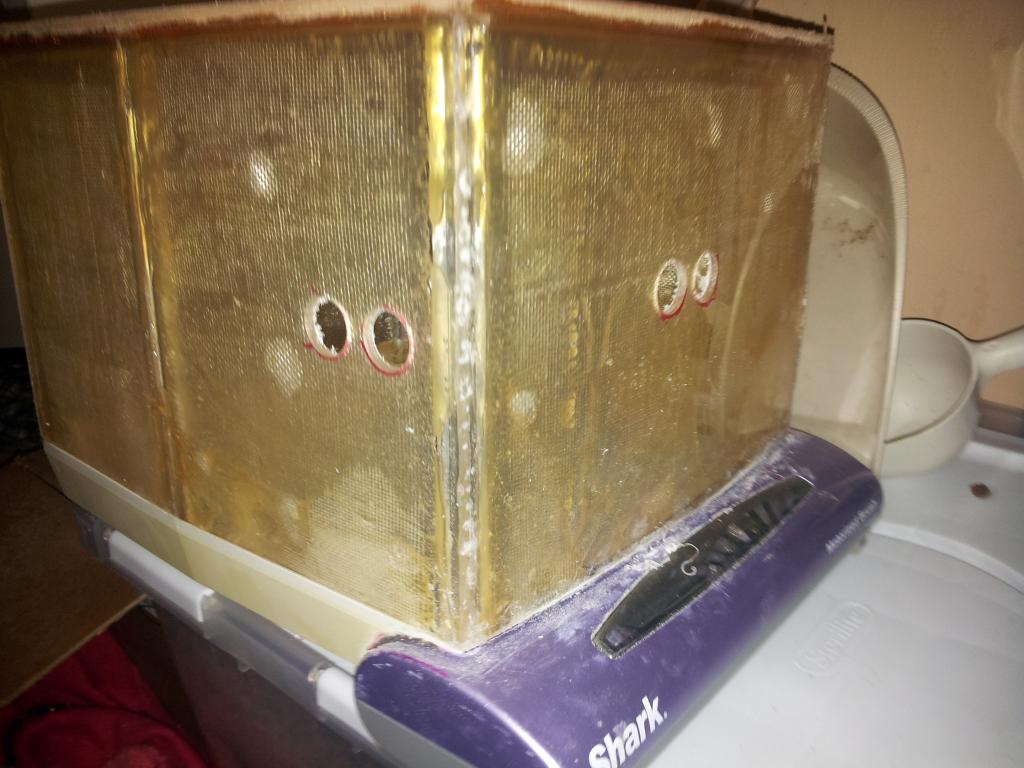
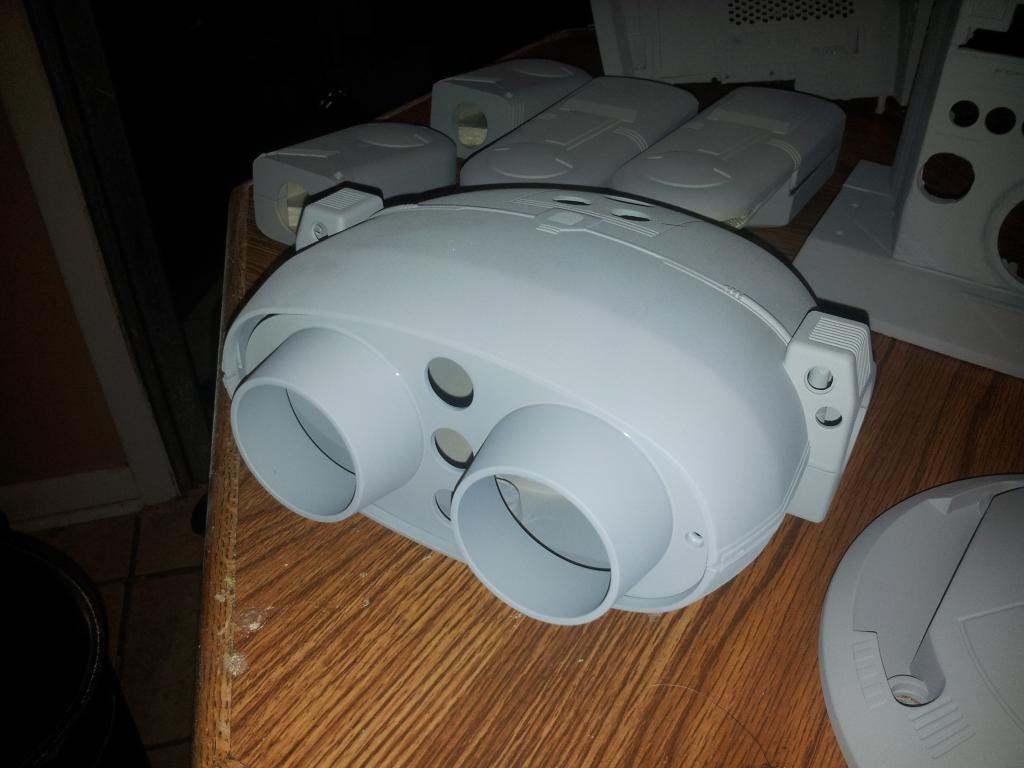
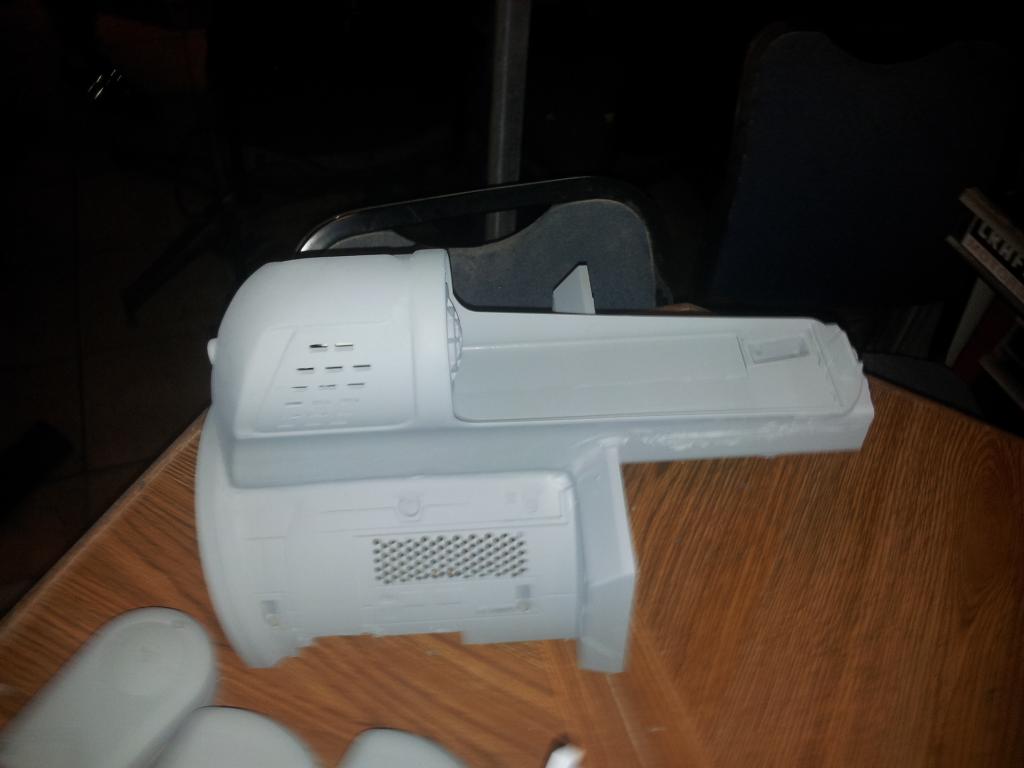
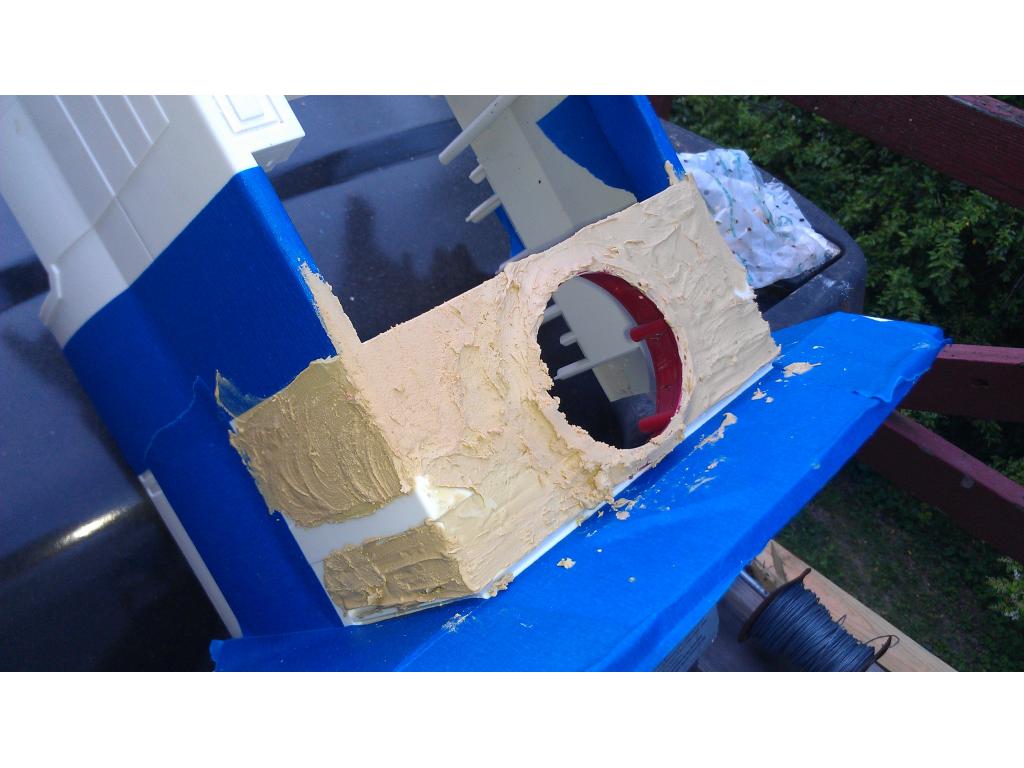
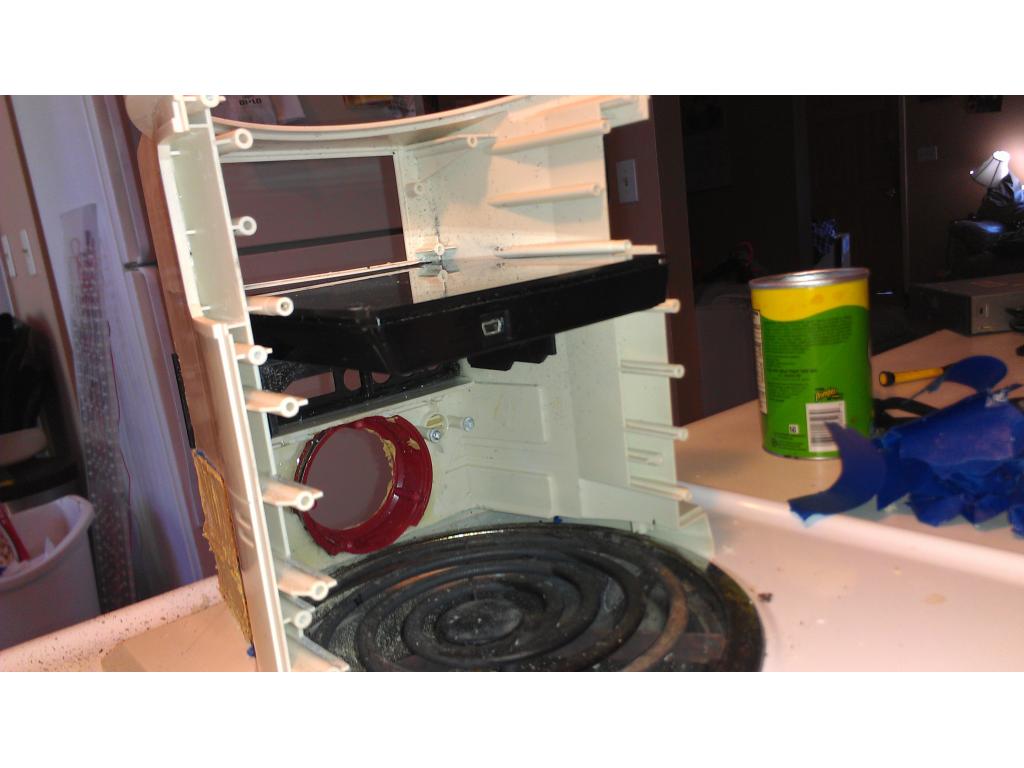
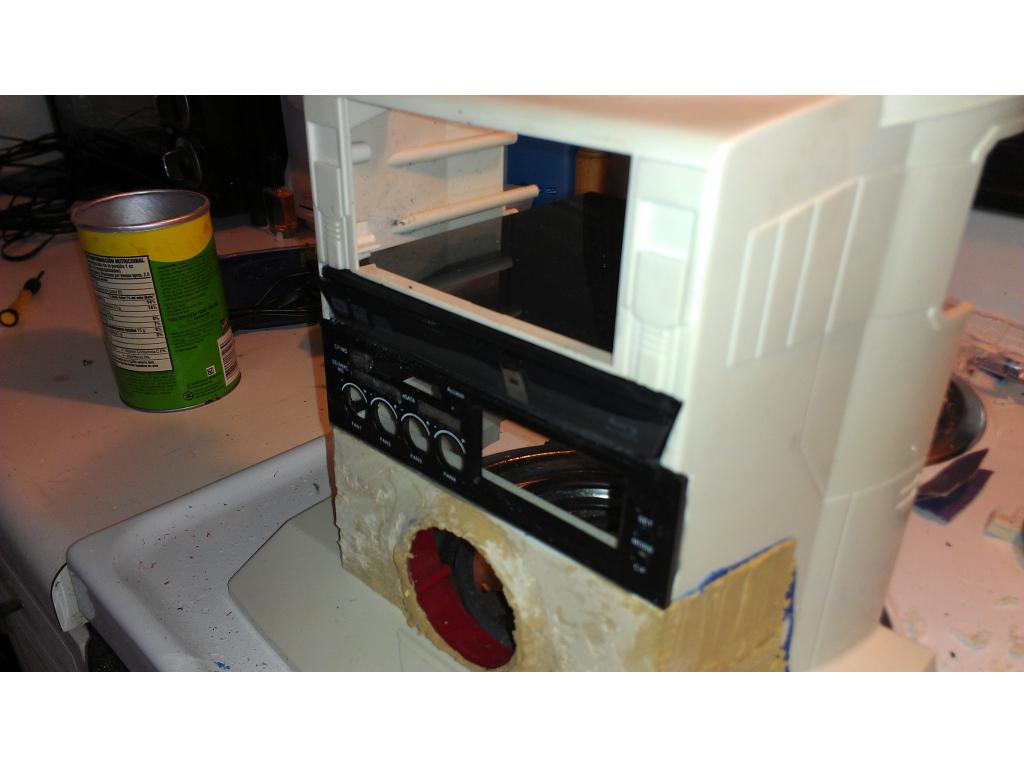
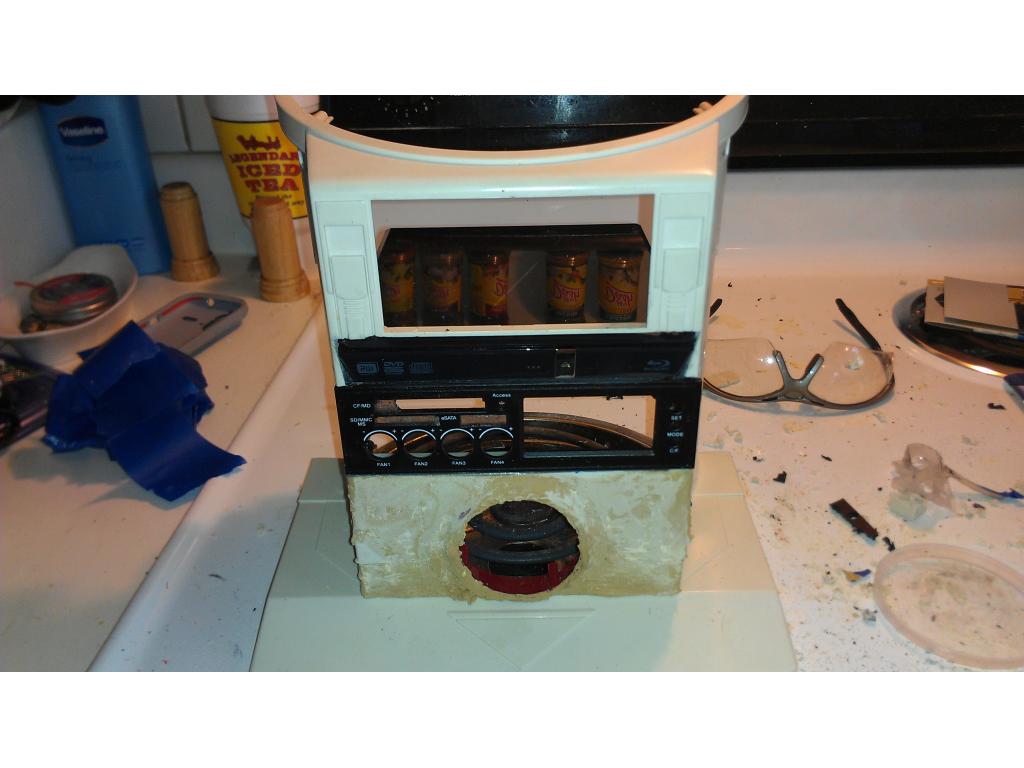
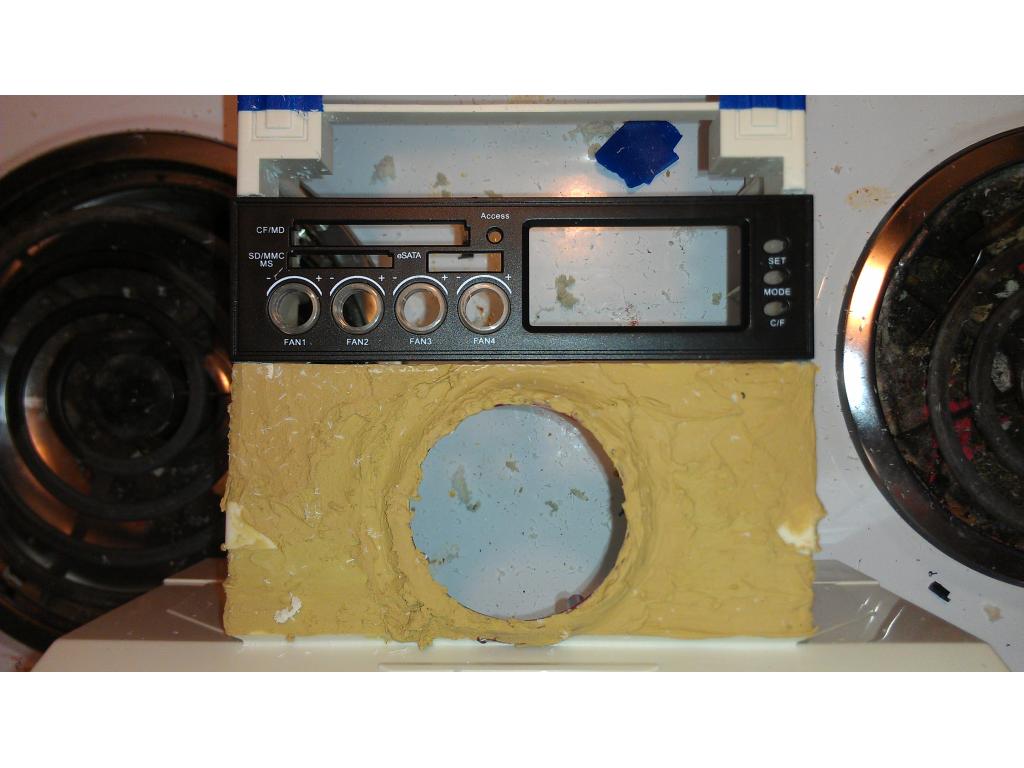
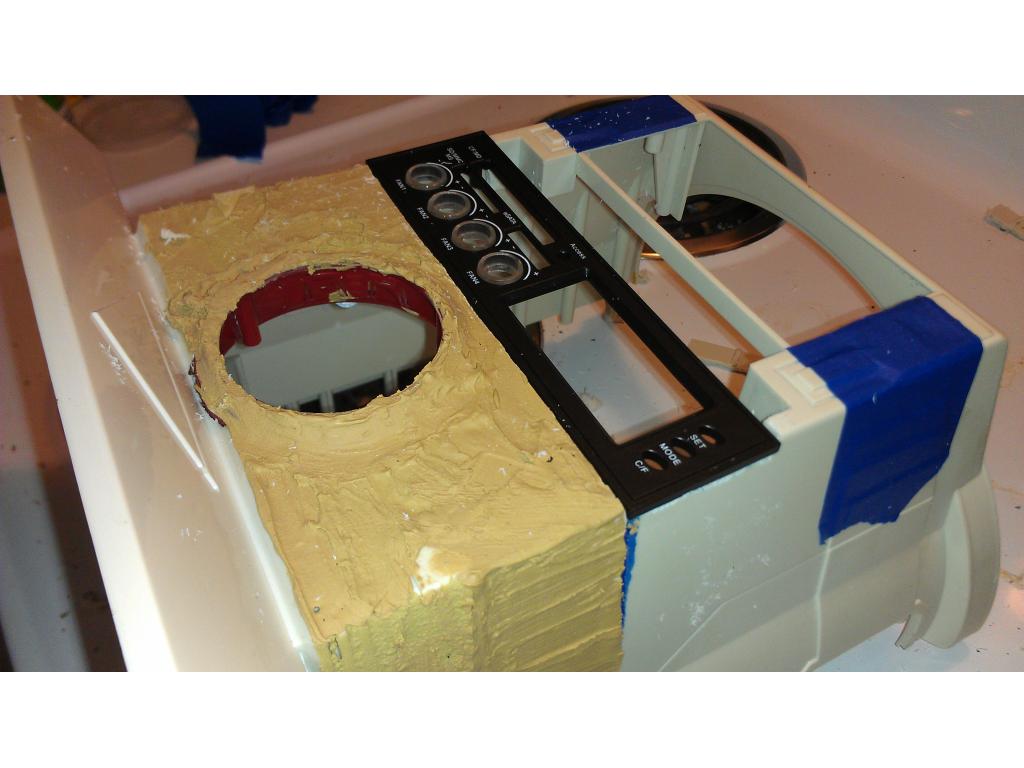
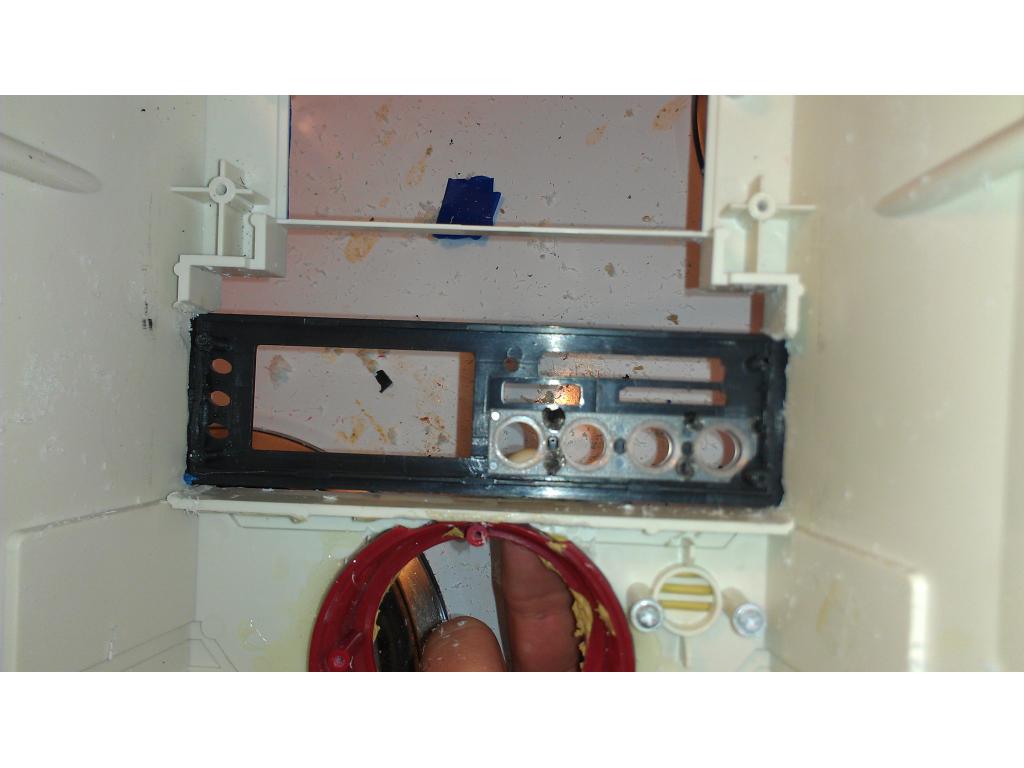
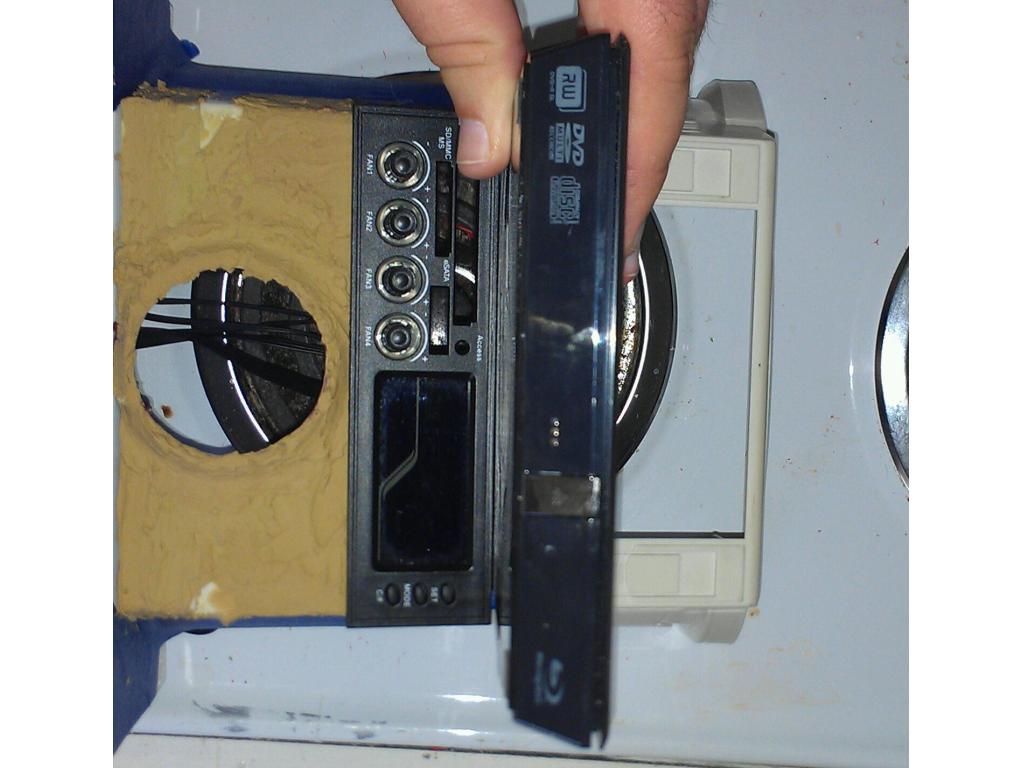
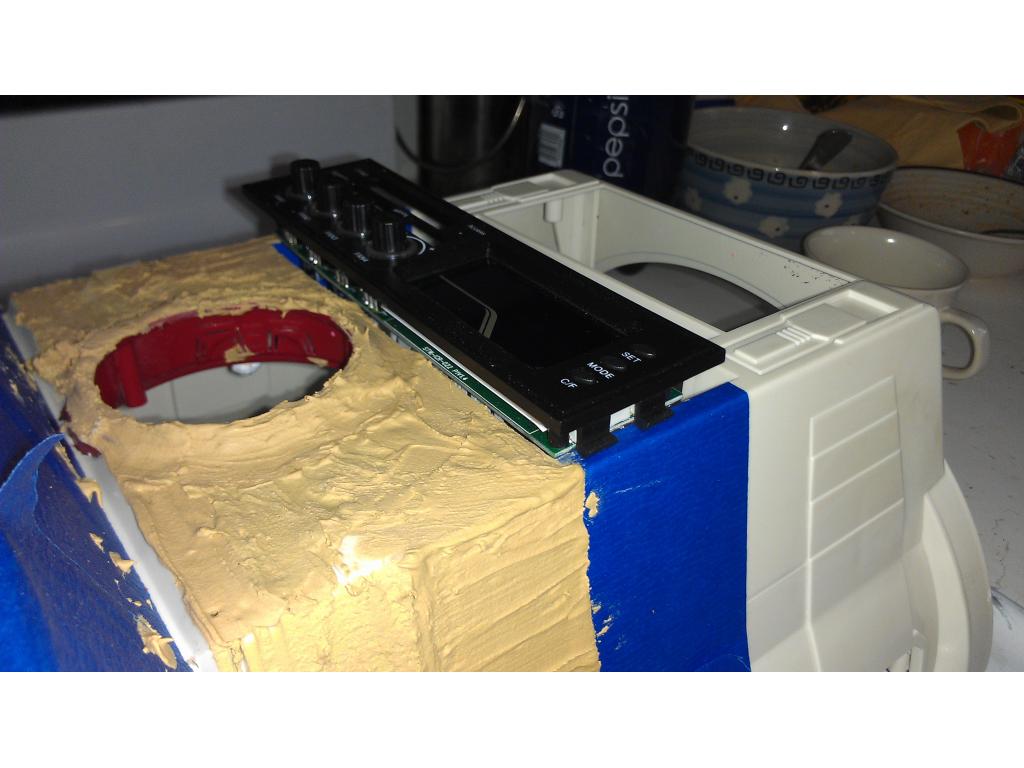
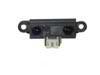
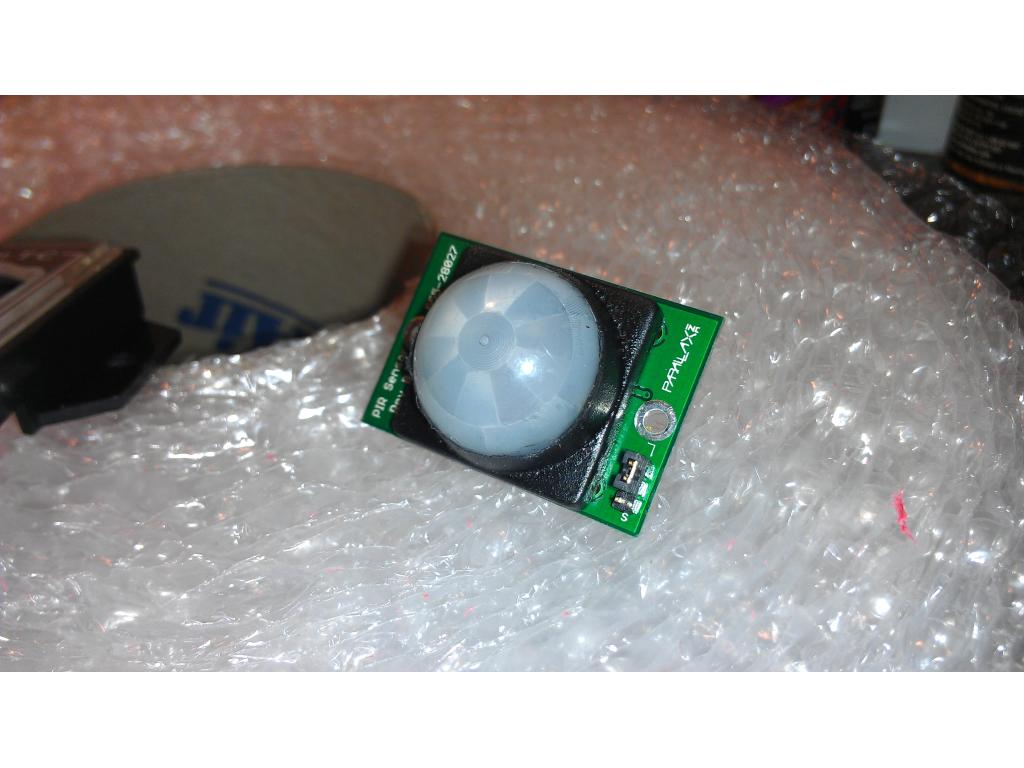
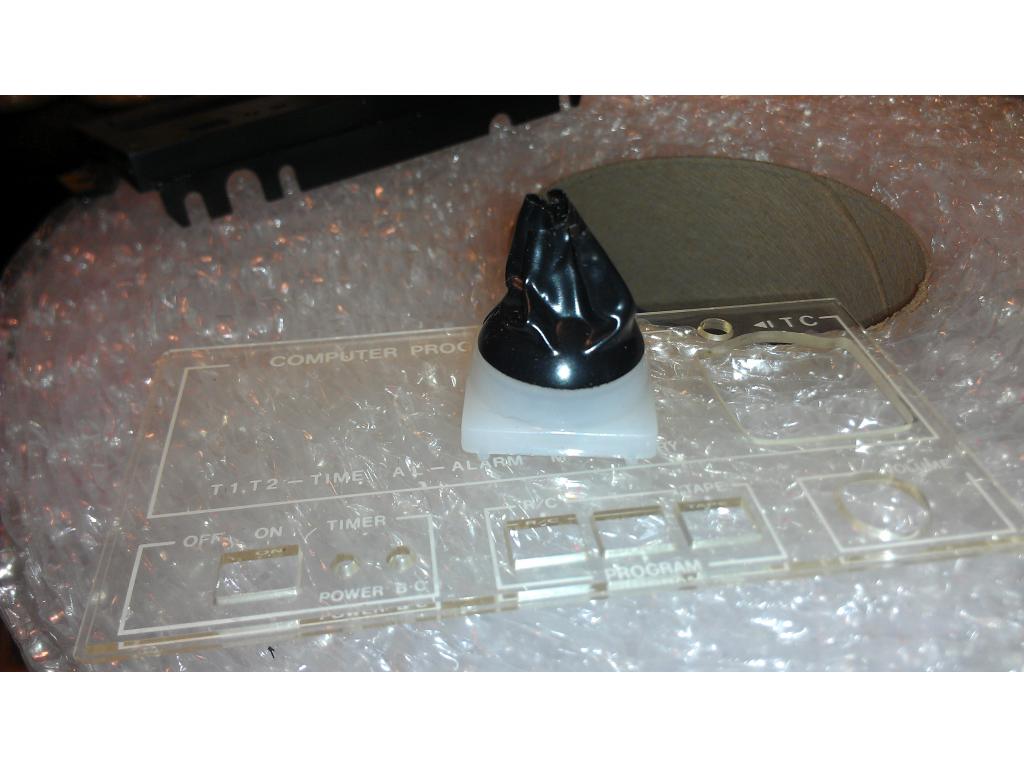
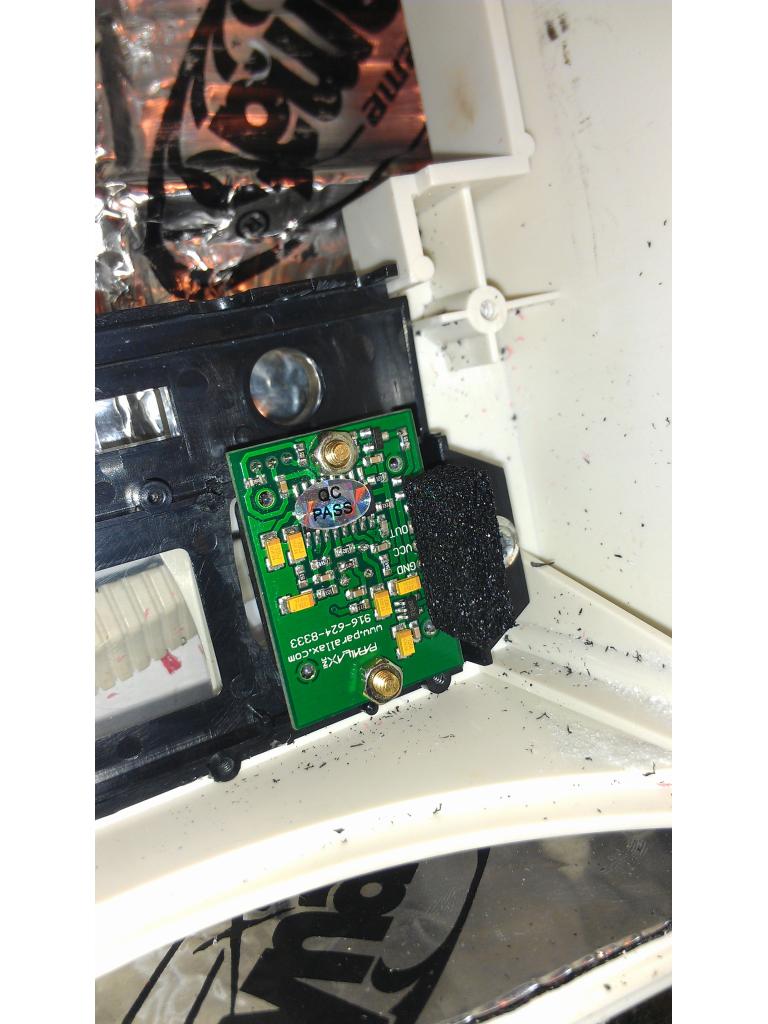
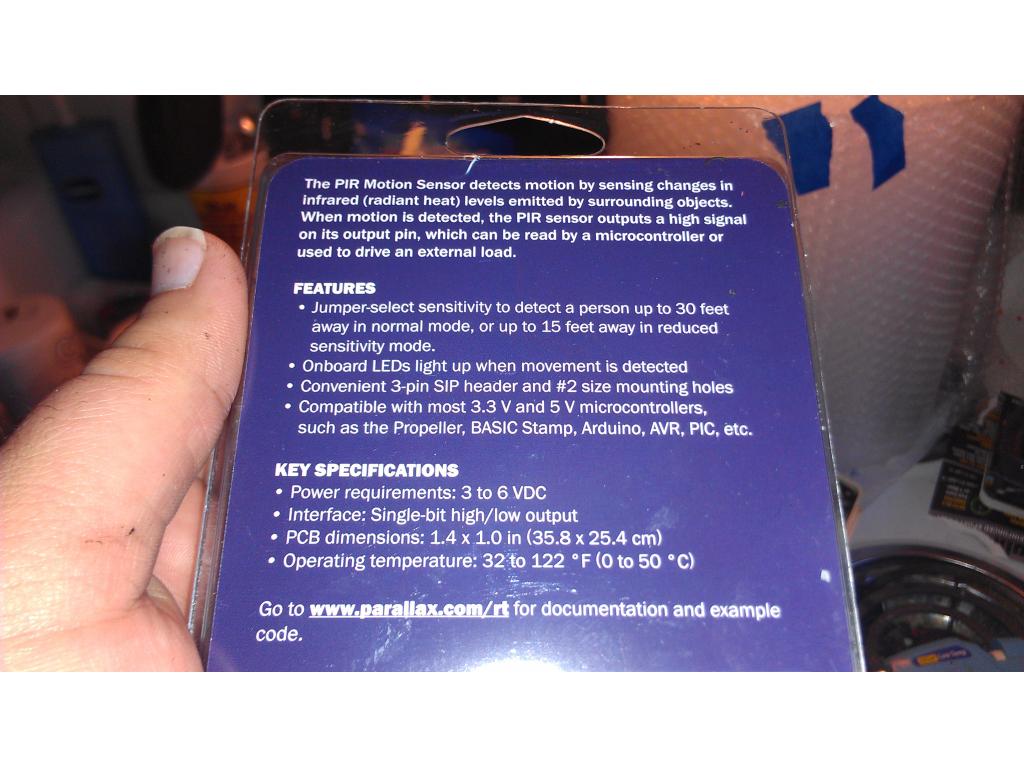
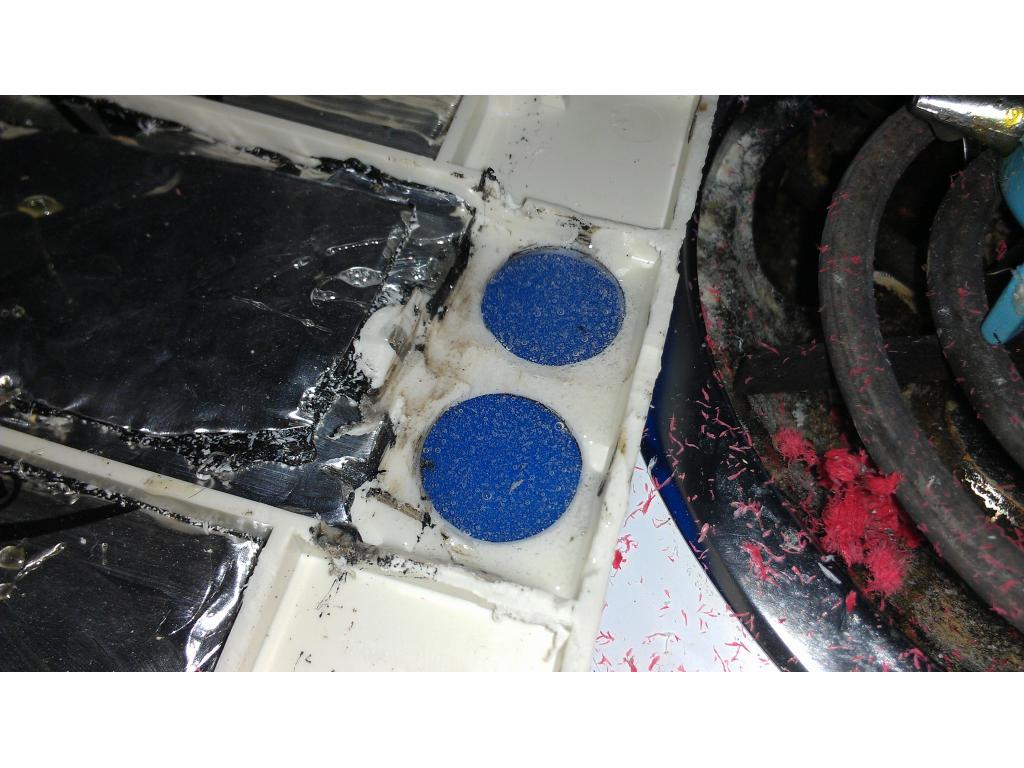
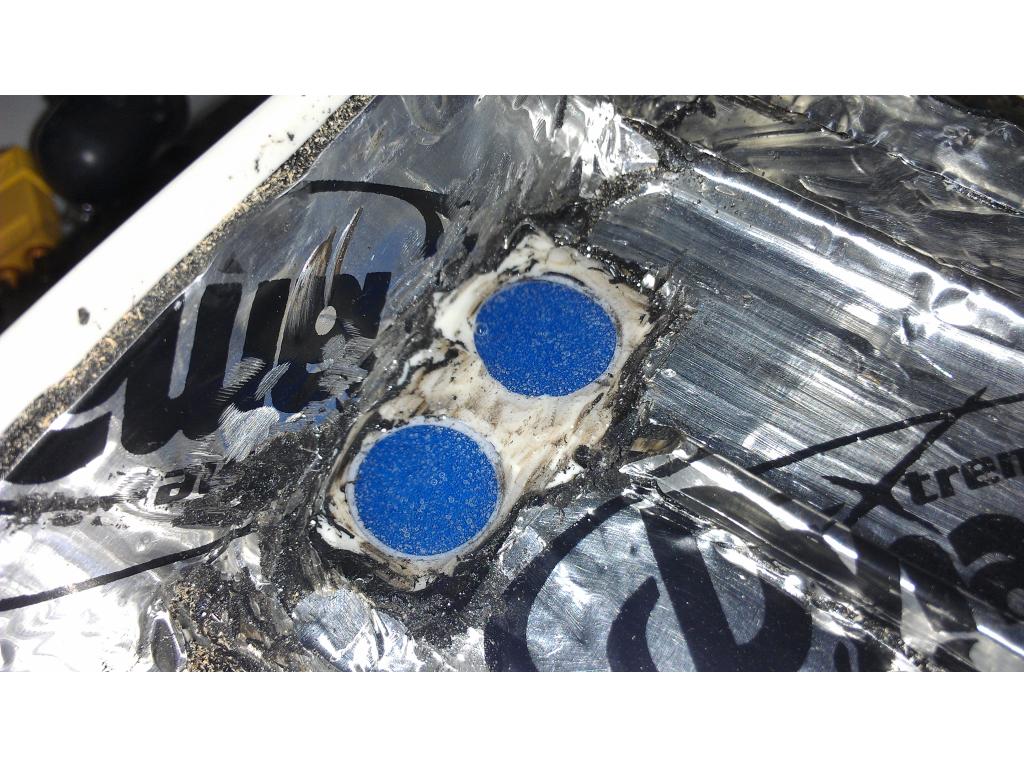
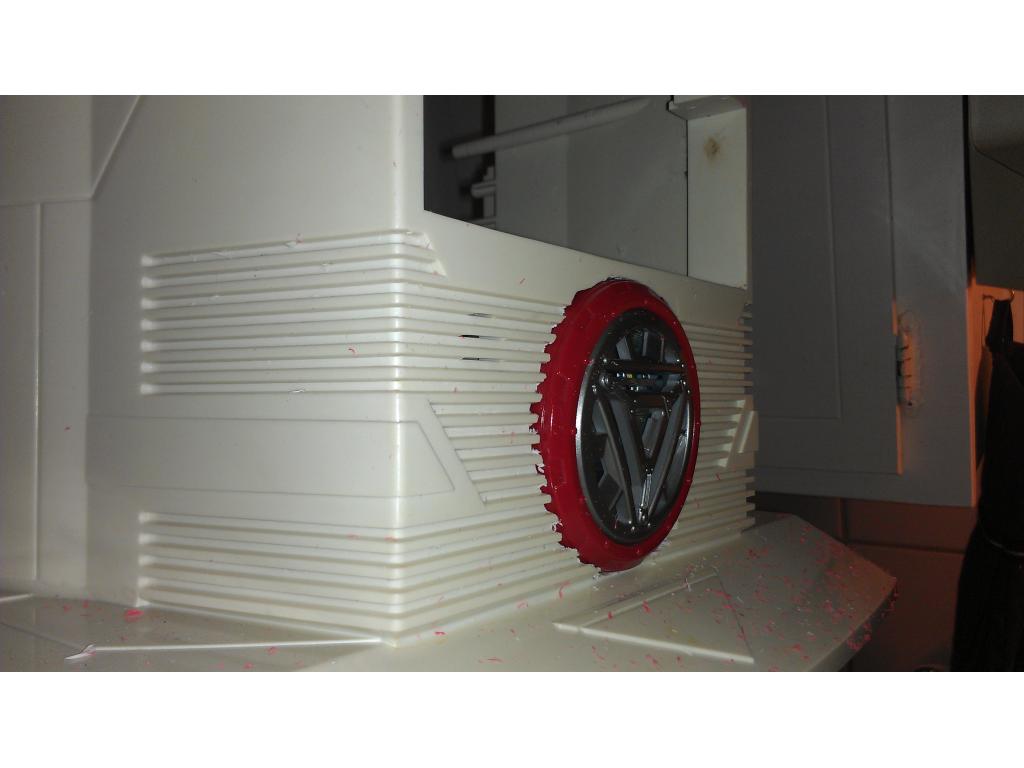
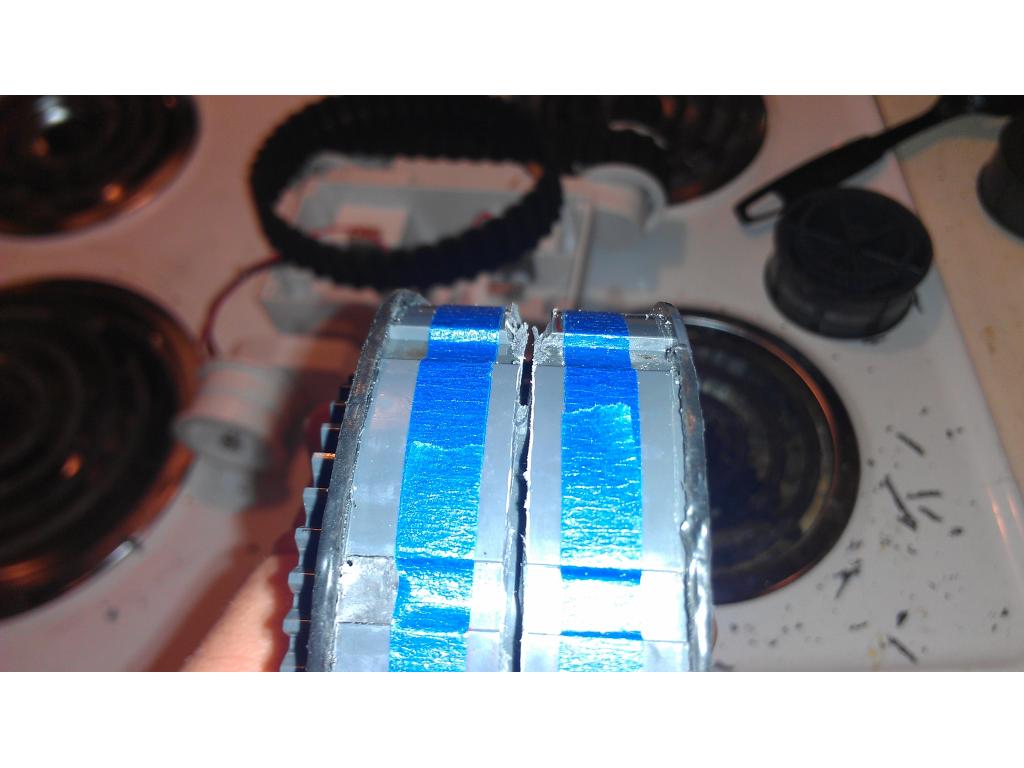
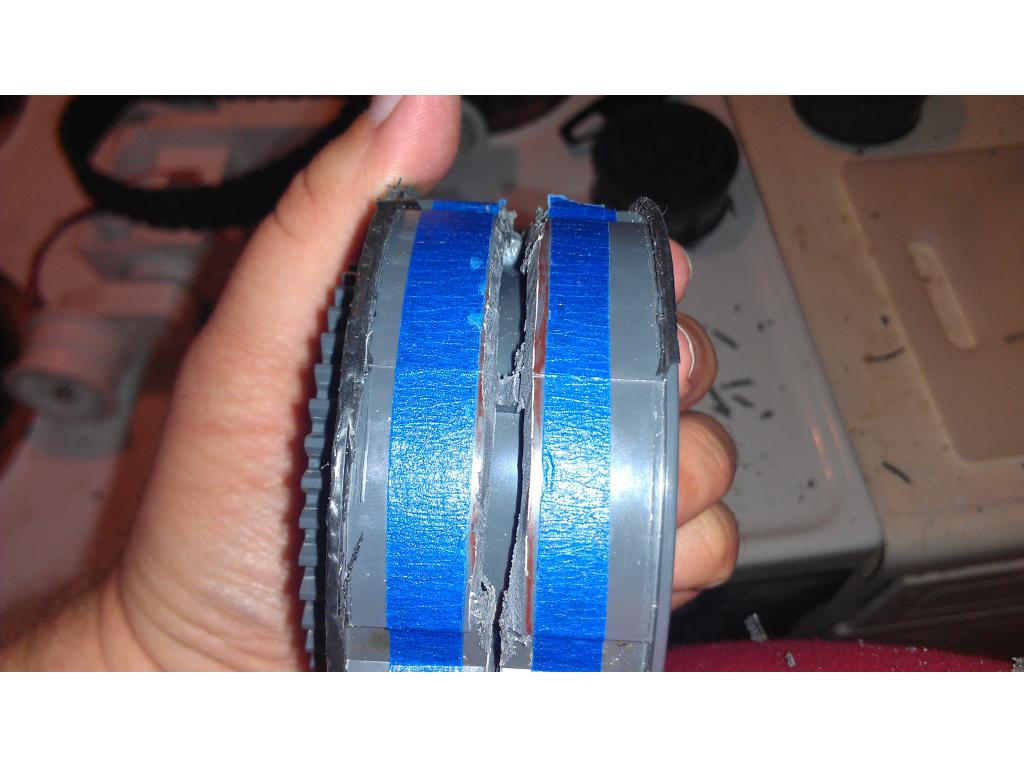
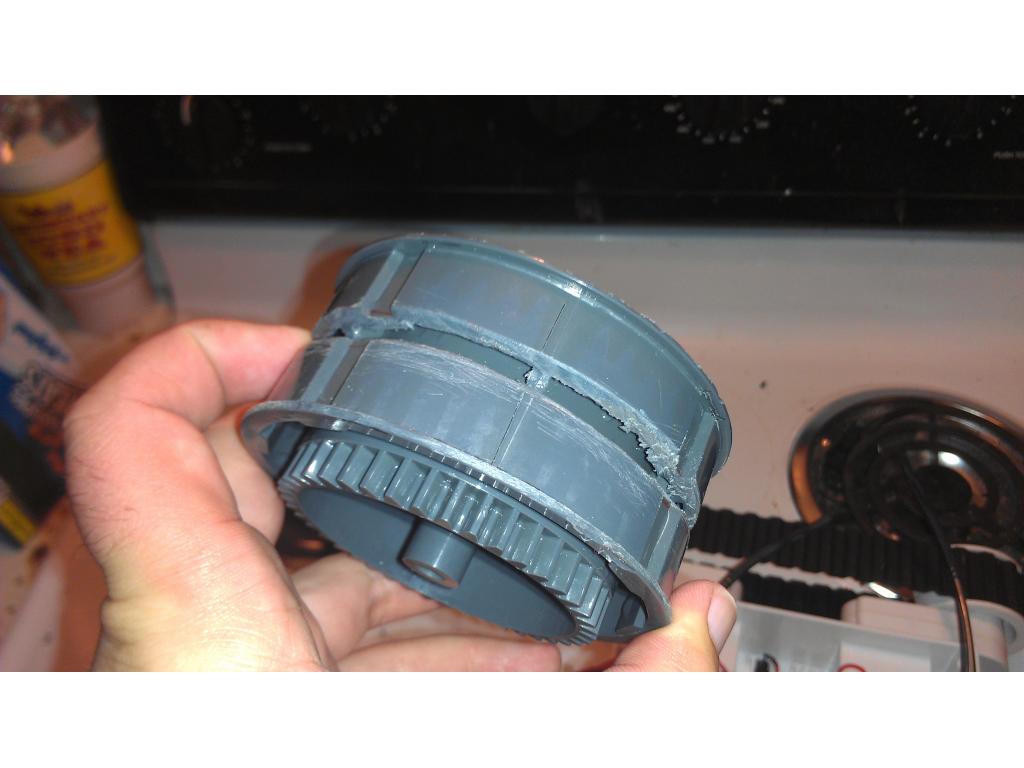
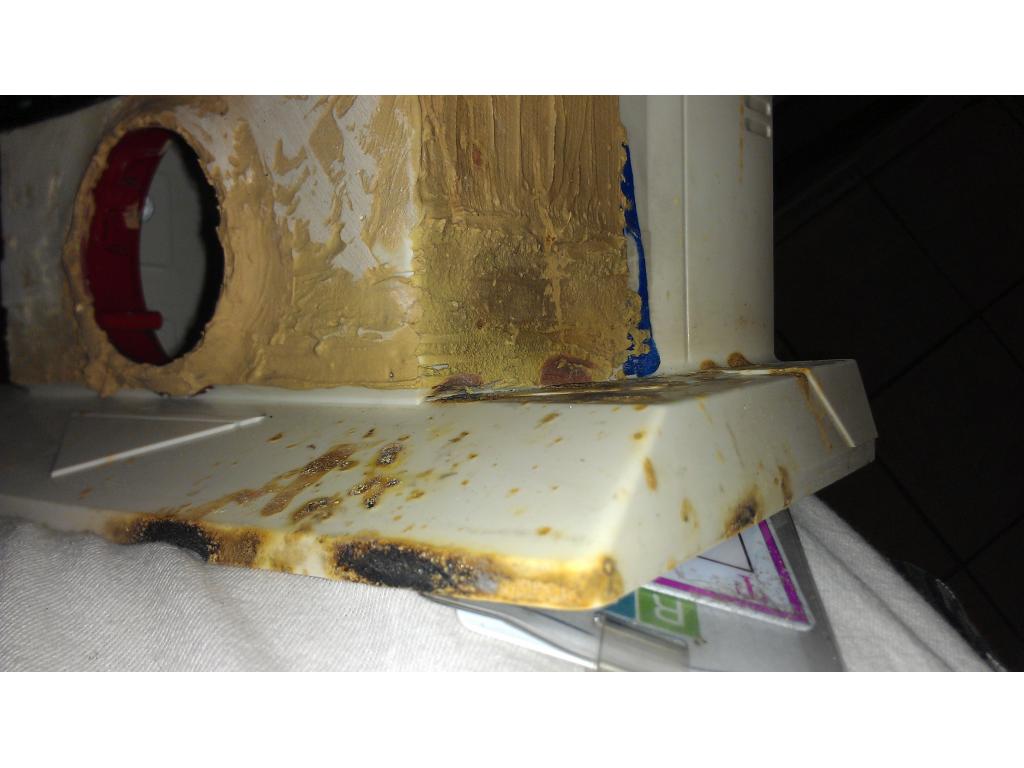
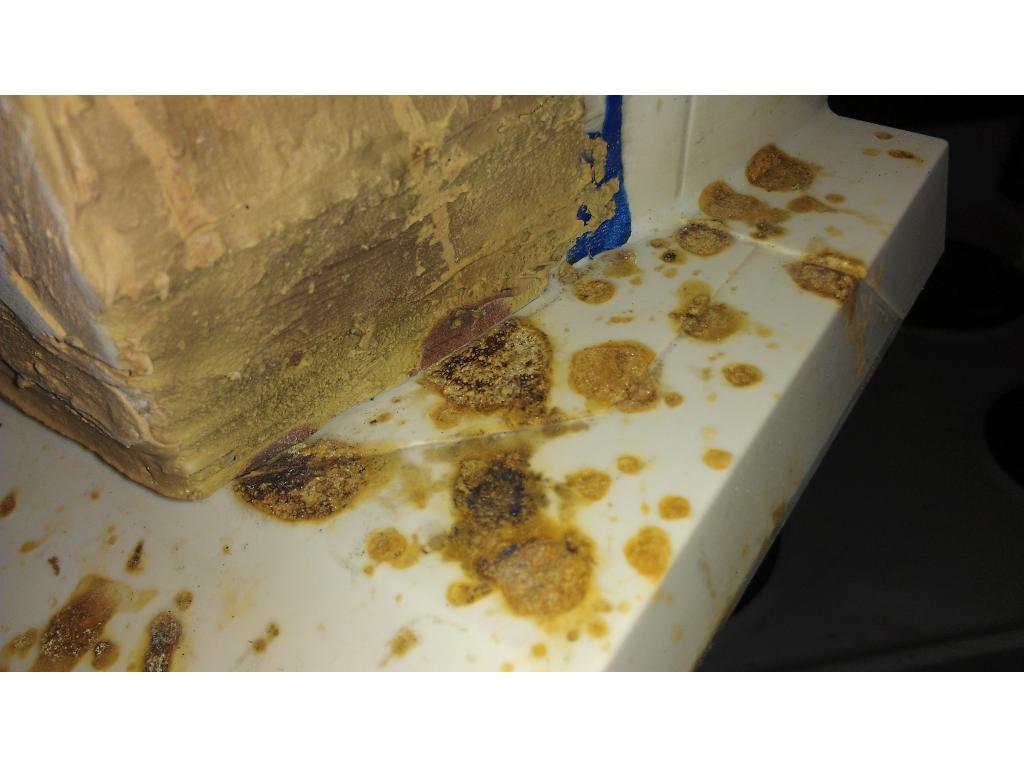
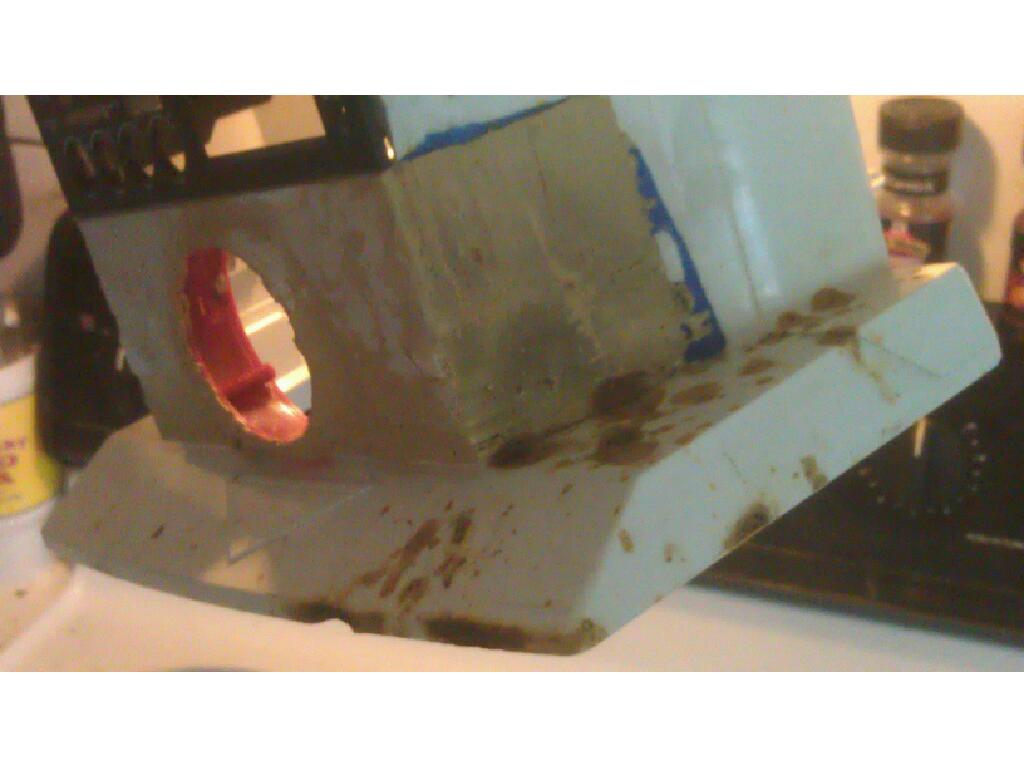
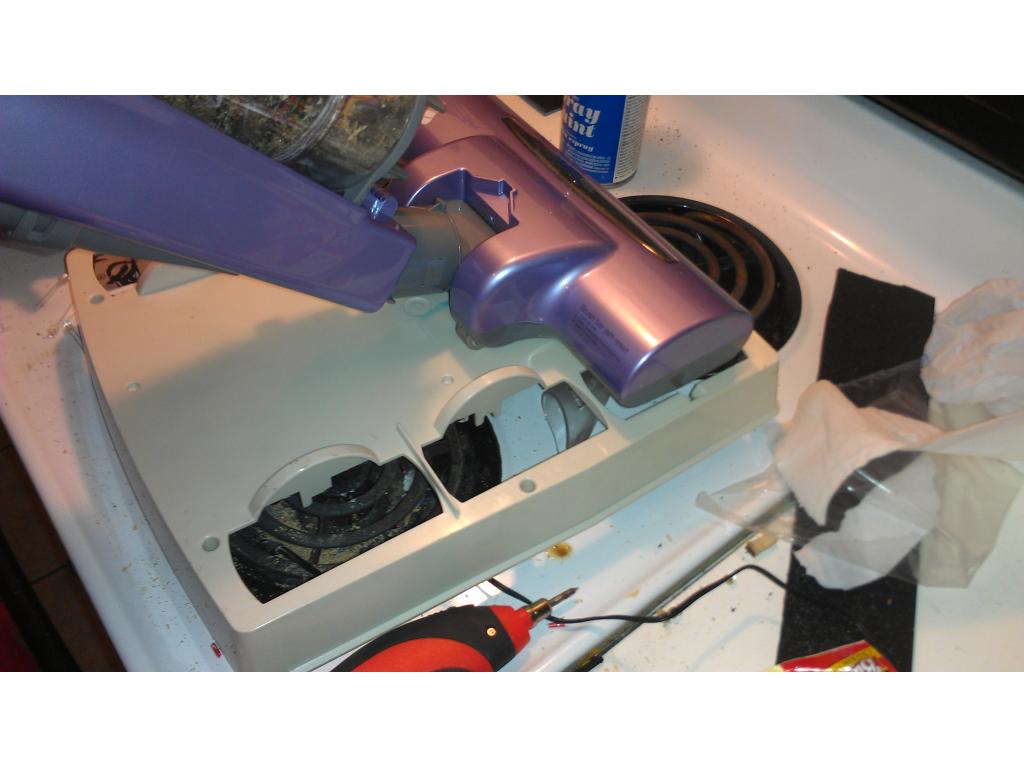
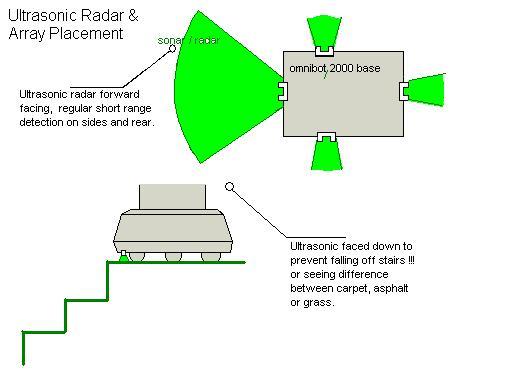
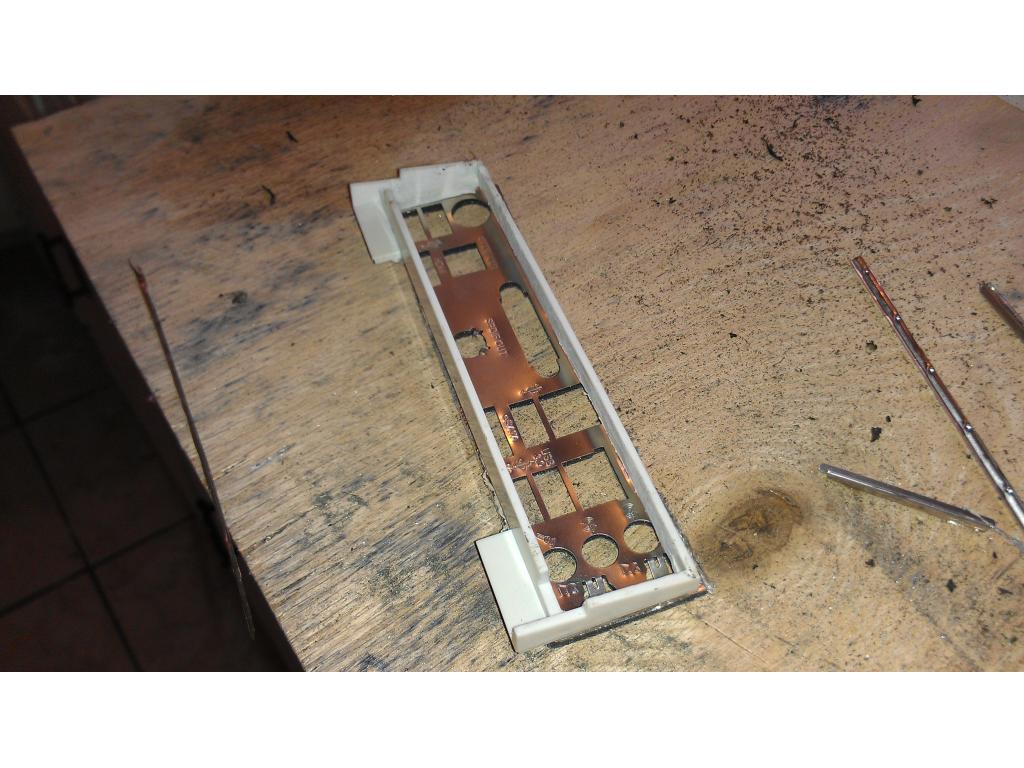
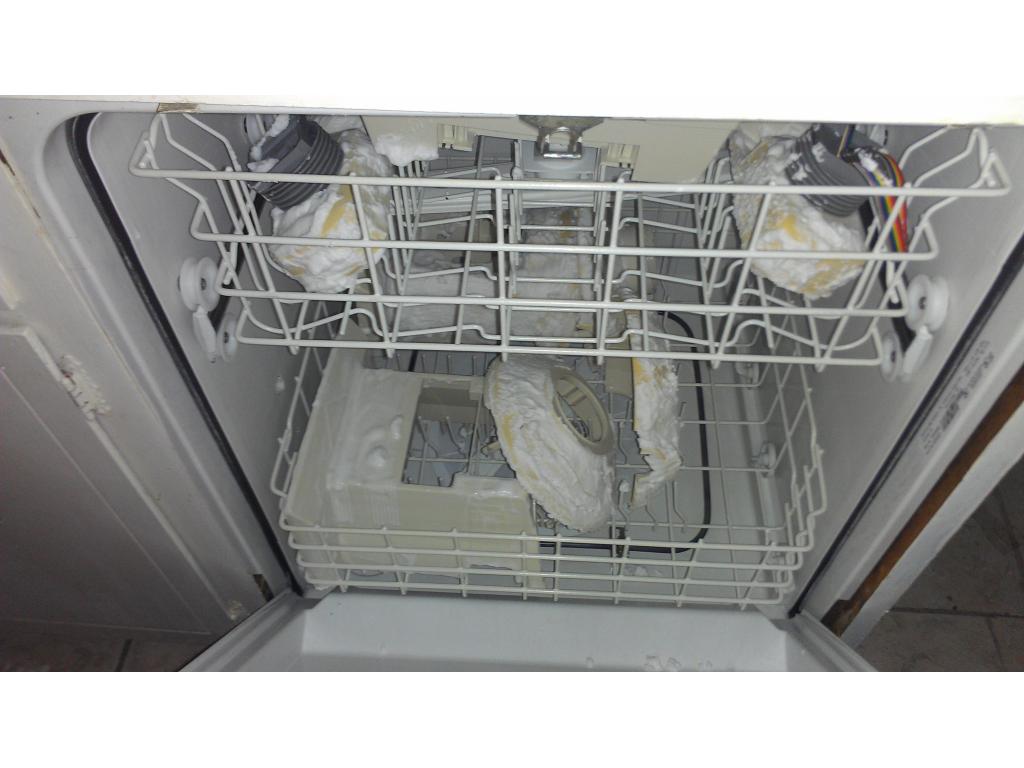
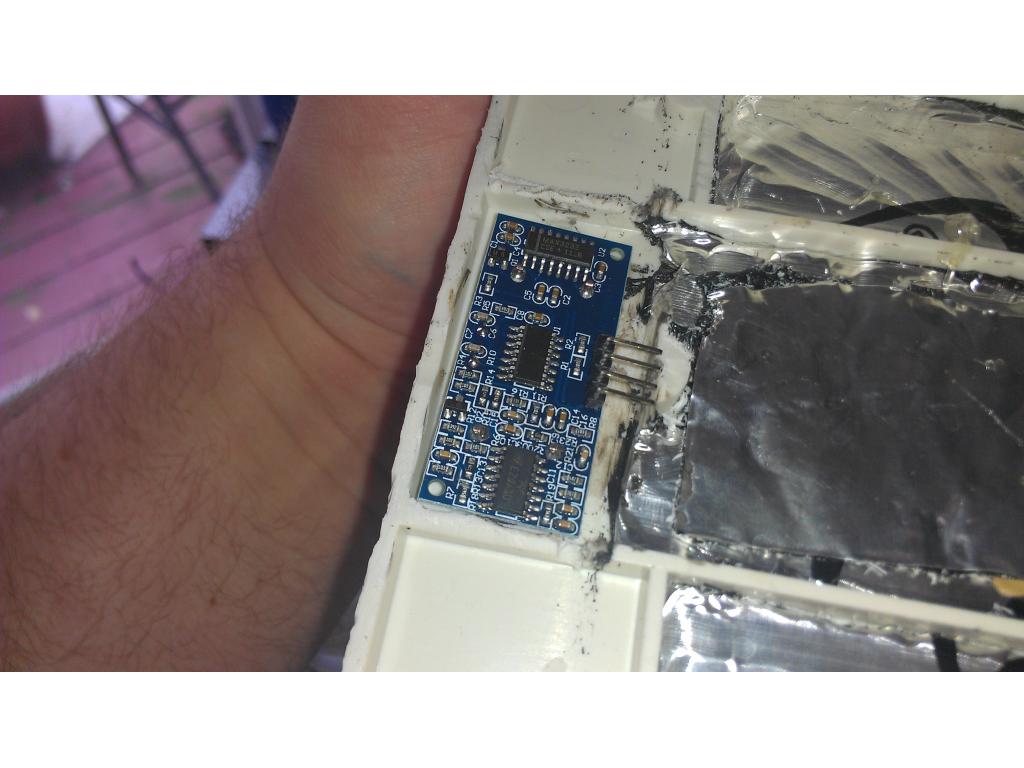
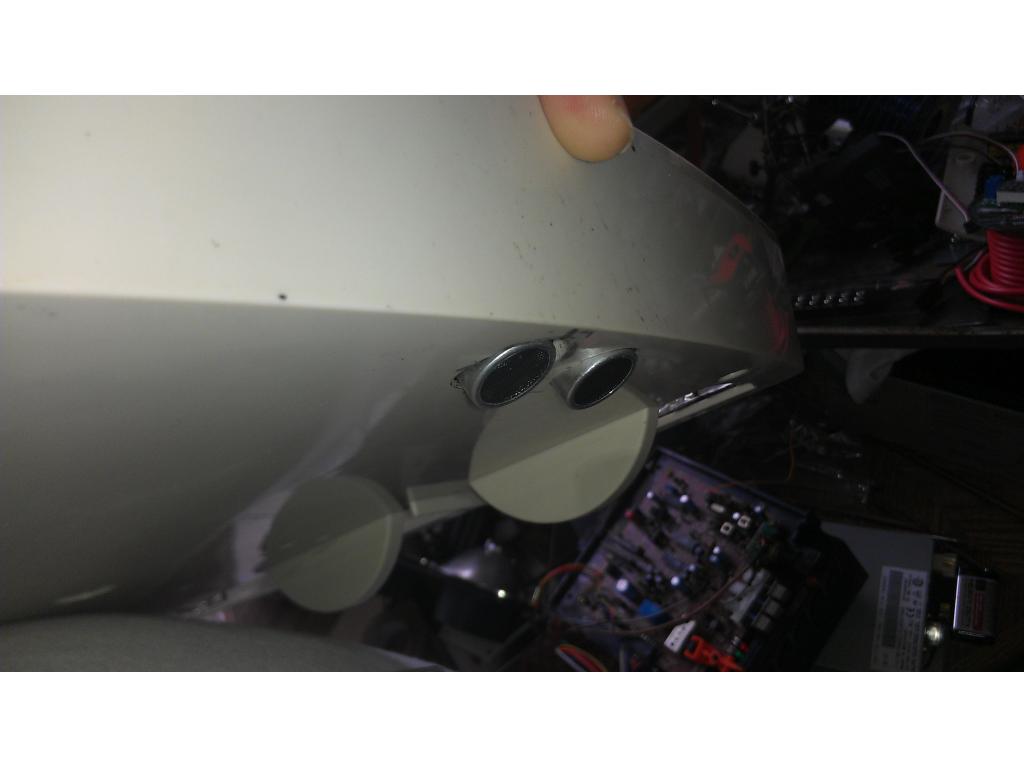
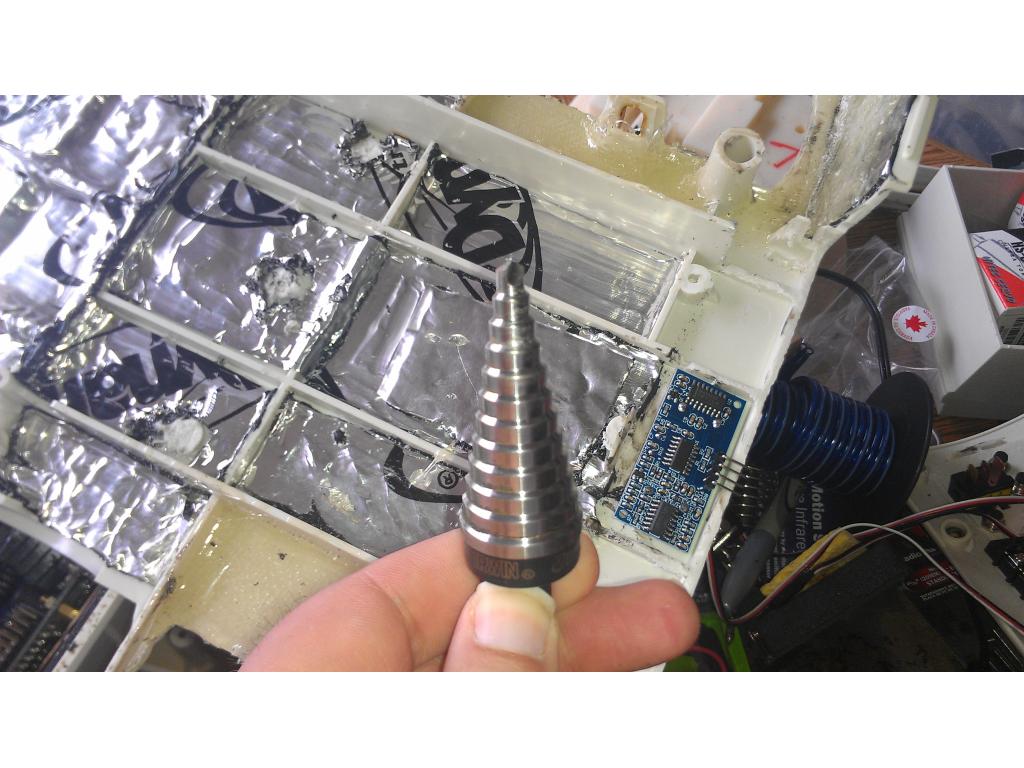
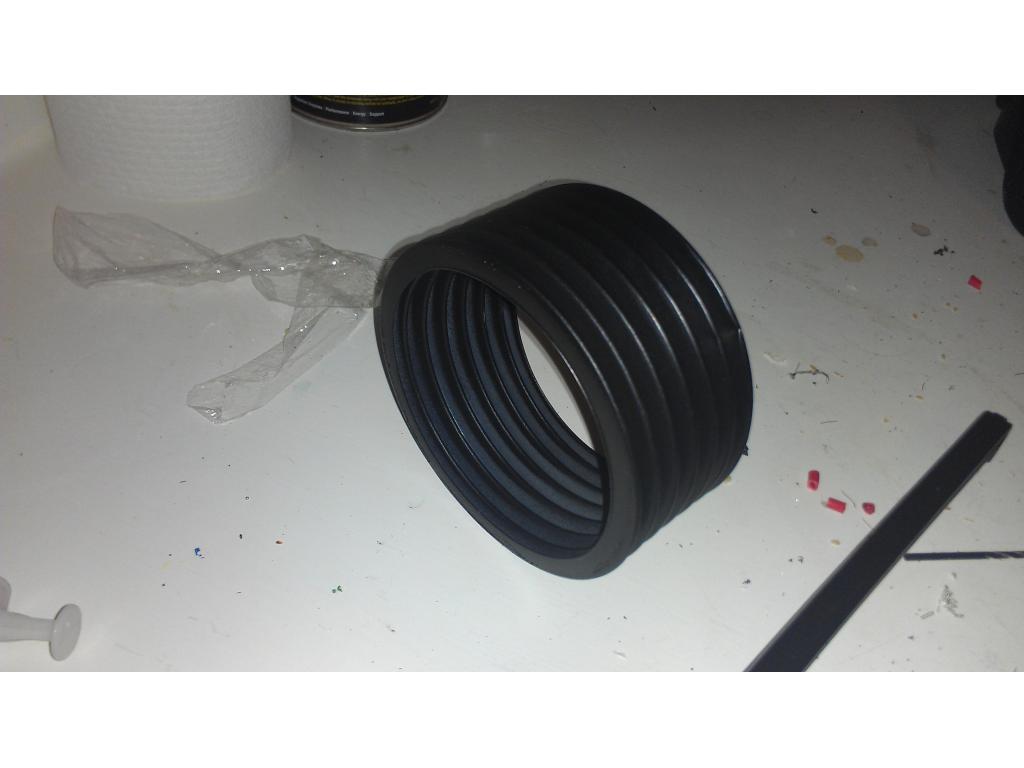
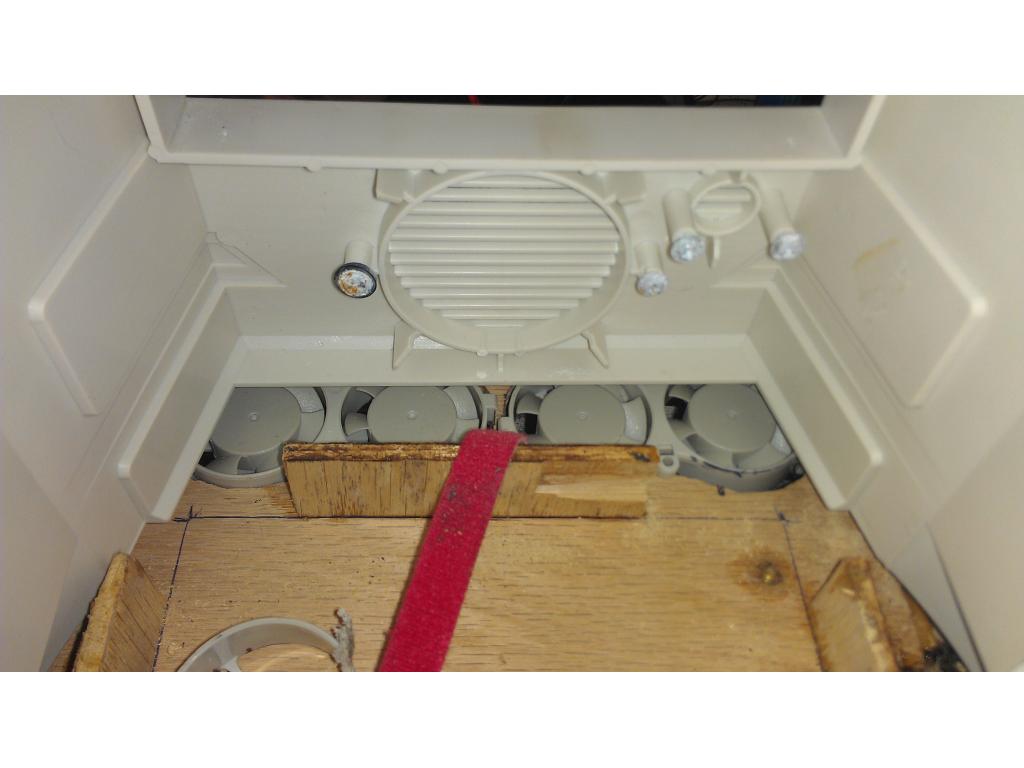
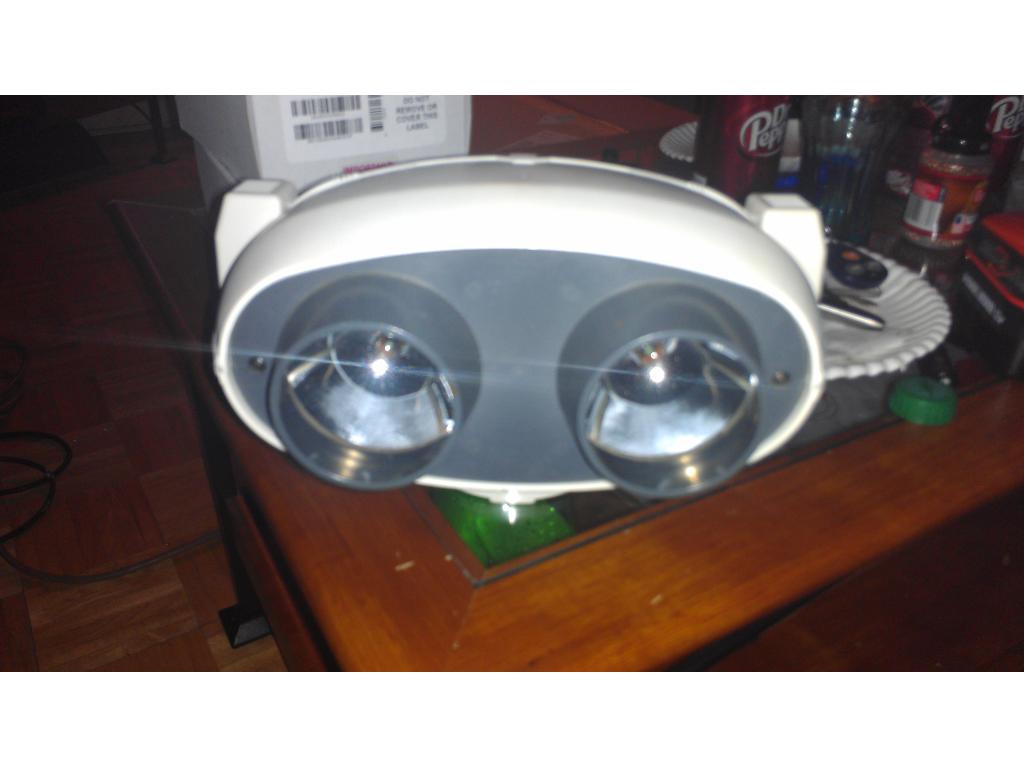
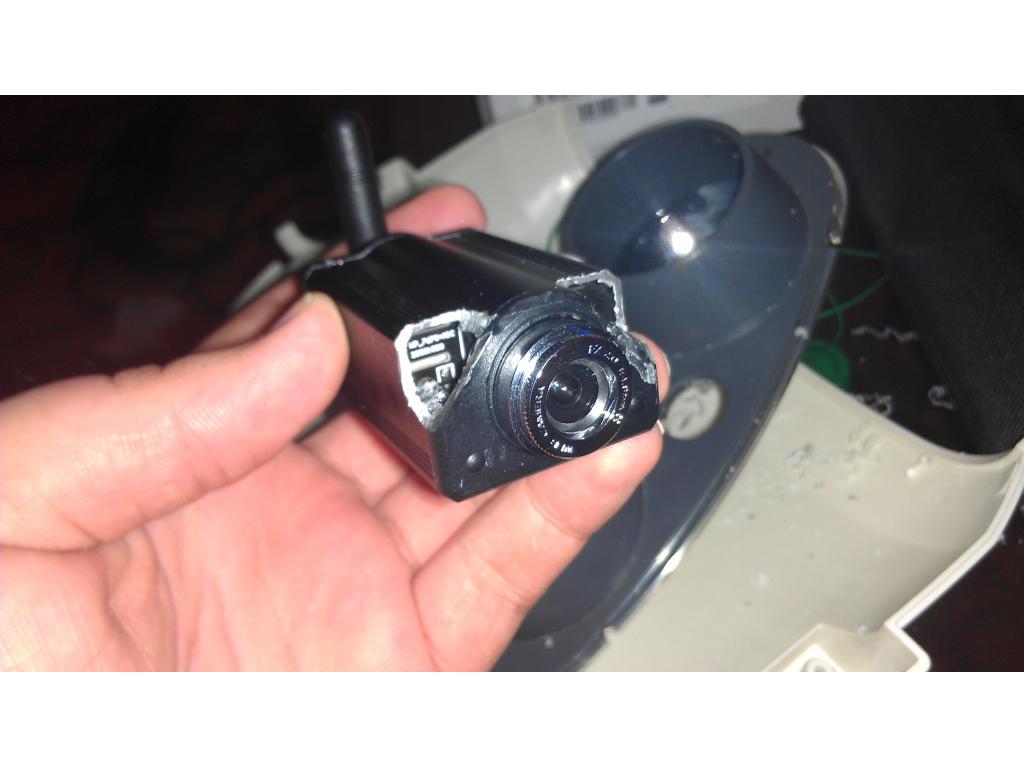
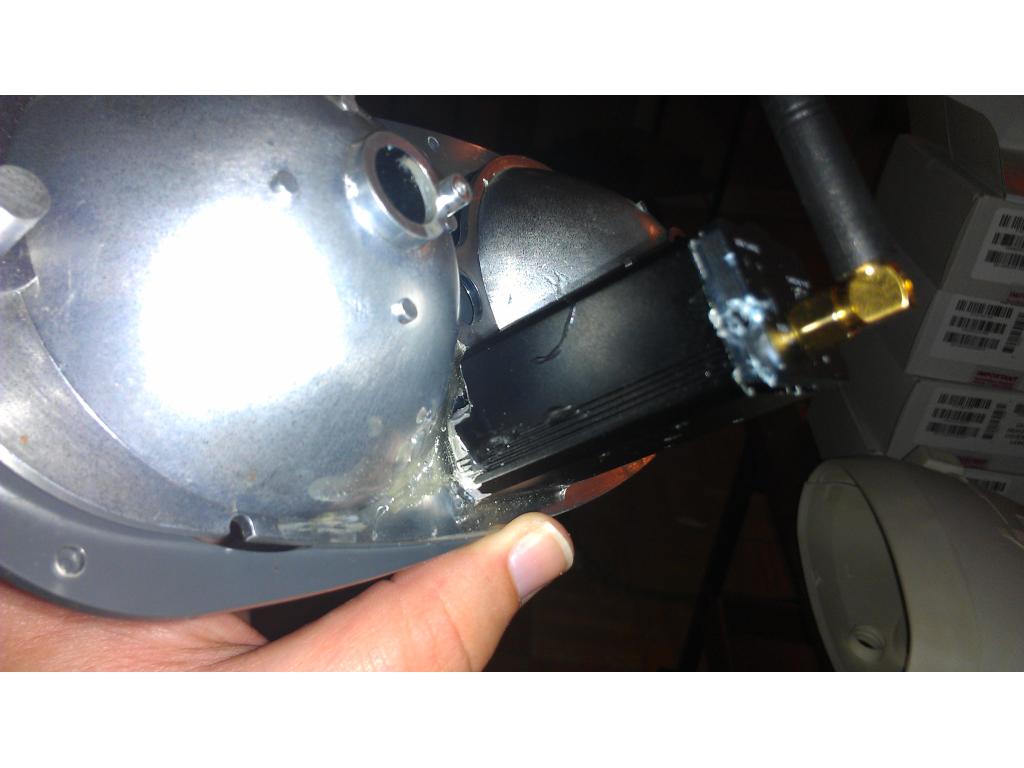
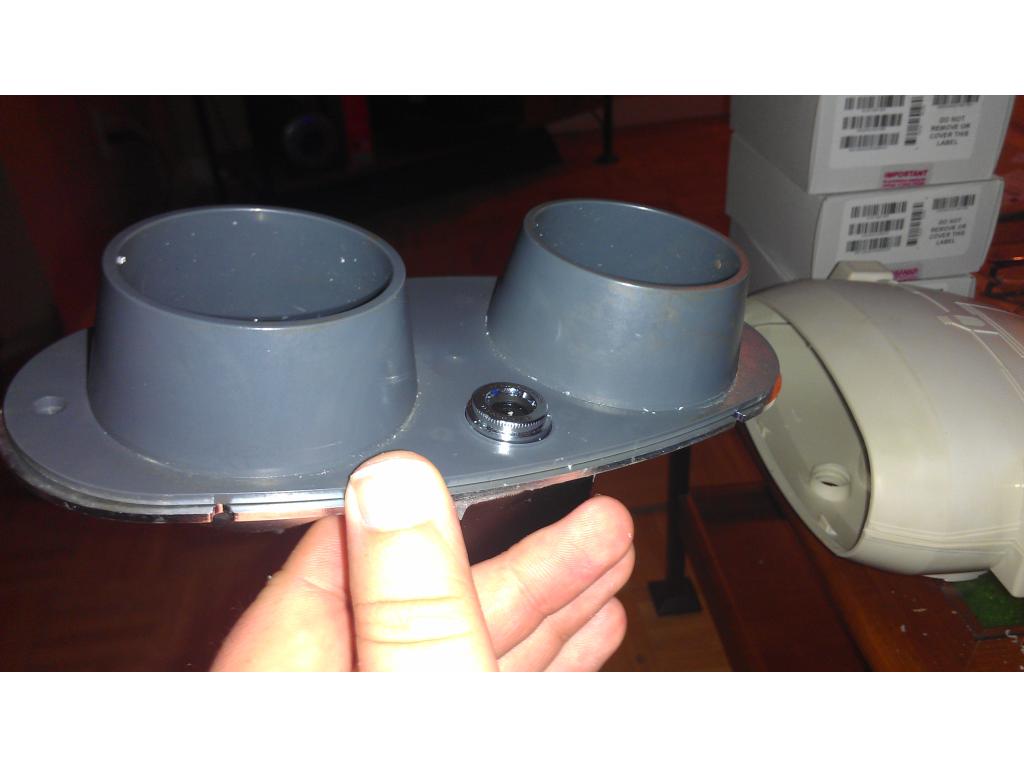
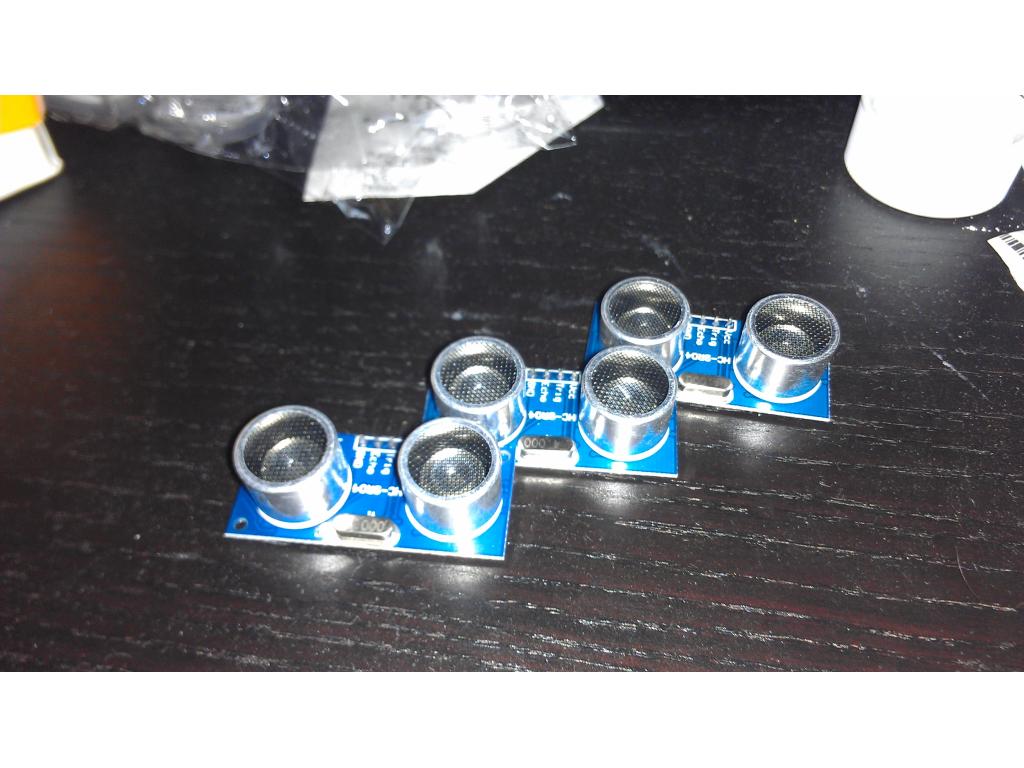
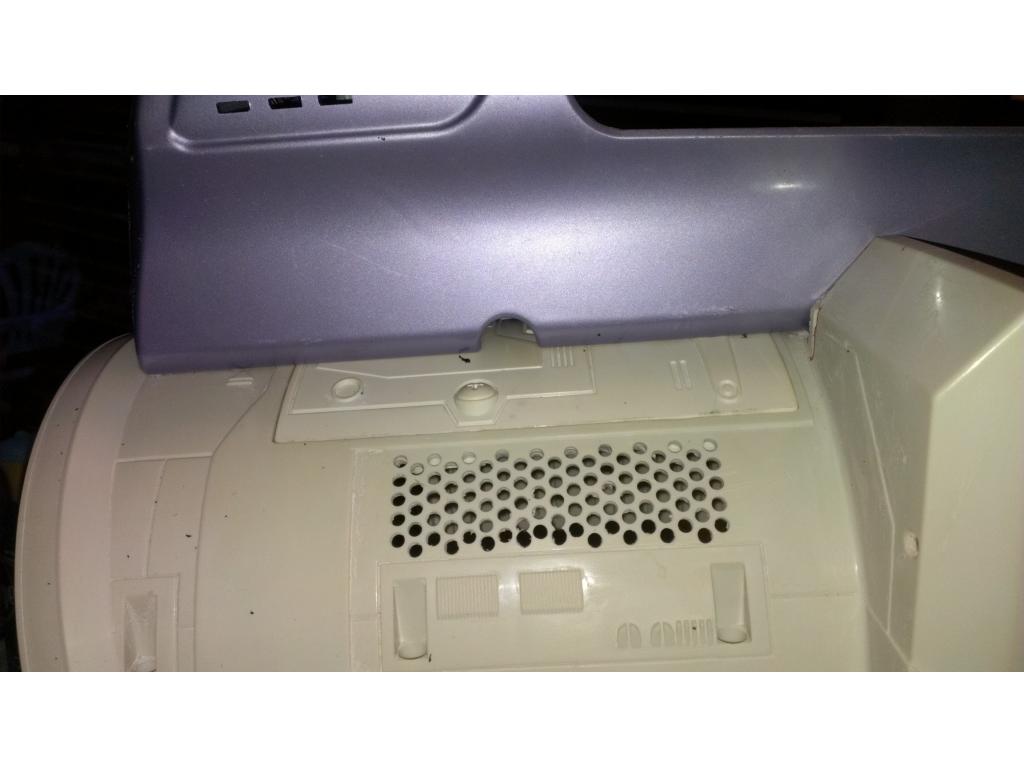
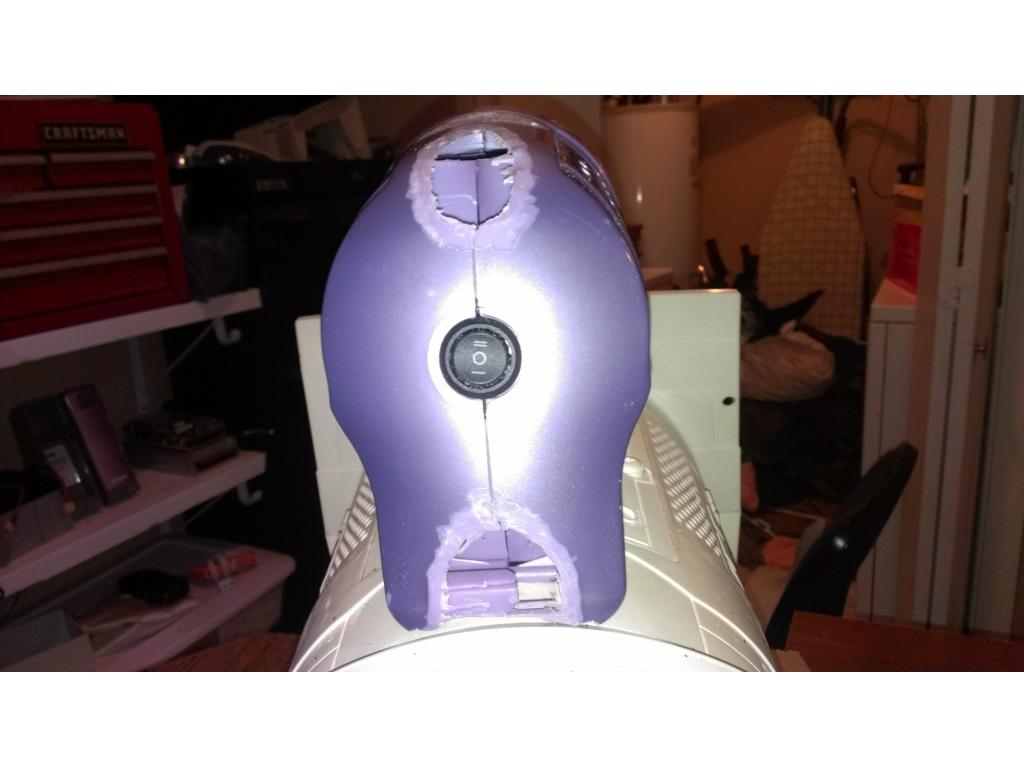
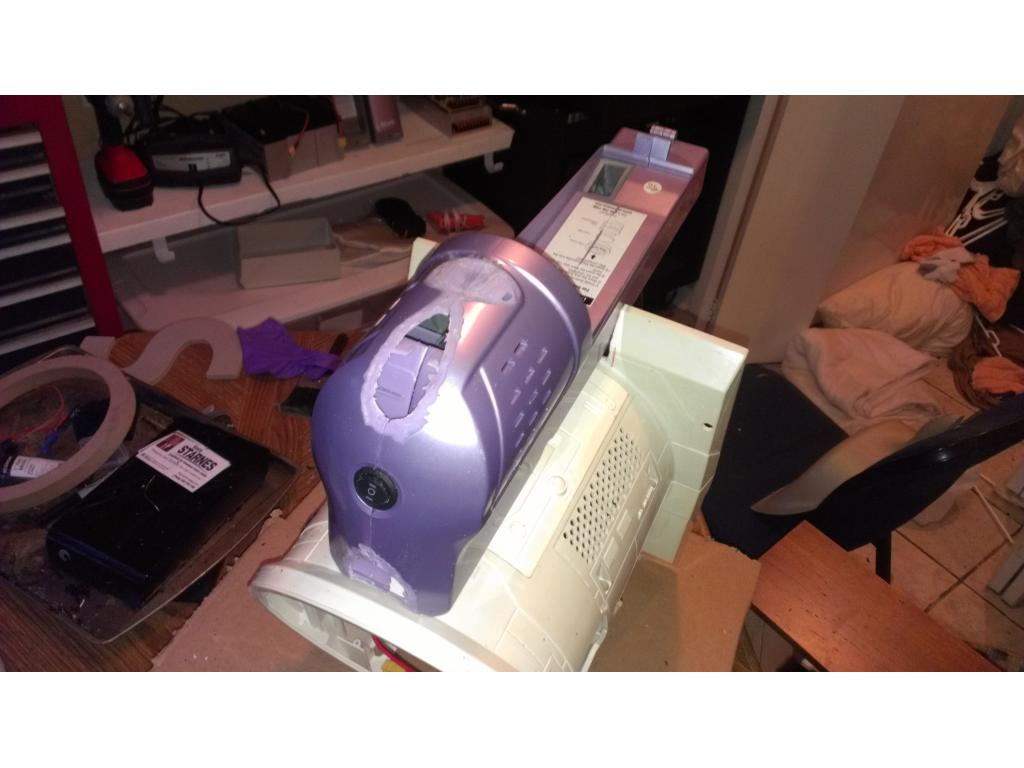
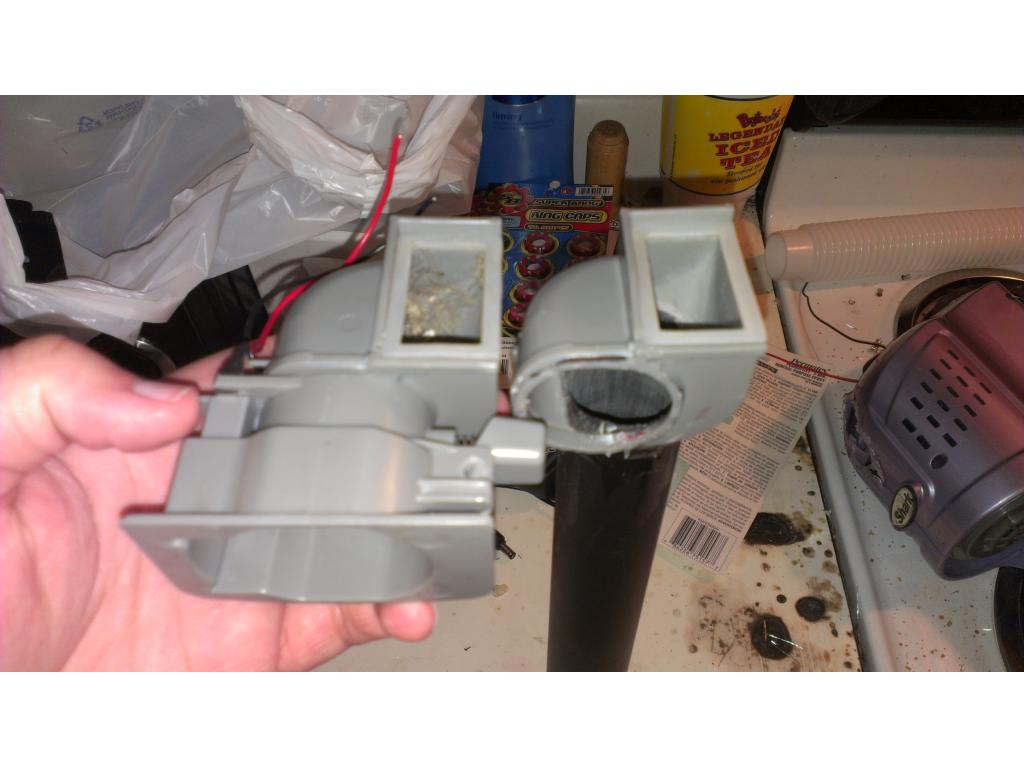
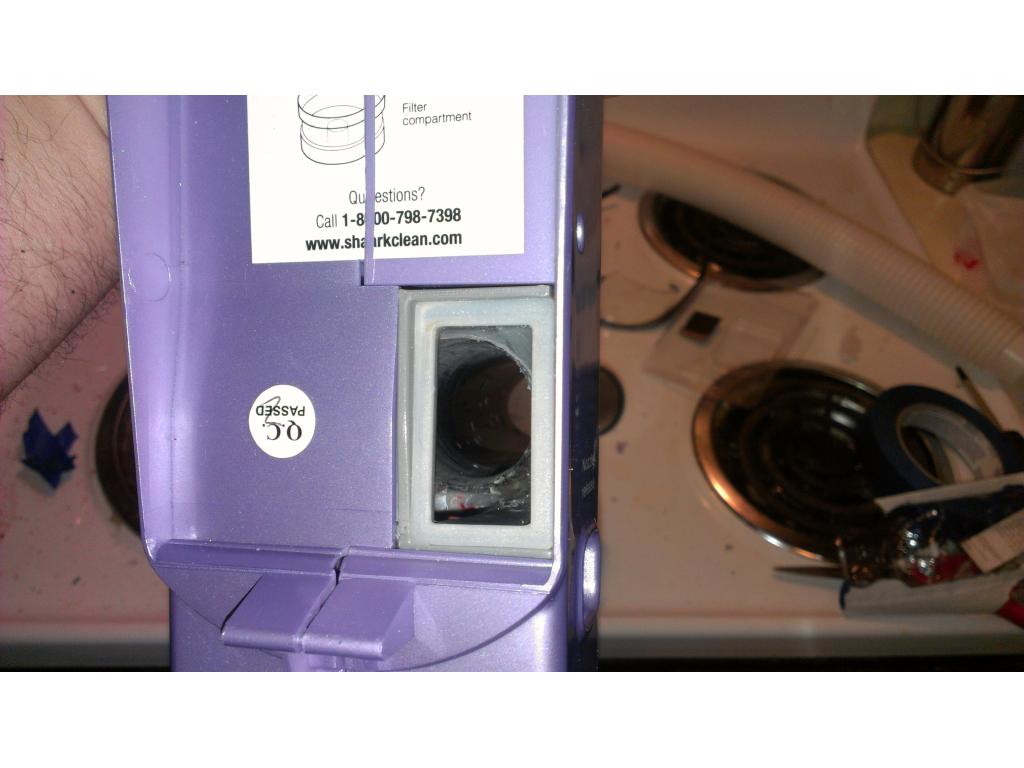
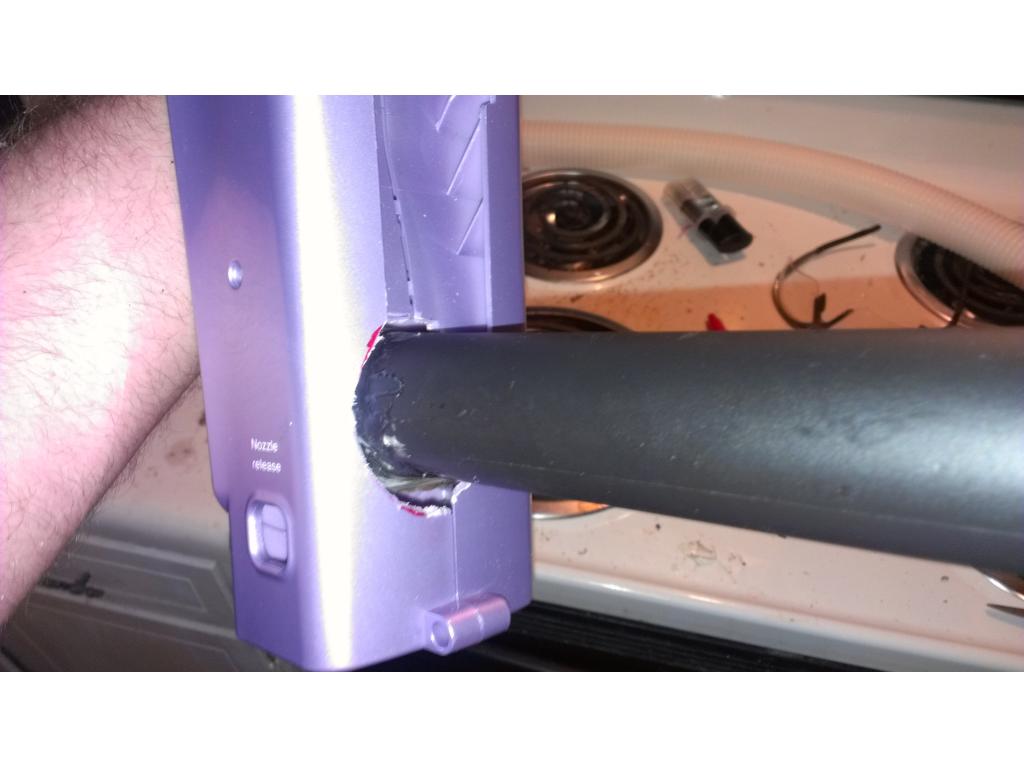
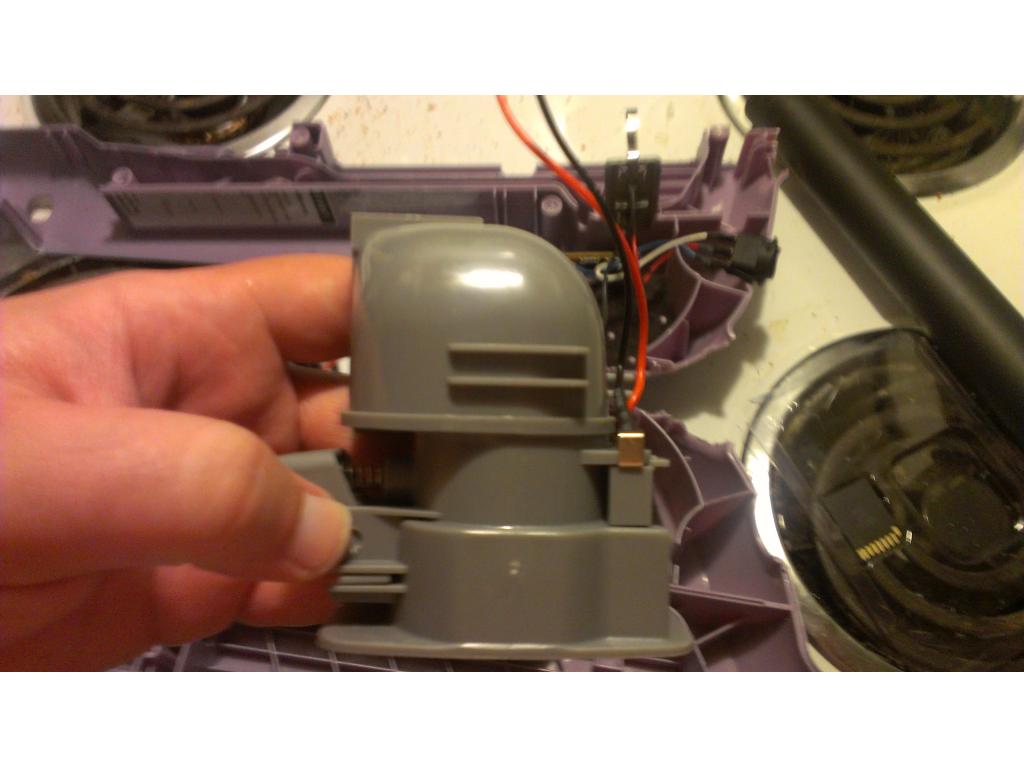
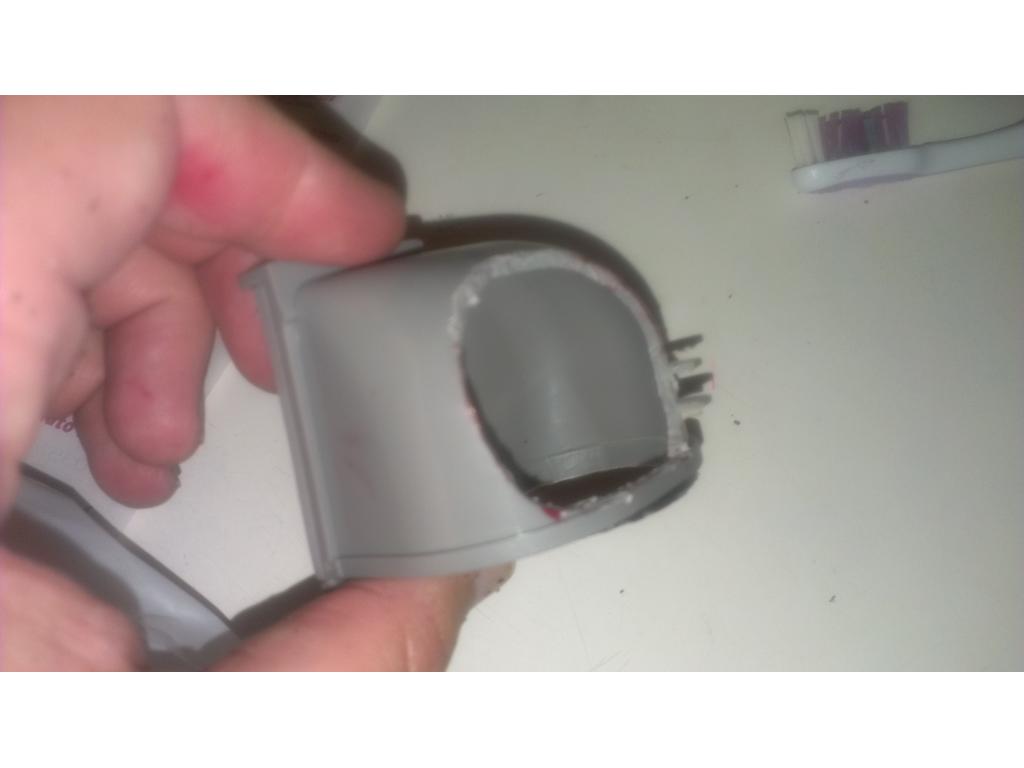
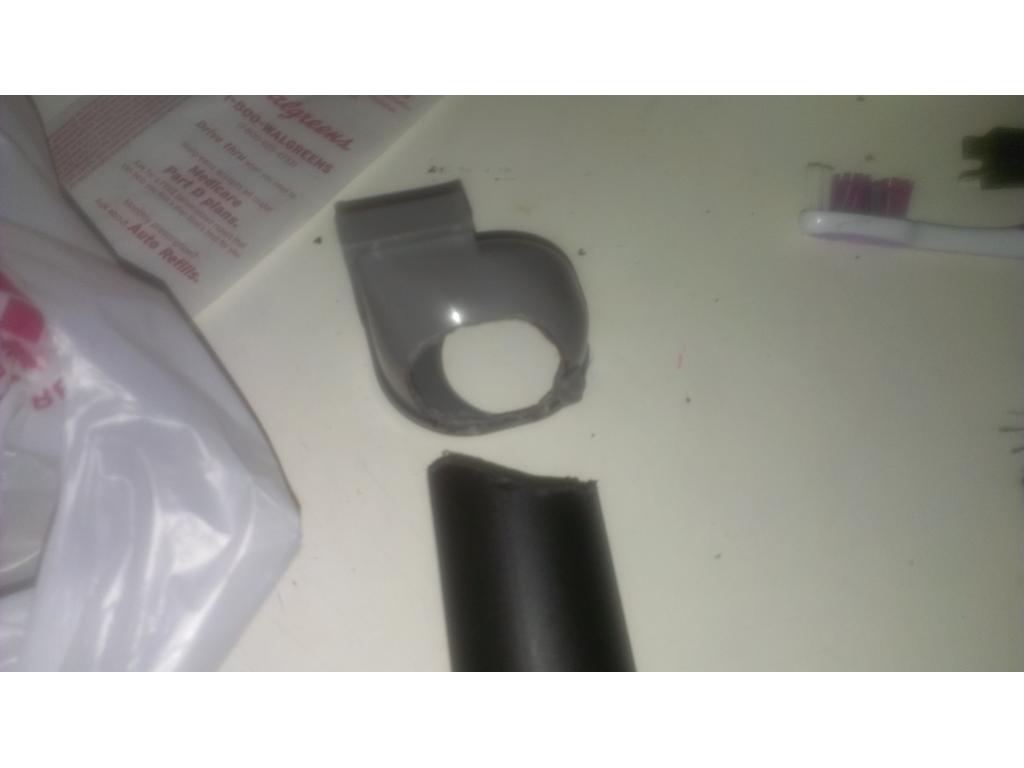
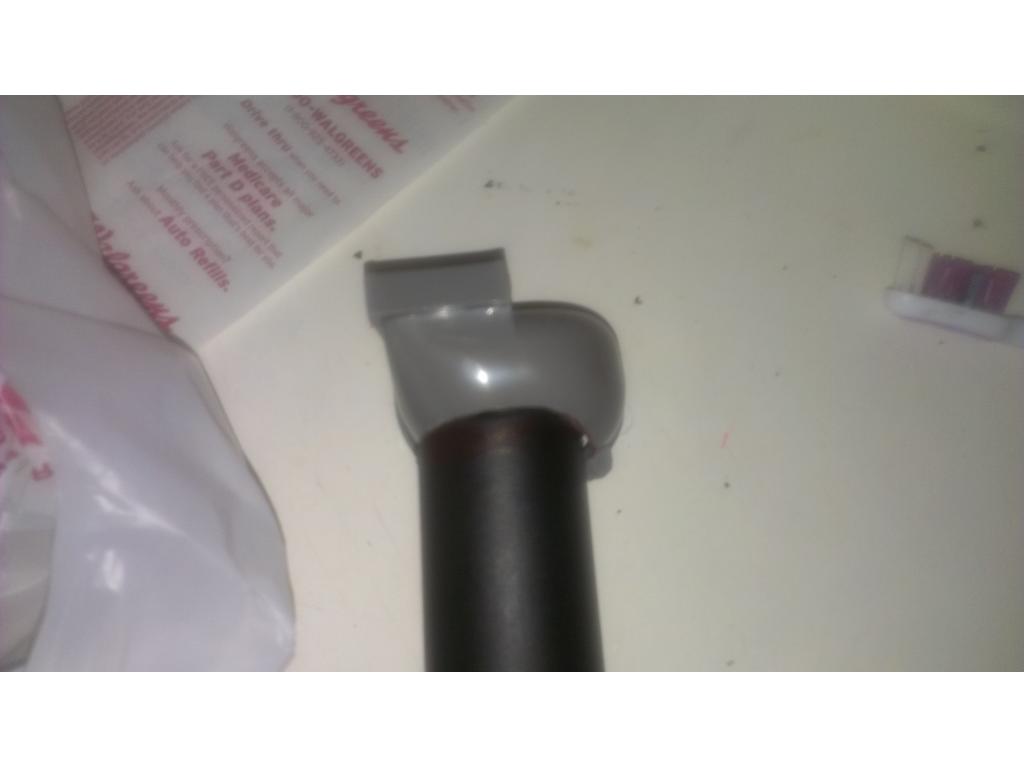
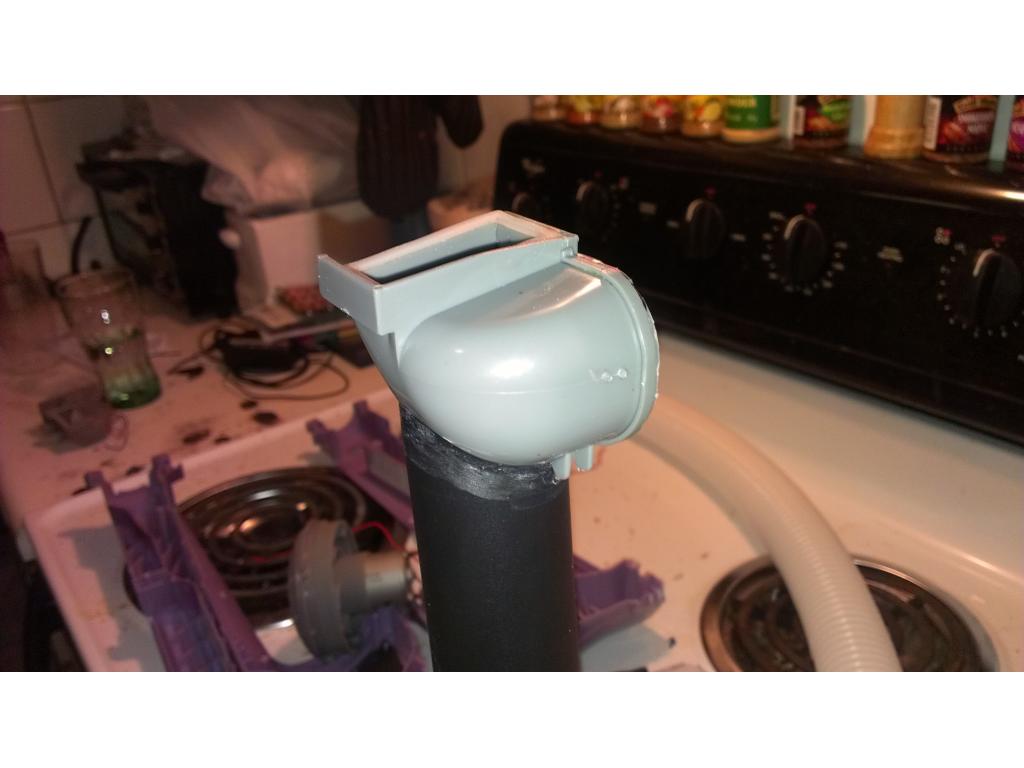
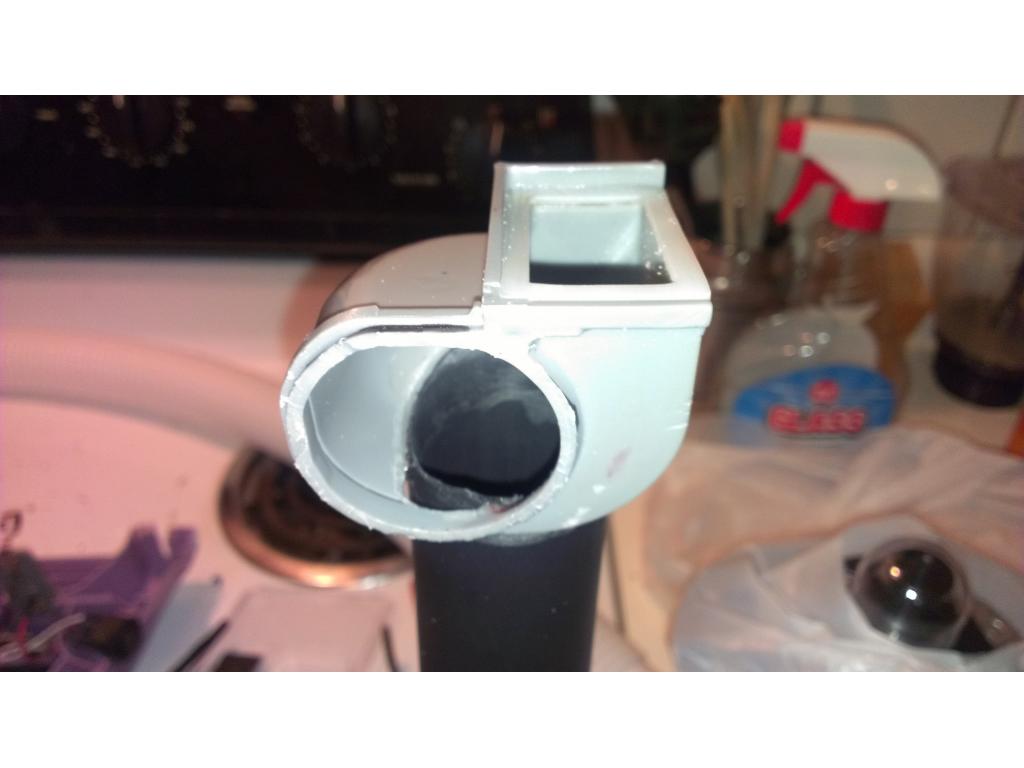
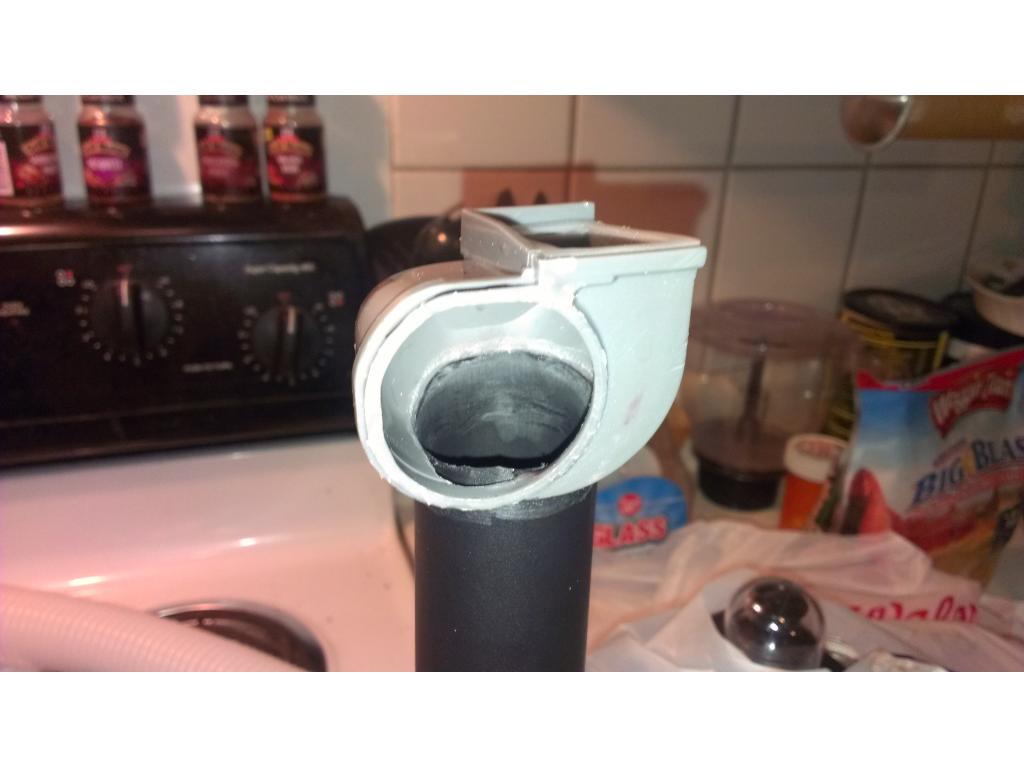
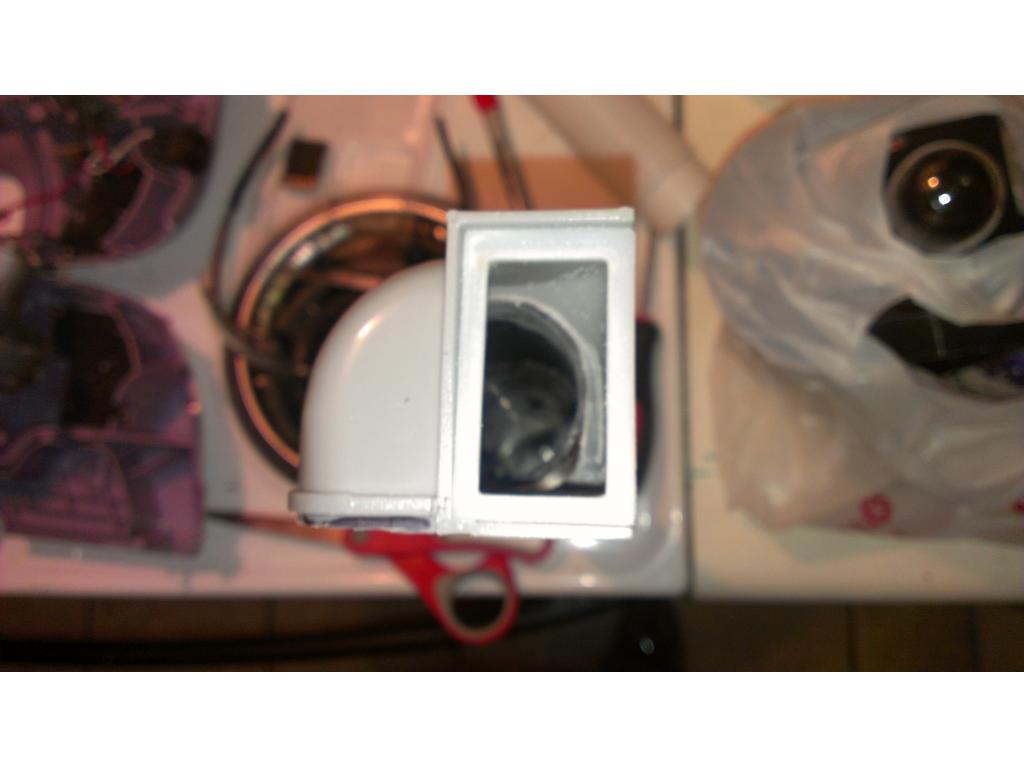
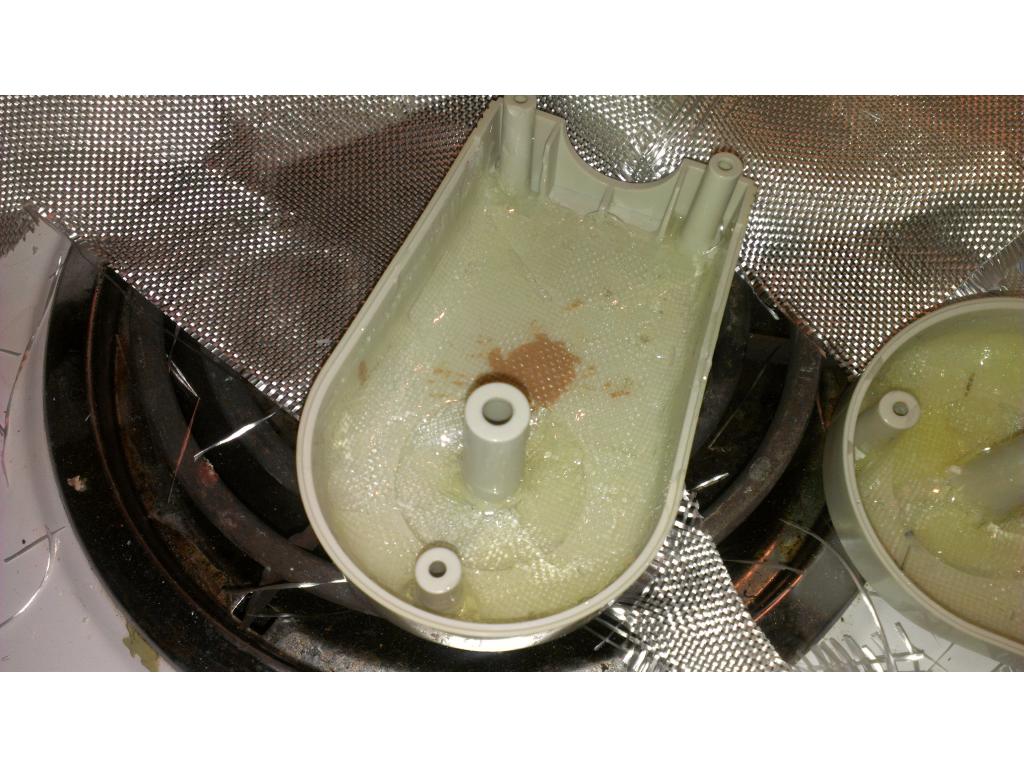
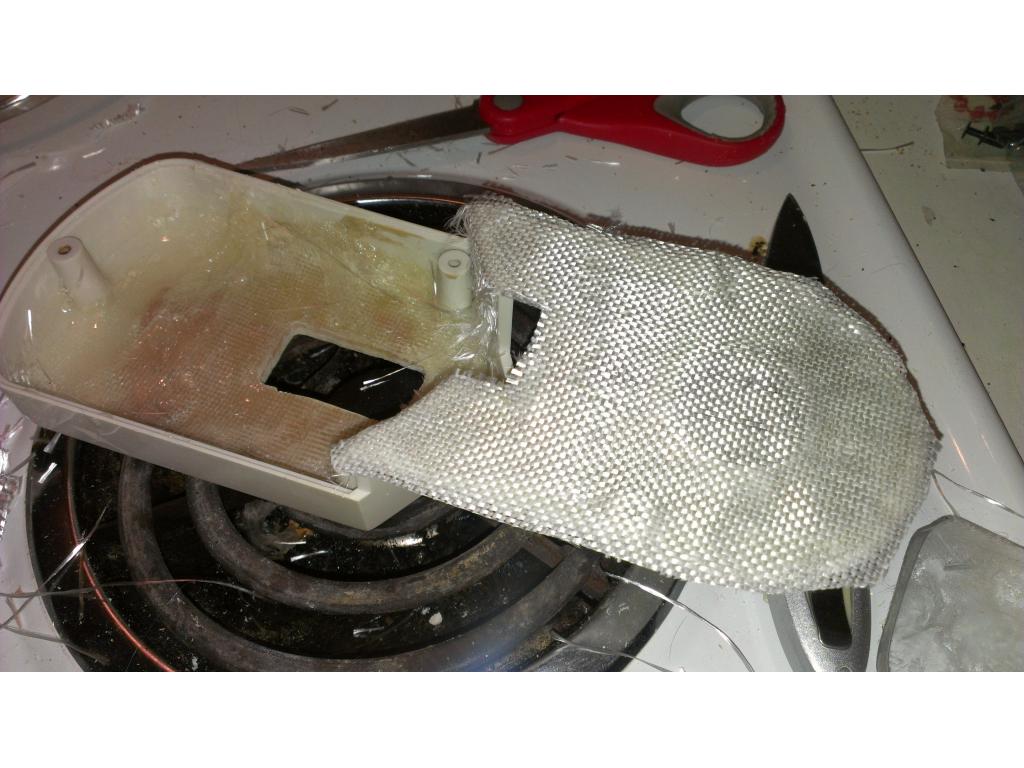
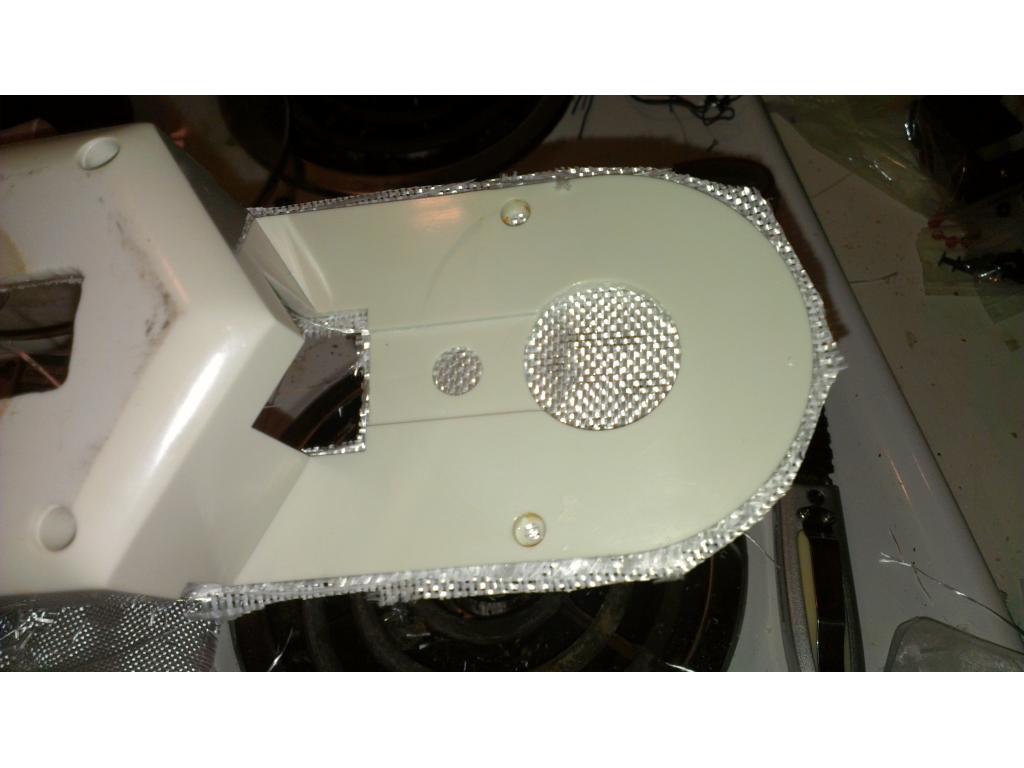
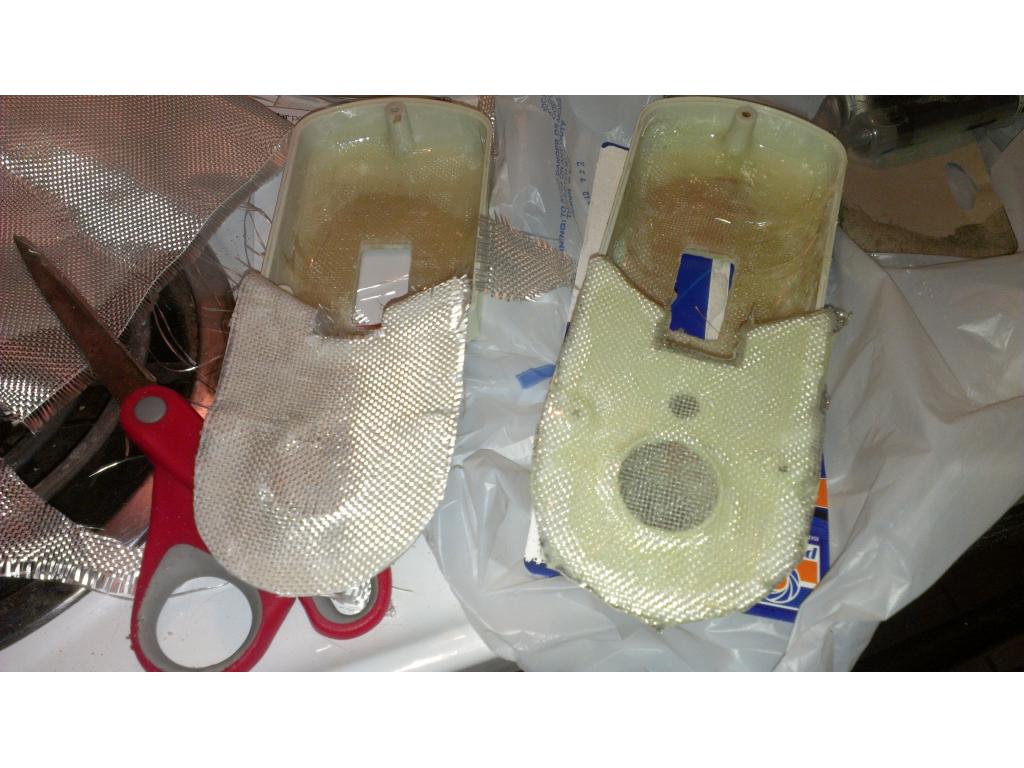
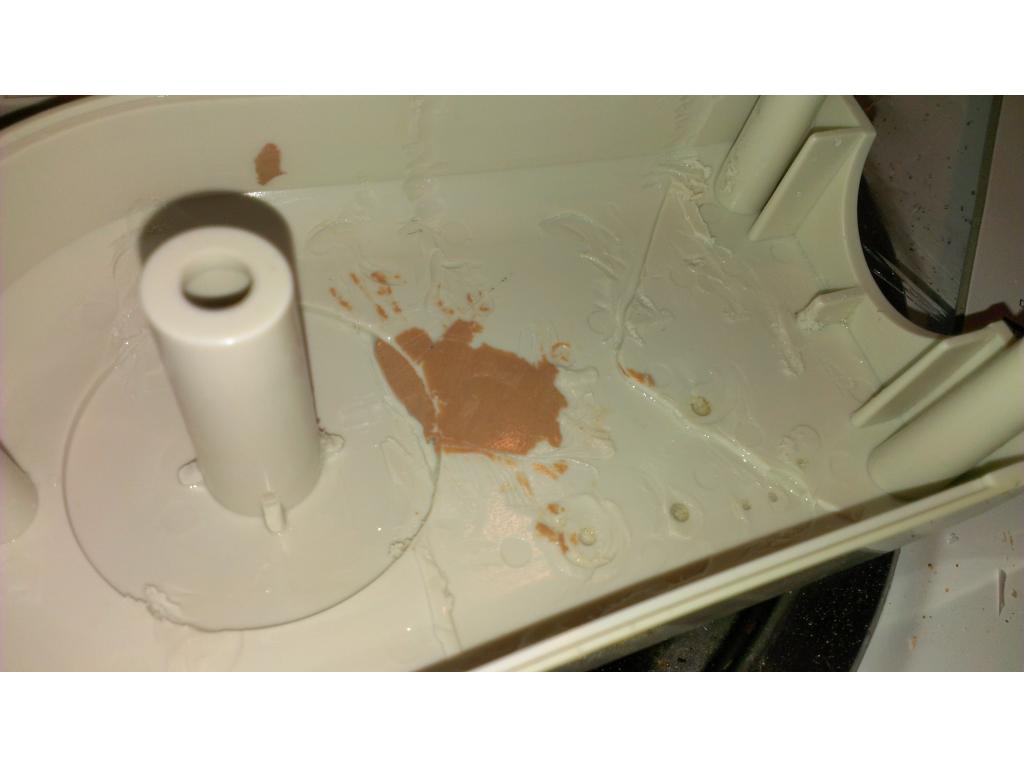
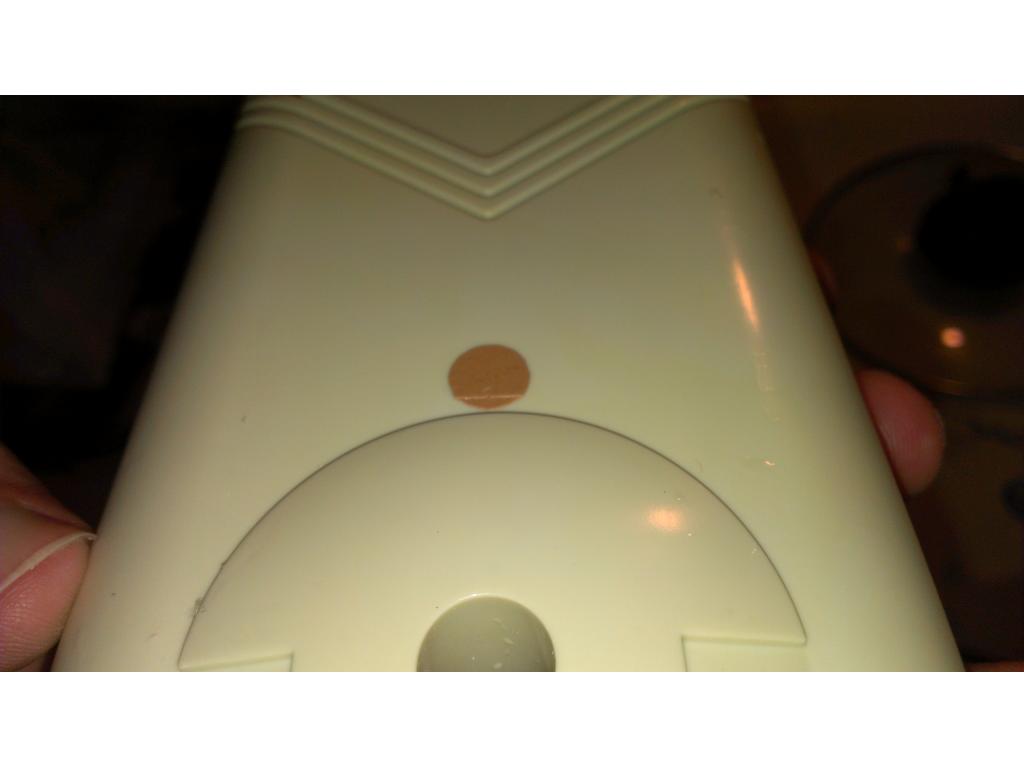
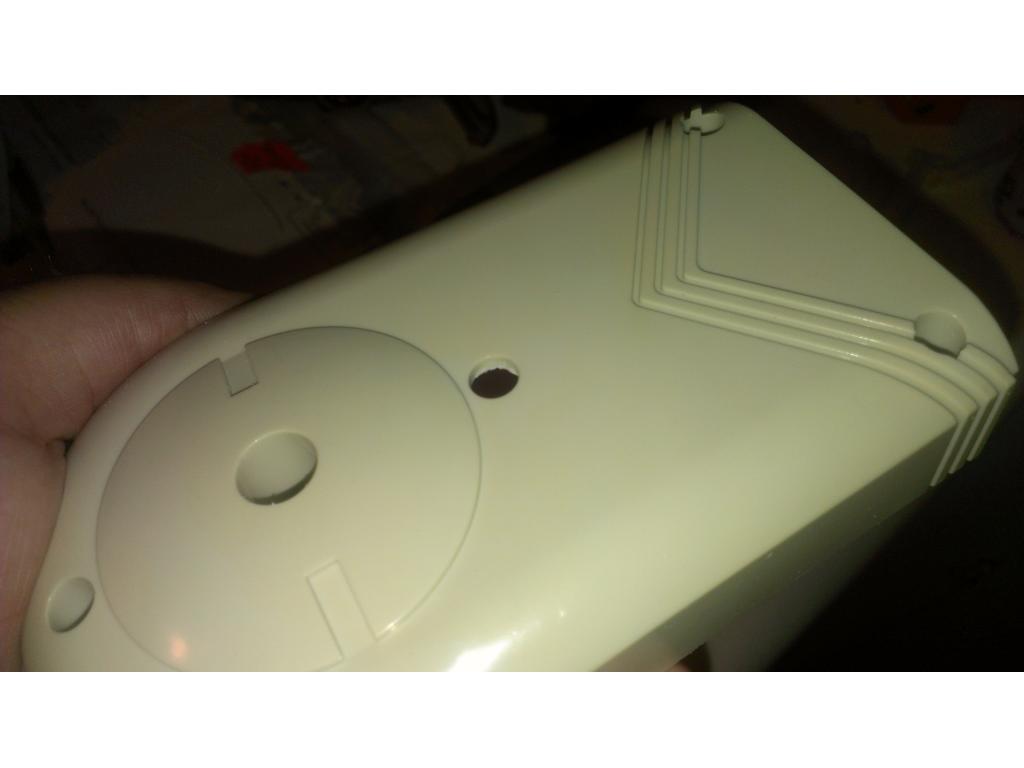
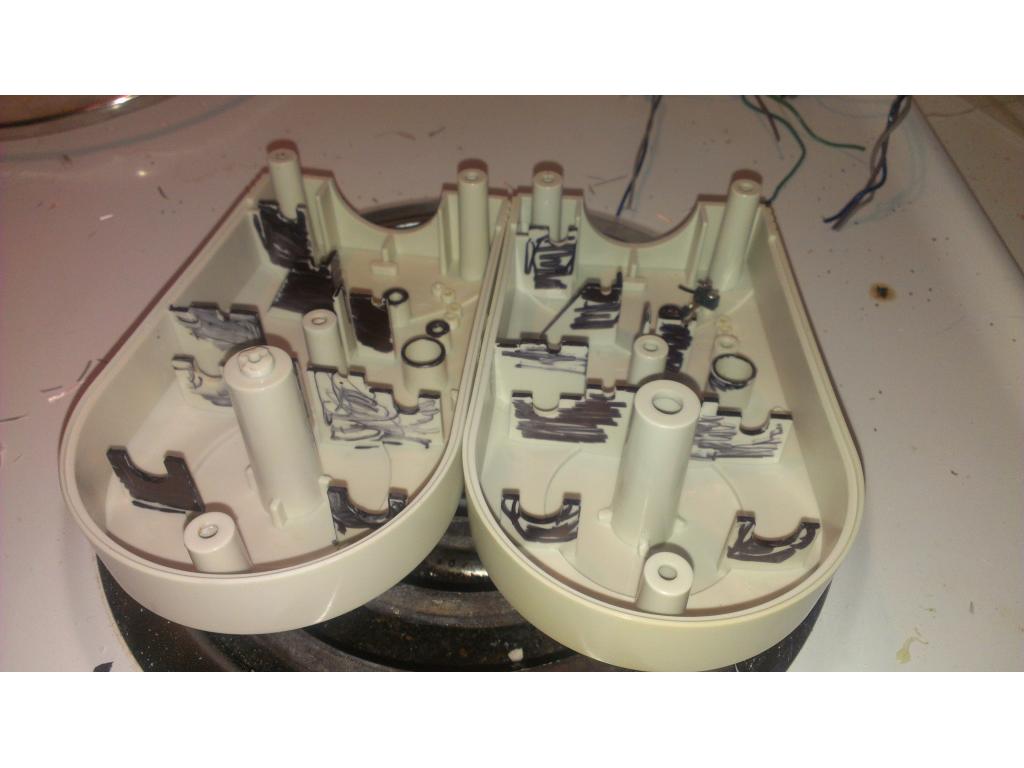
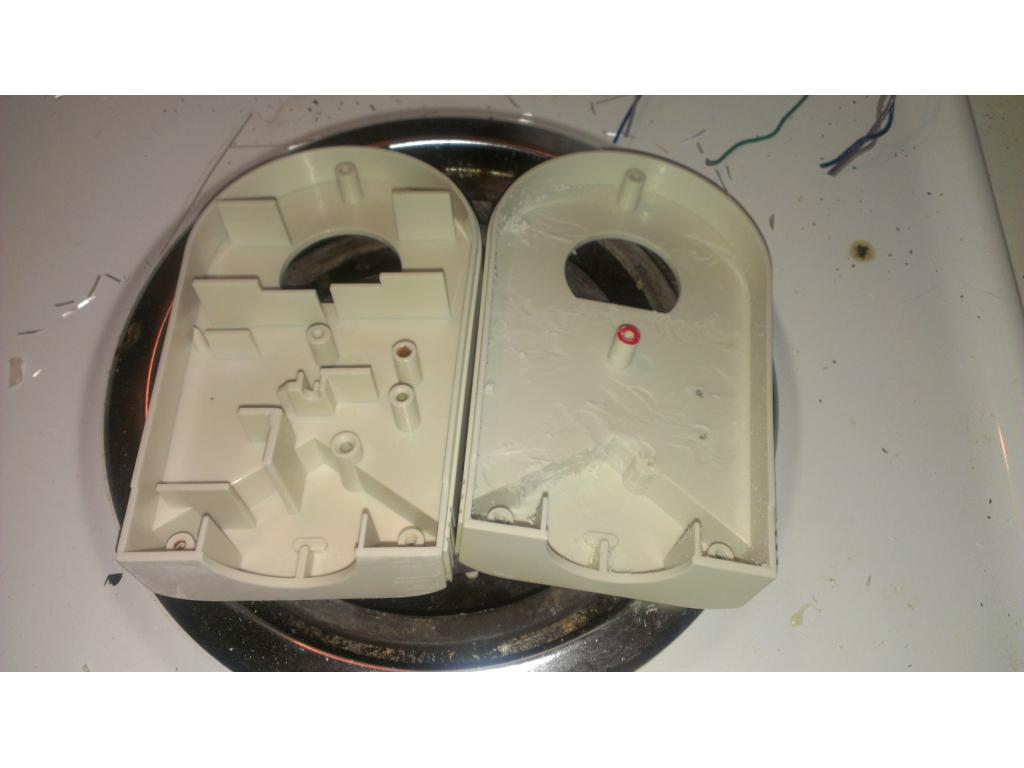
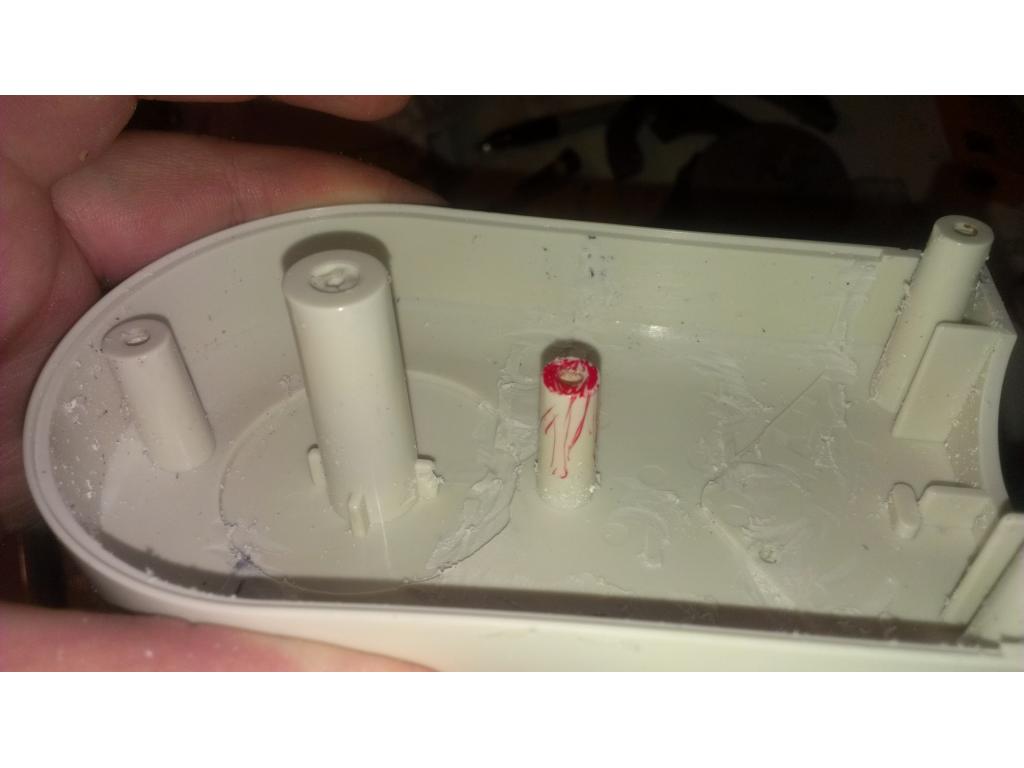
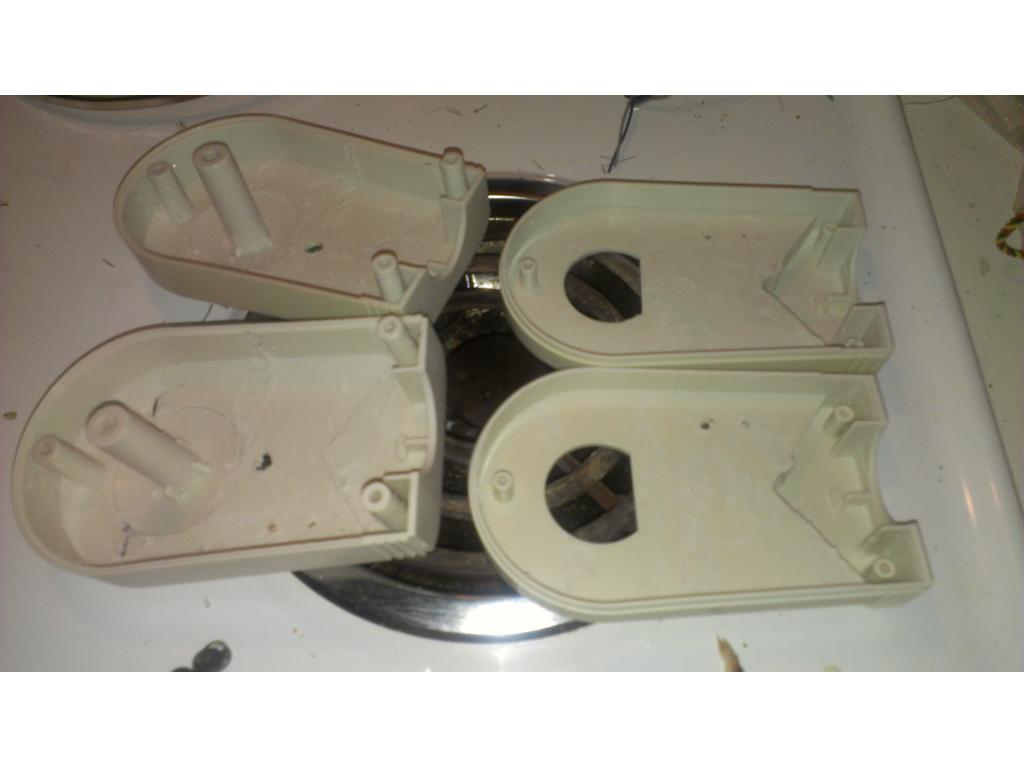
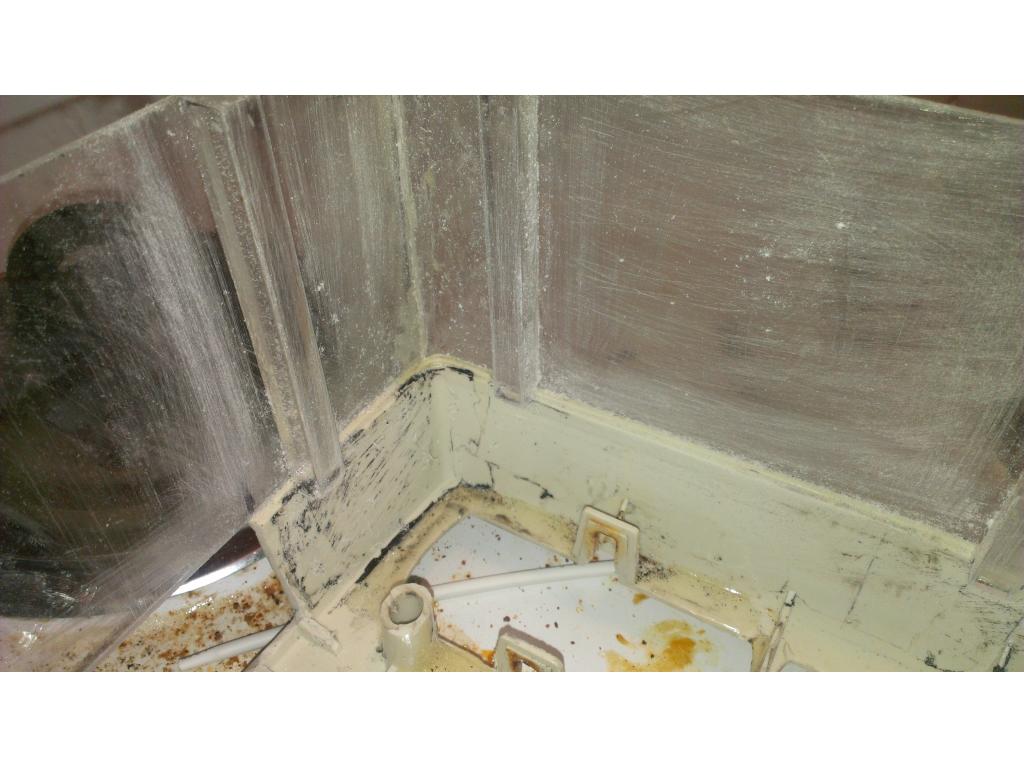
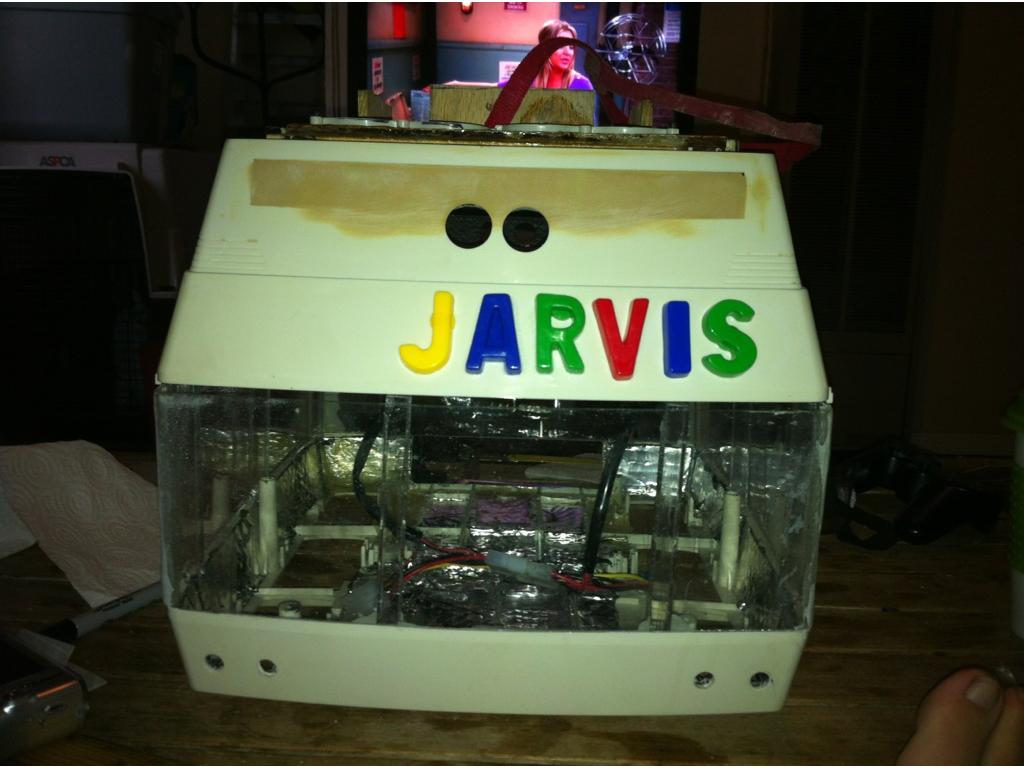
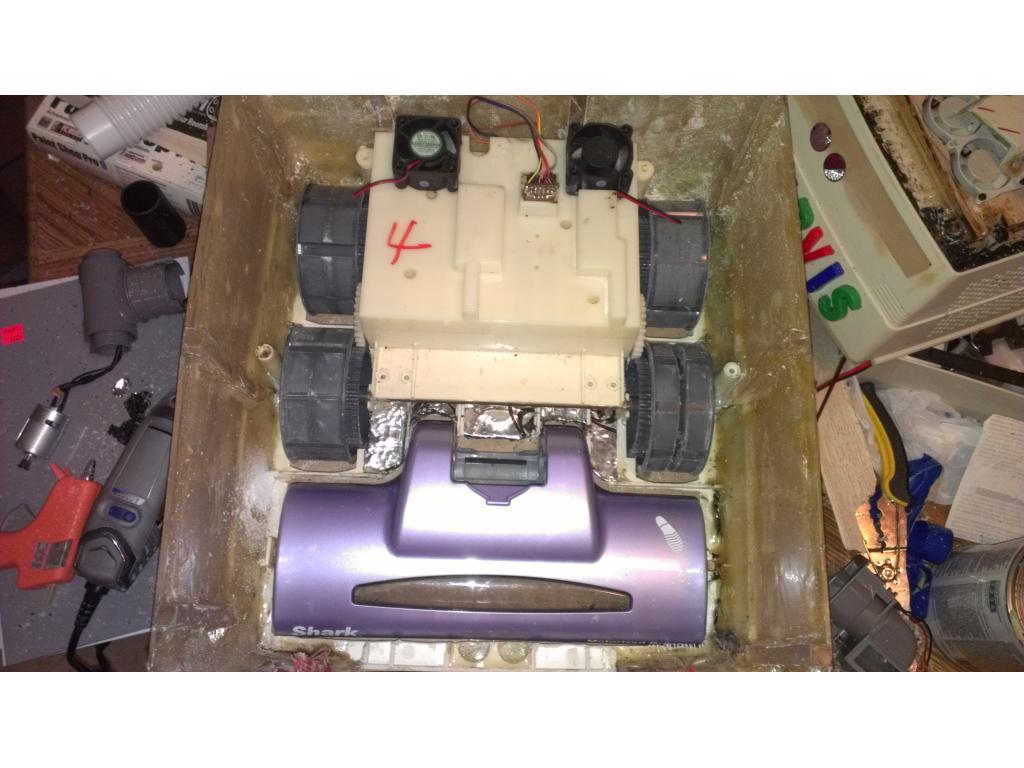
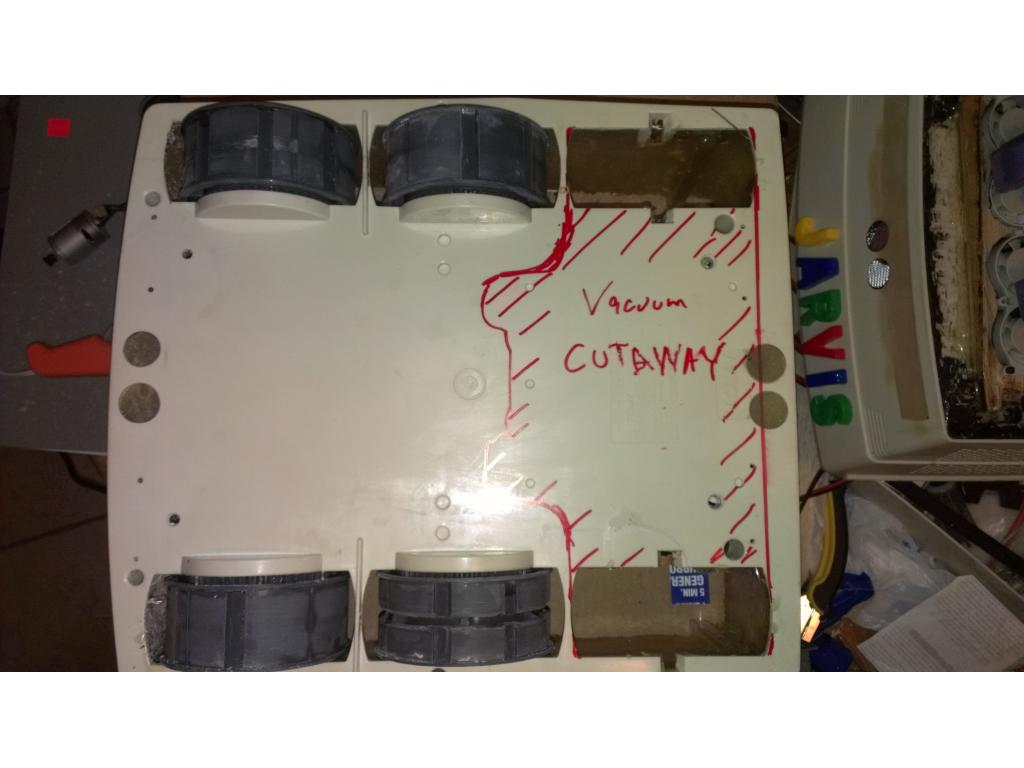
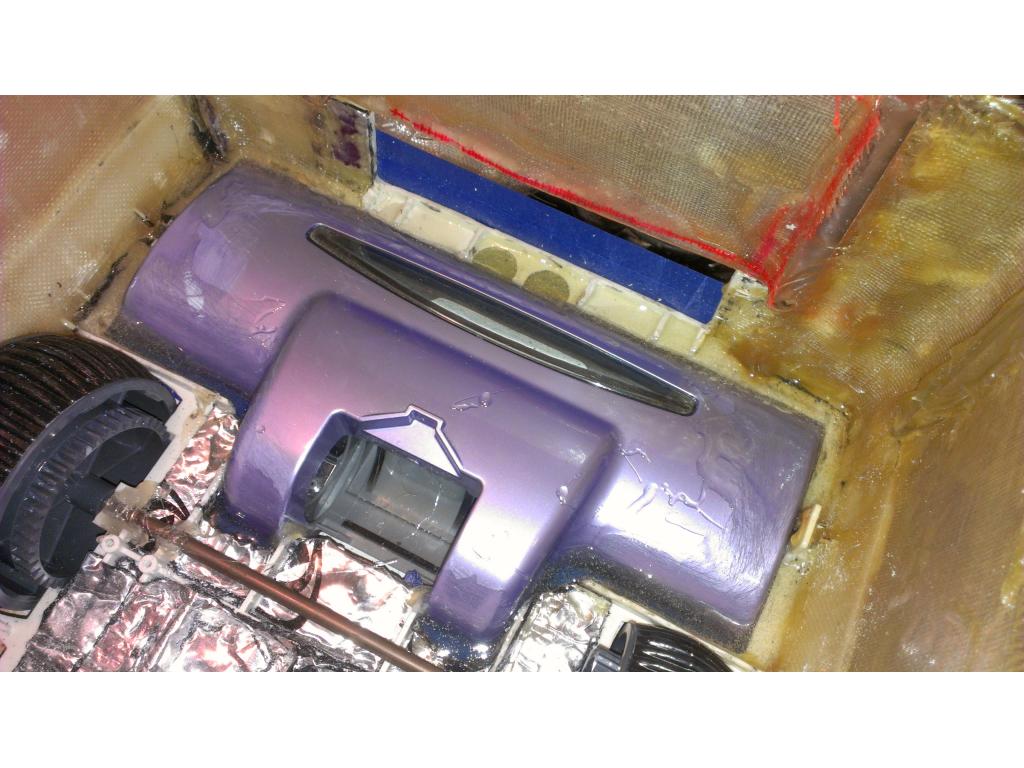
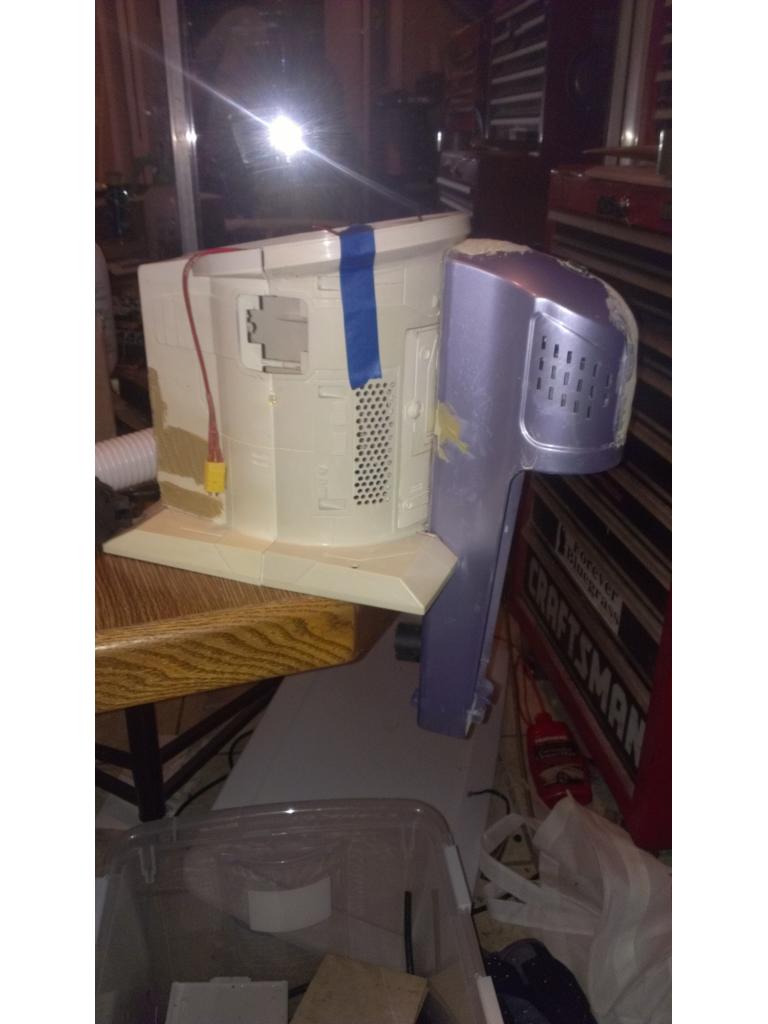
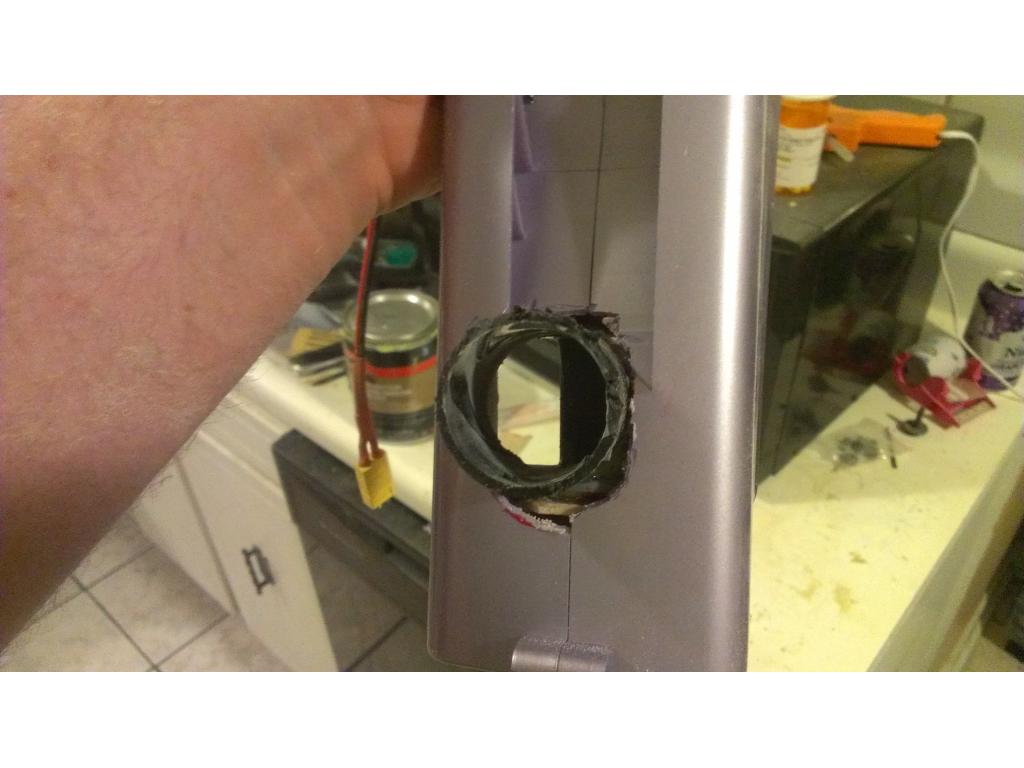
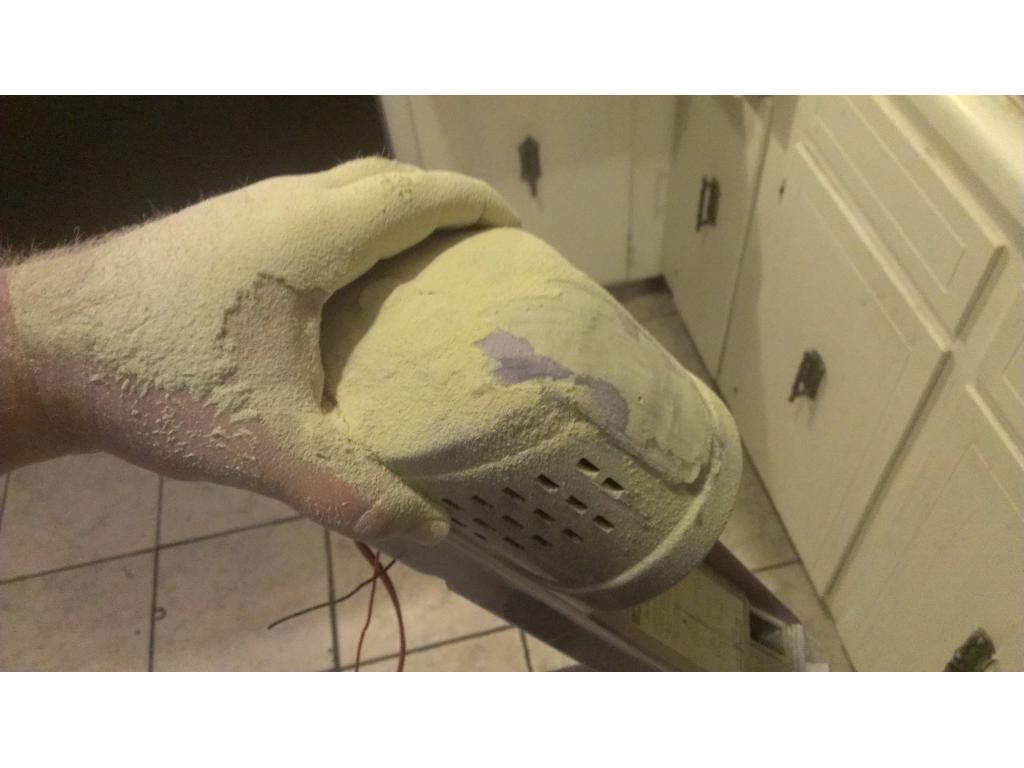
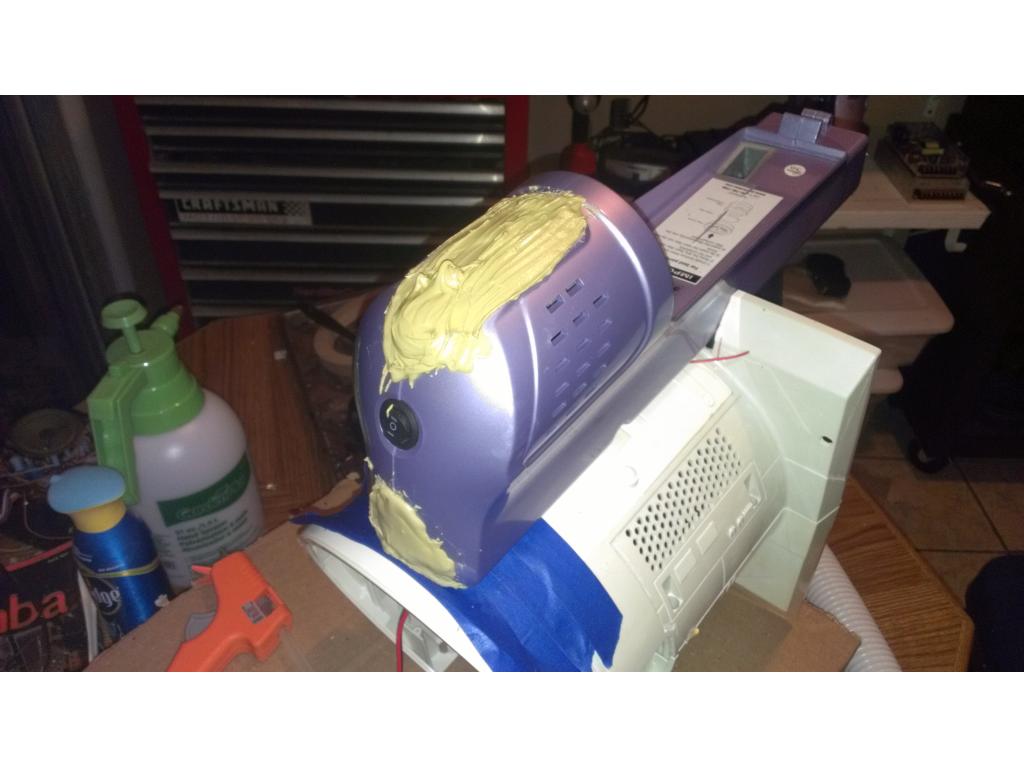
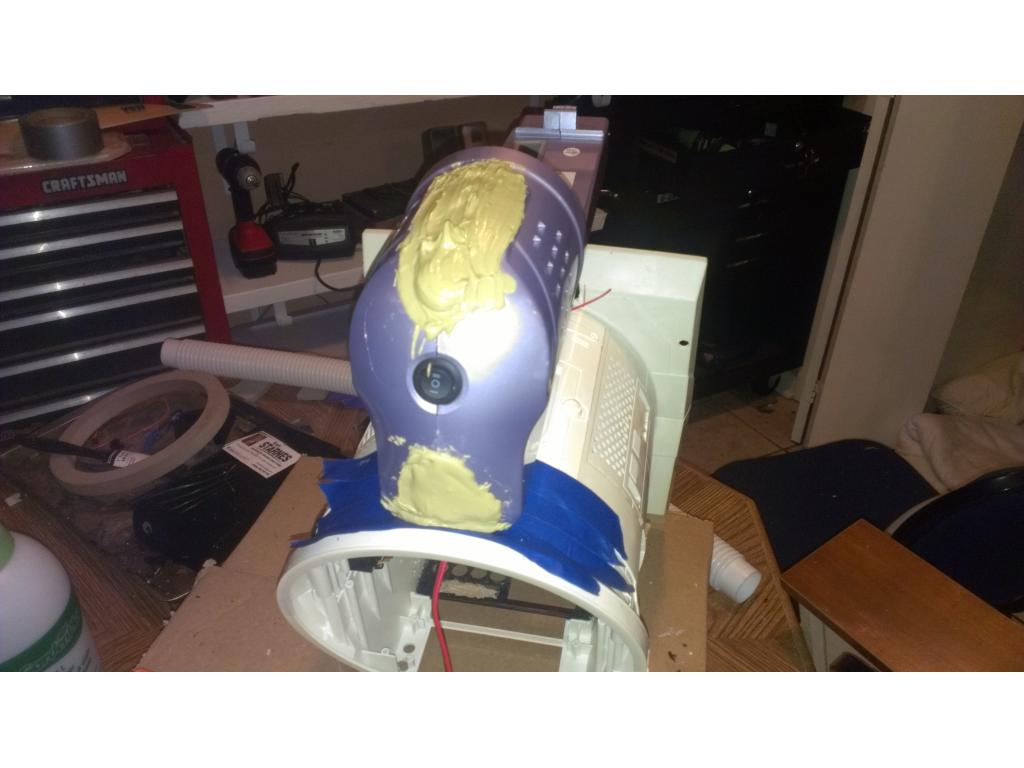
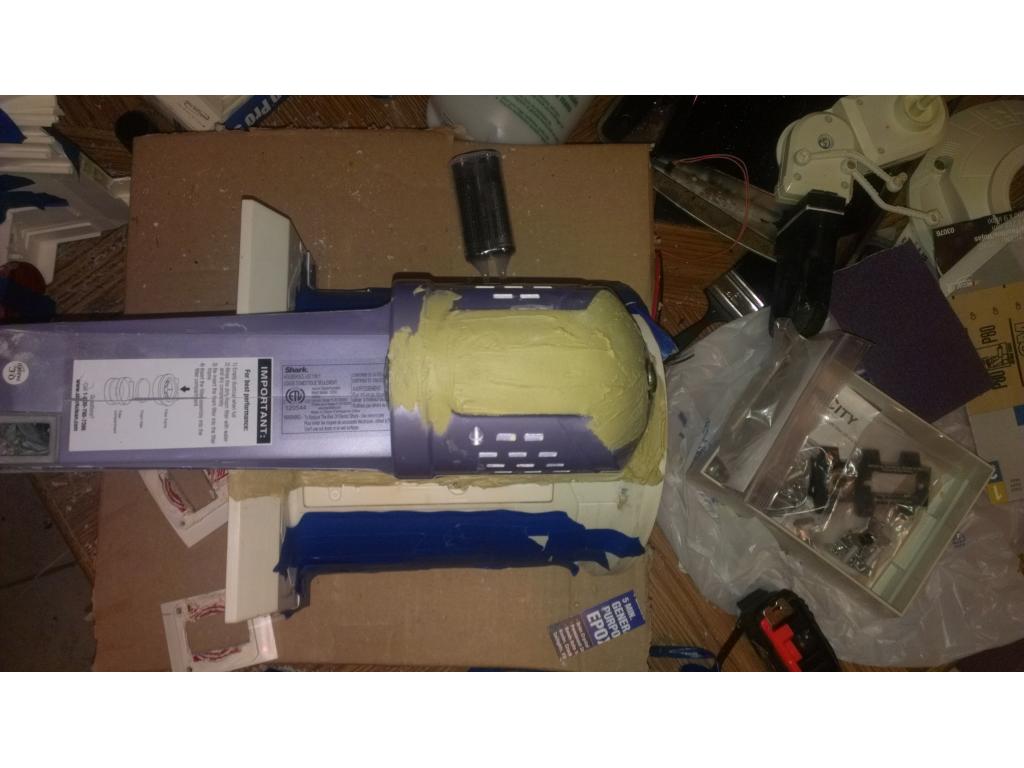
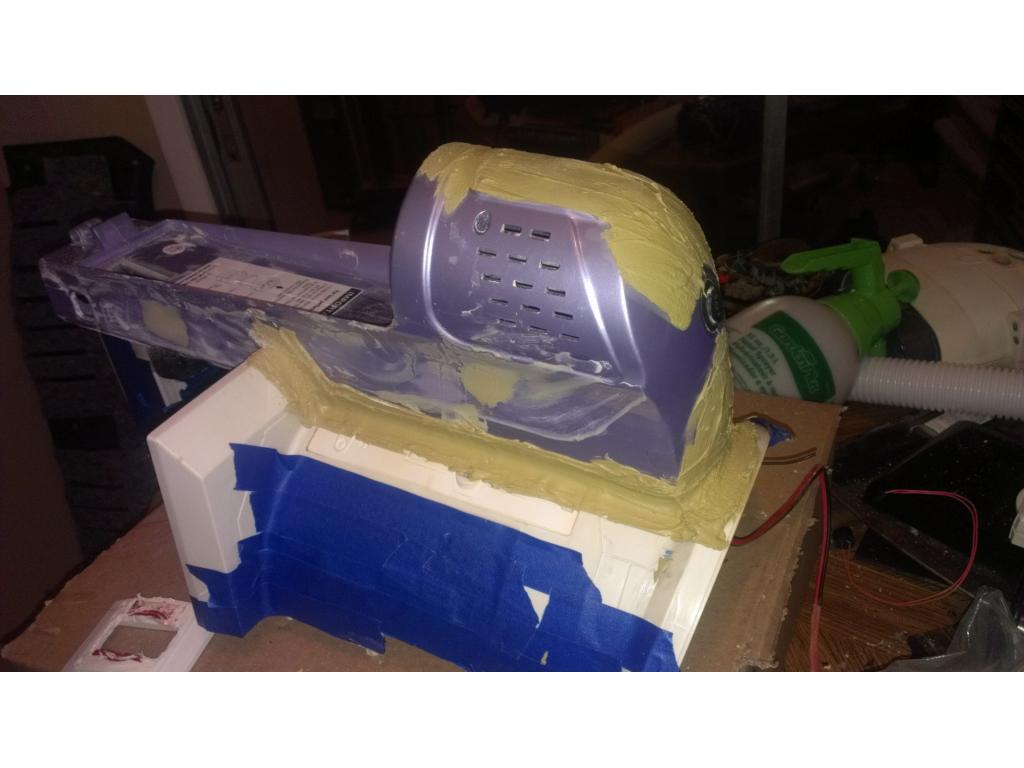
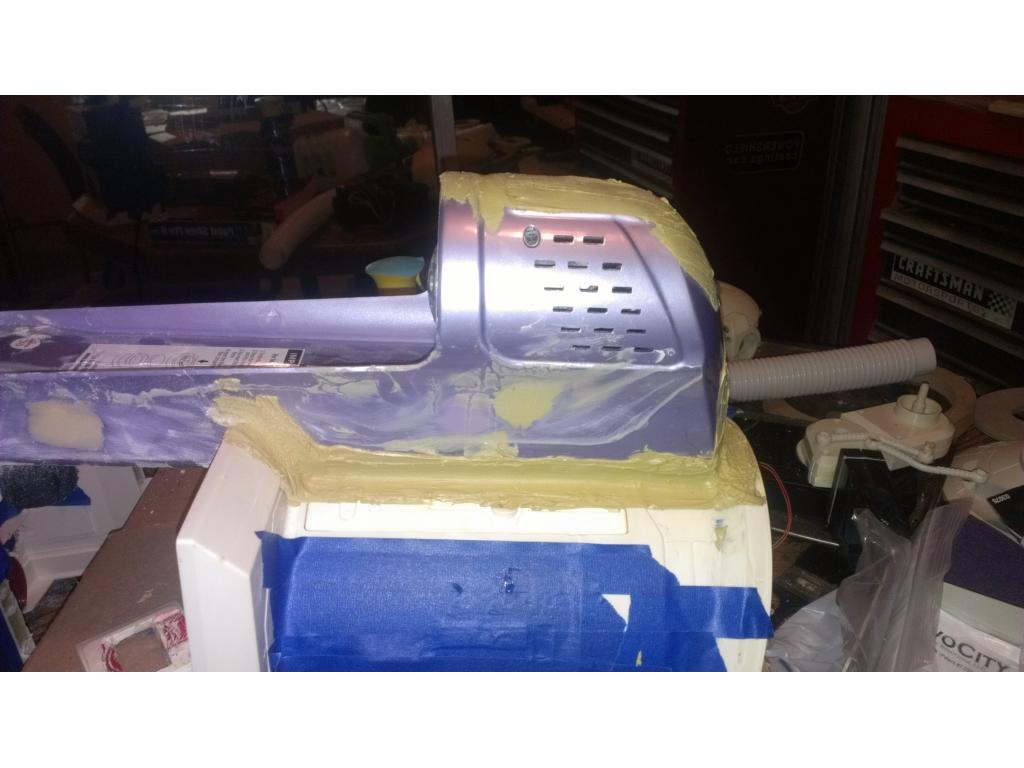
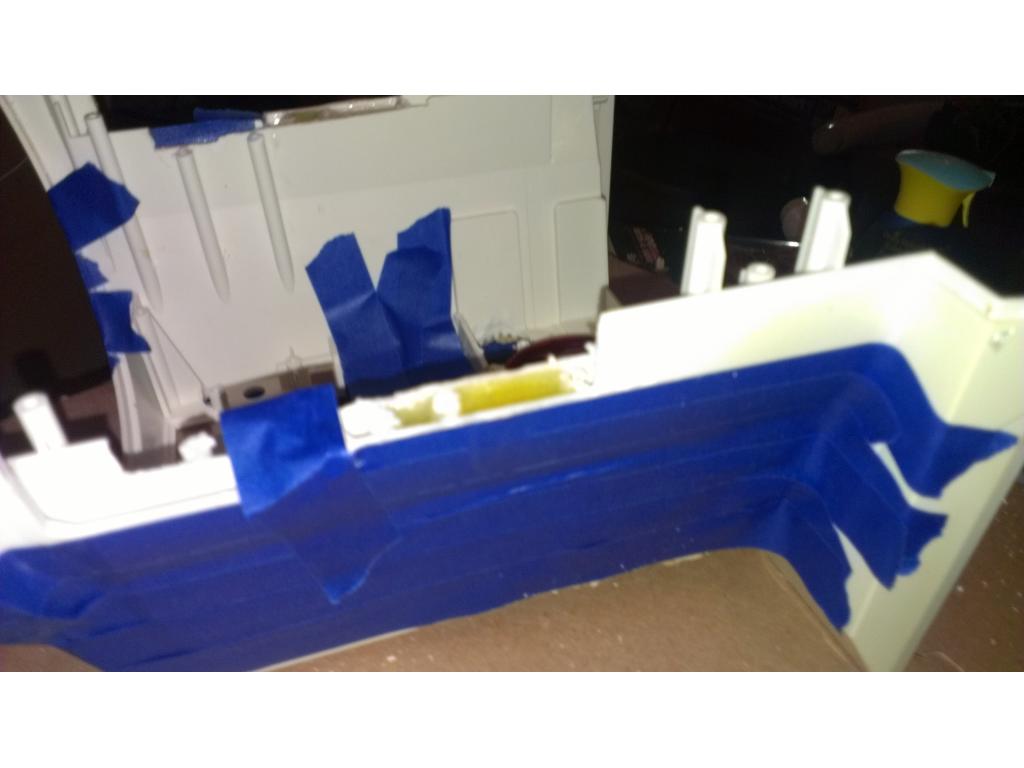
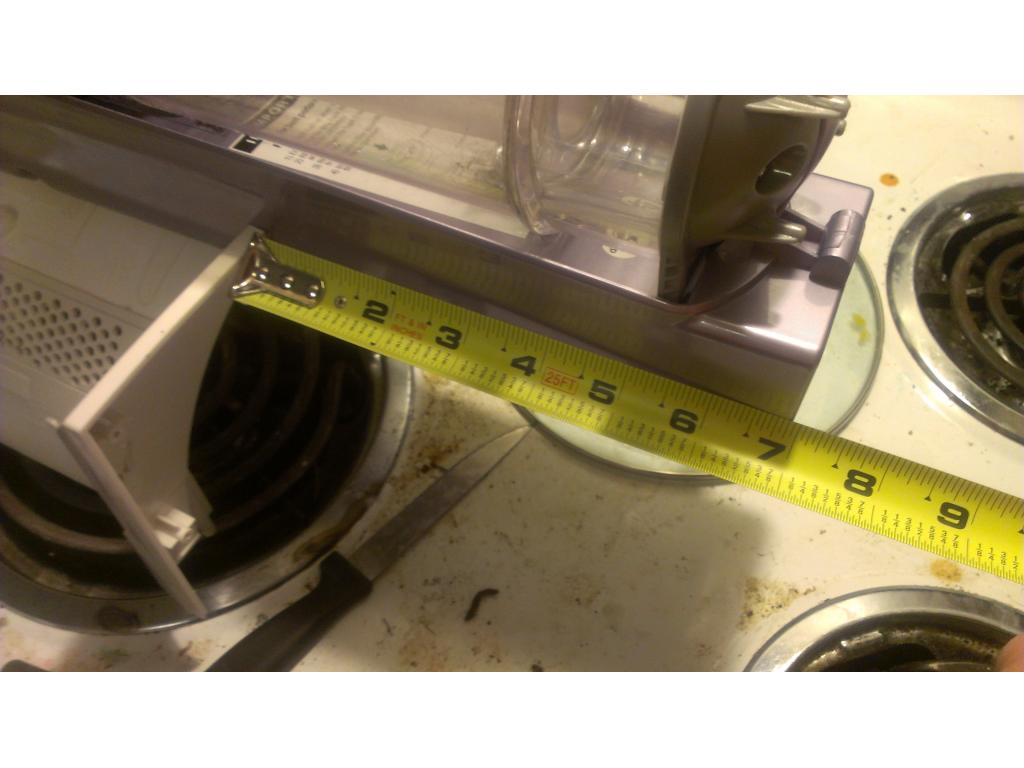
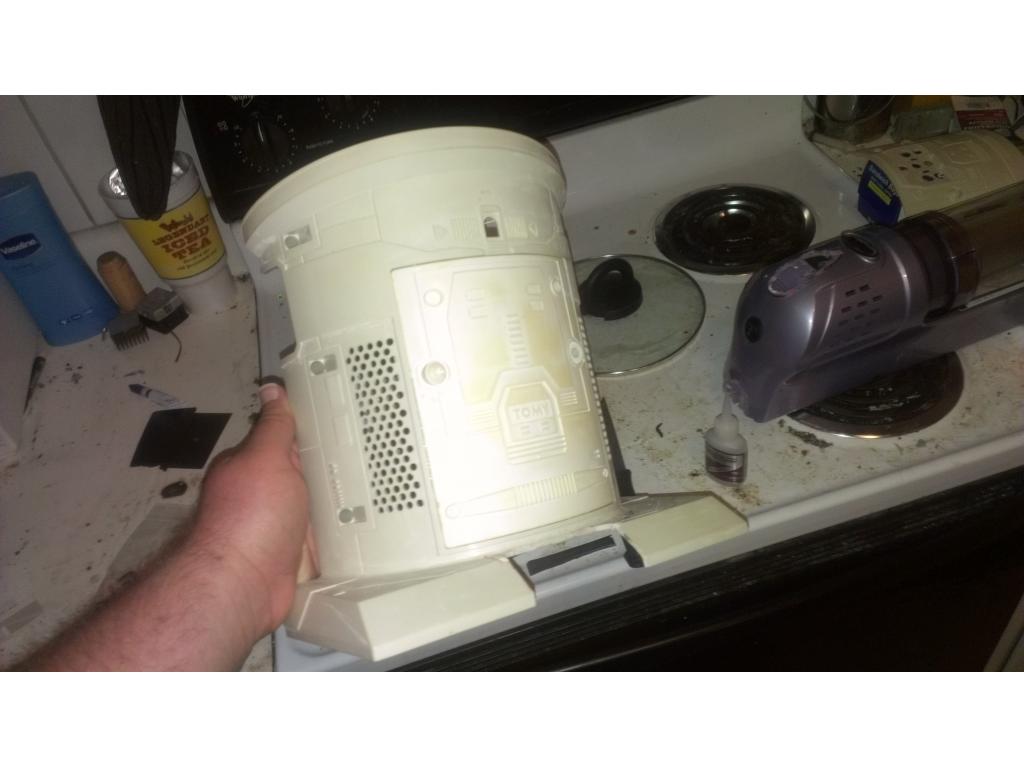
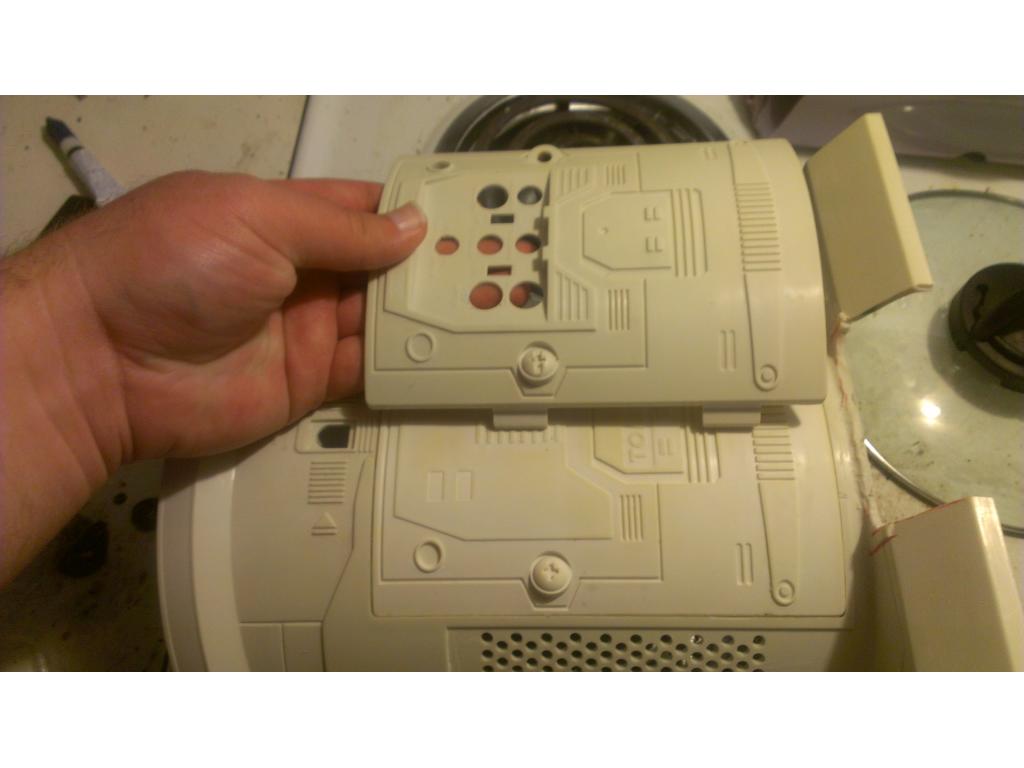
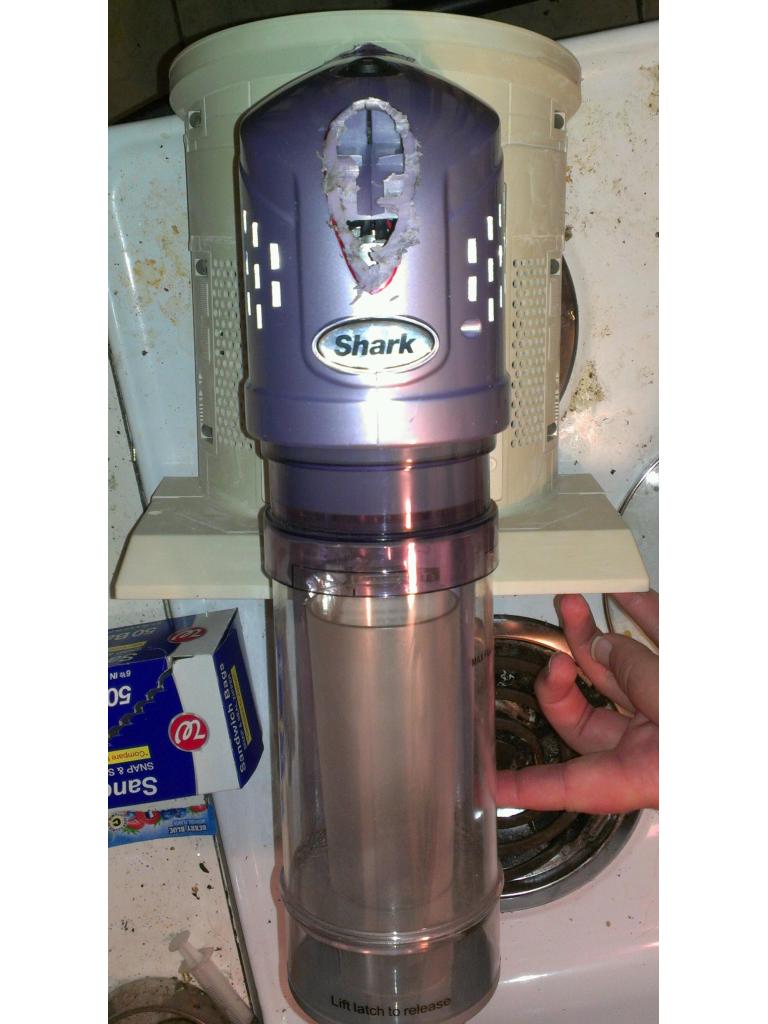
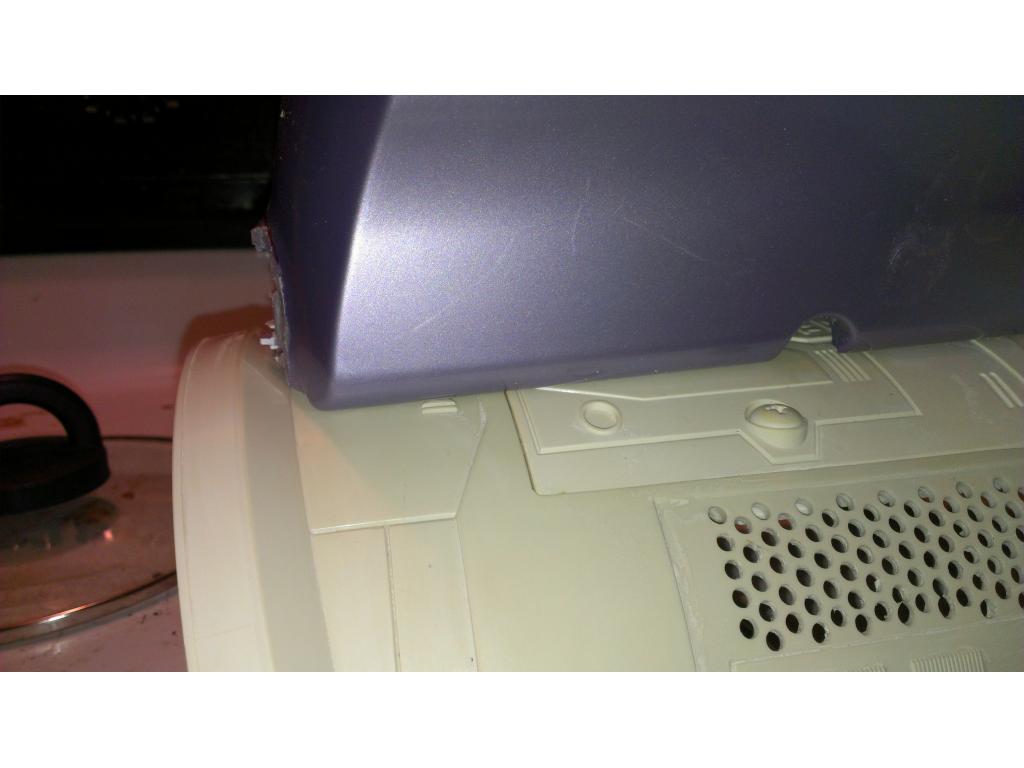
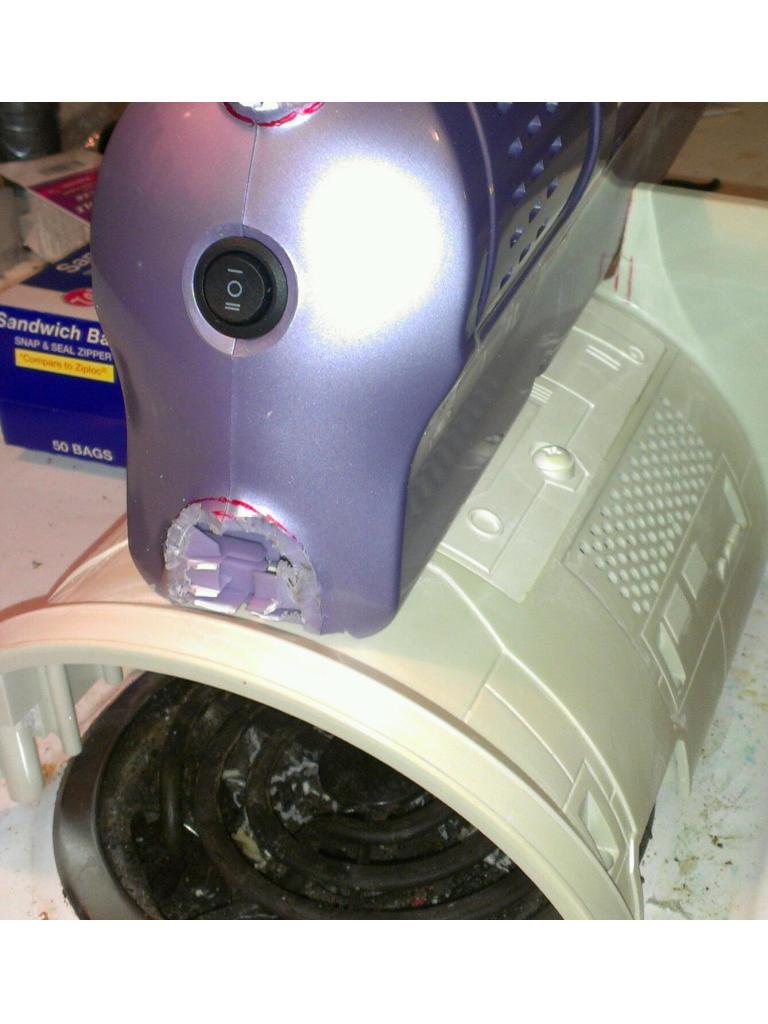
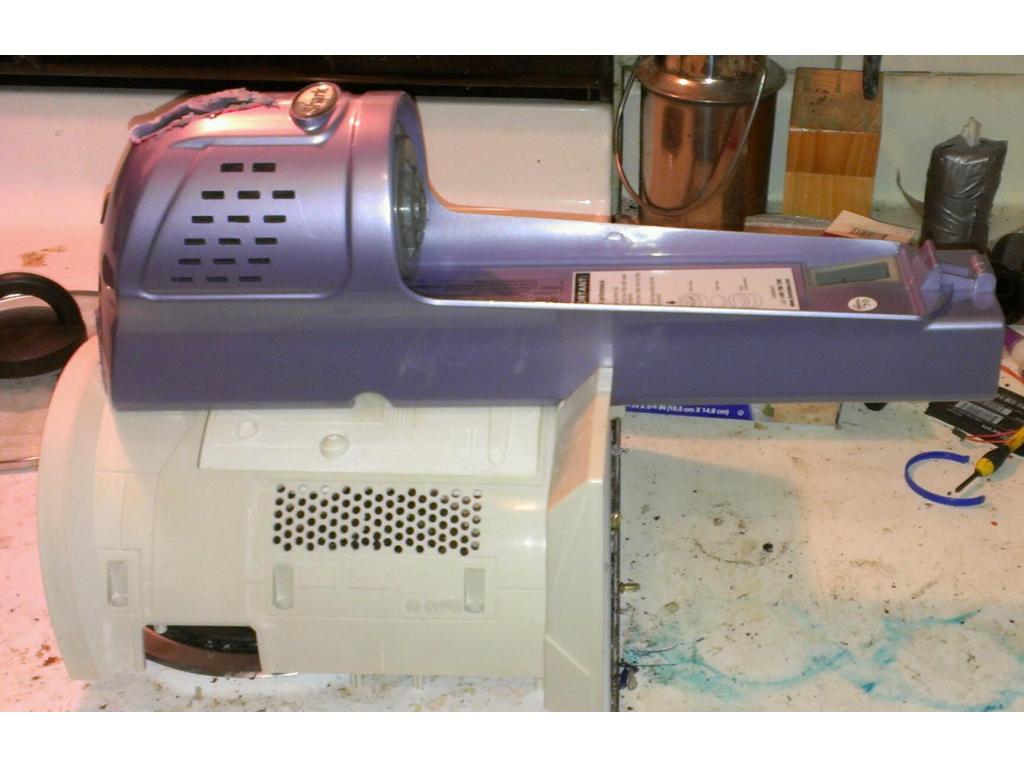
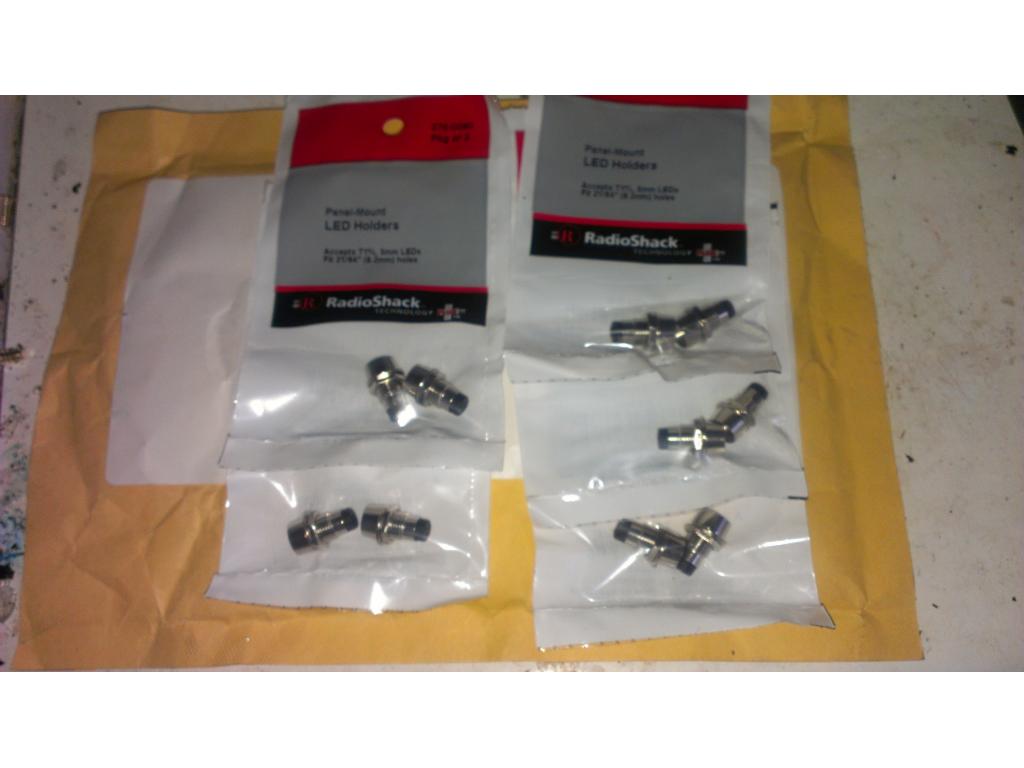
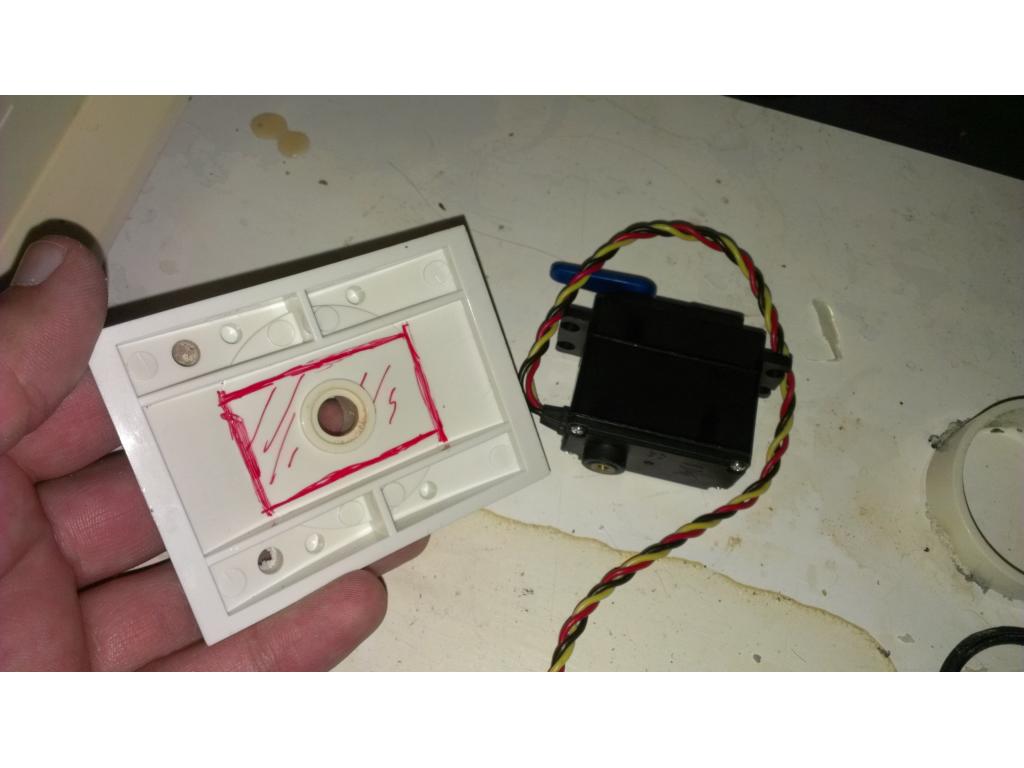
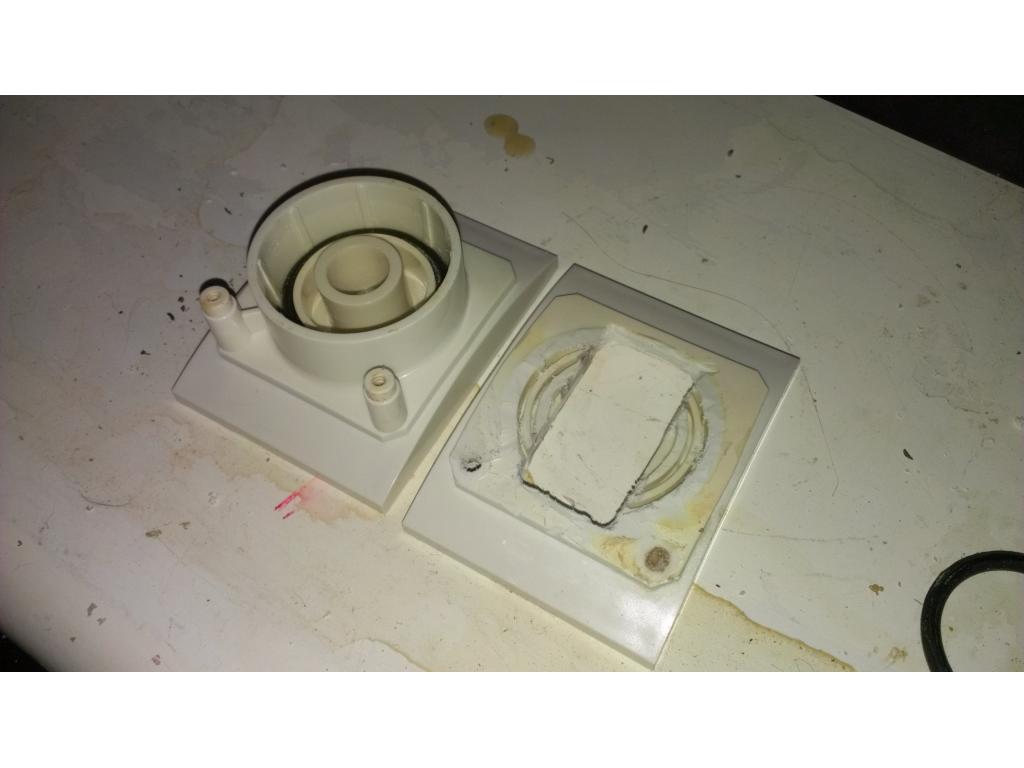
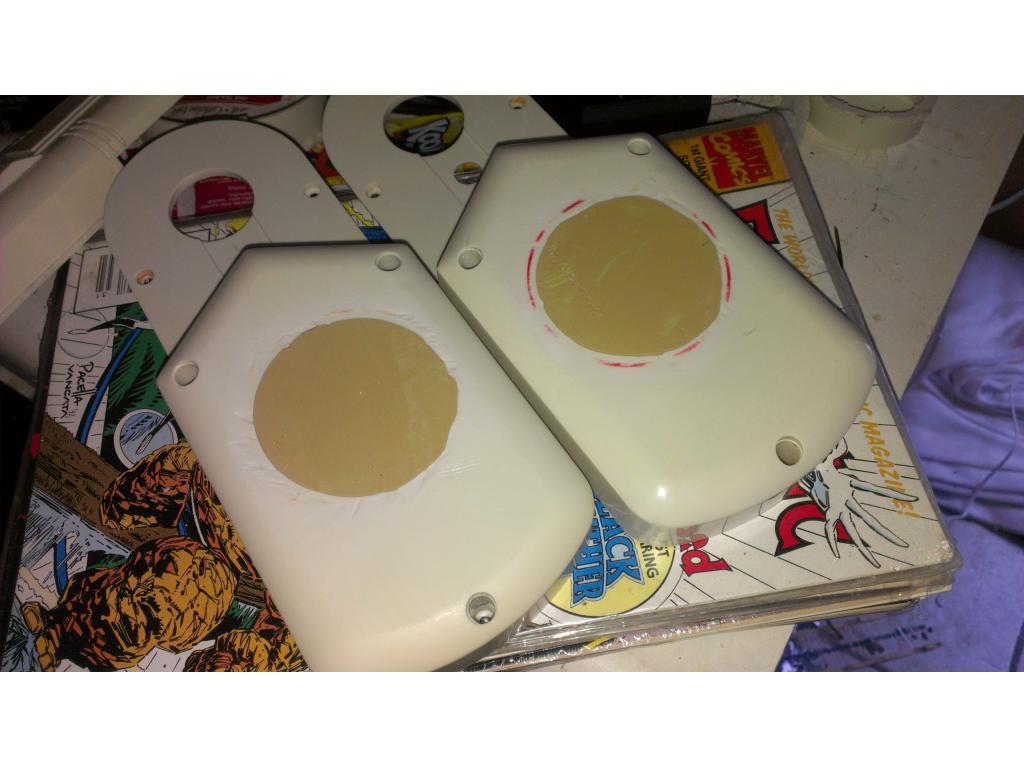
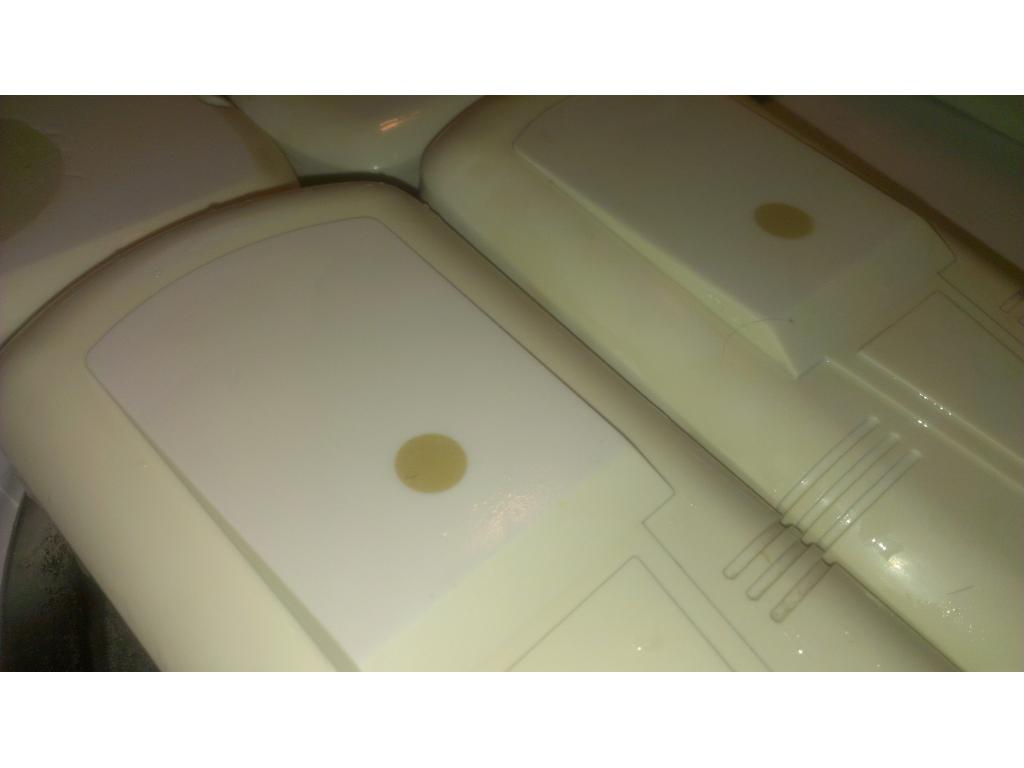
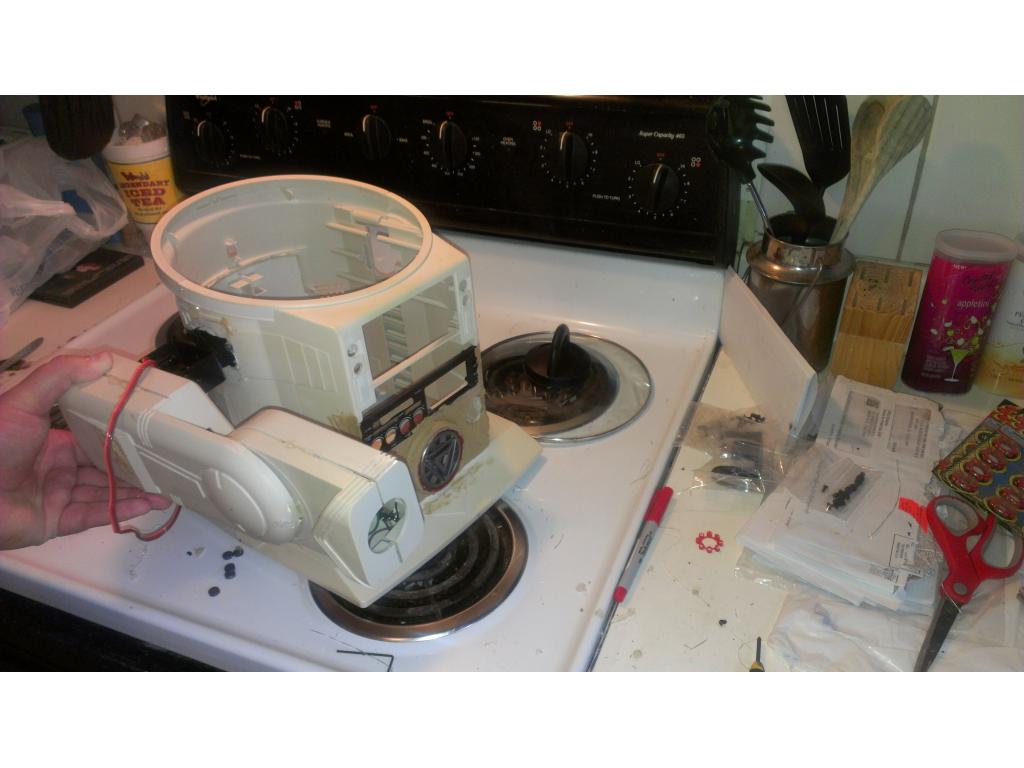
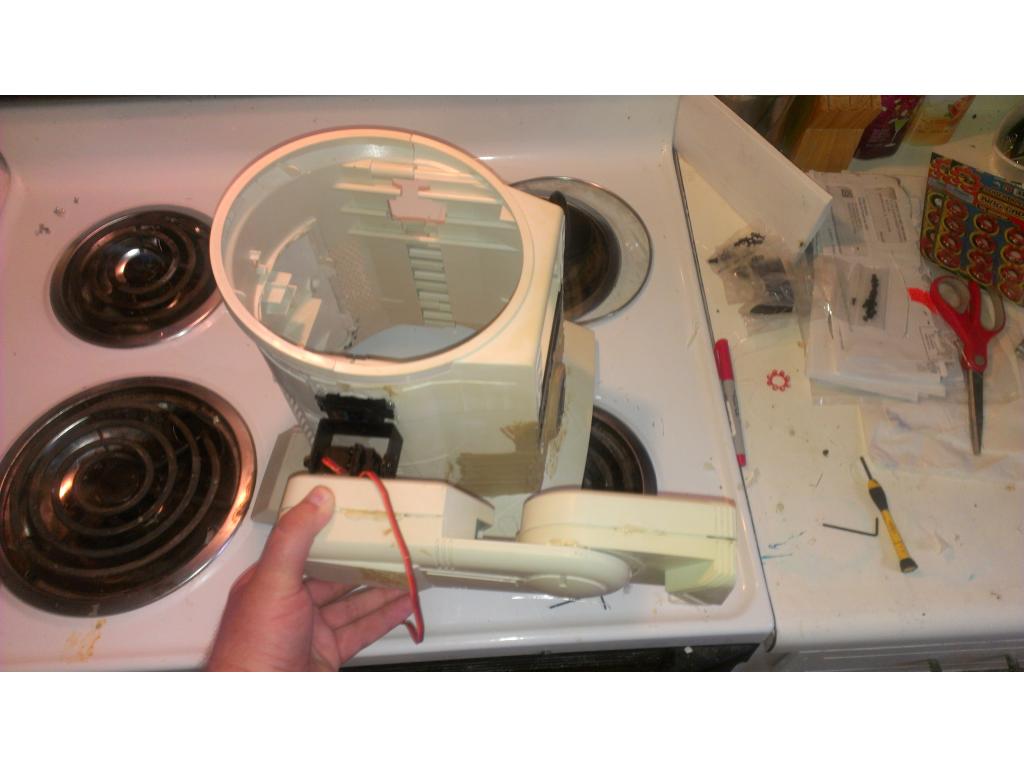
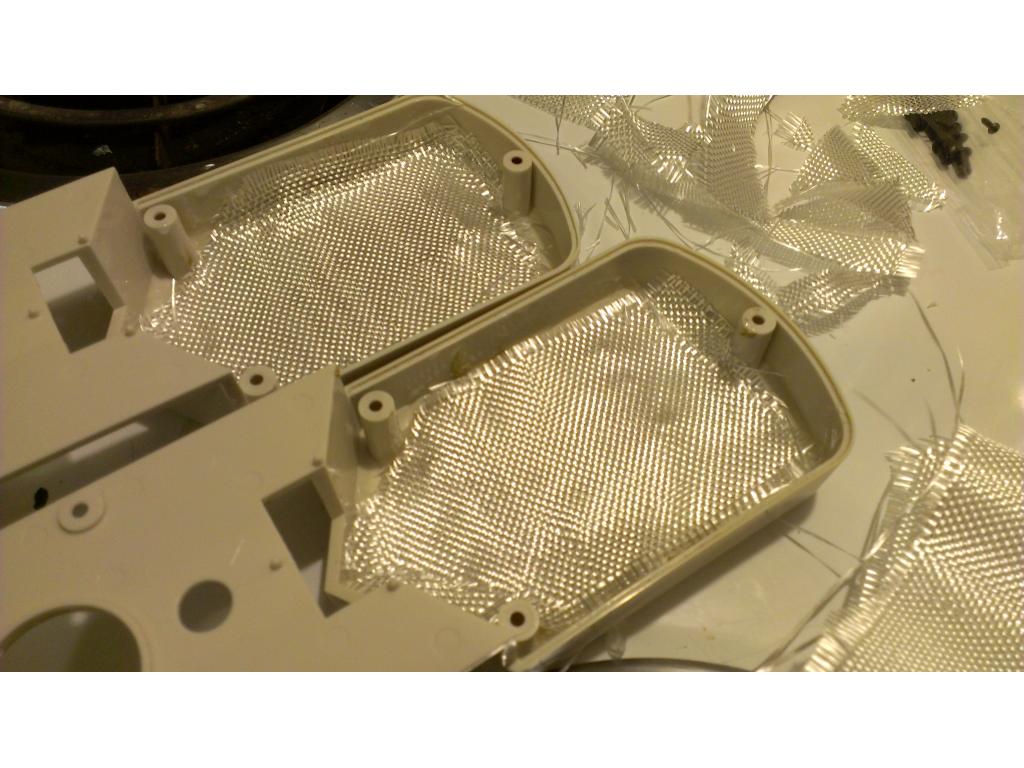
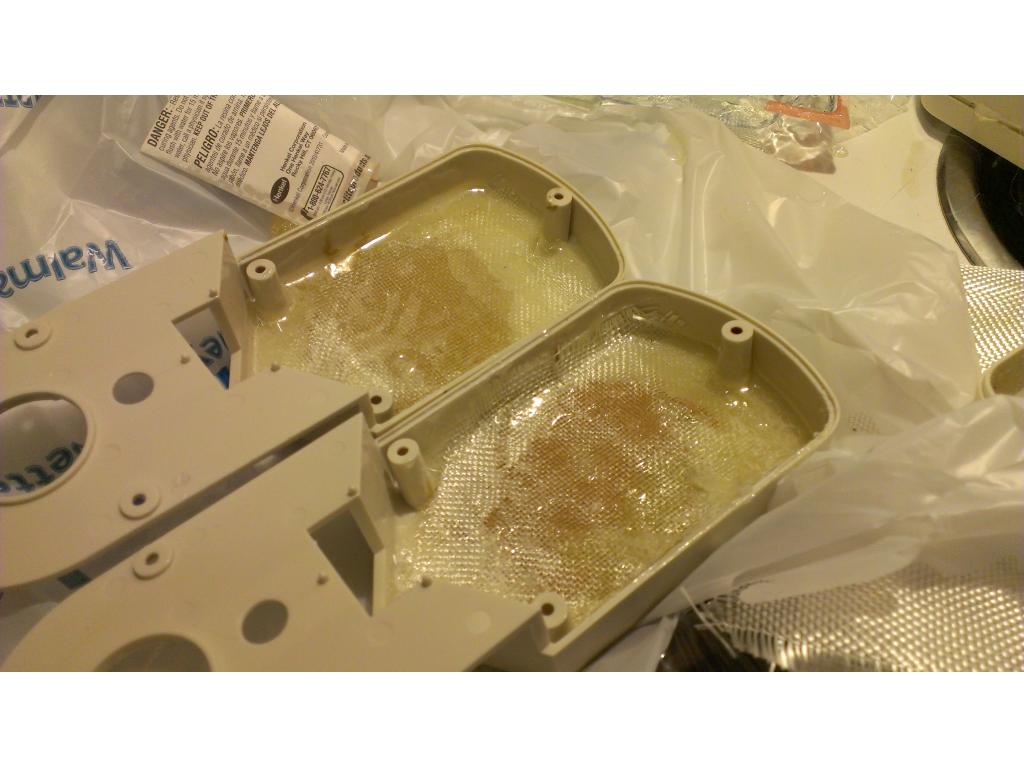
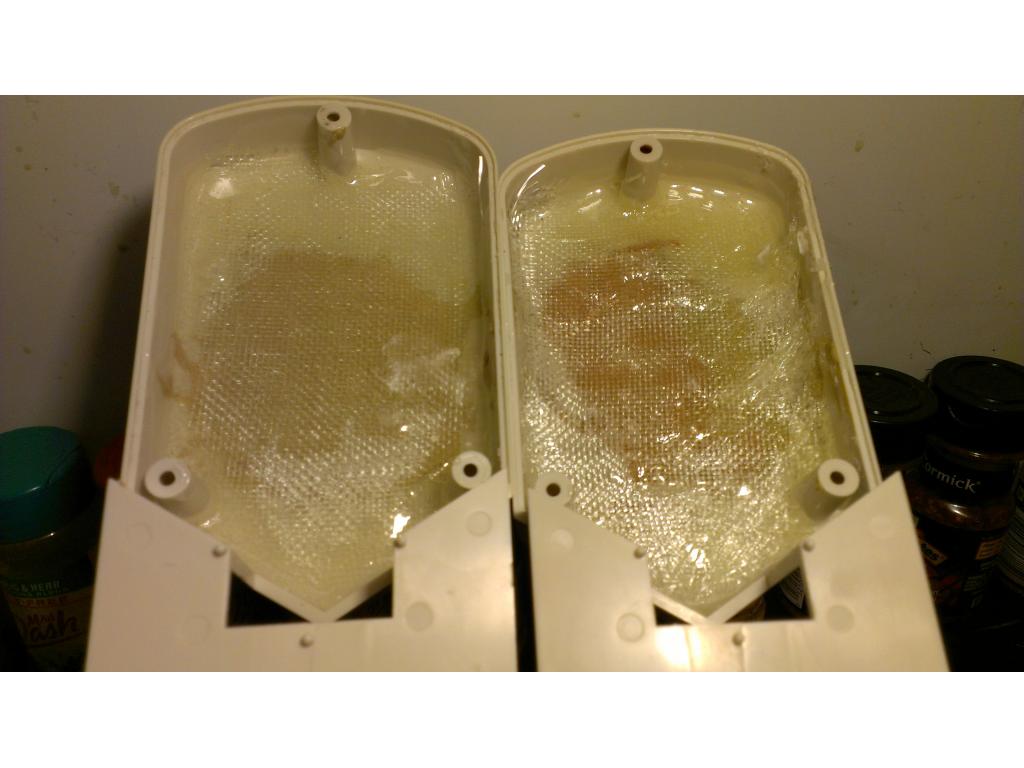
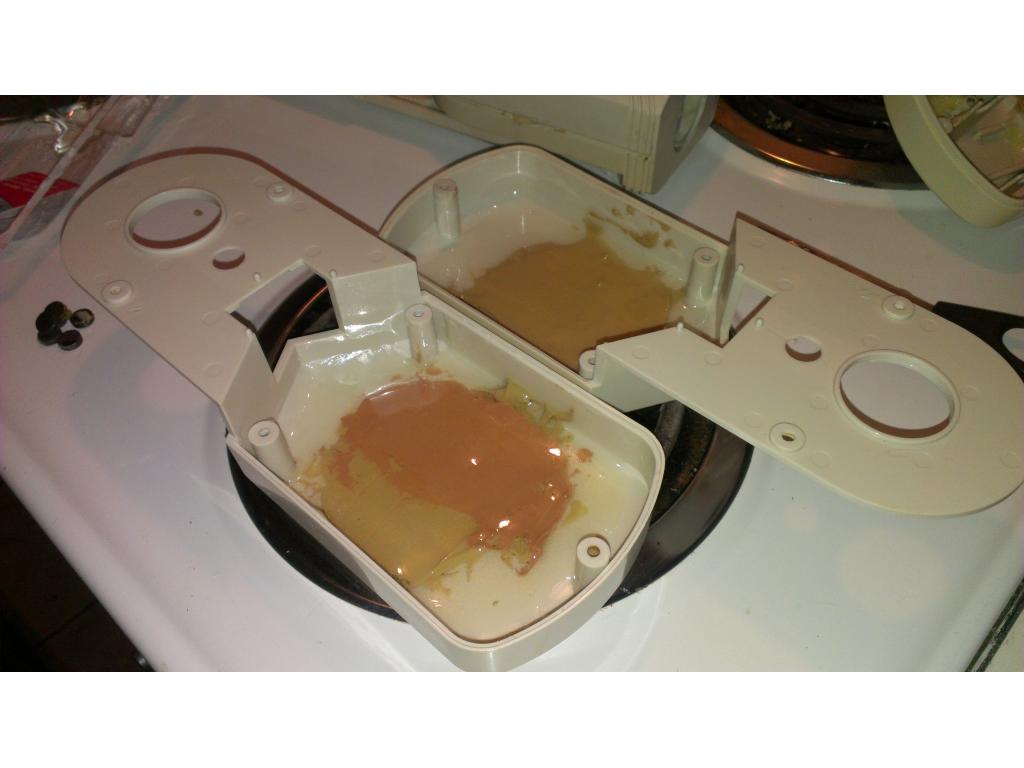
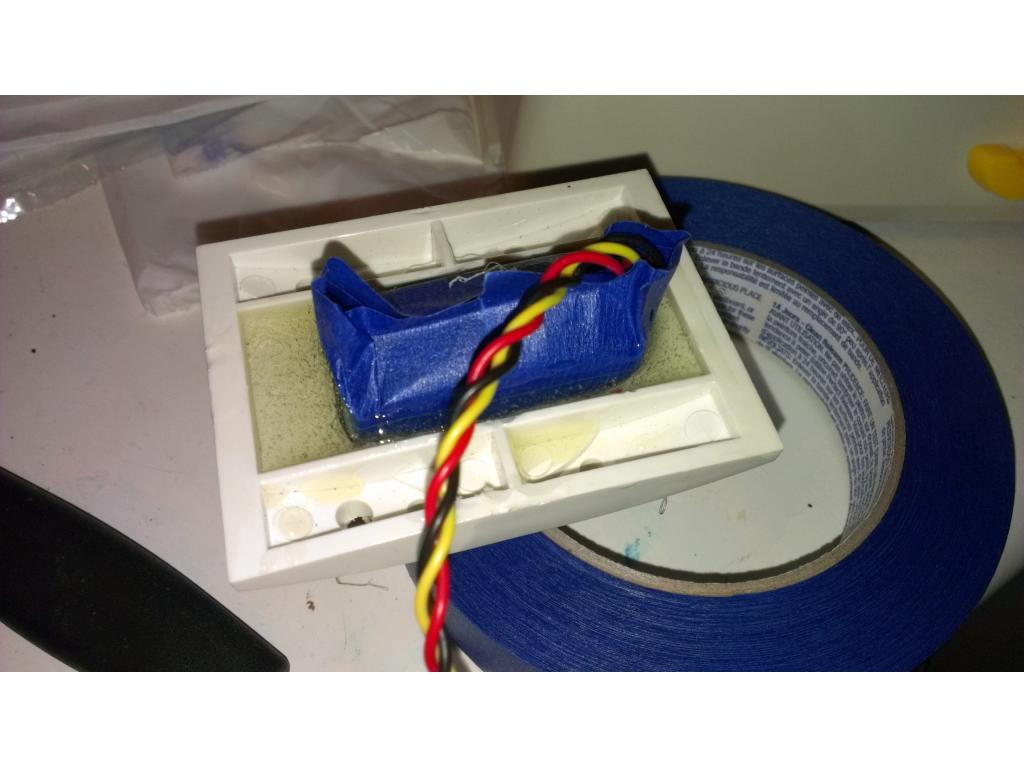
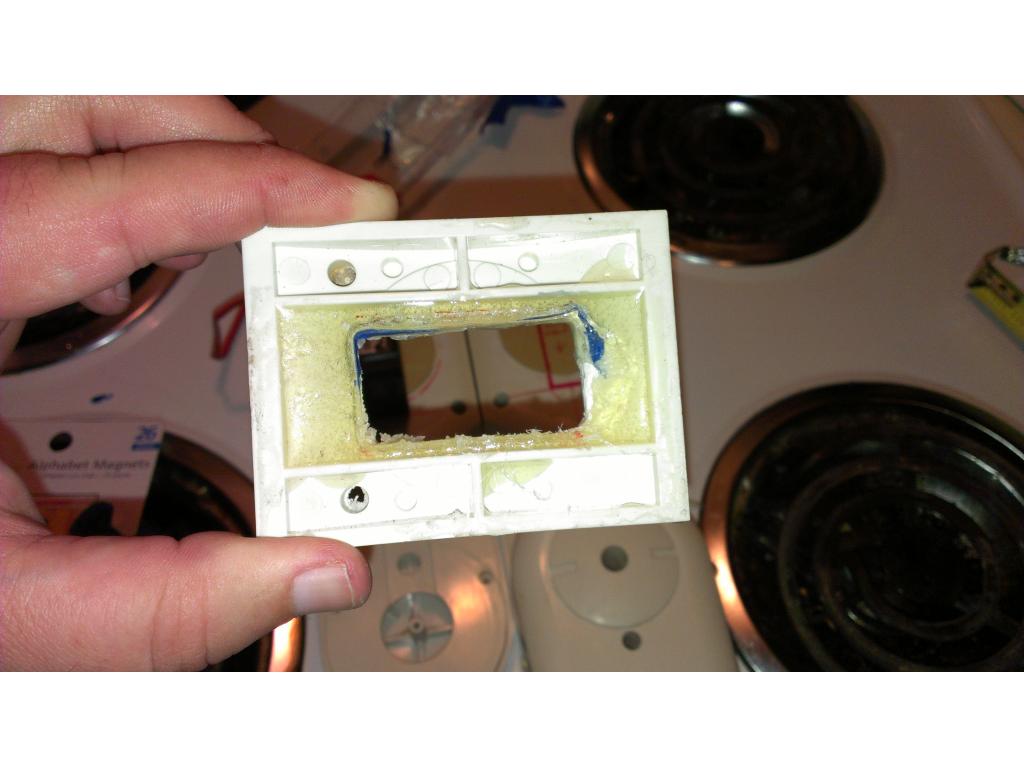
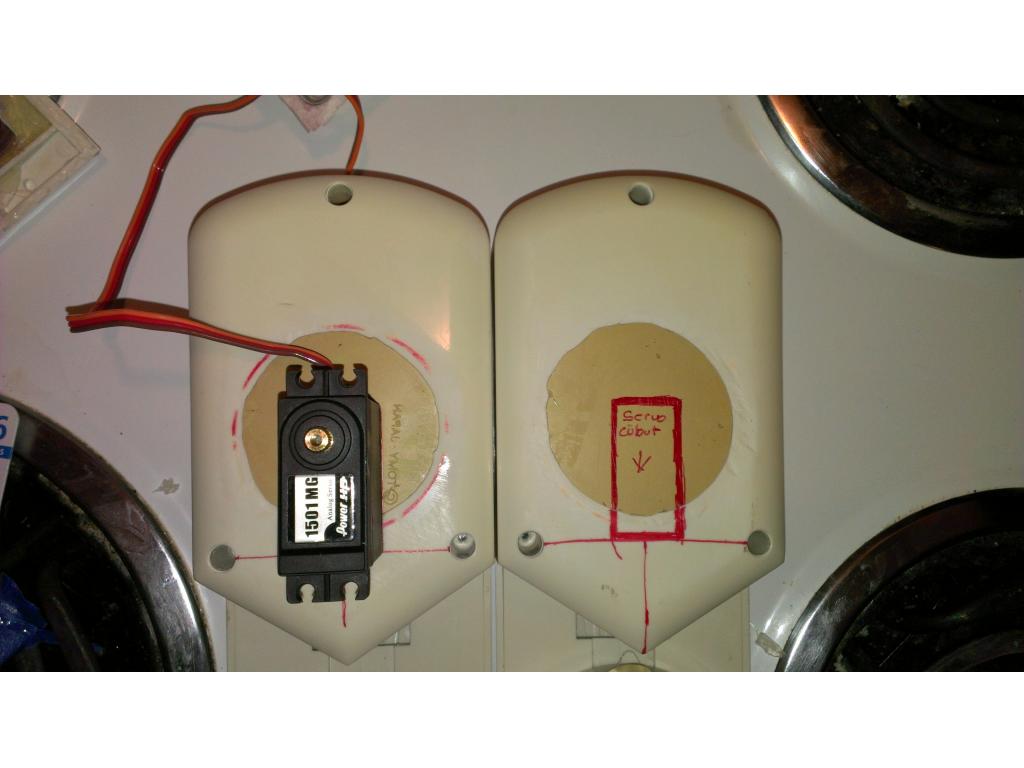
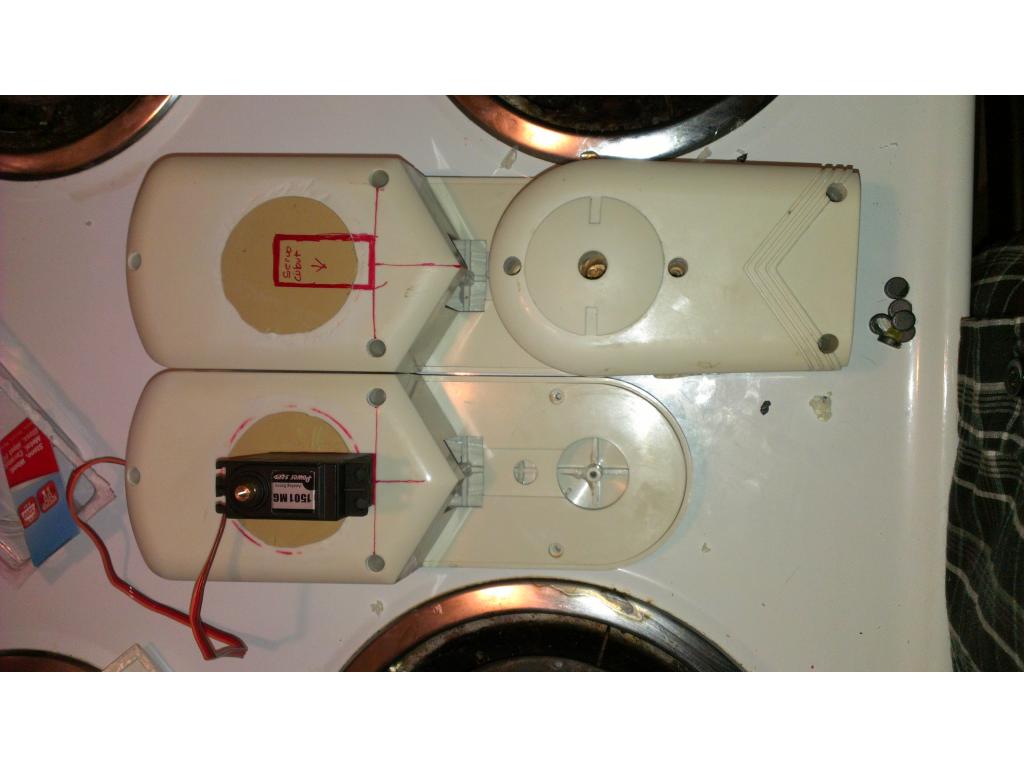
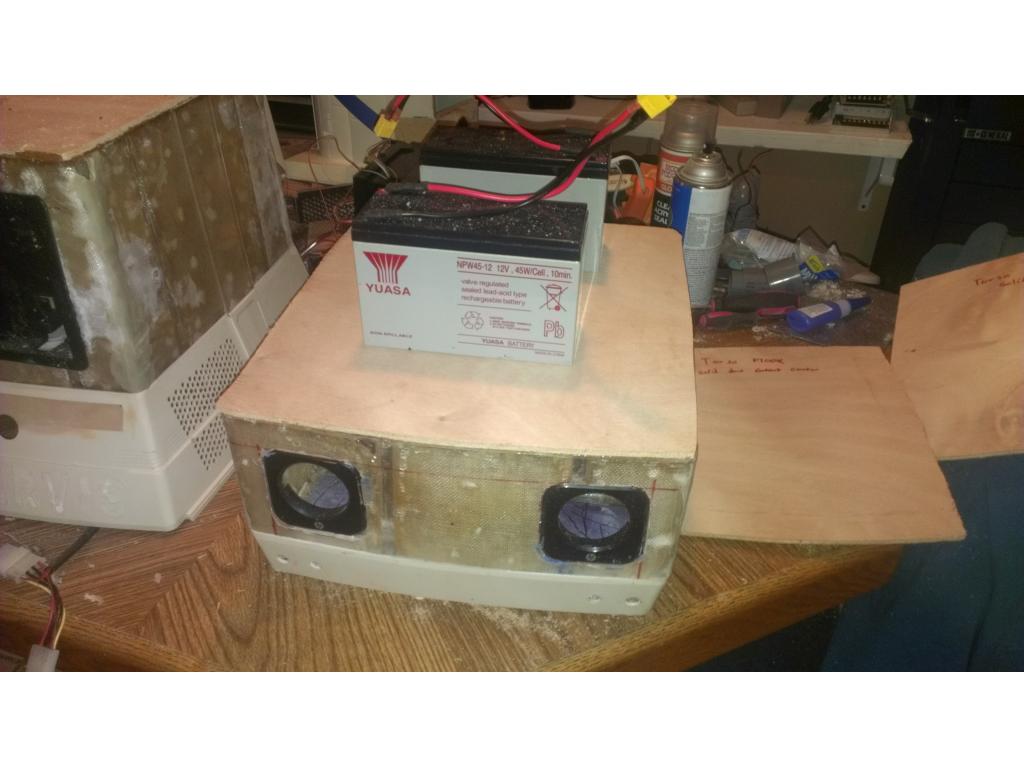
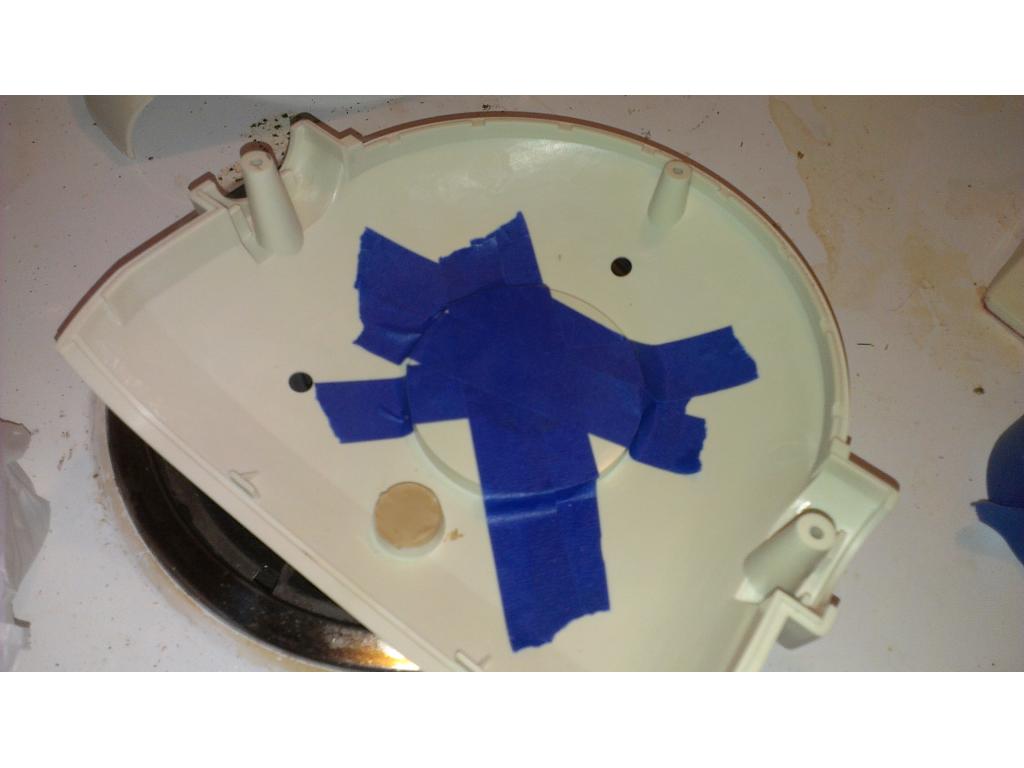
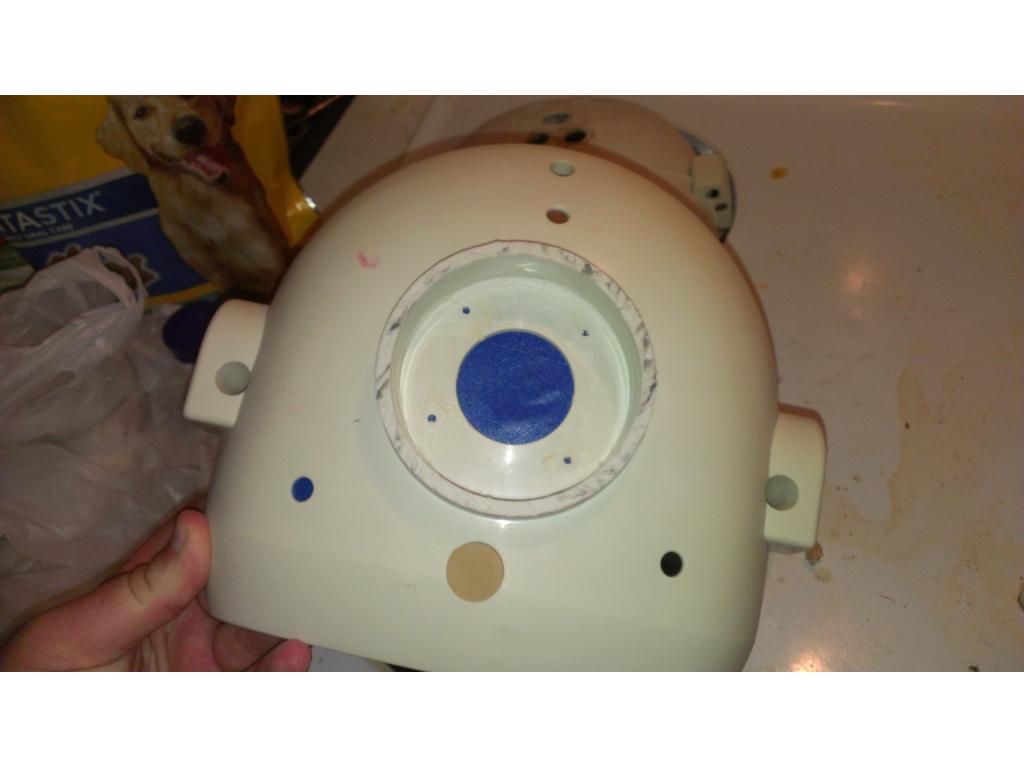
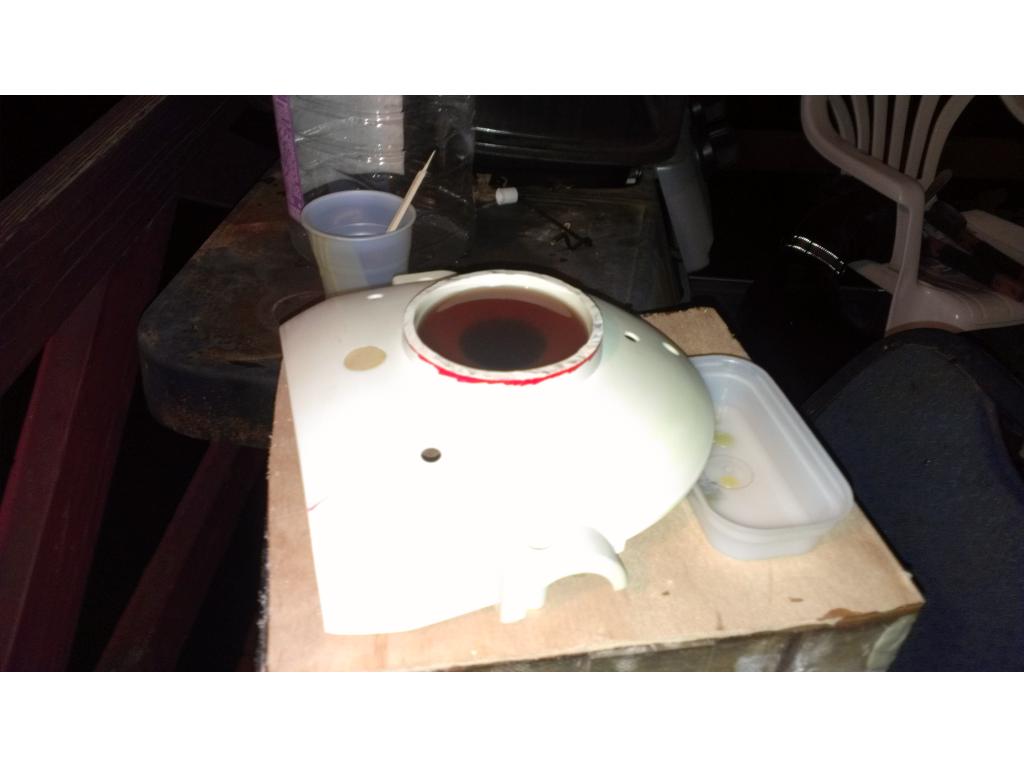
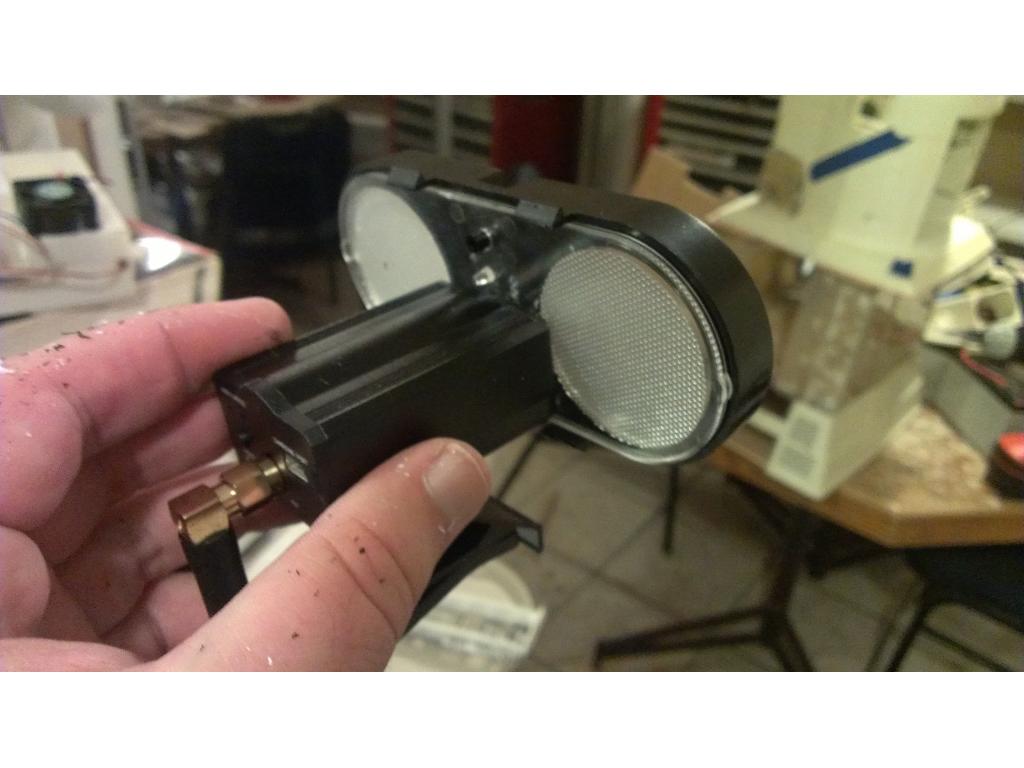
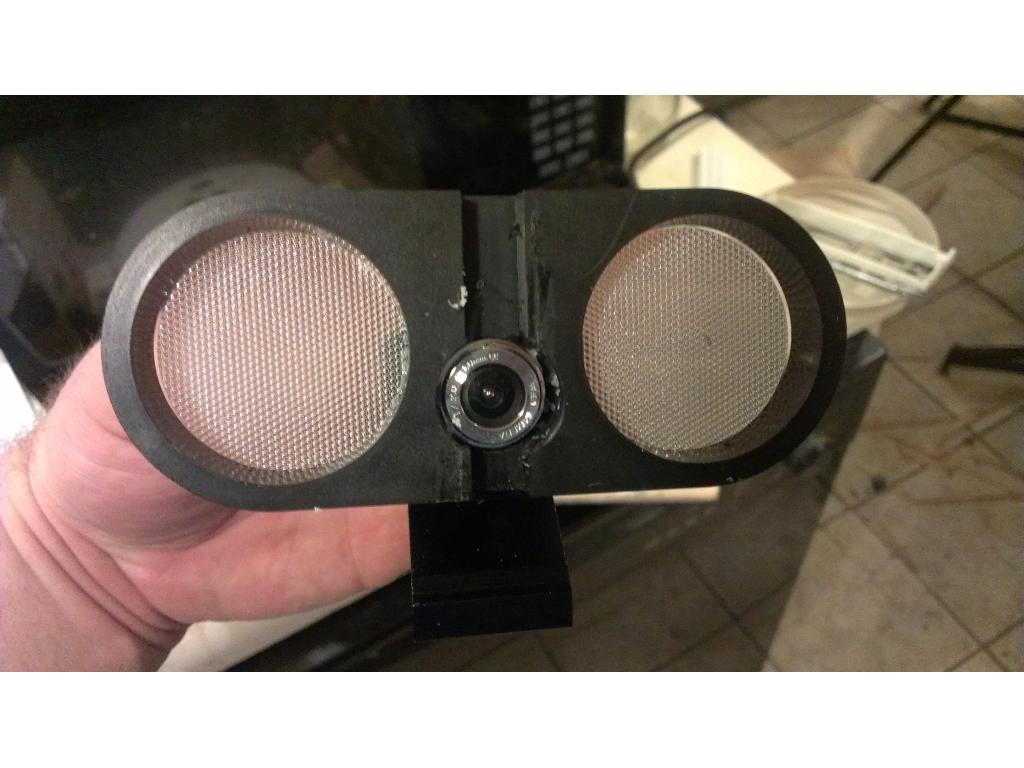
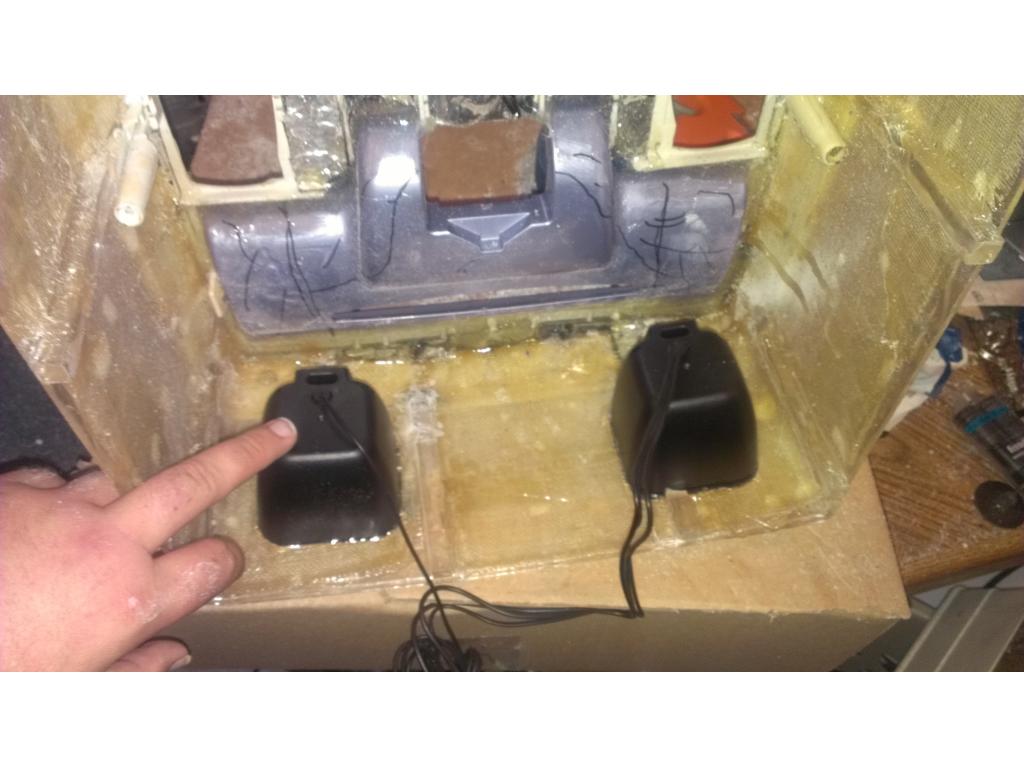
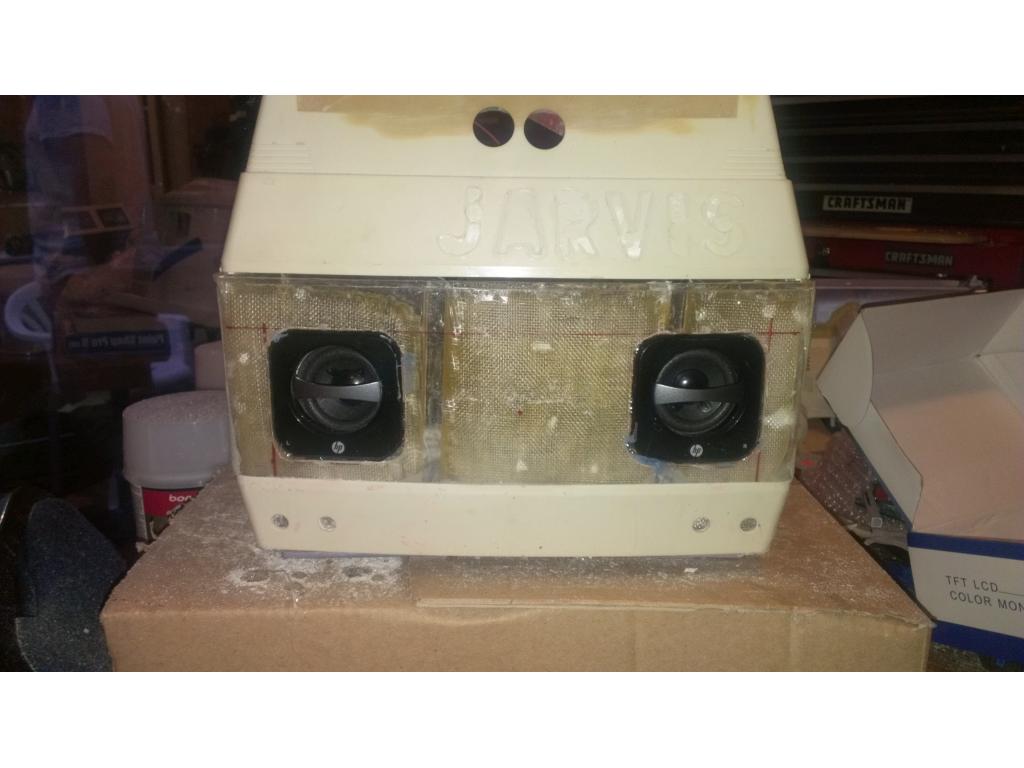
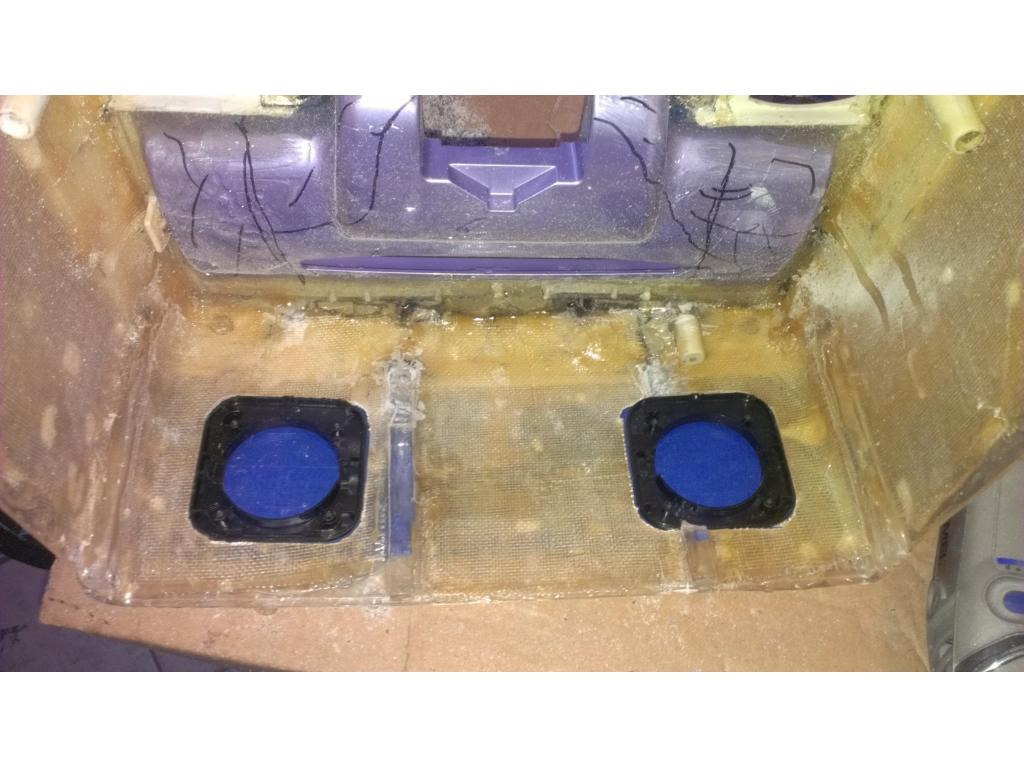
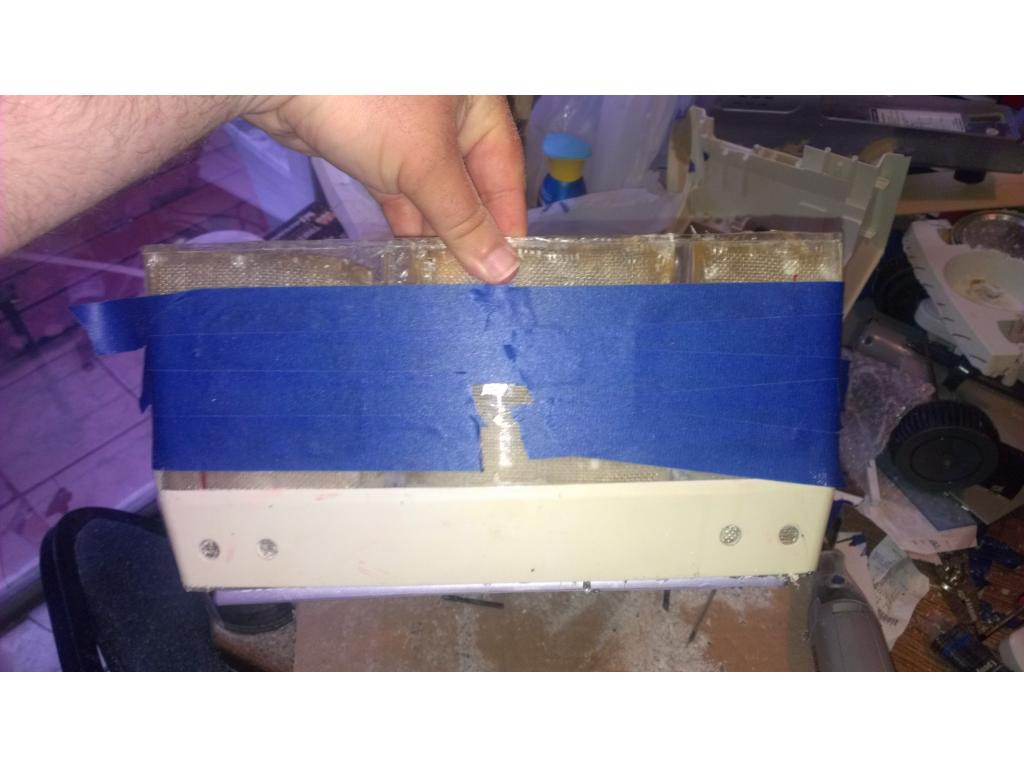
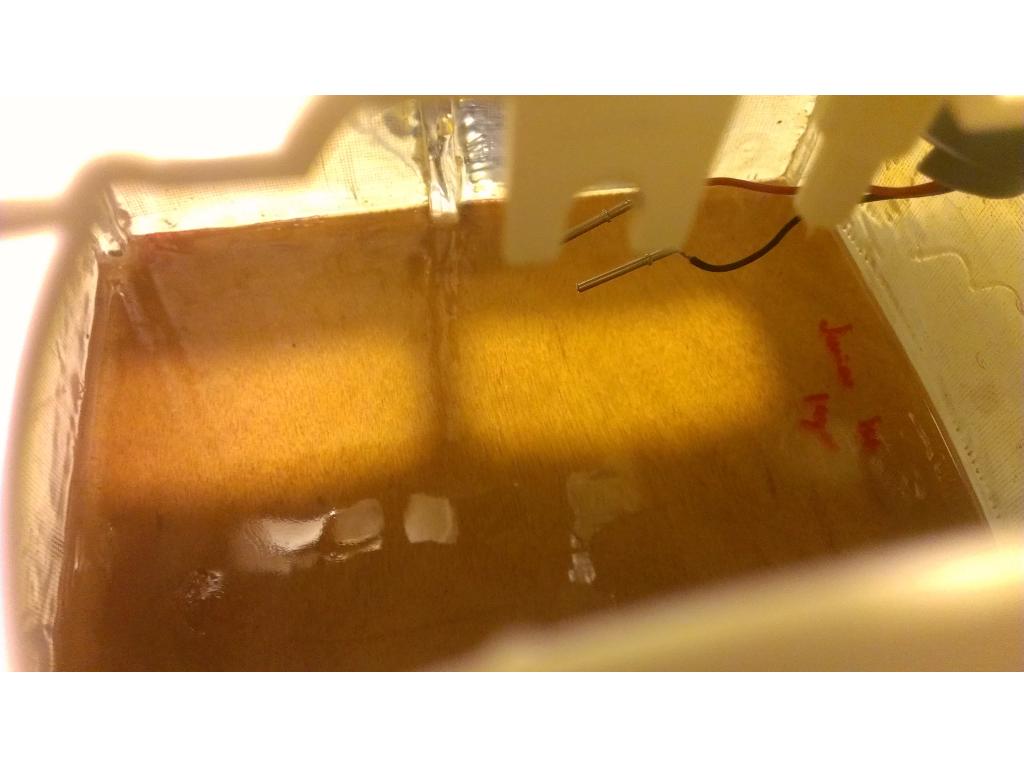
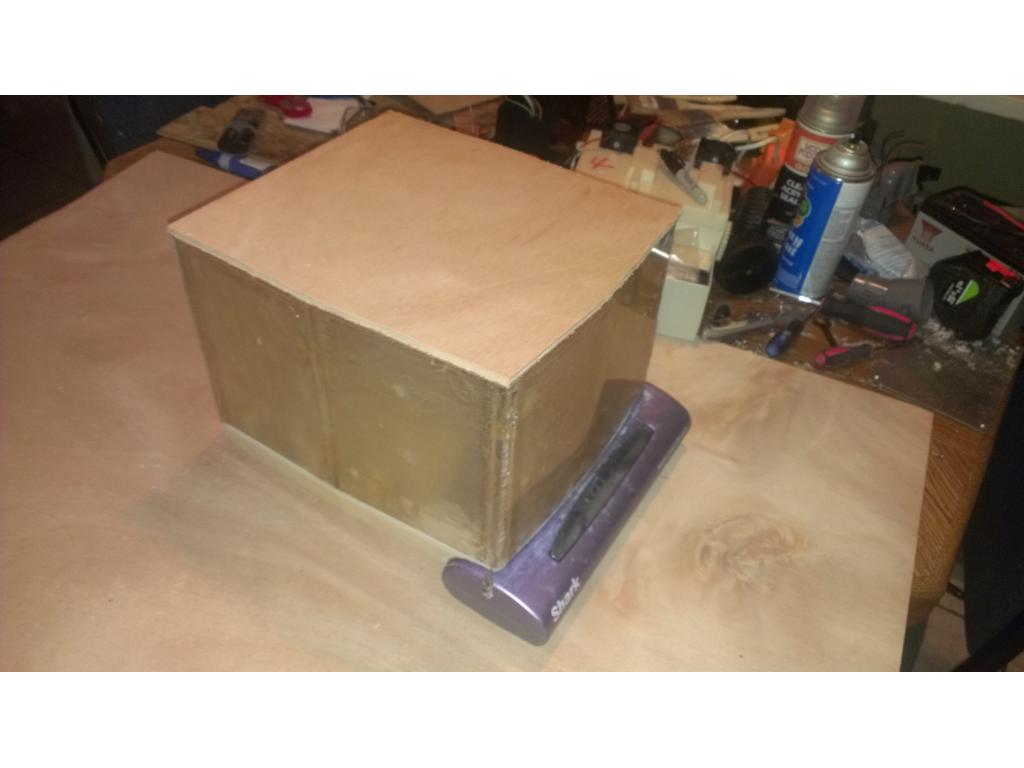
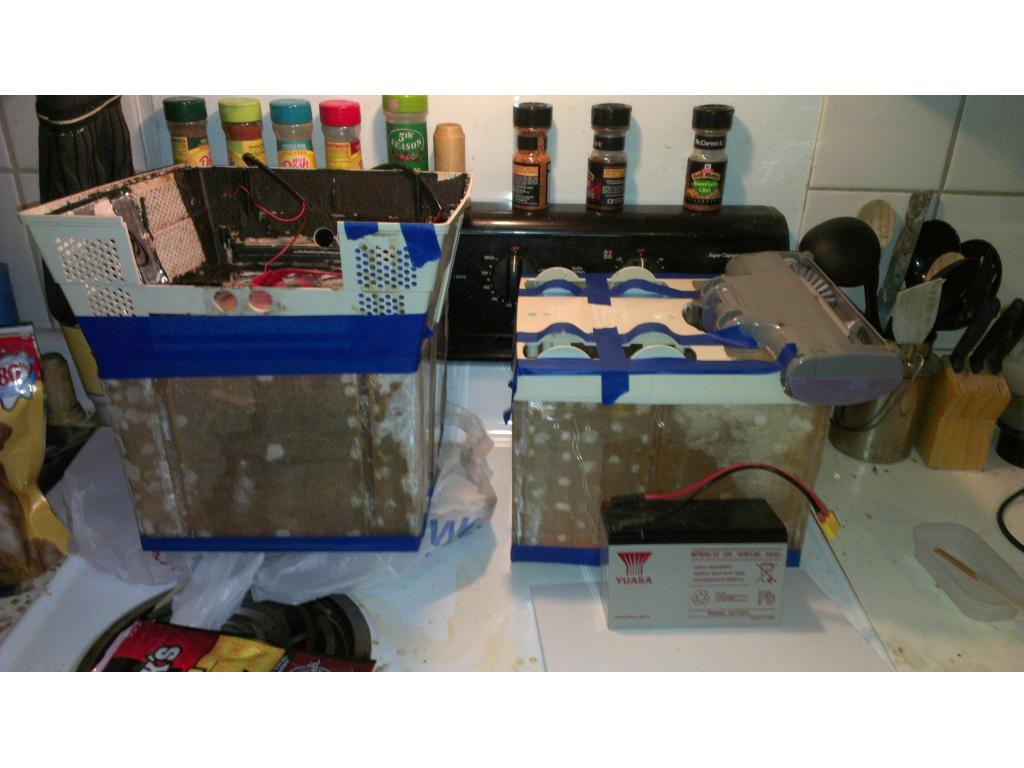
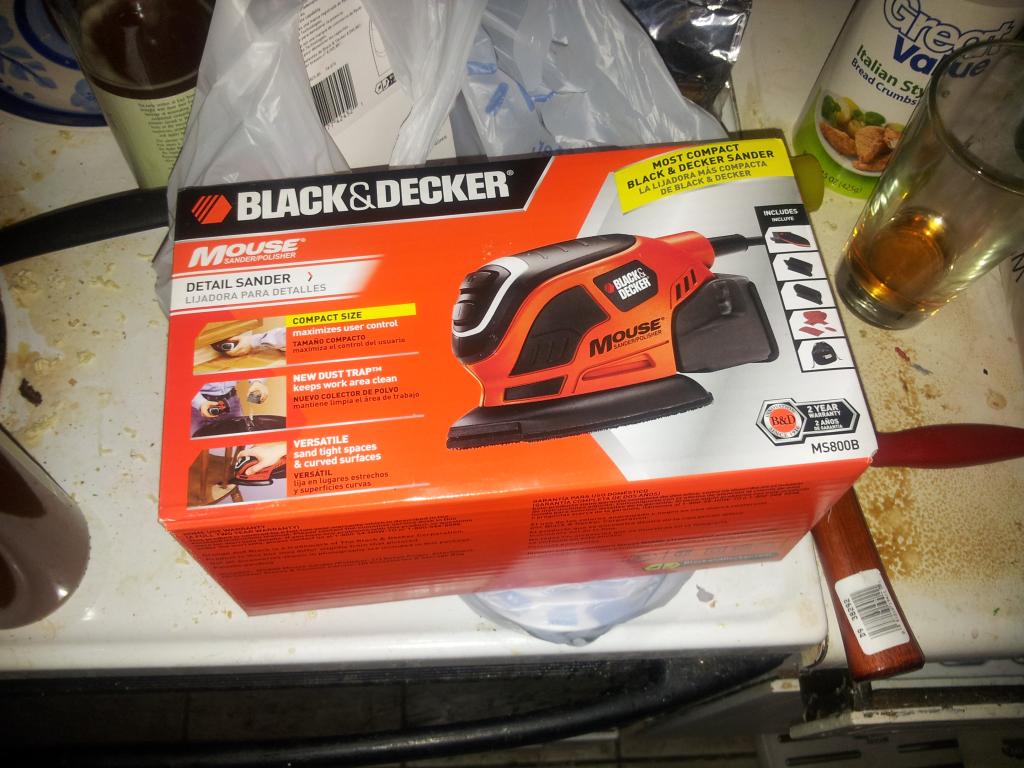
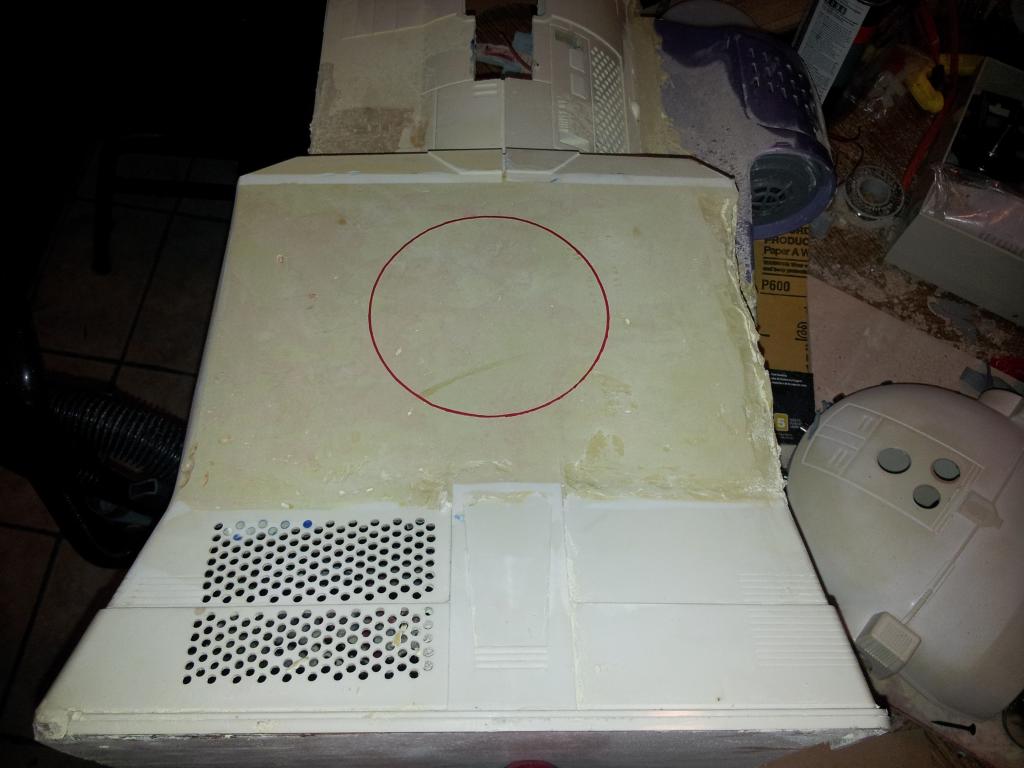
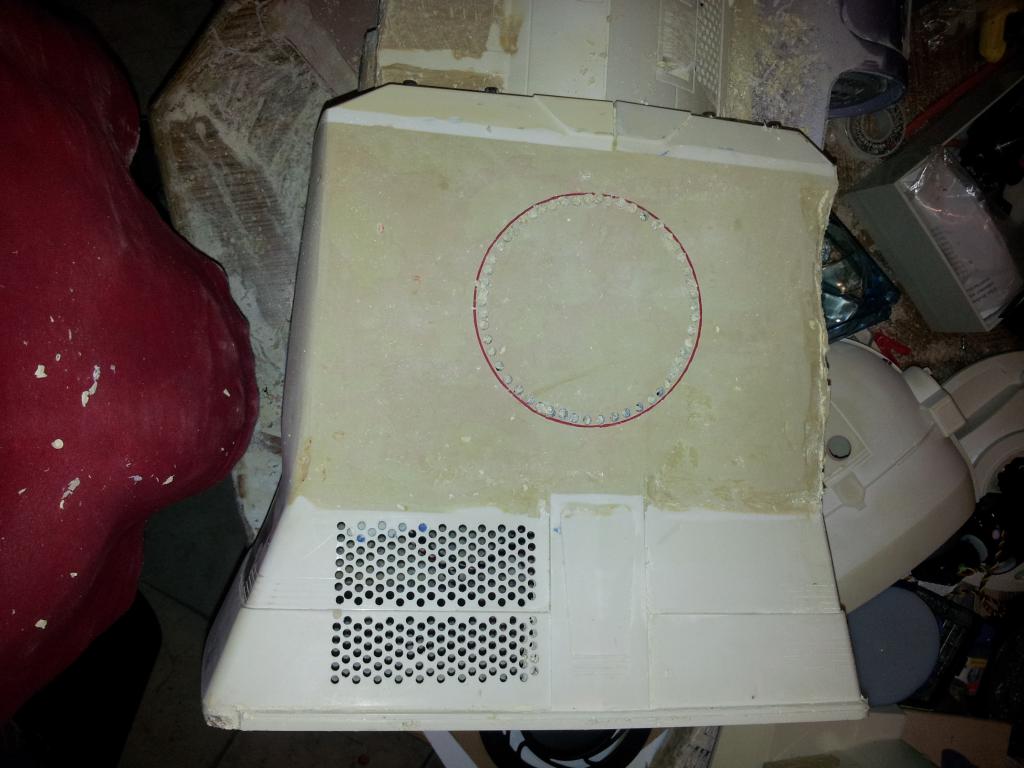
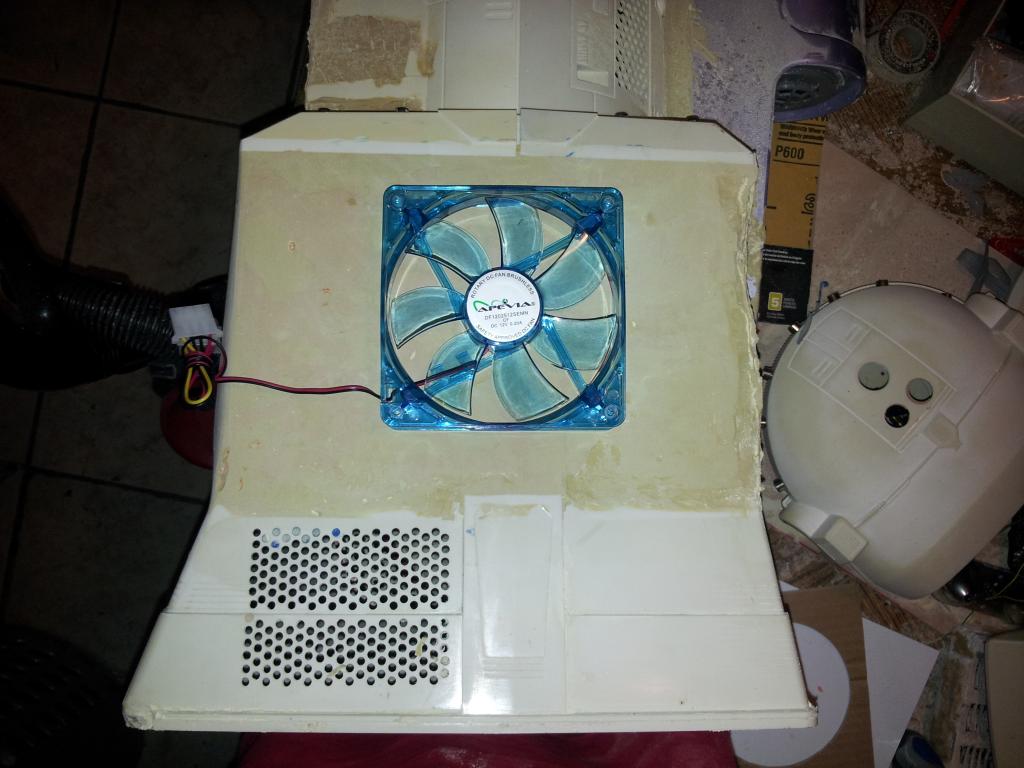
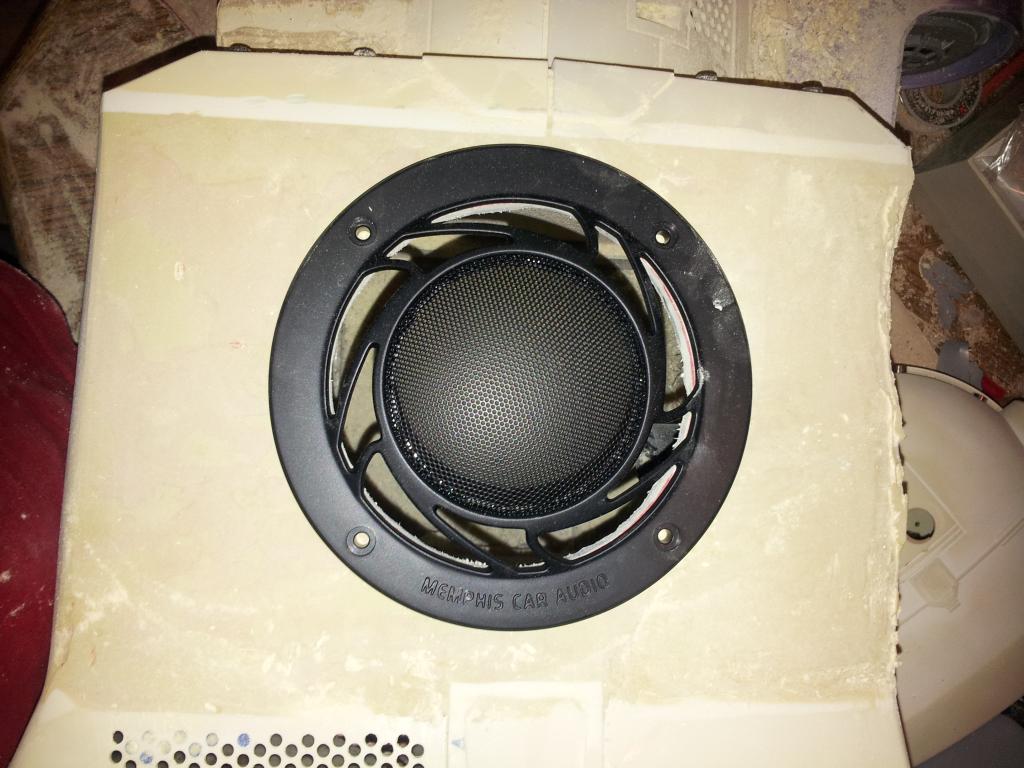
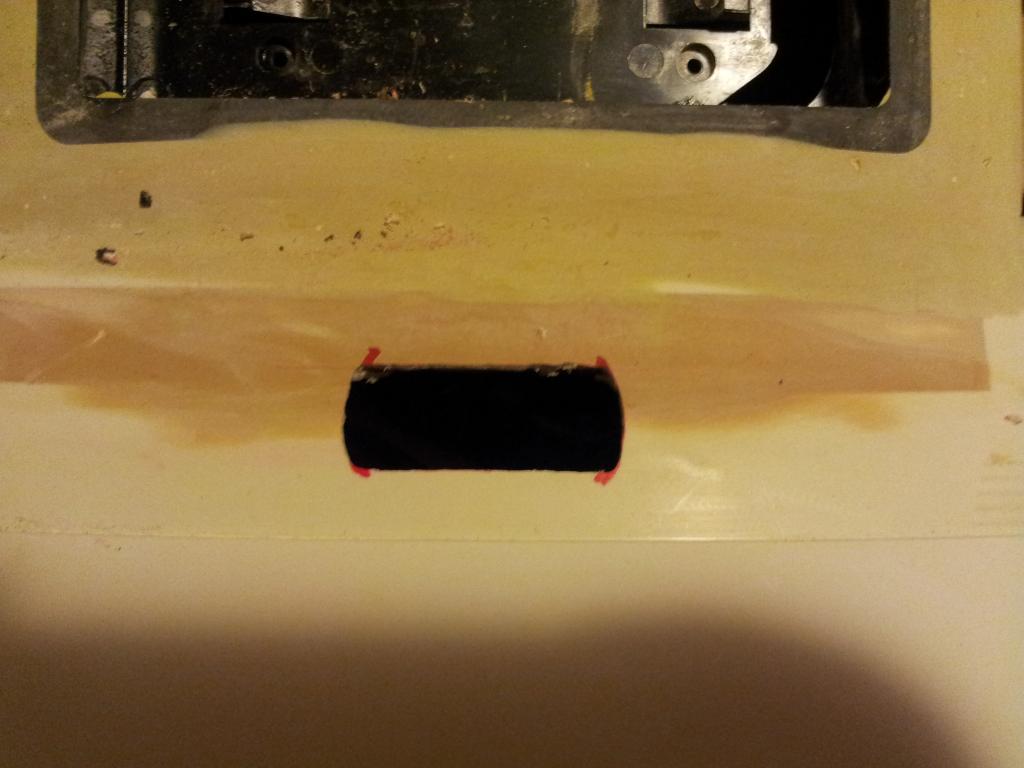
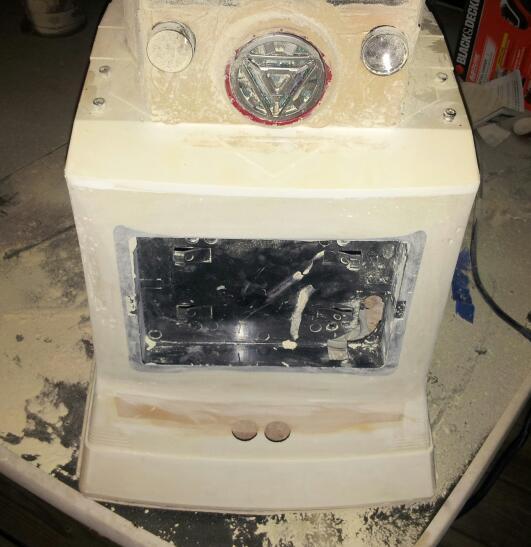
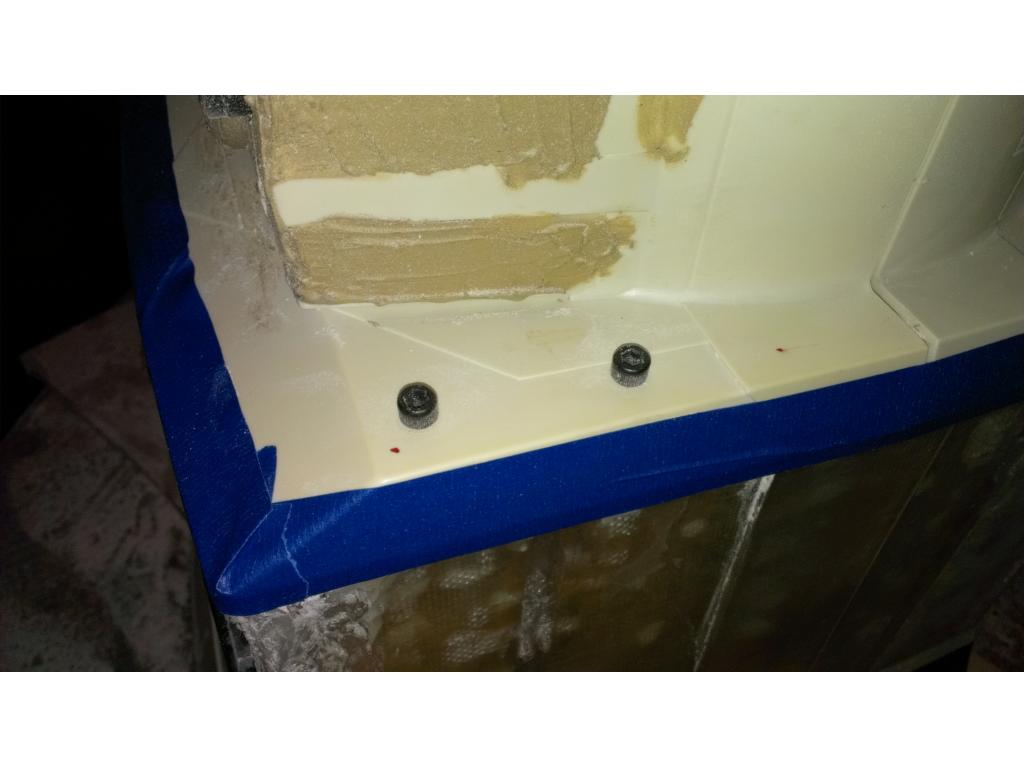
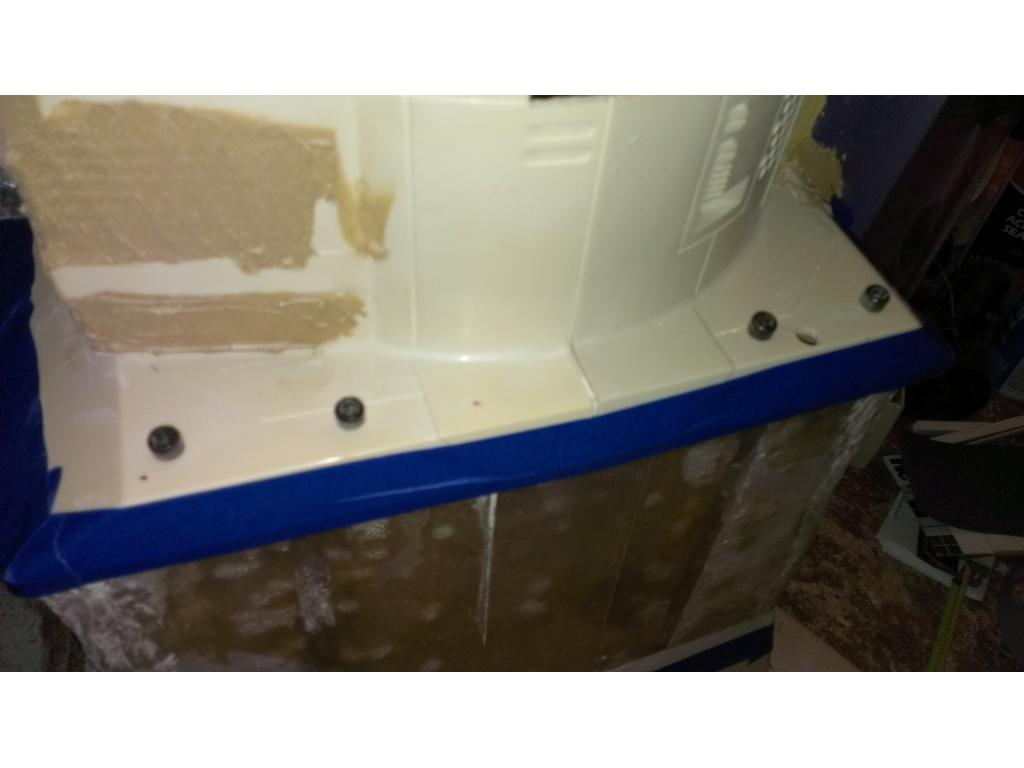
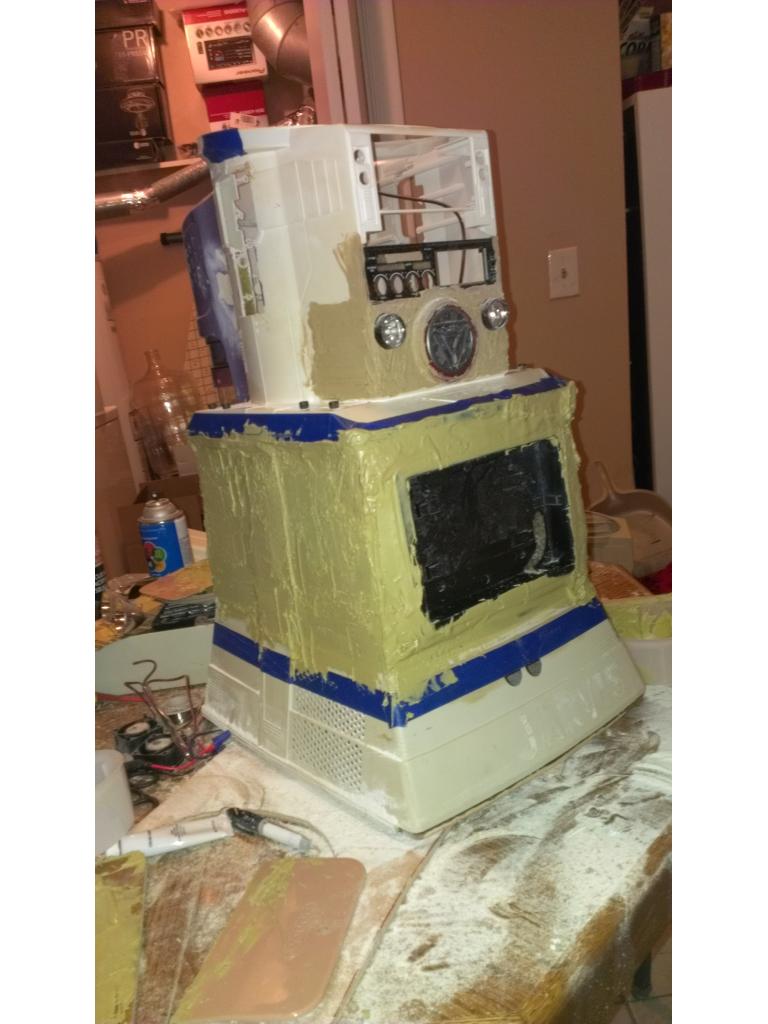
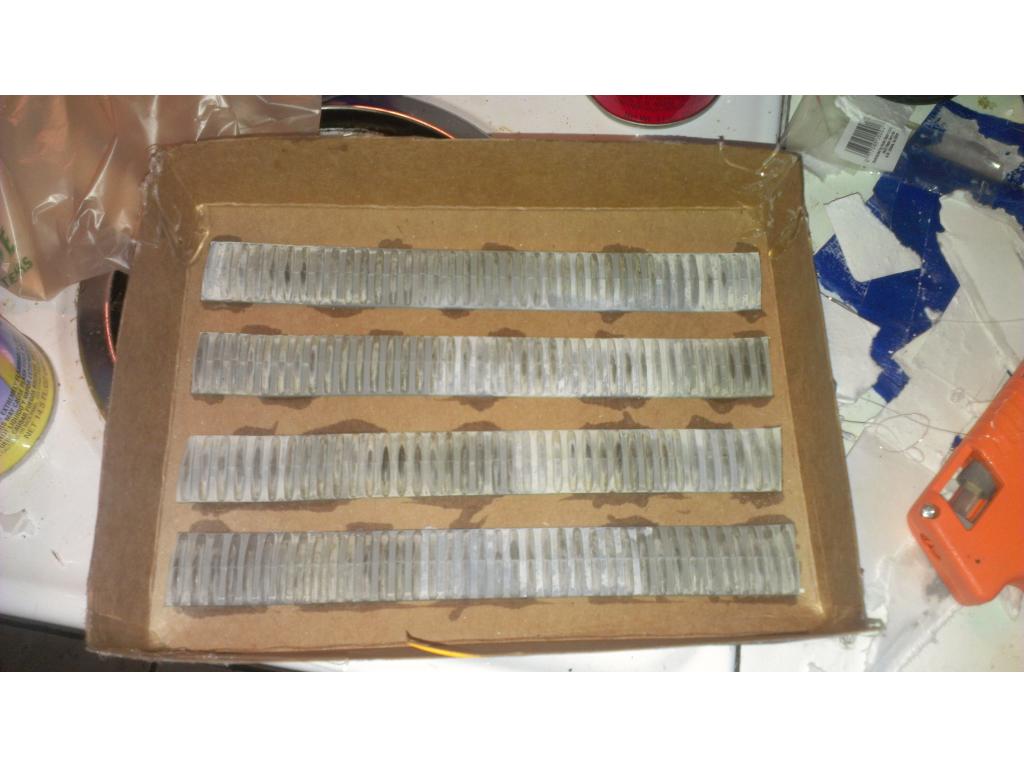
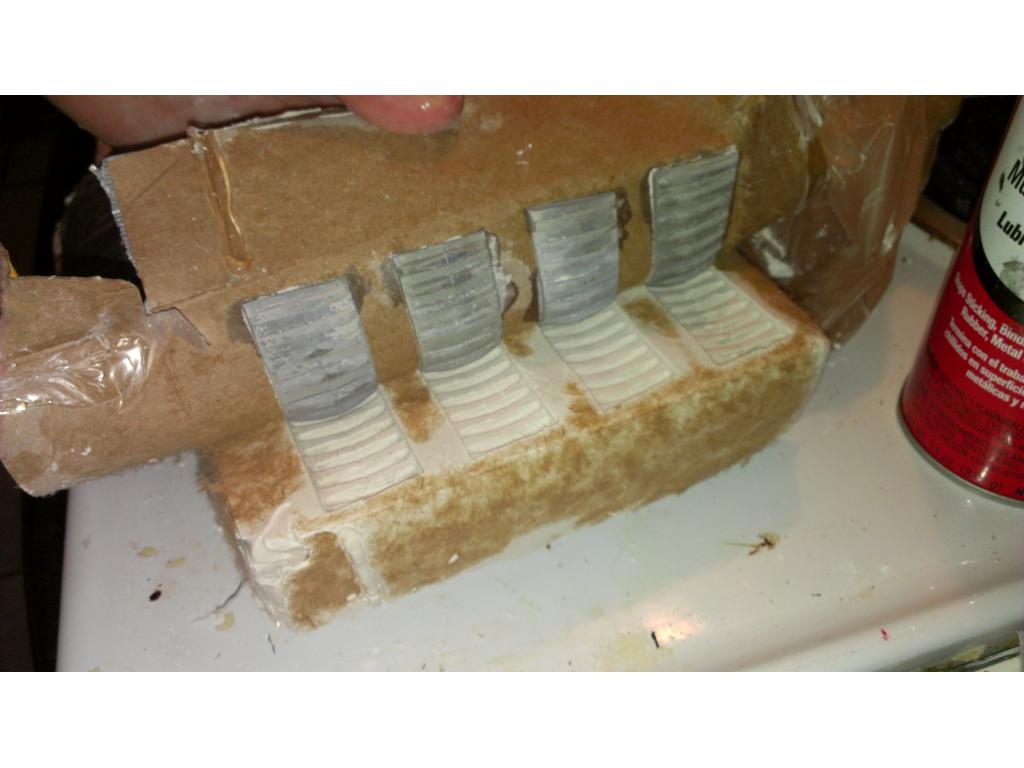
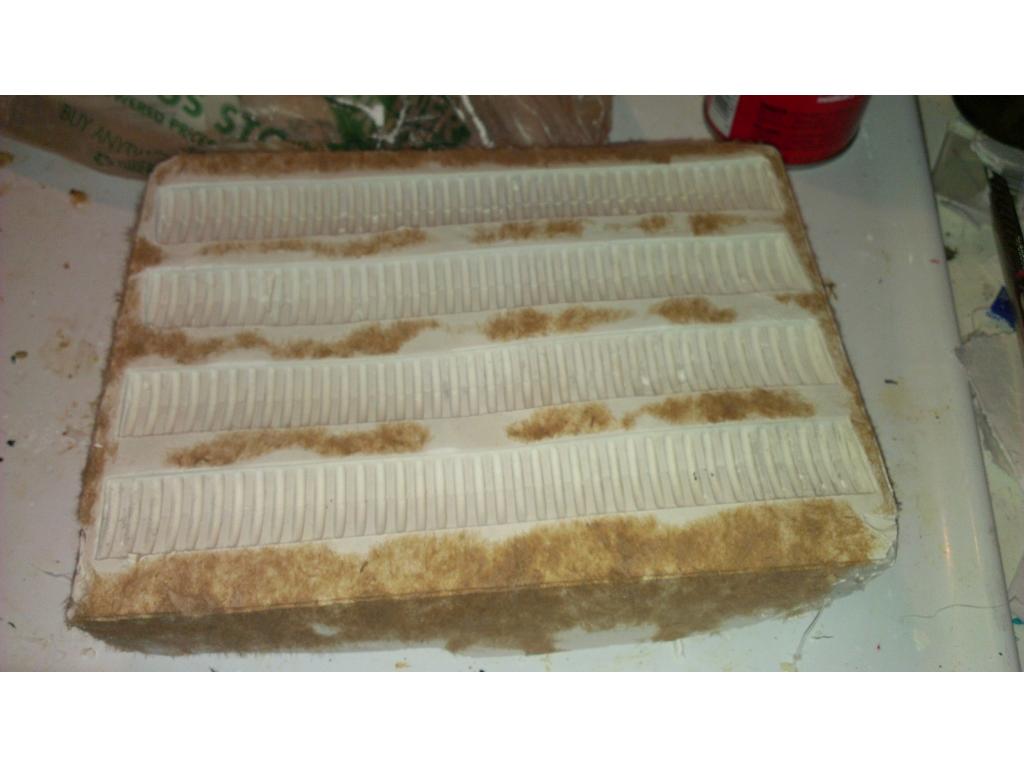
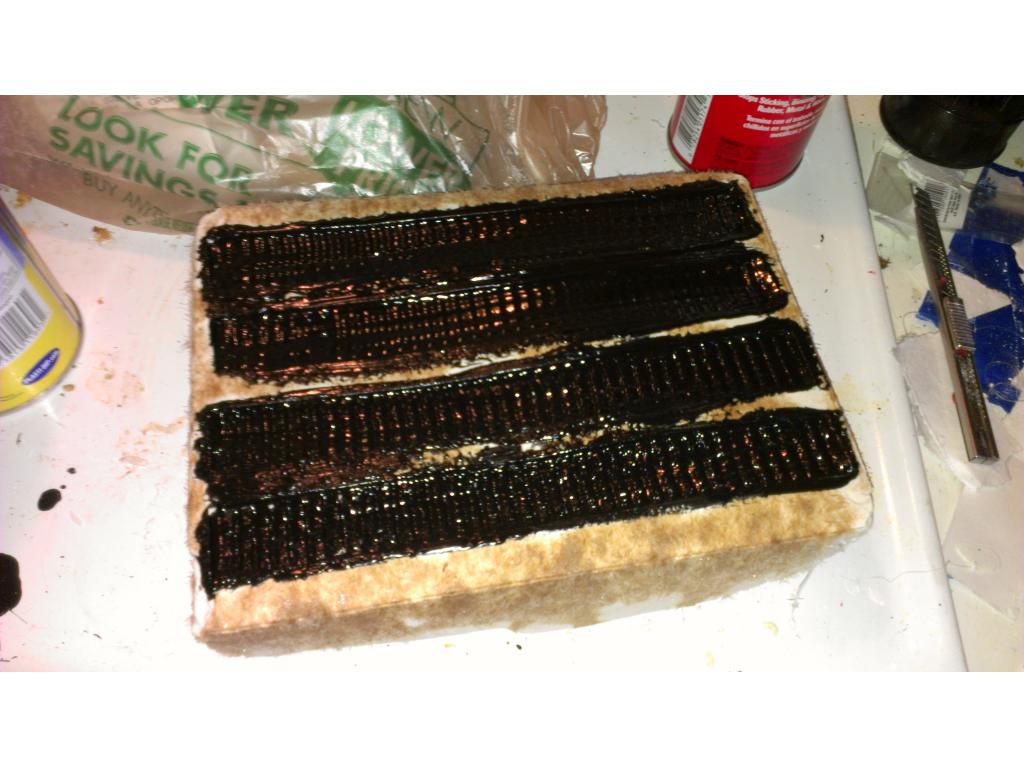
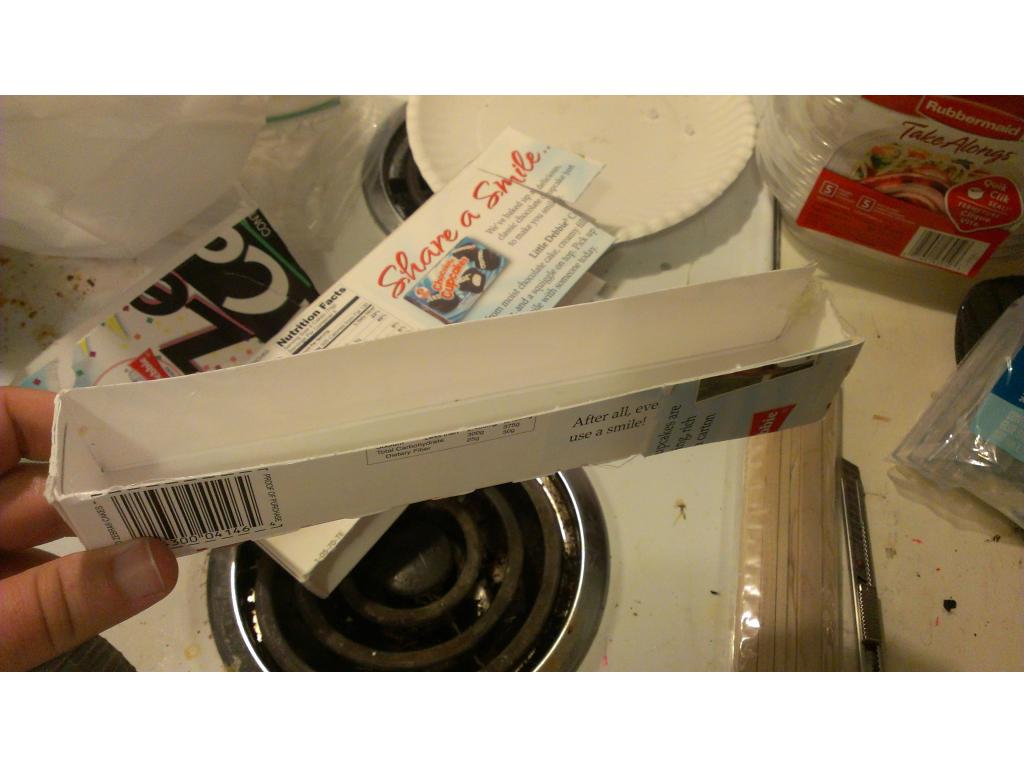
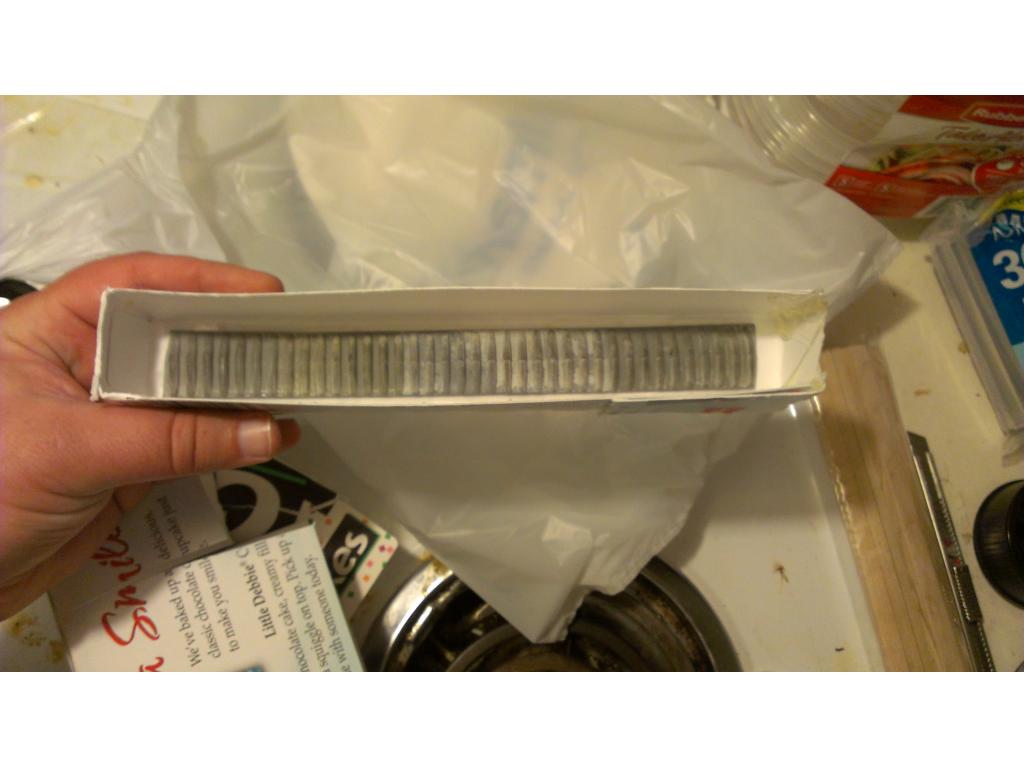
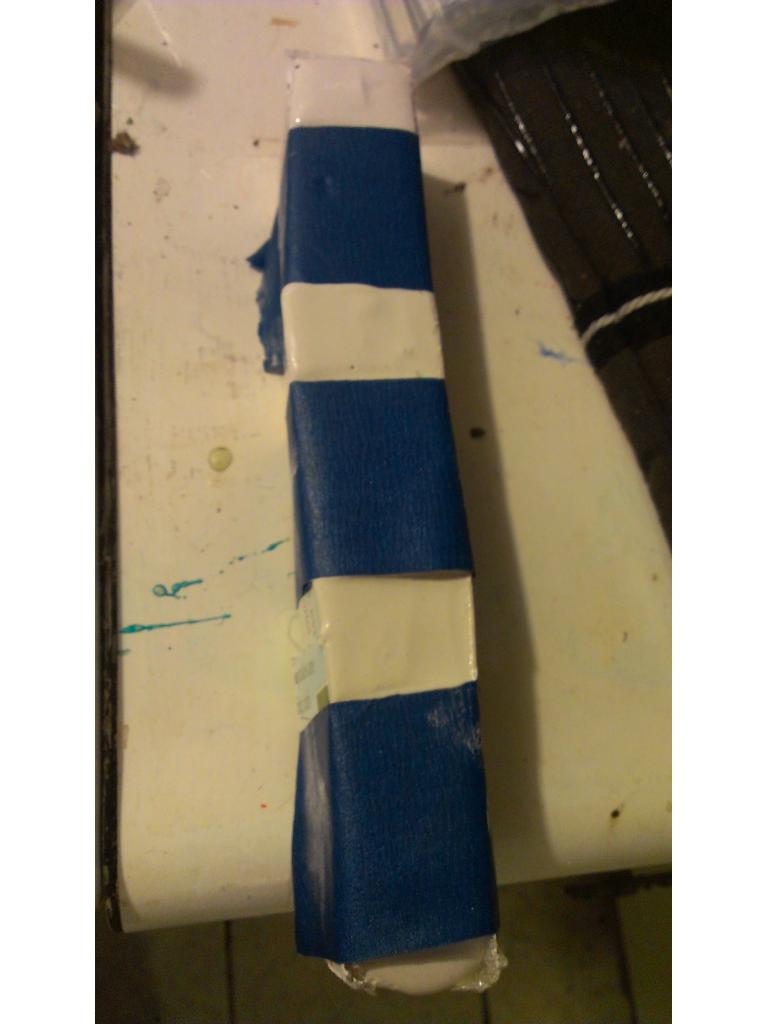
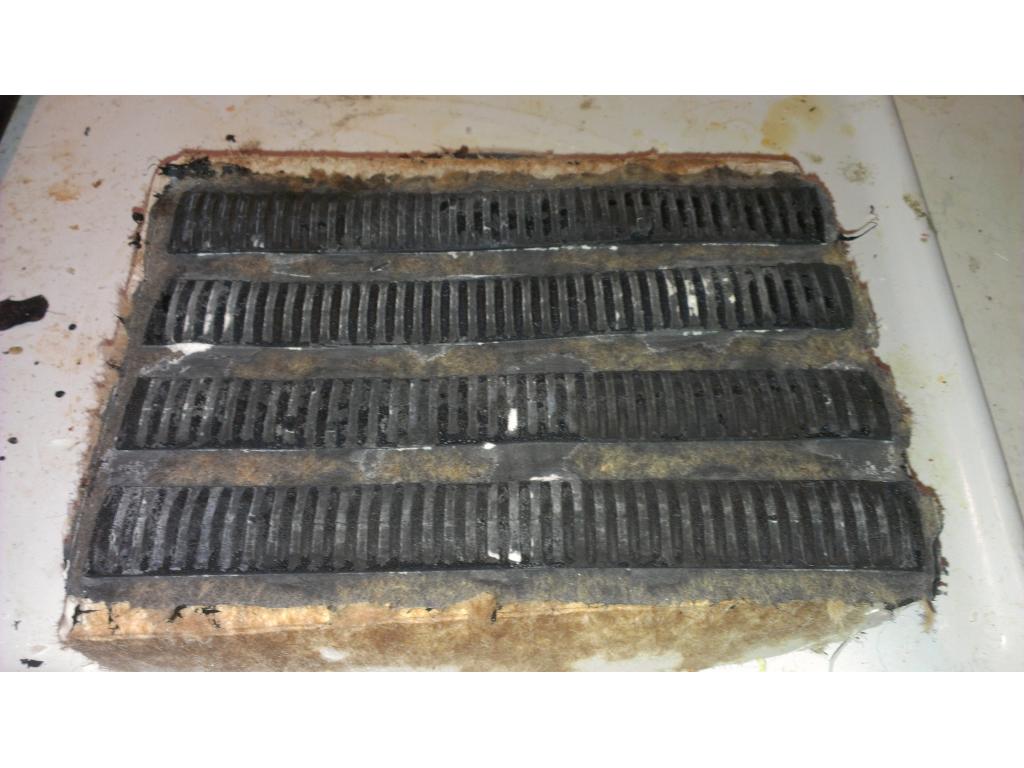
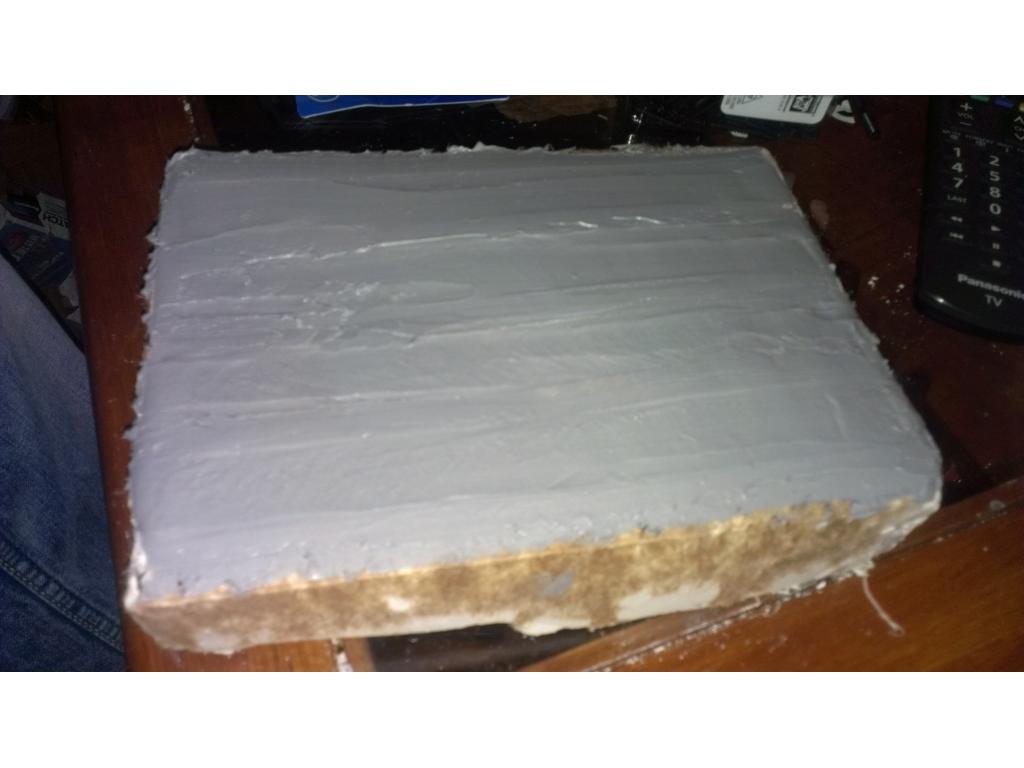
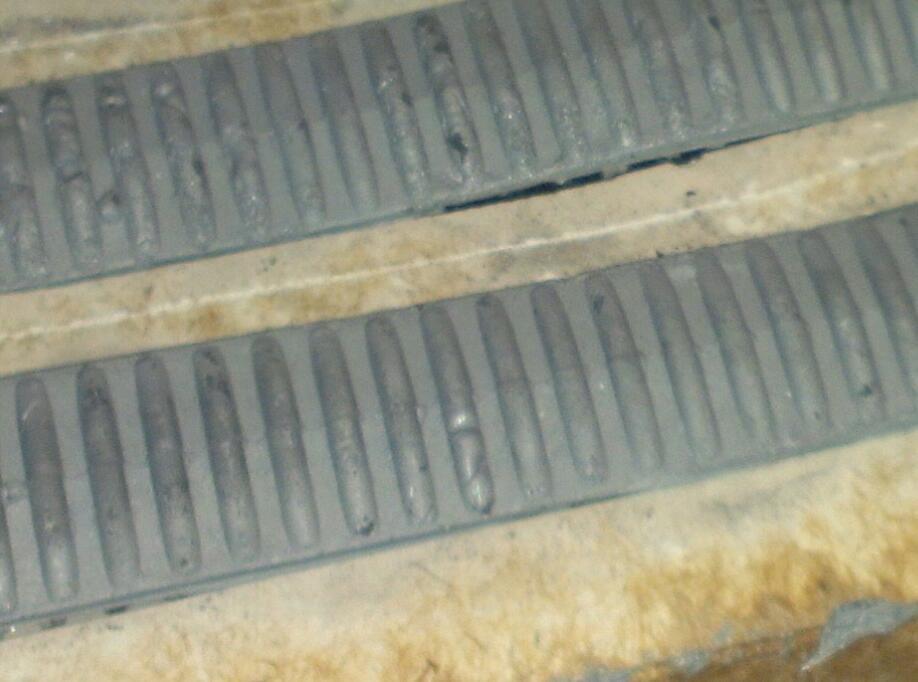
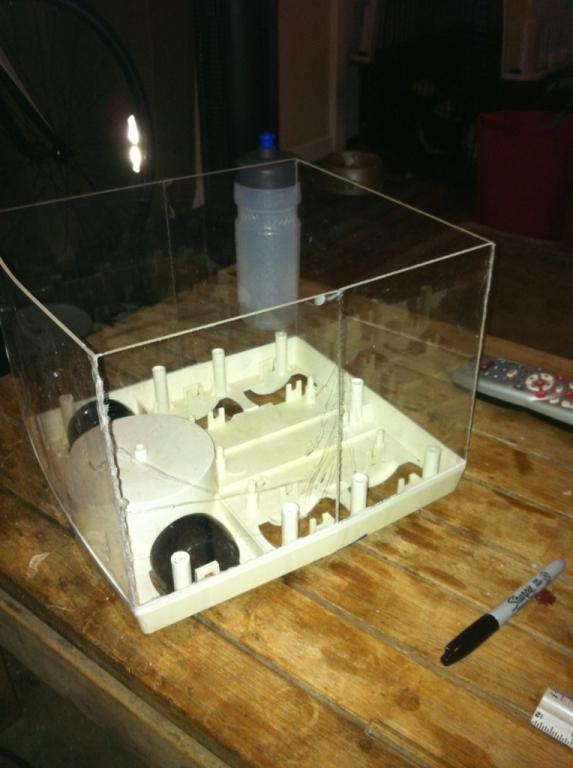
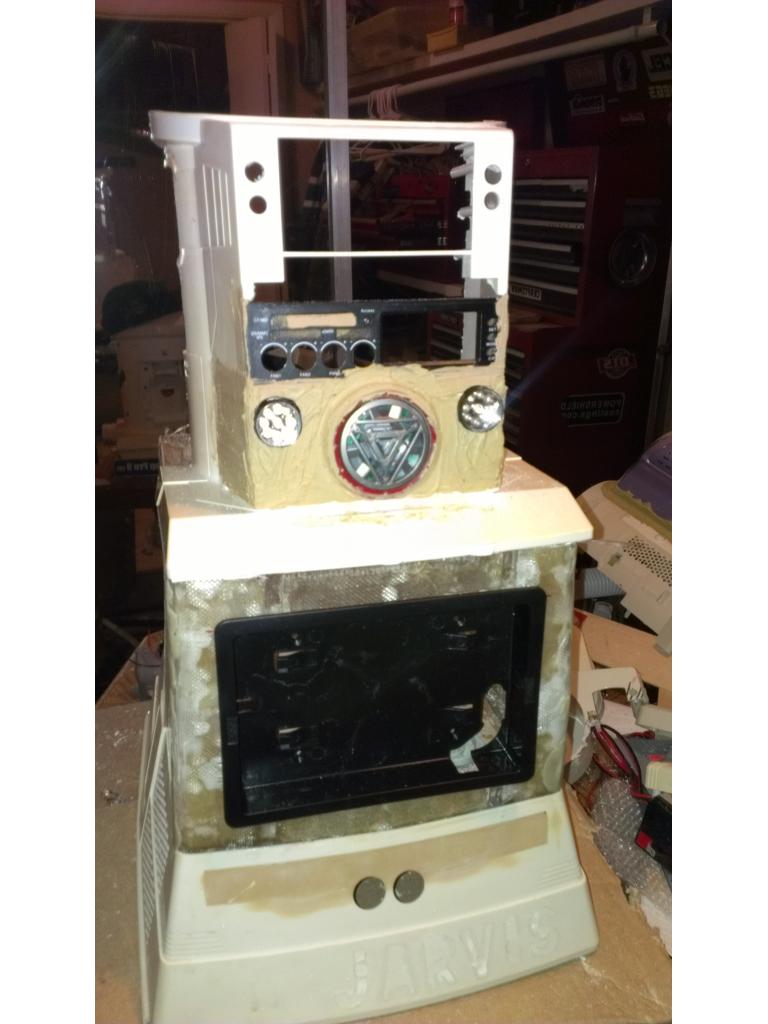
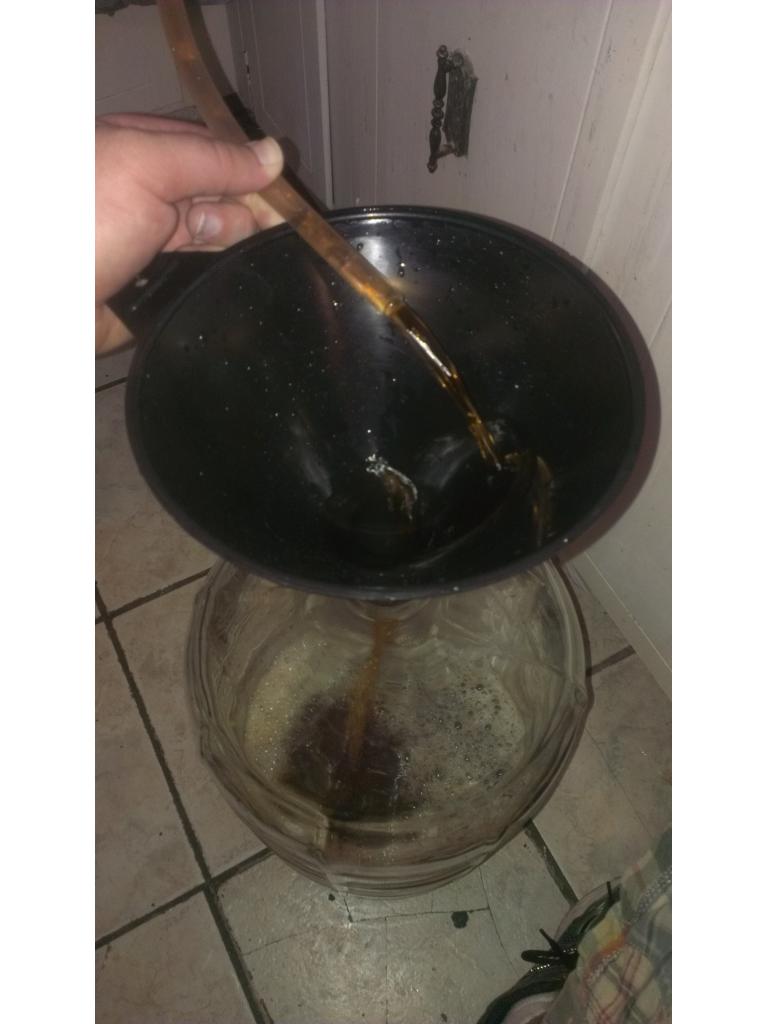
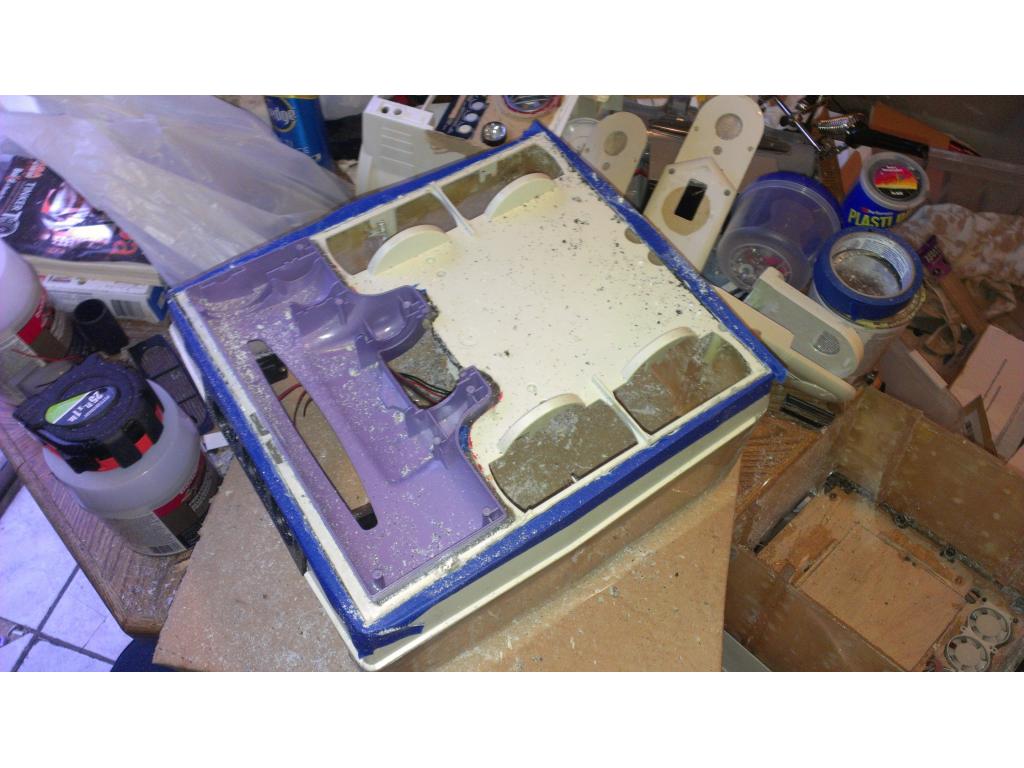
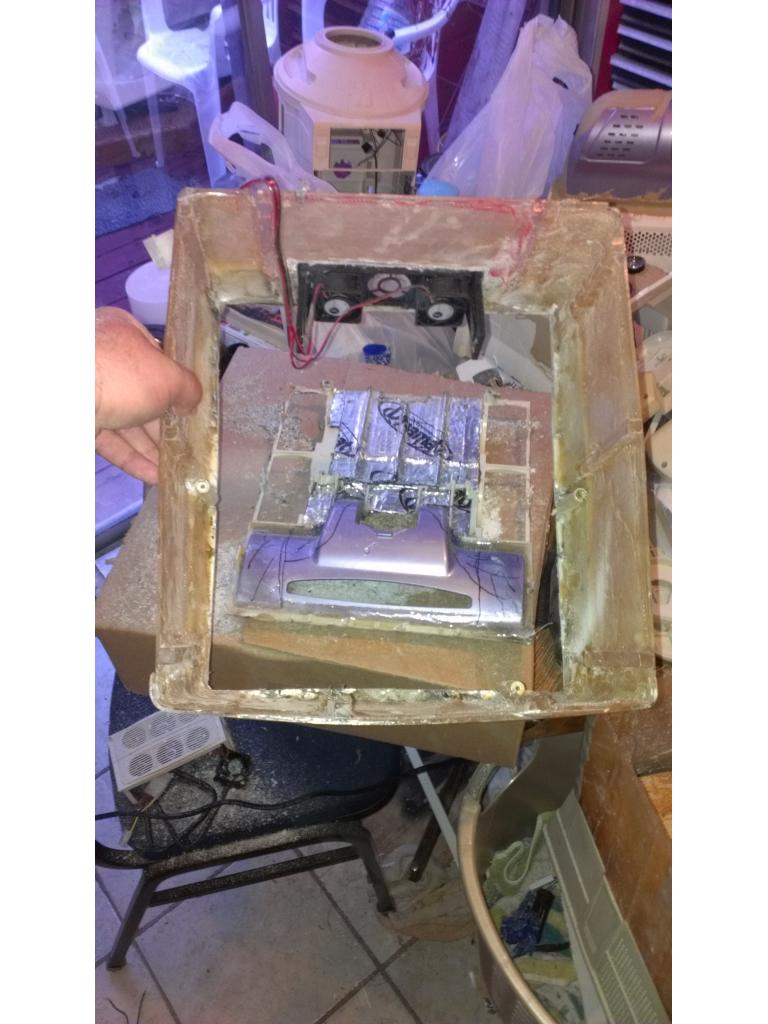
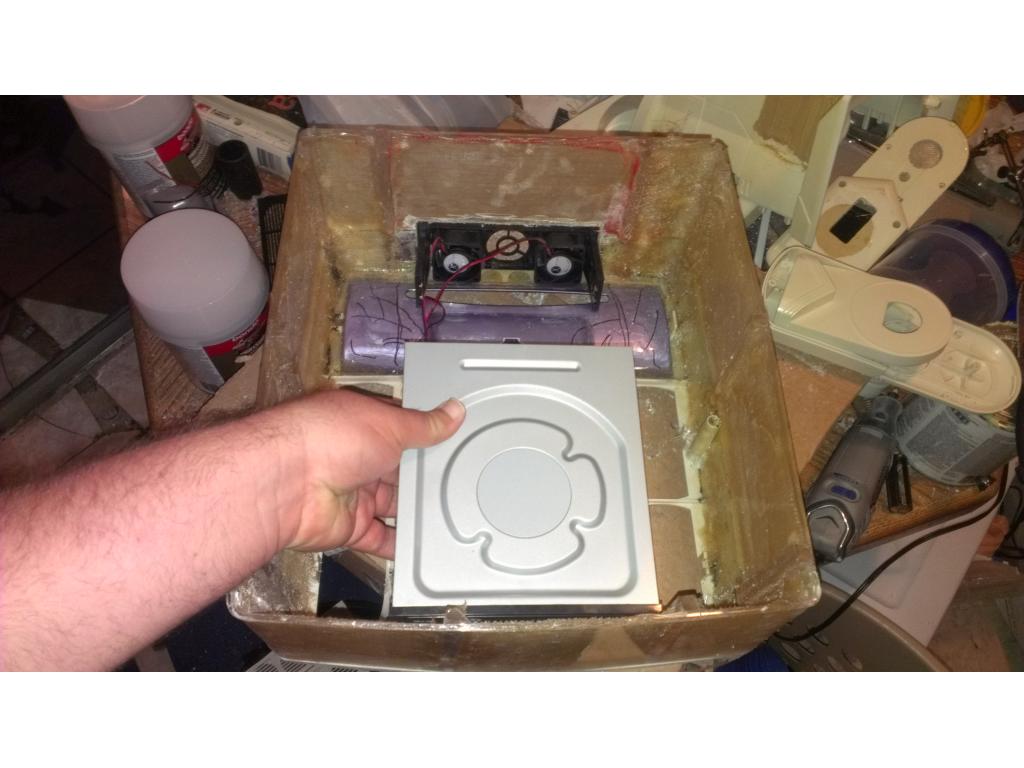
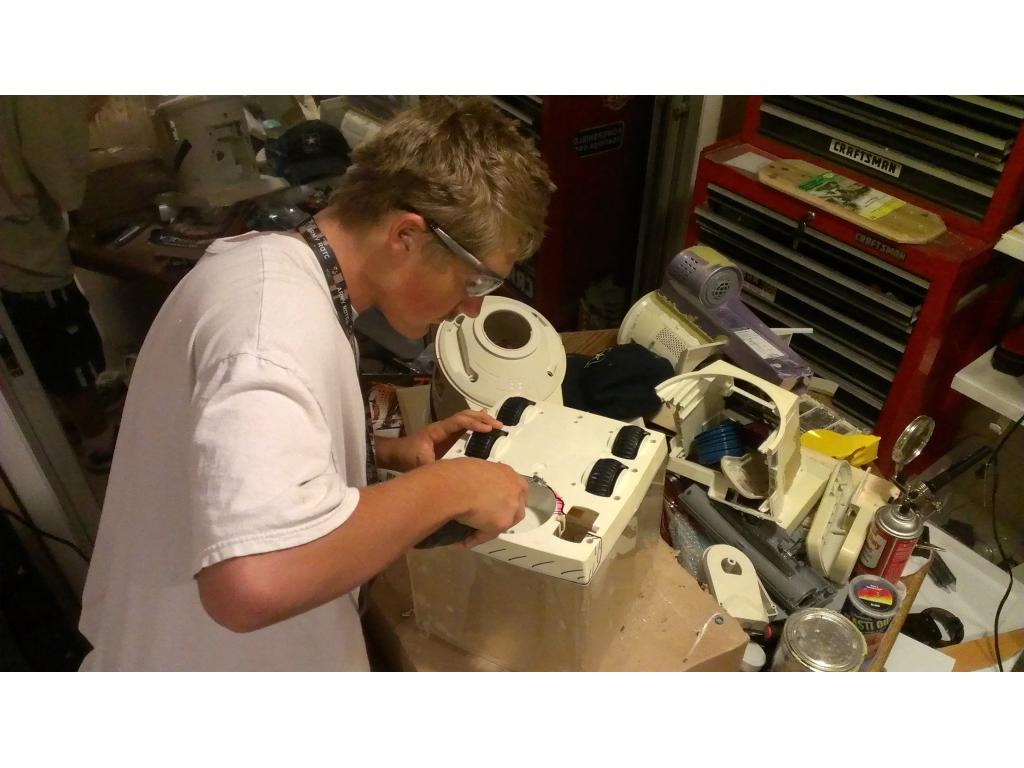
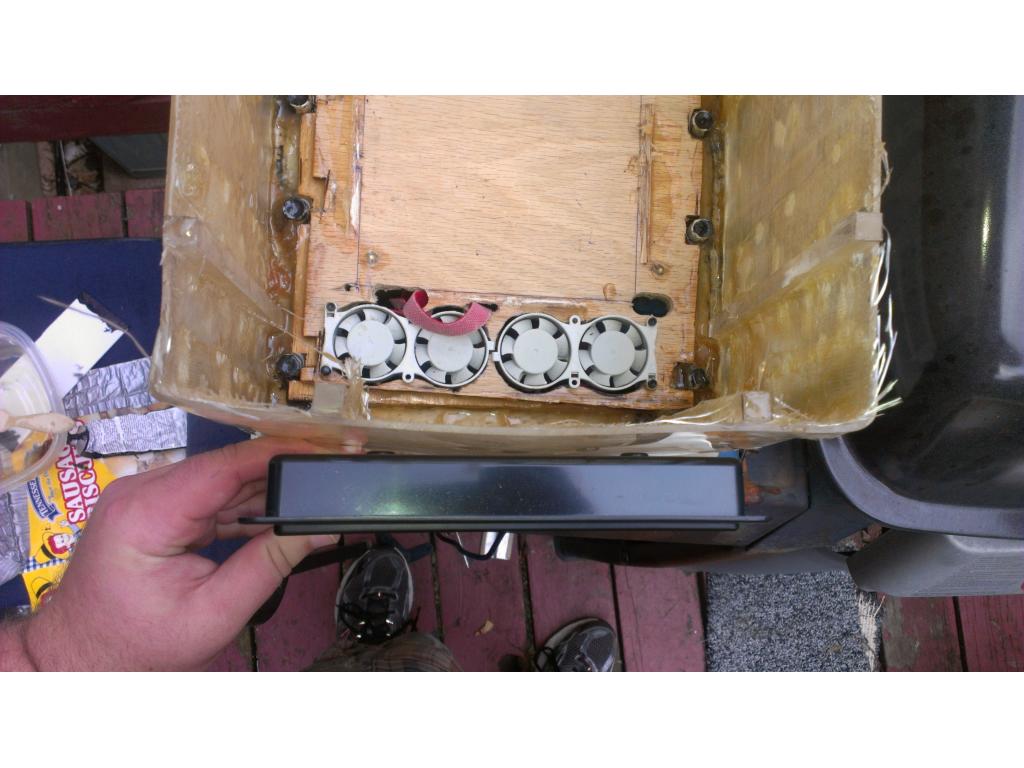
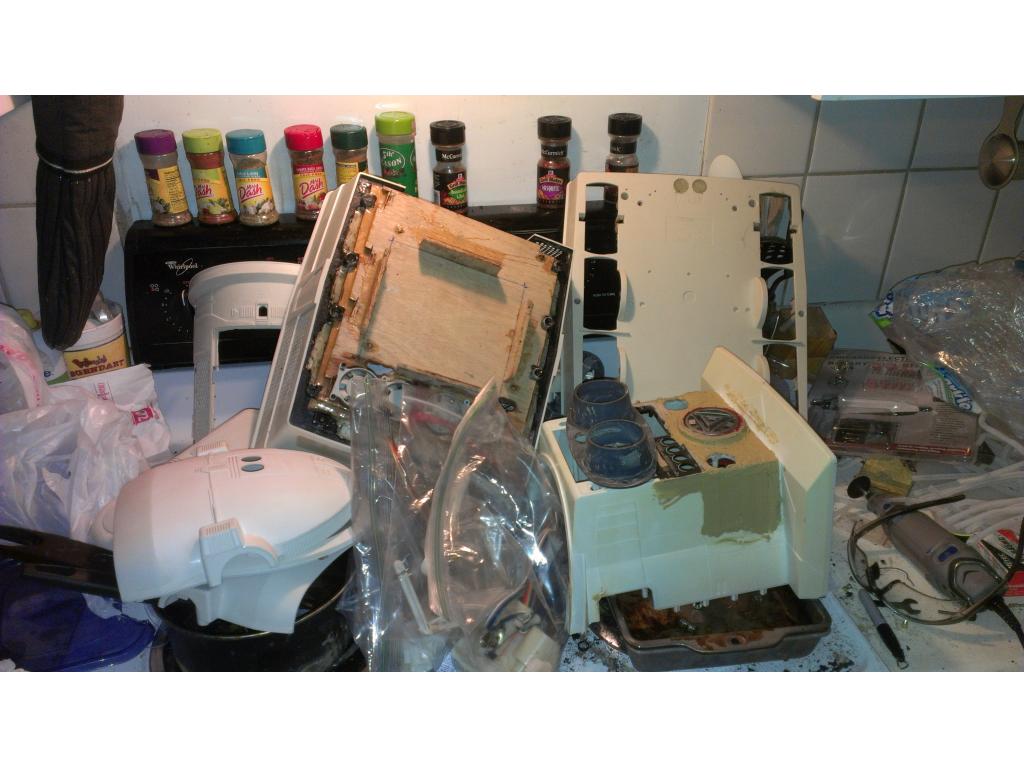
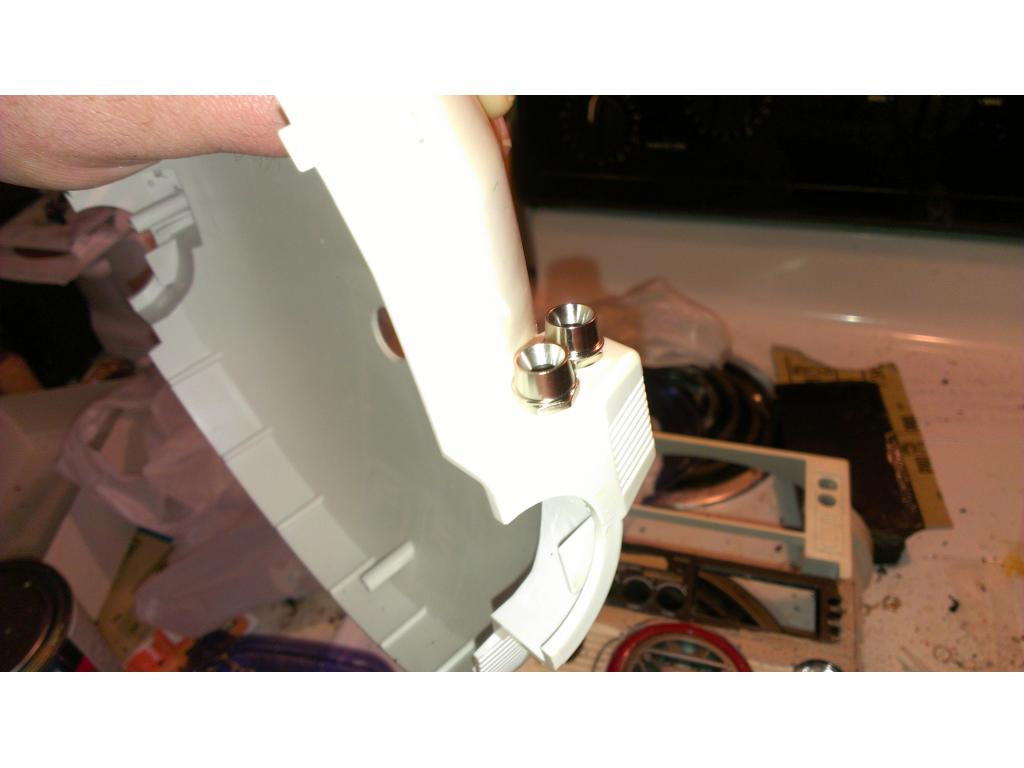
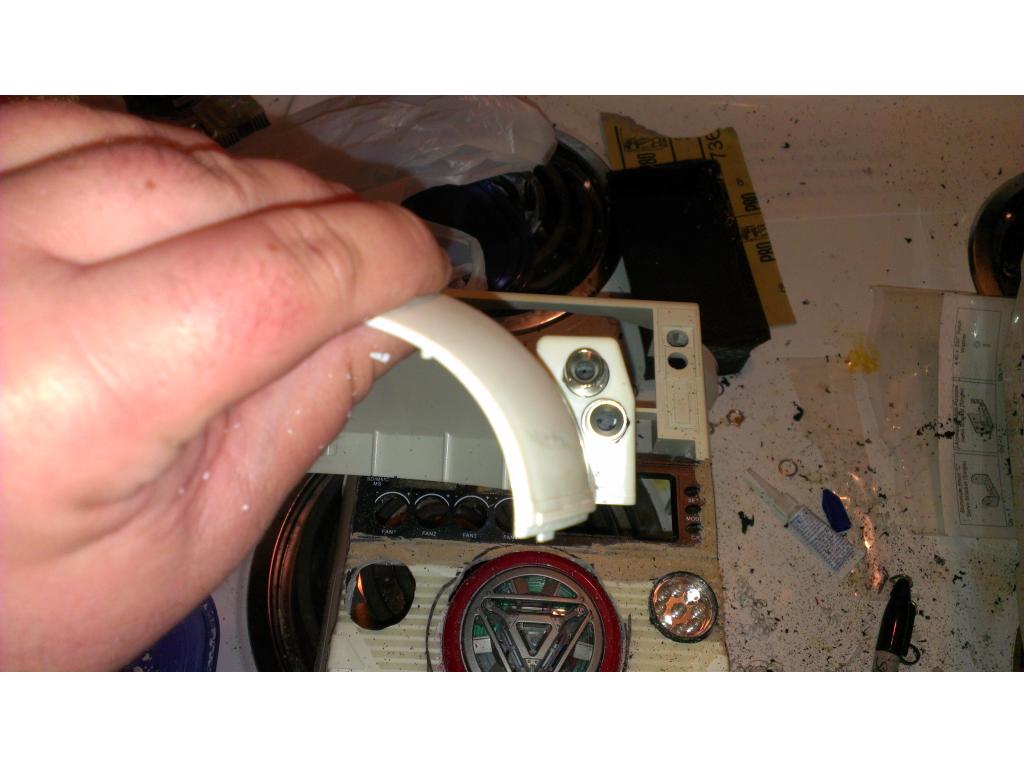
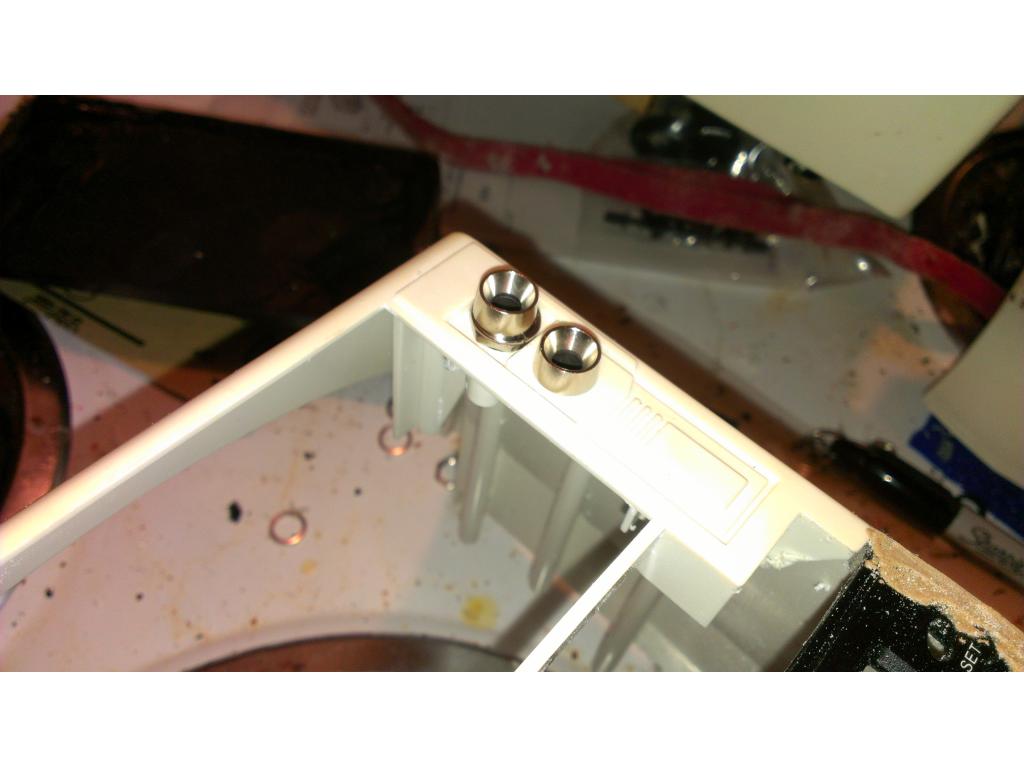
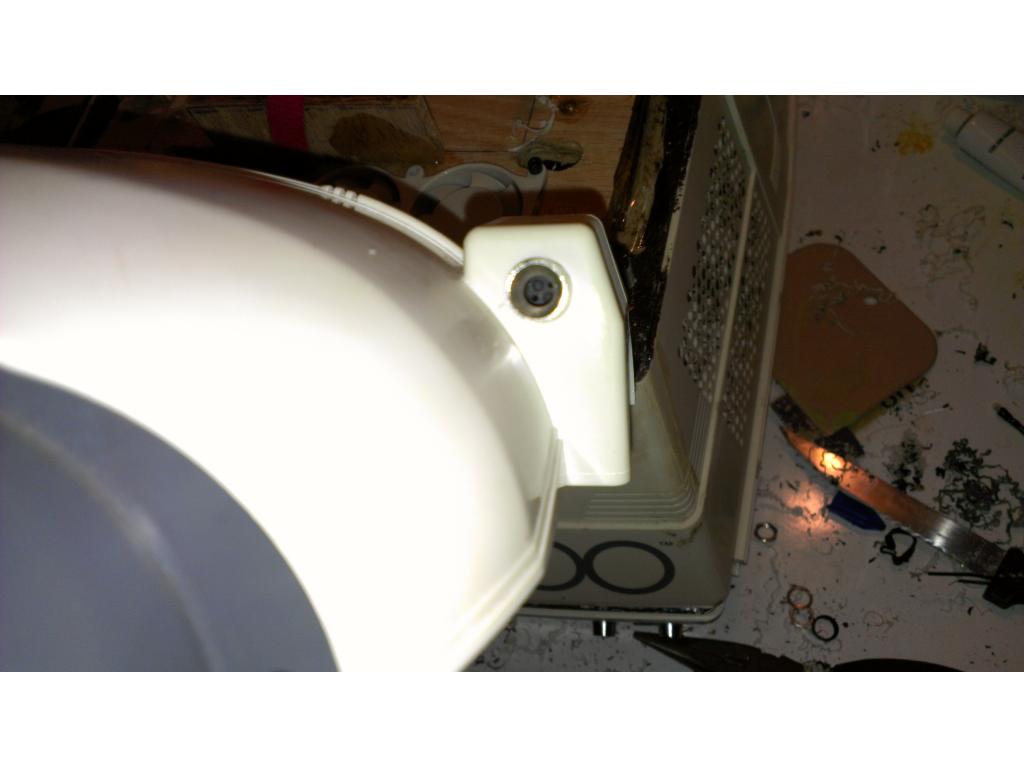
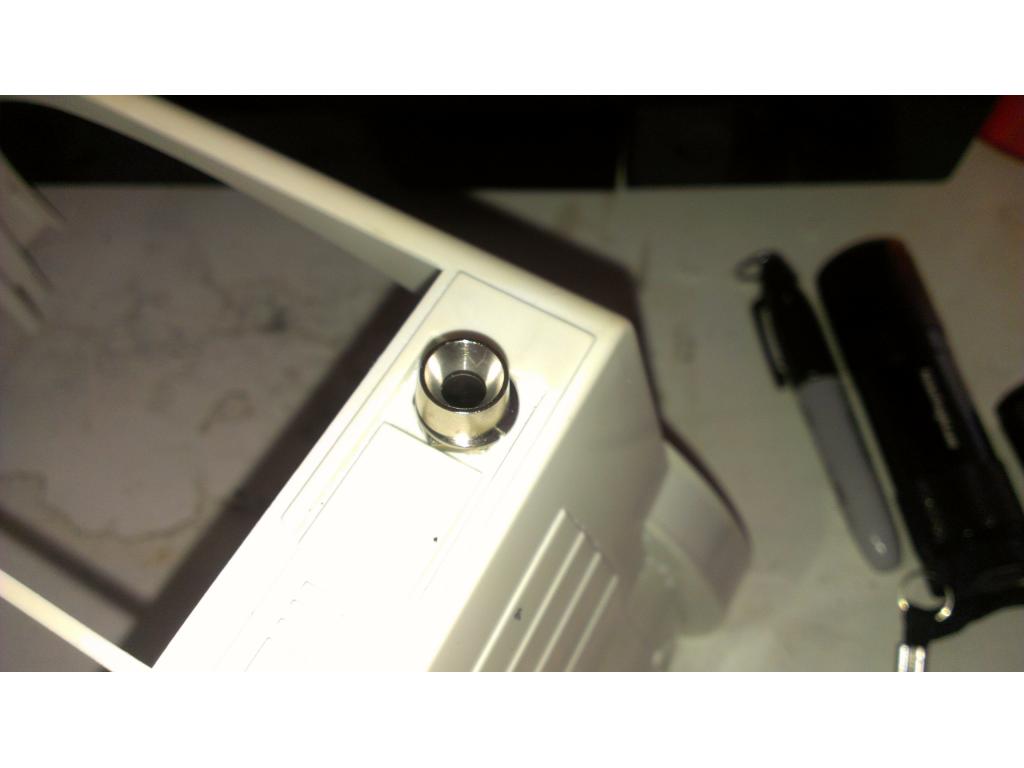
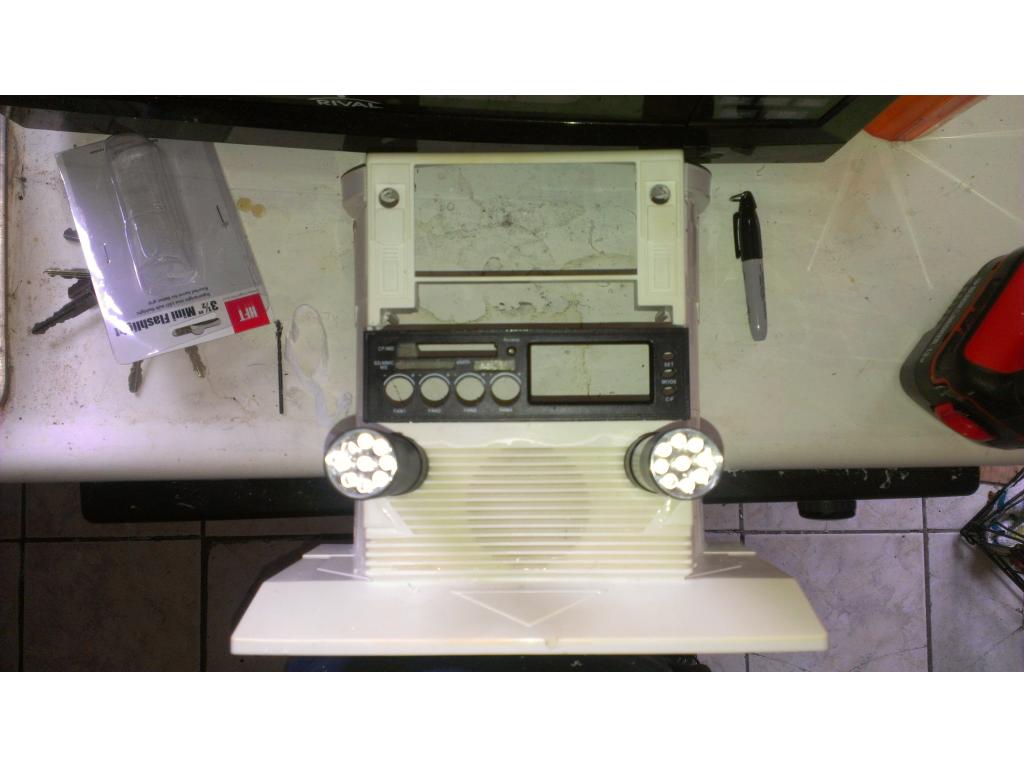
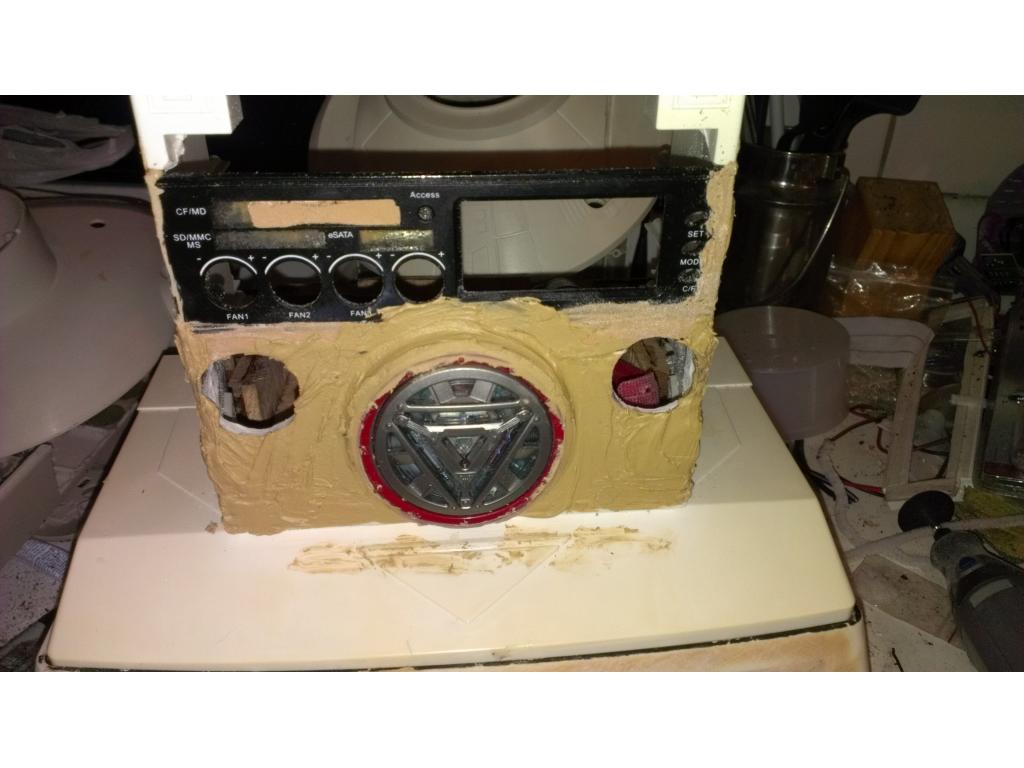
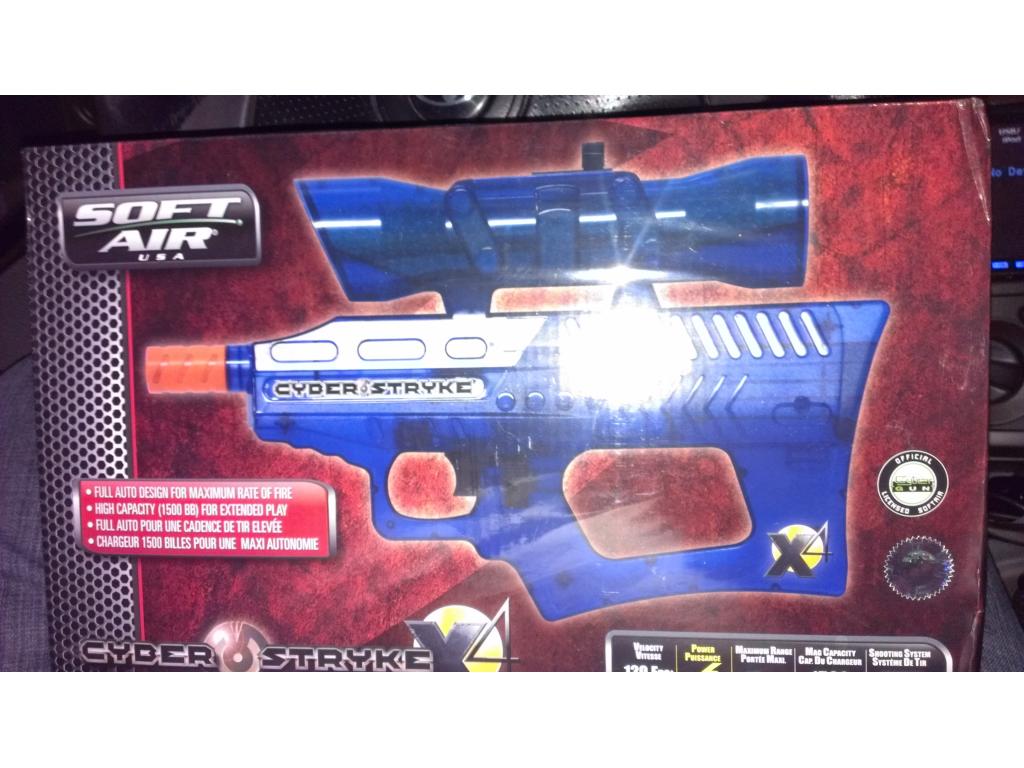
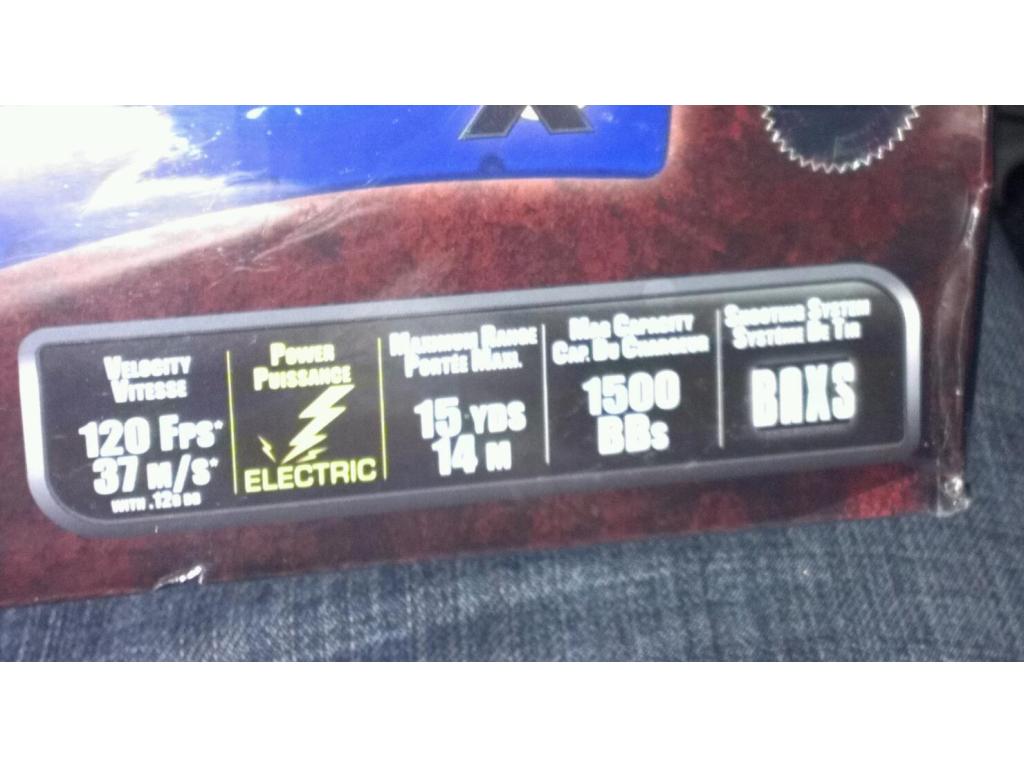
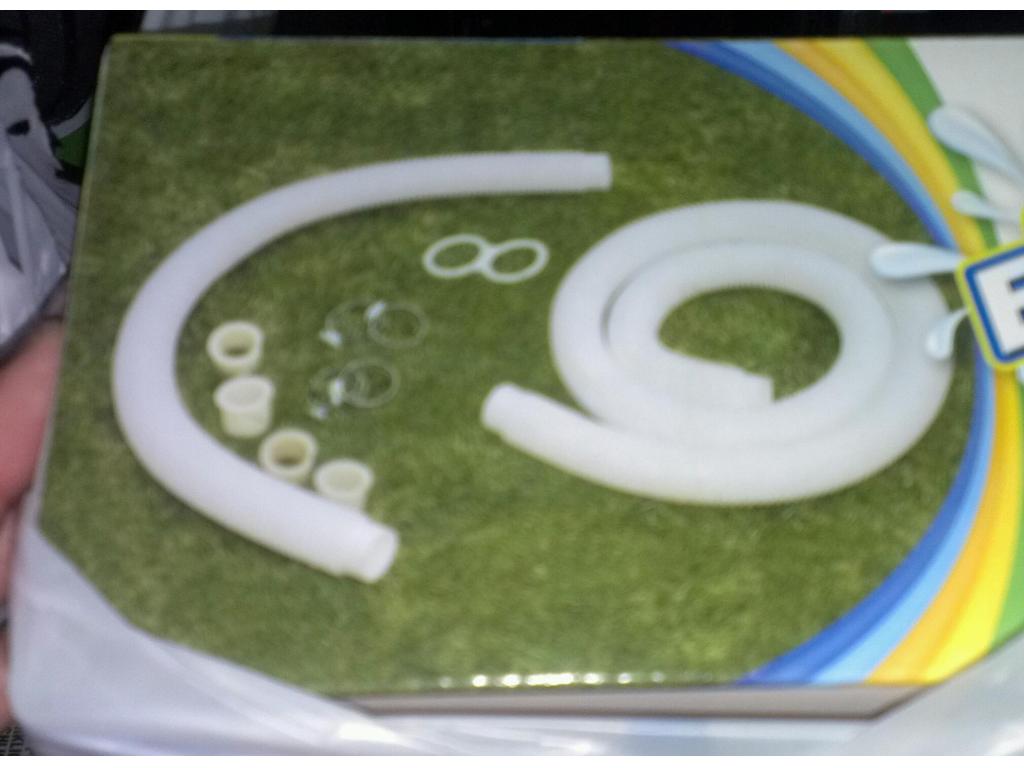
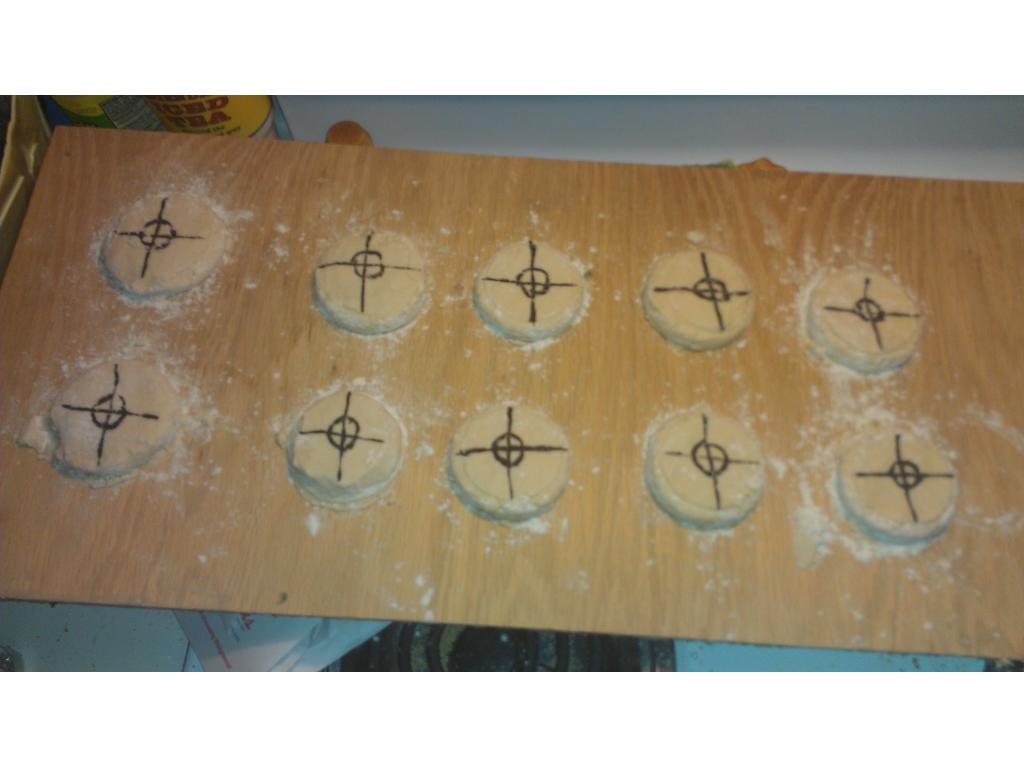
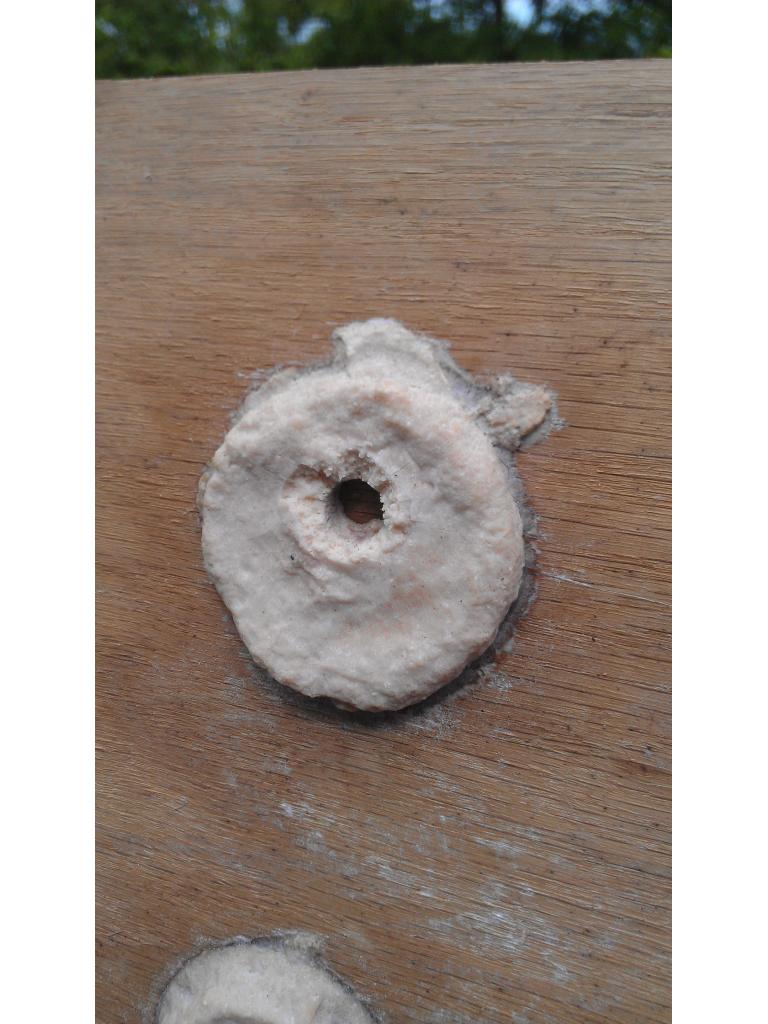
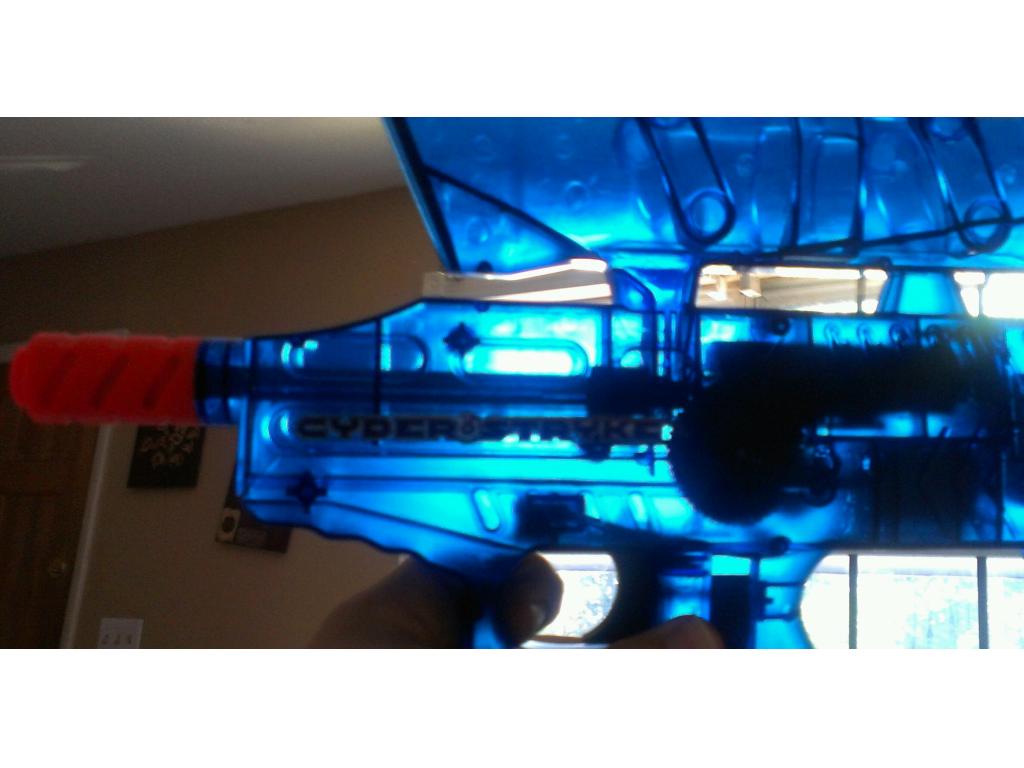
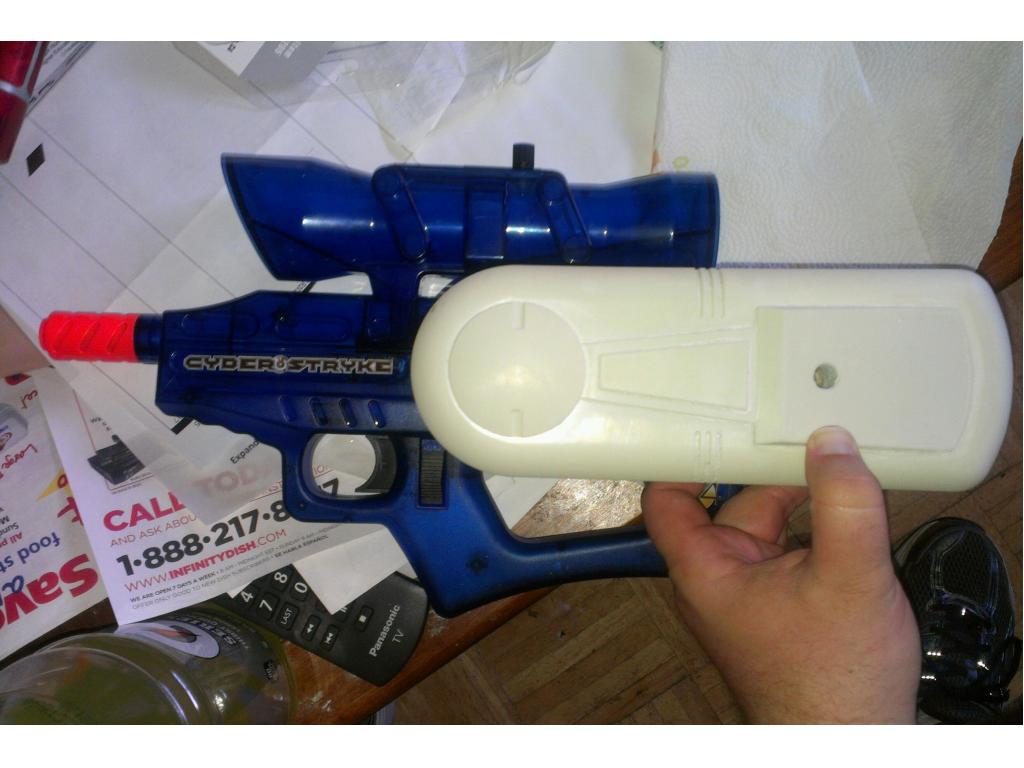
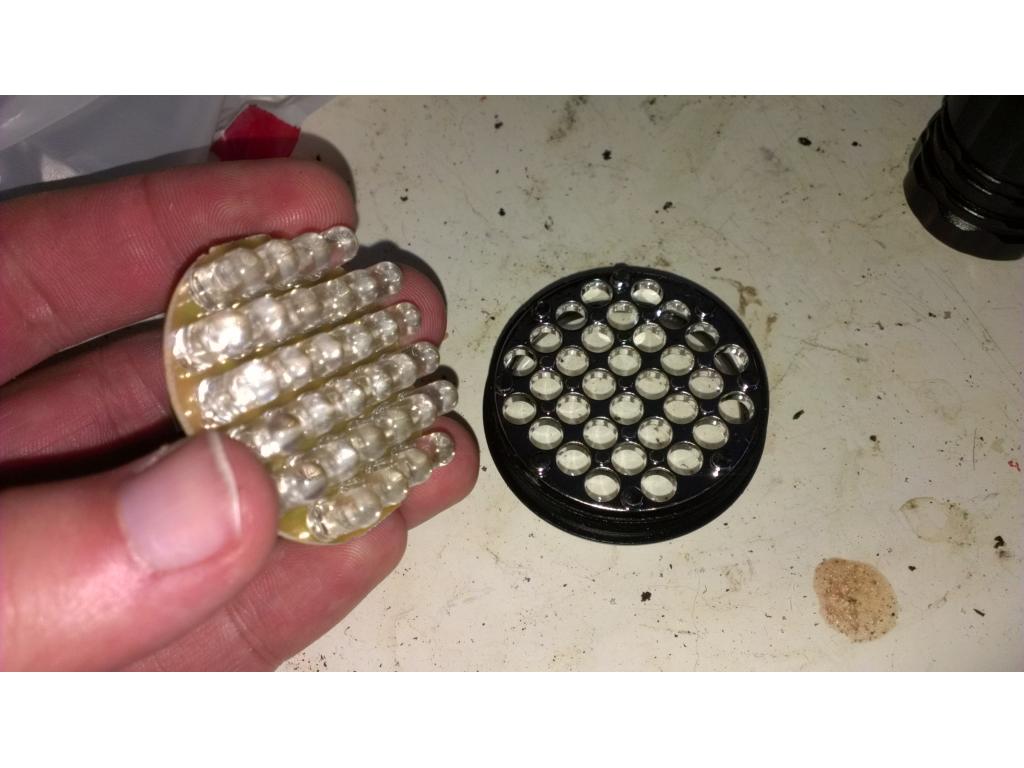
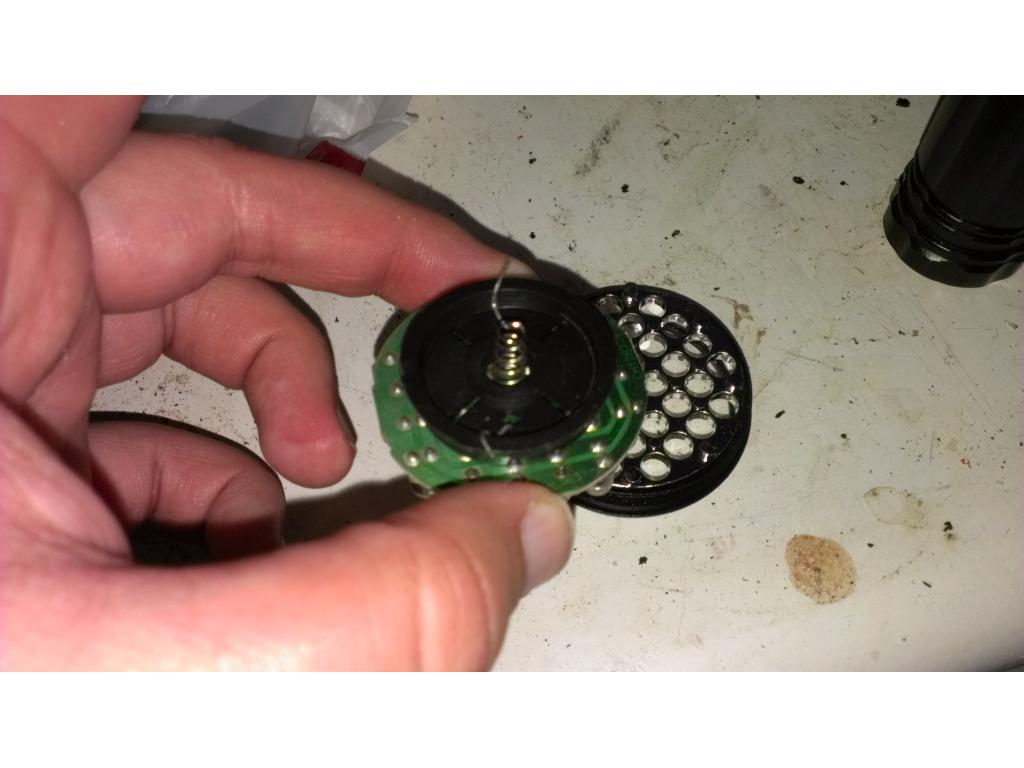
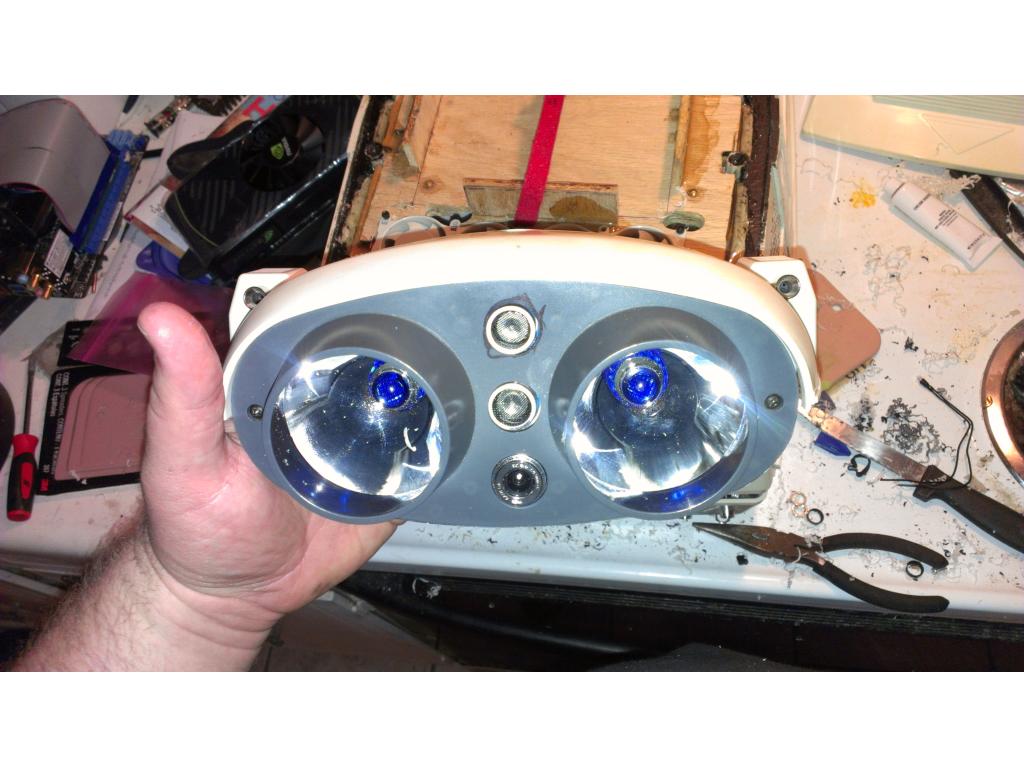
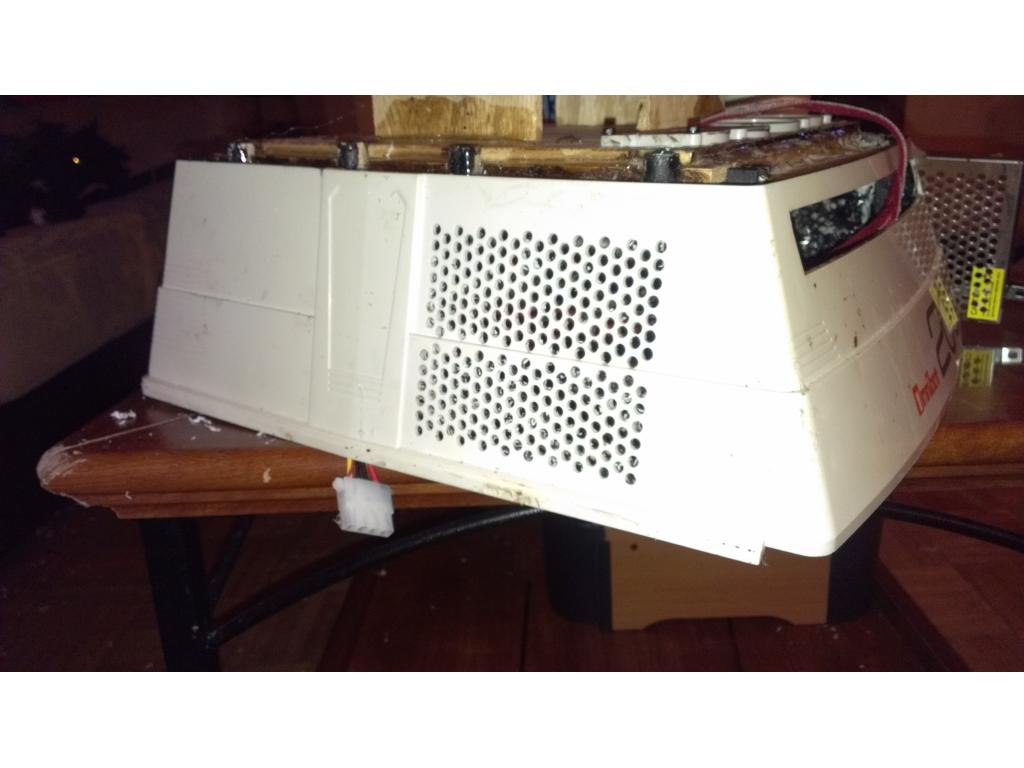
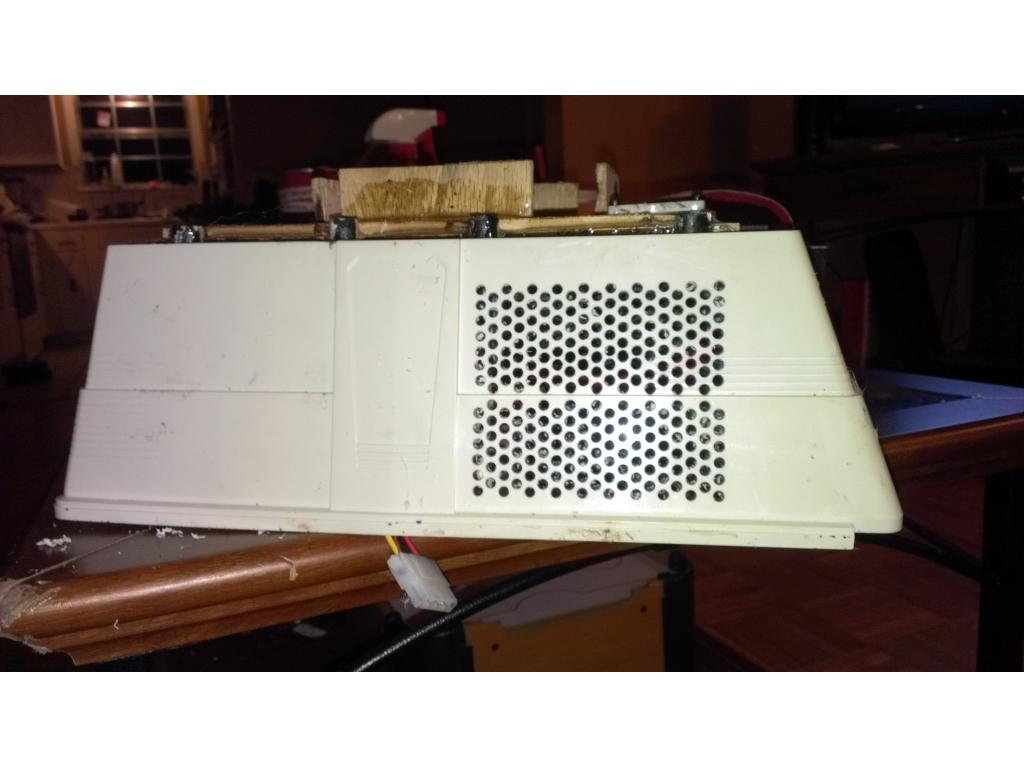
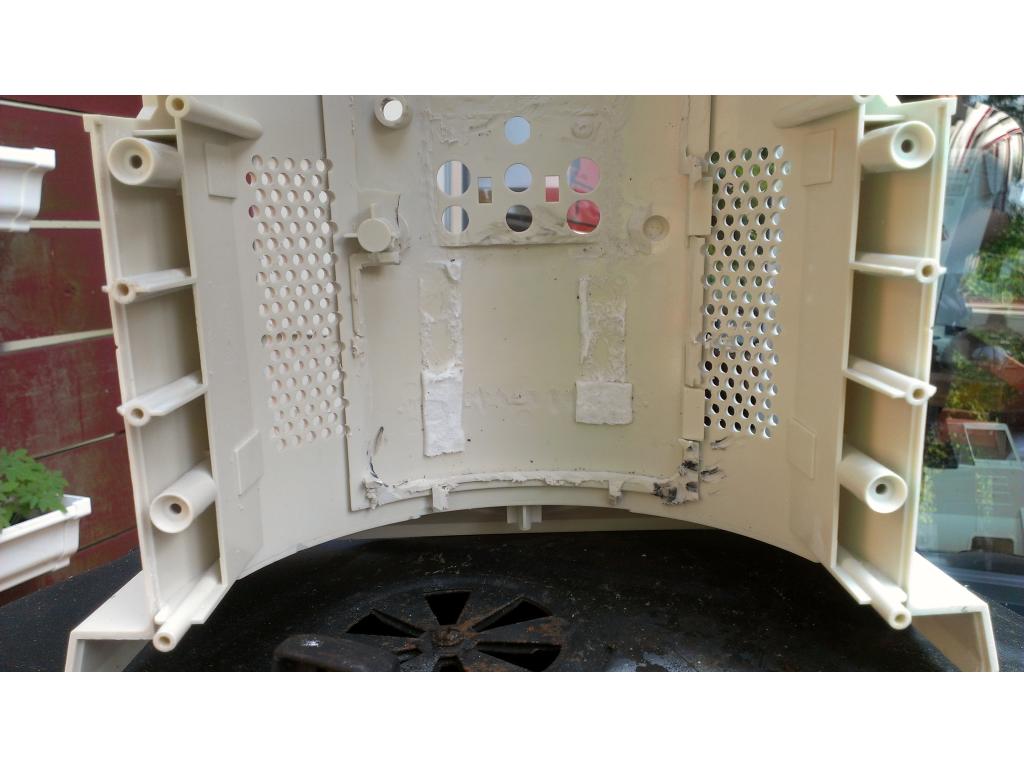
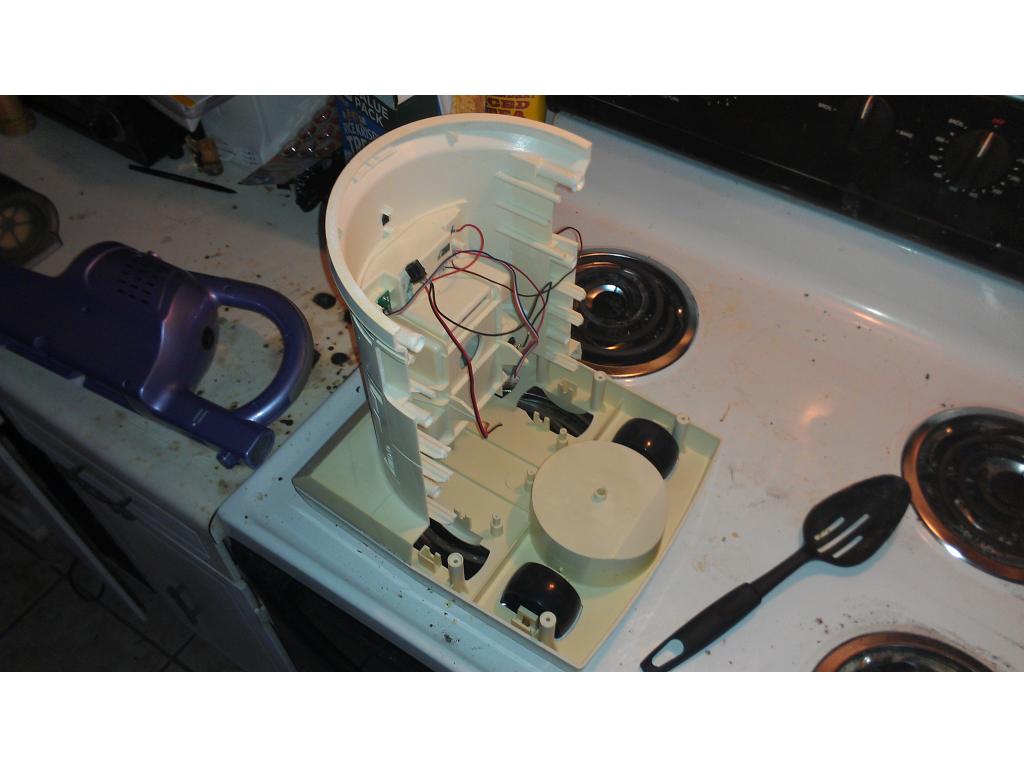
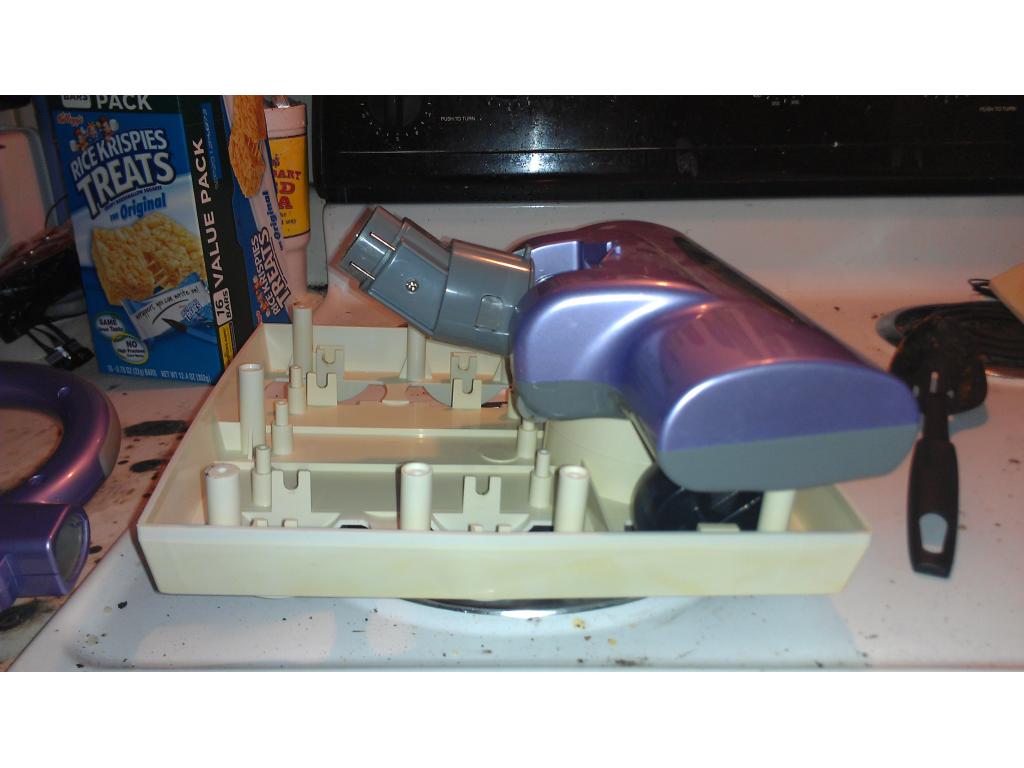
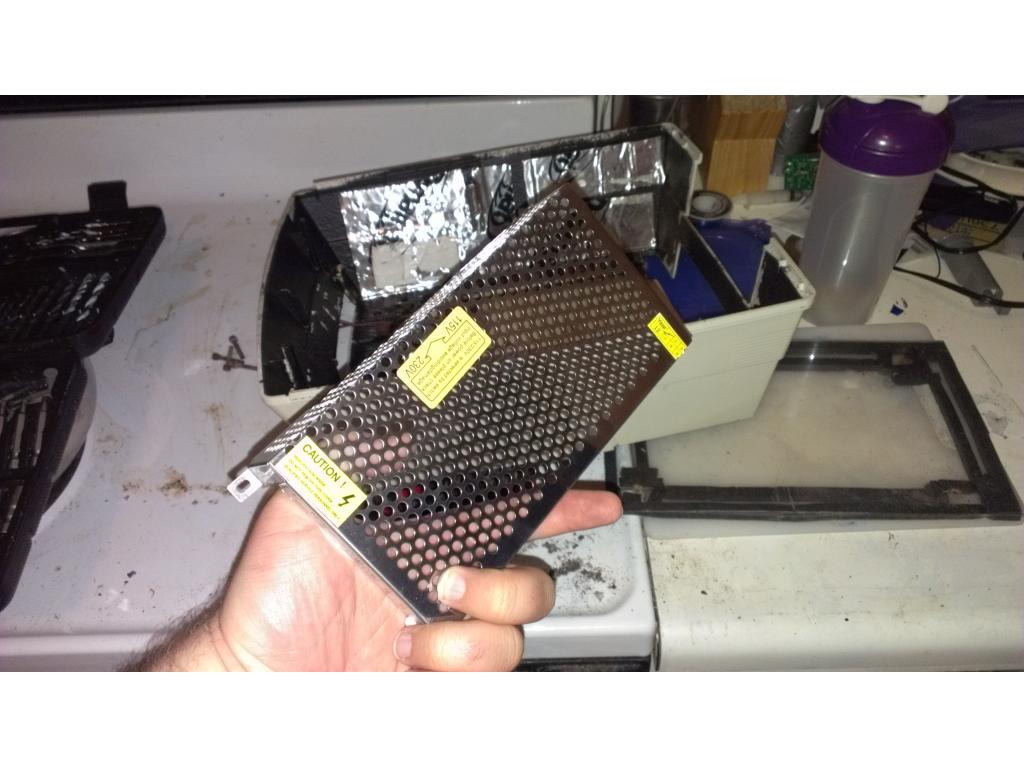
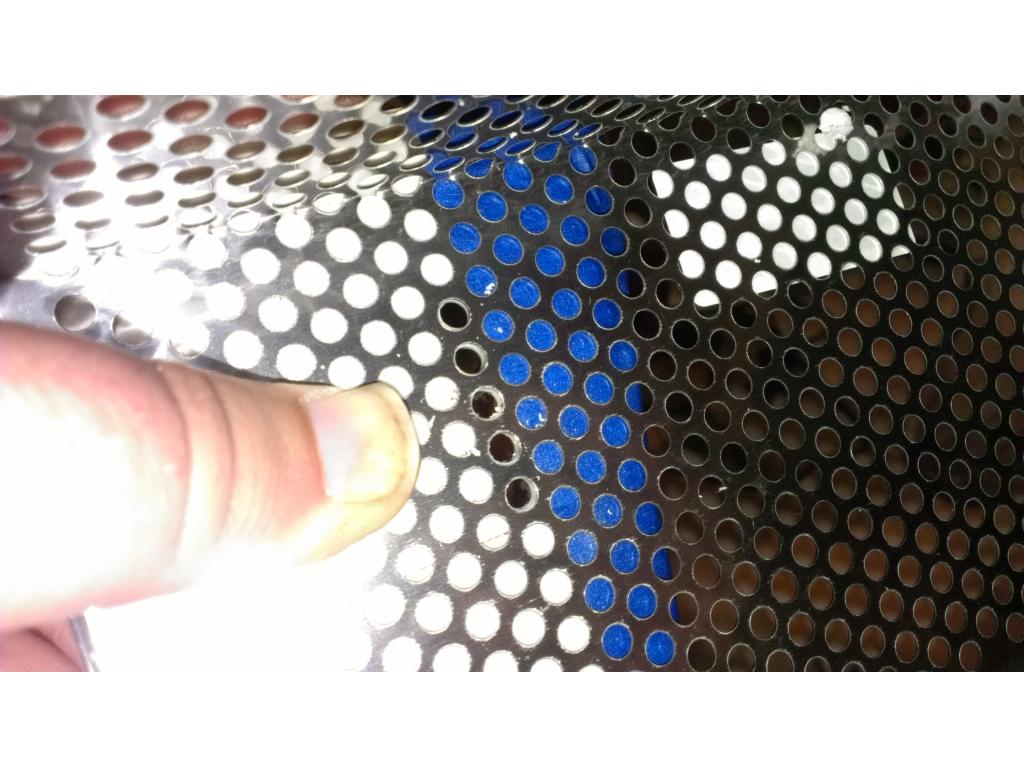
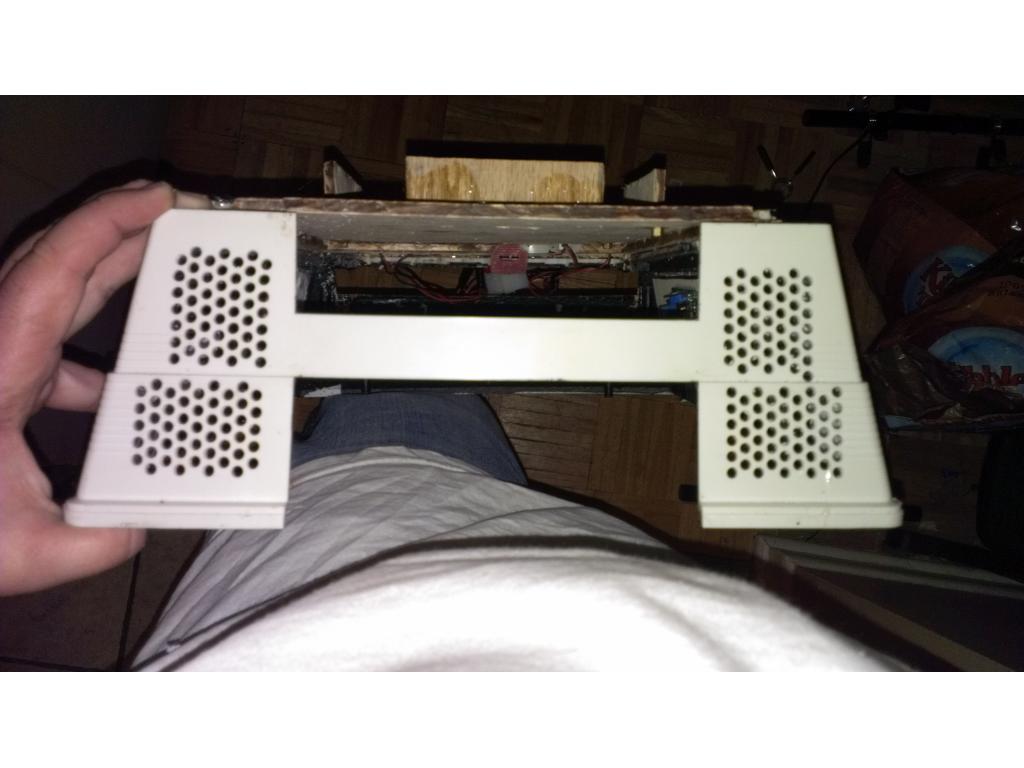
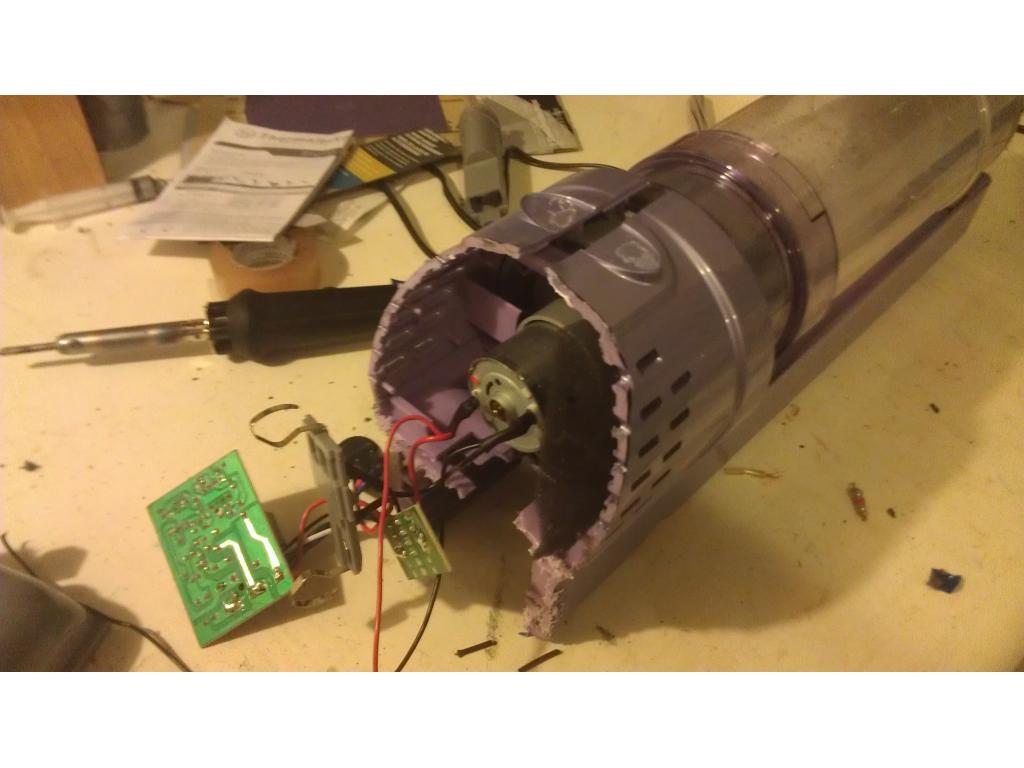
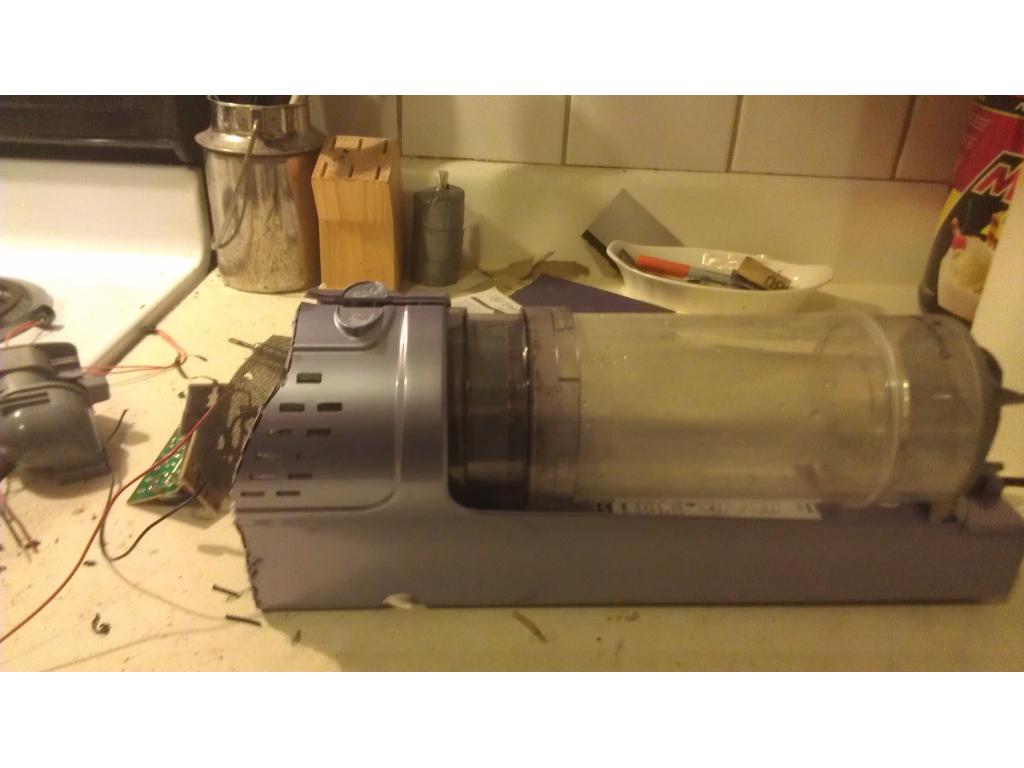
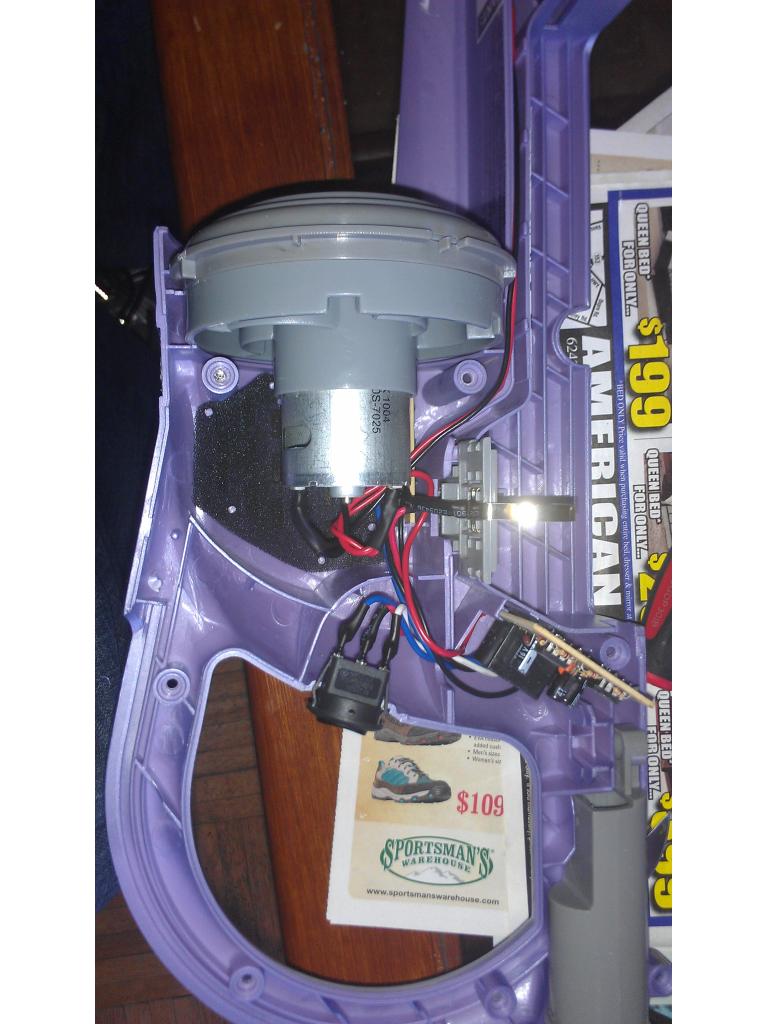
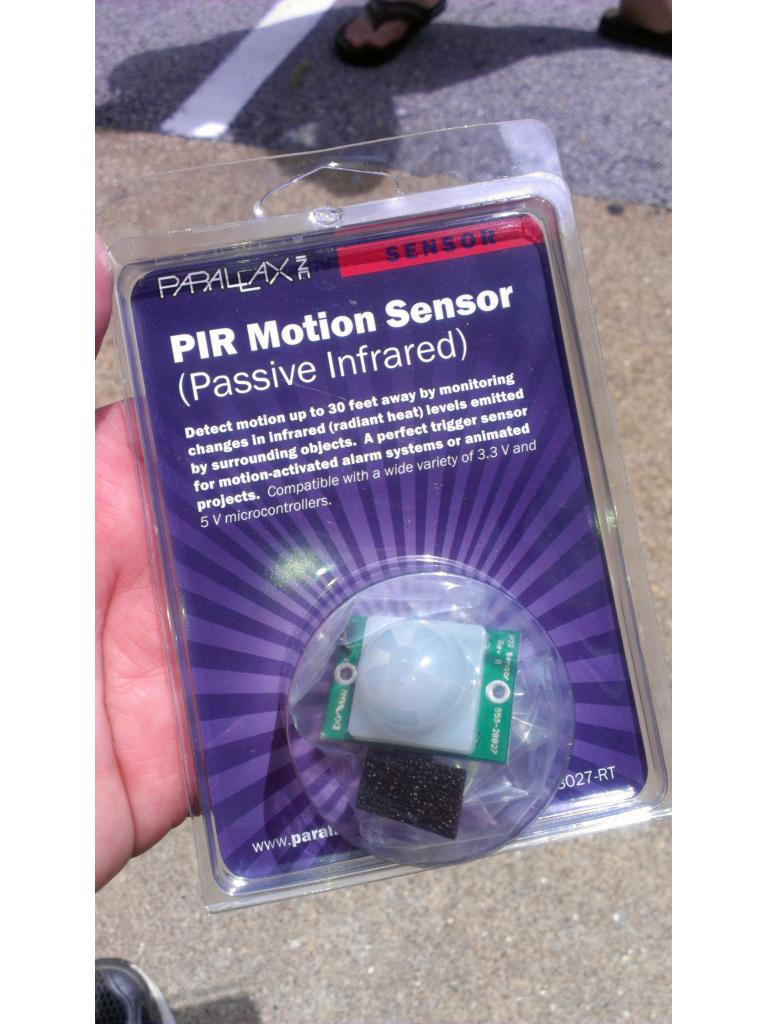
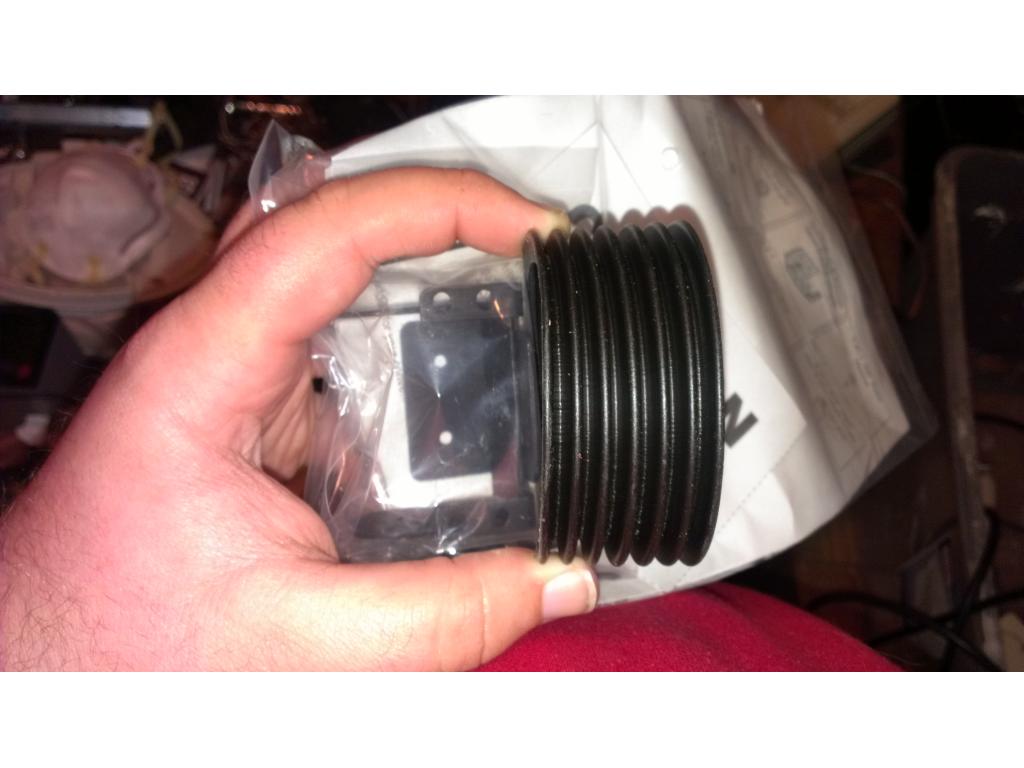
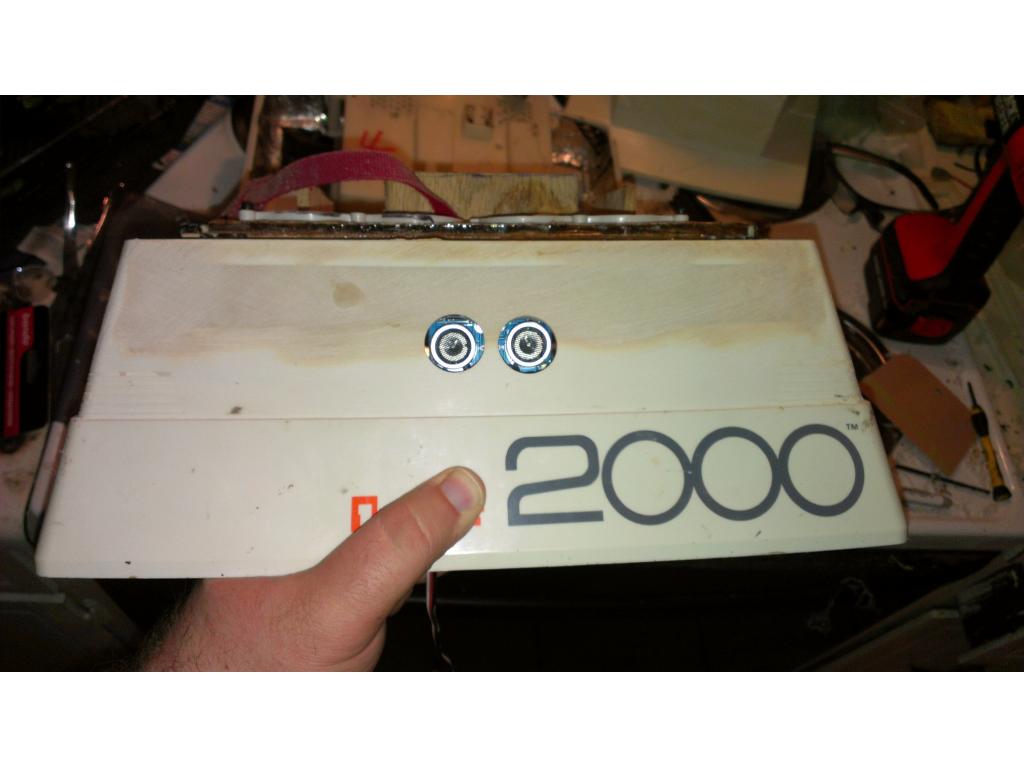
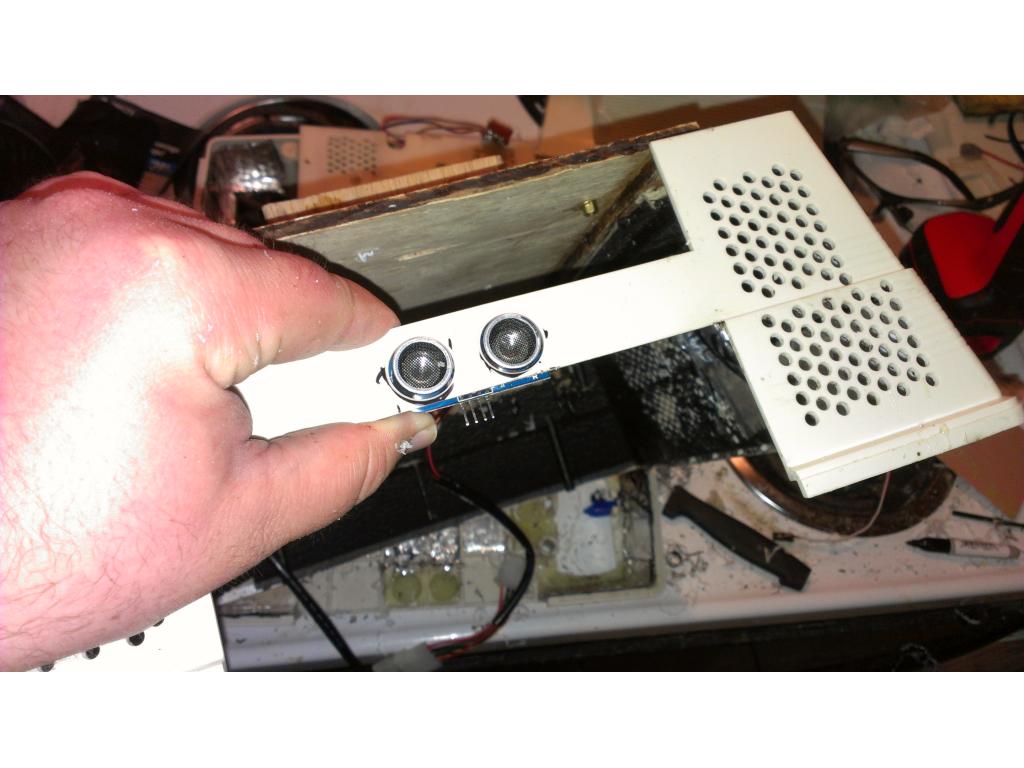
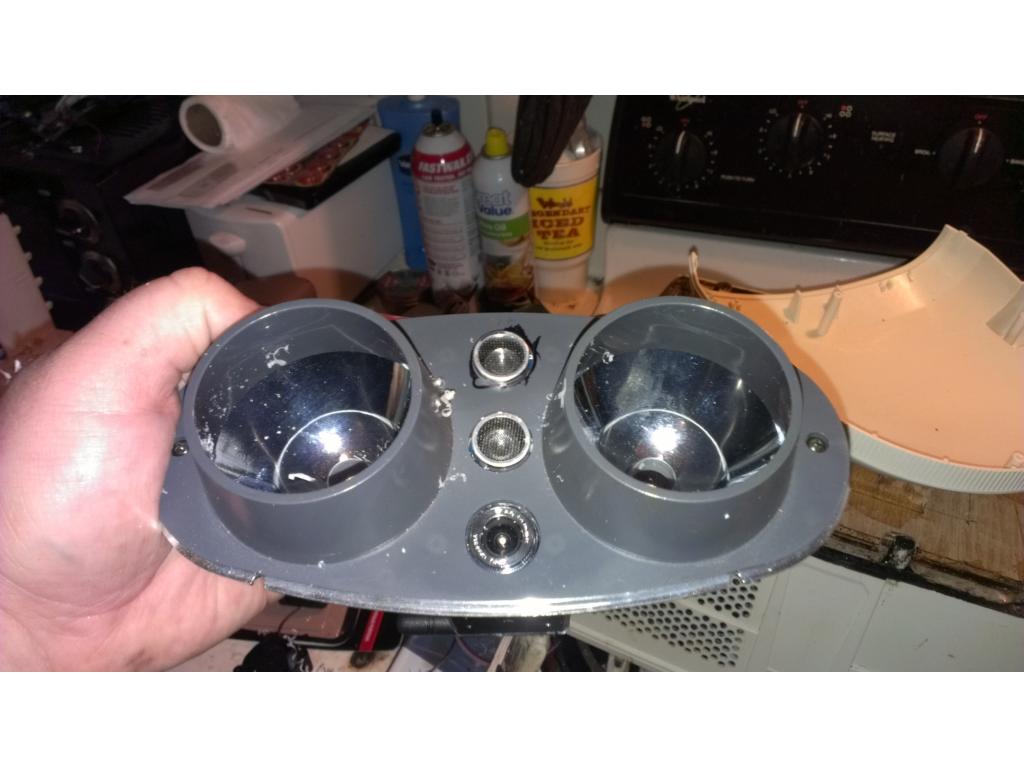
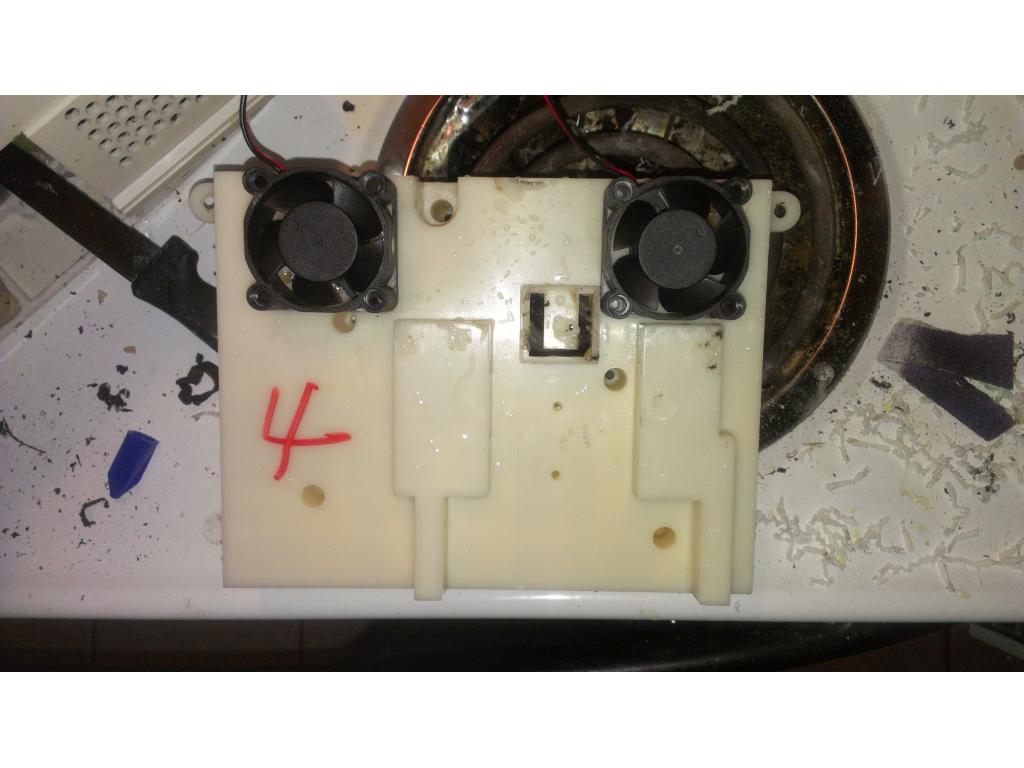
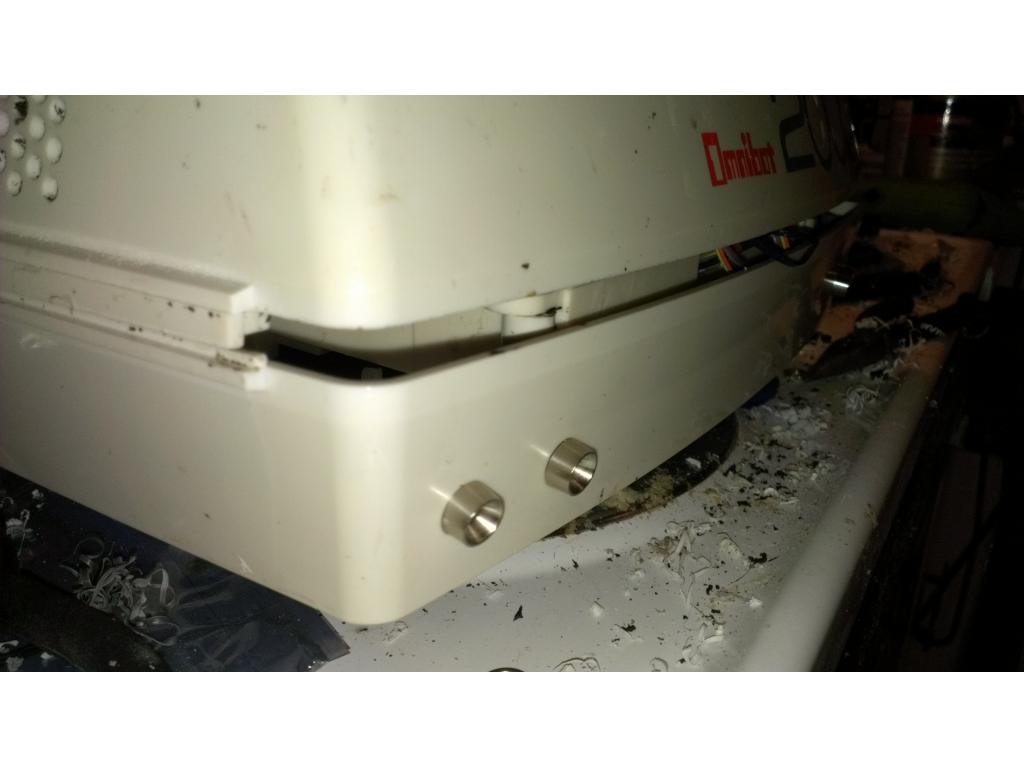
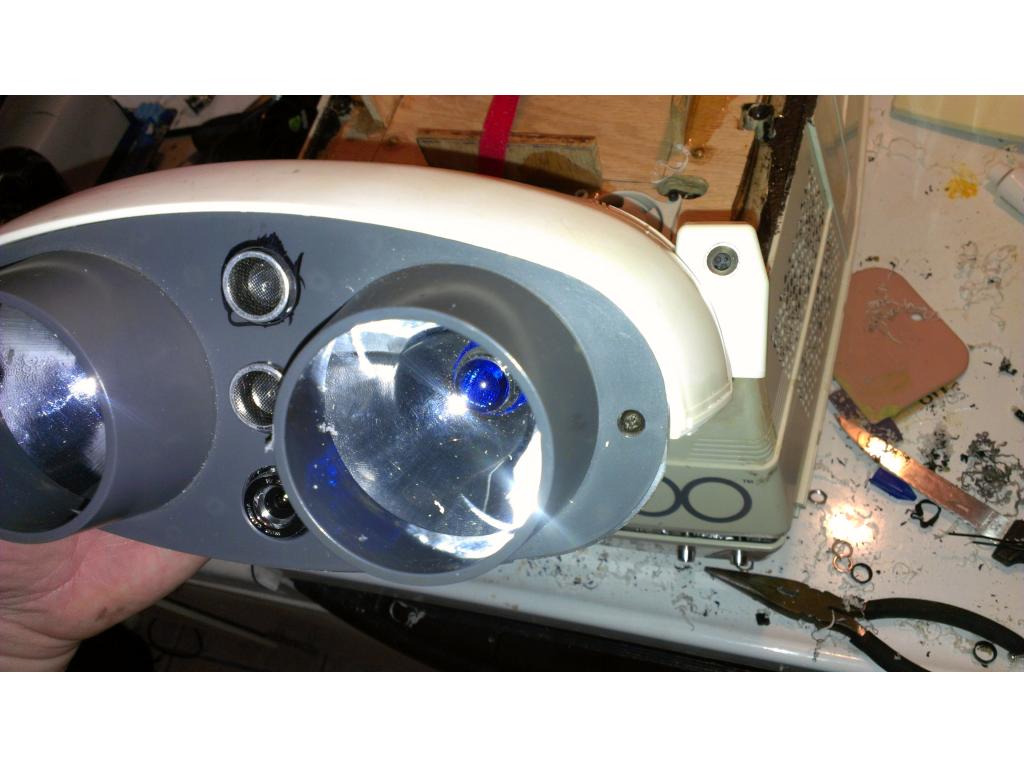
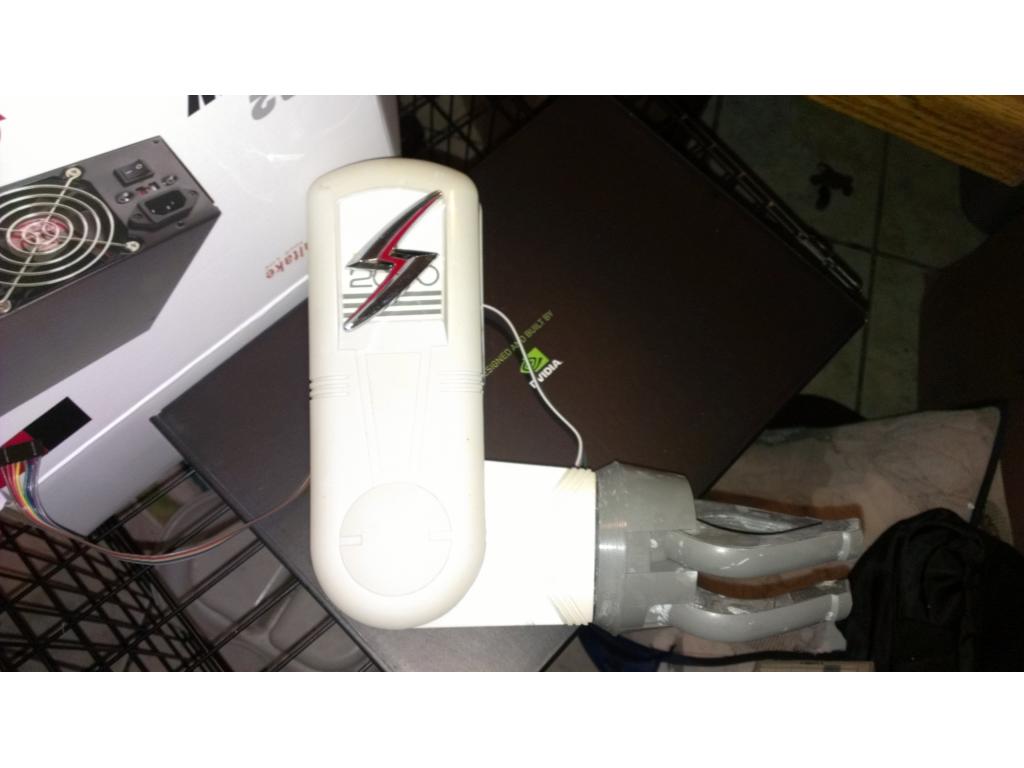
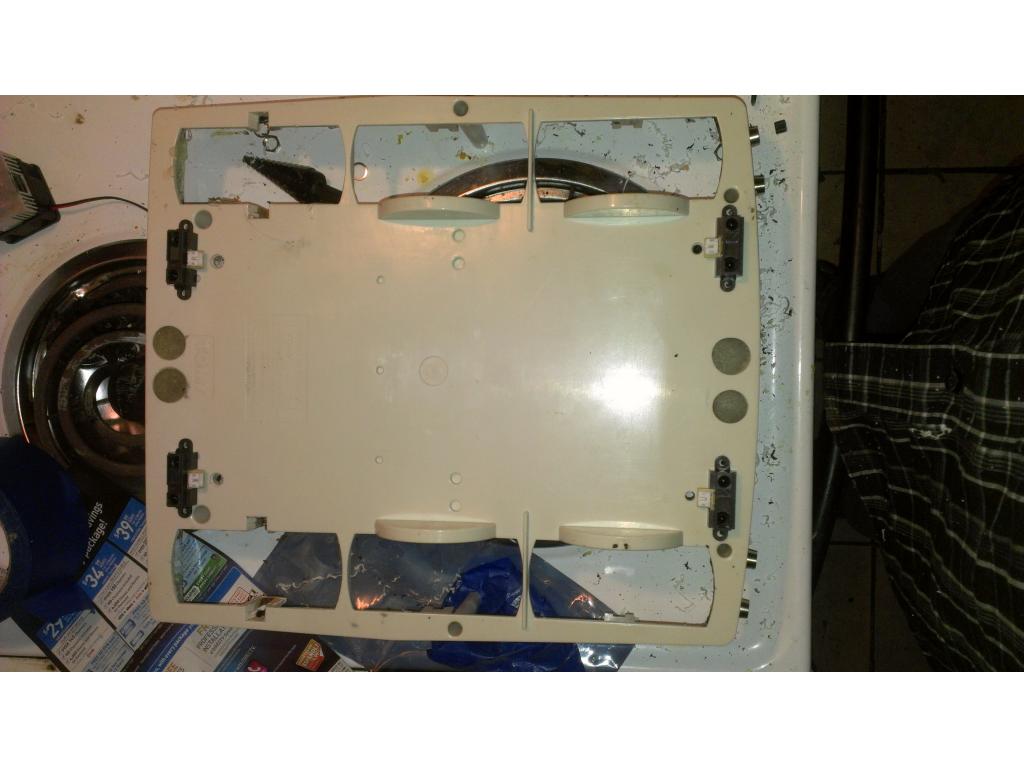
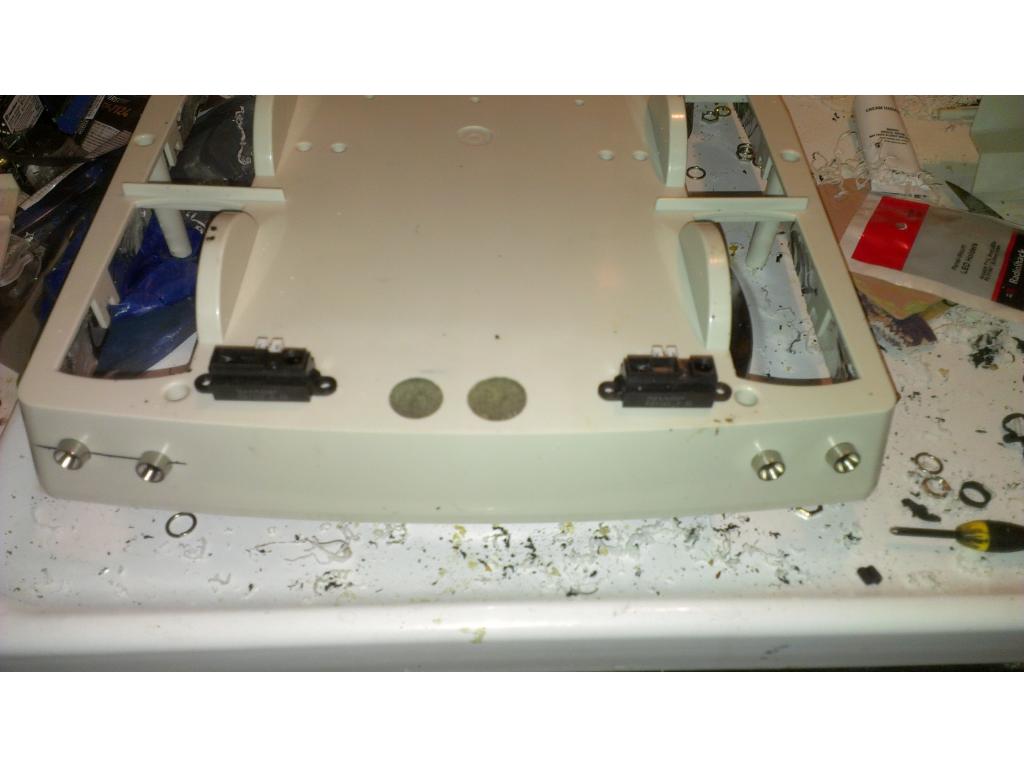
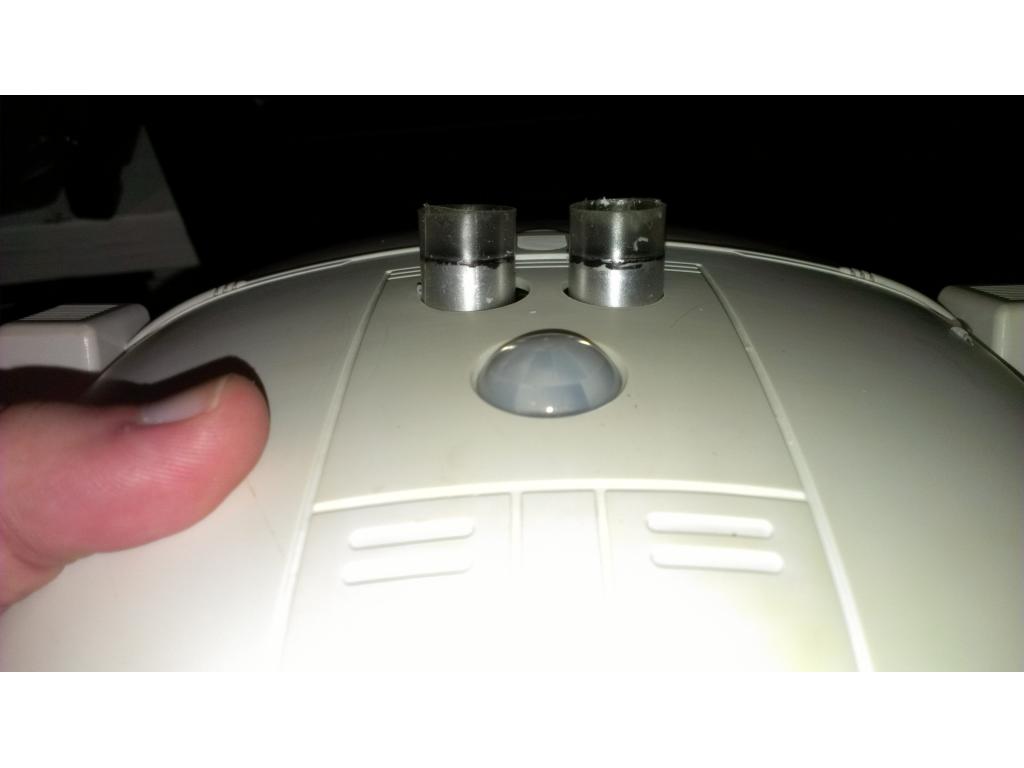
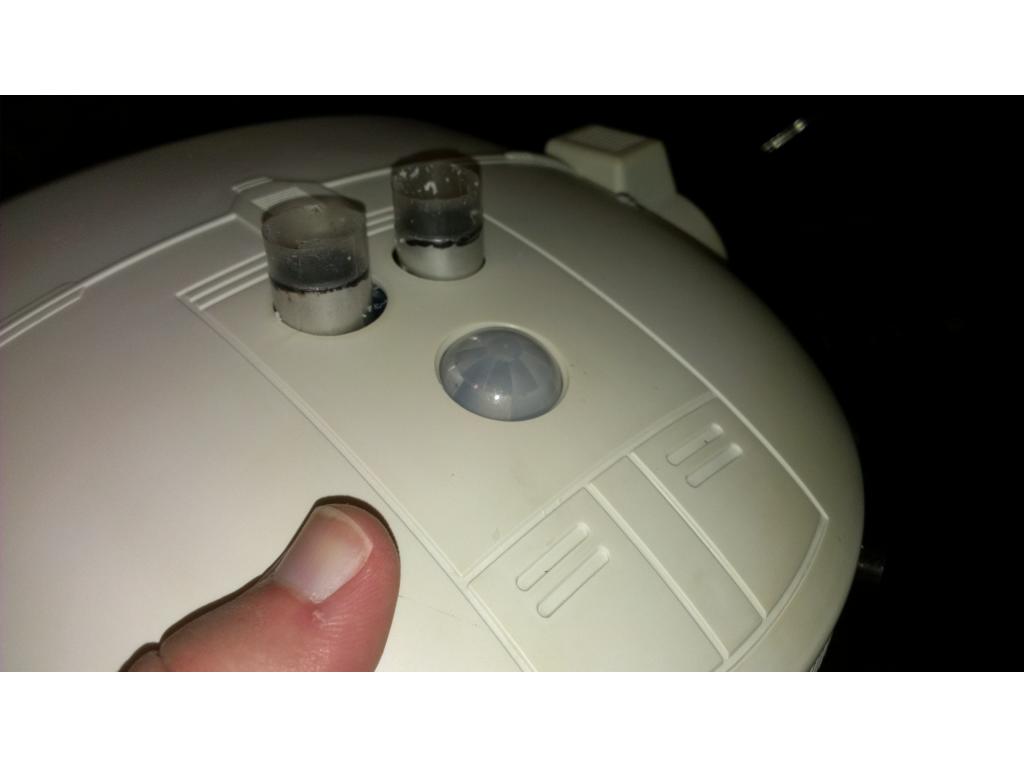
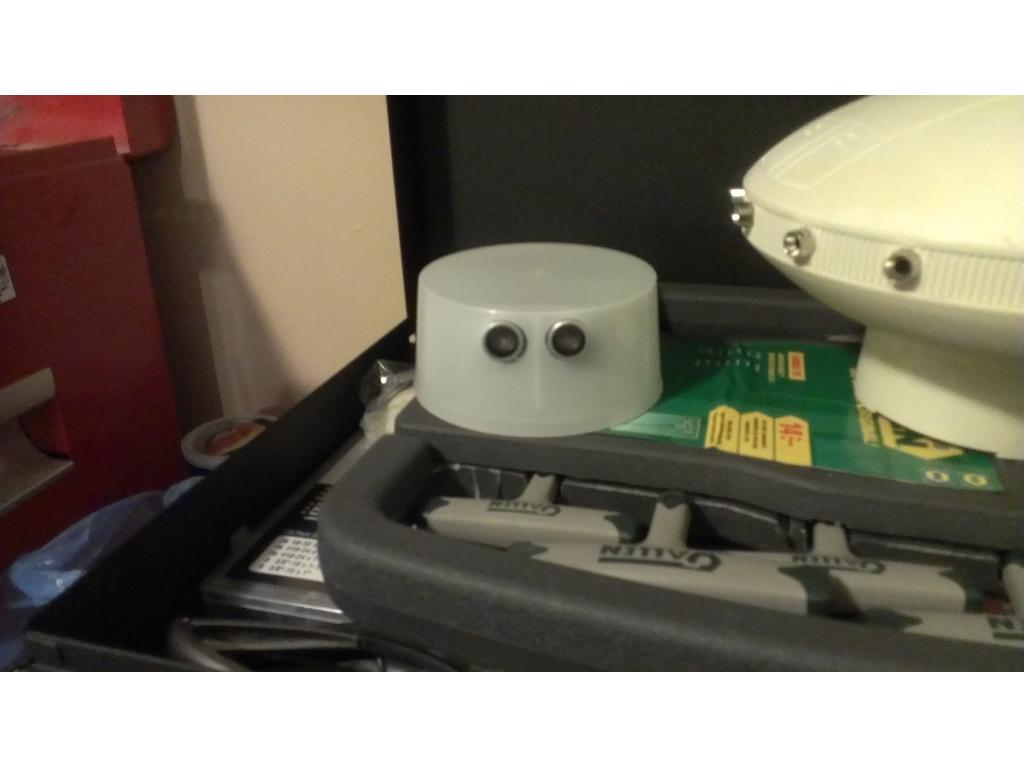
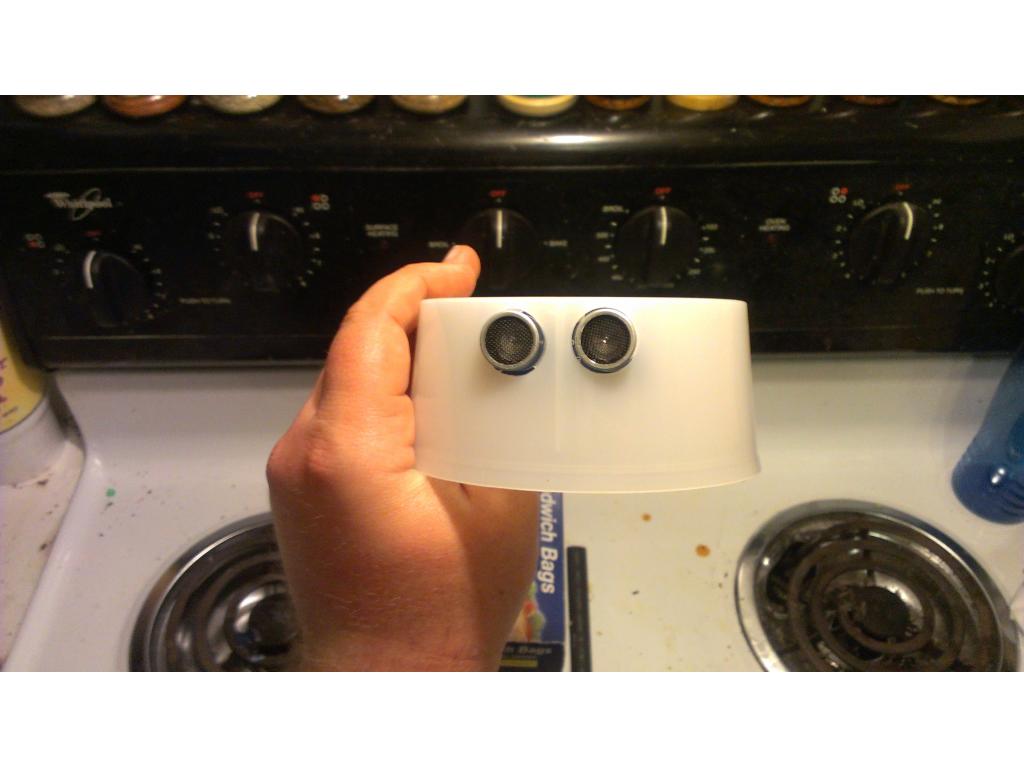
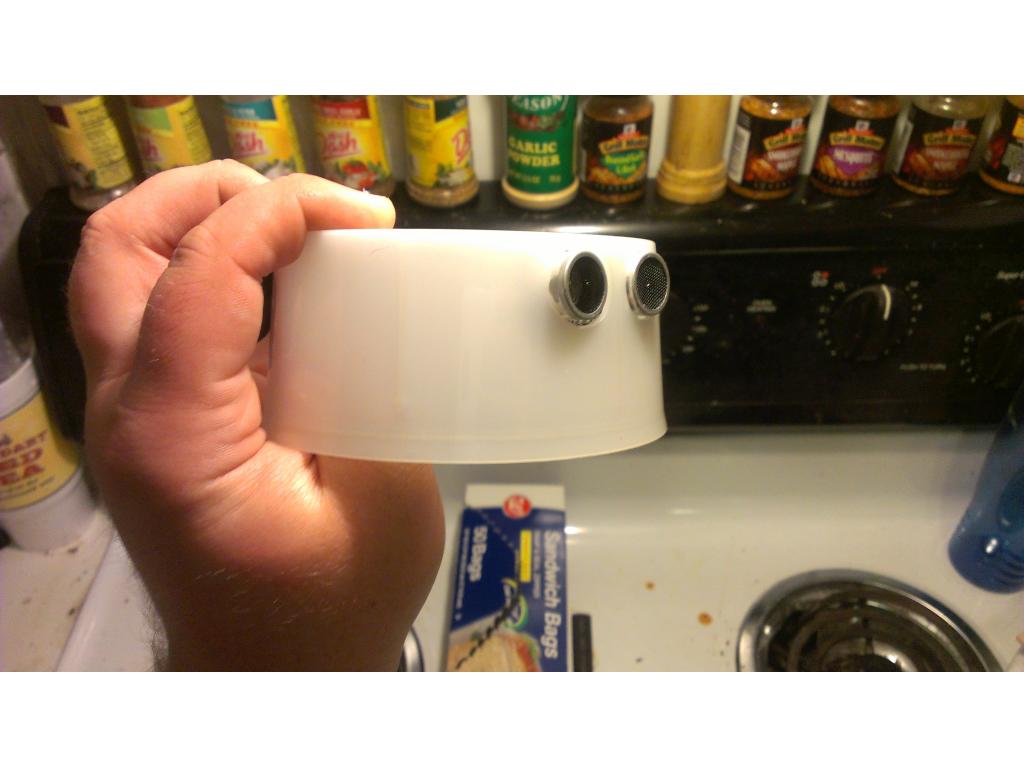
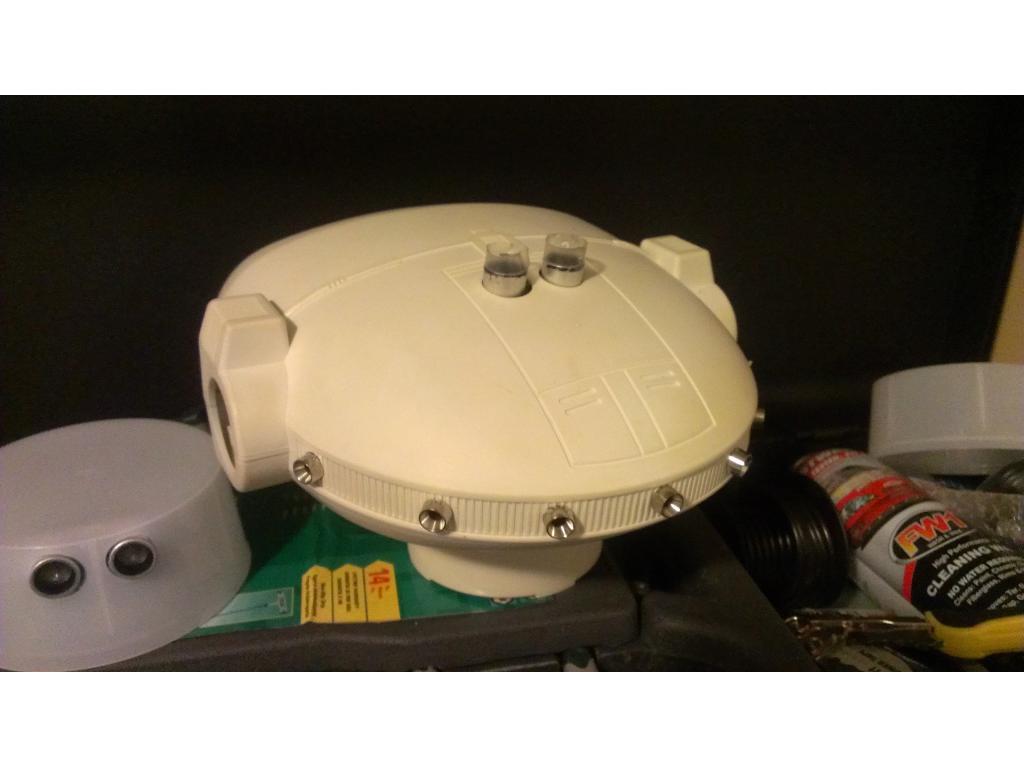
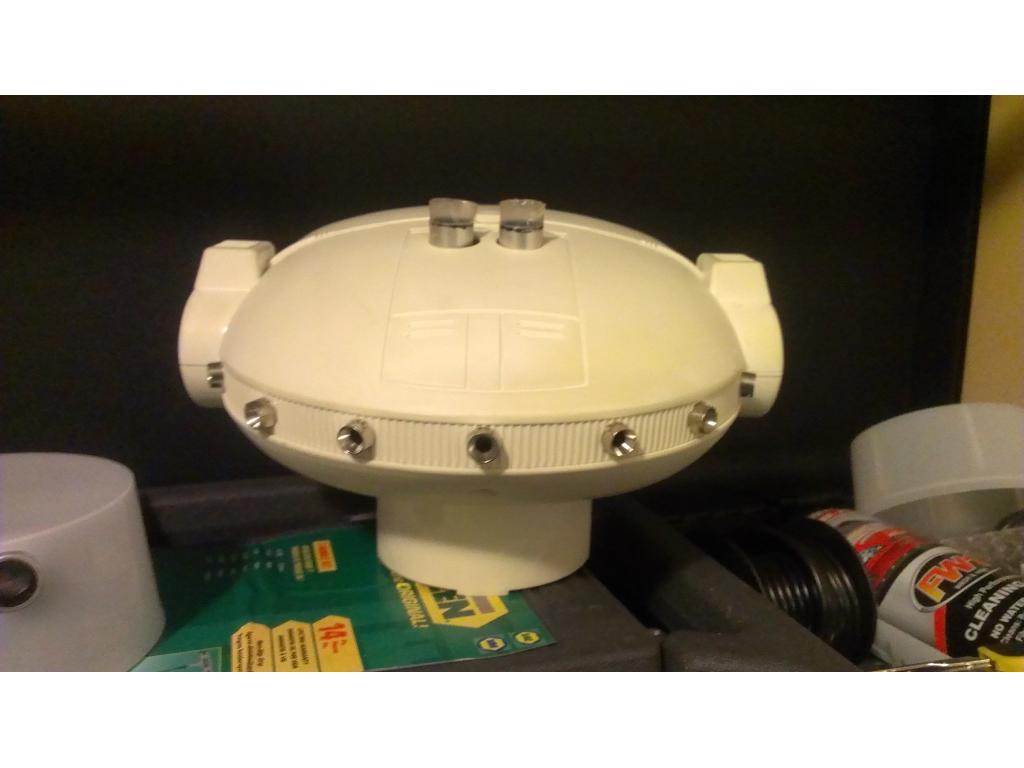
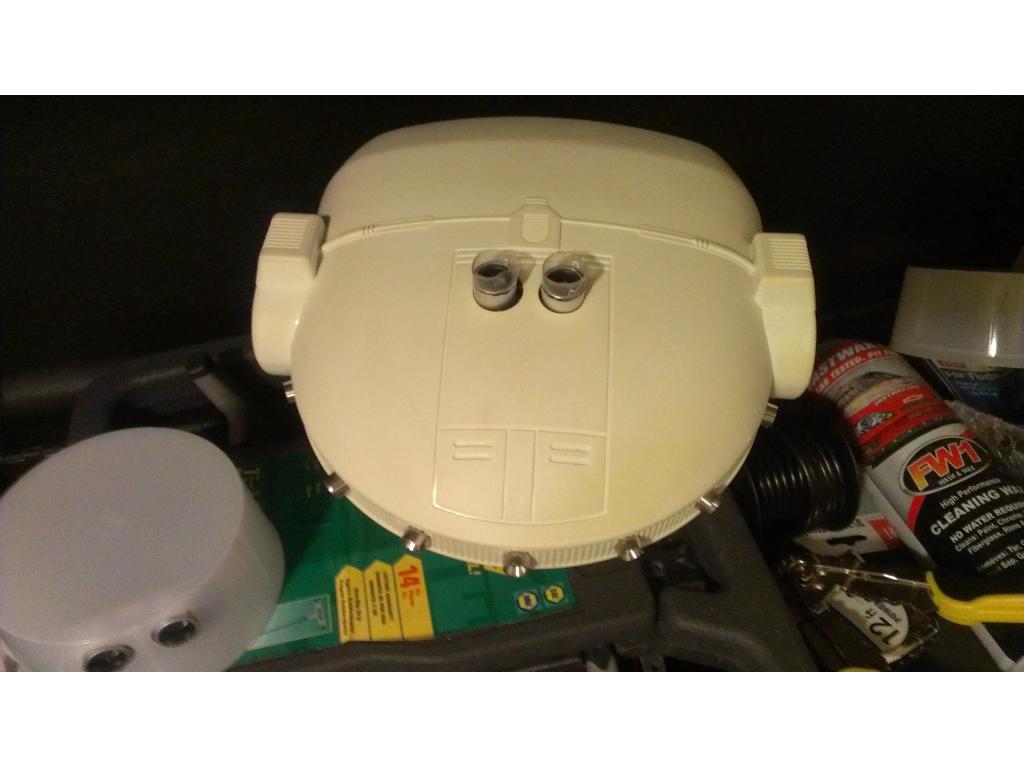
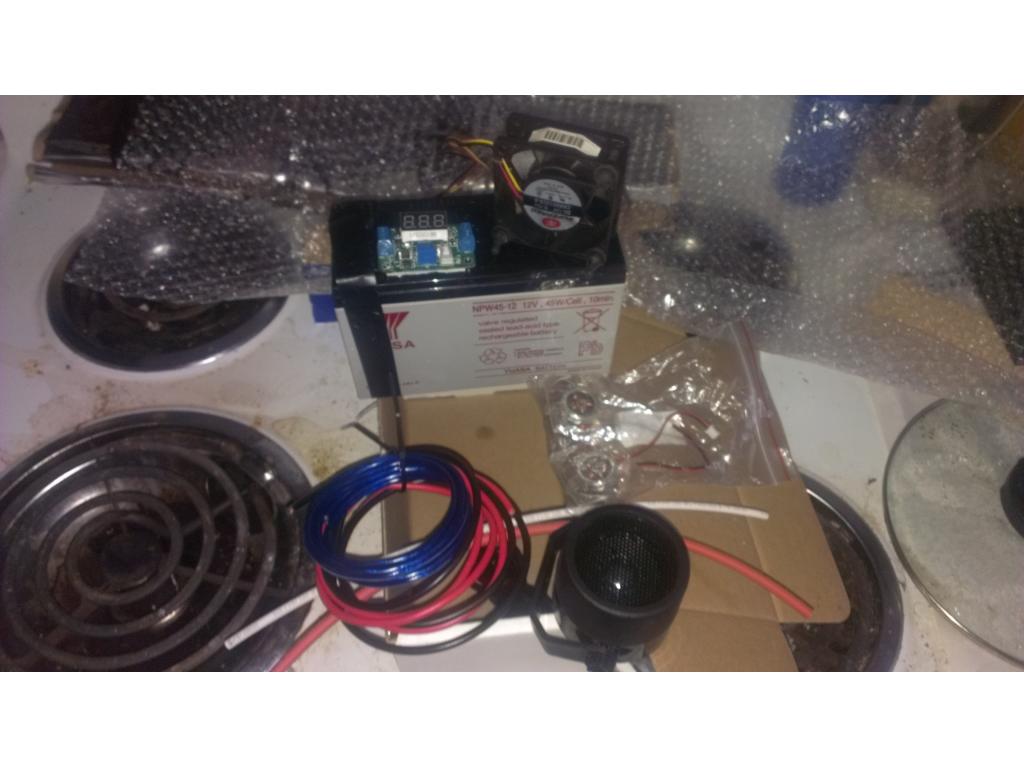
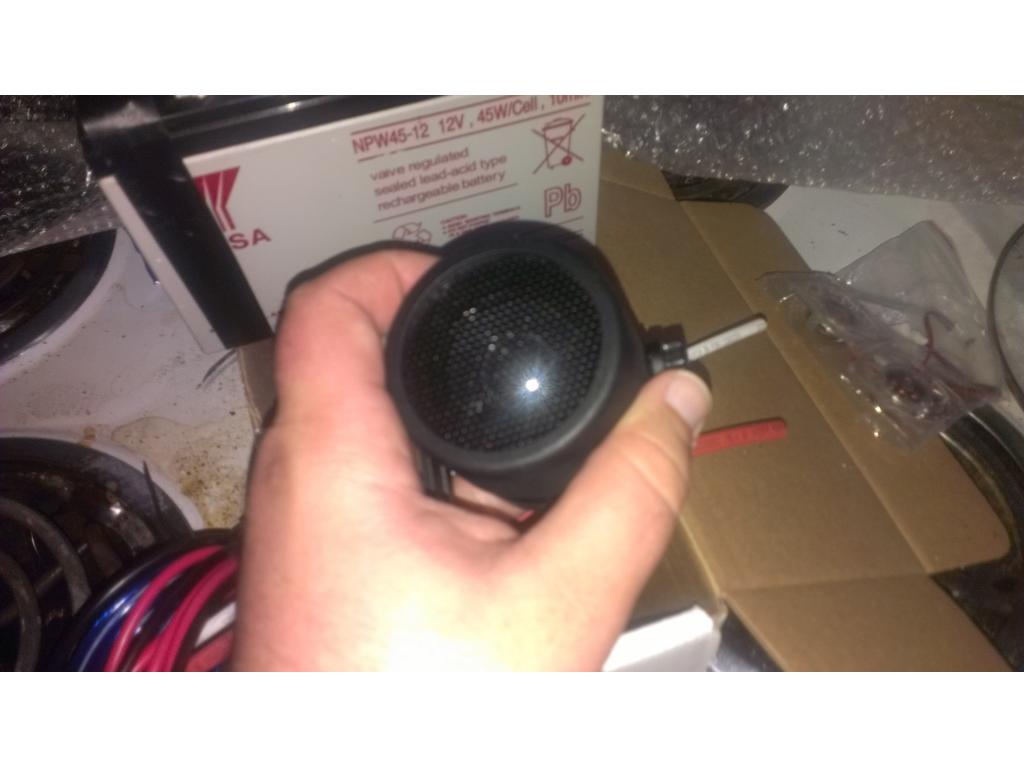
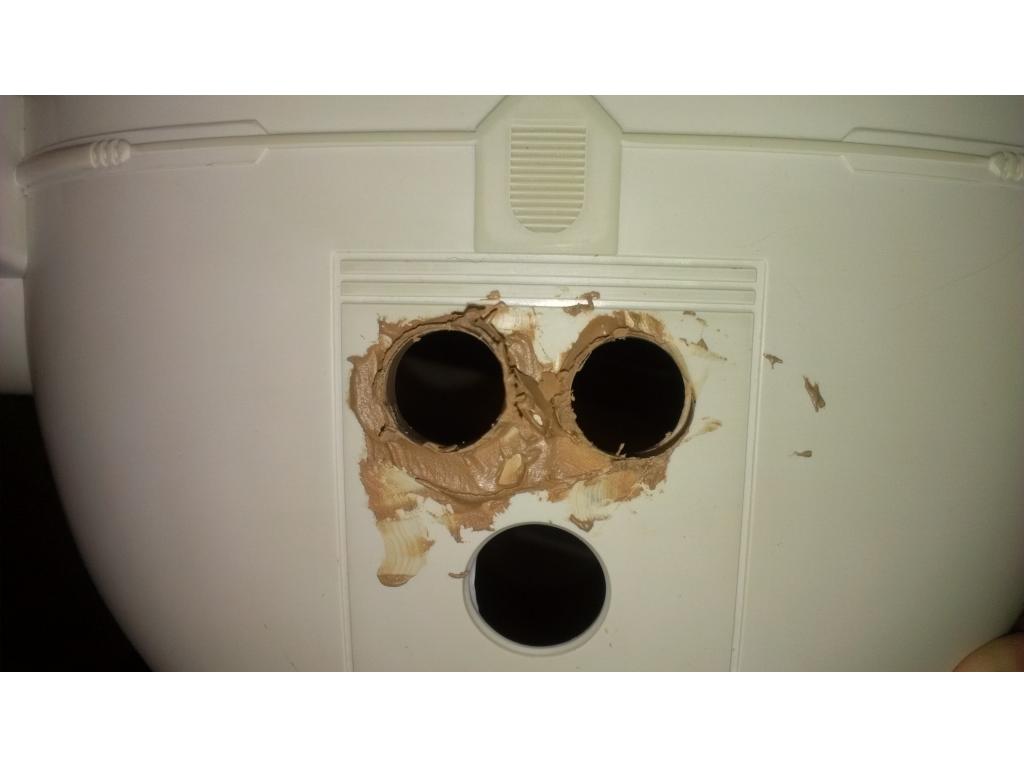
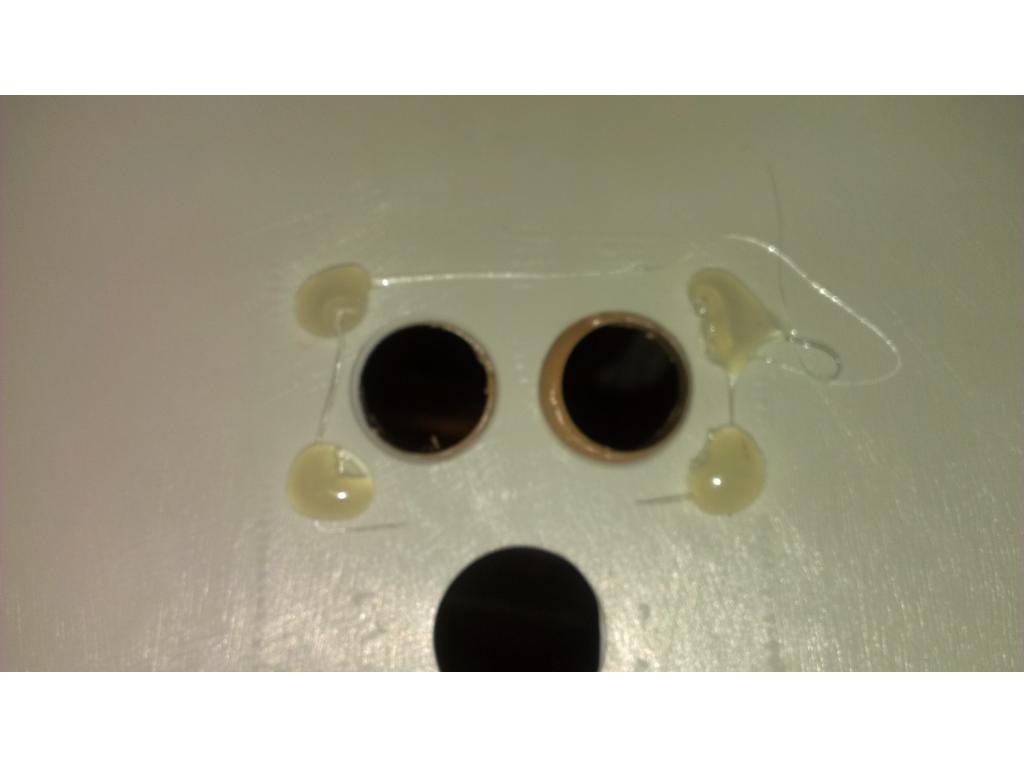
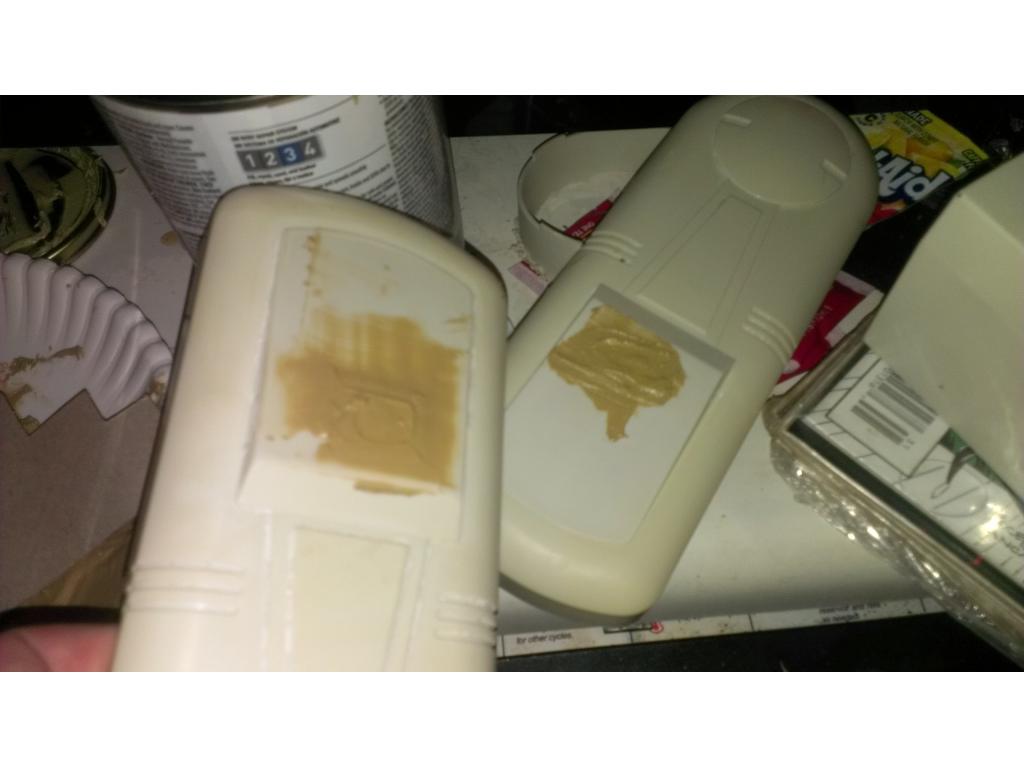
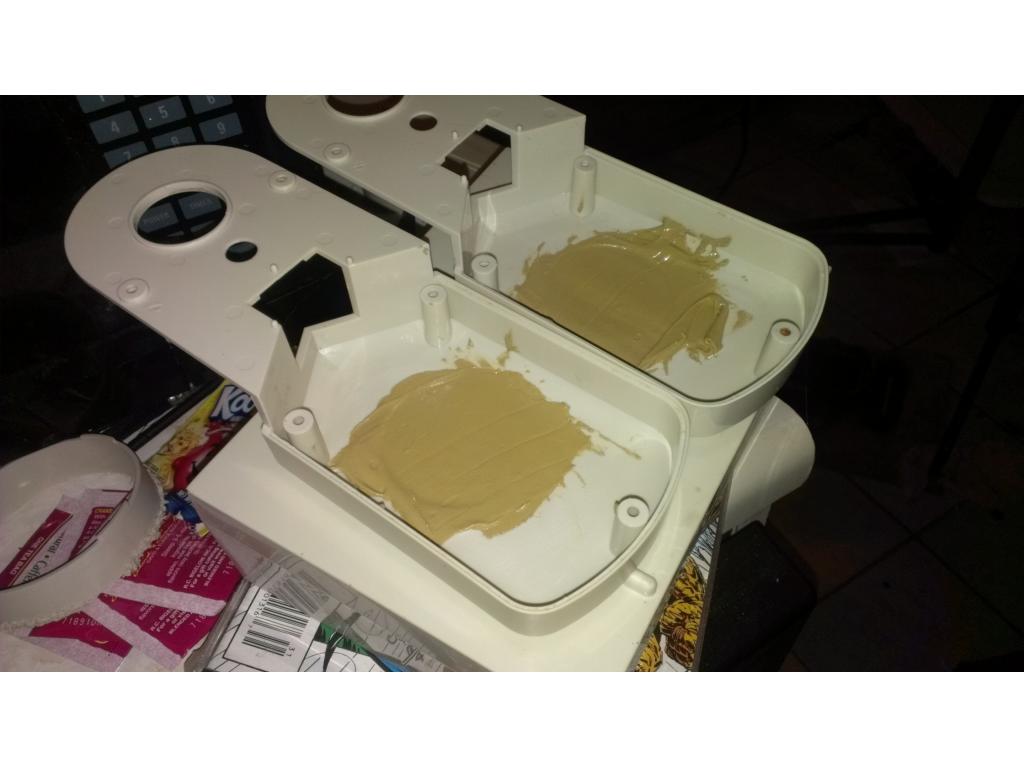
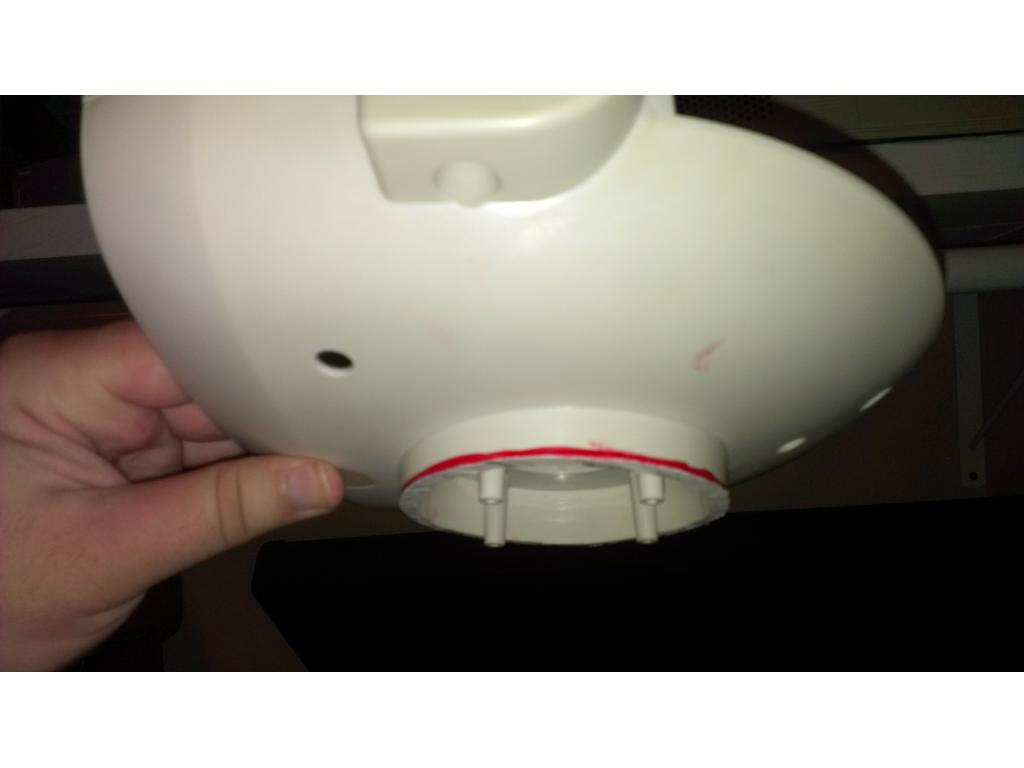
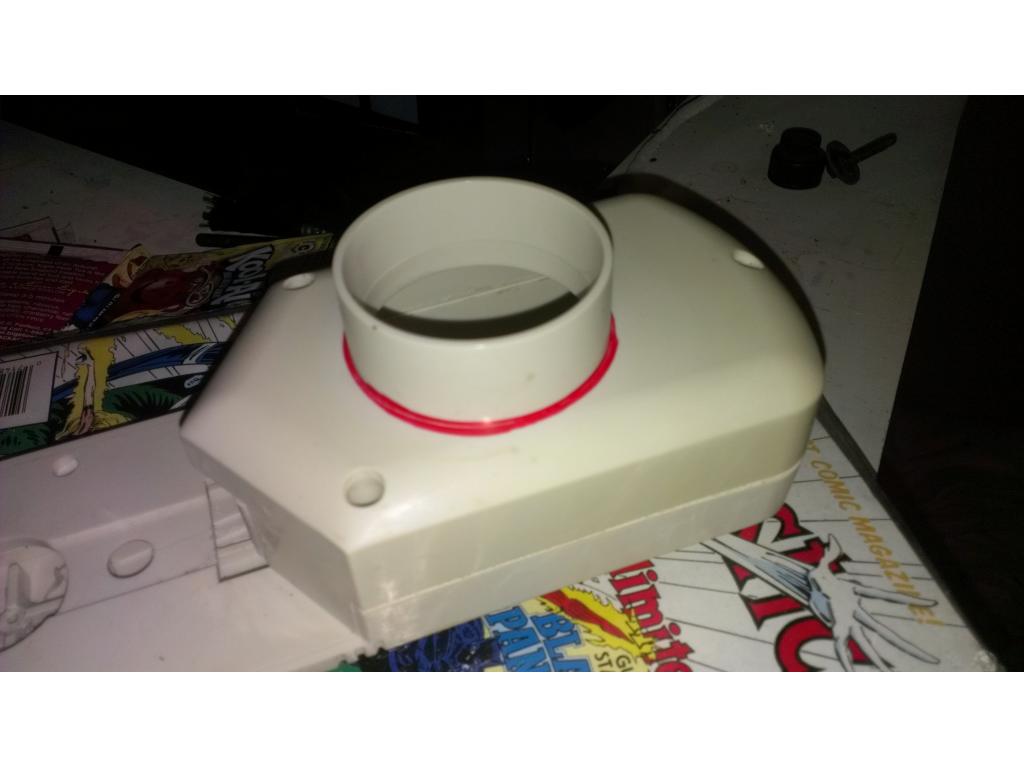
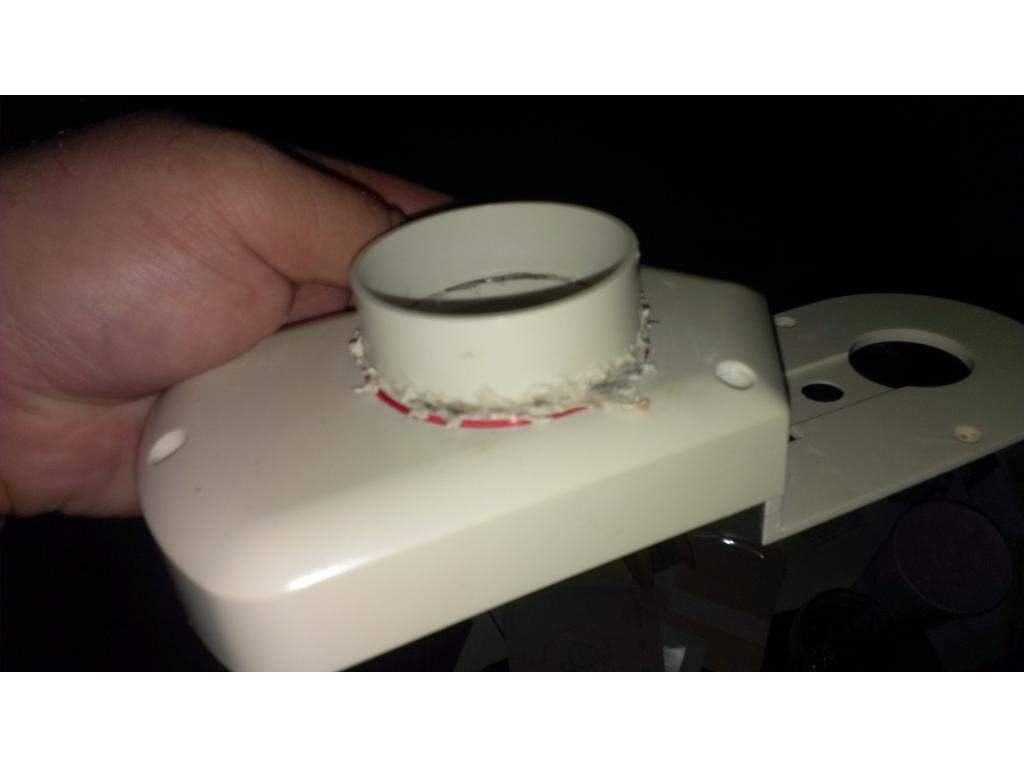
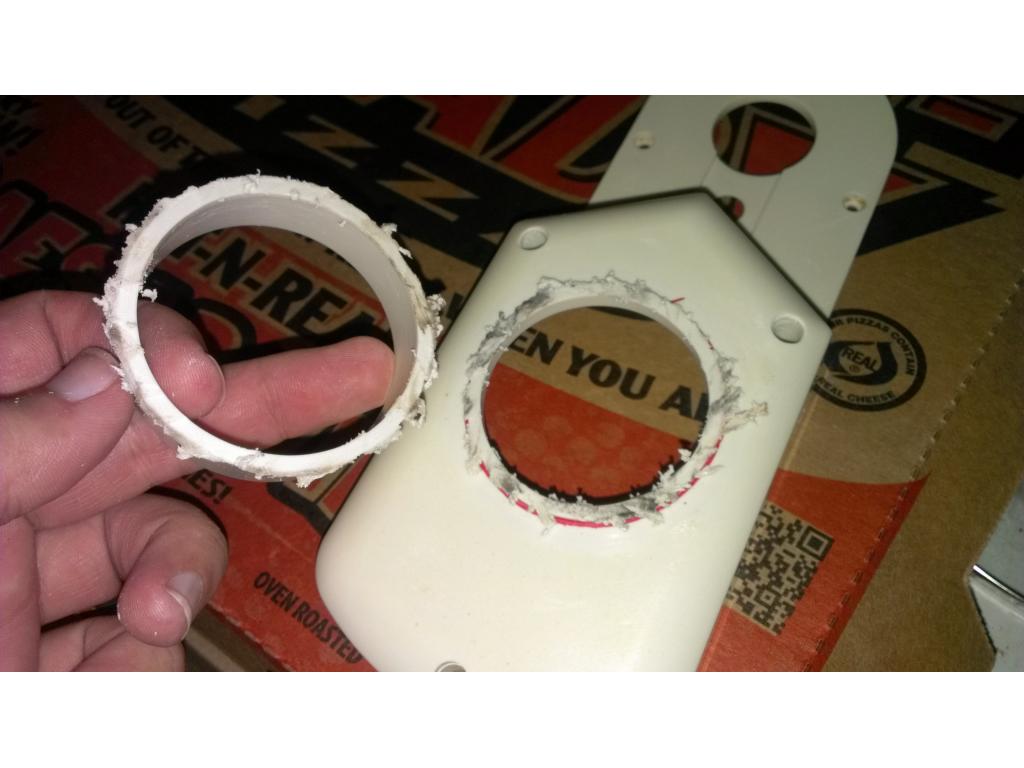
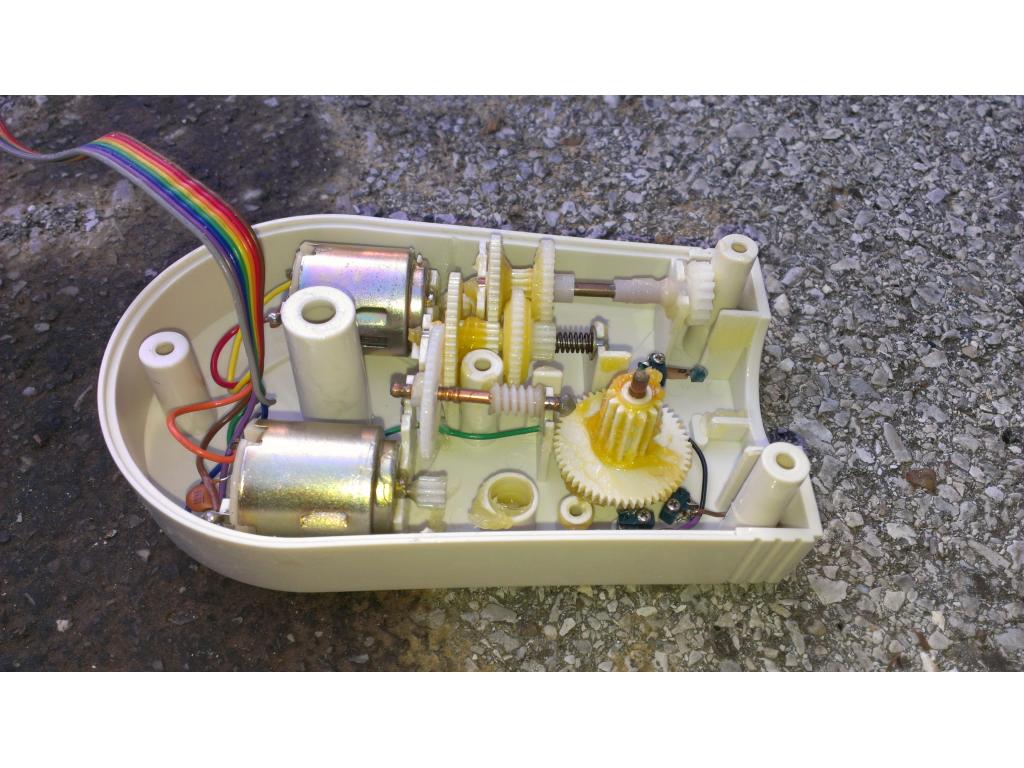
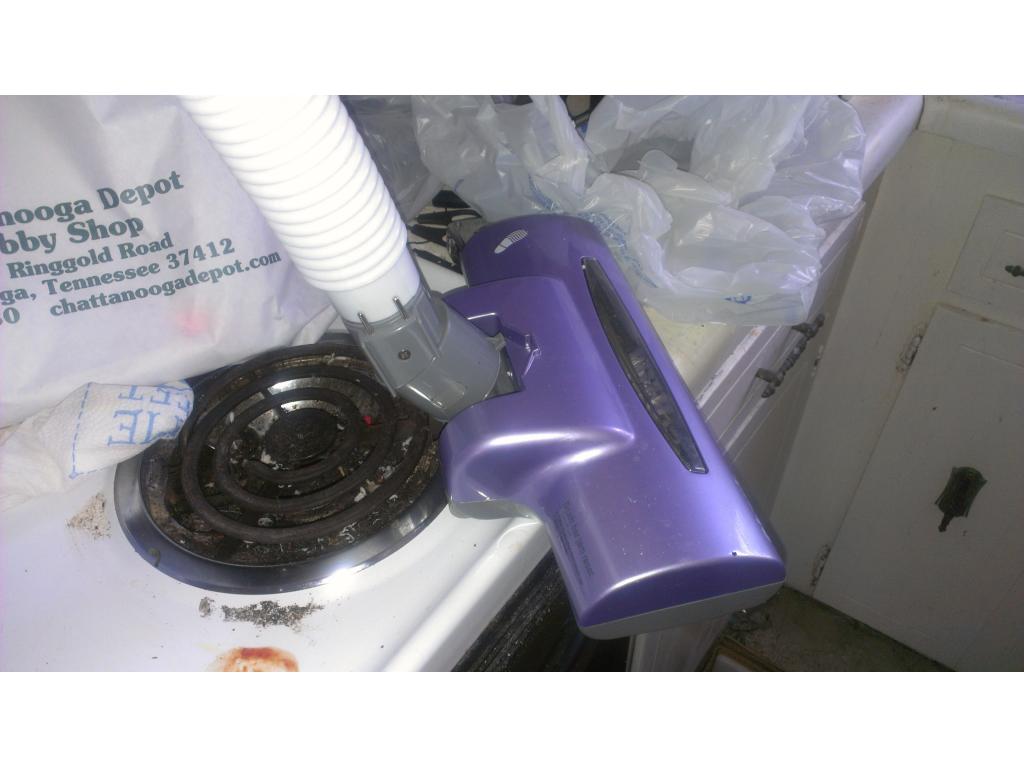
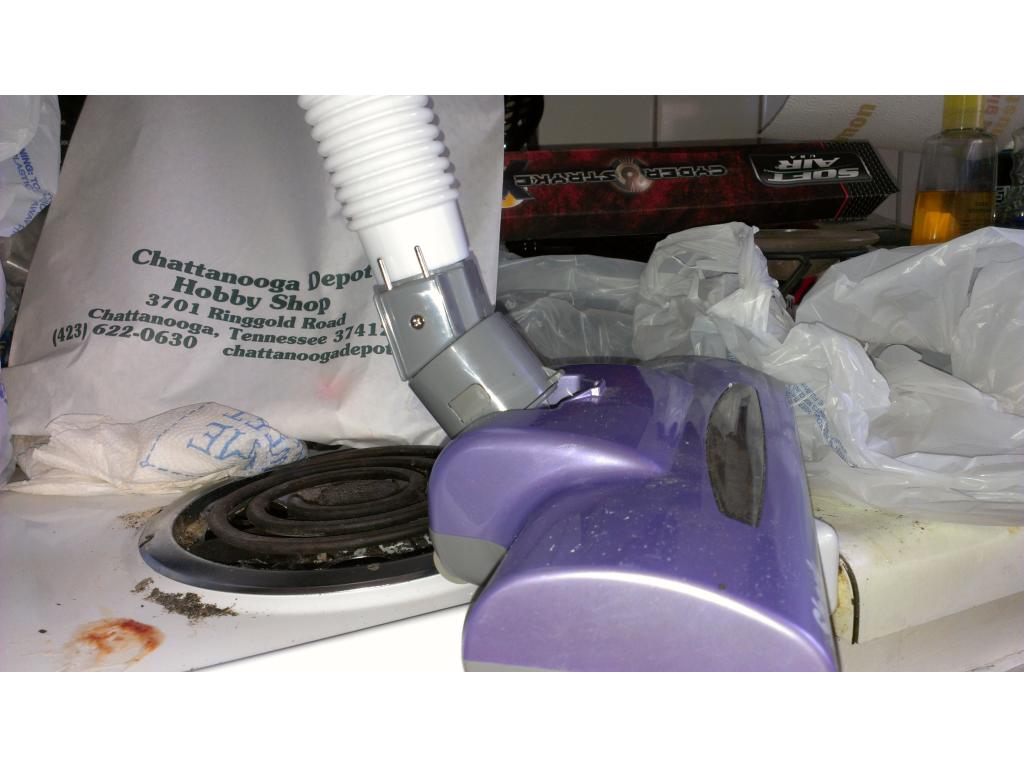
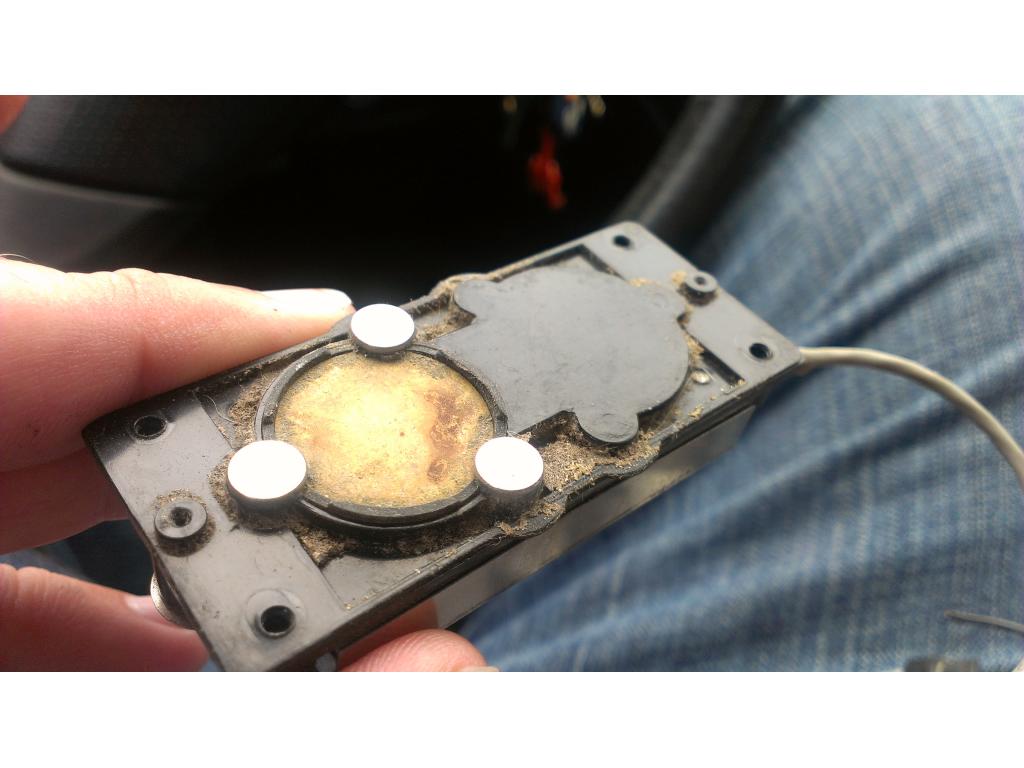
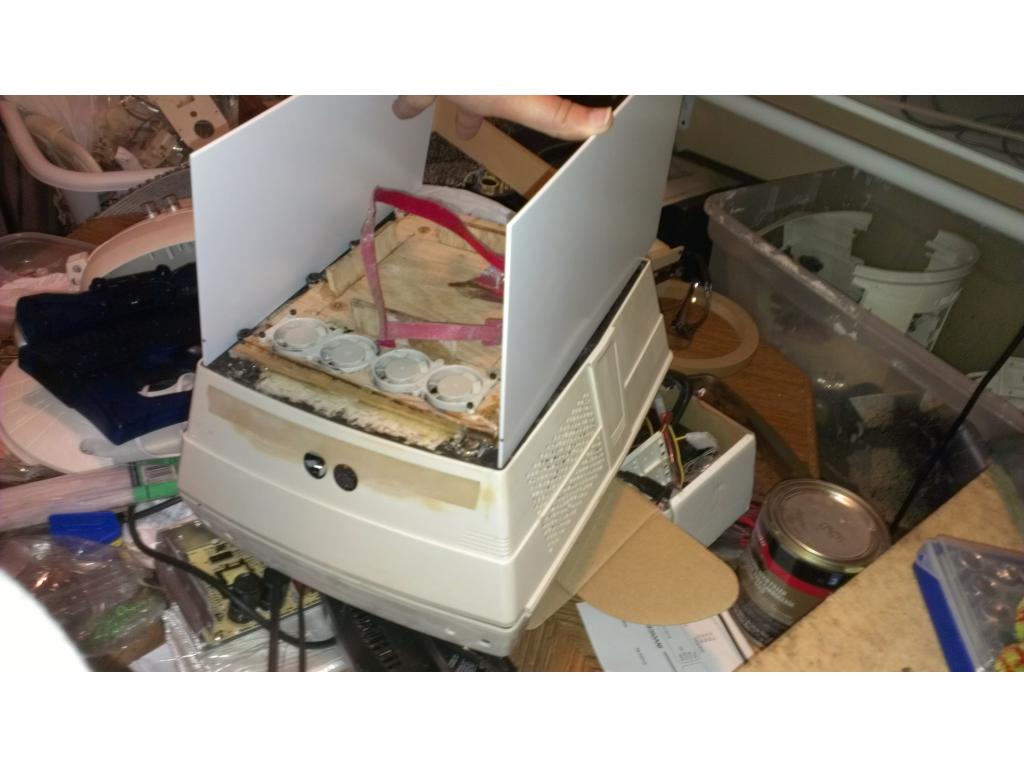
Second and third productive idea for tonight- I checked out the airsoft cannon to see where all the essential components are. I am making basically a straight cut right above the pistal grip and safety switch ( dont worry im putting another one in later). I am leaving the "scope" portion as I could put a laser in it and its also a built in hopper for 2000 bbs. :astly I want to make sure the holes for these sensors are clean and tight, I taped off some ultrasonics and will fill with body filler to get a ultra snug perfect fit that just was not possible winging it with a drill and hole cutter.

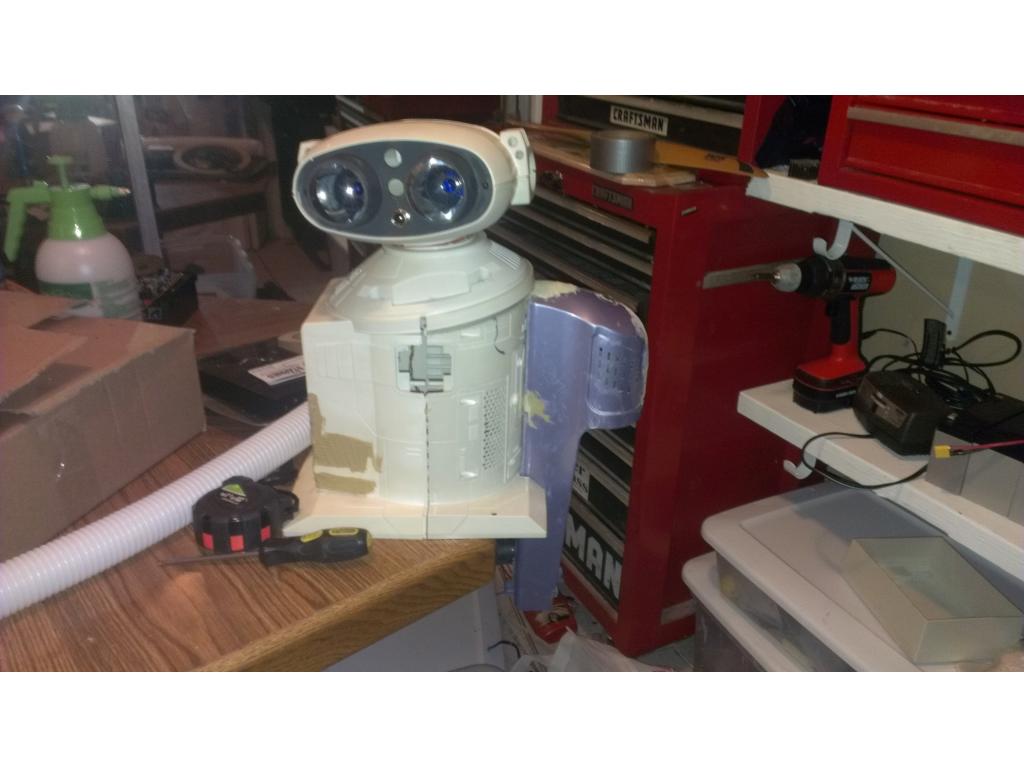
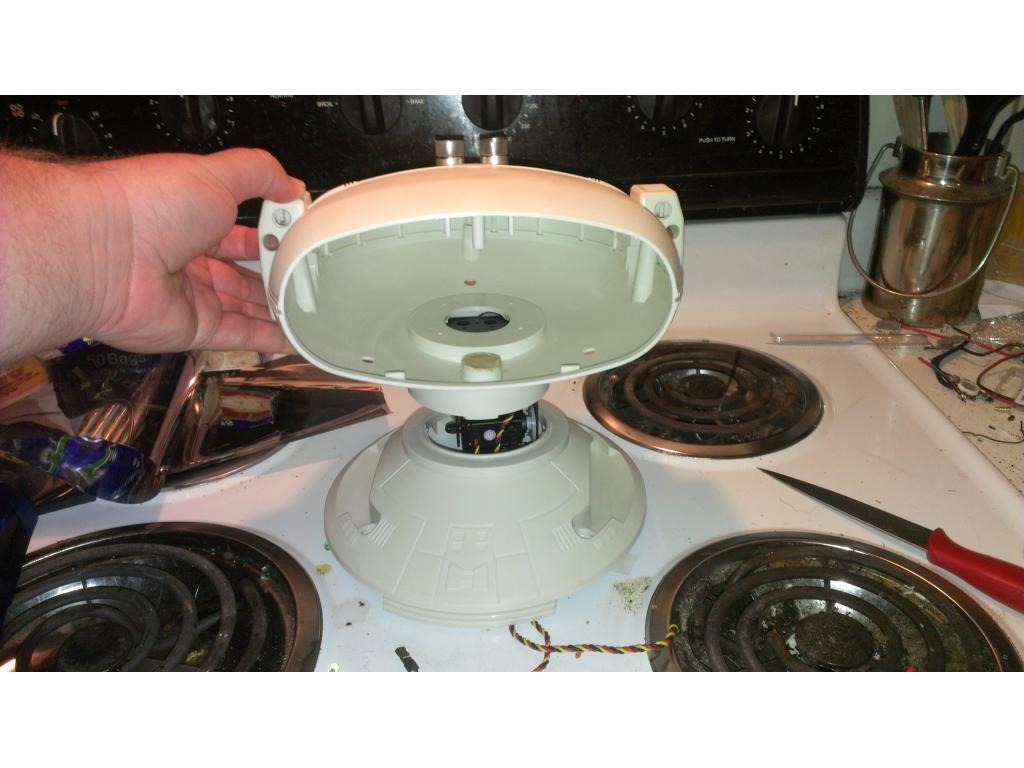
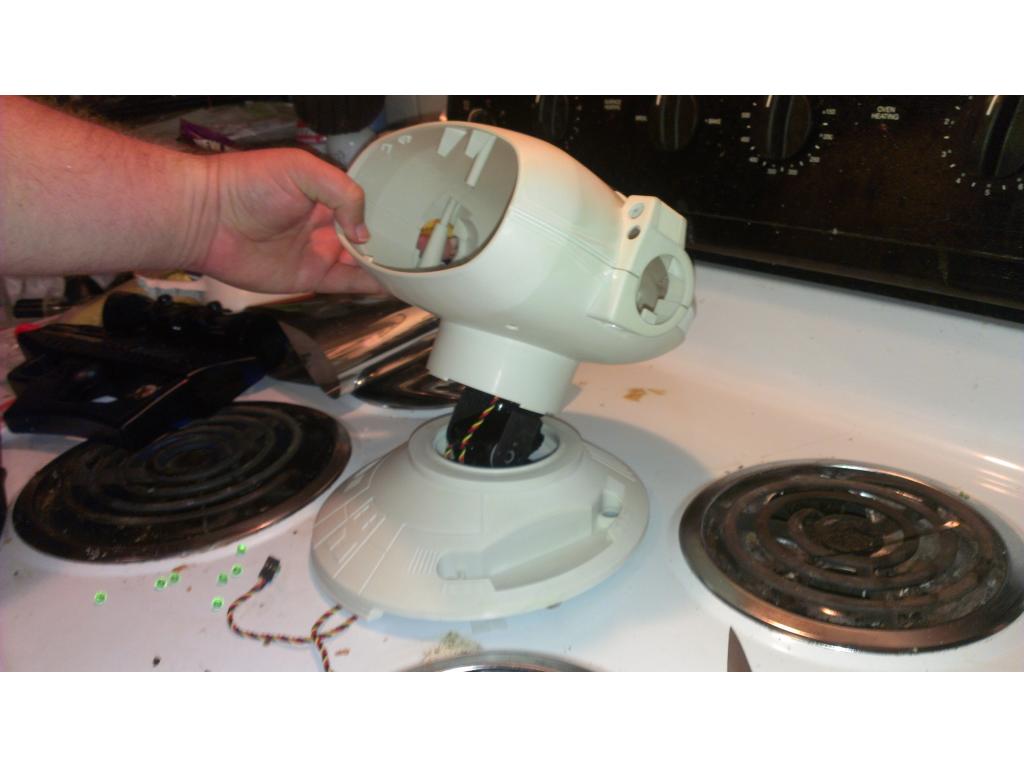
Three servo neck..
Level position
Tilt back
Tilt forward
Tilted to the sideThat is truly an excellent idea!!! I can see it bringing a lot of personality to the build. Well done. When all is said and done this will make for an incredible Instructable!
Thanks man , yea I will have taken enough pictures for this build to practically be comprehensive. A large indestructible. Or maybe just break up the project into a dozen or so smaller instructibles in a series. needless to say I'm going to need to buy more servos in the future , but for now until paint this is far as that goes.
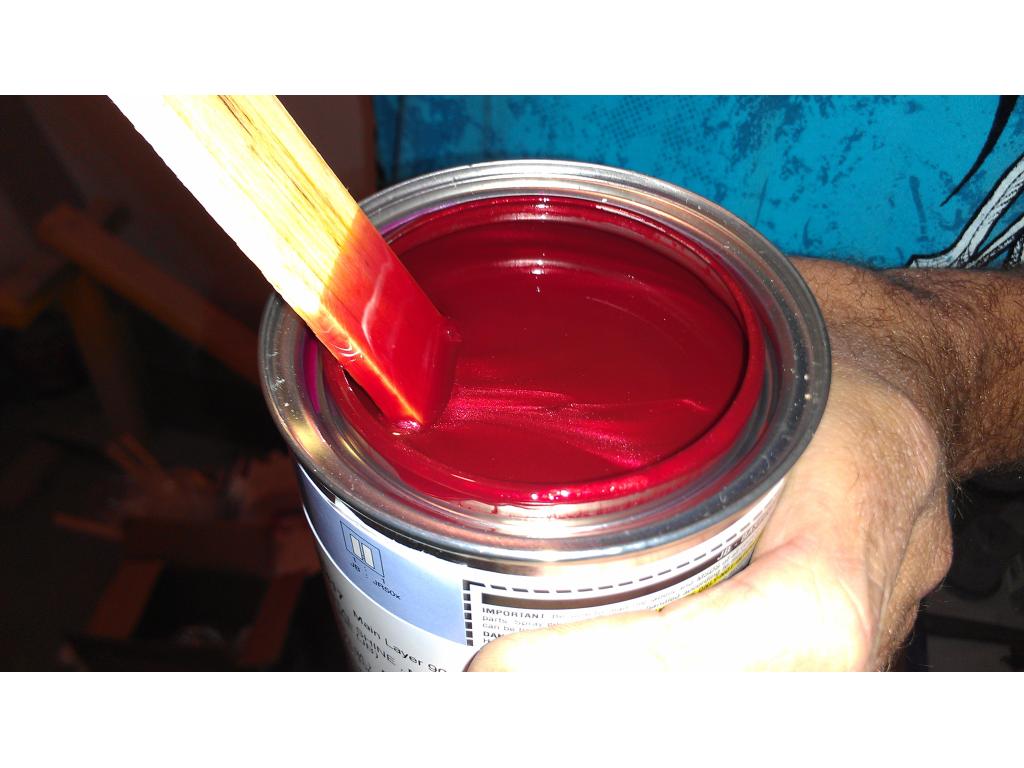
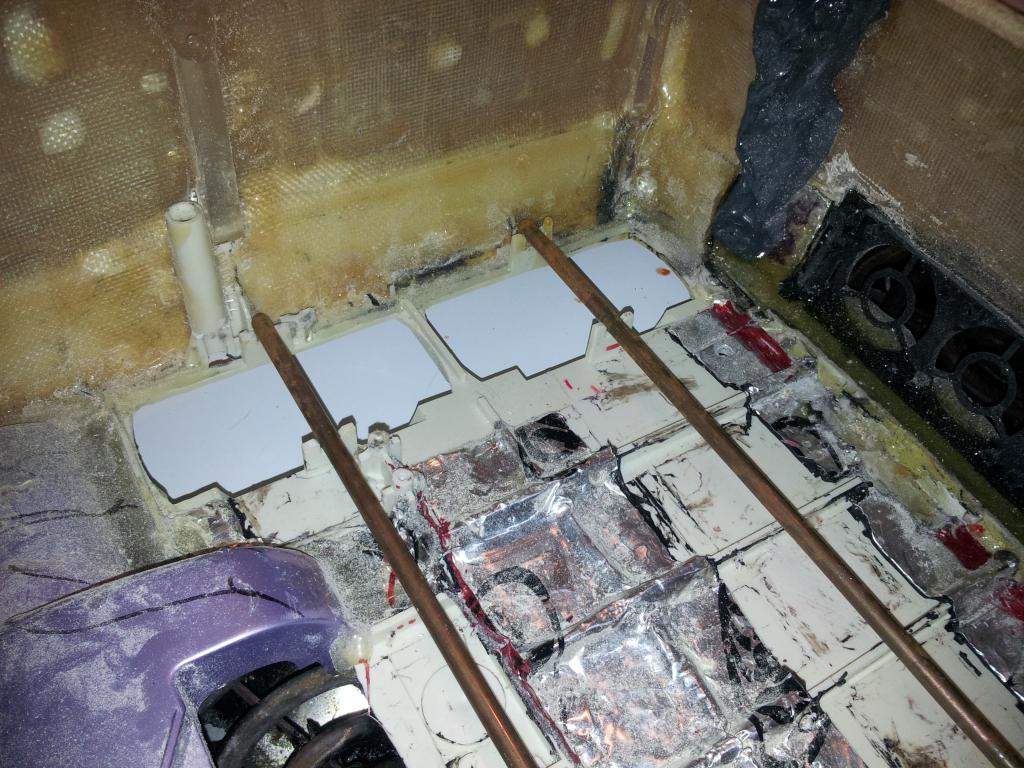
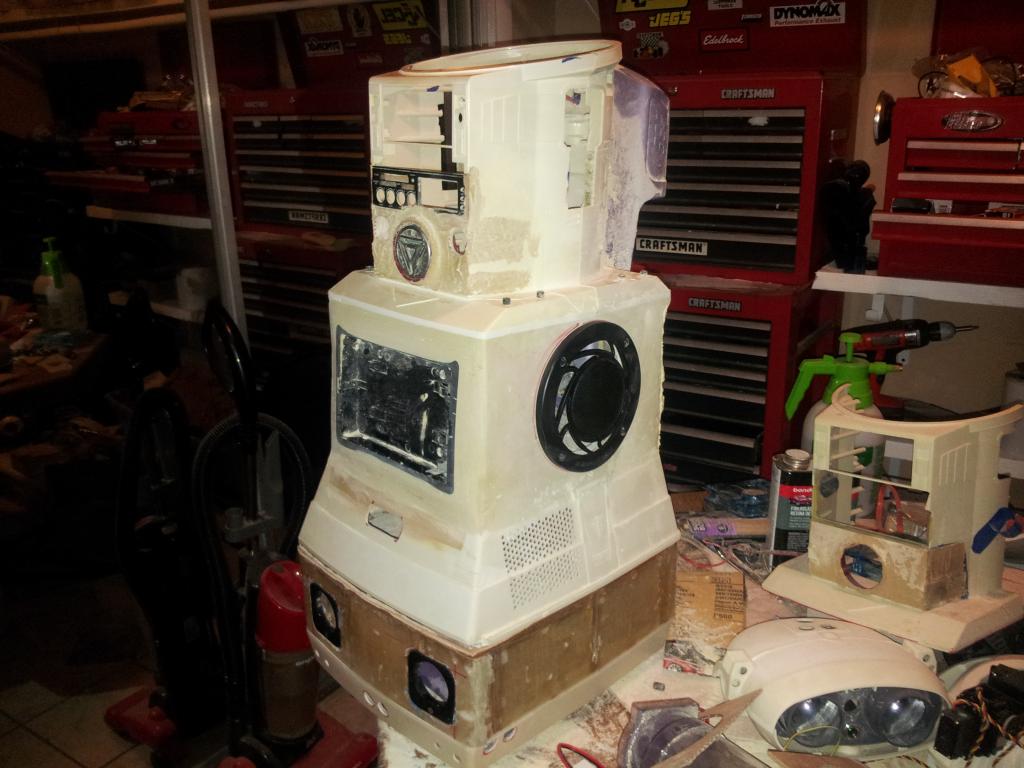
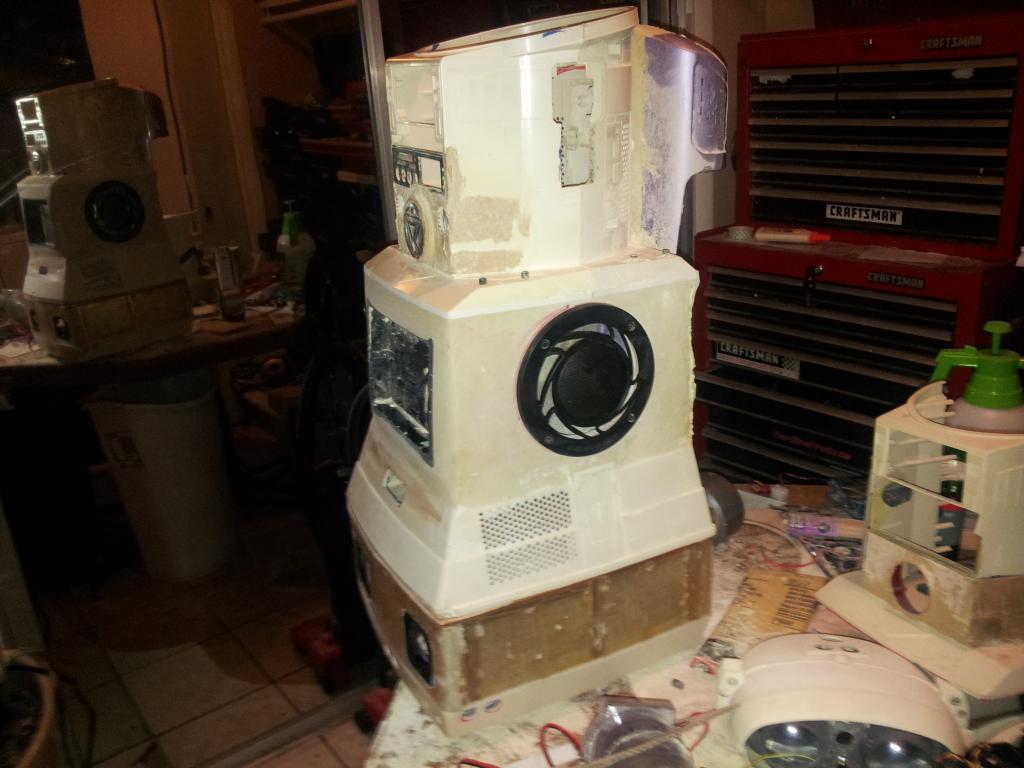
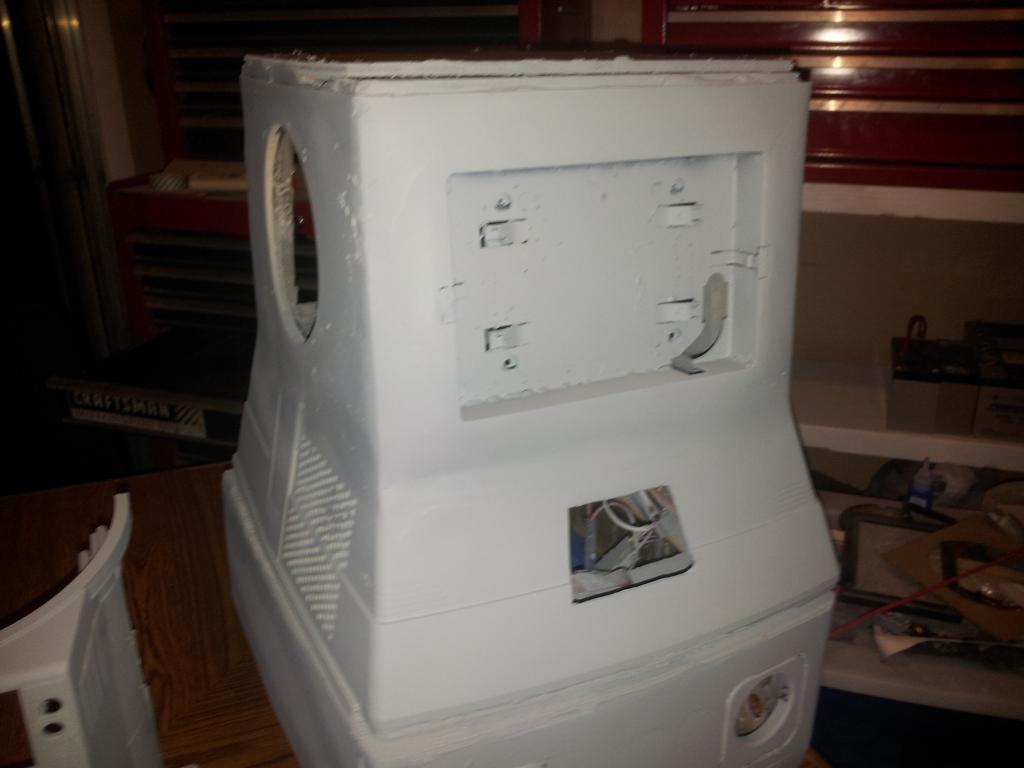
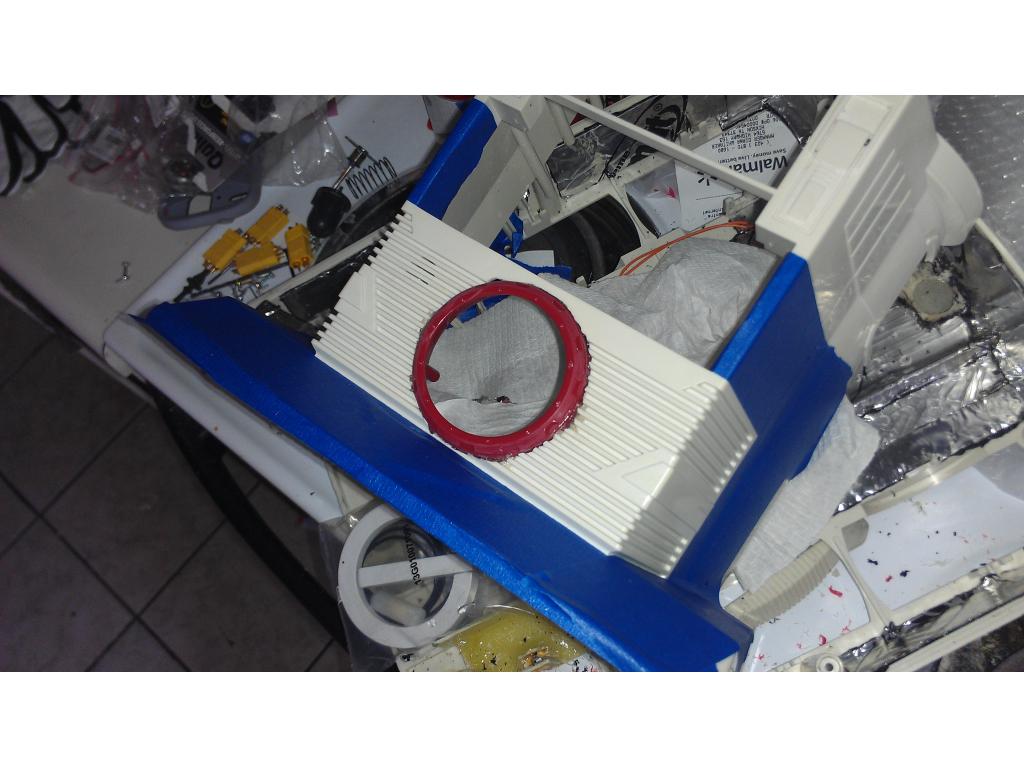
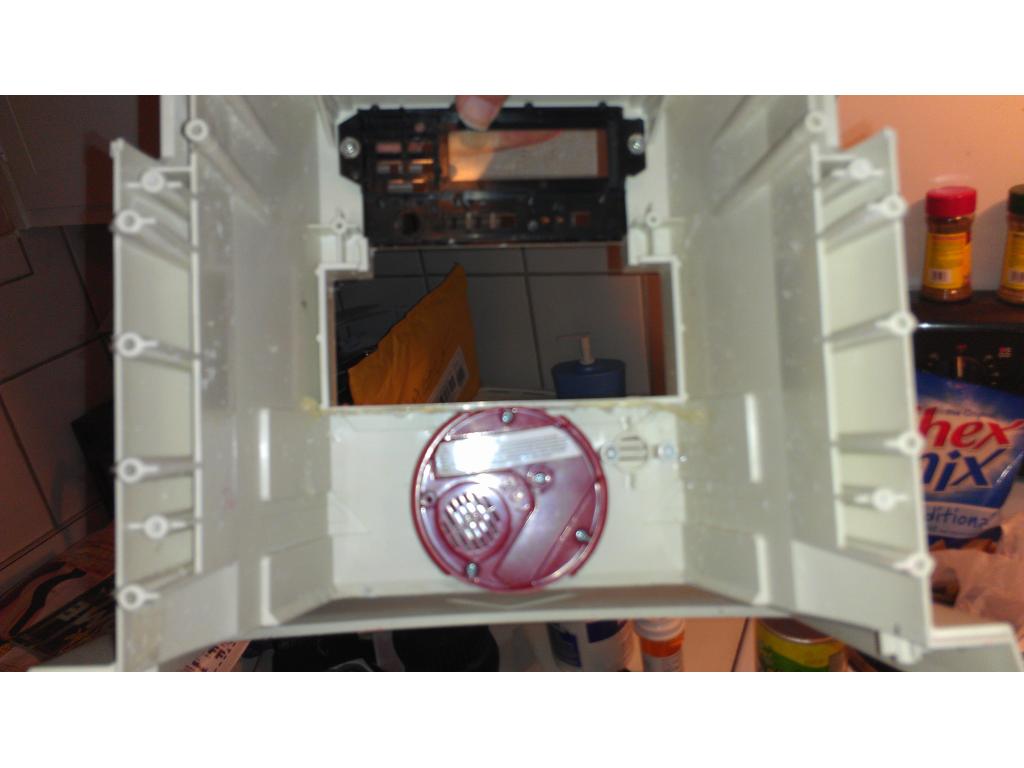
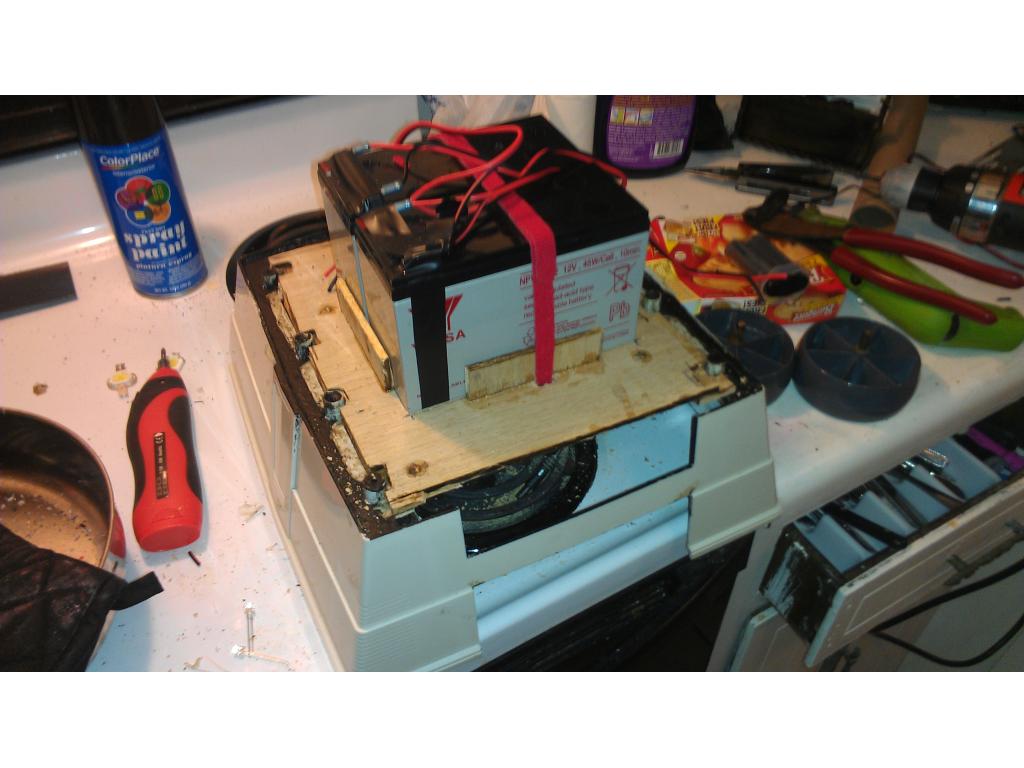
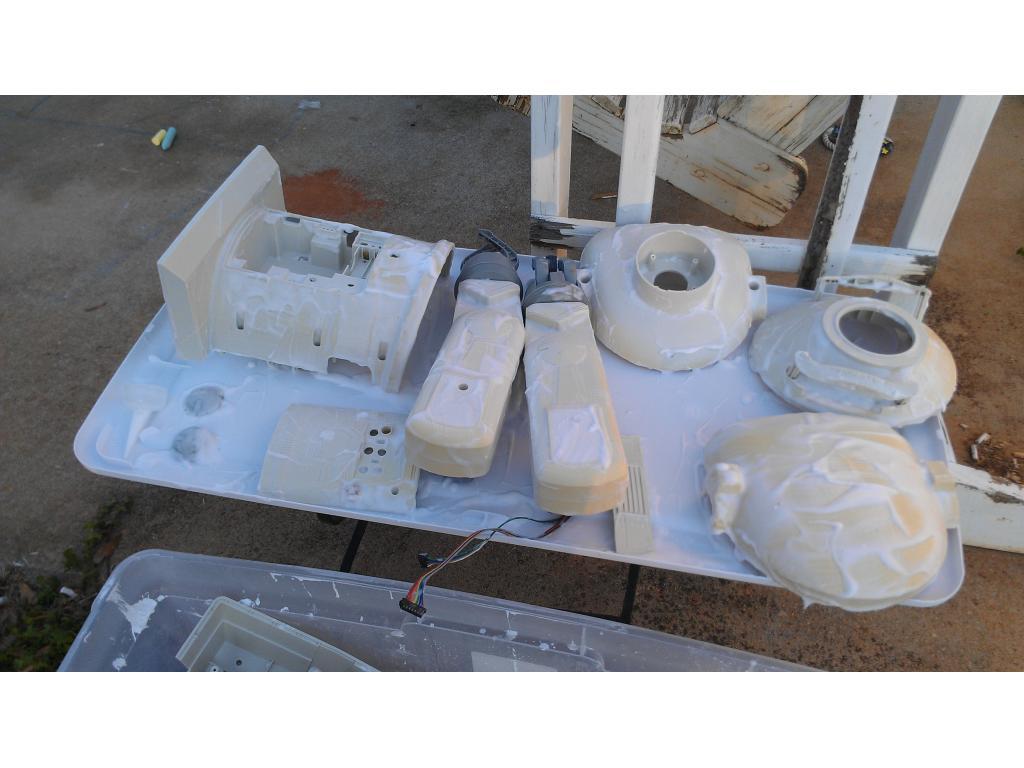
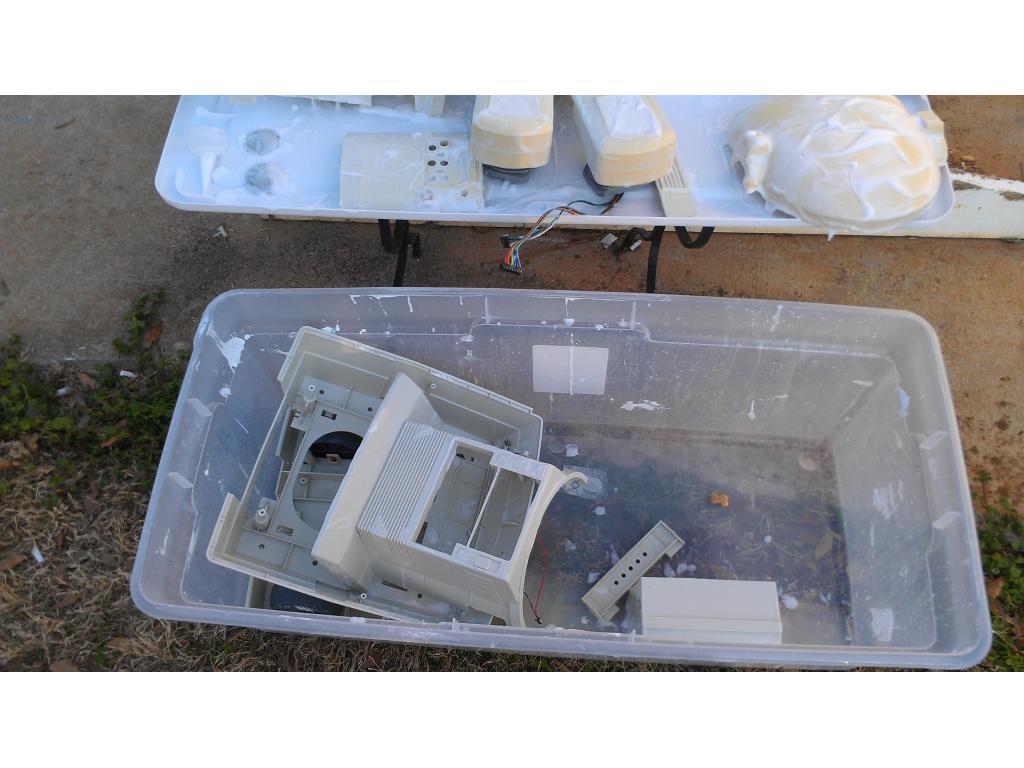
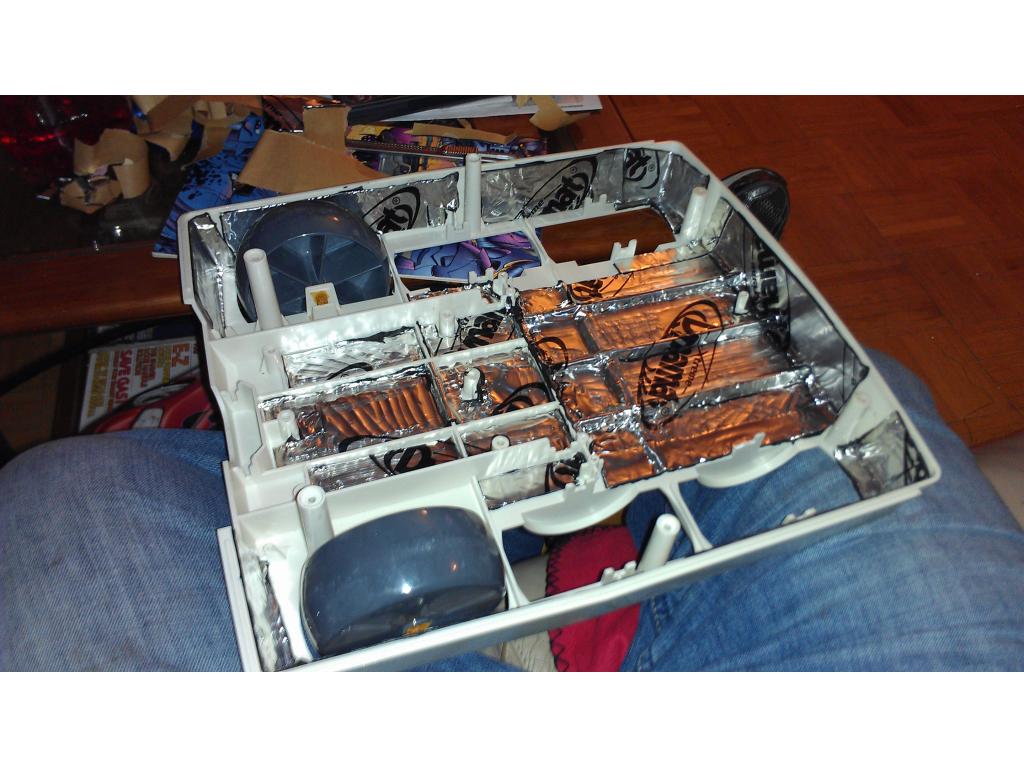
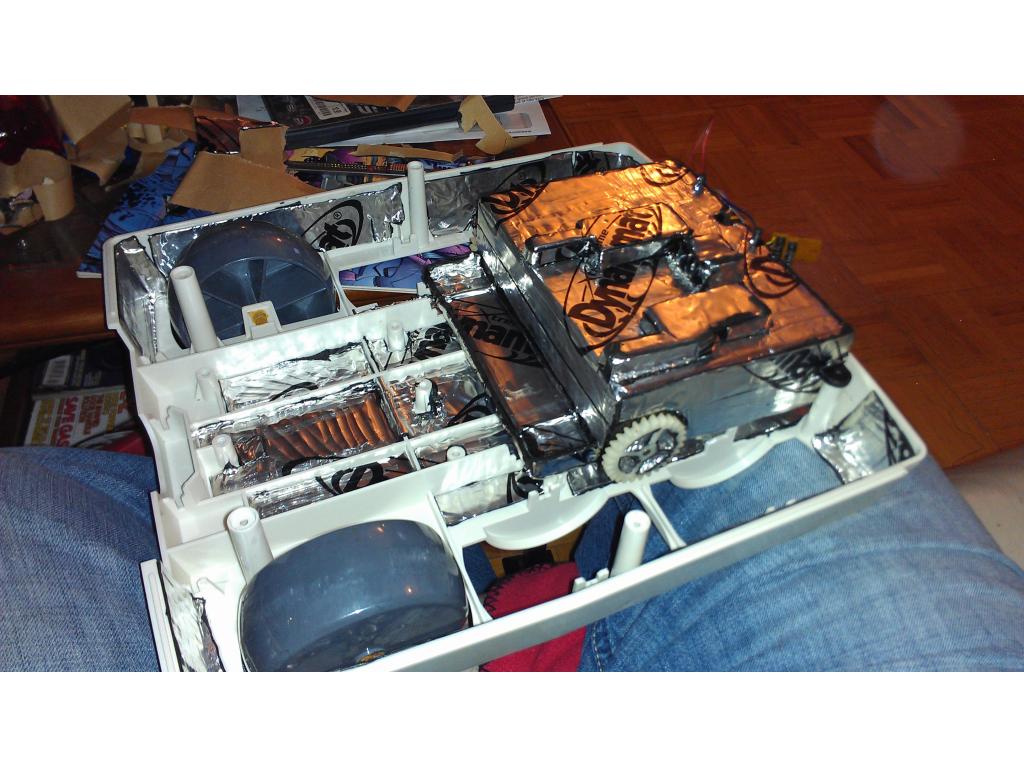
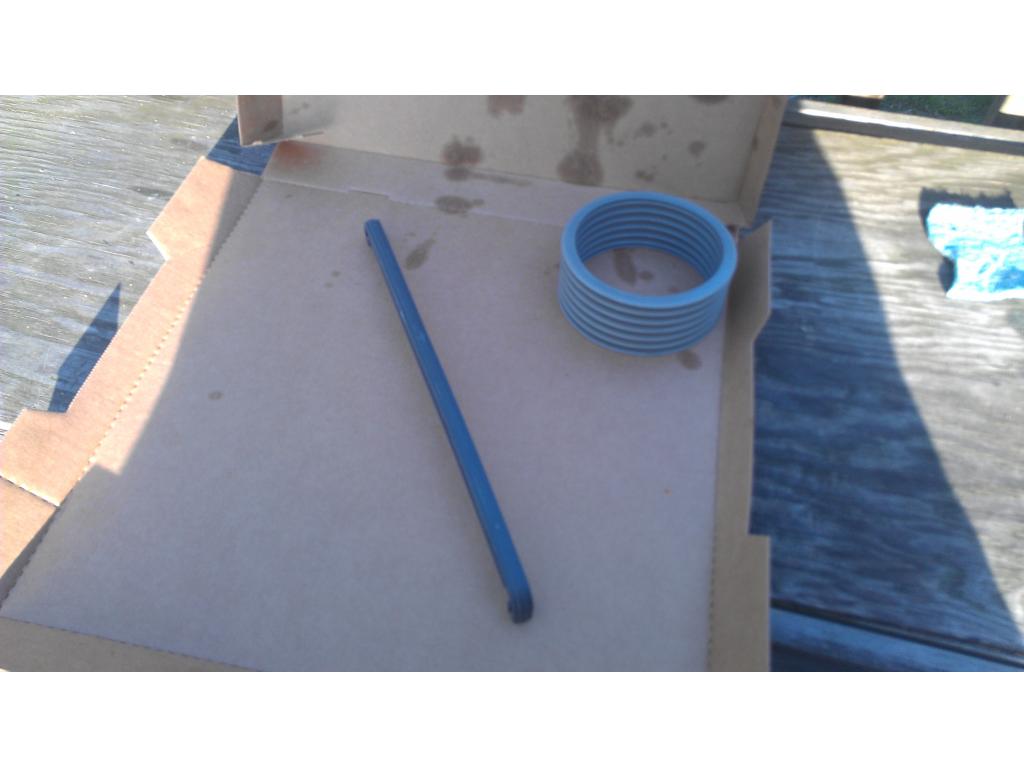
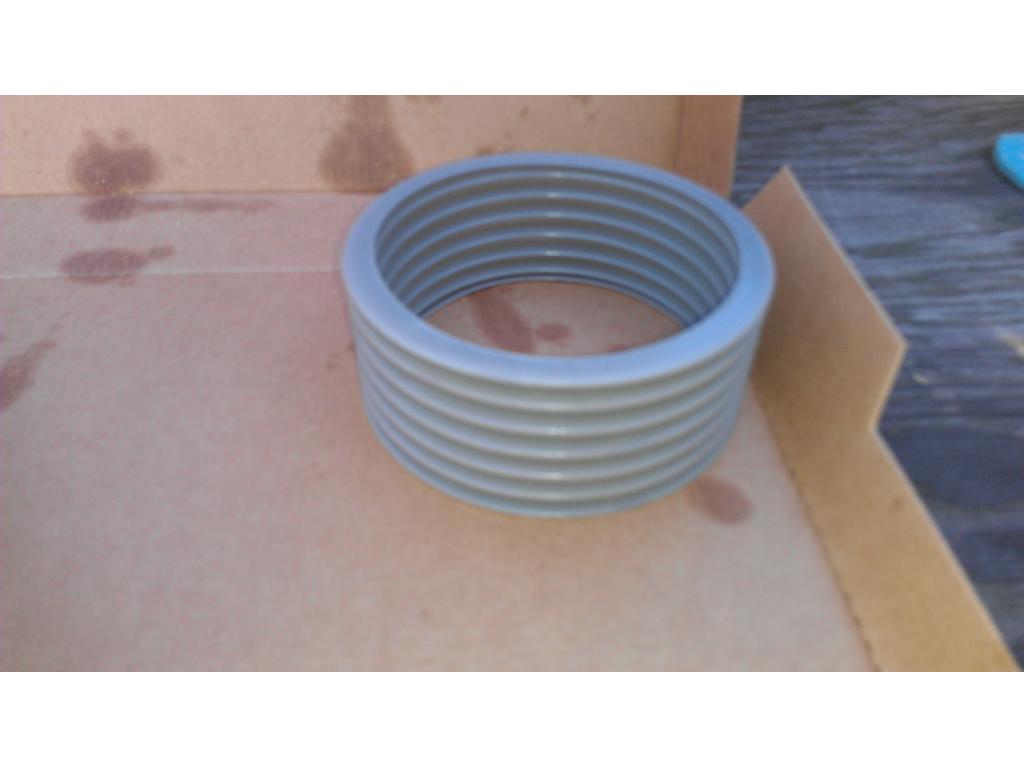
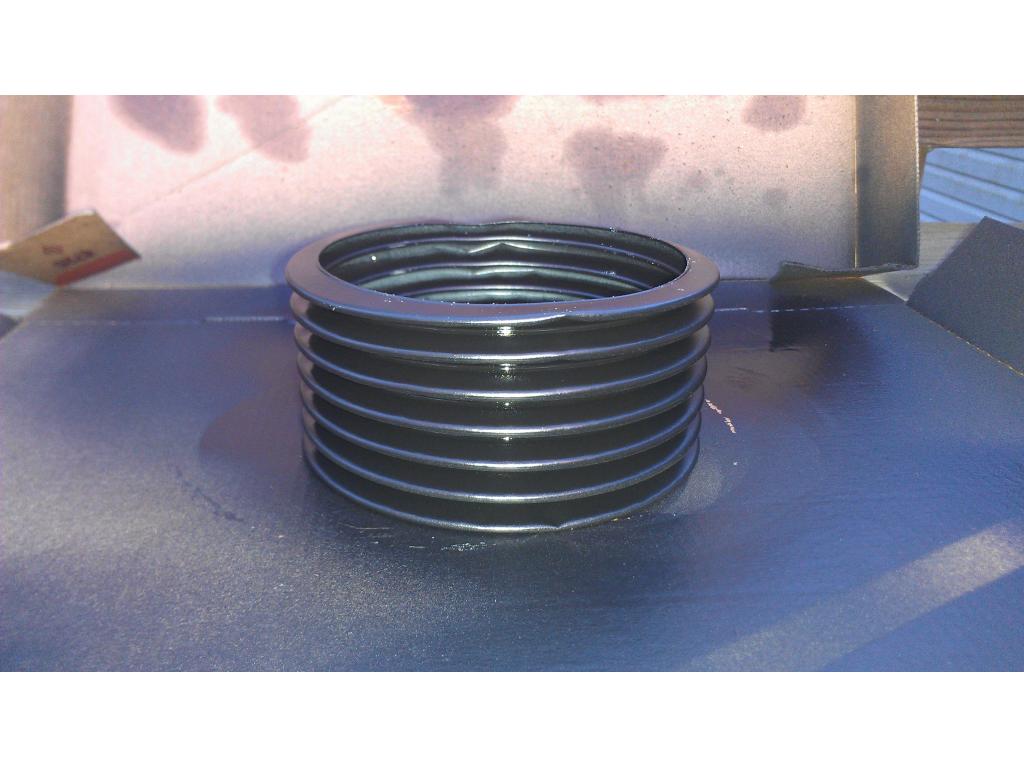
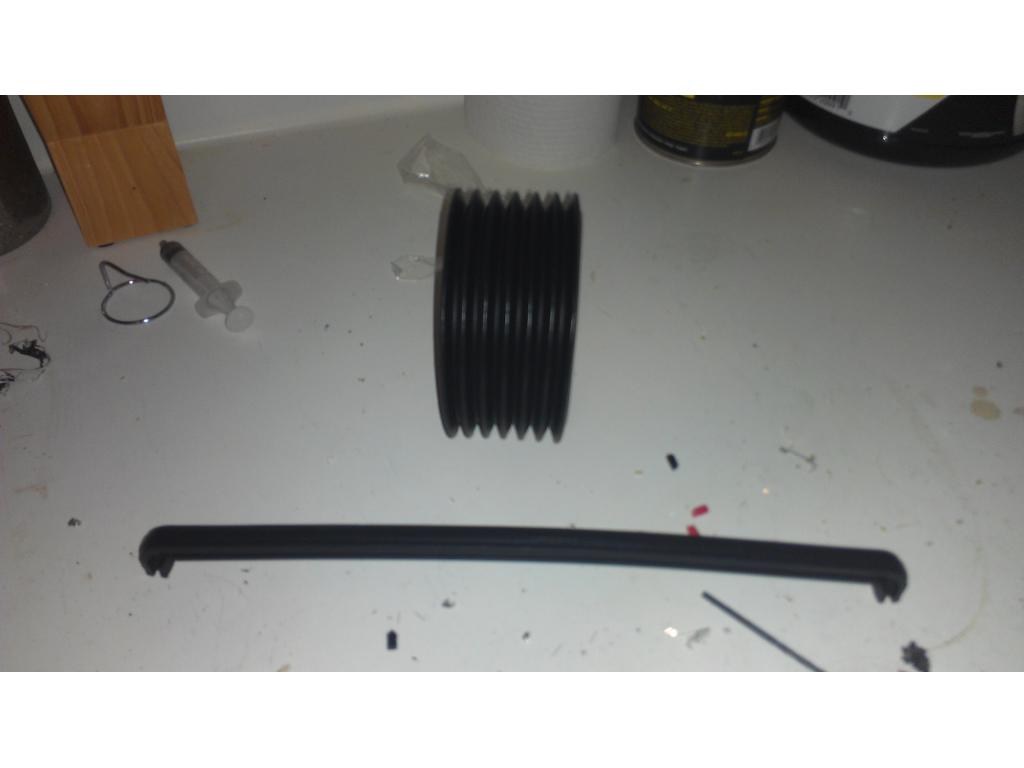
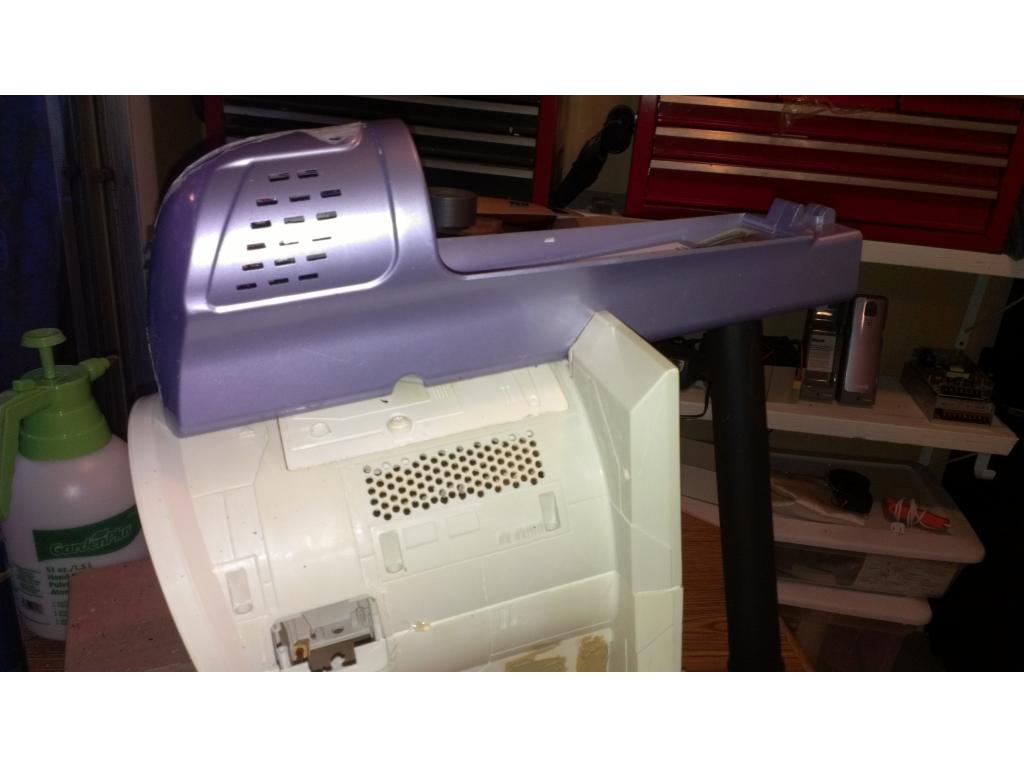
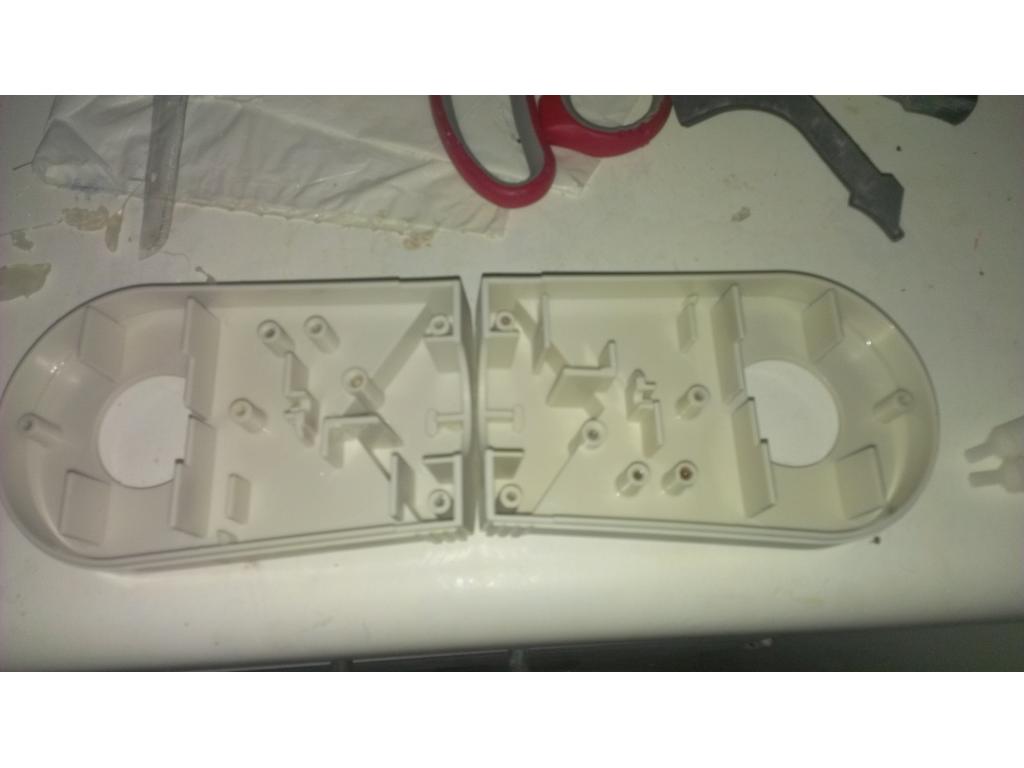
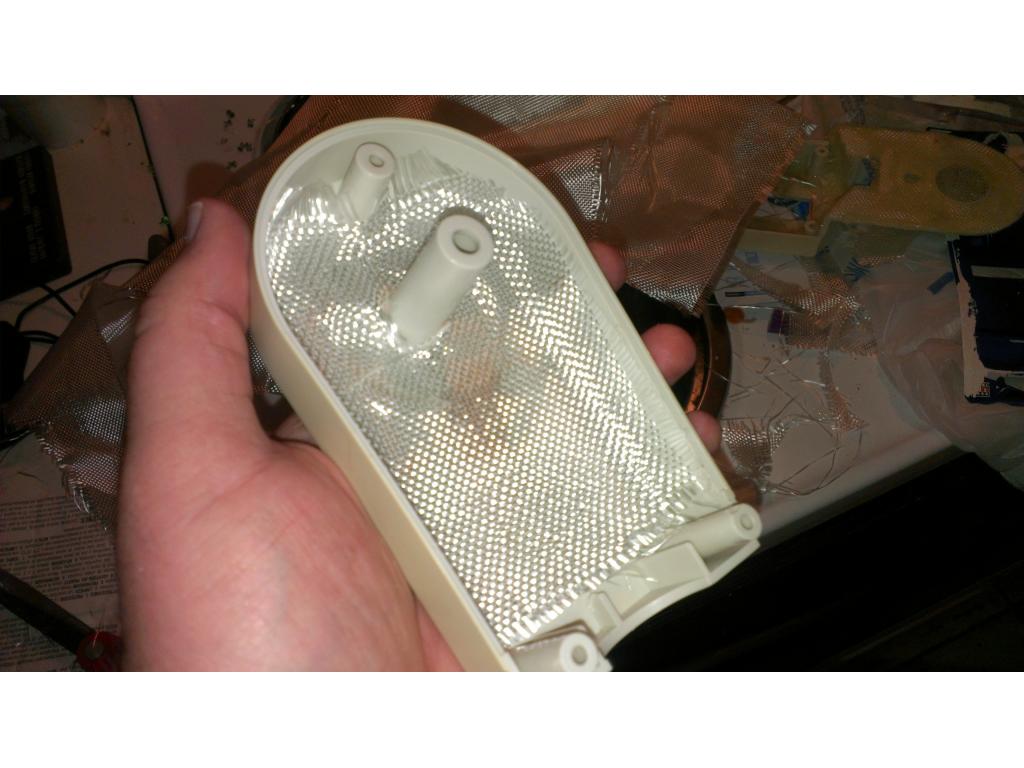
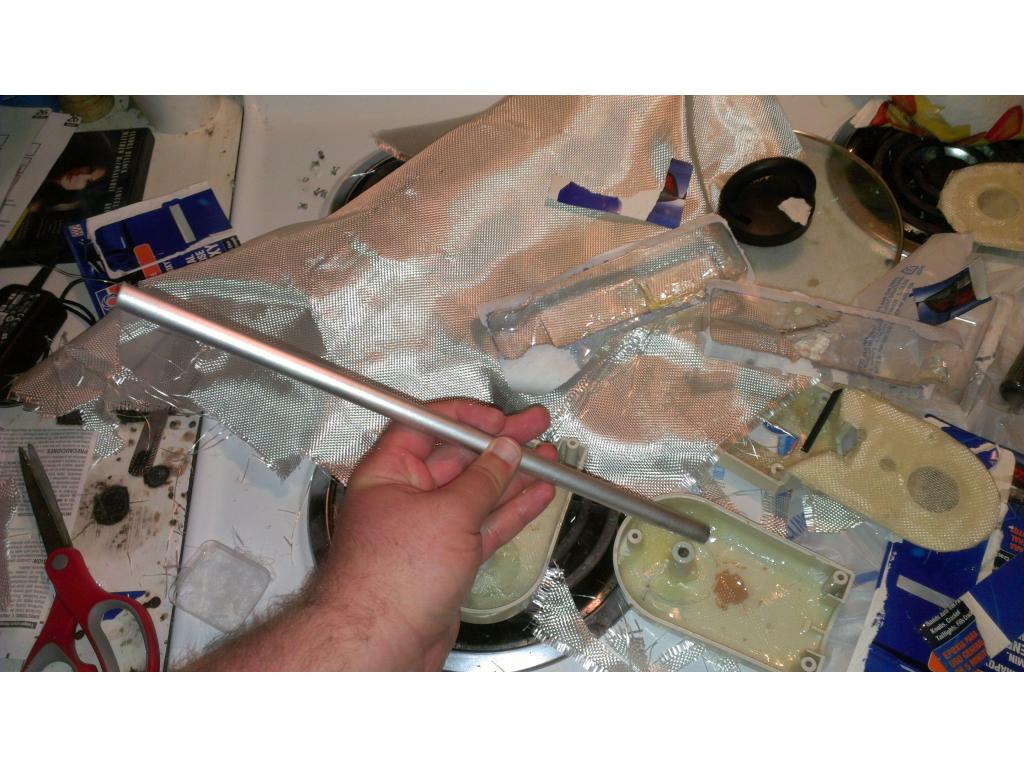
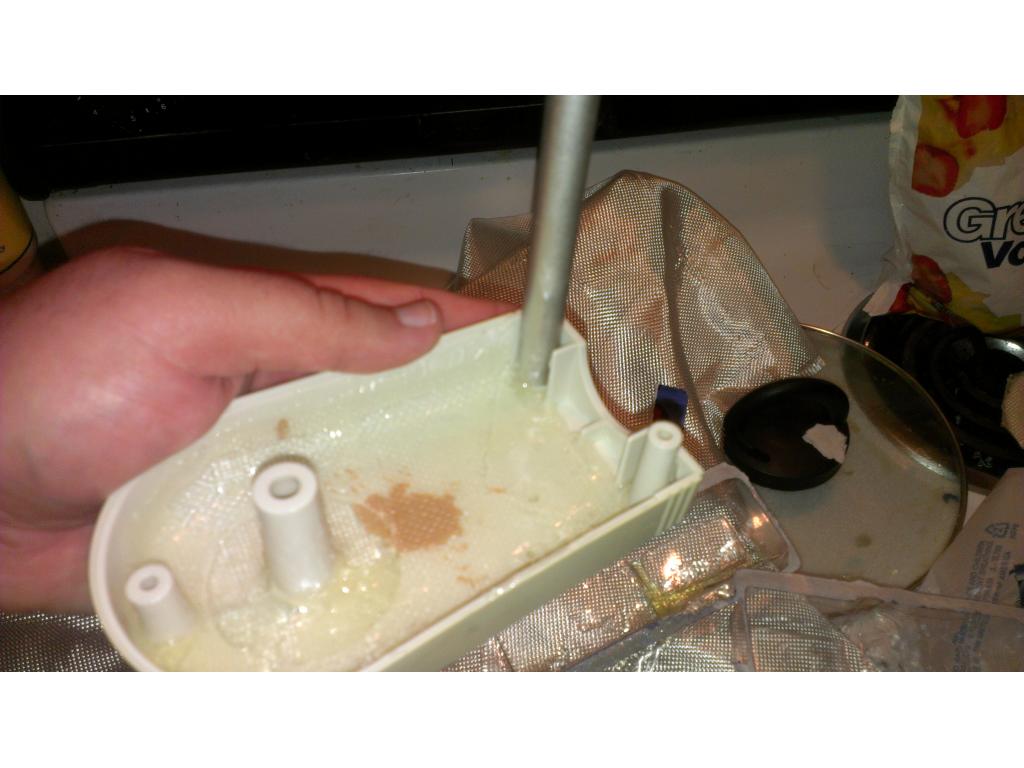
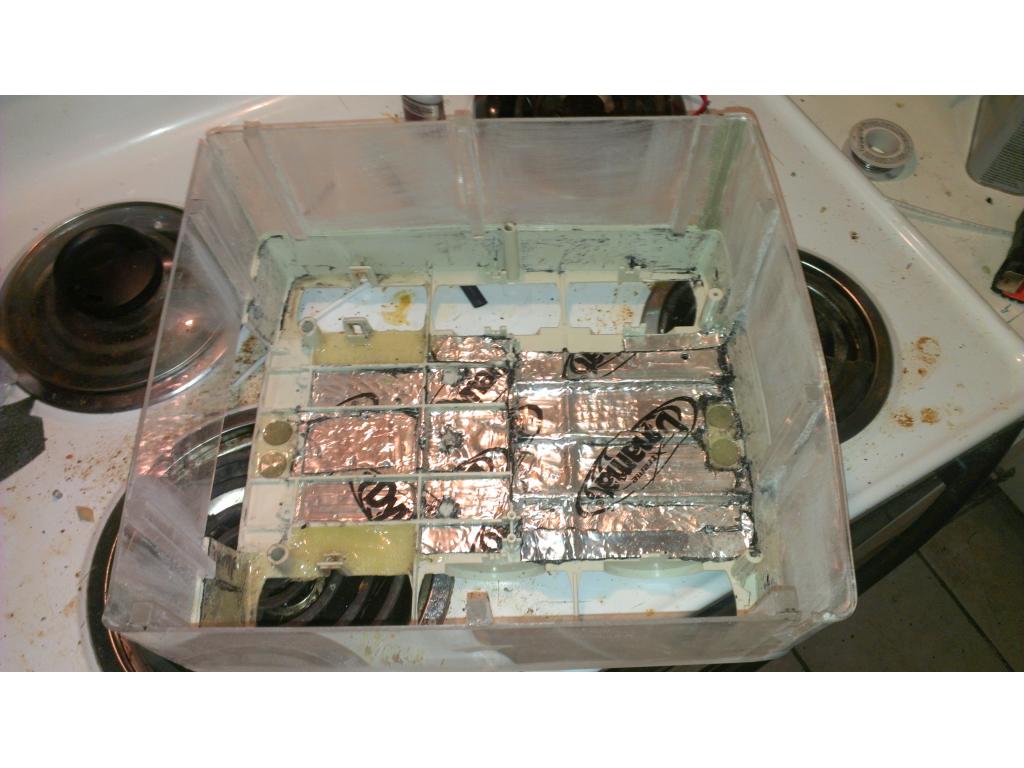
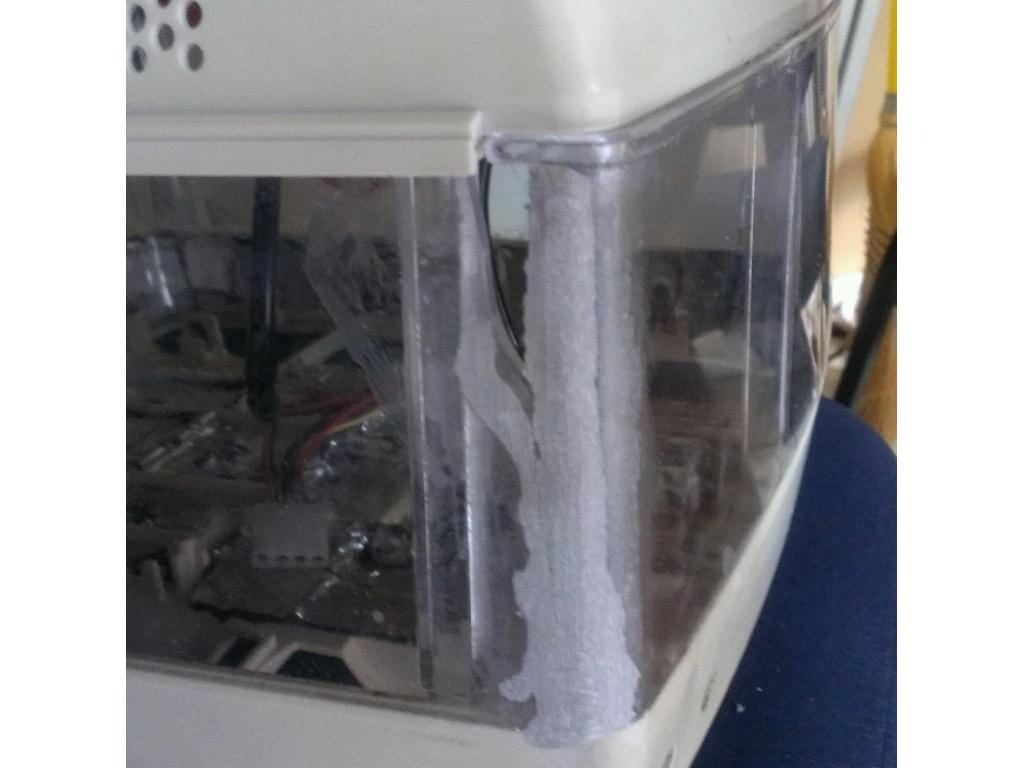
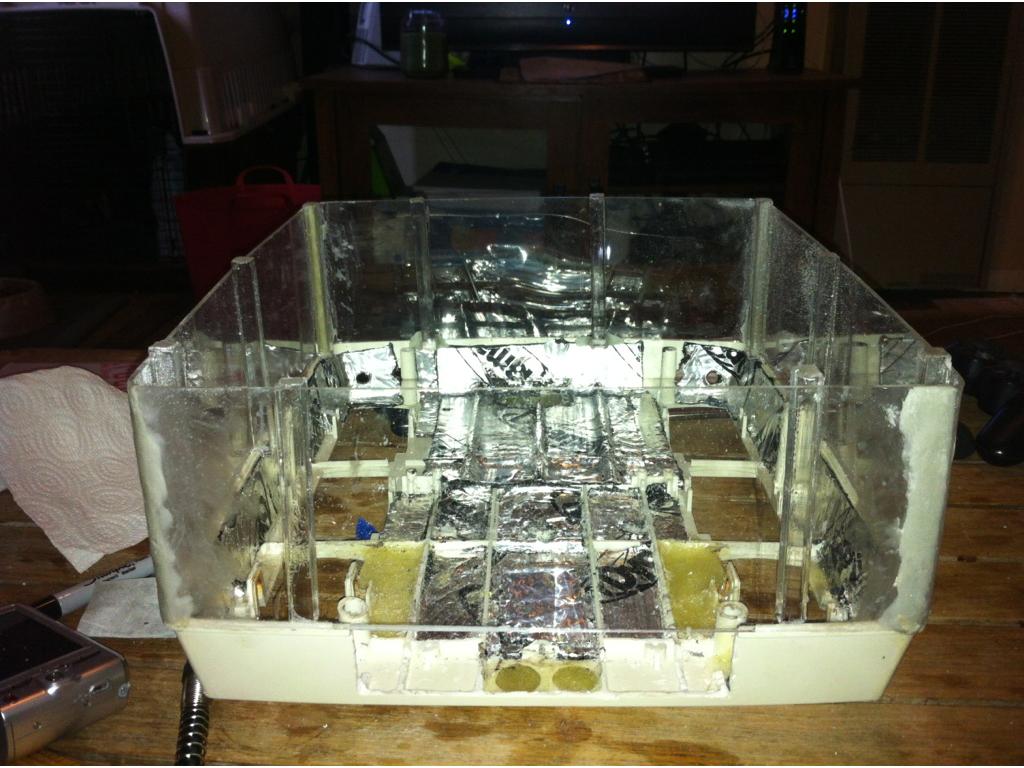
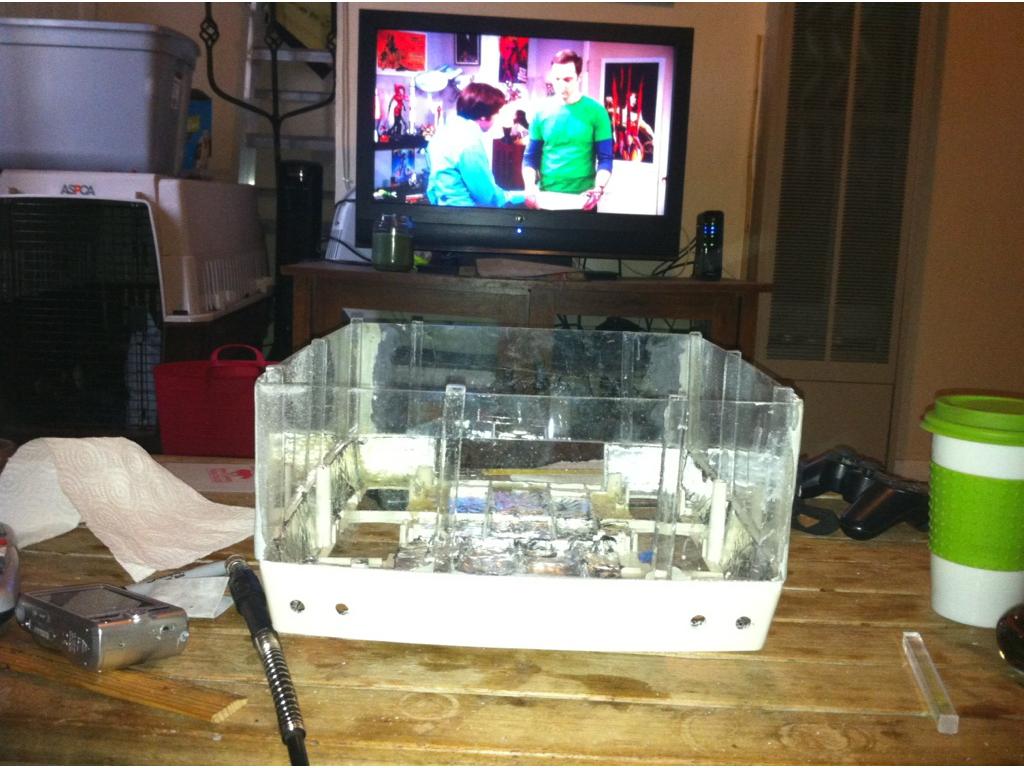
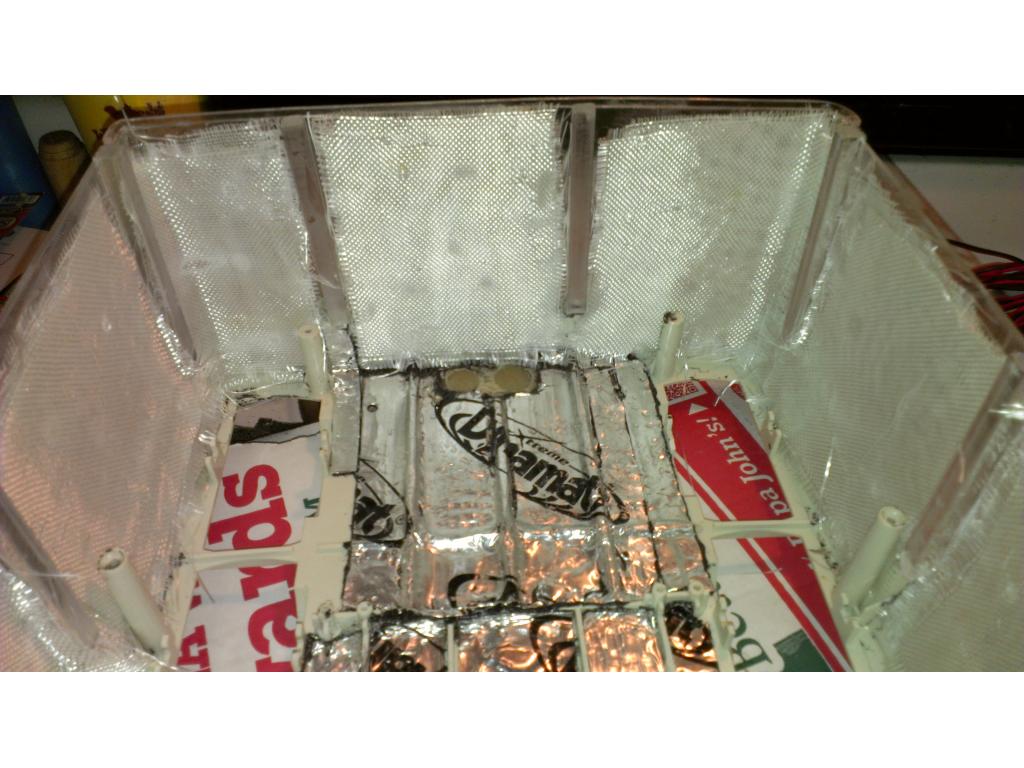
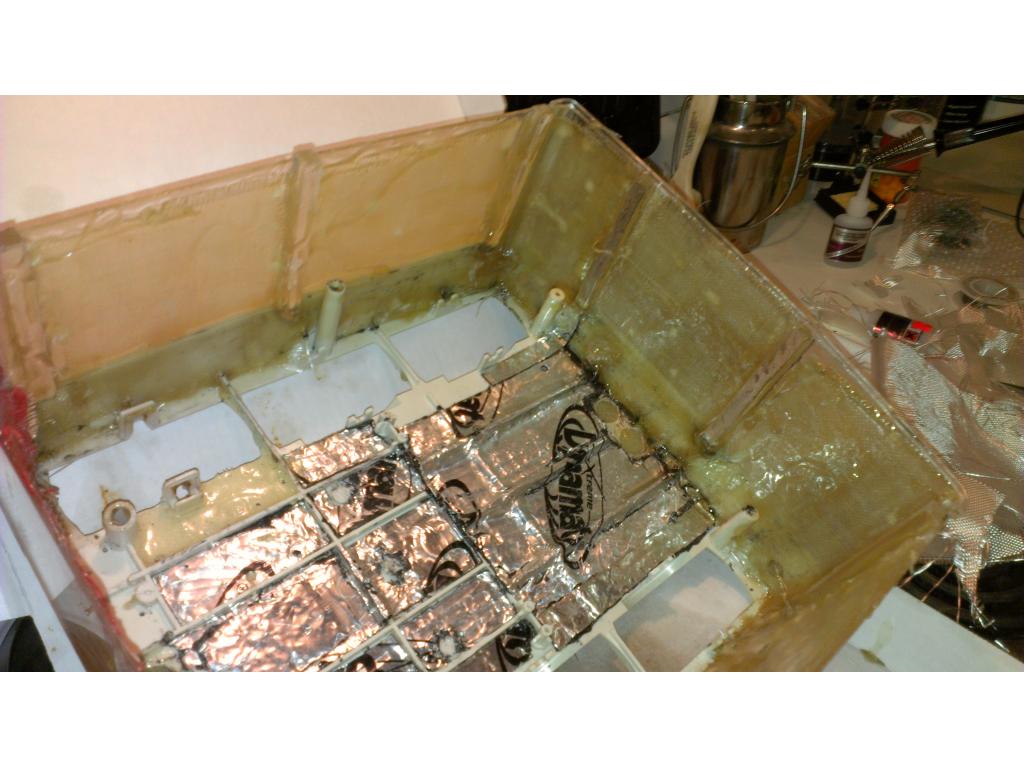
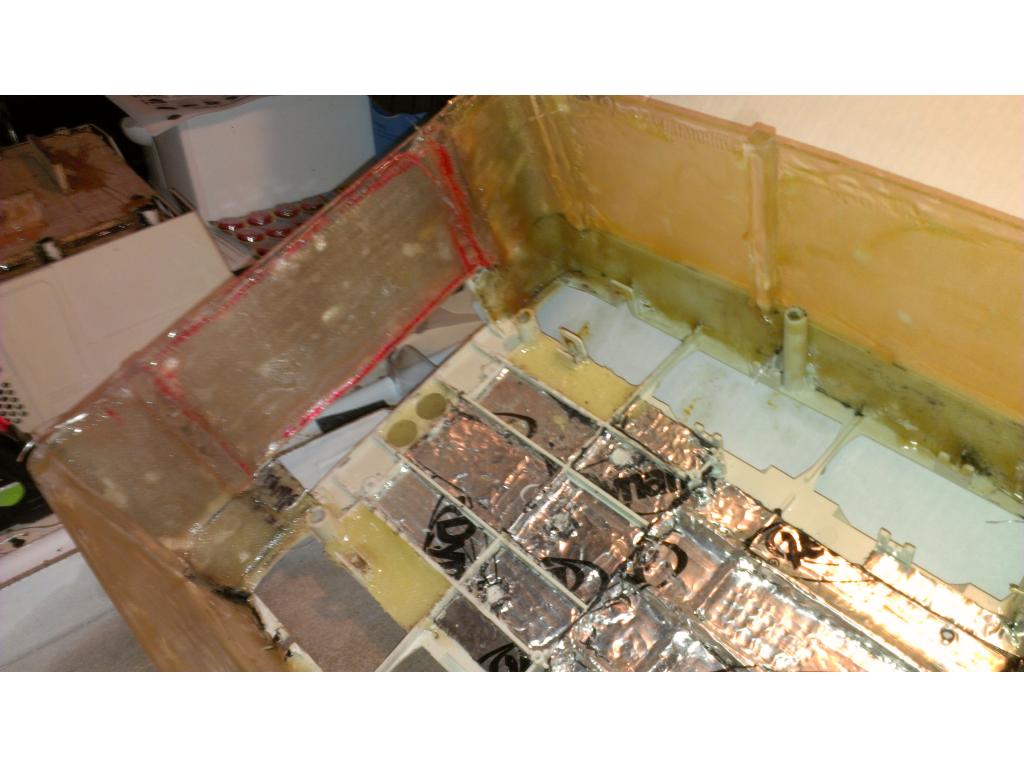
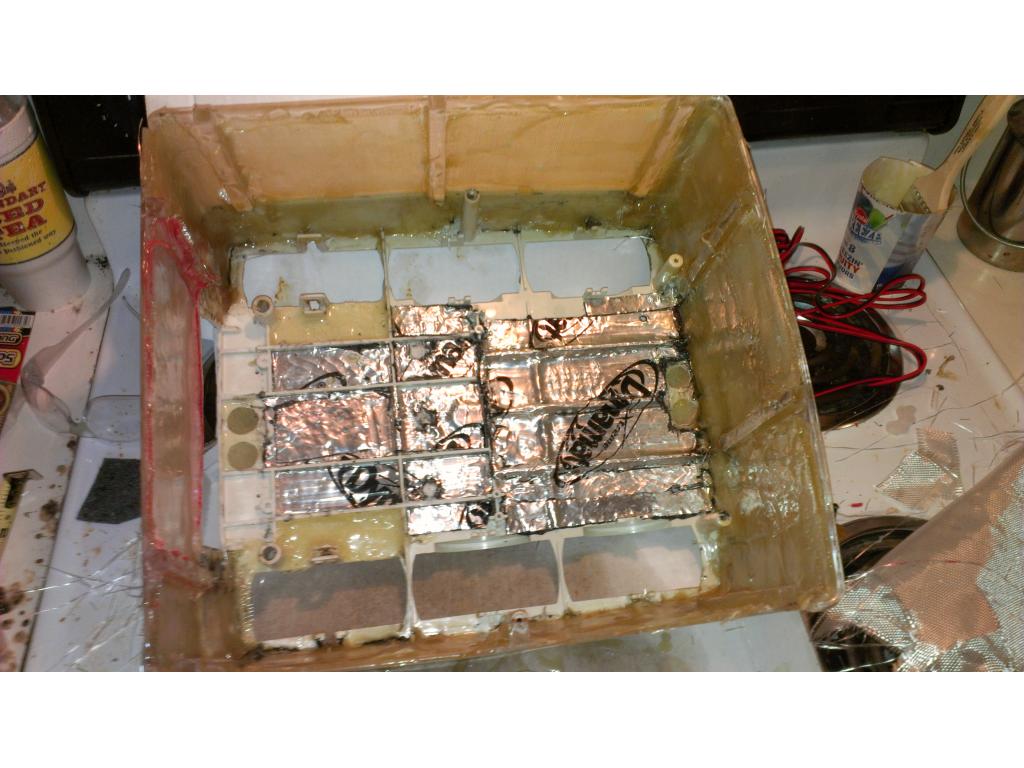
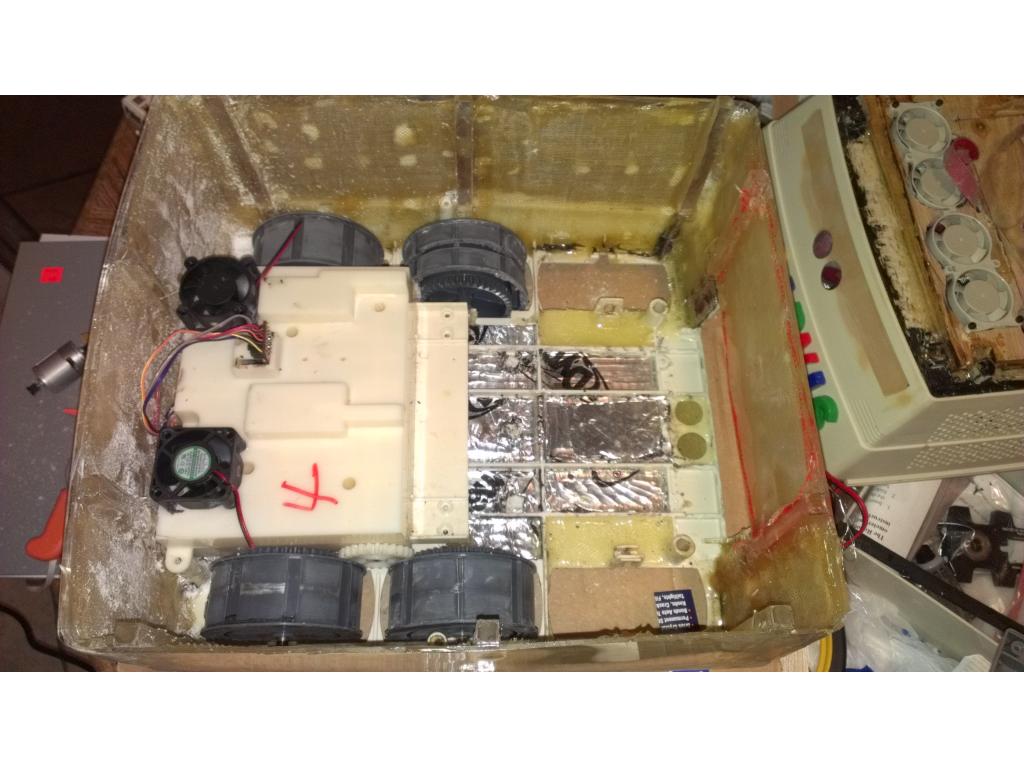
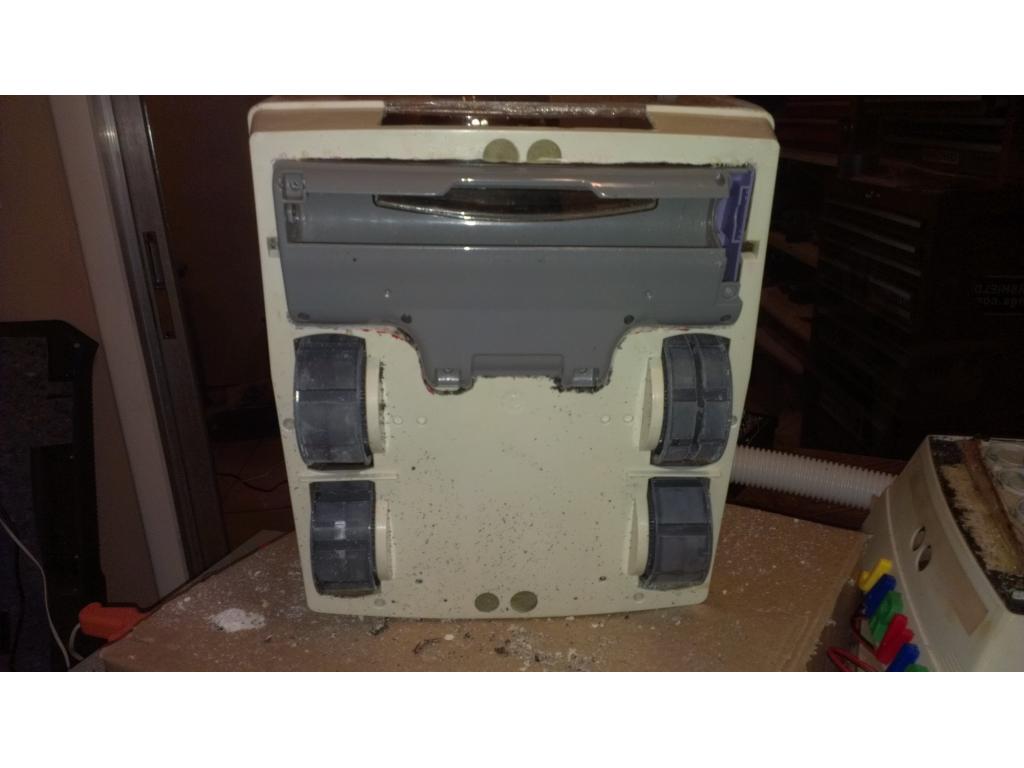
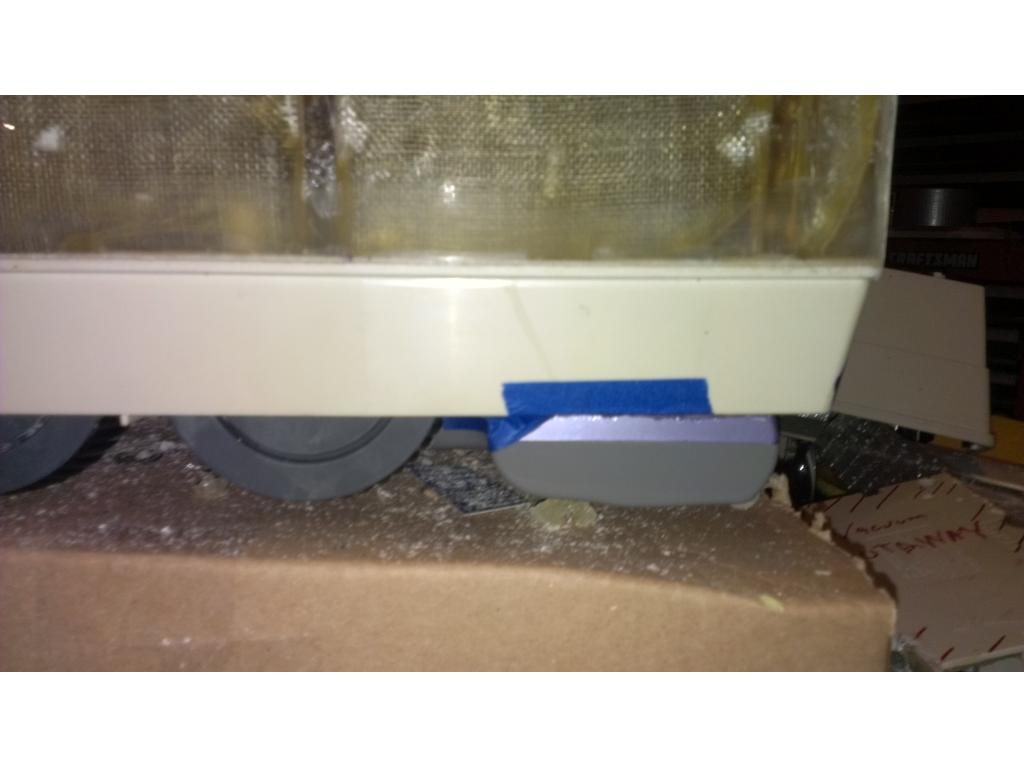
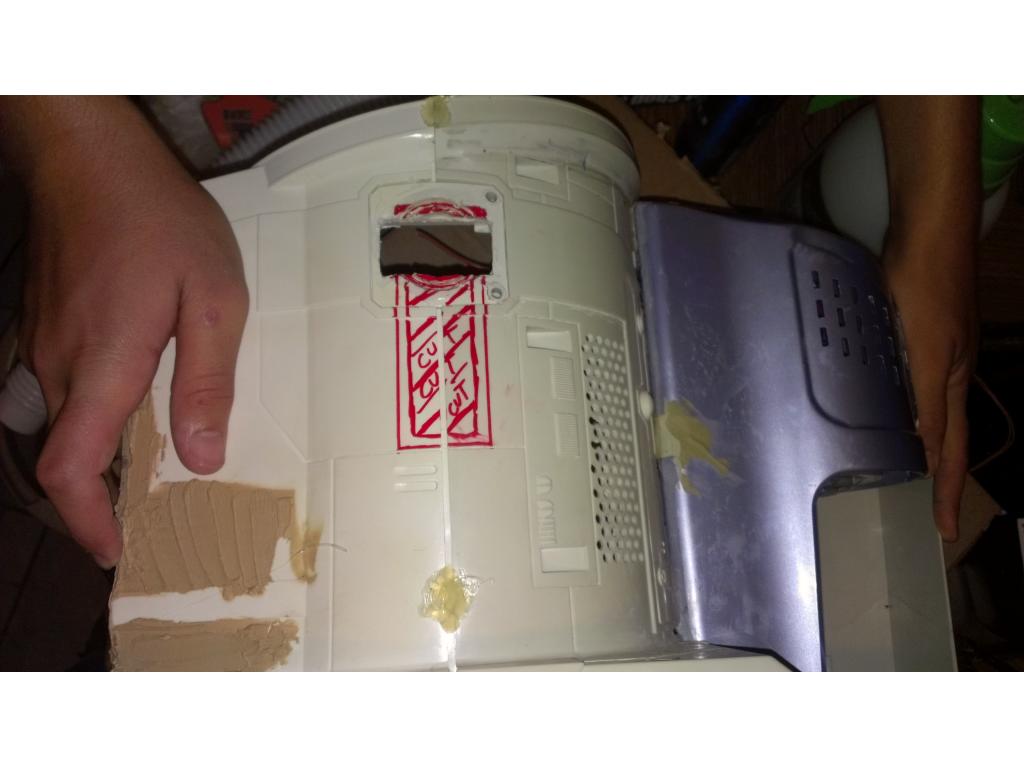
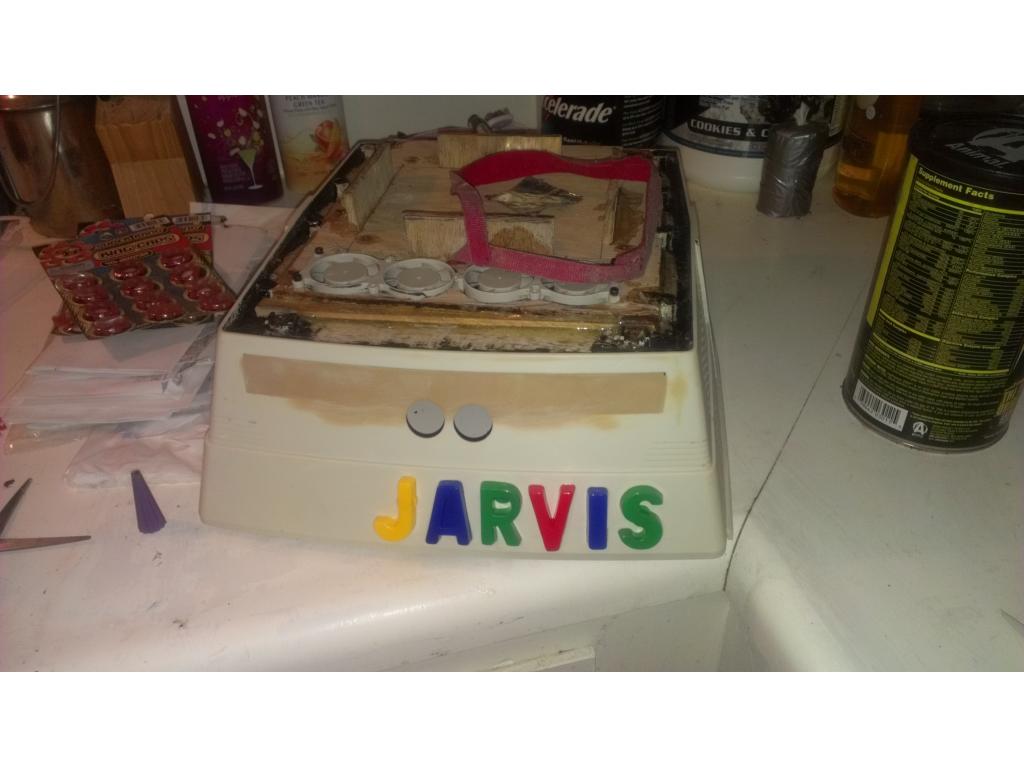
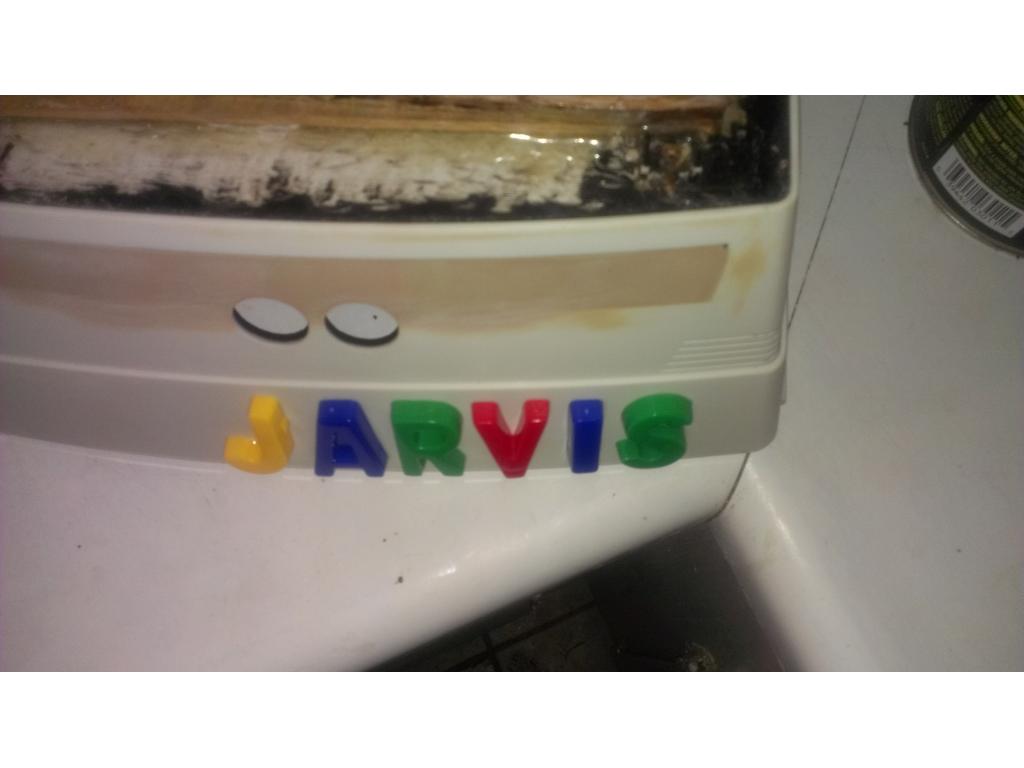
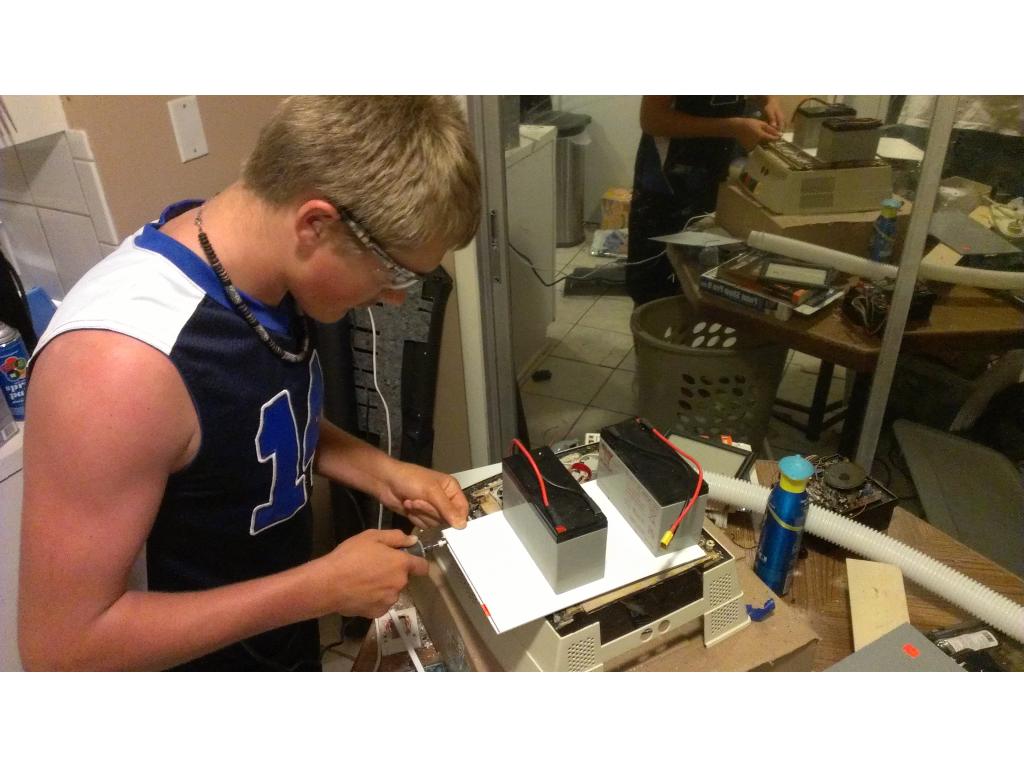
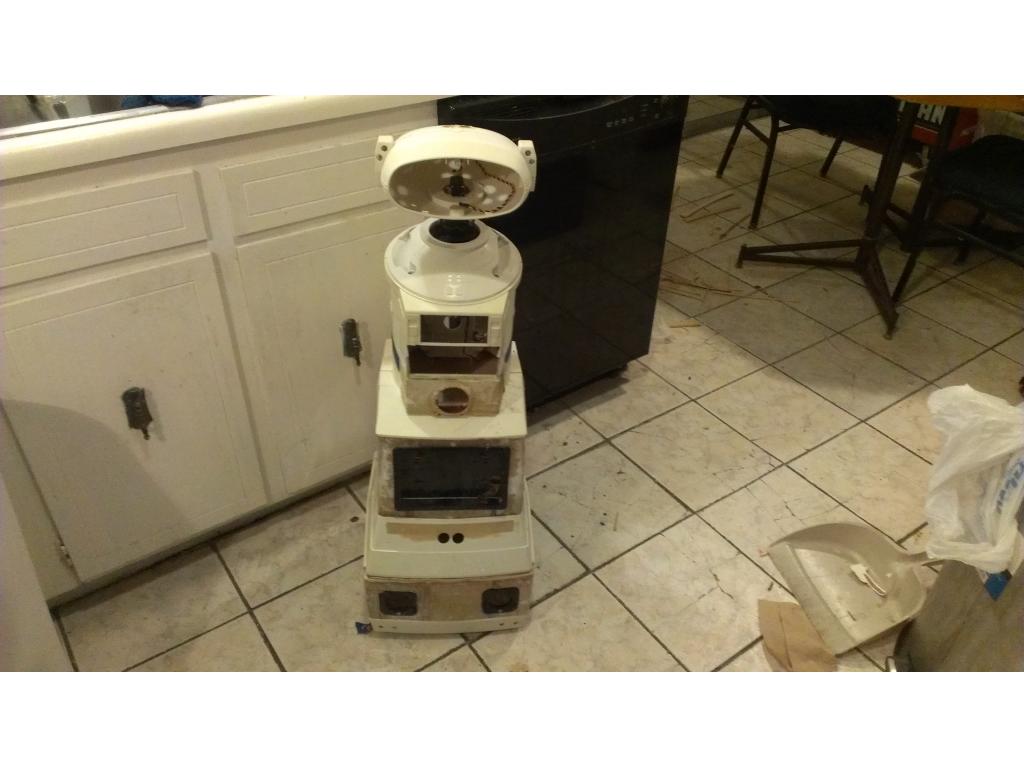
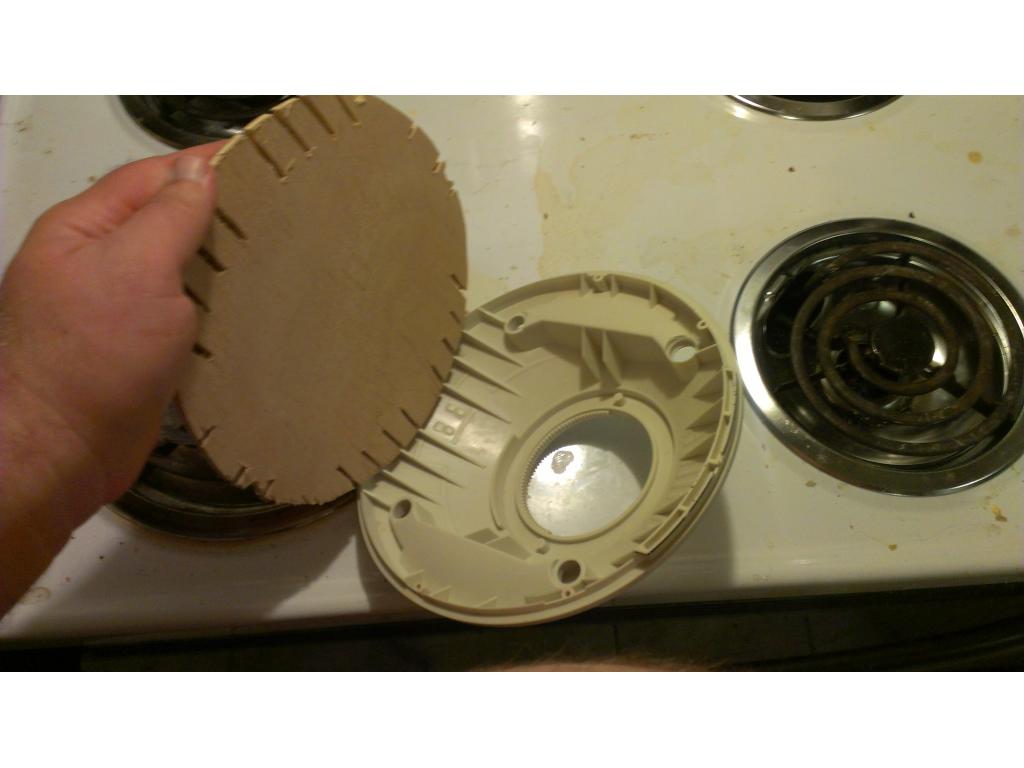
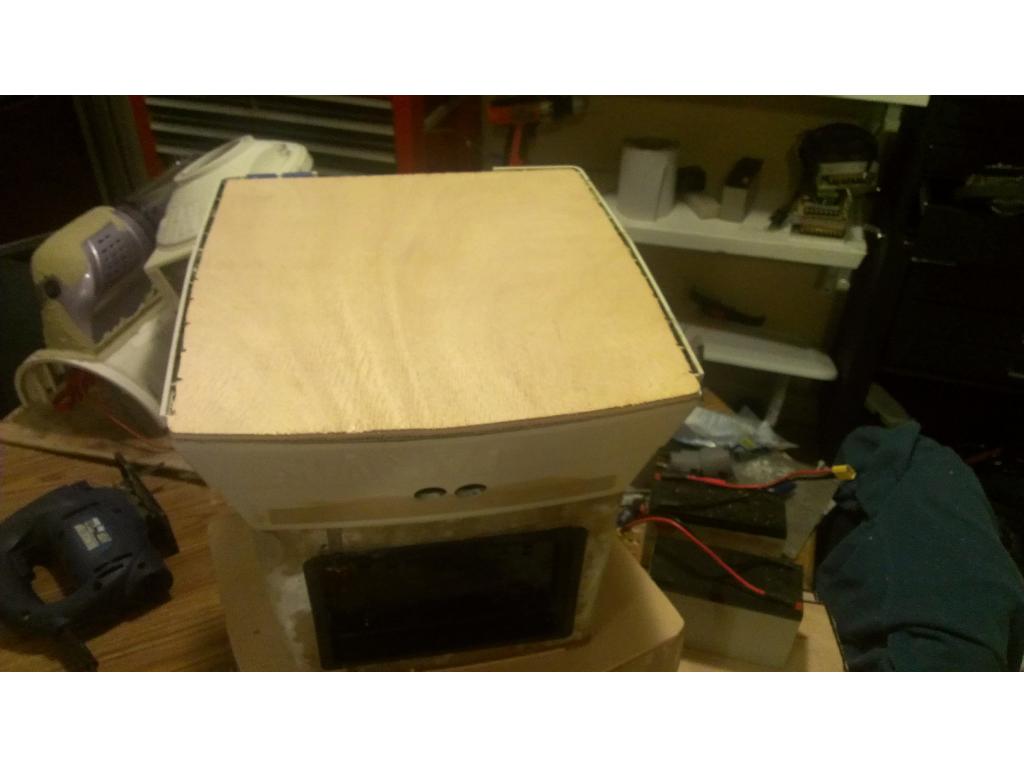
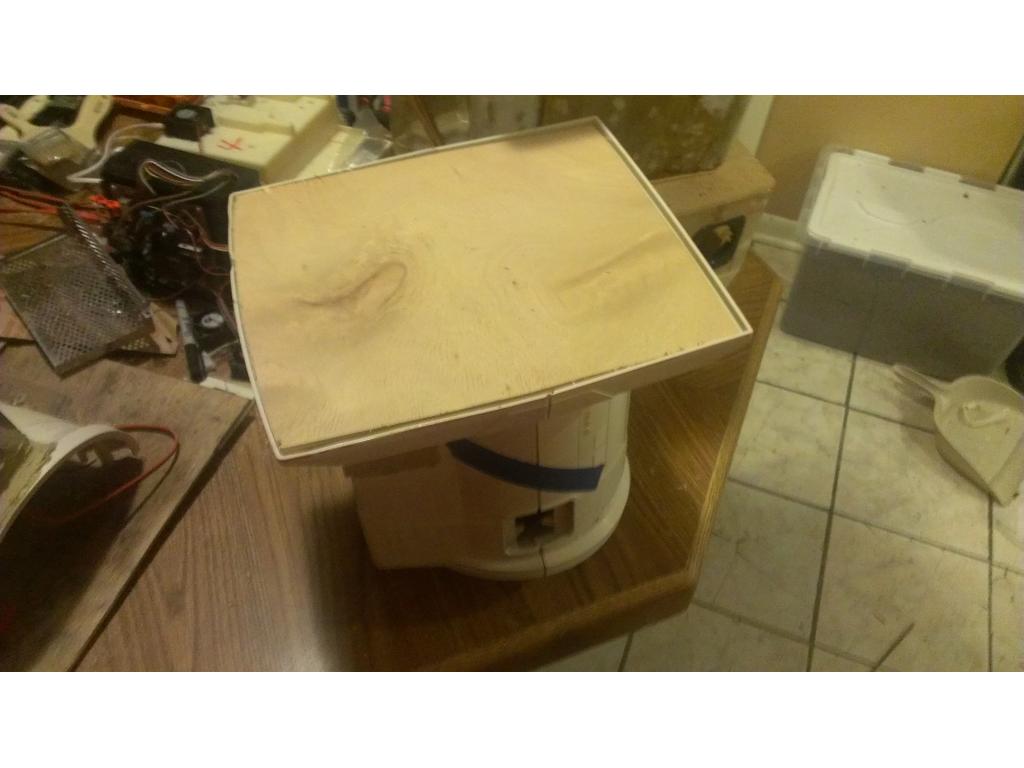
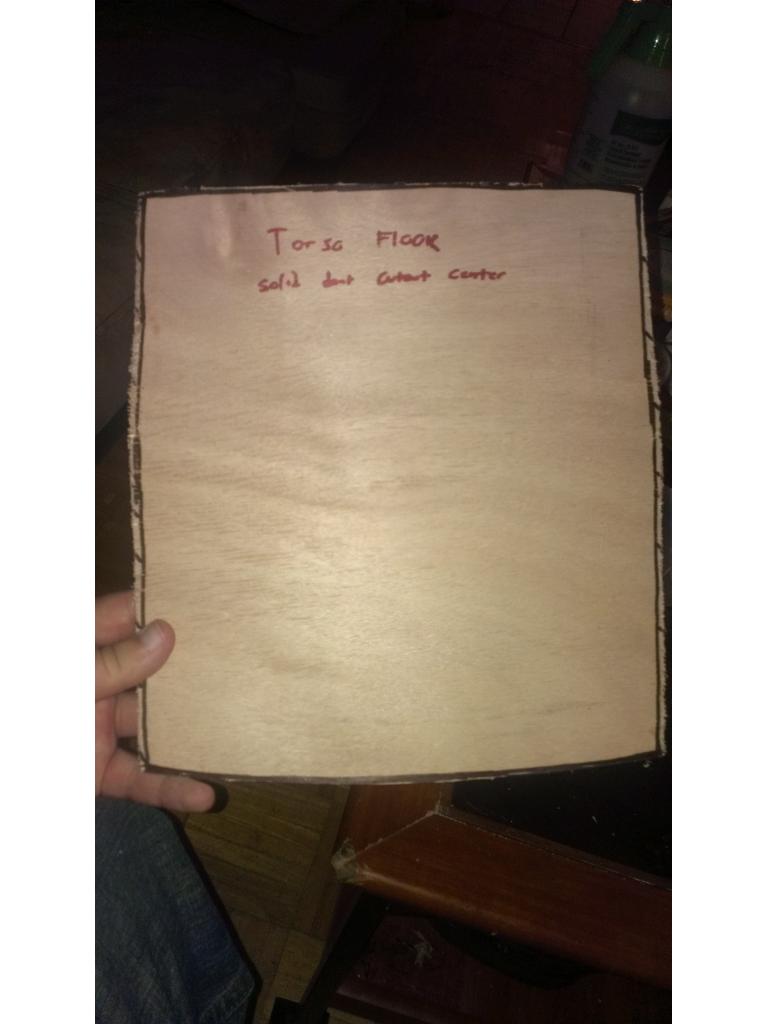
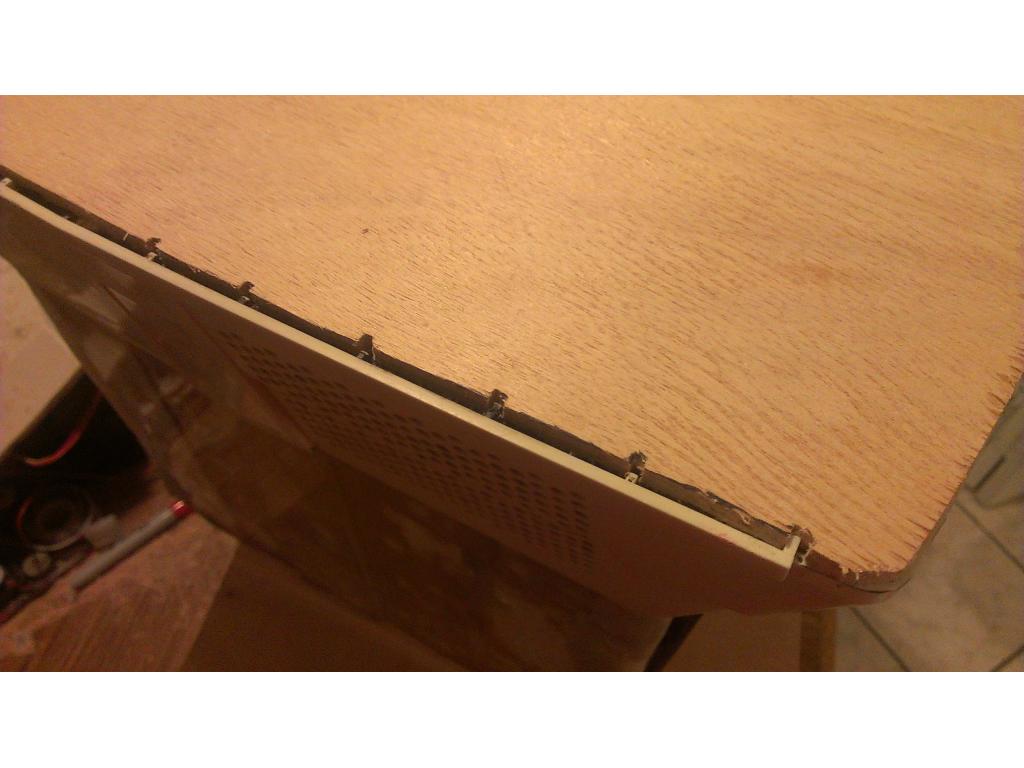
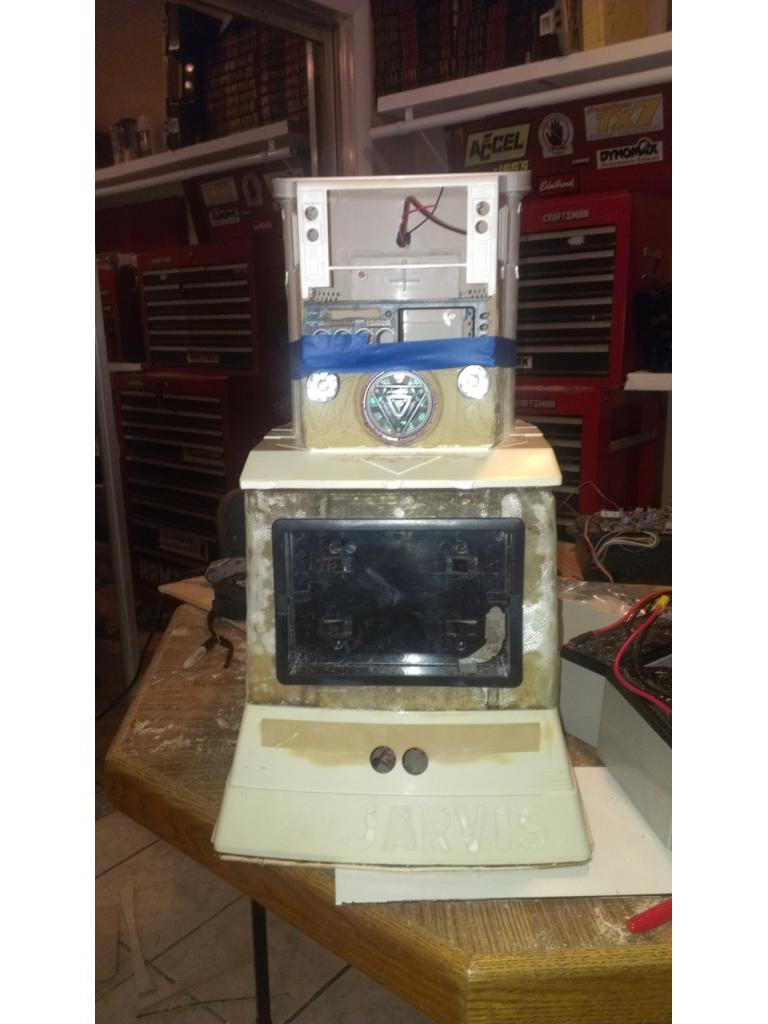
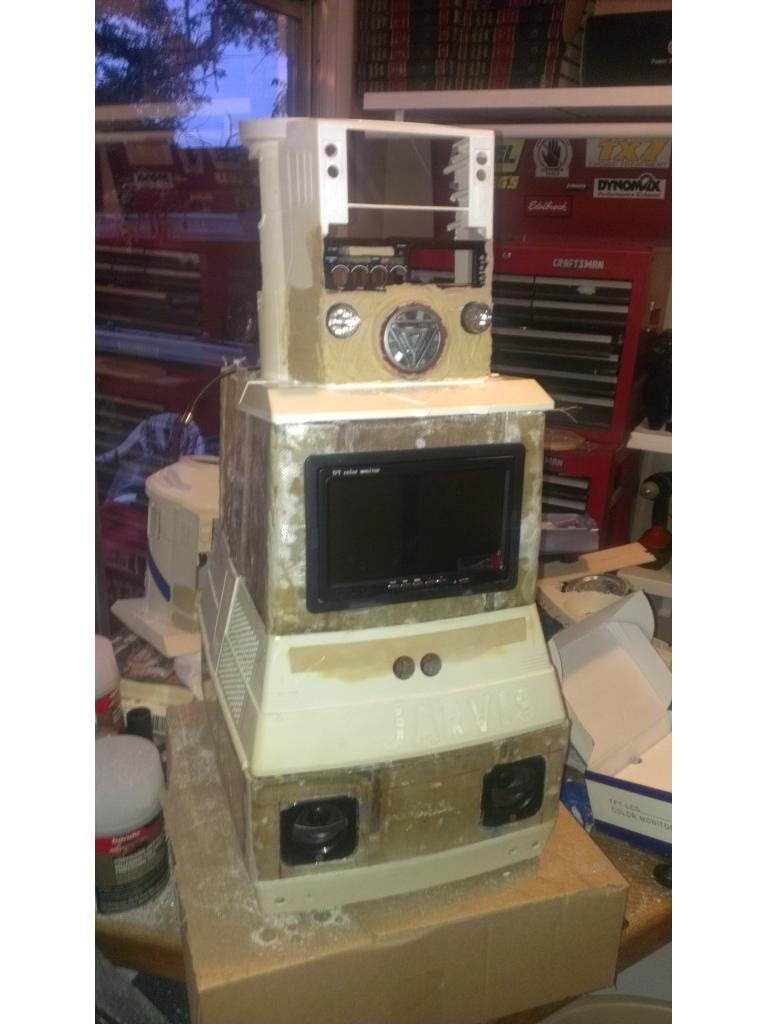
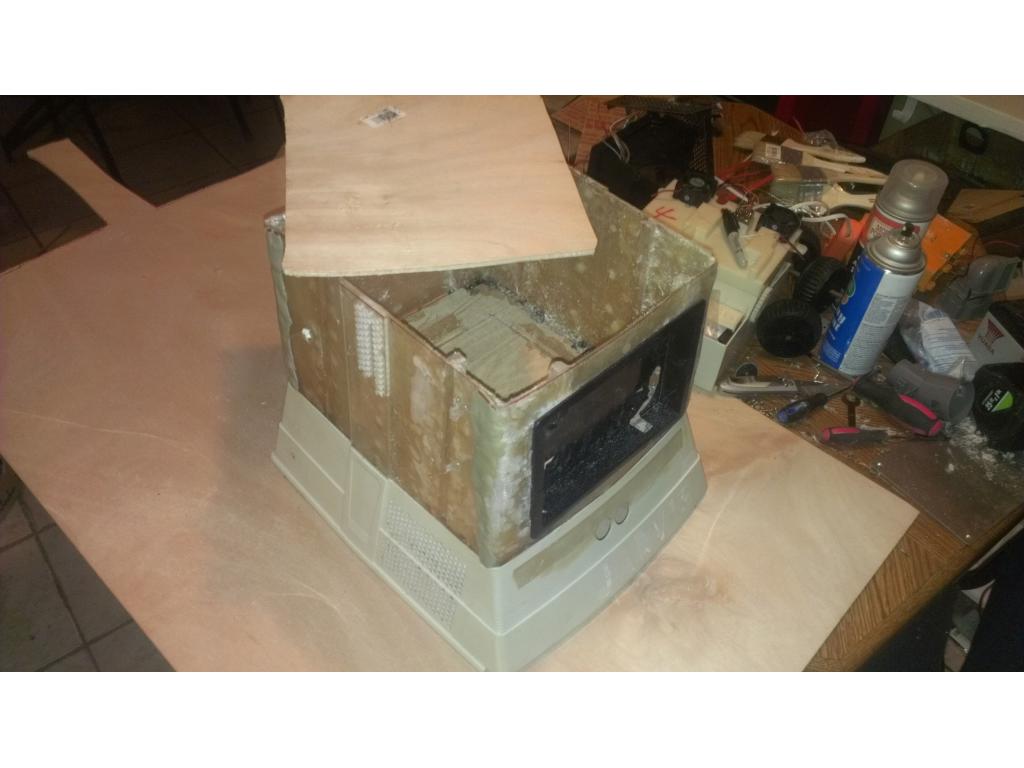
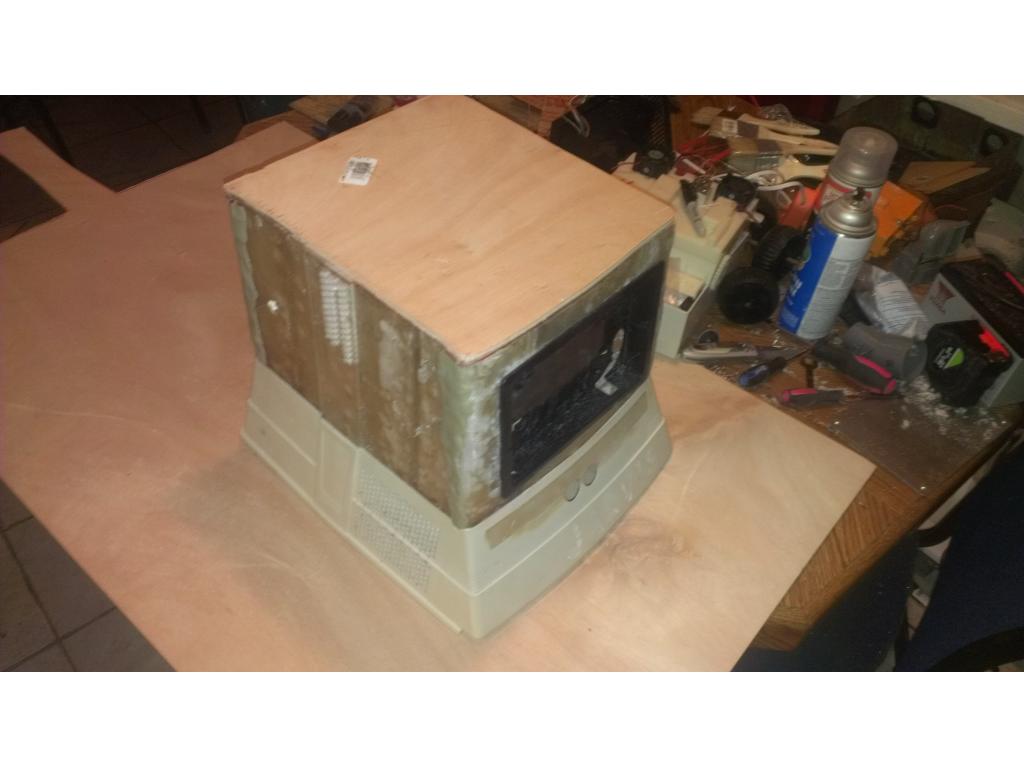
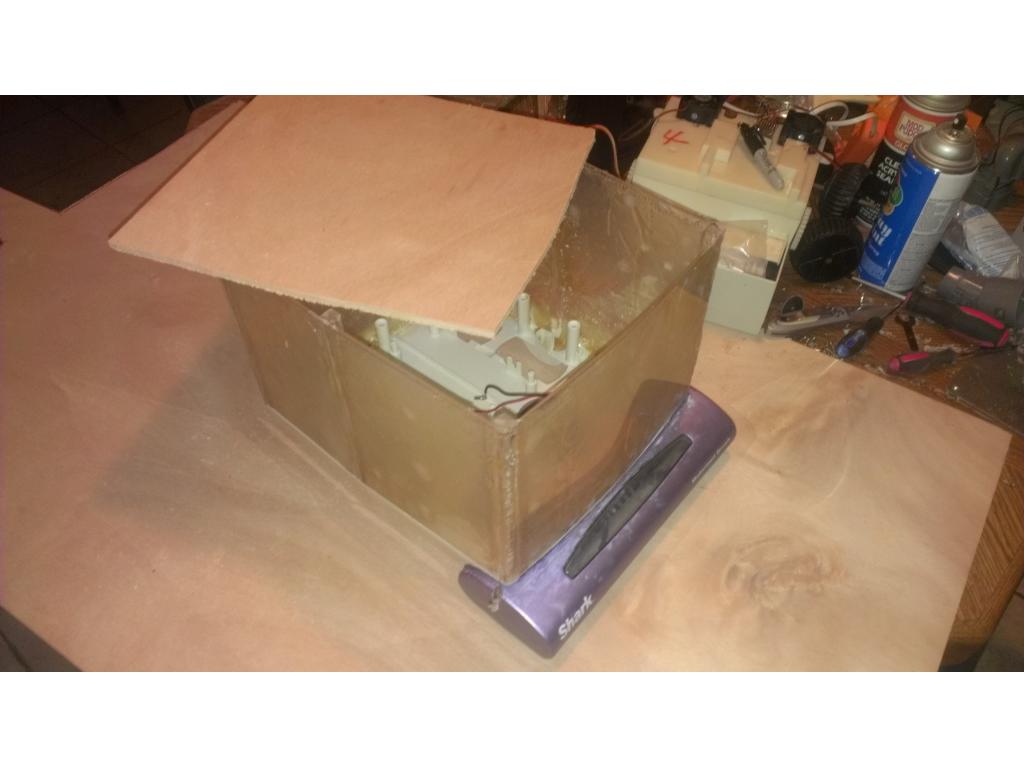
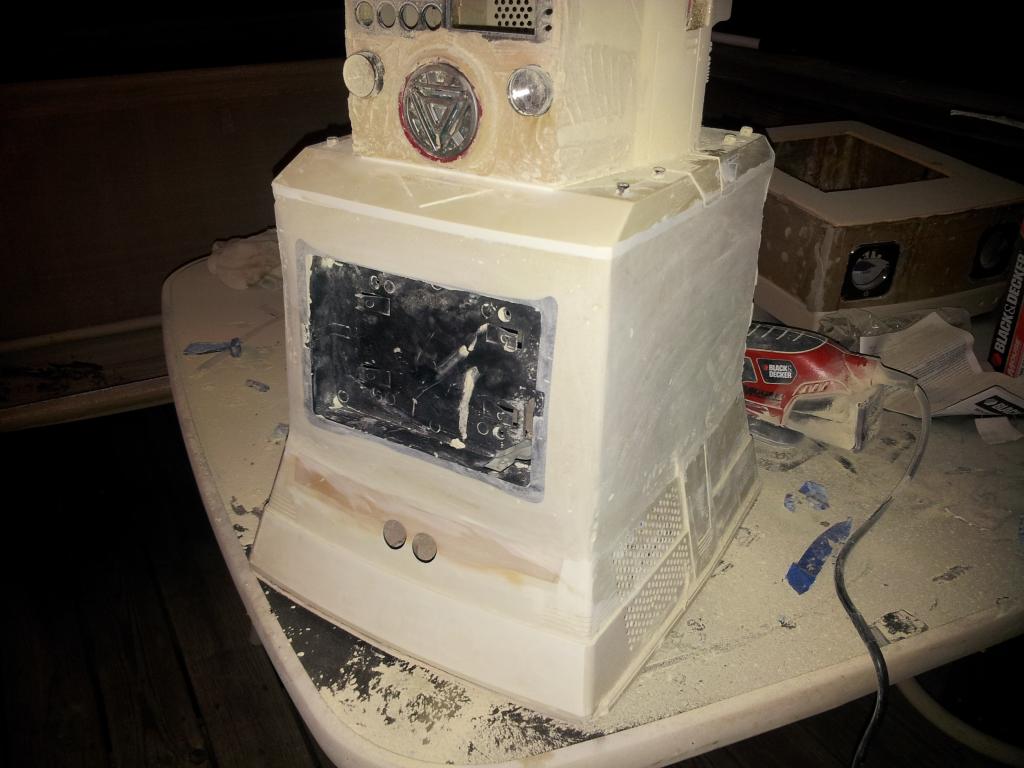
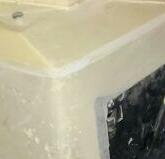
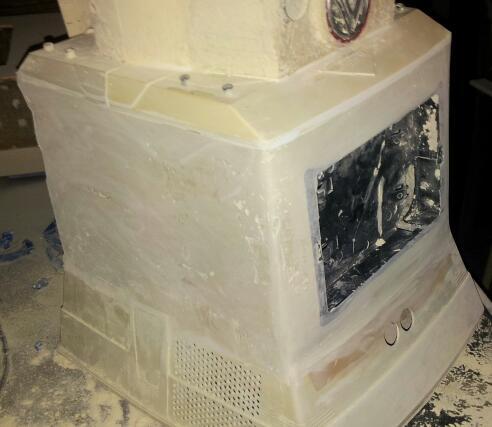
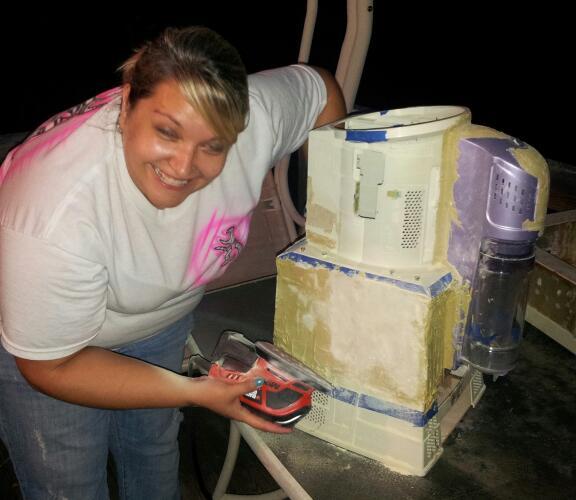
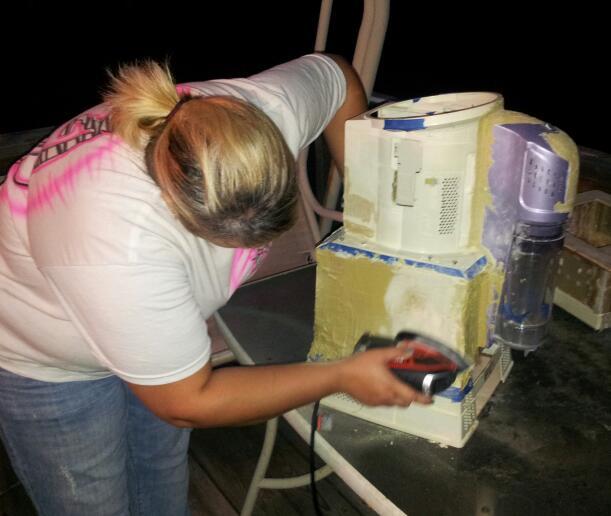
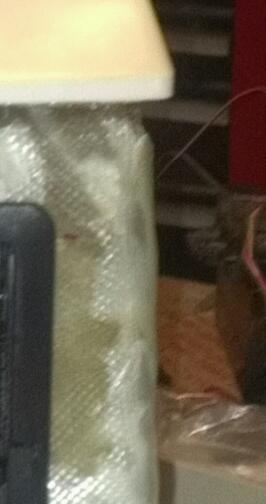
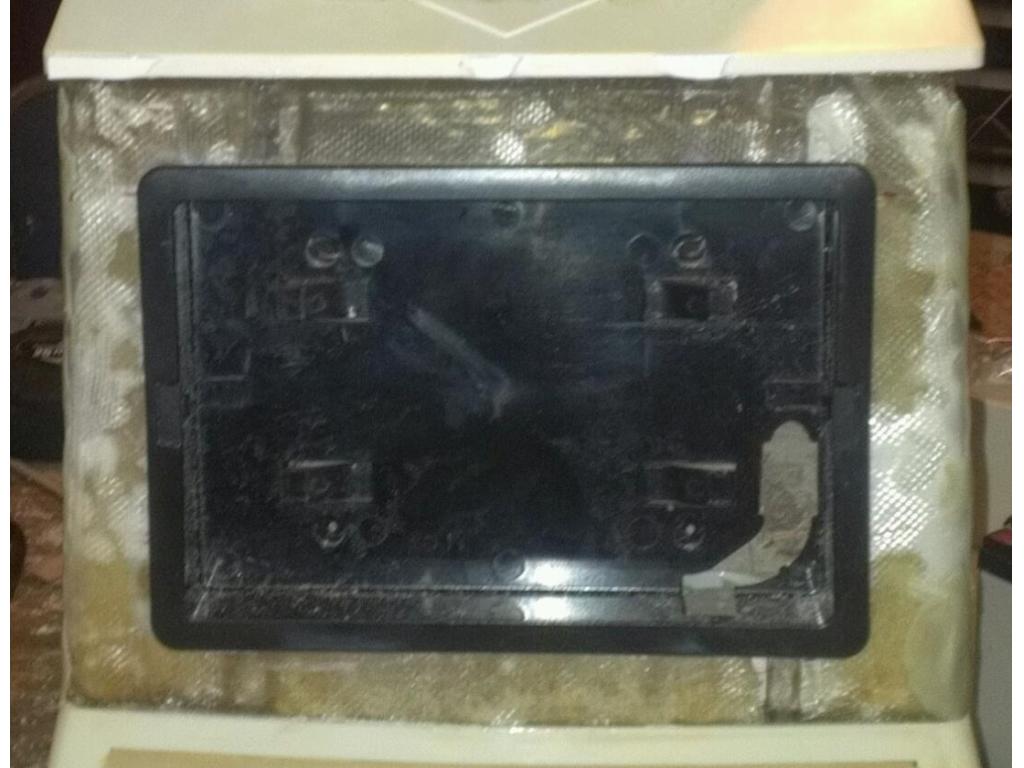
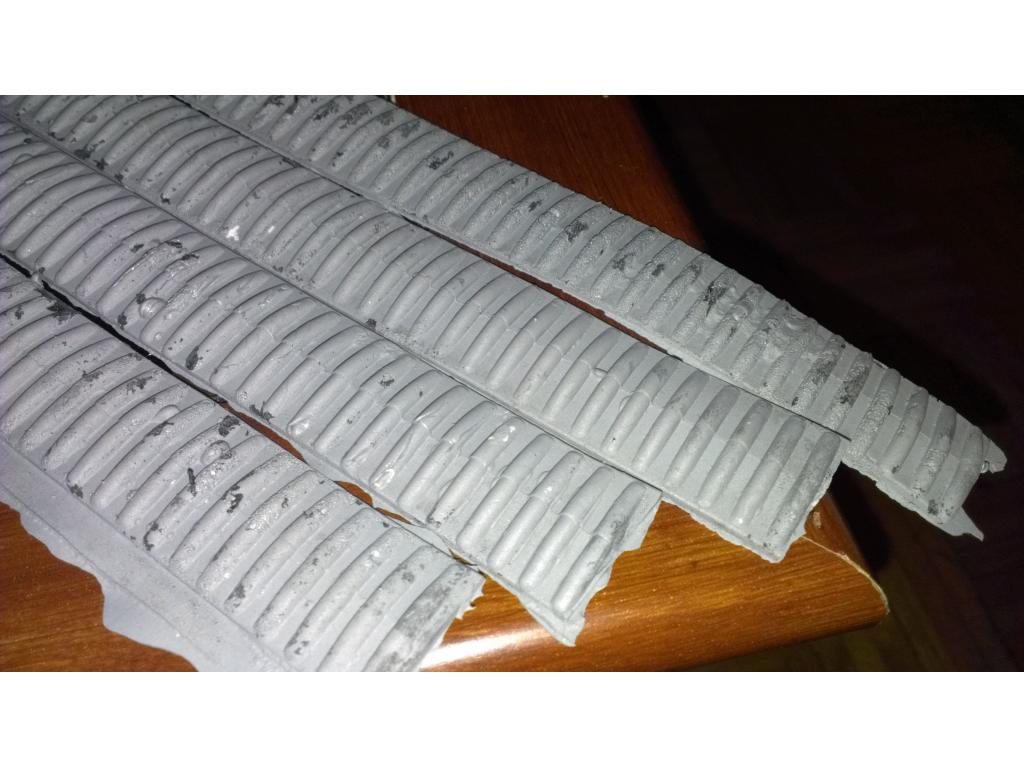
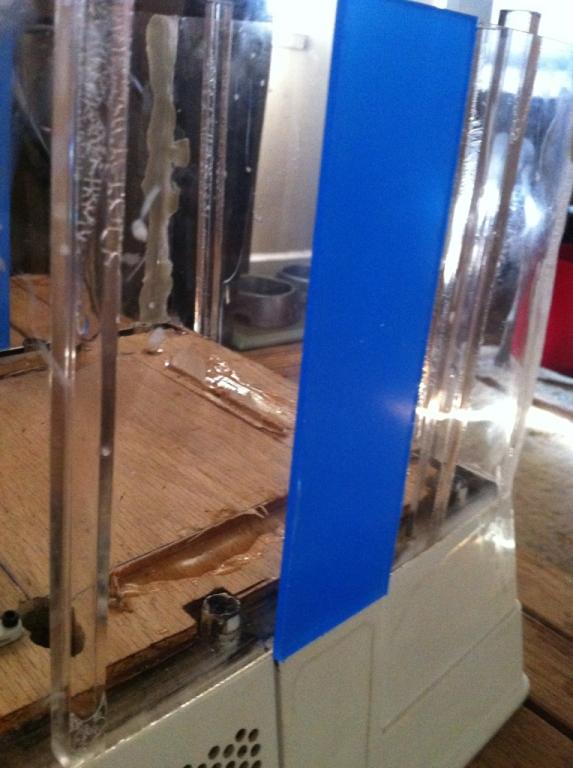
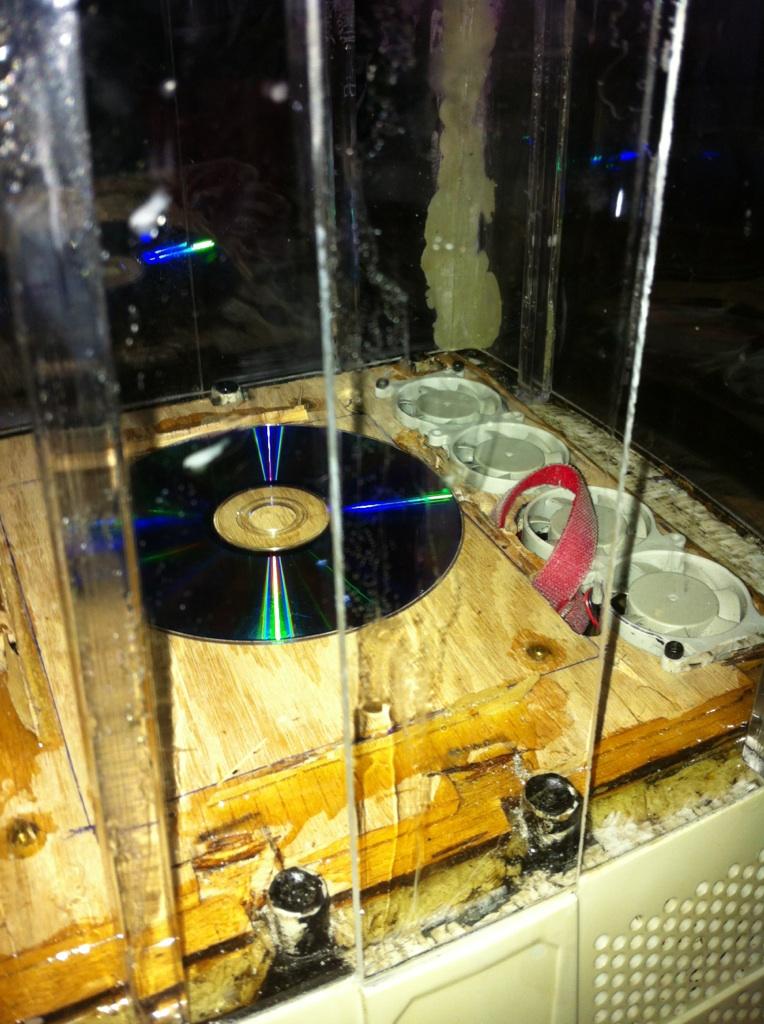
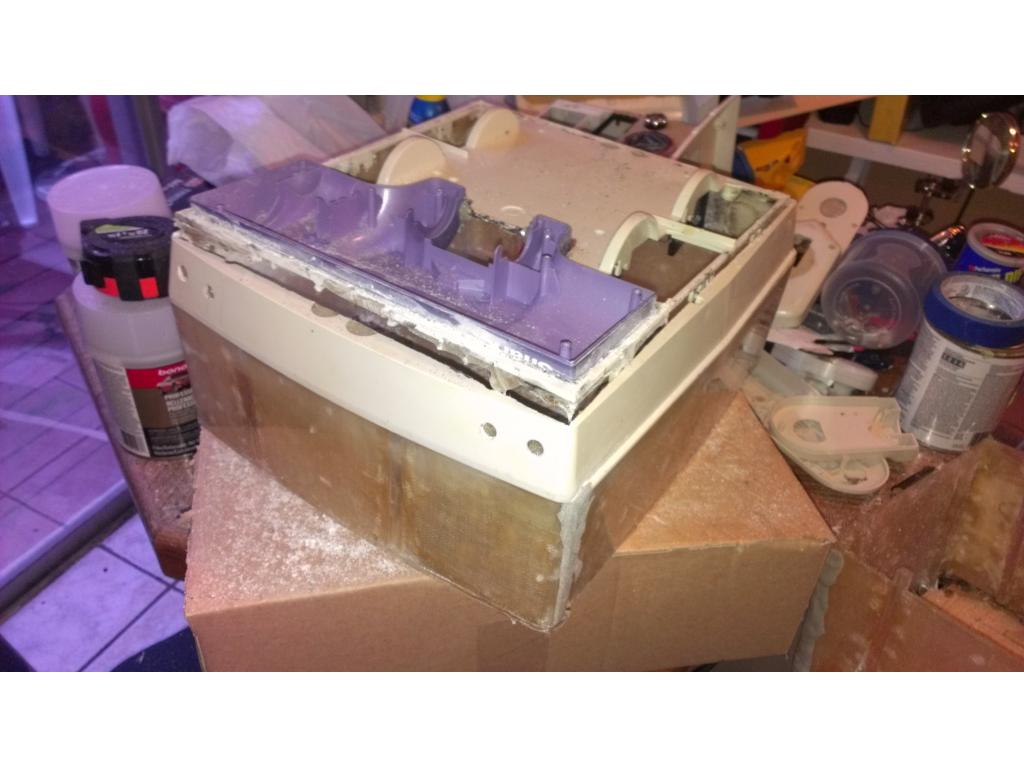
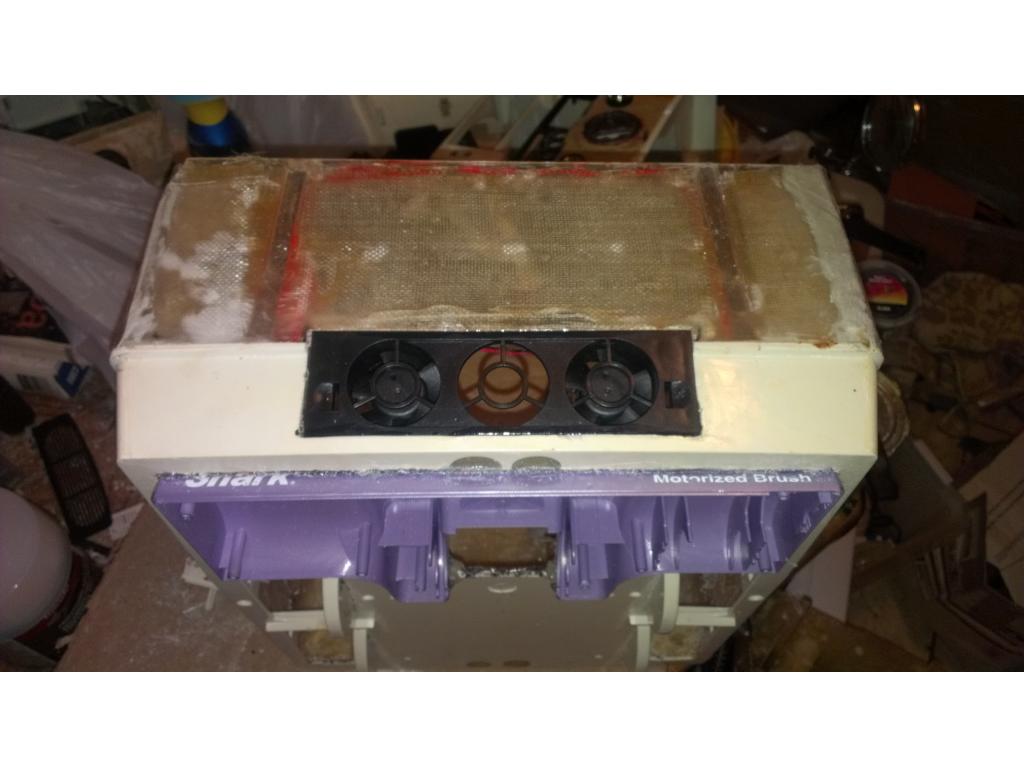
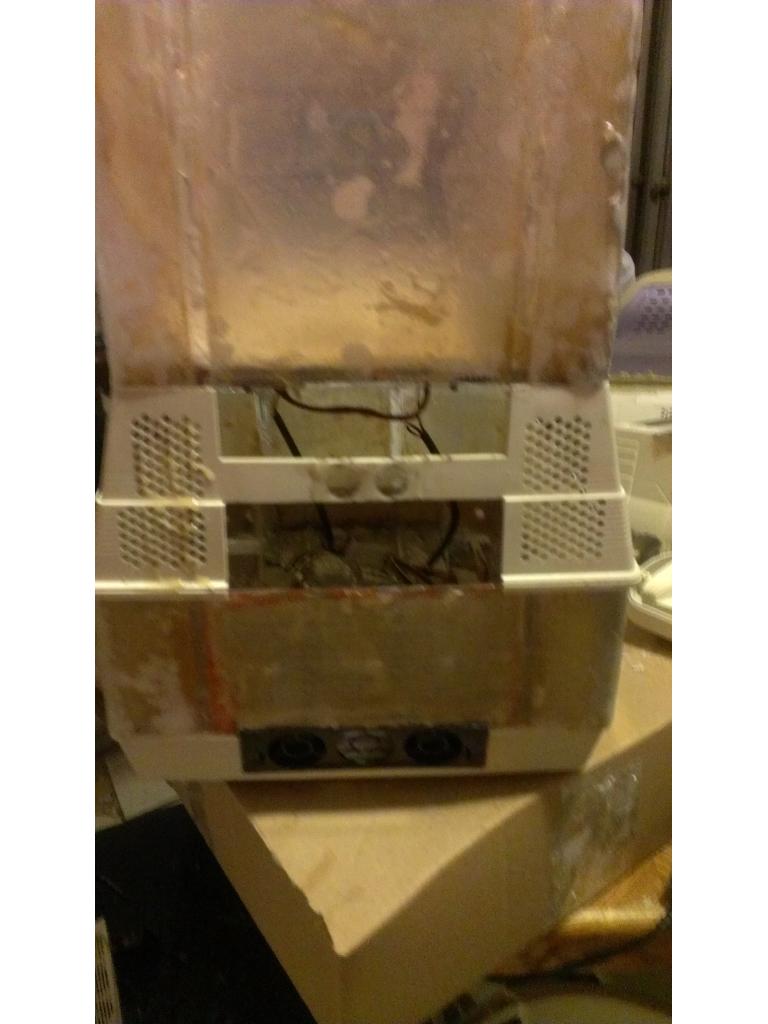
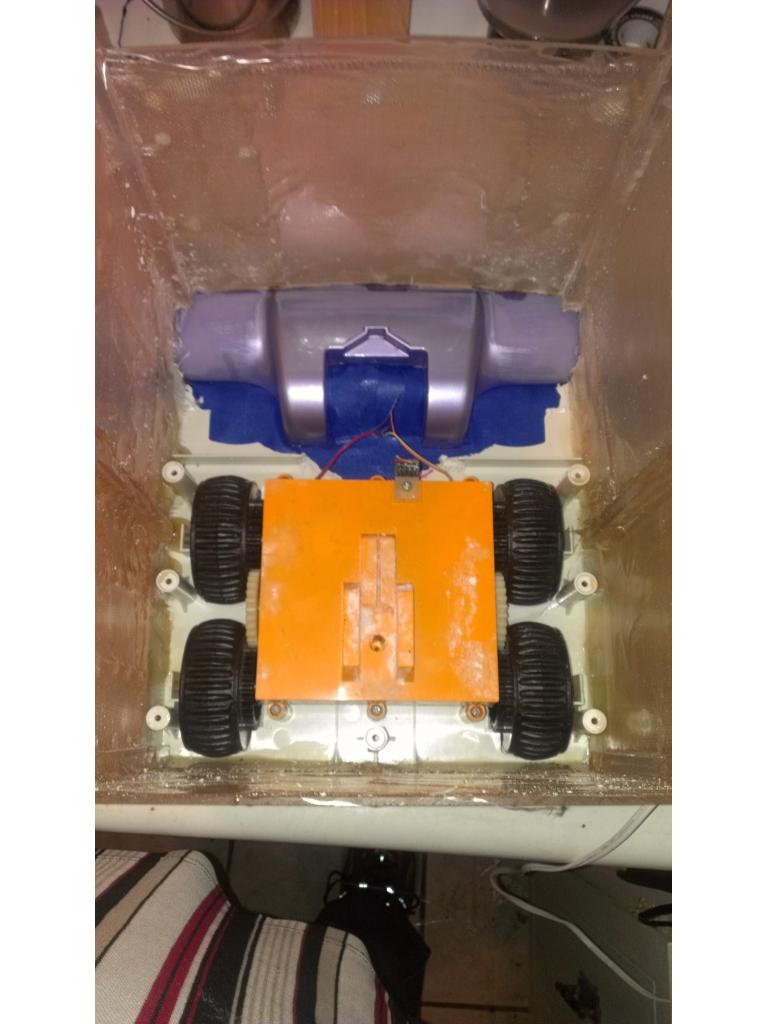
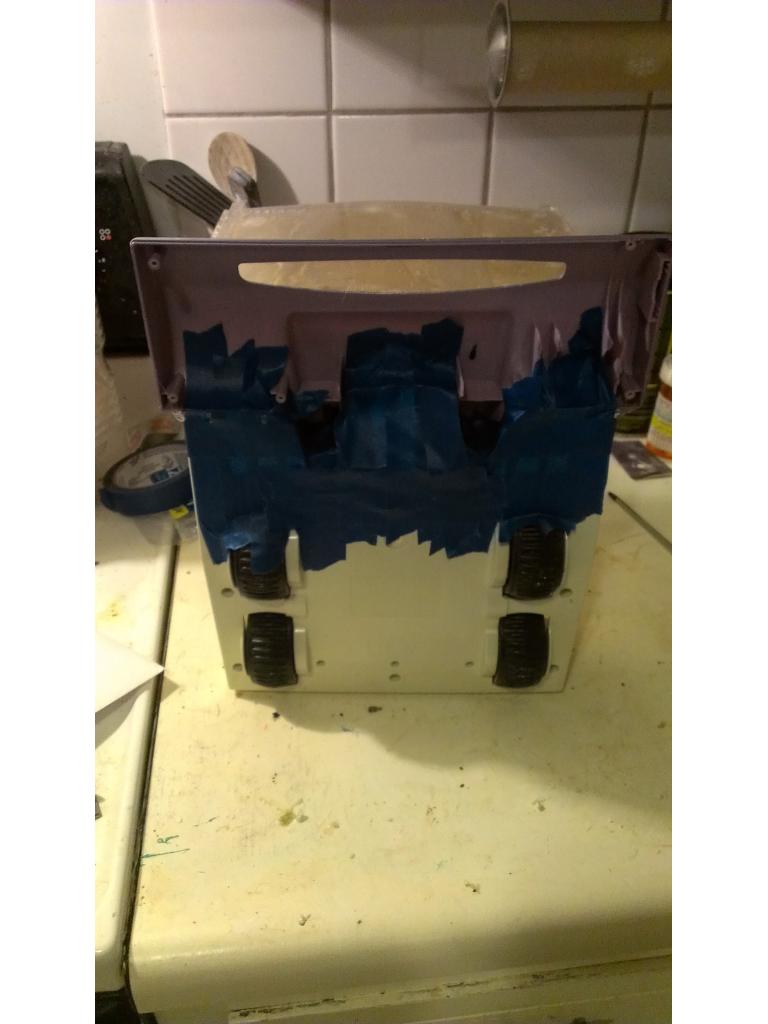
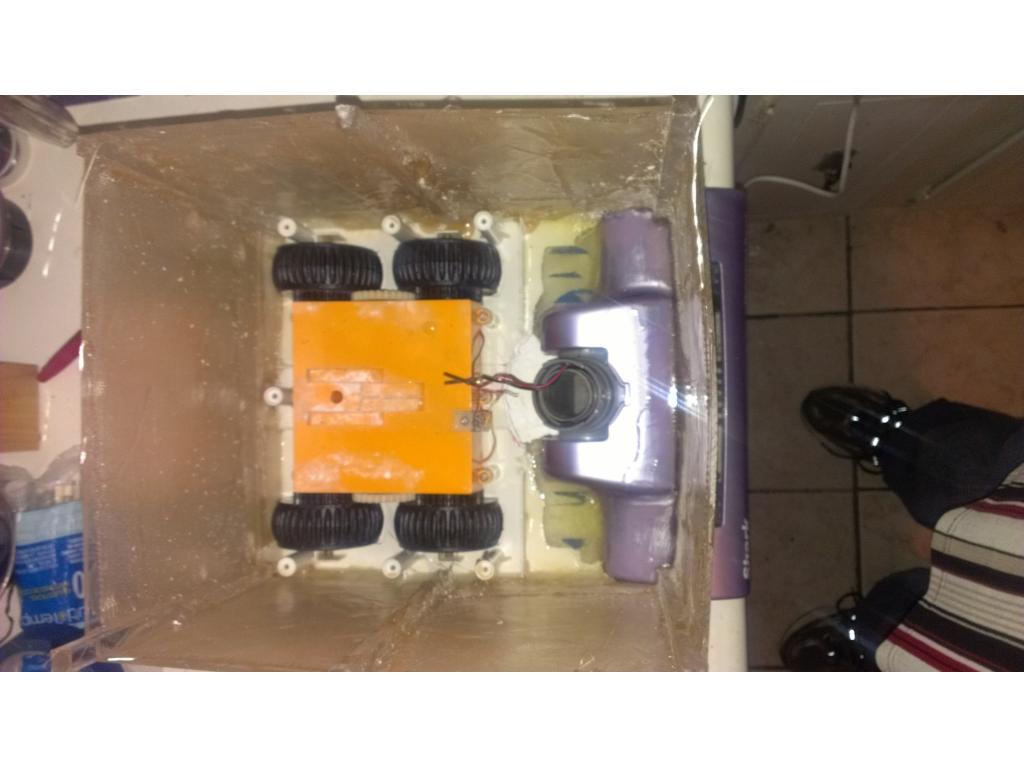
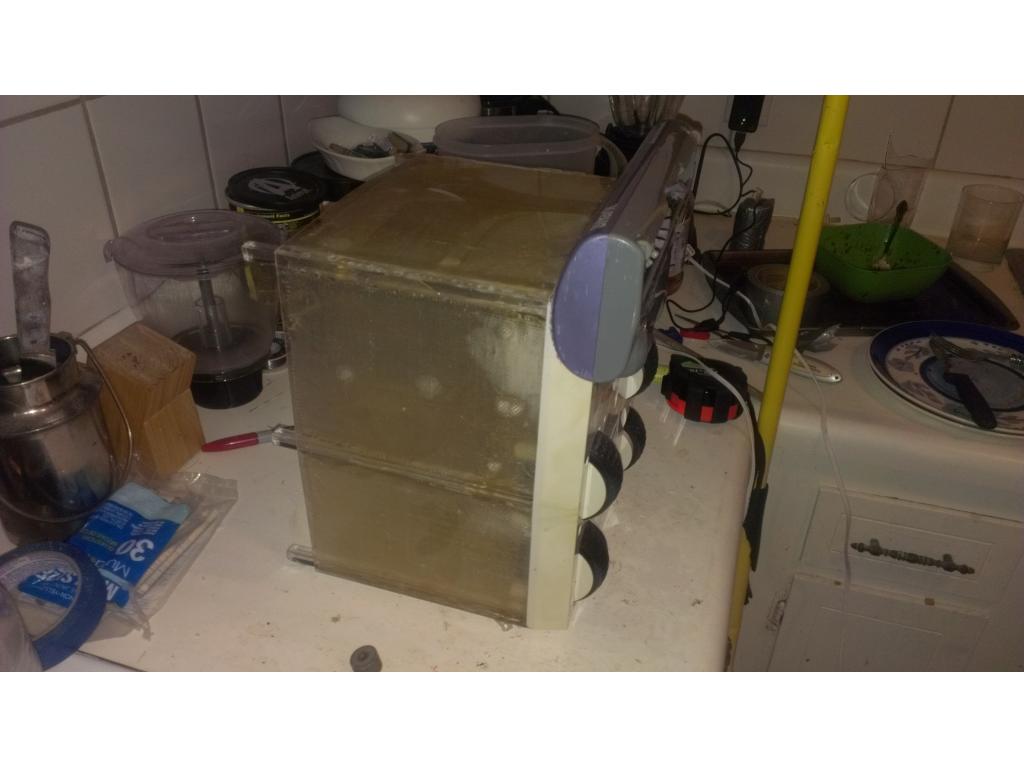
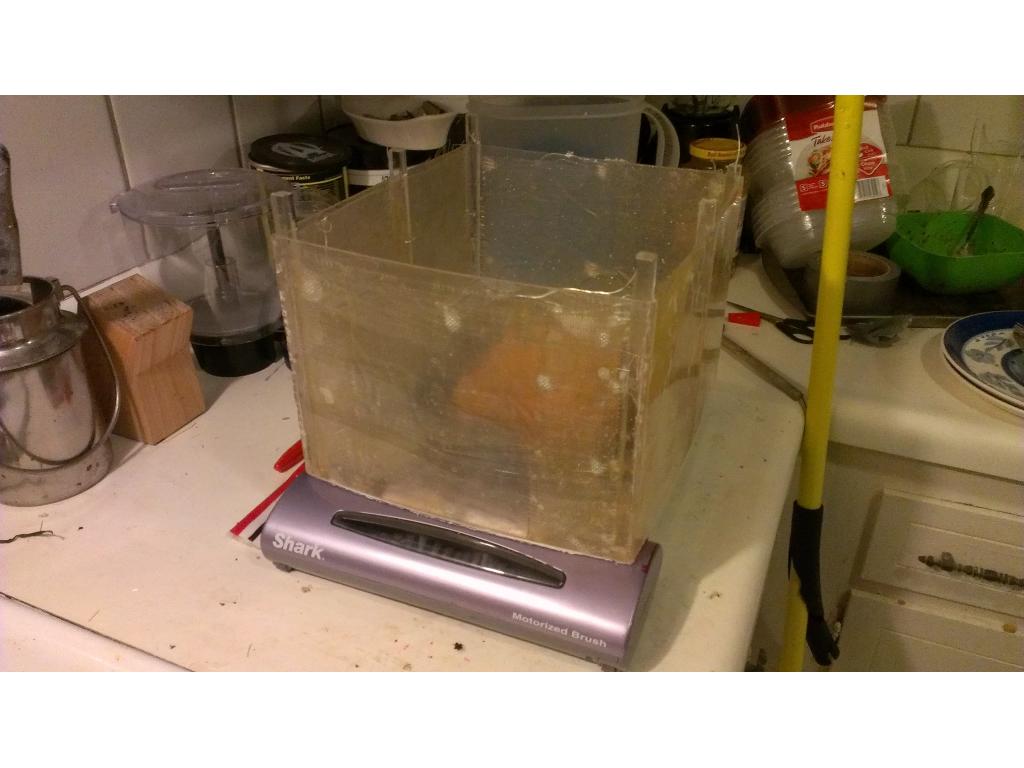
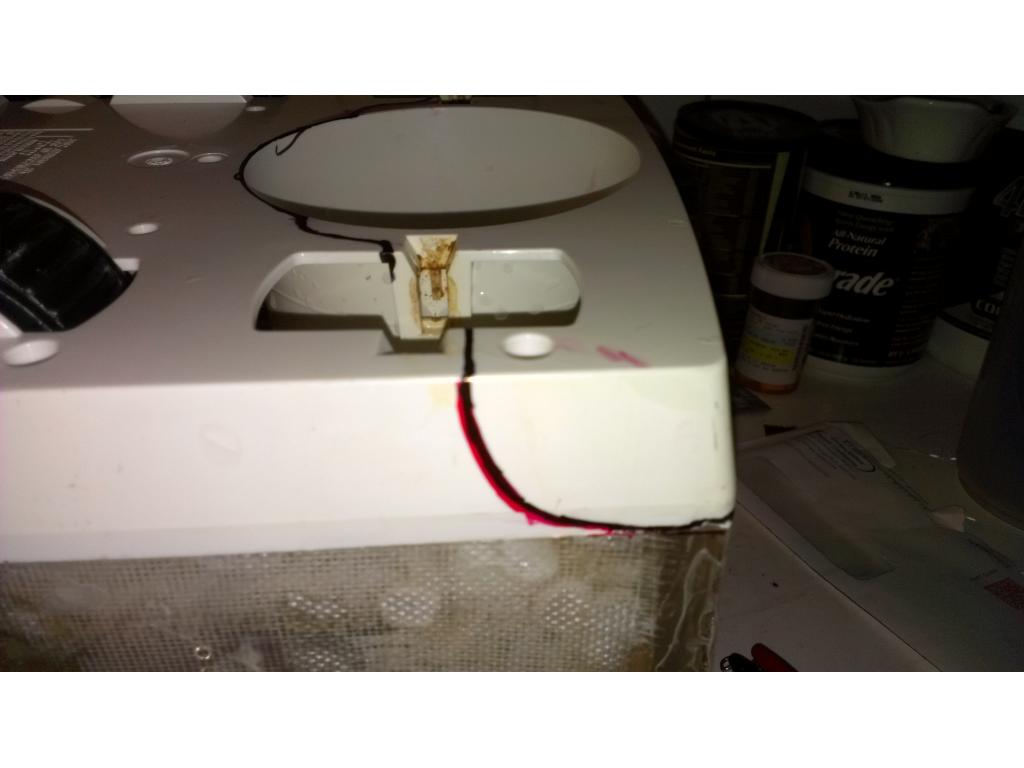
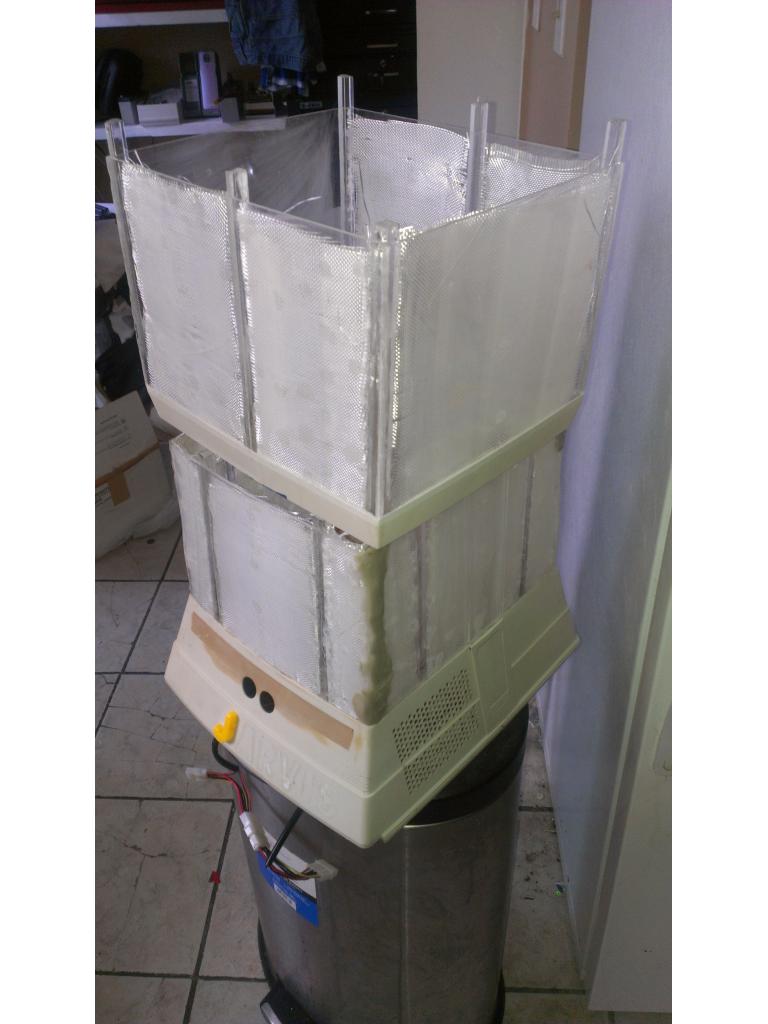
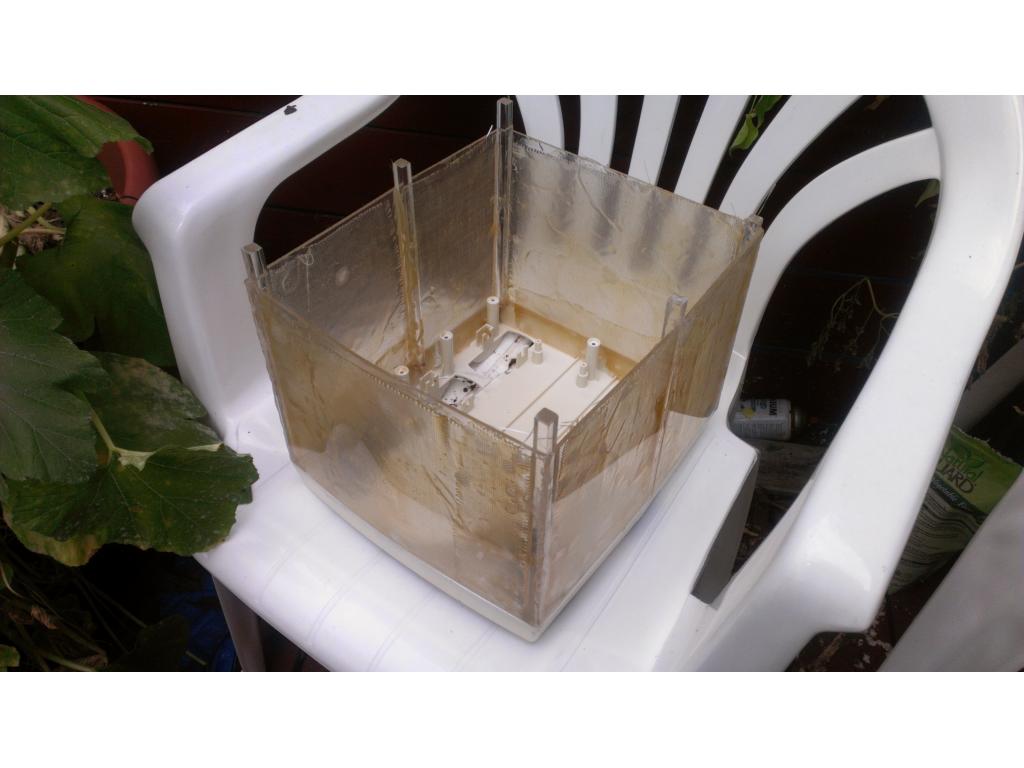
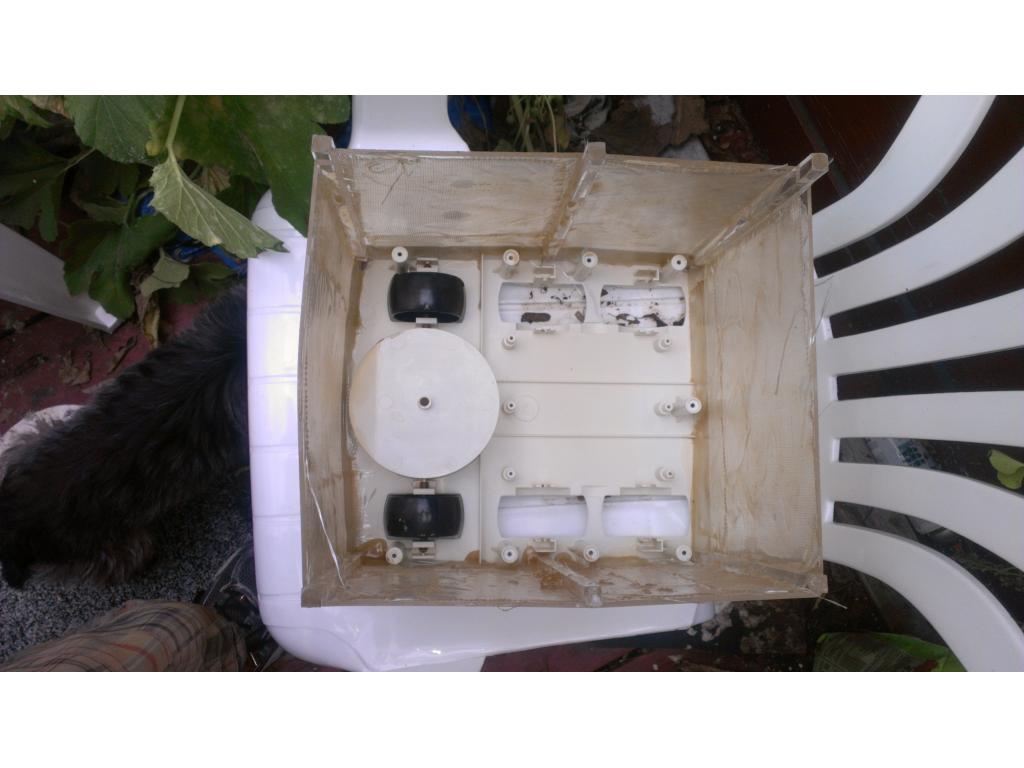
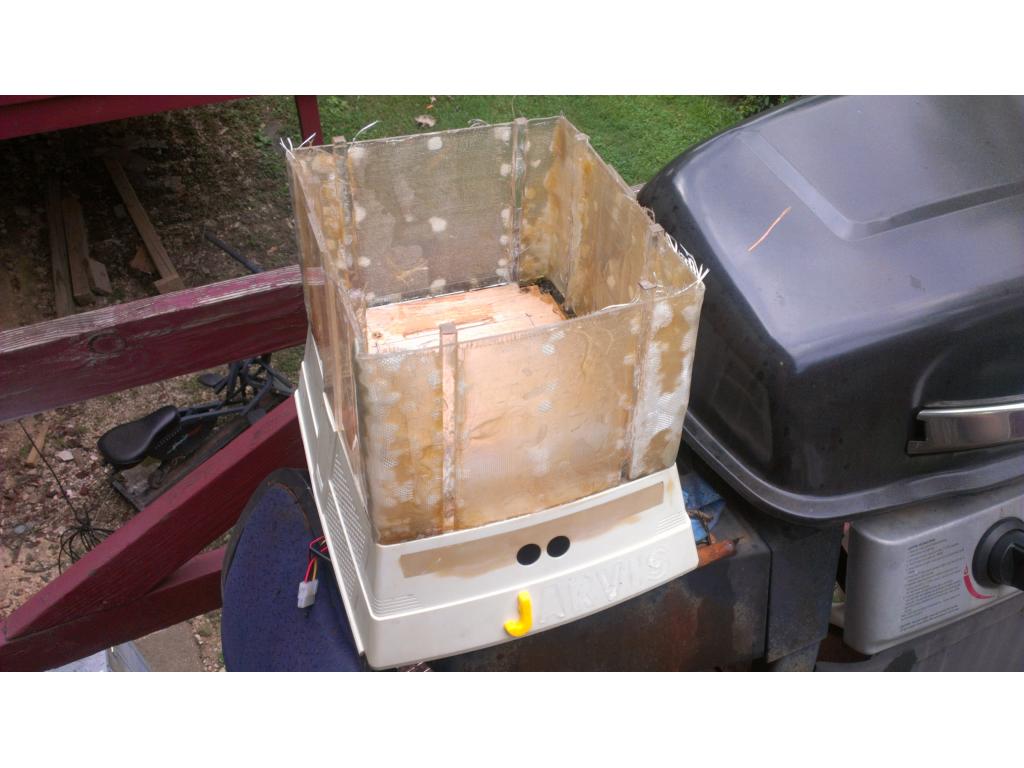
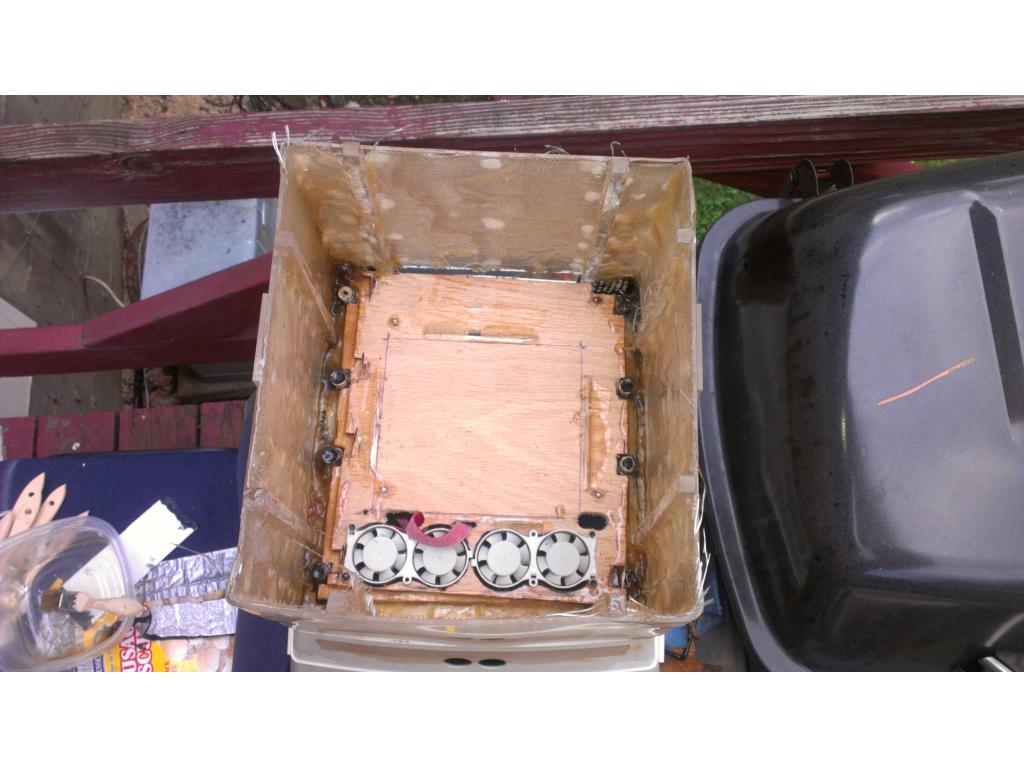
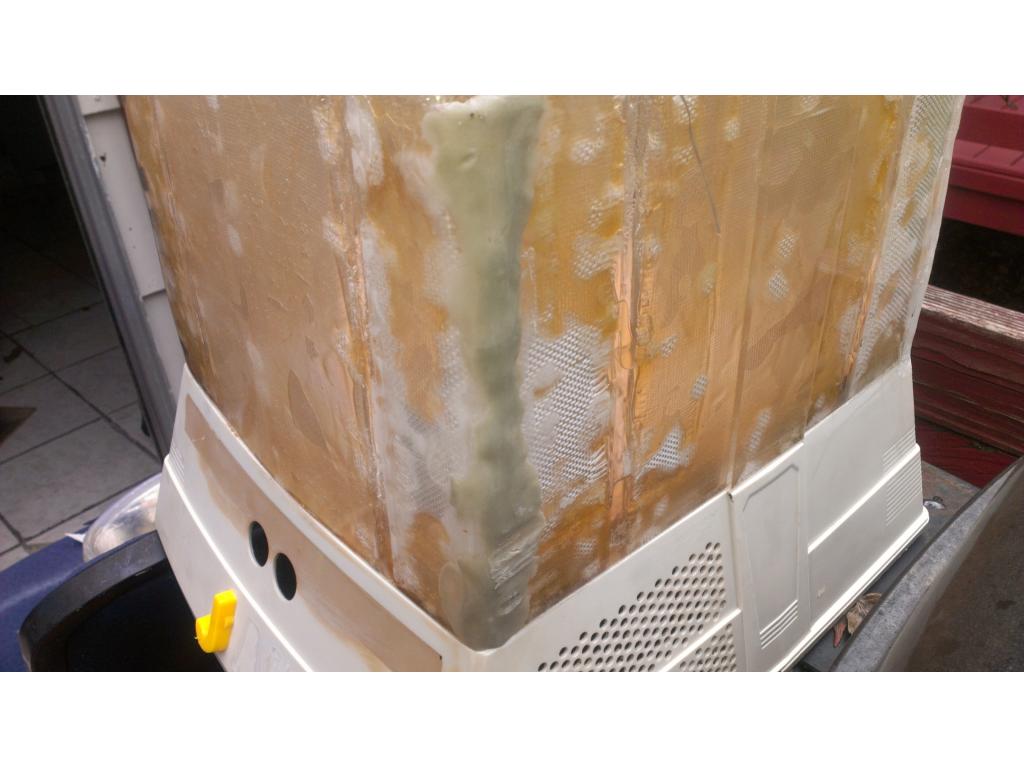
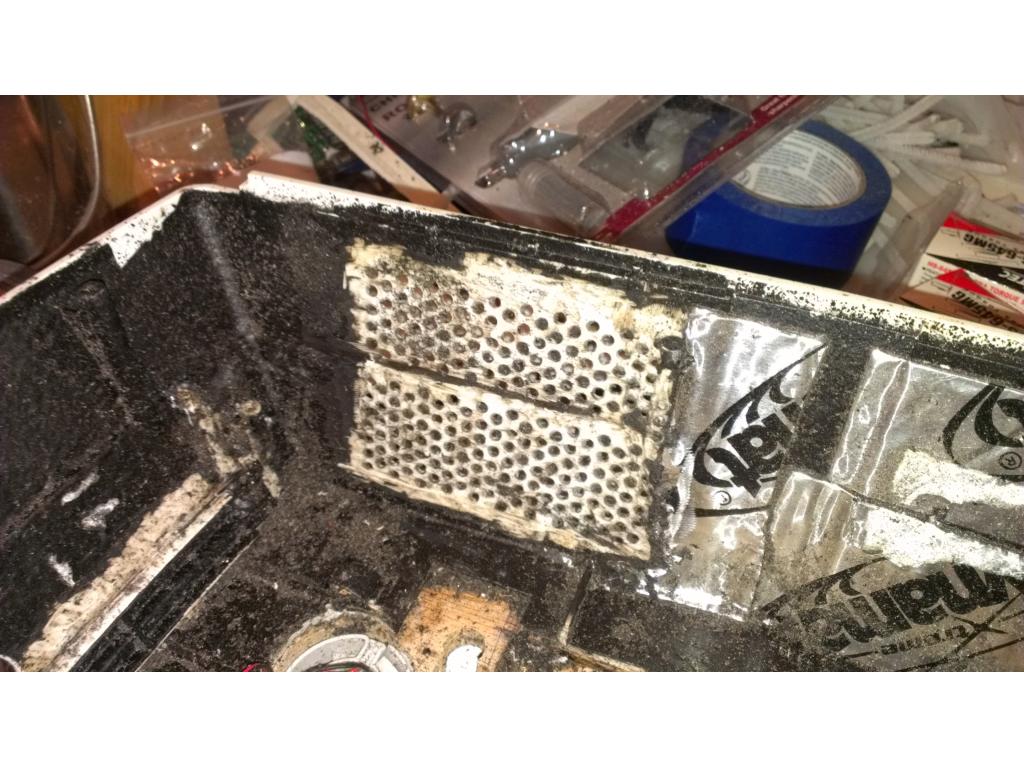
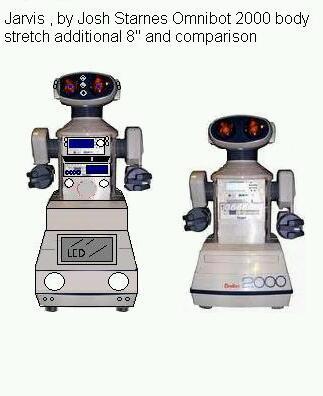
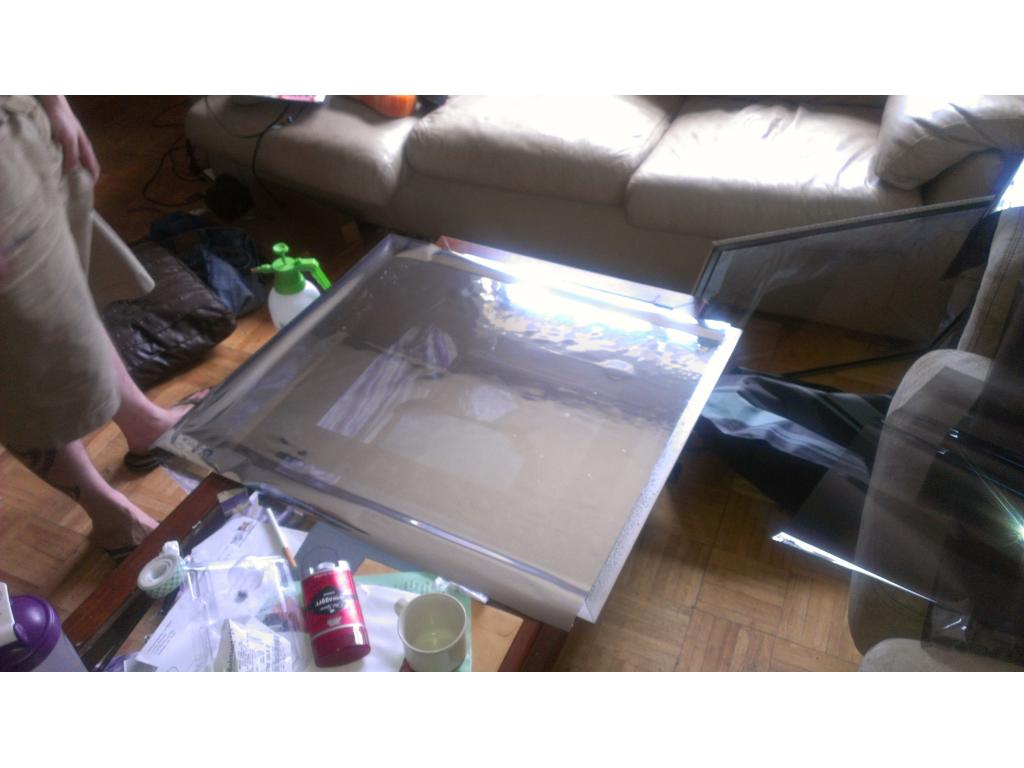
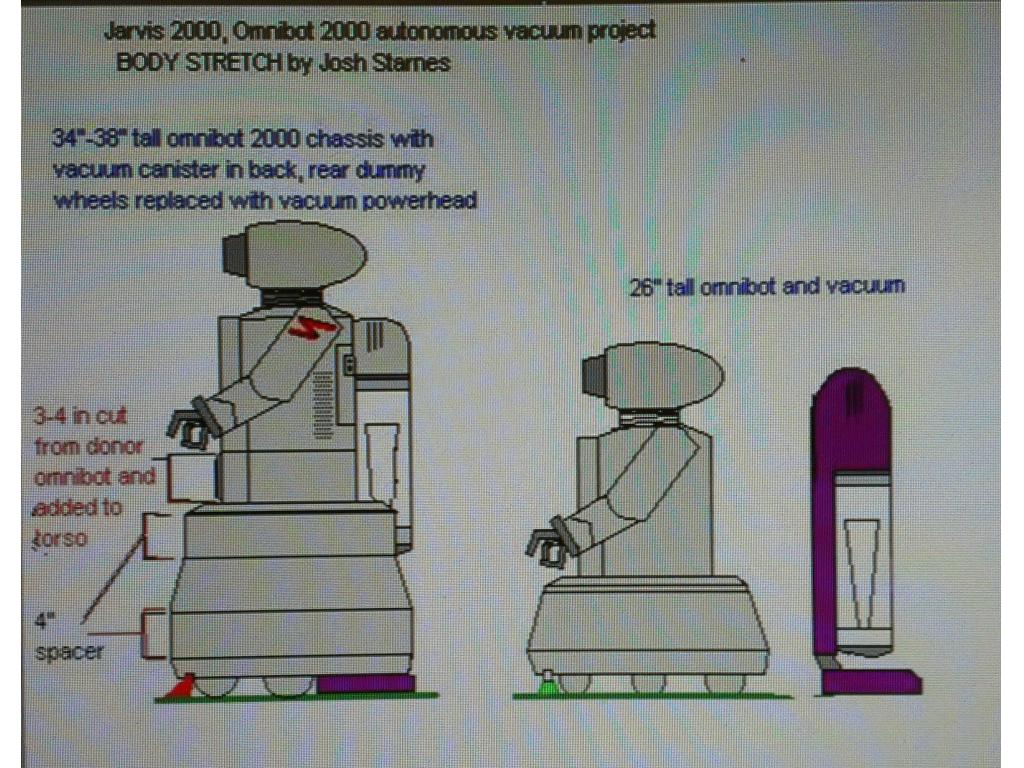
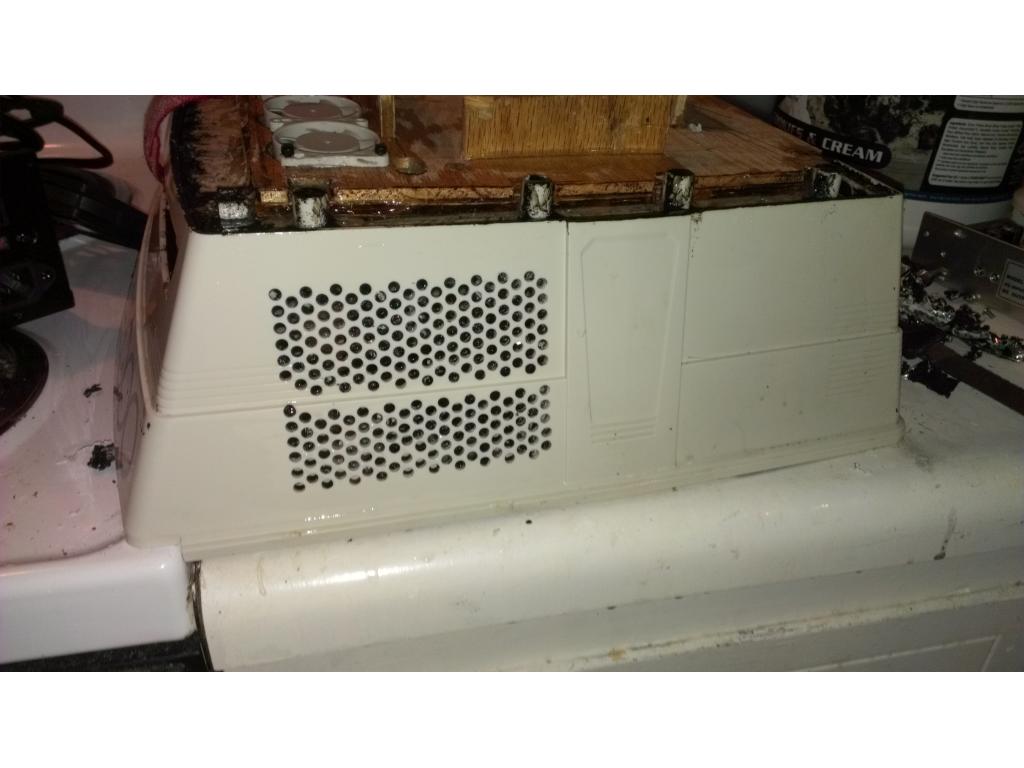
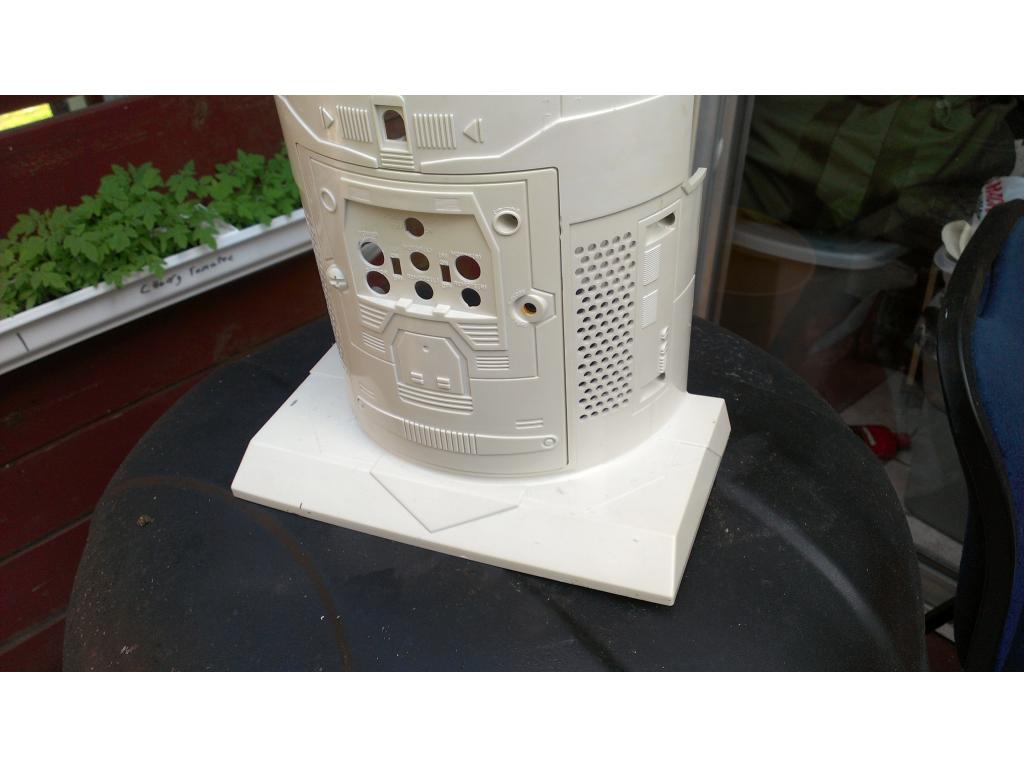
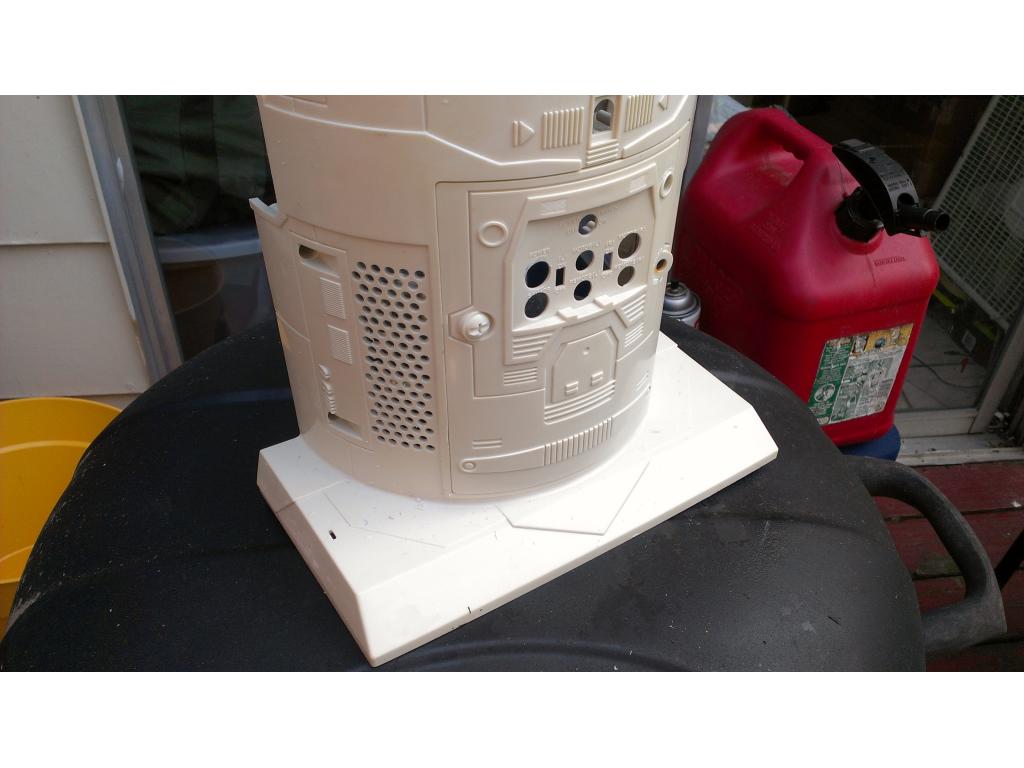
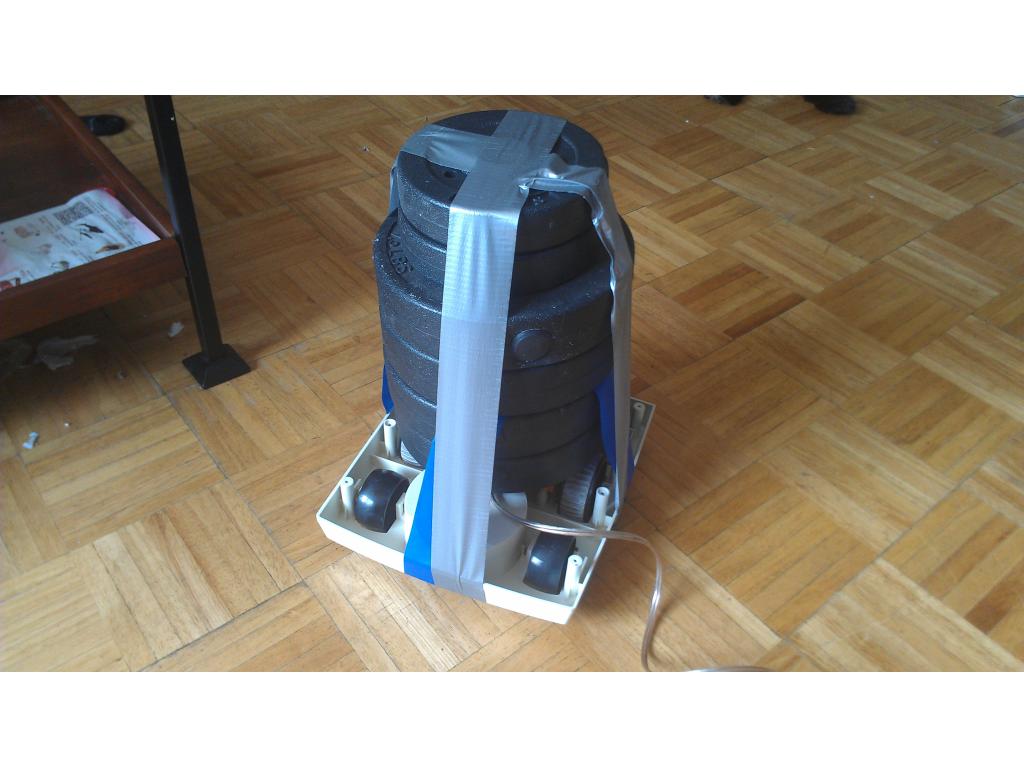
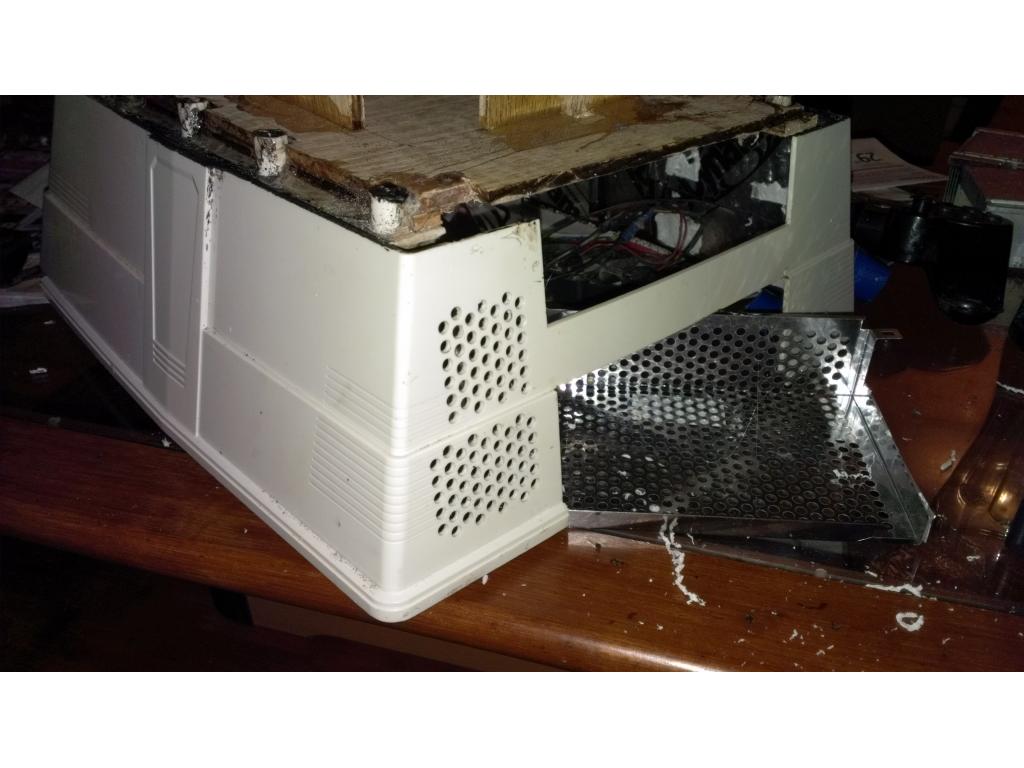
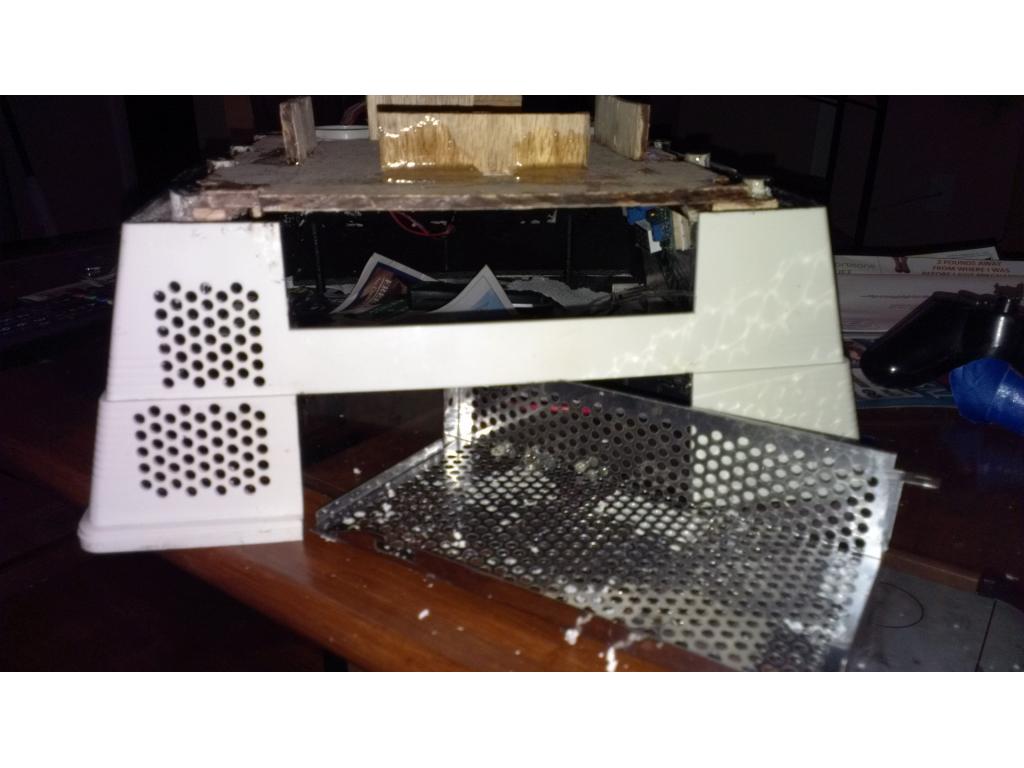
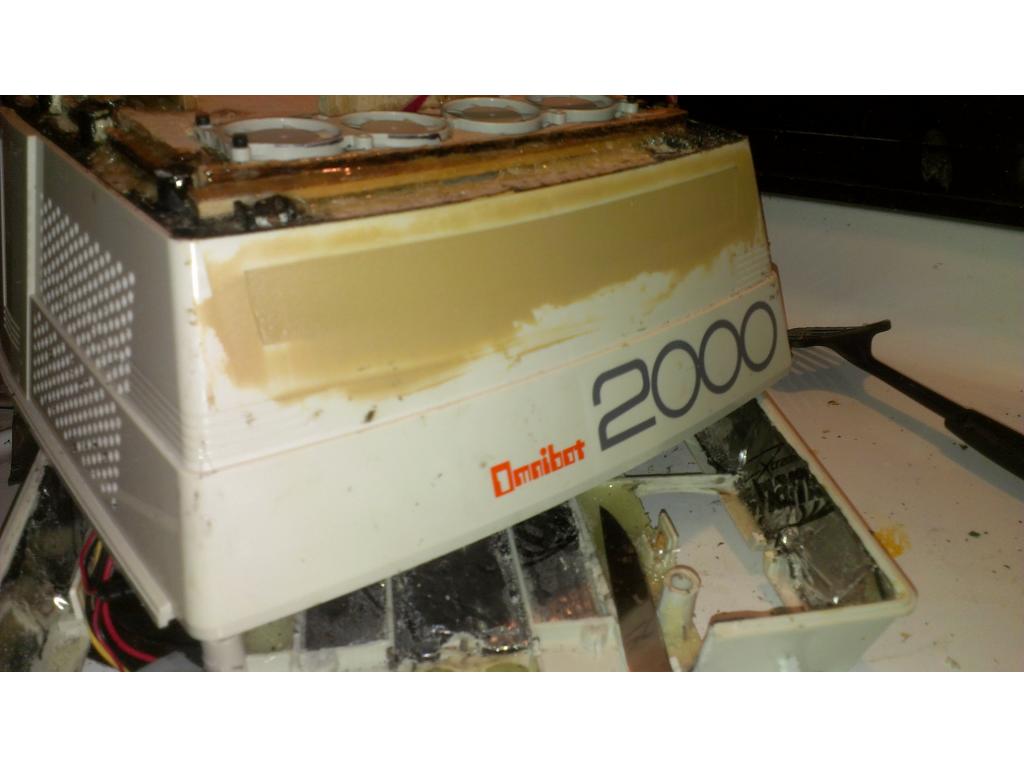
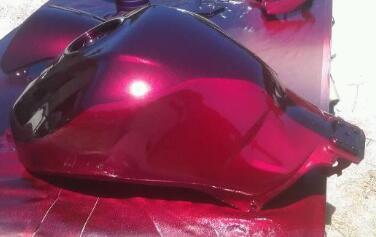
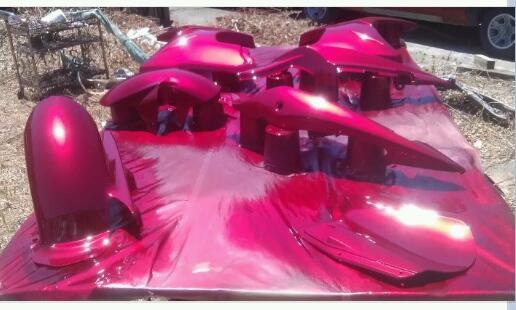
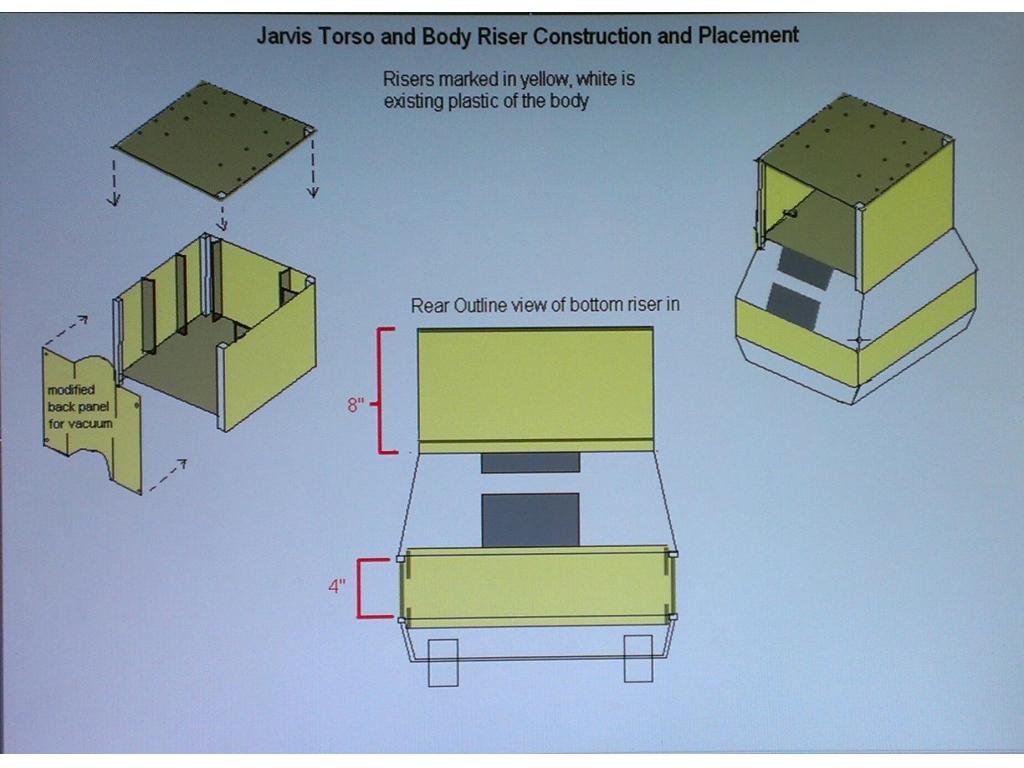
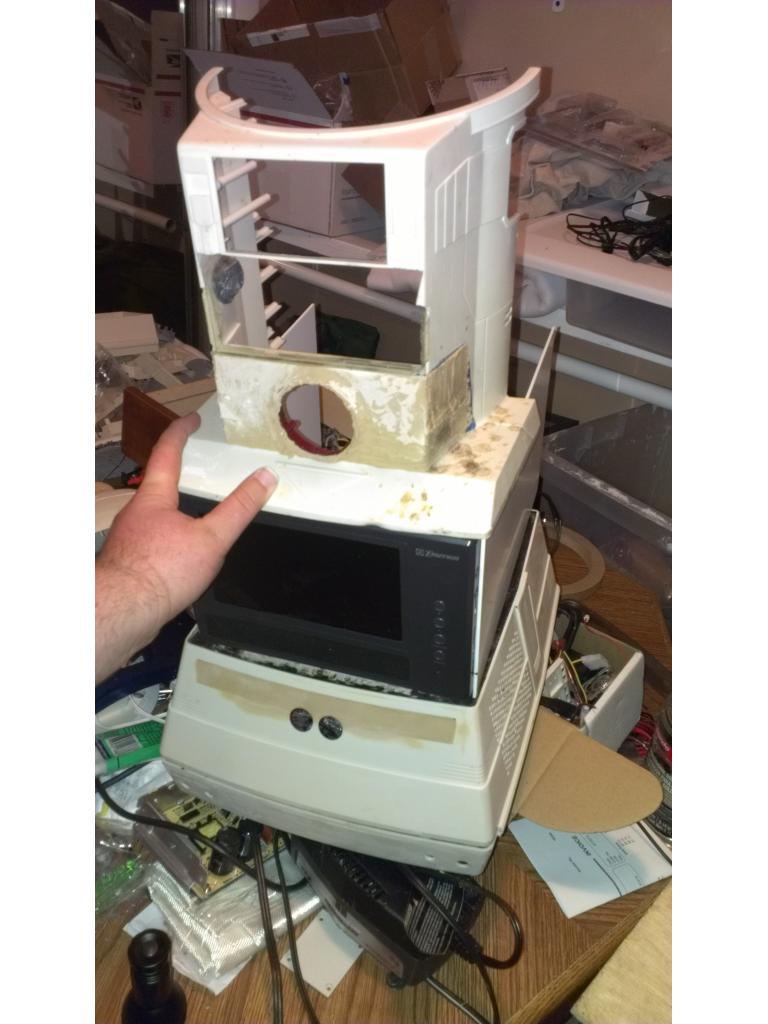
I got to do this infamous body stretch that other guy did but he didn't show lots of pictures so some of this I gotta wing. I decided to do PVC outer skin to match existing plastics and the inside will be ribbed with ultralight 1/4 square PVC tubing which will be glued with CA adhesive , after I'm satisfied with placement I will lay 2 to 3 layers of fiberglass woven matt on a 90 degree overlap. This should make the torso lift possibly the strongest section because its the same thickness plastic but additional support of fiberglass. I will reinforce areas of the base primarily the corners on the inside and 2-3 inches in each direction except overlapping any vents I've already made. In doing so I plan to fiberglass in L brackets with holes so that the base extension can be securely bolted and have addition rigity with sacrificing only 1-2 pounds weight as fiberglass can be very strong for its weight and 3 layers should be plenty.
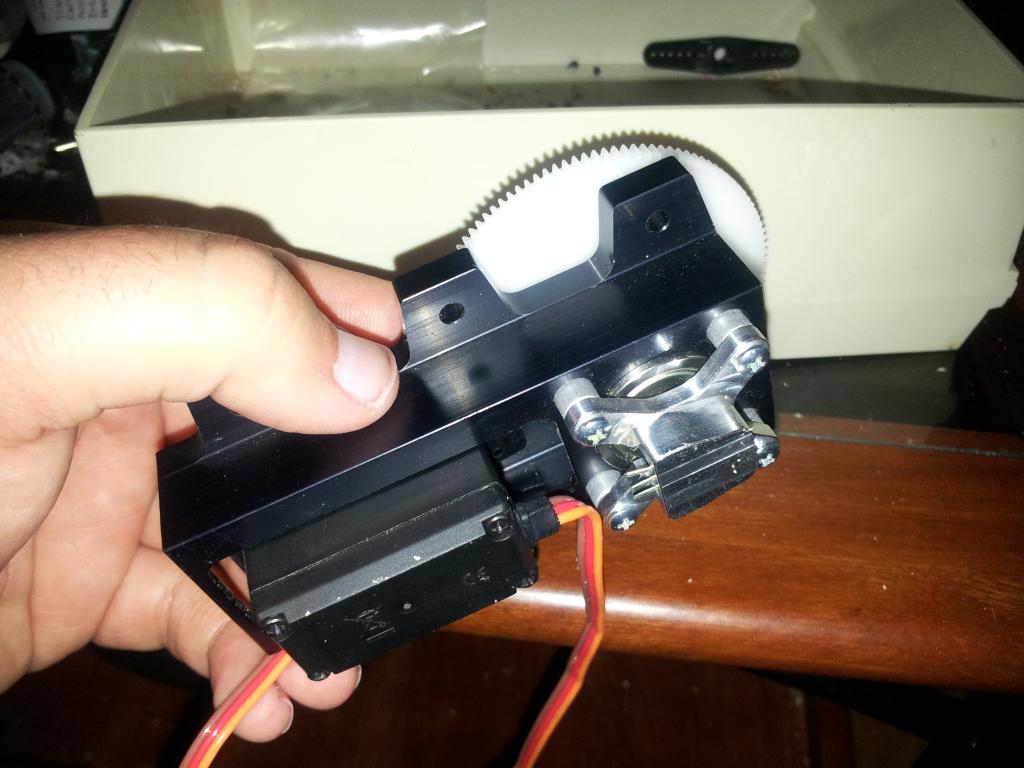
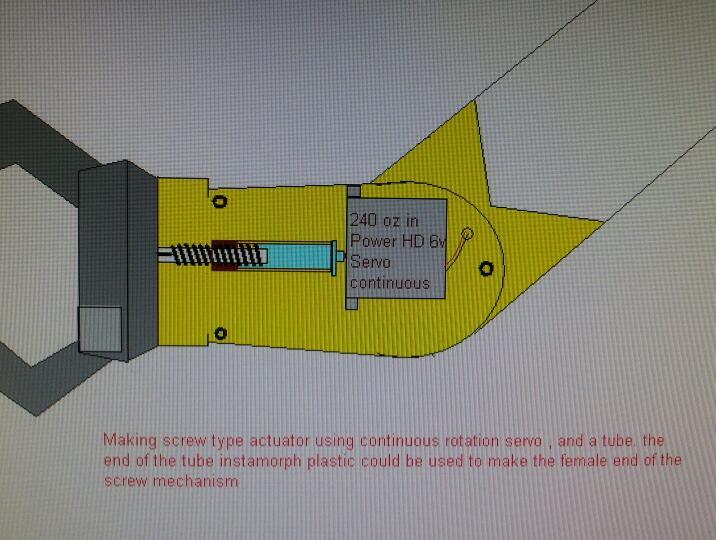
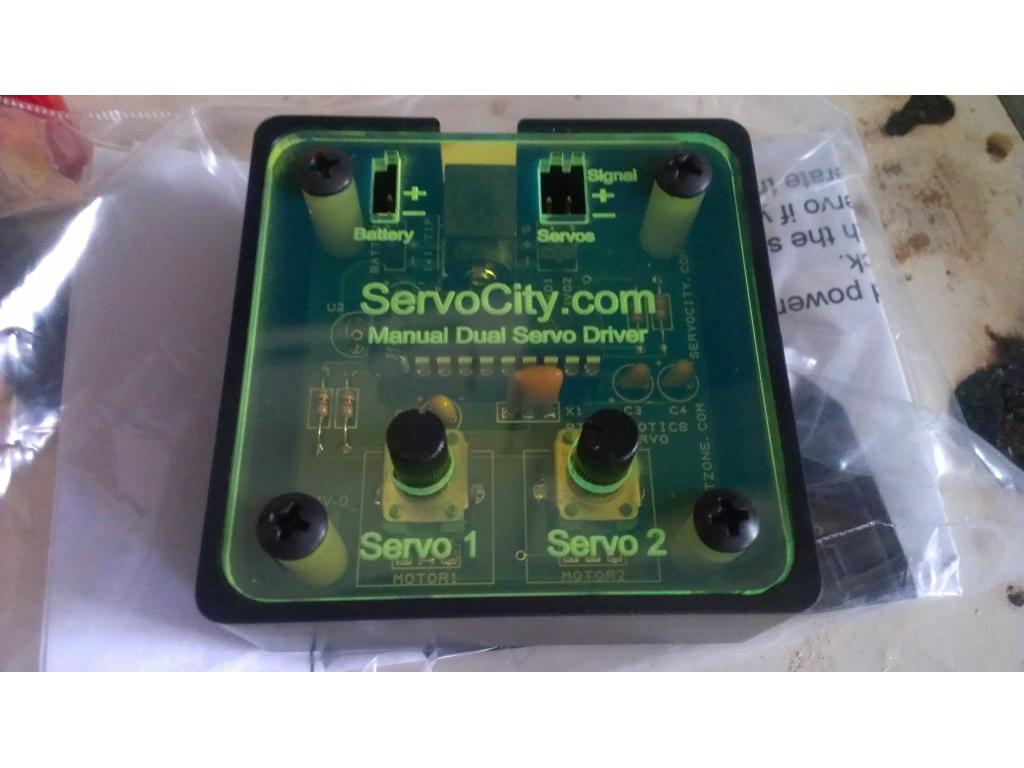
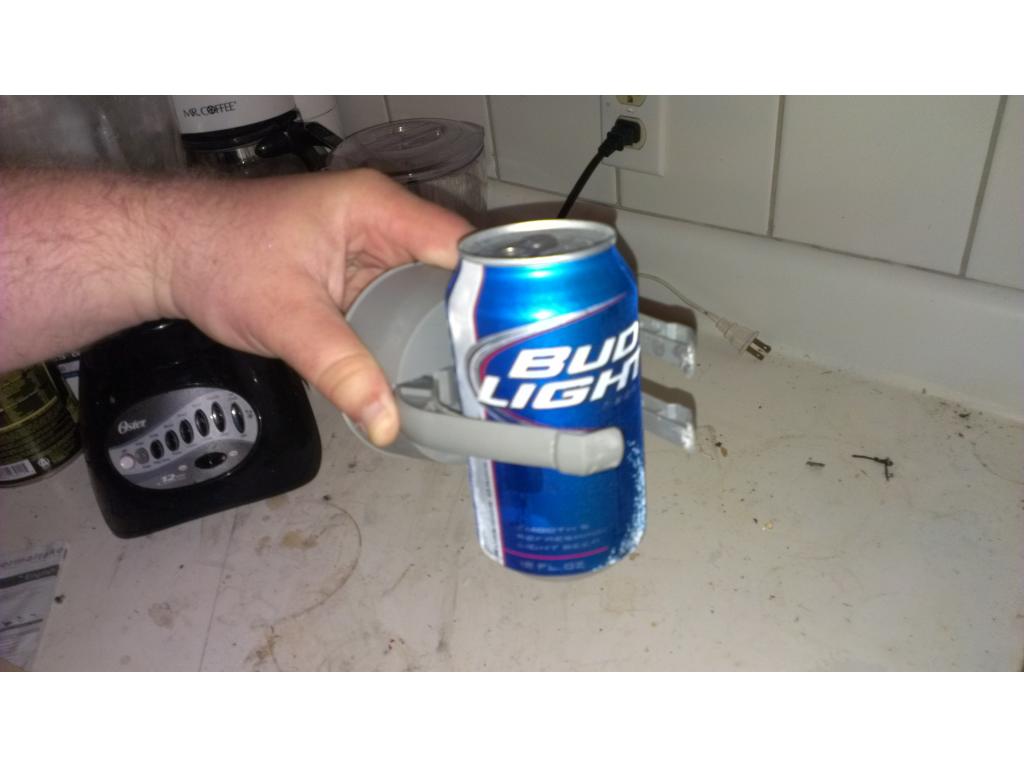
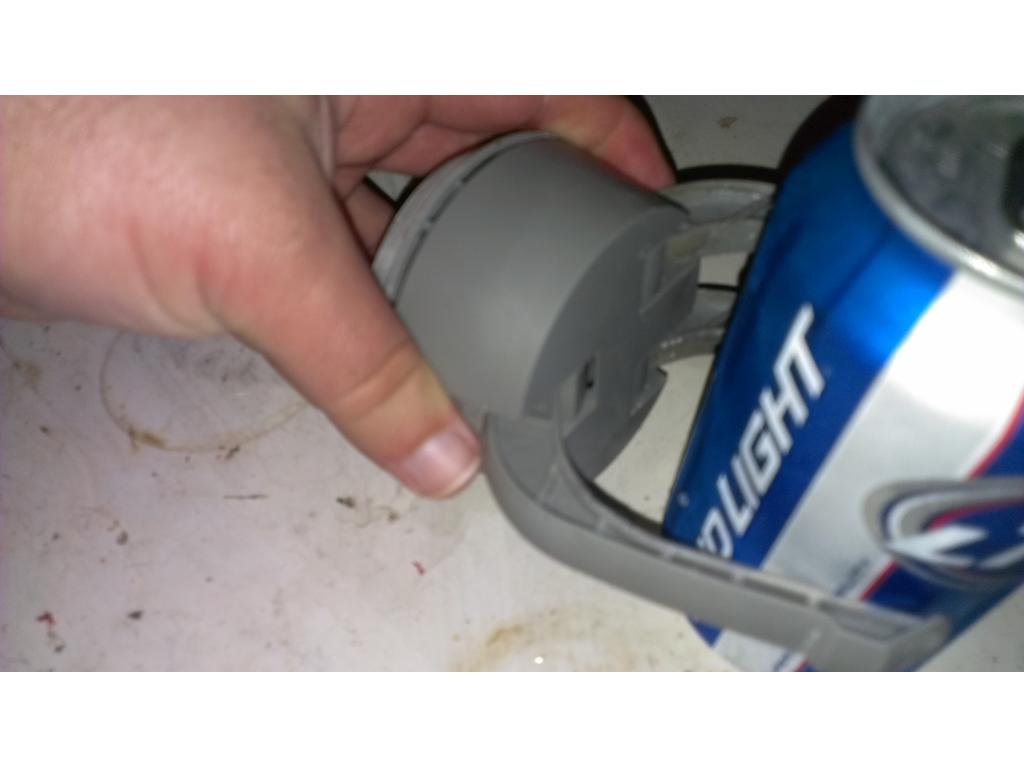
Yeah maybe break up the instructable in parts. Possibly body parts ie head, arm, wheels, skin etc. Ive got an idea for the stretch (extend and retract) using a lot of hardware from servocity. Basically a vertical worm gear and telescoping guide tubes. I was thinking of trying it but its going to take away from the space inside. Your bot will be plenty strong I think. Maybe too strong. How can we possibly fight against it once it becomes self aware? You can forget about him getting your beer anymore!