


cE9s4PsOgeBQIORwjd5!~~60_1-634818020230156250.jpg)


BO)Lupuc4g~~60_35-634706297915000000.jpg)
LupbT6!~~60_35-634706298769375000.jpg)


C5j!~~60_35-634655044863125000.jpg)


C5j!~~60_35-634659603510781250.jpg)


C5j!~~60_35-634651704046230469.jpg)
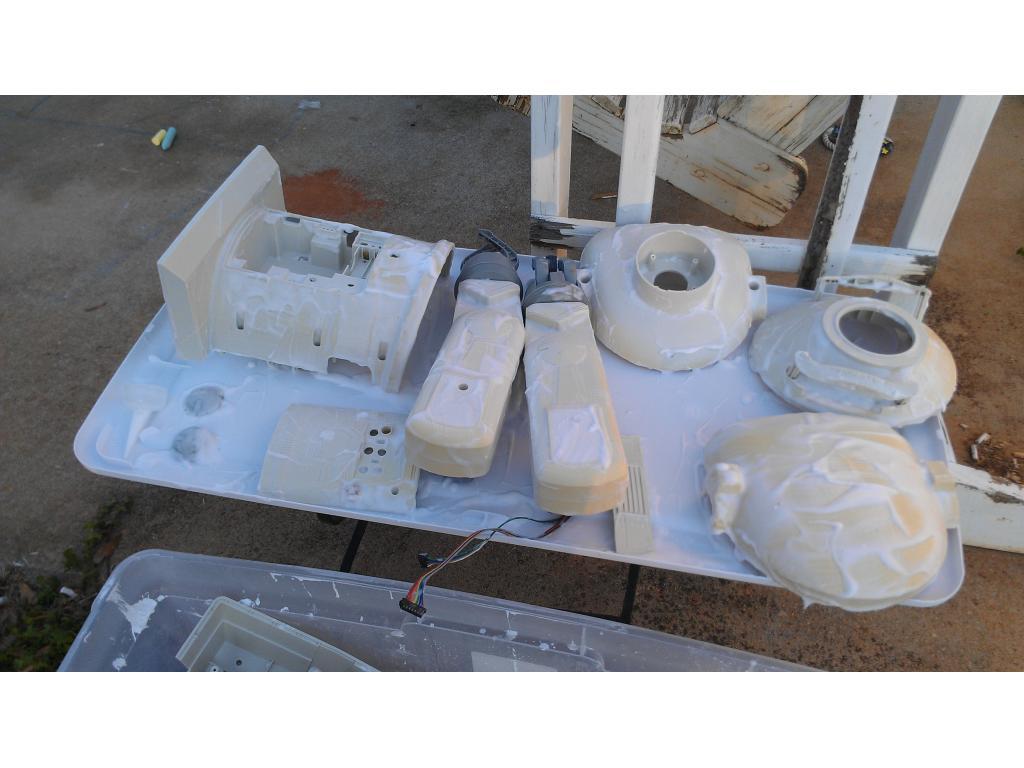
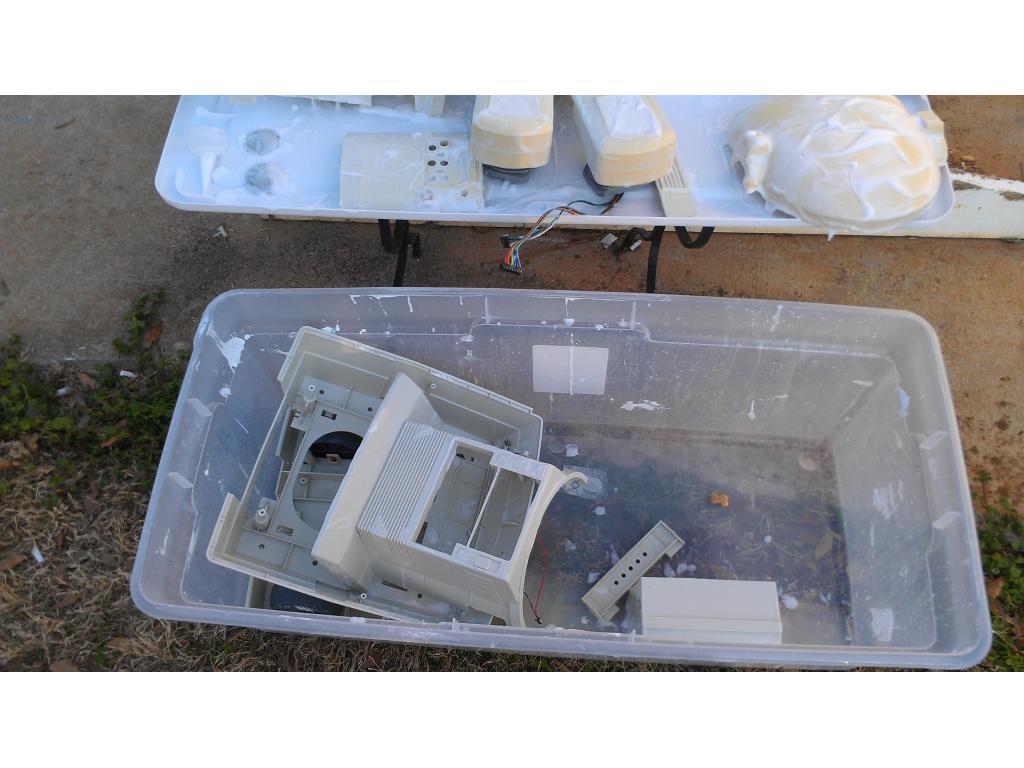
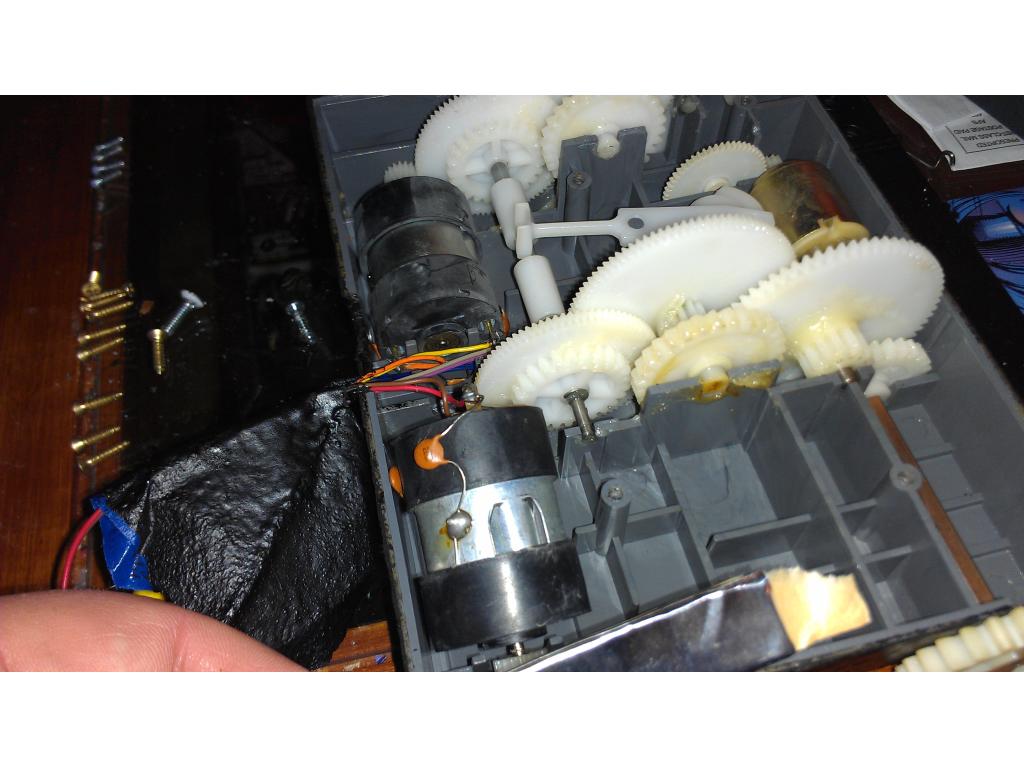
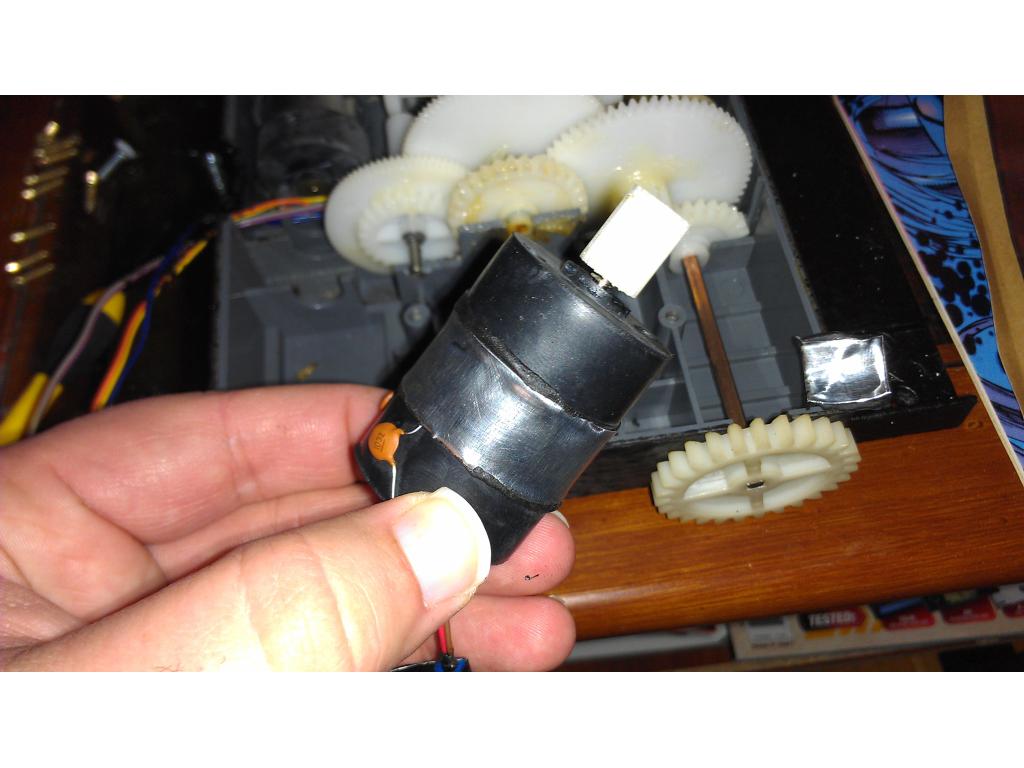
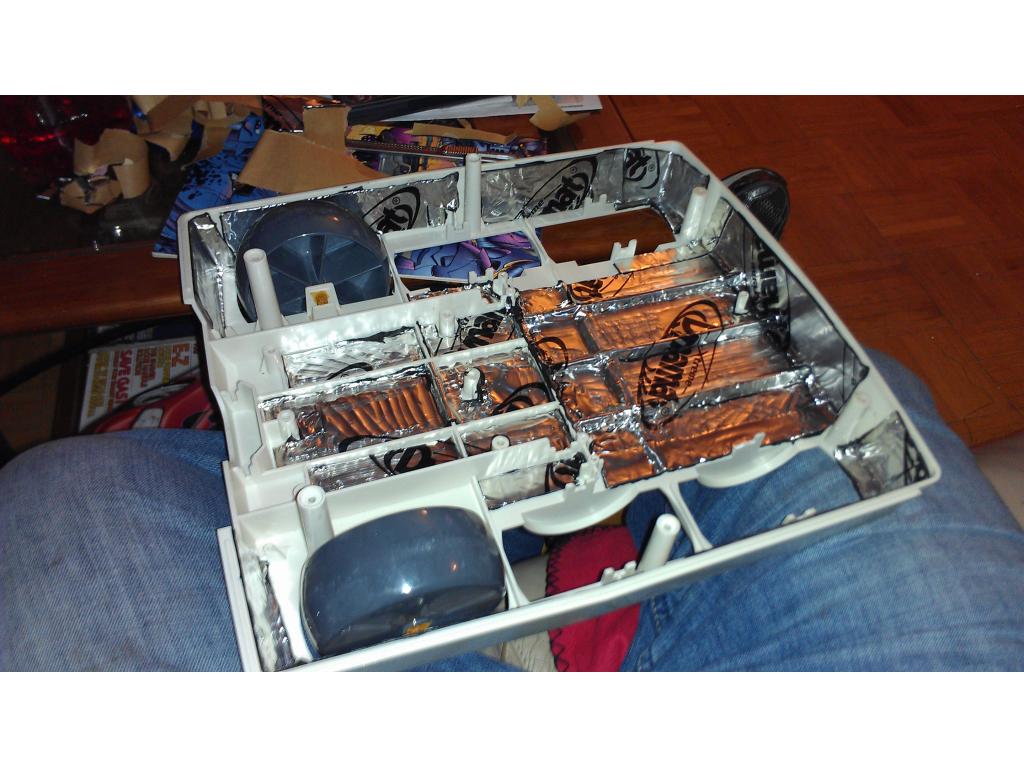
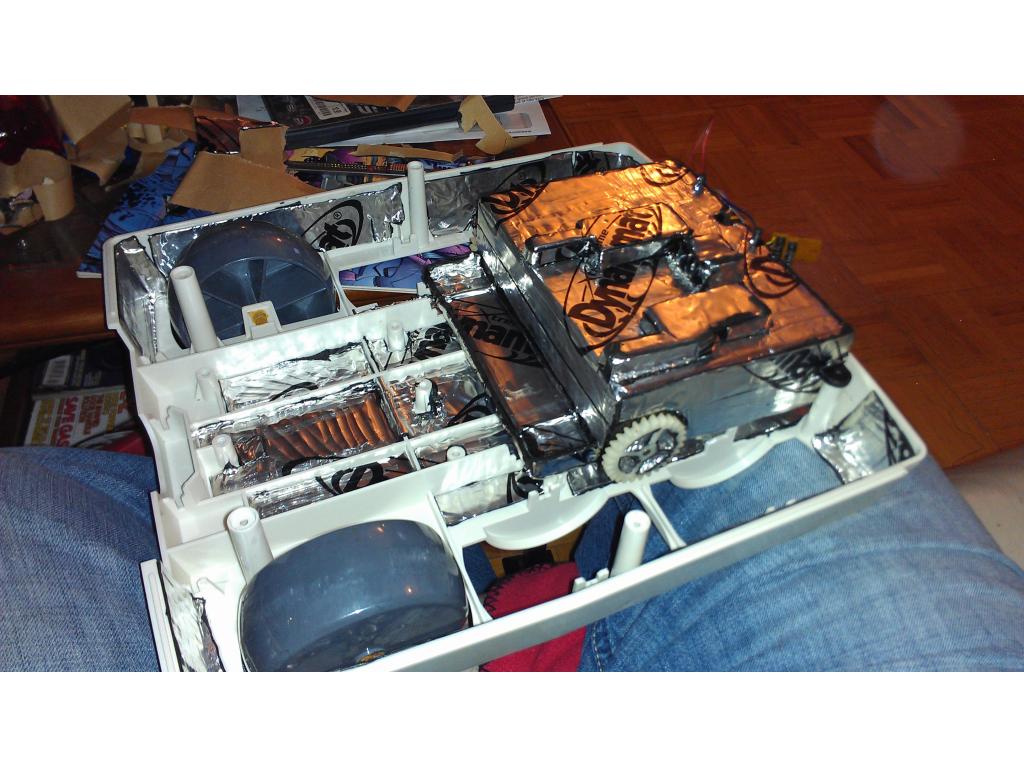
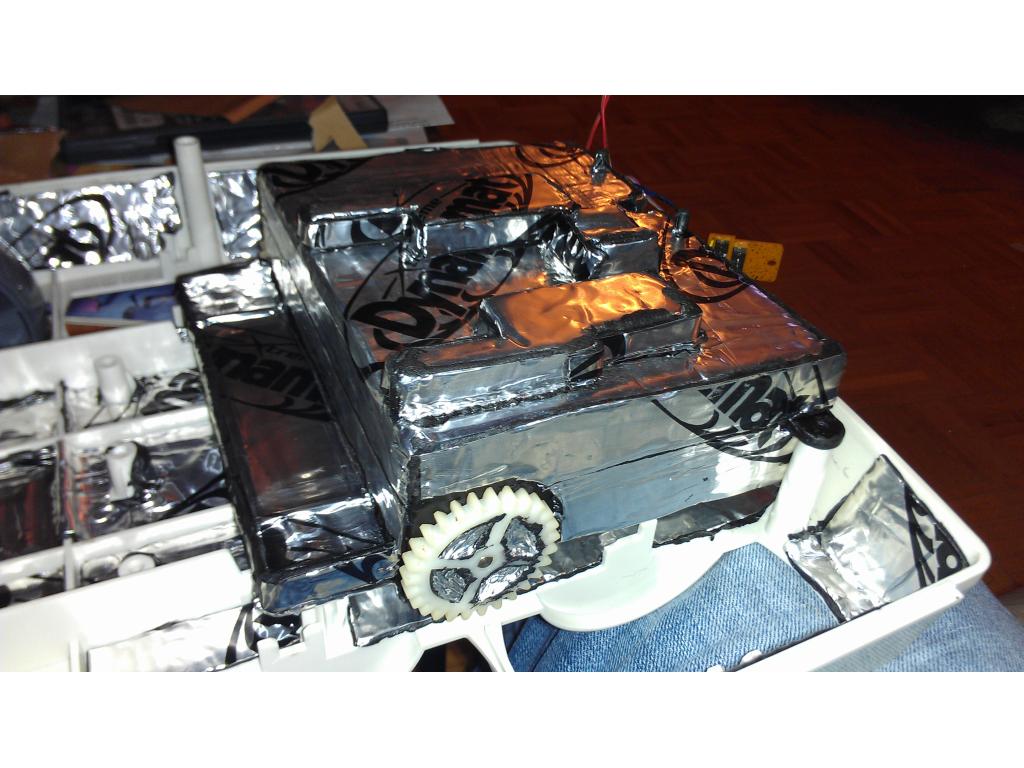


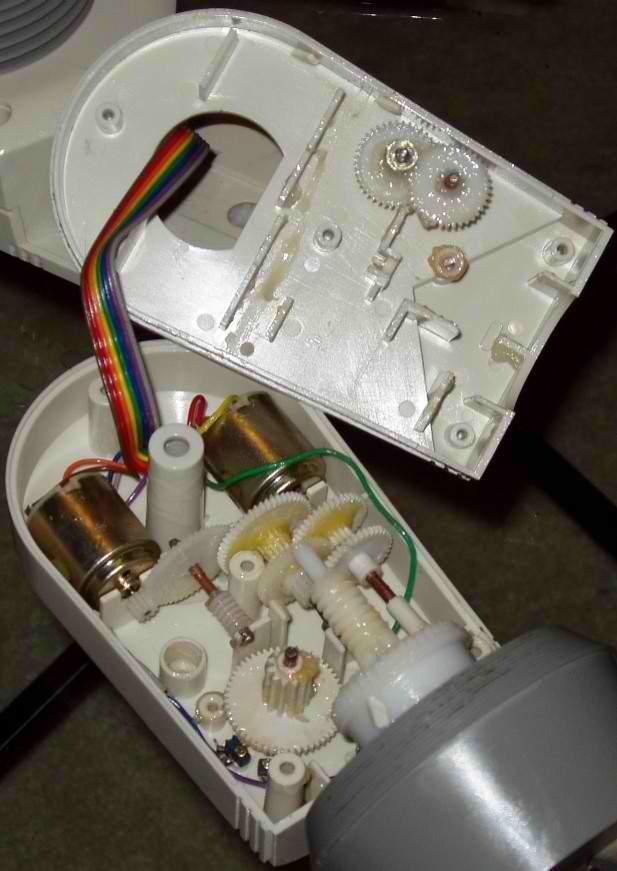

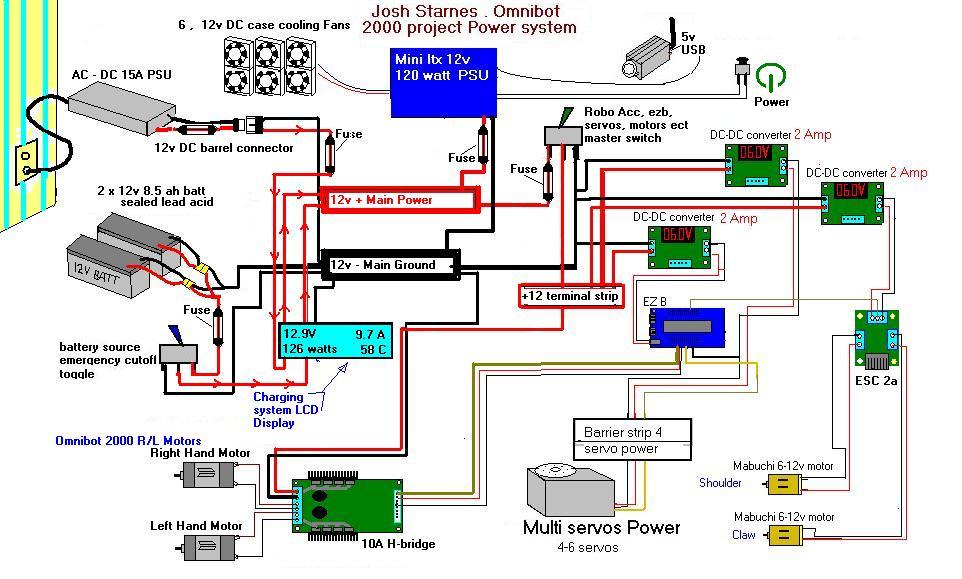
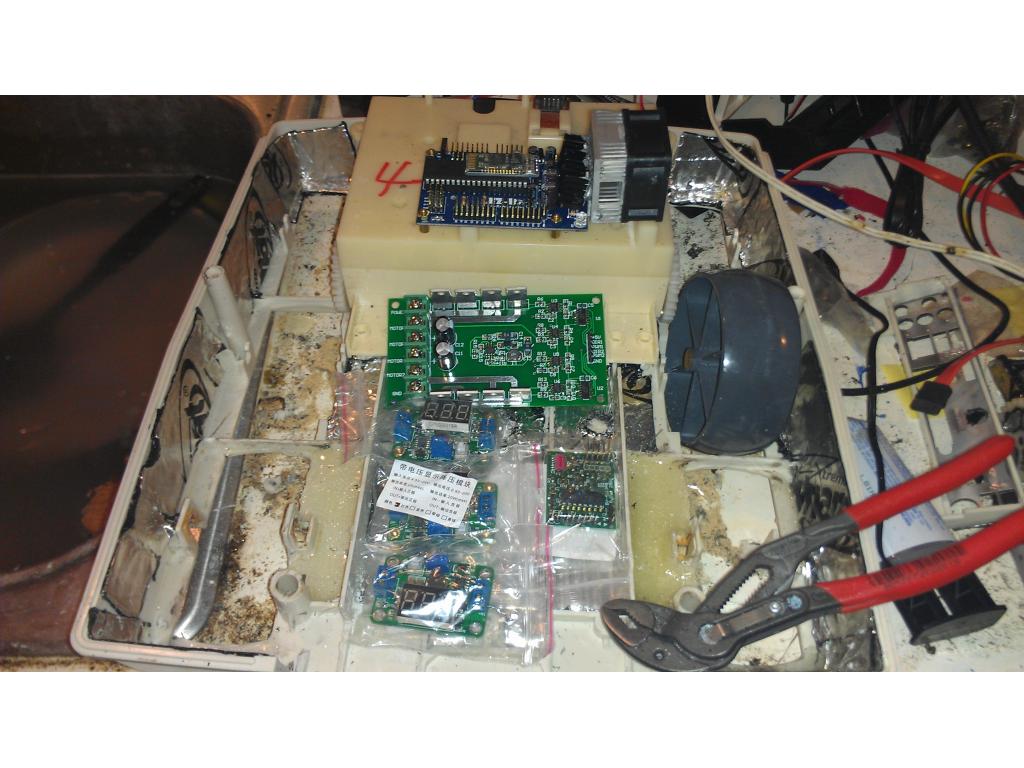
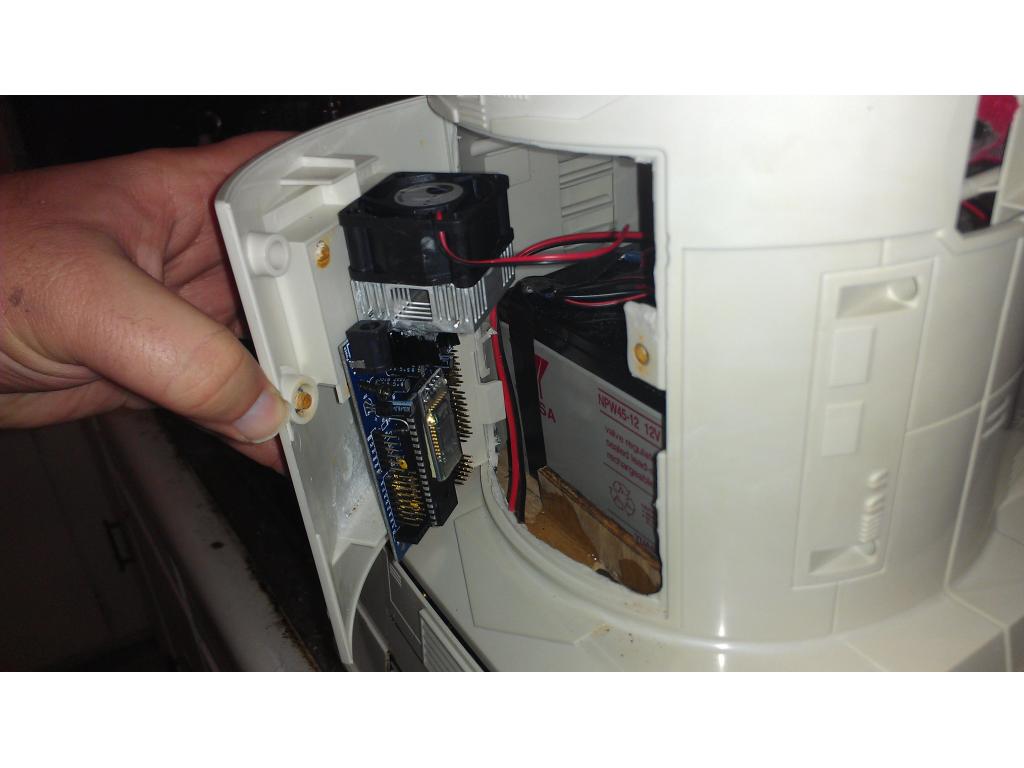
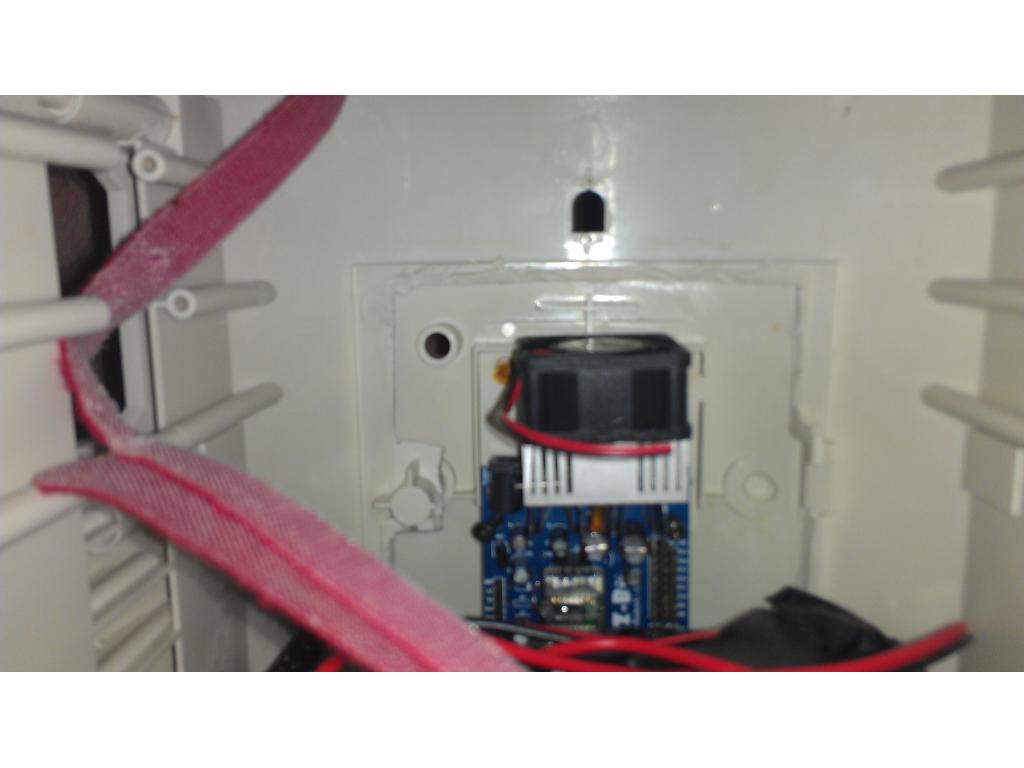


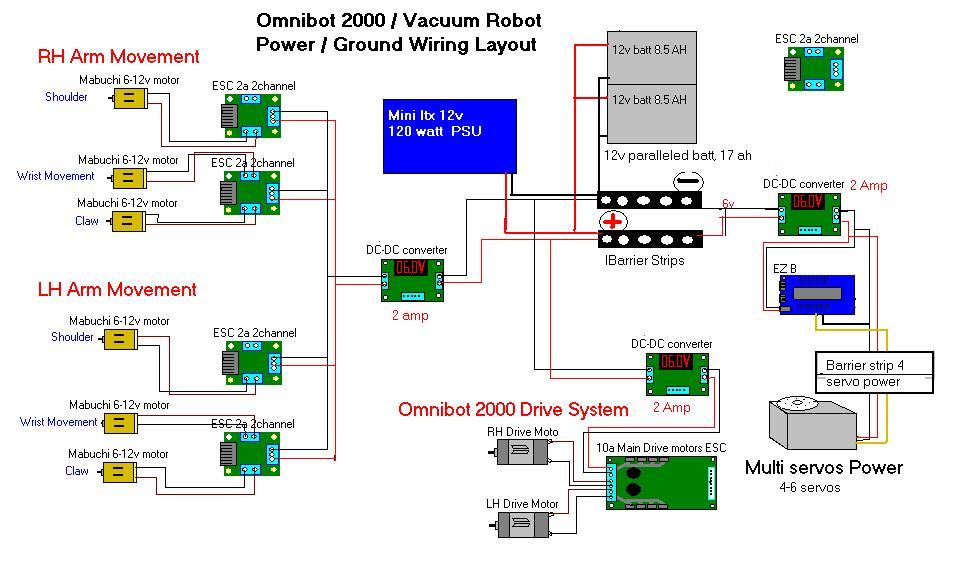

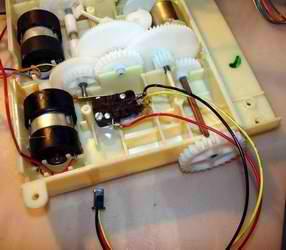

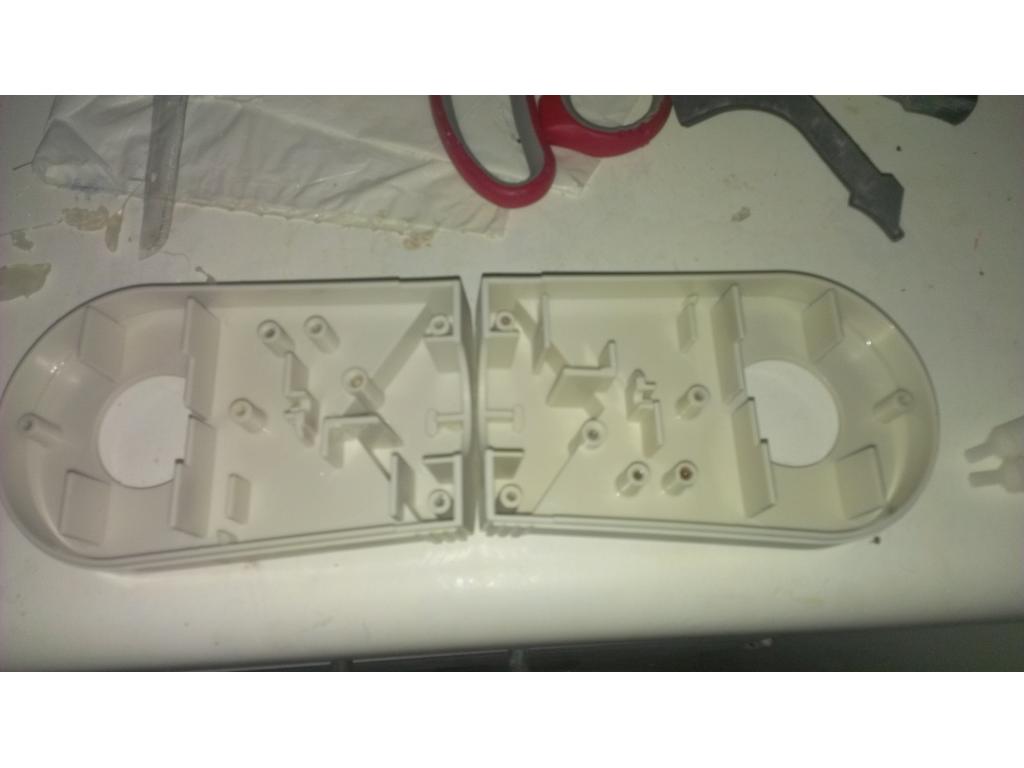
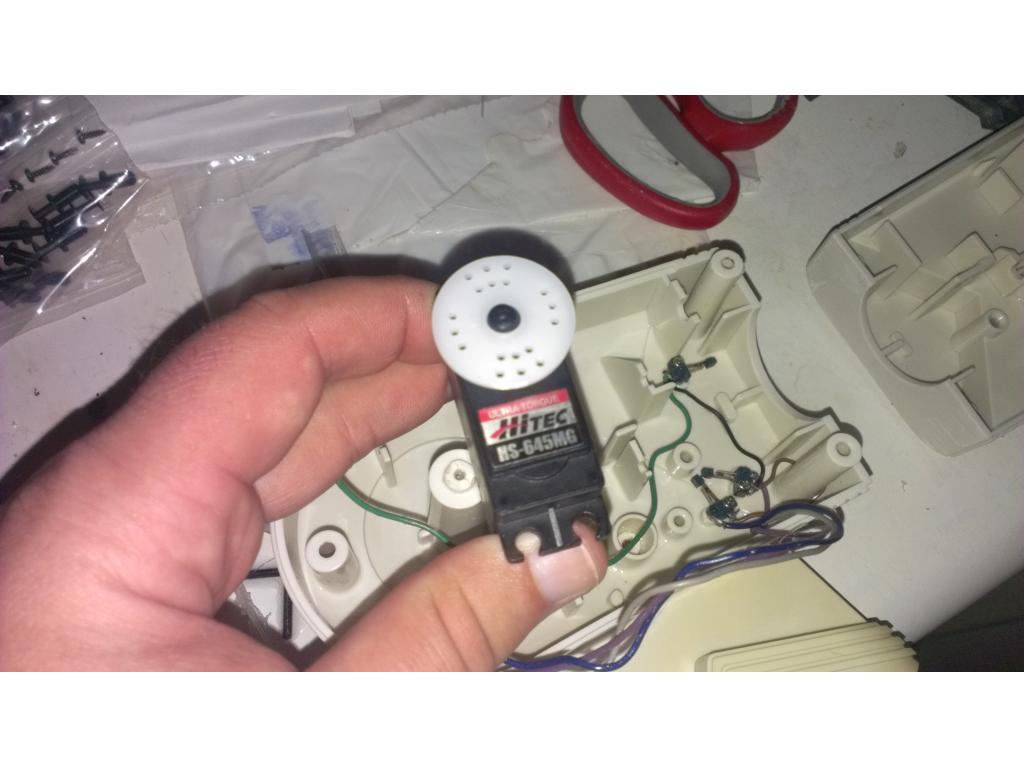


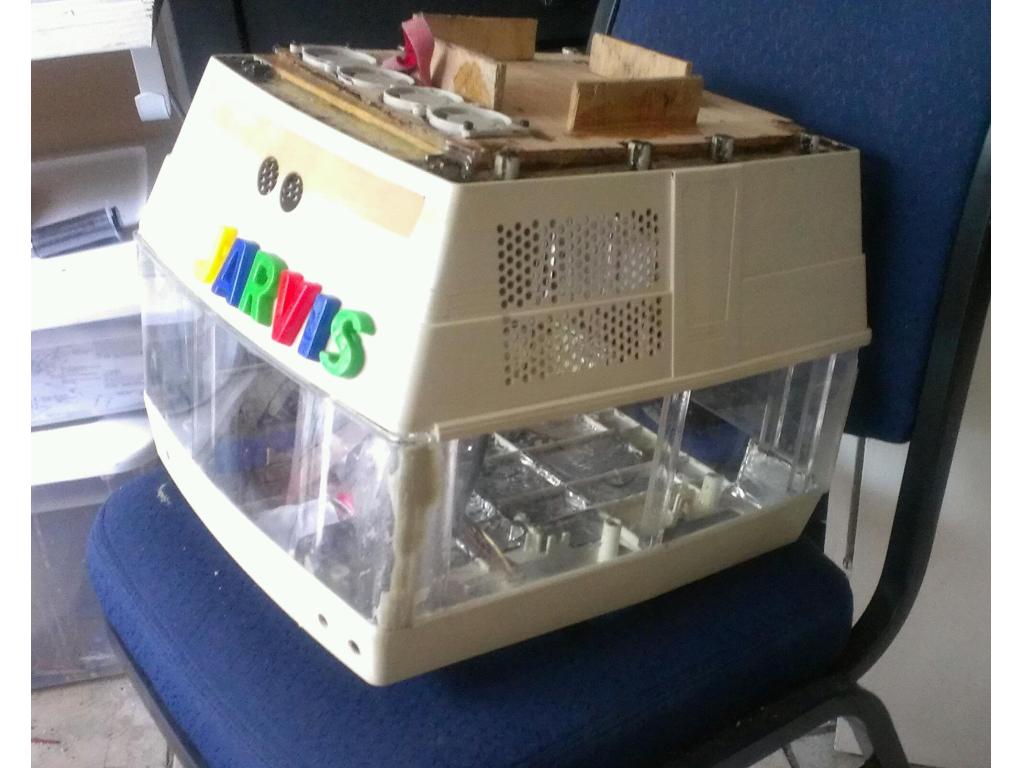
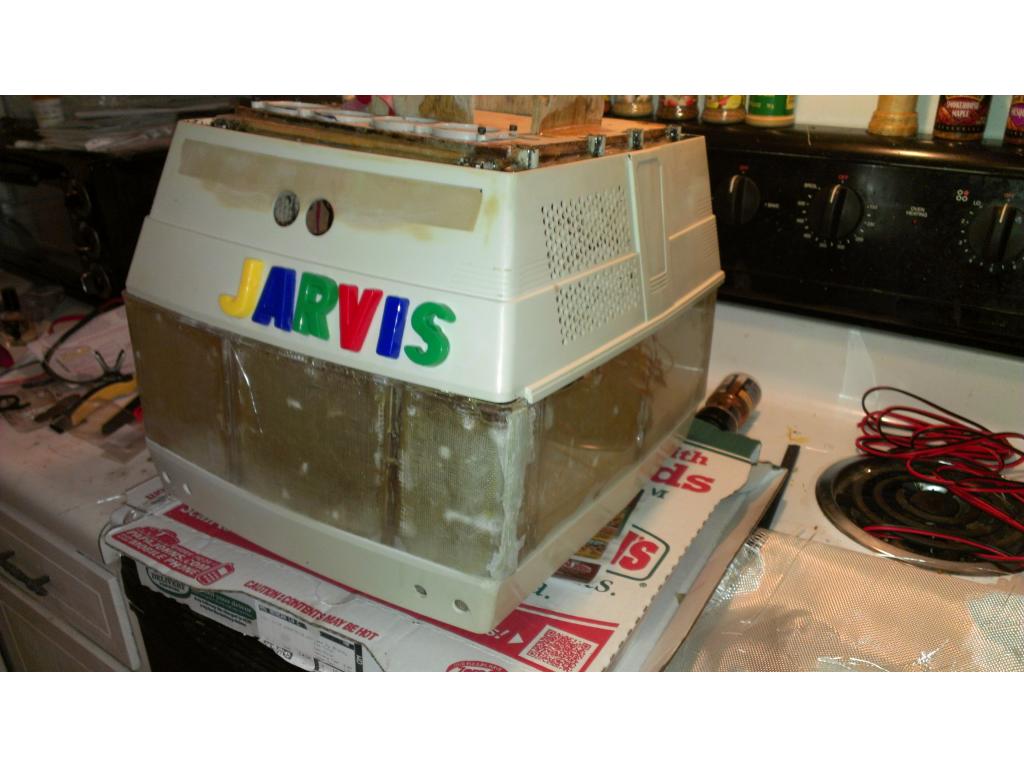


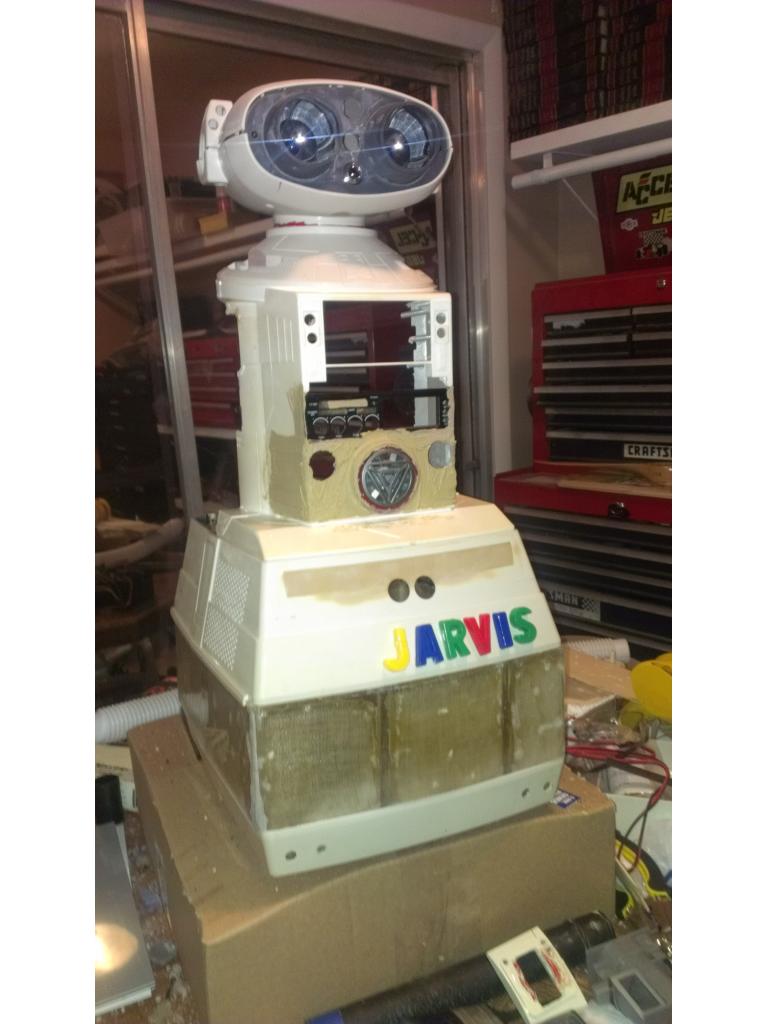
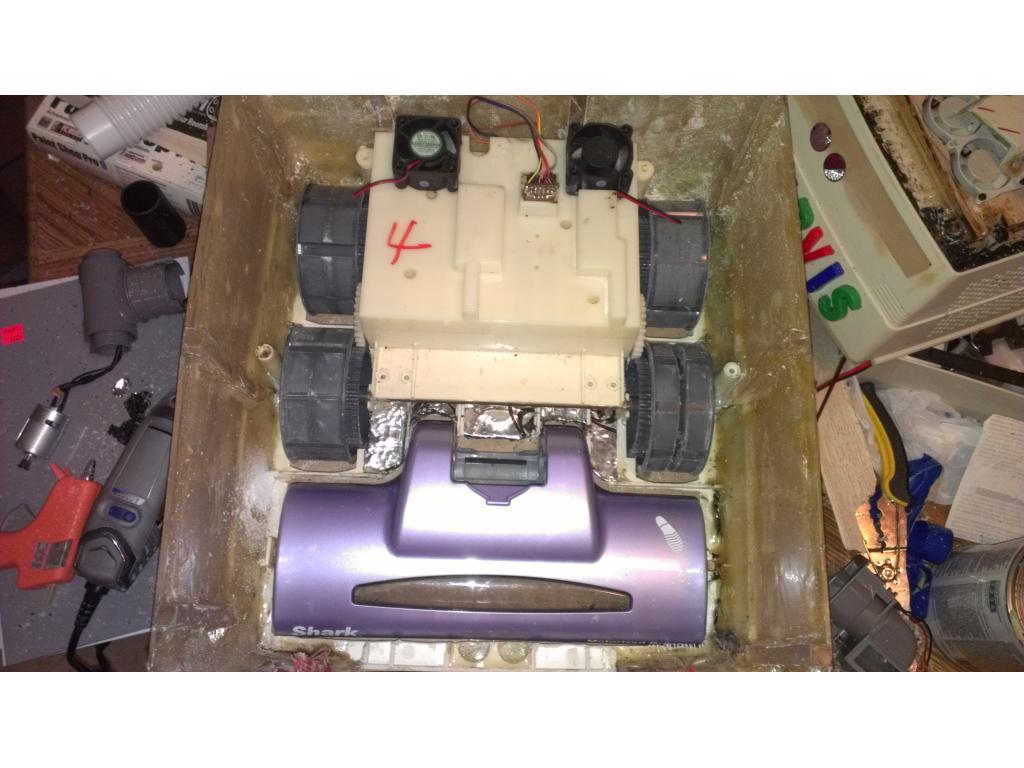
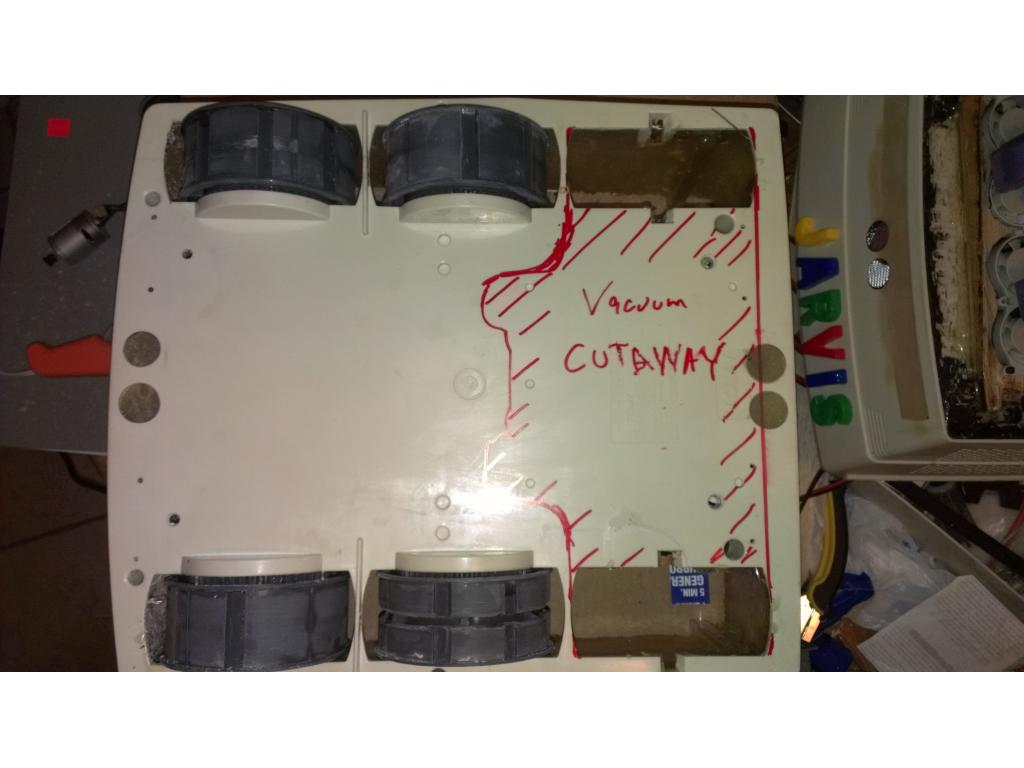
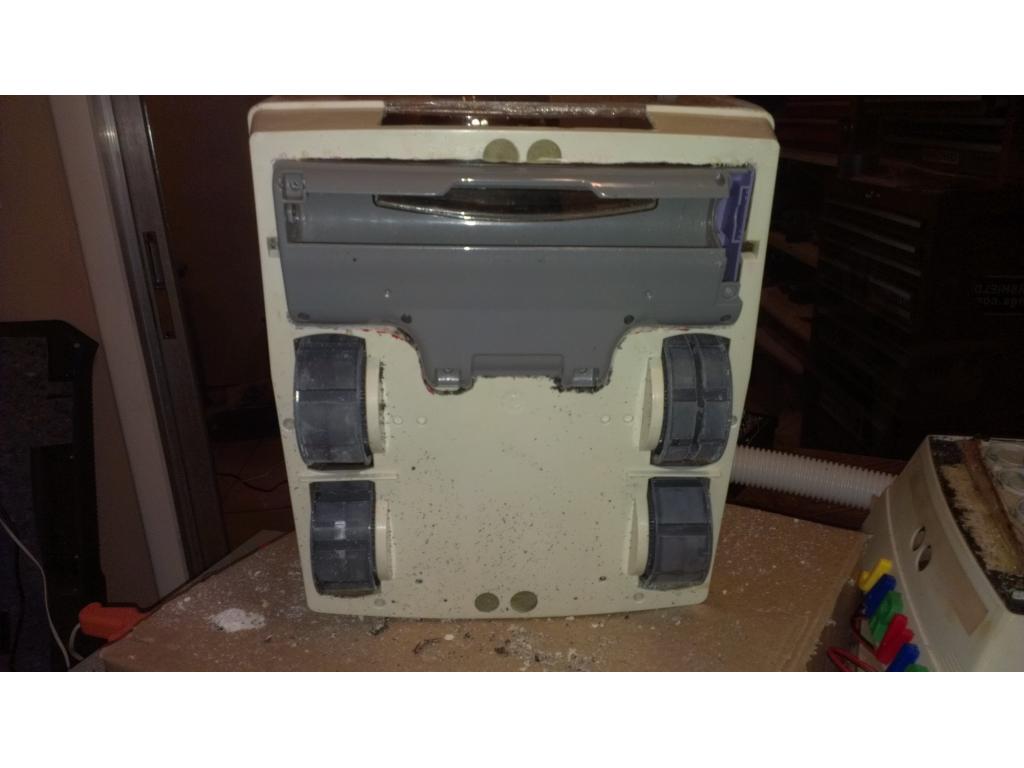
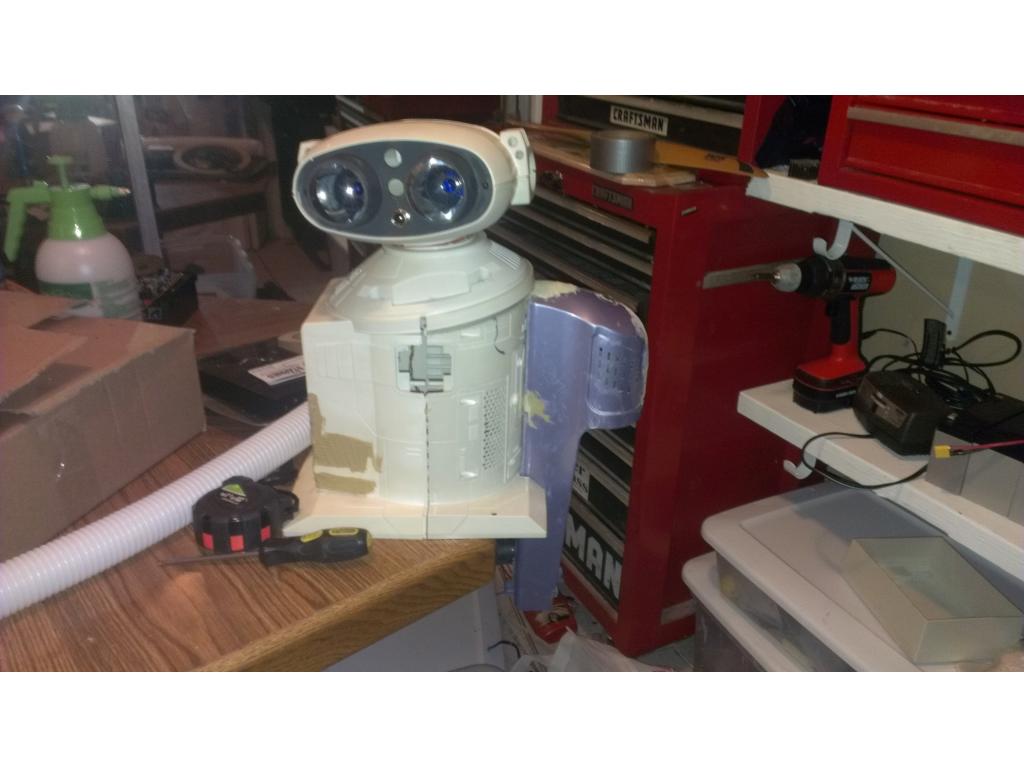


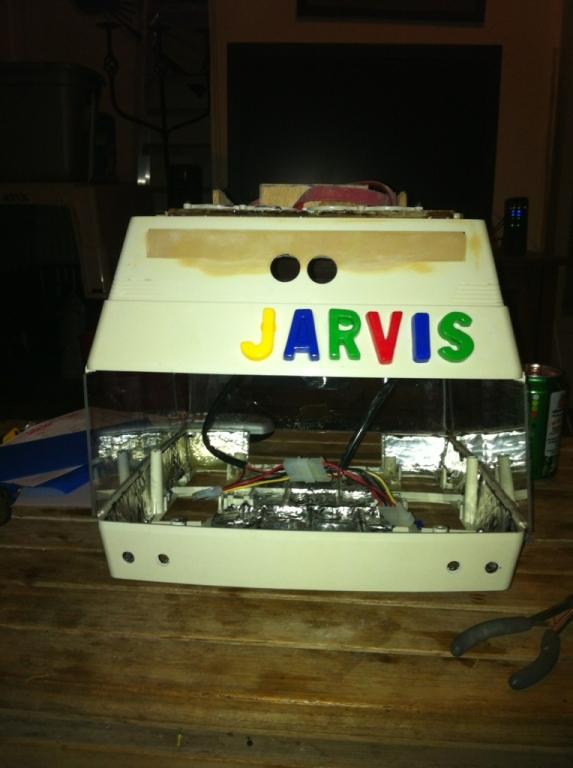
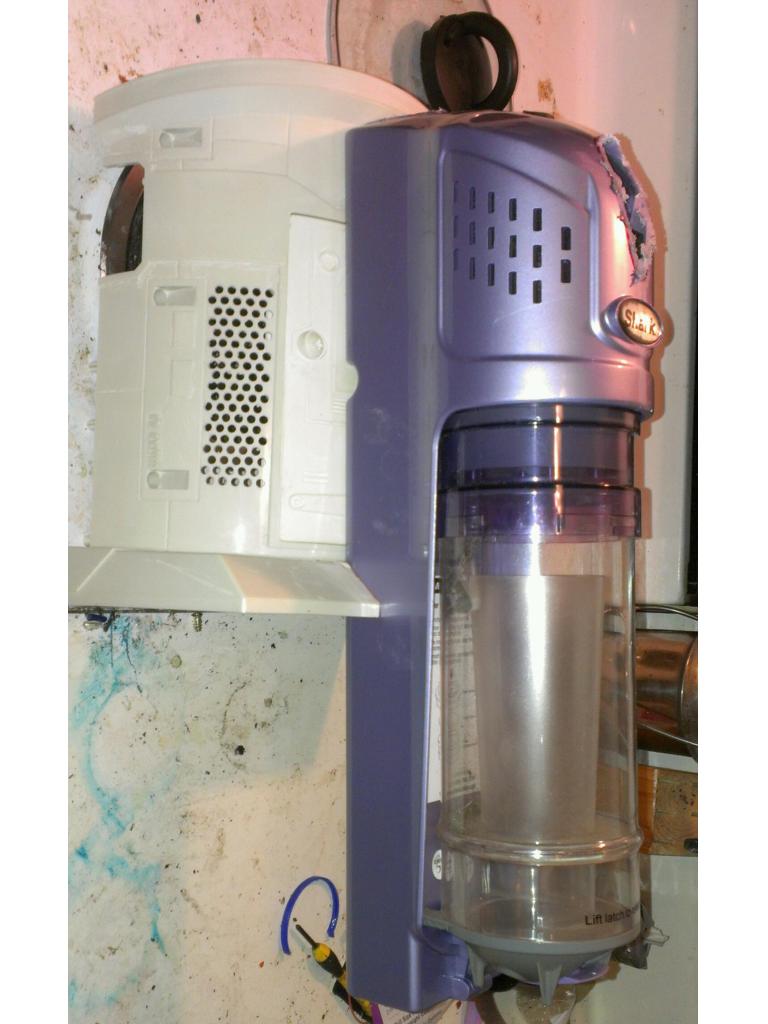
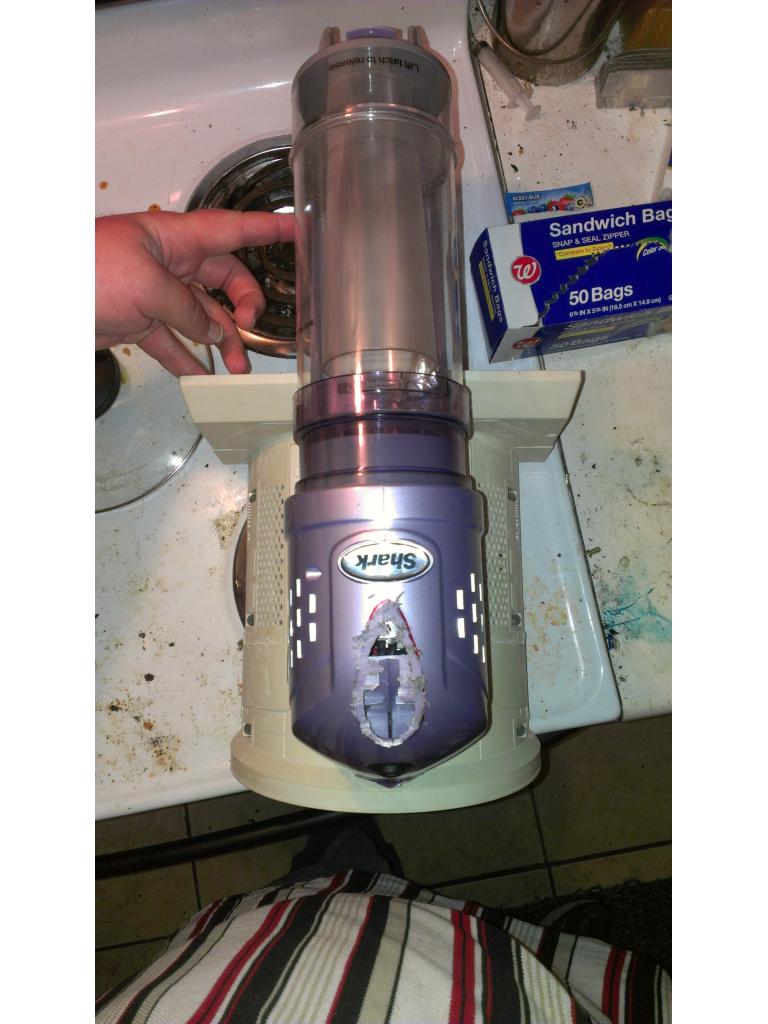
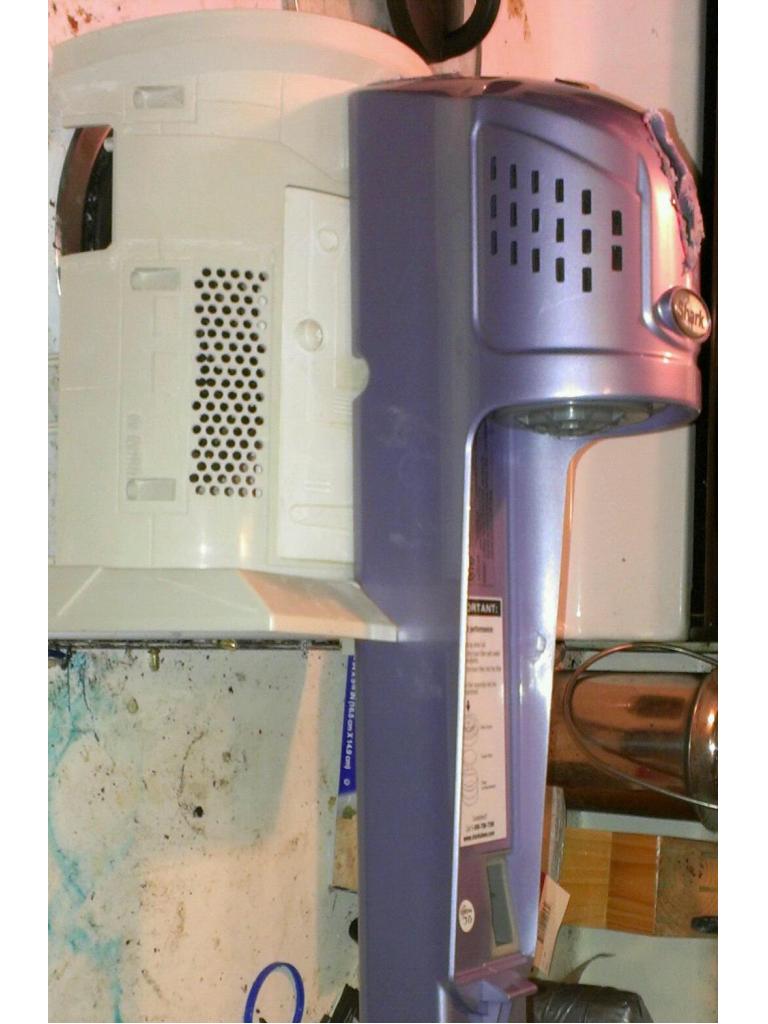
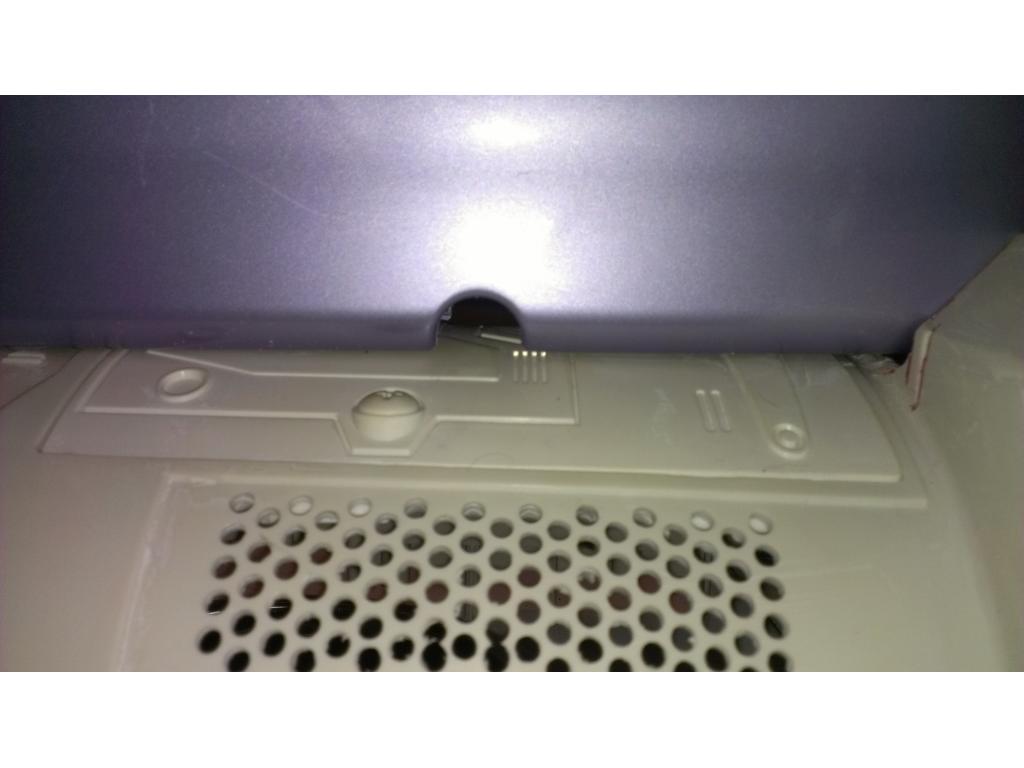

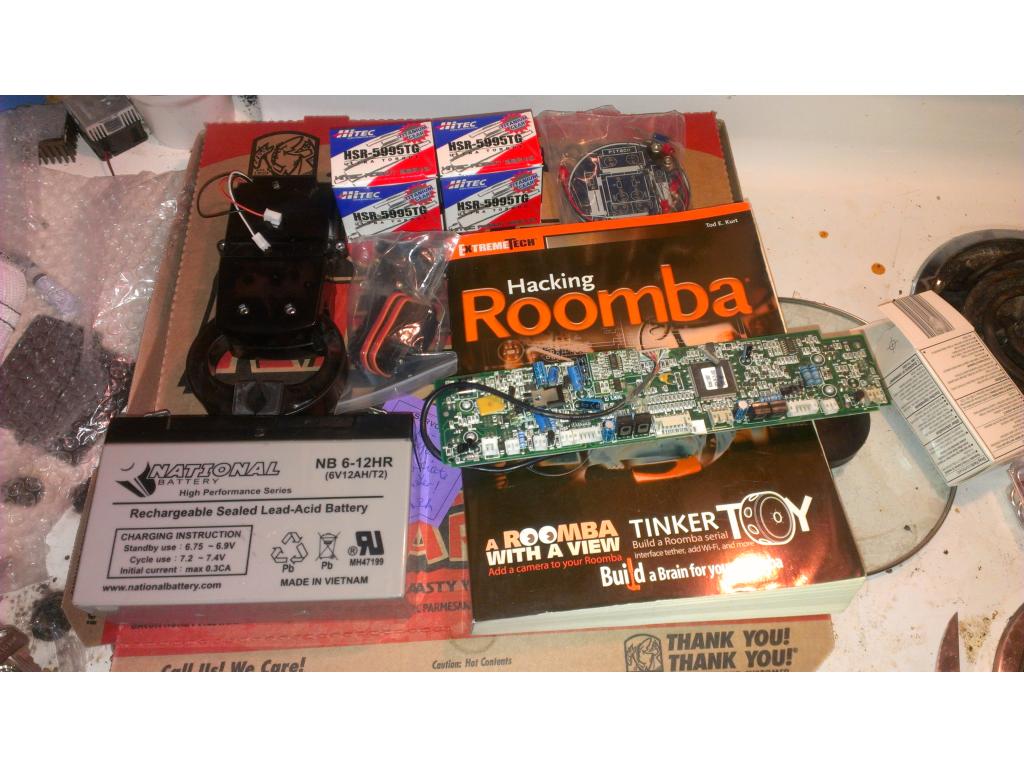


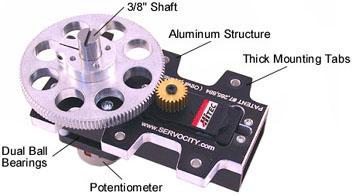


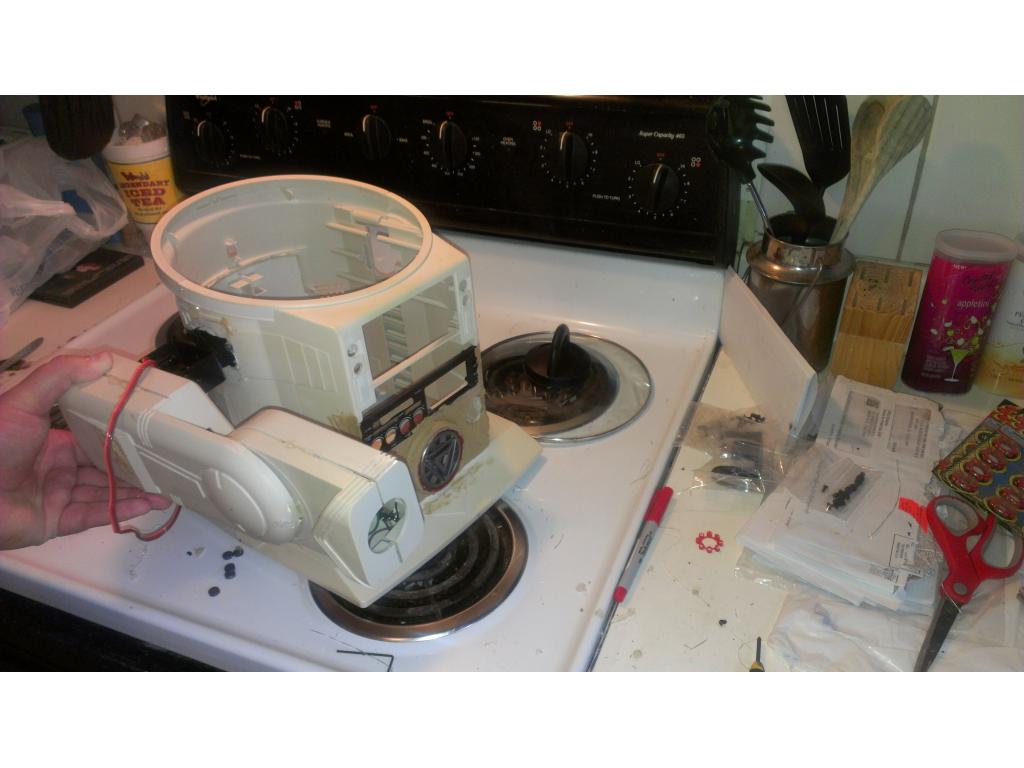
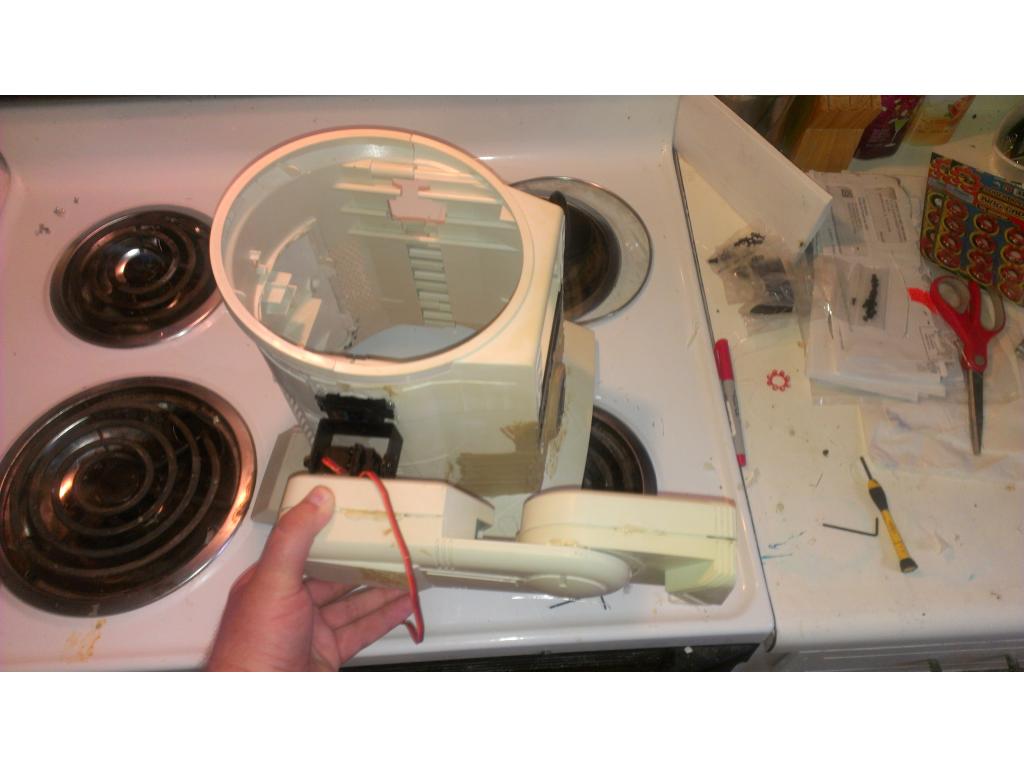

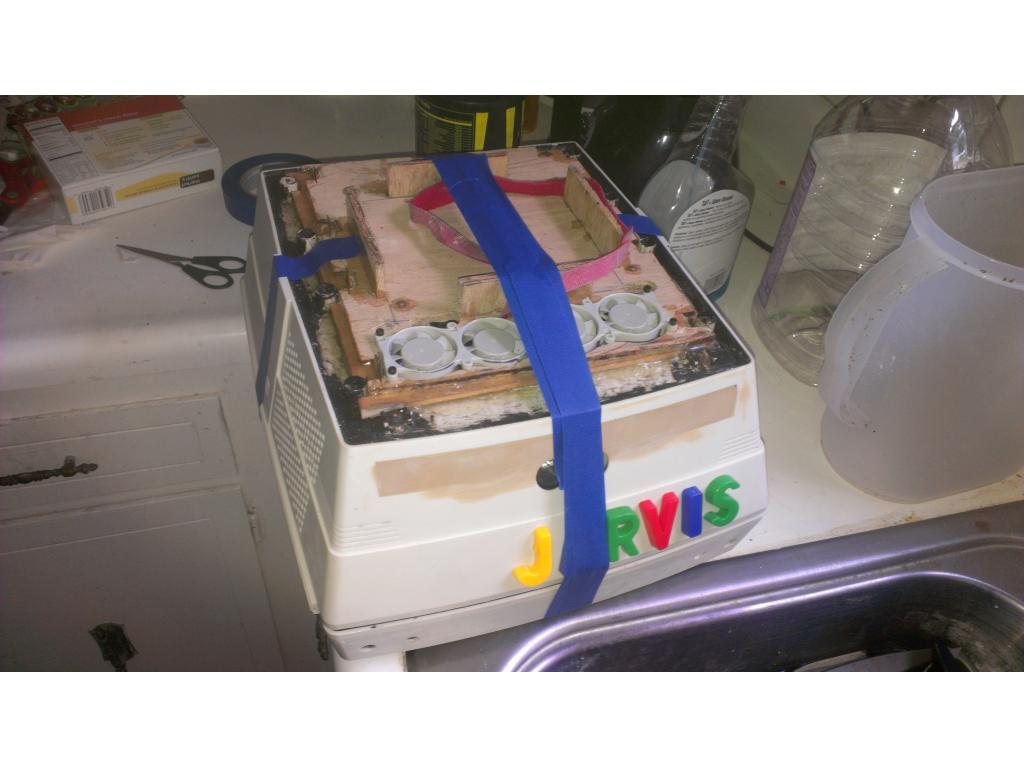
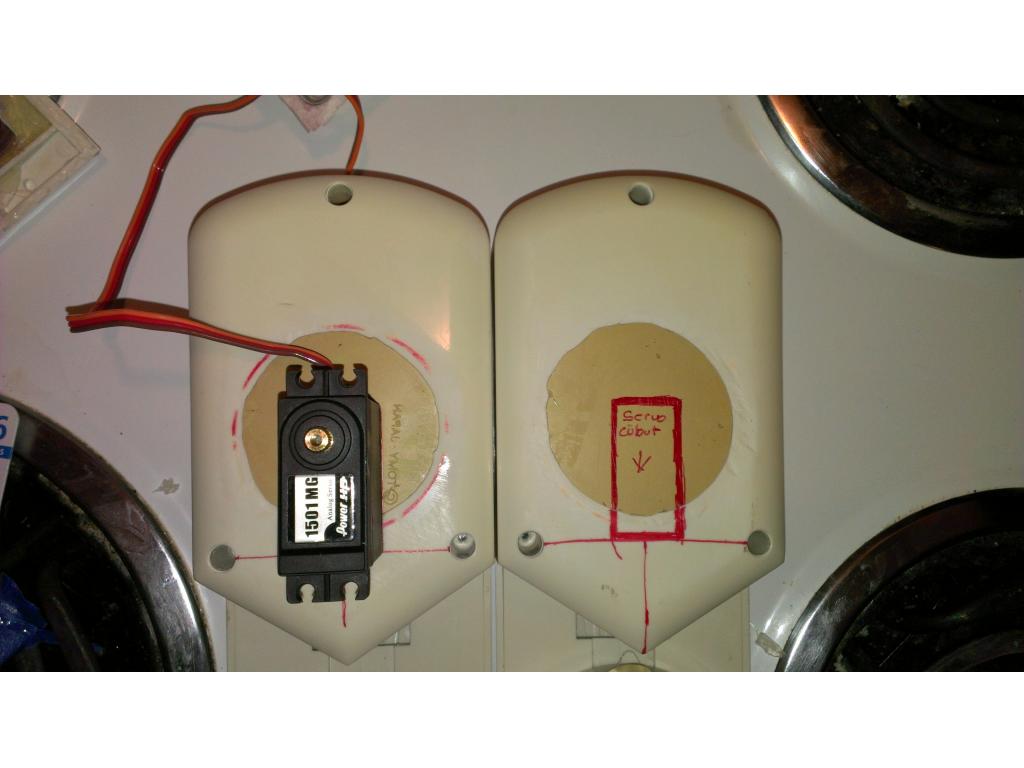
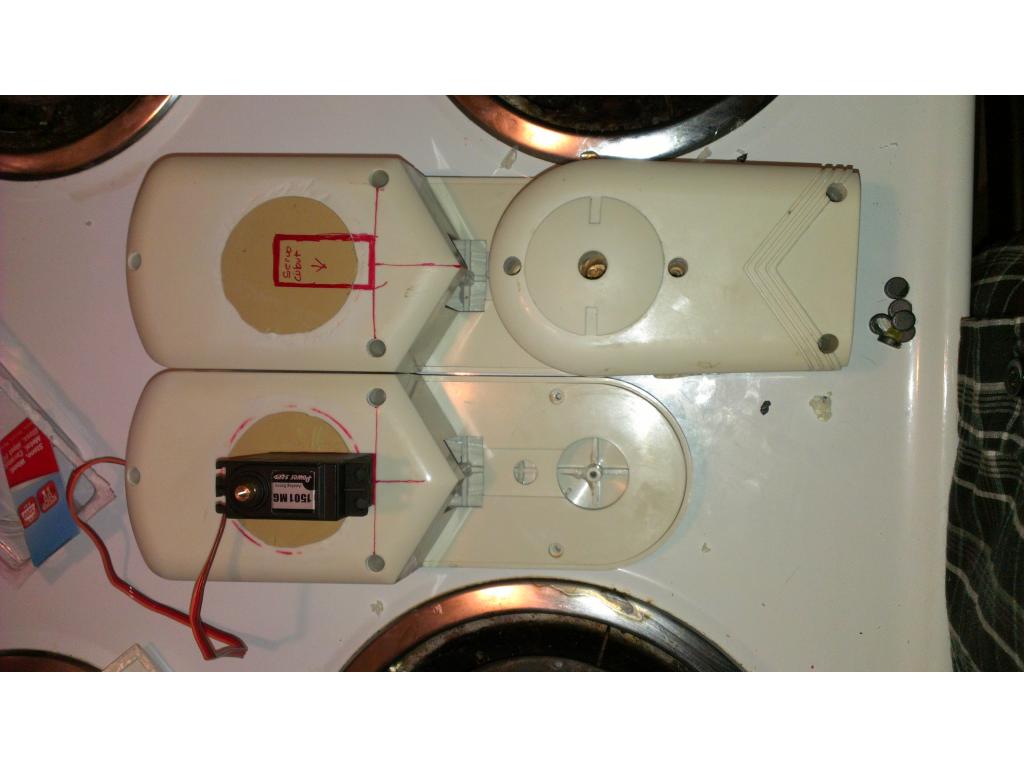
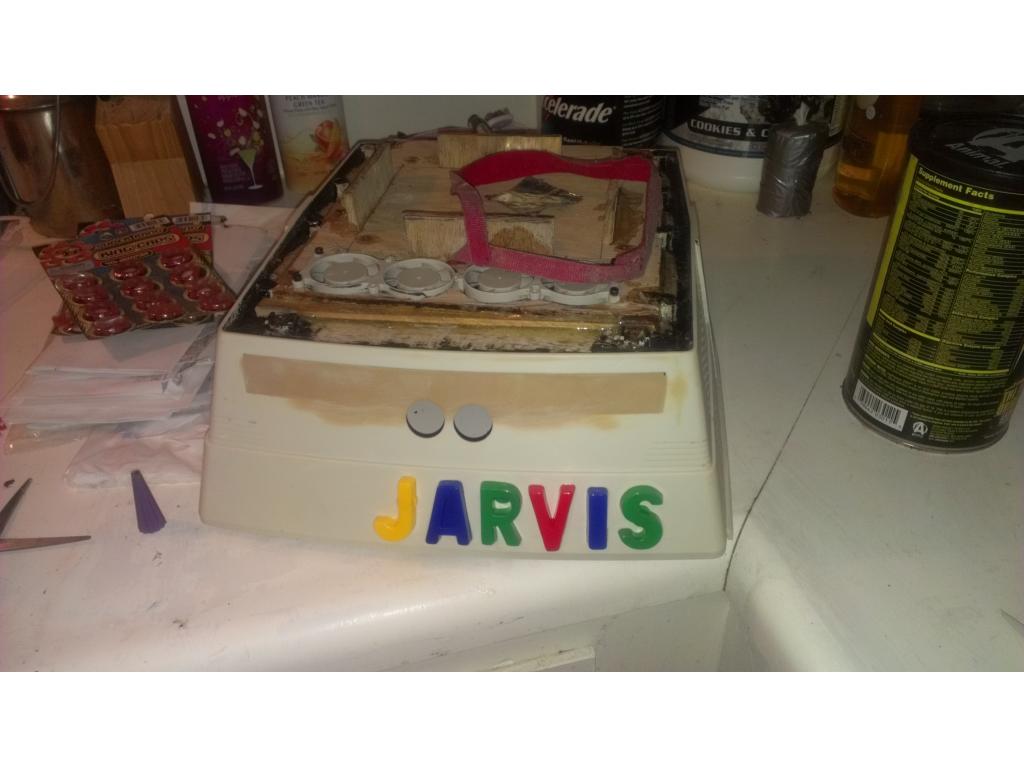
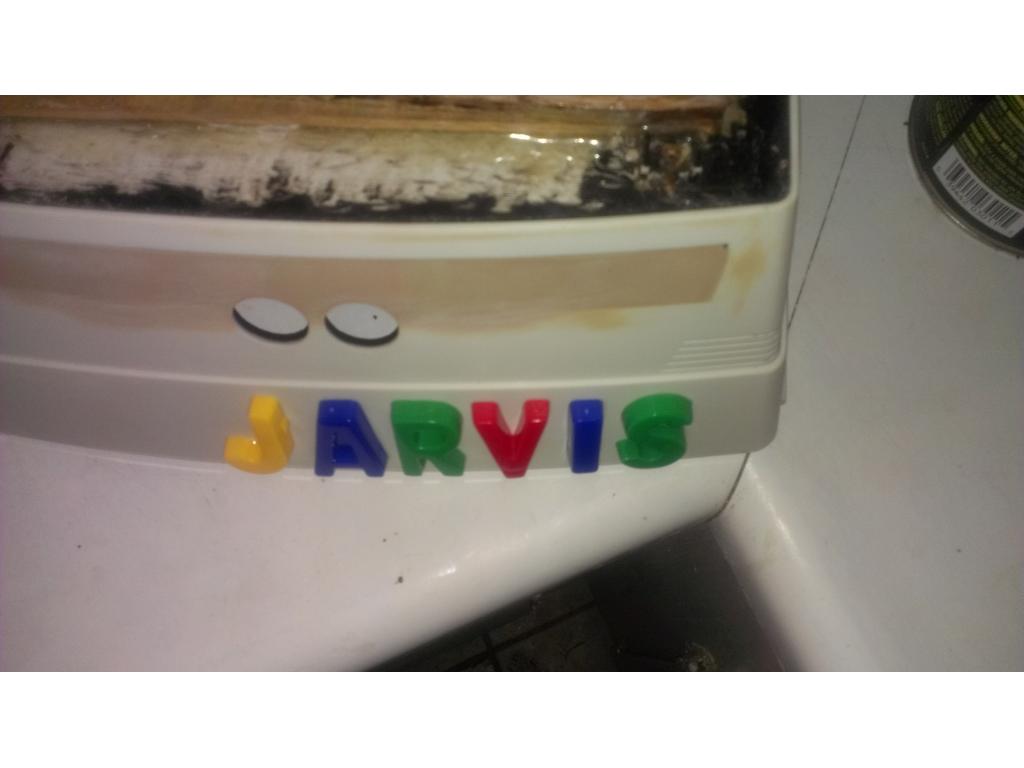
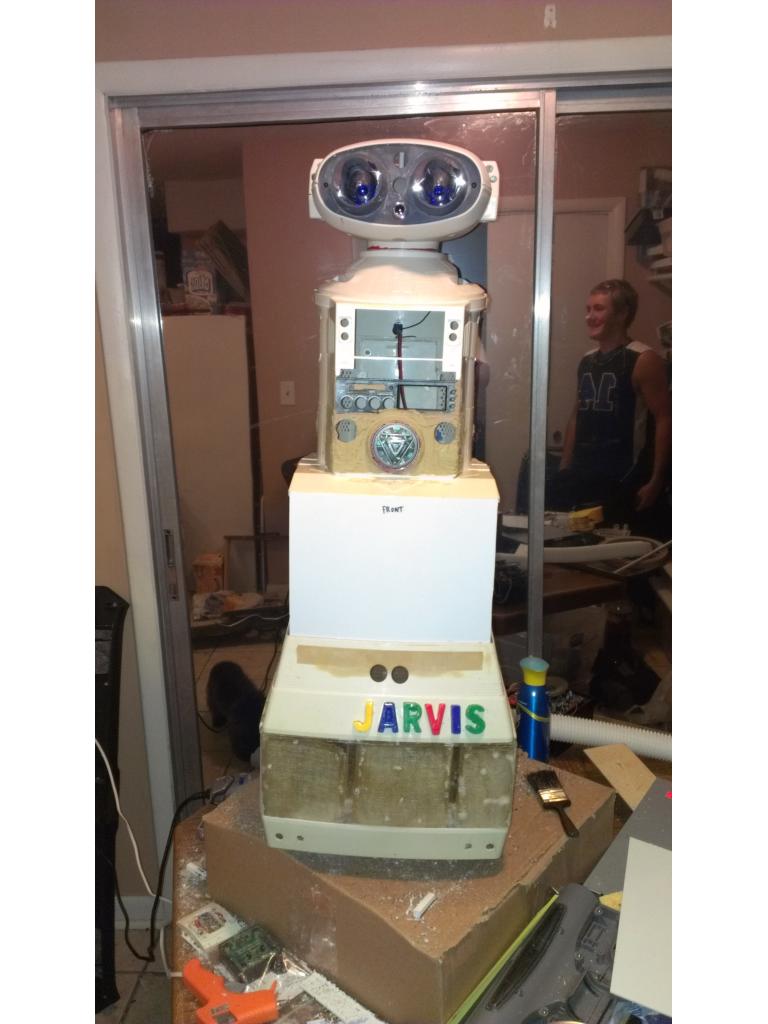

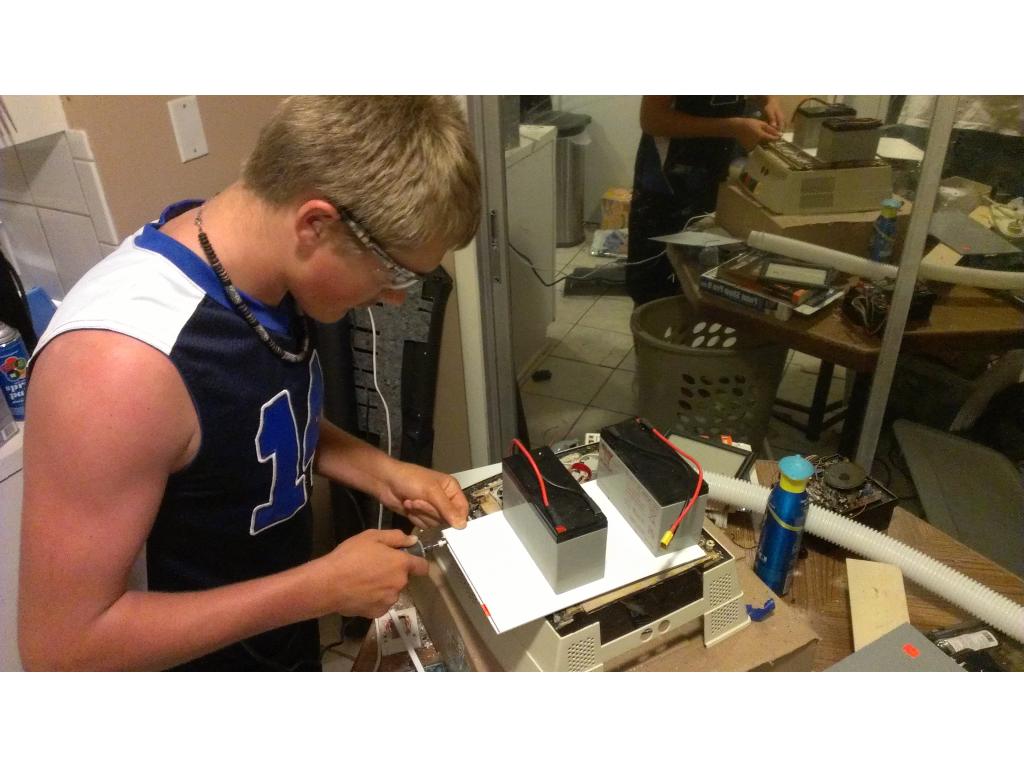
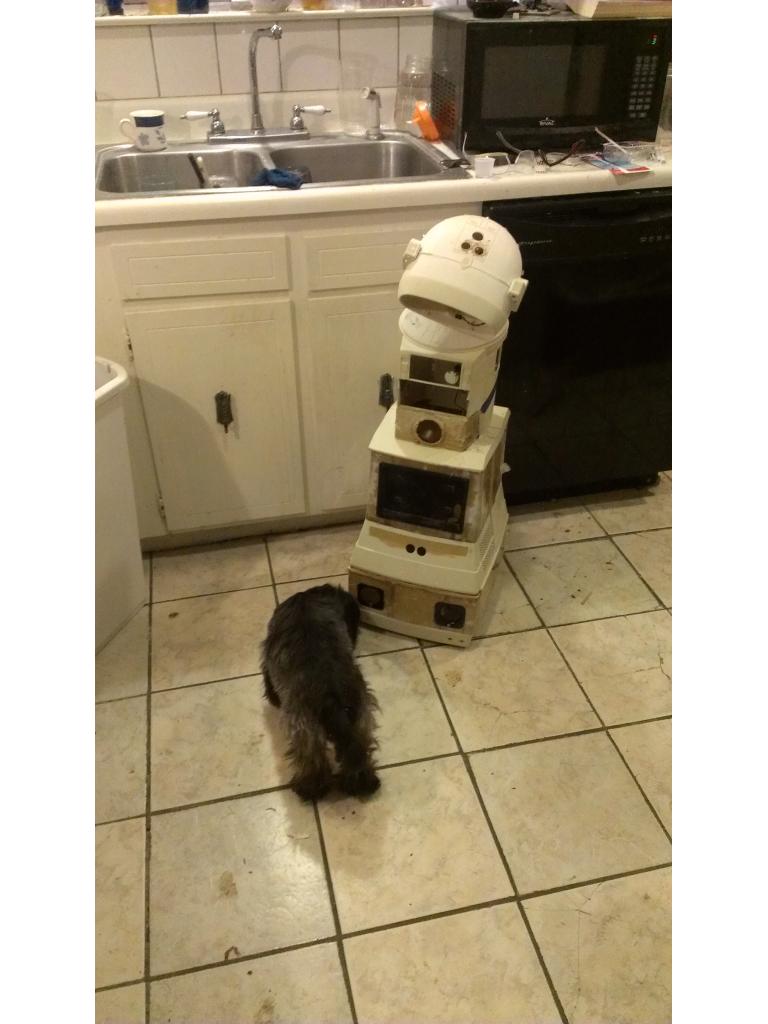
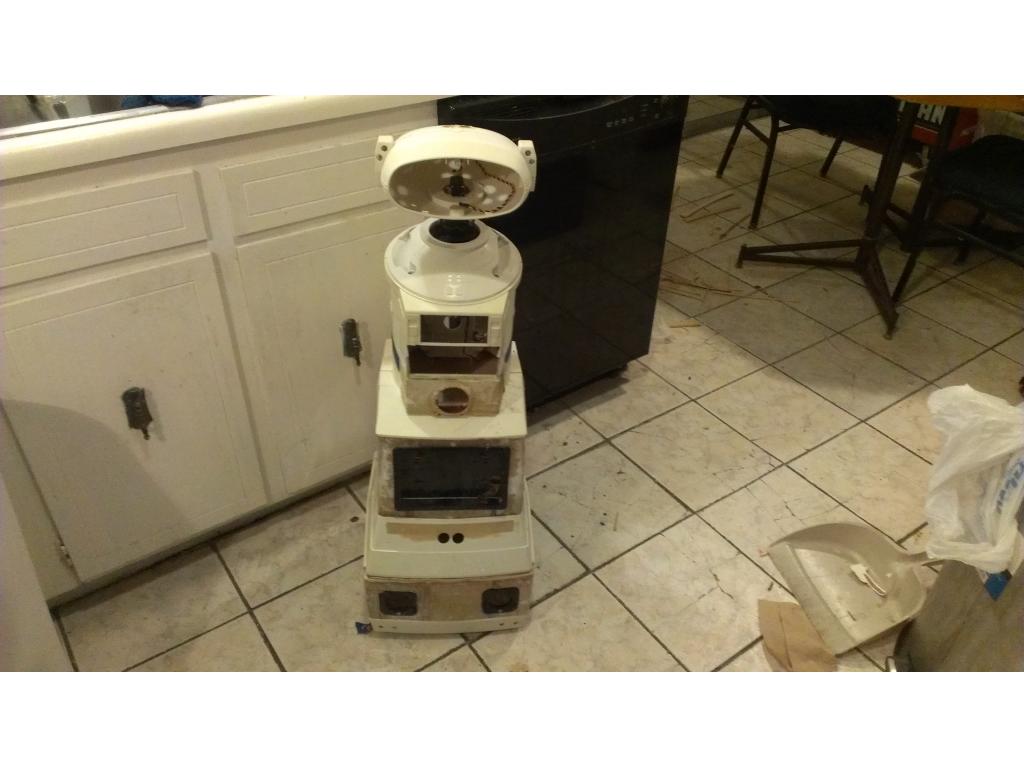
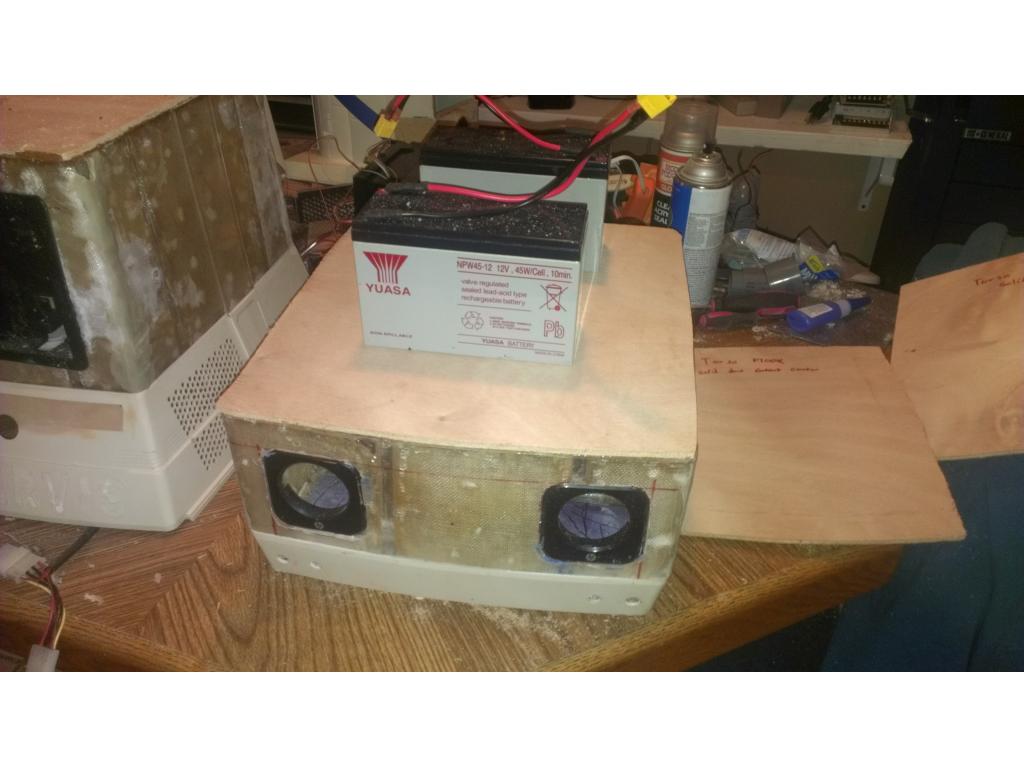

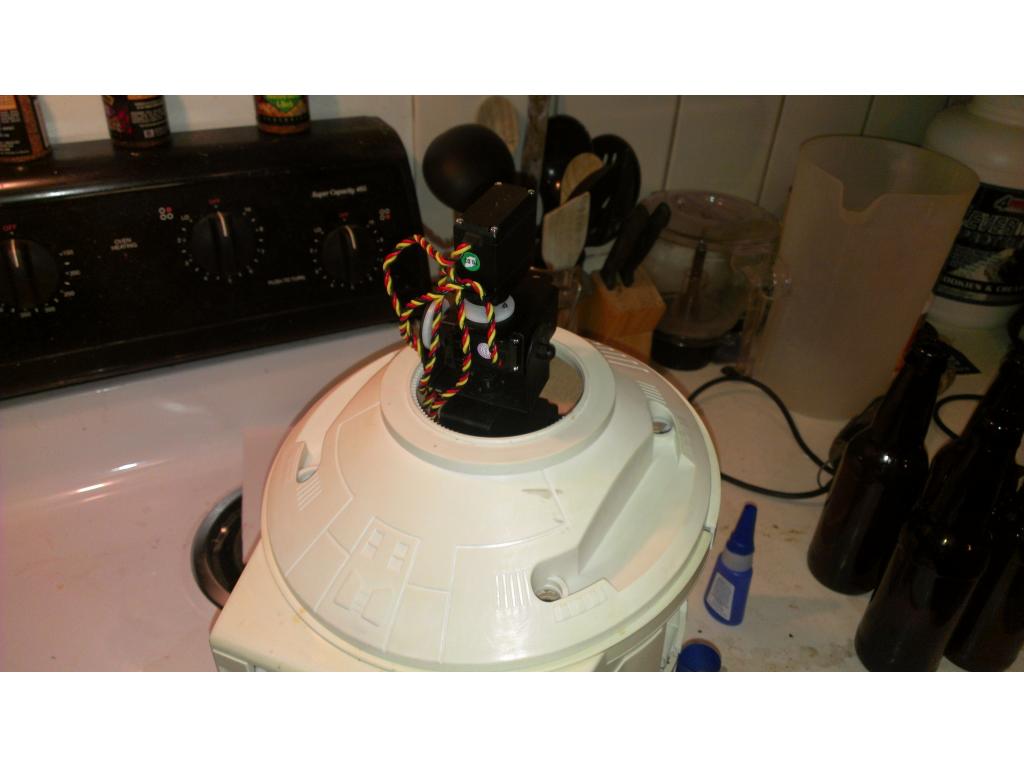


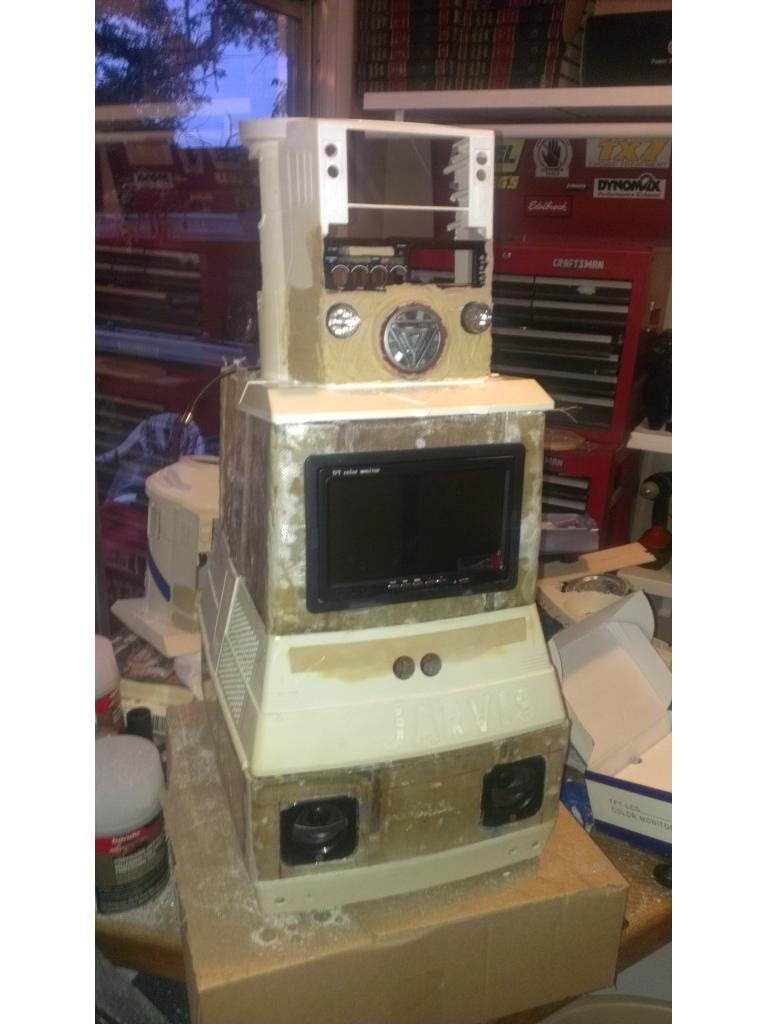

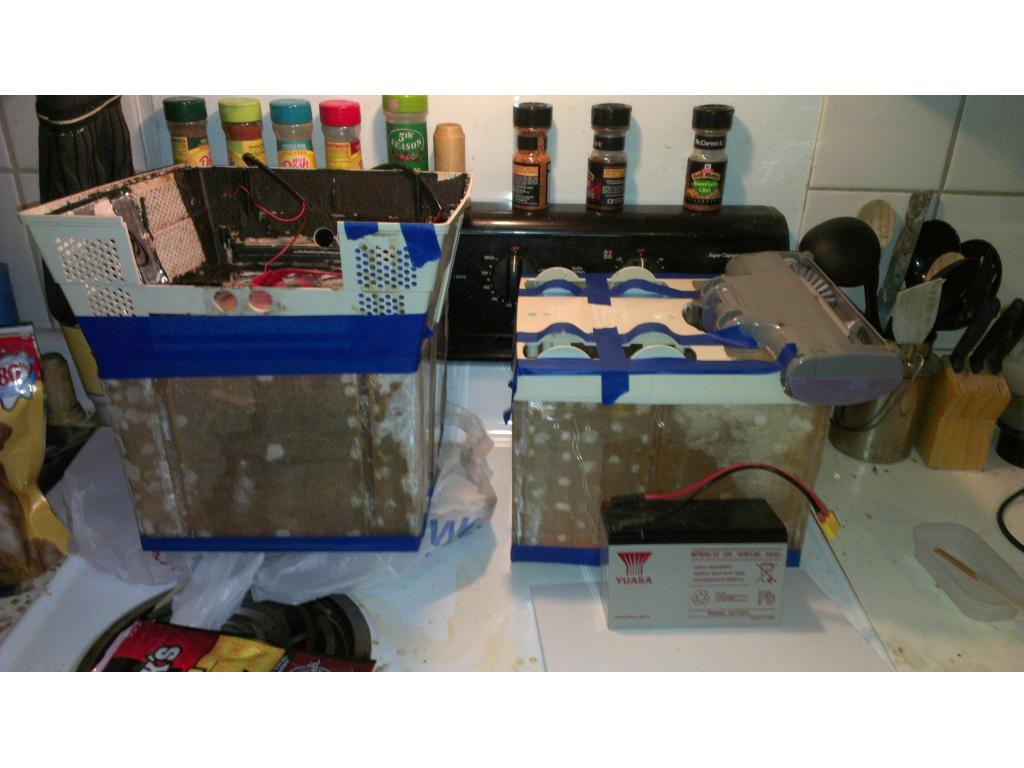
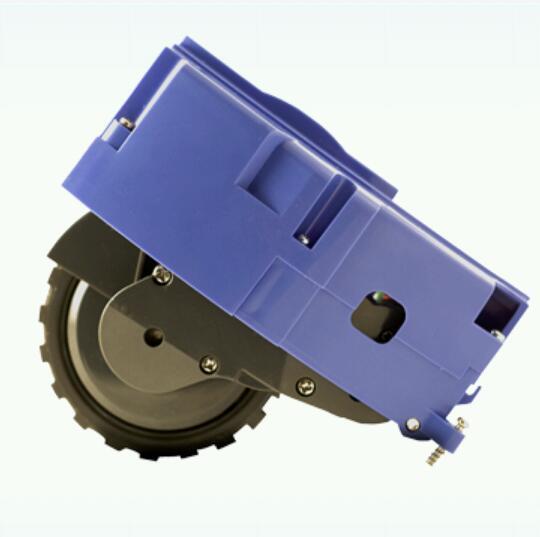
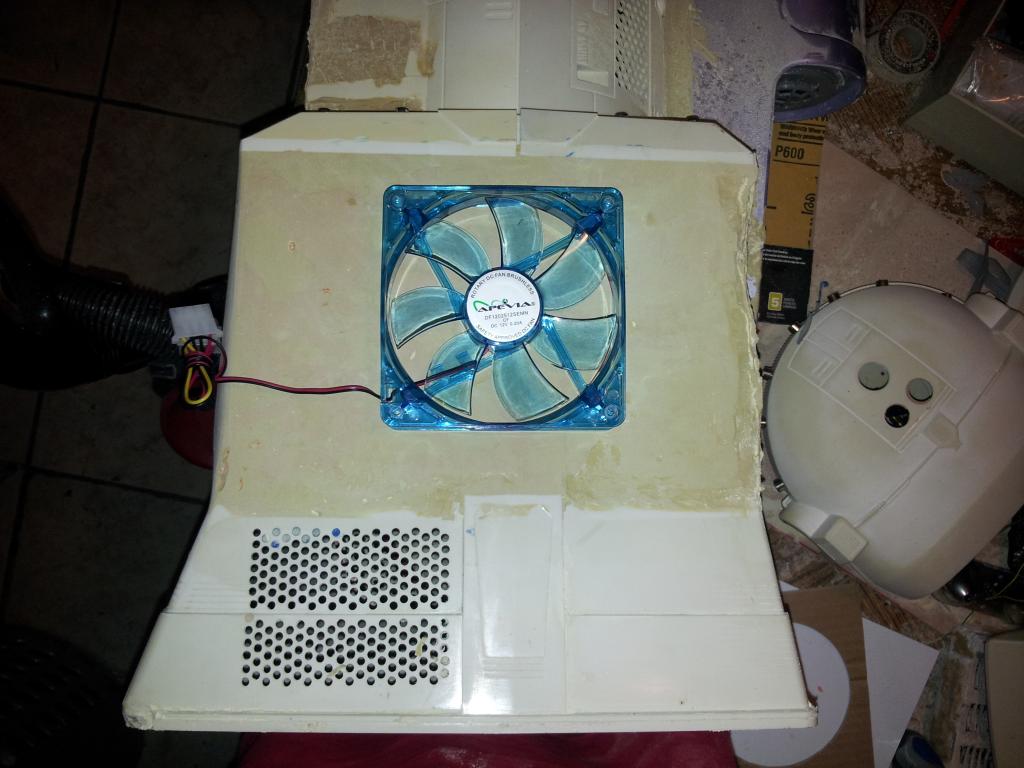
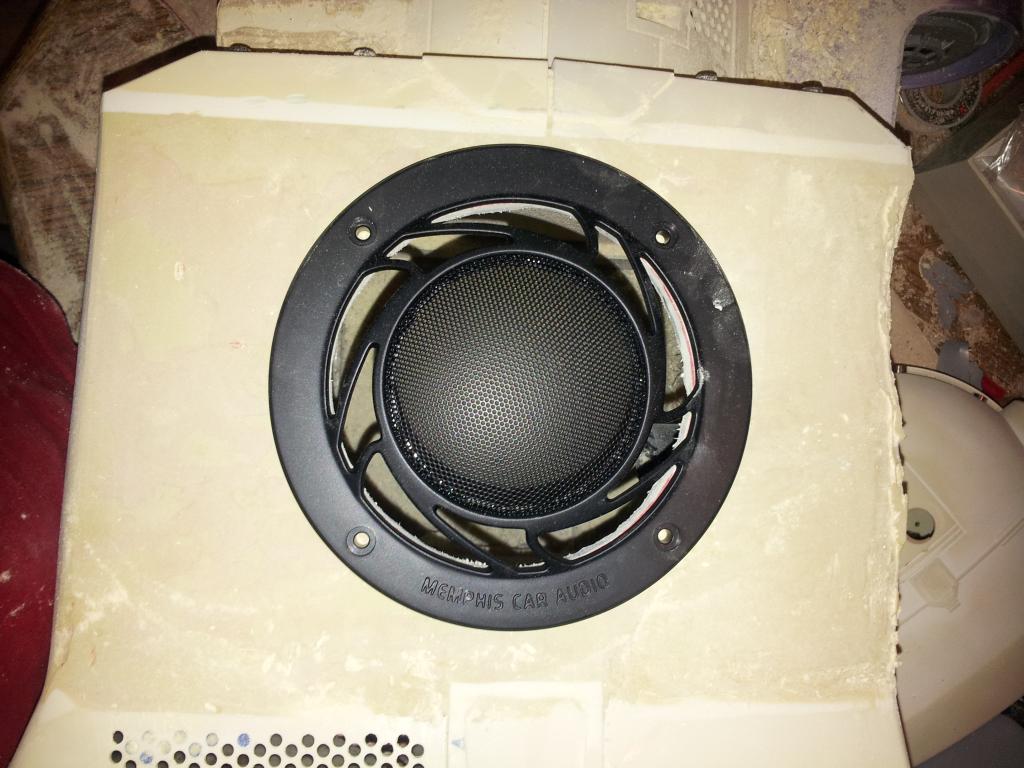
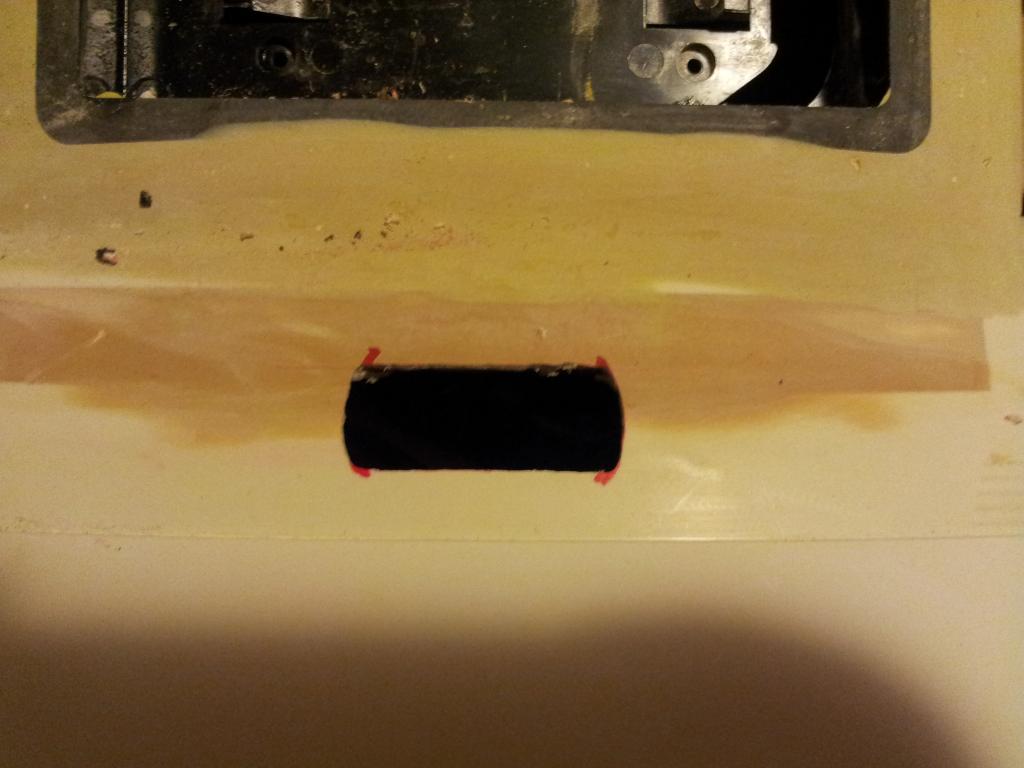
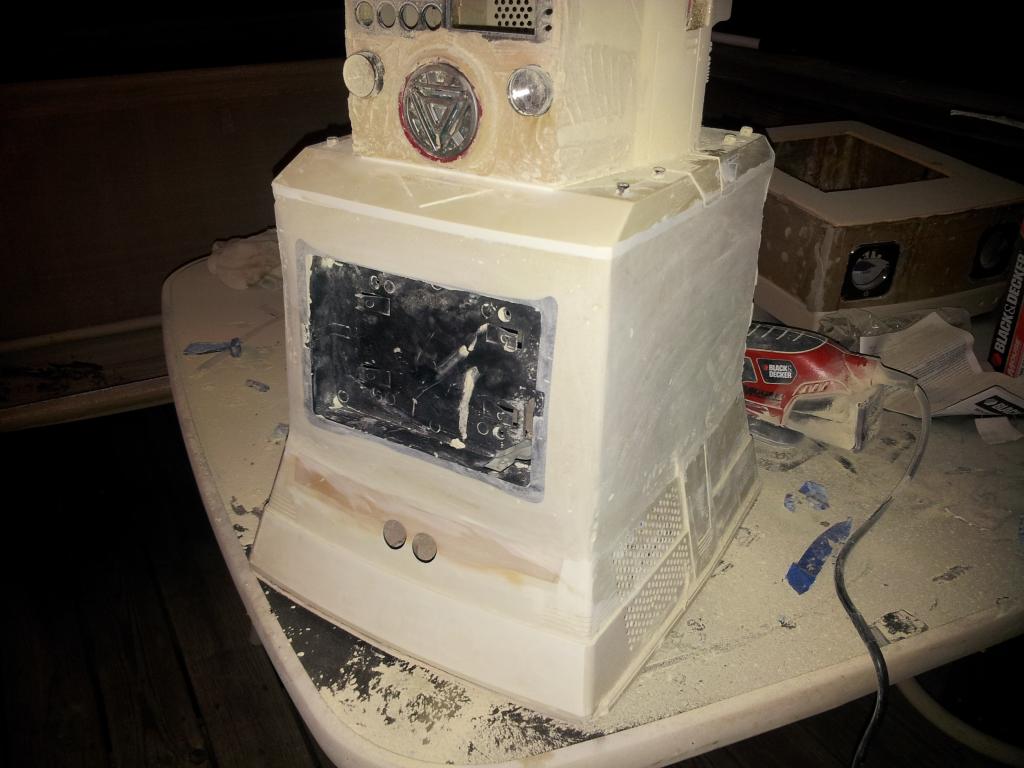

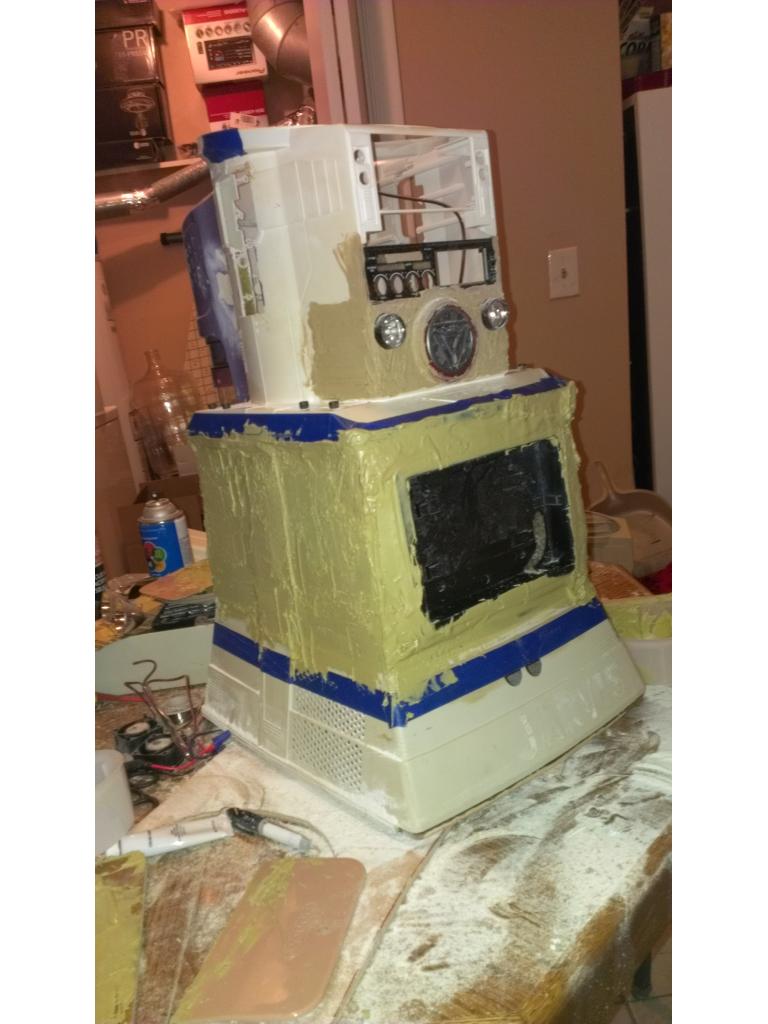
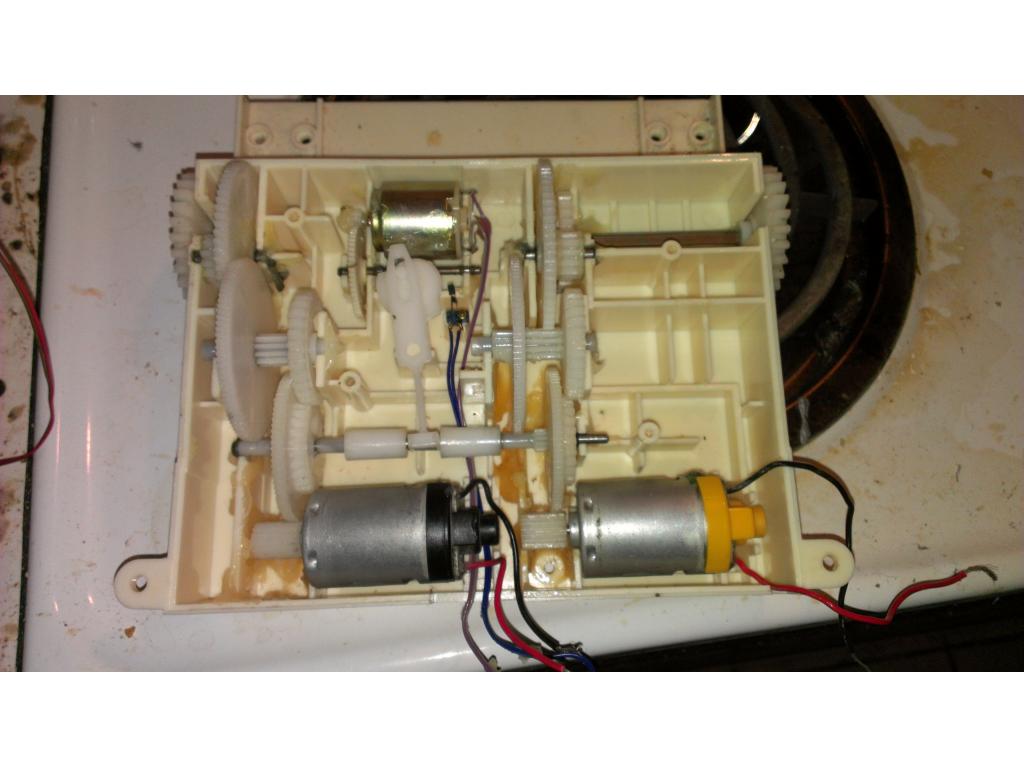
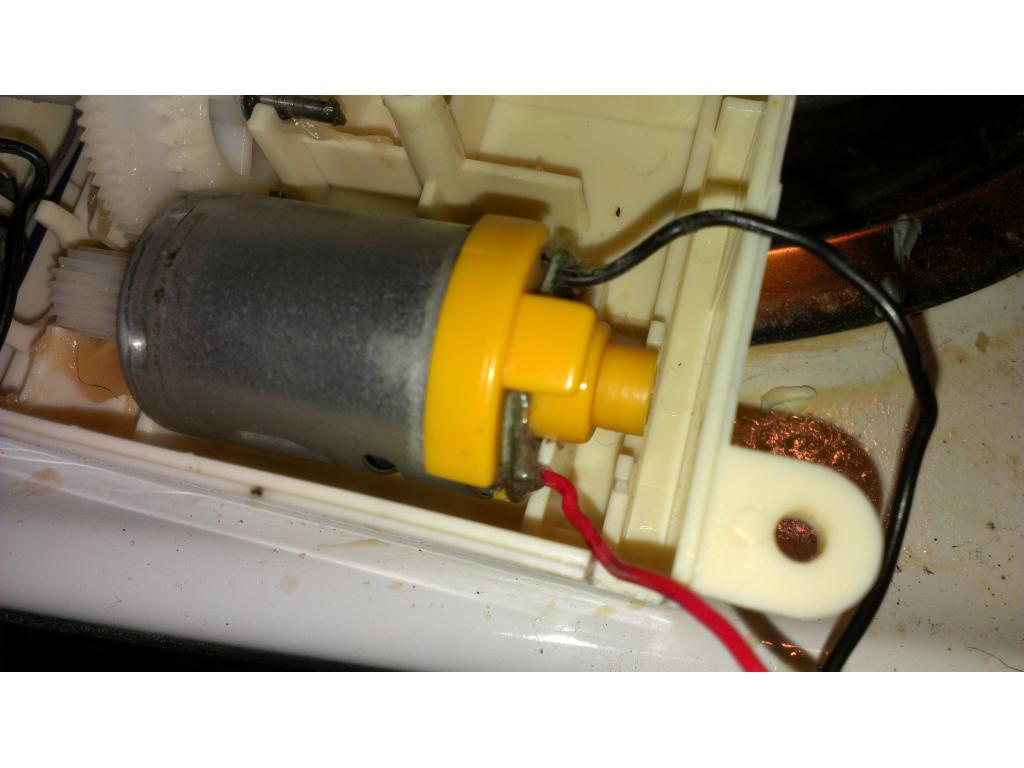
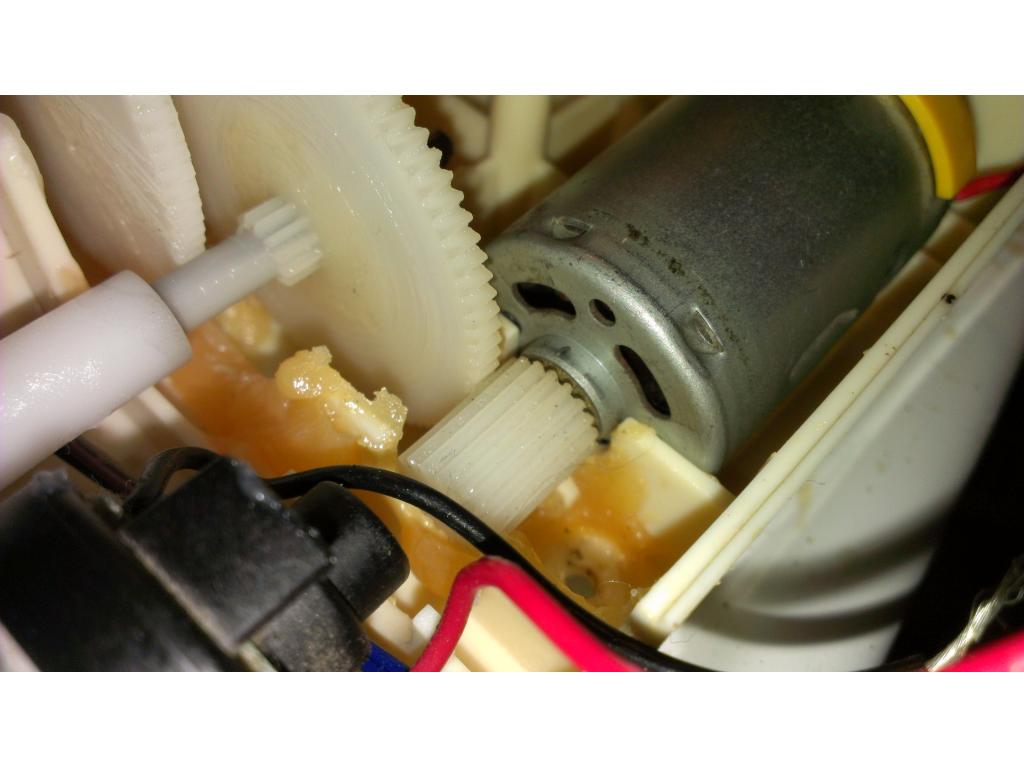
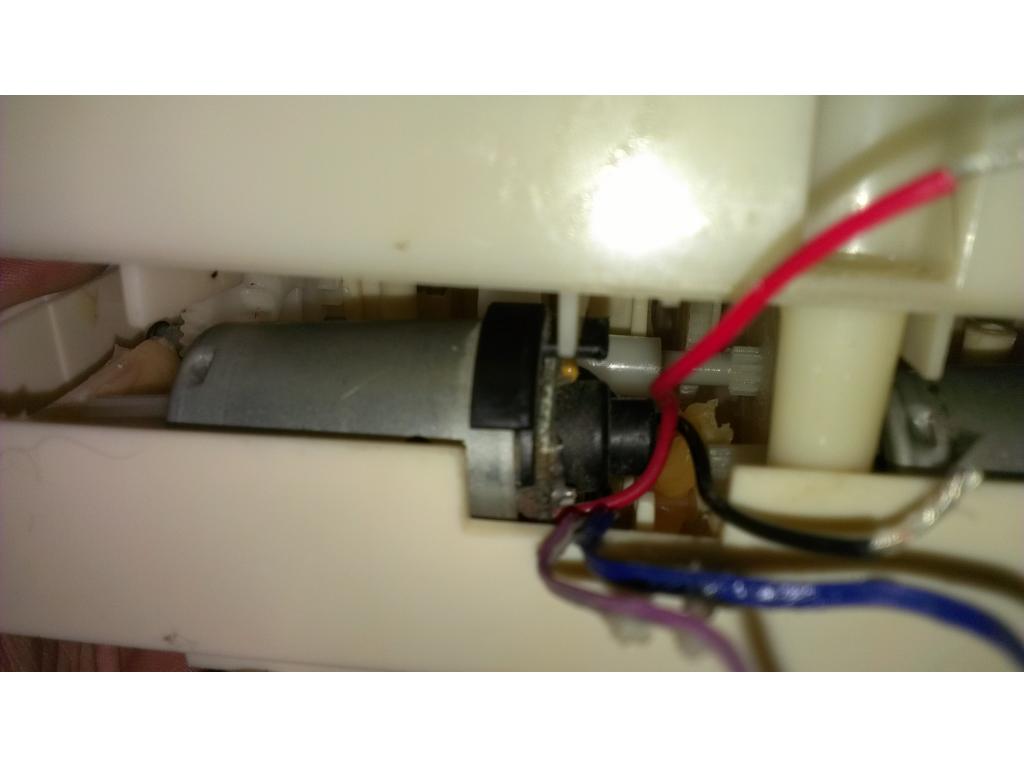
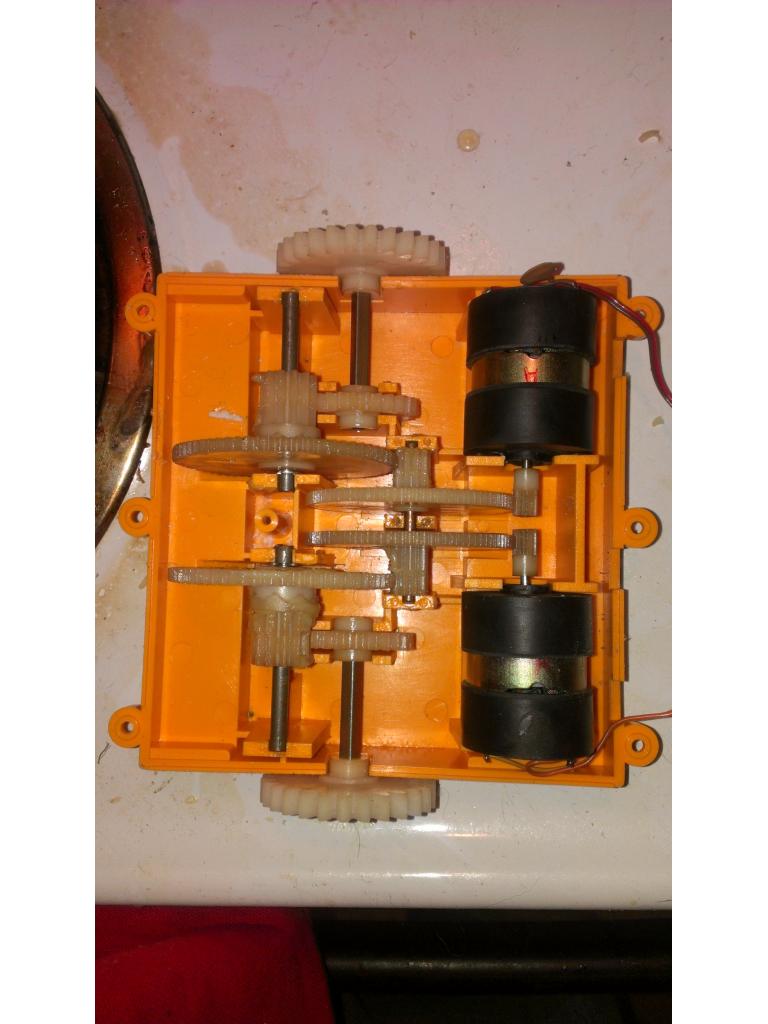


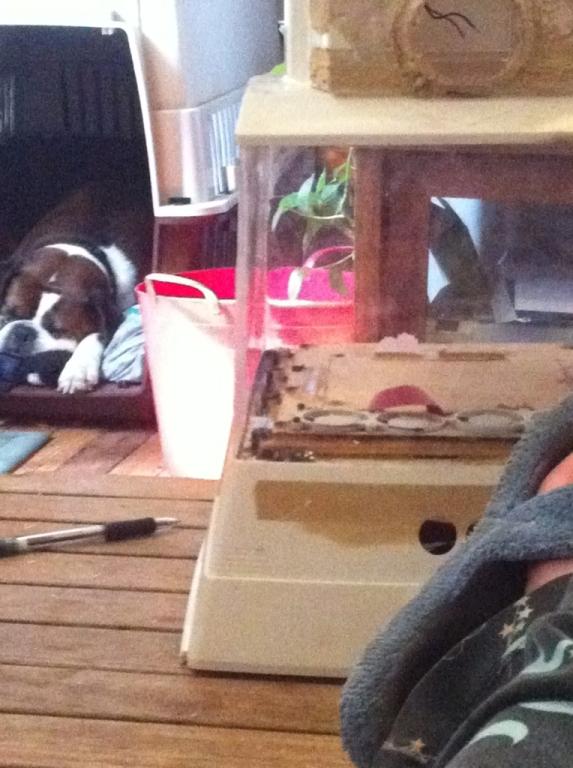


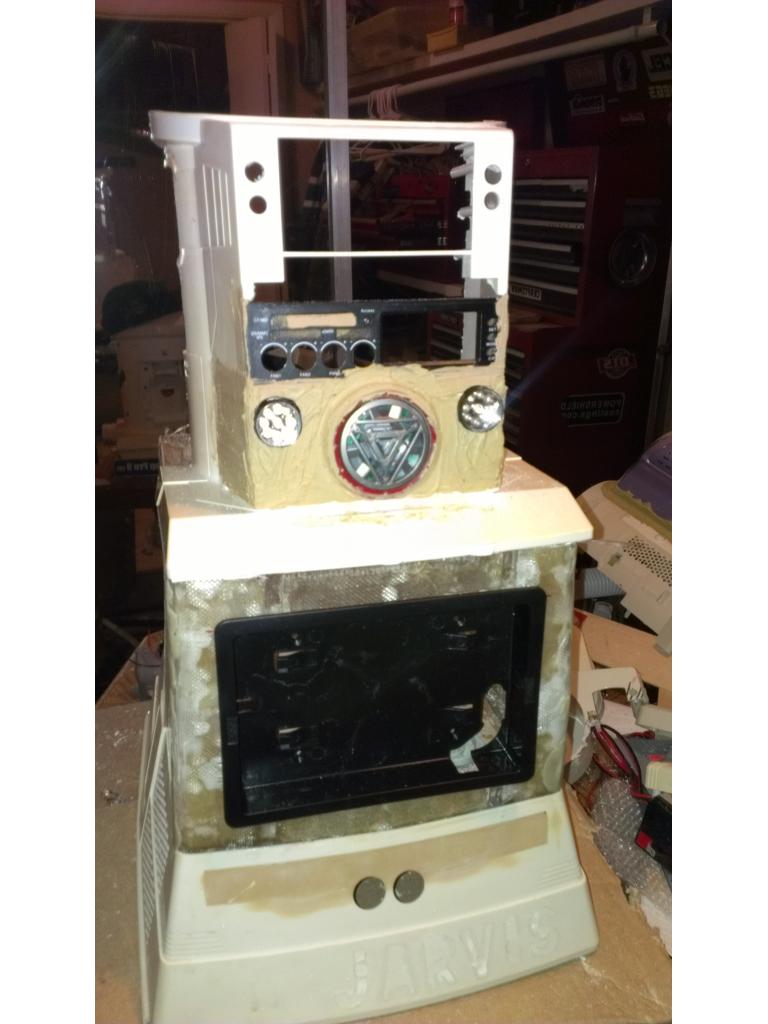

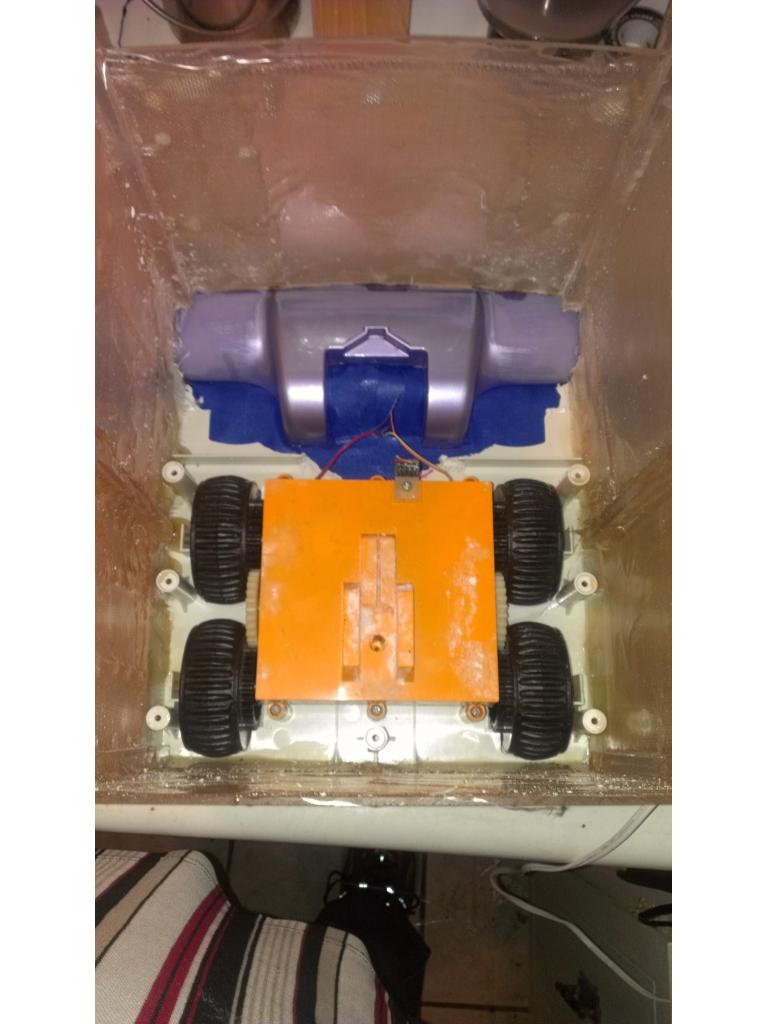
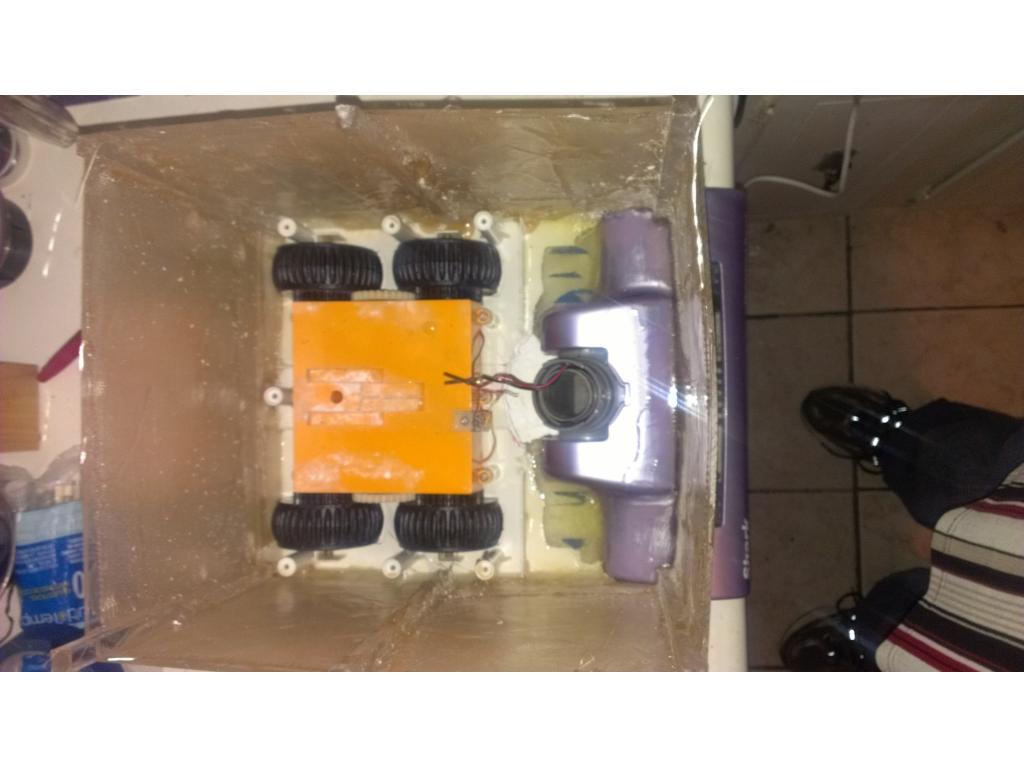

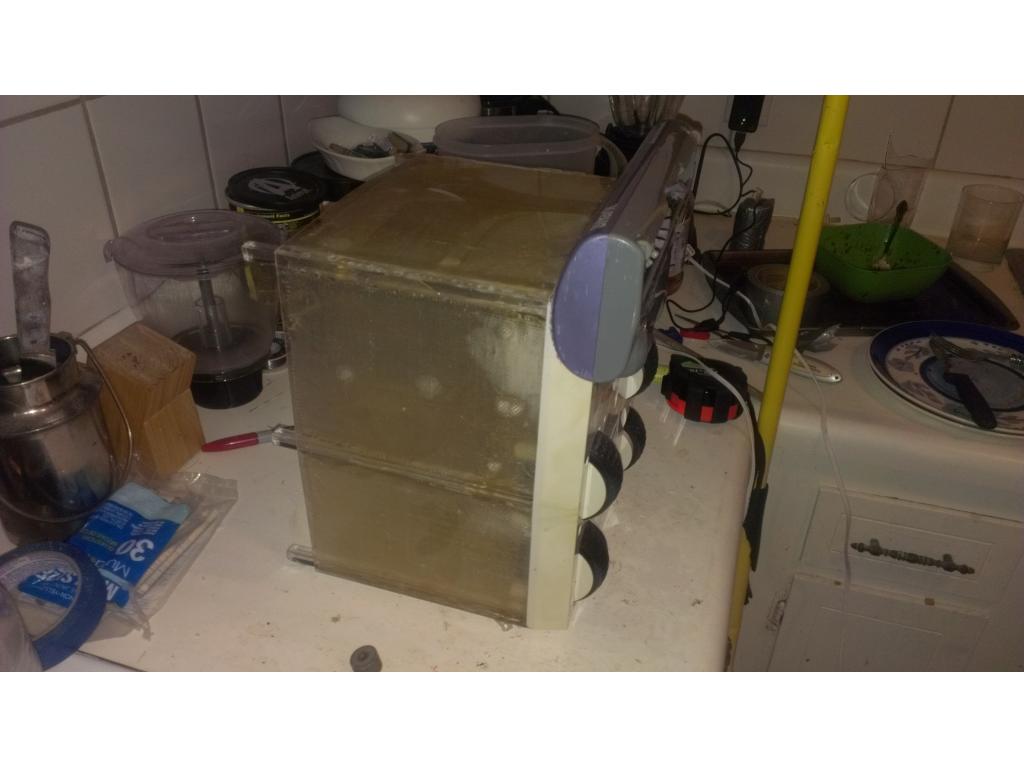
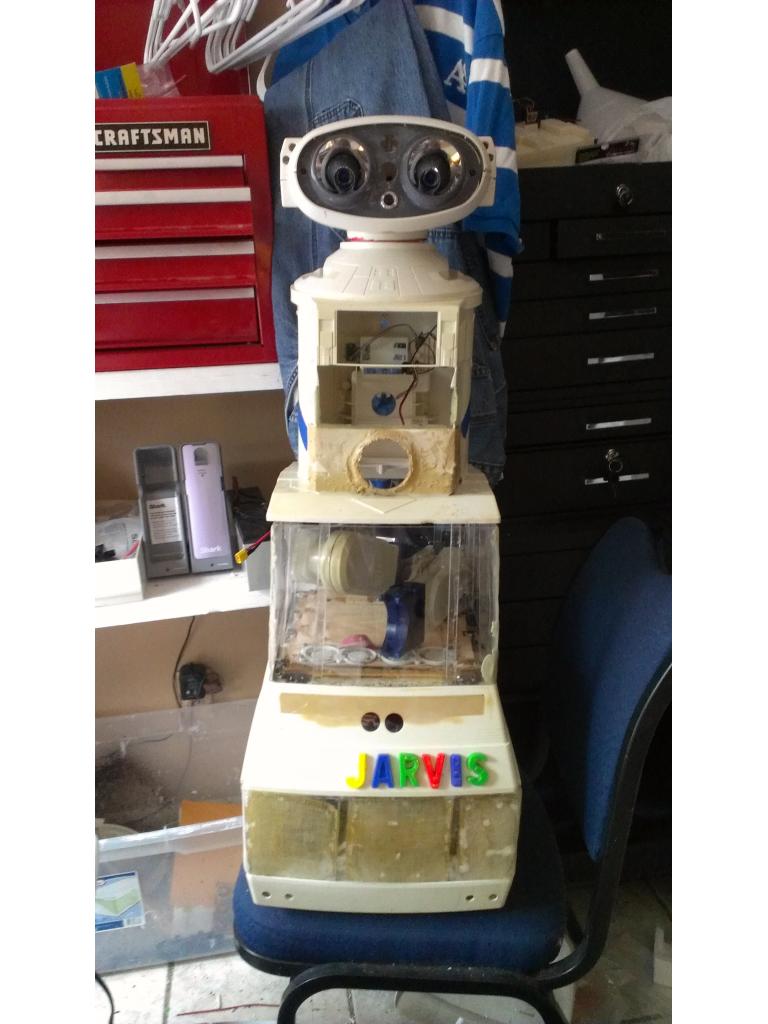
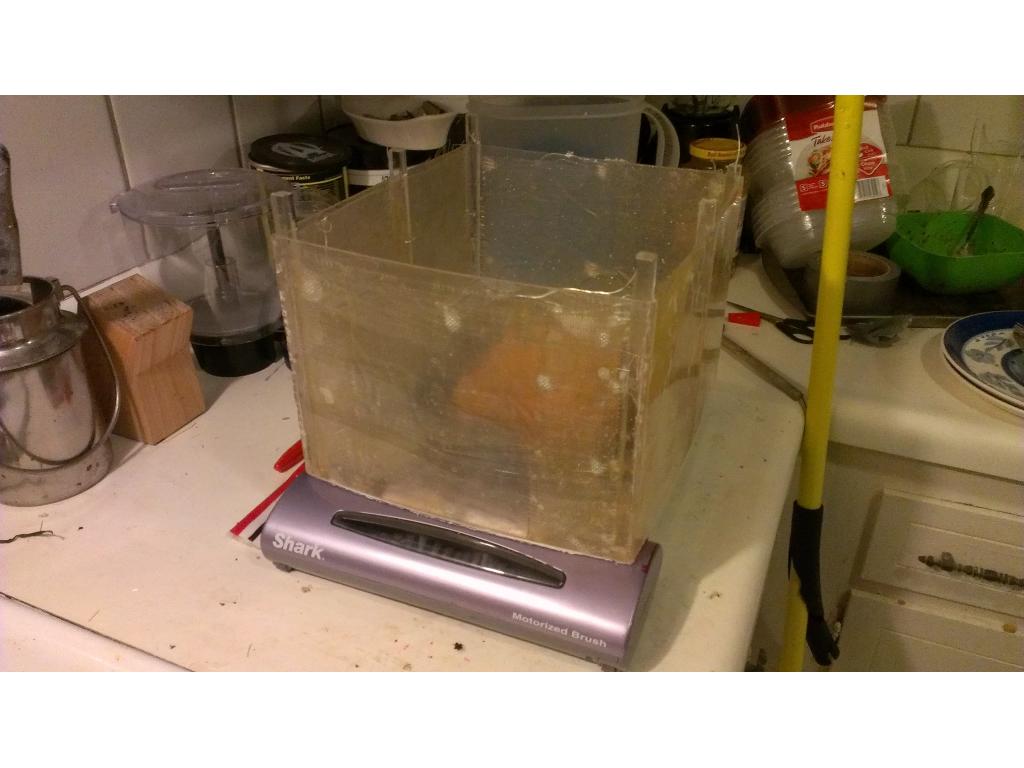
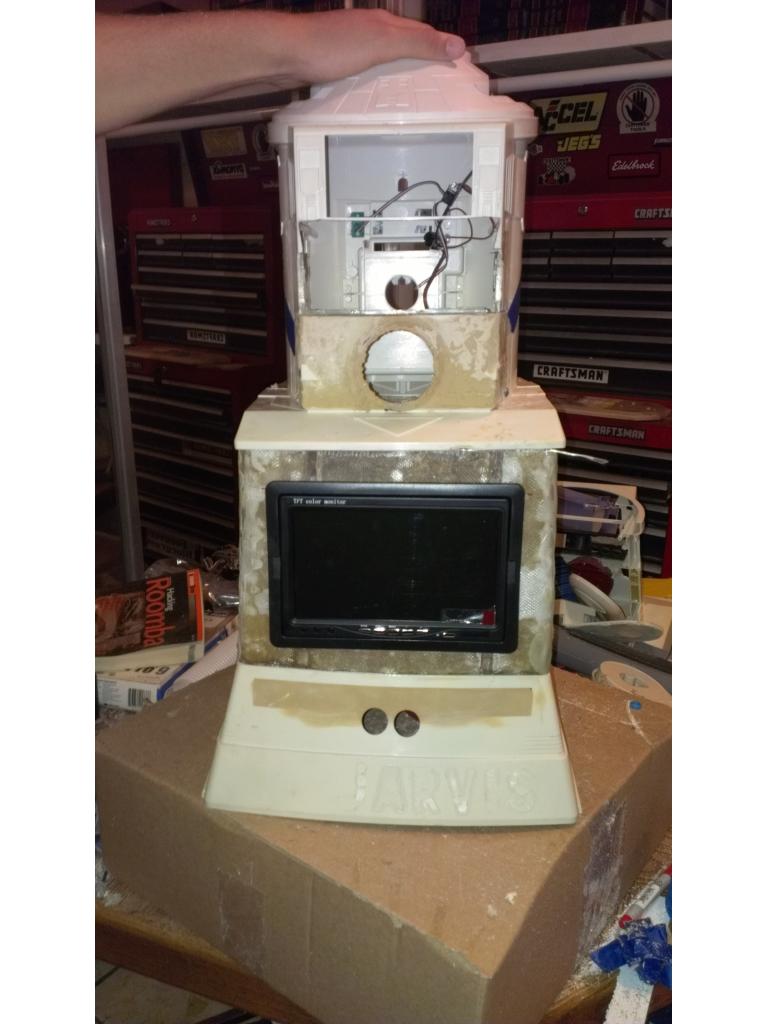
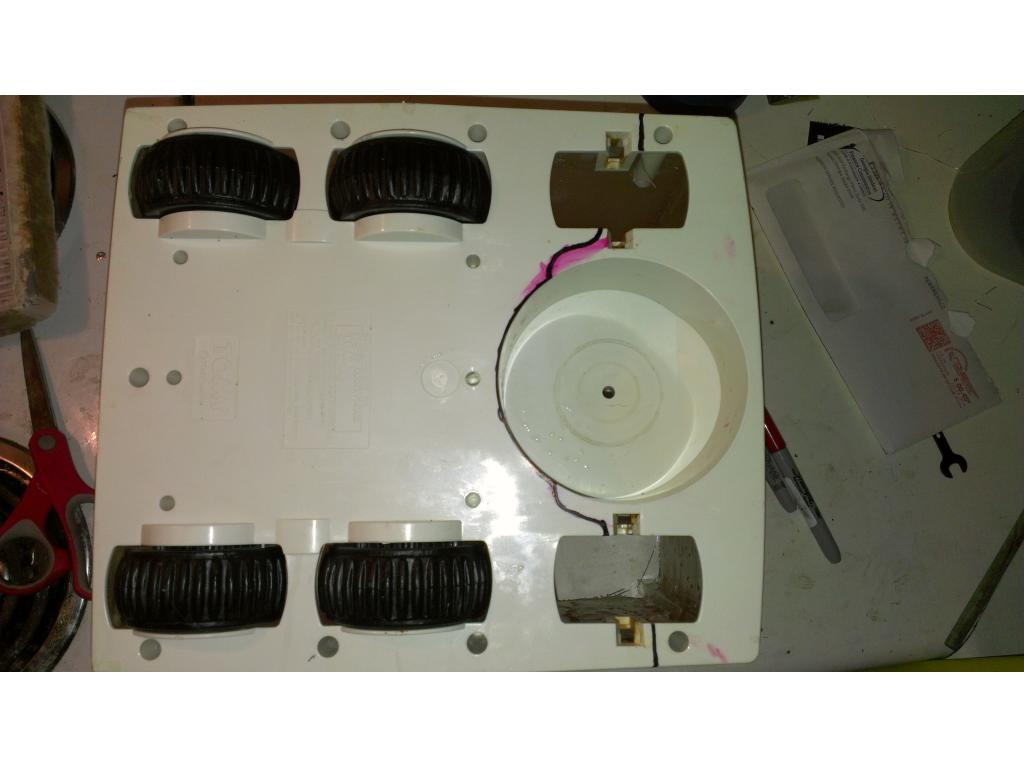
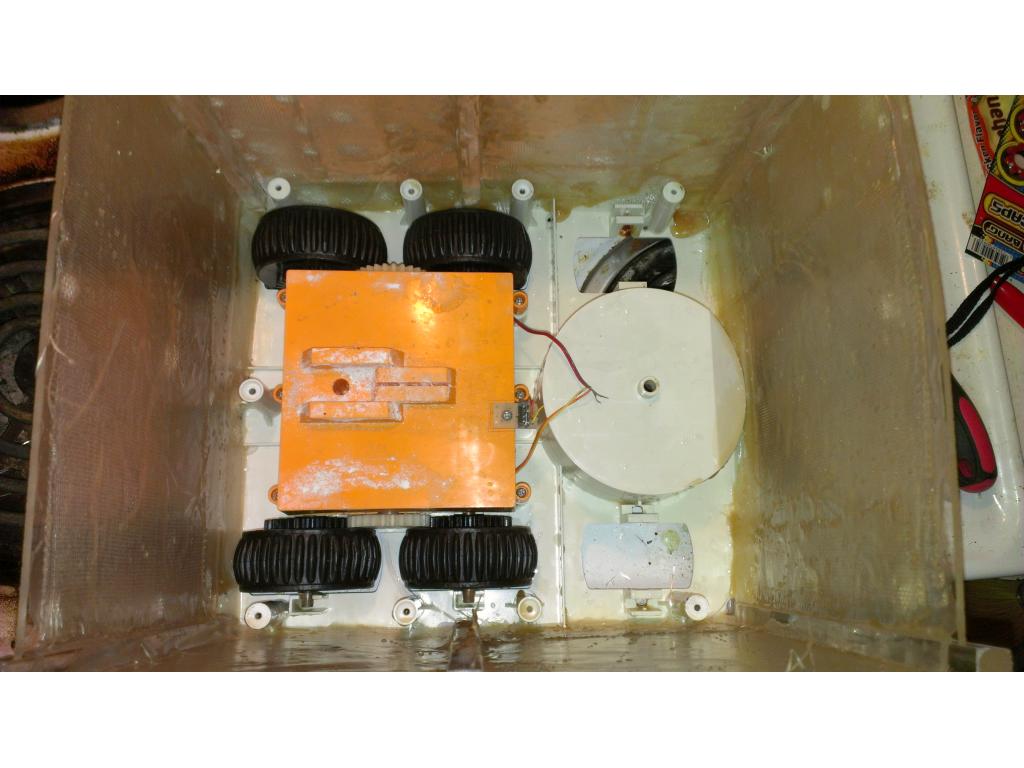

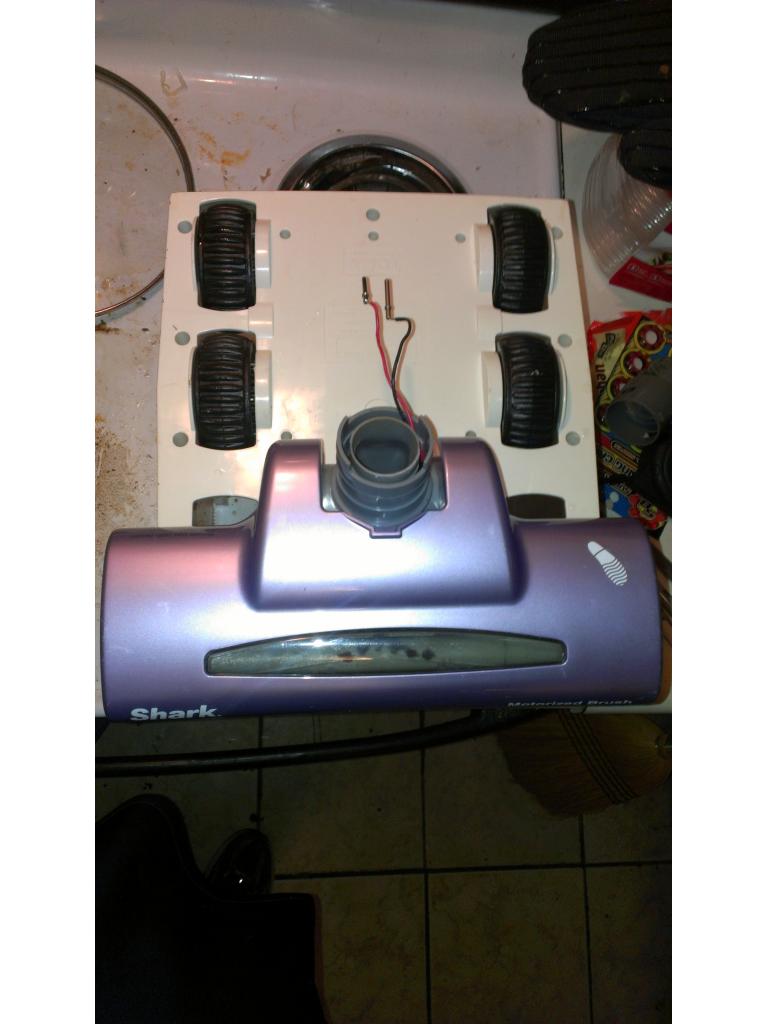
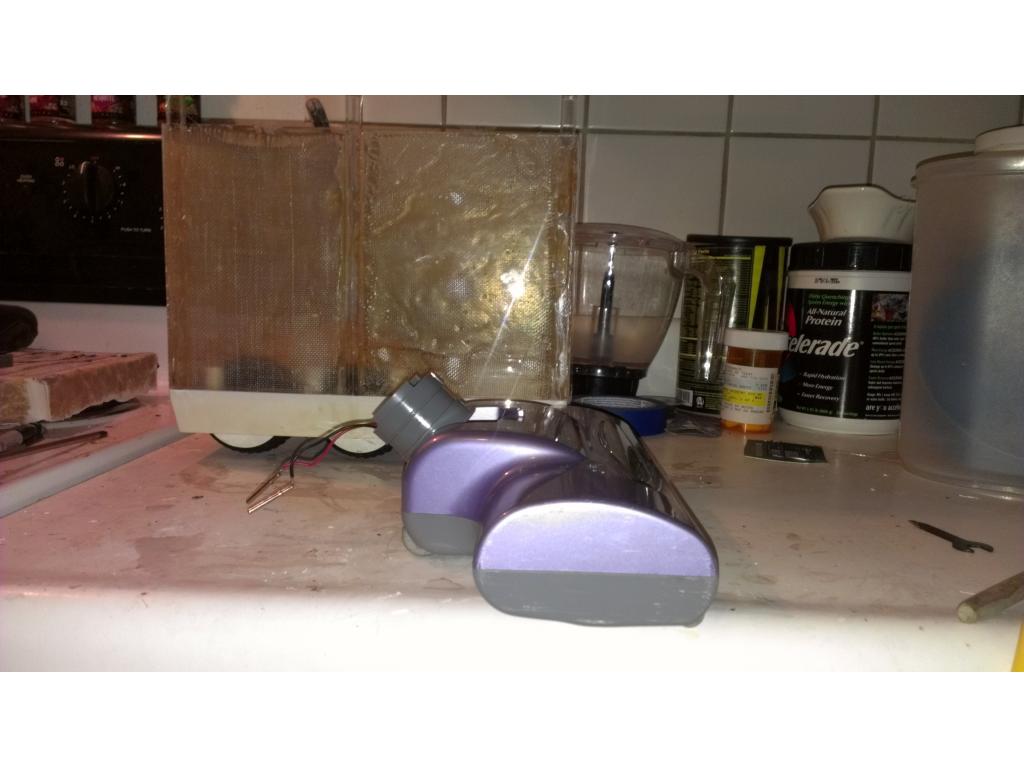


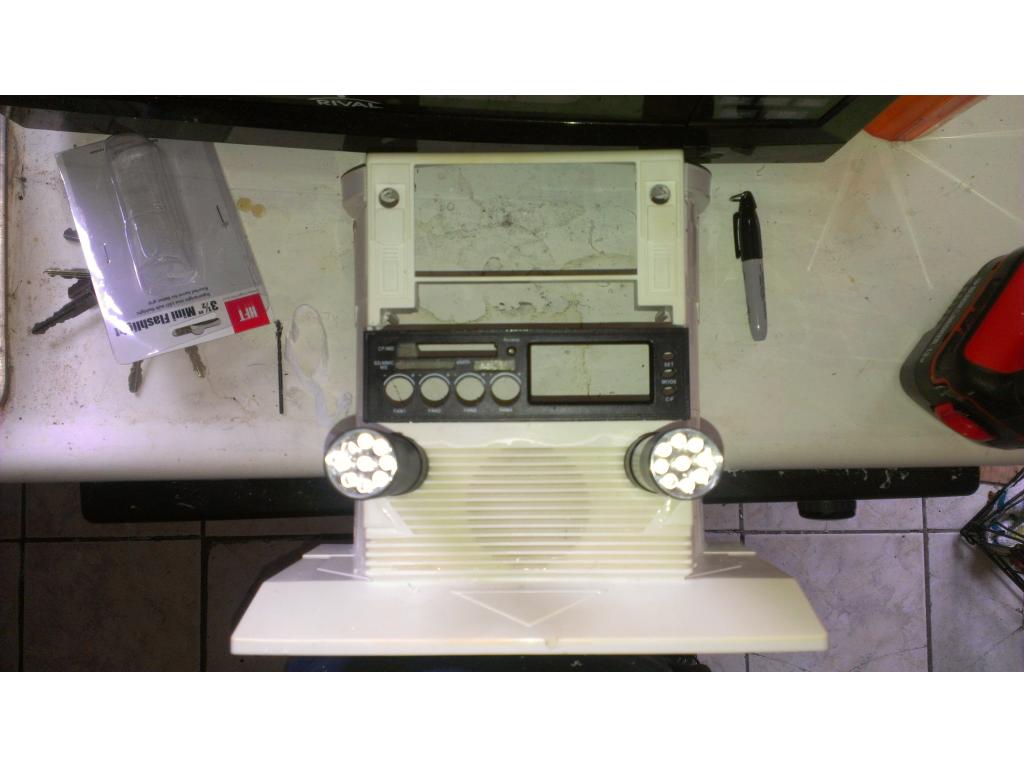
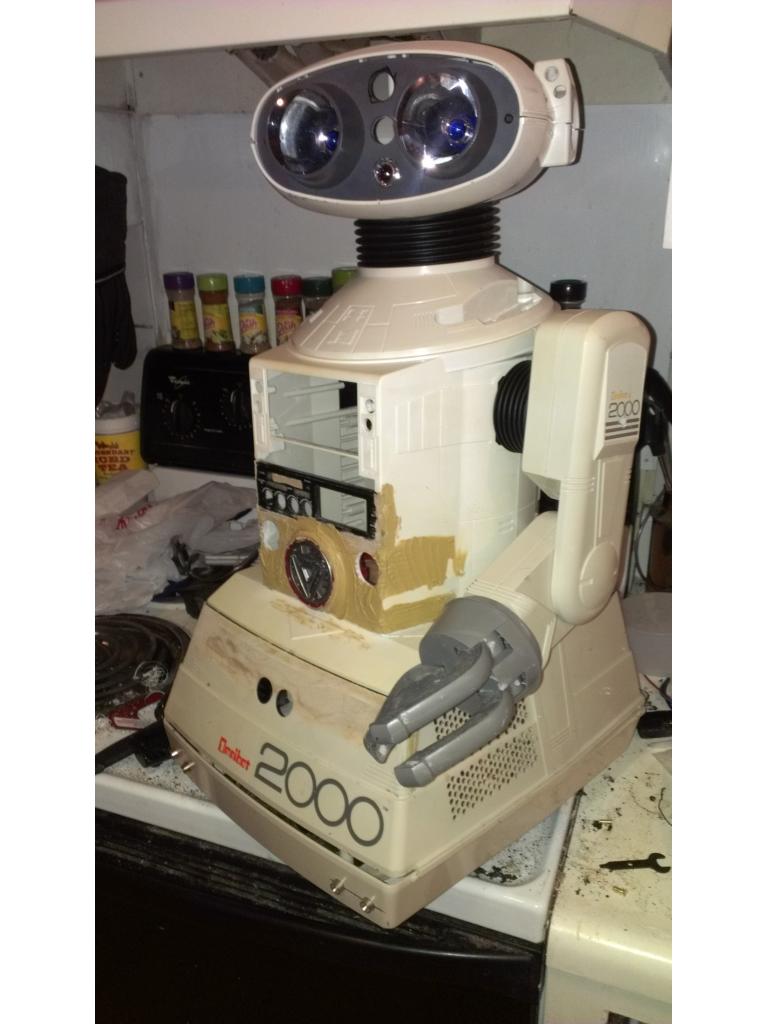
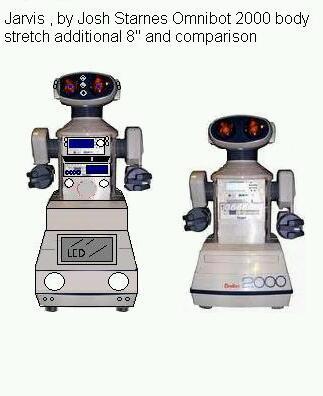

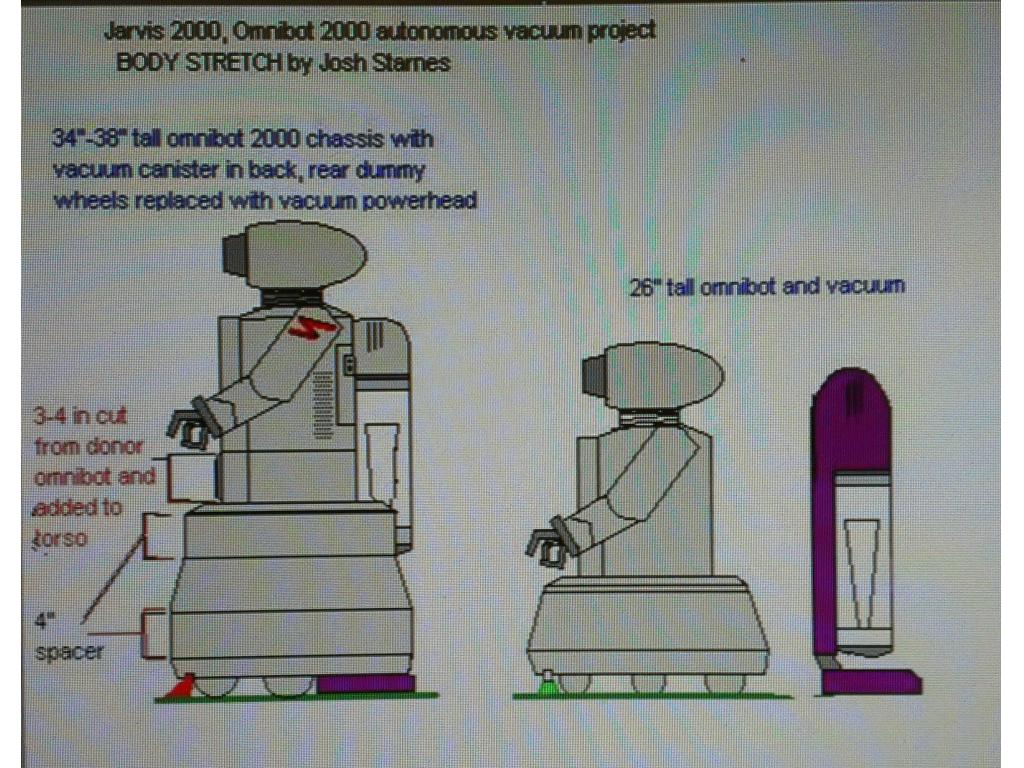

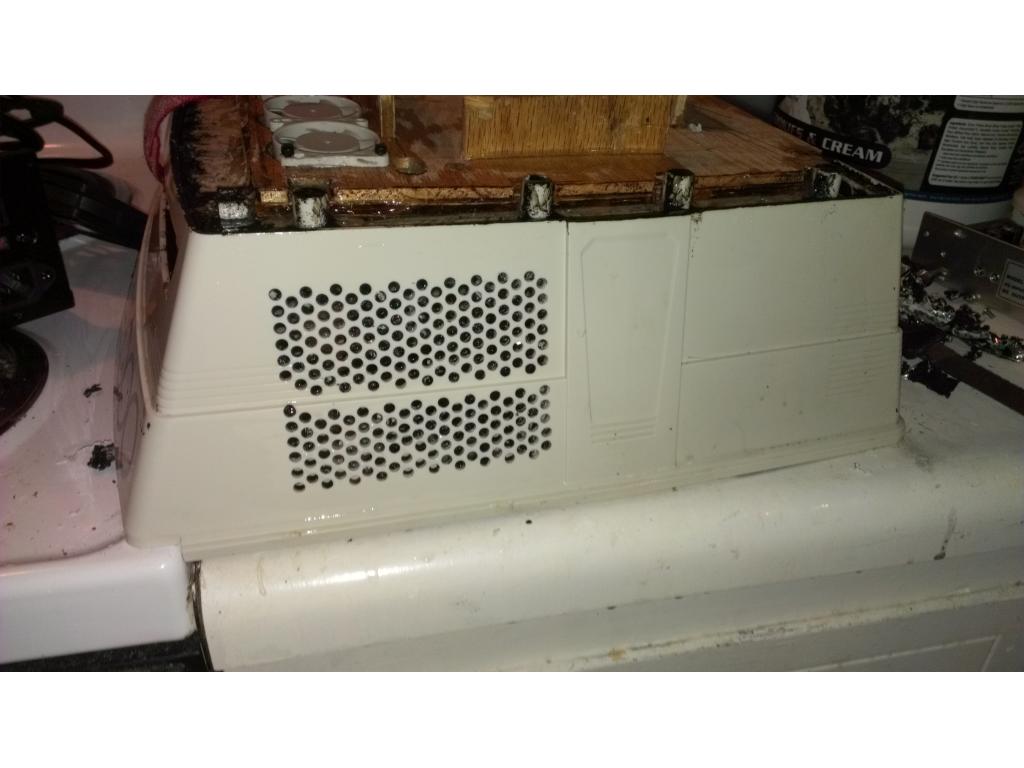

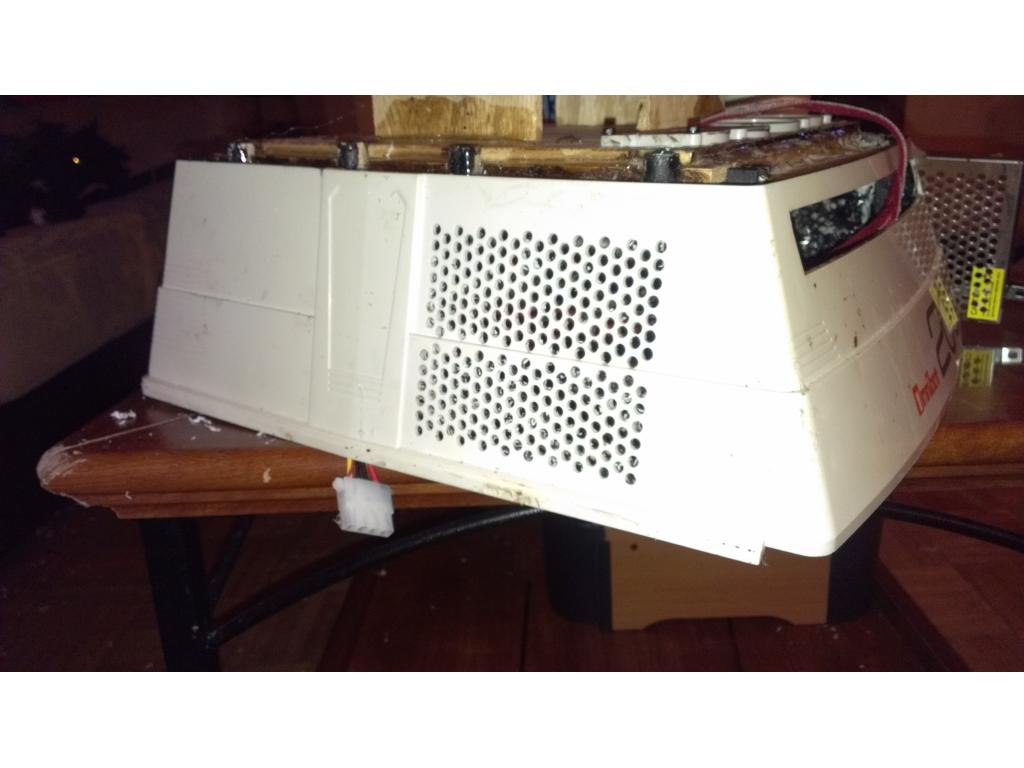
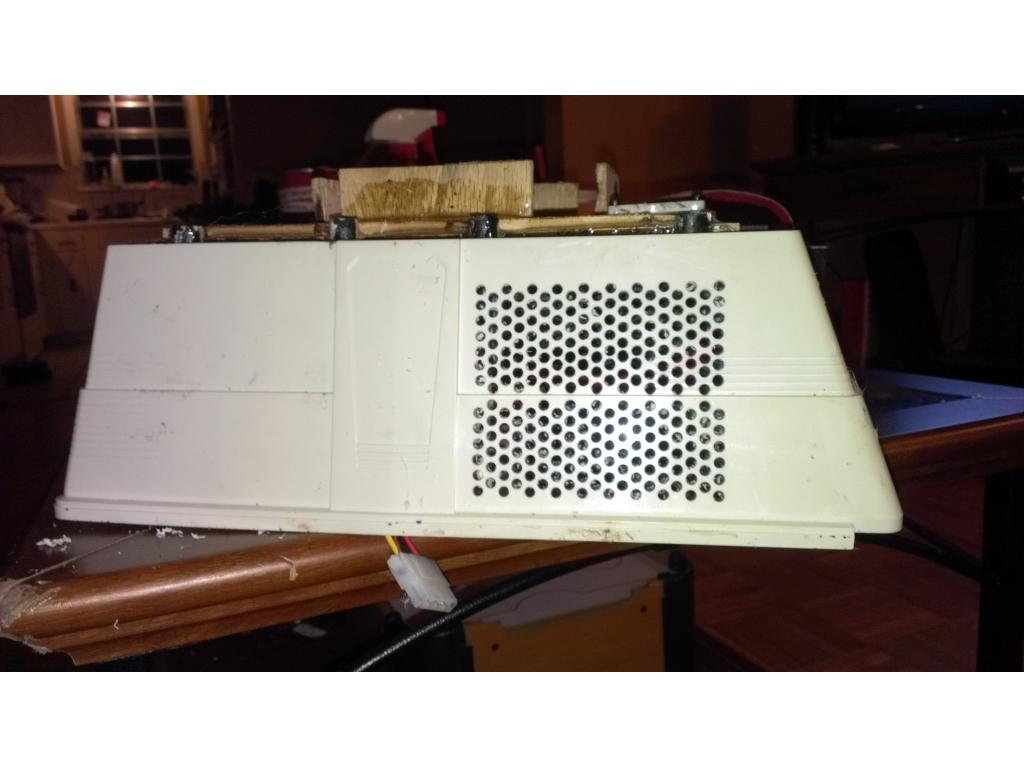

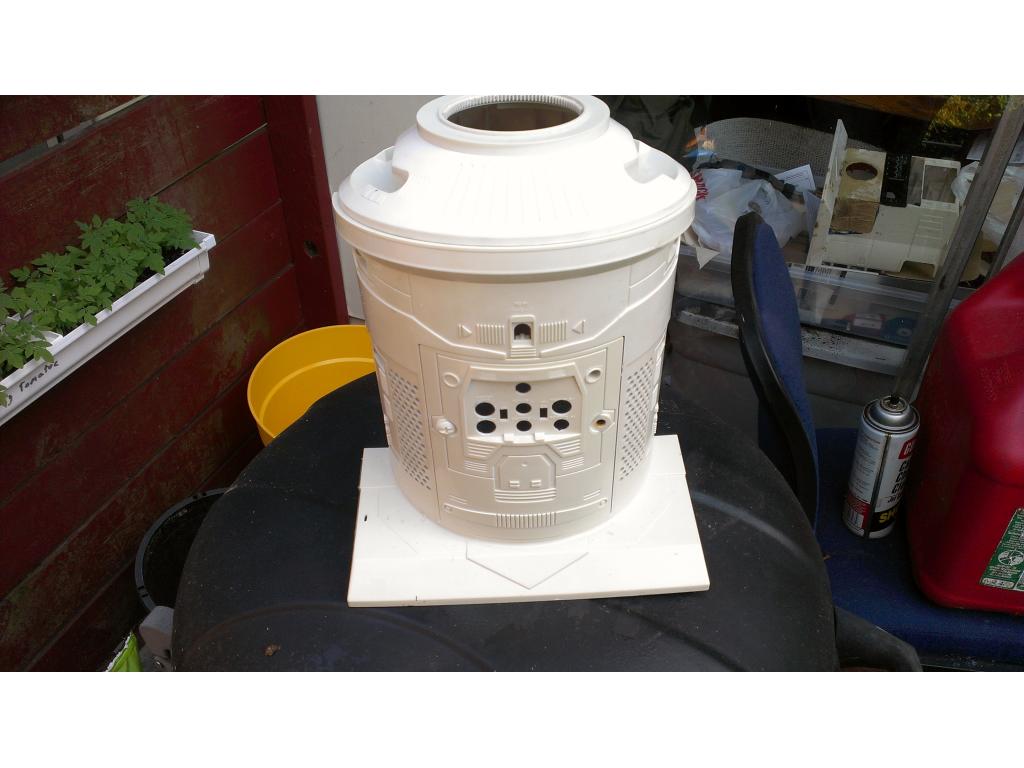
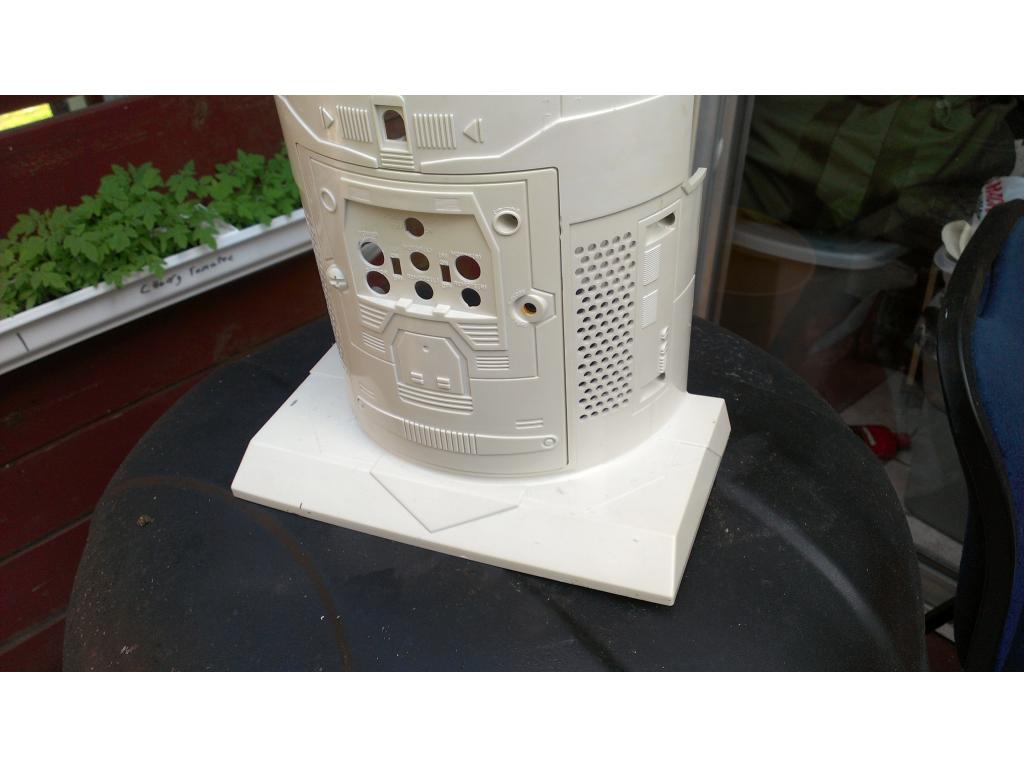
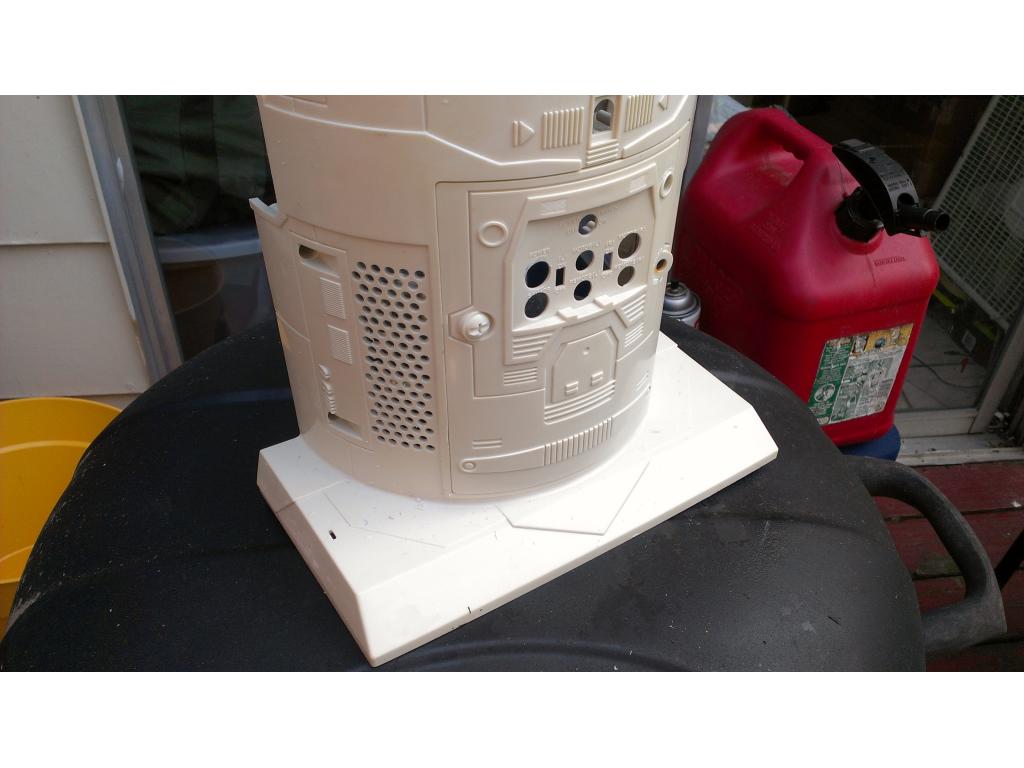


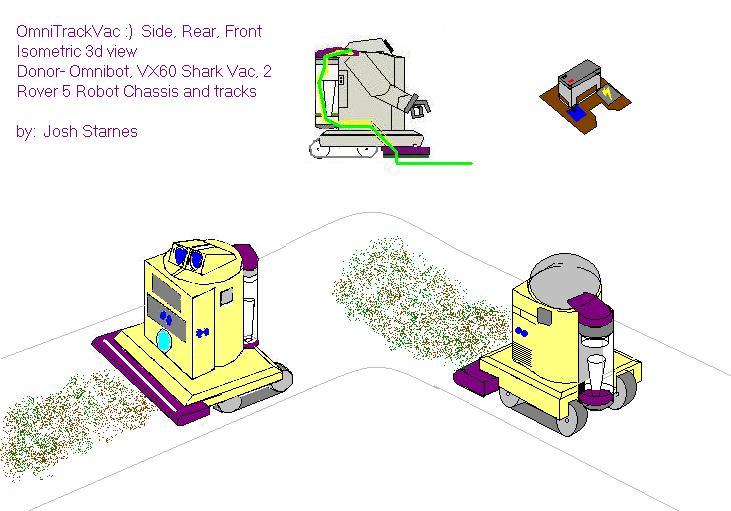
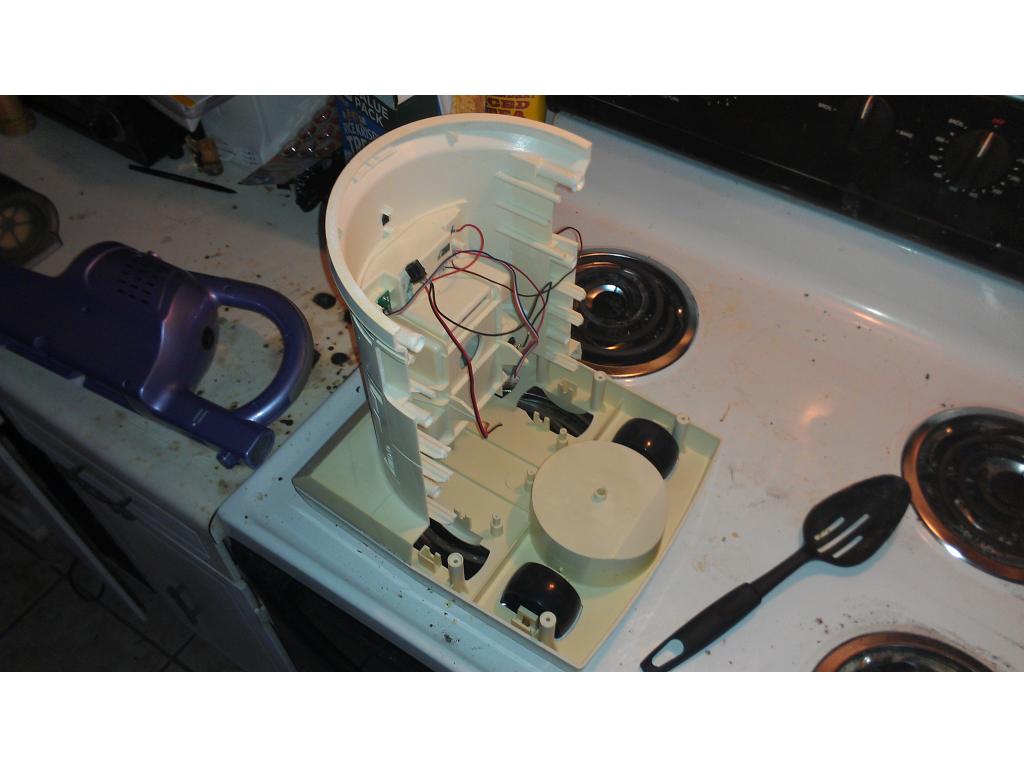
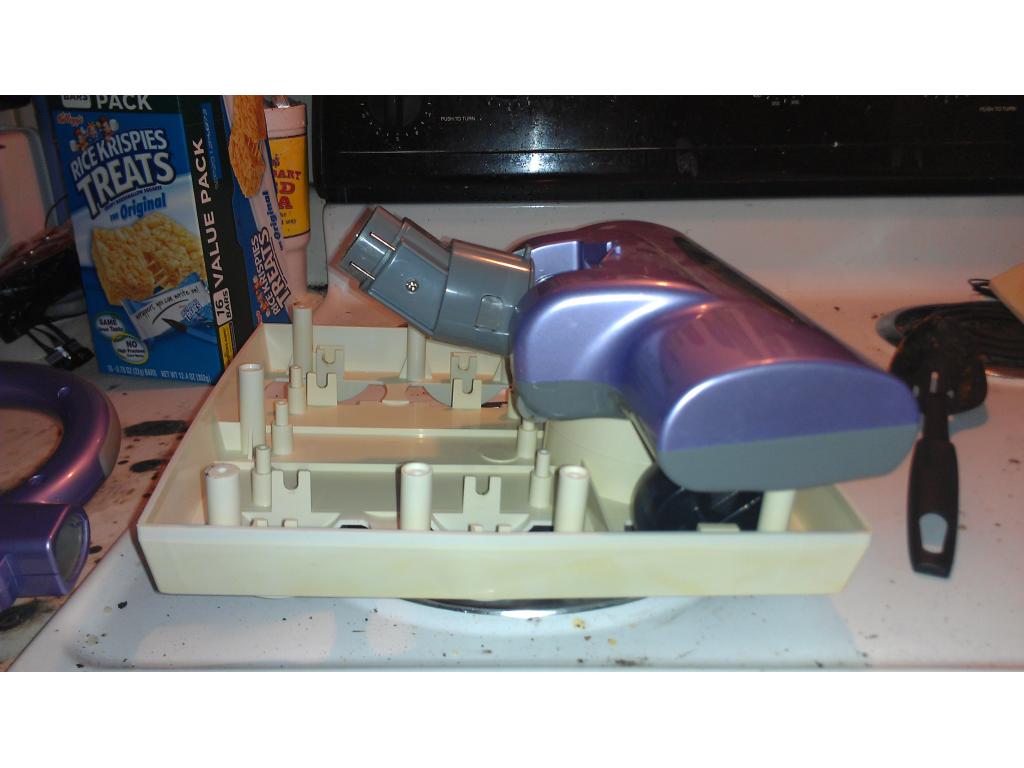
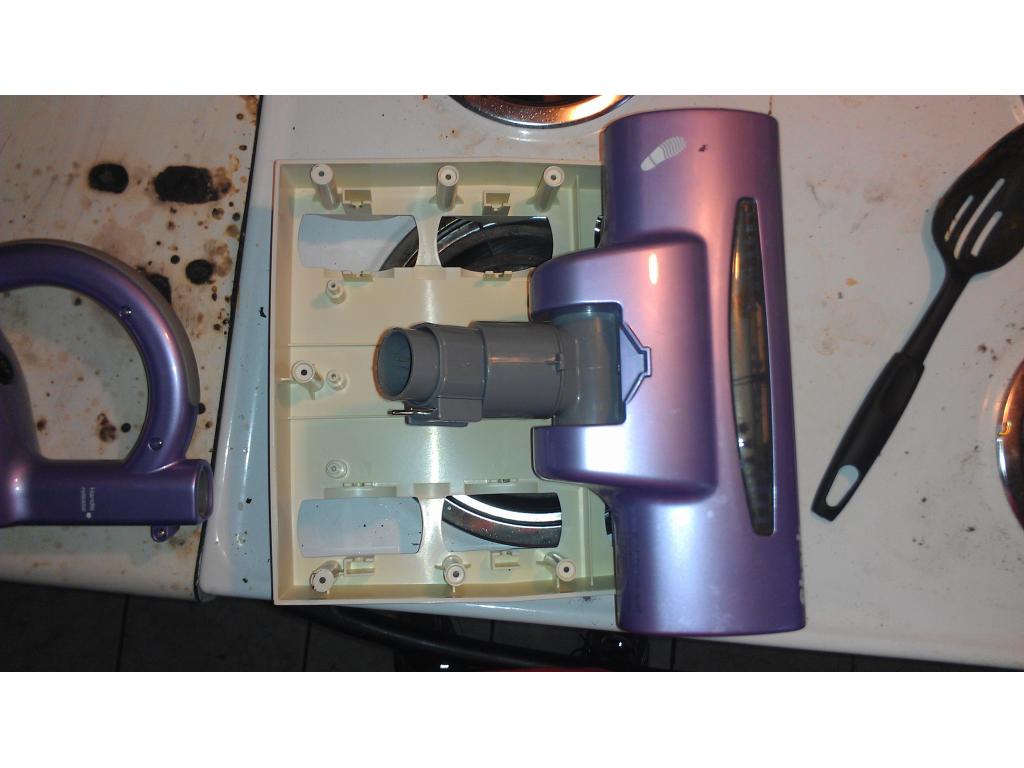

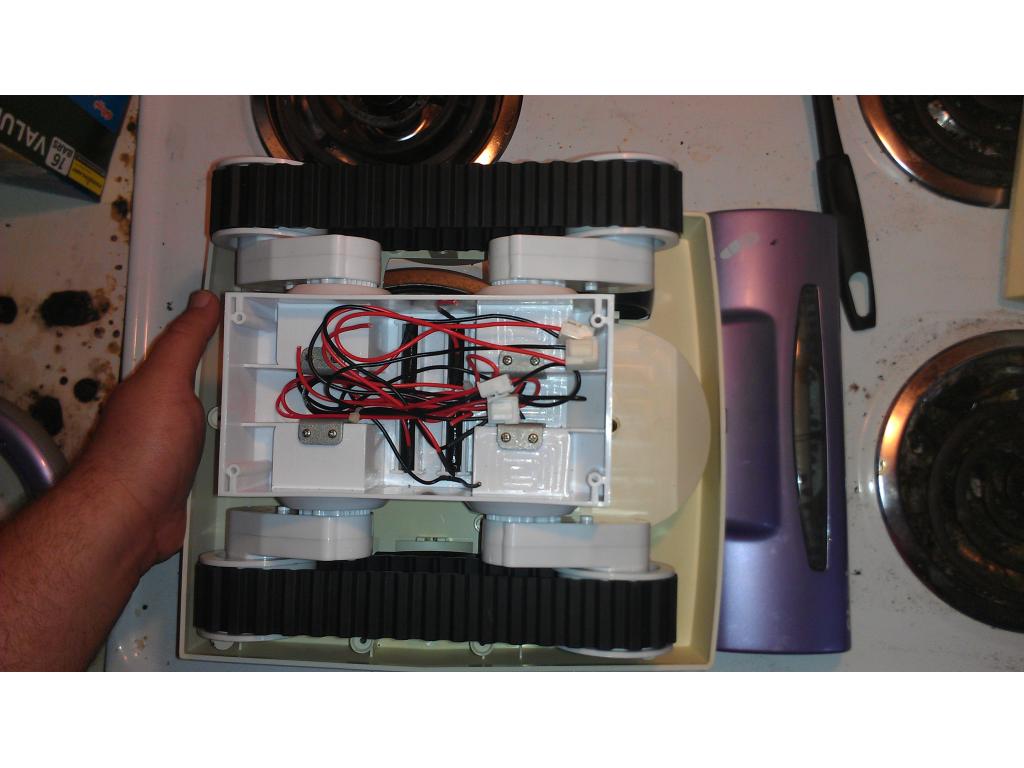
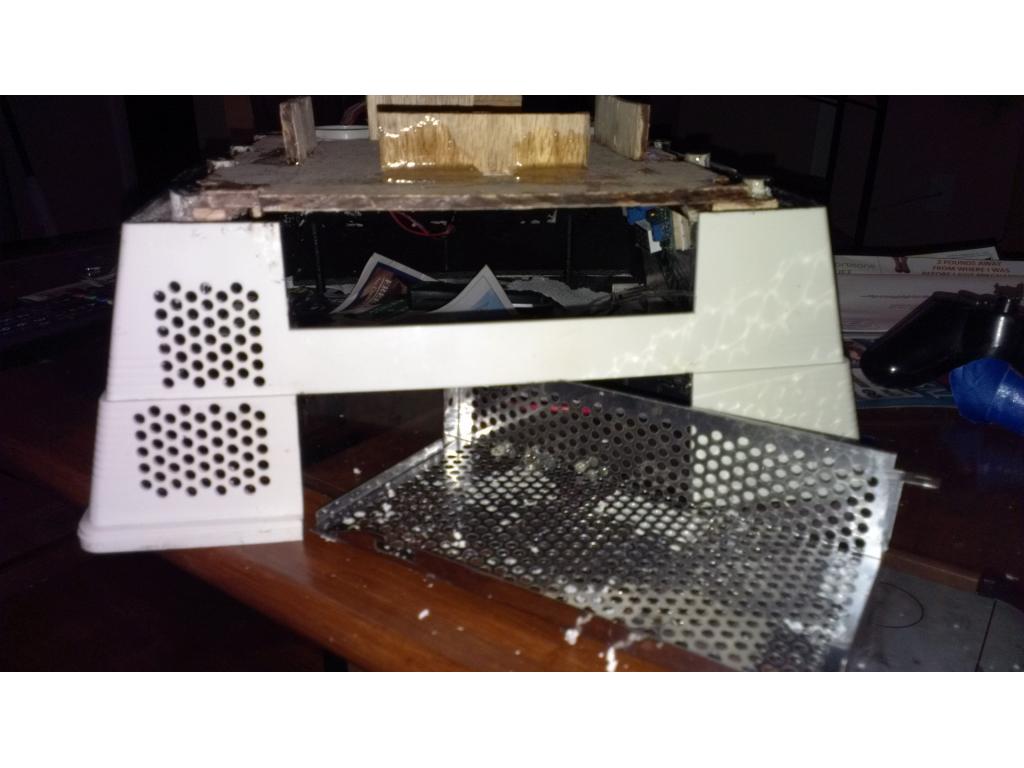
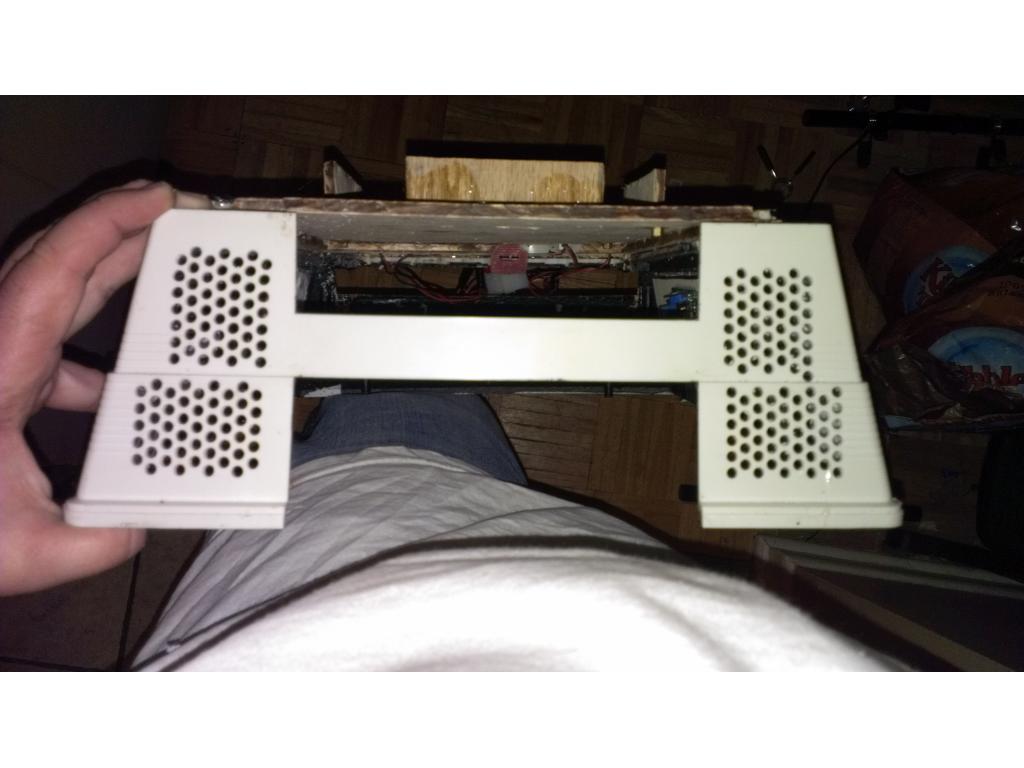
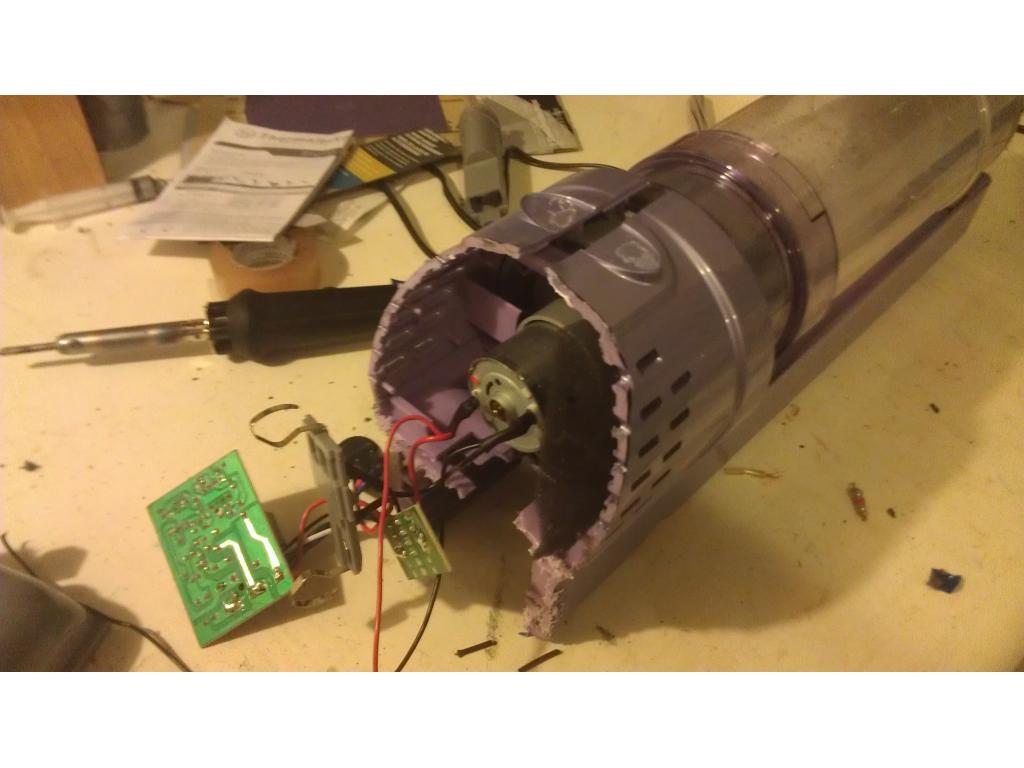
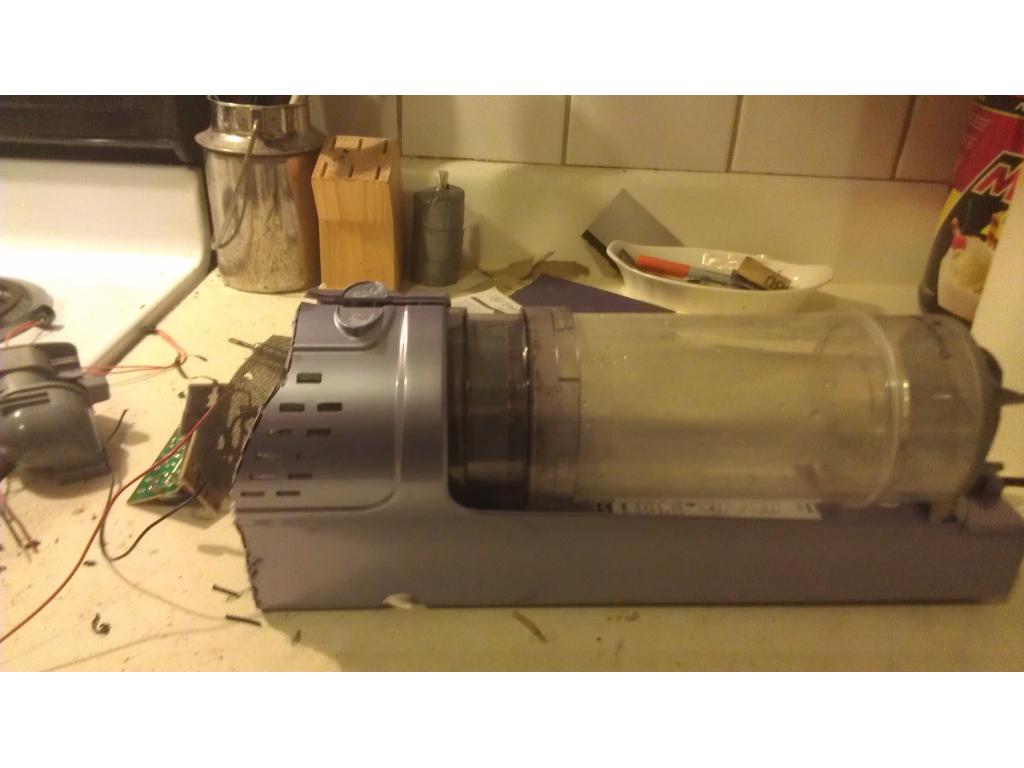
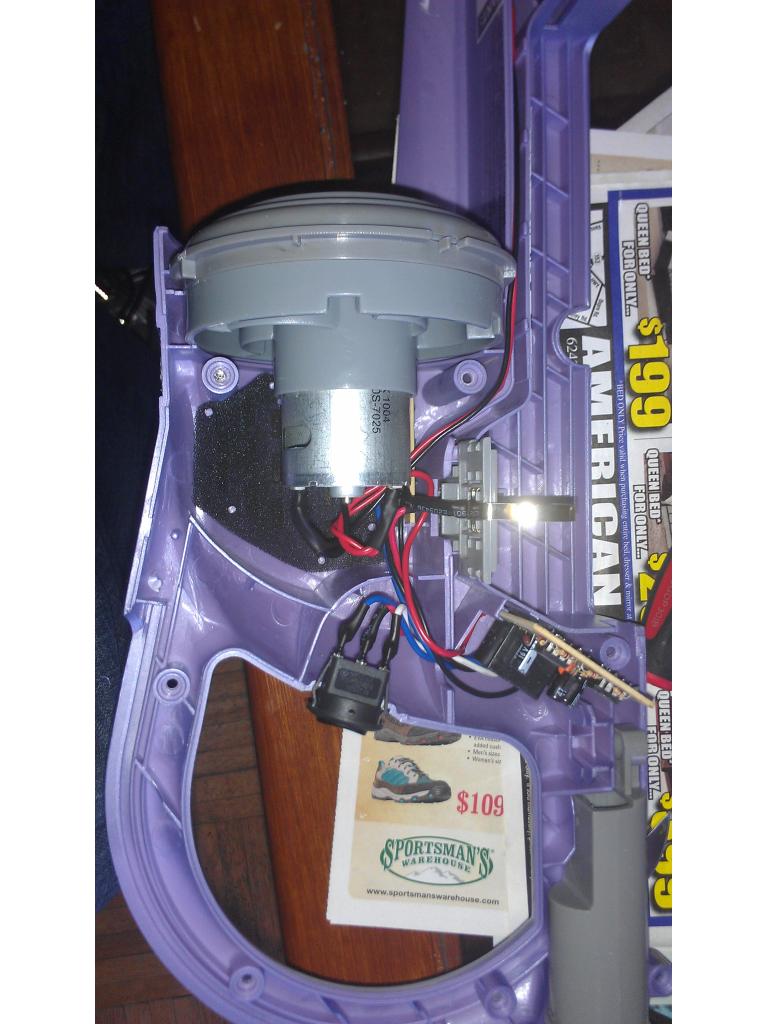
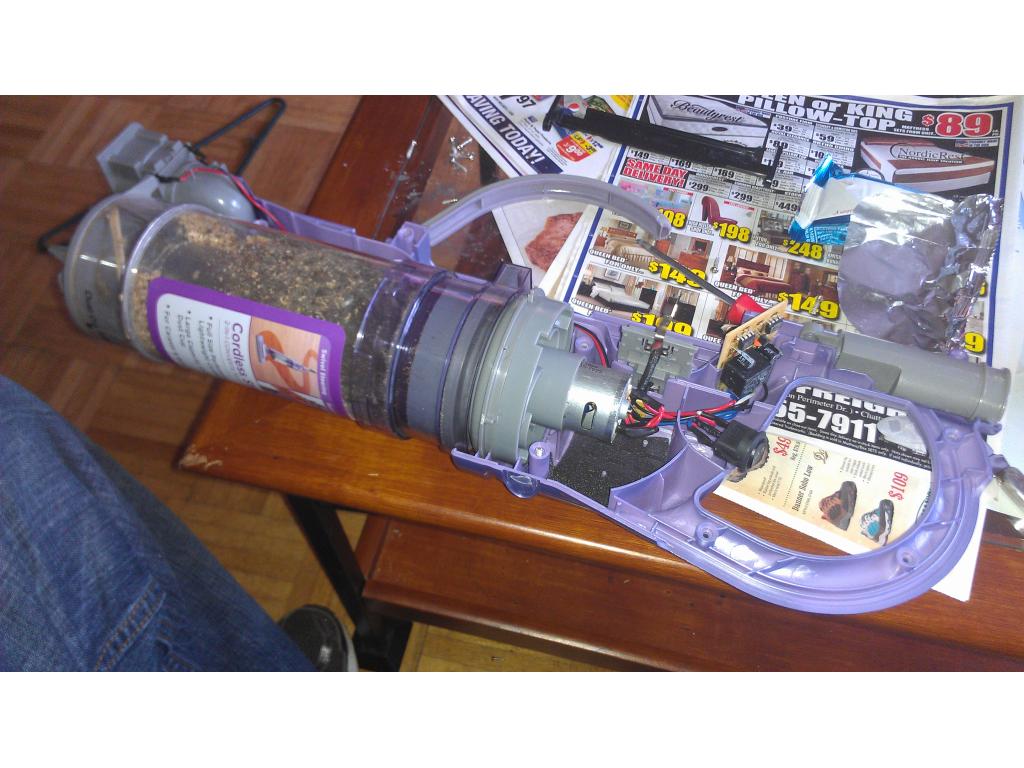
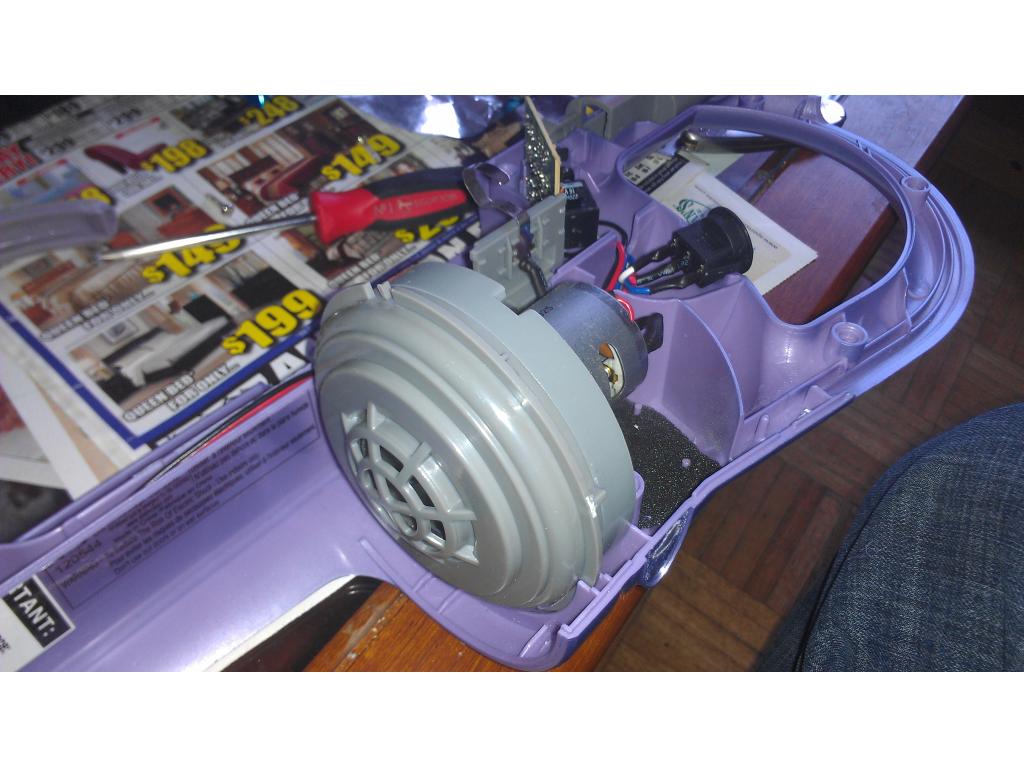
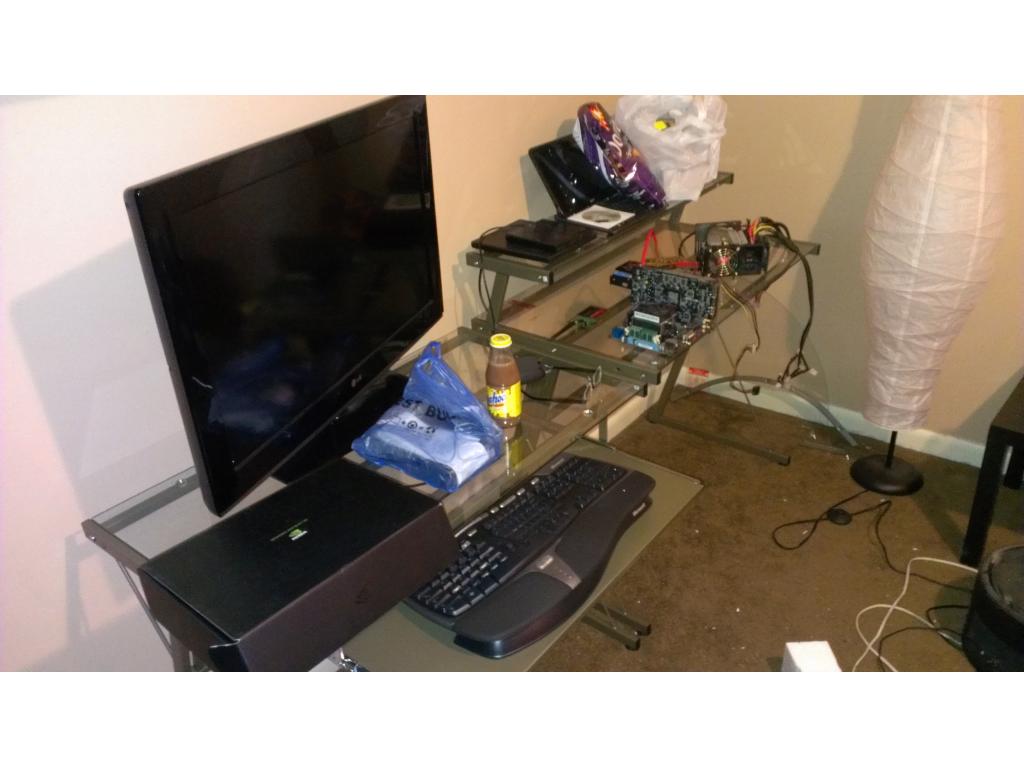

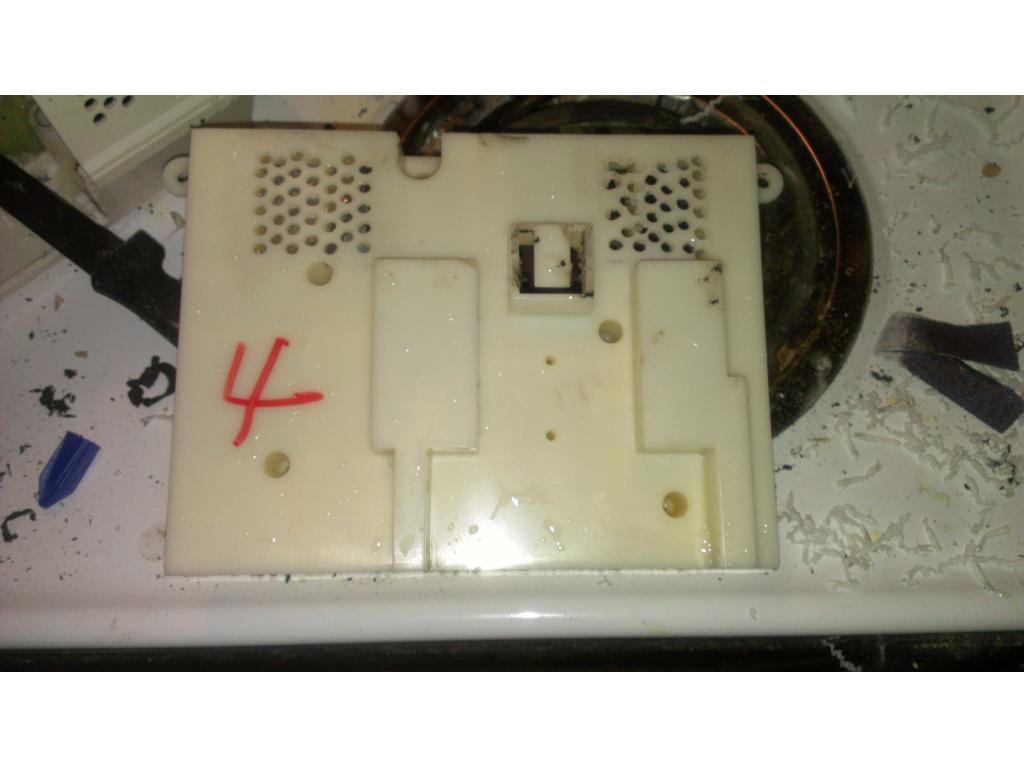
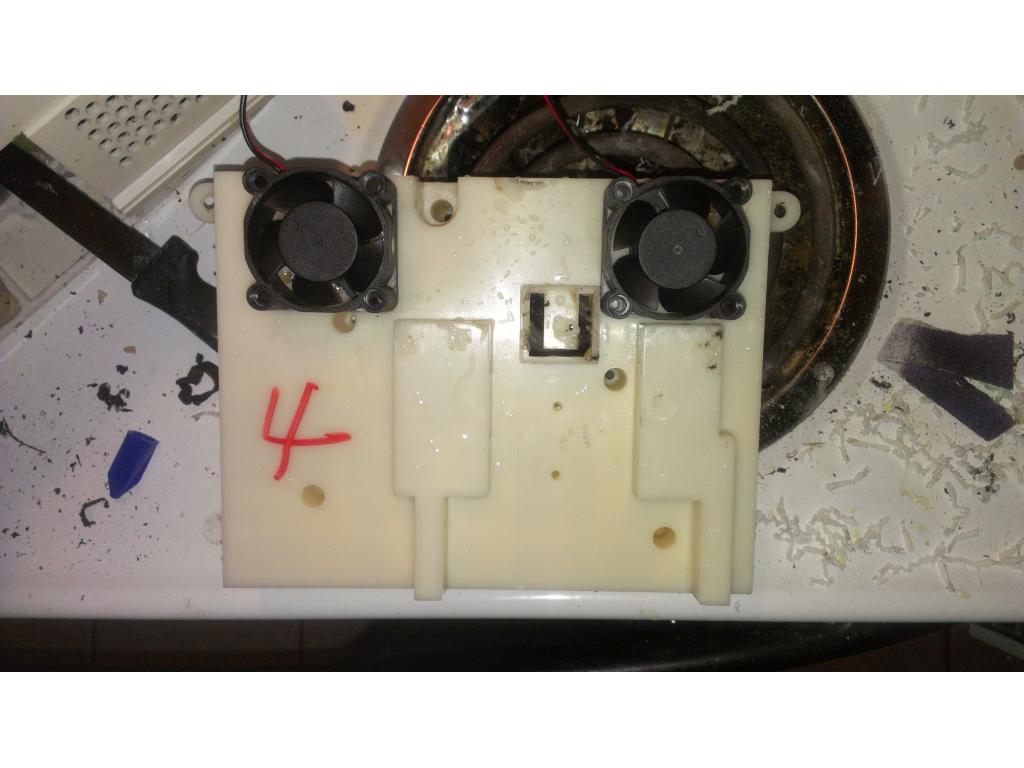
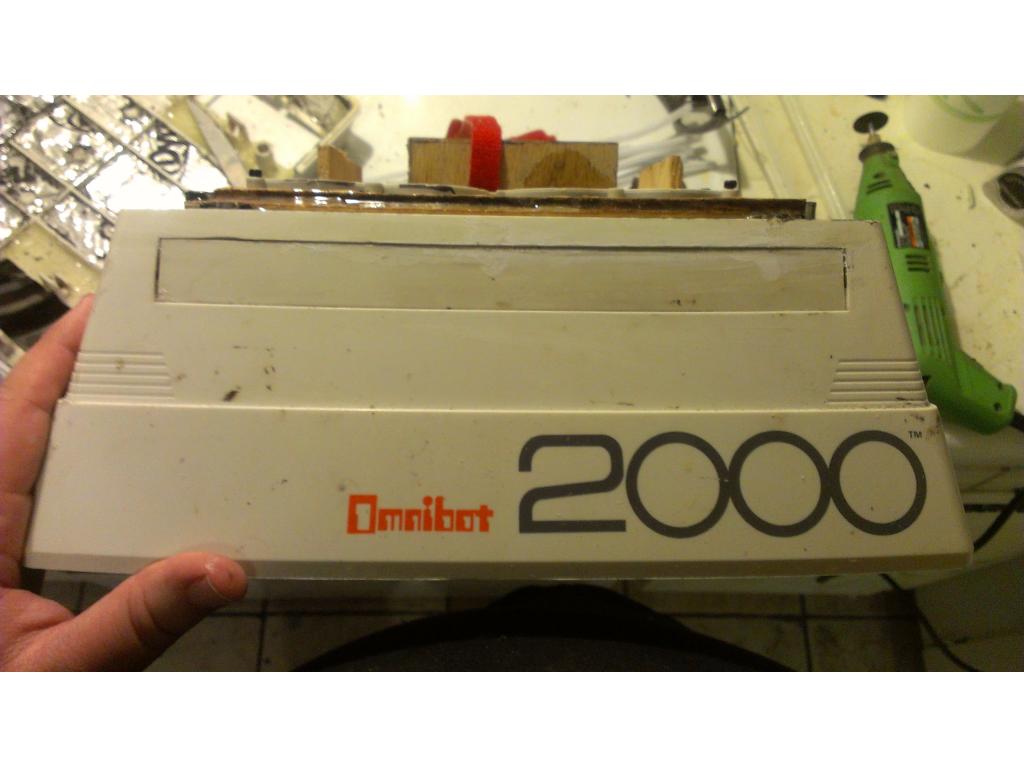
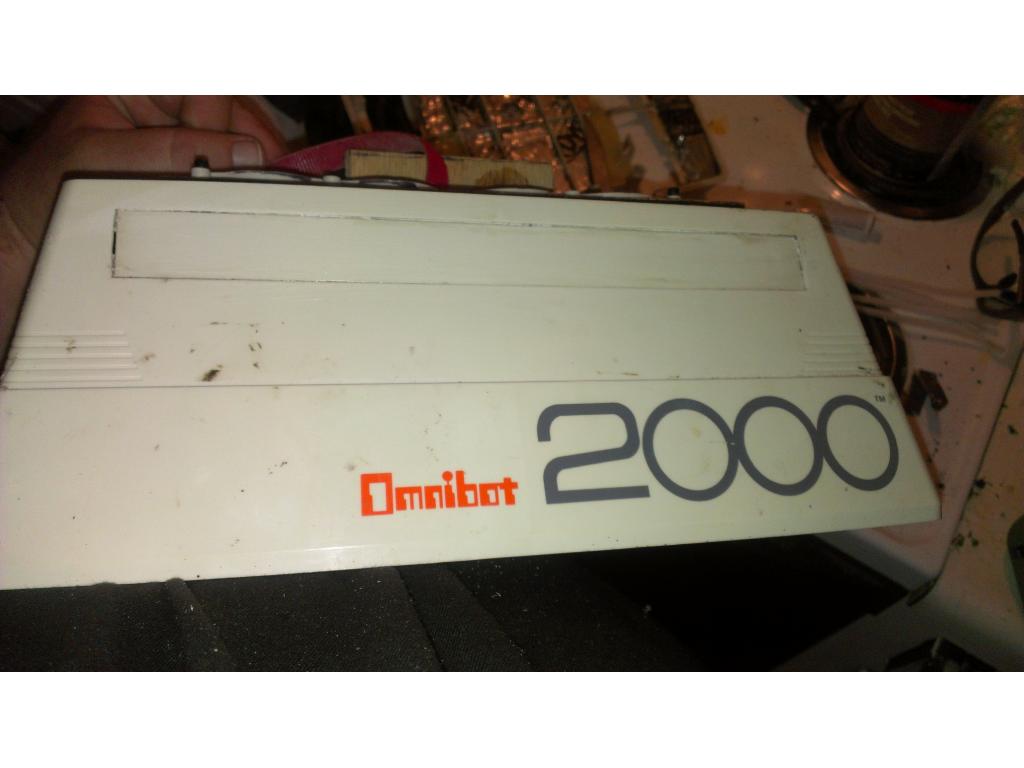
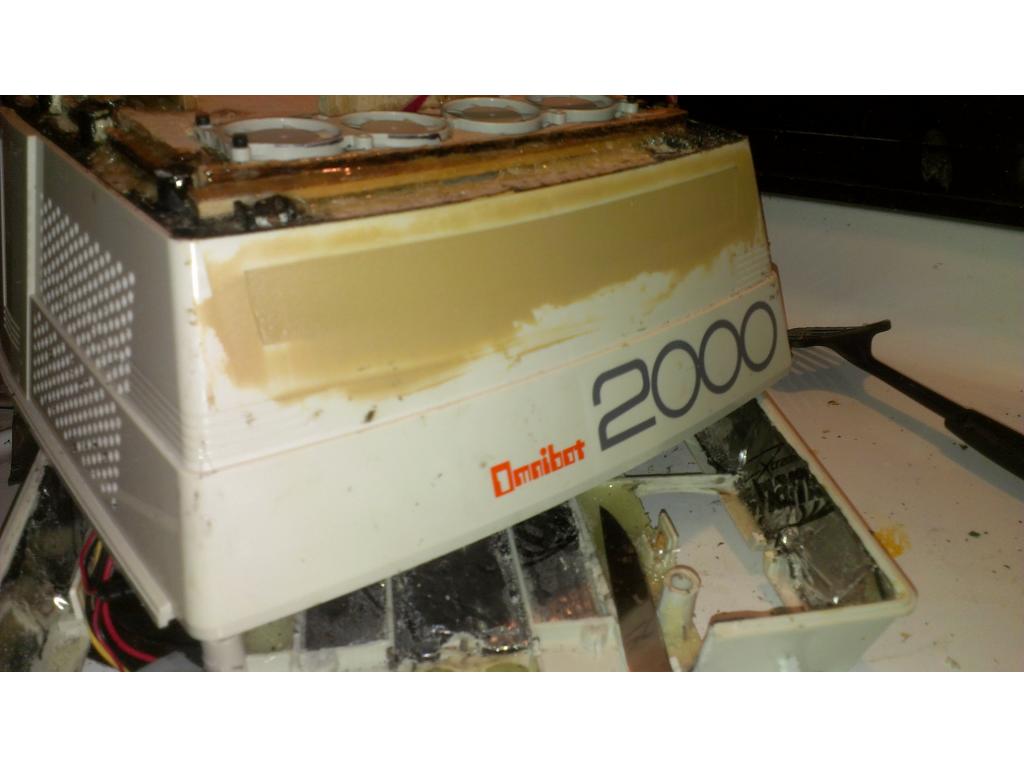
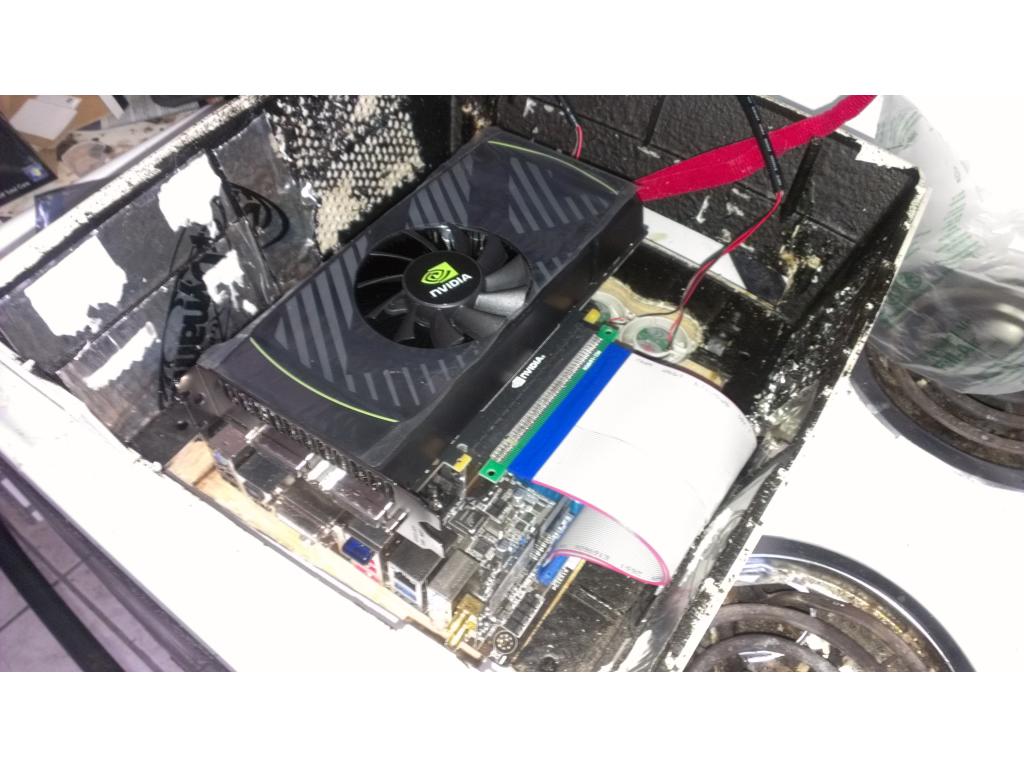
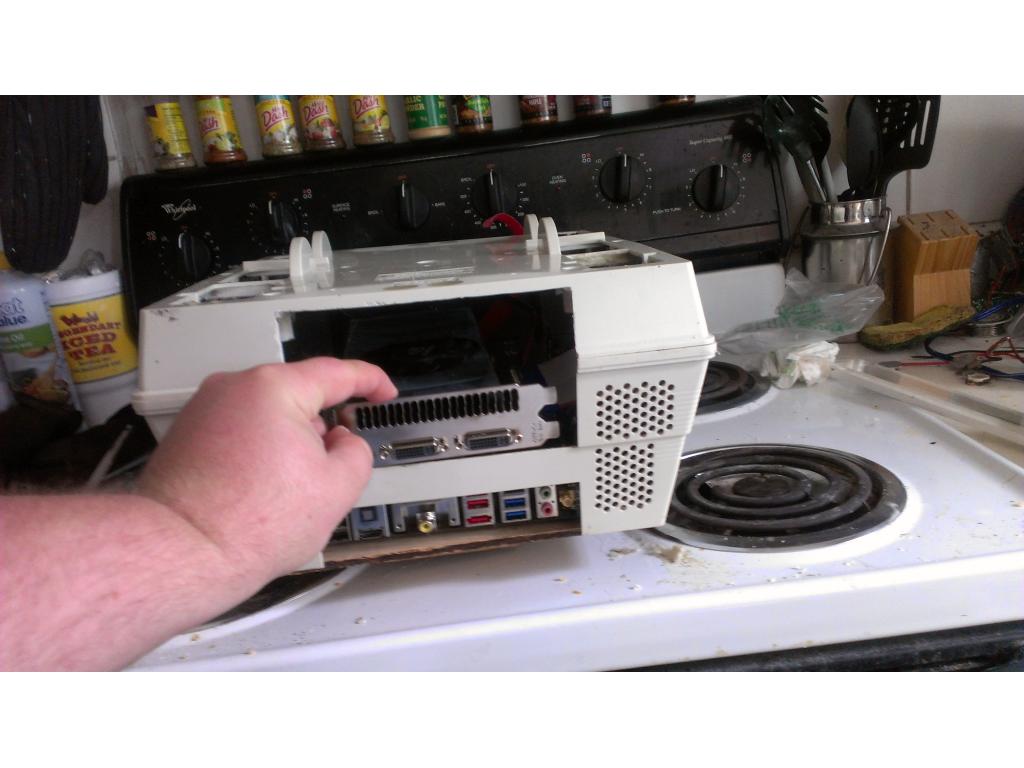

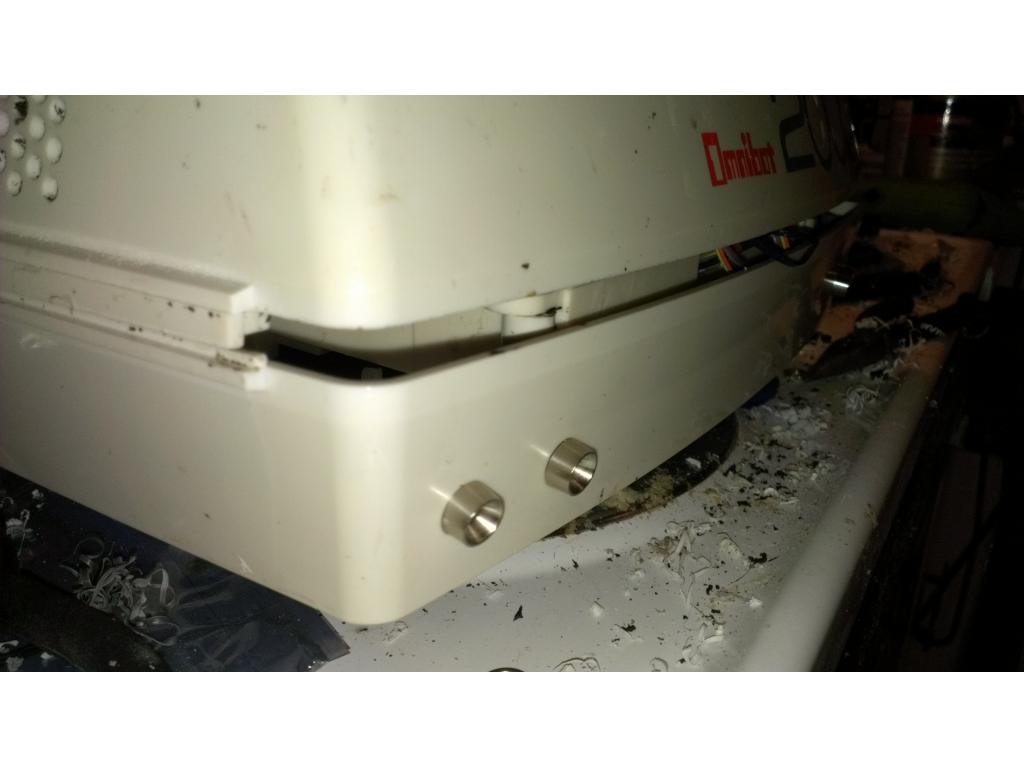
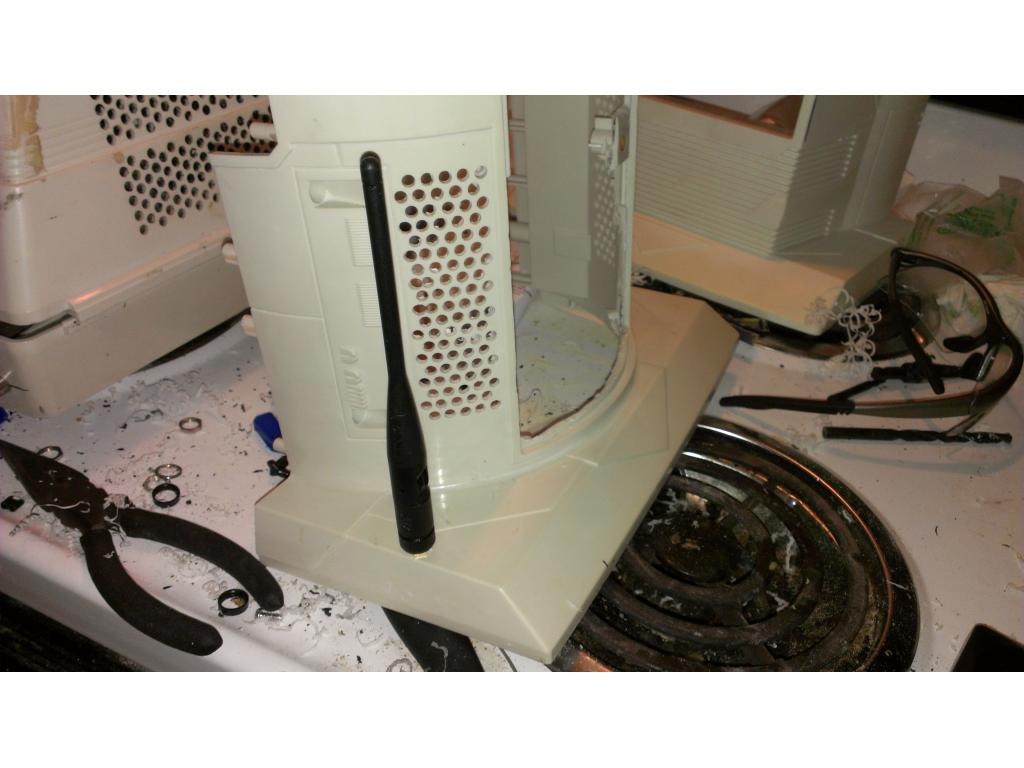
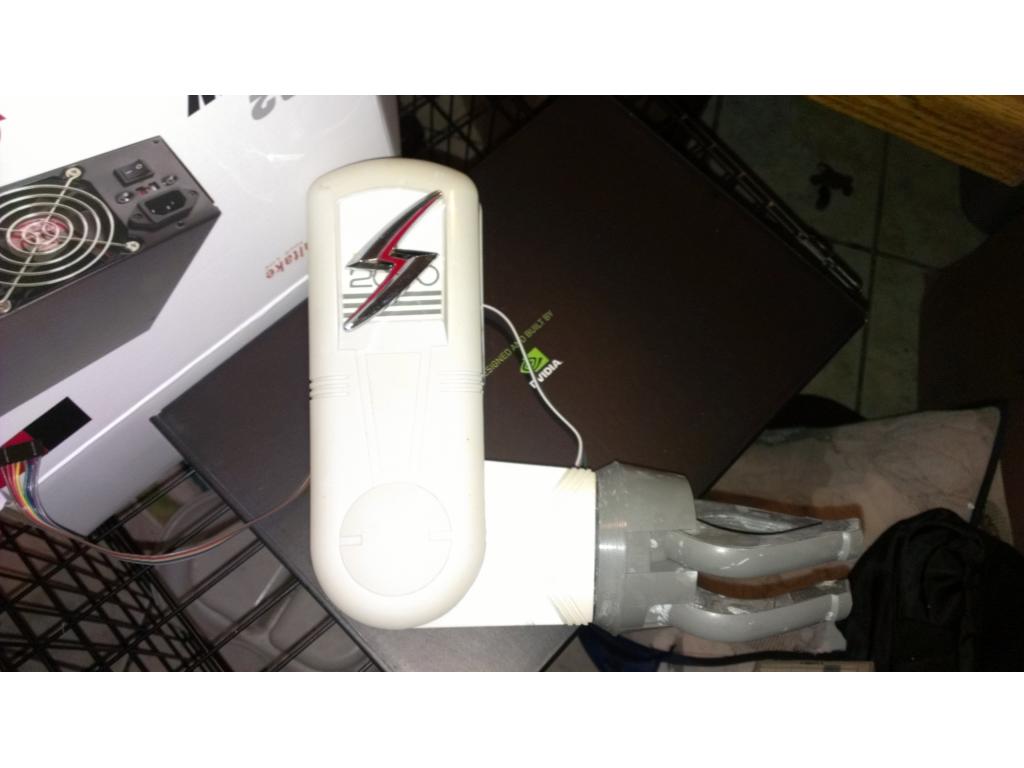

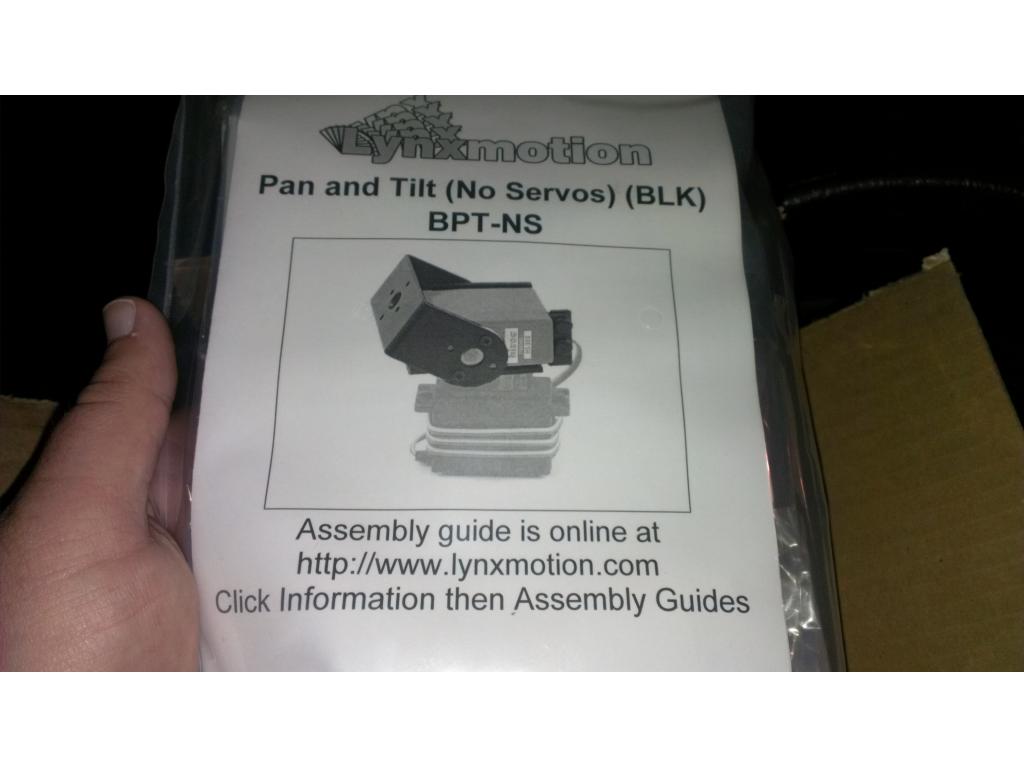
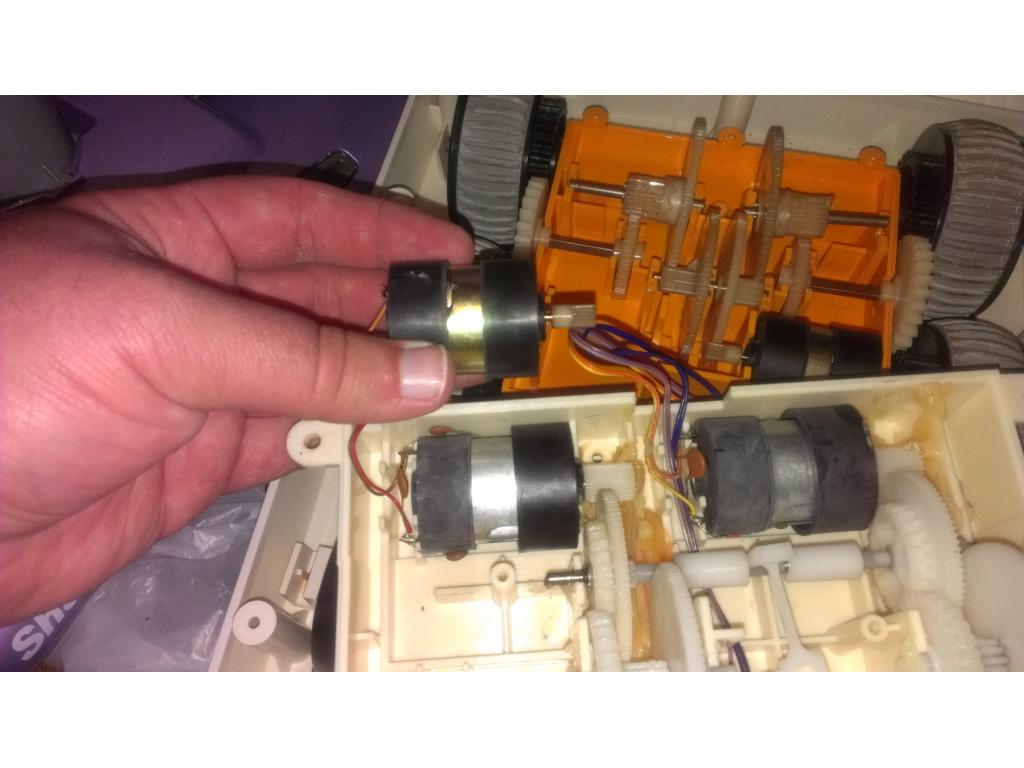


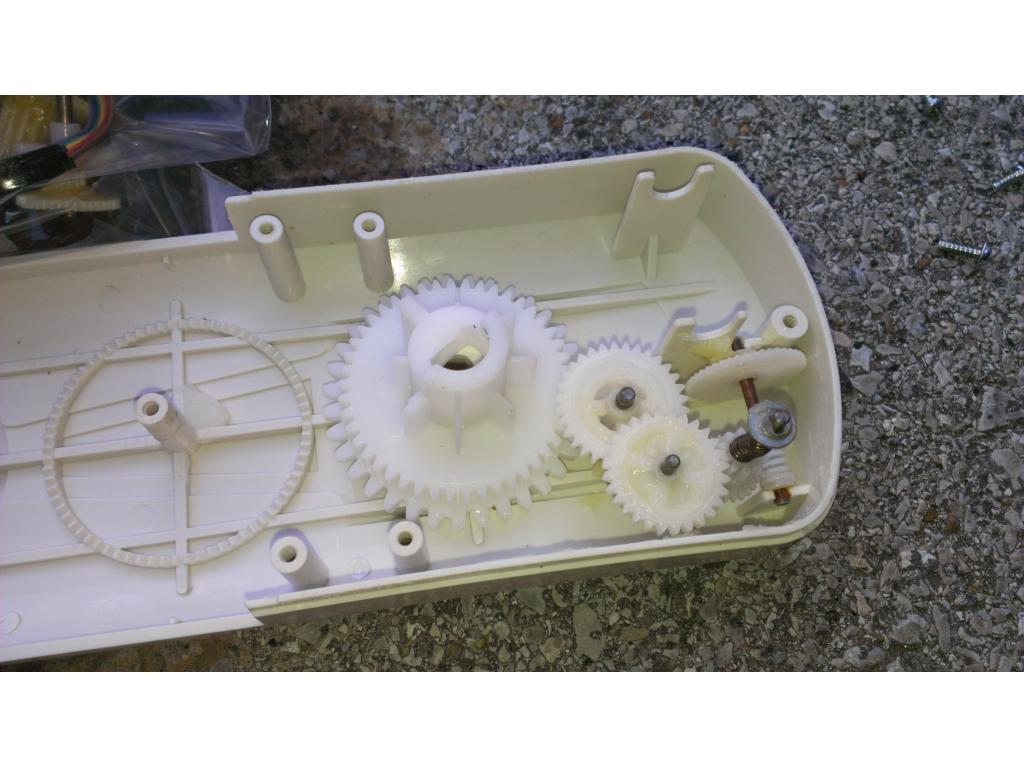
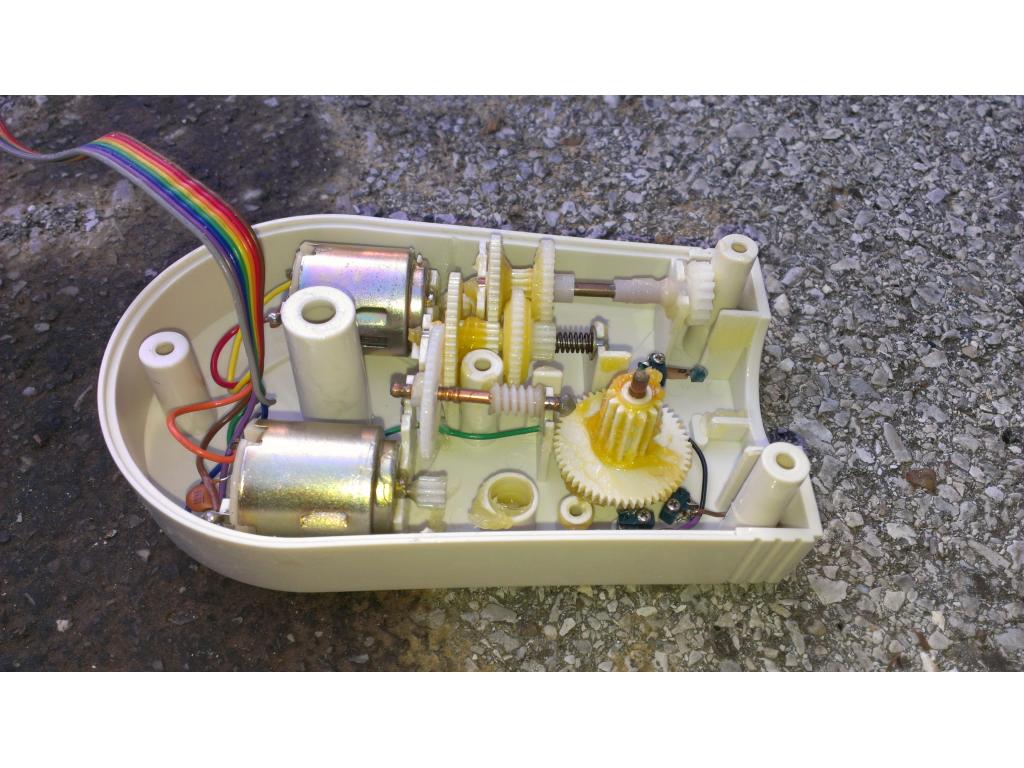


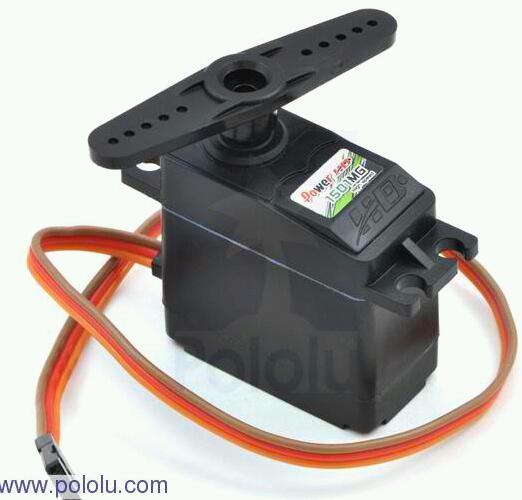


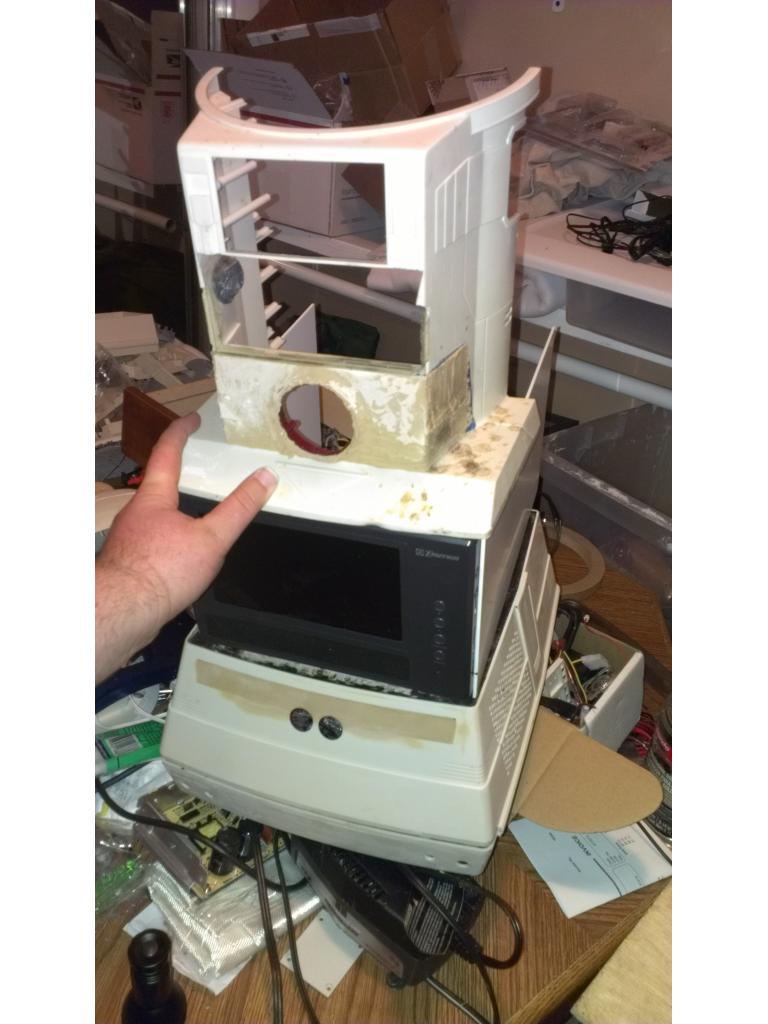
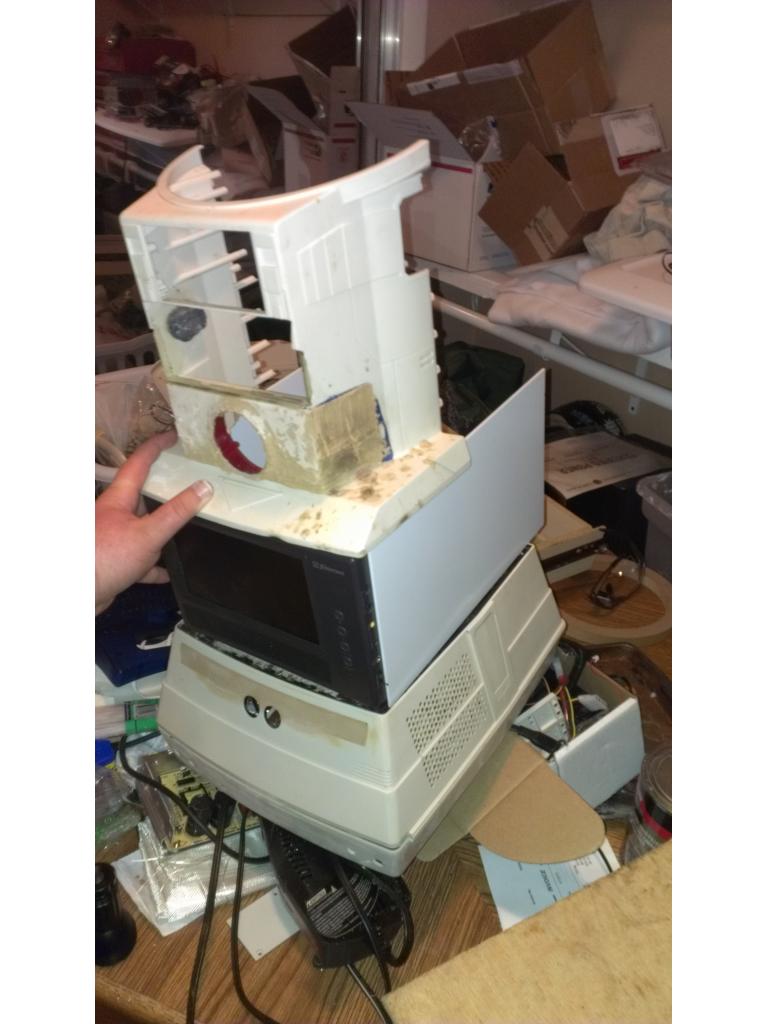
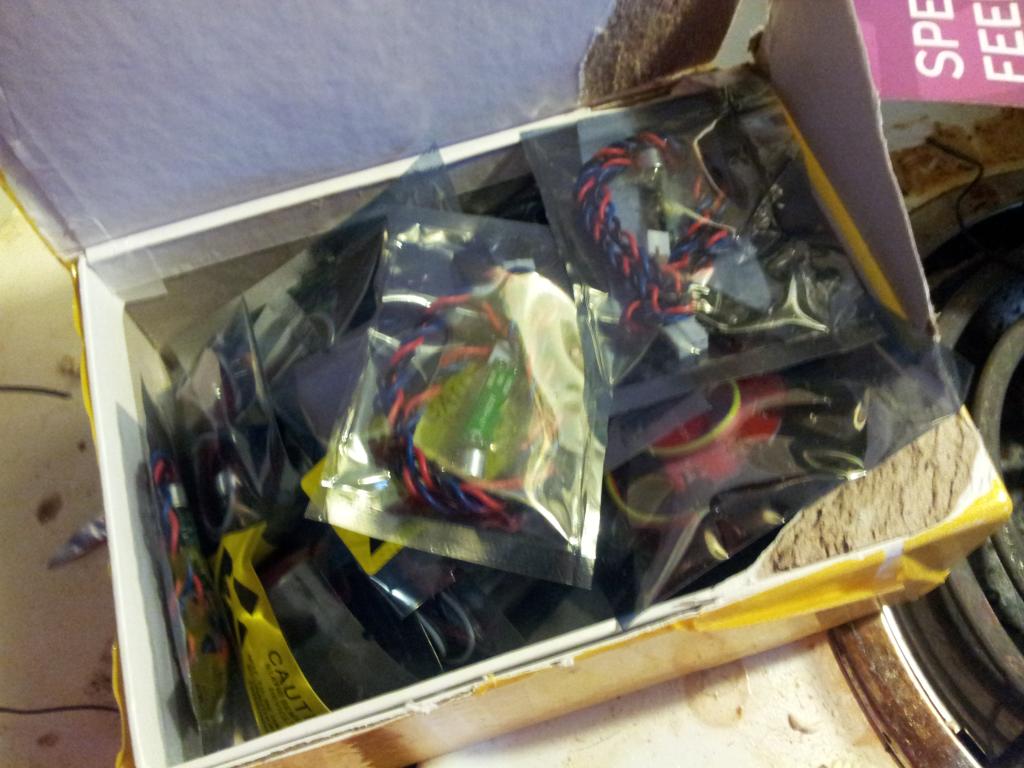
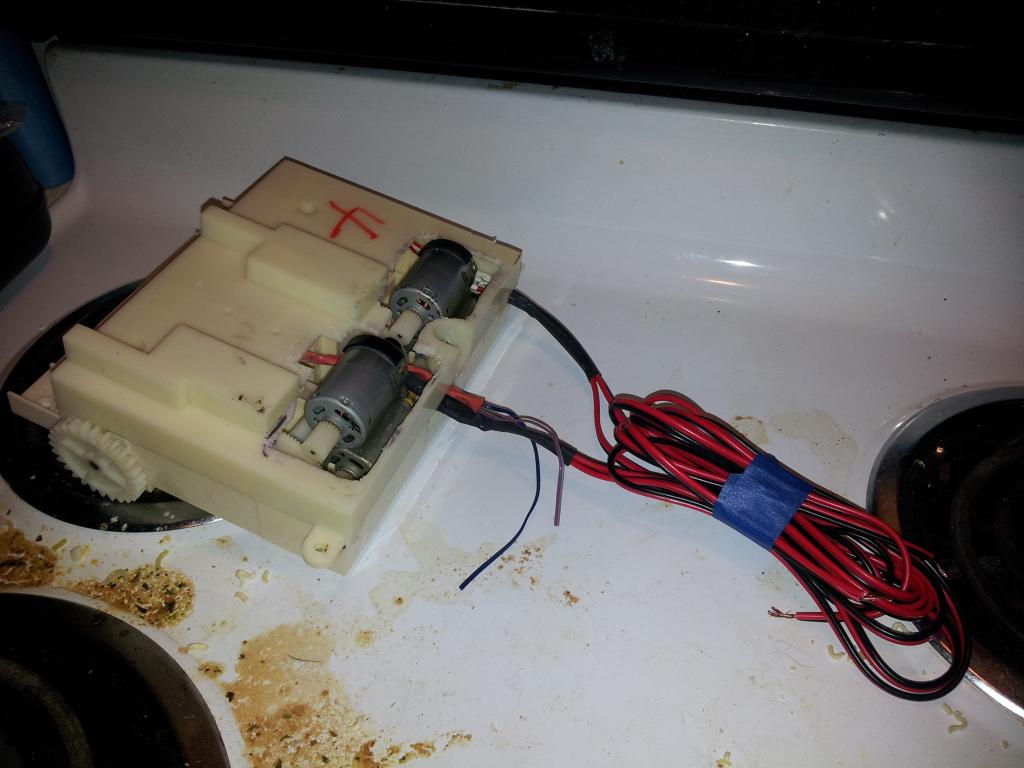
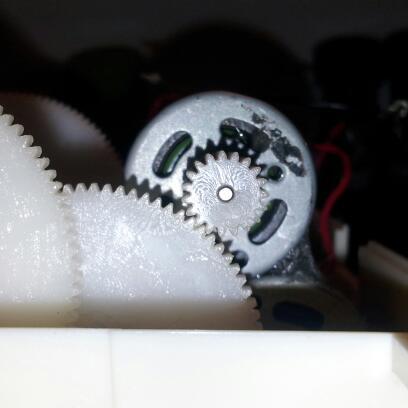
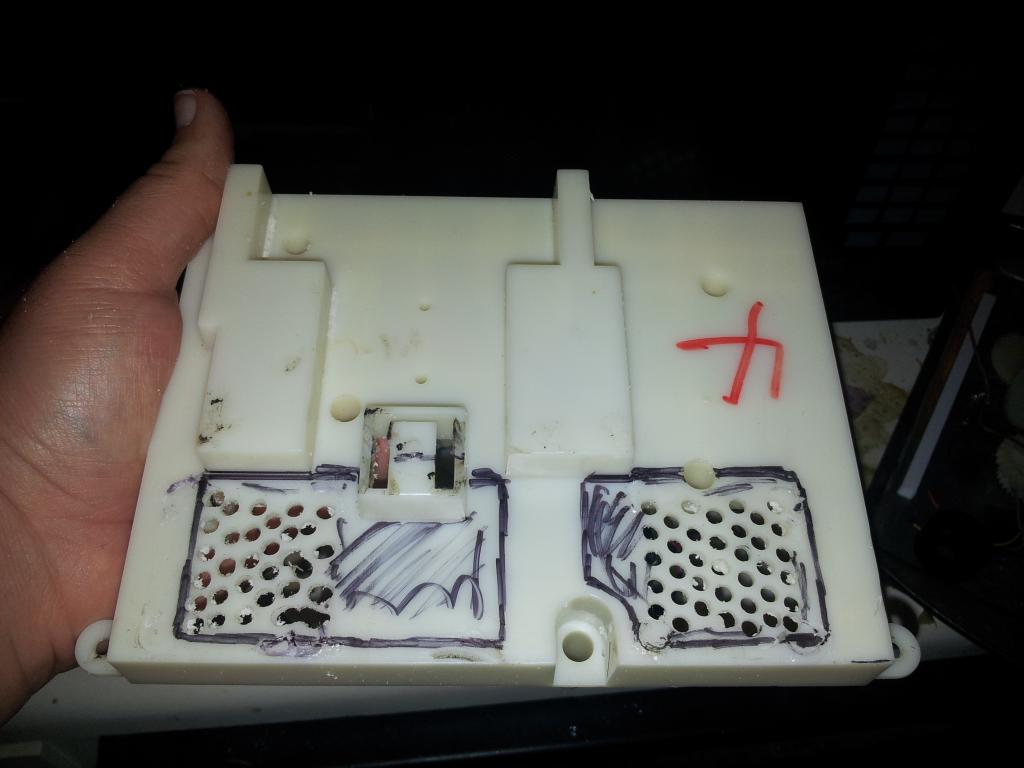
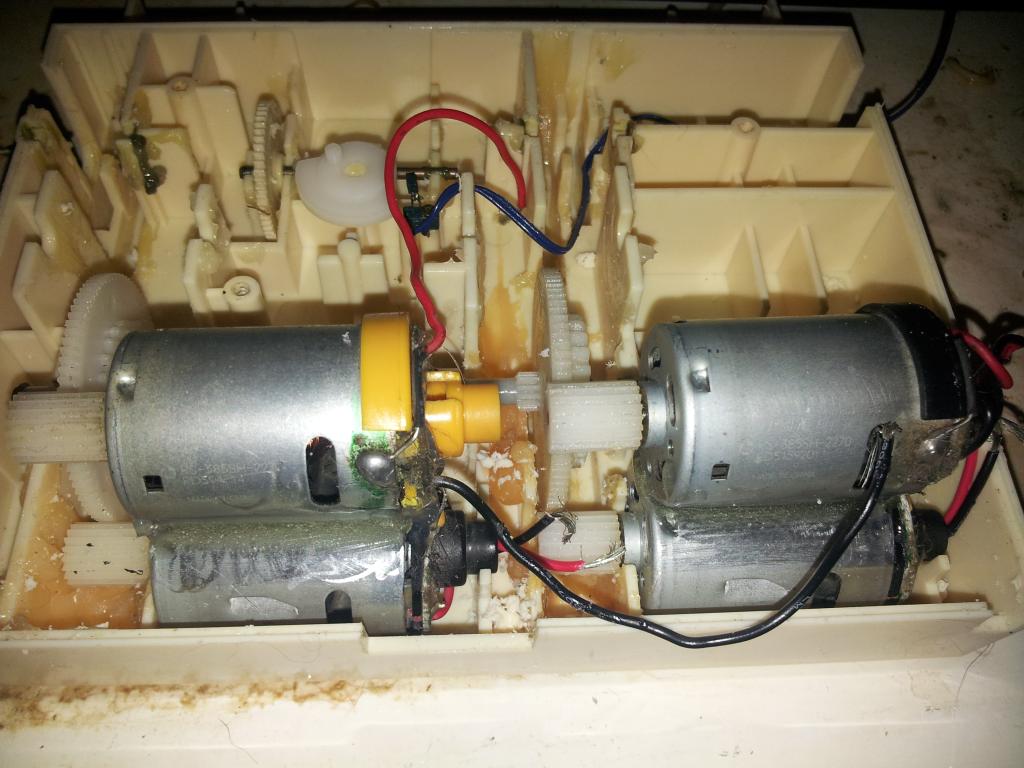
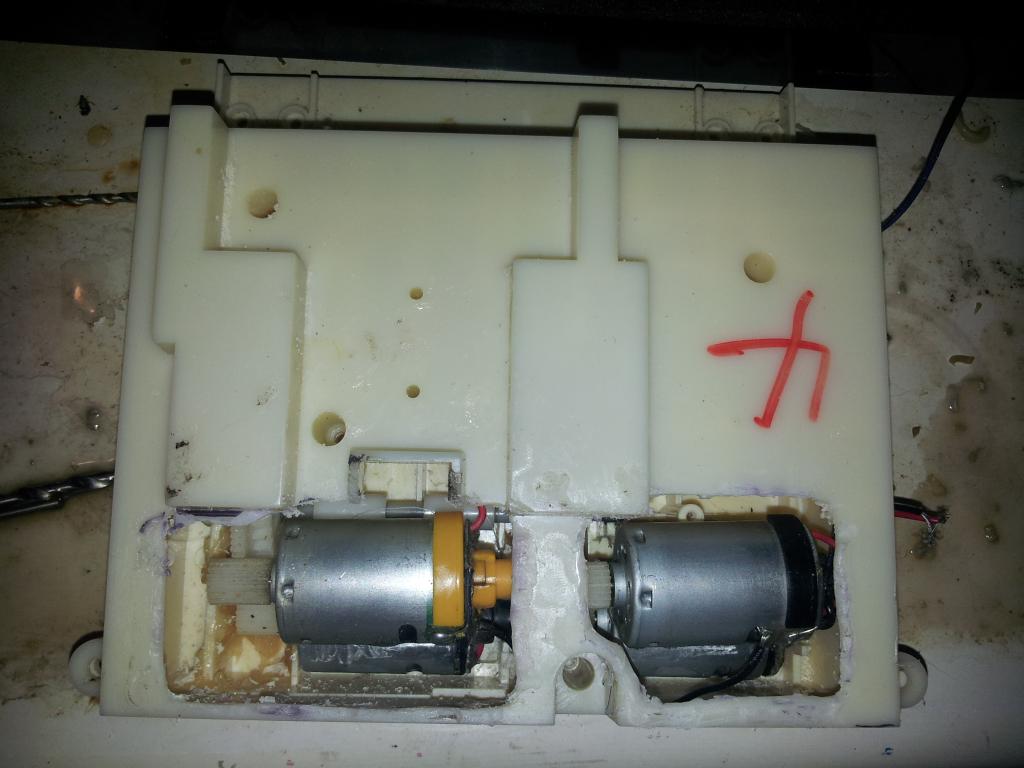
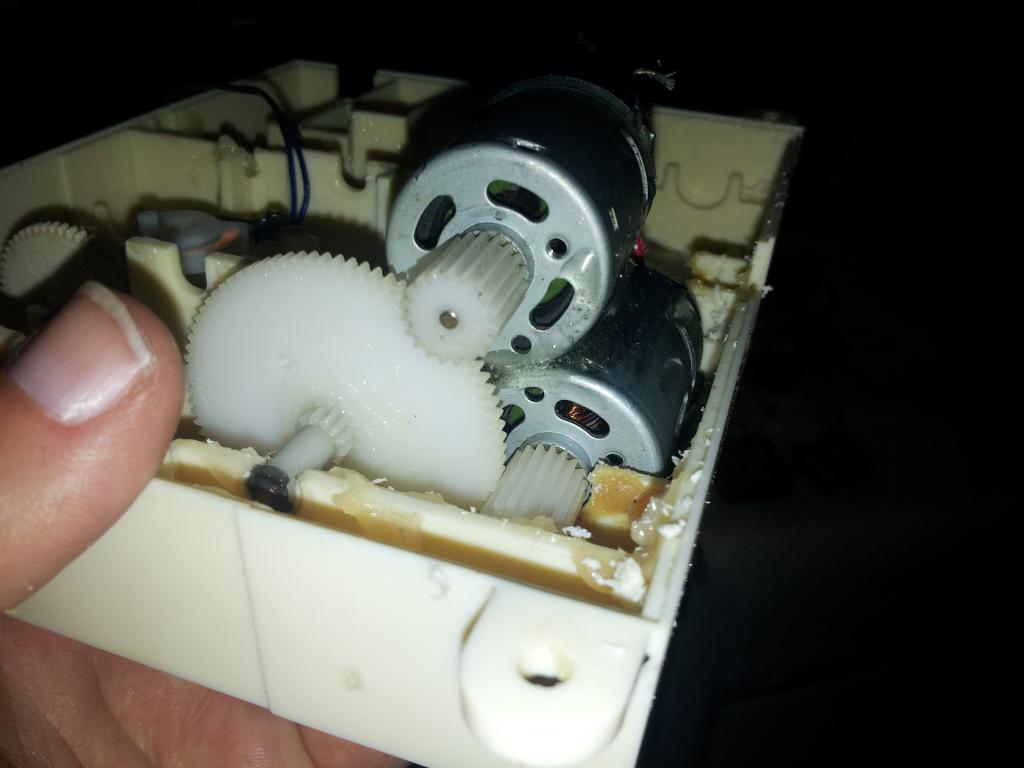
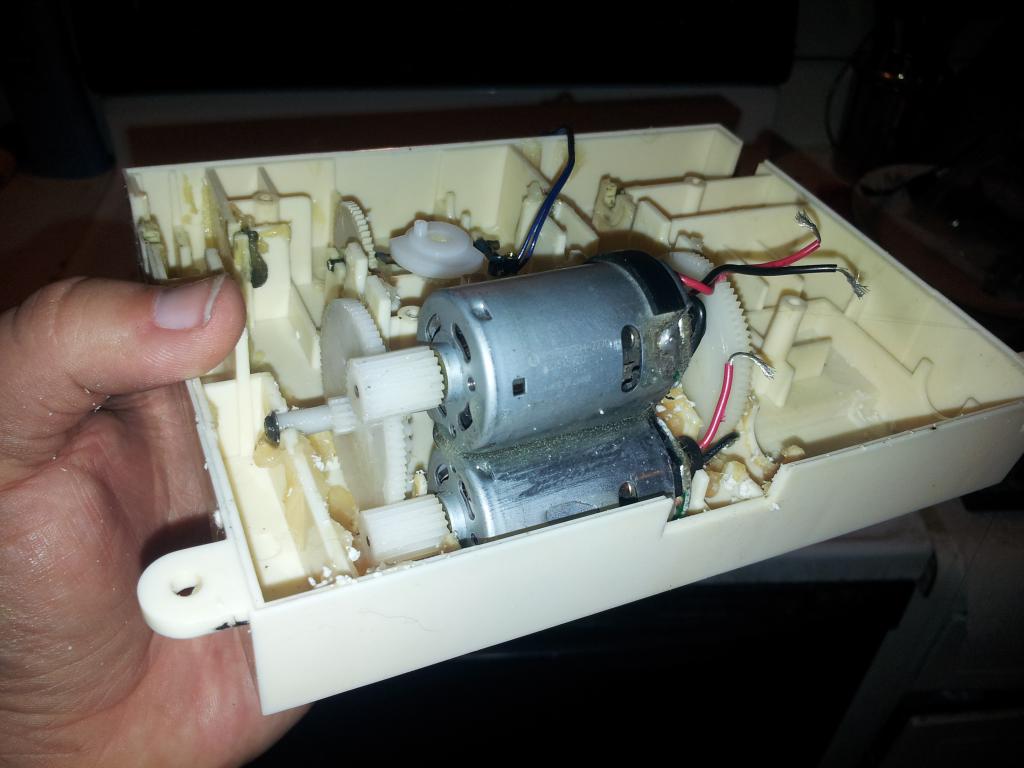
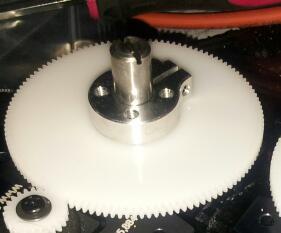
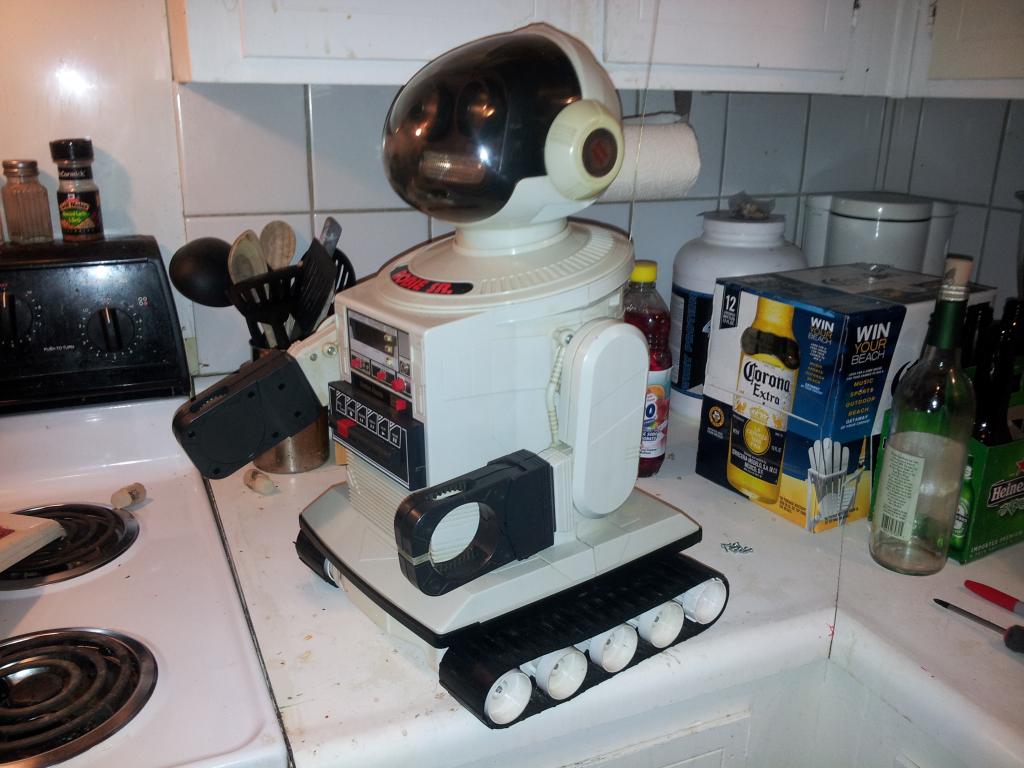
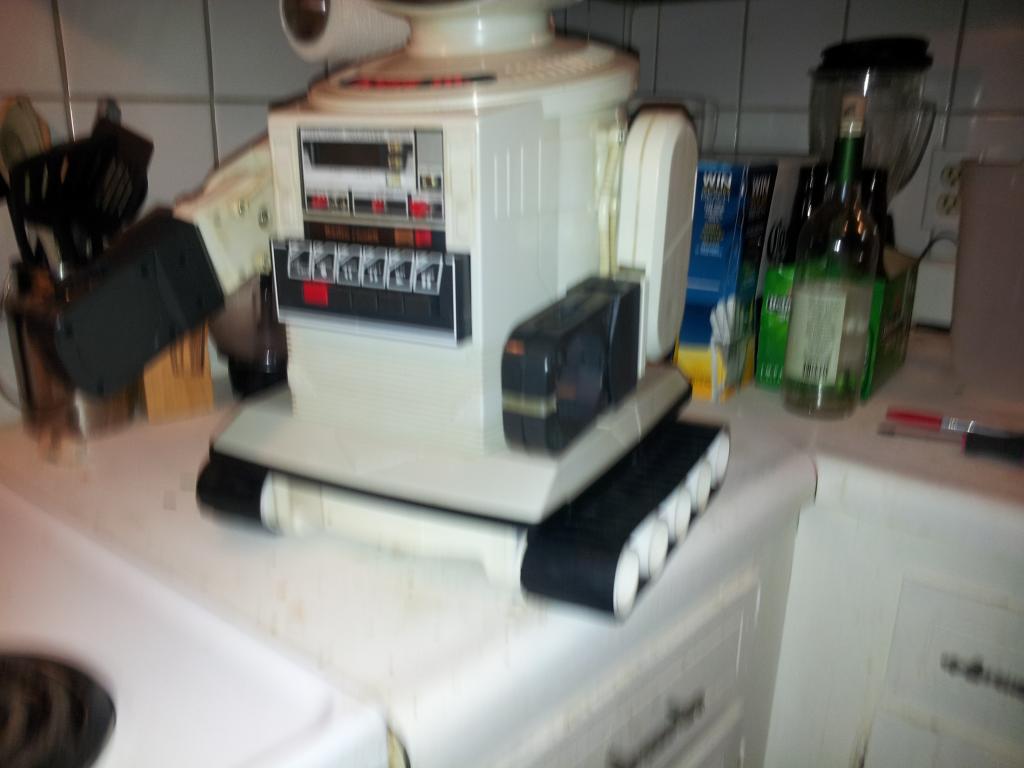
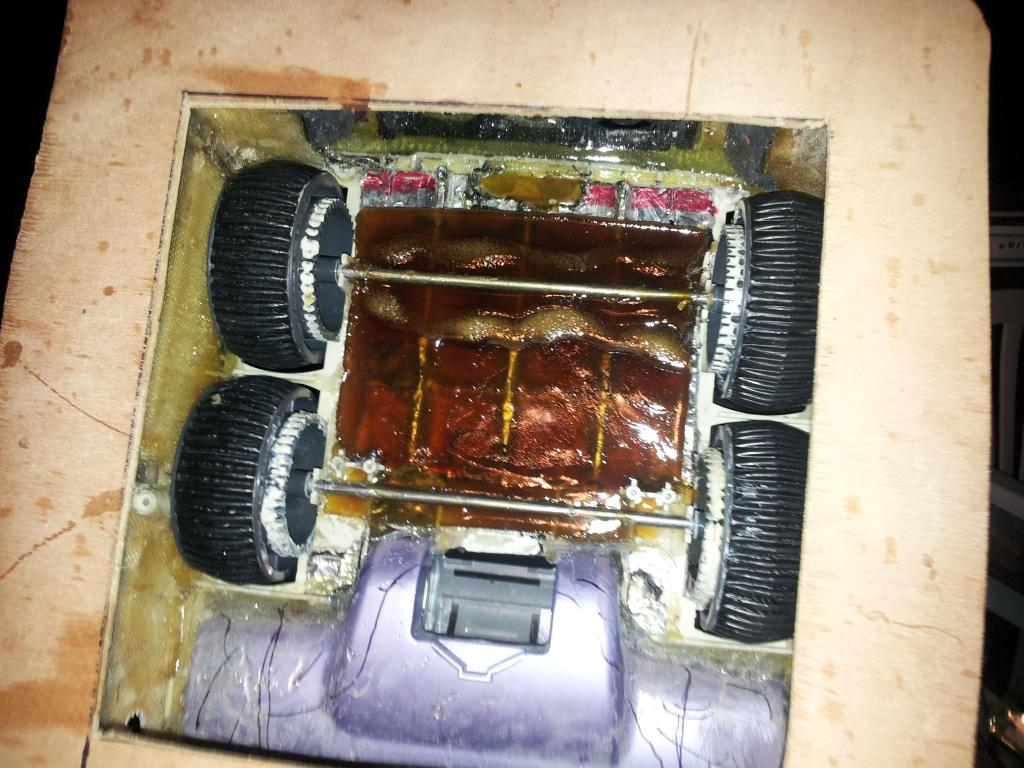
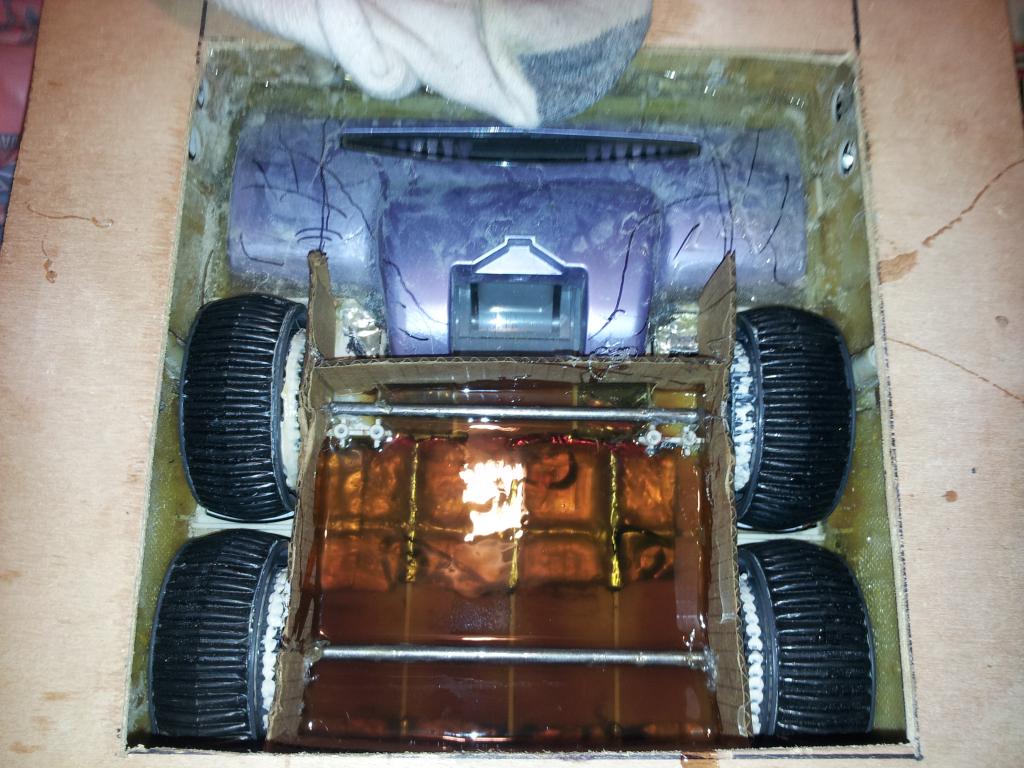
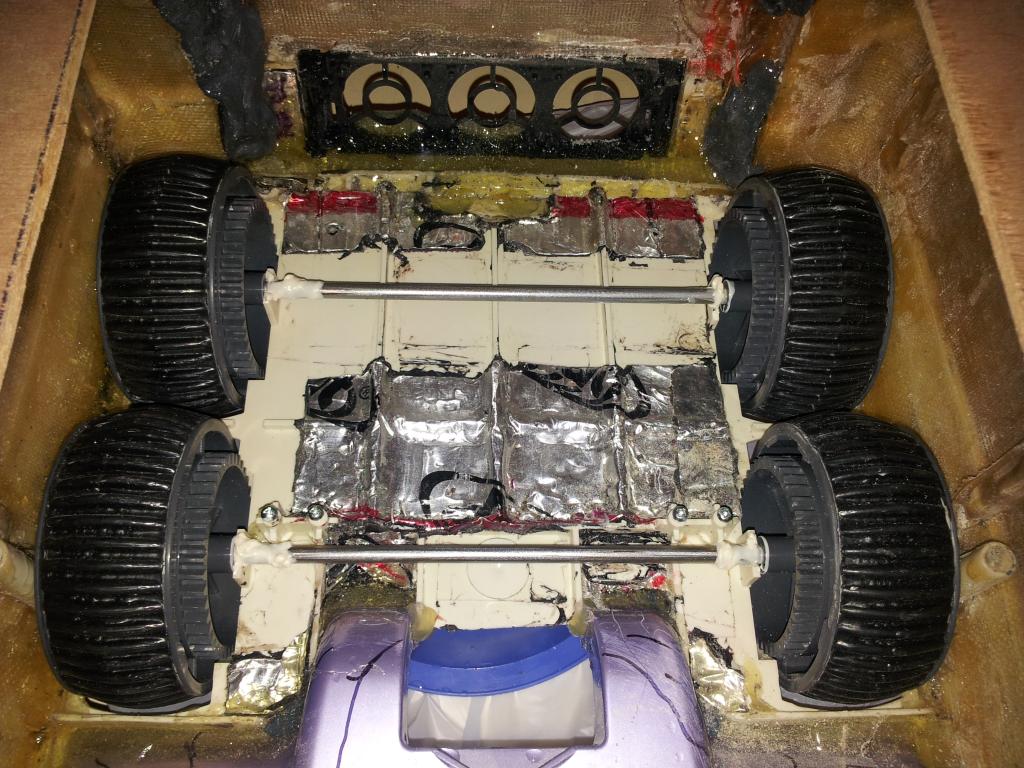
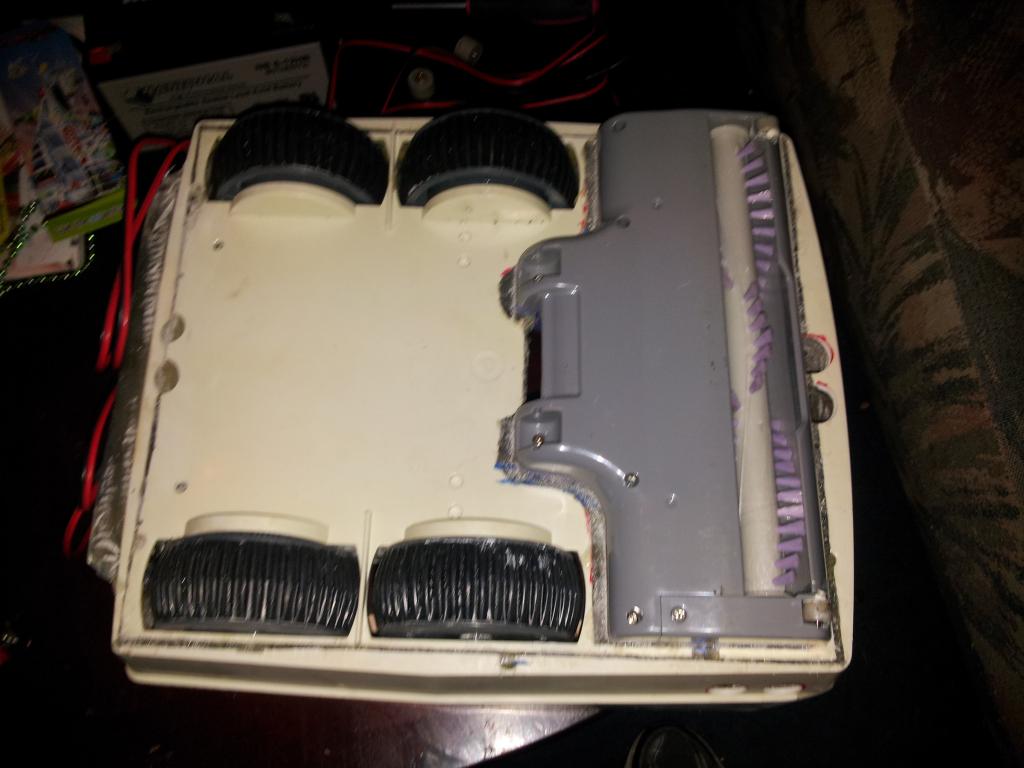
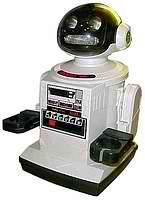
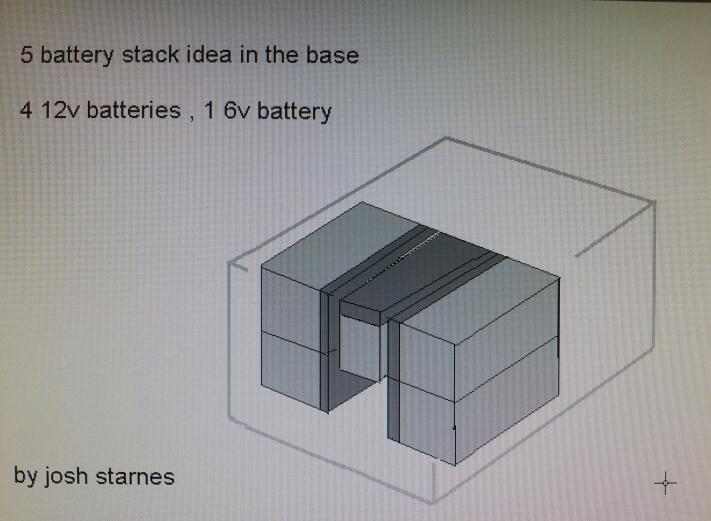
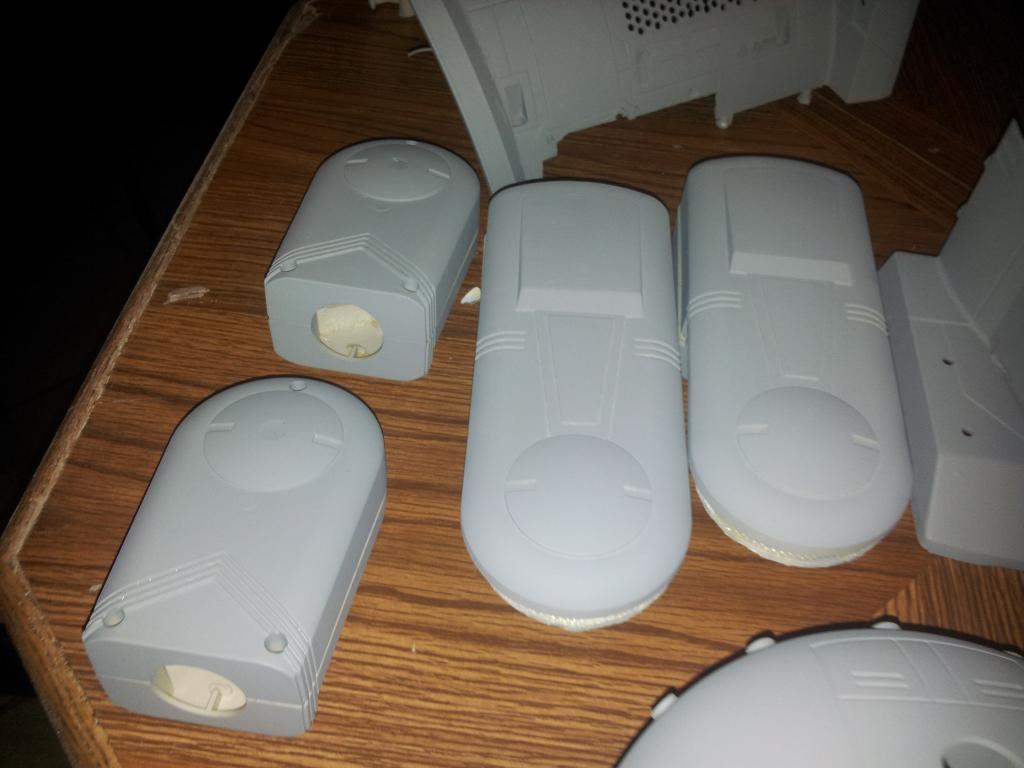
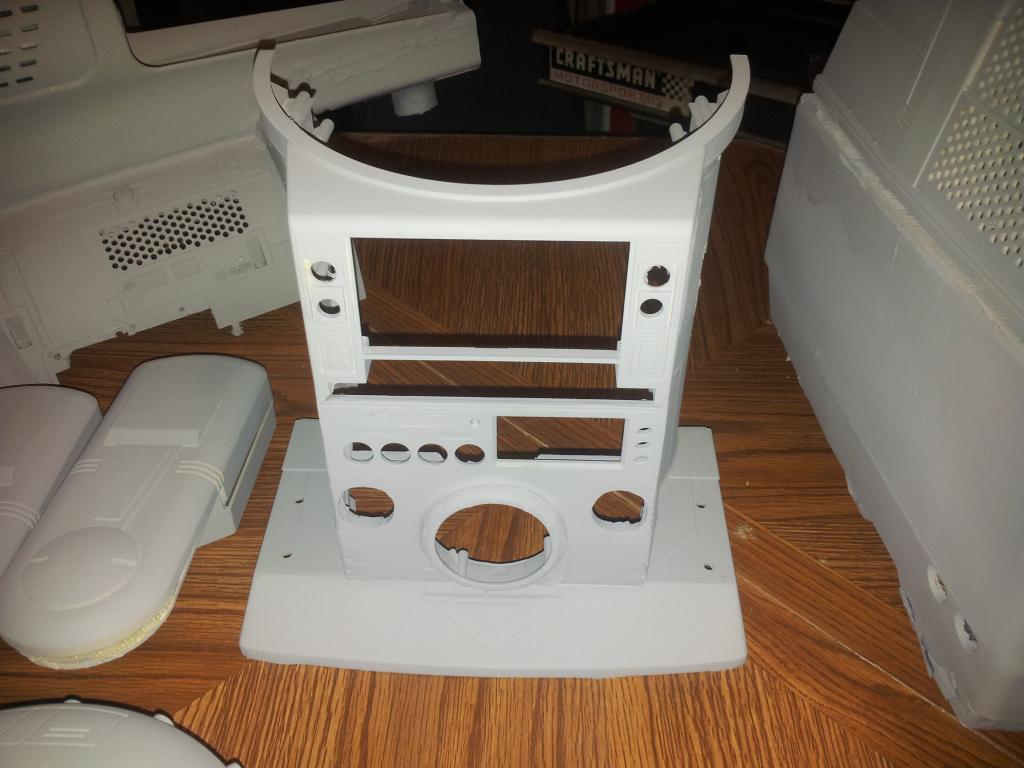
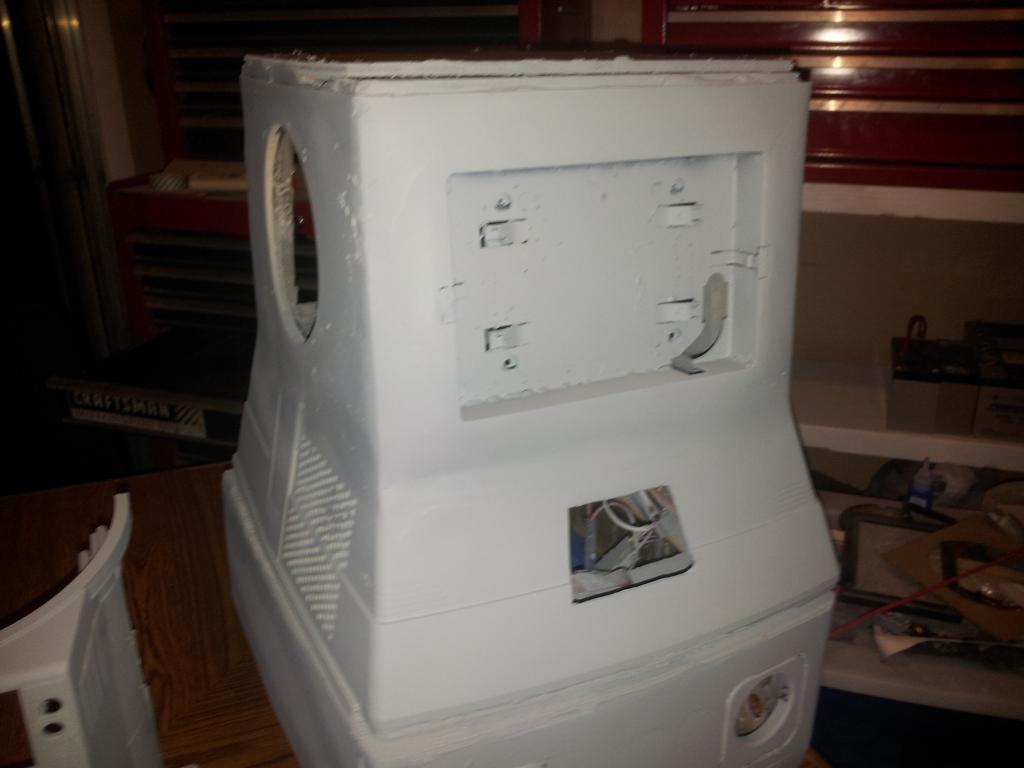
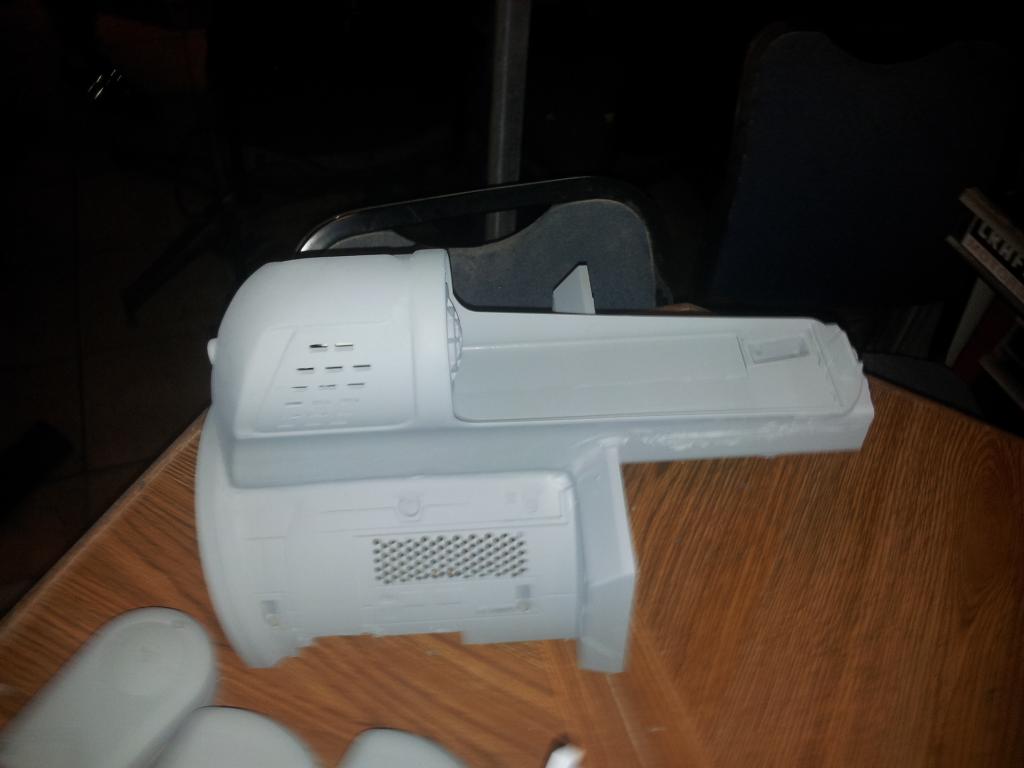
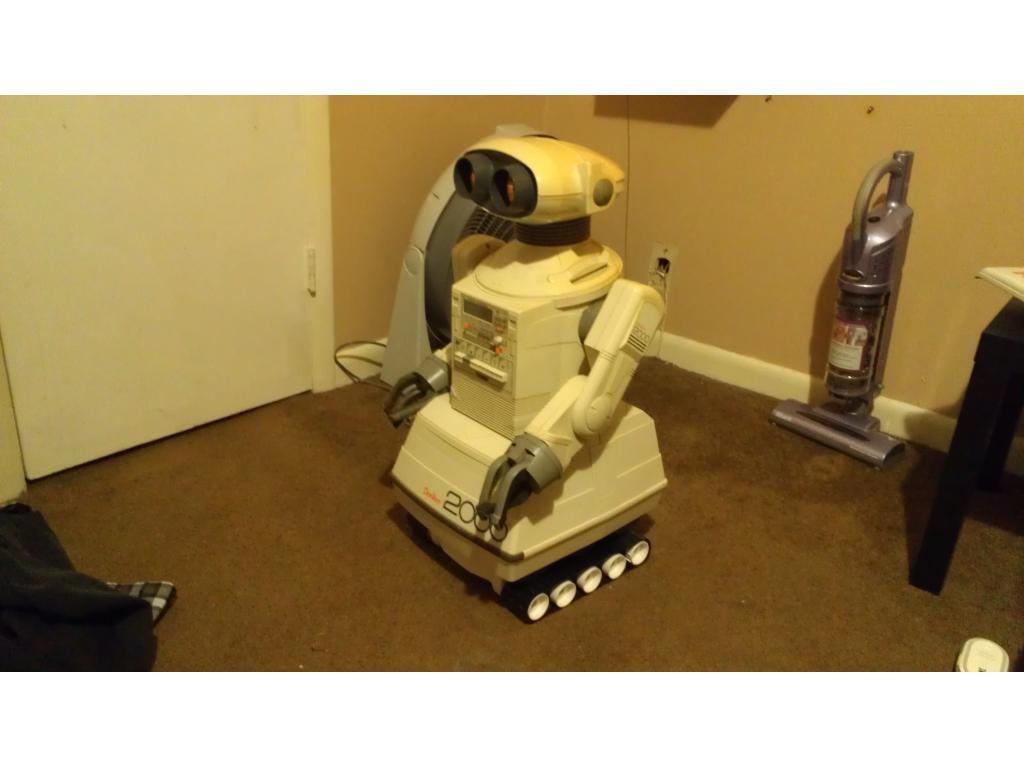
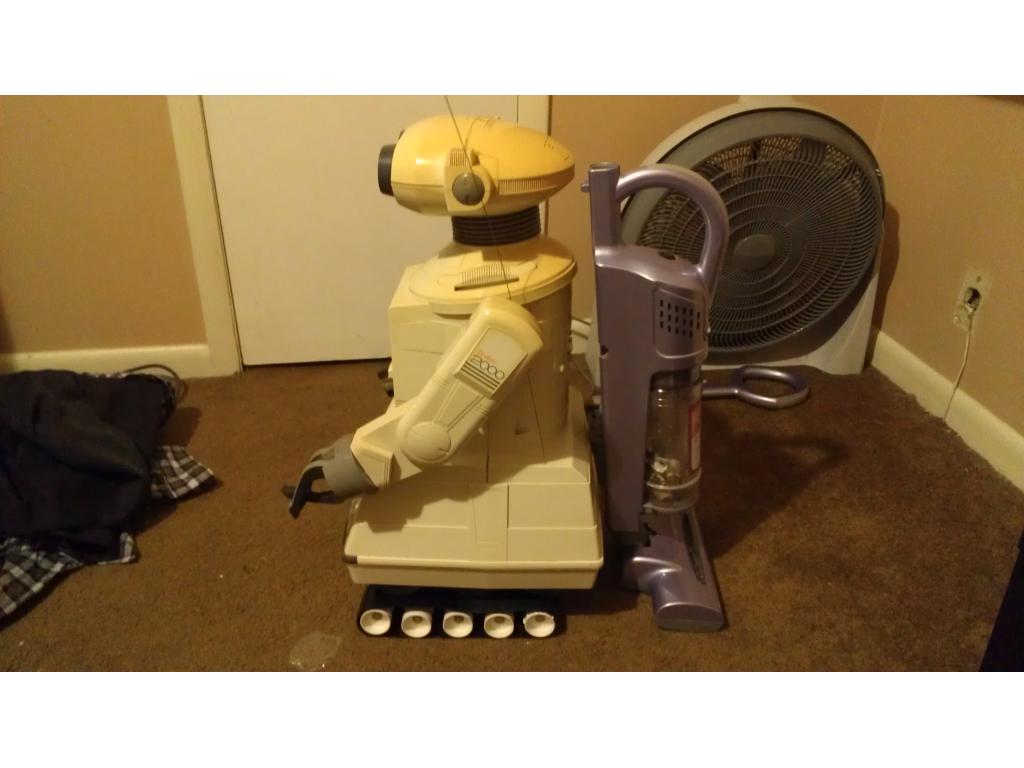
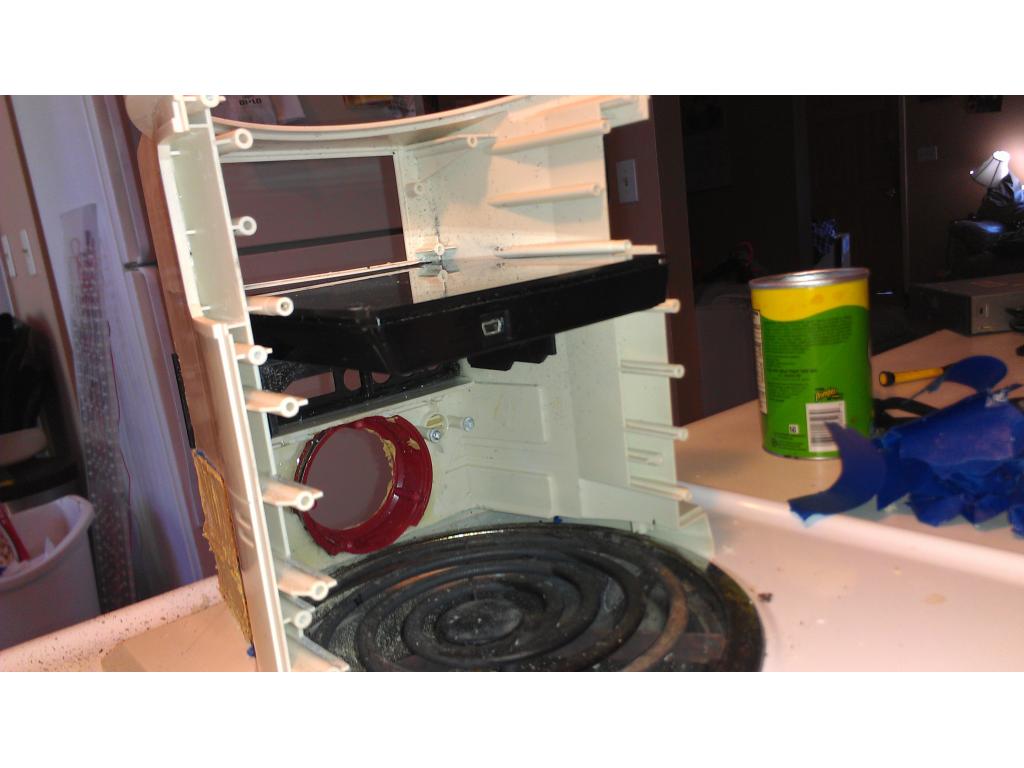
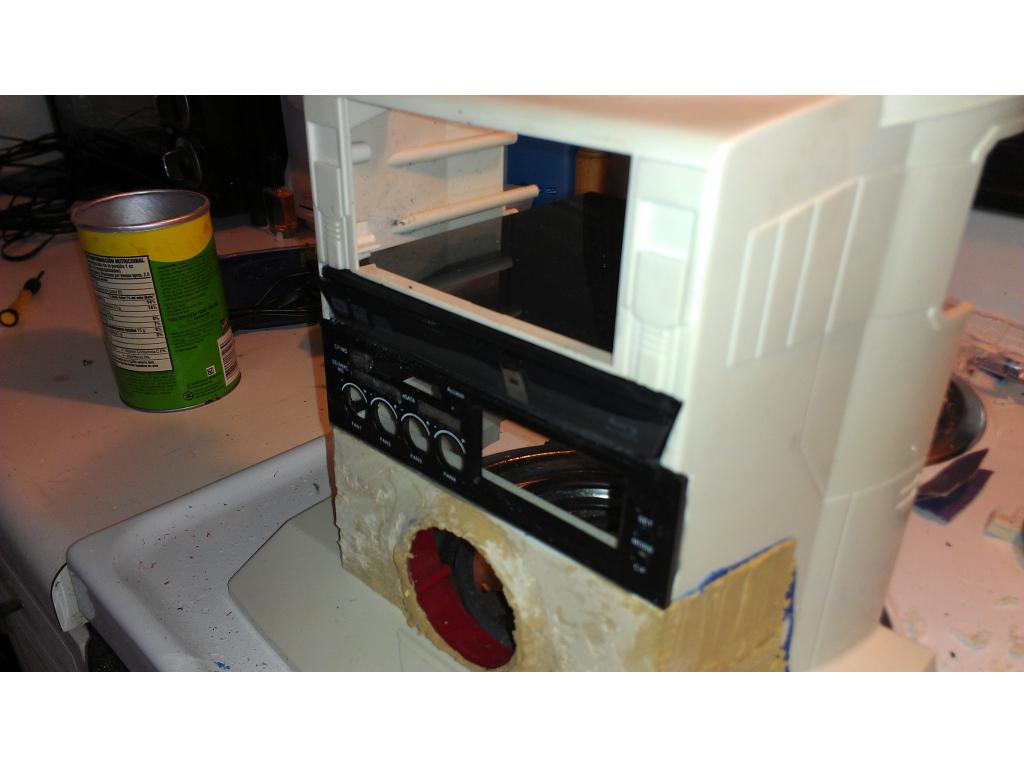
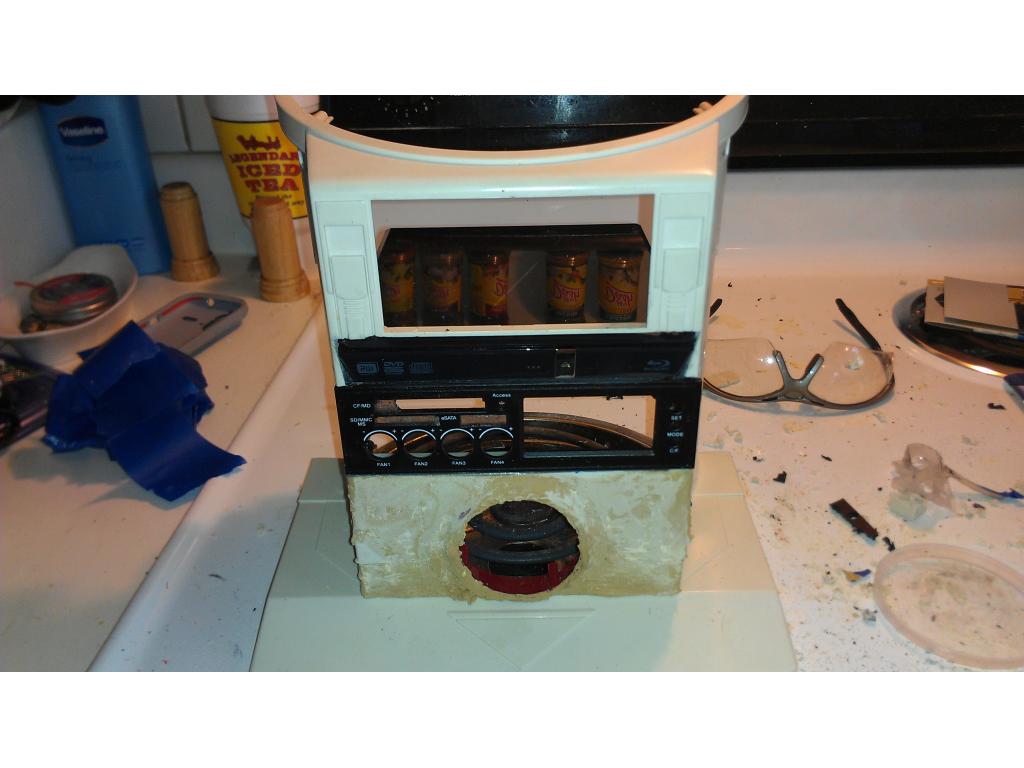
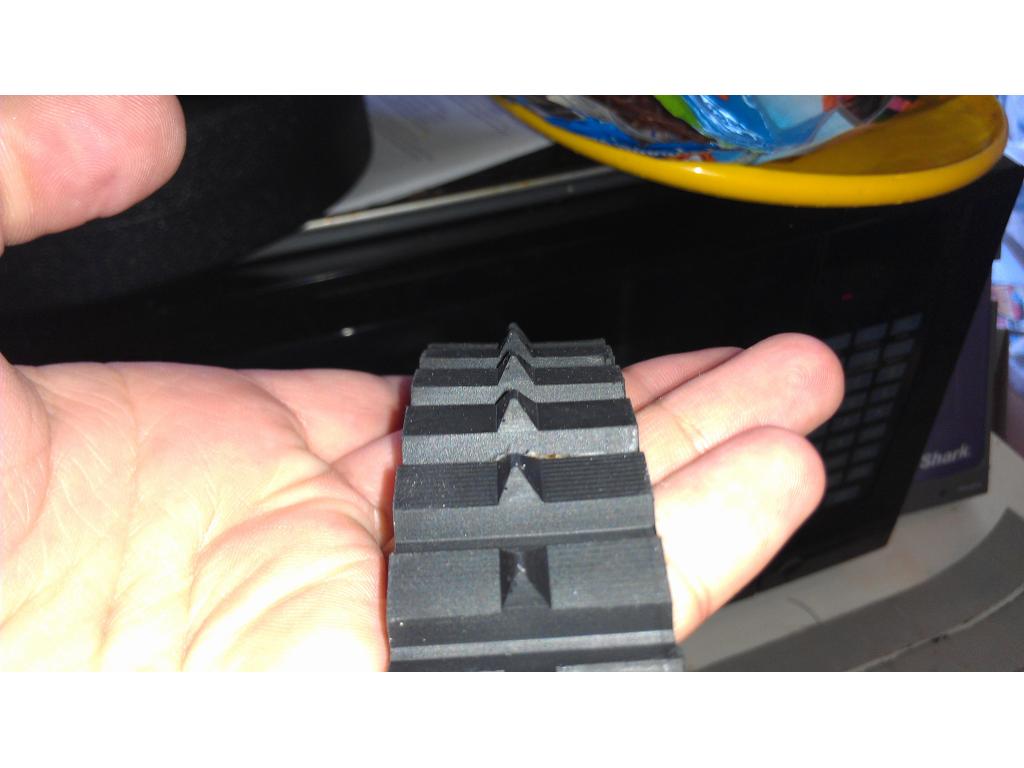
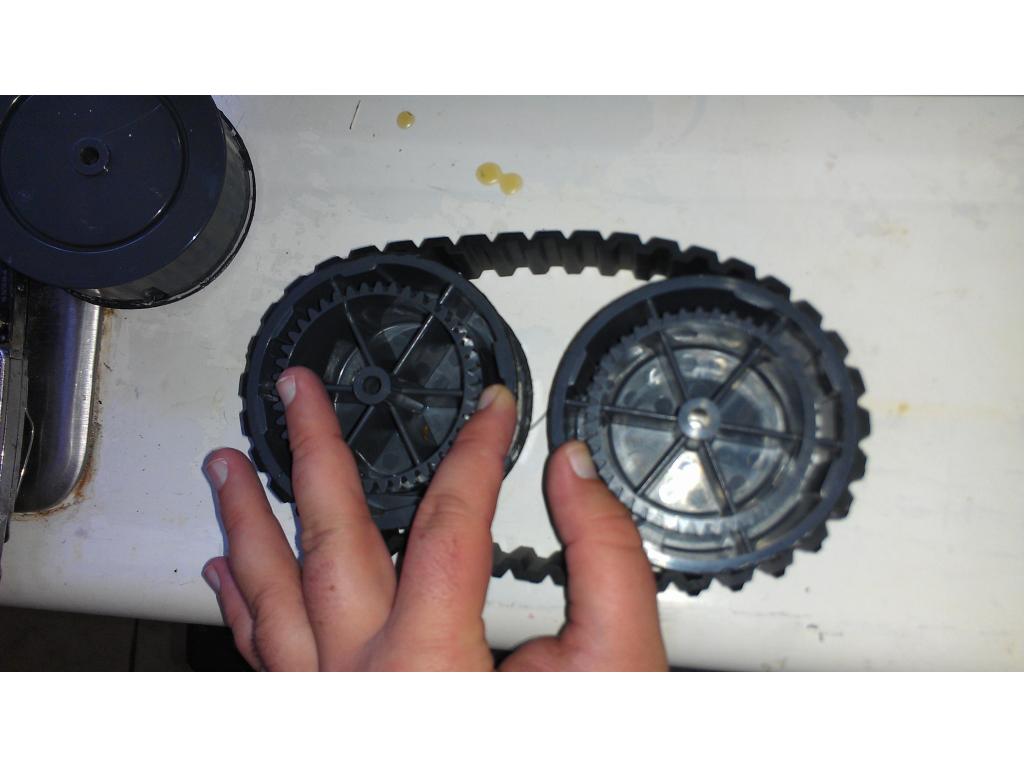
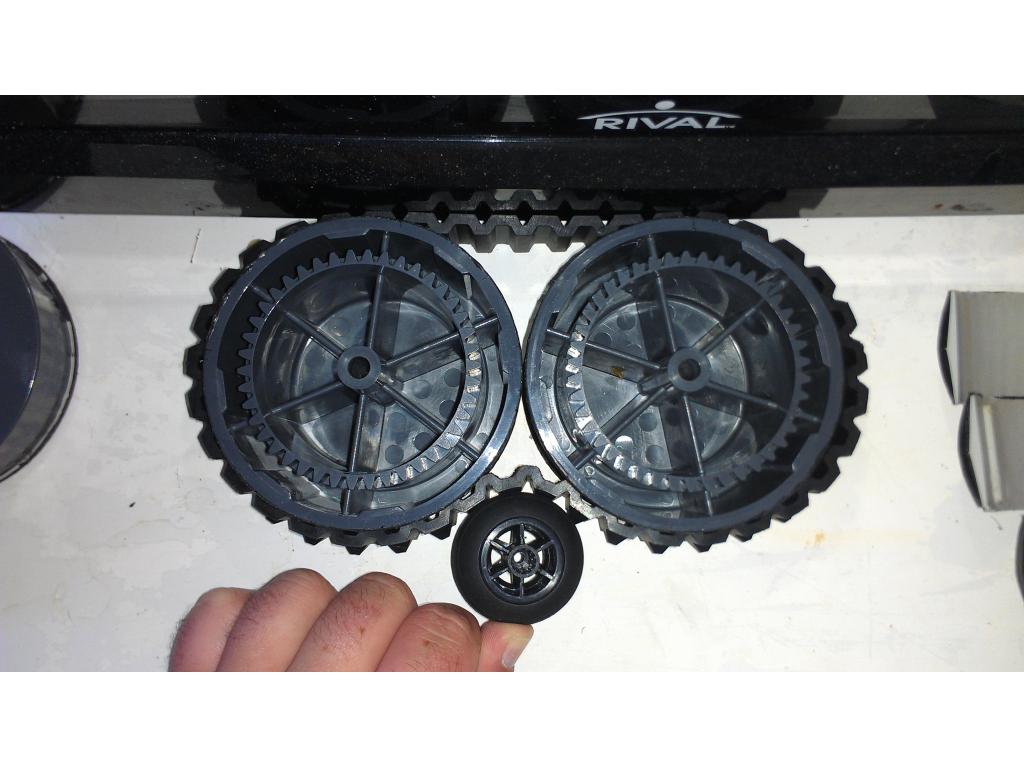
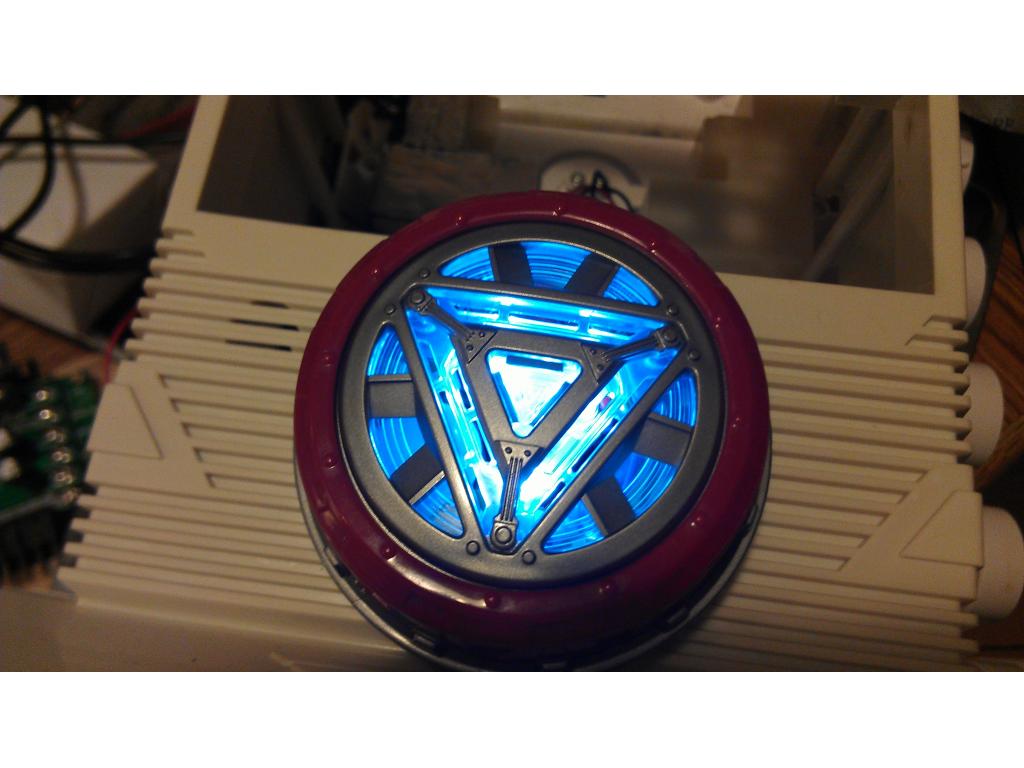
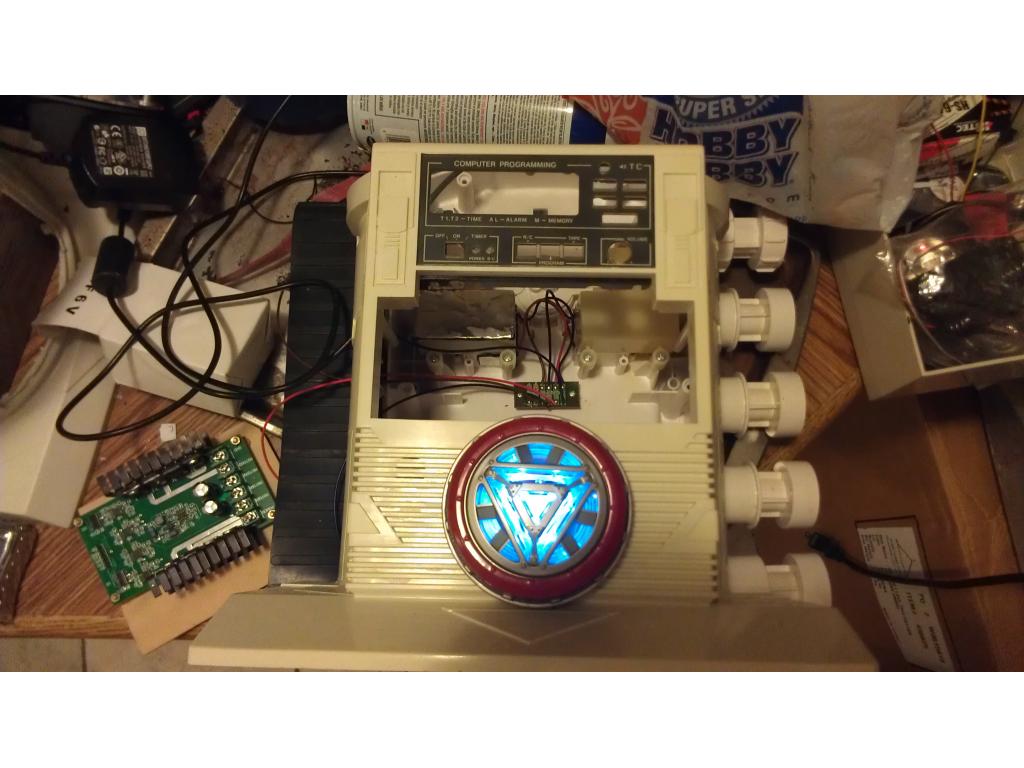
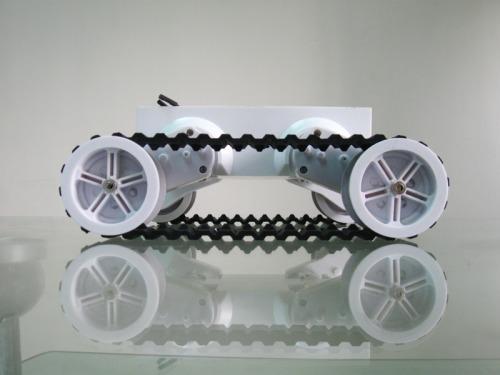
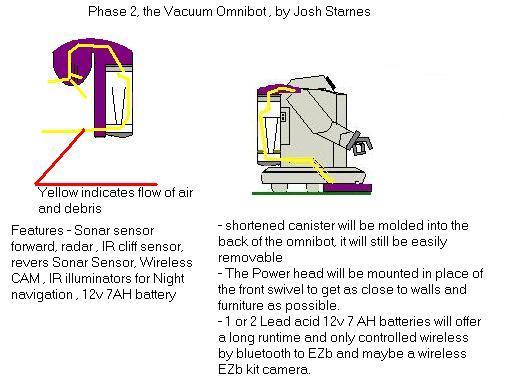
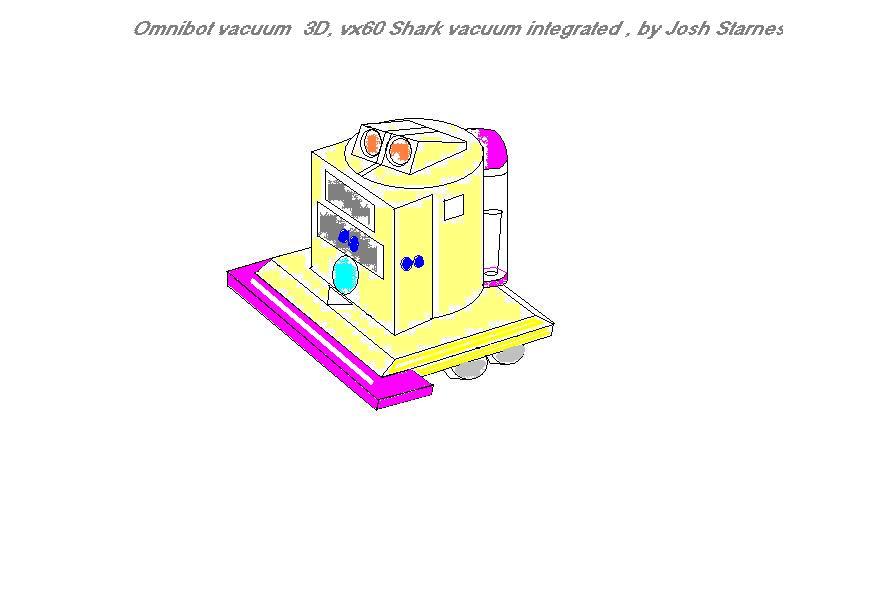
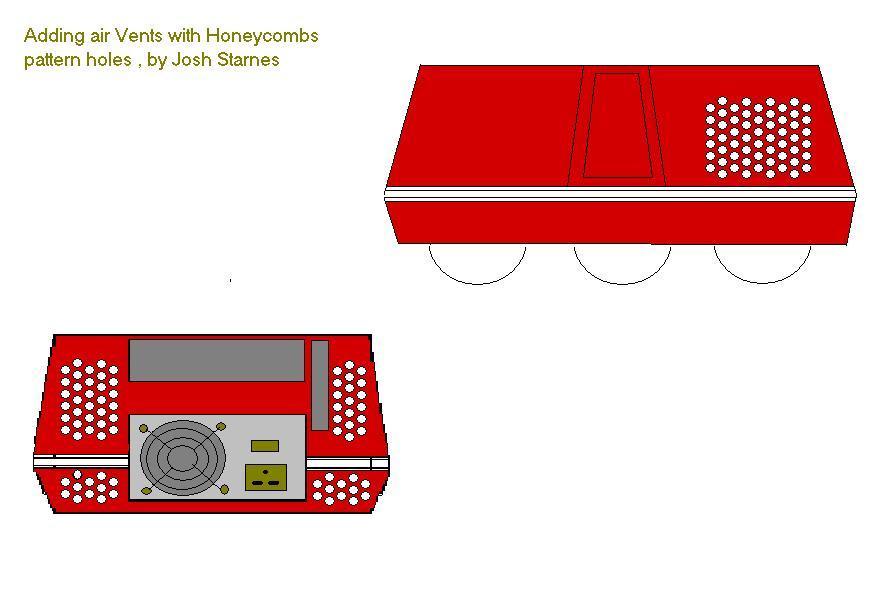
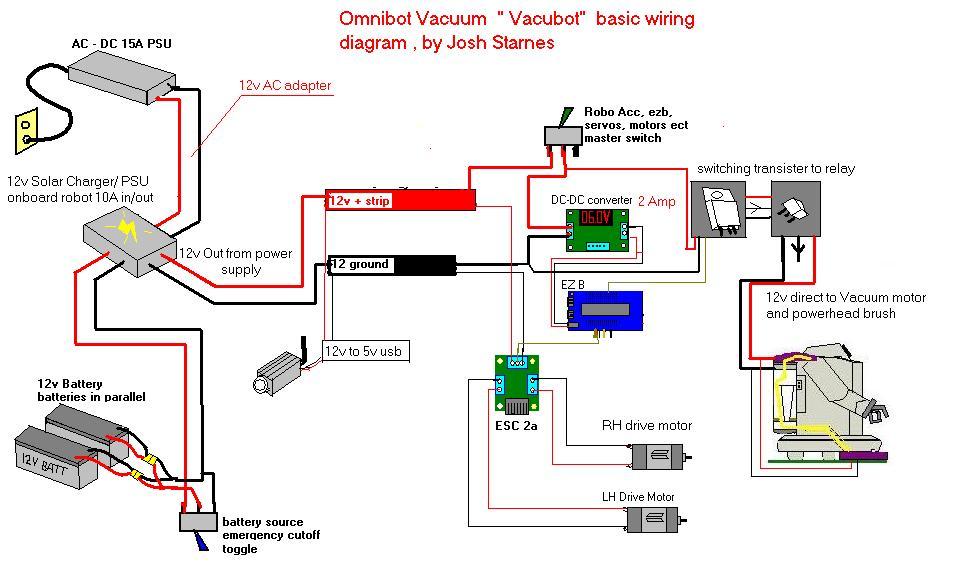
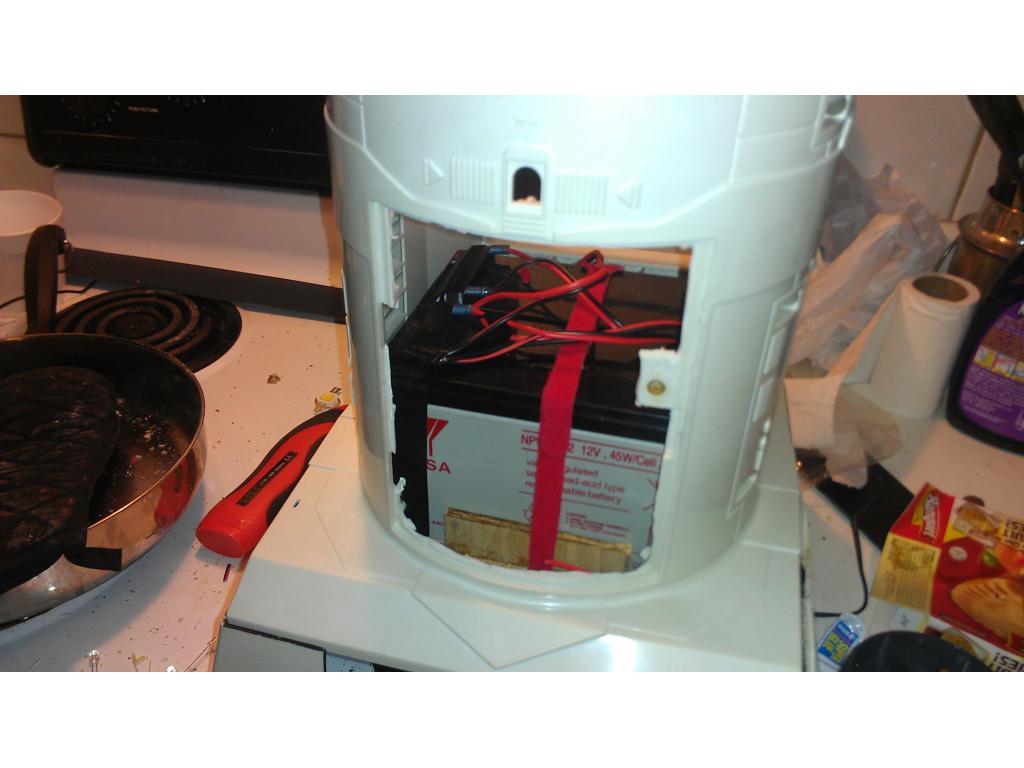
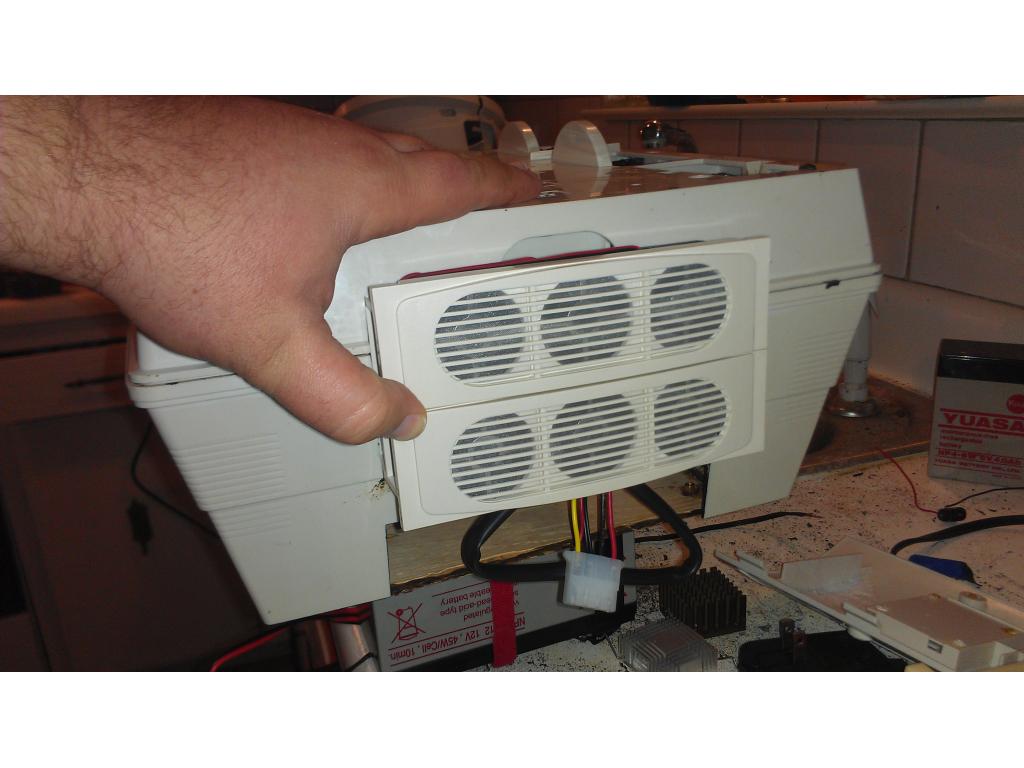
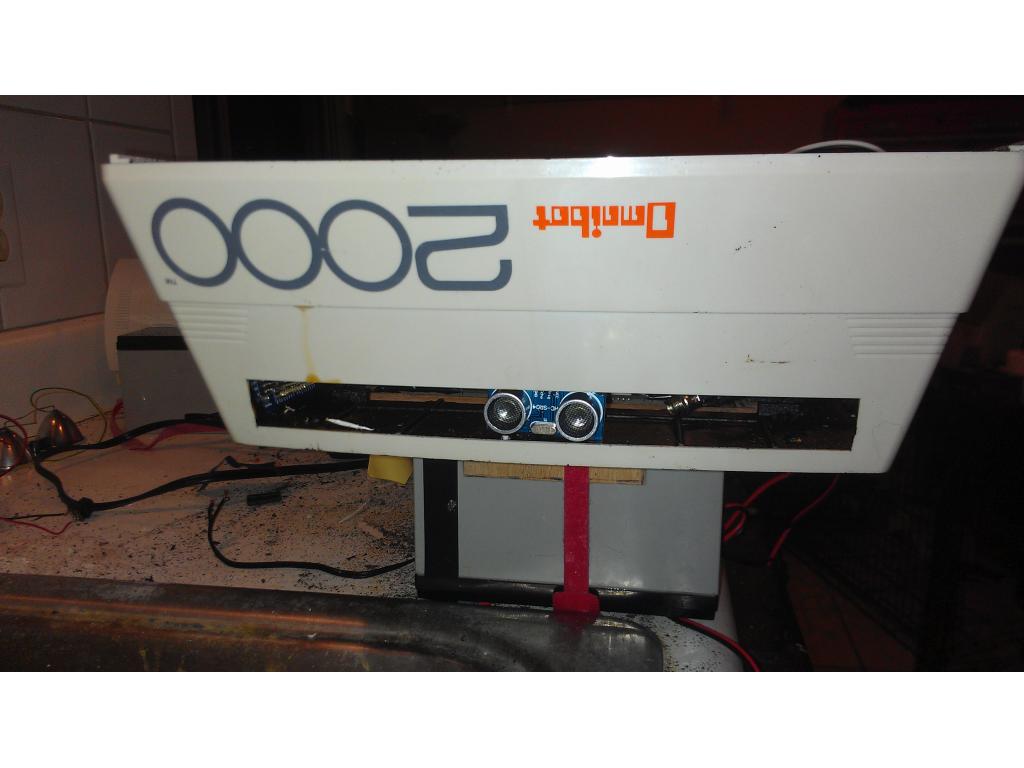
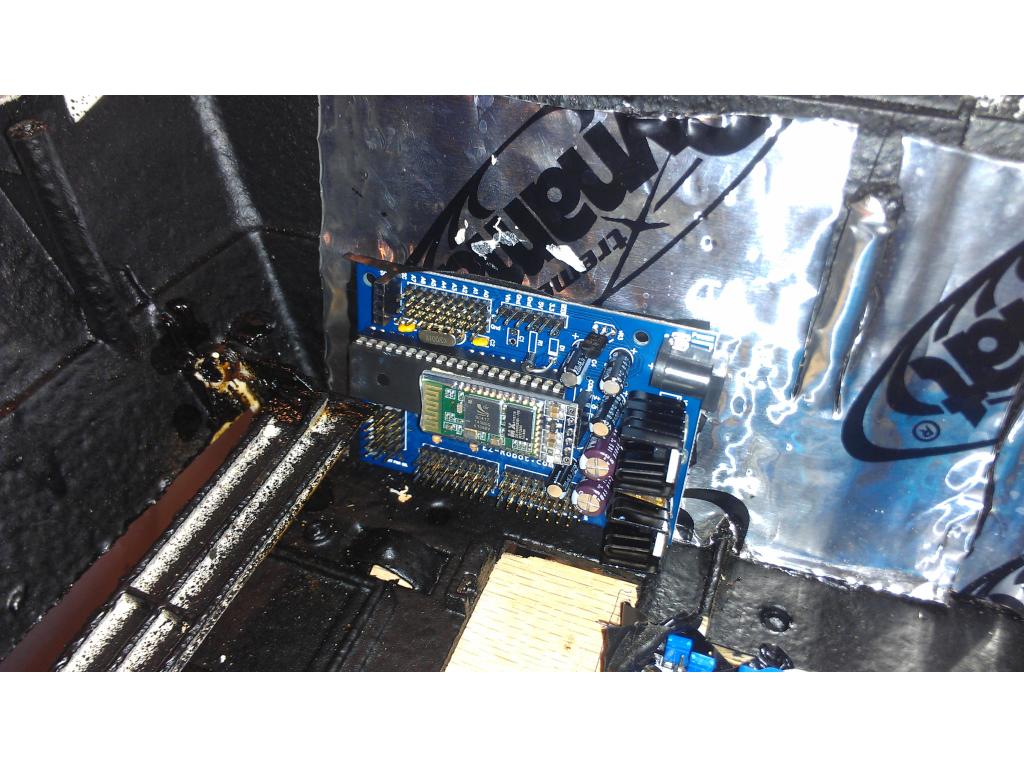
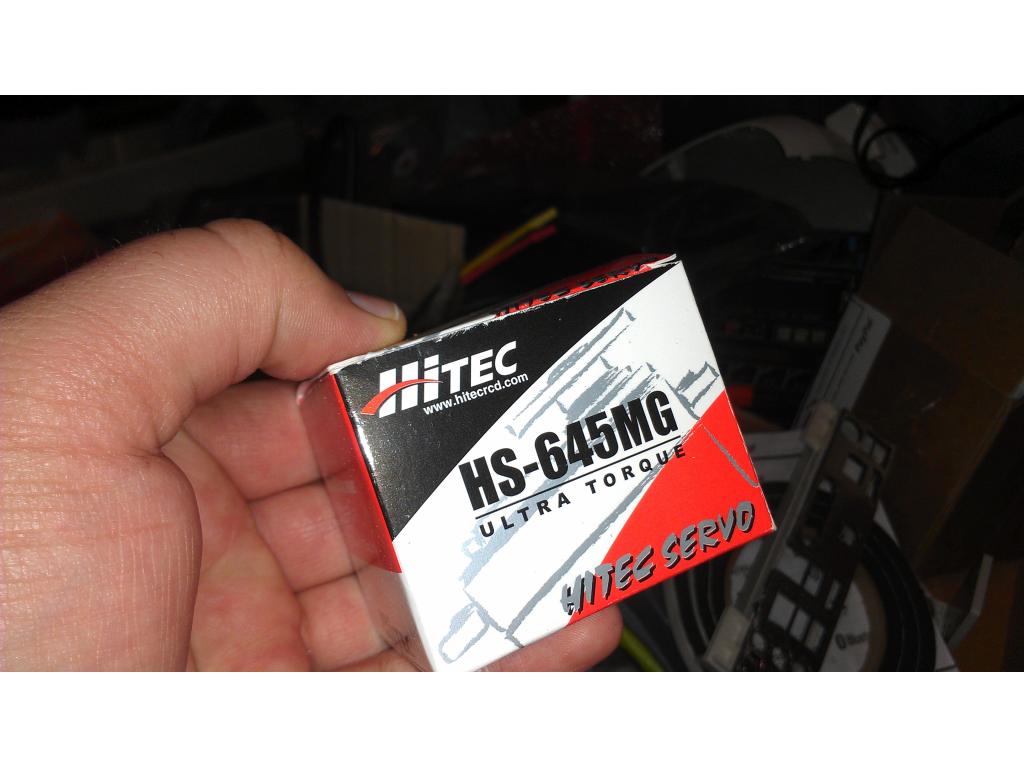
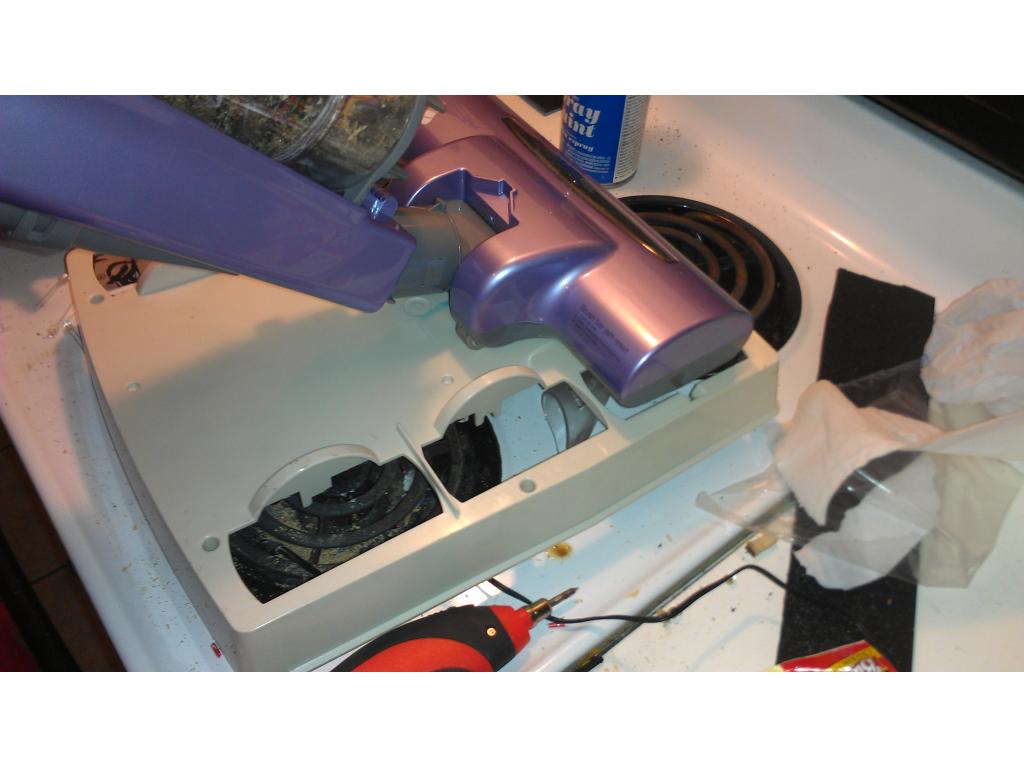
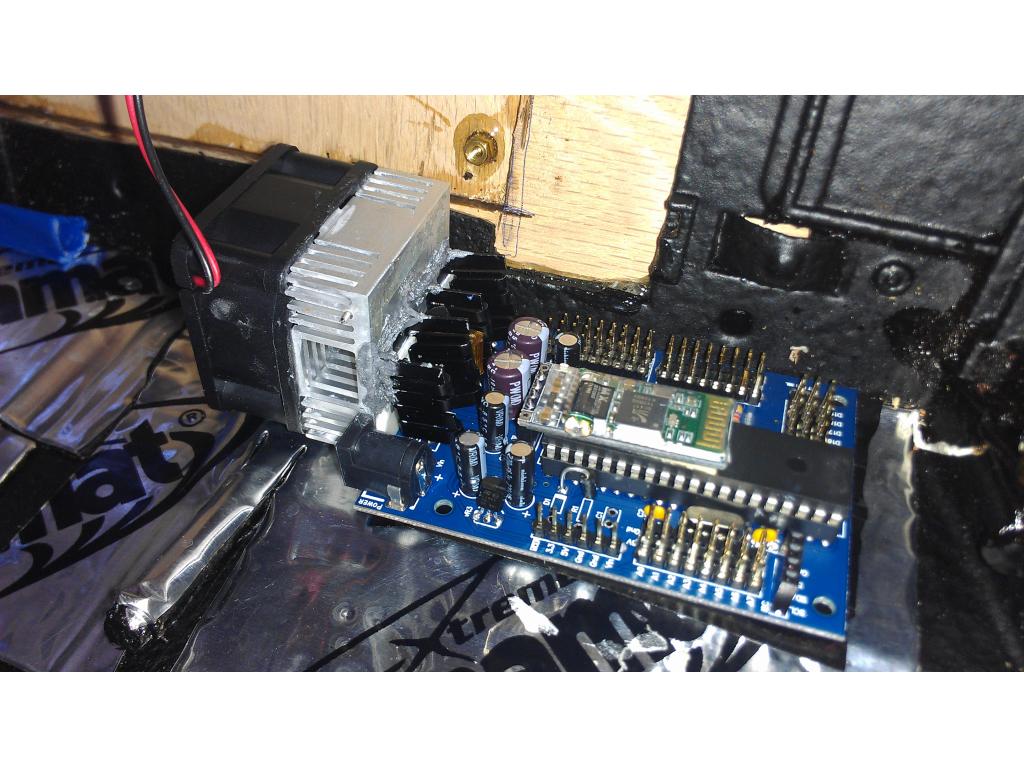
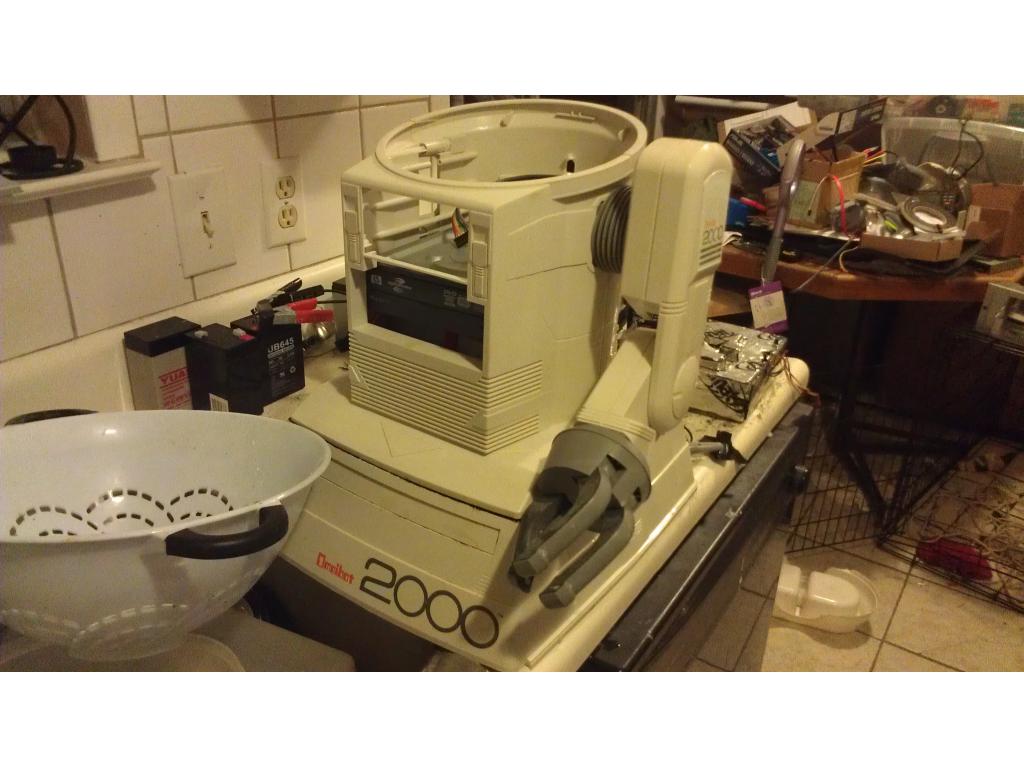
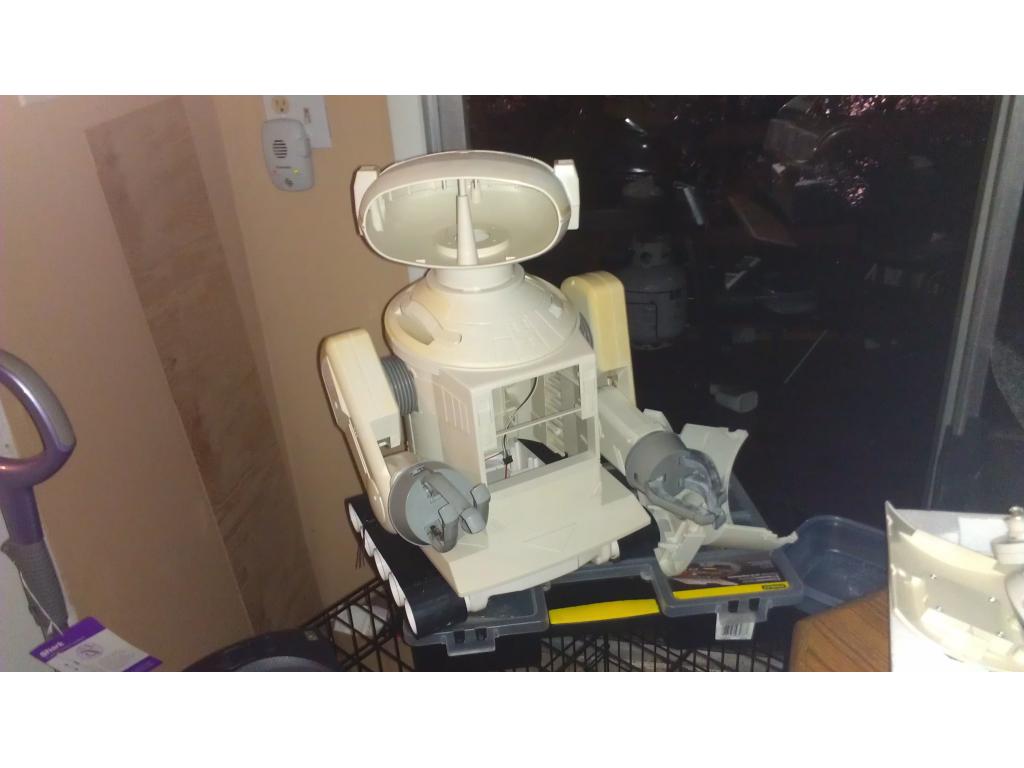
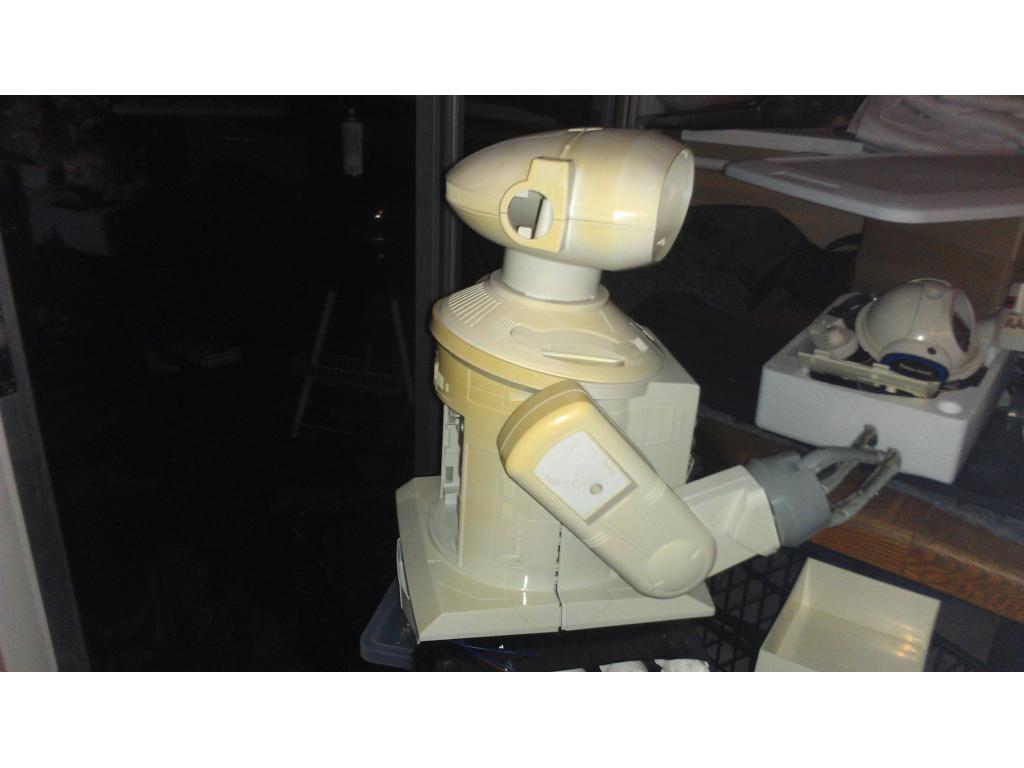
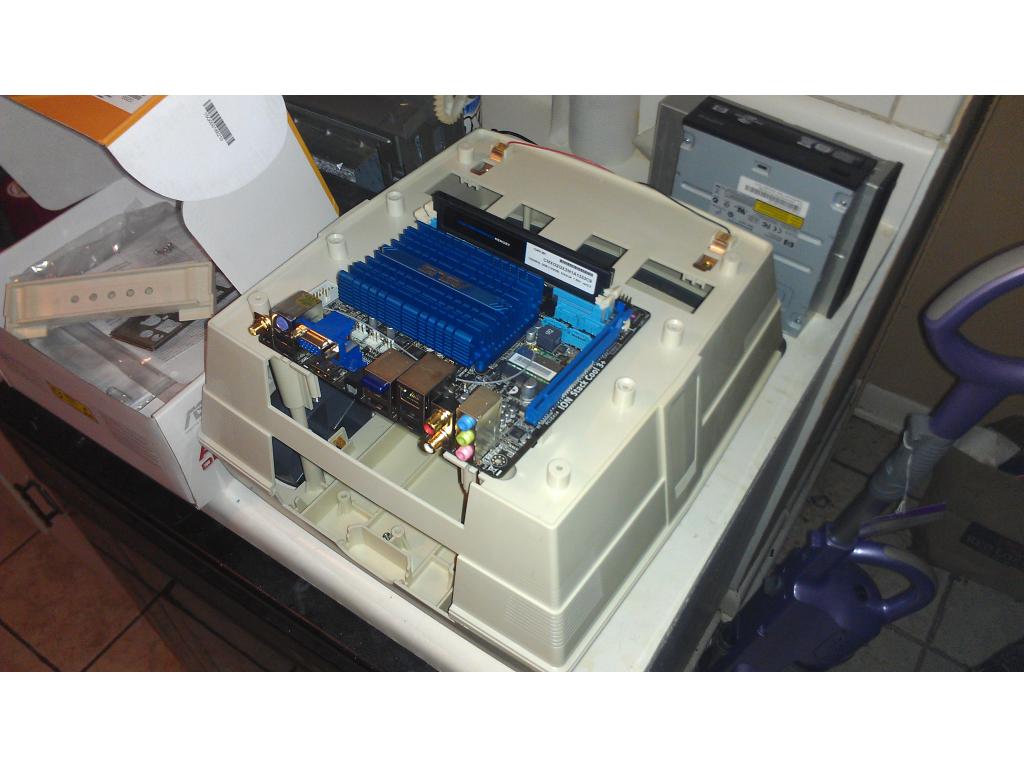
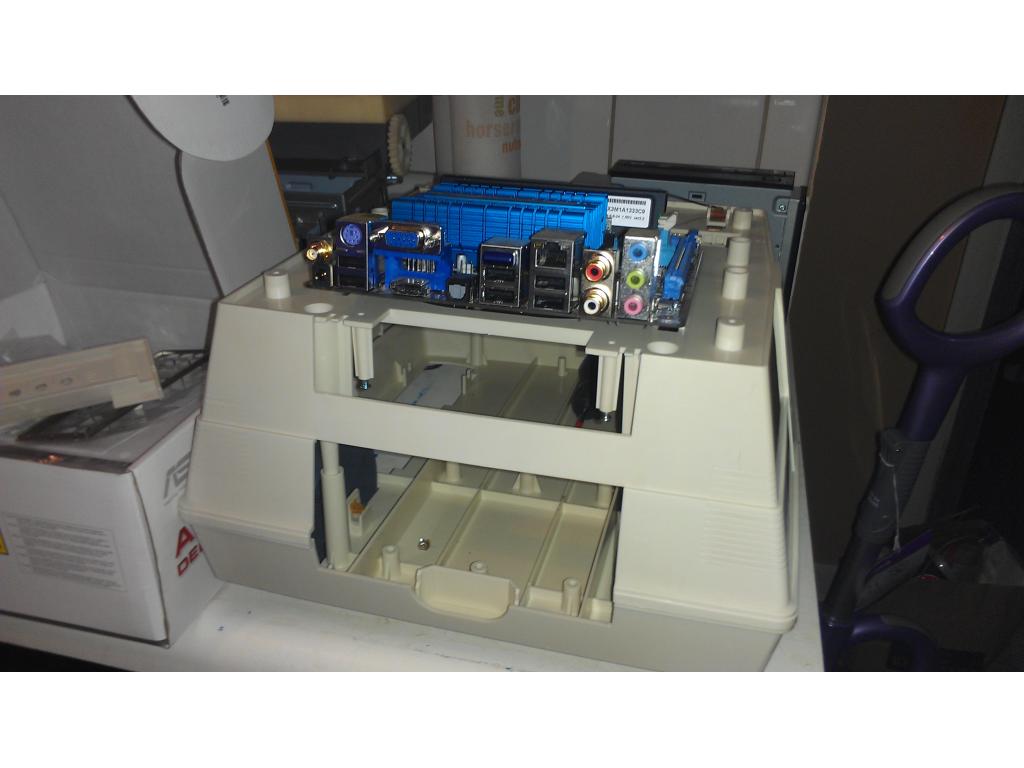
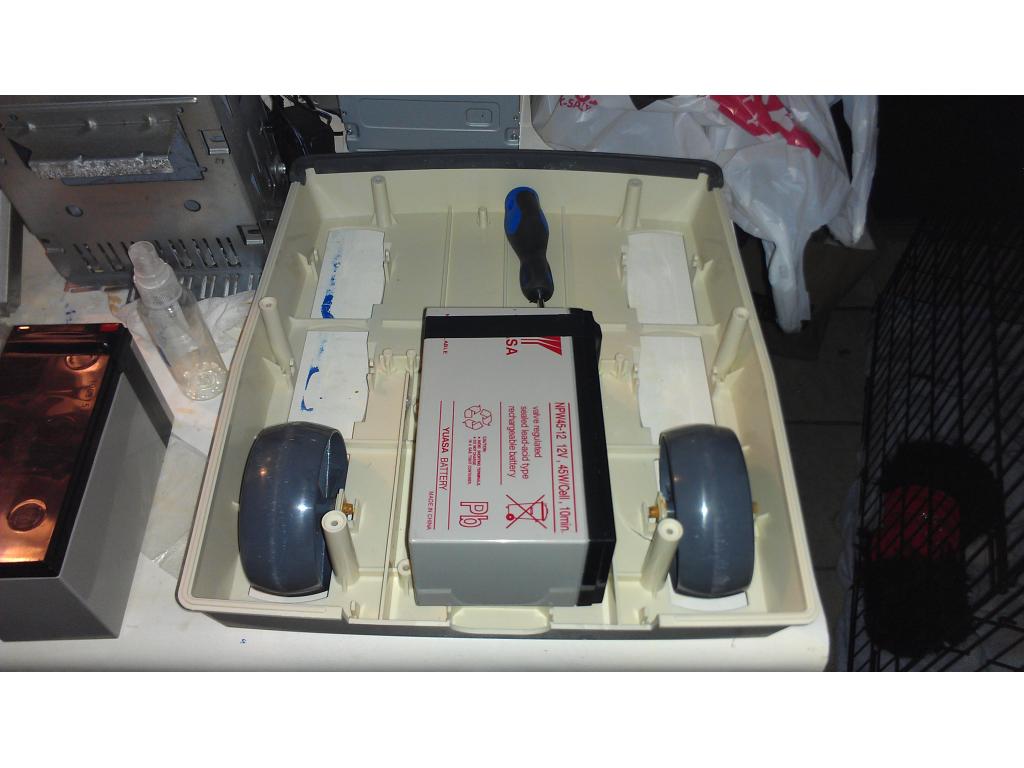
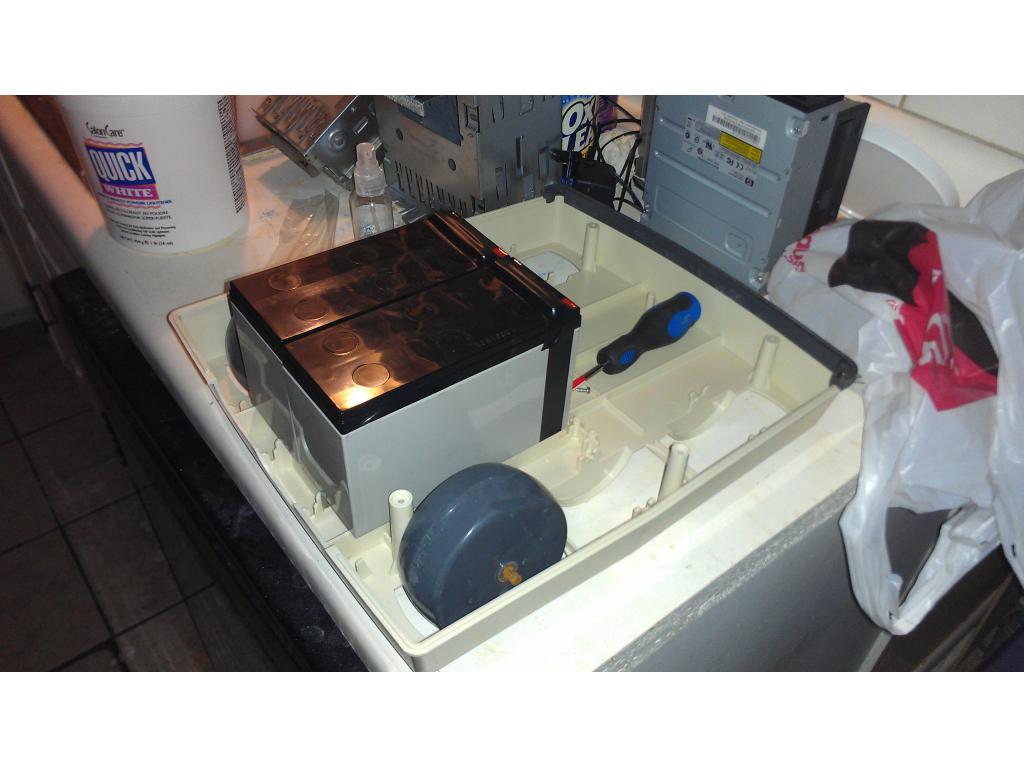
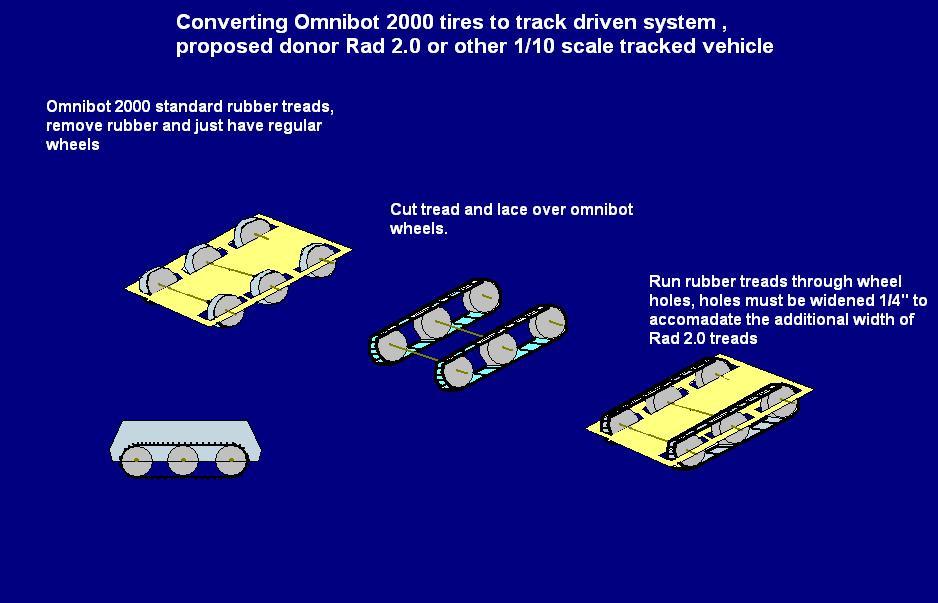
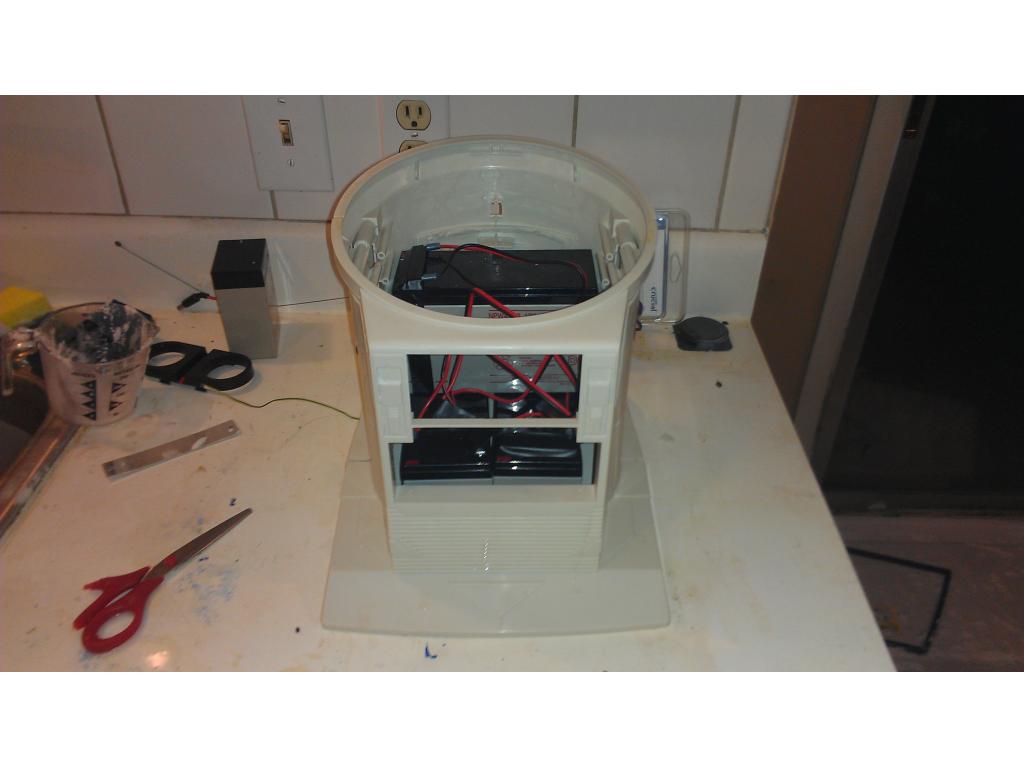
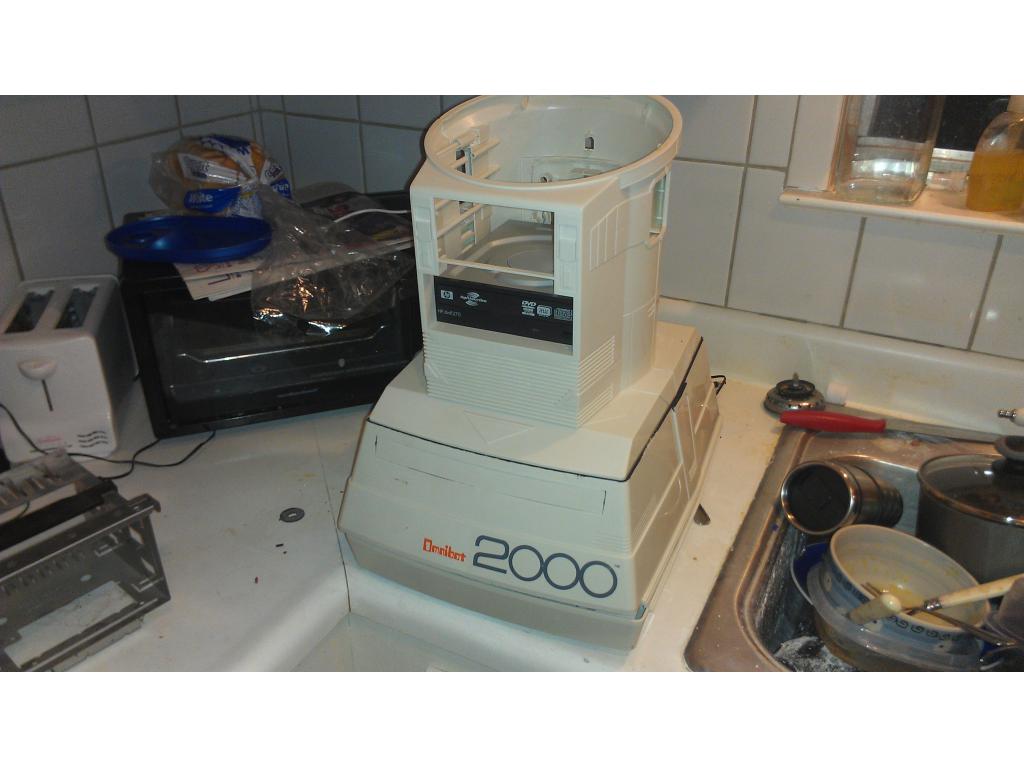
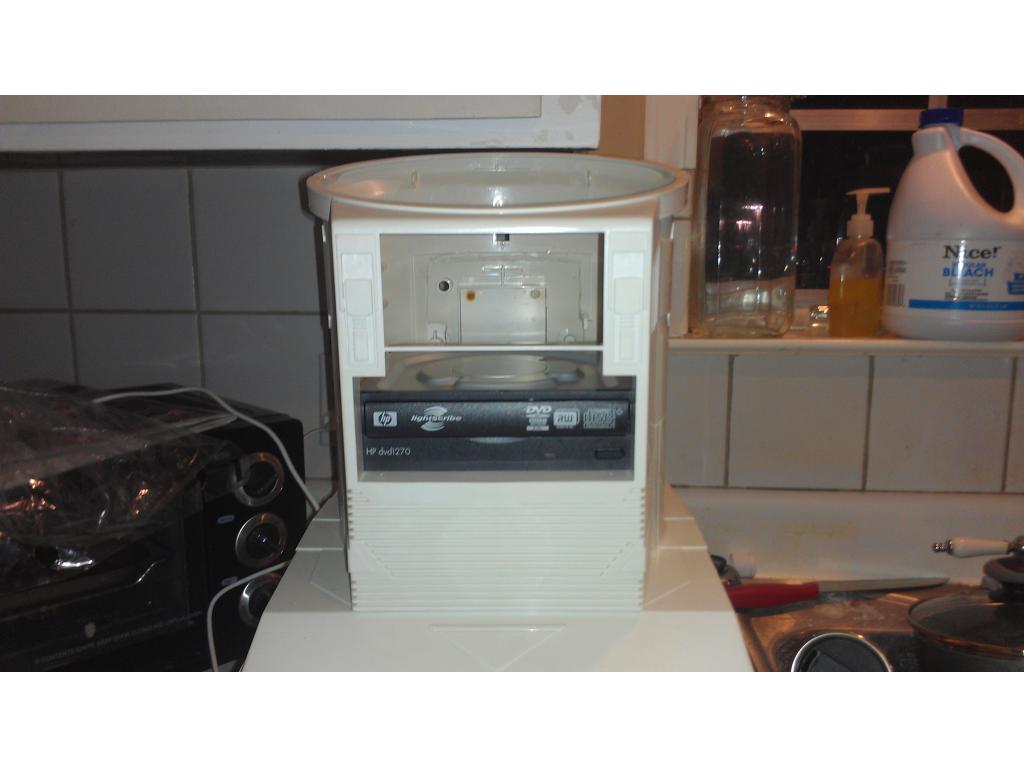
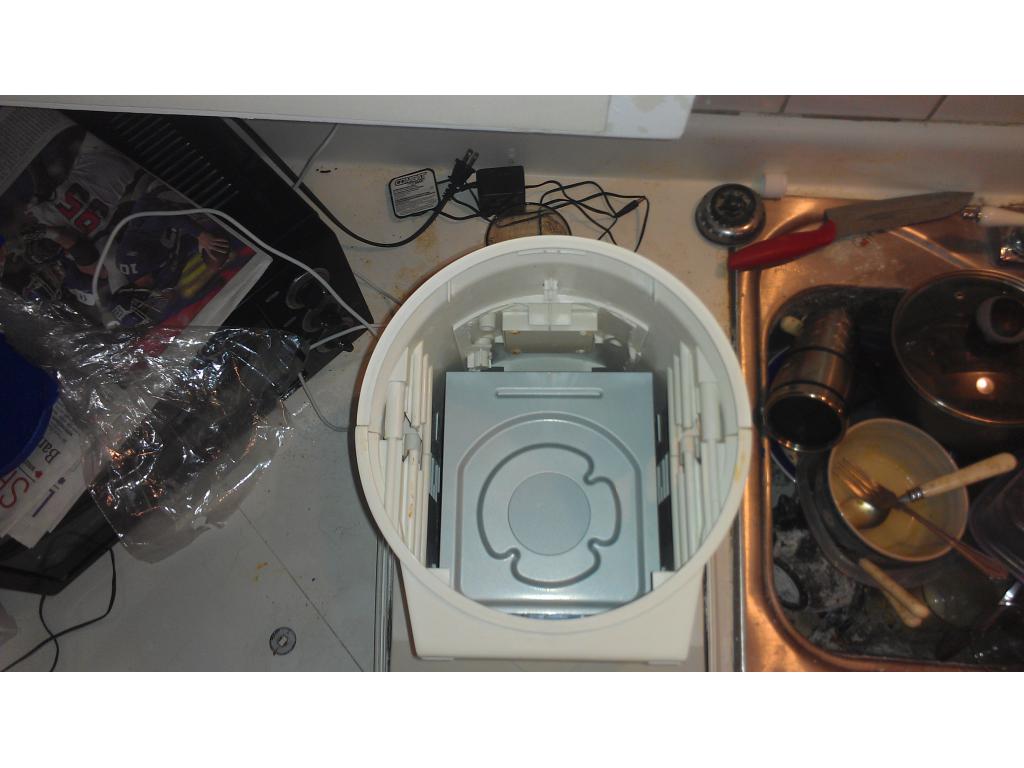
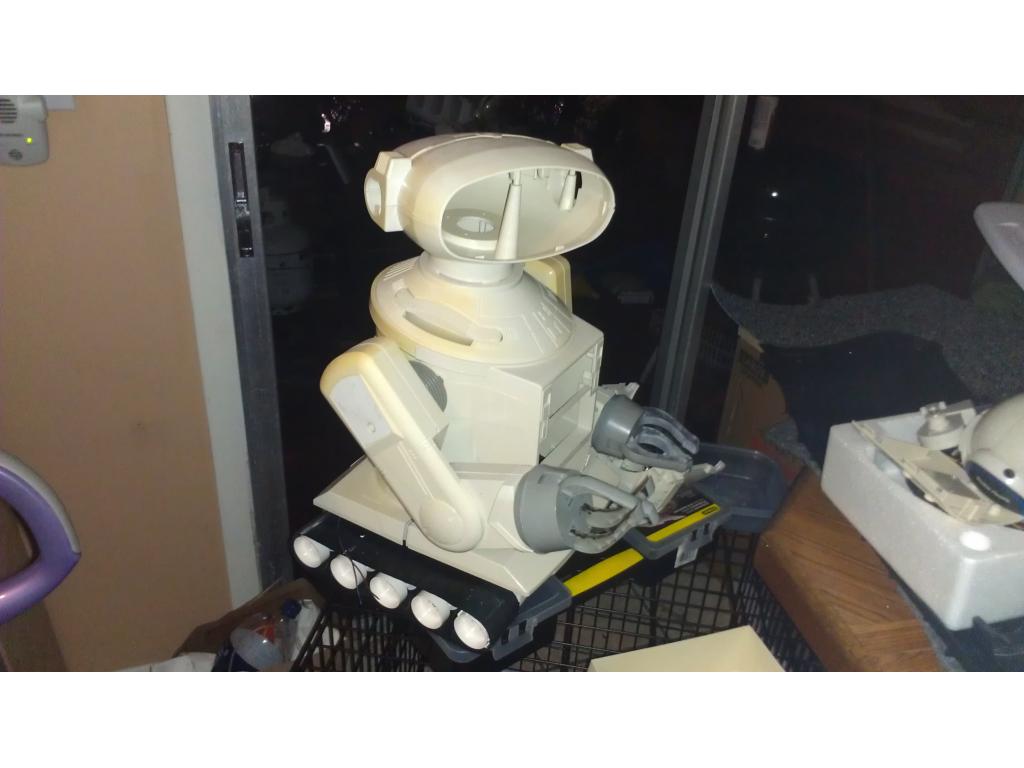
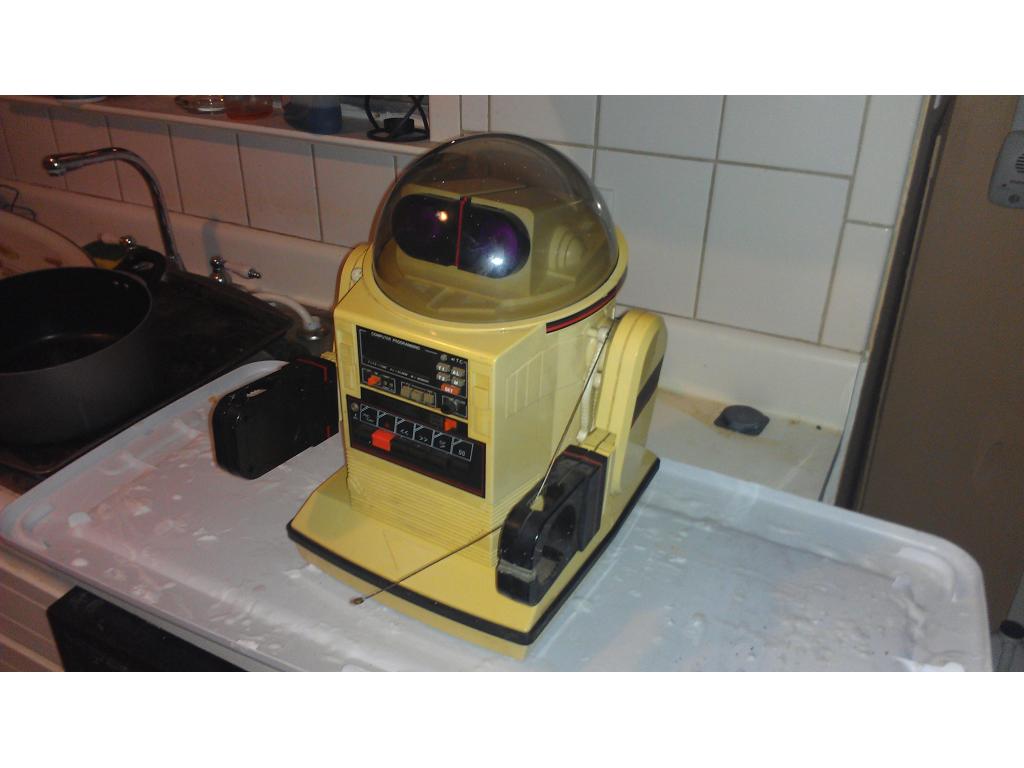
This project has evolved some , the basic rundown is I'm modding two Omnibots , one a regular the other a larger 2000 model. I will have two ezb kits , rad base idea was thrown out because of so much noise but could go back on the table if the omnibot drivetrain is too weak to pull it.


By jstarne1
— Last update
Discover more robots
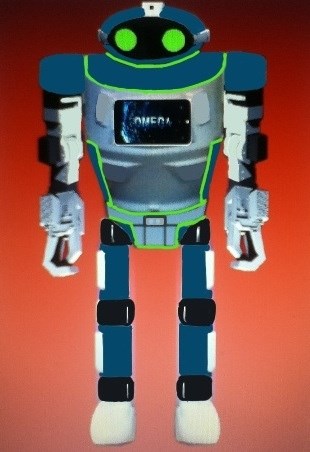
Linux's Omega 2.0 Bipedal Stage Concept
Omega bipedal concept design with customizable arms, possible XLRobots fembot arms, and a planned five-finger gripper.
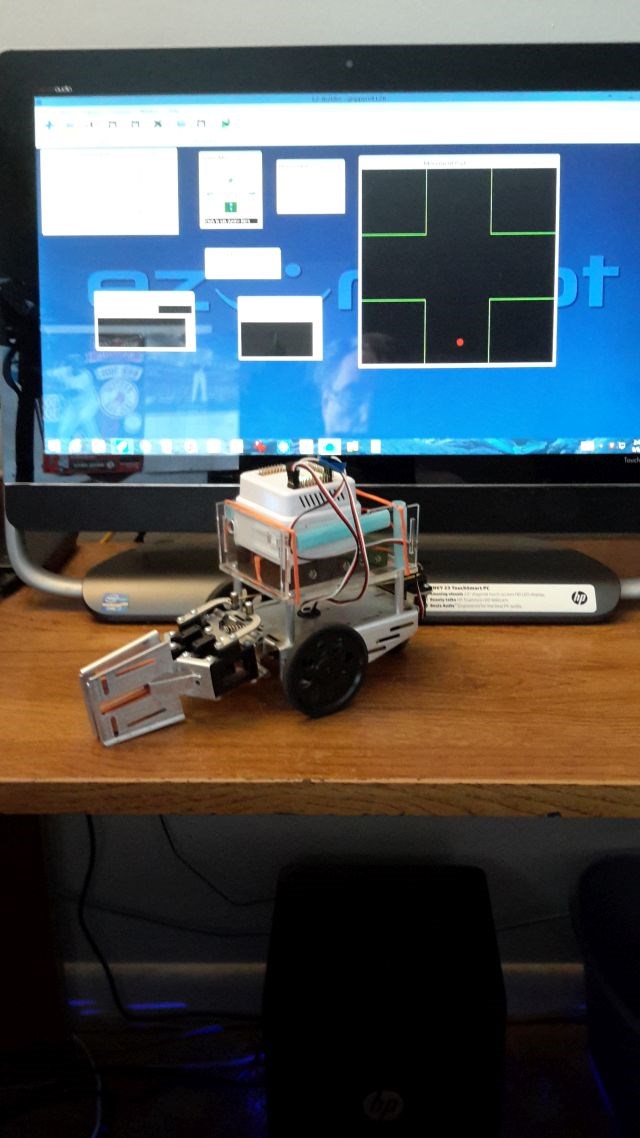
Jdebay's Gripperv4 Old Parts And New Parts
Build Gripper V4 from old and new parts; updated design now includes an added camera.
Irobot58's Project F.R.E.D( Friendly Robotic Entertainment...
Steampunk robot head FRED uses EZ-B and DJ Sures scripting with voice recognition, camera tracking and 36-thread zodiac...

wow!
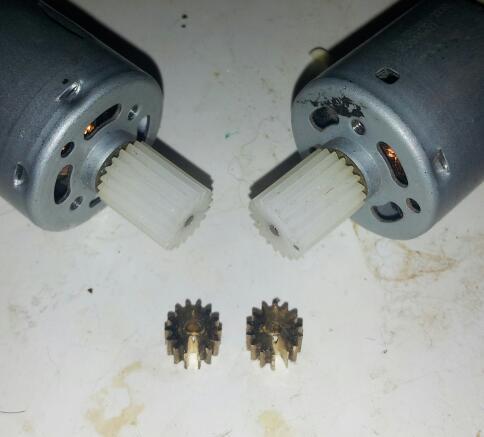
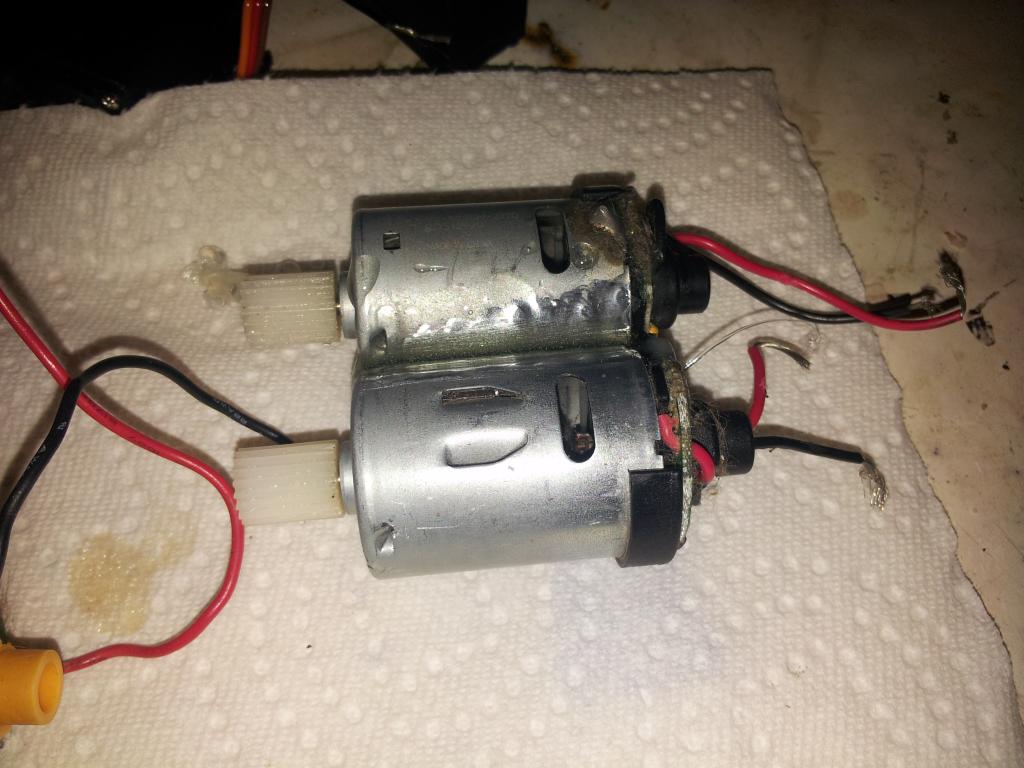
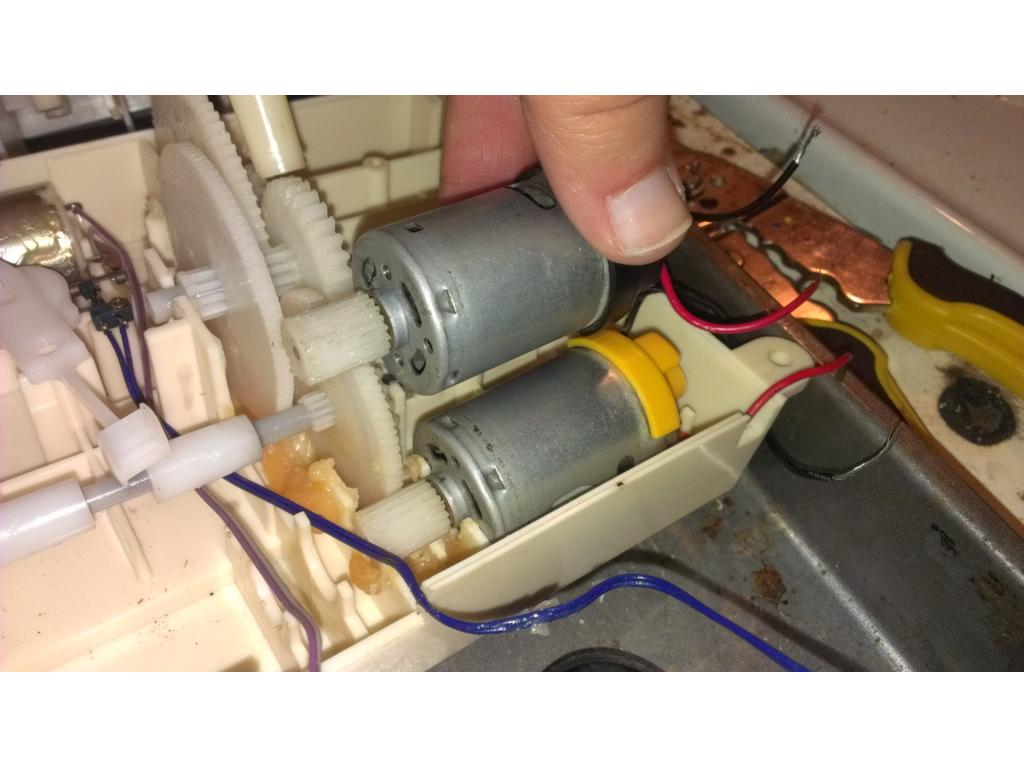
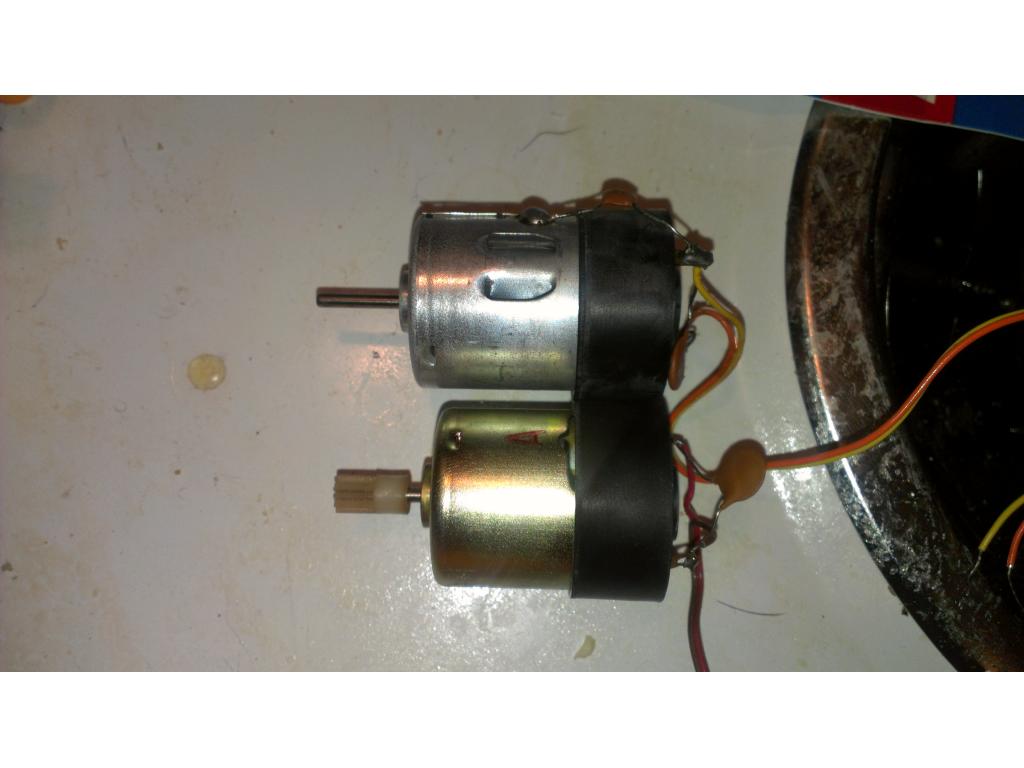
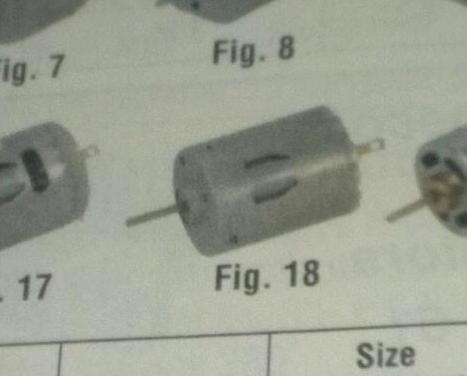
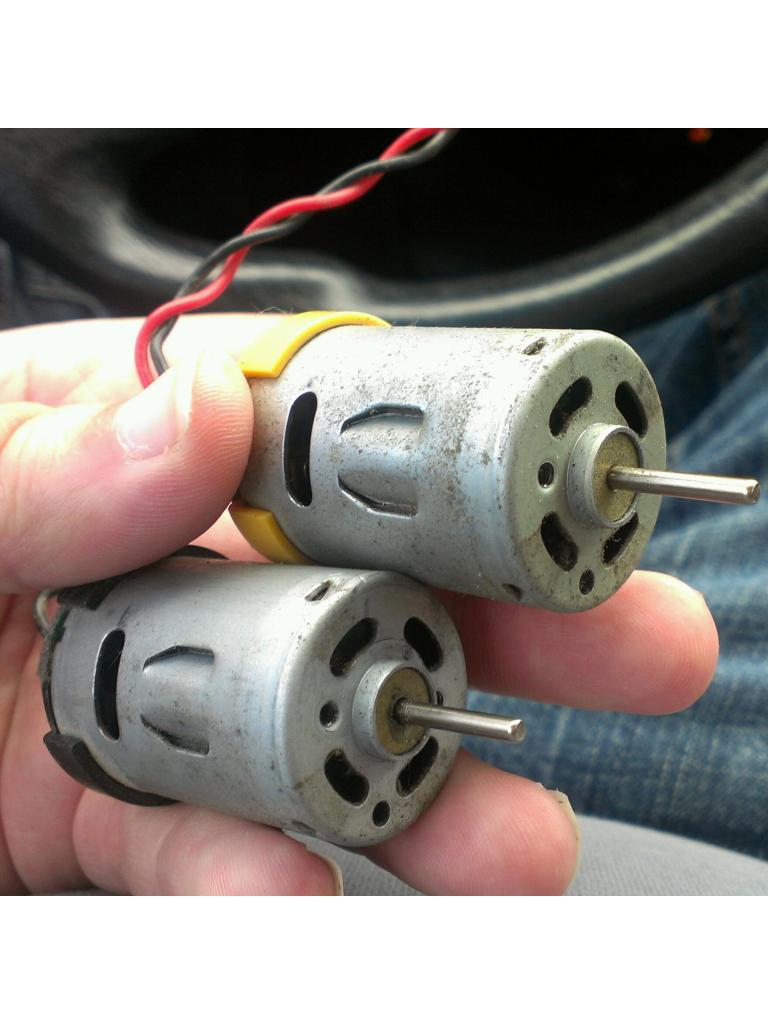
i said before they are very powerfull motors i sent you,glad to see them working out for you
if too fast just use the PWM to slow it down,
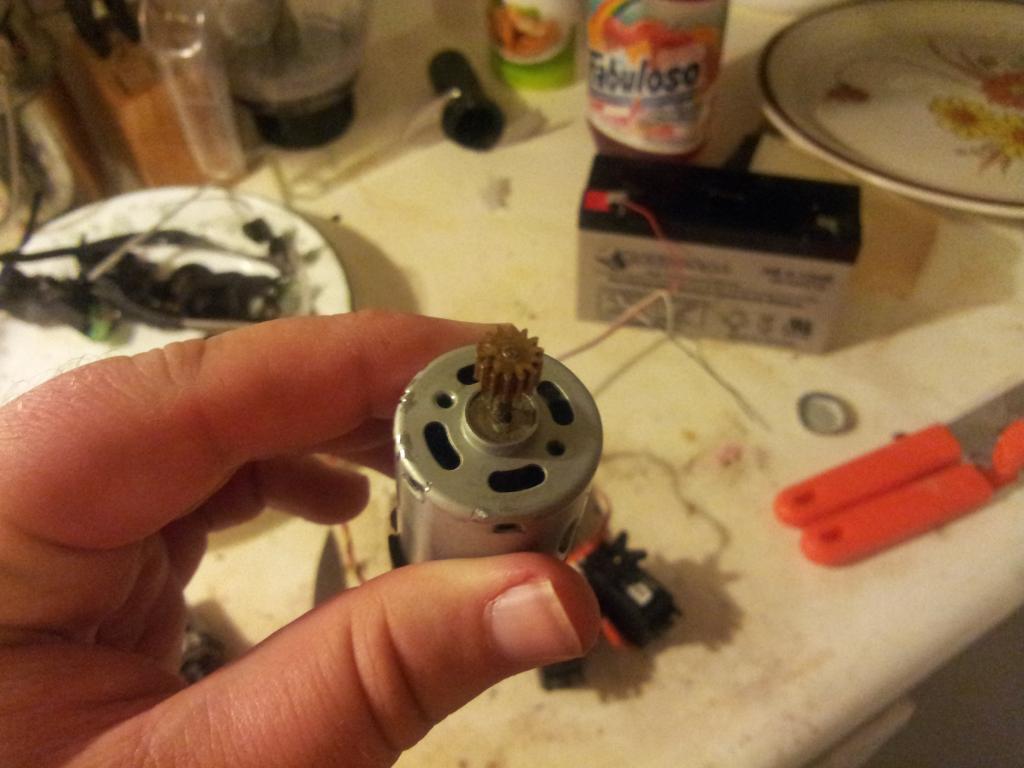
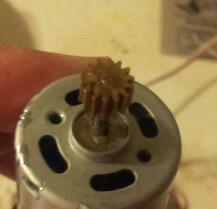
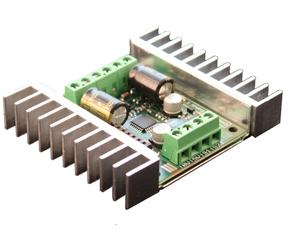
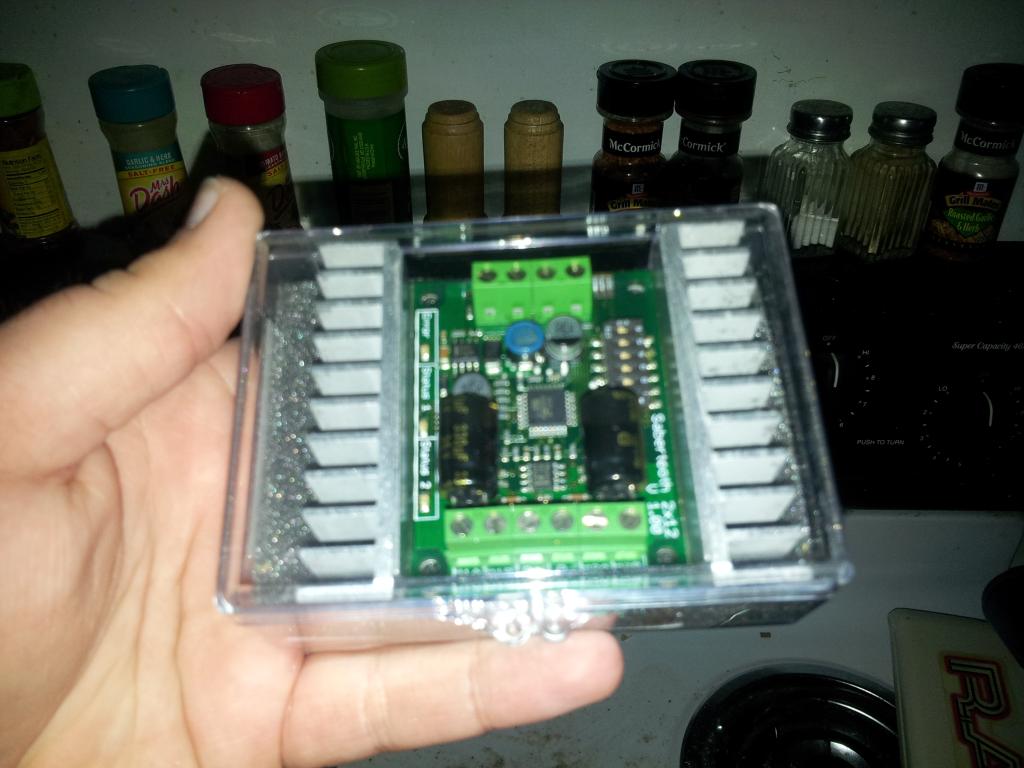
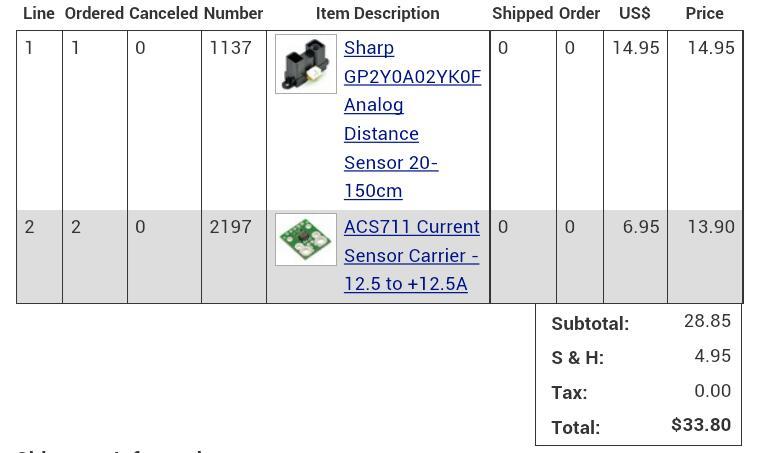
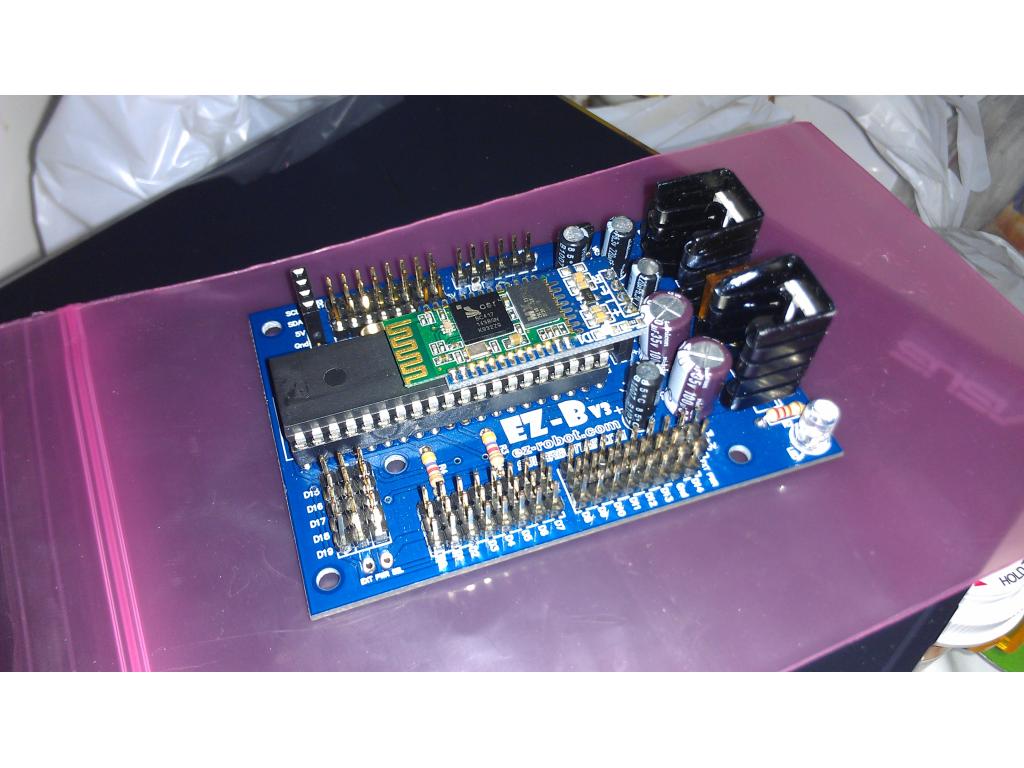
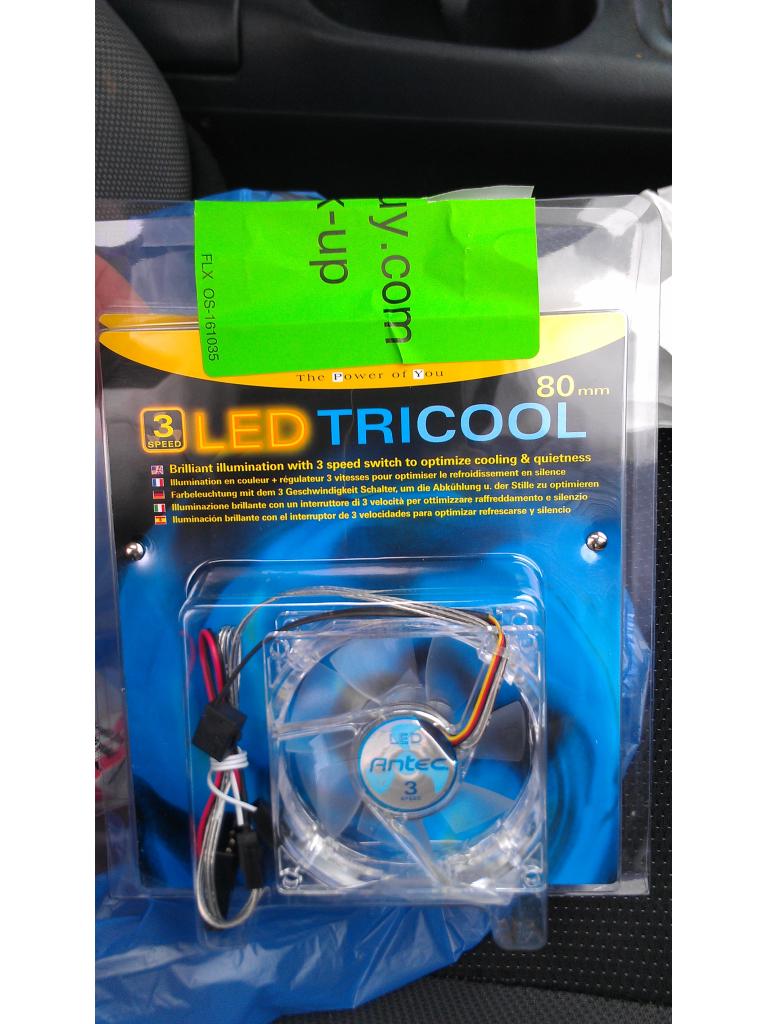
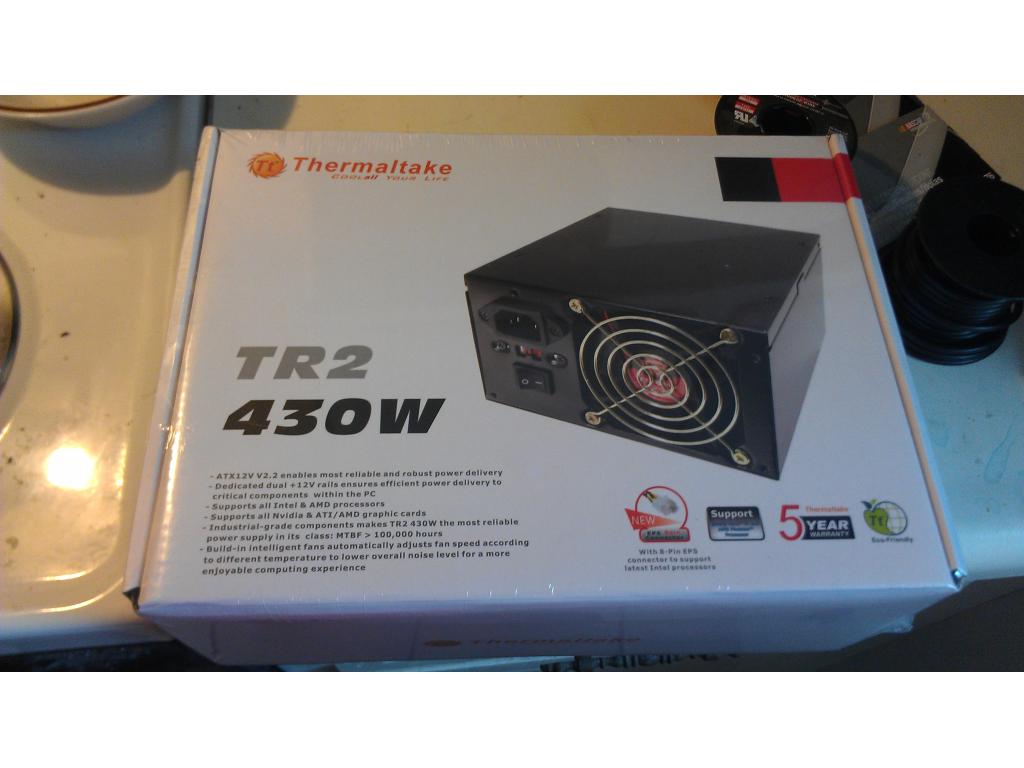
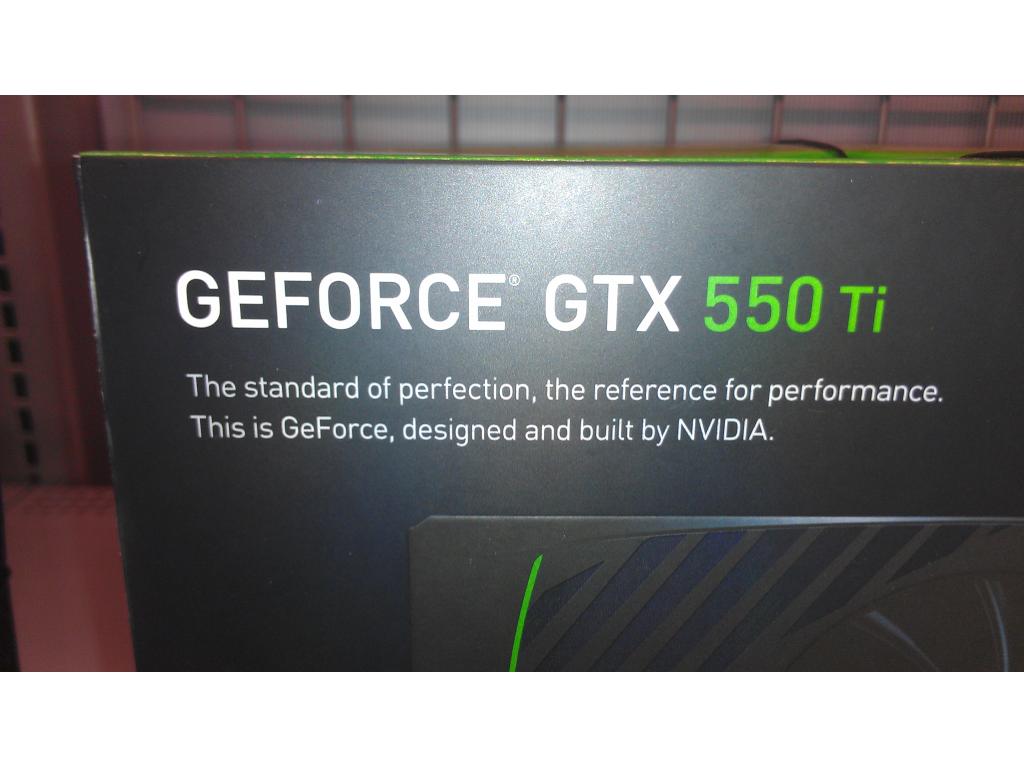
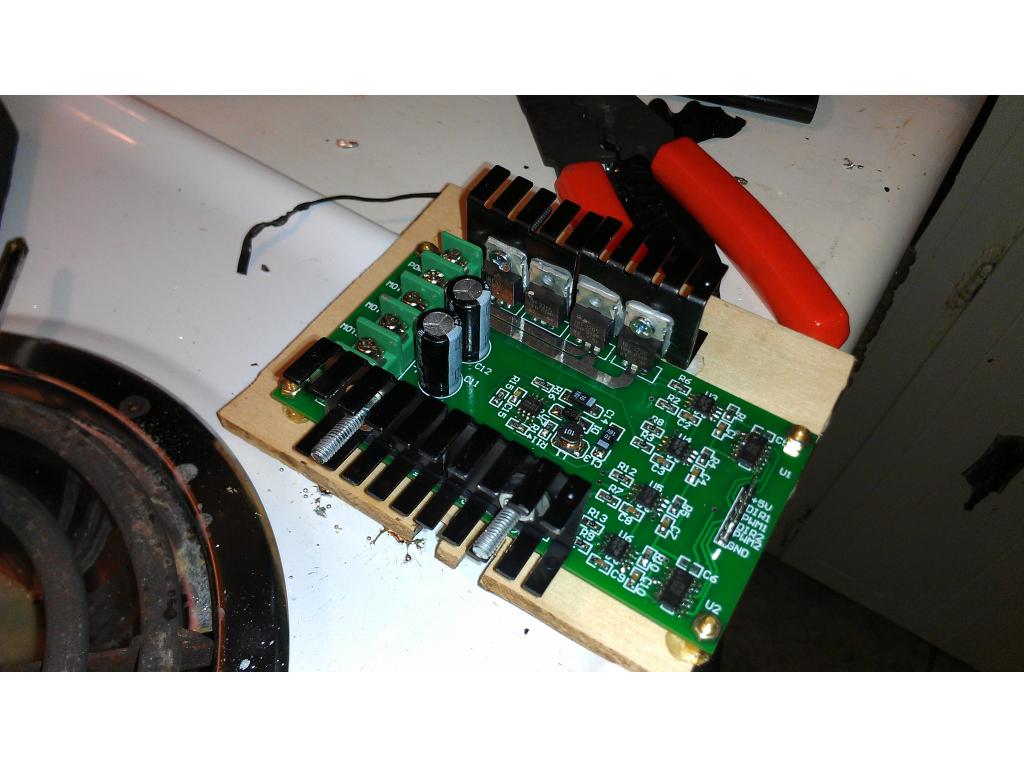
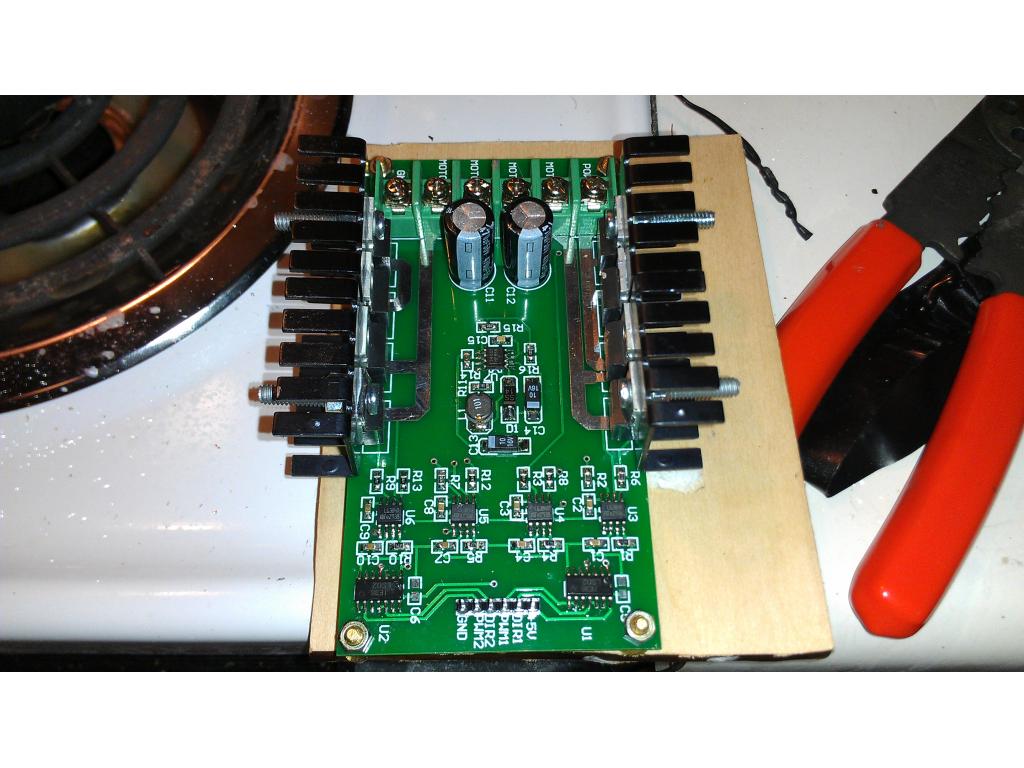
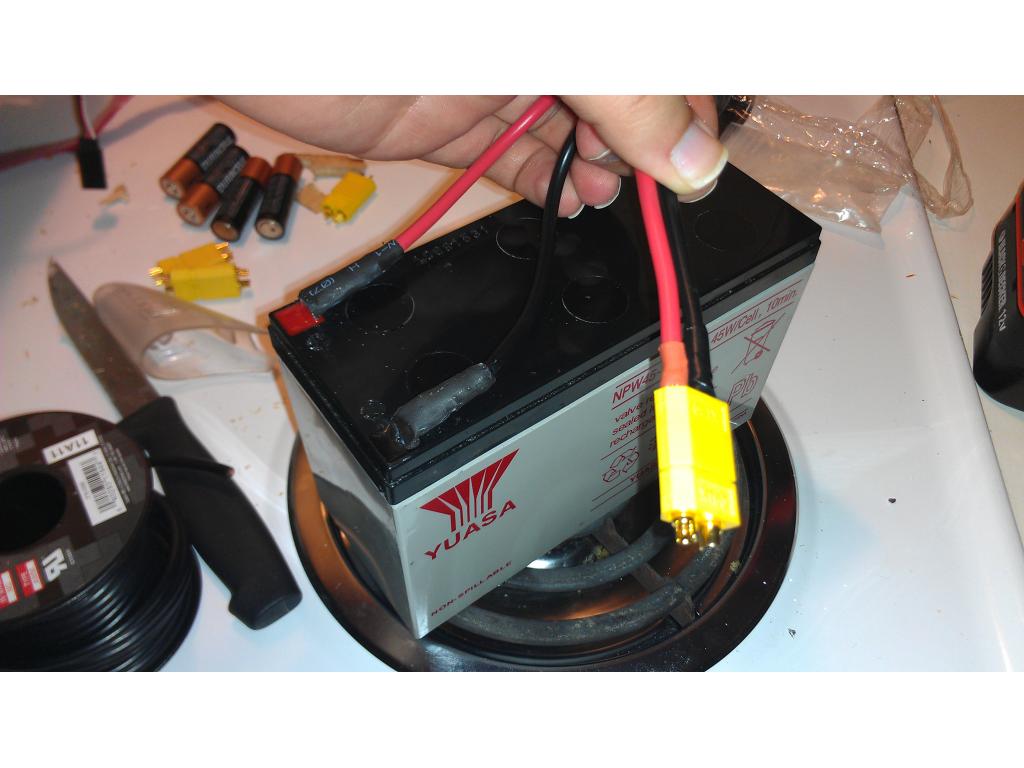
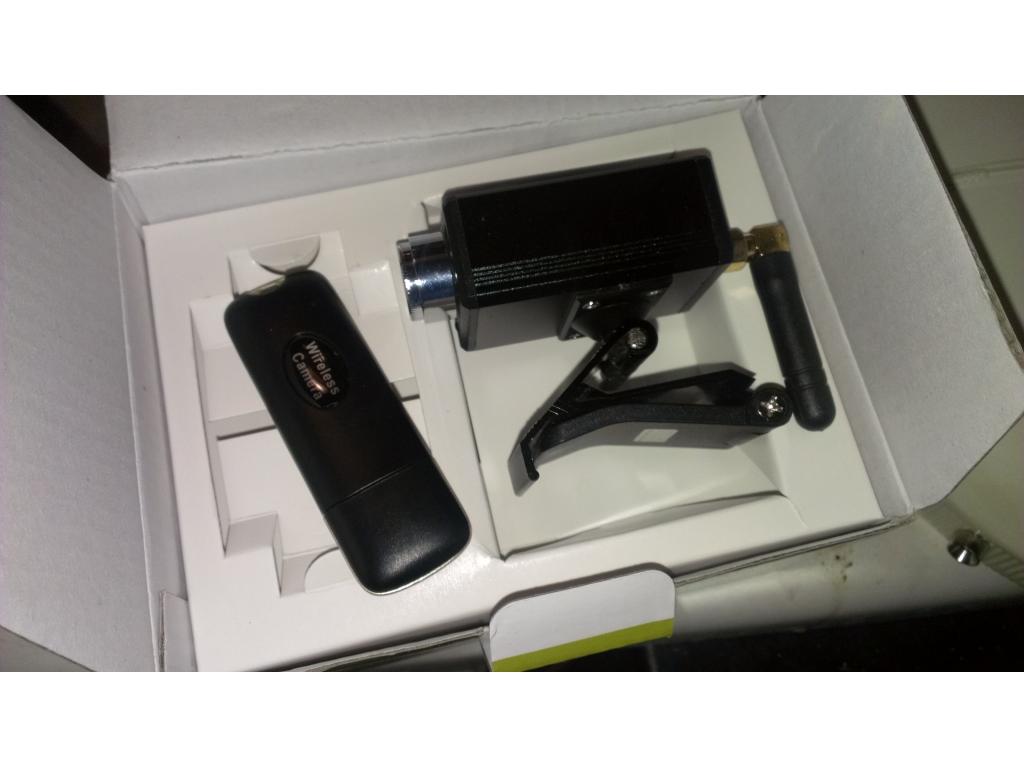
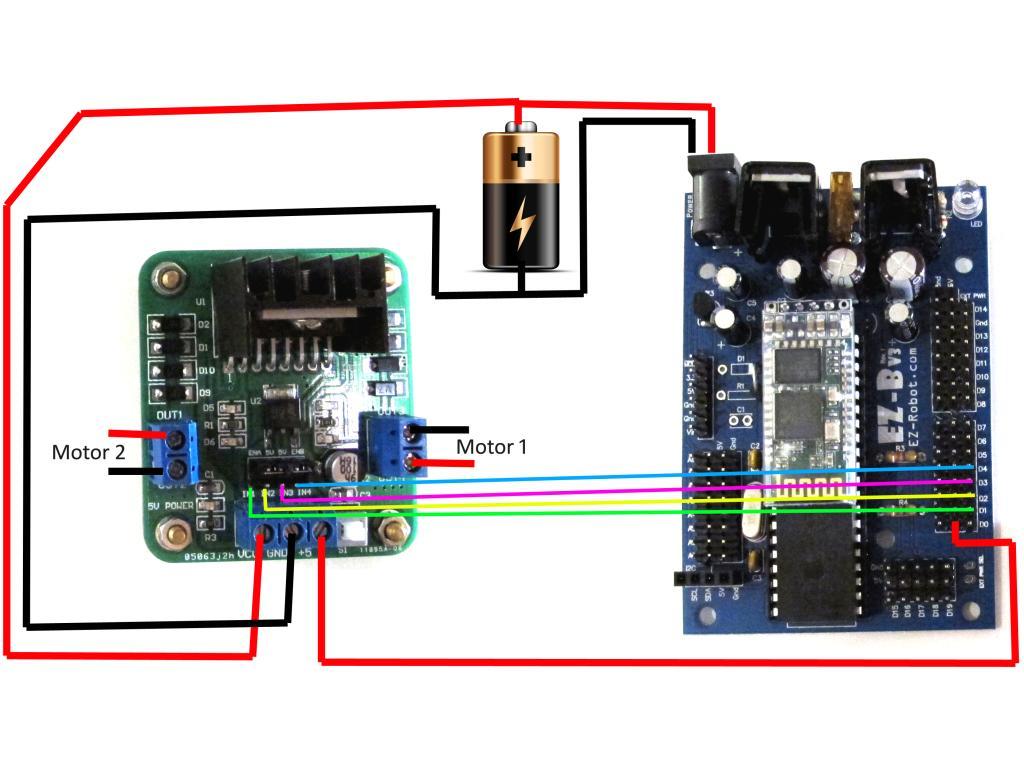
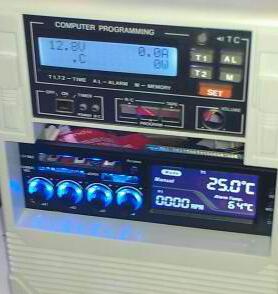
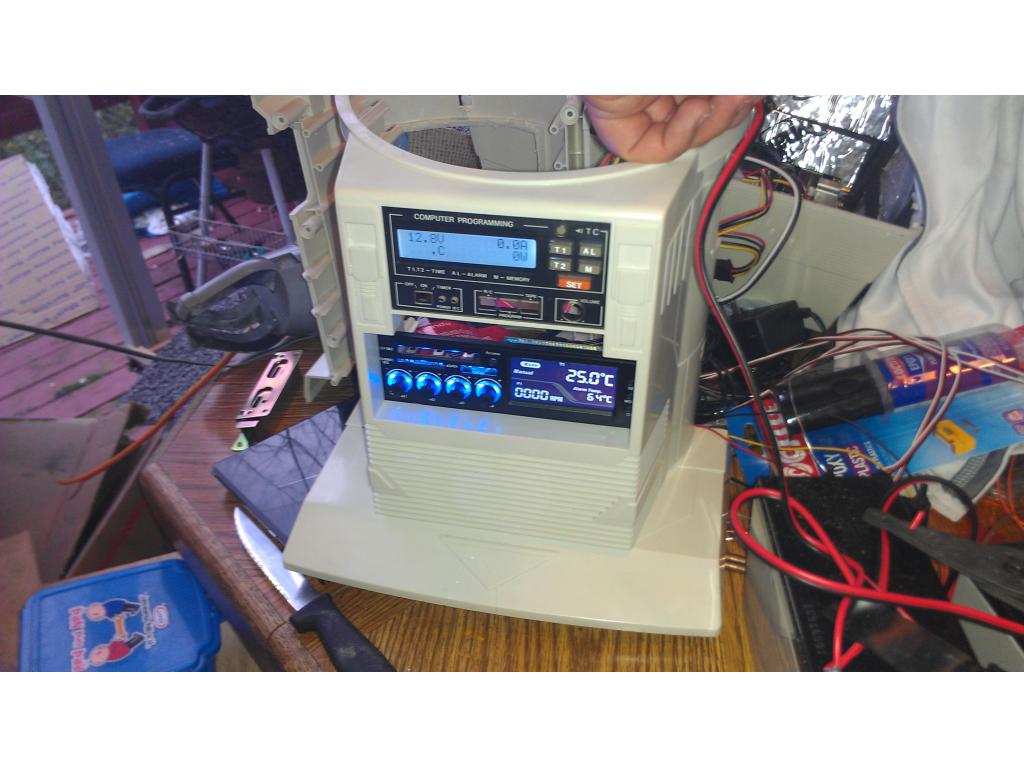
Just in time! Sabertooth 2 x 12 hbridge came in the mail today. It is much smaller than I imagined! =)
HI Josh
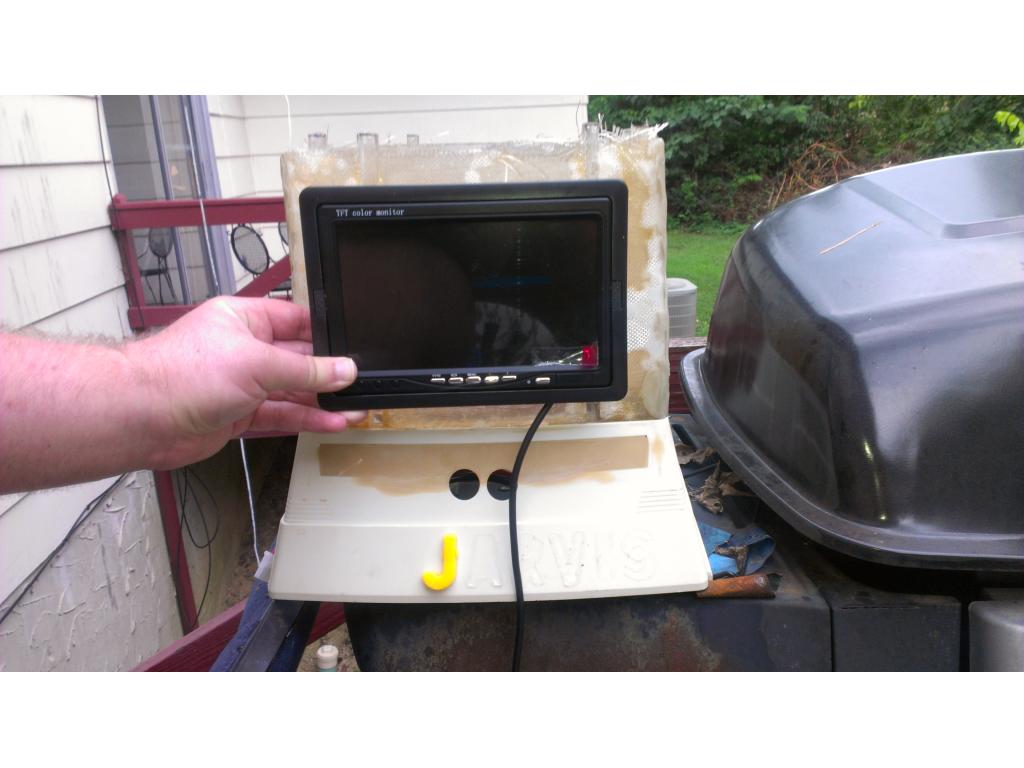
Now you can slow jarvis down abit . BTW the 2x60 sabertooth is about the same size (foot print) , Just alot taller (much bigger heat sink) .
Steve_C.
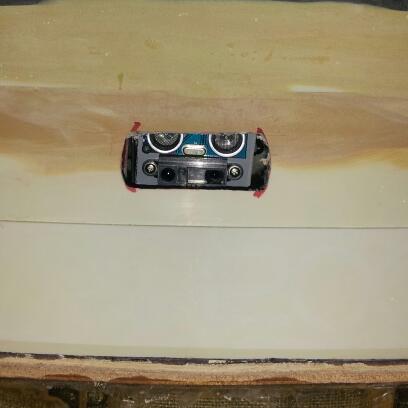
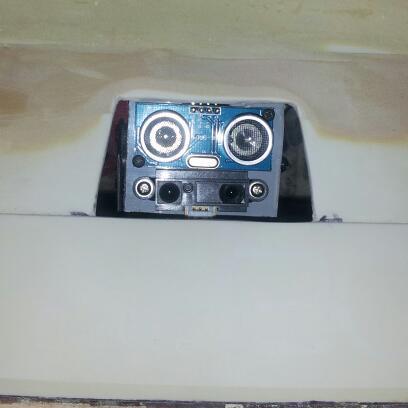
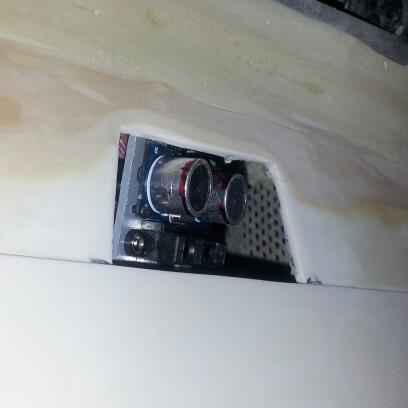
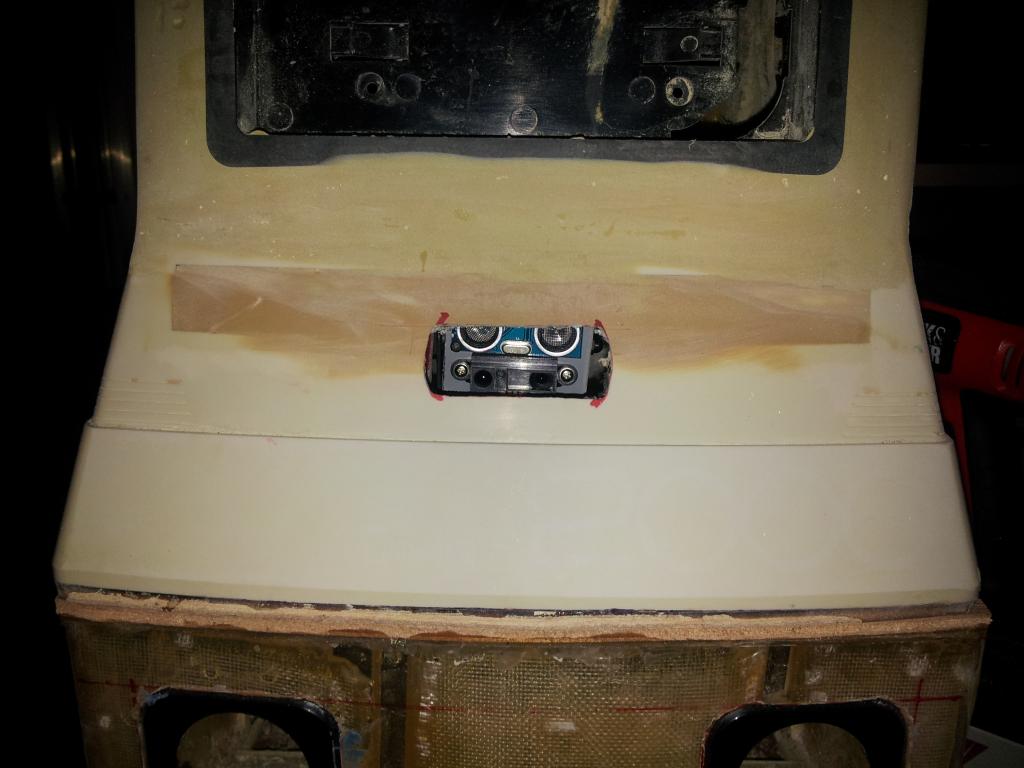
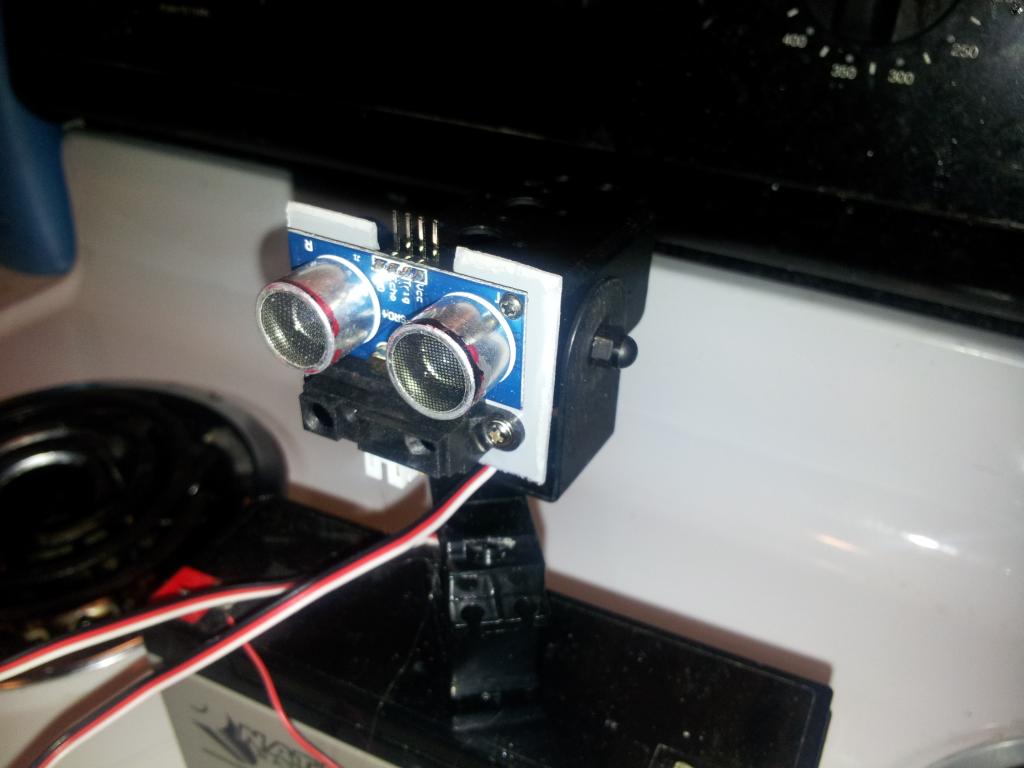
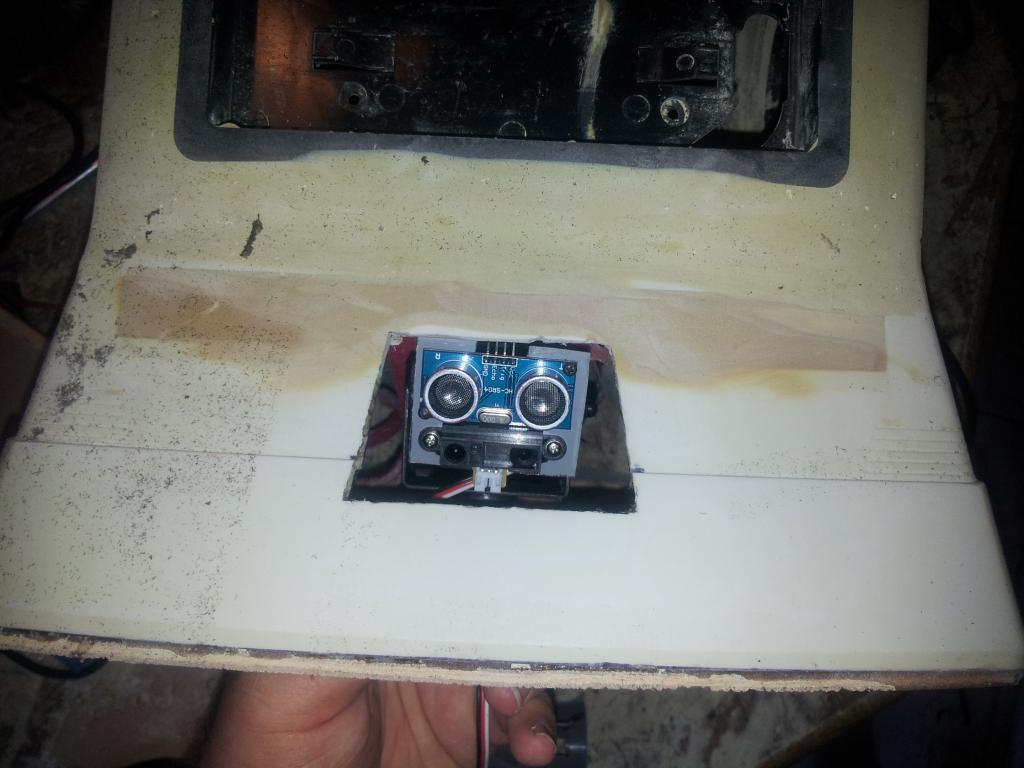
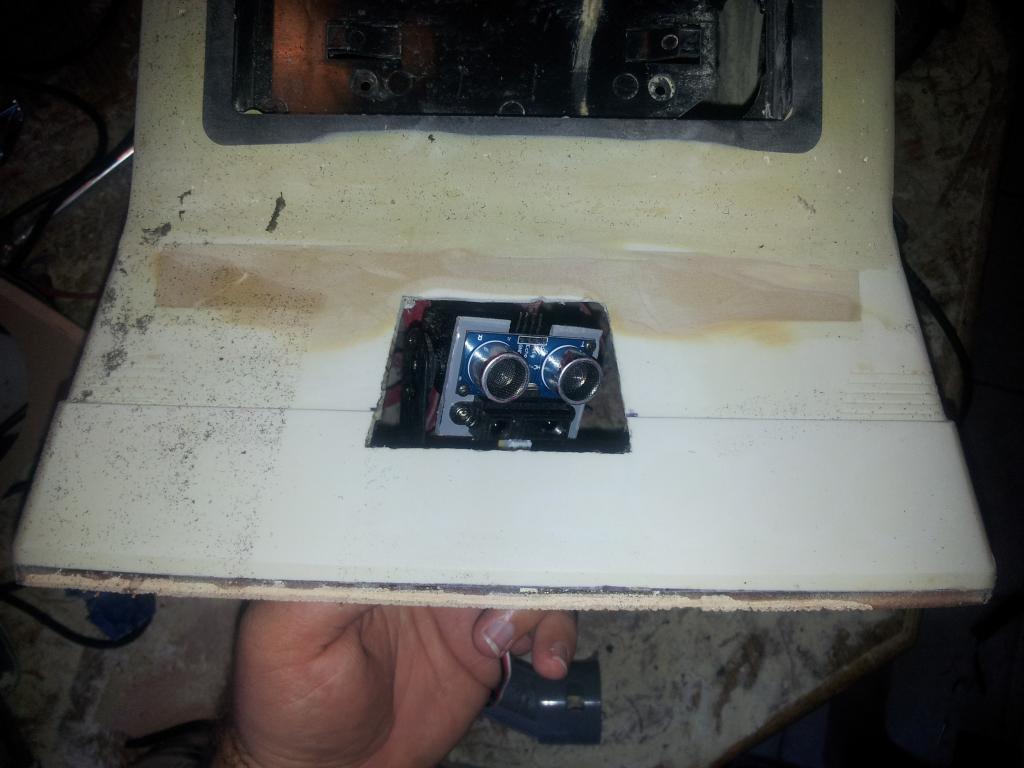
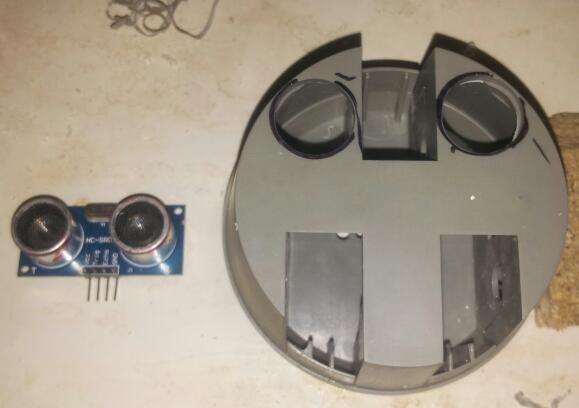
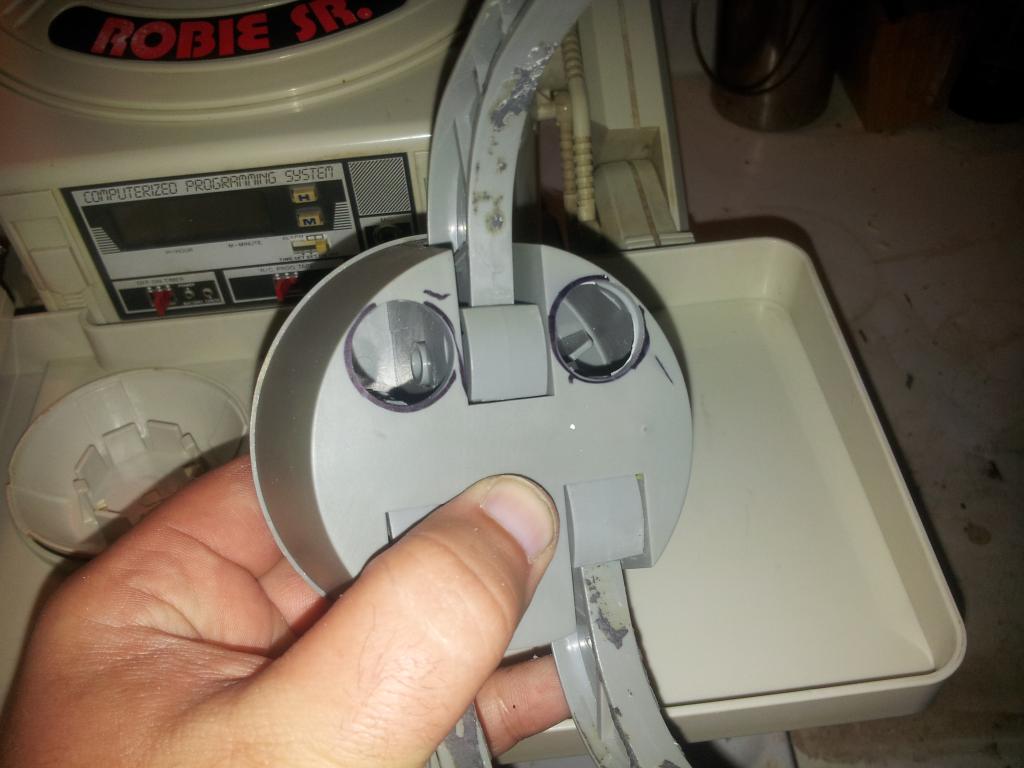
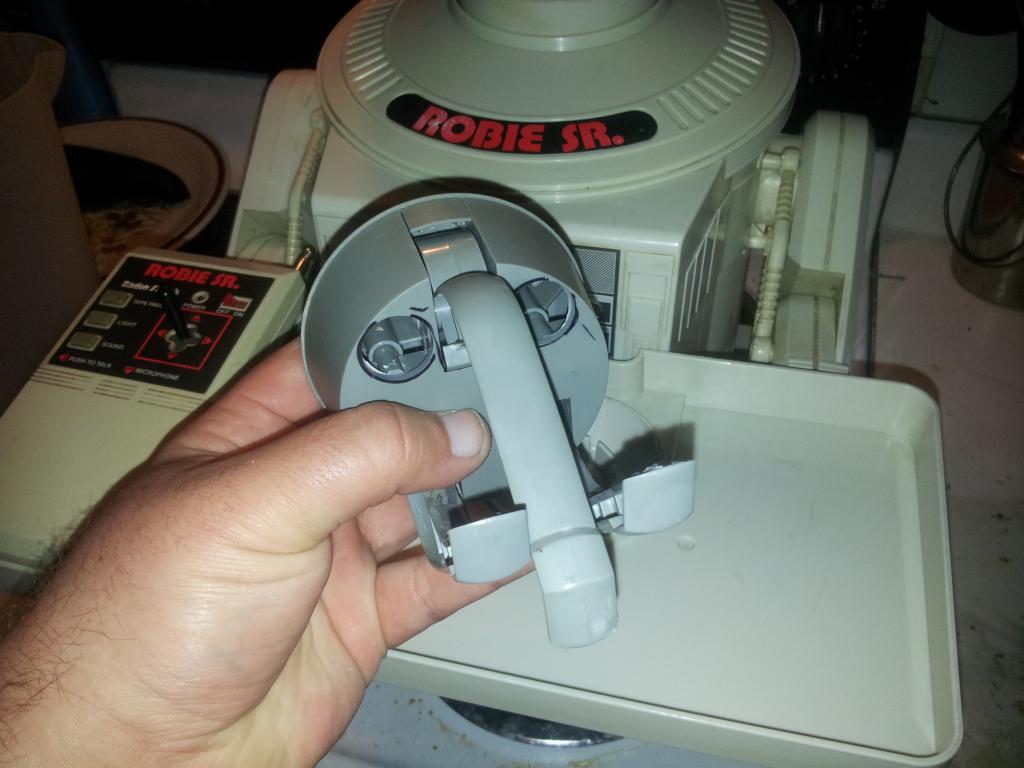
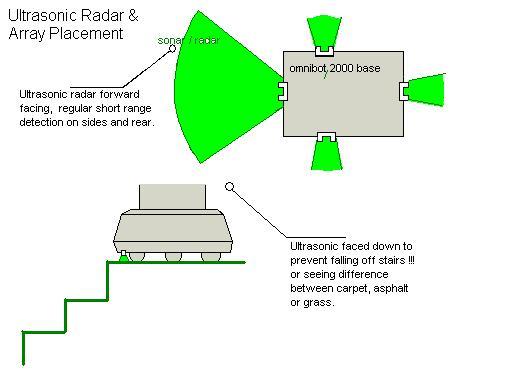
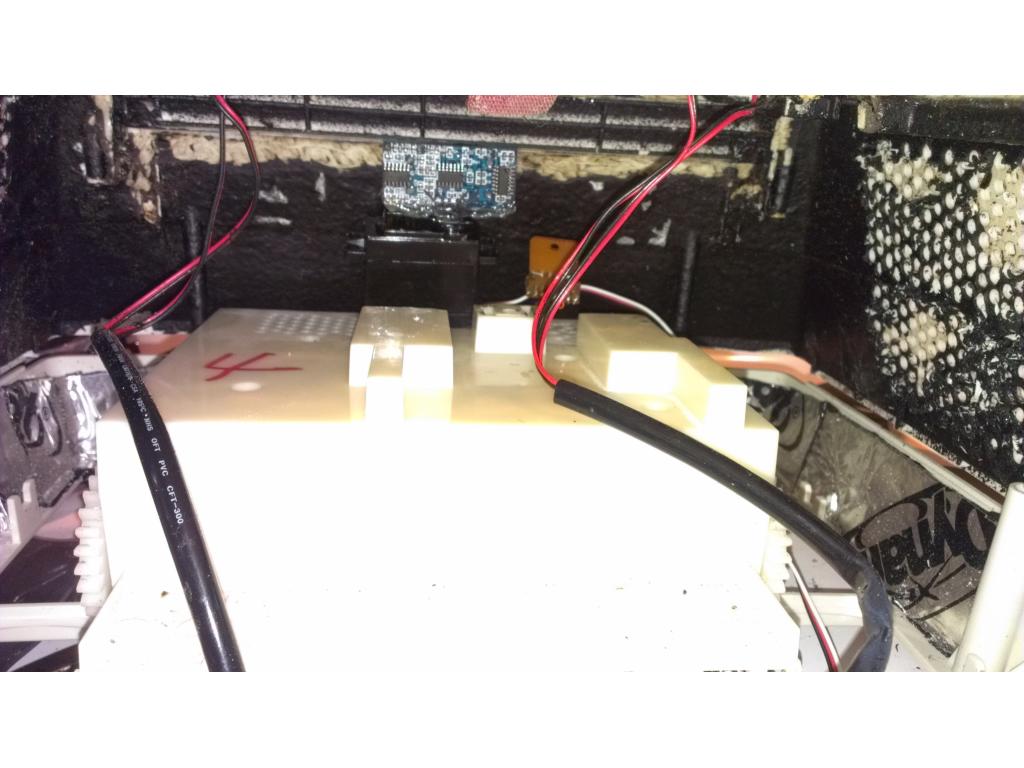
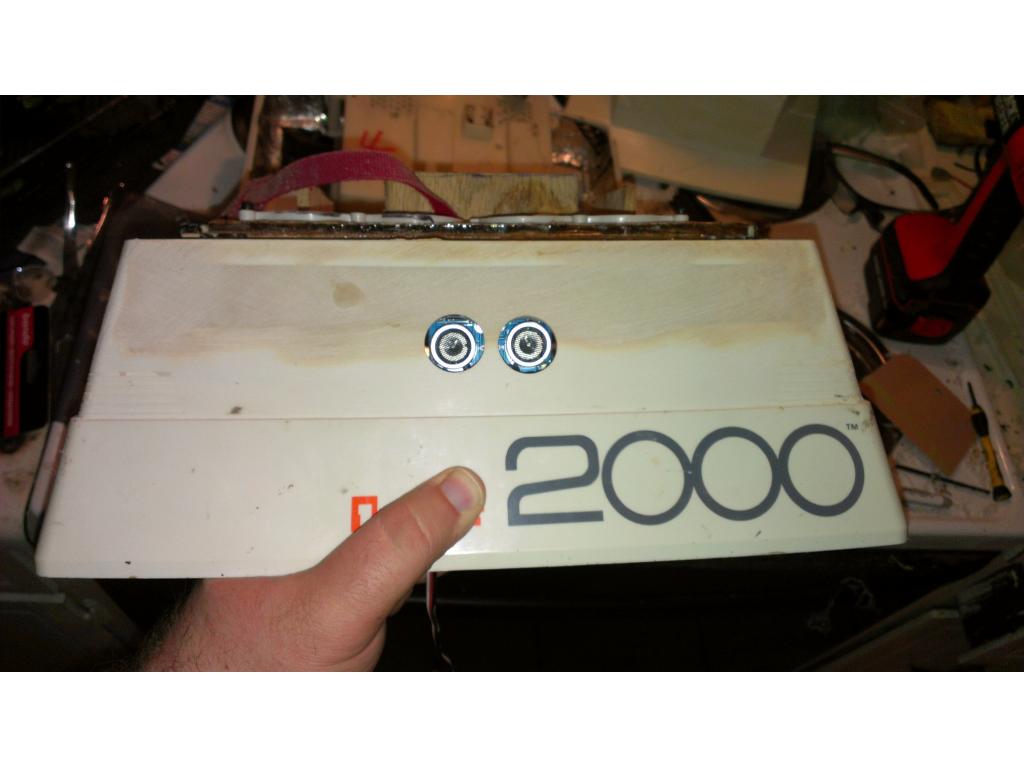
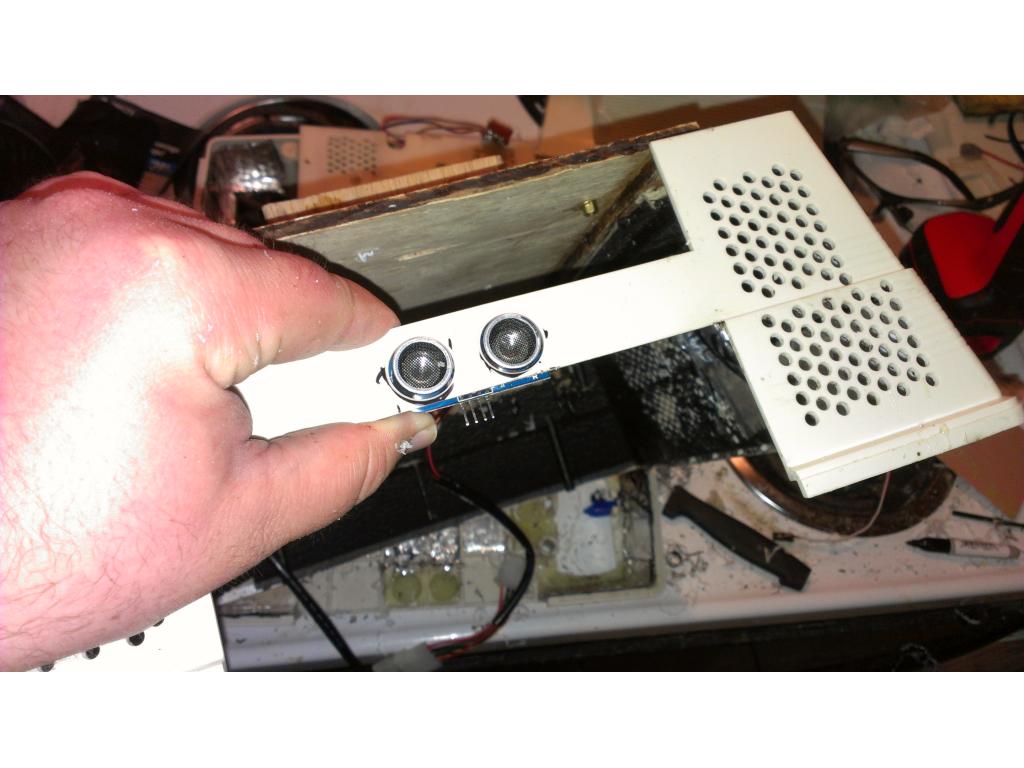
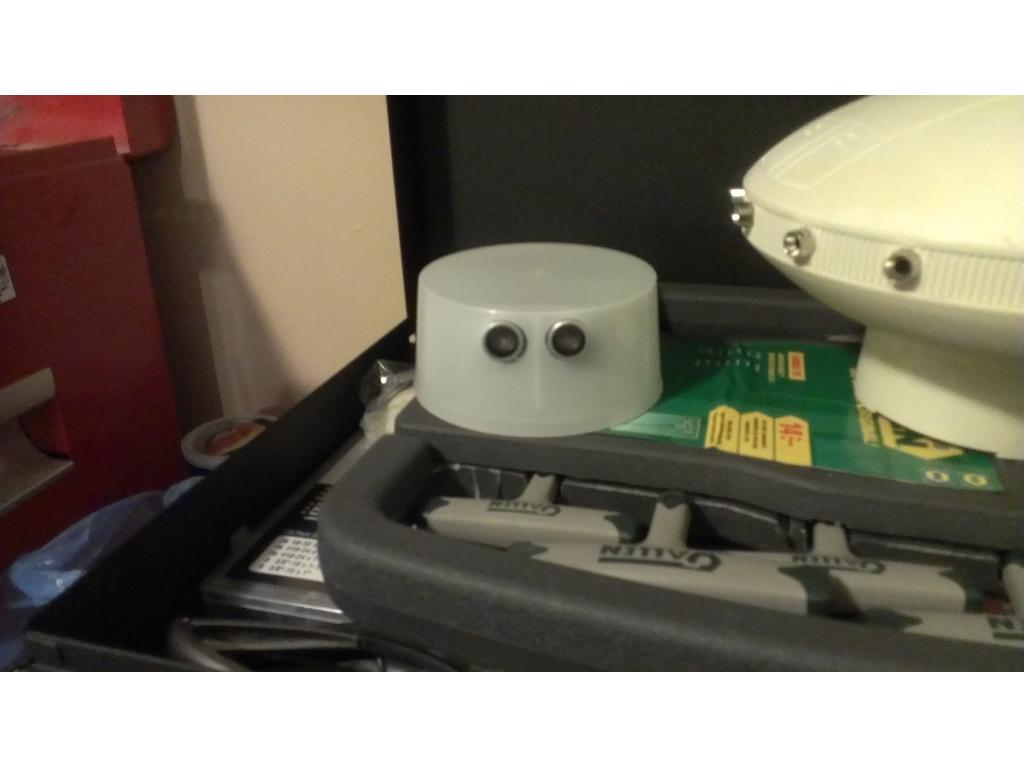
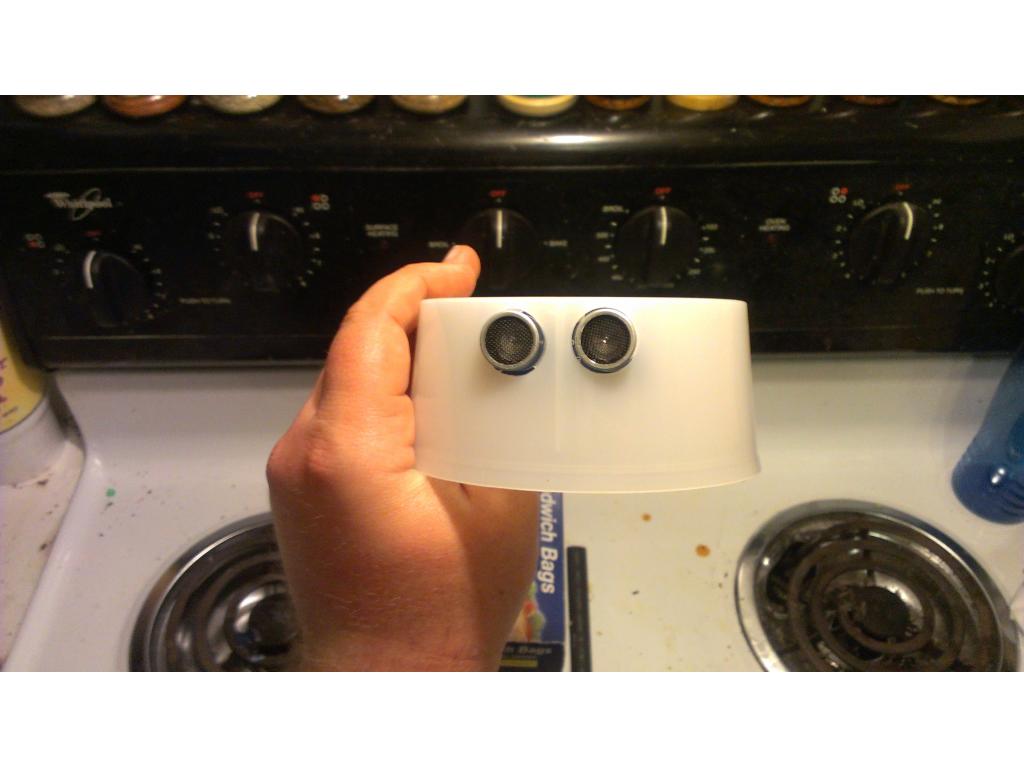
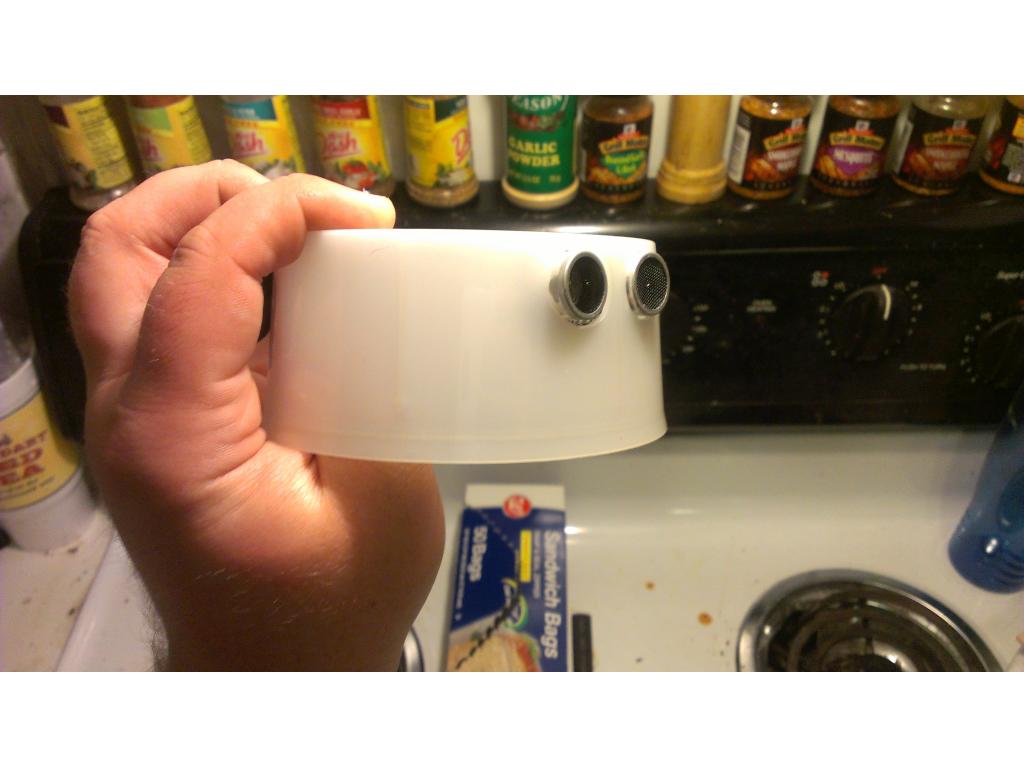
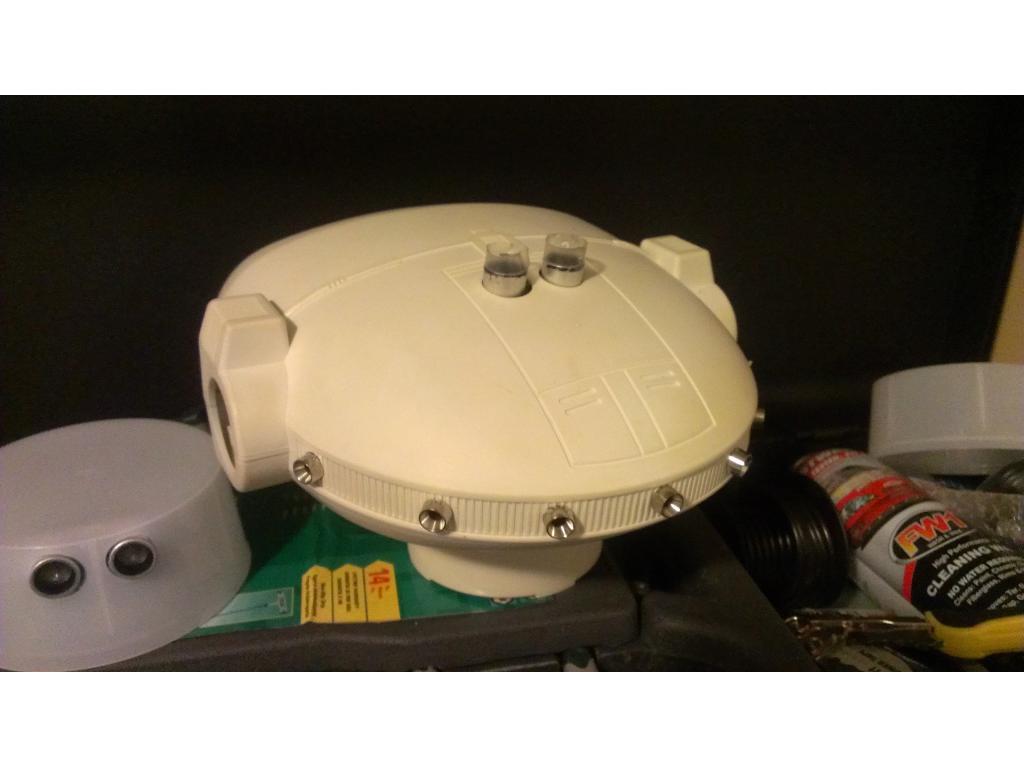
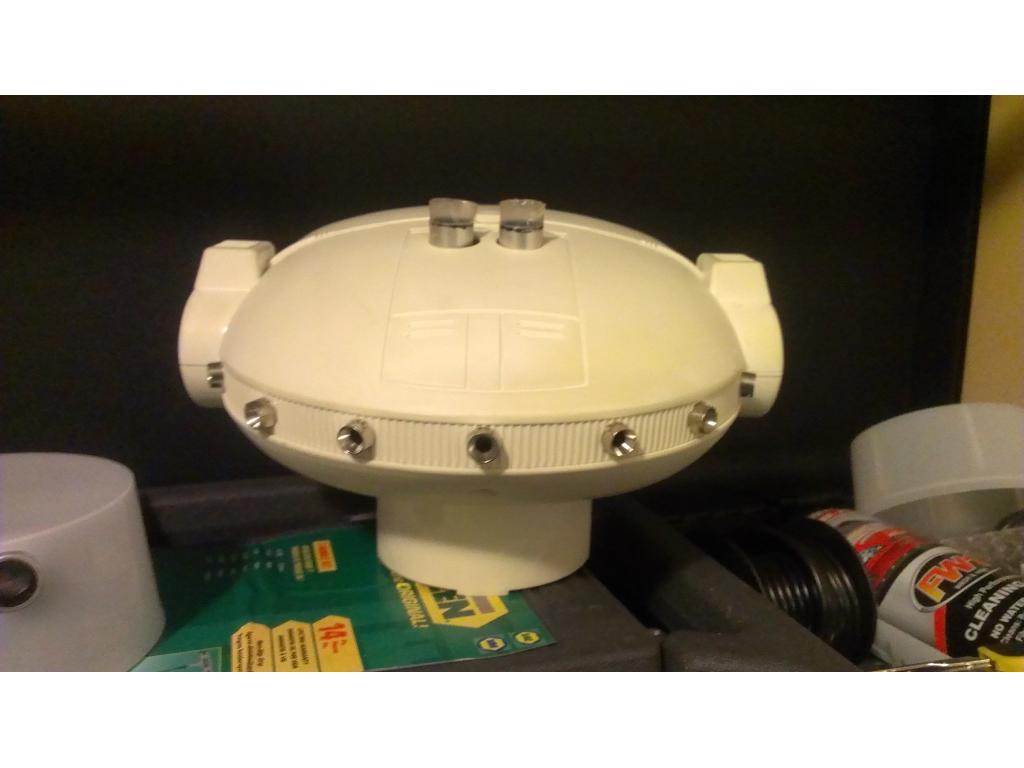
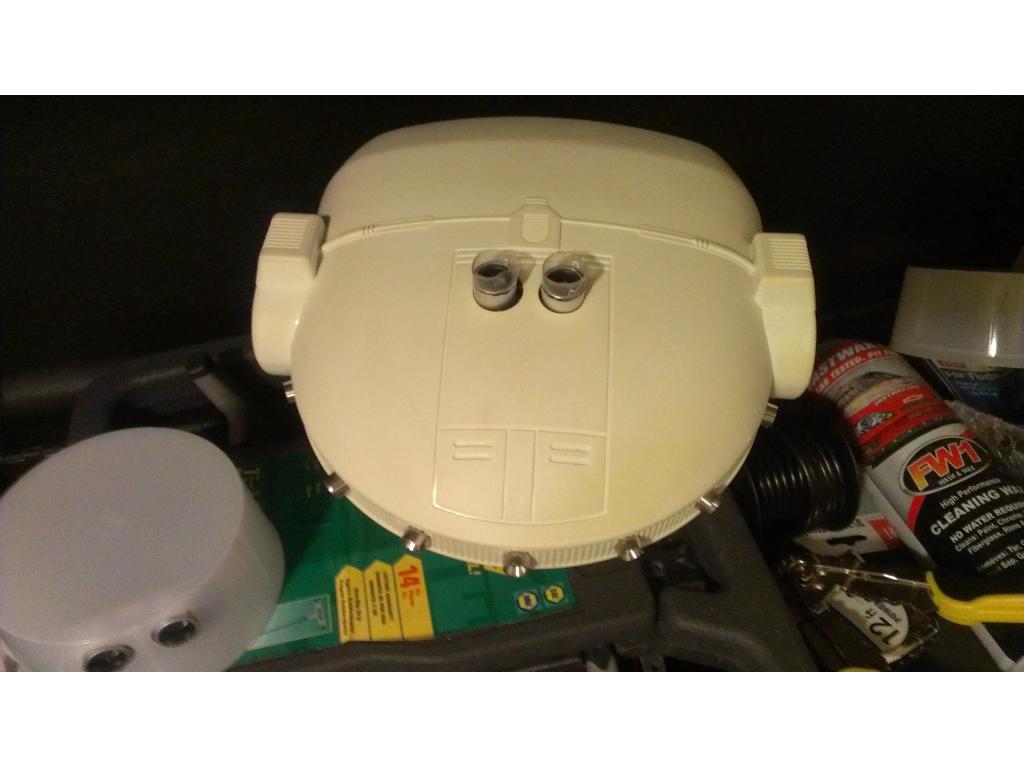
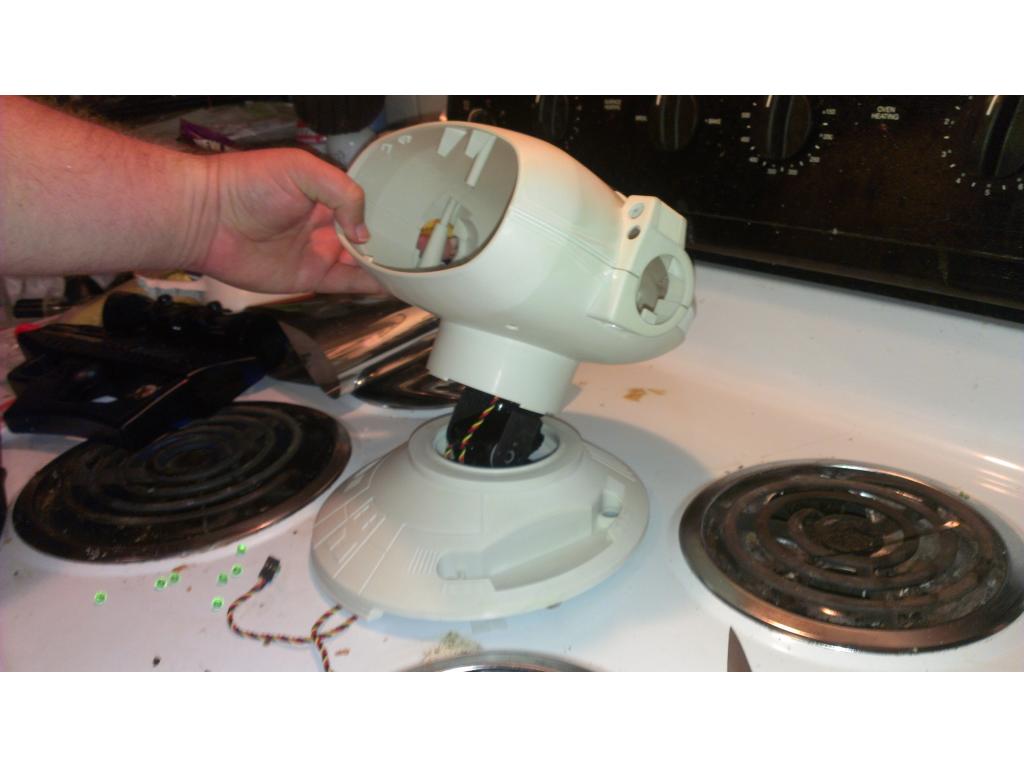
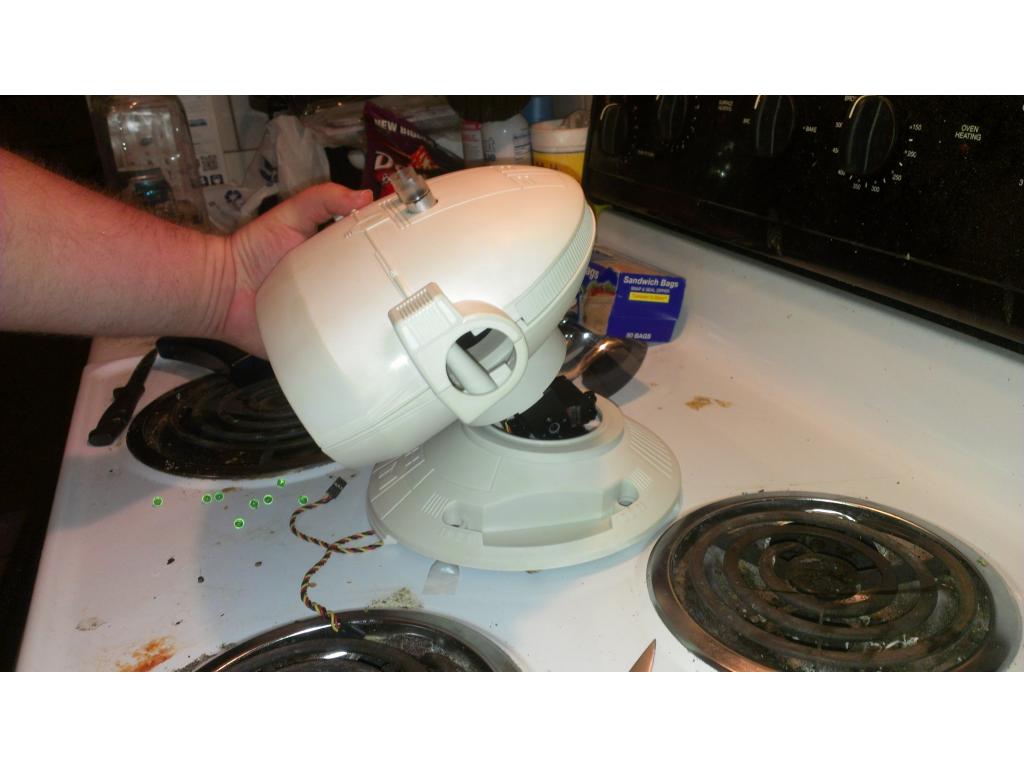
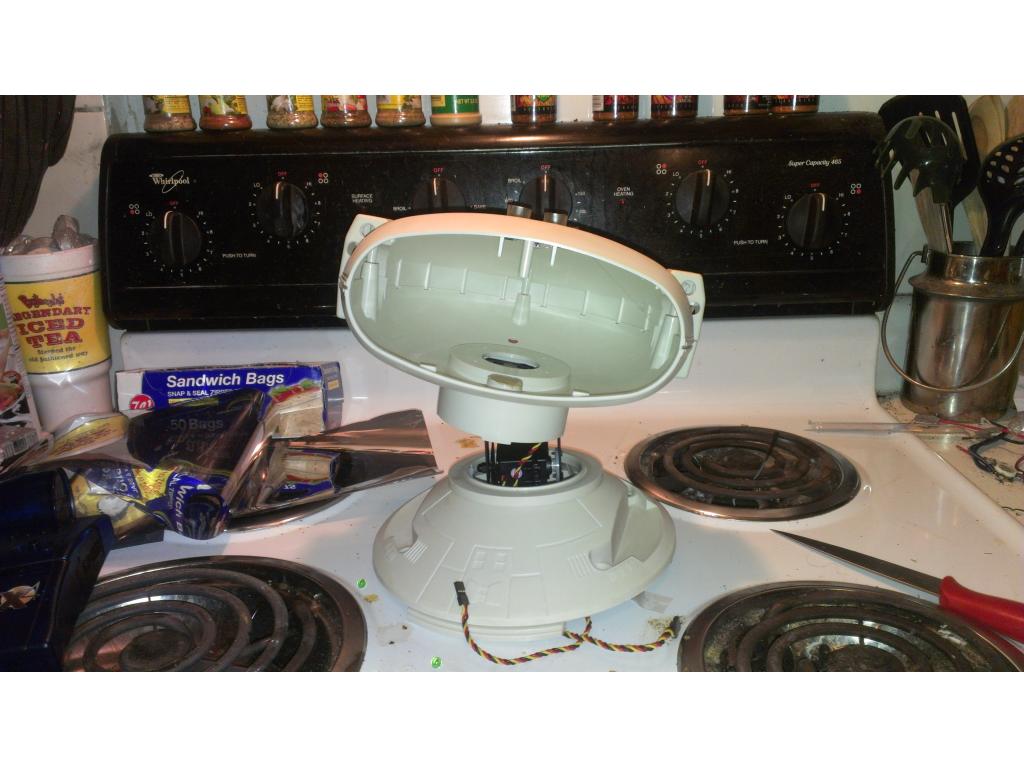
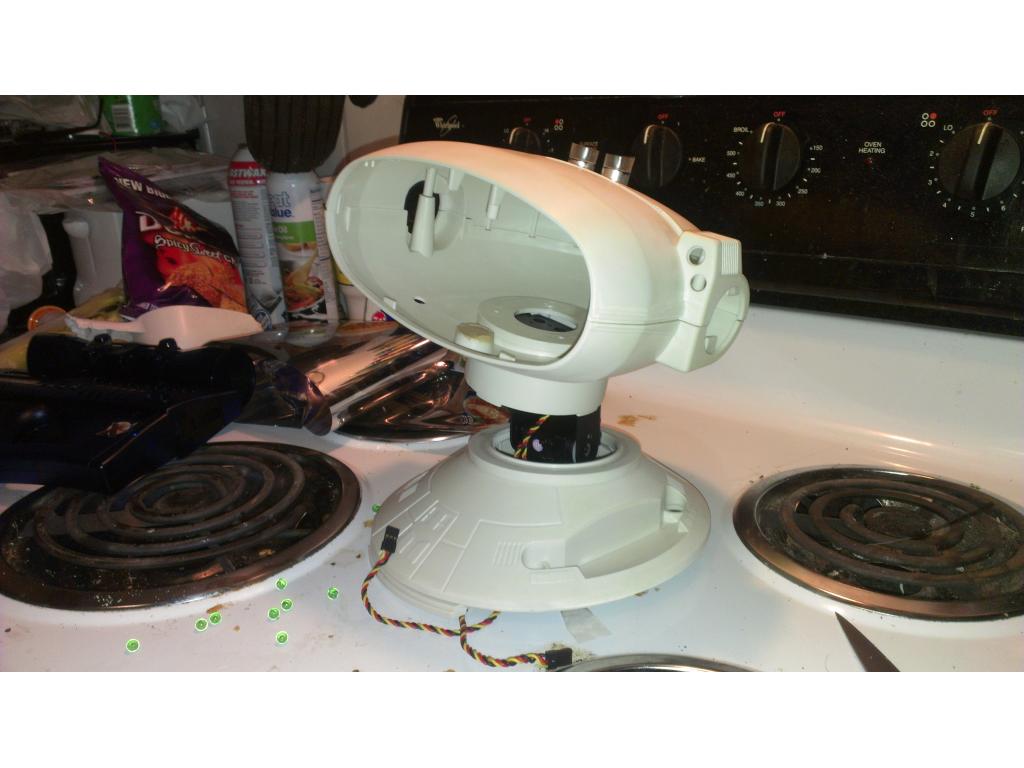
Oh ok , that's cool. I guess next I can get the radar mounted and get everything assembled
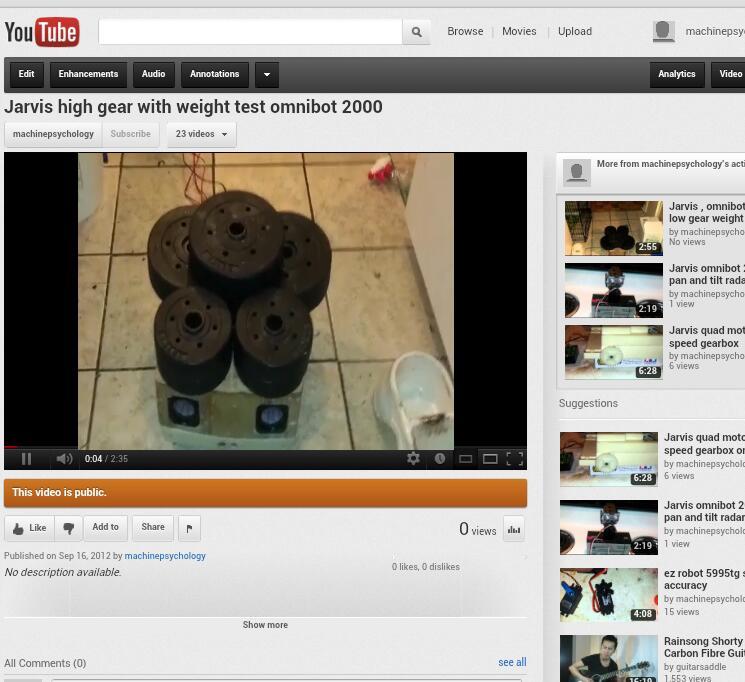
https://www.youtube.com/watch?v=TD4v8kILPXo&feature=plcp
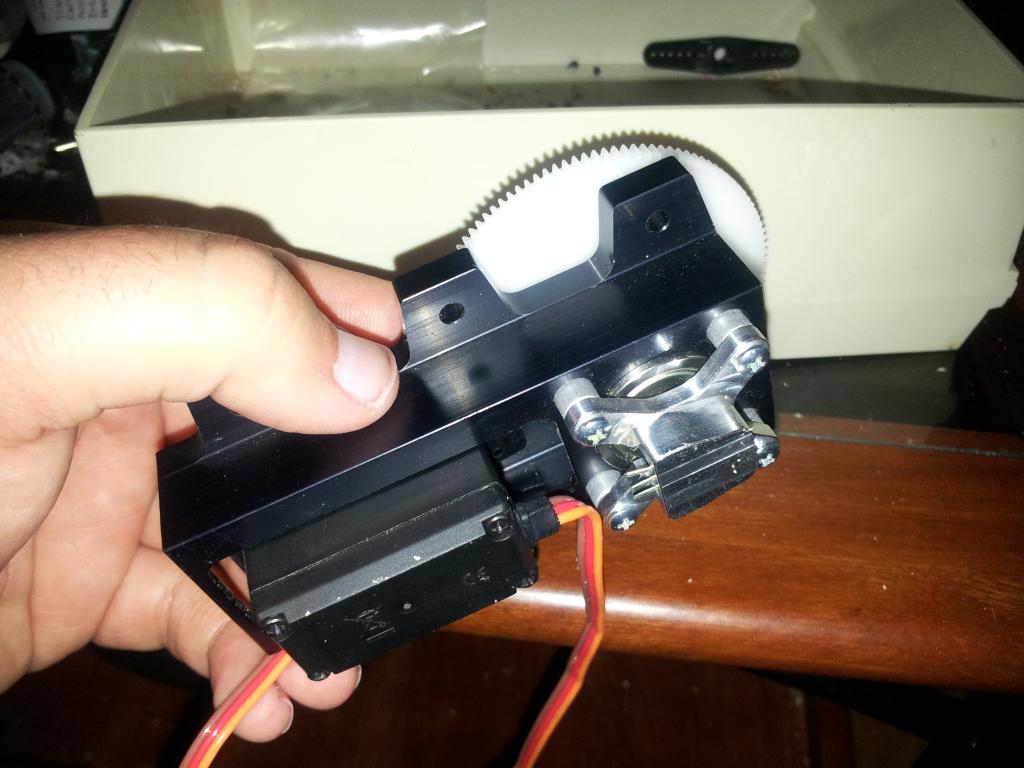
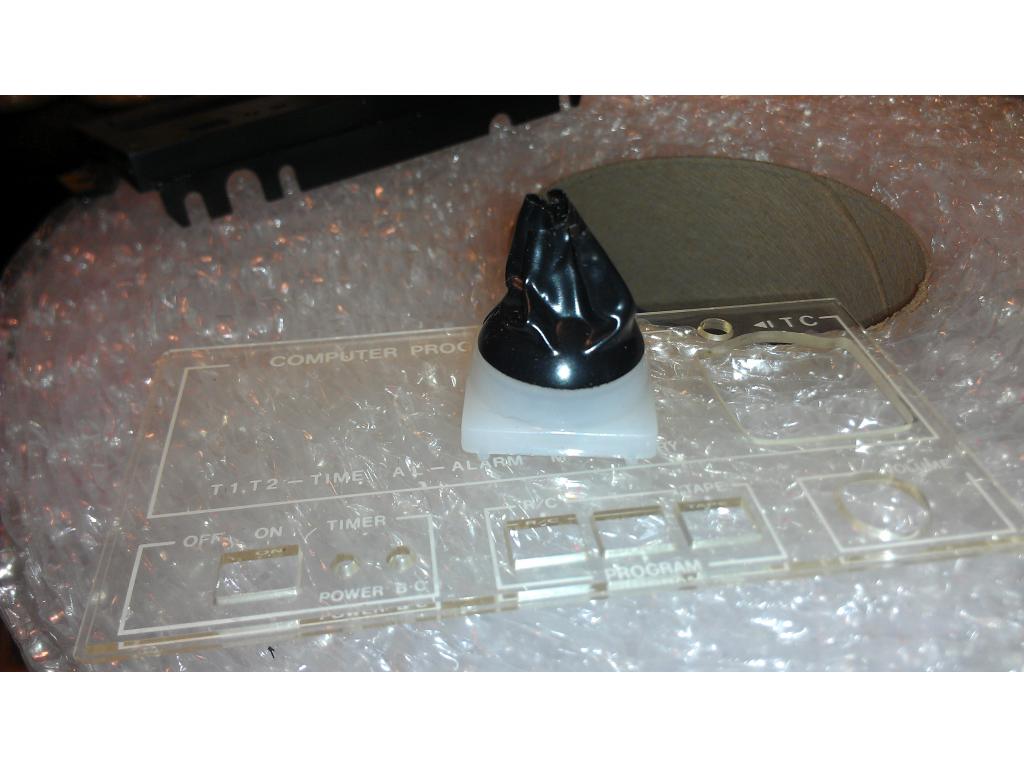
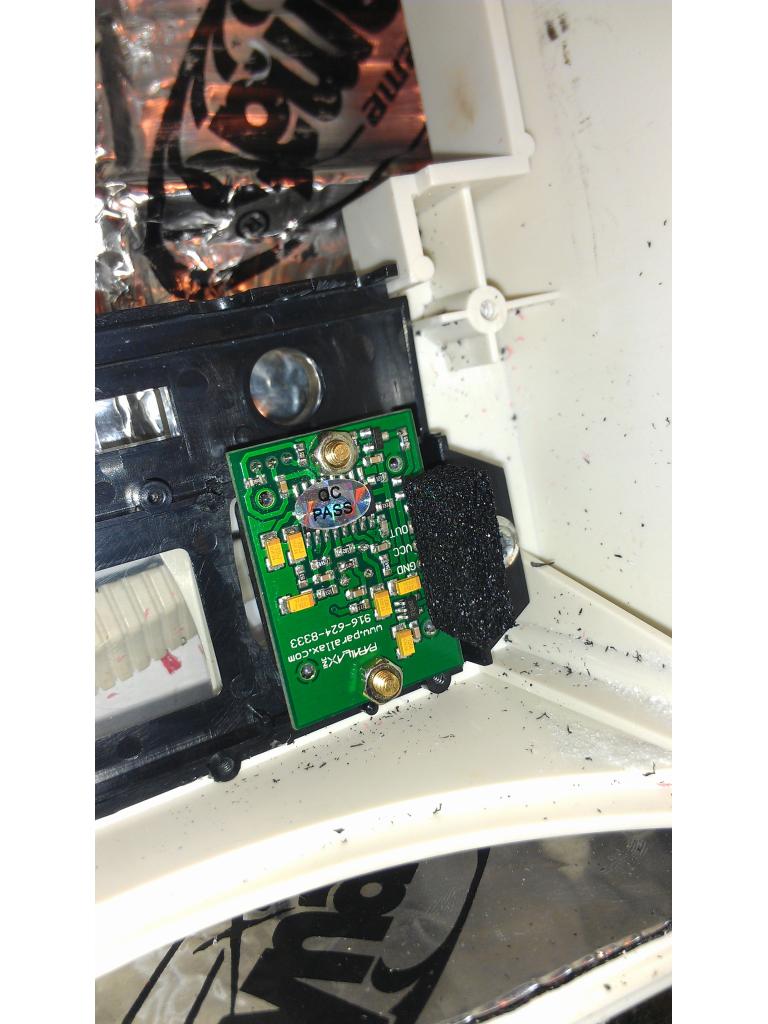
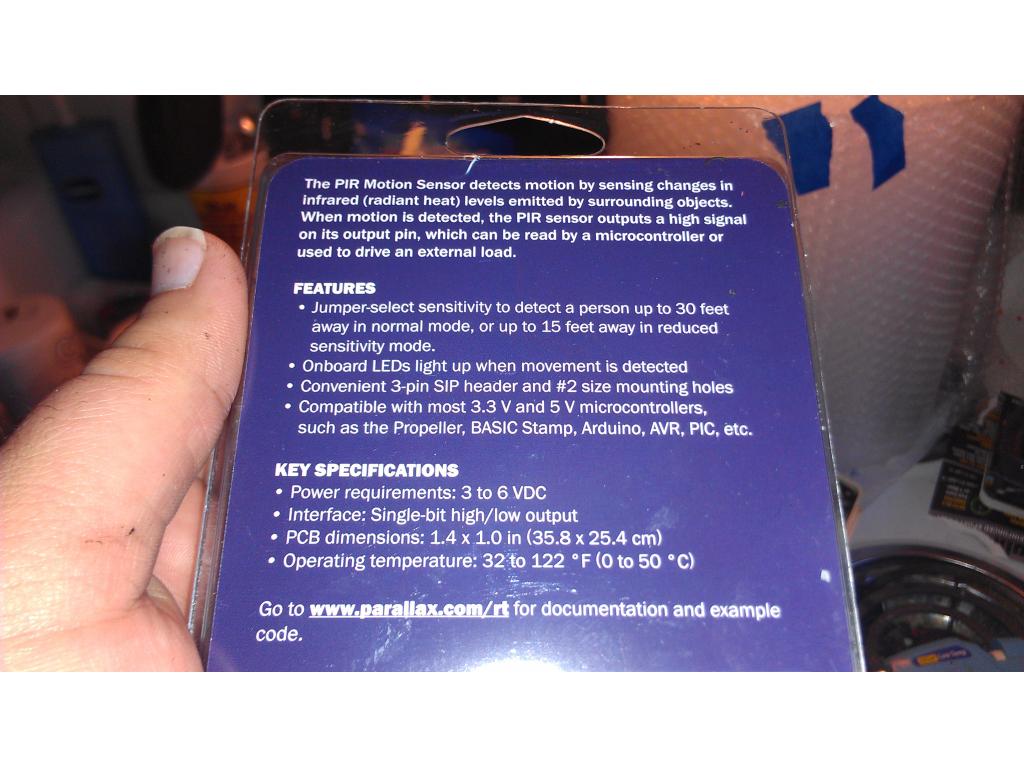
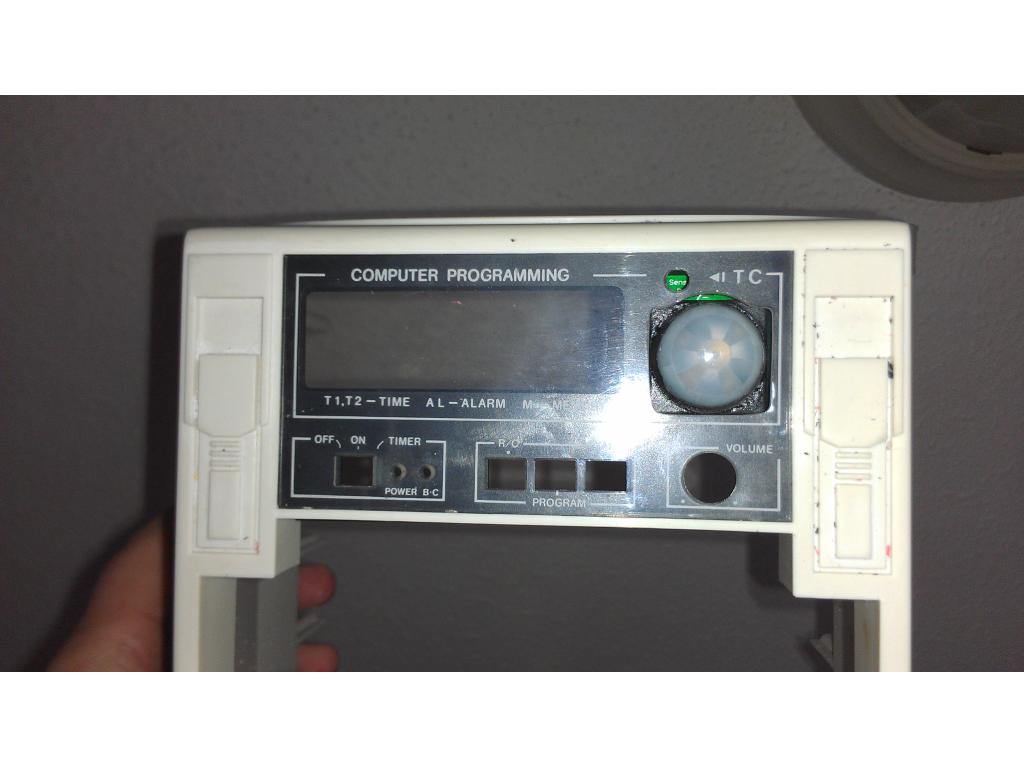
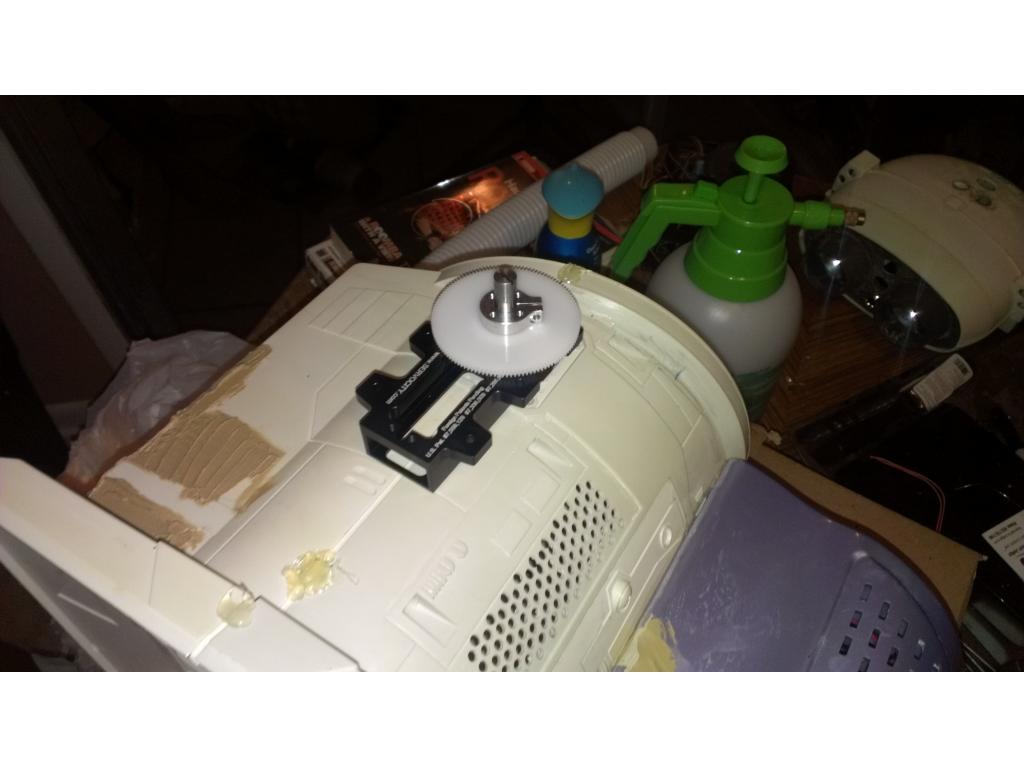
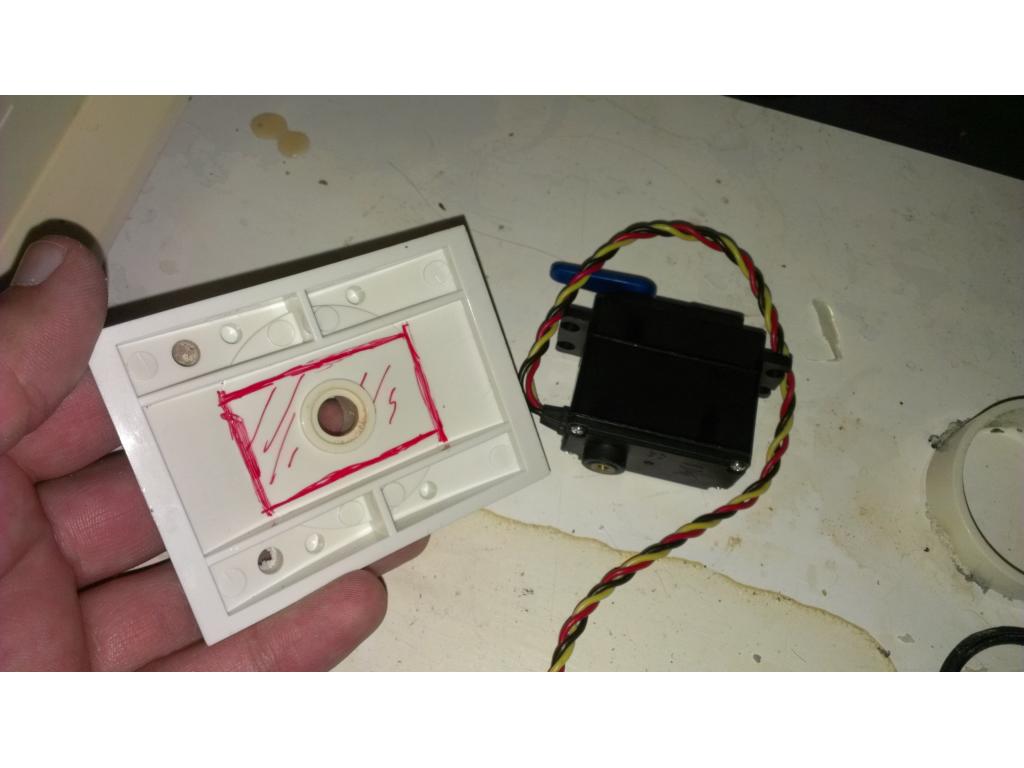
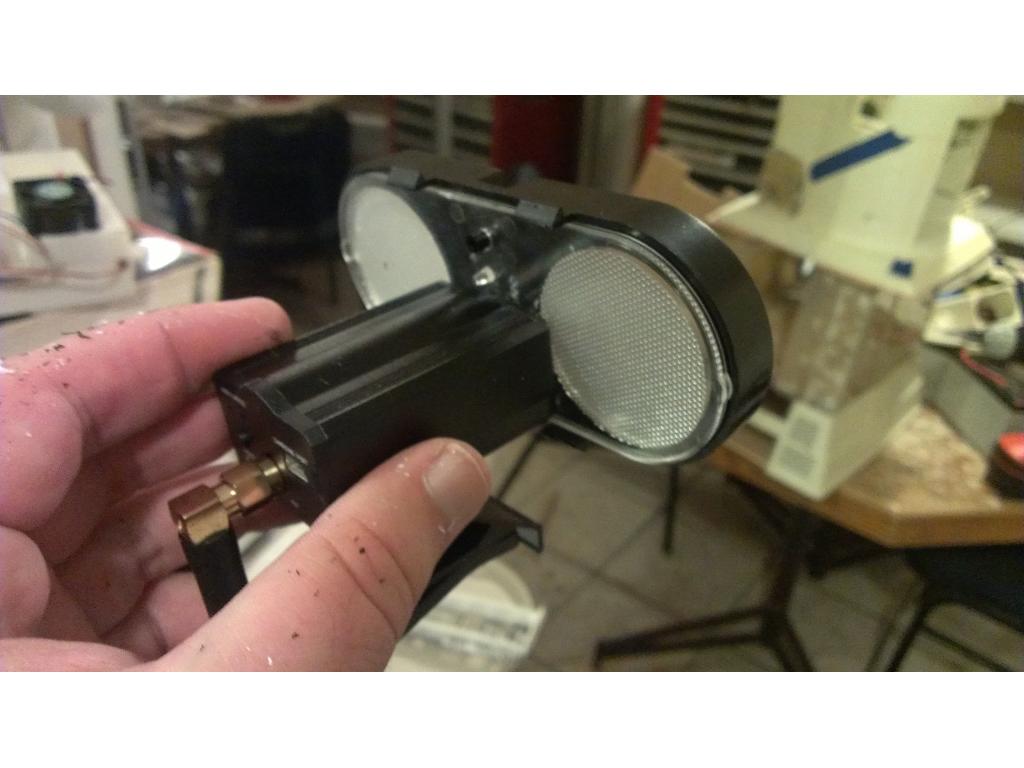
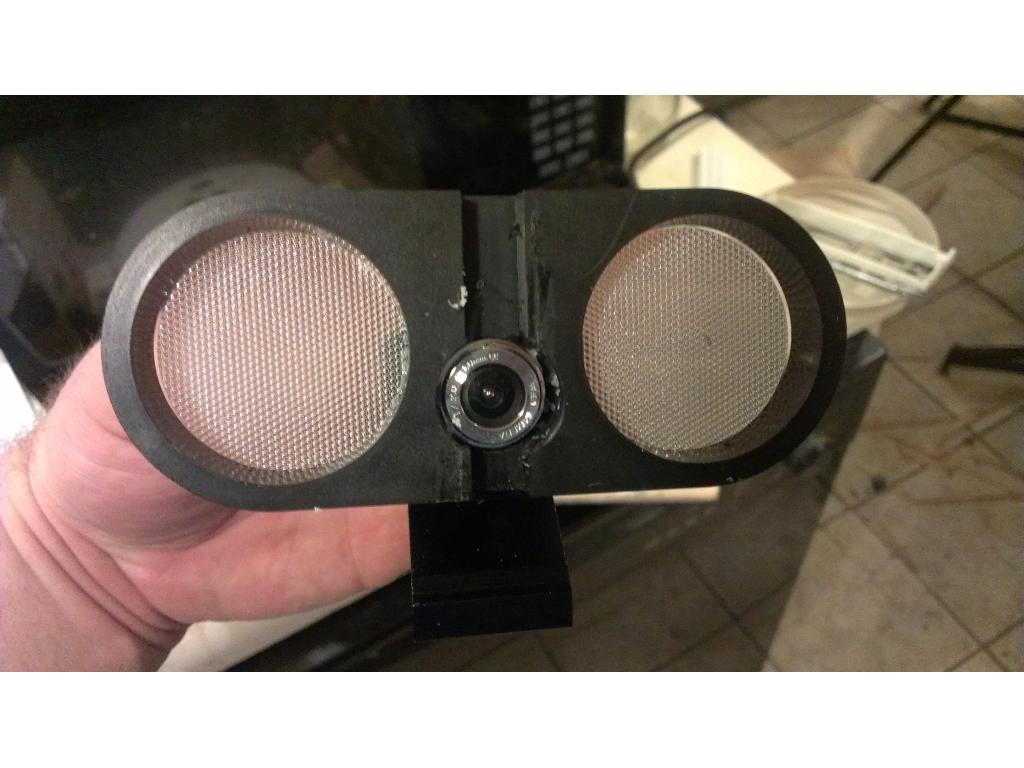
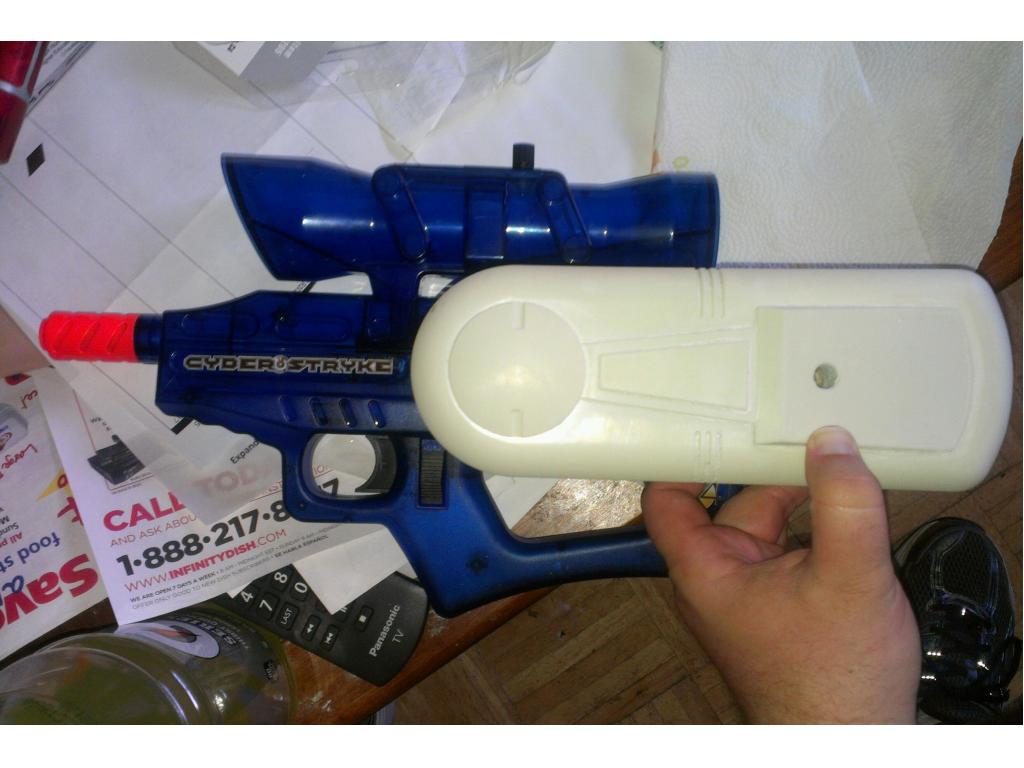
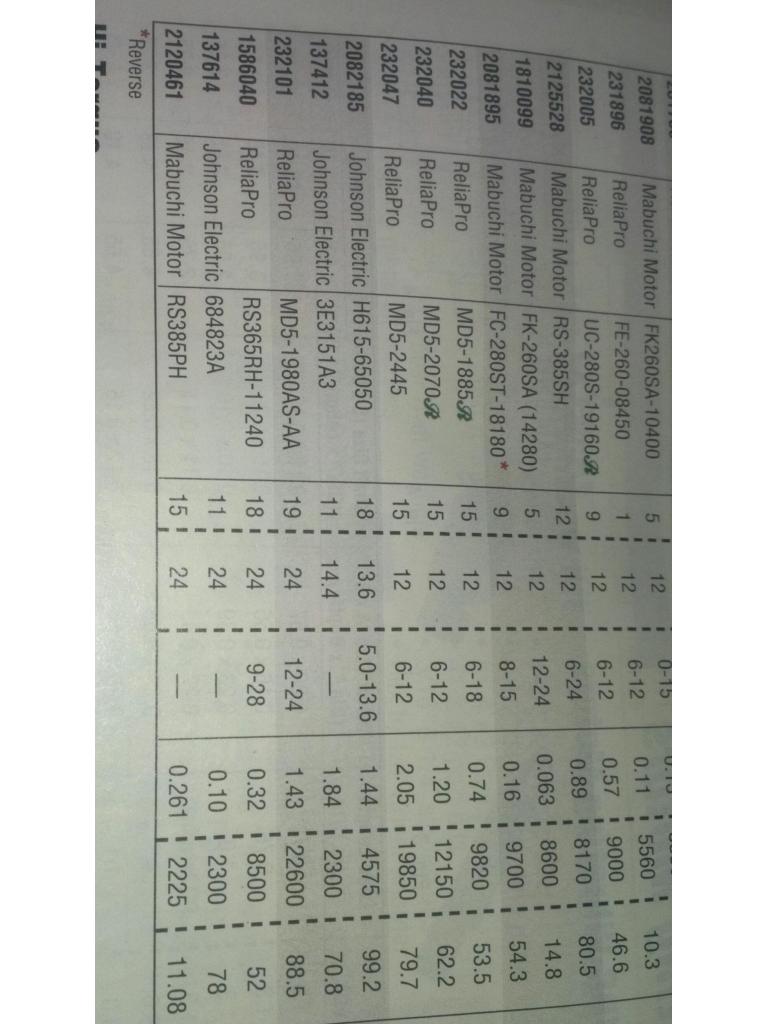
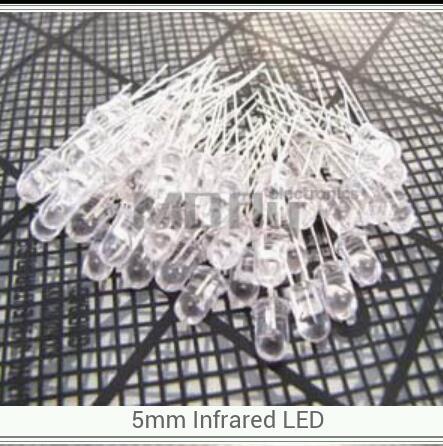
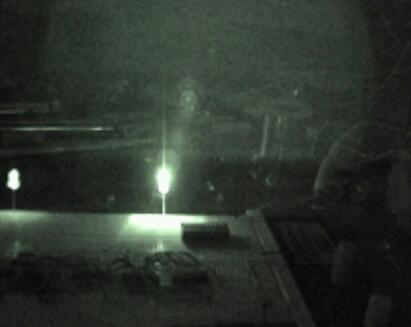
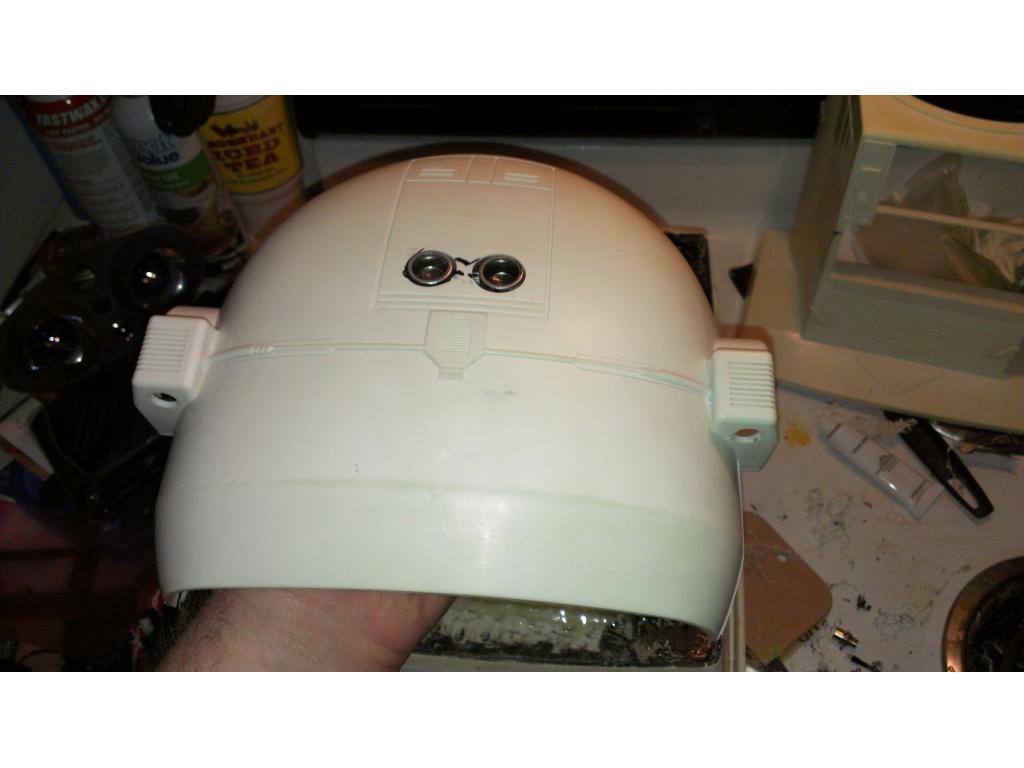
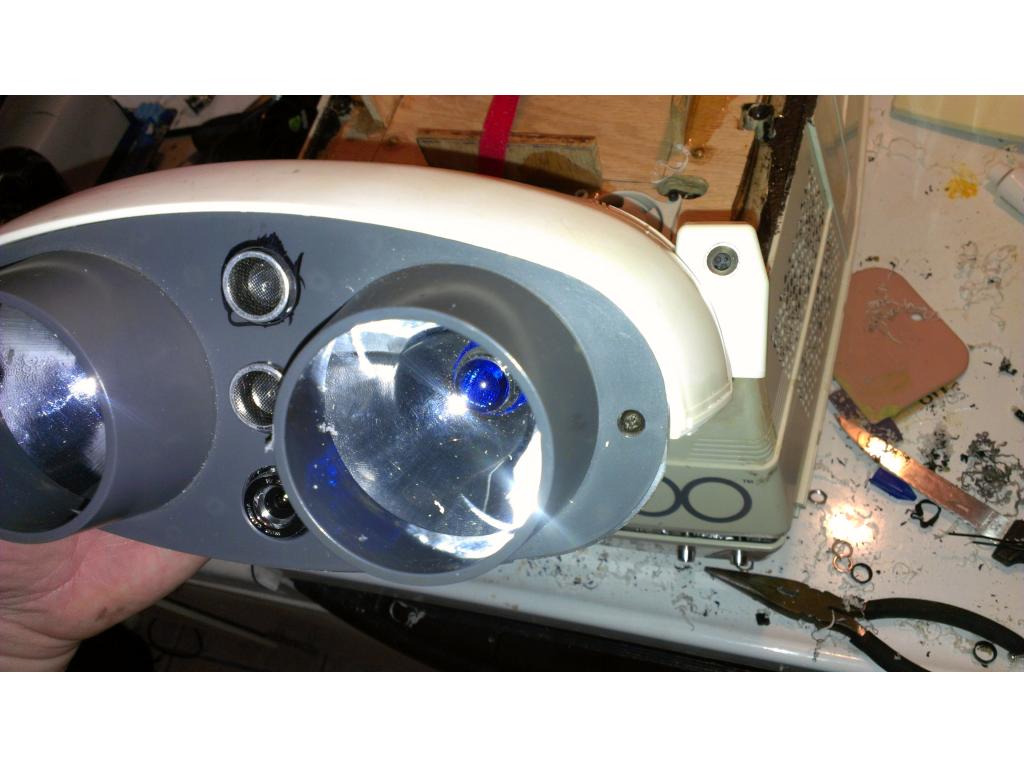
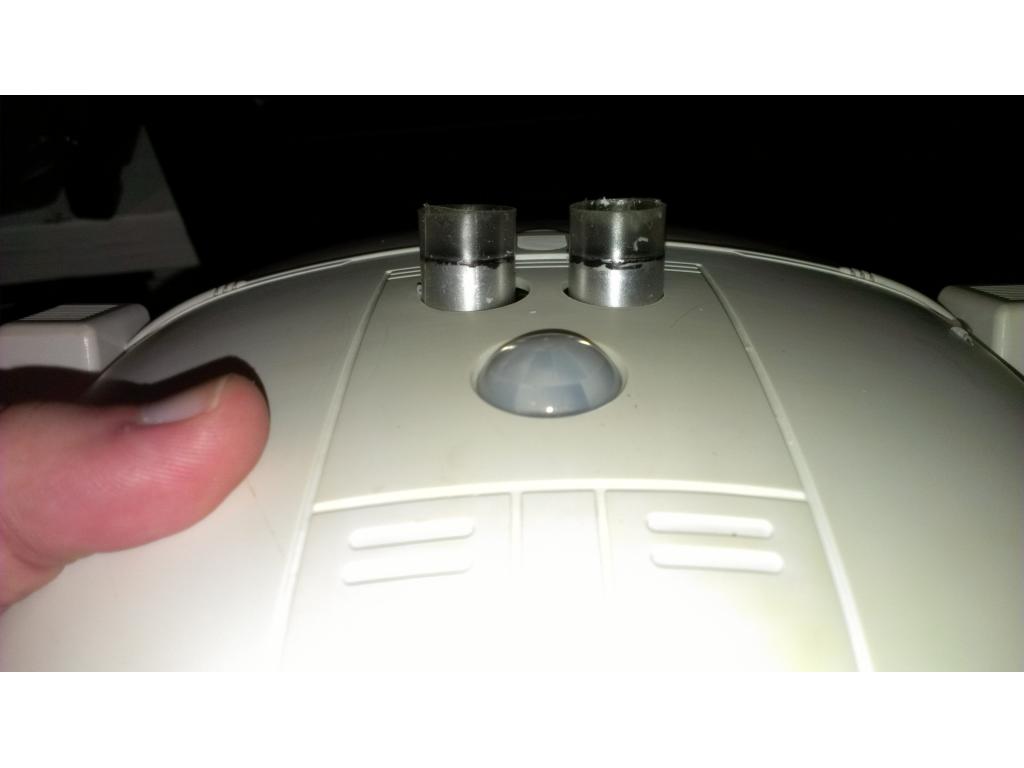
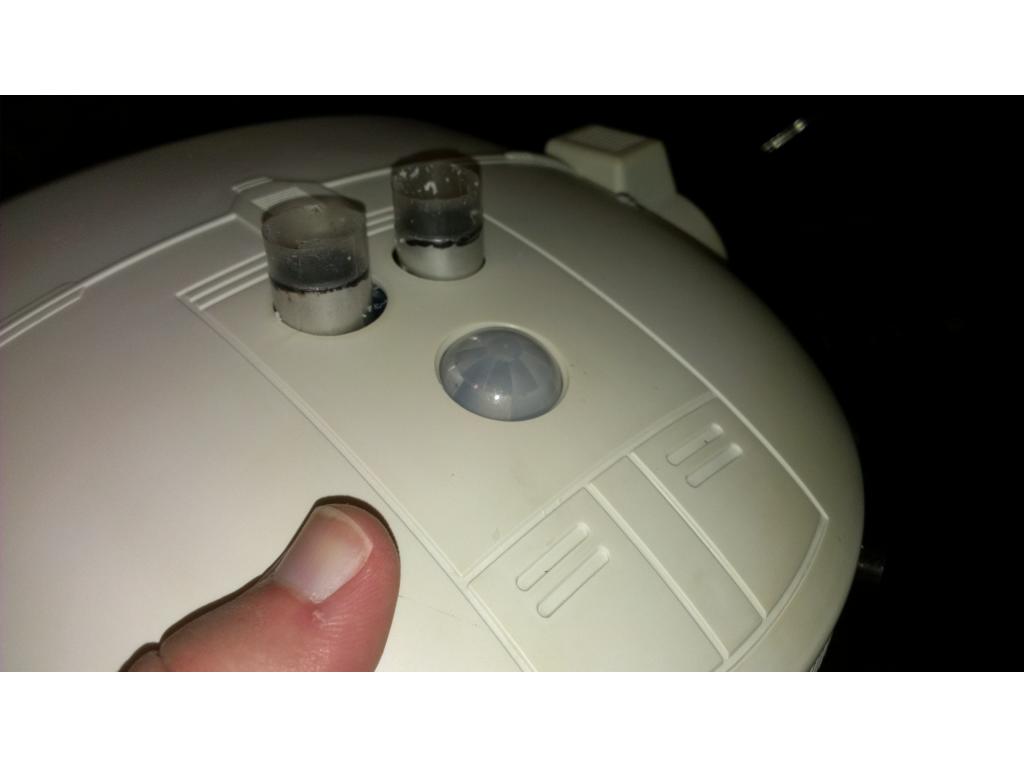
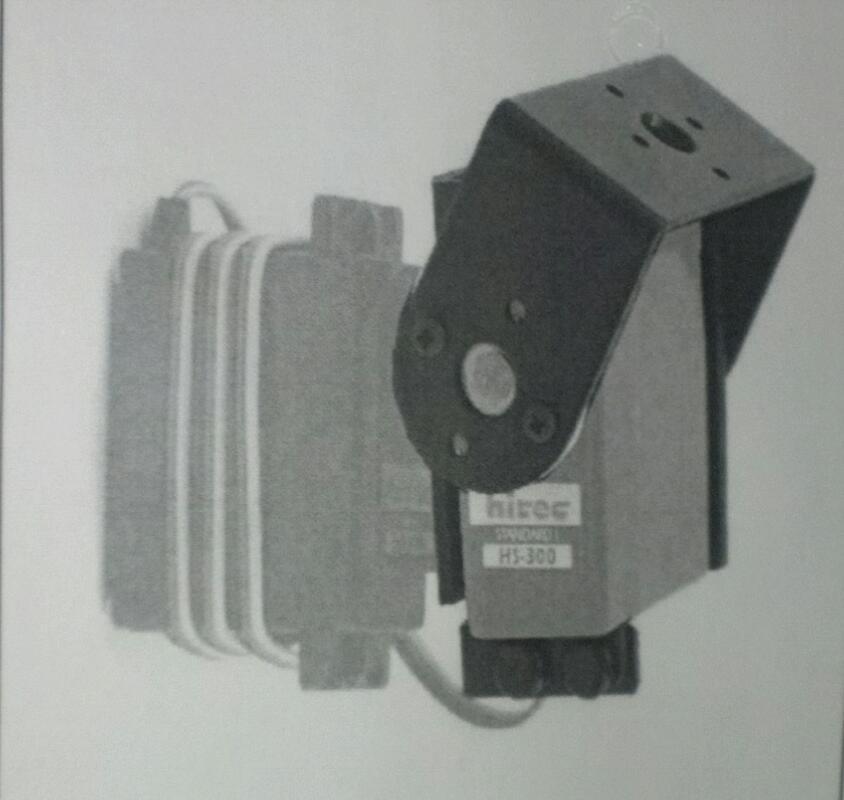
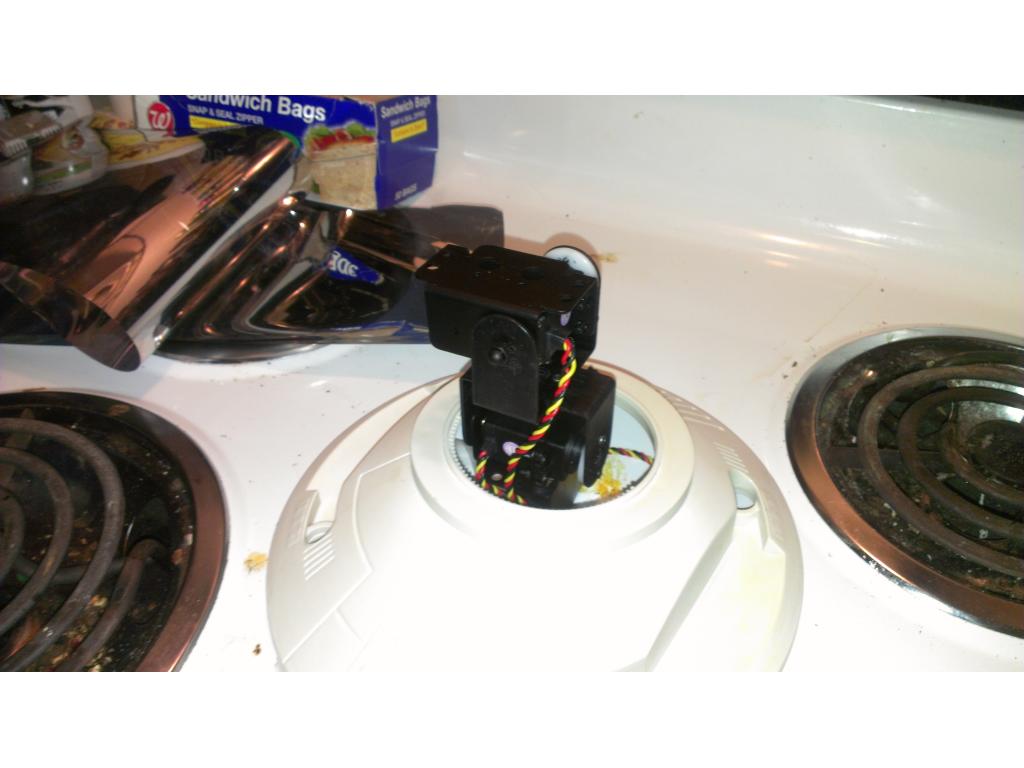
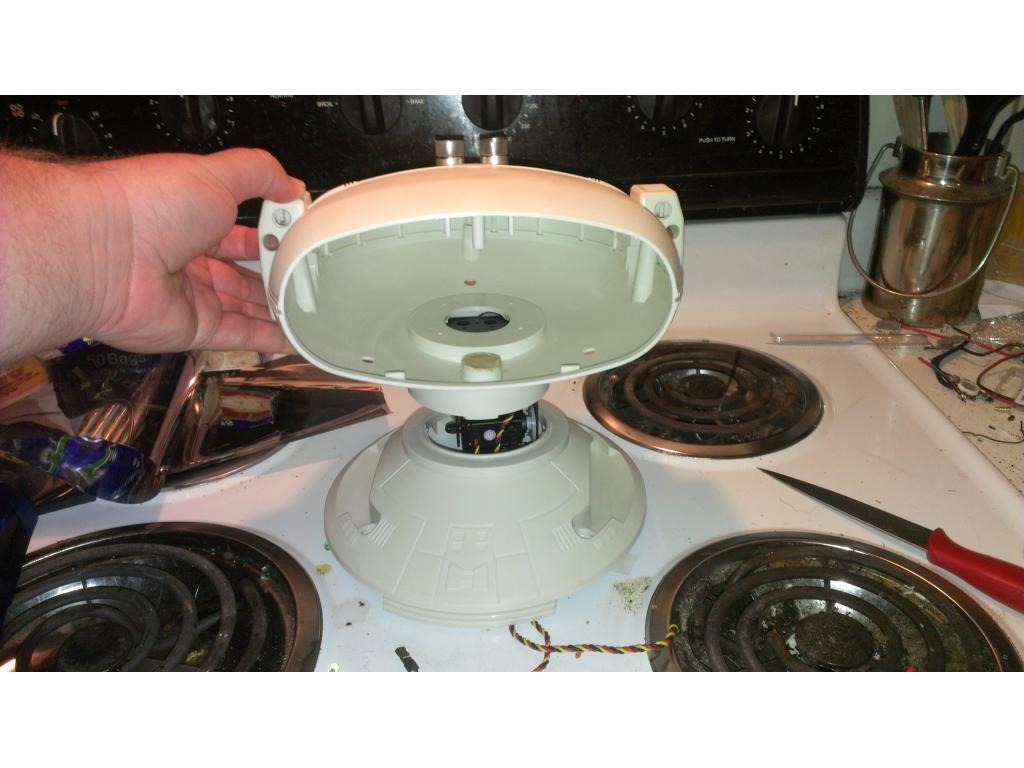
Trying to get a good mounting position on the radar. how many degrees or how far is everyone setting their servo to scan for the best view?
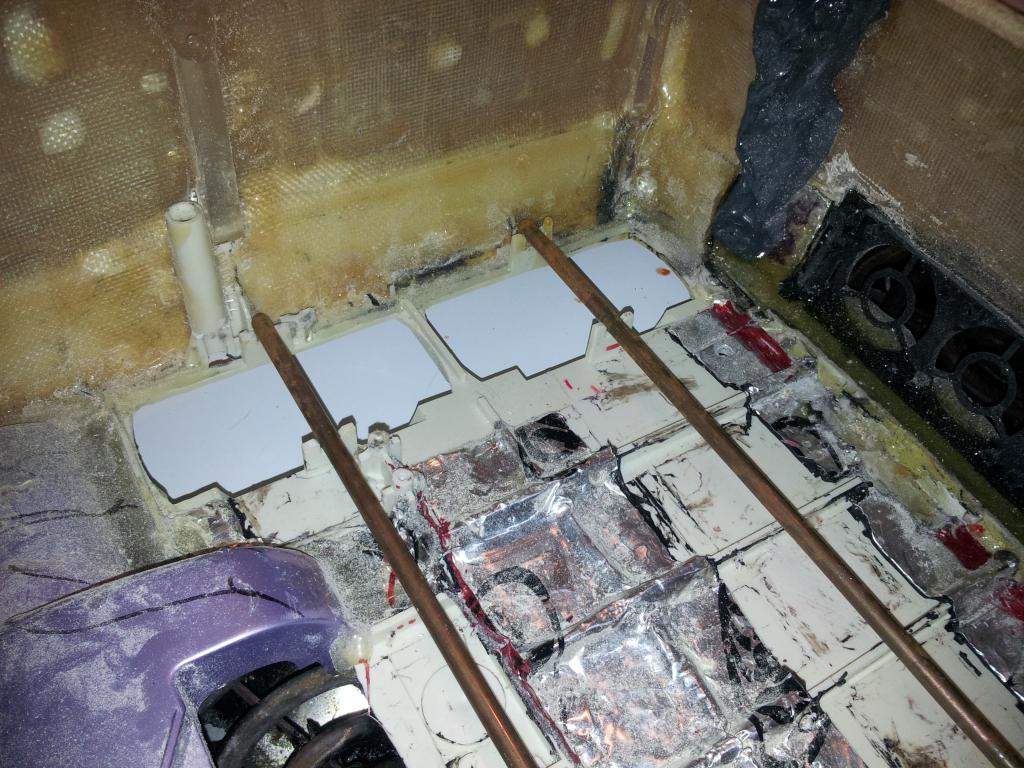
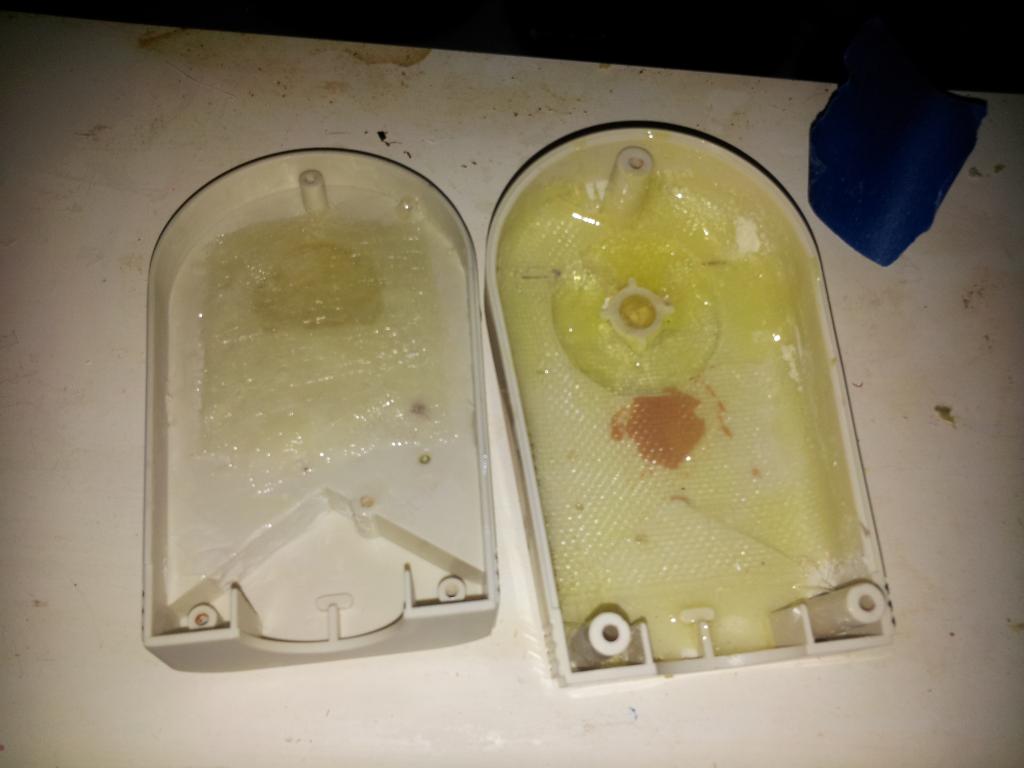
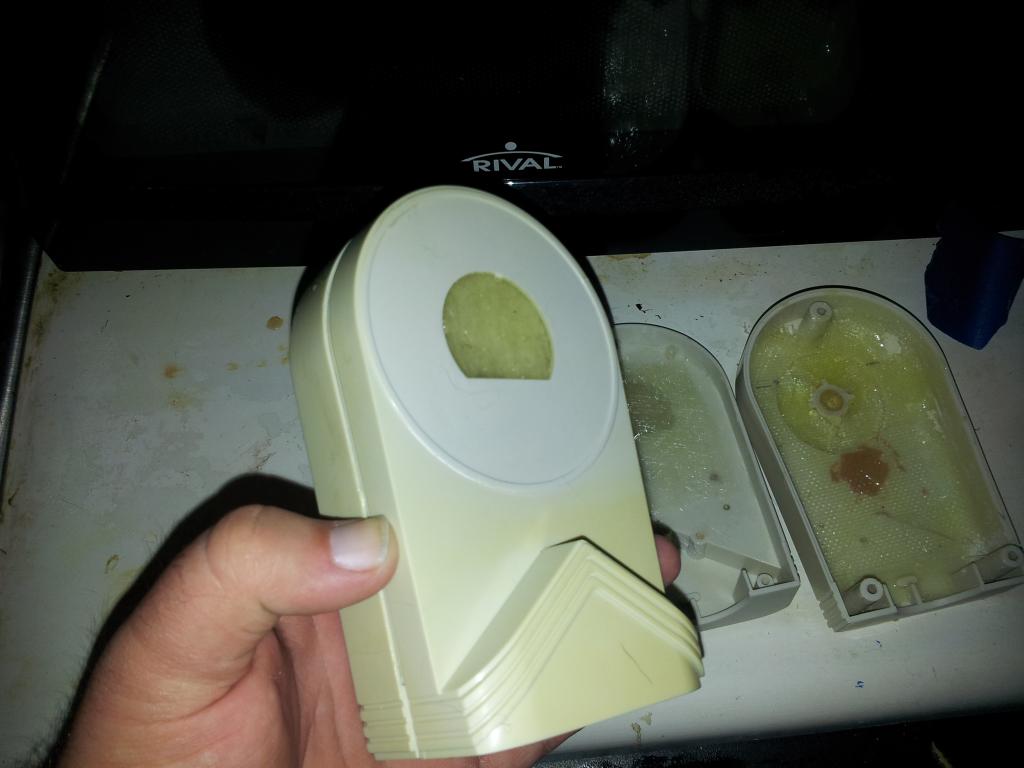
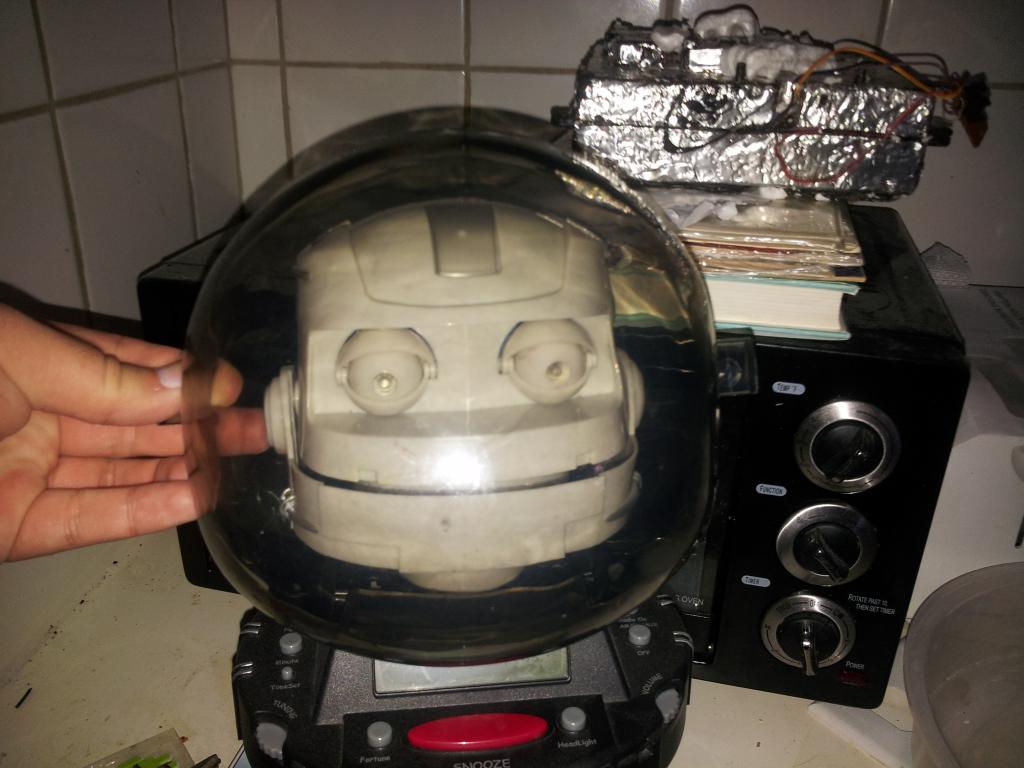
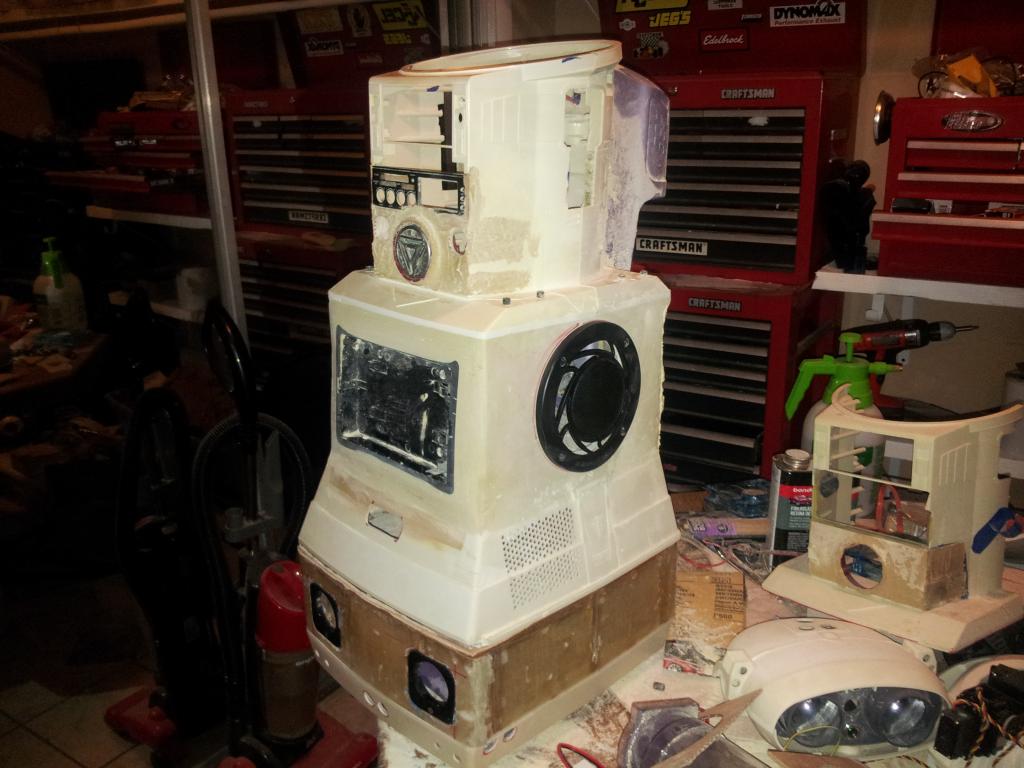
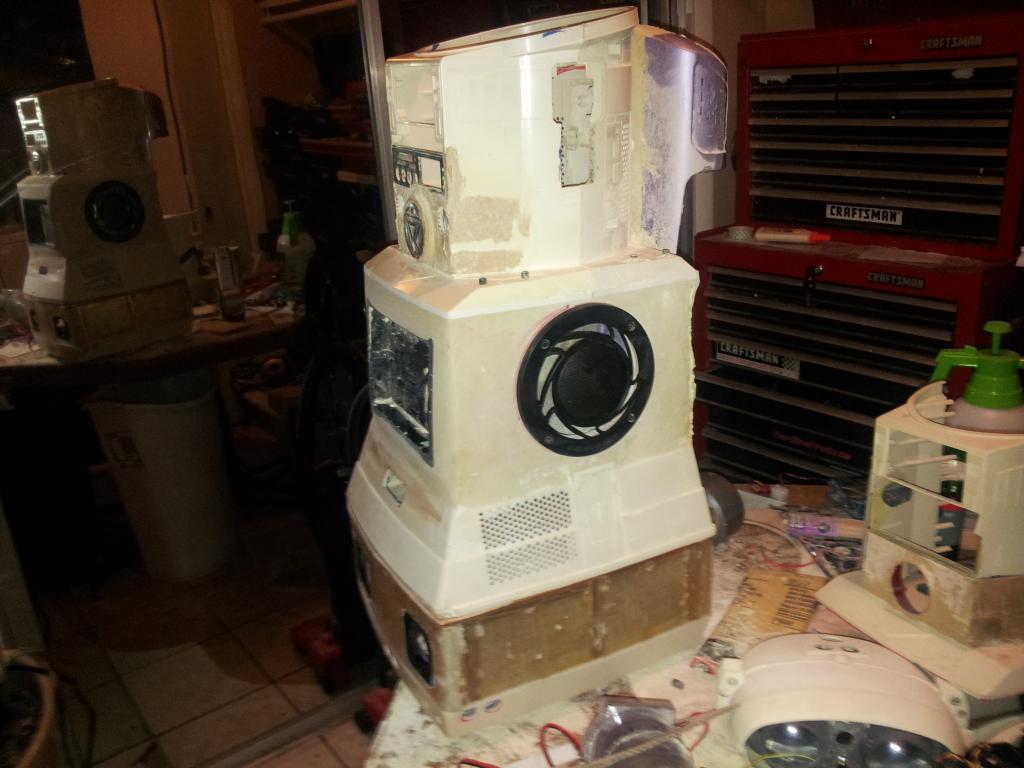
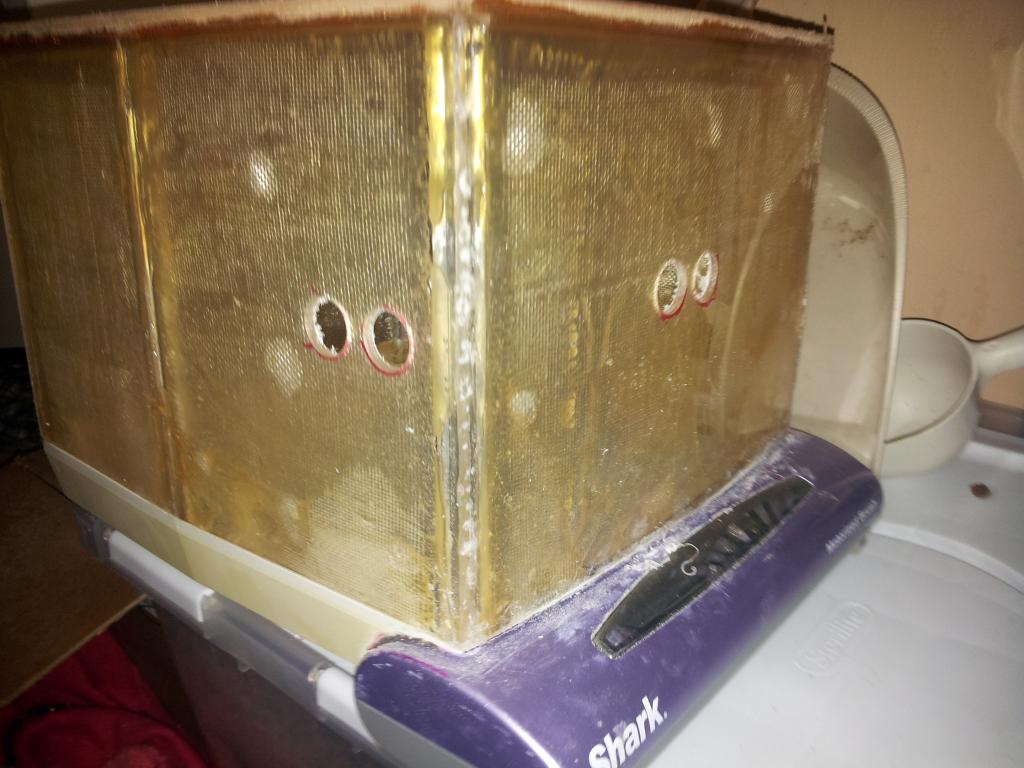
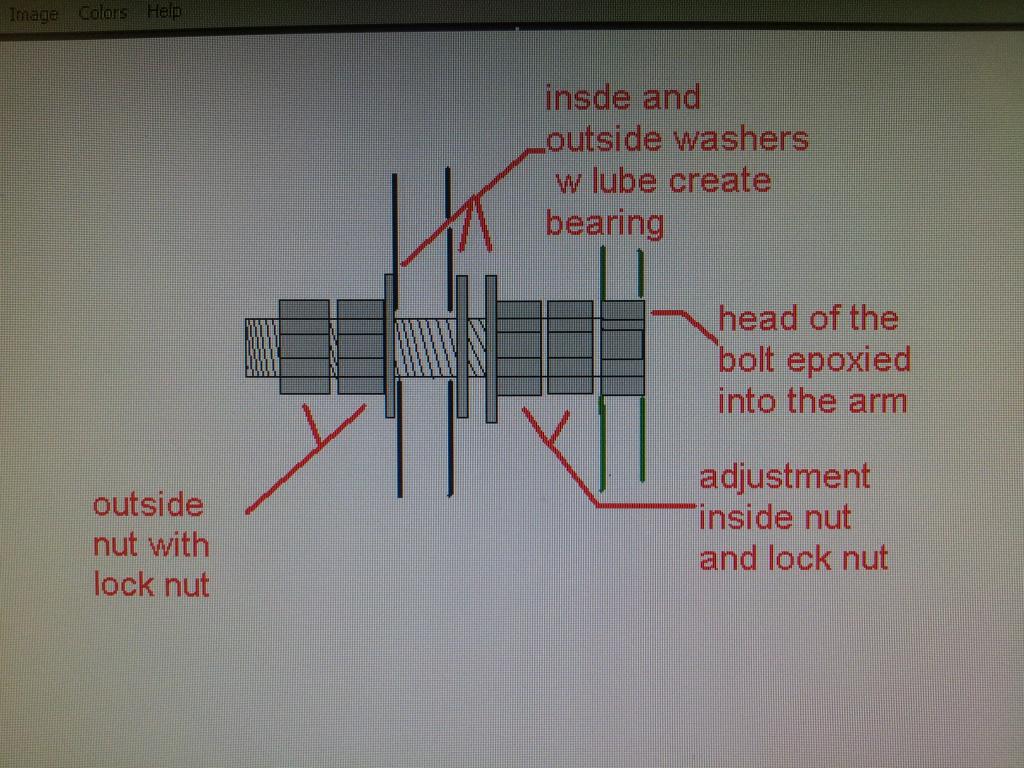
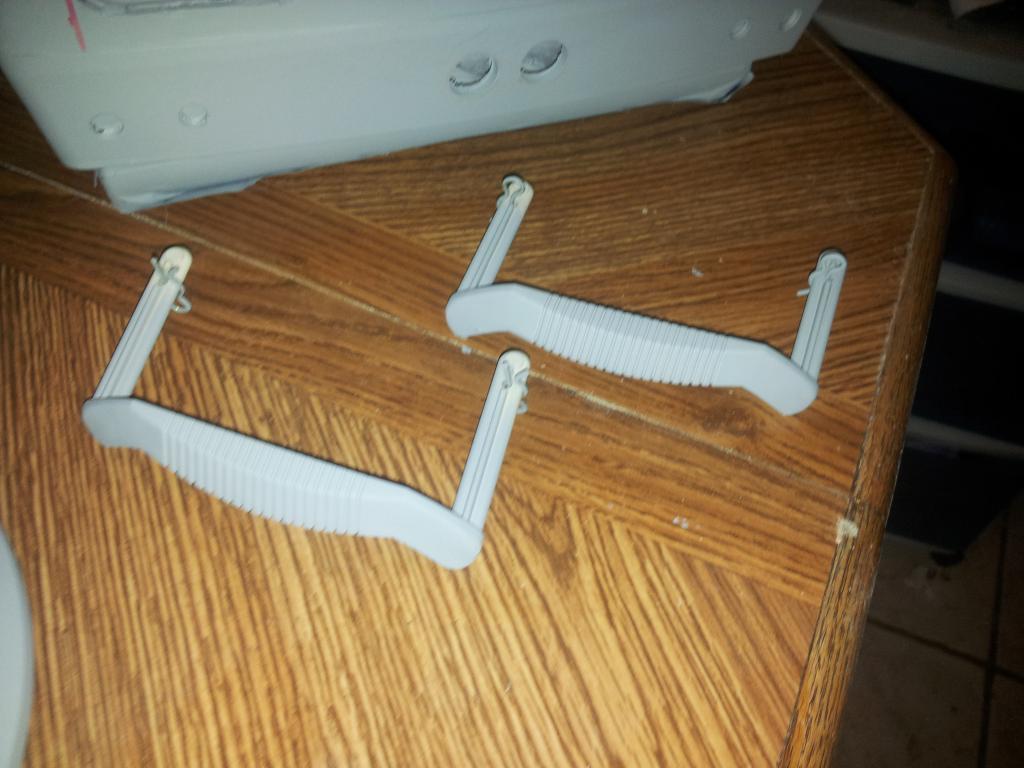
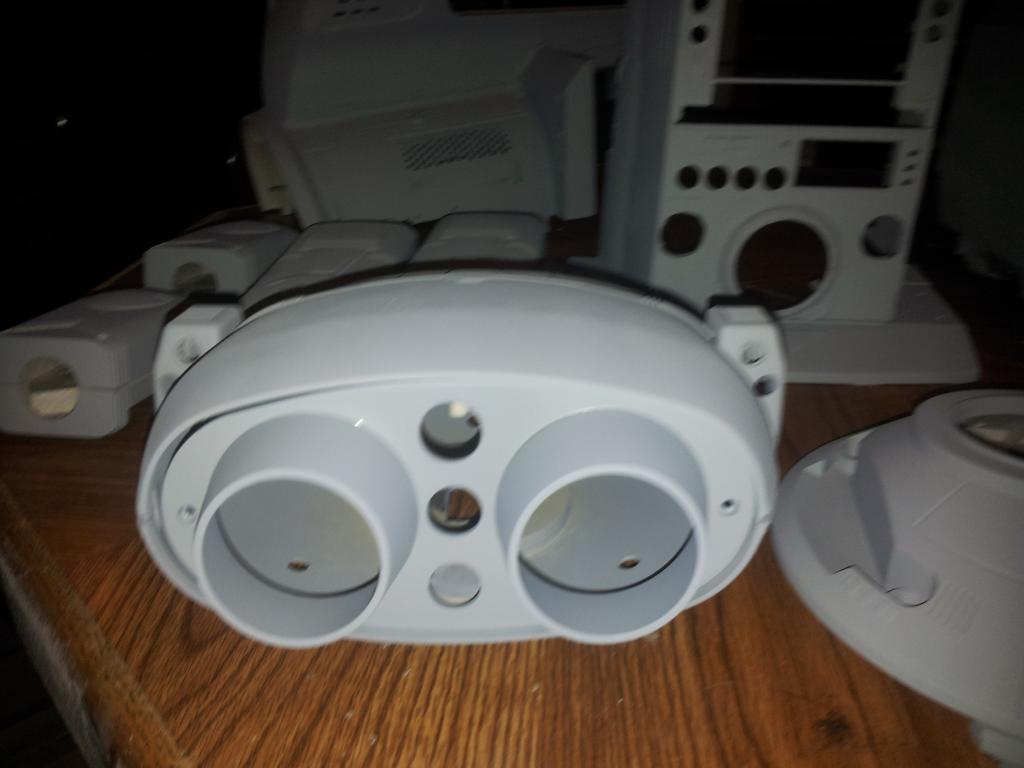
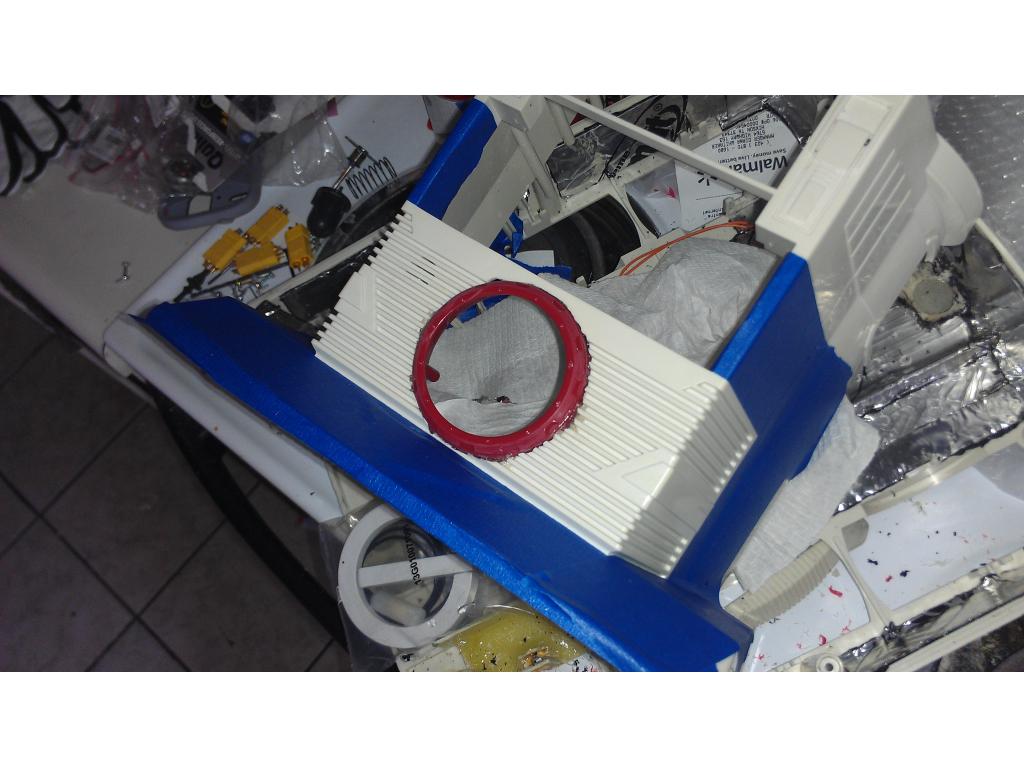
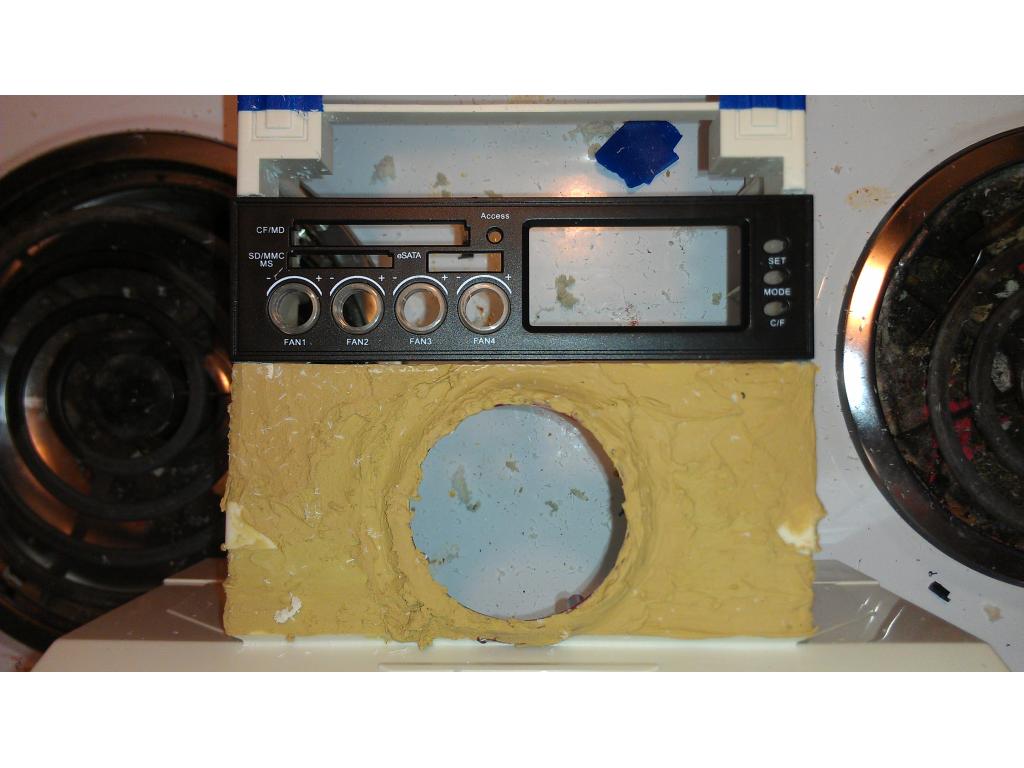
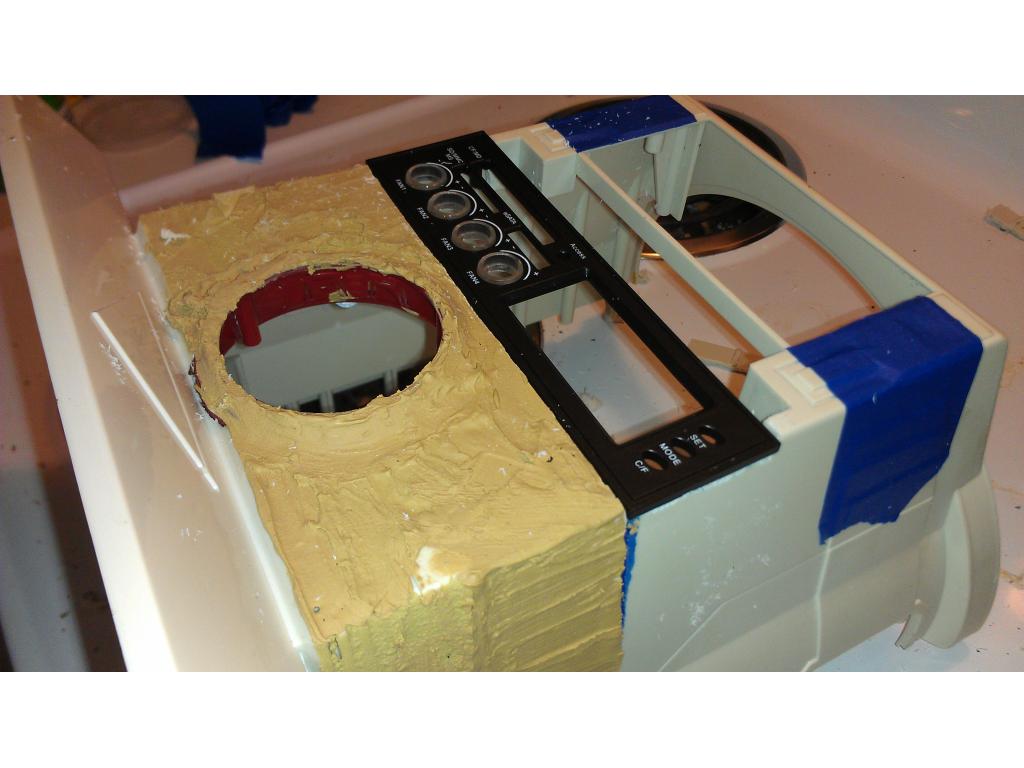
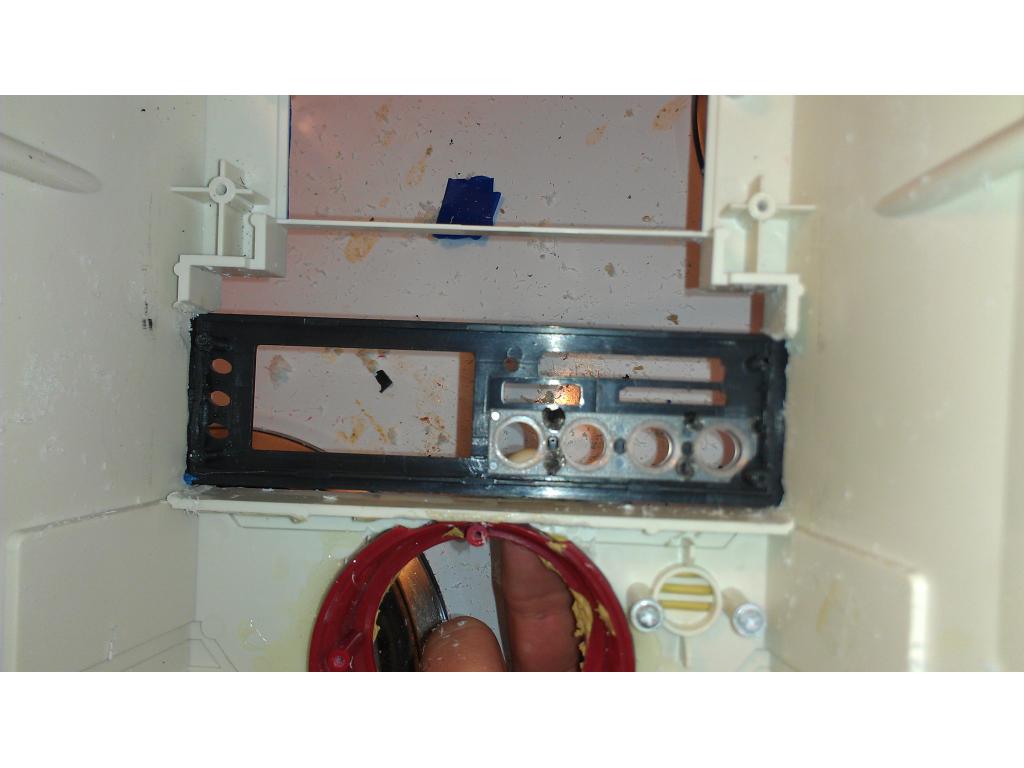
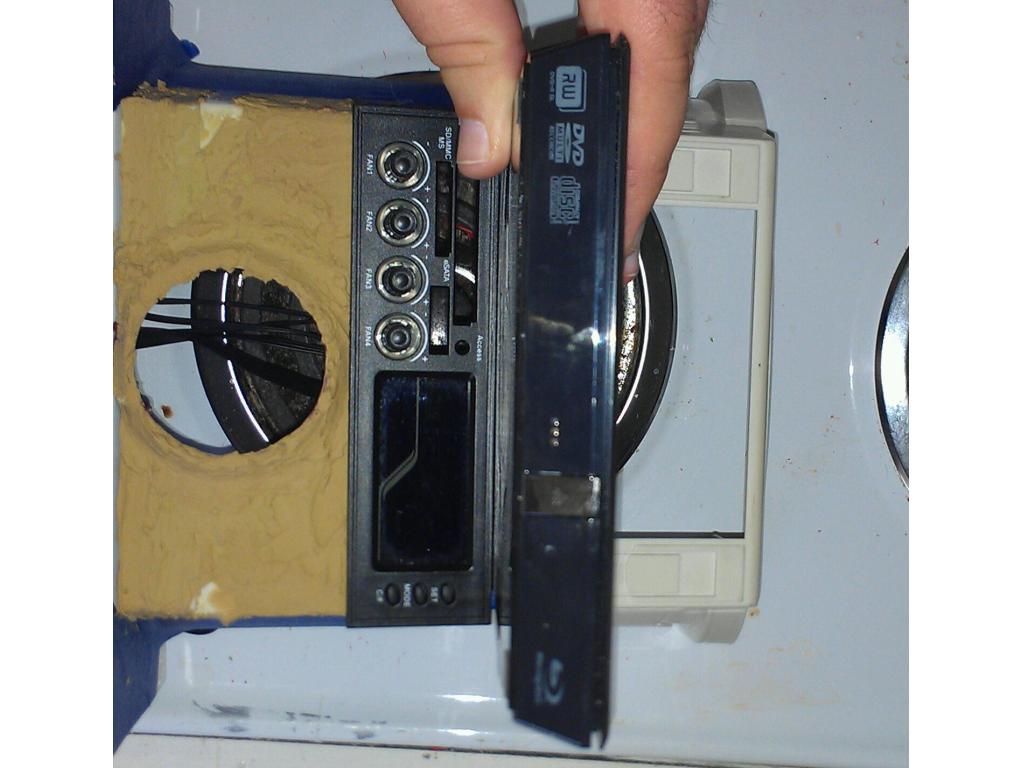
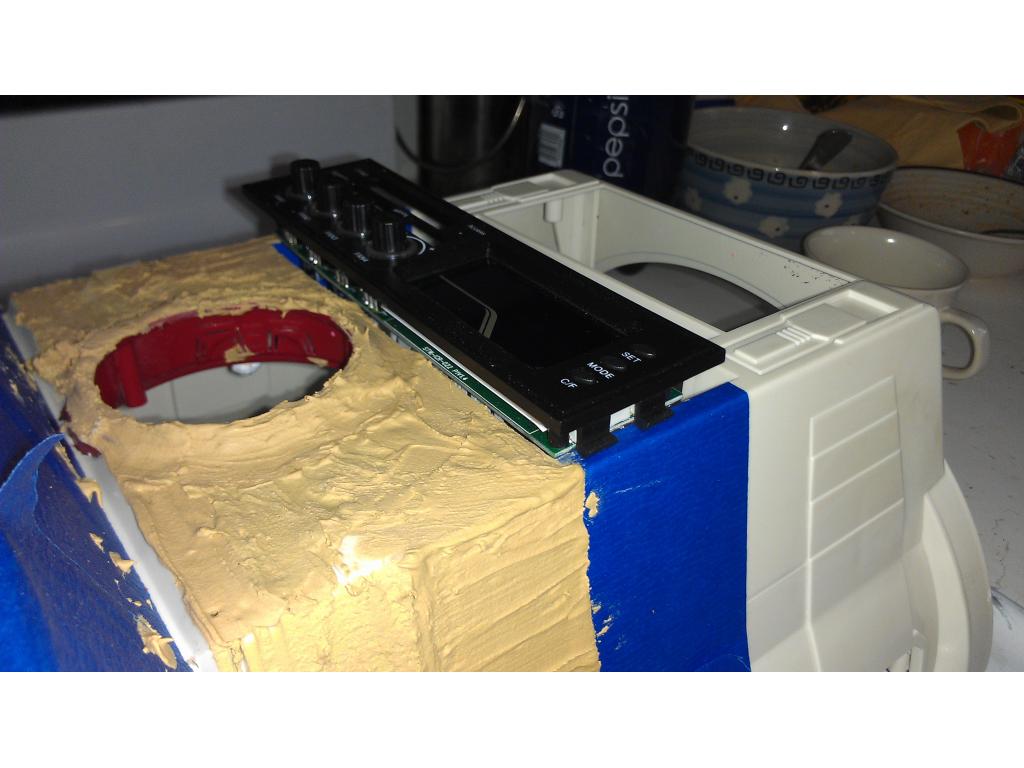
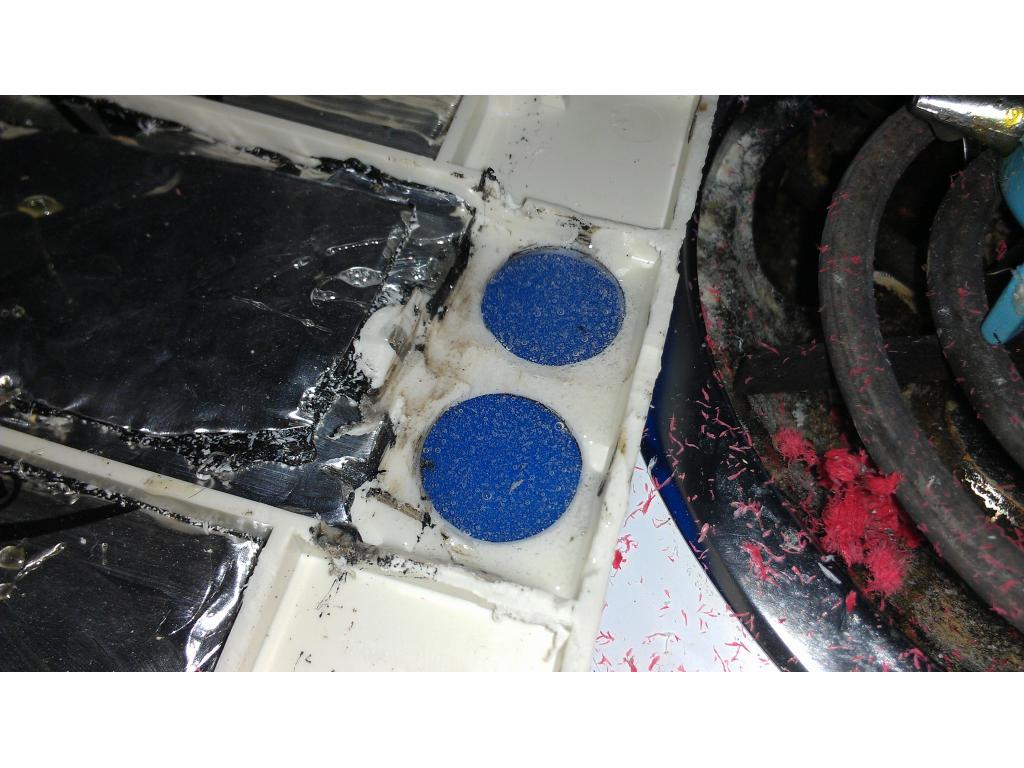
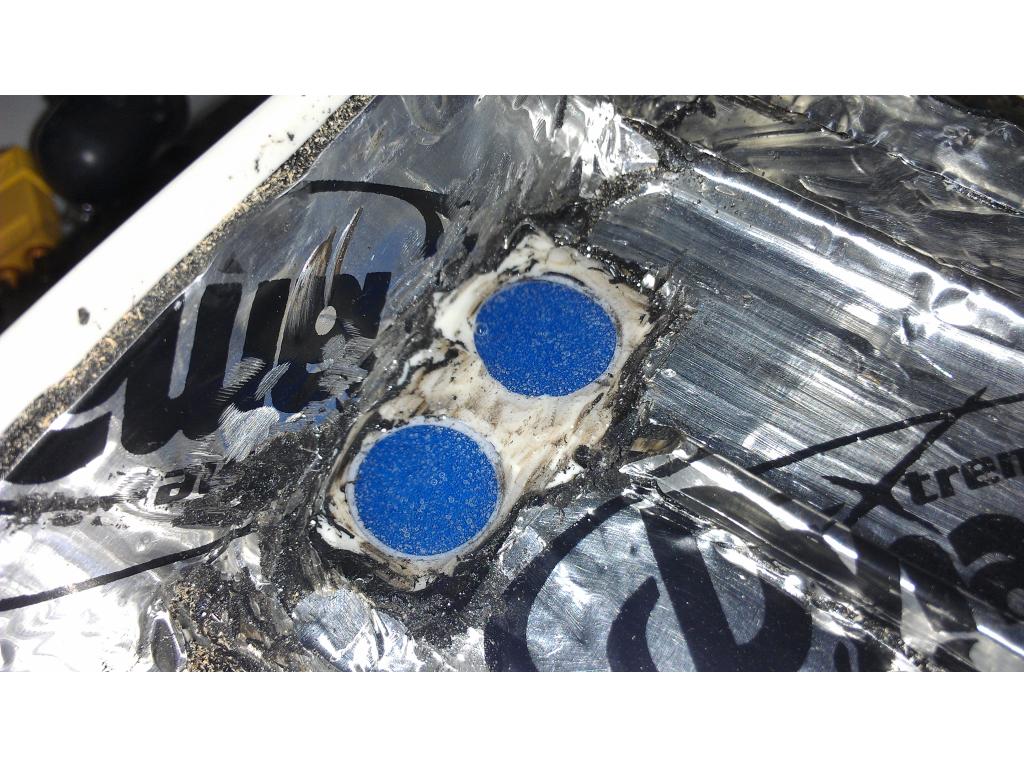
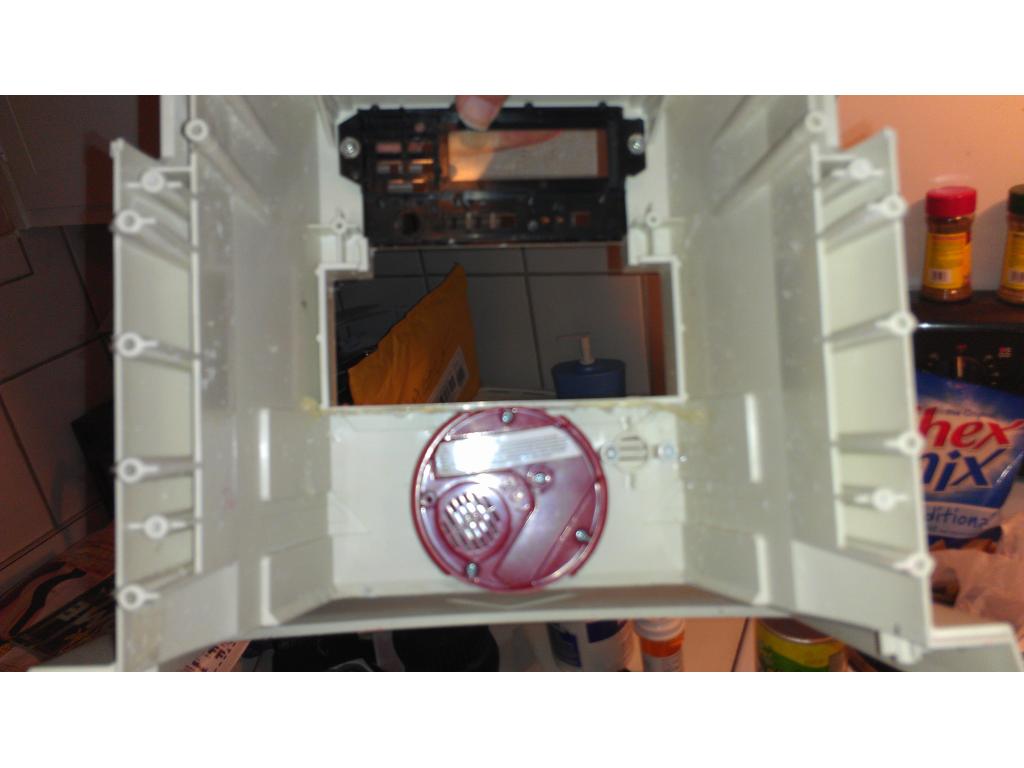
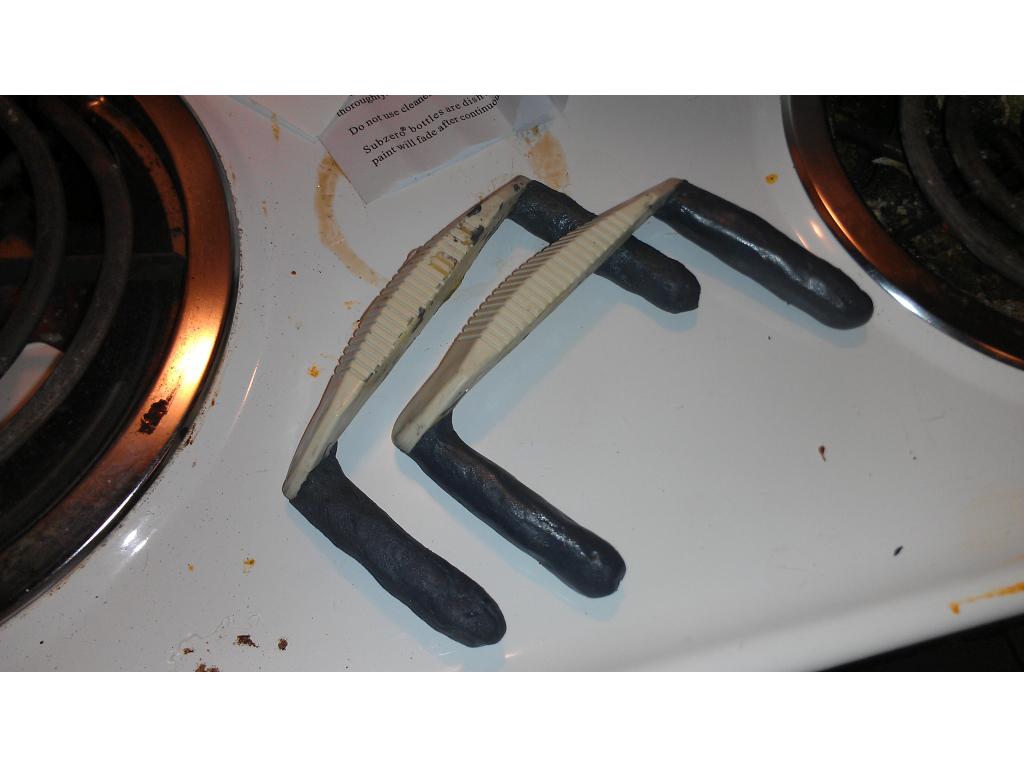
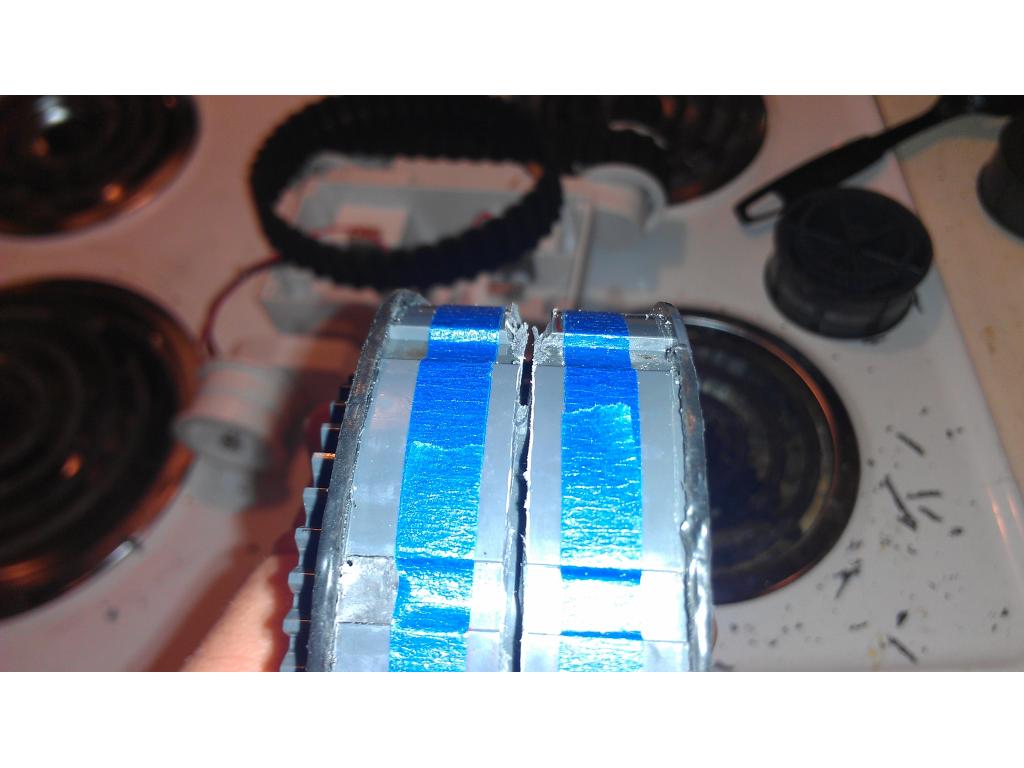
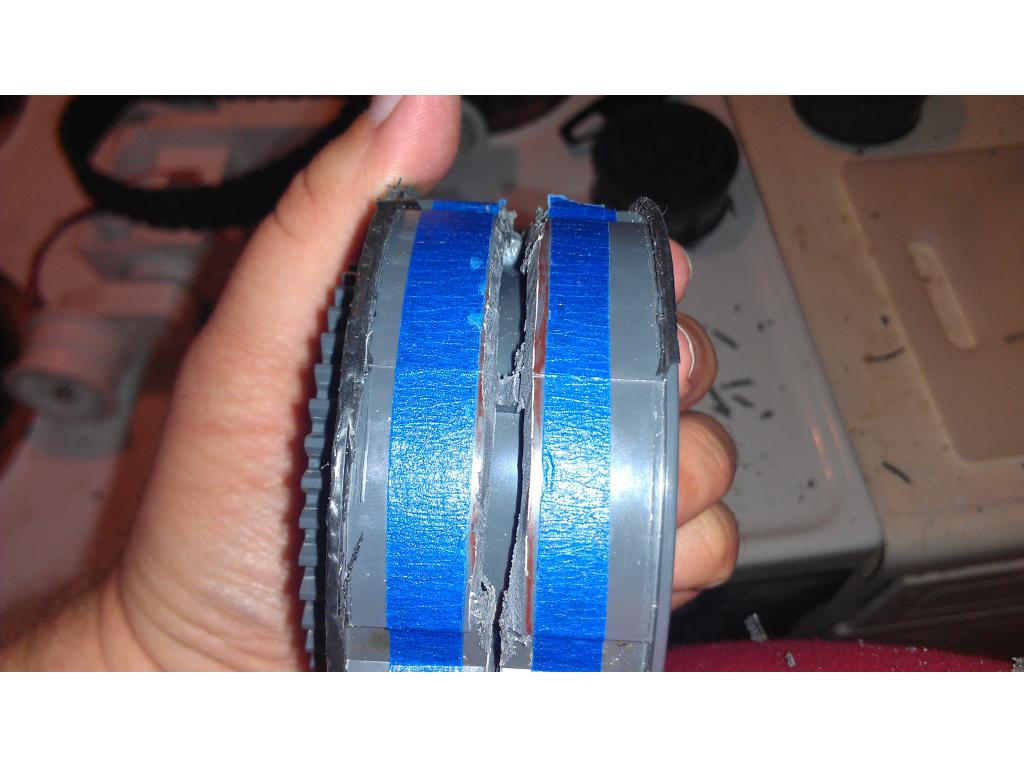
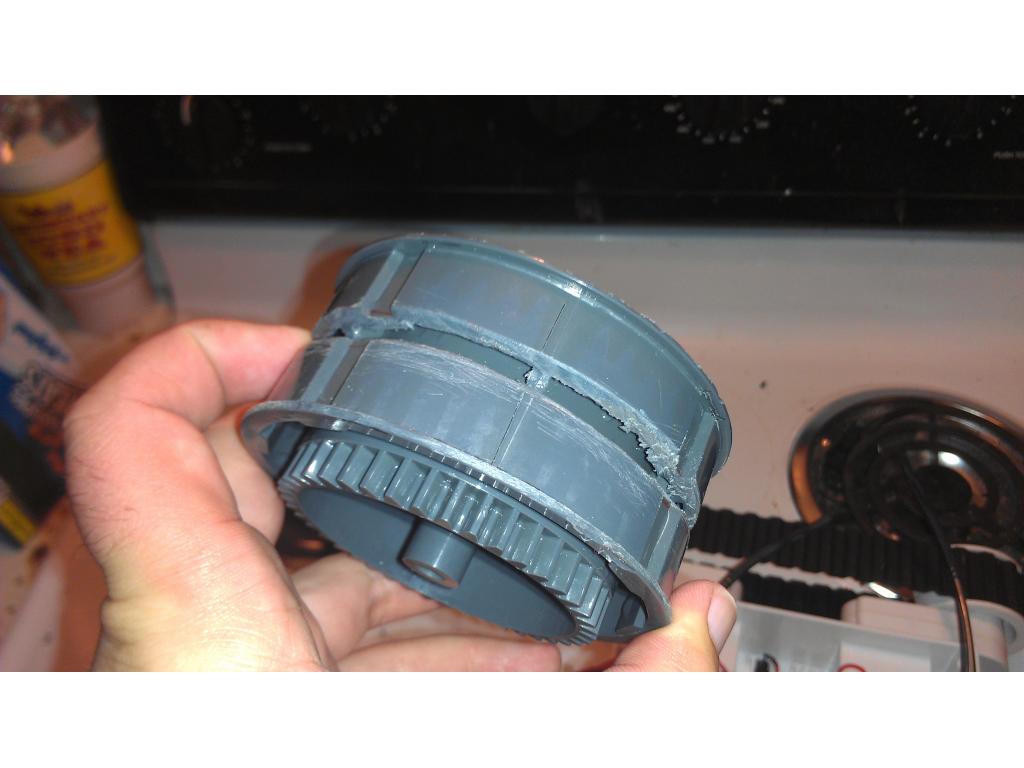
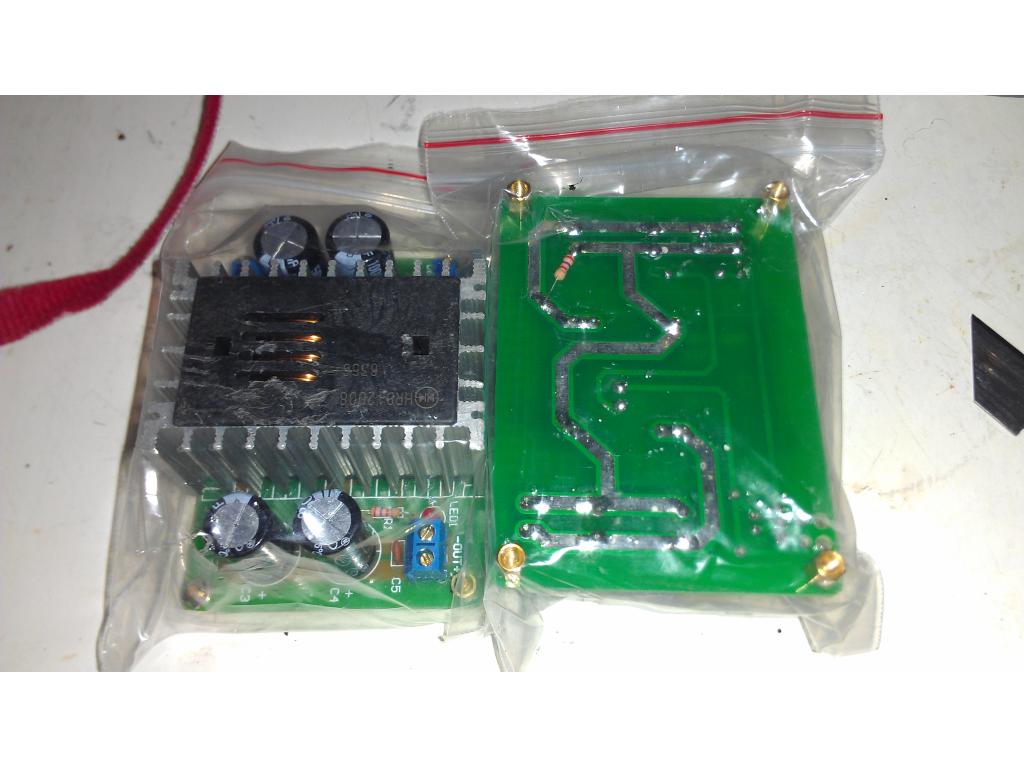
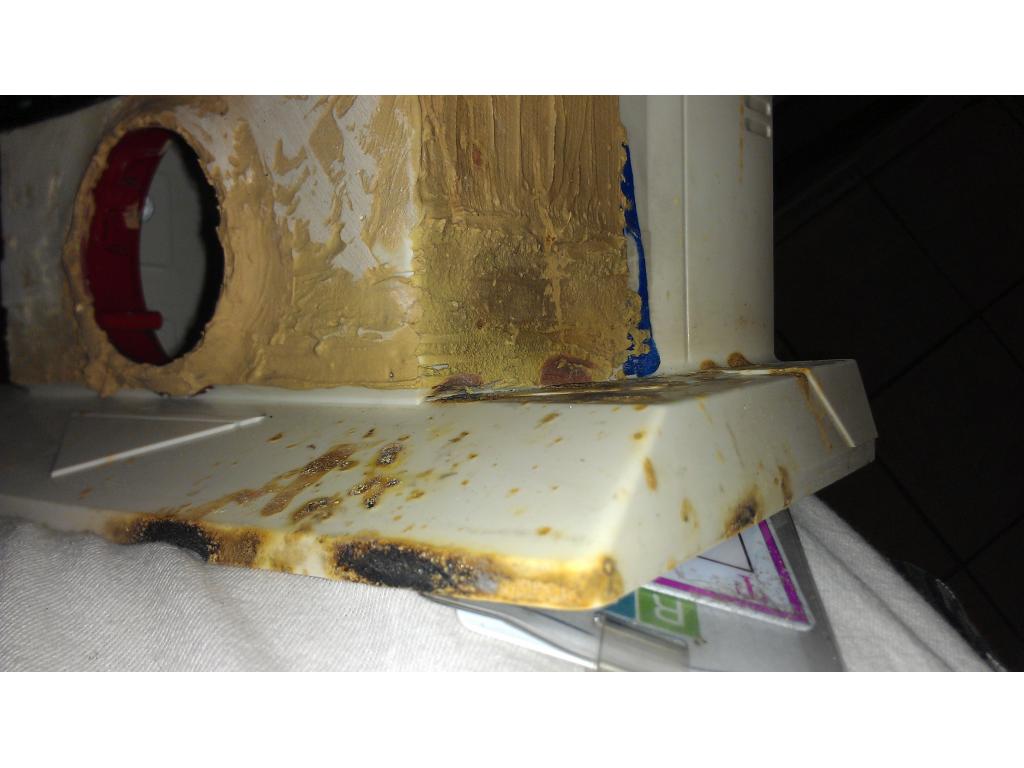
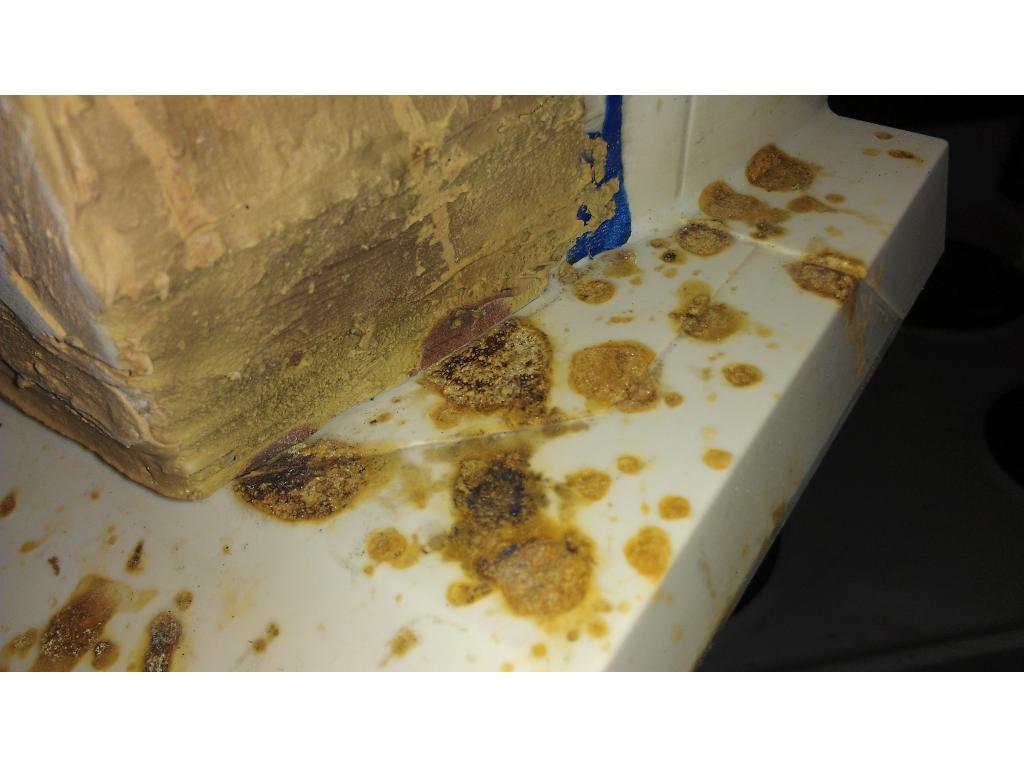
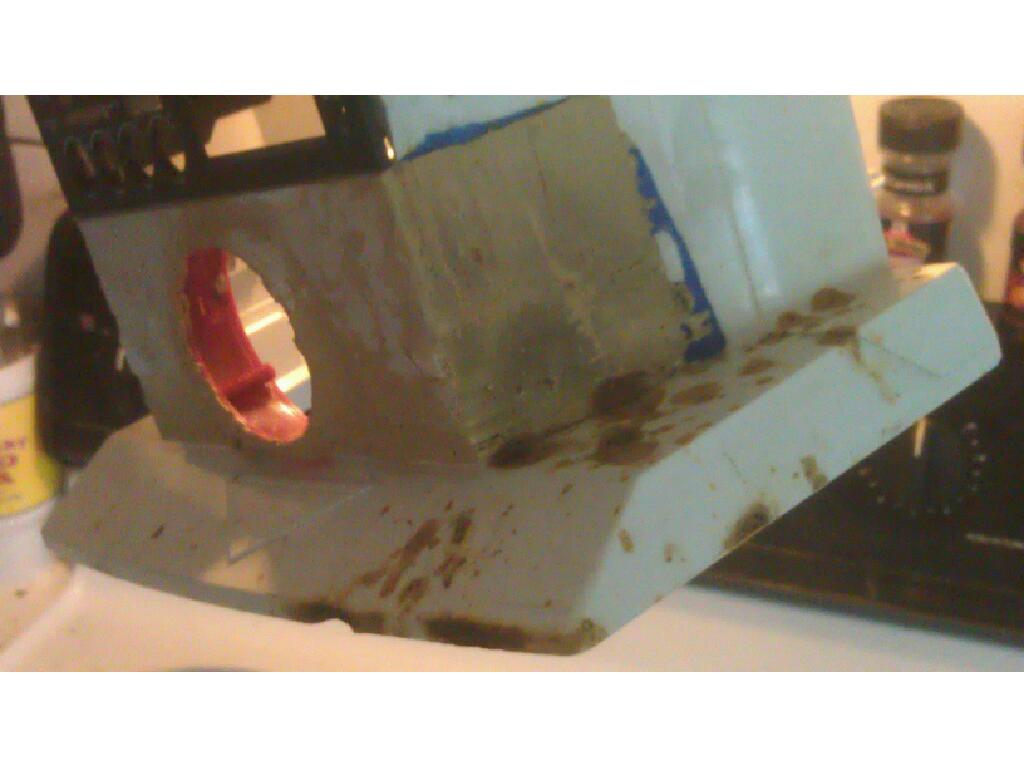
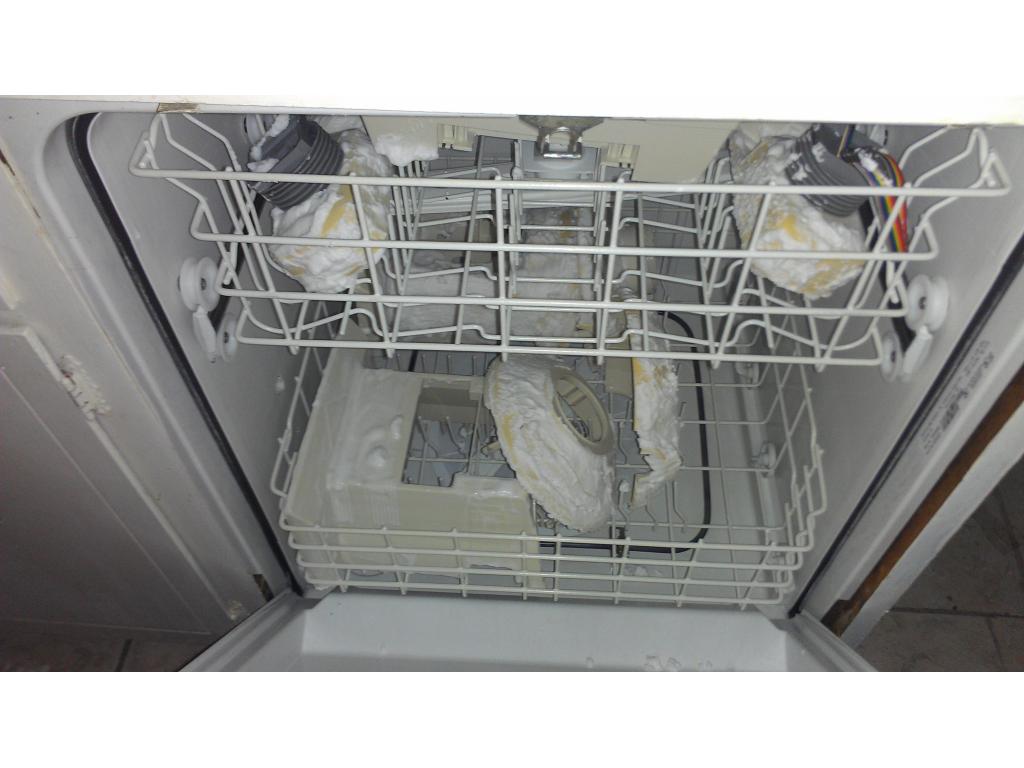
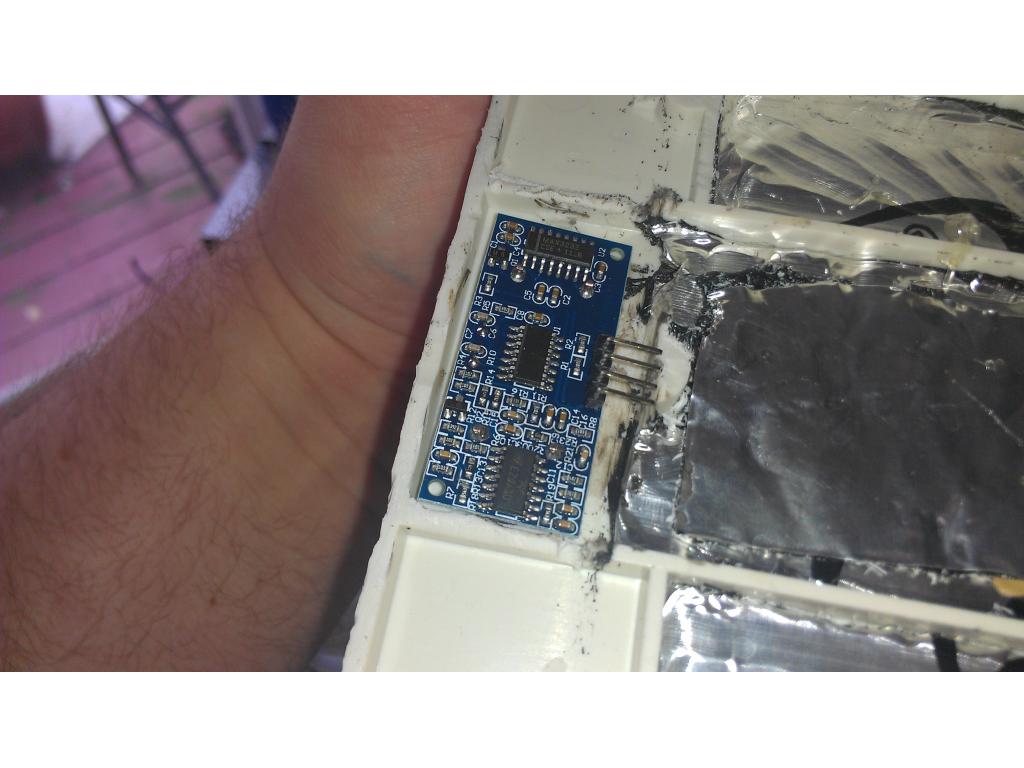
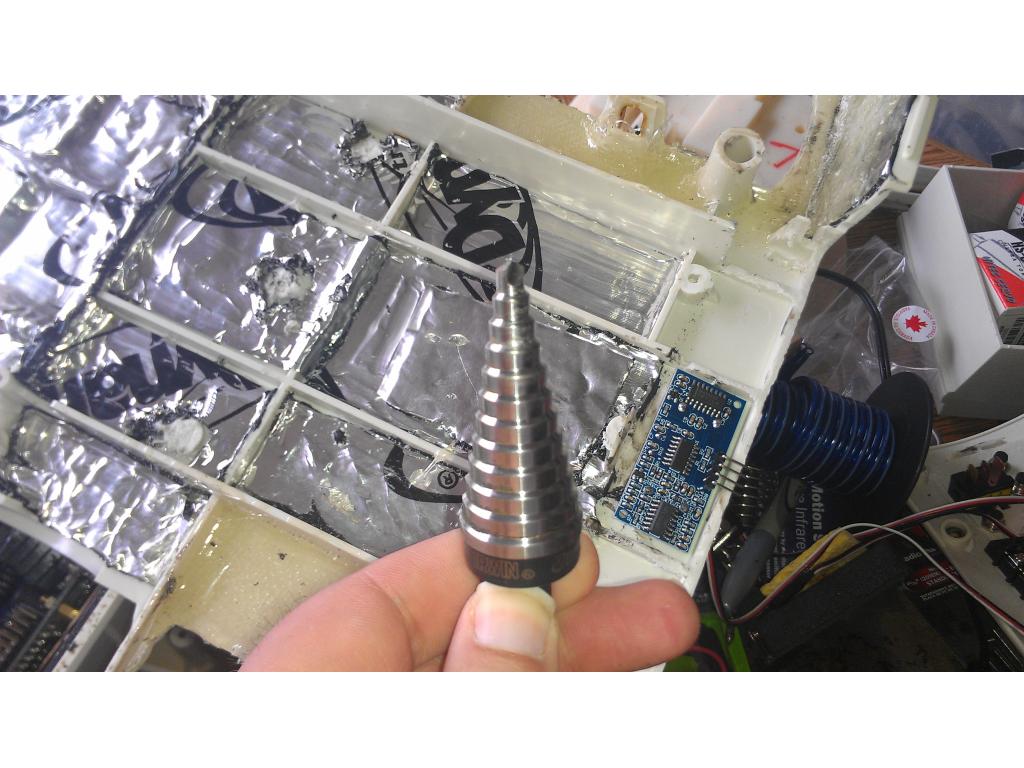
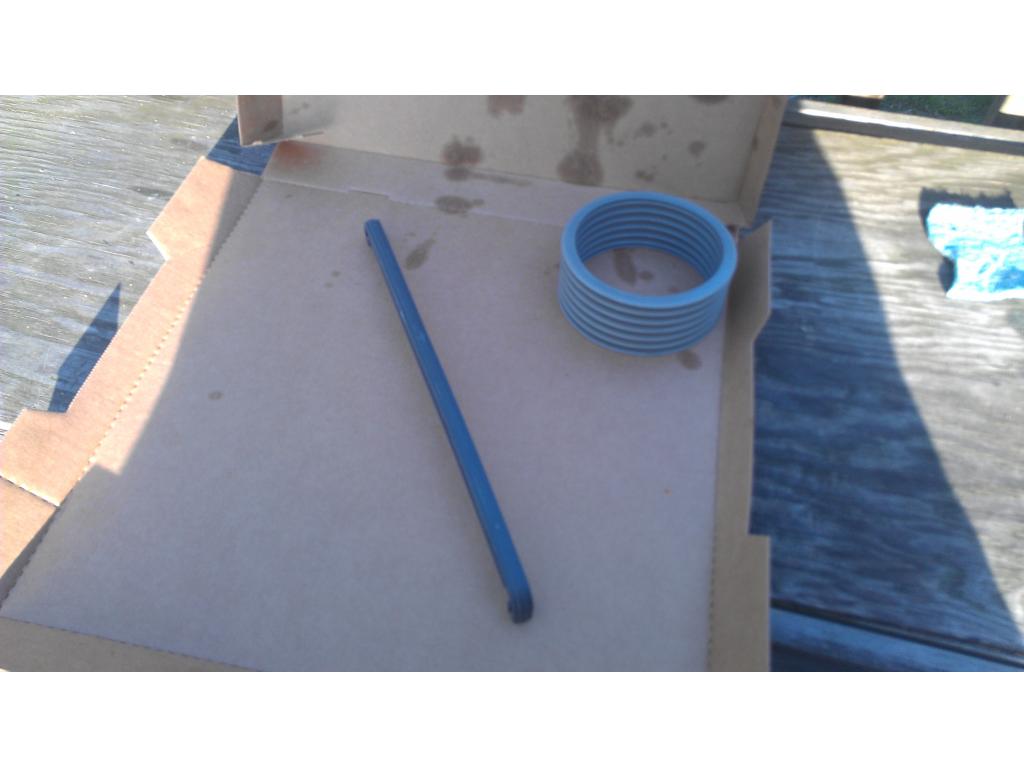
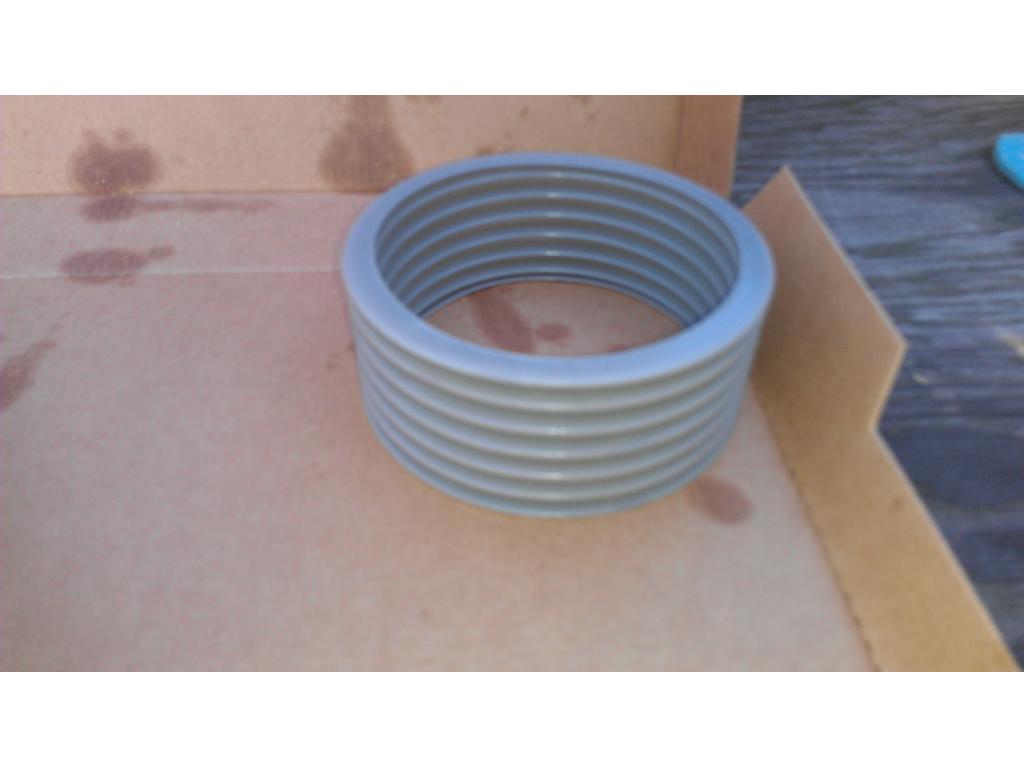
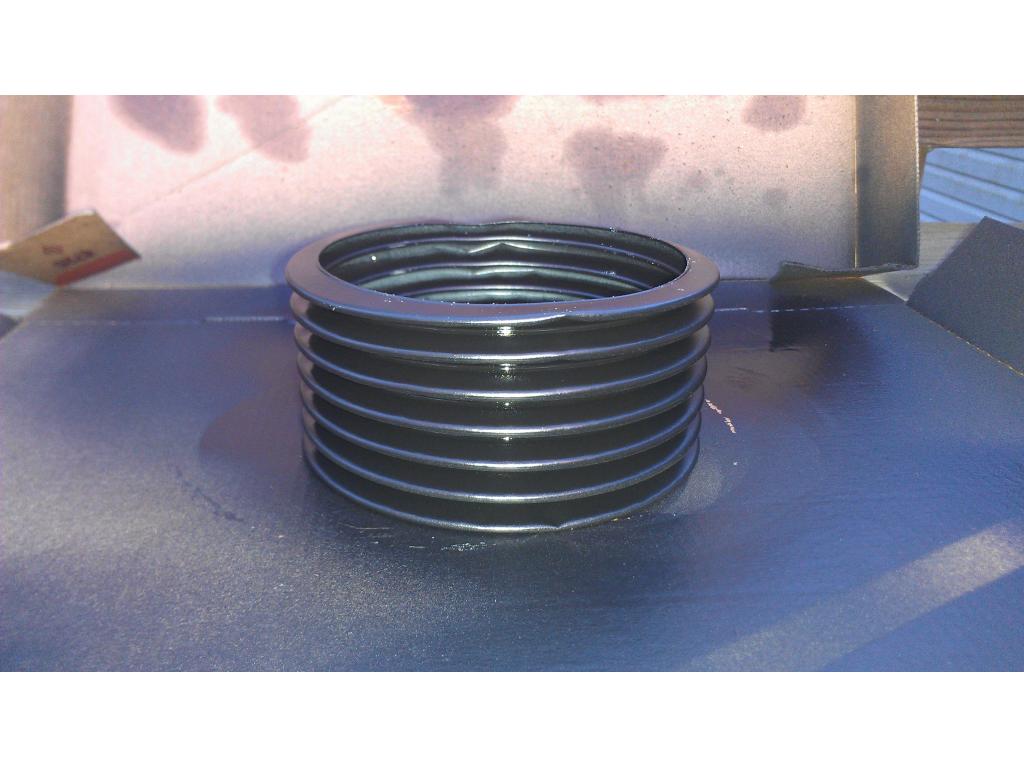
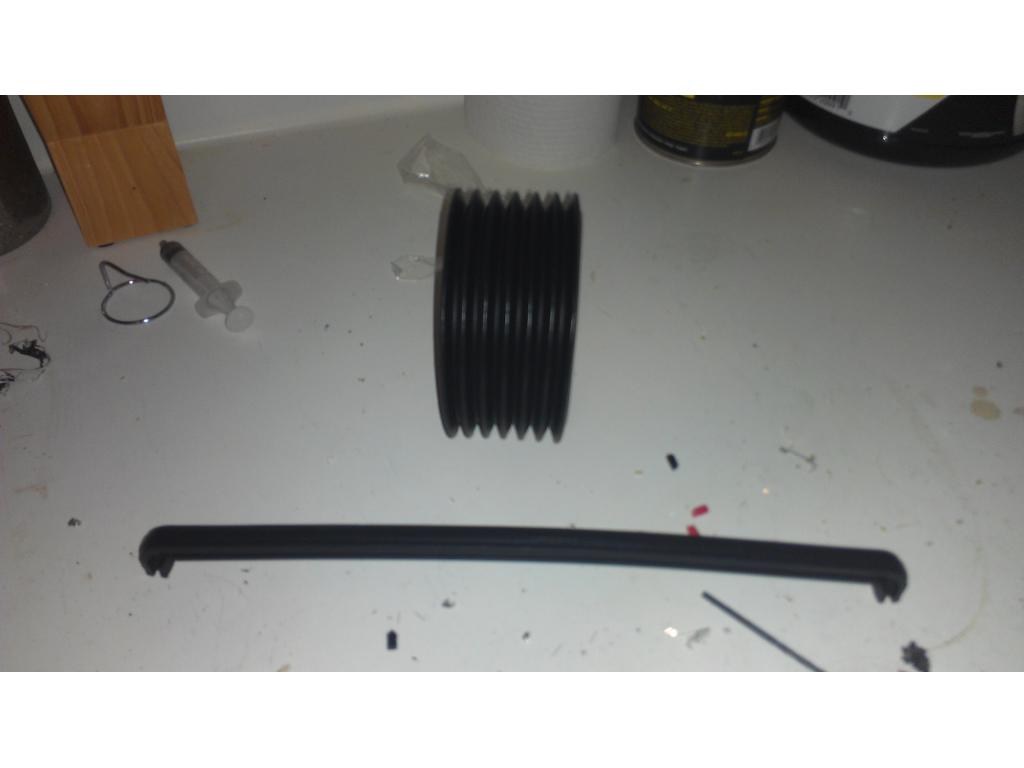
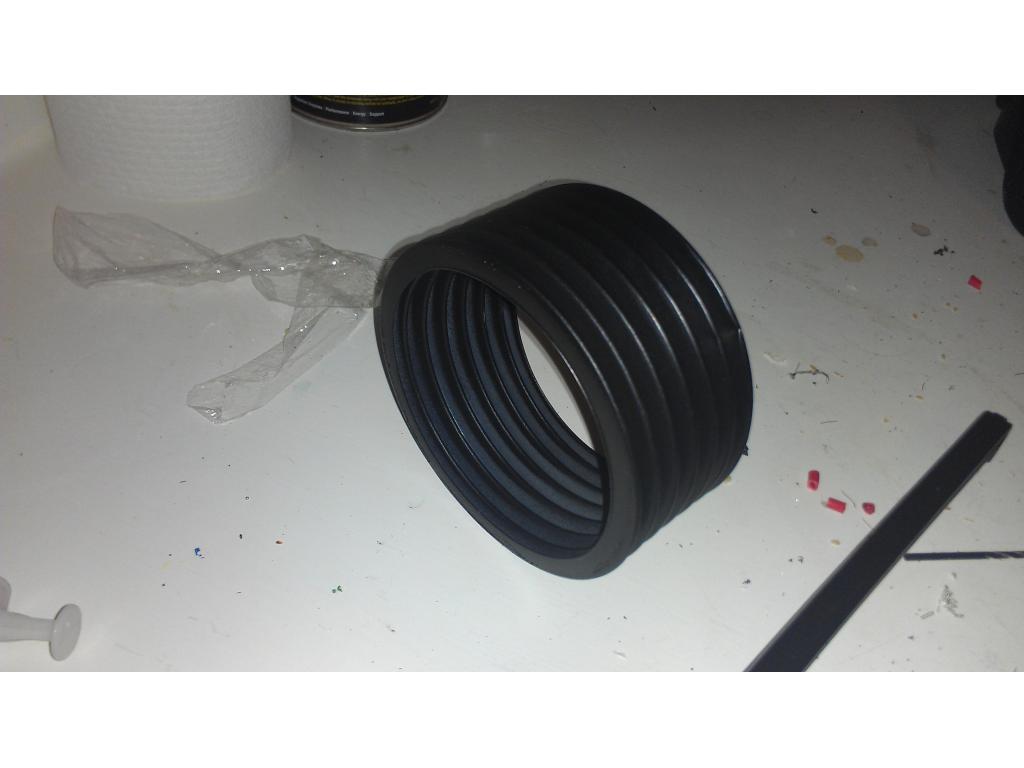
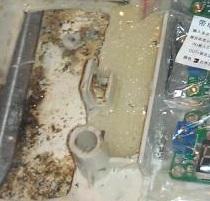
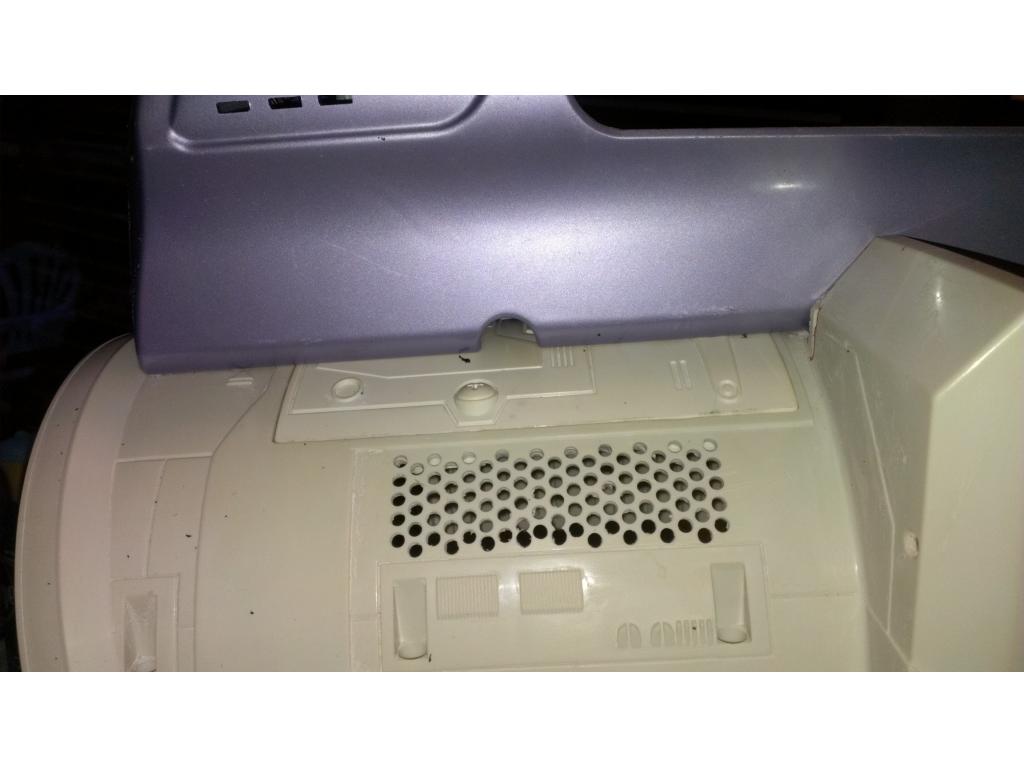
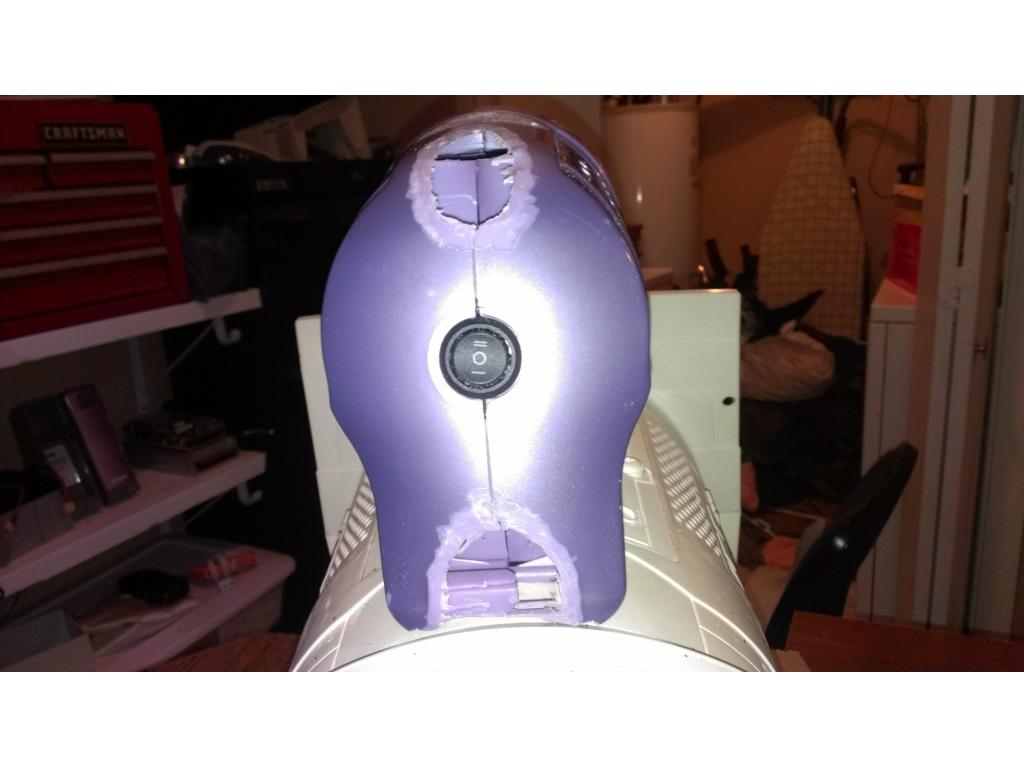
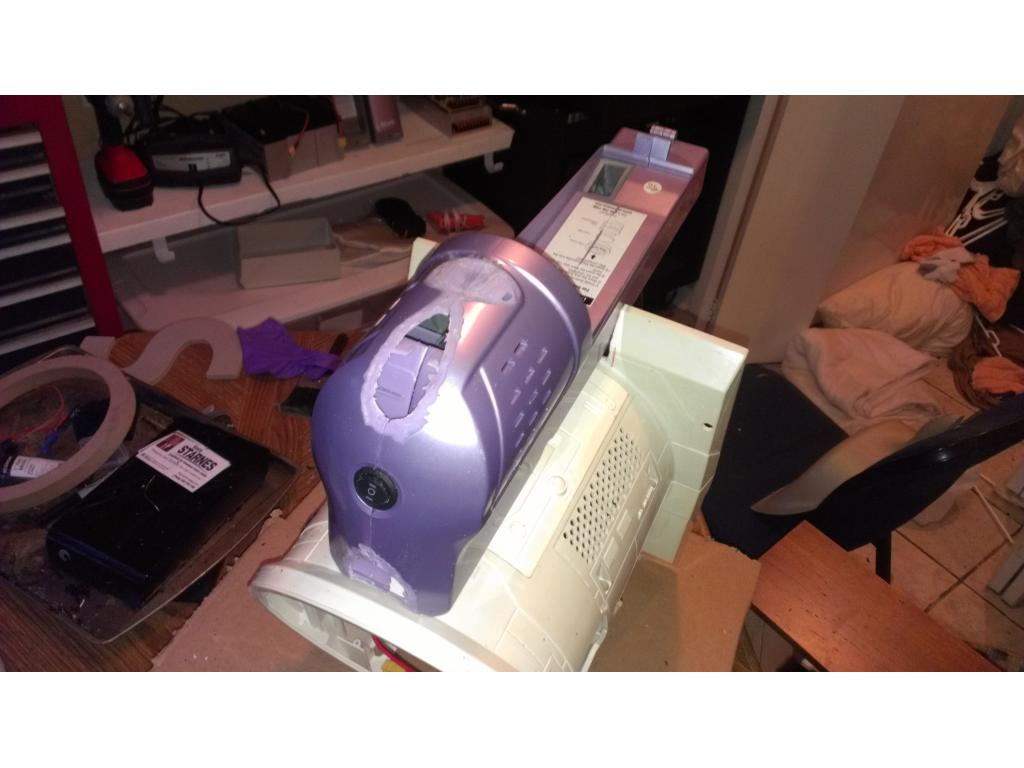
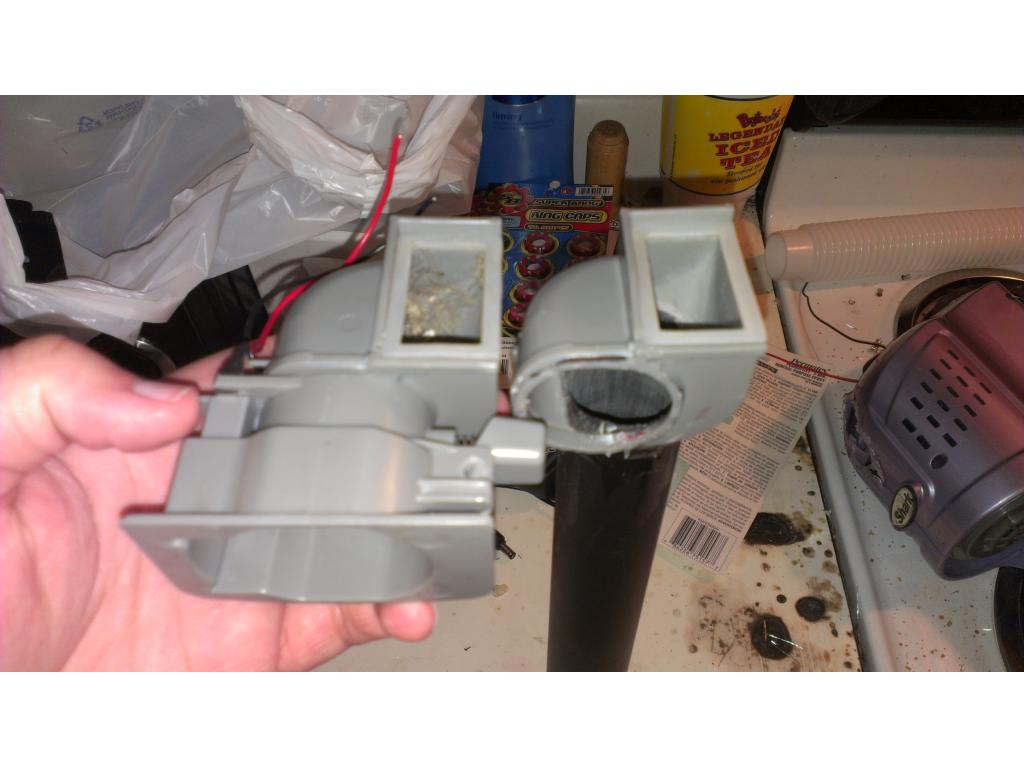
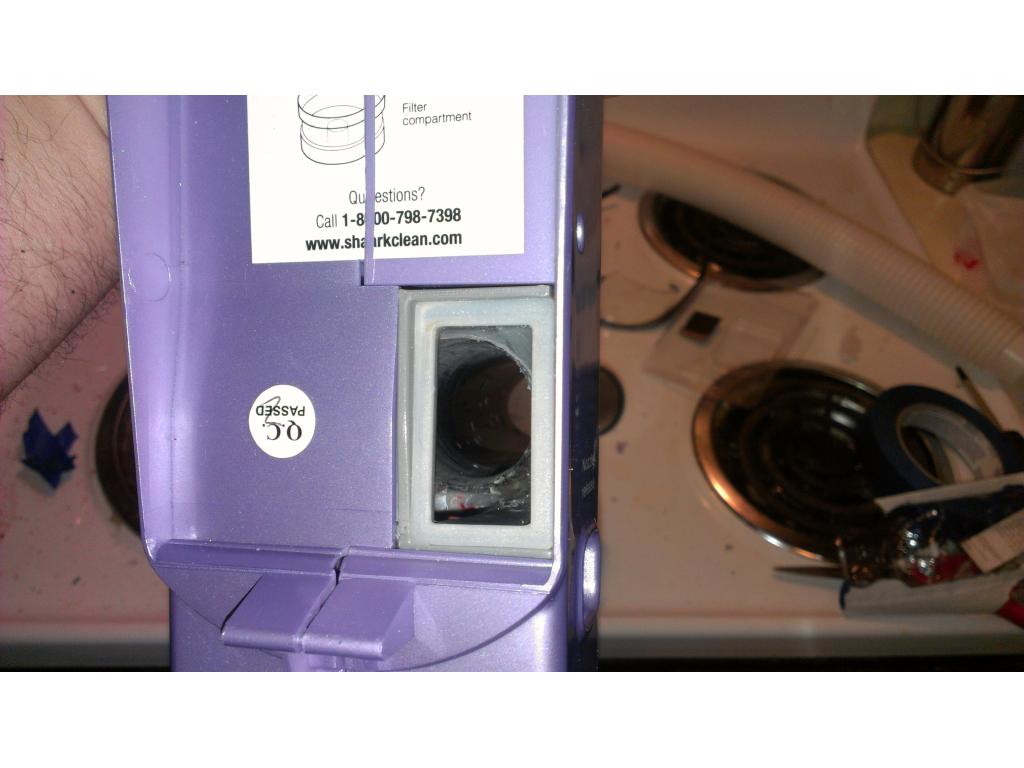
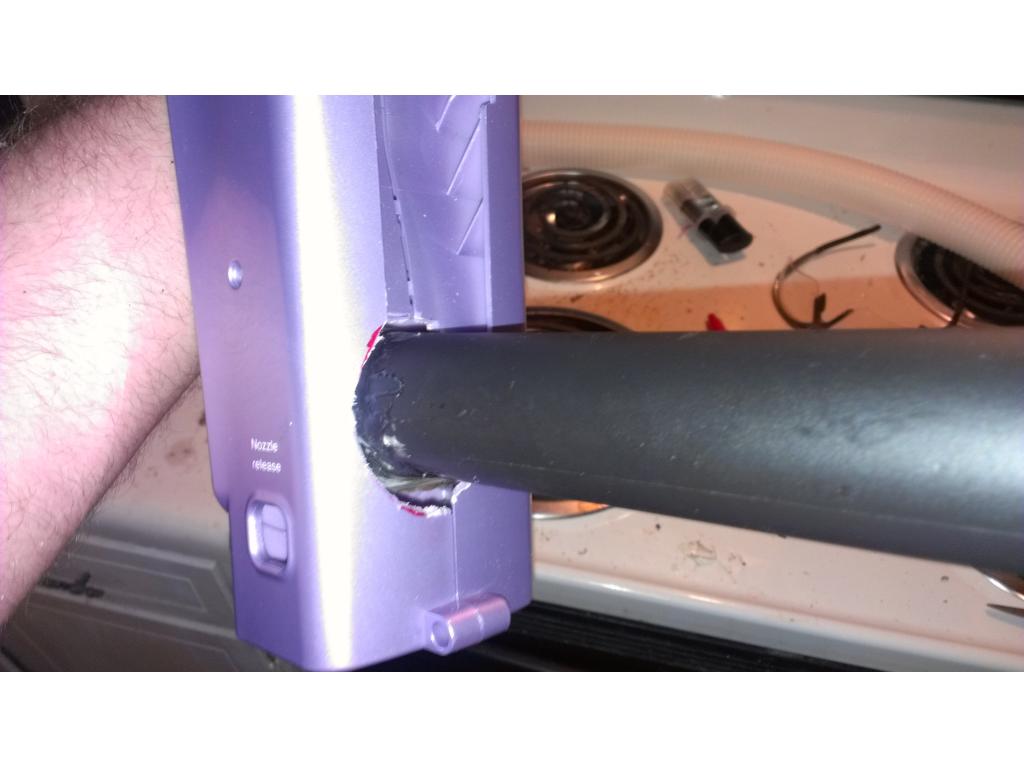
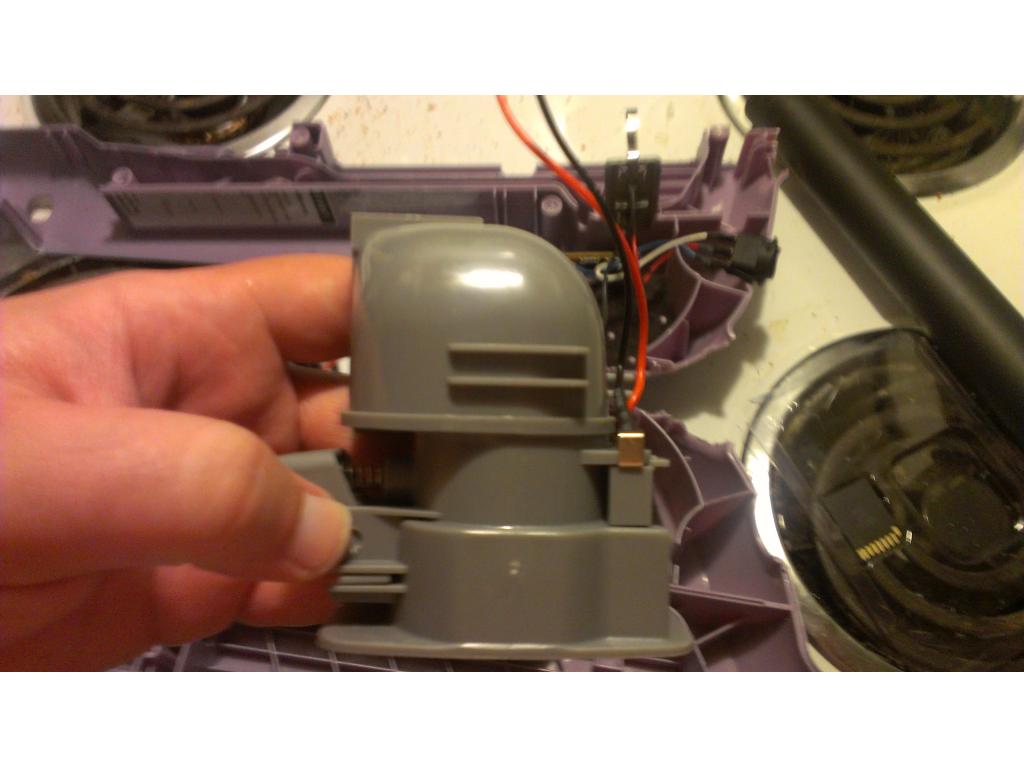
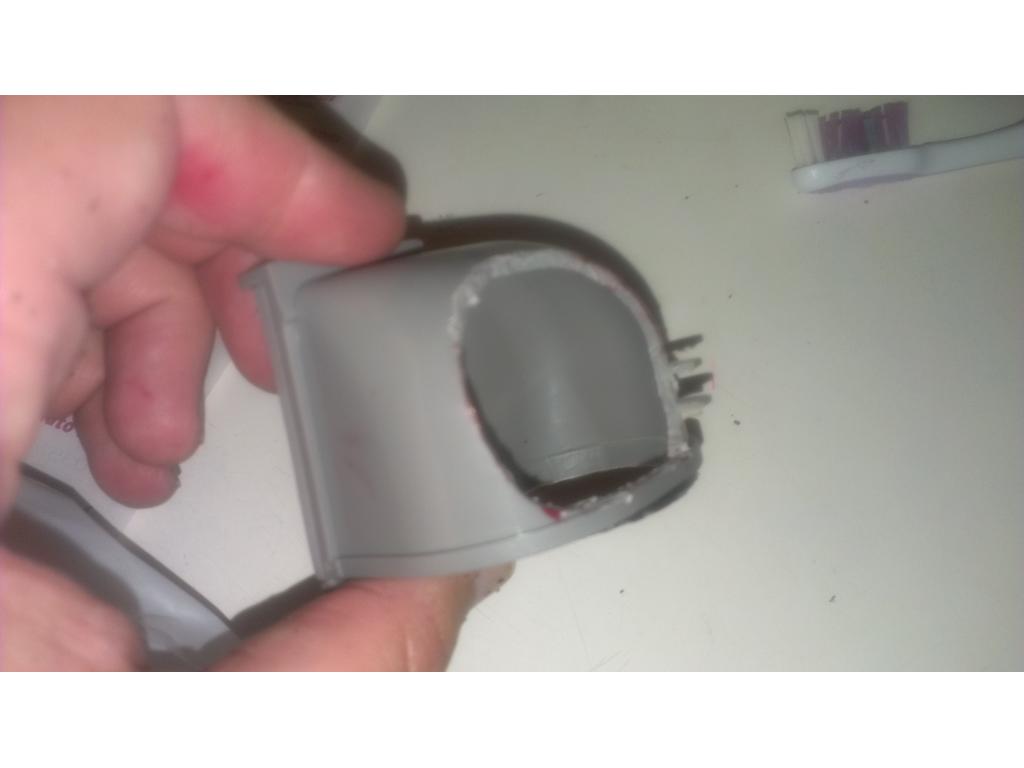
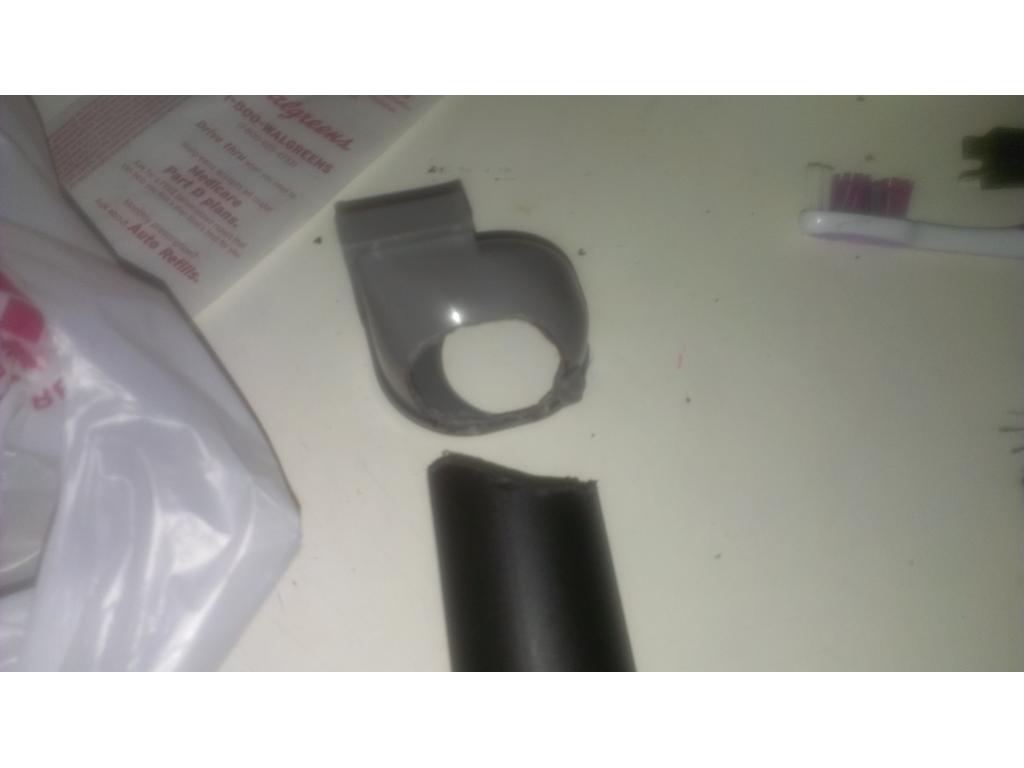
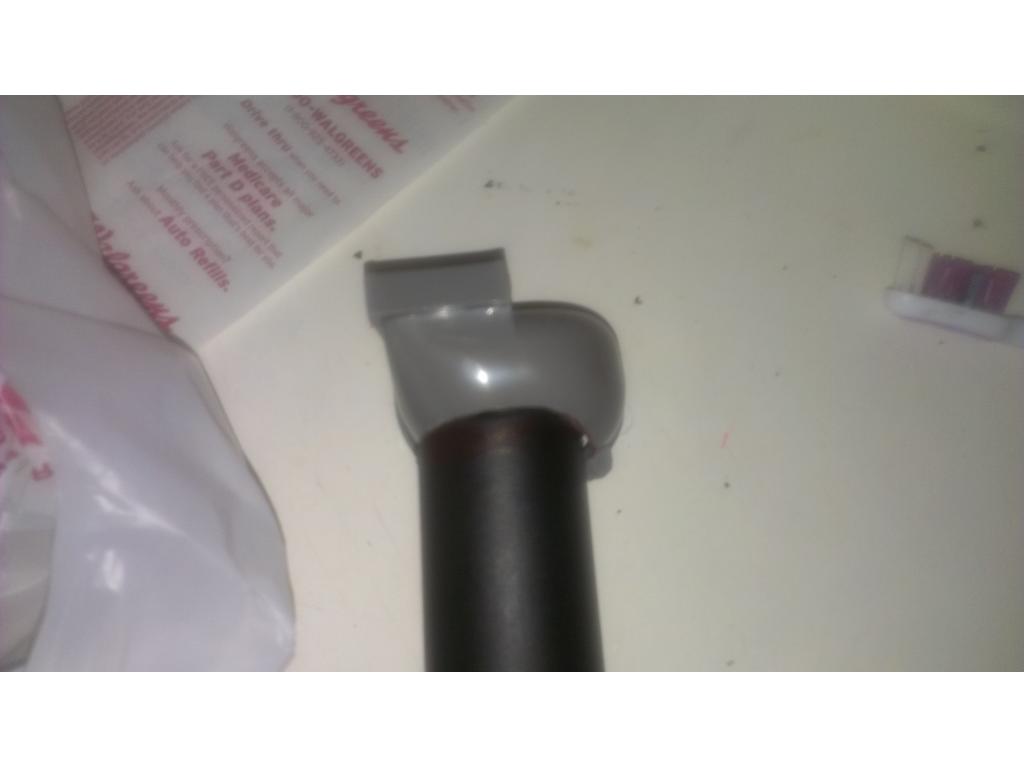
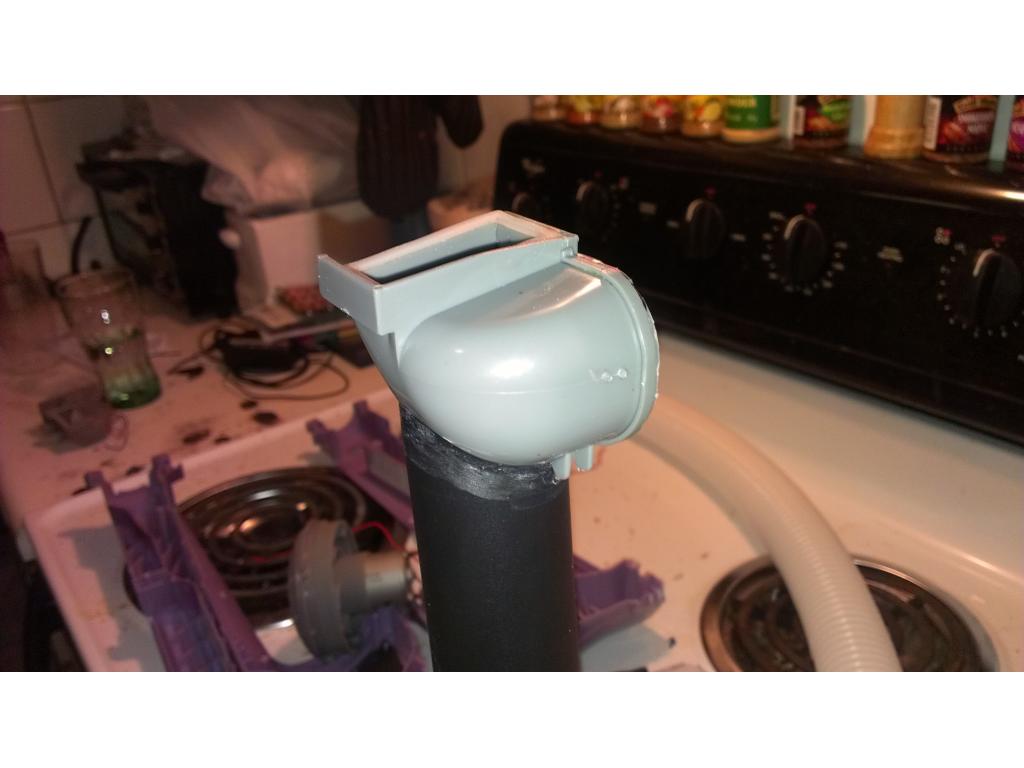
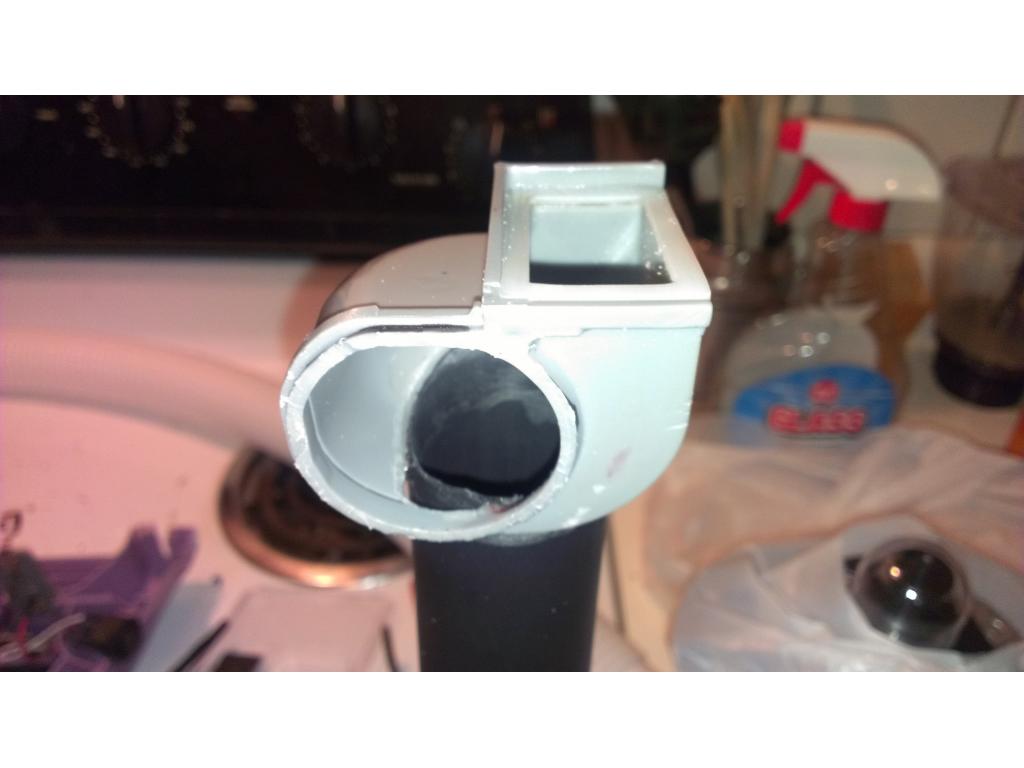
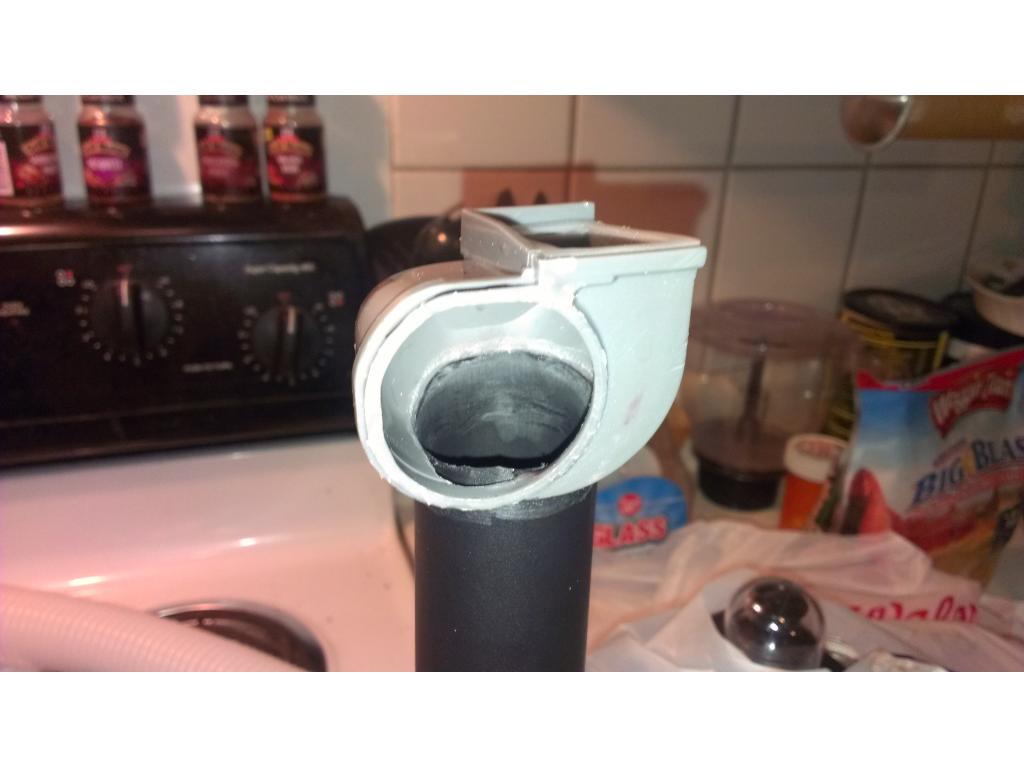
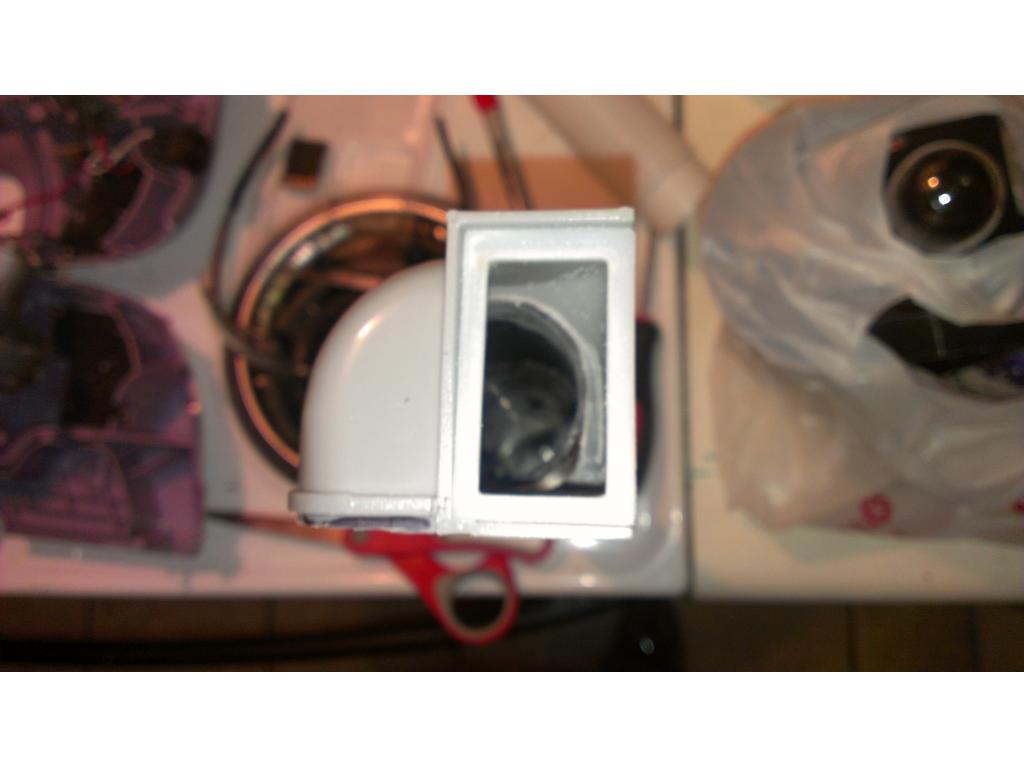
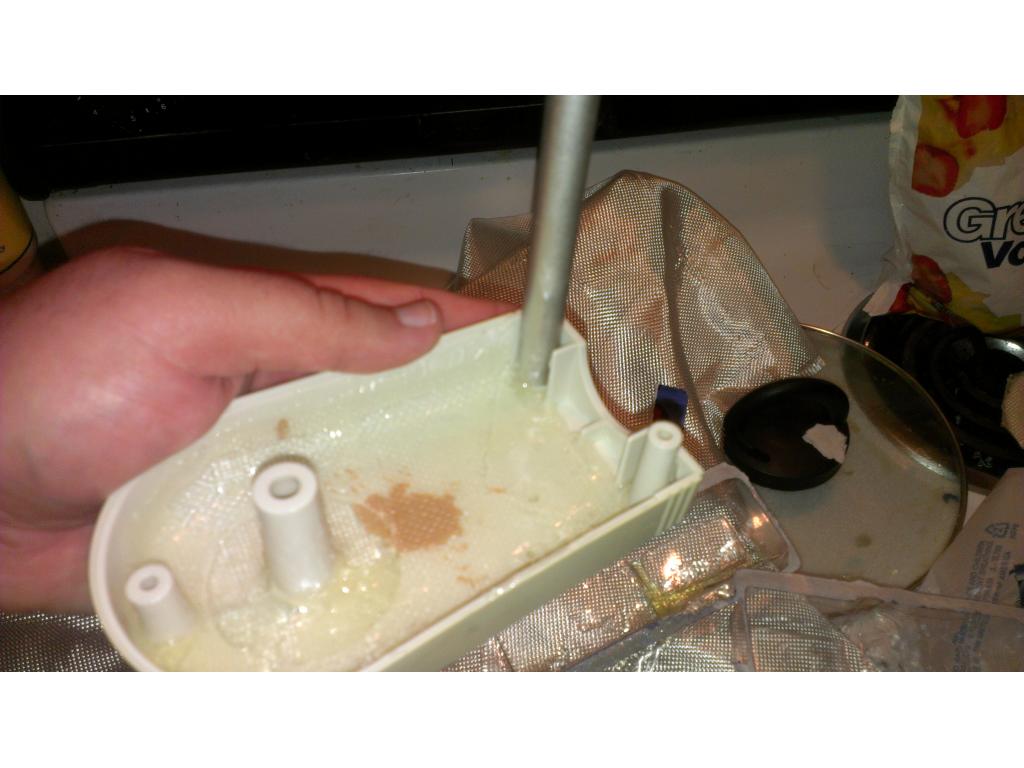
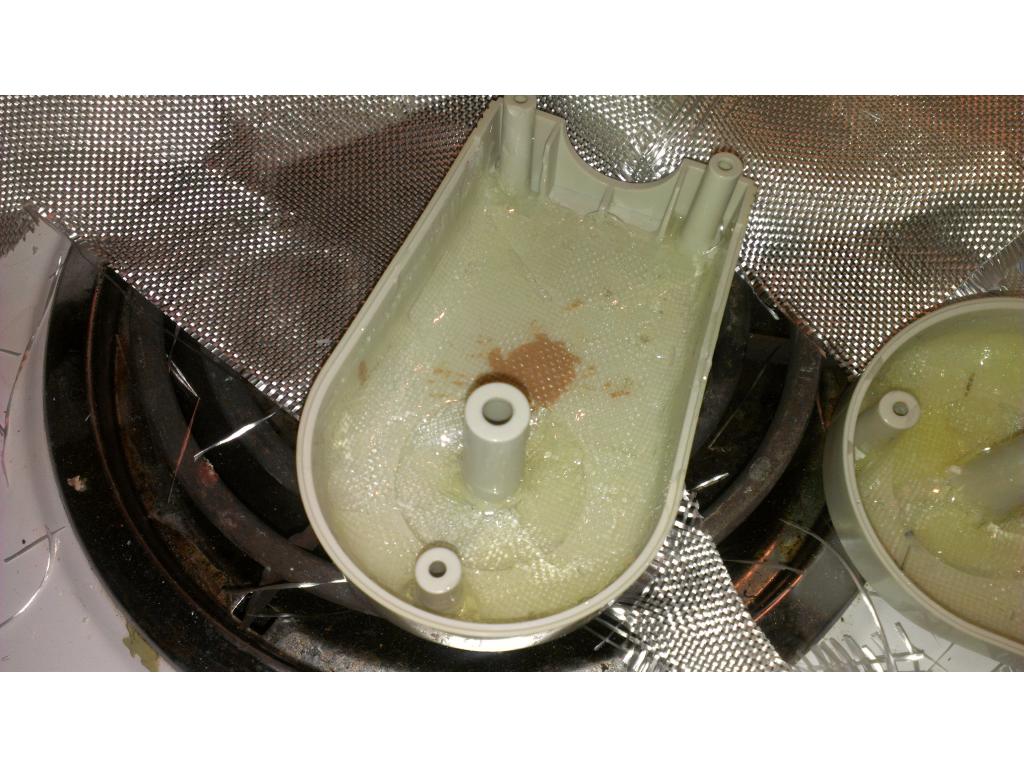
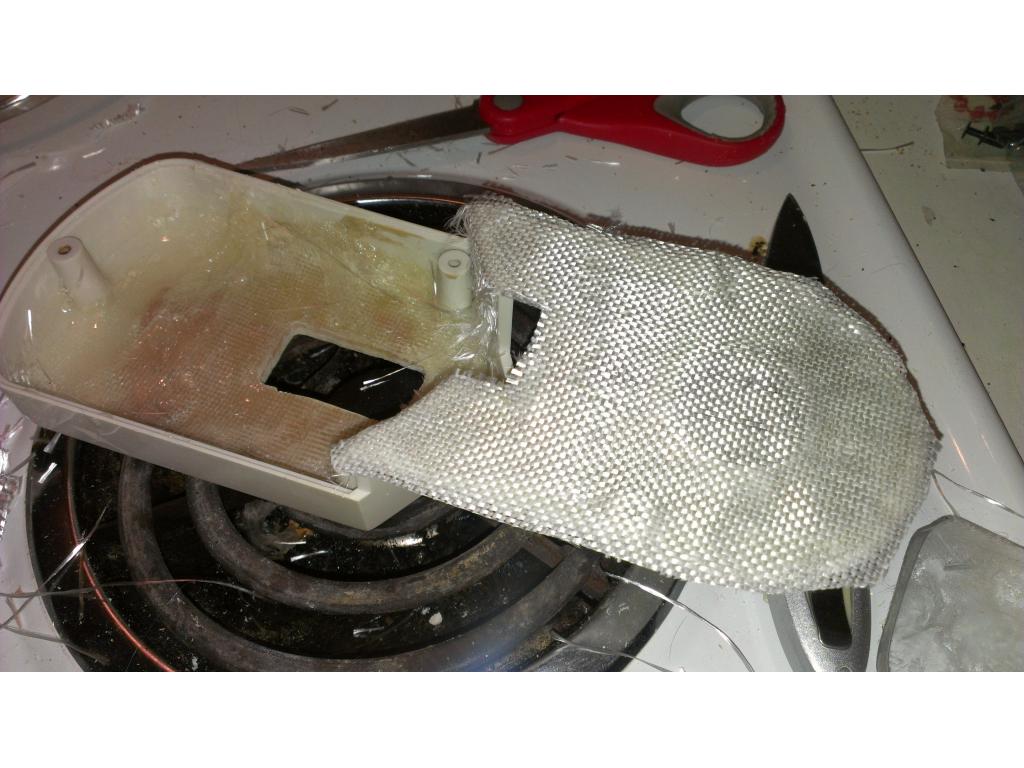
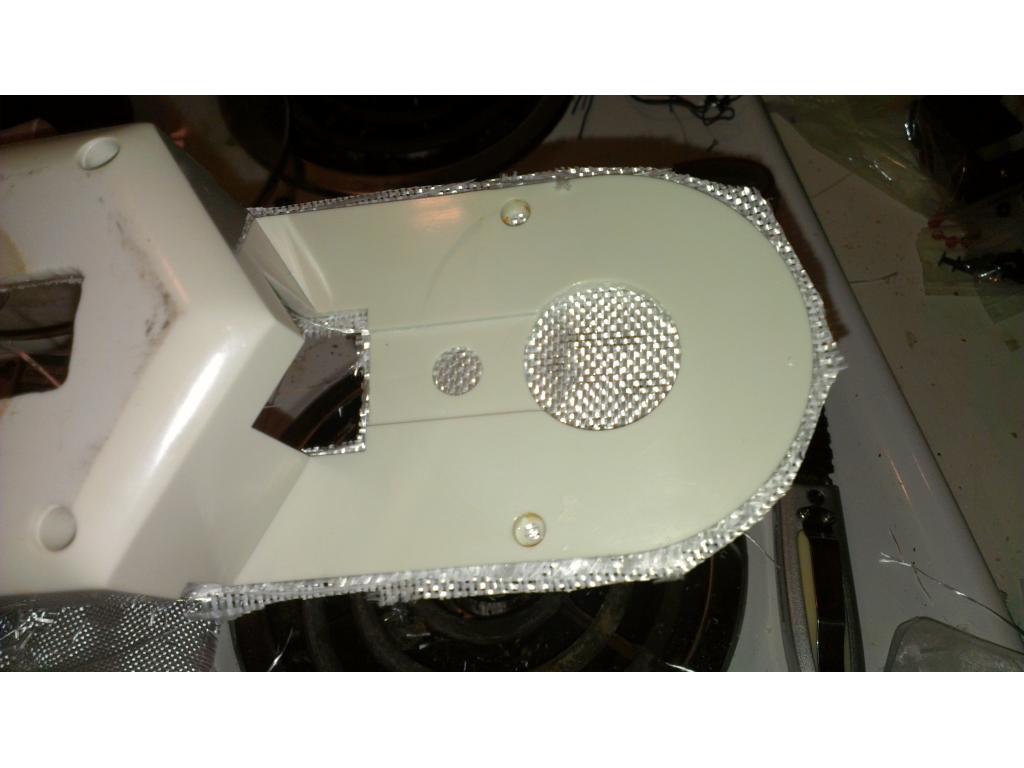
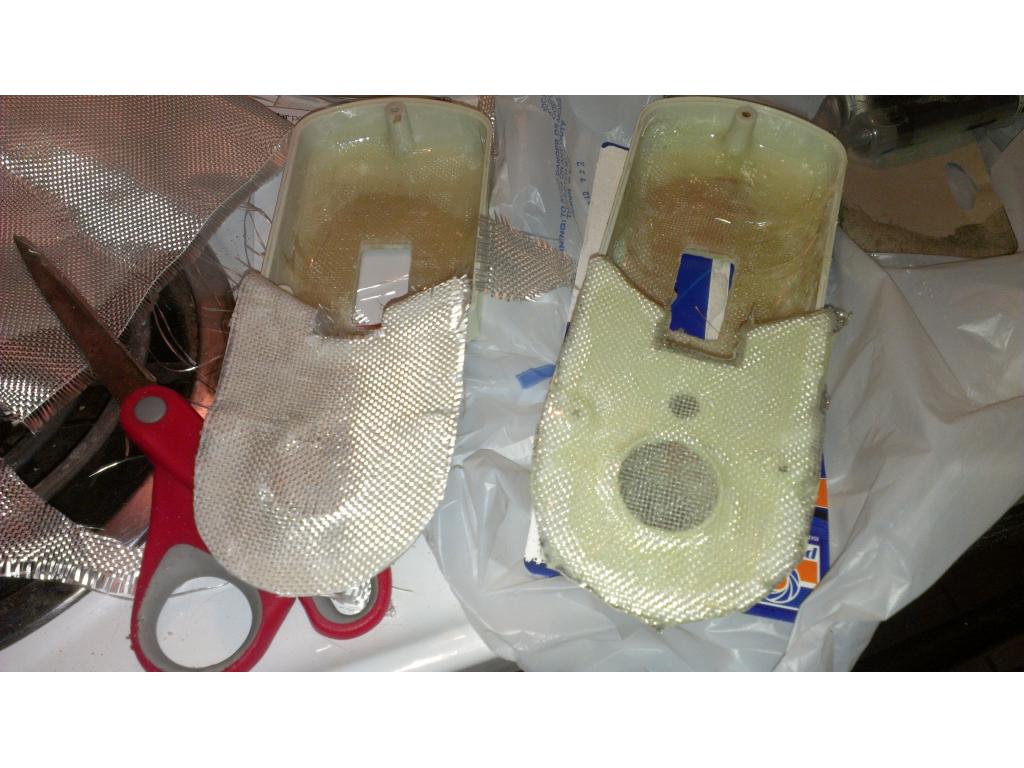
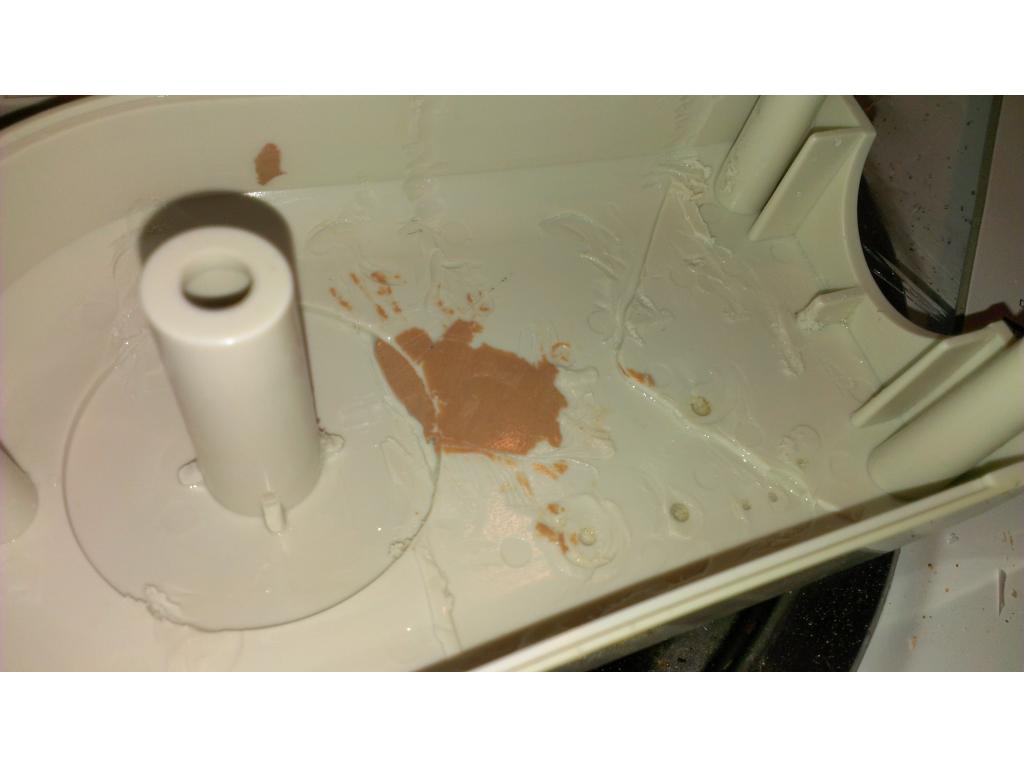
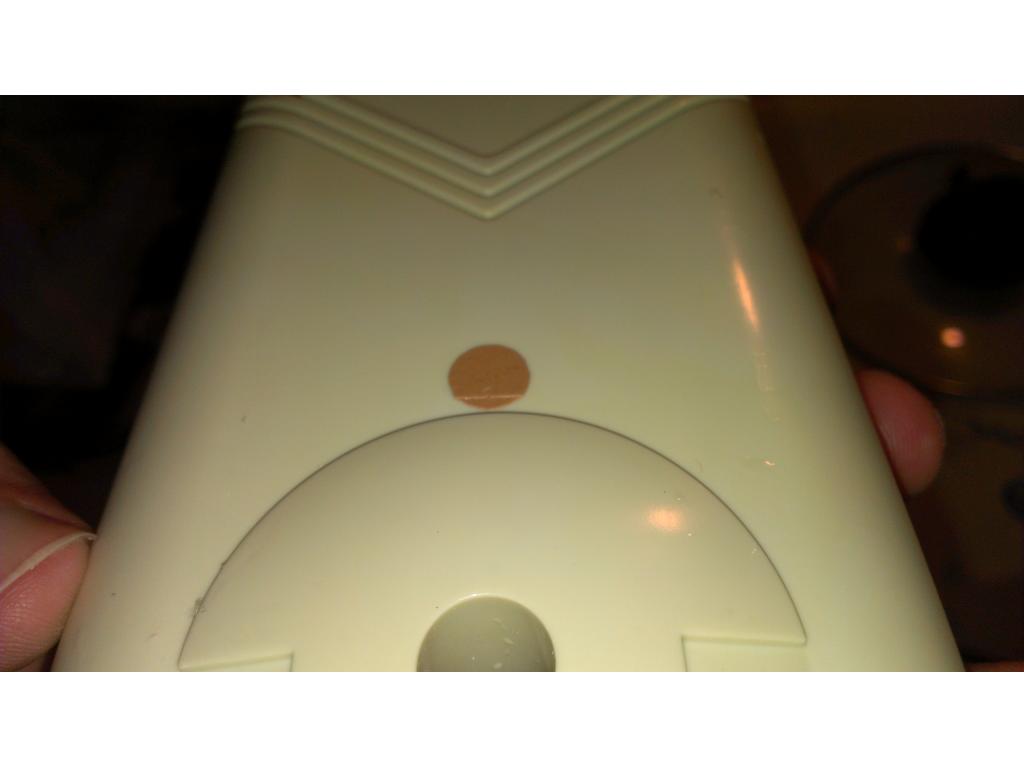
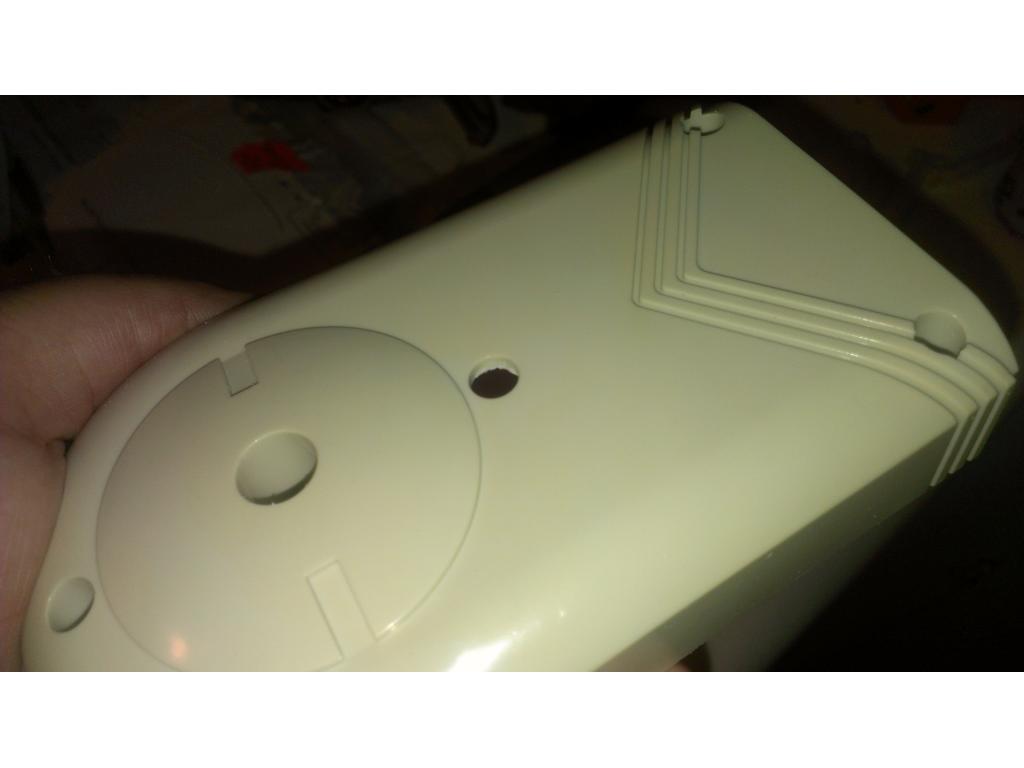
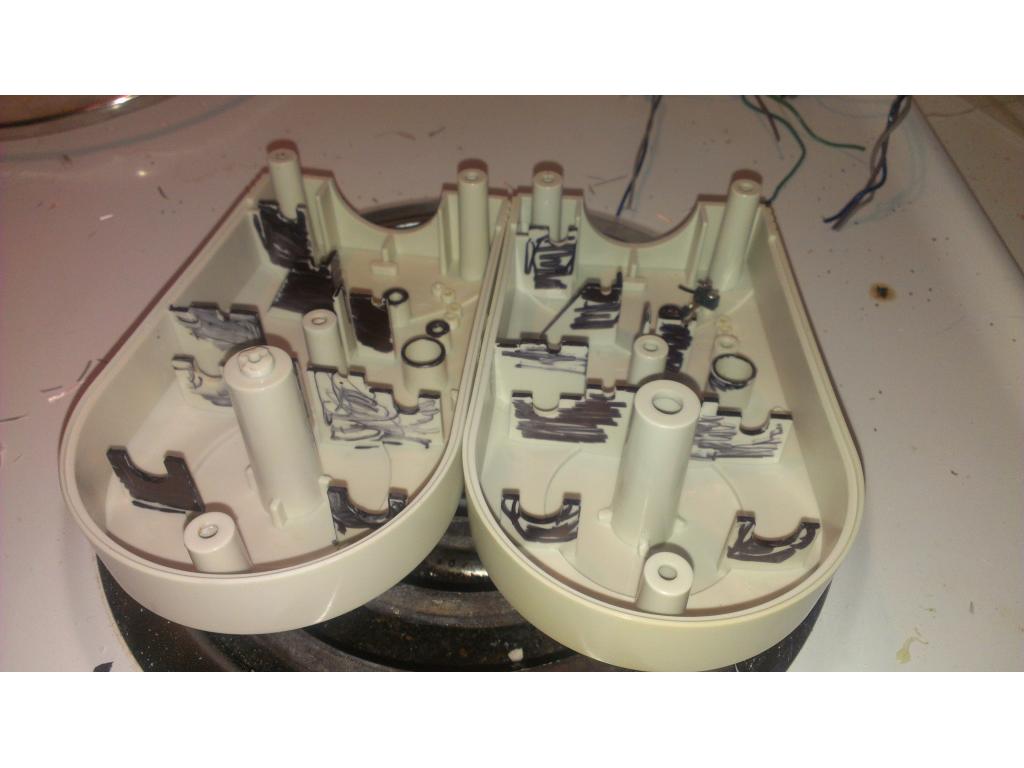
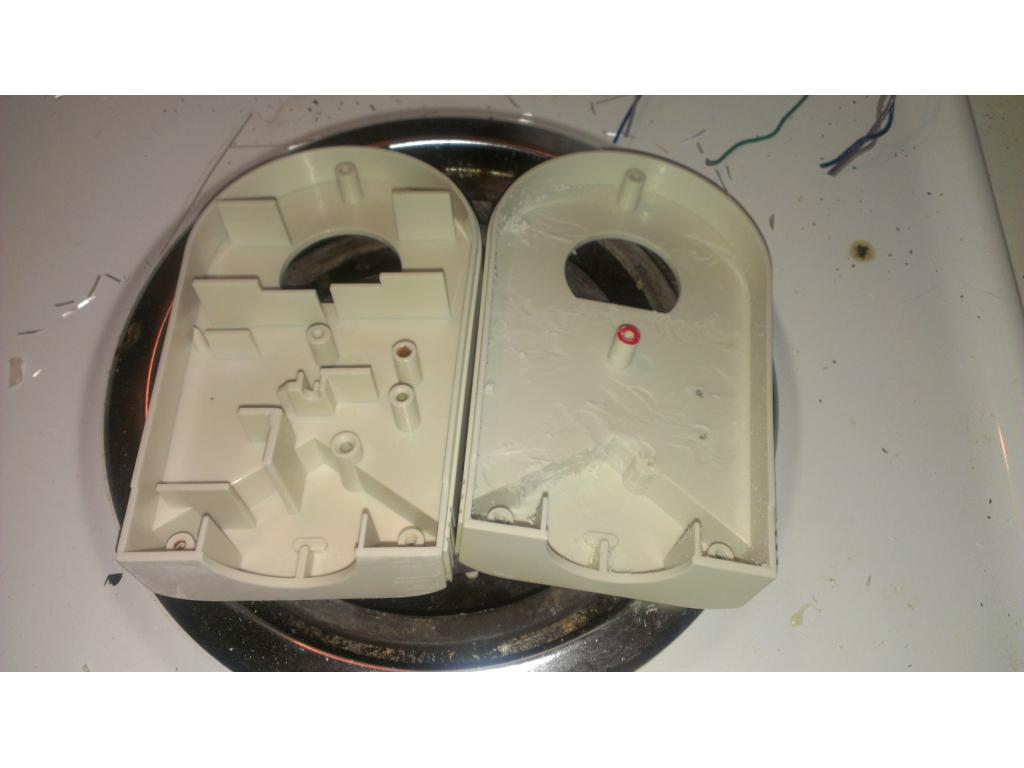
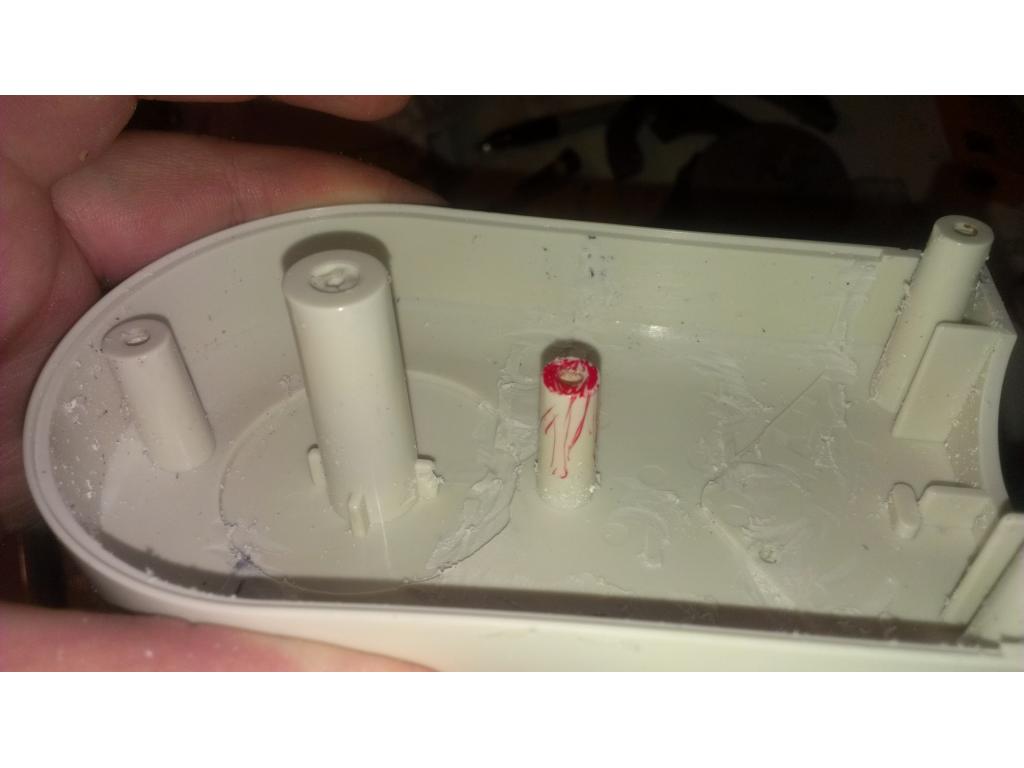
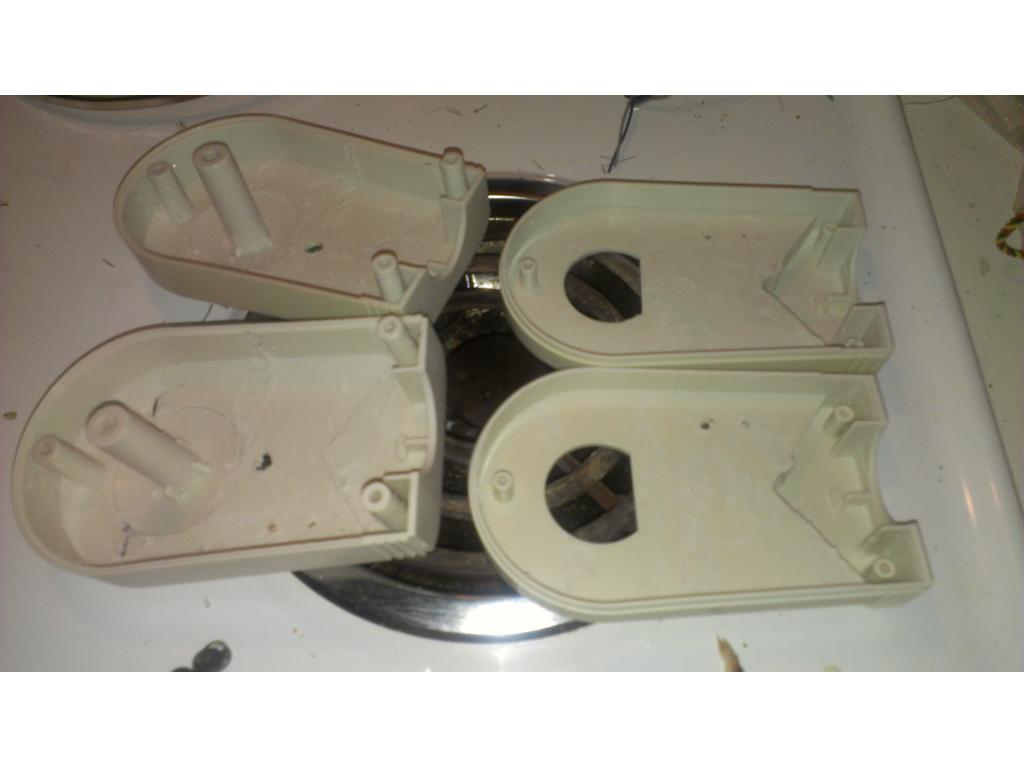
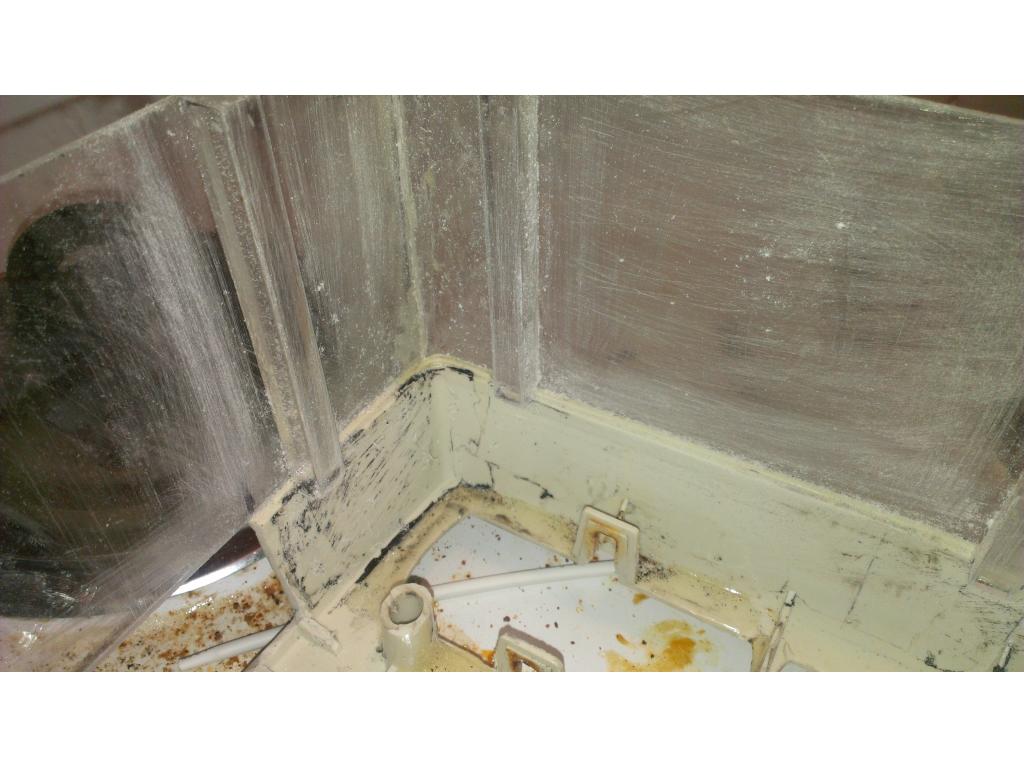
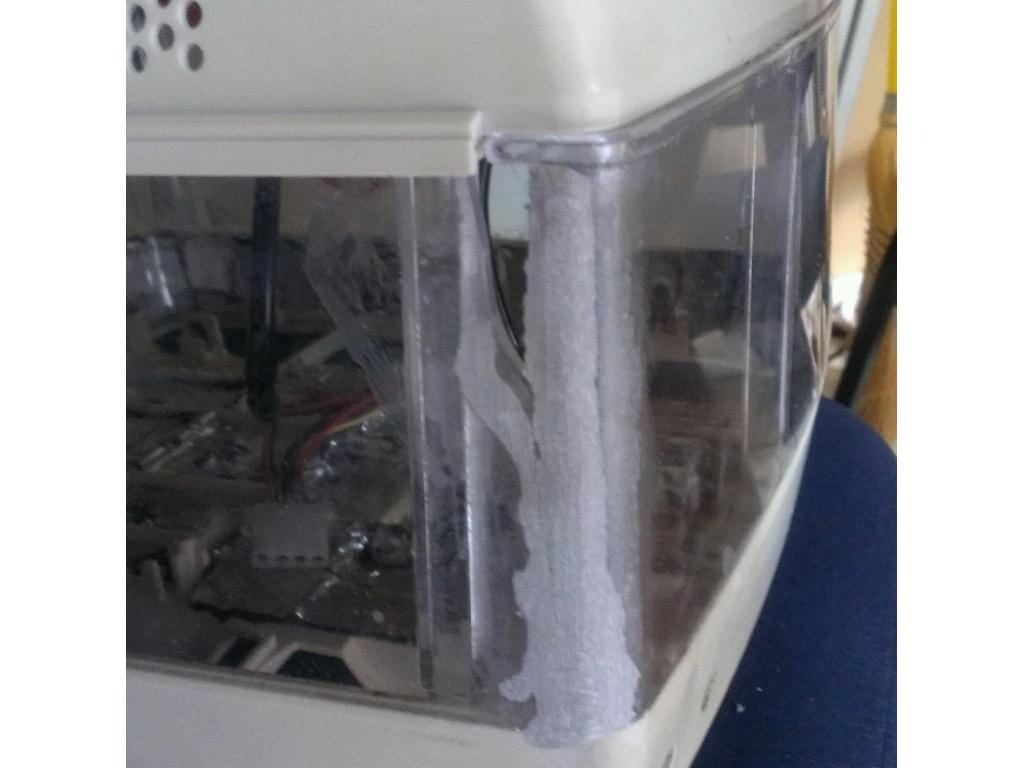
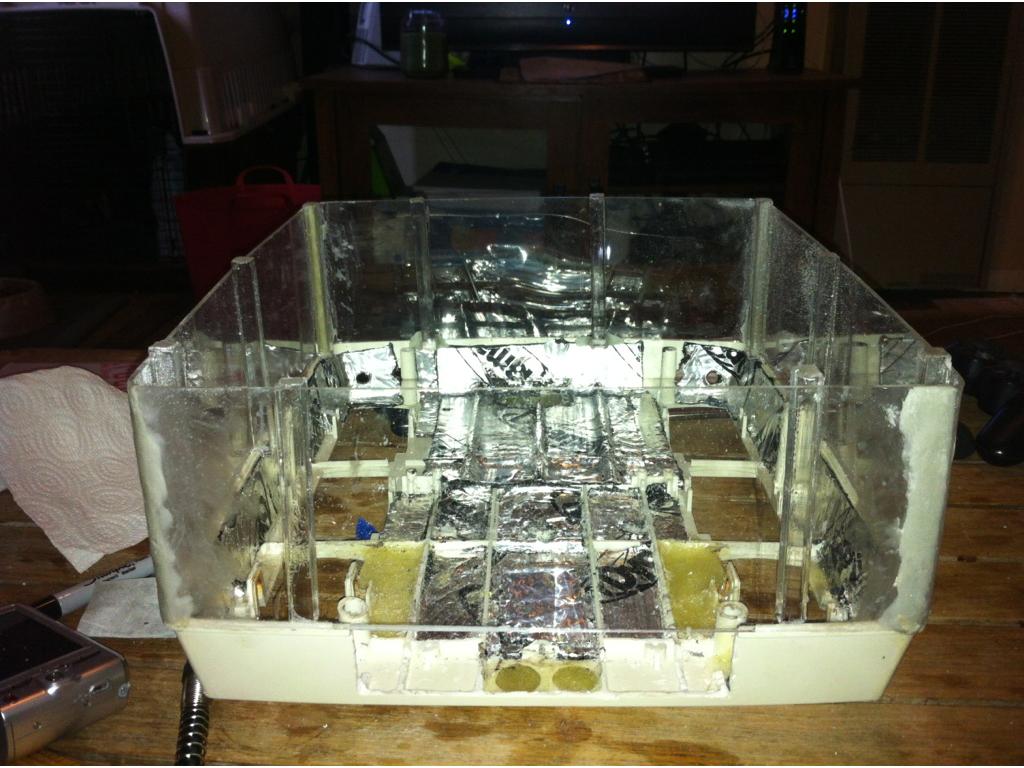
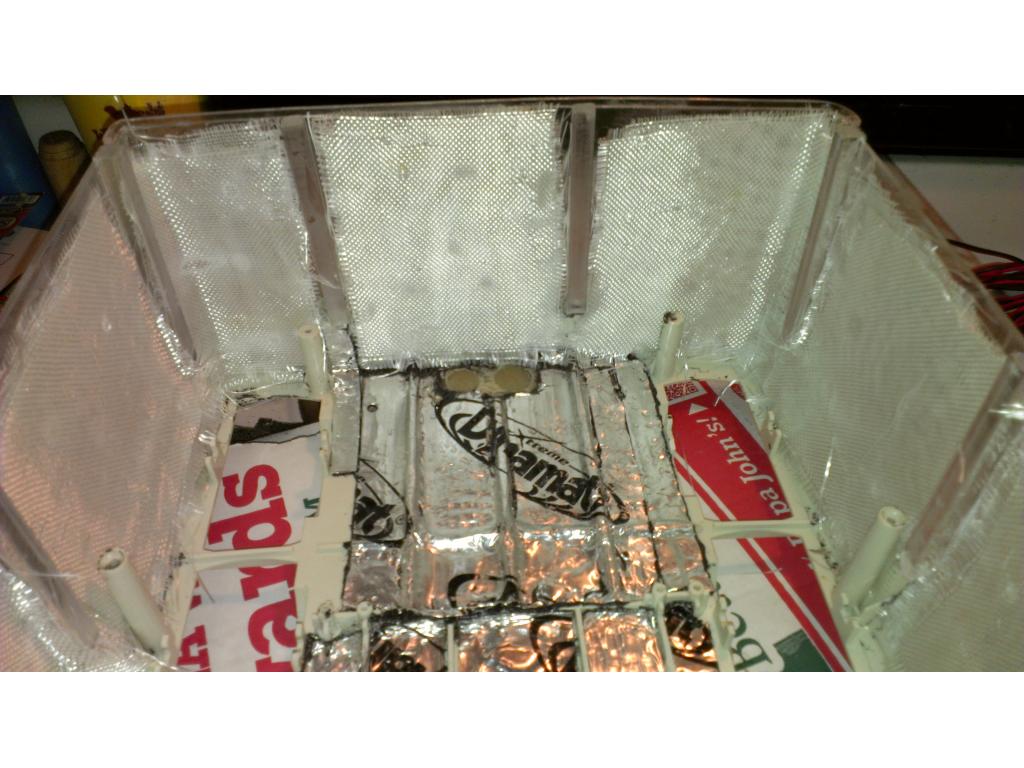
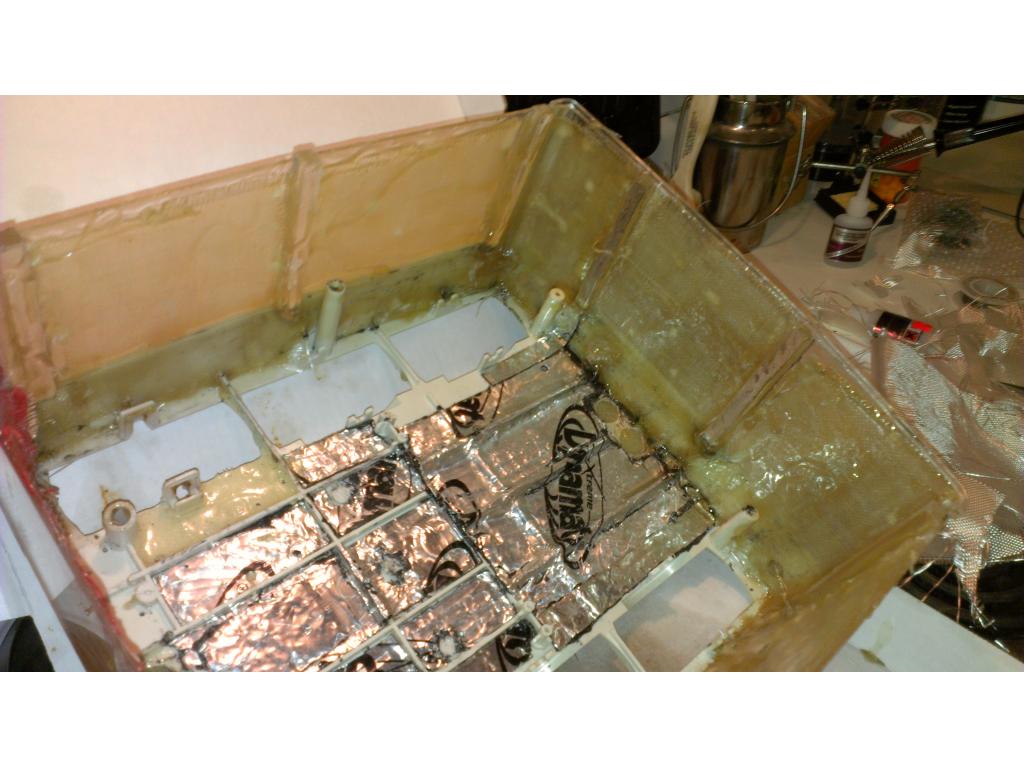
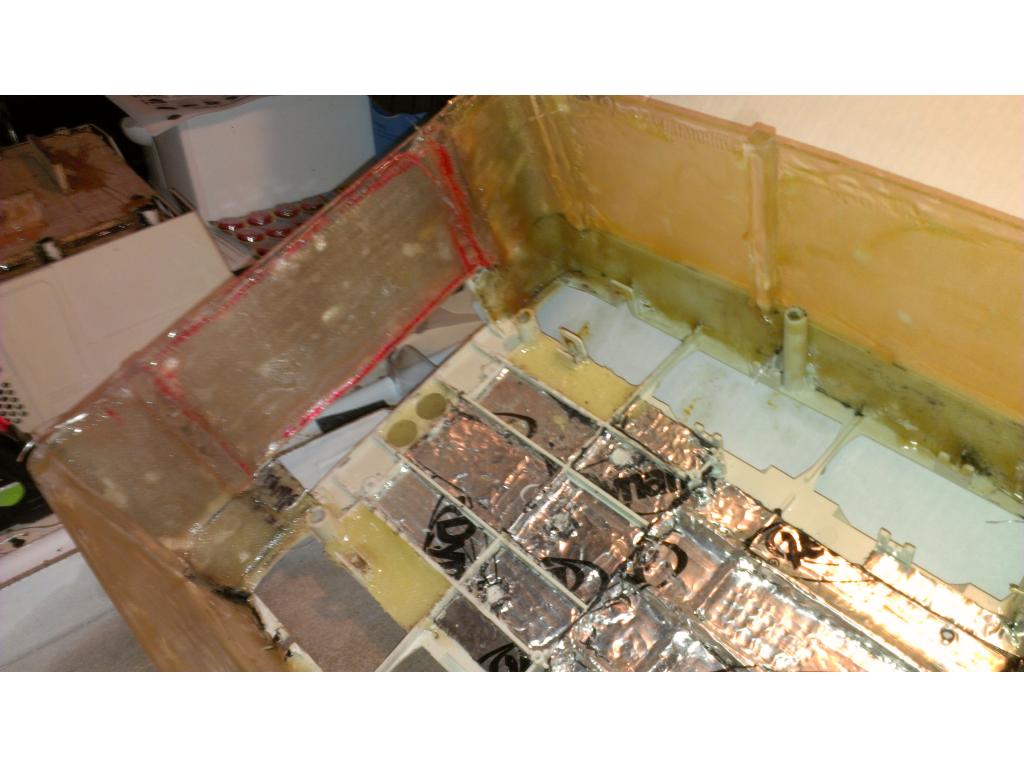
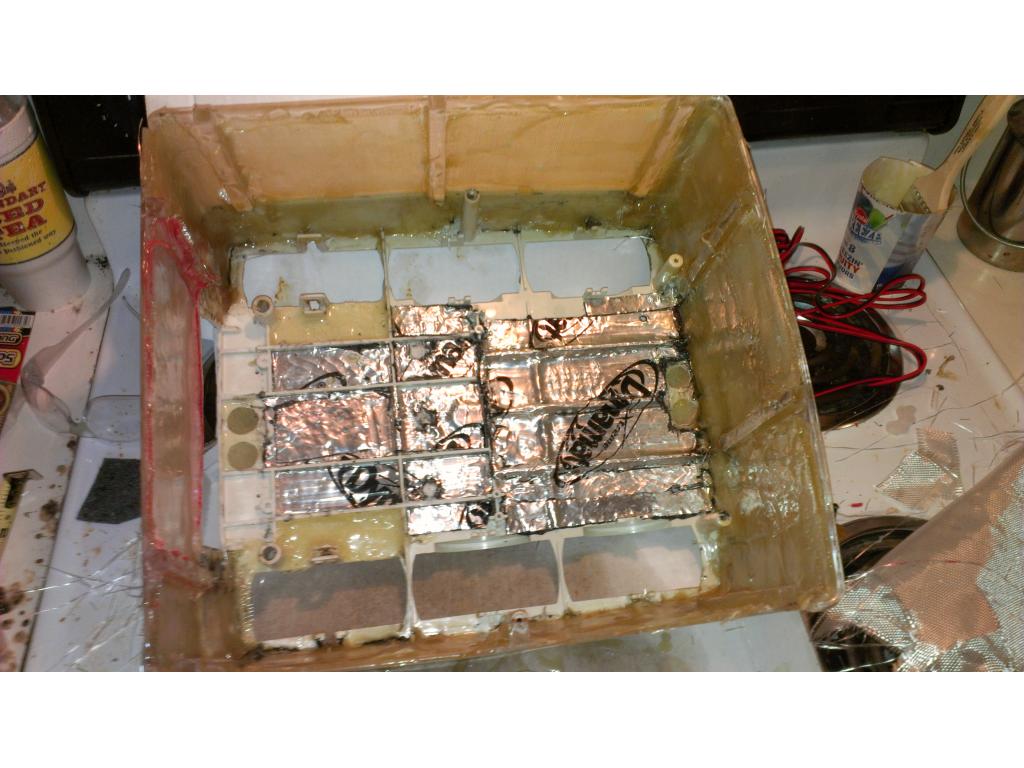
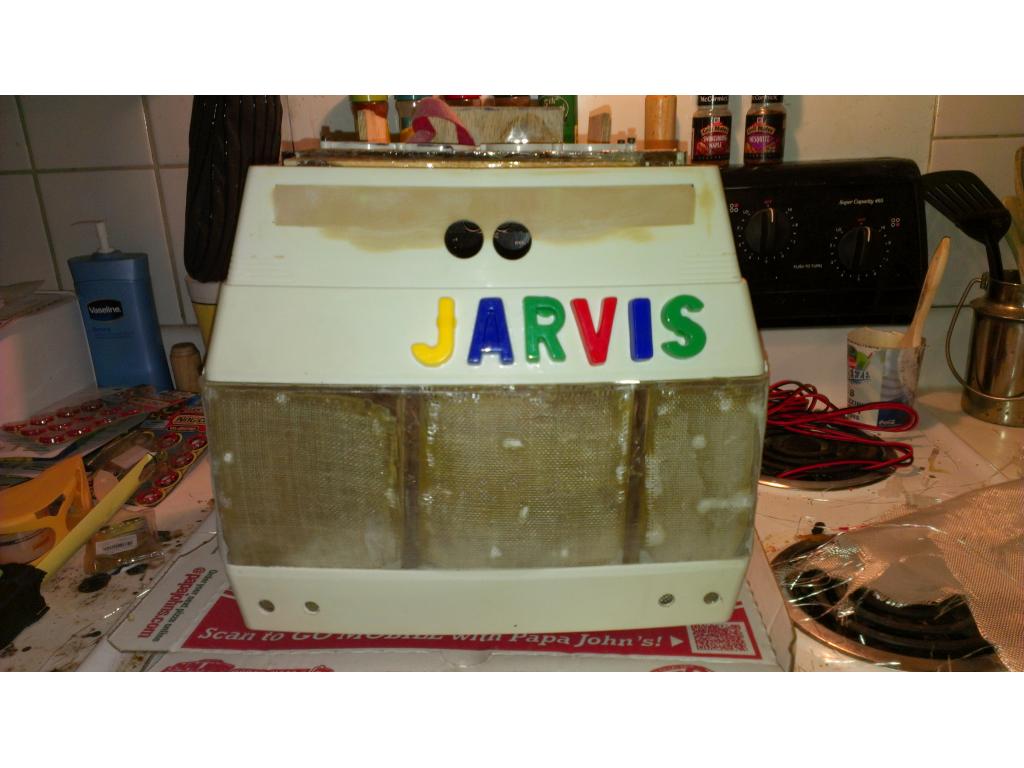
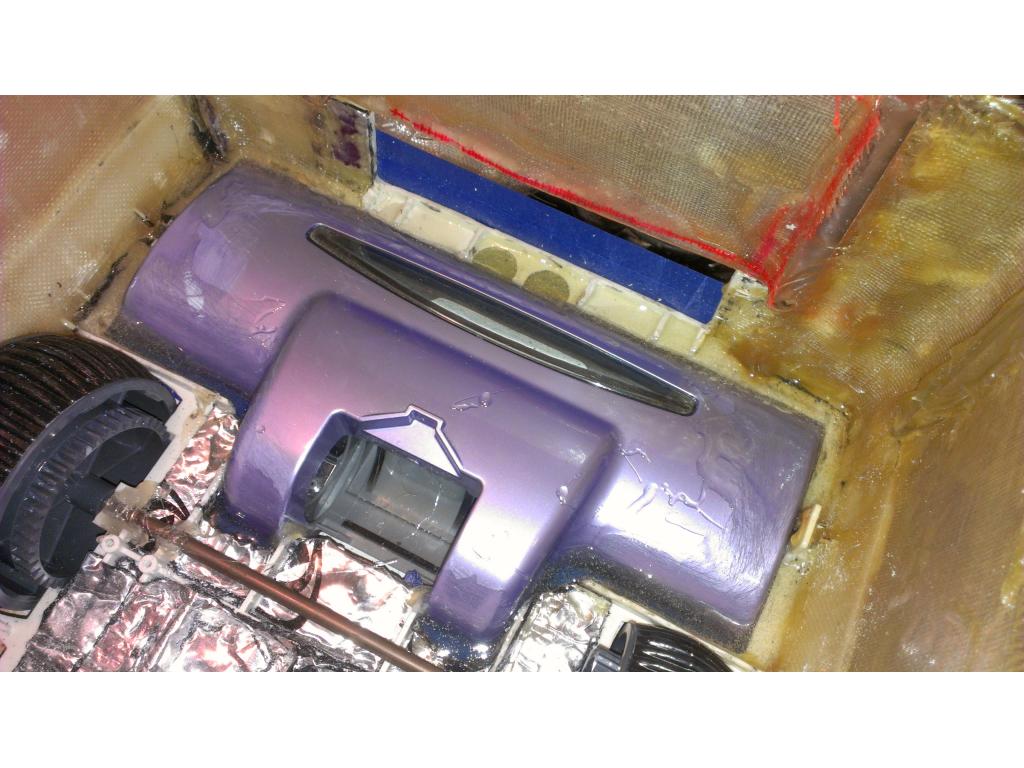
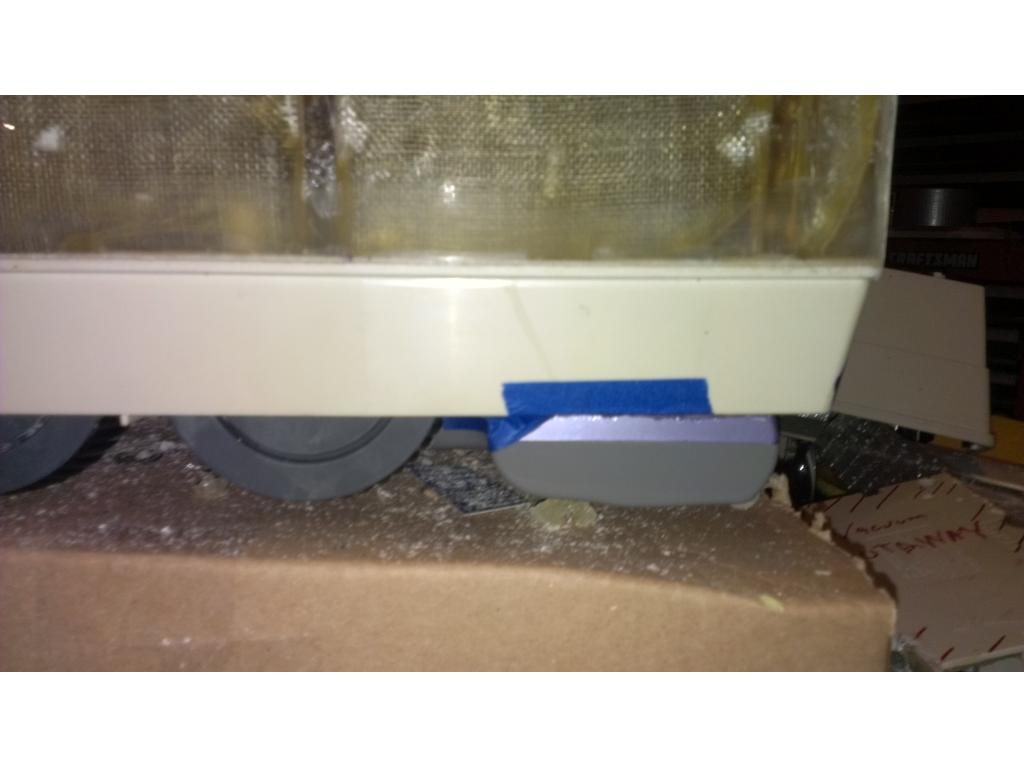
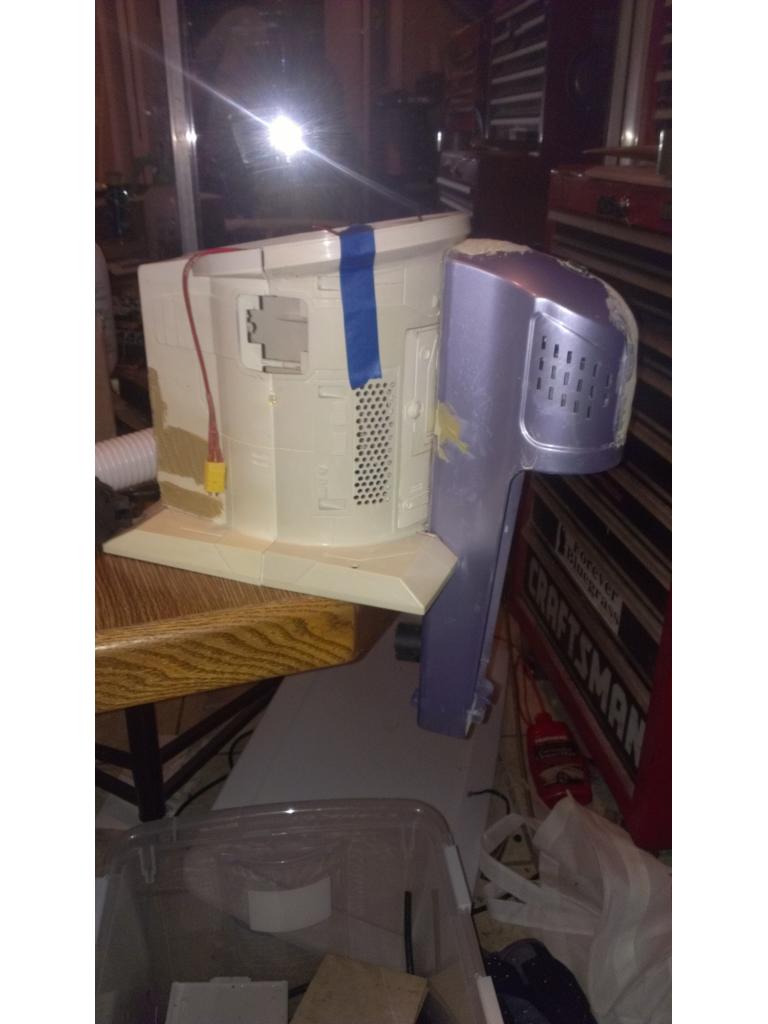
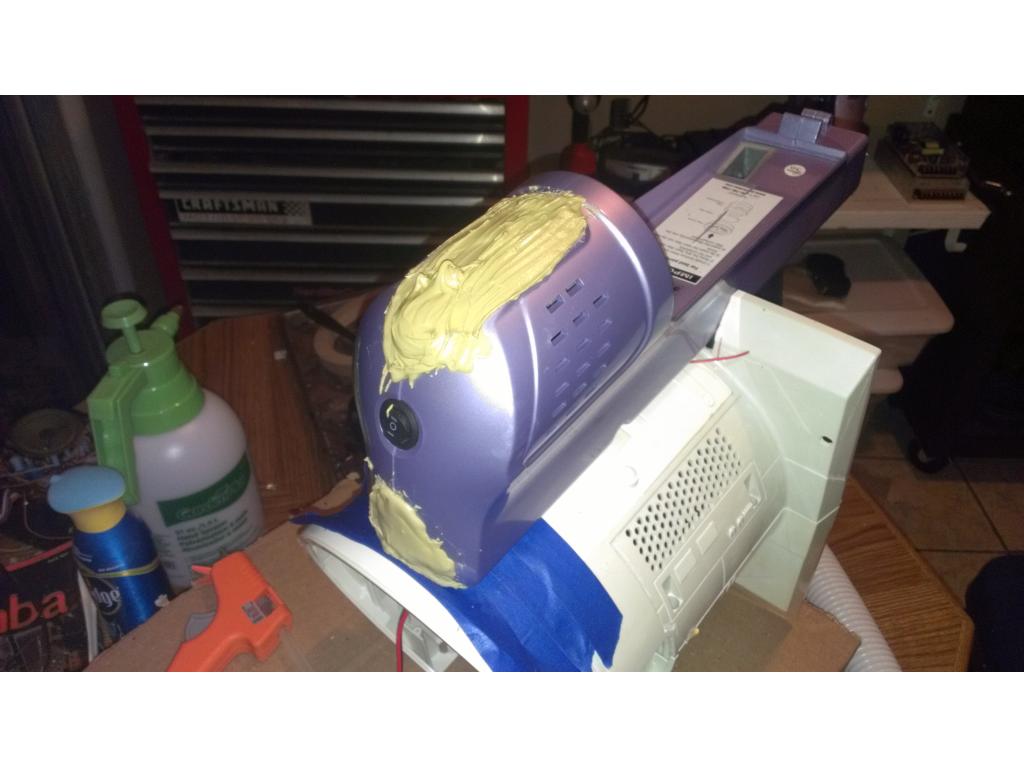
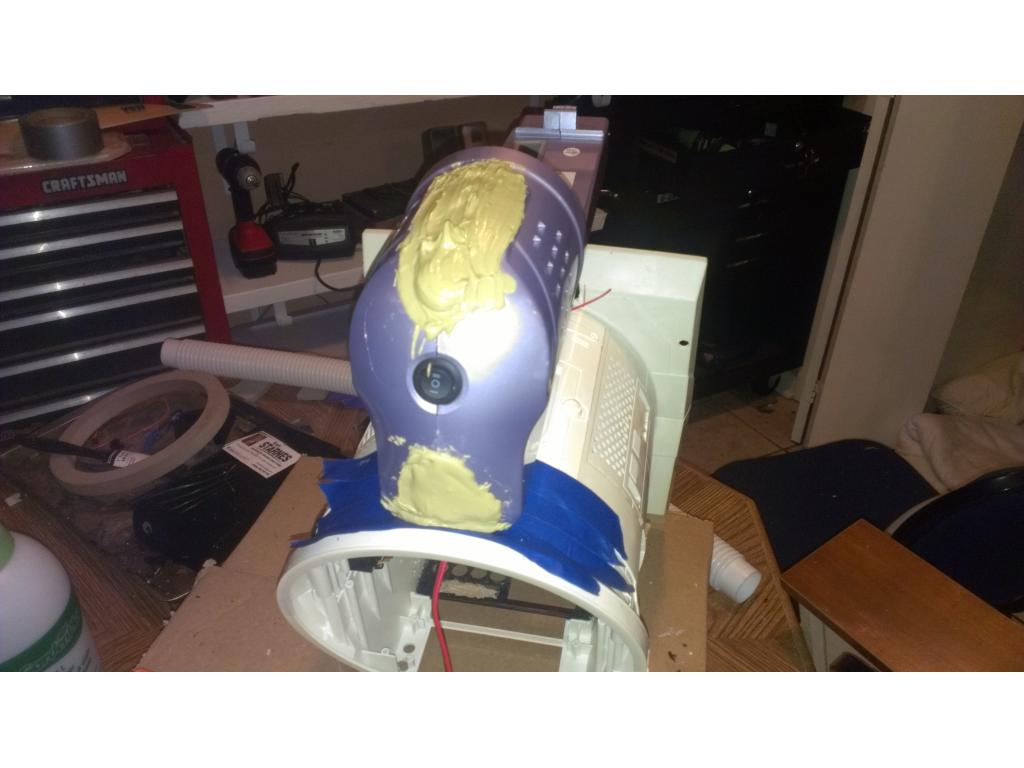
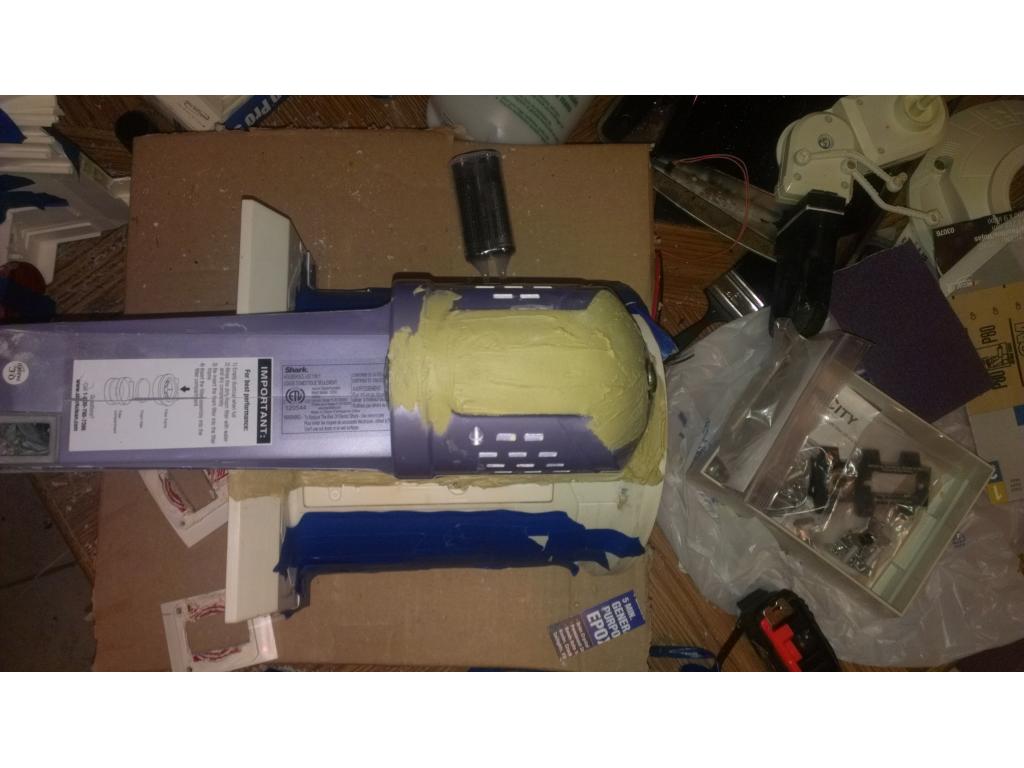
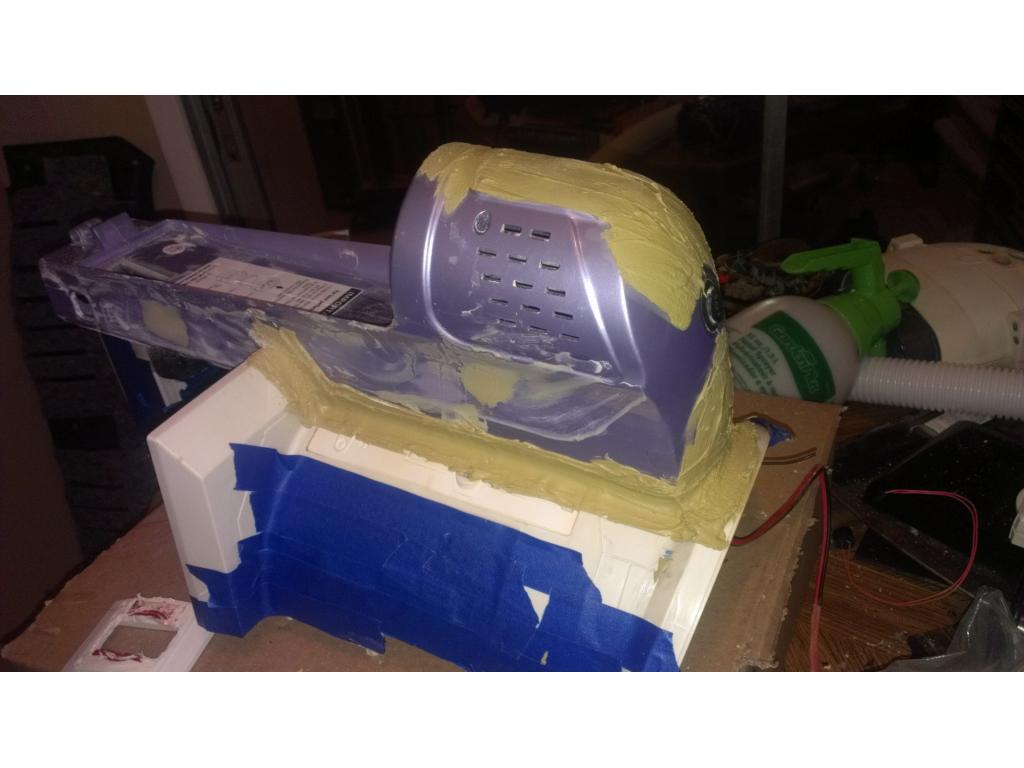
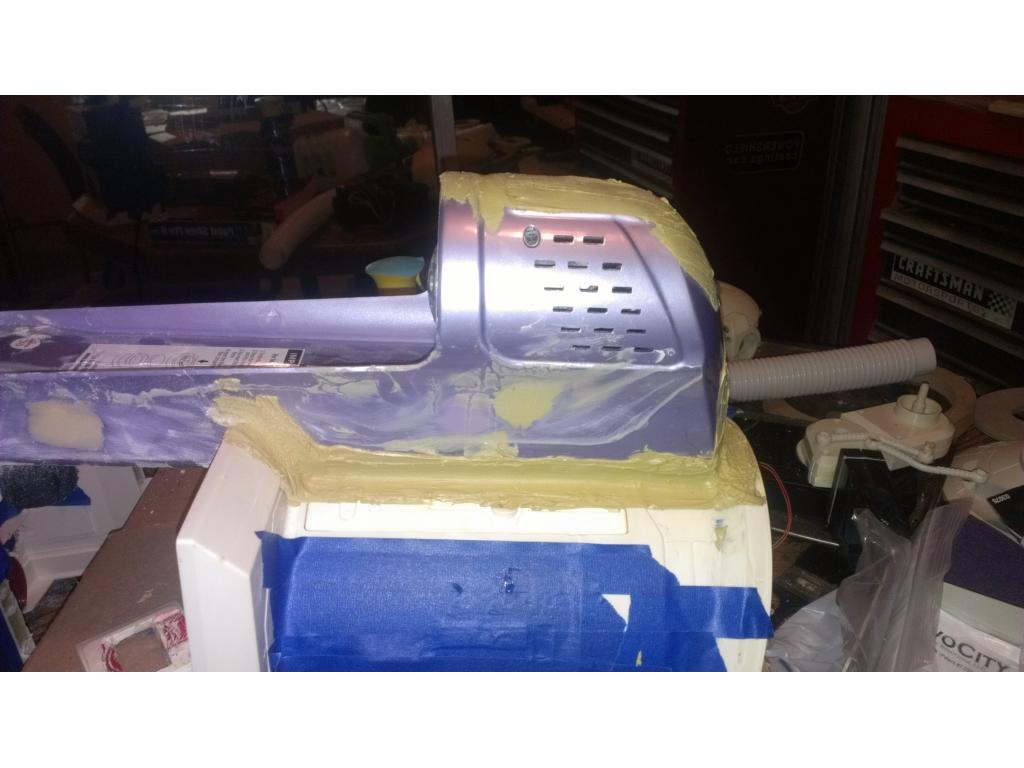
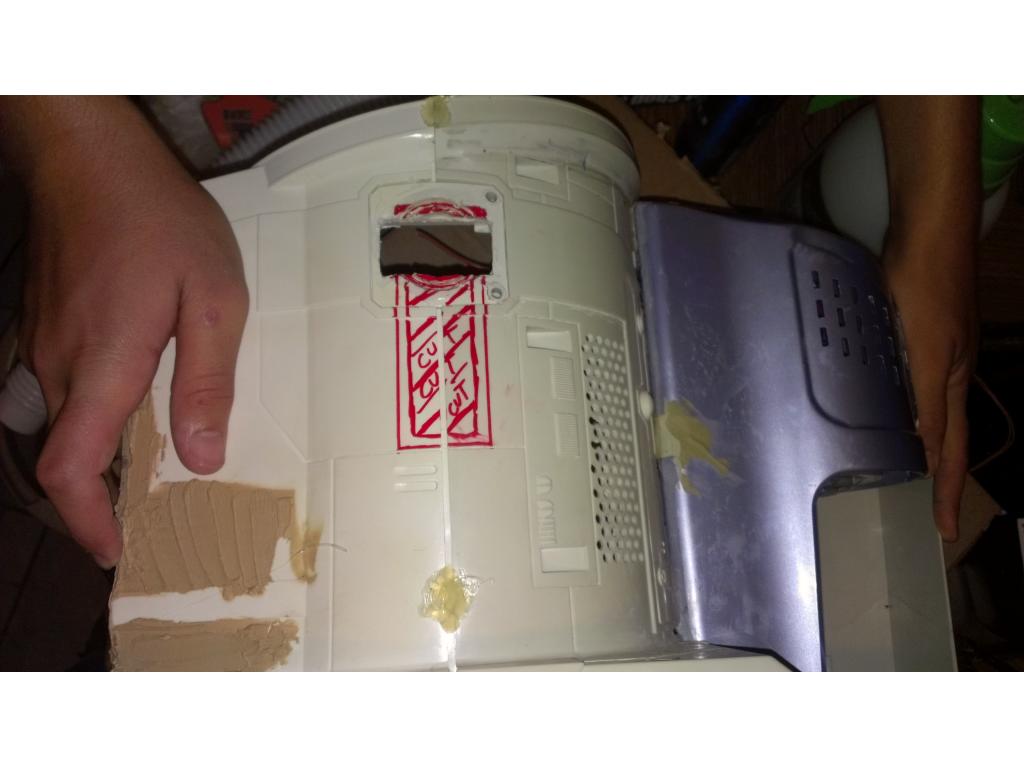
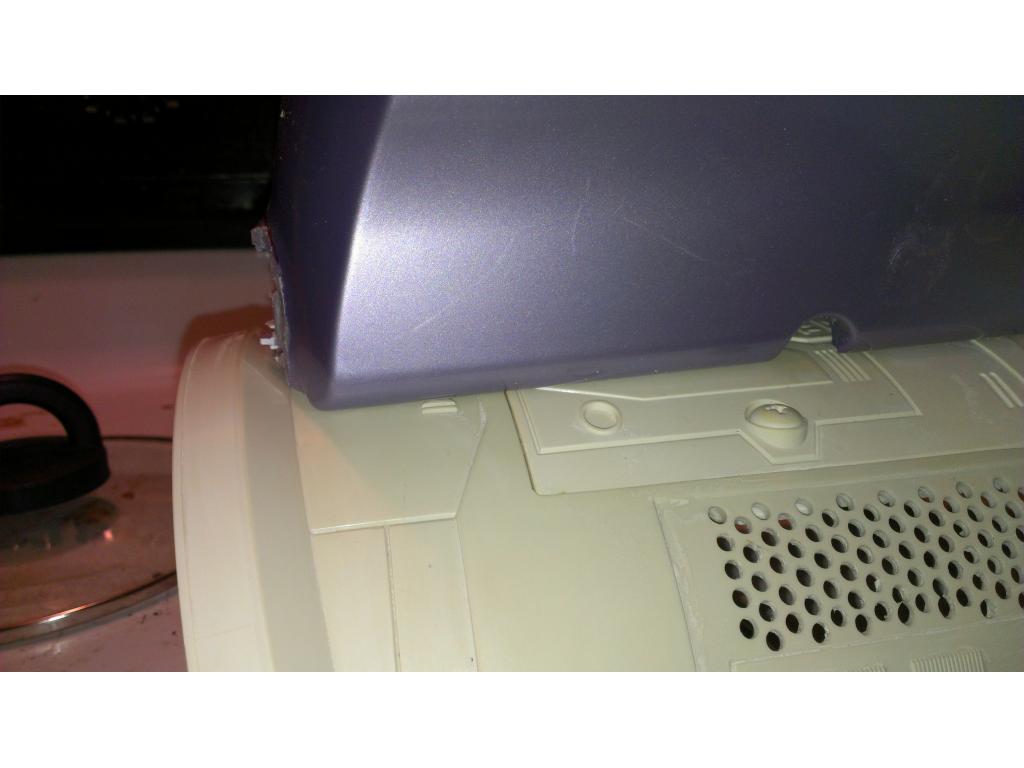
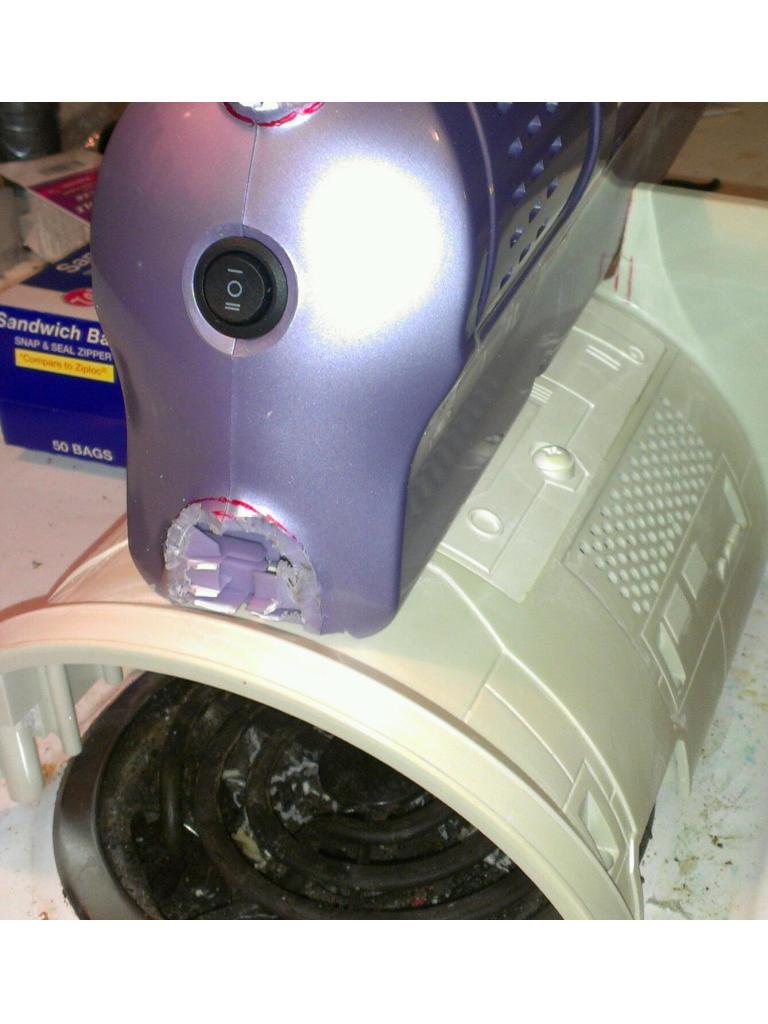
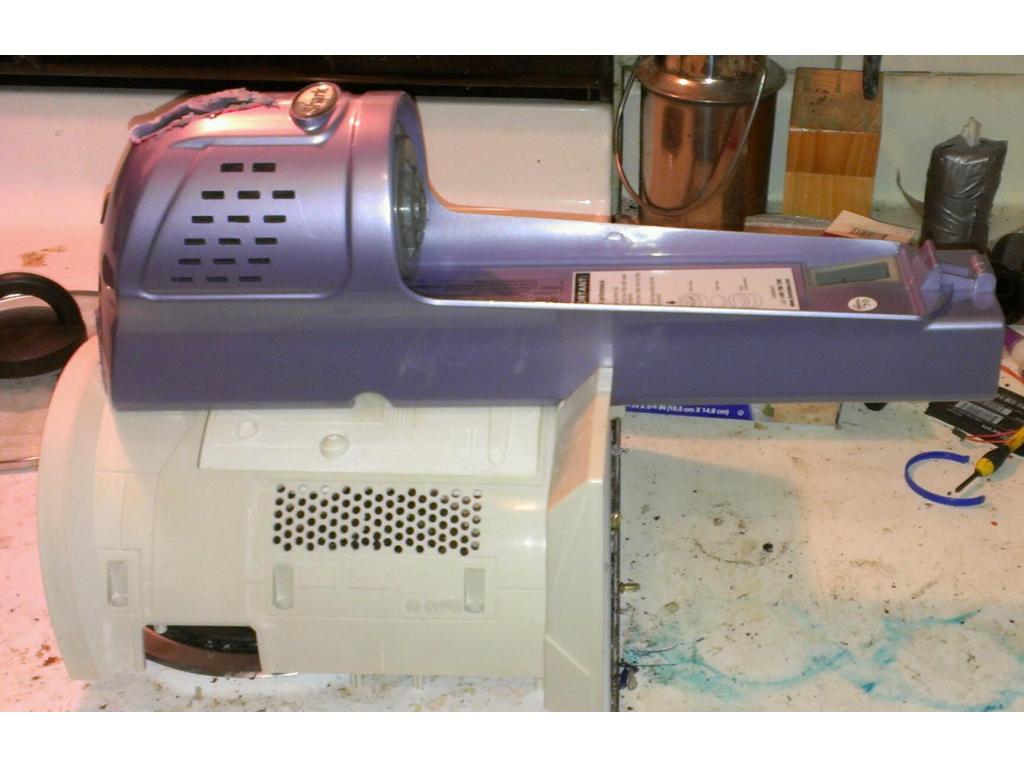
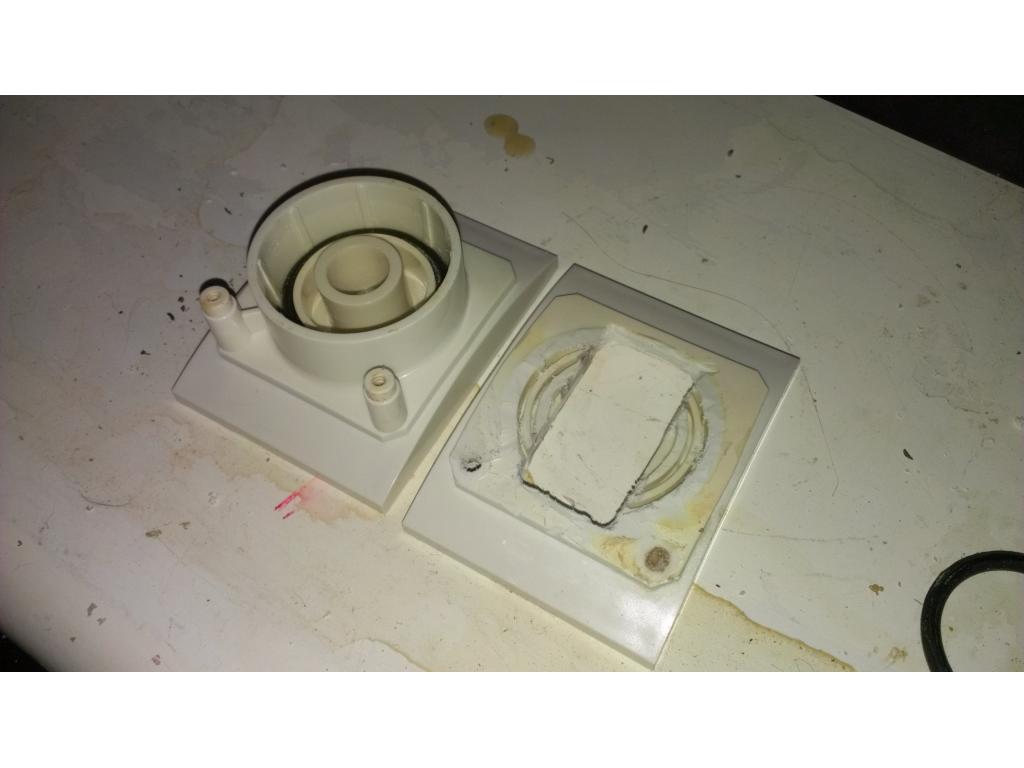
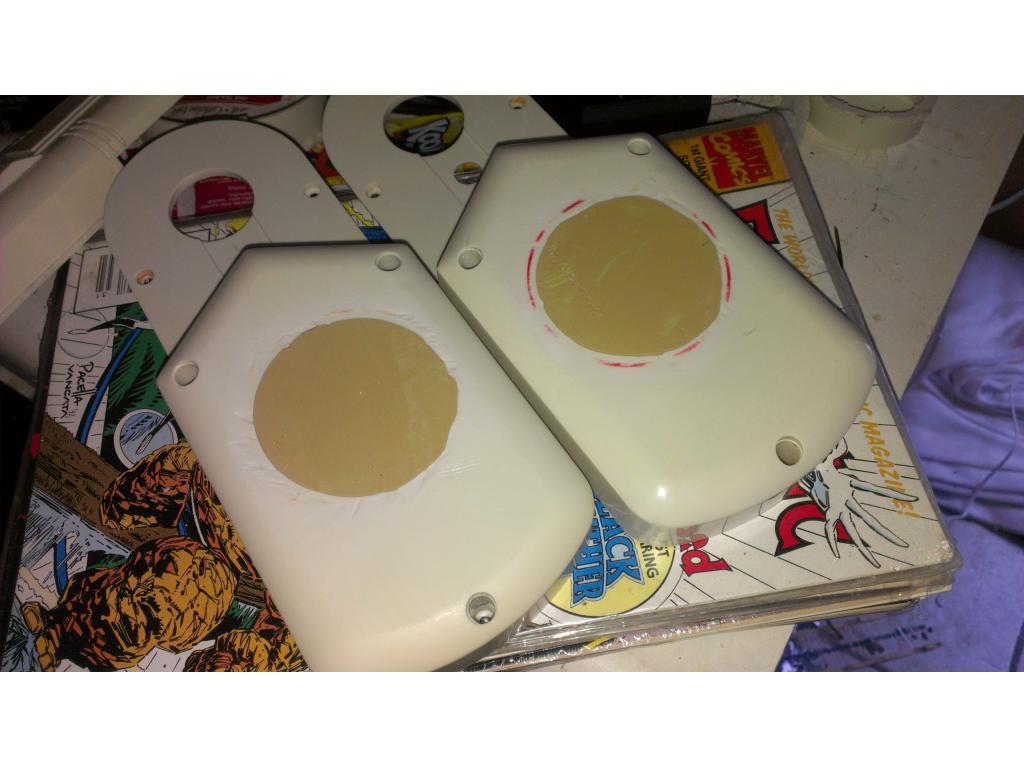
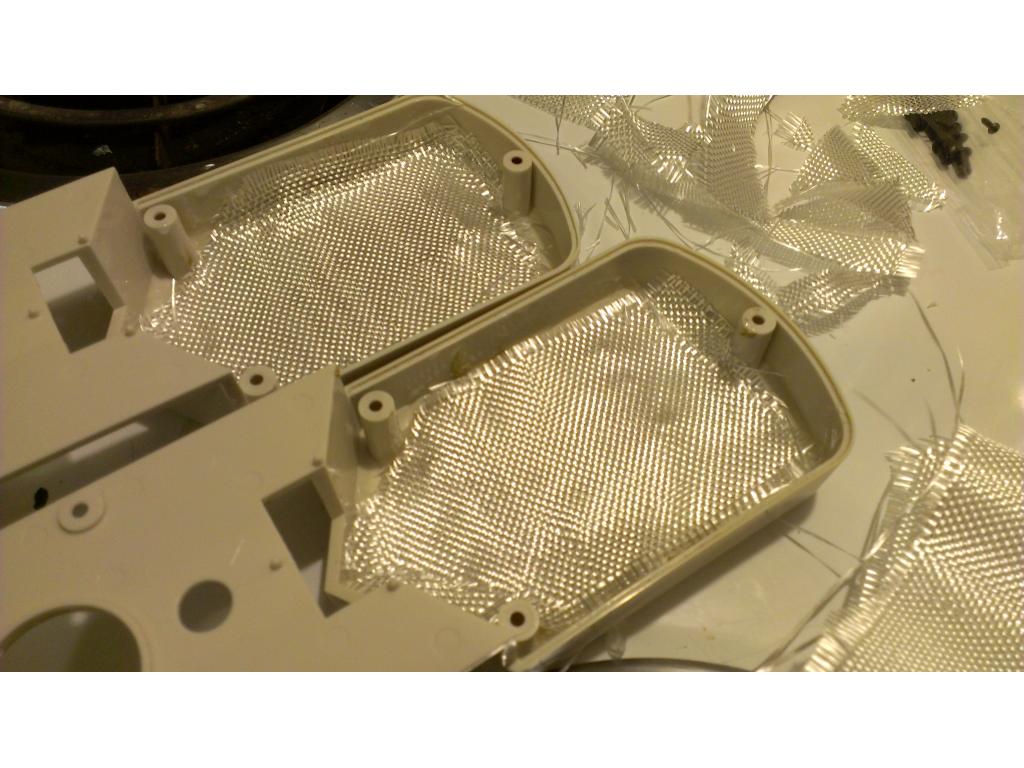
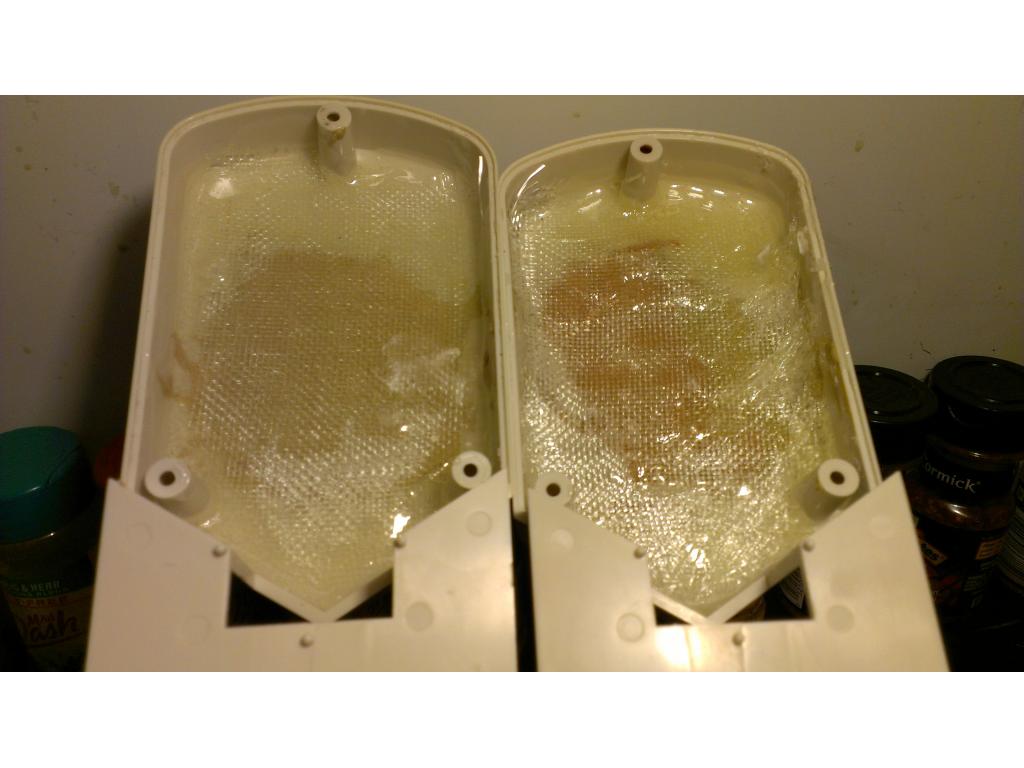
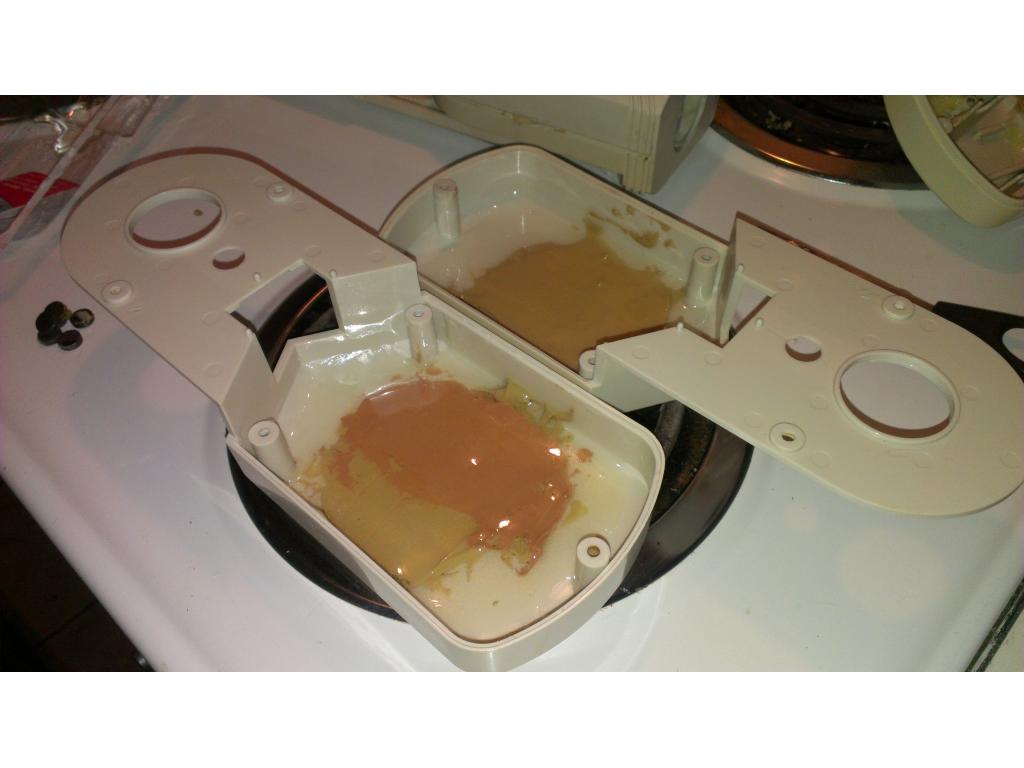
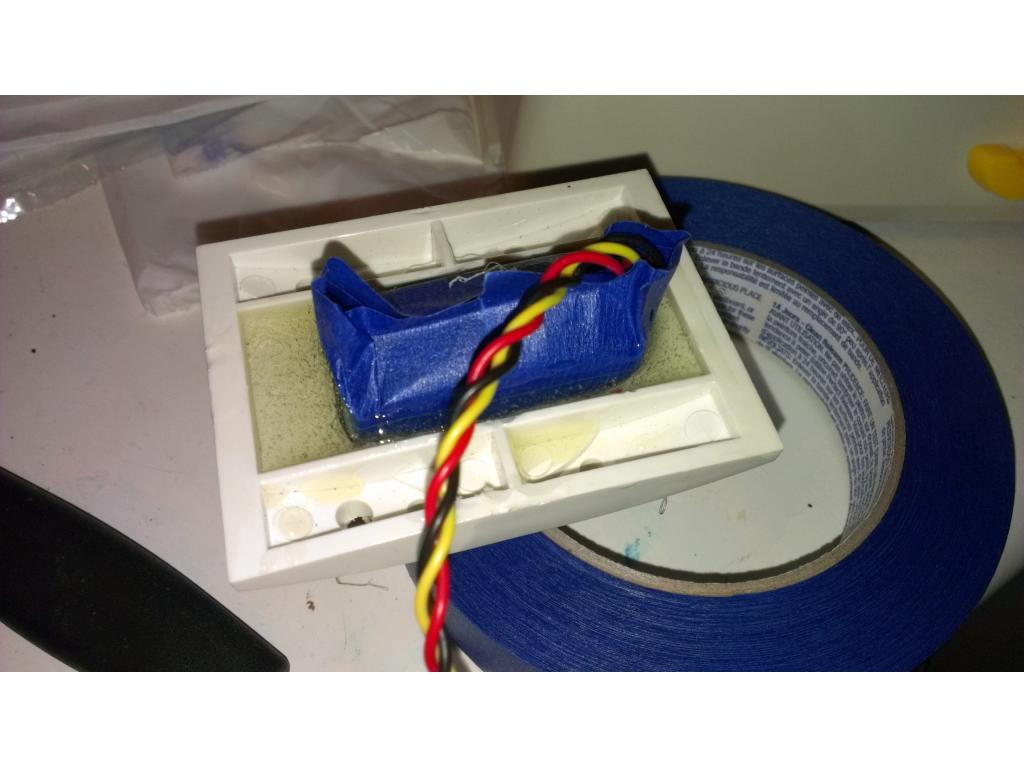
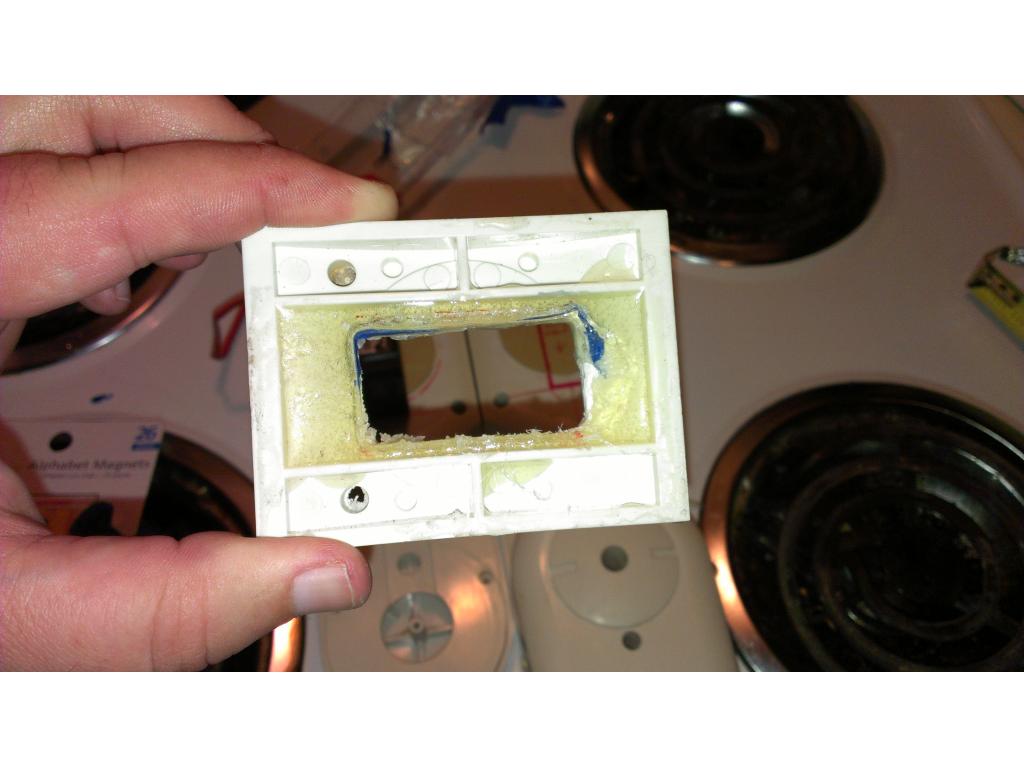
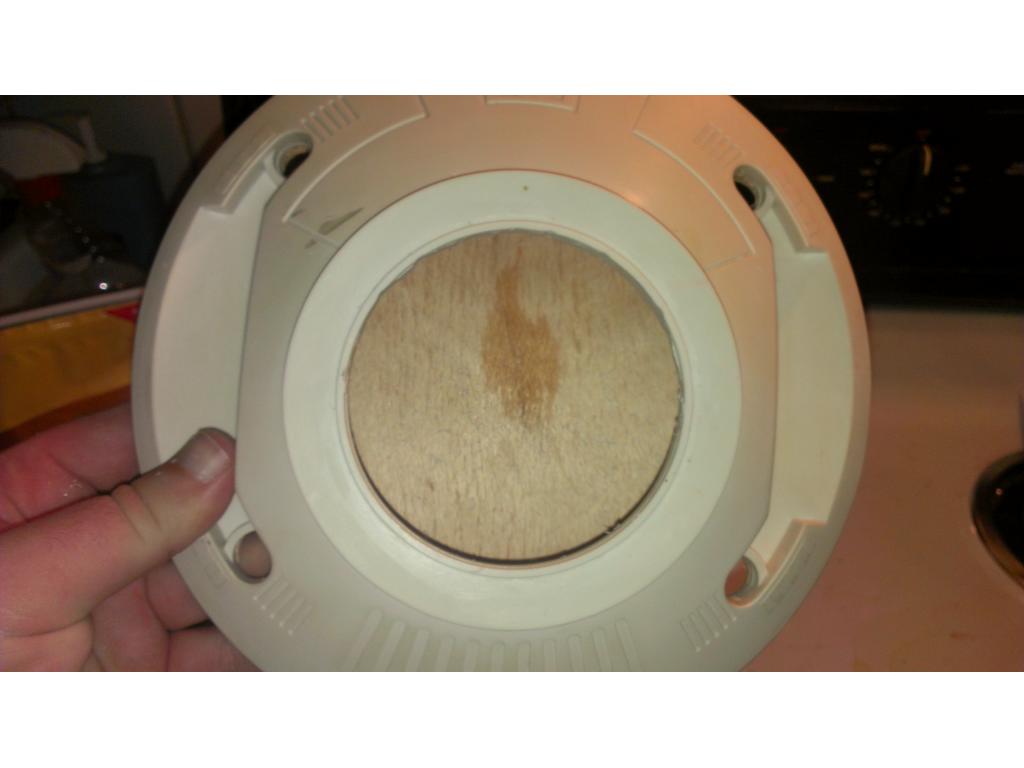
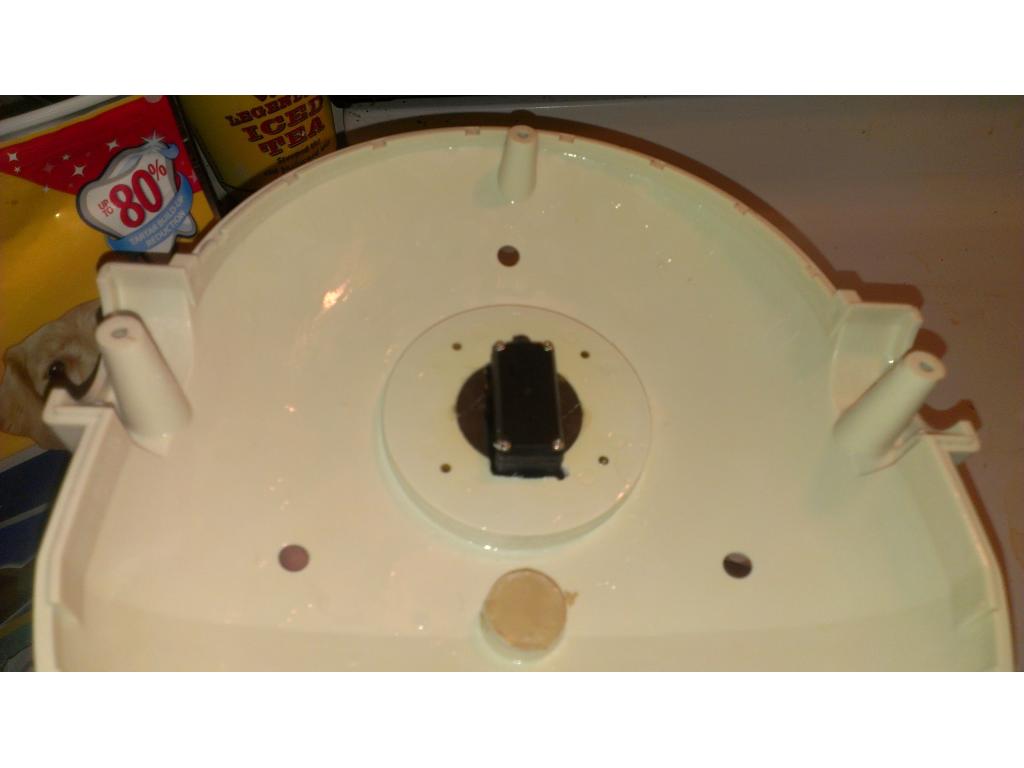
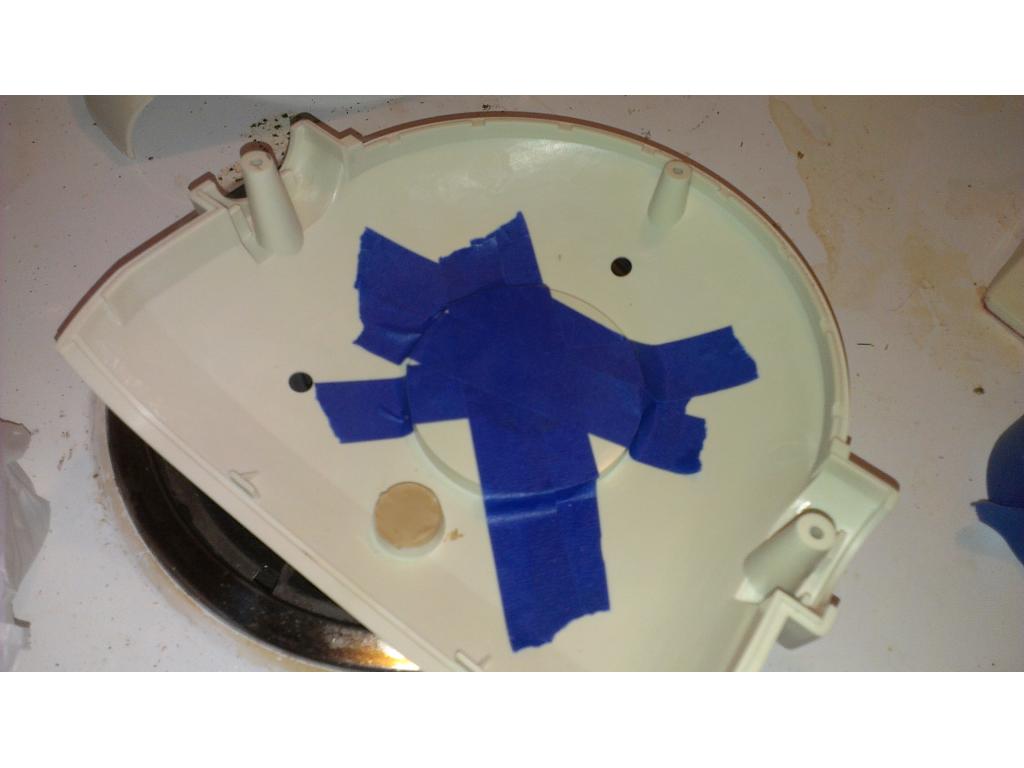
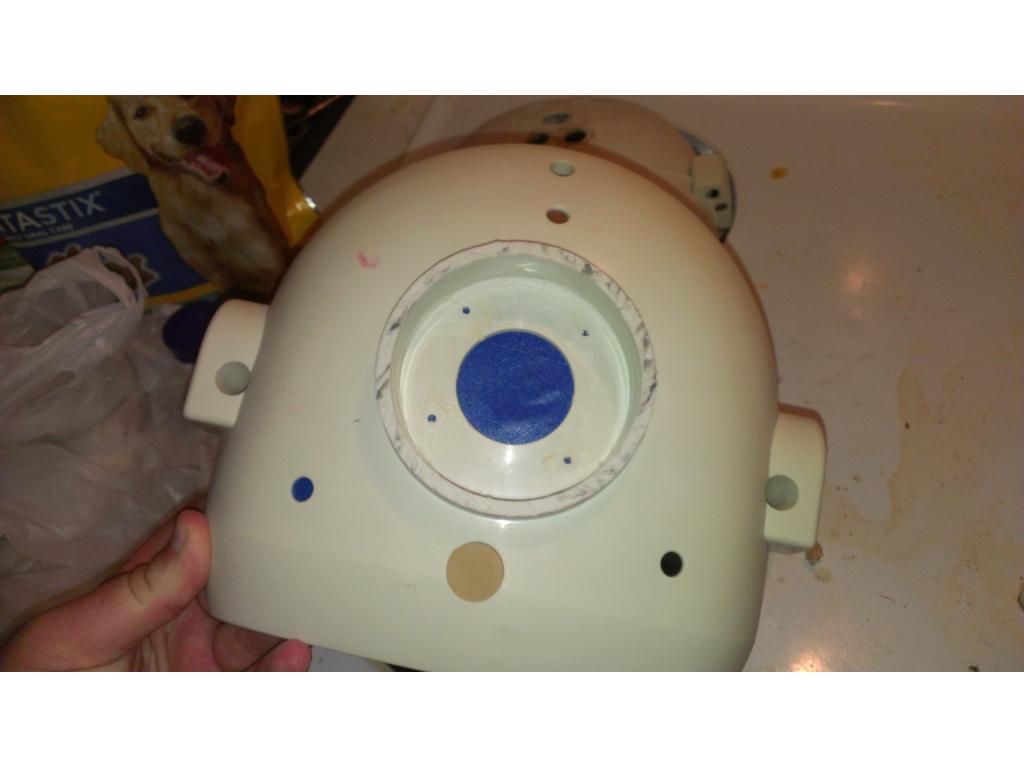
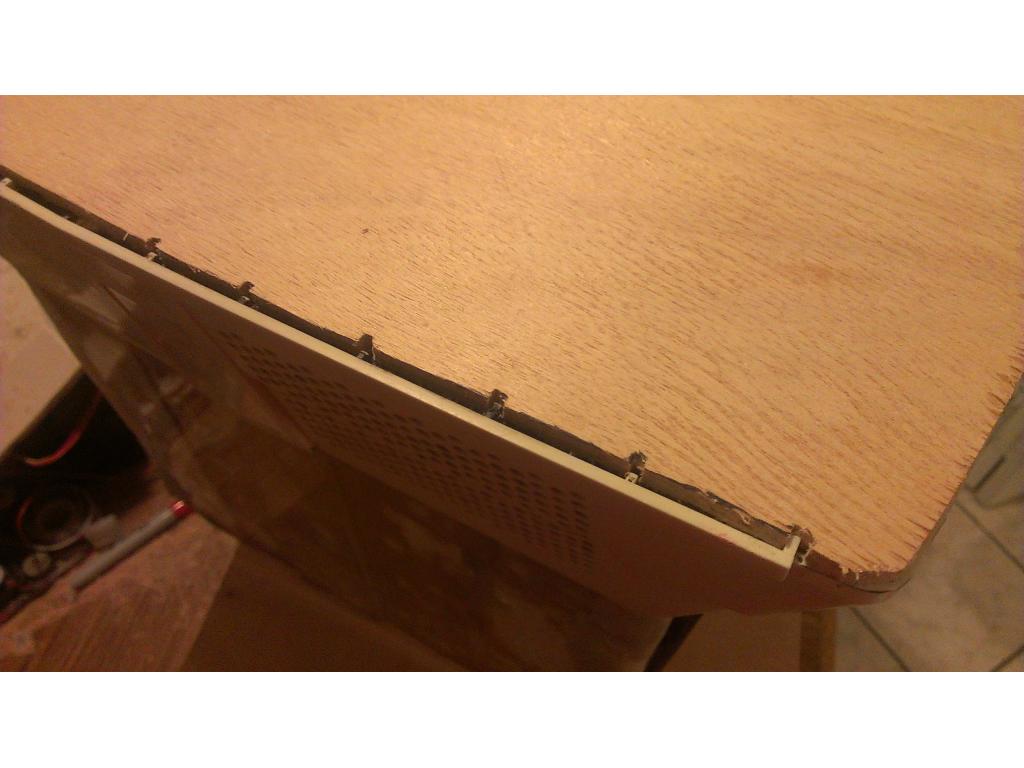
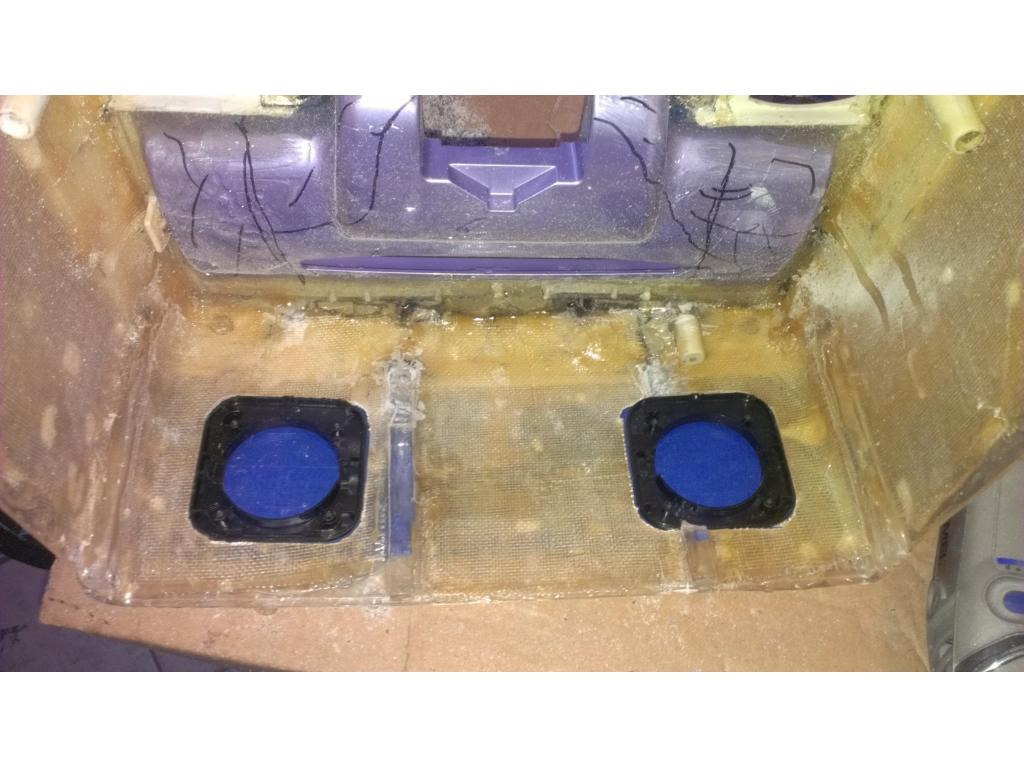
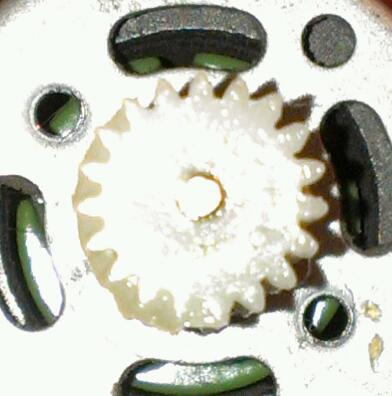
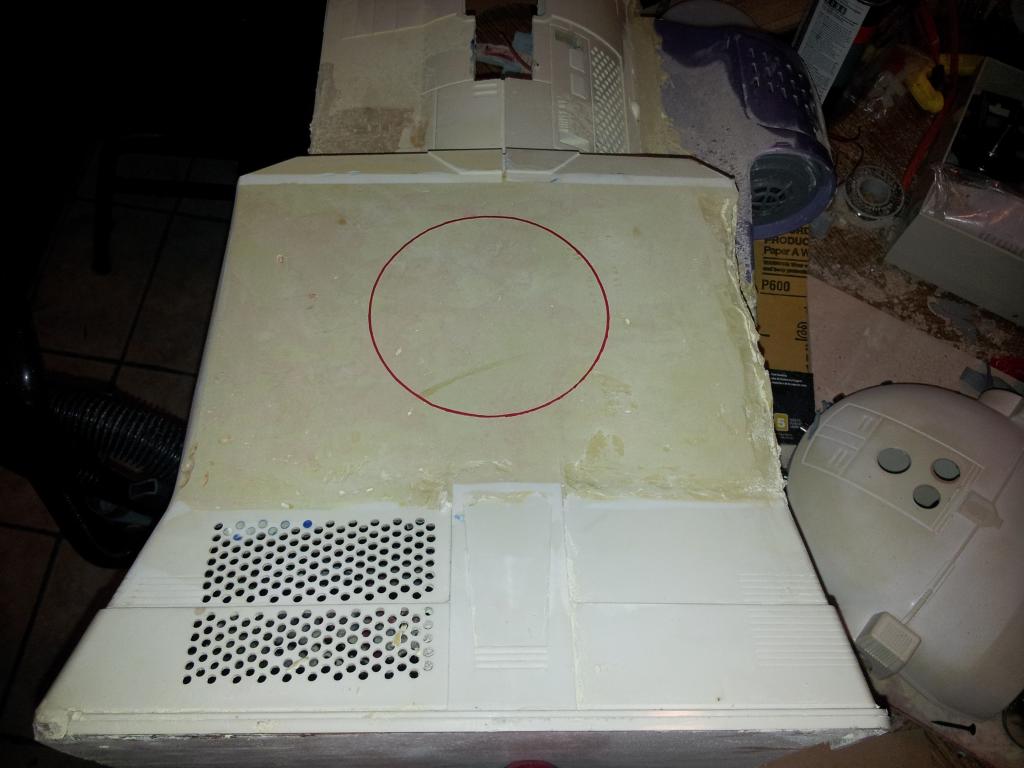
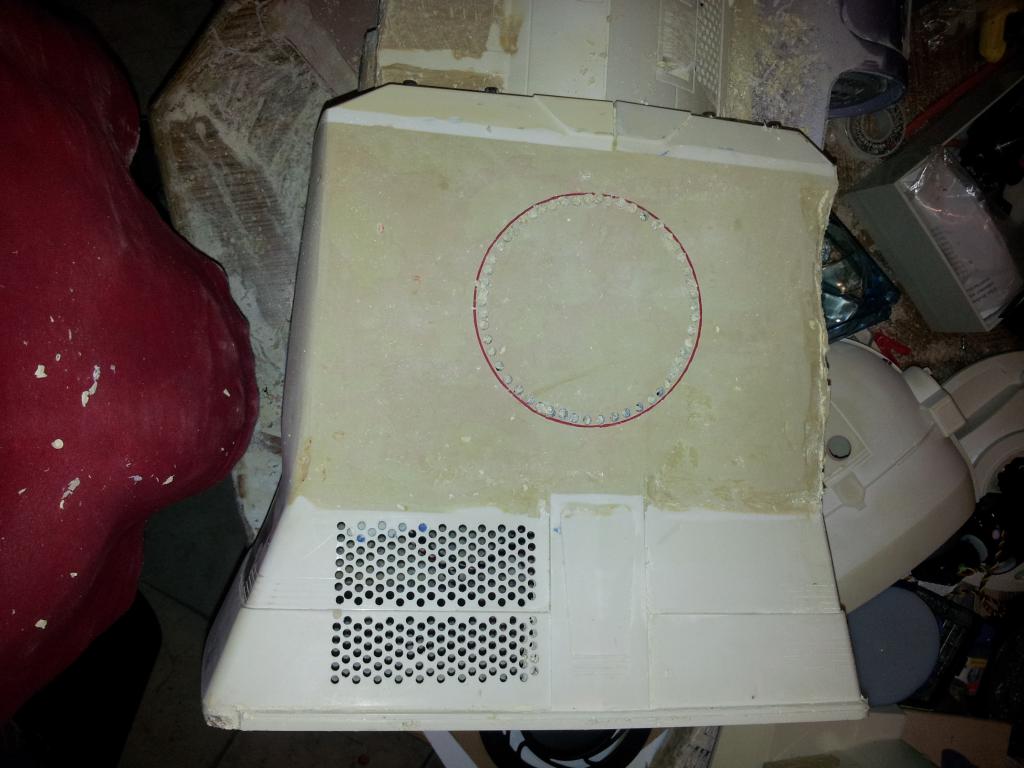
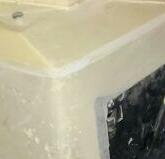
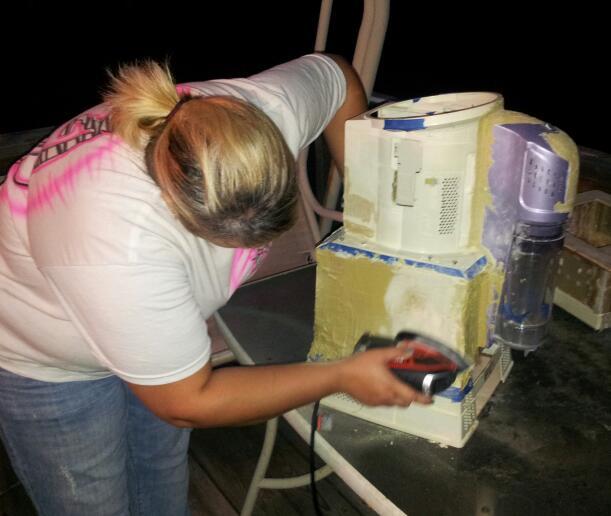
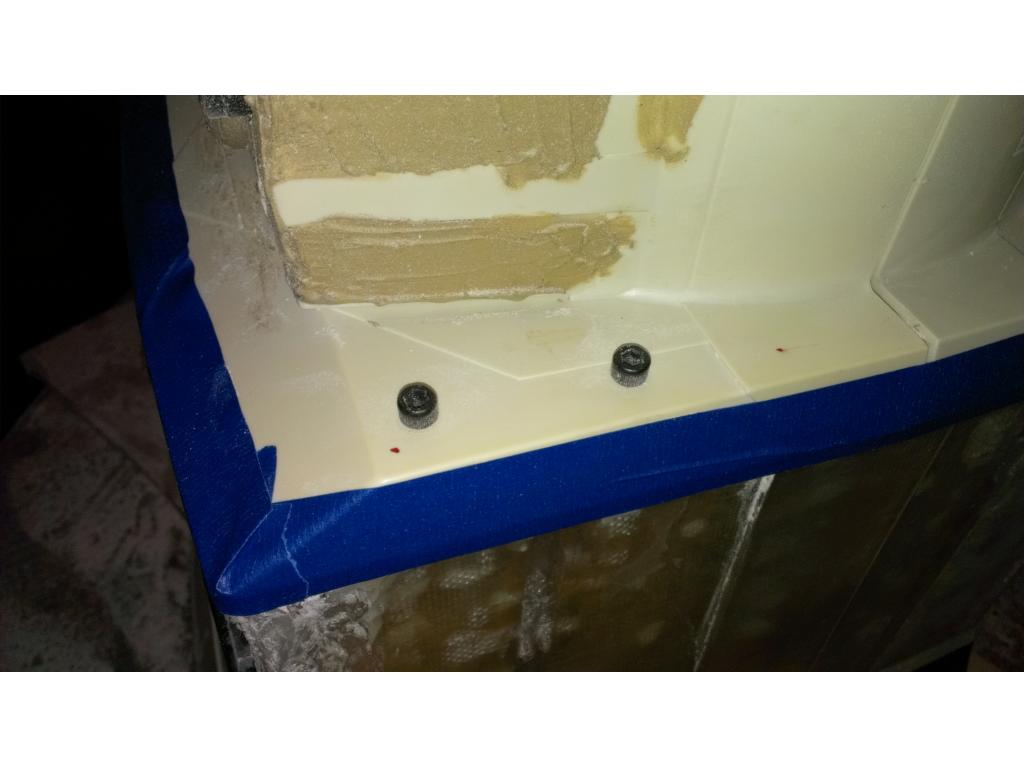
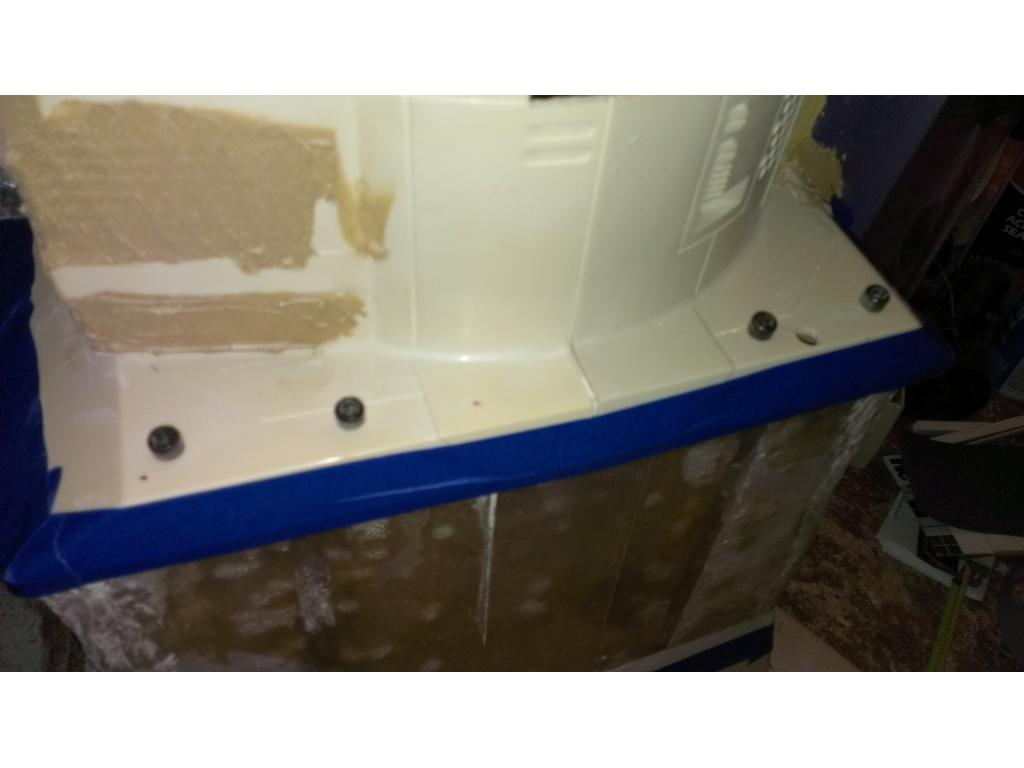
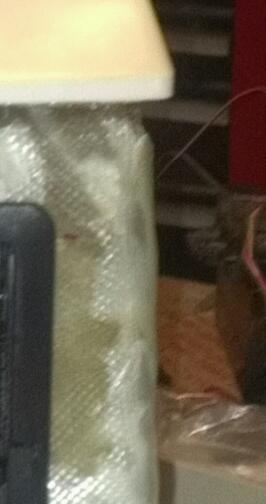
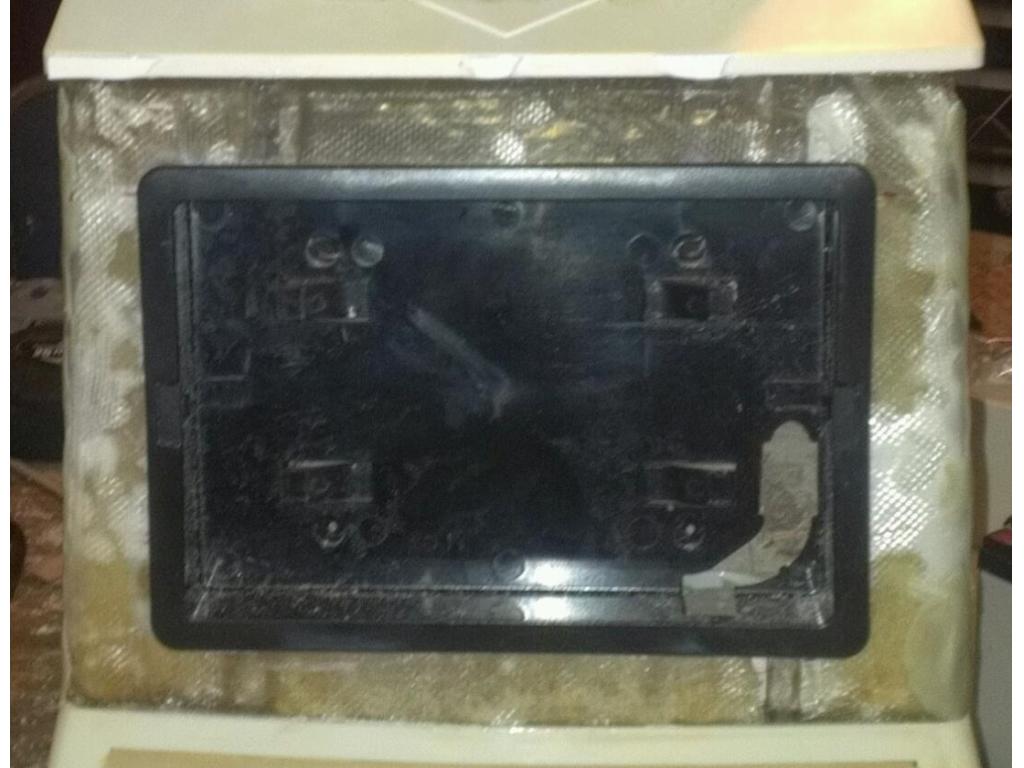
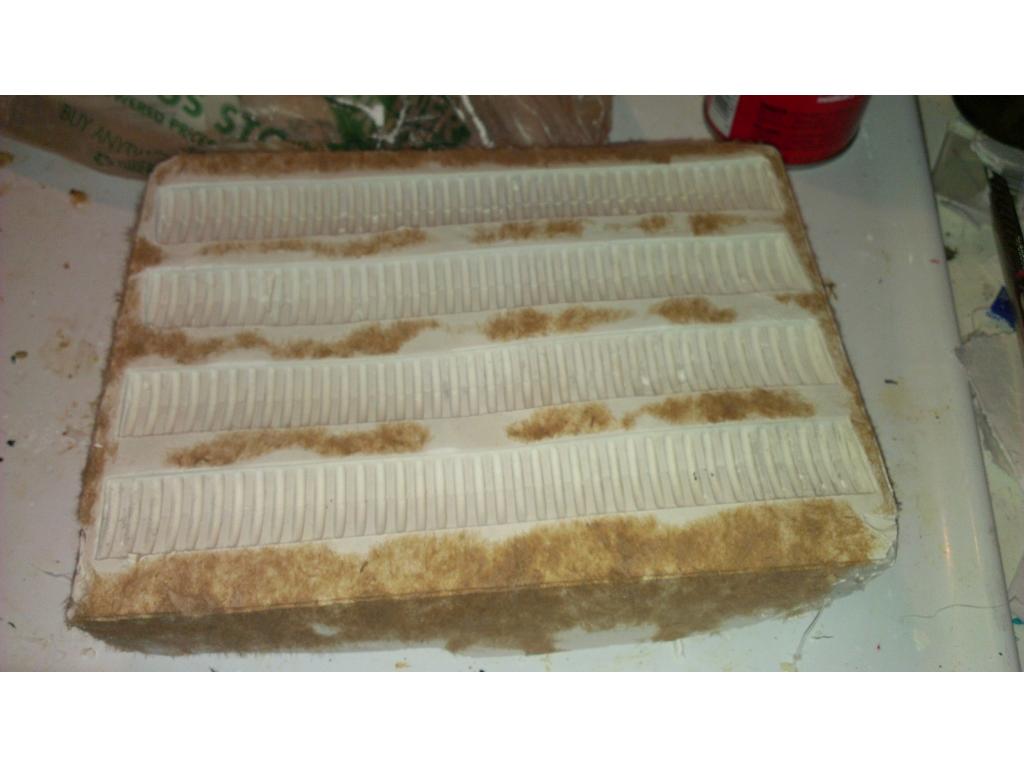
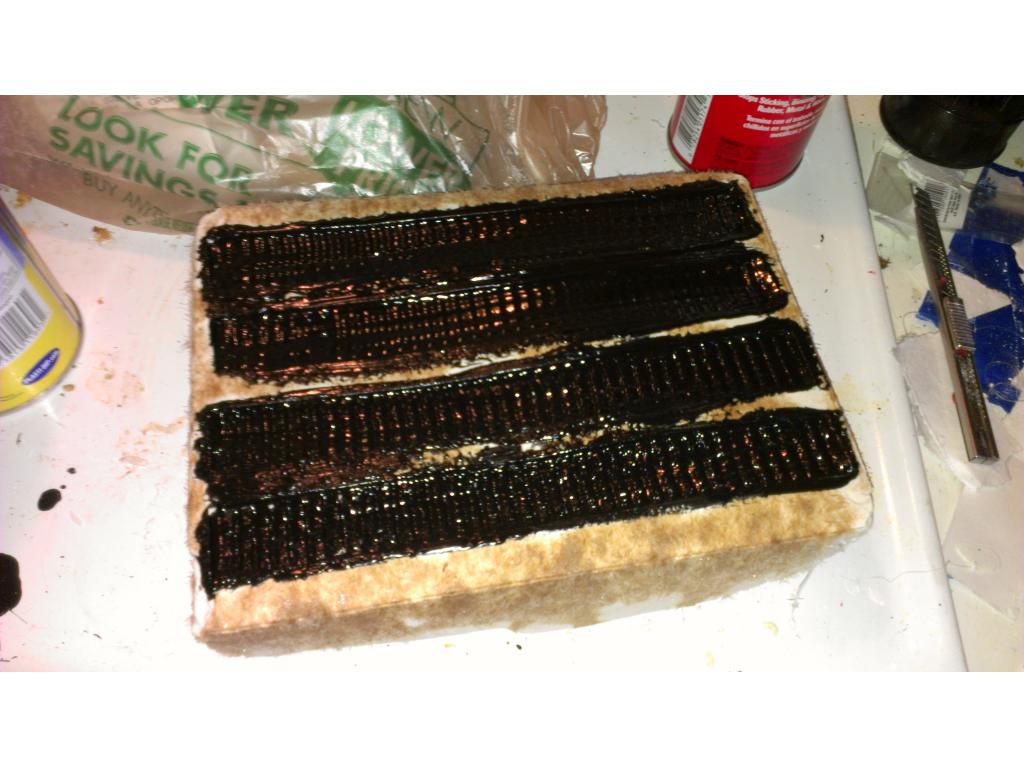
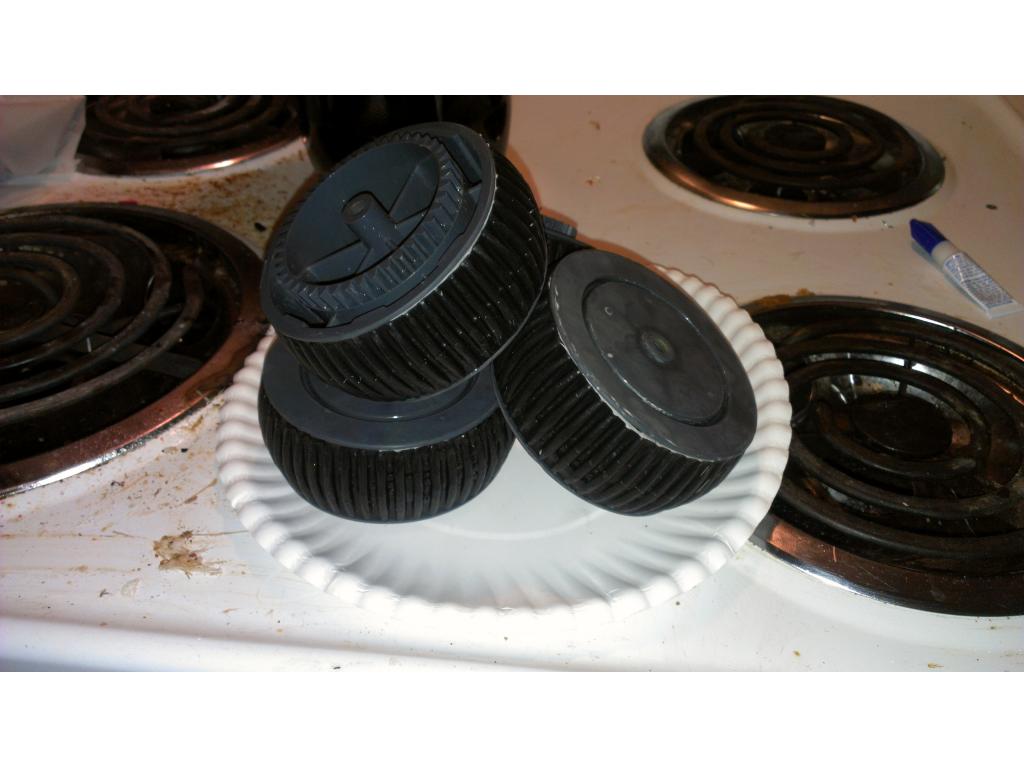
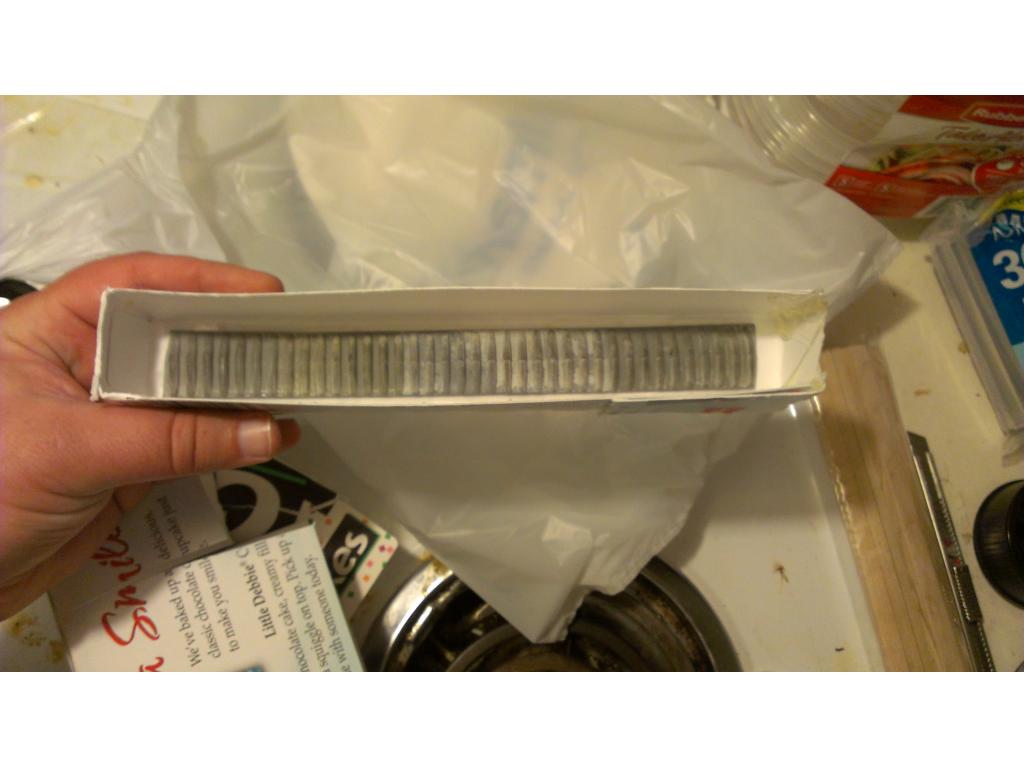
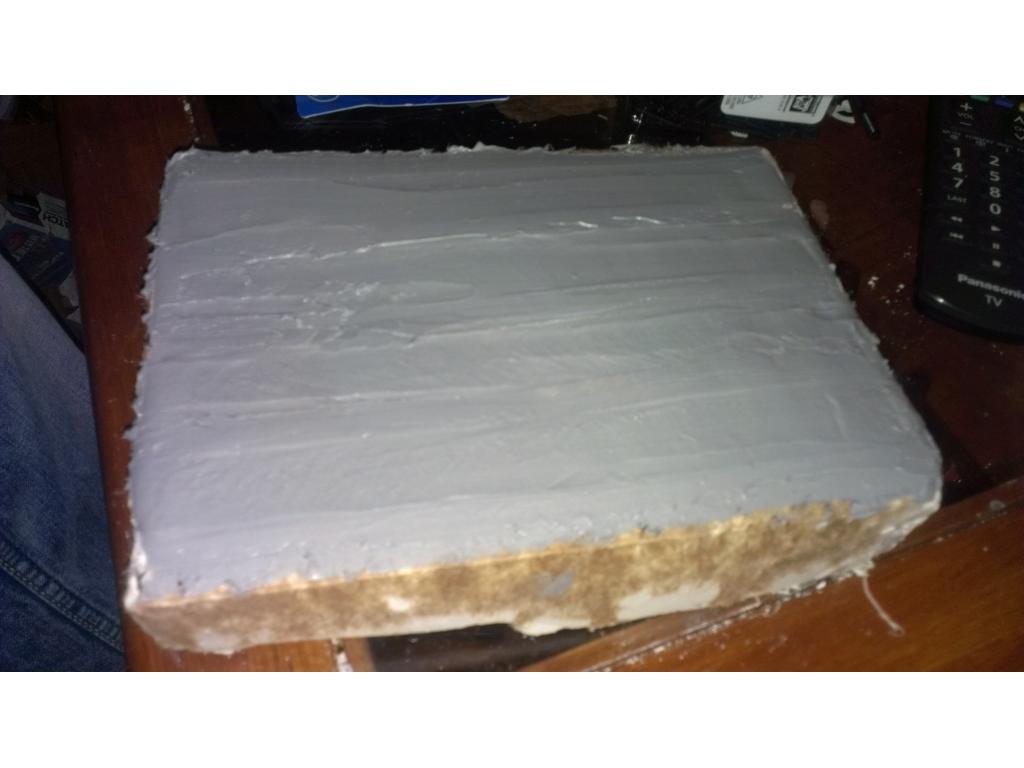
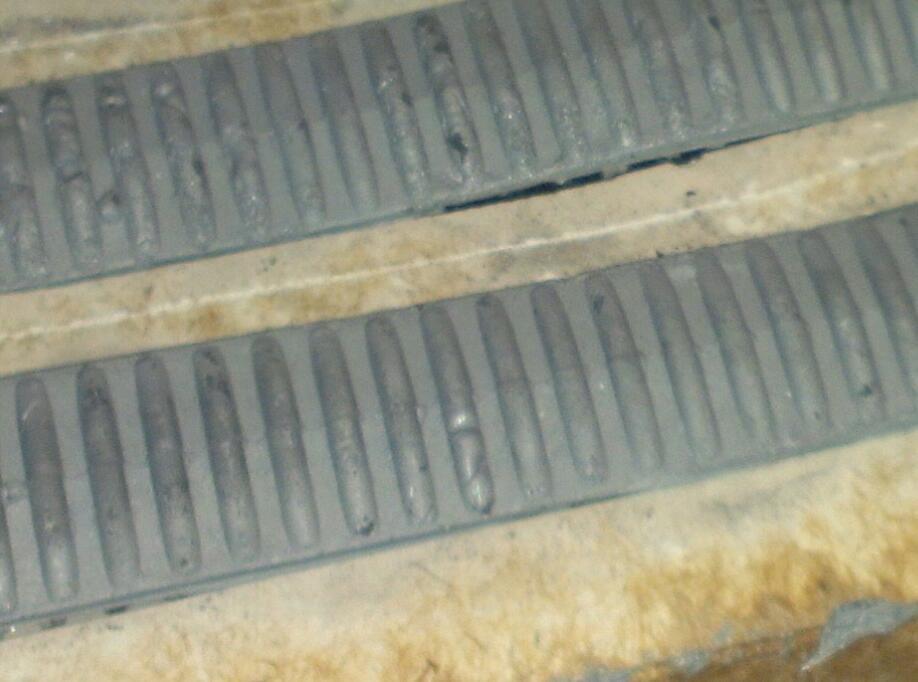
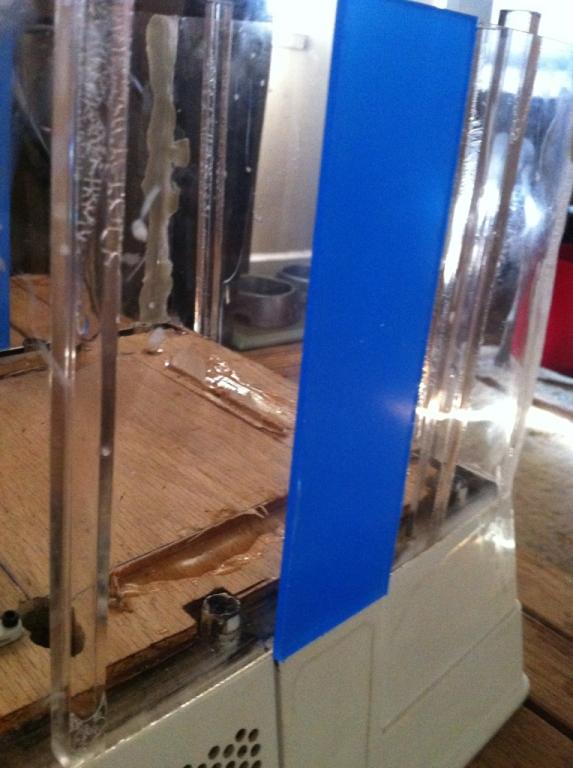
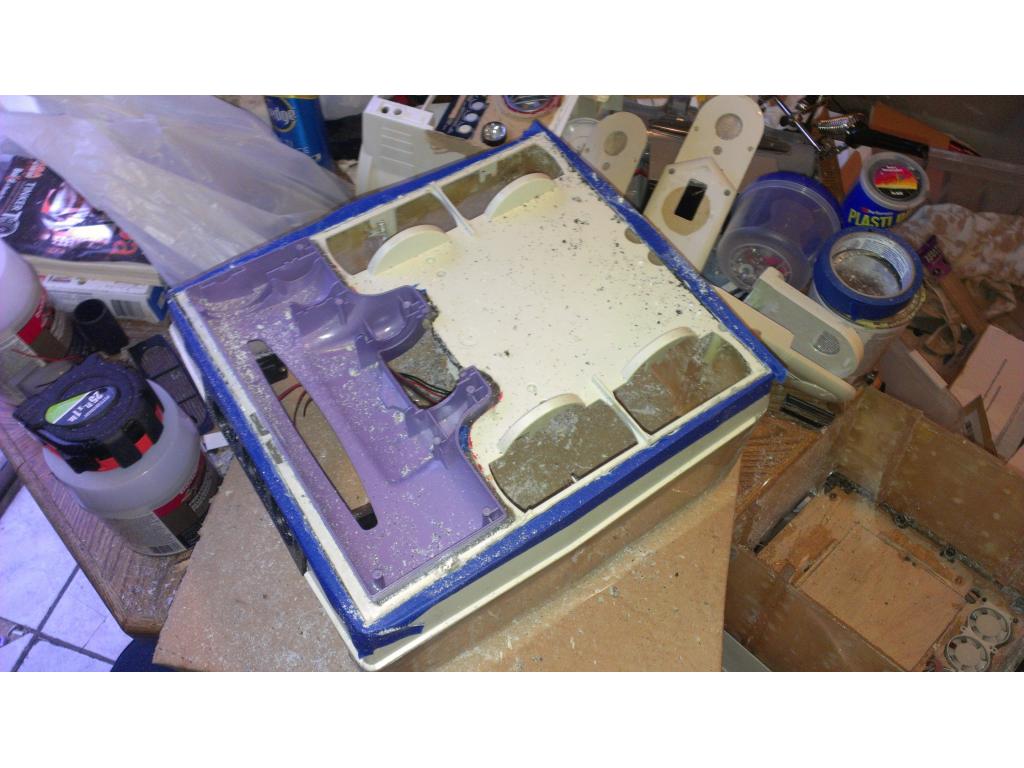
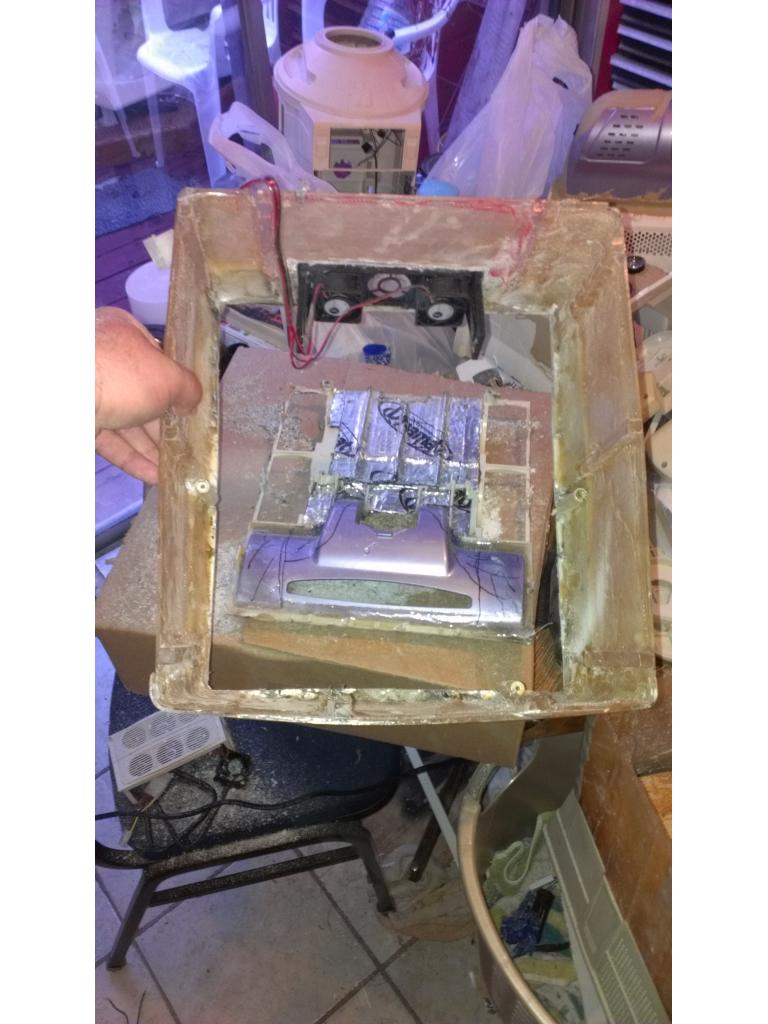
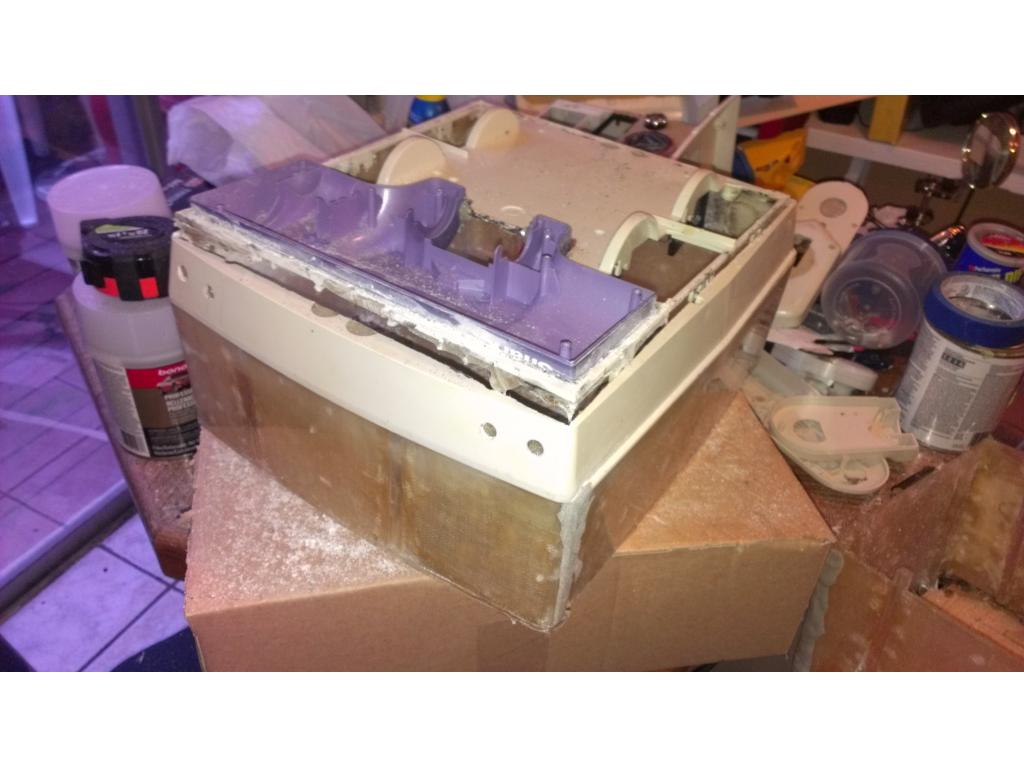
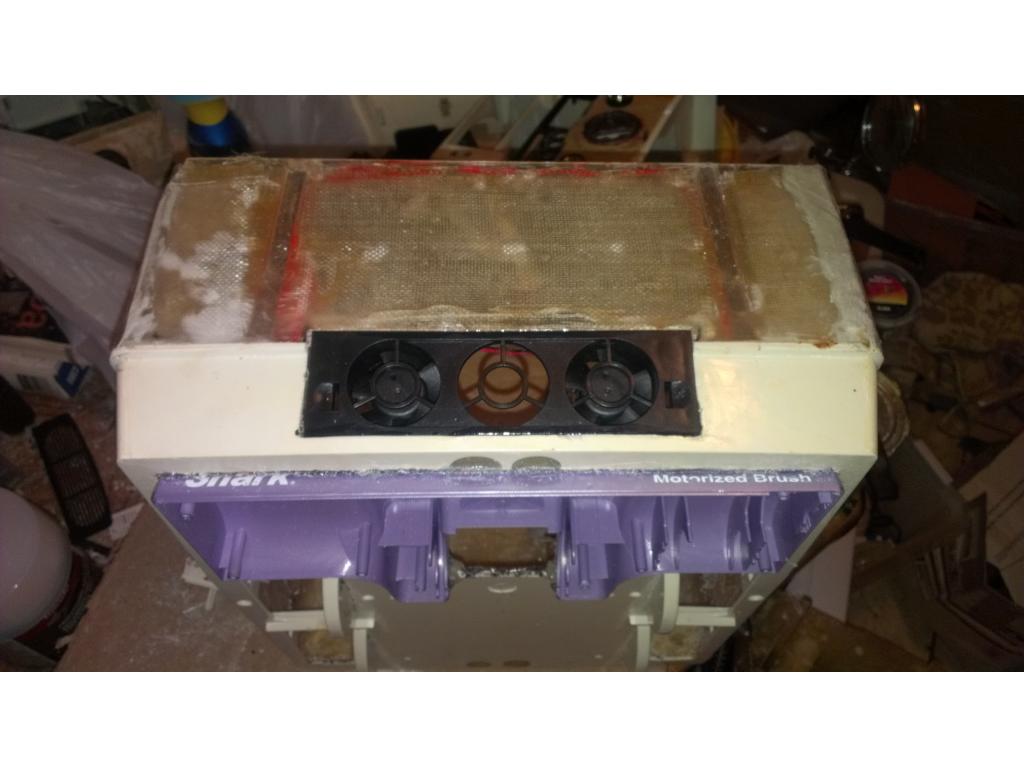
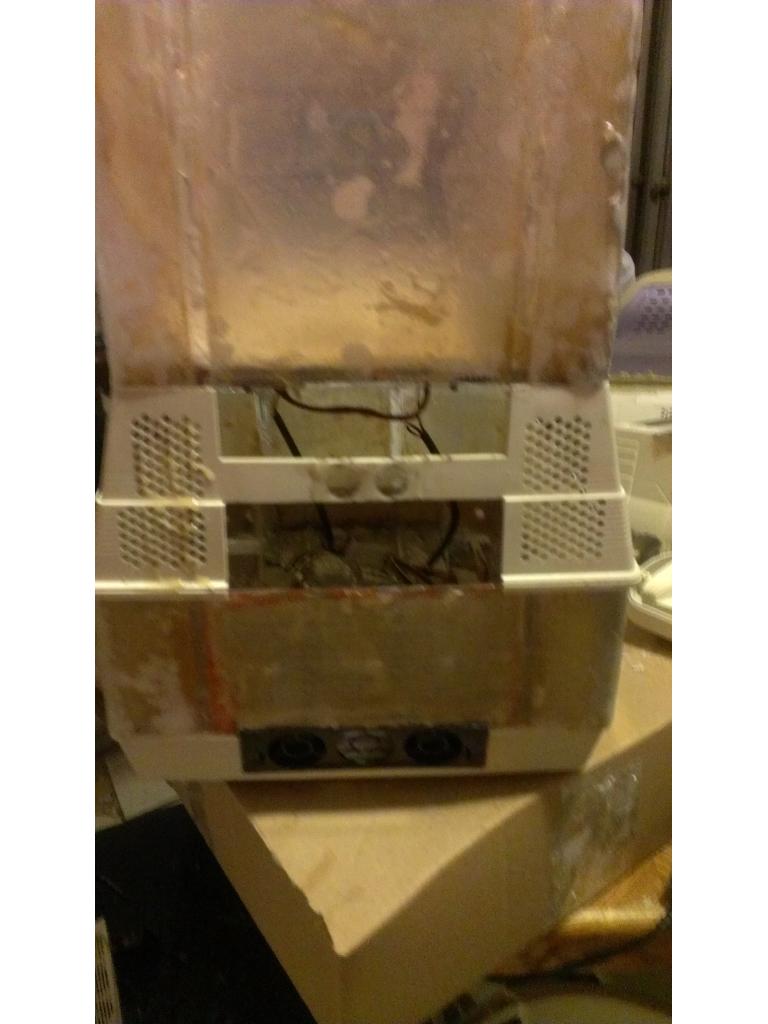
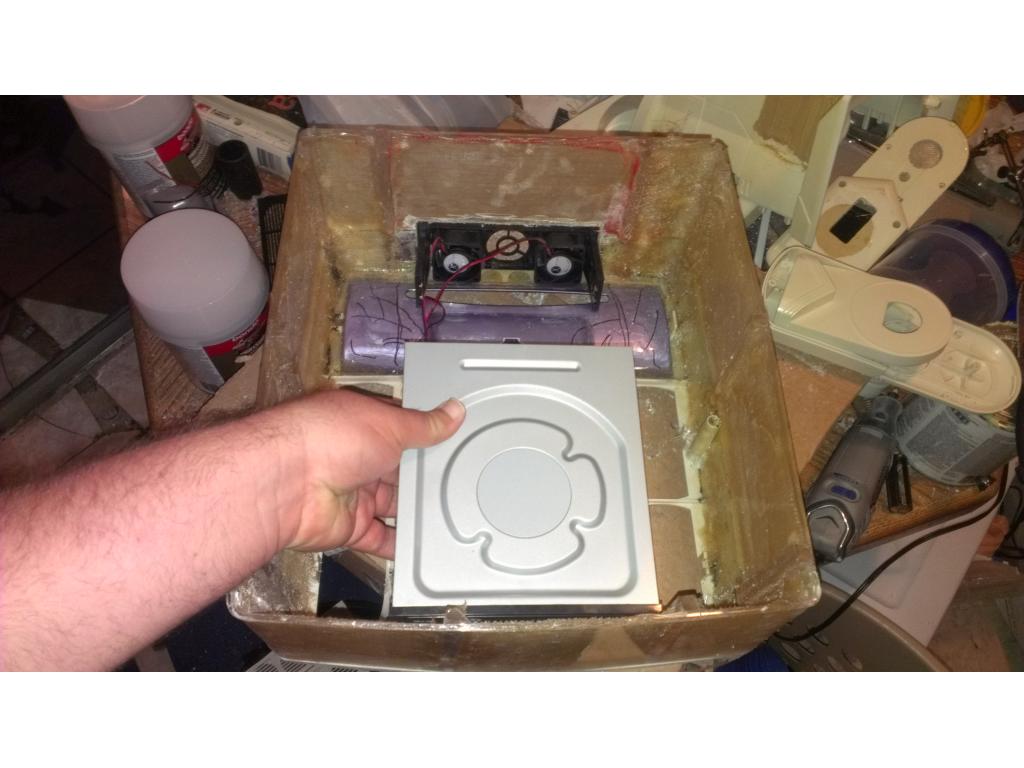
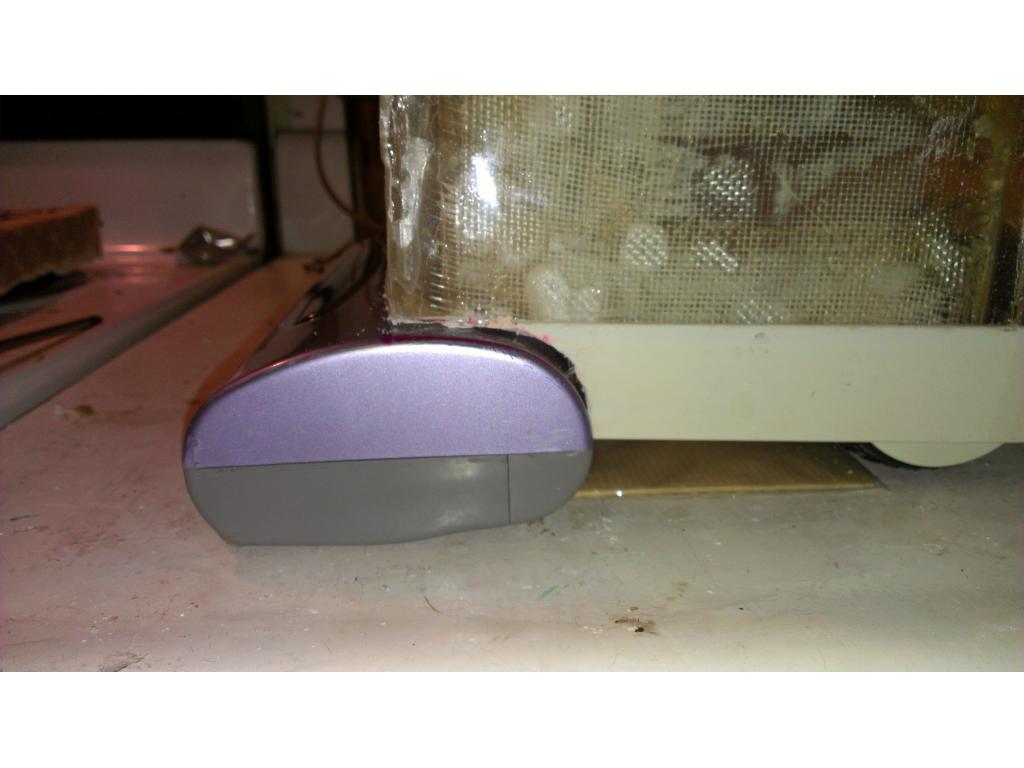
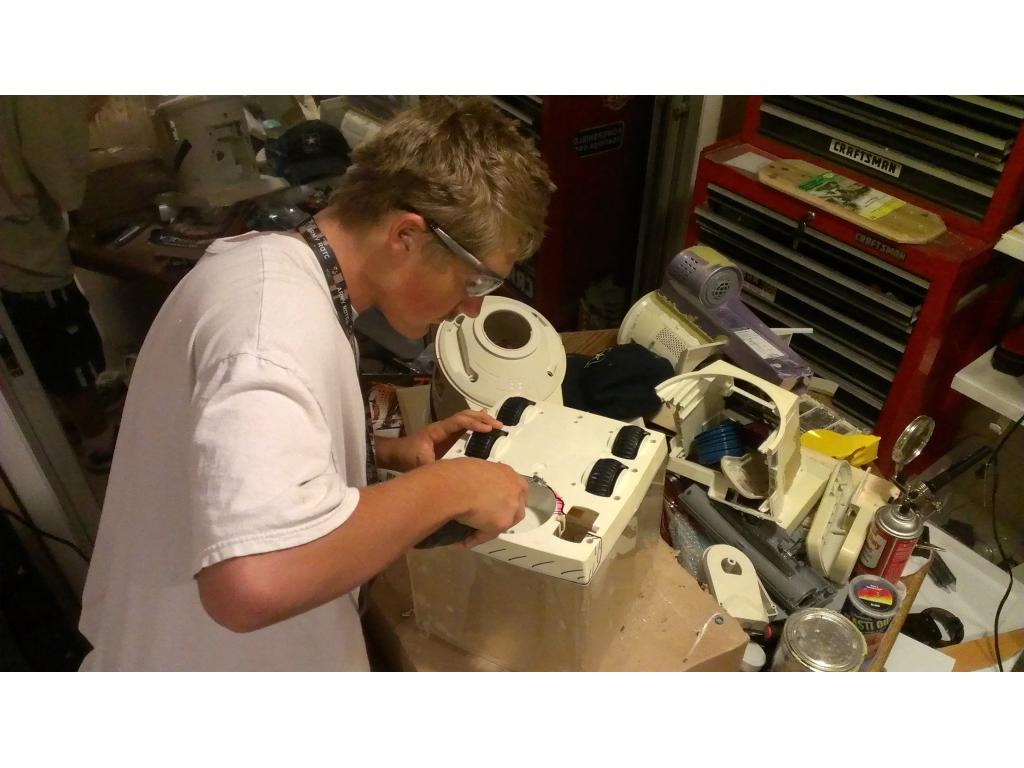
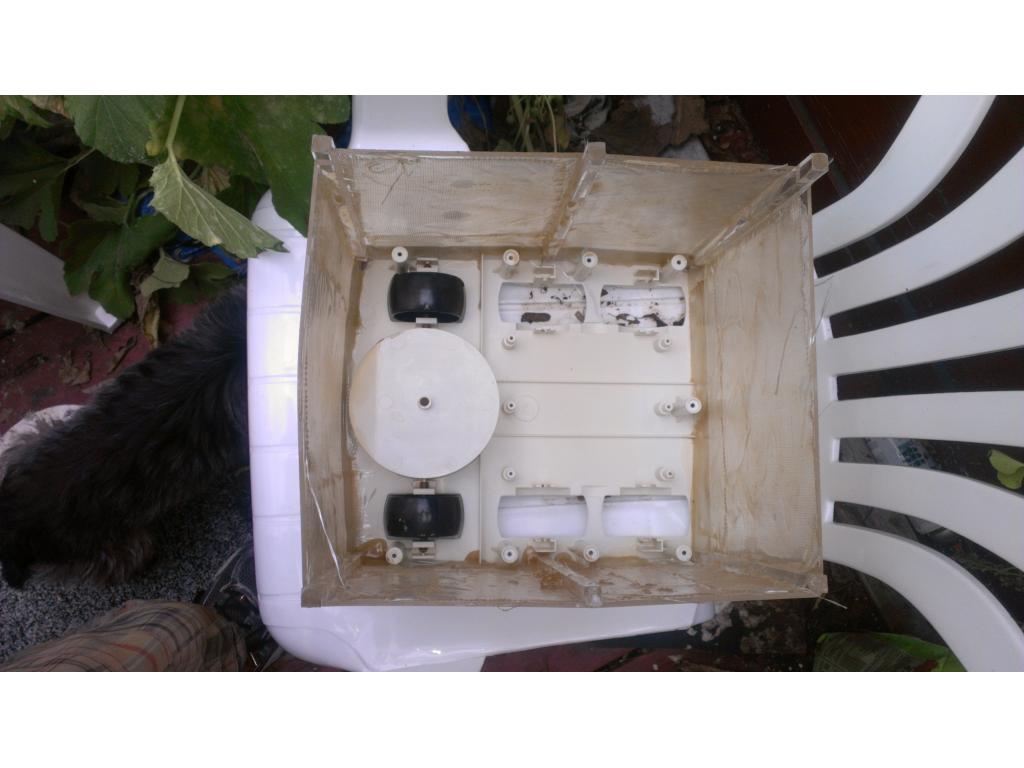
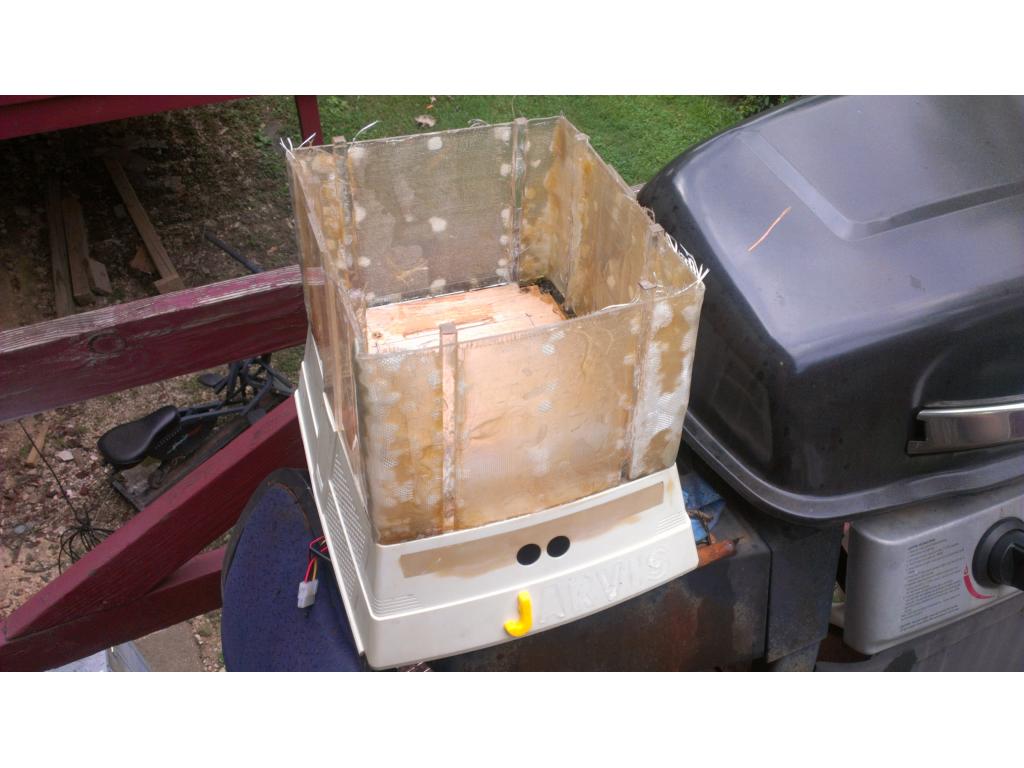
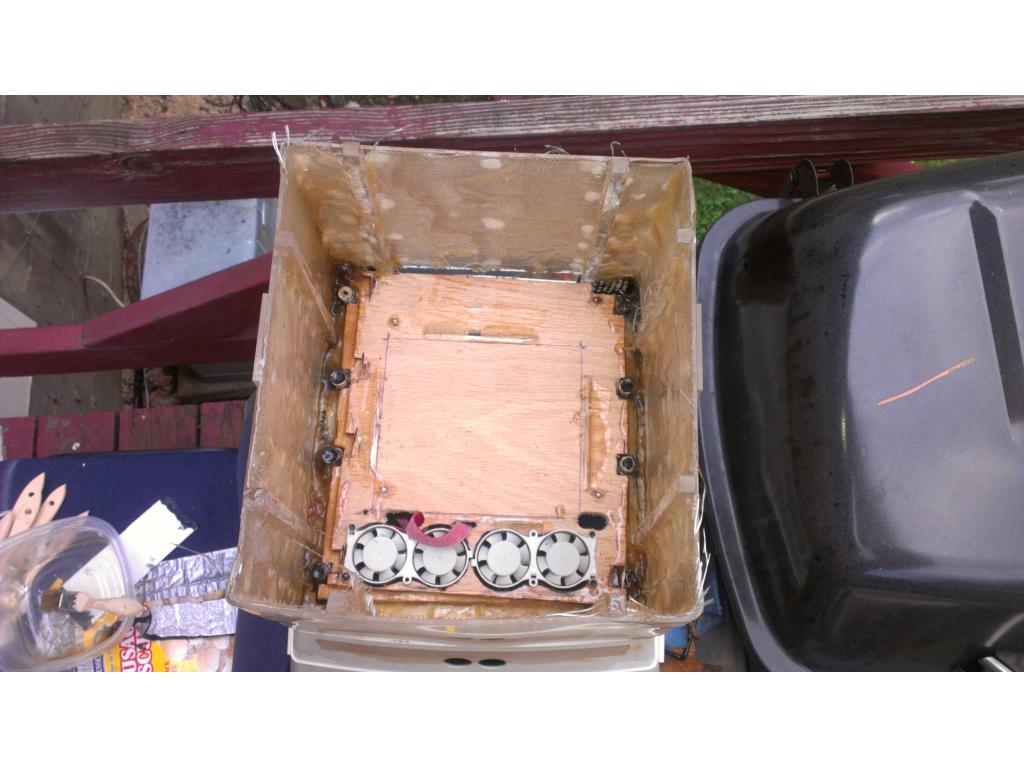
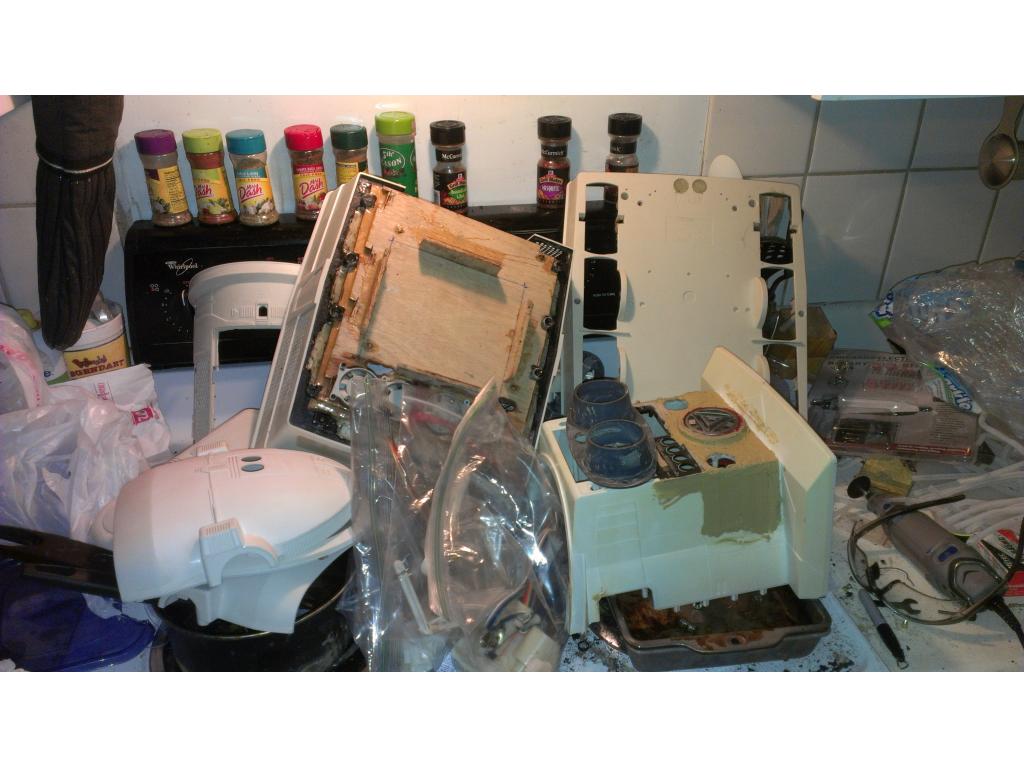
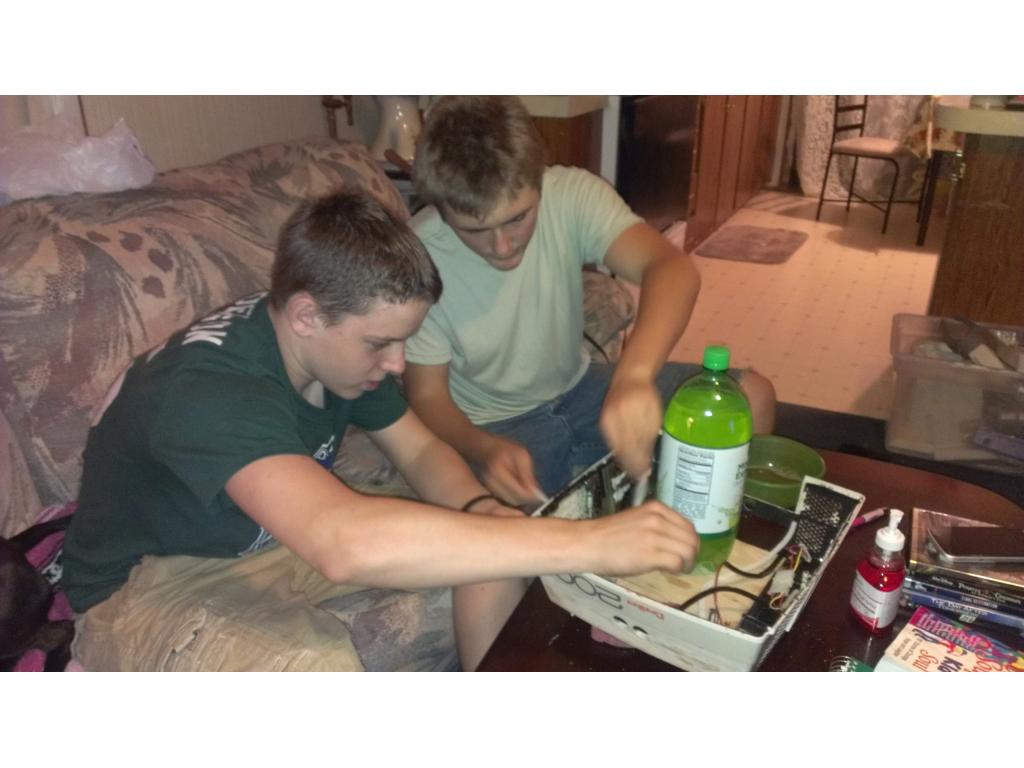
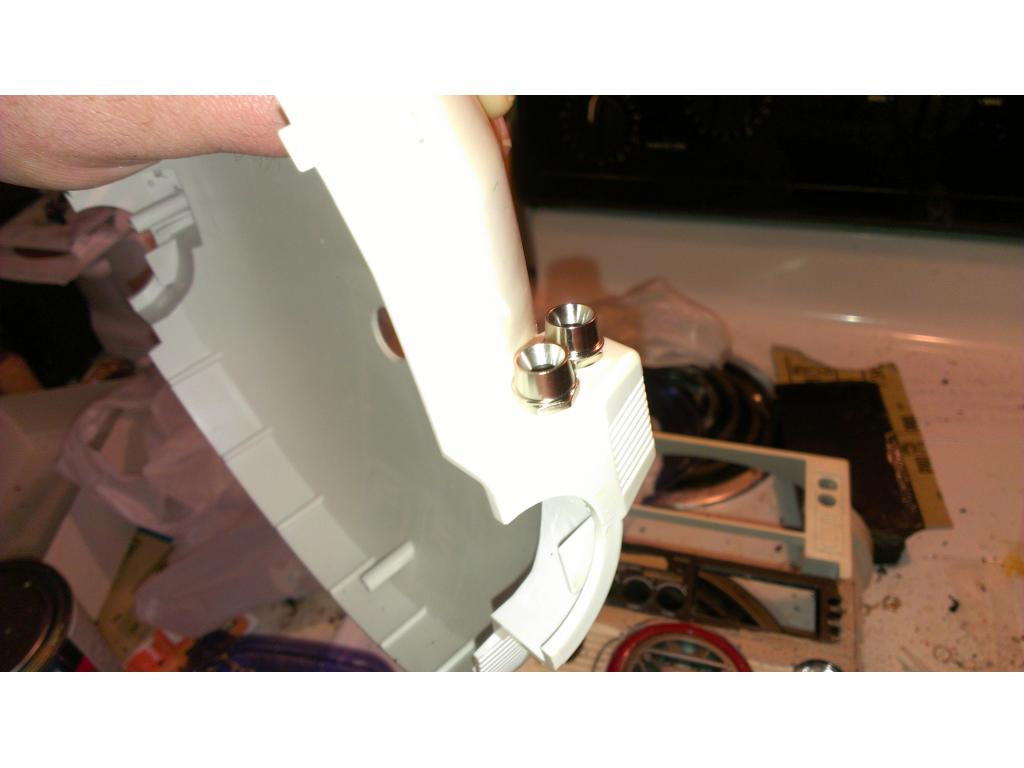
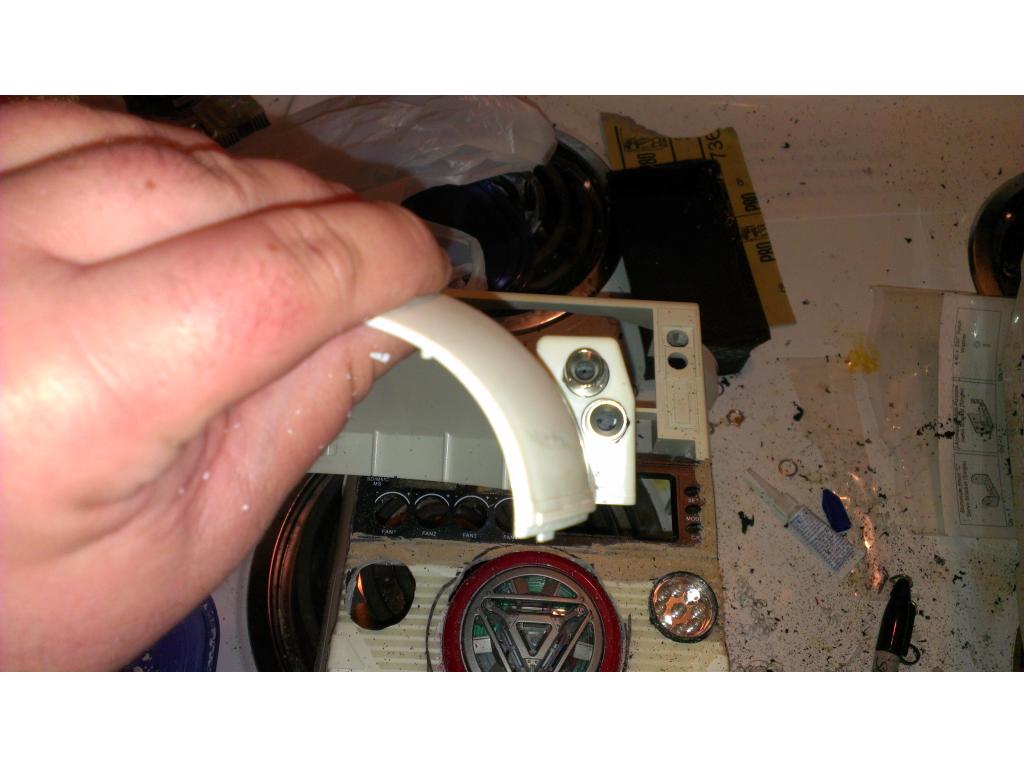
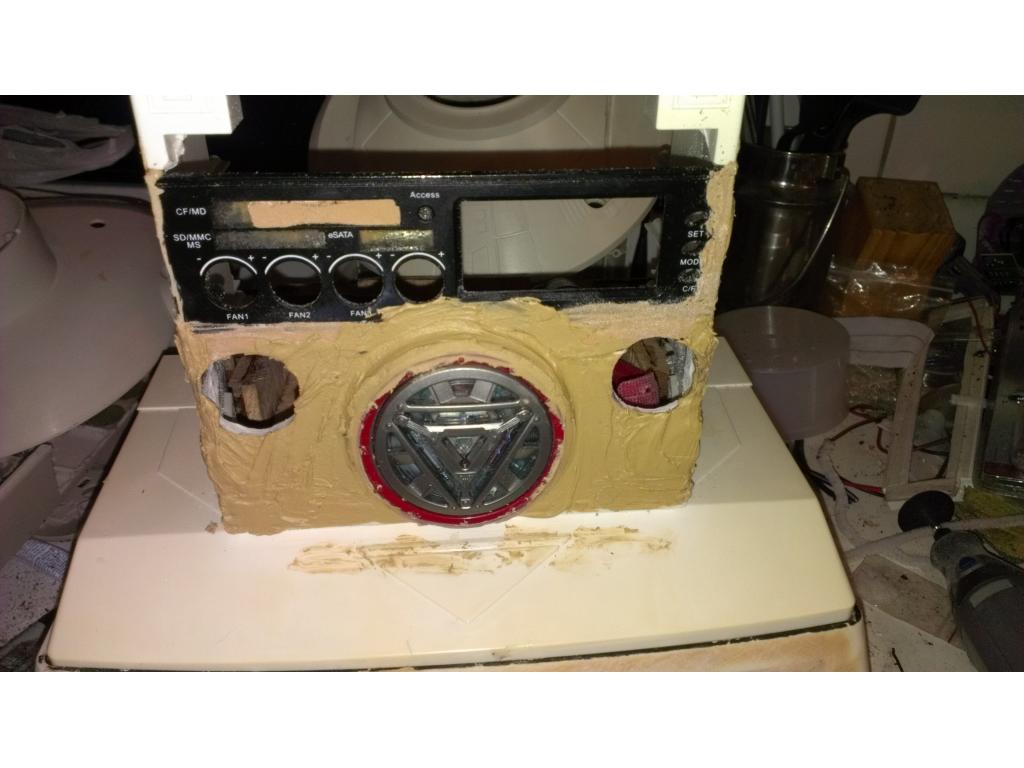
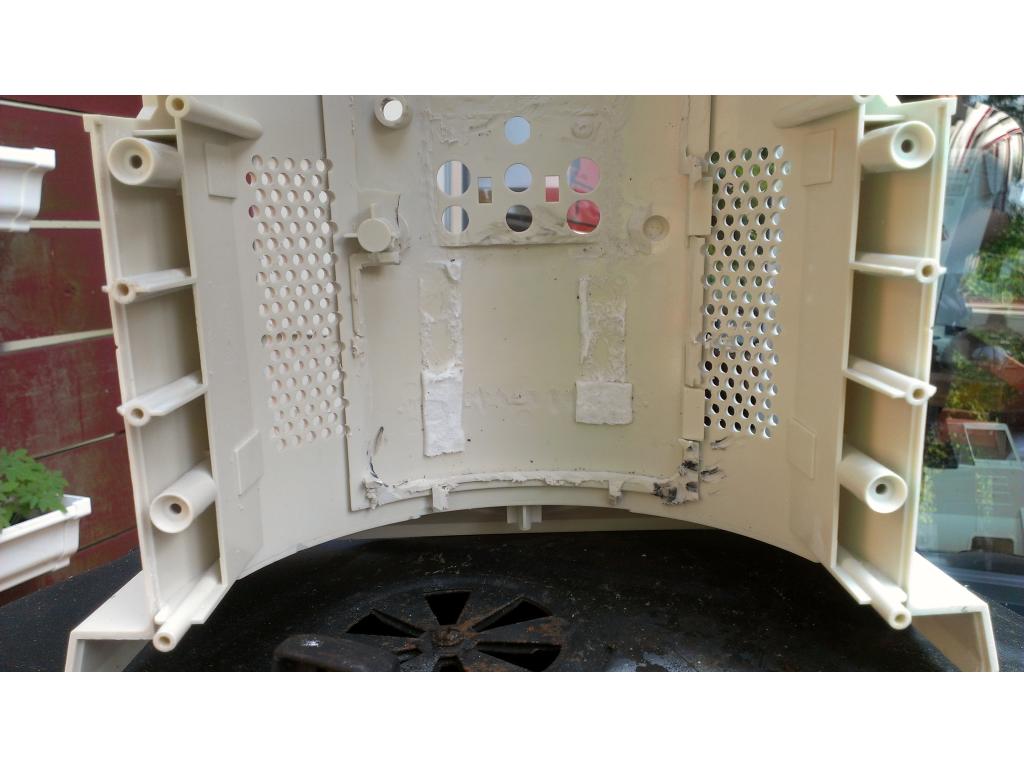
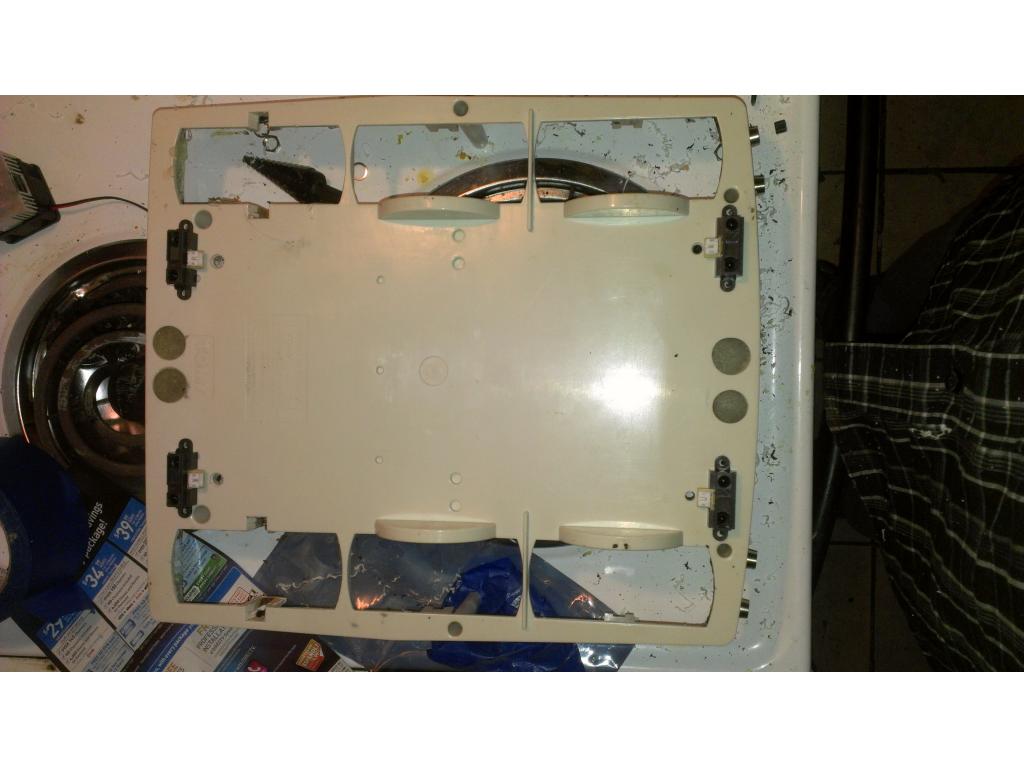
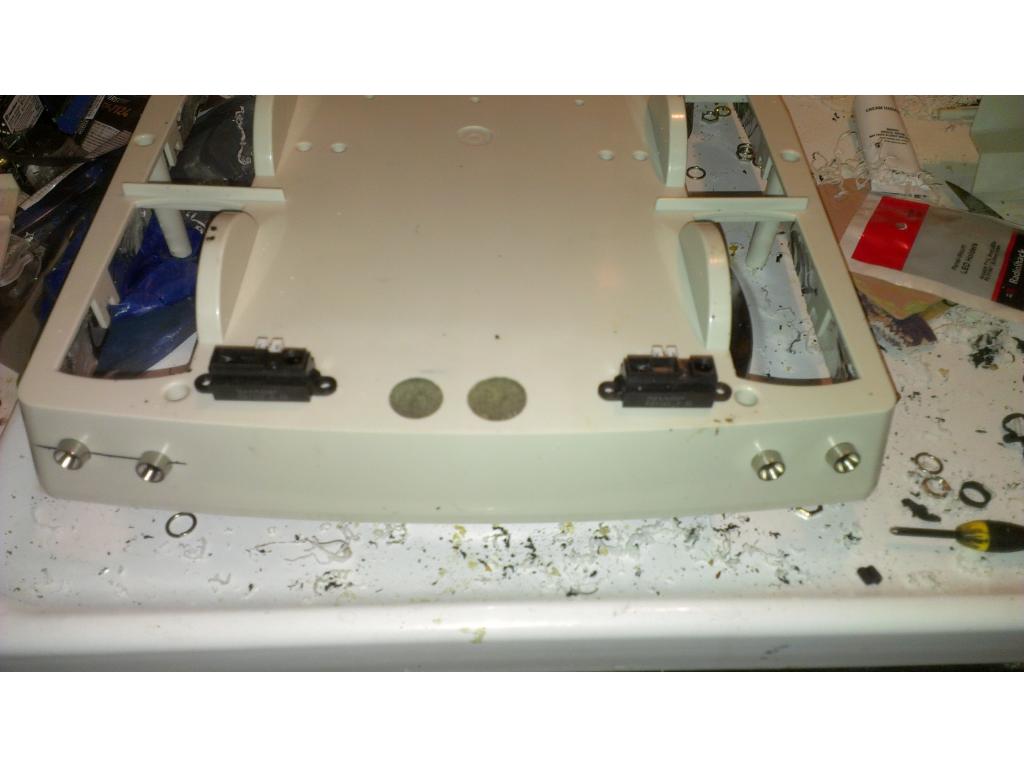
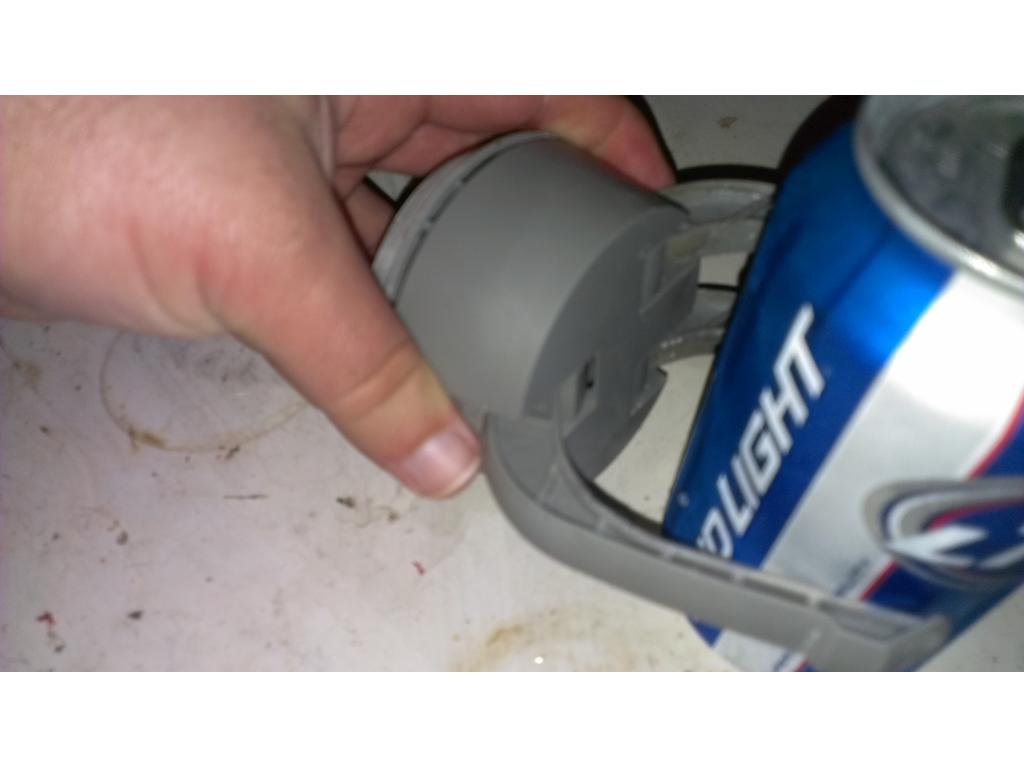
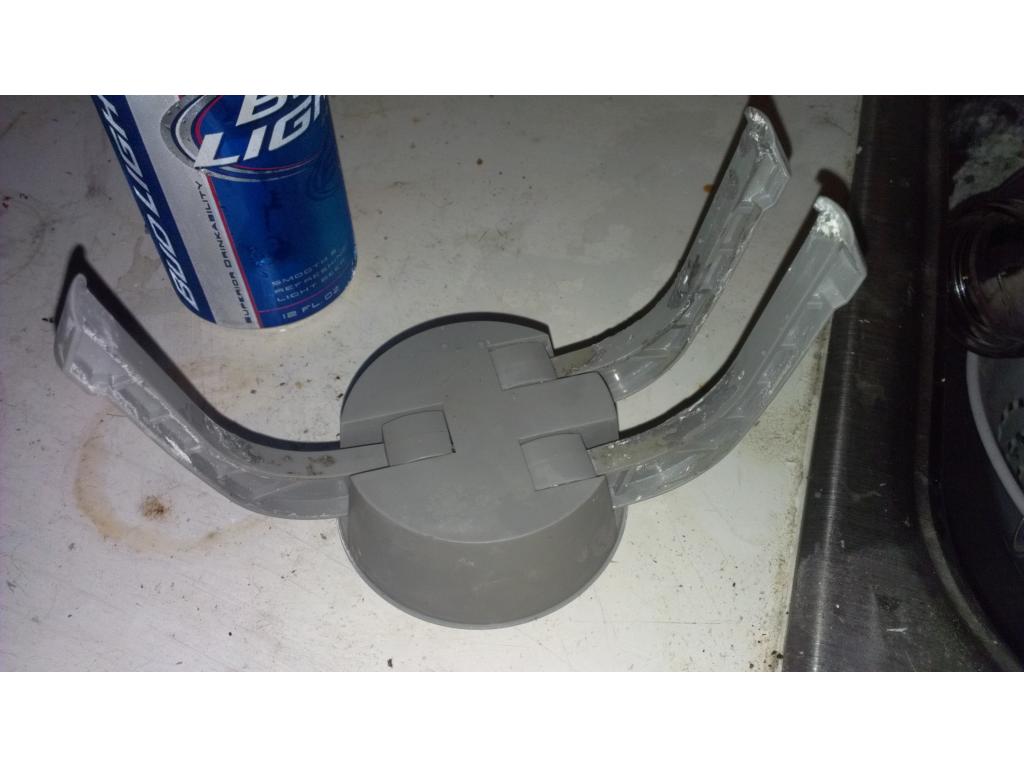
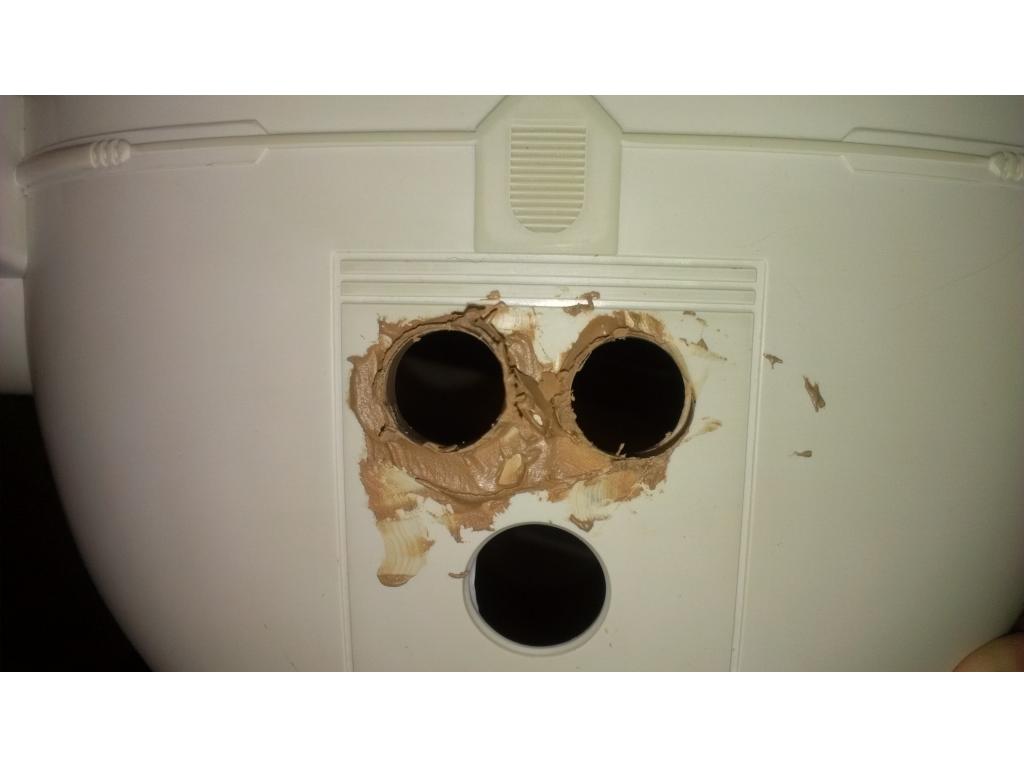
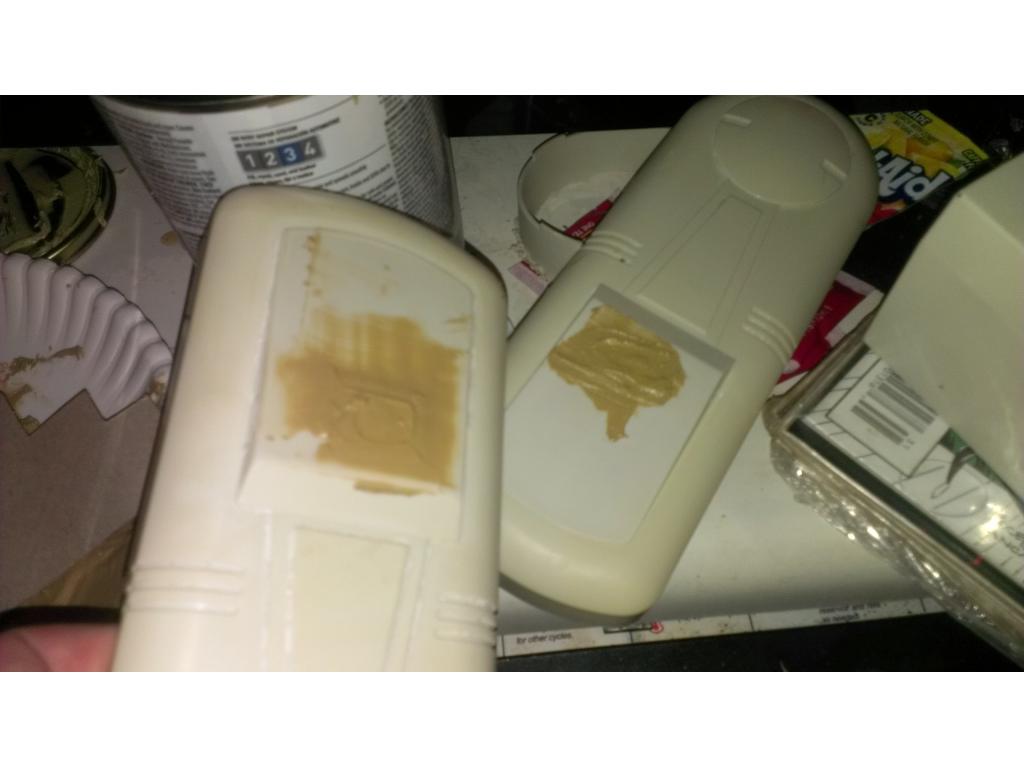
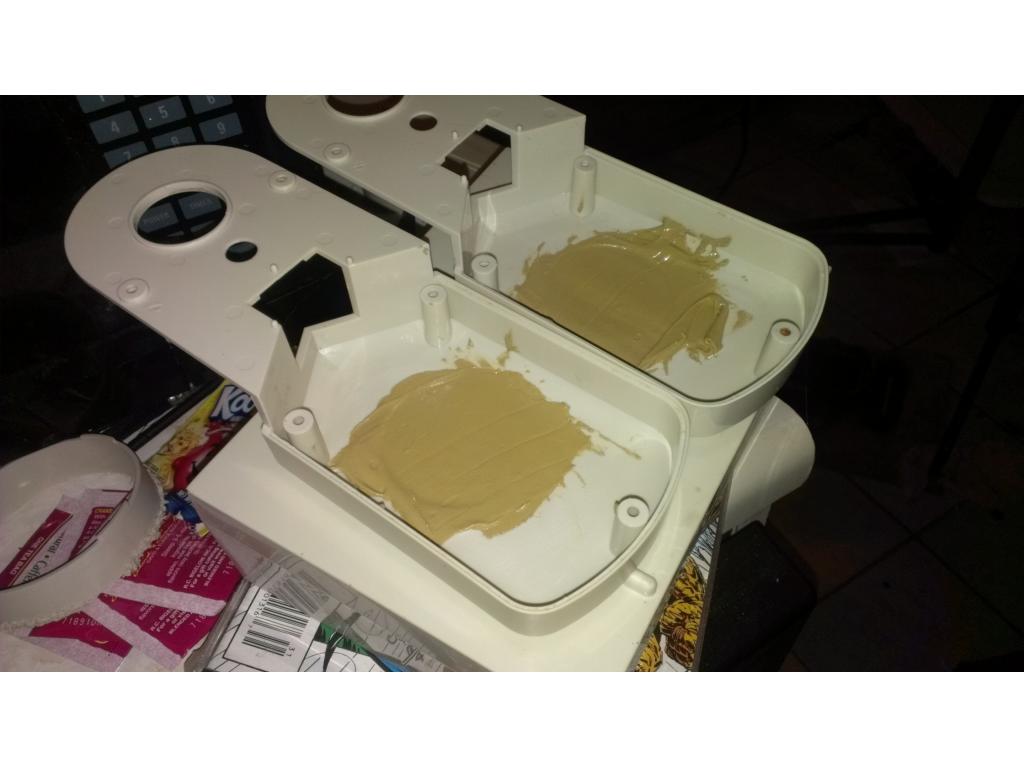
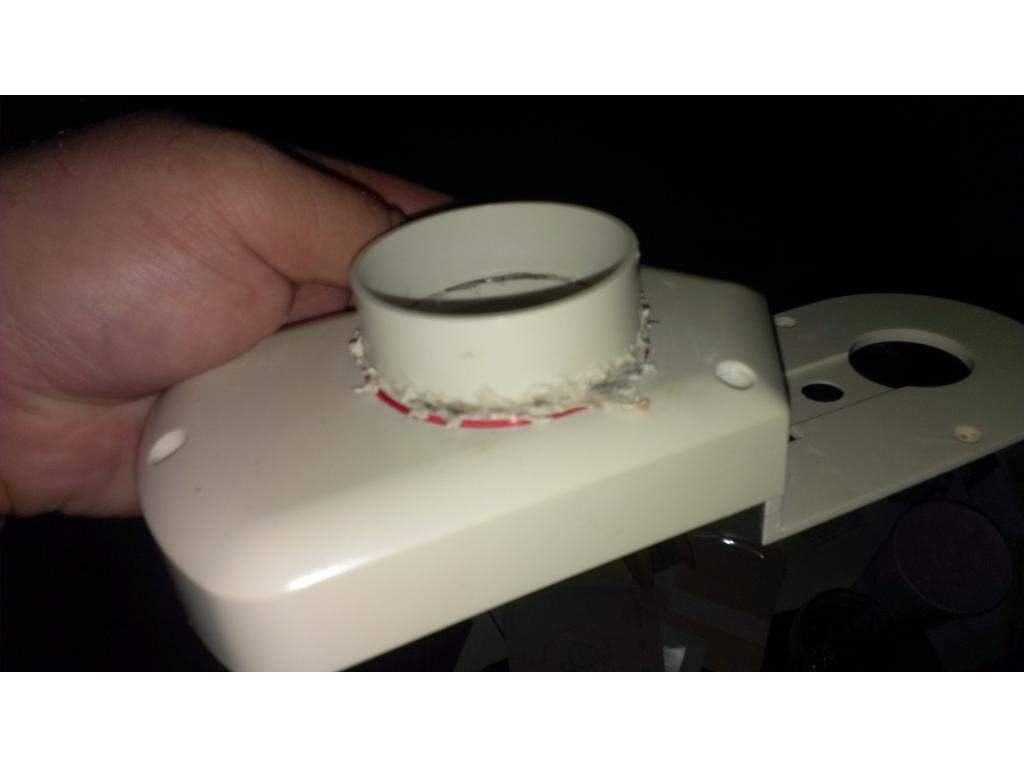
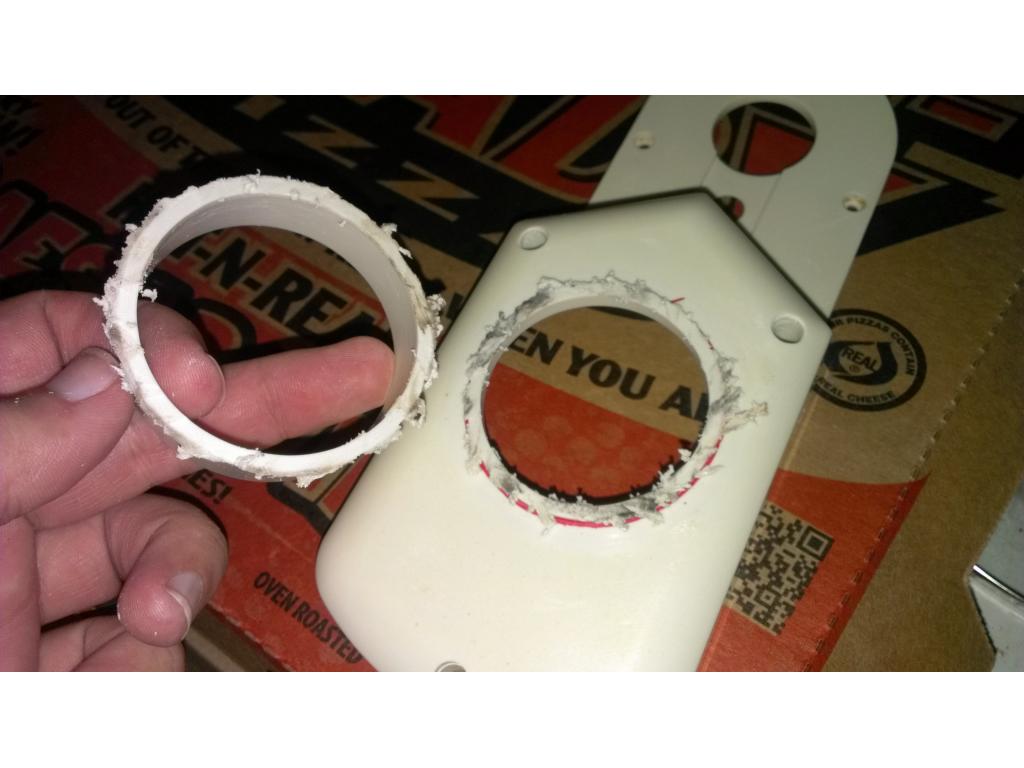
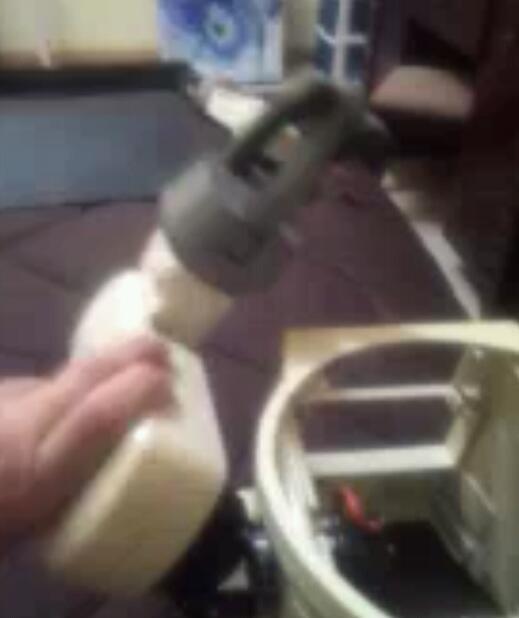
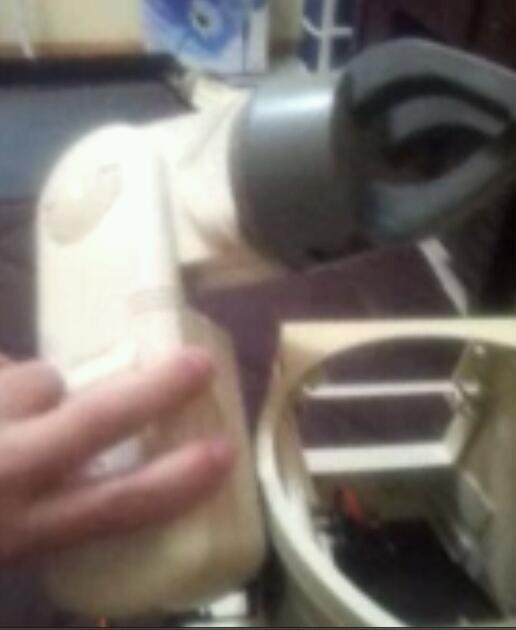
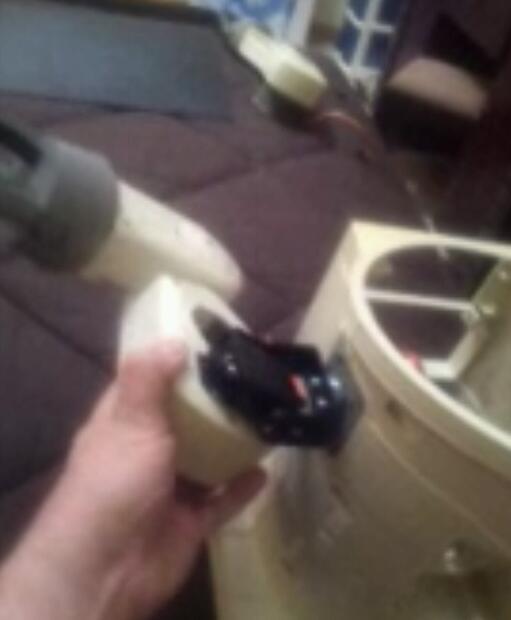
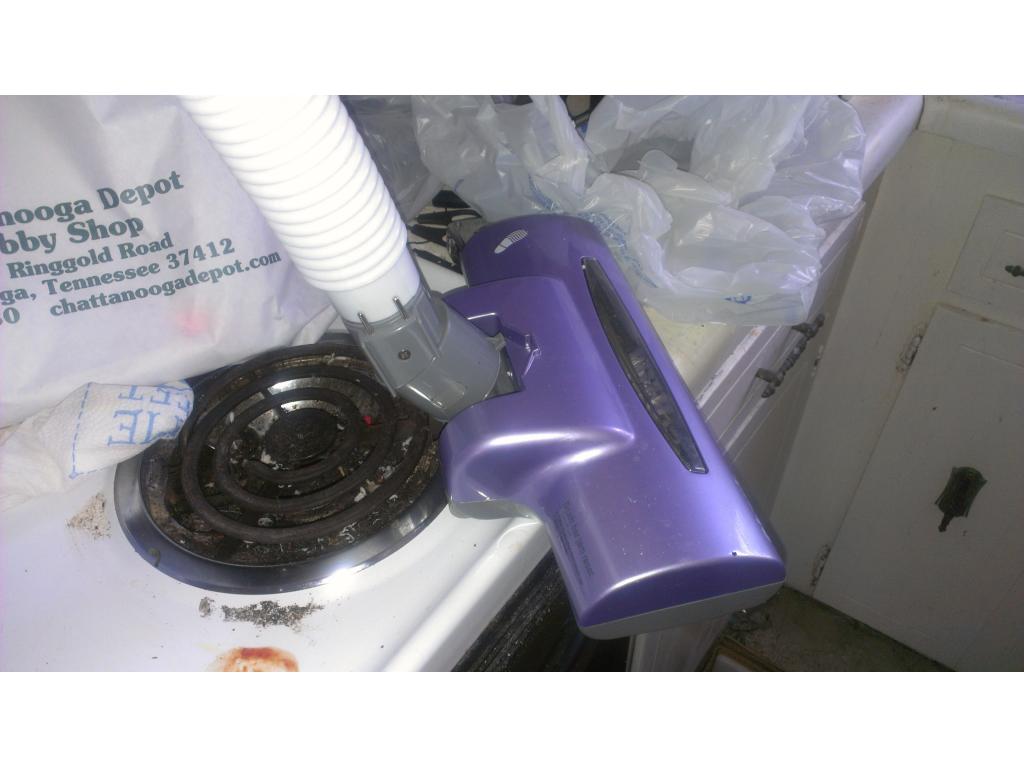
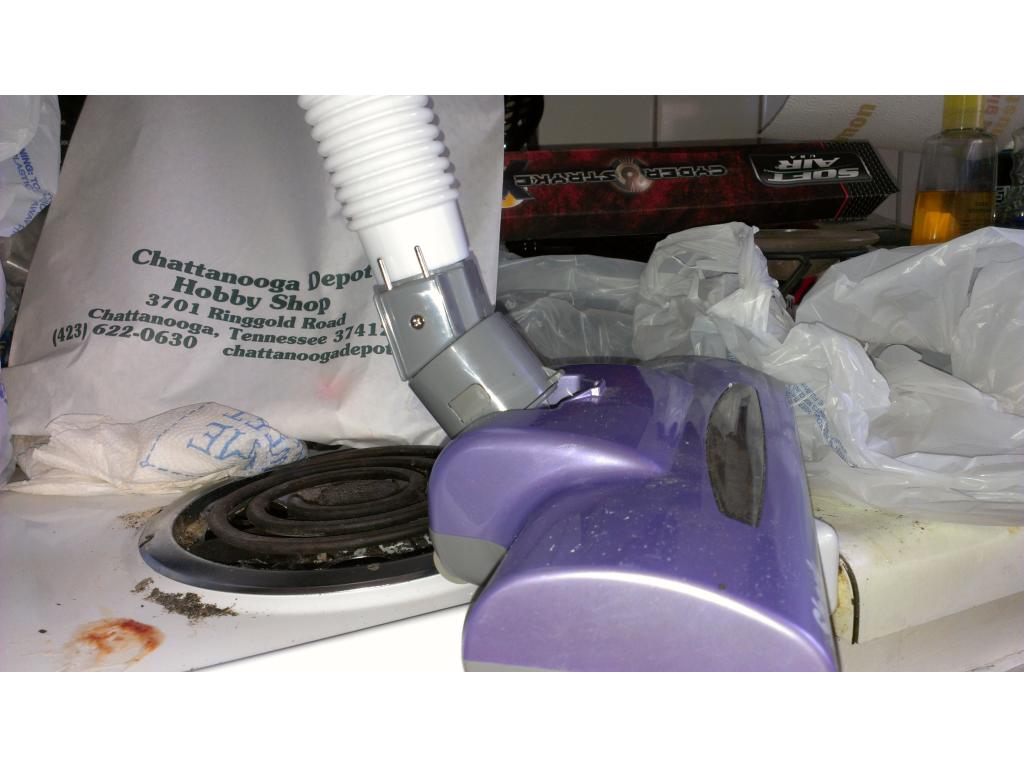
I wanted to " relax" a bit tonight so i picked a less challenging task while i plan the more complicated next steps. The fore arms of the omnibot have a single fragile point of pivot with a single small screw holding it in place. I found that these really need to be replaced with a more durable material because one arm fell off the coffee table while i was taking the robot apart and the spindle the elbow mounts to broke off. I will take a very simple and durable aproach to fix this. I am filling in the large hole on the elbow and will epoxy a washer on both sides. A bolt matching the inner diameter of the washers would be epoxied through the elbow so that its durable and will not turn. a single nut could be threaded on for adjustments and washer after that. This means the washer glued into place will be directly agianst this free moving washer and will act as a bearing. I will even put some lithium greas there but this prevents play and side to side wiggle. i am describing this in my head so sorry if this sounds confusing. I will draw a exploded view tommorow of this plan. Long story short i needed to fill the hole and then reinforce the backing with lightweight fiberglas epoxy.
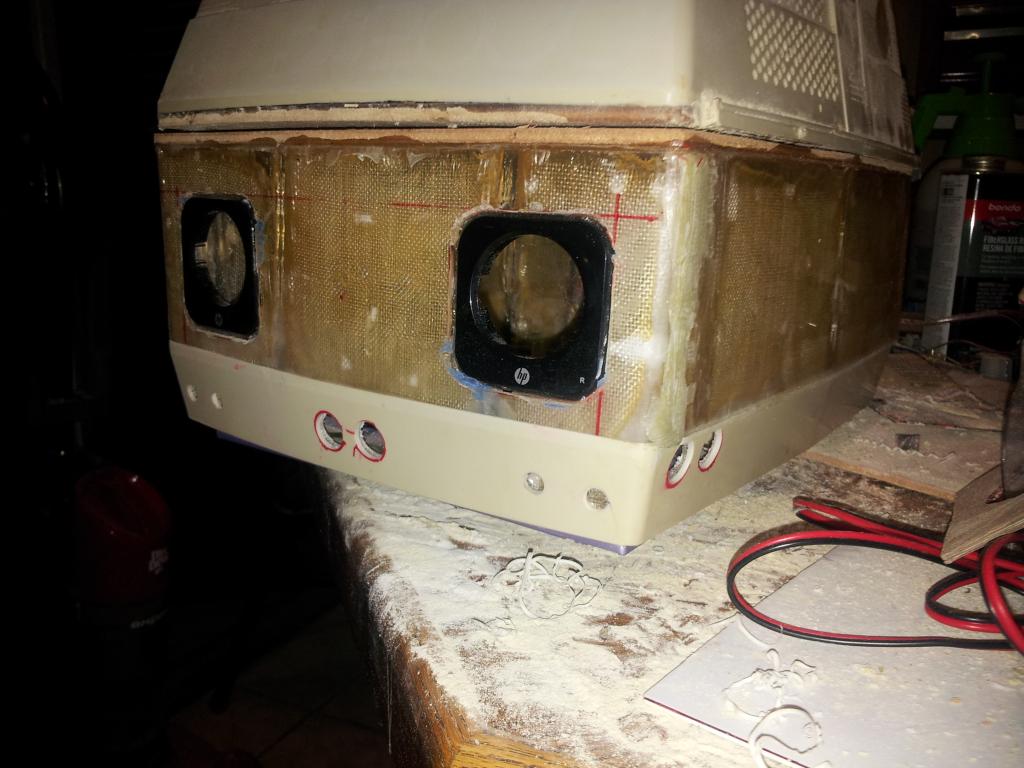
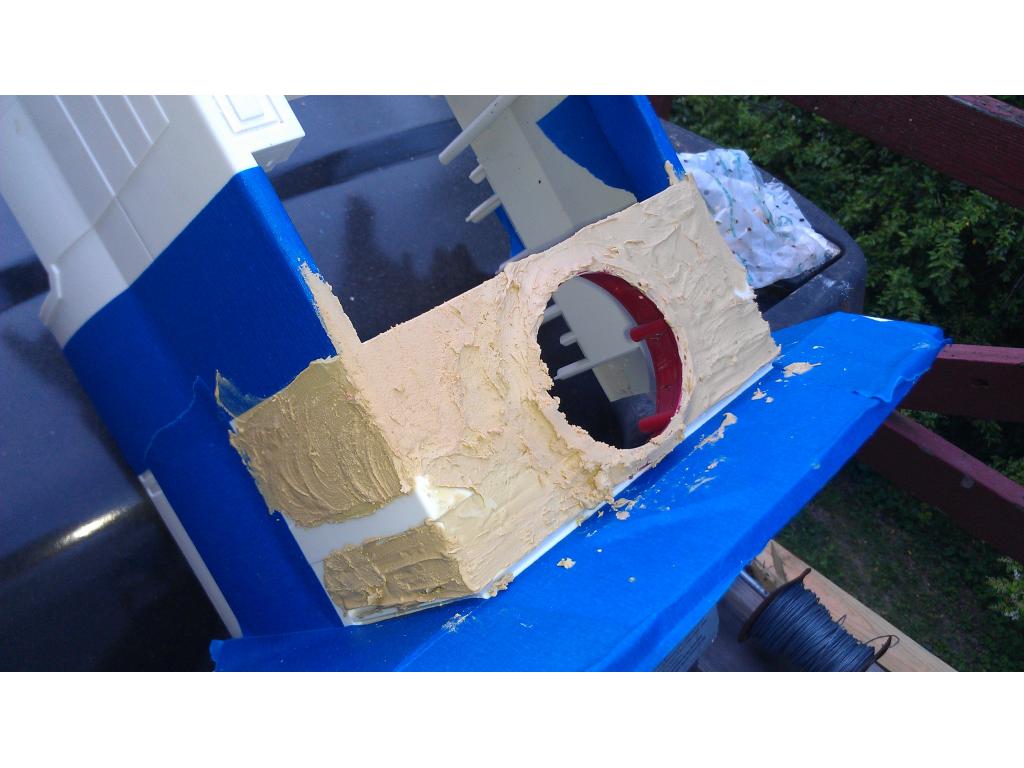
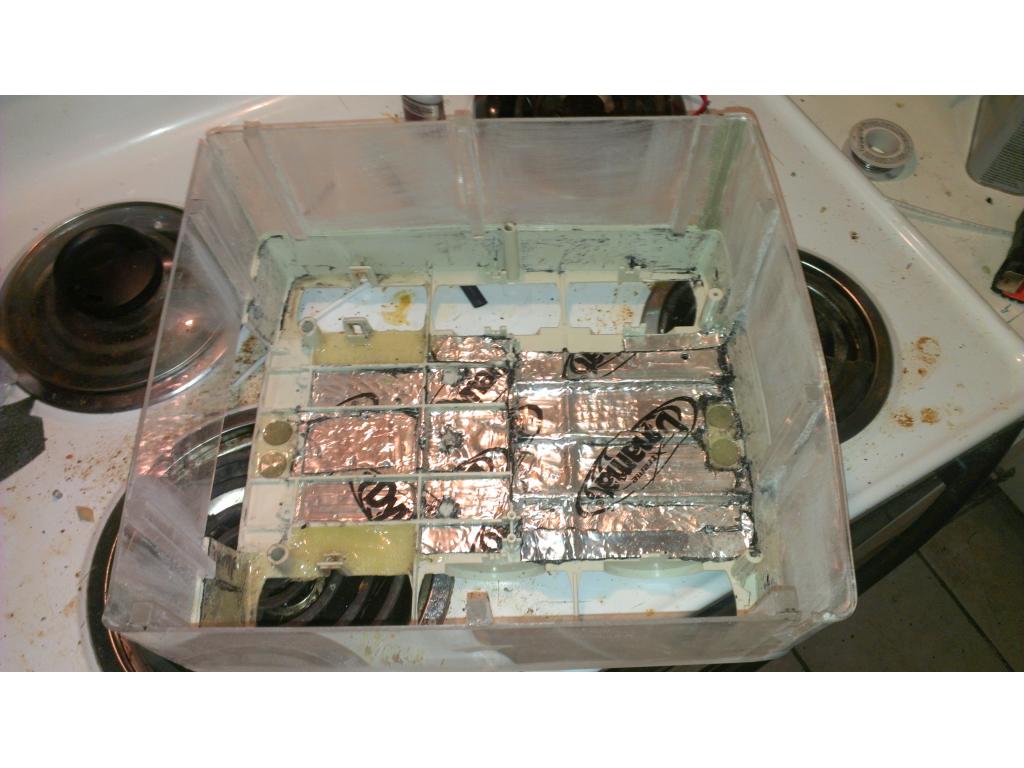
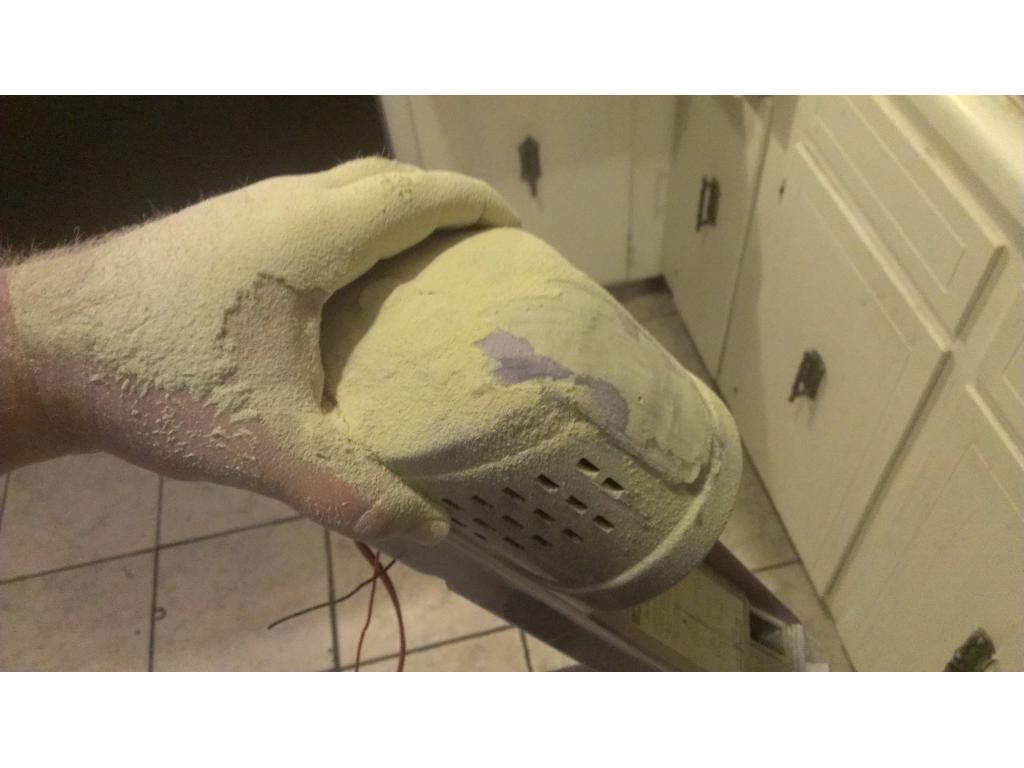
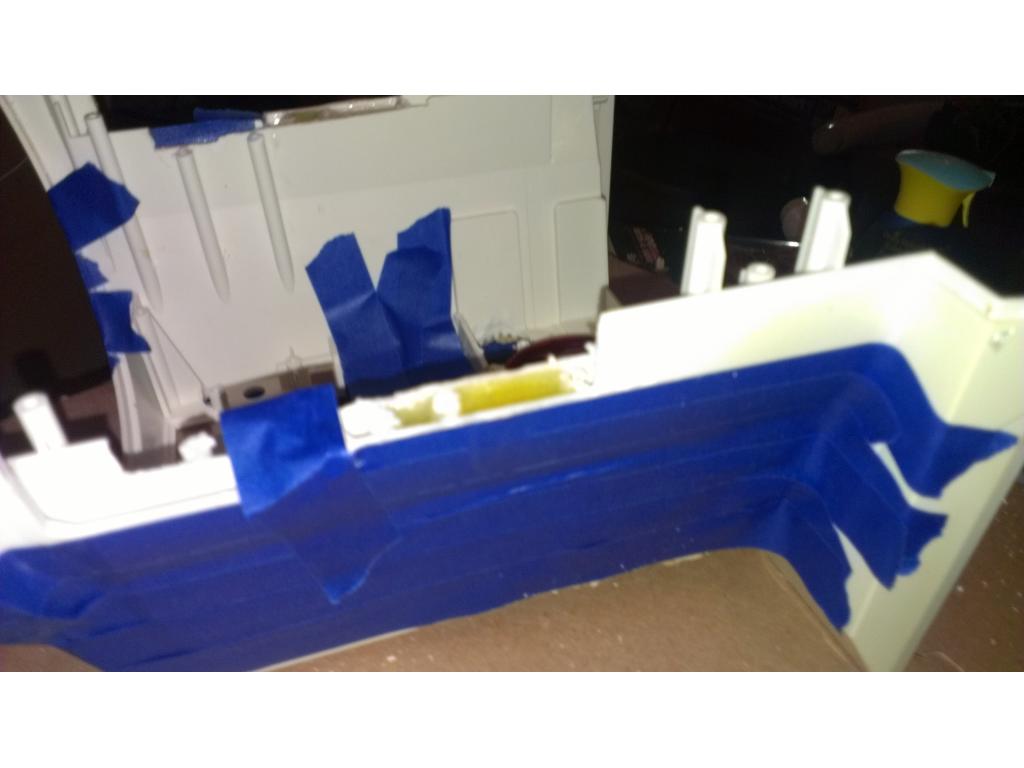
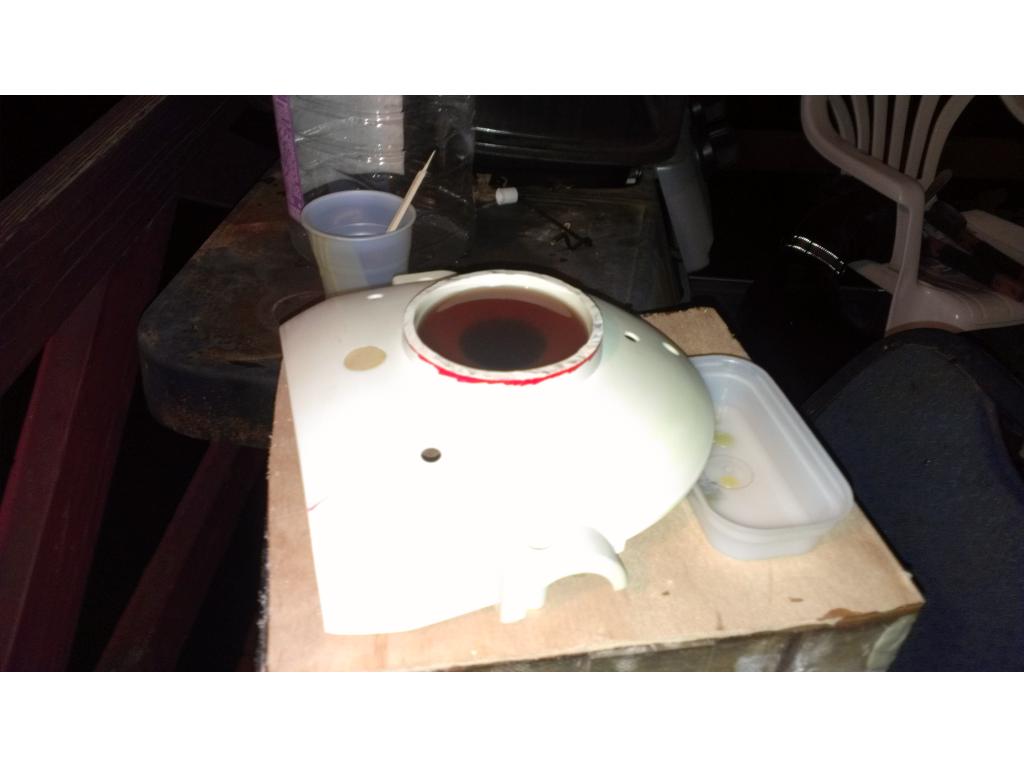
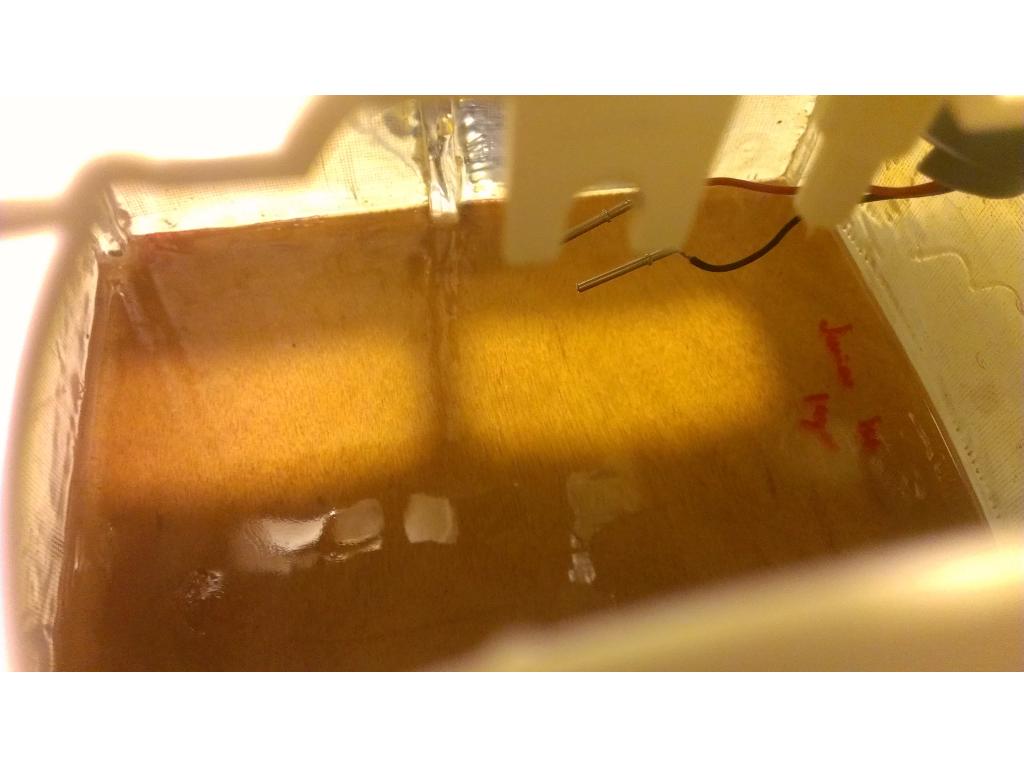
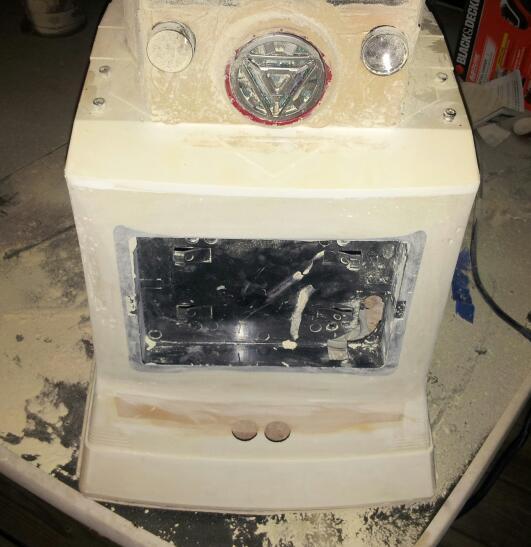
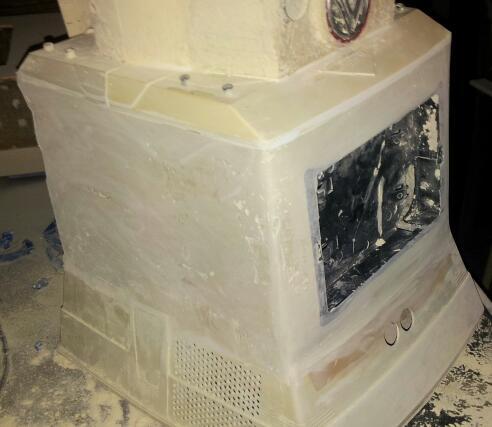
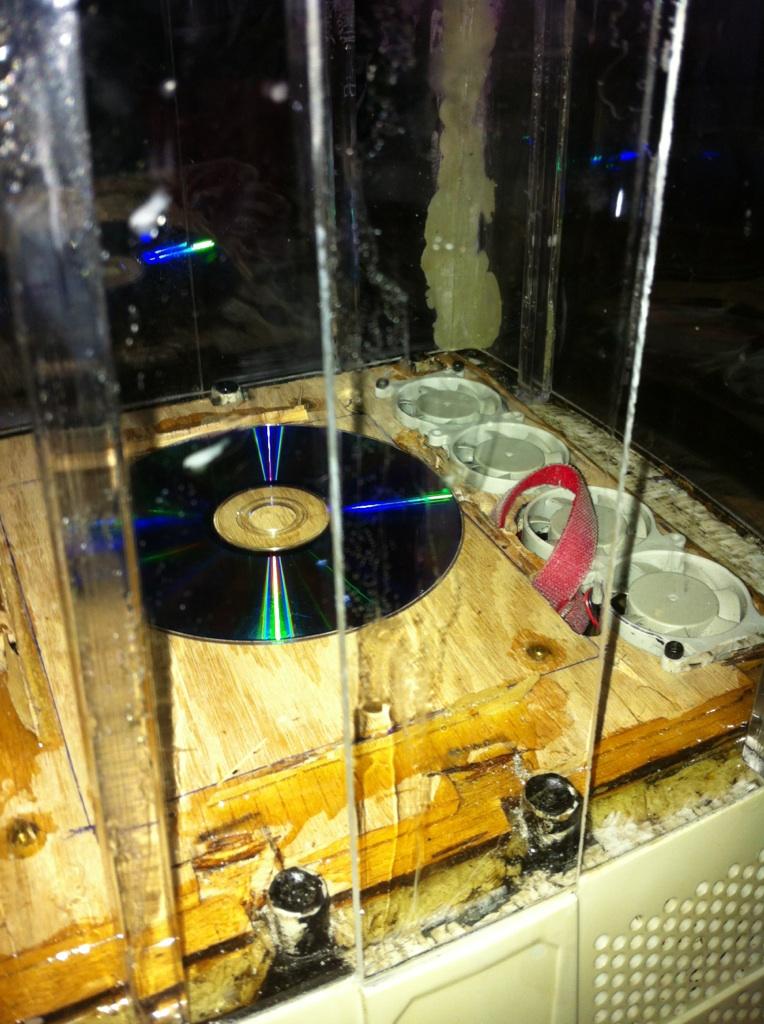
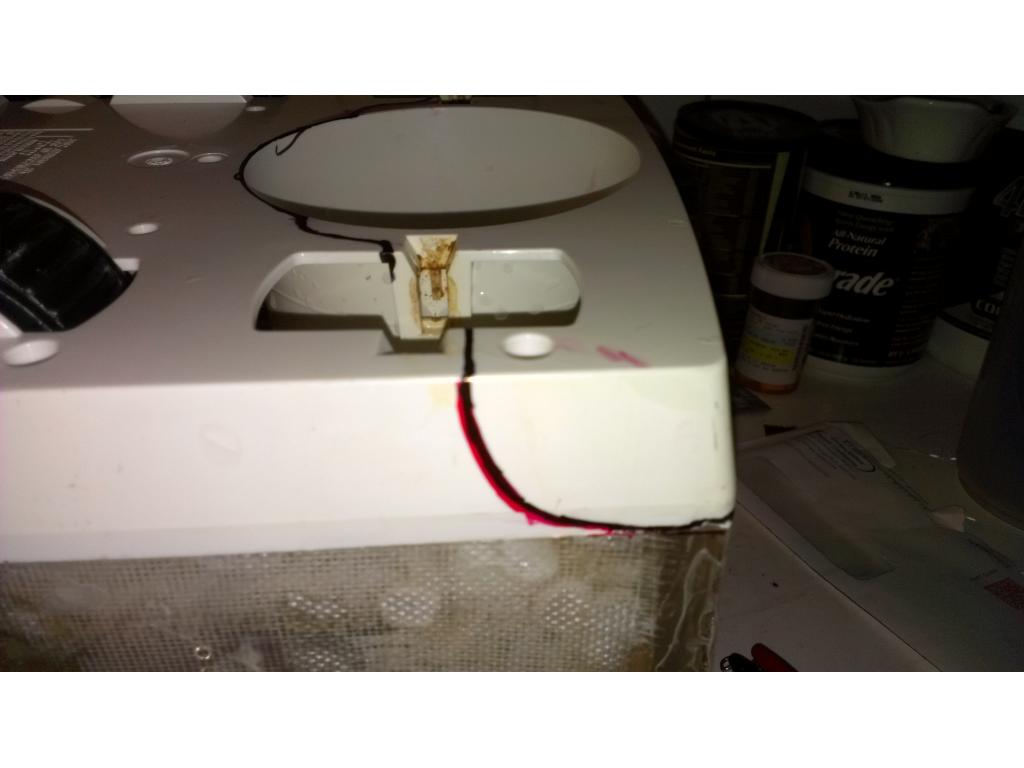
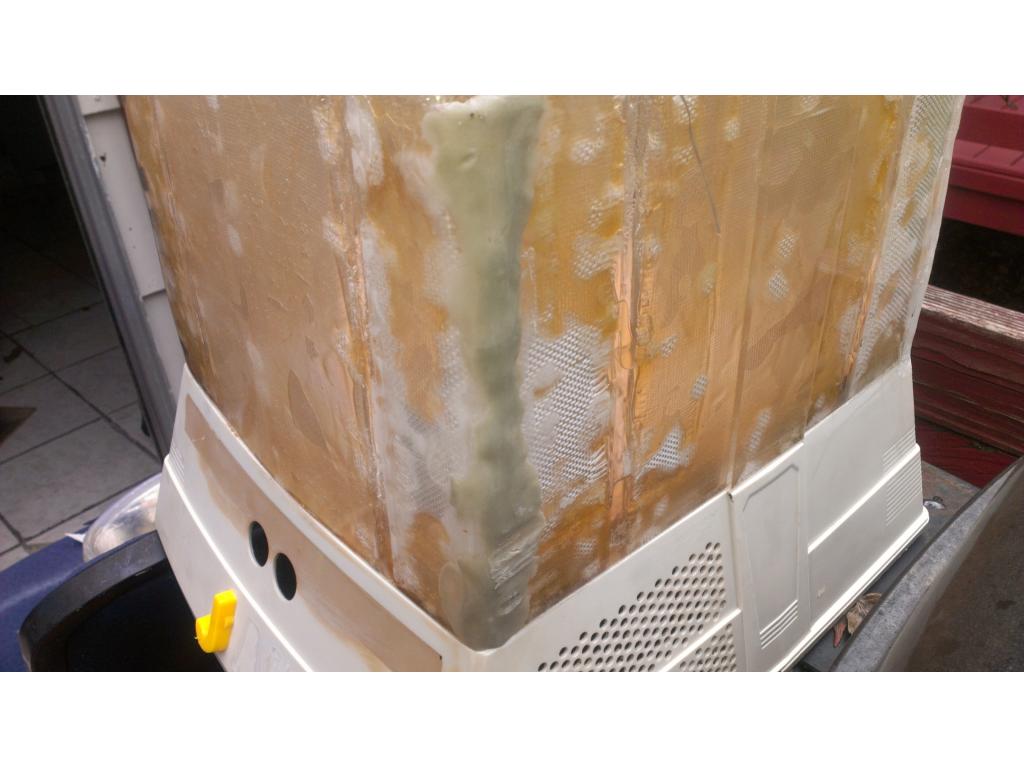
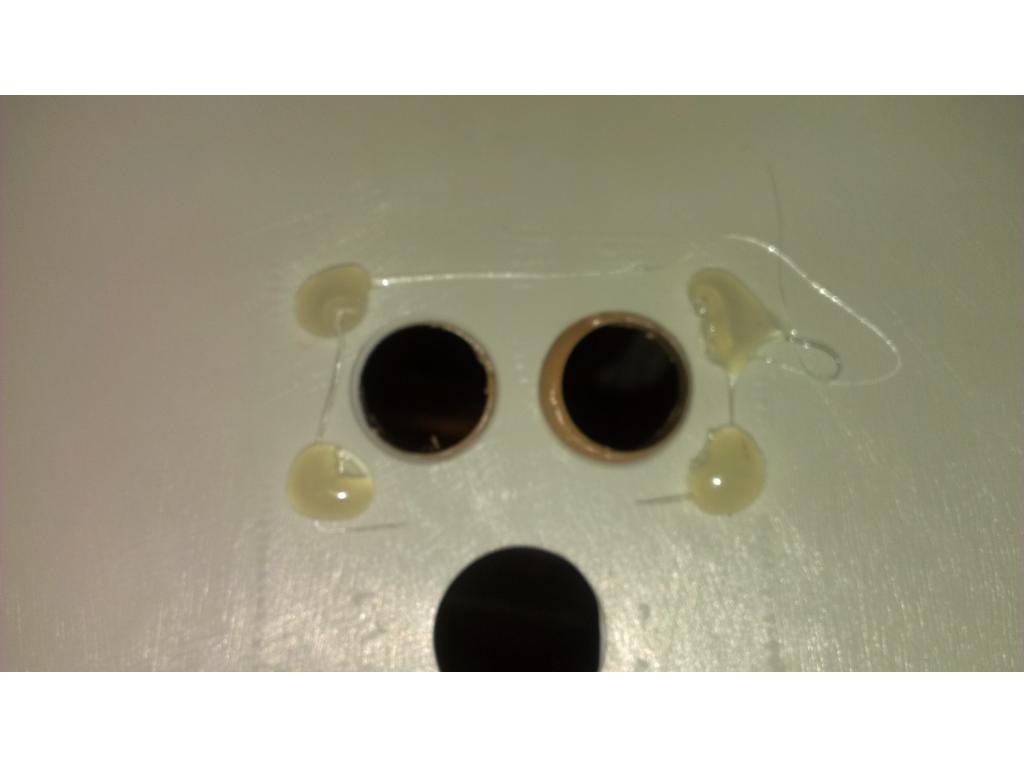
Short fyi : ultralight epoxy is two part epoxy with a additive called microbubbles. Microbubbles are tiny microscopic glass spheres which are hollow. This spheres are so small they are like a fine sand but are very strong. these spheres are mixed into the epoxy mixture as it is being sturred together. These microbubbles cause a honeycomb like structure to be formed from the amount of area these bubbles displace. The epoxy is more rigid and the more microbubbles used the lighter that particular cup of epoxy will be. It is lighter simply because it displaces volume. This is used on joints and areas that need to be thick so they do not weight the project down too much. High end manufacturers of uavs and large scale rc fuselages use microbubbles to keep the same volume of epoxy bonding a joint 20 to 30 percent lighter. (or more with more of the microbubbles used)
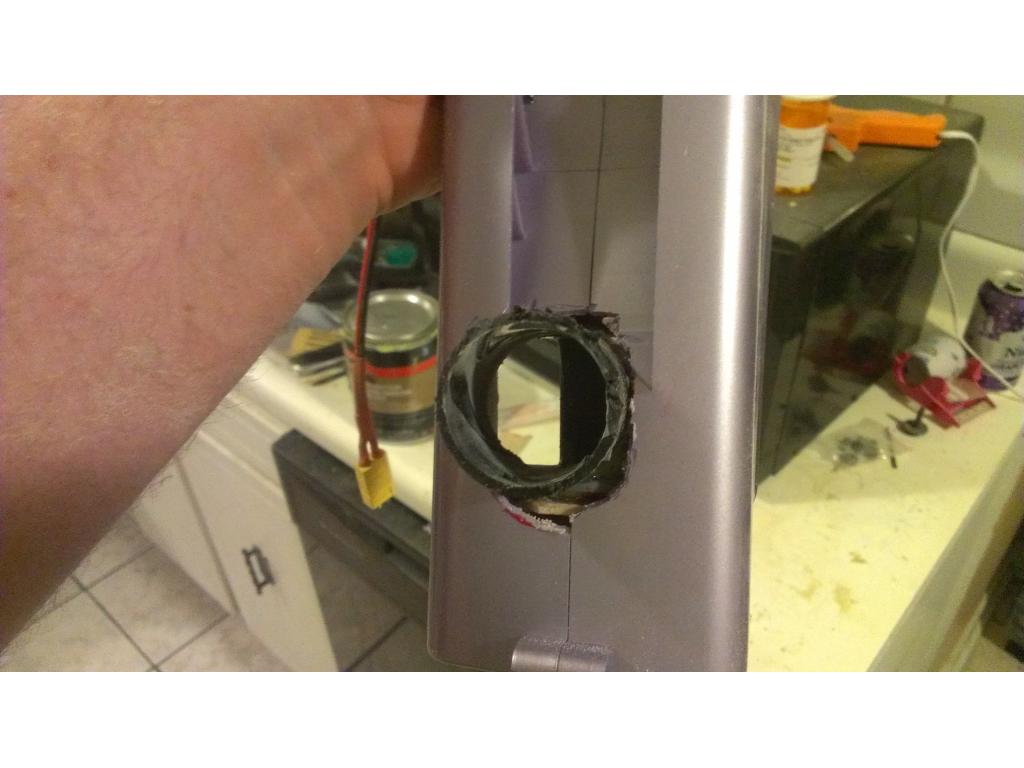
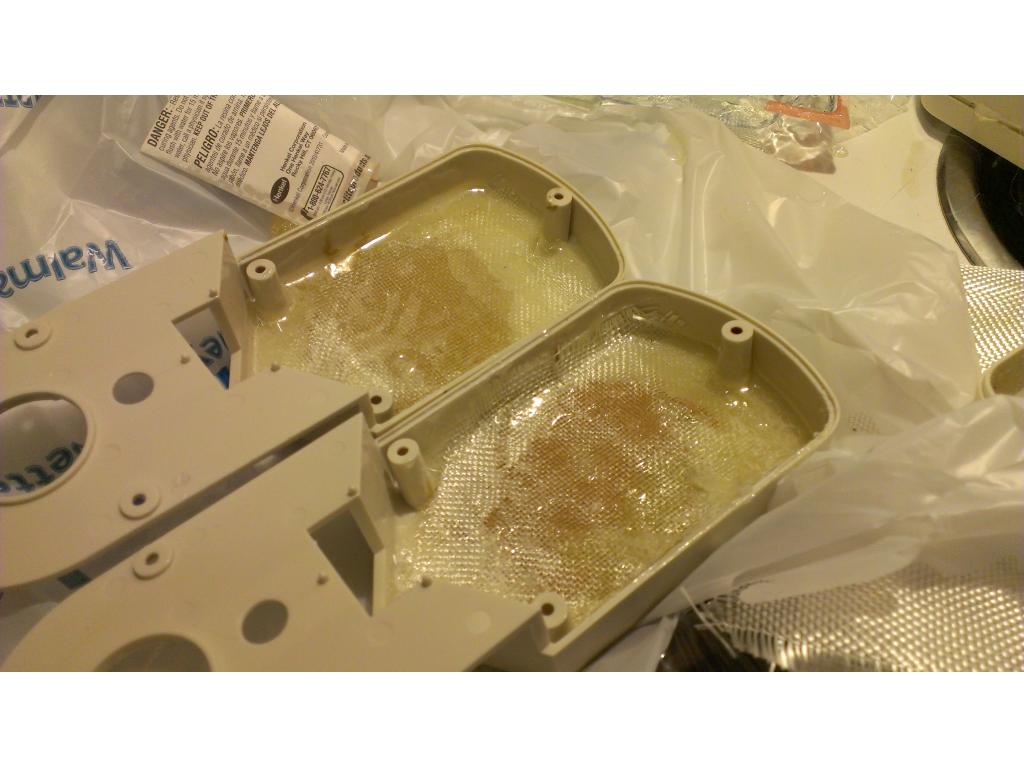
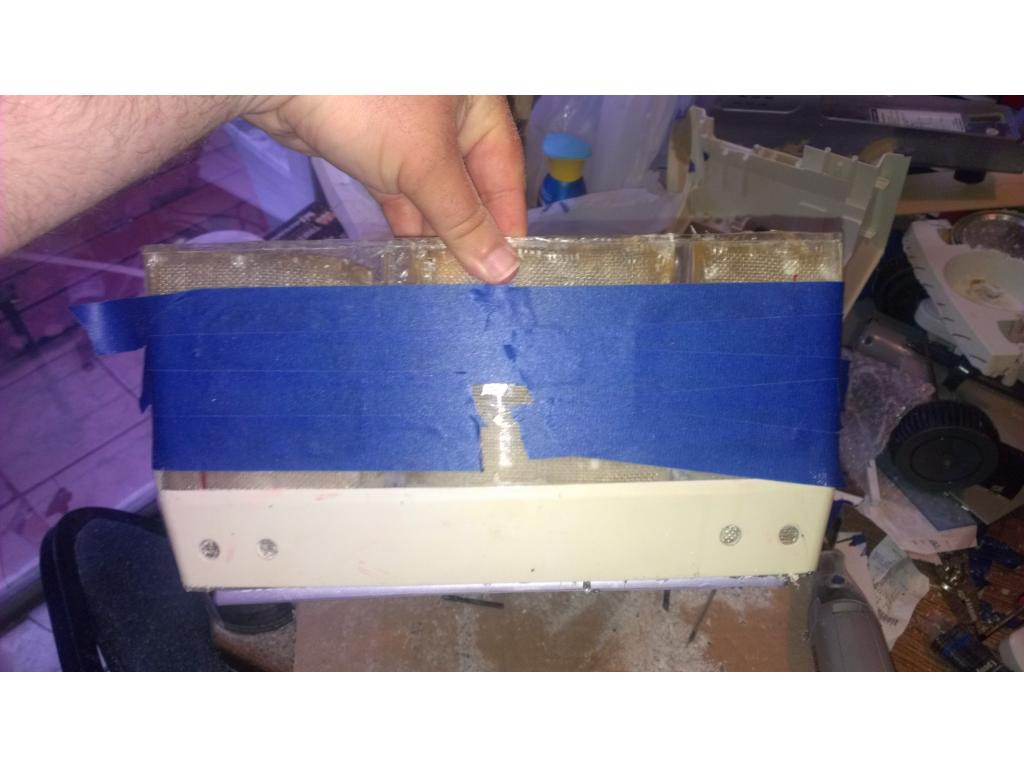
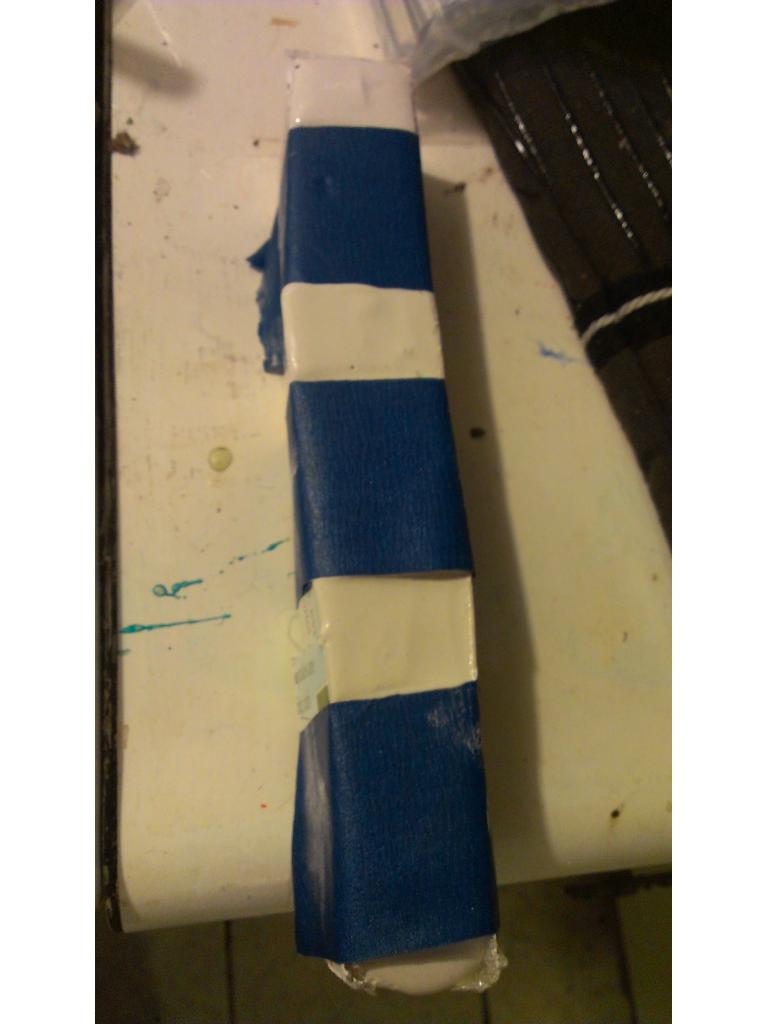
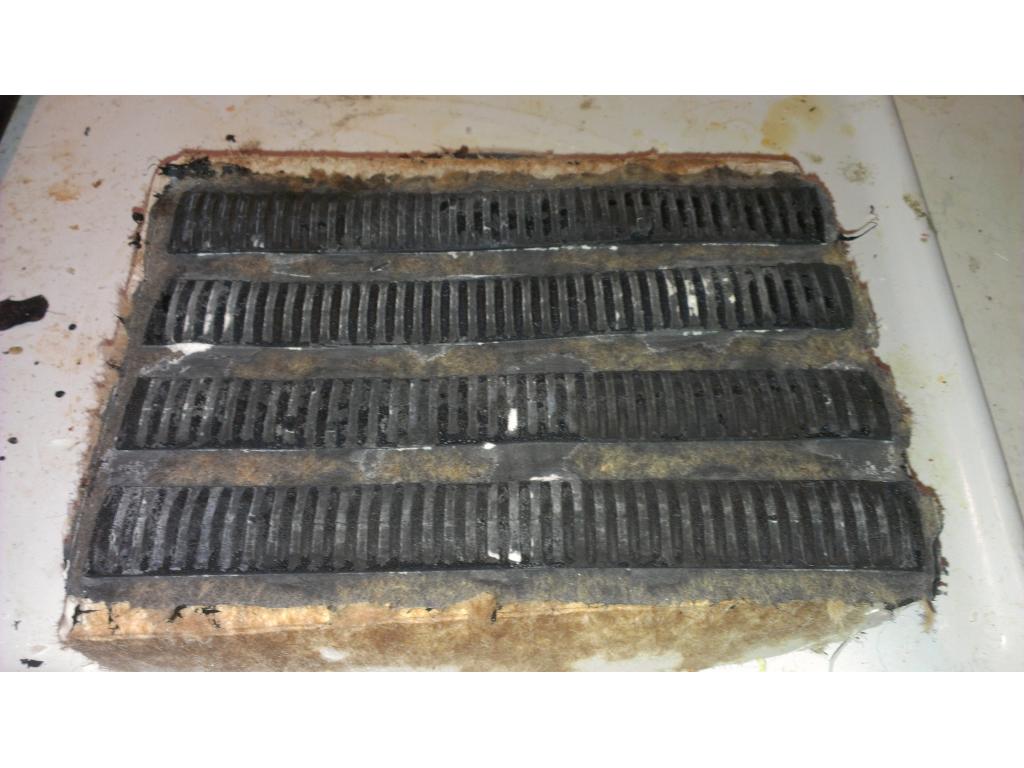
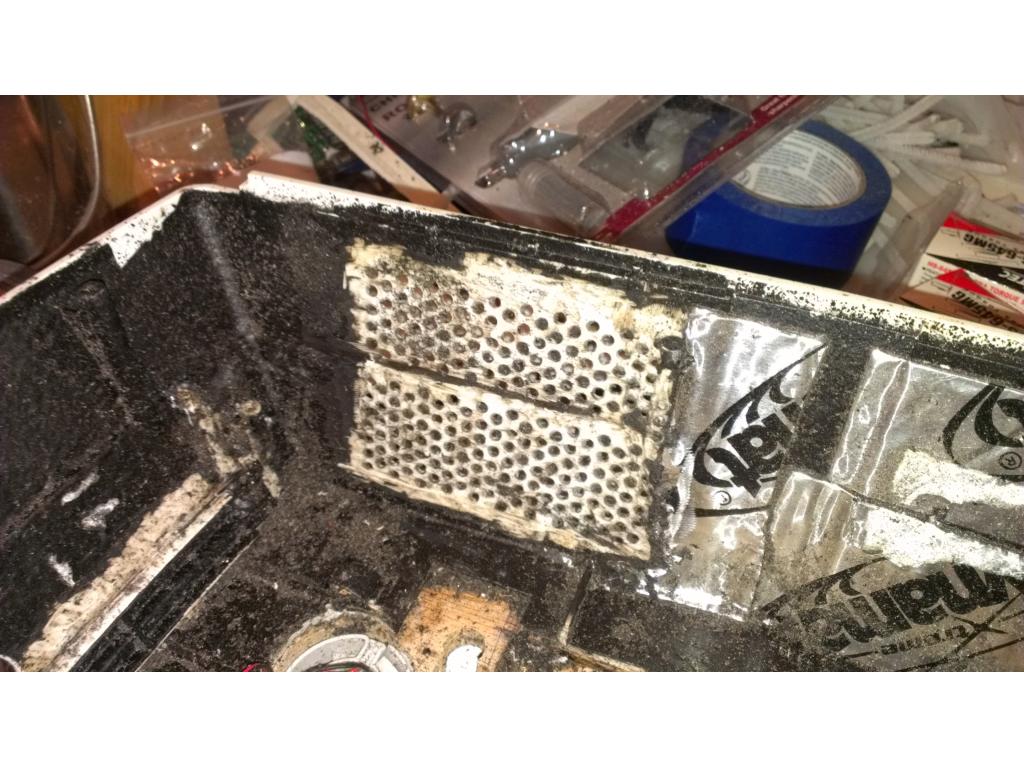
Back to tonights work.... So i backed the hole with blue tape and poured in some epoxy. Once it started to set I removed the backing tape and cut out a 2 x 2 inch piece of 6 oz fiberglass matt. I applied just enough epoxy to adhere it down. i ran out of epoxy to completely finish. The weight bearing side will need 2 more fiberglass layers do be sure it will not easily break if jarvis is accidentally dropped while traveling or if he falls during operation.