


cE9s4PsOgeBQIORwjd5!~~60_1-634818020230156250.jpg)


BO)Lupuc4g~~60_35-634706297915000000.jpg)
LupbT6!~~60_35-634706298769375000.jpg)


C5j!~~60_35-634655044863125000.jpg)


C5j!~~60_35-634659603510781250.jpg)


C5j!~~60_35-634651704046230469.jpg)
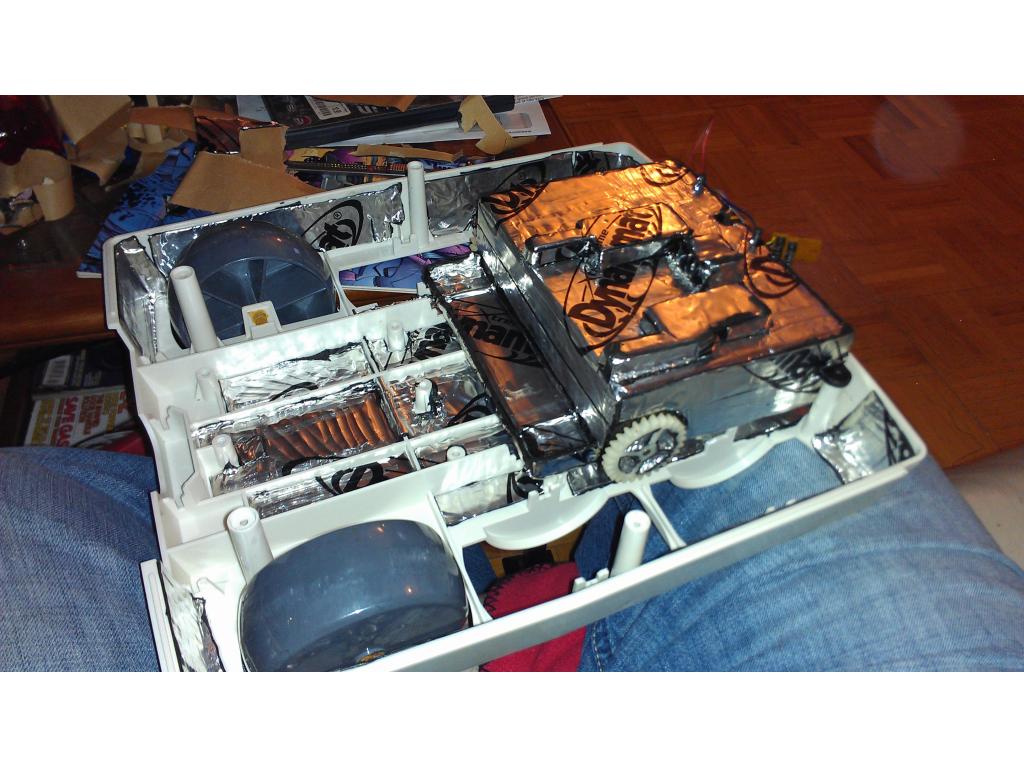


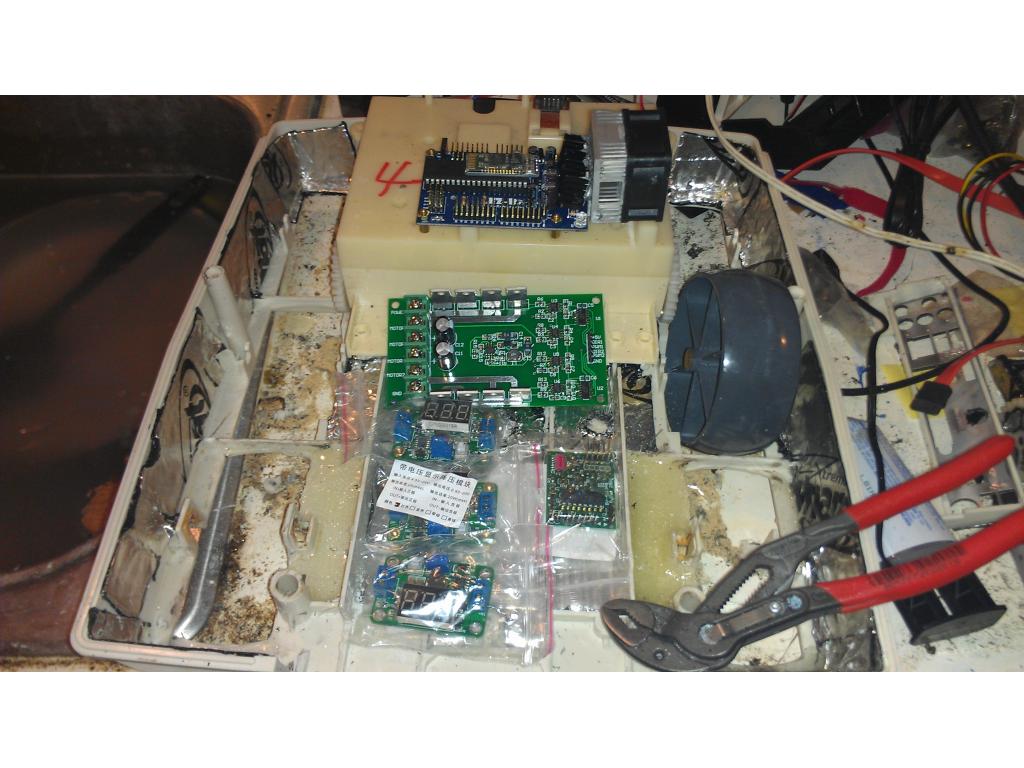


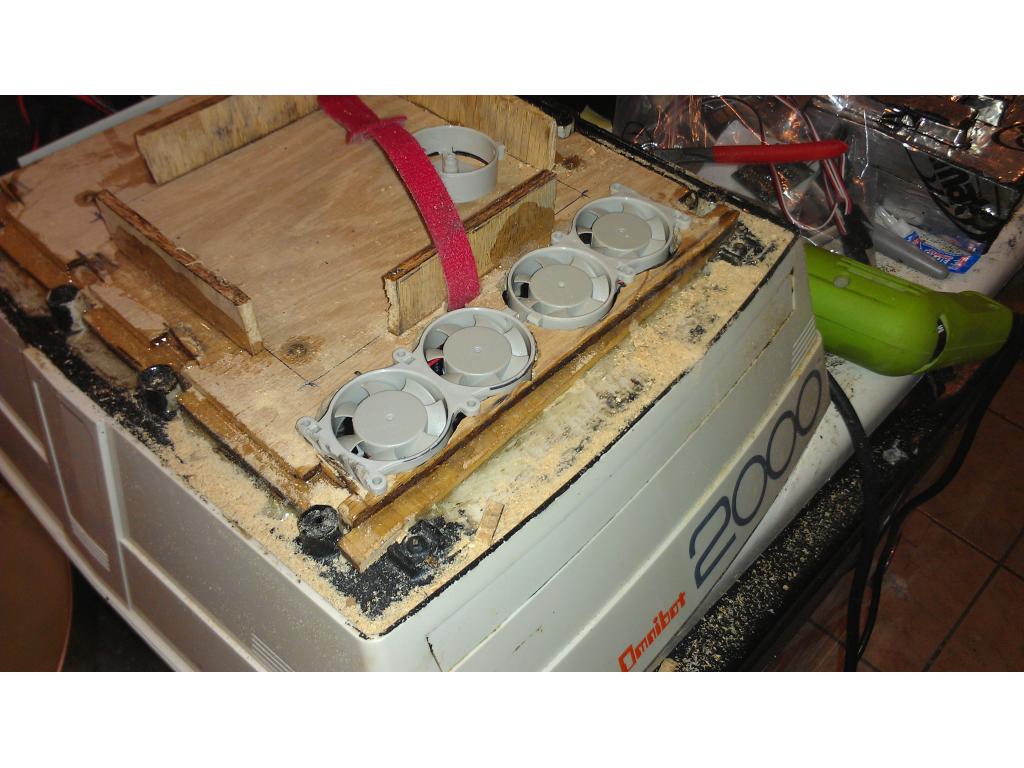
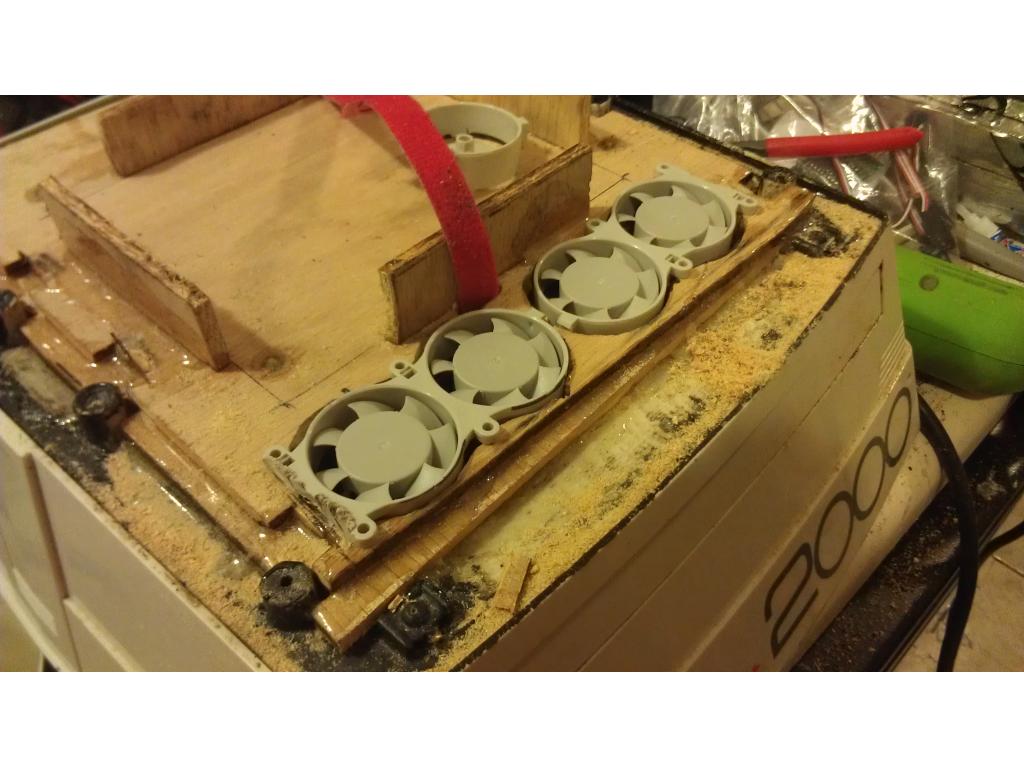


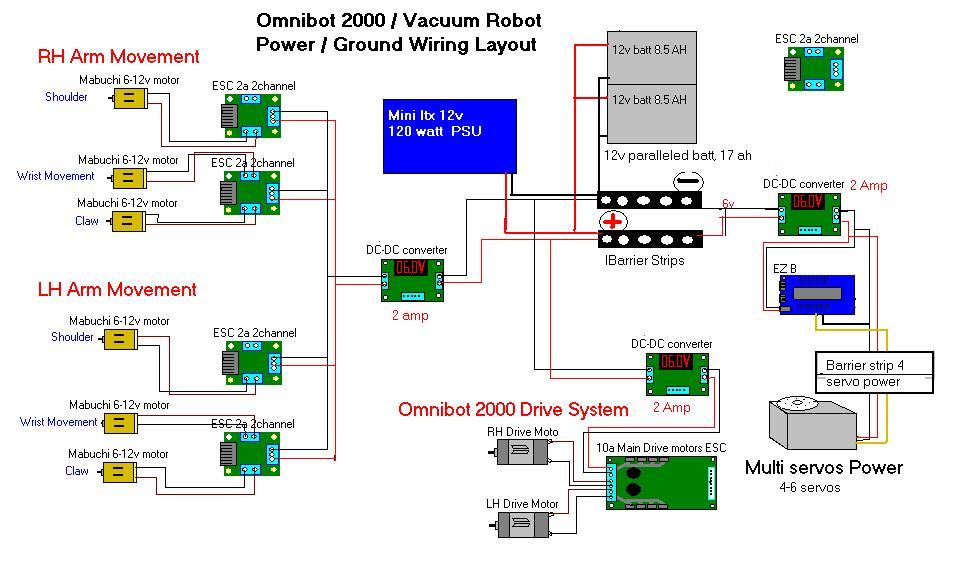


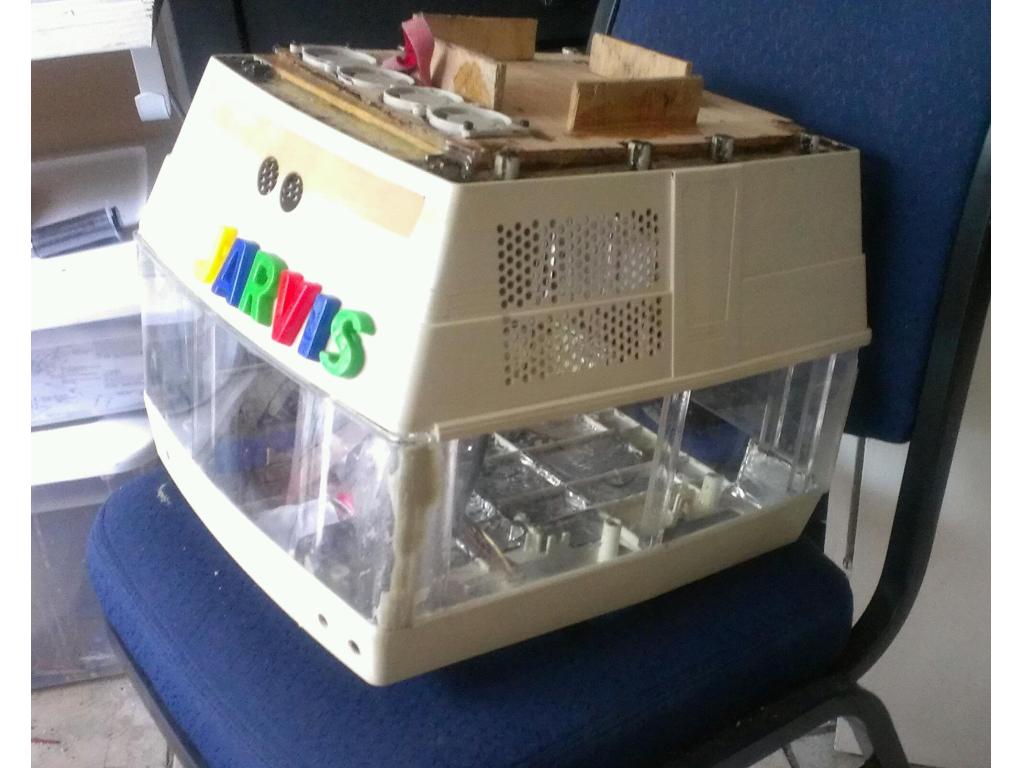
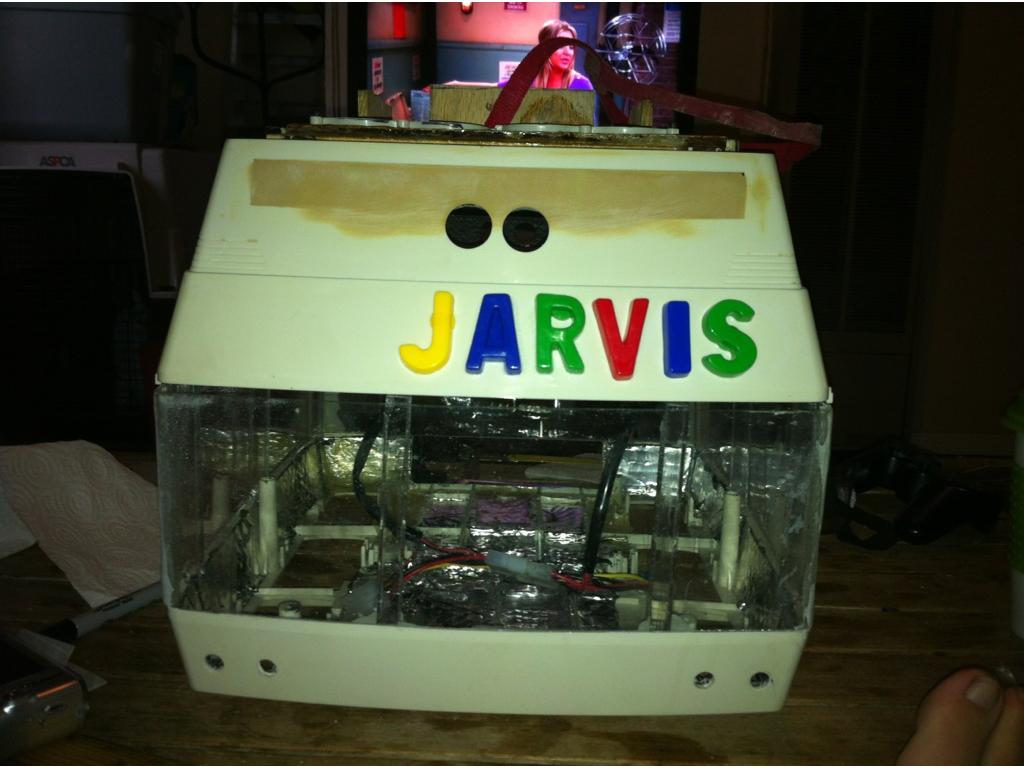


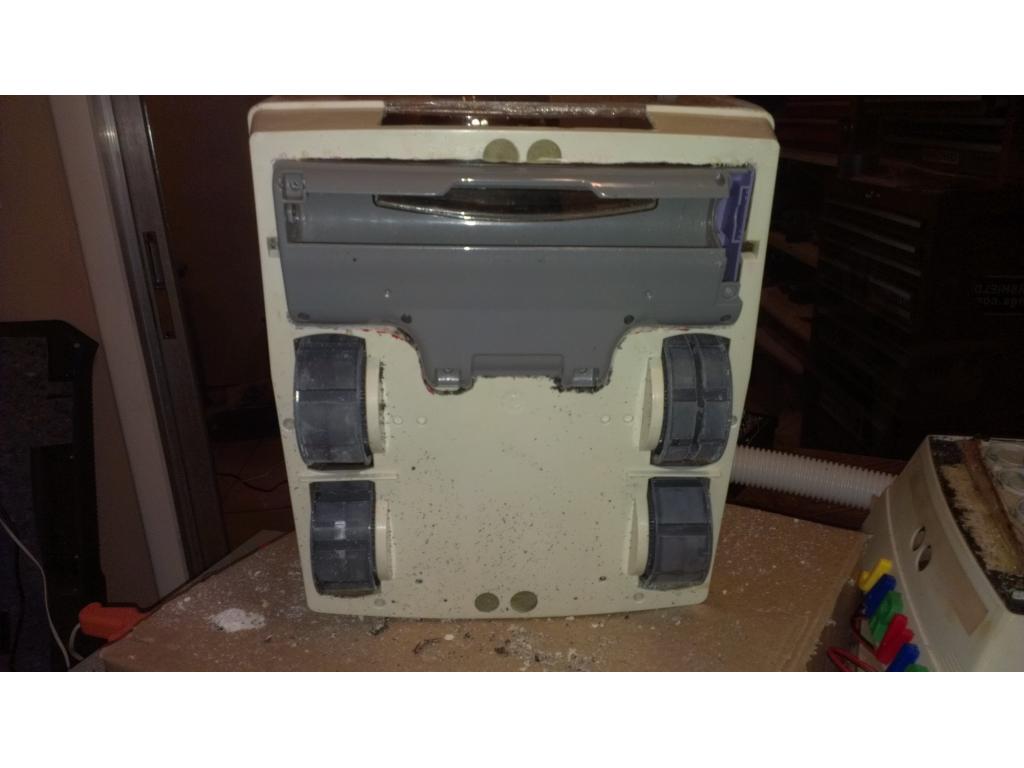


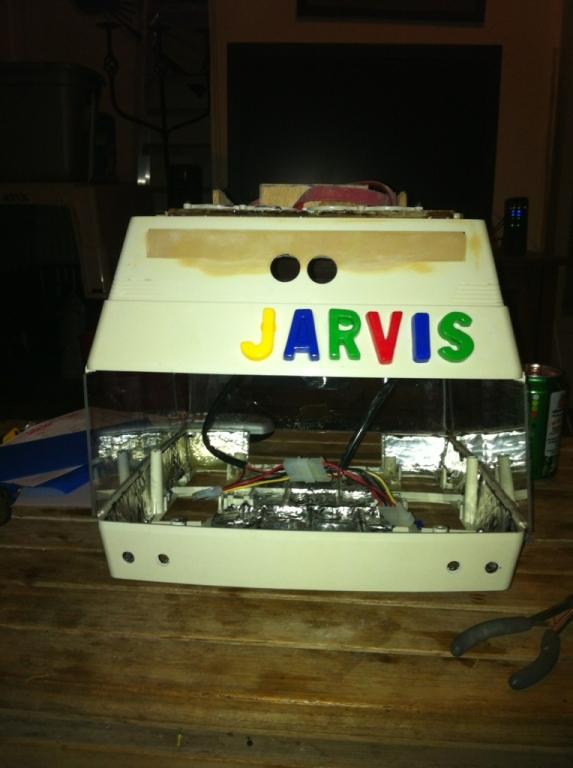


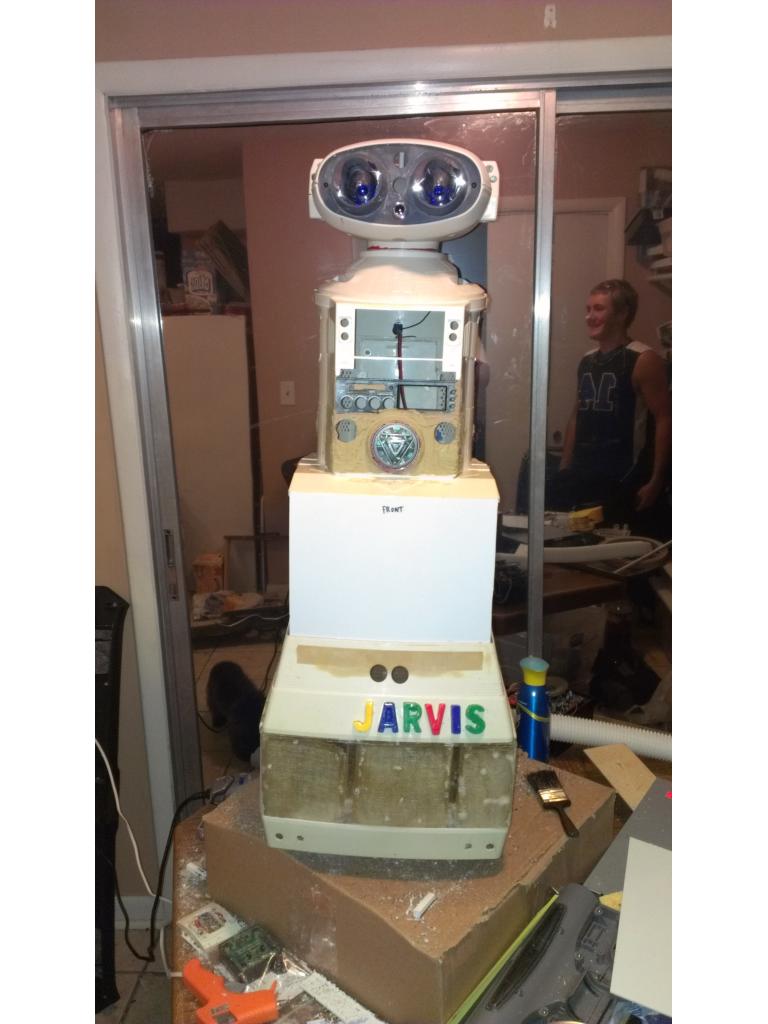


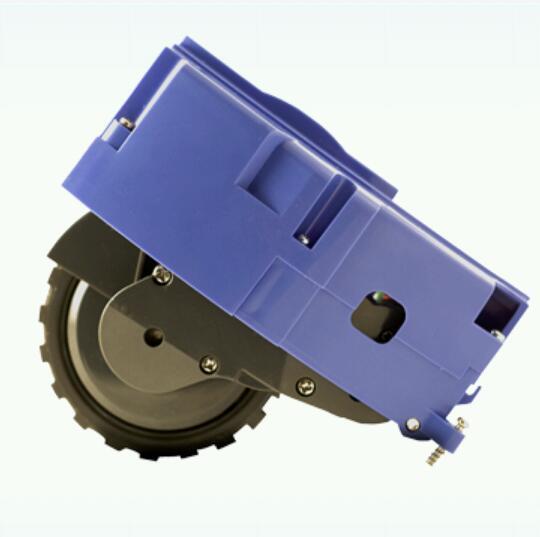


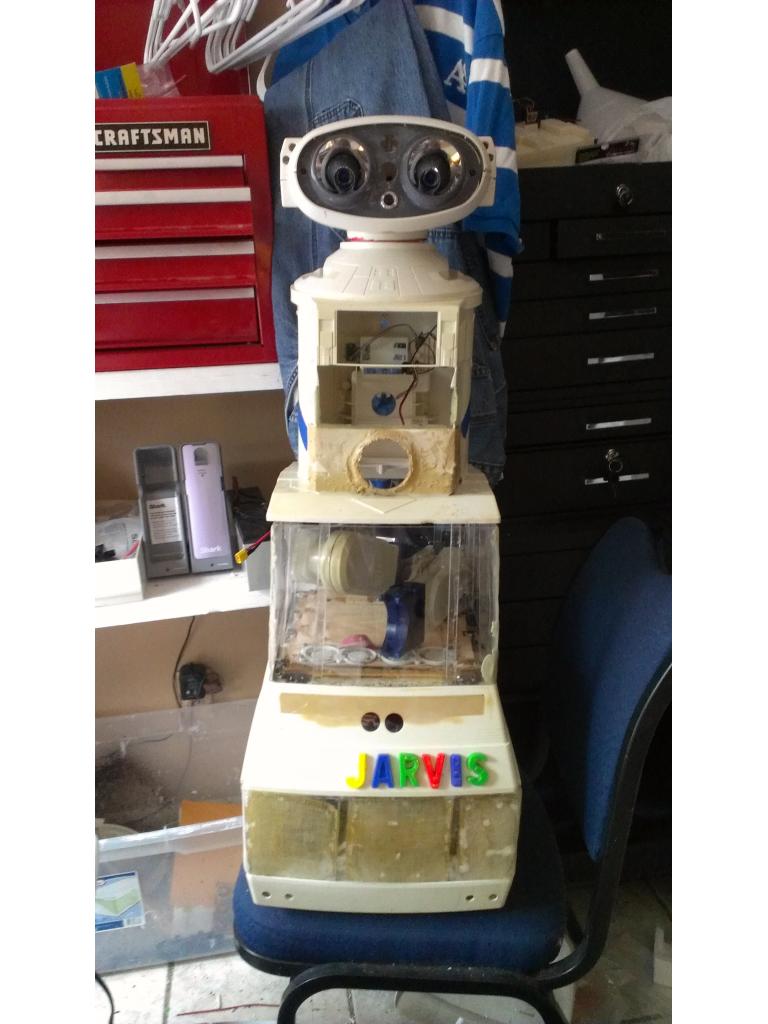
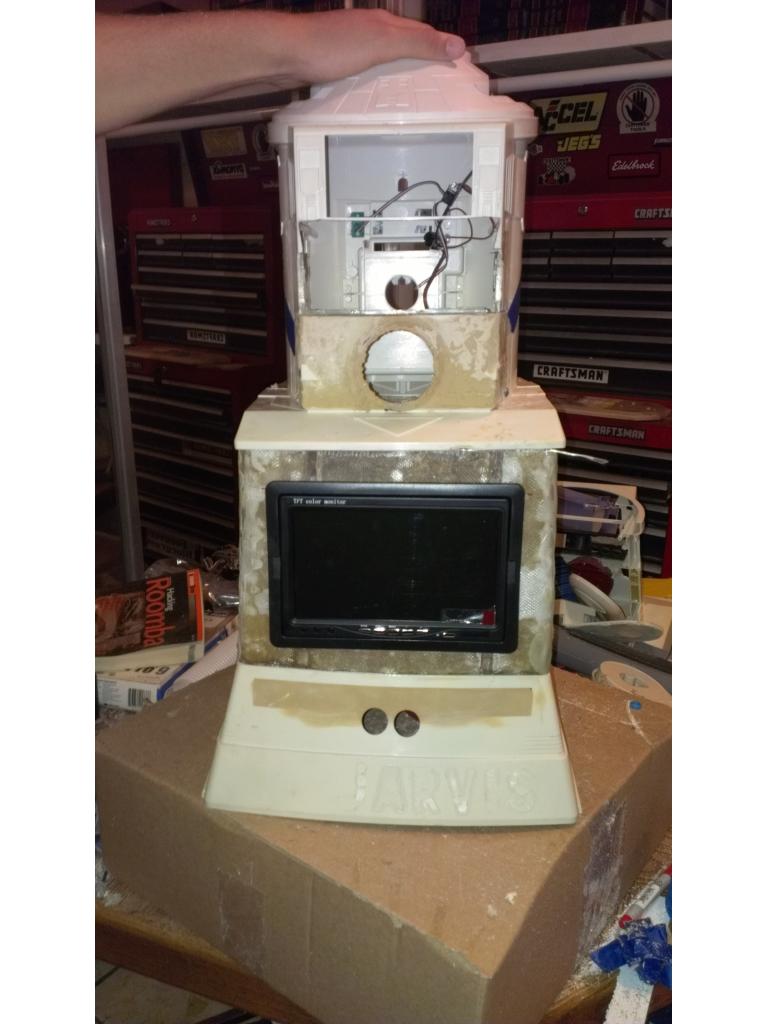


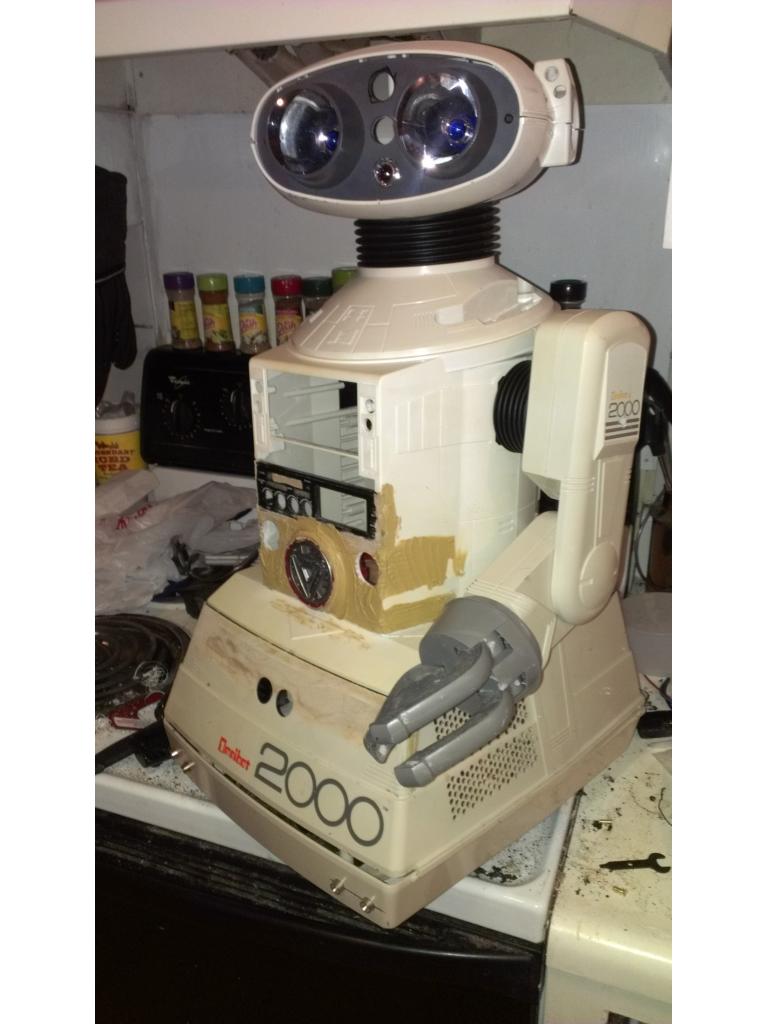
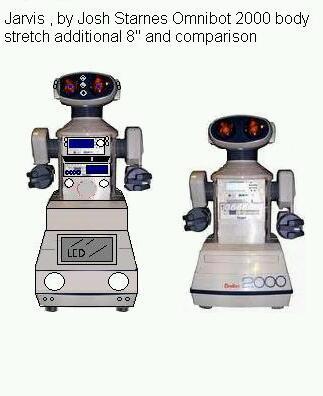

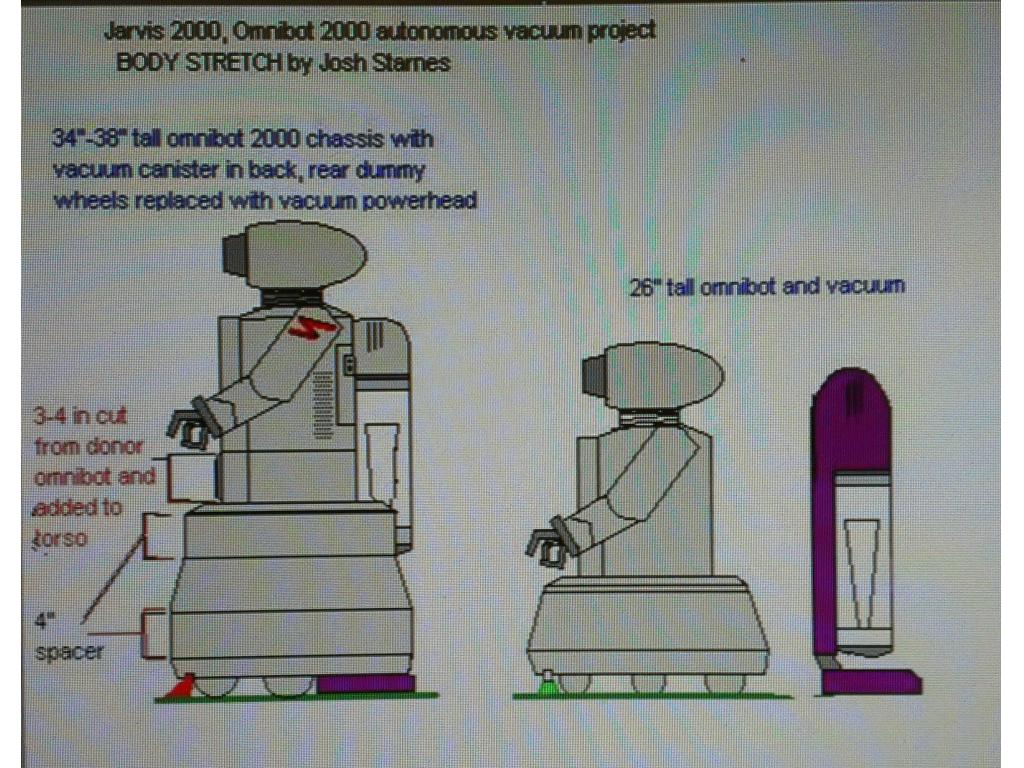

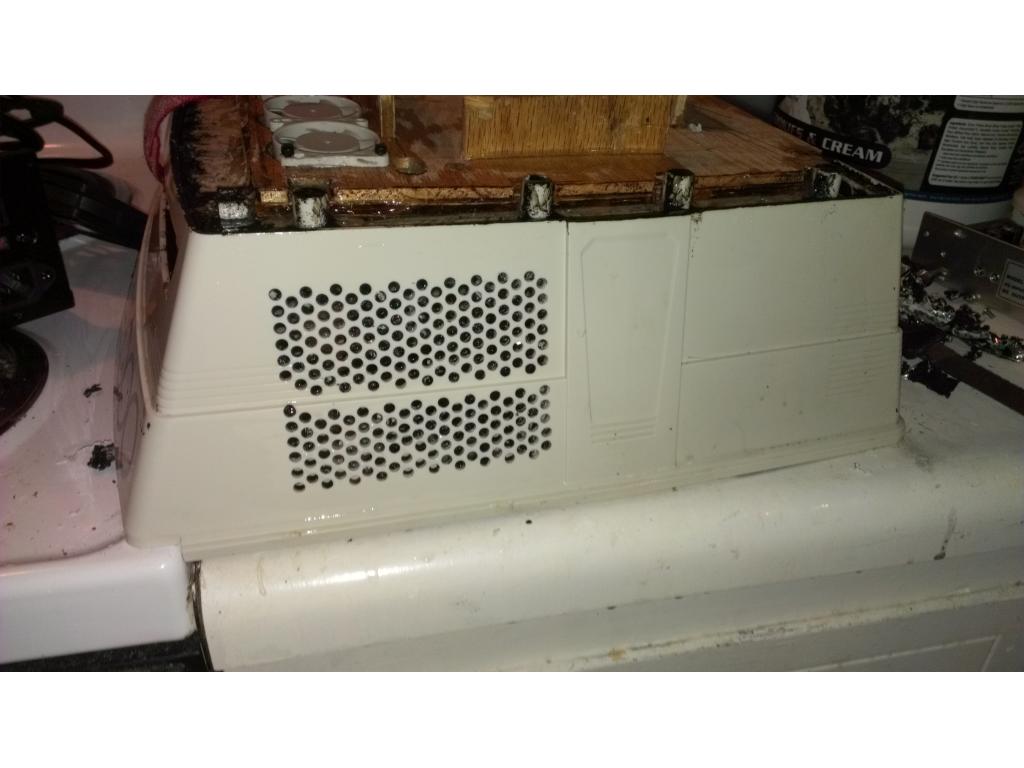


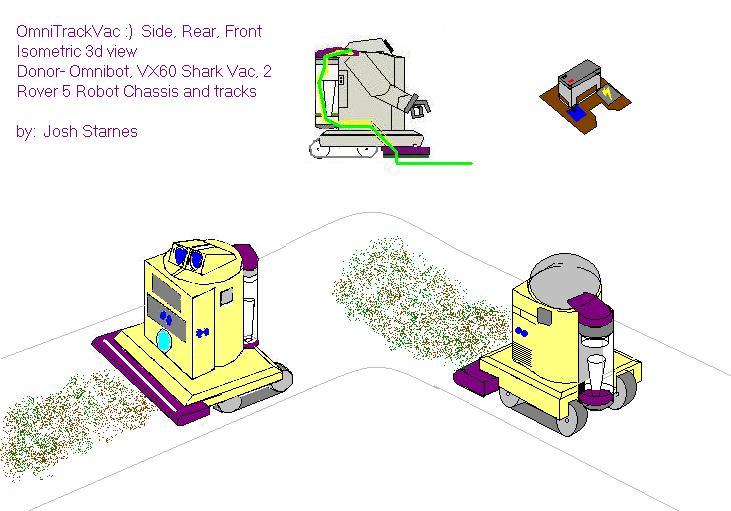

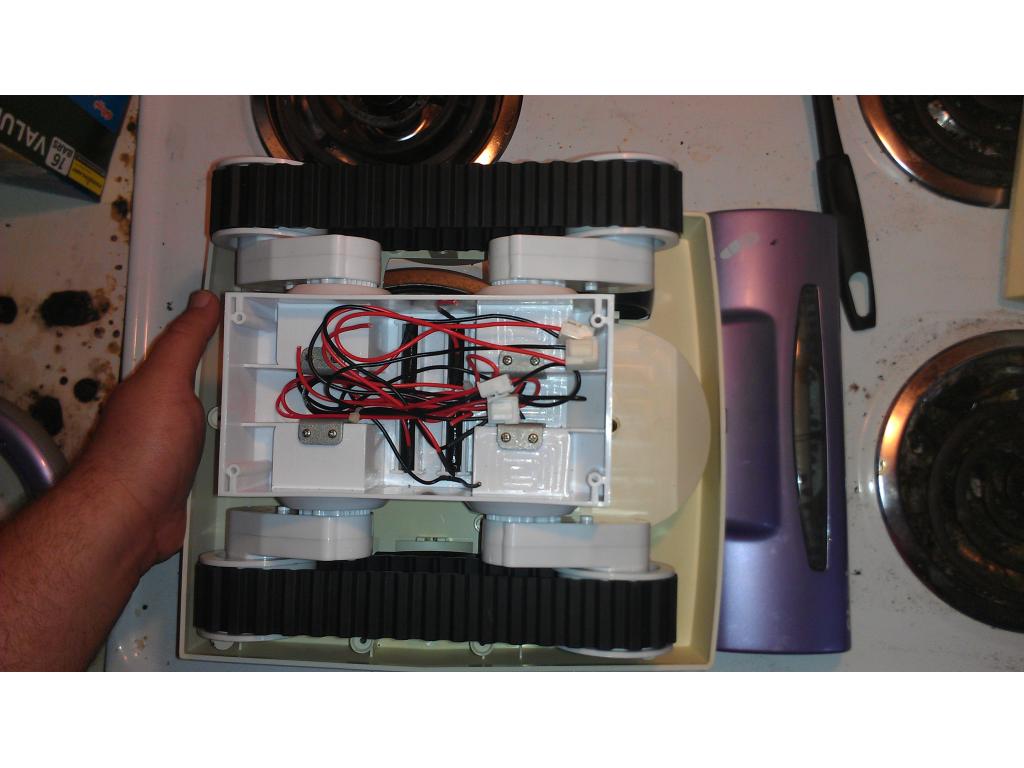

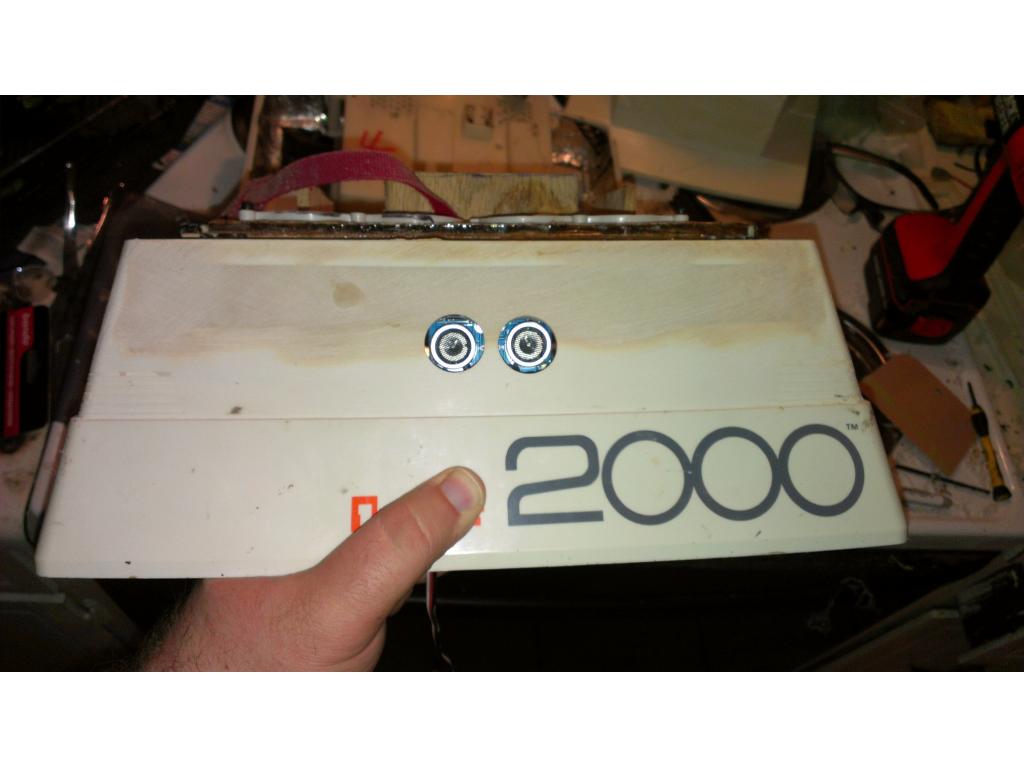
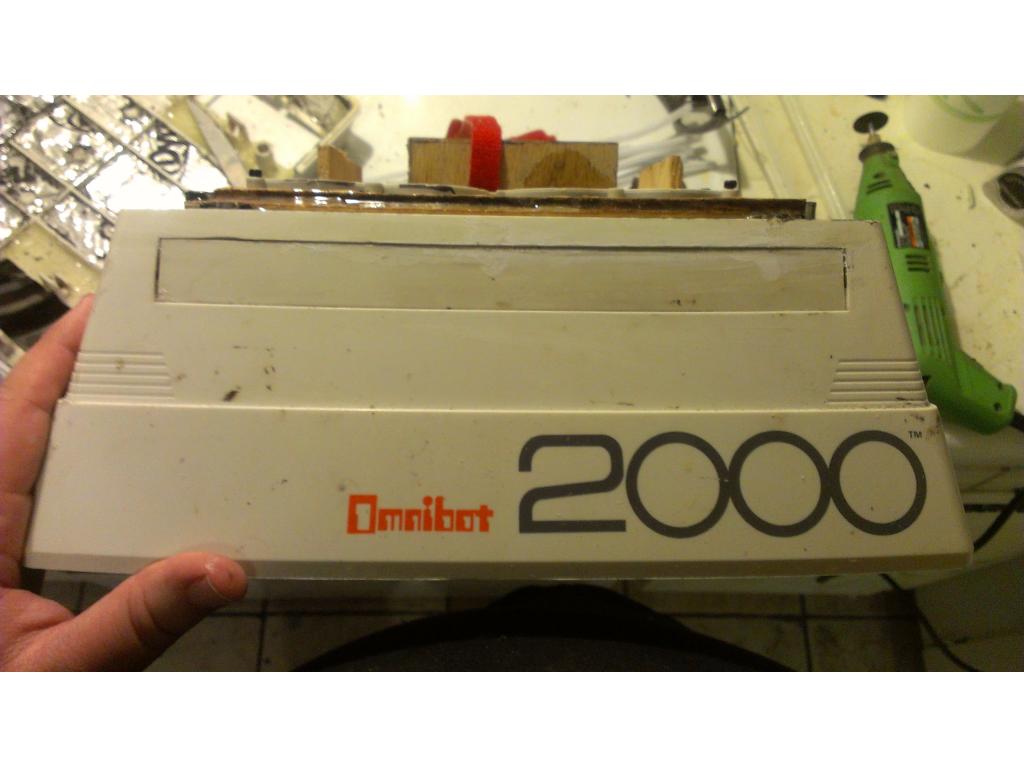
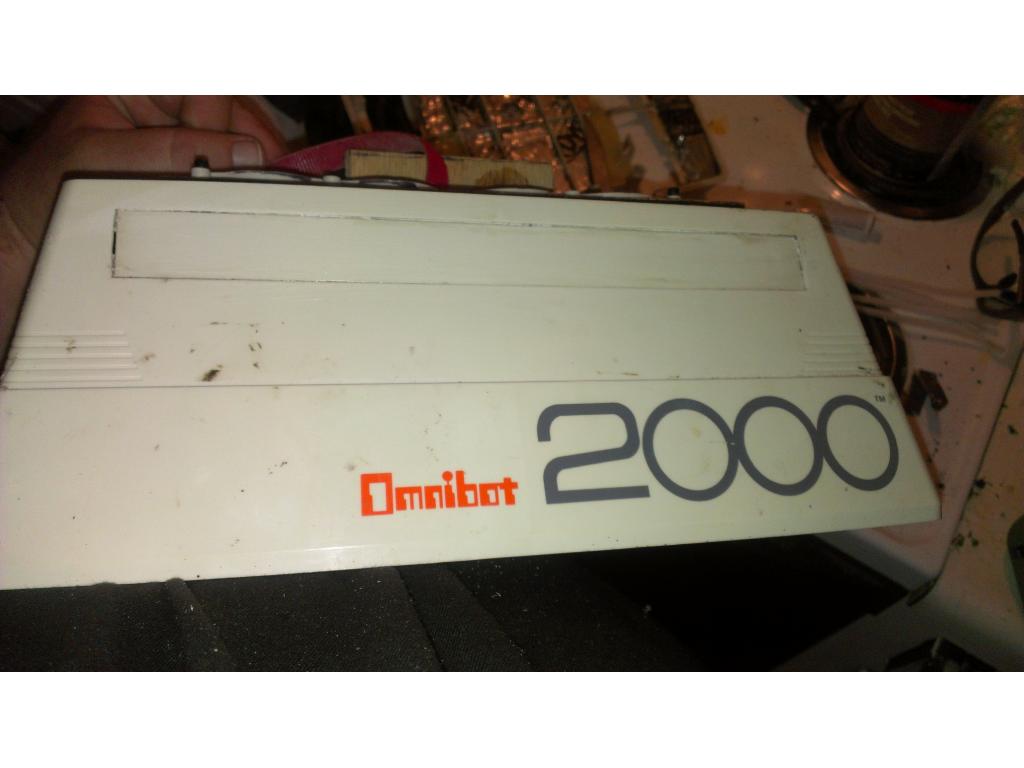
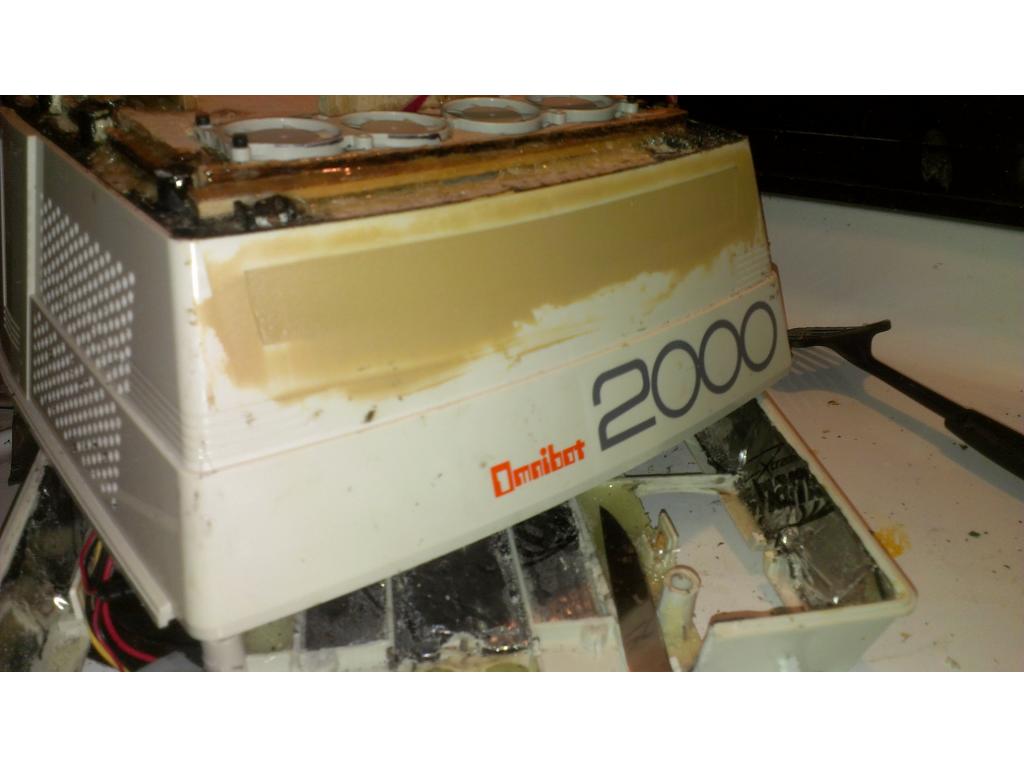


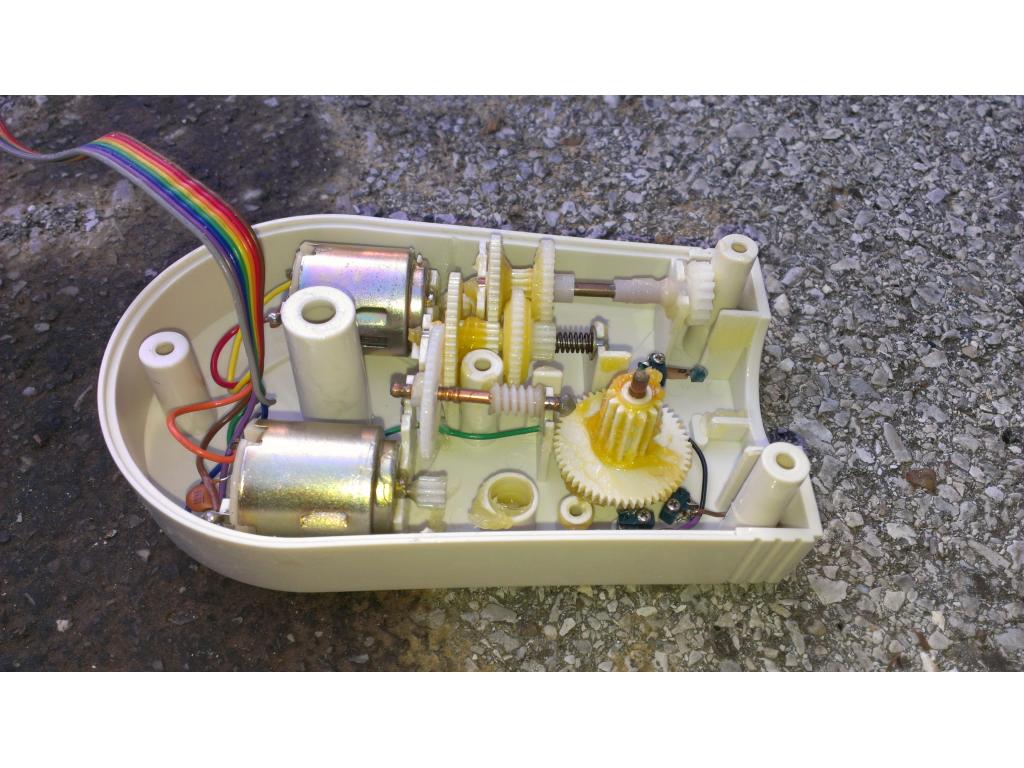


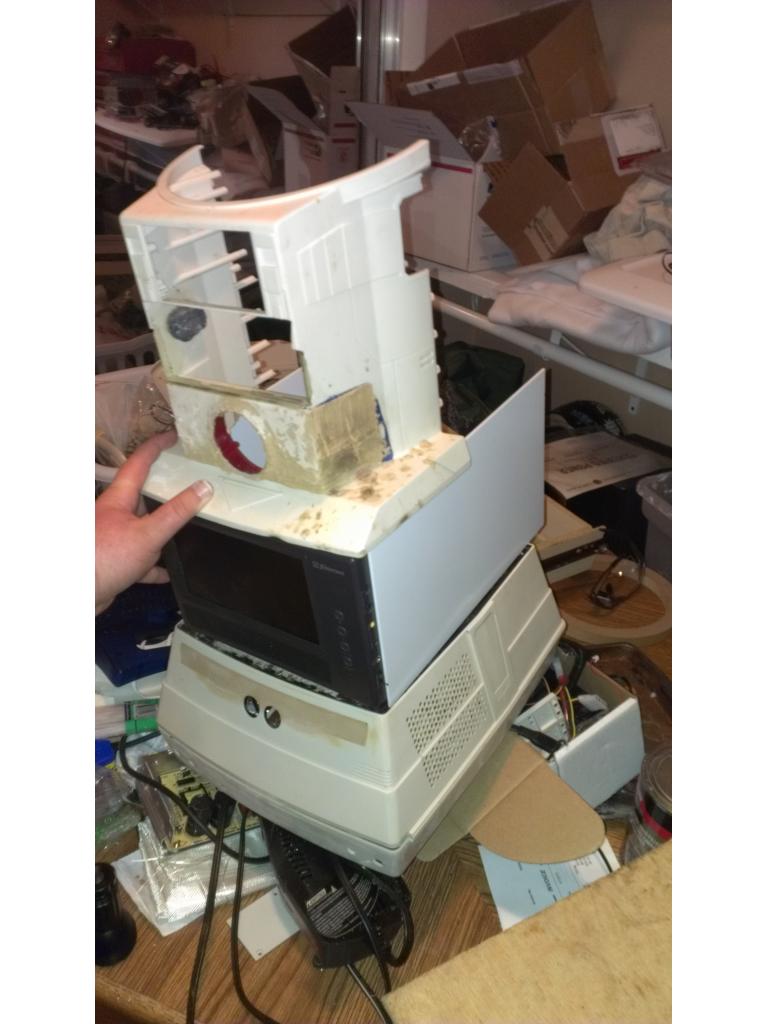
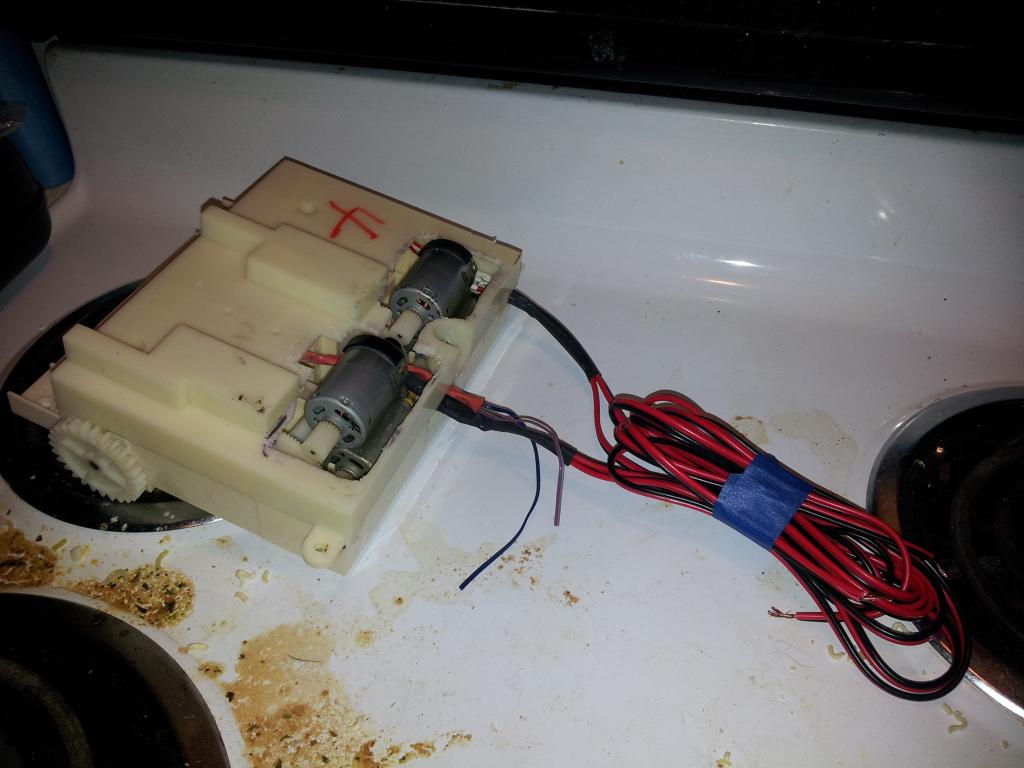
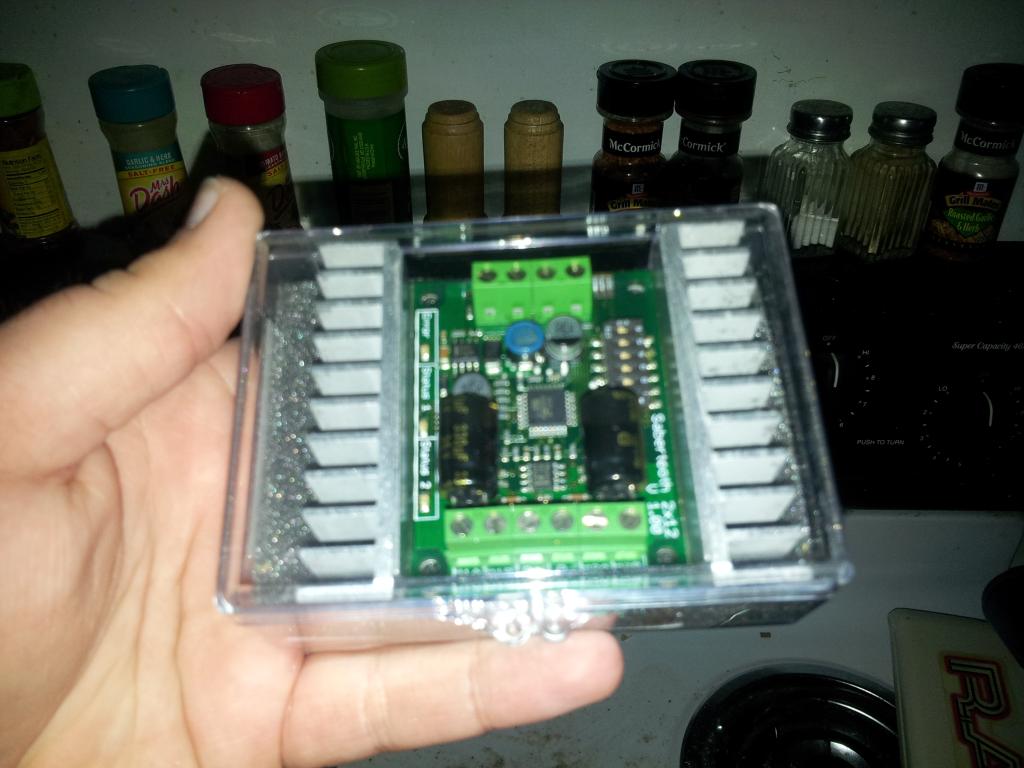
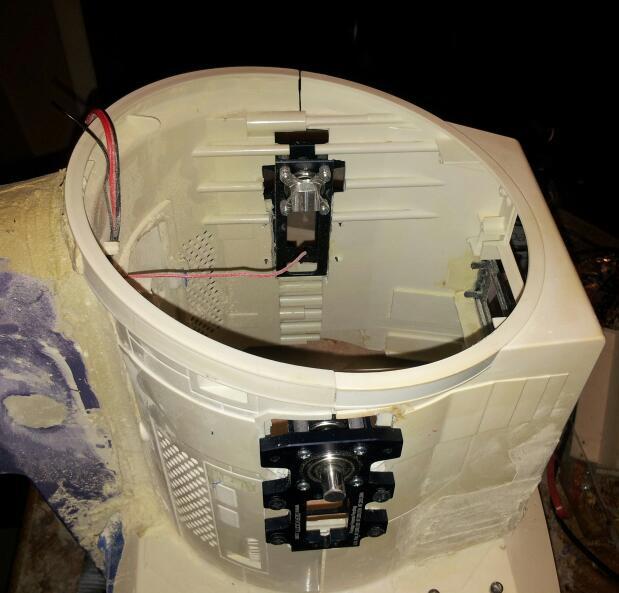
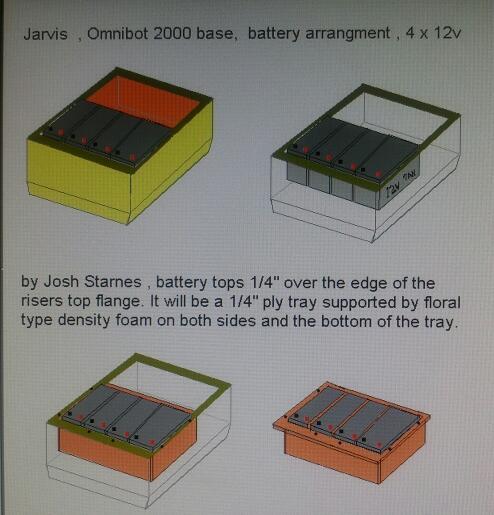
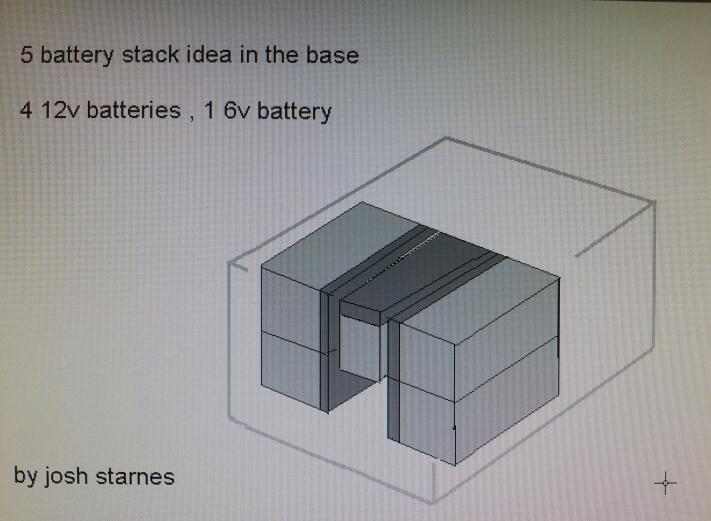
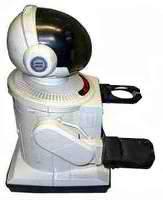
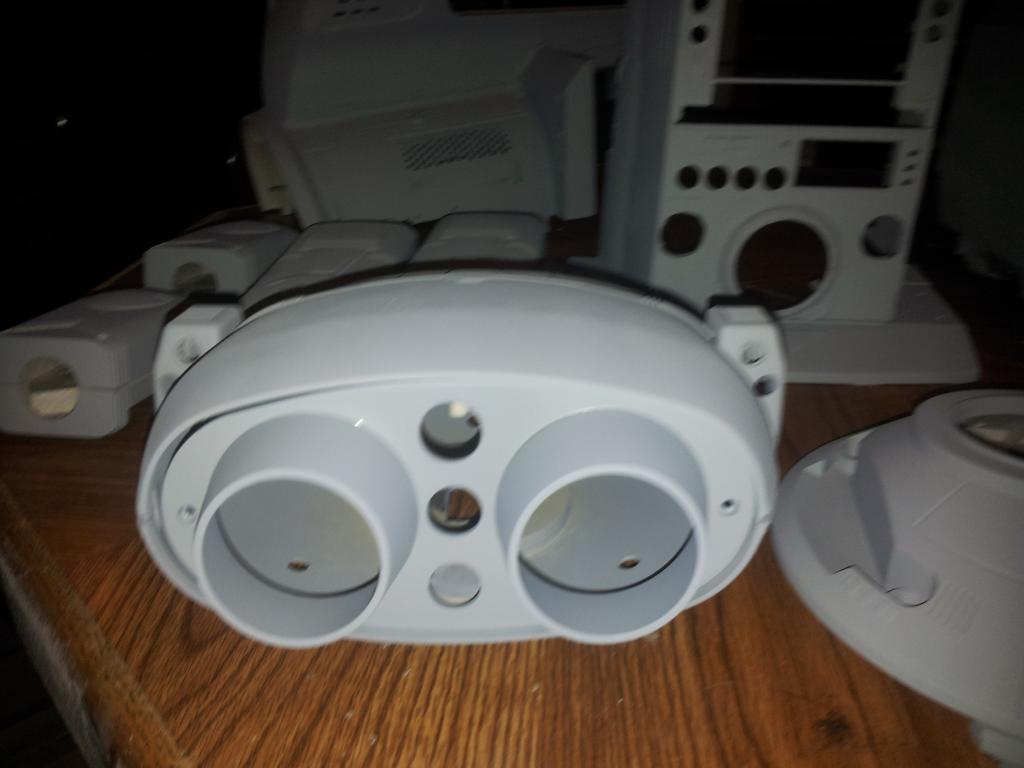
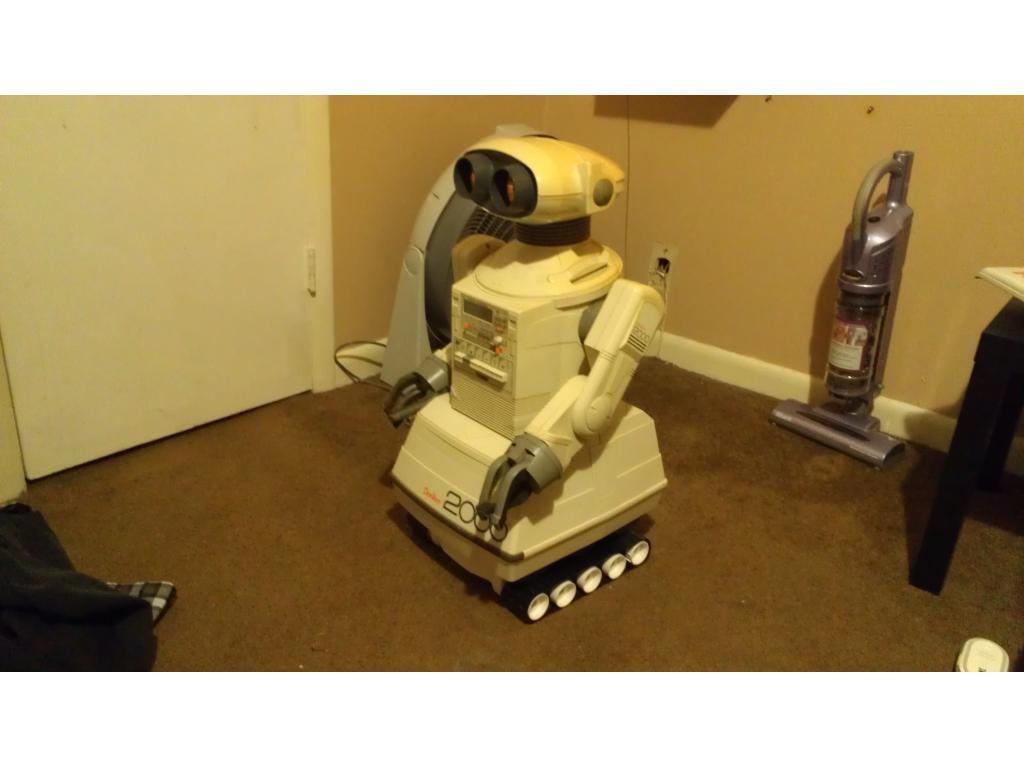
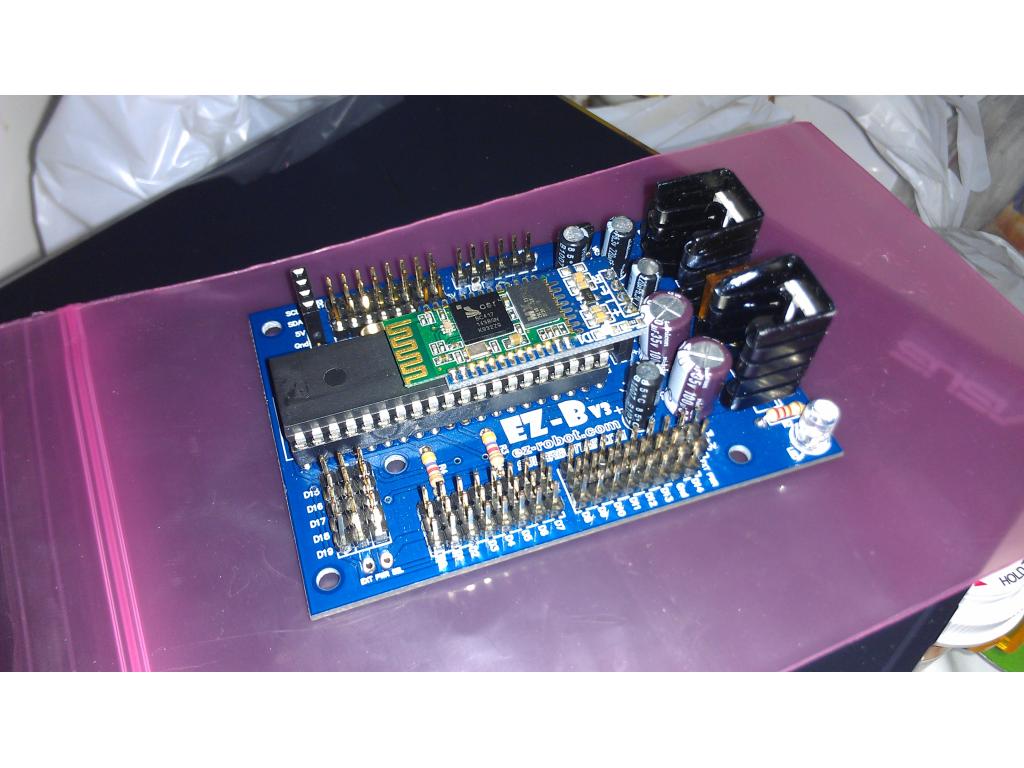
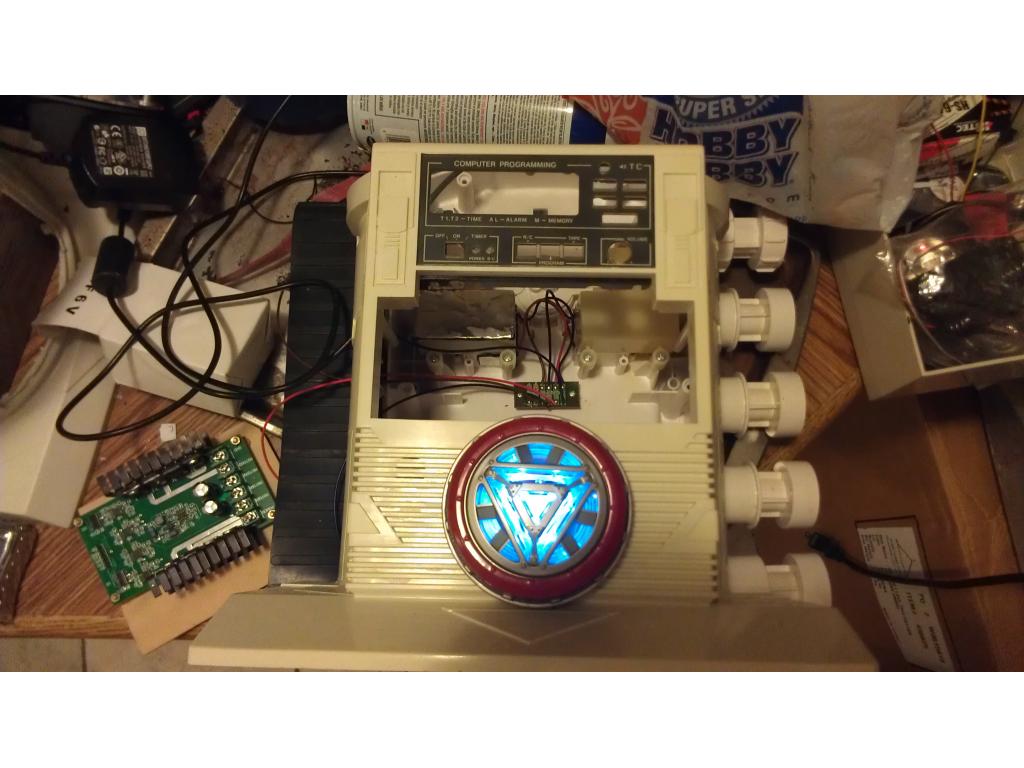
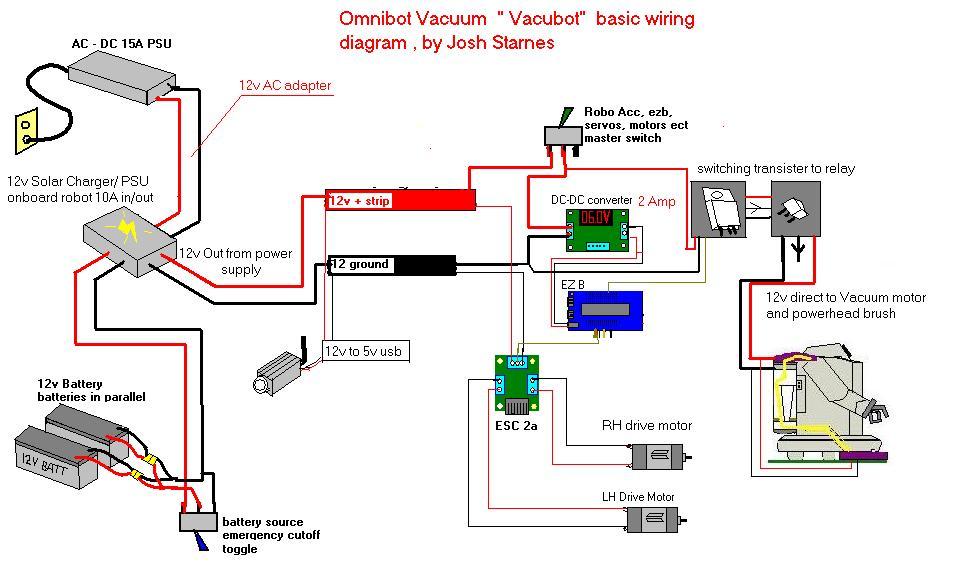
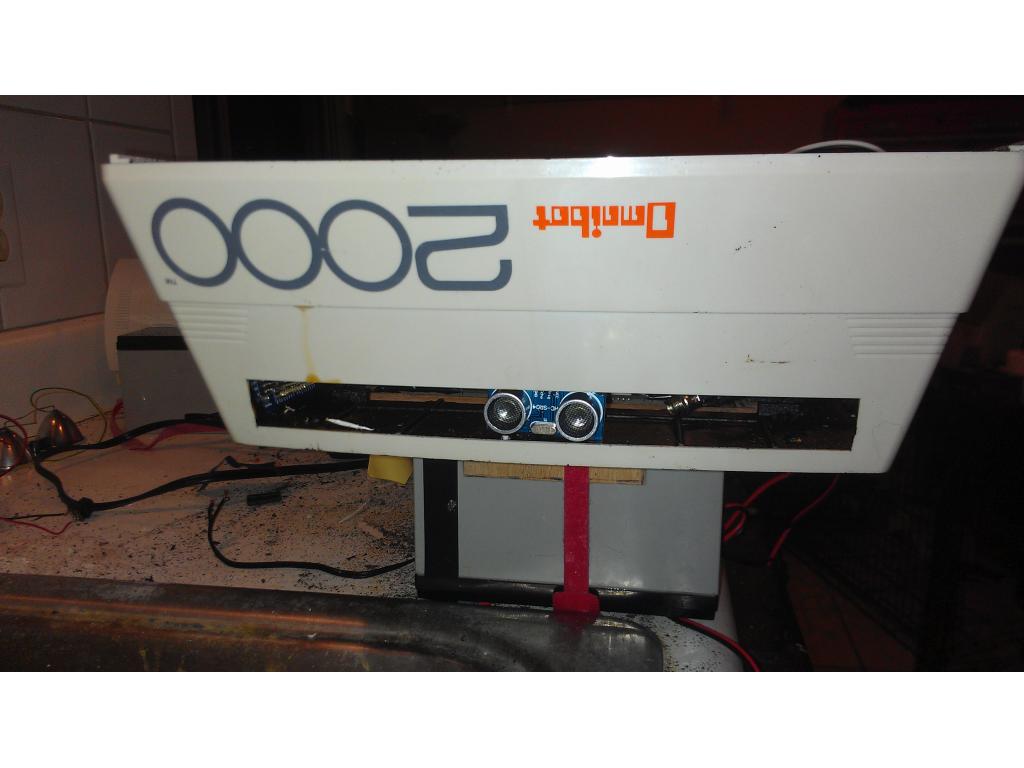
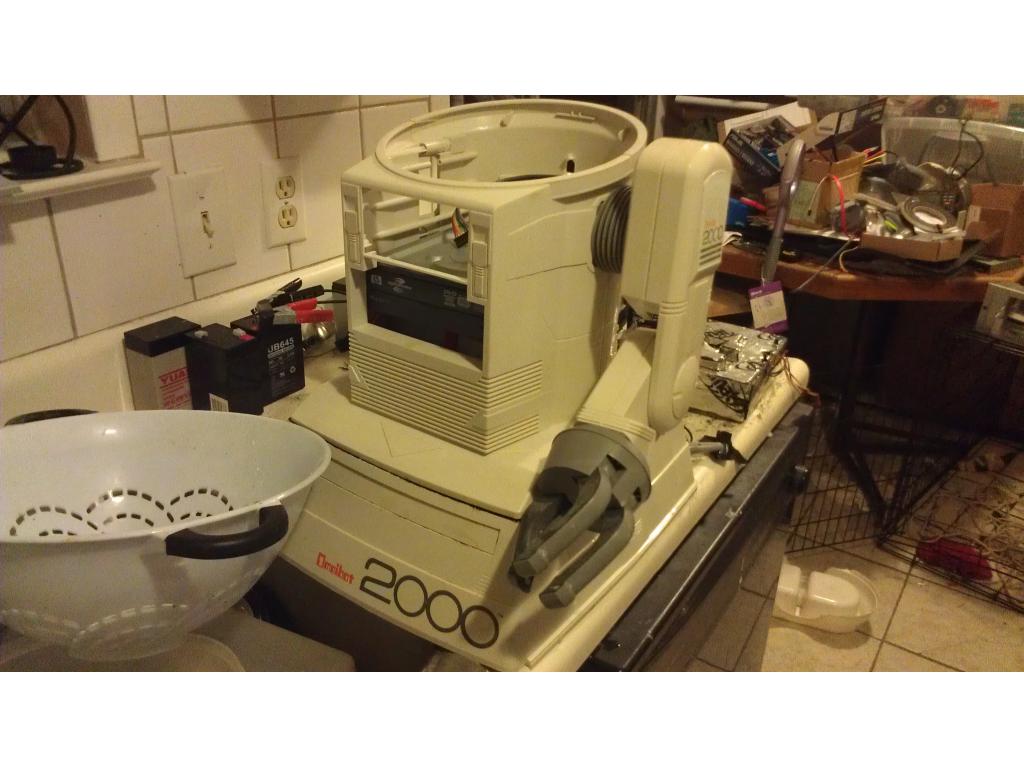
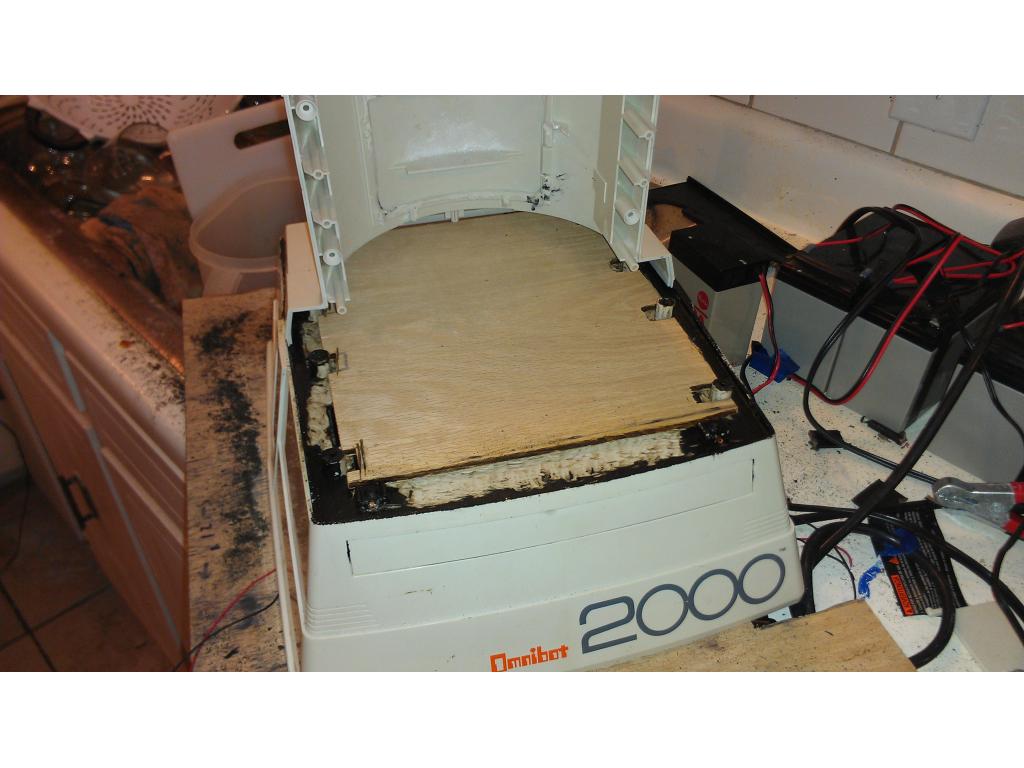
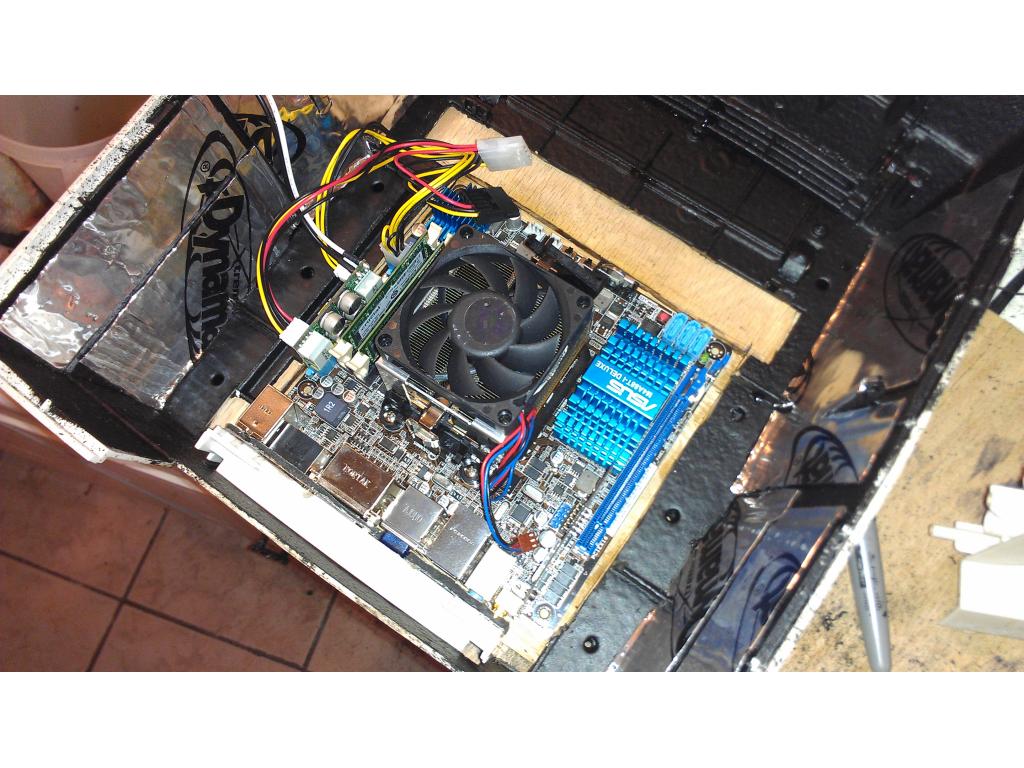
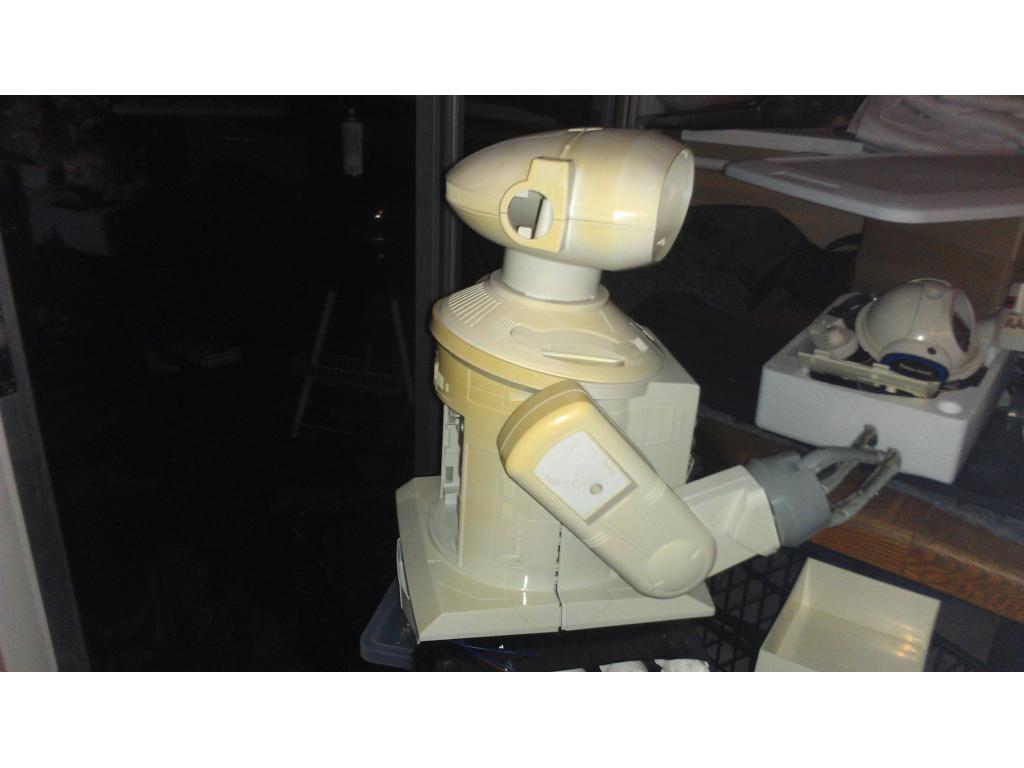
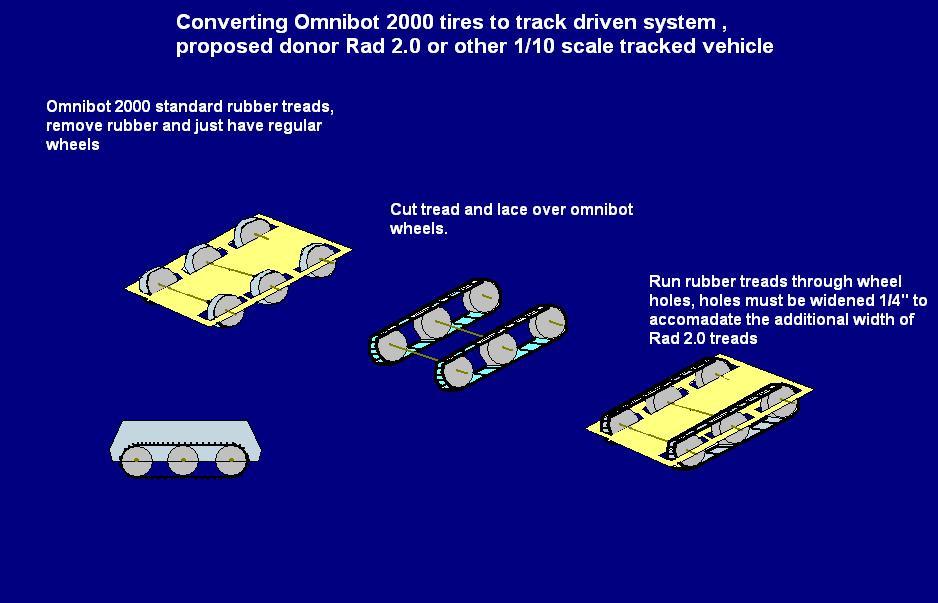
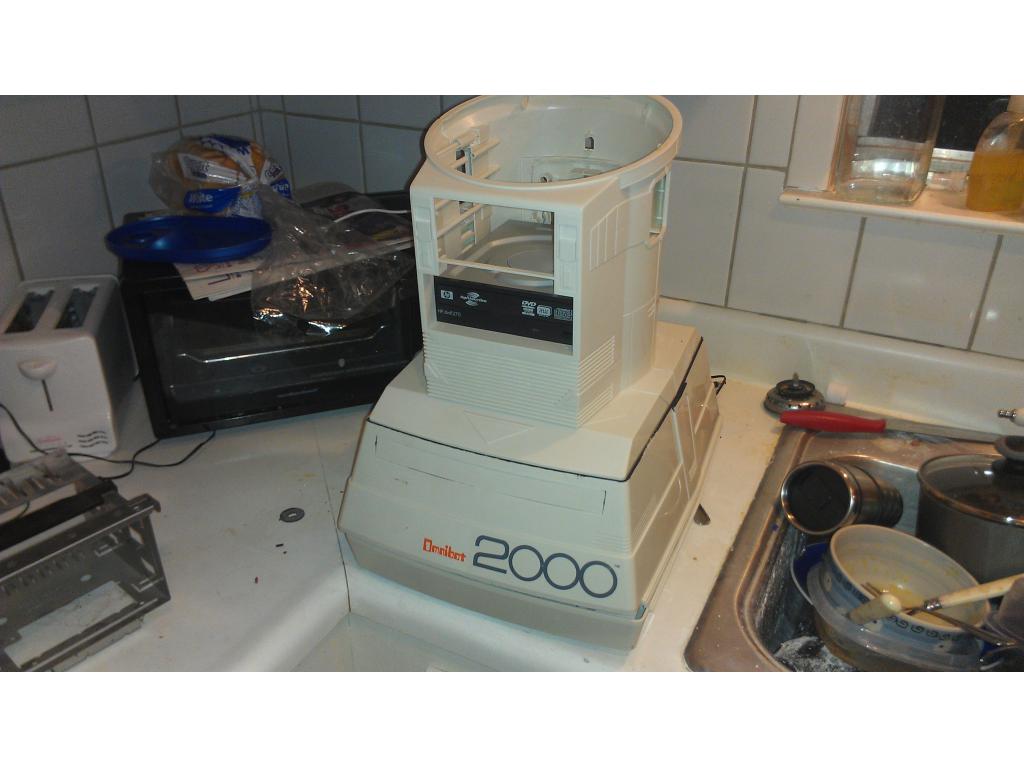
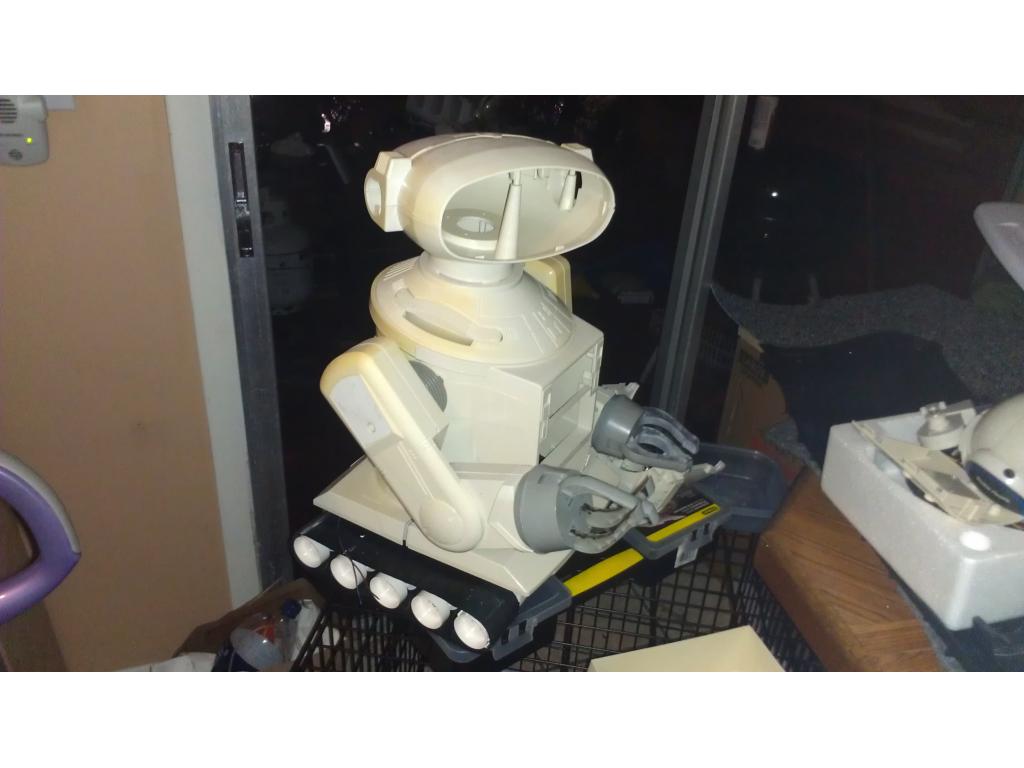
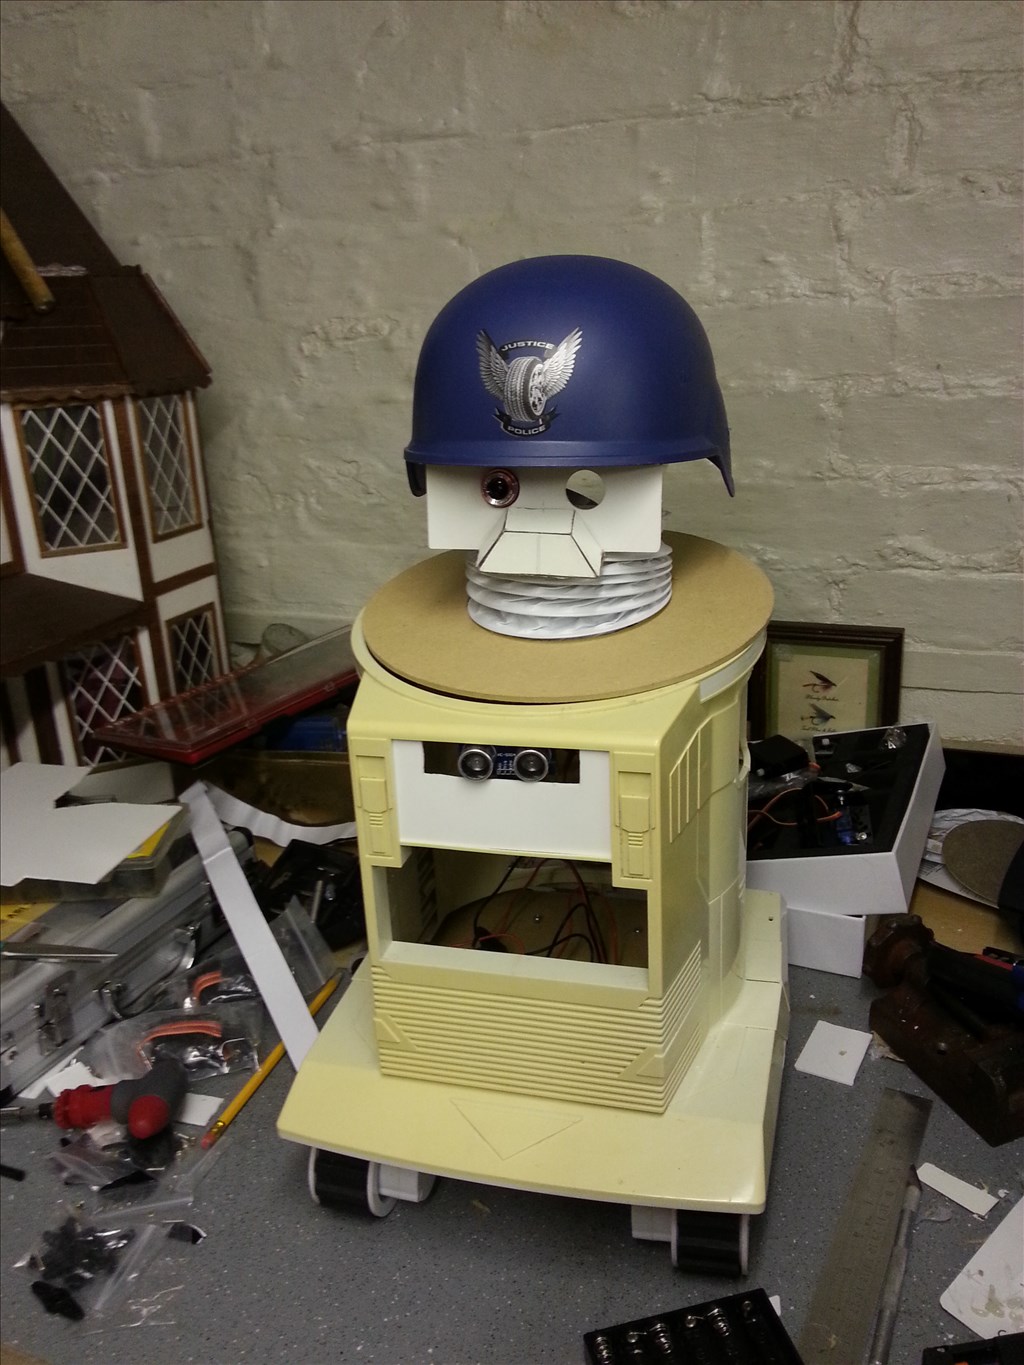
This project has evolved some , the basic rundown is I'm modding two Omnibots , one a regular the other a larger 2000 model. I will have two ezb kits , rad base idea was thrown out because of so much noise but could go back on the table if the omnibot drivetrain is too weak to pull it.


By jstarne1
— Last update
Discover more robots

Ezang's Happy New Year To All
2020 brings many new ideas and inventions to everyone, inspiring creativity and innovation.
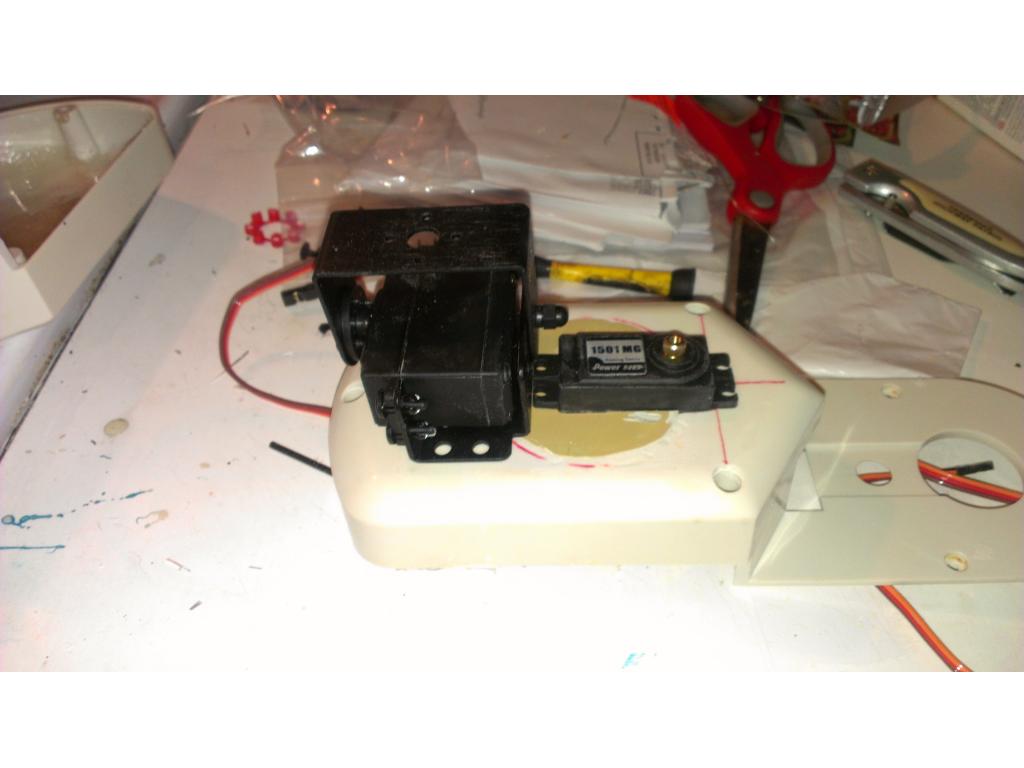
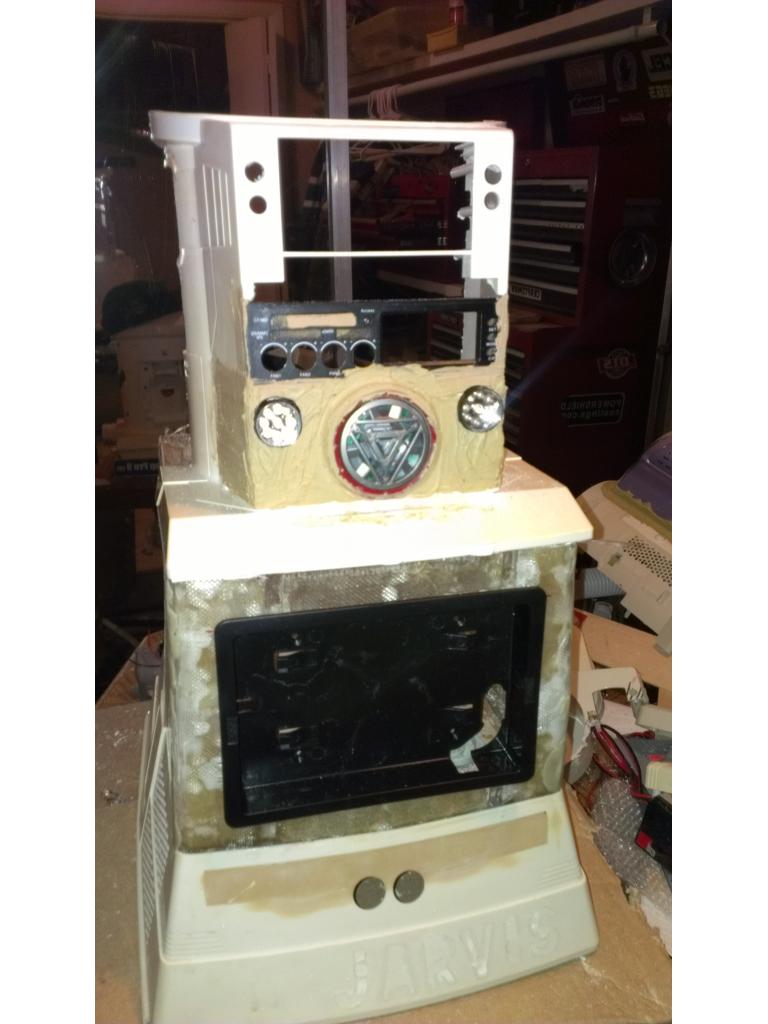
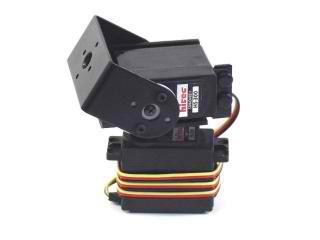
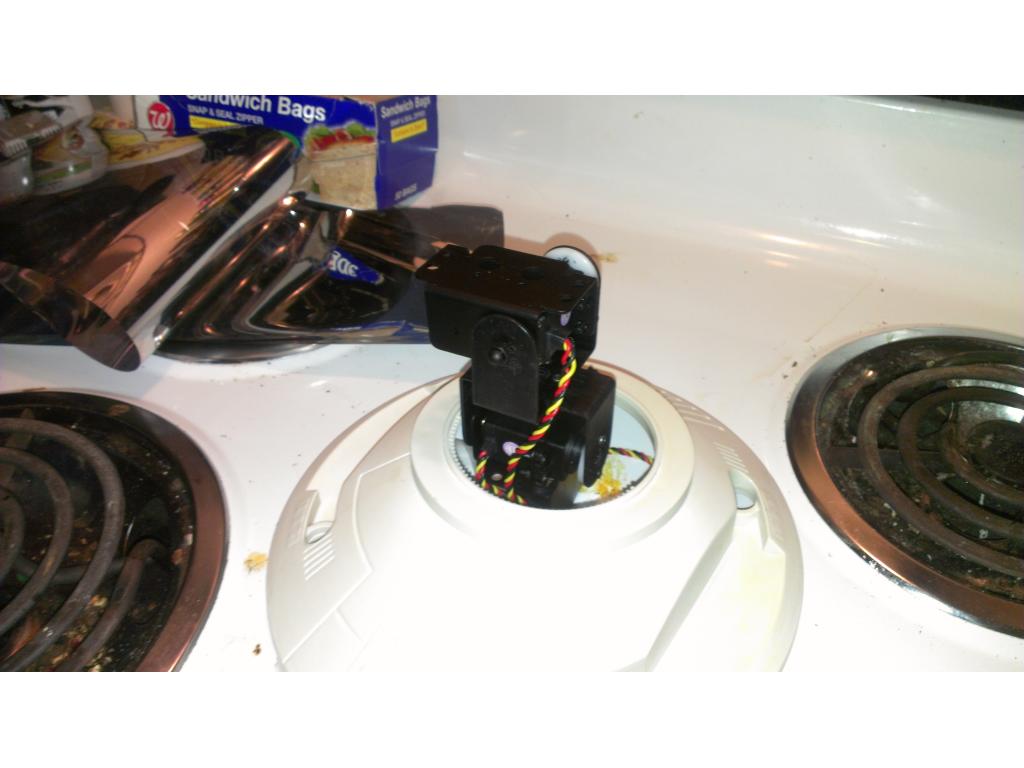
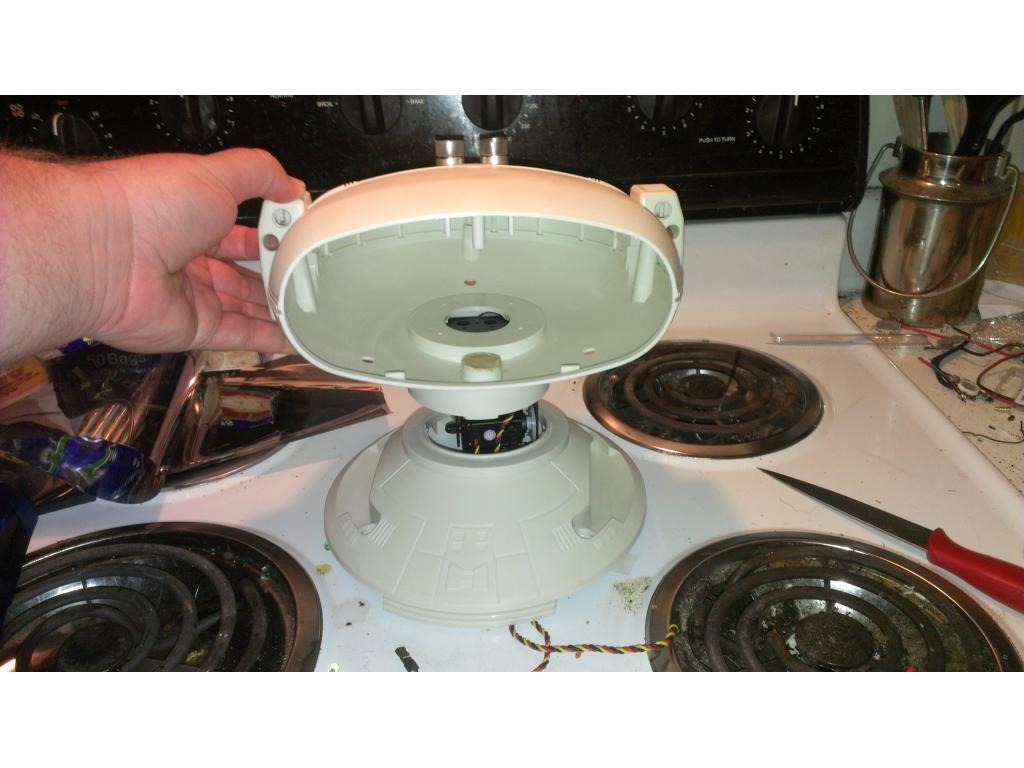
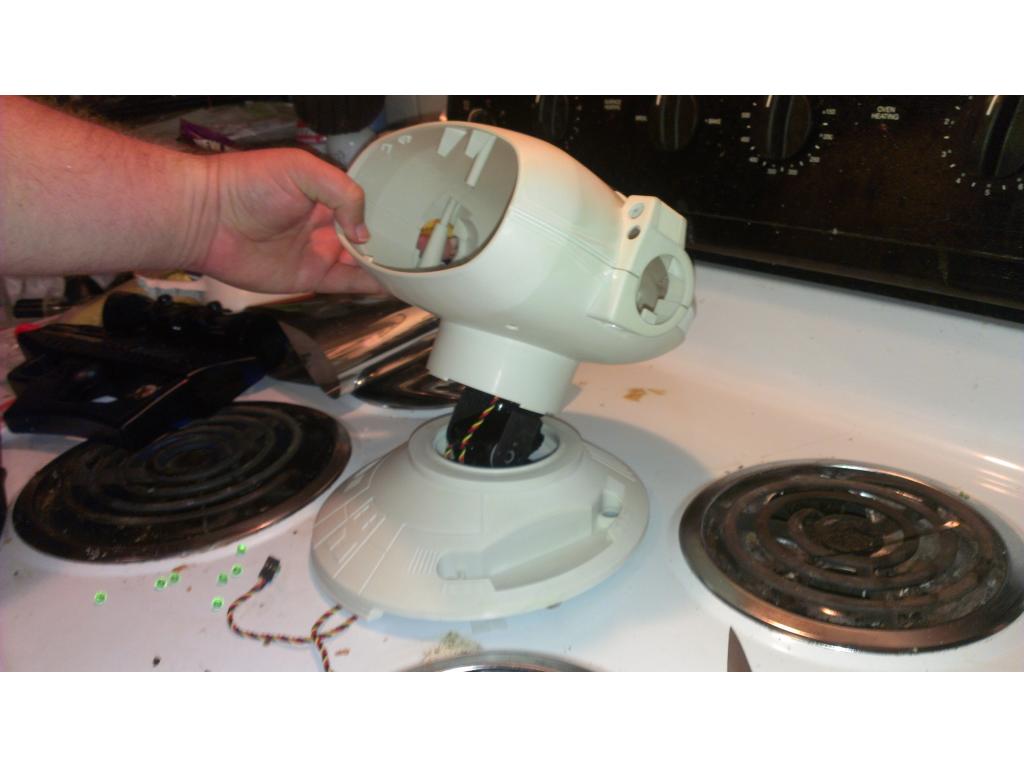
51M0n76's Meet Arnie
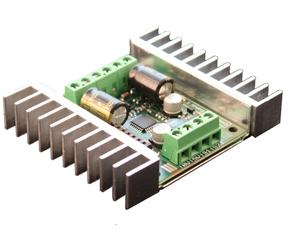
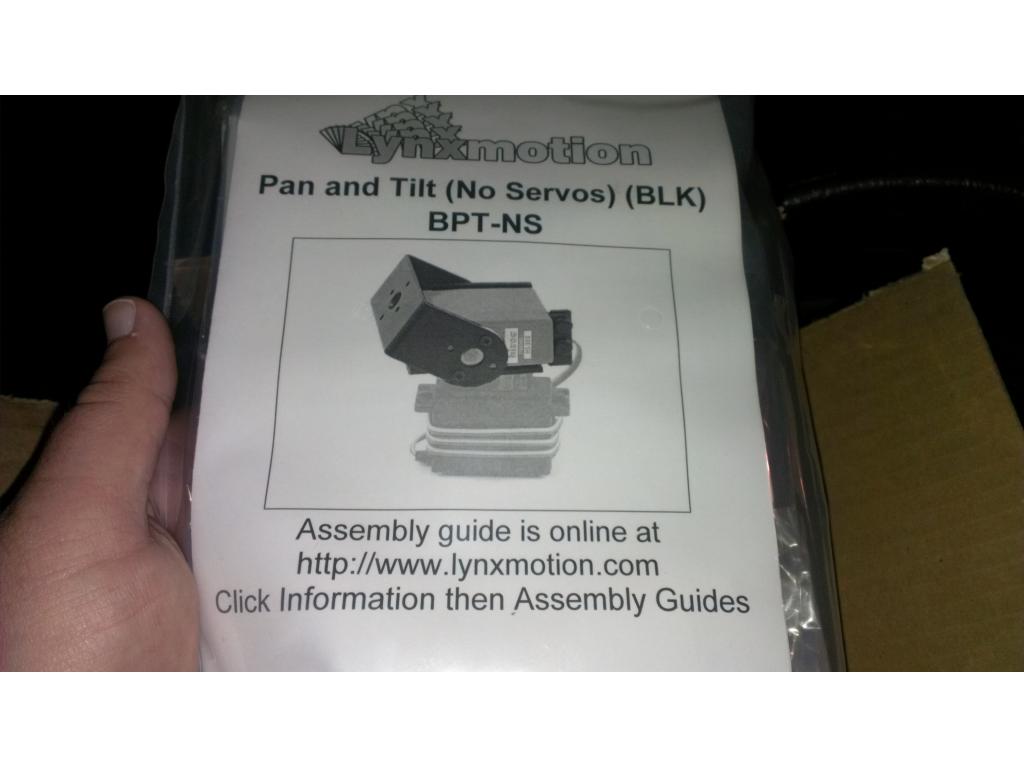
Homebuilt robot Arnie with pan/tilt head that looks around freely; awaiting H-bridge for mobility, plus paint and arms.
Lemon's Galapagos Mode- Scorpion Tail
Tortoise bot rebuilt with short legs and a scorpion tail, showcasing custom modifications and creative design.

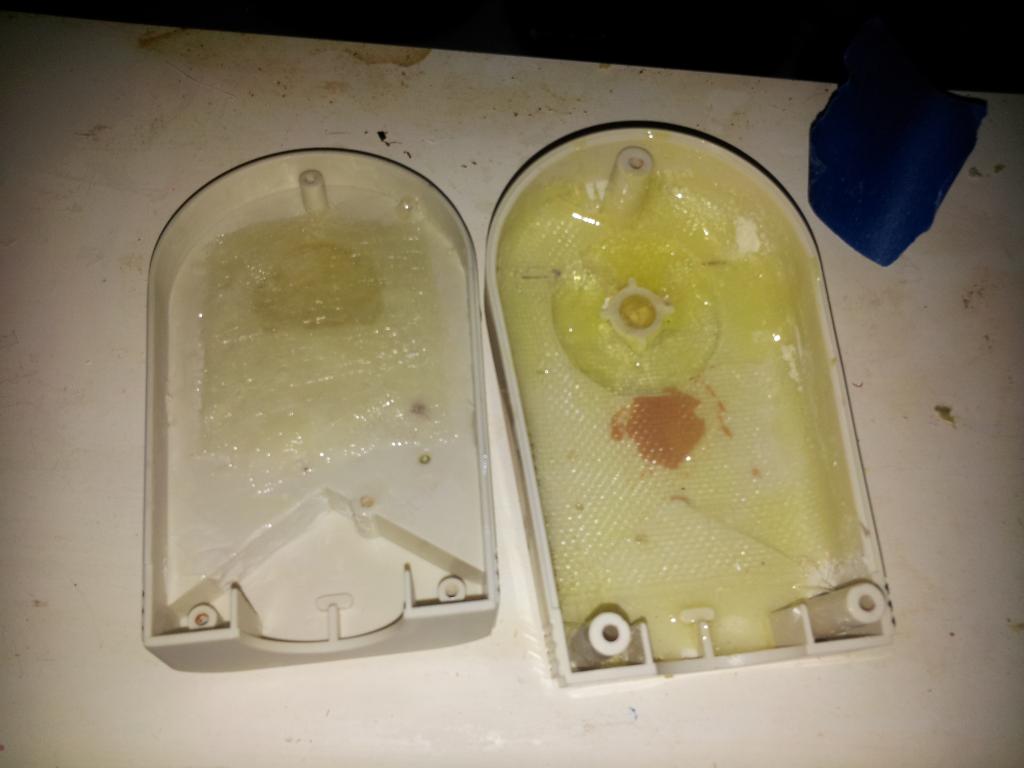
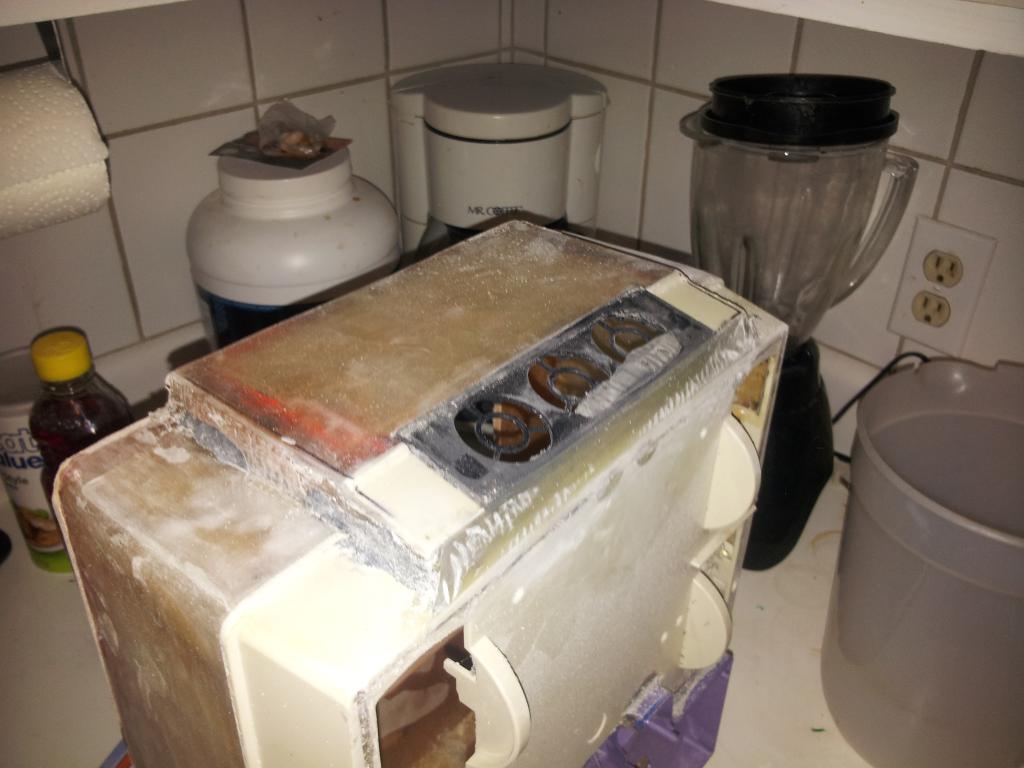
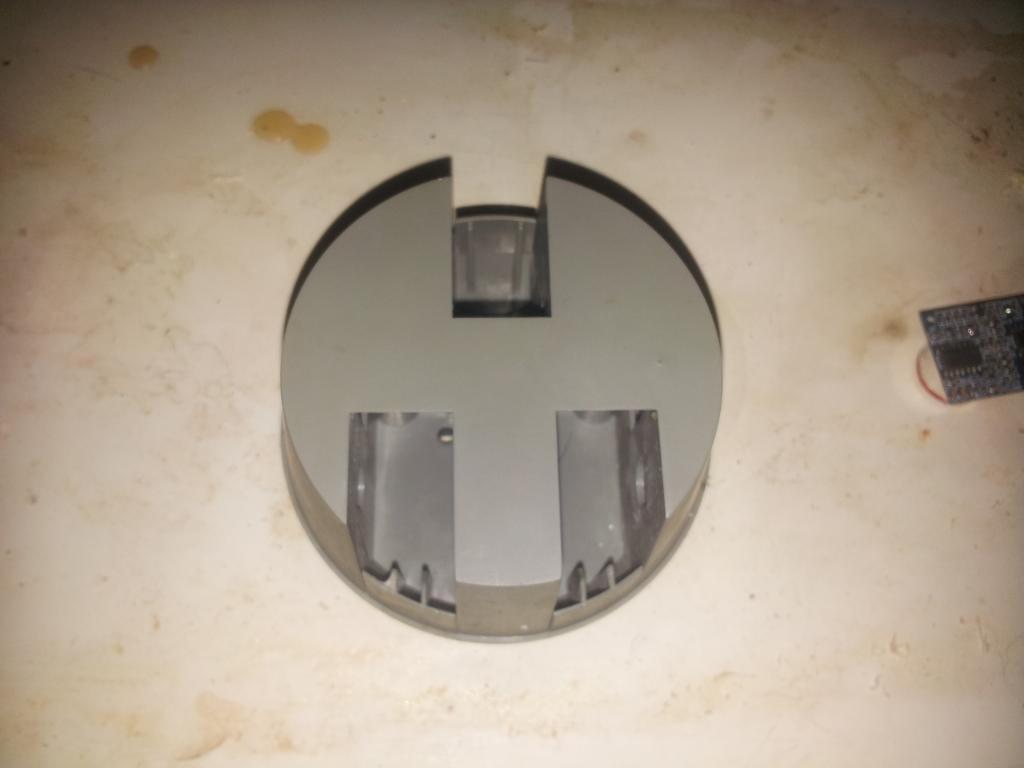
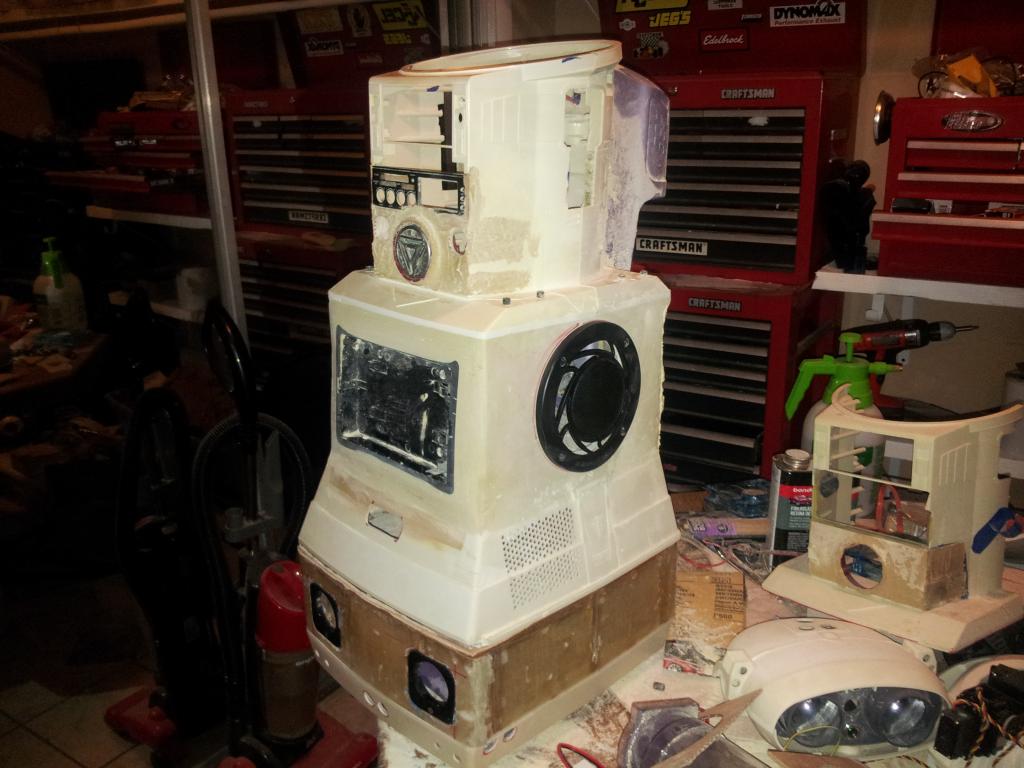
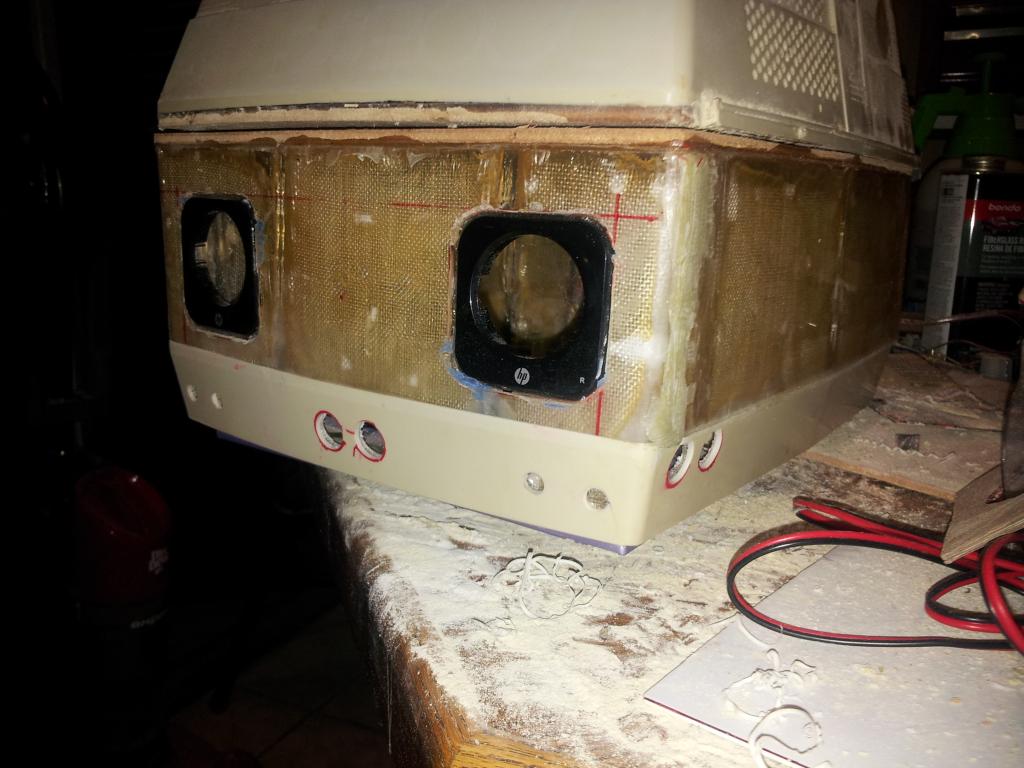
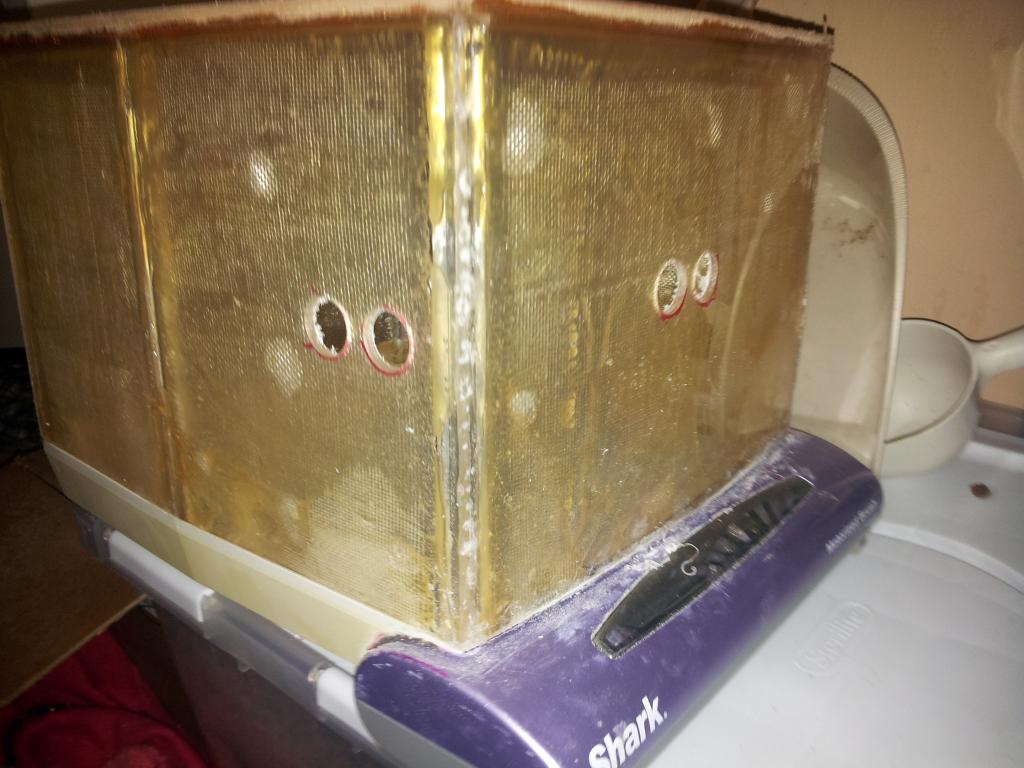
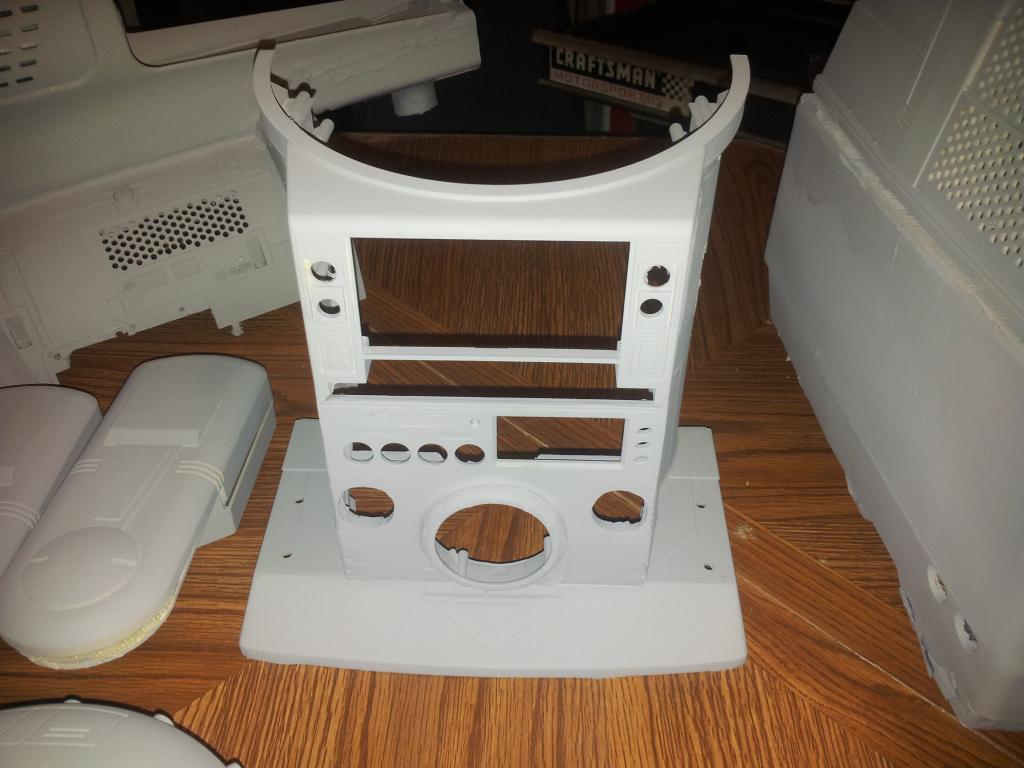
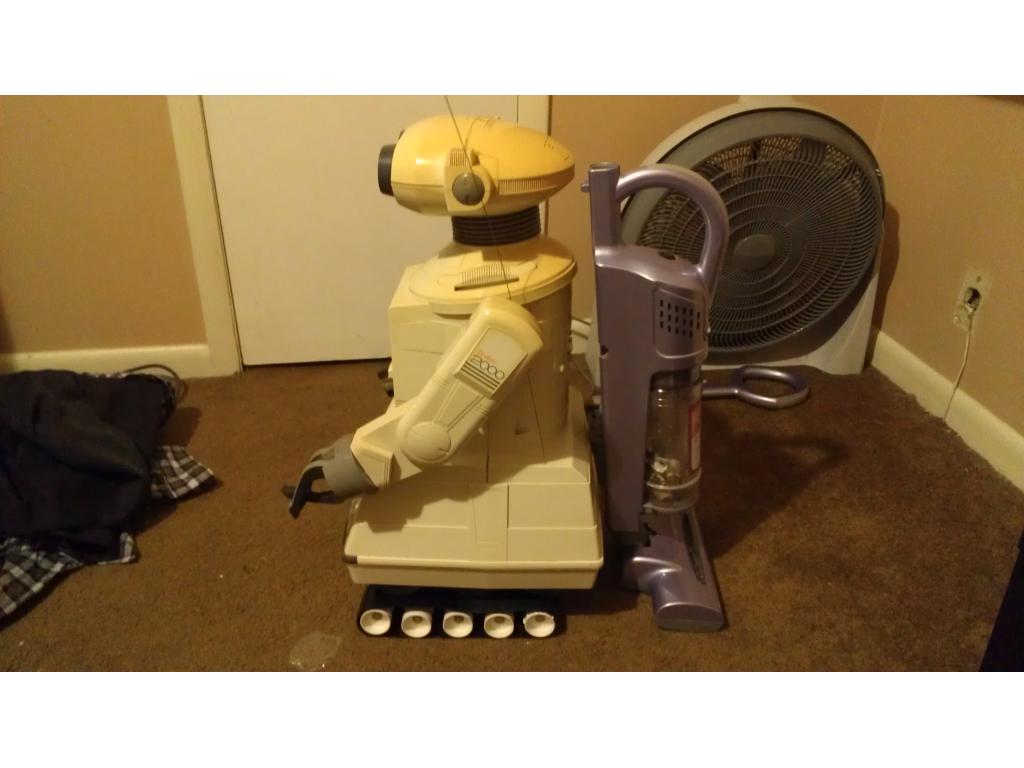
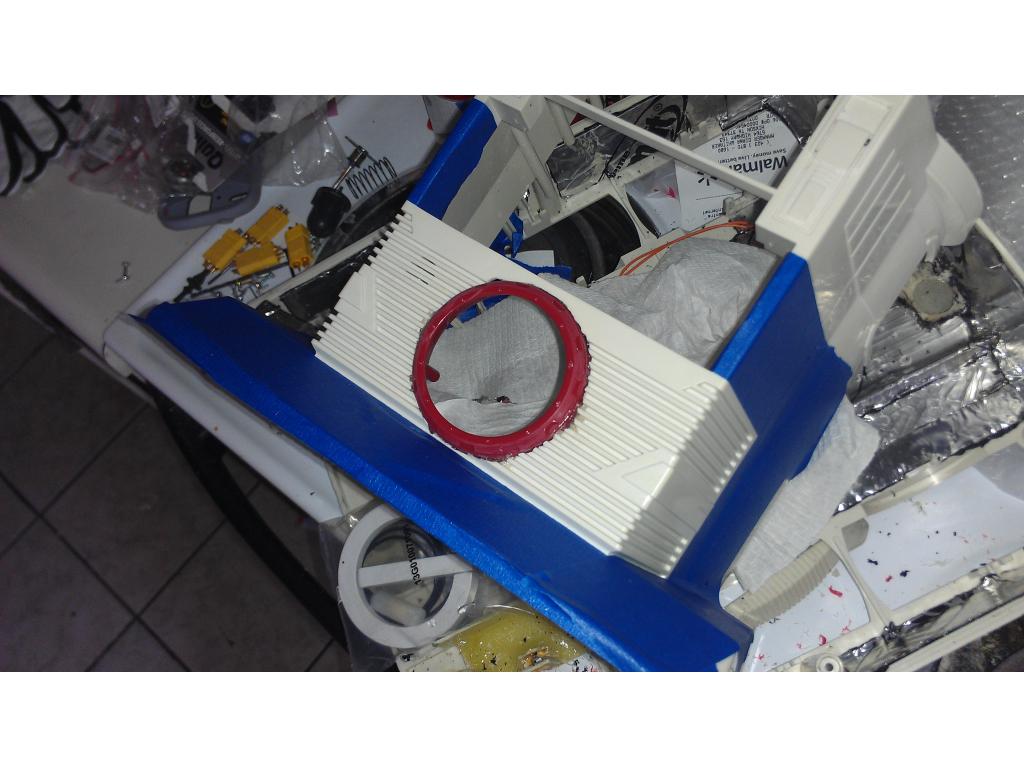
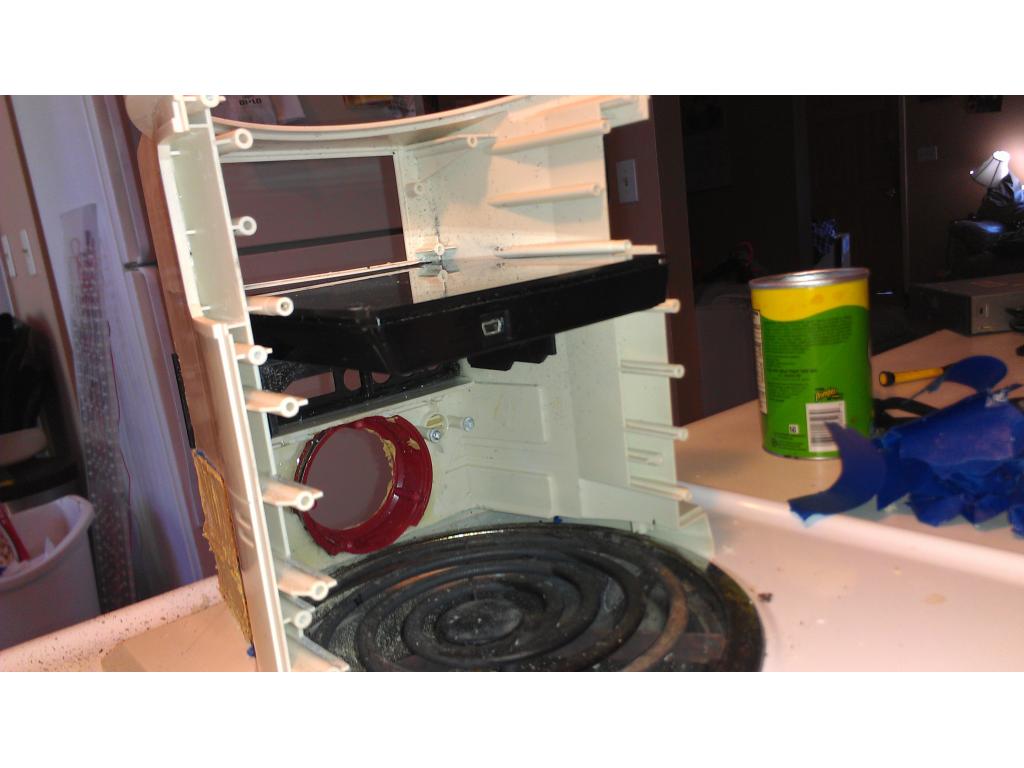
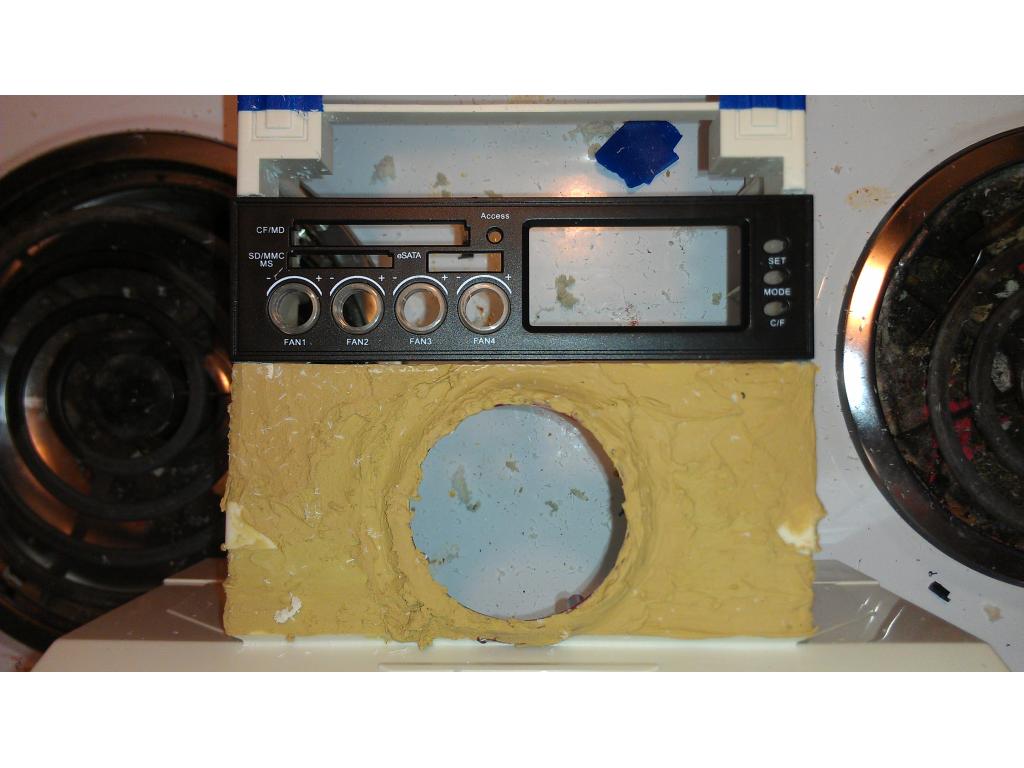
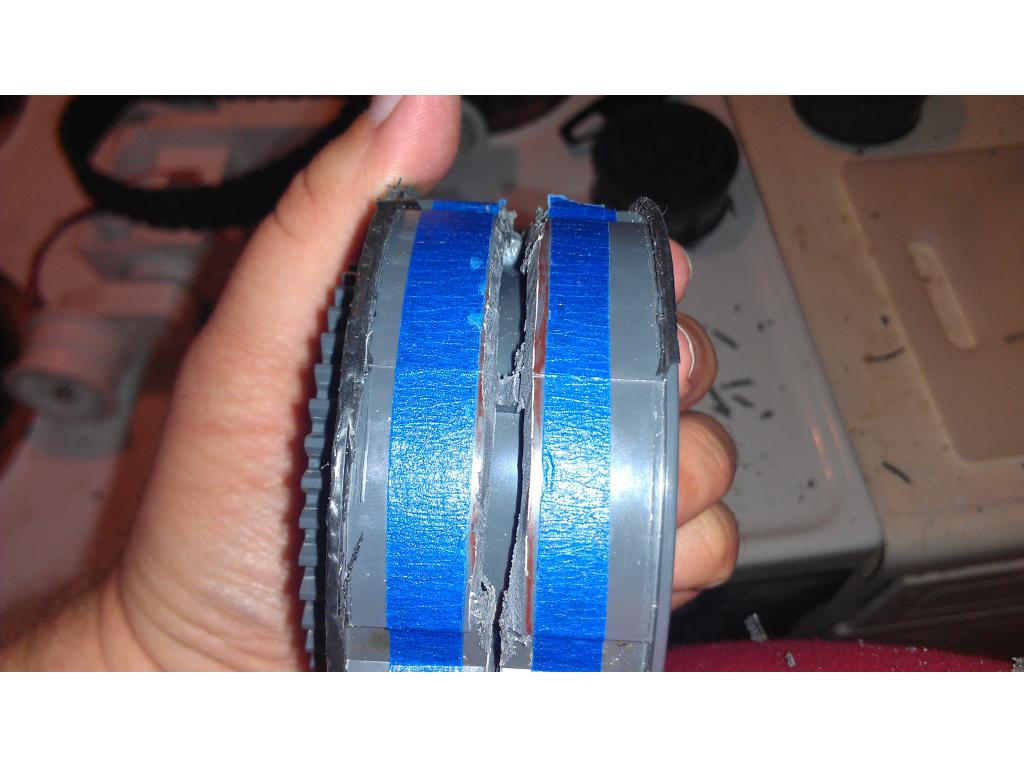
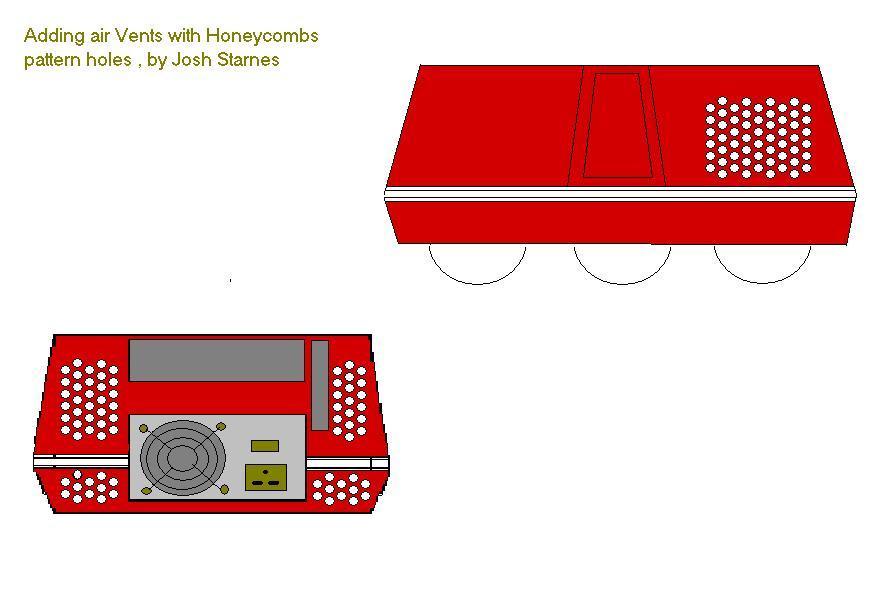
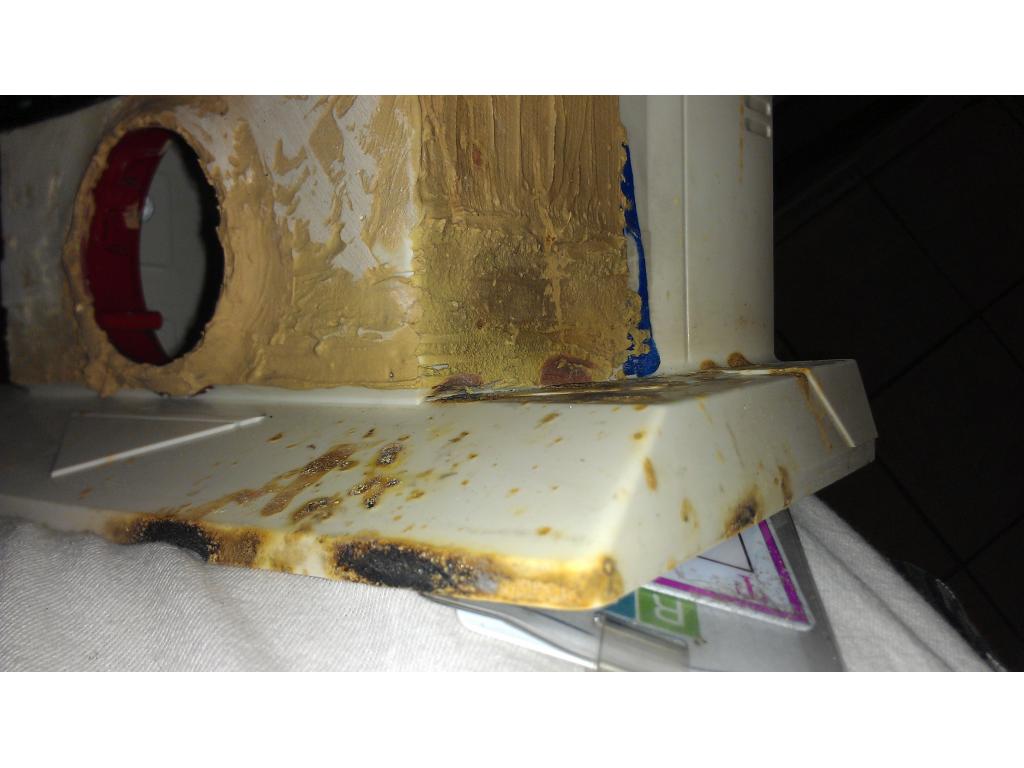
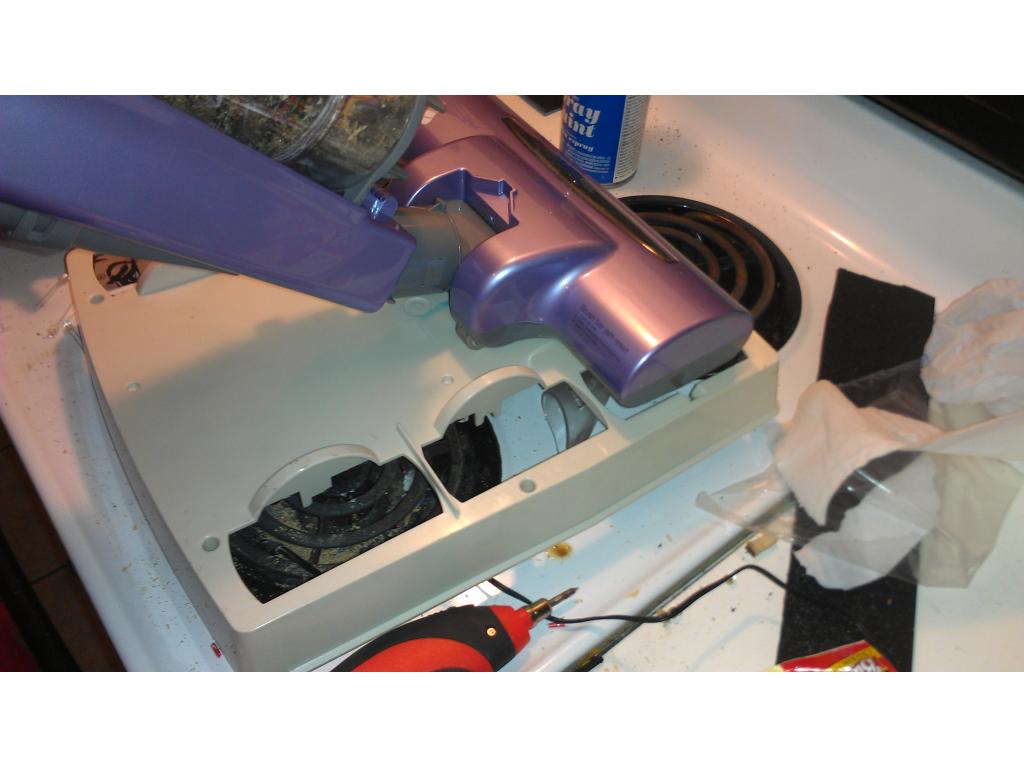
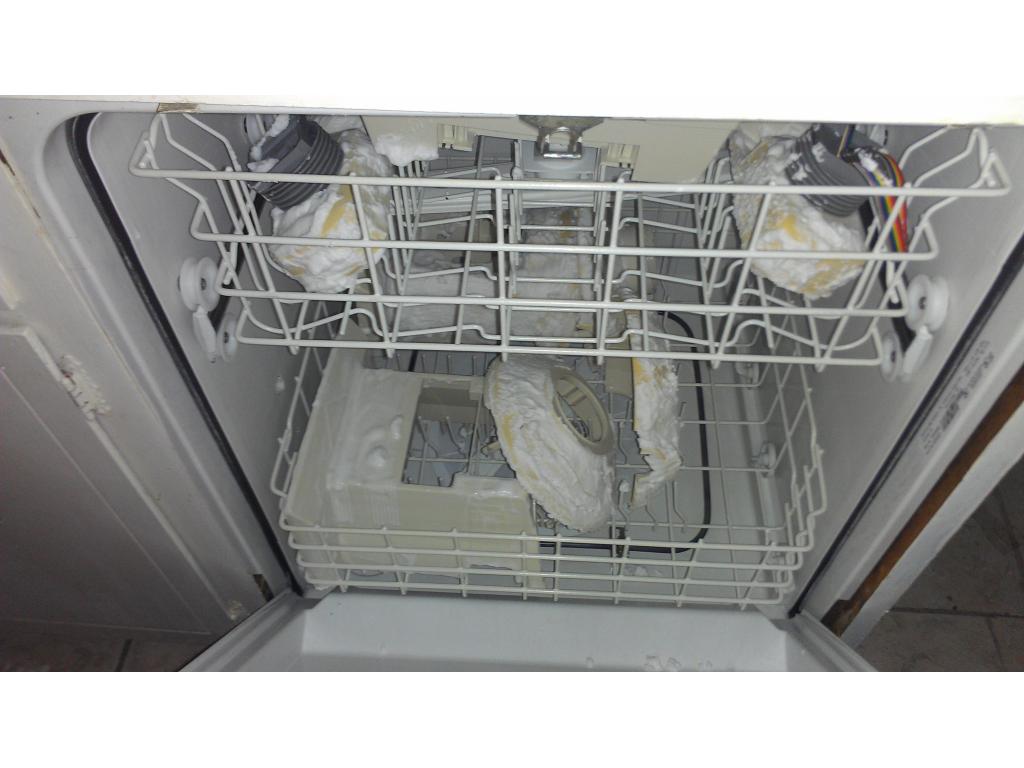
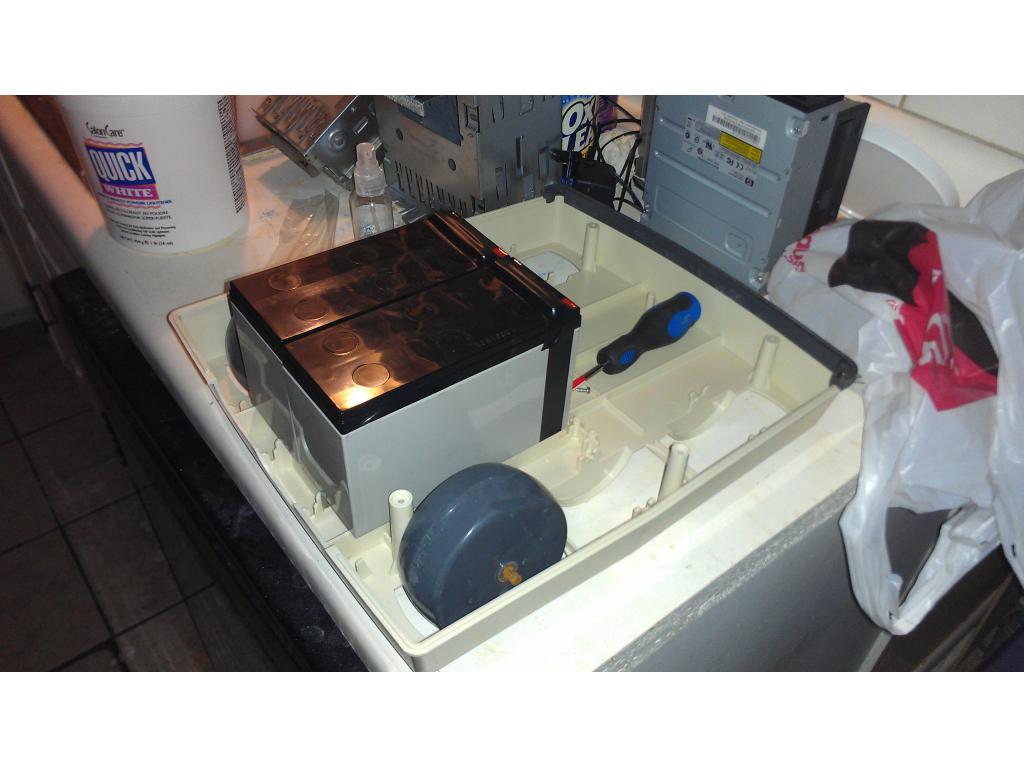
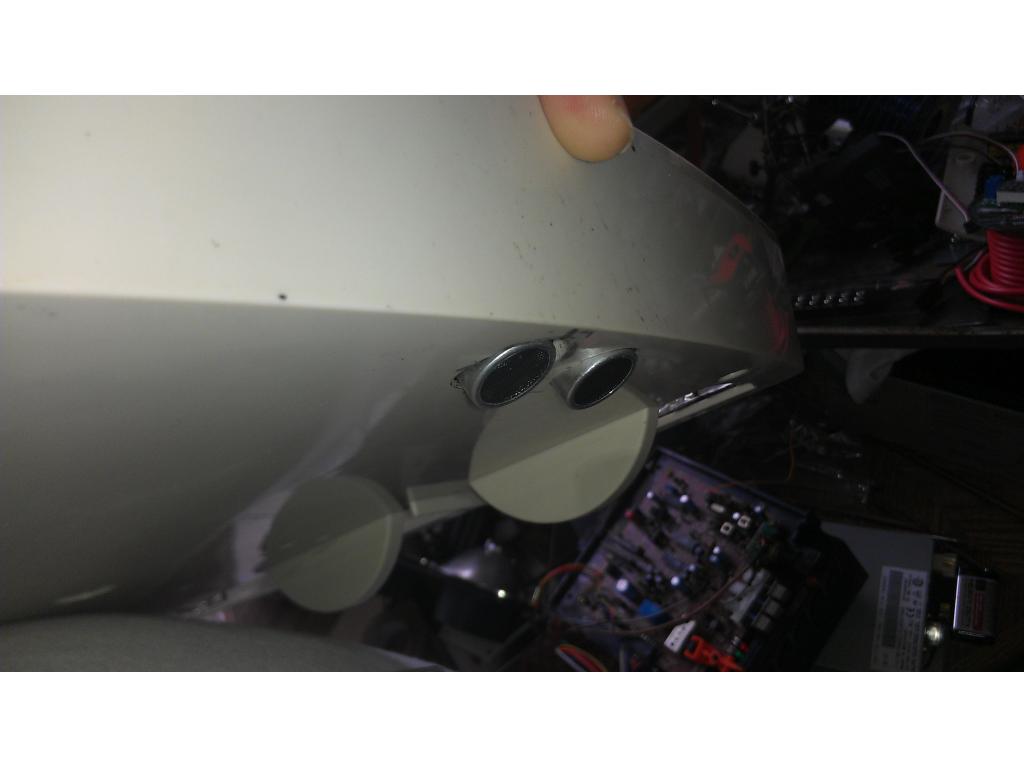
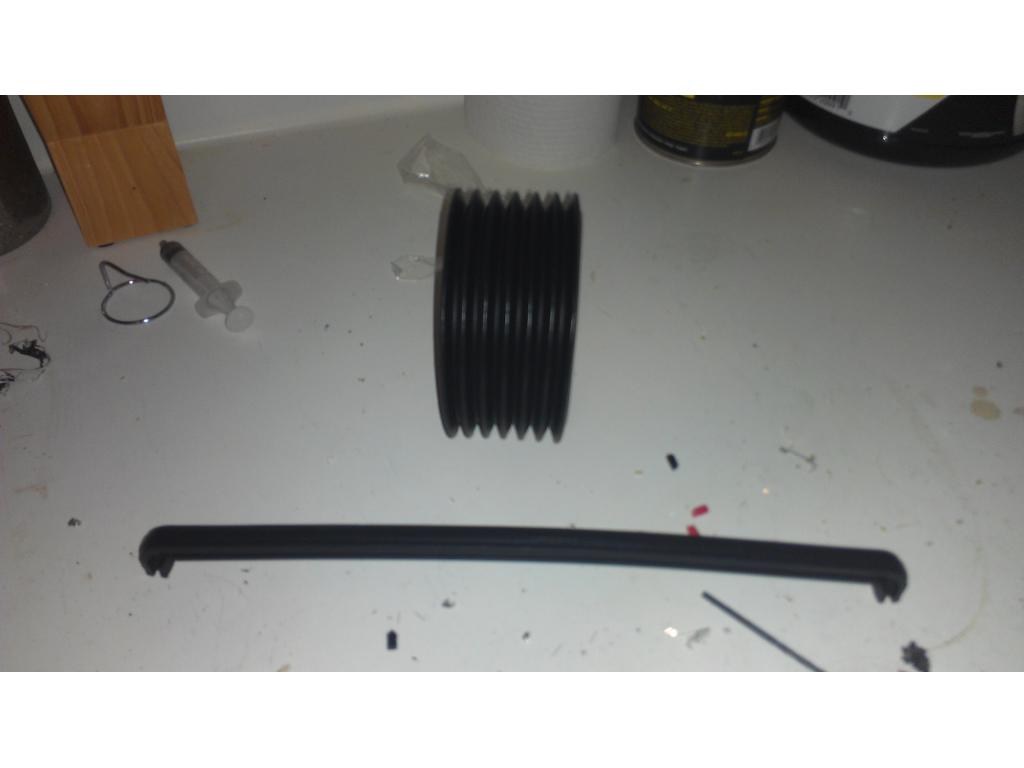
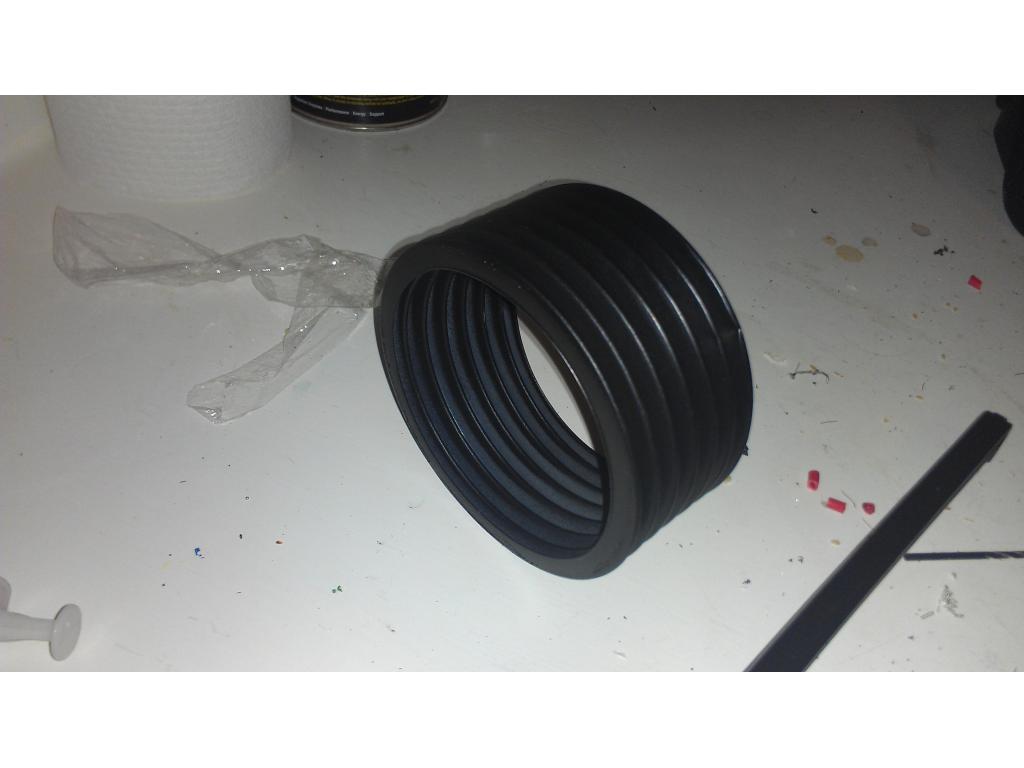
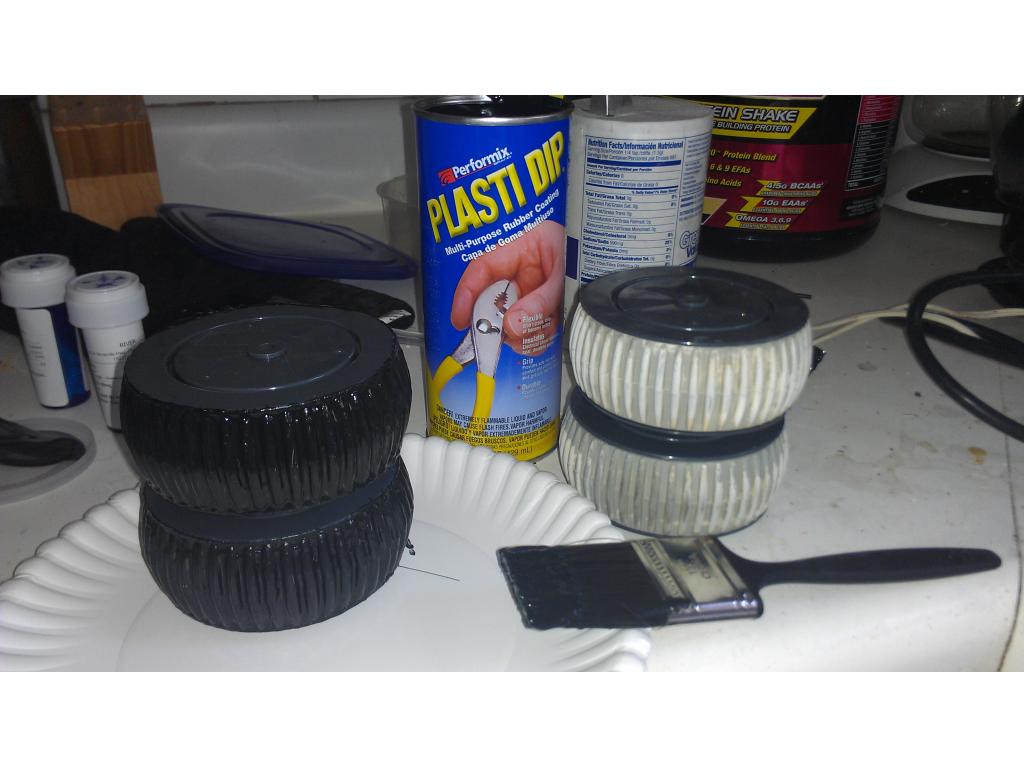
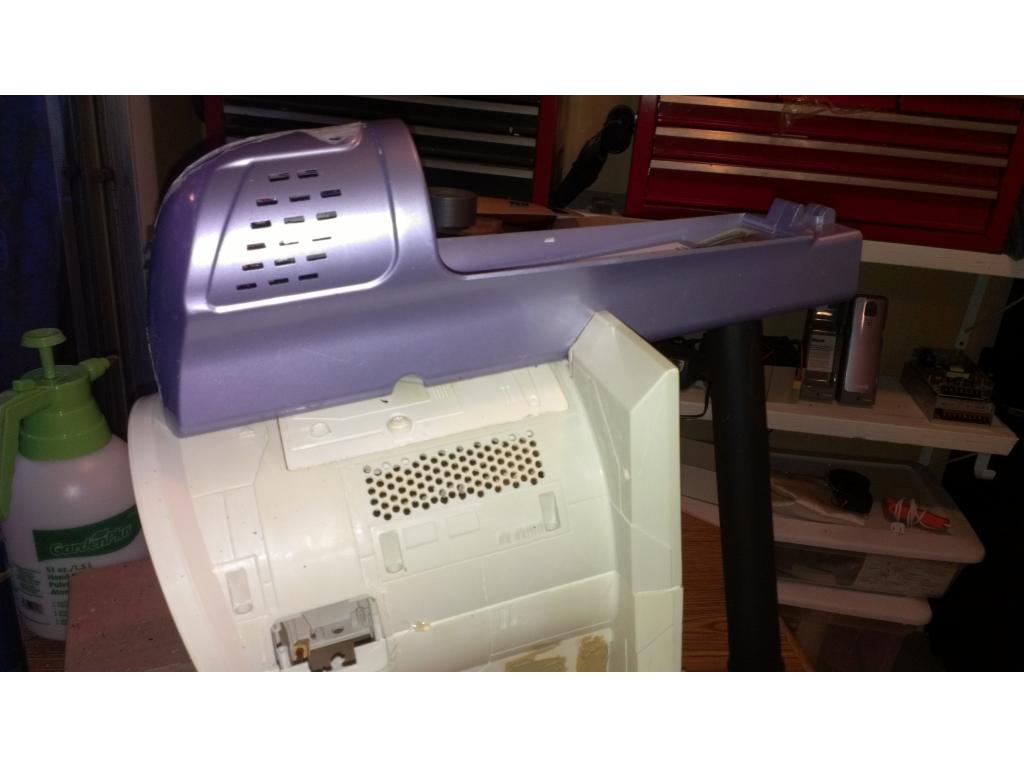
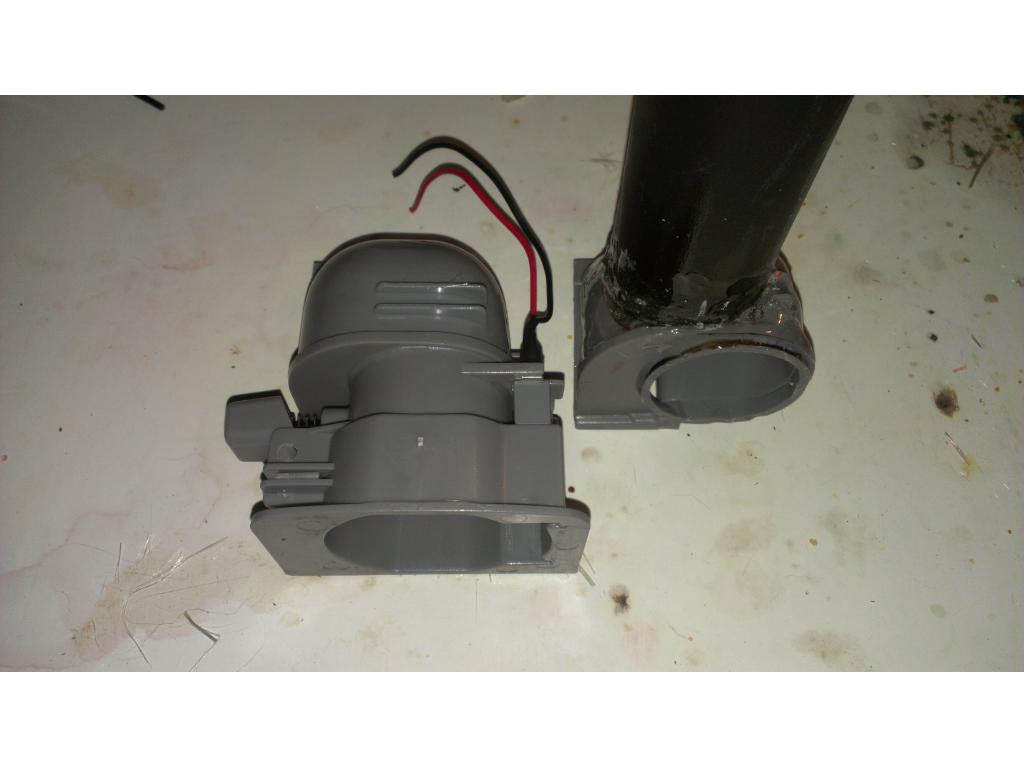
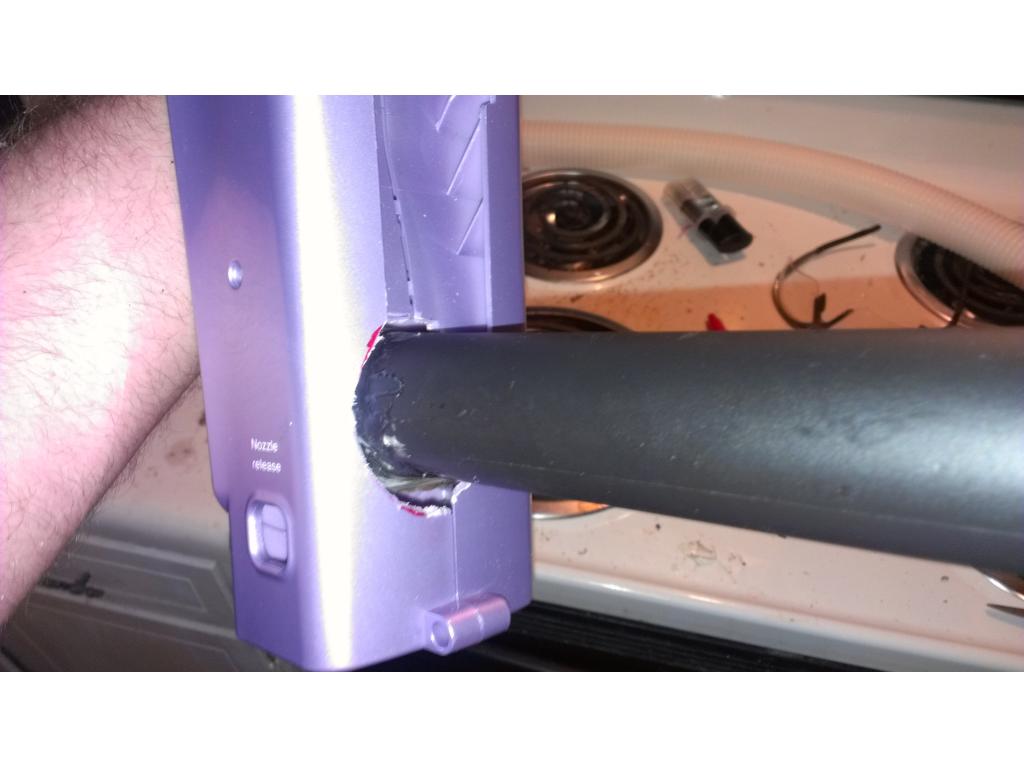
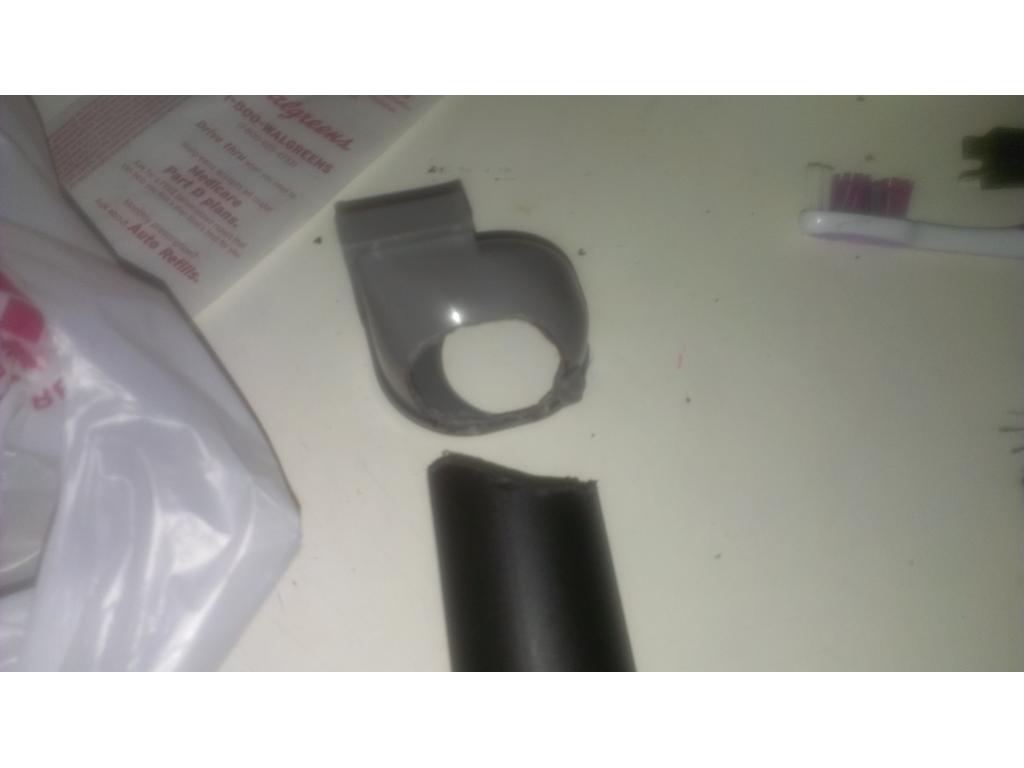
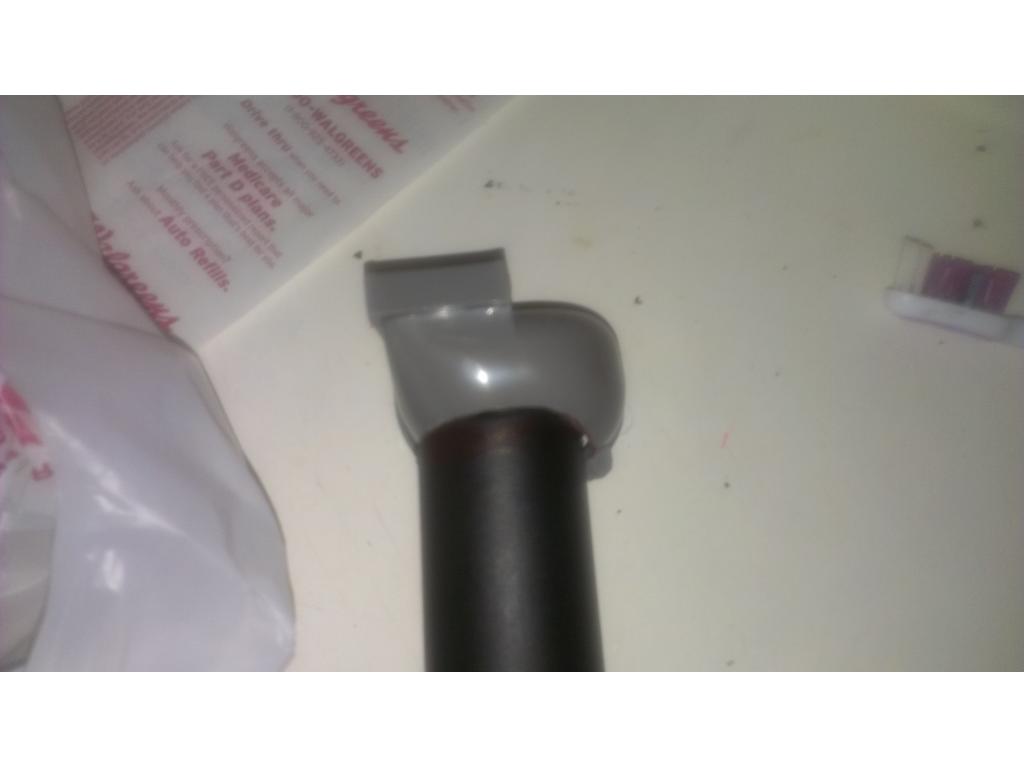
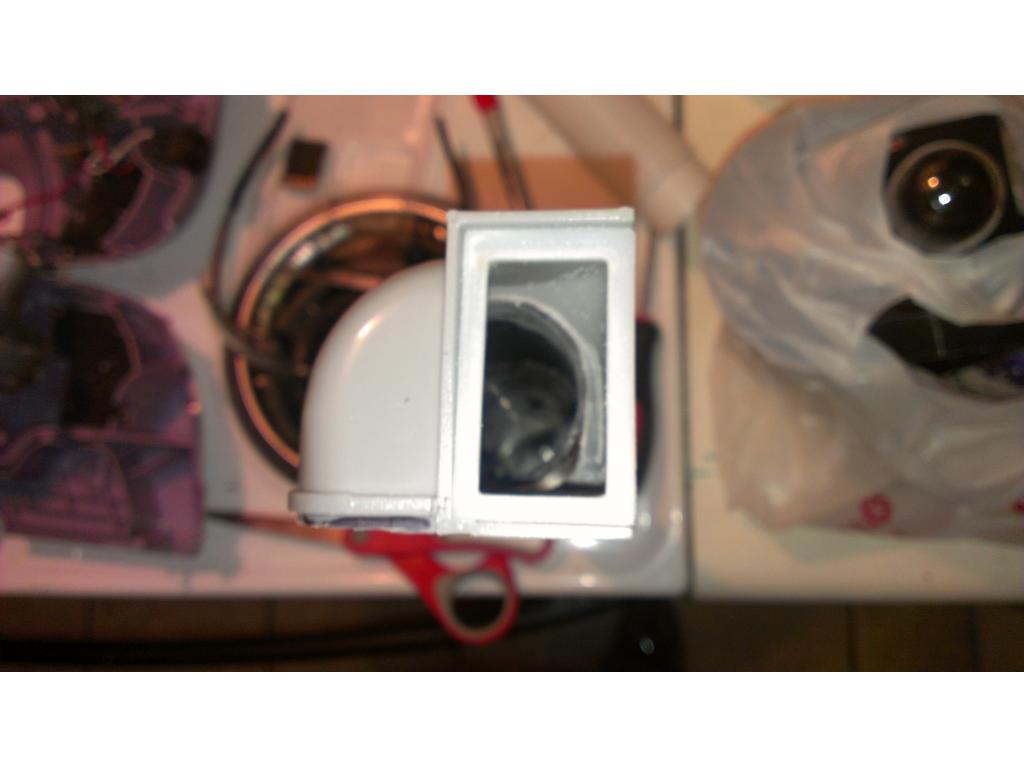
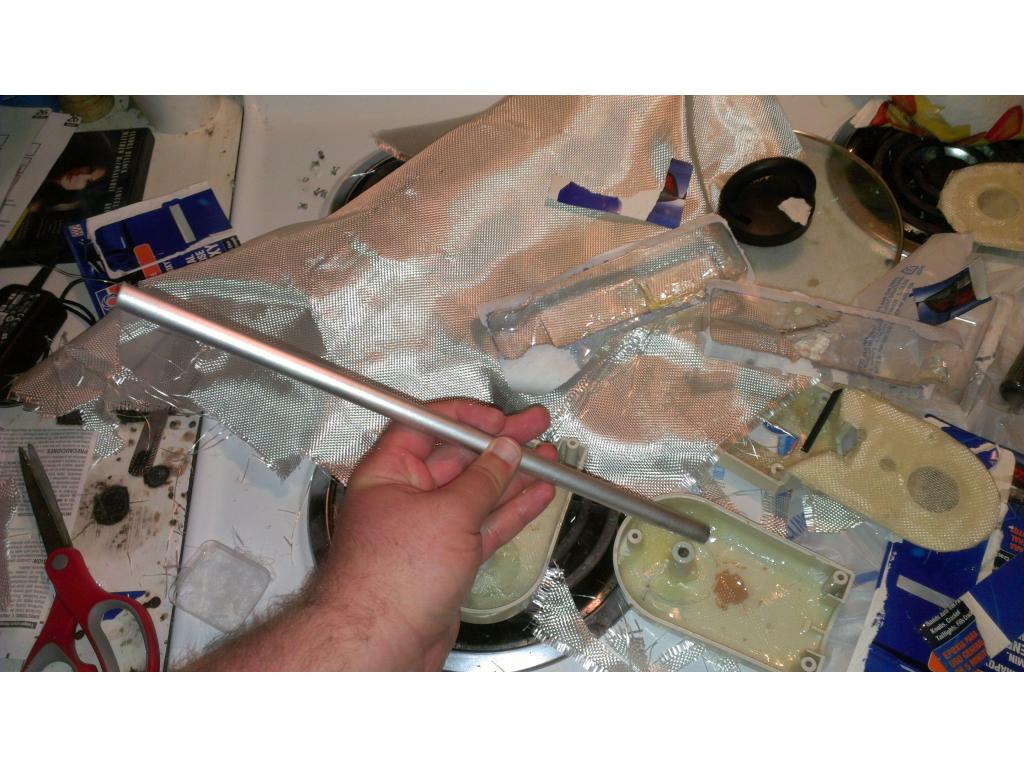
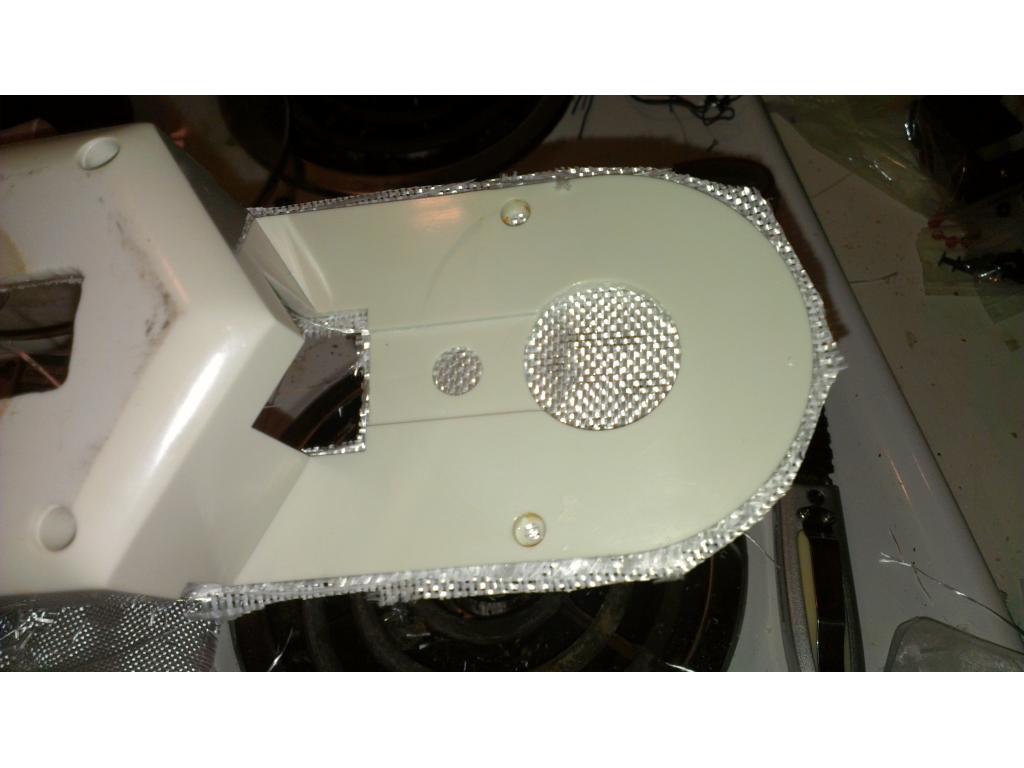
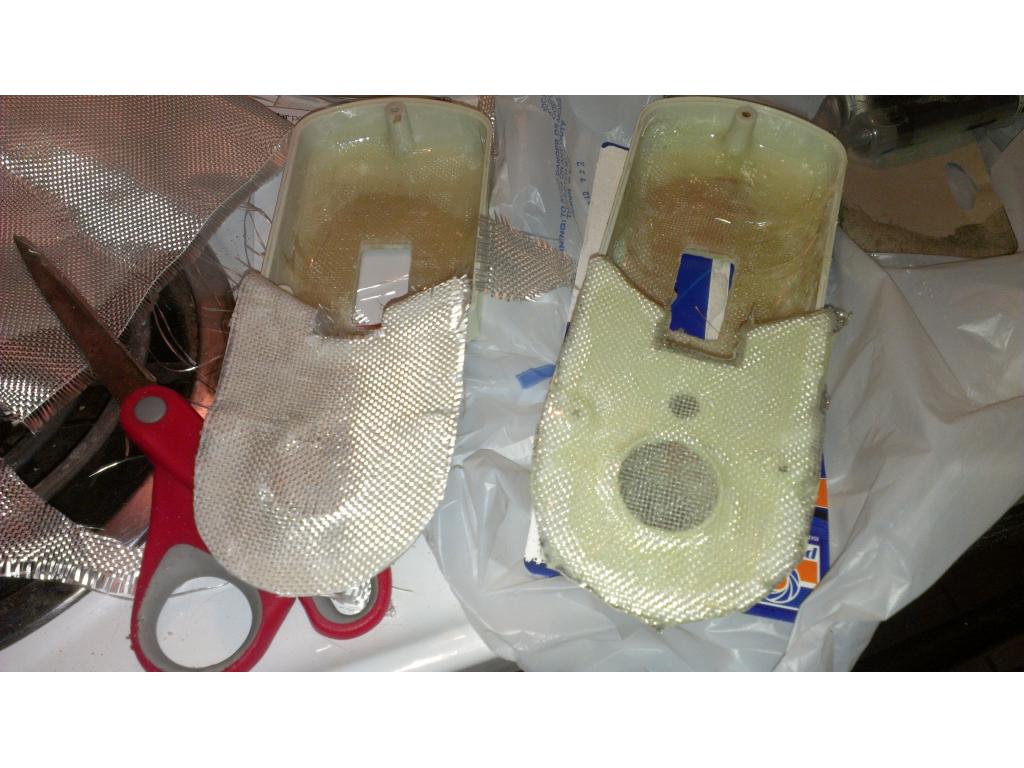
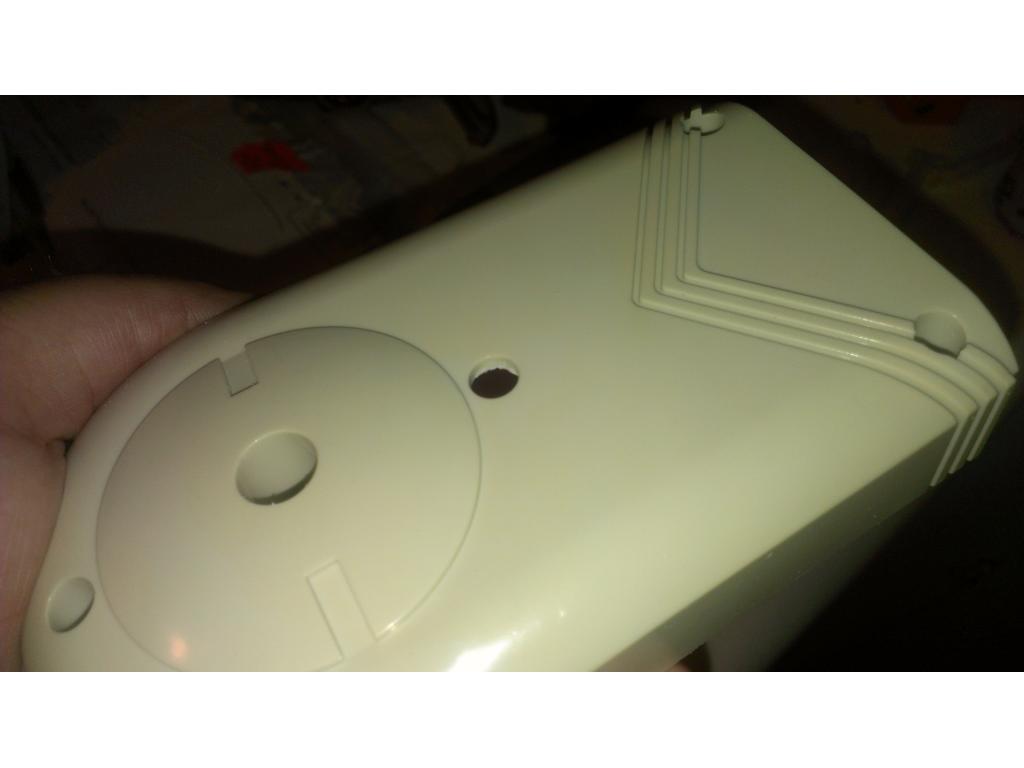
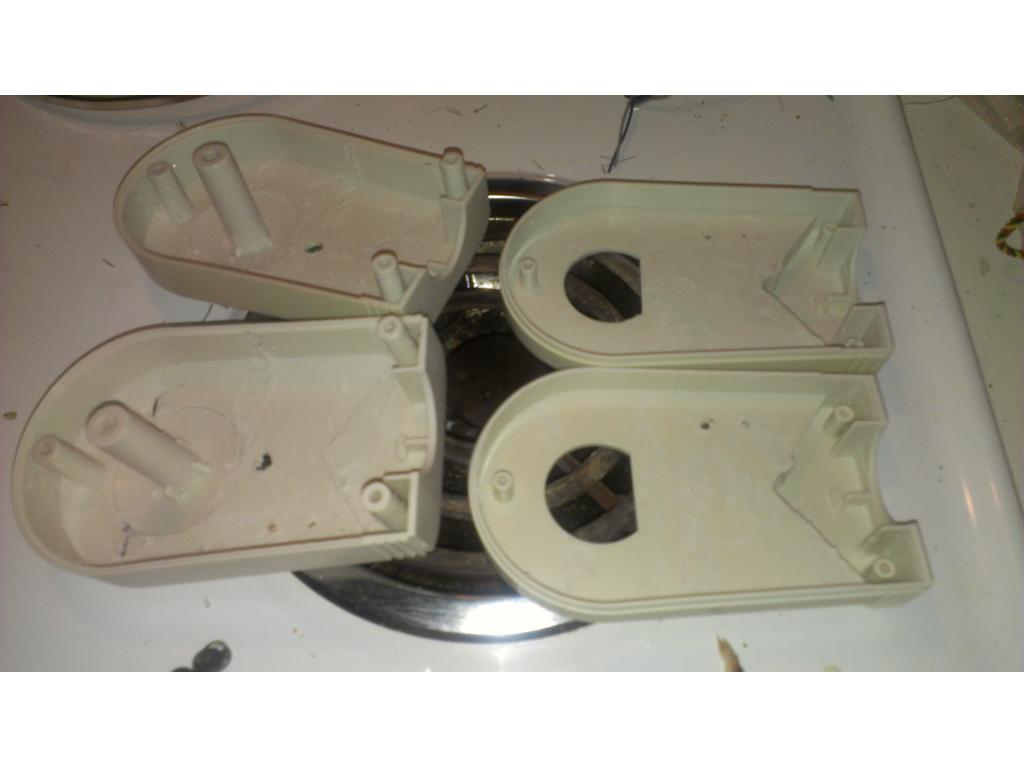
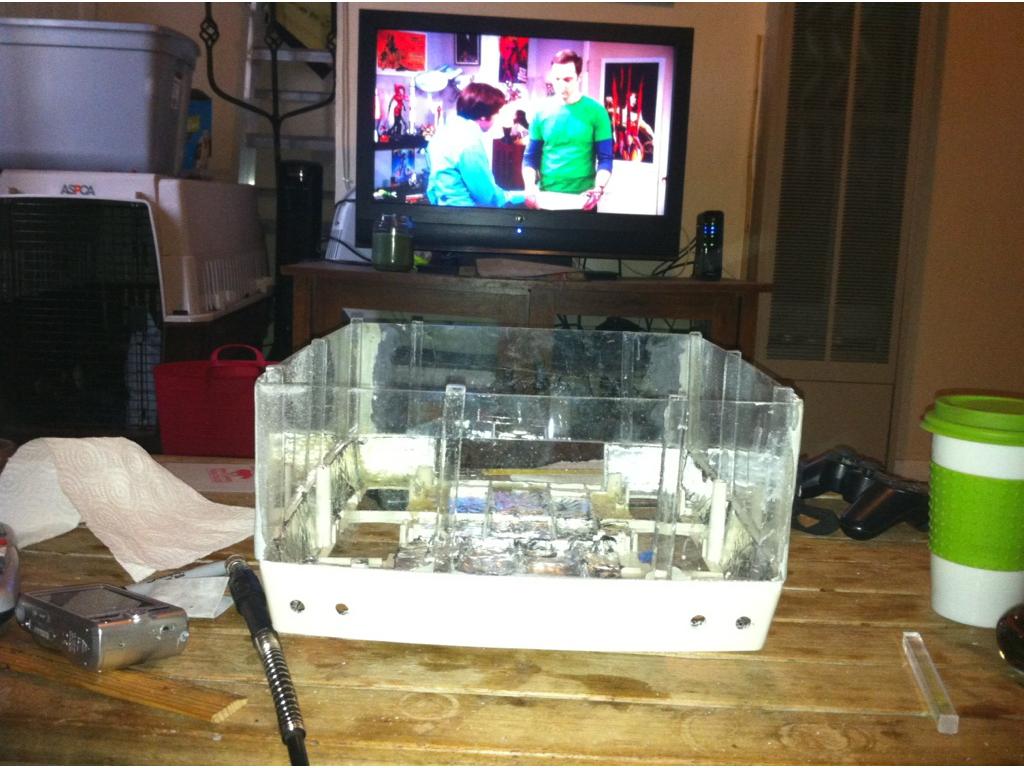
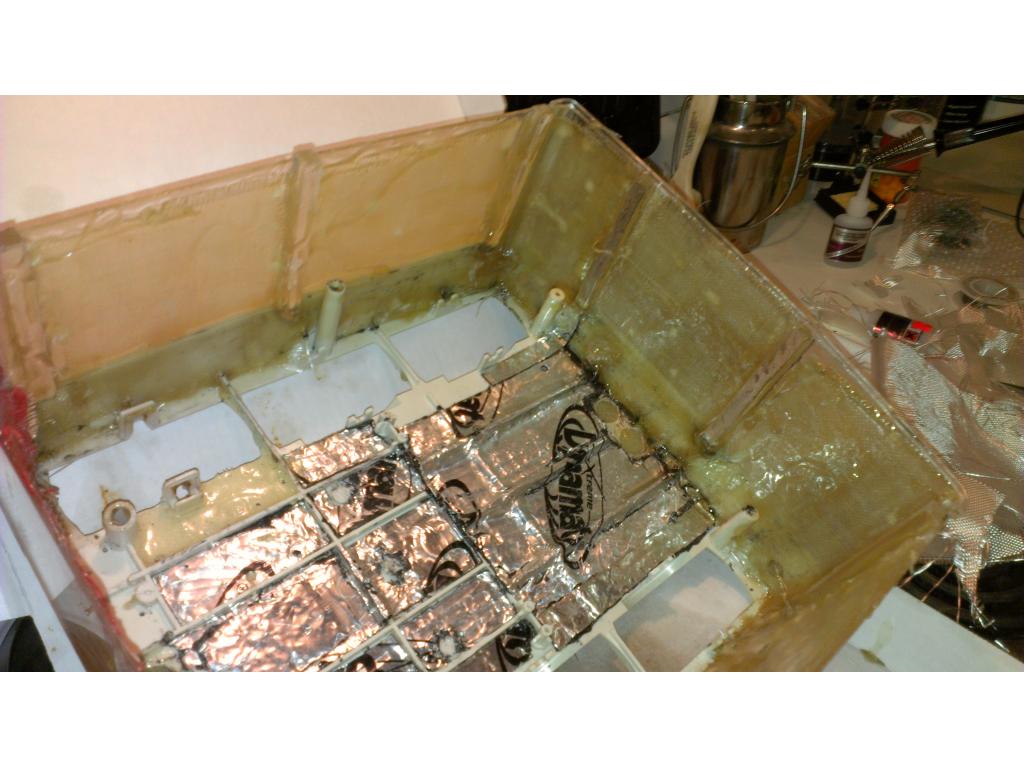
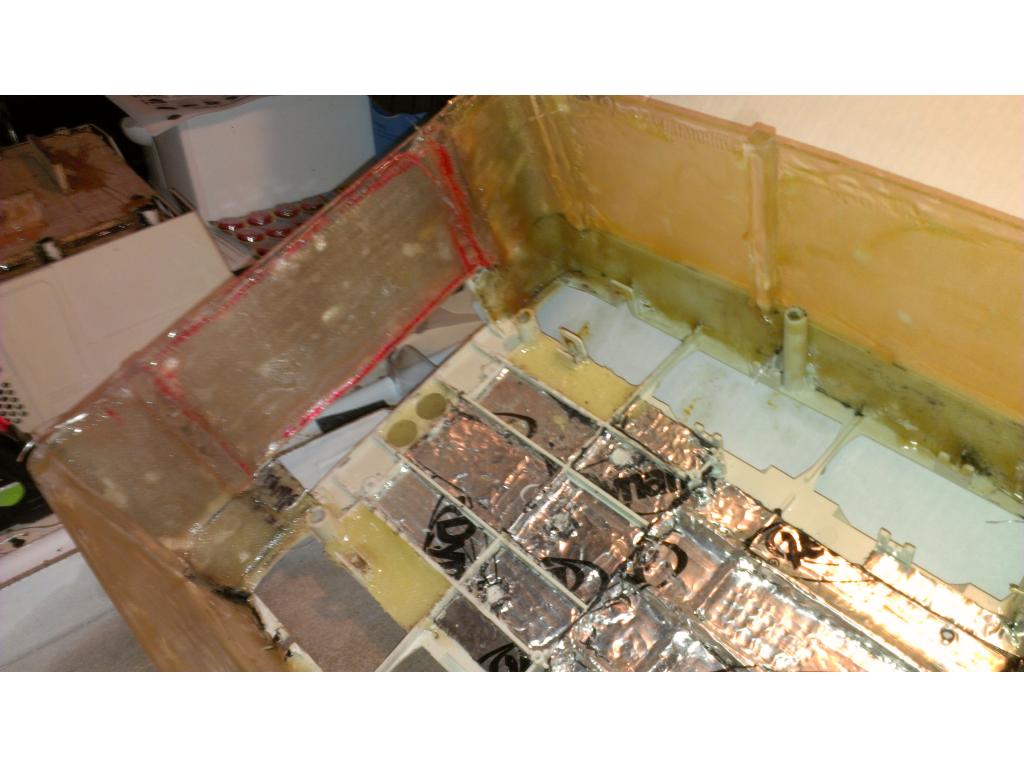
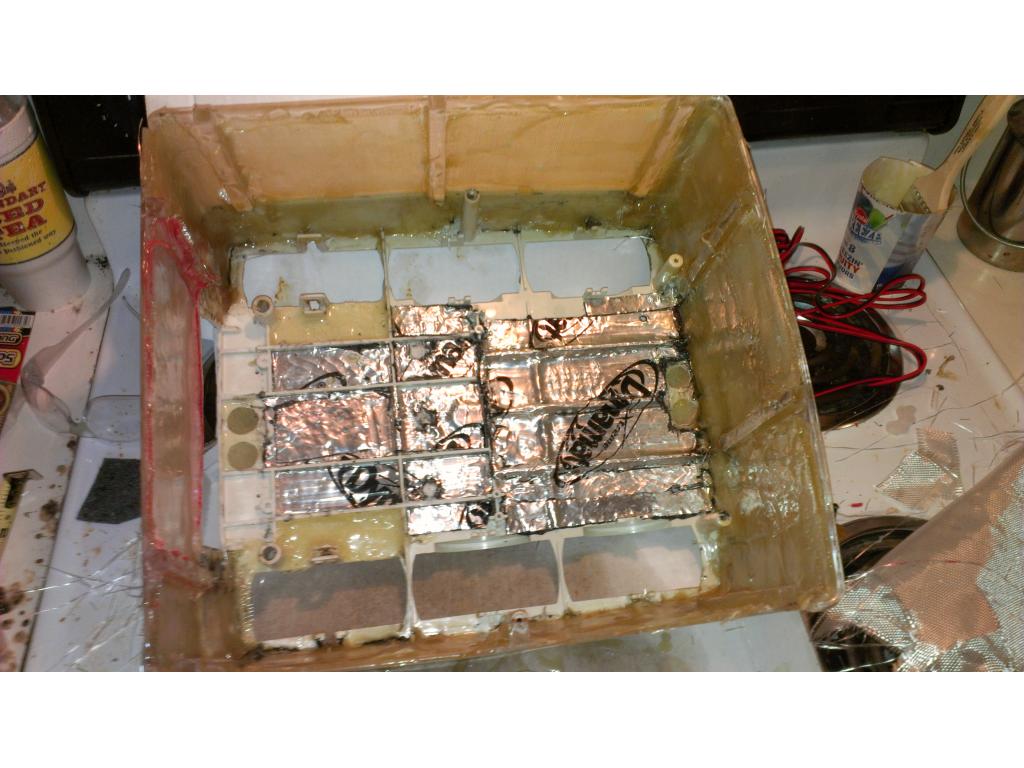
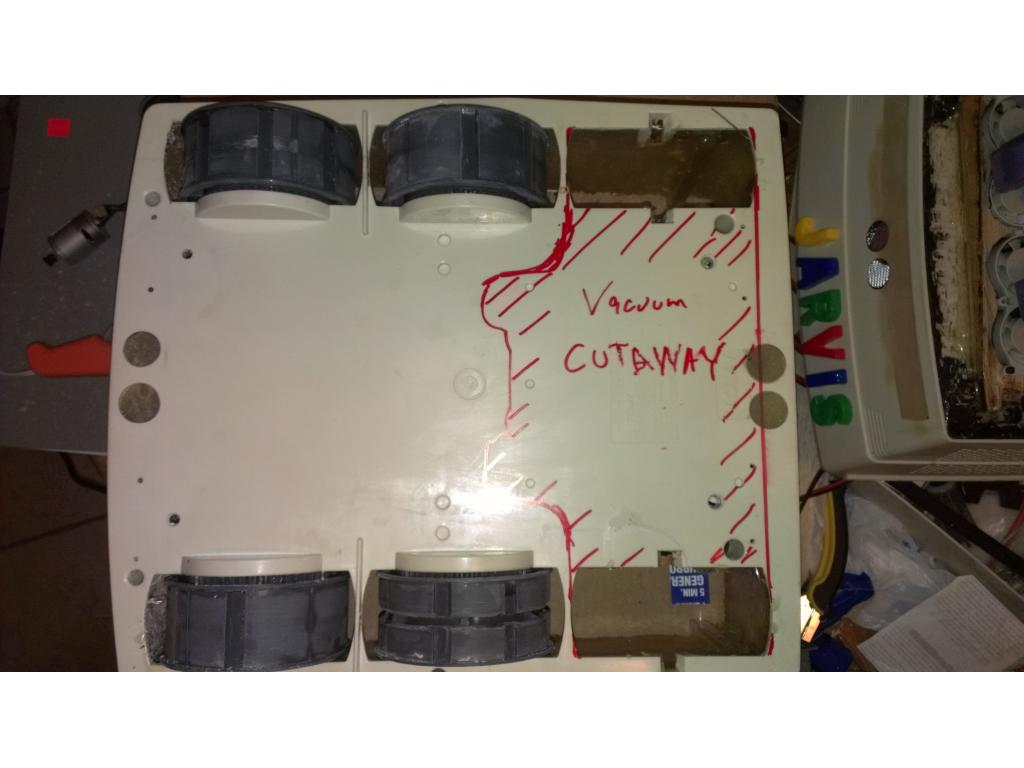
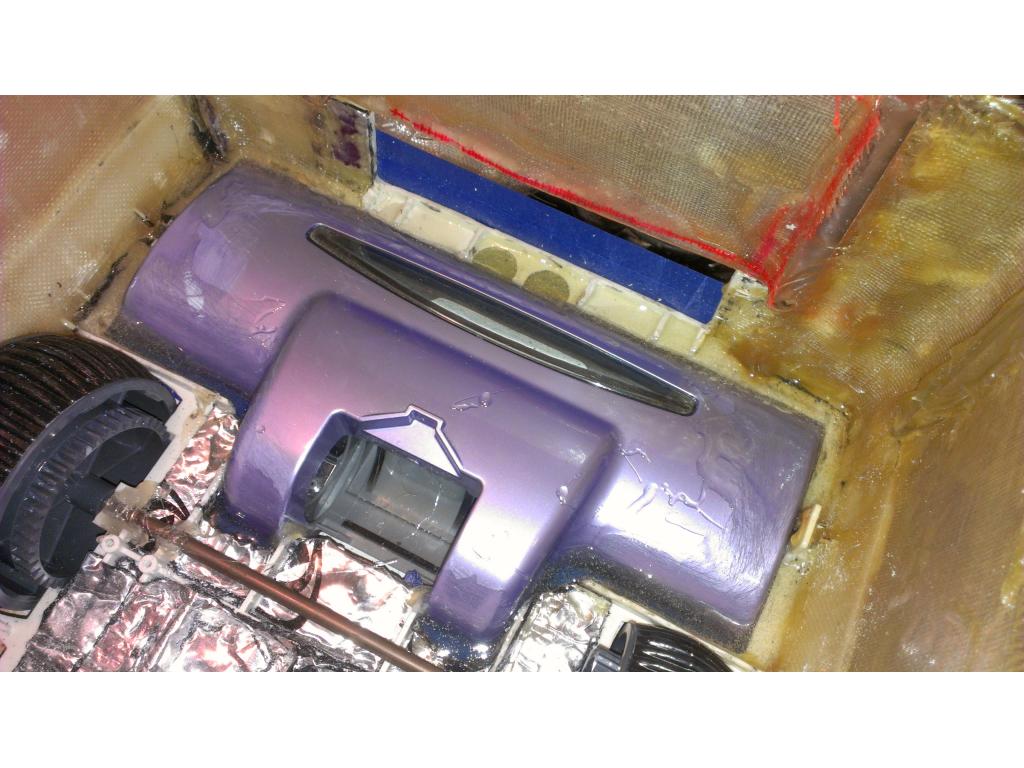
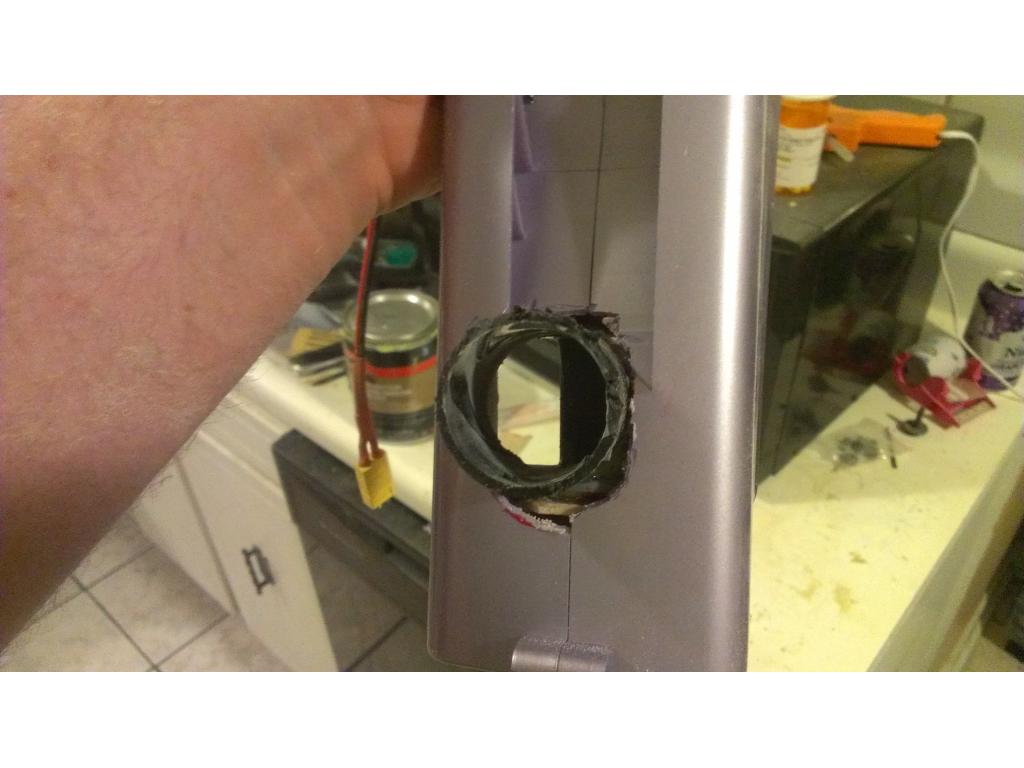
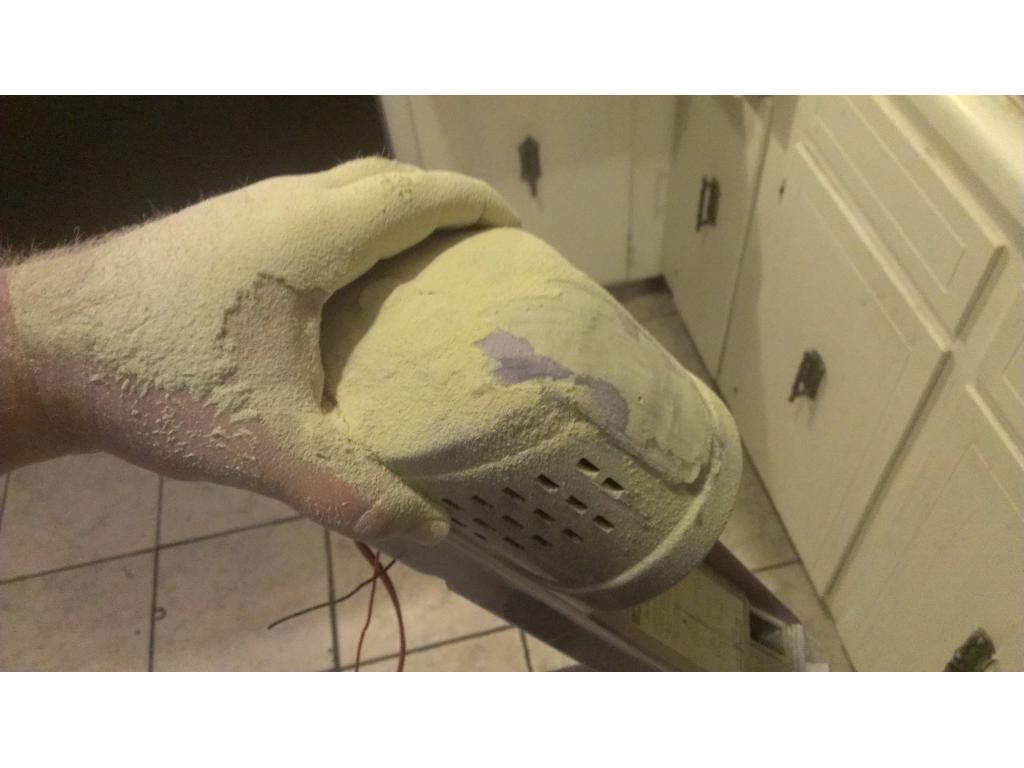
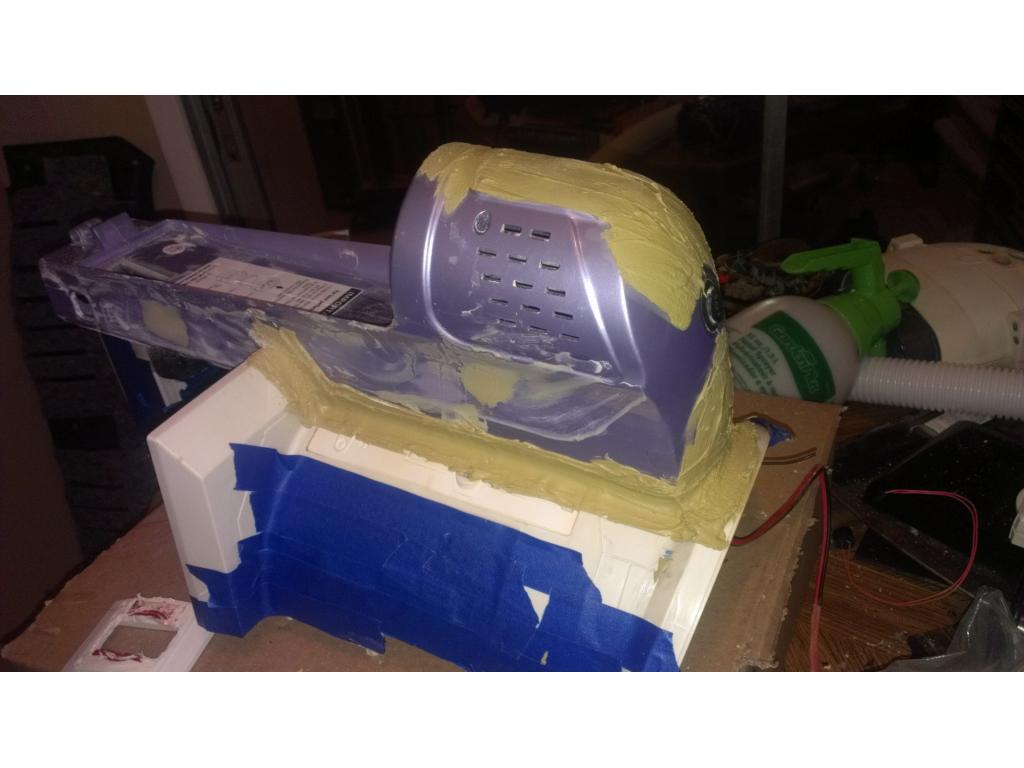
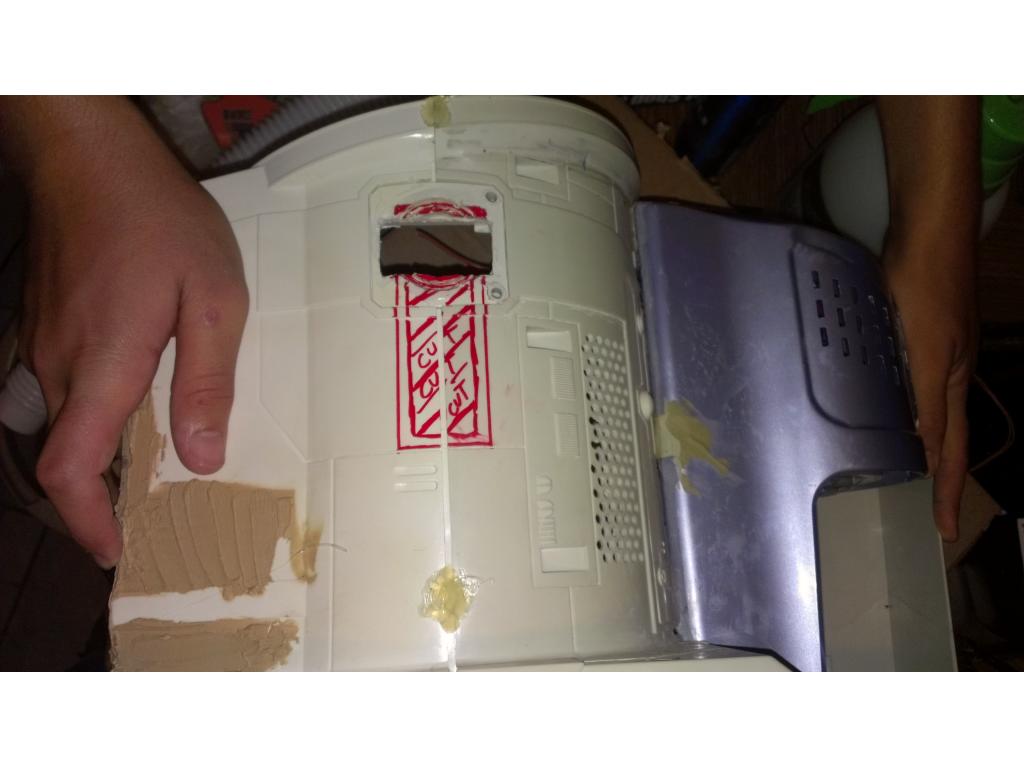
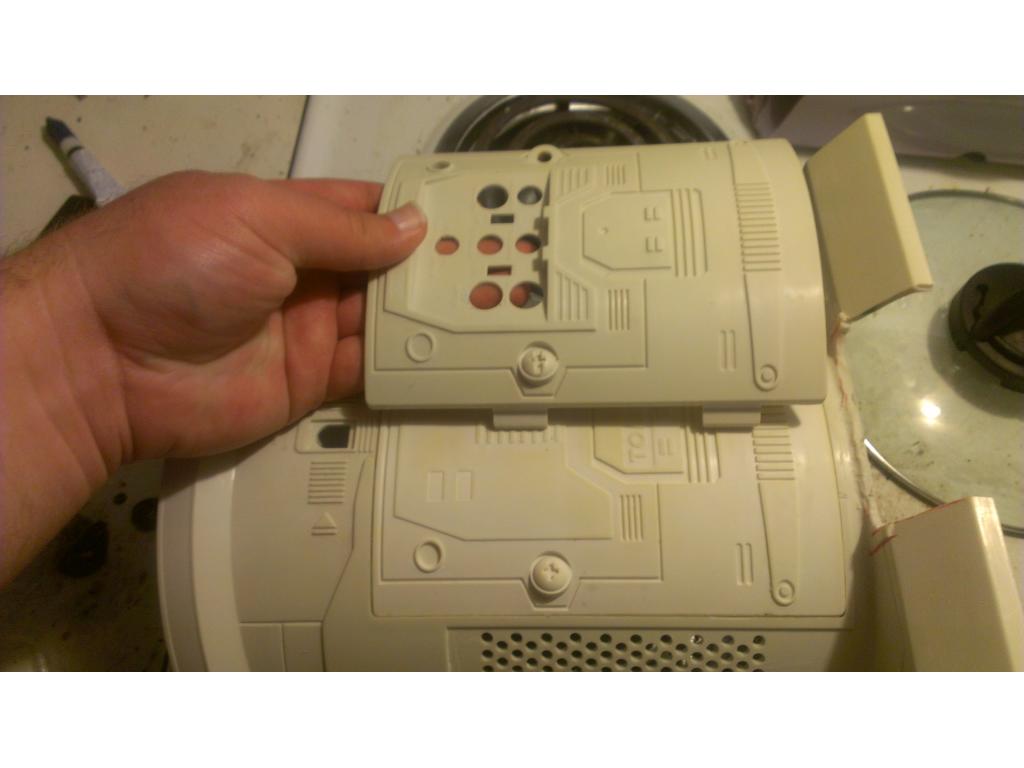
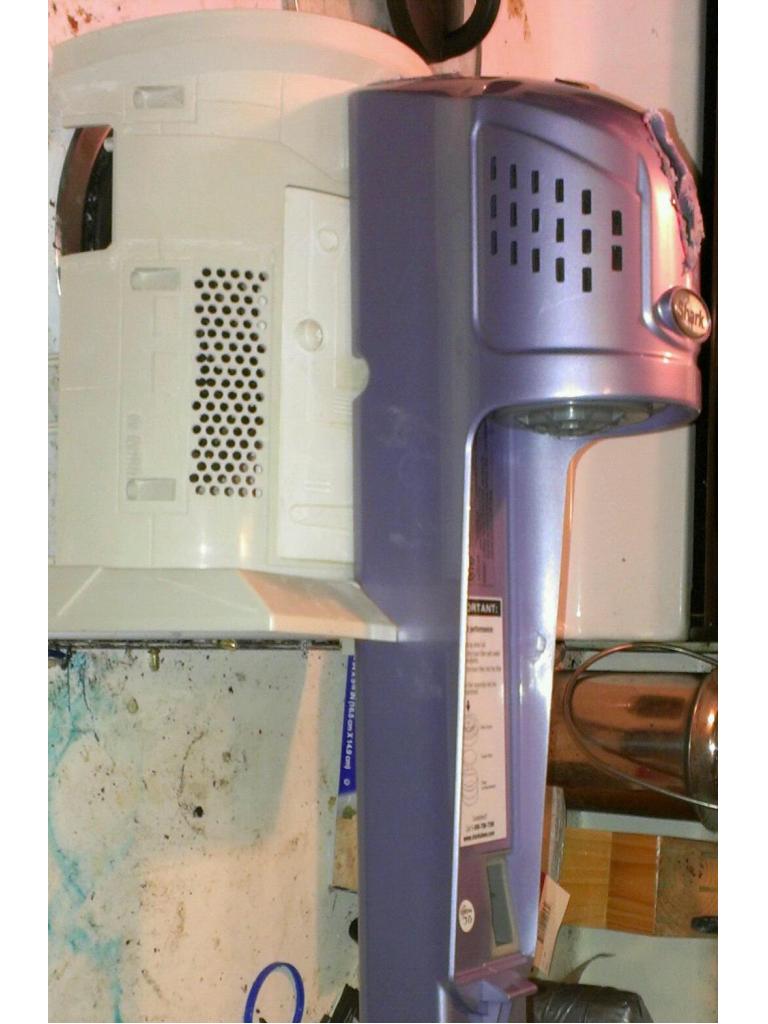
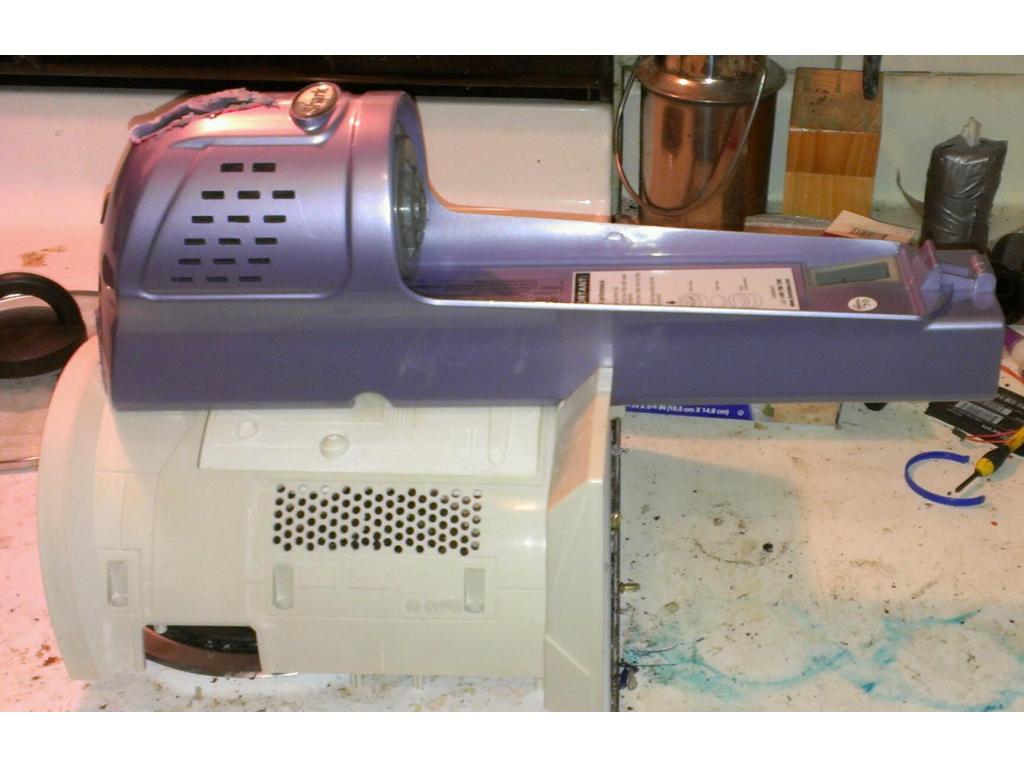
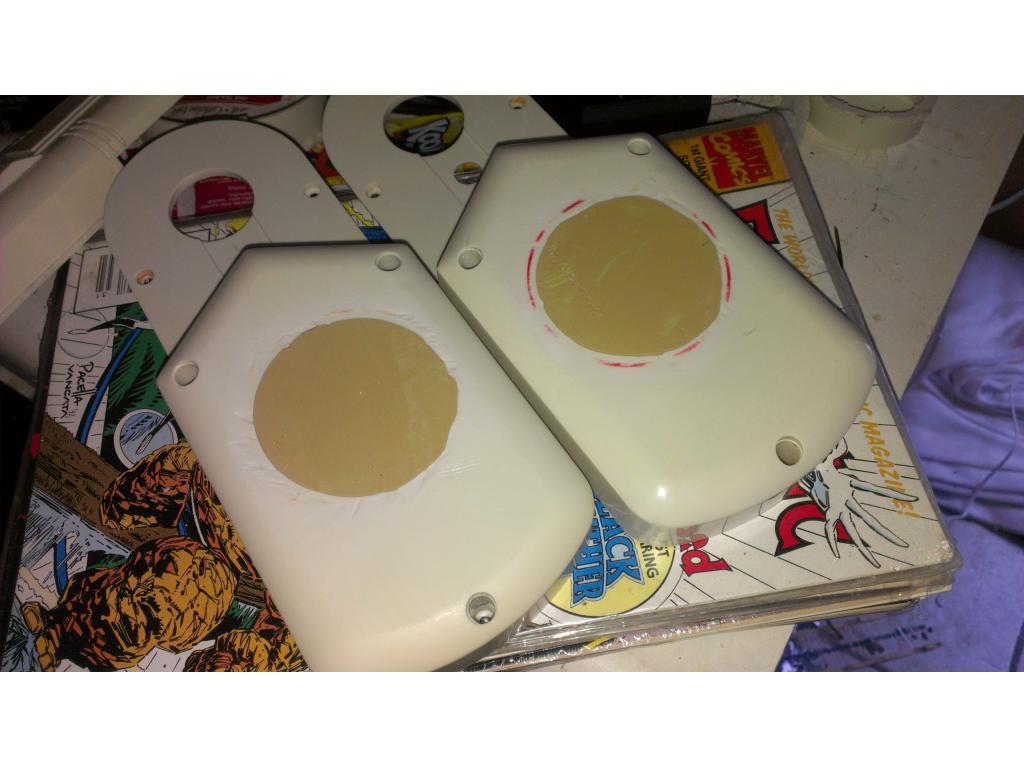
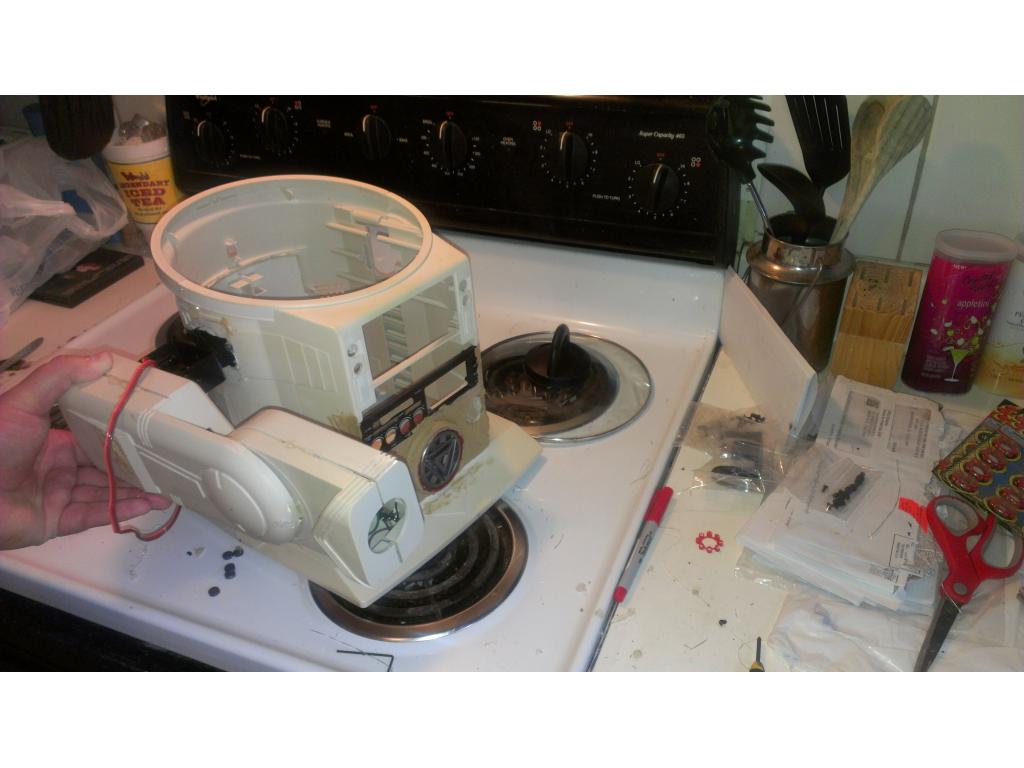
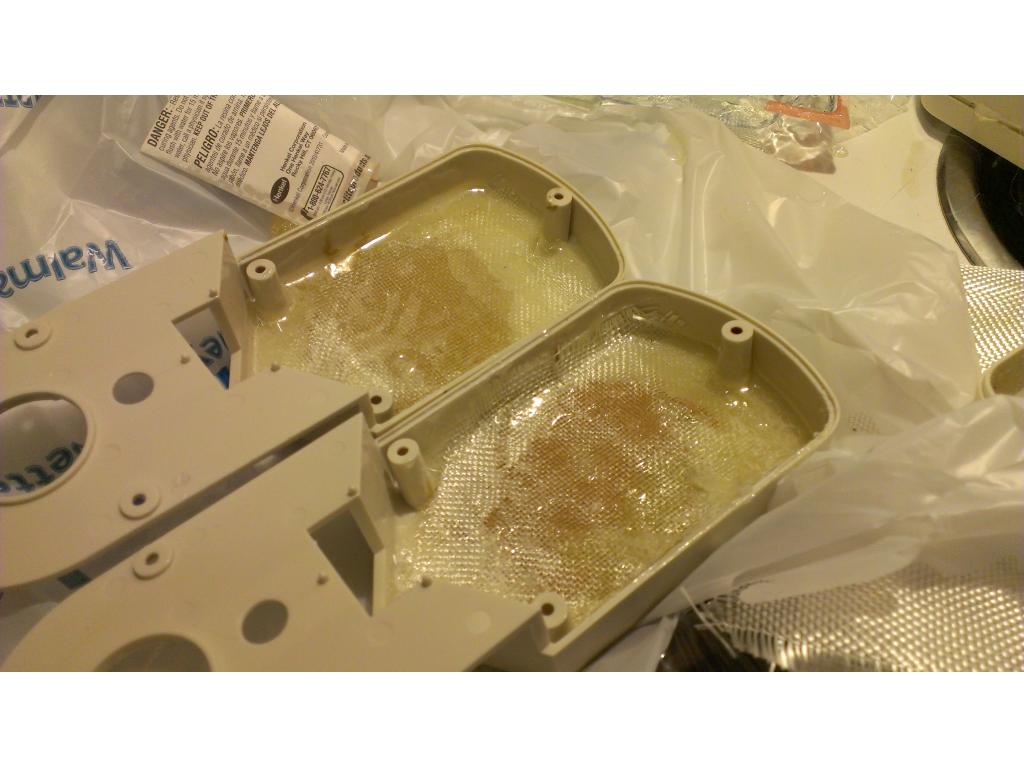
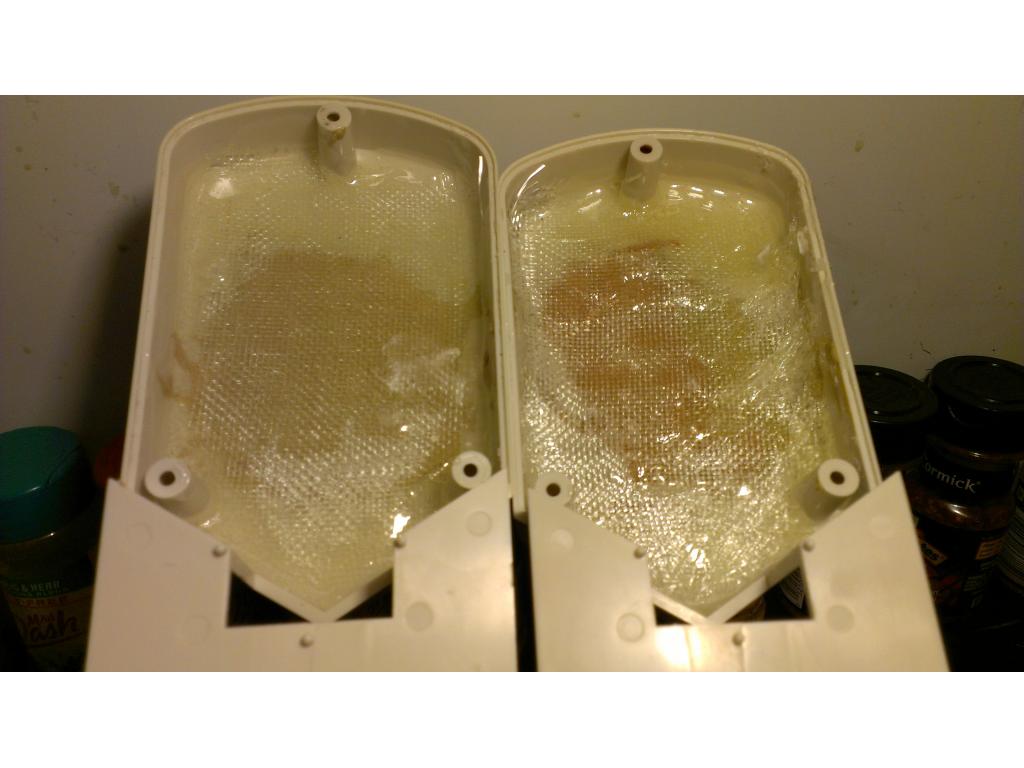
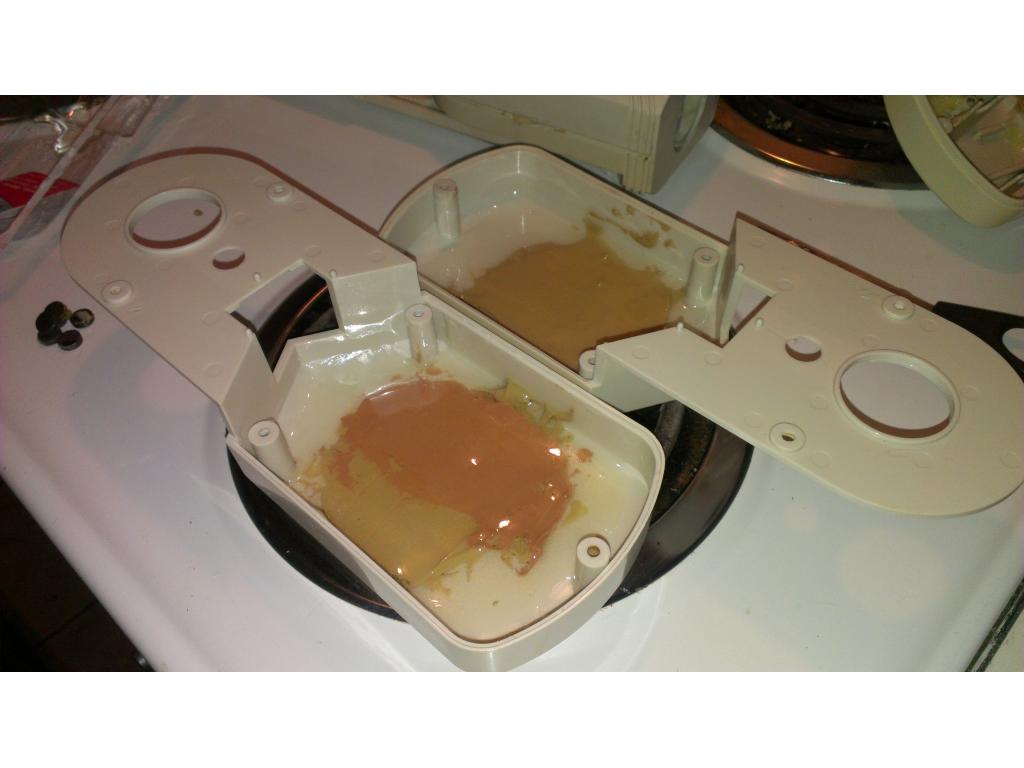
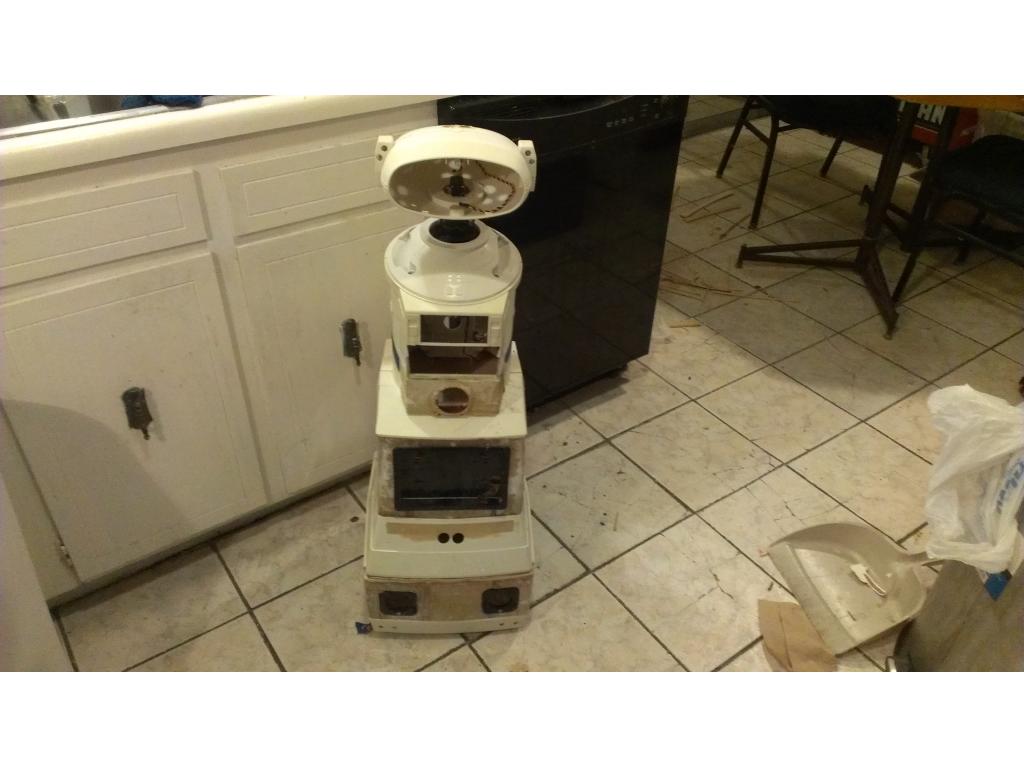
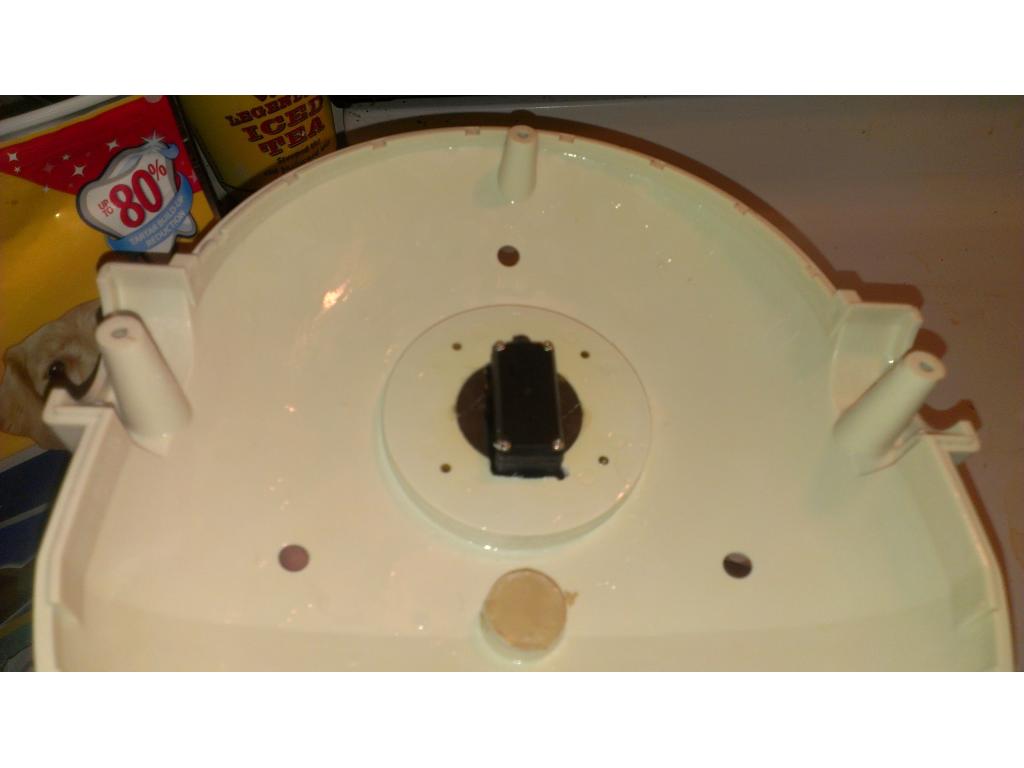
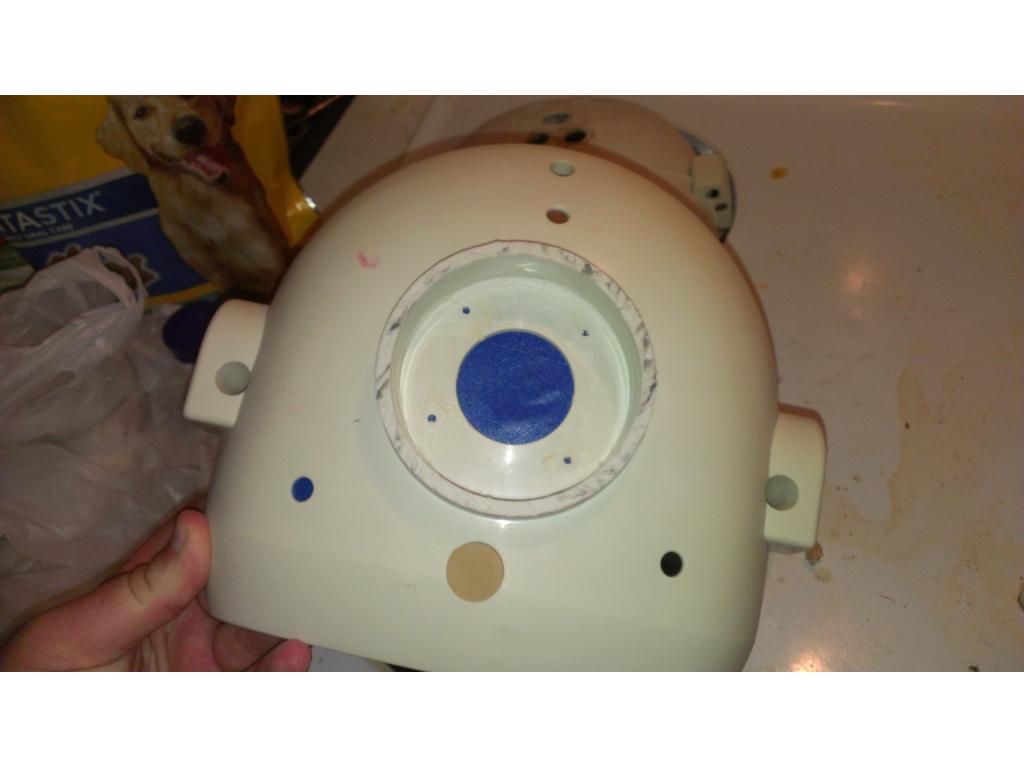
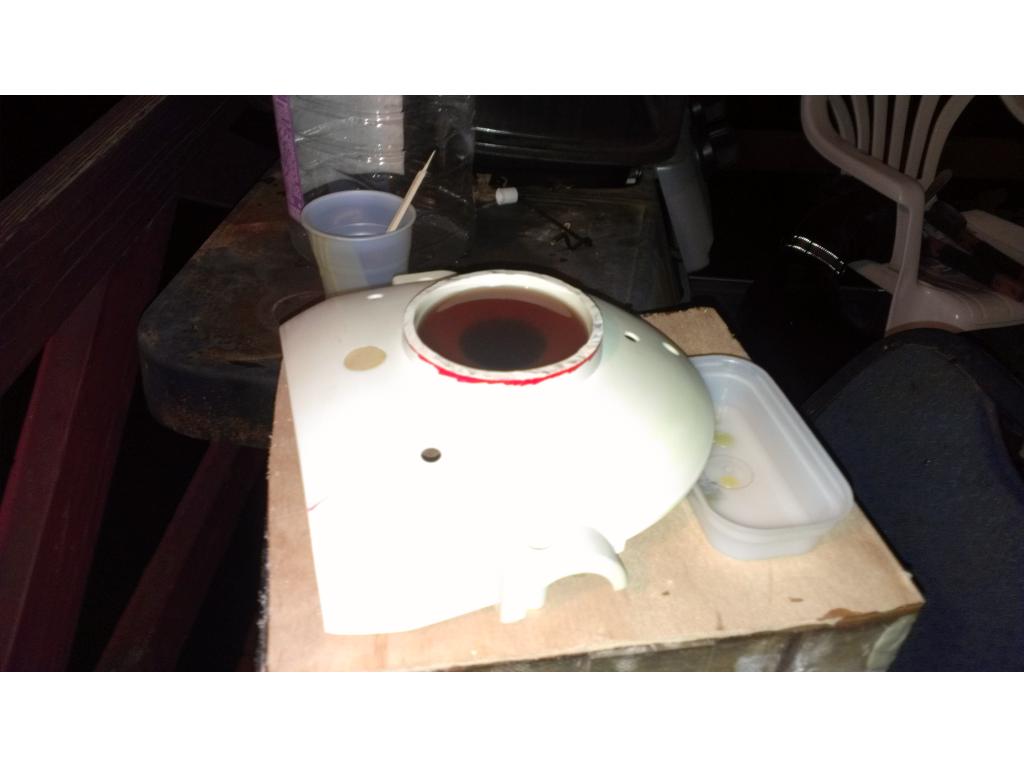
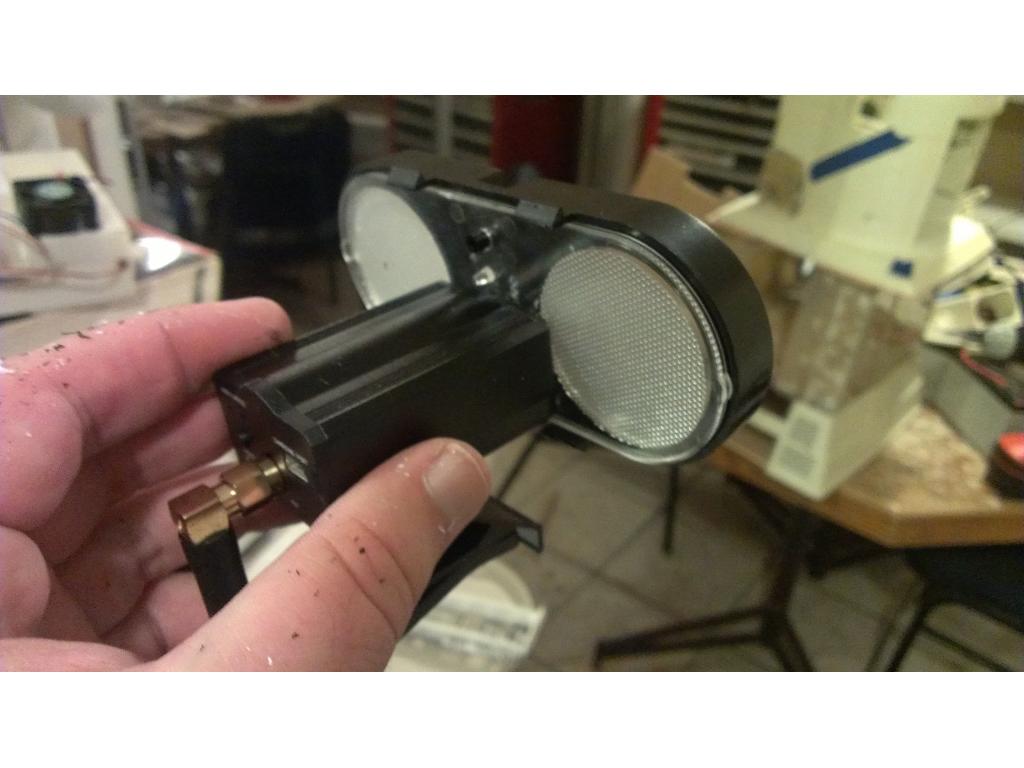
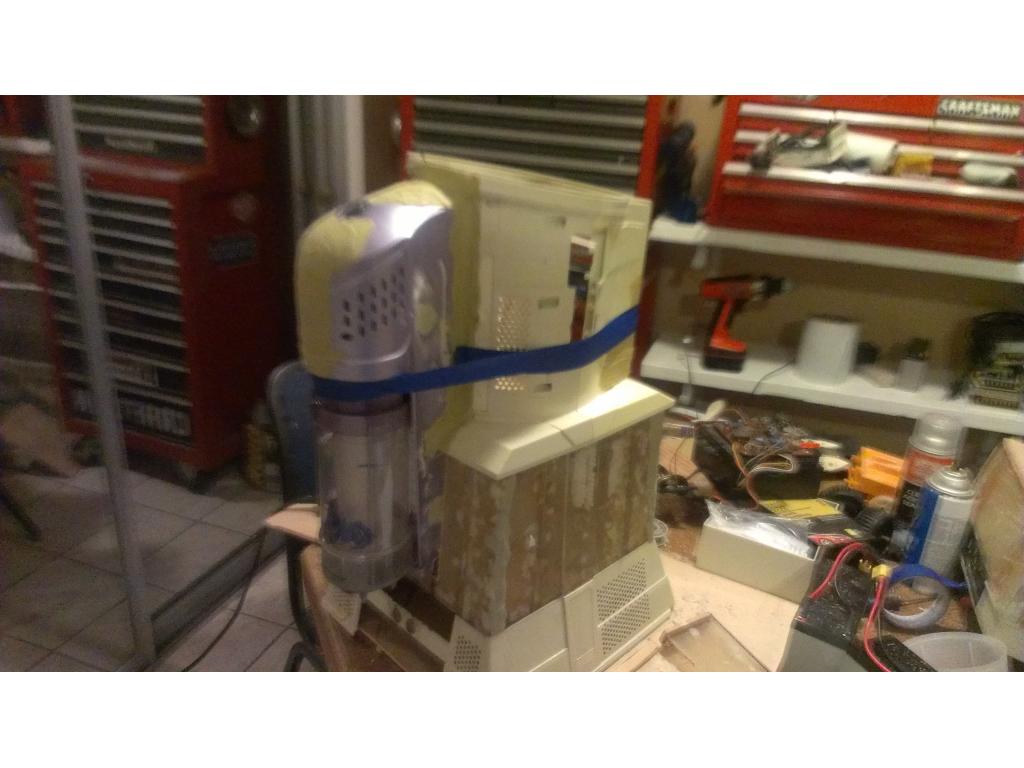
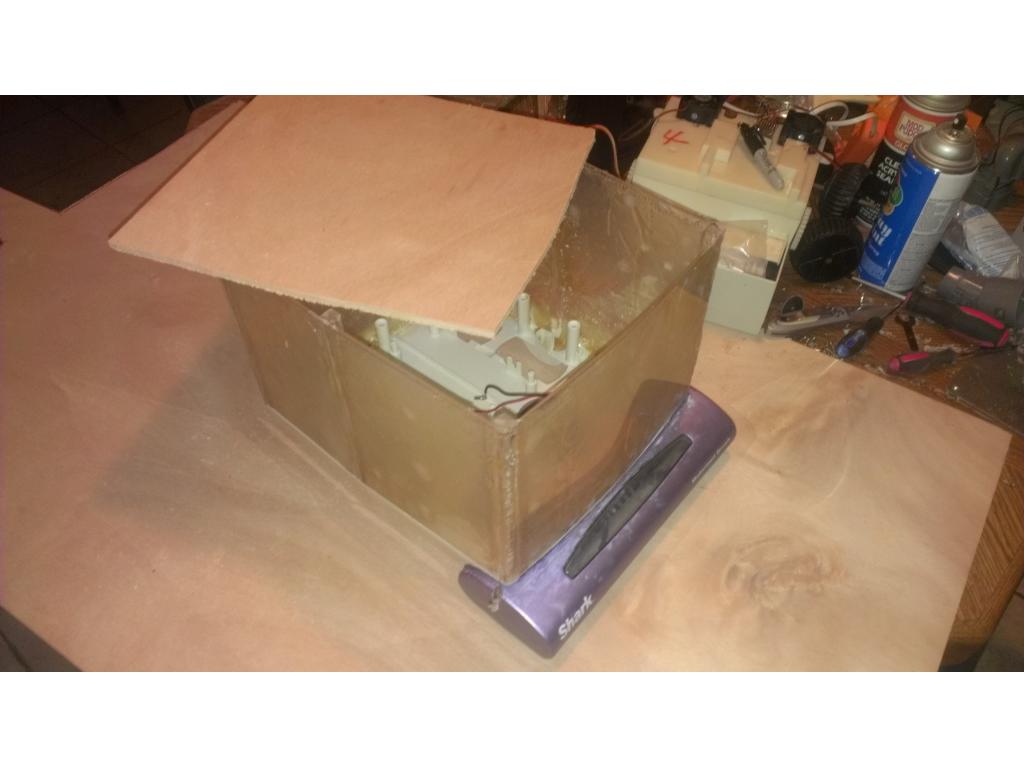
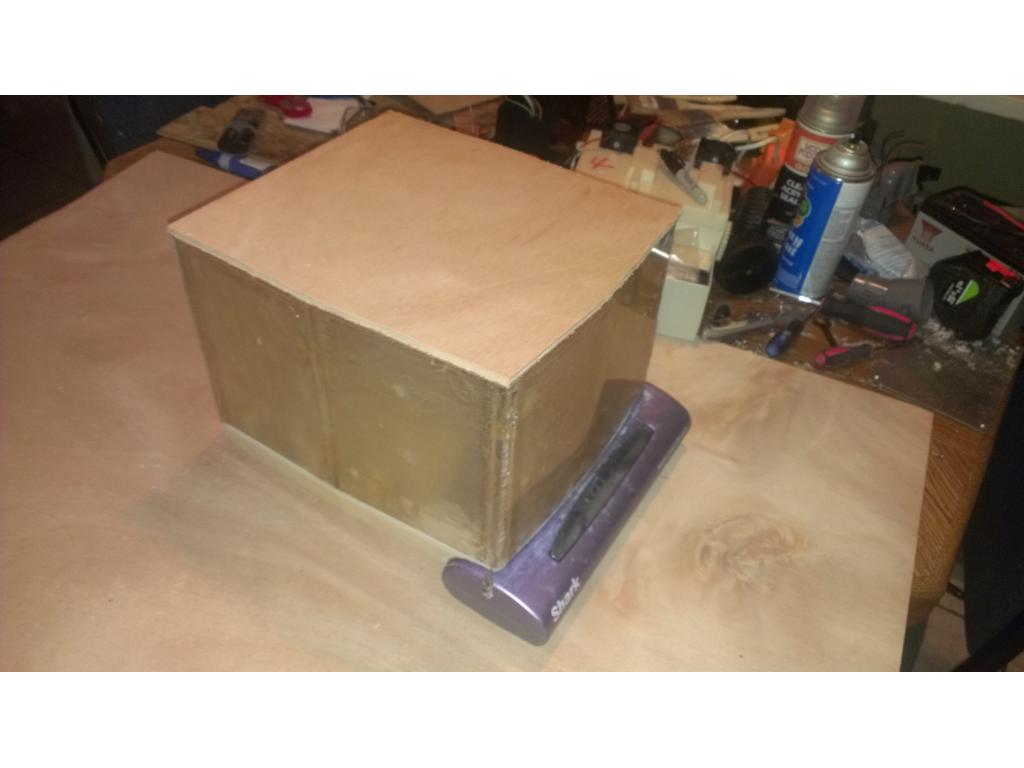
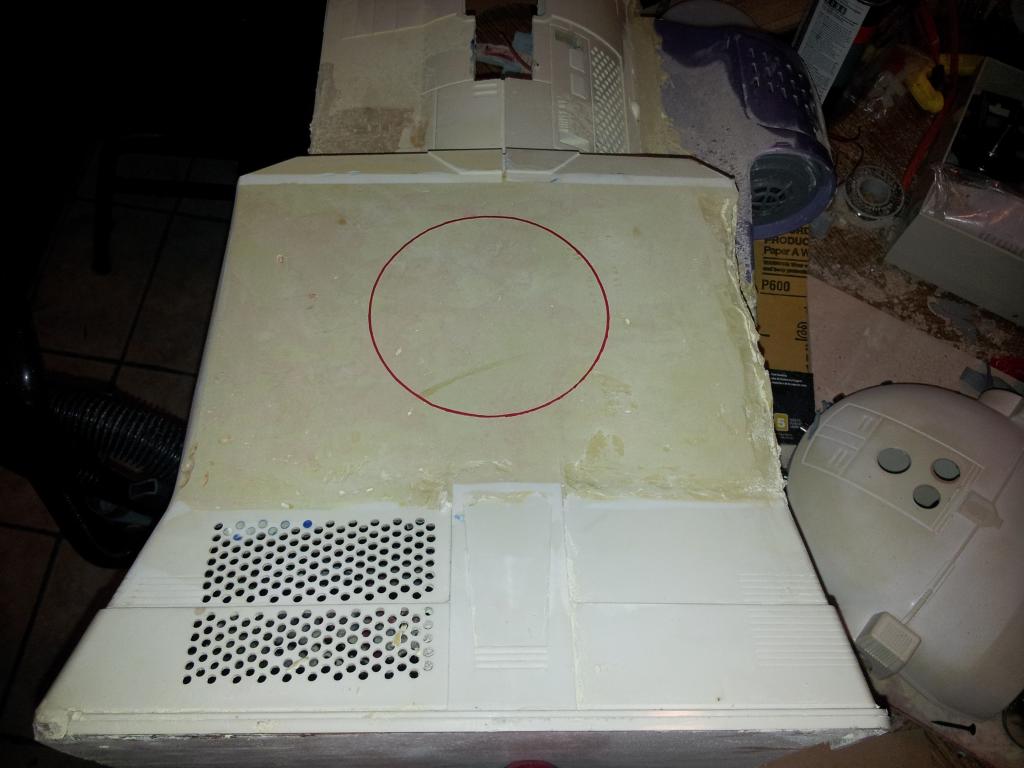
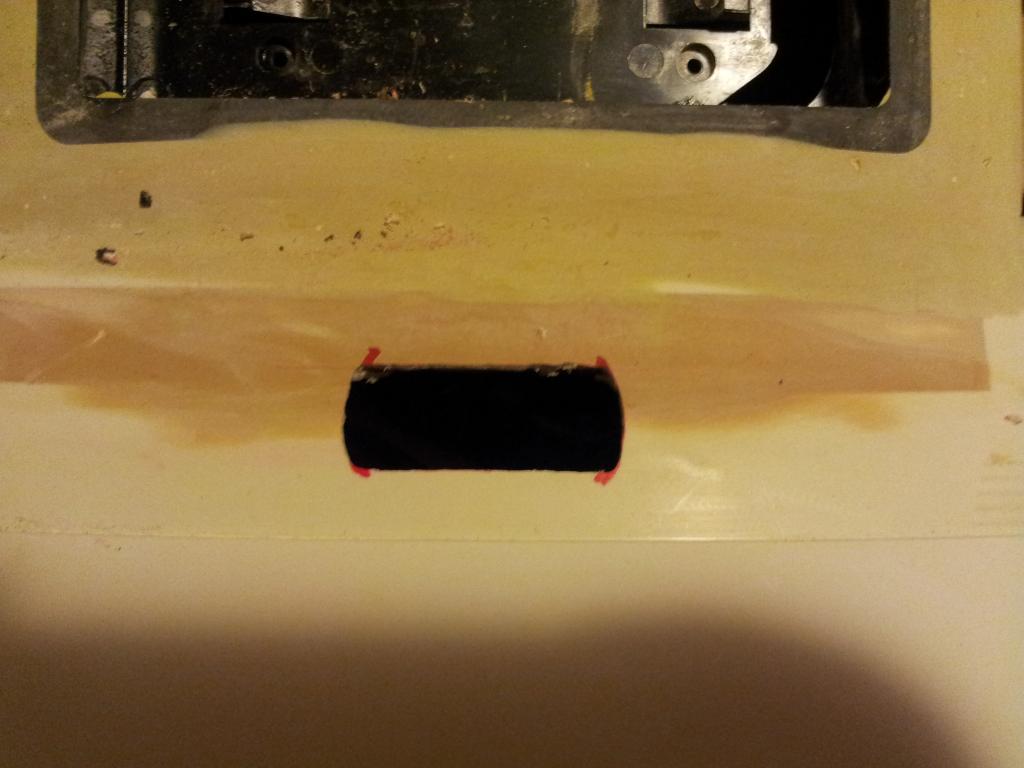
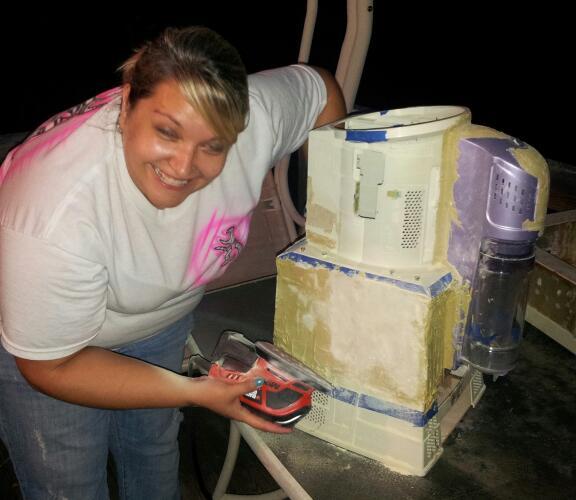
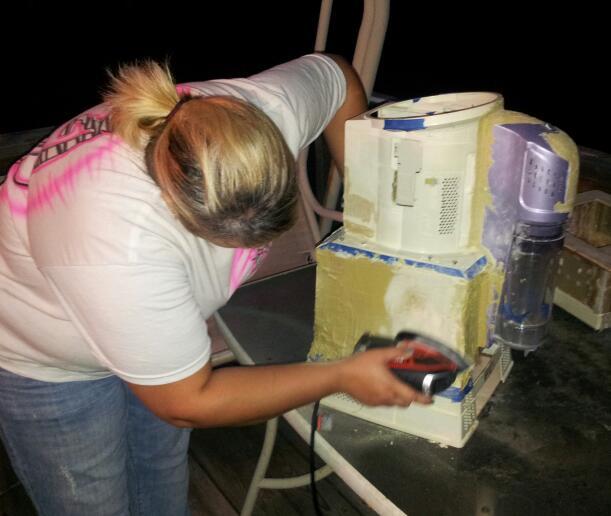
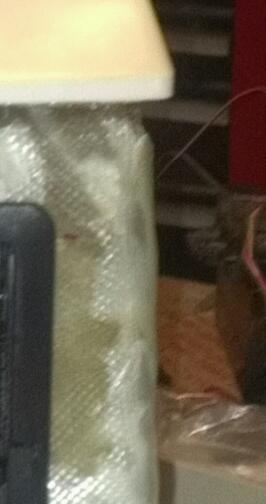
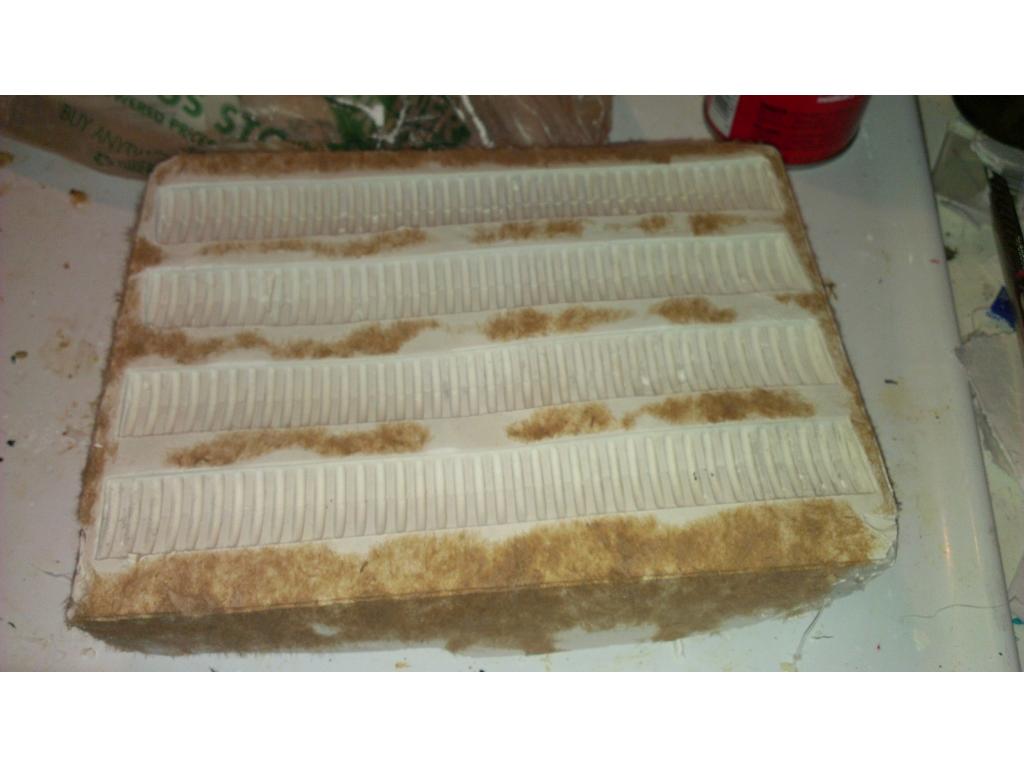
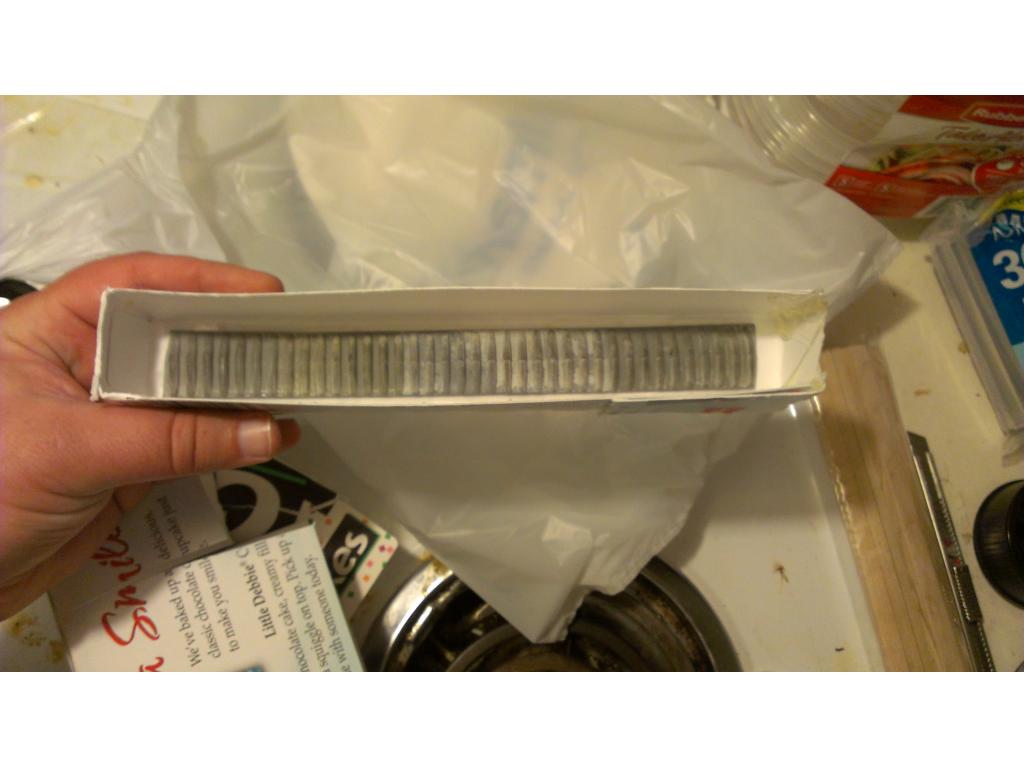
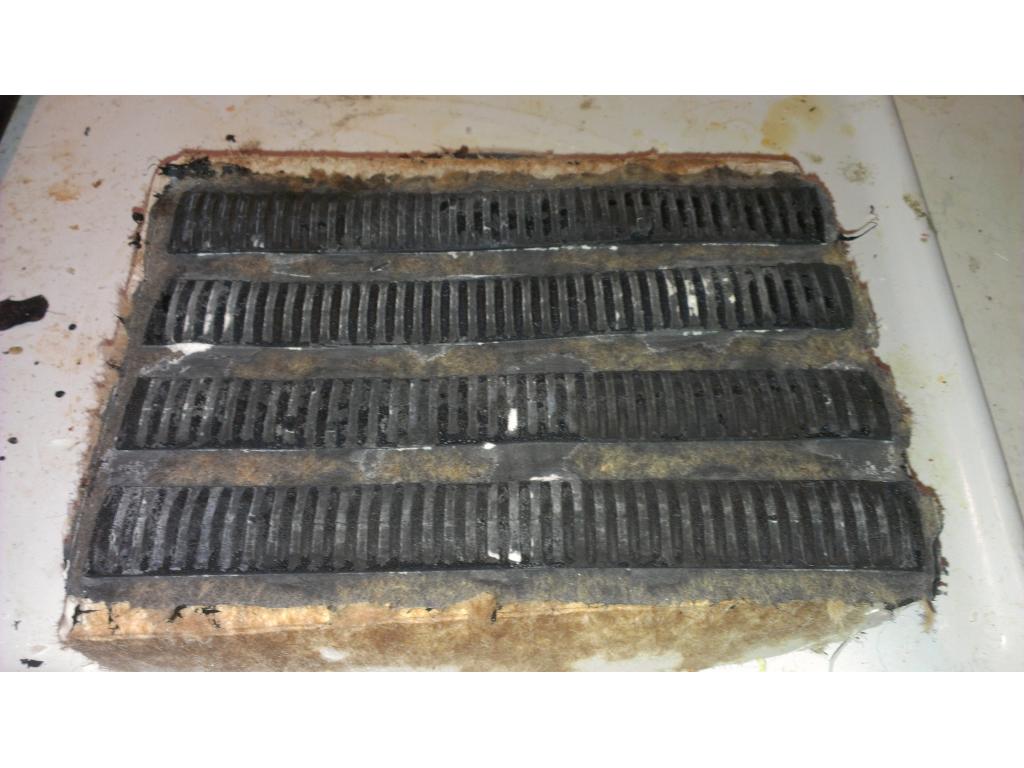
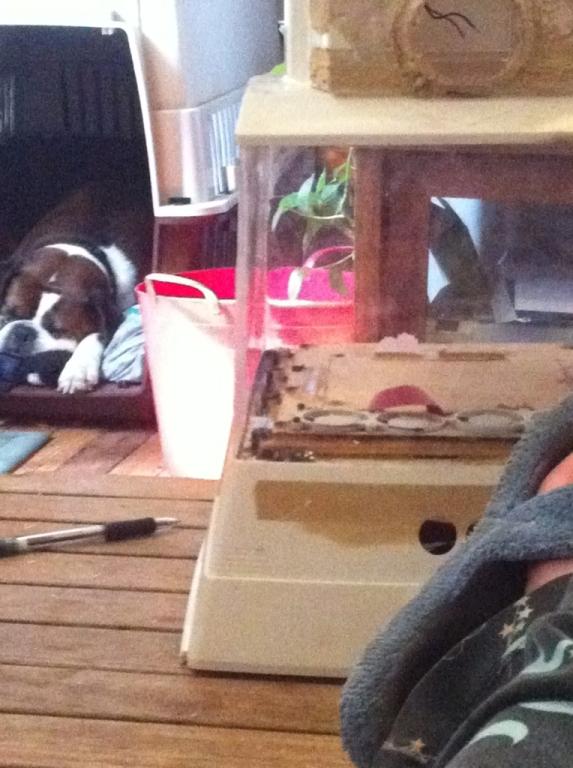
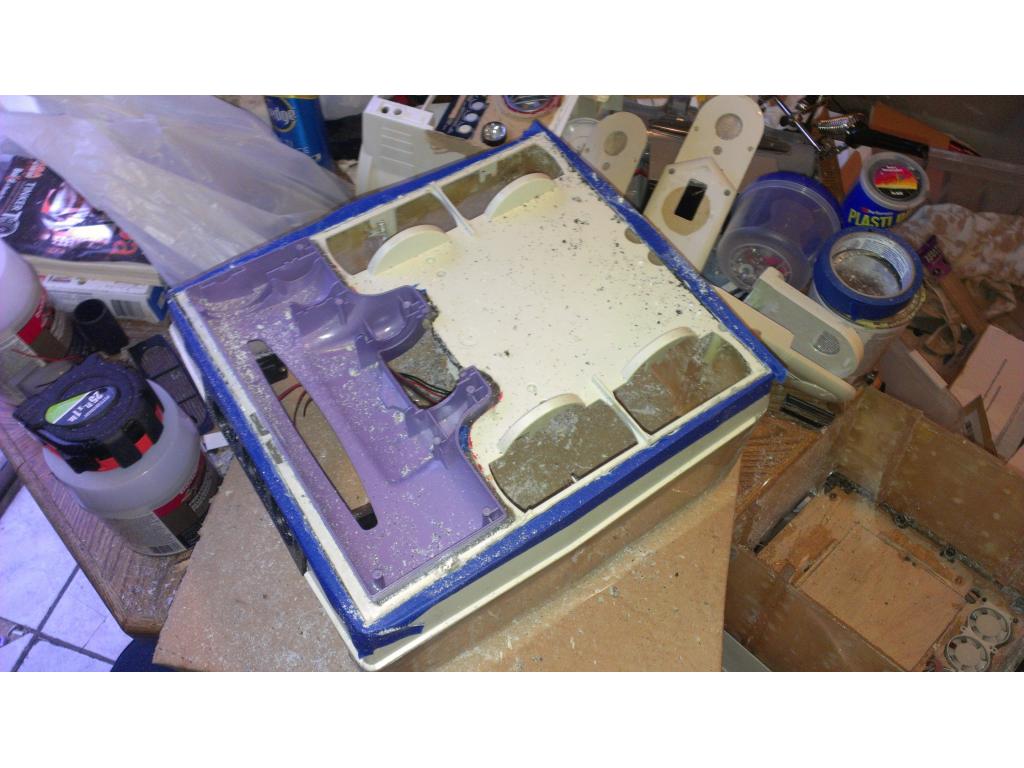
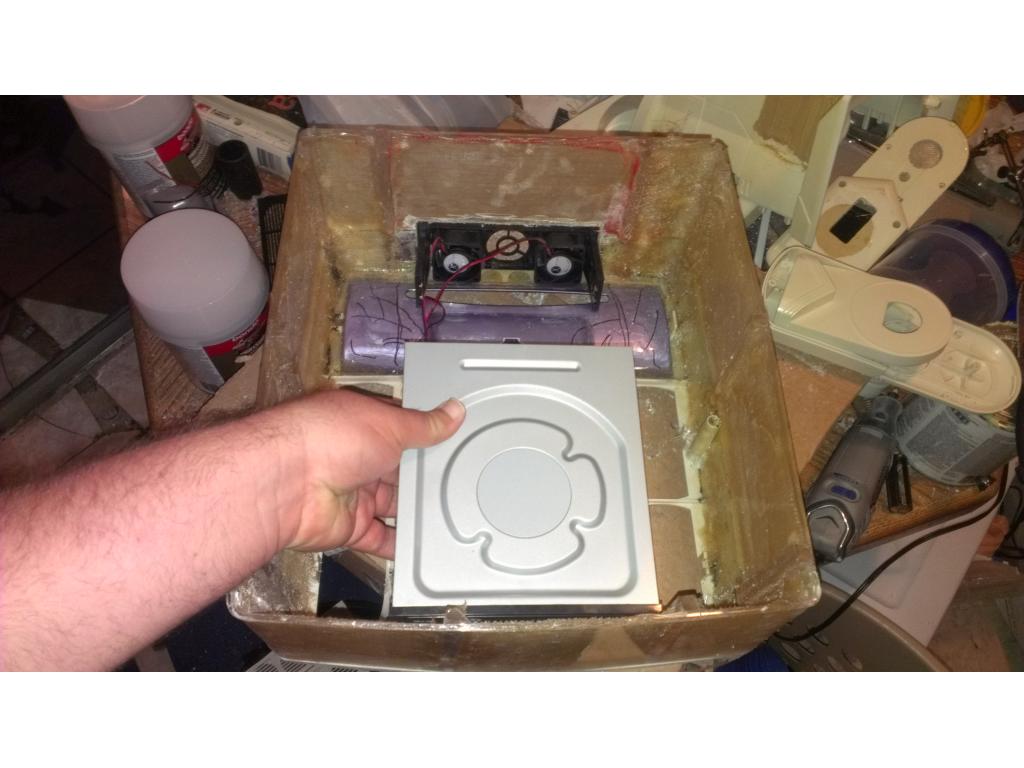
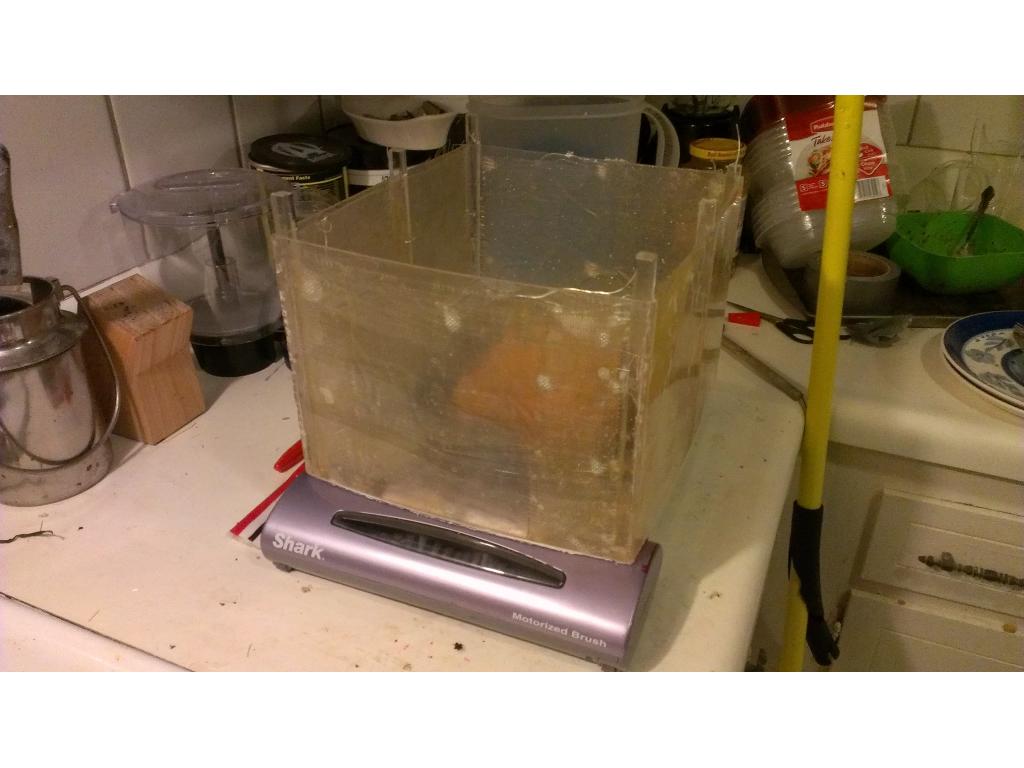
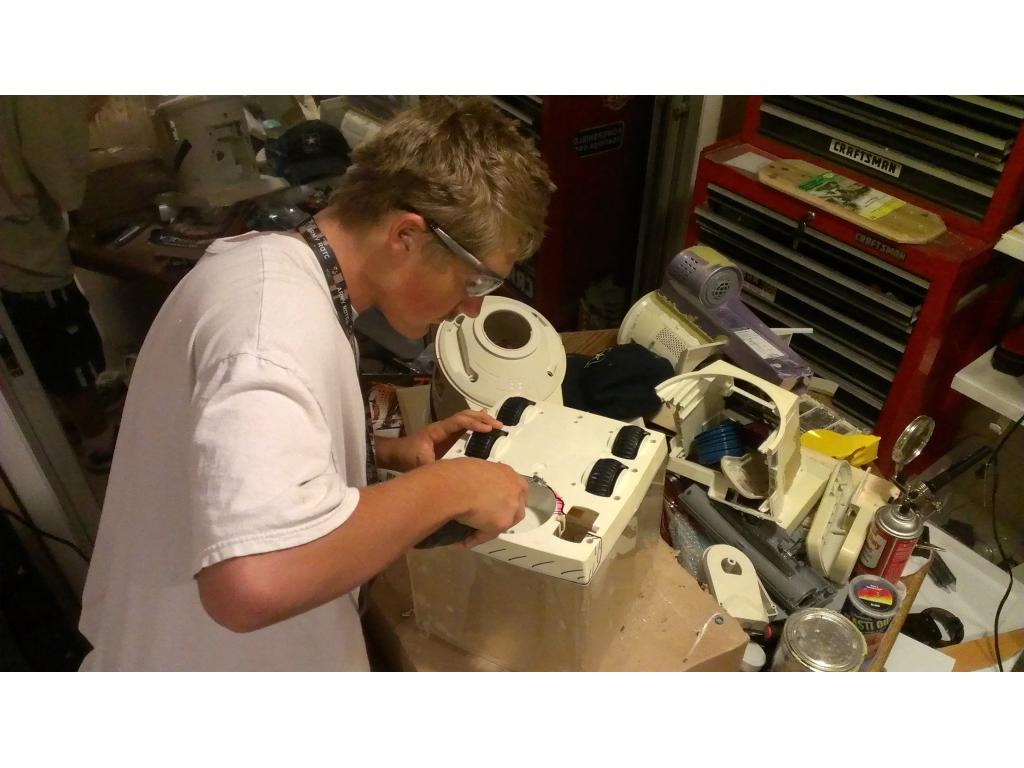
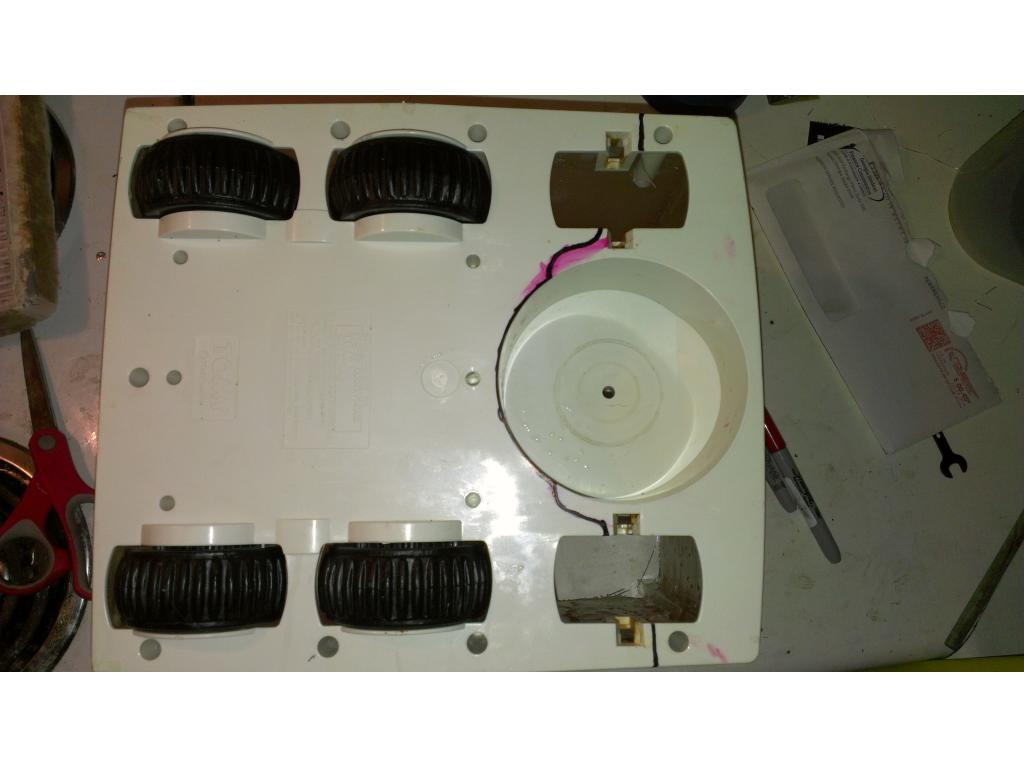
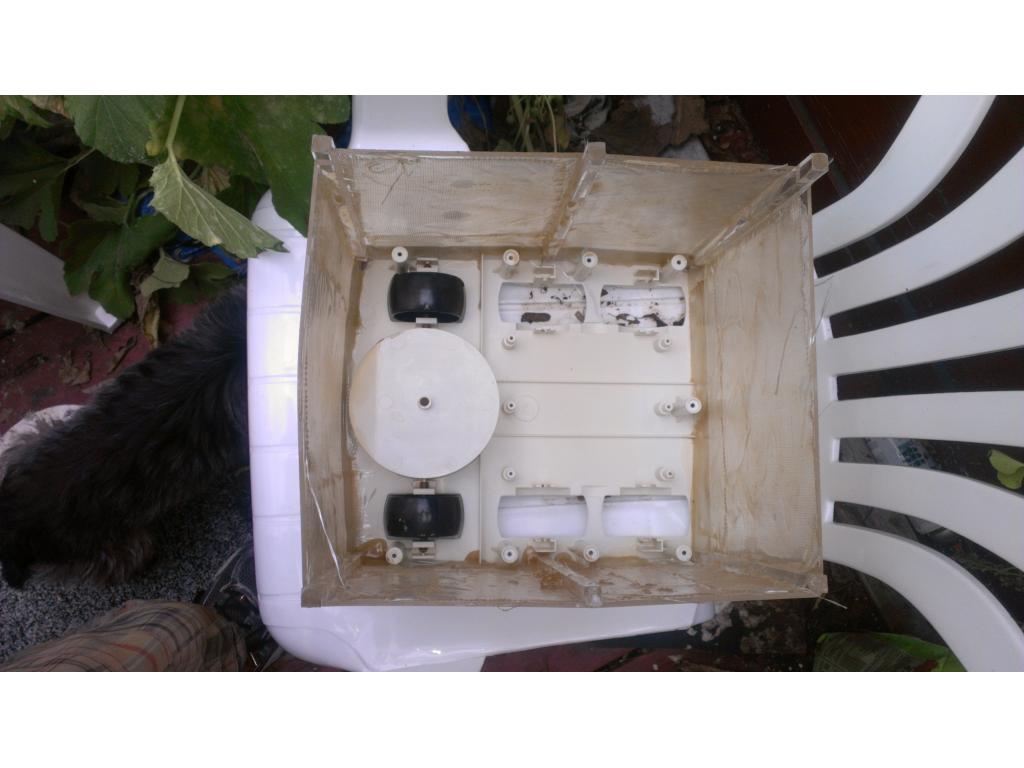
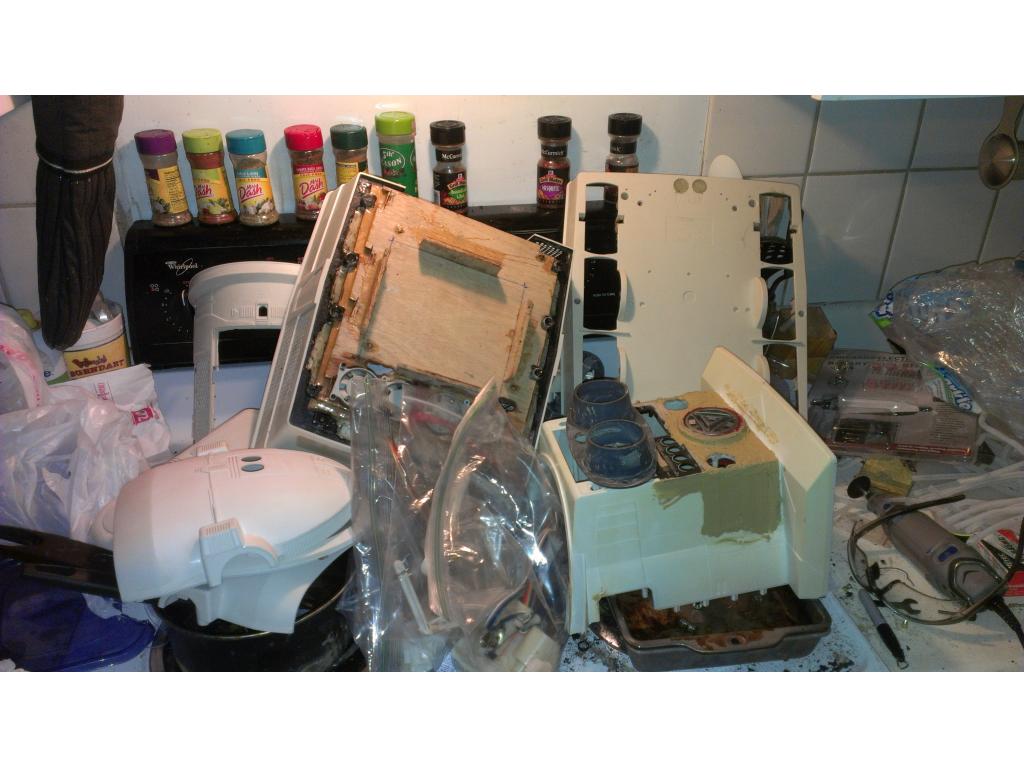
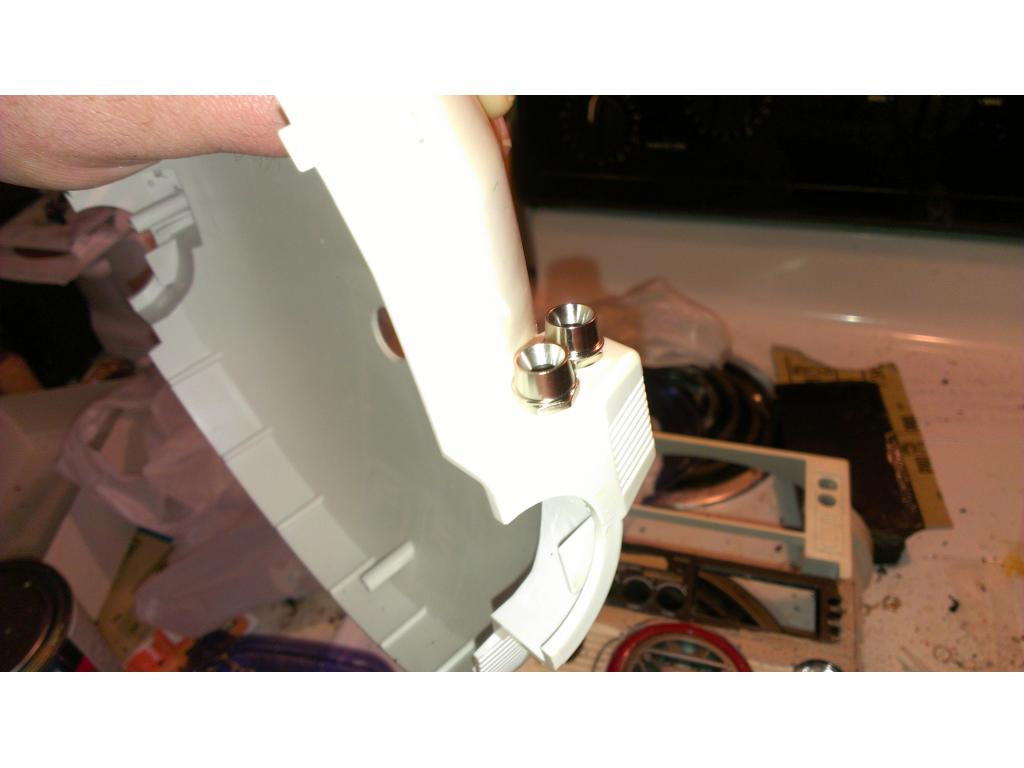
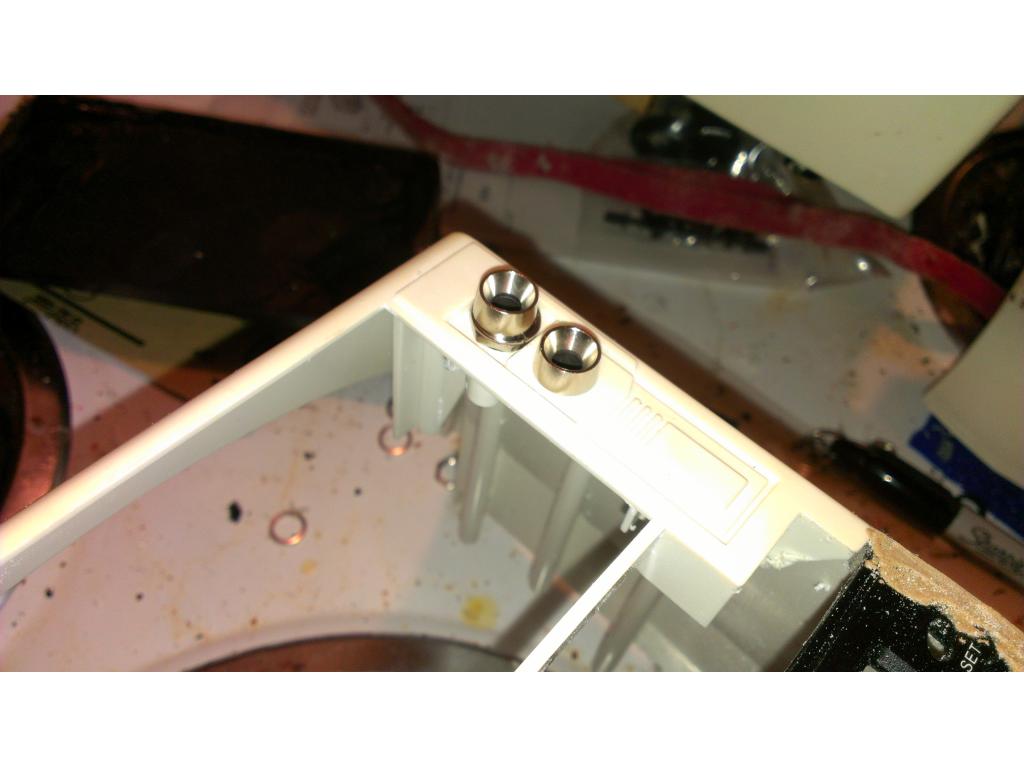
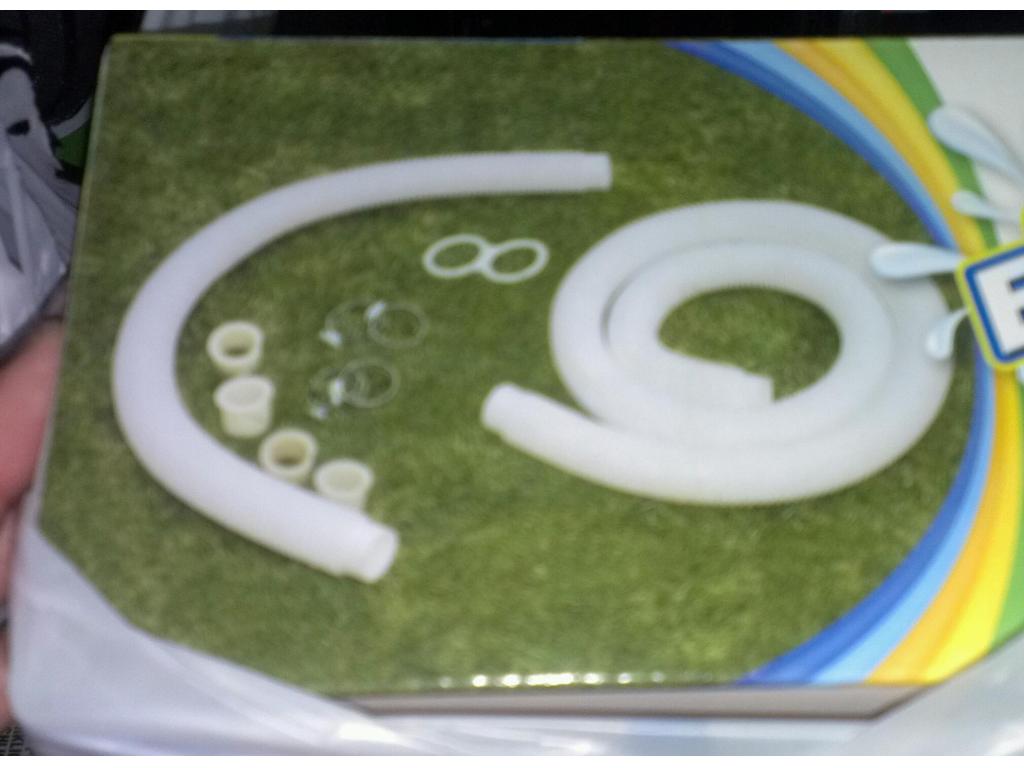
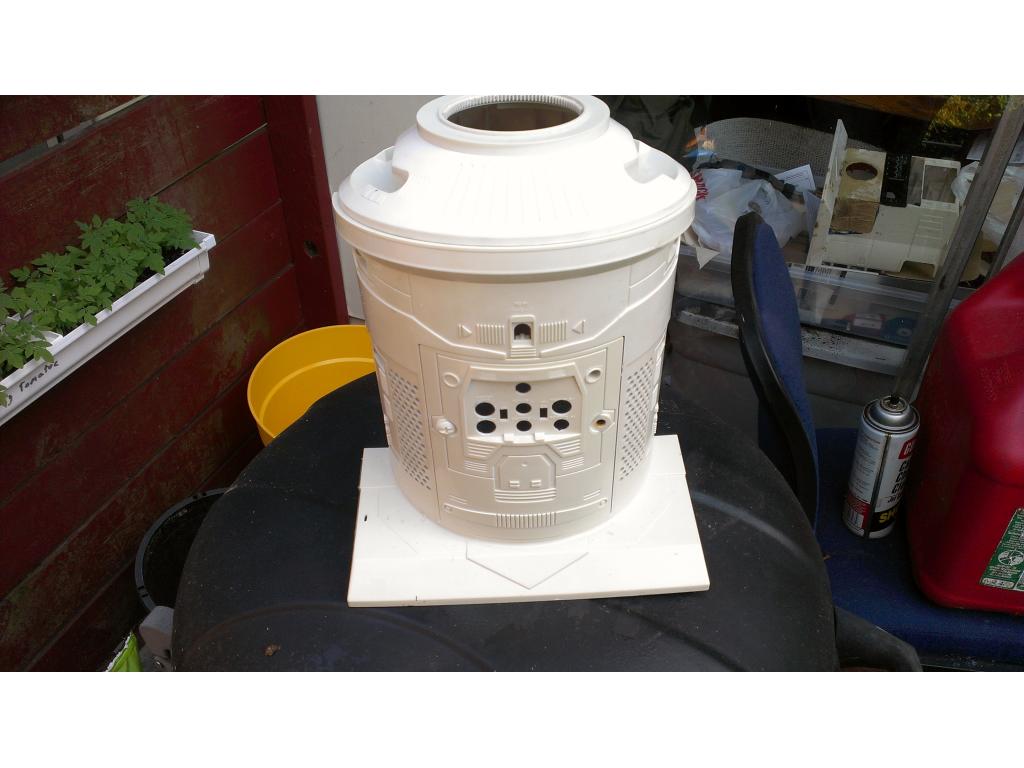
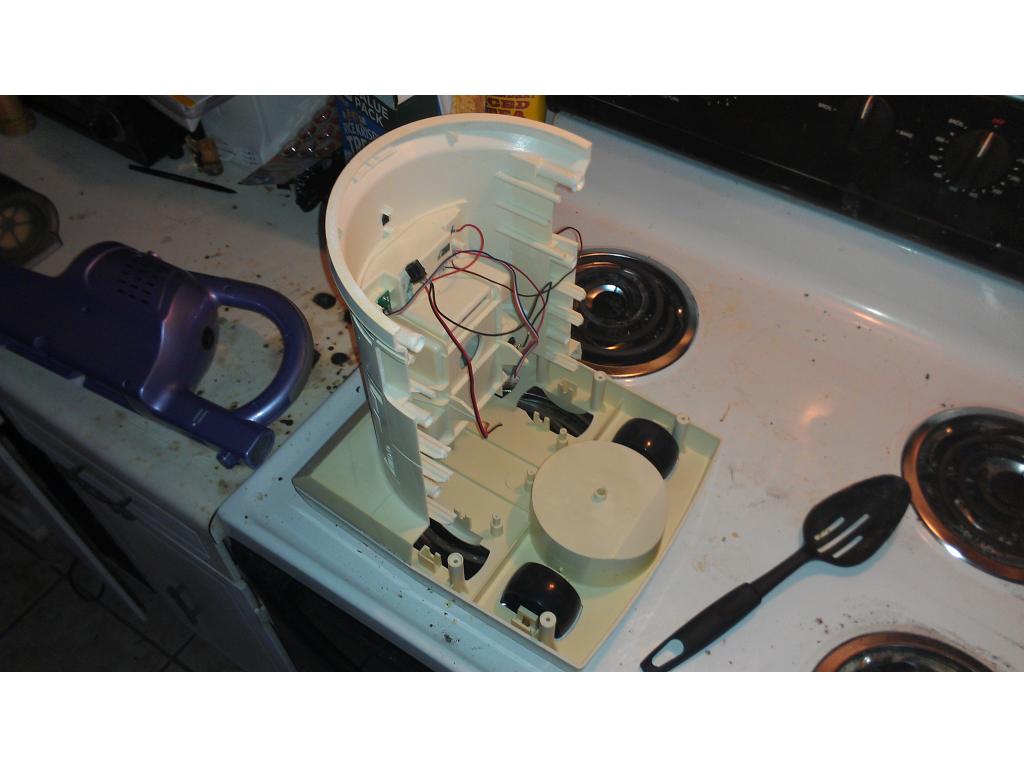
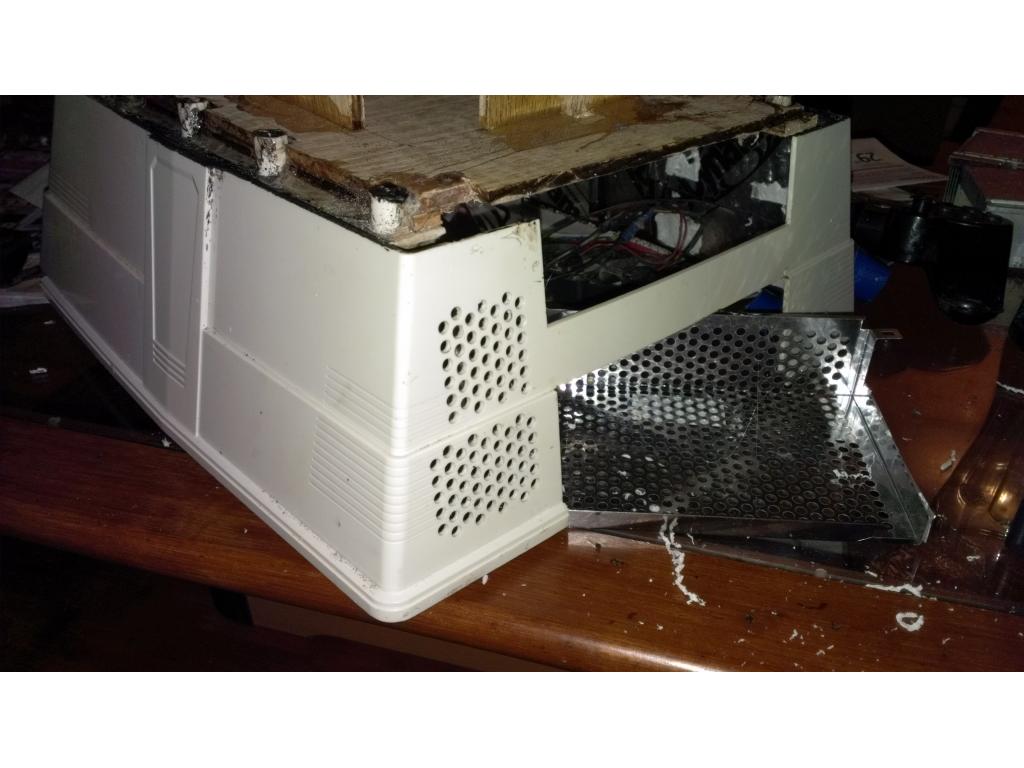
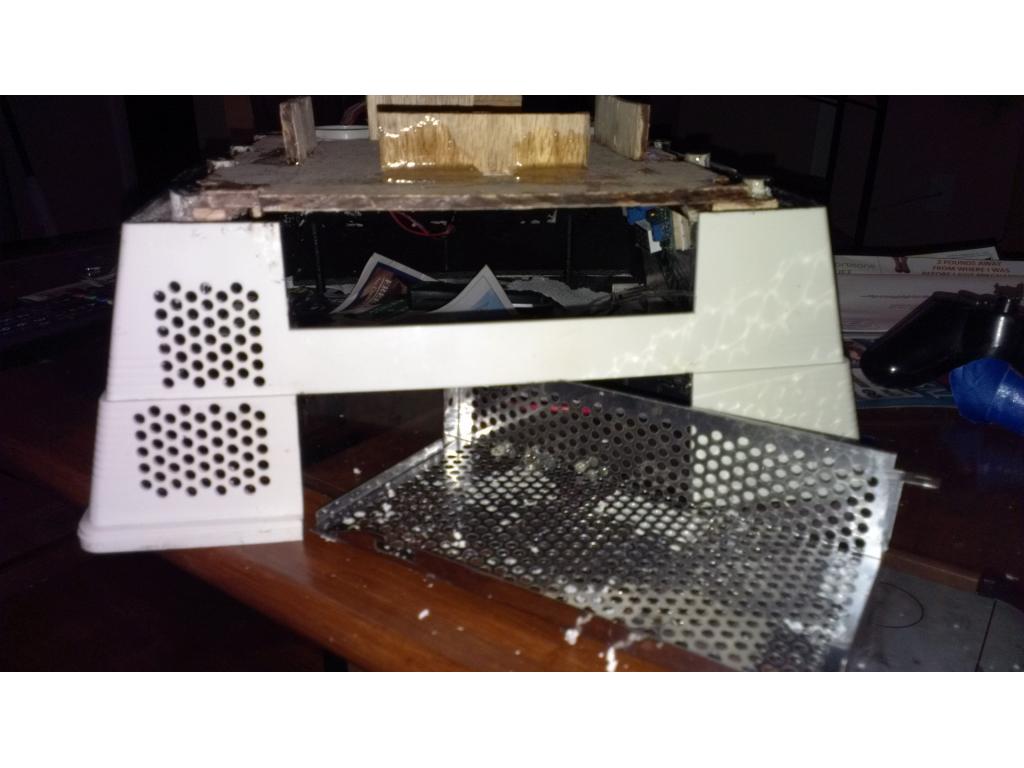
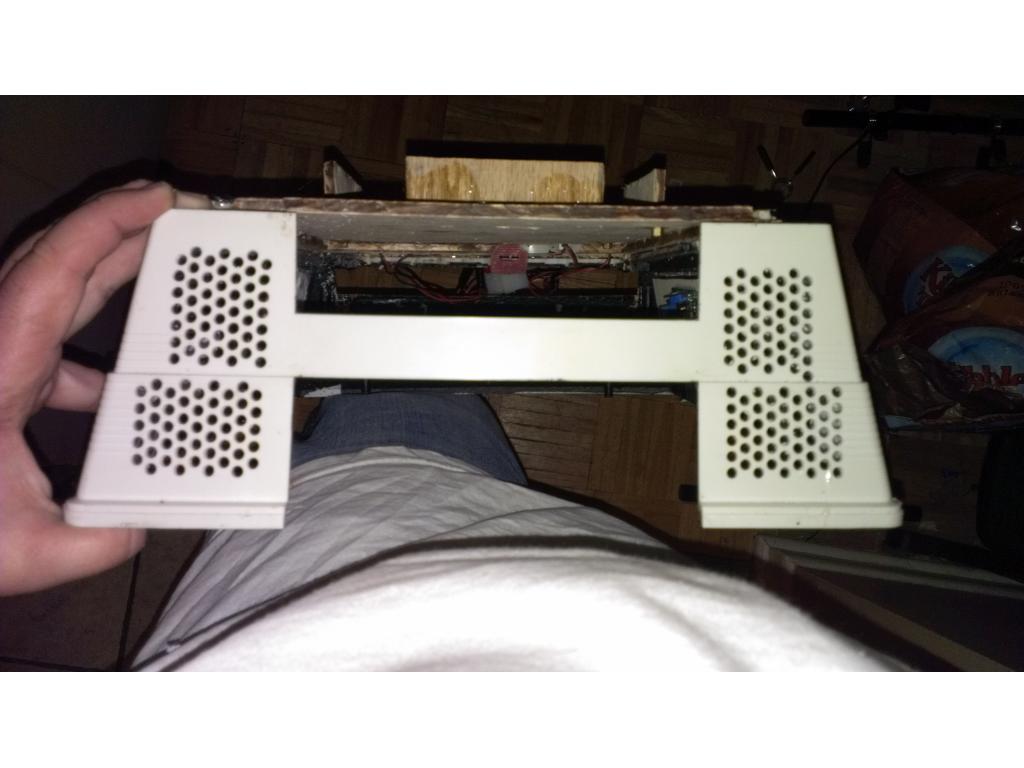
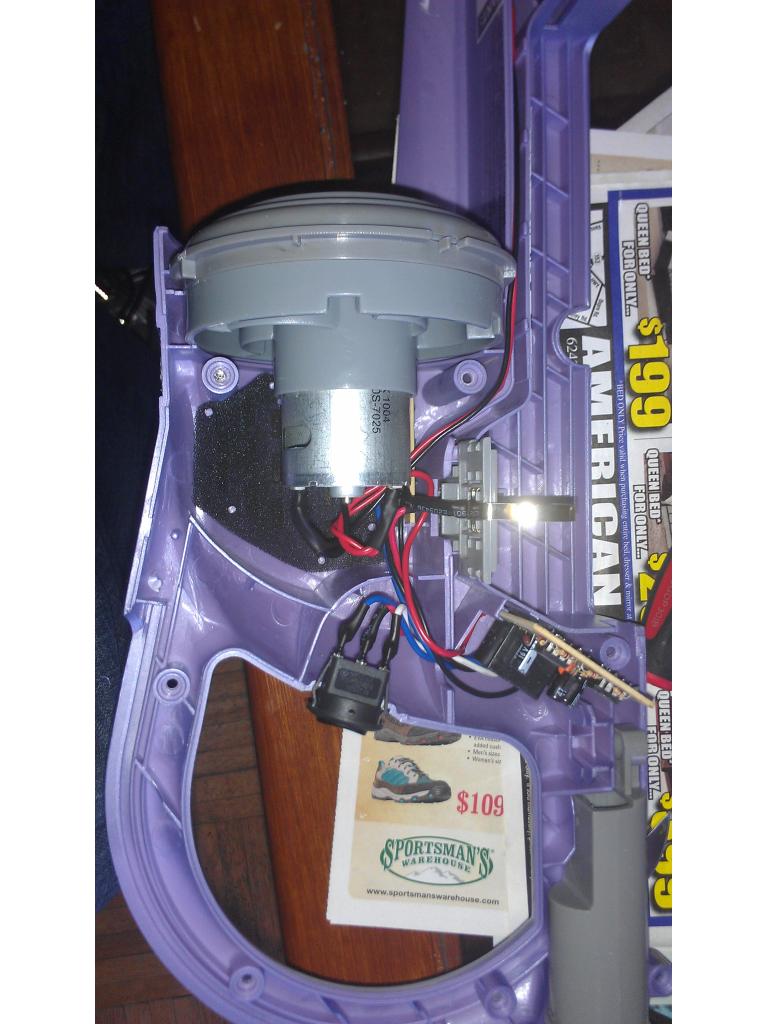
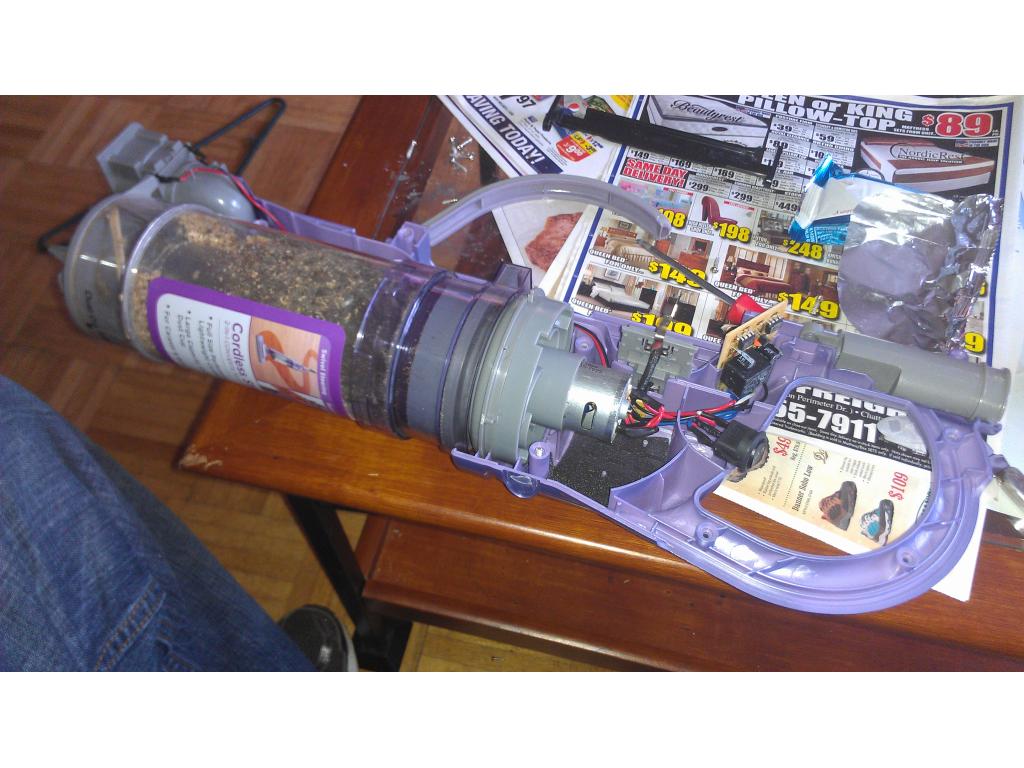
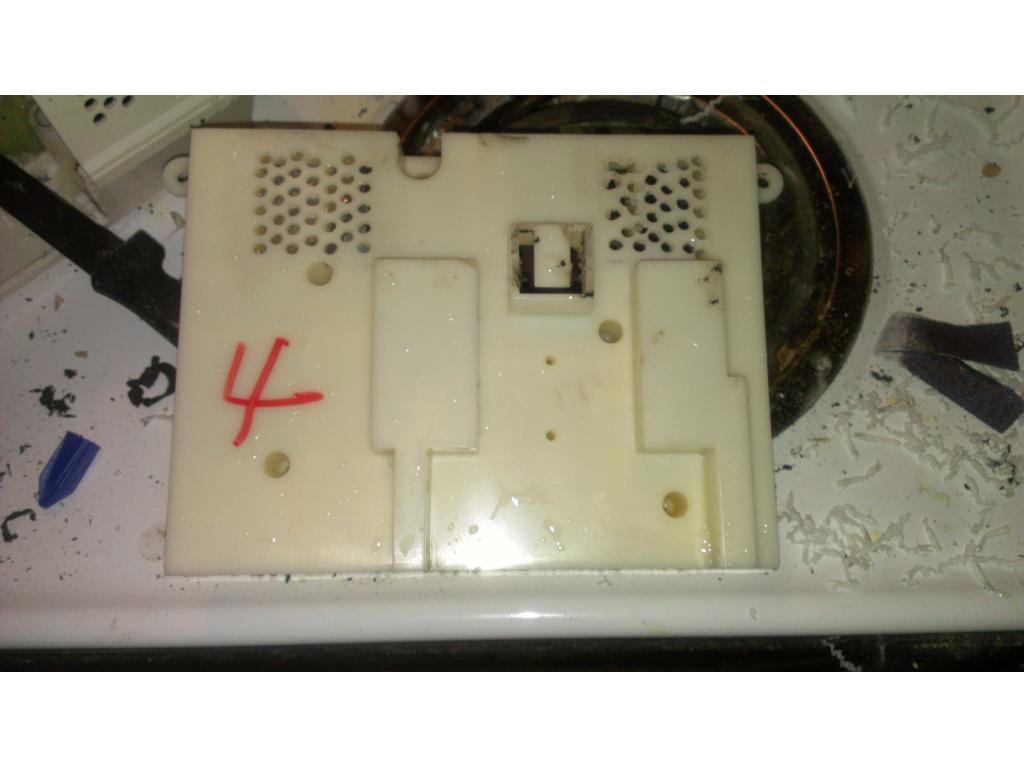
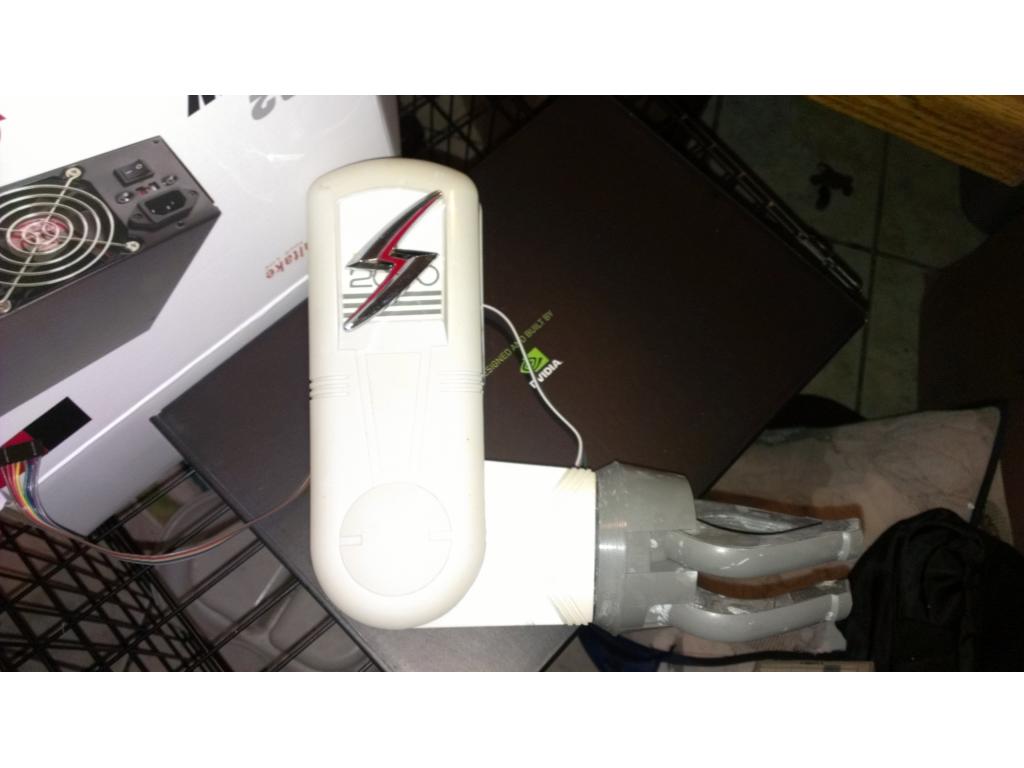
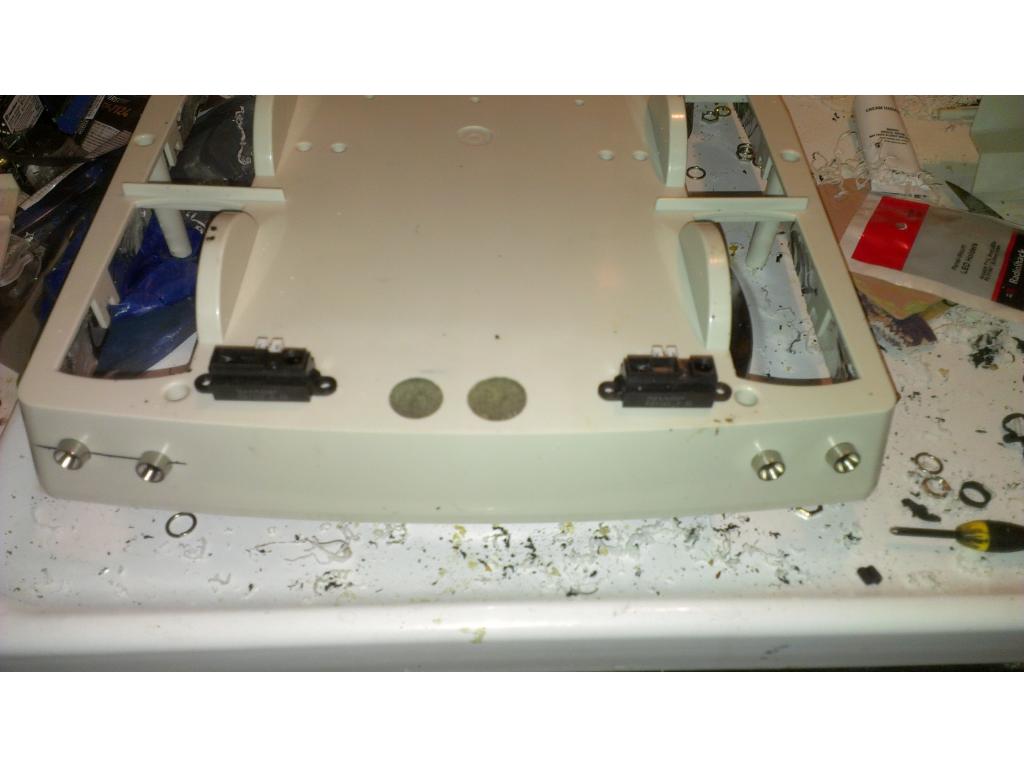
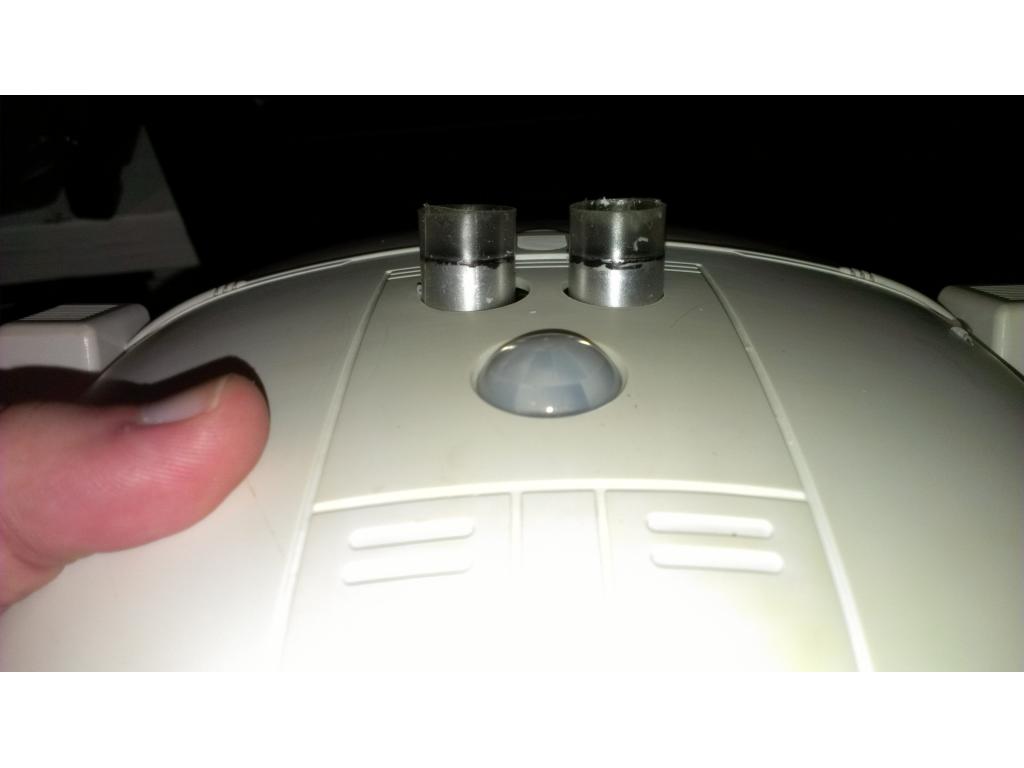
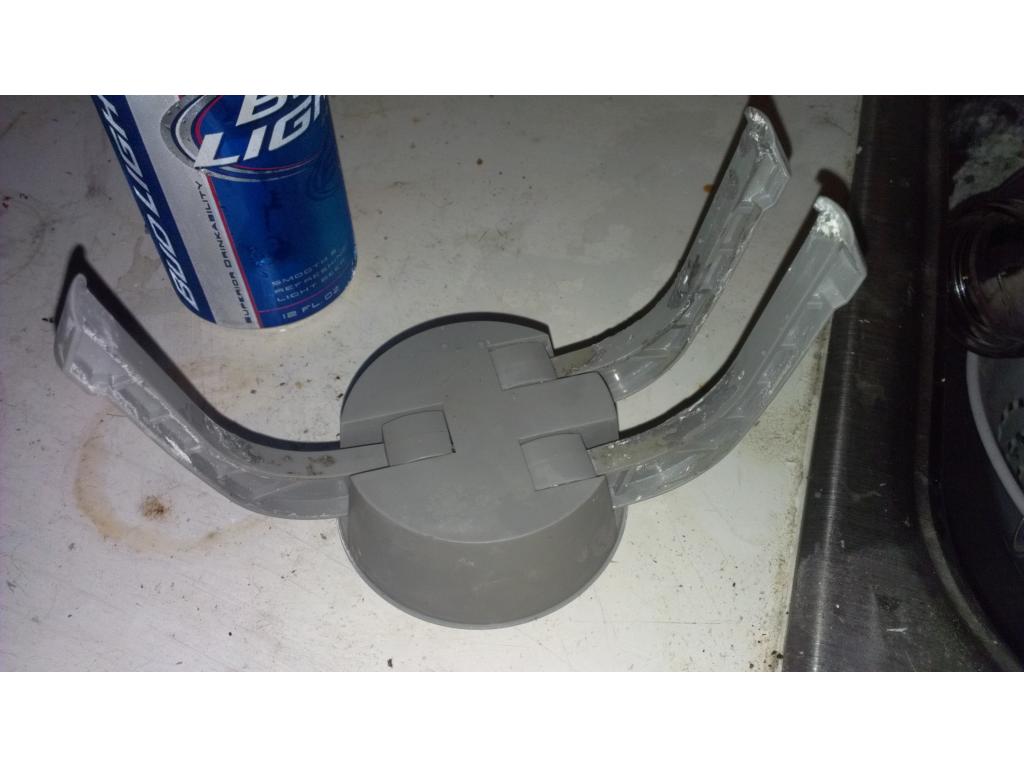
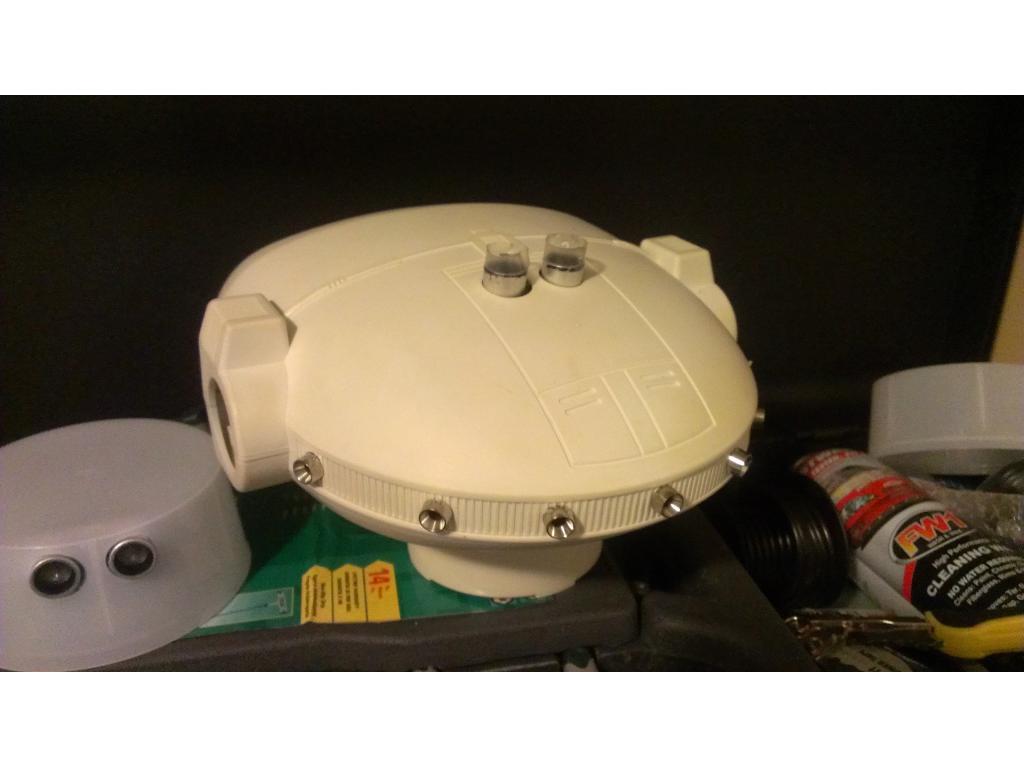
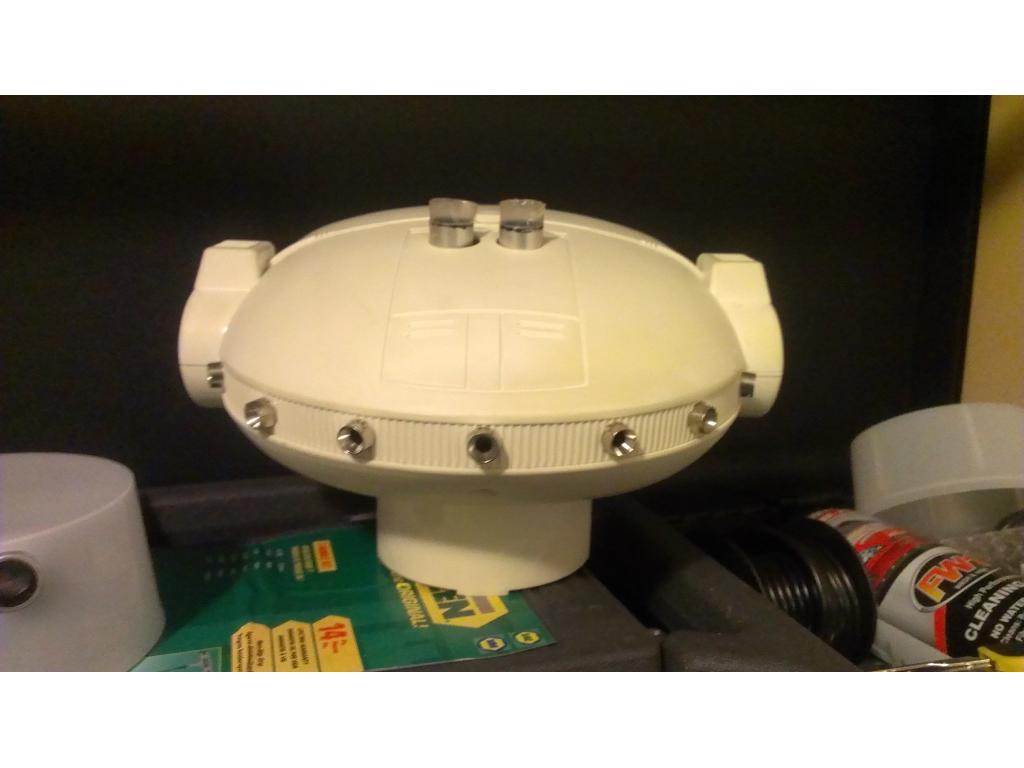
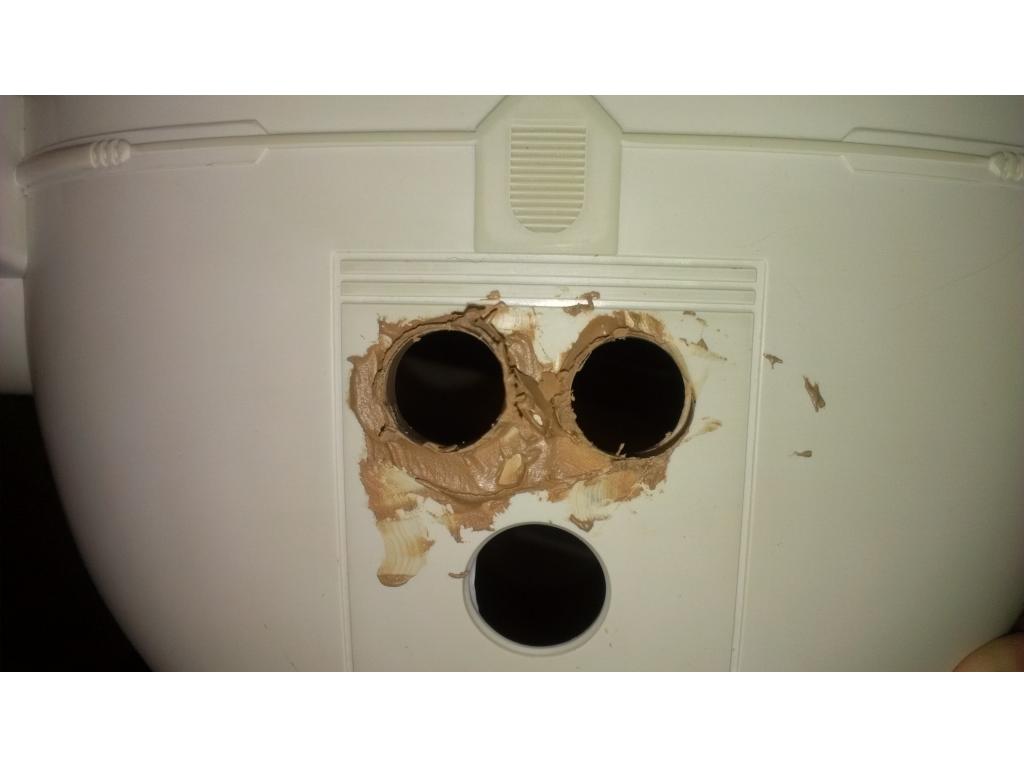
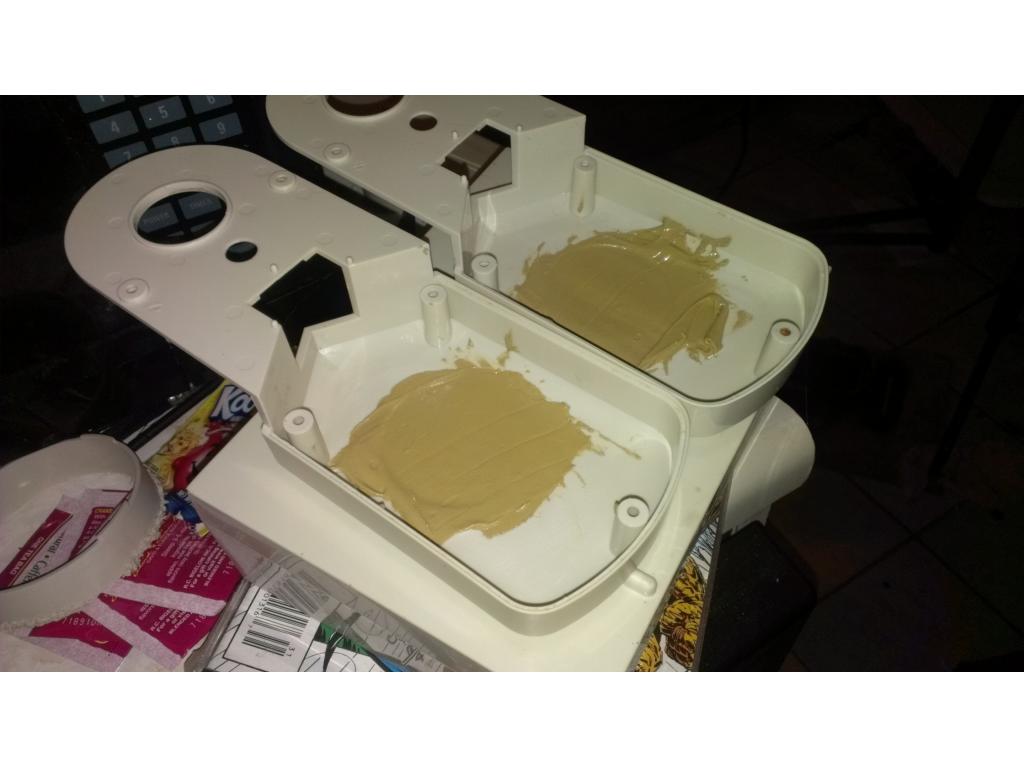
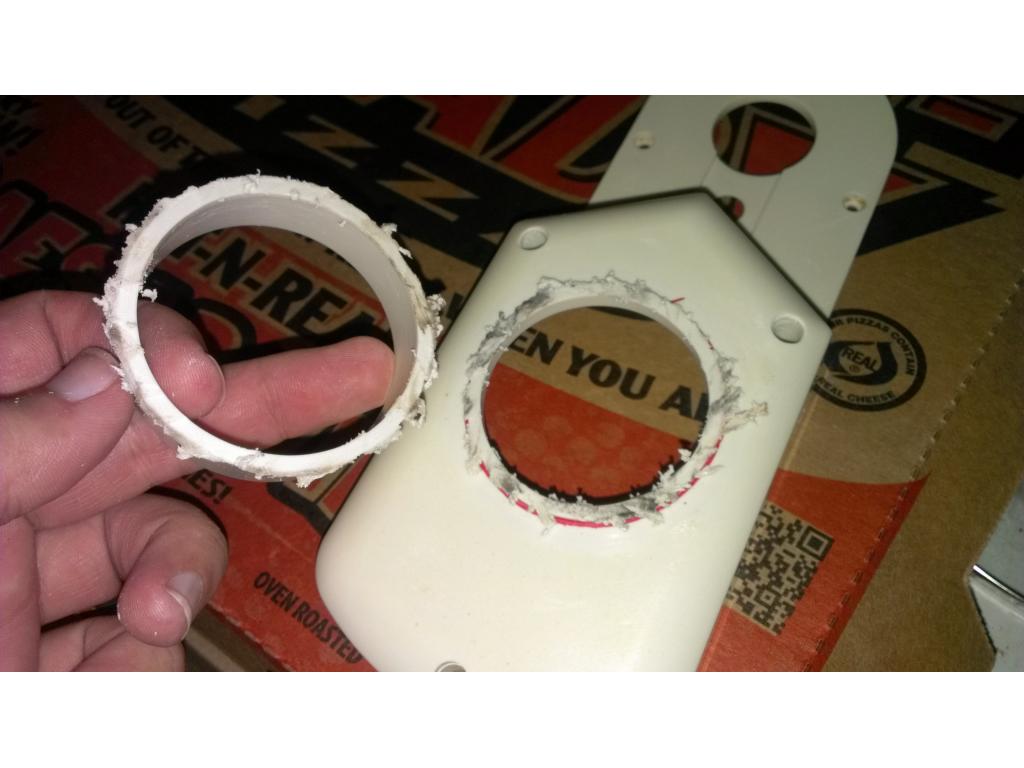
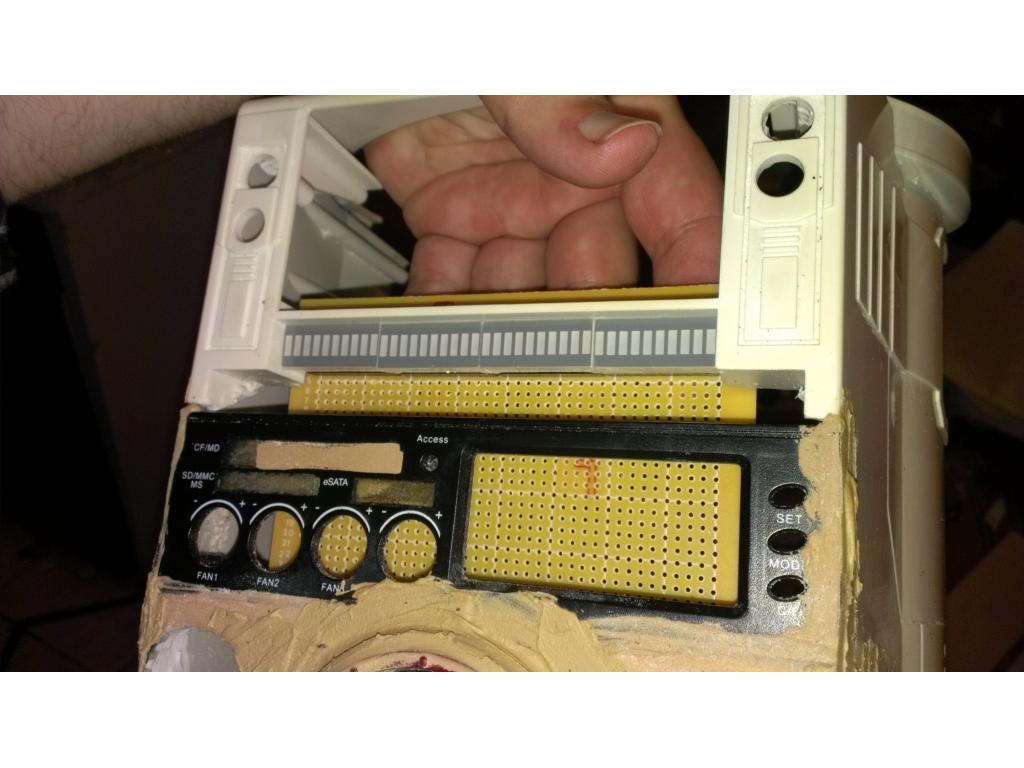
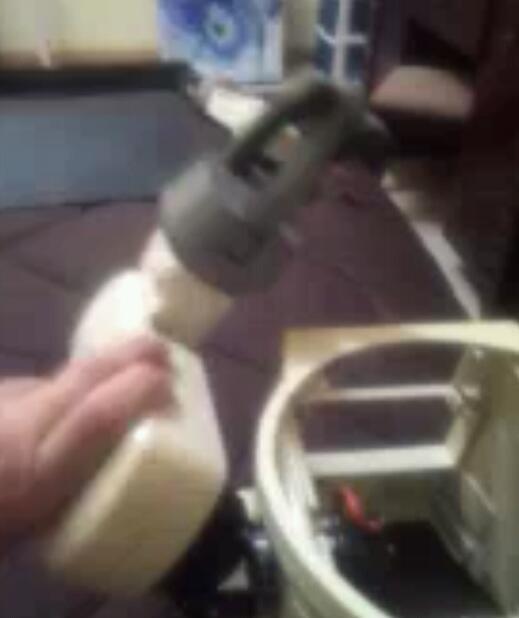
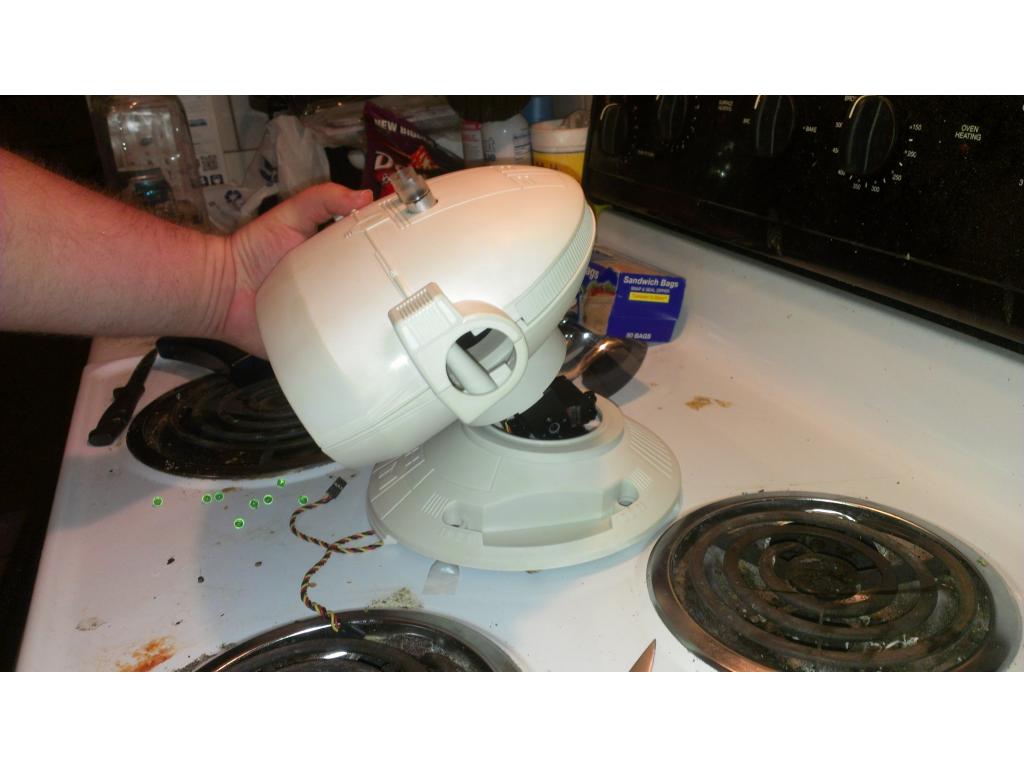
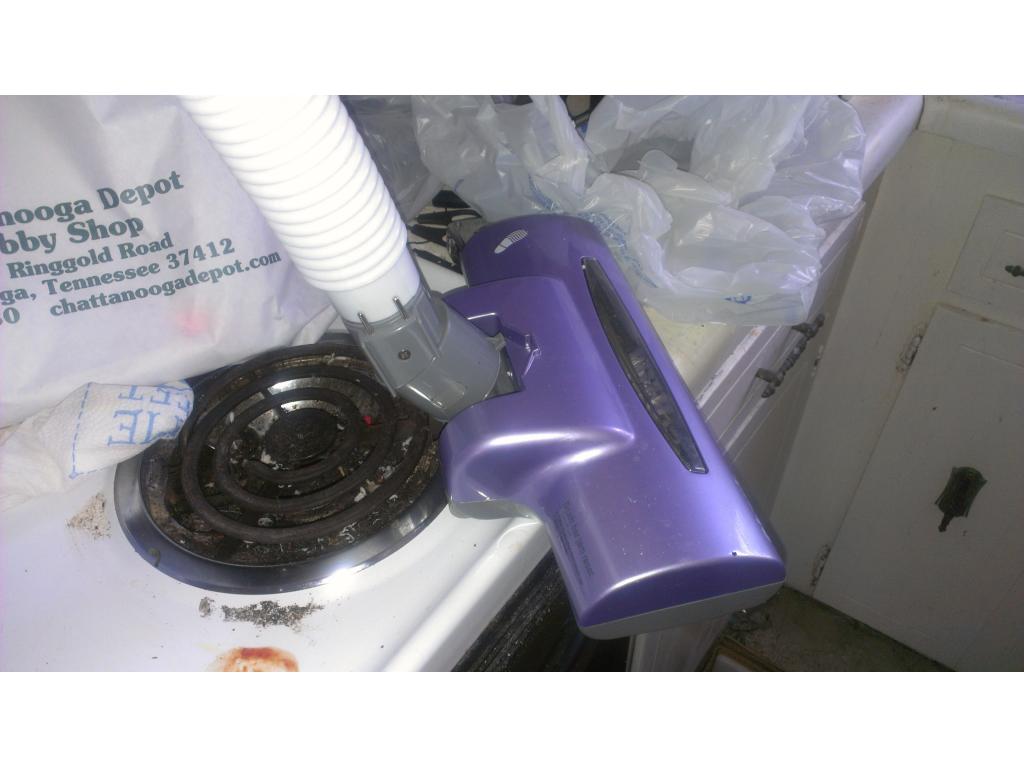
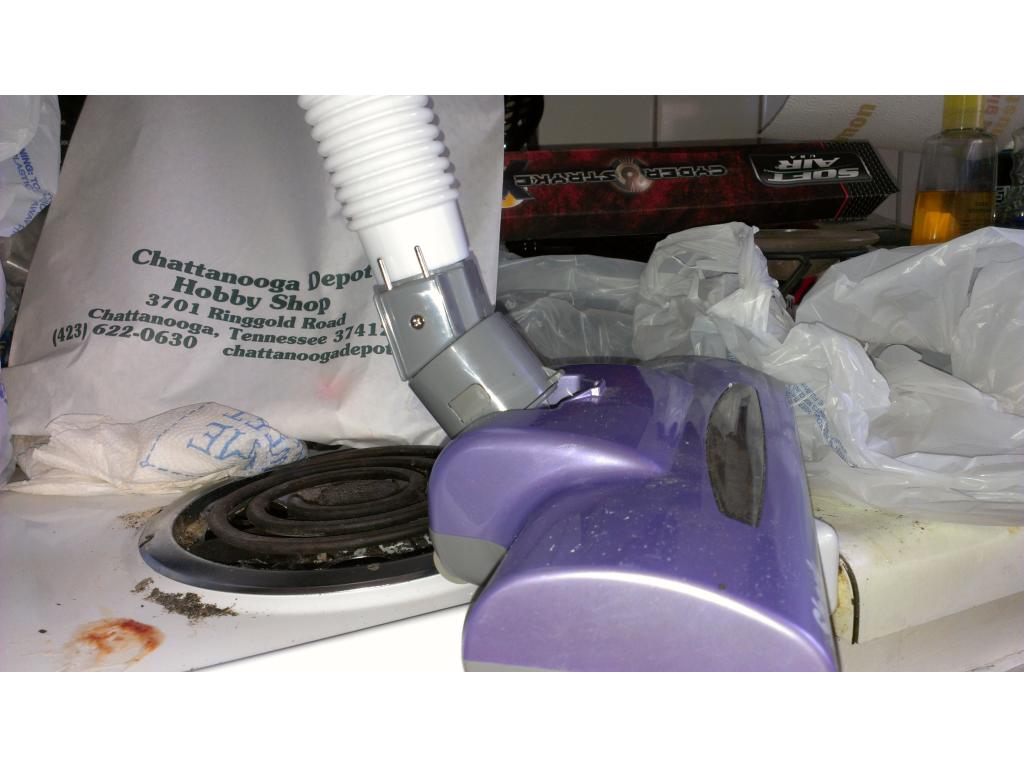
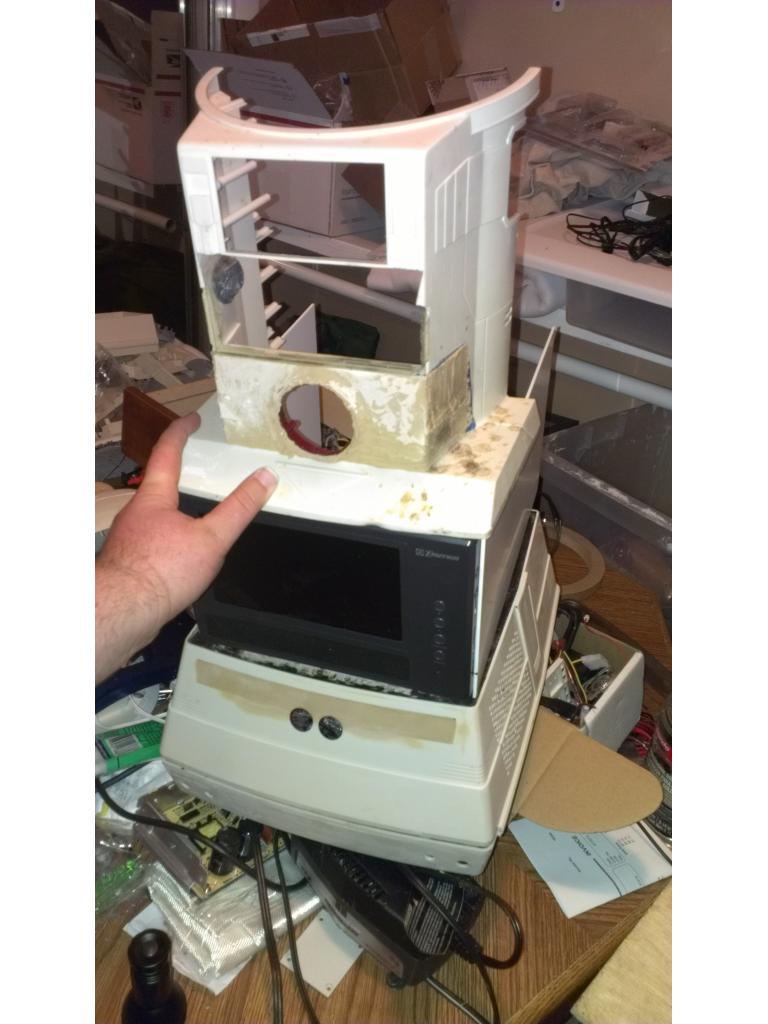
Ok so the vacuum must be modified to have a hose connection coming directly from the canister inlet so that a hose can be ran down to.a power head. I will post a few pictures of the process. Cutting the tube takes a few tries but works the exact same way you cut exhaust tubing on cars to make a exhaust manifold.

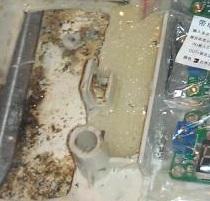
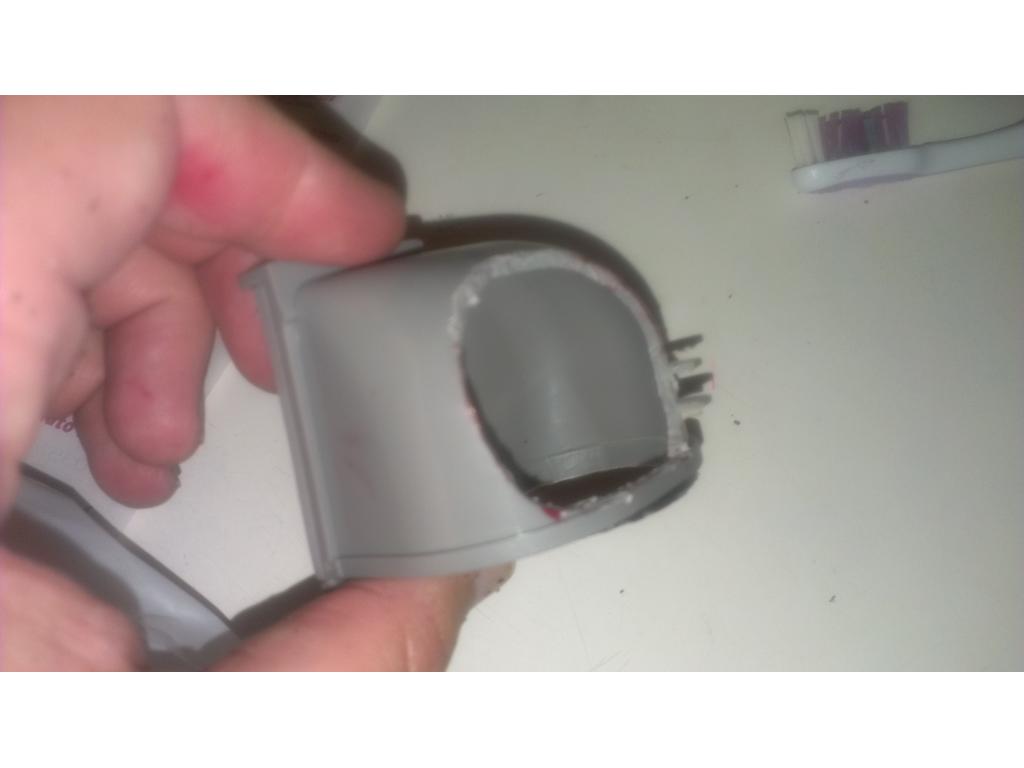
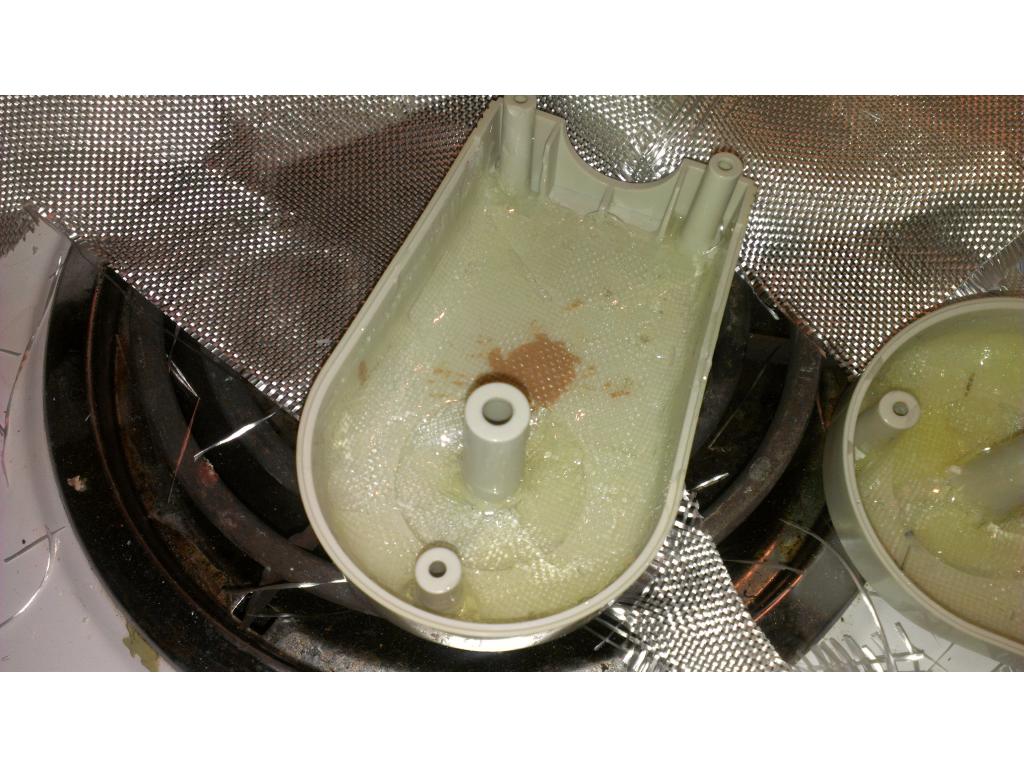
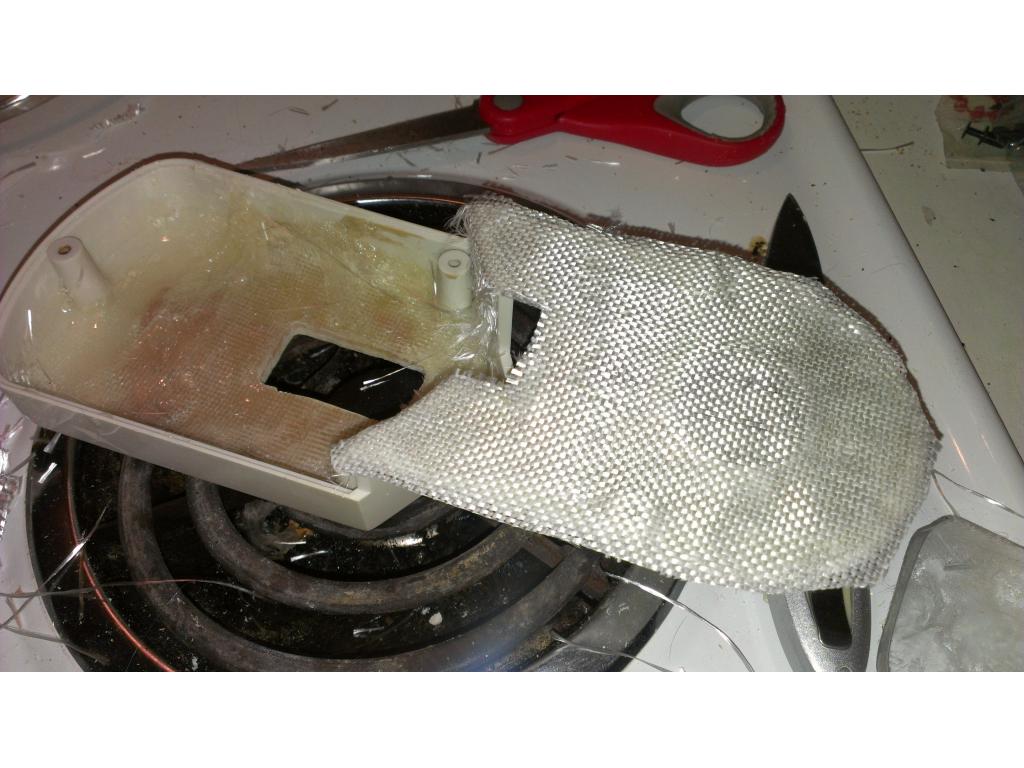
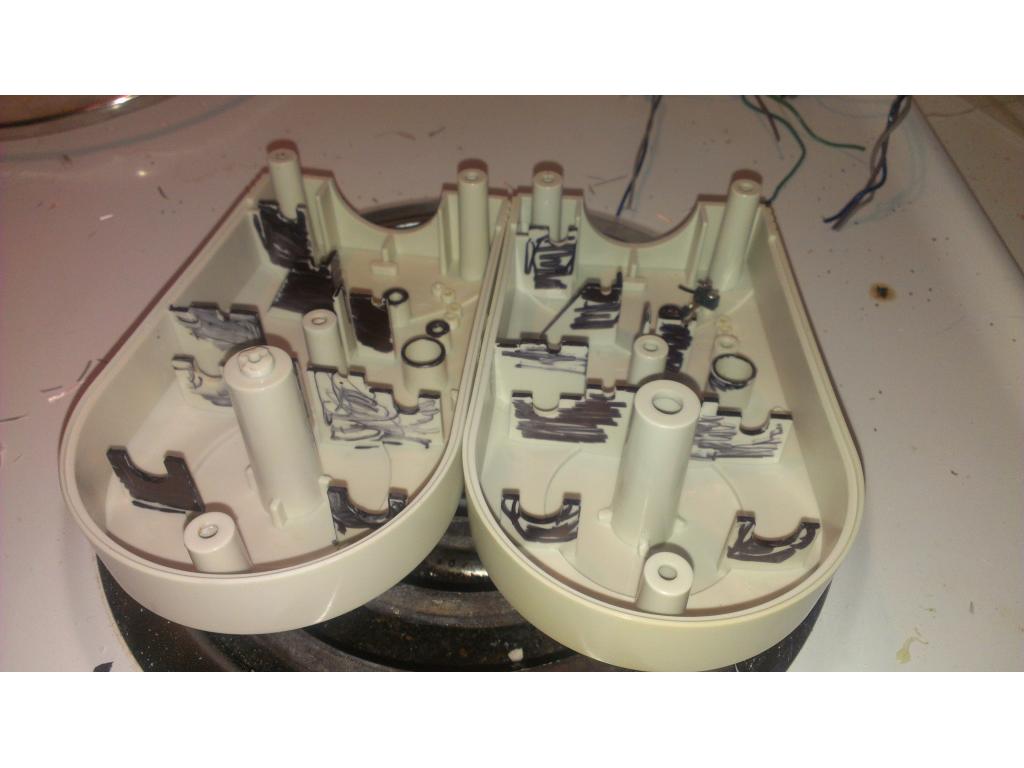
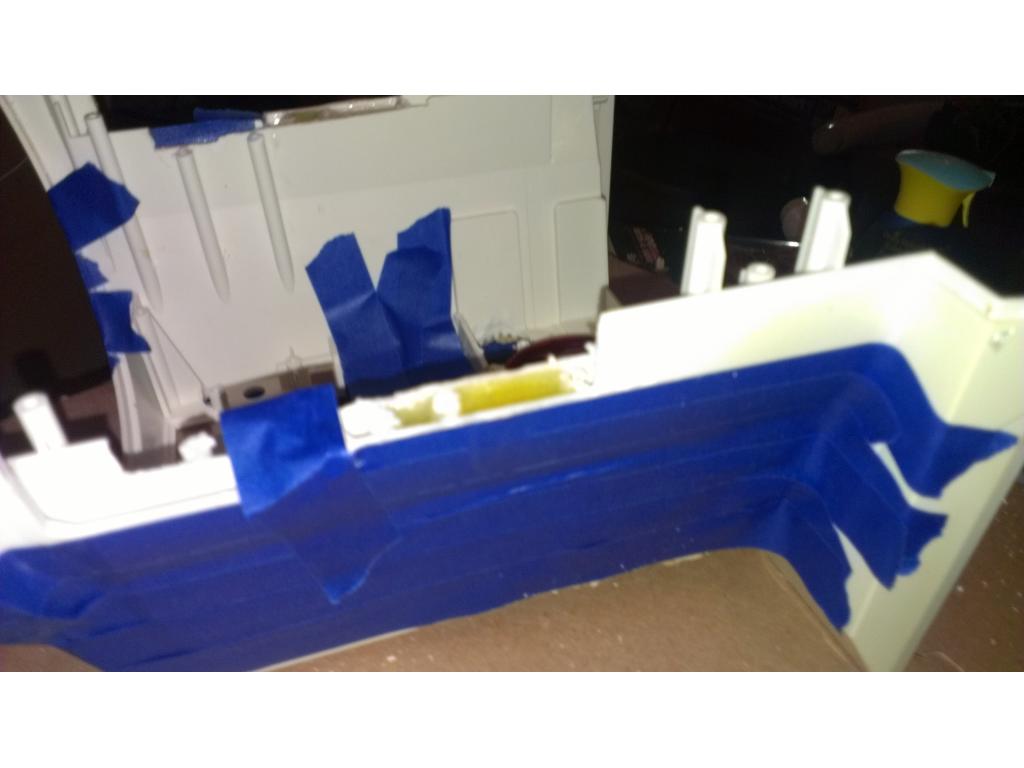
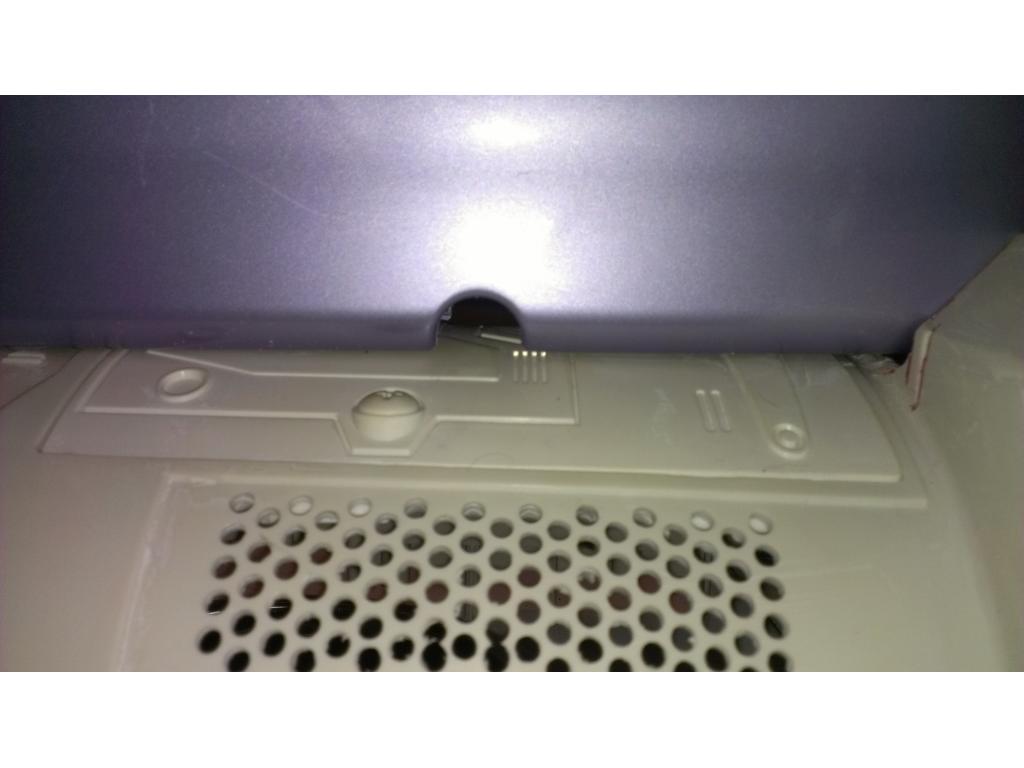
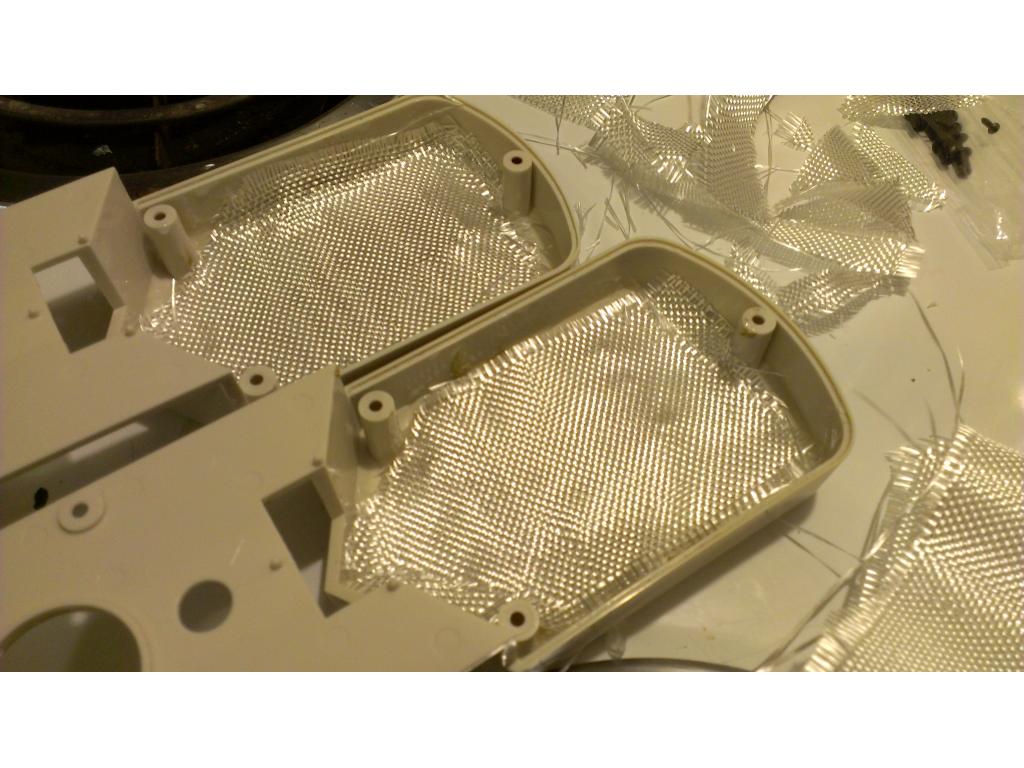
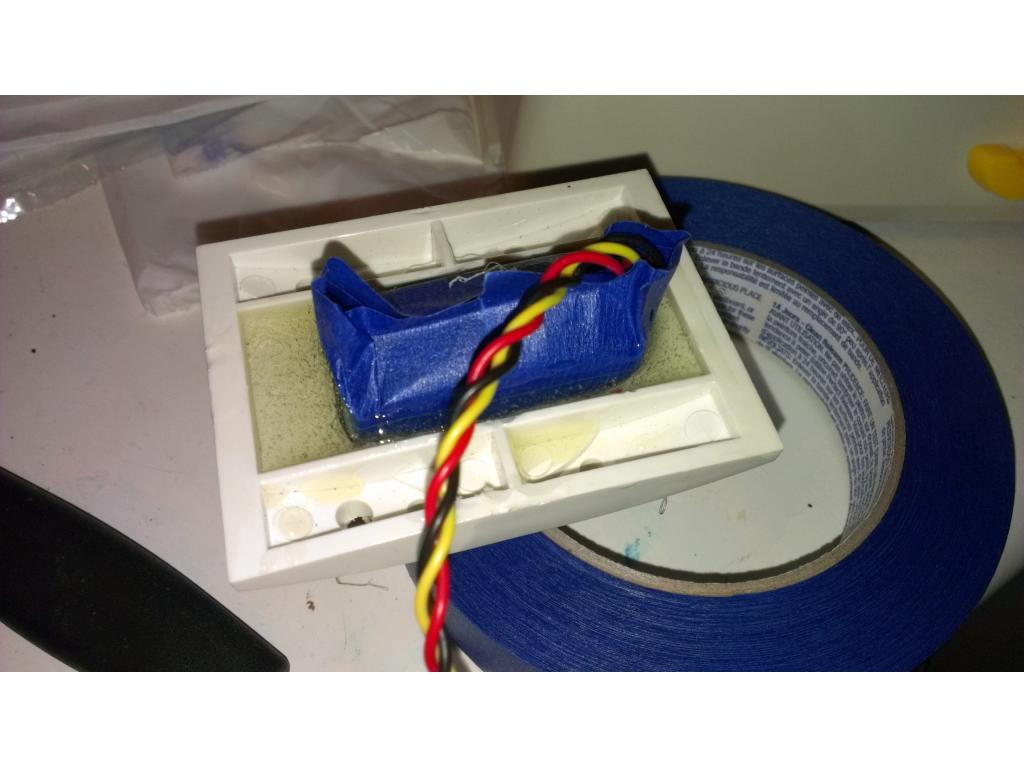
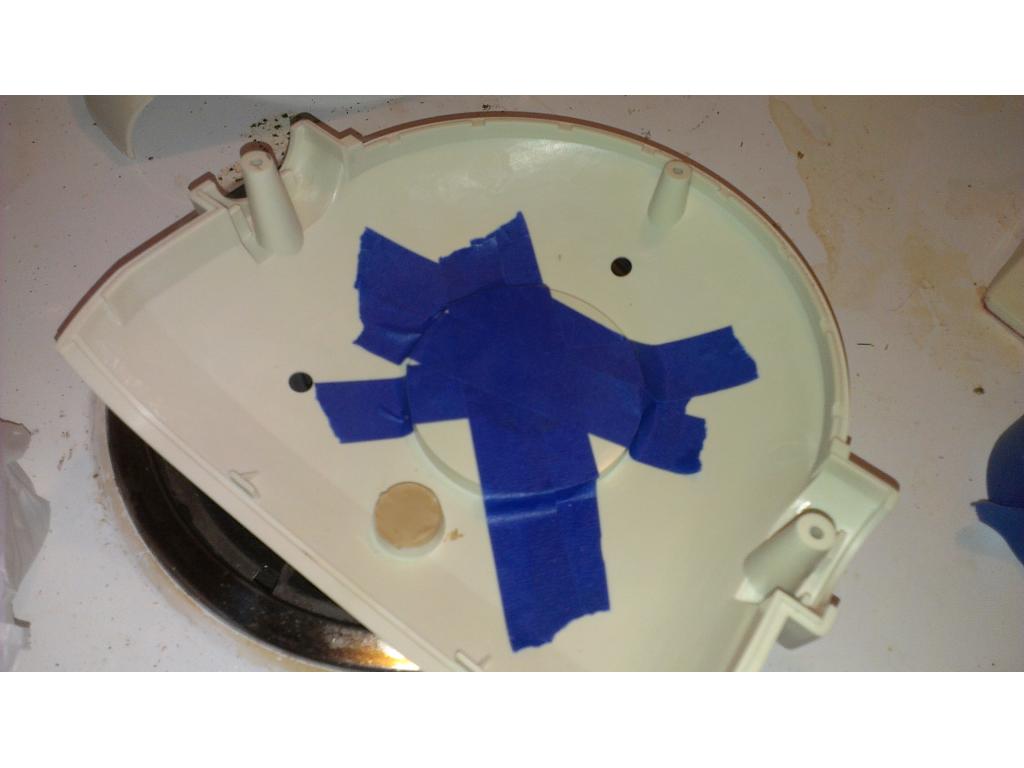
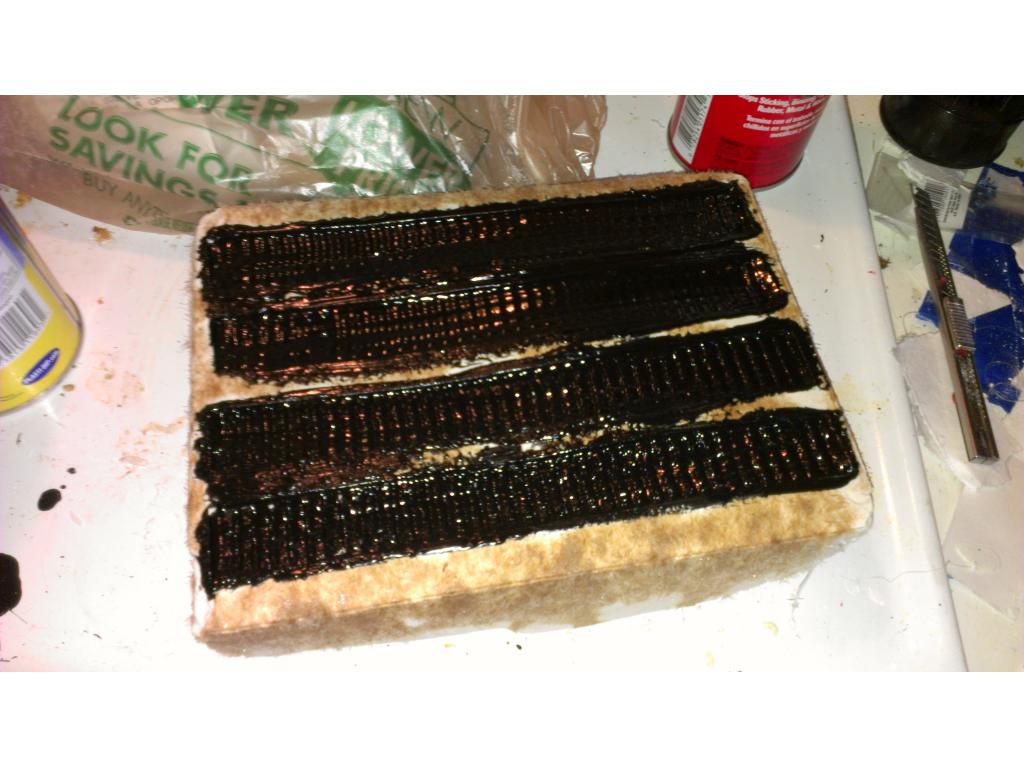
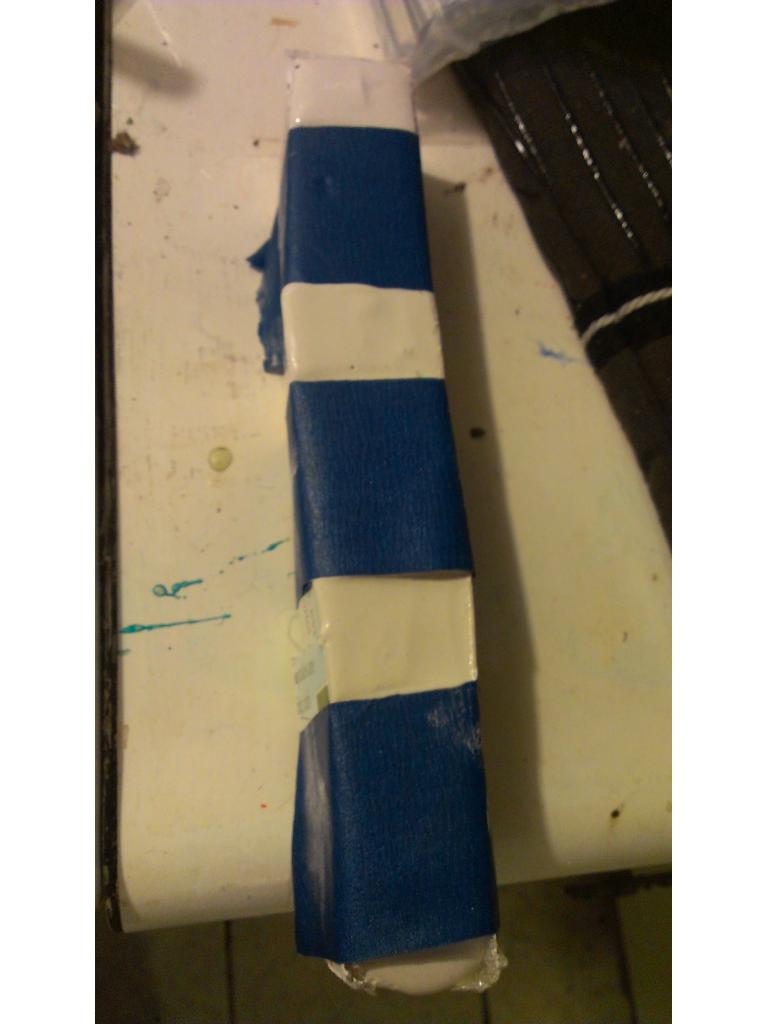
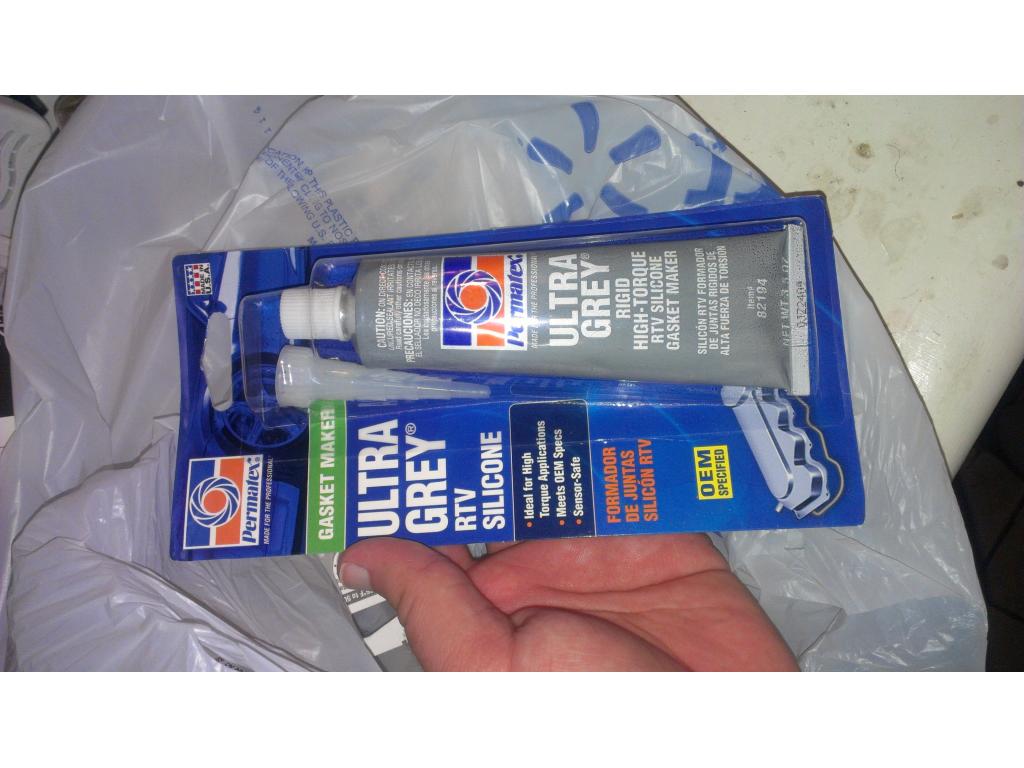
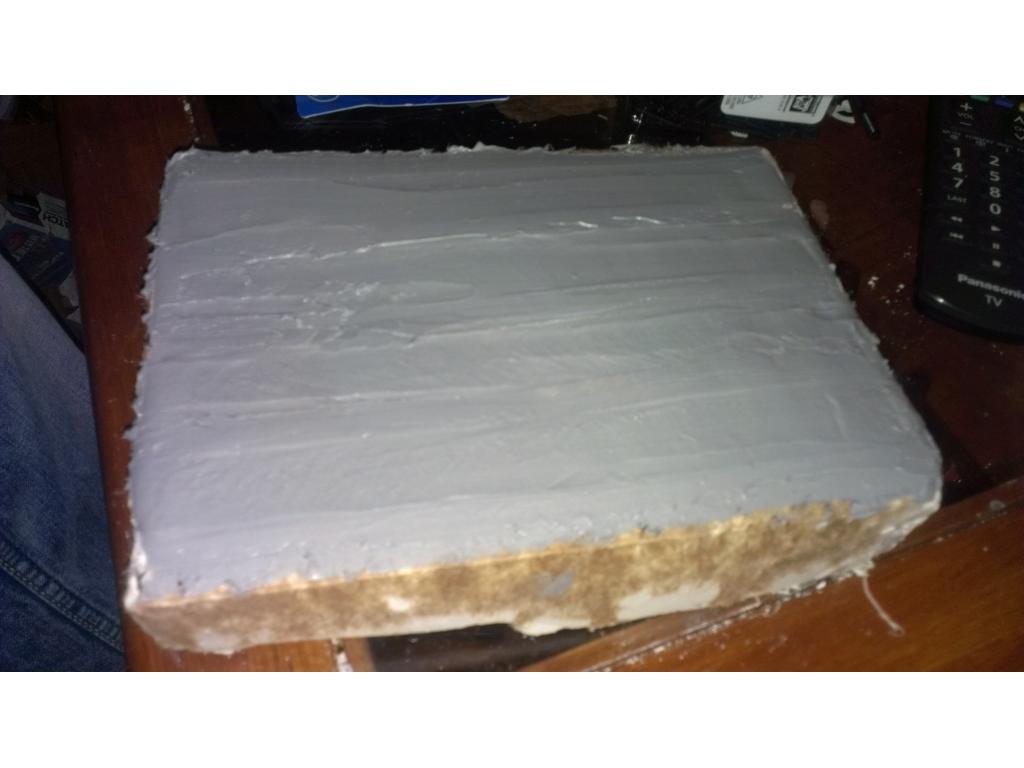
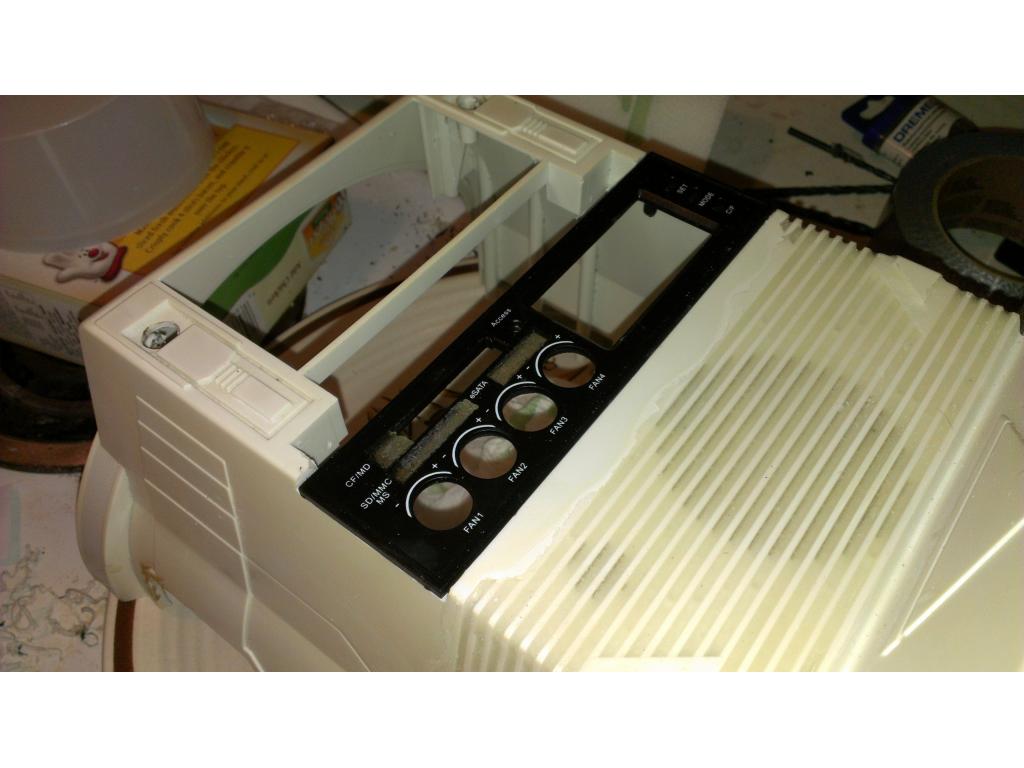
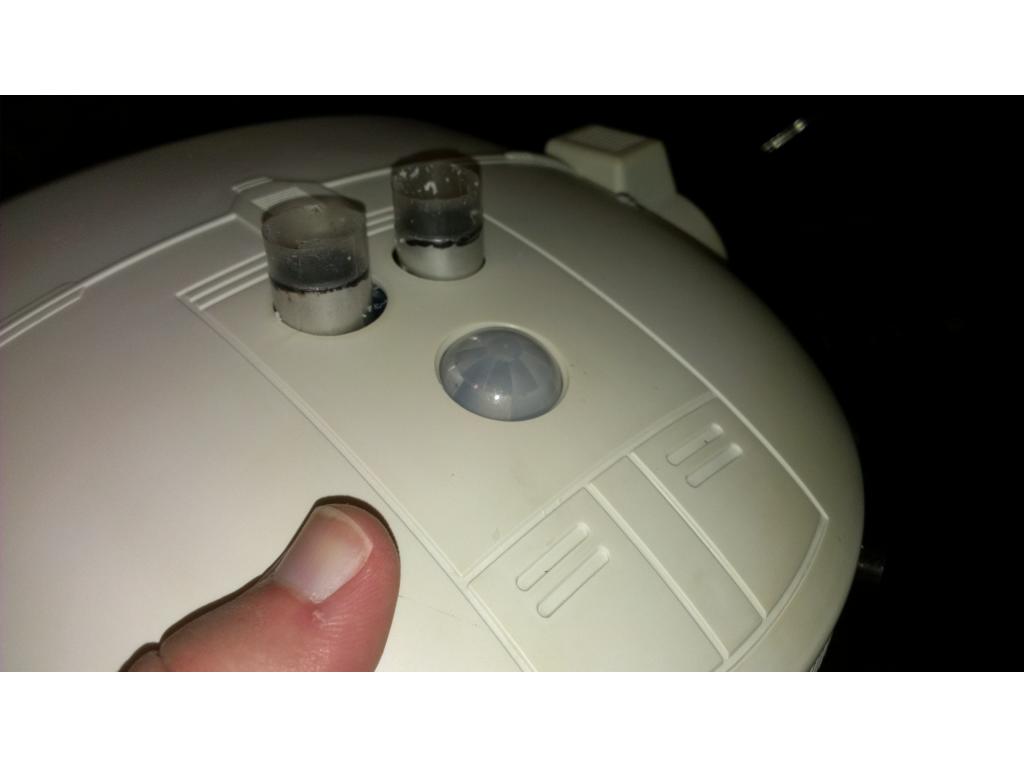
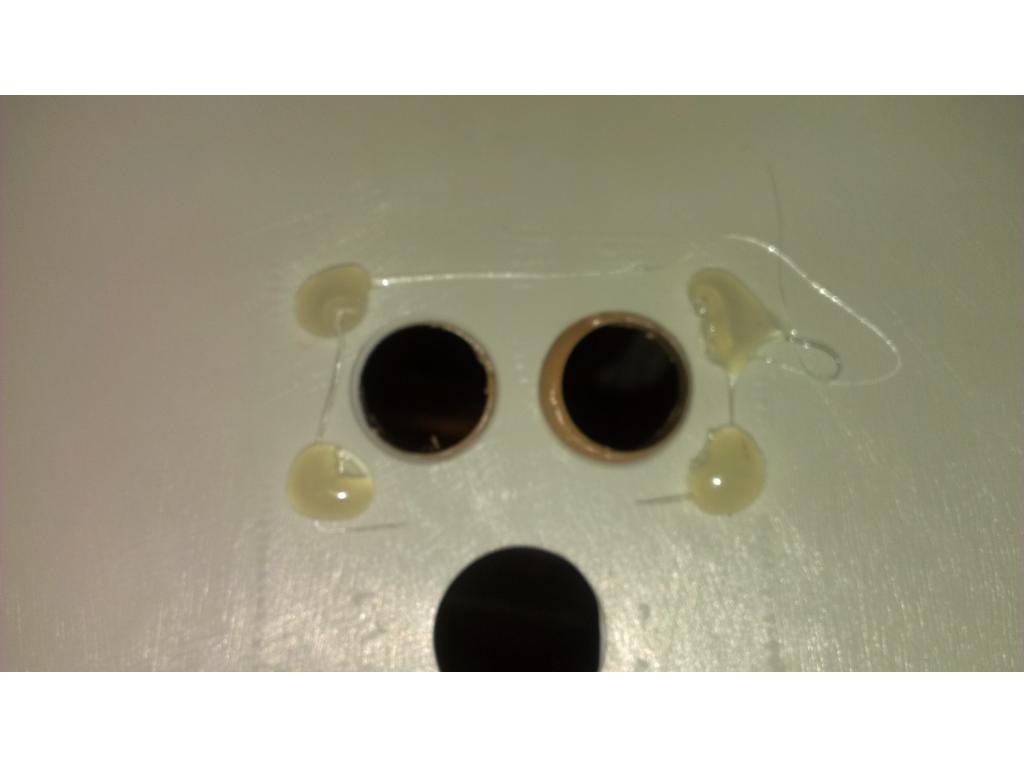
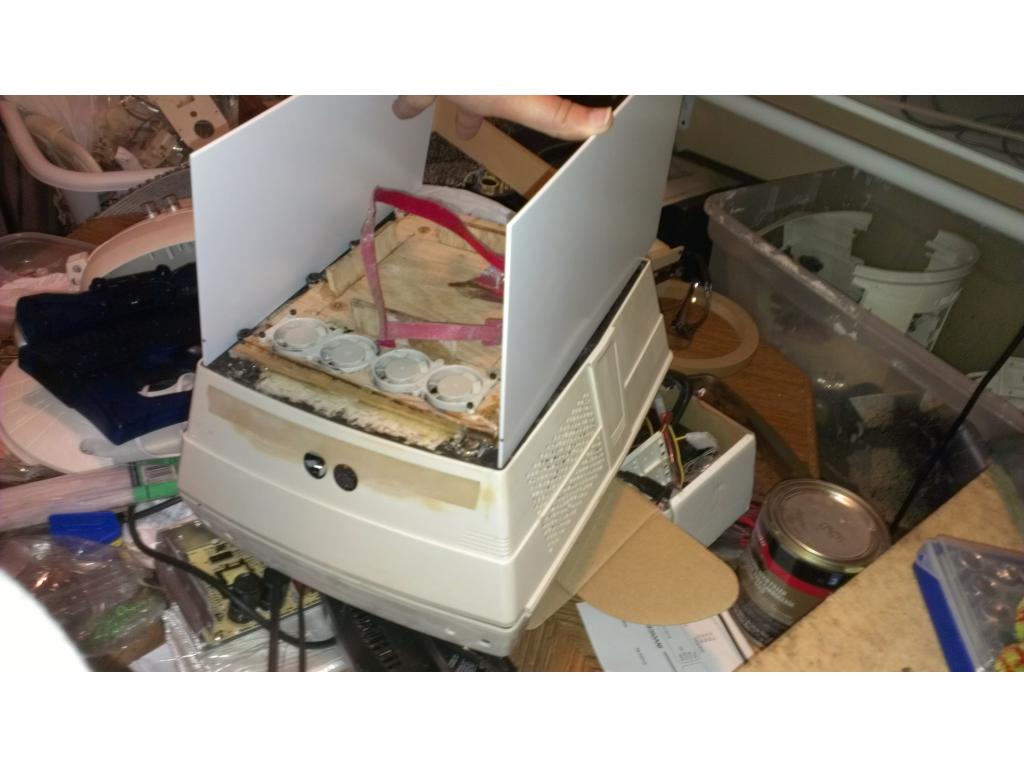
First I had to cut the section that will be unused.Ok so there are two tiny gaps I will cover with masking tape on the inside and epoxy from the outside , once the seam is secure and sealed I will use a drum sanding tip to smooth the inside seam. Lastly once the connection is complete I will epoxy the hole shut.
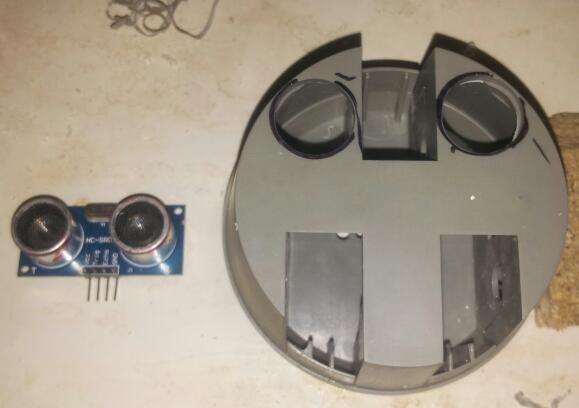
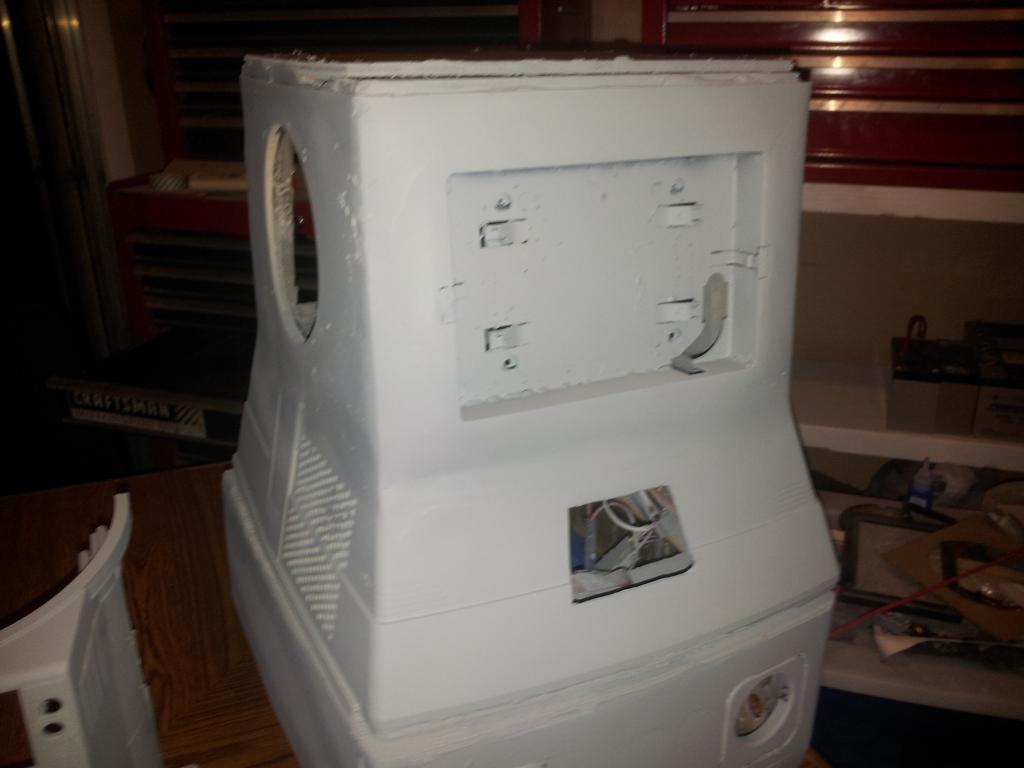
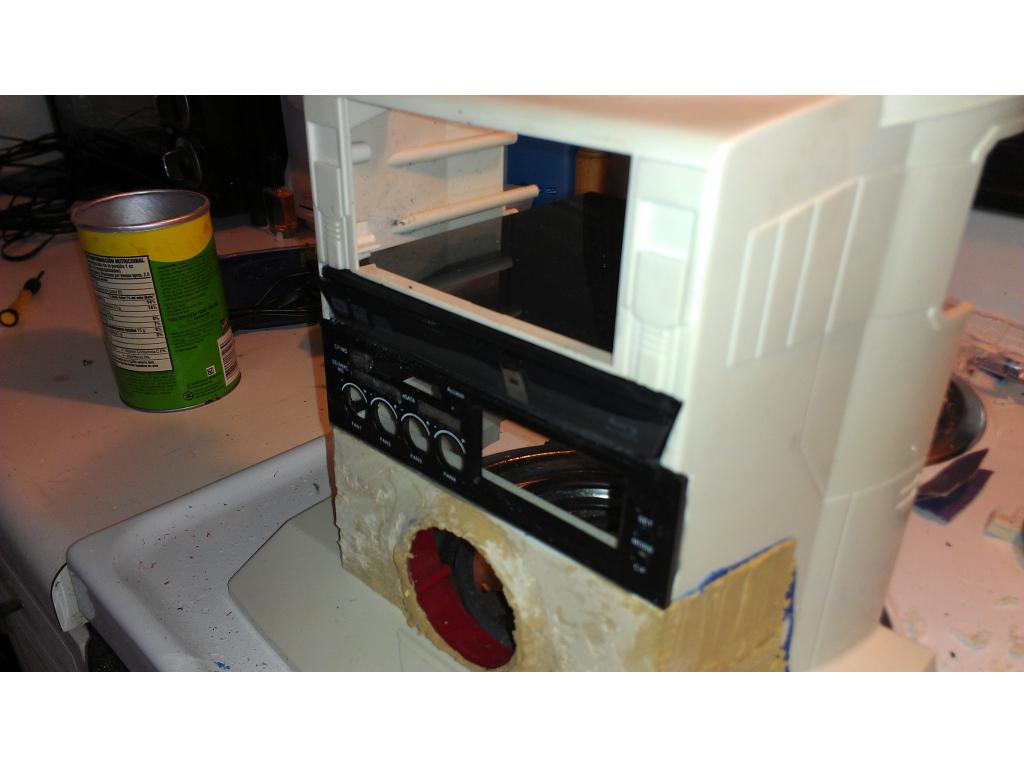
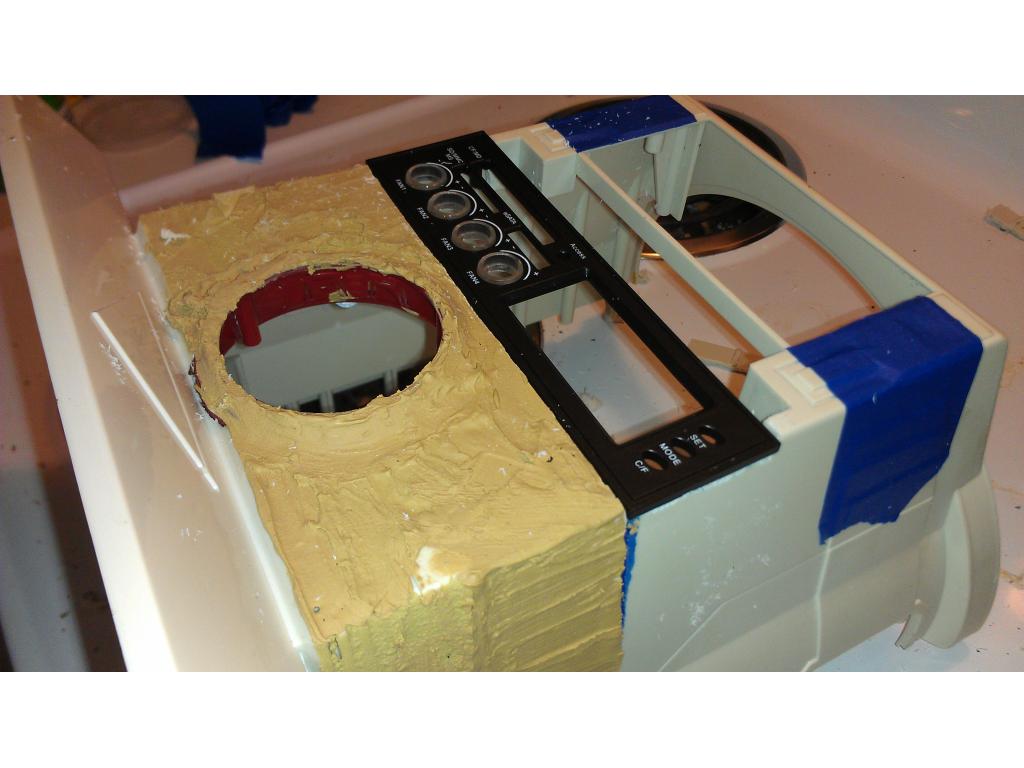
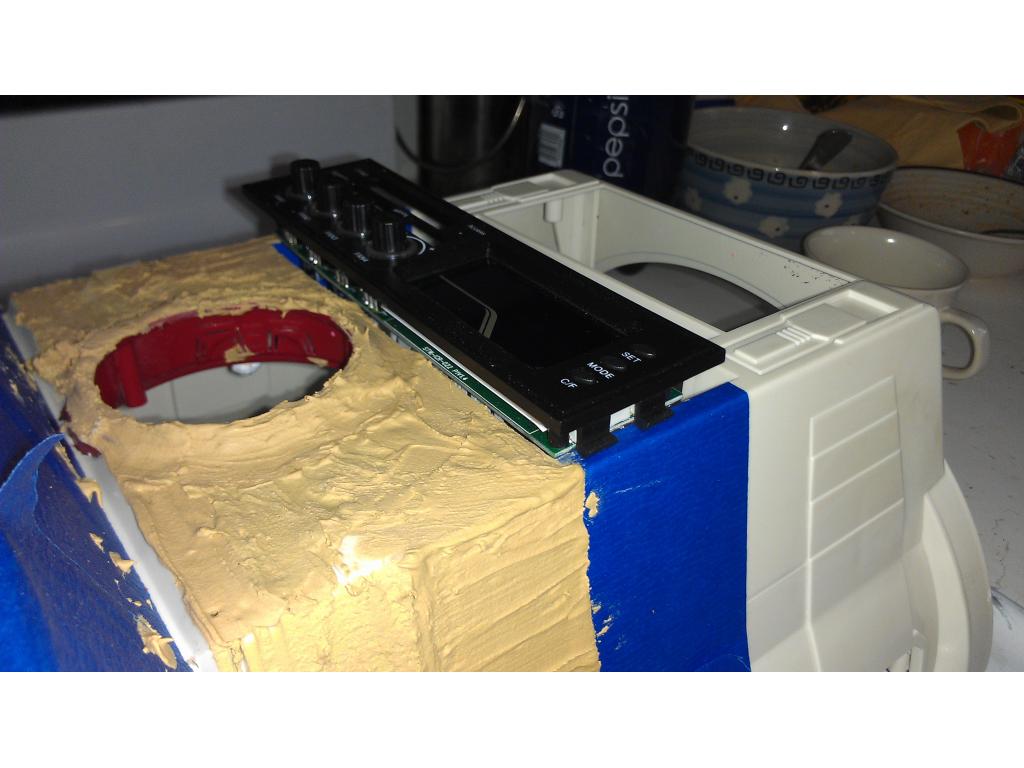
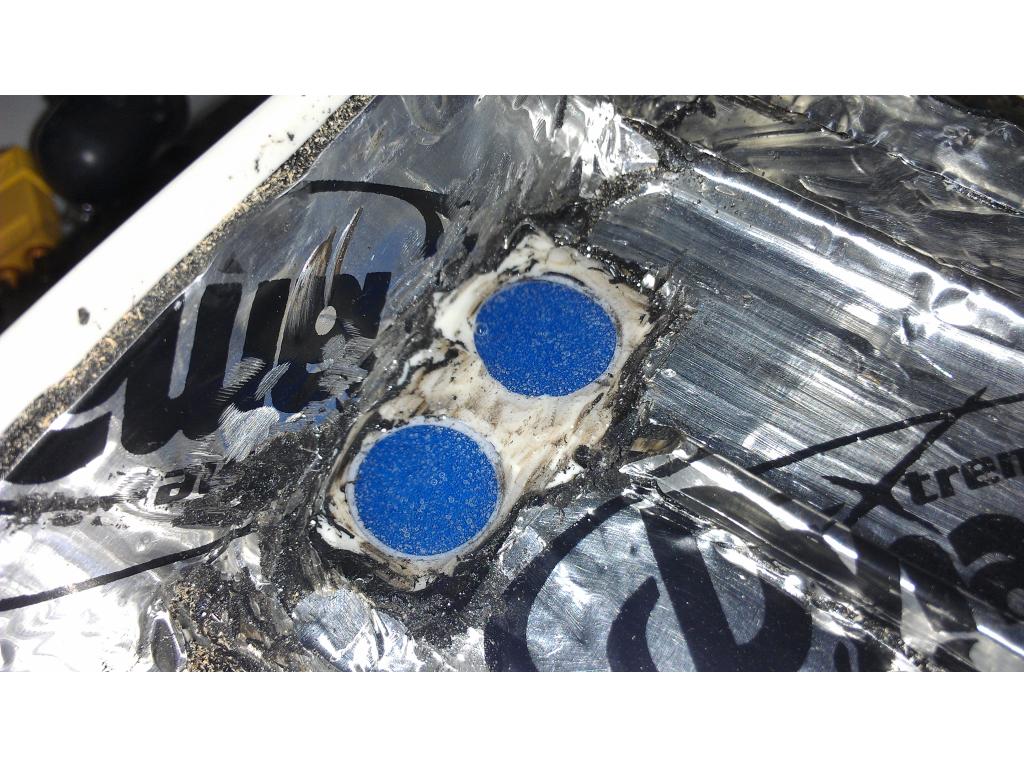
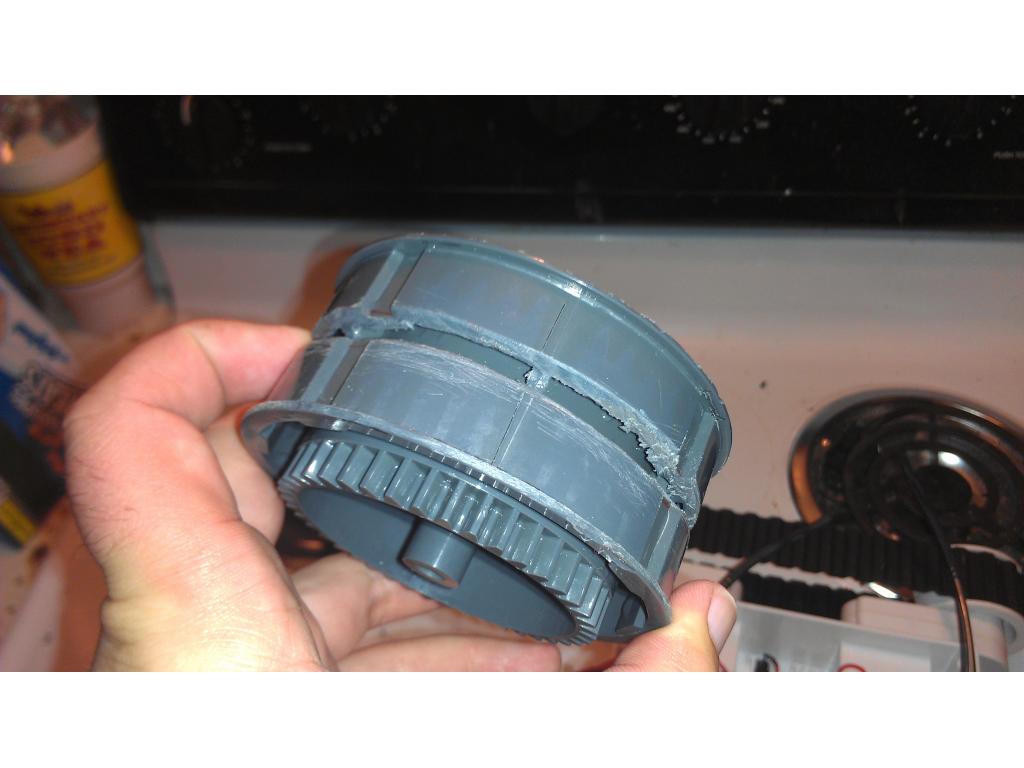
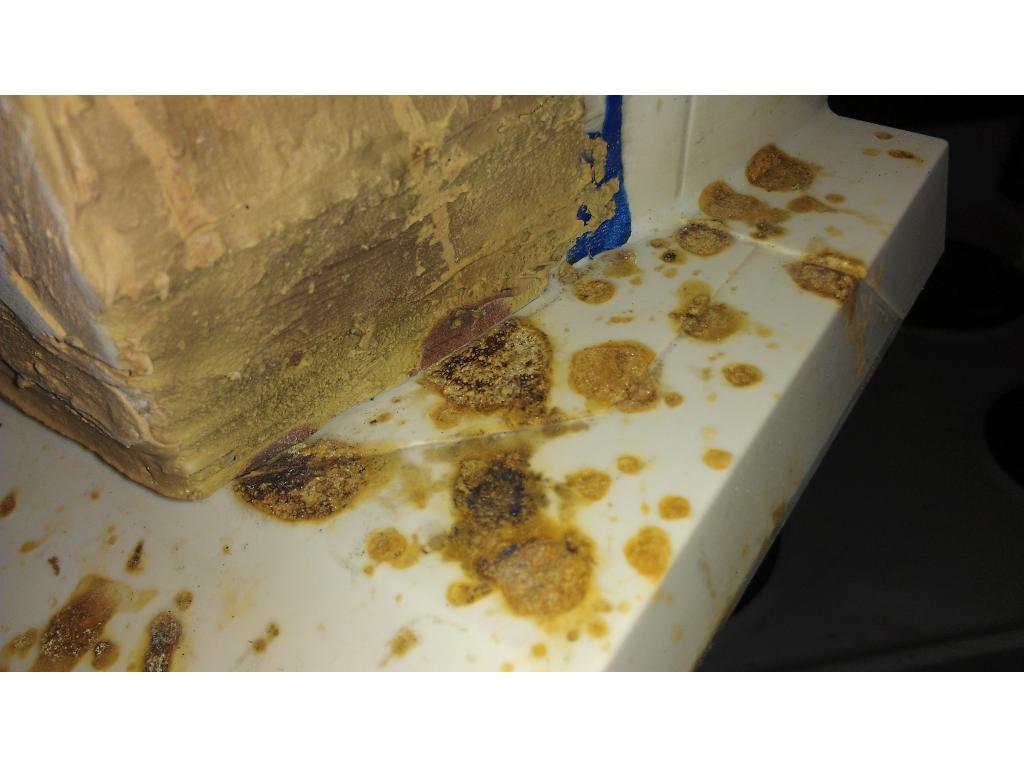
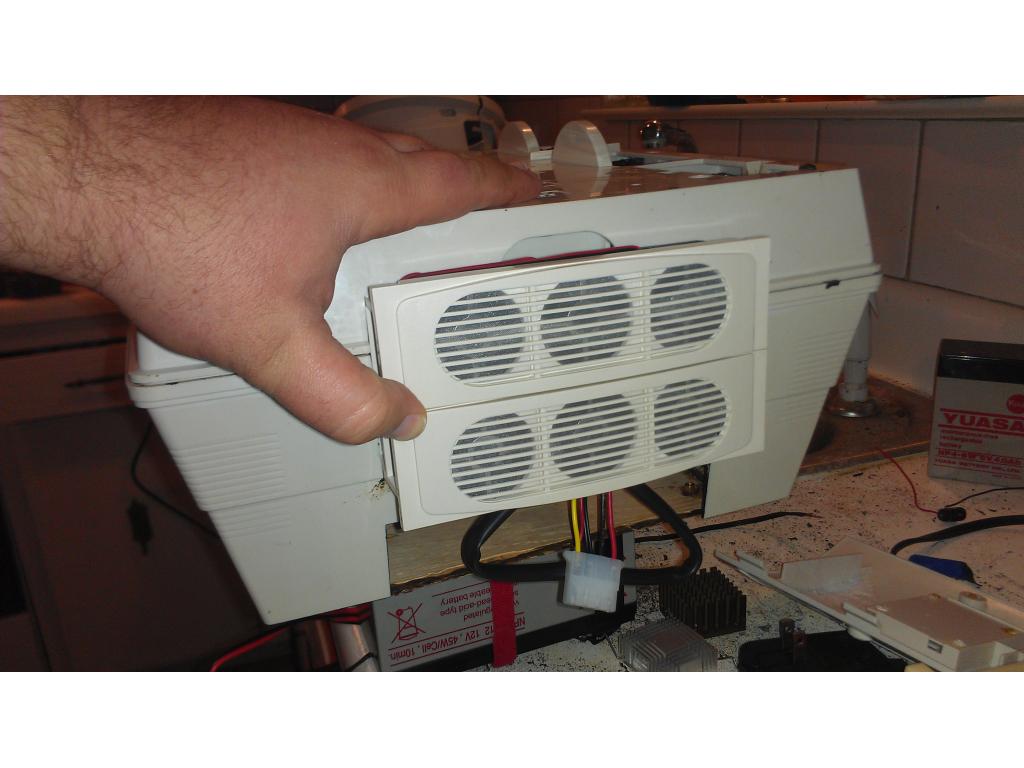
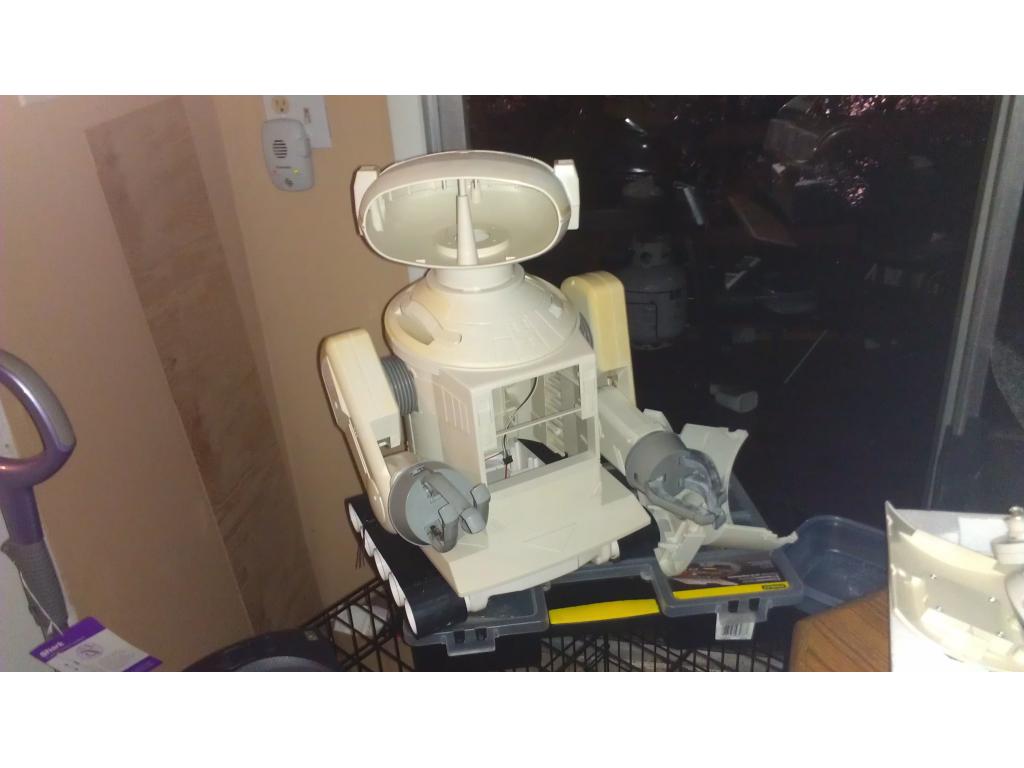
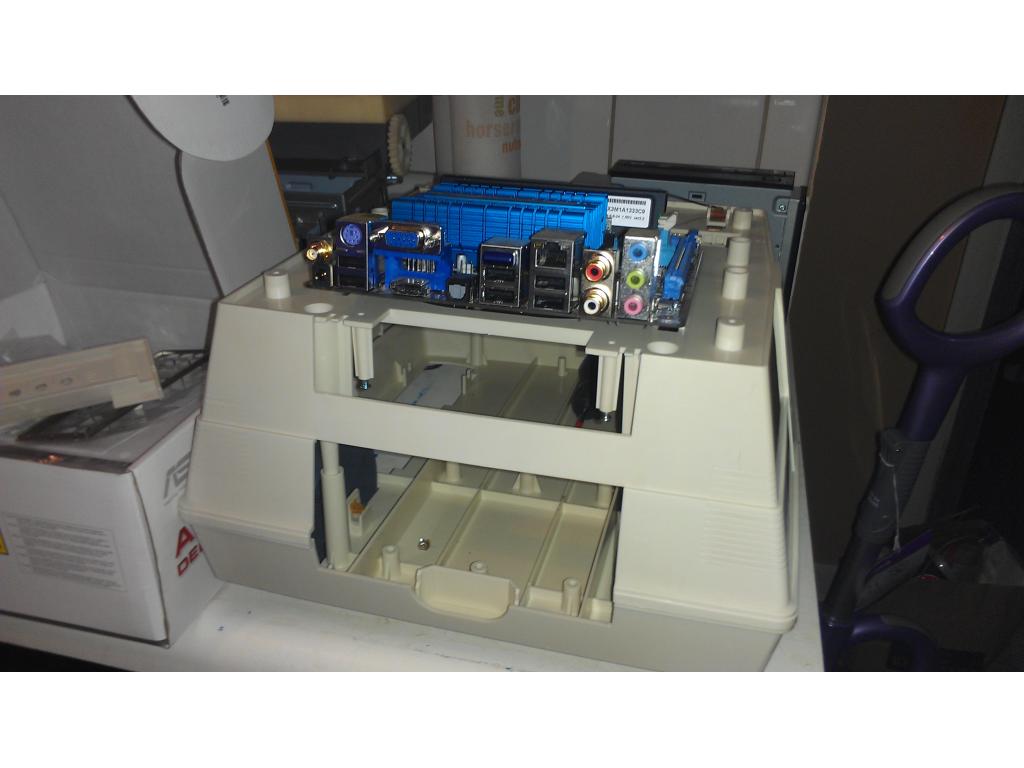
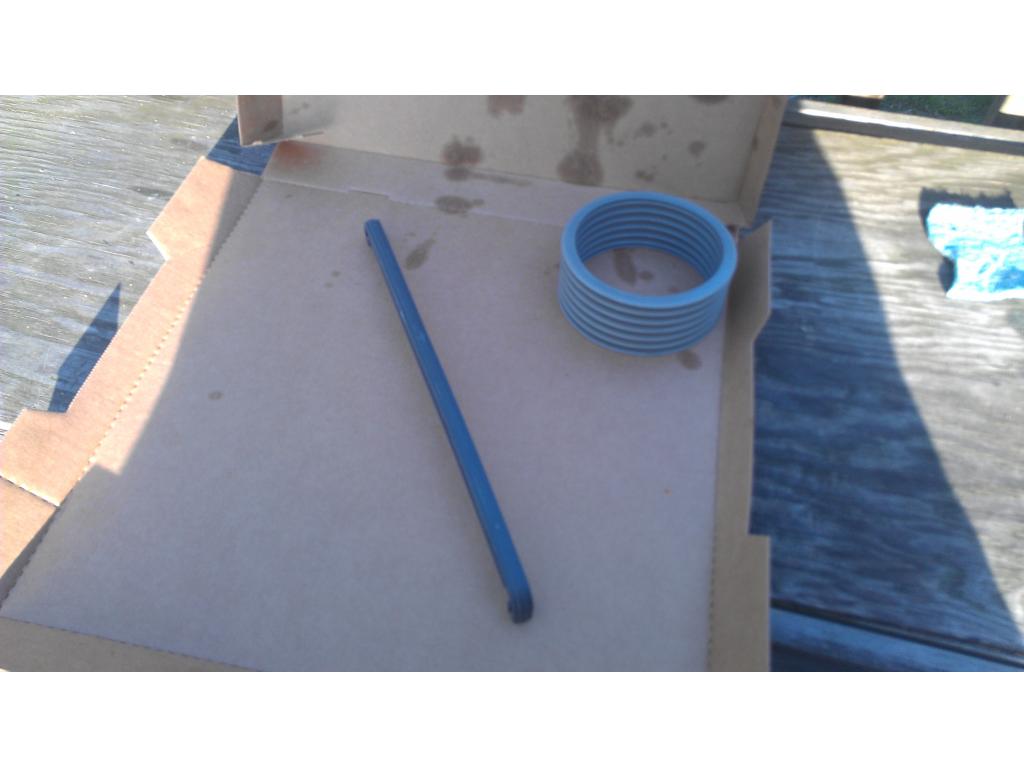
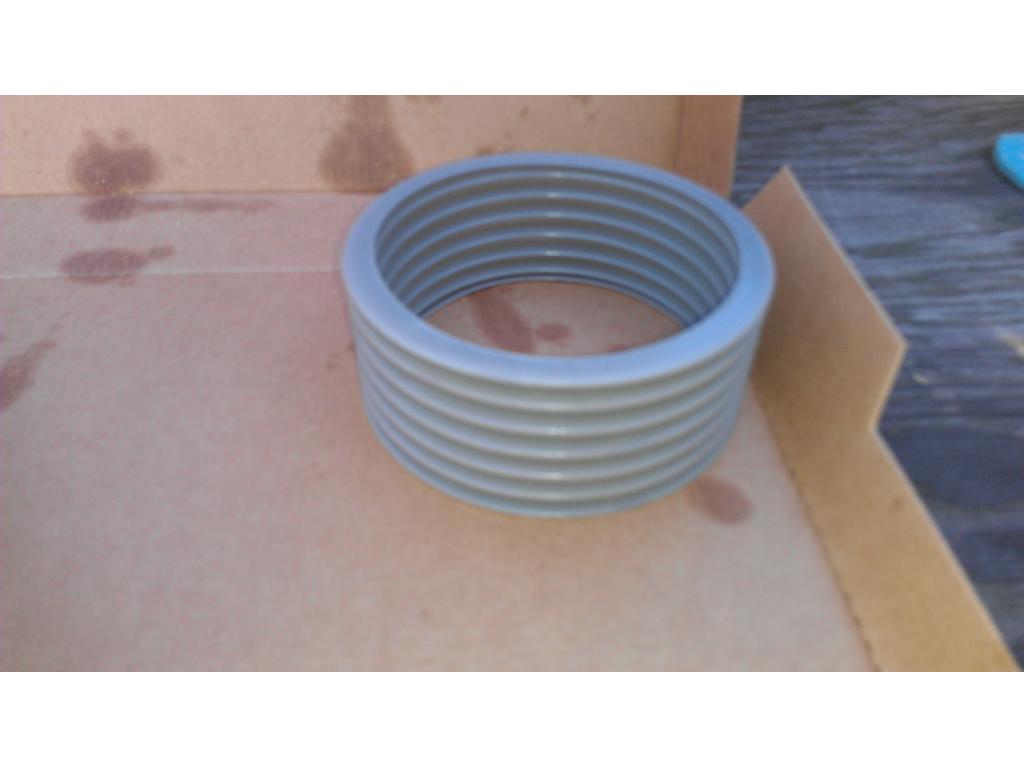
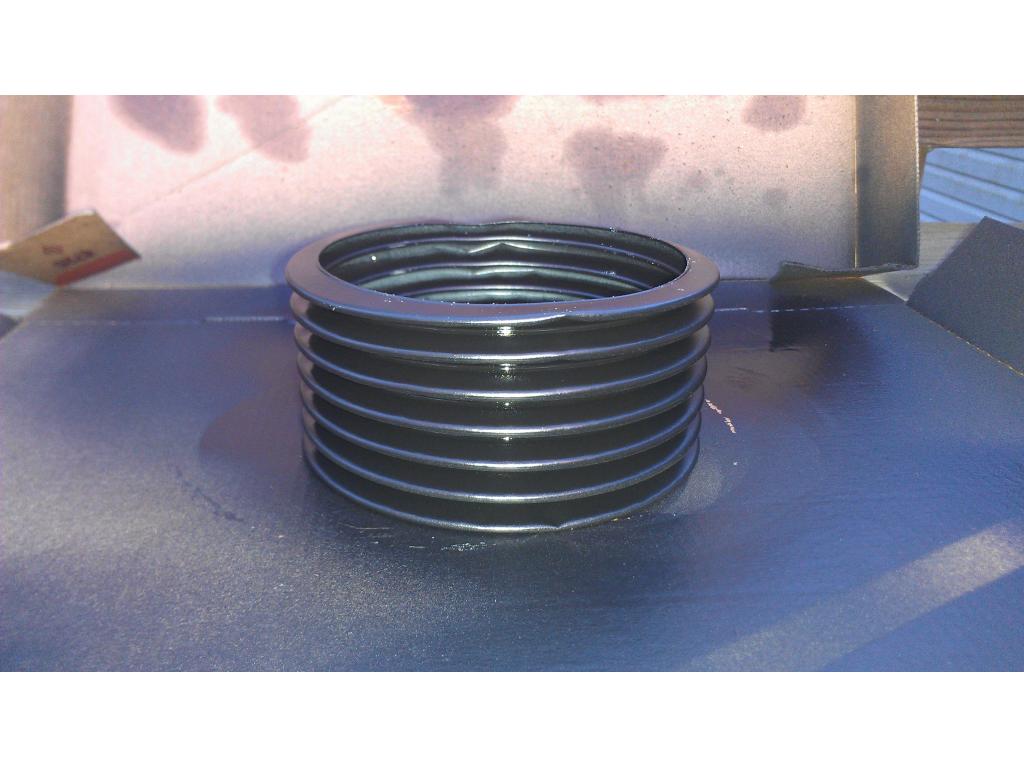
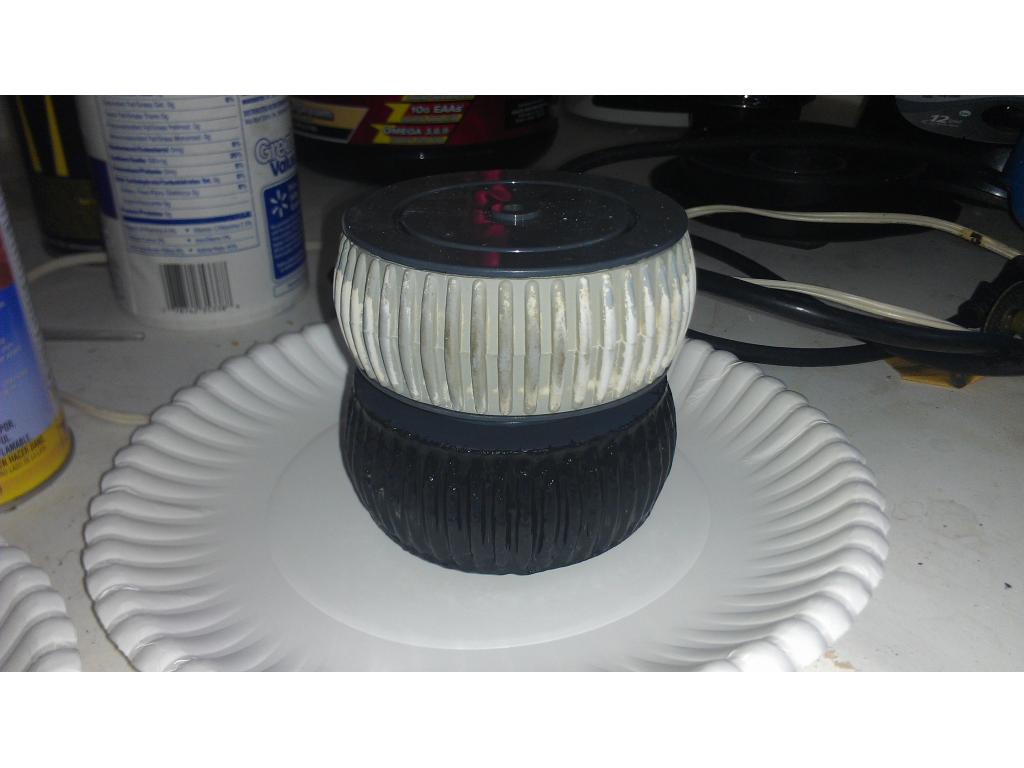
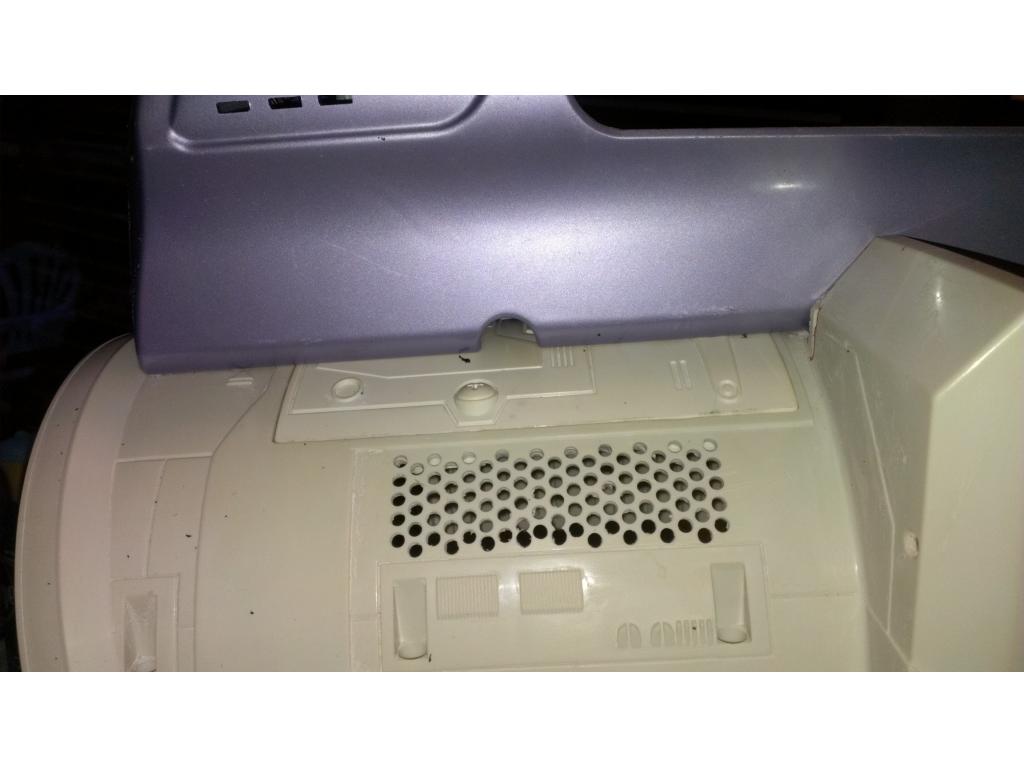
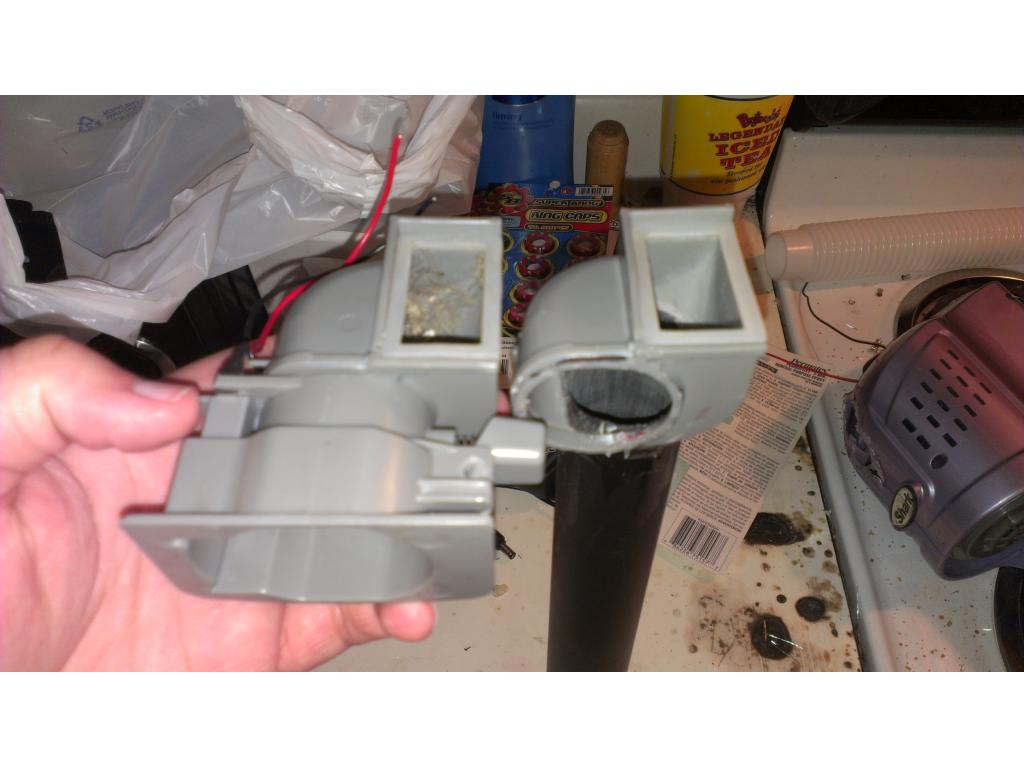
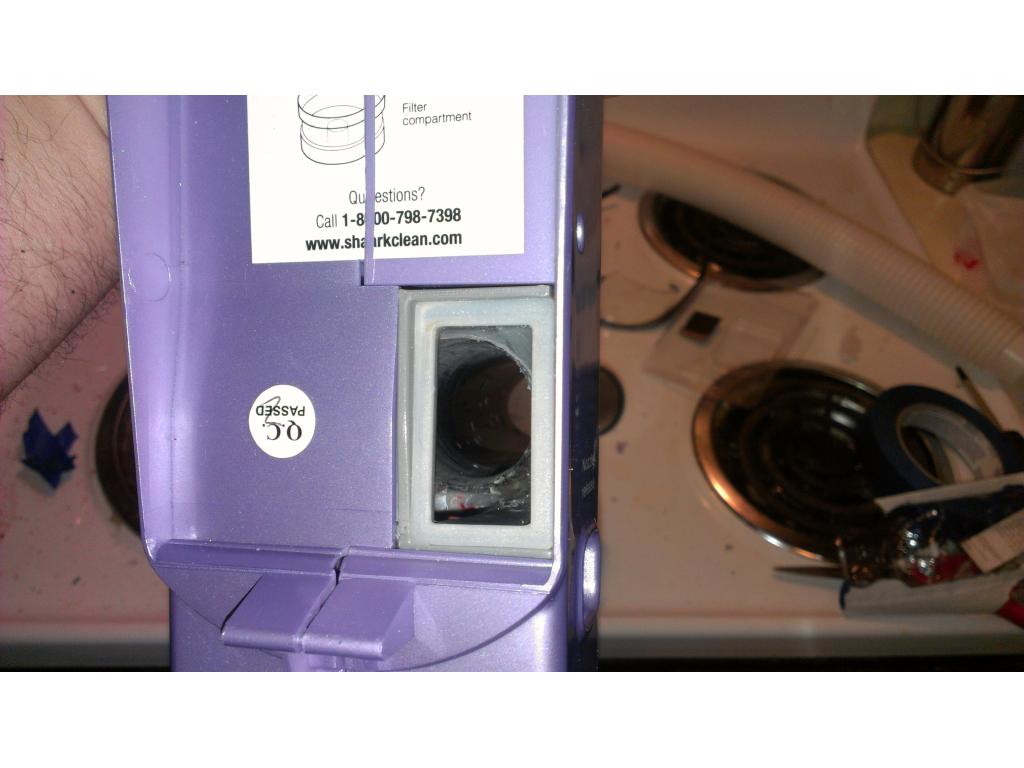
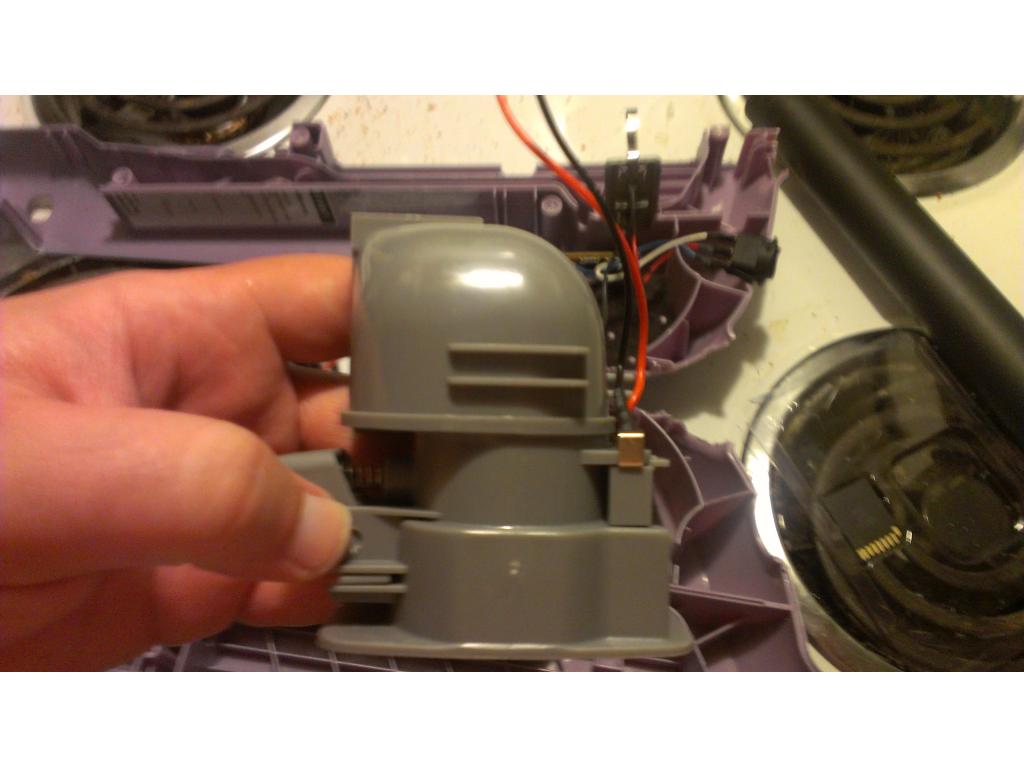
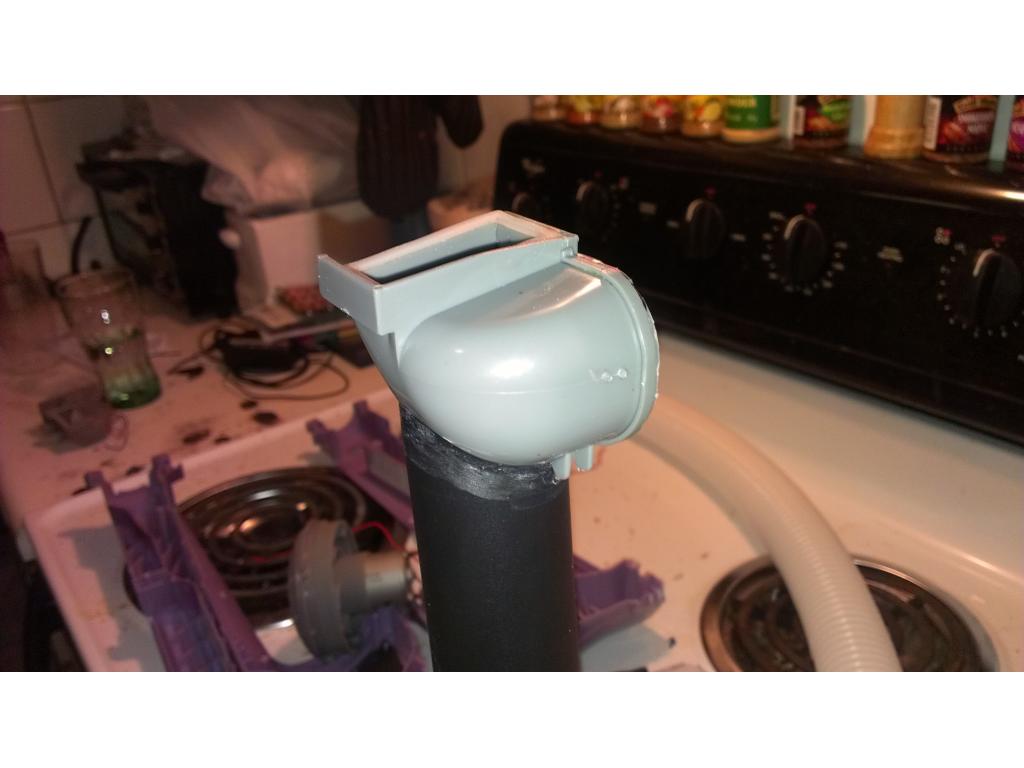
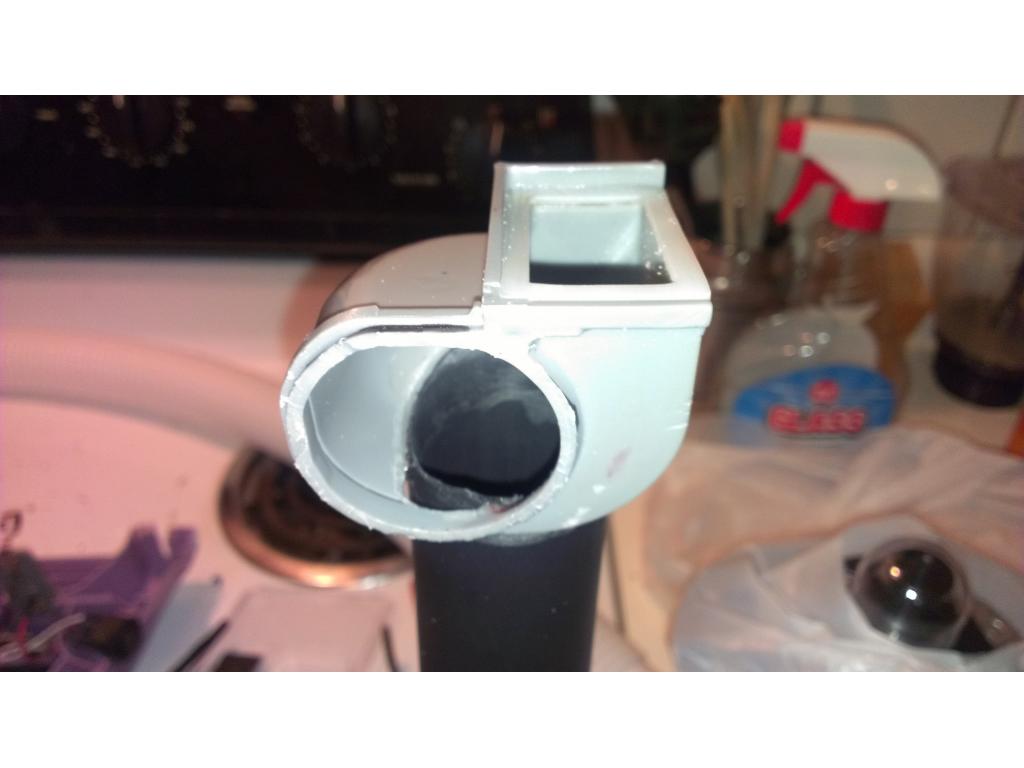
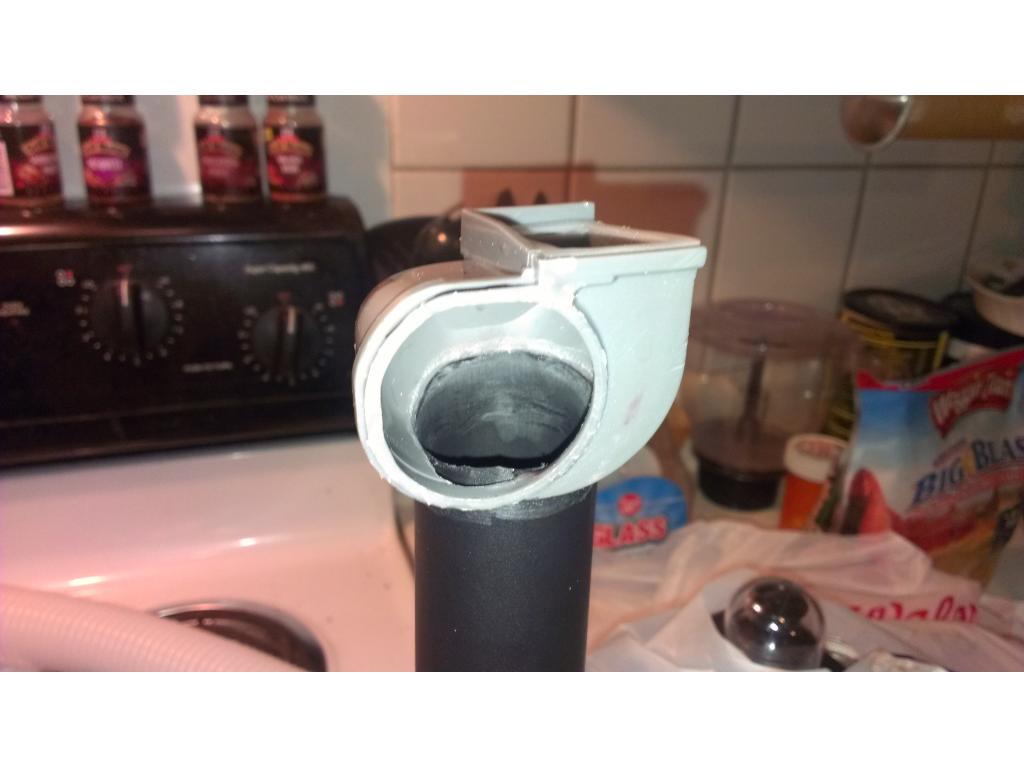
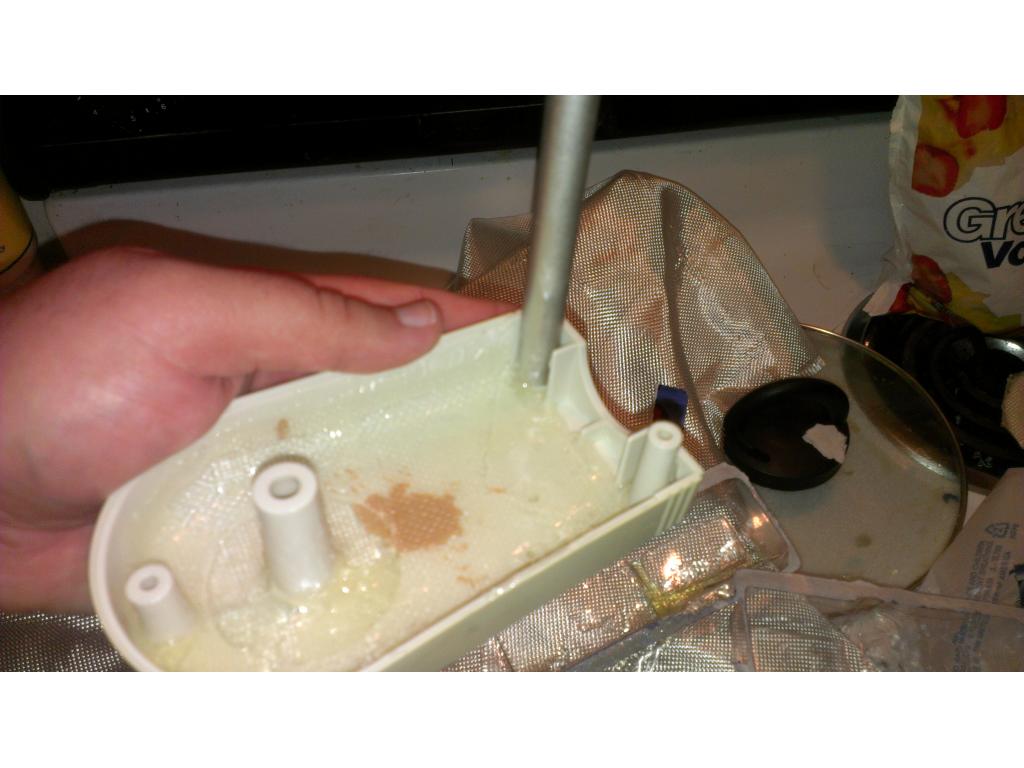
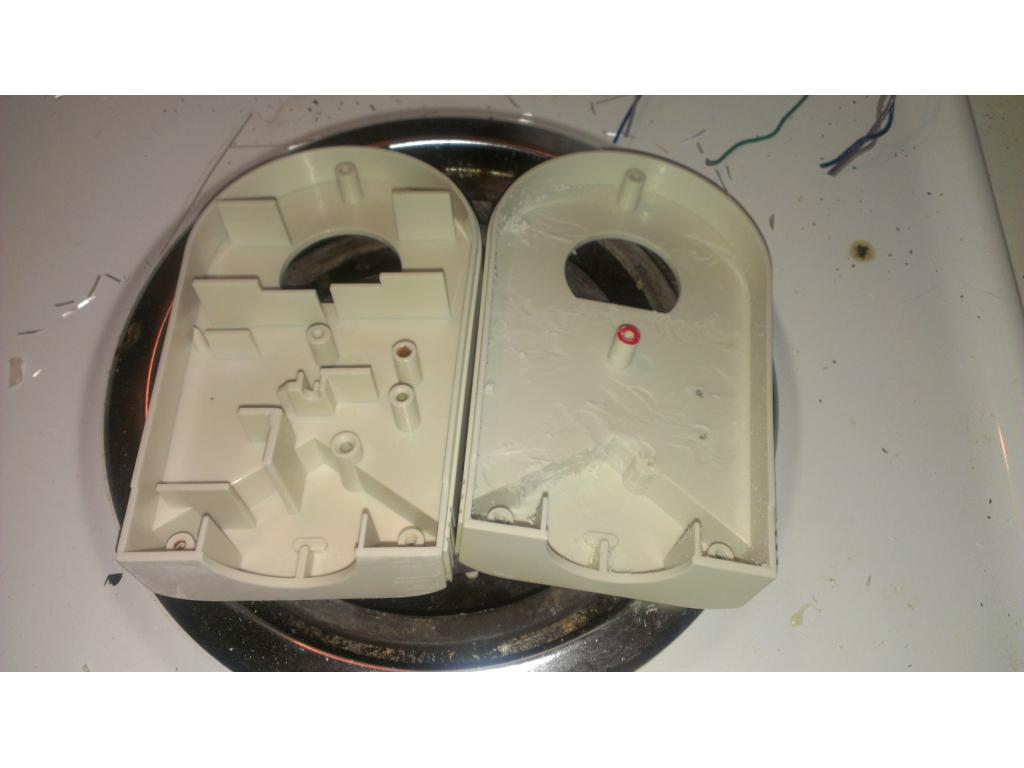
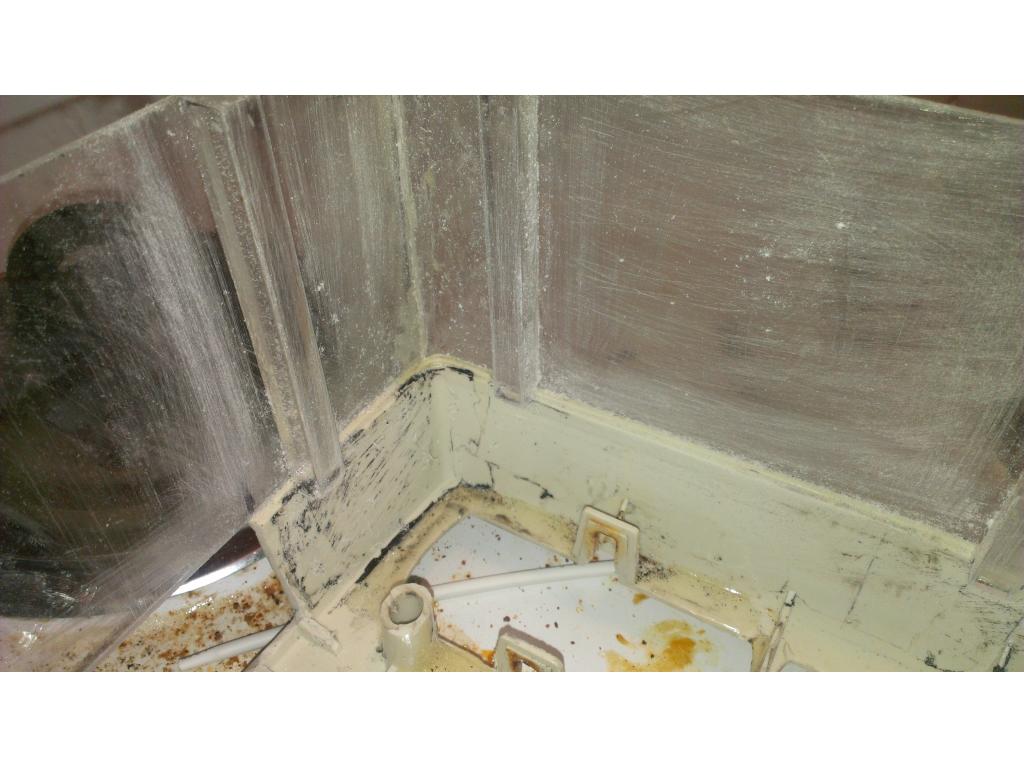
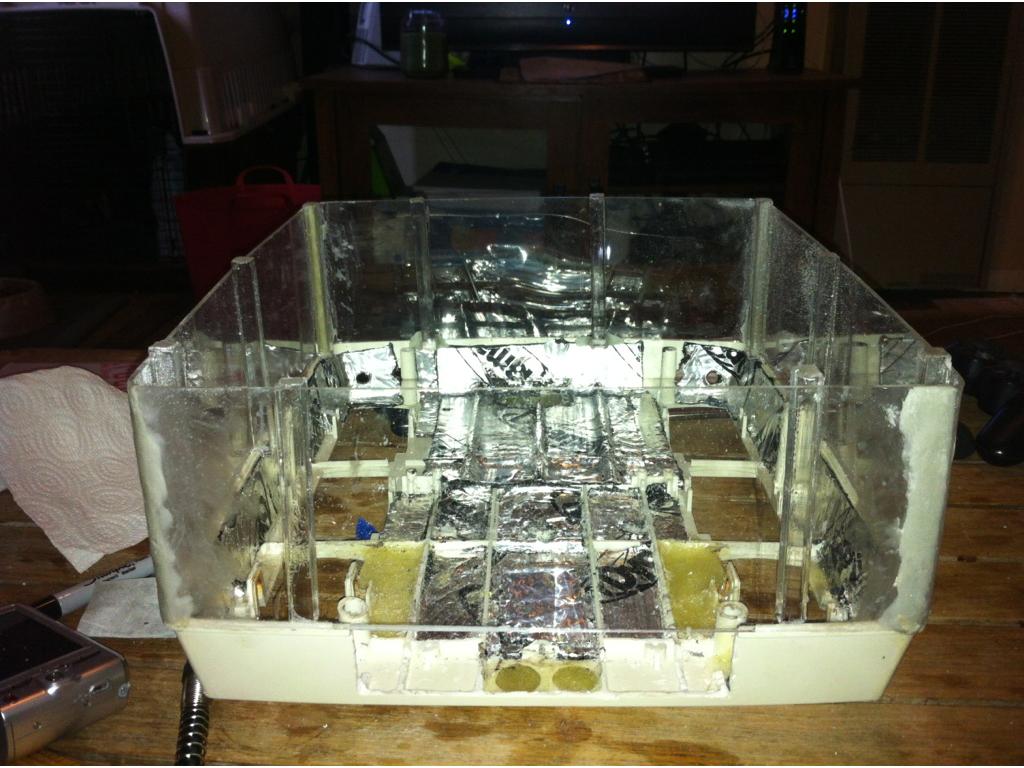
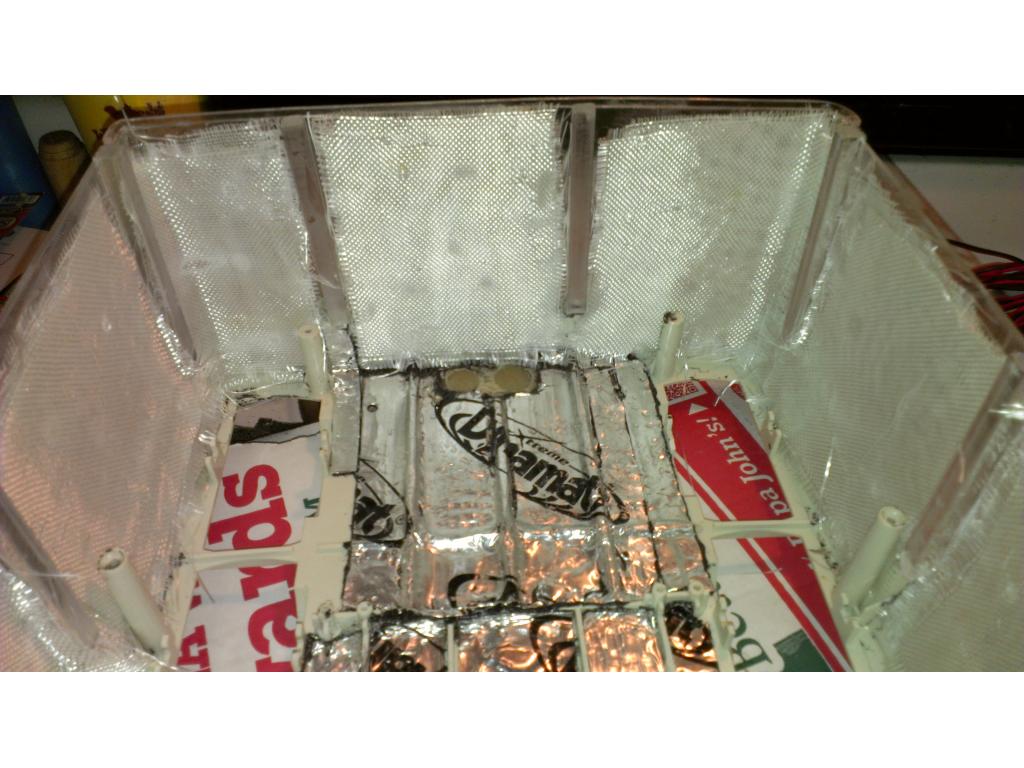
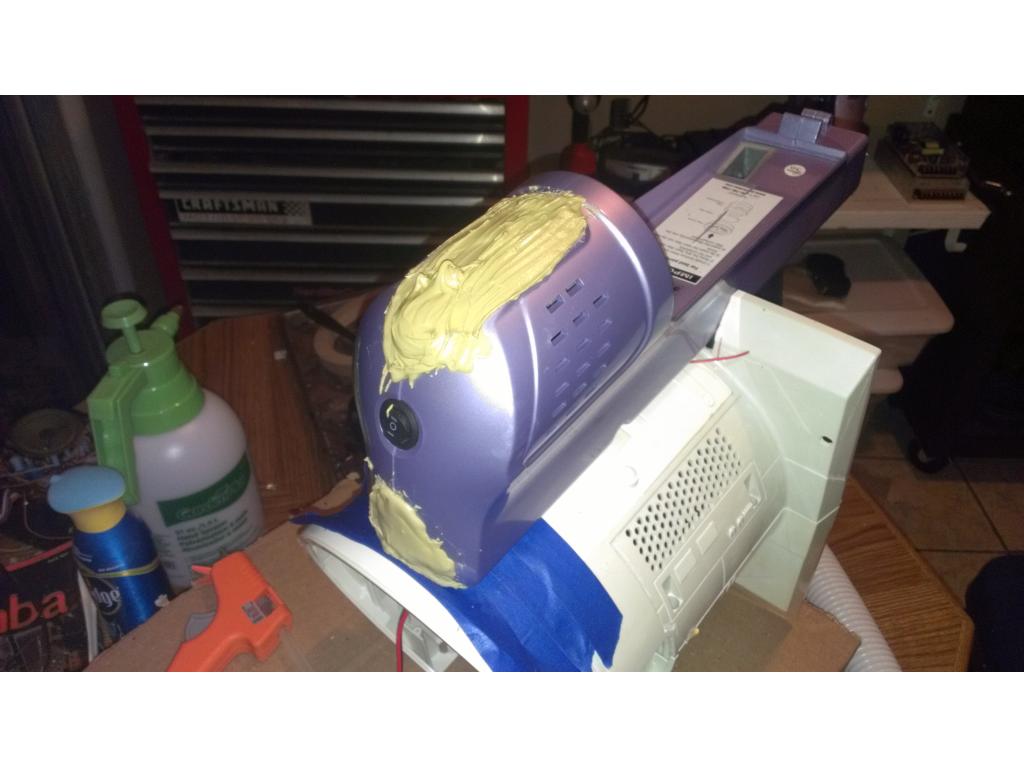
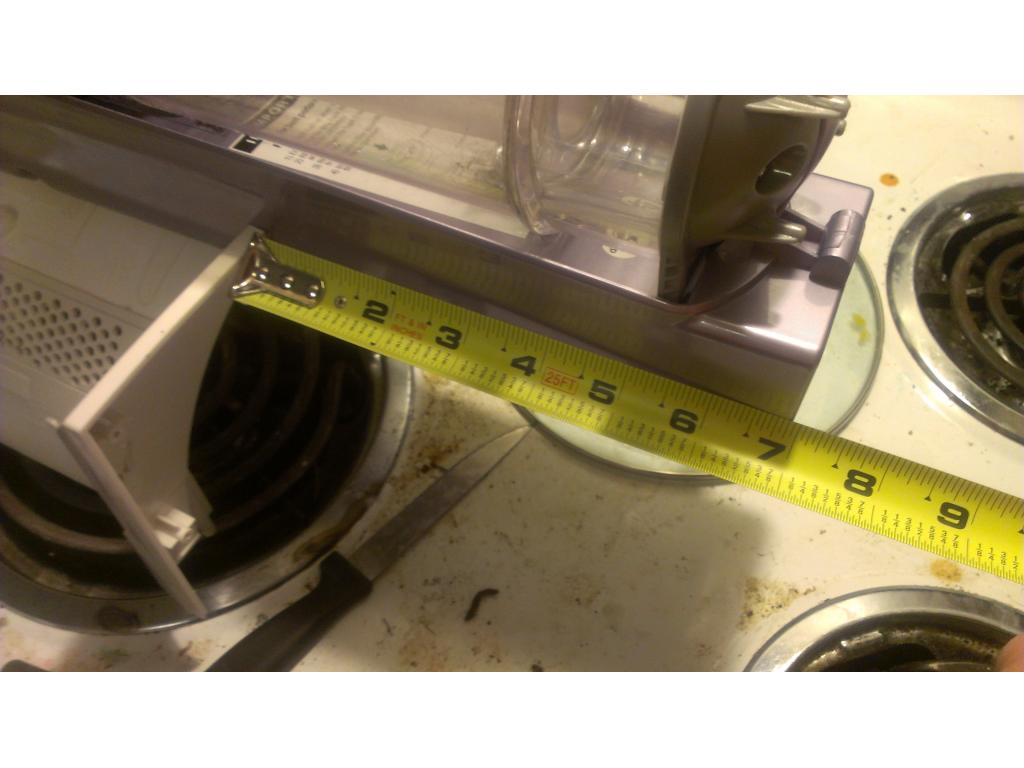
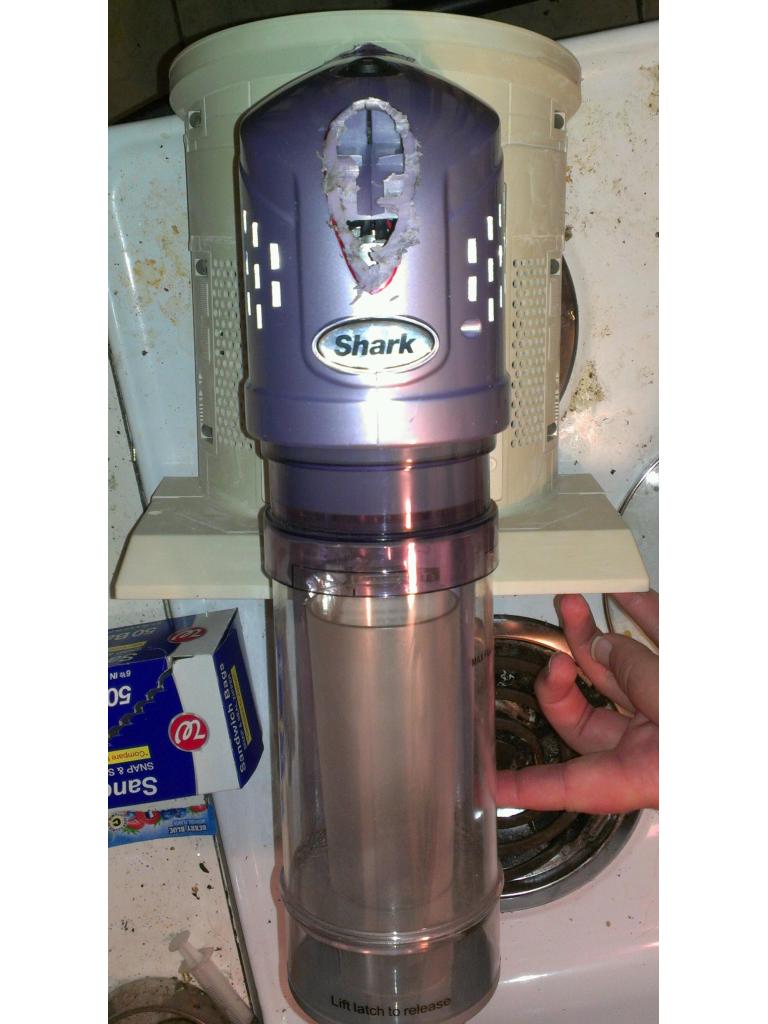
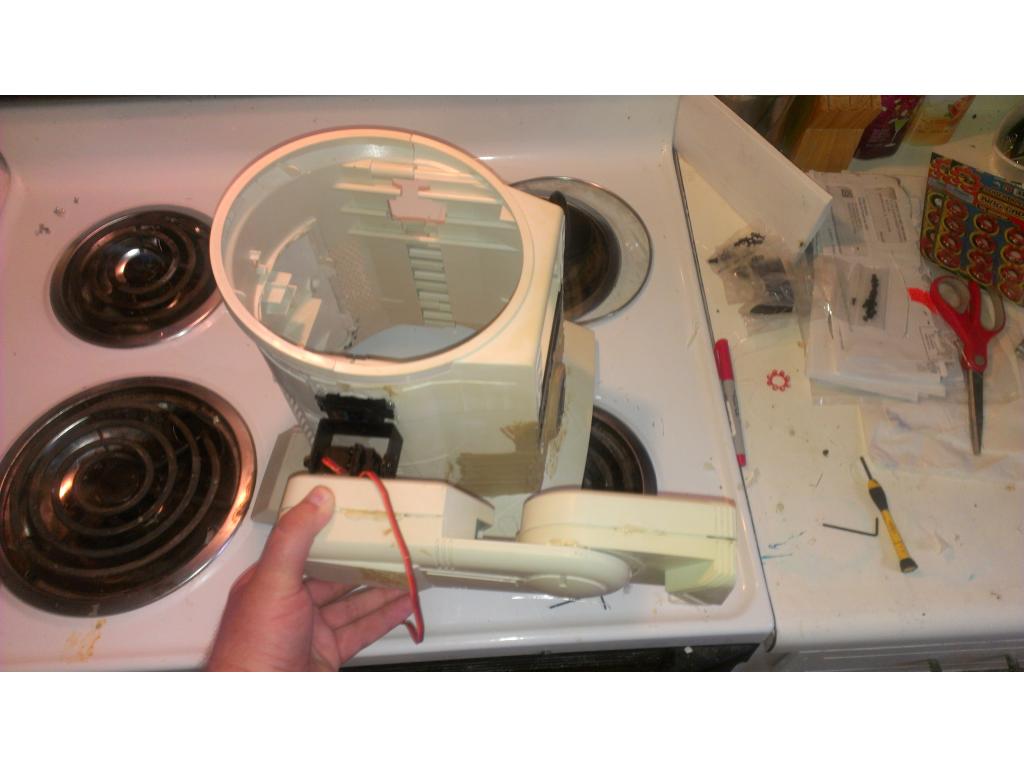
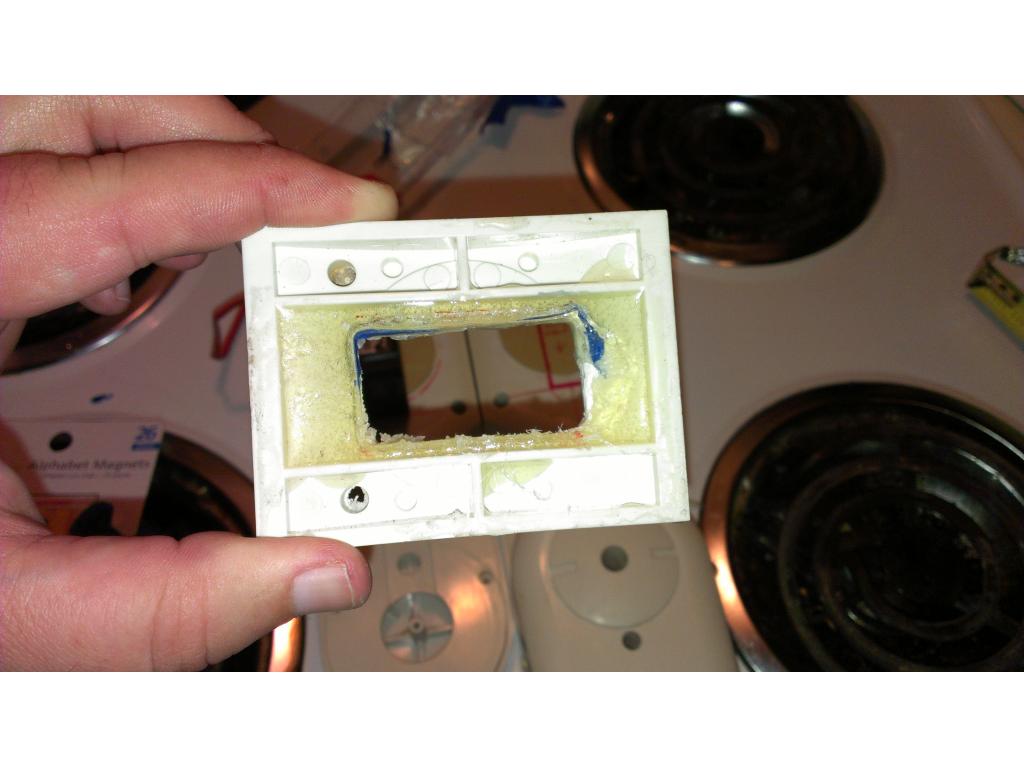
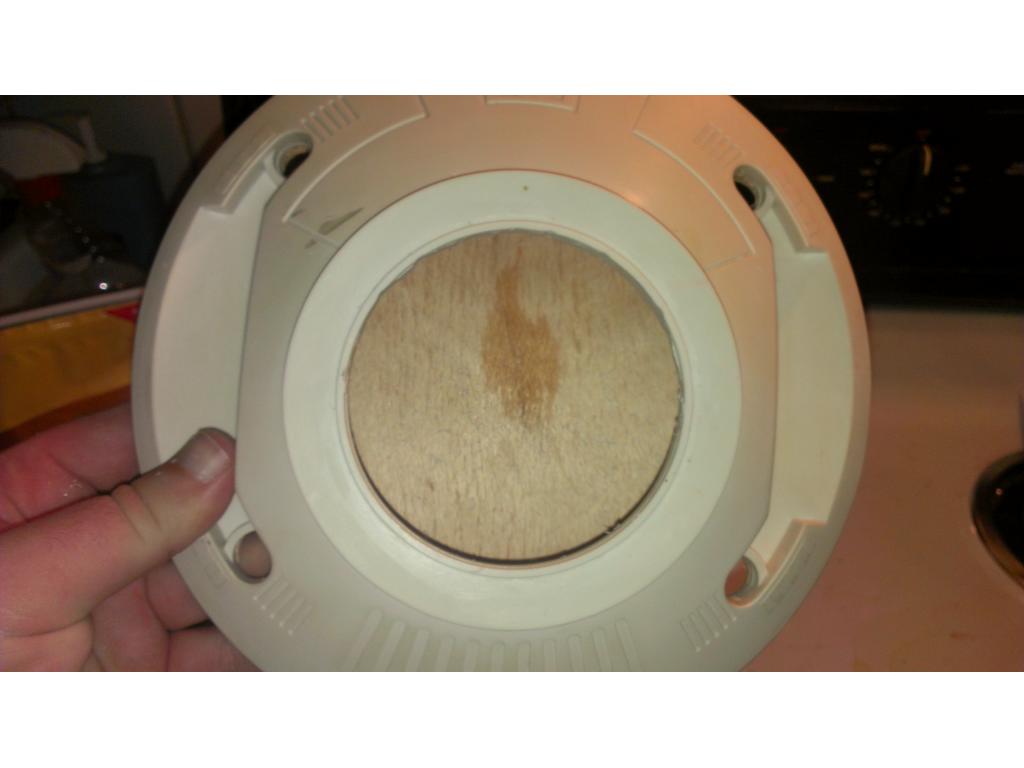
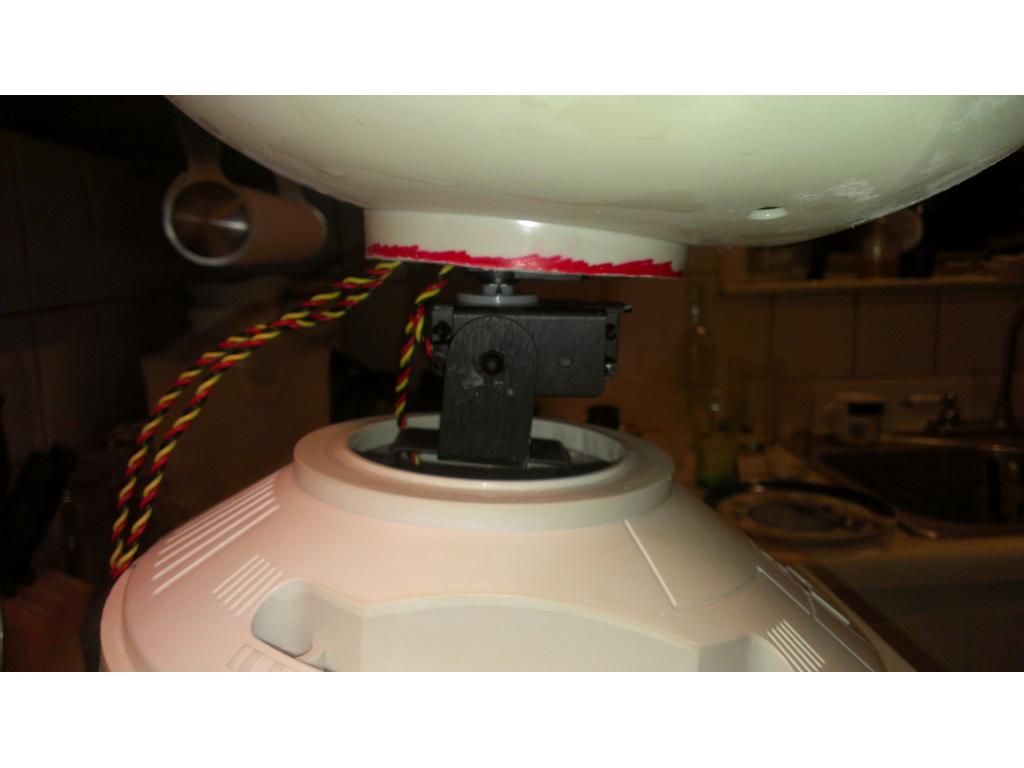
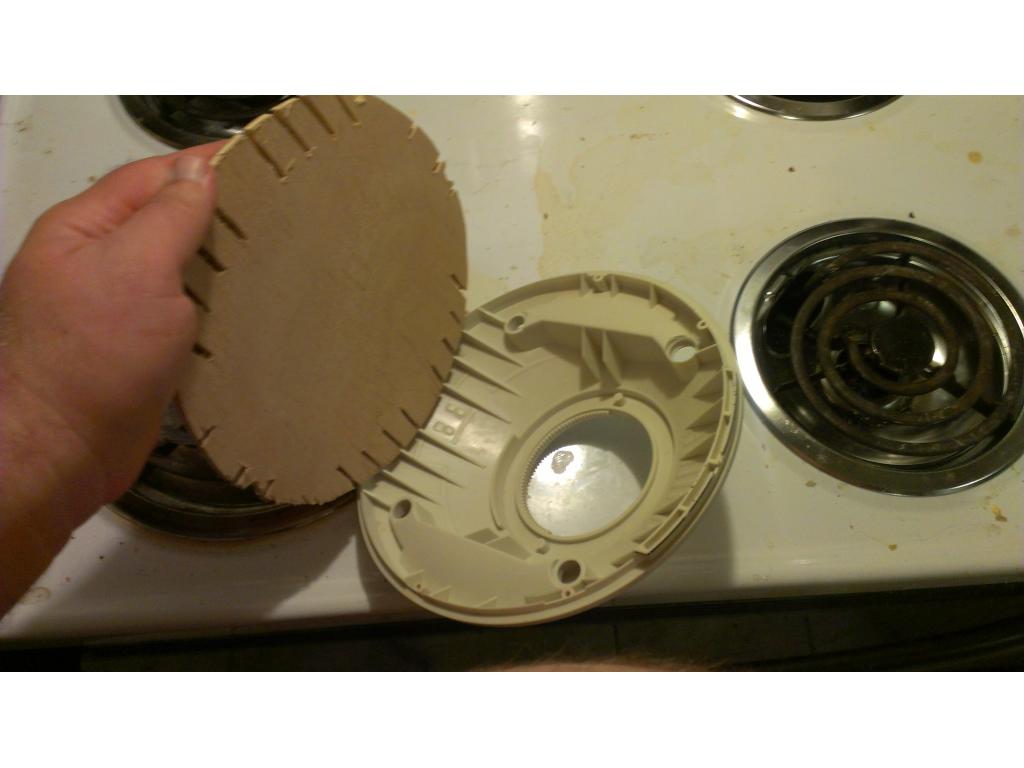
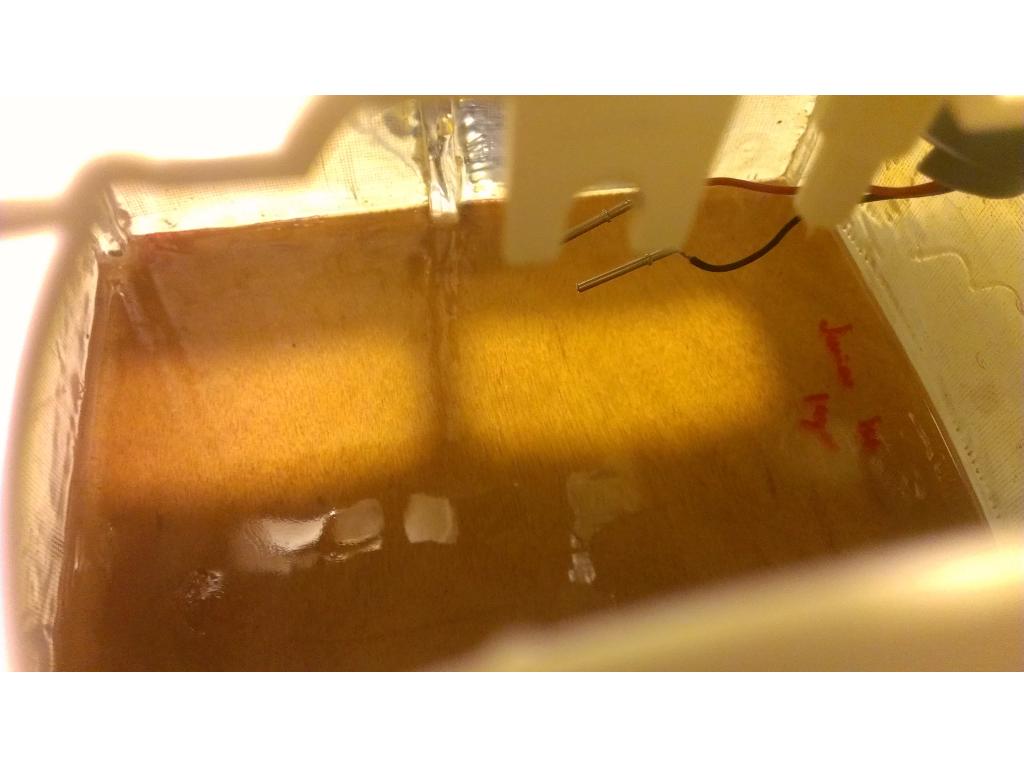
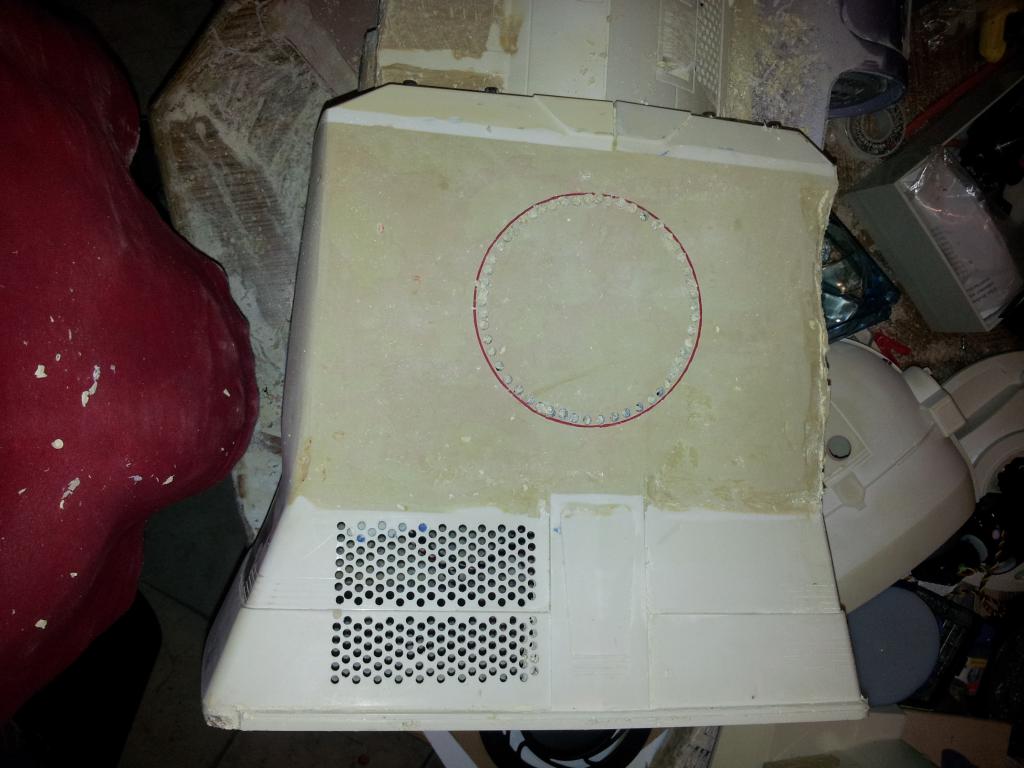
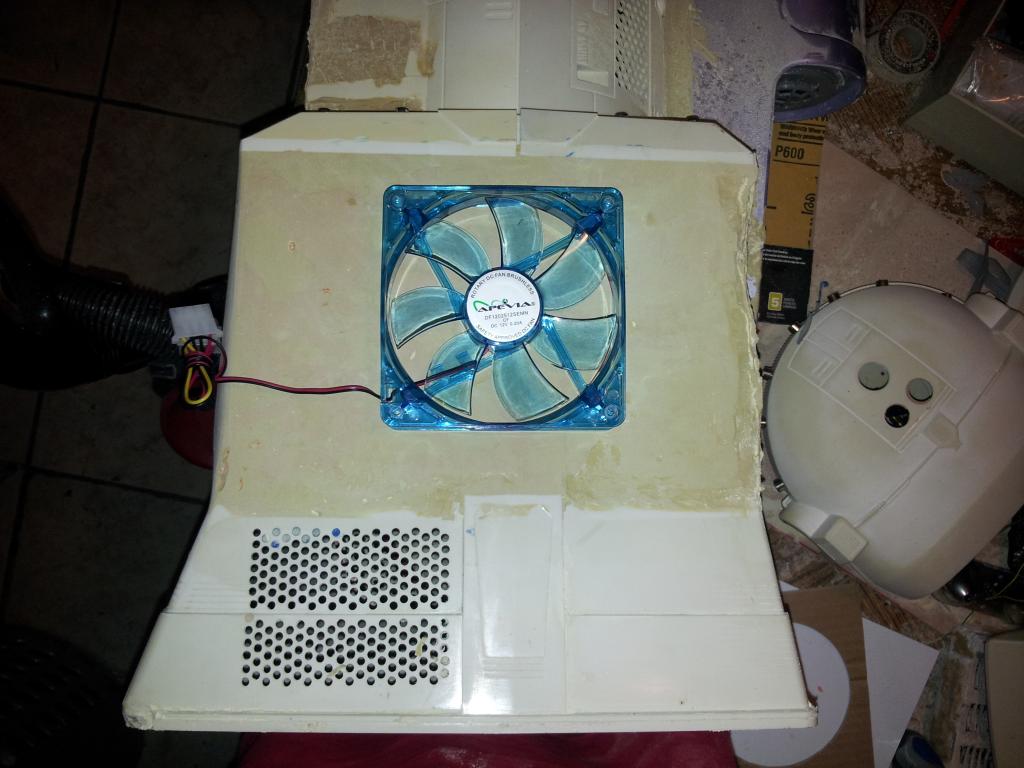
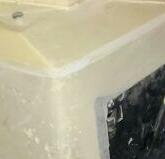
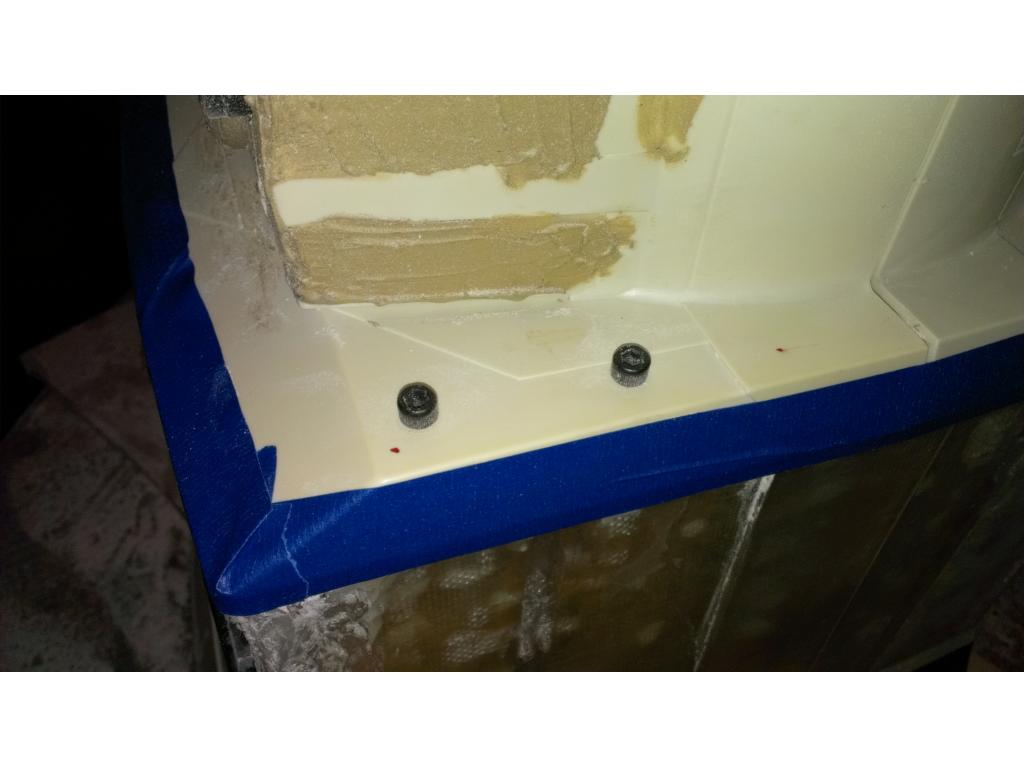
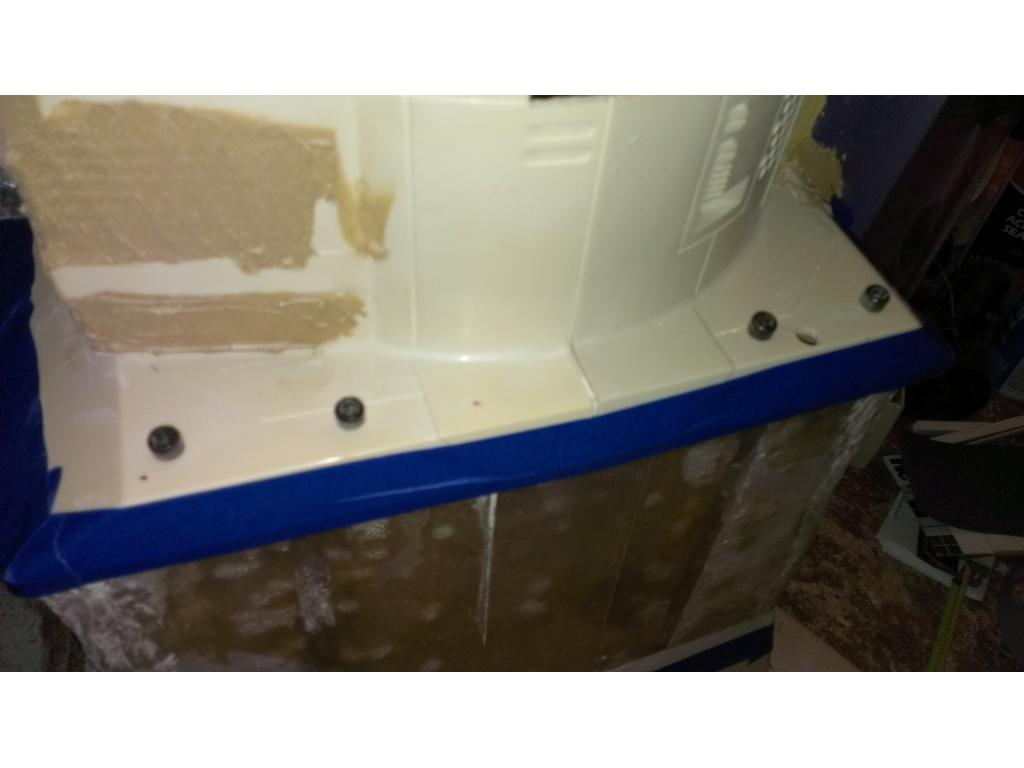
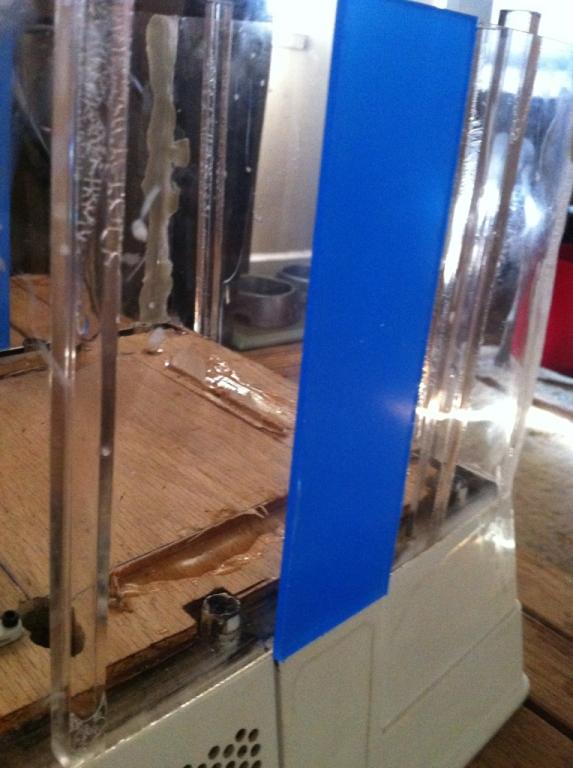
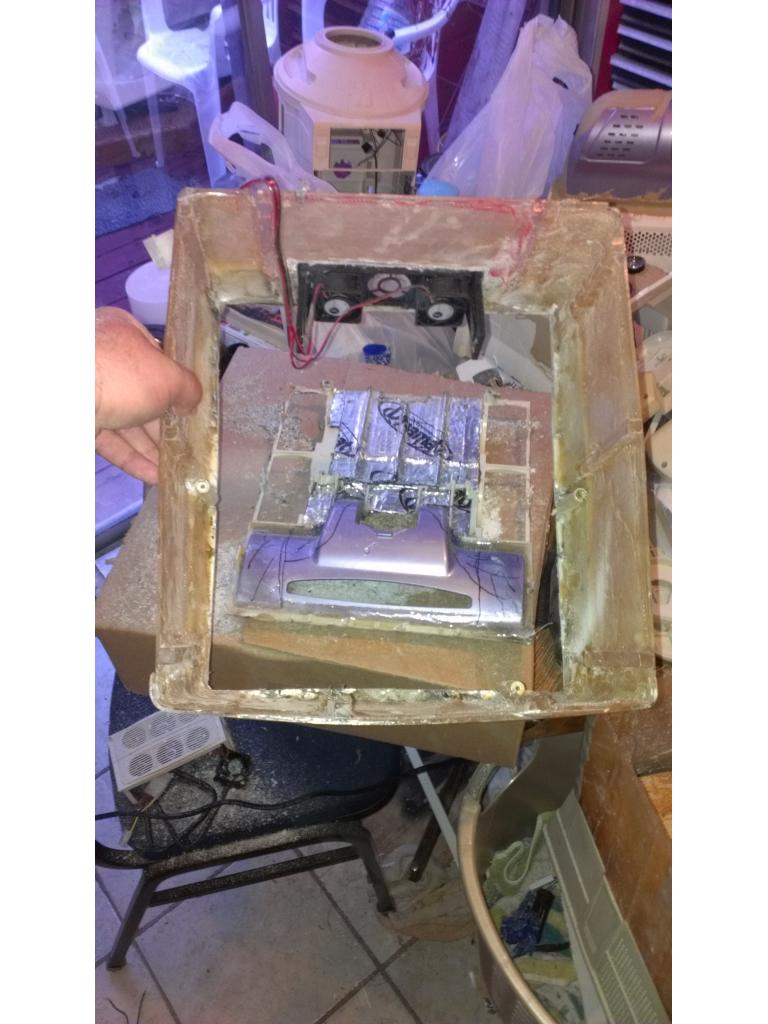
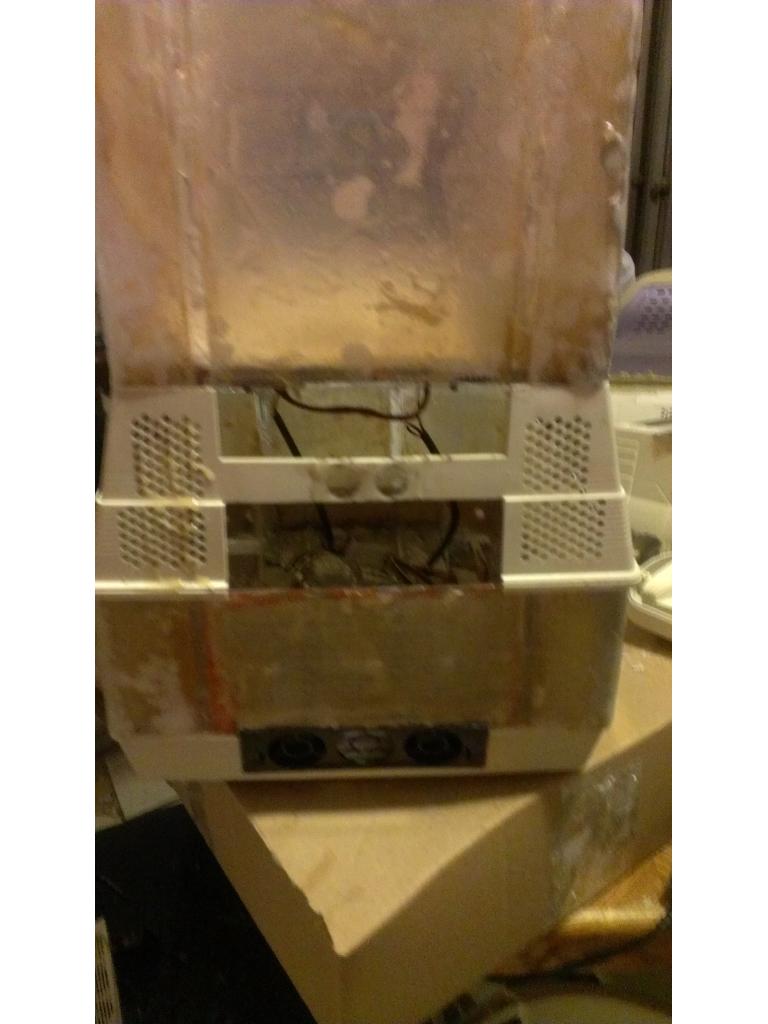
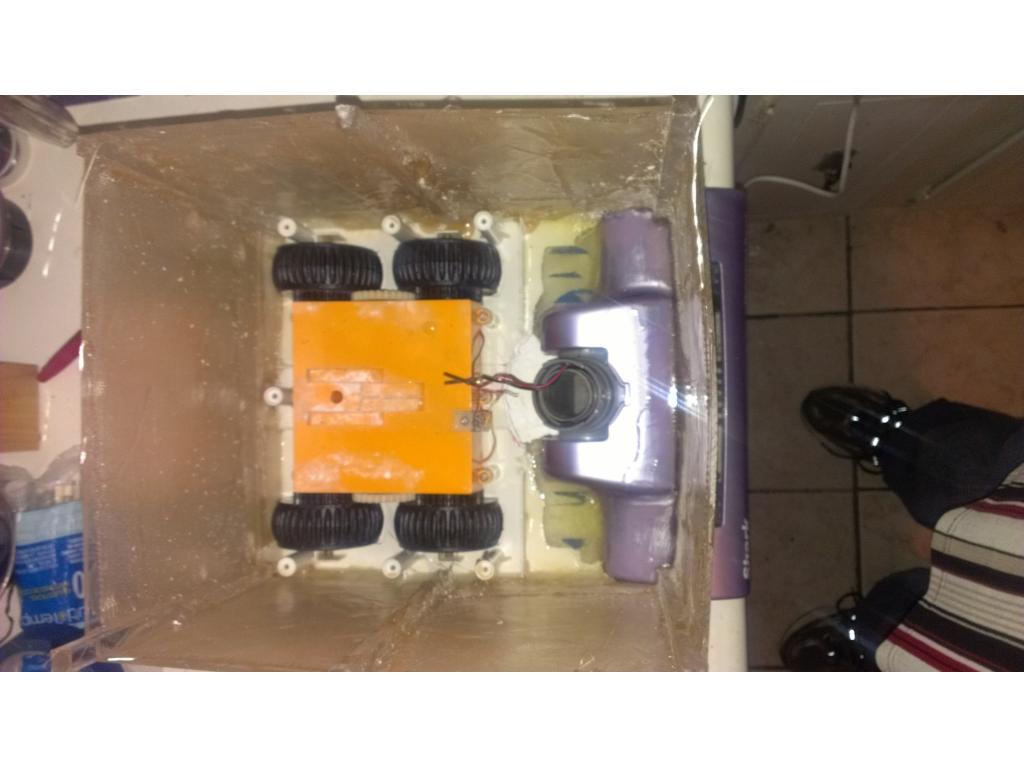
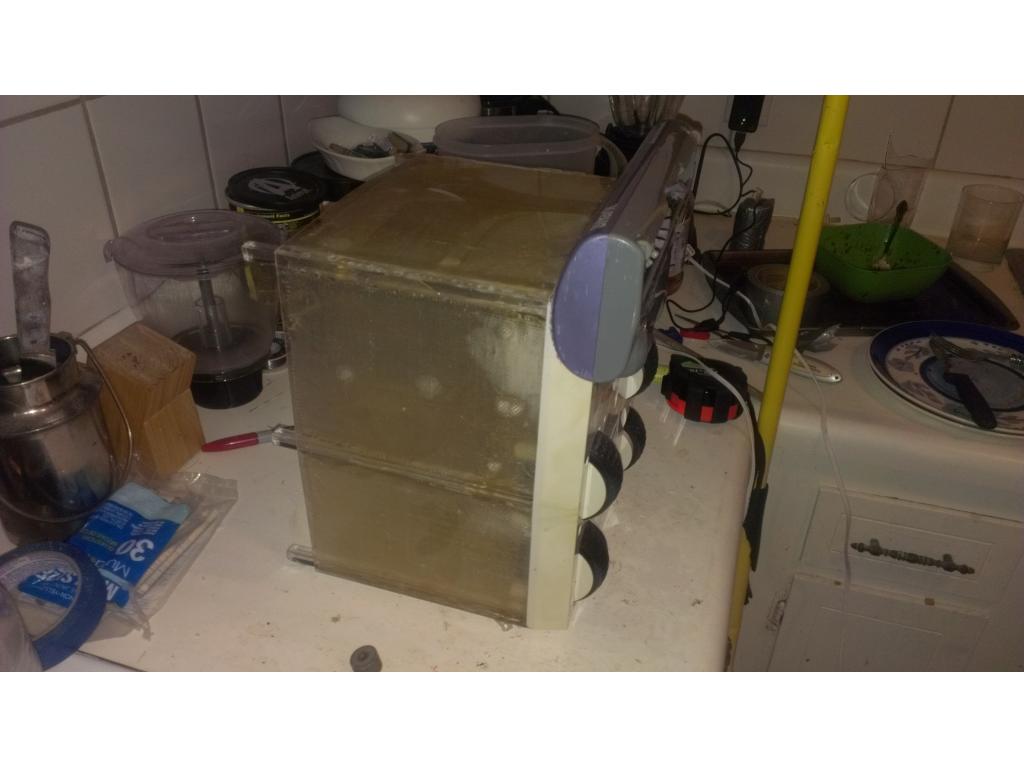
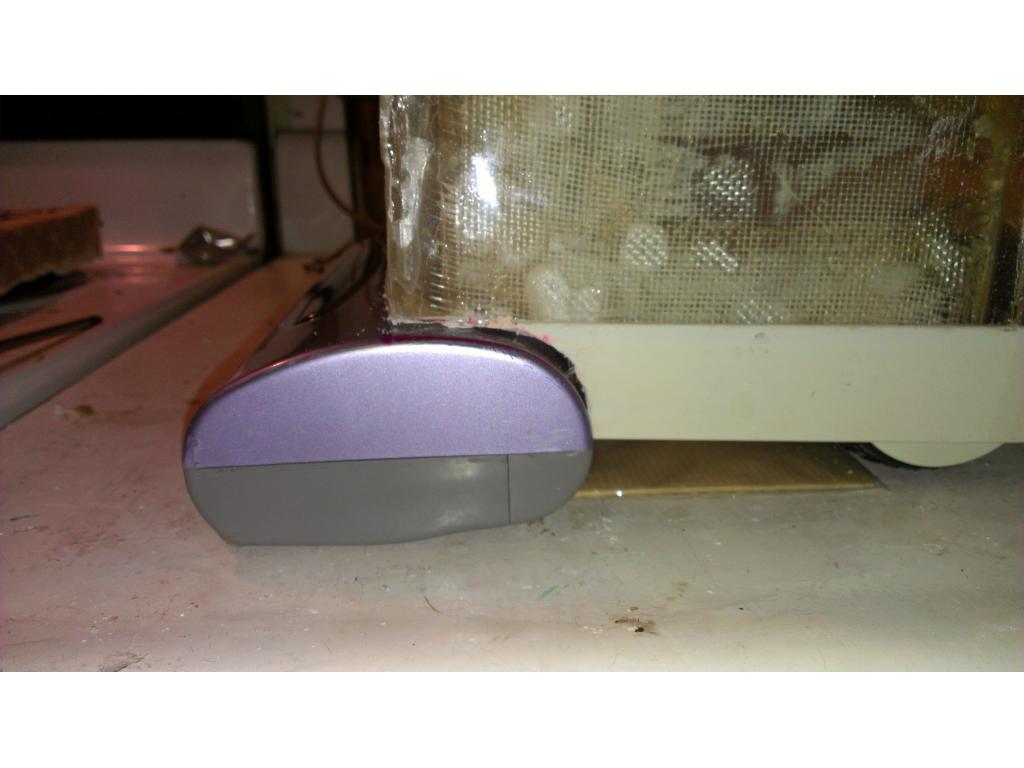
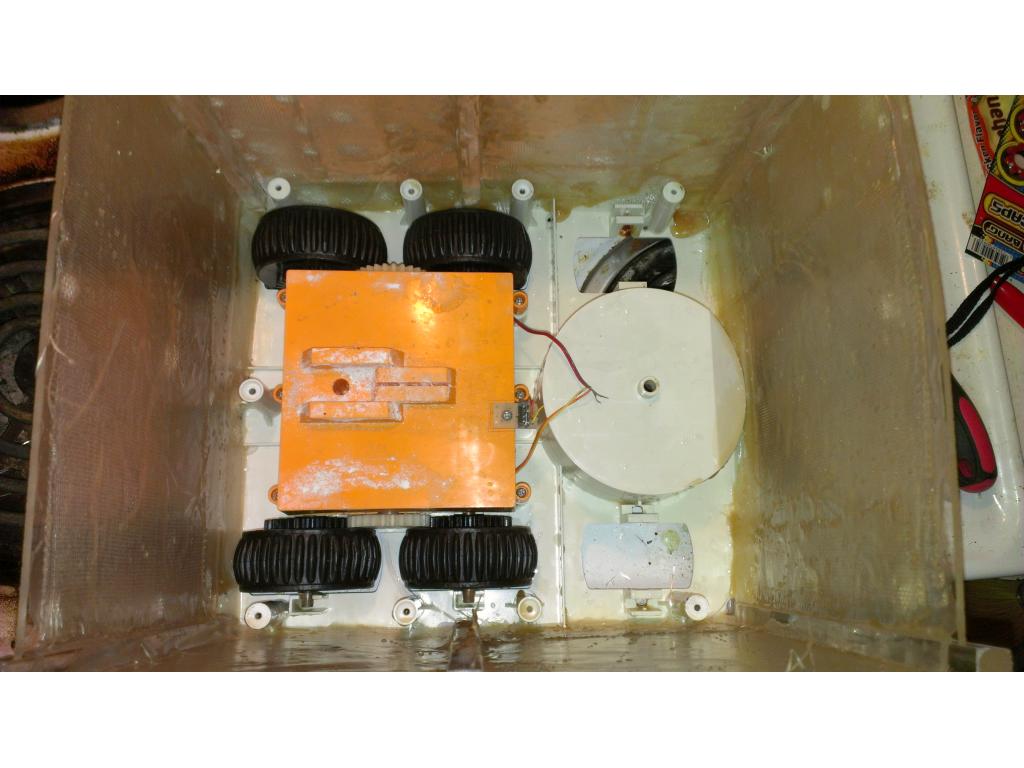
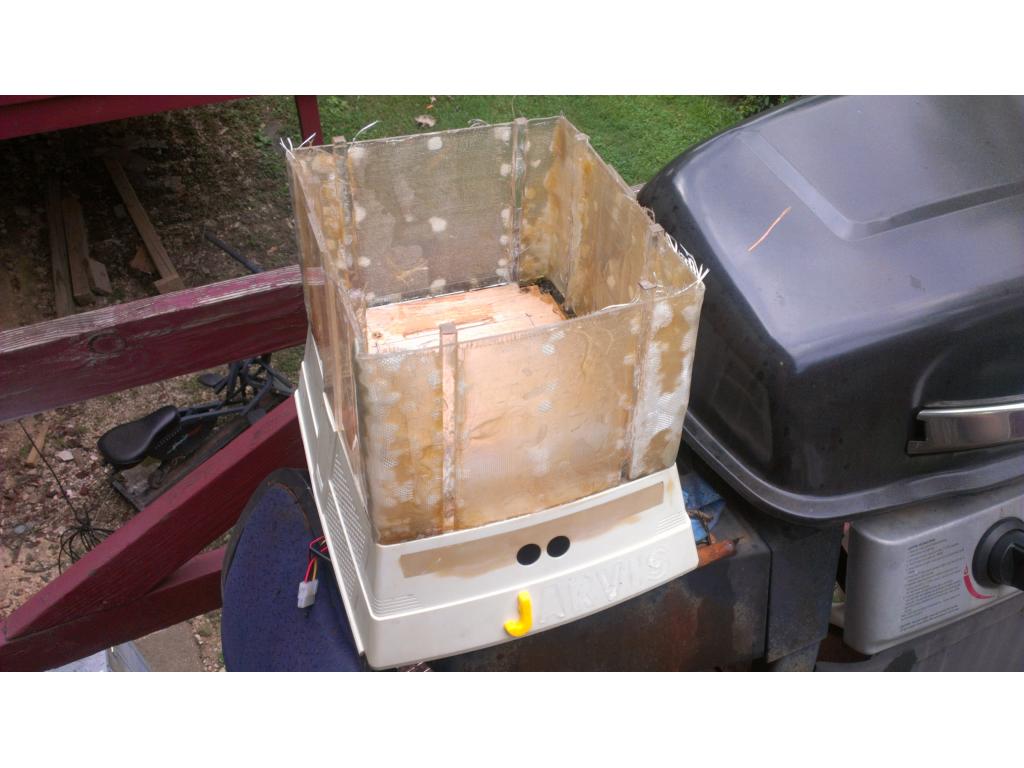
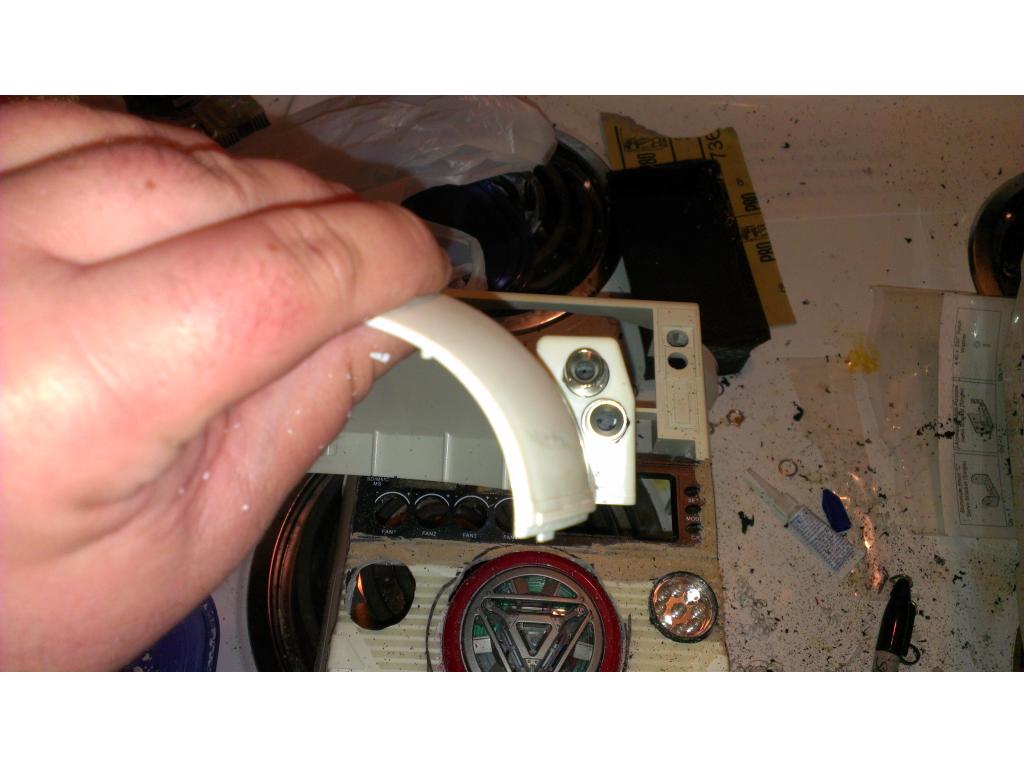
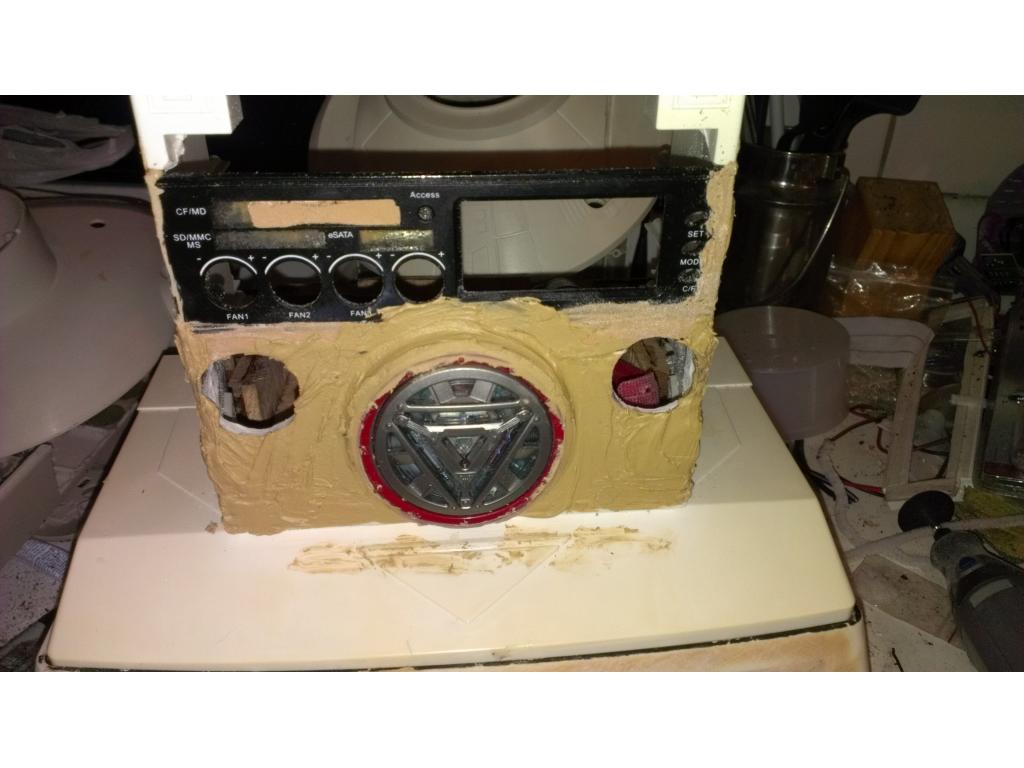
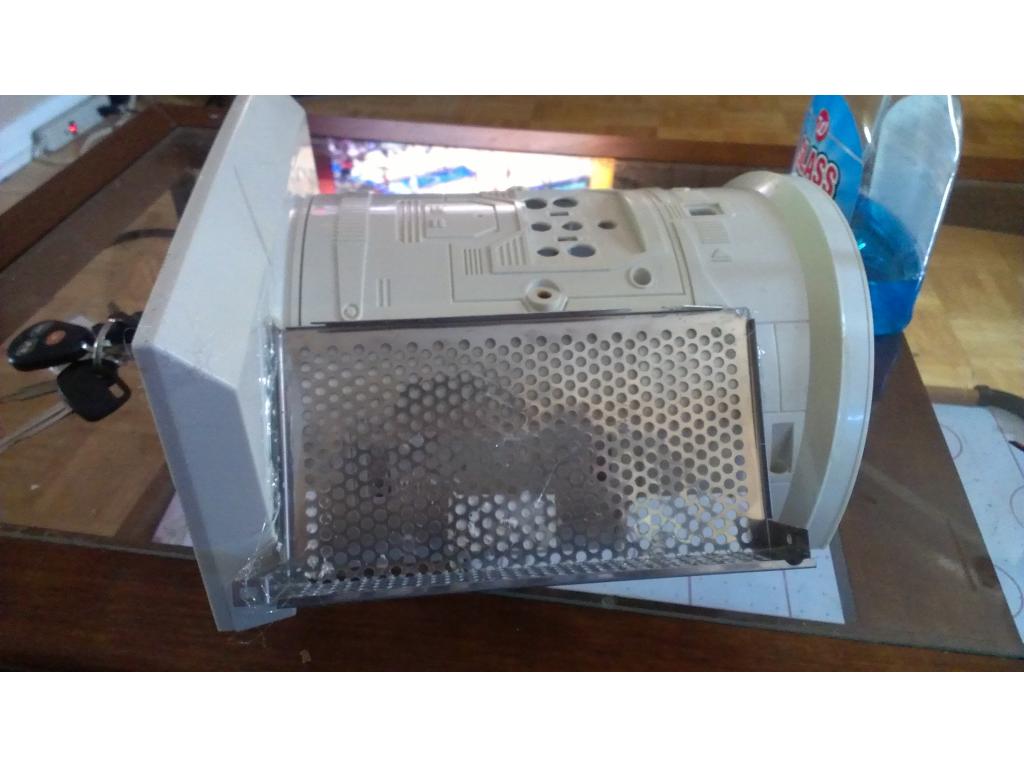
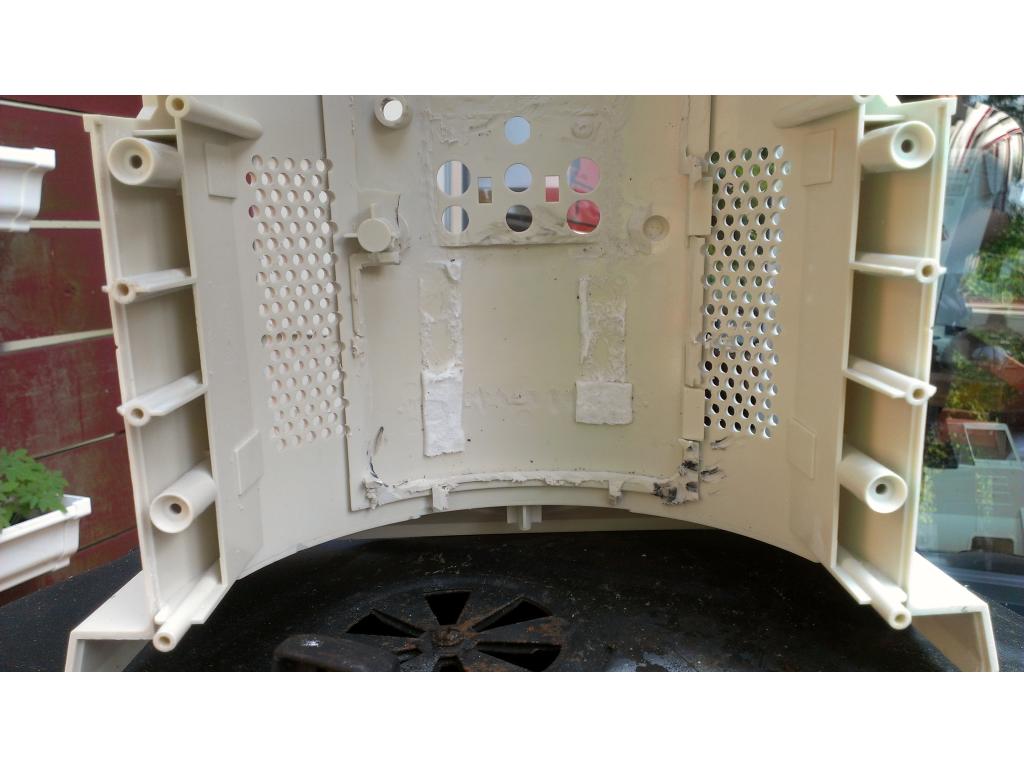
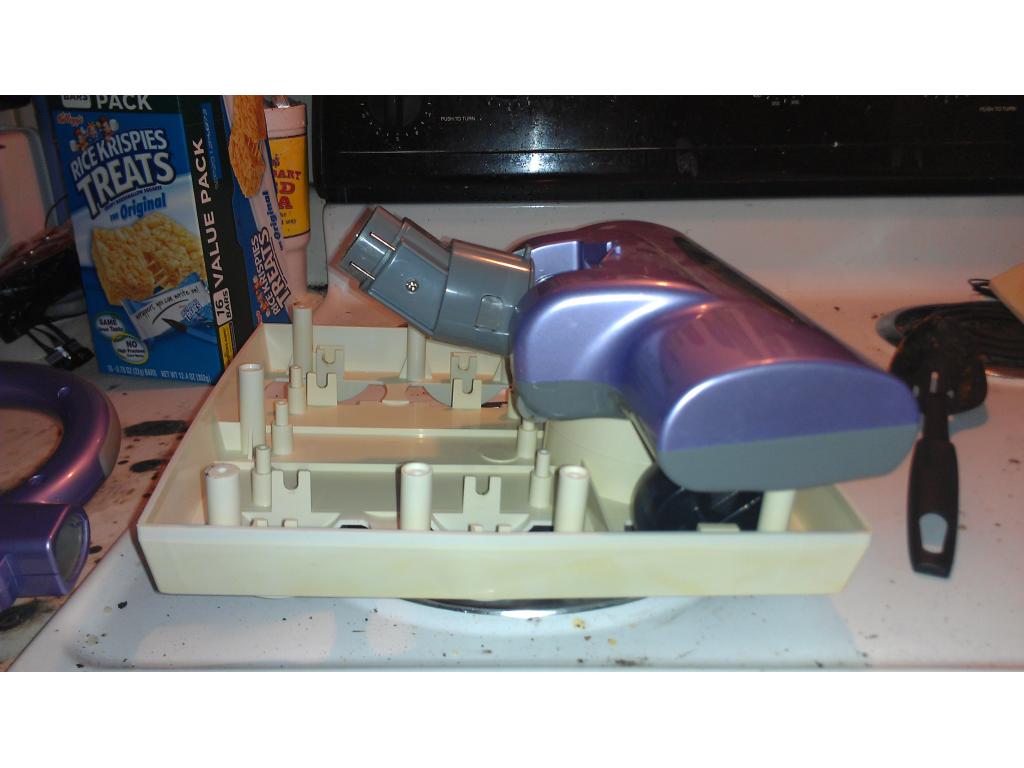
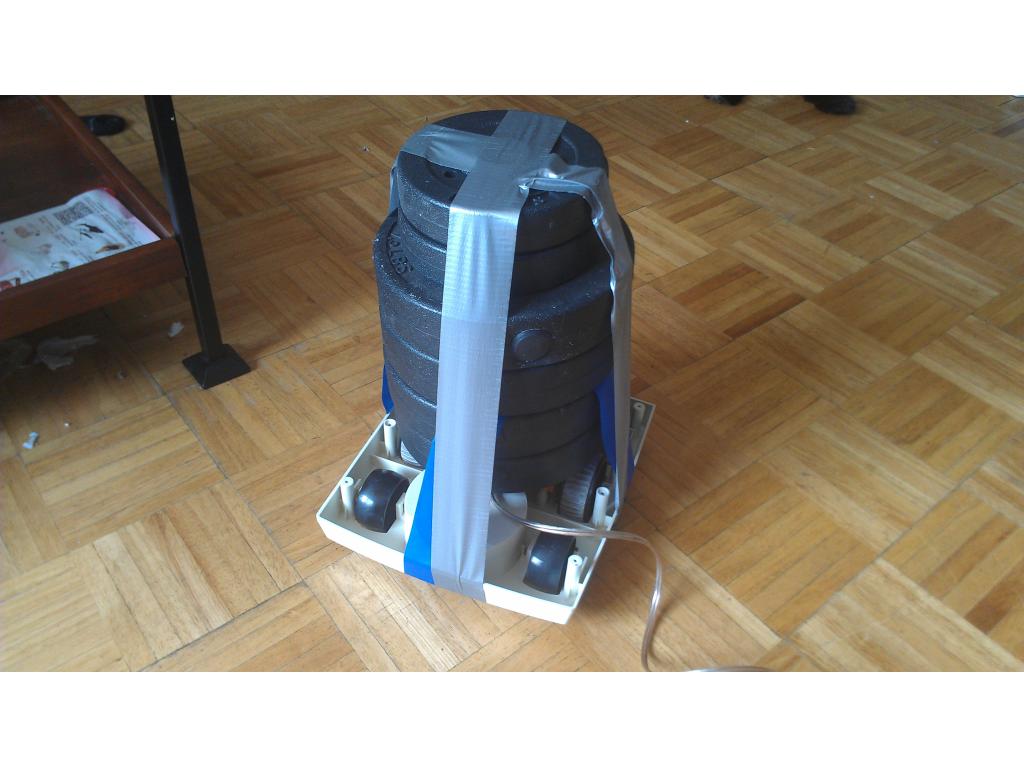
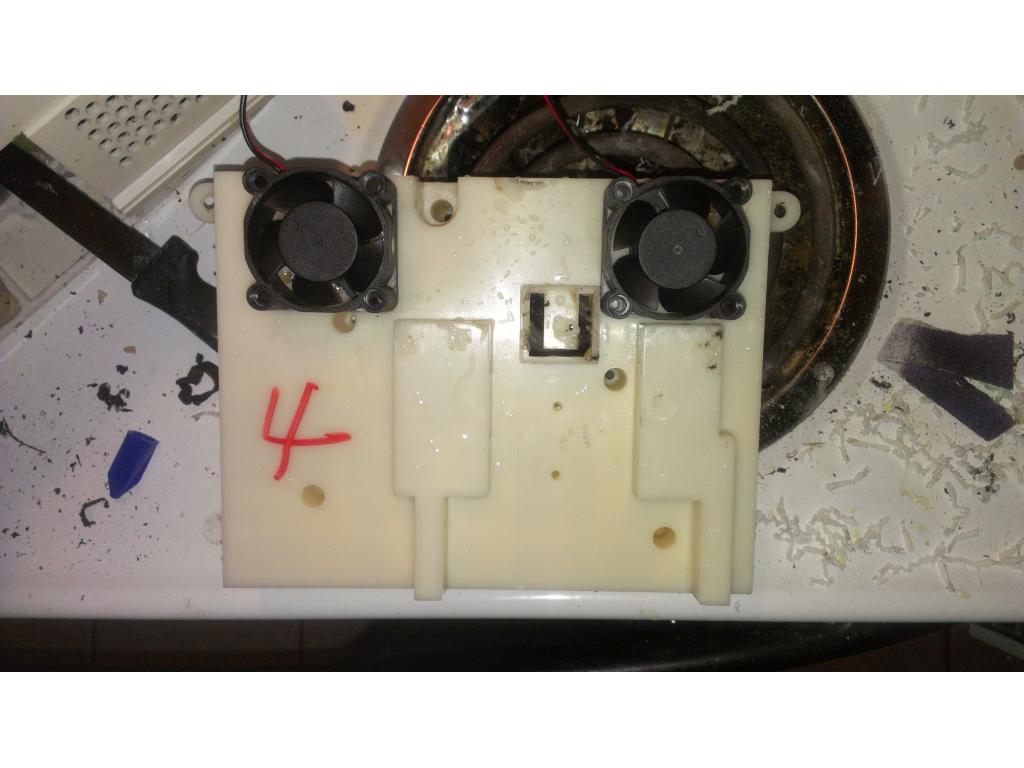
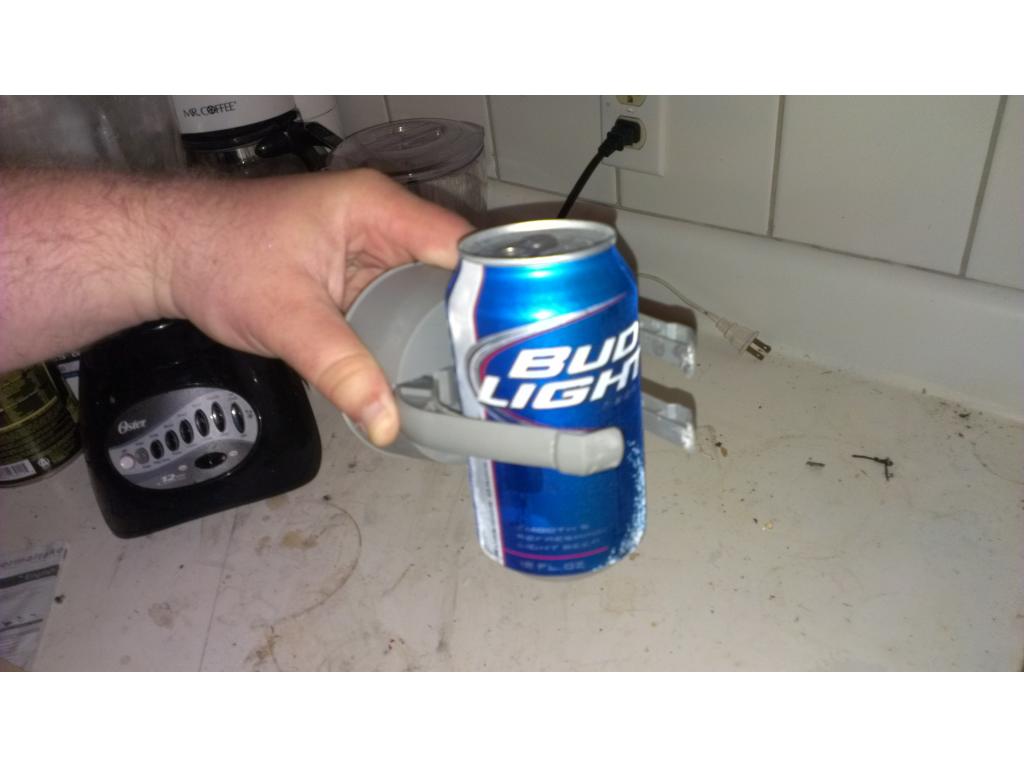
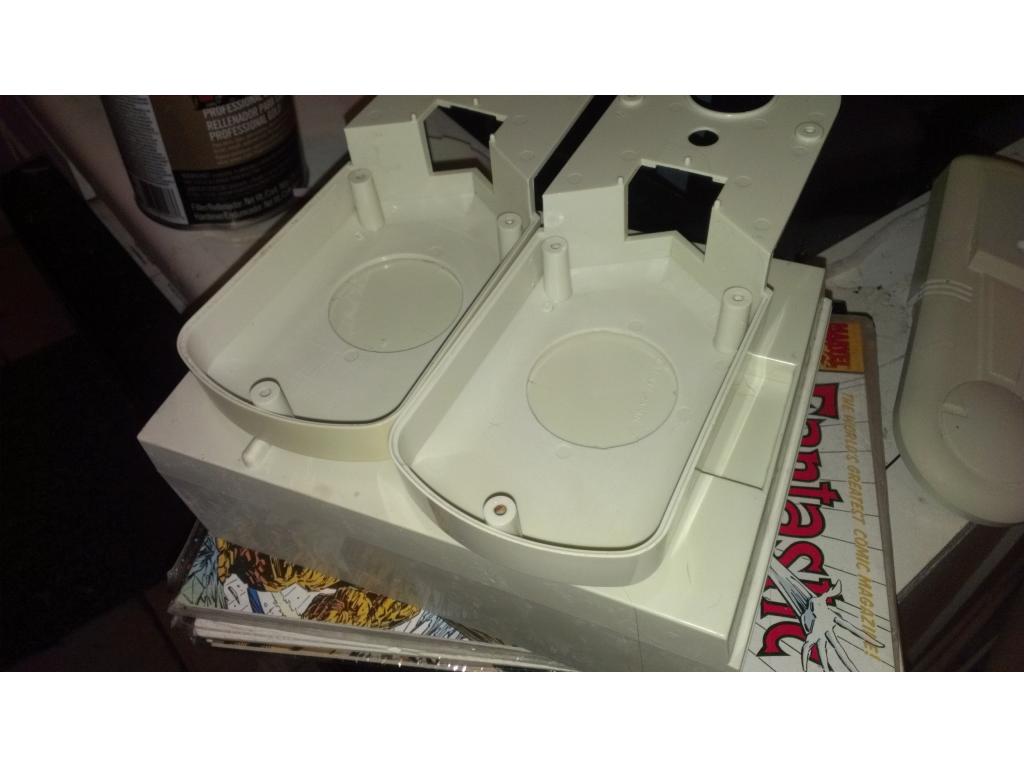
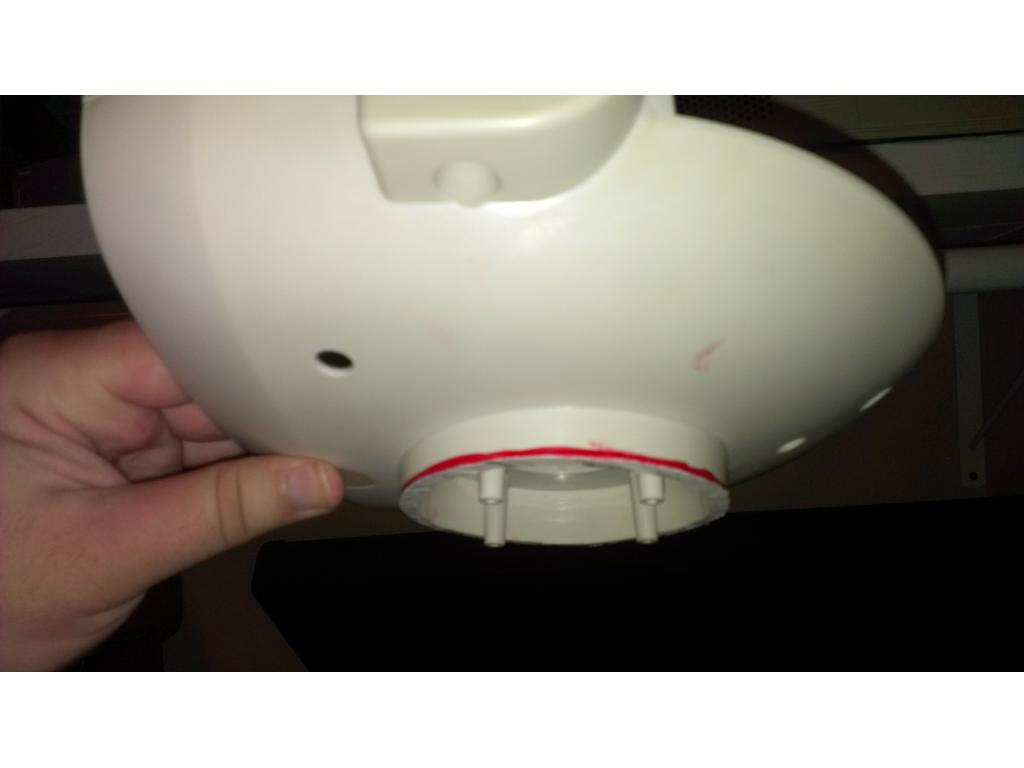
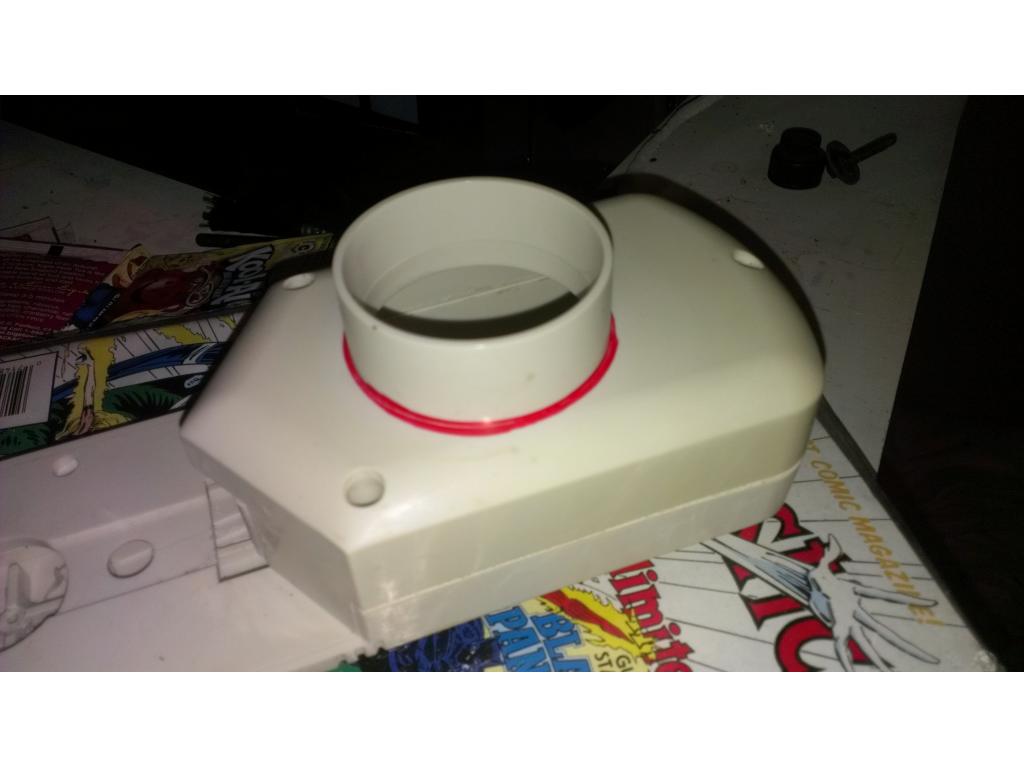
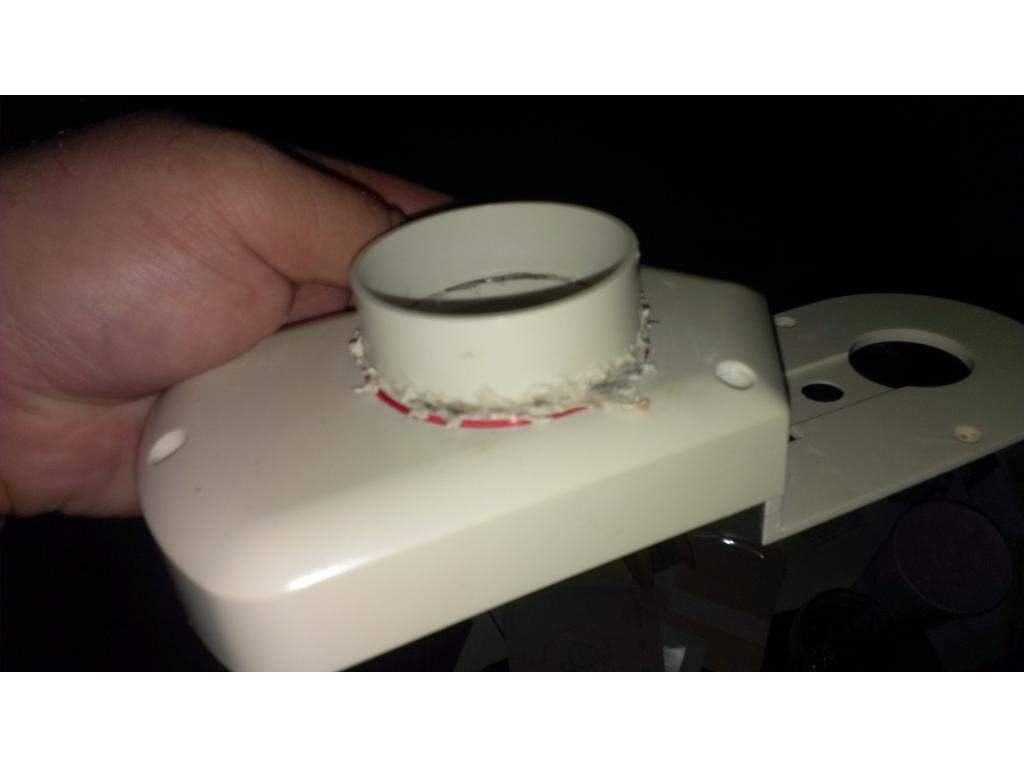
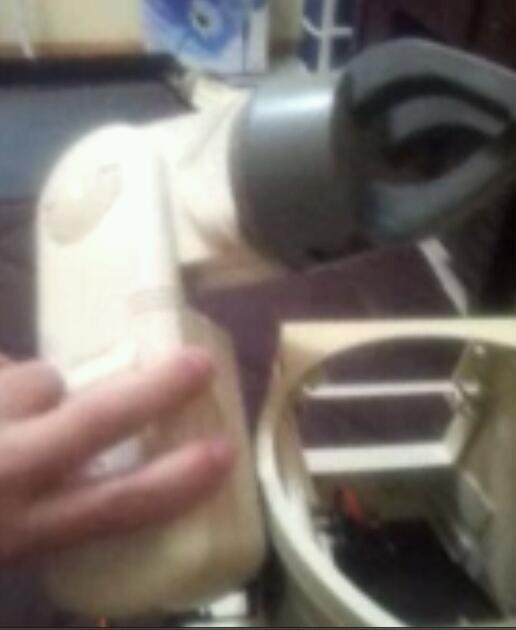
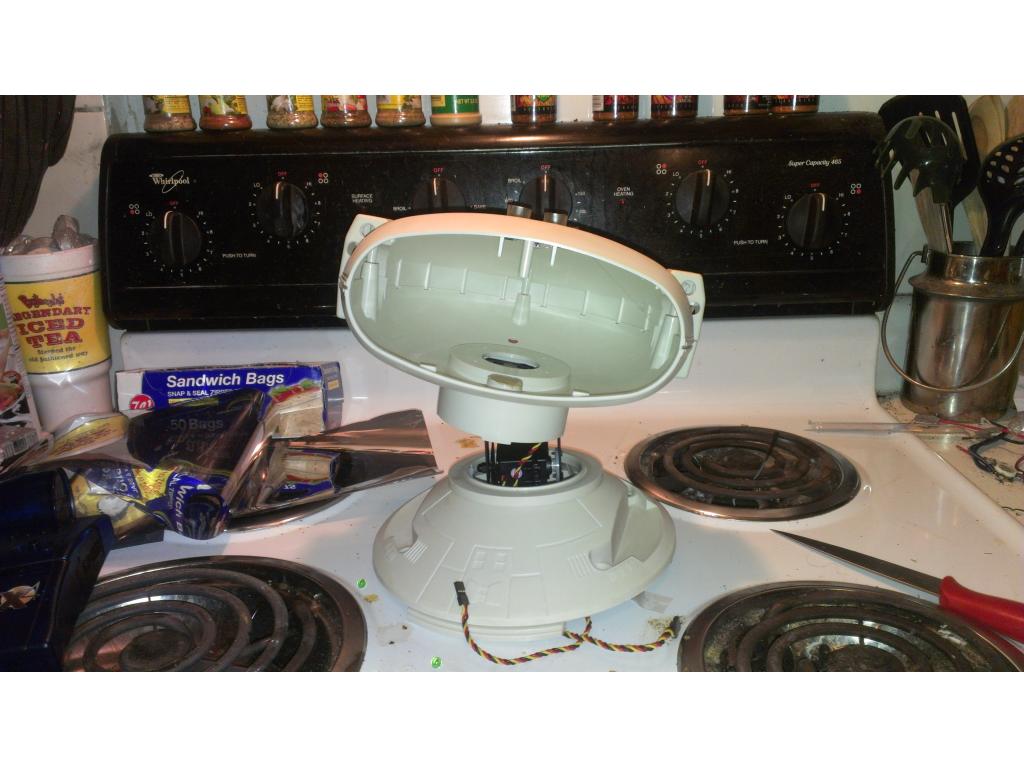
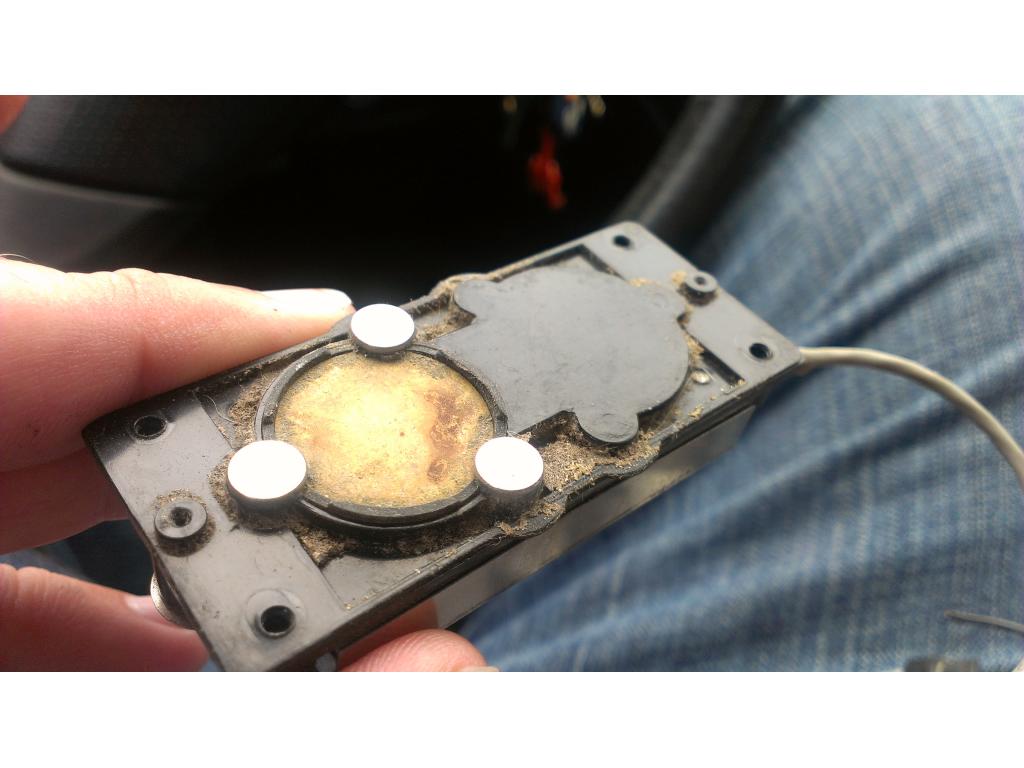
Ok so first challenge was mending the tube to the canister seal. This worked perfectly! Inner diameter is the same as the original tubing which maintains volumetric efficiency ( that means it will suck in air just as well as before) the tube passes through a whole I cut through the vacuums case.
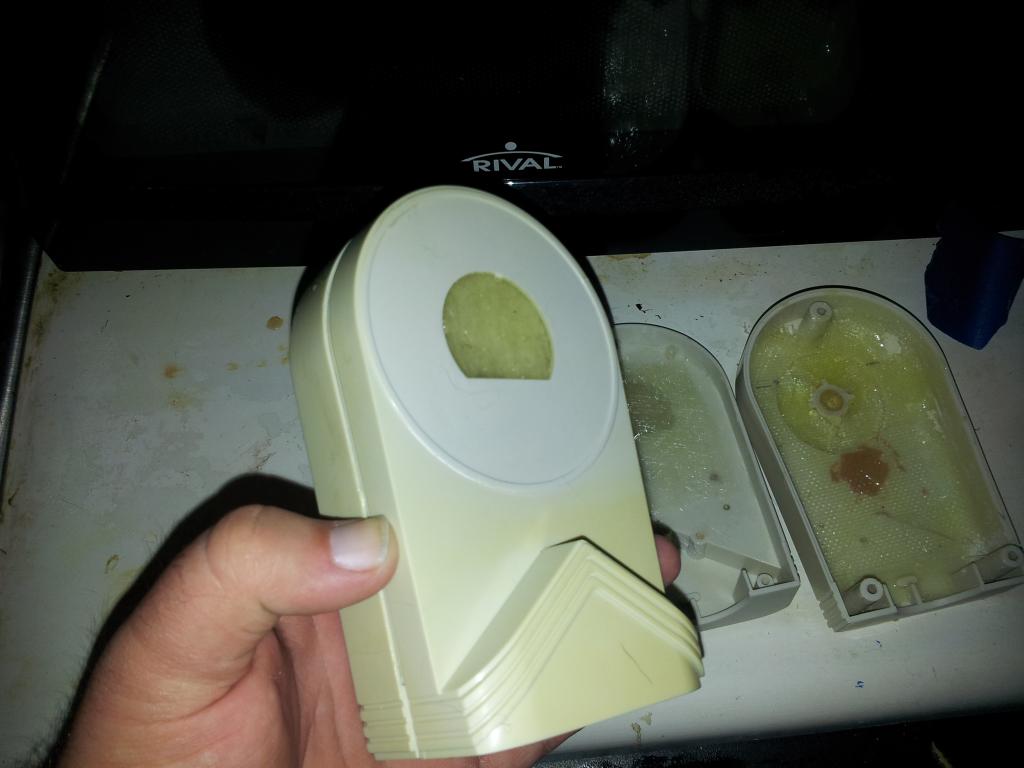
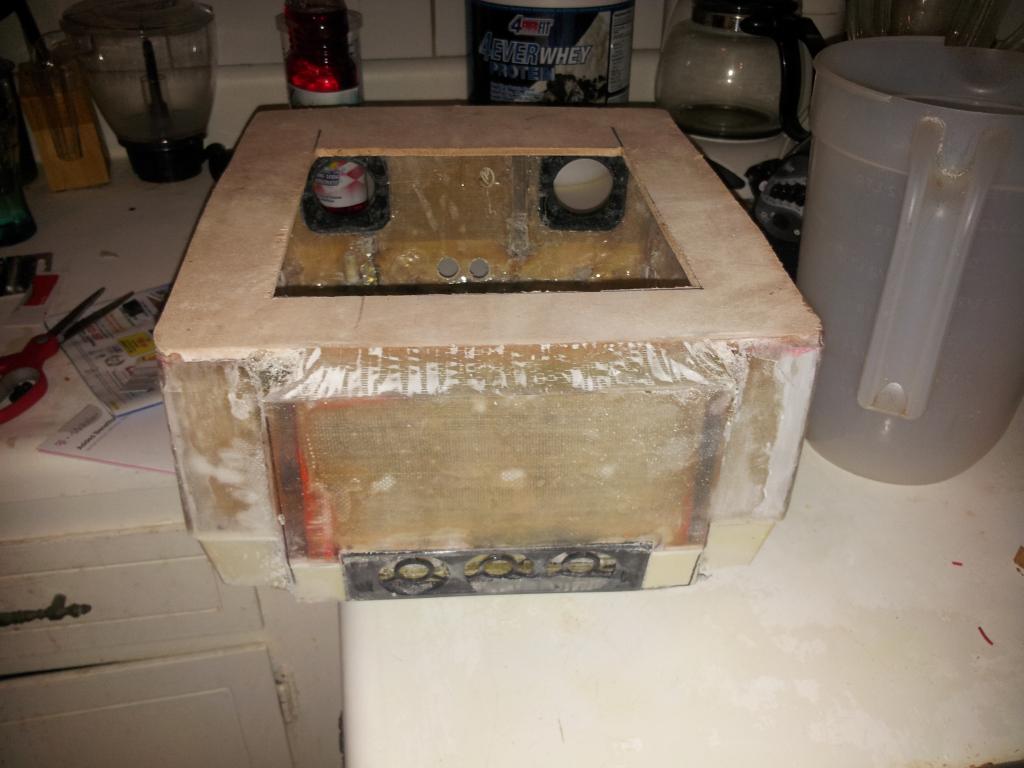
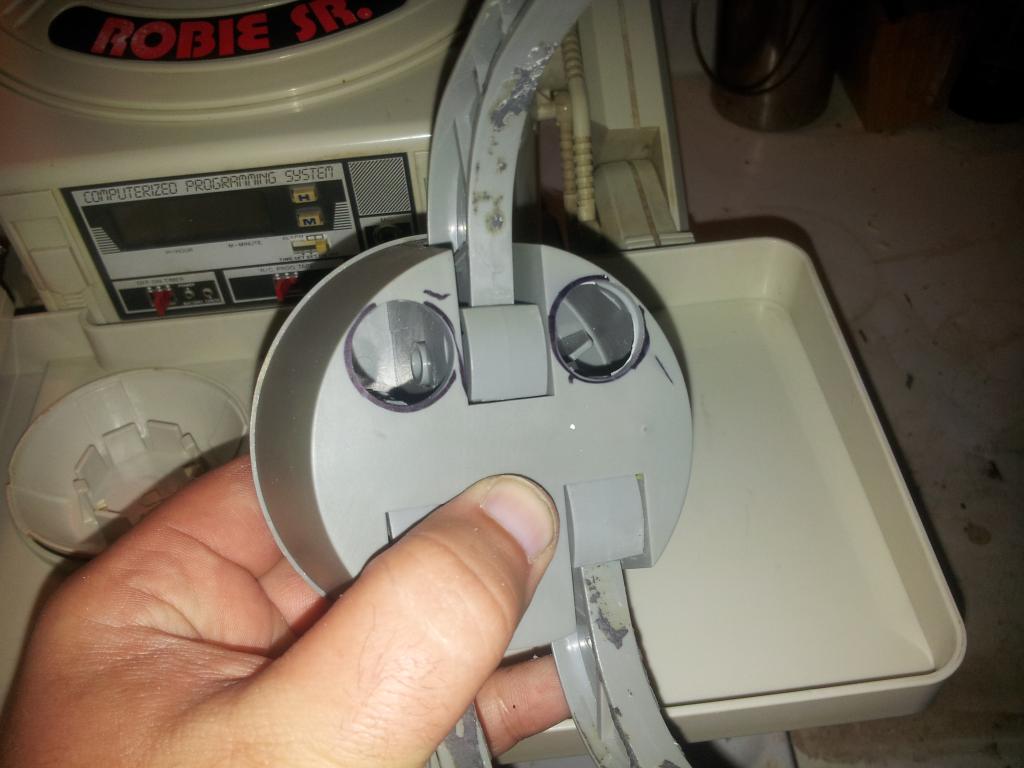
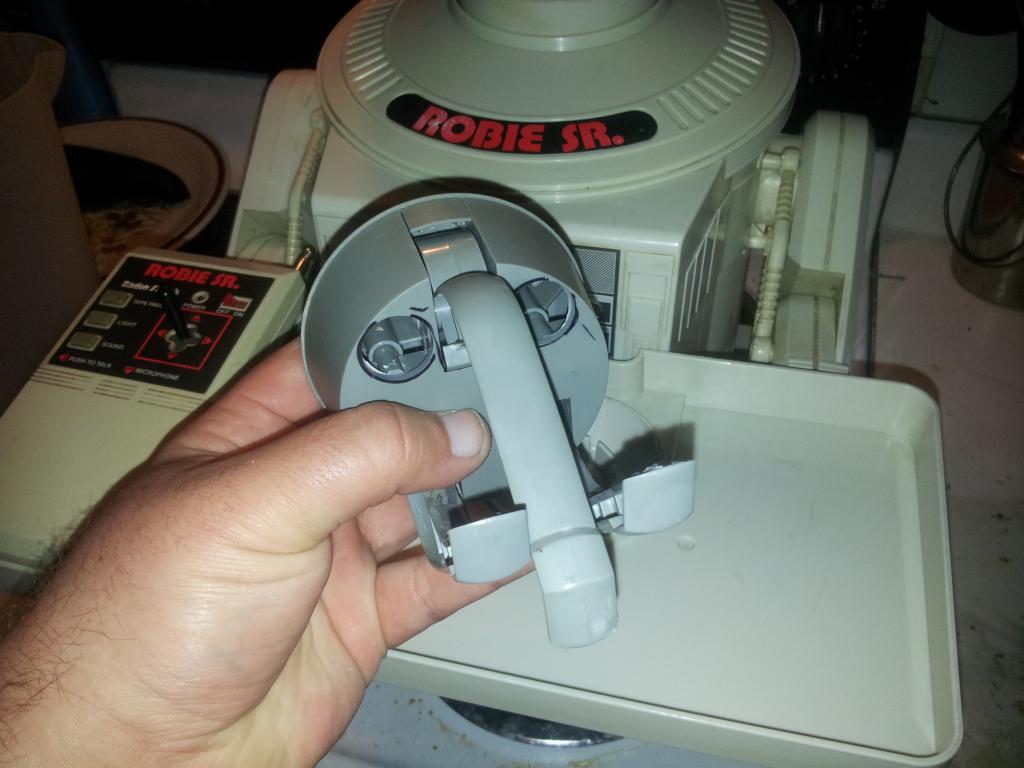
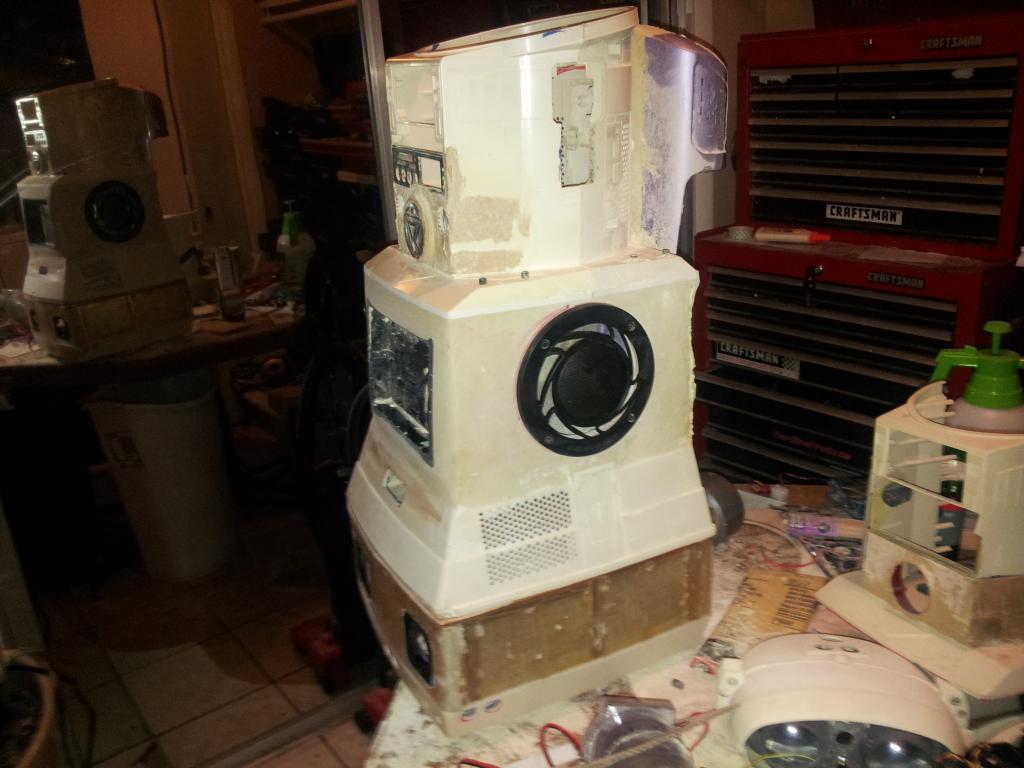
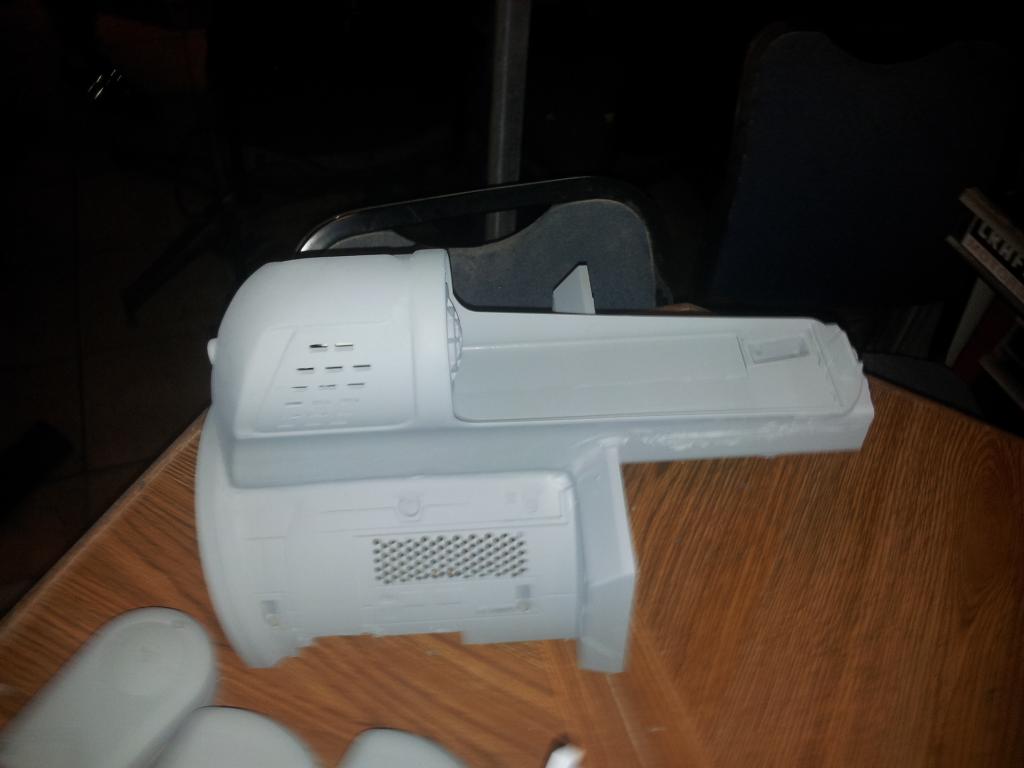
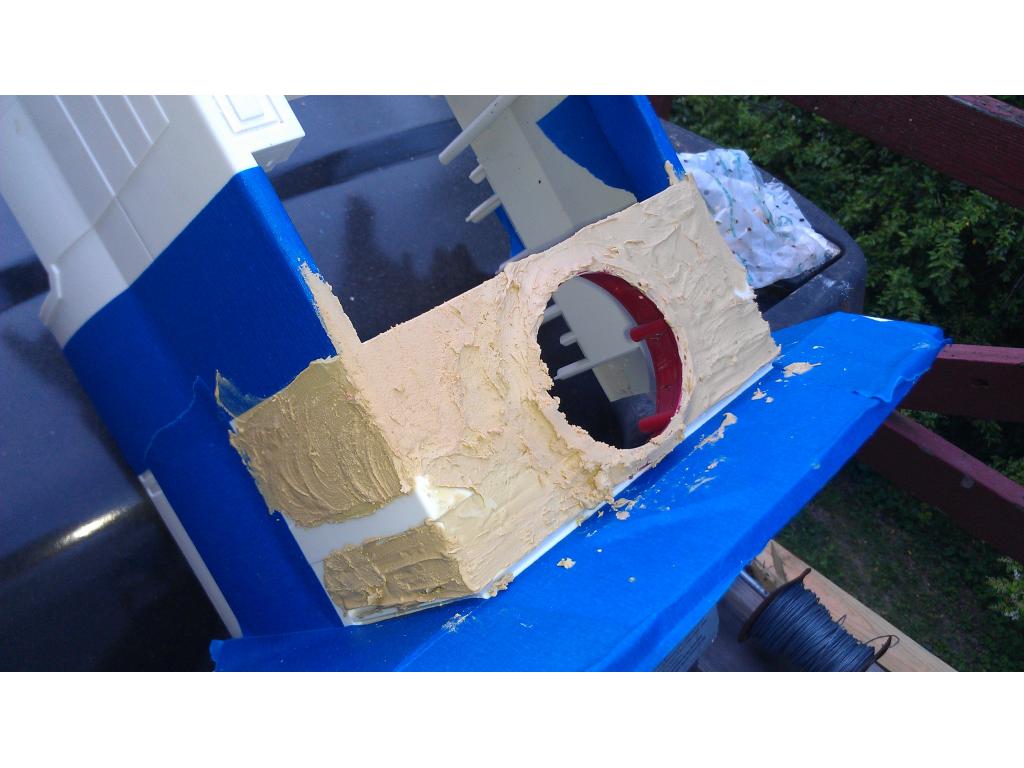
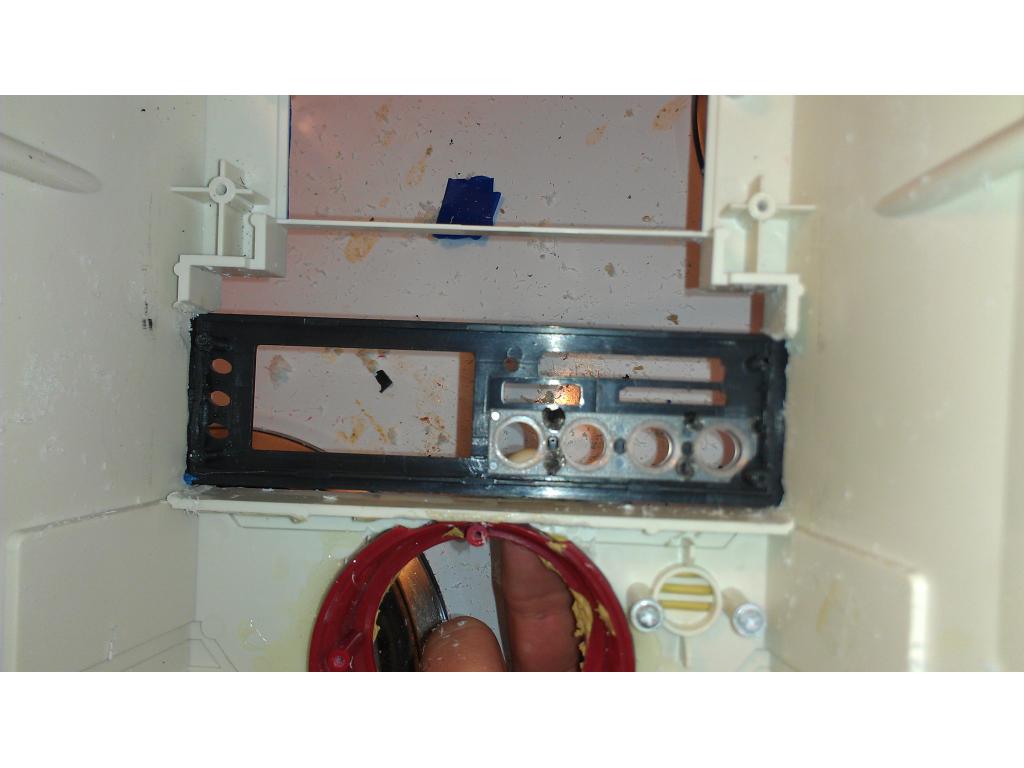
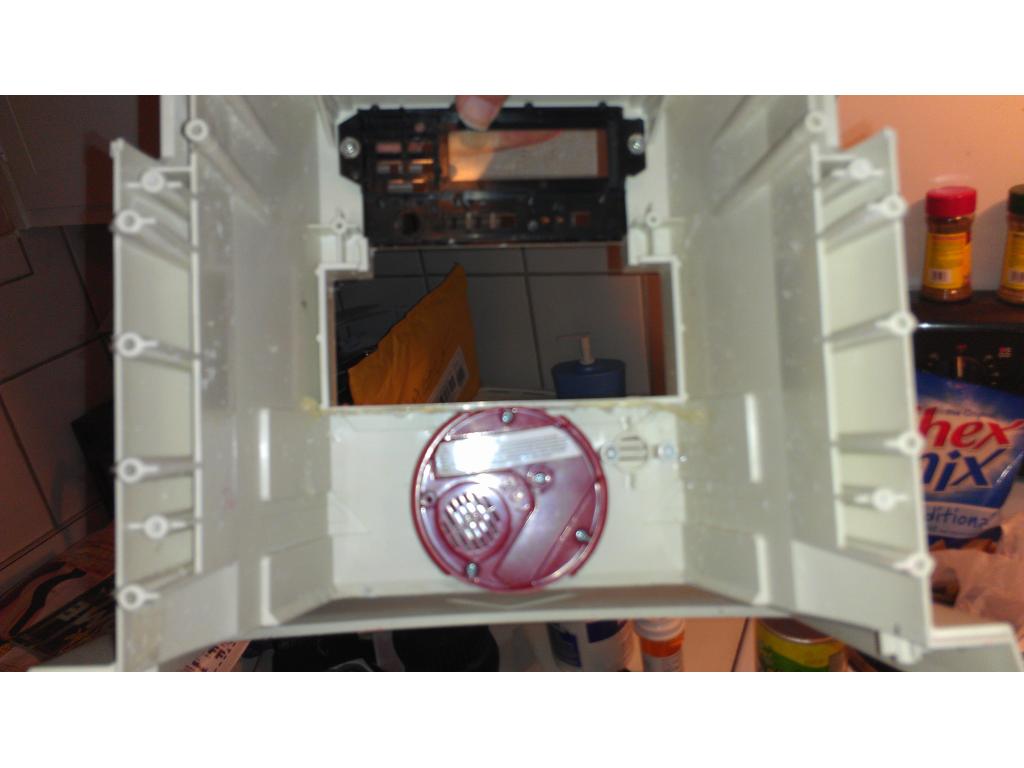
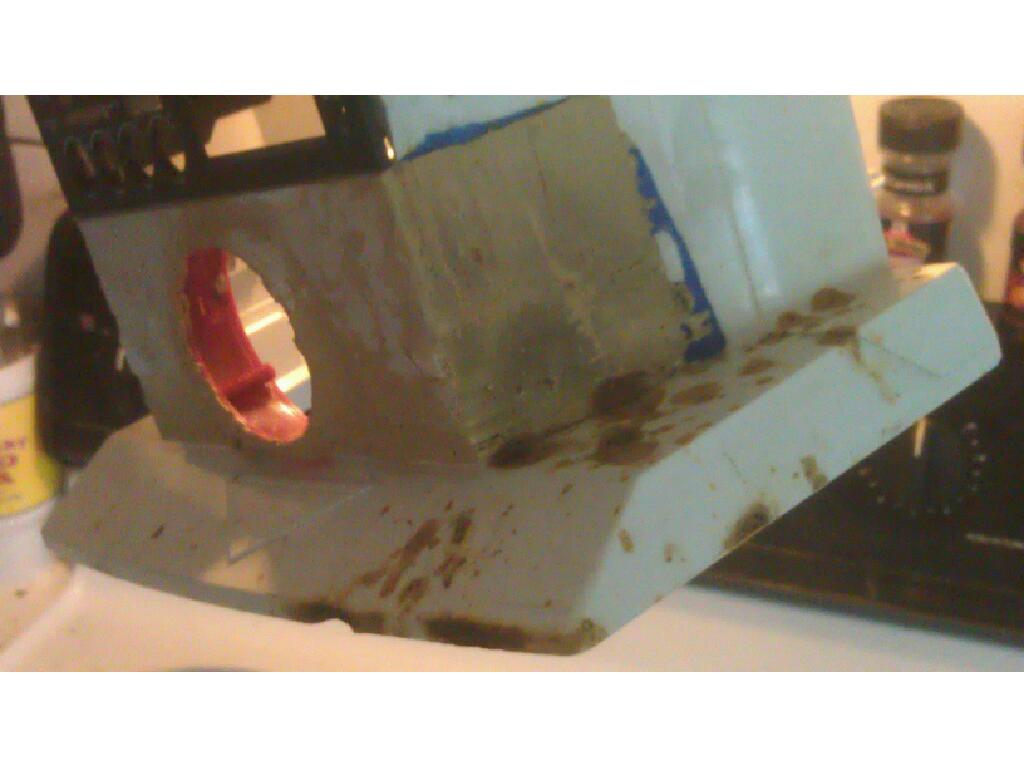
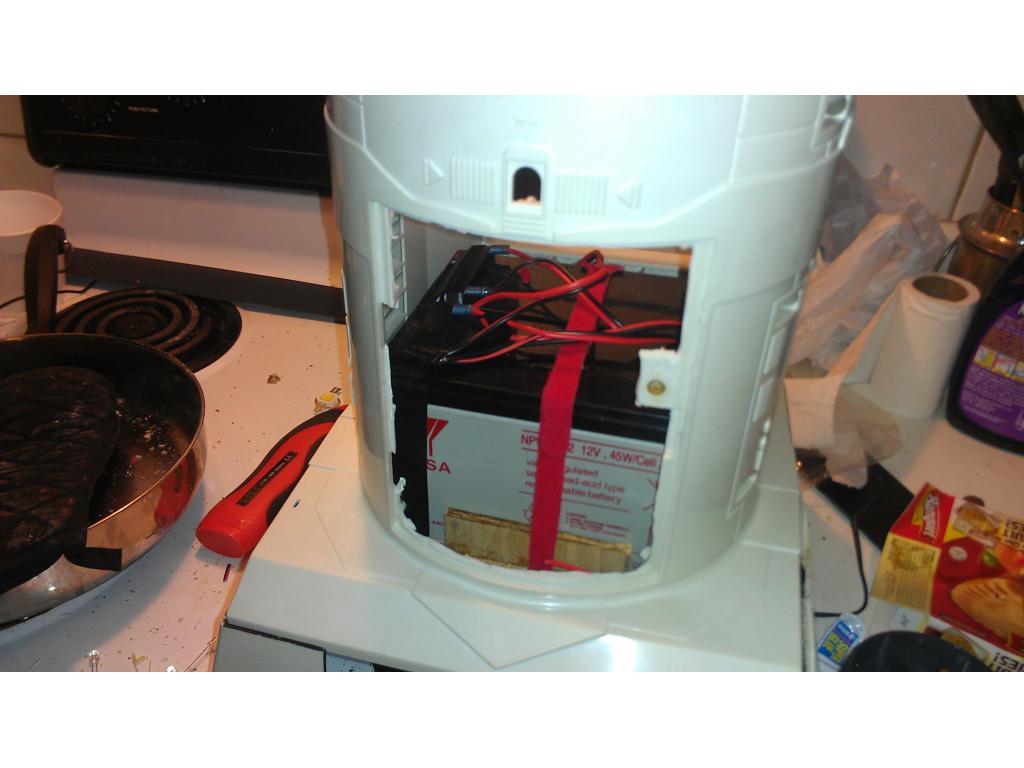
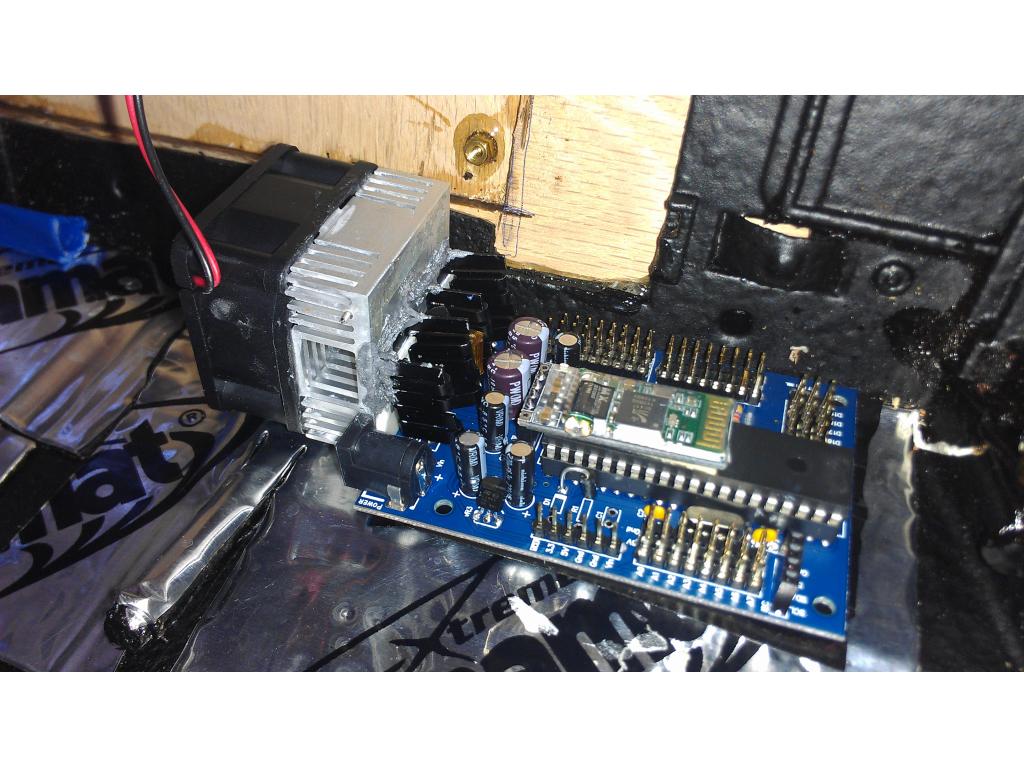
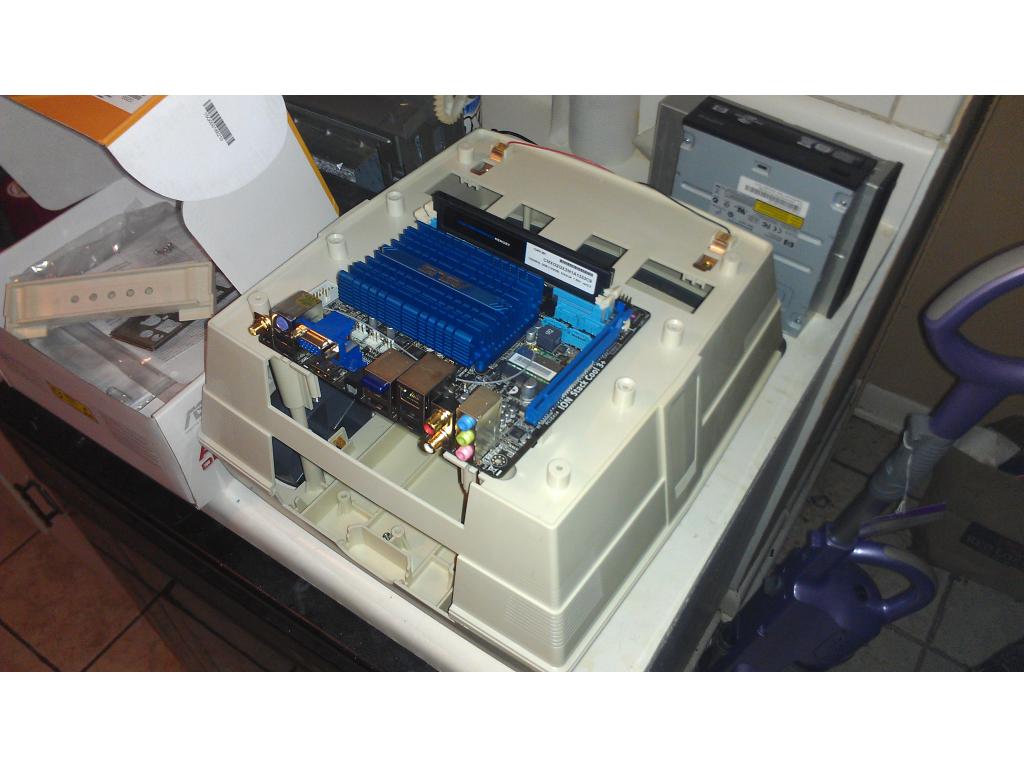
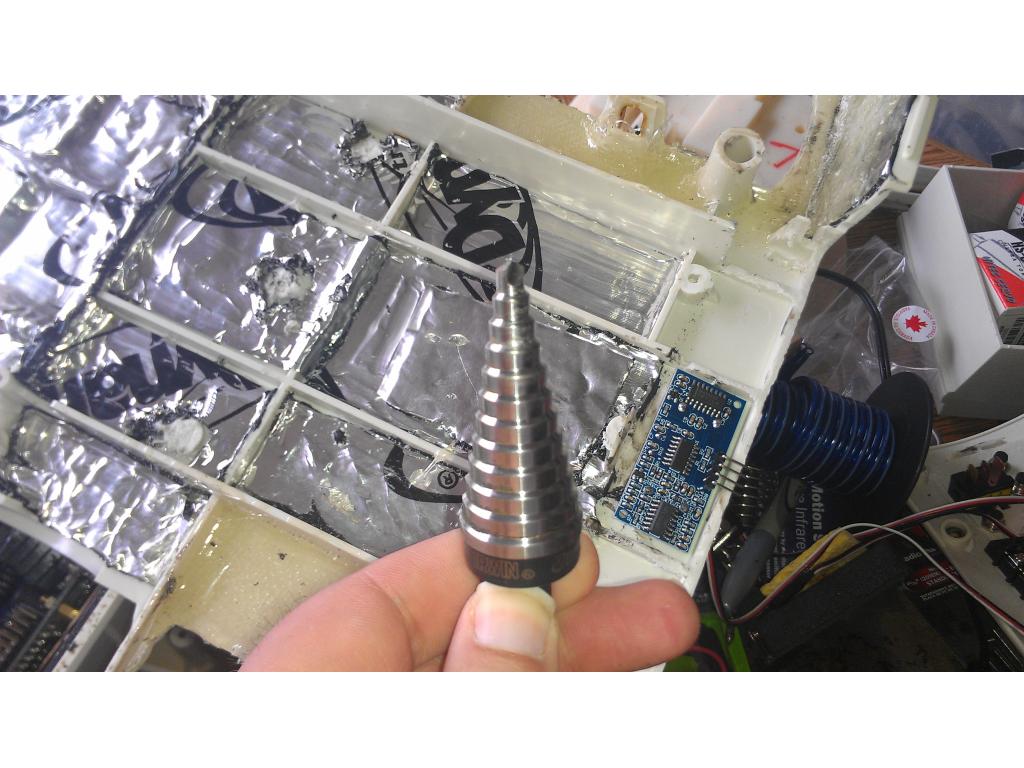
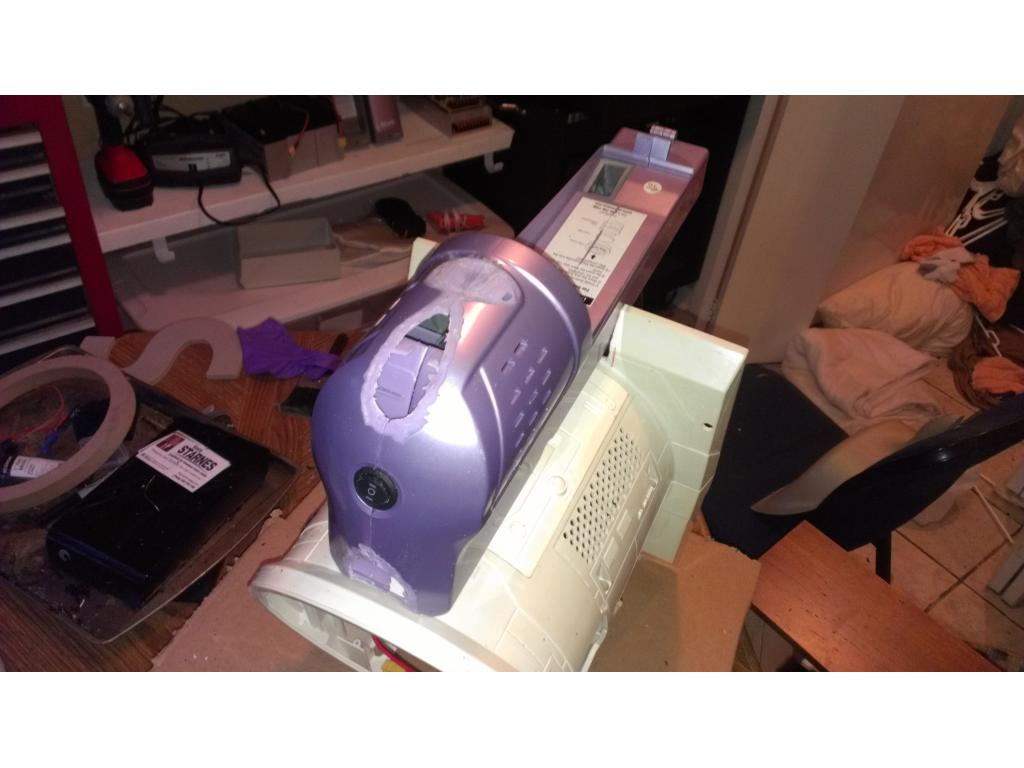
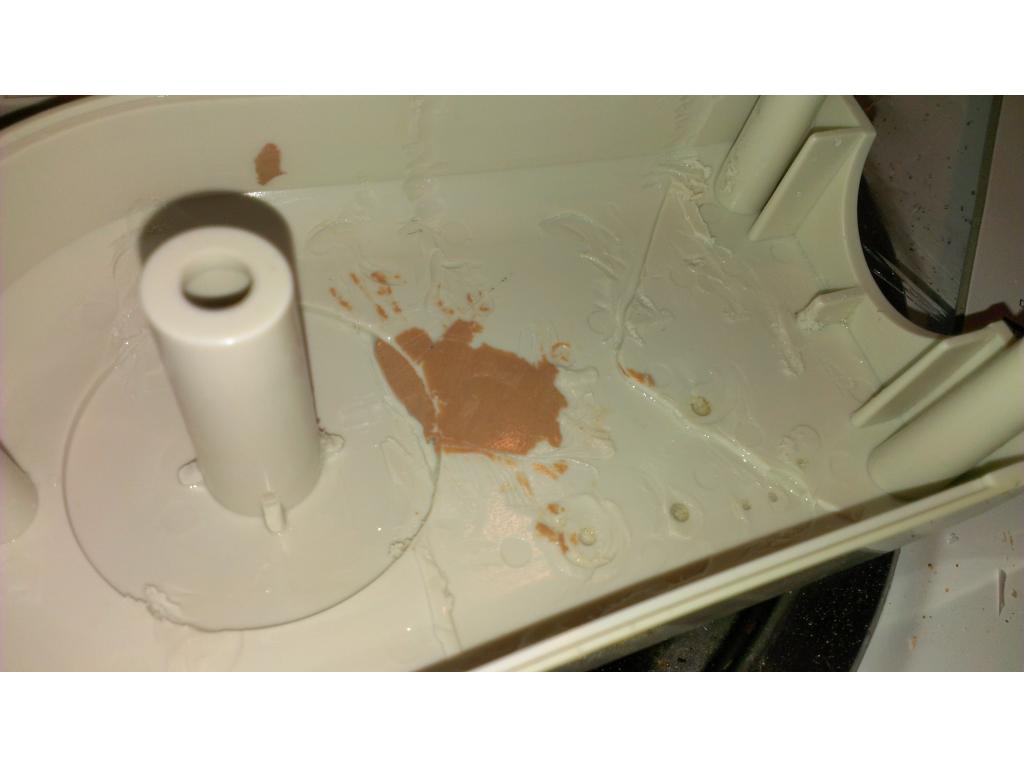
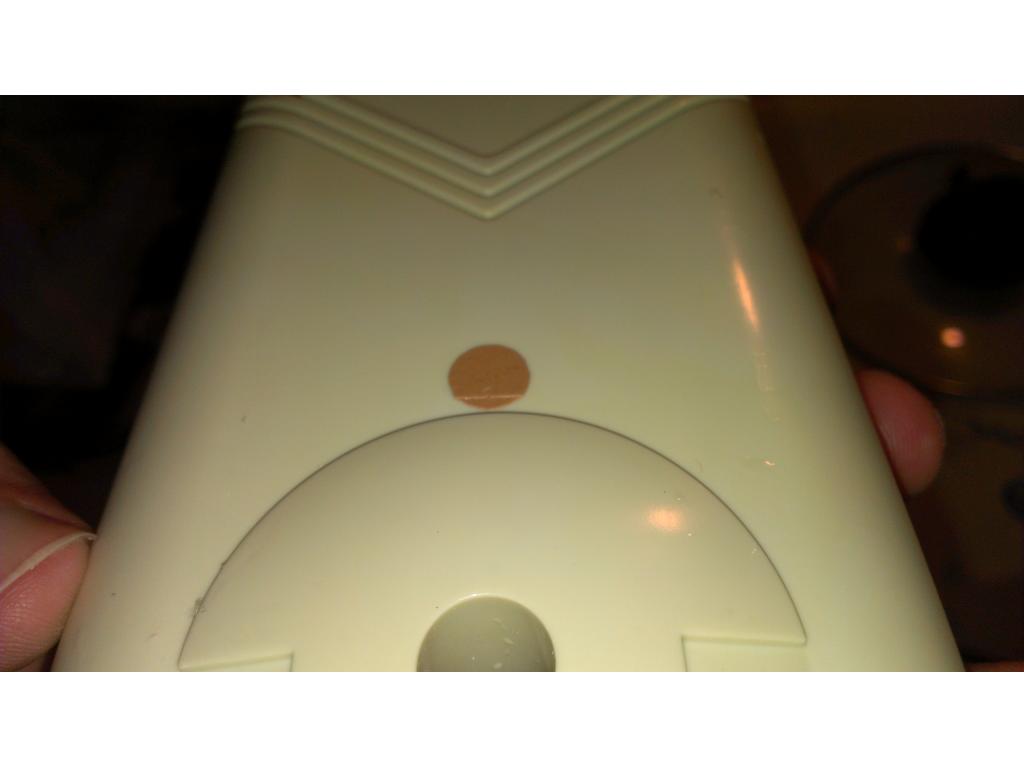
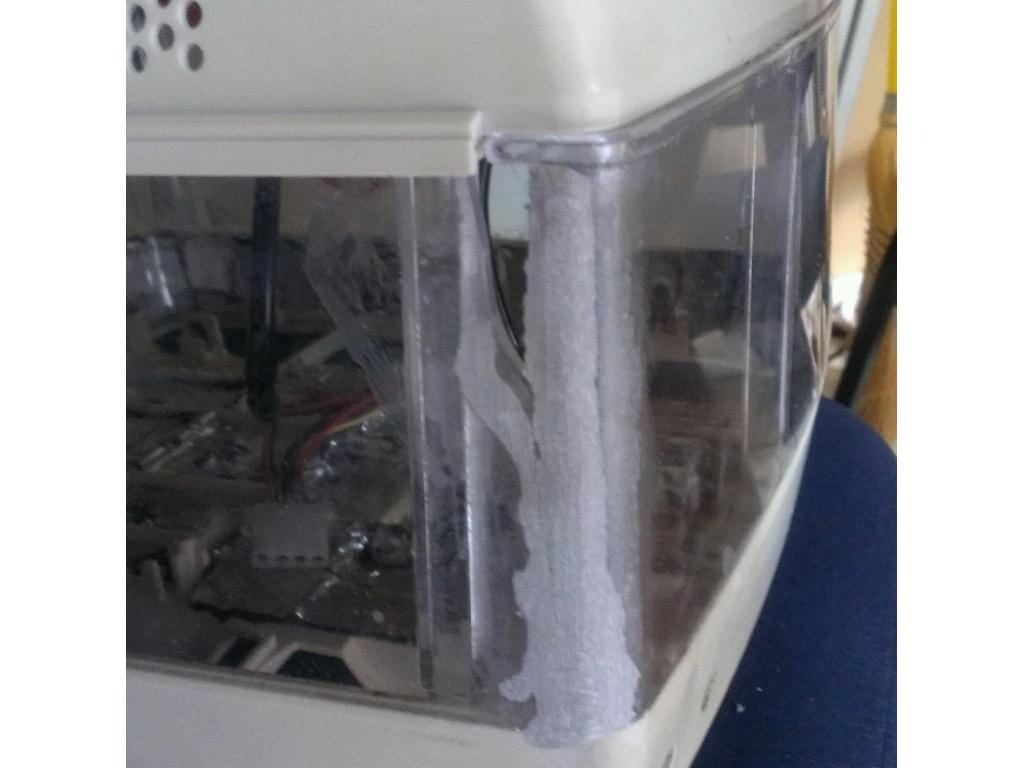
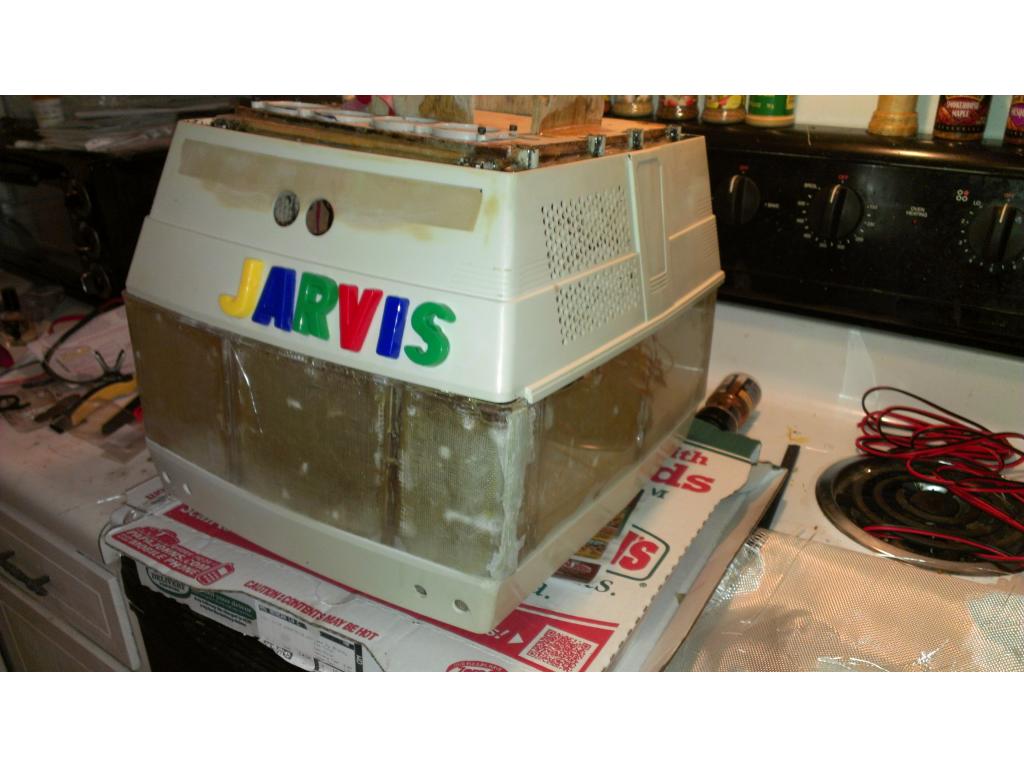
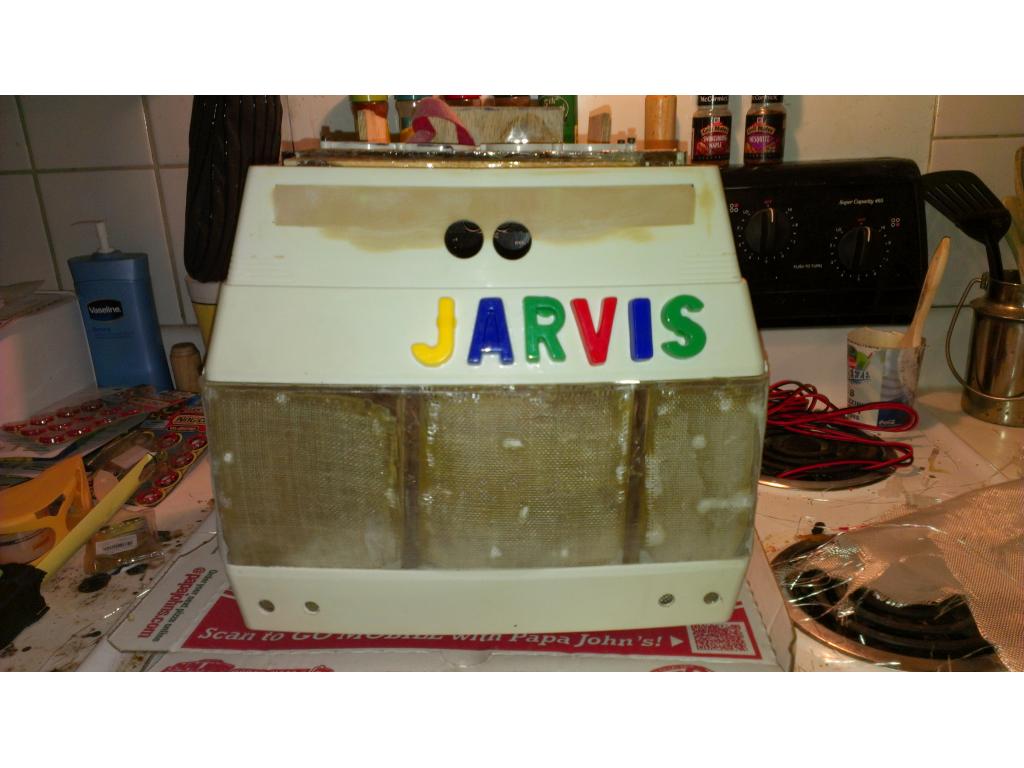
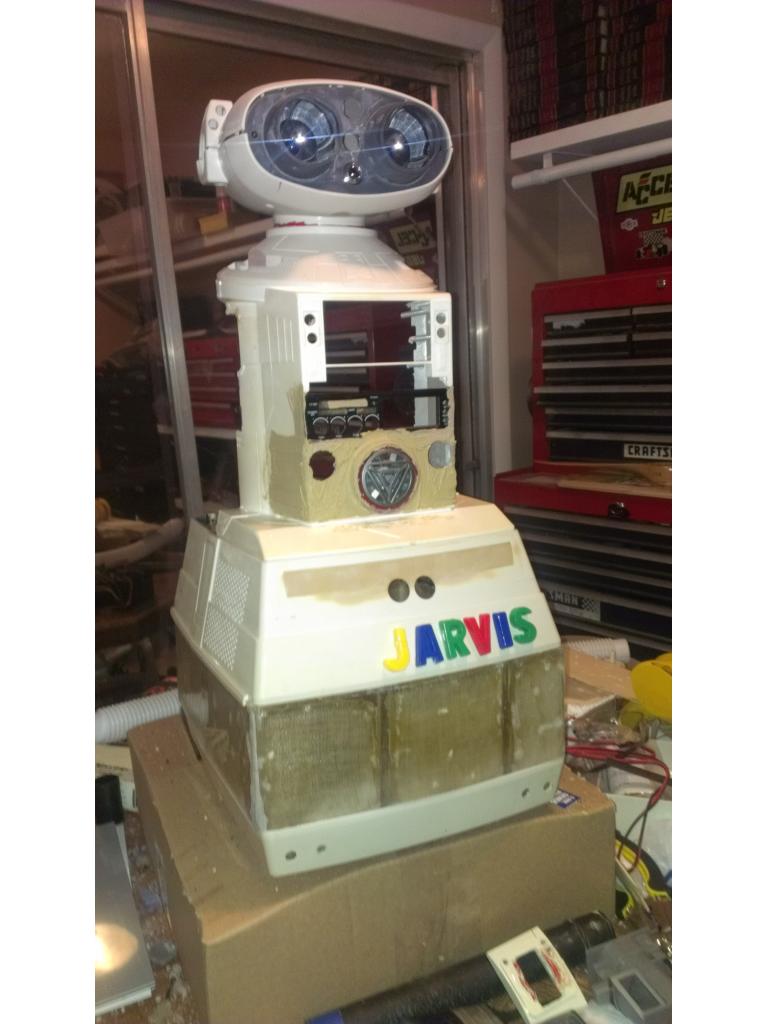
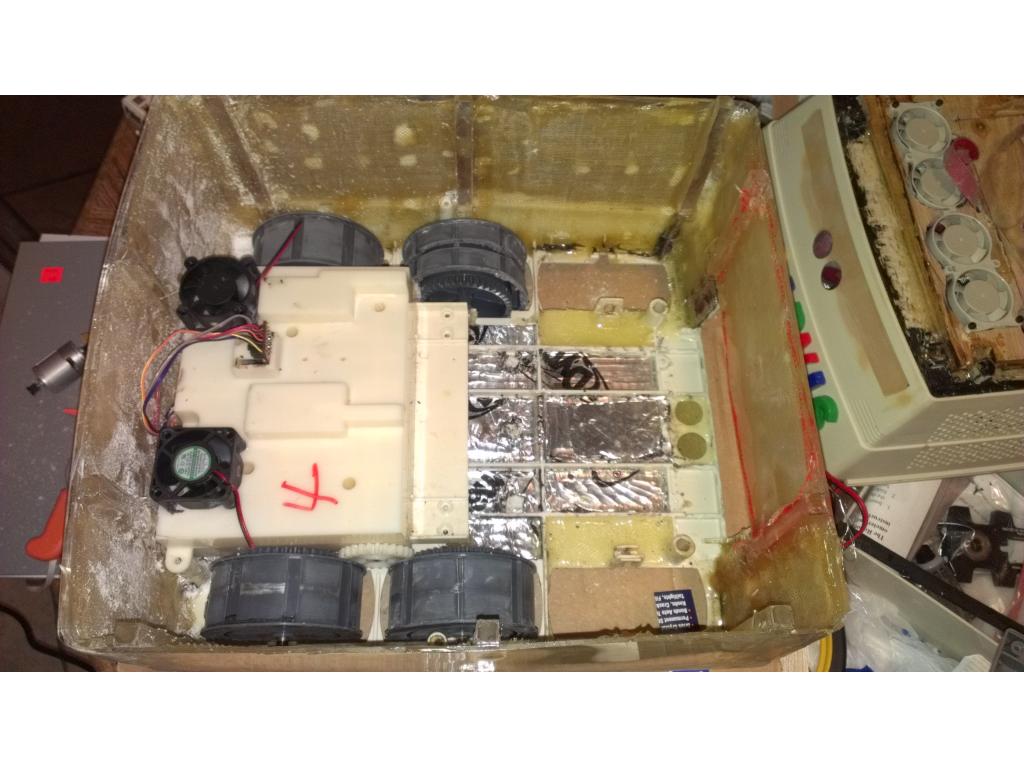
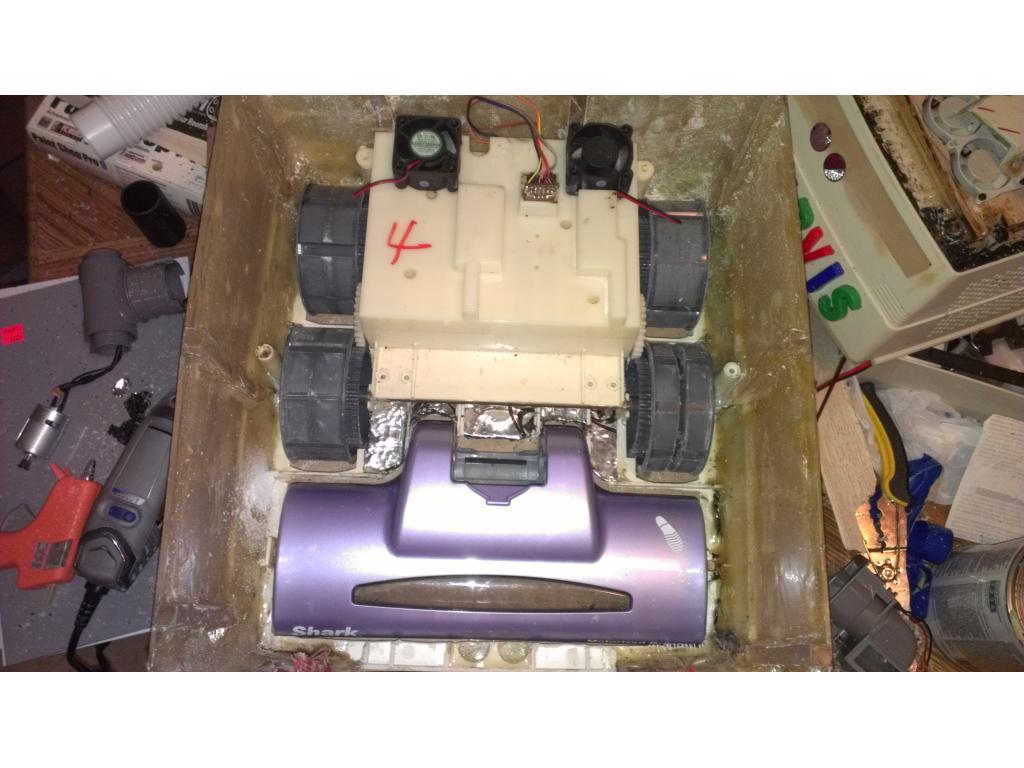
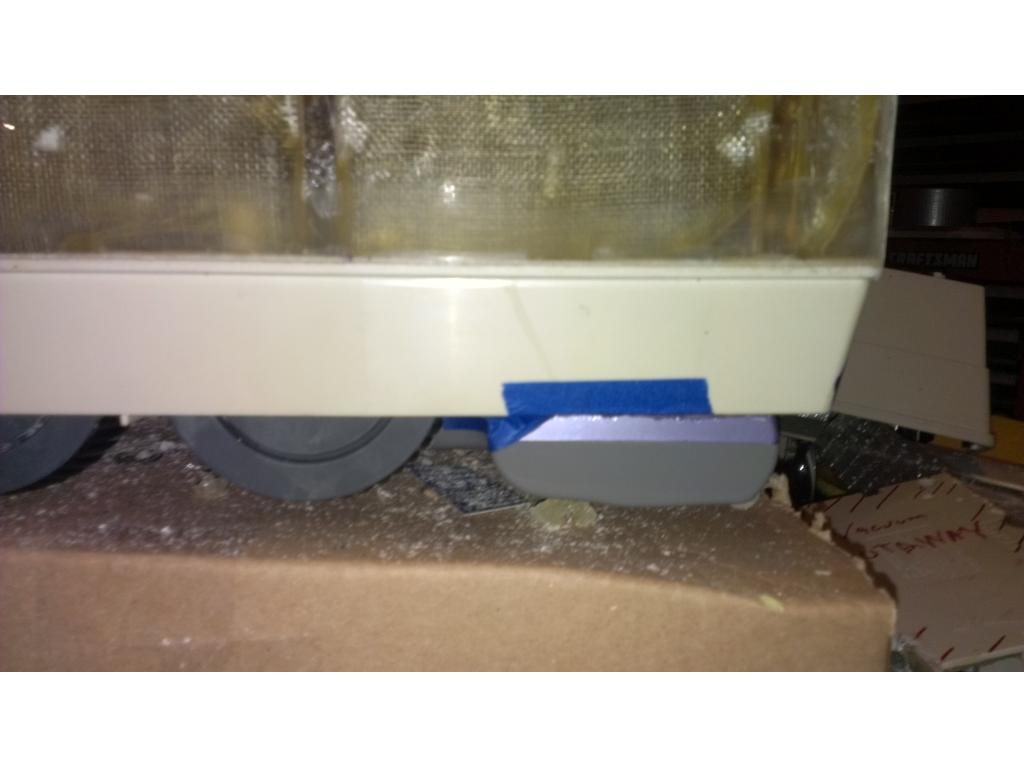
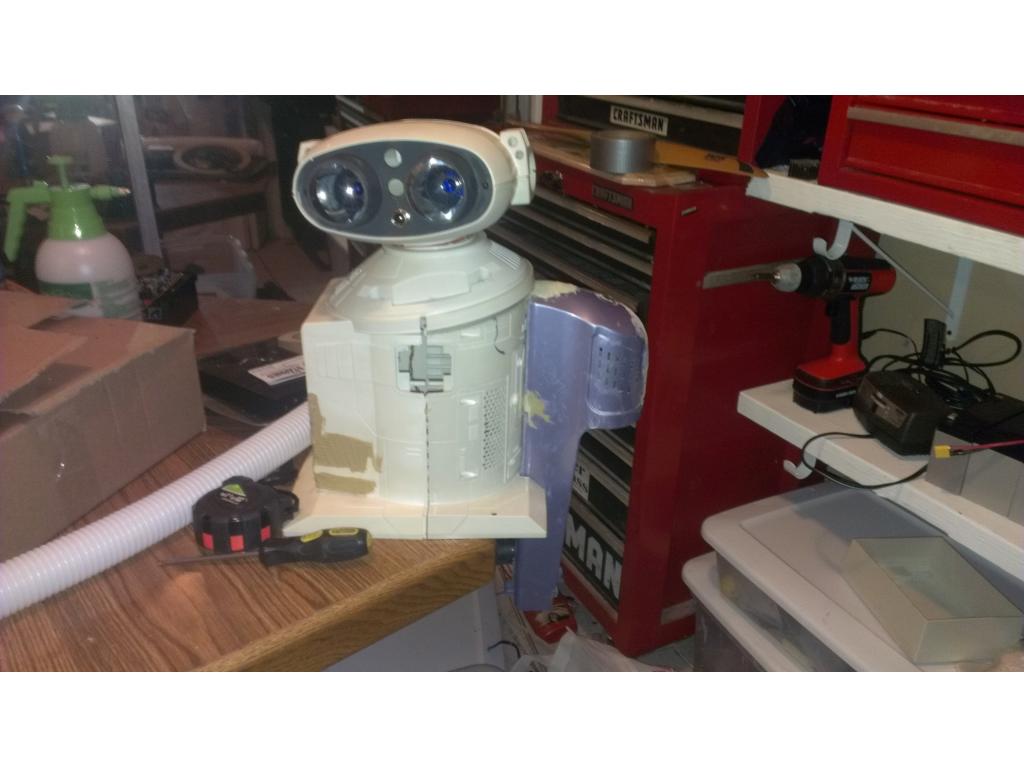
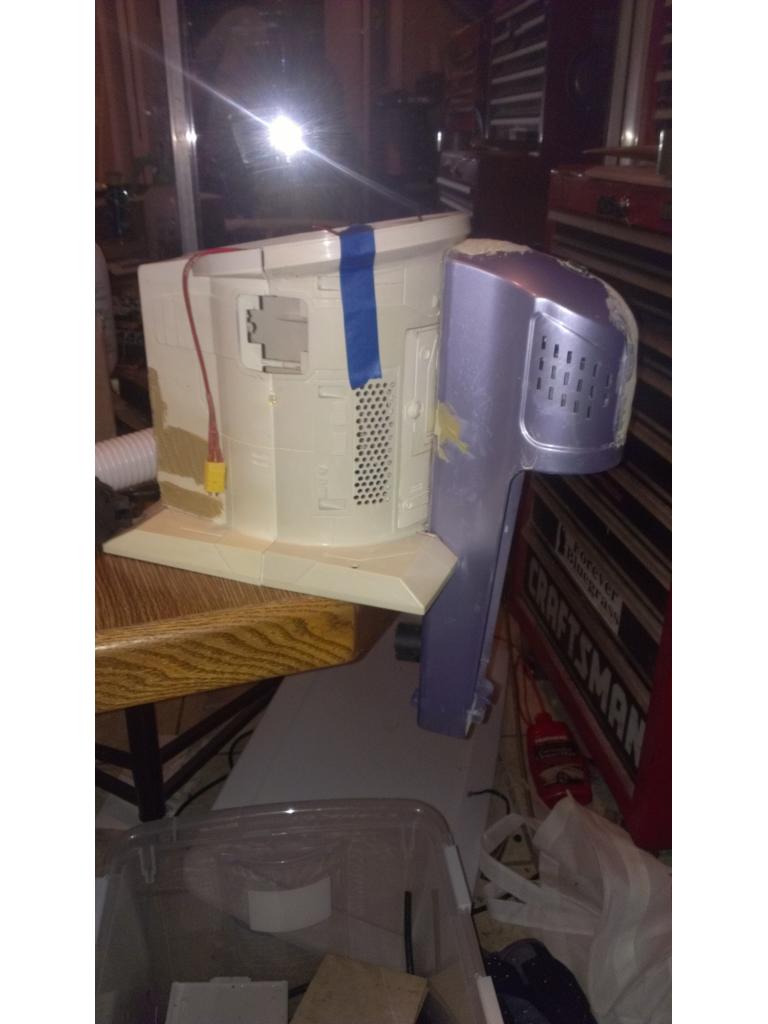
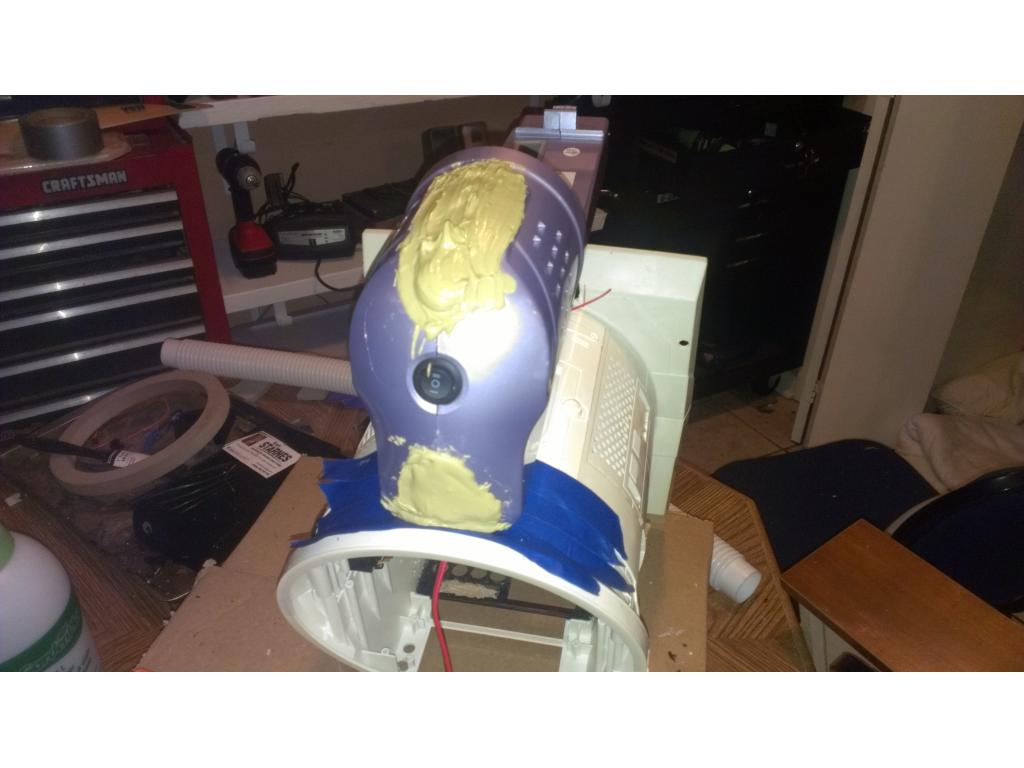
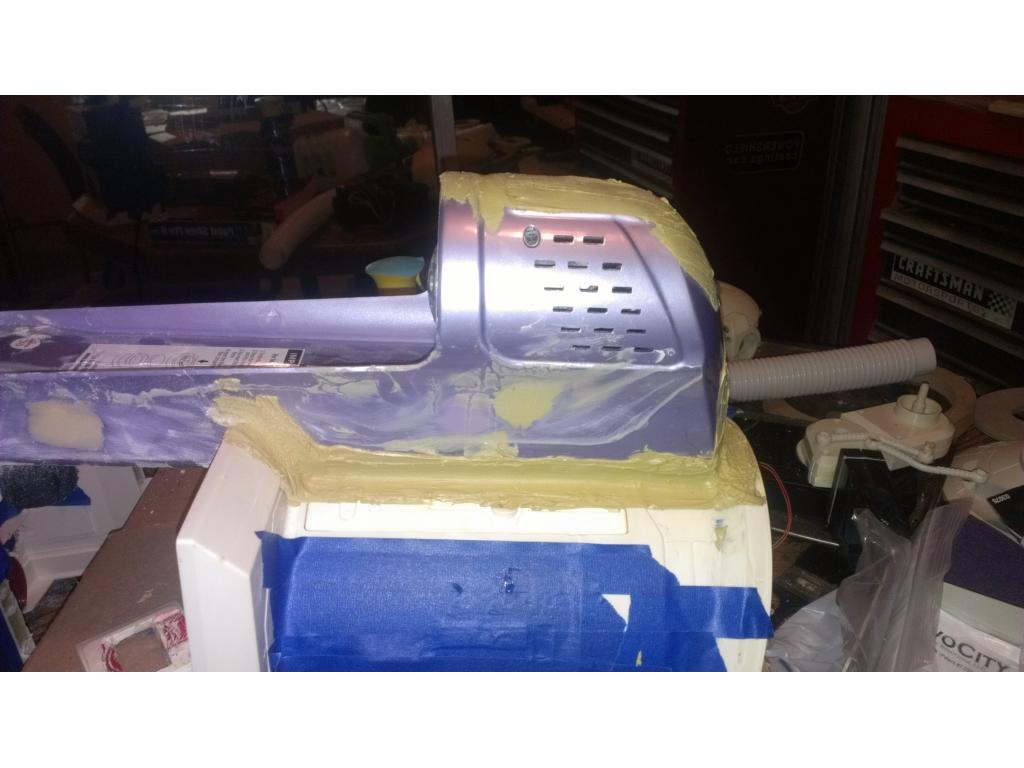
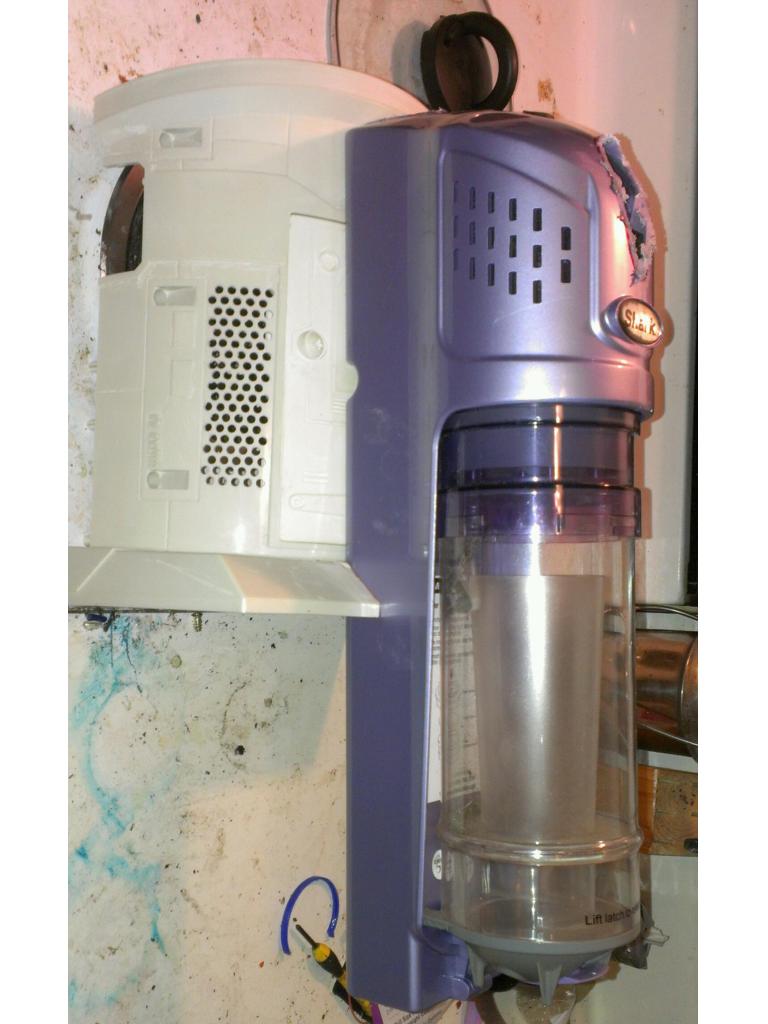
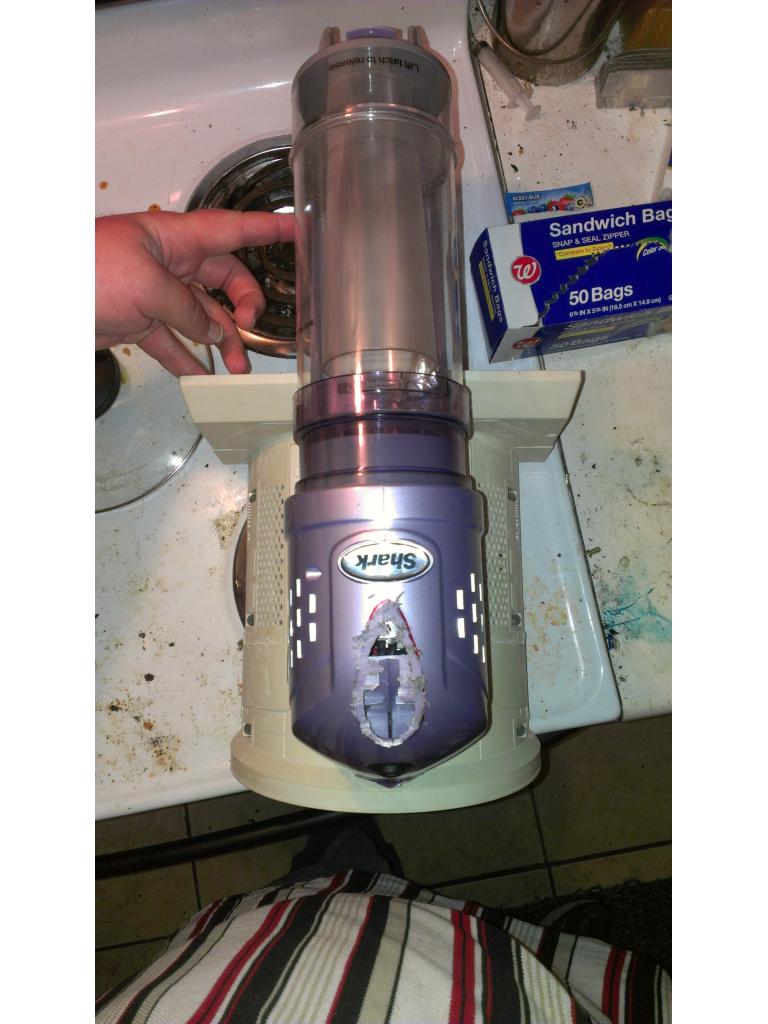
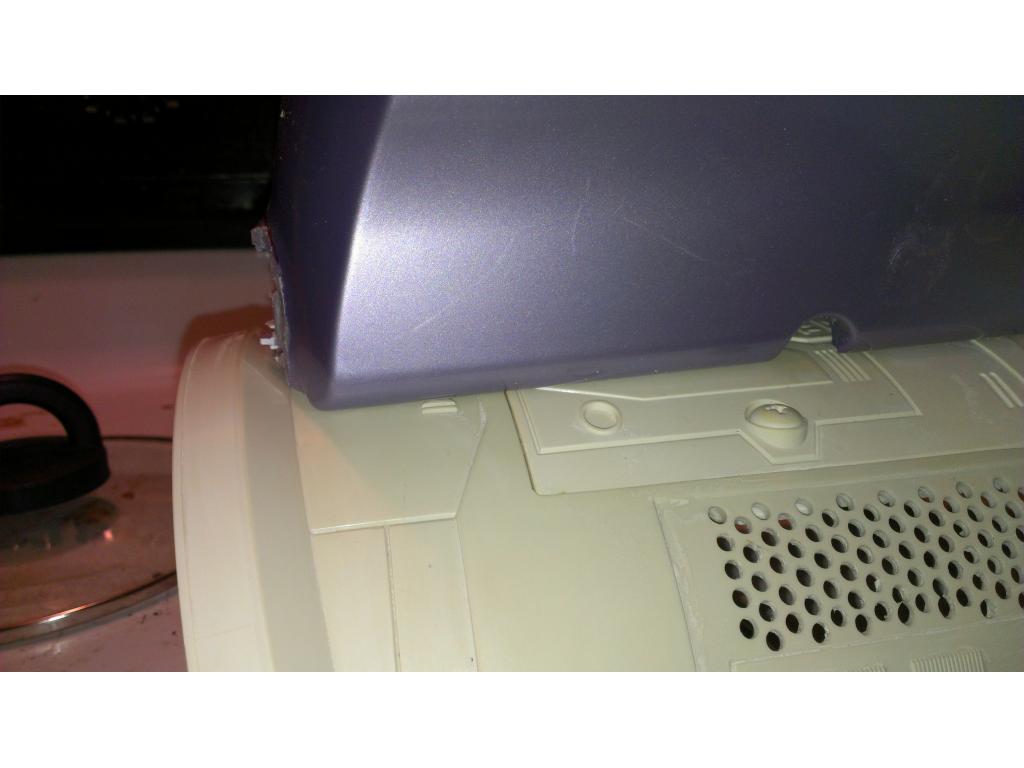
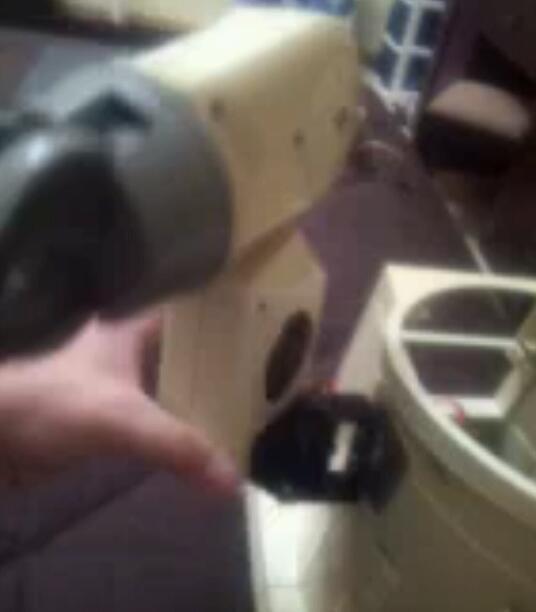
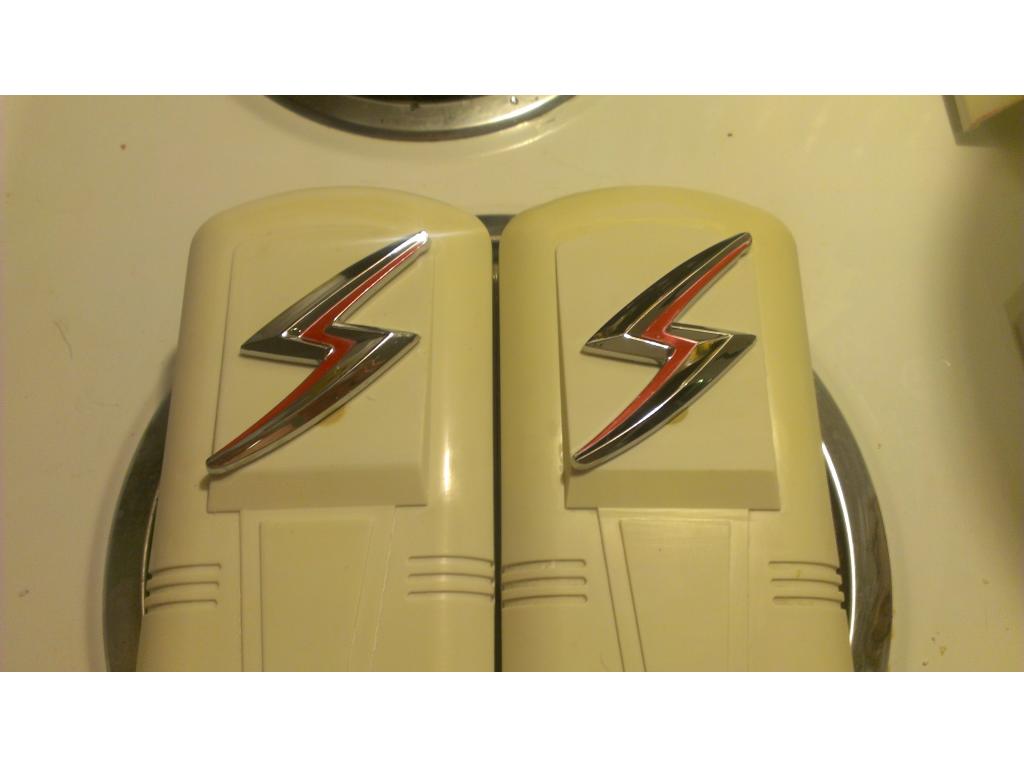
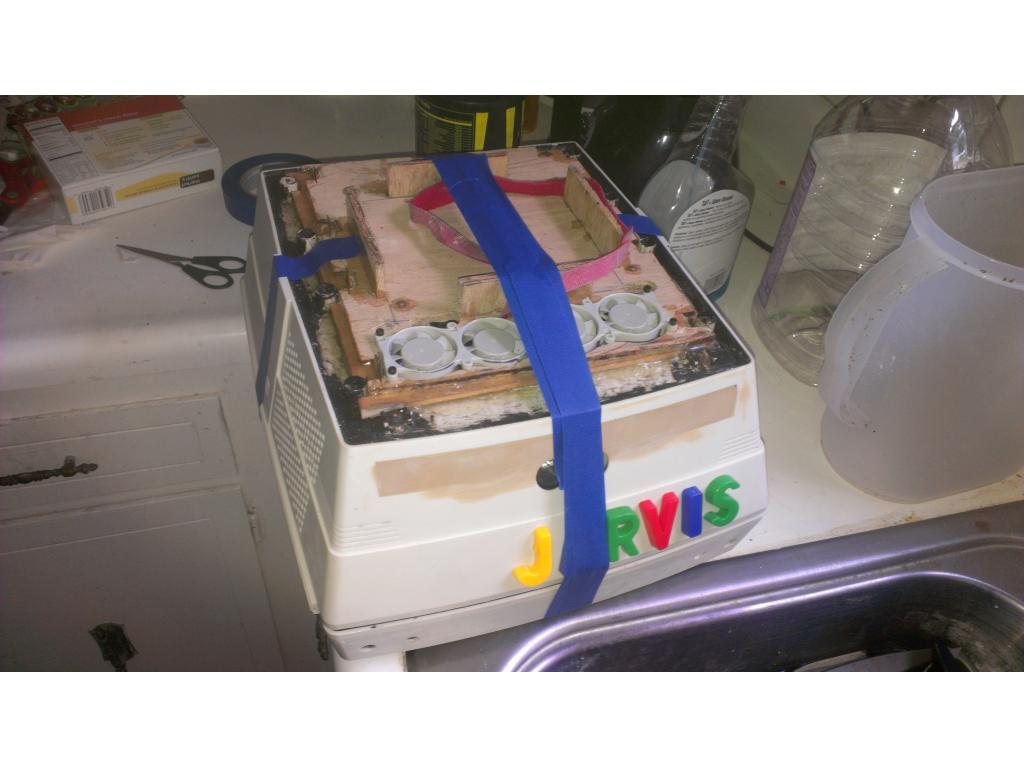
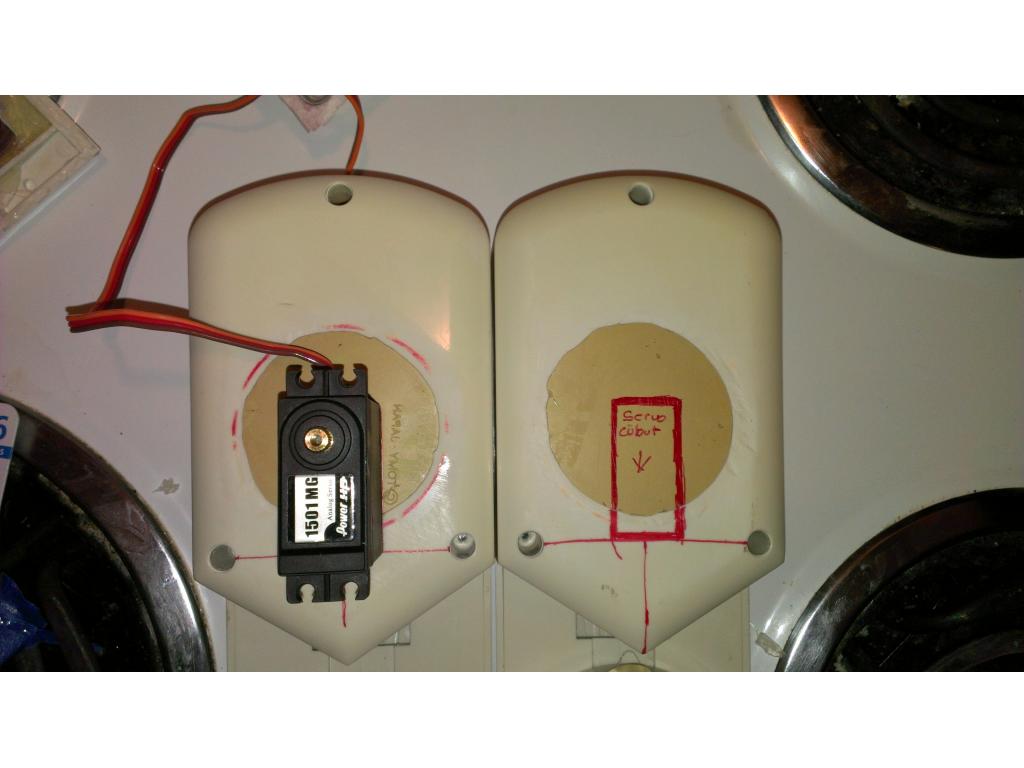
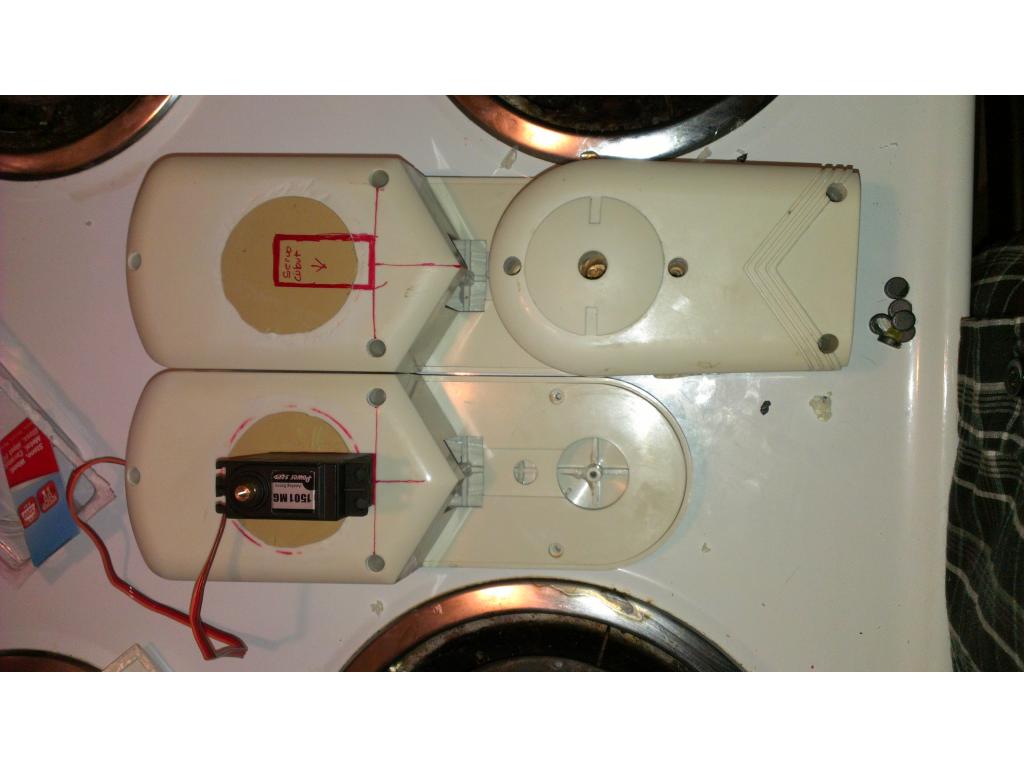
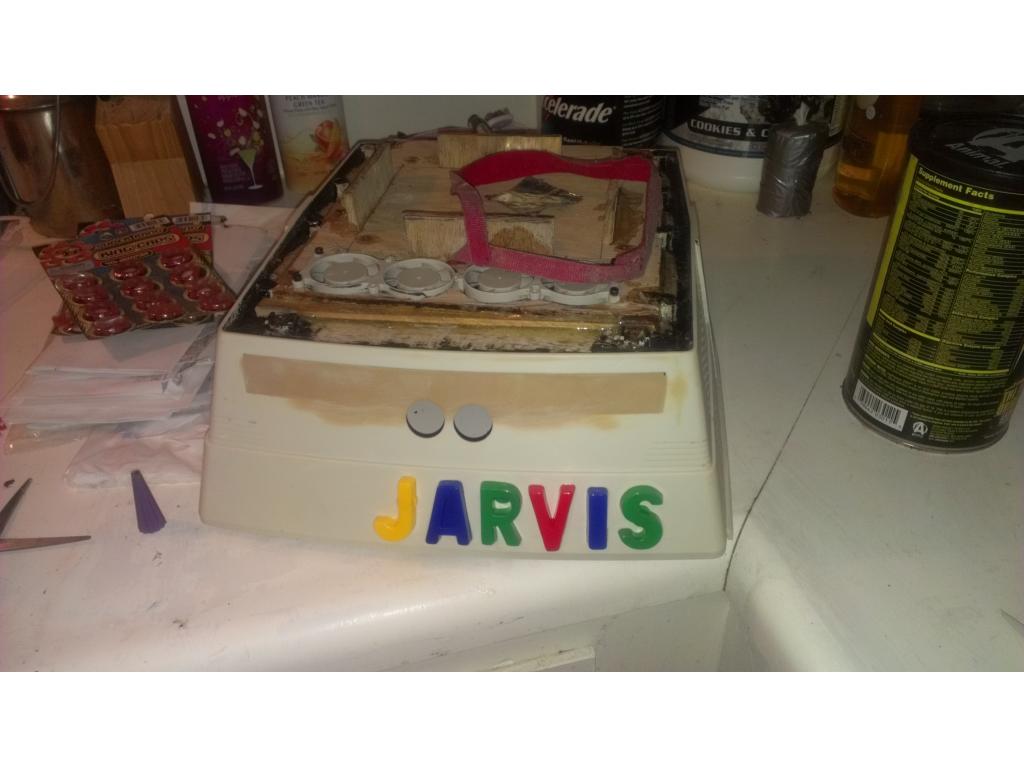
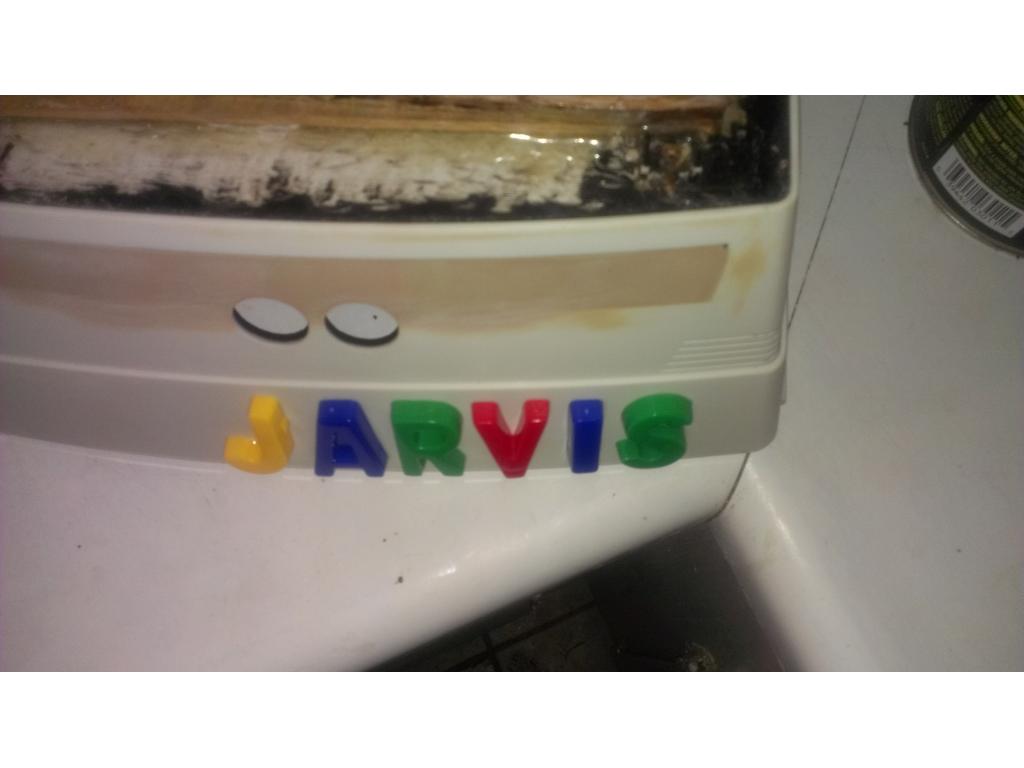
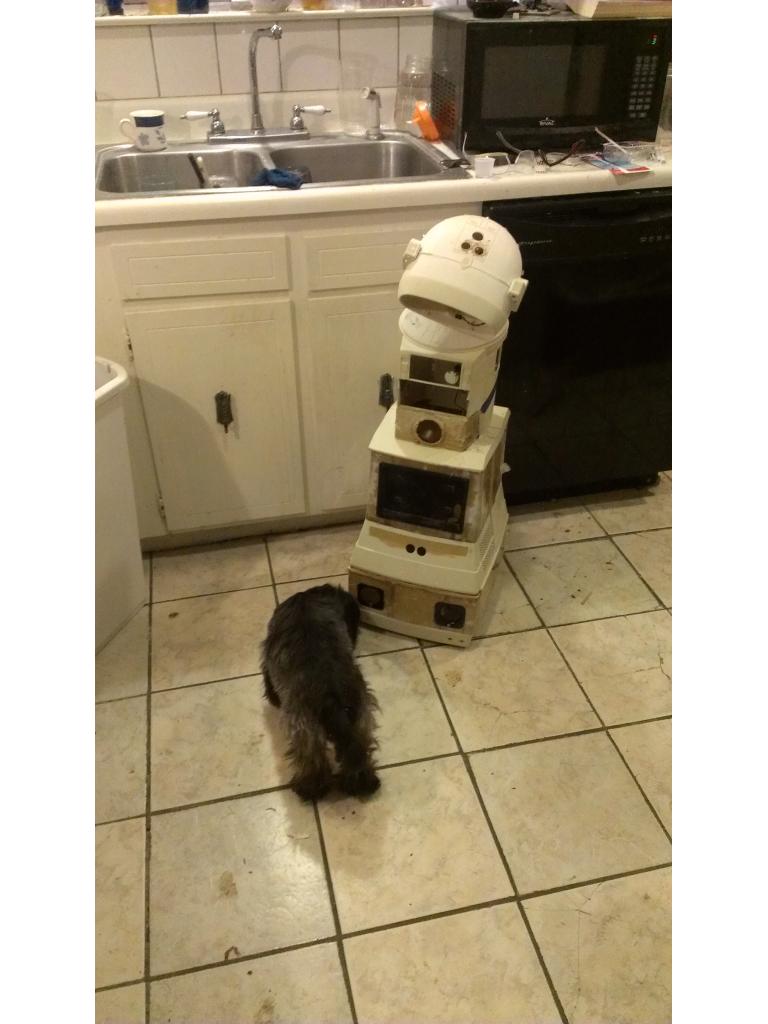
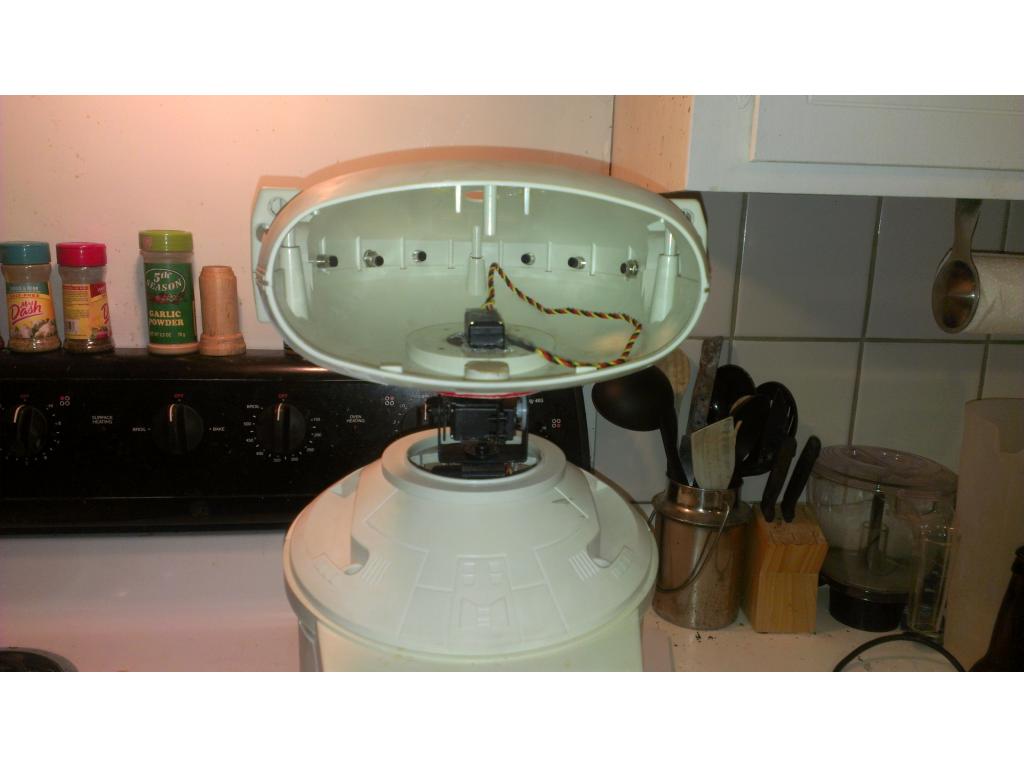
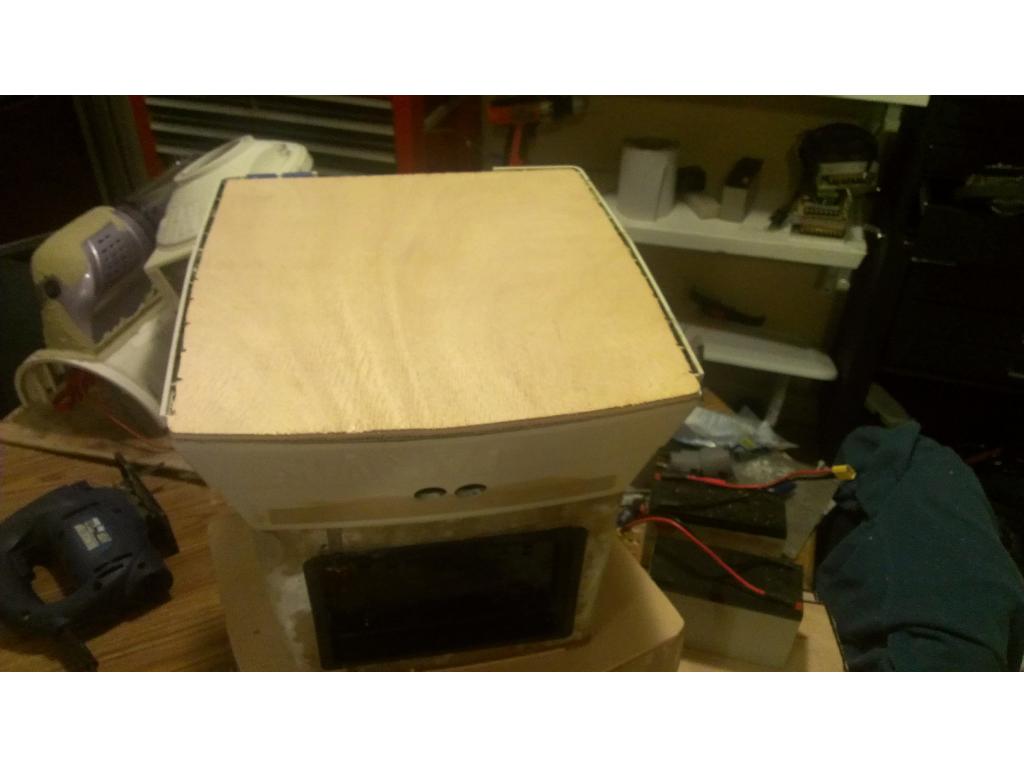
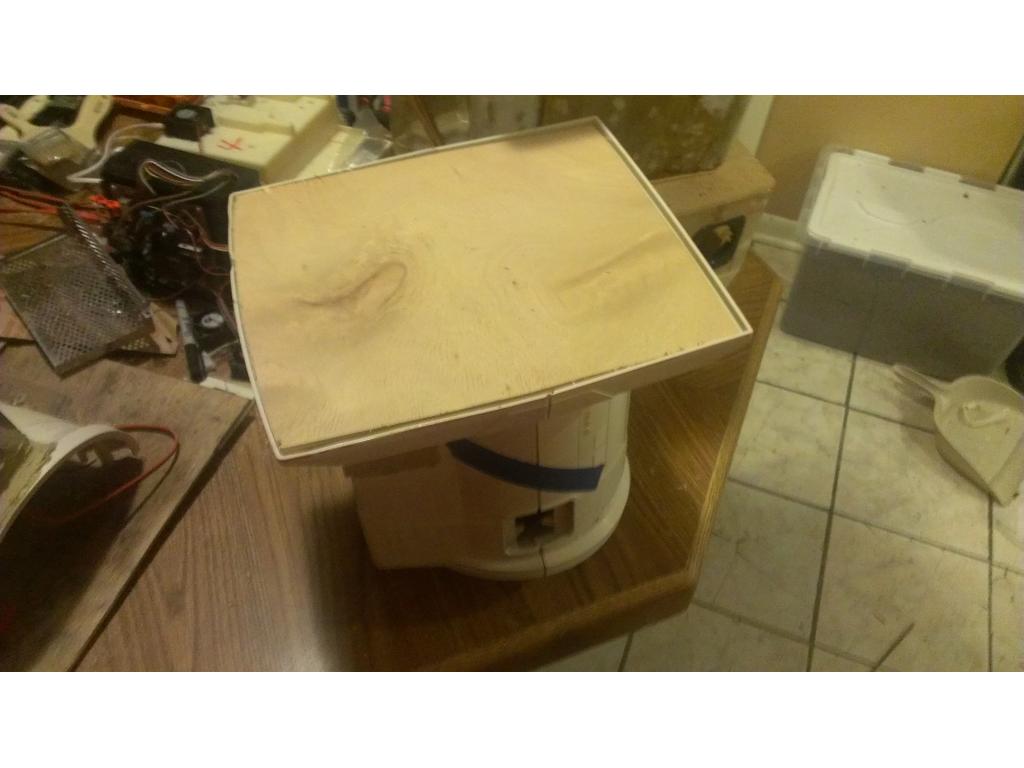
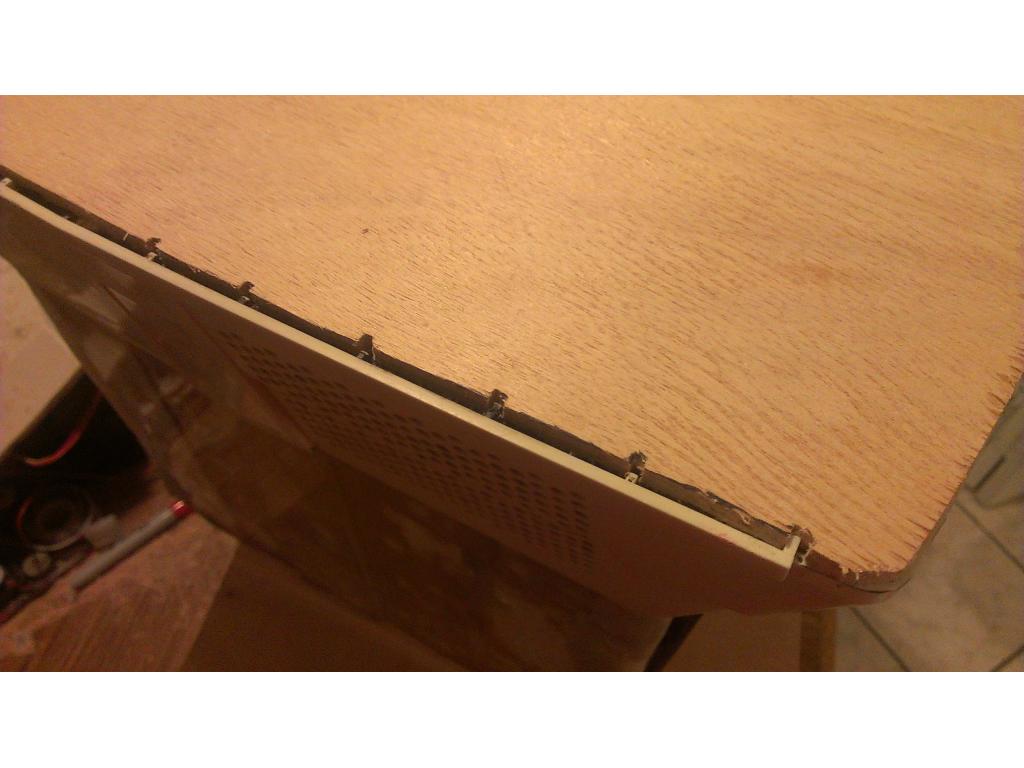
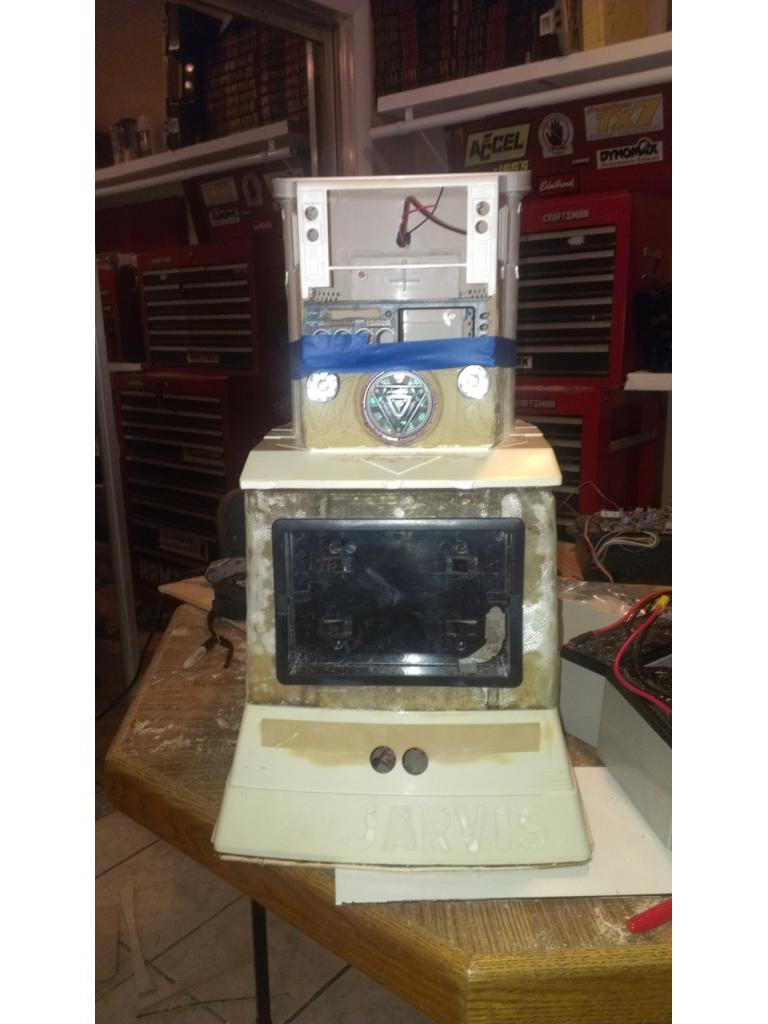
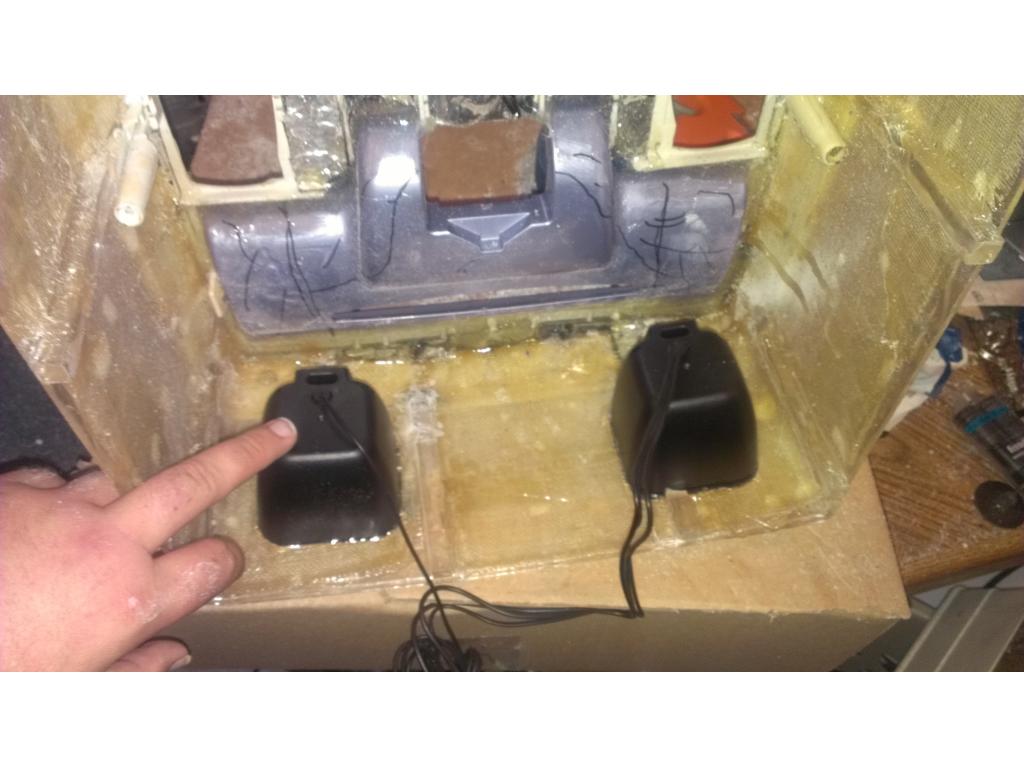
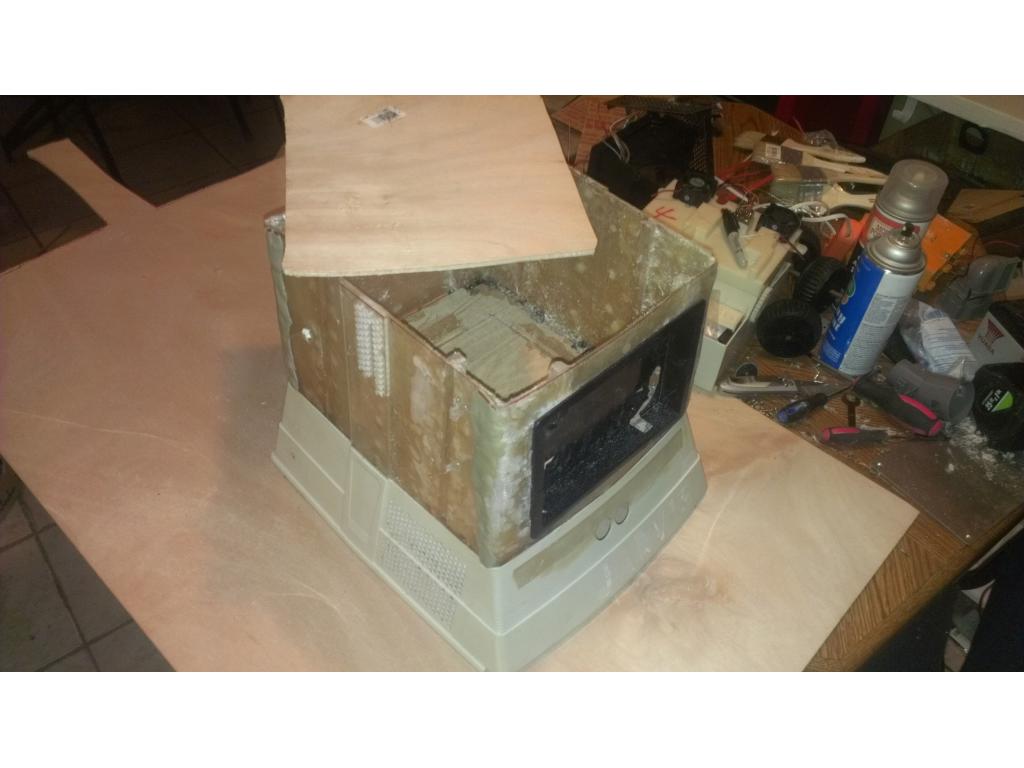
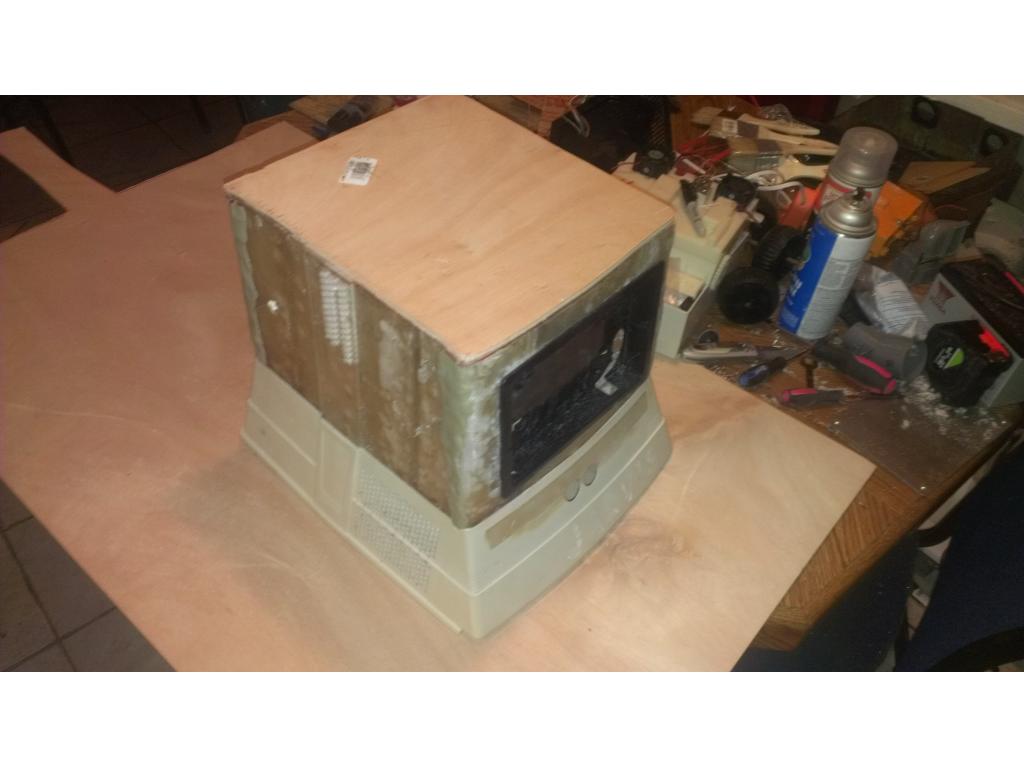
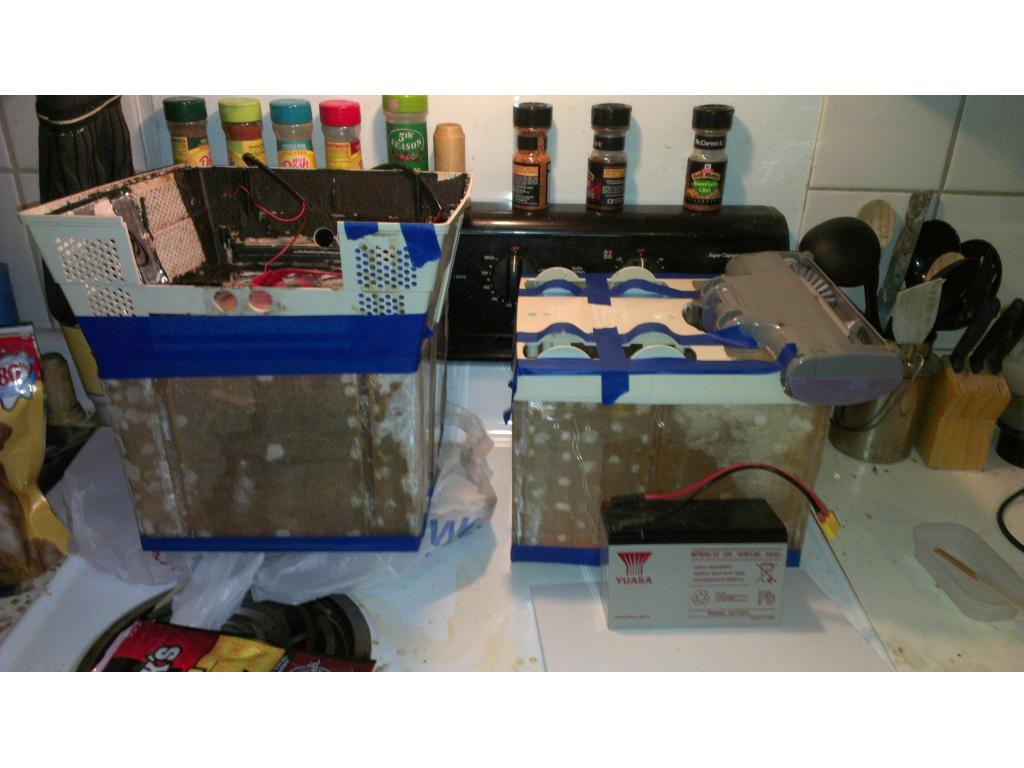
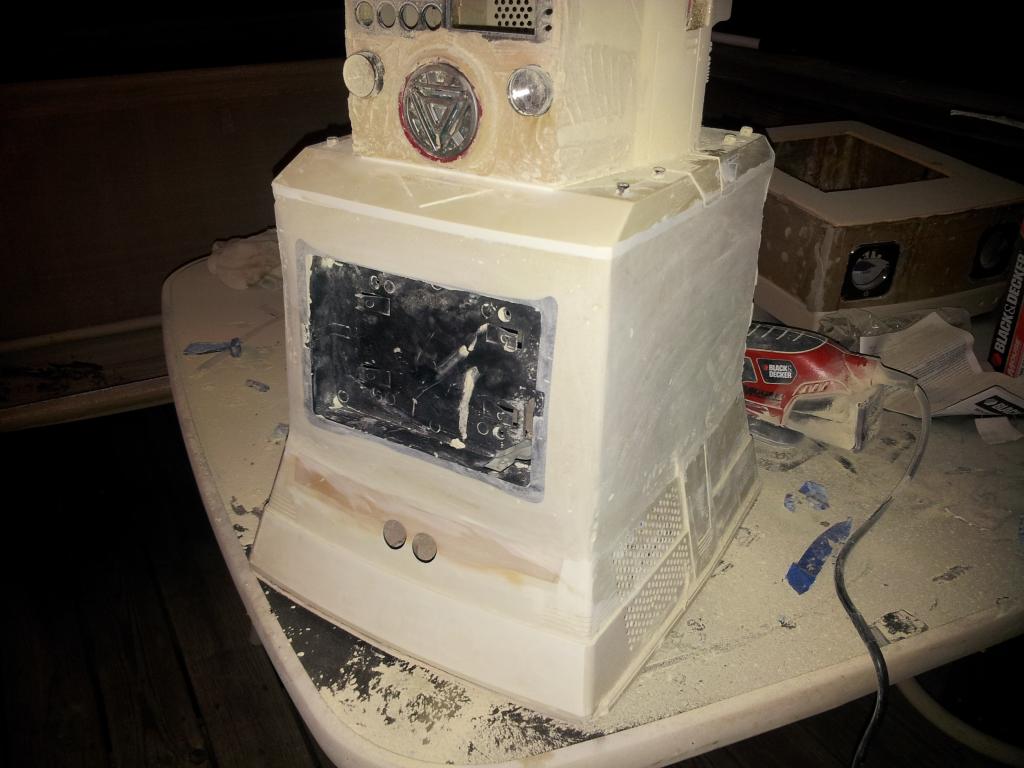
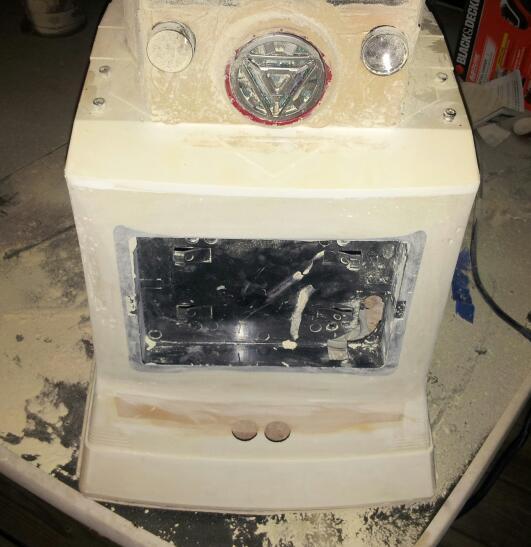
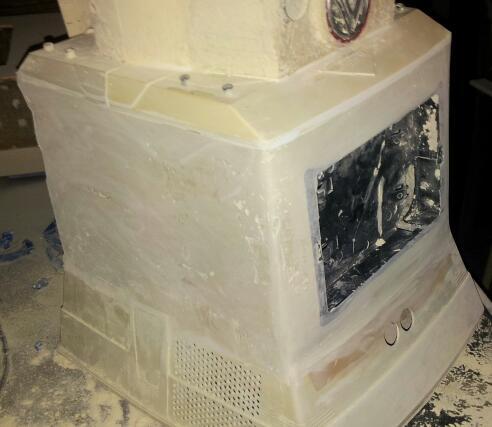
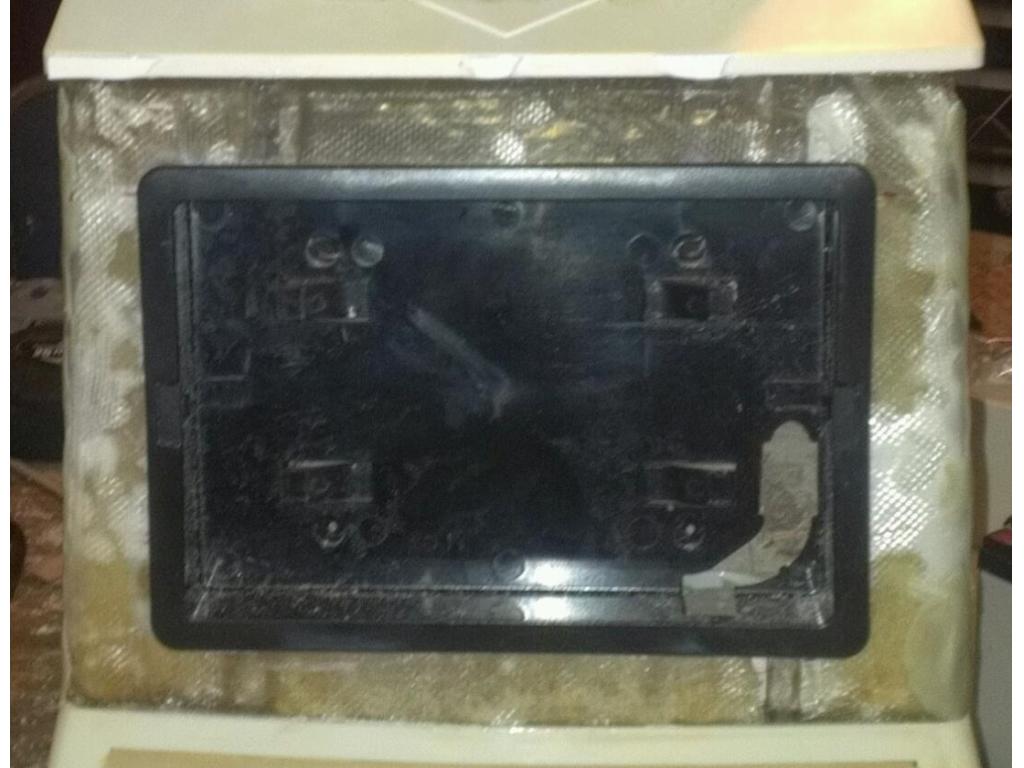
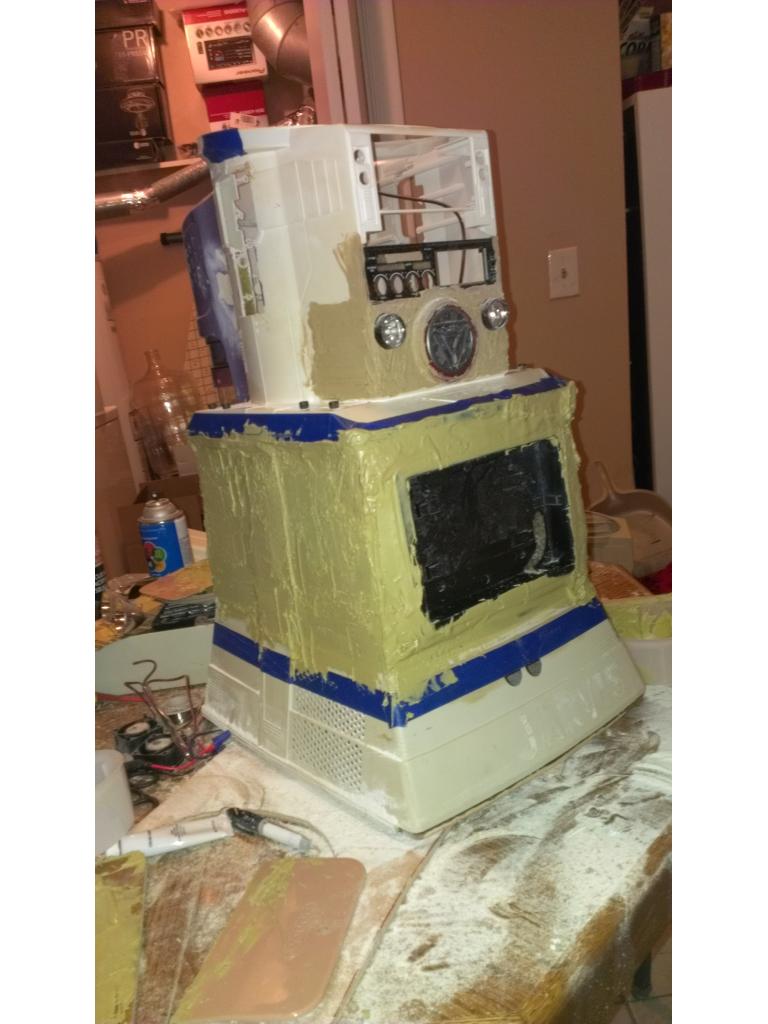
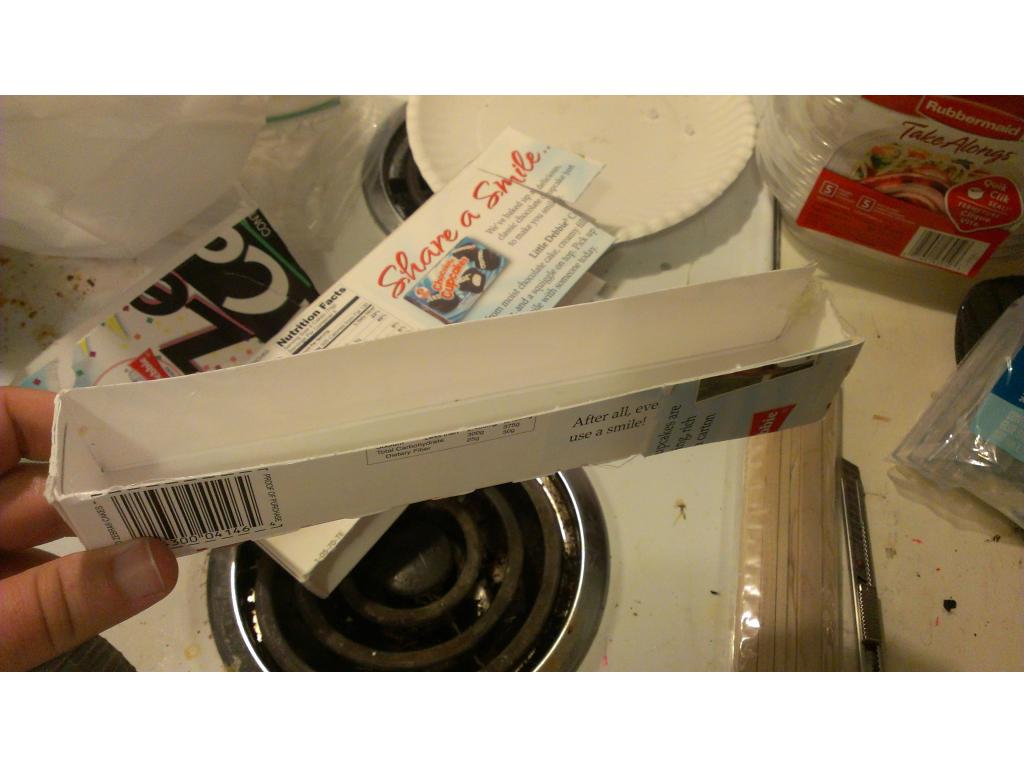
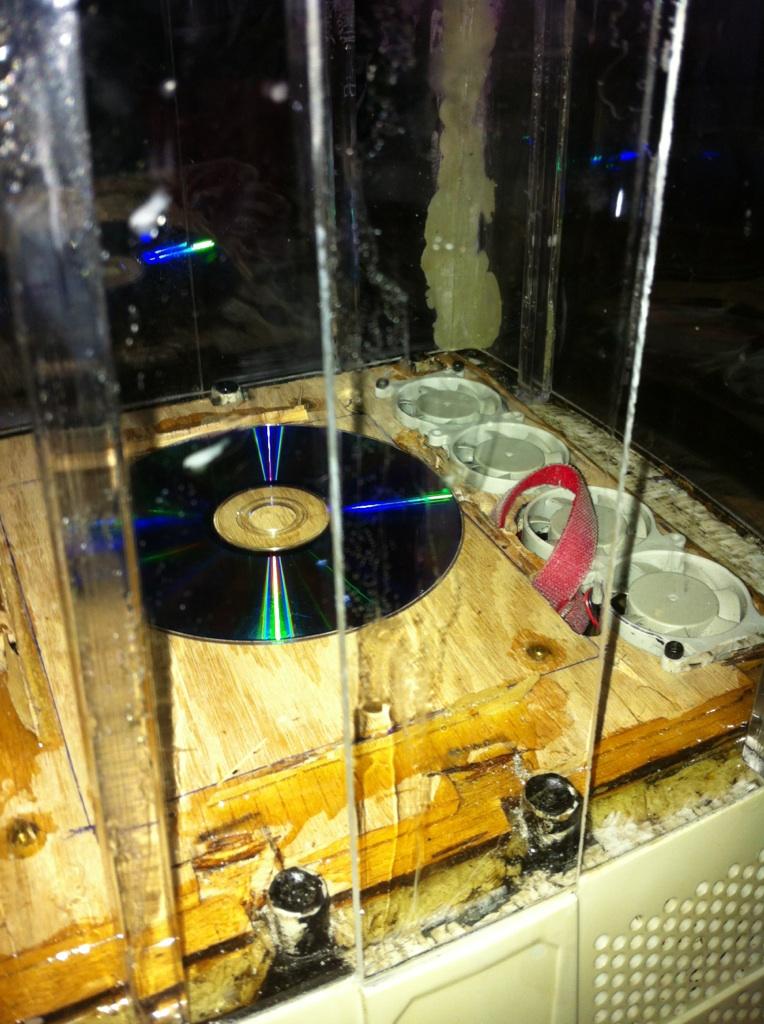
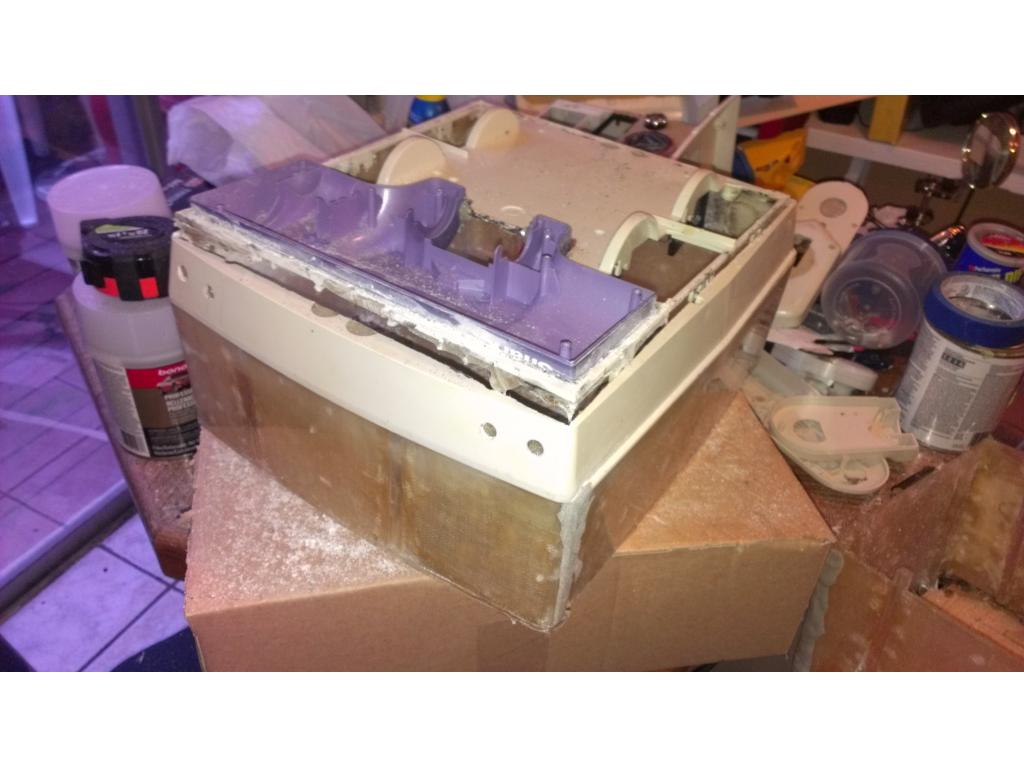
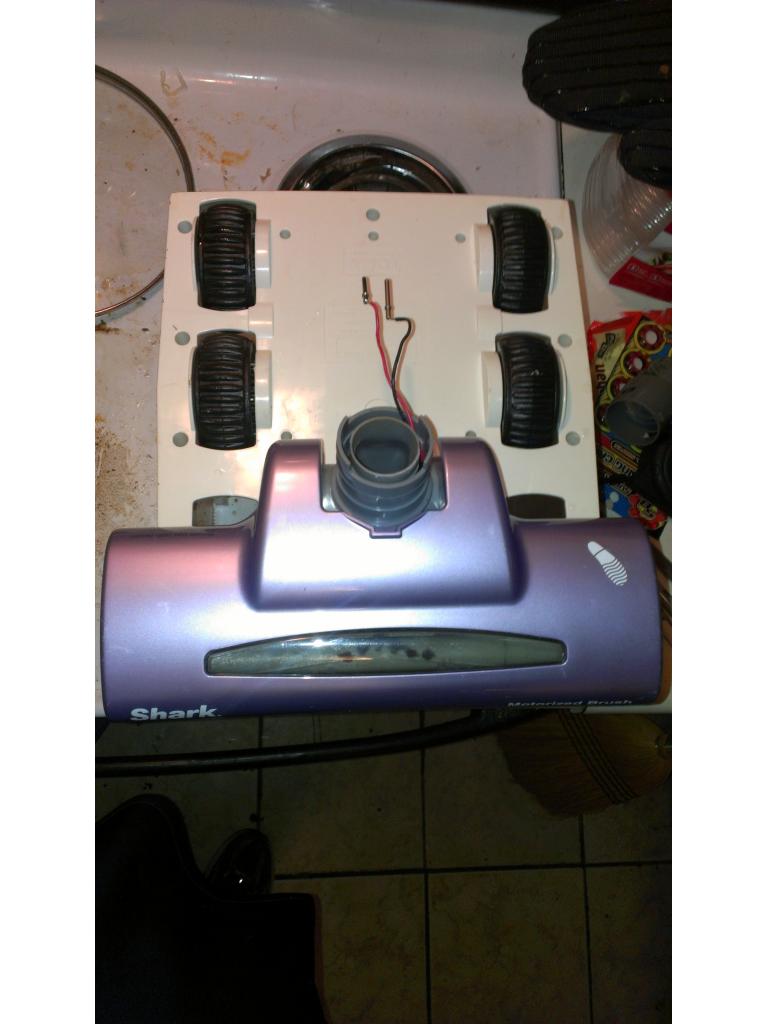
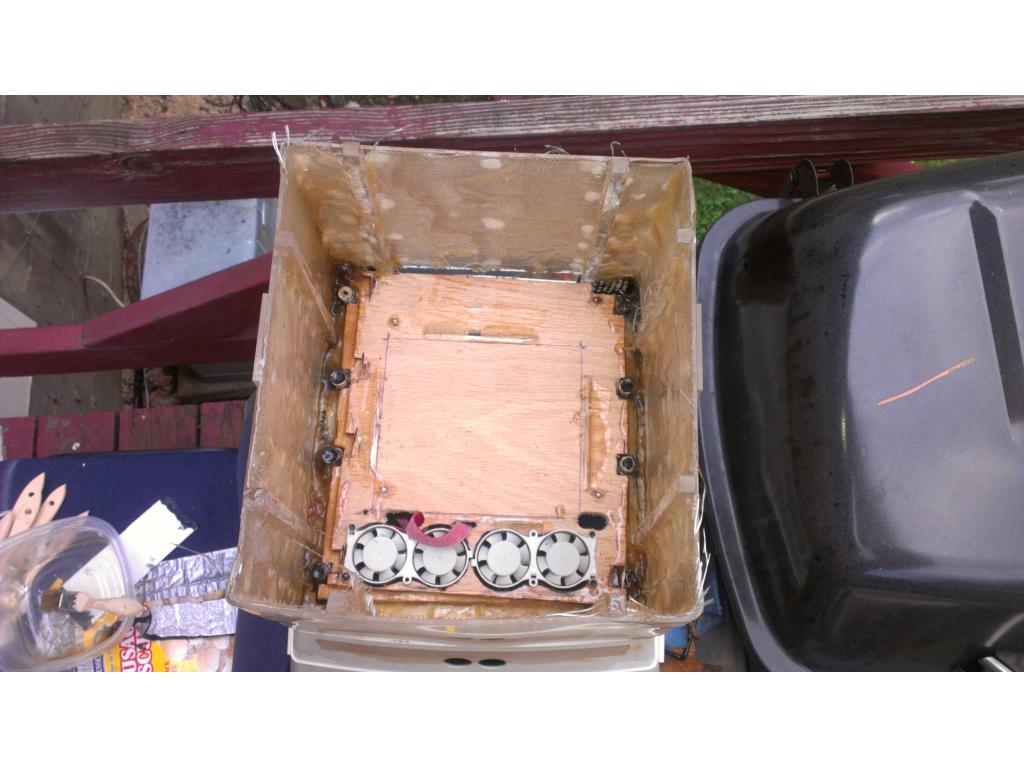
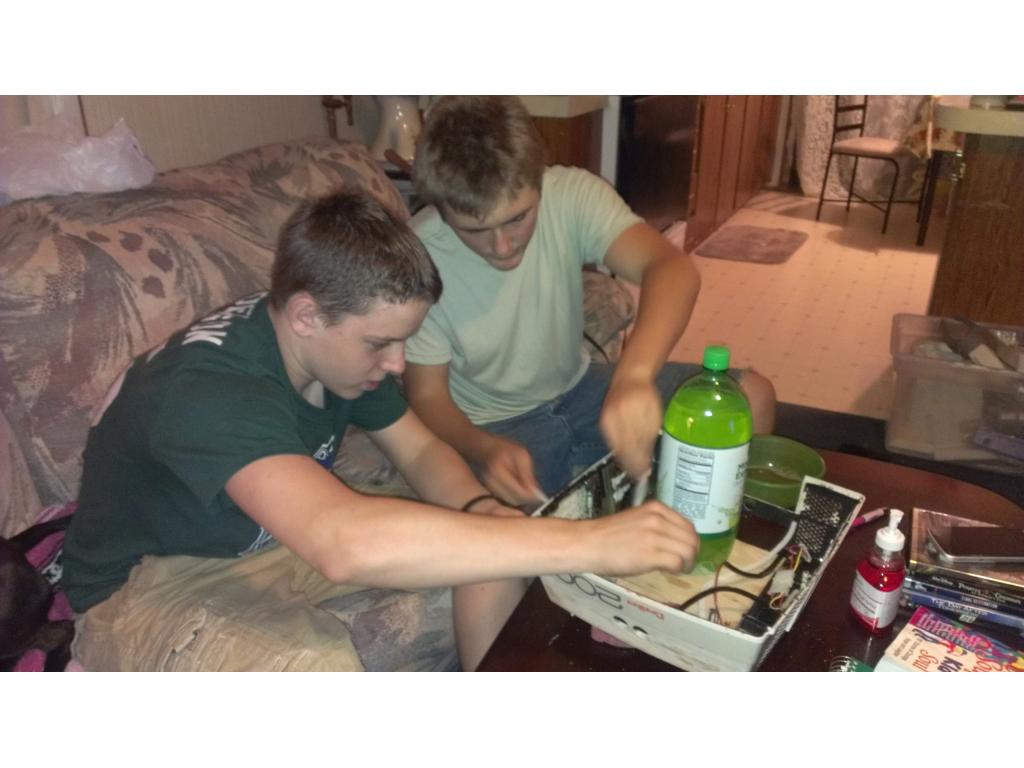
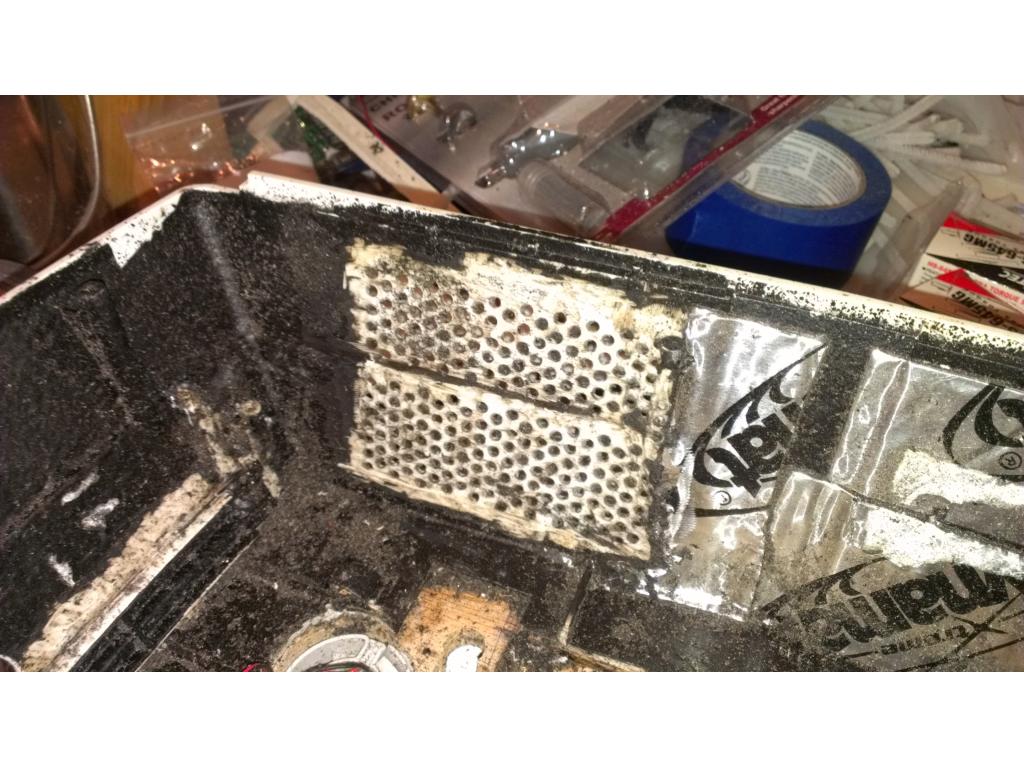
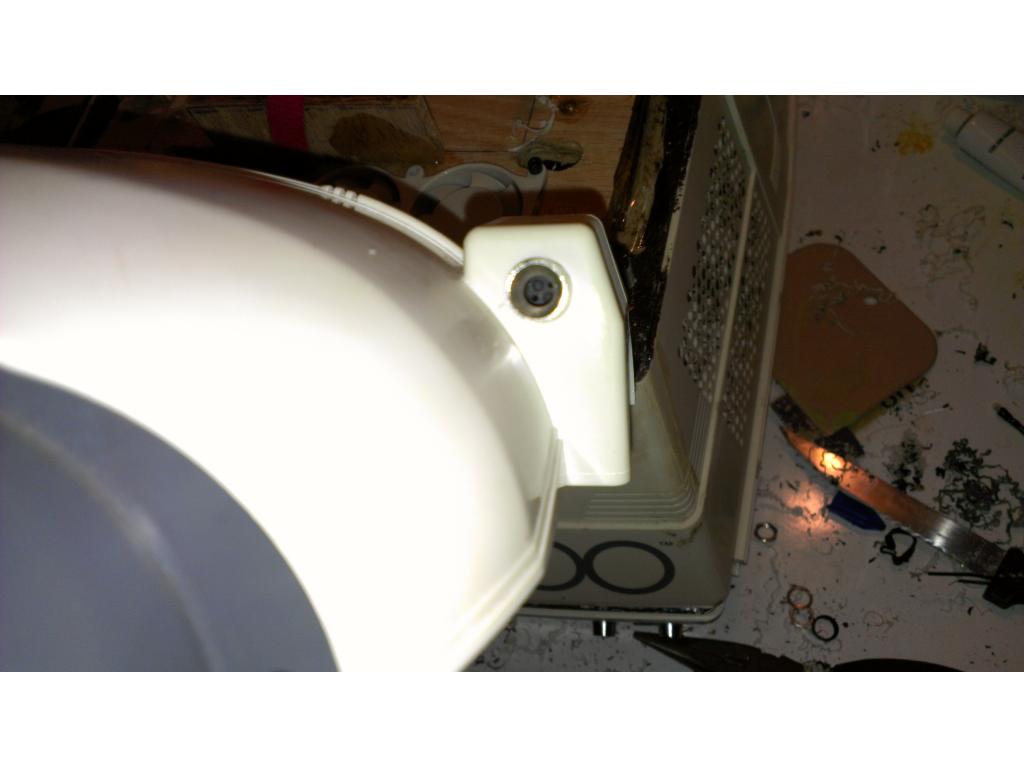
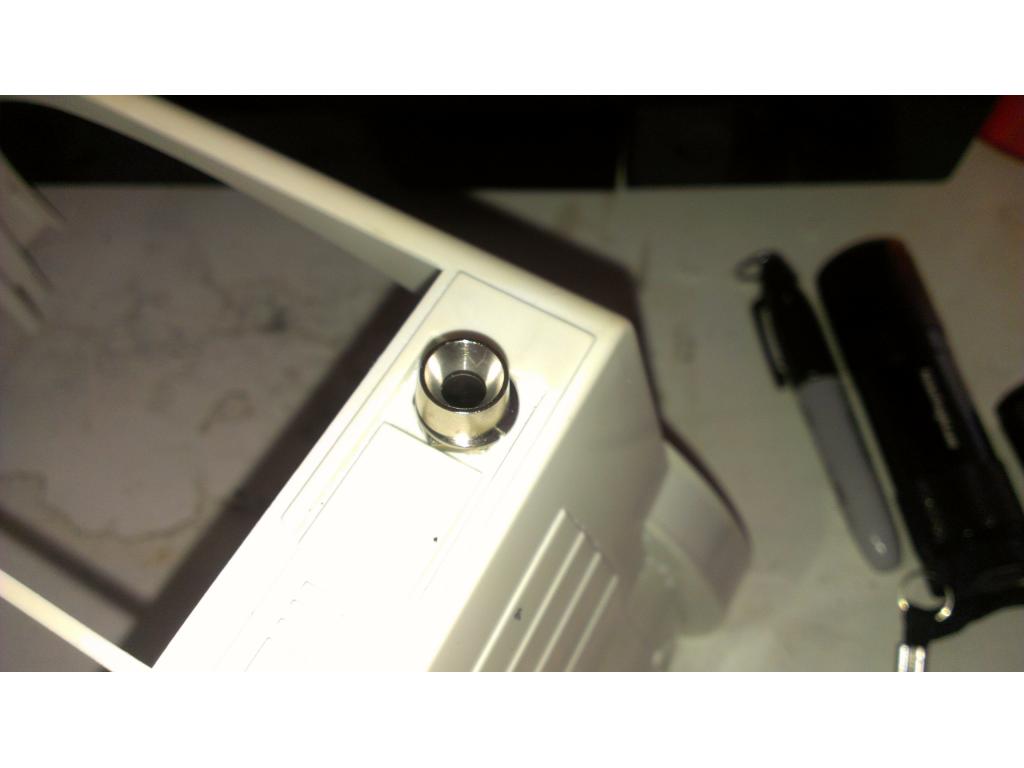
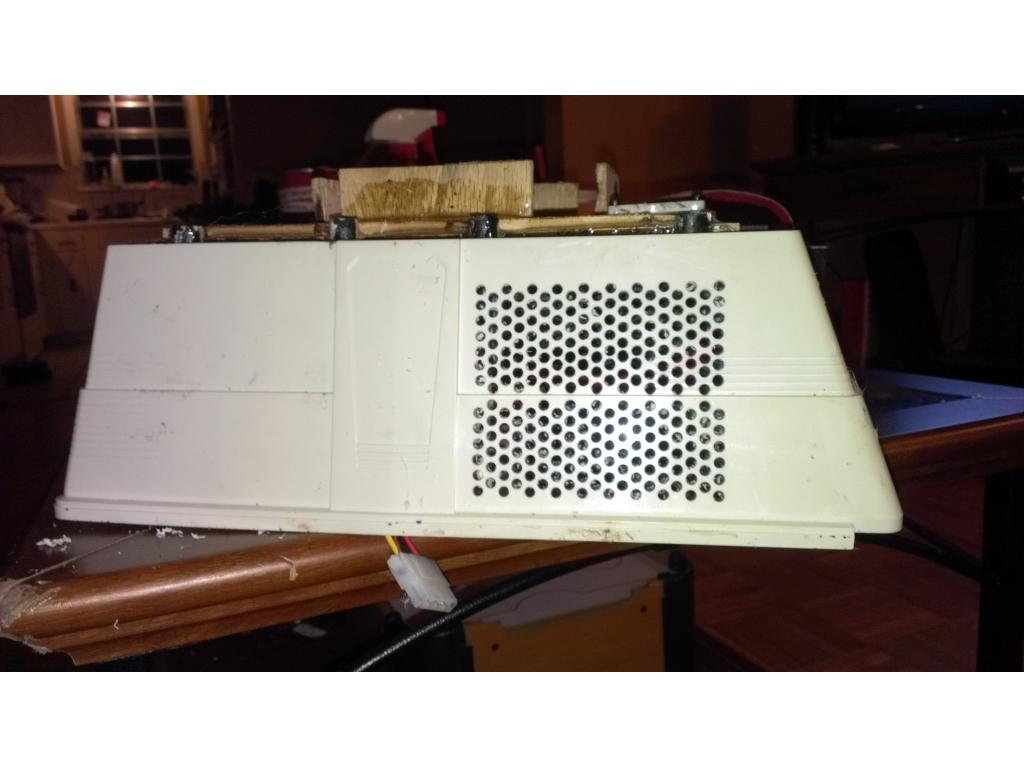
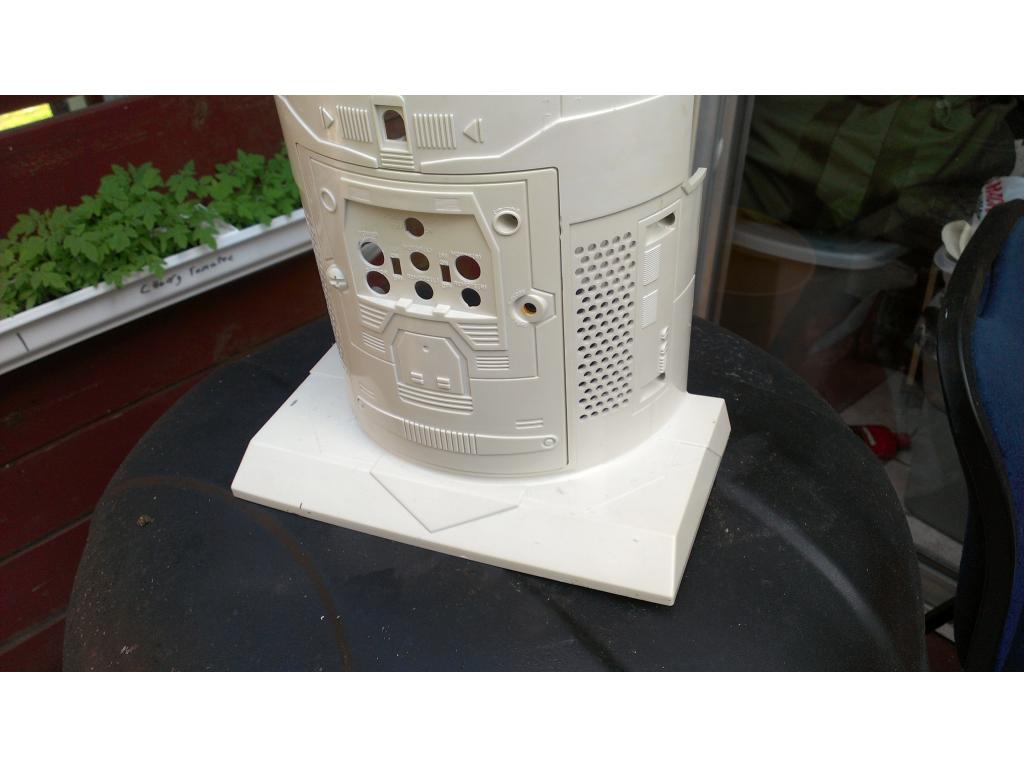
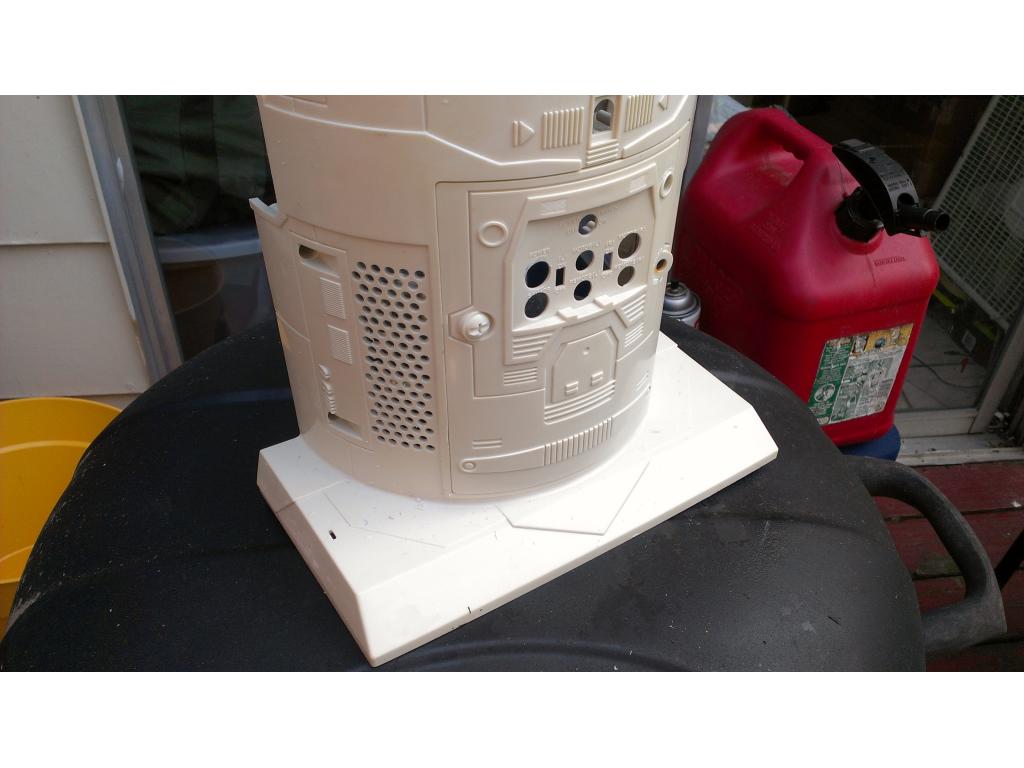
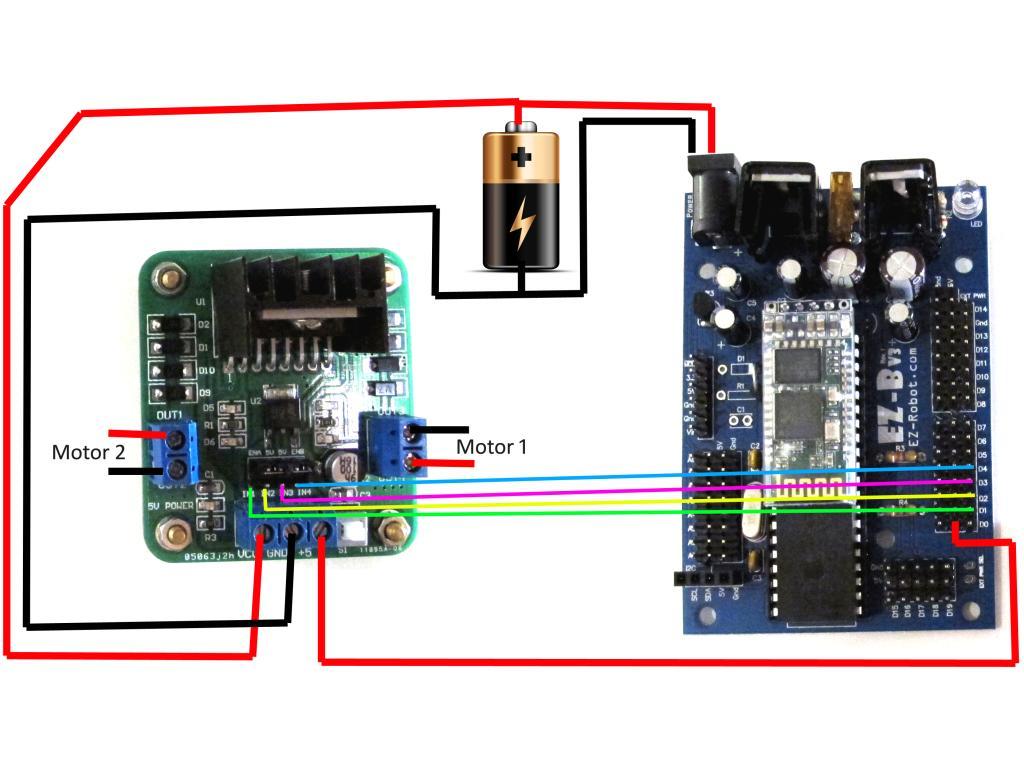
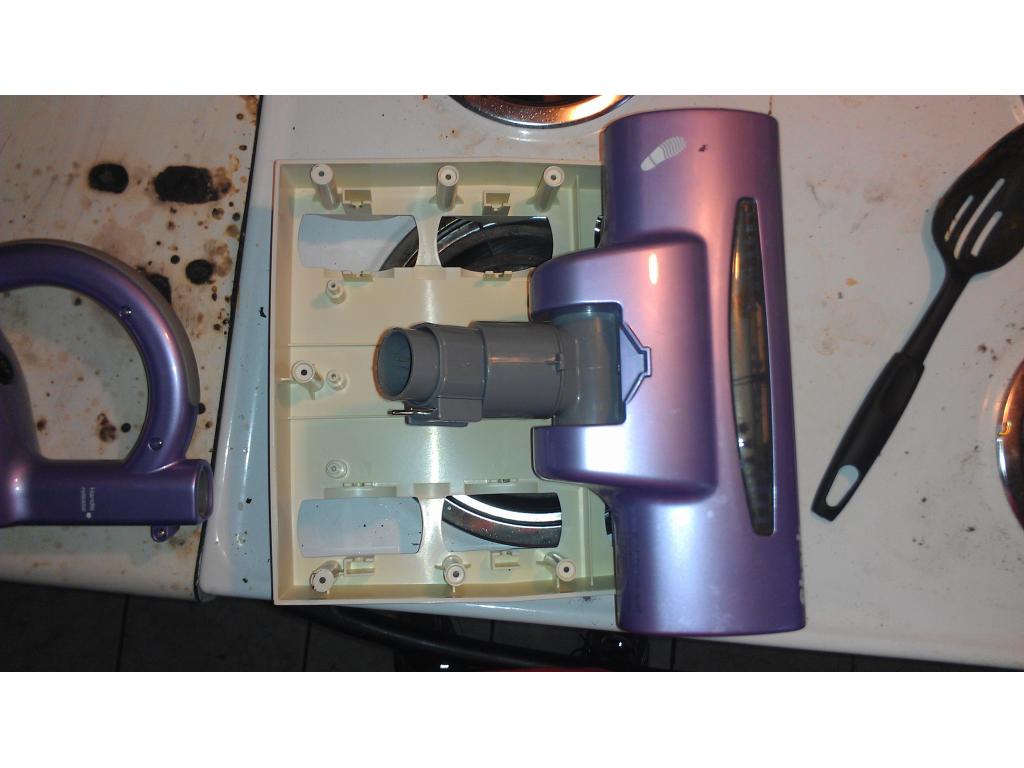
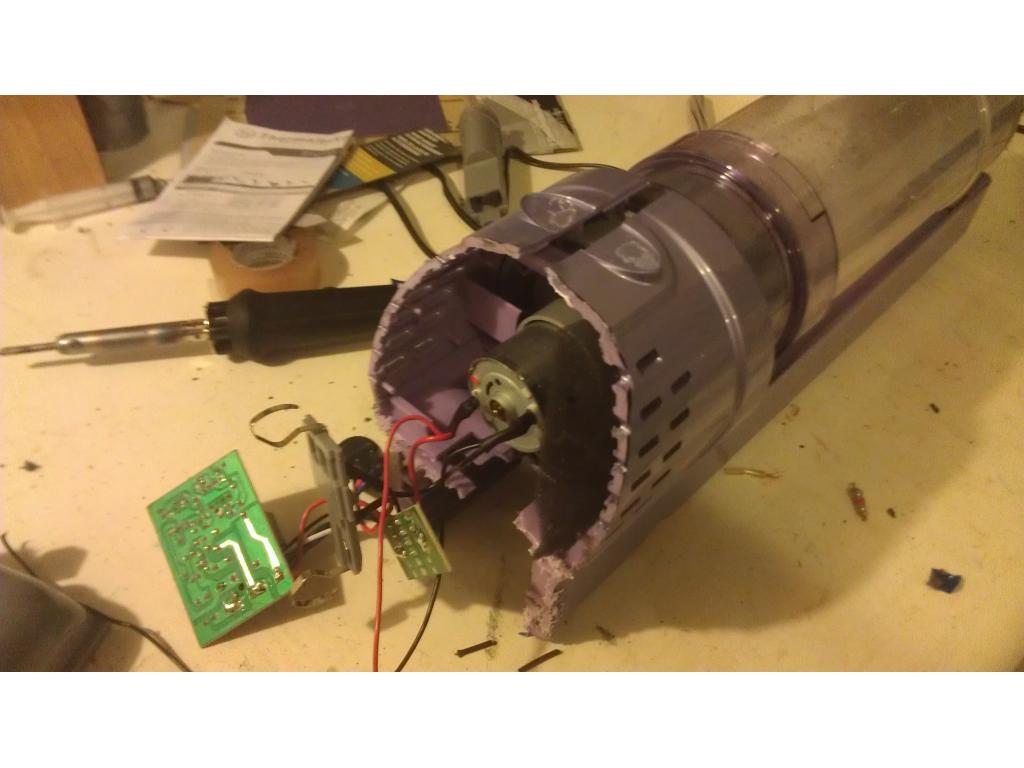
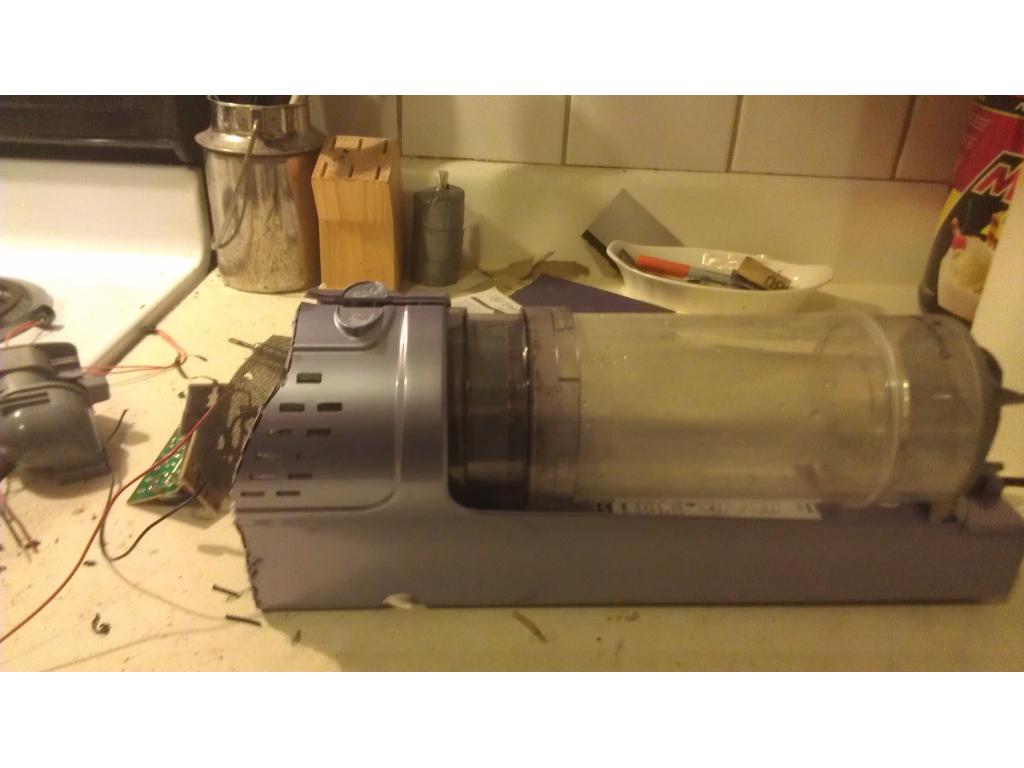
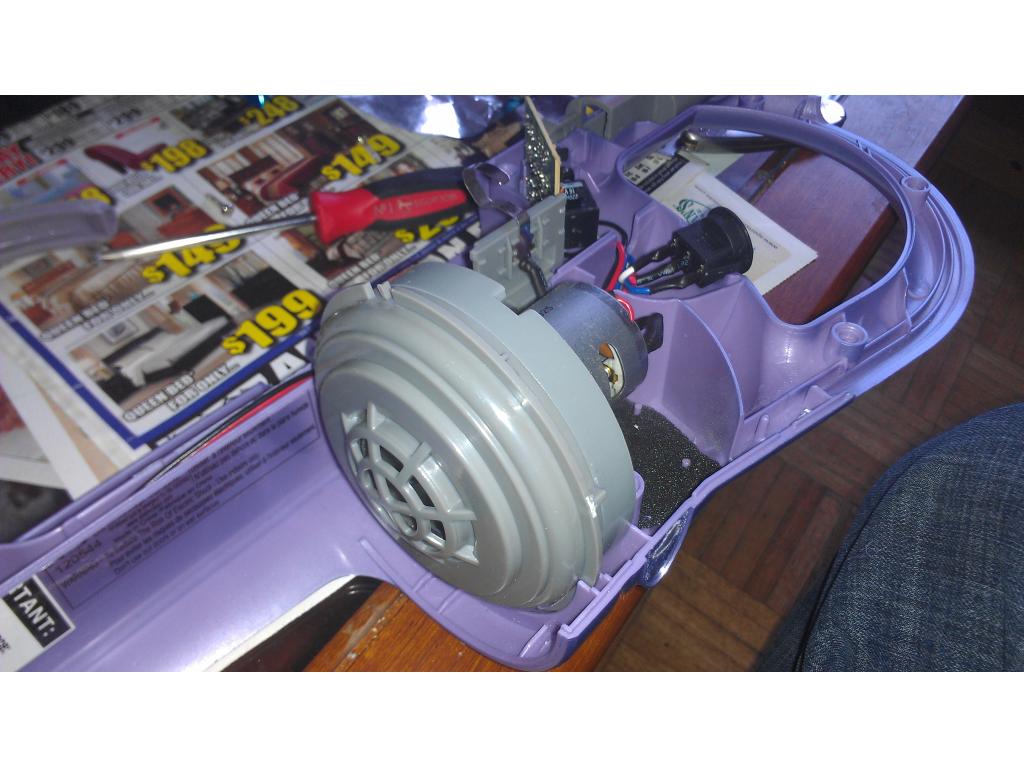
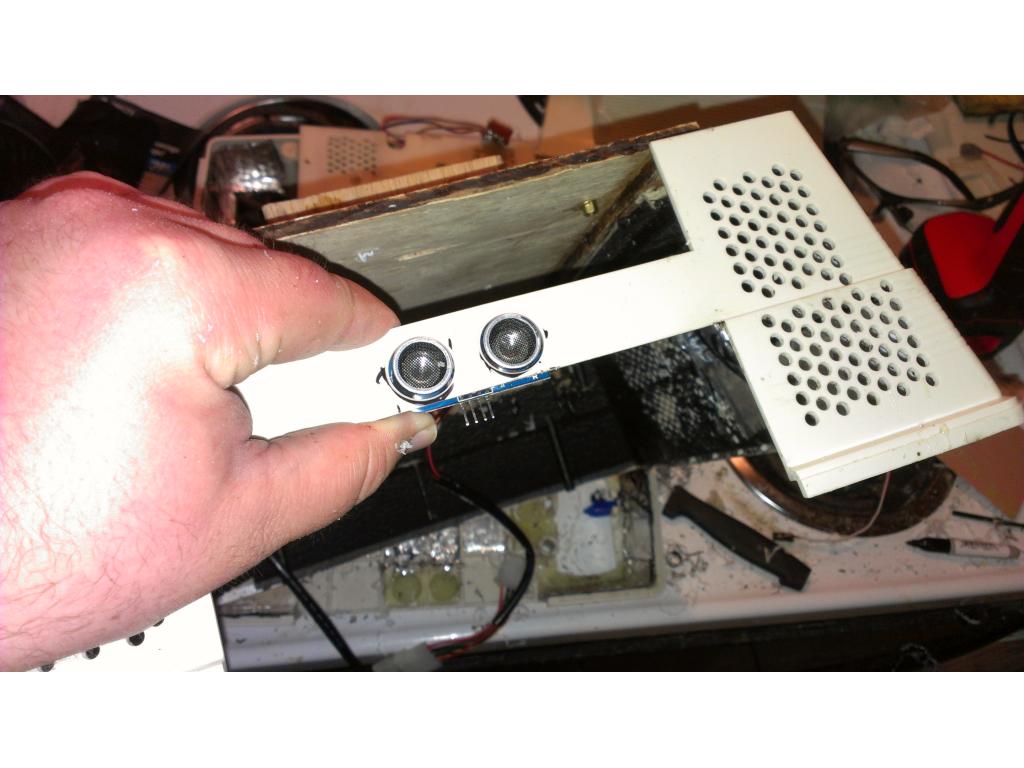
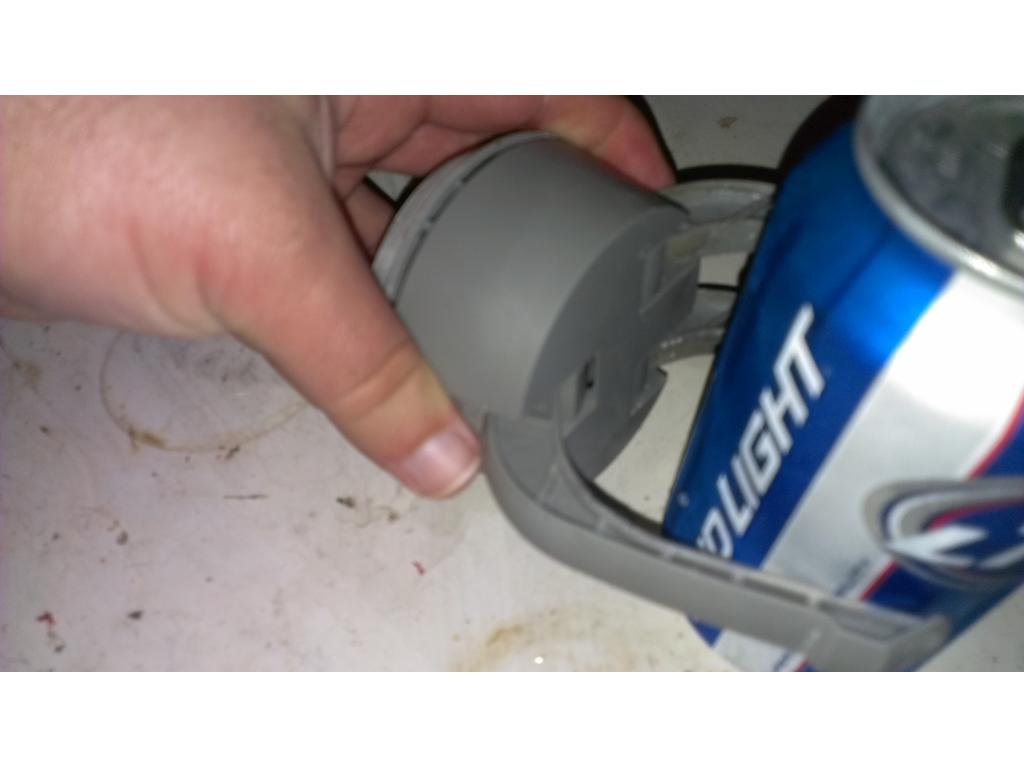
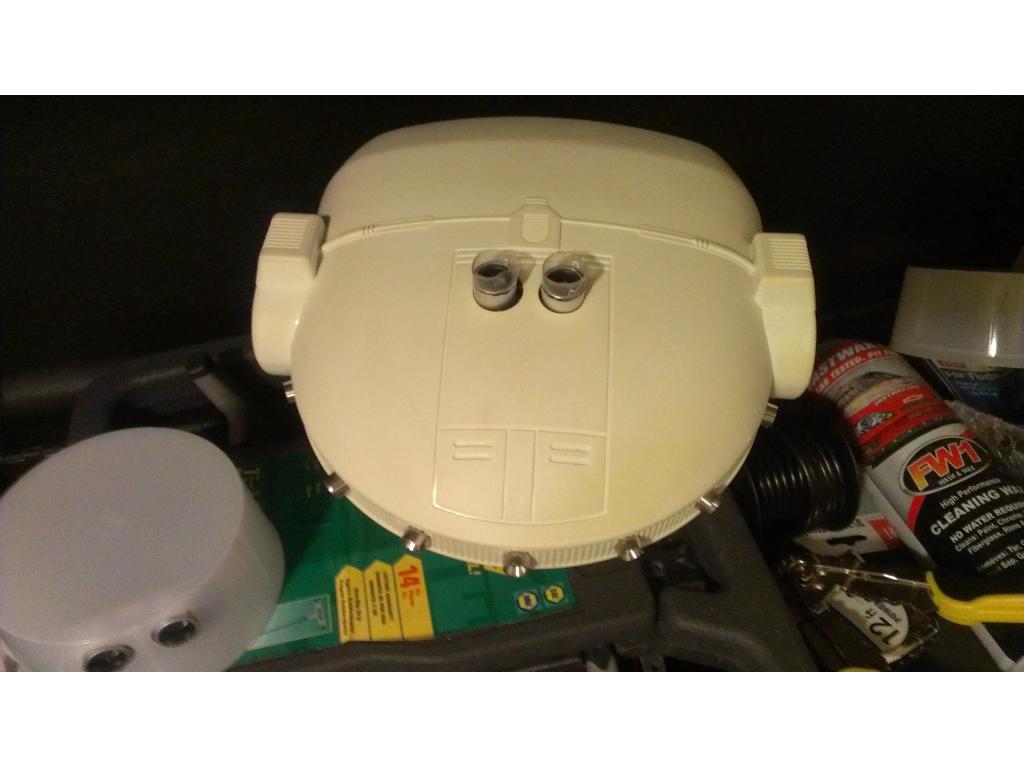
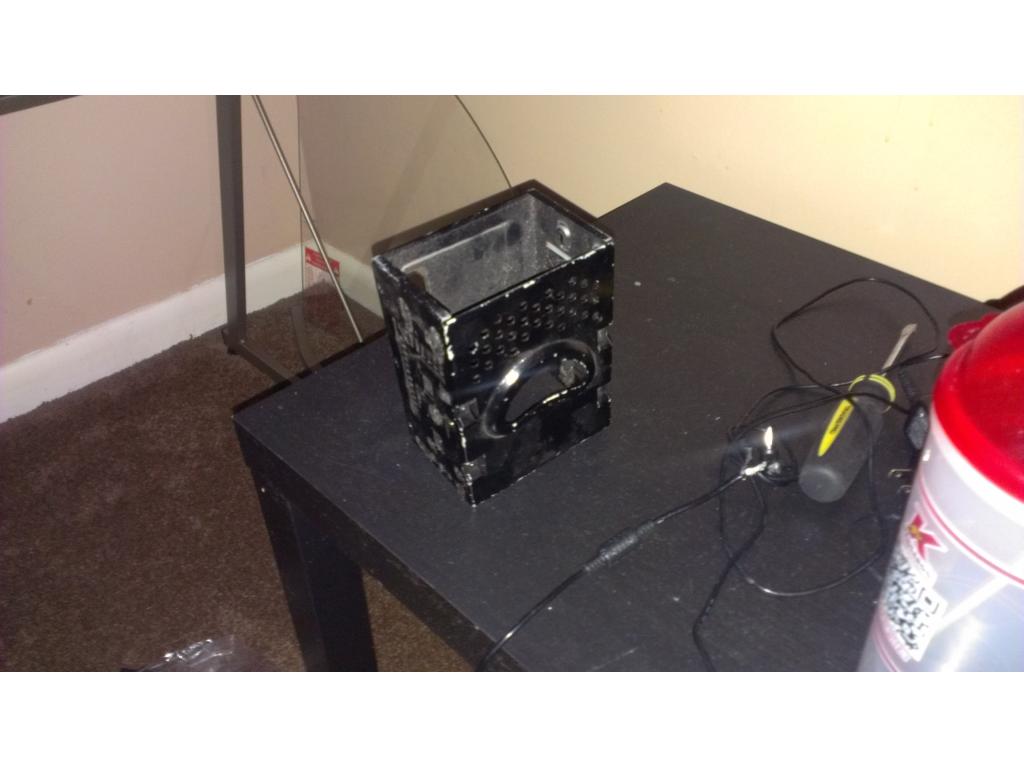
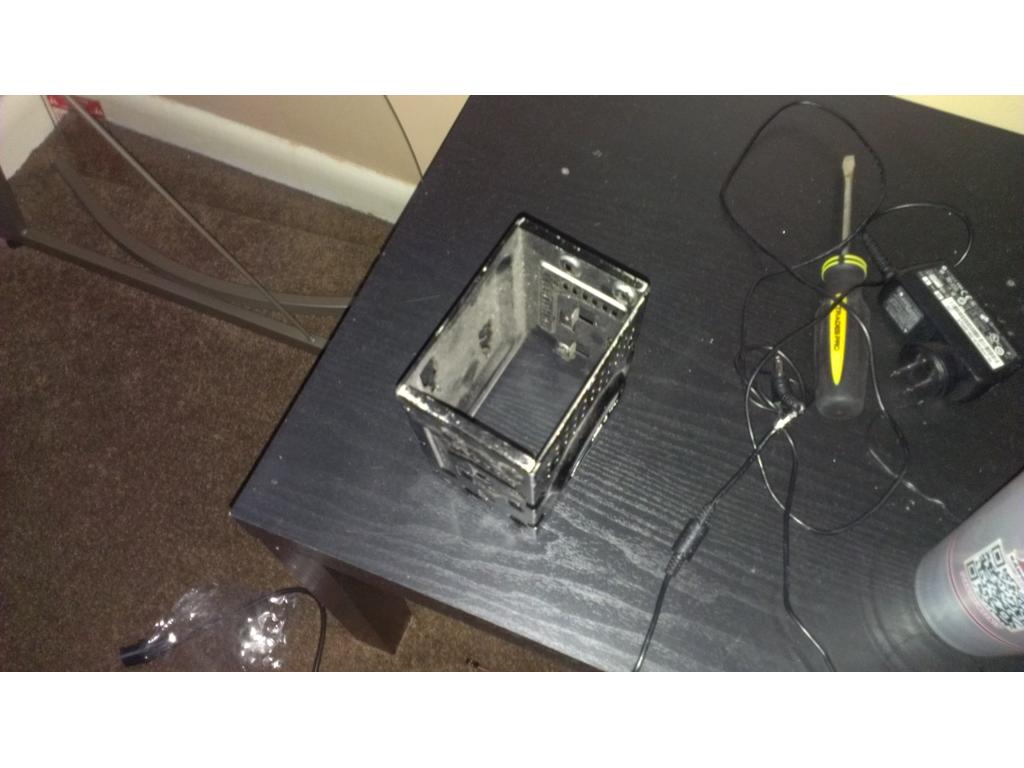
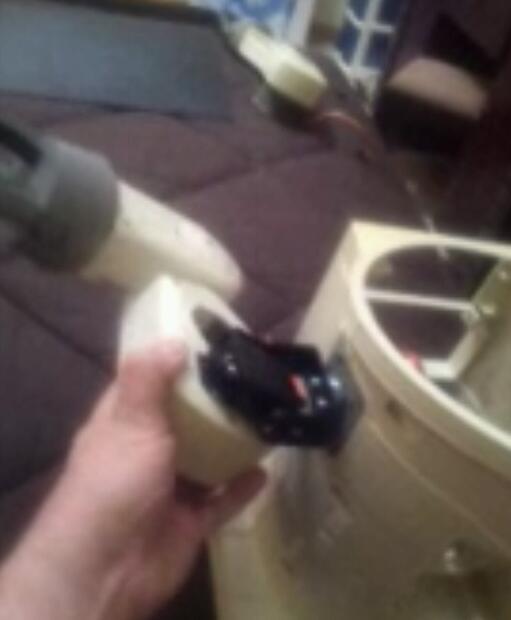
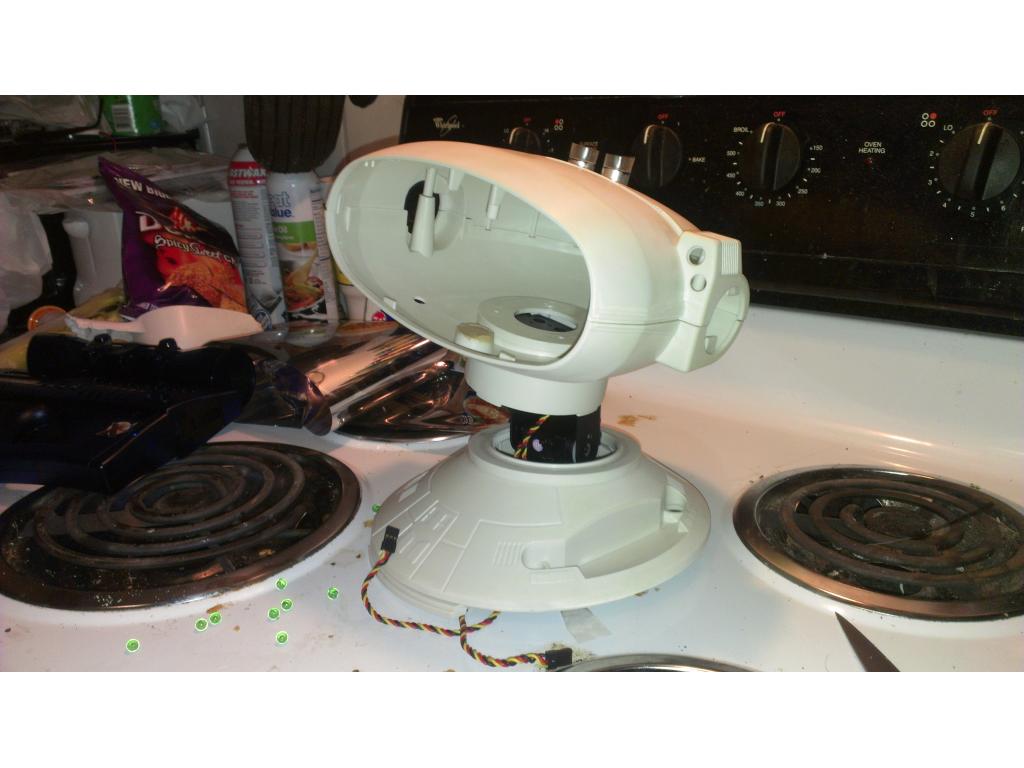
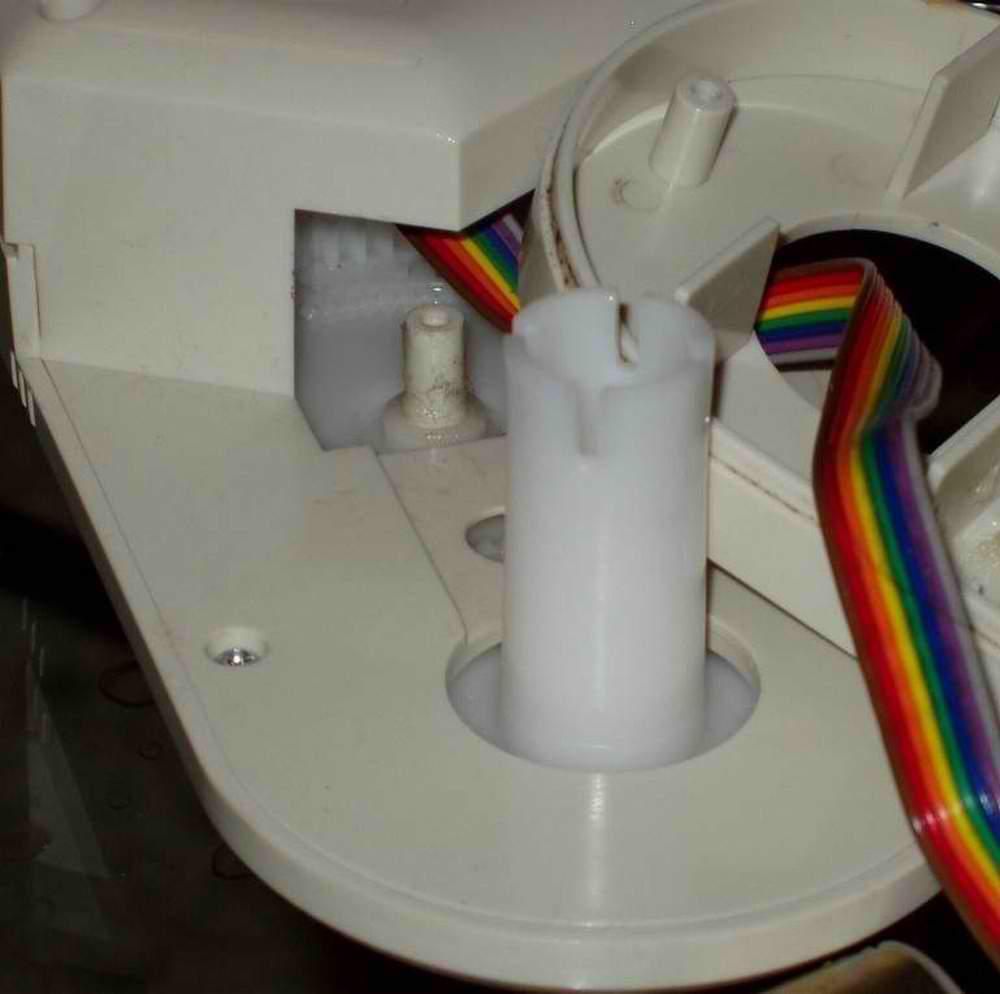
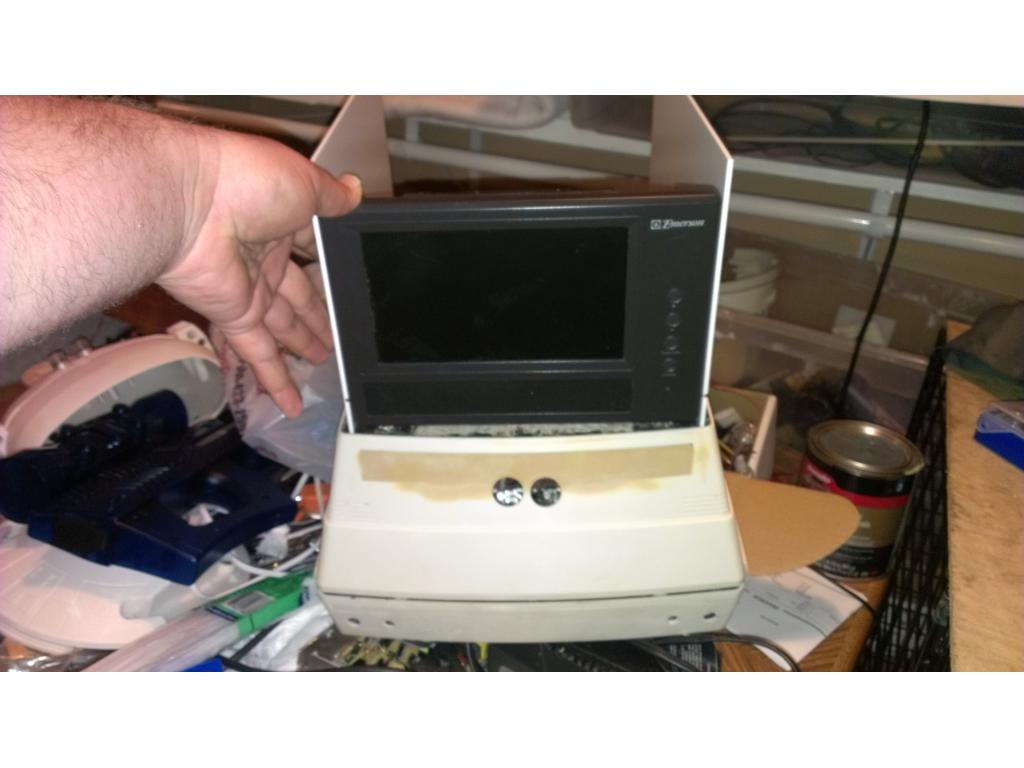
Next I must attatch the power wires , then put this case back together, I did trim the case to be much much closer to the back of Jarvis's torso.

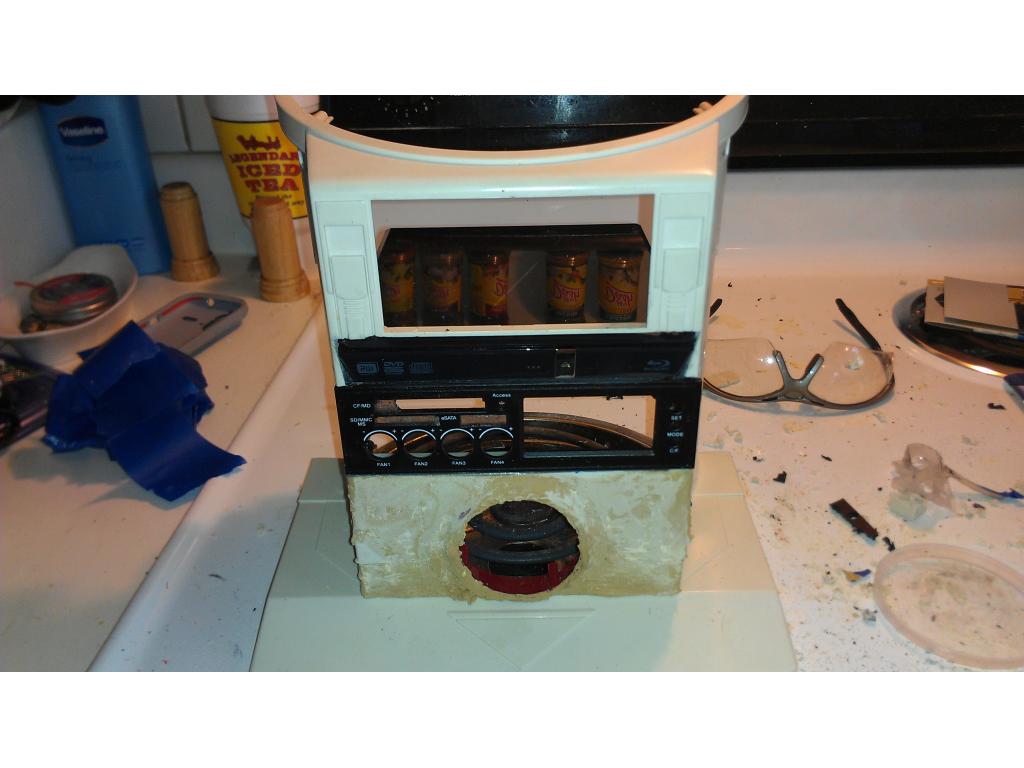
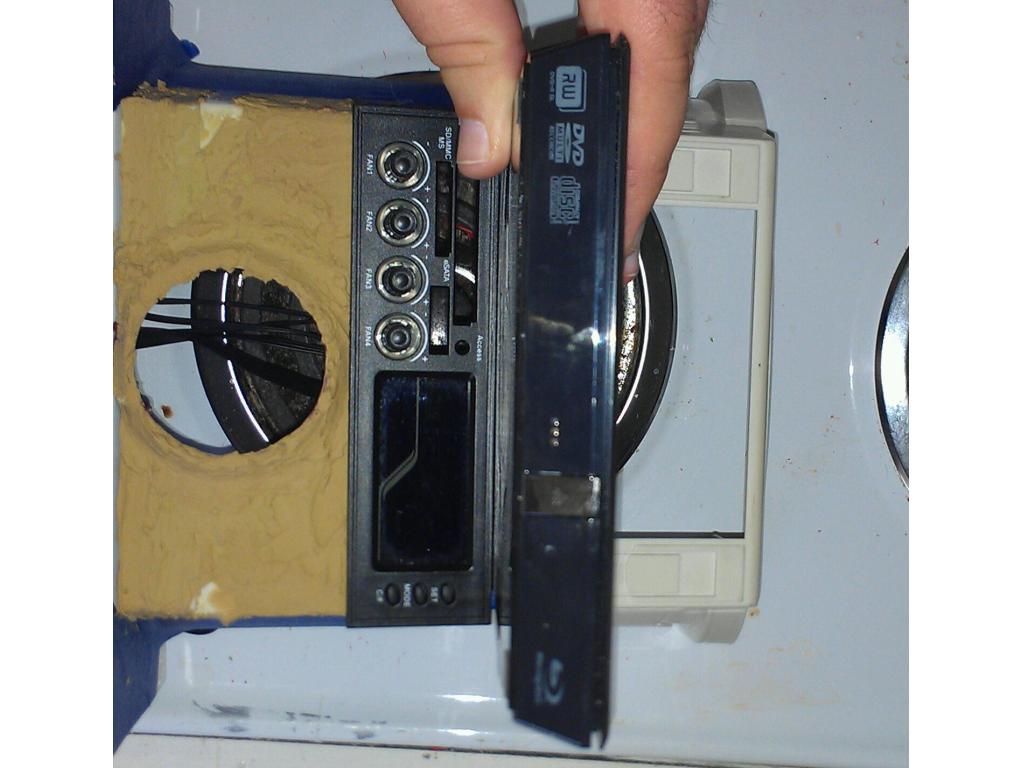
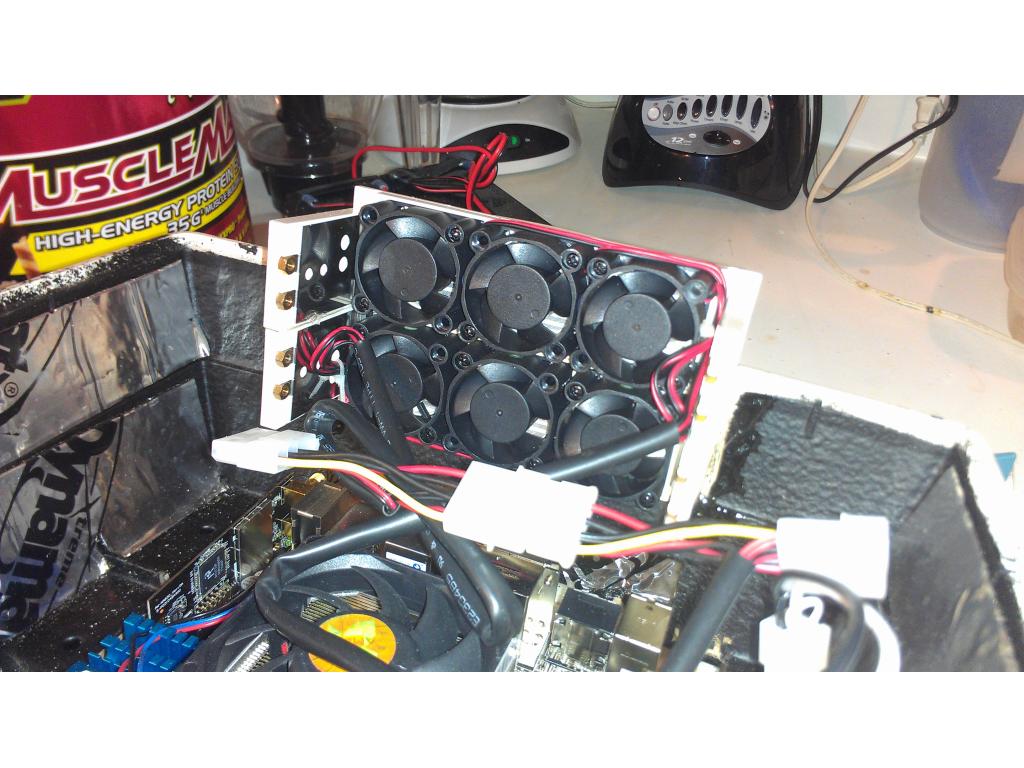
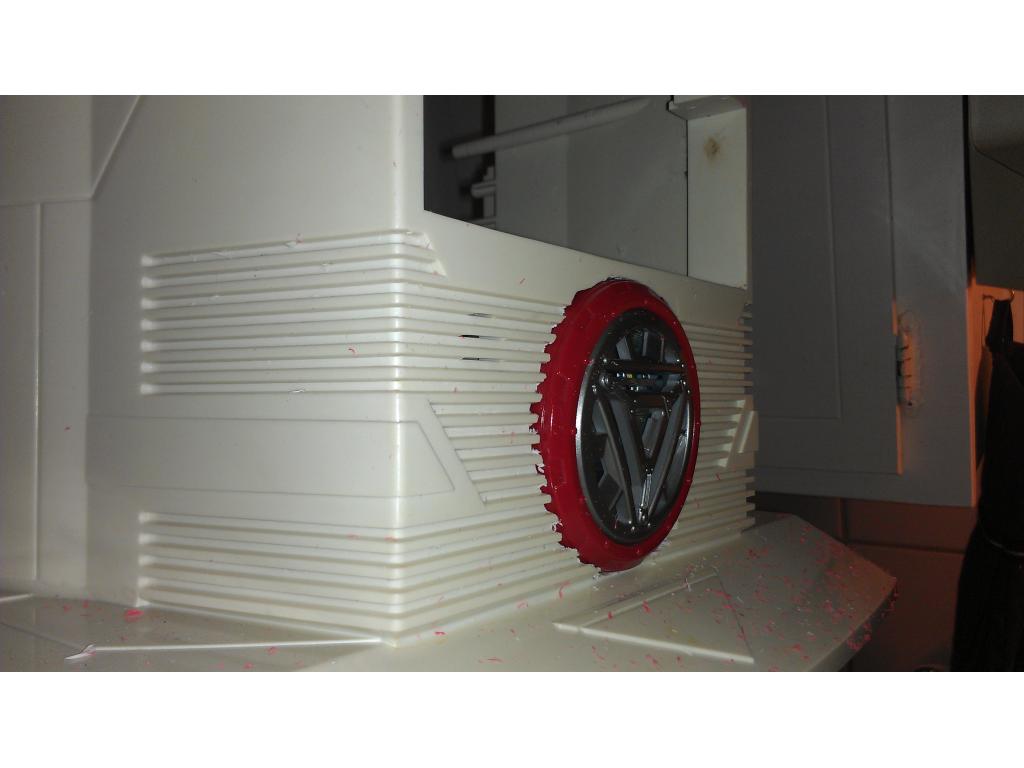
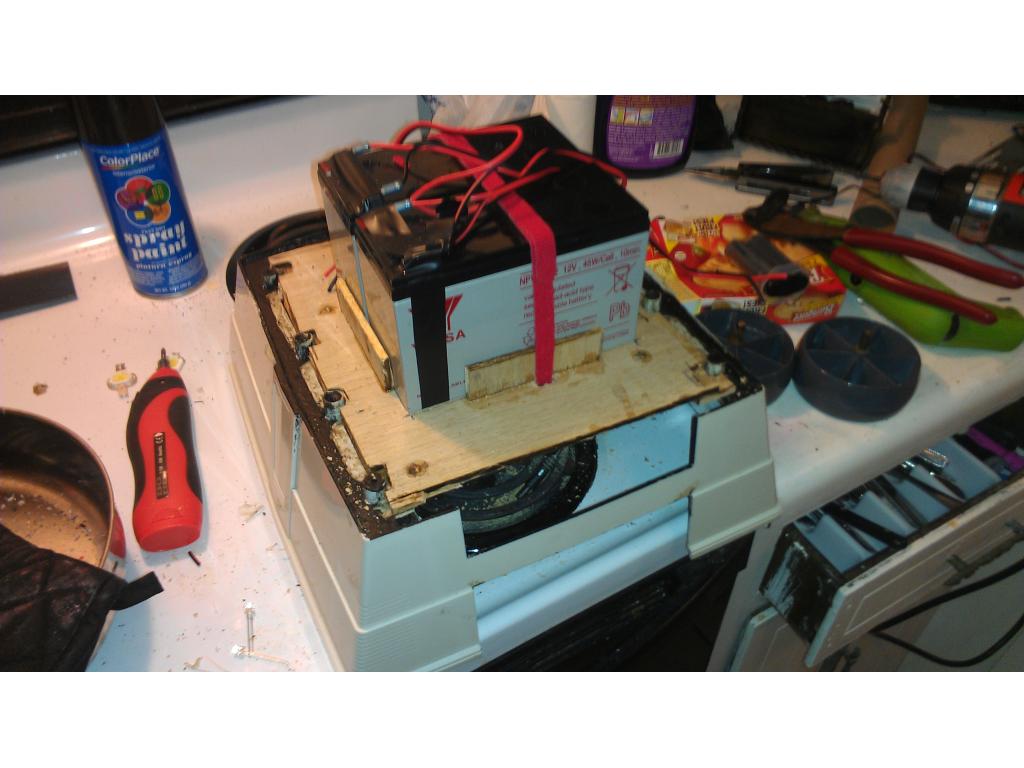
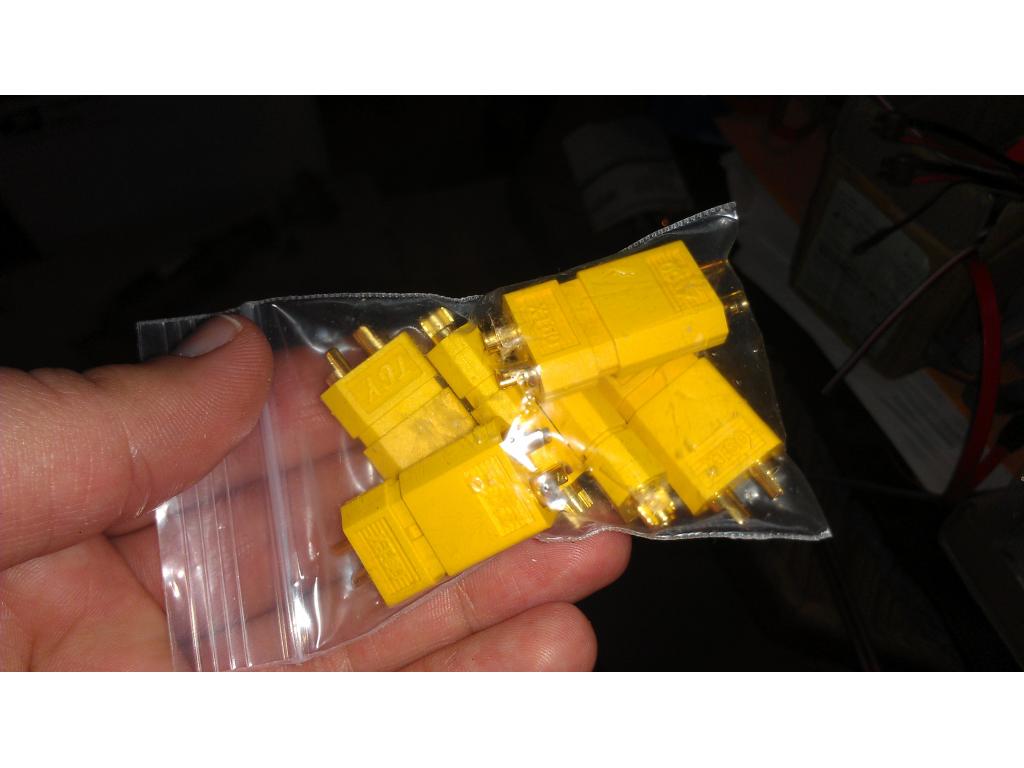
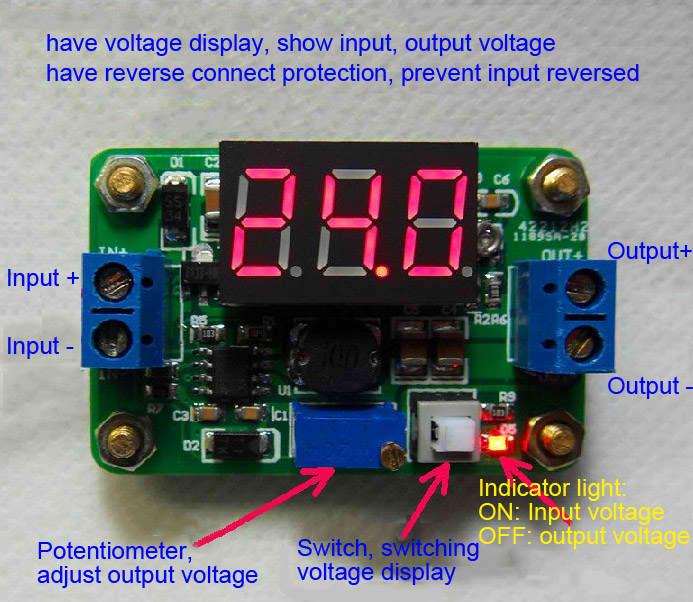
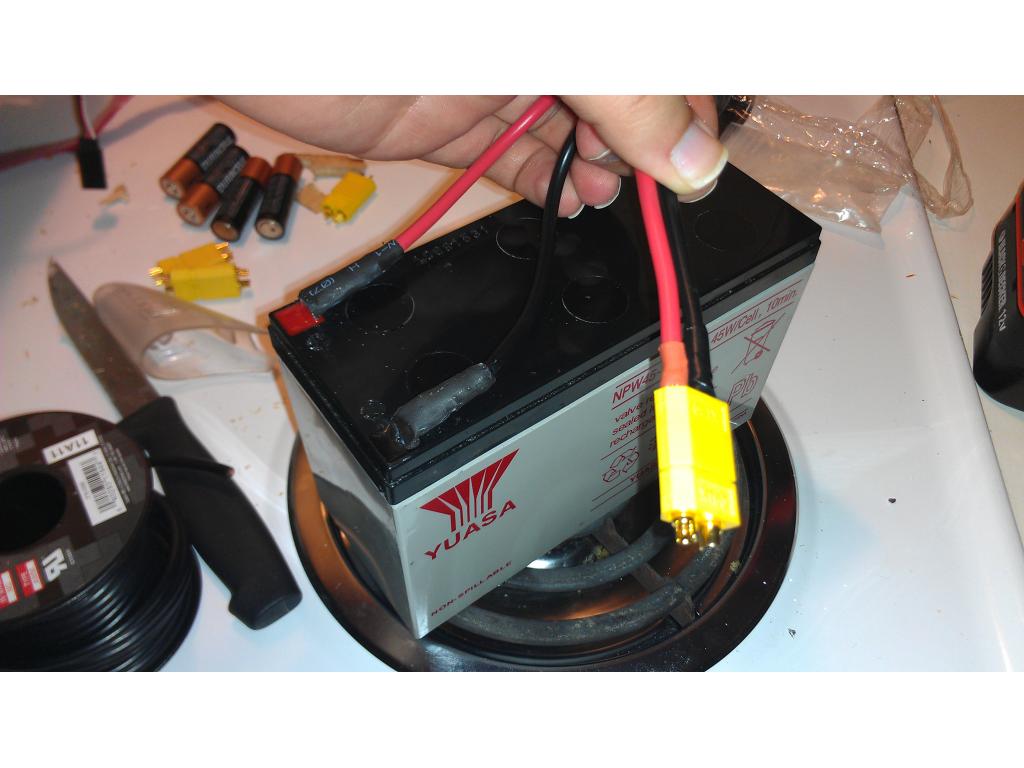
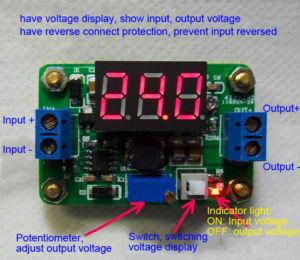
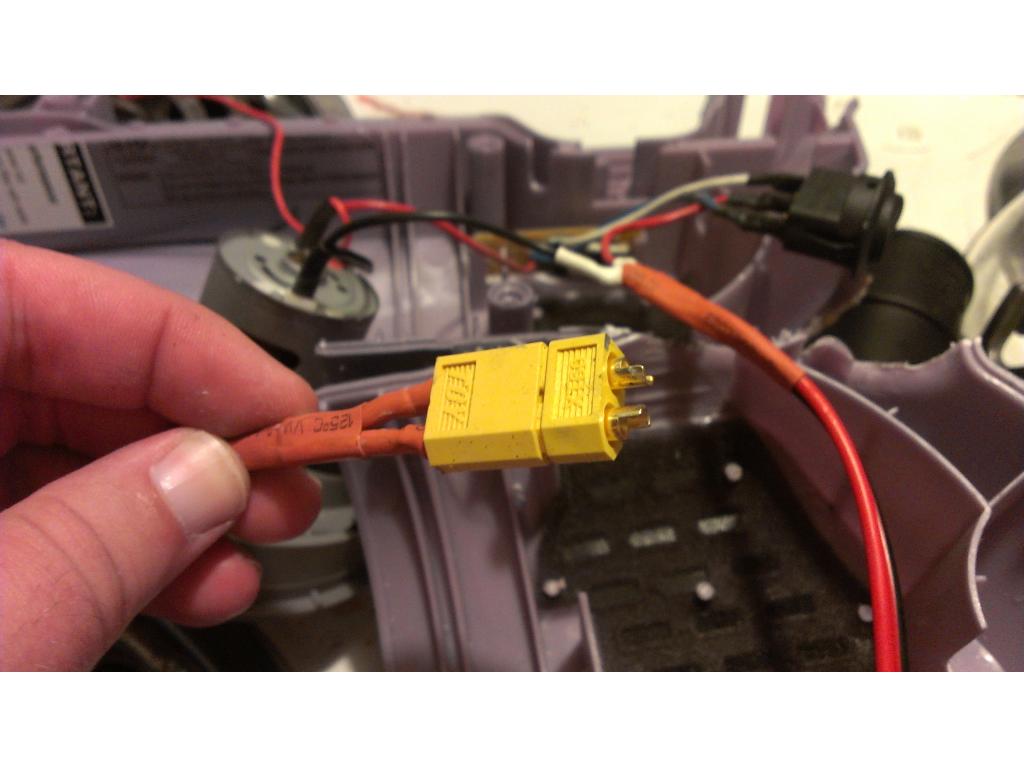
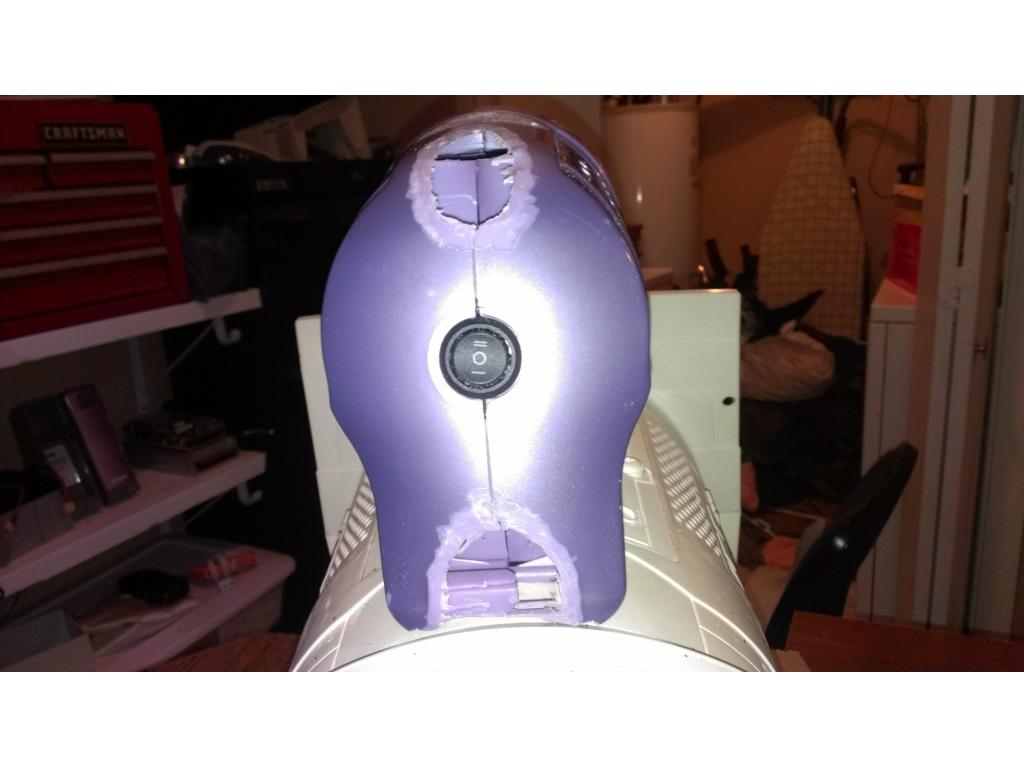
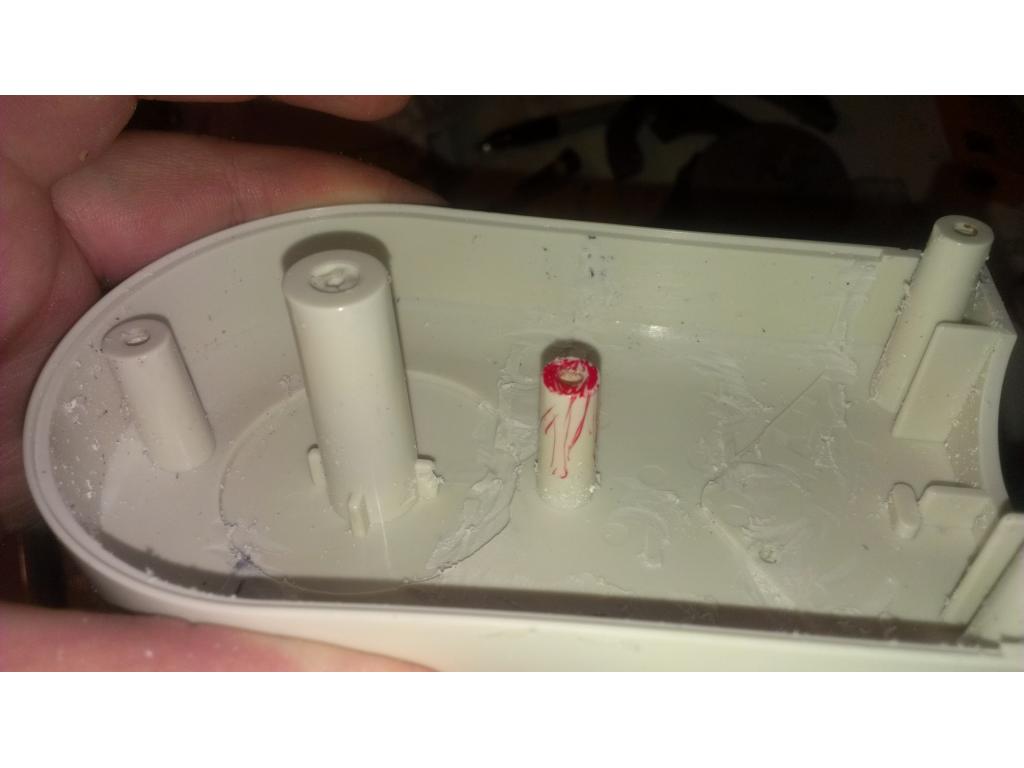
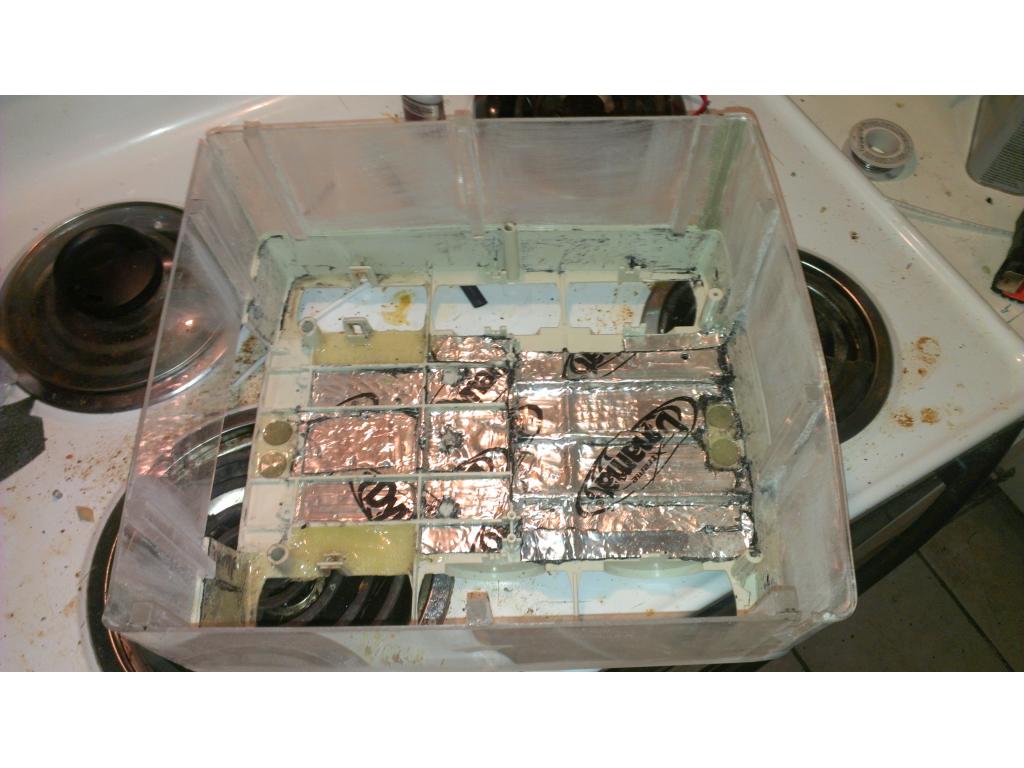
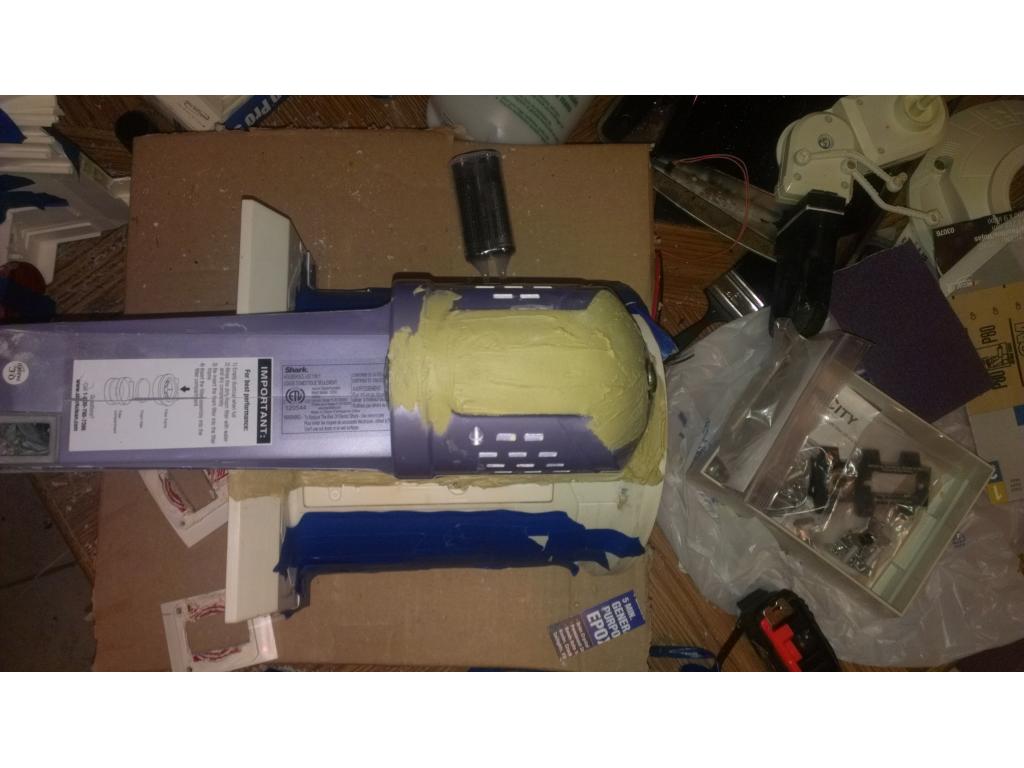
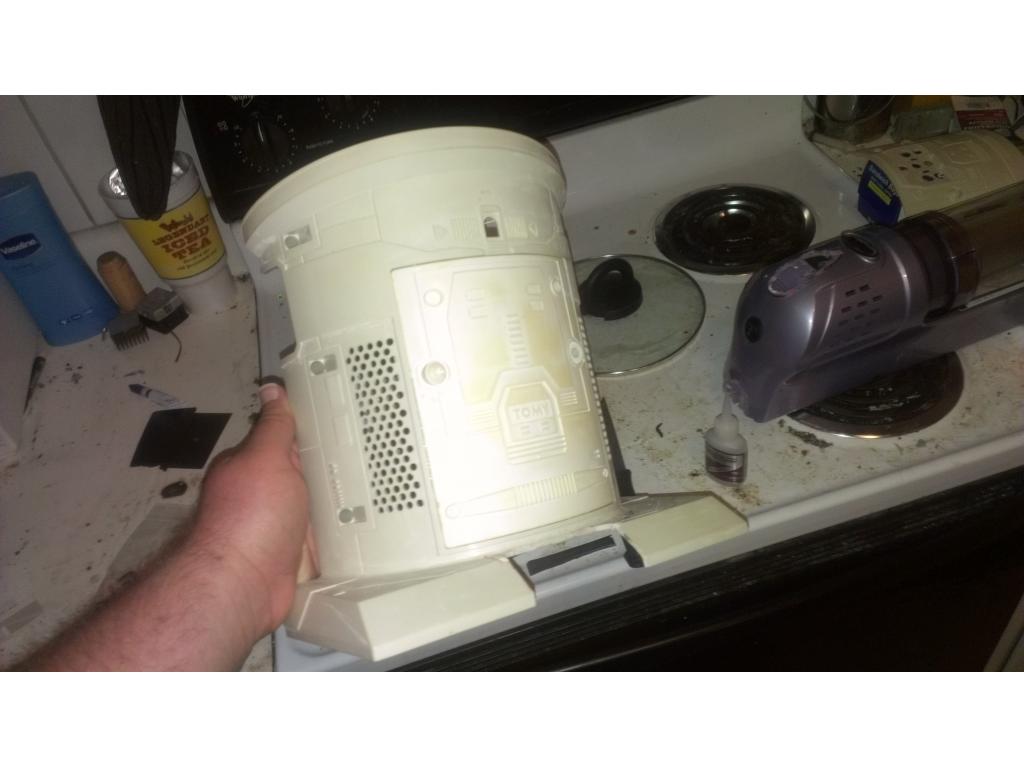
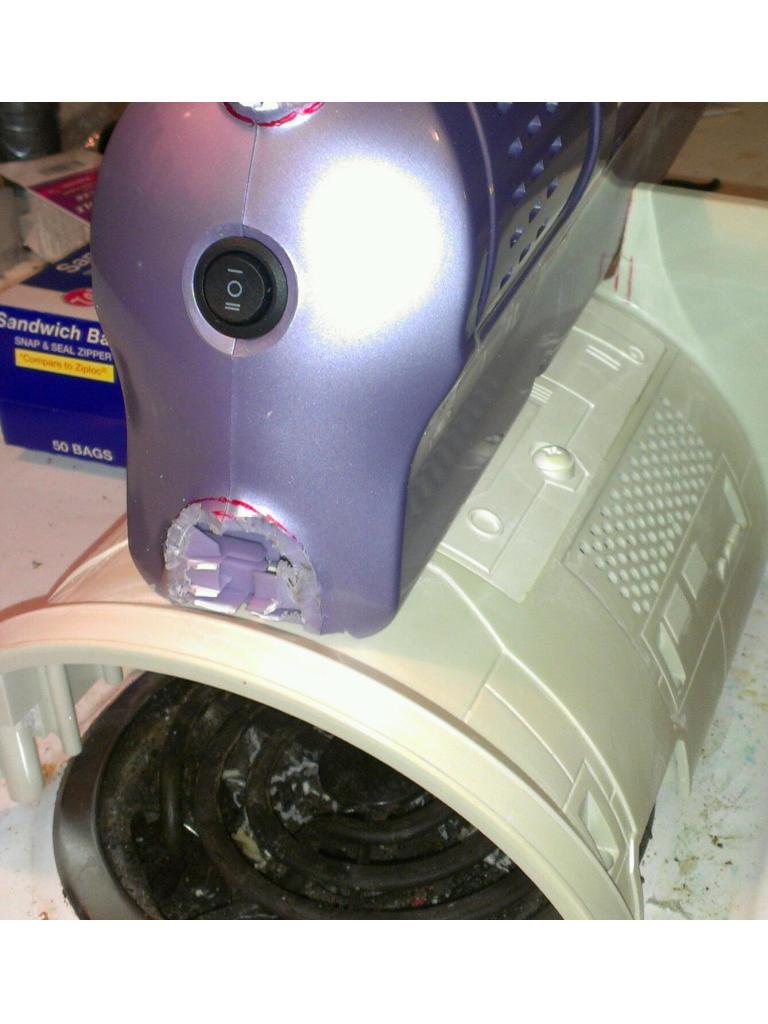
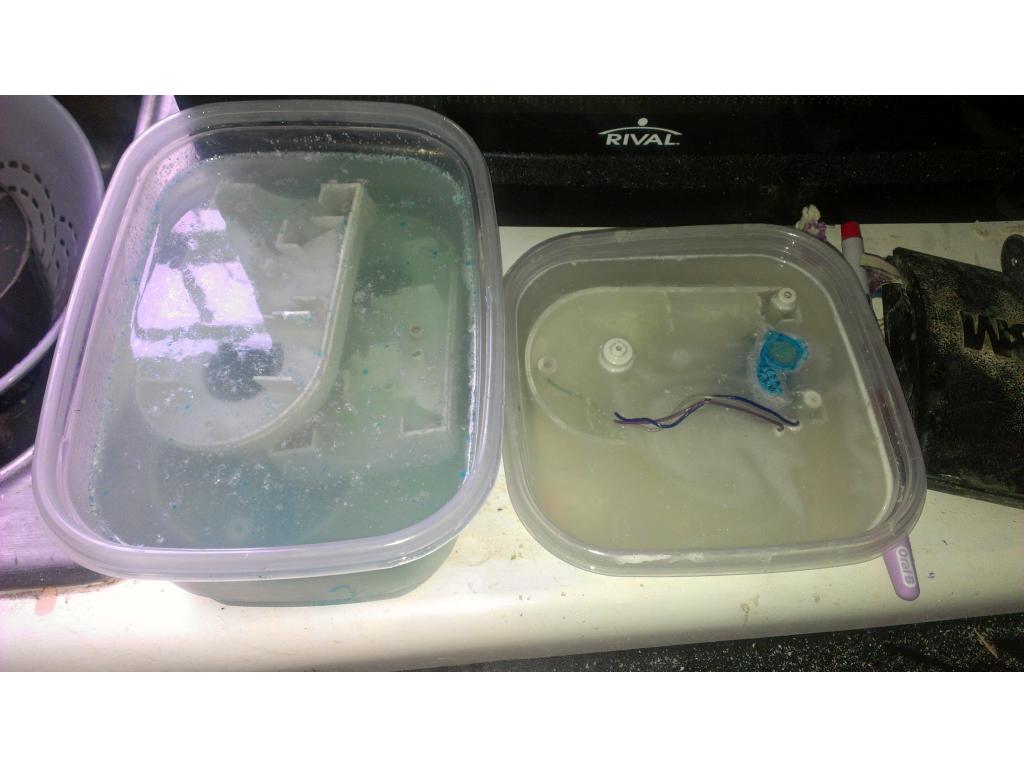
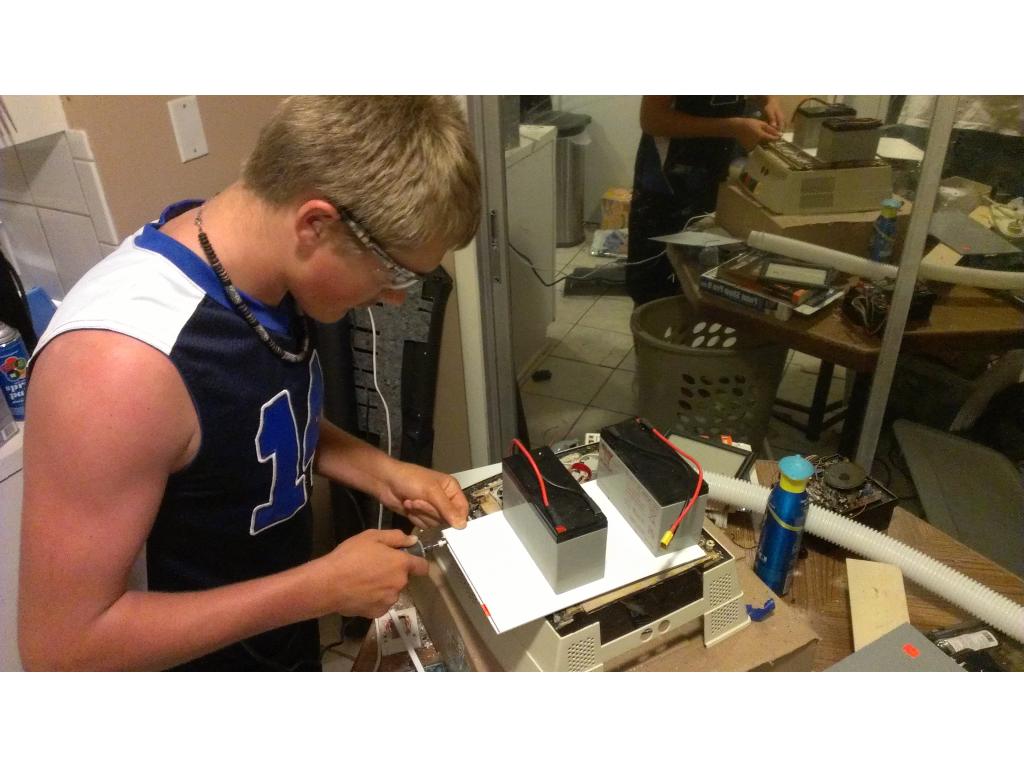
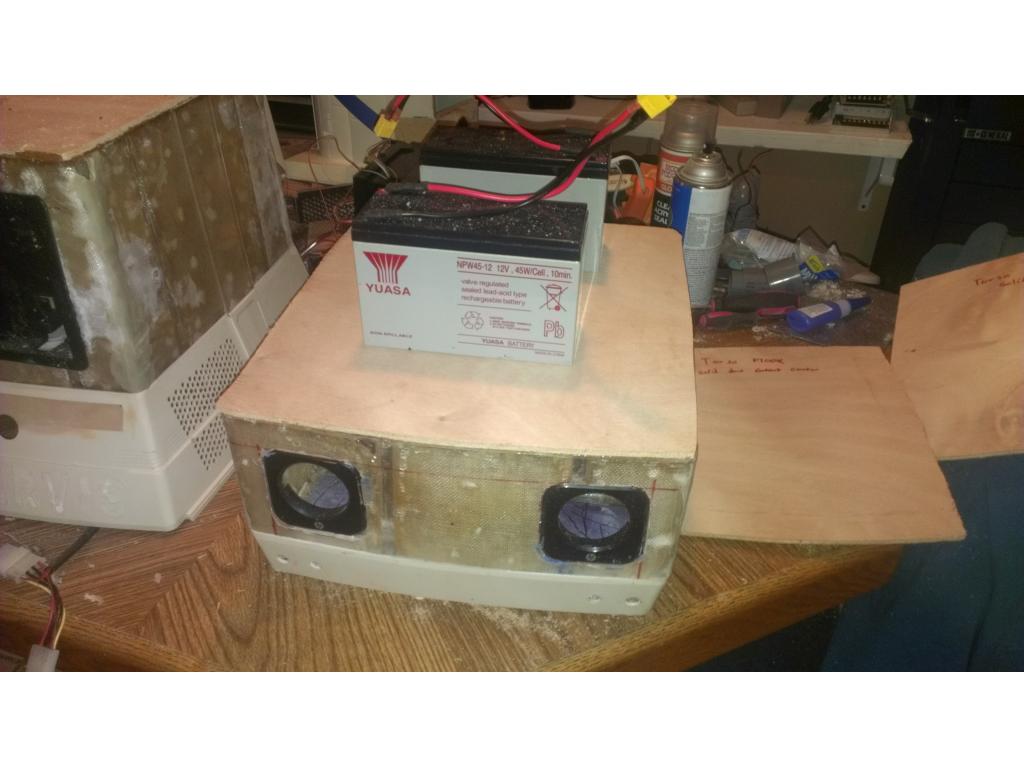
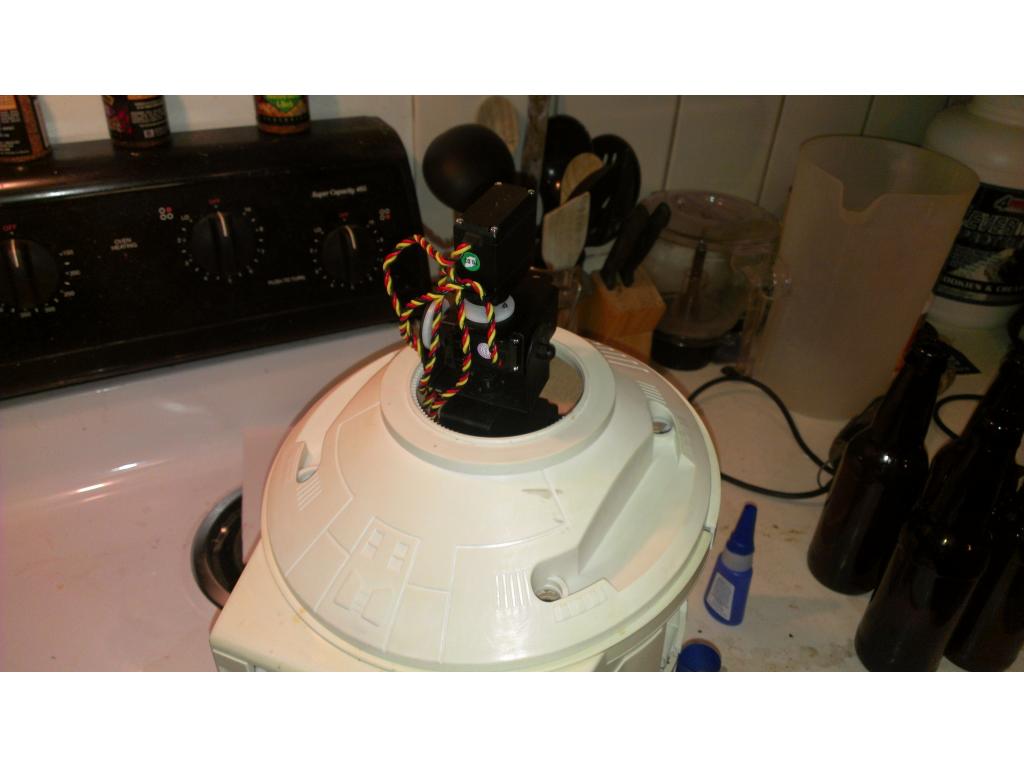
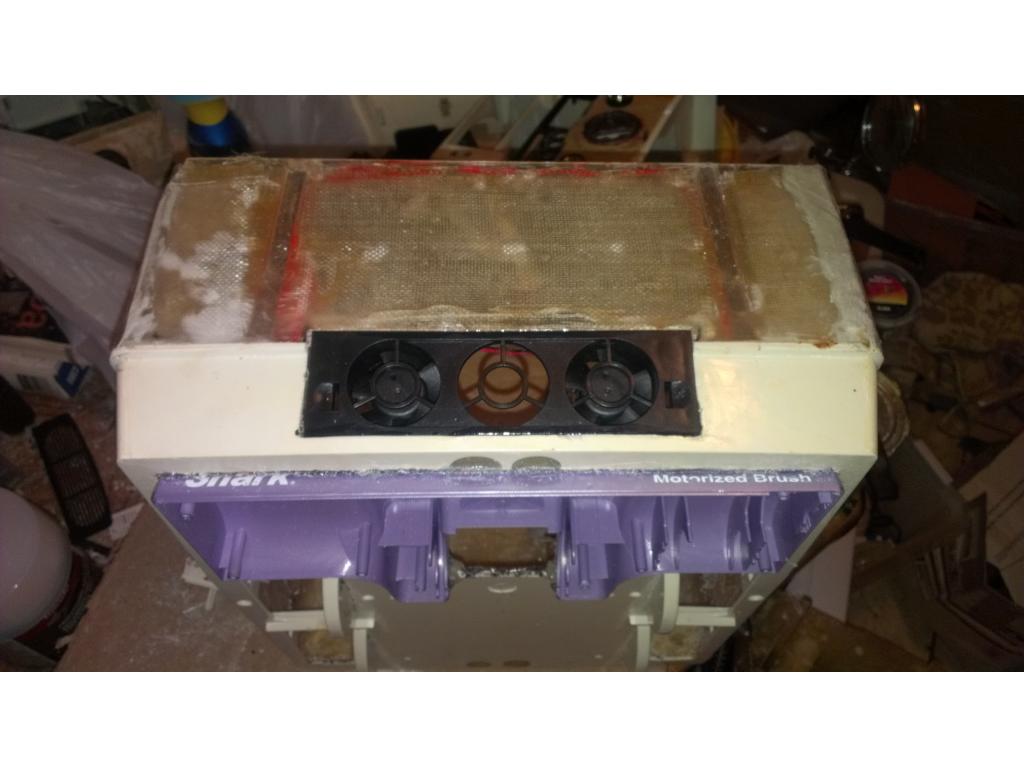
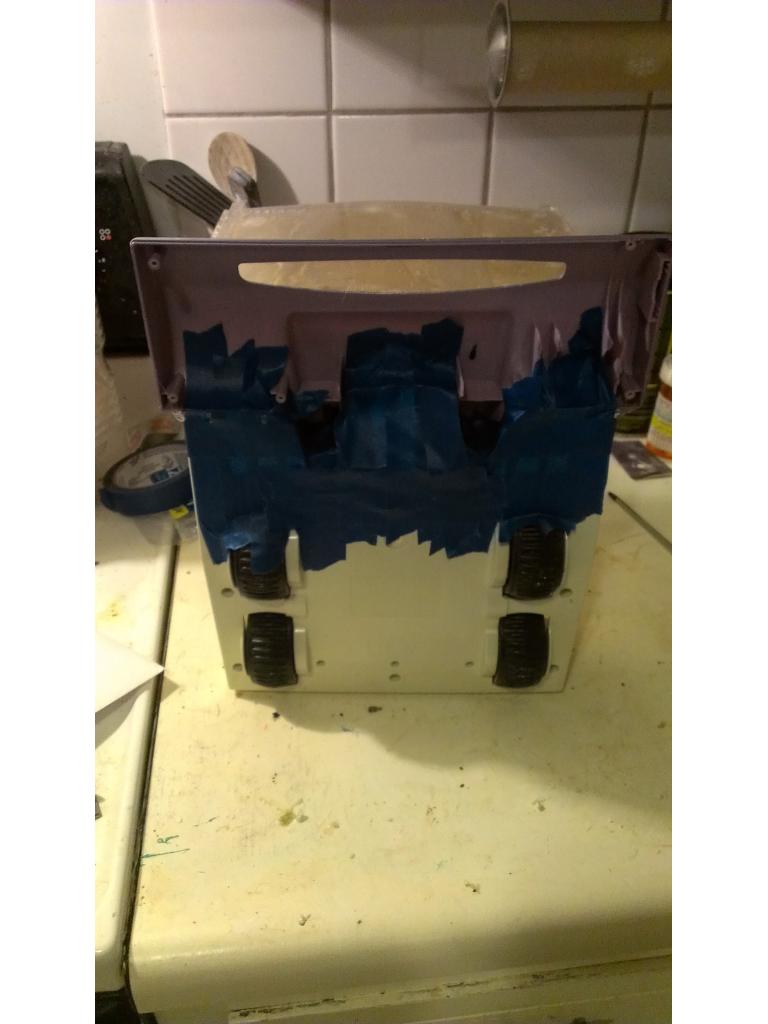
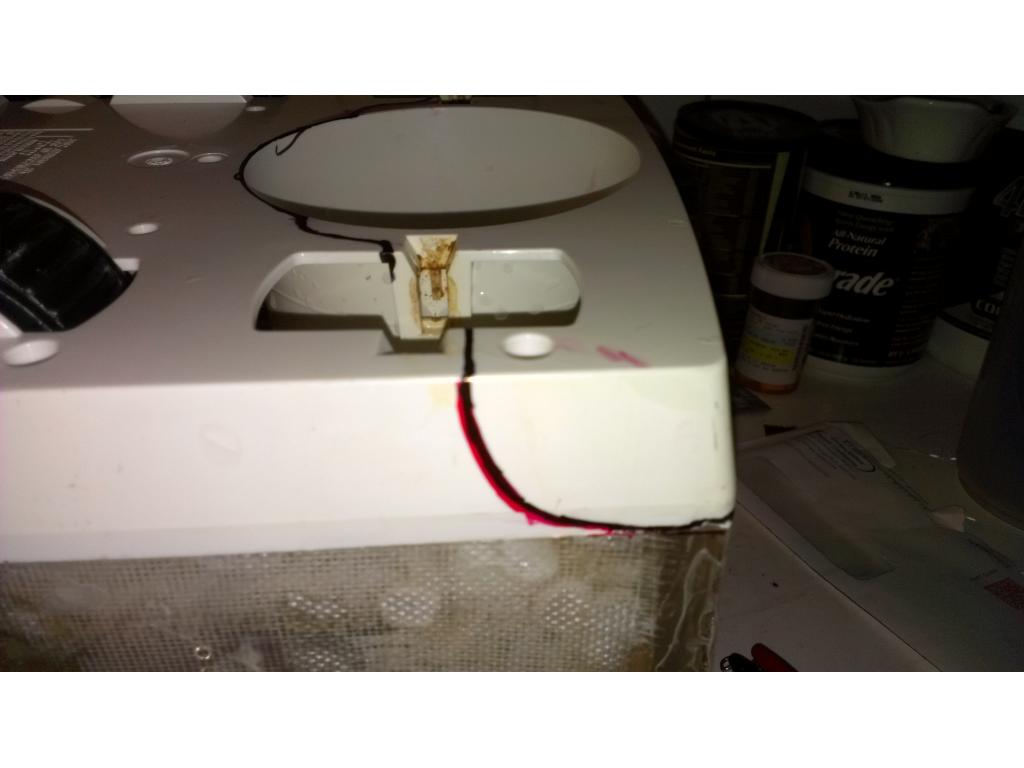
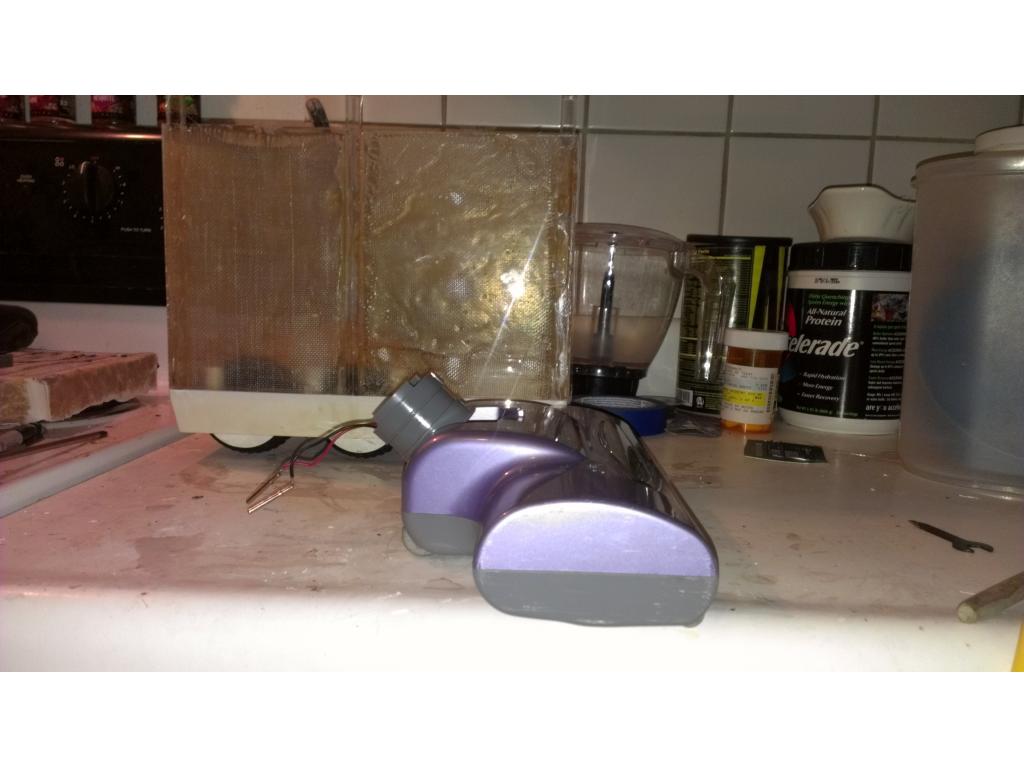
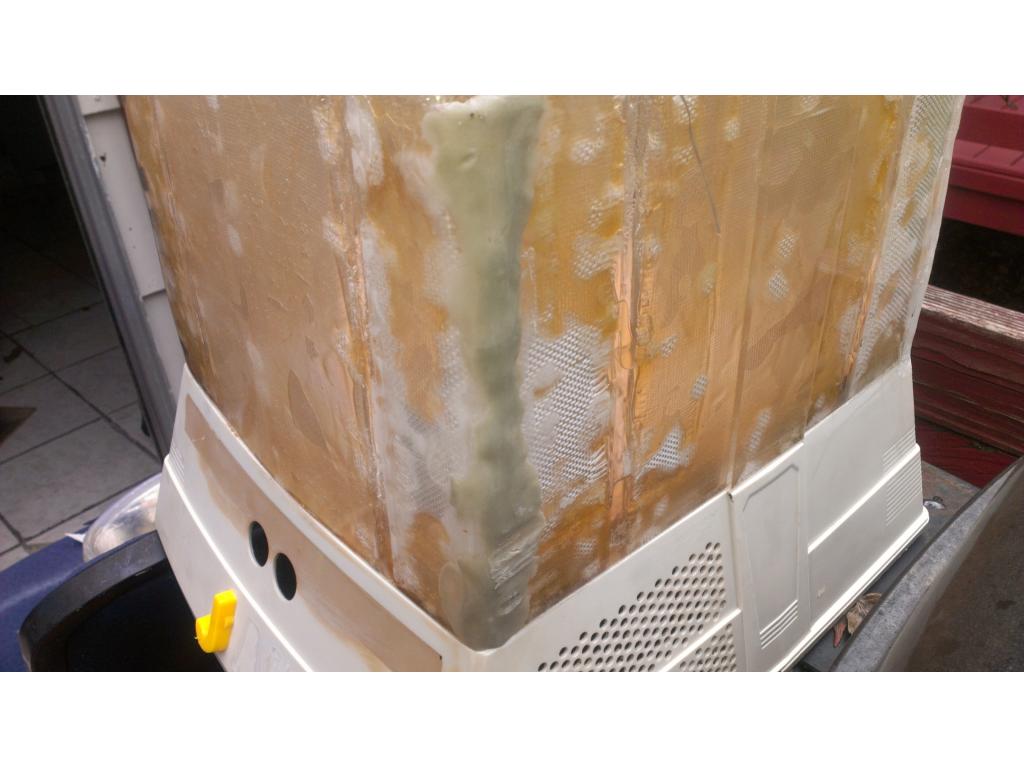
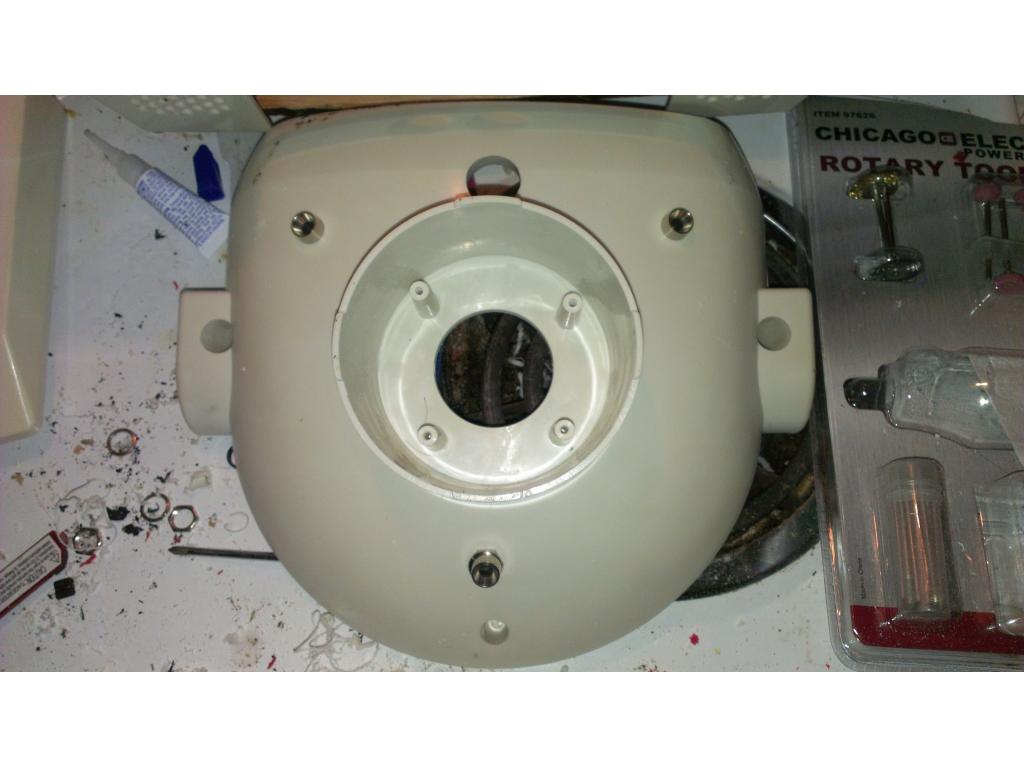
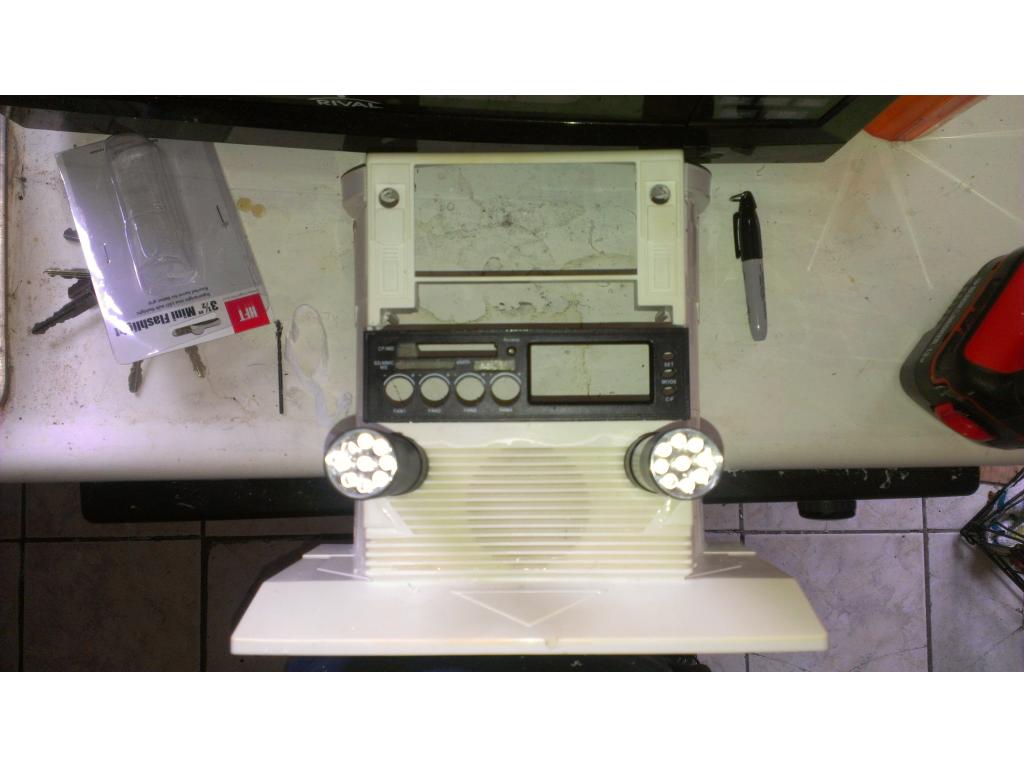
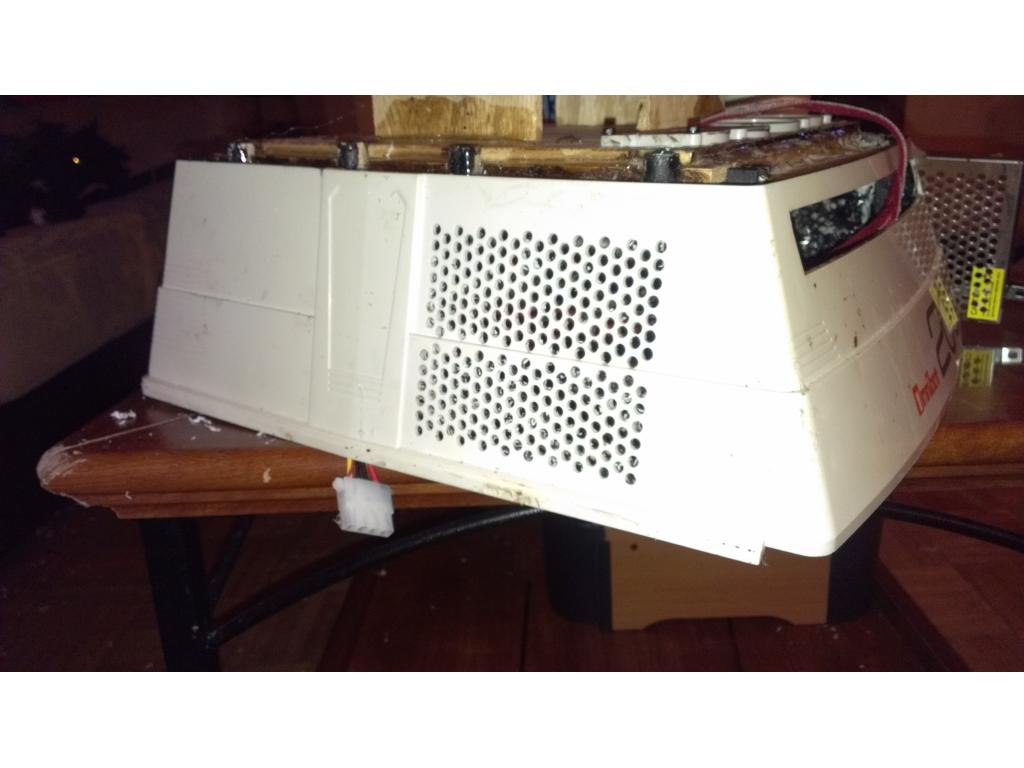
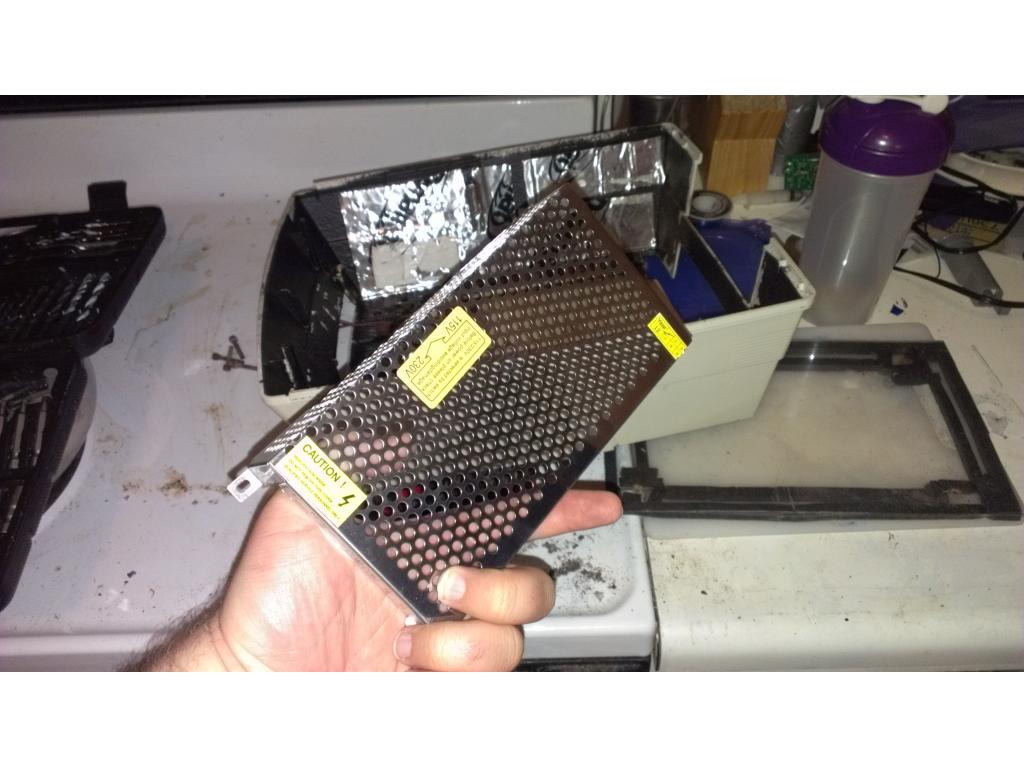
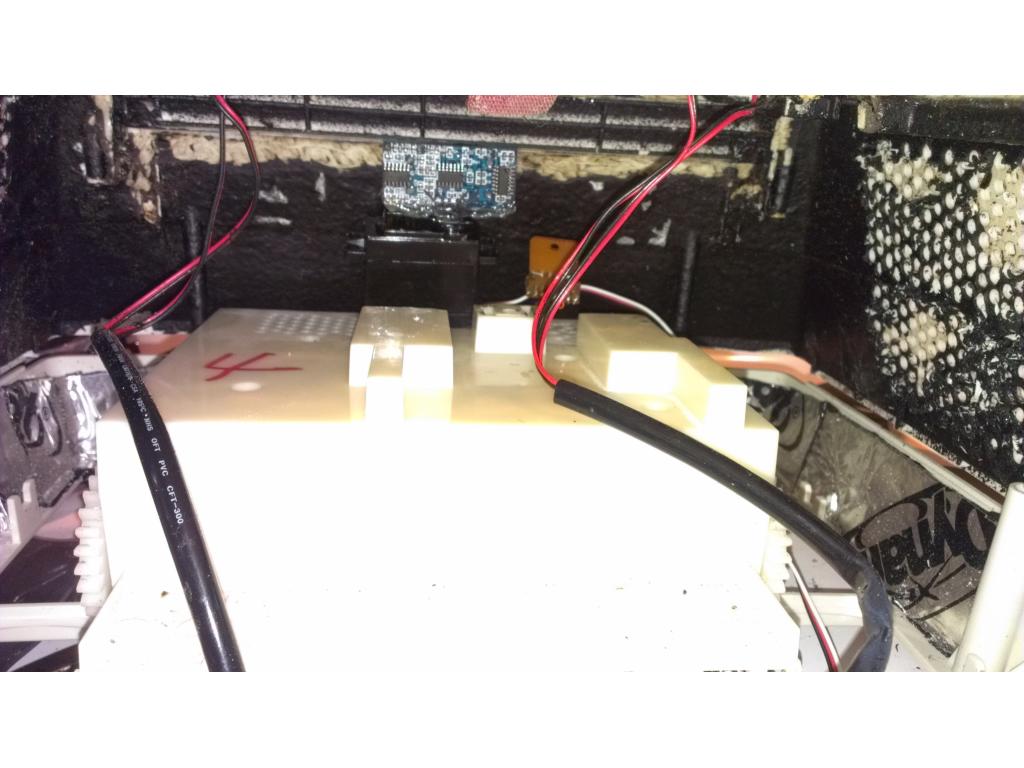
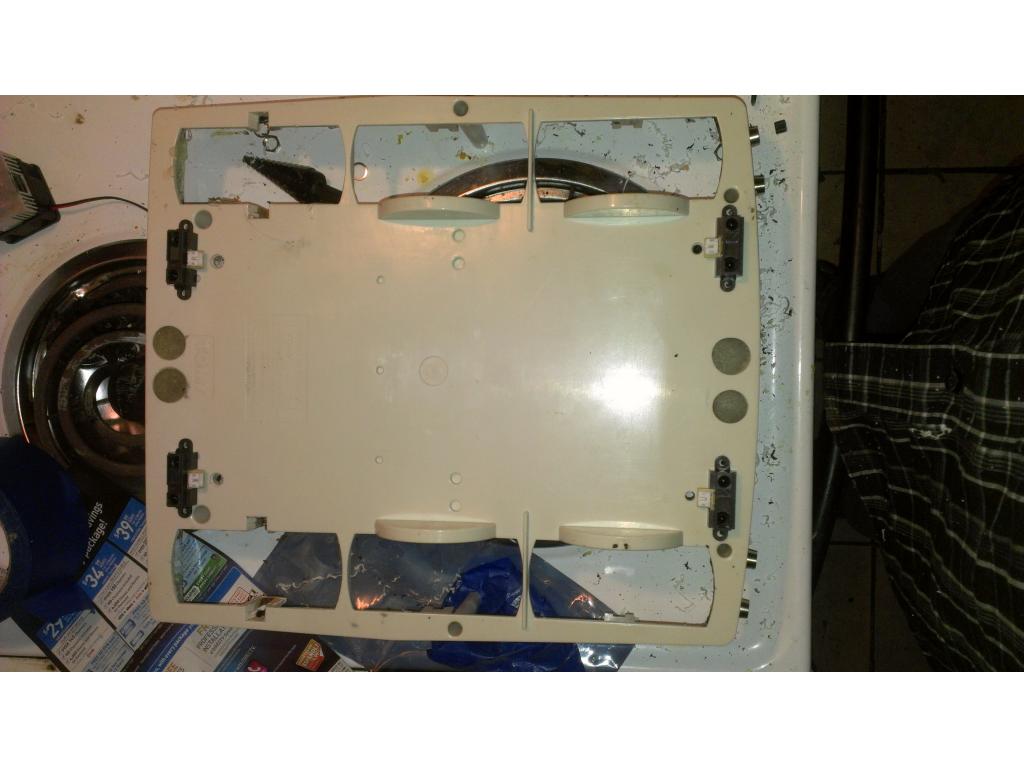
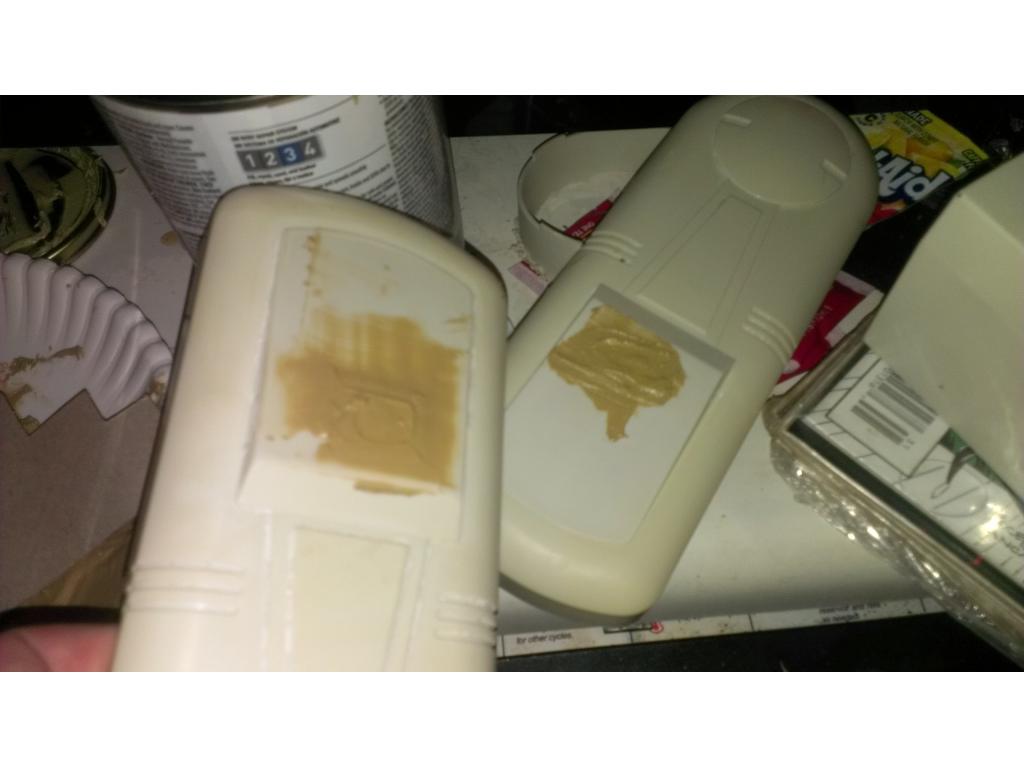
The vacuum needed a hard wired power supply line , I extended the wires and gave it a xt60 gold plated connector just like for my batteries. I continued shaving down plastic from the area where the shark logo was and where the carry handle was cut away. As you can see the vacuum fits very closely to the torso now with no gap.I'm letting the ca glue and epoxy harden so that I don't break the air tight seal. Next obvious steps are filling these holes with filler and sand them over smooth since the power supply lines have been ran the vacuum is ready to be affixed to the torso. Yay! I'm going to take a 3 hour nap and when I get back up I will continue work.
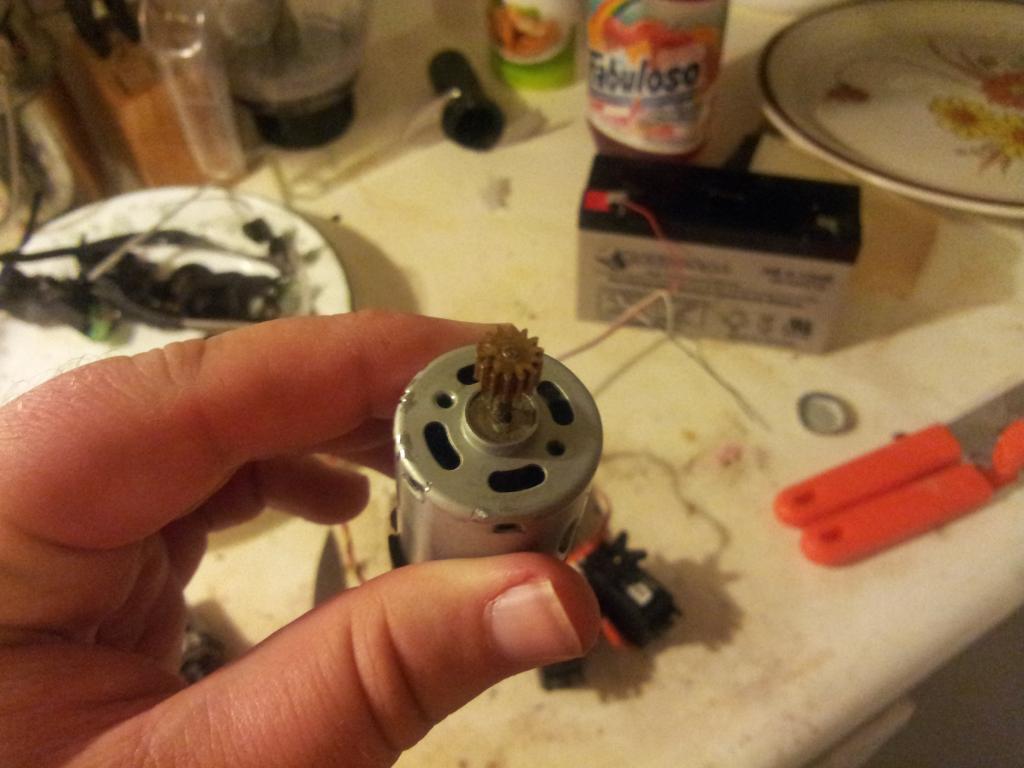
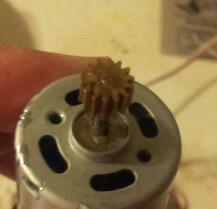
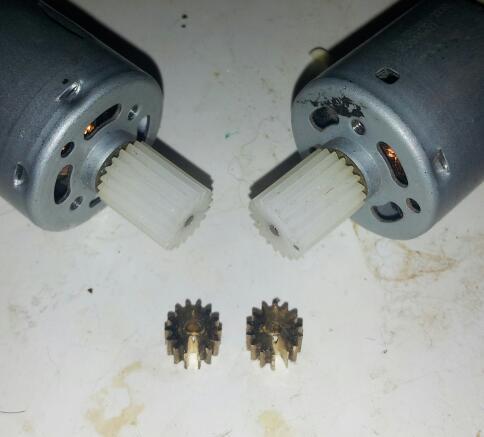
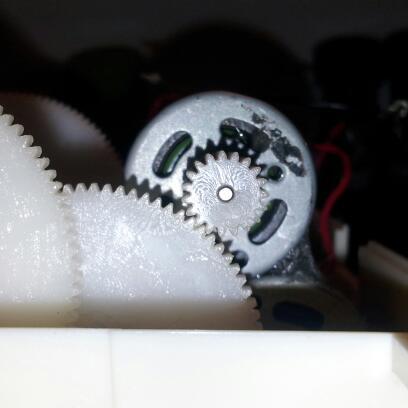
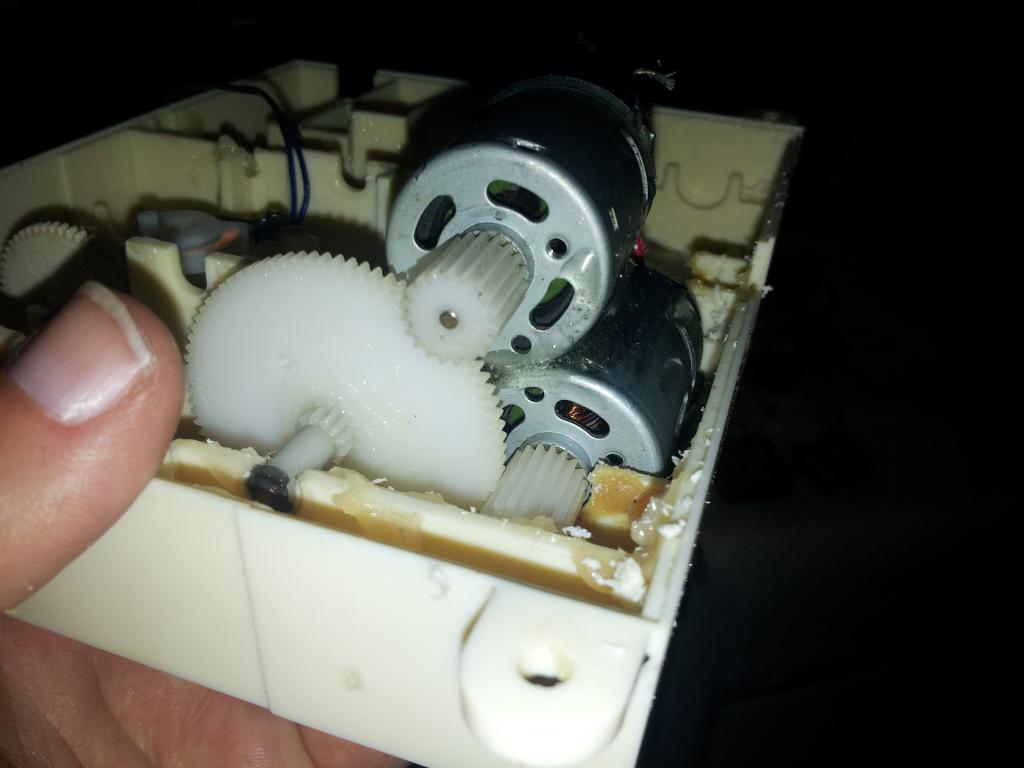
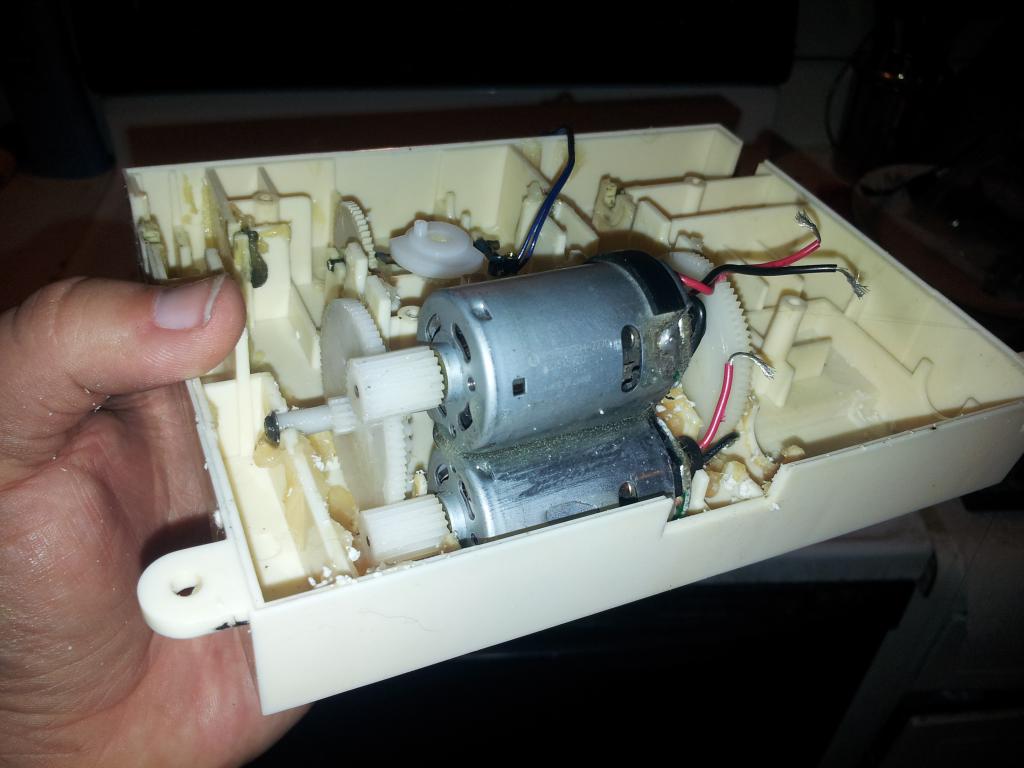
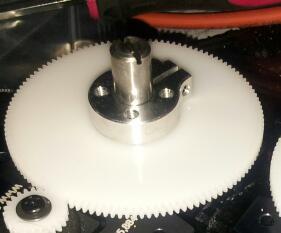
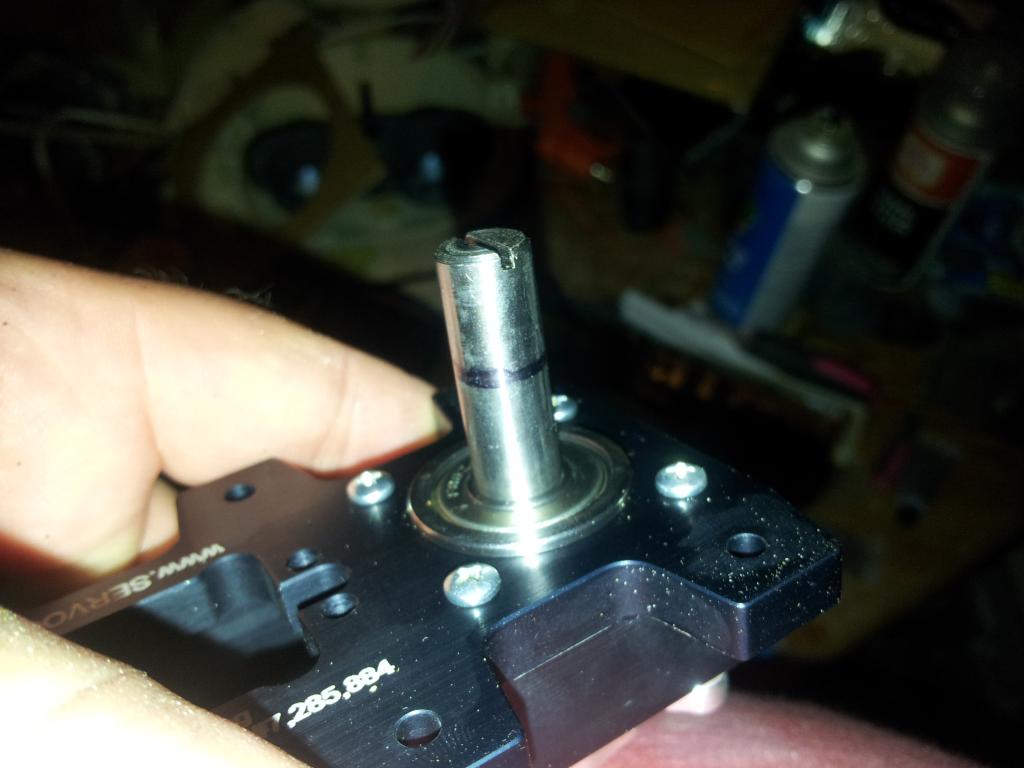
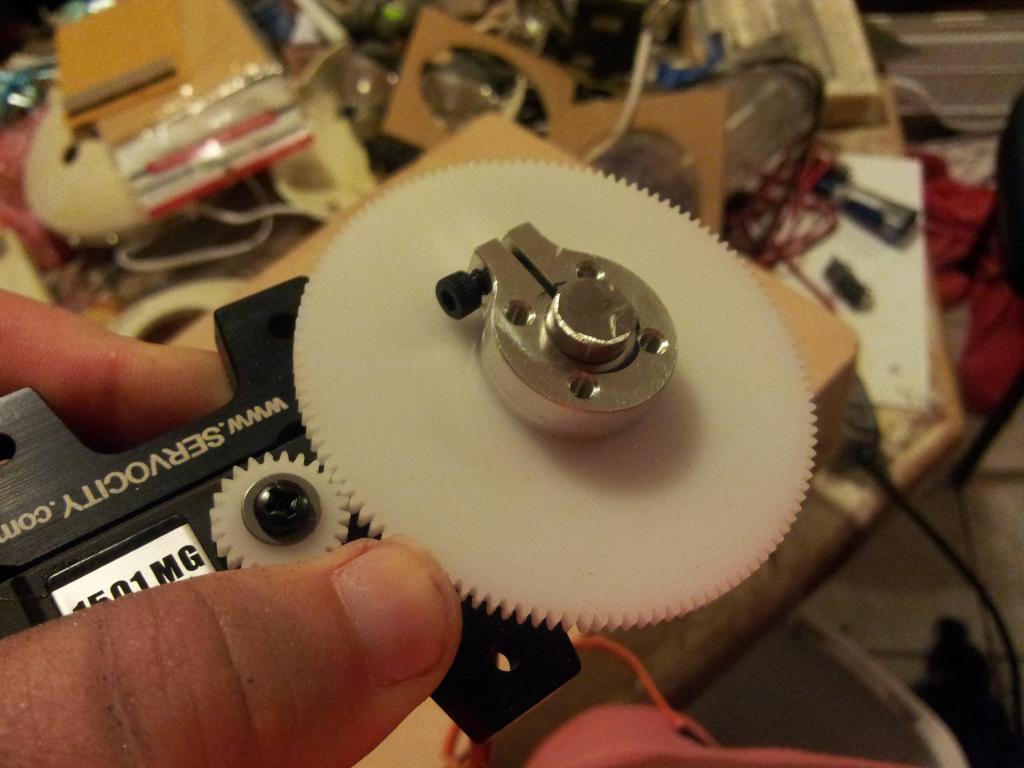
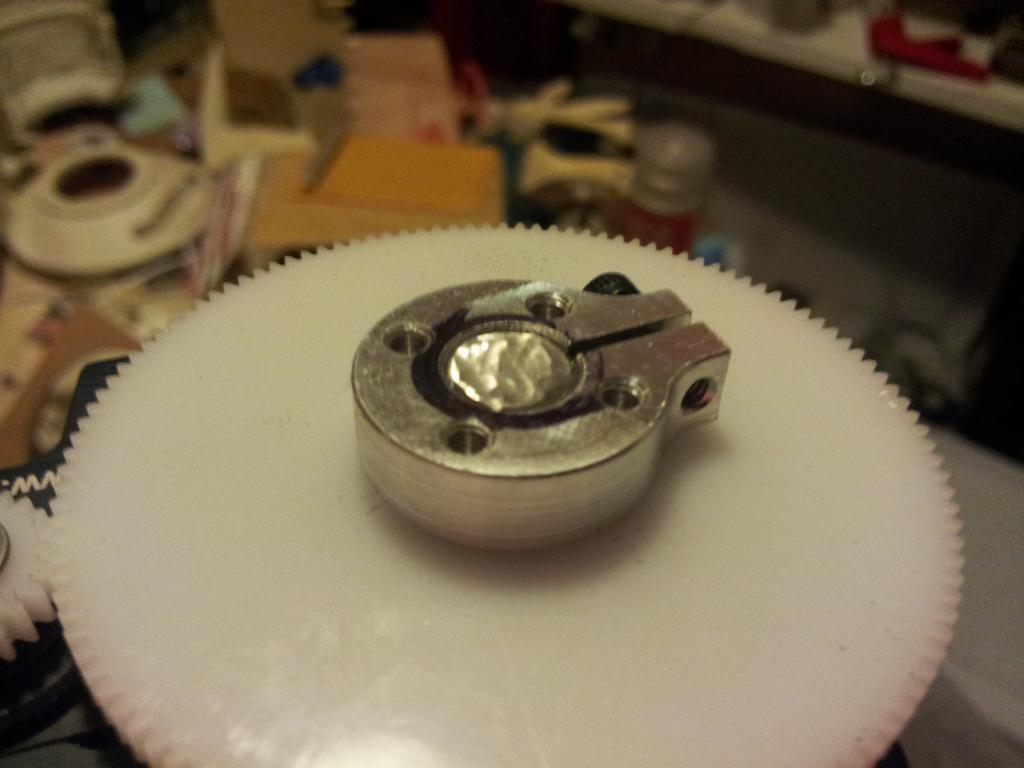
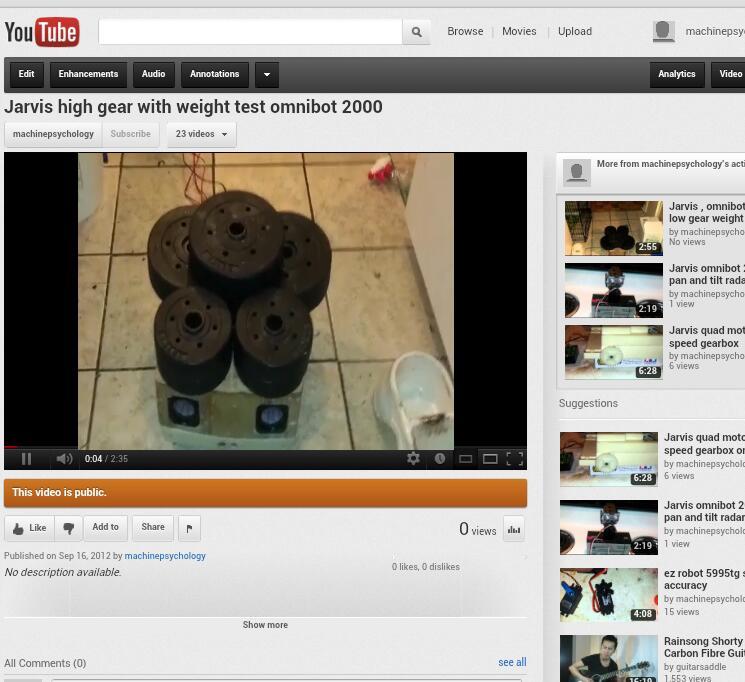
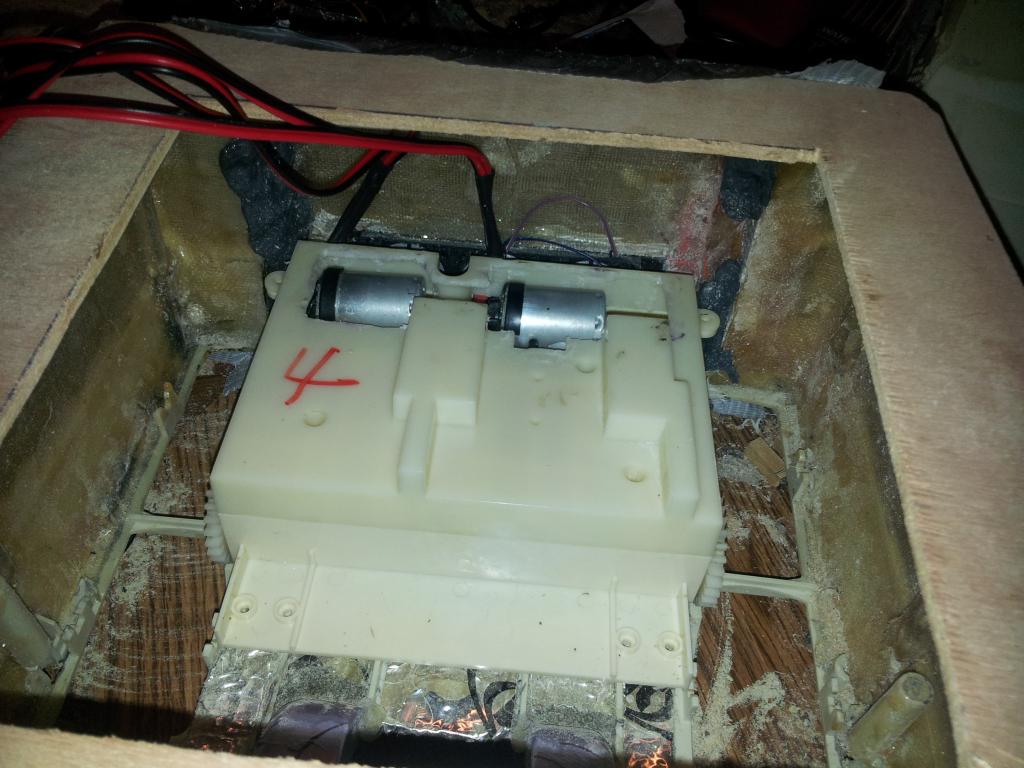
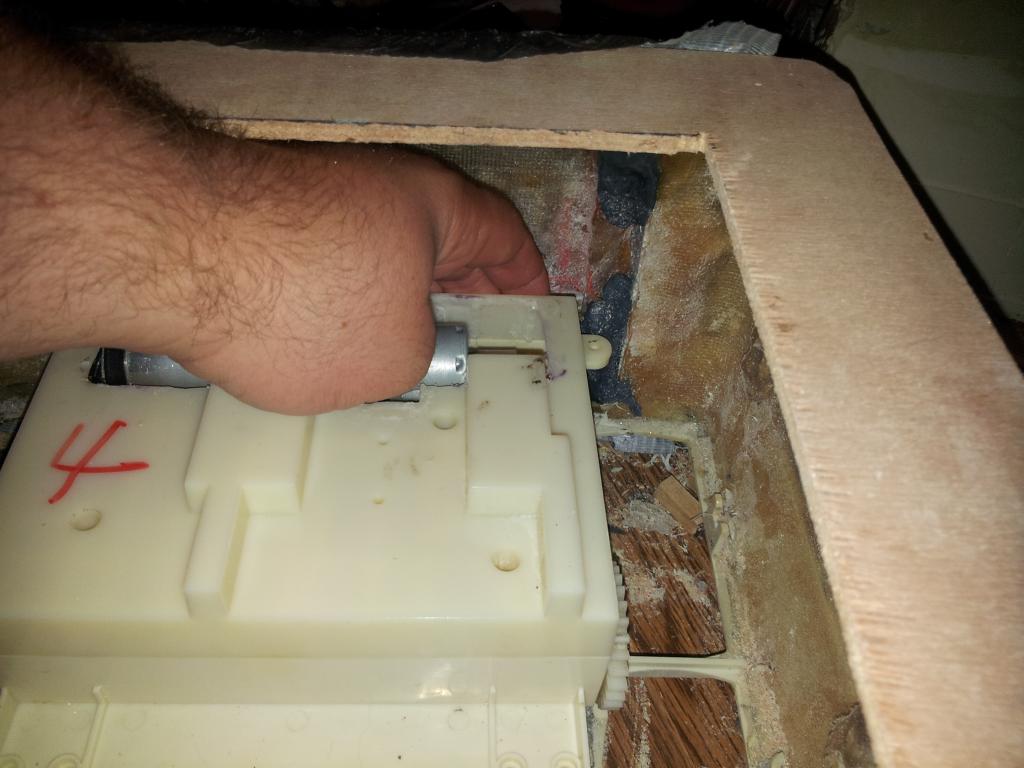
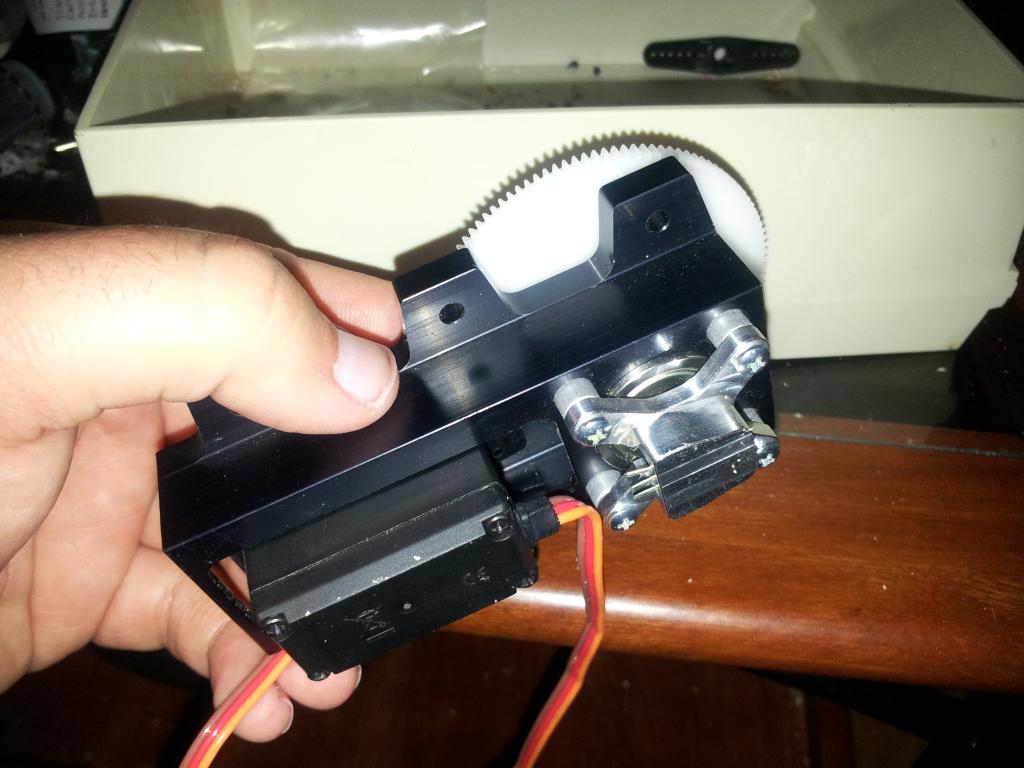
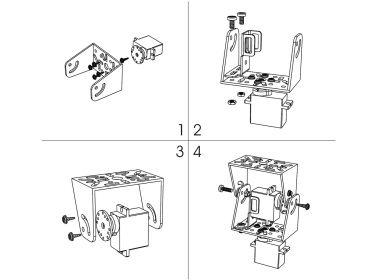
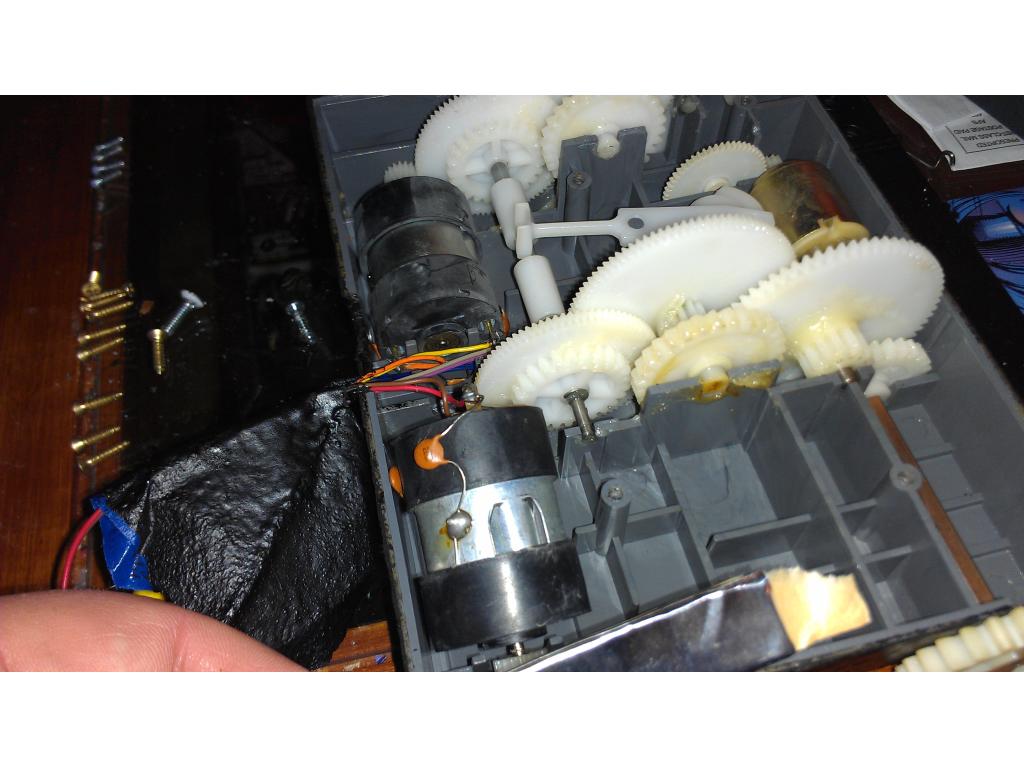
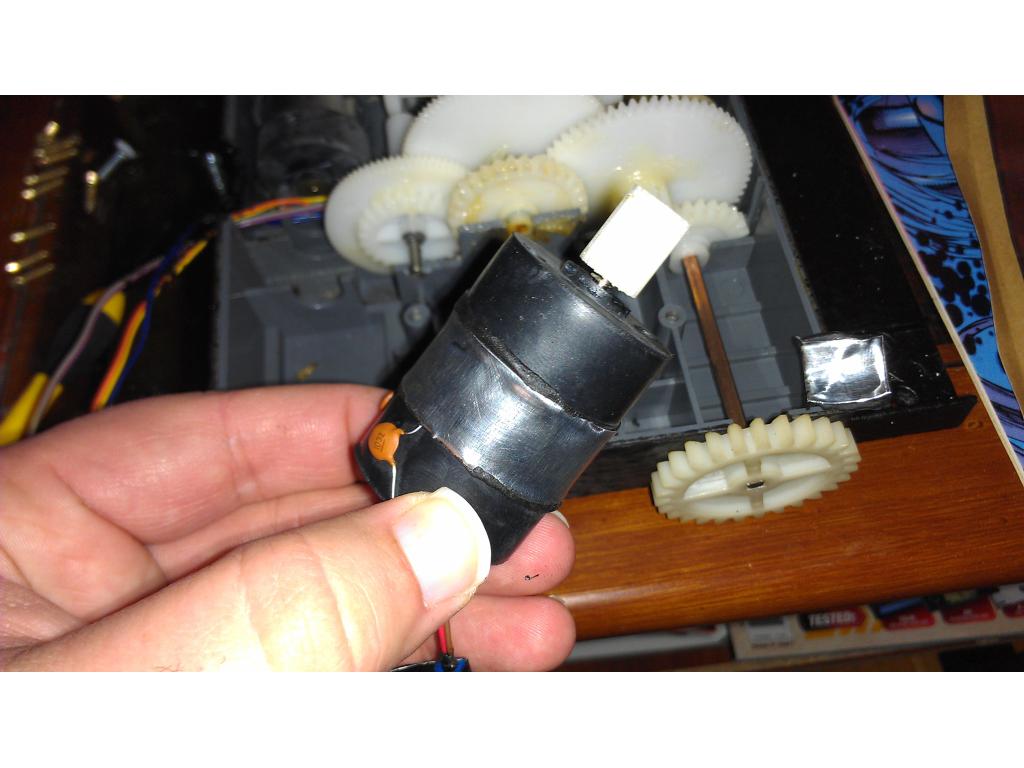
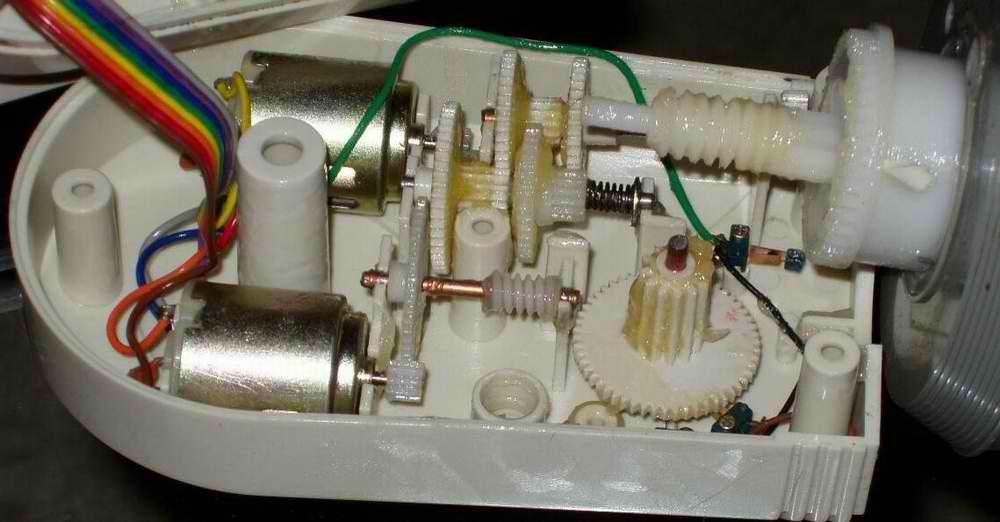
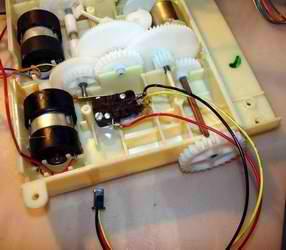
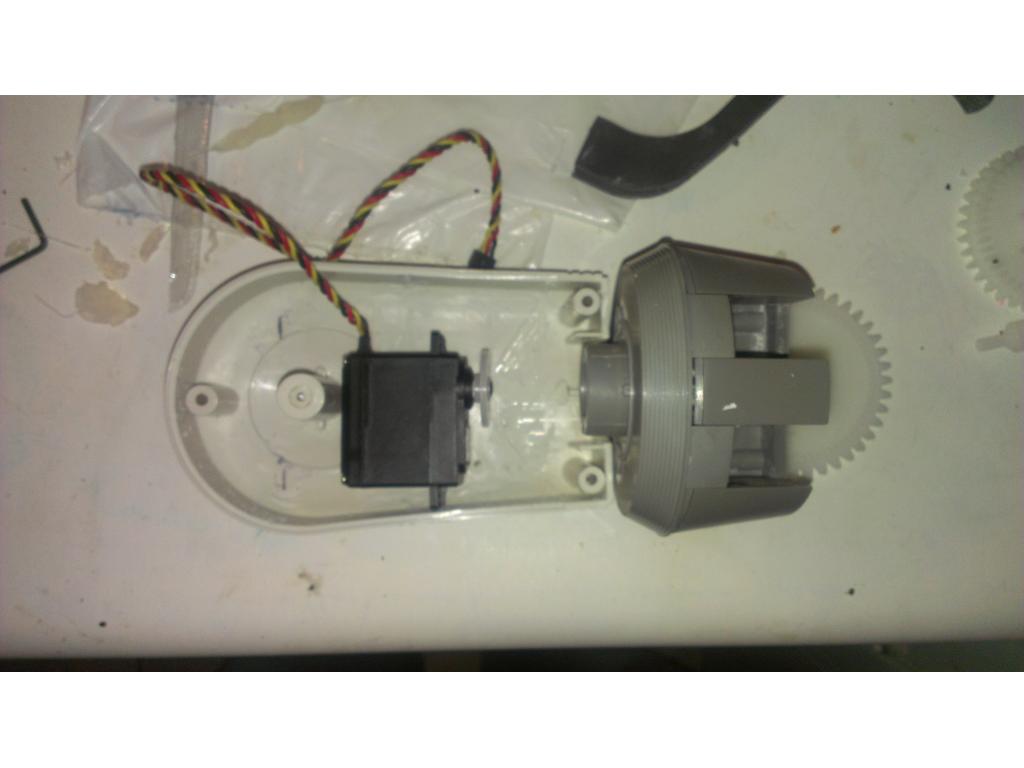
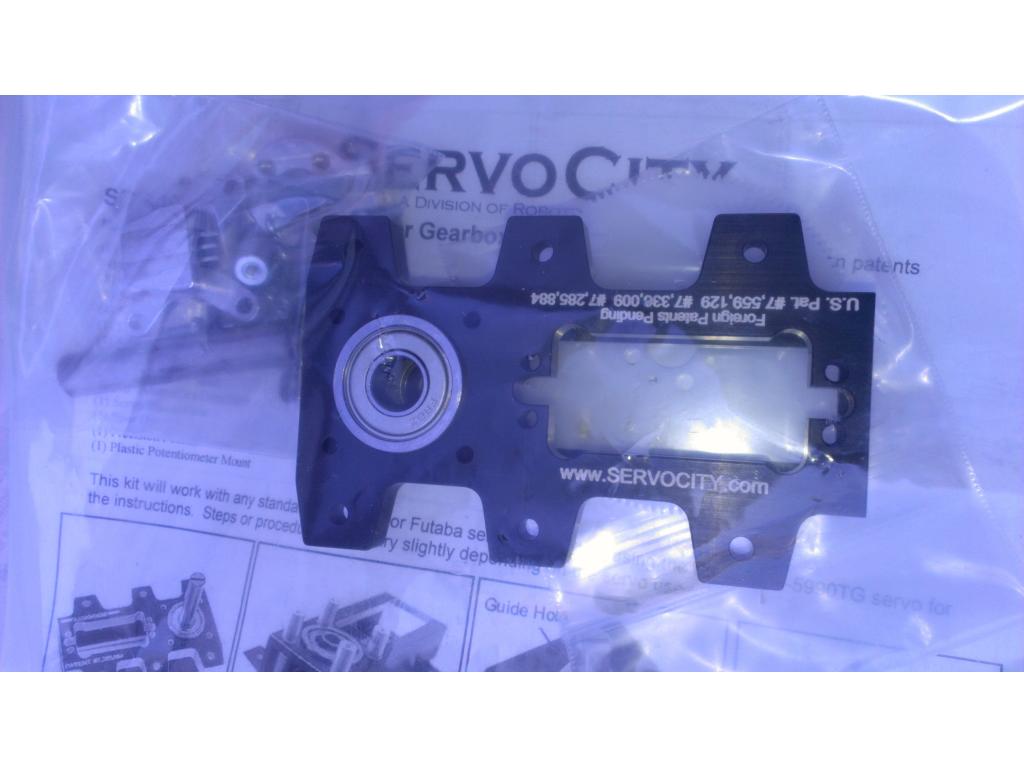
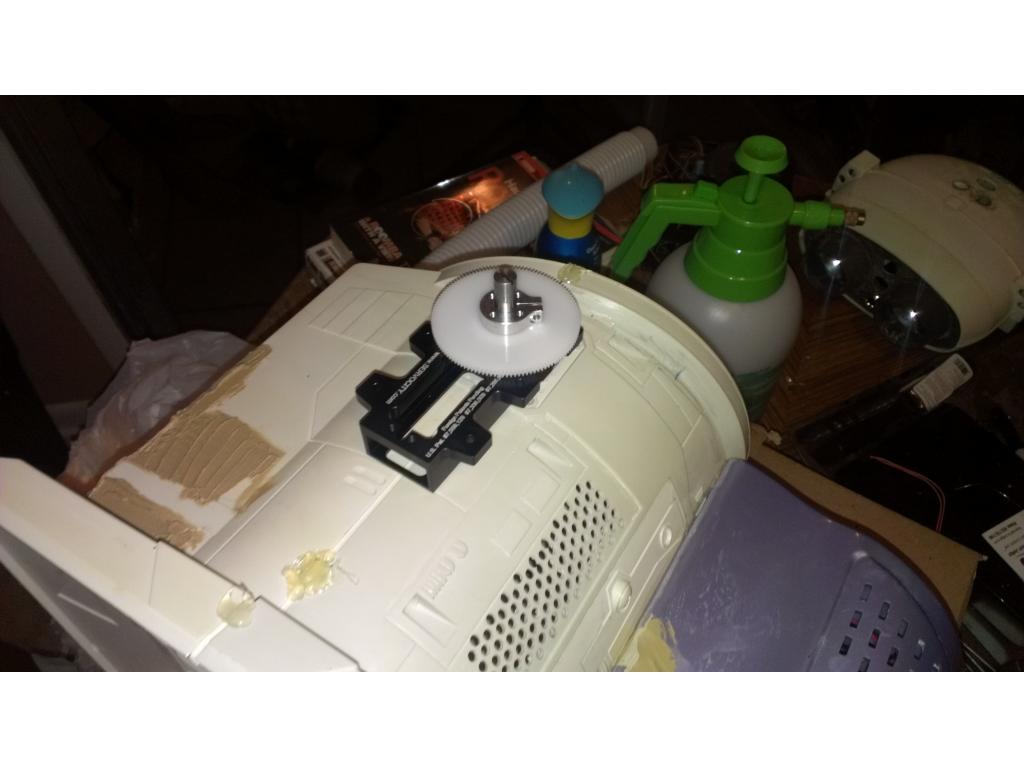
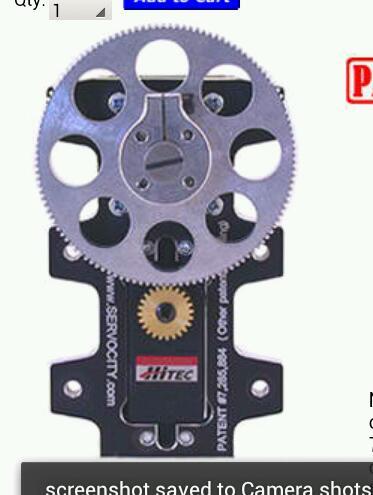
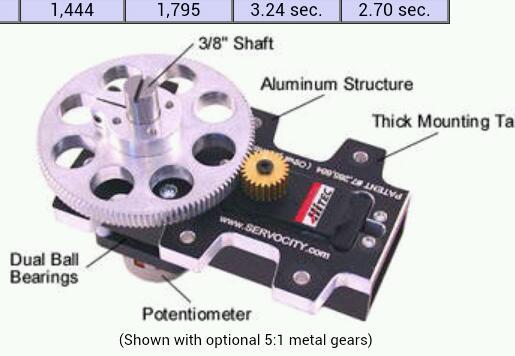
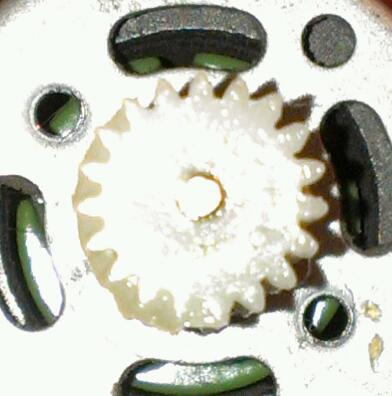
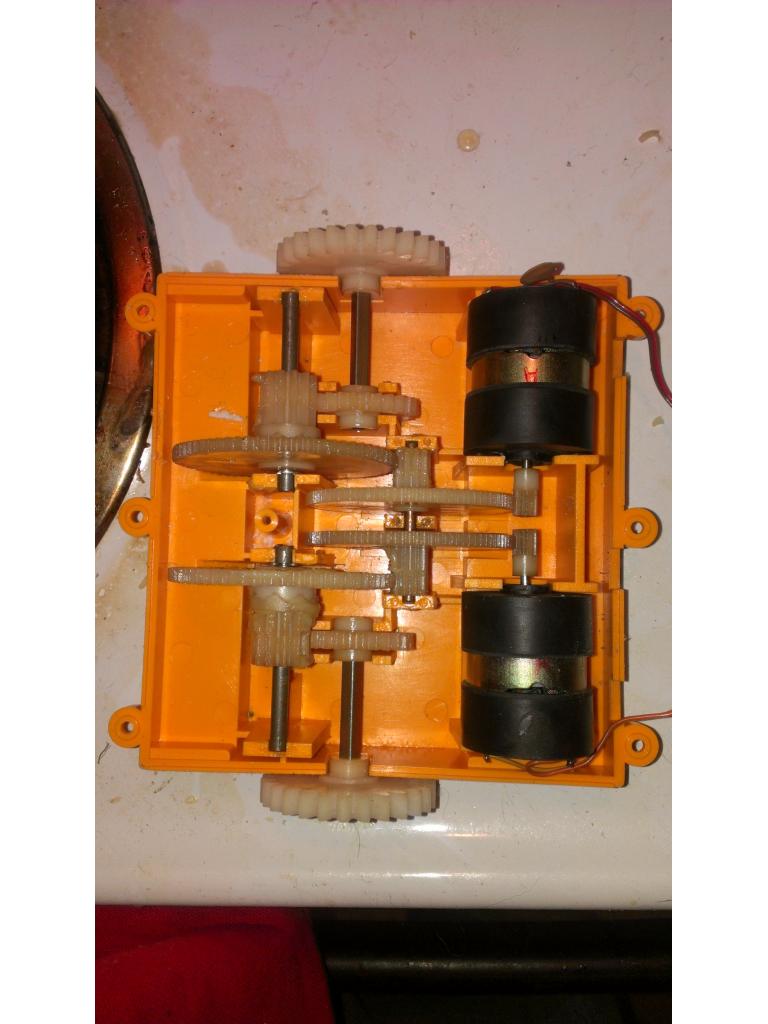
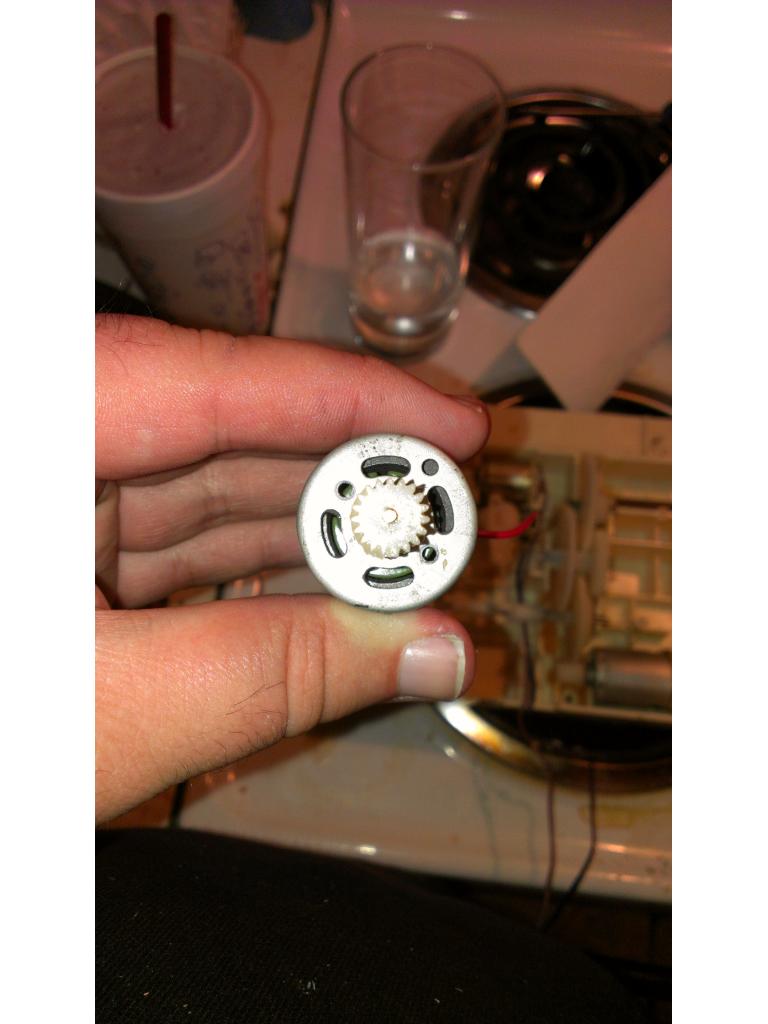
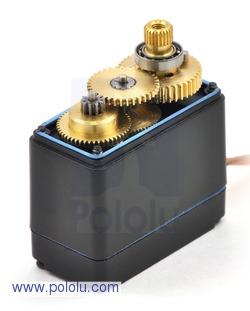
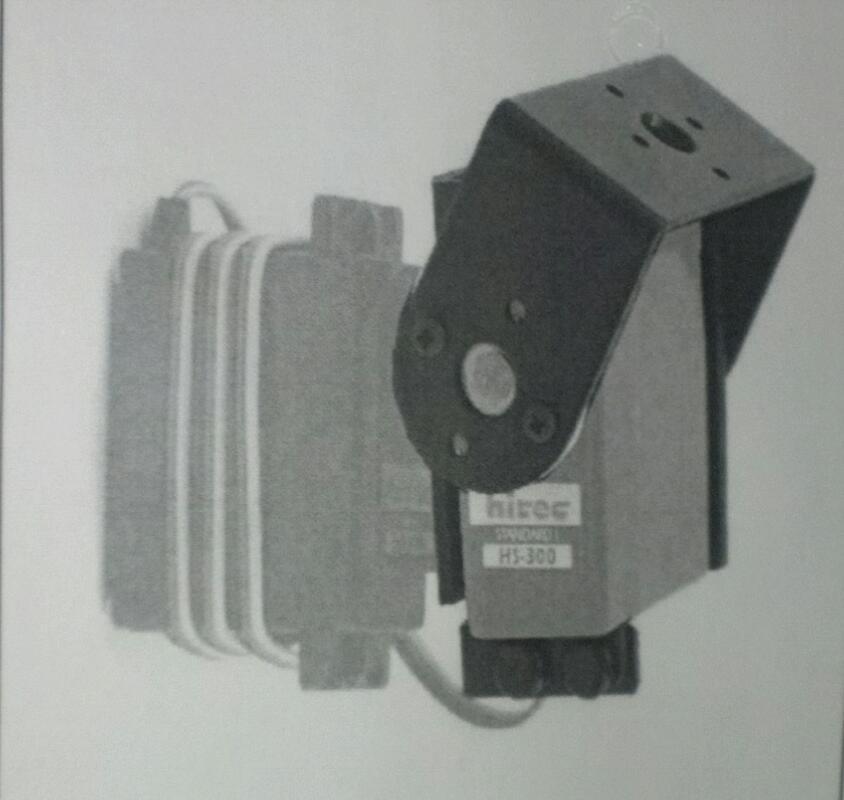
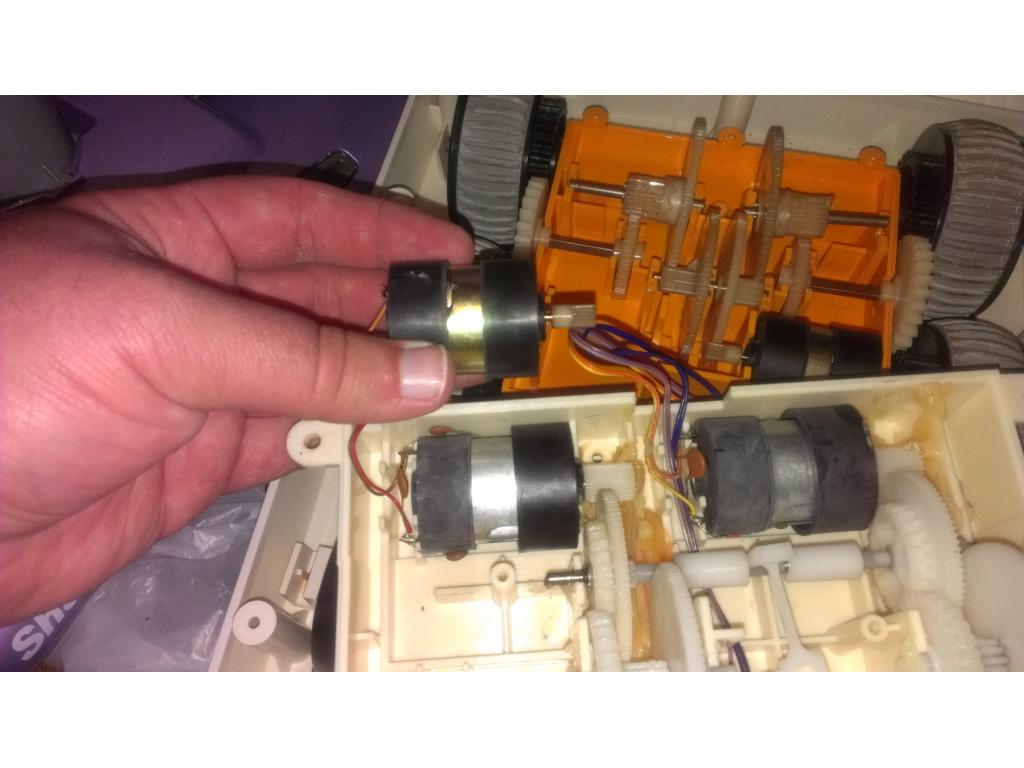
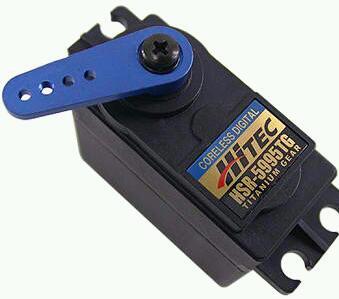
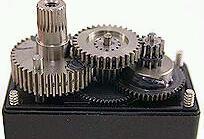
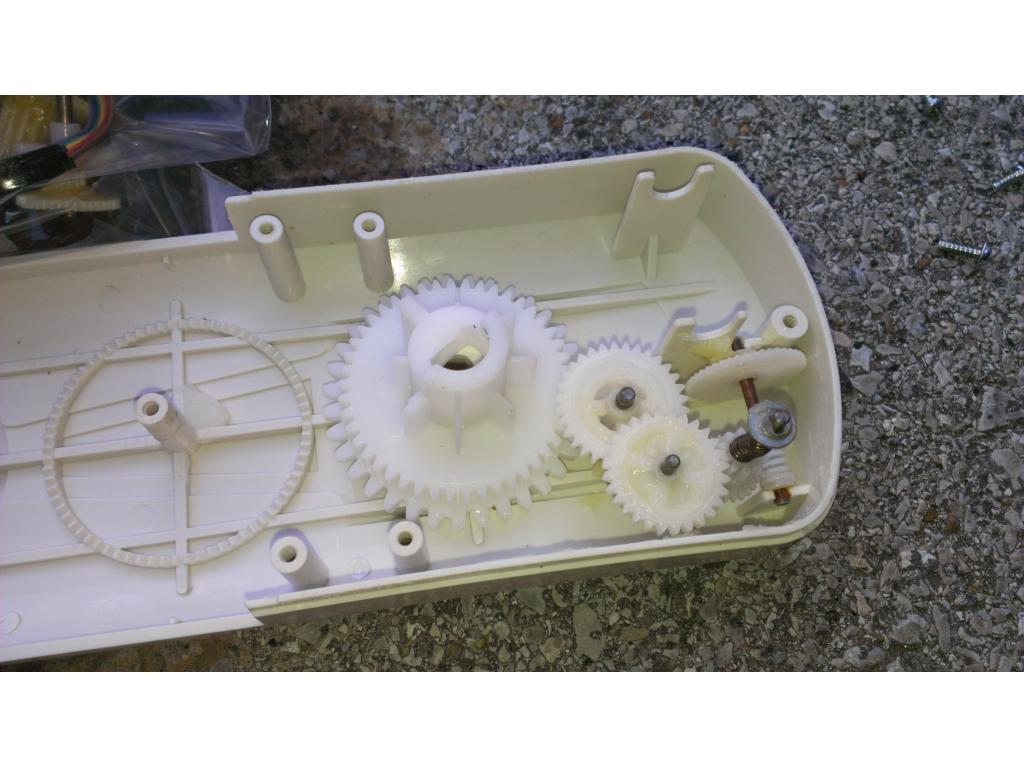
did the robozone gear boxes come in yet,and did you use plastic 5-1 gearsor did you go to 5-1 metal gears,or shoulders its better to use metal gears
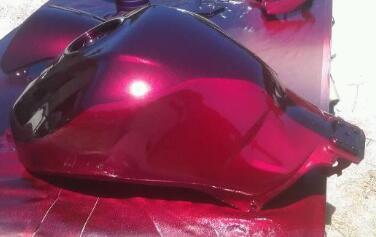
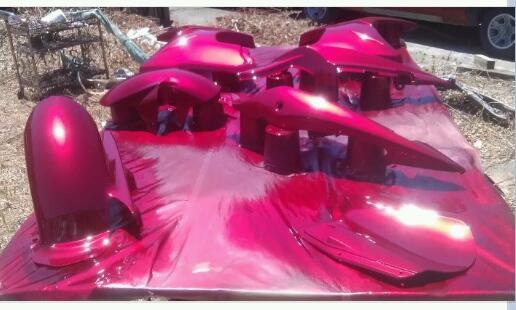
Yea I will buy the metal upgrade later after I get the robot back from paint. I'm hoping the robotzone gearbox will be here today. Even if they don't come in I still have plenty to do with the torso molding things in and some sanding , oh man I hate sanding.
Looks really good! Cant wait to see whats next keep posting photos!
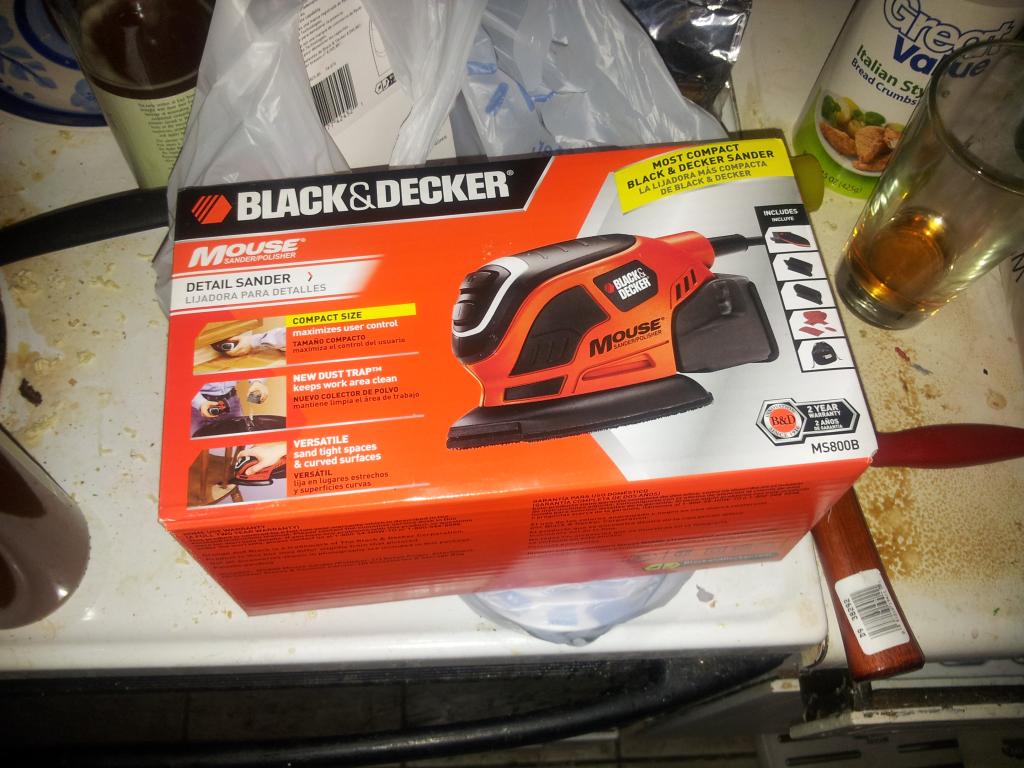
on sanding JOSHA whats alot when i do it is use a detail sander for large surfaces and small surfaces use dremel with sanding disks or drums,then finiish off with a light coat of sanding with 150 grit or higher,u se 200 grit ,since i bought a commercial box of 100 sheets of it and 100 of wet/dry 400 also use 2000 grit wet/dry on clear plastic (acrylic) and polishing compound
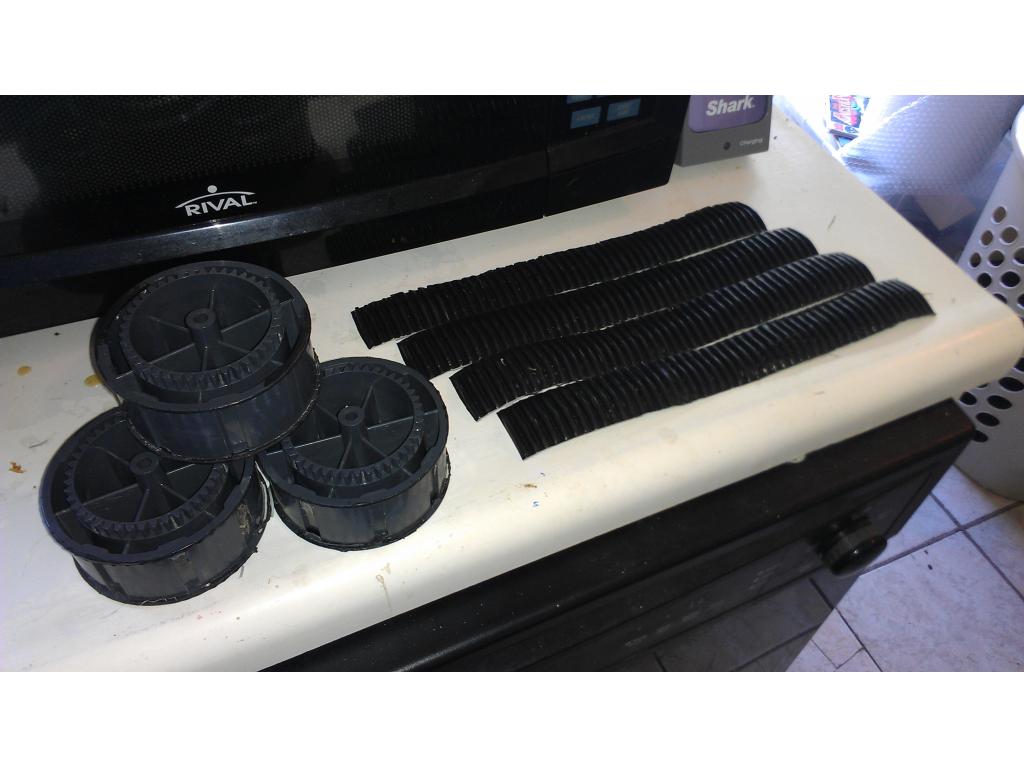
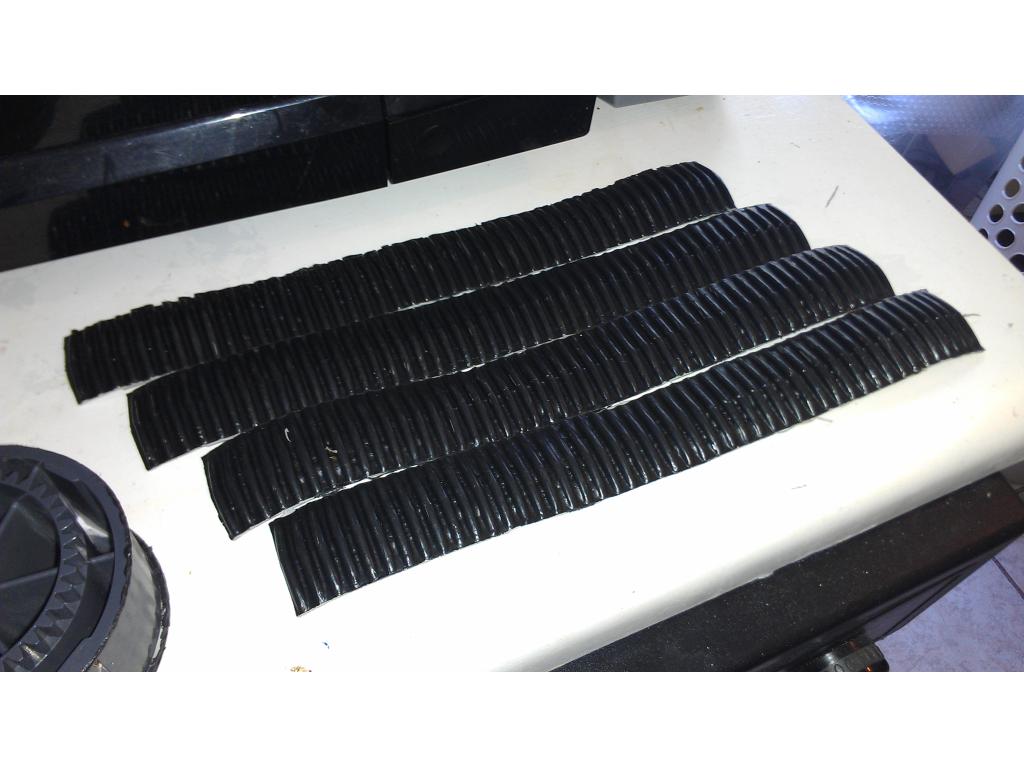
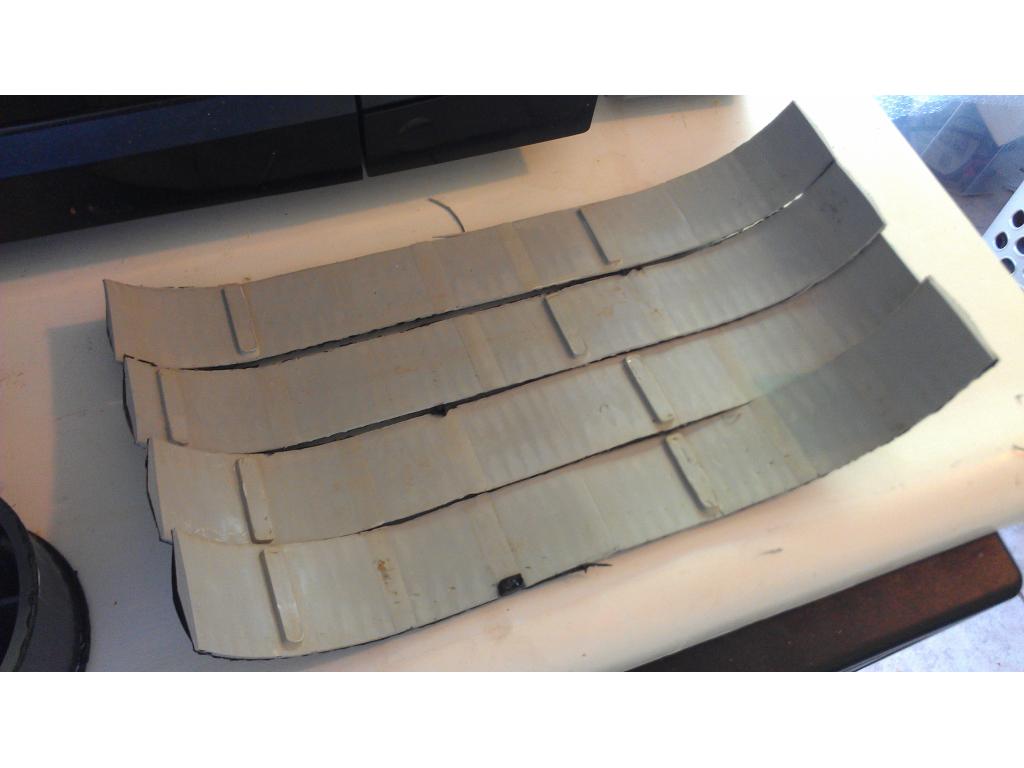
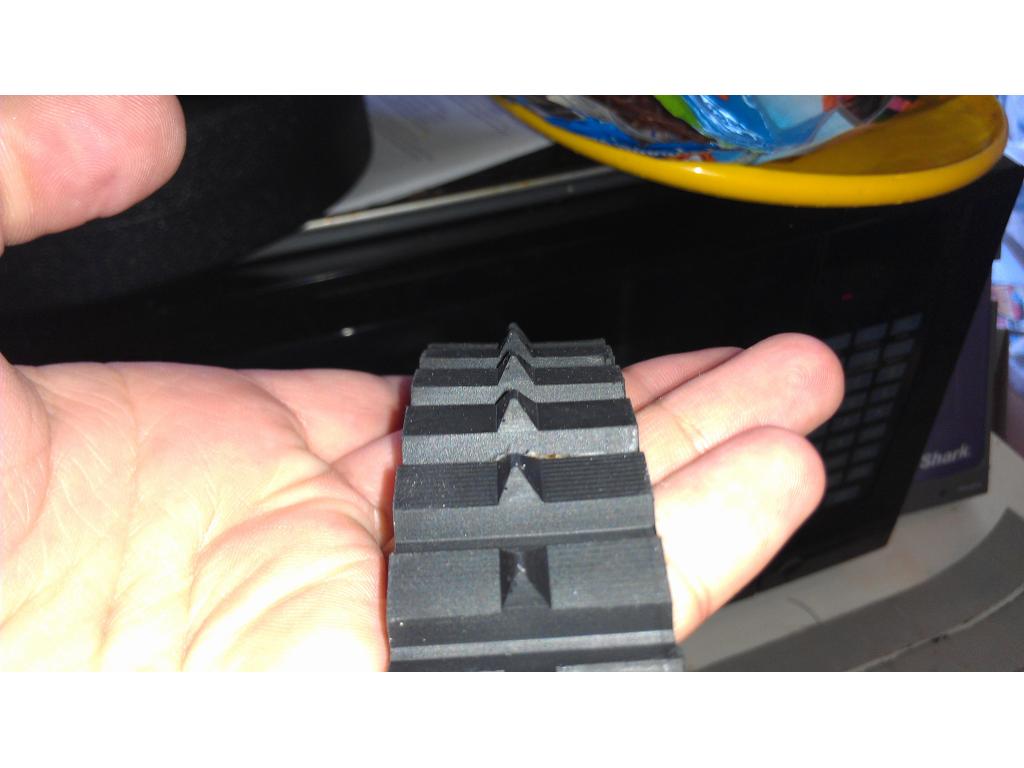
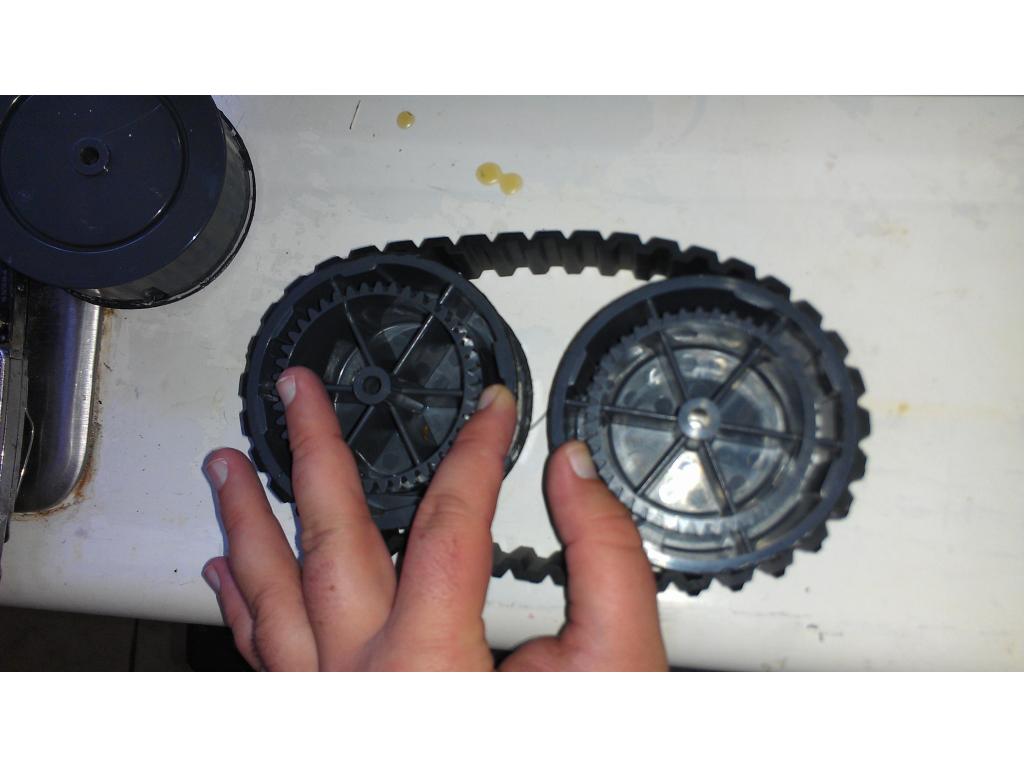
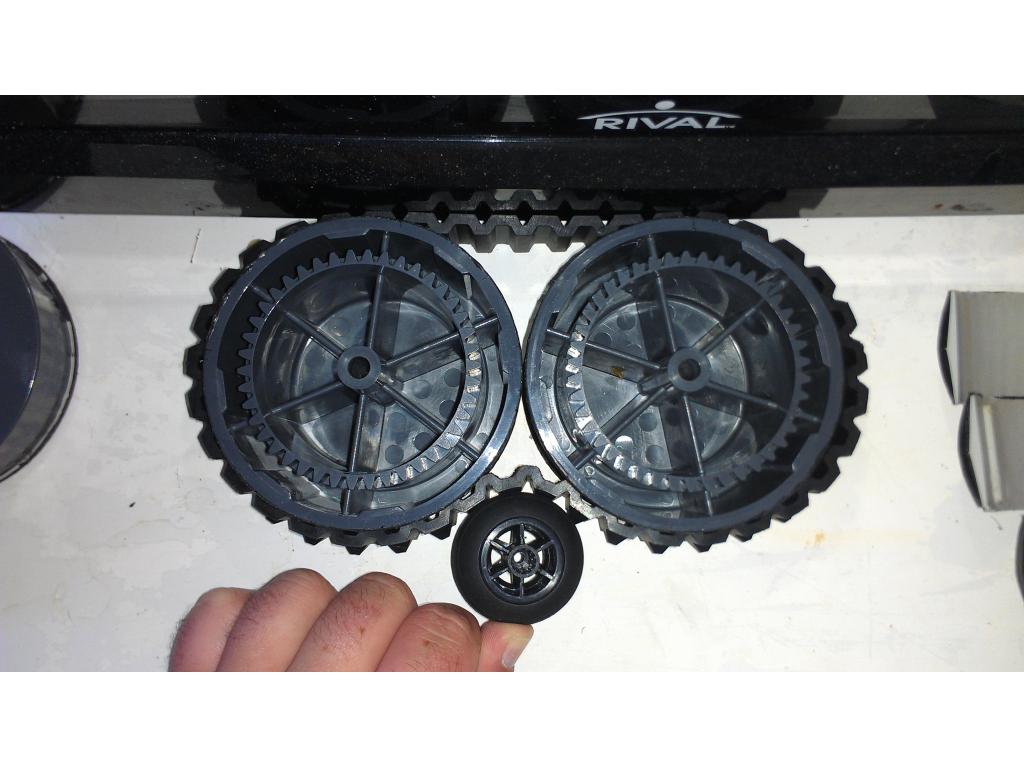
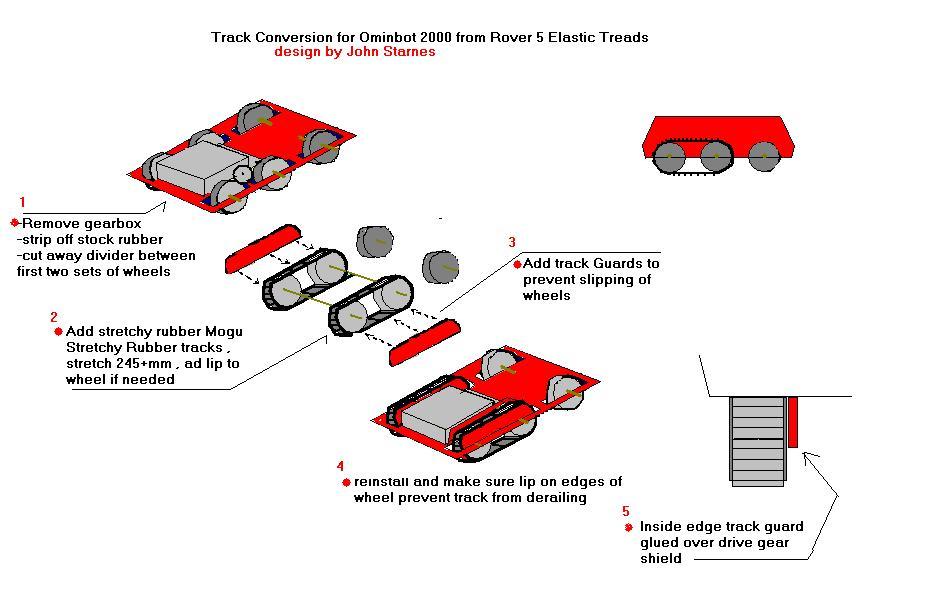
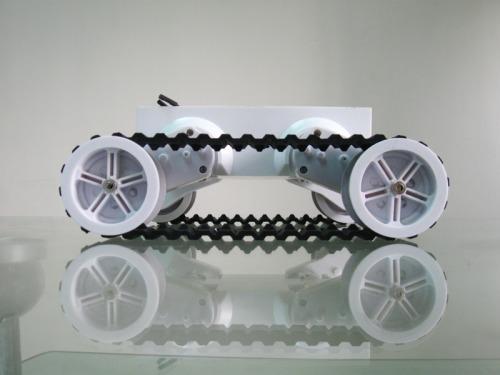
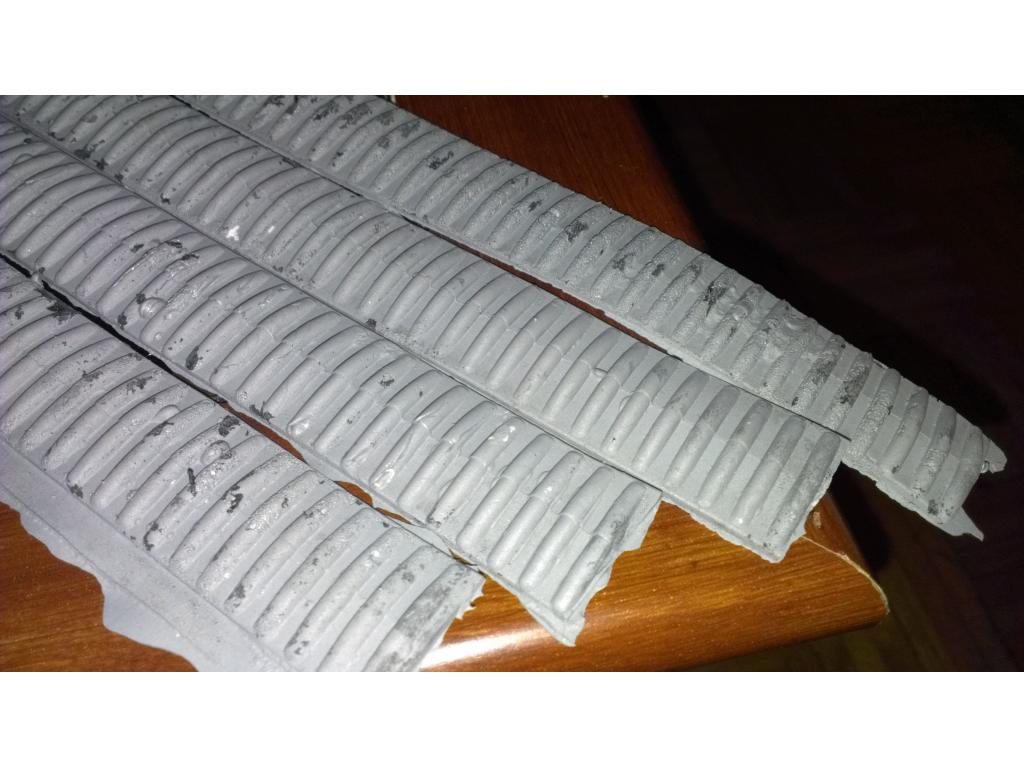
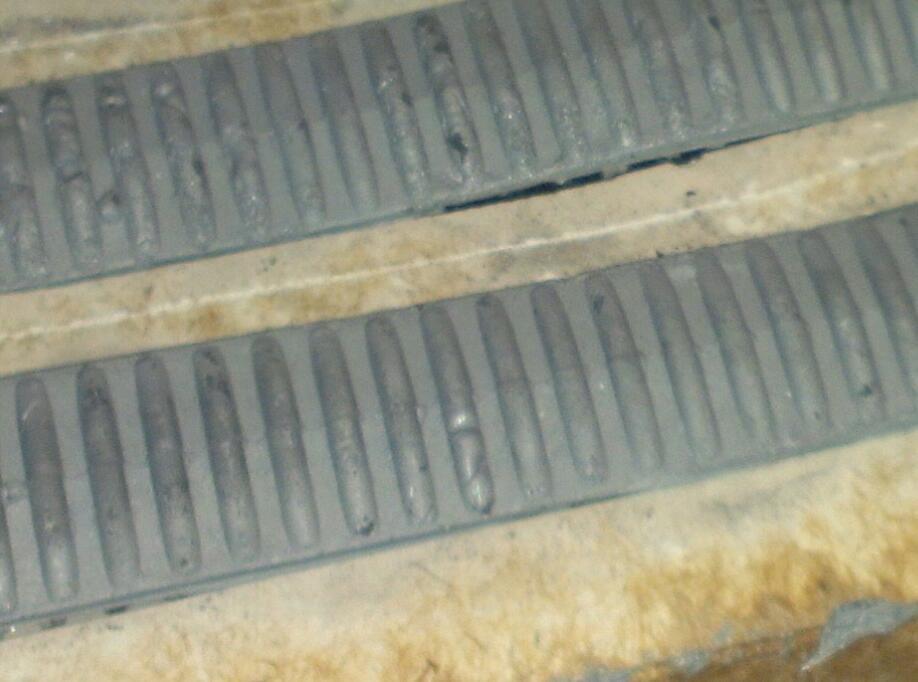
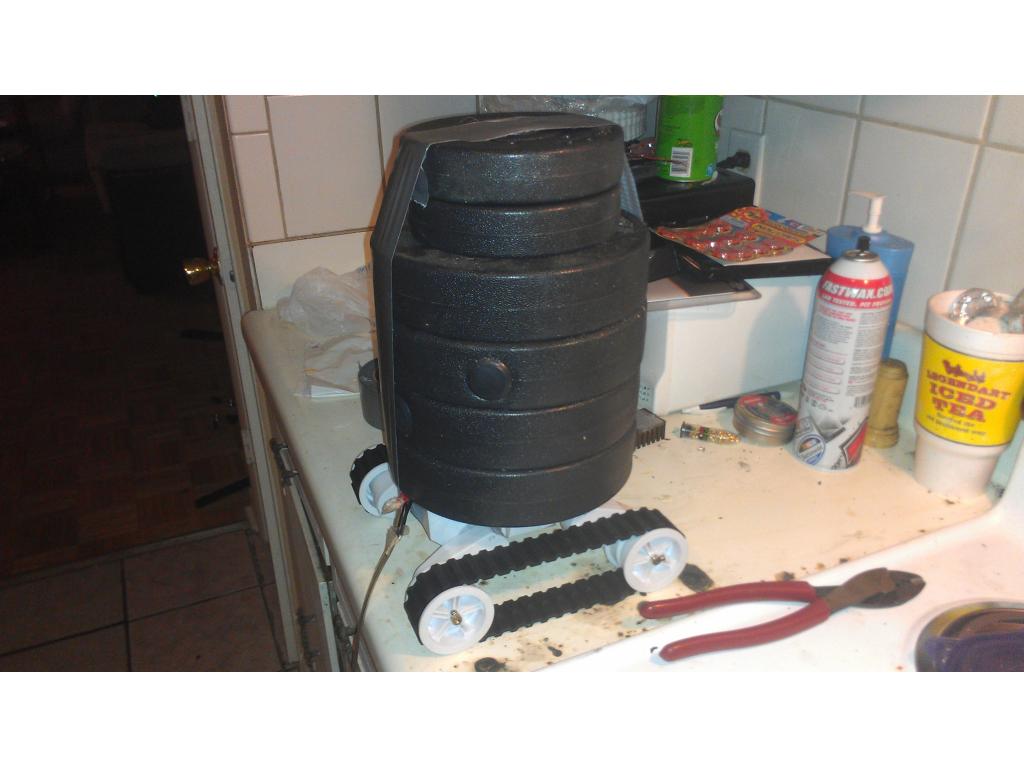
i just put up photos of my tracks in my omnibot 2001 project my design will be built like a tank,hold much weight,very stong arms and strong chassis using light weight aluminium