


-634700966886250000.jpg)
-634700967015000000.jpg)
-634700967157968750.jpg)
-634702814800312500.jpg)
-634702600865468750.jpg)
-634702601116718750.jpg)
-634702602252031250.jpg)
-634702602665625000.jpg)
-634702602851875000.jpg)
-634694134410000000.jpg)
-634693960892812500.jpg)
-634693961752343750.jpg)
-634693953179375000.jpg)
-634693953336093750.jpg)
-634693164809062500.jpg)
-634693165327500000.jpg)
-634693165925625000.jpg)
-634693166147343750.jpg)
-634786542943876953.jpg)

-634796120303593750.jpg)
-634796120470312500.jpg)
-634812479455986328.jpg)
-634812479726035156.jpg)
-634812480620283203.jpg)
-634812481334052734.jpg)
-634812482341699218.jpg)
-634822681001005859.jpg)
-634822681580644531.jpg)
-634822681777470703.jpg)
-634821106166250000.jpg)
-634821106572812500.jpg)
-634821106815625000.jpg)
-634814909605058593.jpg)
-634814909850224609.jpg)
-634814910193212890.jpg)
-634814910596445312.jpg)
-634820188048437500.jpg)
-634820188647187500.jpg)
-634820189032656250.jpg)
-634718079154687500.jpg)
-634718080622031250.jpg)
-634714909191250000.jpg)
-634714909644843750.jpg)
-634713078392031250.jpg)
-634713078781250000.jpg)

-634720009877968750.jpg)
-634749341545937500.jpg)
-634749341951406250.jpg)
-634732946203437500.jpg)
-634708797562402343.jpg)
-634706000248750000.jpg)
-634705927185312500.jpg)
-634705927626406250.jpg)
-634705928146250000.jpg)
-634705929045781250.jpg)
-634705929717812500.jpg)
-634705930336093750.jpg)
-634705930540468750.jpg)
-634705931037812500.jpg)
-634709695807265625.jpg)
-634709696076181640.jpg)
-634711364771718750.jpg)
-634711364485781250.jpg)
-634712172318906250.jpg)
-634771897291406250.jpg)
-634771897466093750.jpg)
-634771897849687500.jpg)
-634771898236093750.jpg)
-634771898712187500.jpg)
-634771899102656250.jpg)
-634771899822656250.jpg)
-634771900771562500.jpg)
-634771901301875000.jpg)
-634768466924746093.jpg)
-634768467383681640.jpg)
-634772580489218750.jpg)
-634772581075781250.jpg)
-634772581532343750.jpg)
-634772581721718750.jpg)
-634773400815625000.jpg)
-634773401032187500.jpg)
-634781365777988281.jpg)
-634781366040302734.jpg)
-634781366299042968.jpg)
-634766553798554687.jpg)
-634766556025839843.jpg)
-634759732245312500.jpg)
-634765021896093750.jpg)
-634765022115000000.jpg)
-634765022326562500.jpg)
-634765023386093750.jpg)
-634765855550937500.jpg)
-634765856533437500.jpg)
-634765856756250000.jpg)
-634845177217089843.jpg)
-634845177425585937.jpg)
-634857207521406250.jpg)
-634857208212500000.jpg)
-634857208786718750.jpg)
-634826982093593750.jpg)
-634838602835000000.jpg)
-634838603089687500.jpg)
-634838603585312500.jpg)
-634871181815468750.jpg)
-634871183099531250.jpg)
-634871128238750000.jpg)
-634870976497031250.jpg)
-634870976894687500.jpg)
-634880528374375000.jpg)
-634880528707656250.jpg)
-634880529073593750.jpg)
-634892824736386719.jpg)
-634892824903066406.jpg)
-634892825090117187.jpg)
-634892825255283203.jpg)
-634880812756406250.jpg)
-634870194470625000.jpg)
-634870194829687500.jpg)
-634865232676250000.jpg)
-634863402043750000.jpg)
-634863402351562500.jpg)
-634863402584218750.jpg)
-634863404238125000.jpg)
-634869405242656250.jpg)
-634869405424687500.jpg)
-634869405586562500.jpg)
-634869405943906250.jpg)
-634869406072656250.jpg)
-634869404353281250.jpg)
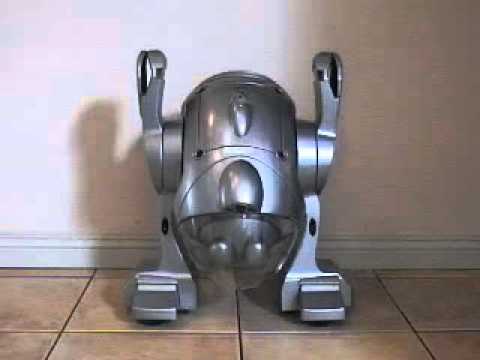
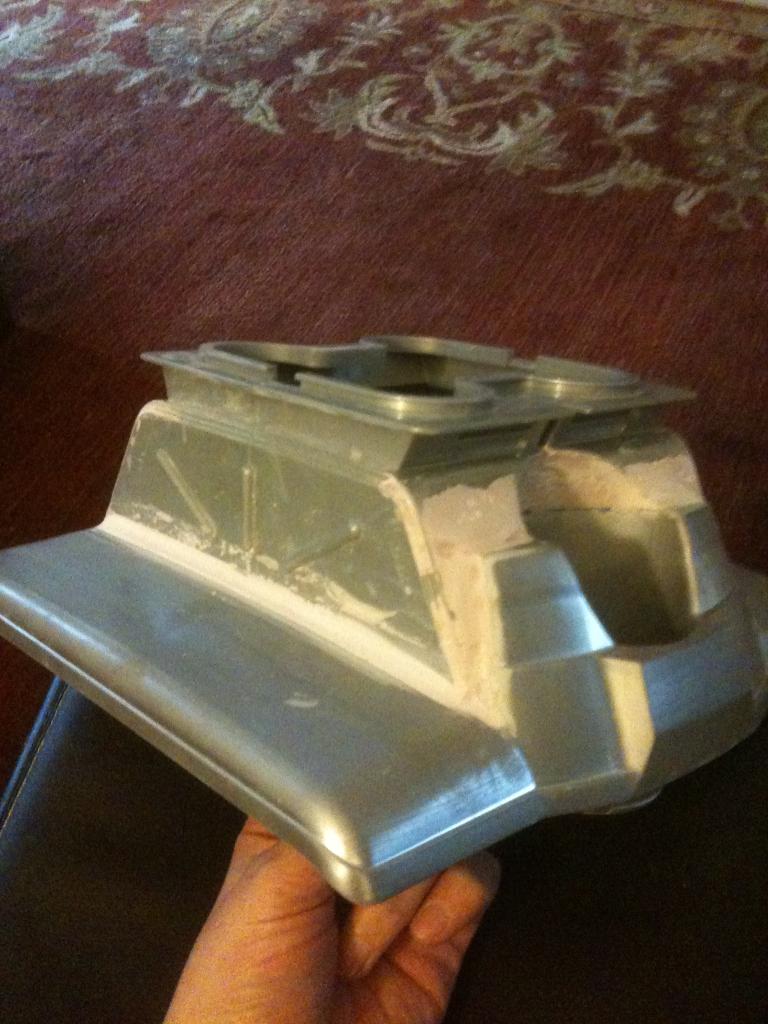
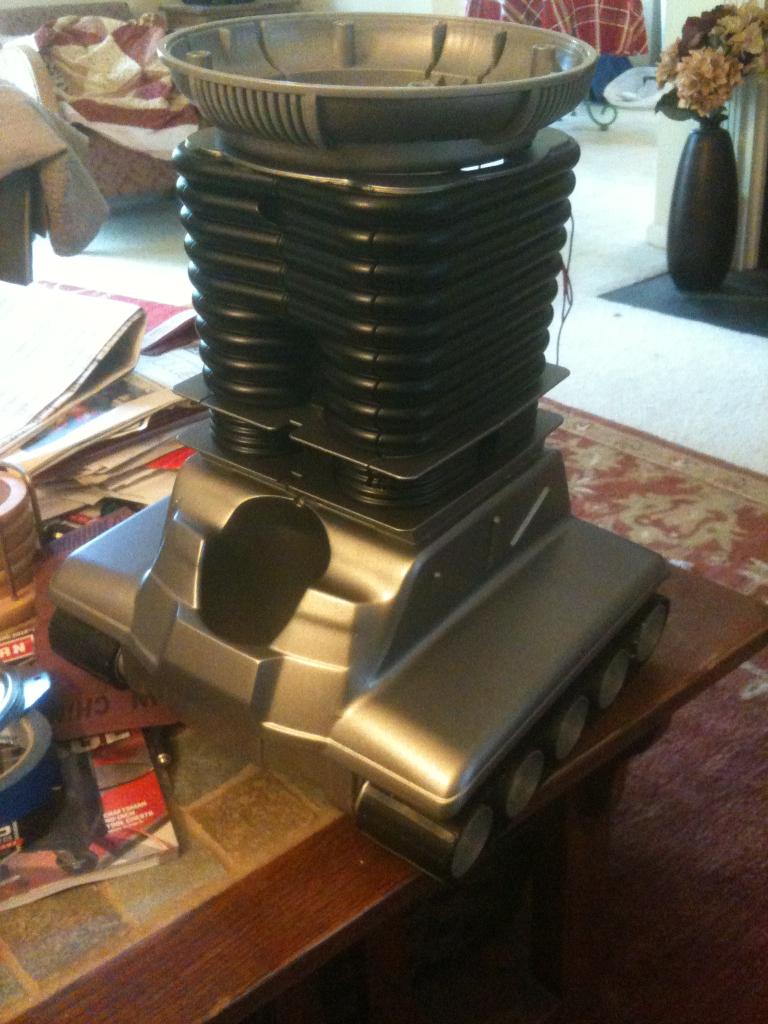
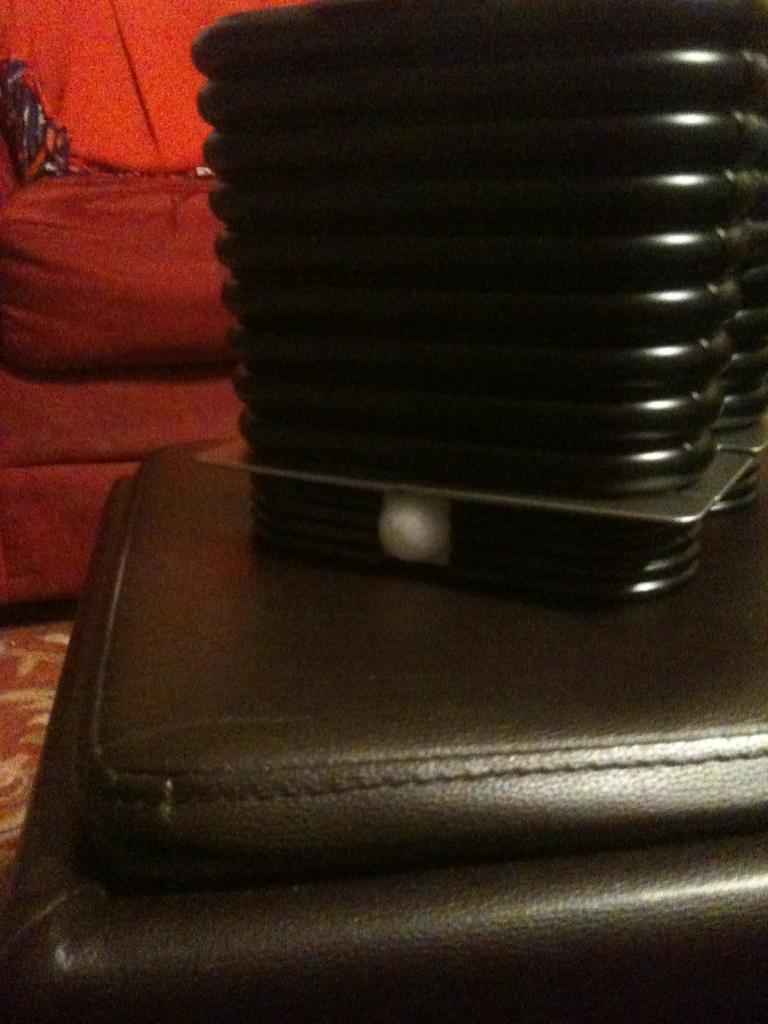
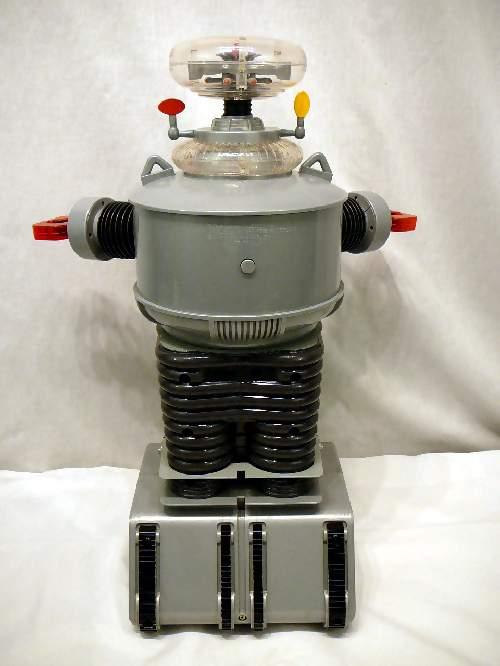
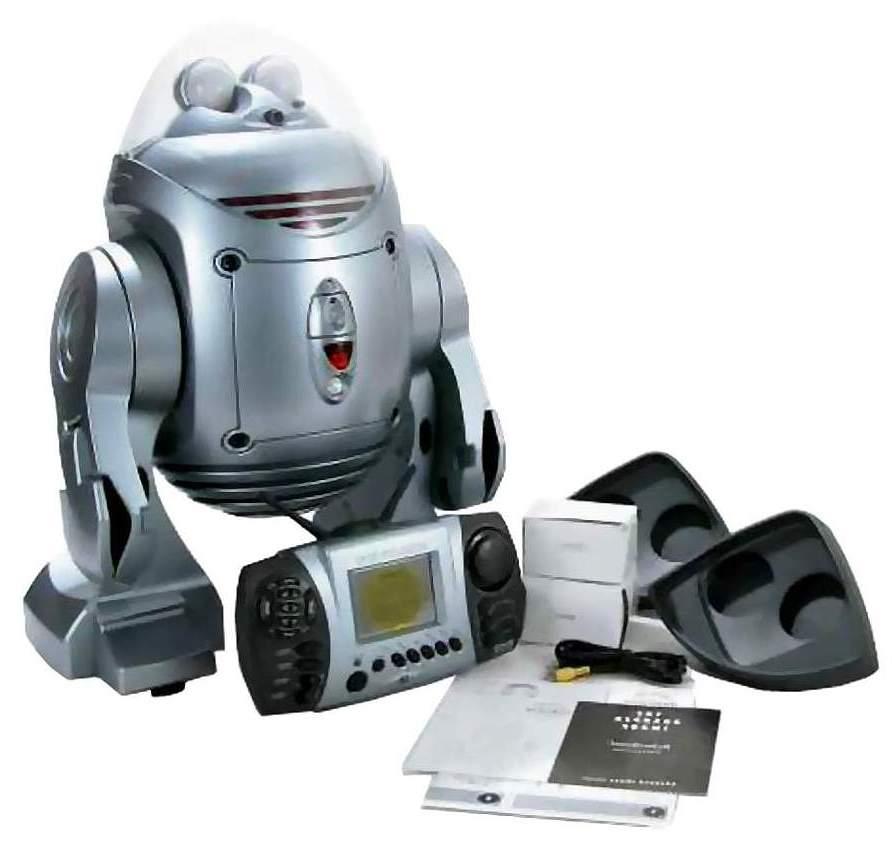
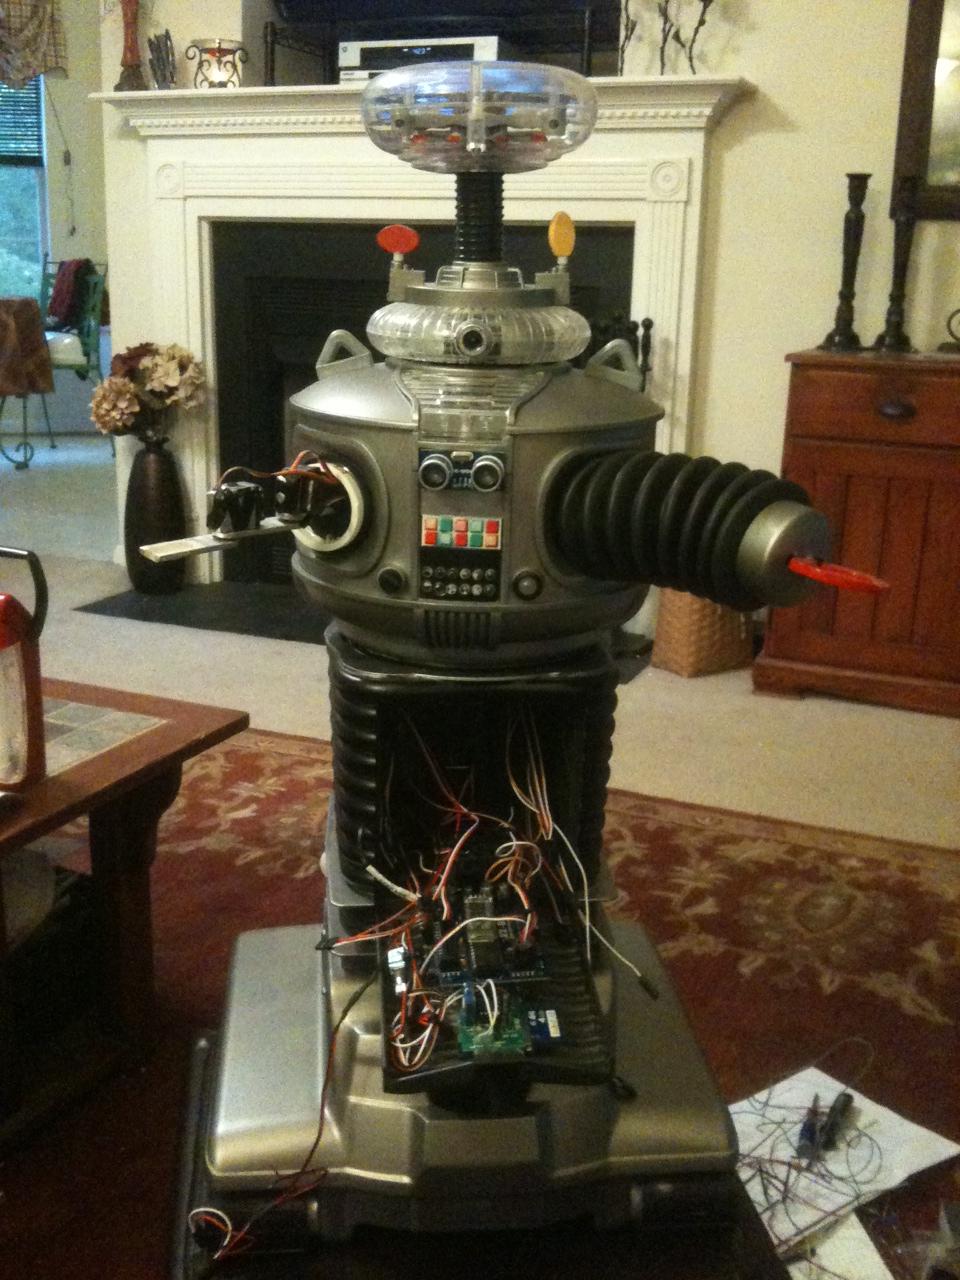
Now that I have finished B.O.B., my get your feet wet bot, I have begun my next hack. This next robot will bridge the gap between Bob and my ultimate big robot. I am starting with a remote controlled B9 toy from Trendmasters. It was very limited in what it did, and the drive section was pathetic, but it was B9!
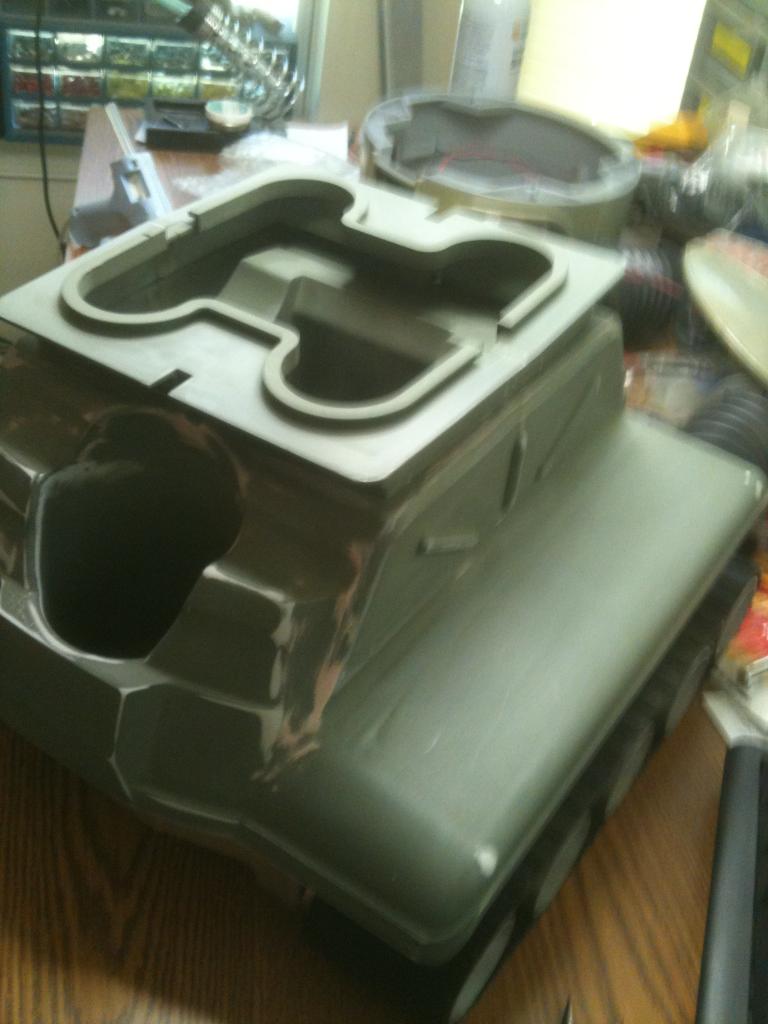
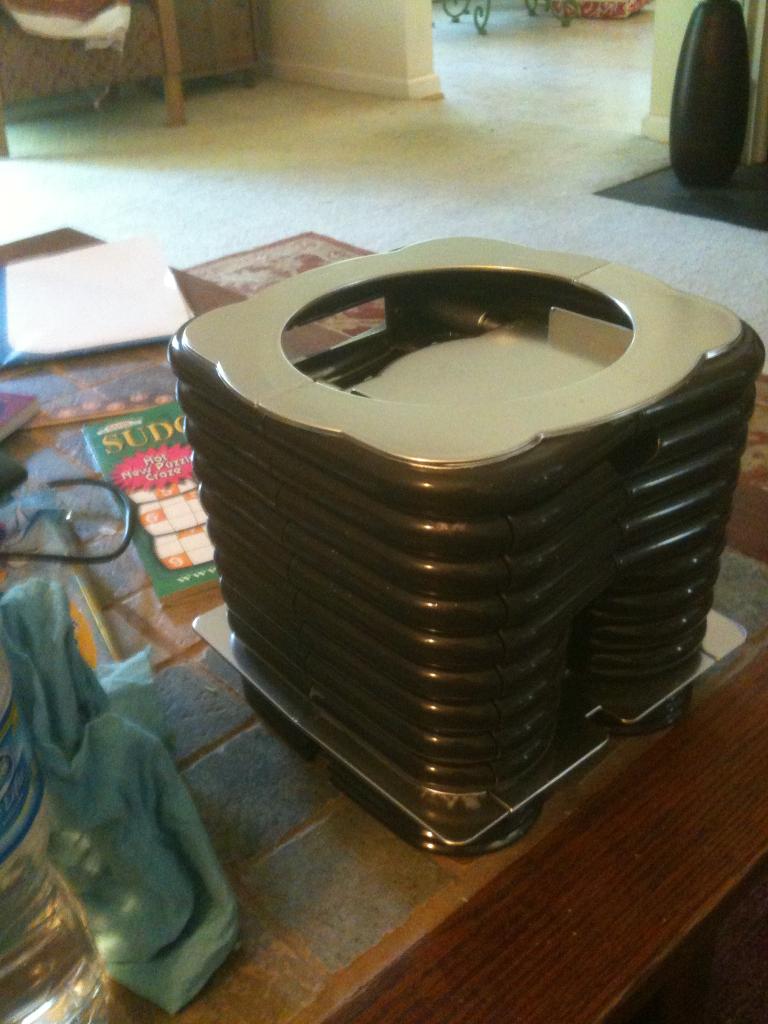
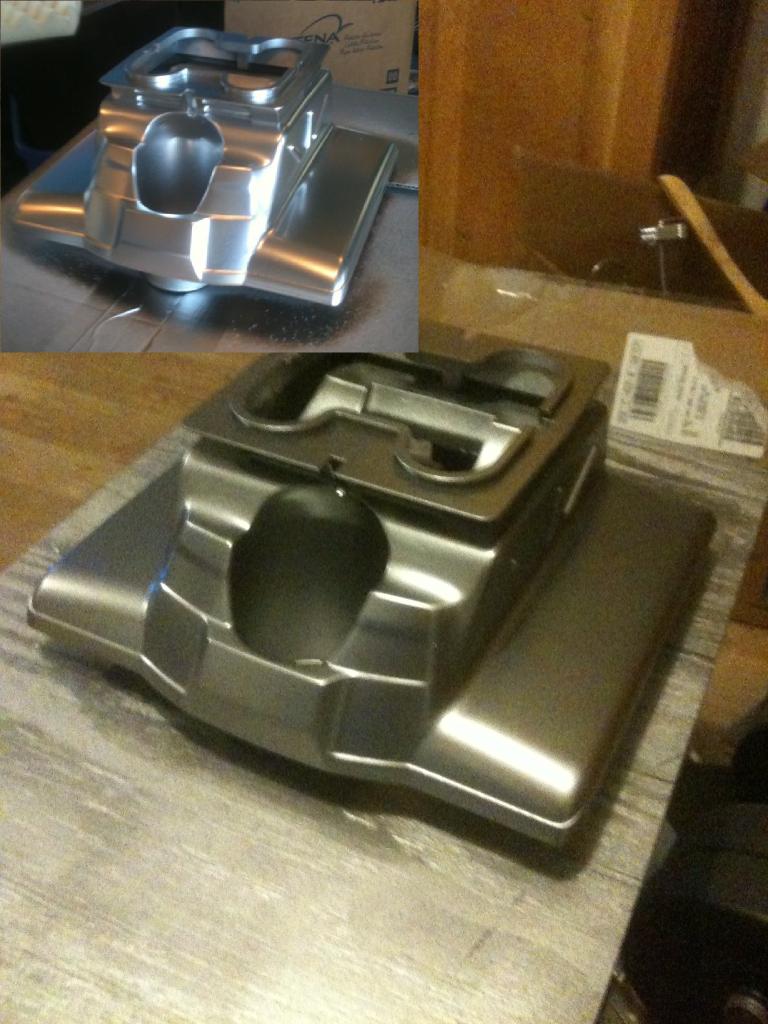
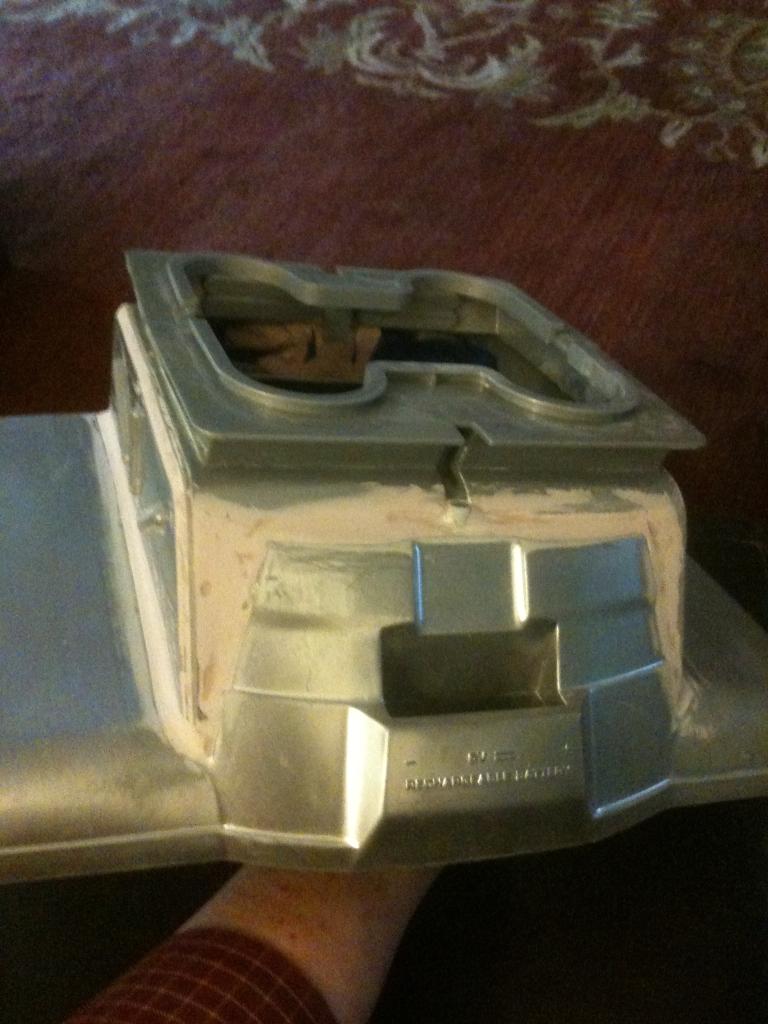
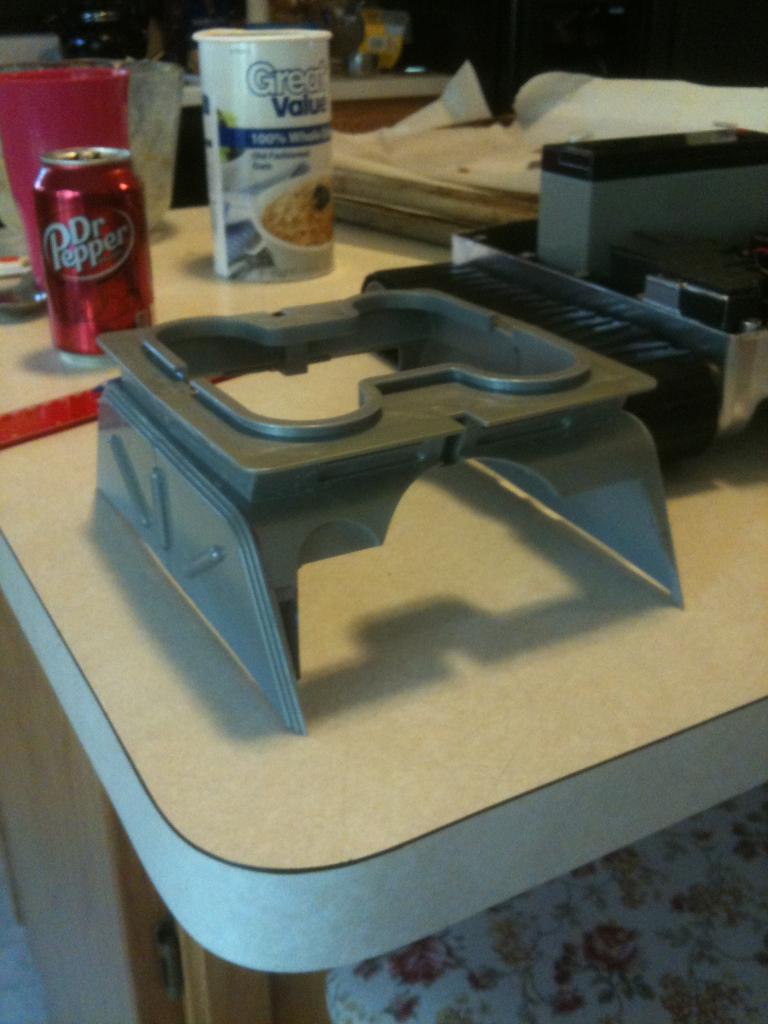
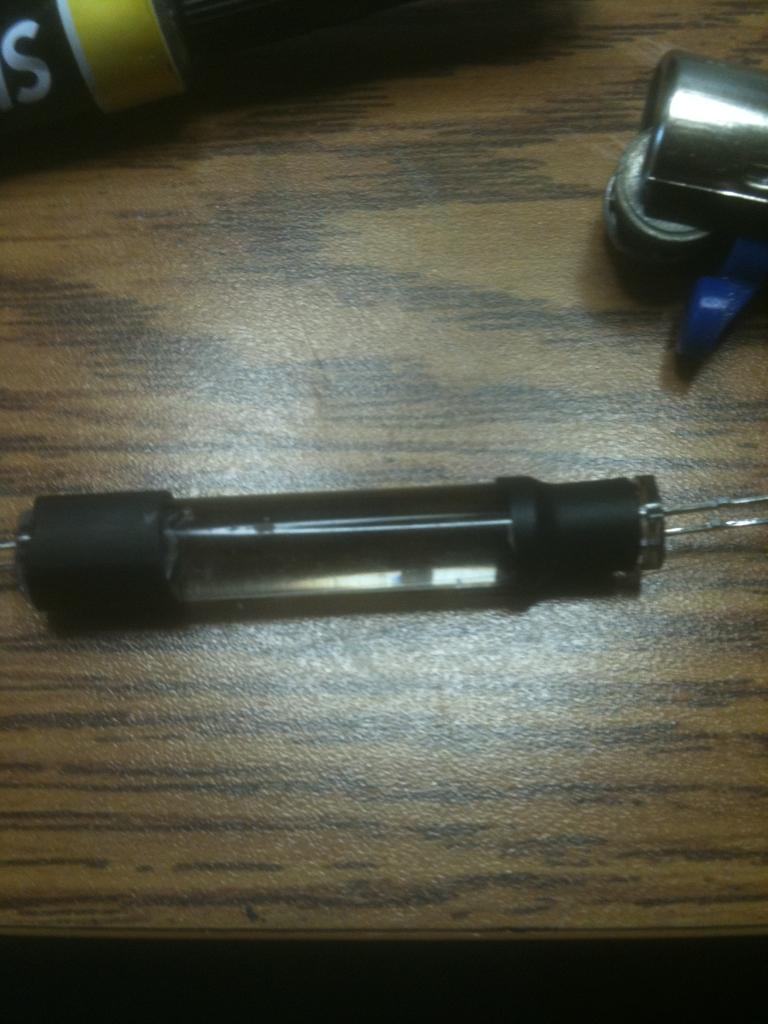
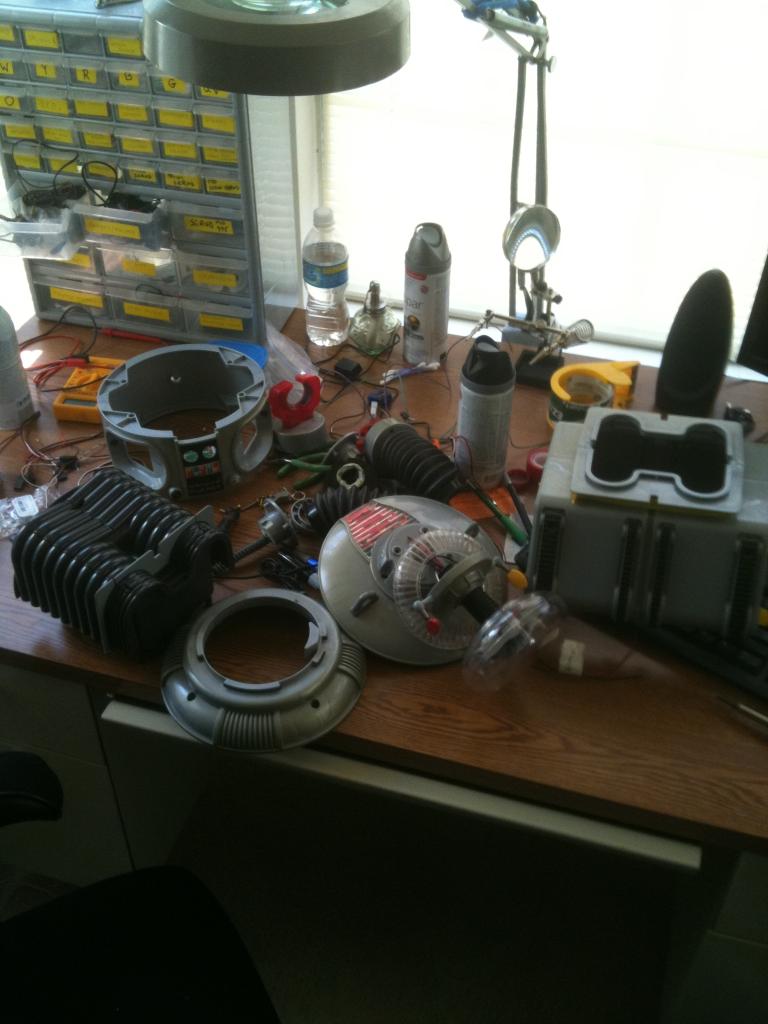
Before Pics:
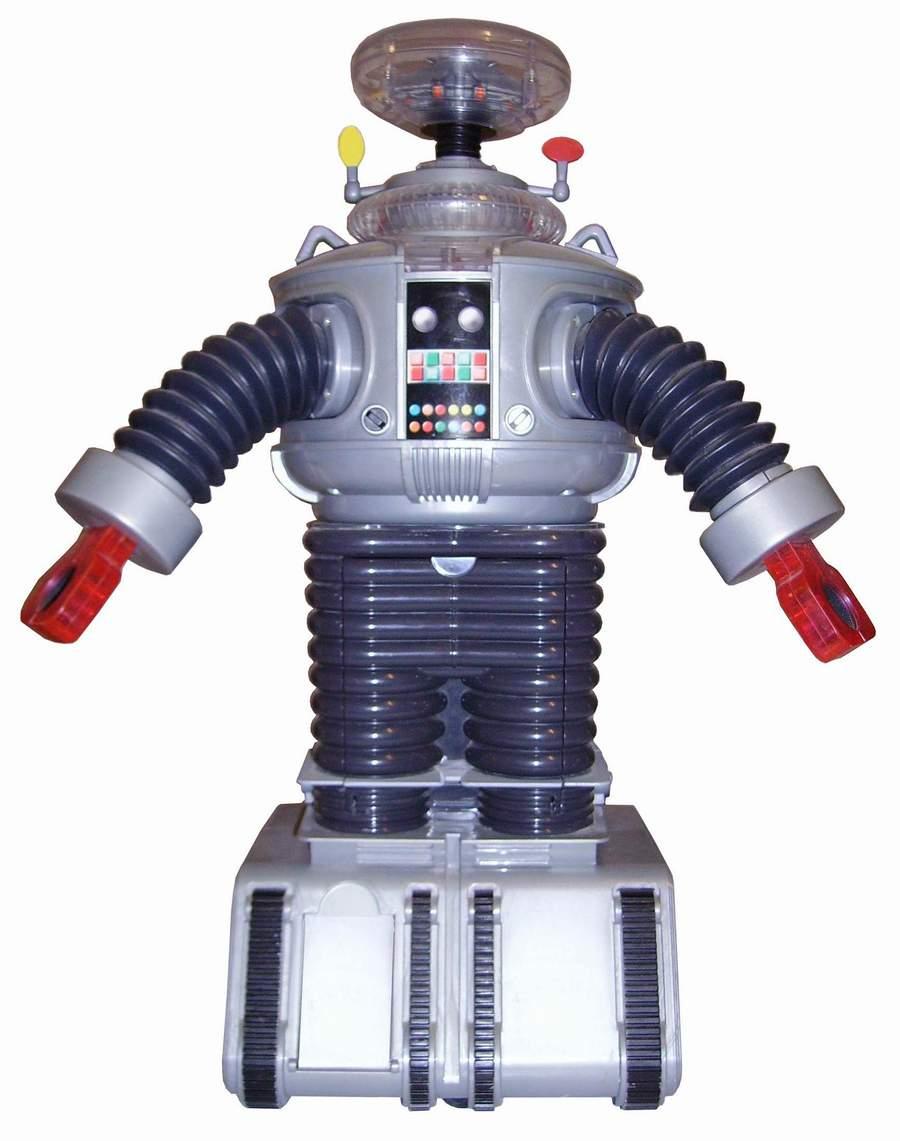
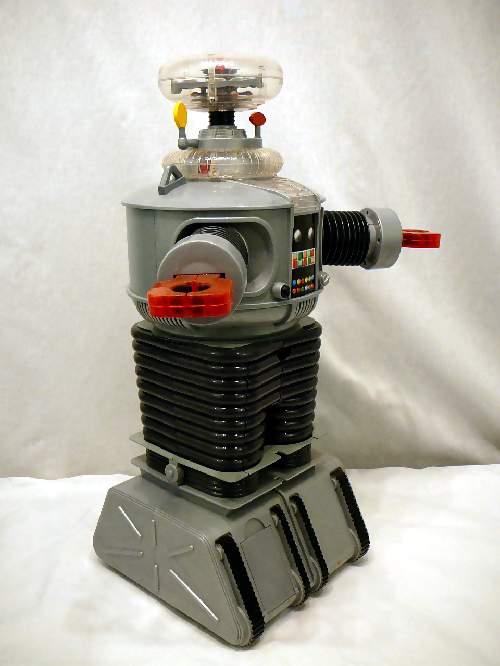
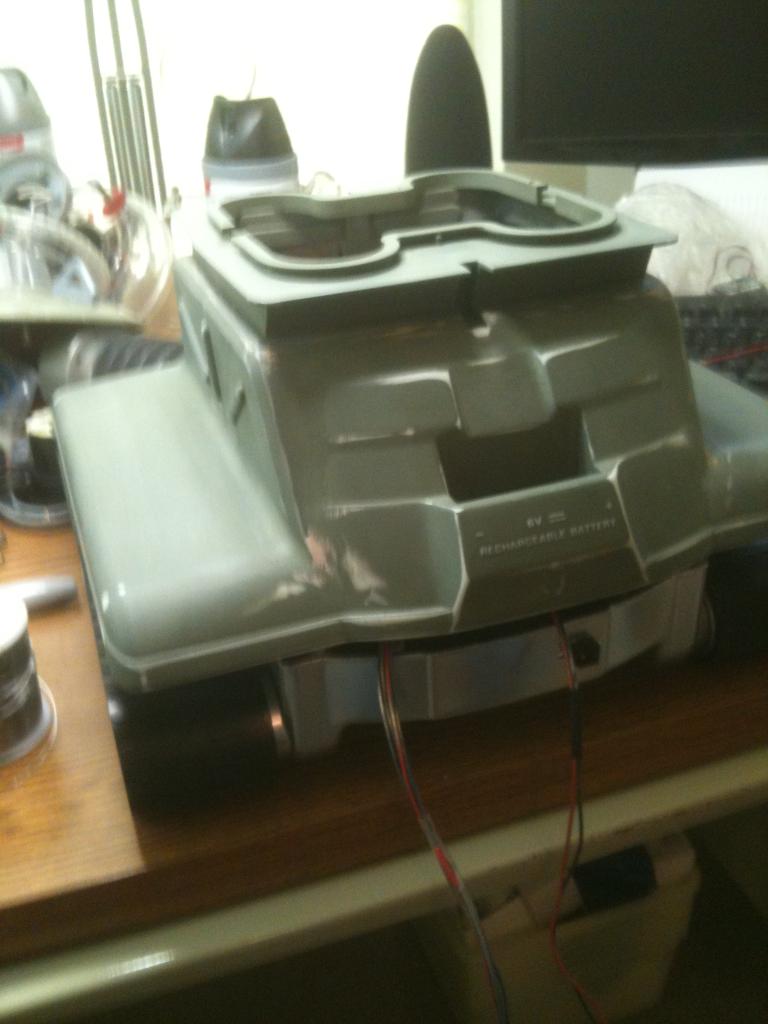
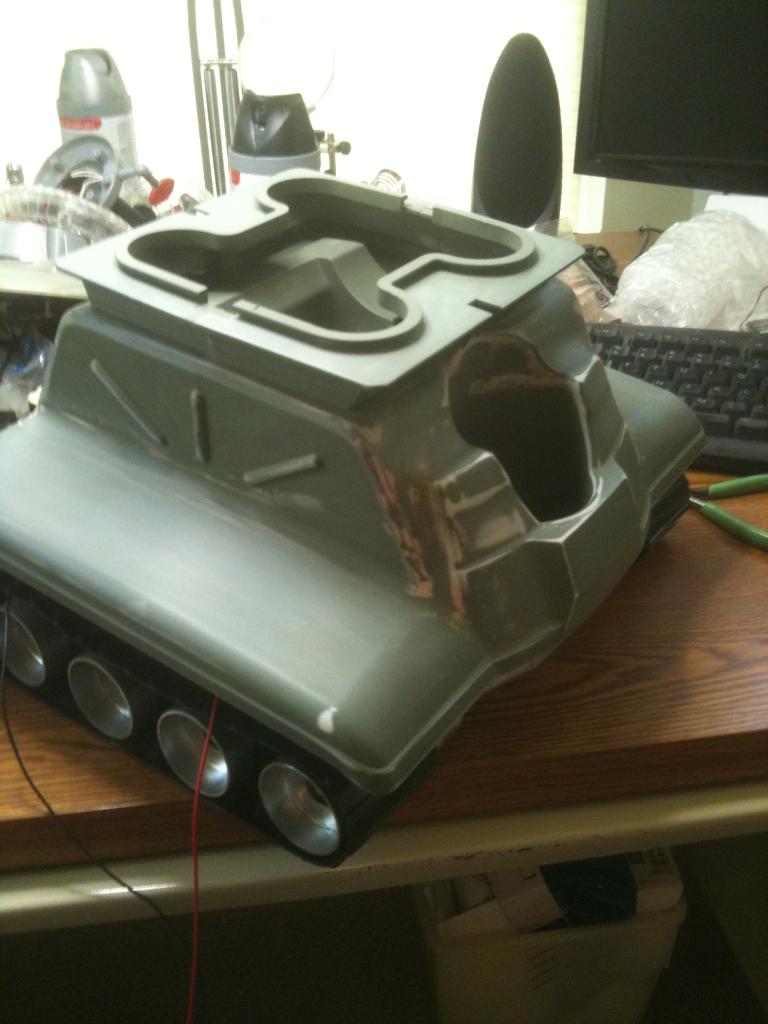
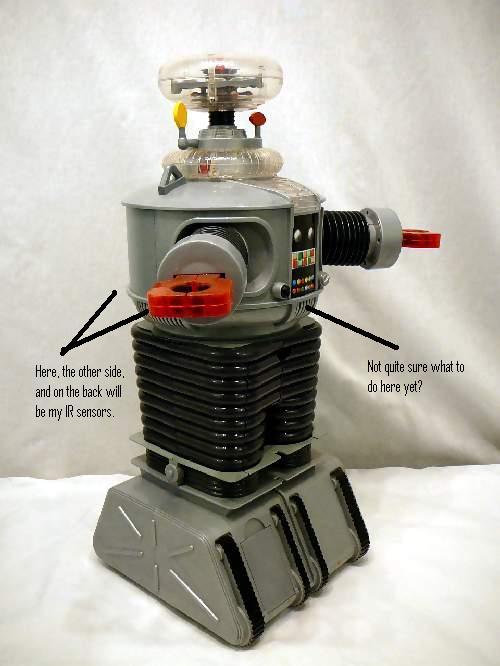
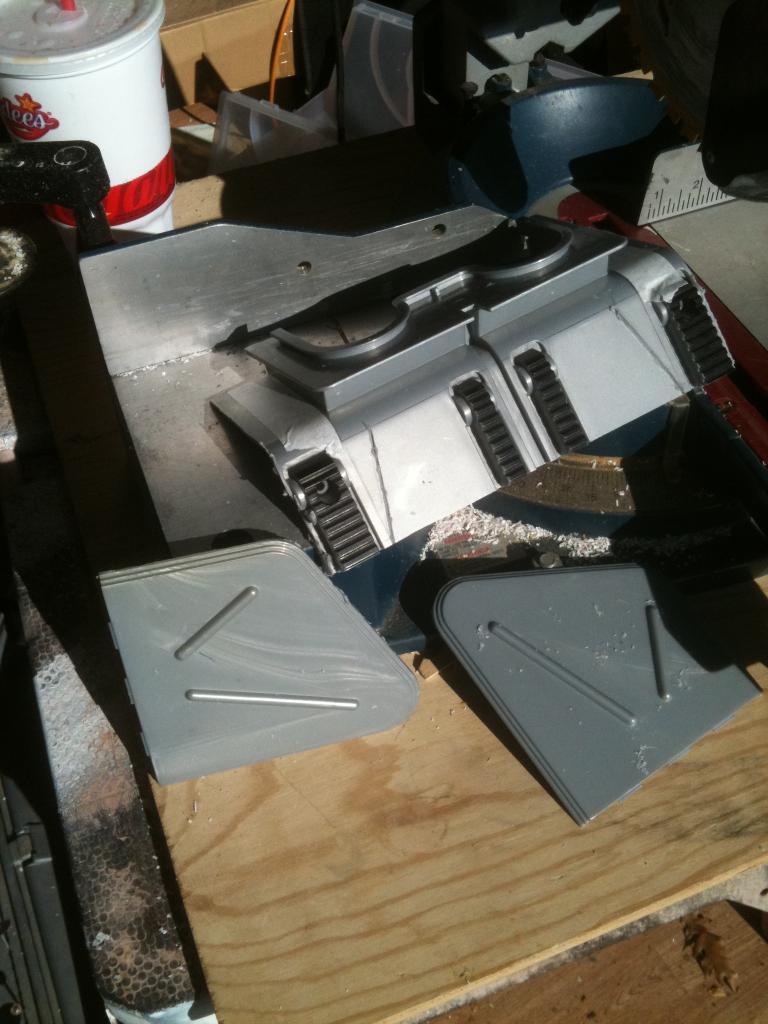
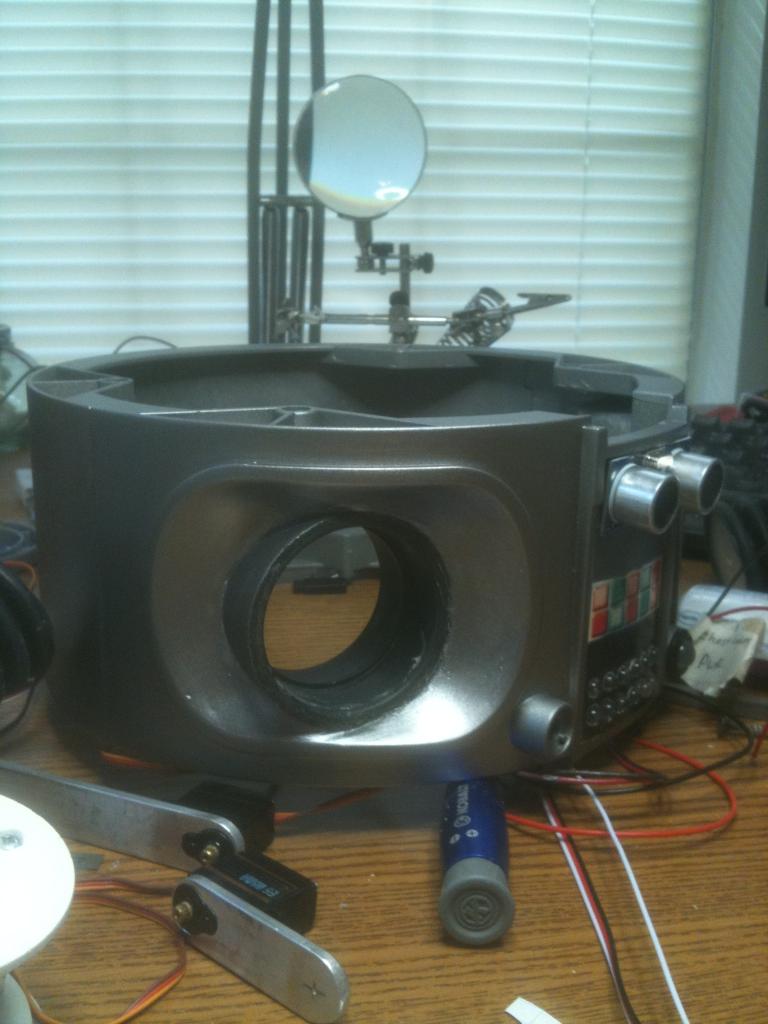
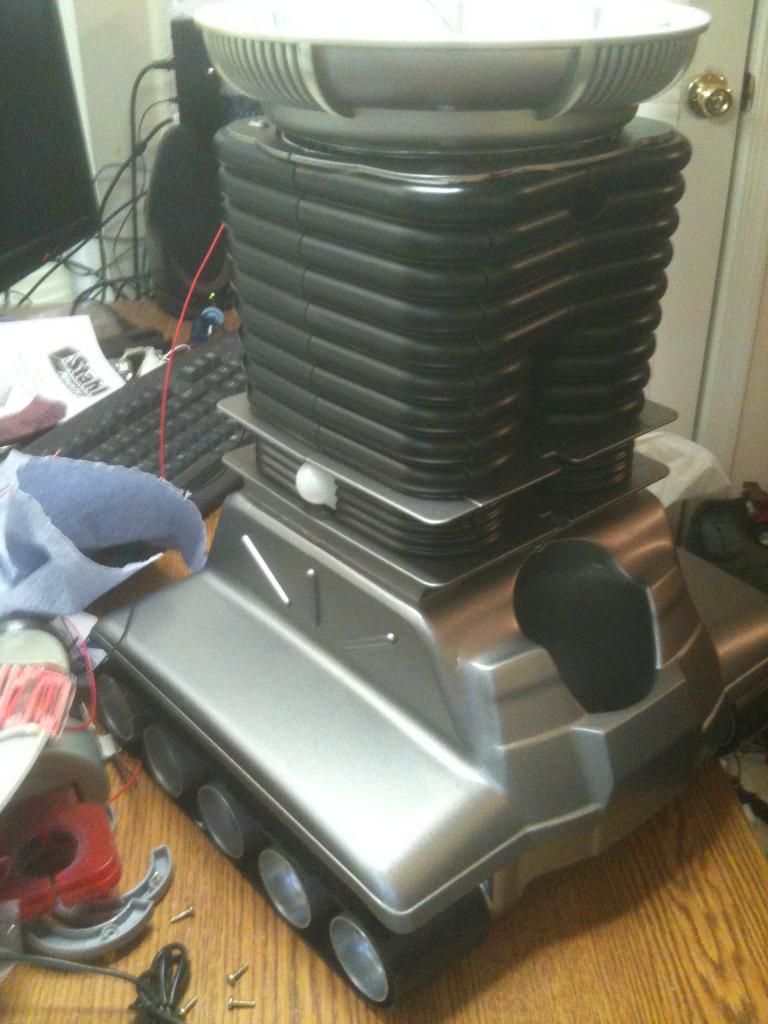
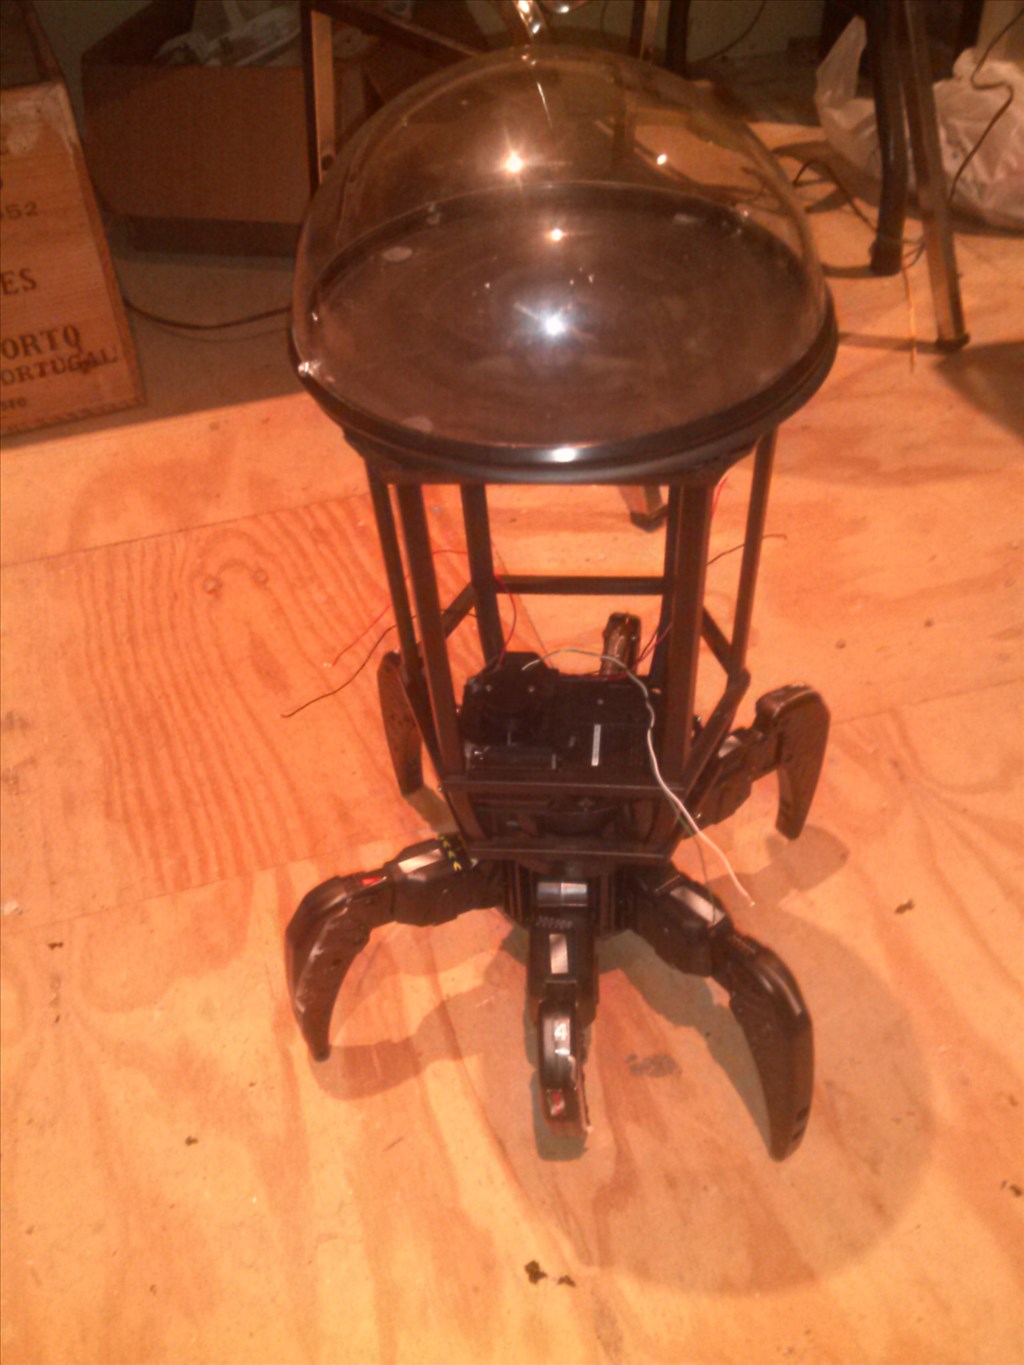
Here is what B9 looks like now:
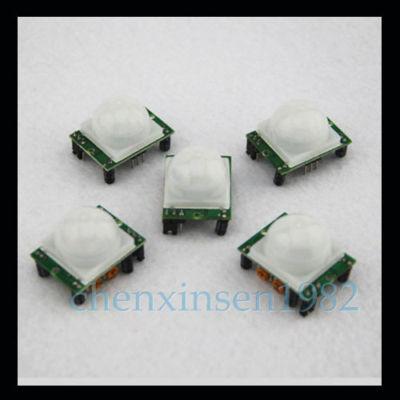
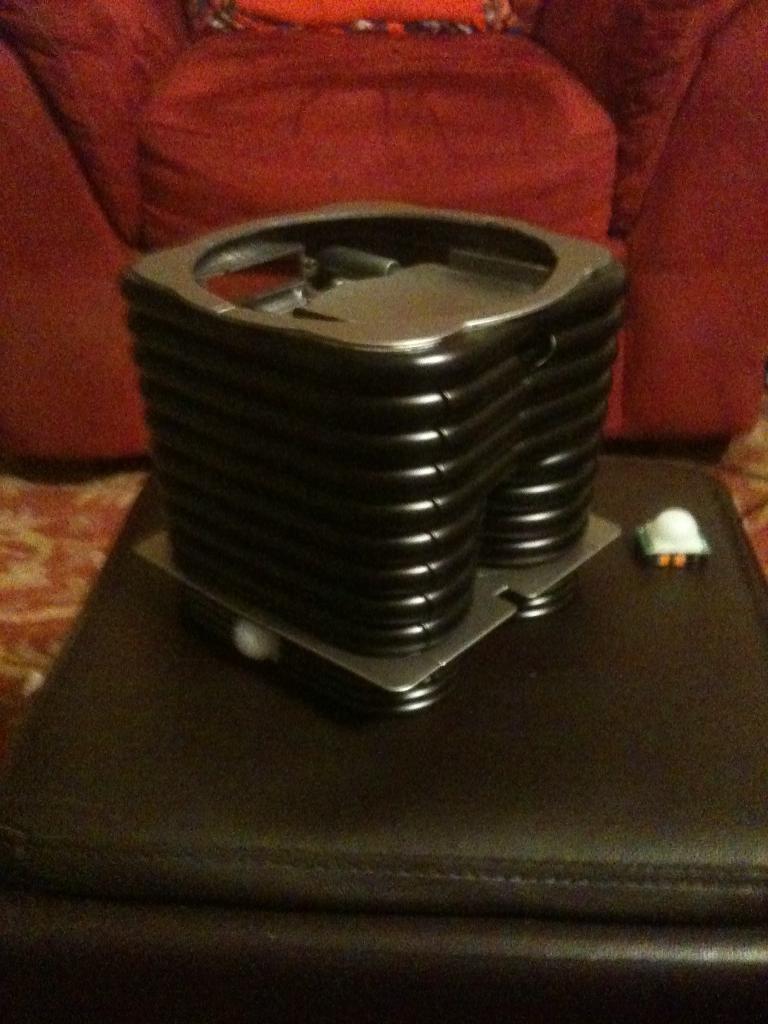
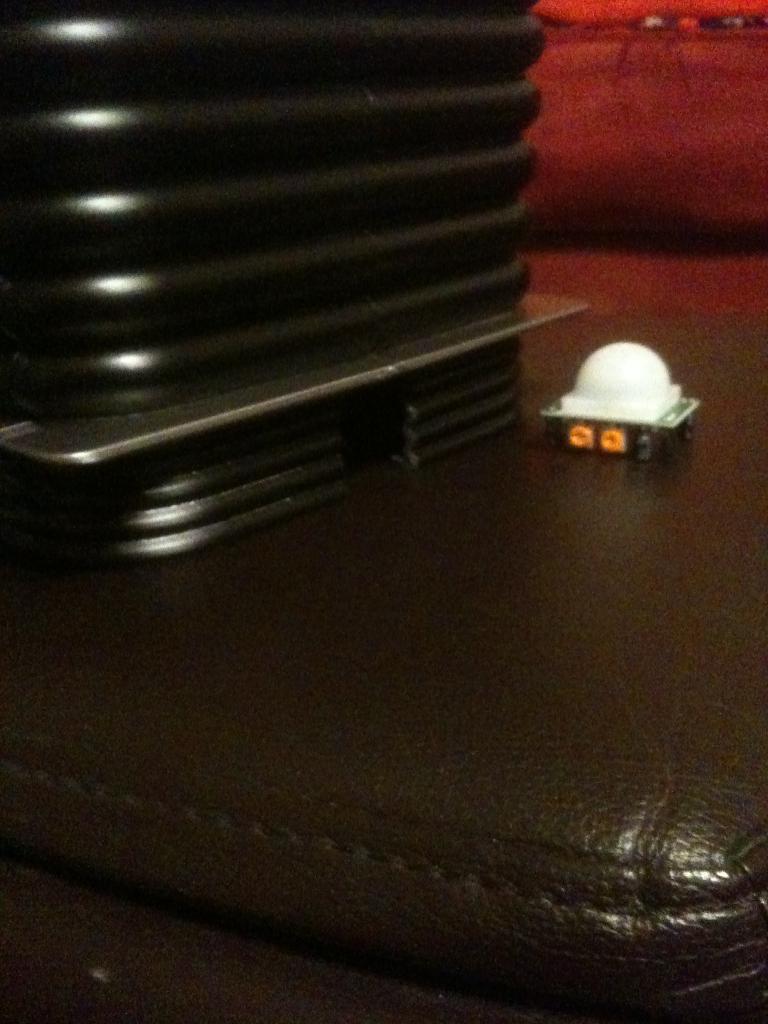
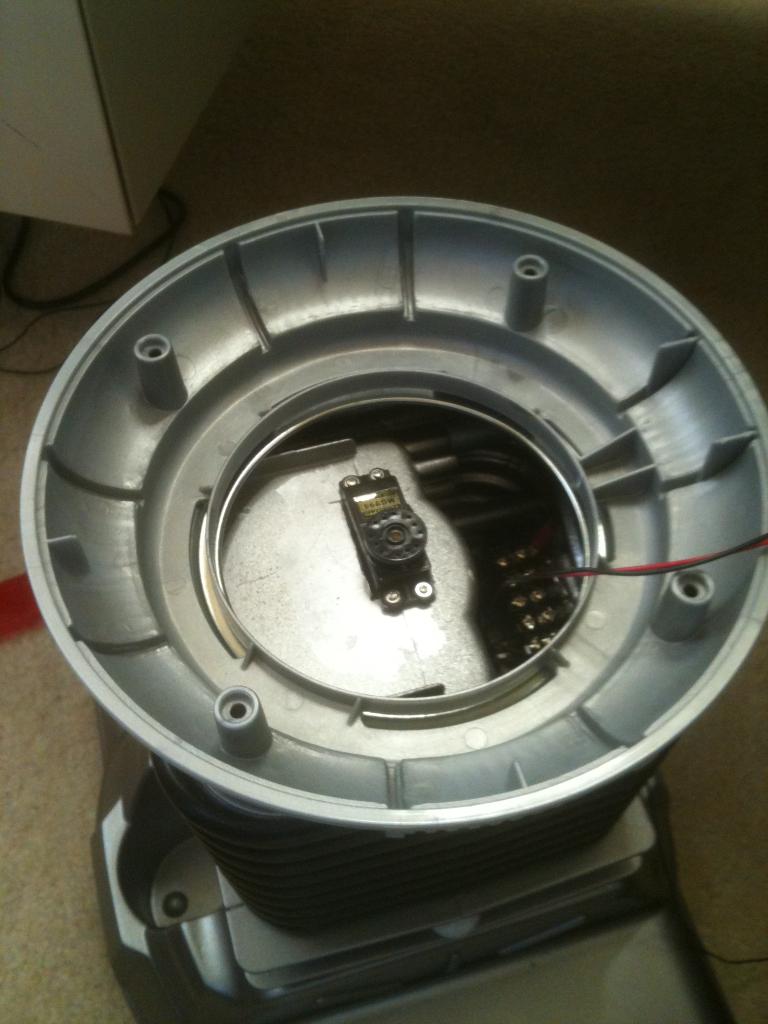
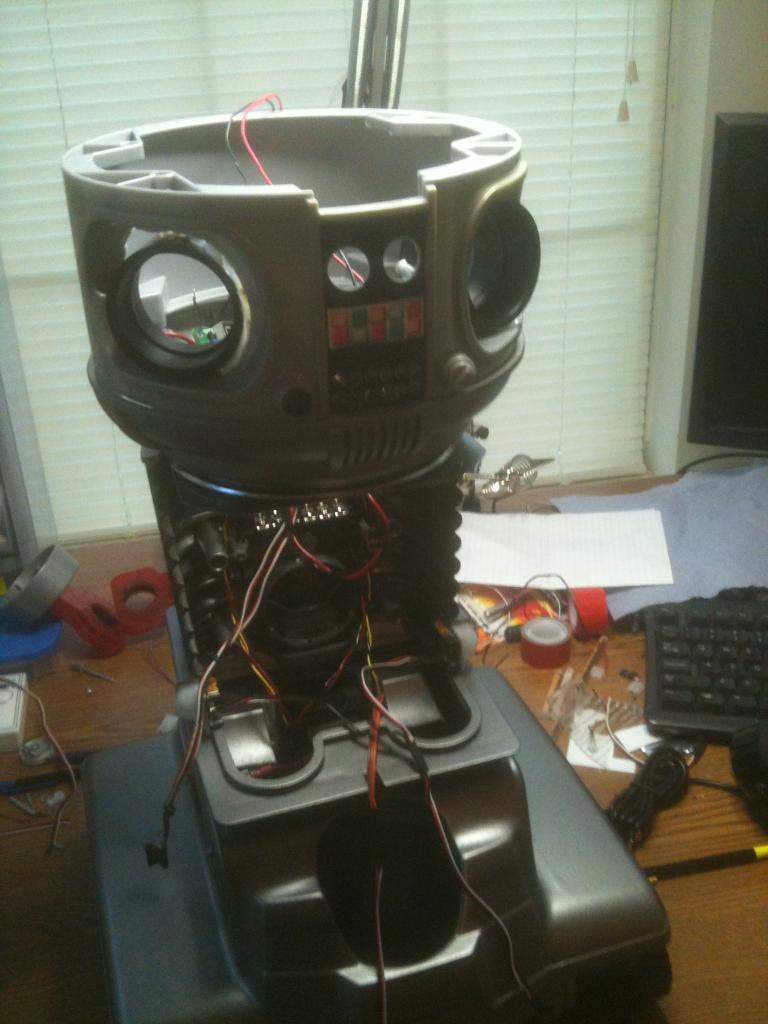
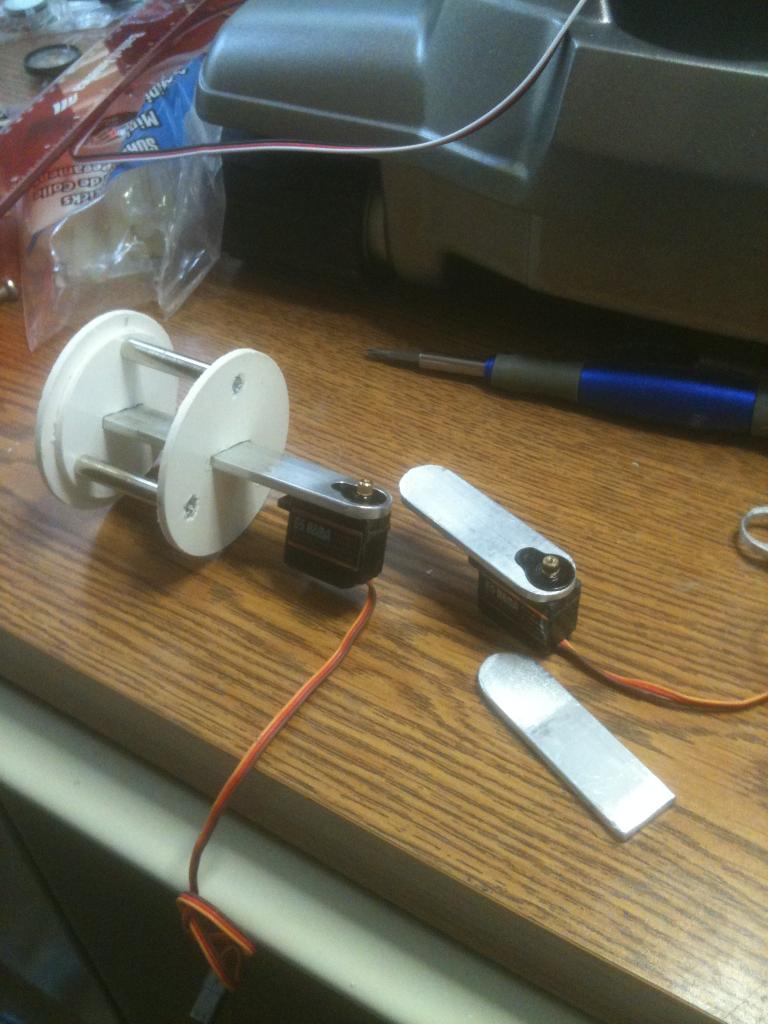
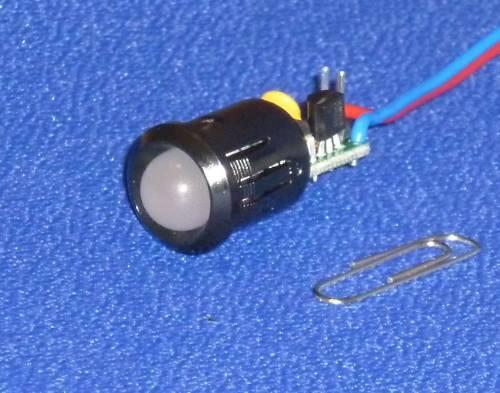
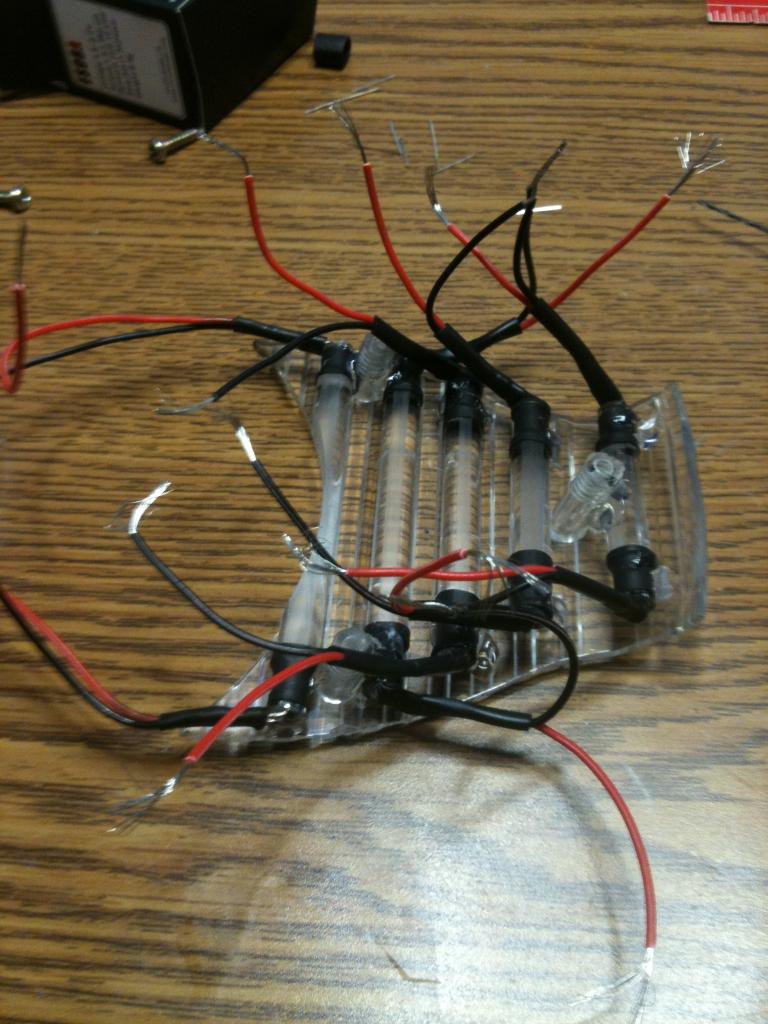
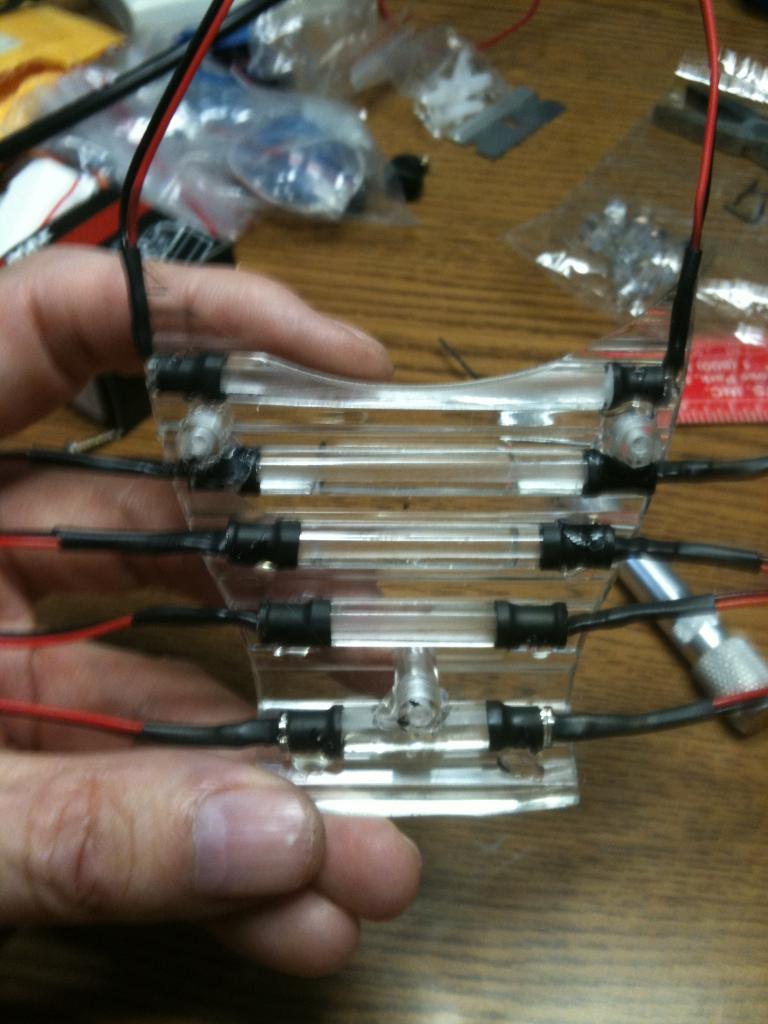
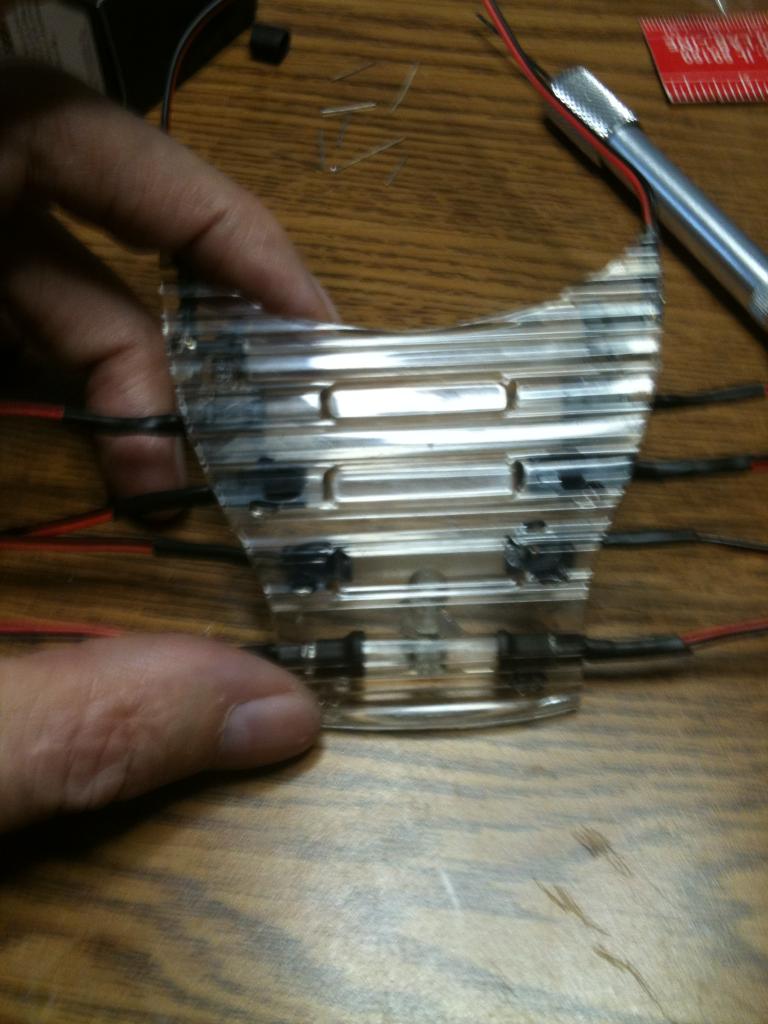
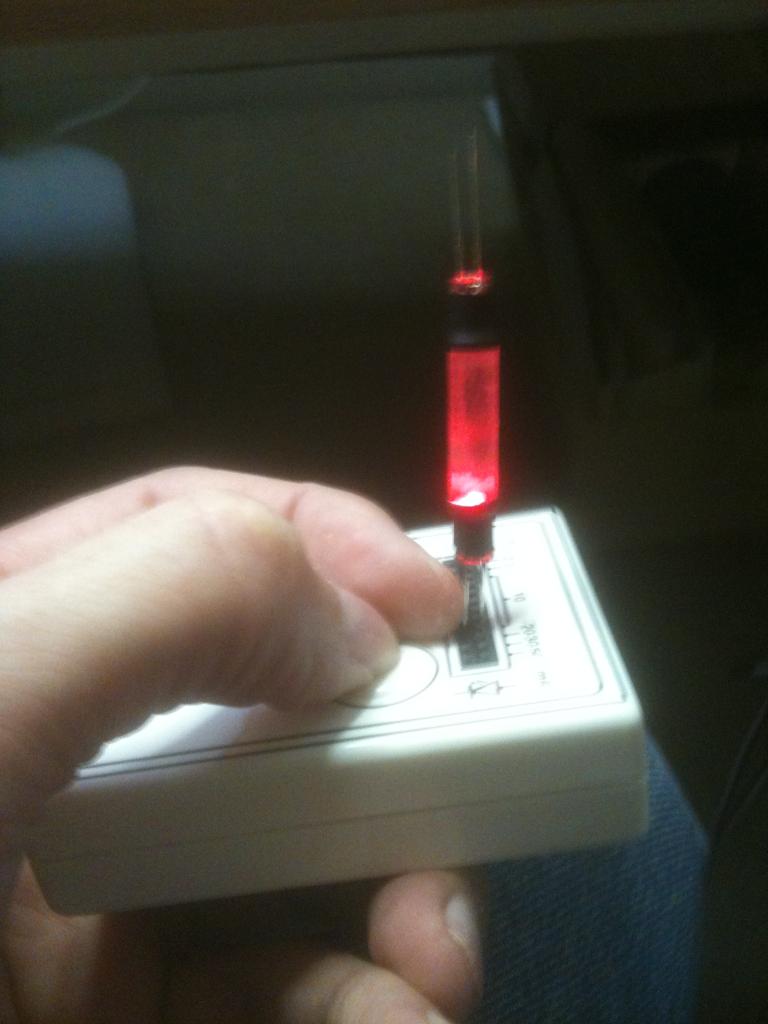
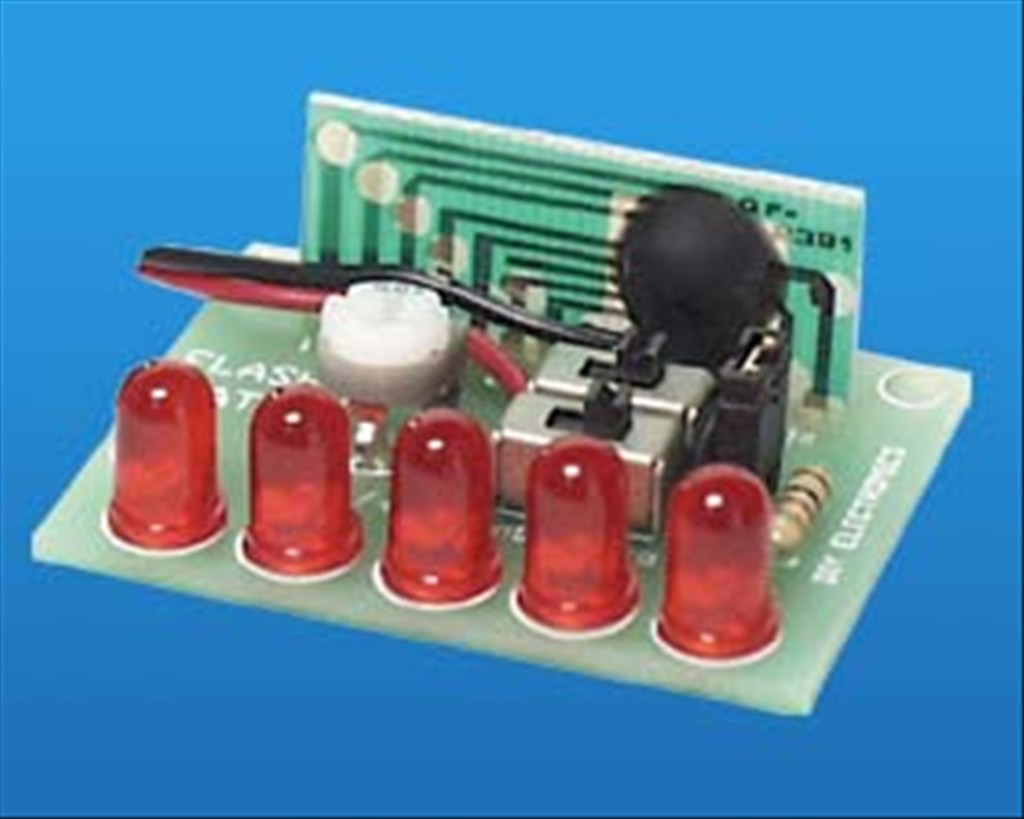
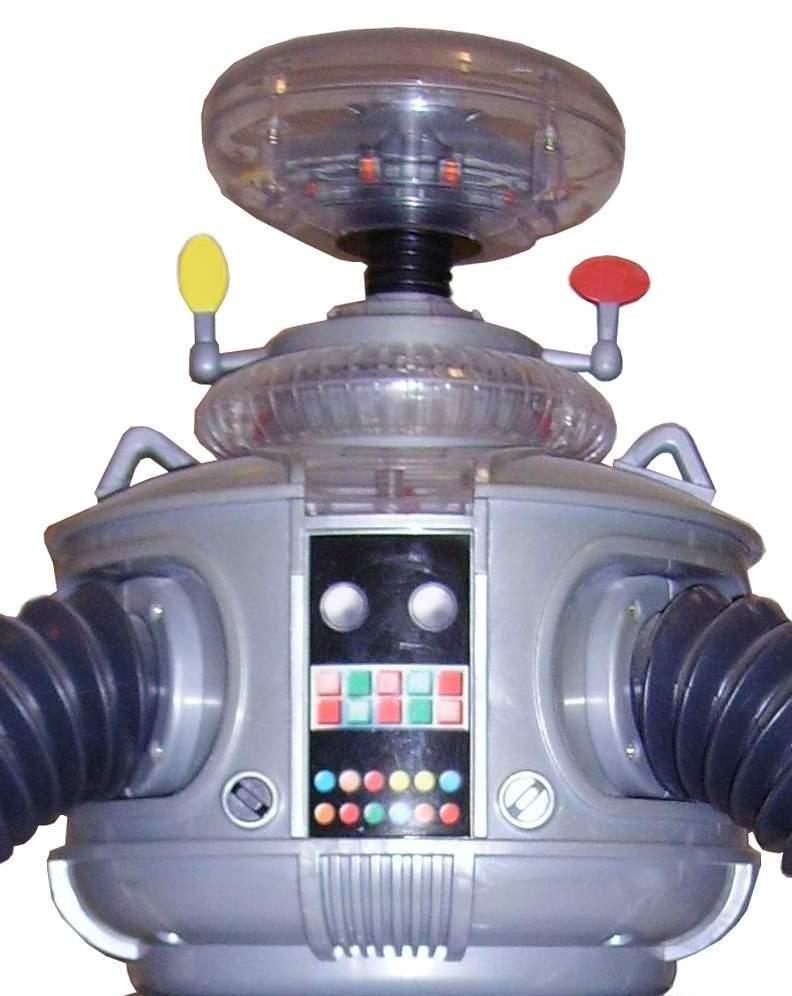
I have mounted clear LEDs in the appropriate colors in the chest at the bottom of the decal and have a flashing circuit that will blink them in the combination as seen on the series. Where the two large round circles are (white domes on the big guy) I will have my ping sensor. I have mounted pager motors in the antenna housings to turn the "sensors" as seen in the TV version. I have mounted red El Wire to his voice plate to emulate the original as well. I have also mounted a series of blinking LEDs to the "brain" section in the bubble.
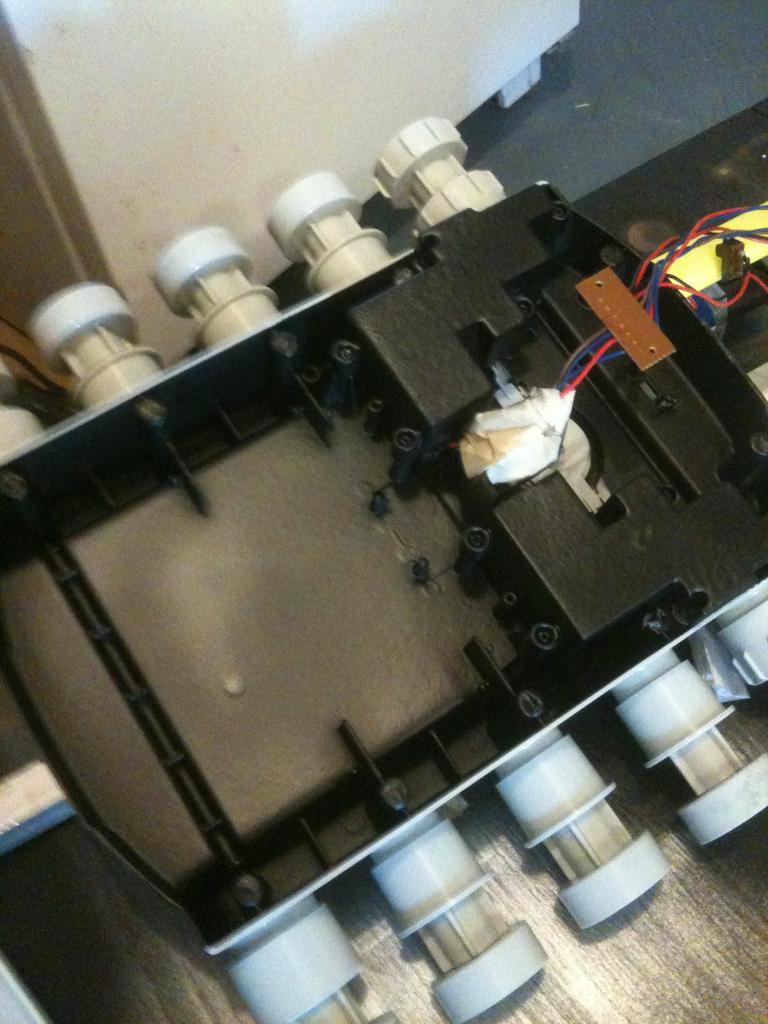
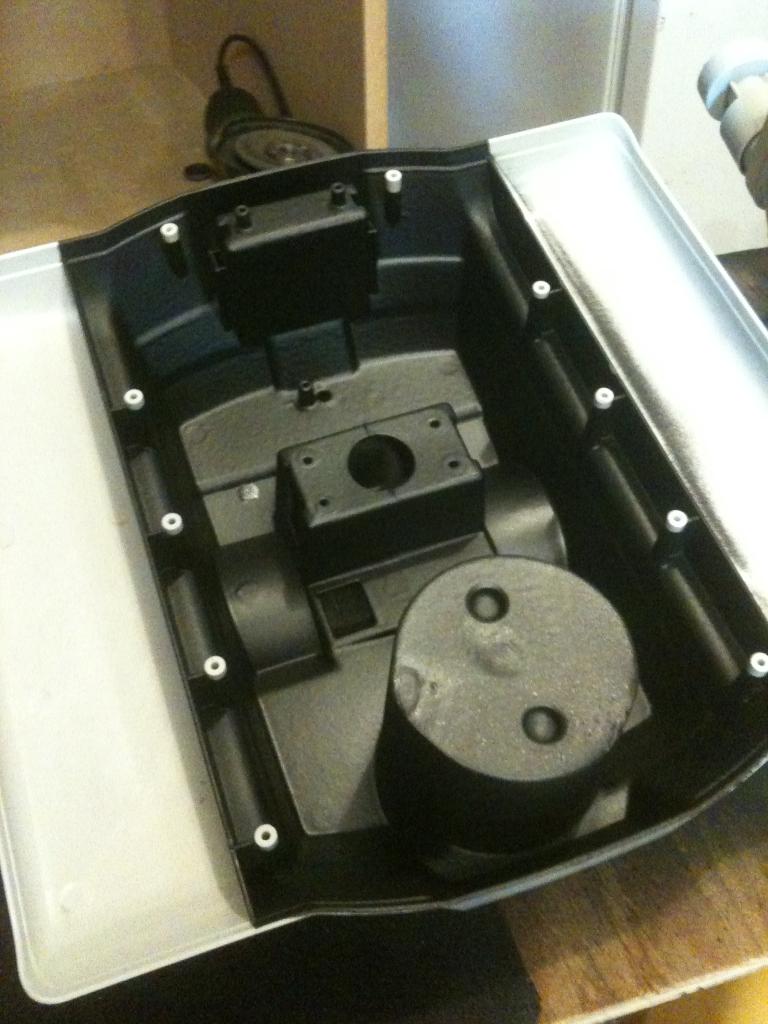
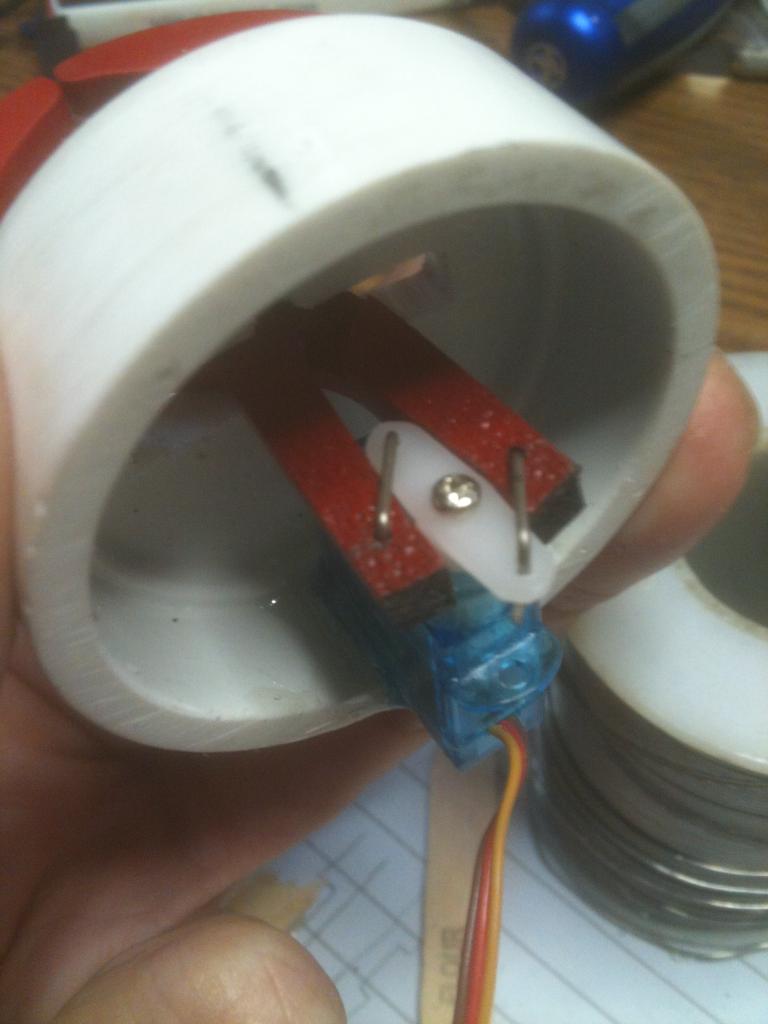
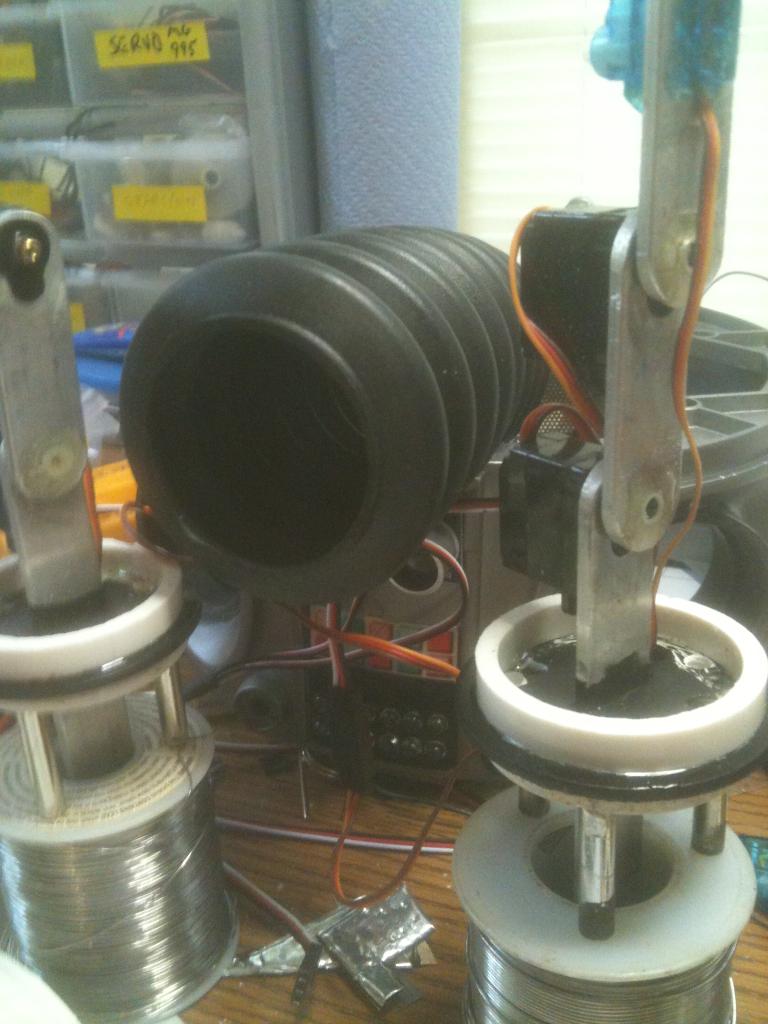
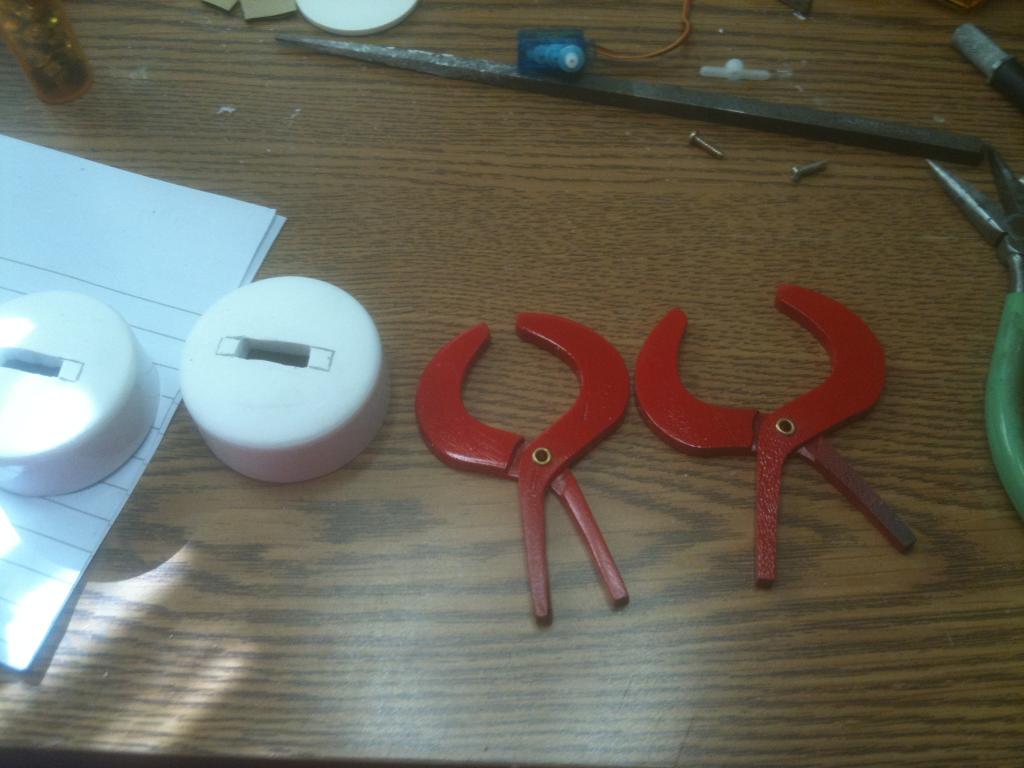
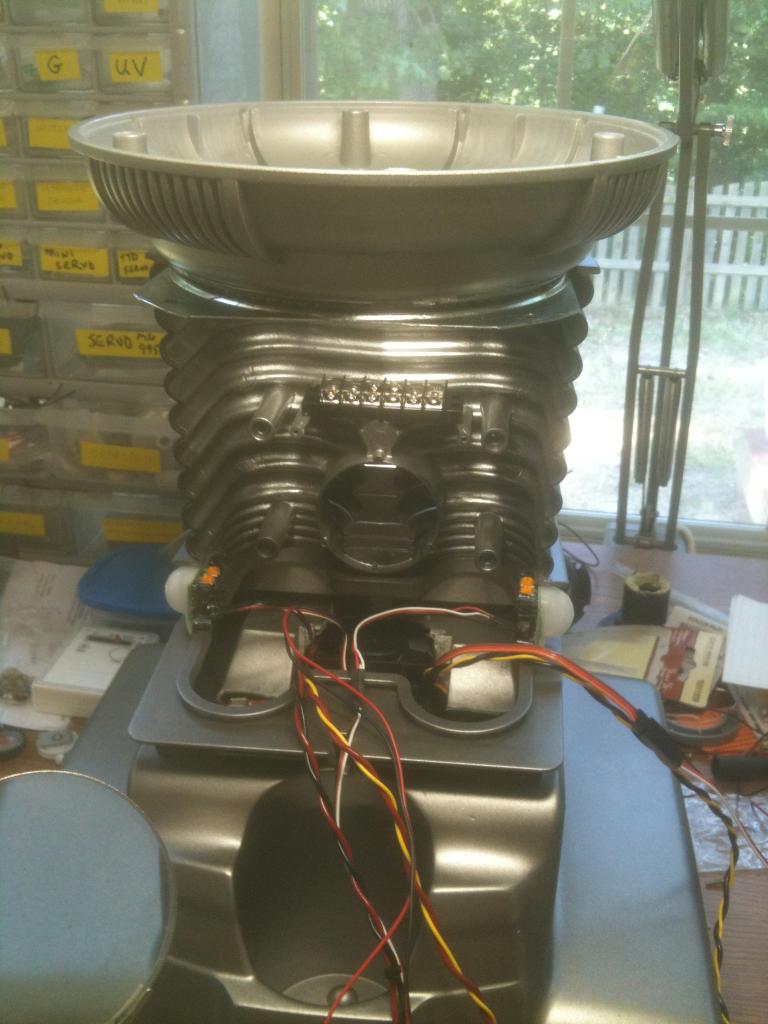
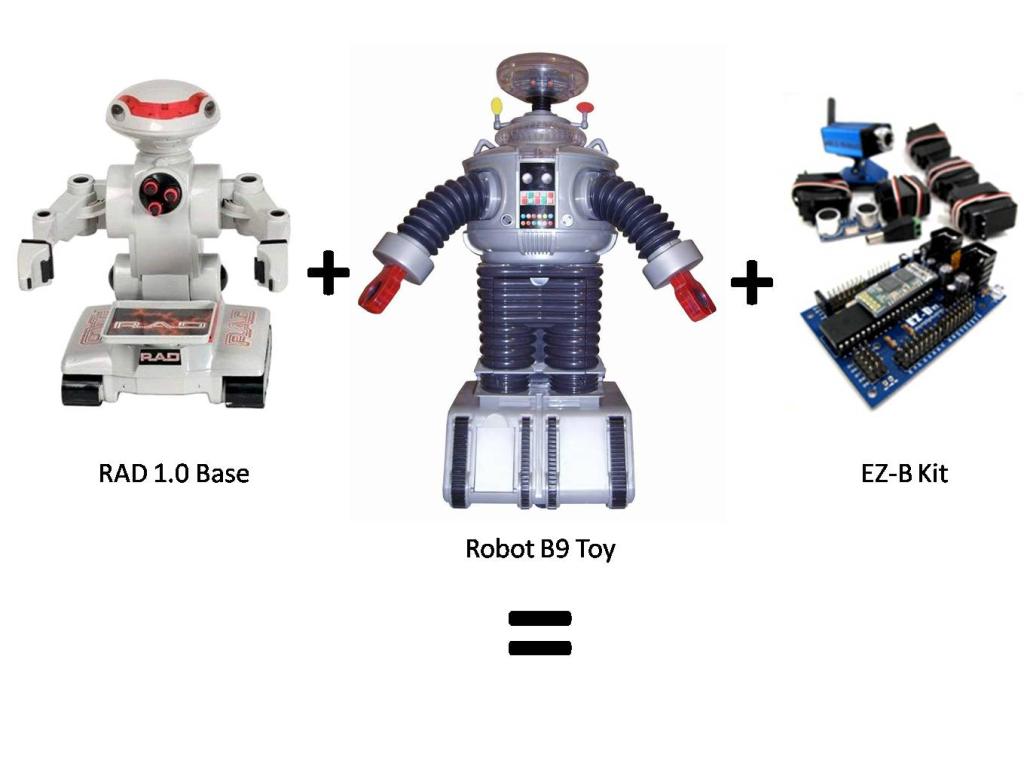
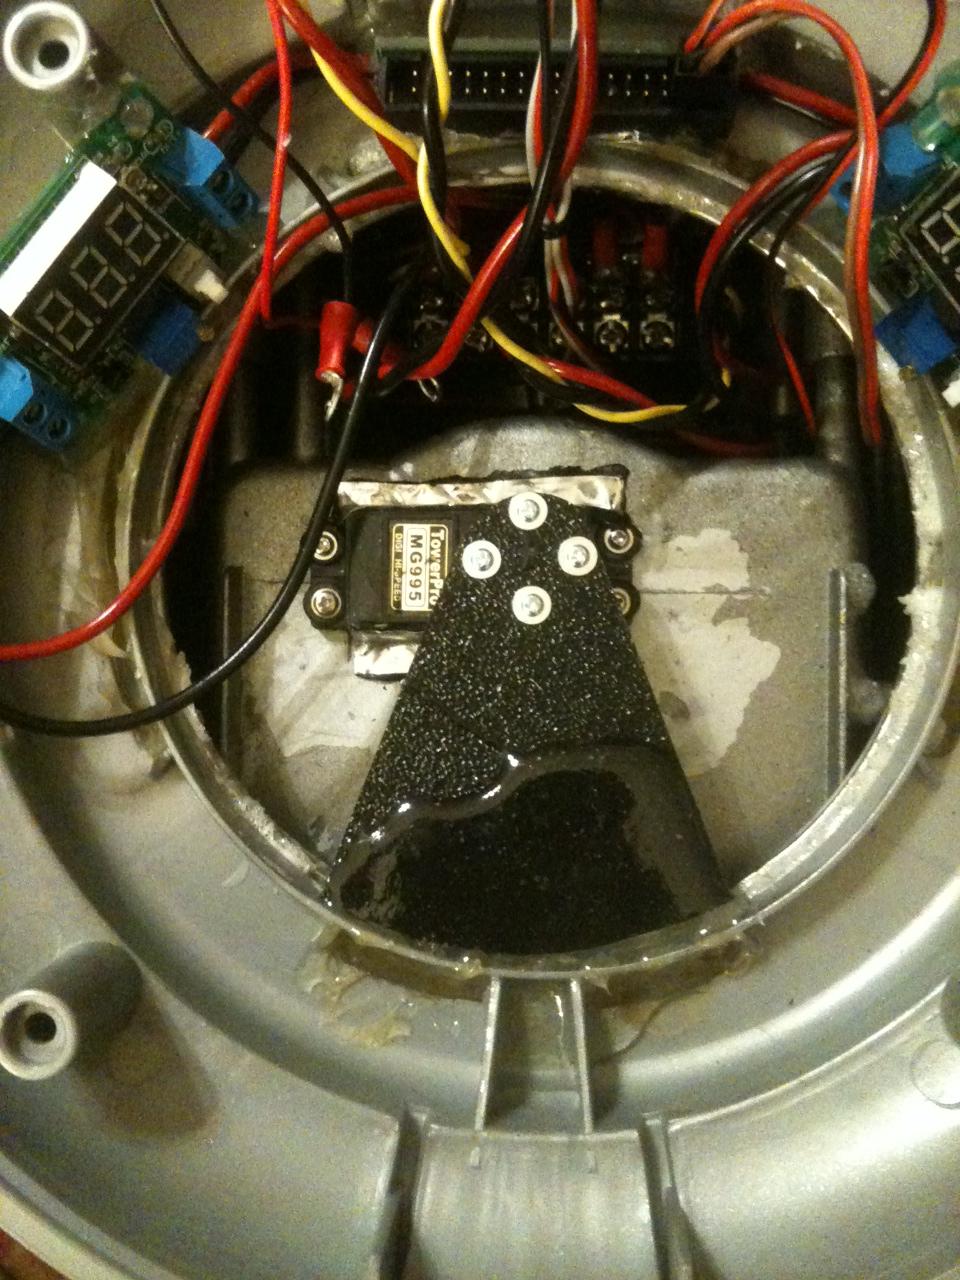
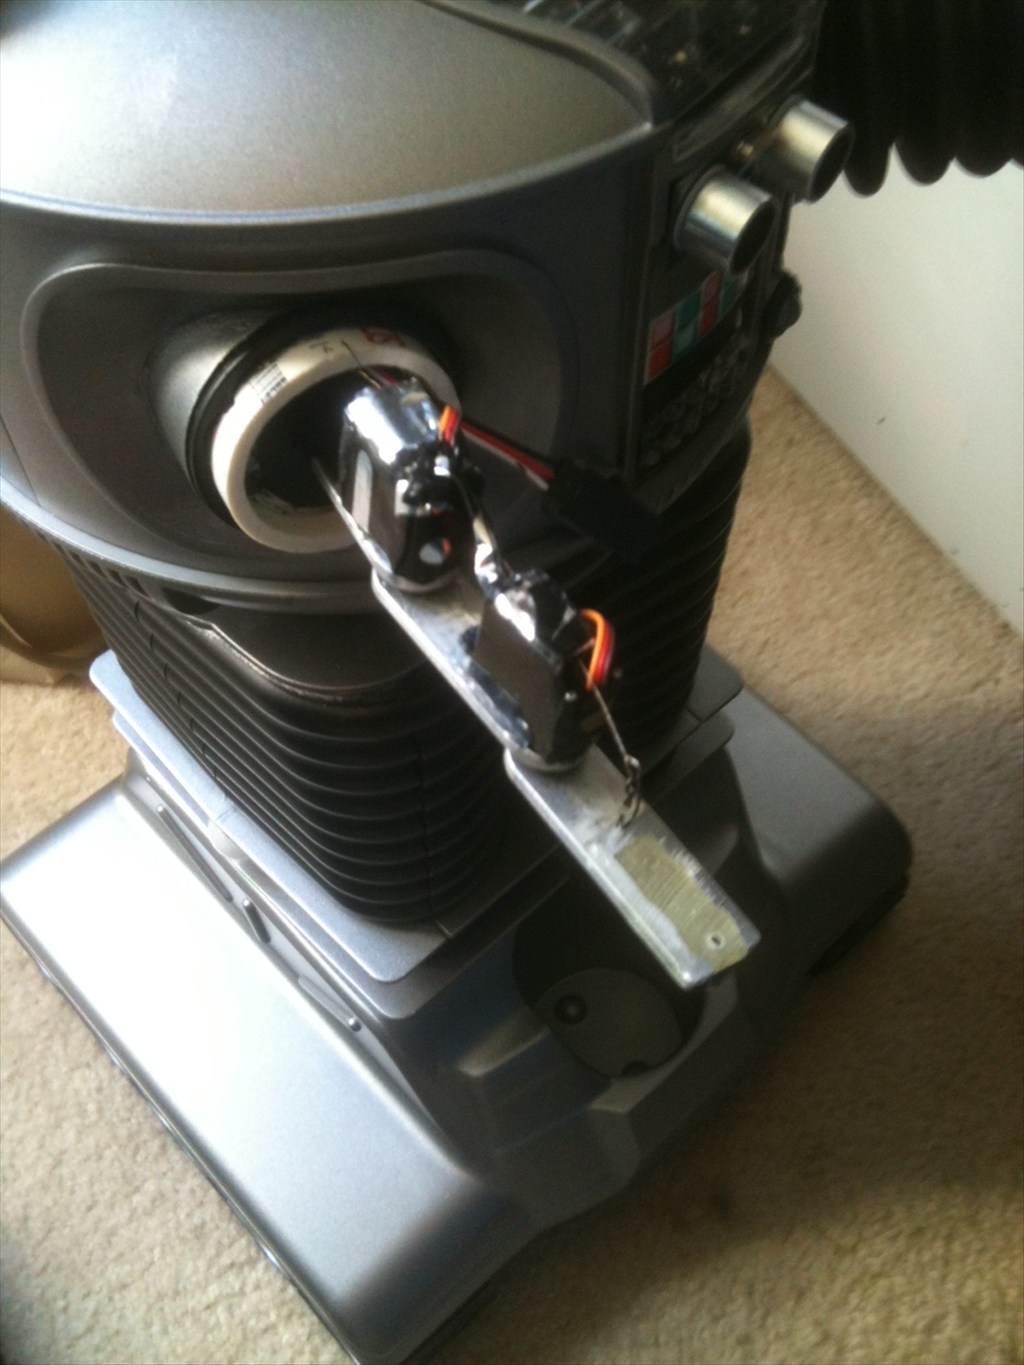
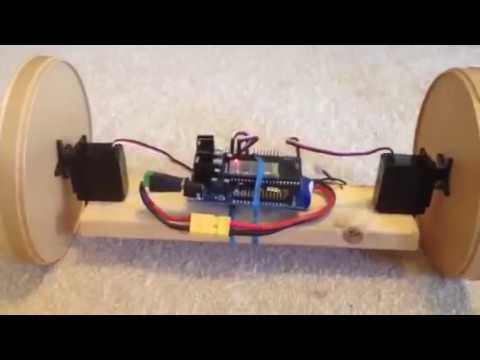
Next is to work on the rotation of the bubble and torso, articulate the arms and claws, and make a real functioning tread section. For the tread section I am adapting the base from my RAD robot. I will keep you posted with pics as I proceed.
Thanks,
Bret
Discover more robots
Steve's Rolling Bot Ez Robot Experiment
Tachyon's New Bot, Different From The Old Bot.

I'm excited to see you try out the new controller , I wanna see this guy scoot around!
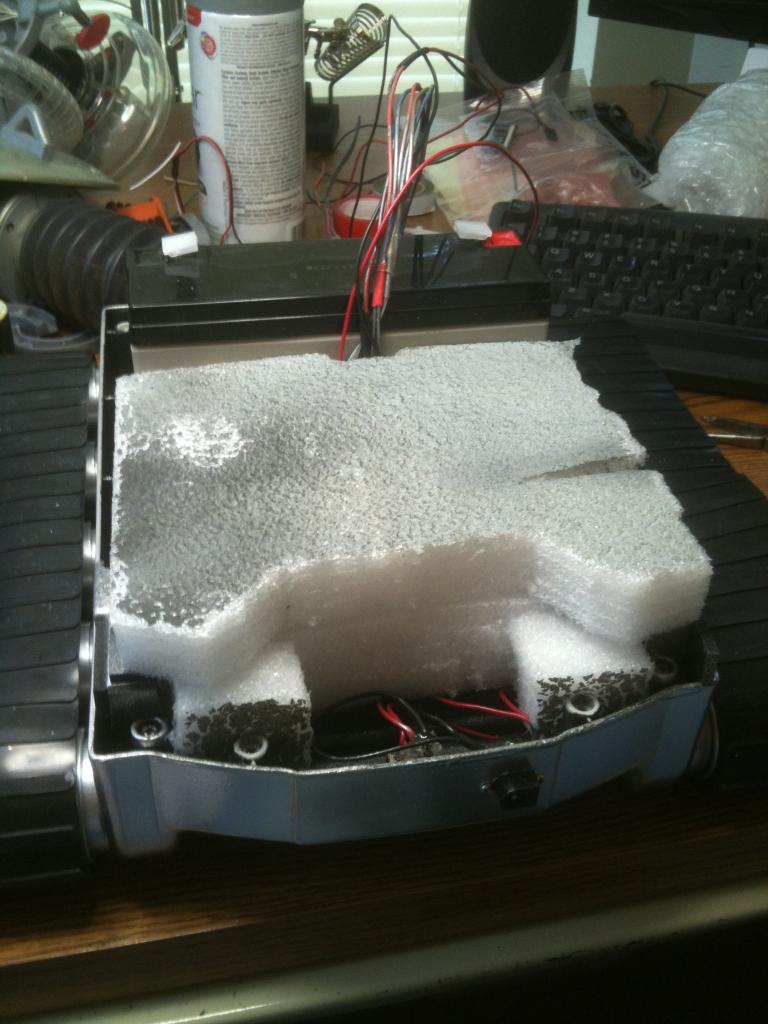
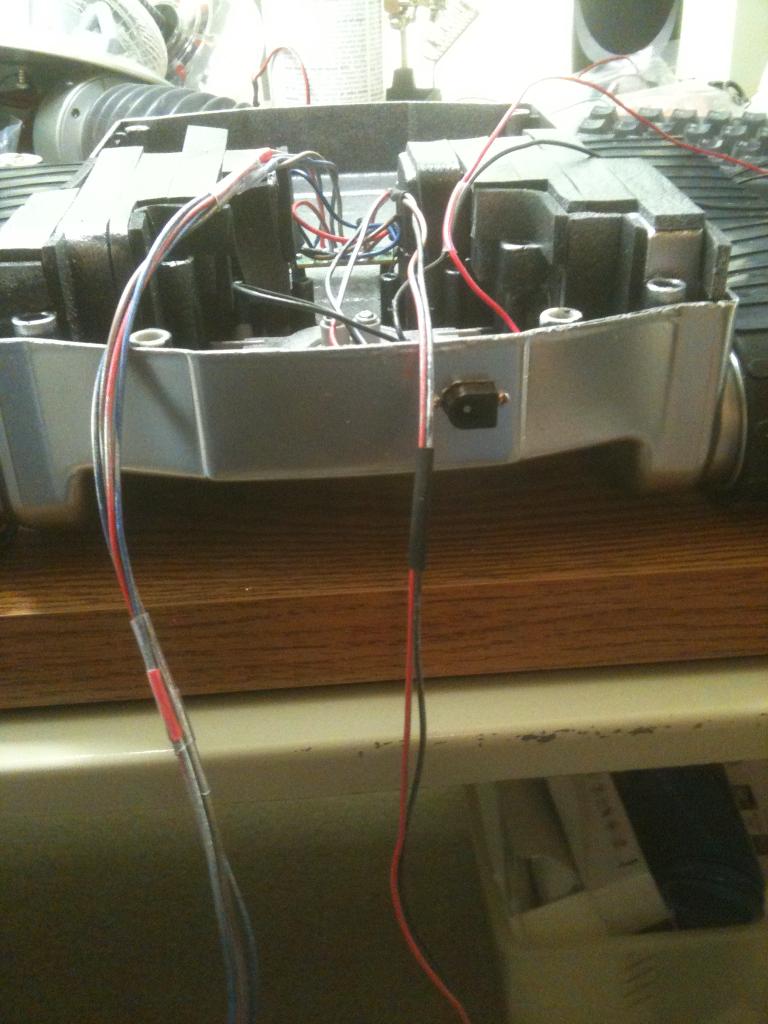
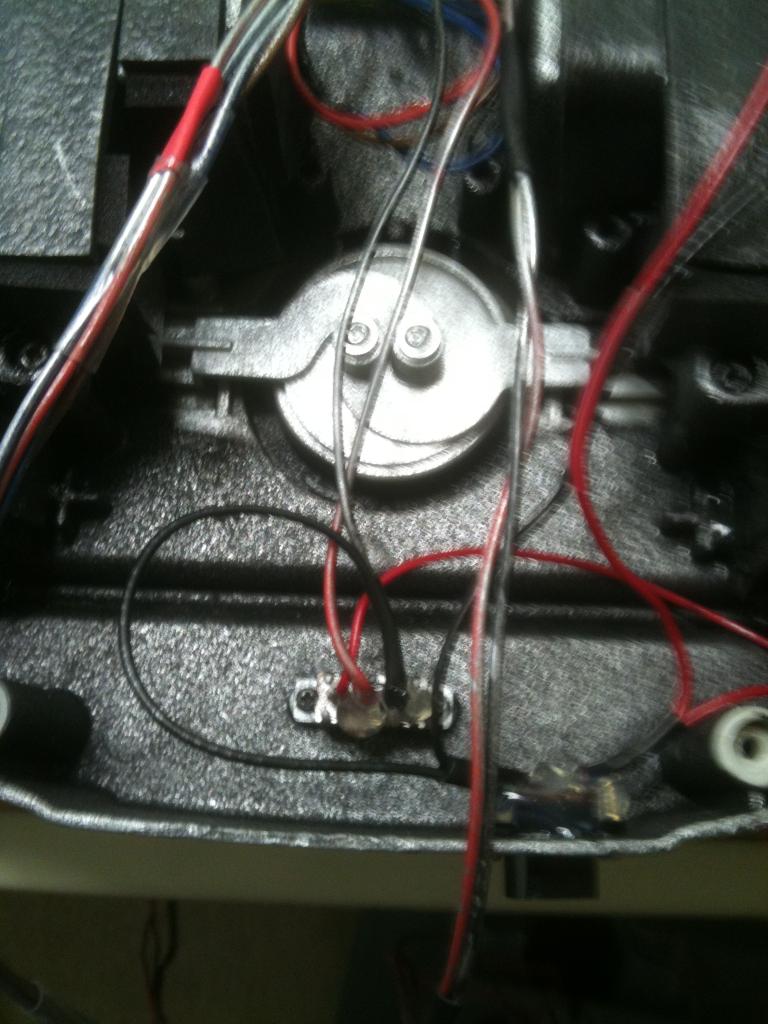
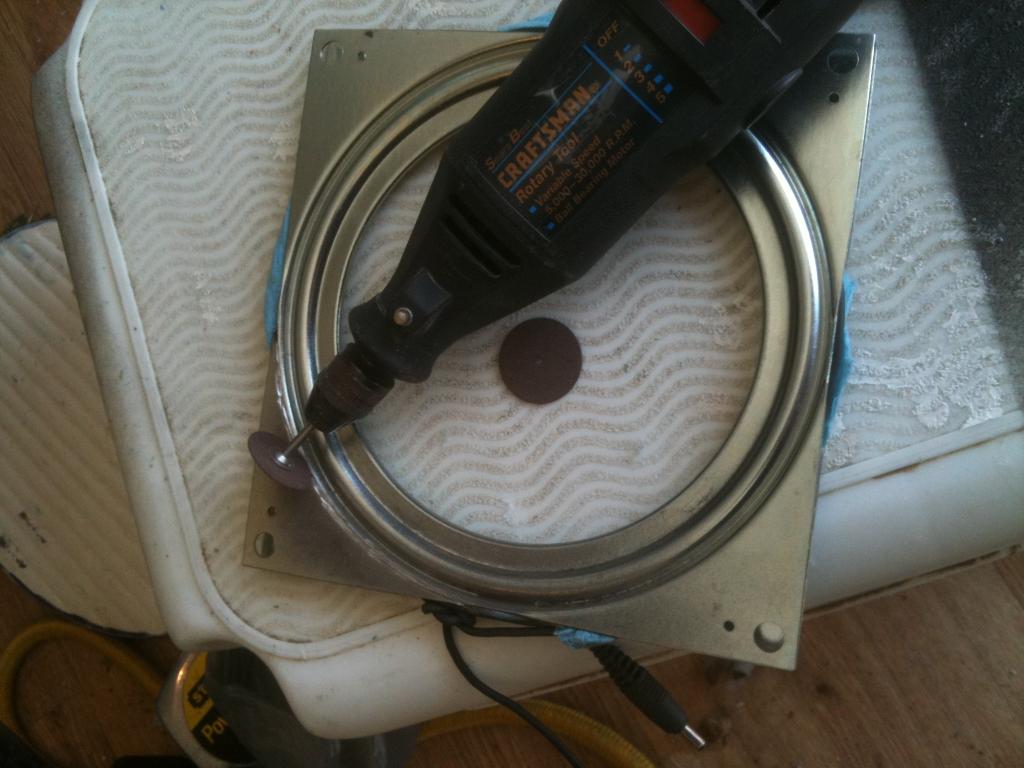
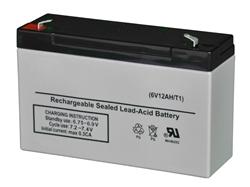
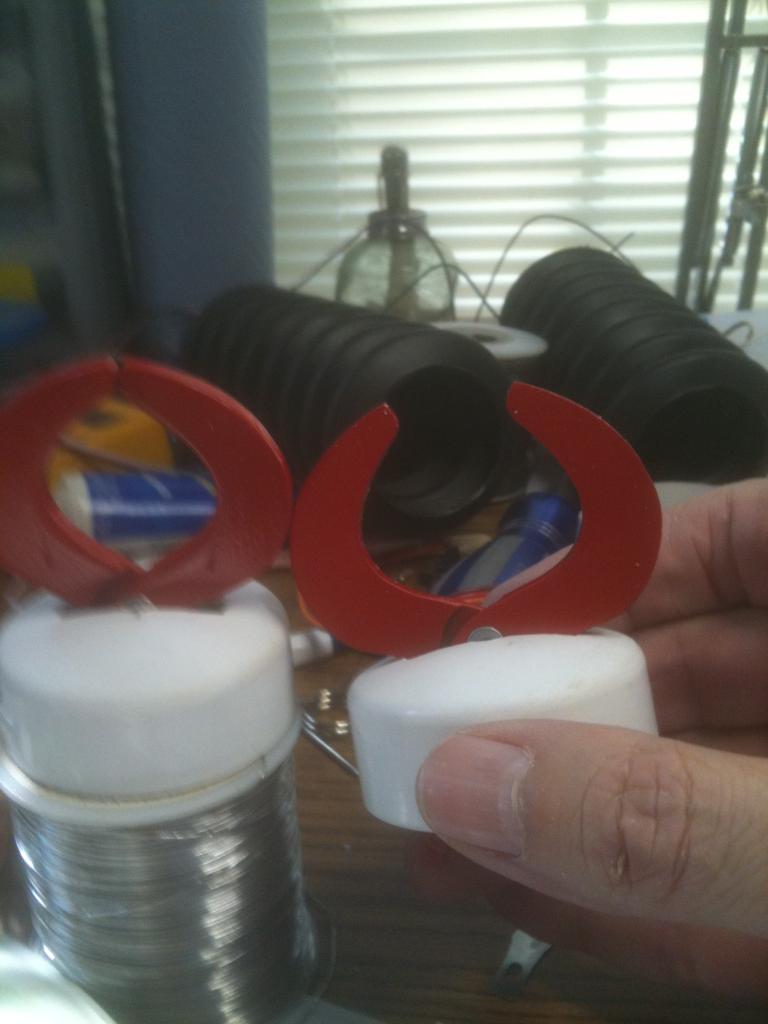
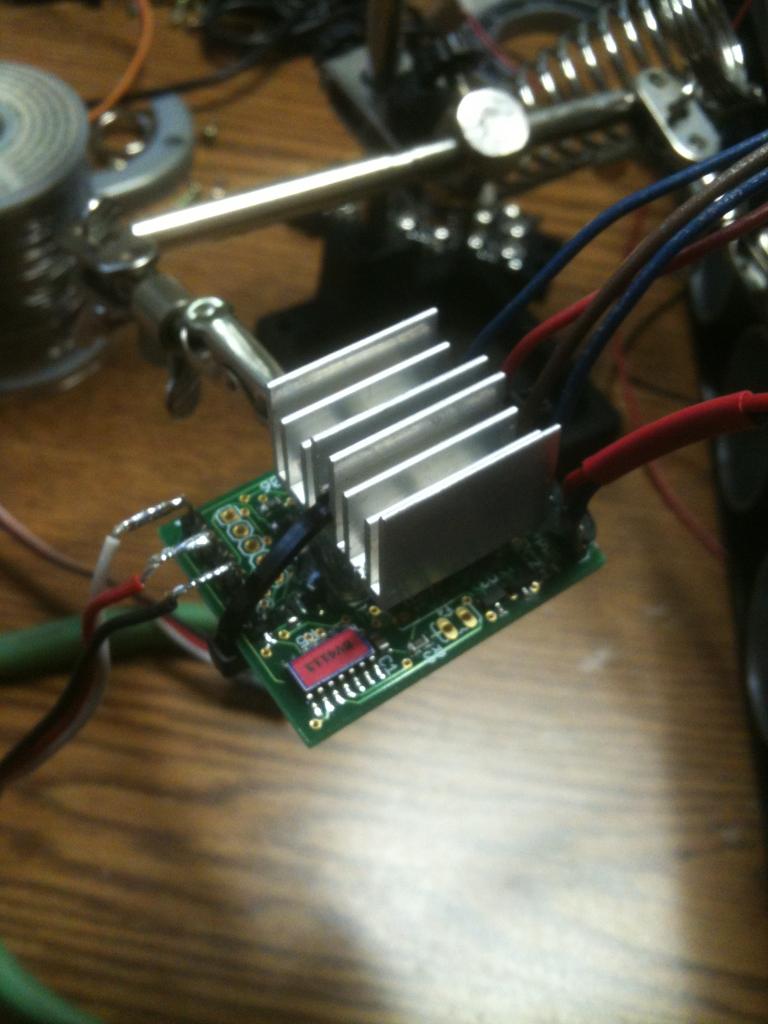
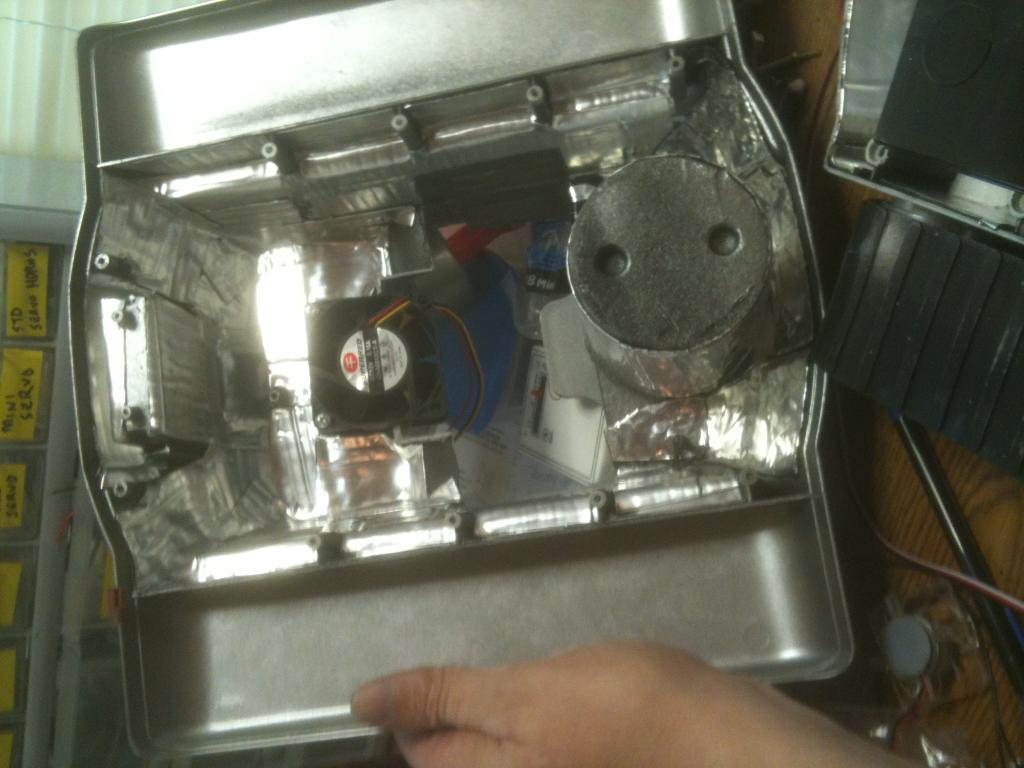
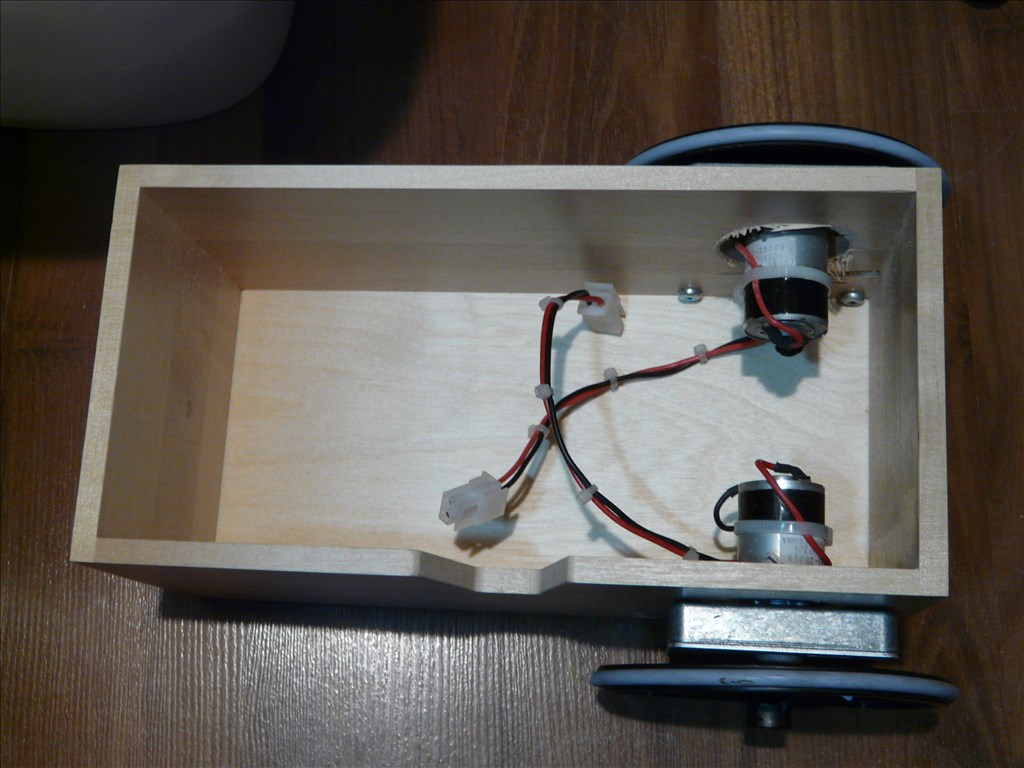
Okay, finally got back to working on B9. I decided to rewire my power supply with a larger gauge wire since I am using a higher amp battery. After wasting a couple of weeks trying to find the heat sinks like jstarne1 is using on his motor controller, I came up with some from stuff I had taken apart. Now I am trying to wire up the new motor controller. Hey Josh, do you have any wiring info on this bad boy? Have you tried yours out? Just wondering so I didn't have to spend a lot of trial and error time getting it to work.
Thanks,
Bret
My other option is to pull the ESC out of my omnibot BOB (since I have already started using some of his parts) and just use that.
What do you guys and gals think?
Hey.man I have a PDF the manufacturer sent me i will find. Also given the amps your tracks use.even if the other controller works it will end up burning out. If I remember right your tracks draw 4 amps or so when running and more when stalled so this 10amp controller is the way to go.
Thanks - I will use the 10 amp controller. And thanks for finding the PDF, I didn't get one with mine.
Download PDF here https://www.adrive.com/public/N3SAek/10A
THanks, that's what I thought but nice to have comfirmation. Gonna try it out tonight and let you know.
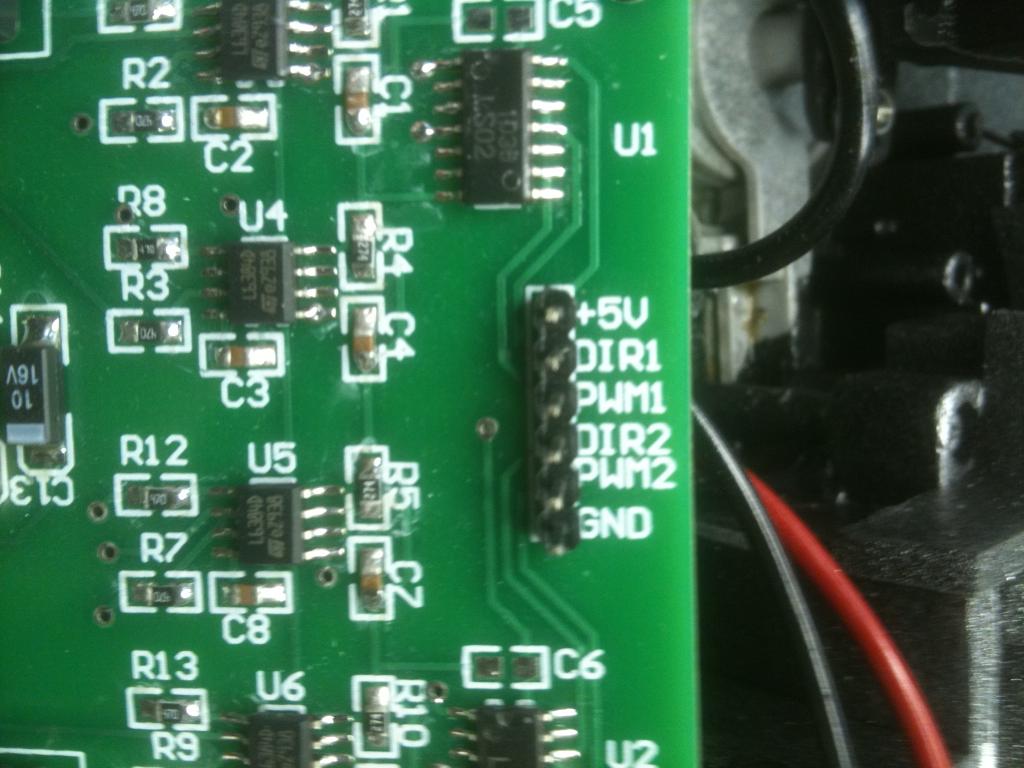
So, to get this motor controller working only requires 3 signal wires. But you have to use 2 digital controls and one PWM control. There is not a single control panel to control it so it is complicated and requires script. One DO controls fwd and rev on one motor,and one DO controls the other. THen you have to use the PWM to initiate movement.
I am not sure this will work for my needs on B9. I would like to use joystick control for movement.
The l298 has similar controls I believe , hmmm isn't there script that would allow it to interface with the joystick?