
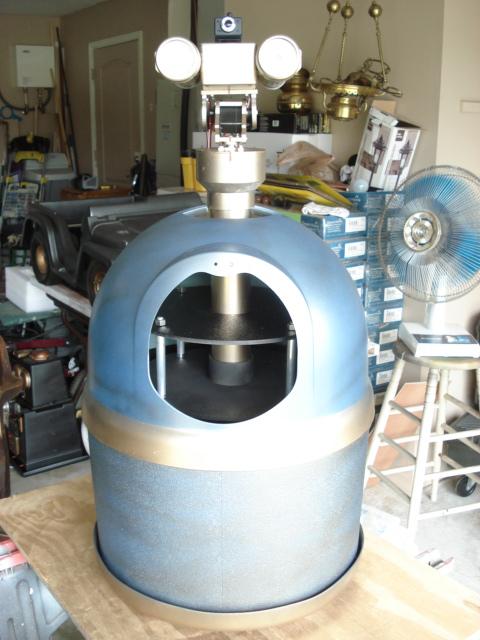
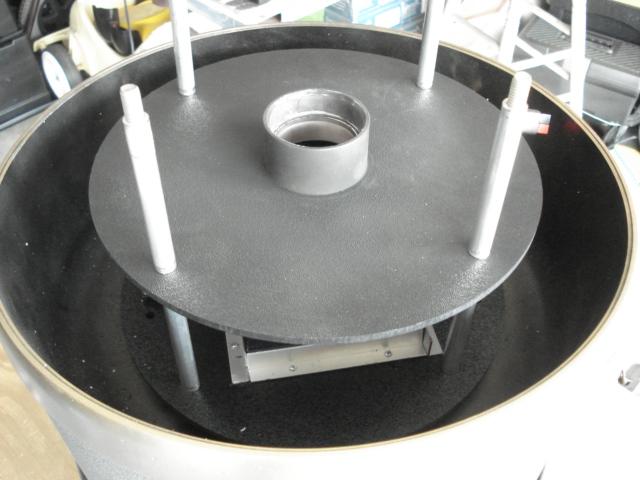
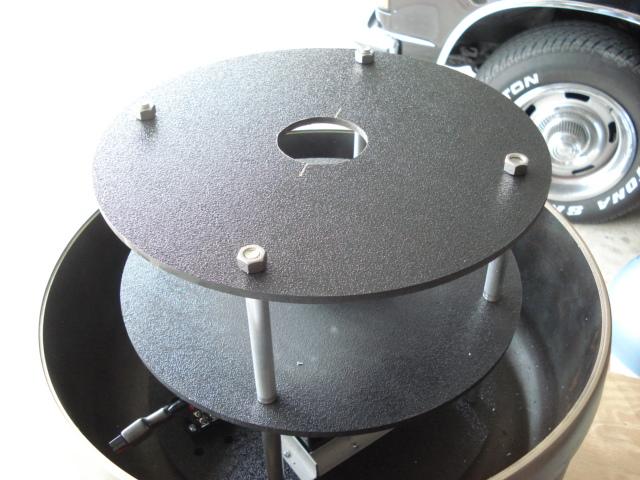
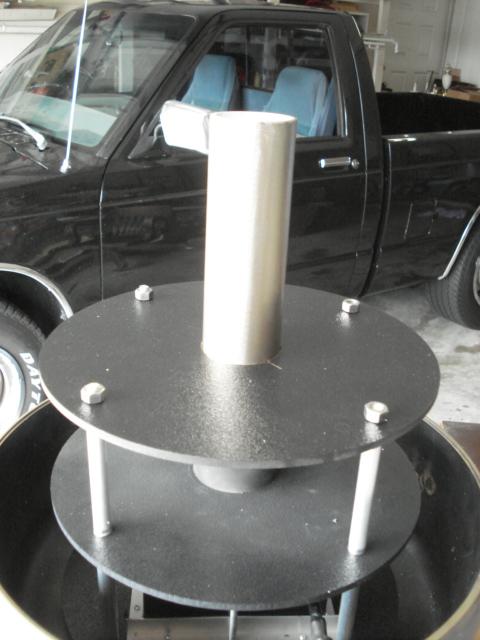
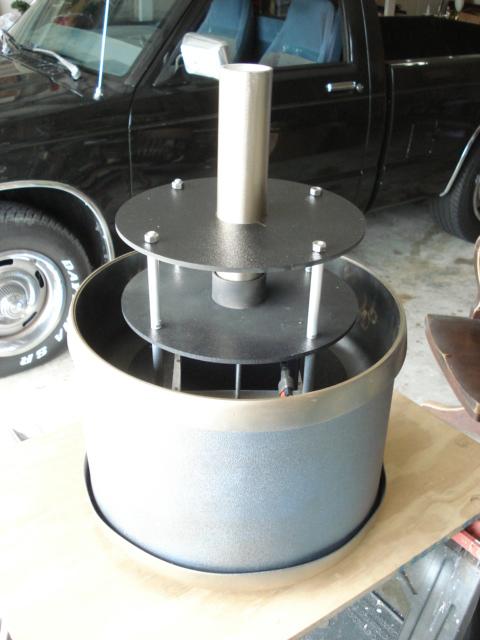
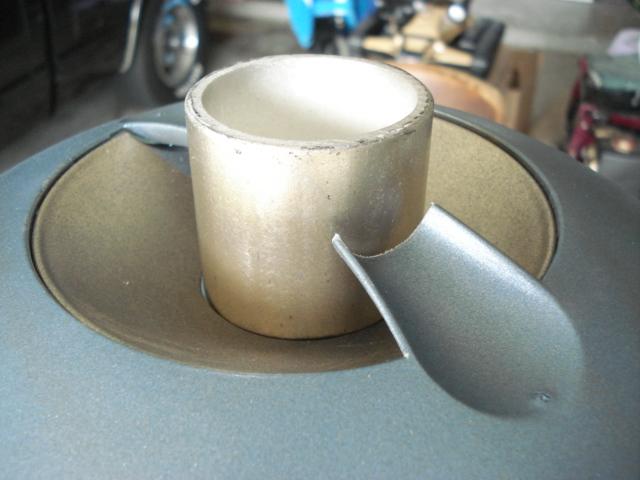
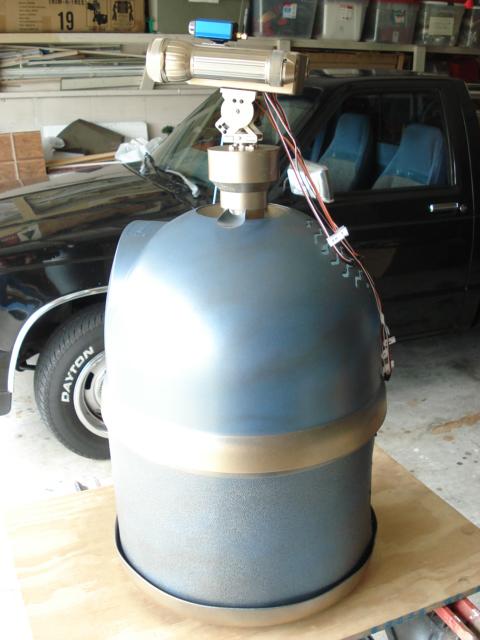
Well, progress is being made, albiet slowly, but progress none the less. All 3 decks are now in. The neck post is mounted. I've built it so that I can remove the head and the upper body shell for maintaince and modifications. Wiring runs through the neck mounting tube and servo exstension cables allow me to unplug the different wiring cables. I've programmed some head movements and the eyes are now "blinking".

By Robotz012248
— Last update
Discover more robots

Joseph4760's Wall-E To Wall-E-Nator
Wall-E-Nator custom build: Wall-E U-Command fused with Terminator parts, mid-build, adding LEDs, camera and painting...
Riftwalker's Wall-E From Toy To Real Boy 😂
Convert a movie-era interactive toy into a motorized robot, with DIY motor-drive and coding guidance inspired by DJ...

Andy's Happy Holidays
Holiday wish from Antonn

Wow that's cool , what are you naming him , he's definitely big.enough to be a member of the family.. good work
I've been waiting to see Gizmo with his head on ! Cool thanks for the pics Lloyd !
 JW
JW
Awesome! He is awesome.
Great Work!
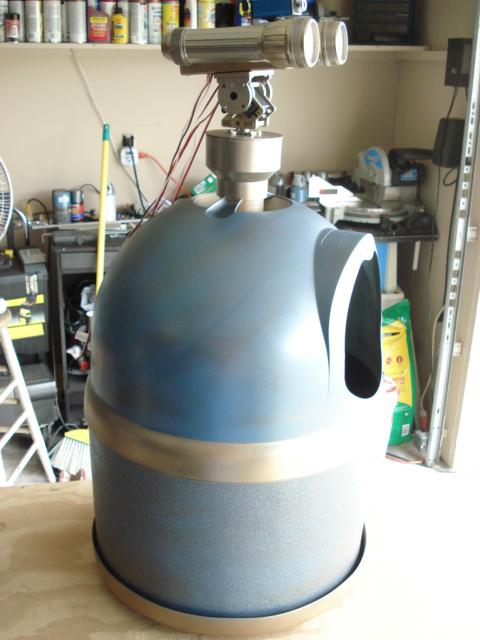
I'm glad you all like Gizmo; and thanks for the comps. Wiring begins in the next couple of days. I already have some of his head movements programmed, and of course his eyes. I'm still going to try making a video of him sometime in the near future. I'm very pround of his blinking eyes.
Very nice! I hope to see that video soon, good job.
Neato! What do you have planned for its front " hole"?
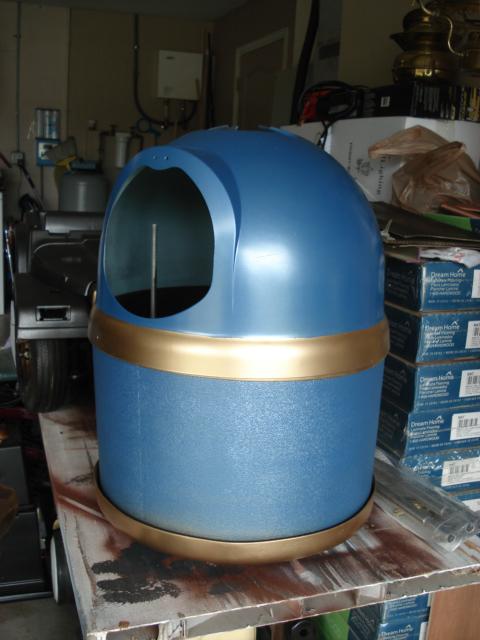
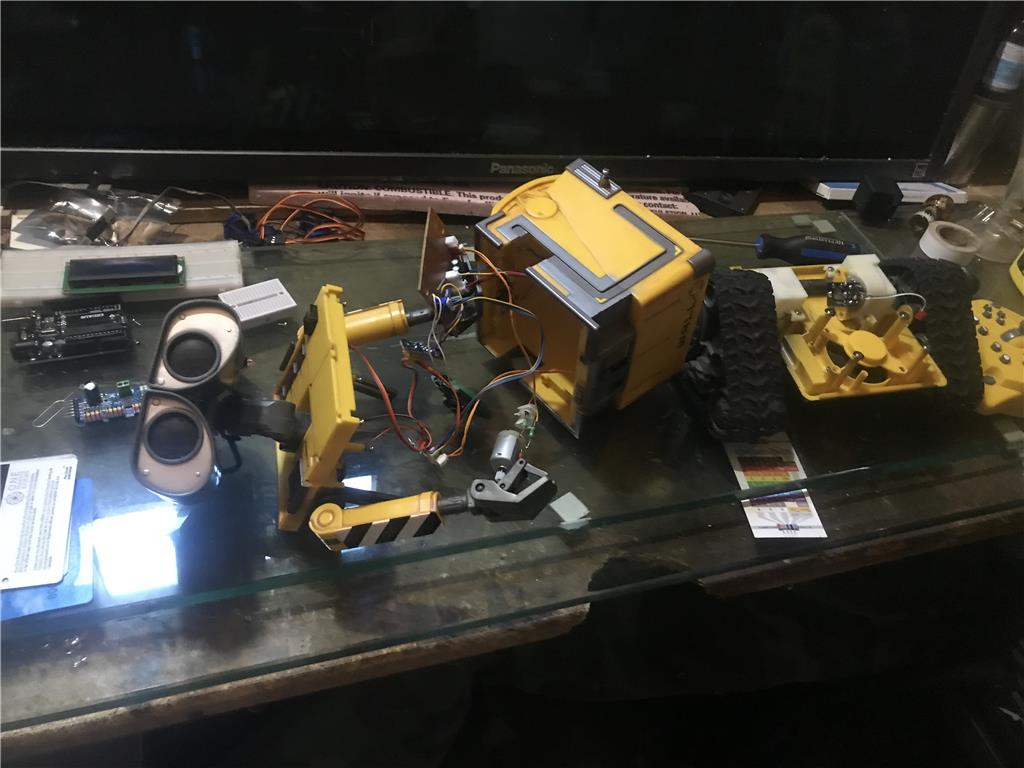
@ RR333; That opening will be covered by a removable panel. Tenative plans are for a variety of input/output jacks for add-on equipment that may be interchangable. Also some LED indicators, etc.