-634823693586132812.jpg)

-634833267676093750.jpg)
-634833267899218750.jpg)
-634833269127656250.jpg)
-634833269319218750.jpg)
-634833269574062500.jpg)
-634833270124843750.jpg)
-635019910467392578.jpg)


-634767667799482421.jpg)
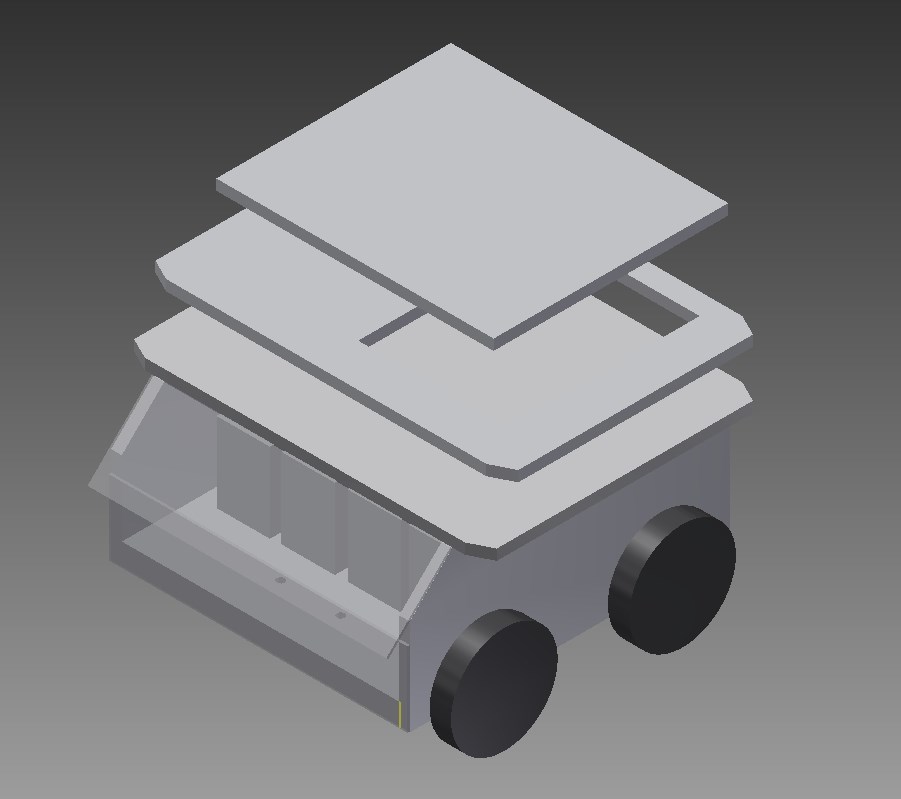
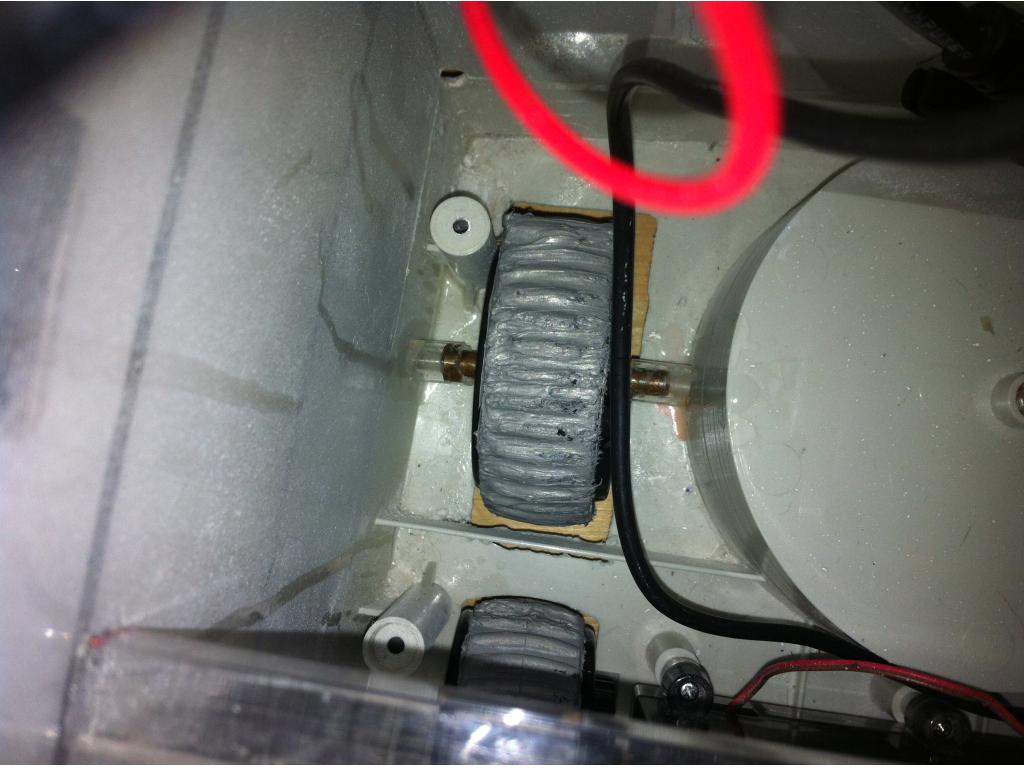
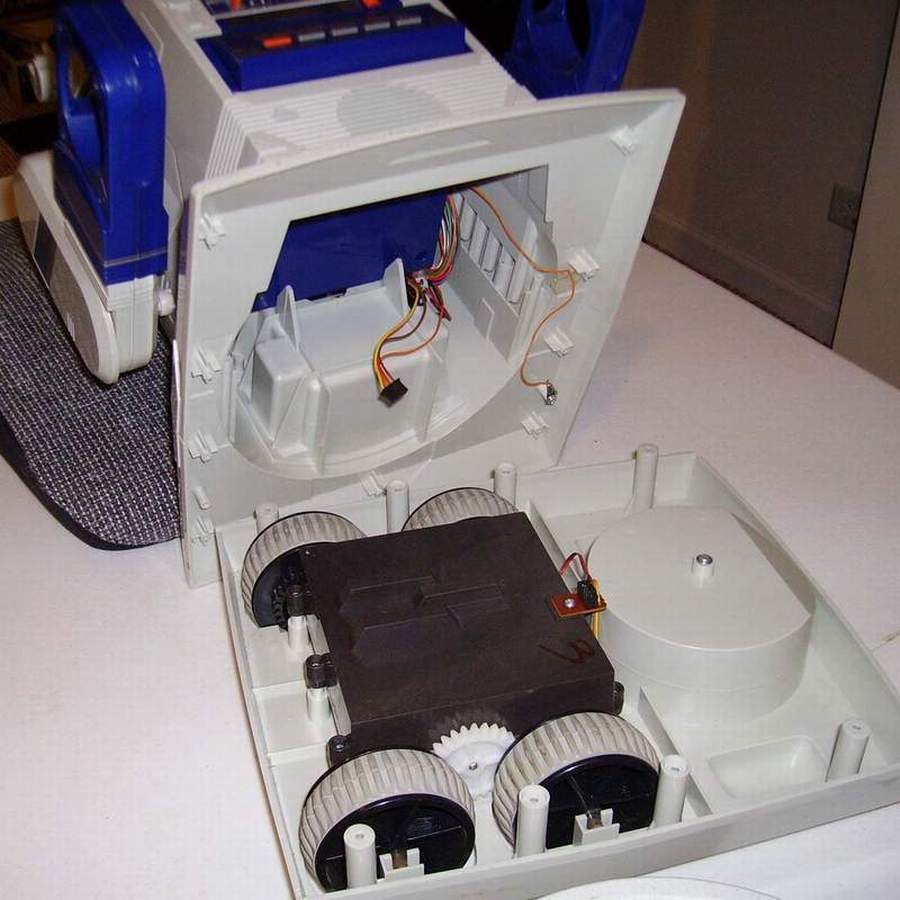
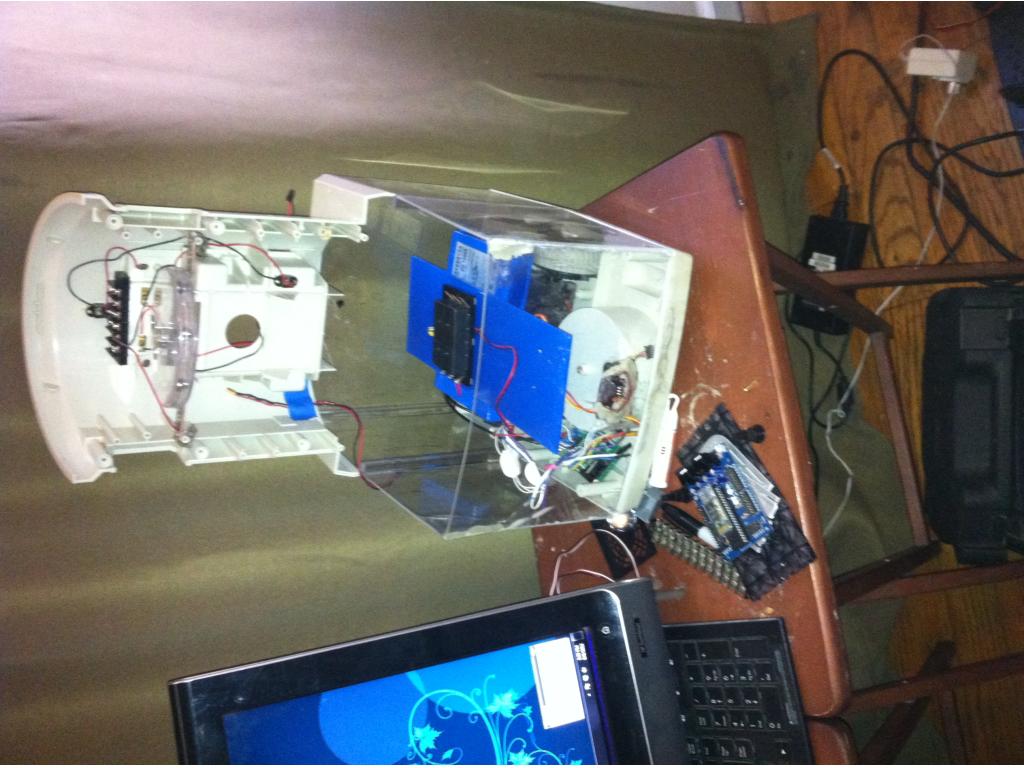
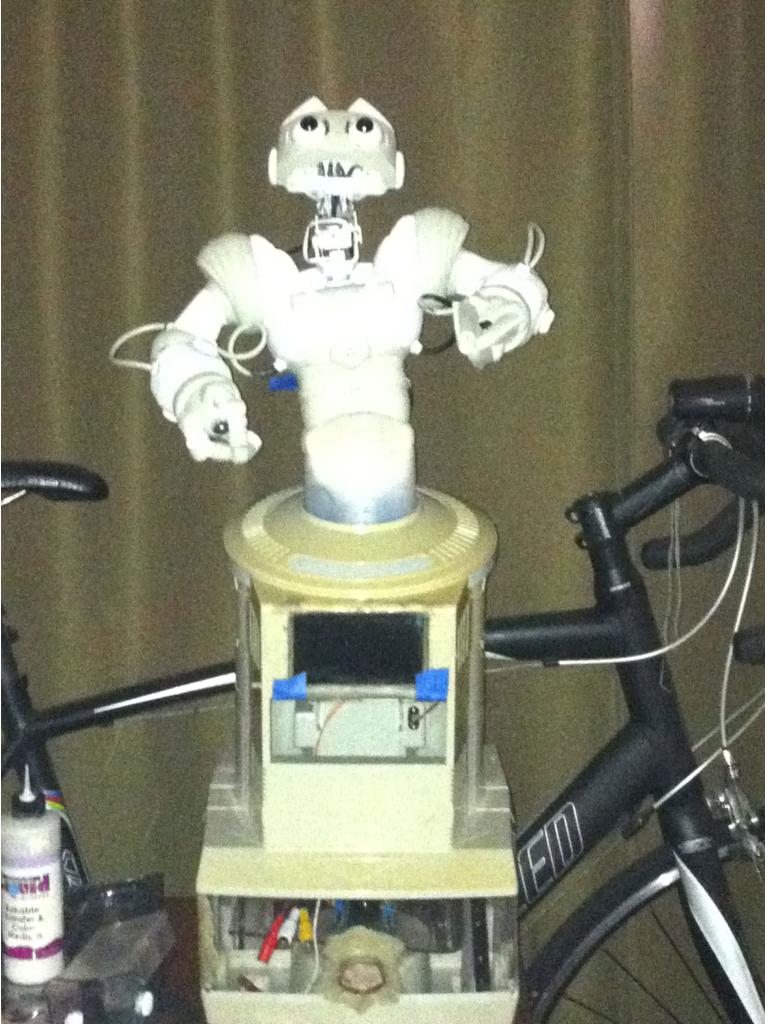
I am using a hearoid omni bot base. - The base will house: need some new treads if anyone has any ideas of where to get.
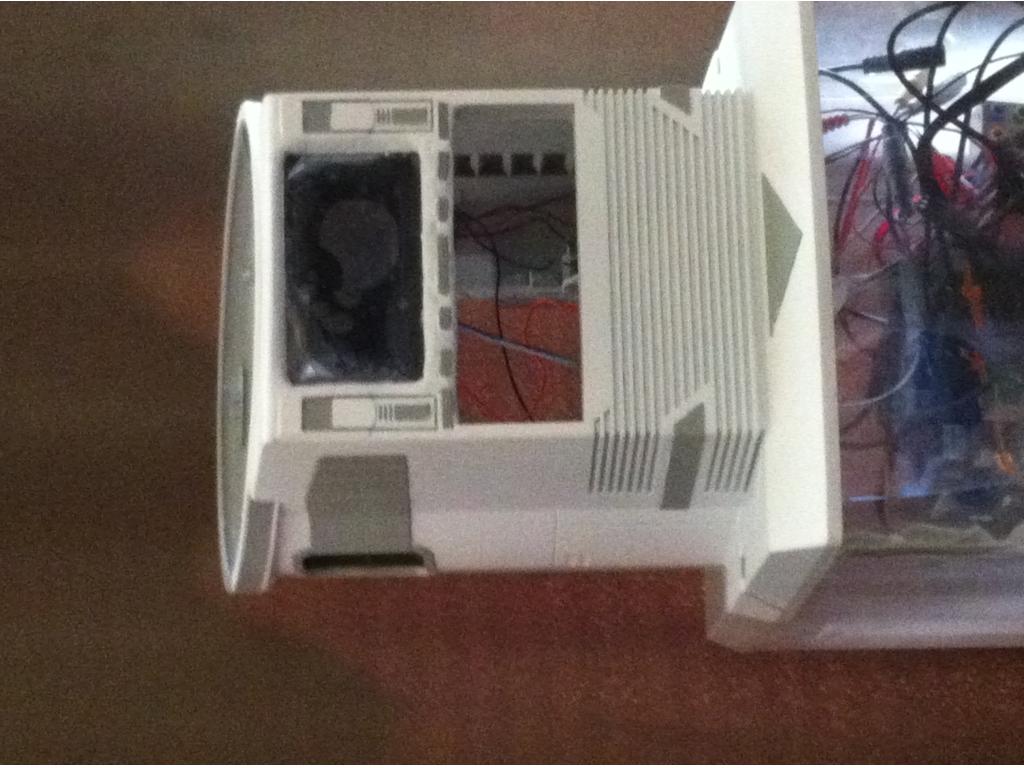
mini itx, https://www.newegg.com/Product/Product.aspx?Item=N82E16813157228 8gb ram, 120gb ssd - had to raise the base 3" to accommodate the mini itx.
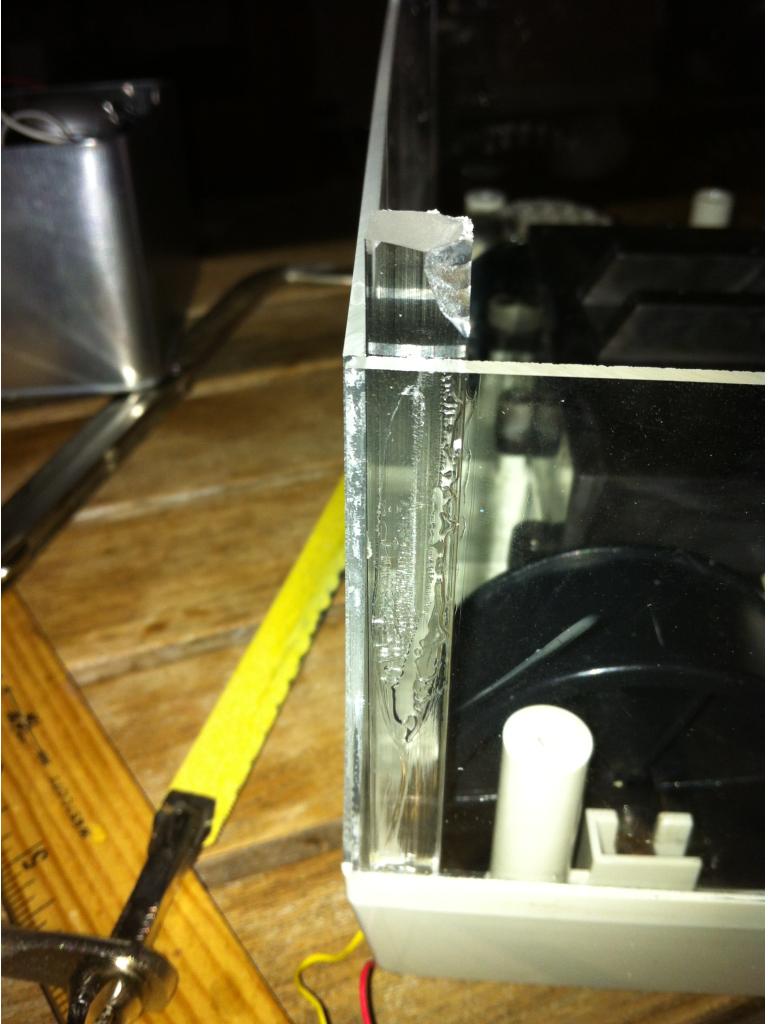
This method, cost me $14.86, without the solvent solution. I had that from a previous display case project. It is kind of expensive like lose to $30. Now to bond them is easy and very strong, but I do recommend that you have help. It is hard to hold it in place and place the solvent along the seam. I went to taps plastic and they have videos online.
I used acrylic plexi glass, had them cut to size. Did the sides in pieces to go along with the slight curve in the body. Just two pieces. The front needed to be curved a bit so I used a heat gun and got the end hot. (I have a mission style coffee table with slats. Stuck the hot plexi glass in the slat and bent until I got the curve I wanted. I used the acrylic solvent to attach it to the hearoid base, then to each other. I used a " square plexi rod, measured out how big I needed and scored it all the way around with a pvc hand saw then snapped it. Almost perfectly clean every time but some uglies in the process. But inside so I don't really care. I used the solvent to place these inside as support attaching to both base and acrylic pieces. I did this waited about 15 mins then put a cutting board on top with a 39.4lbs statue and moved it a bit, tried to be gentle since it is supposed to cure for at least 24 hrs. I will go in later and fill any gaps with a sculptable epoxy. I plan on painting the base. I did drill out the hole in front for the ir sensor and the light sensor. (Took this from ottobot and will use the little cover for the outside of it. Already molded it in. I also have two little ir object sensors I took that I plan on putting on the from right corners. I need to finish digging that out.
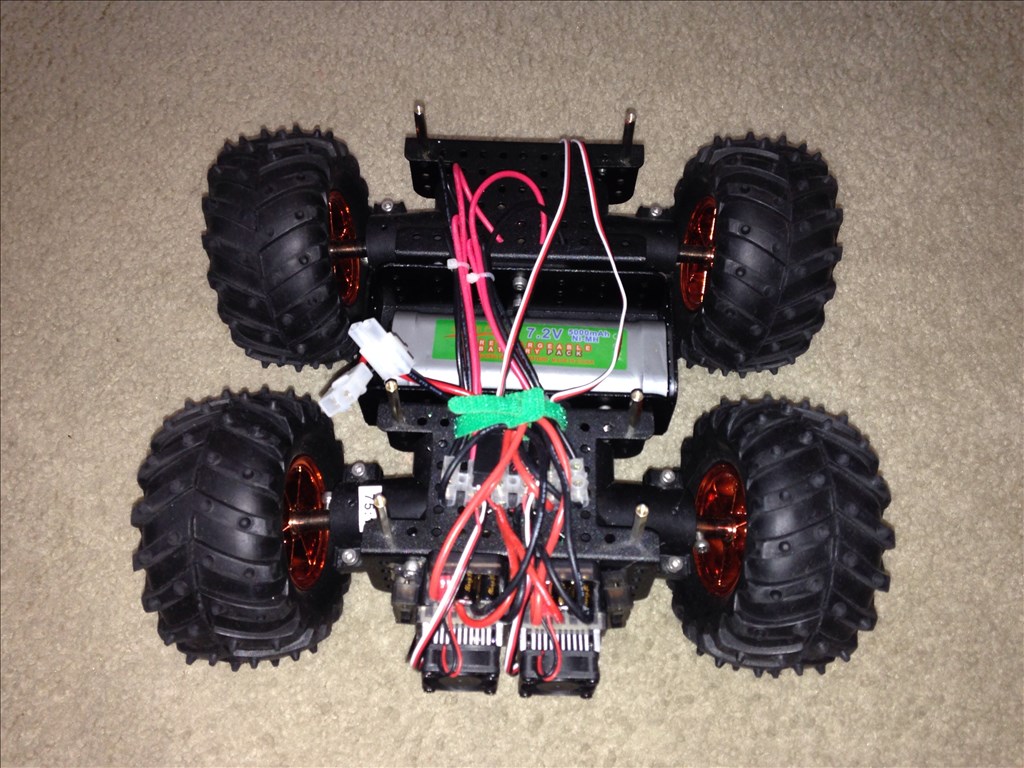
ez-board, h-bridge all hooked up
batteries (Batteries and power still have not been decided.) I got this power supply per robotmakers suggestion. https://www.amazon.com/gp/product/B003DXV9O2 I understand hooking it to motherboard, ssd, etc. then the three wires that come out to power ground and ignition or switch. But it has this jumper thing that I am not sure about. Advice welcome.
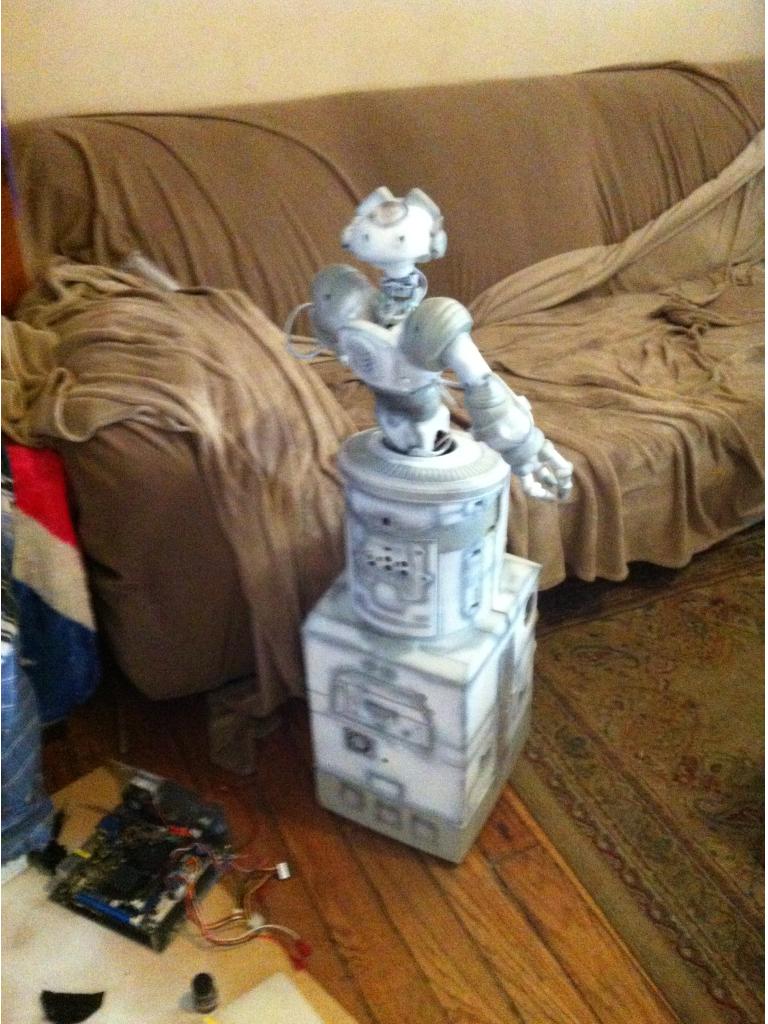
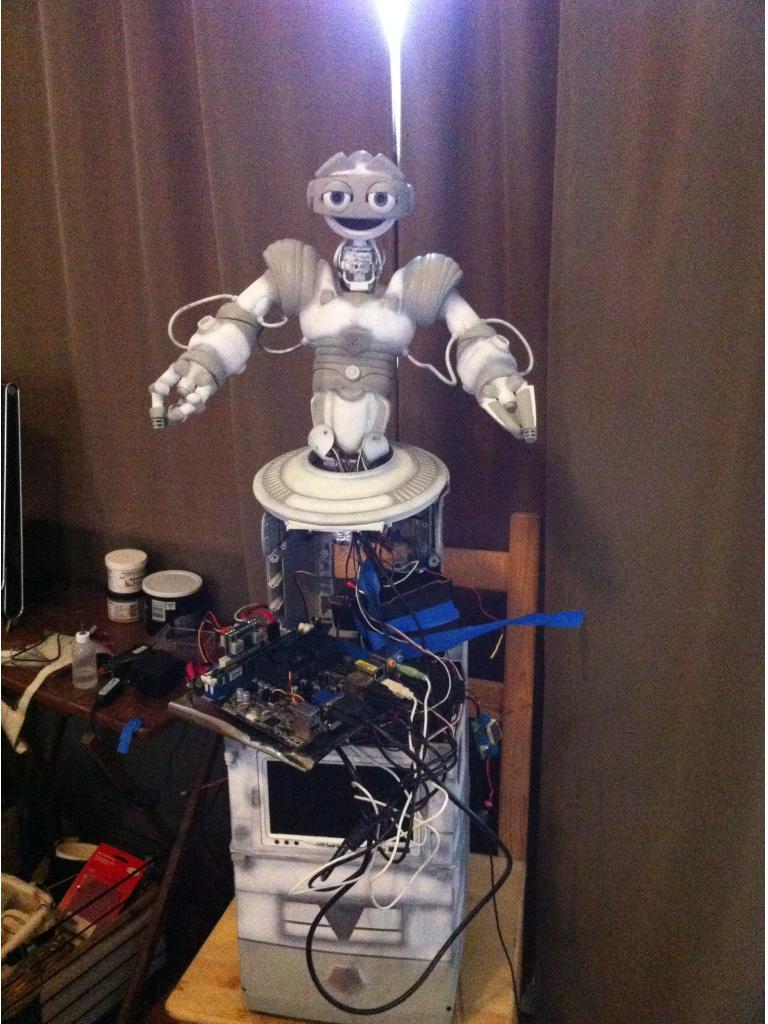
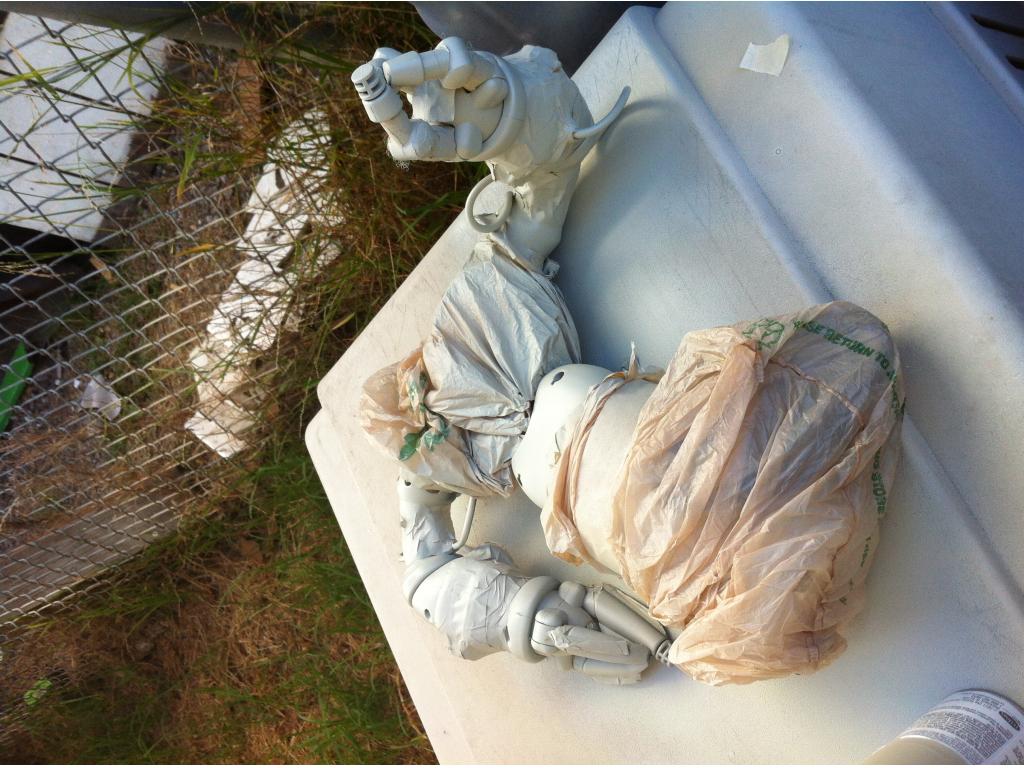
Eventually the torso will be ungraded to a different one once I figure out the whole arm thing but in the meantime I am going to use robosapiens torso and thanks to DJ he made that really easy for me by integrating Robosapien. Woo hoo.
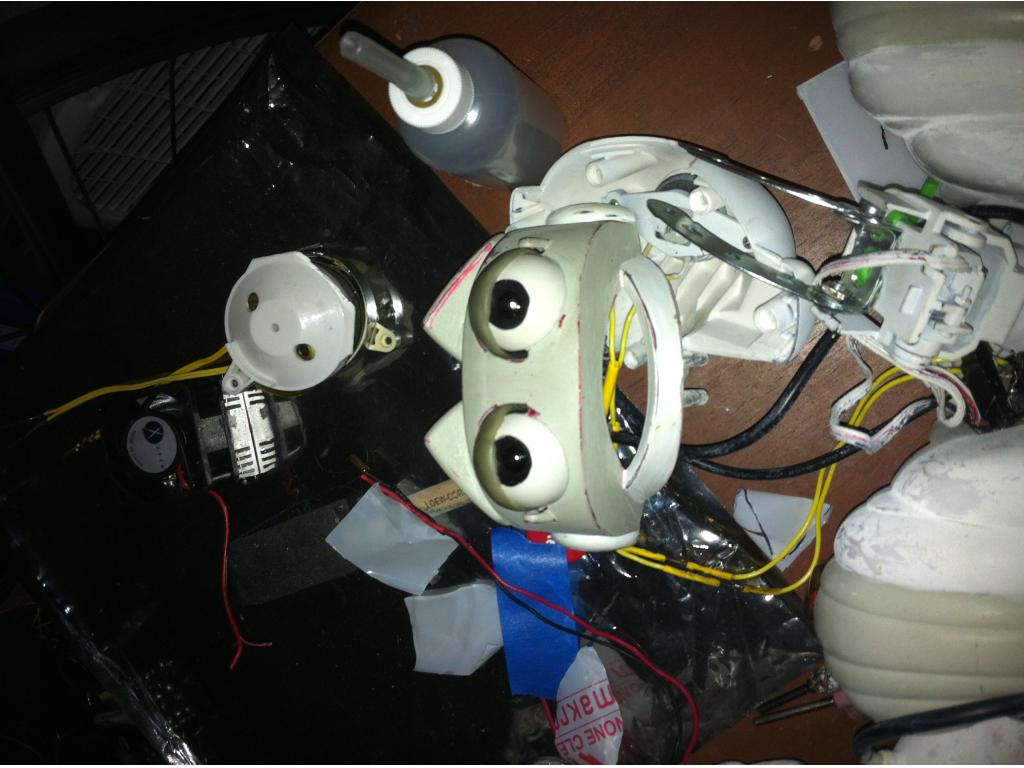
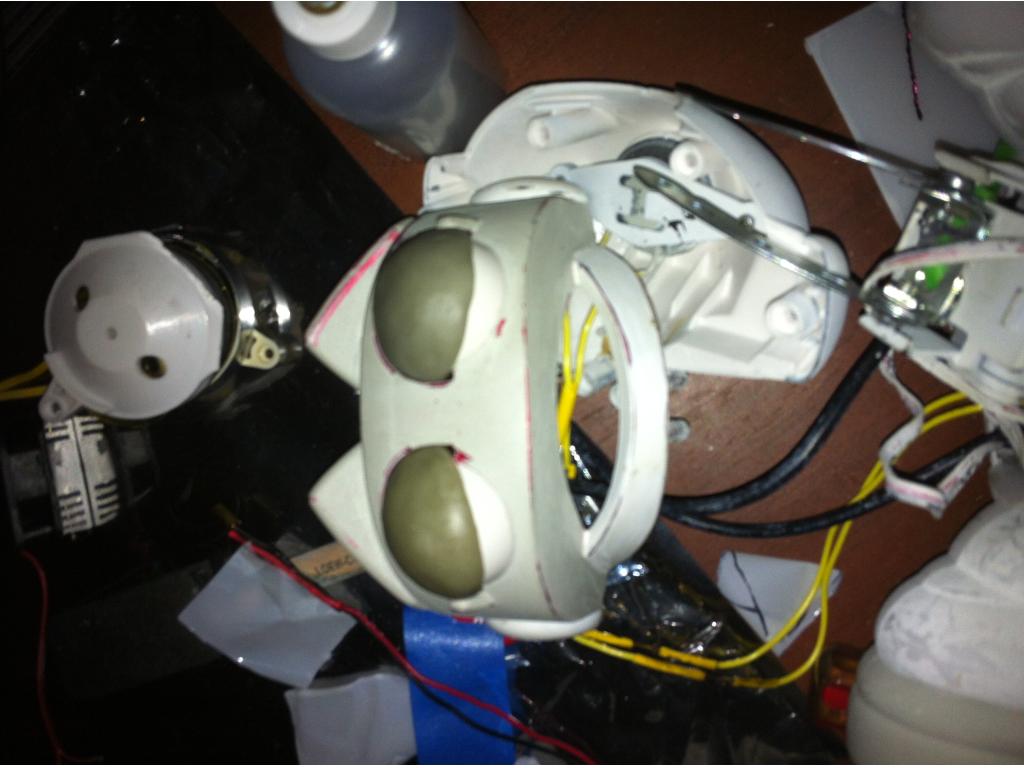
The head from an Ottobot. I poked his eyes out and am putting in two cameras. I have one already and it fits great. Head will probably be too small once I upgrade arms.
I have ordered and waiting for shipment from China. The other camera, pan and tilt brackets with some heavy duty servos with metal gears, and the little screen.
Was thinking of a little keyboard for little things but will remote in when big things need to happen.
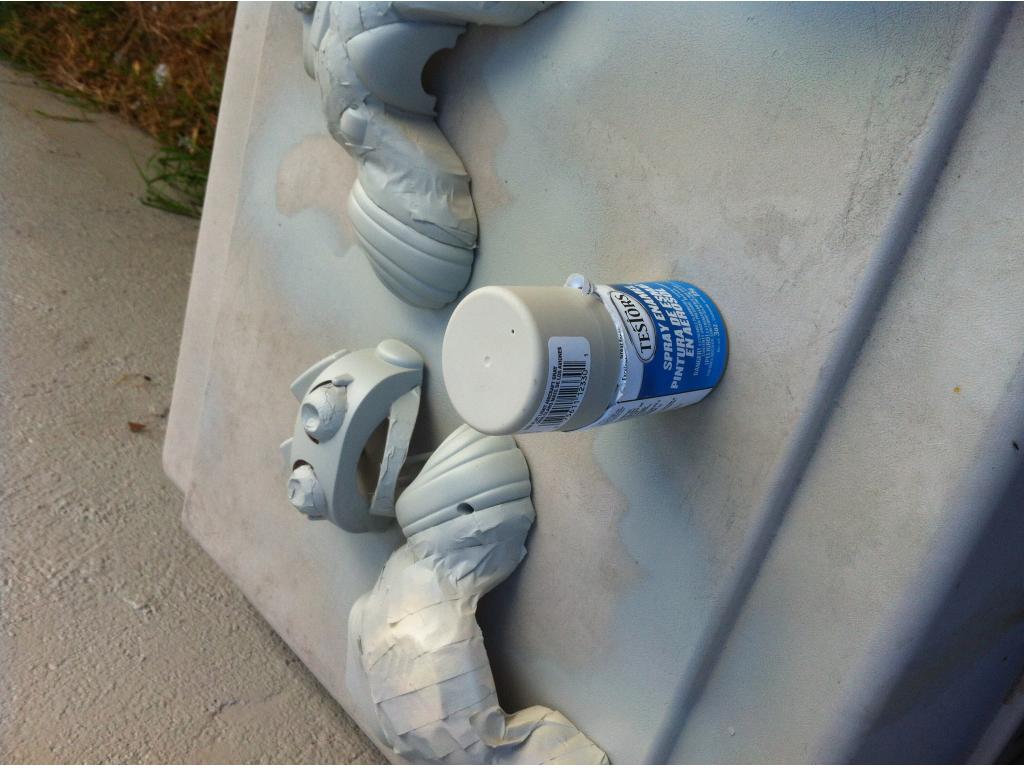
He will be grey/white or black/white in the end. Haven't completely decided. Leaning toward a grey/white look though.
Still need to figure out: Lighting Speakers - I have two from robospaiens. Then a third that was already on the hearoid base. Plus a little one in the head of ottobot. I am going to connect that one to robosapien so when he turns on he'll yawn out of the one.
Power is really my next big one. Trying to wait until I am more settled so that I can better judge how much power I will need.
I am thinking of ai software, was recently introduced to that Denise. OMG. I am still drooling. But I also have looked at leaf, more programming than I really want I think. I am no programmer. I also looked at Ultra Hal but lacking in many ways. DJ thinks a EZ-B version of an AI may be in our future but I am way too impatient to wait.
Discover more robots
Jdvann's My Dog
Cardboardhacker's 1/2 R2d2 Scratch Build


You bot is looking cool. Your paint job made the head look like it belongs to that body. With the EZ-B working so well with the Robosapian you have more servo channels saved for other things. Hope you post more pictures soon. Loved your minion robot. They were one of the best parts of the movie.
Nice work ! Show us more !
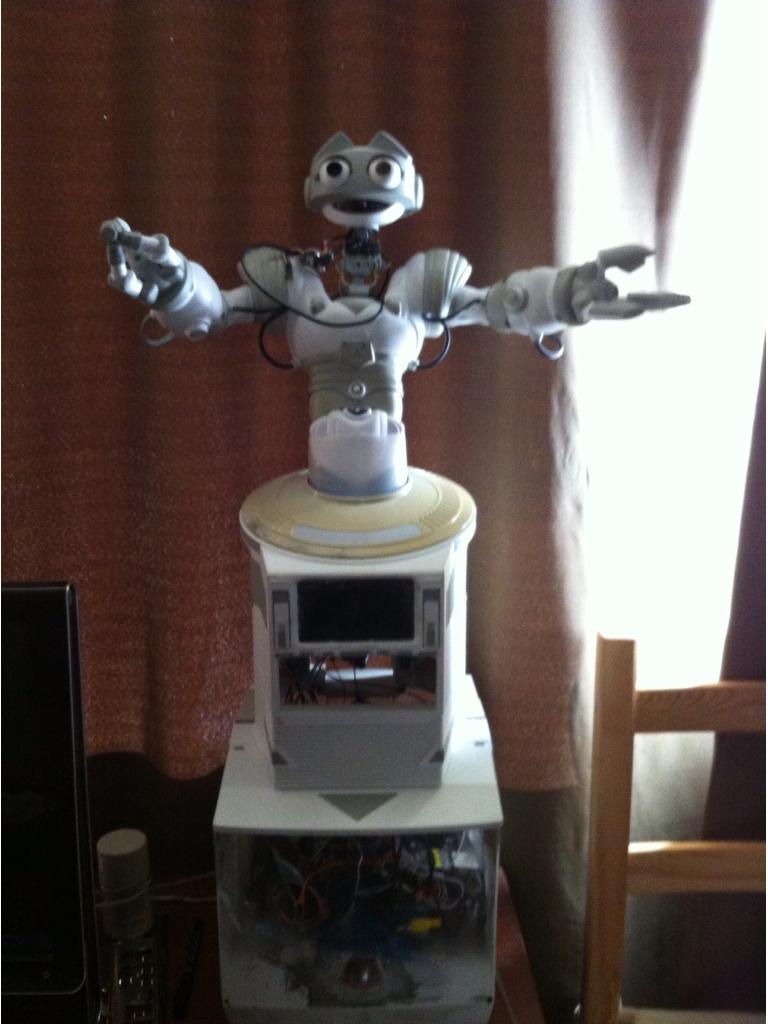
@mcsdaver .. Thank you. That was only a test paint job and is not done yet. But I did want him to look like it belonged. I think the robosapien head is really just too small on the original. Definitely could not fit cameras in there.
Thank you PhG.
I have been a little busy lately and my back was kind of bothering me so not too much progress.
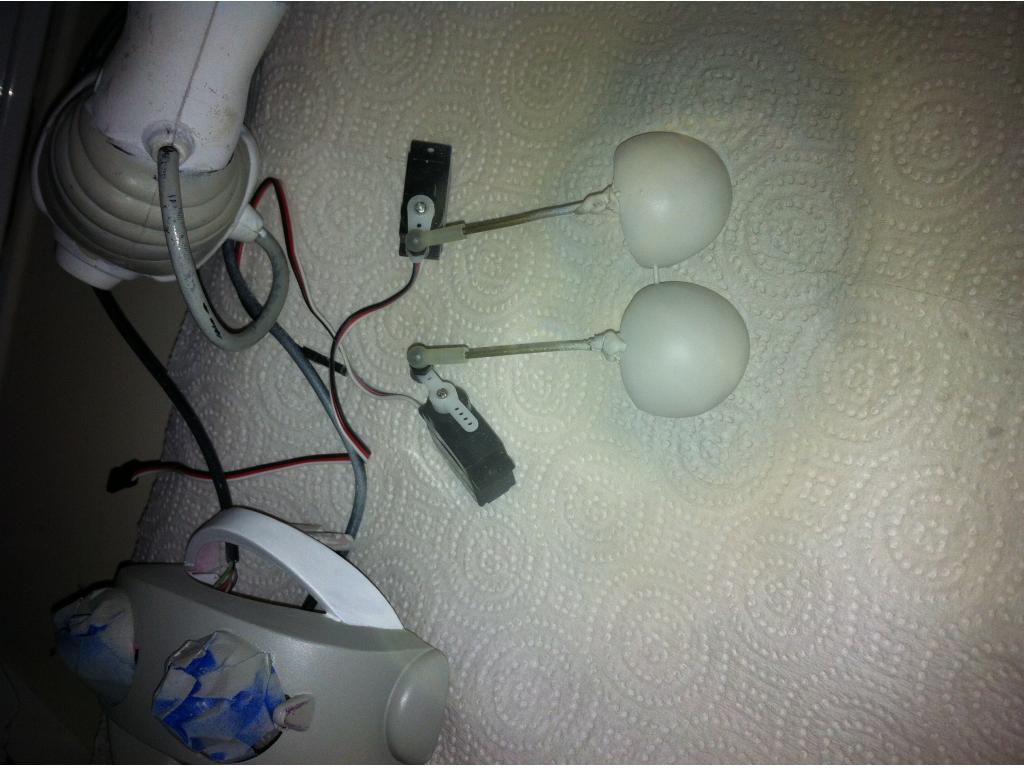
Formed the eyelids...

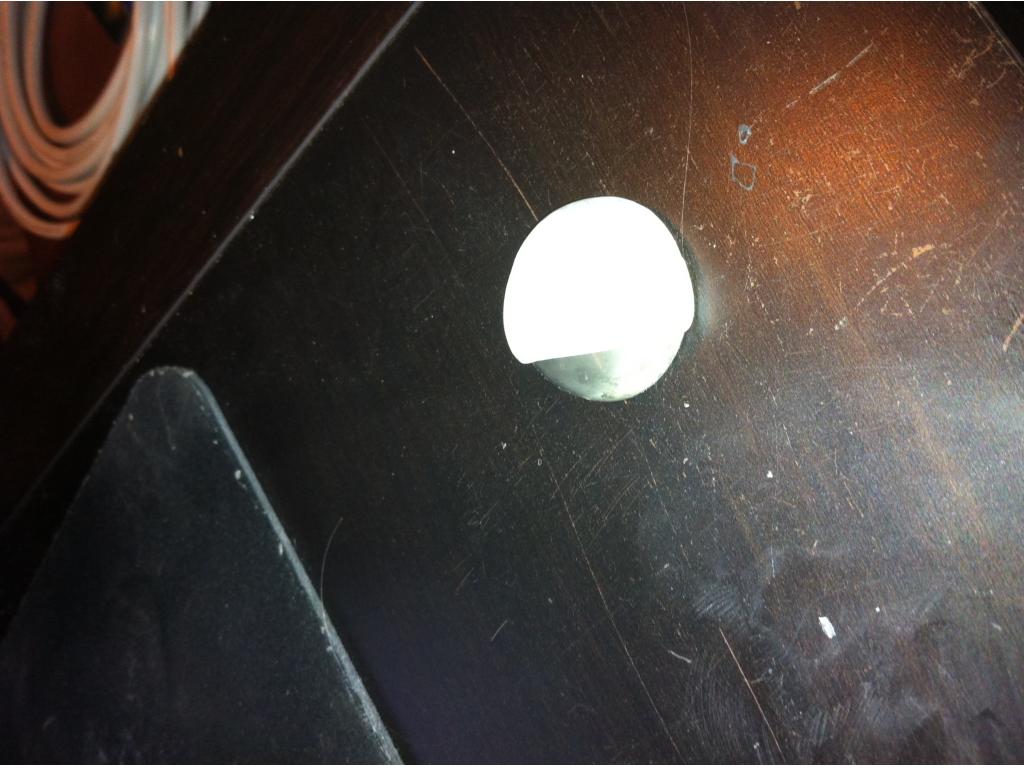
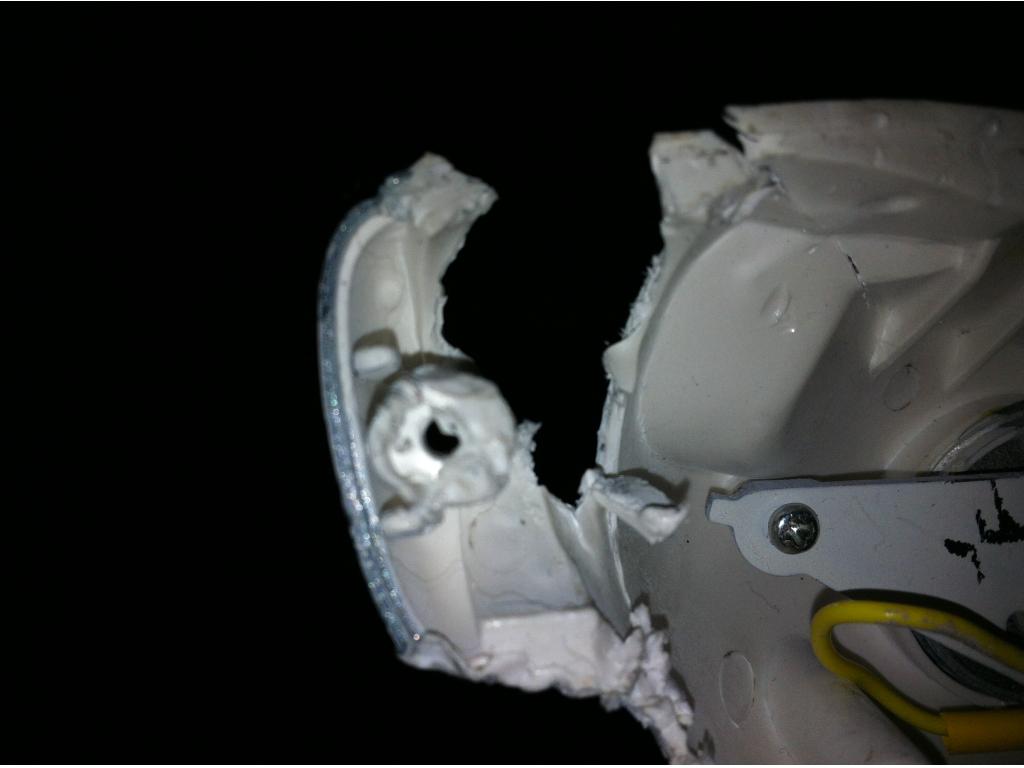
Still need to make the center pivot point.I had a meeting this morning and I was careless and left the back of the head out. My dog got it.
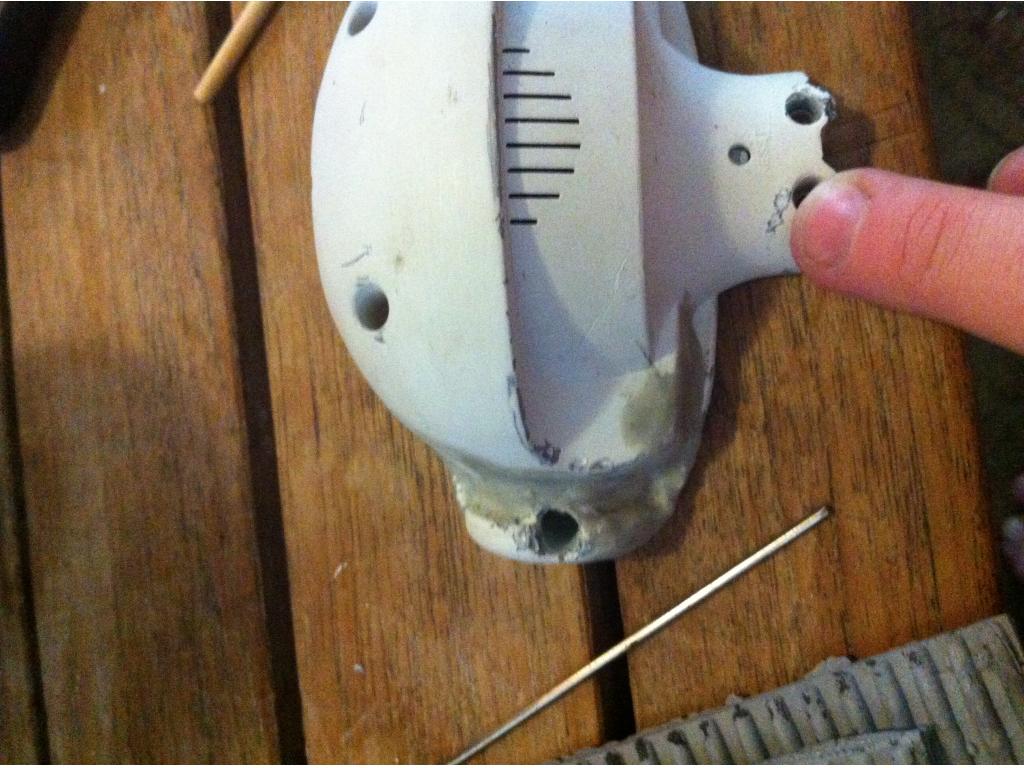
I did a little patch job on it.

I am so glad I just got my new epoxy in yesterday.On the top of the ottobot head he has a round hole. The original bot had a simon says type thing in there. I pulled the robosapien leds that show in the head and the ir up to the top of that and am using the round half circle I used to form the eyes and that will close the hole. I don't have any pics of that and the back of the head needs to dry before I can do any of that. Then it'll look like his brain is lighting up when the leds for the eyes light up. The robosapien eyes light up when he does different things as well as it is supposed to show his mood by which of the 6 lights are on.
My goal for this week is to get the wiring all done. I think I have everything now minus fuses.
I also got my new treads. Thank you Josh. I haven't put them on yet but I did a size check and they are perfect. :o) Will work on that this week too. I haven't decided if I want to attach them to the wheels or if I want to use glue to close the circle and slide them on like the current ones do. I will probably play with the black ones to test that.
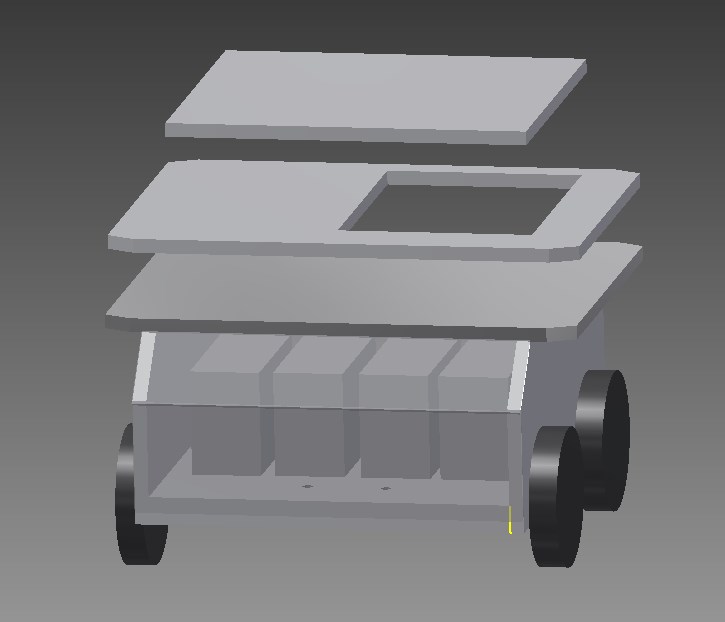
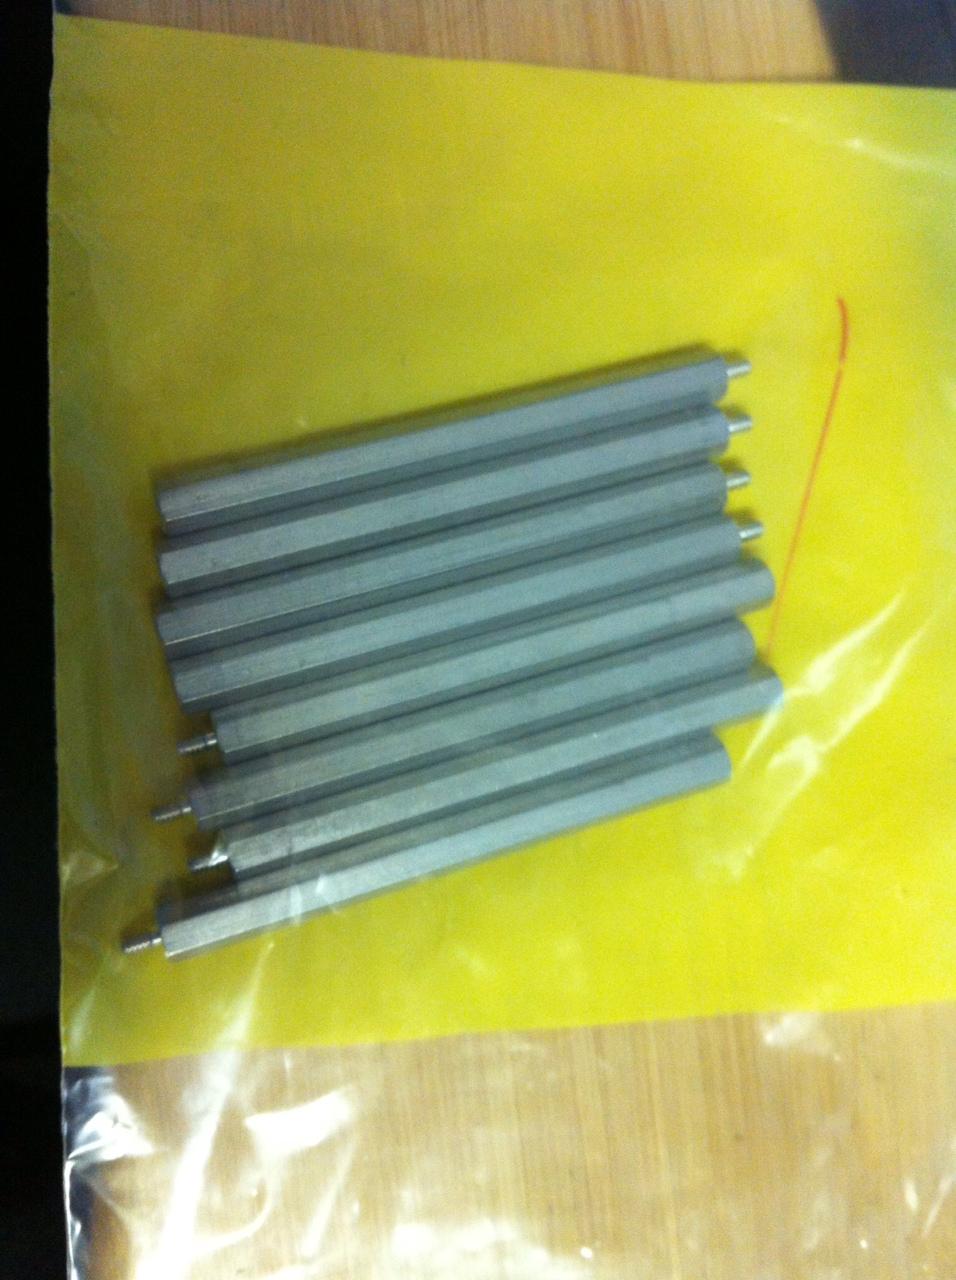
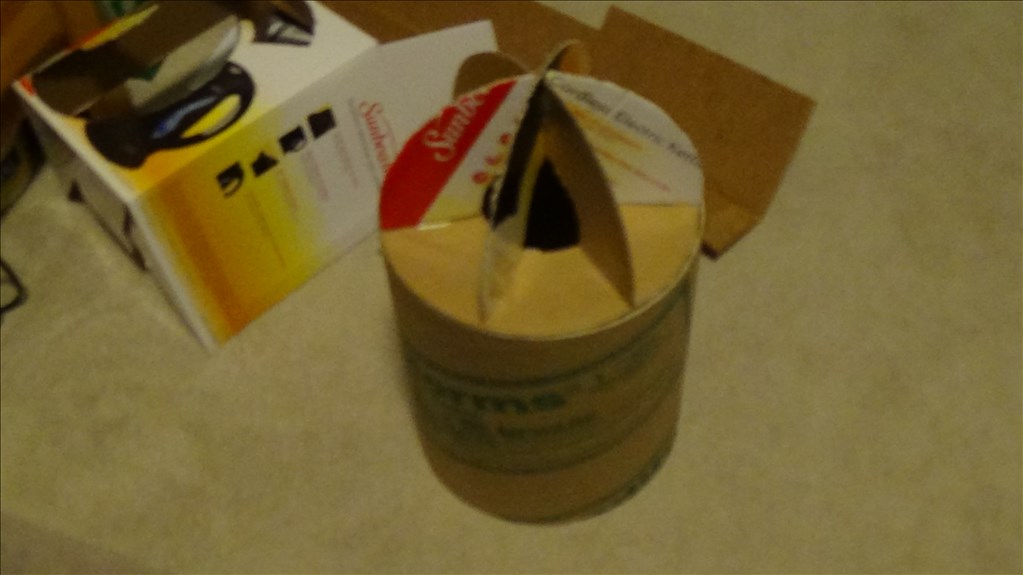
Also after doing the 7" riser on Josh's bot I had a little size envy, so I took of my 3" riser and did a 7".
The blue piece inside is not attached. I was playing with the idea of making a few shelves in there. Haven't decided yet.
Ha ha , 7 inches is way better than three right!? Now you can mount your motherboard on one side and ezb on the other side of the riser. A mini itx boards is ony 6.5 inches wide
Hey Sam , I removed the dummy wheels and axles off mine because I was putting a vacuum in the front. I noticed your base is a earlier model that just has "slider bumps" on the bottom. I will gladly mail the wheels out with axles and mounts
Oh yeah way better. My mini is 6.7 not sure if I'll do on side or have a few levels
Fantastic progress! Your bot is coming along nicely. And I agree, that head on the original robosapien is just too small. Makes me think of that scene out of Beetlejuice when he gets his head shrunk lol.
I had to get my dog a ton of toys so he would leave my stuff alone. Sadly my ex got the dog. I miss my little dog. My next robot has some Robosapien V2 parts. I will post some picks after I get his head built. He is a bit shy.