
-634823693586132812.jpg)

-634833267676093750.jpg)
-634833267899218750.jpg)
-634833269127656250.jpg)
-634833269319218750.jpg)
-634833269574062500.jpg)
-634833270124843750.jpg)
-635019910467392578.jpg)


-634767667799482421.jpg)
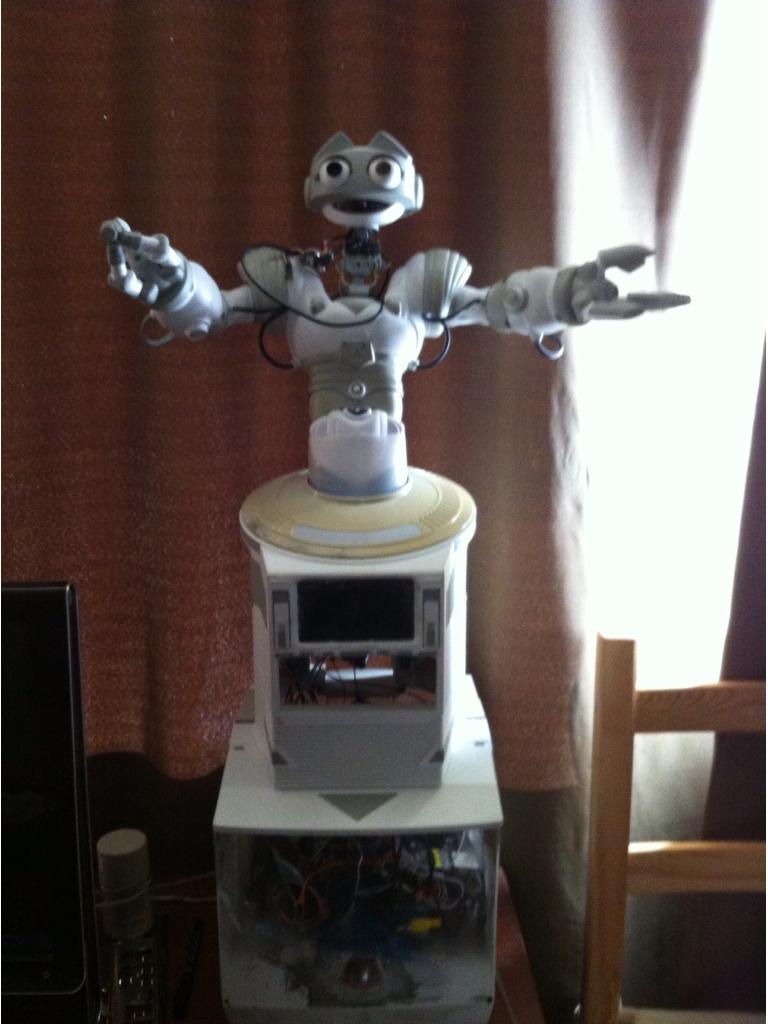
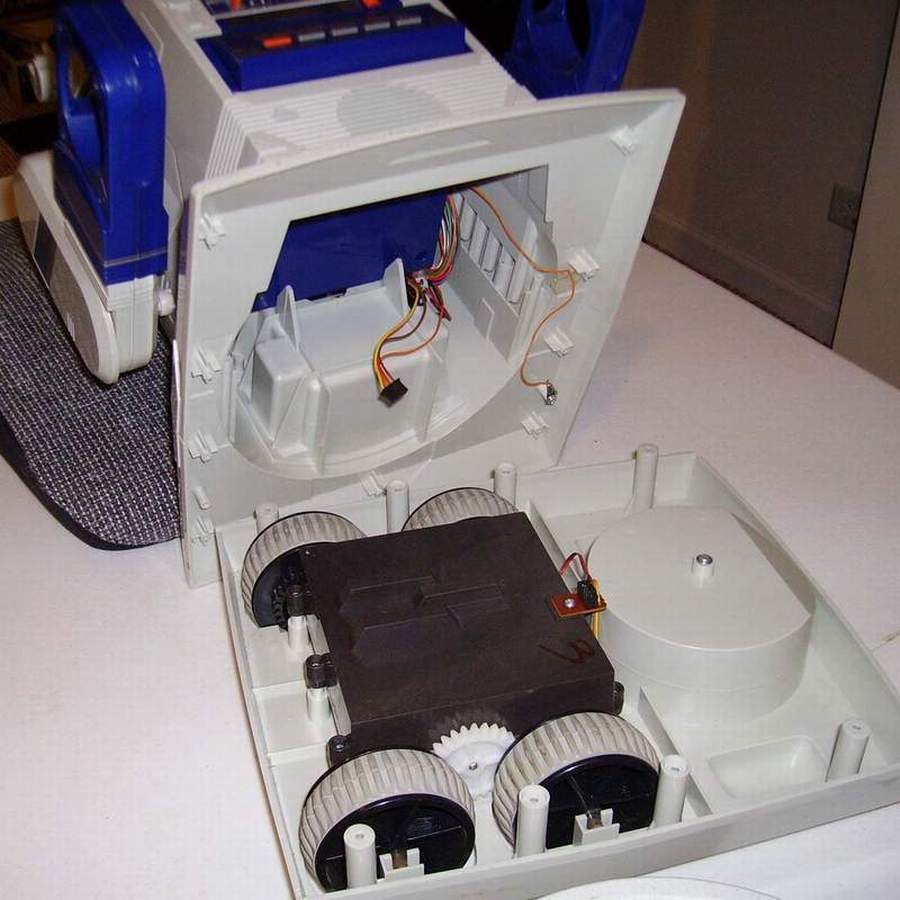
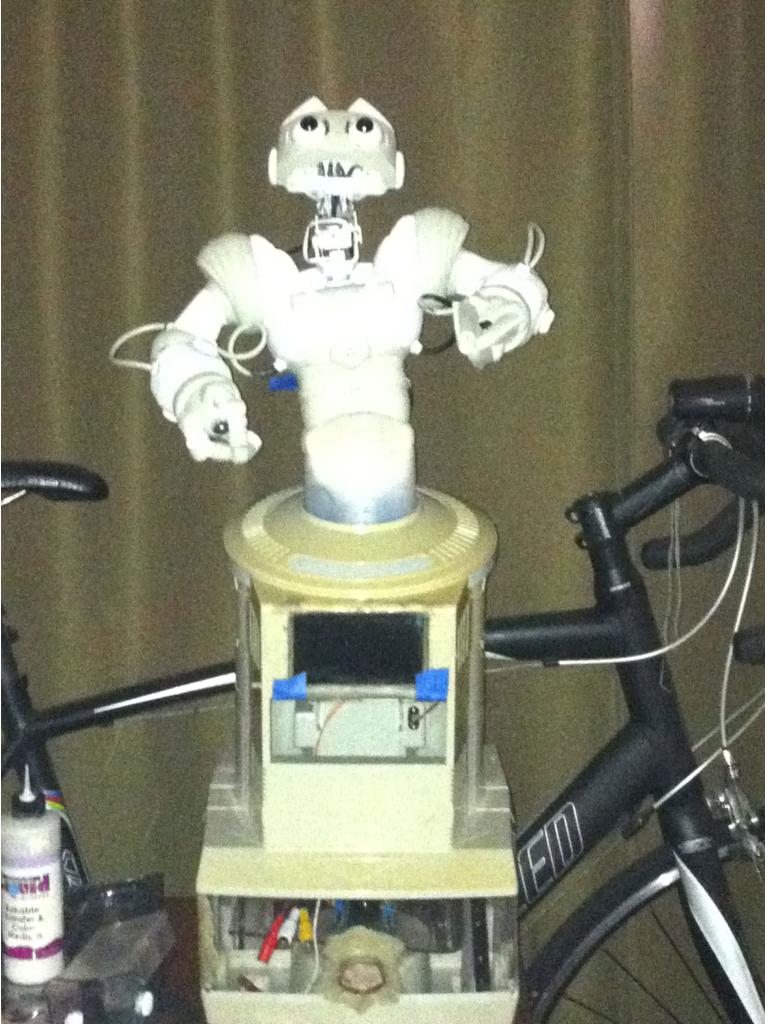
I am using a hearoid omni bot base. - The base will house: need some new treads if anyone has any ideas of where to get.
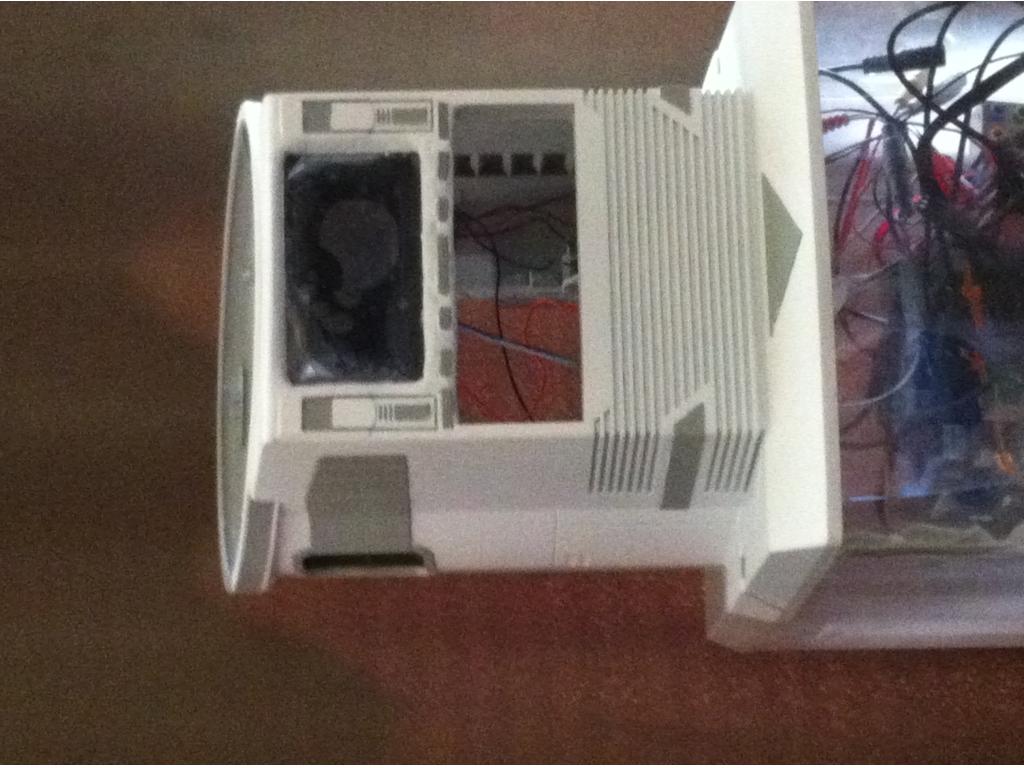
mini itx, https://www.newegg.com/Product/Product.aspx?Item=N82E16813157228 8gb ram, 120gb ssd - had to raise the base 3" to accommodate the mini itx.
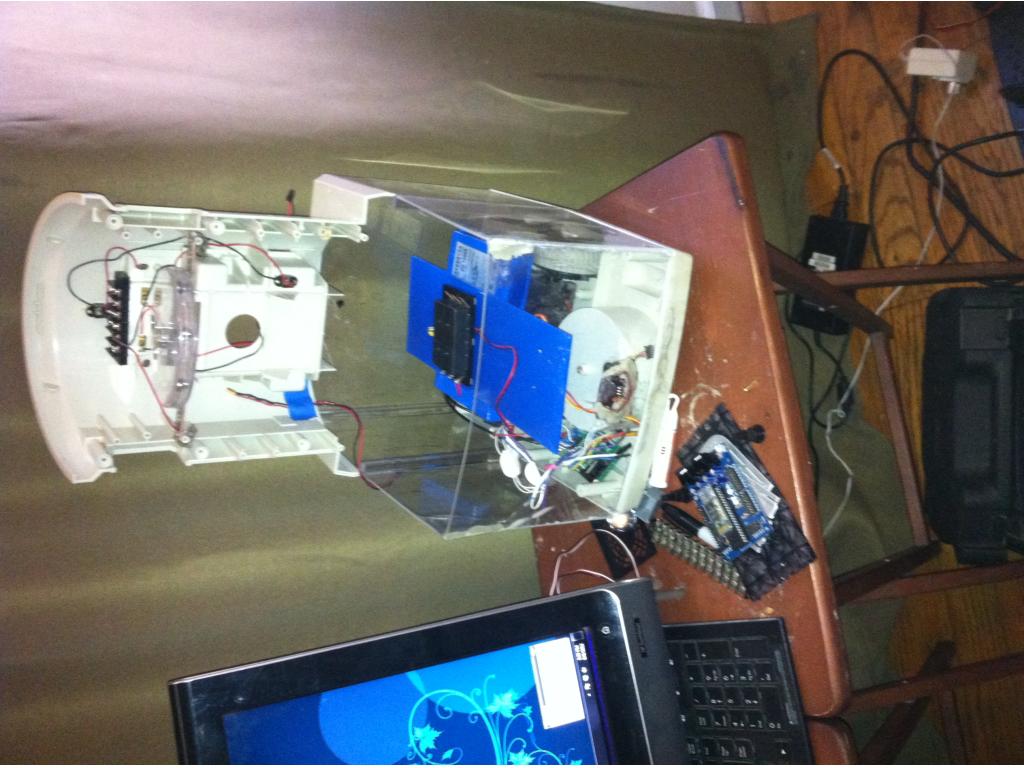
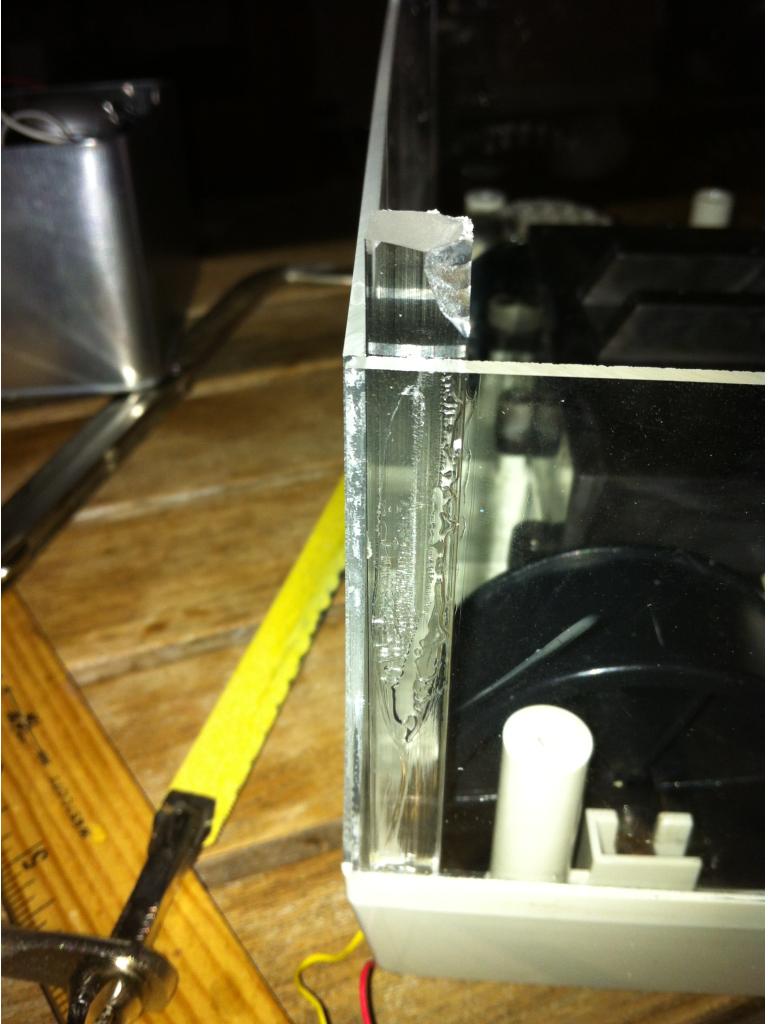
This method, cost me $14.86, without the solvent solution. I had that from a previous display case project. It is kind of expensive like lose to $30. Now to bond them is easy and very strong, but I do recommend that you have help. It is hard to hold it in place and place the solvent along the seam. I went to taps plastic and they have videos online.
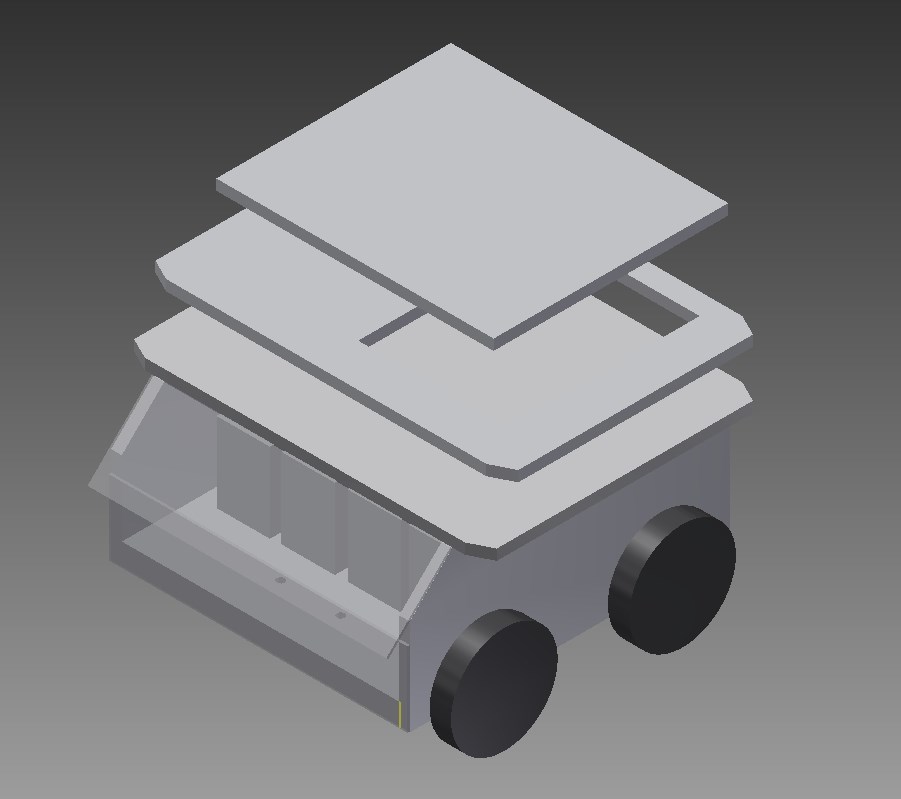
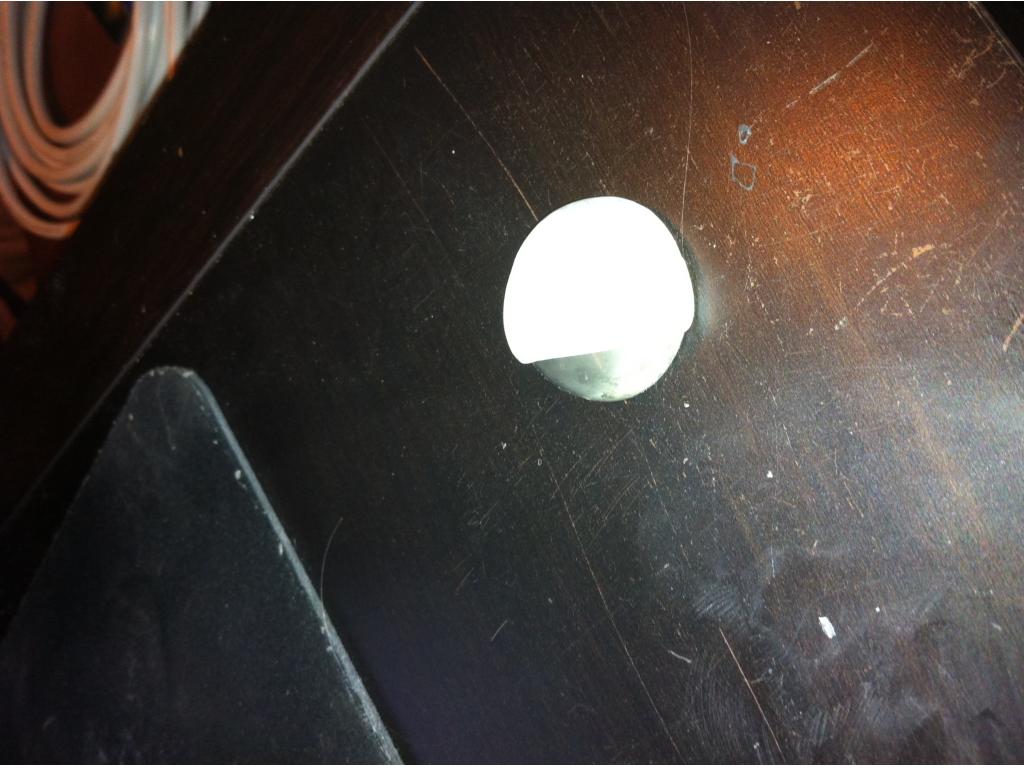
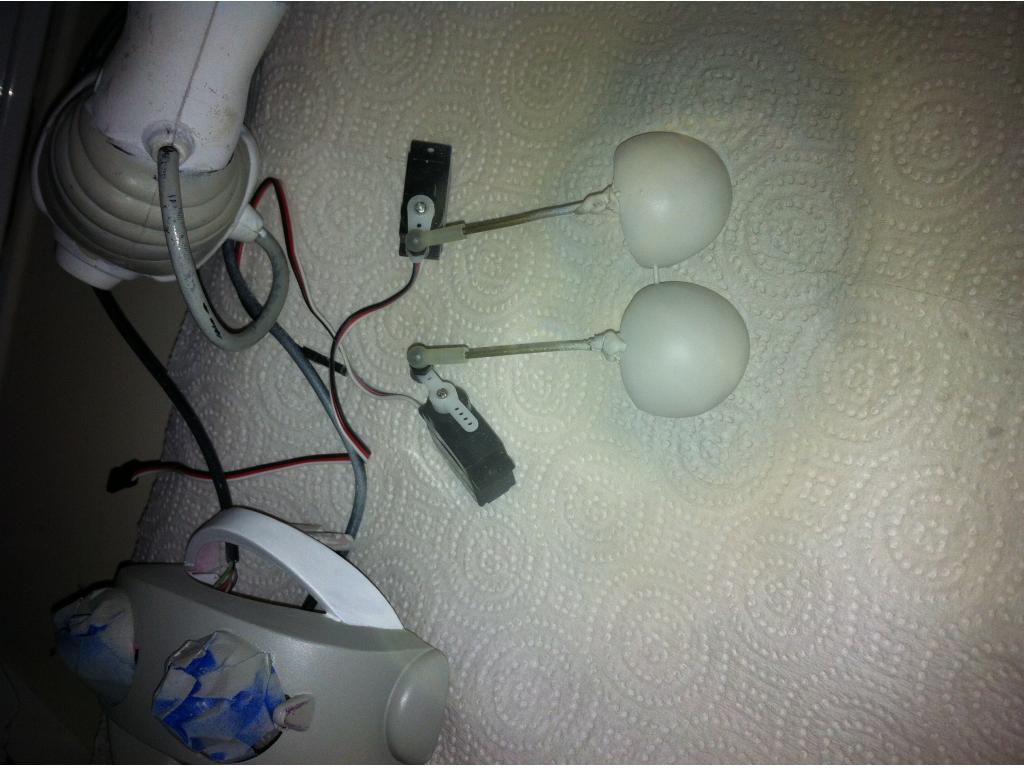
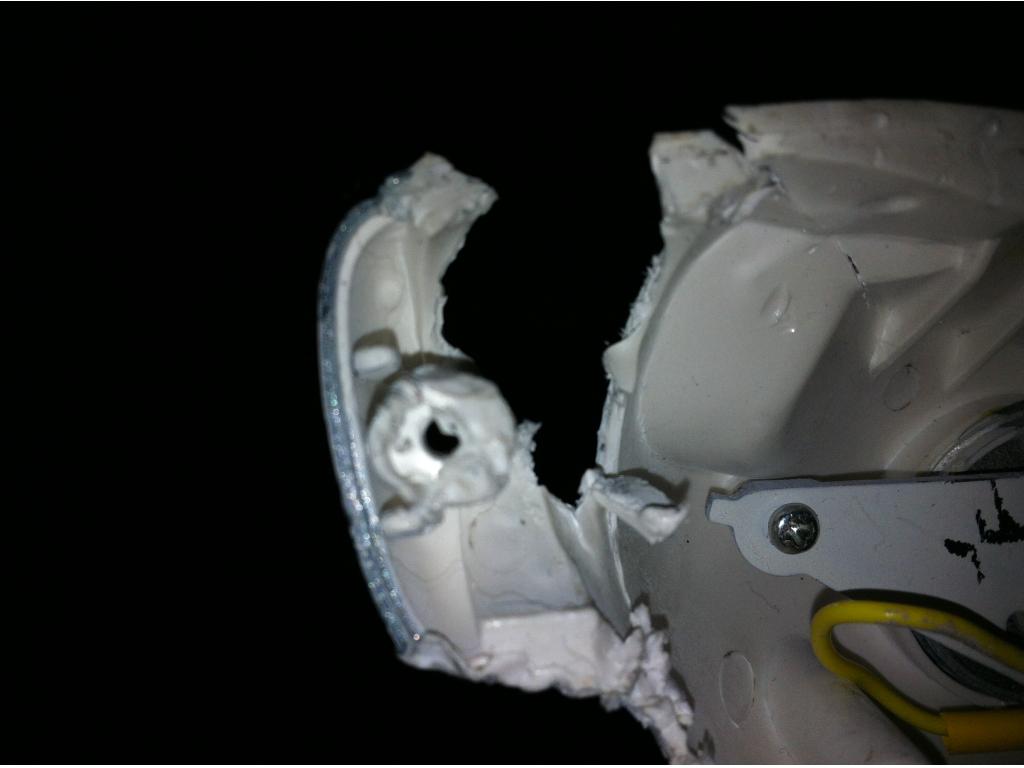
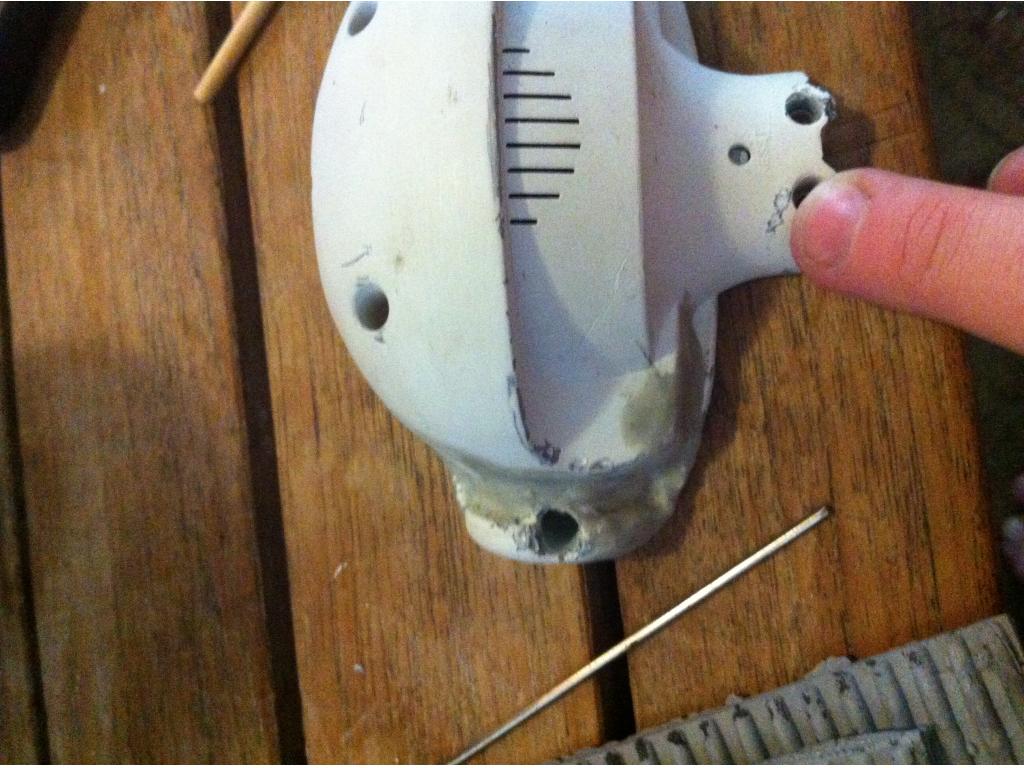
I used acrylic plexi glass, had them cut to size. Did the sides in pieces to go along with the slight curve in the body. Just two pieces. The front needed to be curved a bit so I used a heat gun and got the end hot. (I have a mission style coffee table with slats. Stuck the hot plexi glass in the slat and bent until I got the curve I wanted. I used the acrylic solvent to attach it to the hearoid base, then to each other. I used a " square plexi rod, measured out how big I needed and scored it all the way around with a pvc hand saw then snapped it. Almost perfectly clean every time but some uglies in the process. But inside so I don't really care. I used the solvent to place these inside as support attaching to both base and acrylic pieces. I did this waited about 15 mins then put a cutting board on top with a 39.4lbs statue and moved it a bit, tried to be gentle since it is supposed to cure for at least 24 hrs. I will go in later and fill any gaps with a sculptable epoxy. I plan on painting the base. I did drill out the hole in front for the ir sensor and the light sensor. (Took this from ottobot and will use the little cover for the outside of it. Already molded it in. I also have two little ir object sensors I took that I plan on putting on the from right corners. I need to finish digging that out.
ez-board, h-bridge all hooked up
batteries (Batteries and power still have not been decided.) I got this power supply per robotmakers suggestion. https://www.amazon.com/gp/product/B003DXV9O2 I understand hooking it to motherboard, ssd, etc. then the three wires that come out to power ground and ignition or switch. But it has this jumper thing that I am not sure about. Advice welcome.
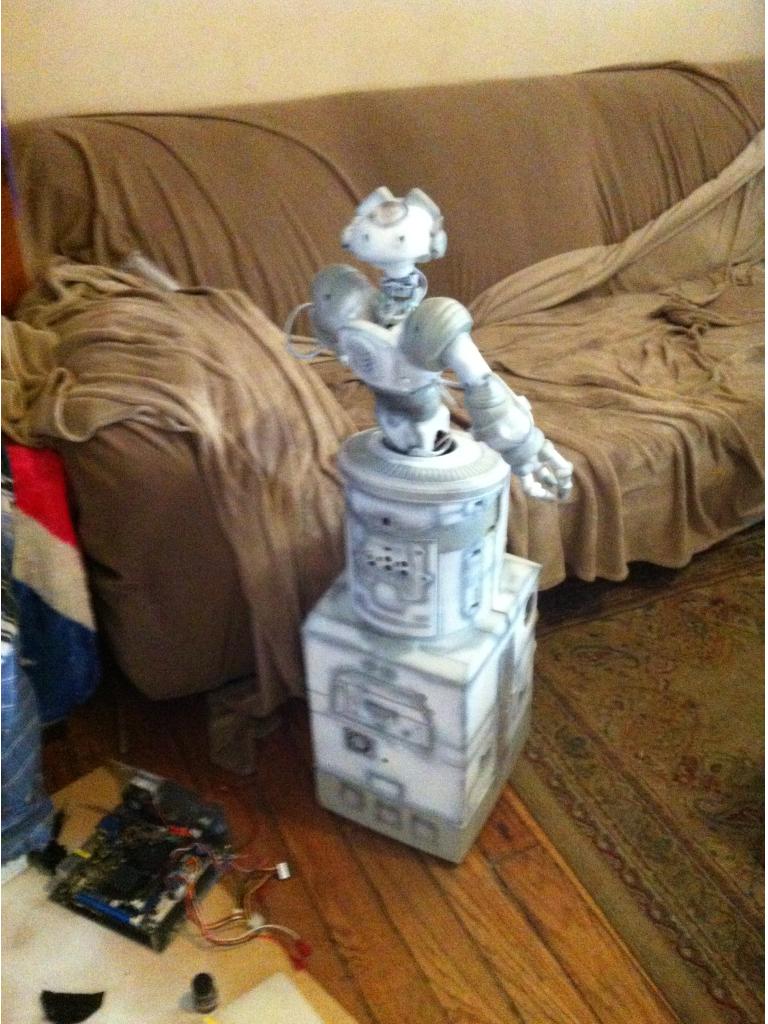
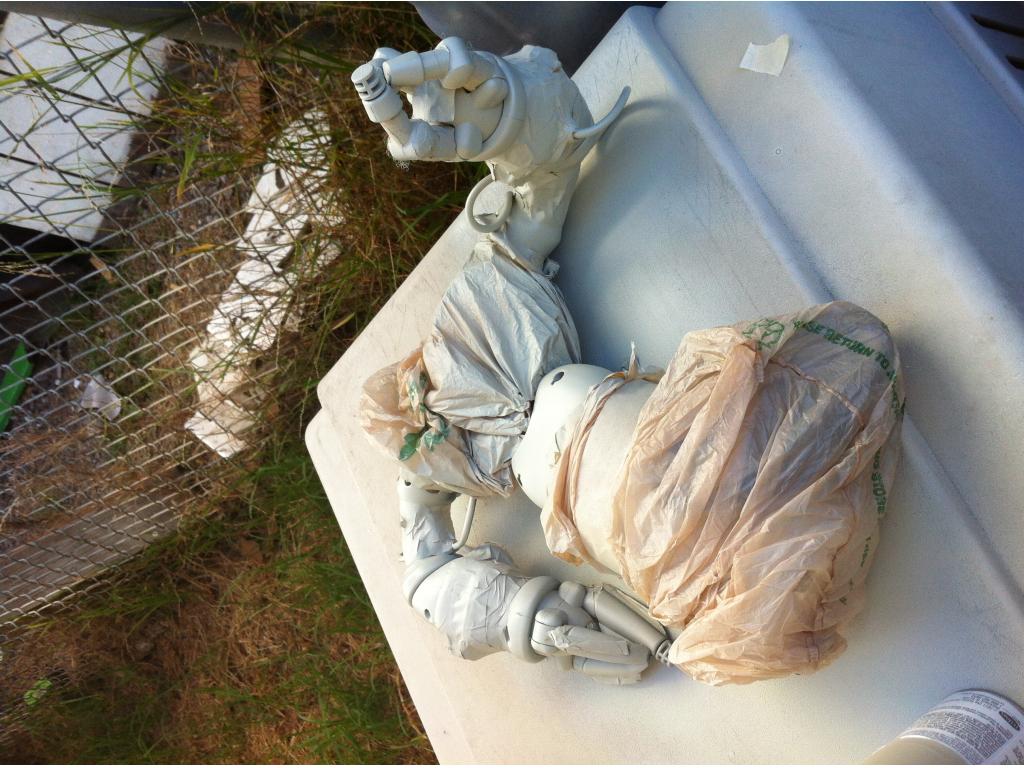
Eventually the torso will be ungraded to a different one once I figure out the whole arm thing but in the meantime I am going to use robosapiens torso and thanks to DJ he made that really easy for me by integrating Robosapien. Woo hoo.
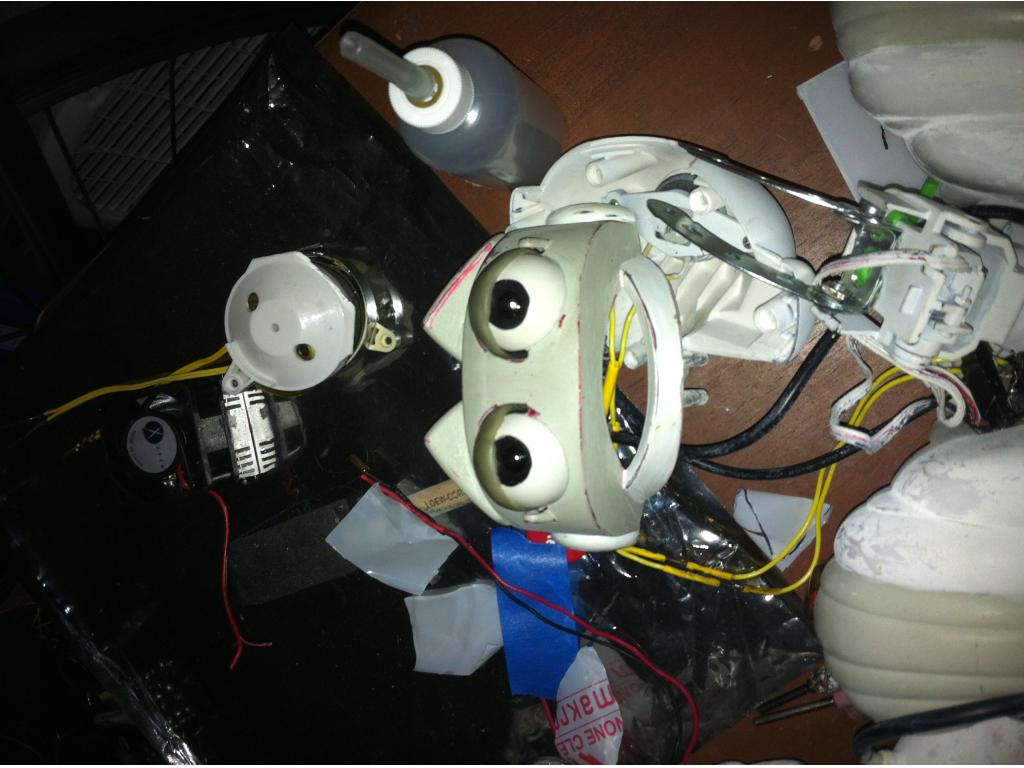
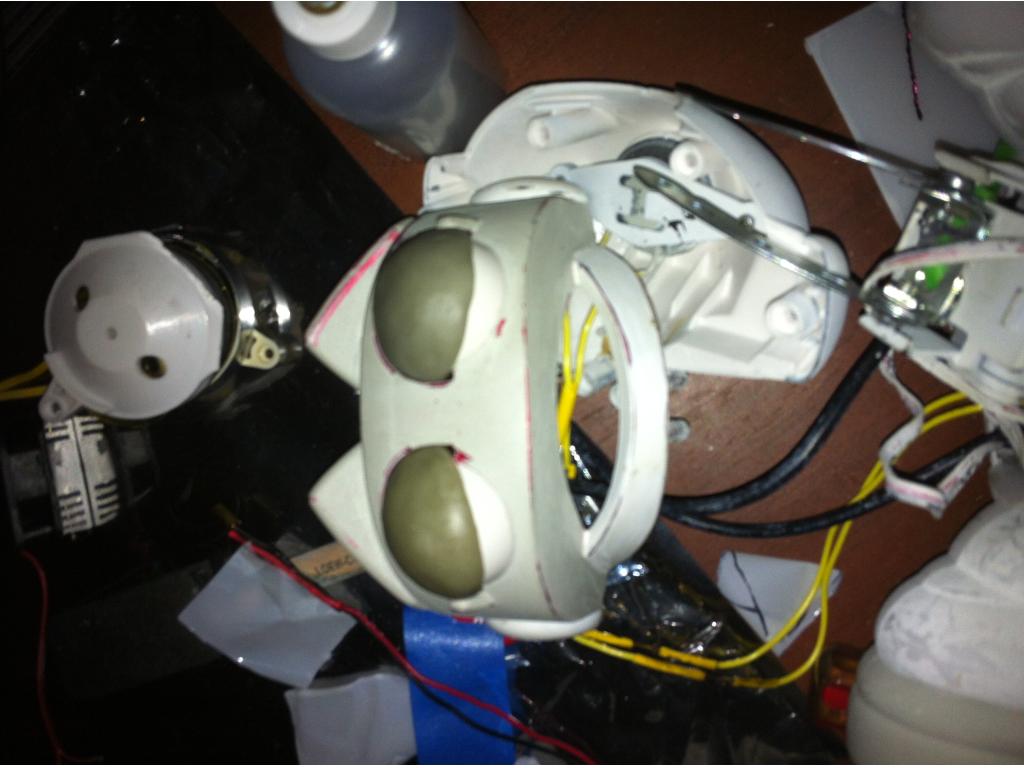
The head from an Ottobot. I poked his eyes out and am putting in two cameras. I have one already and it fits great. Head will probably be too small once I upgrade arms.
I have ordered and waiting for shipment from China. The other camera, pan and tilt brackets with some heavy duty servos with metal gears, and the little screen.
Was thinking of a little keyboard for little things but will remote in when big things need to happen.
He will be grey/white or black/white in the end. Haven't completely decided. Leaning toward a grey/white look though.
Still need to figure out: Lighting Speakers - I have two from robospaiens. Then a third that was already on the hearoid base. Plus a little one in the head of ottobot. I am going to connect that one to robosapien so when he turns on he'll yawn out of the one.
Power is really my next big one. Trying to wait until I am more settled so that I can better judge how much power I will need.
I am thinking of ai software, was recently introduced to that Denise. OMG. I am still drooling. But I also have looked at leaf, more programming than I really want I think. I am no programmer. I also looked at Ultra Hal but lacking in many ways. DJ thinks a EZ-B version of an AI may be in our future but I am way too impatient to wait.
Discover more robots
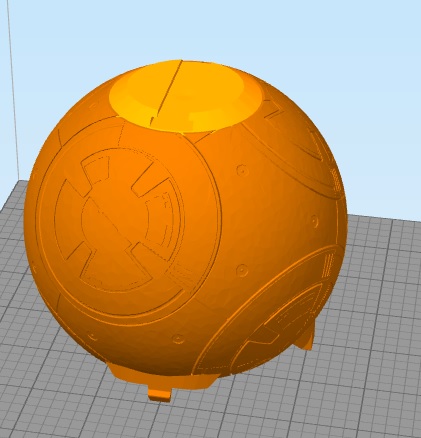
Justinratliff's Ez-Robot Bb-8 Hexapod Body
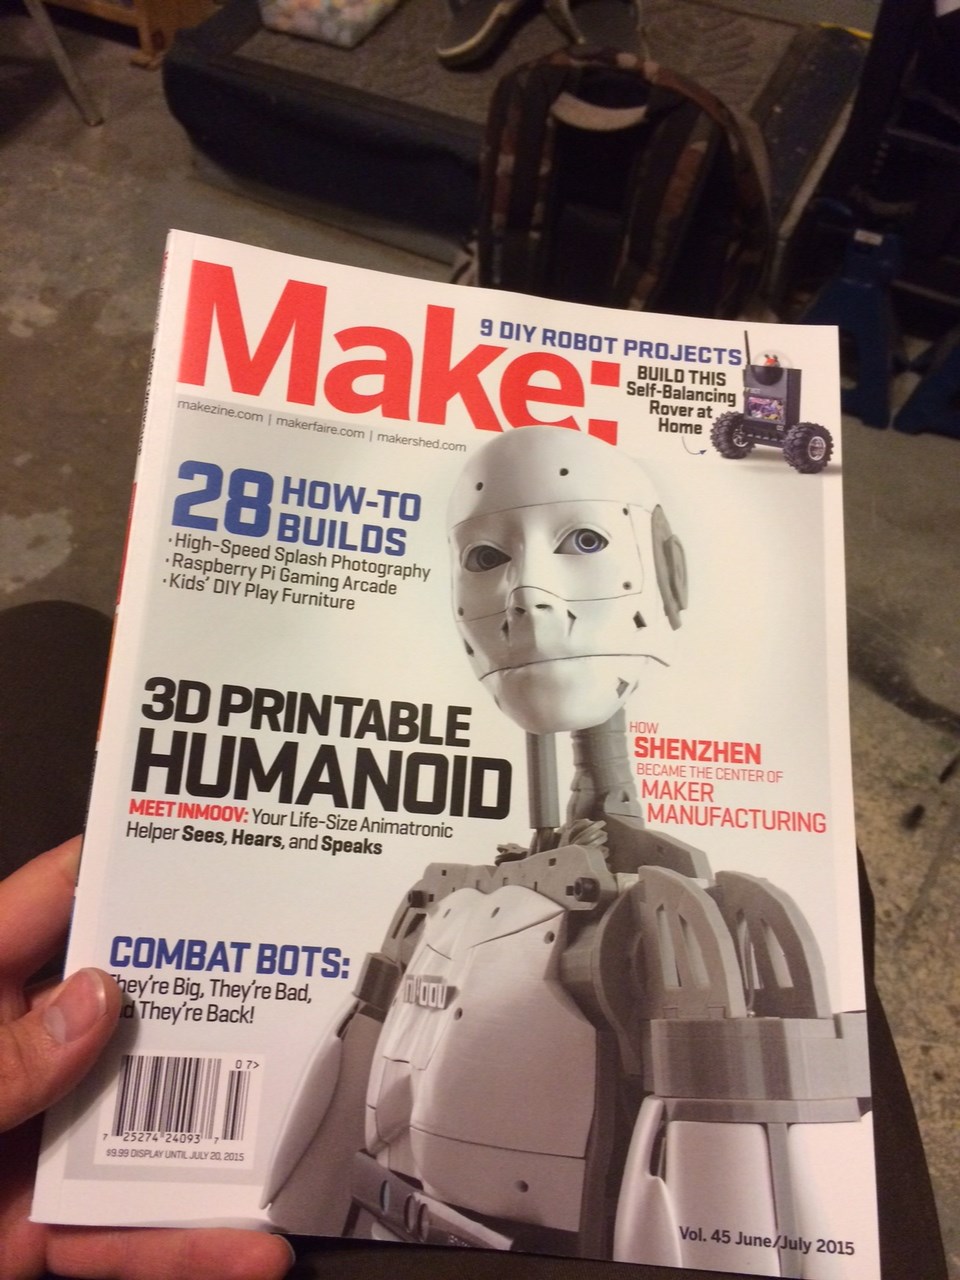
Jeremie's Richard R And Bhouston In Make Magazine


My brat has a whole toy bin and a 53" teddy bear. What parts are you using from the V2?
Brett you are so right... Beetle Juice.... :o)
I bought a broken Robosapien V2 to use his hands, but they are too large for the robot I am building. But his upper body is just the right size. I am making my own head, arms and legs. I am building a humanoid with 6 servos per arm to give him human like flexibility. I already built his arms and part of his legs. He will need 2 EZ-Bs if I want him to ever walk. He may ride in a chair built on top of a RAD robot drive system. Standing he is about 27 inches tall right now.
Awesome. I can't wait to see that.
Josh not sure how I missed this.
"Hey Sam , I removed the dummy wheels and axles off mine because I was putting a vacuum in the front. I noticed your base is a earlier model that just has "slider bumps" on the bottom. I will gladly mail the wheels out with axles and mounts"
What are you talking about?
Yea notice the black.wheels on each corner in the pic...
Do you think I need them?
It's better than that plastic dragging the ground everytime it turns. That's why newer model omnibots have wheels
I'll take them if you are not going to use them.
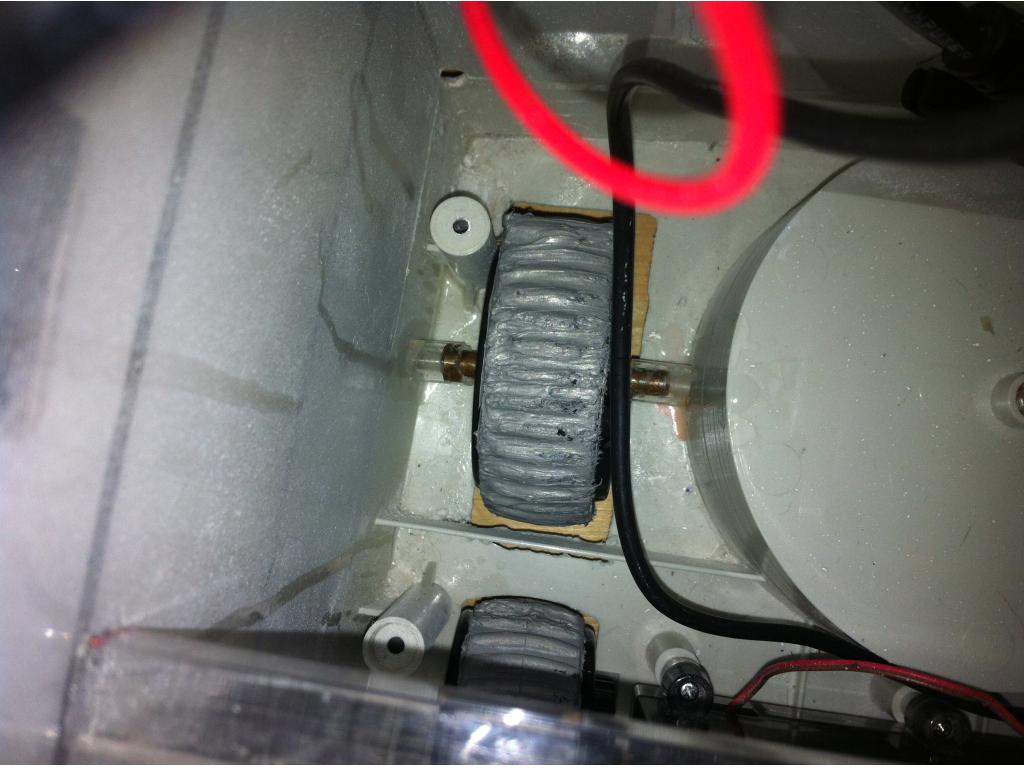
I got all my new treads on. Josh they worked out awesome. Thanks for sending that tube of stuff. Never used it before but I see it becoming part of the supply box. I ended up taking some wire to form the circle then I used that stuff to close the gap. They fit perfect.
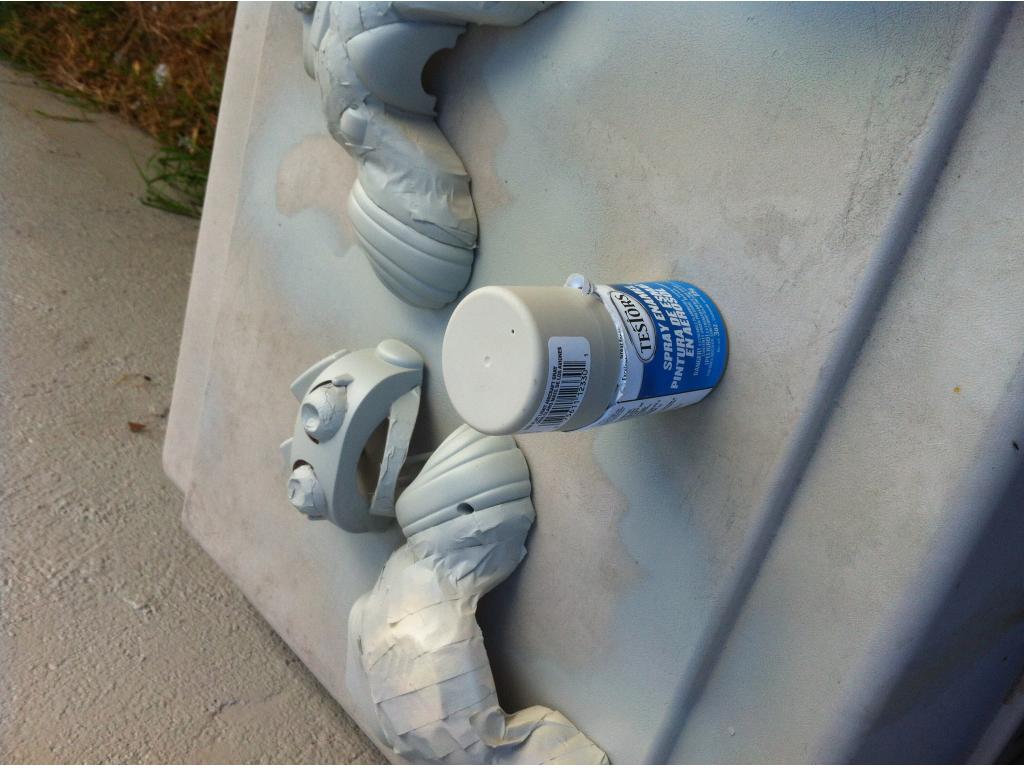
I played with painting the front of the top. I like the grey and white.
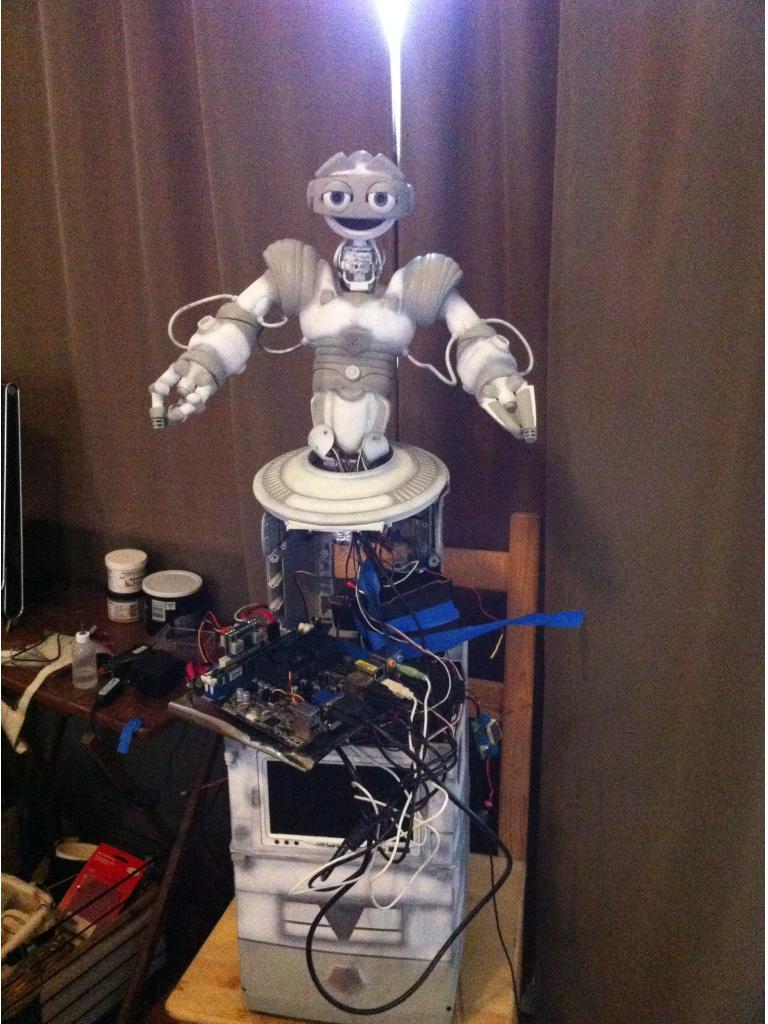
I started wiring everything up prior to final paint. I want to make sure everything is working. I thought I had it right but I am doing something wrong. Not sure what yet. Didn't have much time to play with it yet.