Hello everyone!
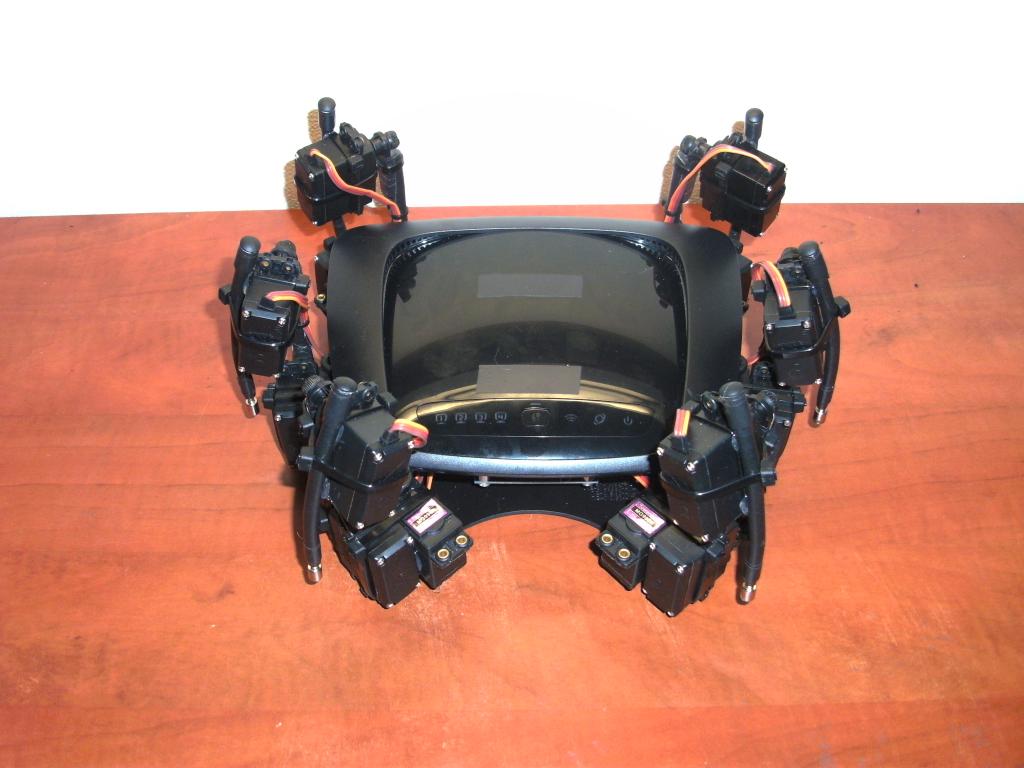
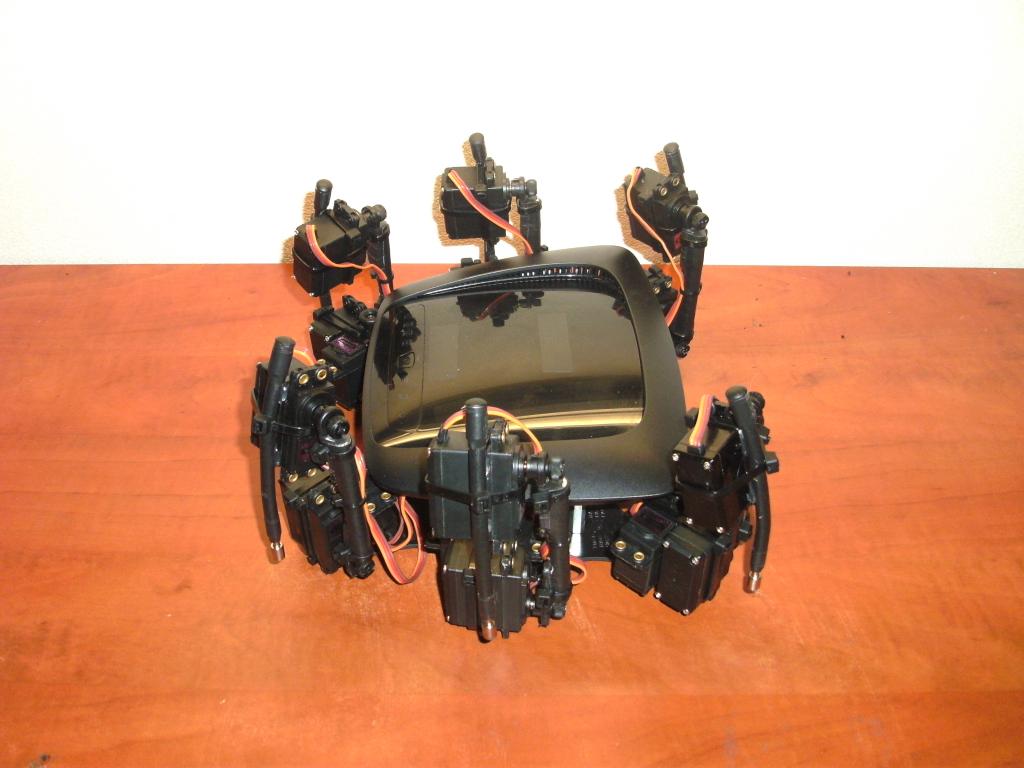
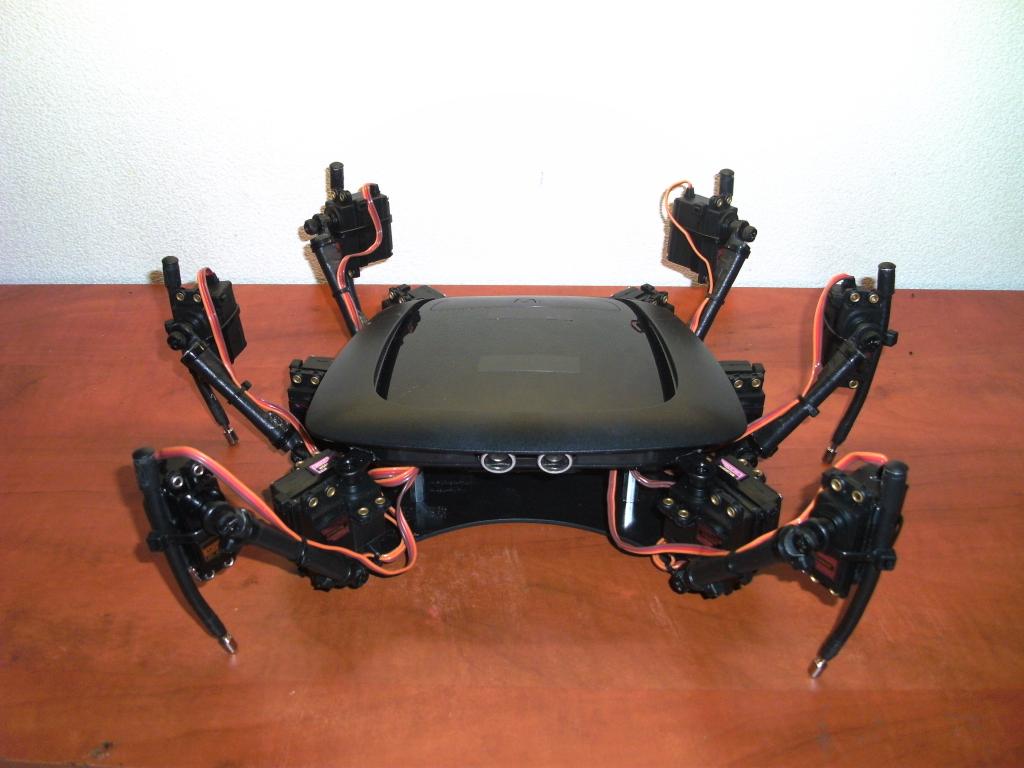
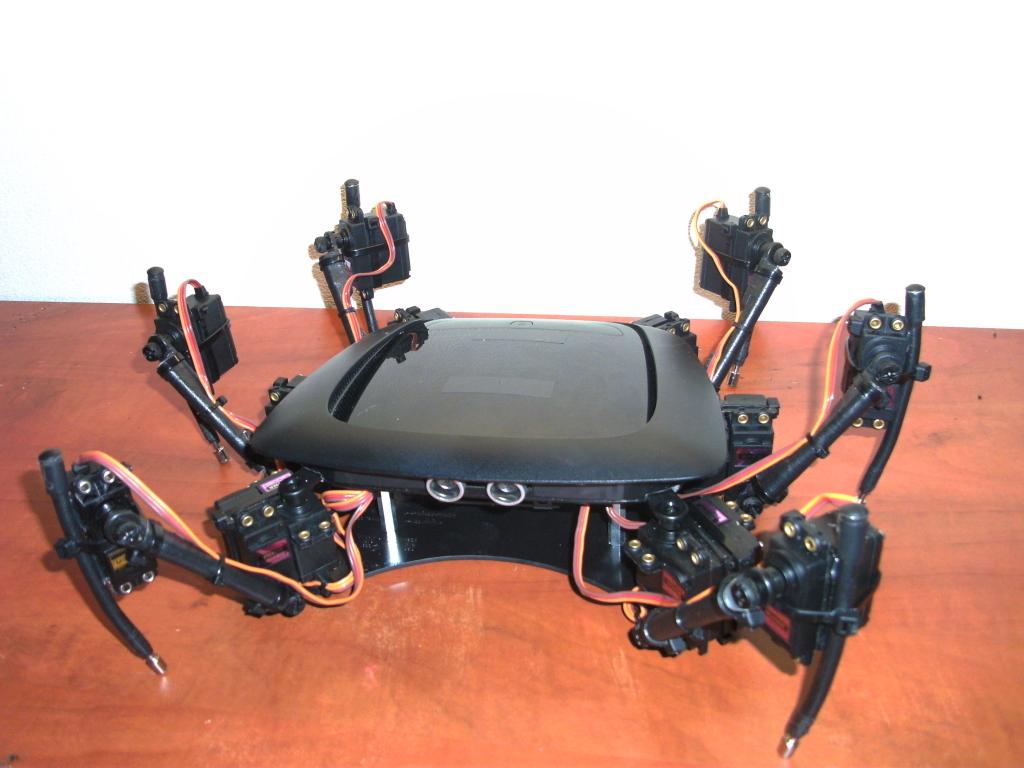
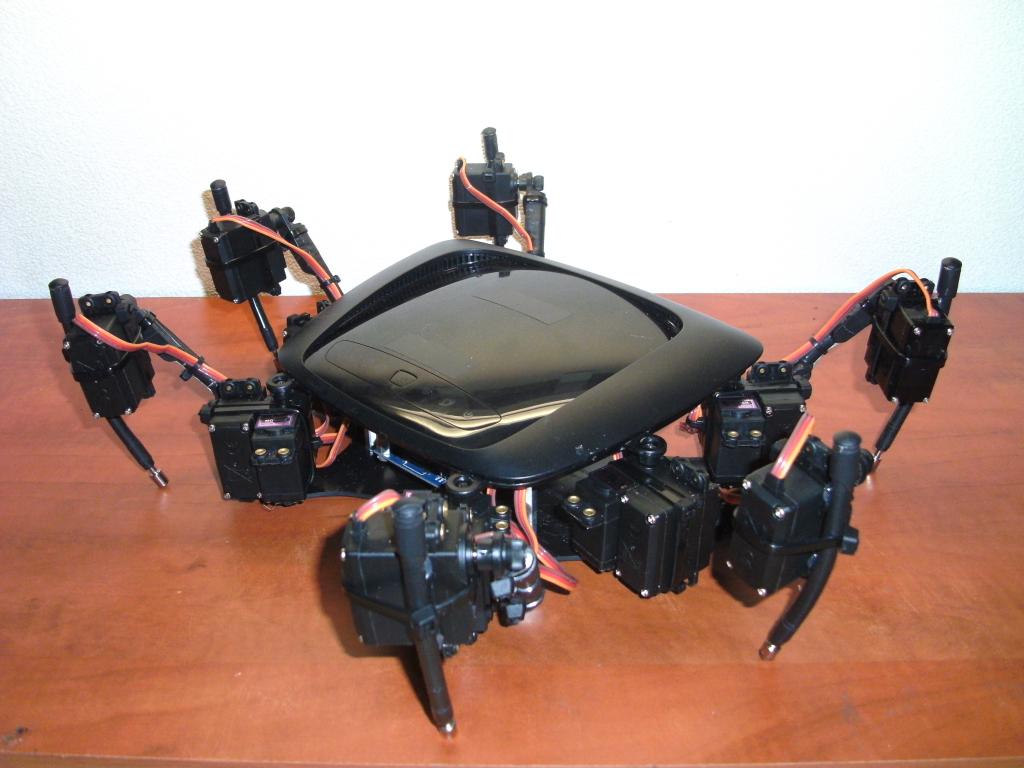
My EZ-B came in little over a week ago. The delivery time was great, no problems. it came in just fine and on time. So I started building my hexapod robot, I call it 'Hank'.
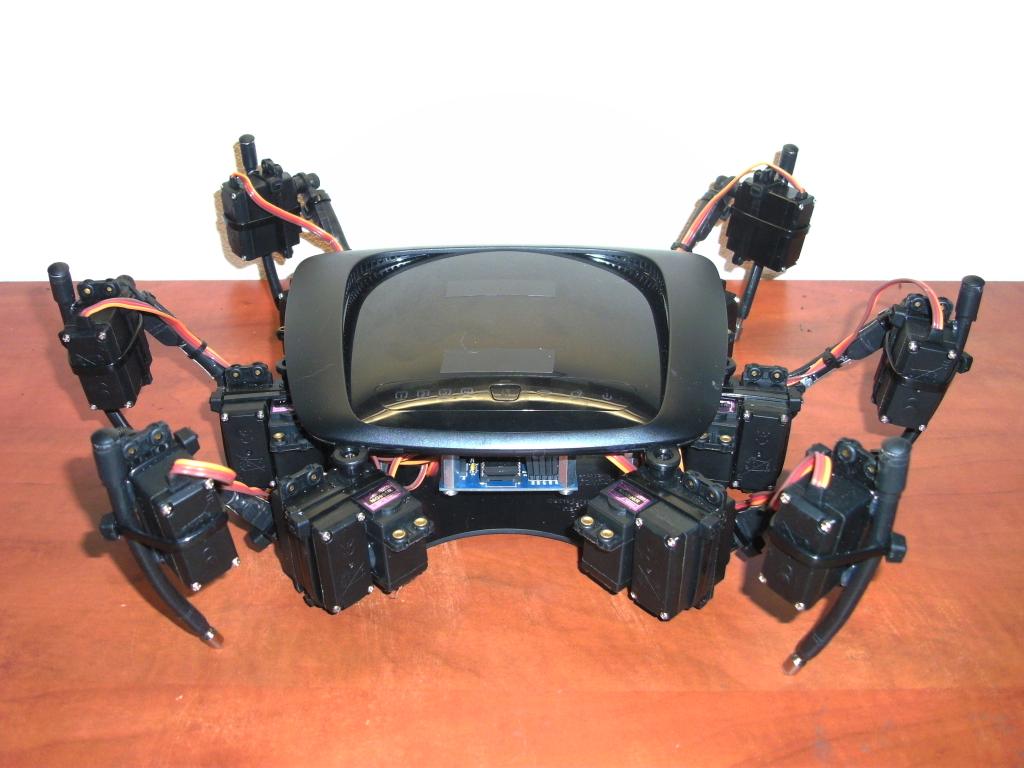
He is made out of an old Cisco E1000 wireless router I had laying around. Its got 6 legs, each using 3 high torque servo's (18 servo's total). Its got one ultrasonic ping sensor mounted staticly without any servo's. So all 20 digital ports are taken. 2 for the sensor, 18 for the legs. I will have to say that the board does indeed brown out fairly quickly, even with the use of the table powersupply I ordered with the EZ-B. So alternate power for the servo's is a must. If anyone could show me a picture of where to cut the proper leads on the board for an external battery source, I would really appreciate it very much, as I do not want to damage anything.
Allthough I have begun compiling some scripts for centering the legs and forward movement, it can't rightly stand nor walk by itself yet without browning out almost instantaniously. I also notice that while compiling the scripts, the command for 'servospeed' does not seem to affect the speed at all. Maybe this is due to the use of high torque servo's, I'm not sure, but the servo's seemingly keep running full power and obviously Hank is one hyper robot, lol. But it uses a lot of power too, anyone have any ideas of how or why I cant seem to slow it down? Ive tried combining it with the 'sleep' command for several seconds but it will infact just wait that time untill whipping out the next movement with full speed. I need to slow that down somehow.
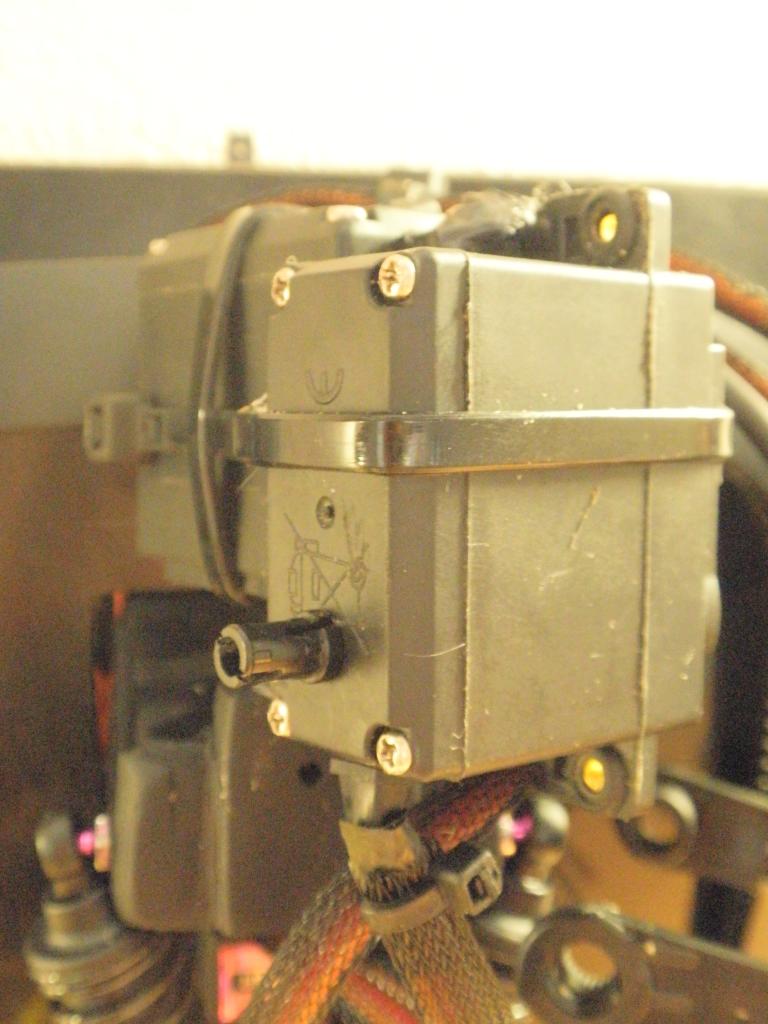
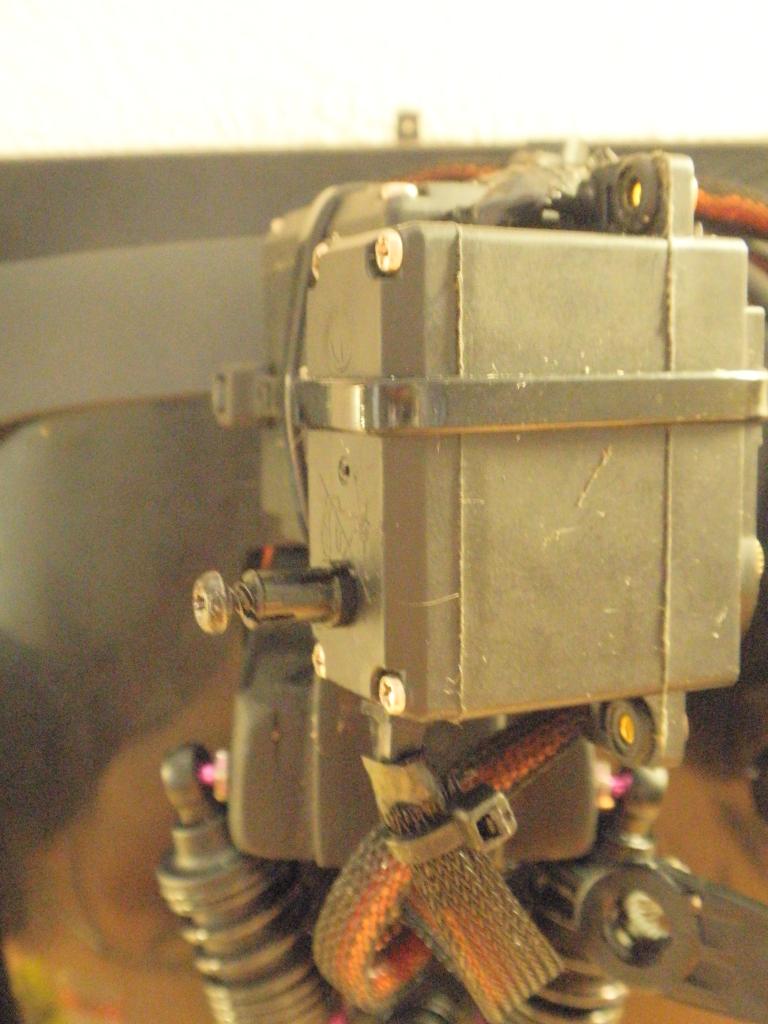
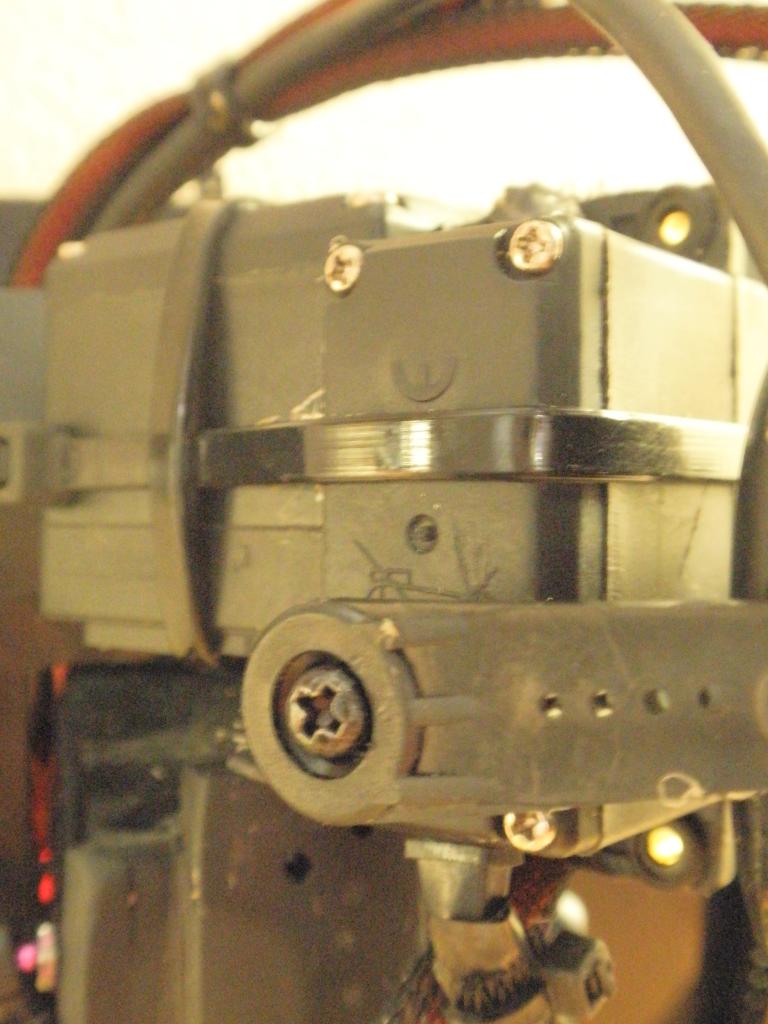
Obviously, this is just a quick mock-up and it needs a lot of improvement. Allthough the frame is basically as it is, the legs ive slapped together outof some aluminium tubes and are hot glued onto the servo mountings. The included plastic servo mountings are quite soft and with the tubes glued like this, the legs bend and wobble easily and do not offer enough support to stand on. the outer legs ive just hotglued on a tie-wrap that is wrapped around their servo. I have ordered black acrylicglass but am still waiting for it to arrive. When it does, i will begin finalising the legs properly and possibly include the lower base of the frame. The router casing needs some final touches too. On the back it has a connect button and the led indication symbols. I intend to place 2 leds and switches for the batteries under the 1st and 2nd network symbols, and possibly attach some optic fiber cable to light up the power symbol on the left using either led on the board. I was also thinking of possibly placing 2 solar panels on its back to provide both batteries with a little extra charge. I am still looking for a suitable battery for the servo's, as this will need enough amps to feed all the servo's, without being too large and will not exceed 6v. though some datasheets for the servo's show 4.8v - 7.2v range, would a 7.2v battery not be too much for the servo's?
Well anyway, Ive attached some pics. I hope you guys like it. Though keep in mind that the legs are temporary so I could begin making some simple scripts untill I receive the acrylic glass lol.
Thanks, DJ Sures! I'm really enjoying EZ-B, with ARC I can easily set up some basic scripts without any scripting knoledge and control it with my wireless 360 controller. It's awesome! (oh, and I got a red LED on my board!)
Kristian.
OMG i see my router walking away. Thats so cool!
My router died last weekend but when i saw this Nice idea
Dat heb je echt mooi gedaan zeg!
Ha! That's awesome
It kind of creeps me out. I Love It!!!!!
awesome bot love to see a video of it running
Yes please show a video! I'm super interested
Outstanding..that really looks great! Can't wait to see more of it and some of the movement scripts you come up with! I would guess the multiservo function DJ just added will be very handy!
Wow! That is awesome! I'd really like to see a video of it walking!
Can you upload a video!!!????? and that is awesome!! I want to see how to work your robot!!
Hi everybody. Thanks for the positive reactions!
I would love to upload a video that showes Hank working properly. However, as I have already said in my opening post, it can't rightly stand nor walk by itself just yet. This is because I am using a total of 18 high torque servo's, out of which at least half are running at the same time at one time or another, they start to draw more power then the board with its 5v regulator can provide. At which point the board suffers a 'brown out', all functions basically fall dead and I will need to pull the power plug and reconnect. right now I have it resting on a stand, allowing it to operate without the constant load of actually having to carry itself. and even then it can only work at a constant rate for a short while before also browning out the board.
So unfortunatly I do not yet have, and am still looking for a proper power source to feed all (or most) high torque servo's seperatly from the board. When I do have that power source and when I feel I can proudly show you all a properly working Hank, I will most definitly upload a video.
@ kkeast
Thanks! I have to say I have NO scripting experience lol. All I know is from what ive seen from the examples within ARC, and the right side hints on the EZ script window. Basically its just sequences of a set positions for each leg, with here and there pause to organize it a little. Unfortunatly the command 'servospeed' does not work, so i cant slow down the movements themselves unless i manually divide any movement for all servo's into small increments and short pauzes. Which needless to say can become fairly complex. lol
For forward movement I have basically used 3 set positions for all legs, which is to extend the leg, then push or pull itself forward, then raise the leg, and then it repeats untill a 'stop' script ends all movement scripts. To maintain balance it's going to have to at least have 3 legs on the ground. So lets say the front left, middle right, and back left leg is group A, and the front right, middle left and back right legs are group B. Group A will move all its legs to a forward extended position, while group B already was in forward extended position in previous step, and is now push/pulling the robot in a forward motion. In the next step, group B will raise its legs before extending them again, while group A is now push/pulling the robot in a forward motion..and so on, and so on.
Example:
step 1.1 Group A legs up
front left leg
servo(d1, 65) servo(d2, 50) servo(d3, 60)
middle right leg
servo(d7, 5) servo(d8, 10) servo(d9, 35)
back left leg
servo(d13, 65) servo(d14, 20) servo(d15, 60)
step 1.2 Group B push/pull forward
front right leg
servo(d4, 55) servo(d5, 25) servo(d6, 23)
middle left leg
servo(d10, 50) servo(d11, 45) Servo(d12, 35)
back right leg
servo(d16, 50) servo(d17, 20) servo(d18, 45)
sleep(500)
and then there is step 2.1 for group A and step 2.2 for group B, then finally step 3.1 and 3.2 to complete the cycle. it simply repeats itself or is interupted by the 'stop' script that ends all movement scripts. The script is real basic and the first thing ive come up with. Then I suppose its a matter of refining all the various moves and their scripts. All the scripts for forward, reverse, right, left movement and stop are simply named so and refered to by the movement script in ARC with 'controlcommand("forward", scriptstart)' etc.
My 'stop' script looks like this:
stop movement scripts
controlcommand("forward", scriptstop) controlcommand("reverse", scriptstop) controlcoomand("right", scriptstop) controlcommand("left", scriptstop)
I hope this sort of gives you an idea of what i've come up with so far.
Kristian.
Awsome. So many possibilities. cool
@Kristian,
Wow, great job on those scripts!....seeing a vid of your bot in action when you get a chance would be really really cool.... (I love the router casing....looks like a alien crab....sweet!) For someone who did not do much scripting before...looks like you are doing a pretty good job so far.....well on your way!
v/r
Kevin
That's a nice spidy! I'm looking into do something like this in the future, could you show the bottom how the horizontal servos are mounted? Thank you.
It looks so sick , give.that.thing glowing red eyes !
This REALLY looks great! Nice idea with the case!!! eek
@ Everyone
Thanks! I'm happy to see all the positive Feedback. Unfortunatly, Hank has not evolved much since v1.0 infact, I have put that project on a hold for now. I had been looking for some black acryllic glas for the legs but that was a disaster. I could not find any stores locally that sold the acrylic glas. I have at some point made orders with online distributors but that too wasn't succesful. so much errors and complications and time lost and ultimatly did not work out either. I have tried using clear acryilic glass but those broke due to a too tight contruction (my error). So out of frustration i've put this asside for now, but I will most surely continue working on Hank in the near or distant future.
@ LT
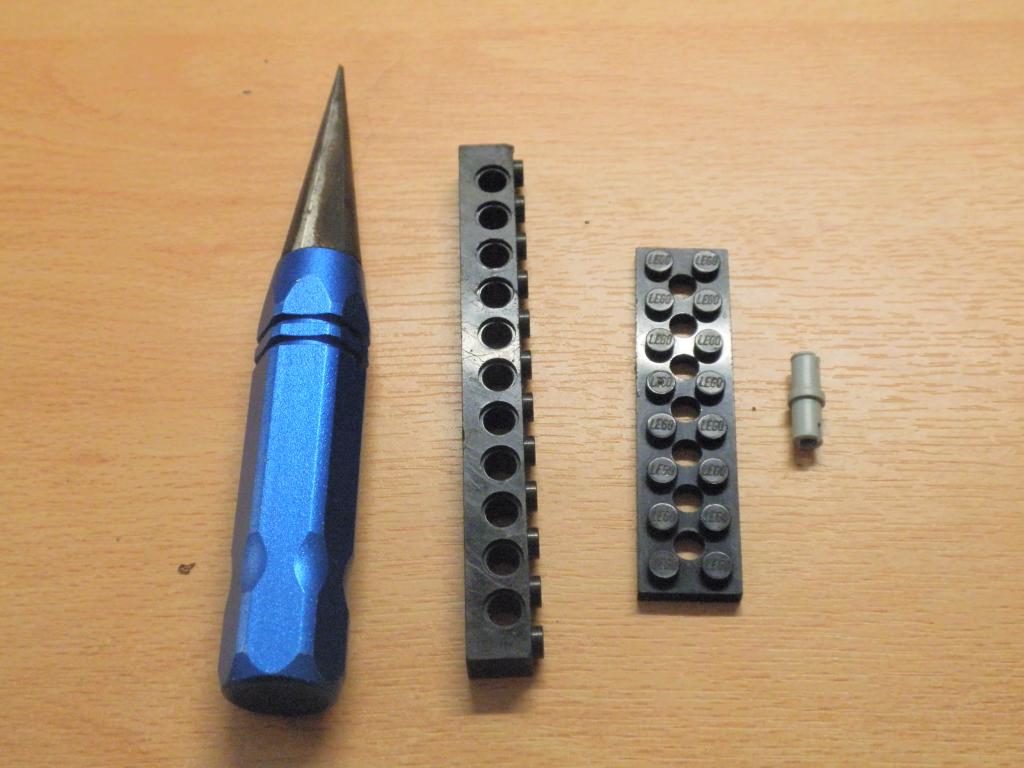
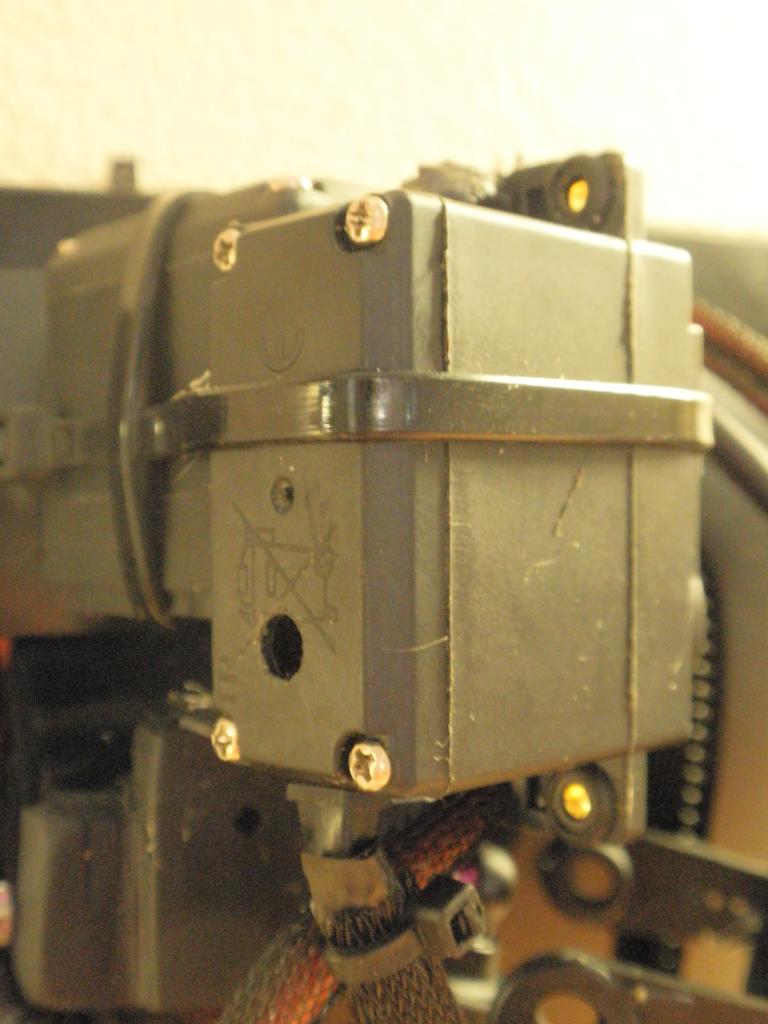
I use lego a lot for all kinds of purposes. The horizontal servo's I had mounted with Lego aswell.
I've made a small hole in the bottom of the servo's as you can see in the pictures. In there I placed that Lego part (don't know how to call it). I've used some hot glue to keep it in place and screwed in a small screw from the inside. It works great and Lego must be one of the best inventions ever! I hope this has helped some.
P.S.
I have started a new project after I had had enough of the endless frustrations with the acrylic glass. I call it Shangrala, which I will be showing here soon aswell. It is basically a wall mounted desk companion of sorts. It is a camera that tilts and pans around. It will be fully verbally controlable and will hopefully control parts of my system. I hope to give it some level of Arteficial Intellegence with the help of the Leaf/Lisp project software that has been discussed here on a different thread before. It still needs a lot of work, it will be using the same casing I had used for Hank (I totally like that casings design).
Regards, Kristian.