


-635353562186322812.png)


Hi all,
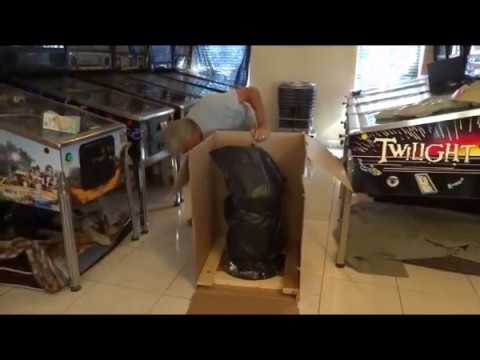
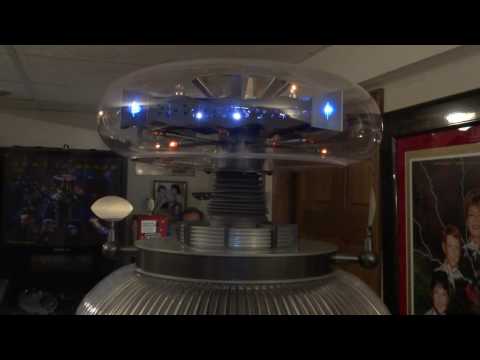
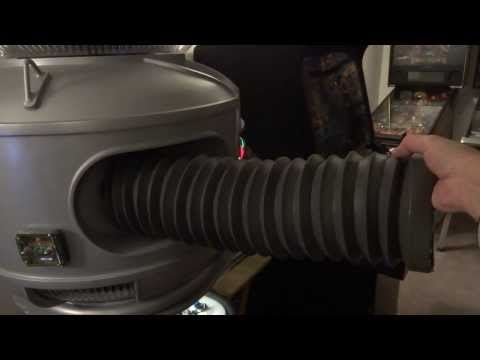
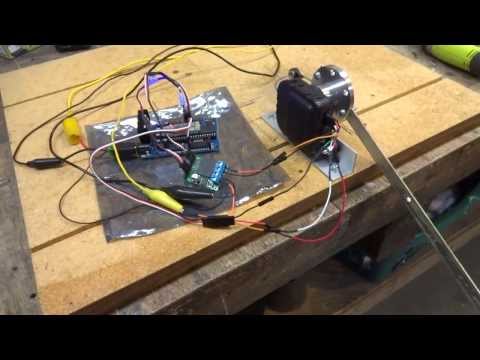
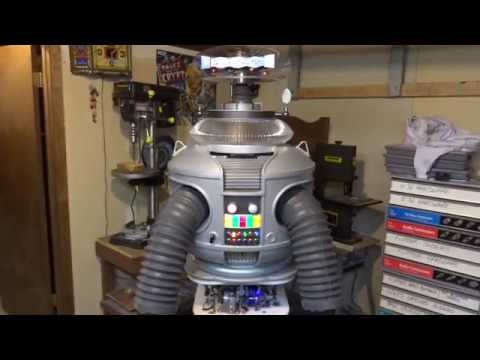
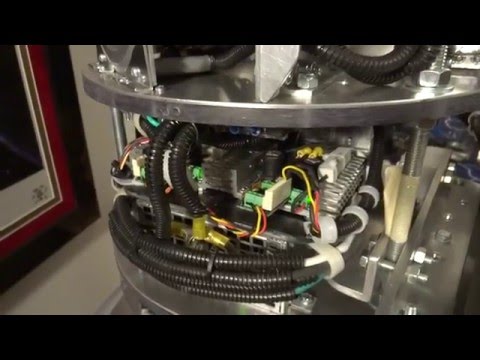
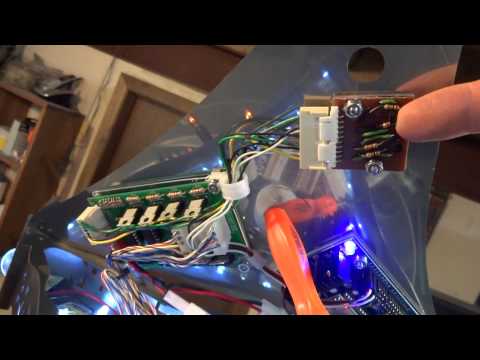
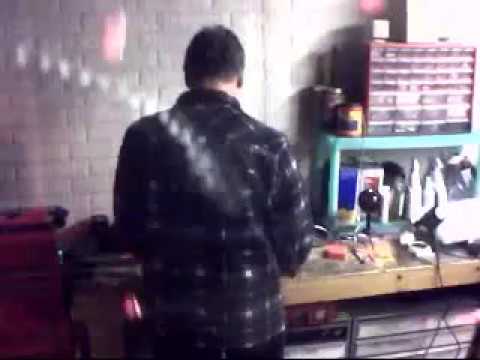
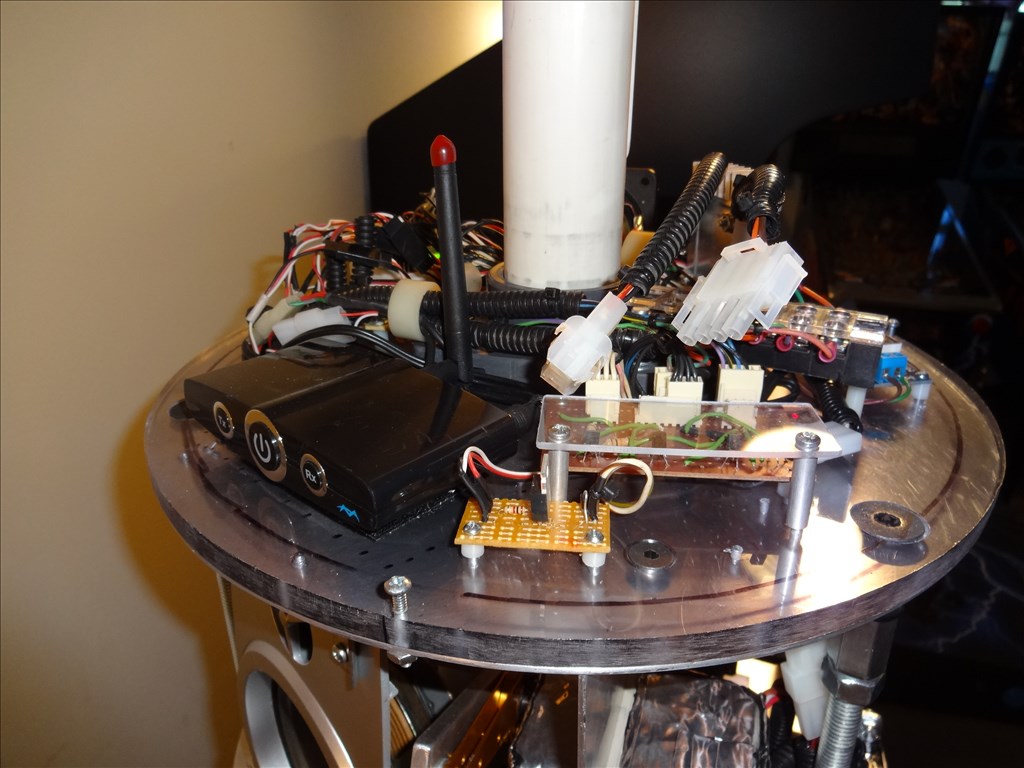
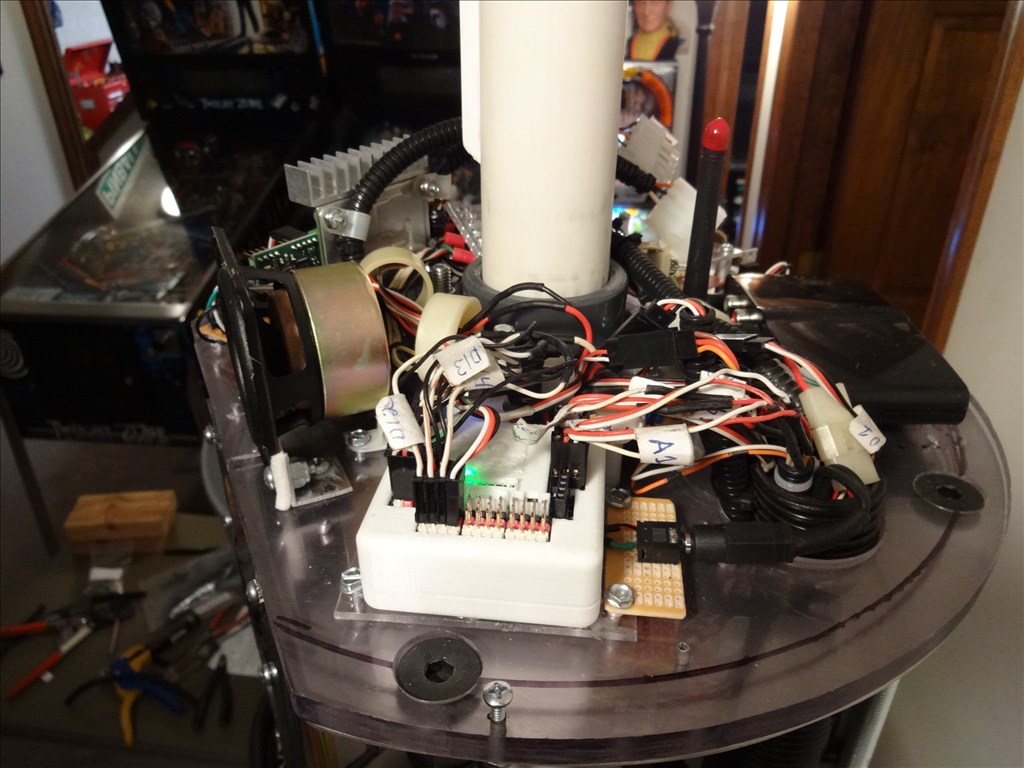
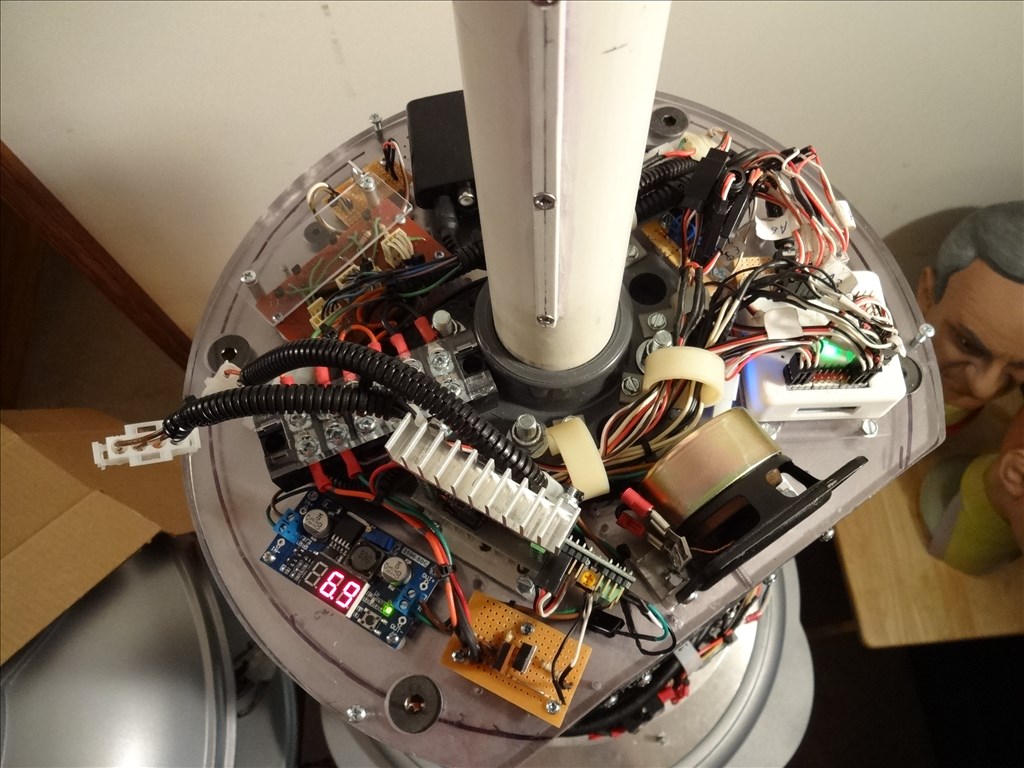
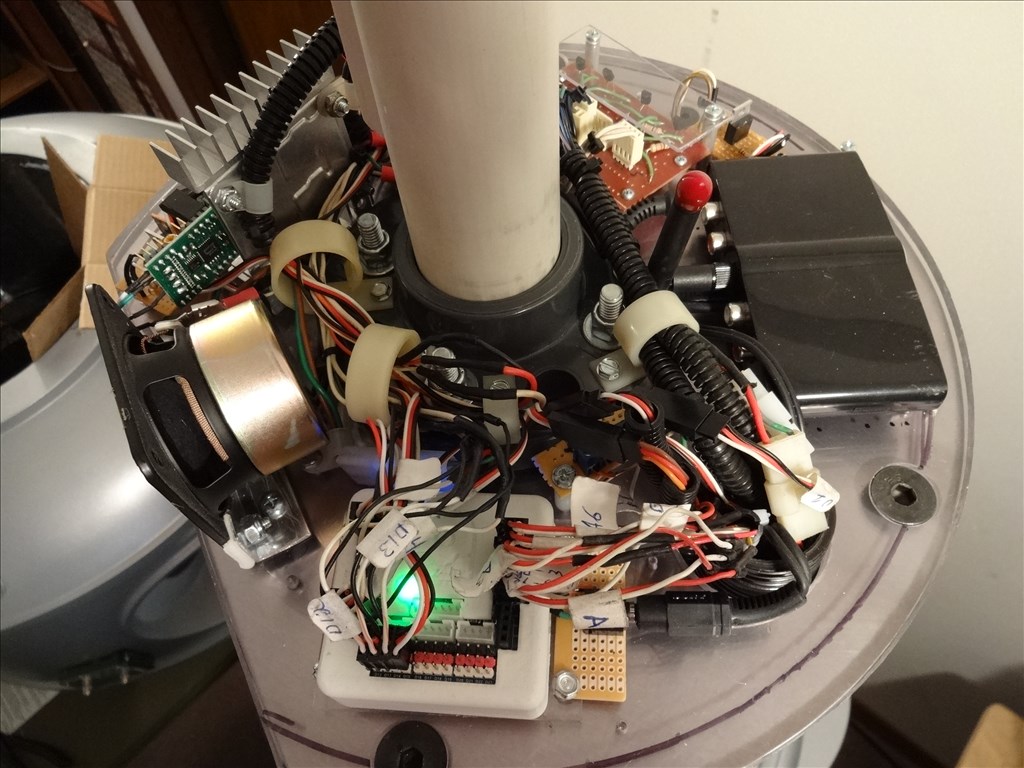
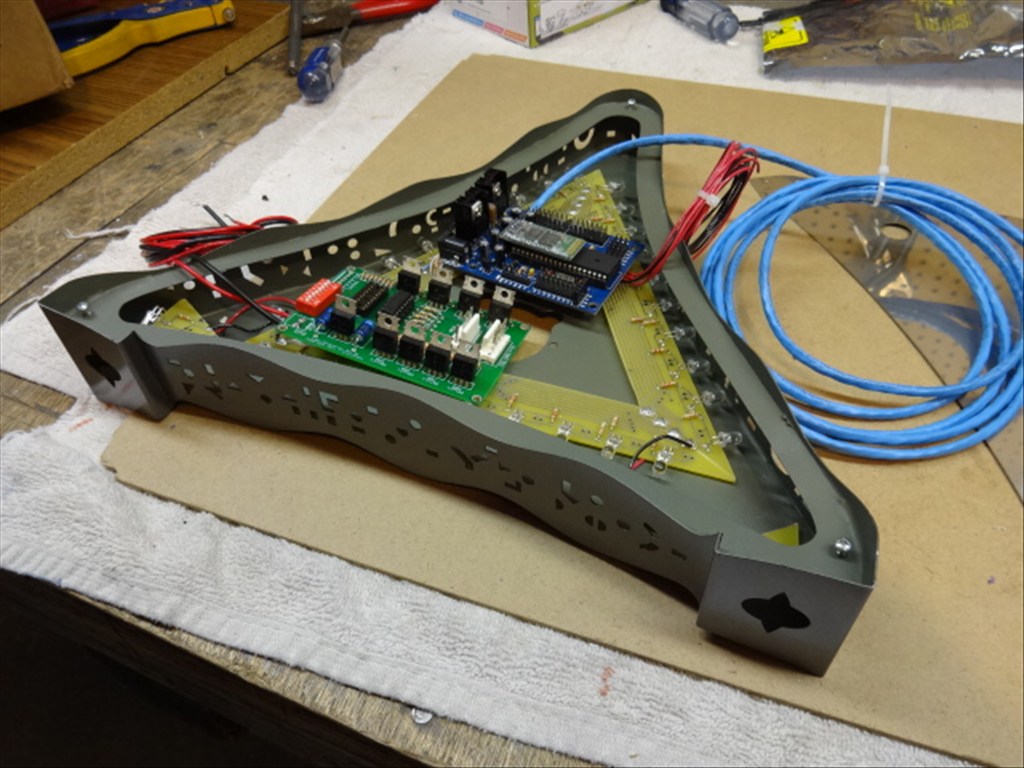
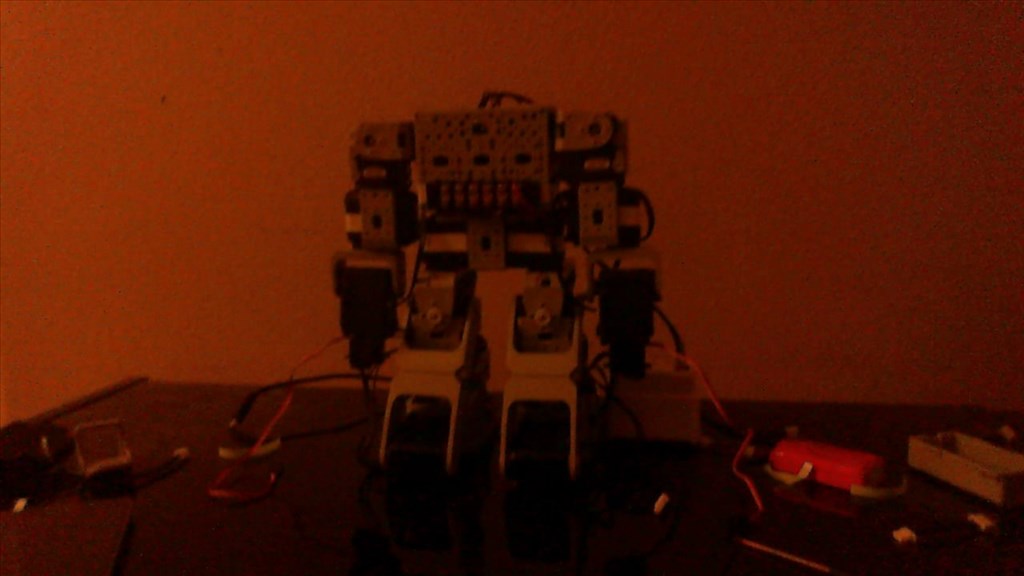
I'd like to share a video I just took of my full size Lost in Space B9 robot that's controlled by two EZ-B controller boards. Right now they are controlling limited movement and voice response of a few motors, lights and sound files played from a Sparkfun MP3 Trigger board. Although I'm just starting with the animation and have more building on the actual robot the result (mostly thanks to the EZ Robot controller board) is shocking. Please have a look at this (4 minute) You Tube vid and enjoy.
Please excuse some Technical camera lighting and sound issues. This is the first time I'd made and posted a vid online.
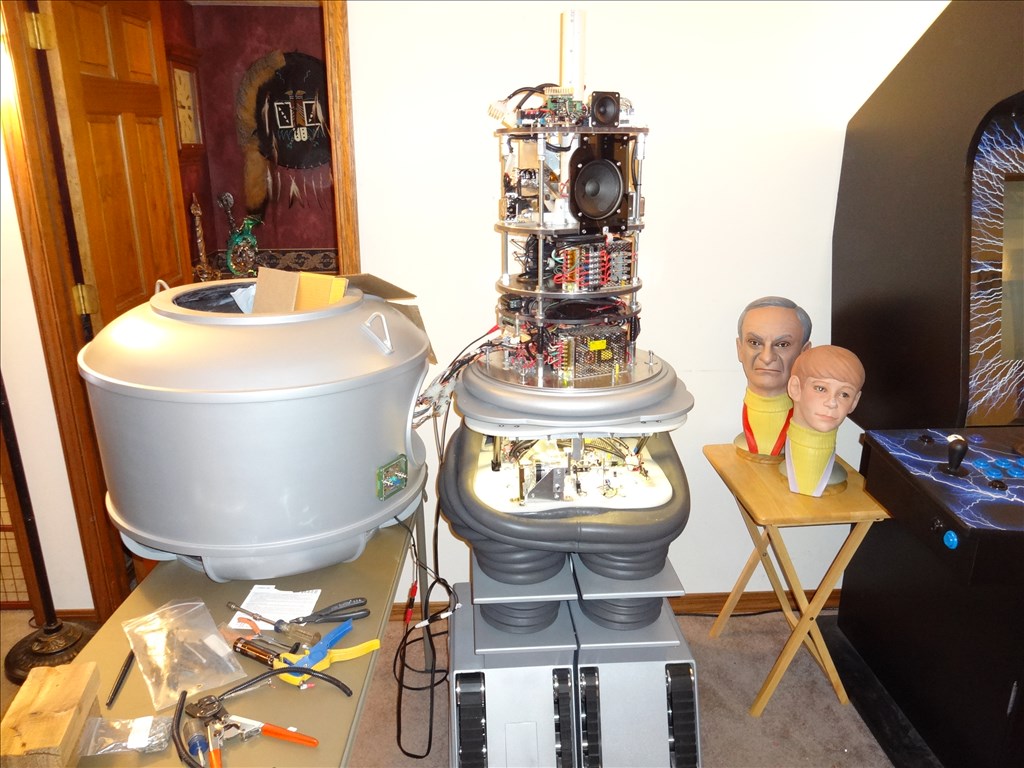
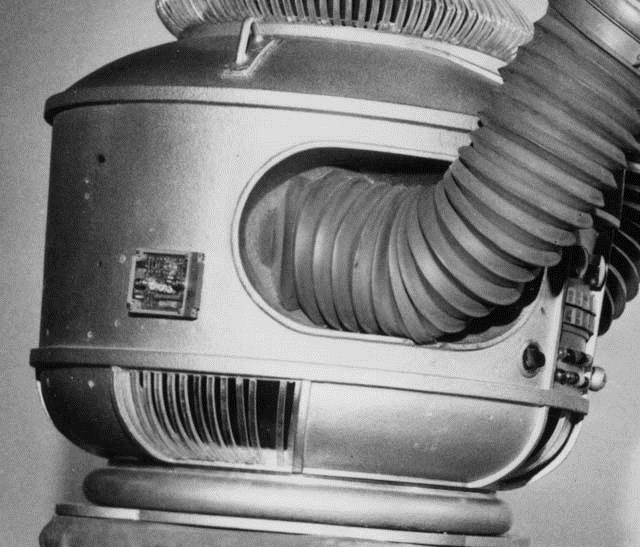
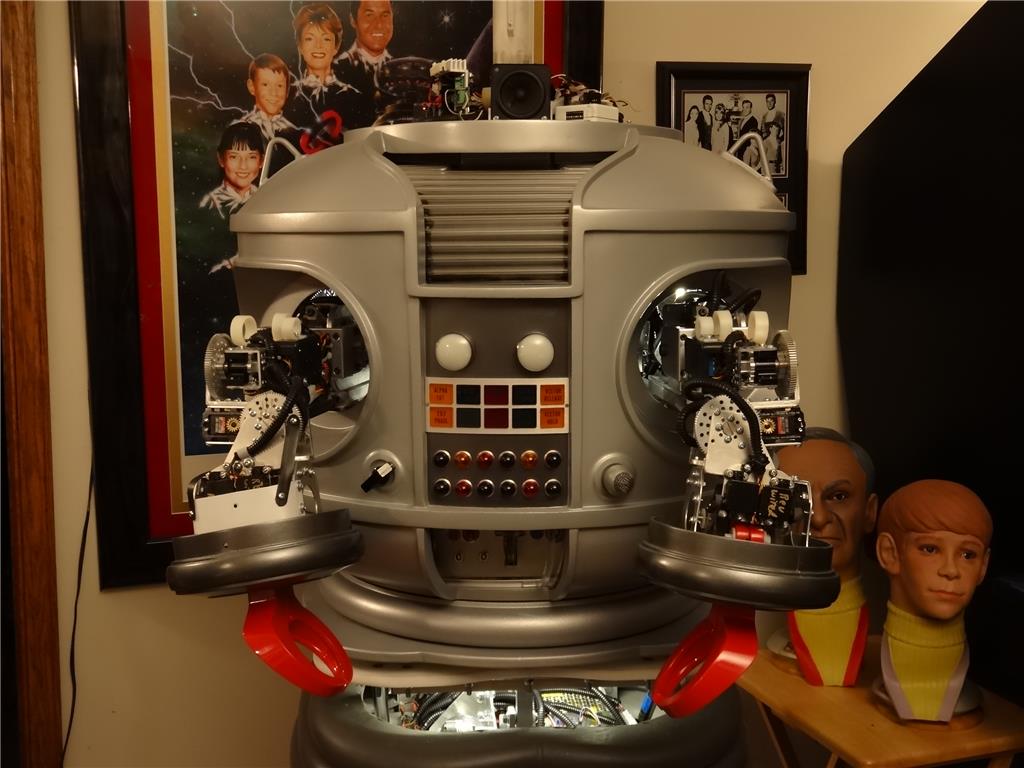
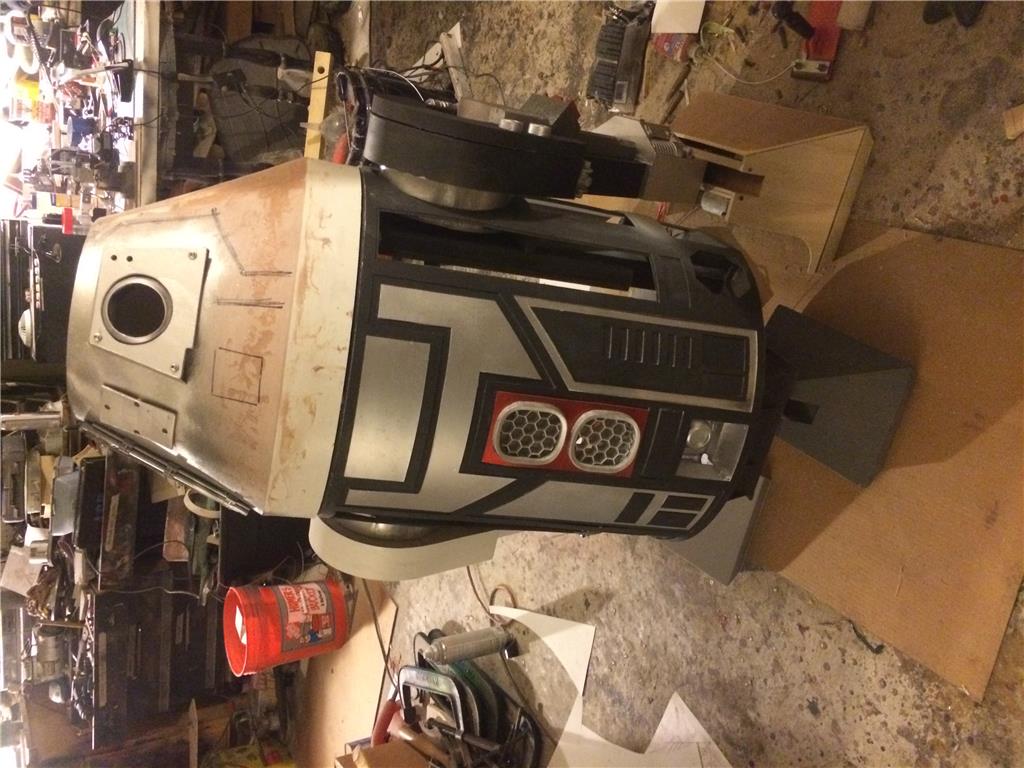
EDIT 8/2/13: Just realized I have no good pictures of how my B9 will look when complete. Here's one of the actual TV robots from the 60's TZ show Lost in Space and one recent shot of where I'm at with my build over 1 1/2 year after I started. Enjoy:


Thanks, Dave Schulpius
Discover more robots
Sudo's Project Shogun
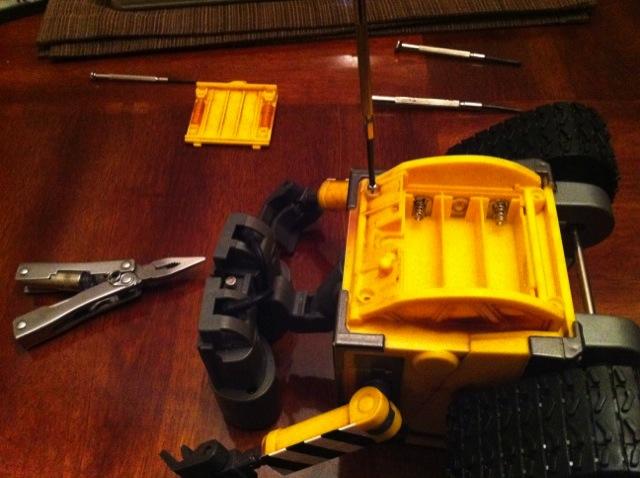
Daman's Yet Another Wall-E

Tony, Sorry in the delay getting back to you on this. Things have been very busy in my life. I hate it when life gets in the way of the fun things I want to do like building things and learking on this forum.
How can I refuse such a grand offer! I have to accept and work it into my B9 somehow. Thanks! I'll follow up with private email and find out the details of what you'll need from me. I am in no hurry as I have lots of other things to keep me busy. You may as well hang onto my package of motors and send everything at one time.
As far as your email with shipping details; No I didnt see it. I'll check my pile of email and my spam folder. Sometimes things I want to see end up in there or I just plan miss it. I'll let you know.
Thanks again, Dave
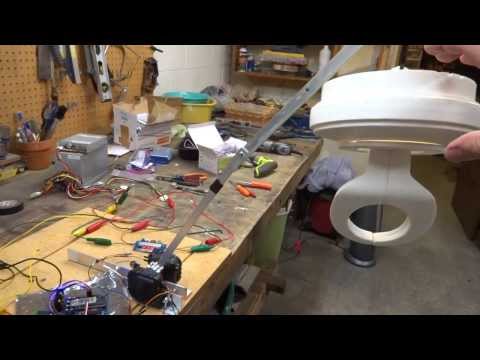
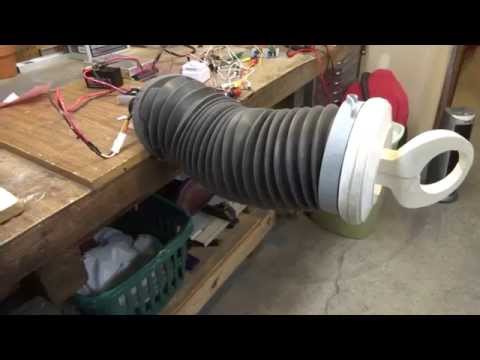
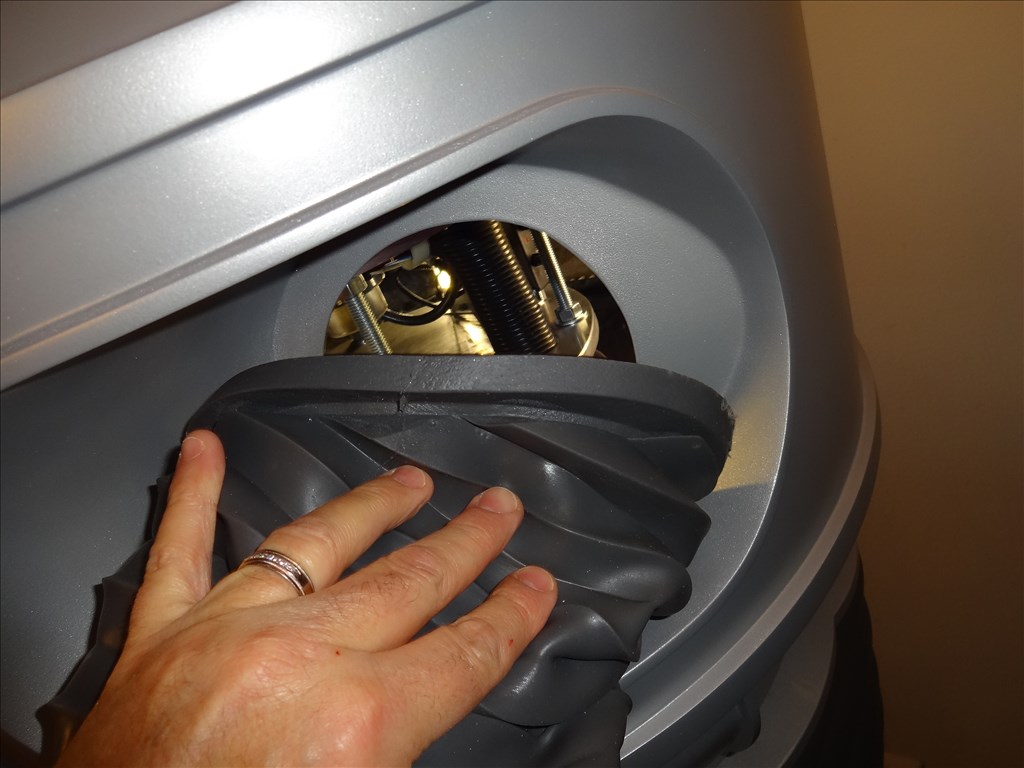
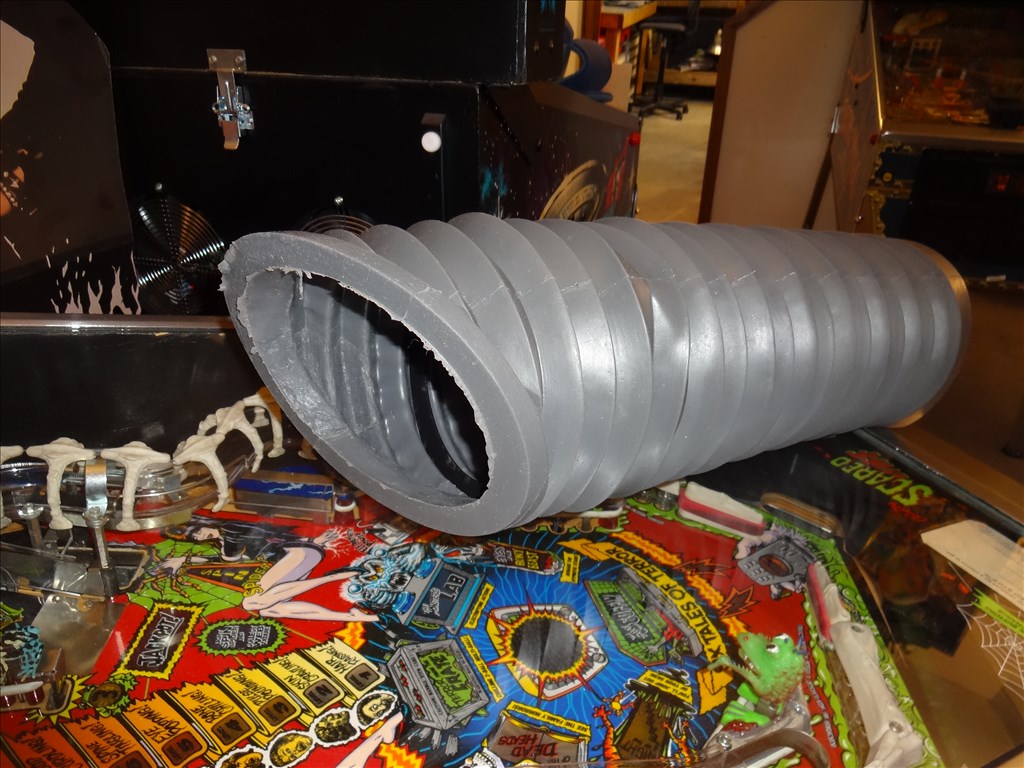
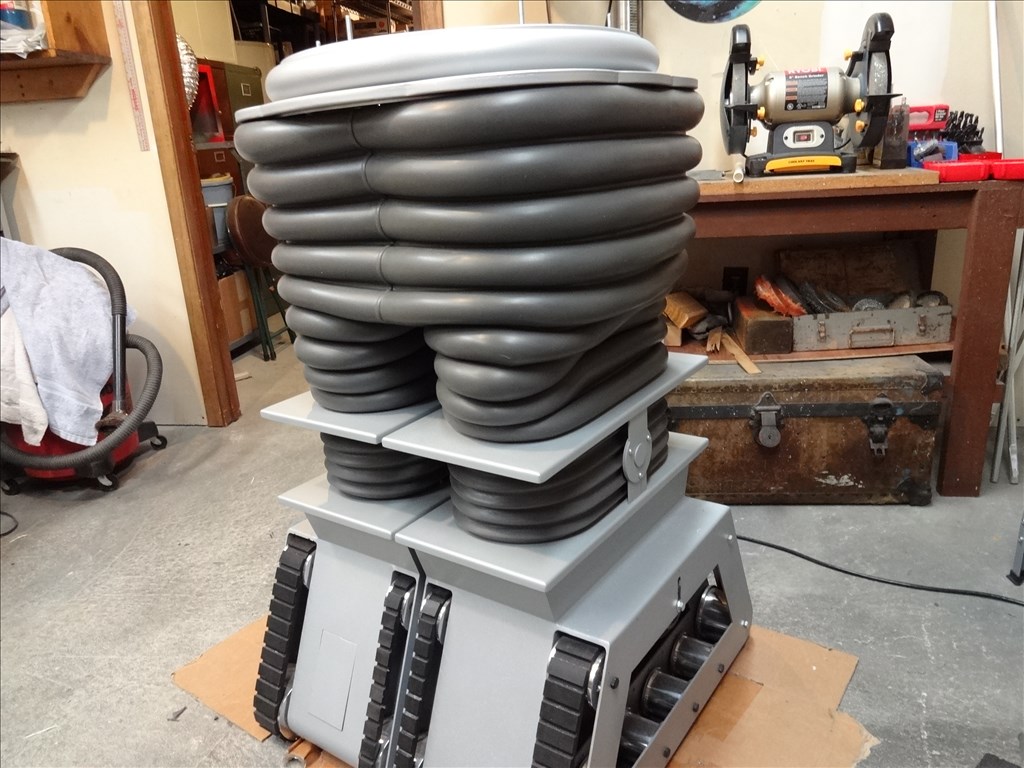
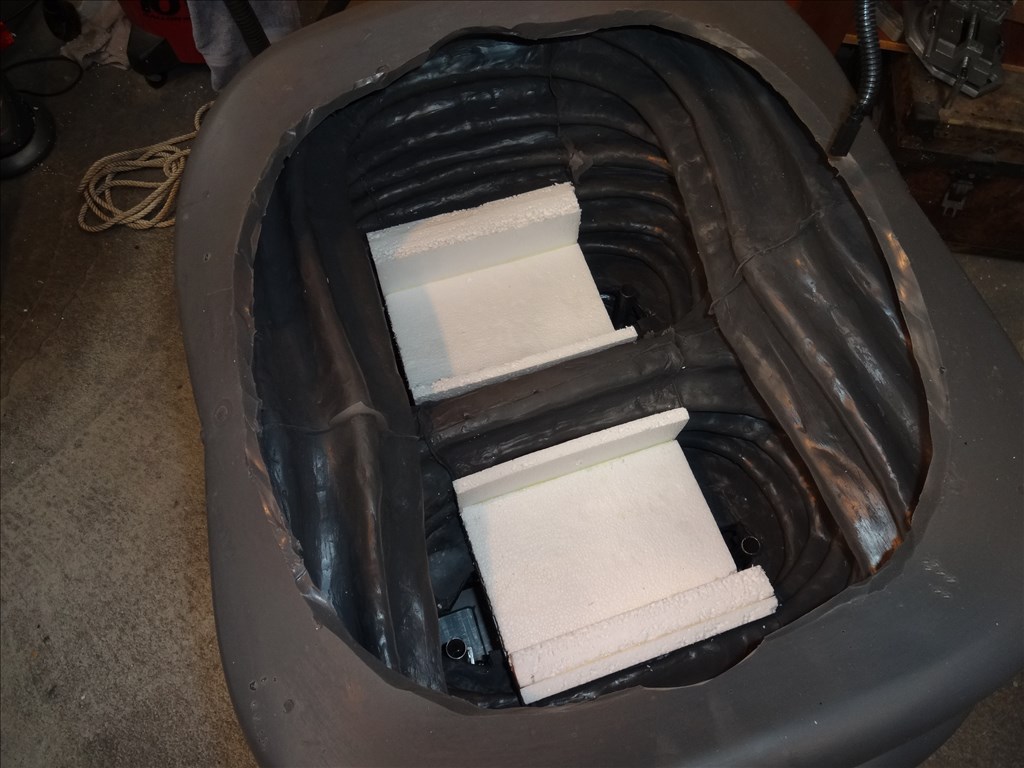
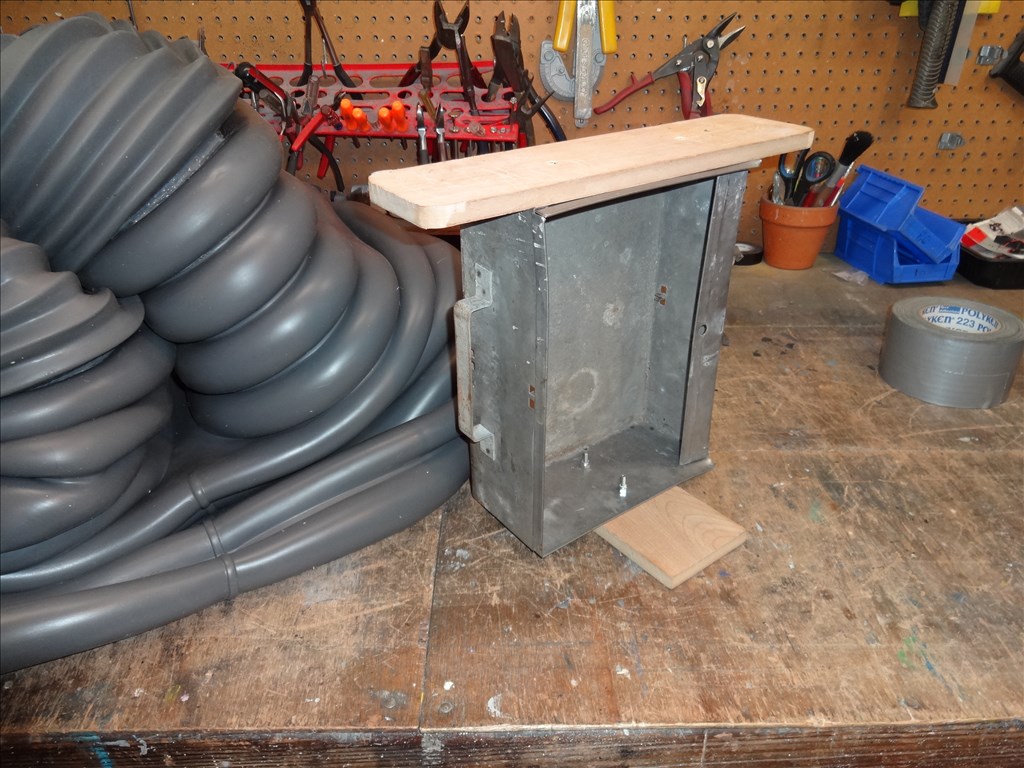
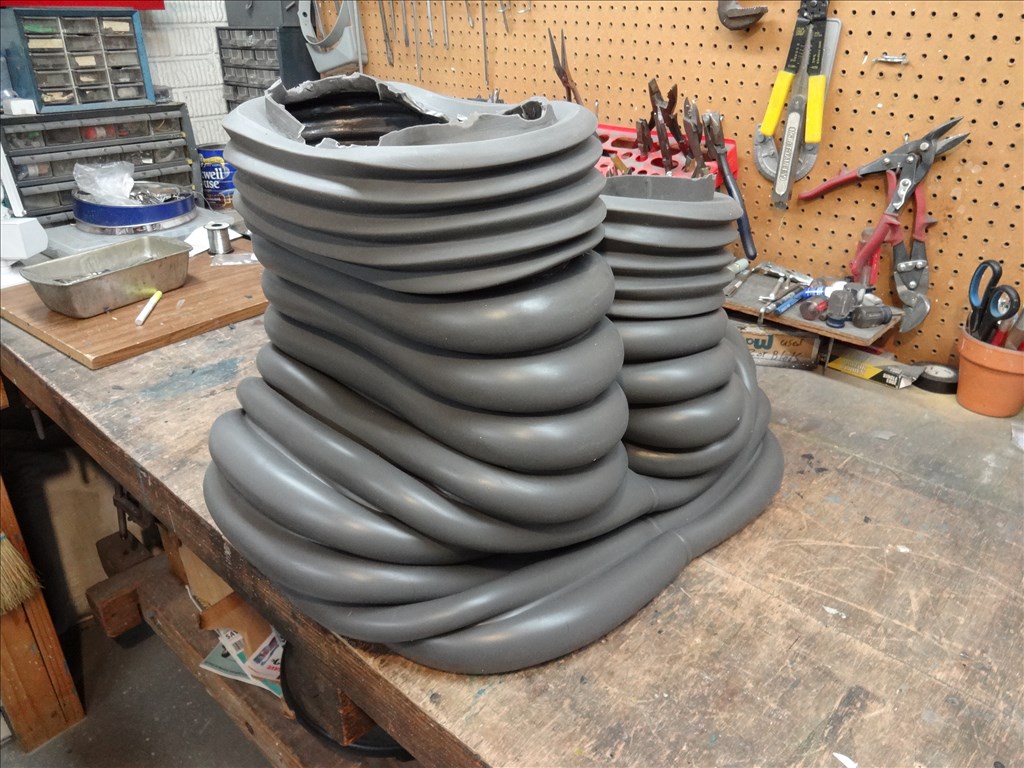
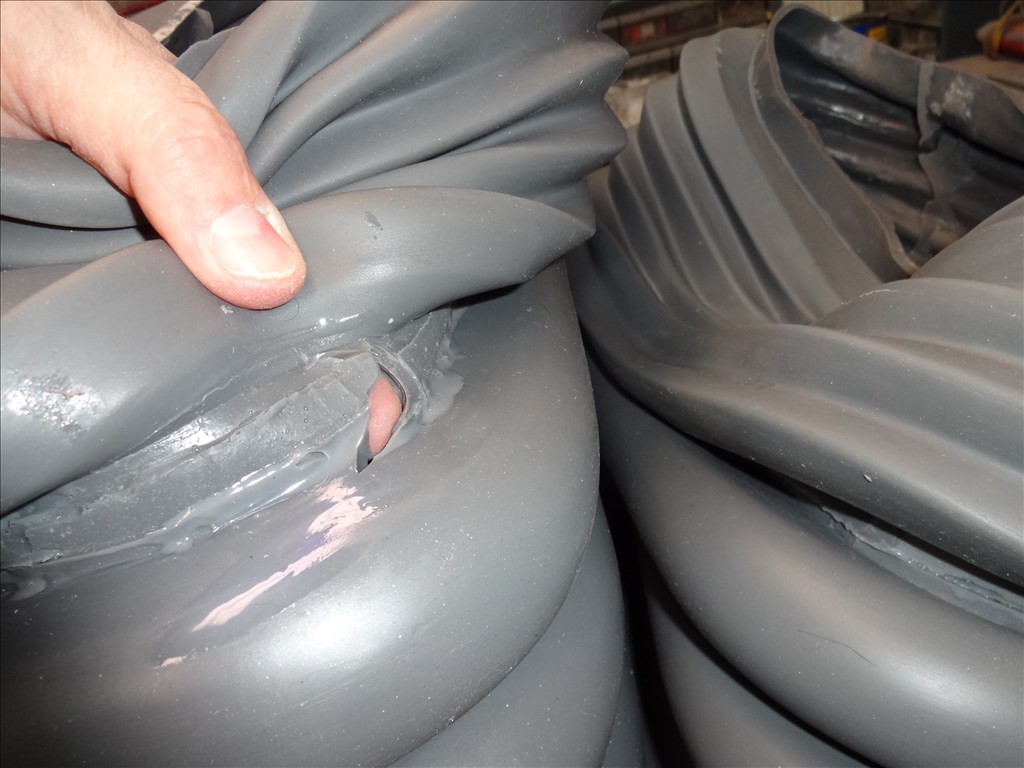
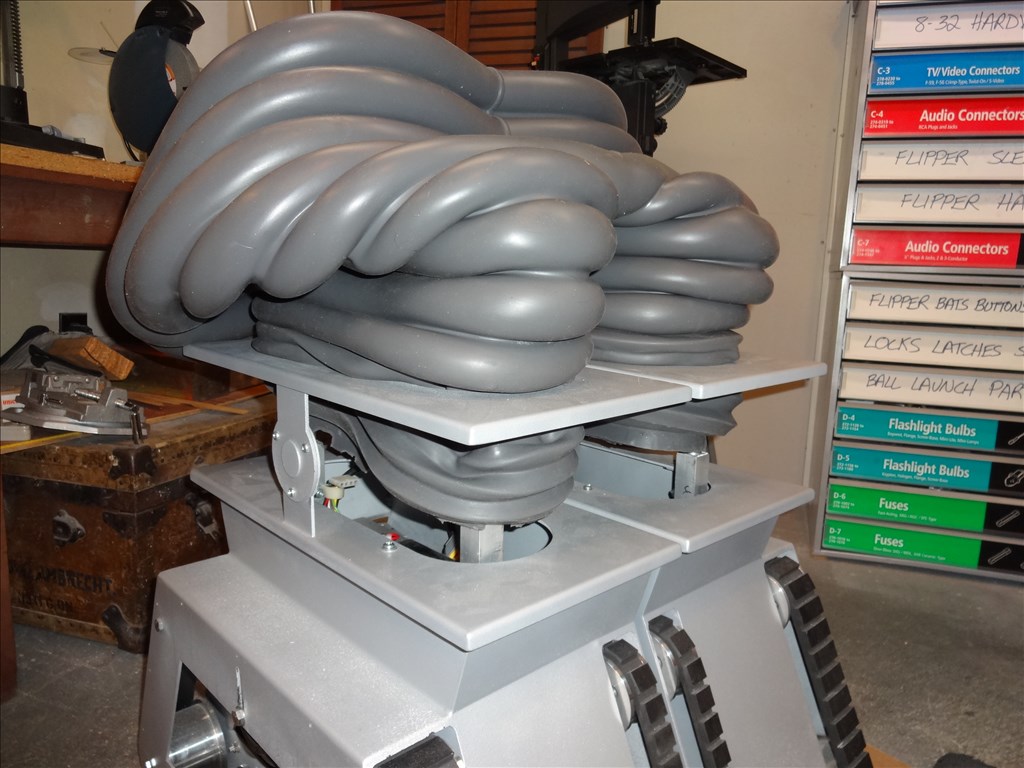
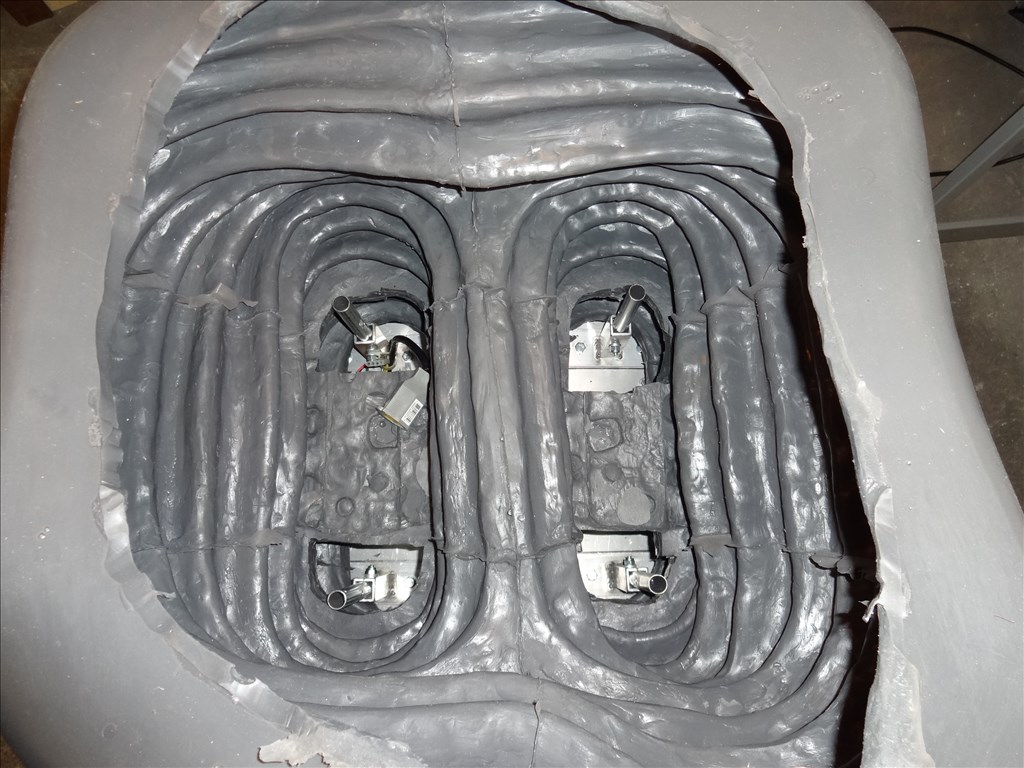
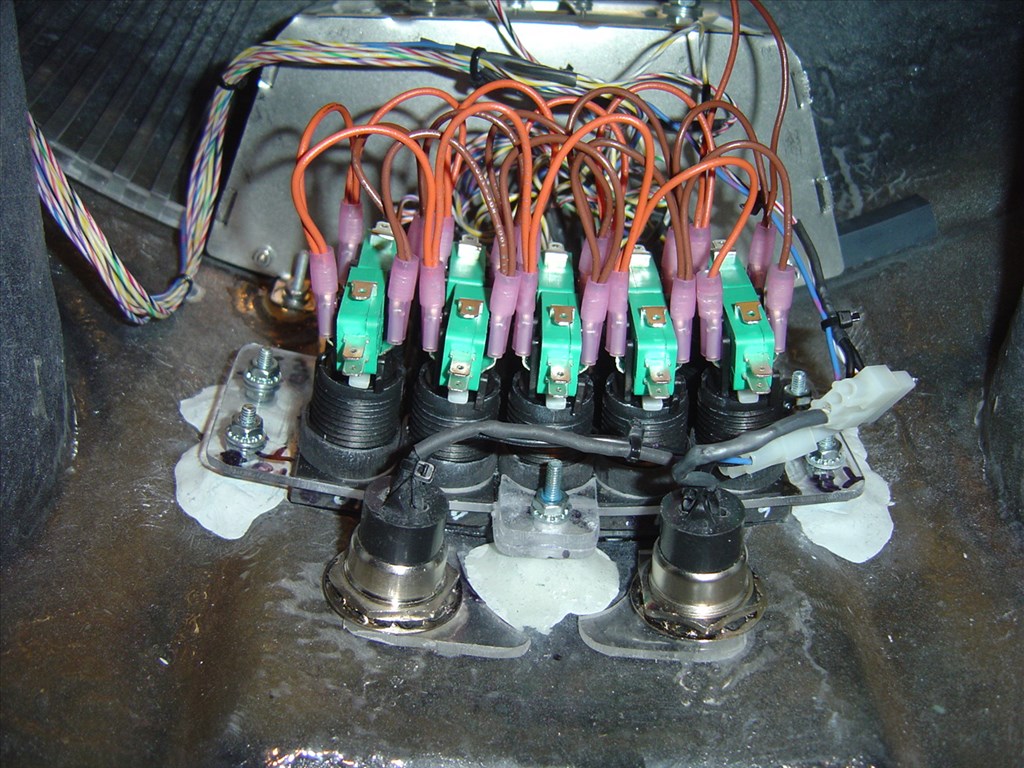
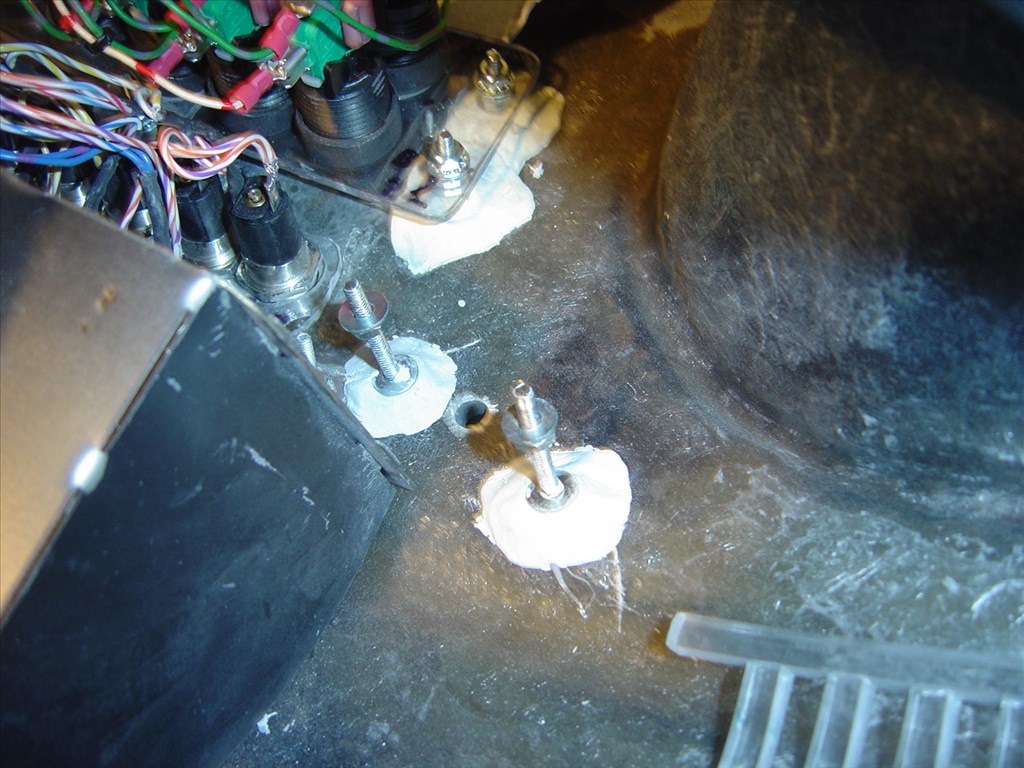
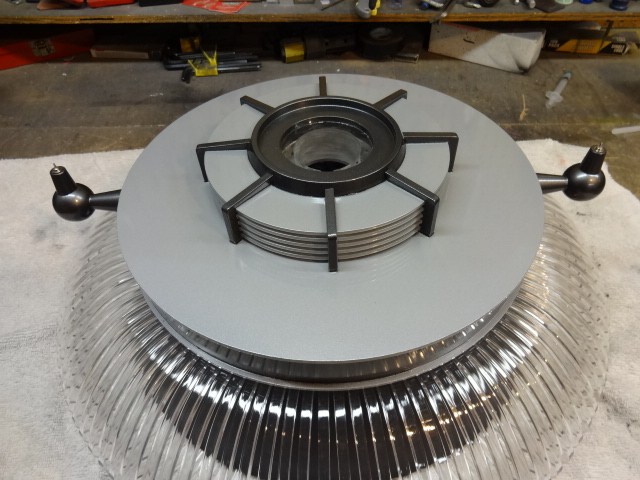
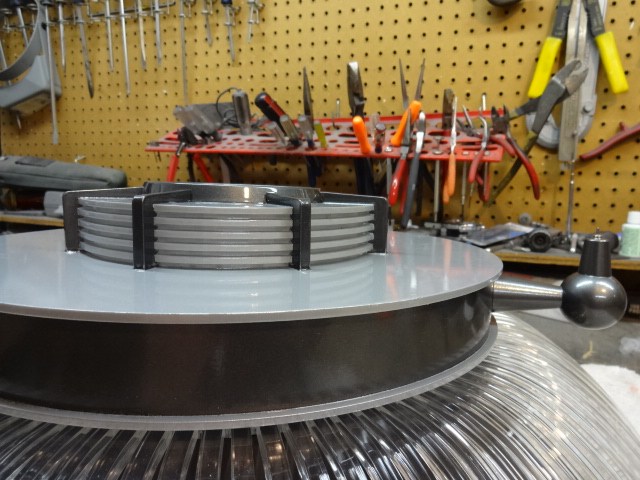
OK, I've got the filler completed and installed. Following the suggestion of Will Huff (the maker of these silicone rubber legs) I'm using a low tech solution, stryofome. I just glued different thicknesses together to get the proper height and width to fill the lower part of the leg. Here's a few pics of the process and finished product. Turned out great and I kinda kept some of the squished look. I ended up with 16" between Knee and sup waist plate. I think it turned out pretty good.
Before the filler:
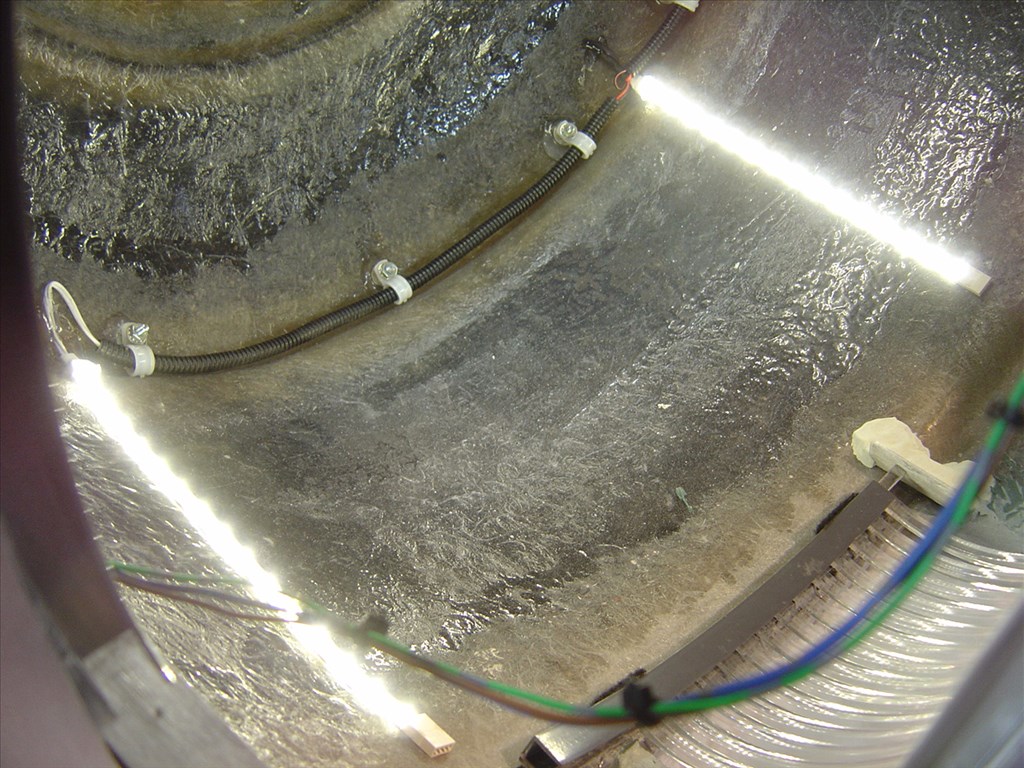
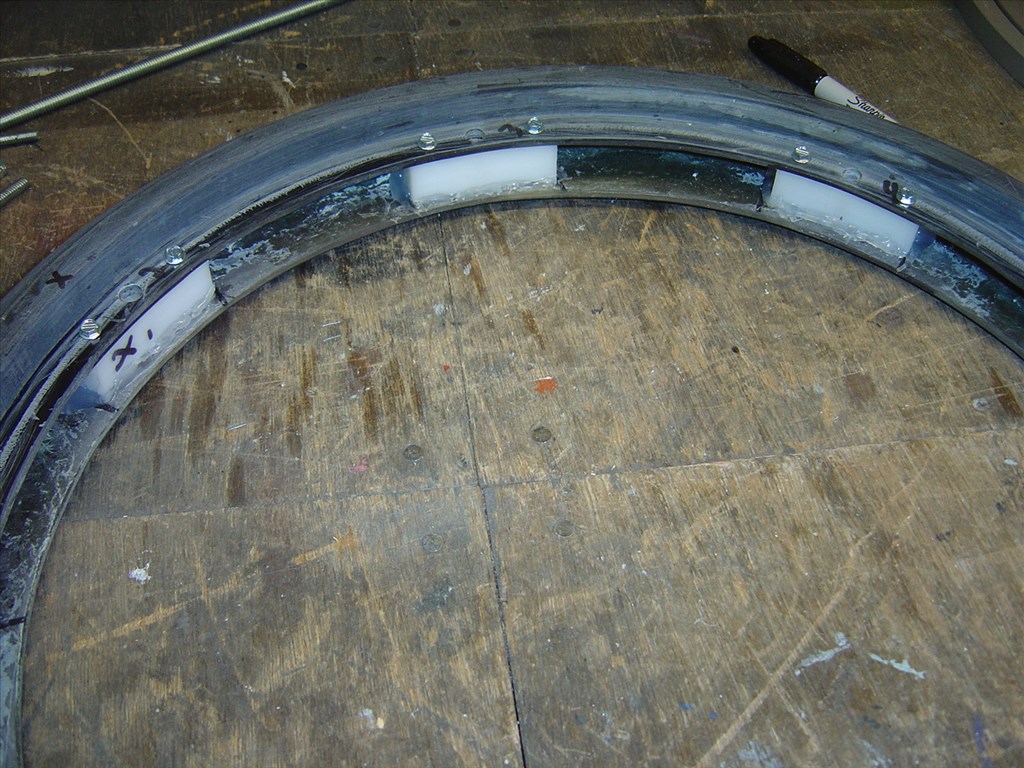
After the filler
Here's the TV Robot's leg section I want to imatate:
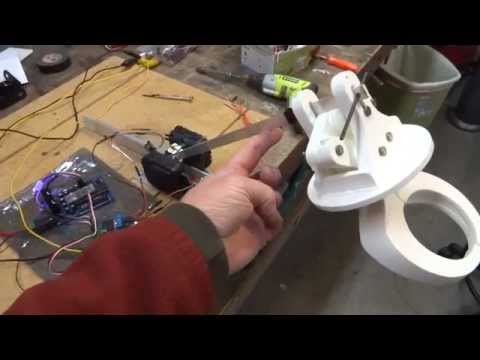
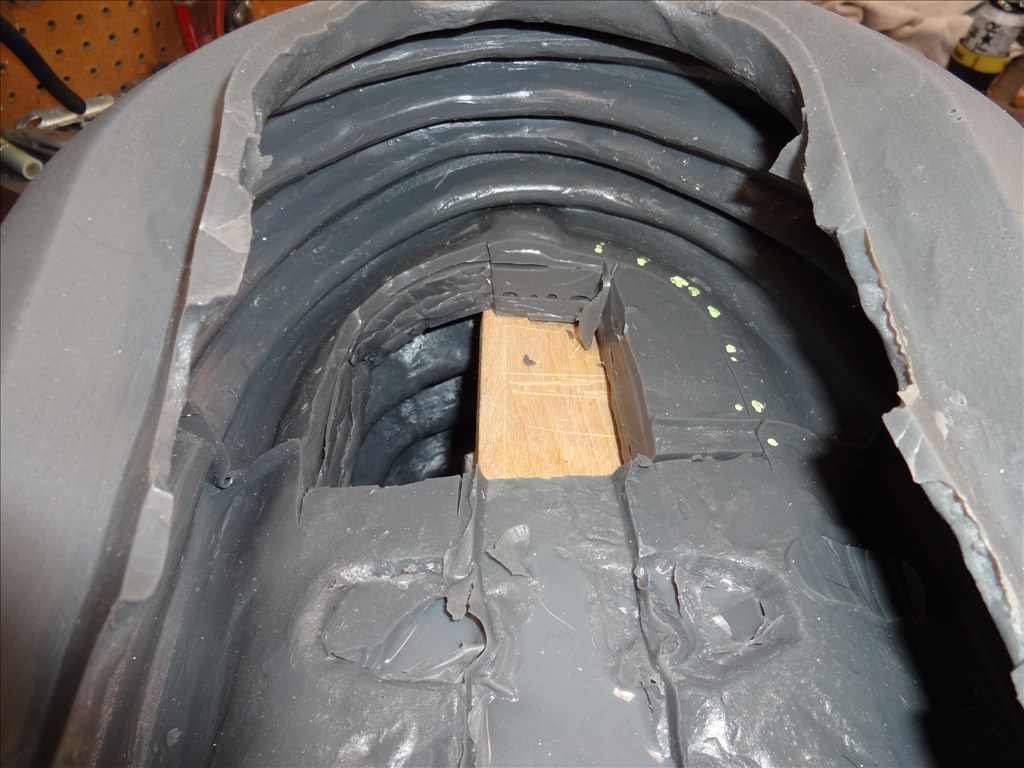
Here's how I did it:
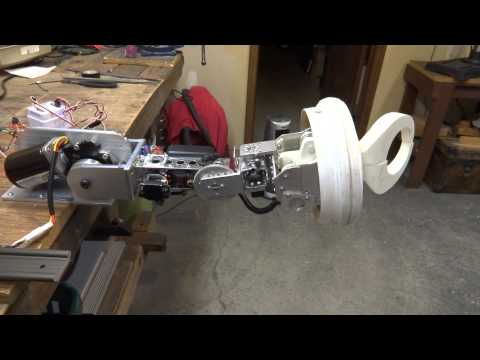
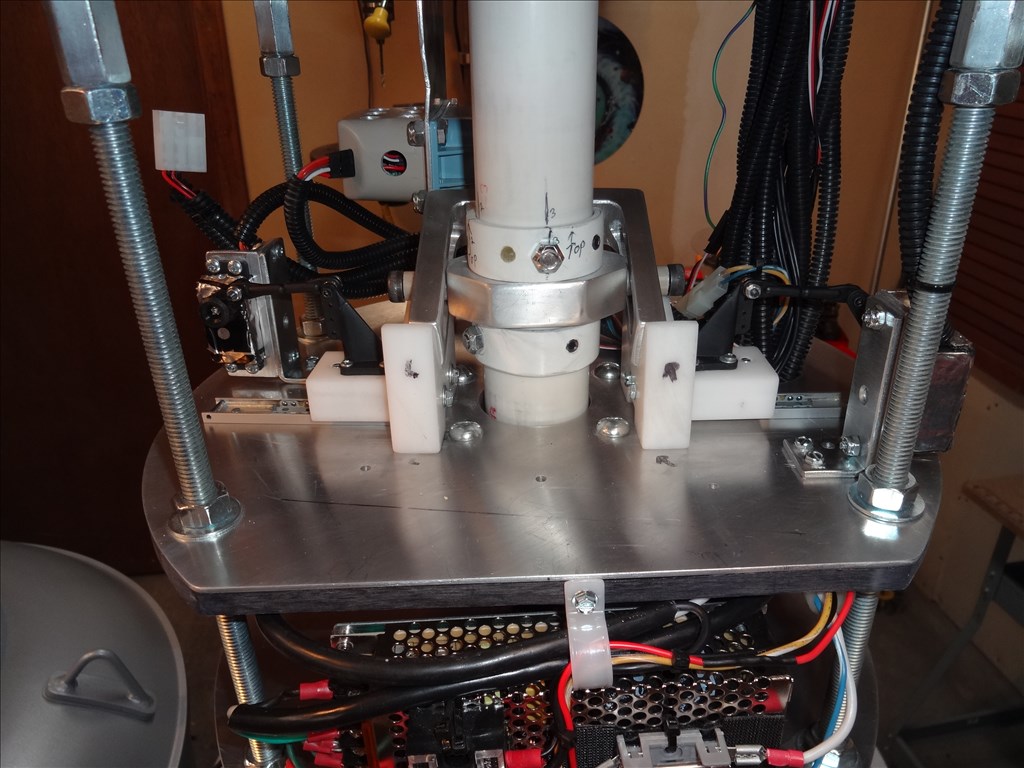
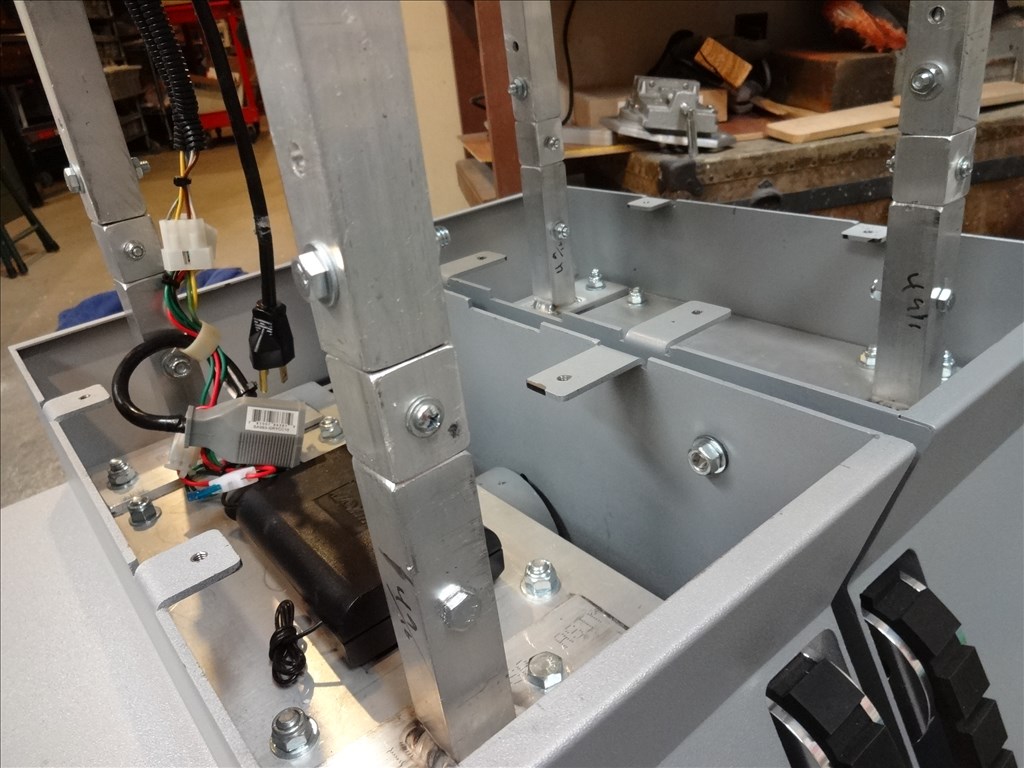
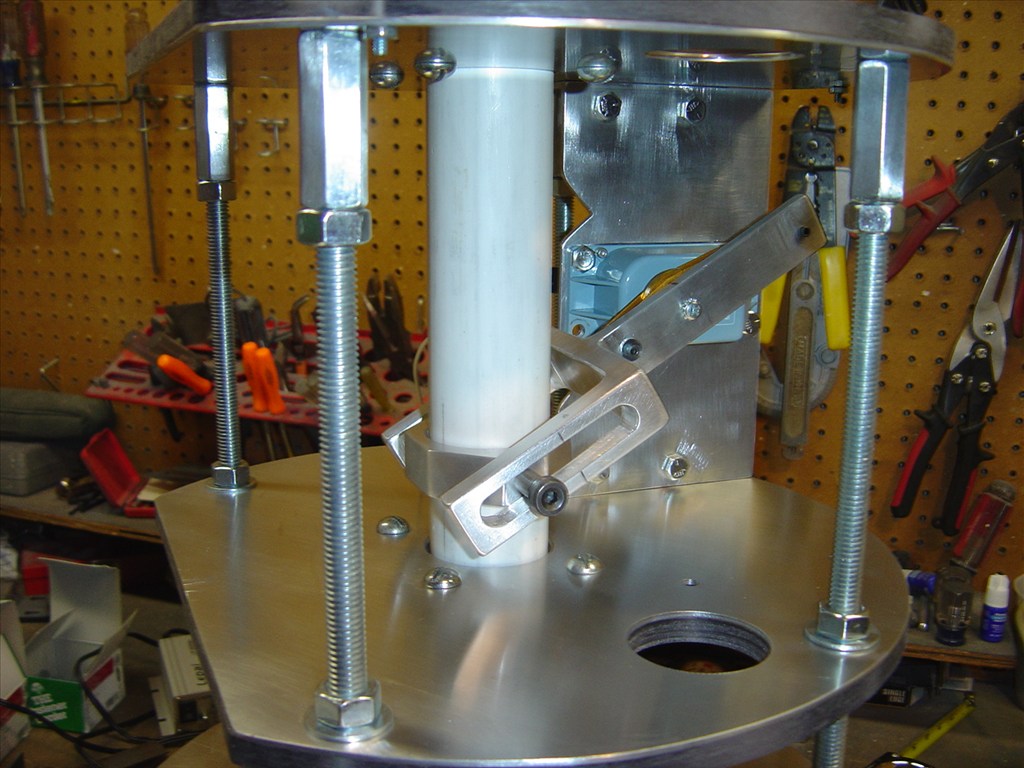
Before reassembling the leg section I had to raise the support unit. I simply cut 4, 1" spacers out of the same size tubing and slipped them over the round tubing, re-drilled and bolted them down.
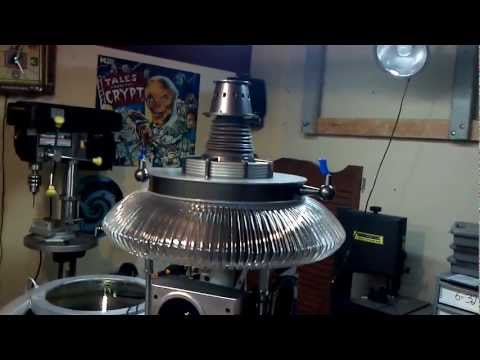
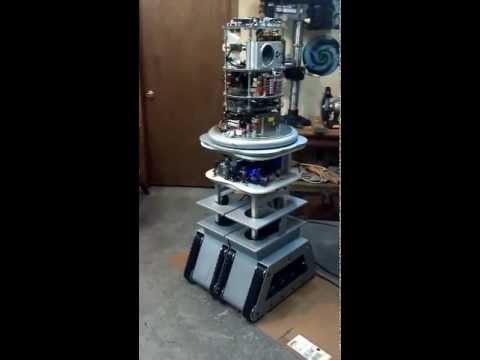
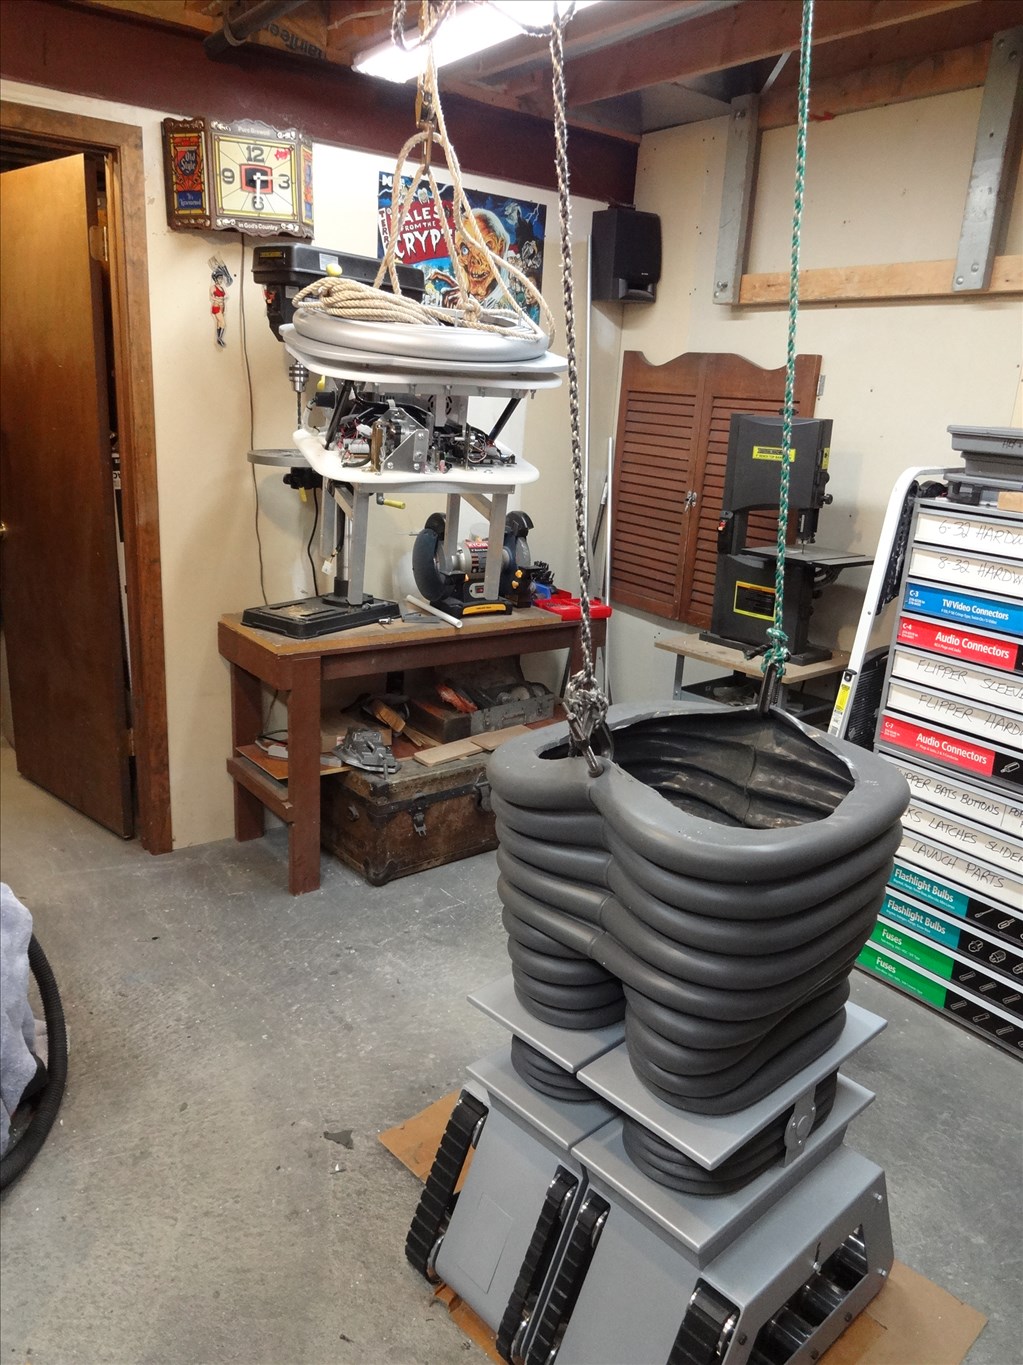
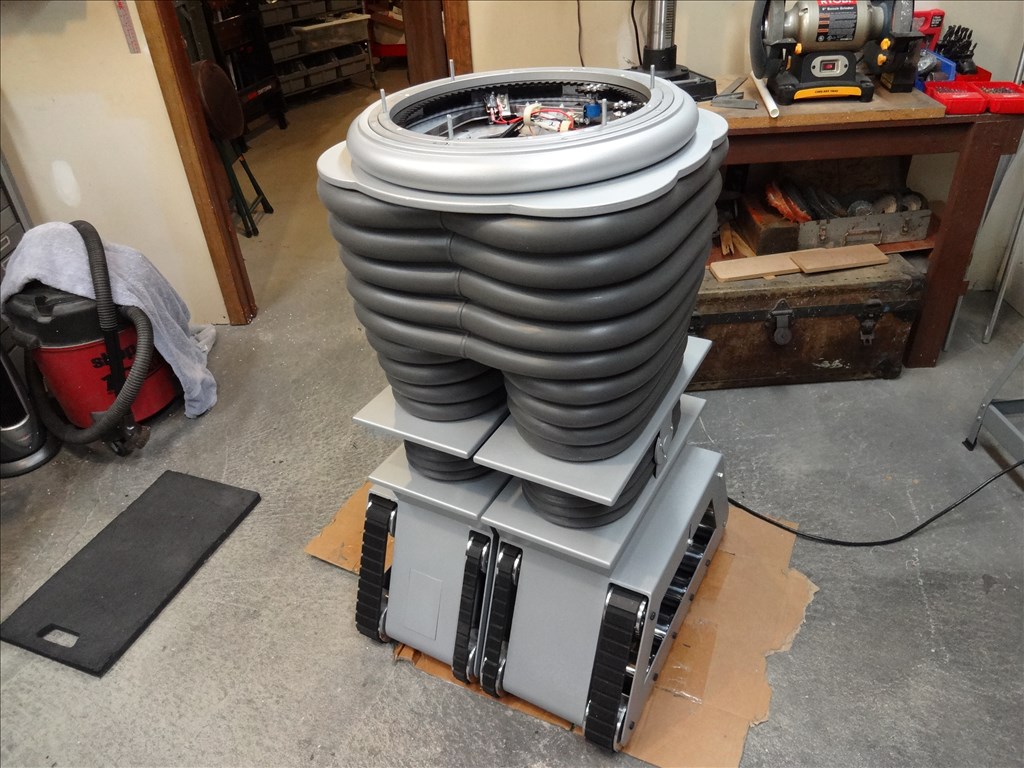
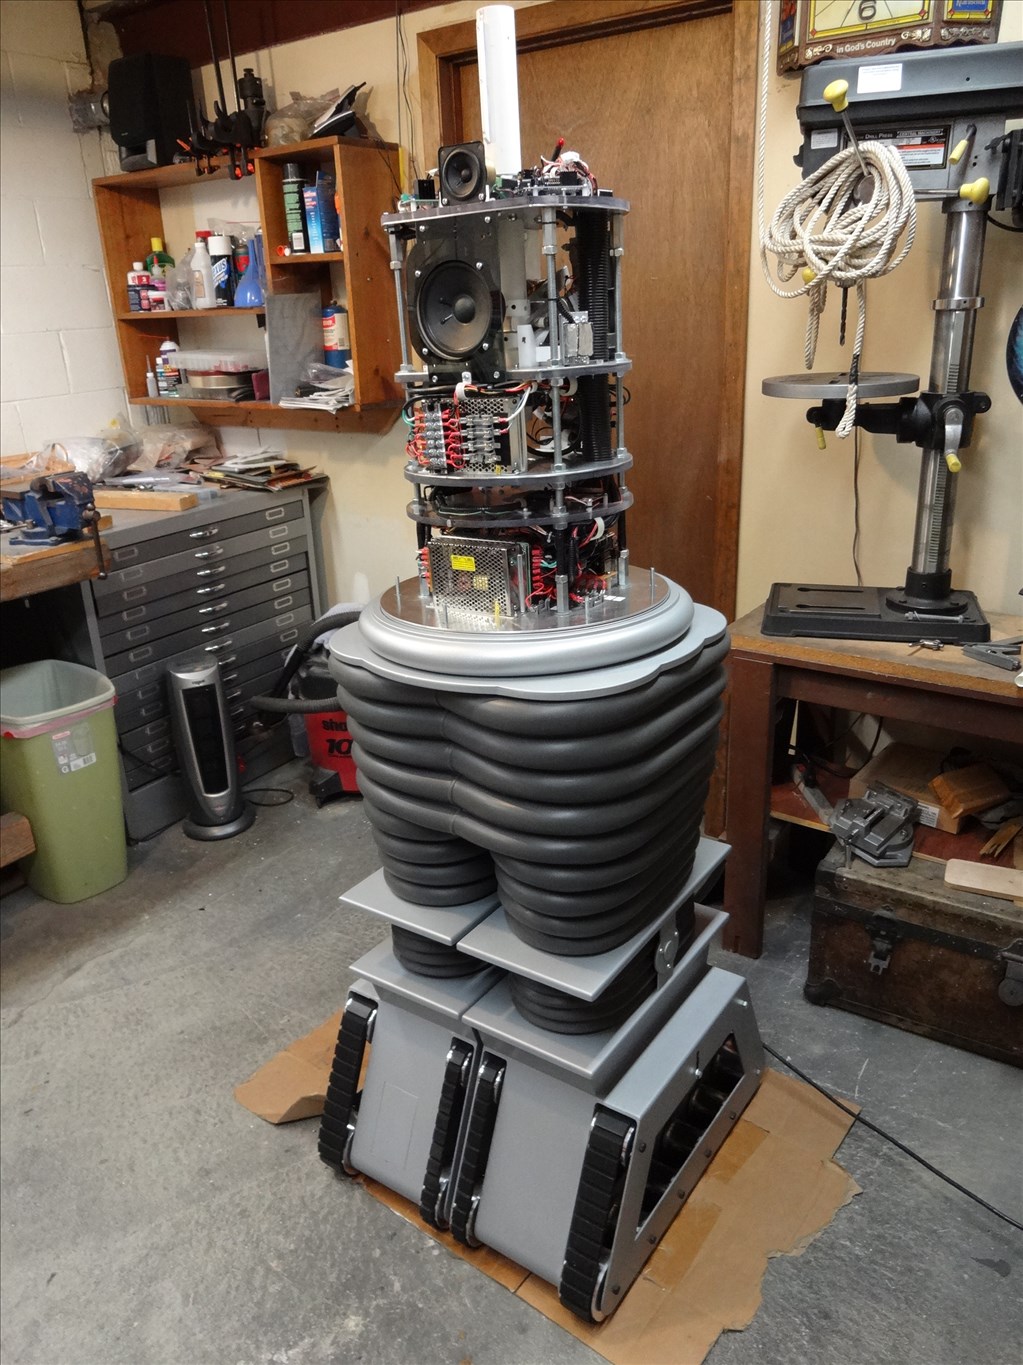
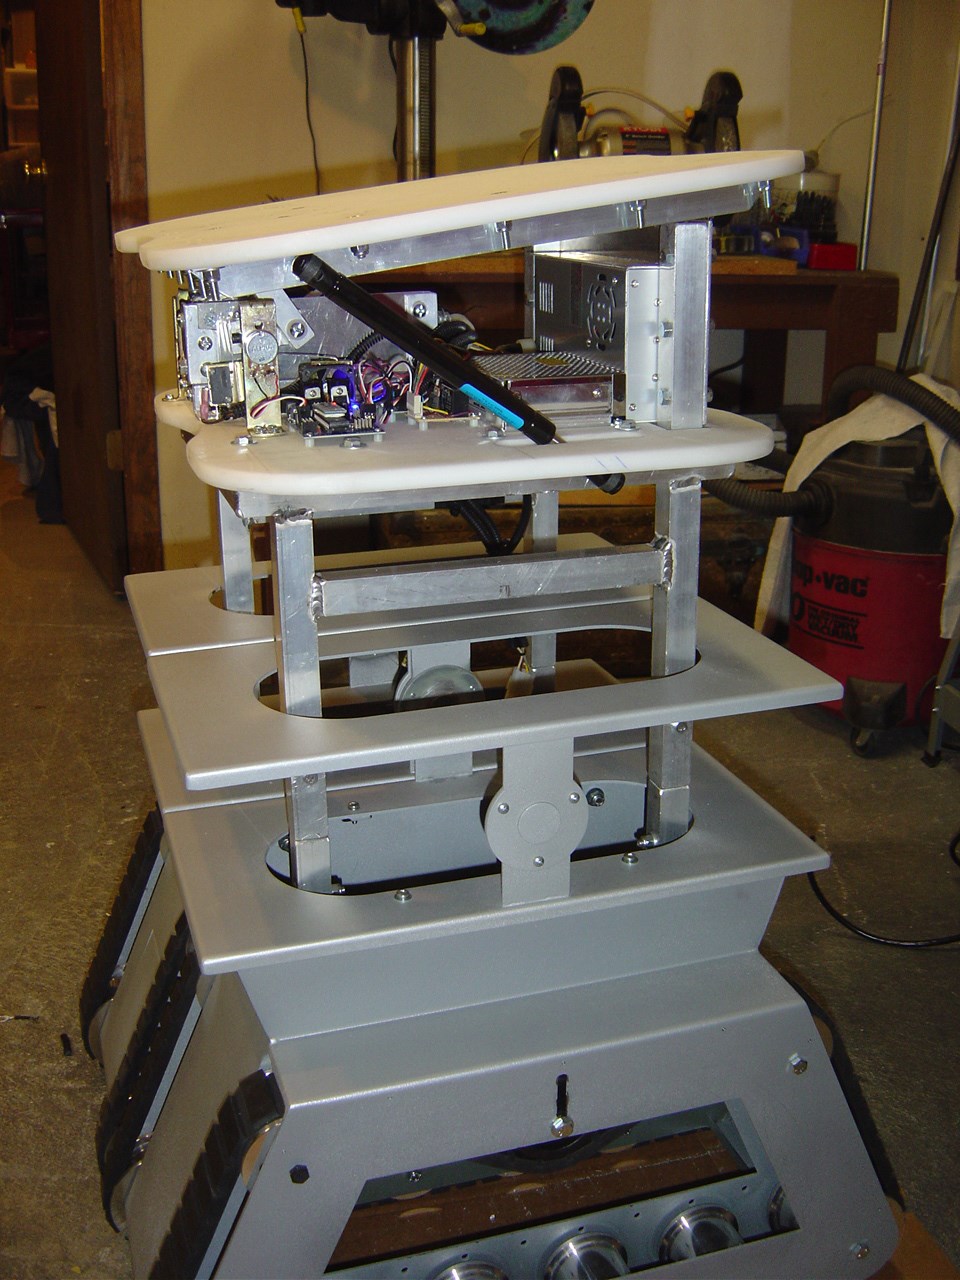
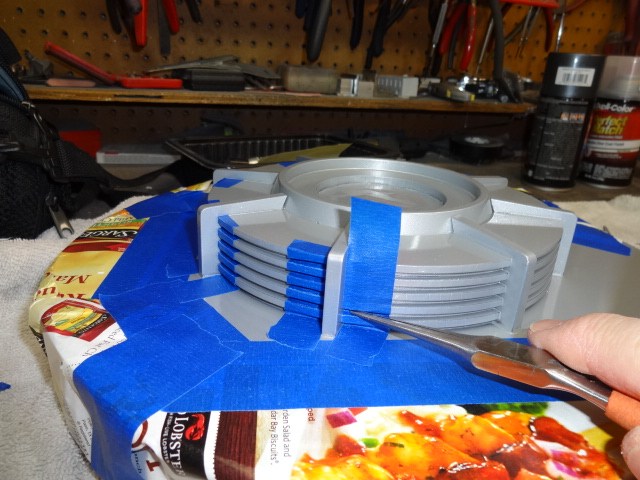
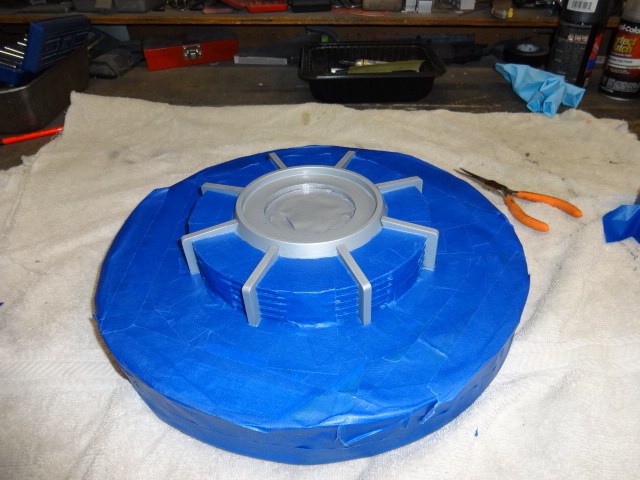
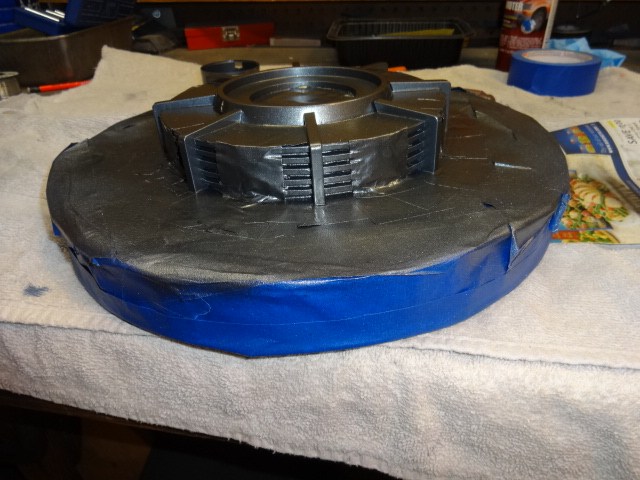
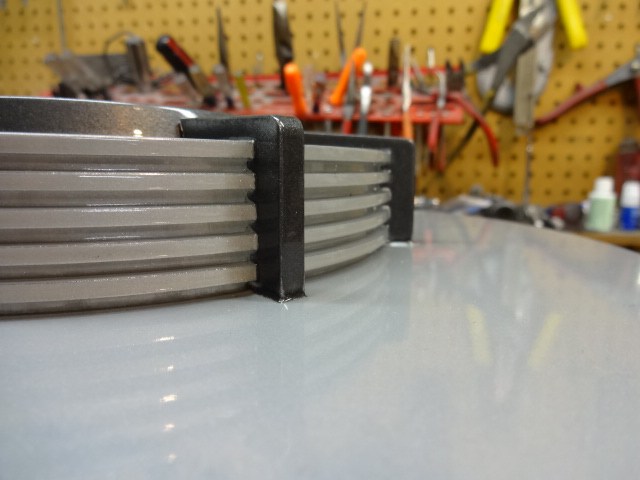
OK, starting the final stack up!:
S&M Robot
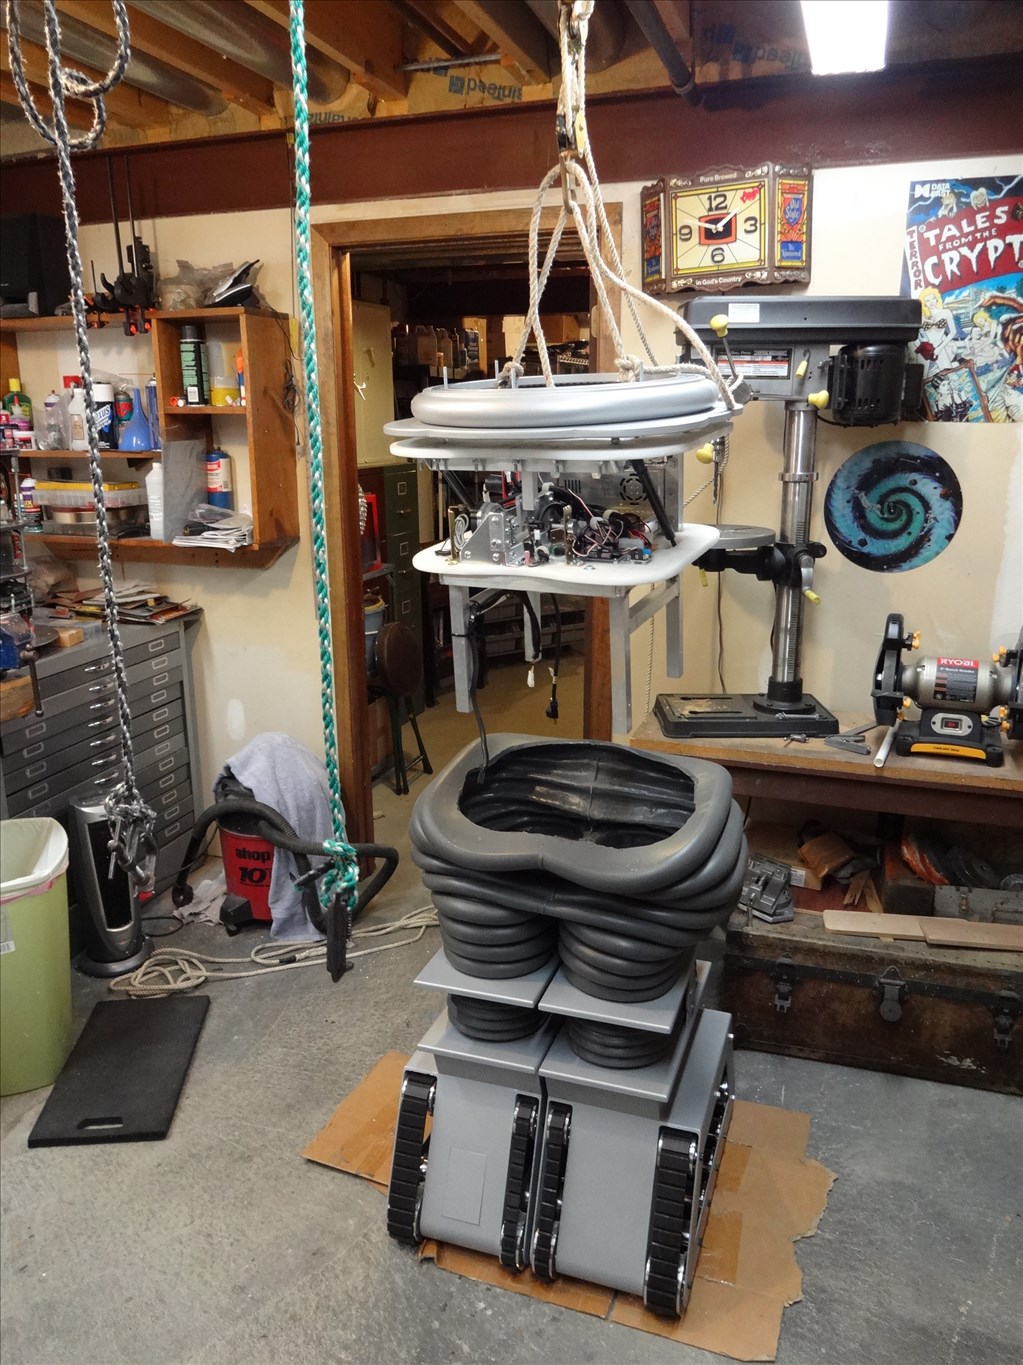
Sorry guys, I couldn't help myself. I was assembling my leg section with the aid of rope blocks and clamps and I had this visual image. Thought I'd have a little nurd fun on a Saturday night. Here's a pic I snapped:
just keep us up to date on what you are doing. we all learn stuff from it. Again thanks for sharing.
:)

 j
j
Too funny Dave ! ..I was thinking suspenders! Totally in agreement with jdbay I think you had been thinking about keeping B9 "stationary" but it would be very cool to have it go back and forth a few inches to give it more cool behaviour....but I understand the prospect of a several hundred pound robot "on the loose". Though a tethered kill switch might be implemented......
It looks good, Dave. At first it reminded me of Jabba the Hut. Then, my X-wife. Now it looks perfect!
:D
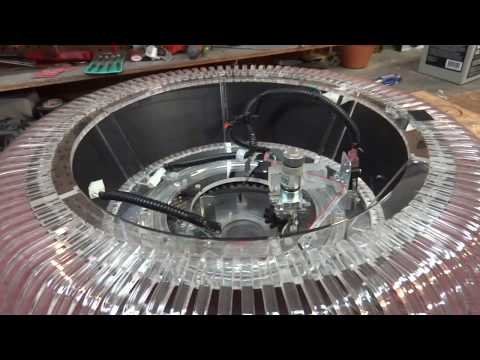
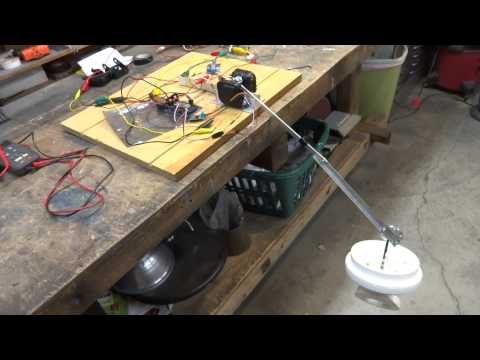
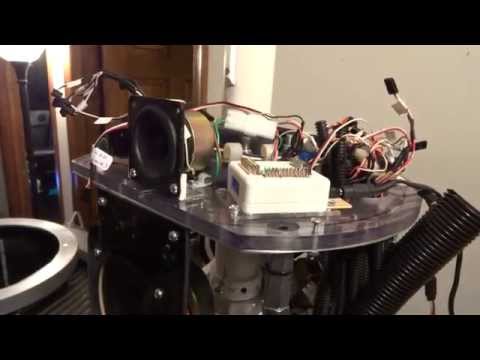
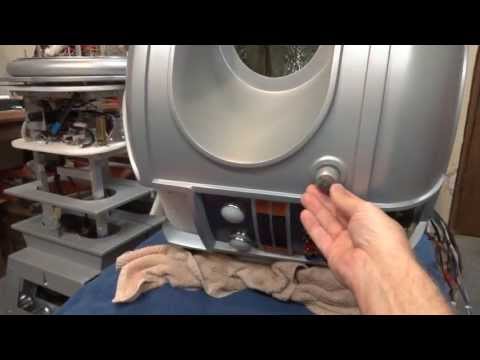
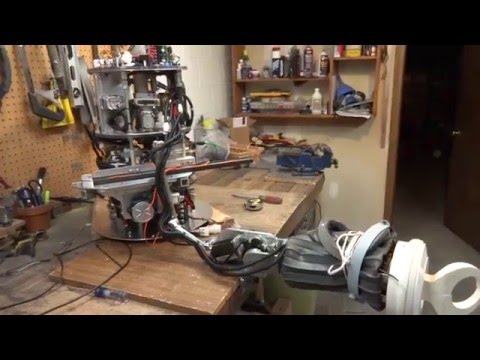
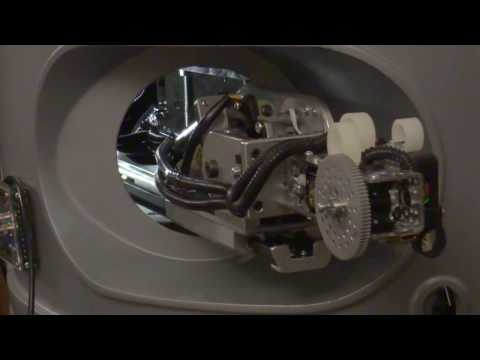
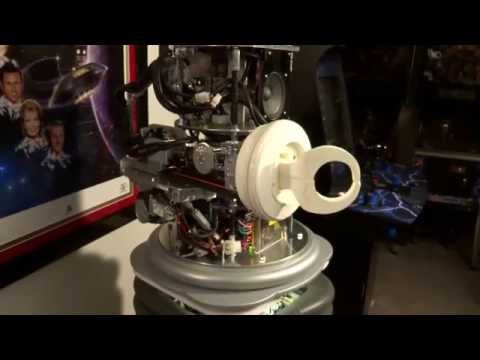
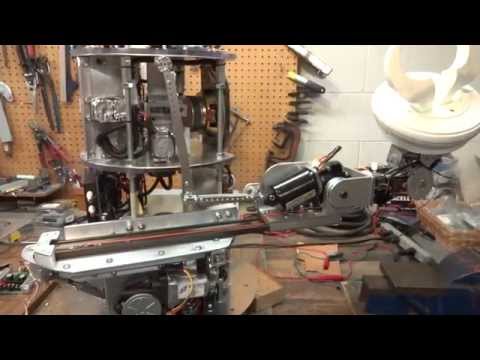
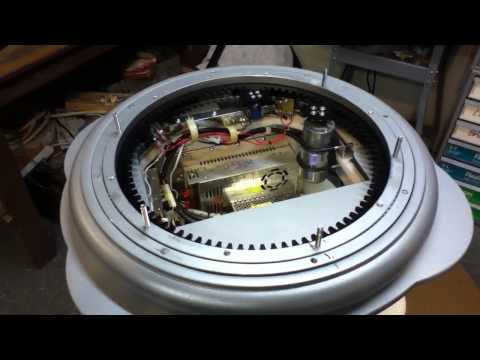
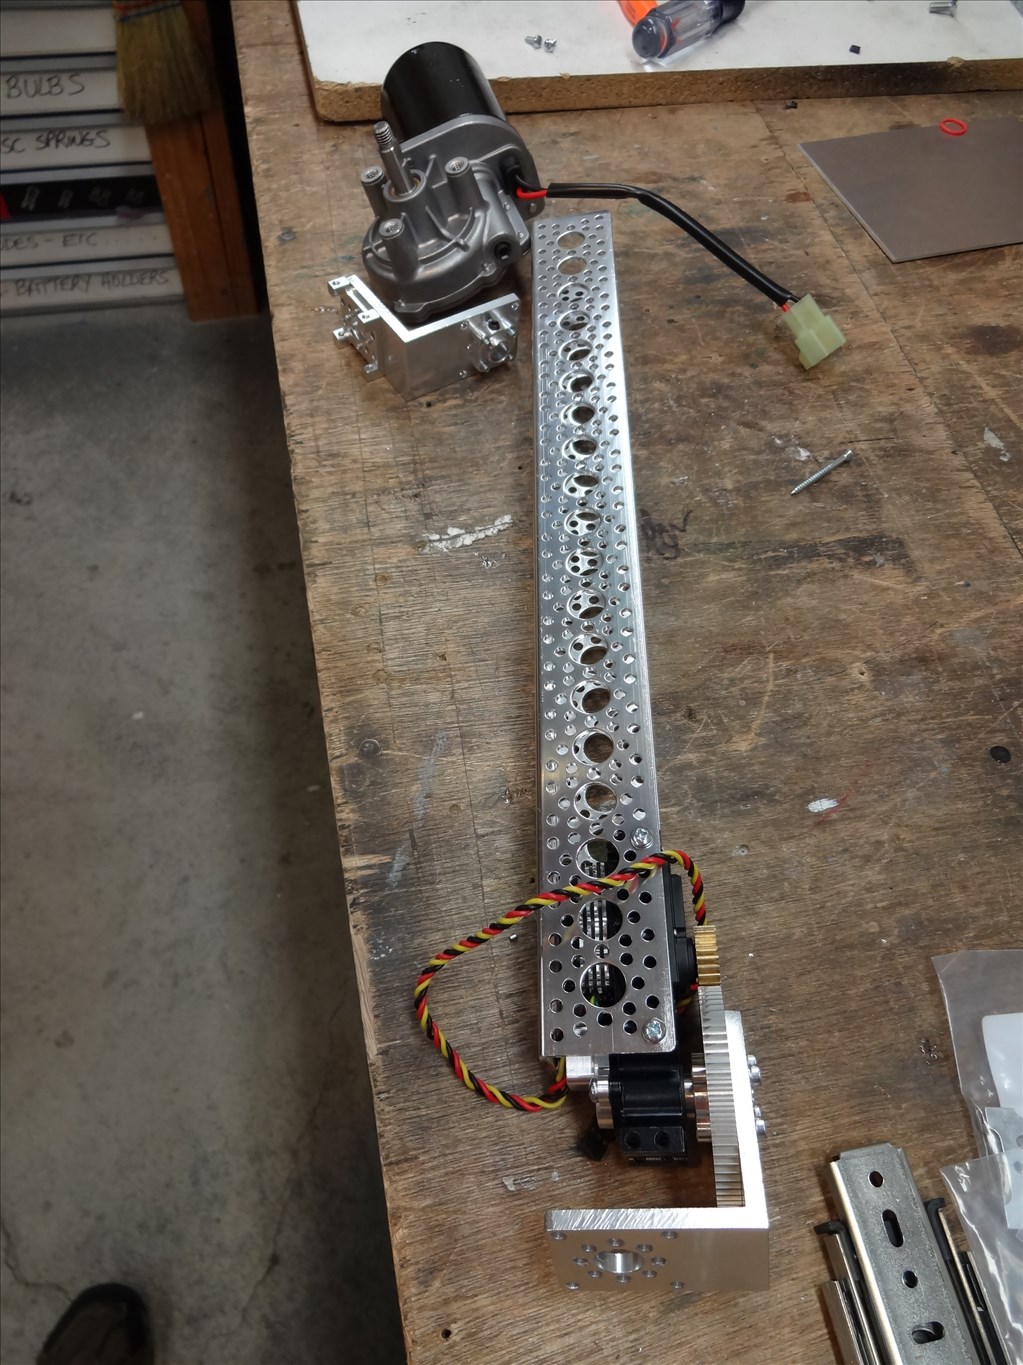
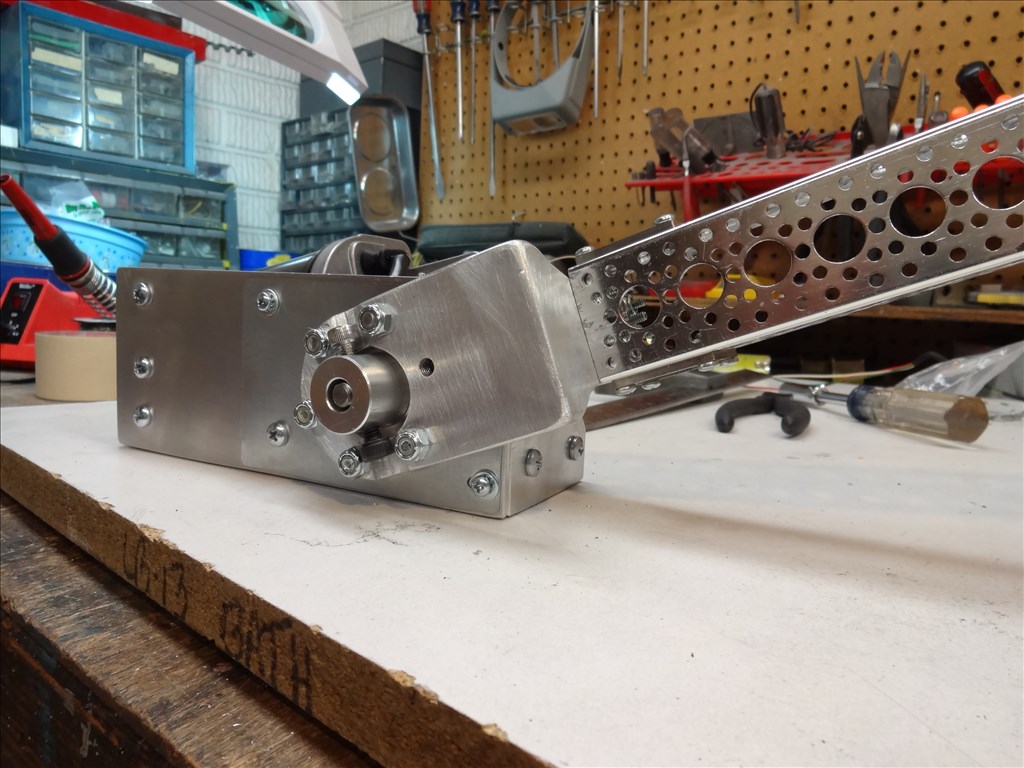
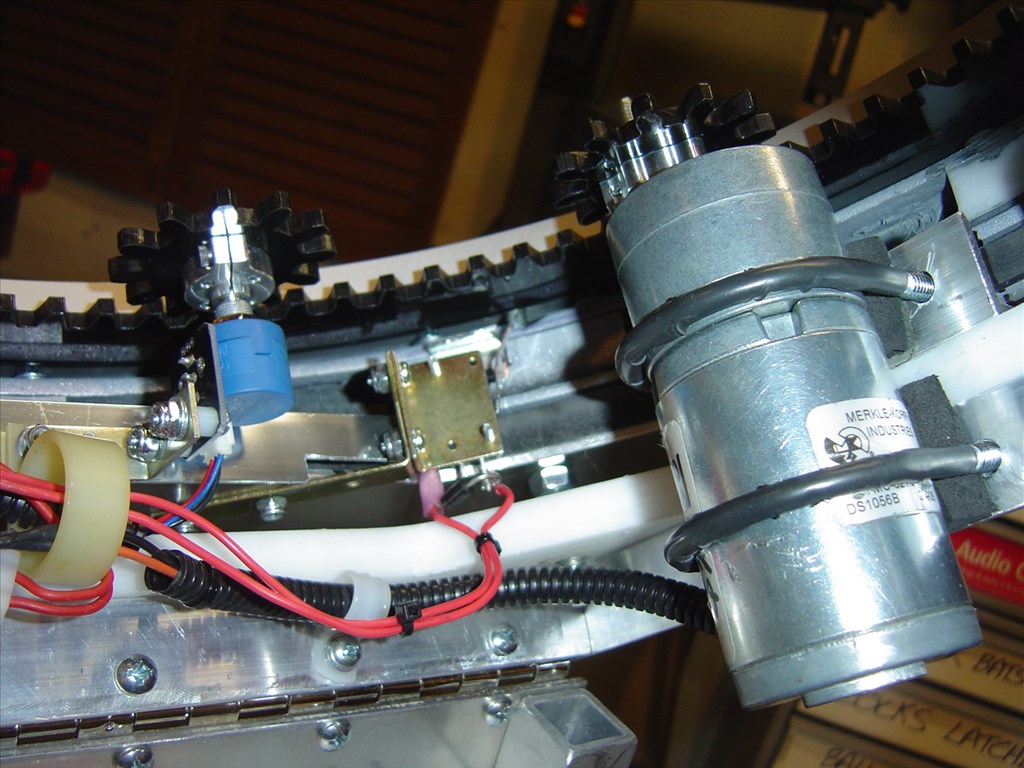
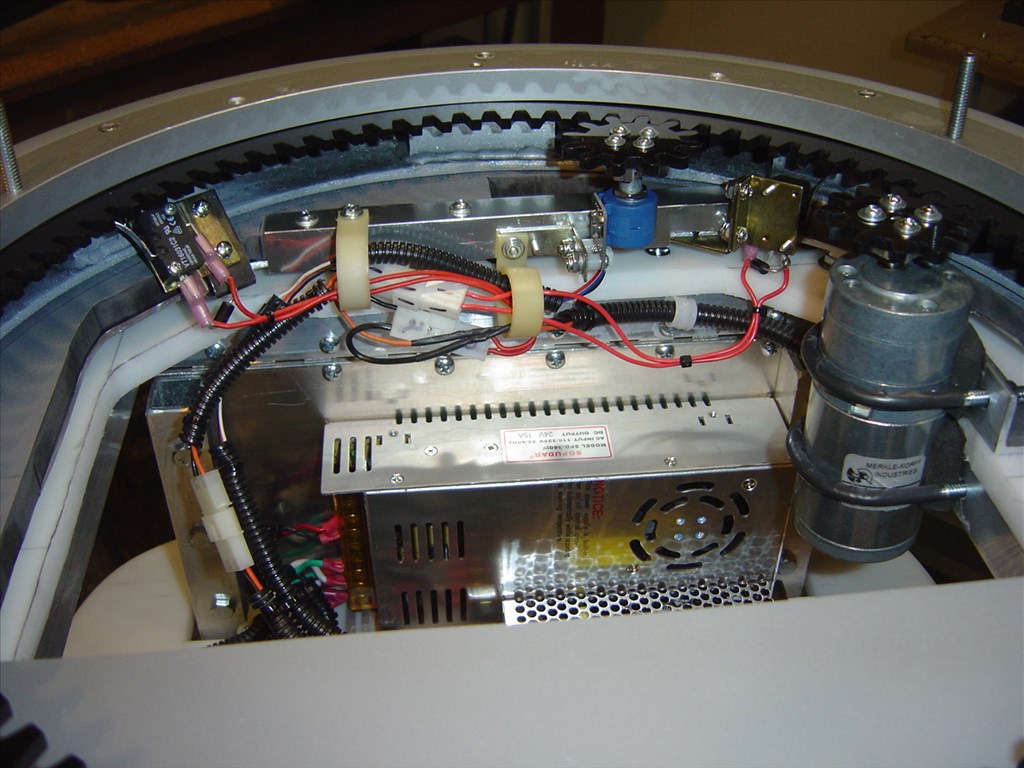
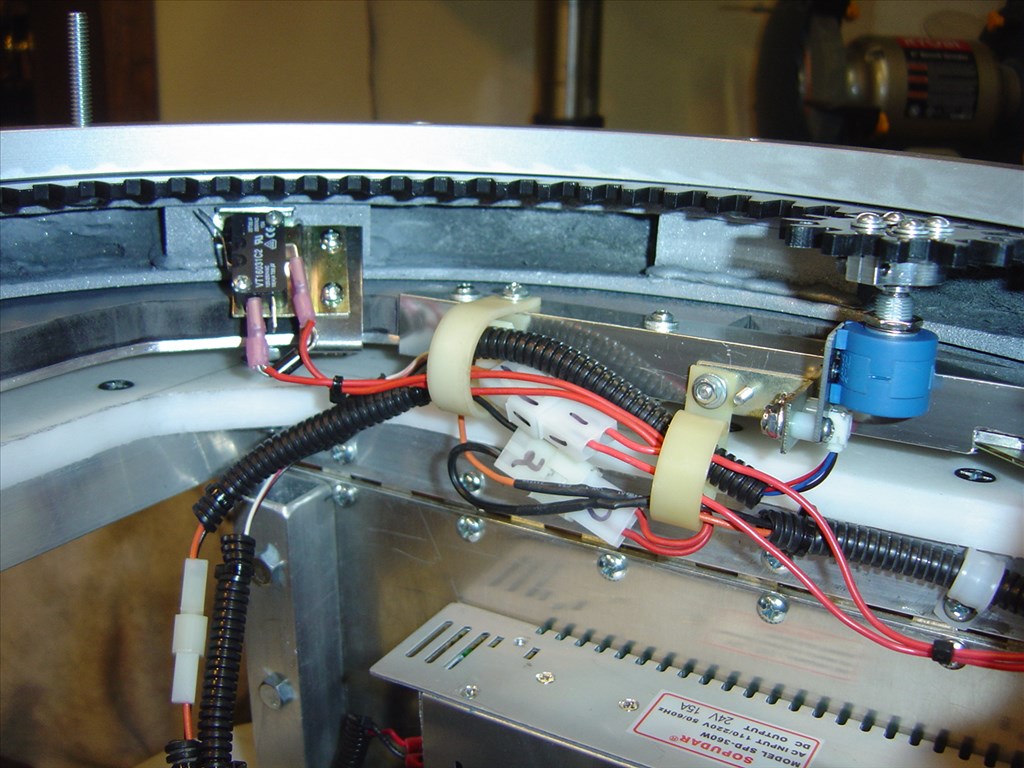
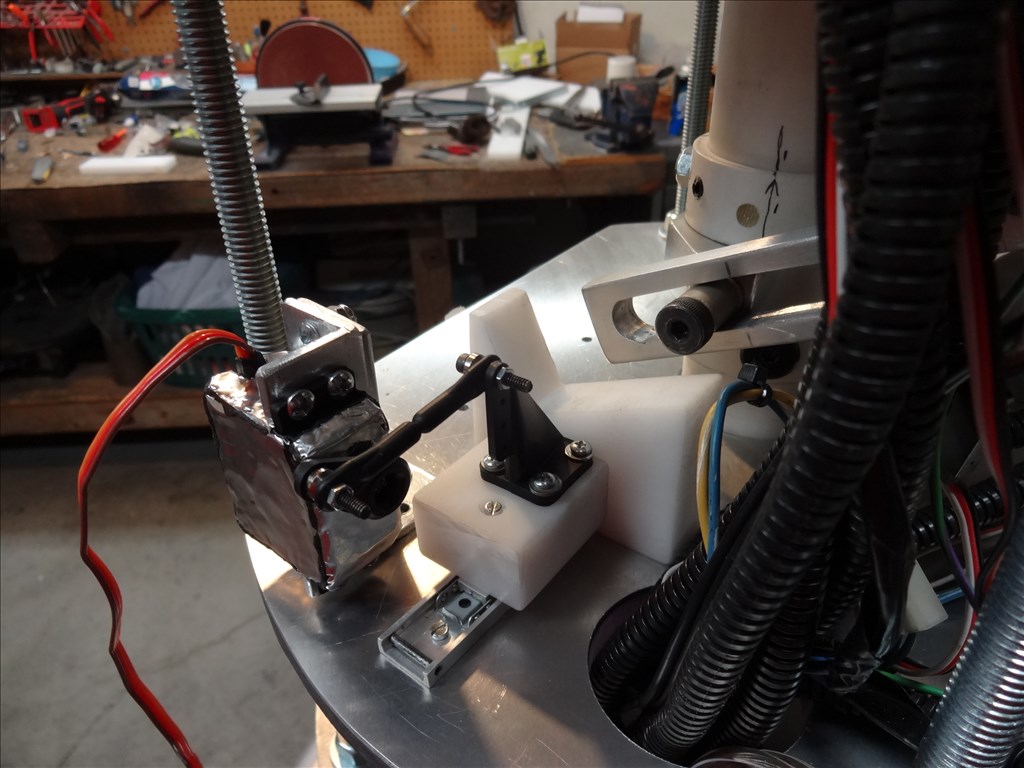
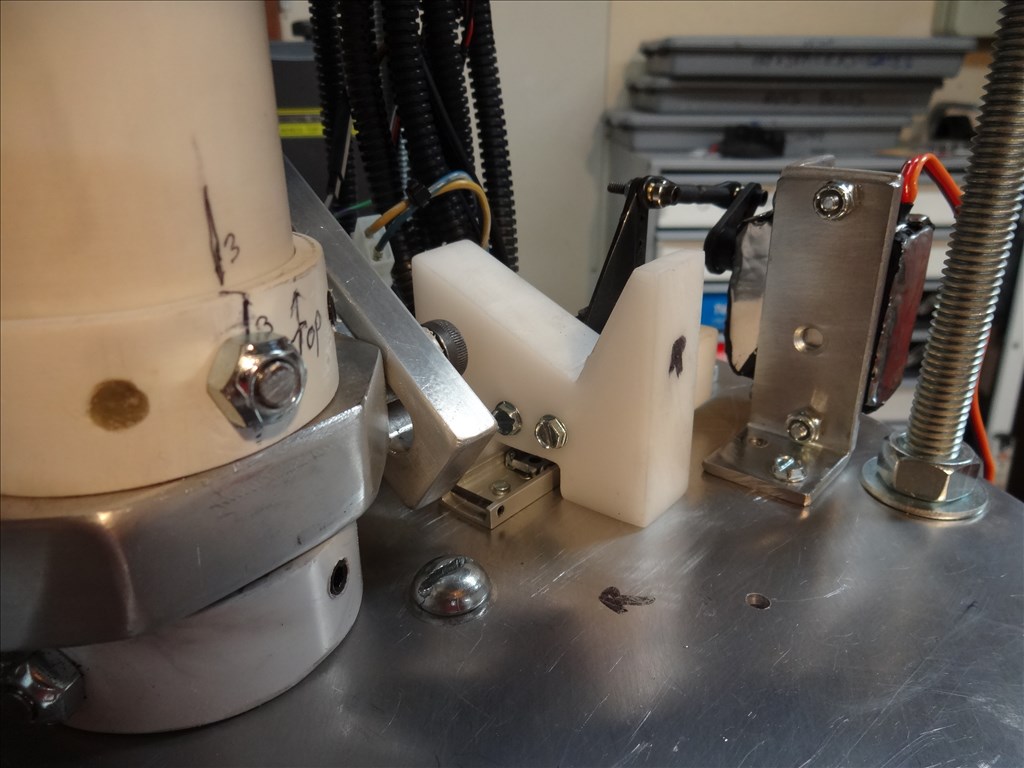
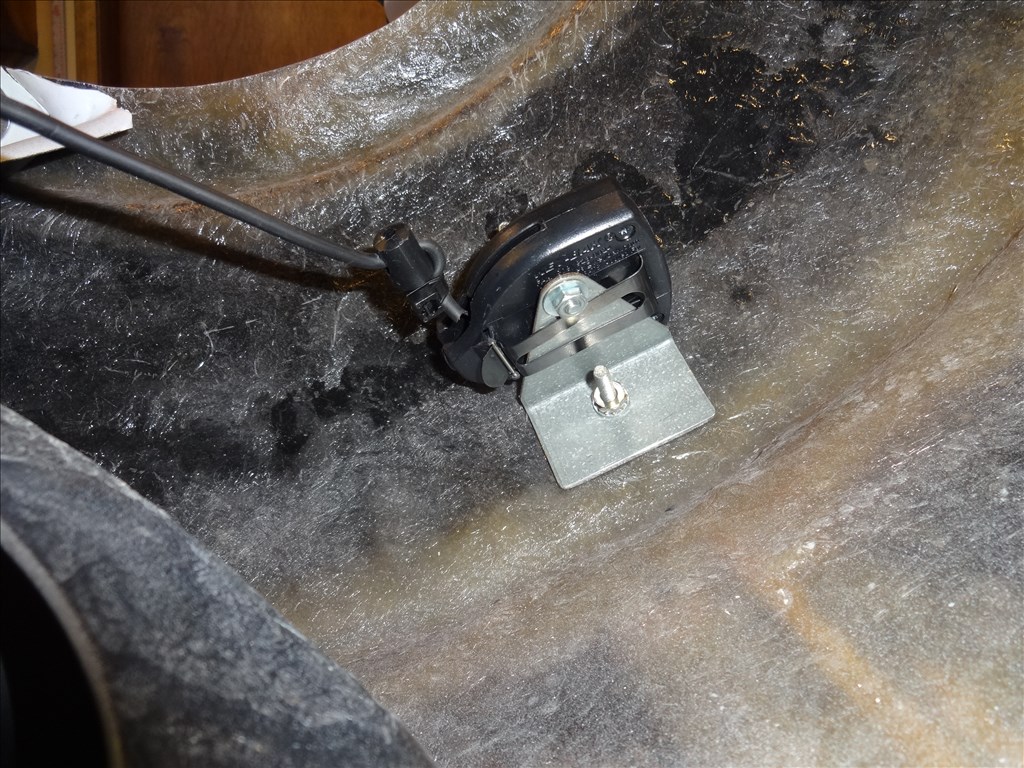
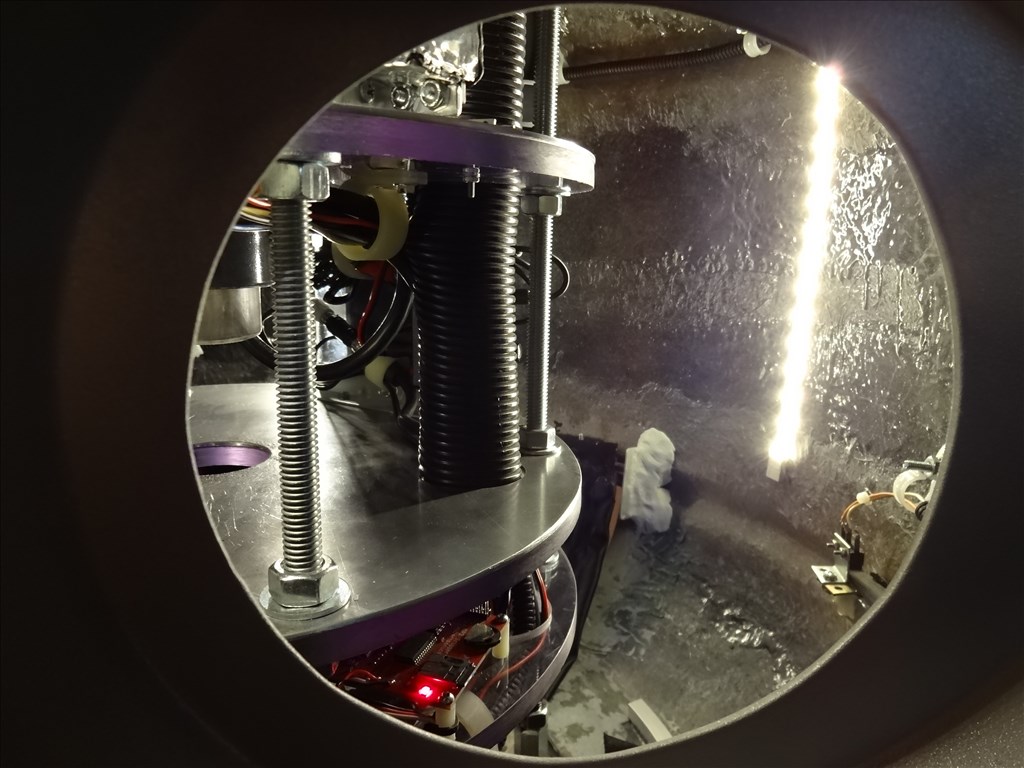
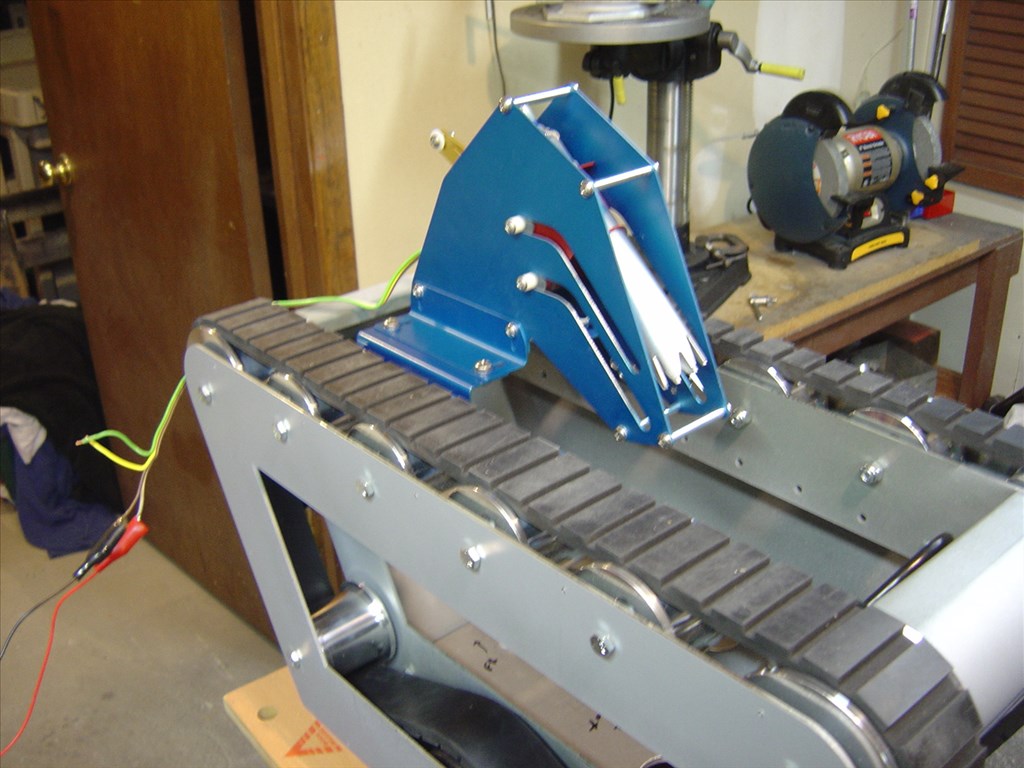
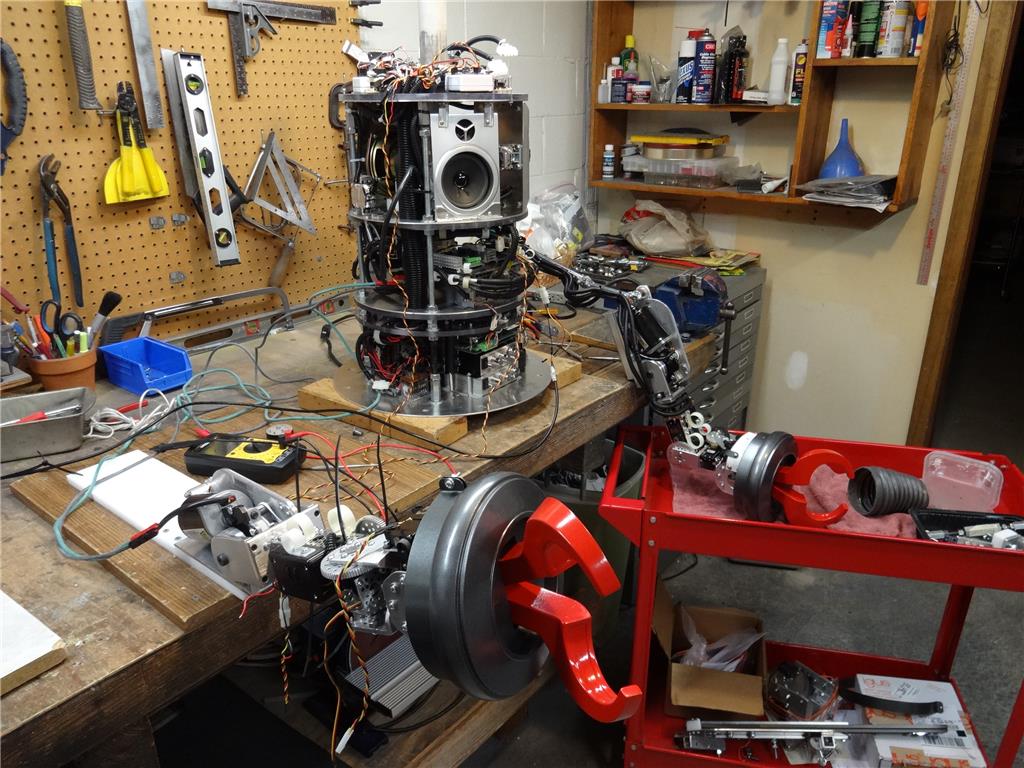
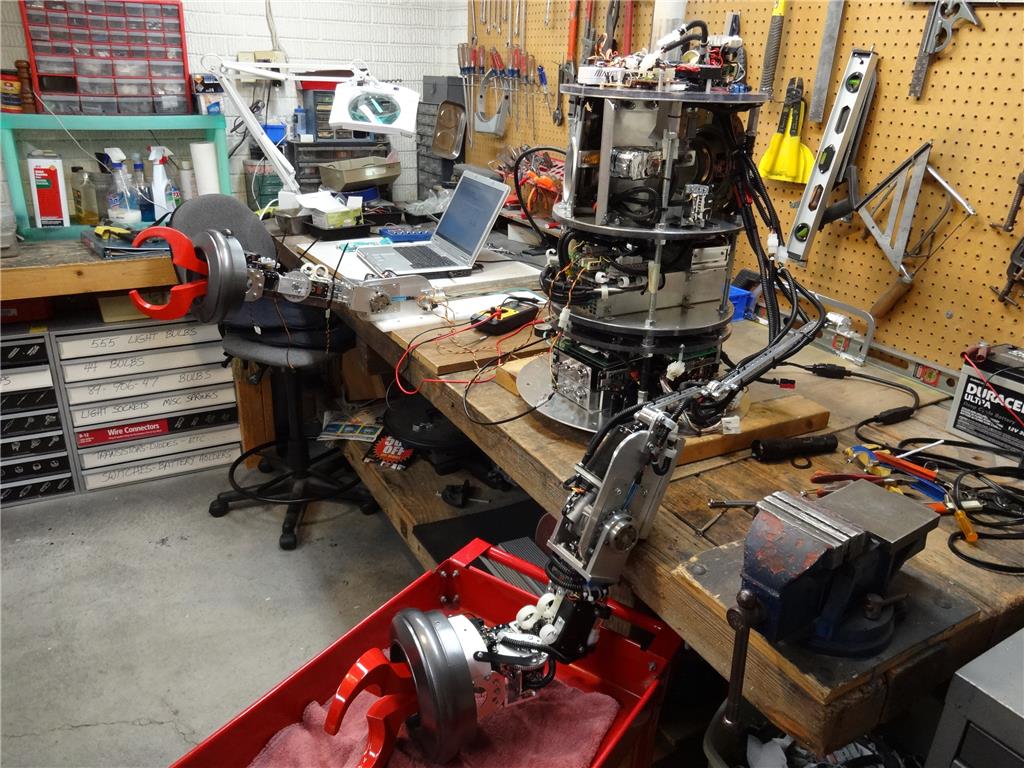
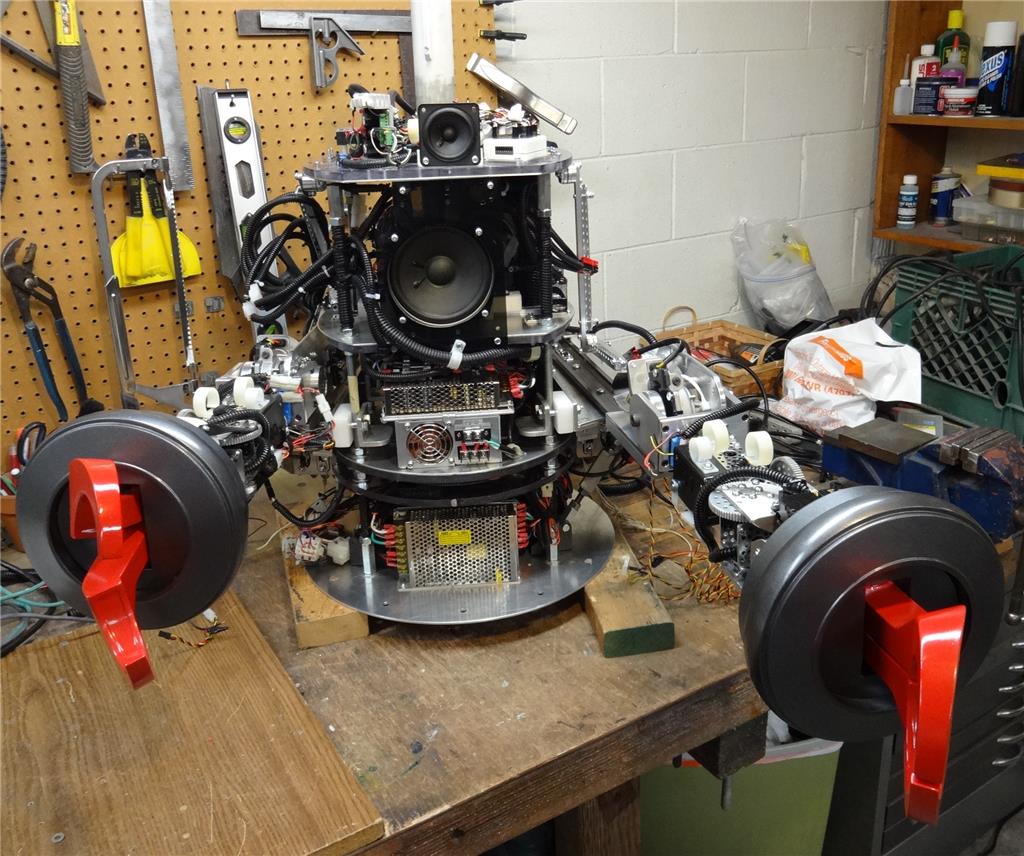
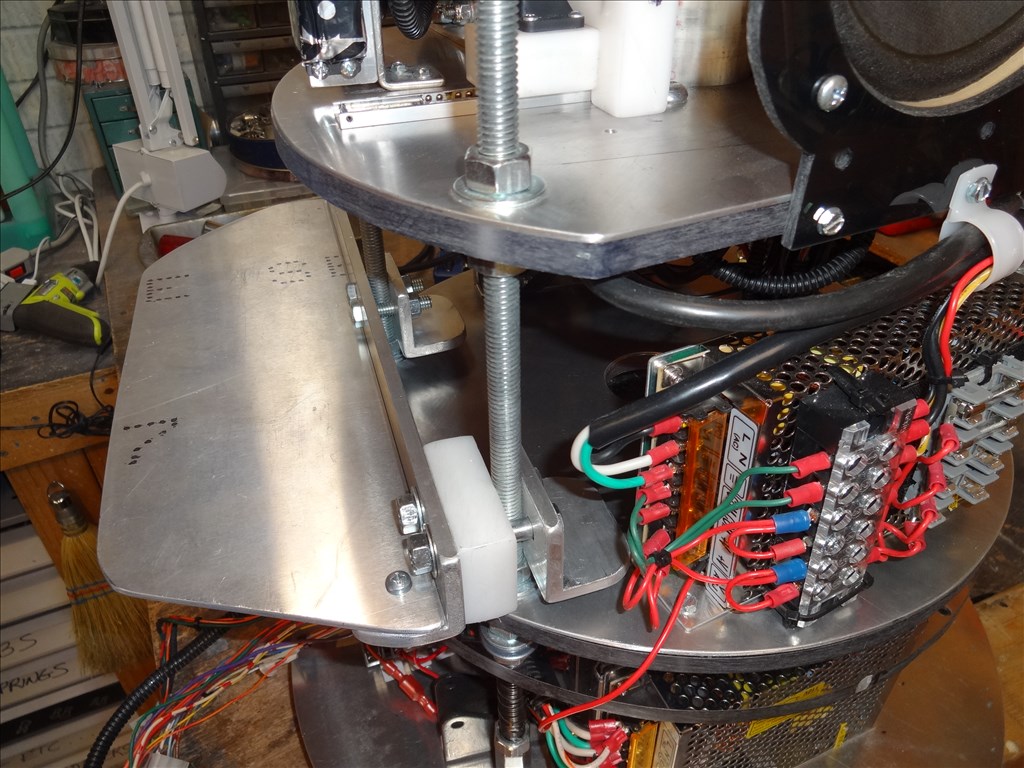
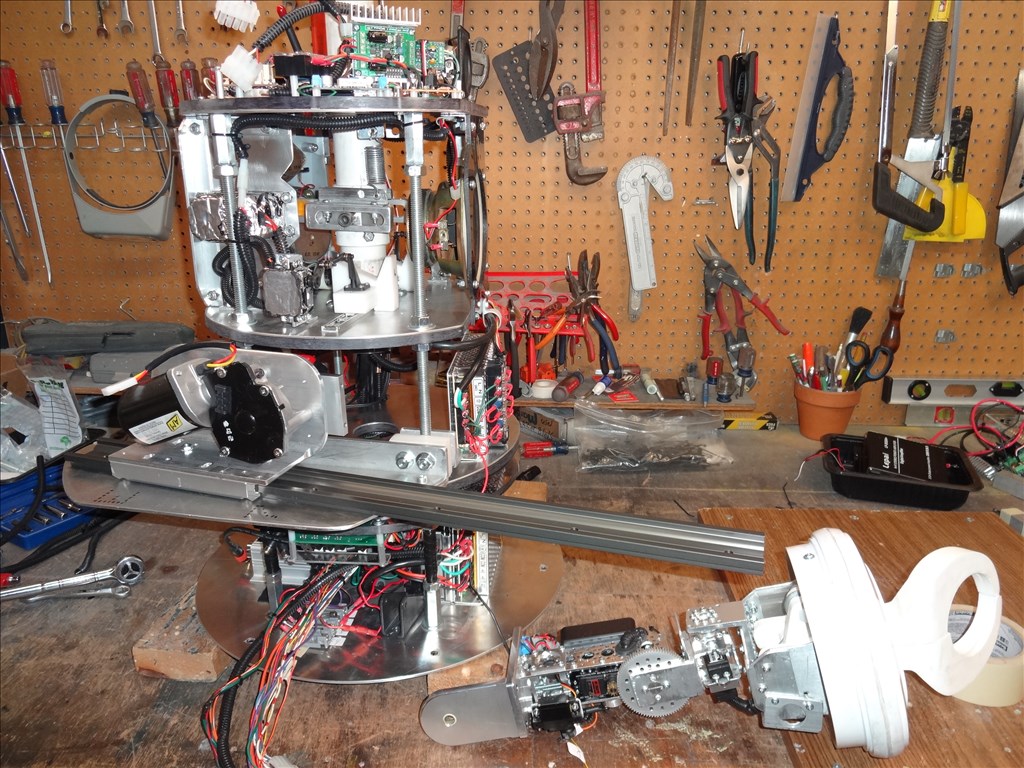
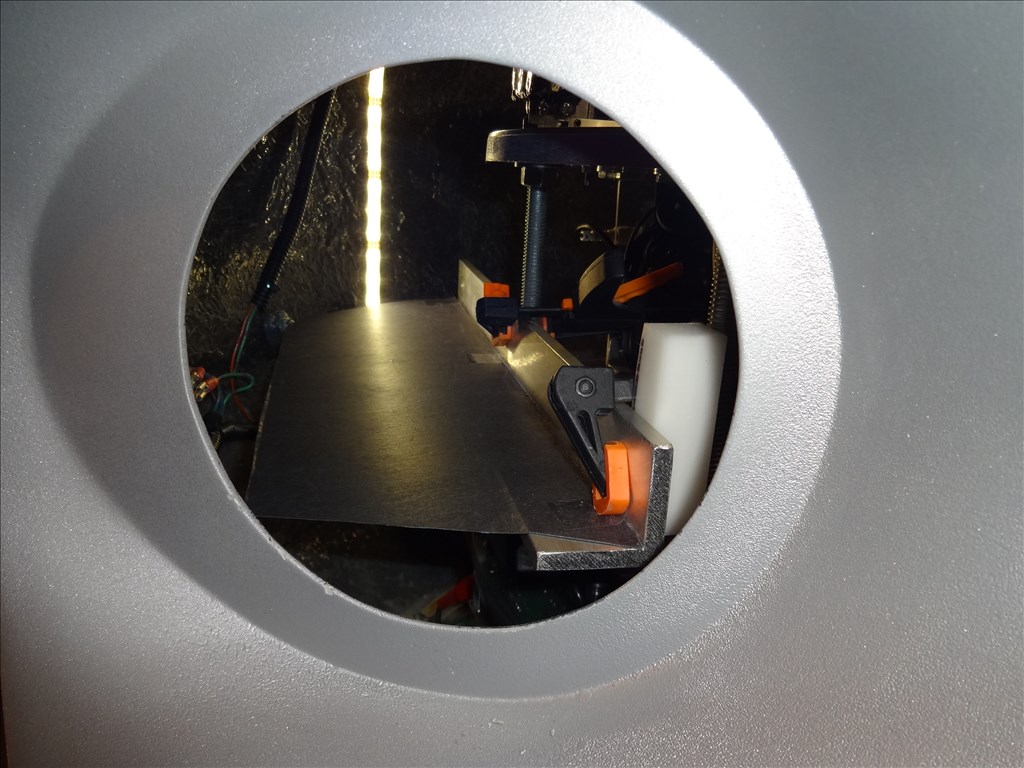
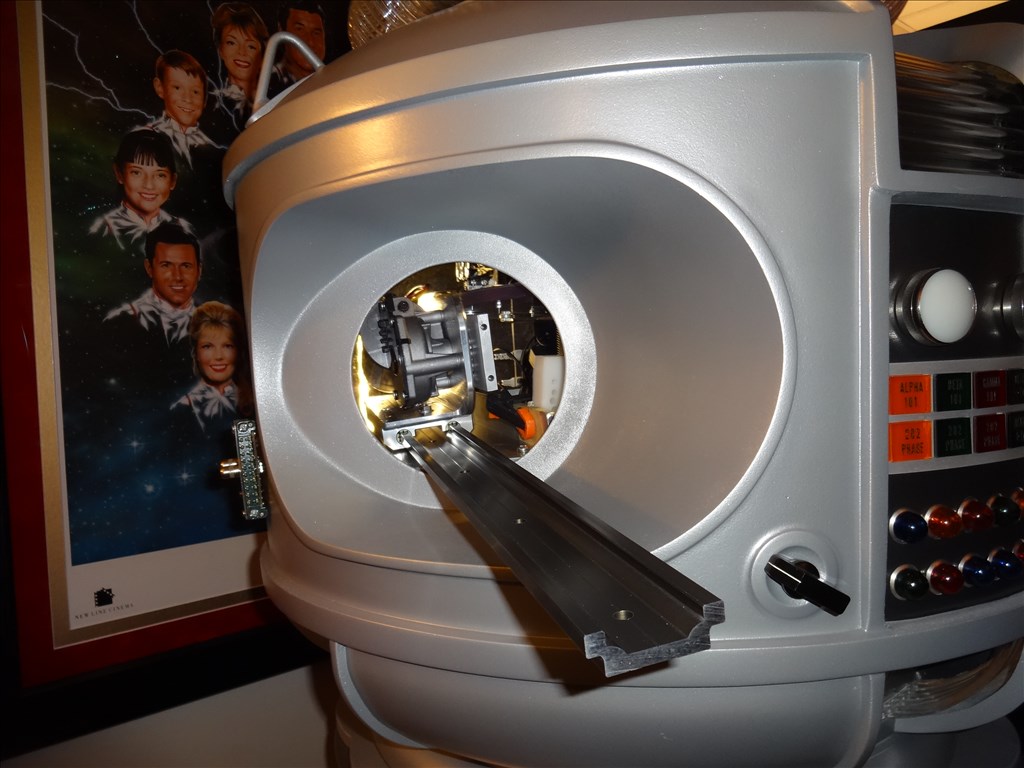
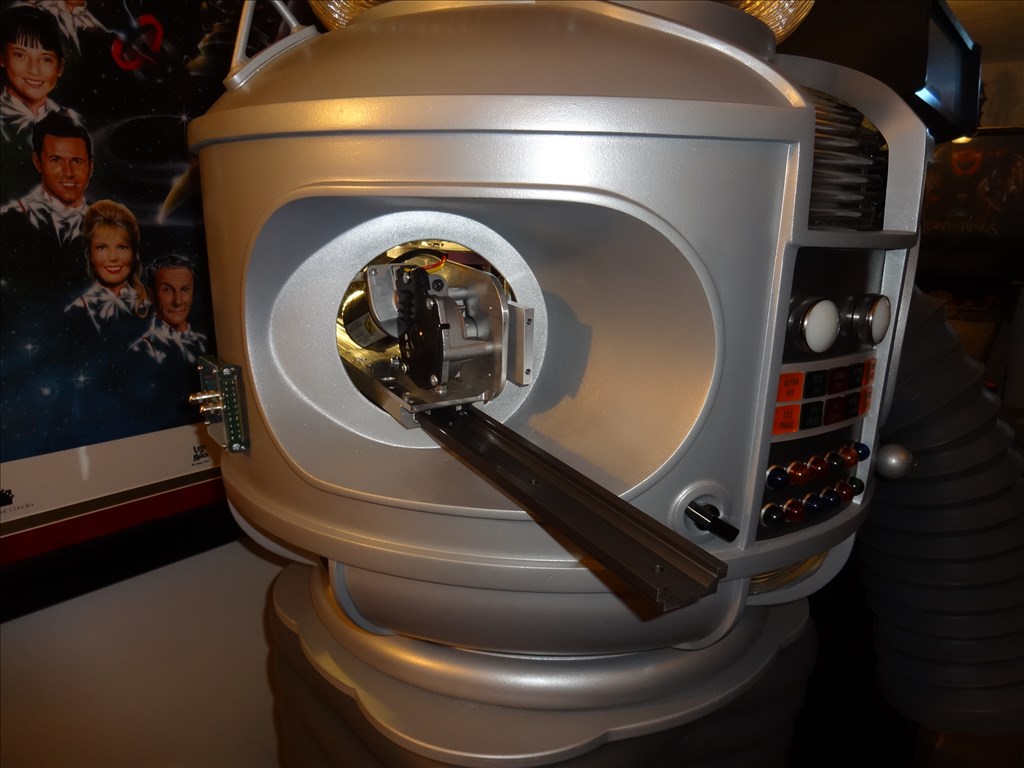
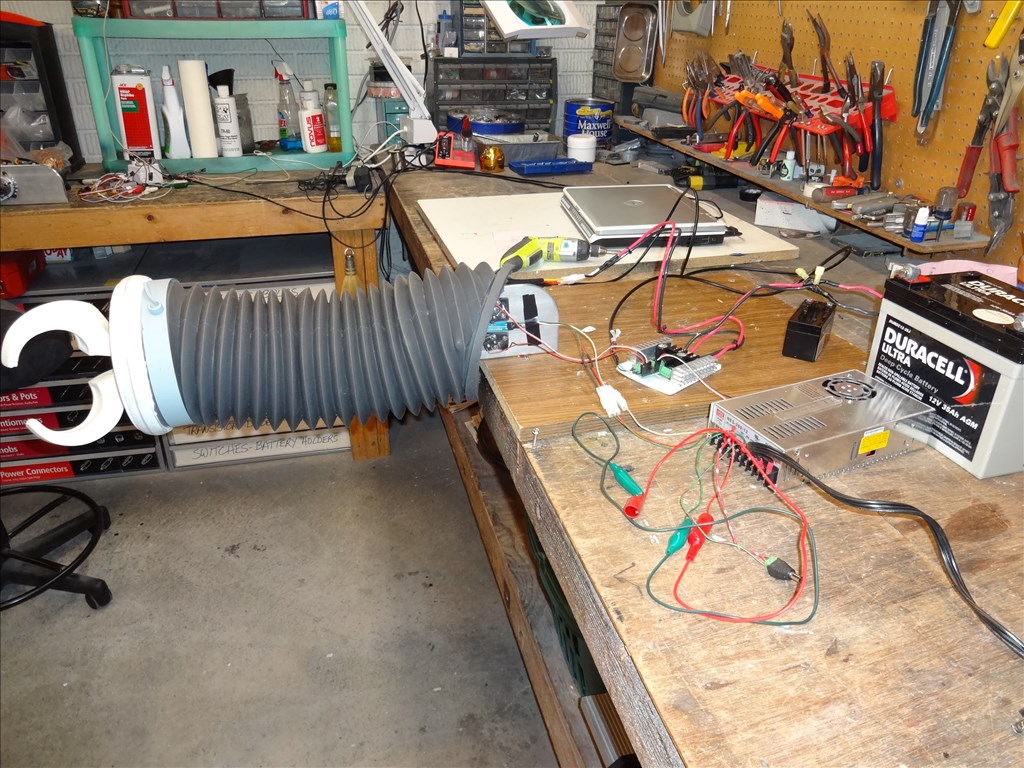
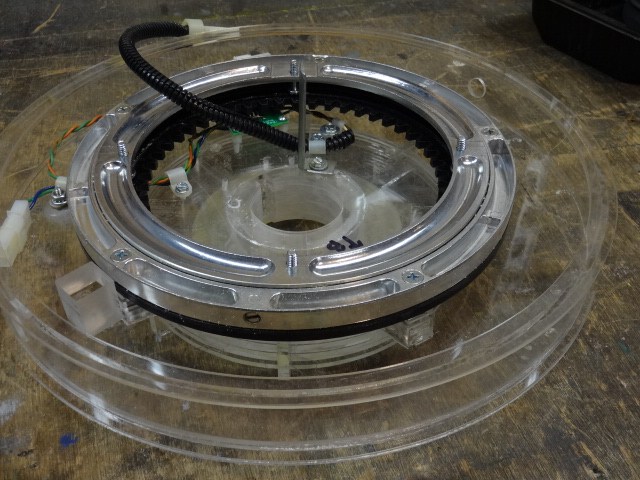
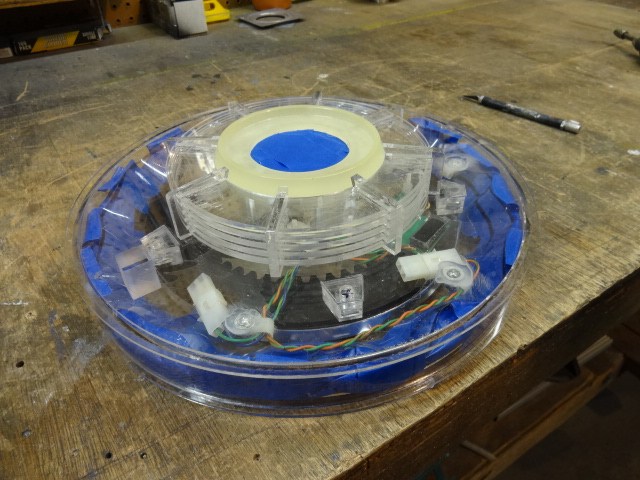
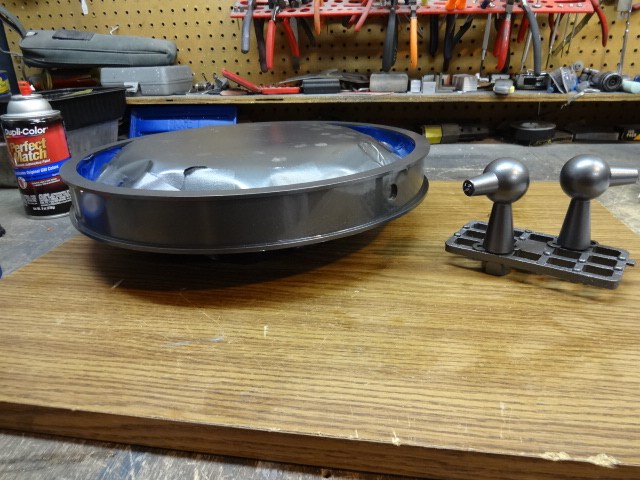
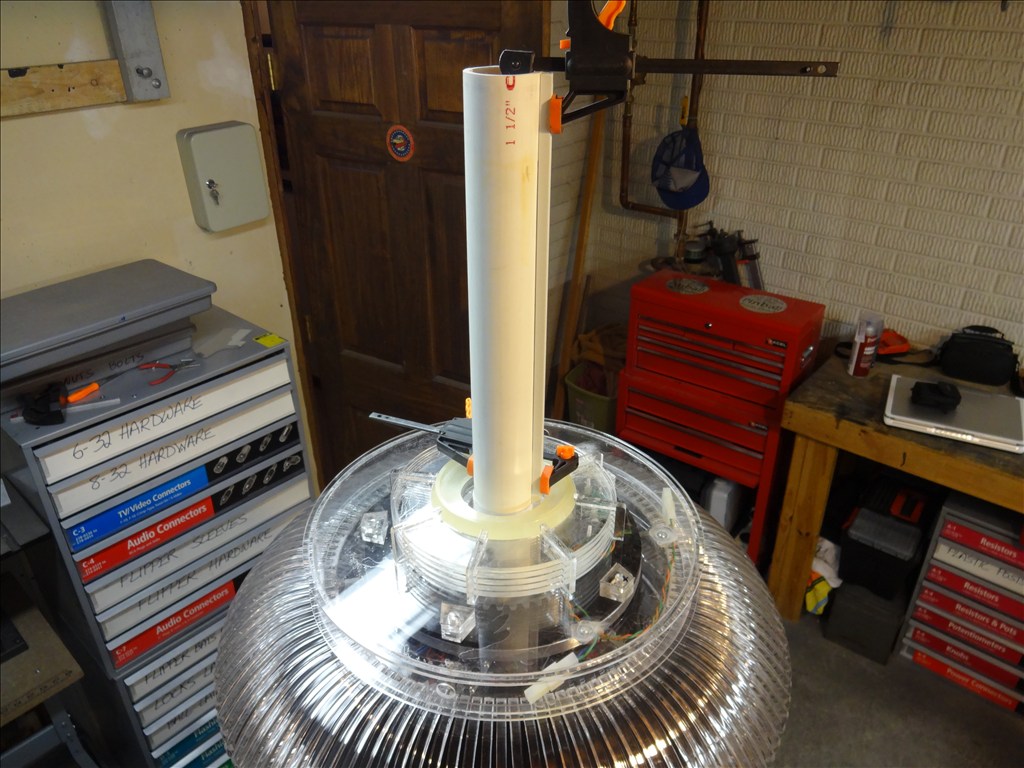
Thanks for the comments guys. @irobot58, I really don't think I'll be mobilizing him any time soon. I agree it would be cool but I have a fear of him taking a nose dive and ending up face down. Anyway, there's no room for wheel chair motors in the tread section now that I've got a soil sampler unit installed down there. Here's a picture of the unit from when I was setting it up. After installed if fills most of one side of a tread. Good idea anyway!
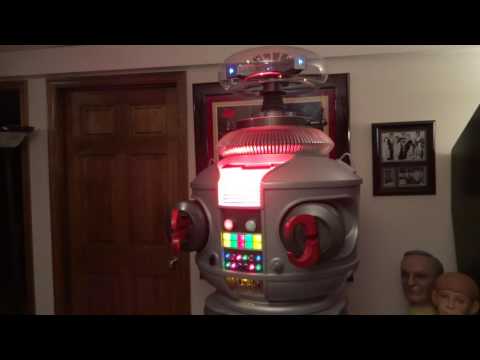
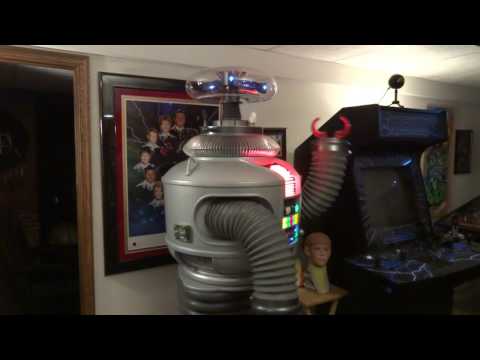
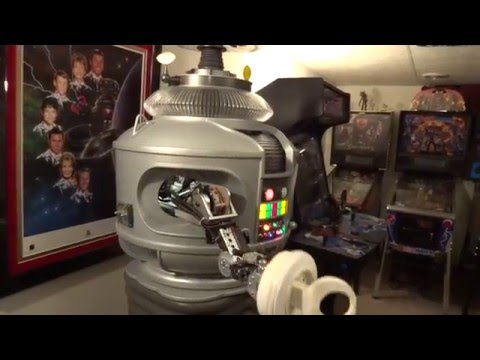
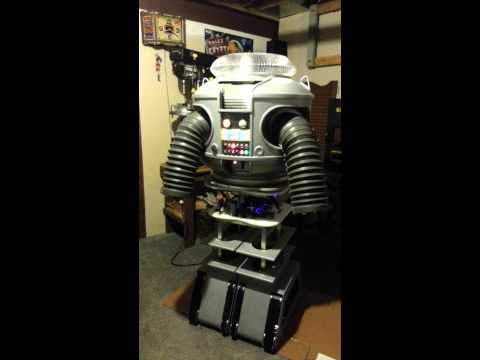
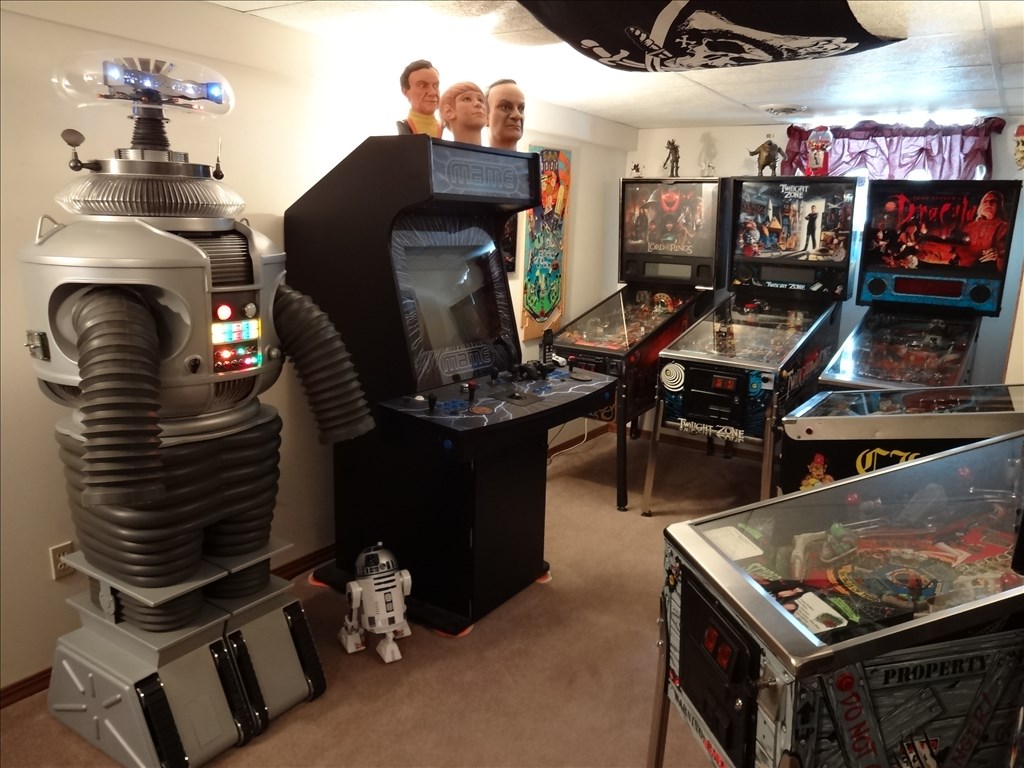
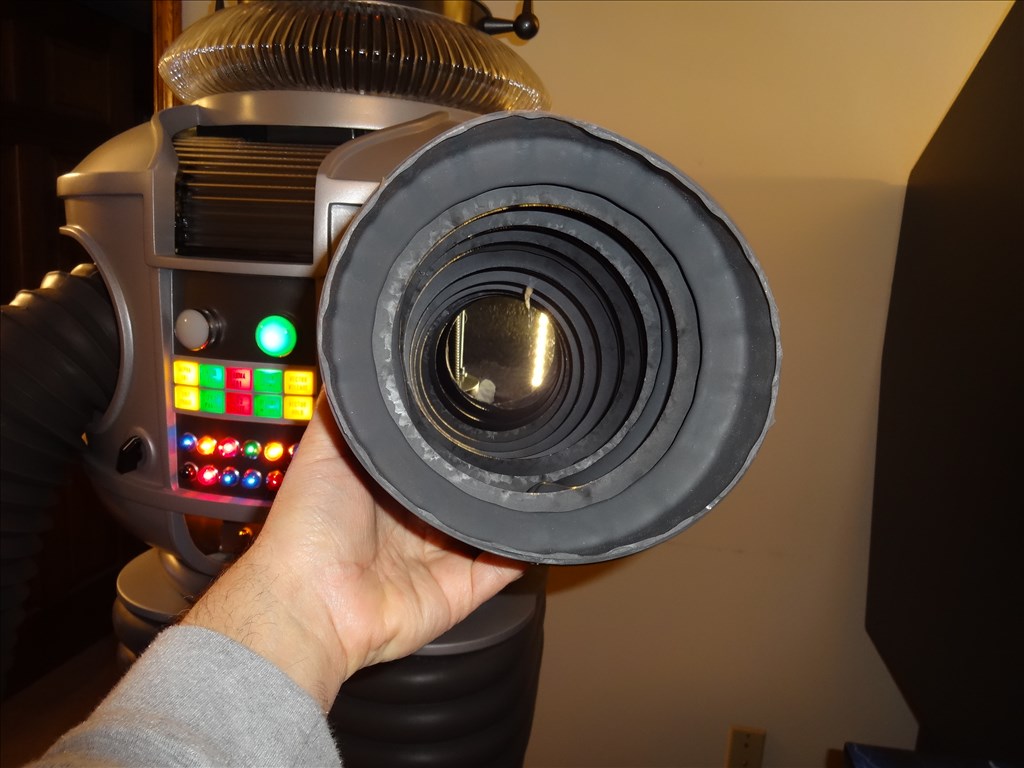
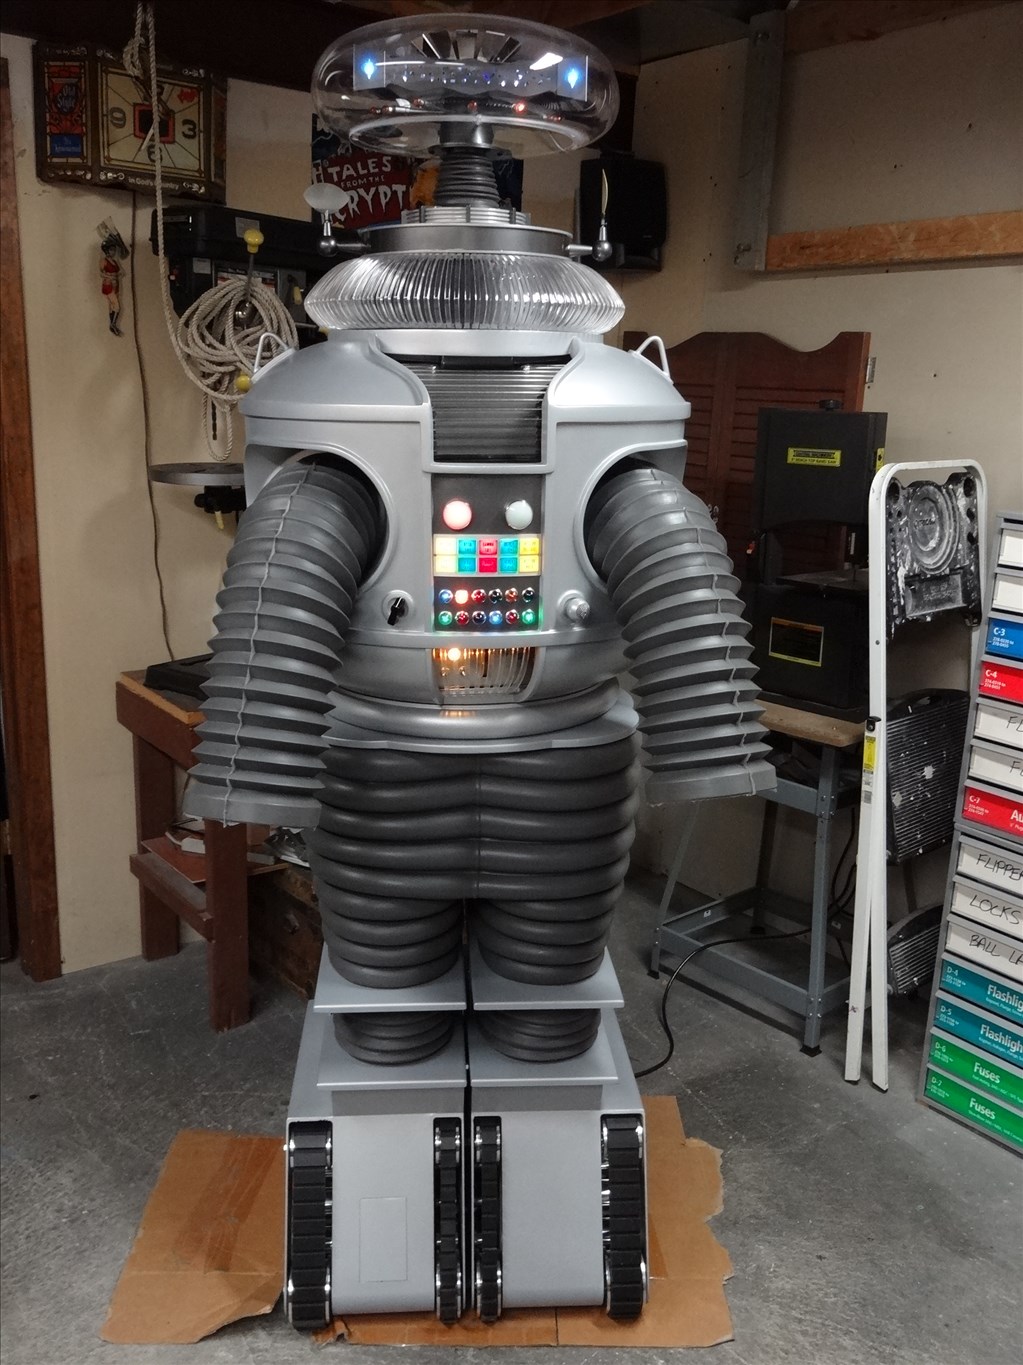
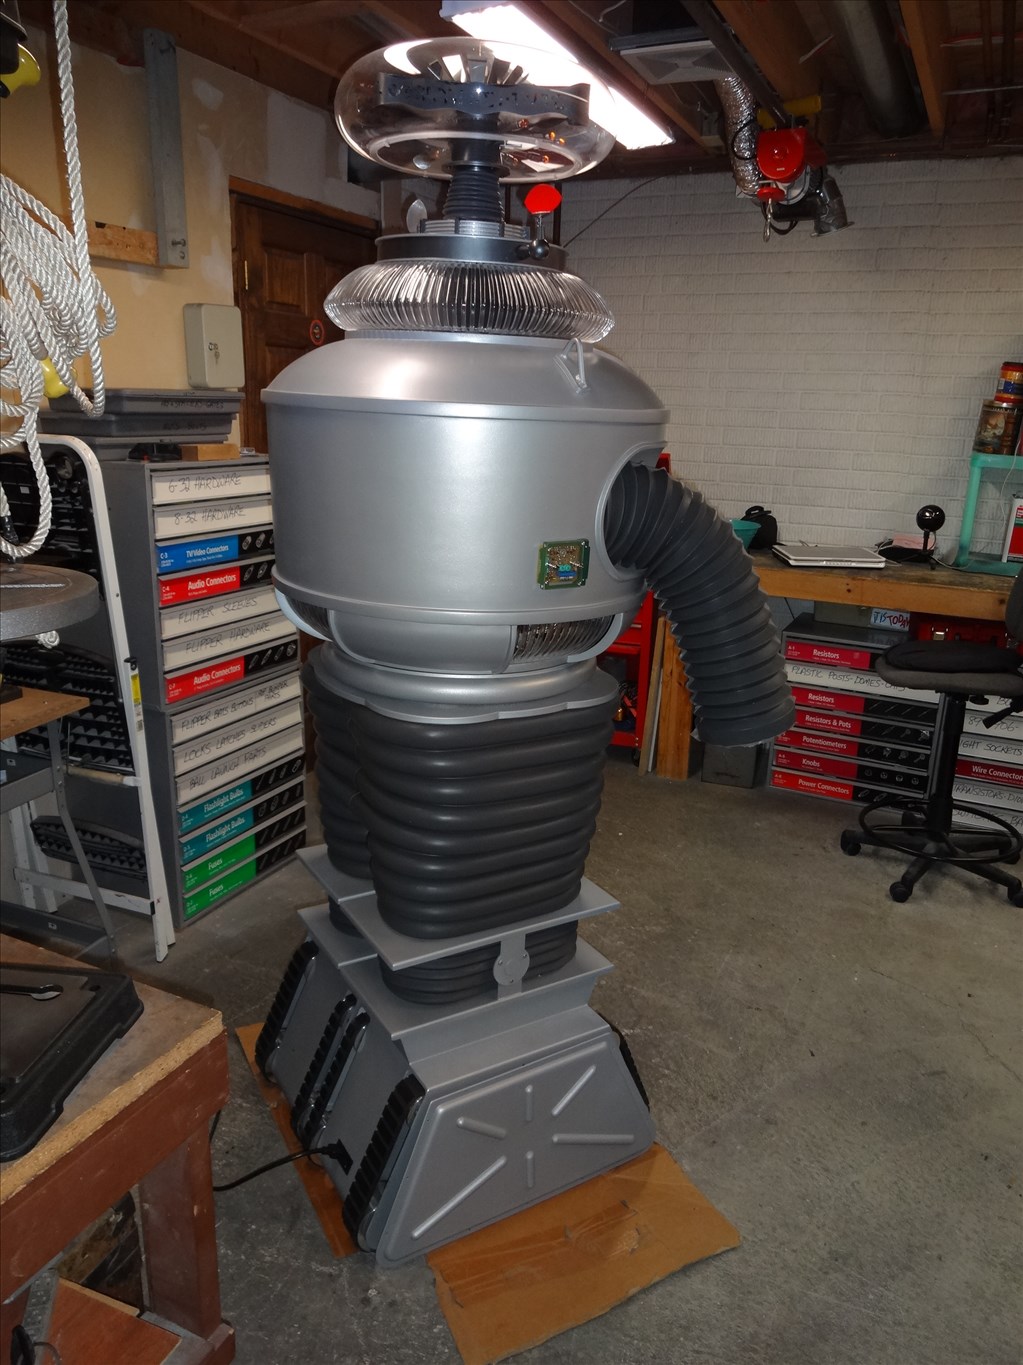
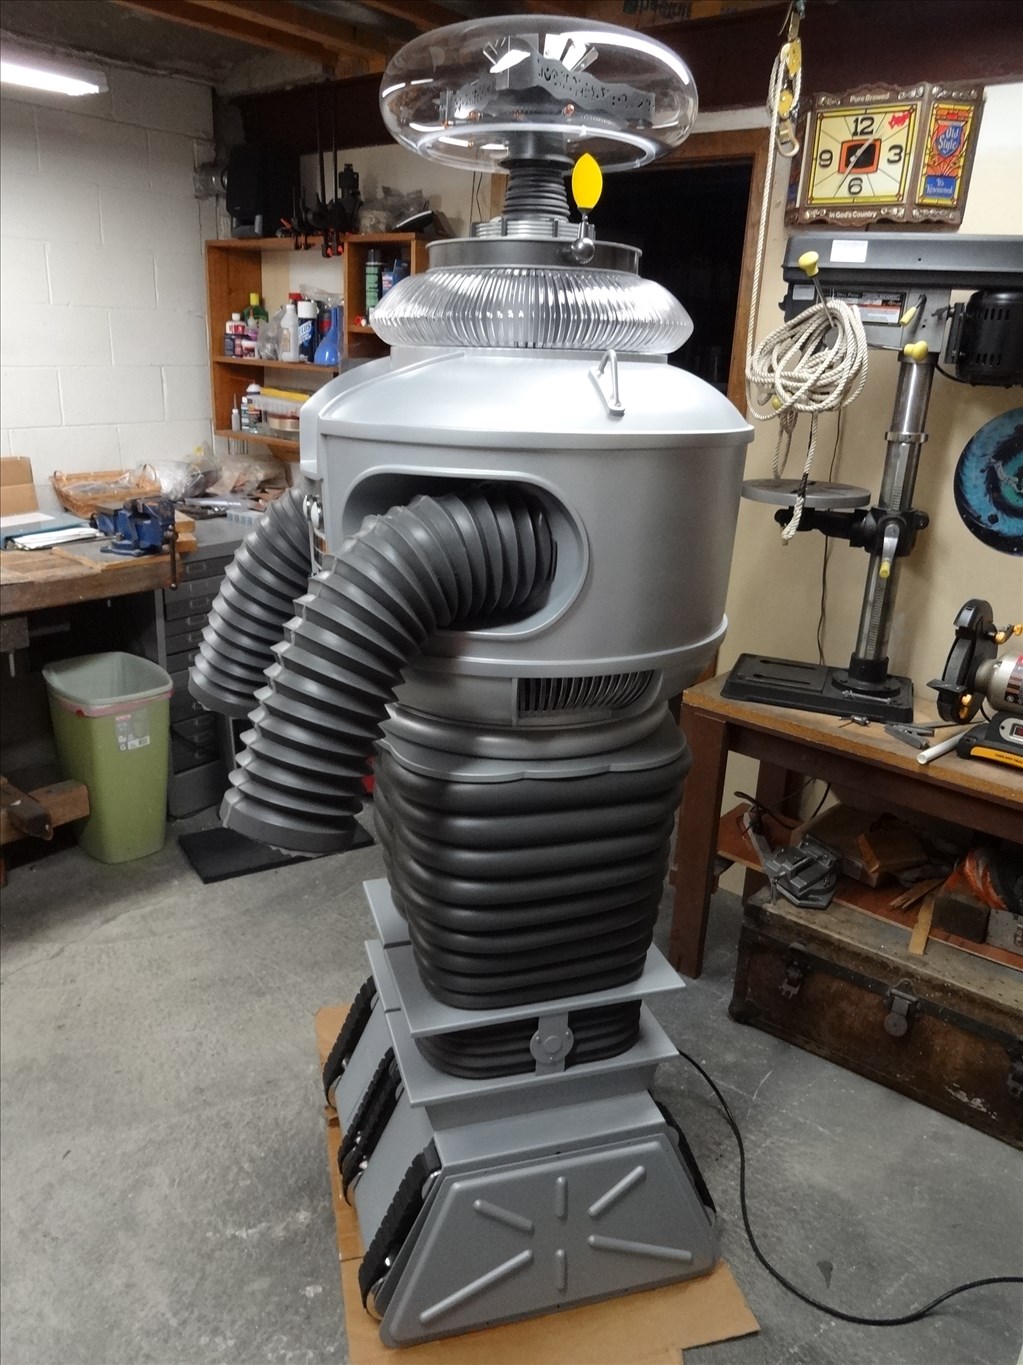
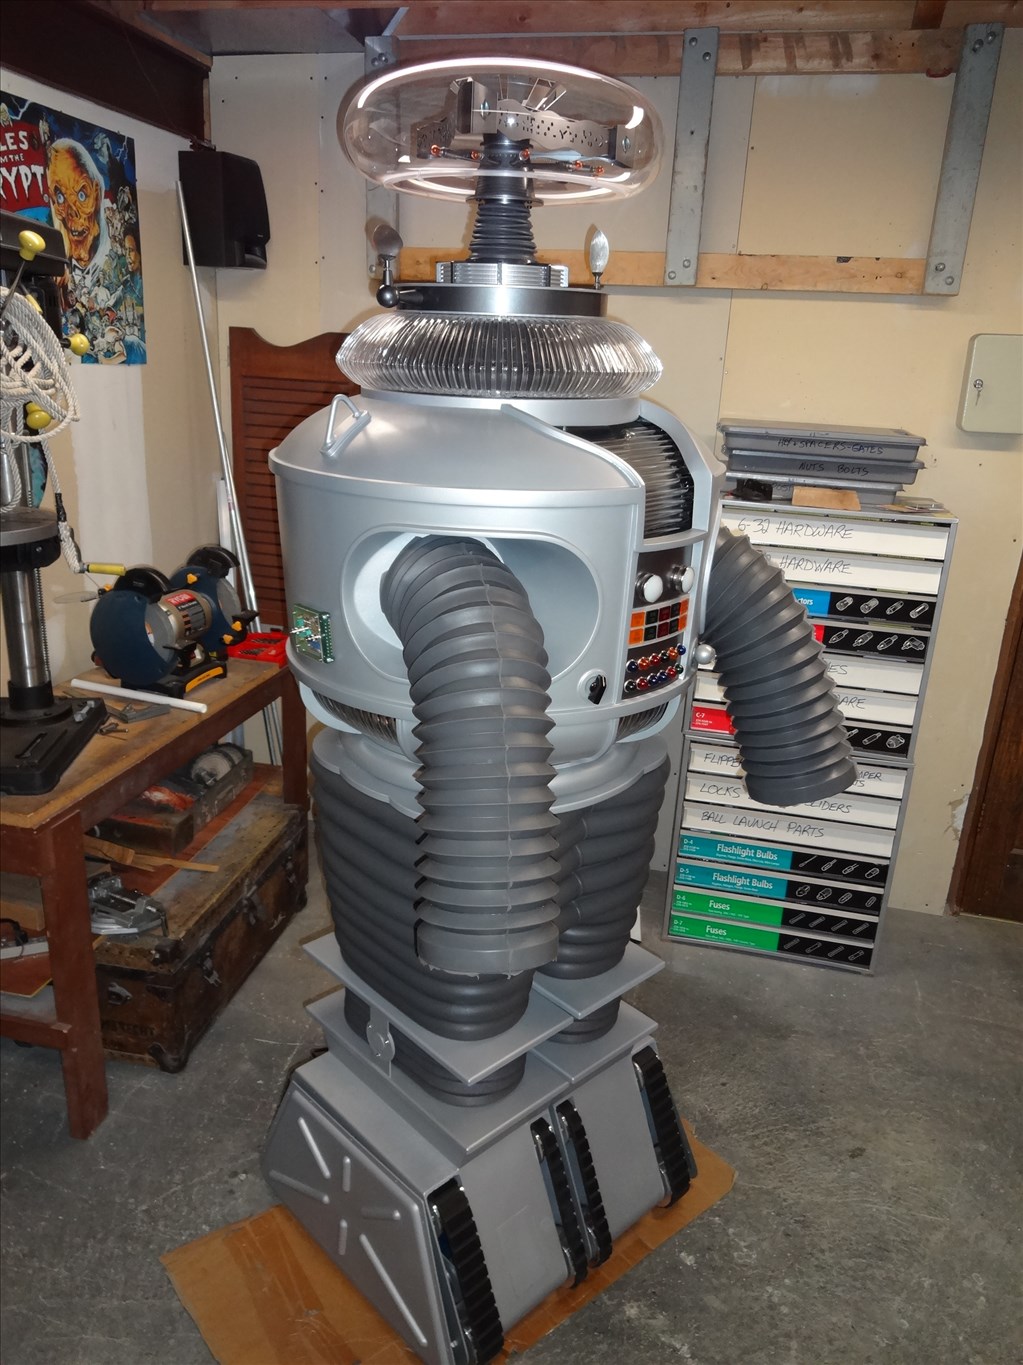
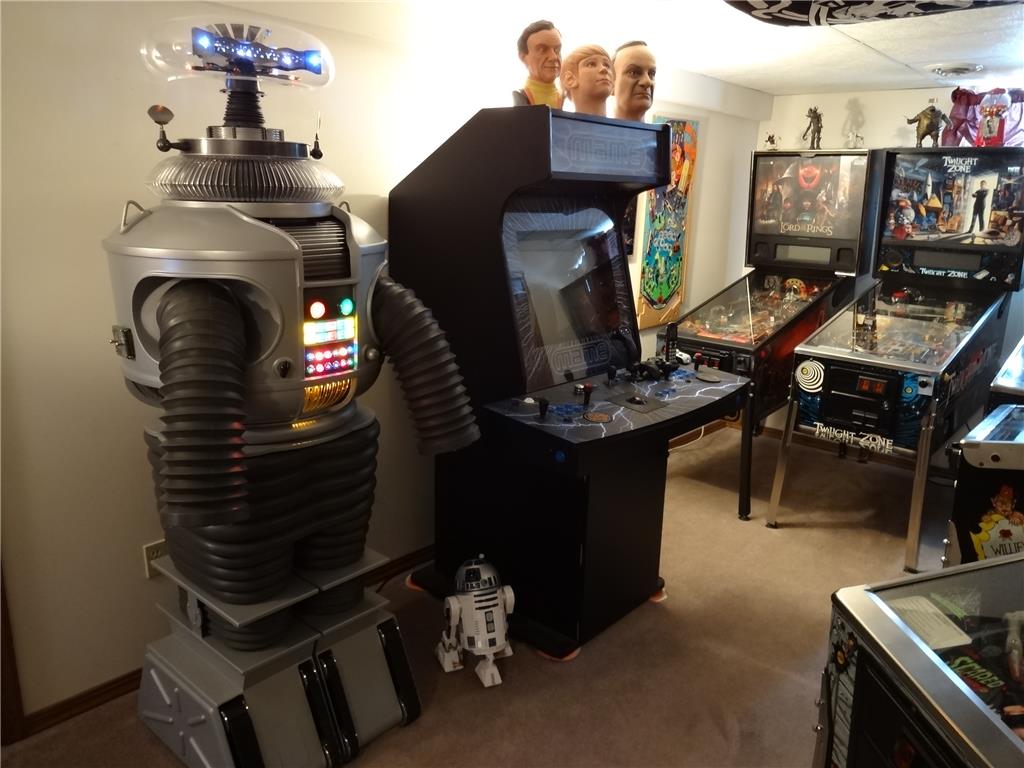
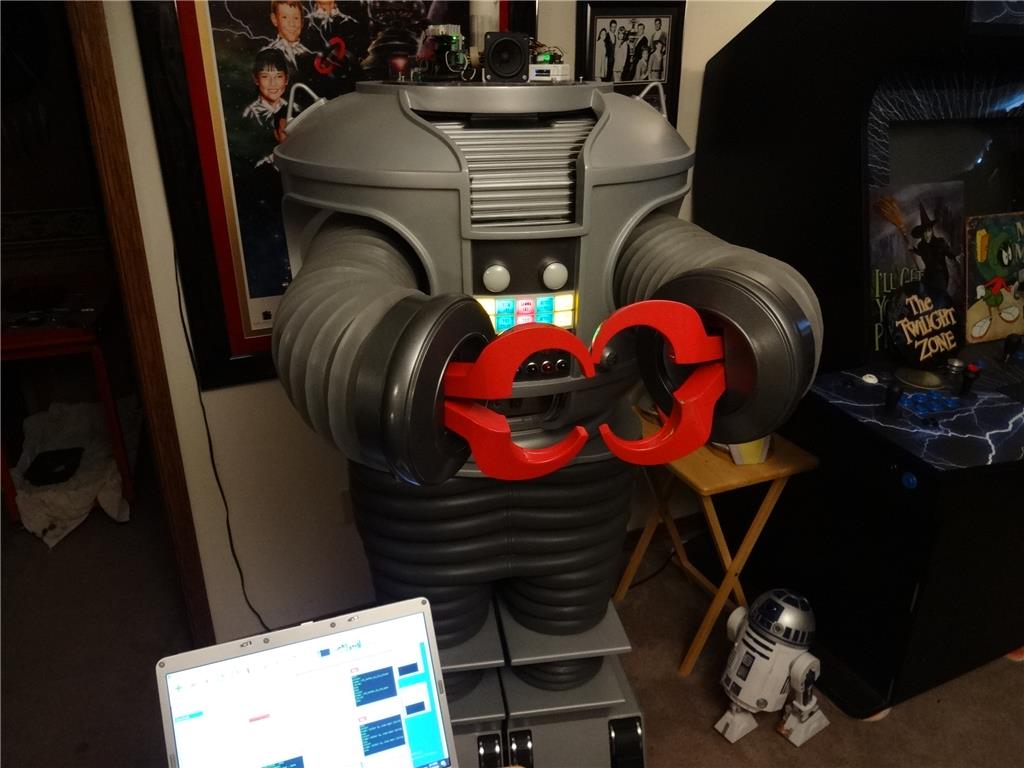
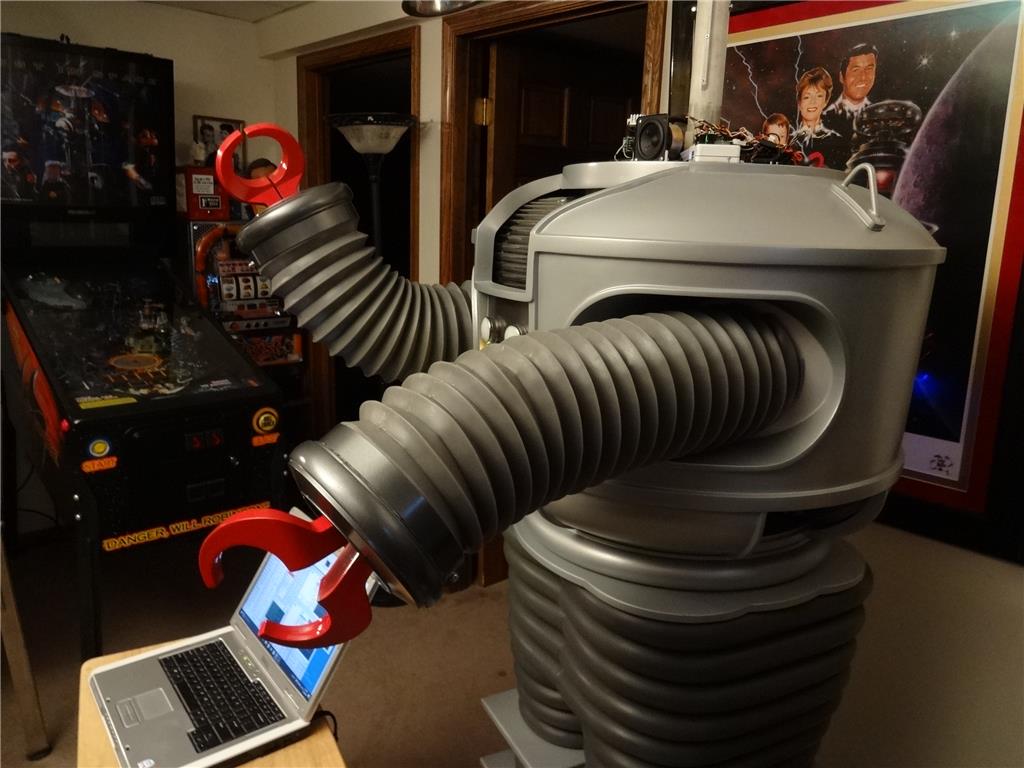
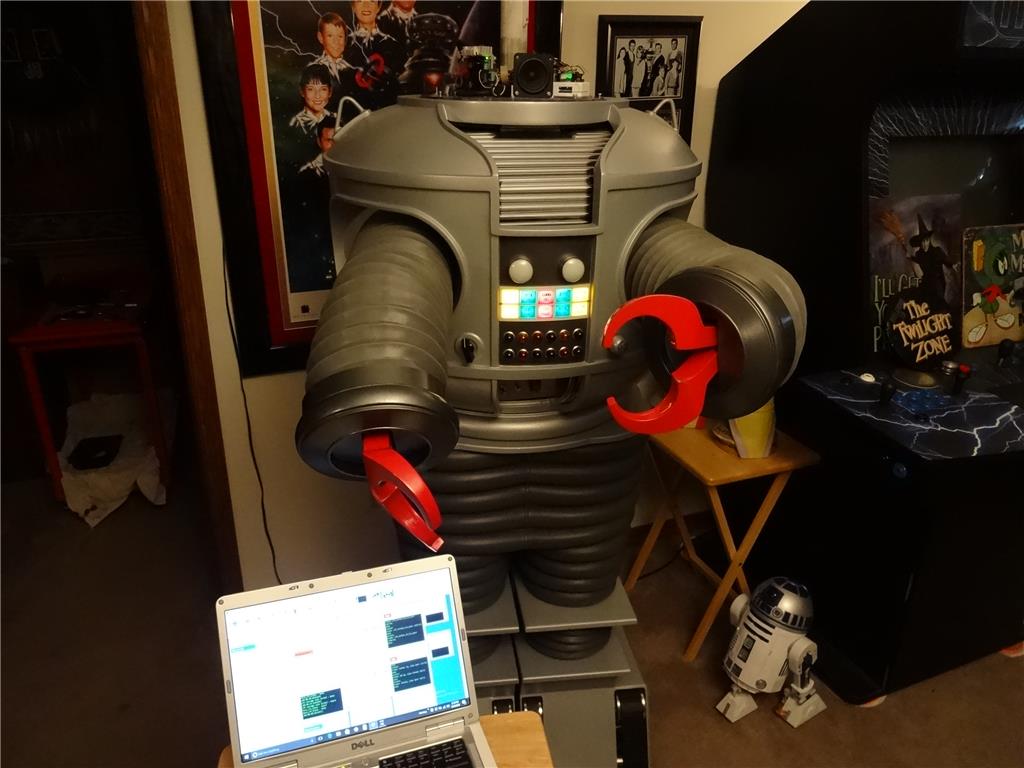
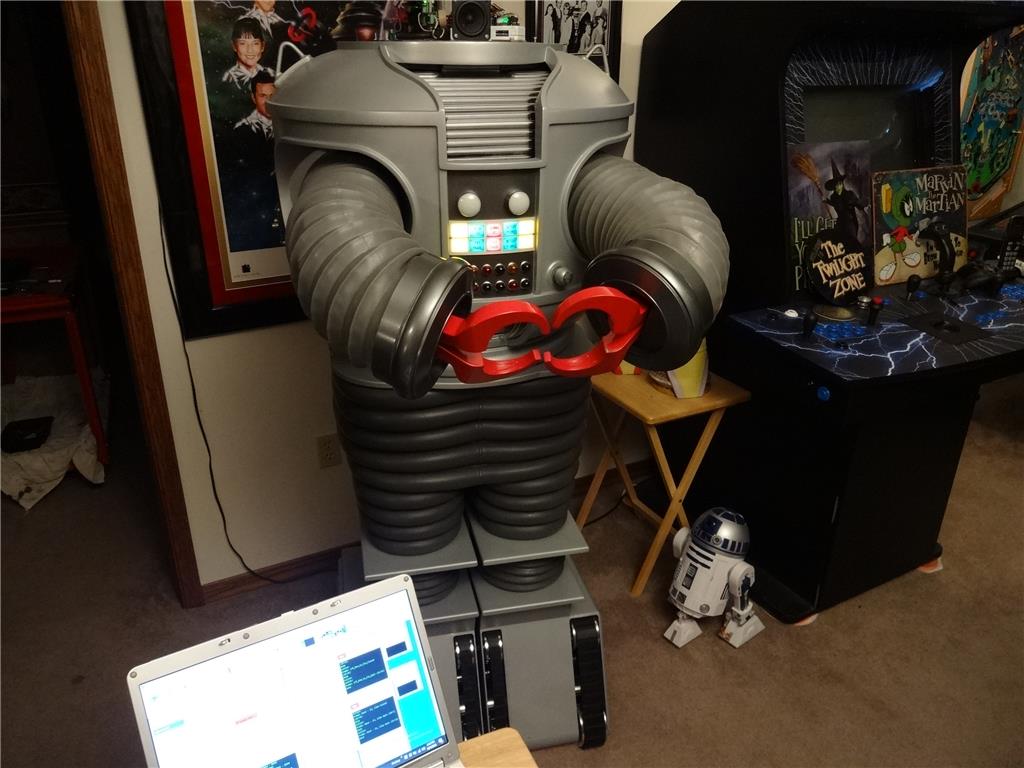
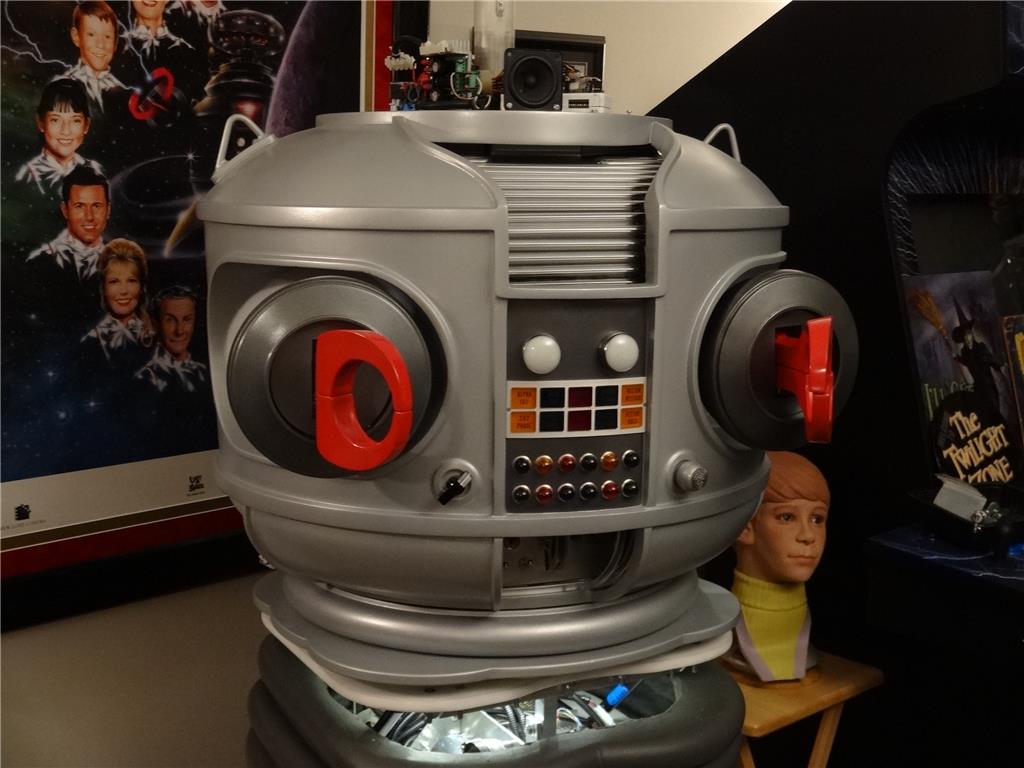
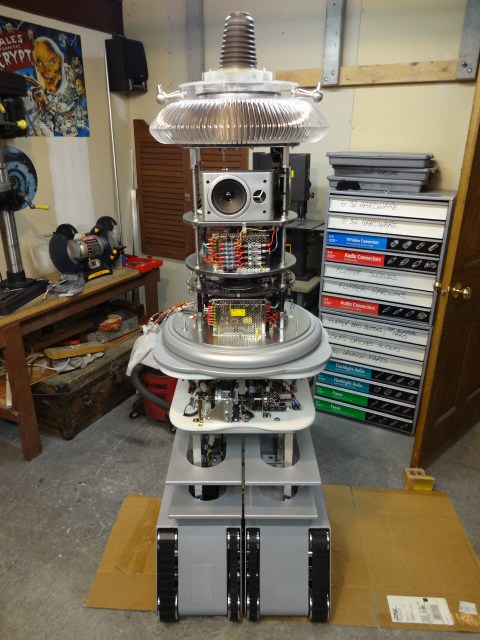
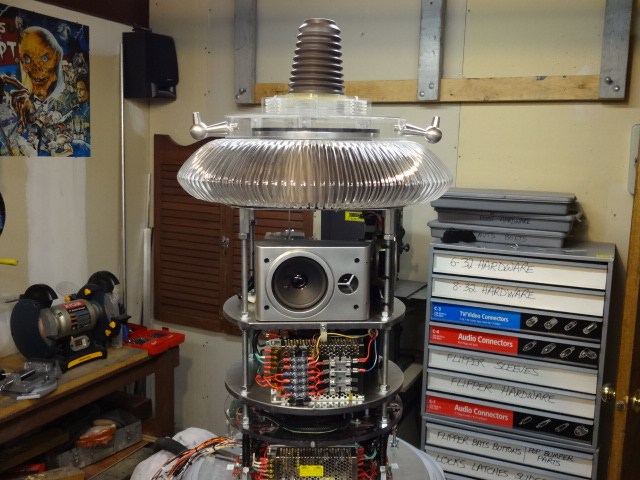
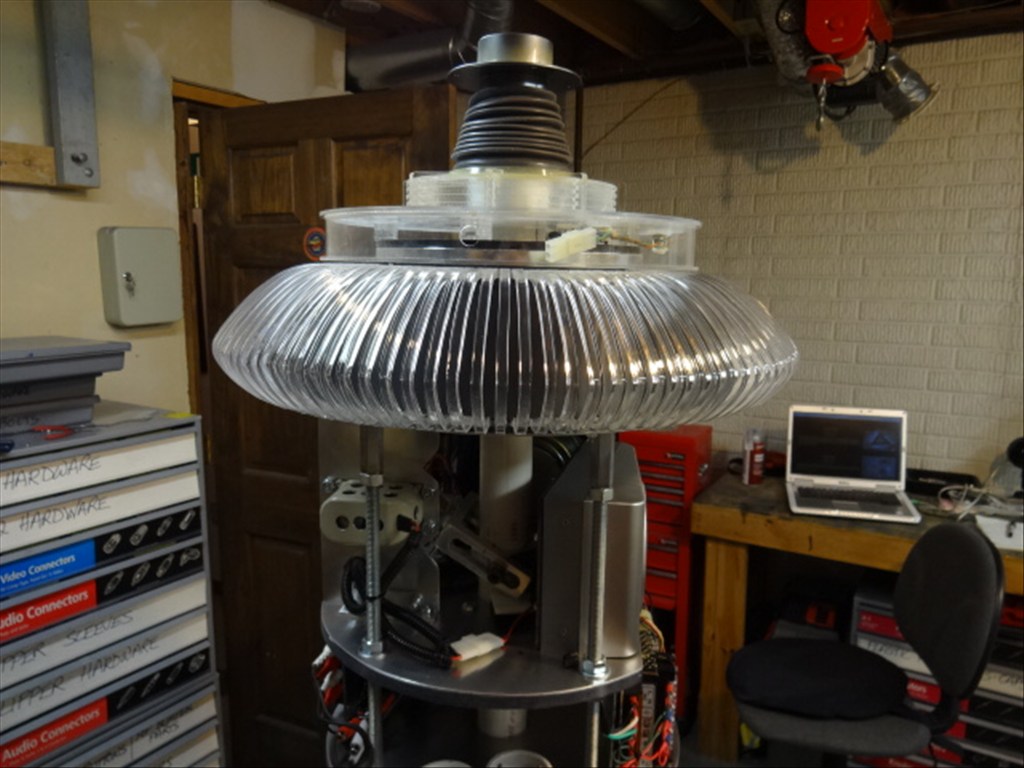
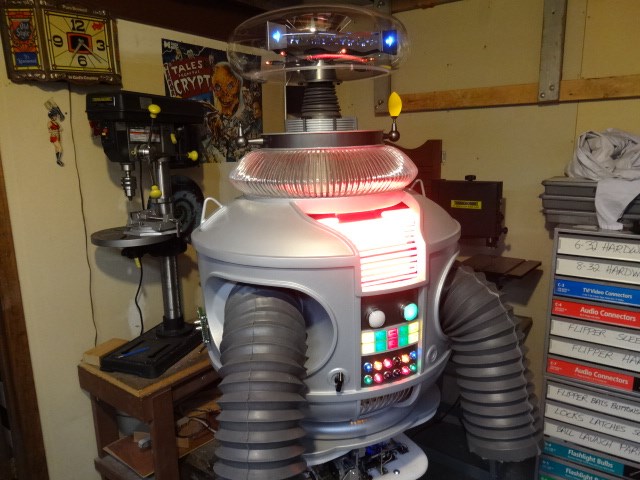
I've now got the first complete stack up done. I call it "PHASE 1". He looks real good with his new pants on. After I raised his leg supports 1 inch he stands 6'6" at rest and 6'8" with the bubble fully up. Here's the final look:
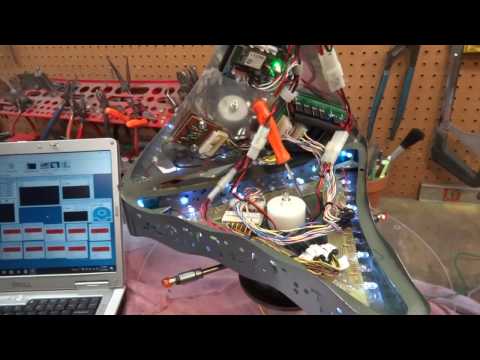
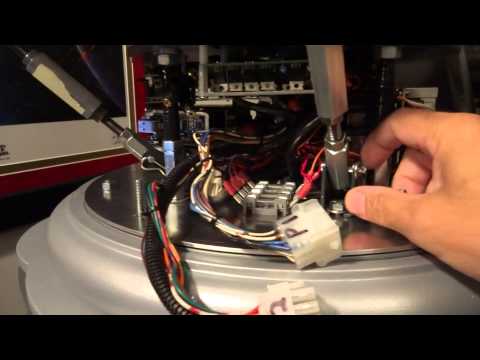
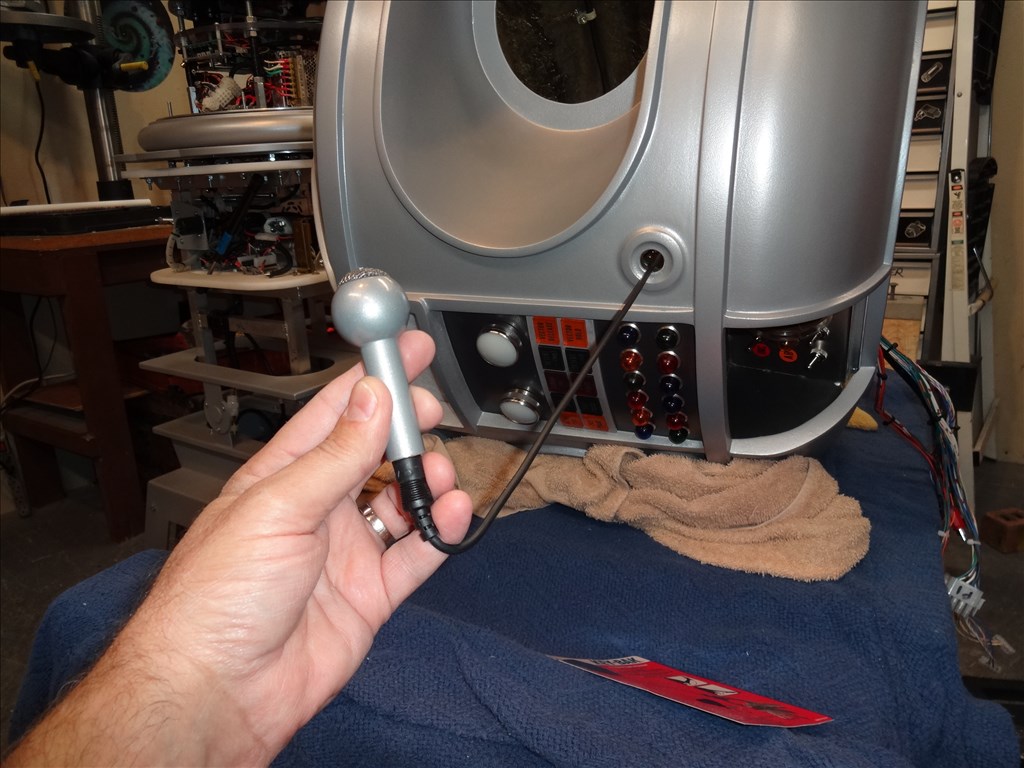
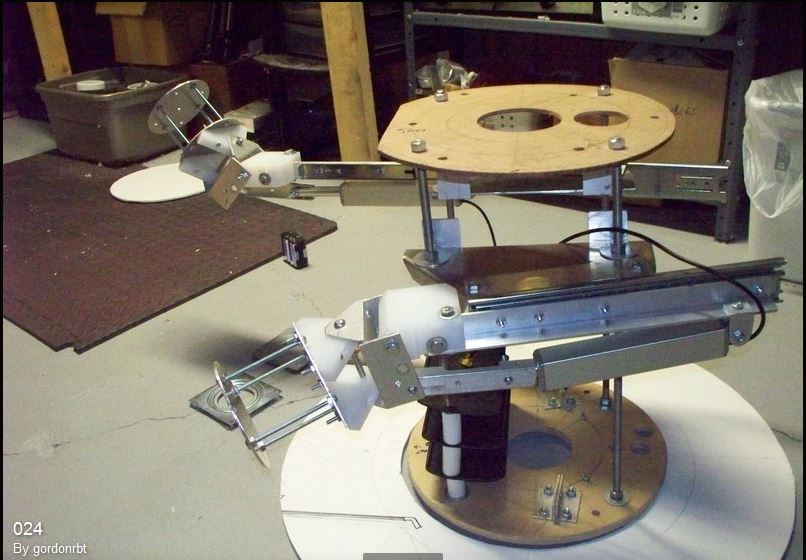
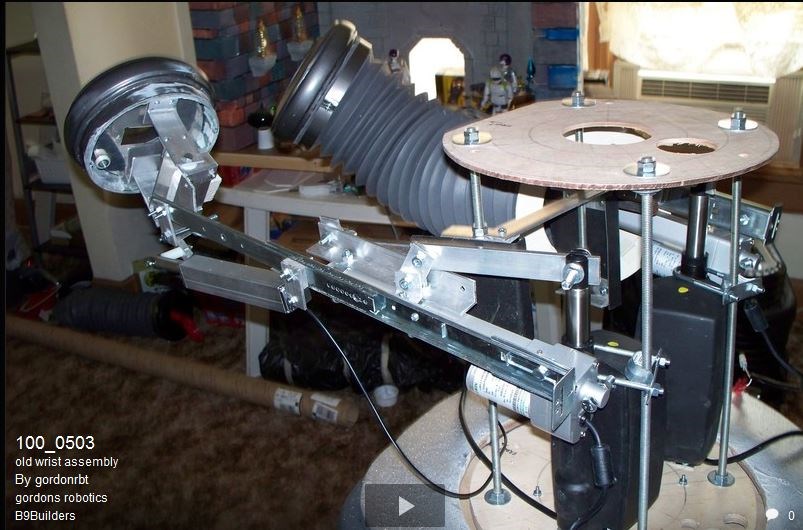
In the next few days I'm going to install the camera and try to get the tracking working again. Last time I had it mounted inside the bubble had got to many reflections form lights. I kept getting false images and couldn't get the tracking to work properly as the camera was moving with the swing of the radar. I wanted to get my radar section to follow people as they move past. This time I'm going to mount it on the tread section and it will stay stationary. I'll try Relative tracking this time.
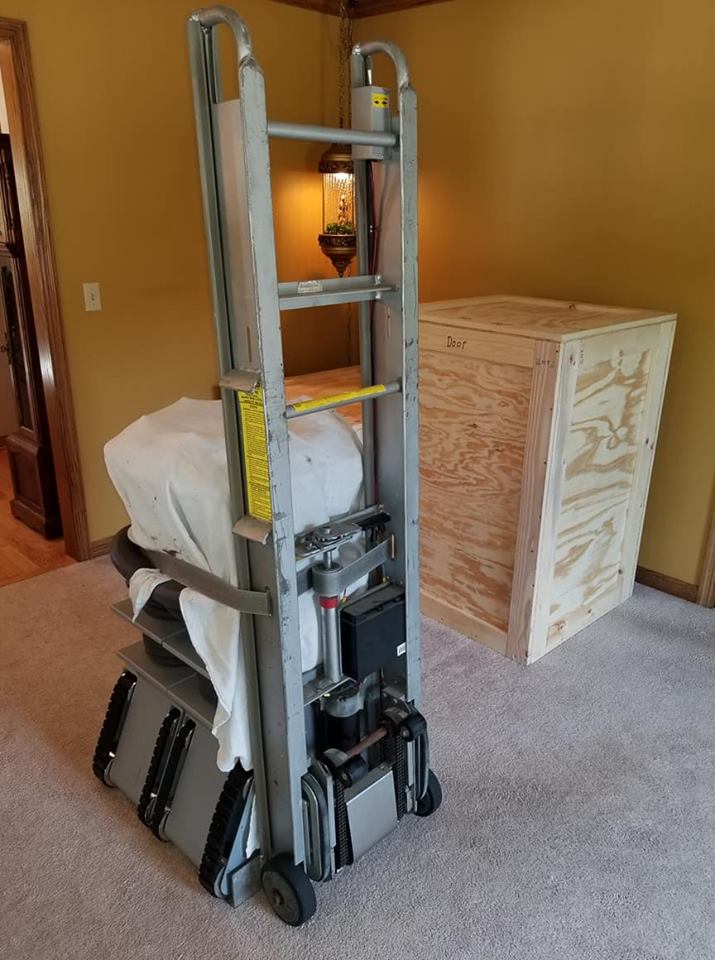
After I attempt that and either succeed or fail I'll be moving him out of the workshop and into his final living space (yet to be decided upon). Kinda like being born!
The next steps will be designing and building the arms and developing his personality and animation routines.
Thanks for all the help everyone has given so far!
Dave Schulpius
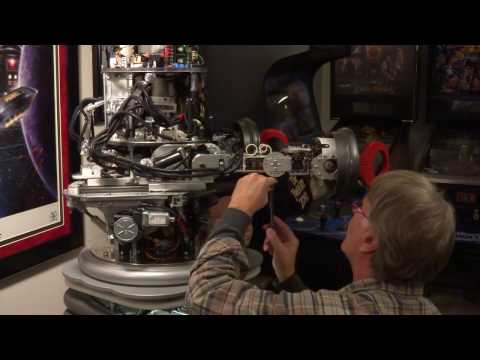
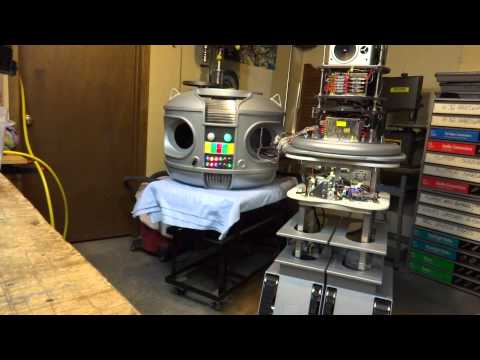
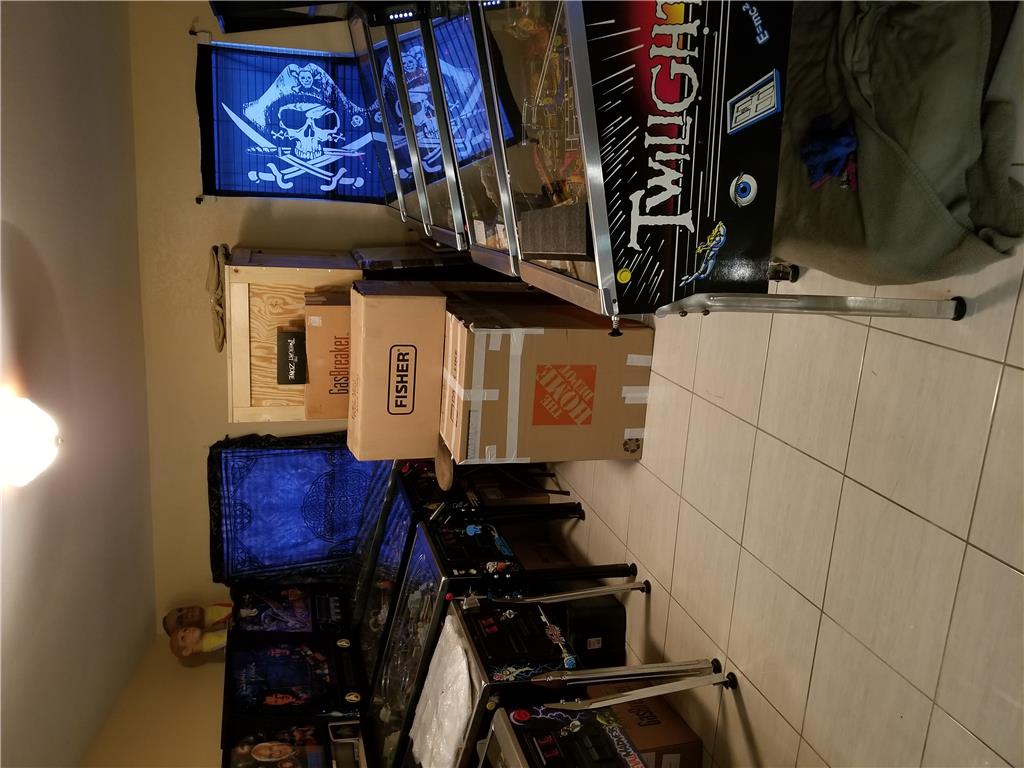
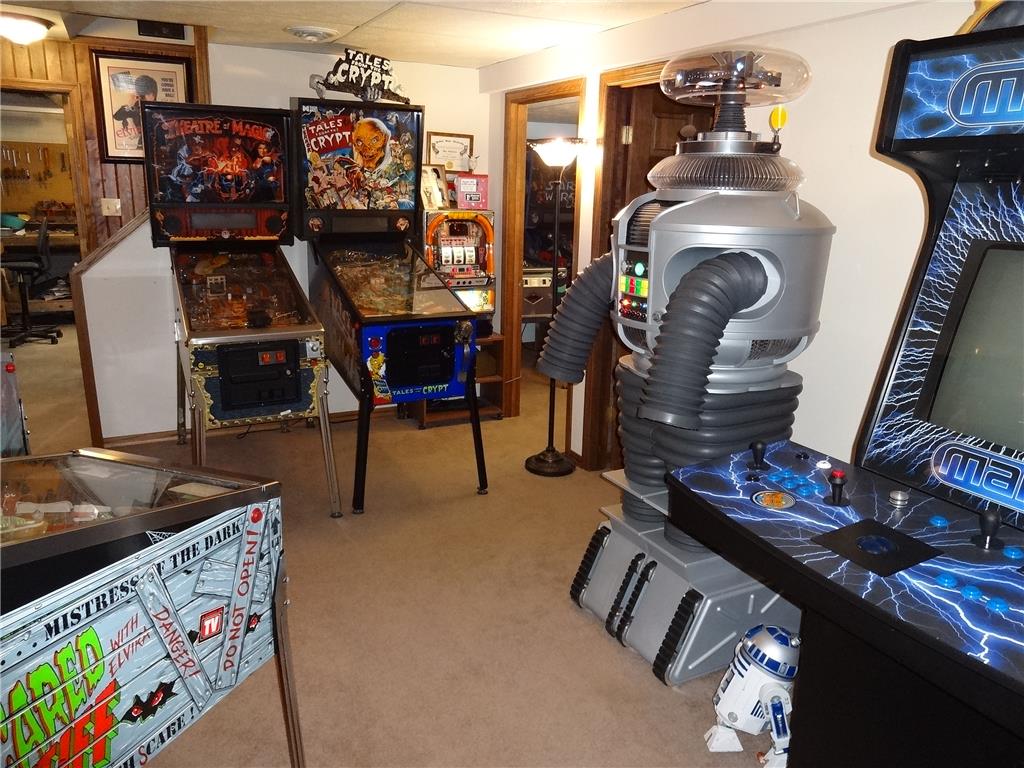
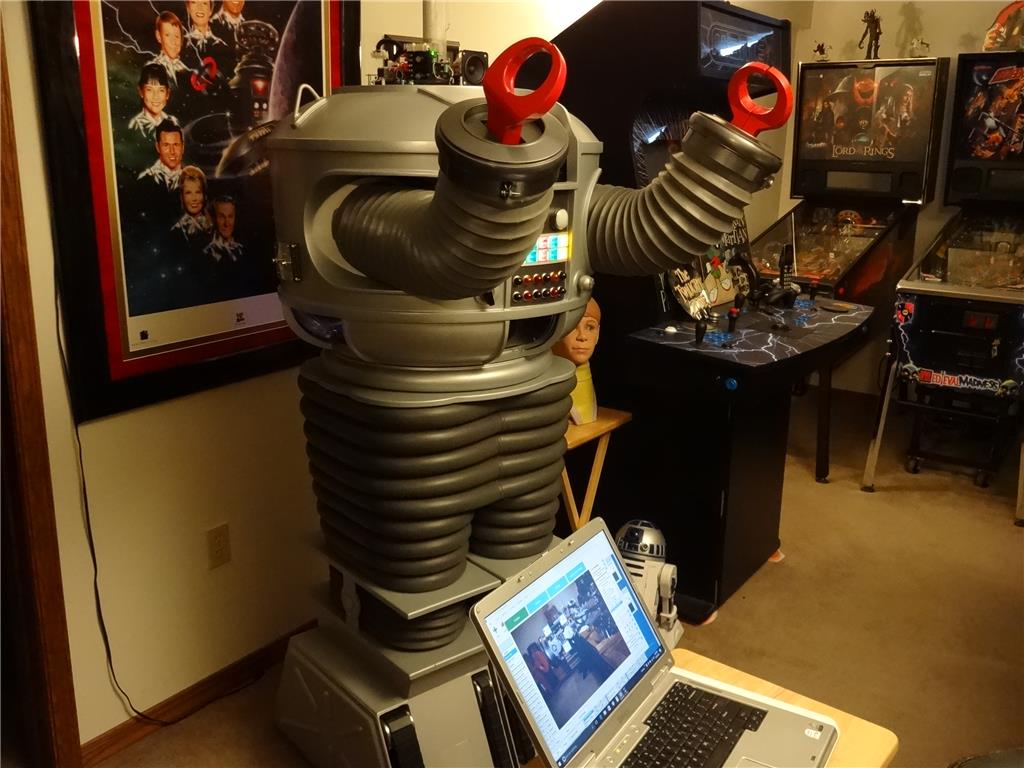
Well, It's been 3 months and all I've really done is move B9 Robot into the game room as his temp home. He's just standing there among my pinball collection and looking really cool. I took a little rest away from robot building to recharge my own batteries and work on other projects of interest like pinball restoration, my family and home.
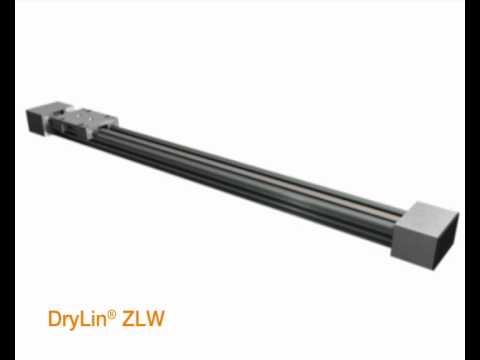
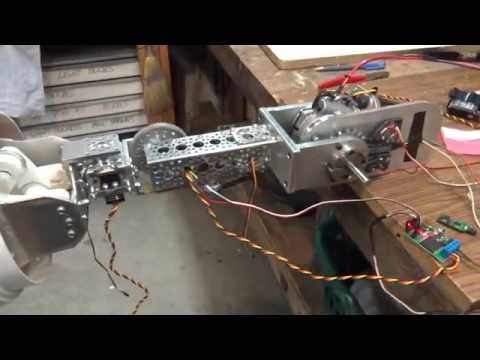
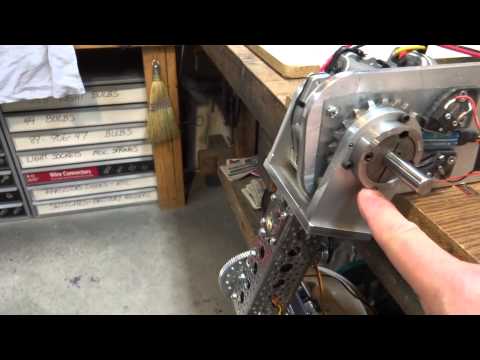
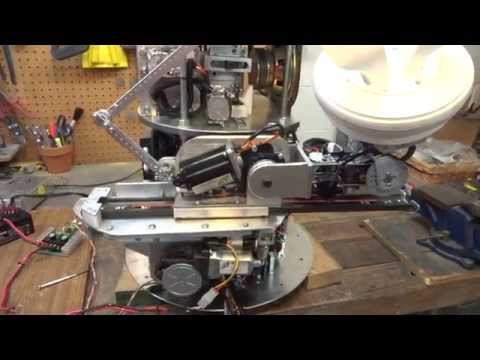
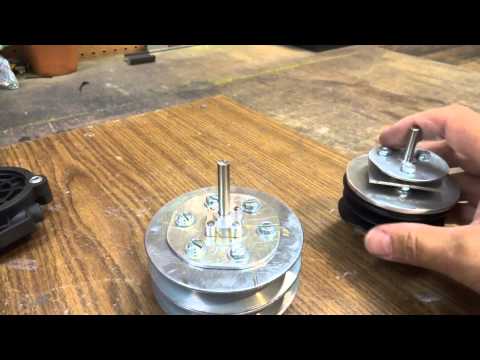
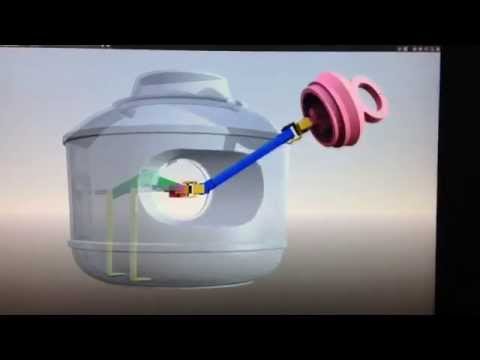
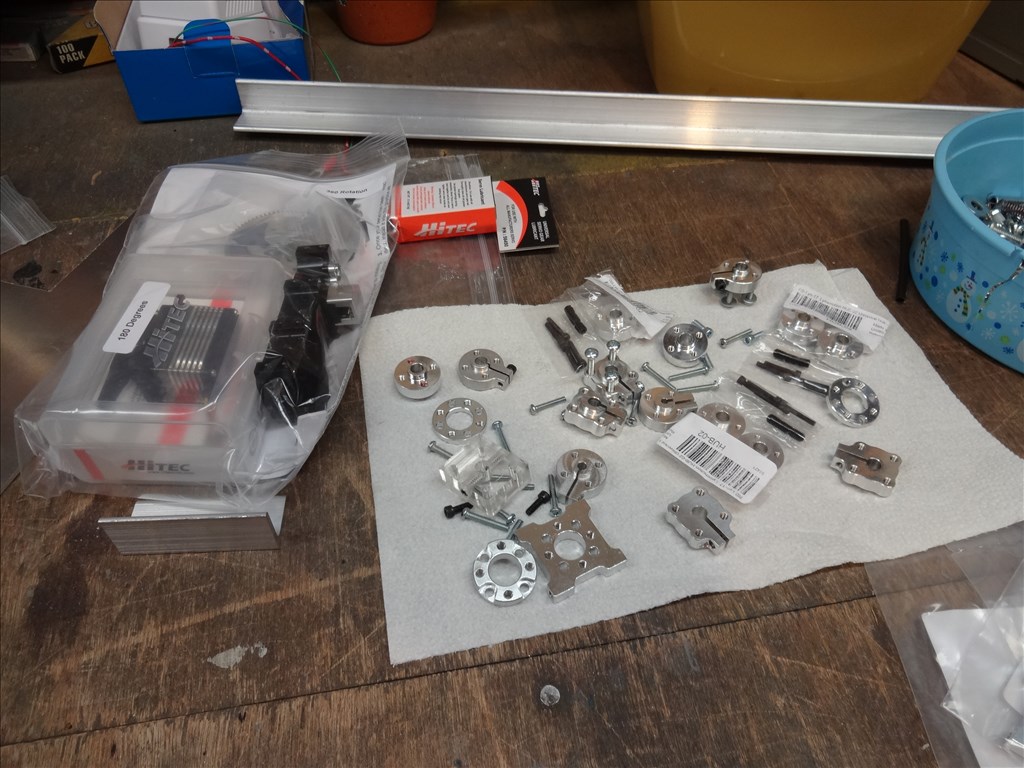
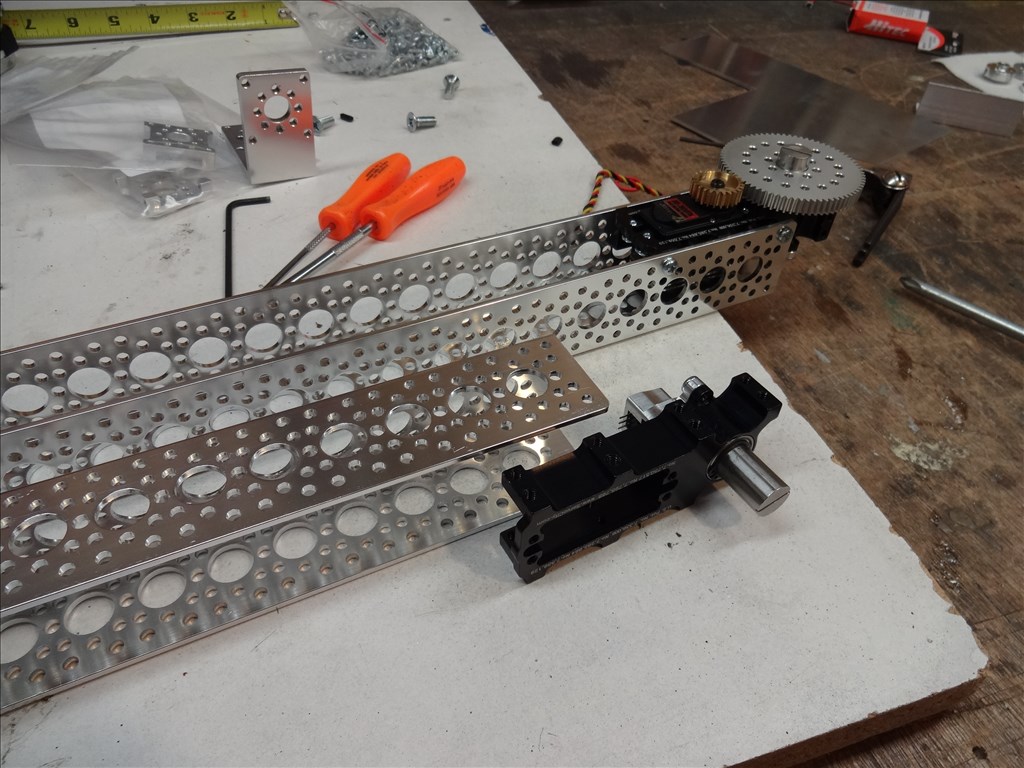
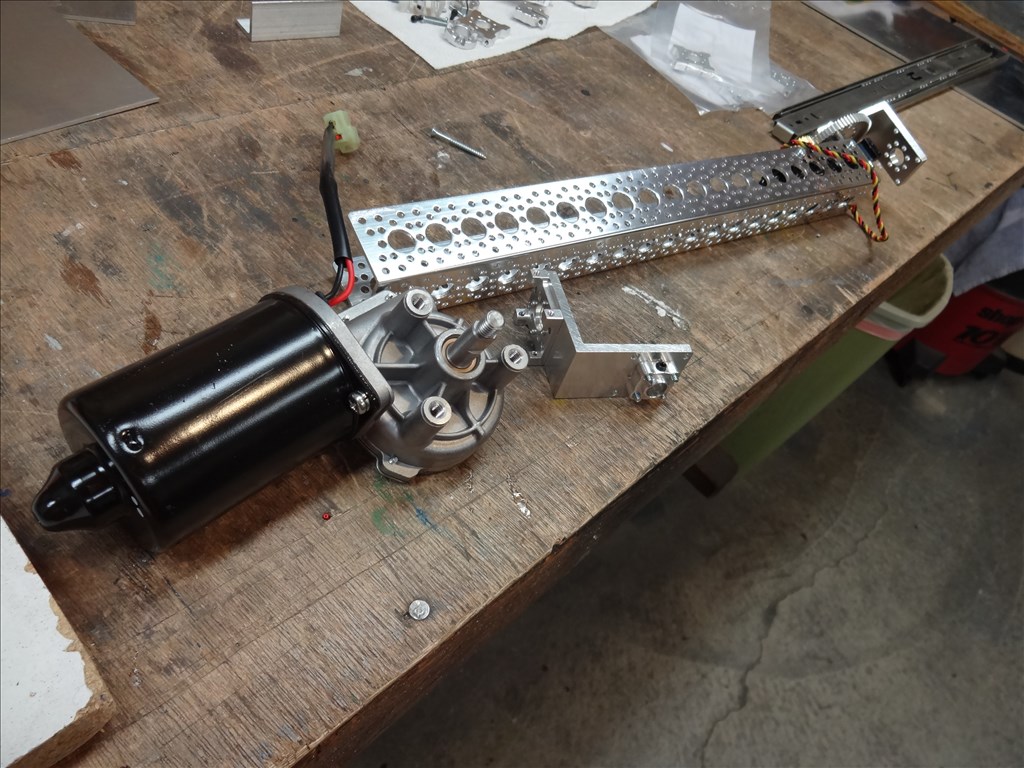
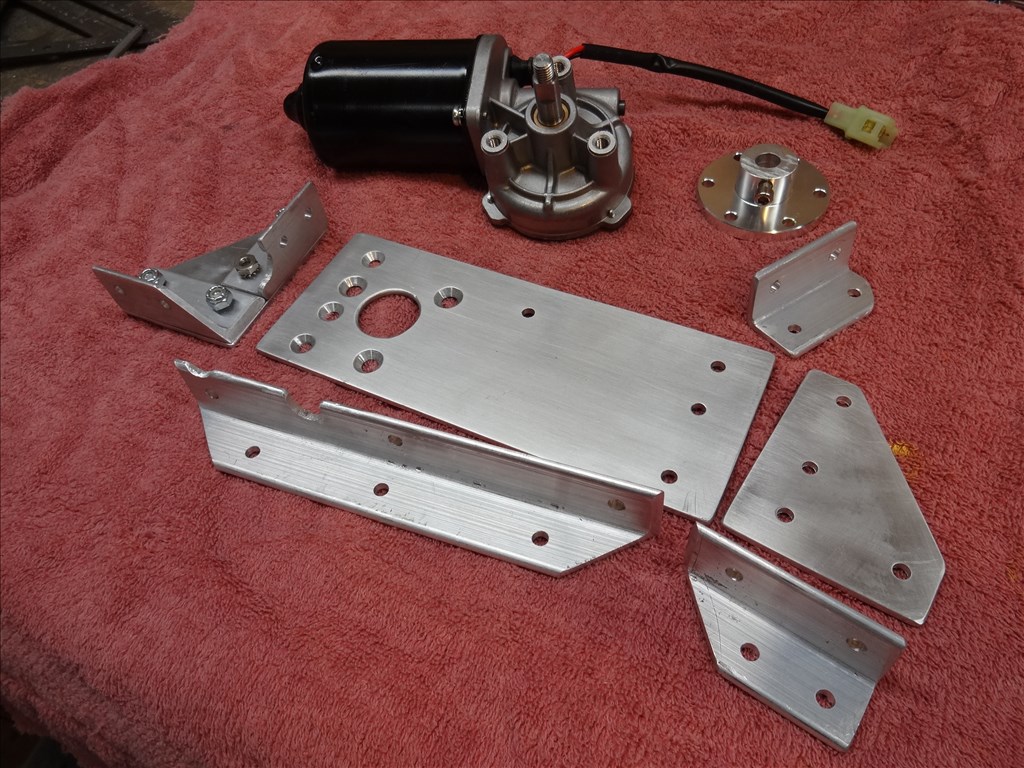
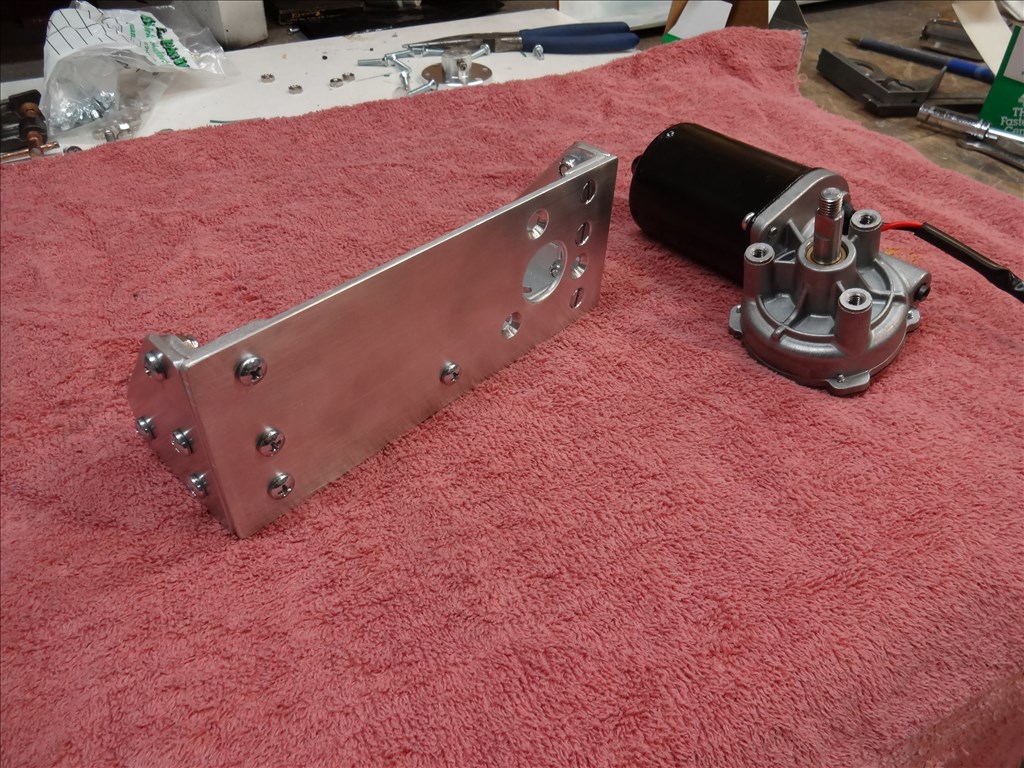
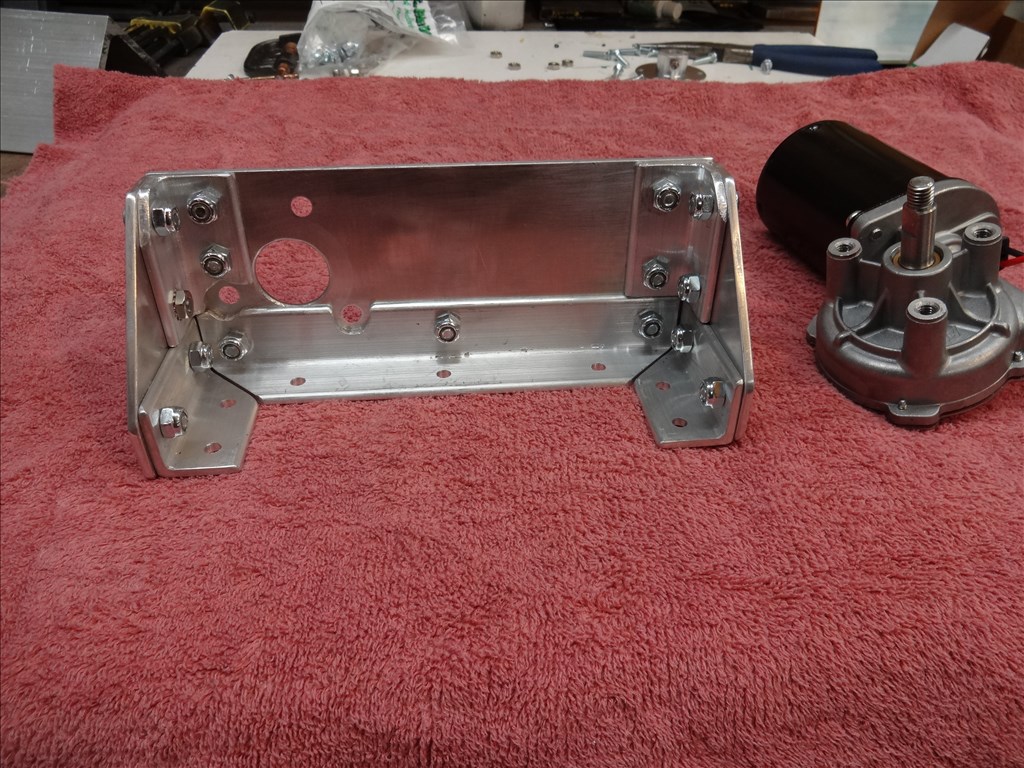
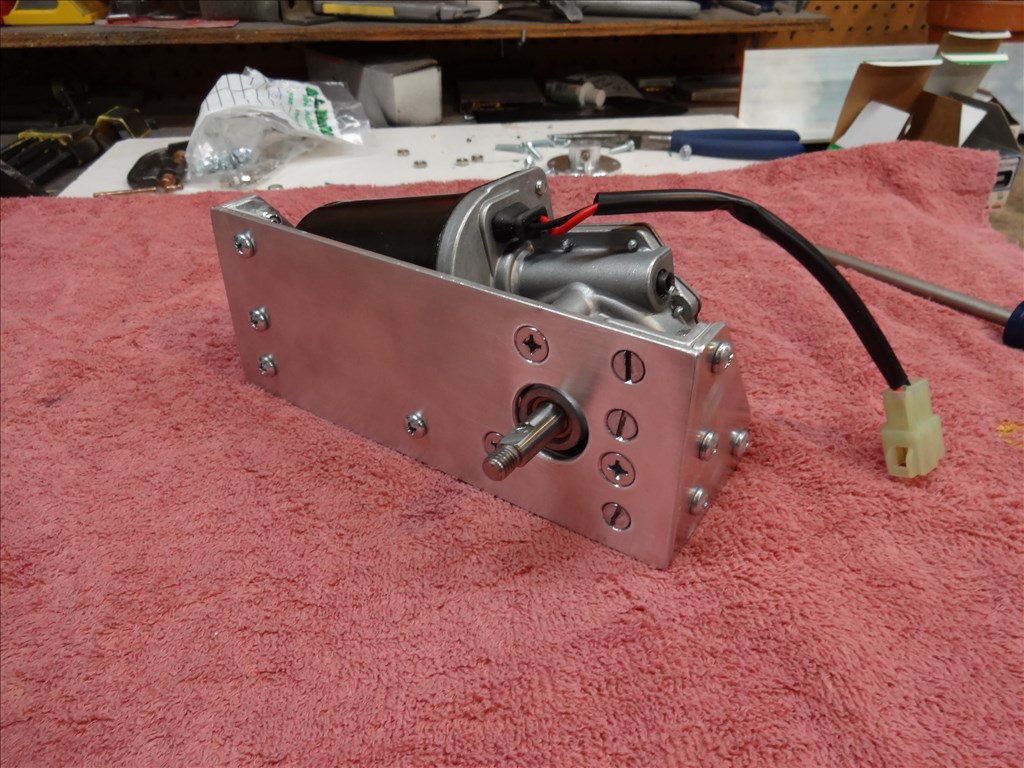
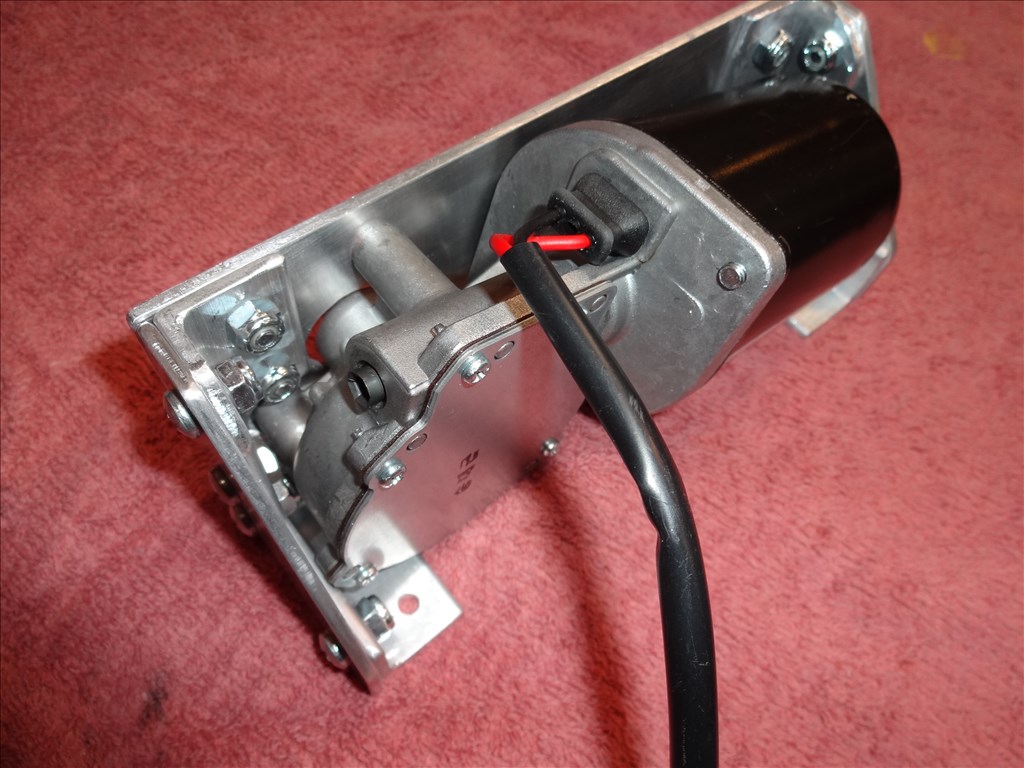
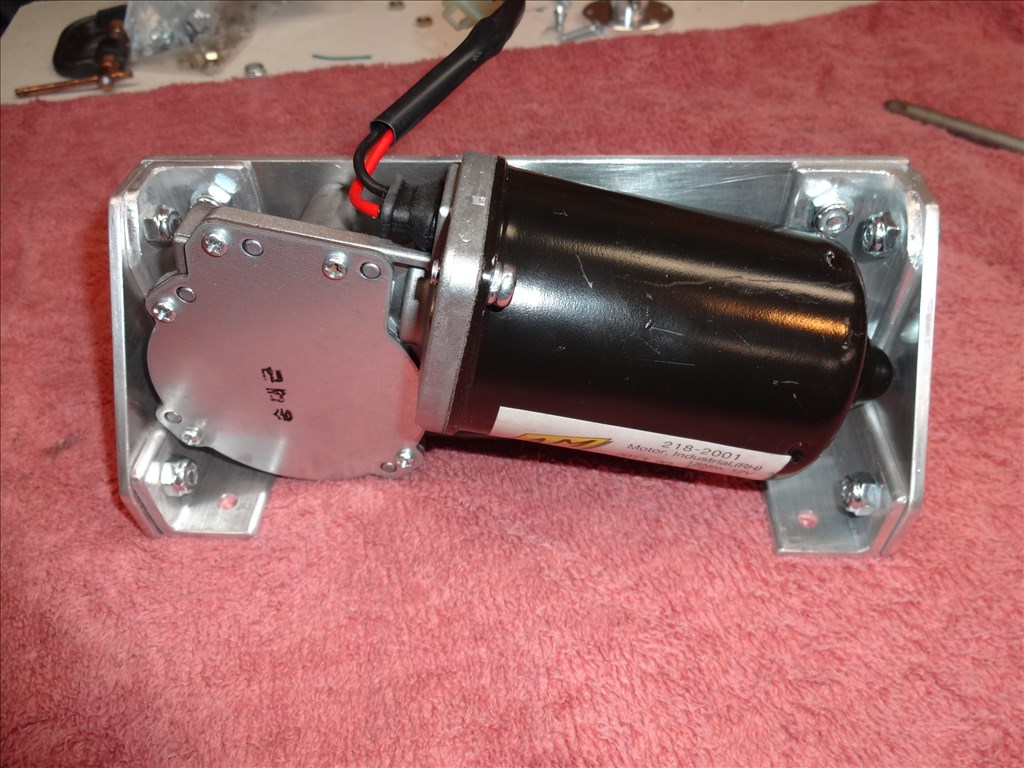
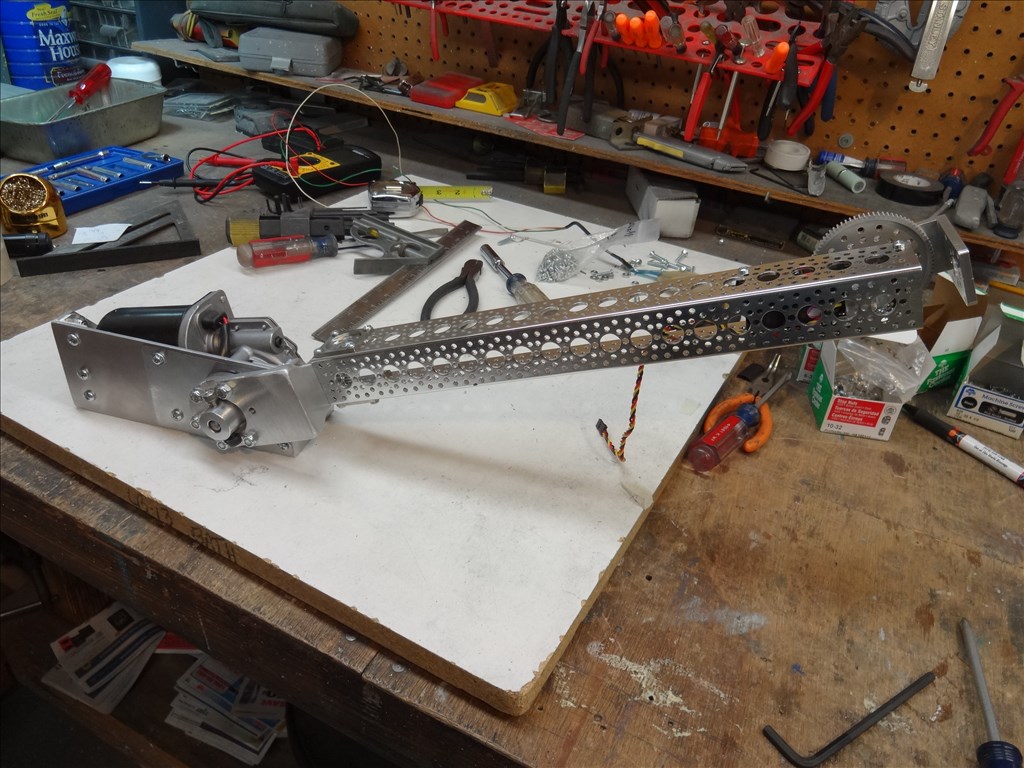
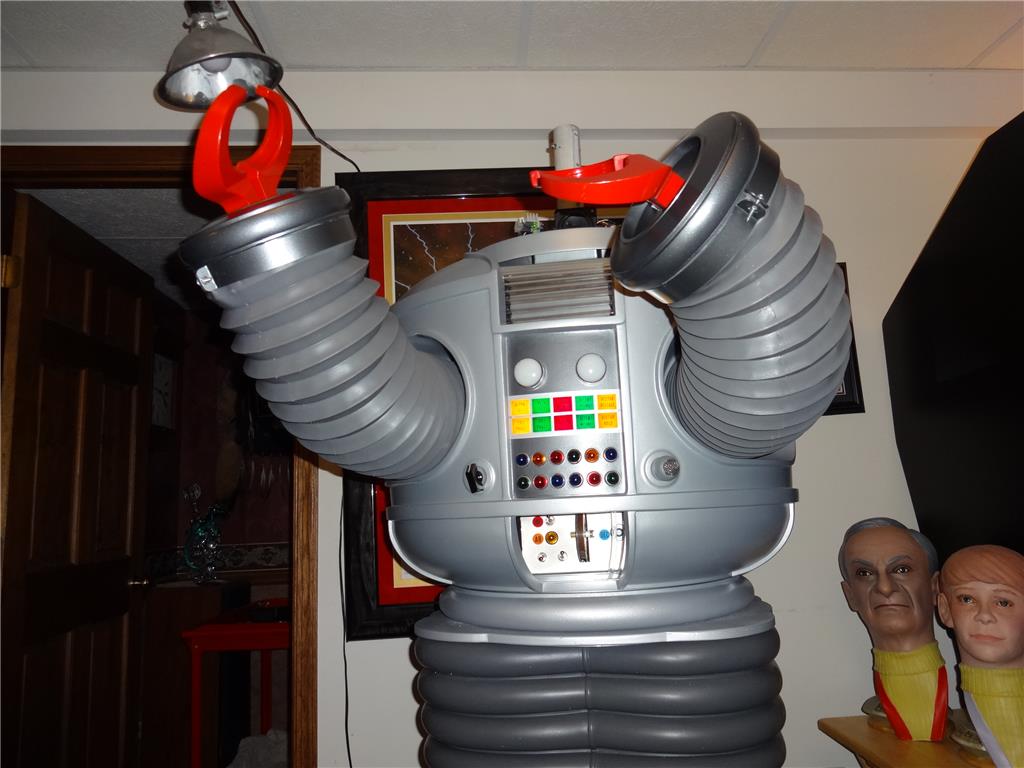
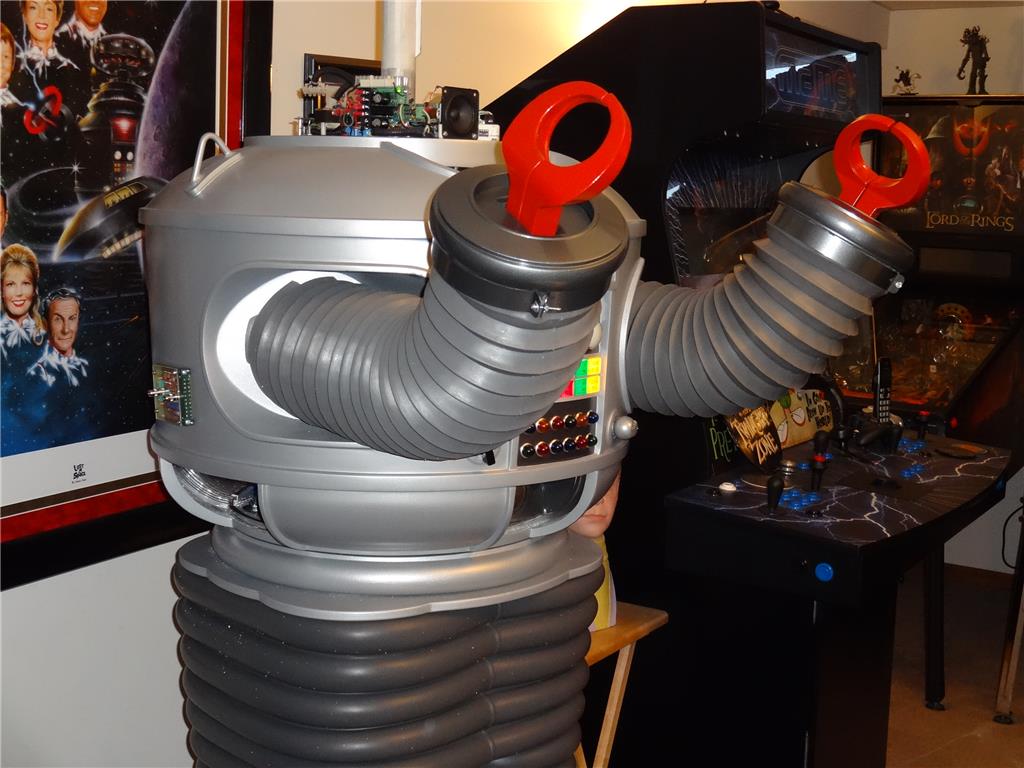
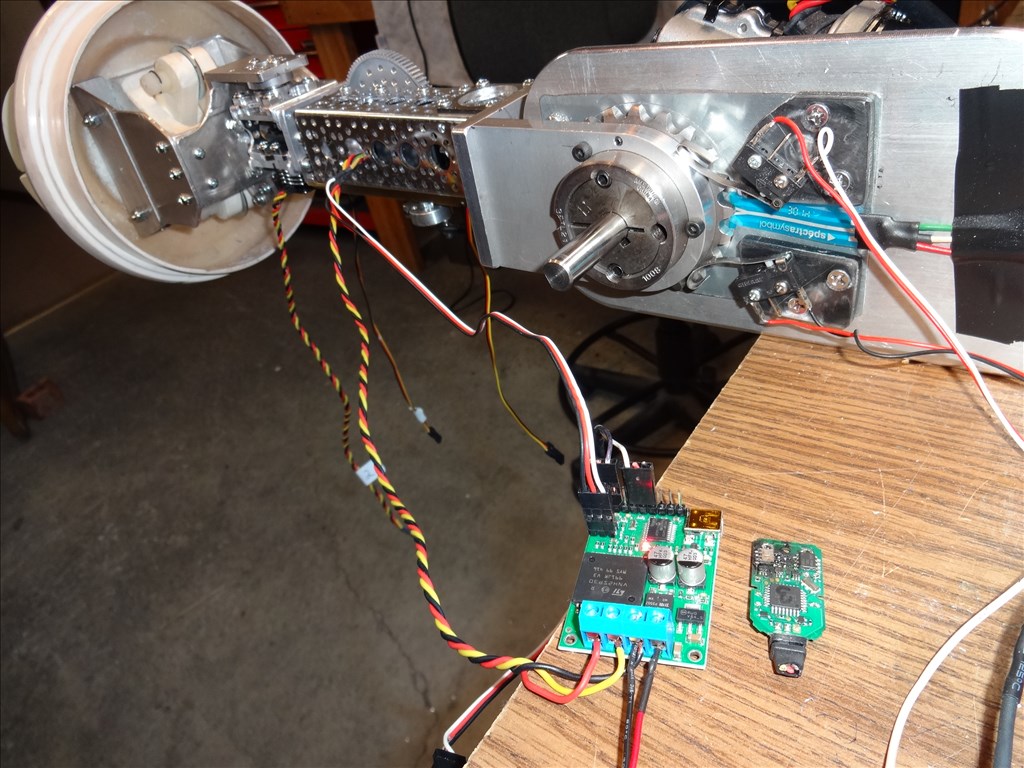
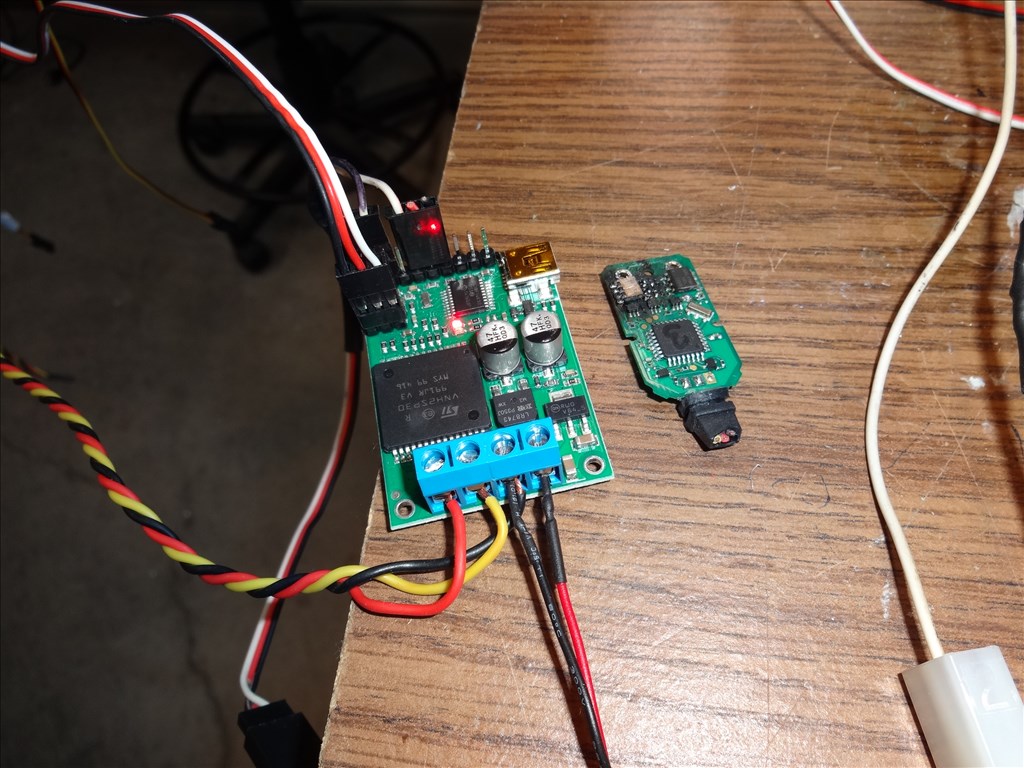
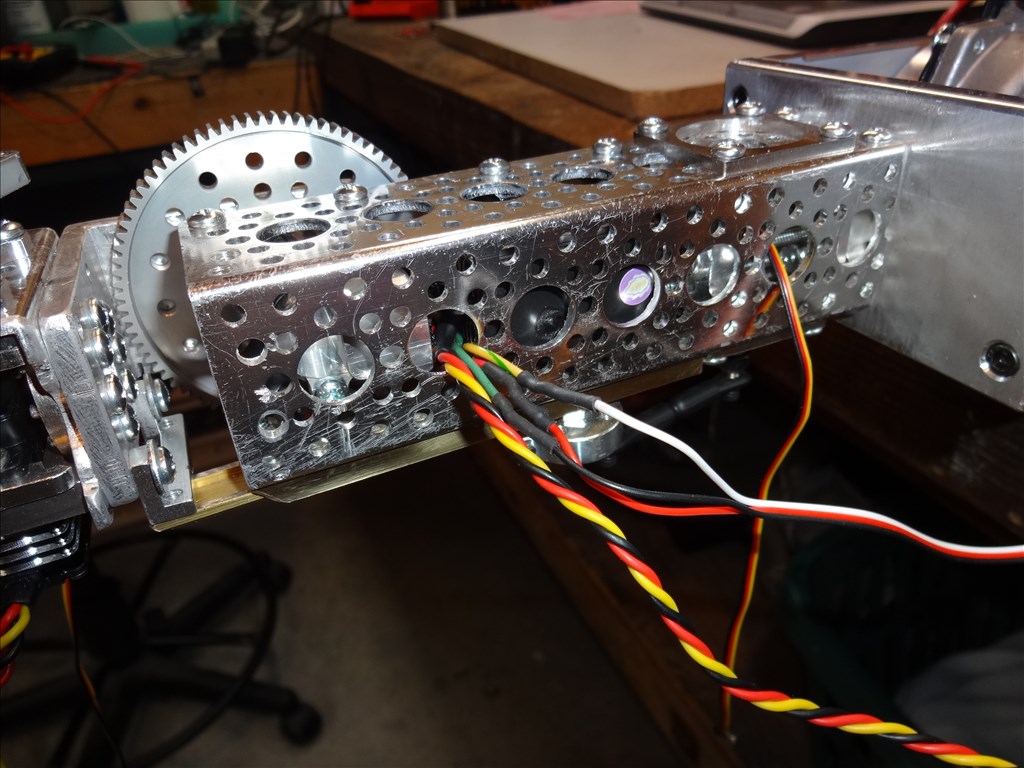
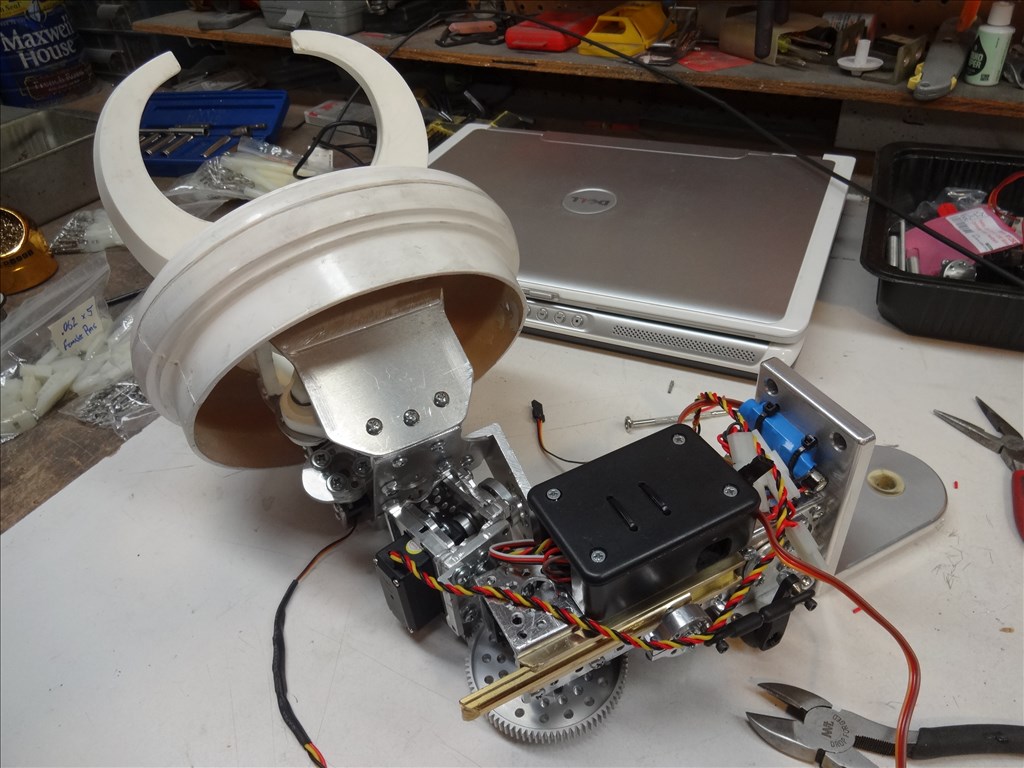
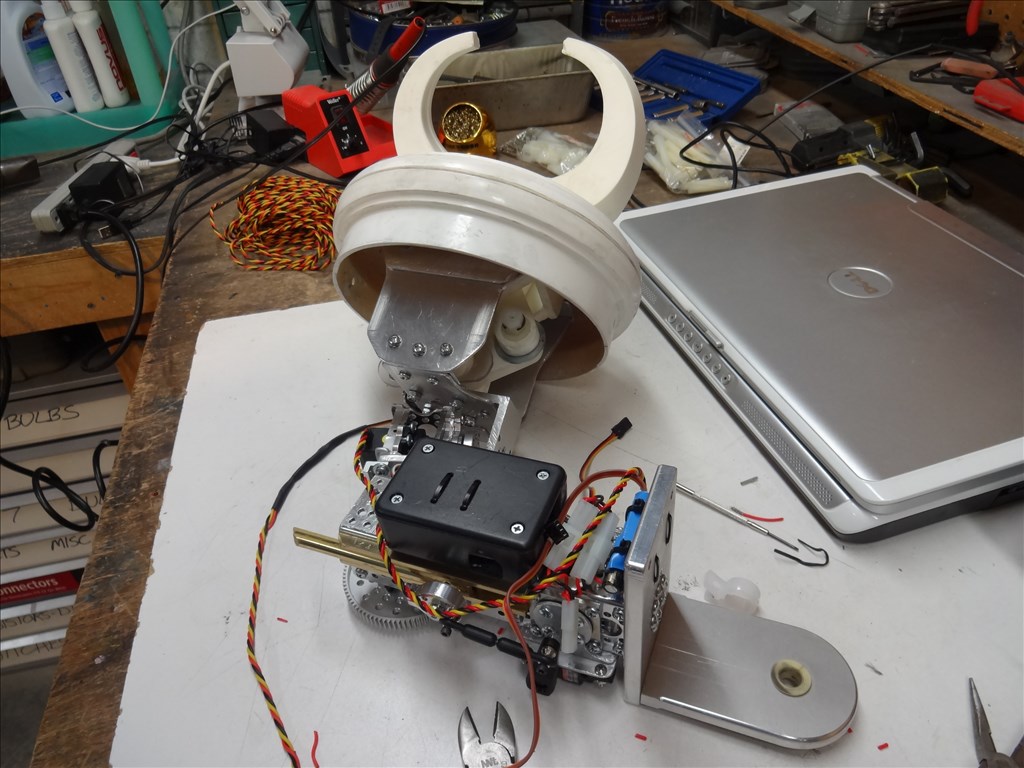
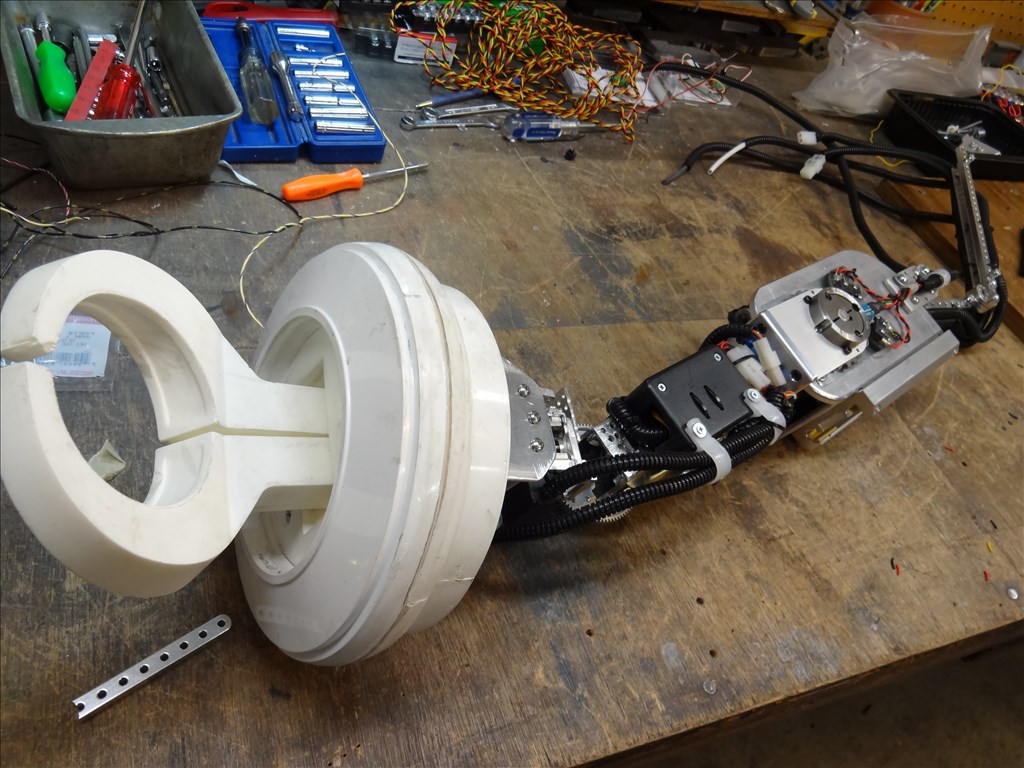
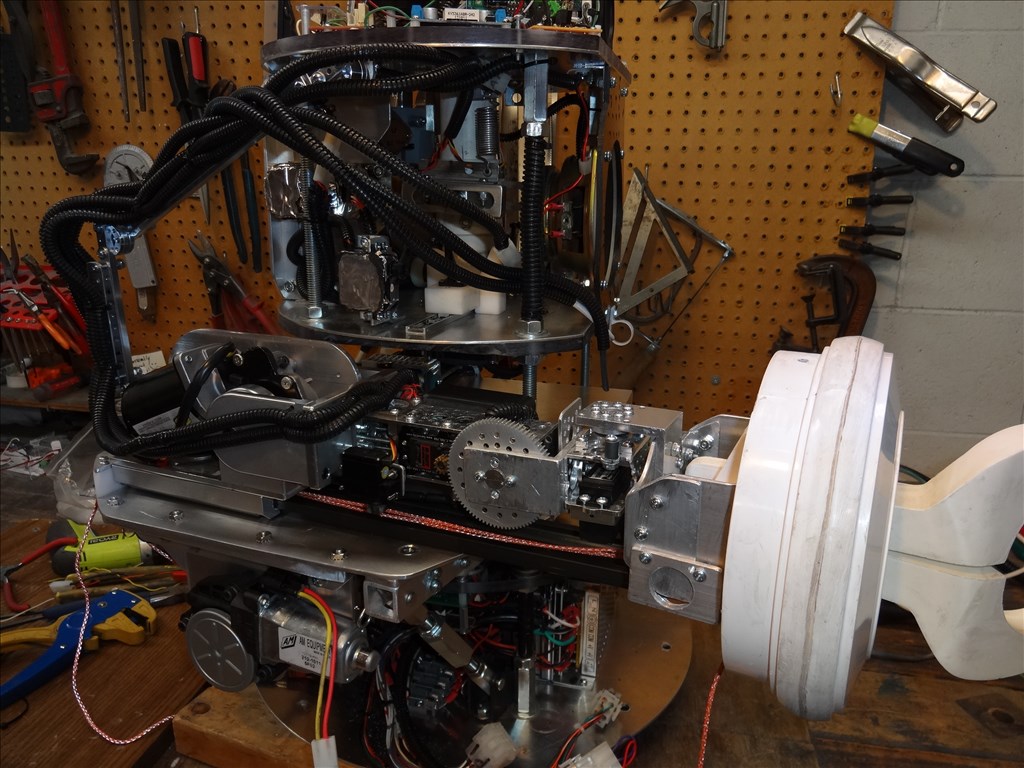
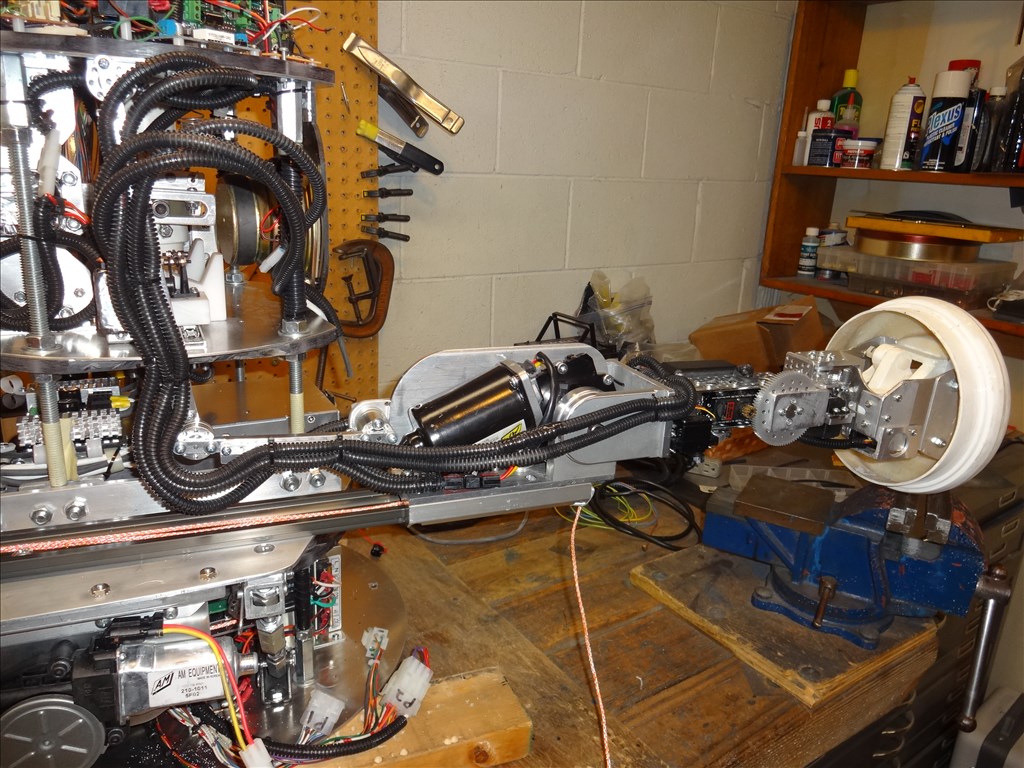
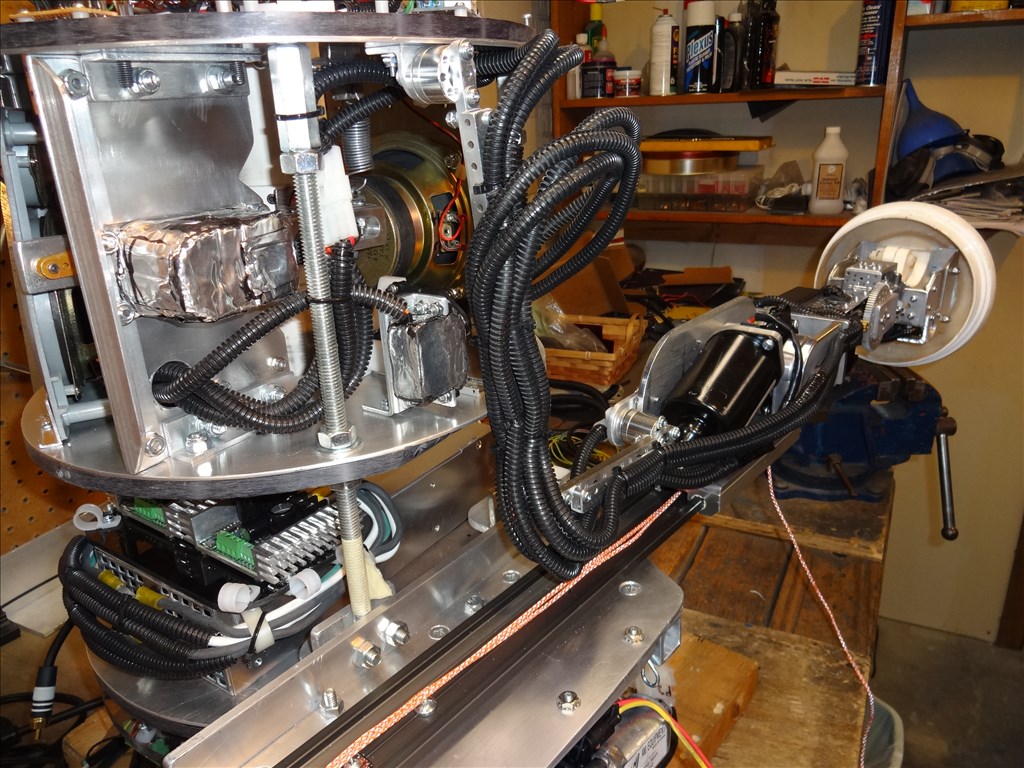
Looking into the new year I plan to finish up a pinball machine deep cleaning and mini restoration I involved in now (of a Lost In Space pinball game of all things) and get then get back to work on the robot. I plan to get restarted on the robot in just a few weeks. The biggest task is going to be designing and building the arms. This will be a challenge as I've said many times before that I know little about robotics. This will be a challenged because I'll need to figure out the best way to get his arms to move in and out and also bend up and down at an elbow location. I'd also really like his shoulders to move up and down. I also will want the claws to open and close. This last task should be the easiest part. I've had lots of ideas and help from people and read tons of ways other people have done this. The hard part is I've not seen anybody do this all at once. I think the trick will be finding the proper motors, liner slides and positioning feedback sensors.
I'm really looking forward to working on this and seeing what the end result will be. As always I'm open to any ideas as I move foward.
Thanks to all who have helped and inspired me over the past two years of this life changing and fulfilling project!
Dave Schulpius