I-Cybie and EZ-B v4 conversion.
Day 1. 23/01/2016
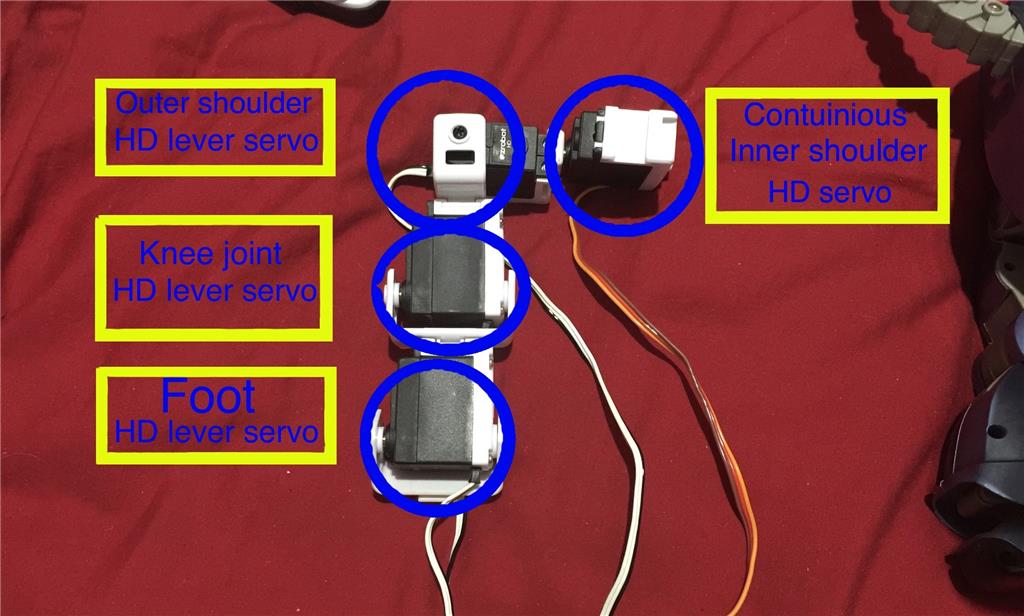
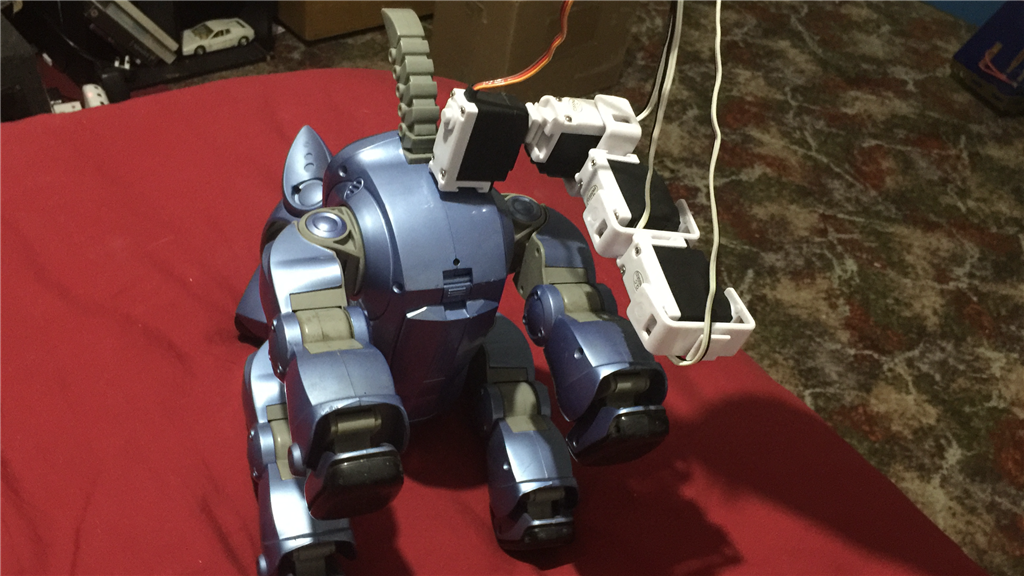
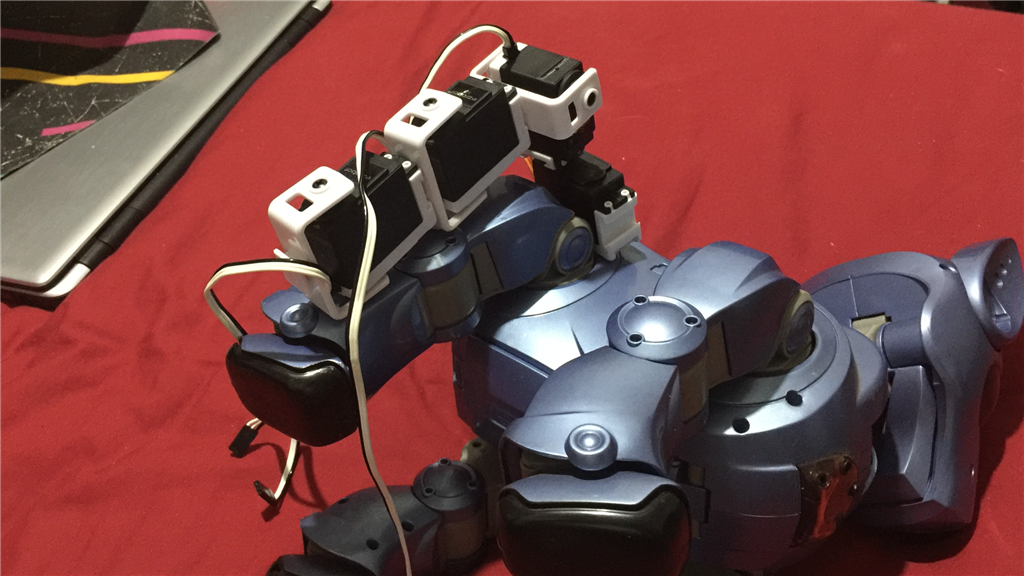
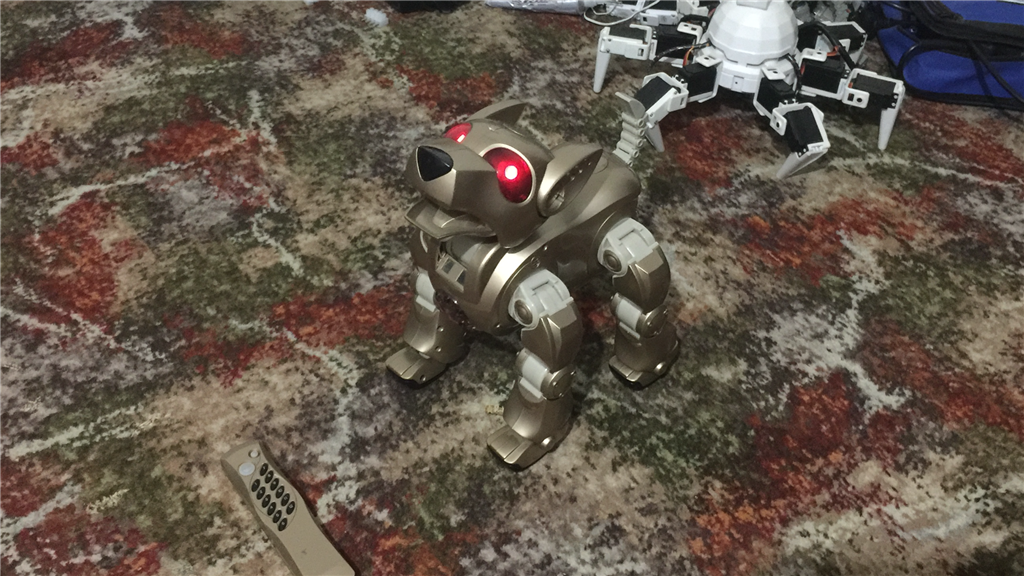
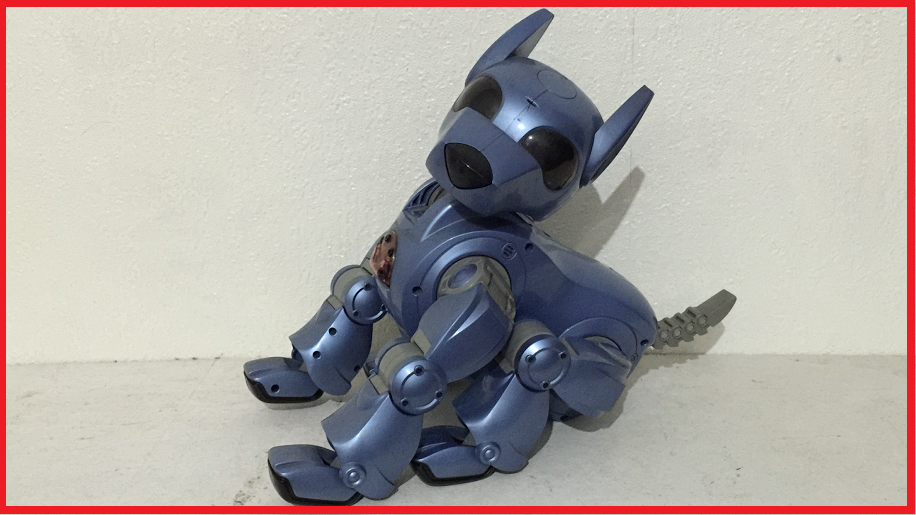
Continuing from my other thread asking if anyone has hacked an I-Cybie, this showcase thread will detail my first EZ-Robot "toy" hack with this little dog. Because of the inner workings and circuitry of the I-Cybie robot dog, the idea to incorporate the EZ-Robot platform in to this little fella will be to completely gut it out, and replace the DC motors with HD servos for the limbs, and a couple of micro servos for the heads pan and tilt action. It will be a tight fit go get an EZ-B, battery, and servos inside, but I think it can be done.
Unlike my previous "Built from scratch" robot builds where I plan out most of what I would like to achieve, and how to go about it, this project I am just going to... well... wing it. I have little idea of the internal layout of the I-Cybie (apart from a few photos I have seen online), so this will involve quite a bit of trial and error.
After posting this, I'm going to break out the screwdrivers and start to take the little guy apart. One of the main things I want to have a look at and test once disassembled, is the existing I-Cybie sensors, and test them with a spare EZ-B to see I will be able to use some of them. If not, I'll replace them with EZ-B comparable sensors. Additions will be to change the eye LED's, add a camera, 4 in 1 sensor, and see what else i can fit inside that will be useful.
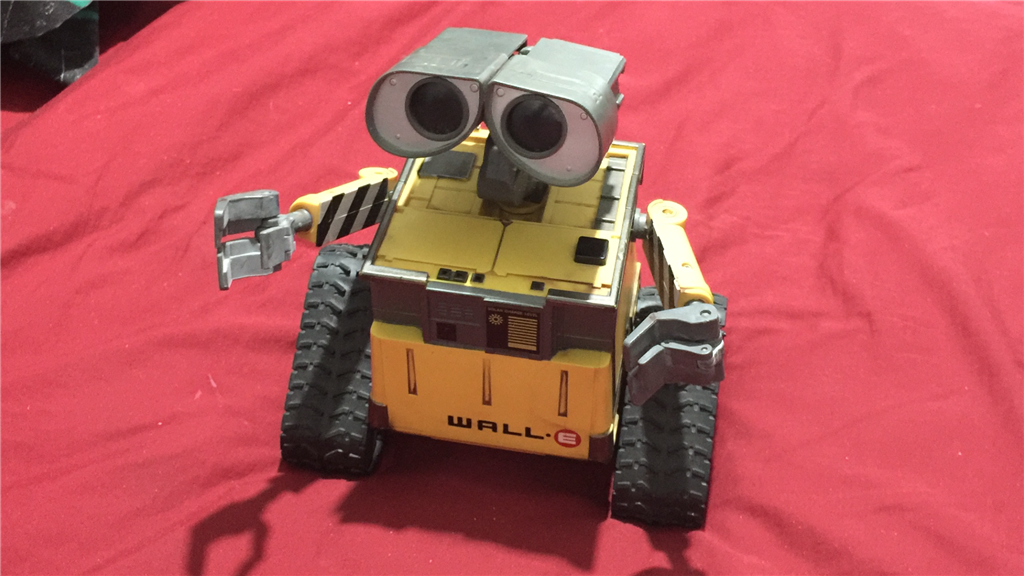
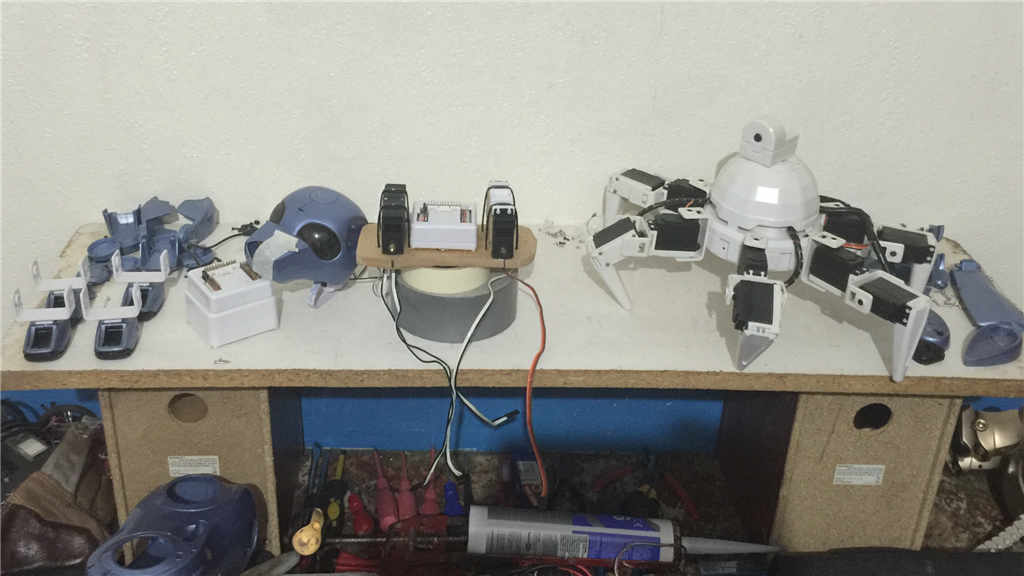
I have no idea how this is going to turn out (hence the first picture, lol), but this should be a fun and unique project, and I think this will be the first I-Cybie to EZ-B conversion project showcase. I'll try to remember to take lots of photos of the insides in case anyone else is tempted to do a hack themselves, and I will document my progress with this project. Below are a couple of thread links about possibly hacking an I-Cybie with an EZ-B...
https://synthiam.com/Community/Questions/162
https://synthiam.com/Community/Questions/152
:)confused Let the head scratching begin... confused:)
Other robots from Synthiam community

DJ's Cyborg Snowman
Buratino's Basilio
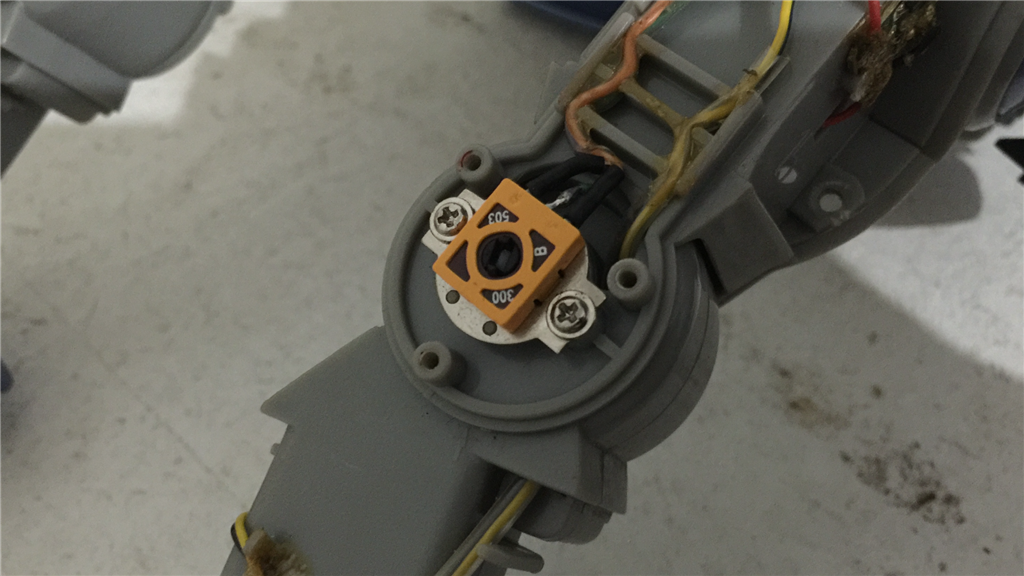
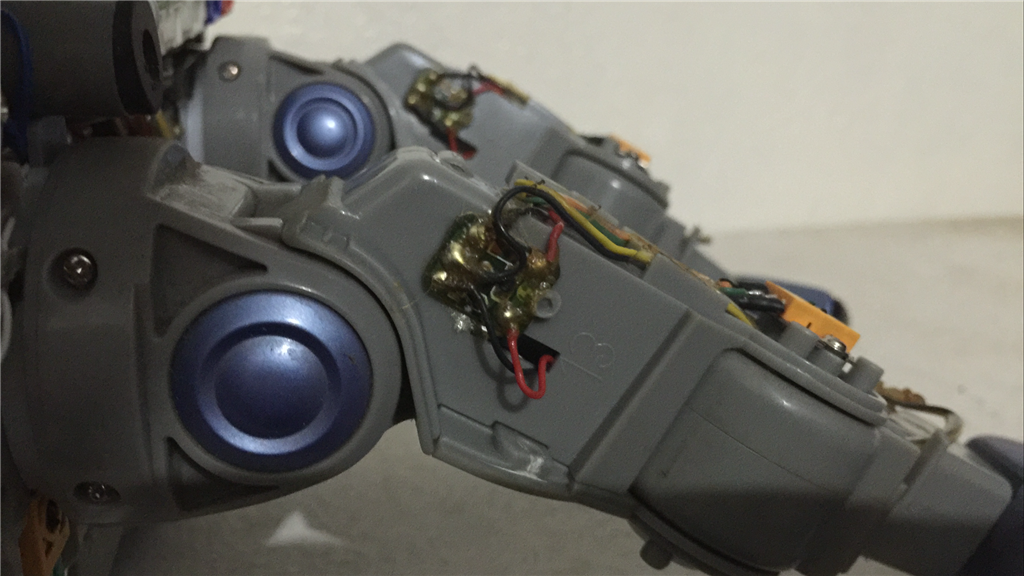
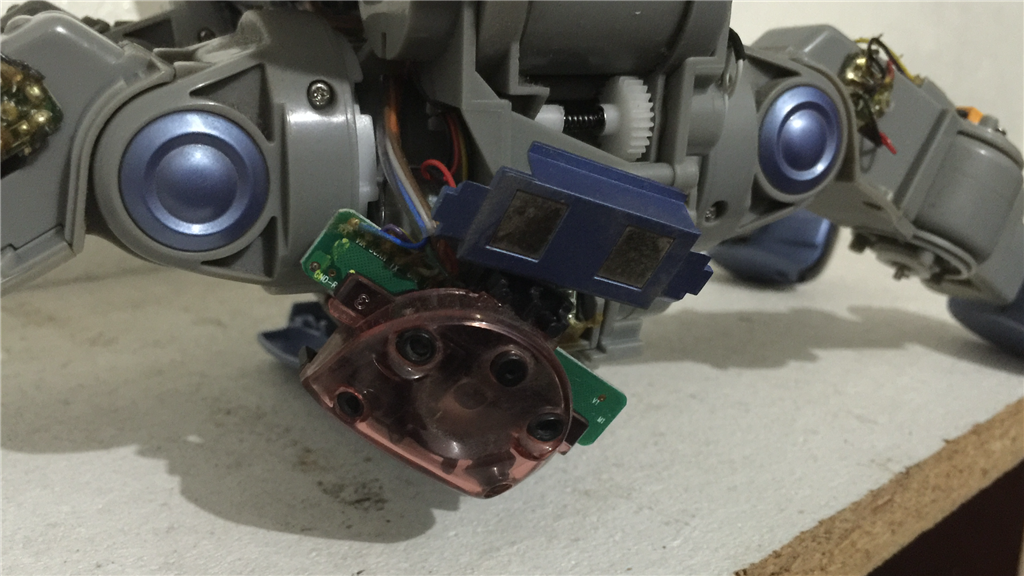
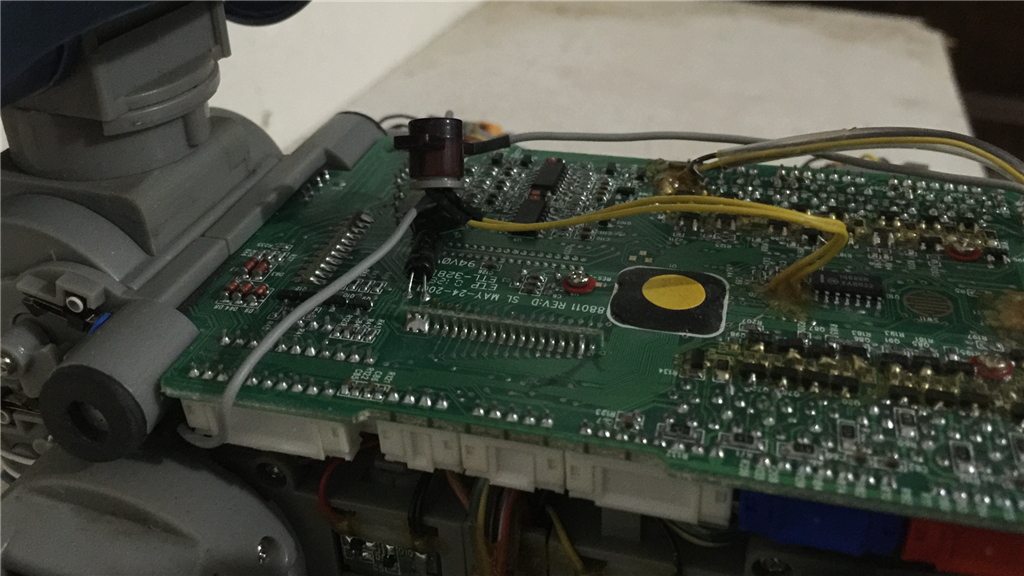
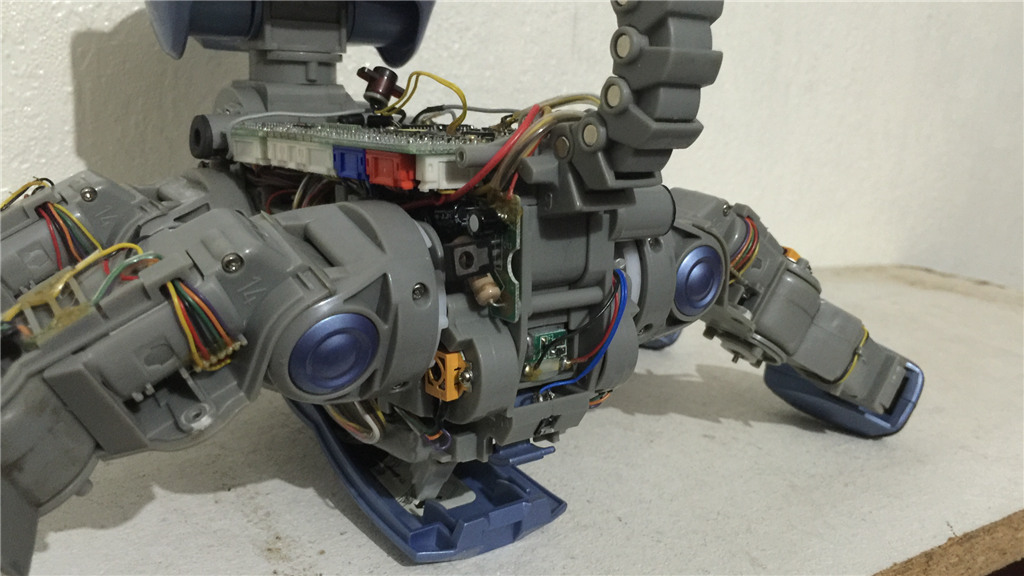
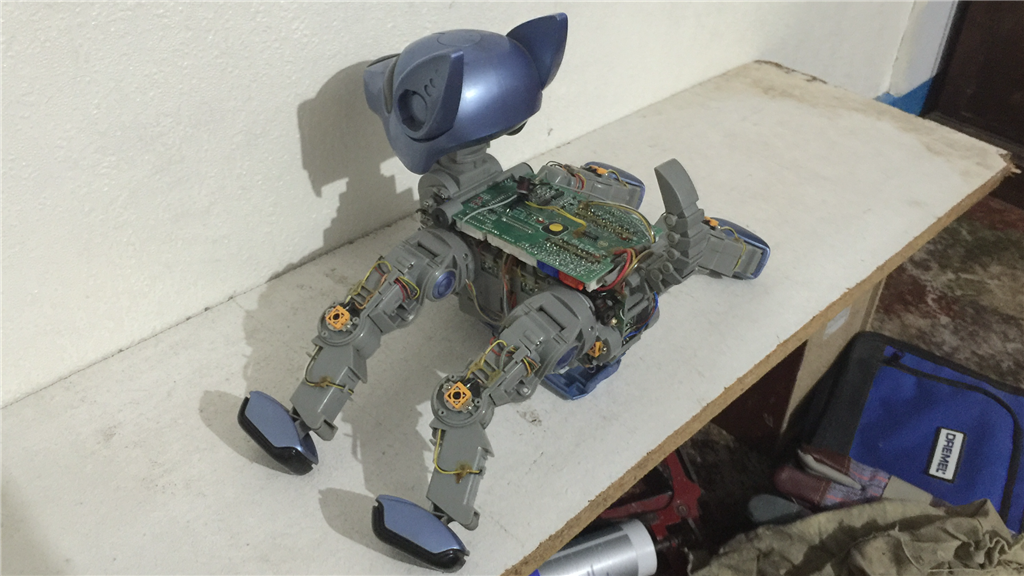
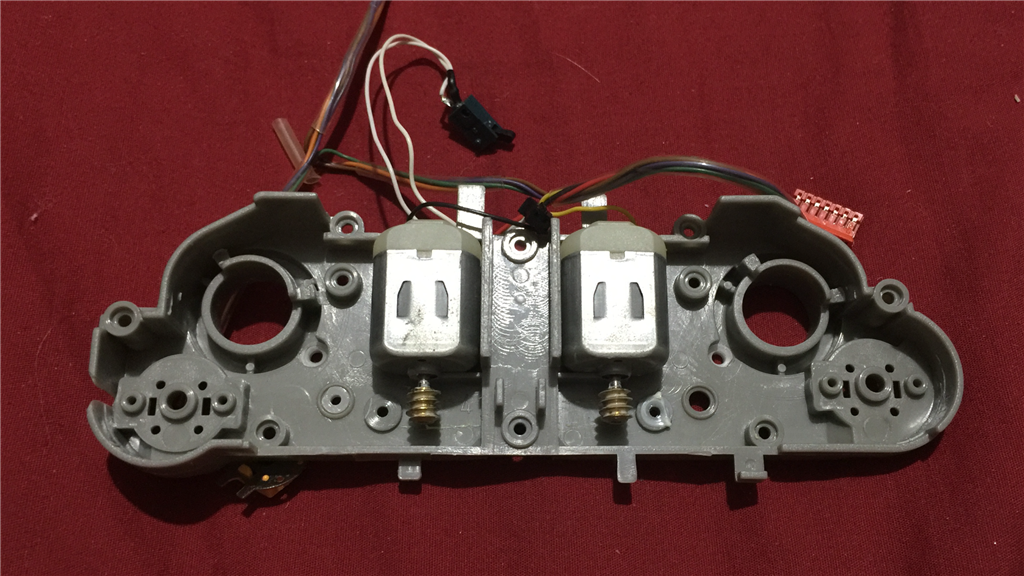
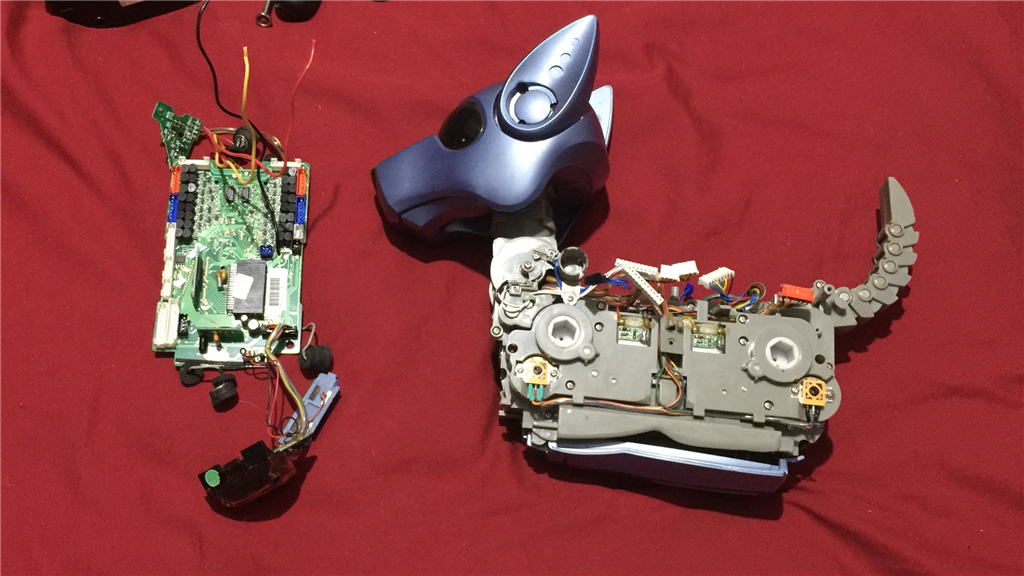
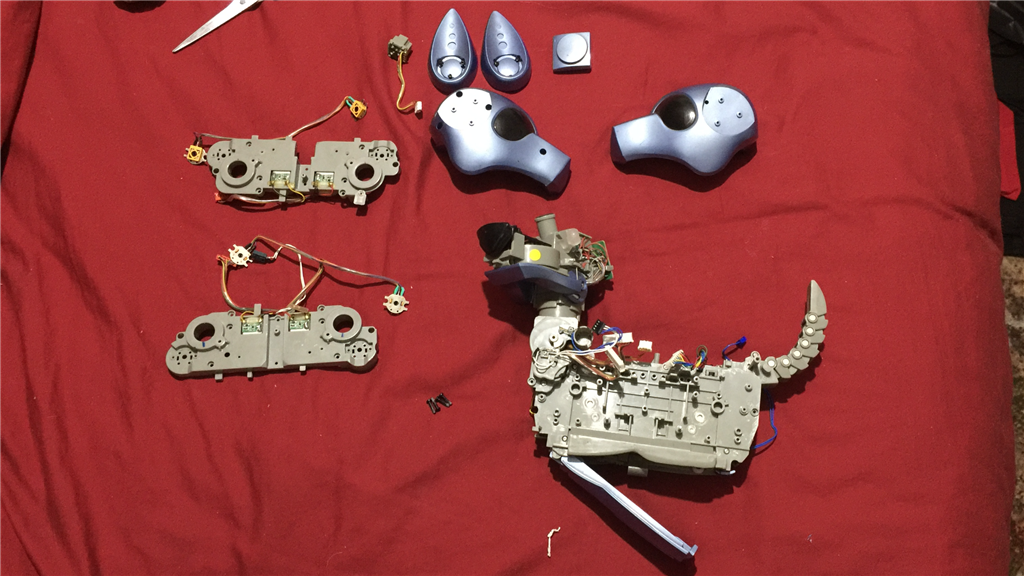
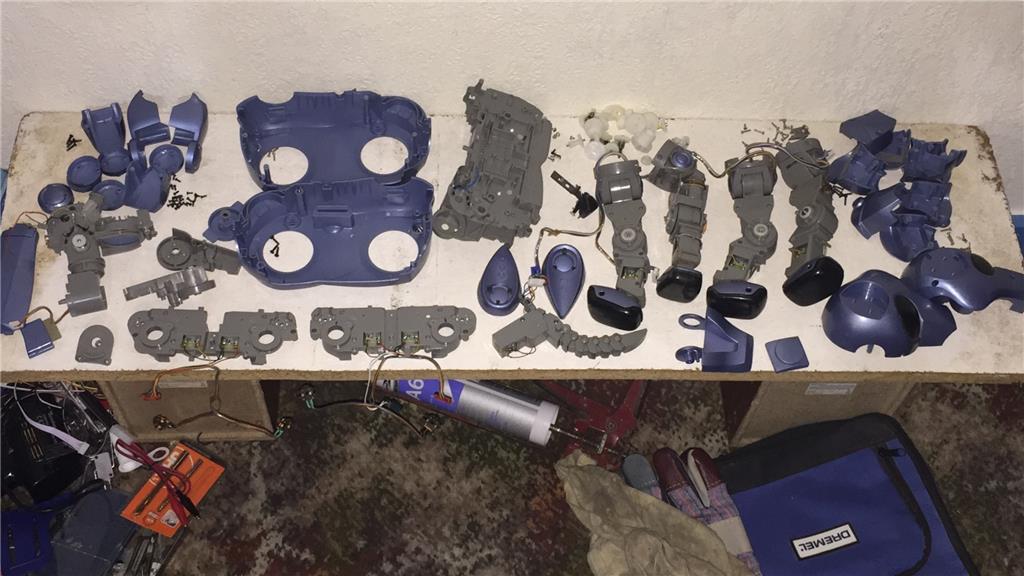
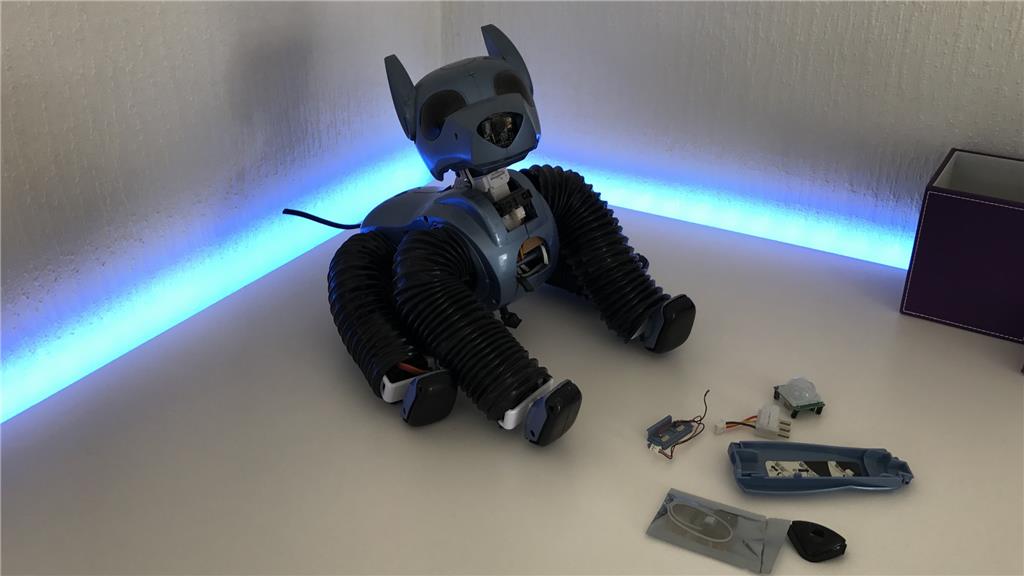
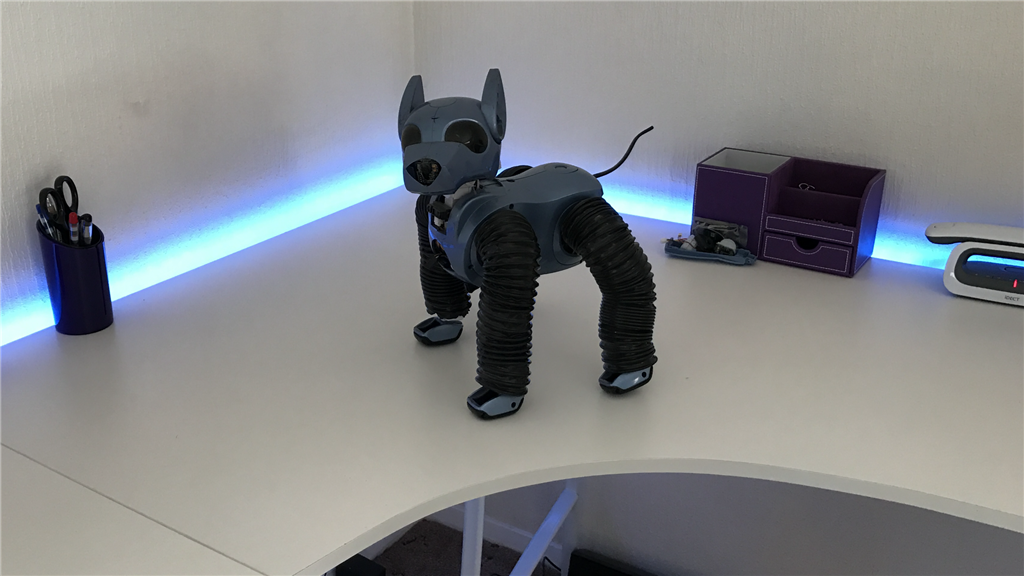

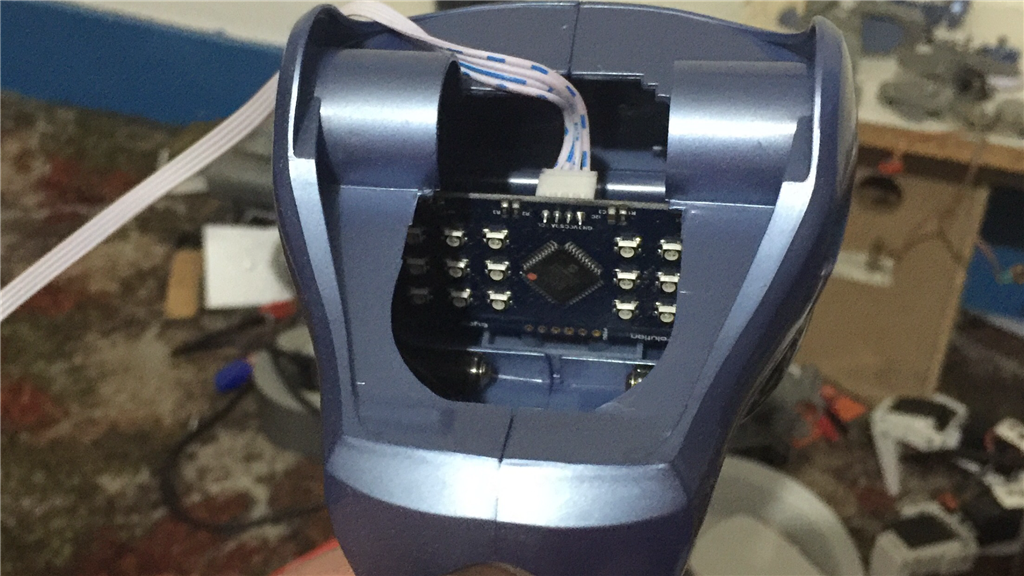
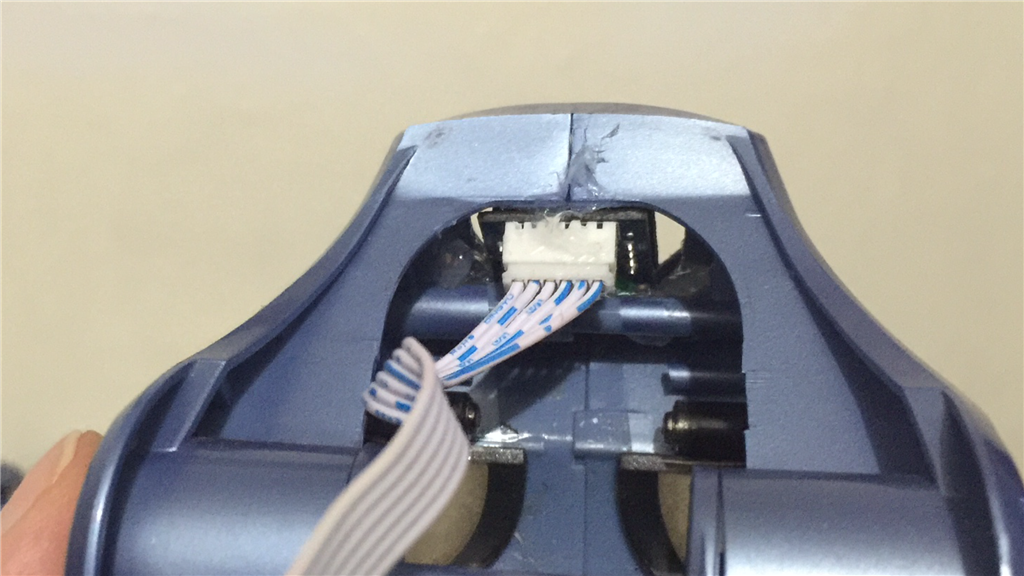
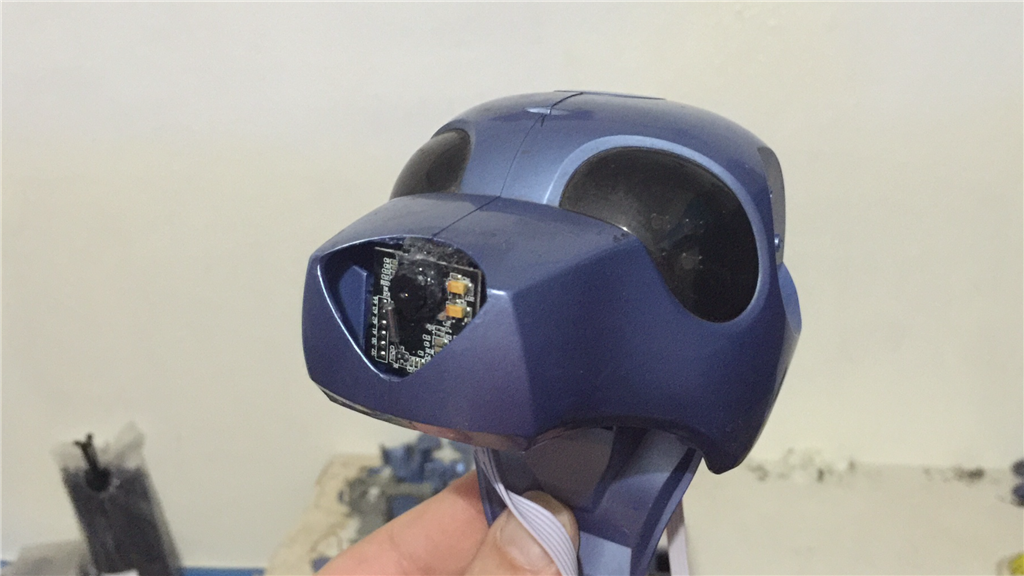
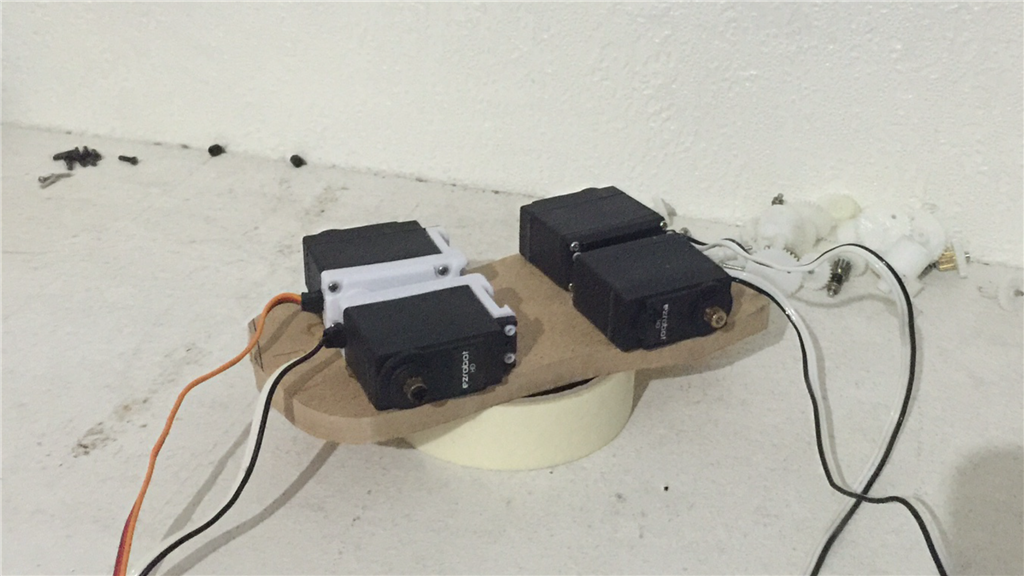
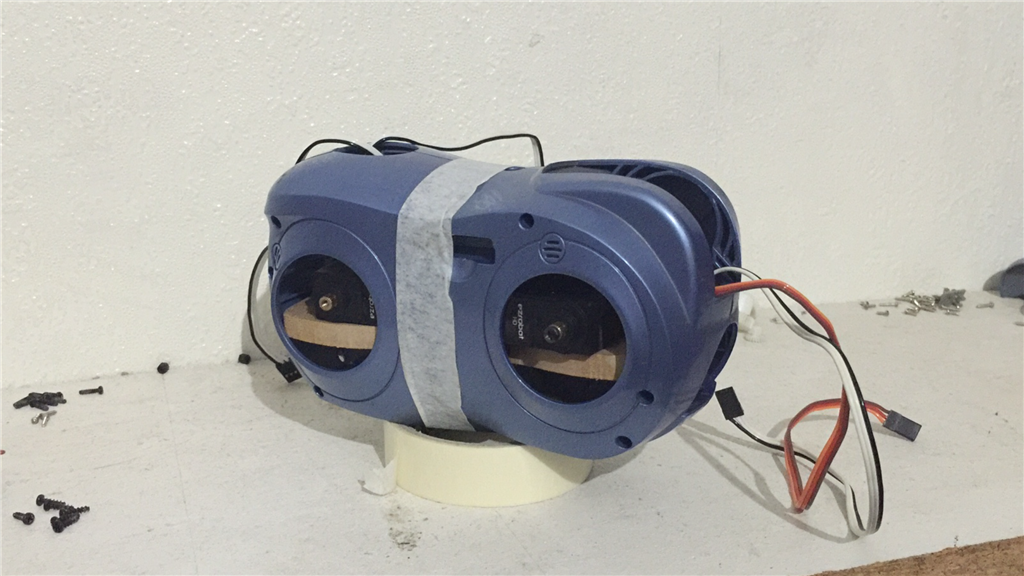
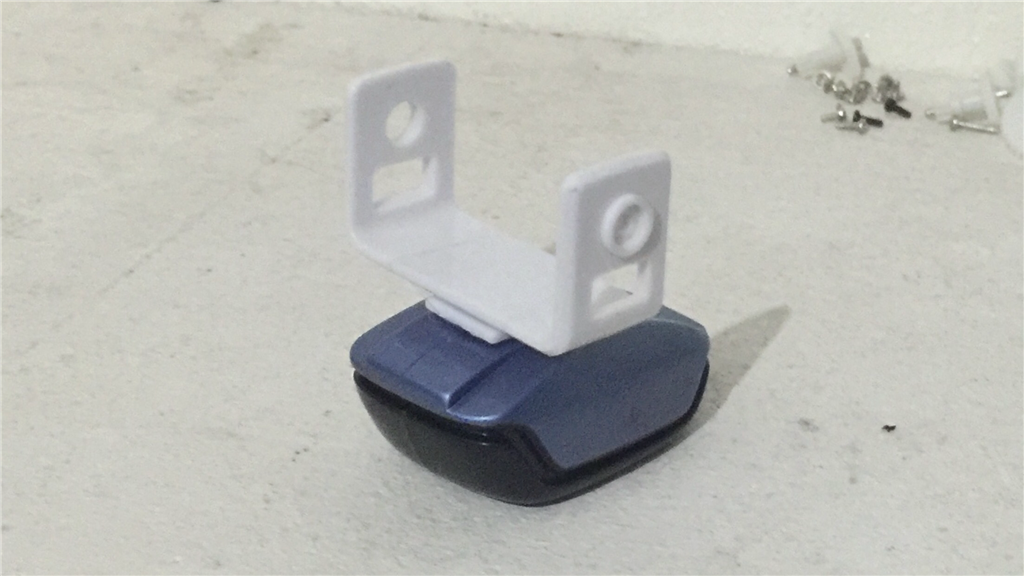
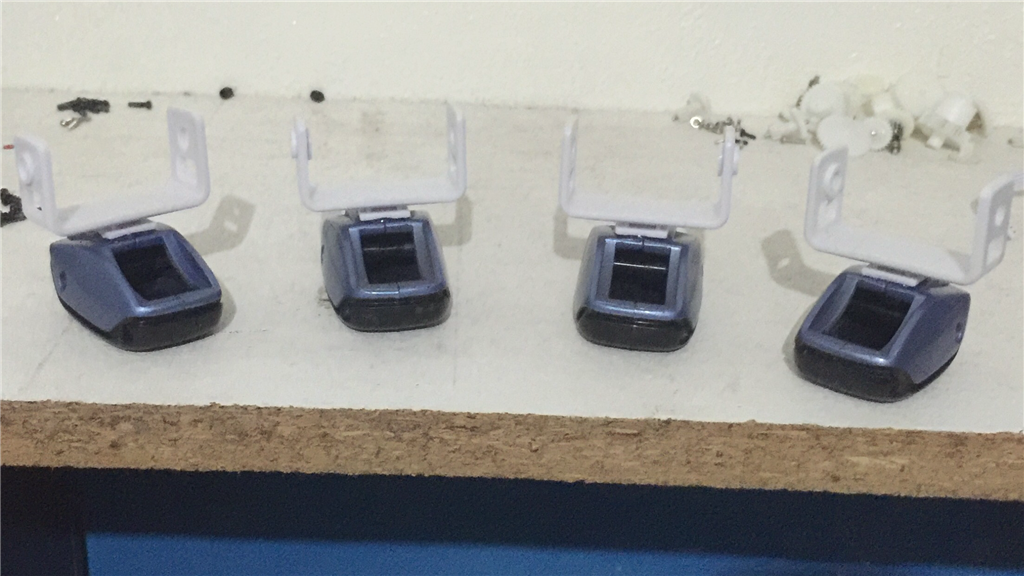
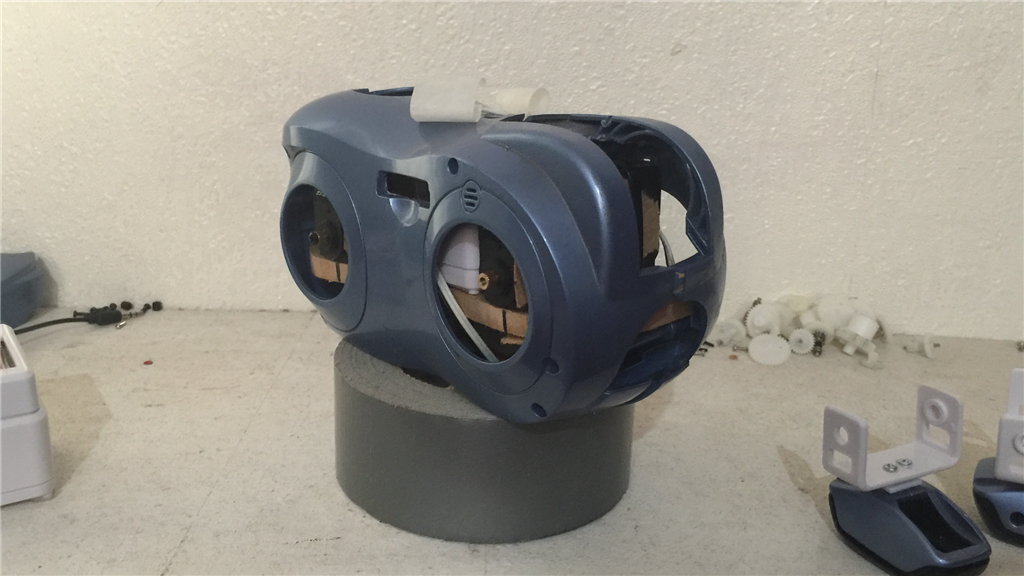
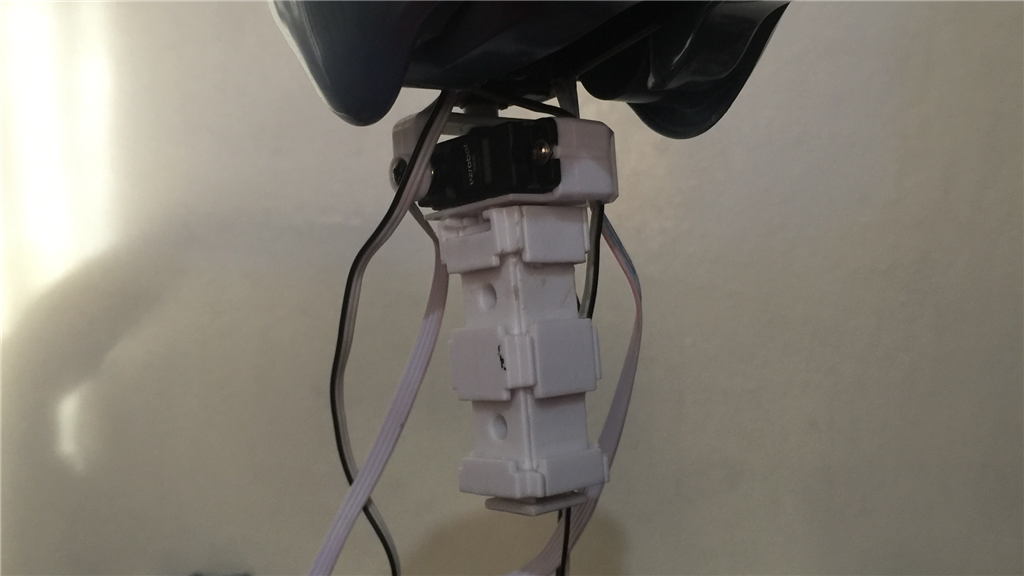
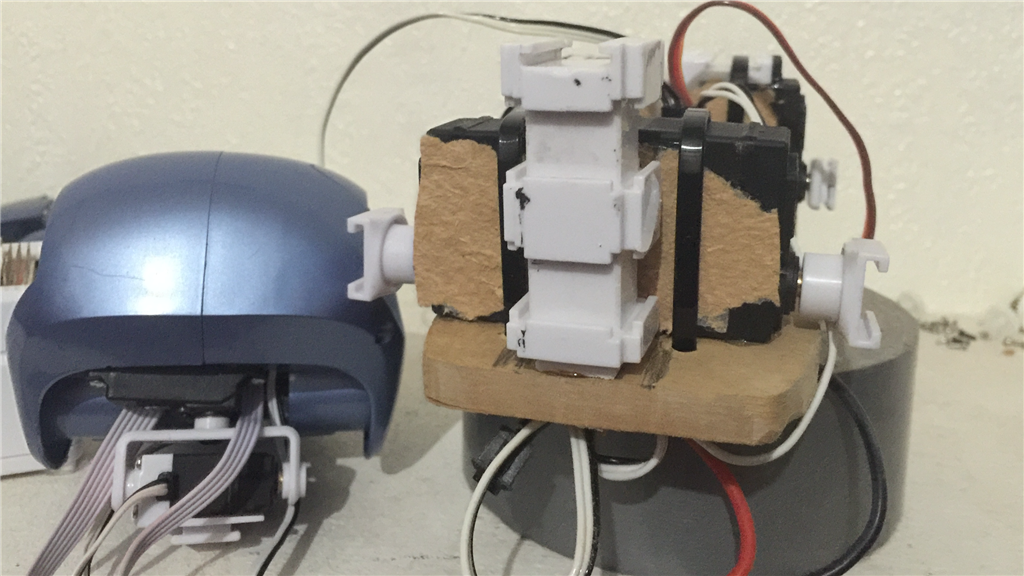
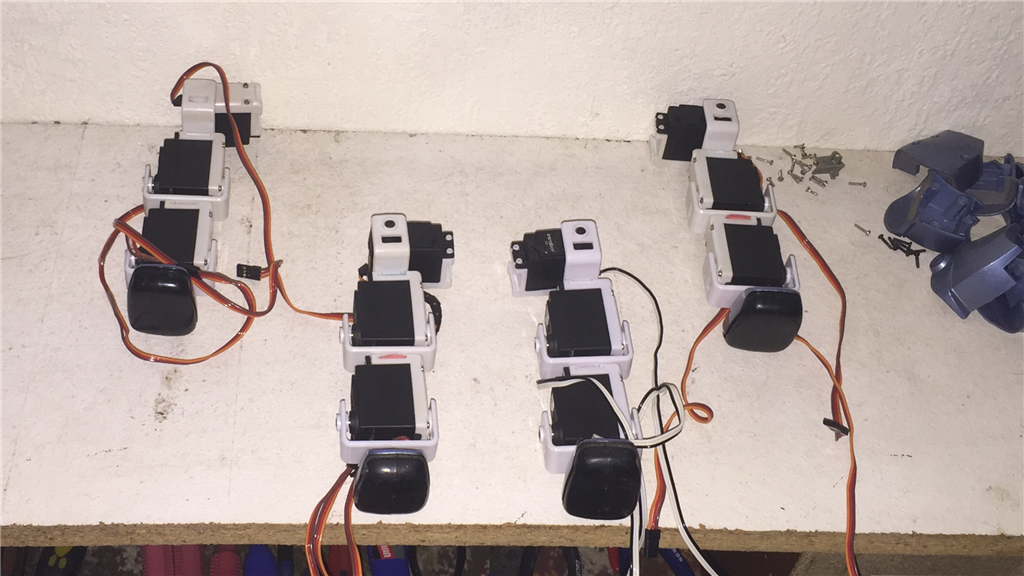
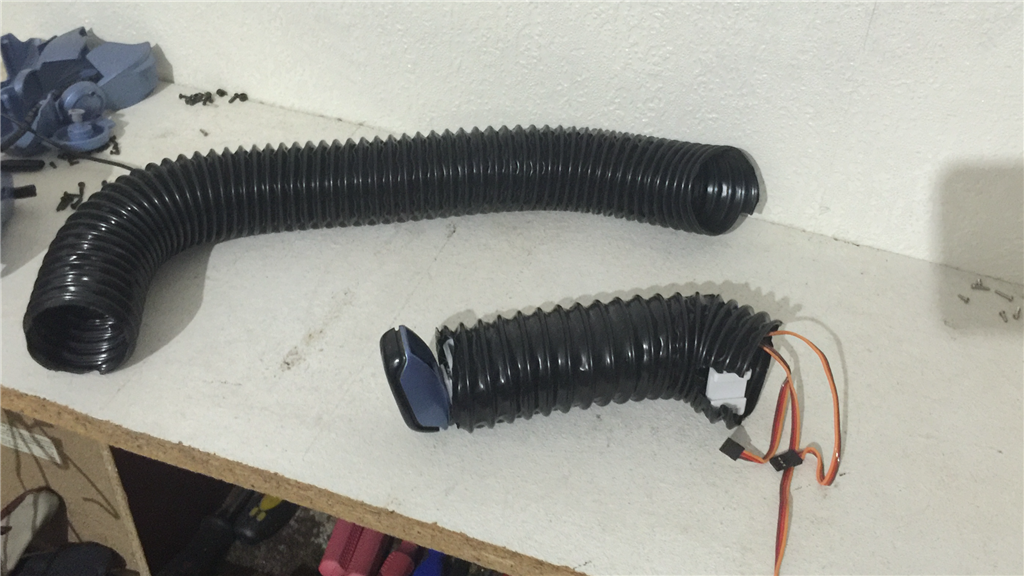
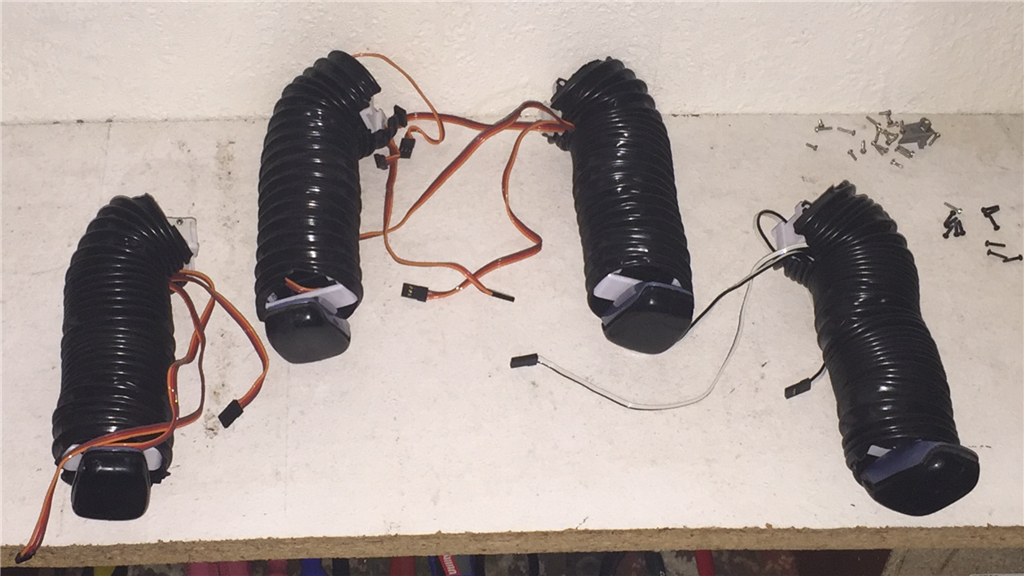
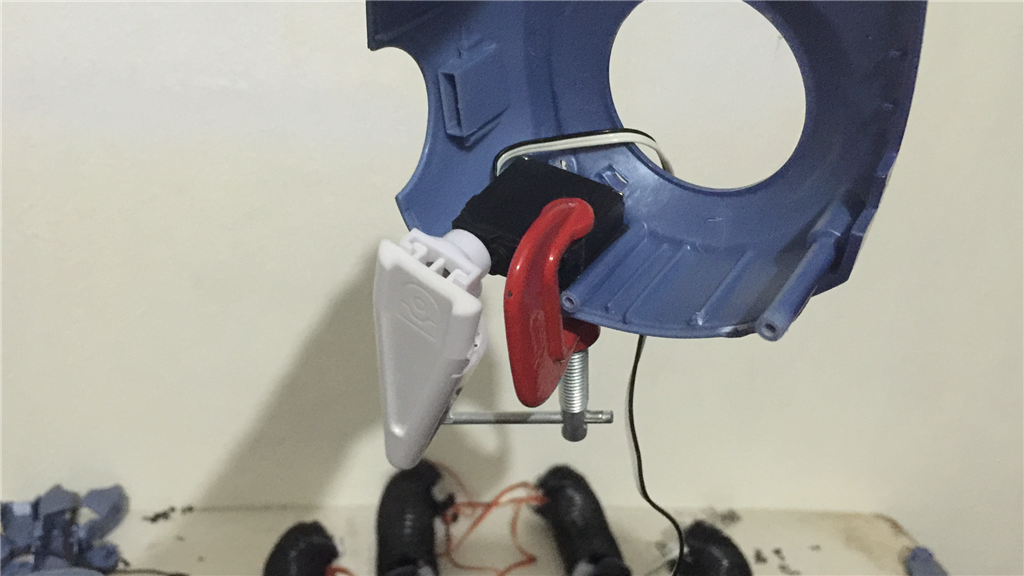
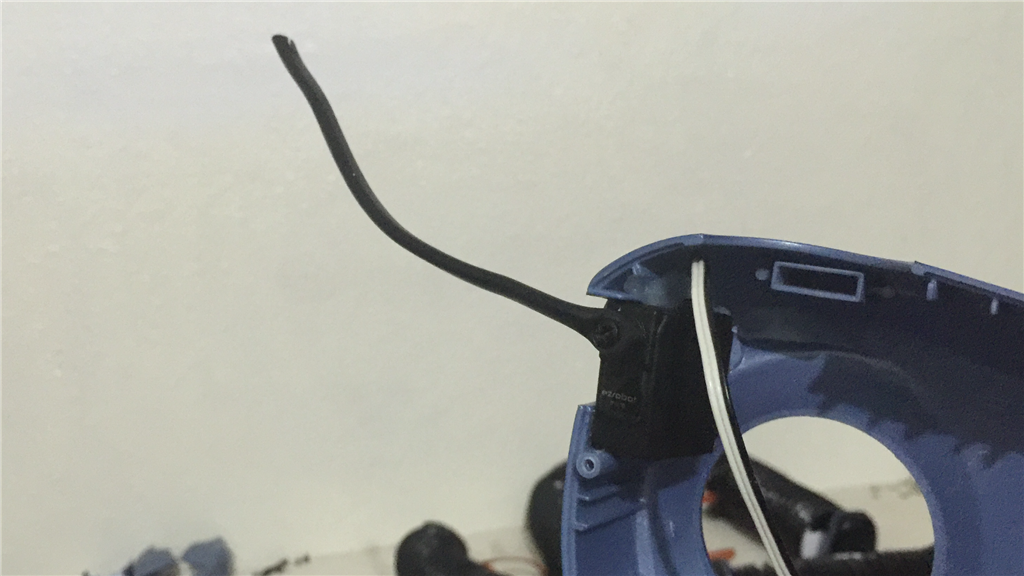
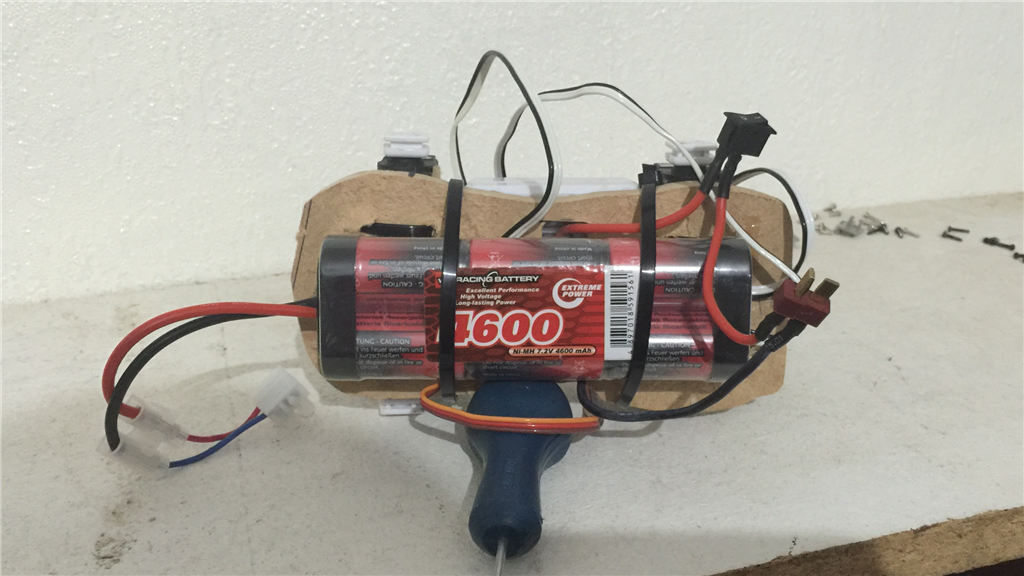
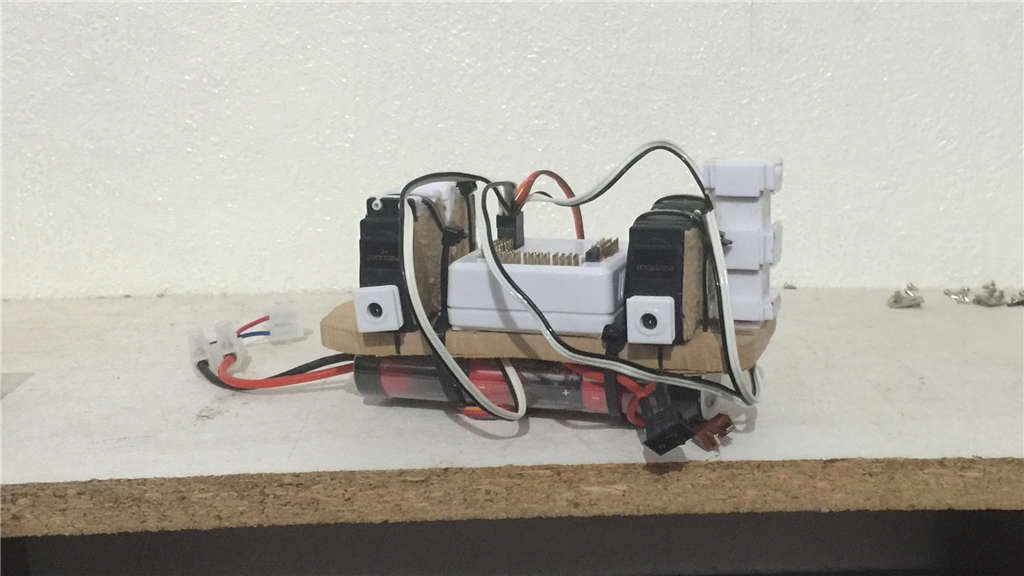
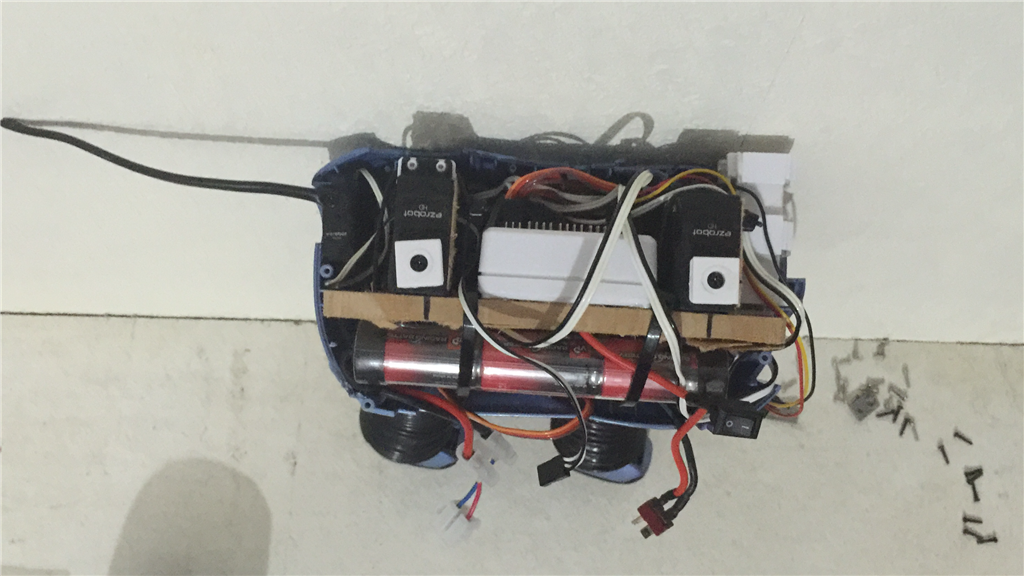
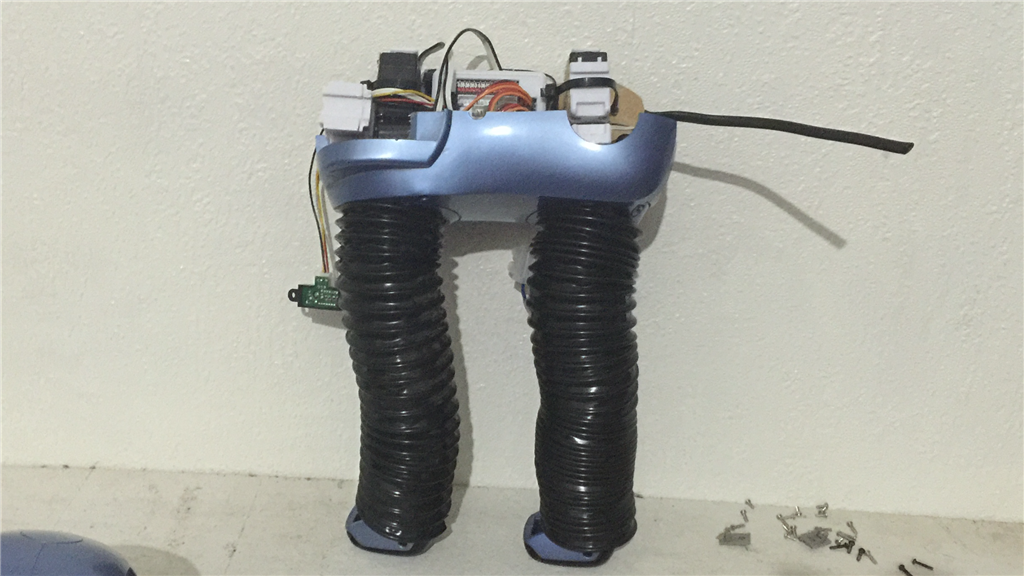
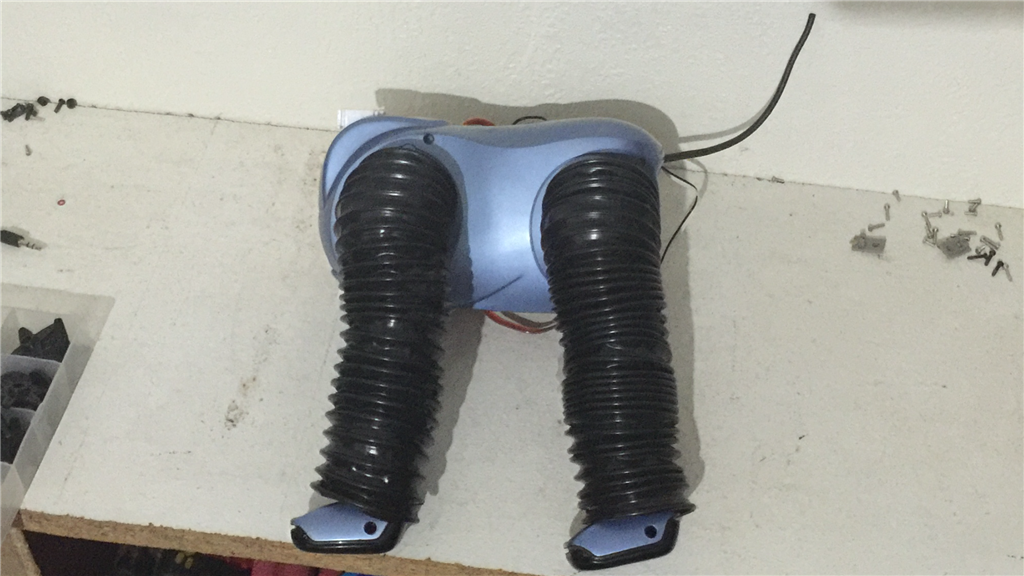

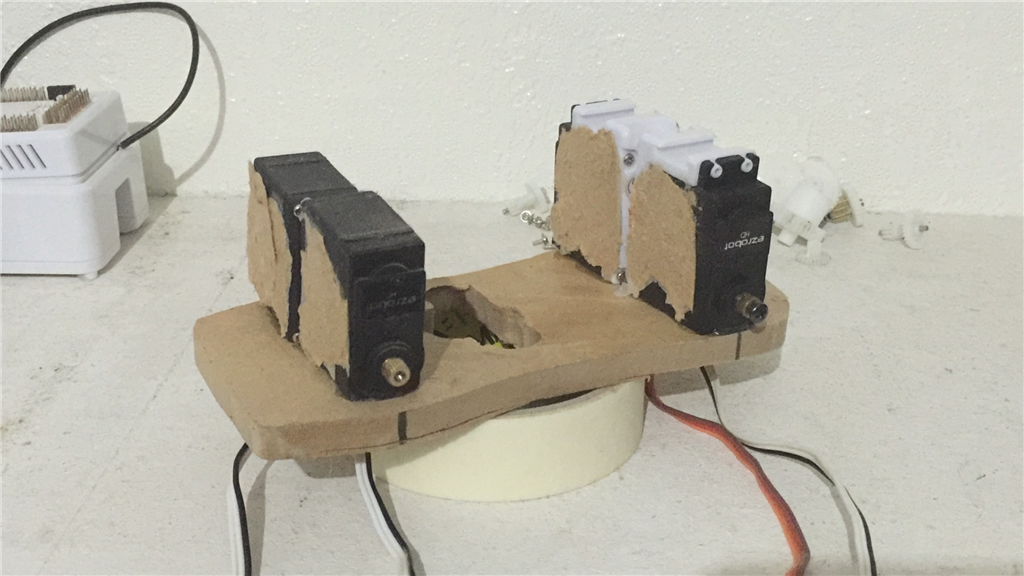
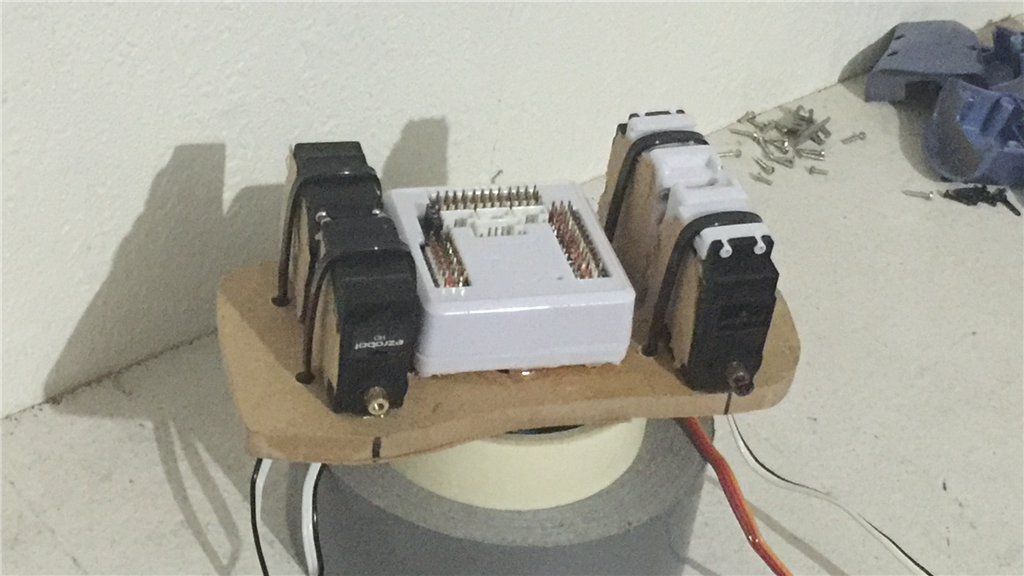
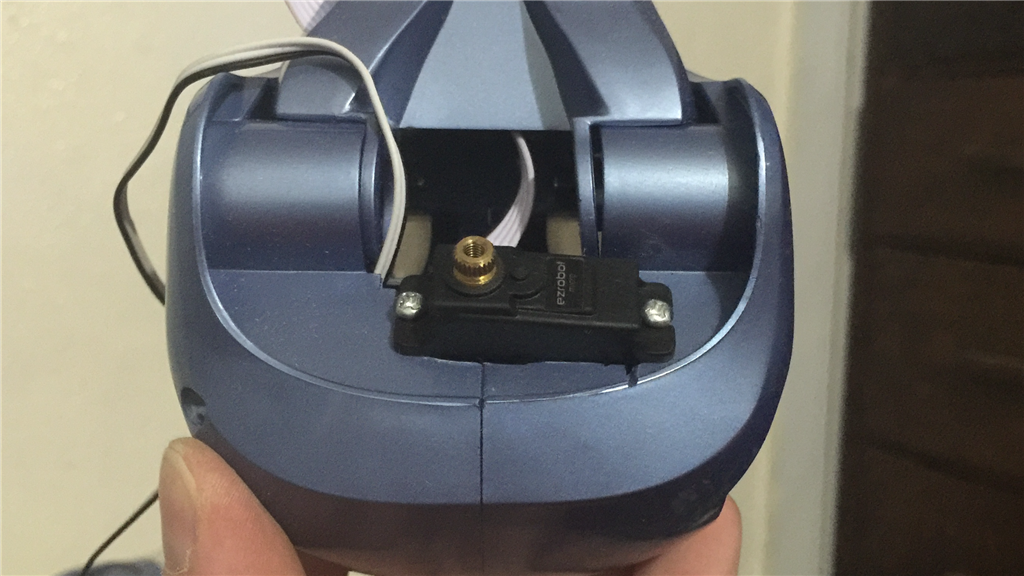
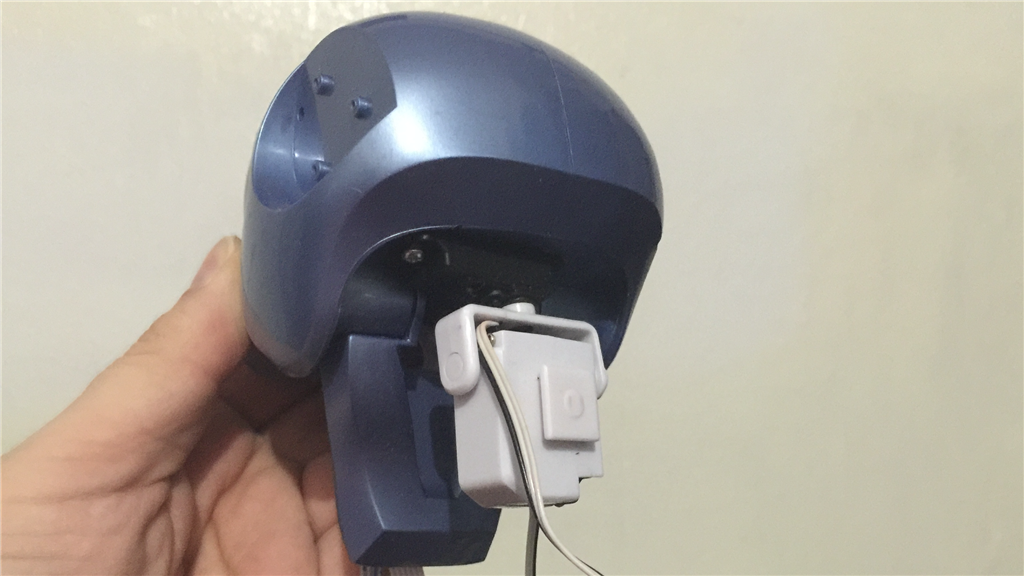
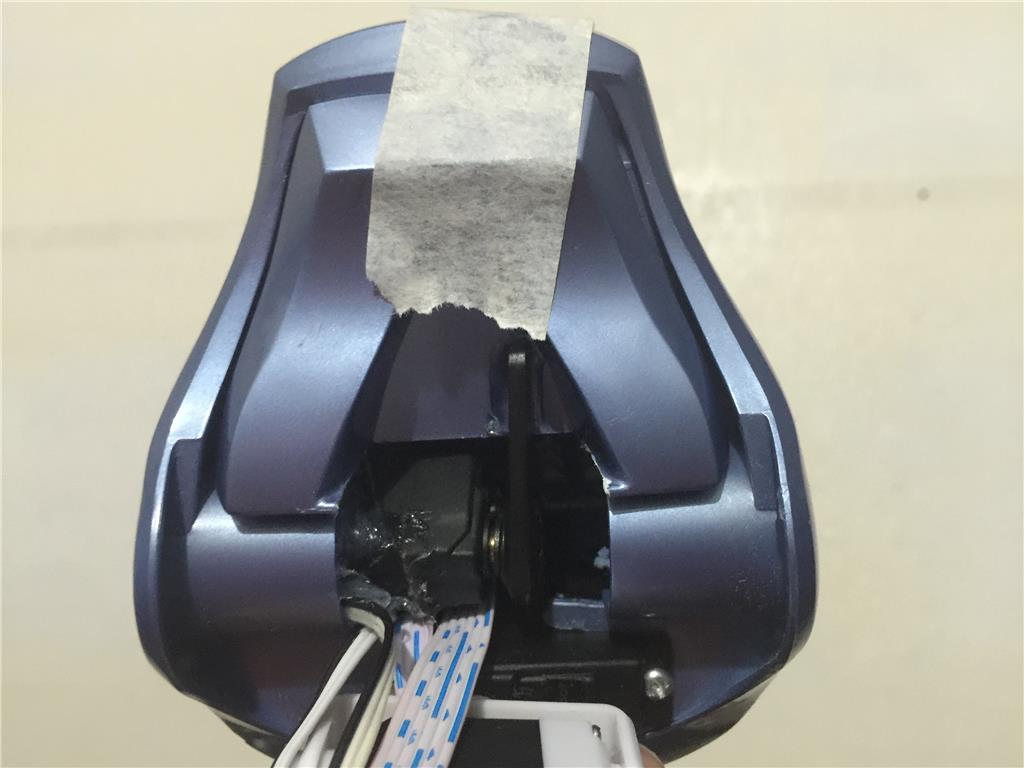
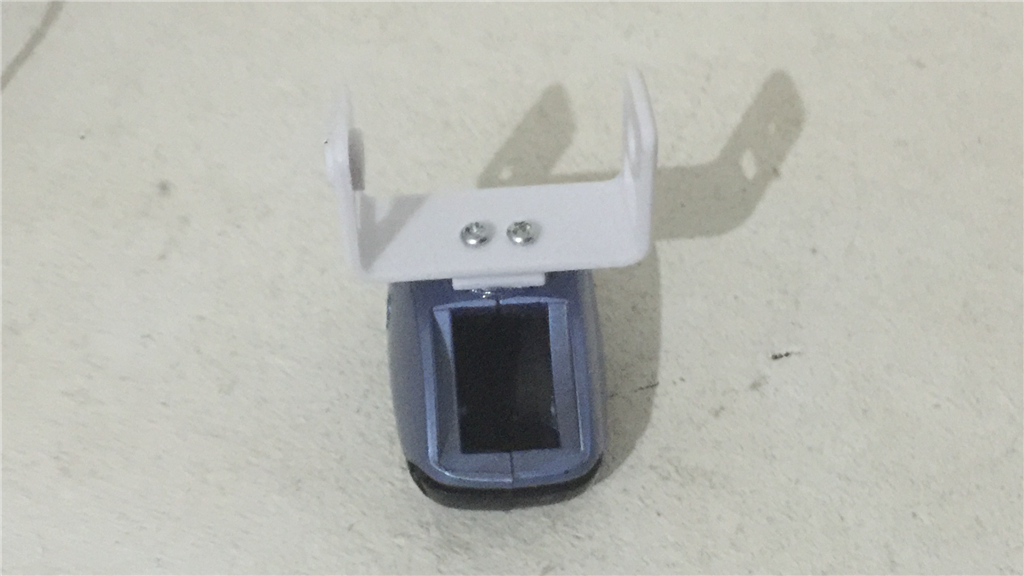


UPDATE cont:
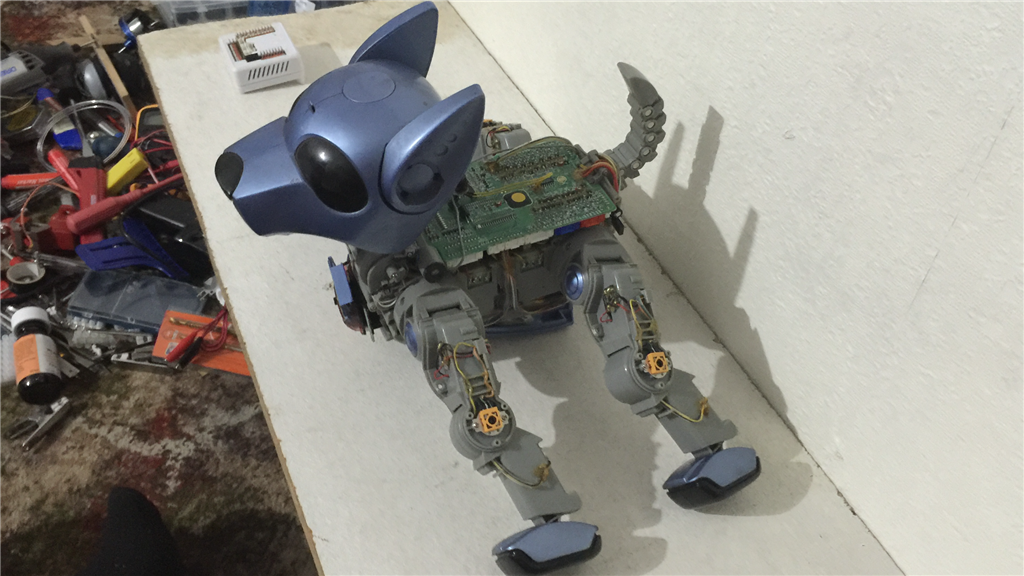
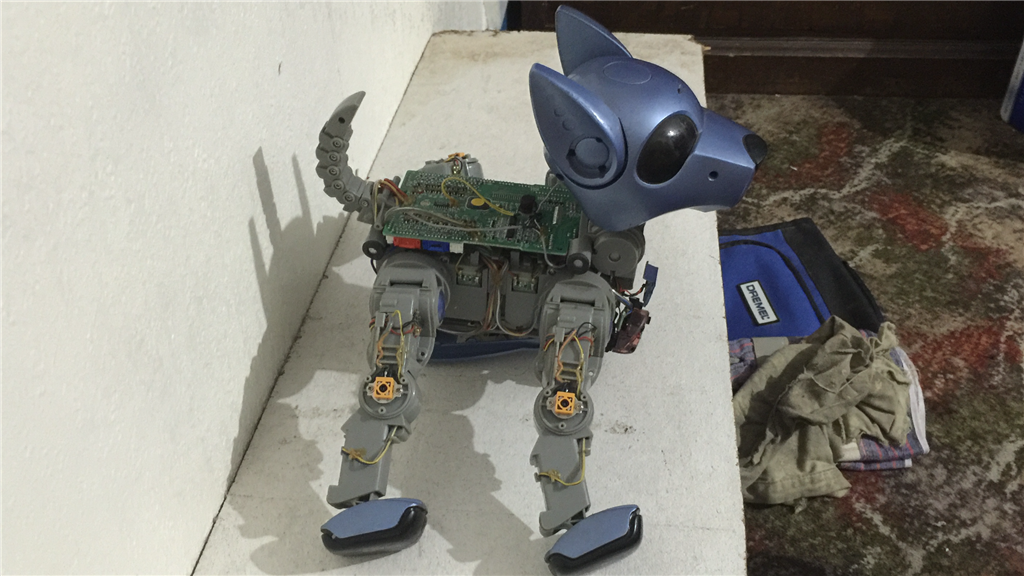
Well, nearly three hours, and the little fella is in pieces now. This is going to be a little bit more of a challenge than I thought. Anyone know how to put it back together, lol?
Leg covers and body panels removed...
These are the encoders and back of the DC motors for all of the joints...
Here is the chest IR sensor and main PCB. Unfortunately, all of the sensor modules, sound, ballance, body IR in the dog are imbedded on to the main and head PCB's, so no EZ-B integration which is a shame. Guess I'll have to make a small shopping list...
A couple of shots of the rear. The tail is also run off a DC motor and I'm not sure what the enternals look like. I may strip it down tomorrow and have a look...
These are a couple of the DC motors that makes the thing move...
And here he is almost completely stripped apart. Apparently, he is made up of 1400 parts. I'm telling you, most of them parts, were screws. So many screws eek ...
And these are the usable parts that I'm left with...
So I have a choice of using the inner skeletal frame and cut a load of plastic out of it to fit the four shoulder servos, EZ-B, and battery (tight fit)... or make a flat platform to fit everything to which would give me much more room, but would need to find a way to attach the body panels. I've got a few things that may work with this build, I've just got to sort out the best way to go about it. My bran needs a good workout after the Xmas holidays.
Stay tuned.
amazing whats all in there. sick
Yeah, there's a lot to it. I have to say that these were really well put together.
Hi Steve, You do nothing by half! Interesting little project ??
I just love this, and l'll be very interest to see how you get the EZB to fit in, and all the Servo's.
Keep posting up-dates, looking at one on eBay at the moment without battery.
The battery is a 12v. correct? I heard someone say it has a centre tap 6v off the battery for the electronics, is that actually on the battery output, or carried out on the PCB board?
Cheers Chris.
@Cem.
Yup, it sure will be, as I'm still scratching my head about it.Yes, the battery is a 12v pack, and the actual 6v split is done on the battery end. See below...
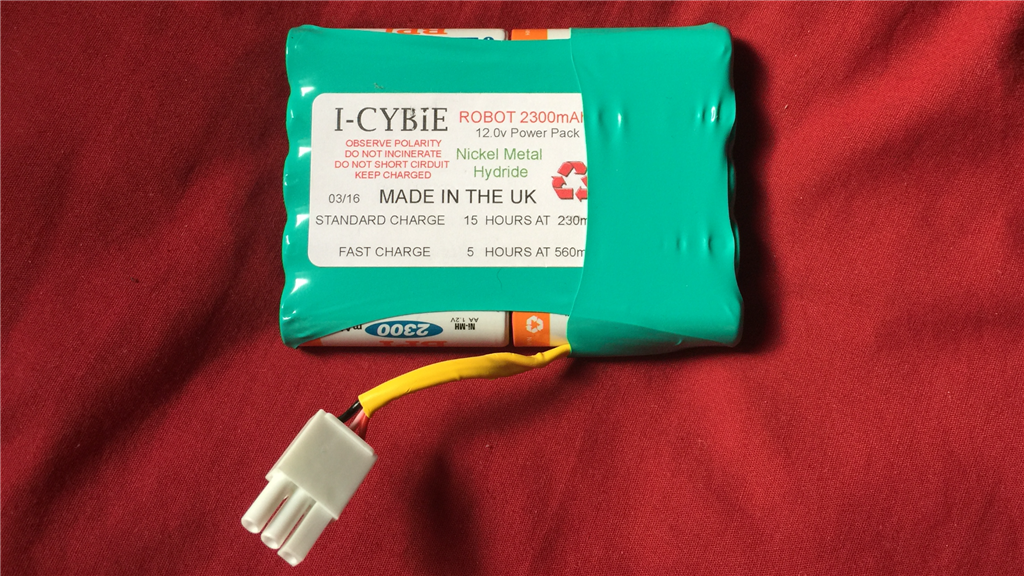
This is not the original battery, but it's the same design.
The pink middle wire on the battery, and yellow wire on the loom is the 6v split. The red and black wires make up the 12 volts , and you charge the battery as a hole 12 volt pack with just the two red and black wires.
Hope that helps.
I'm looking to use a LiPo or NiMH and hopefully have easy access to it. I've got a couple of hours to play tonight, so I'll decide on what the best way to mount the EZ-B will be.
More updates soon.
@ Steve G.
Thanks for the battery photo's, That explains it well. I've purchased the one on Ebay UK so I've committed myself.
I'm going to look for an LiPo as an alternative, and build a regulator to split out the 6v supply.
The originals batteries off Ebay are expensive, and this iCybie comes without the battery, but I got it very cheap.
I hope it doesn't distract me to much away from still building my Inmoov.
Thanks Chris.
Hi Steve,
WOW you have a challenge ahead of you, as if ALL your others weren't challenges.. LOL. It looks real cool and so many parts.. Yikes ! I hope you remember where it all goes.
I was wondering if you are going to make a mock up body to make everything fit then cut up the old main body and mount the stuff, or make all new? I was sorry to hear none of the sensors were salvageable. Can any of the actuators be re-used? Are standard servos going to fit? or you going mini's.
Anyway, enjoy the build and I look forward to your progress posts.
Ron R
I'll follow this with interest!
I always wanted an Aibo, but when Sony discontinued them, I thought it would be best to go my own route so it could grow into more real world situations. You are doing just that with your z-cybie!