


Day 1 (4th August 2015)
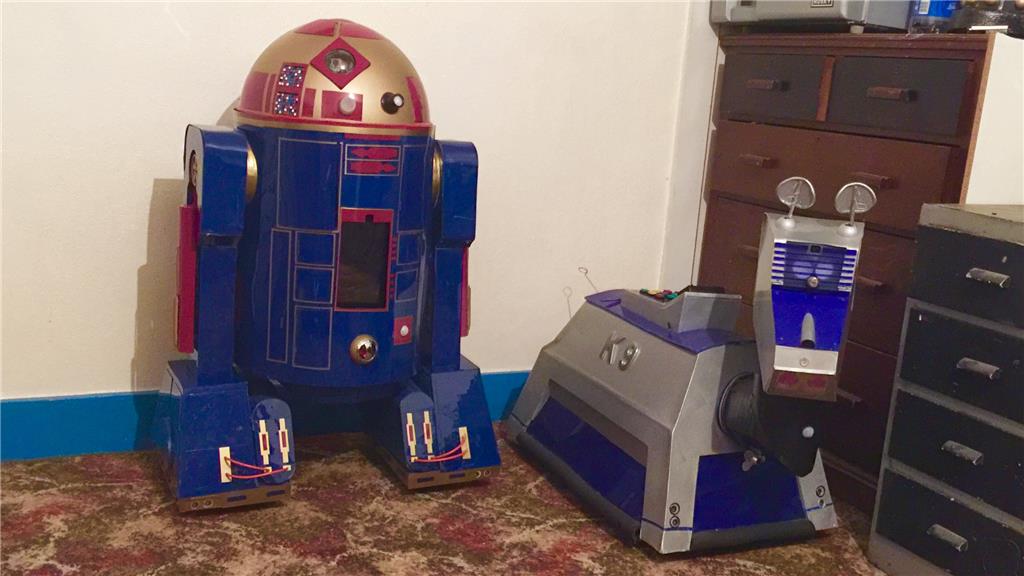
So after throwing around a few ideas for a new project to sink my teeth in to, I decided to go ahead and do my own version of an Astromech Droid, rather an Astromech "Smartdroid". With K-9 being one of my all time favourite on-screen robots, R2-D2 was (and still is) just as much of an all time favourite of mine so building one of my own droids is a logical step for me. As my other robot showcases where posted when the majority of the work was done, this will be a build diary of sorts, with updates throughout the build.
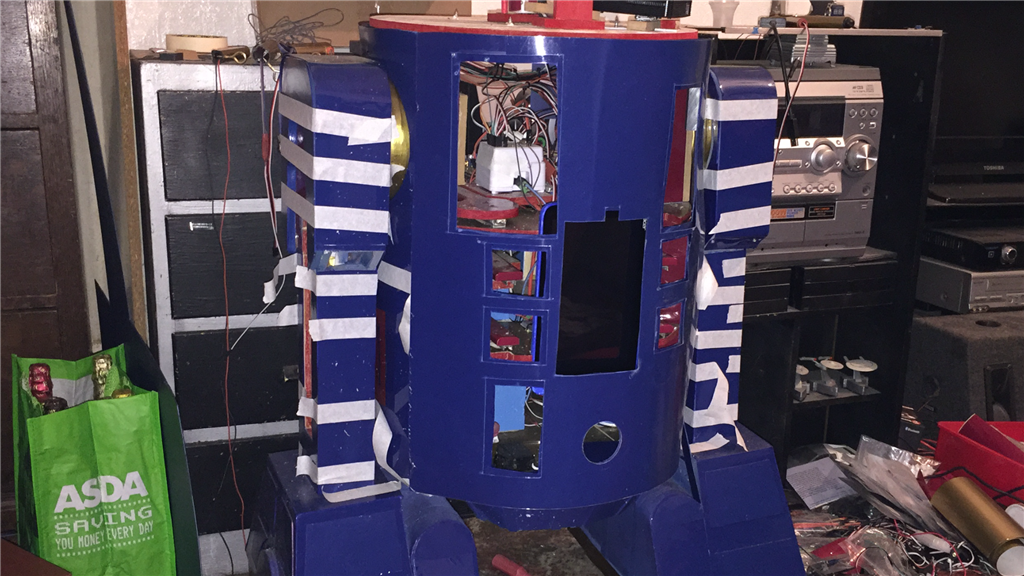
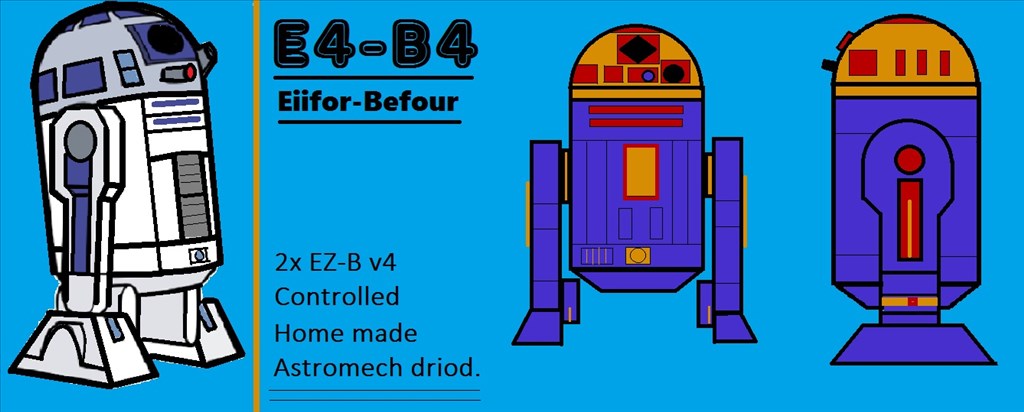
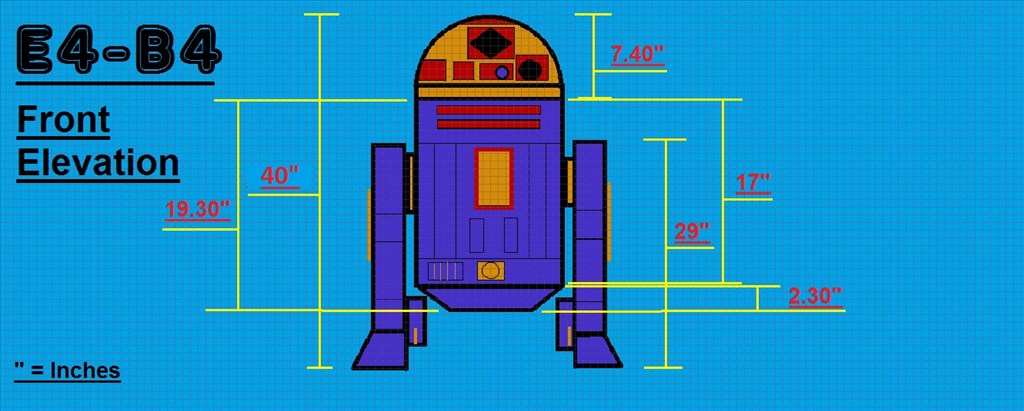
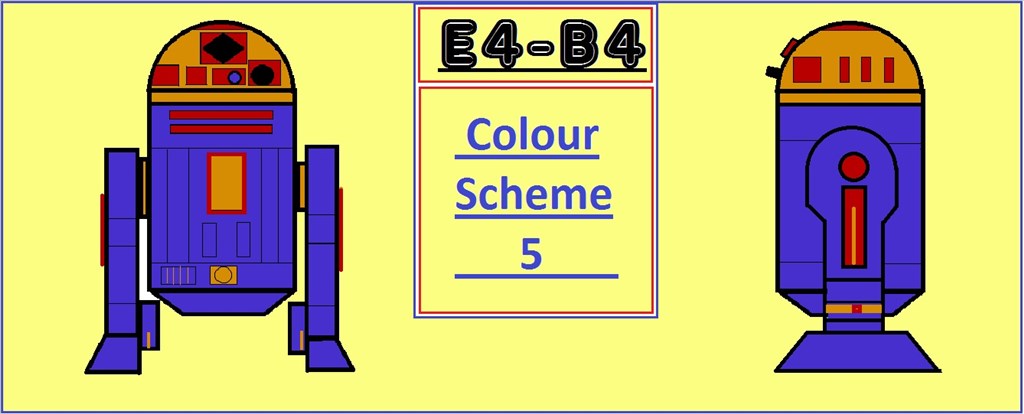
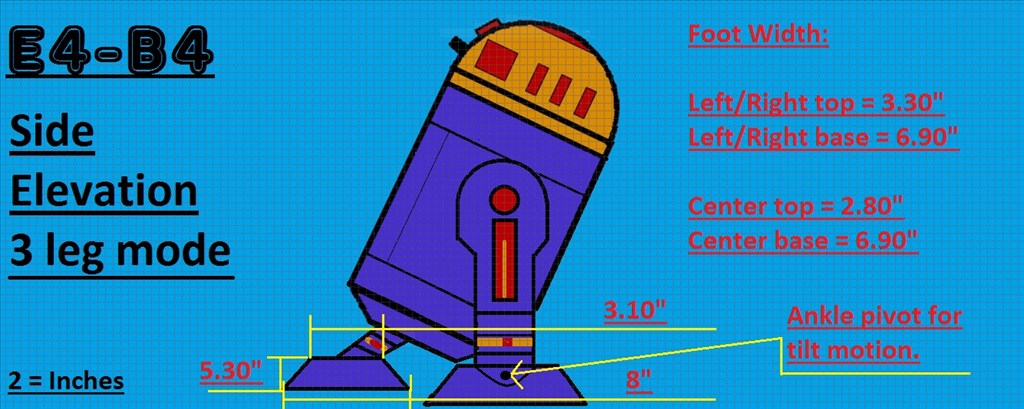
So wanting to get back to building, I had a few ideas floating around for my next BIG project and the thought about doing an R2 style robot came up a few times in the past (the blueprints I drew up that I've posted are 3 years old and was for an R/C version), and after encountering a few design issues for a large custom robot (which I will get back to one day), it was @Robot56's fantastic Astromech Droid project that was the final push for me to decide what direction I should go. There are so many great scale replica Astromech builds around that people have done, but much like my K-9 2.0 build, I want to stay away from doing an exact prop replica build and do a custom build with custom paint job (as seen in the blueprints) while still keeping with the overall original design.
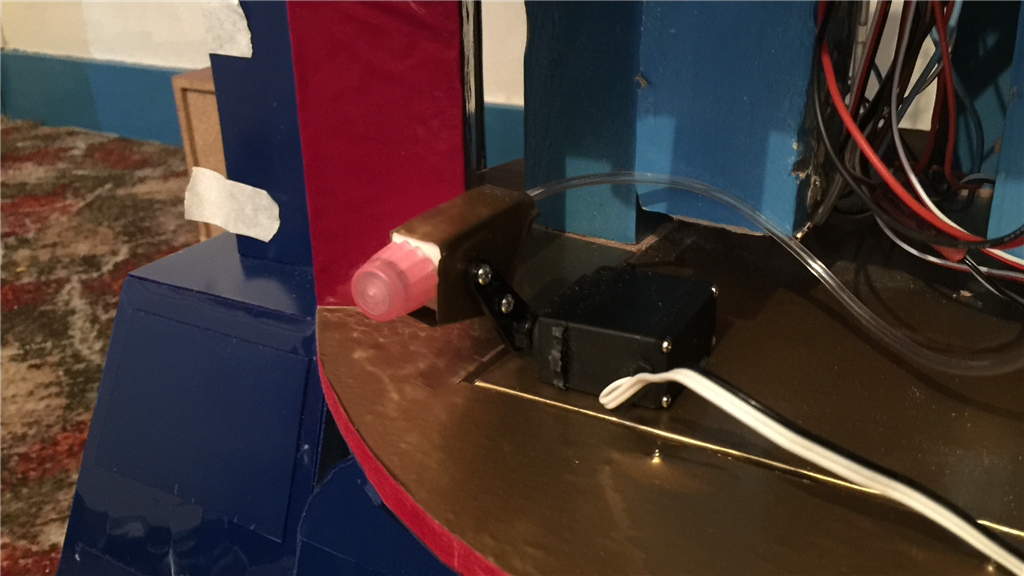
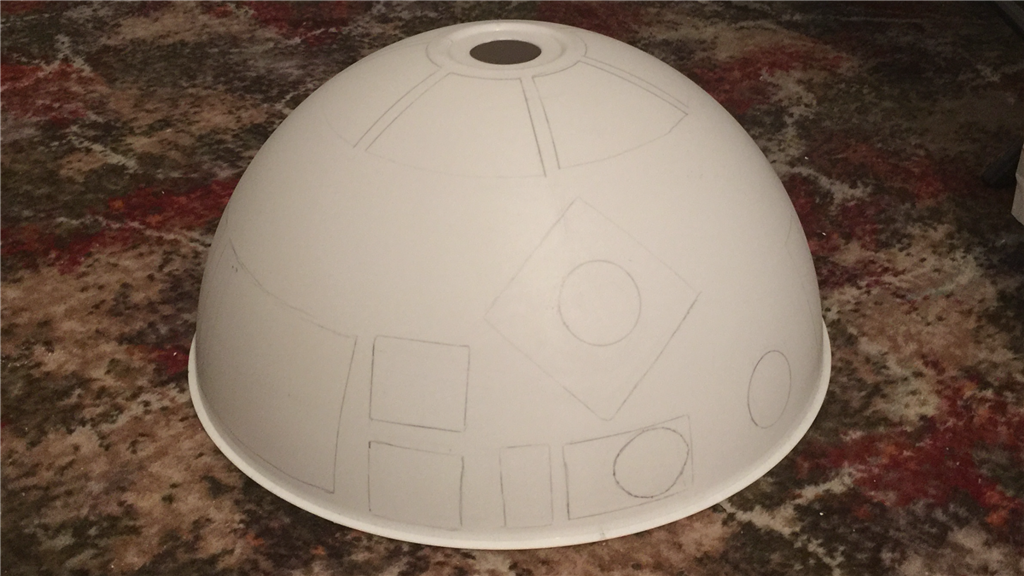
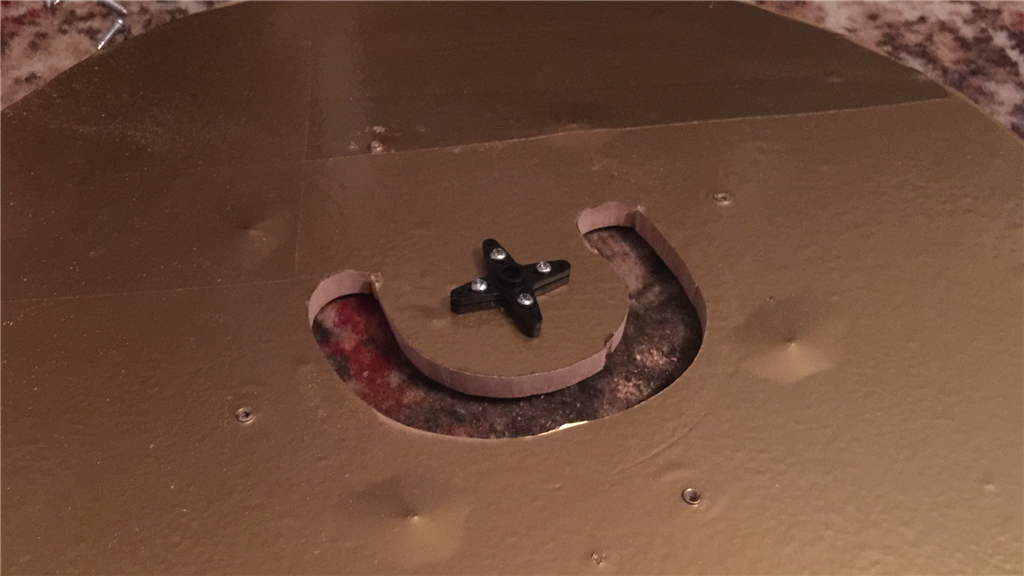
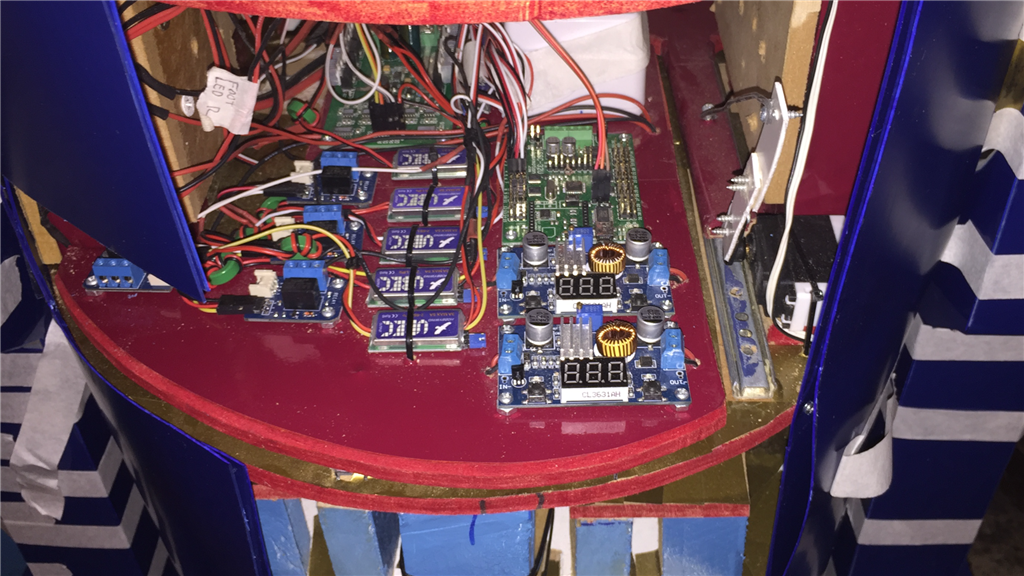
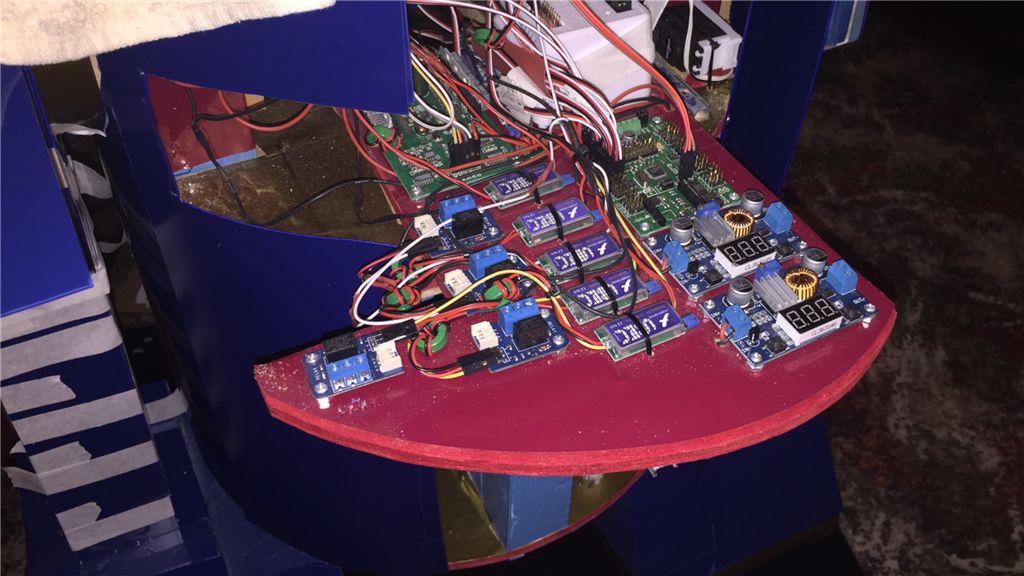
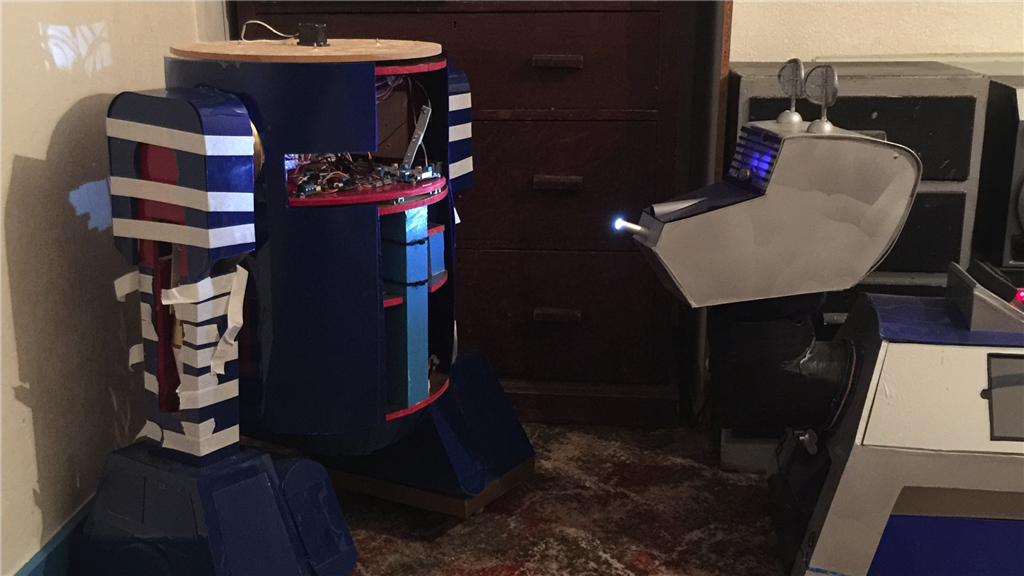
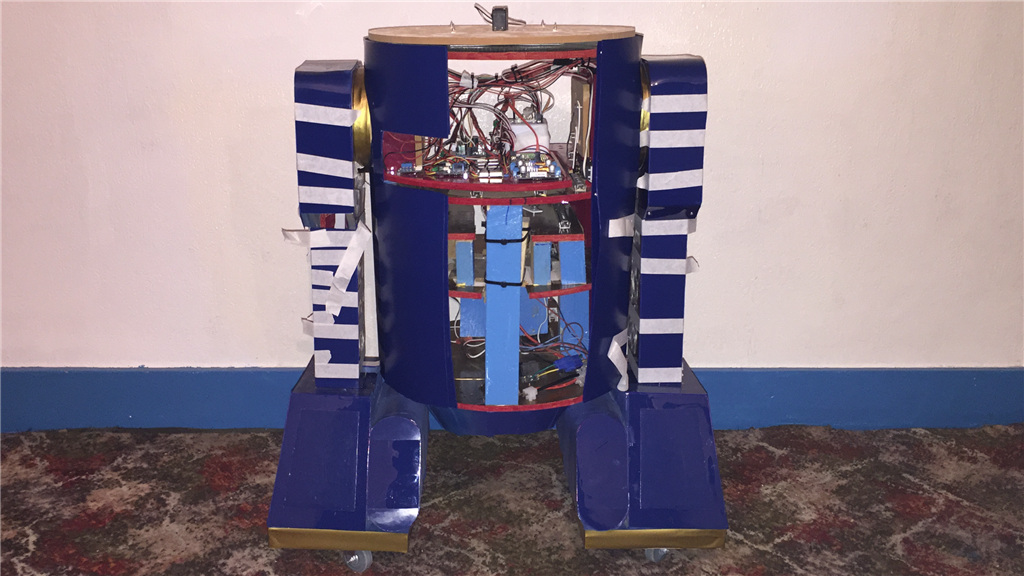
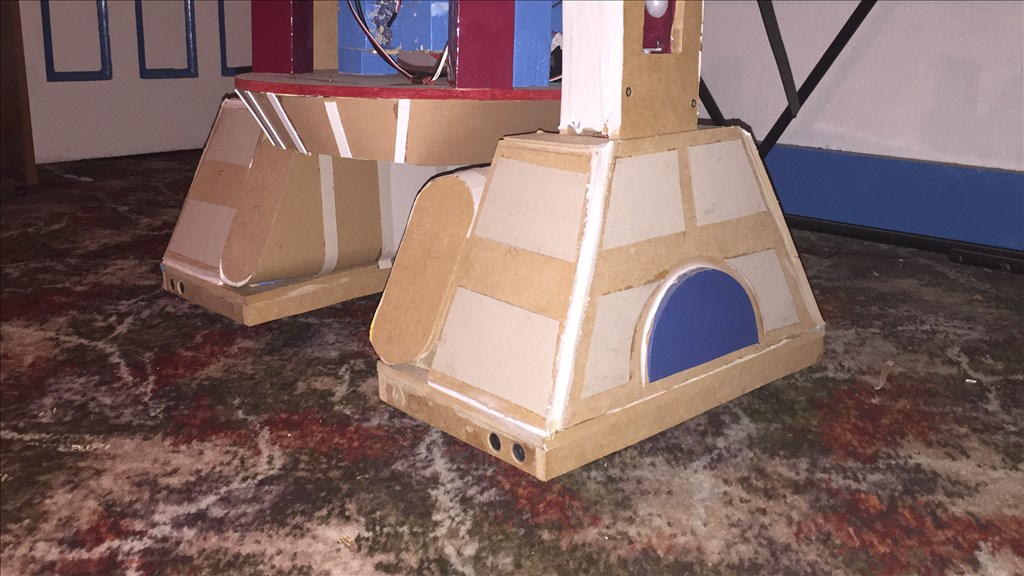
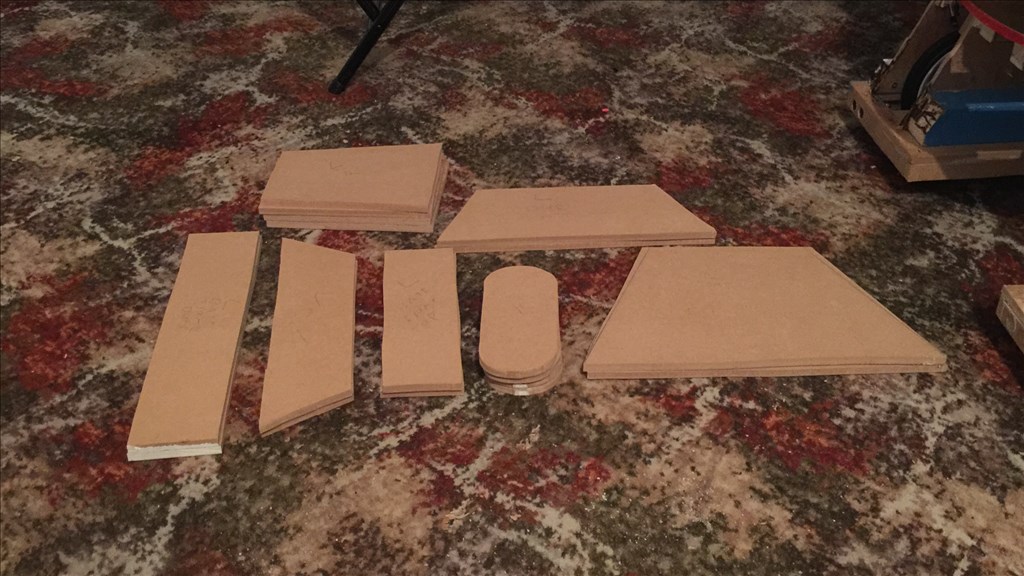
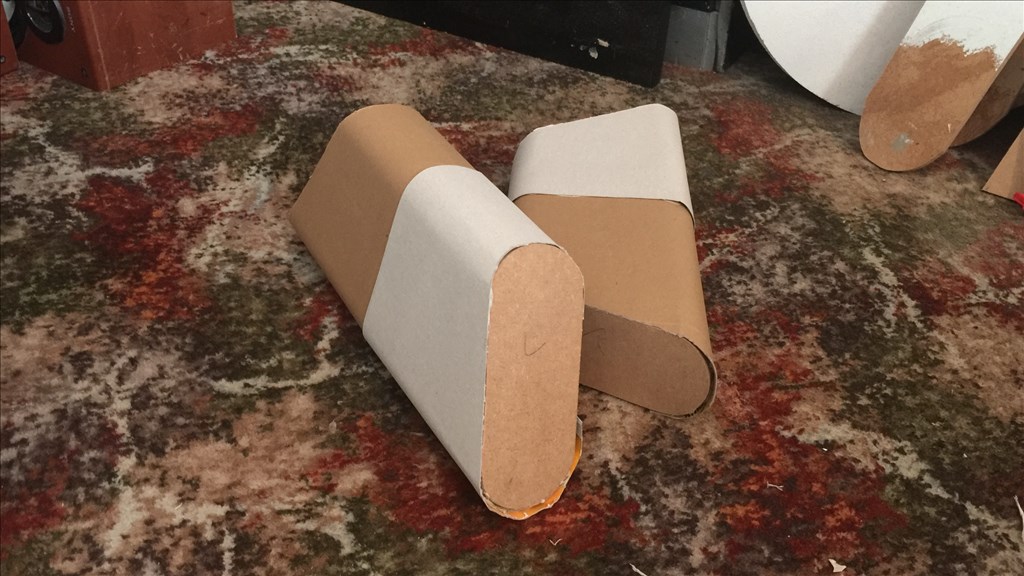
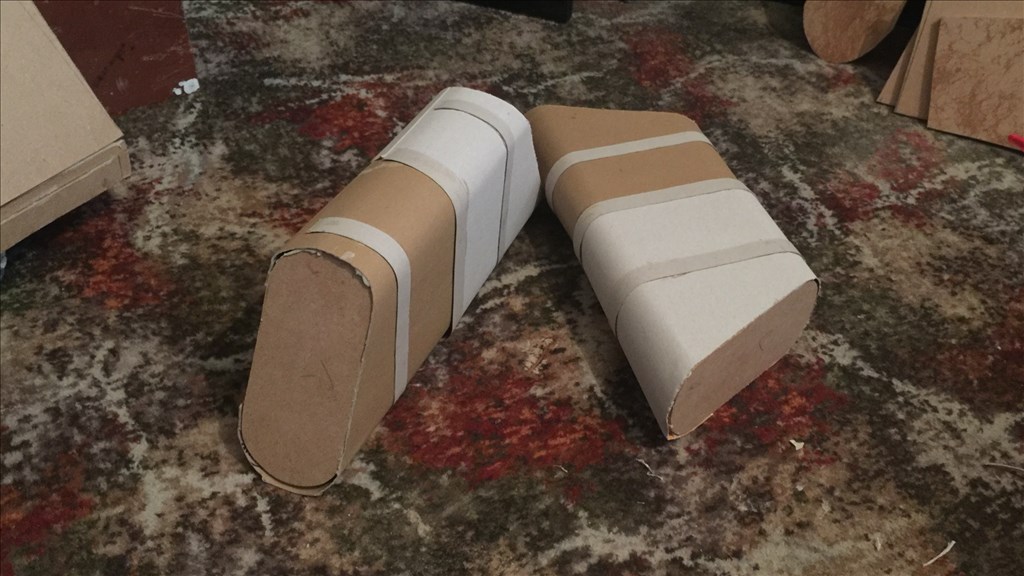
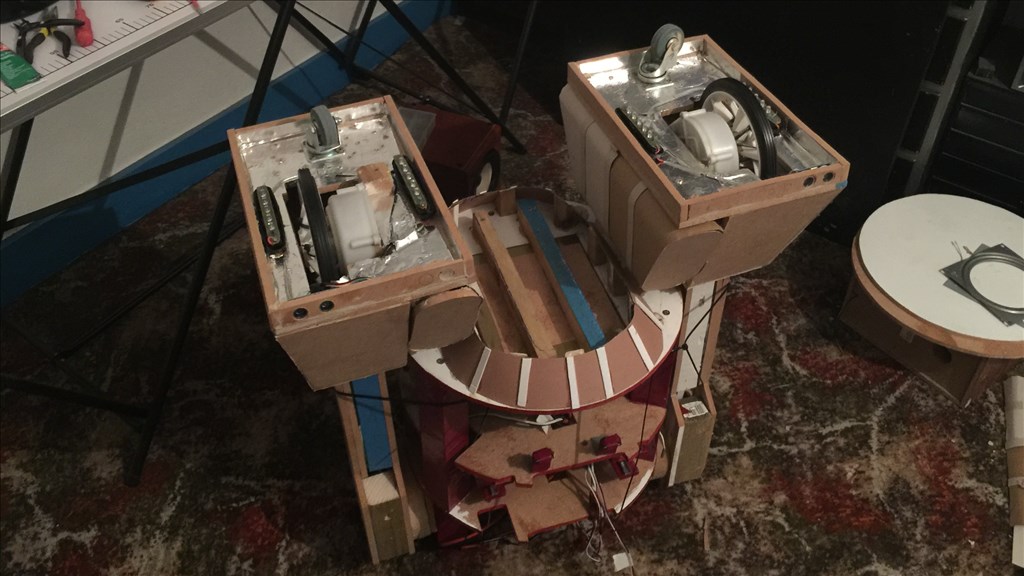
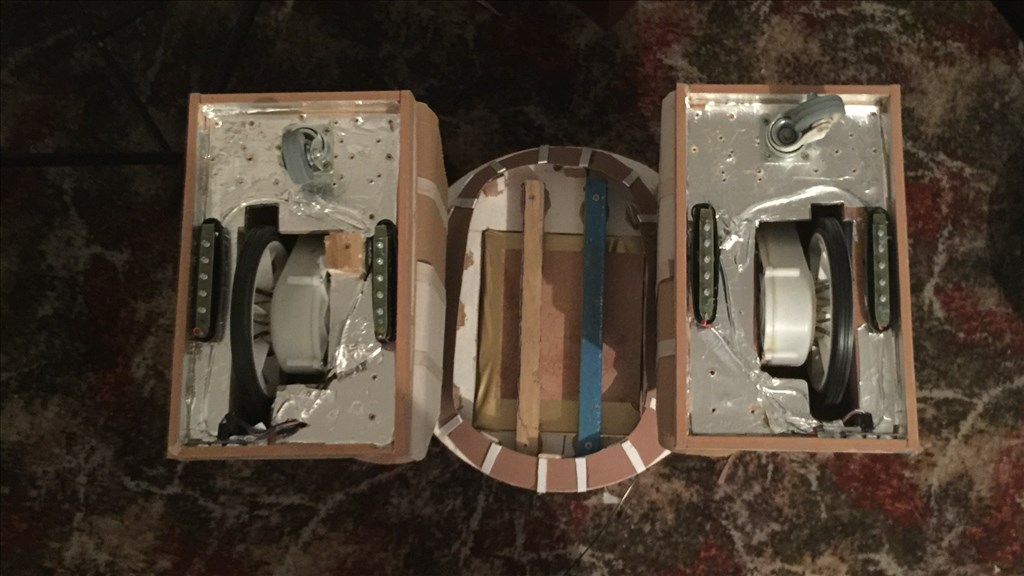
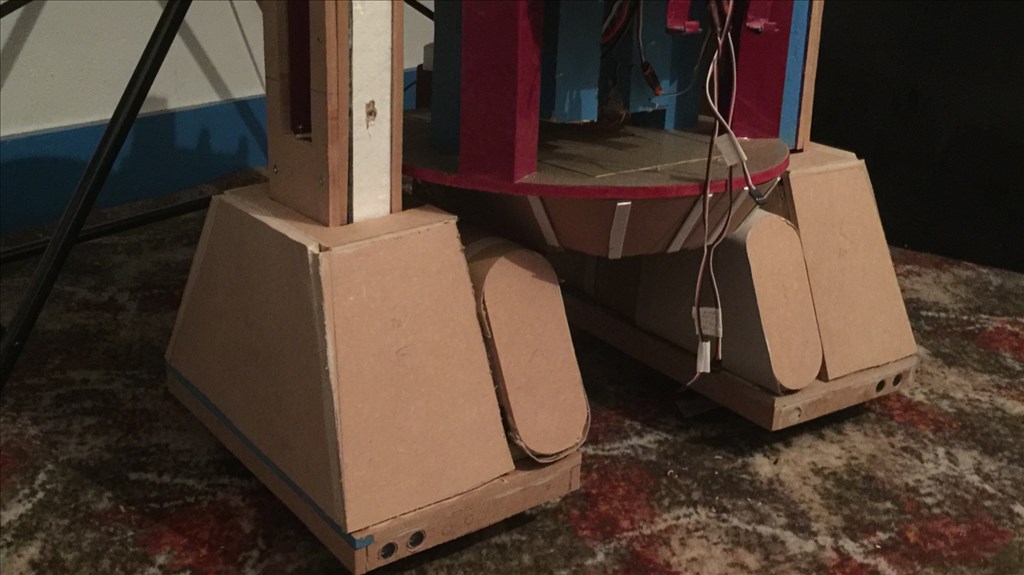
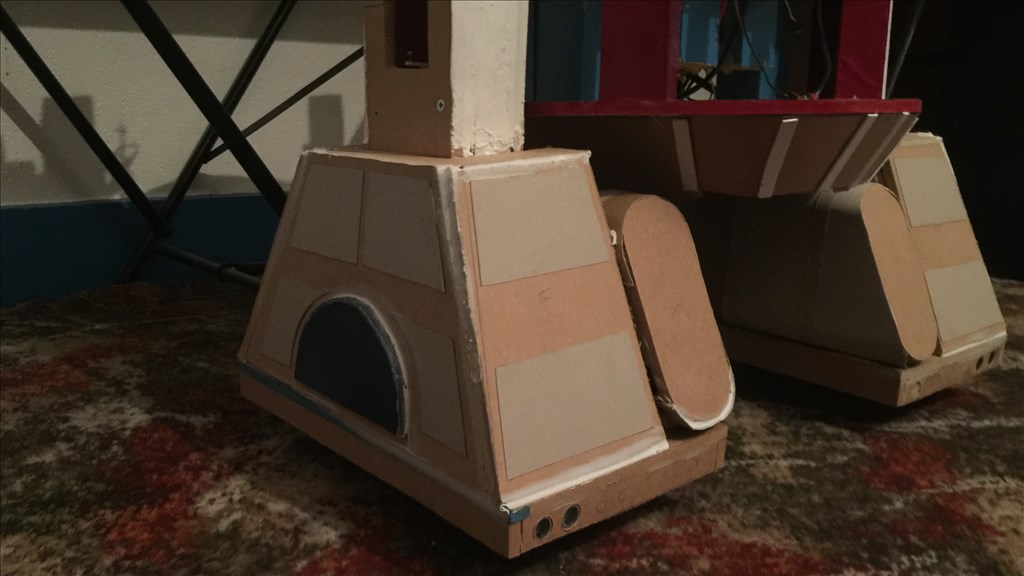
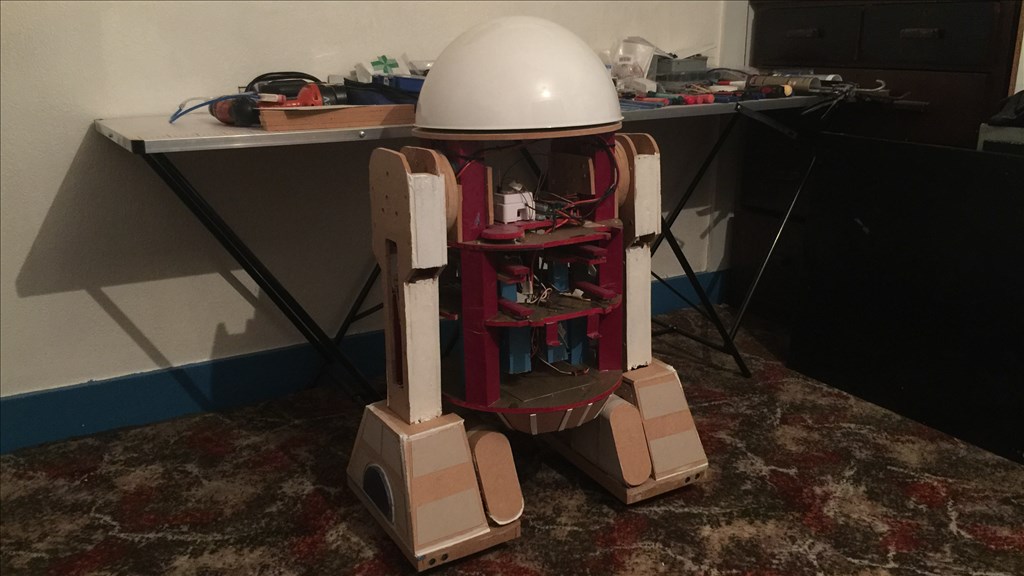
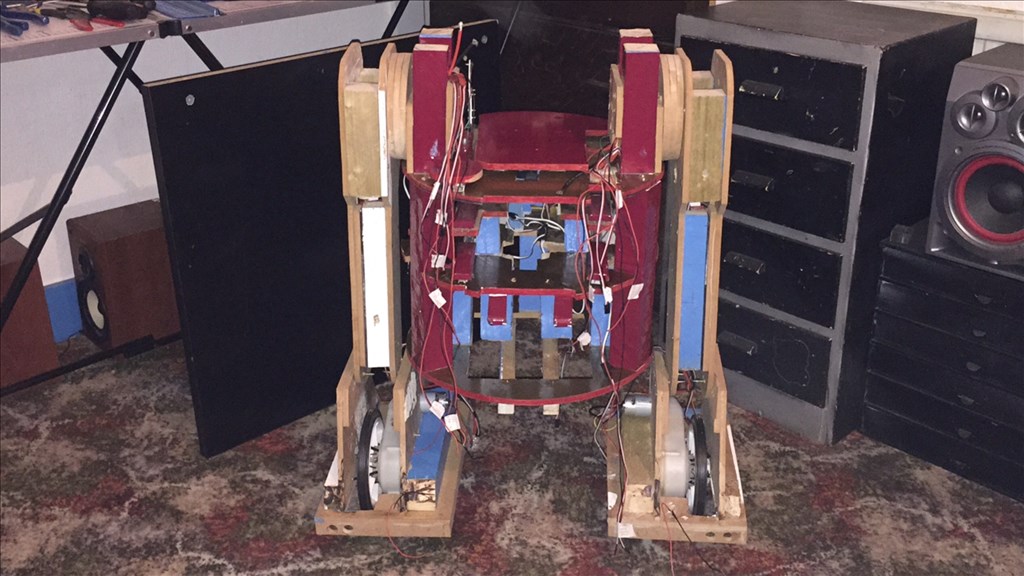
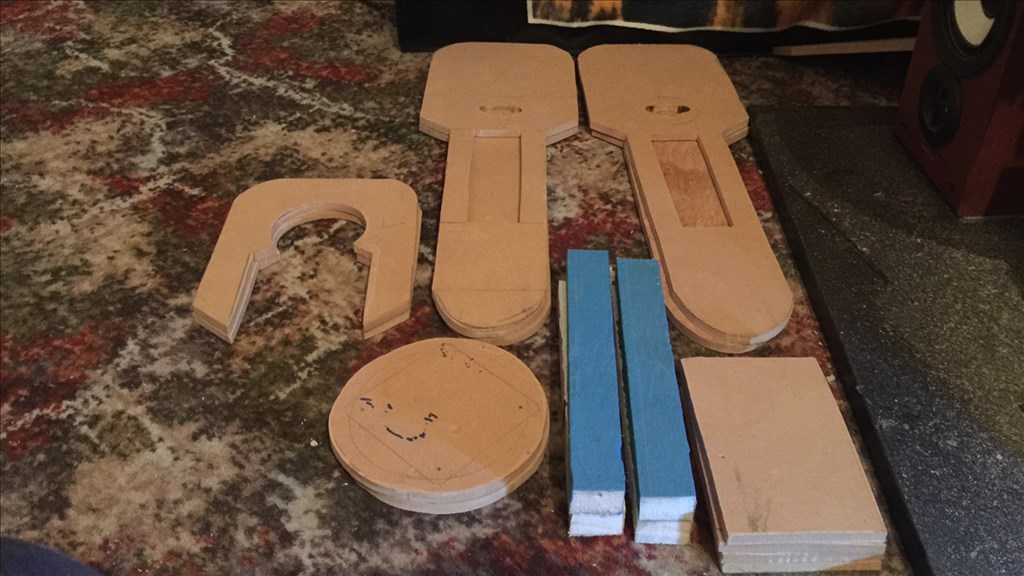
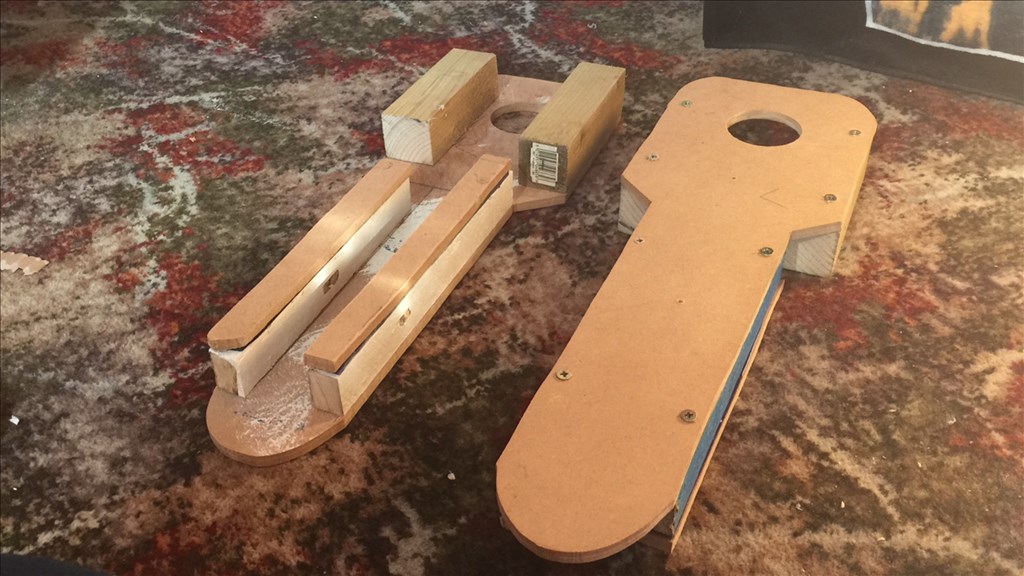
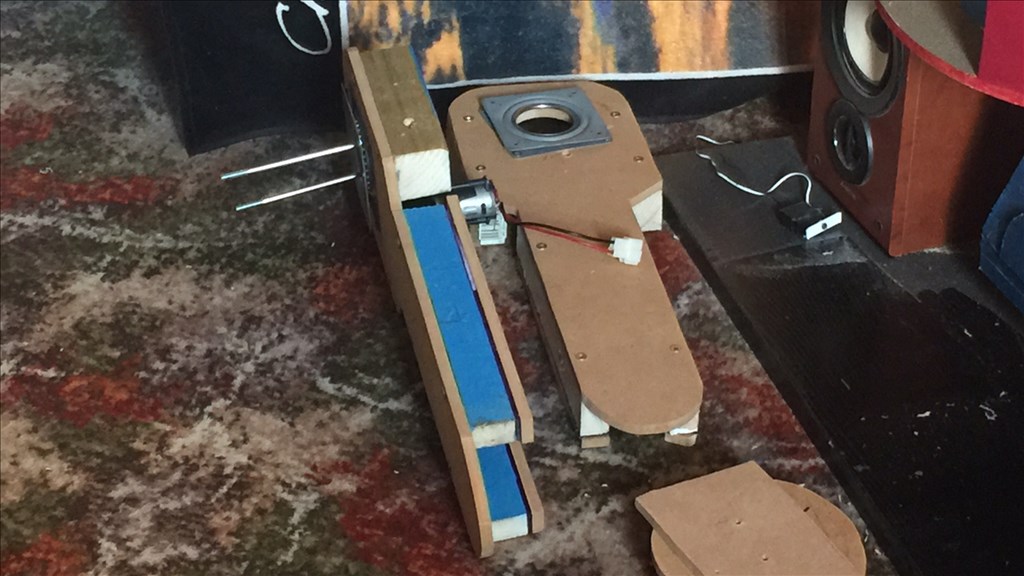
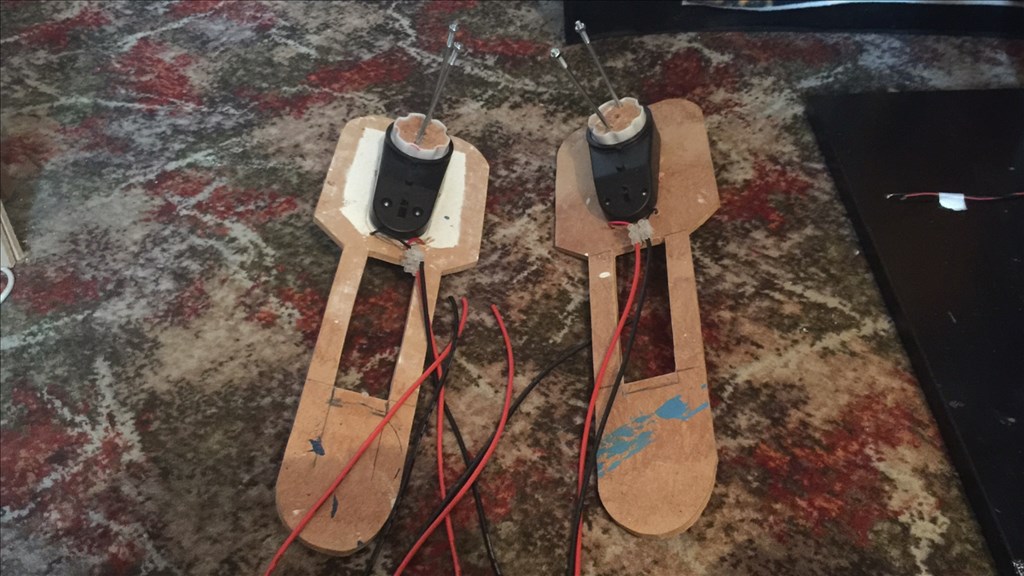
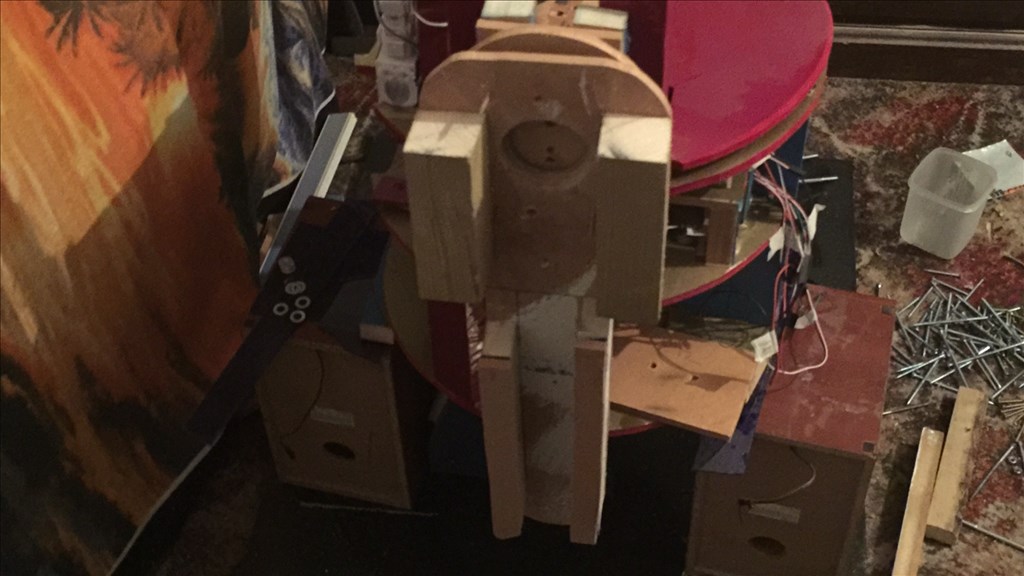
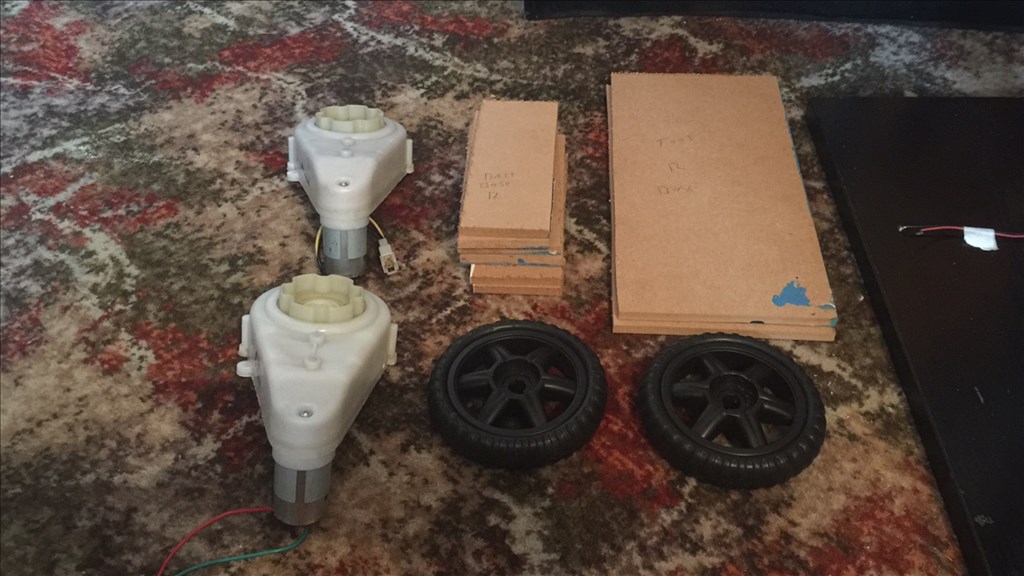
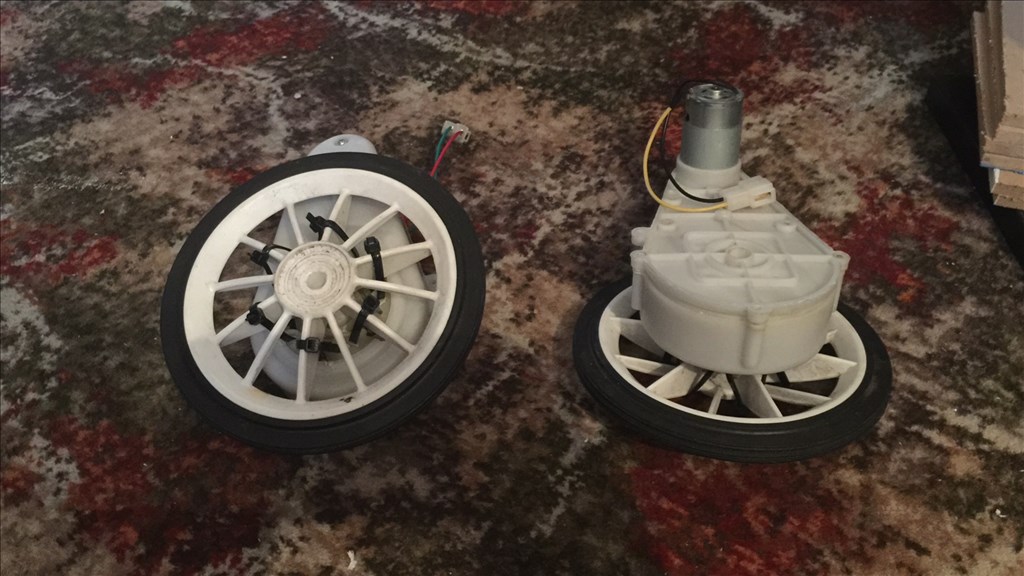
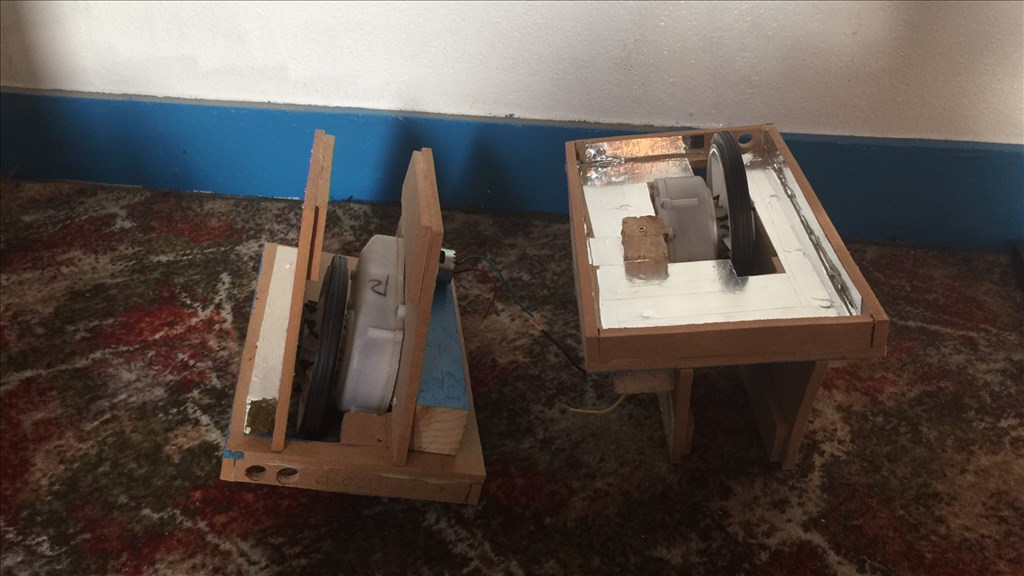
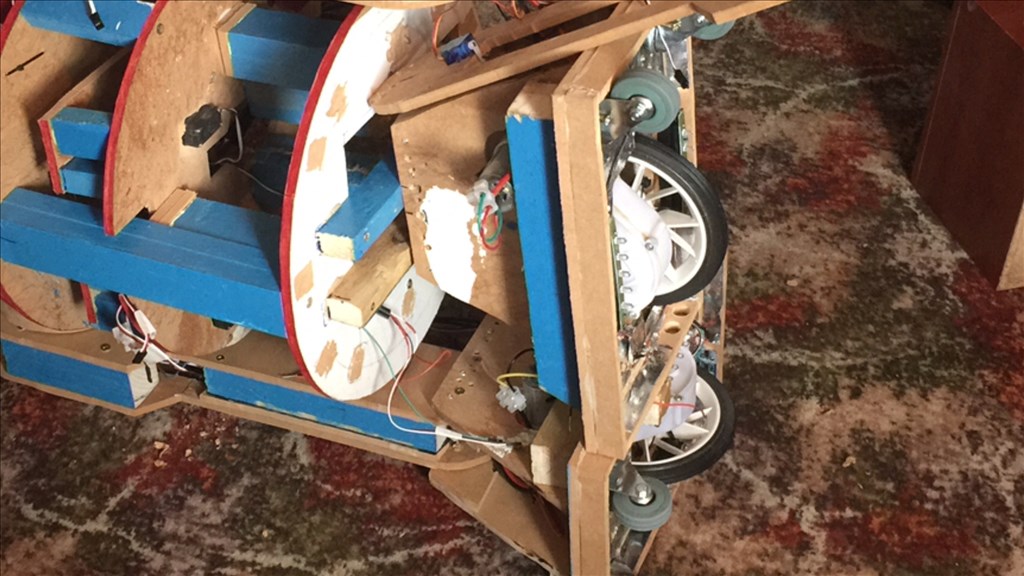
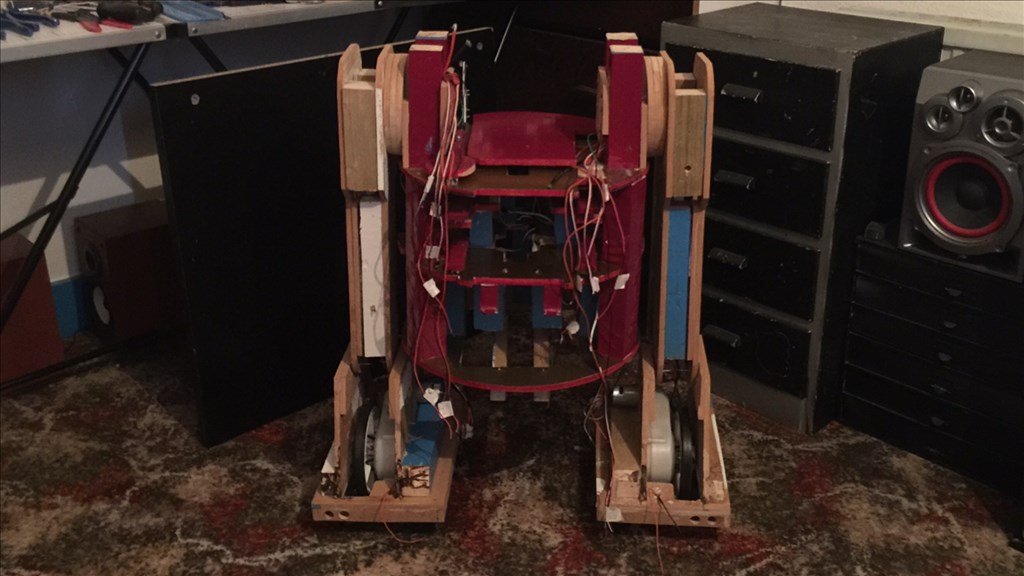
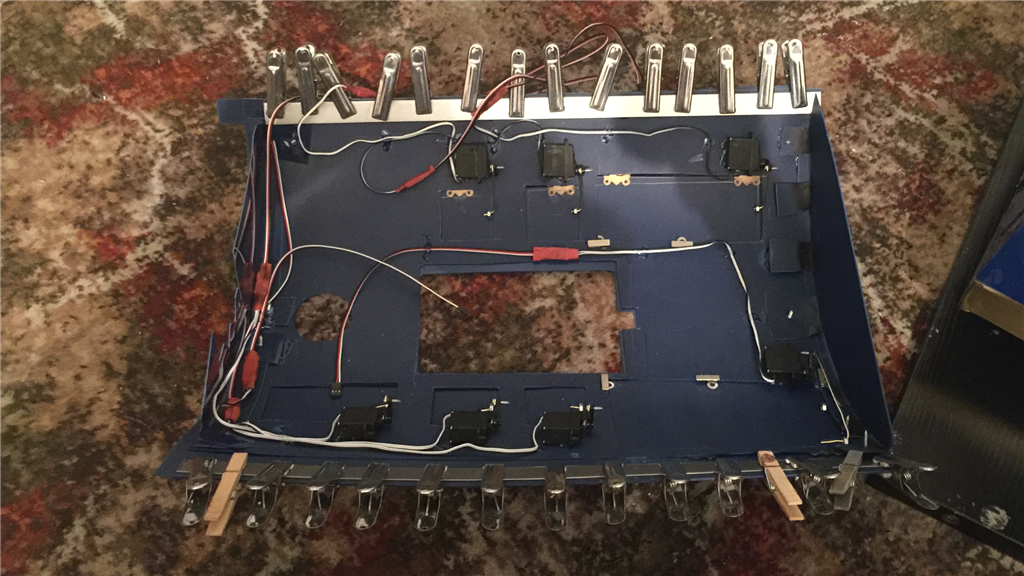
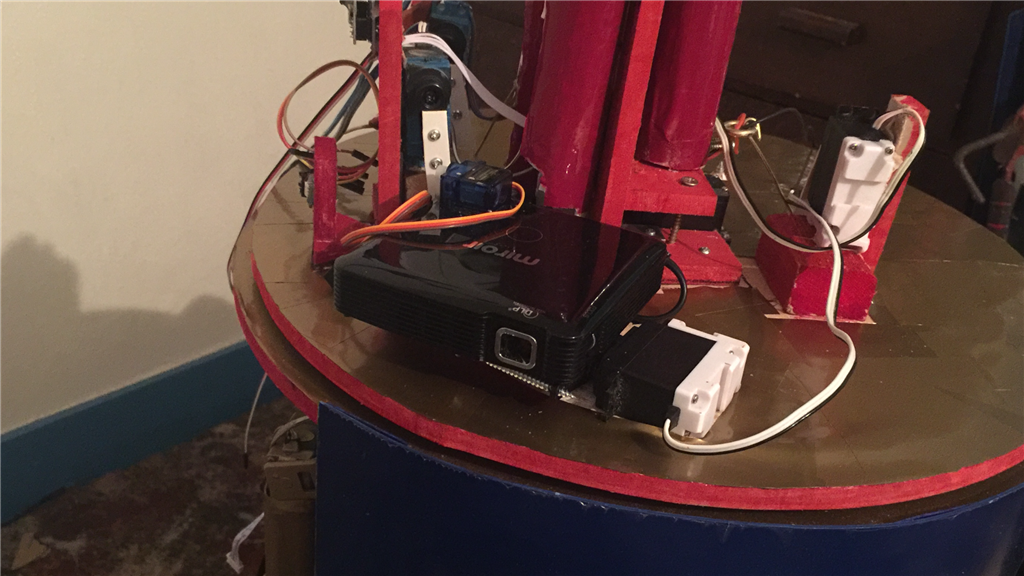
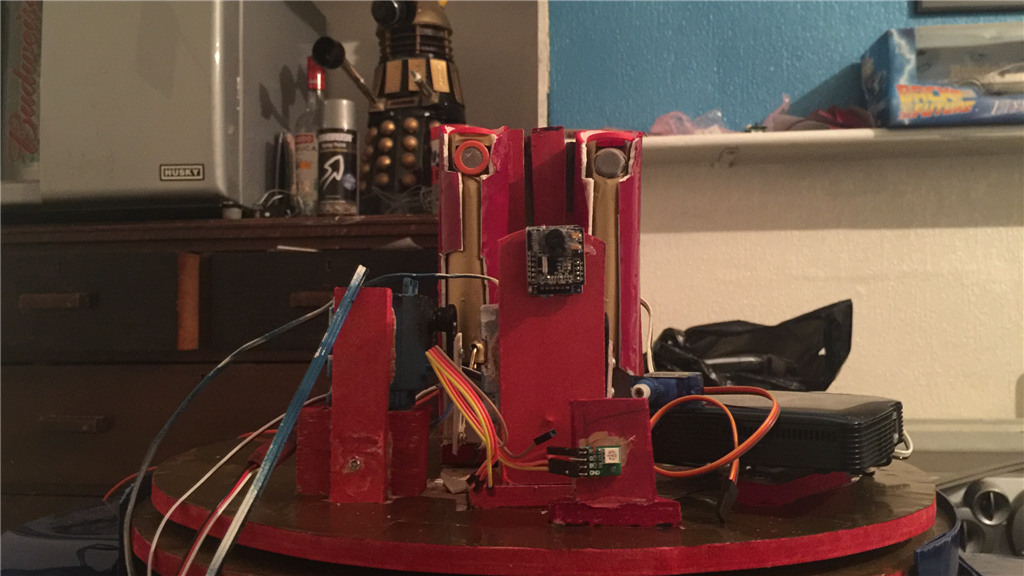
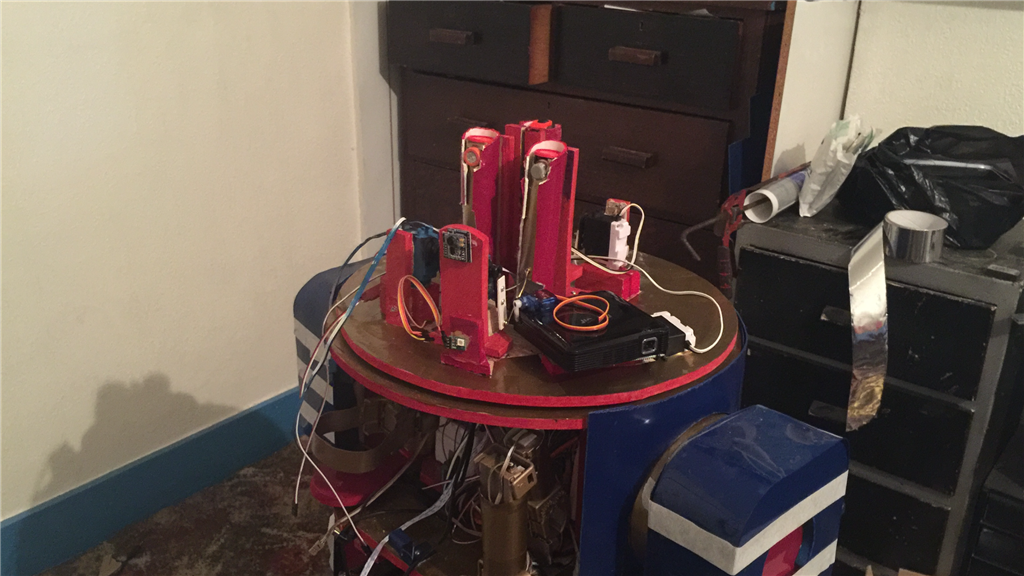
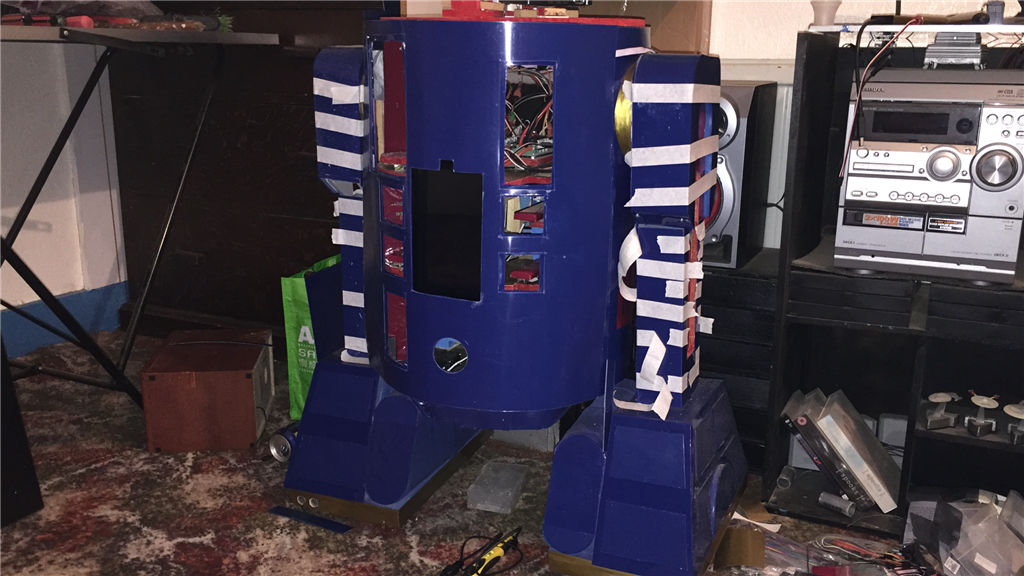
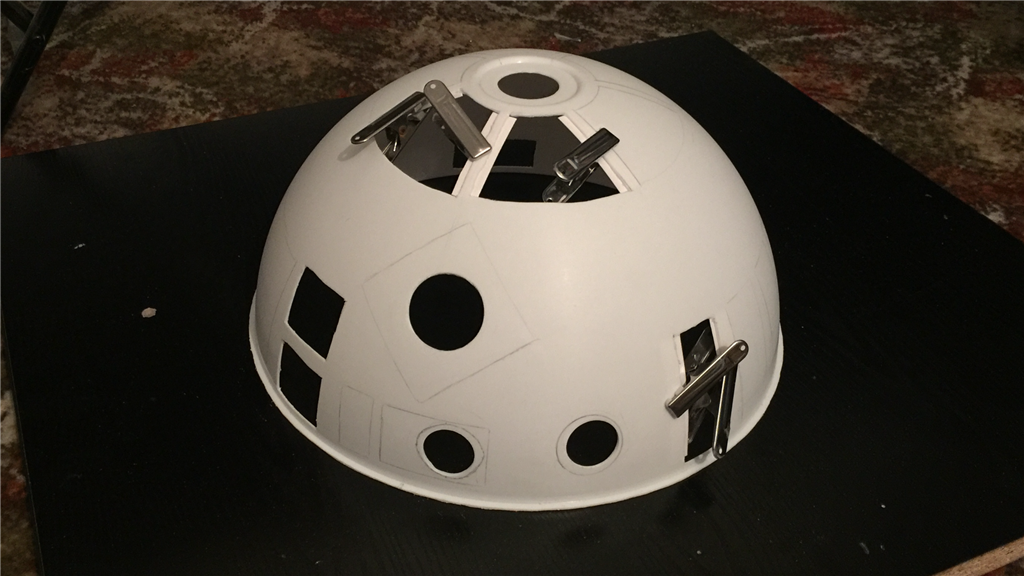
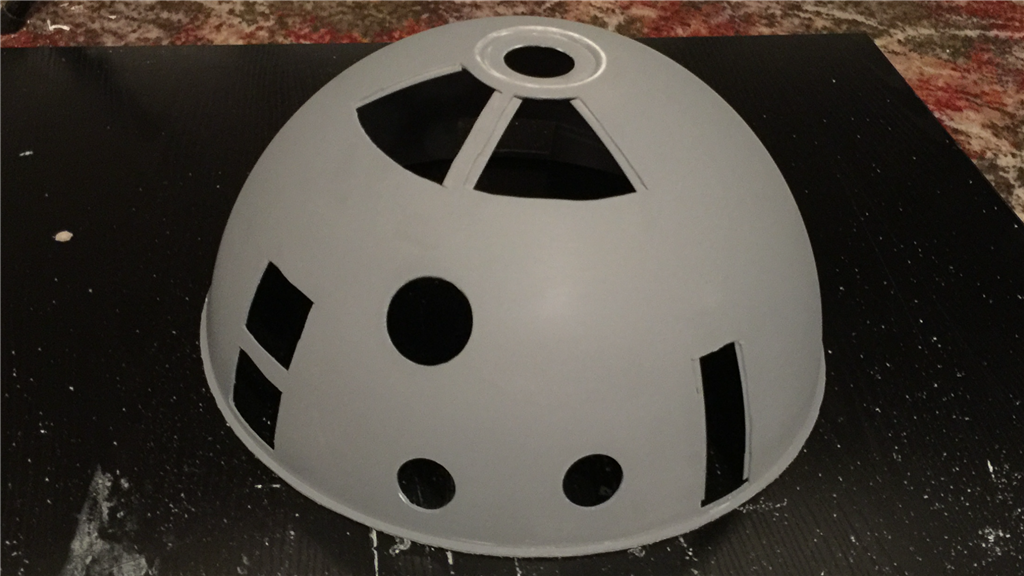
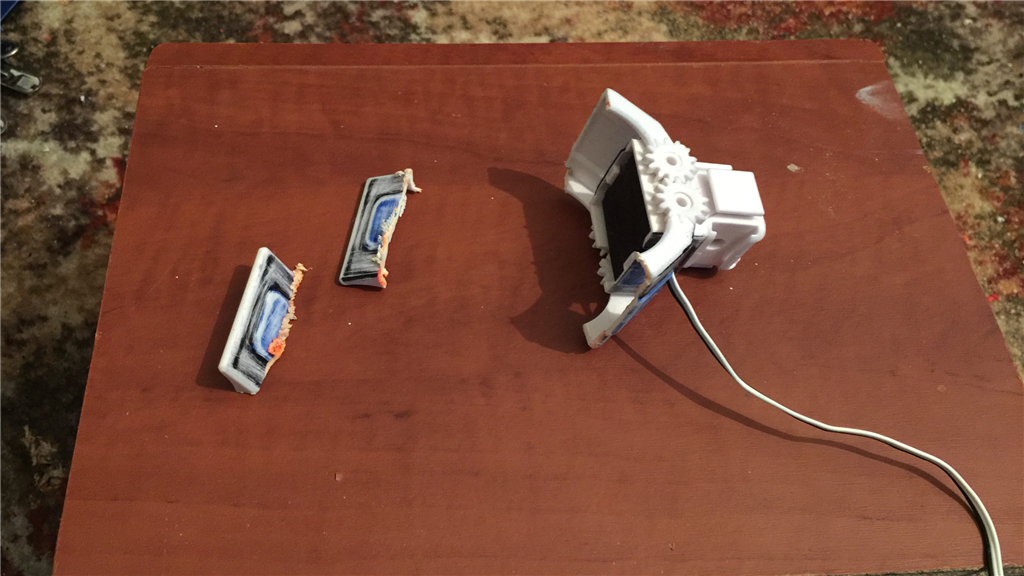
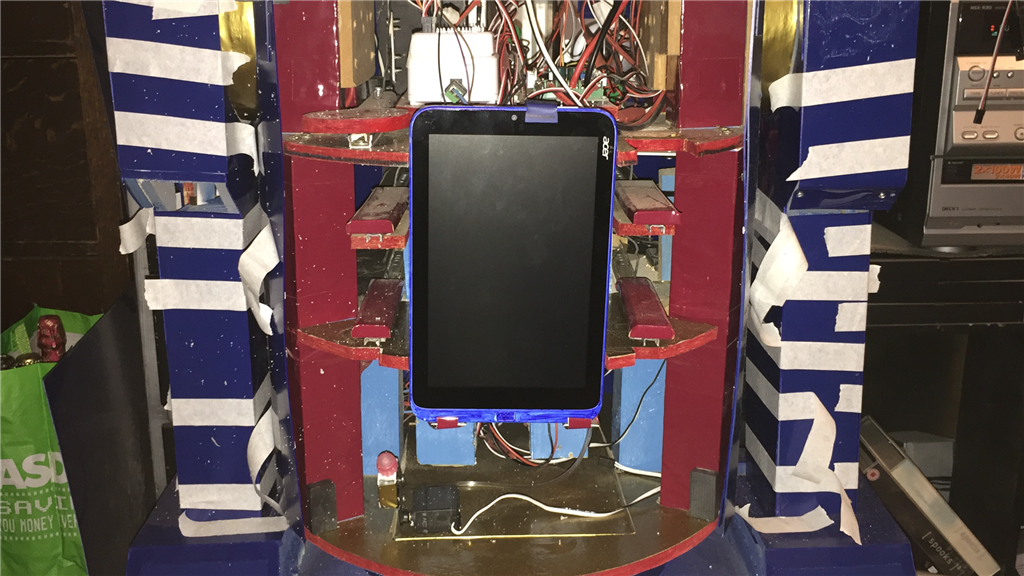
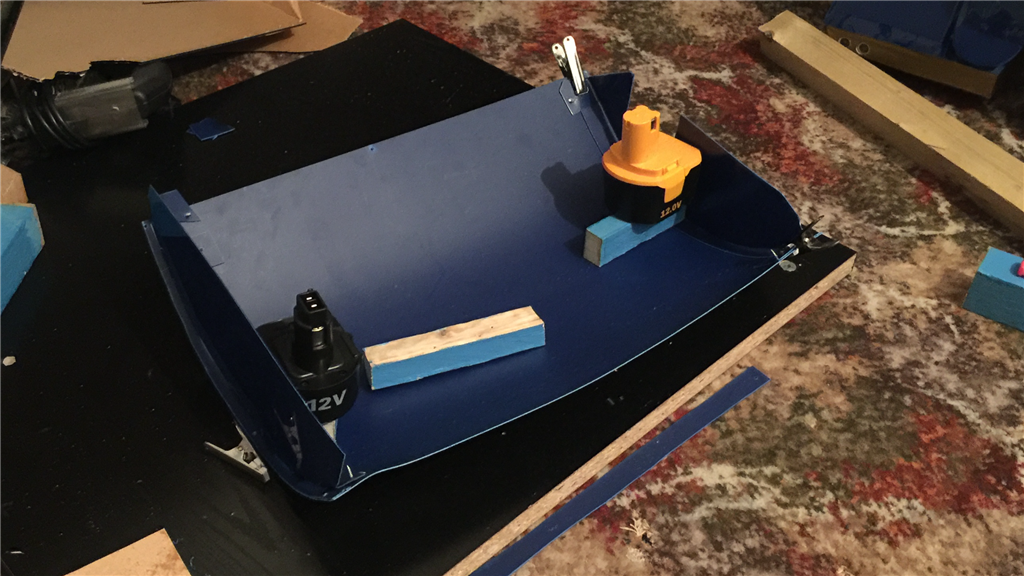
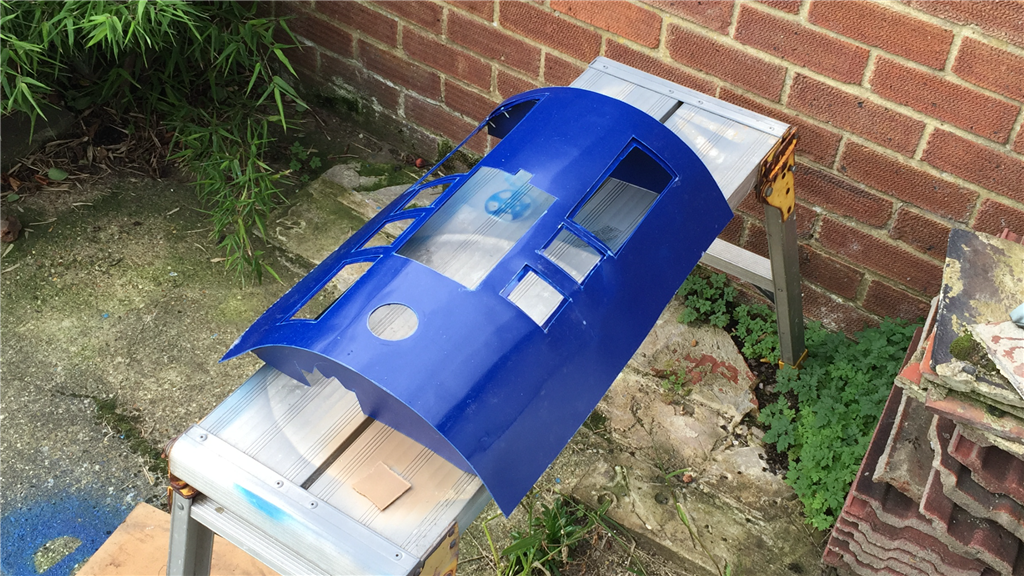
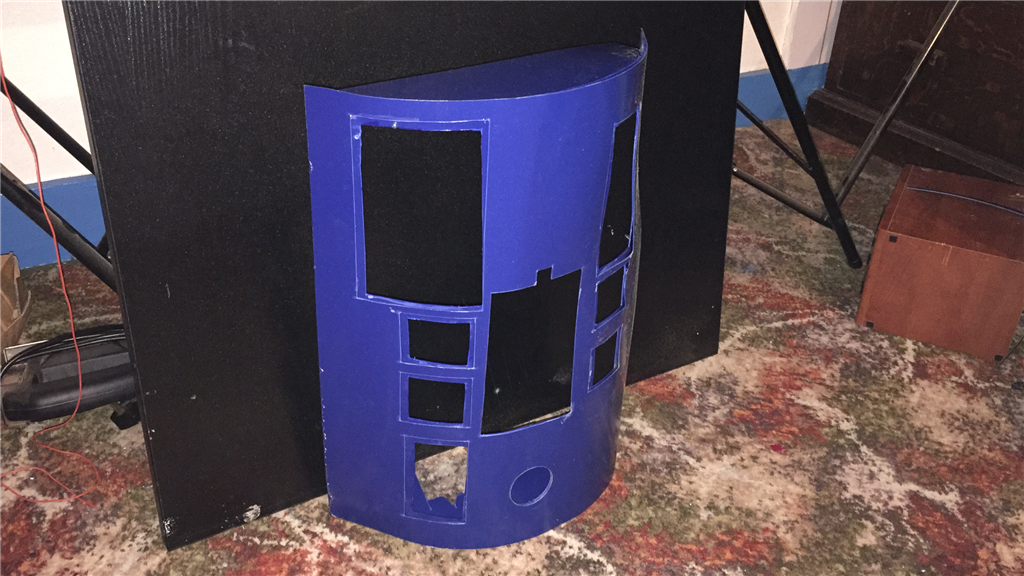
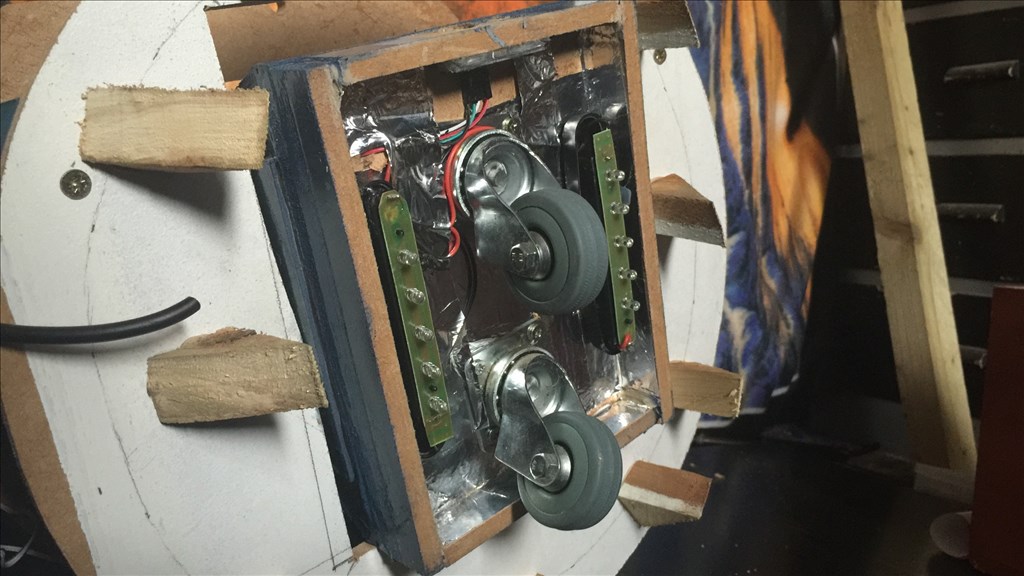
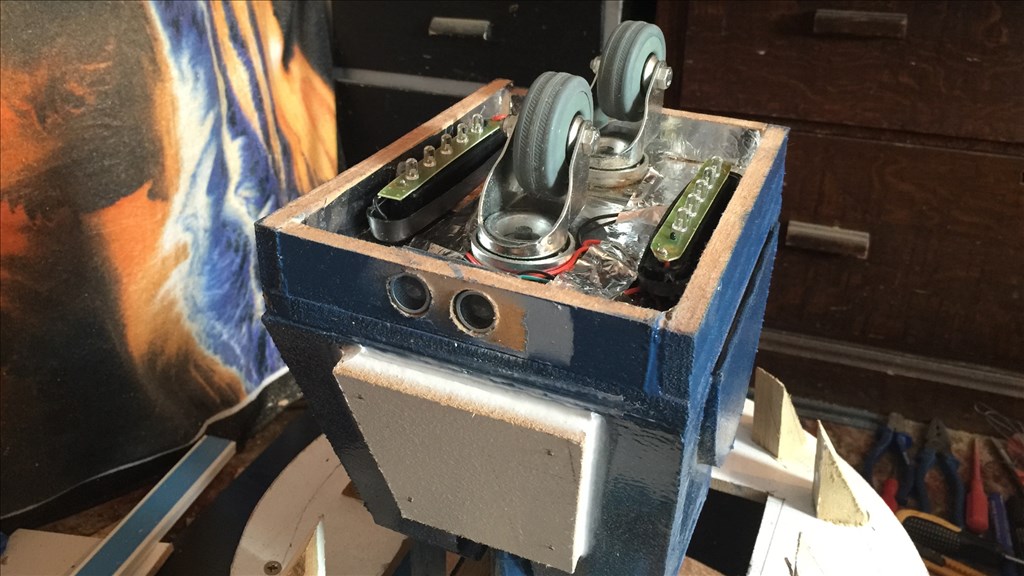
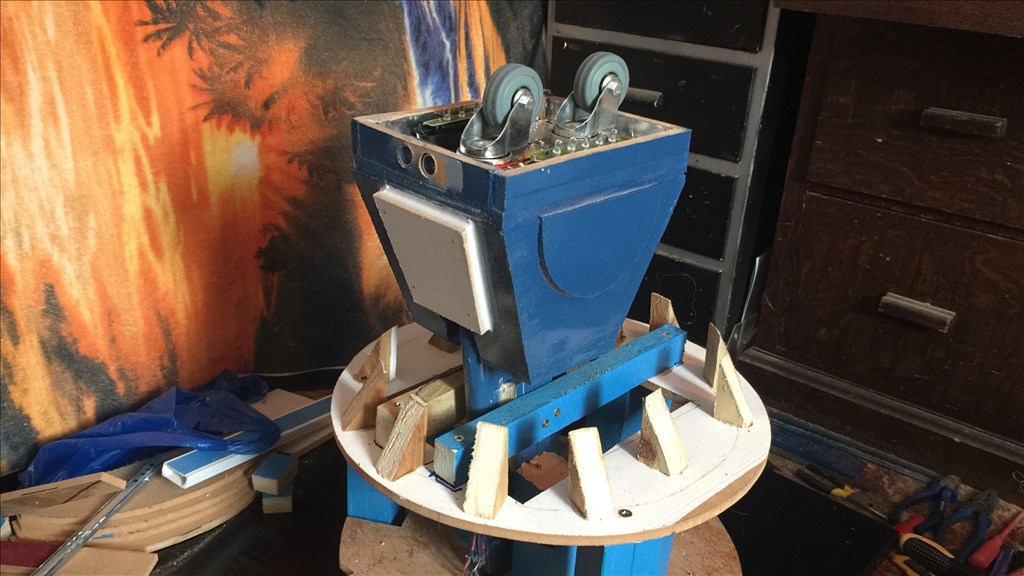
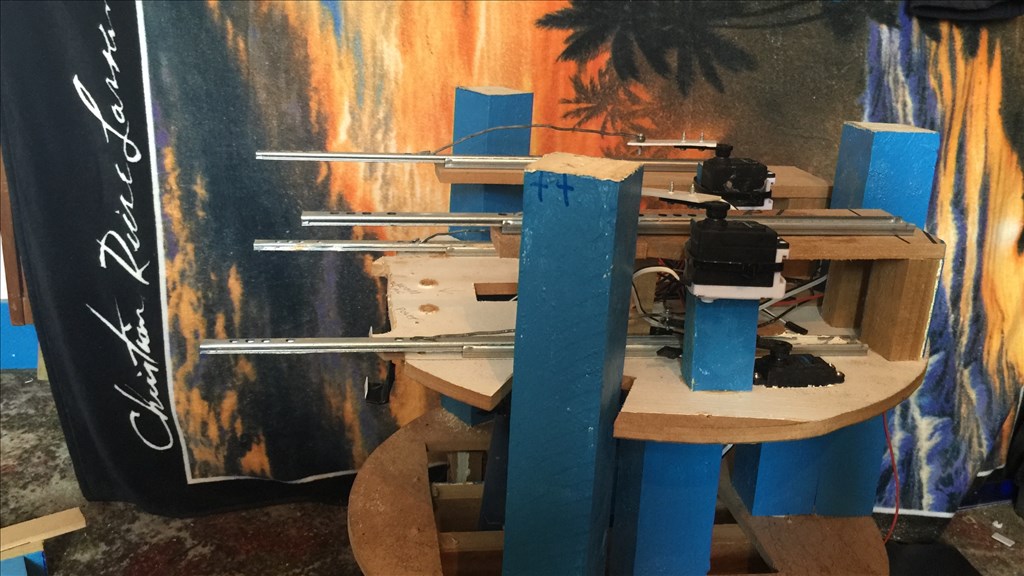
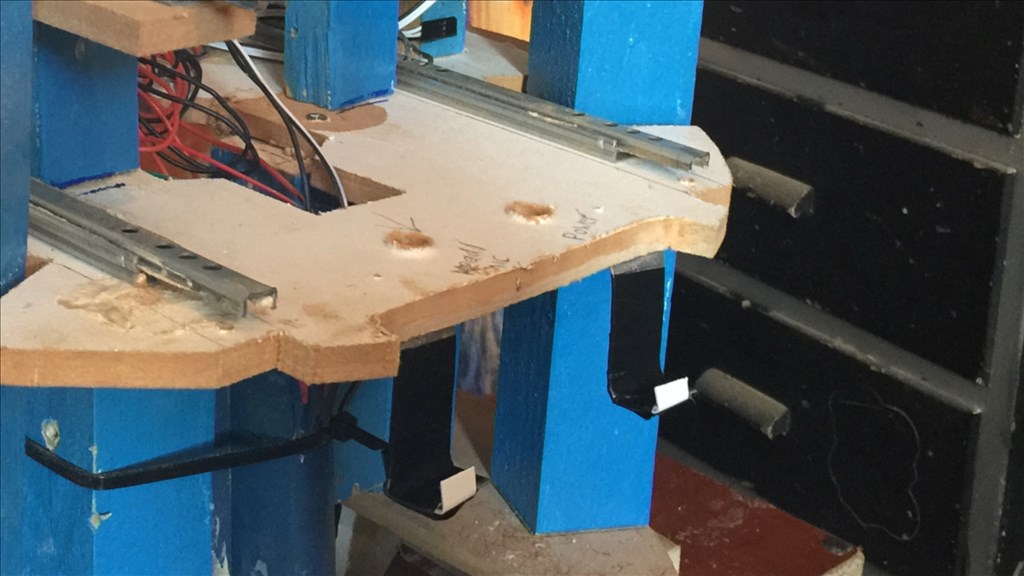
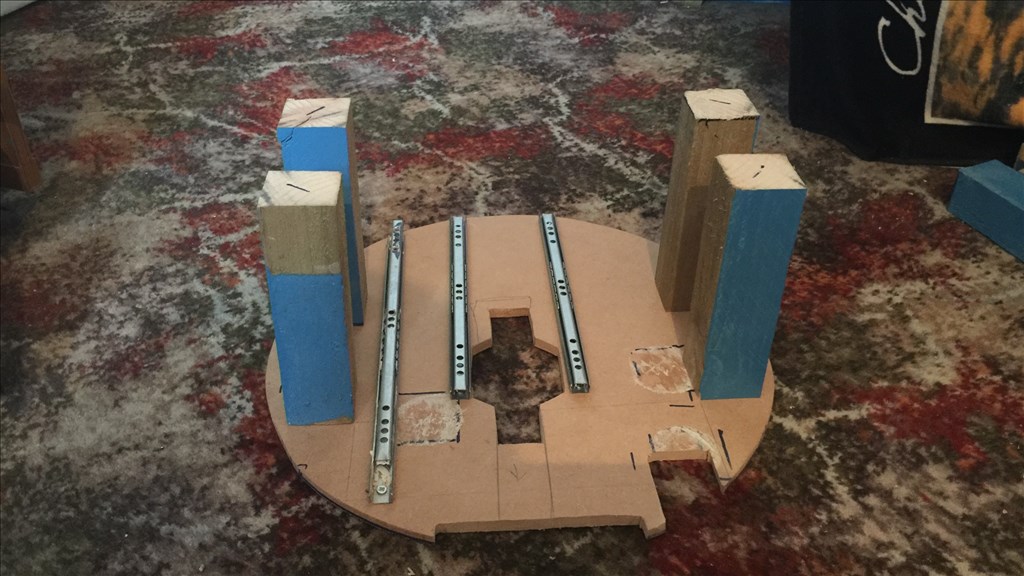
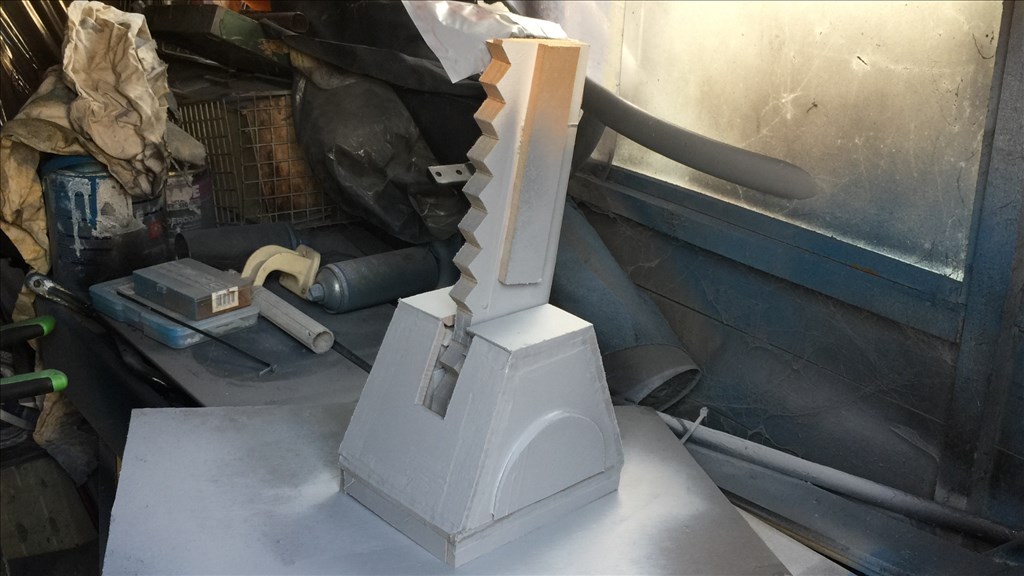
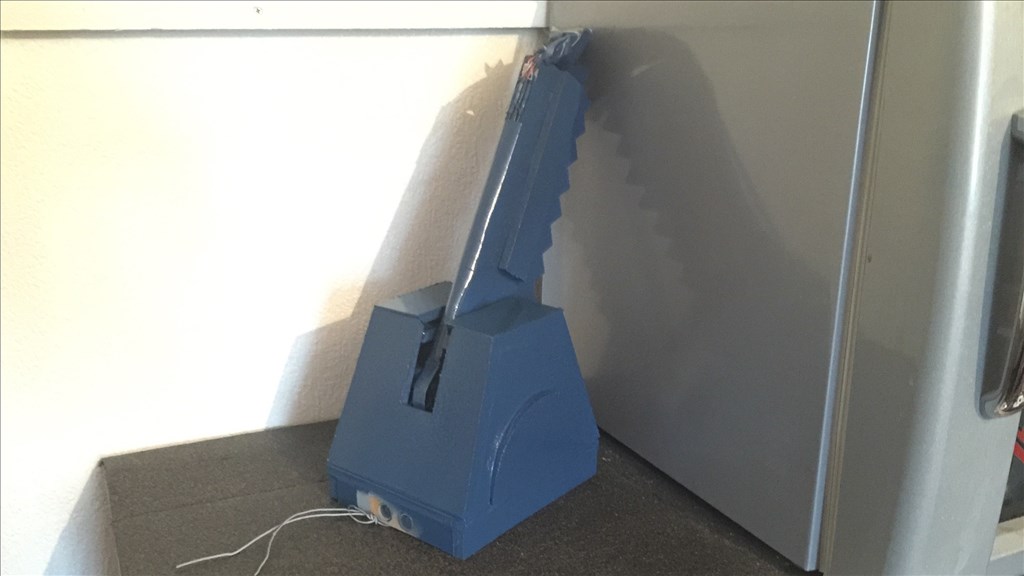
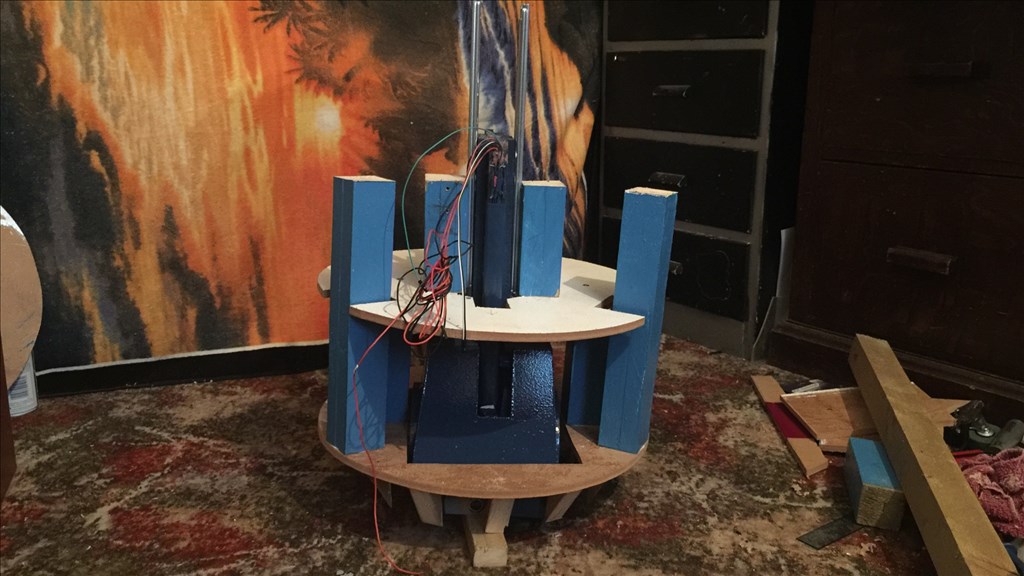
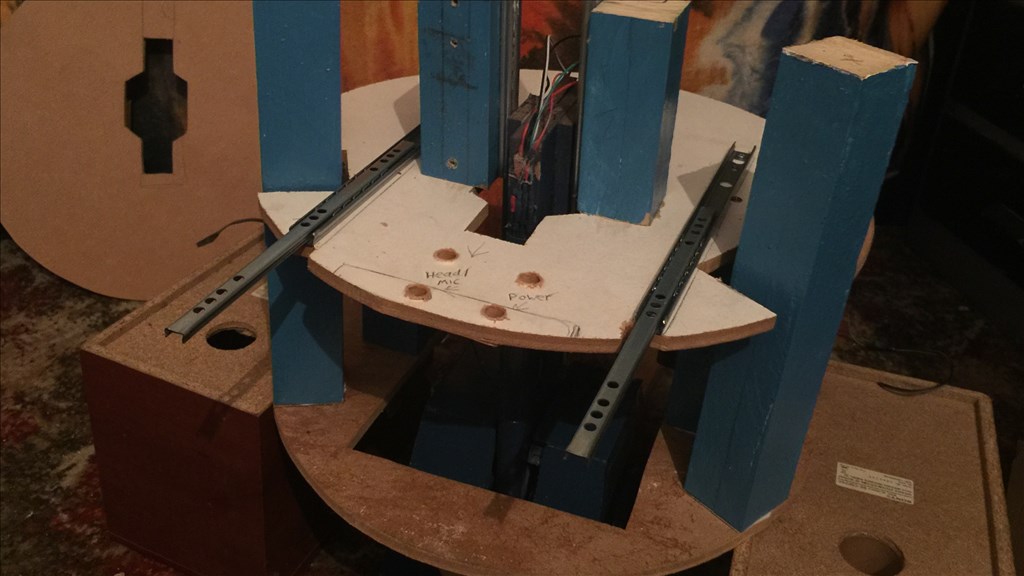
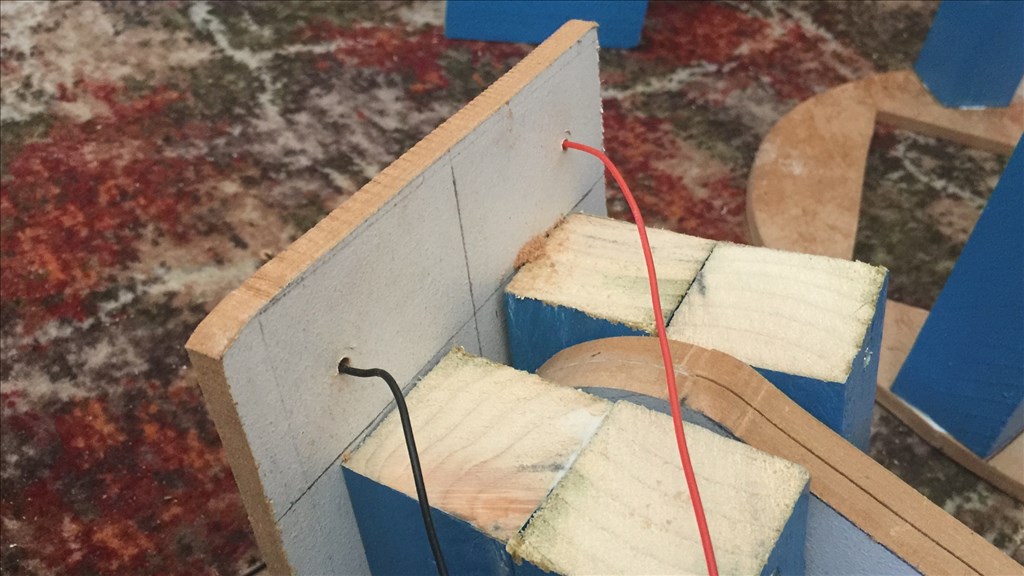
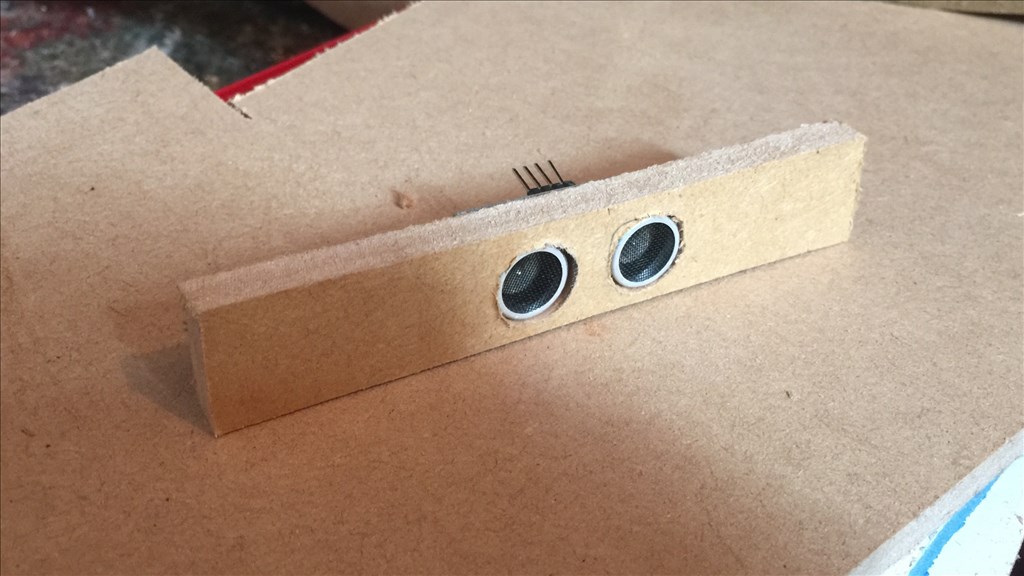
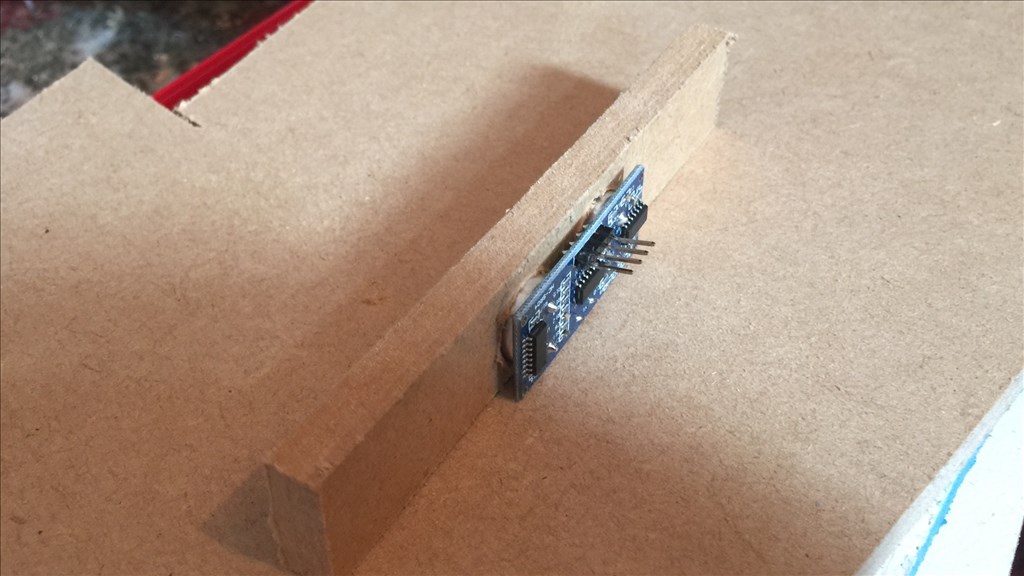
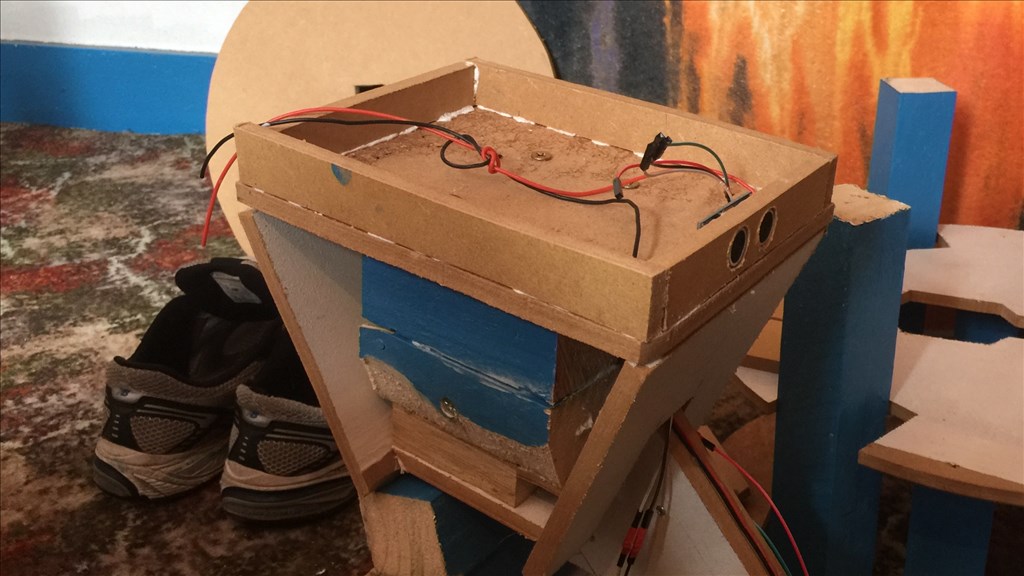
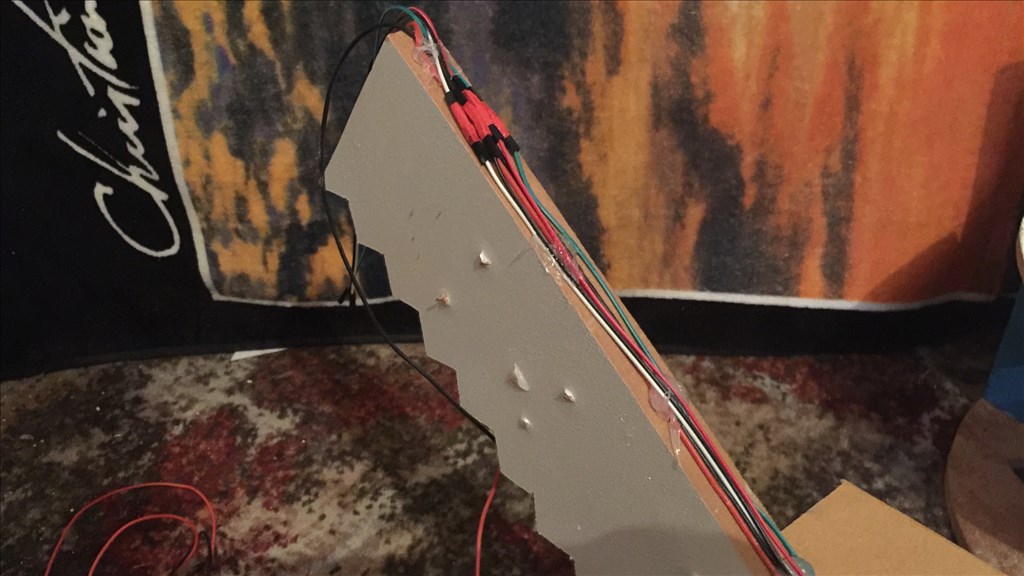
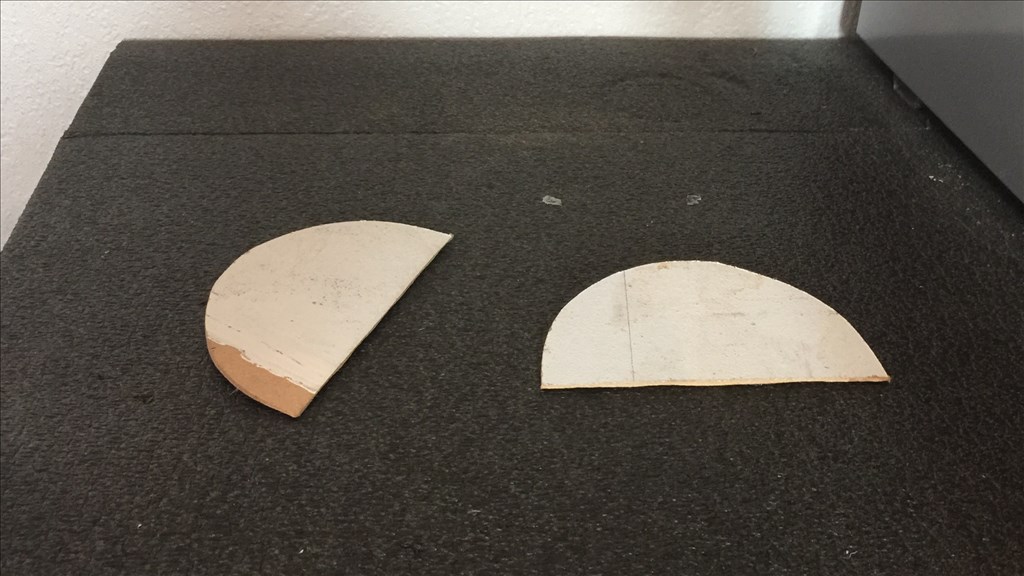
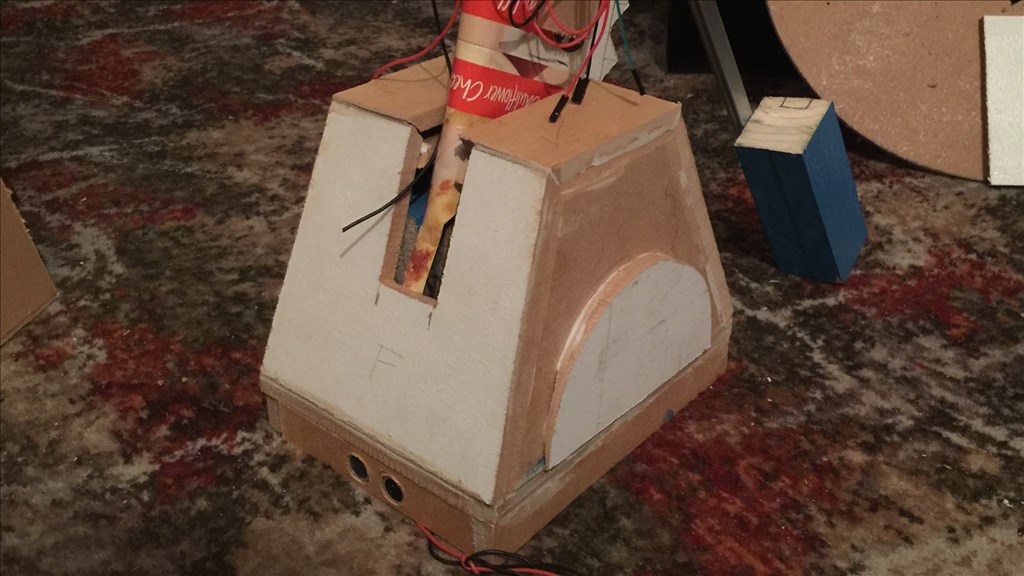
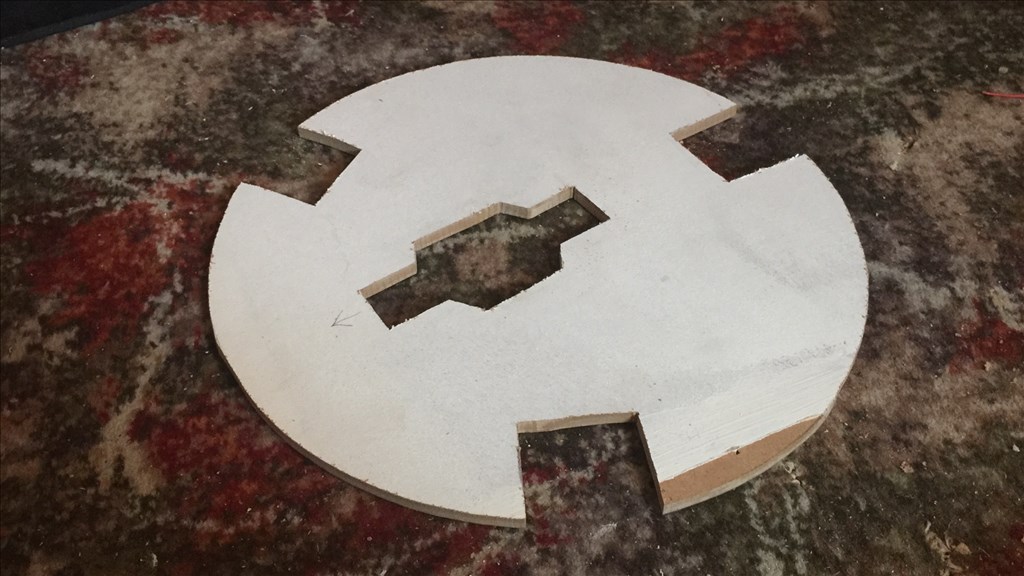
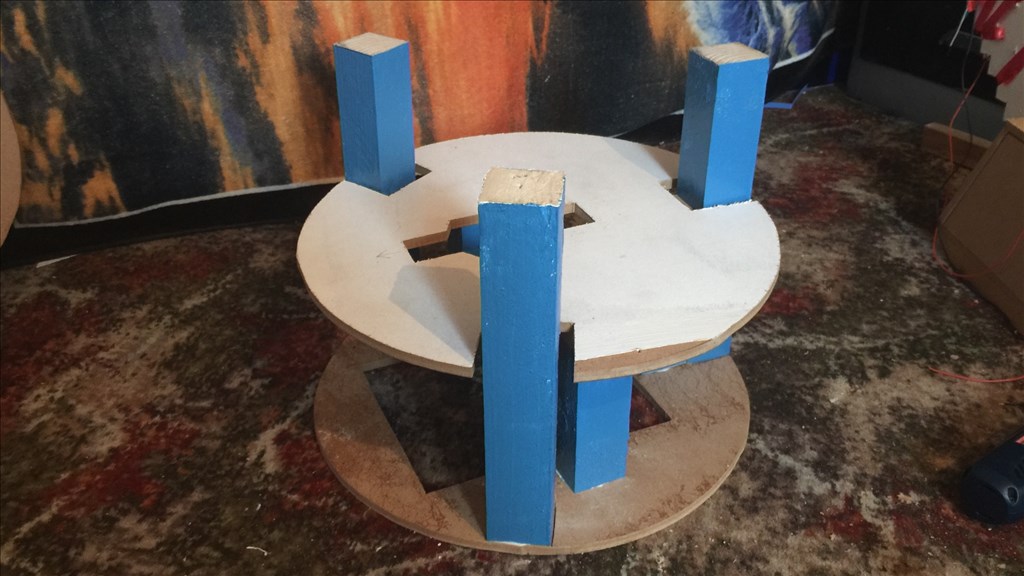
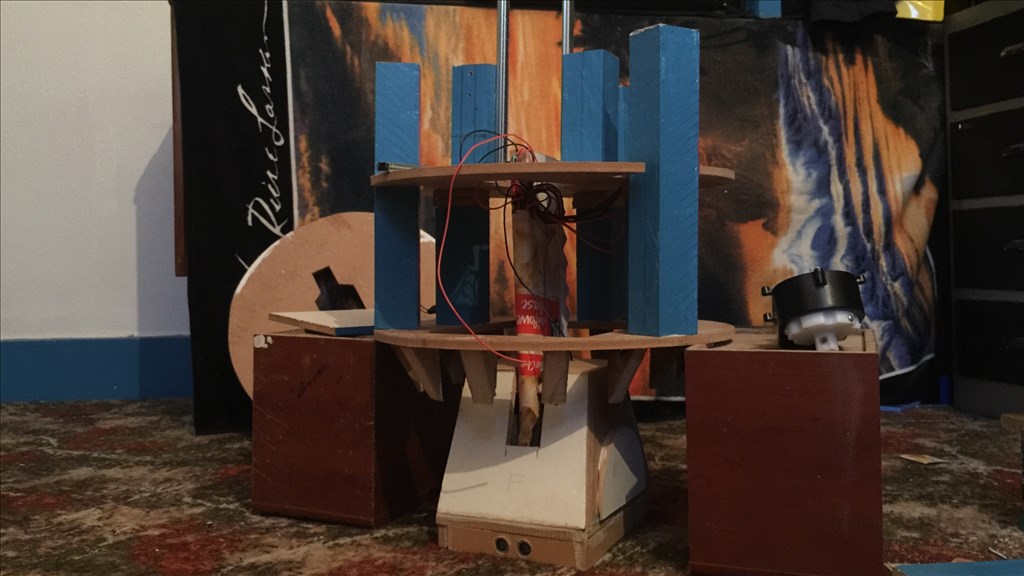
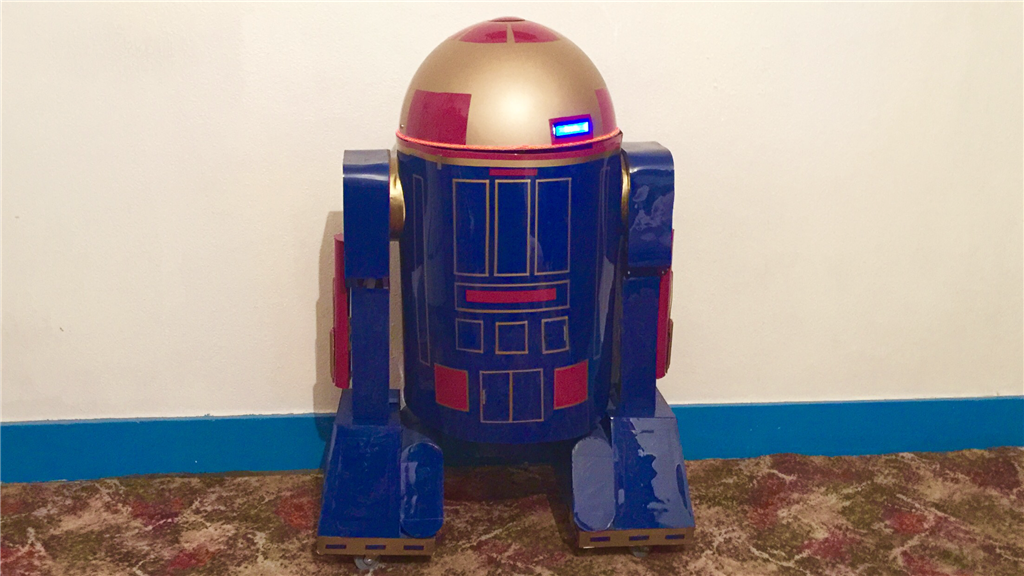
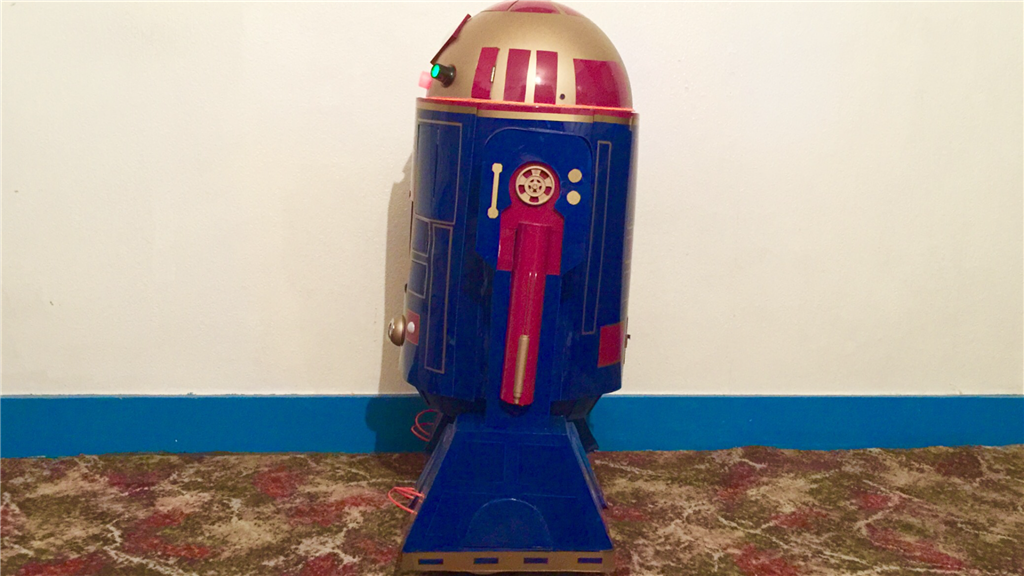
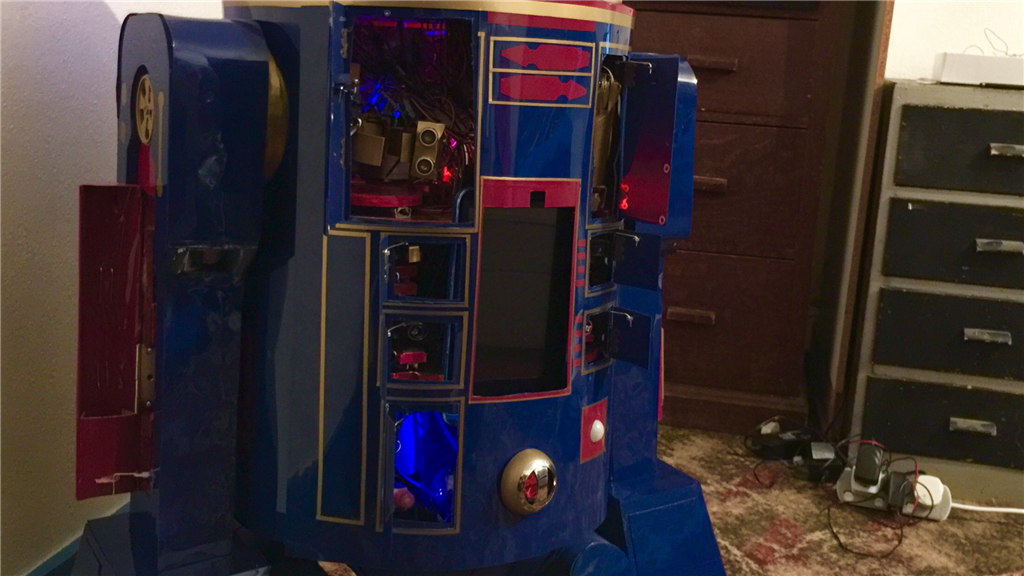
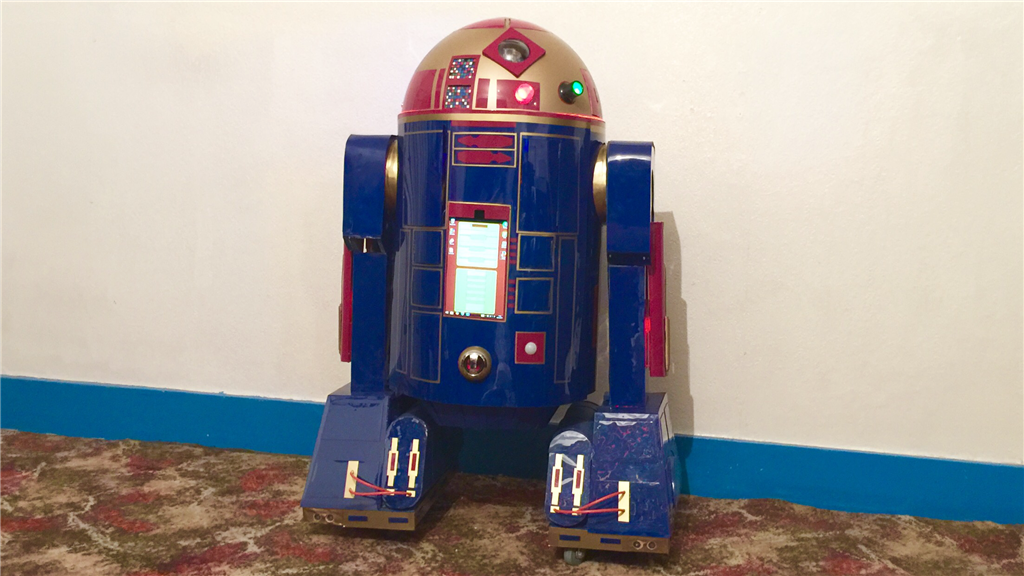
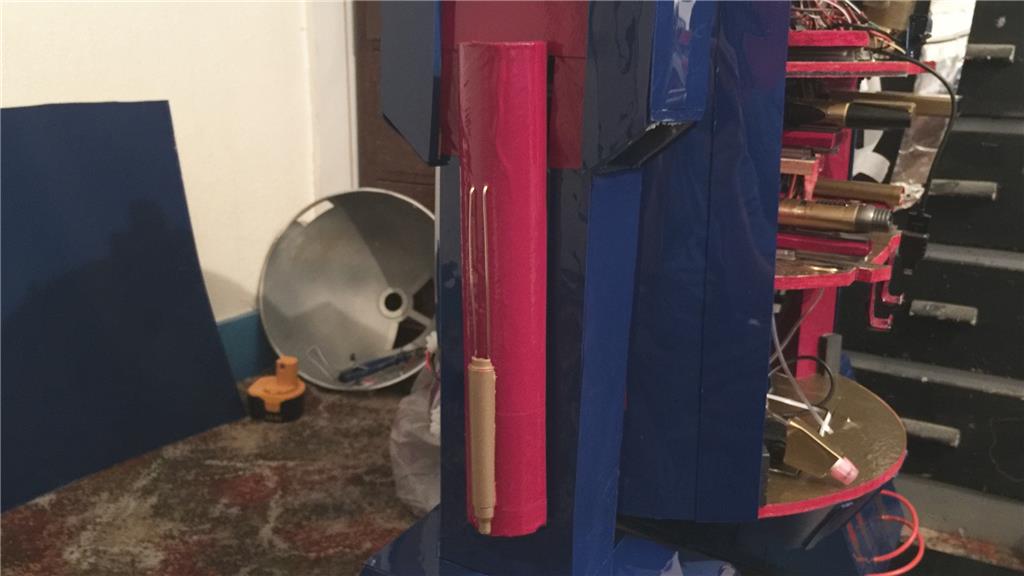
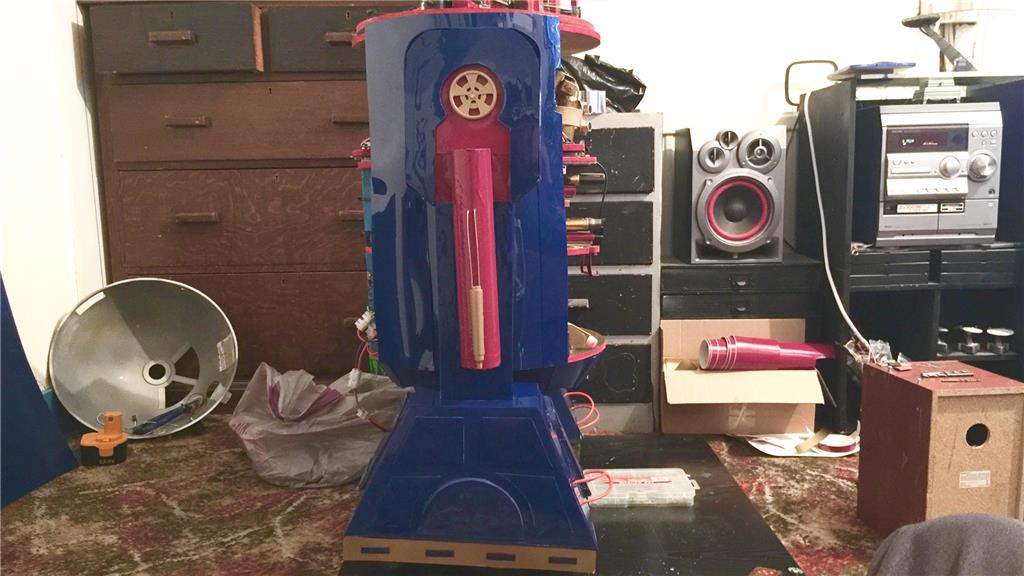
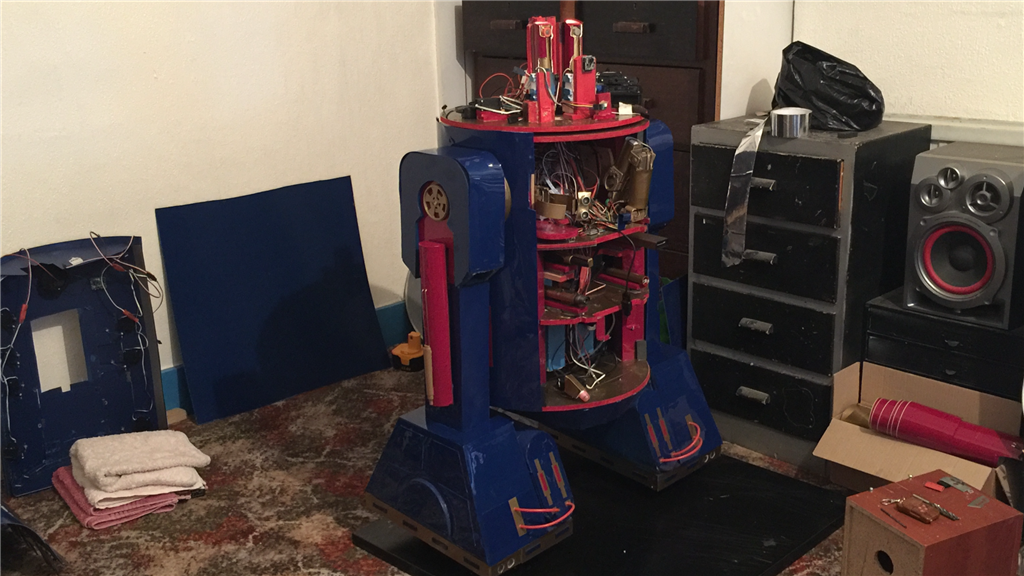
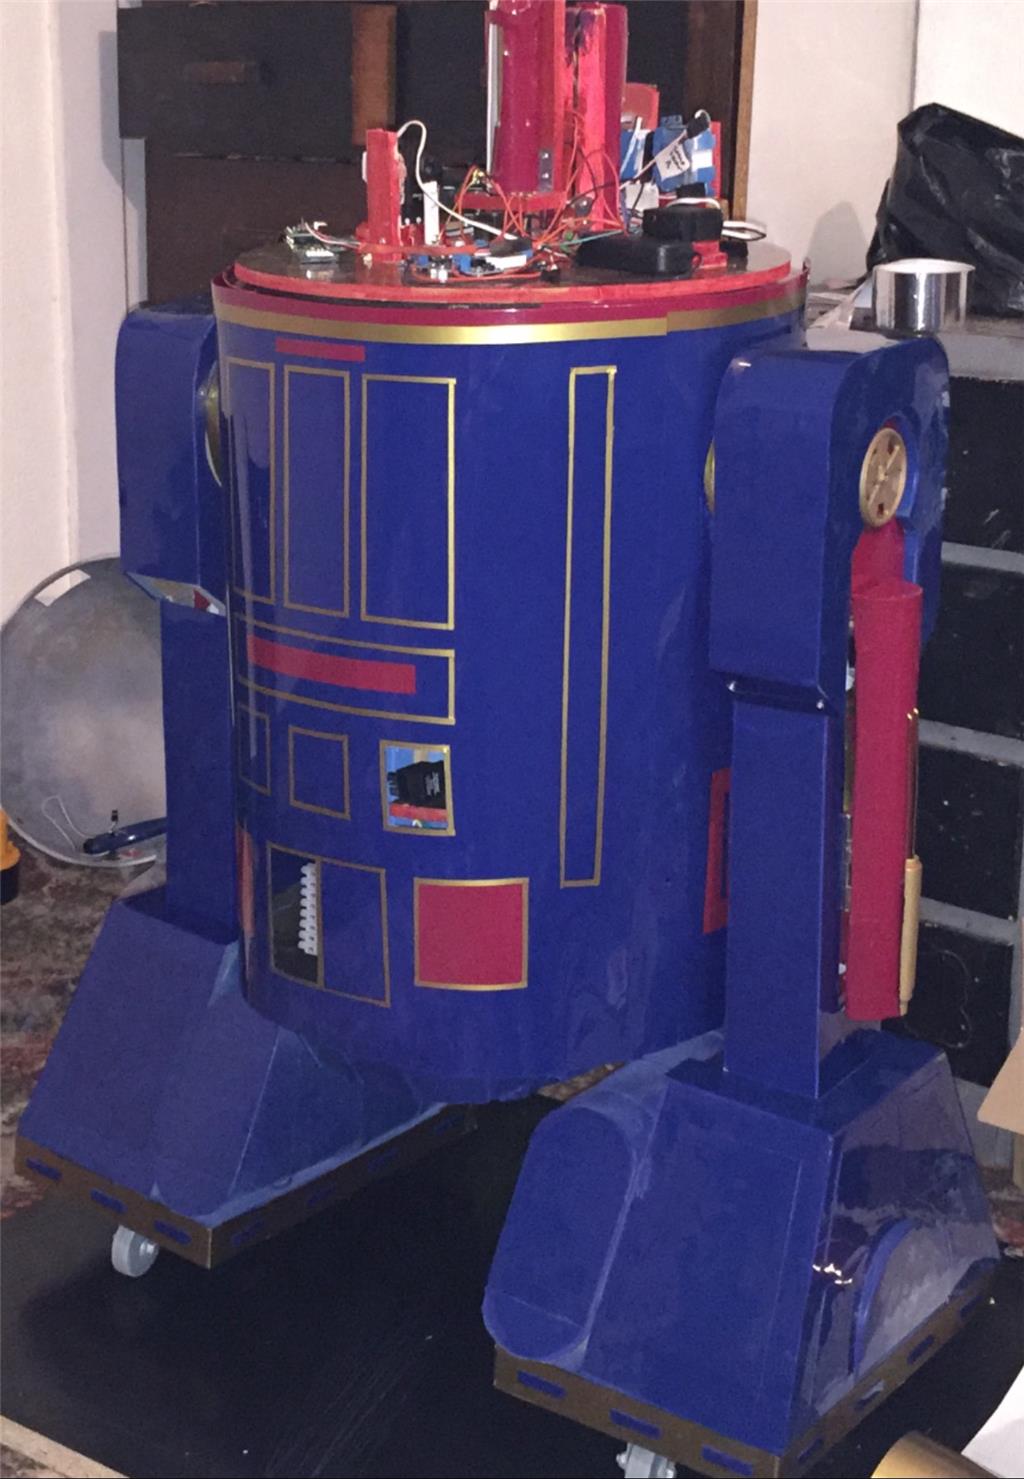
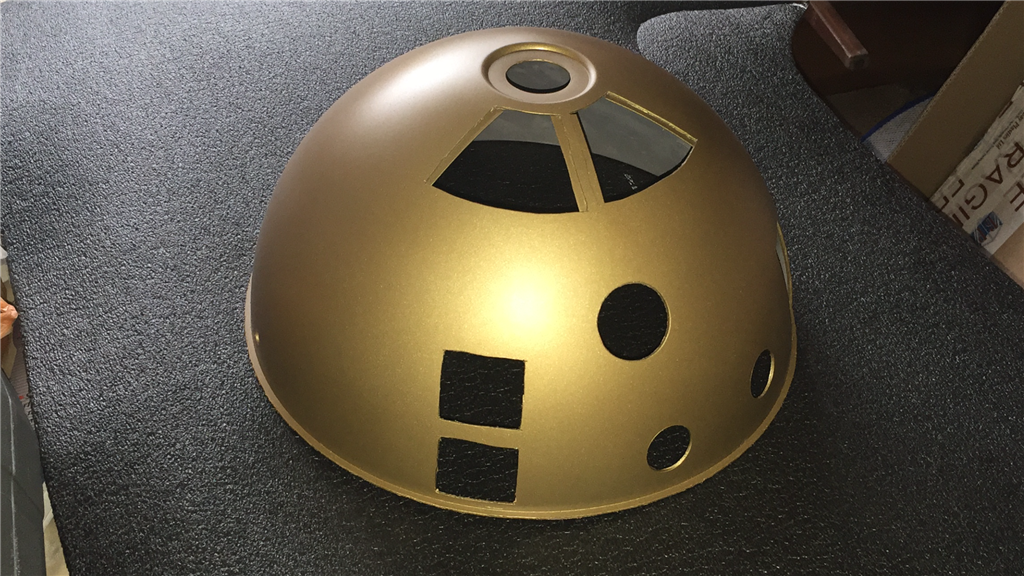
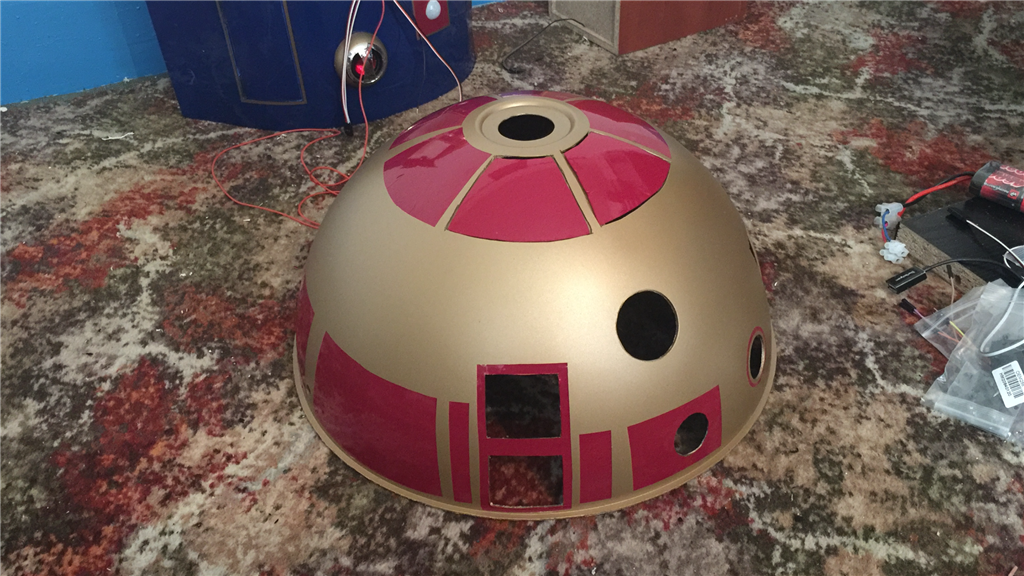
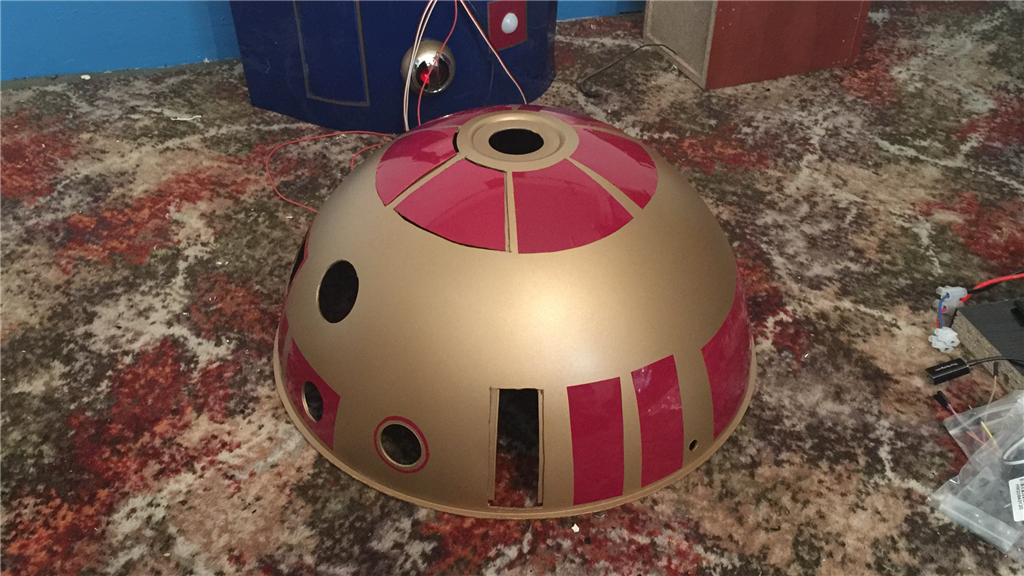
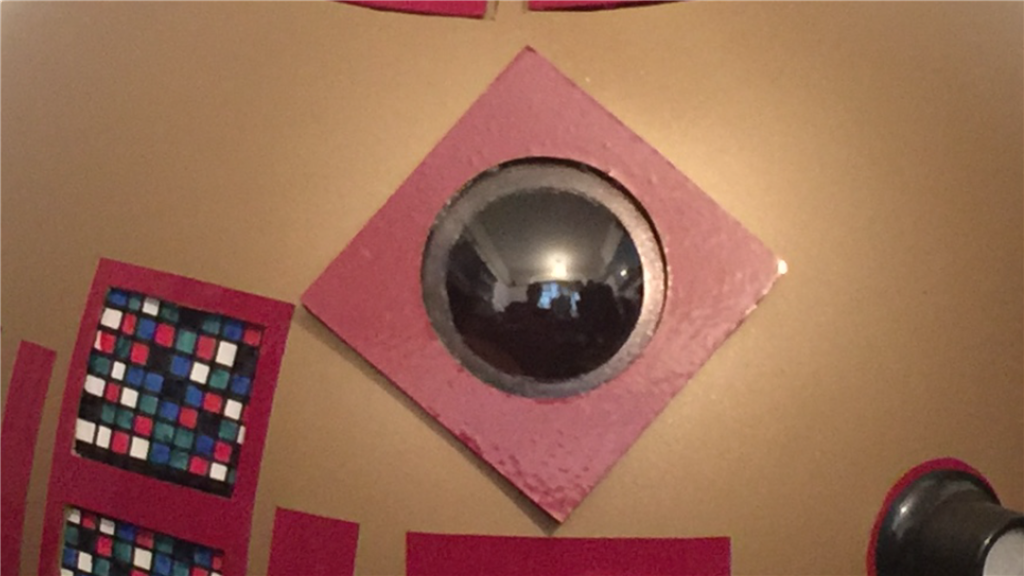
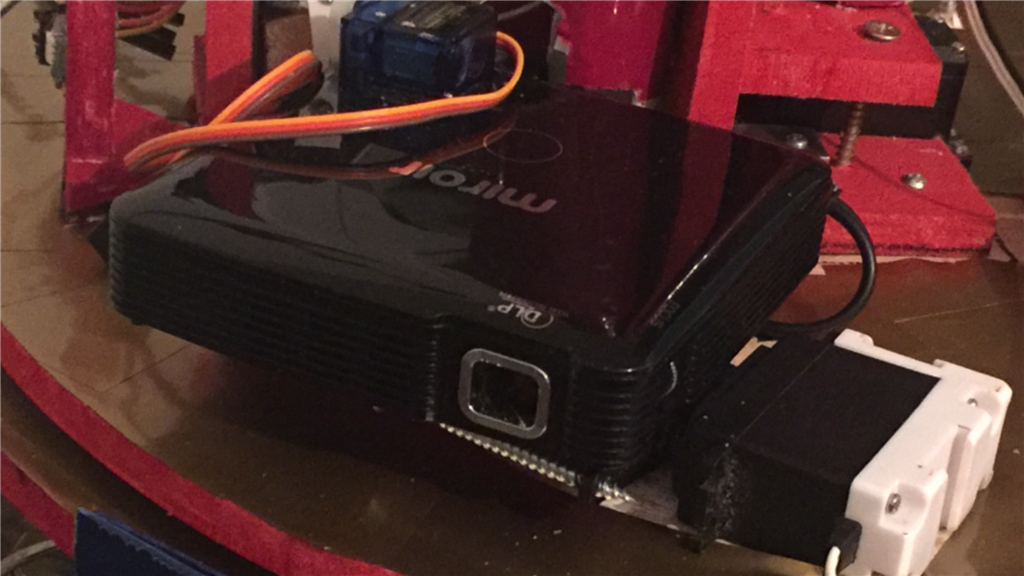
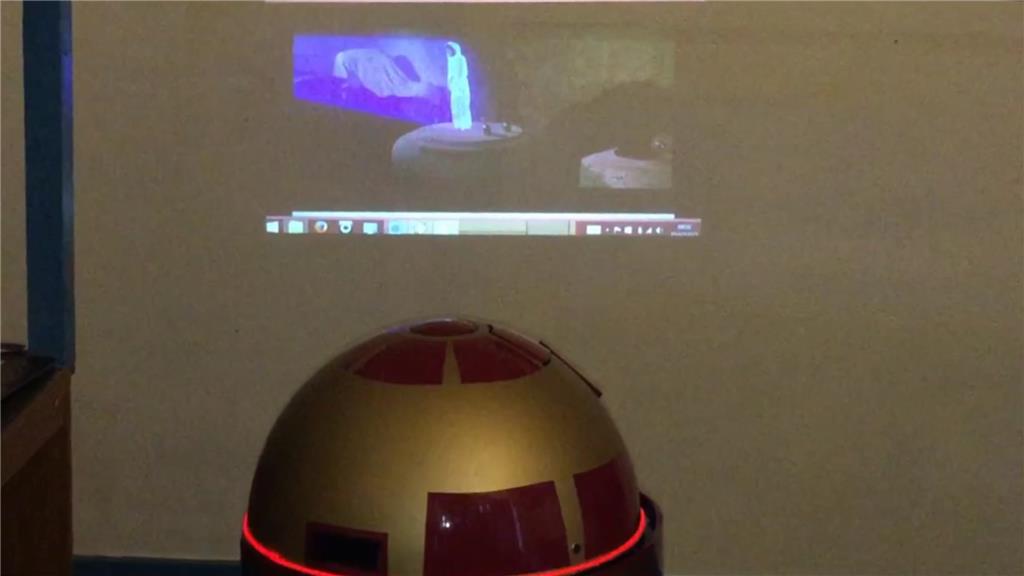
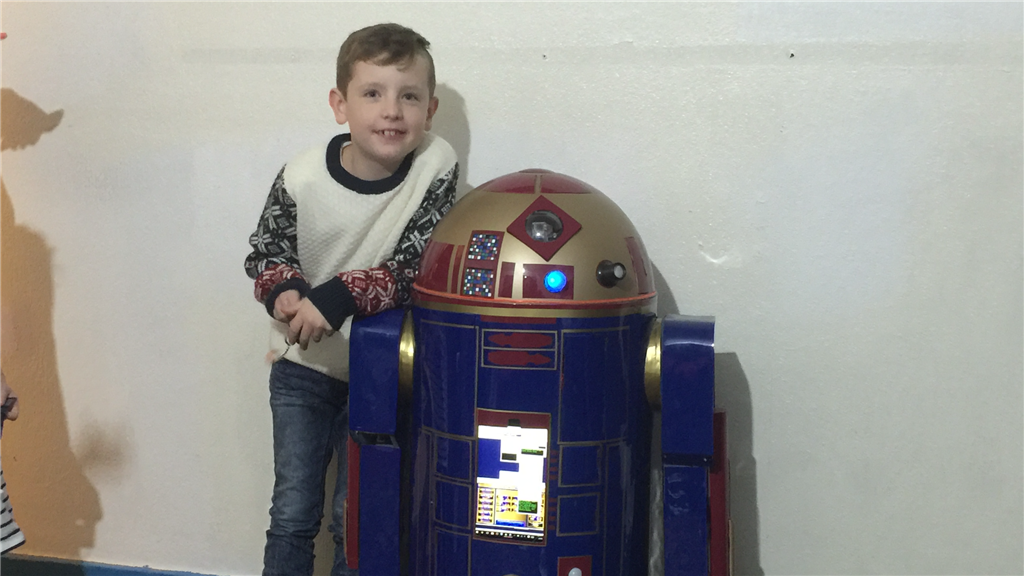
So what's with the name E4-B4 (Eiifor-Befour)? Well its kinda based on the EZ-B 4, of which this little'ish guy will have two of them. One master v4 to control motor controllers, ping sensors, v4 soundboard, camera and sensors, while the 2nd slave v4 will be used for all of the servos used as well as additional sensors. E4 will be mainly built using MDF with a plastic covering, and movement will be powered by 12v 30 watt gearbox/motors for the drive system. The "burtt acoustic signaller" and system ventilation vents on R2-D2's chest area (the two silver square'ish panels) will be replaced on E4 with a tablet PC, and the Optical Holographic Projector in R2's head will be something similar to what E4 will have, using a portable projector like the Aiptek or the Pico Genie, so no holograms... yet.
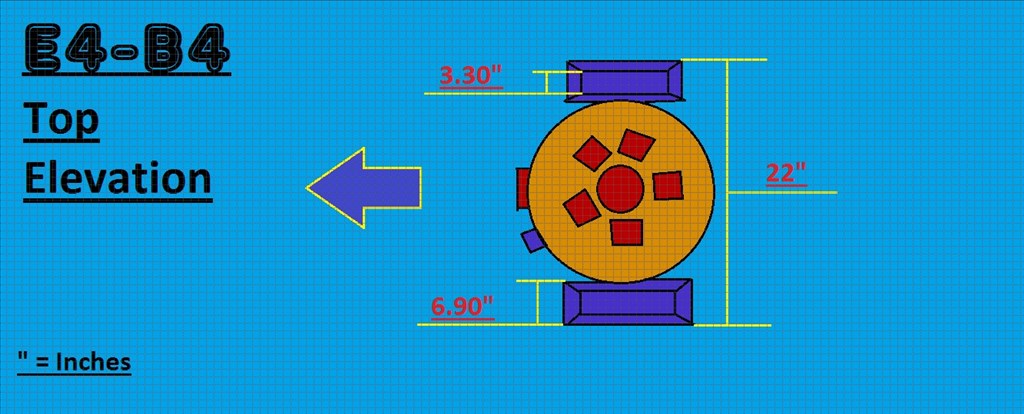
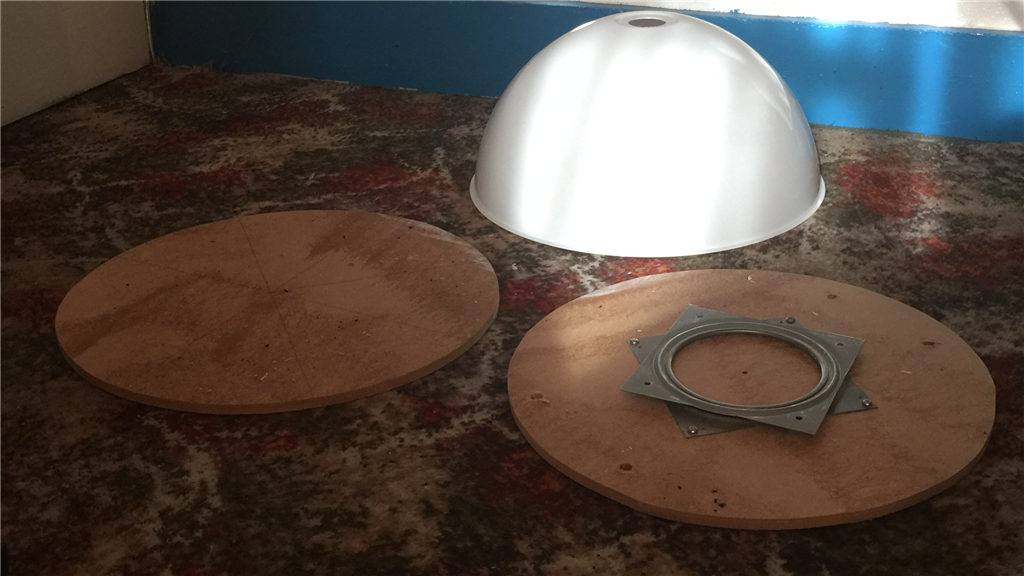
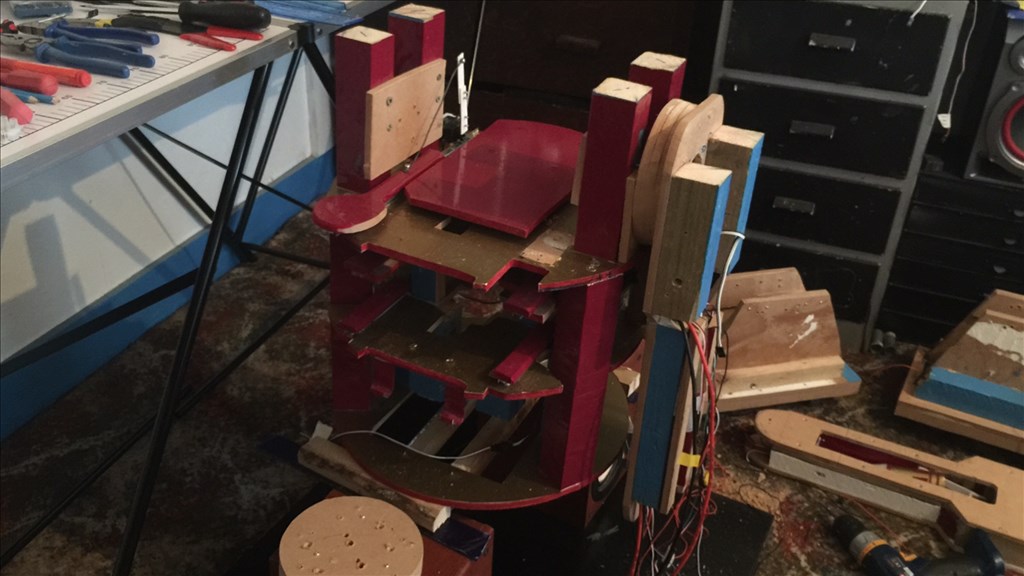
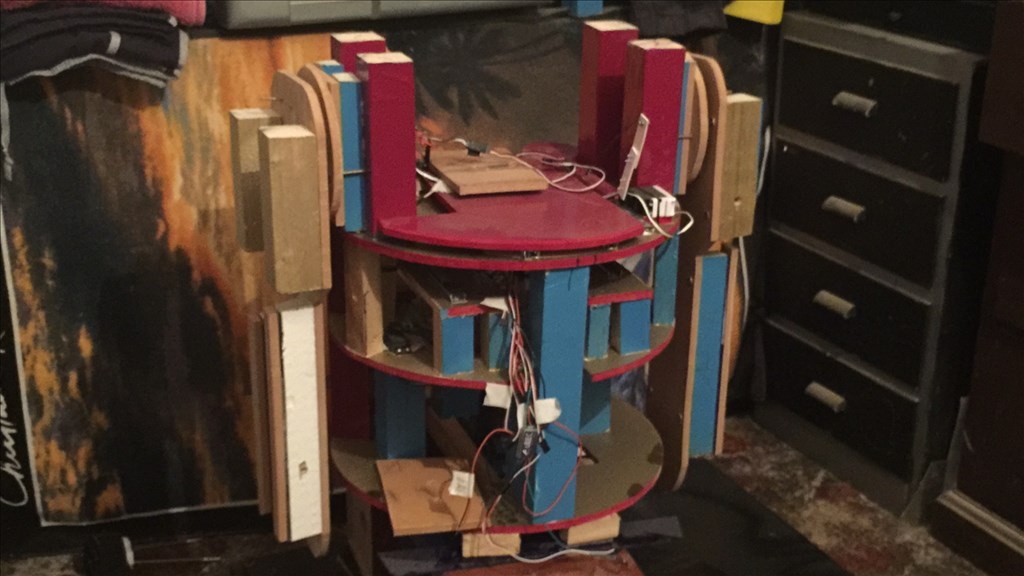
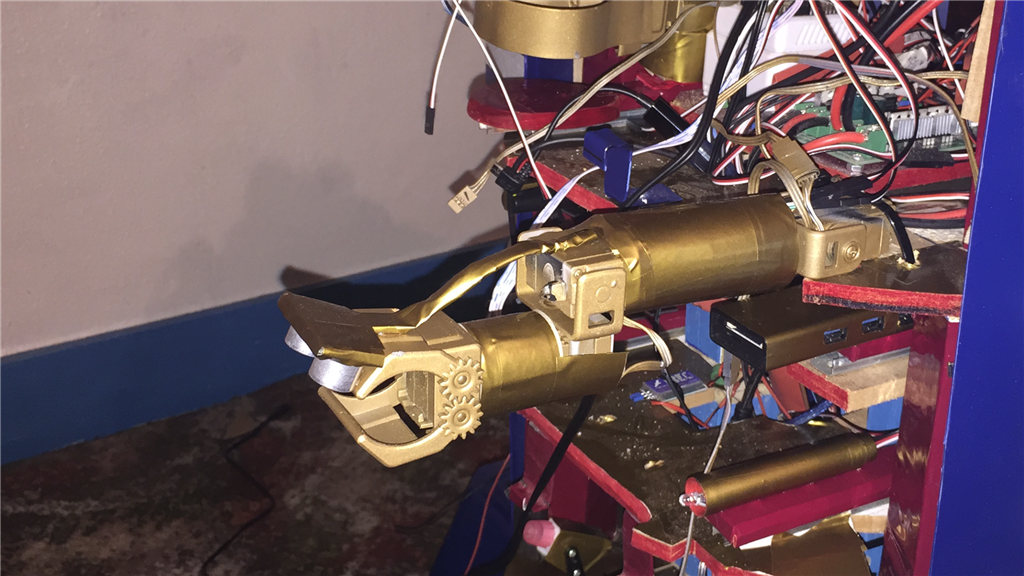
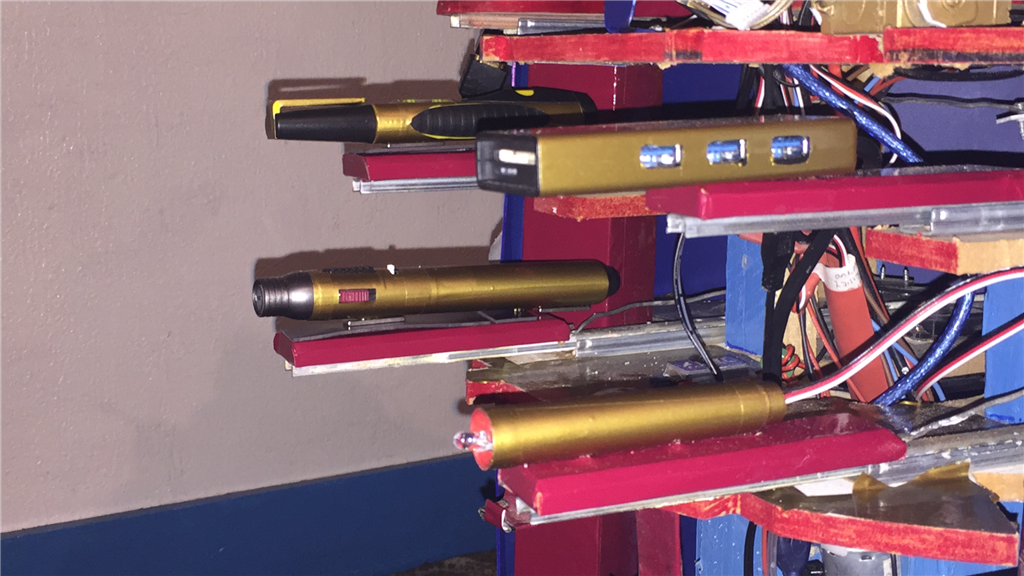
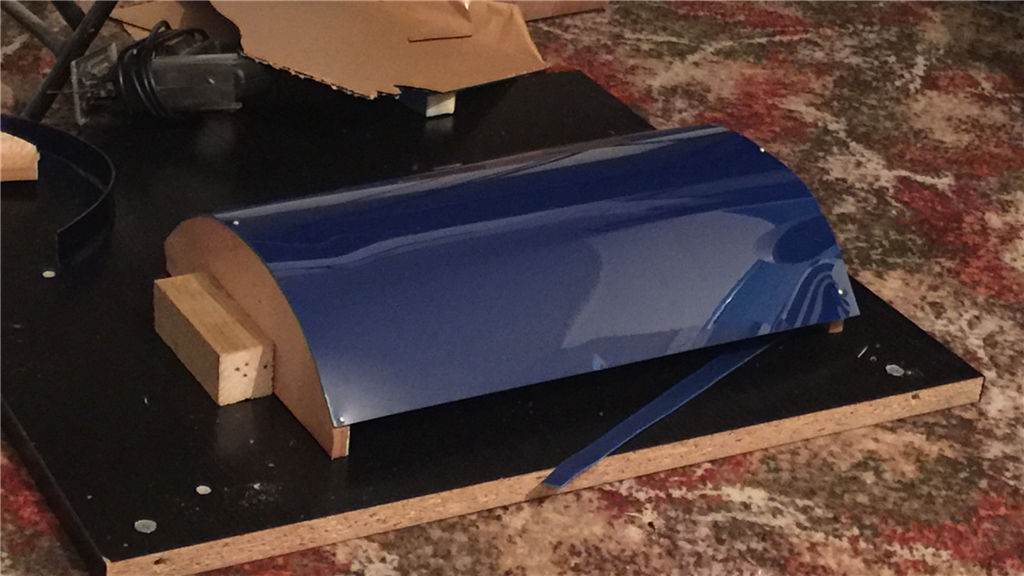
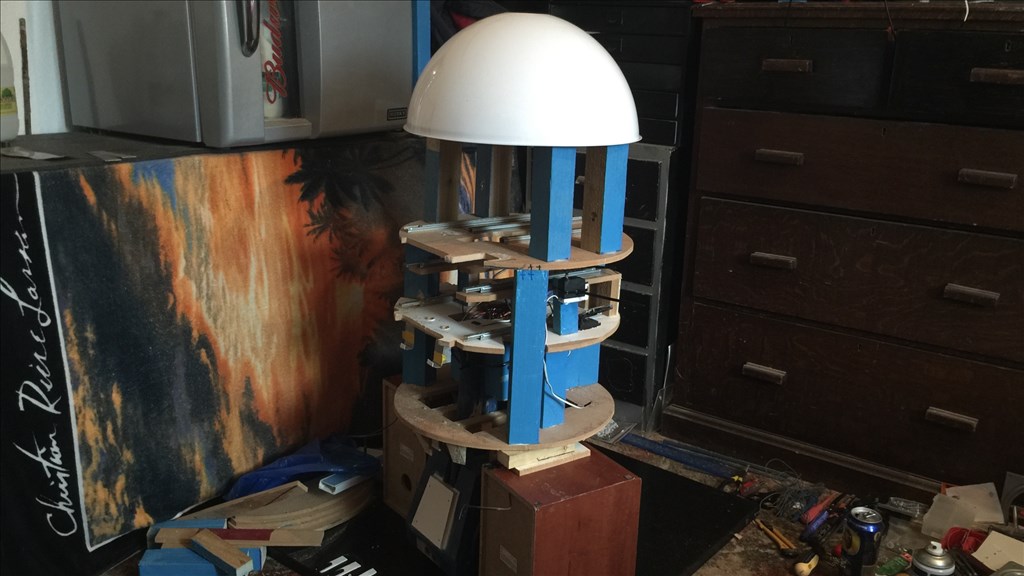
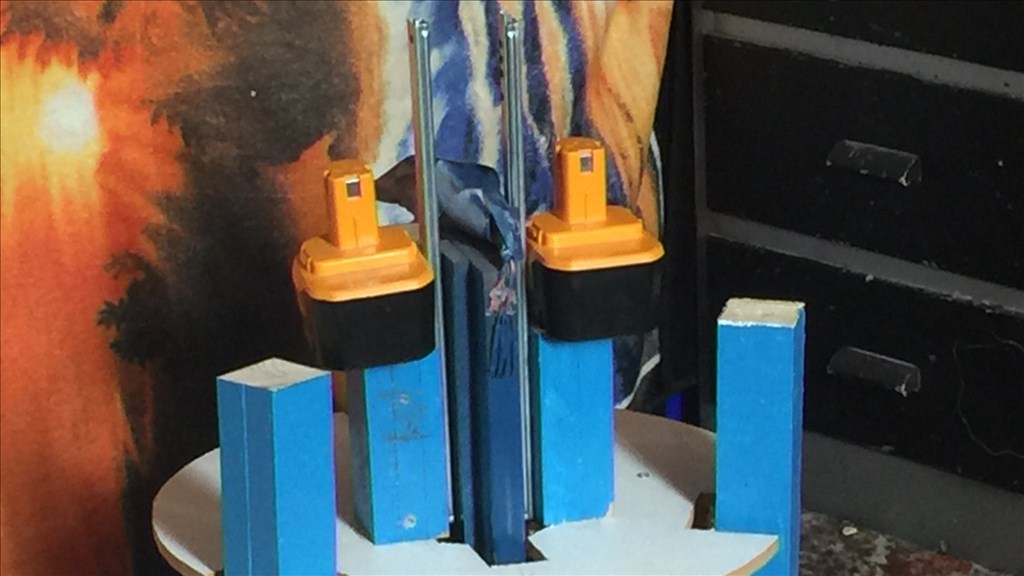
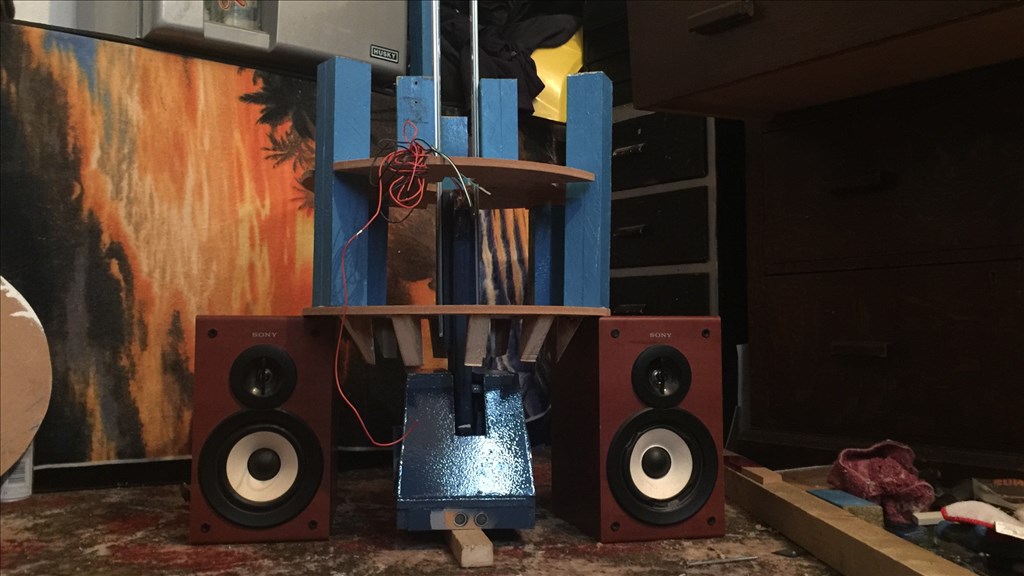
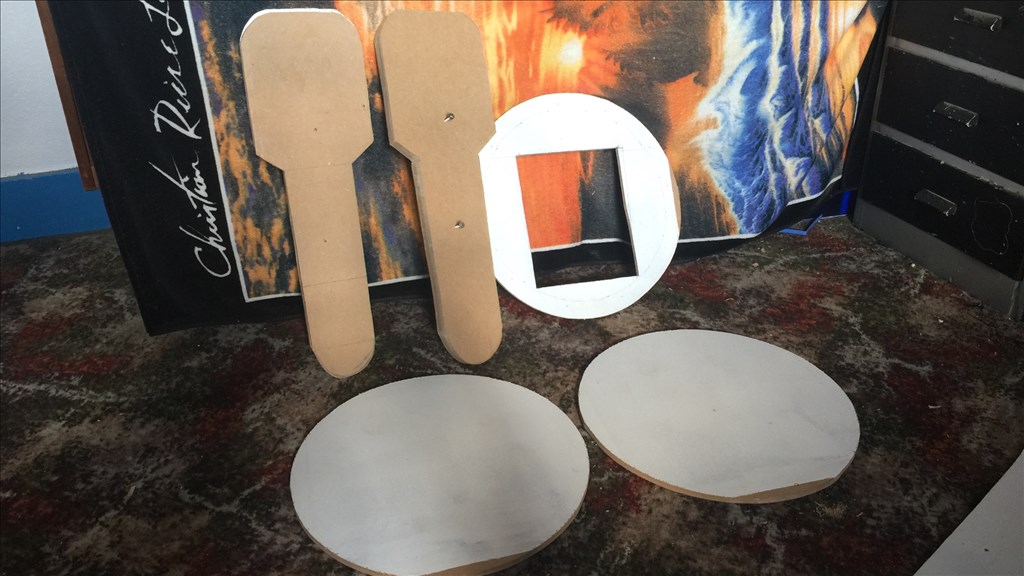
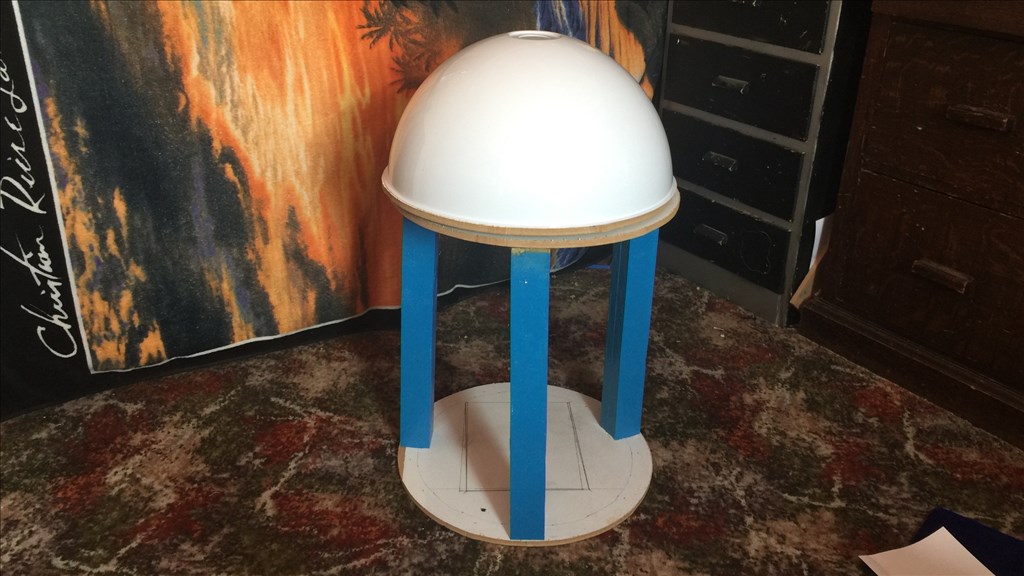
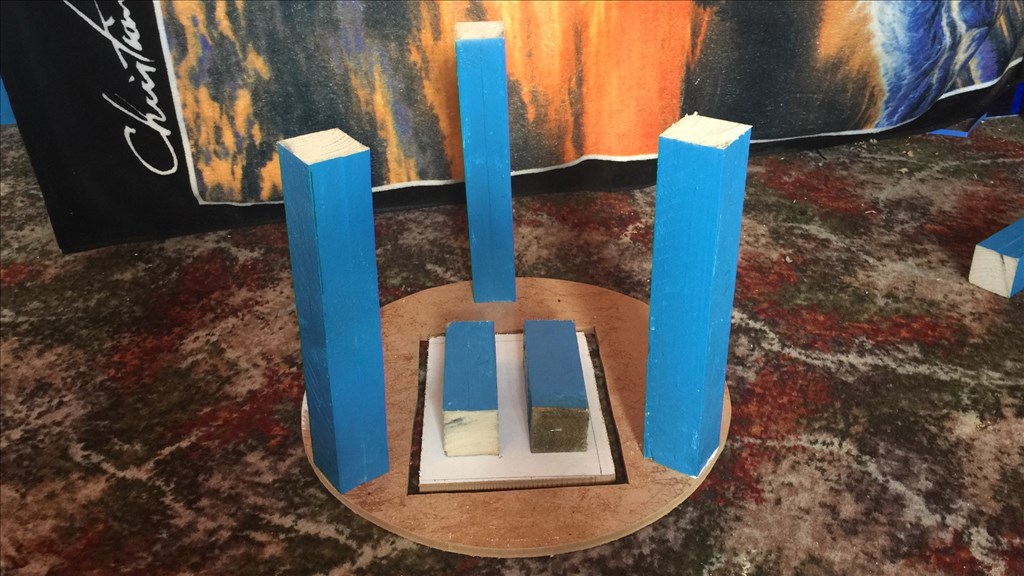
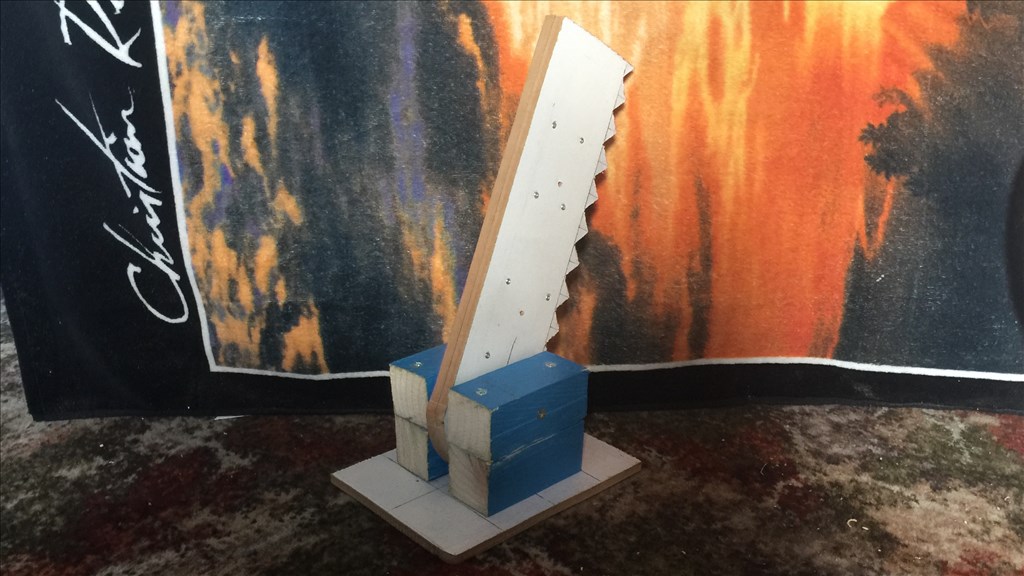
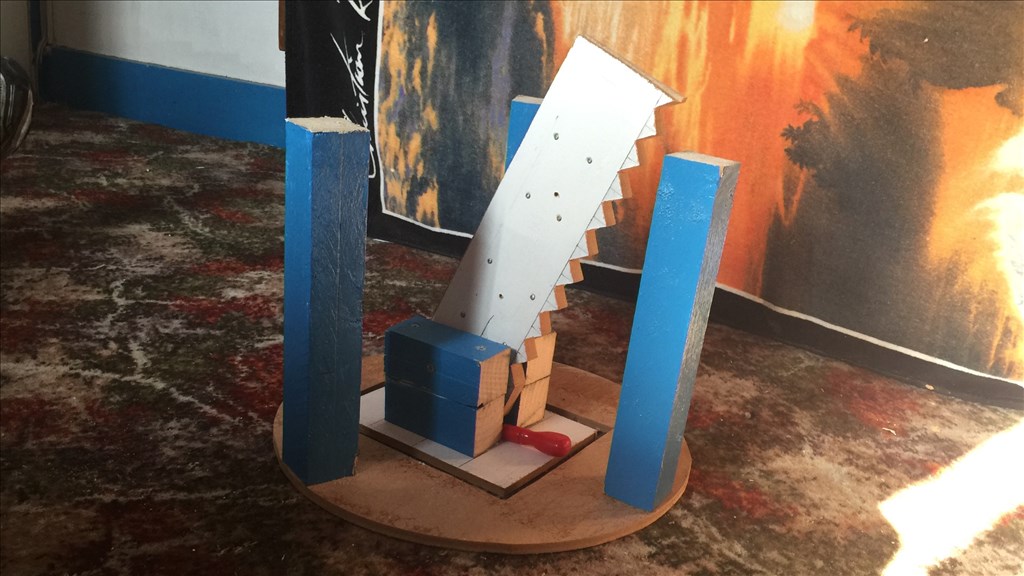
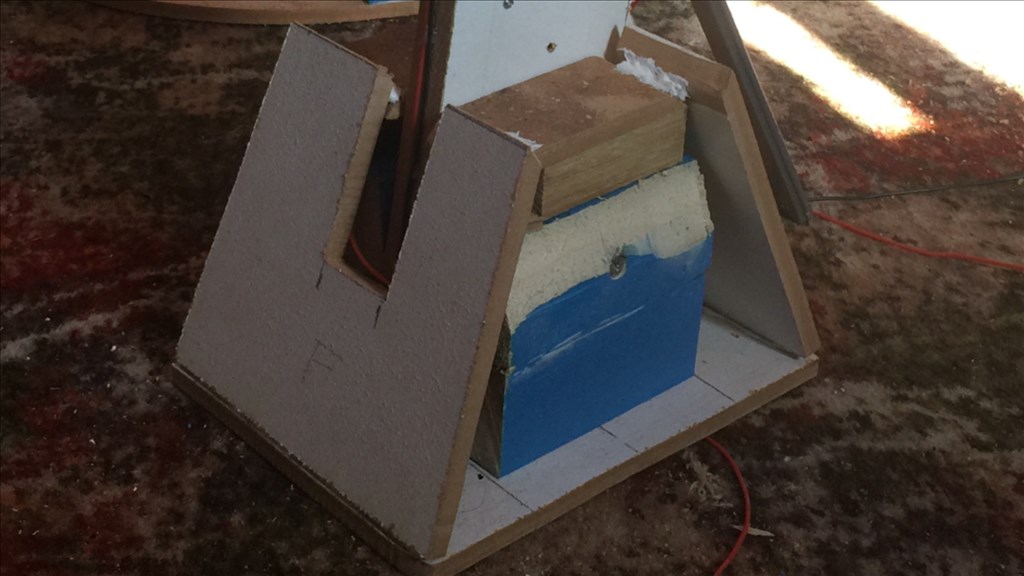
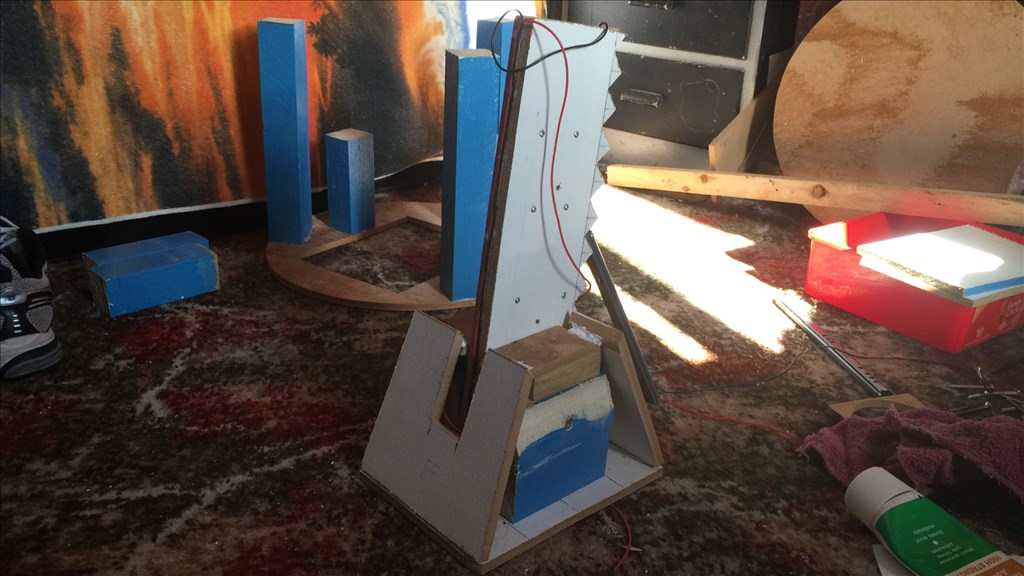
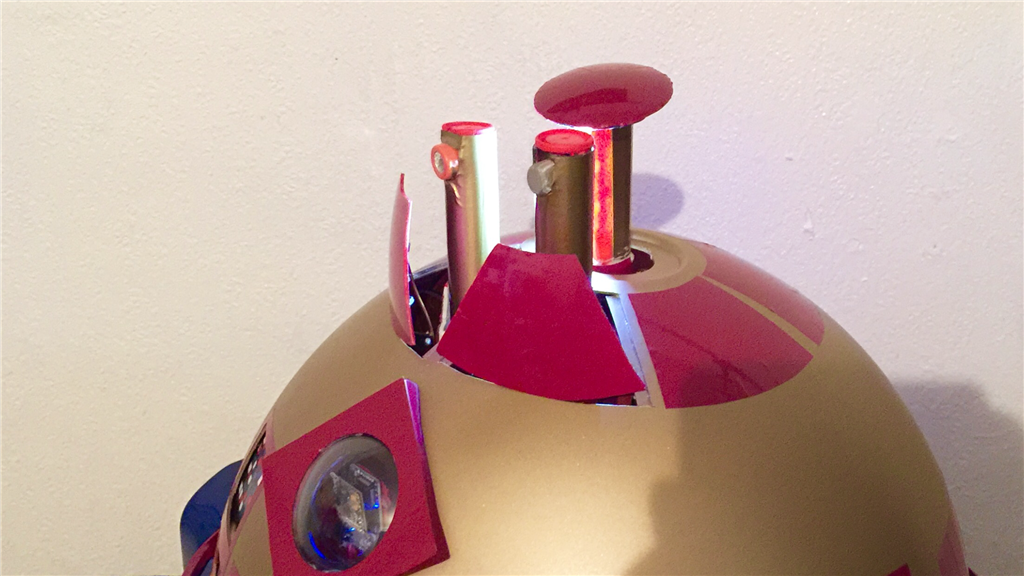
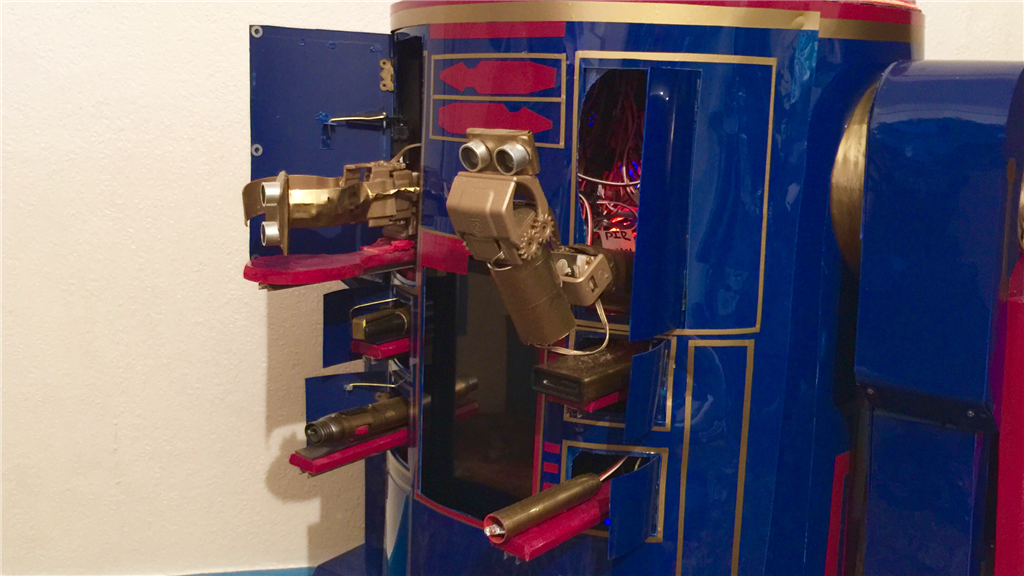
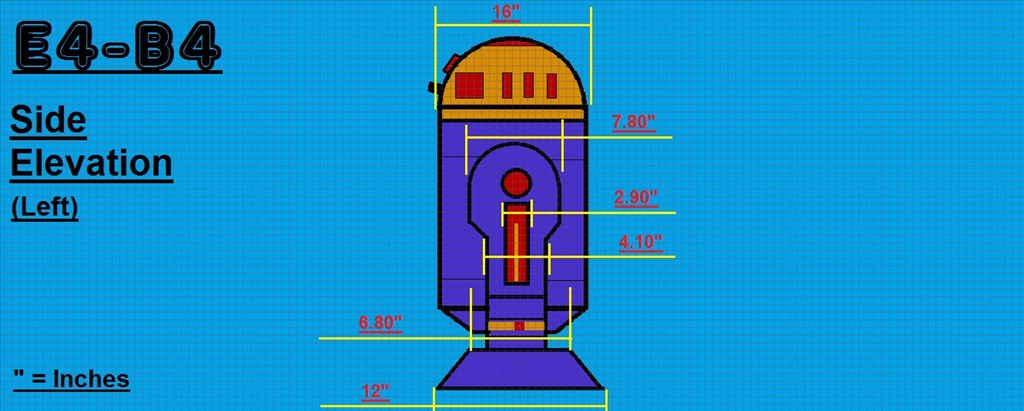
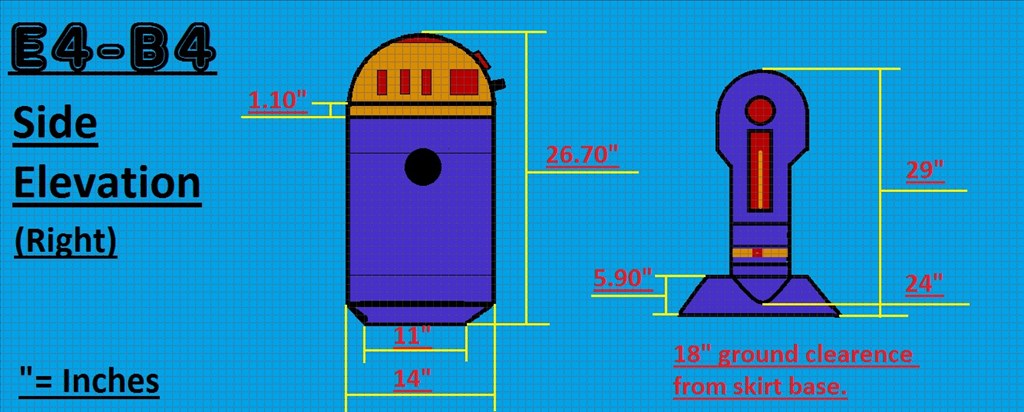
The dimensions will be slightly smaller than the original prob, but not by much so E4 will be plenty big enough. I'm intending to fit a few useful tools that he will be able to deploy, and of course have the fully rotating head which will have all kinds of bells and whistles. I have some of the MDF sheets and 2x4 wood lengths for the frame already, and the motors and head dome (lampshade) should be with me sometime this week, so it will be power tools at the ready. I'm in no rush to finish this project, but I am aiming to have E4-B4 pretty much finished by this December.
I will posting lots of photos and few videos throughout the build process, so I hope anyone reading will find this build dairy interesting and enjoyable. And as always, I'd love to hear your thoughts and suggestions (especially on the colour scheme). Anyway thanks for reading, and let the build begin...
Steve.
Discover more robots
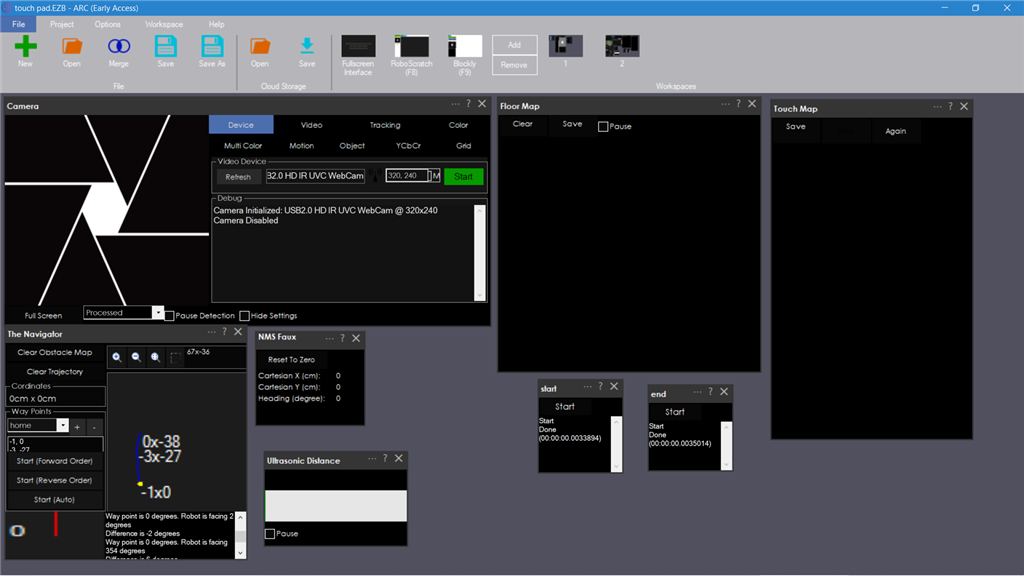
Ezang's New Video - Using Floor Map And Touch Path Maps And...

Ezang's My New And Improved Talk Servo


I can see you're having a lot of fun building this robot. I'm really enjoying watching it come along.
You mentioned sending release commands to the servos in your many scripts to stop the servo buzzing. Is the command you're using :
Release (servoPort) Release a servo from holding its position Example: Release(D14)
OR
Servo (servoPort, position) Zero being a servo release Example: Servo(D14, 0)
To confirm are you using digital servos? When you do this are your servos also relaxing completely like there is no power and not holding position? When you try to move it with your hand after the release command has been sent will it stay in place and buzz? I ask this because I'm using a Hitech HS-7950TH programmable servo and when I send the release command "Release (servoPort), Example: Release(D14)" it still buzzes and tries to hold position. The problem I'm having with this is when the robot moves, this servo will bounce and rock back and forth within the deadband. When the robot stops sometimes this bouncing keeps going. This is in the wrist of my robot arm and makes him look like he has the Drunken Tremors. sick The only two ways around this if I can't get a true release is to either:
Sorry, I hope you don't think I'm hijacking your thread but you have done some good work on the servo release feature lately and I wanted to pick your mind on how it works in real life for other builders. I'll start a new thread if your answer does not clarify my release issue.
Hi Dave.
Really pleased you enjoying watching my progress, and hope you liked the "beer" video I made for you. It has been fun (although I'm ironing out a few bugs at the moment, but nothing major).
In regards to the servo release issue, you're more than welcome to ask and you're not hijacking the thread at all. My situation is a little different to yours, as 28 of the 29 servos I'm using are connected to an SSC-32U servo controller so the commands I'm using to release the servos is a little different. I use scripts to control each servo instead of using the virtual ports, as this gives me servo speed control. These are the commands I'm using...
When the servo release command is run, it will completely cut power to it so where I can move it by hand.
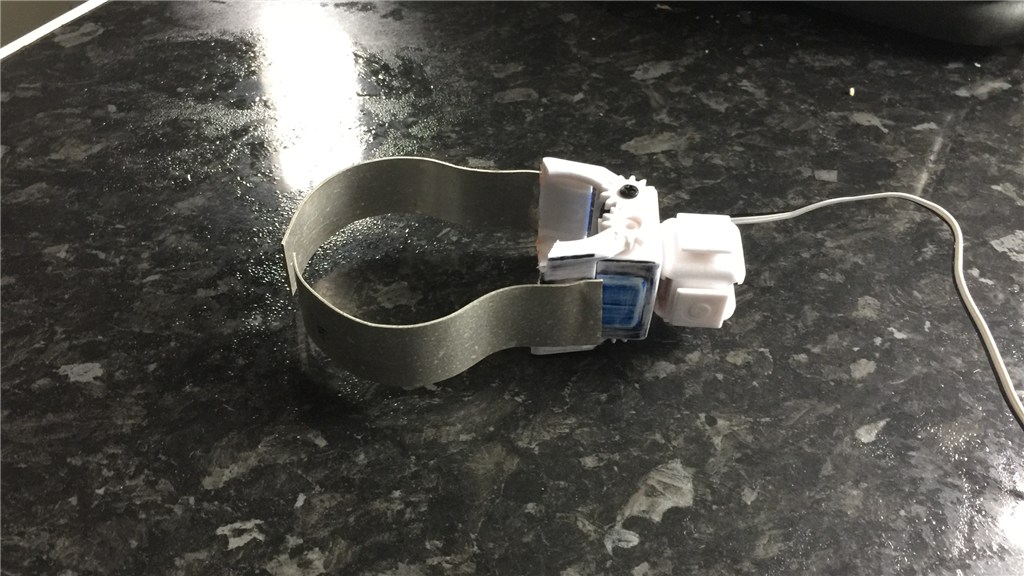
The servos I'm using are the EZ-Robot HD and micro servos (with 2 tower pro micro servos, not sure if they're analog or digital). The other HD digital servo I use is for the dome and doesn't need a release command as it rarely buzzes.
I haven't really used the Release() script command and only used the servo position "0" previously with the Auto Position control, so can't really answer your question in that regard, although I know you can turn a servo by hand when using the panic release in the menu ribbon, and using the Servo(D5,0) script command does not release a servo (I was mistaken about that a while back as I thought it did).
I don't think the info I gave is really relevant to yourself, but hopefully you (or others) might find some of it useful.
LOL! I missed that video somehow. I absolutely loved it! That's one of my favorite beers also. Thanks for thinking of me. Now I know what the first thing my B9 arm and claw is going to have to be programmed to do!.
No worries about the servo buzz and release. I'll get it figured out.
Cheers!
@Dave.
Lol, I had a feeling you might not have seen that video. Glad you watched it and enjoyed it, and I would love to see your B9 serving a drink .
.
Sorry I wasn't much help with the servo issue. I hope you get it sorted out to a point where you're happy with it.
BTW, I just saw your cloud project update on the forum, and wanted to say that I like your ARC project wallpaper. Really nice.
Hey, if you didn't live on the other side of the flippen world I'd love to have B9 serve you a cold beer. Maybe someday. Stranger things can happen. I almost bumped into Toymaker down in Jamaica earlier this year. Sadly we couldn't sync our schedules and meet up. That was a real loss on my part. I won't let that happen again if I ever get the chance to meet a fellow internet friend from afar.
Hope you didn't look too close at that project of mine you mentioned. It's a mess. I need to get rid of bunch of useless scripts and set up a few Script Managers. The whole project needs organizing. However I'm glad you liked the Lost in Space wallpaper. I'm real fortunate to have it. I found a free download of it on the Sci-Fi-Air-Show's web site. It's called "Da Vinci" Jupiter 2. Here's the link if interested:
www.scifiairshow.com/#!extra/c1k9b
@Dave.
Yes, I did see past the script controls. No worries, my project at the moment is not much better with loads of test scripts I need to clean up.
I'm just waiting for one of my showcase videos to render so it gave me a good chance to look at that link you posted (just realised its 2:15am. Well past my bedtime). Really cool content. I love the Jupiter 2 model, what a fantastic build. I like the video too. It was nice to see the BSG Vipers and 1999 Eagle space craft. Thanks for posting that. I really enjoyed looking at that.
Hey, you never know, we may cross paths one day and have a brew. Stranger things have happened.
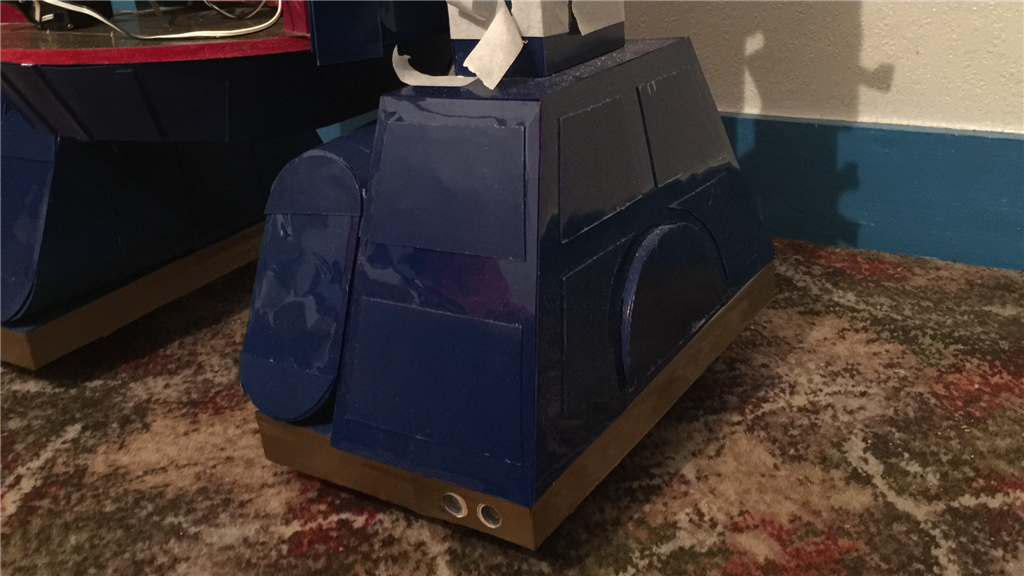
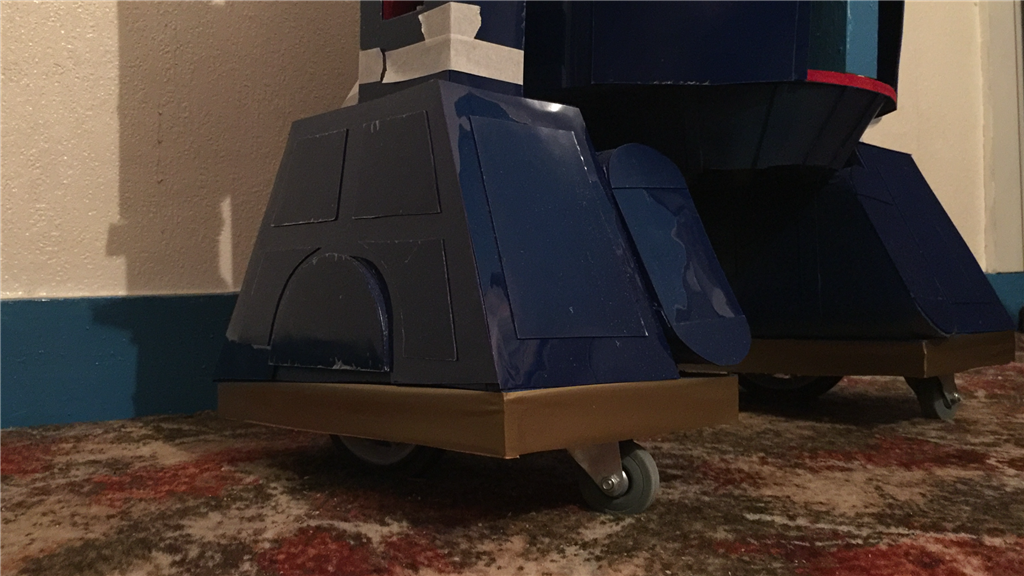
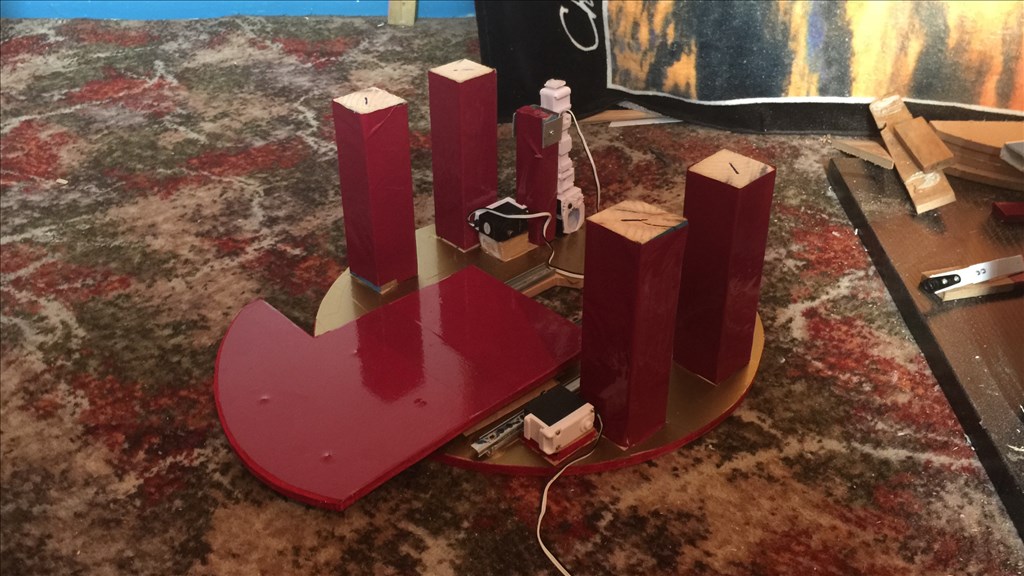
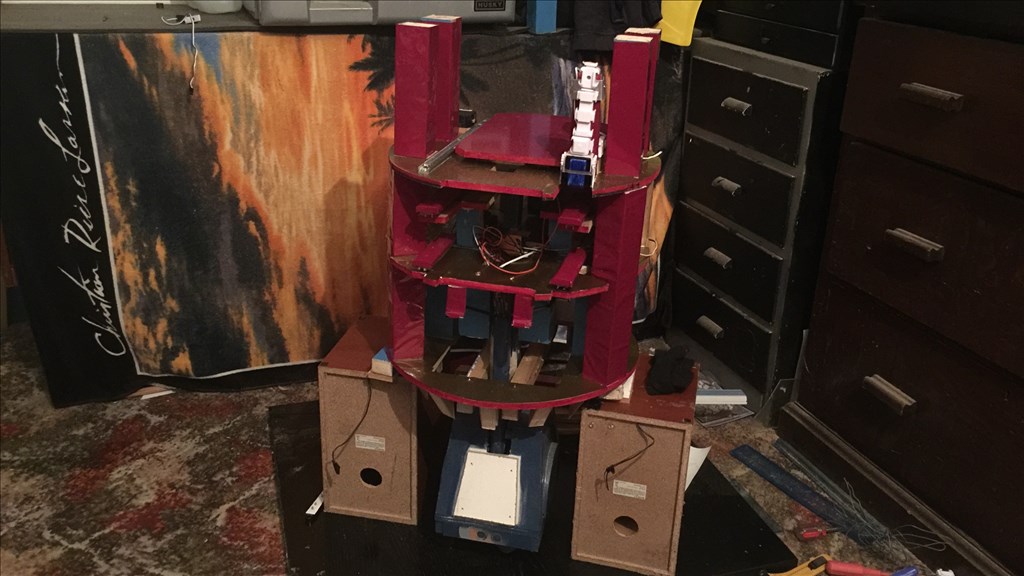
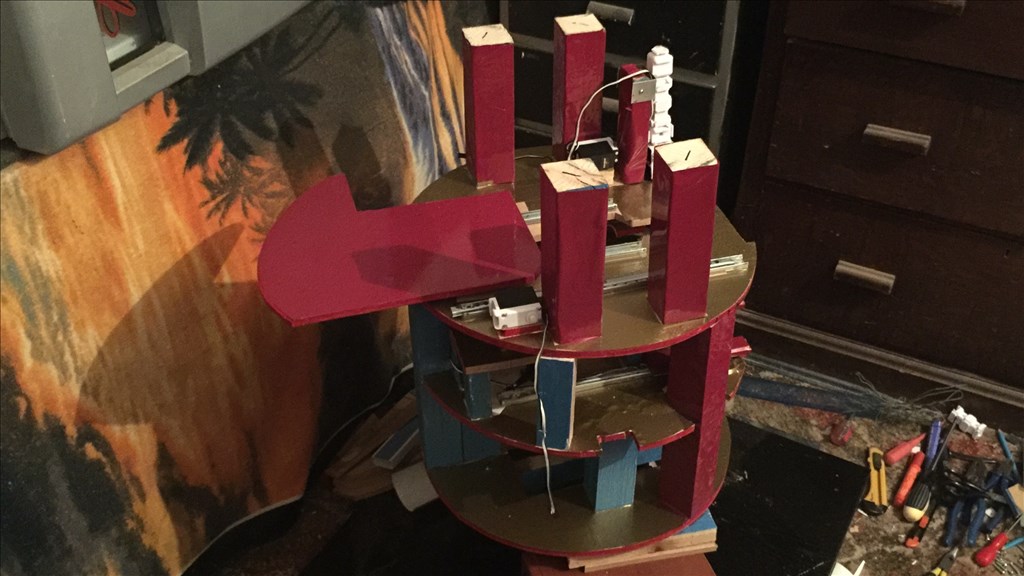
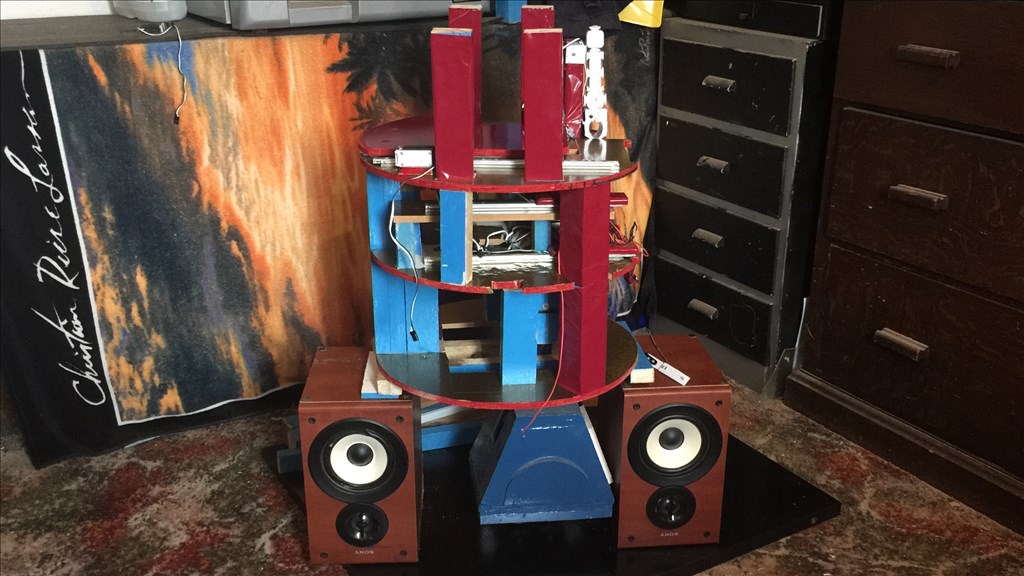
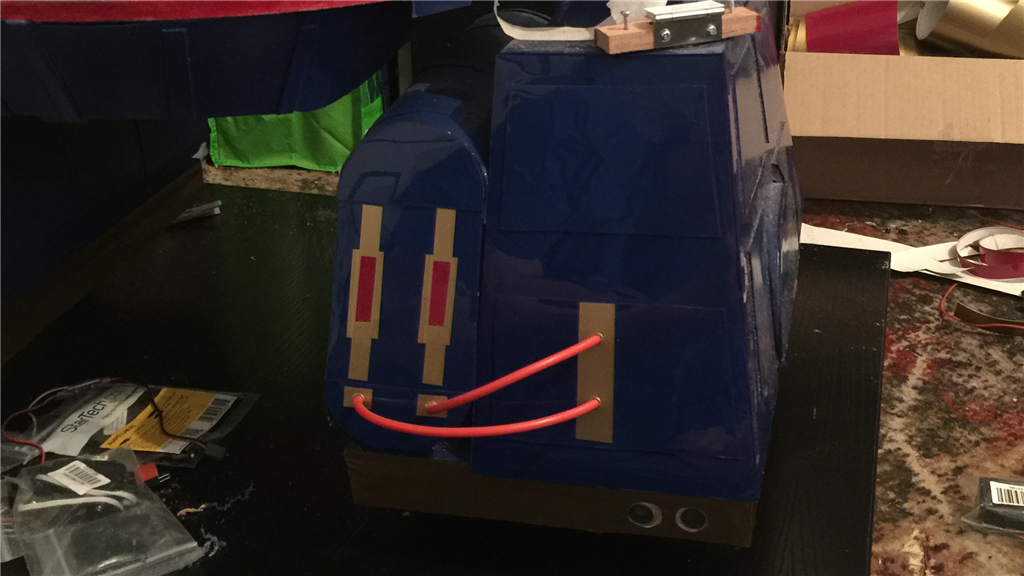
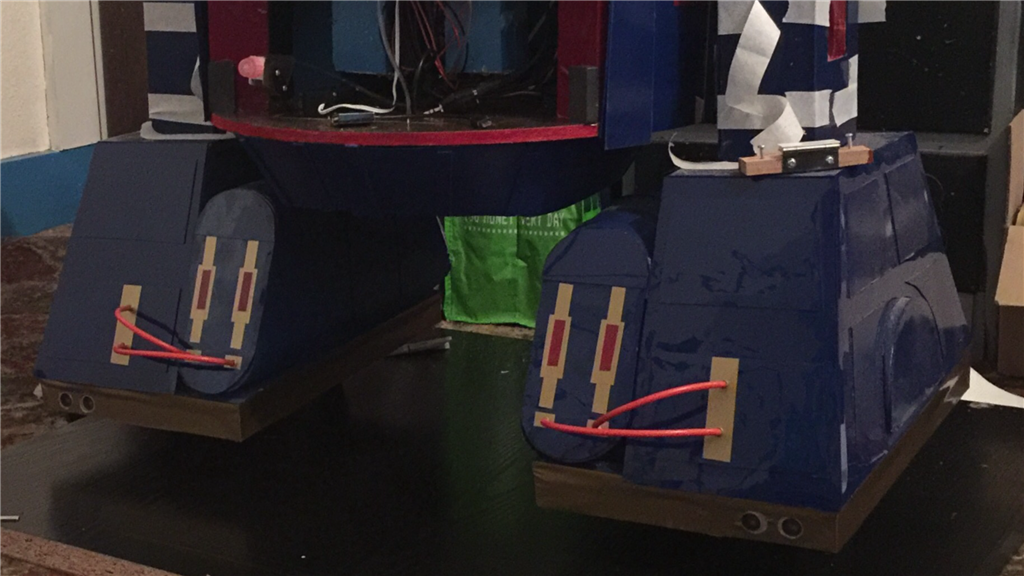
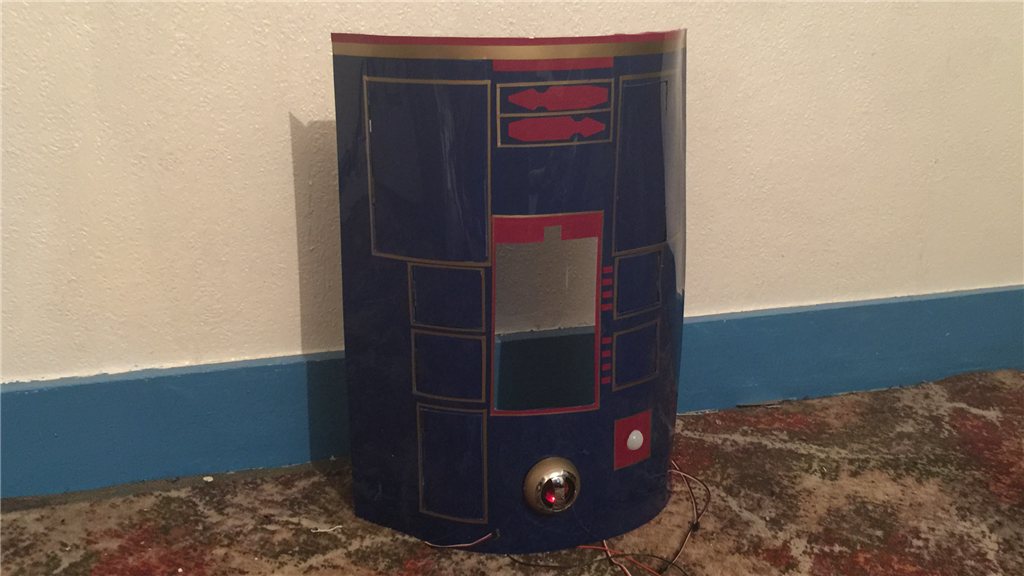
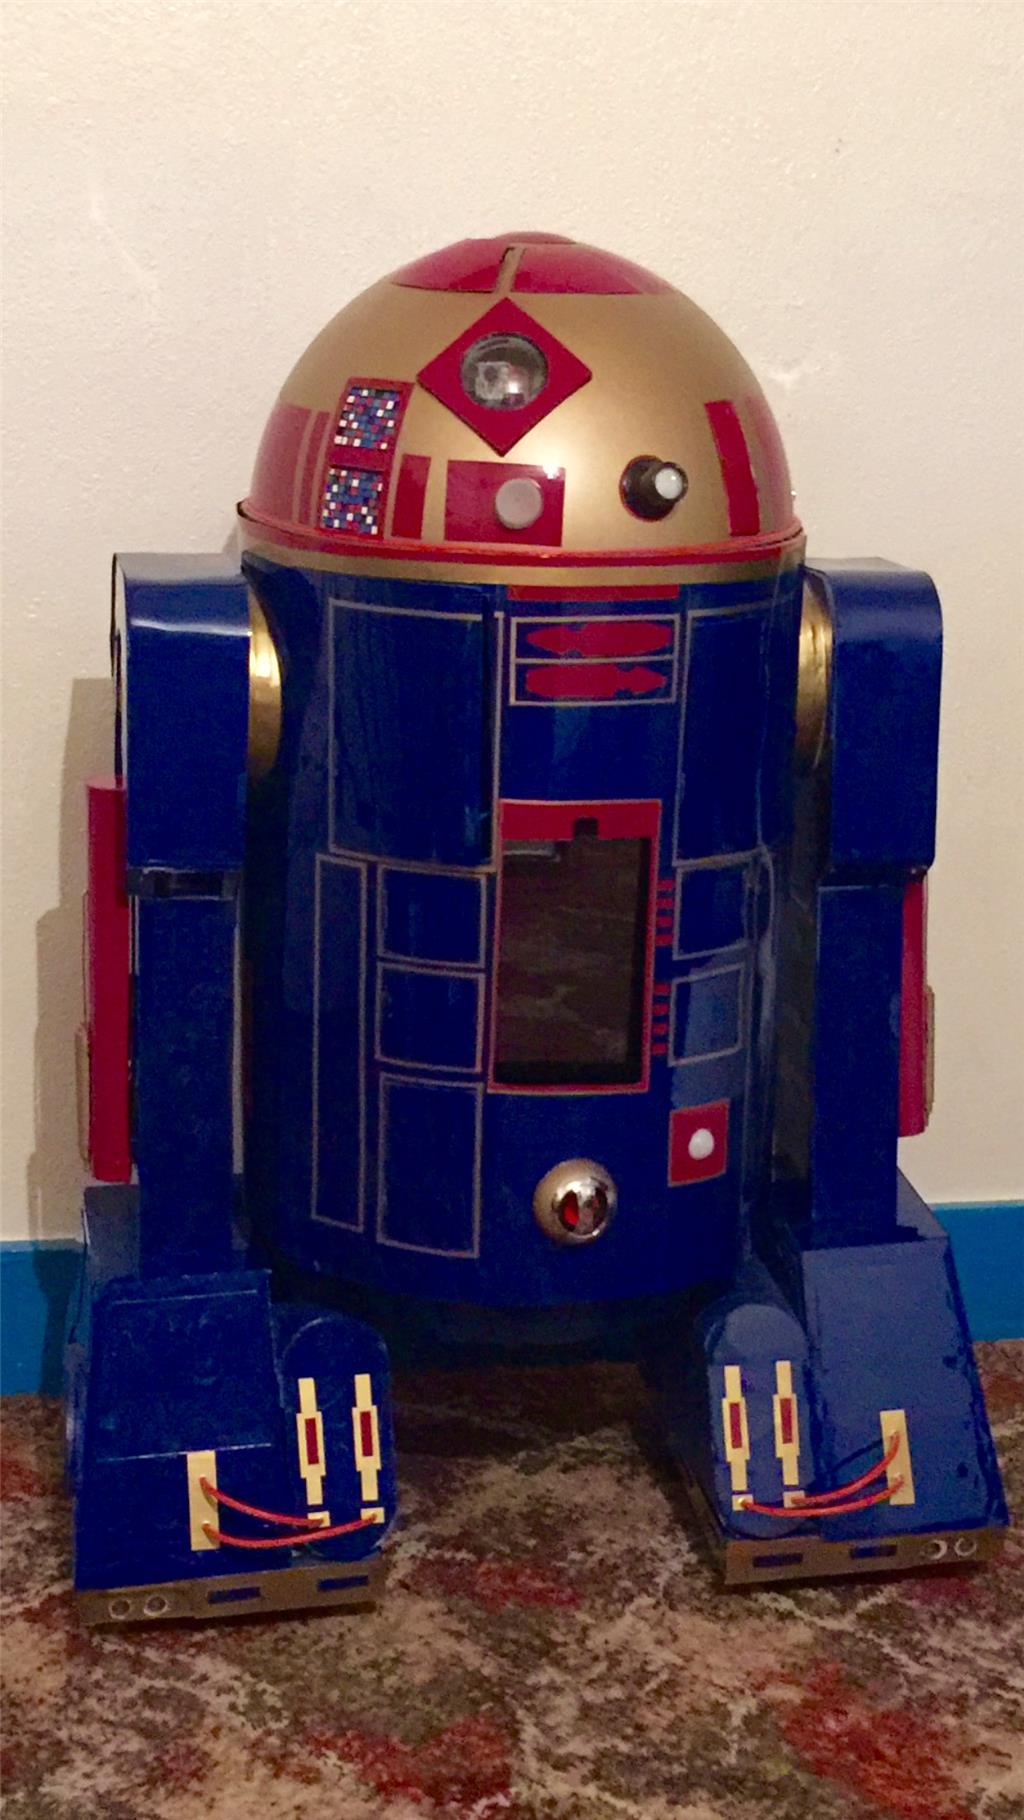
UPDATE 7th December 2015.
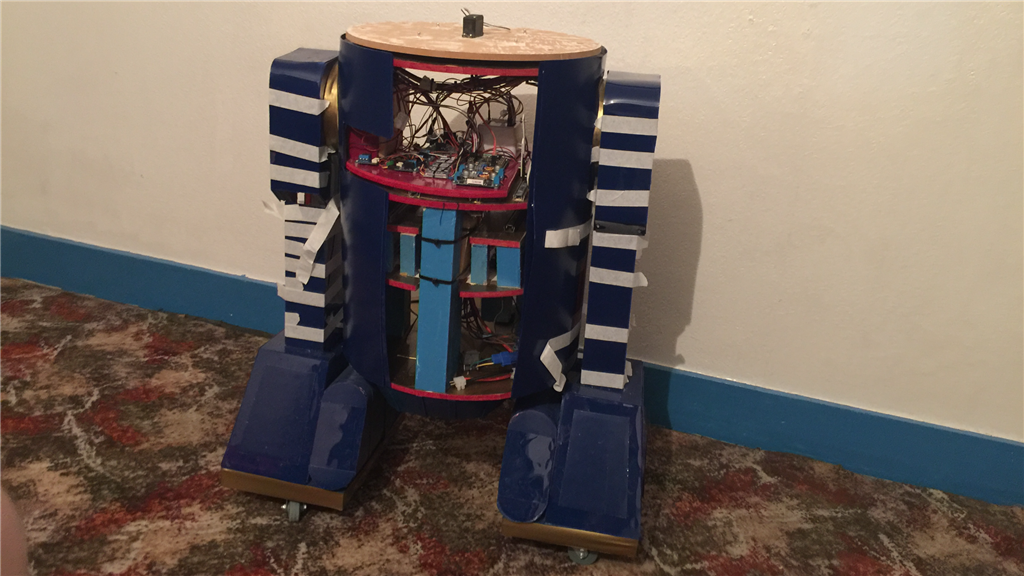
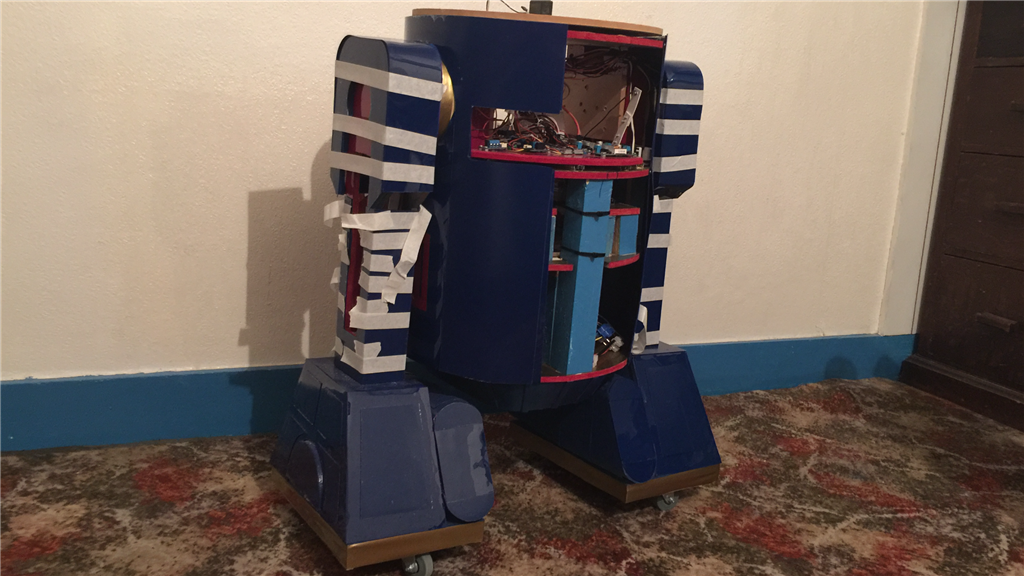
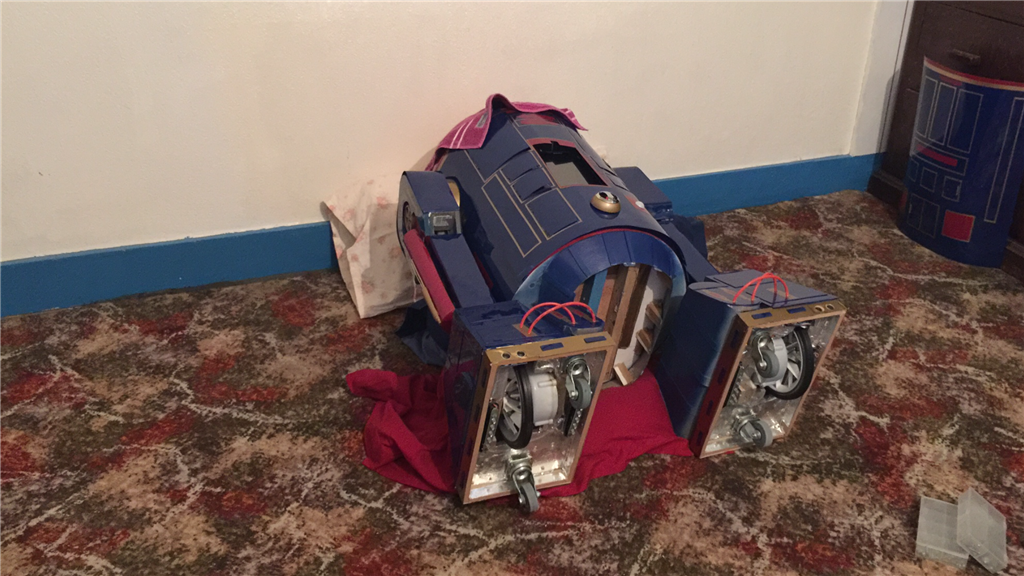
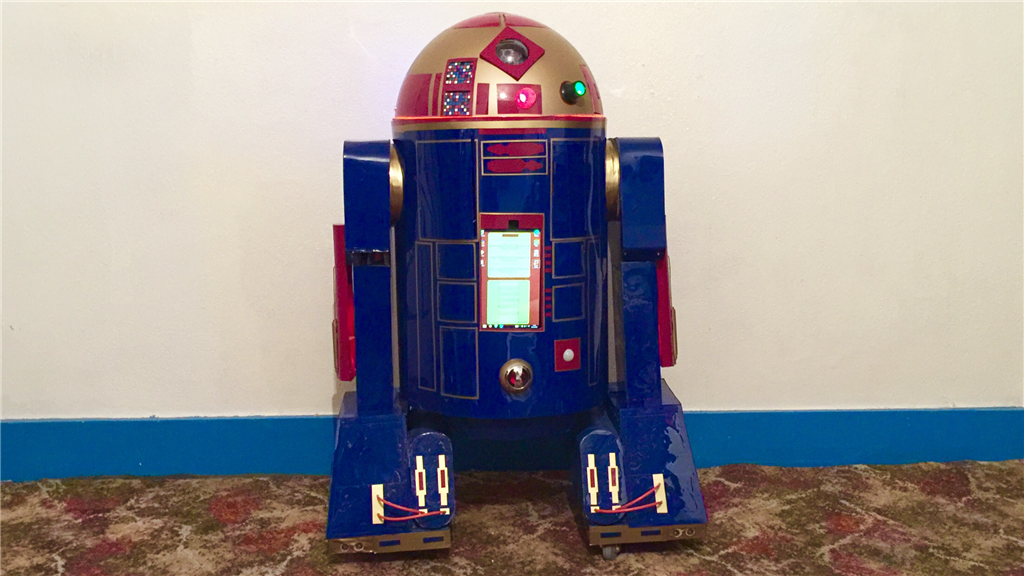
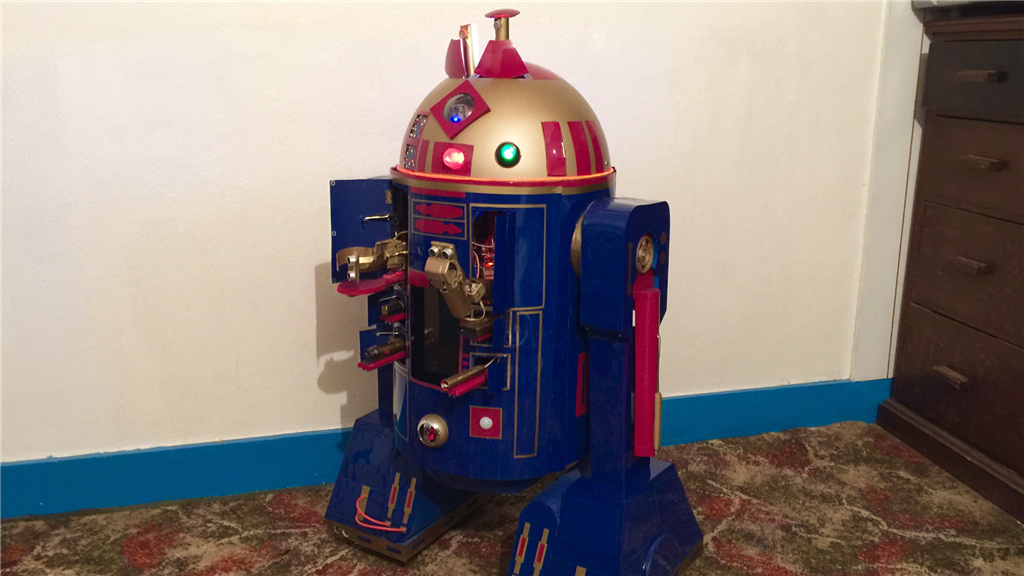
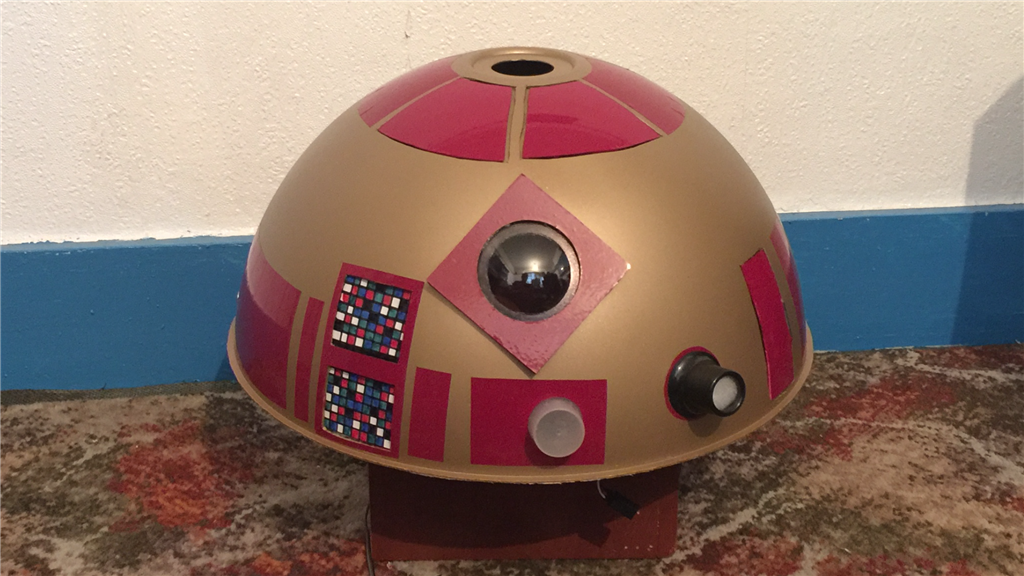
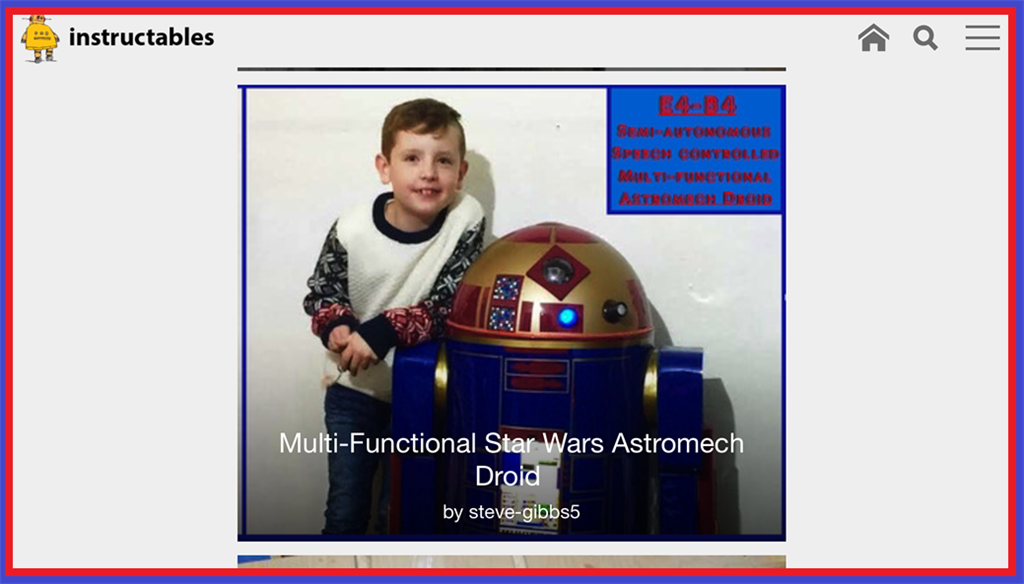
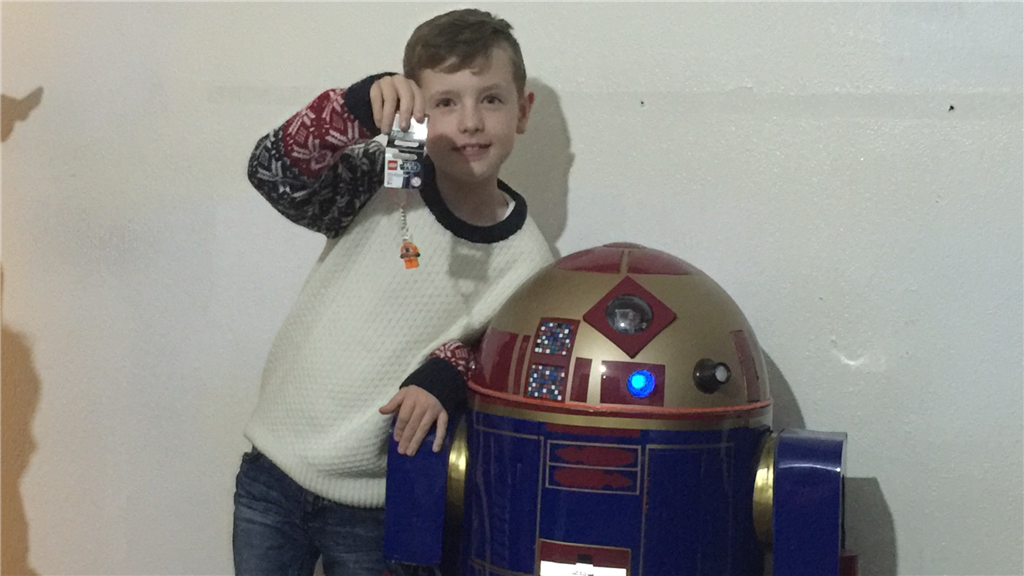
Here it is, THE BIG ONE. The showcase part of the E4-B4 build diary.
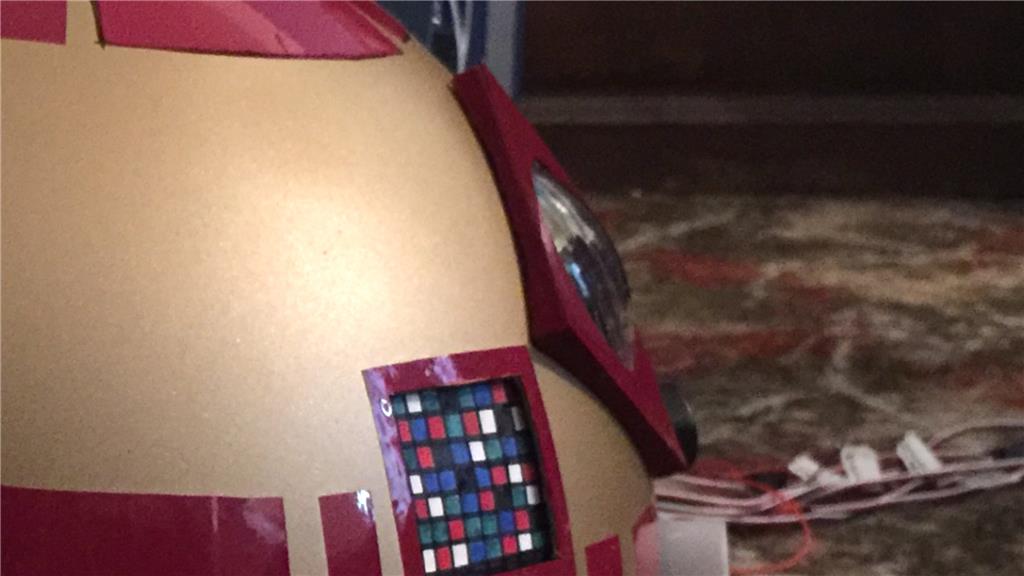
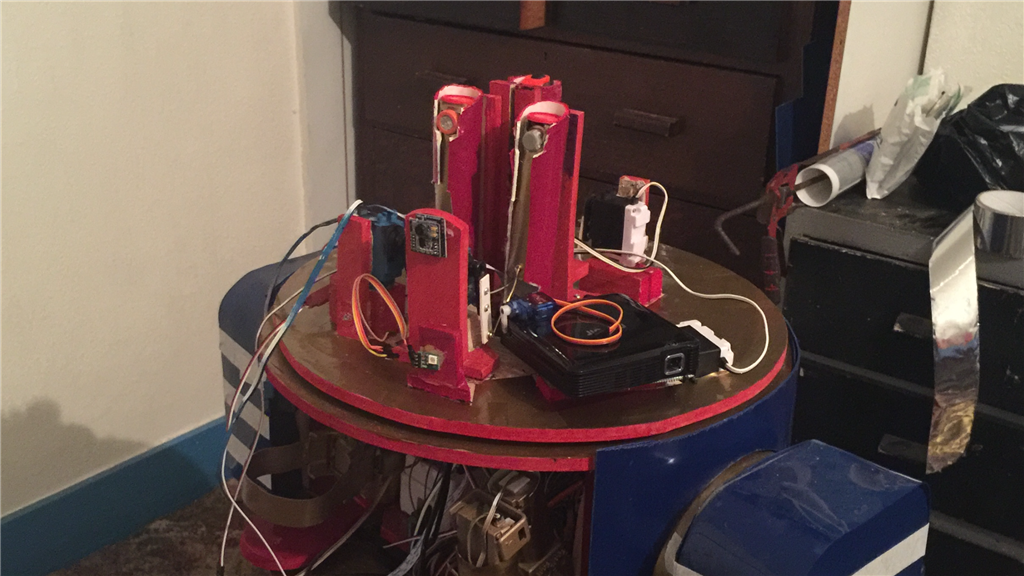
It was a fun, all be it challenging build, but I feel I'm in a good place now to share some completion photos and a couple of showcase videos. The first video is one of two that I planned on making which shows off some of his functions. I've still got a lot to do in regards to writing scripts that will interact with E4's abilities, but it's off to a good start. So, find yourself 15 minutes, grab yourself a drink or a snack, sit back and have a look at E4-B4 in action...
And for those who don't want to read through the whole build diary thread, here is a "making of" video montage of photos and video clips I took during the build that shows the entire build process from start to finish. Enjoy...
There will be more to come when I get more done, such as installing the 8x8 RGB's when they arrive in store, and I have plans on building a charging alcove for auto docking and battery charging. I saw that there will be a wireless camera available early next year, so I may just grab one to help with the docking ability.
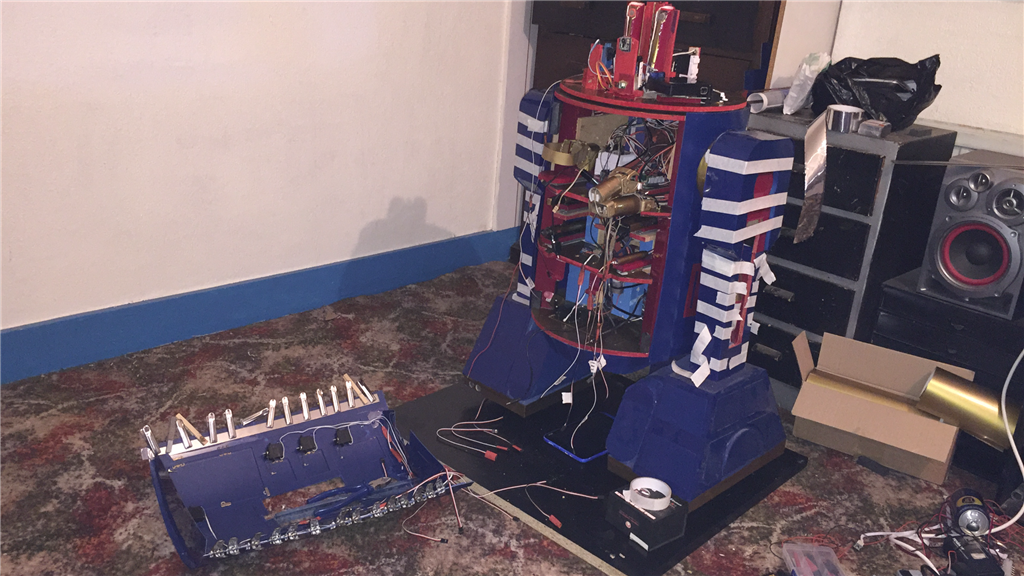
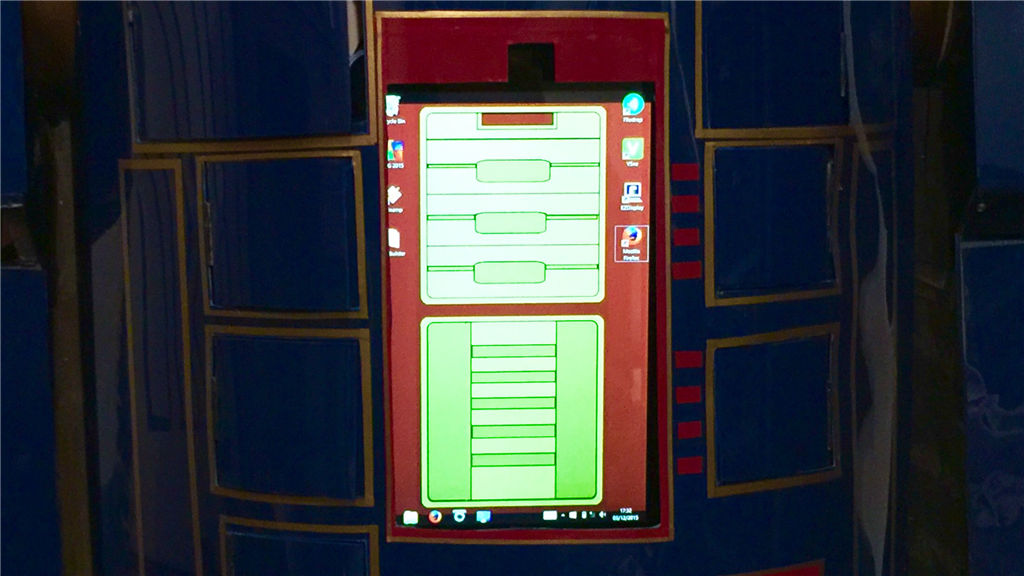
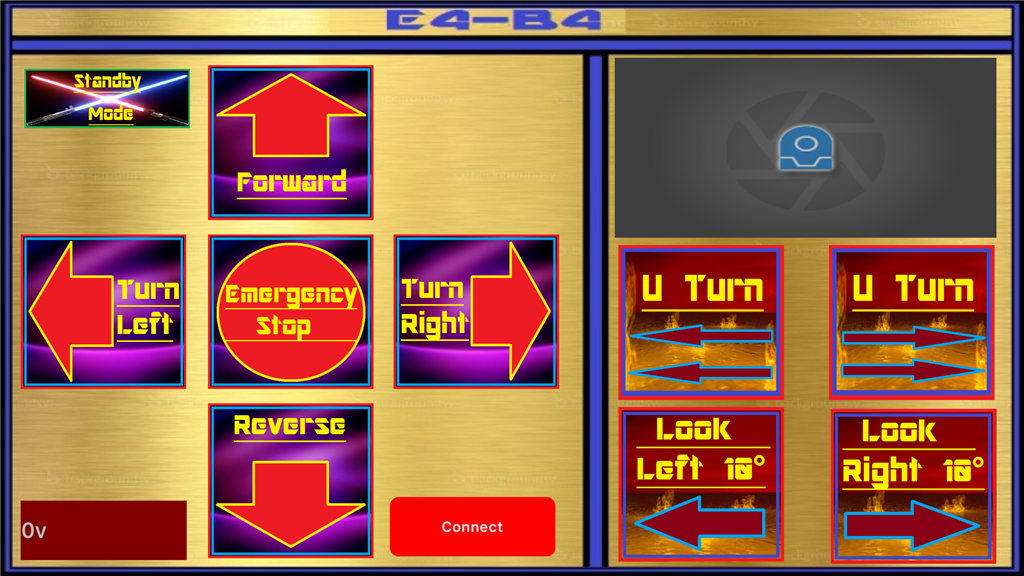
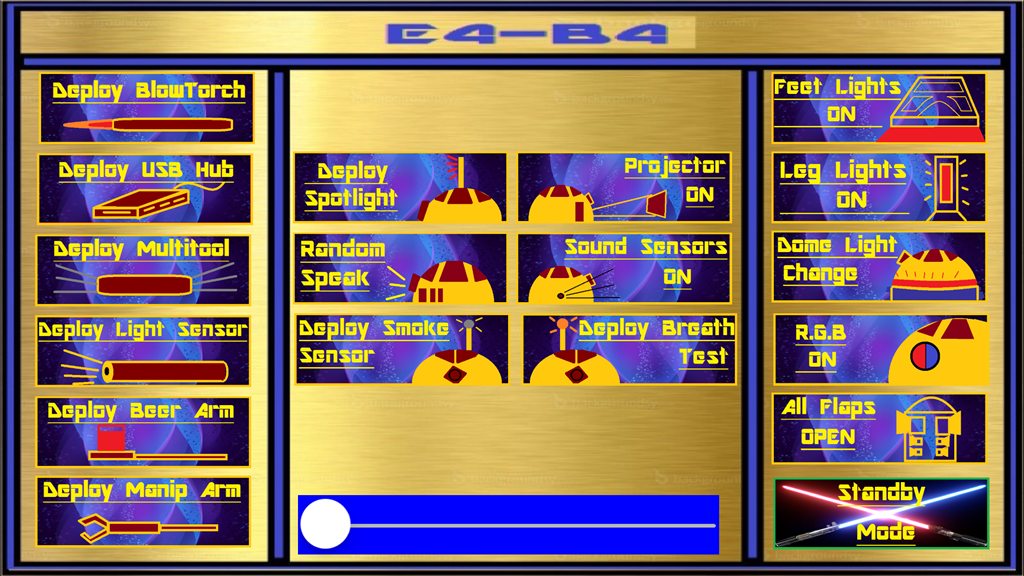
I've also made a start on his mobile interface controls. I've got some room for some more buttons should I need to add any, but everything I need for mobile control is pretty much there...
Screenshots from my iPhone 6 Plus.
I may change some of the button designs as I was only working with MS Paint which is not the best software in the world, but it does the job (with a bit of lateral thinking).
Anyway, I hope you enjoy the videos, and as always, I'd love to hear your comments.
Steve.
stunning video&pics