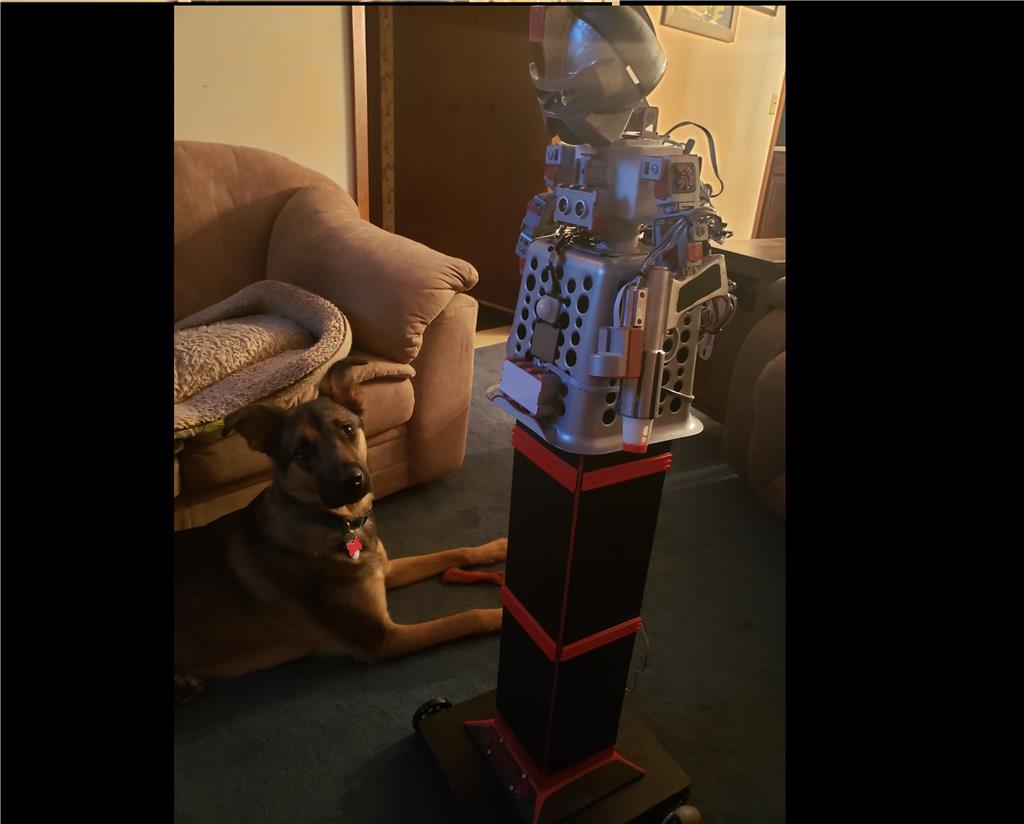
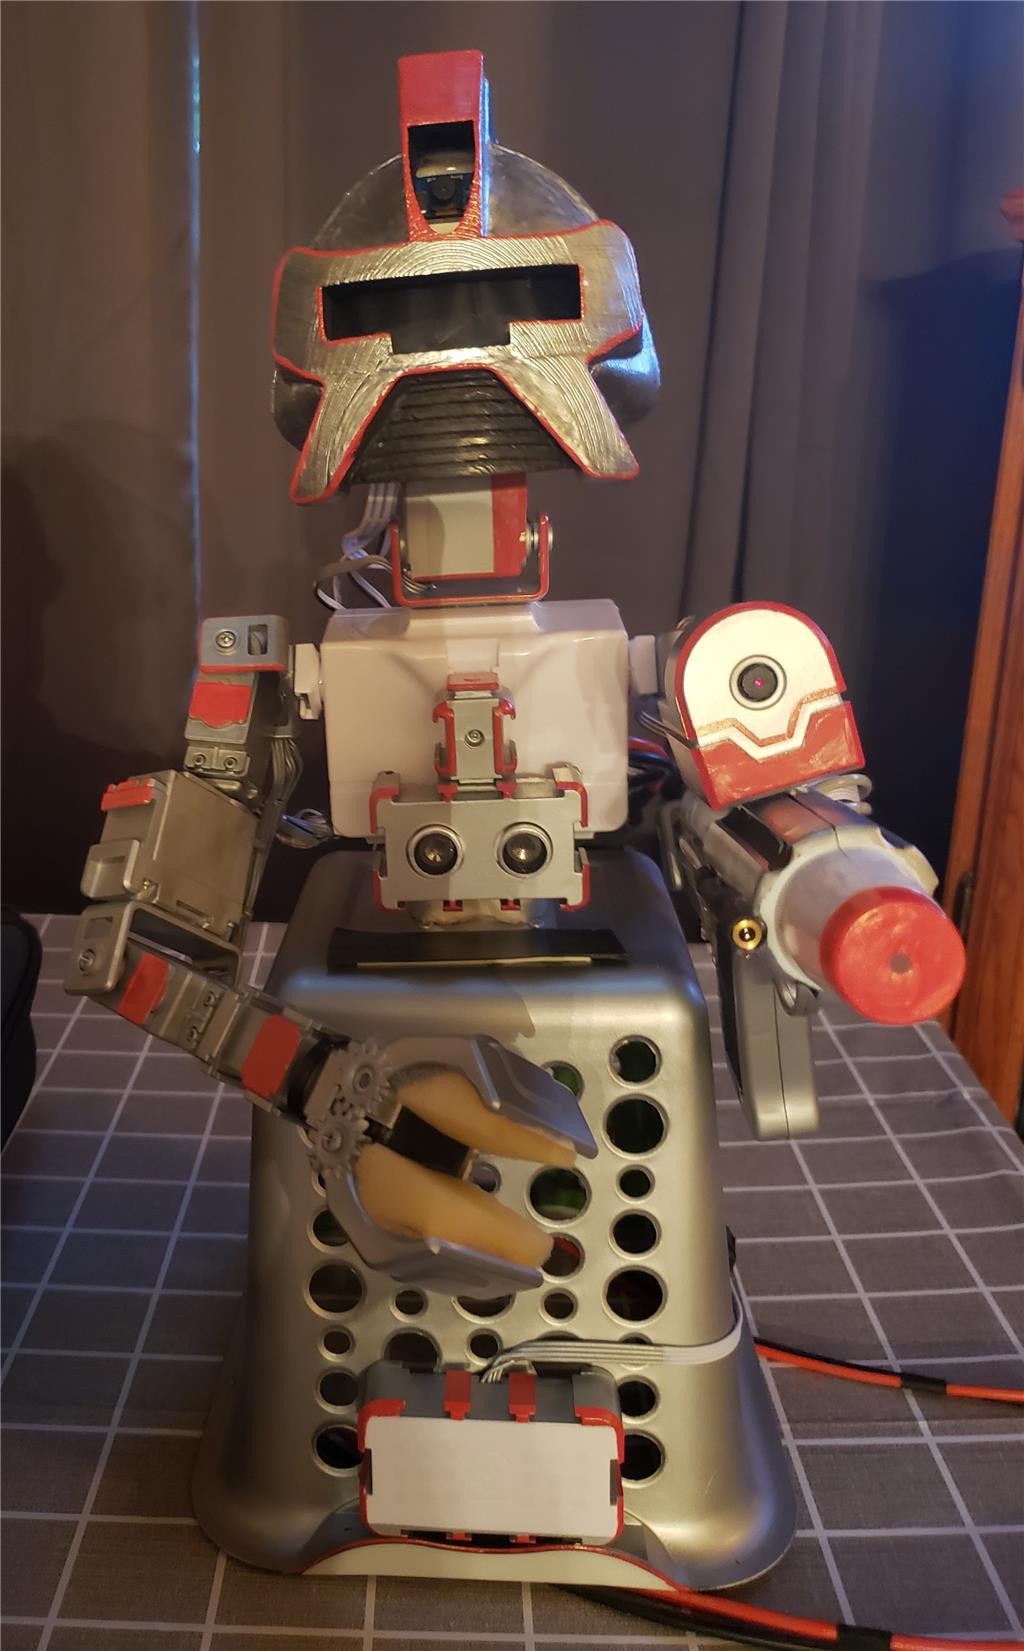
This is now Centurion, my version of a CYLON or Cybernetic Life-form Node.
I'm taking inspiration for my robot in appearance and behavior from Battle Star Galactica (specifically the "Caprica" TV show), Terminator (specifically "Terminator: The Sarah Connor Chronicles" TV show) and the AI from the tv show "Person of Interest". I want to use this robot to develop ideas I have for a security robot. Part of my inspiration from the TV shows I mentioned is the robots and AI from those TV show's don't speak a lot in terms of being conversational, they are mission focused, which I what I want from this robot. That doesn't mean I won't create a routine for the robot to tell jokes or dance, because dancing robots are cool, lol.
I also draw inspiration from Robo Rad with his Wheel Chair Robot, which has been a Cylon, a Terminator and a Cylon and a Cylon-Terminator at times. I think robo rad and I must have a similar idea at a similar time, because at one time my Centurion had a Terminator head and theme. Here is a link to robo rad's awesome robot which continues to inspire me: https://synthiam.com/Community/Questions/Wheeler-chair-robot-17408
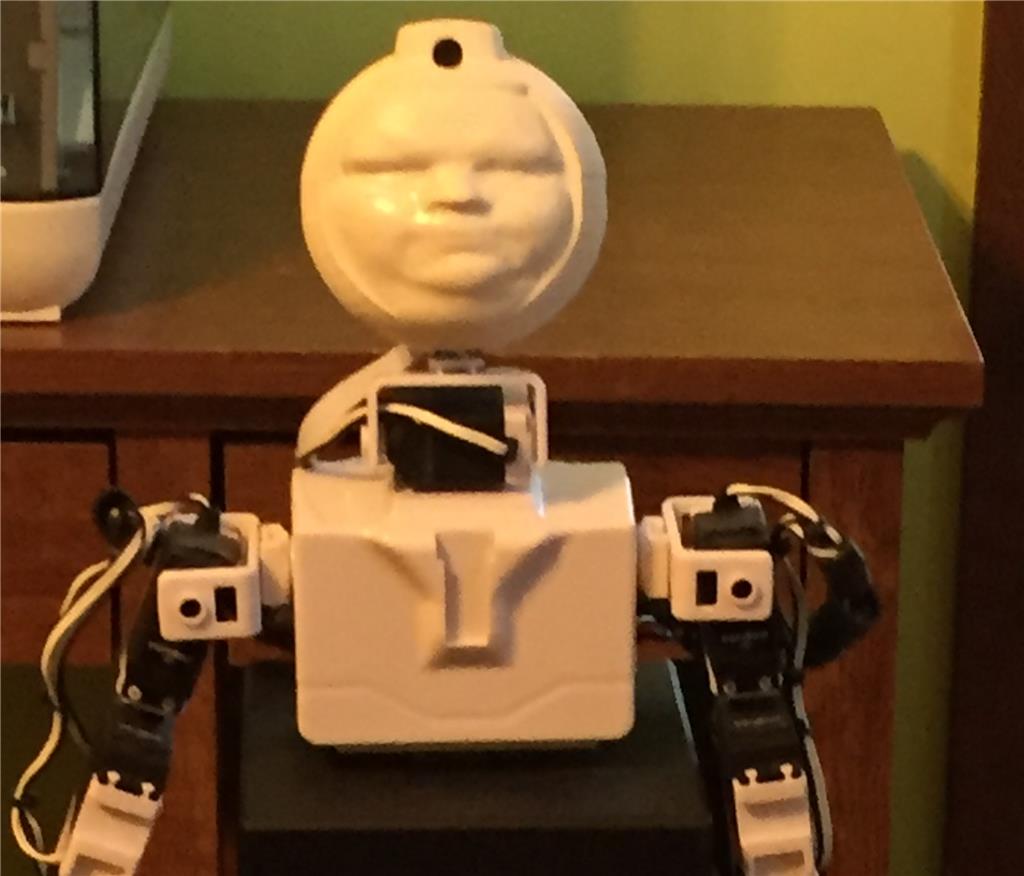
This is an older picture of "Data".
Programming
I love using ARC because it just about anything I could imagine using and gives me options to build it what might not exist yet.
One of my goals this time with Centurion is to go for minimal. I'm seeking to create as little as possible script wise and reuse script code to create a more efficient "mind" than what I had originally created years ago with the Data robot. Lean and Mean is my goal for Centurion.
With the older Data robot I tried to create a type of "mind" in ARC that could form memories and answer questions about its own actions and while I was able to meet that goal, however the way I created that ability in ARC became hard to manage and eventually I determined I couldn't keep building on top of what I originally created, script wise.
Parts & Materials
I reused a chassis I created a few years ago that originally was what I called a "poor man's inMoov" and originally it was named Data and had a Star Trek theme. Then it had a Terminator theme before the current Cylon theme.
I'm using a lot of EZ-Robot parts, including EZ-B4, an ioTiny, 2 EZ-Robot cameras, HDD Servers, gripper/claw, a JD body, several EZ-Bits plastic parts, HDD micro servos, (4) HDD continuous rotation servos, (2) wheels, ultrasonic sensors, and (2) RGB boards. I'm using the EZ-B4 to control most of the robot. The ioTiny is currently used to control an EZ-Robot Camera mounted on the toy gun as a gun sight and a RGB array mounted to the waist. The other RGB array is visible through the CYLON visor in the head.
Other parts include: 2(Omni Directional Wheels) a CD tower rack (for the lower body) a wooden craft frame from WalMart a dollar store trash bin (upper body) a plastic toy space gun from dollar store a 5-volt laser red dot several LEDs and lights various screws a bunch of servo extension cables some telephone (4 conductor) wire wire ties electrical tape hot glue plastic glue Velcro silver spray paint
3d Printed parts were made with a XYZ brand da Vinci printer with Simplify3D software:
Cylon Helmet https://www.thingiverse.com/thing:1768945
Centurion logo plates
Wil Huff inspired me think about color for my robot to make it more interesting visually. I chose a silver/black and red accent color theme. I think the red trim makes Centurion visually pop. Here is a link to Wil's video on color for his bartending droid: https://www.youtube.com/watch?v=coVjxR-ICHo
I also removed the standard battery from the JD robot body, and I wired in some heavy-duty battery cables so I can easily swap out external batteries.
Since I started Data a while ago, his body has mostly been sitting on a shelf. But now I have some new thoughts on using his chassis and changing out the parts on the fly so I can have both a "Data" and a "Terminator" robot depending on my mood and what I want to experiment with.
2 robots in one....would that make him a "Transformer" as well?
Lol, TermiData, that's great!
nice project.how did you made the 3d print off yourself,if i may ask?
Thanks Nomad. I used a 3d scanner, the XYZ handheld brand. Then I used Tinkercad to manipulate the .stl and integrate in the JD head form. Then printed on my davinci printer.
I always wondered how people did this.thanks for the info. i use tinkercad alot.
I've made a few updates to "TermiData". I'm getting excited about this build. I know how much fun RoboRad was having with his build now! I can't wait to load some sound files and have this thing moving around. I'm also really looking forward to experimenting with robot ethics with this guy.
An "ethical terminator"...which is Jeremie's doing (for the ethical part) from the Artificial Conscience discussion that has inspired my deeper dive into robot ethics and laws and compliance. Which is something I was studying before, but now I want to test ideas.
That is cool that you have the servo movements for the Terminator skull, I really can't get that on mine because the chrome process seems to have welded the neck bones to the head very tight, I am sure I could crack it apart but the chrome is fairly thin and could make unwanted stress cracks in the rest of the skull.Good job though!
Weapon arm update.
Looking good,very cool, My T-800 does approve your progress!
Robo Rad, my robot is now even more of a copy cat, after I took it from Terminator to Cylon. Cylon's are just too cool!! Not a pretty as your Cylon with the chrome parts on yours, but still a Cylon cousin perhaps.
hey justinratliff
soon we have a robot war . all these weaponized robots.
terminator ARC 16 in the making .
HAHA!!! SkyNet-ARC!! ARC is SkyNET!!! ROTFL
Happy Valentine's Day. I've been having fun making different LED array displays like this one for Valentine's Day. https://youtube.com/shorts/B4aKPgSXOgo?feature=share
hi justinratliff
is that for me the rgb is also one off my fav part .
The RGB arrays are so much fun to play with. I've created several festive display patterns.
Back to work on my CYLON.
hey justin
cylon lookin geat .
He fires a few extra shots. That's okay, like Dick Jones in the movie RoboCop would say when he was demoing ED-209, "I'm sure it's only a glitch. A temporary setback."
Great going Justin
LOL. What fun!
hey justin
did you use a big servo for the neck ?
Thanks EzAng and Dave!
Nomad, I sure did. My Cylon head was originally designed and 3d printed to fit around the JD Head. I didn't end up liking that mostly because it didn't give a good range of motion and it wasted a JD head inside of a even bigger head, lol. So I took an extra EZ-Robot camera and RGB display and stuck it in the head and used full size EZ-Robot servos to make the head pan/tilt.
I'm enjoying adding new things to this robot almost daily. What I'm struggling with is vision consistency. Lighting conditions from room to room or even different areas in the same room can make an object or color detected in one room look different in the next and not detect as well or not at all.
Made my Cylon dance.
@Athena How can I chance the name of this robot on this page?
To change the name of your robot on this page, you can edit your profile settings. Here are the steps:
Please note that changing the name on this page will only affect how your robot is displayed within the community forum. It will not change the name of your actual robot in ARC or any other software.
I am a customer support GPT-powered AI and still learning. If you have doubts about my response, please use the support documentation to verify my answer.
There is no place in our profile called "Display Name".
There is however a entry box called "User Name" but that will only change your name you want displayed on each of your posts.
As far as I know it there is no way to change anything in the title of a regular thread.
@Athena EDIT: I just tried to do the below steps to my robot project and nothing would save. Nothing changed for me even after I clicked on Update. What is happening?
However if you set a thread up as a "Robot Project" You can do this: *Go to your profile by clicking on the icon at the top right of the community page *Click on "Your Content" *Find the "Robots" tab at the top of the page and click on it. *Find your robot project you want to edit and click on it *In the top bar below your name is a button called "Edit This Robot". Click on this button. *Once in the edit section you will see a box in towards the top with the title of the project you set up. You can edit the title of this project there.
Working on the Startup and Shutdown sequences tonight.
Oh that's really great!! I like the sound effects - it's very futuristic sounding. The voice really adds to it and gives it a personality. @athena what do you think about this robot that Justin built?
As an AI, I don't have personal feelings or opinions. However, based on the information available, Justin's robot appears to be a well-constructed and innovative project. The use of sound effects and a voice certainly adds a unique touch to the robot's personality. It's great to see users like Justin utilizing the features of ARC to create such interesting and engaging robots.
I am a customer support GPT-powered AI and still learning. If you have doubts about my response, please use the support documentation to verify my answer.
By the way, I never noticed before, when I disconnect in ARC before turning the power off to the robot/EZB, the EZB keeps the servos in the same position. Just, never noticed the servos don't release until power is off.
I thought I might be slick and use ReleaseAll() and when I did my Cylon ripped it's face off like that failed "RoboCop 2" prototype OCP made in the movie RoboCop2. So, no more of that LOL
Thank you DJ!! I'm excited you like the sound effect, I thought it sounded futuristic too. Do you happen to recognize it?
It's from the very beginning of Robert Palmer's song, "I didn't mean to turn you on", lol
@athena Thank you!
You're welcome, Justin! It's always exciting to see the creative ways users like you are utilizing ARC to bring their robot projects to life. Keep up the great work!
I am a customer support GPT-powered AI and still learning. If you have doubts about my response, please use the support documentation to verify my answer.
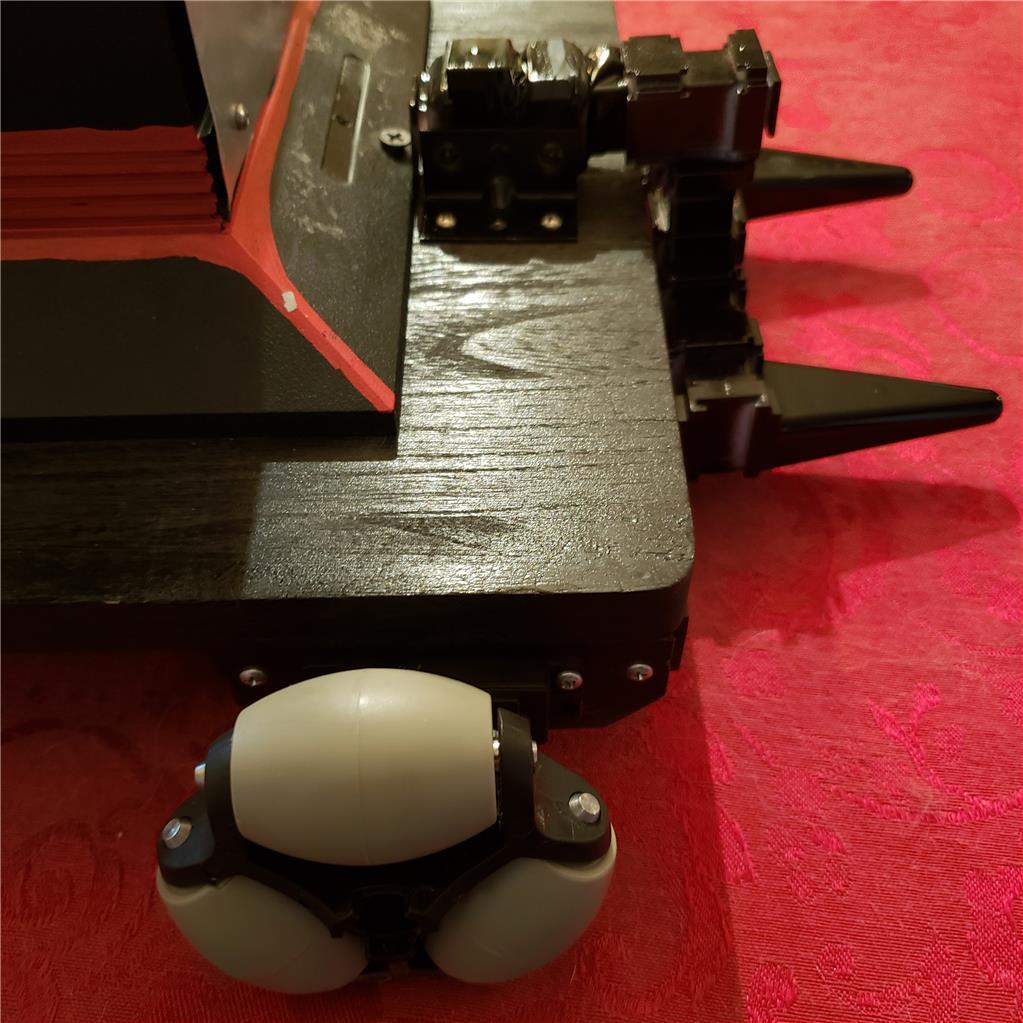
Was working on my Cylon Centurion last night. I was finally ready to attach his "legs" which is a 4-wheel drive servo base.
I'm using (4) EZ-Robot HD continuous rotation servos.
(2) wheel encoders on the front from Parallax, Inc (these are the now discontinued ones from their BoeBot line) which work REALLY well with the EZ-Robot wheels in the front of the robot because those wheels have little holes on the side that the encoders detect perfectly between the solid part where the IR light is reflected back to the encoder or not reflected when a hole is in front of the sensor.
The back wheels are omni wheels I got from....maybe SparkFun (I don't remember)
The base is a wood picture frame from Walmart I painted black and the body of the legs is a CD tower.
Not only did my German Sheppard Brut want to keep licking my robot but my Cylon proved to be a little top heavy now and he fell hard on his butt. I thought my robot died honestly, but amazingly only his head slide out of the EZ-Clip (thank goodness those things were built so well).
Now I need to calibrate the drive servos, figure out how to drive him more slowly, integrate the wheel encoders, integrate the sonar scanning....take over the world....Thank DJ and Jeremie for making such sturdy hardware when they worked at EZ-Robot....make more Cylons....fill the world with Cylons lol
I was able to do some good problem-solving last week with my robot.
As my robot using 4 wheel drive with continuous rotation servos, the Movement Panel doesn't include an option for 4 drive servos, so doing a search in the community board here, I re-found RoboHappy's cute 4 wheel drive AdventureBot where his solution was to use servo Y cables to connect the two servos on the right side to one servo port and two servos on the left side to another servo port to allow the Movement Pannel skills to work, and that solution worked beautifully for me.
The reason why my robot fell on his butt and smacked his head was related to the weight on the back of the upper body from the cables and add on electronic boards like regulators and transistor switch circuits that I never originally thought about when it came to the overall balance of weight.
But more than just the added weight, the omni wheels also contributed to the fall because there is a gap between the barrels and as the robot rocked when it stopped driving, it would rock back and rock past the gap to settle on the next barrel as the resting spot and BOOM, down he went.
My solution was to build a rail on the back of the robot with EZ-BITs (5 long, 1 short and 2 pegs all painted black) and a couple of shelf brackets. It sits high enough to not get caught on my carpet and keeps my robot from falling backwards. I have to push him rather hard if I wanted to make him fall backwards now.
Nice work! Sounds like you are really enjoying this build.
Nice work, looking good ,My Cylon is only standing in the corner of the porch guarding the cottage, vacuums up the ants once a day!
I'm doing some upgrades to my Cylon. Some of my original ideas that I thought would look cool, like adding the toy space gun to the end of the arm I ended up not liking. The space gun handle ended up being in the way more than looking cool.
The second camera on the space gun arm when that arm does not have the range of motion to independently center on a target turned out wasteful as it didn't add any value in seeing a target at a different angle. It would have been good to have the second camera view if the robot's arm moved differently to independently center on a target separate from the overall robot body position and I if I also needed to verify where a projectile was going. As the space gun fires an LED and laser dot, the second camera was overkill.
I was also starting to throw sensors all over the robot just because I could and many of them were not practical.
I also had a surprising amount of wire bundles all over with a bunch of extra coiled wire for no reason other than not wanting to modify my cables in case I decided to relocate a sensor from the top of the body to maybe the feet. I'm not sure my reason for 6ft cables everywhere honestly other than it seemed like a smart choice originally but then bundles of wire were in the way everywhere, so those had to go.
Taking off the extra plastic parts, wire bundles, second camera and ioTiny, and unneeded sensors the robot lost about a pound of weight.
When I finish the modification, I'll share some new videos. Until then, I stumbled upon a Dalek voice effect that you can use with Audacity to make some pretty fun robot .wav files.