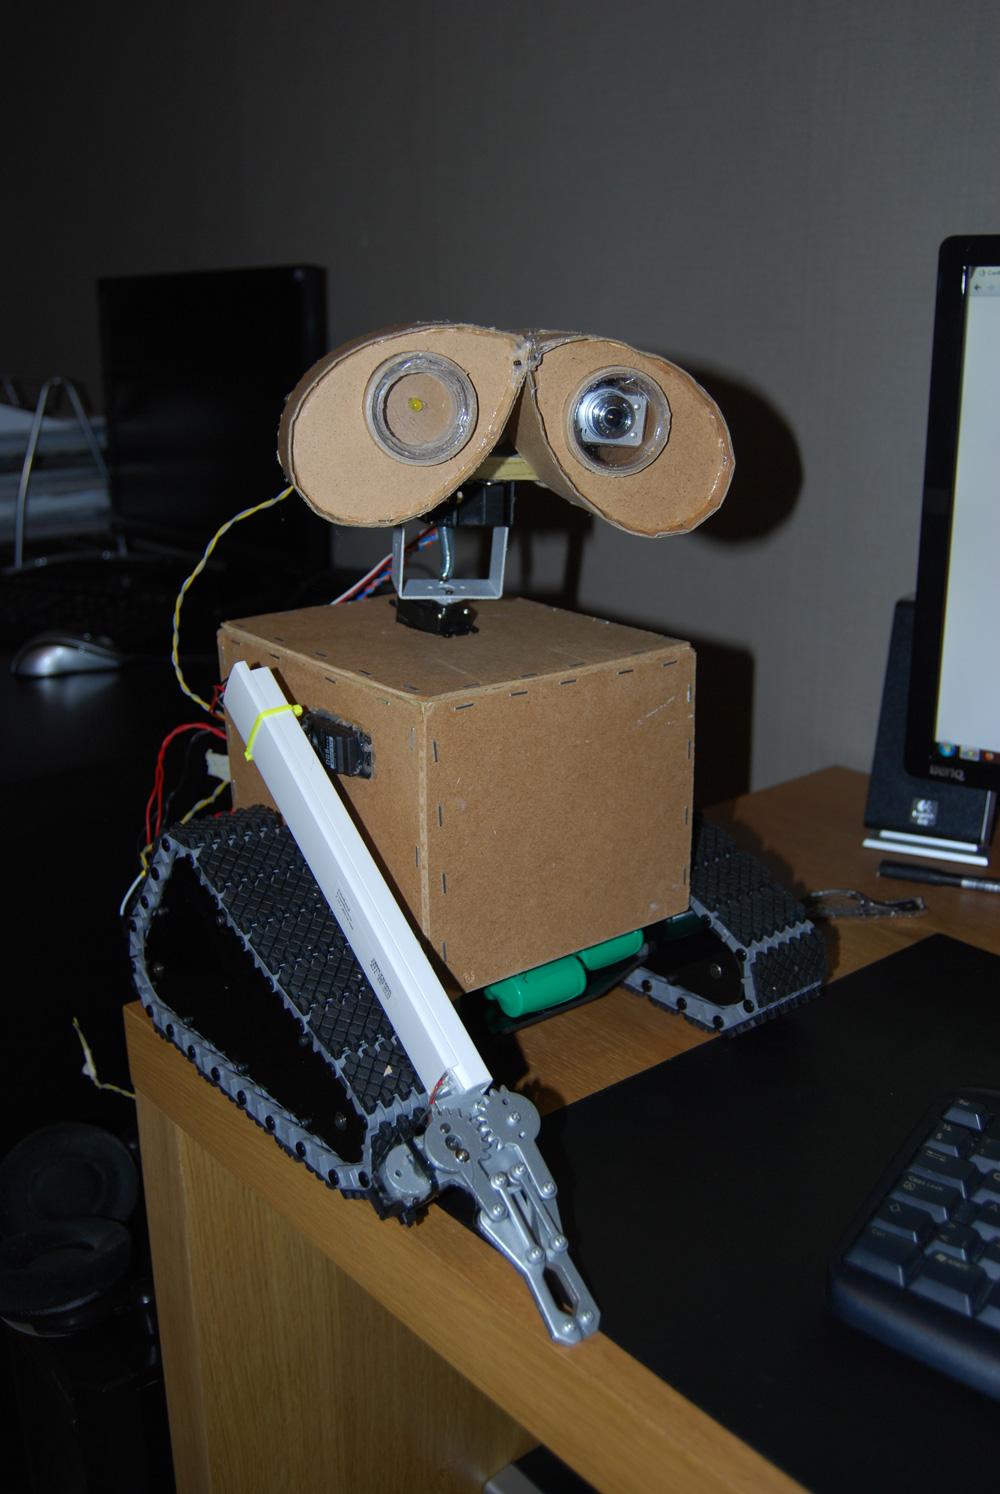
So I thought I'd share my Wall-E so far. Since I haven't got my hands on a toy Wall-E I decided to build my own. The idea is to build him out of plywood later on, but I wanted to make a test version out of cardboard first, and this is how it looks so far
Got a few things to wire and so on before he is fully functional, heres a list of the features he's gonna have later on:
- Tracks for movement
- Vertical/horizontal head movement
- Vertical arm movement
- Camera in left eye
- White bright LED as flashlight (for those night missions!
)
- Distance sensor (maybe more than one, depends on if one is enugh to avoid stuff. They will be stationary, thats why I maybe have to use 2, or more)
- Temperature sensor (Why not...?)
- MP3-trigger to do some speaking
- And probably something more I forgot...
He's currently powered by 2x2800mAH 7.2V batterypacks wich I've wired in parallel. I also threw out the wireless camera battery and now powering it through a EZ-B serial port instead.
Since I love coding, I will be writing my own controller software with the C# SDK, and try to implement some AI and stuff.
Here's some pics!
(Night mode!)
By Henrik
— Last update
Other robots from Synthiam community
Rb550f's Super Omnibot
Omnibot 2000 project ready for EZ-B v4: worm-drive motors, Bluetooth AM/FM audio, DVD media player, 4" LCD, RC and...

Bhouston's My New Robot
Introducing a new robot with a short demo video showcasing progress and community support.

Joesox's CARL
CARL on JD humanoid uses Synthiam ARC to see, learn, feel and act-face/object recognition, emotional speech,...
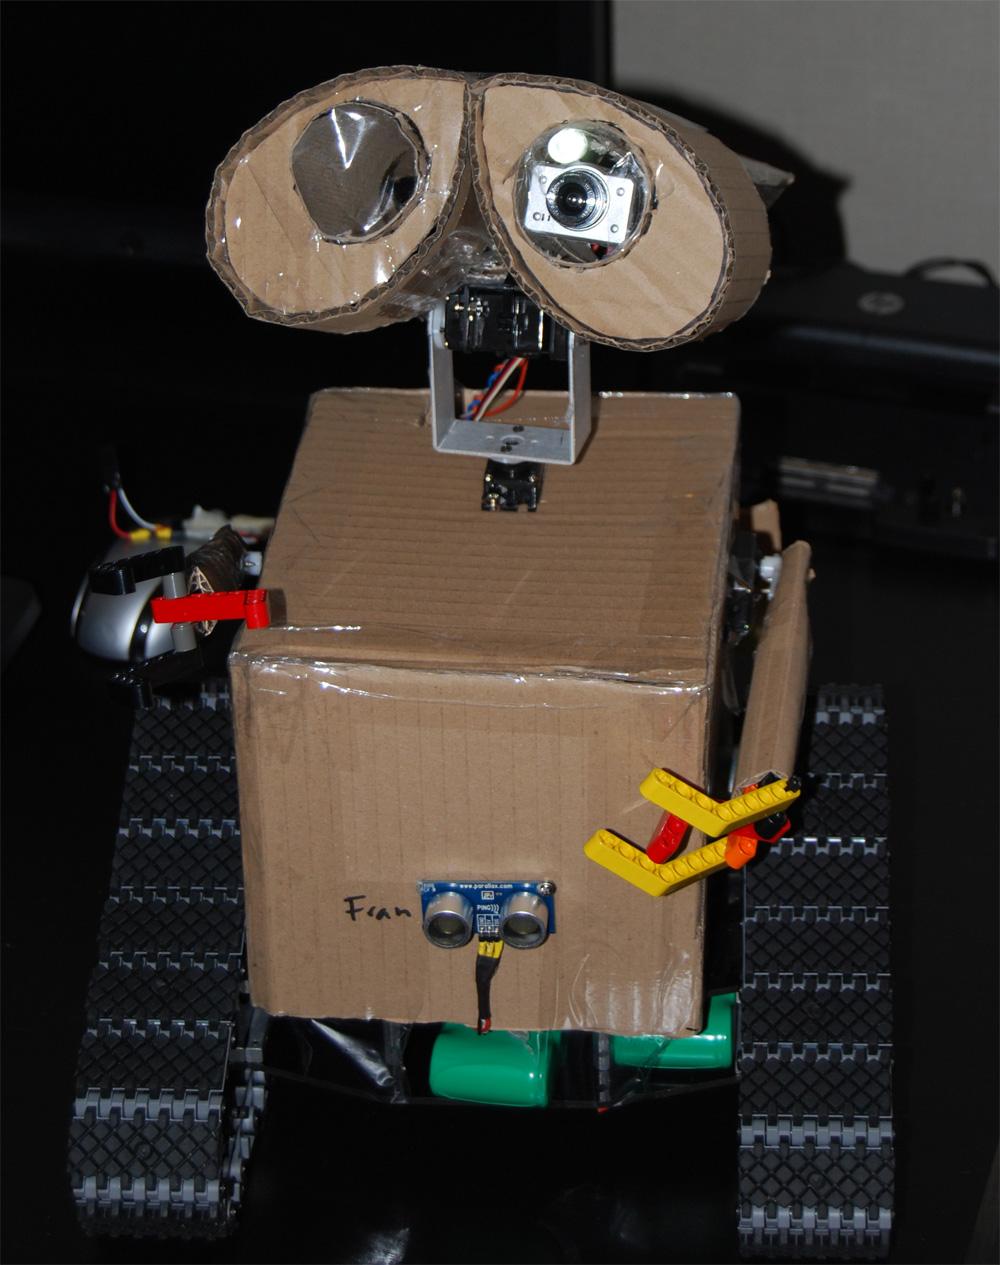
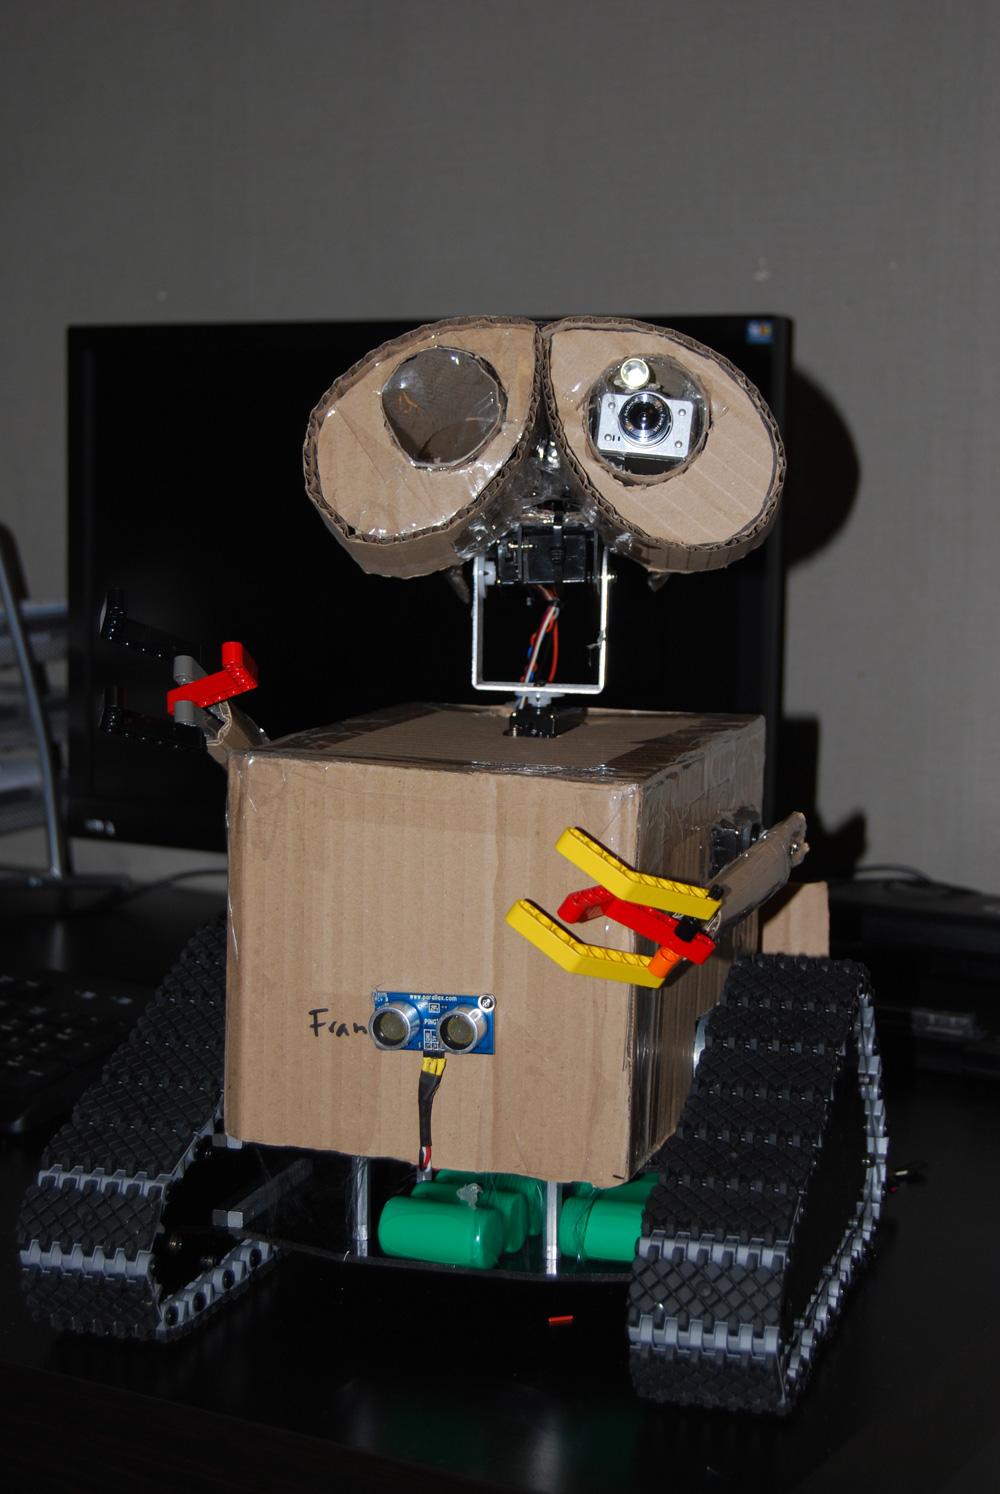
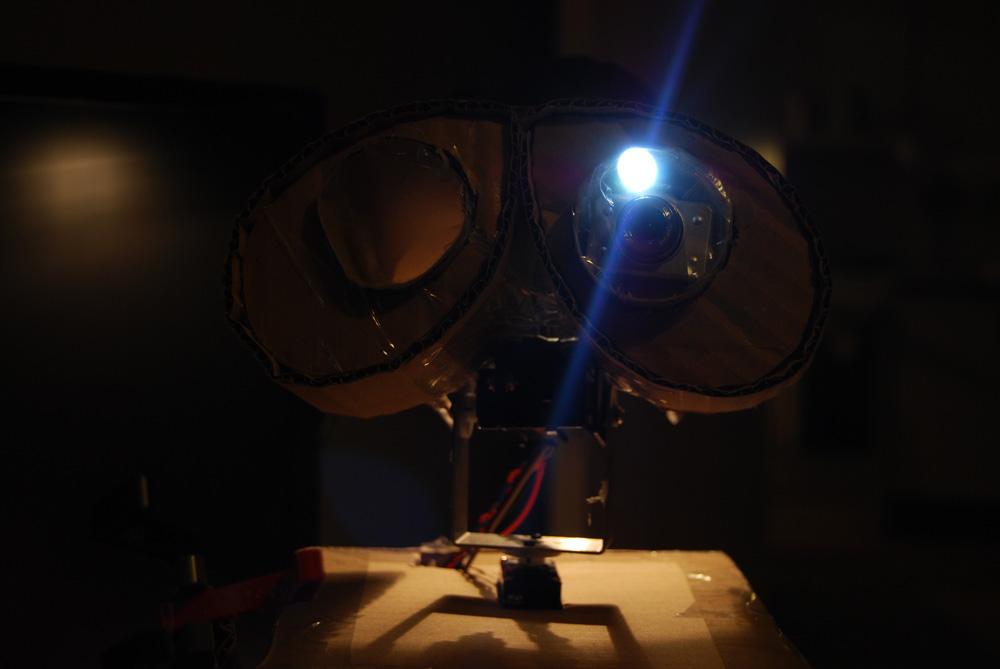
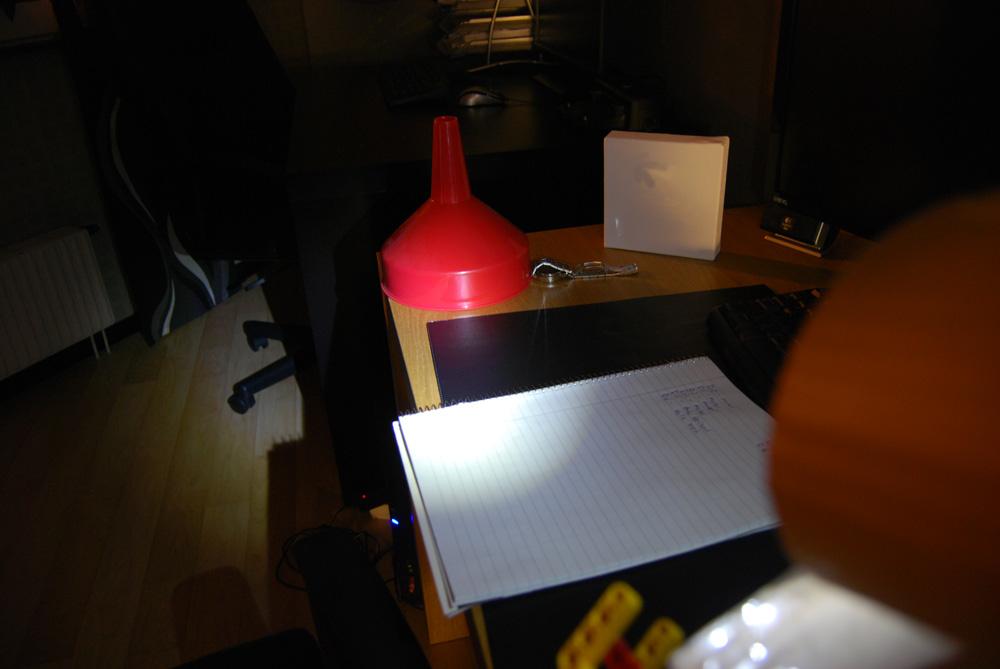
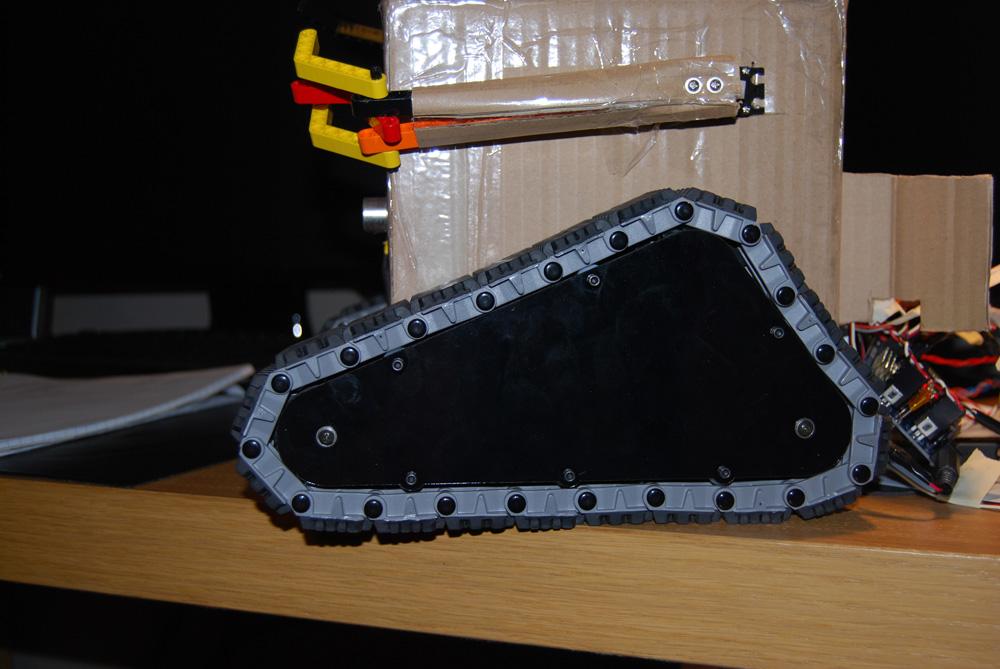

I love him!!!!
@Henrik - He looks great! But you left out the most important part... where'd you get those awesome looking tracks? Again, great progress!
@JT - As @yippyyay said, it's the Lynxmotion set!
I love it!
Ok, some updates! Since I was happy with my cardboard version I'm now making it in wood(ish) materials (and some cardboard actually) . Here's what I've done today:
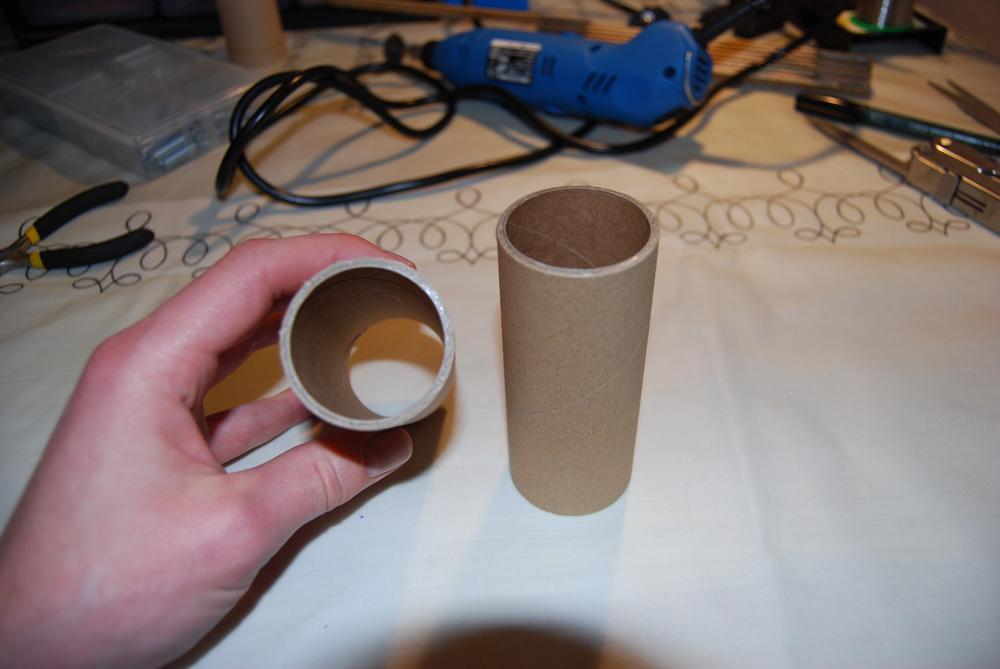
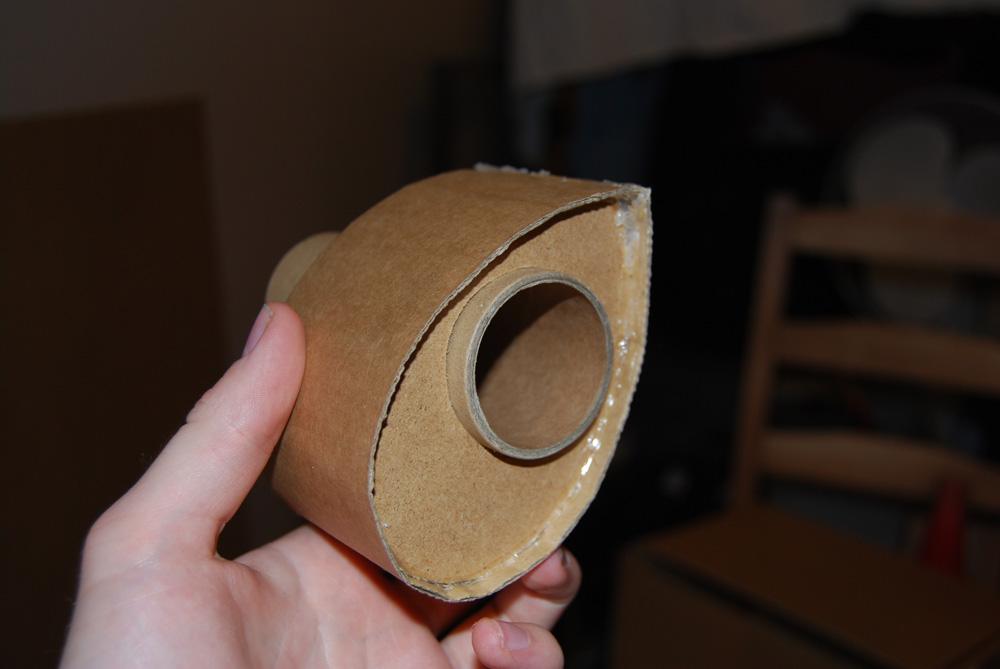
Tubes for eyes
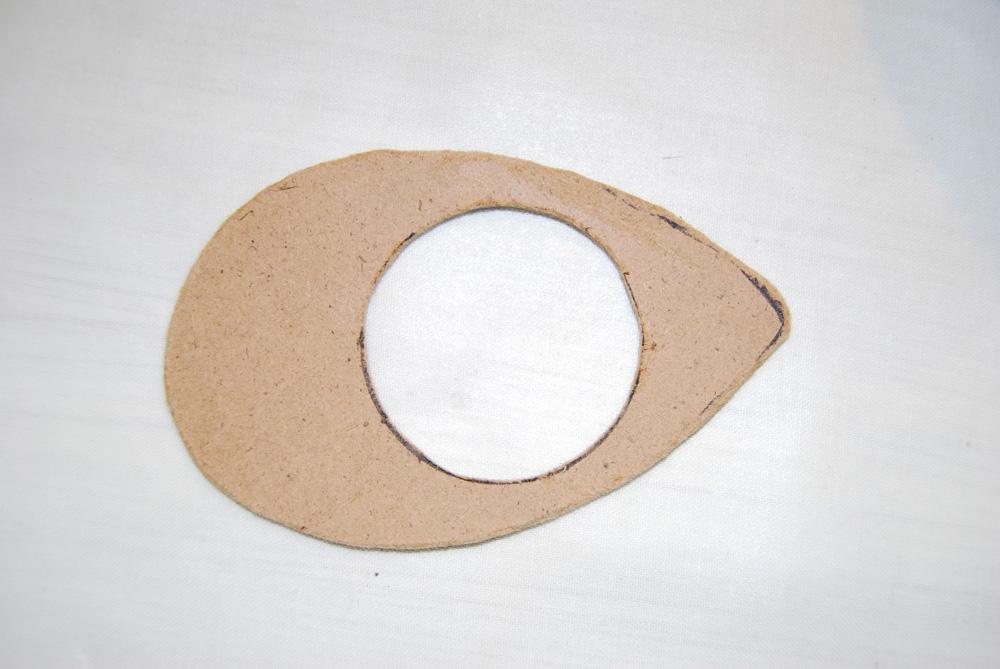
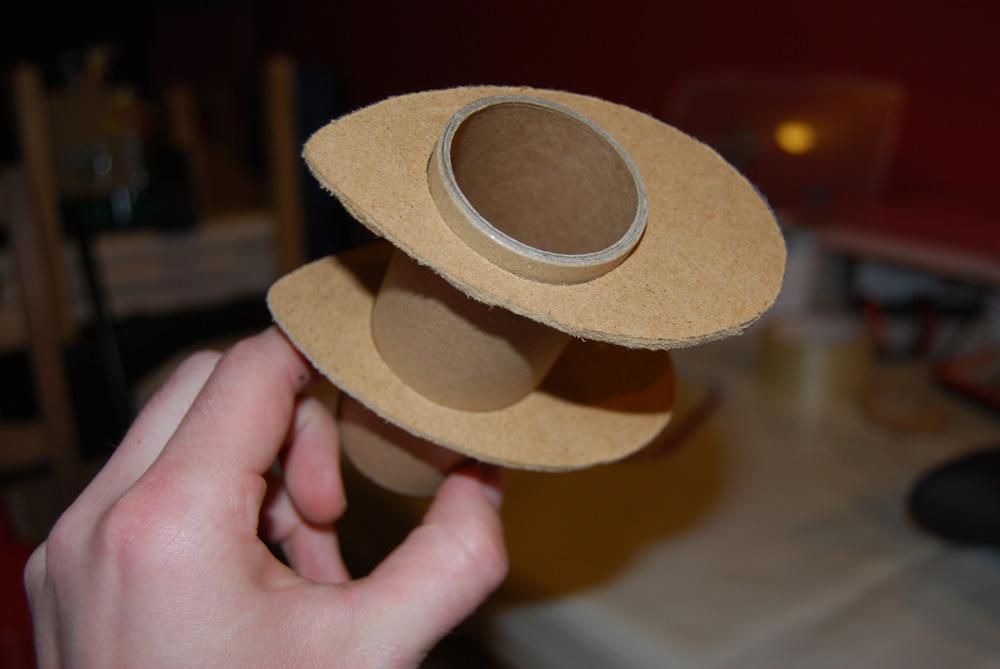
Four of these goes on the tubes (two on each)...
...like this!
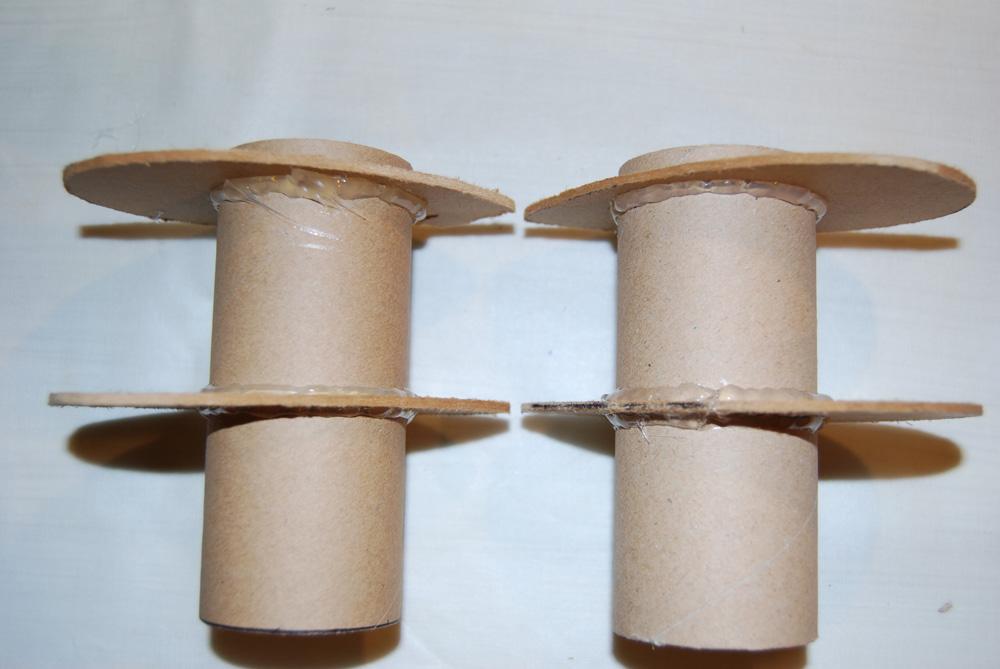
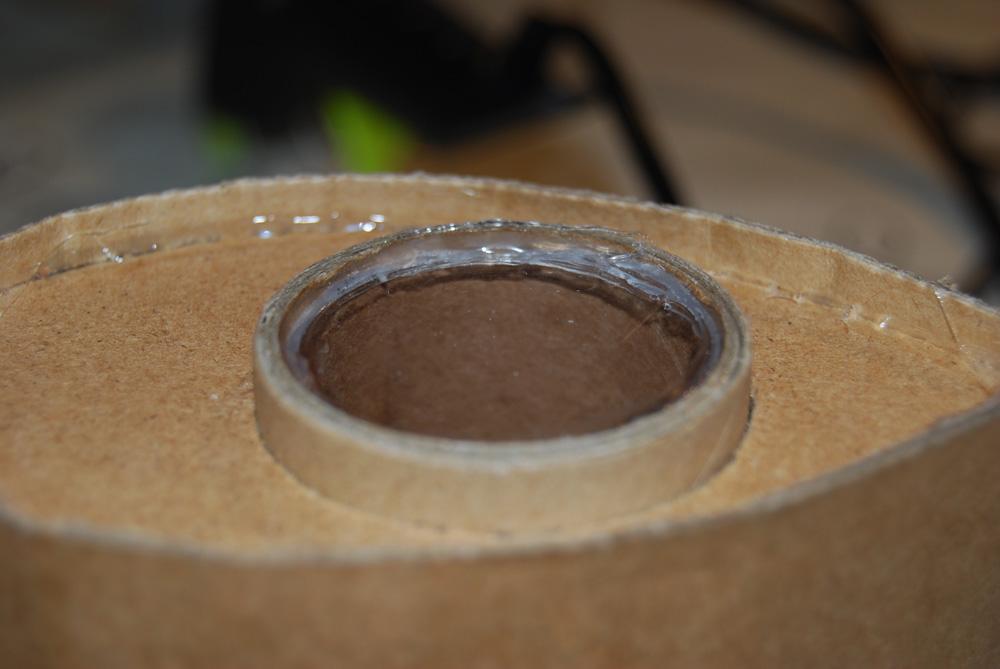
Glued
And the covering (cardboard did a great job here, again )
)
Lens in plexiglass slides in
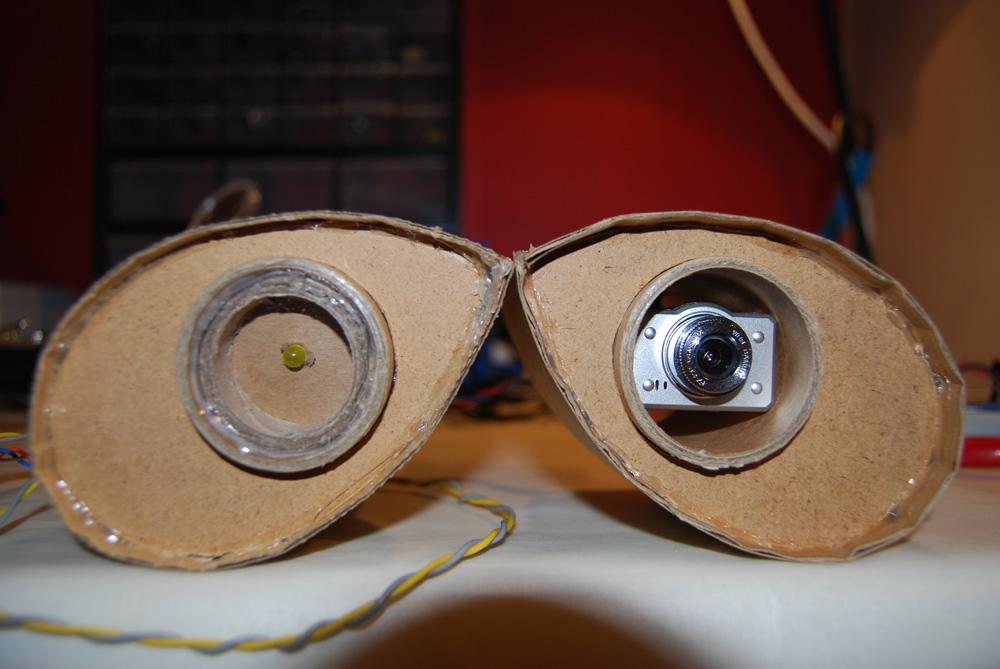
Finished, only missing the lens on the left eye. Yellow led diode in right eye for some effect And gotta say these tubes had a perfect diameter for the camera, it fits really snug
Next step will be to make the bracket where it connects to the body, also some small details on the eyes. I've got an idea that I want to be able to tilt the eyes with a servo to create some basic facial expressions (if you can call it that). Tilt them down creates a sad expression, and up a more normal/happy face!
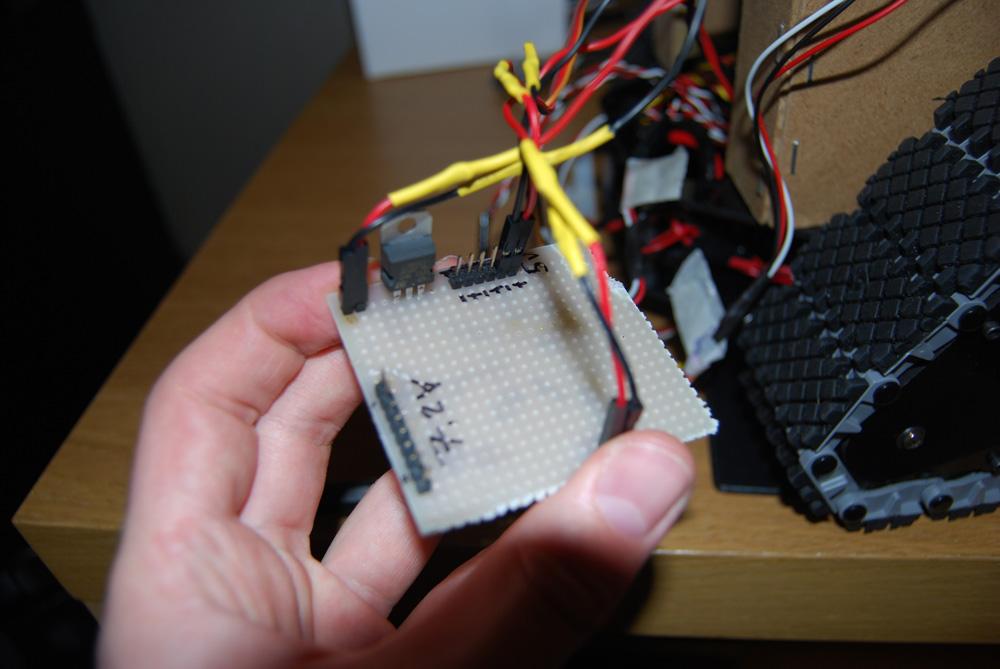
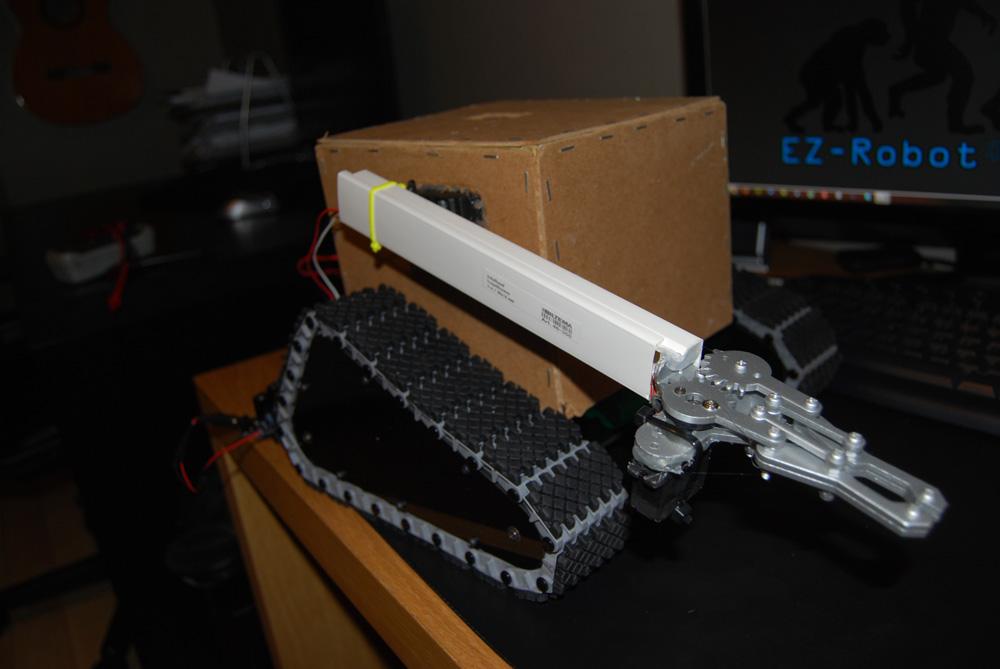
Some updates! The head is done and mounted, (only need to attach the bright LED's). I rebuilt the body in wood and attached a arm with a claw as hand. Because the servo in the shoulder is a high torque one I needed to power it directly from the battery, so I made a very simple (and quite ugly) power distribution board which had a few ports with 5V (by a voltage regulator) and a few with 7.2 (directly distributed from the battery) so I easily can connect stuff there.
Power distribution board
The arm with claw
Head temporarily mounted
Next step will be to mount the distance sensors, speaker for mp3-trigger and to give him a paintjob
Henrik thats very clever looks good
How noisy are those tracks when moving?
@winstn60 - Thanks! They're quite noisy actually, so not the best for sneaking. The tracks themselves dont make that much noise, it's mostly the motors and it may be because they're 12V and I'm running my setup on 7.2V, but I don't know. I missed that the motors is 12V when I ordered it, so I'm going to buy a set of new ones that is more suitable for my voltage and see if that makes any difference, which I need anyways to get the most out of the tracks Either way, it doesnt bother me that much