


To get in the spirit of the Star Wars "holiday" ... I decided to share this project ... still in progress ... and struggling for more time.
May the fourth be with you
"A long time ago Last year in a galaxy far, far away nearby shopping mall..."
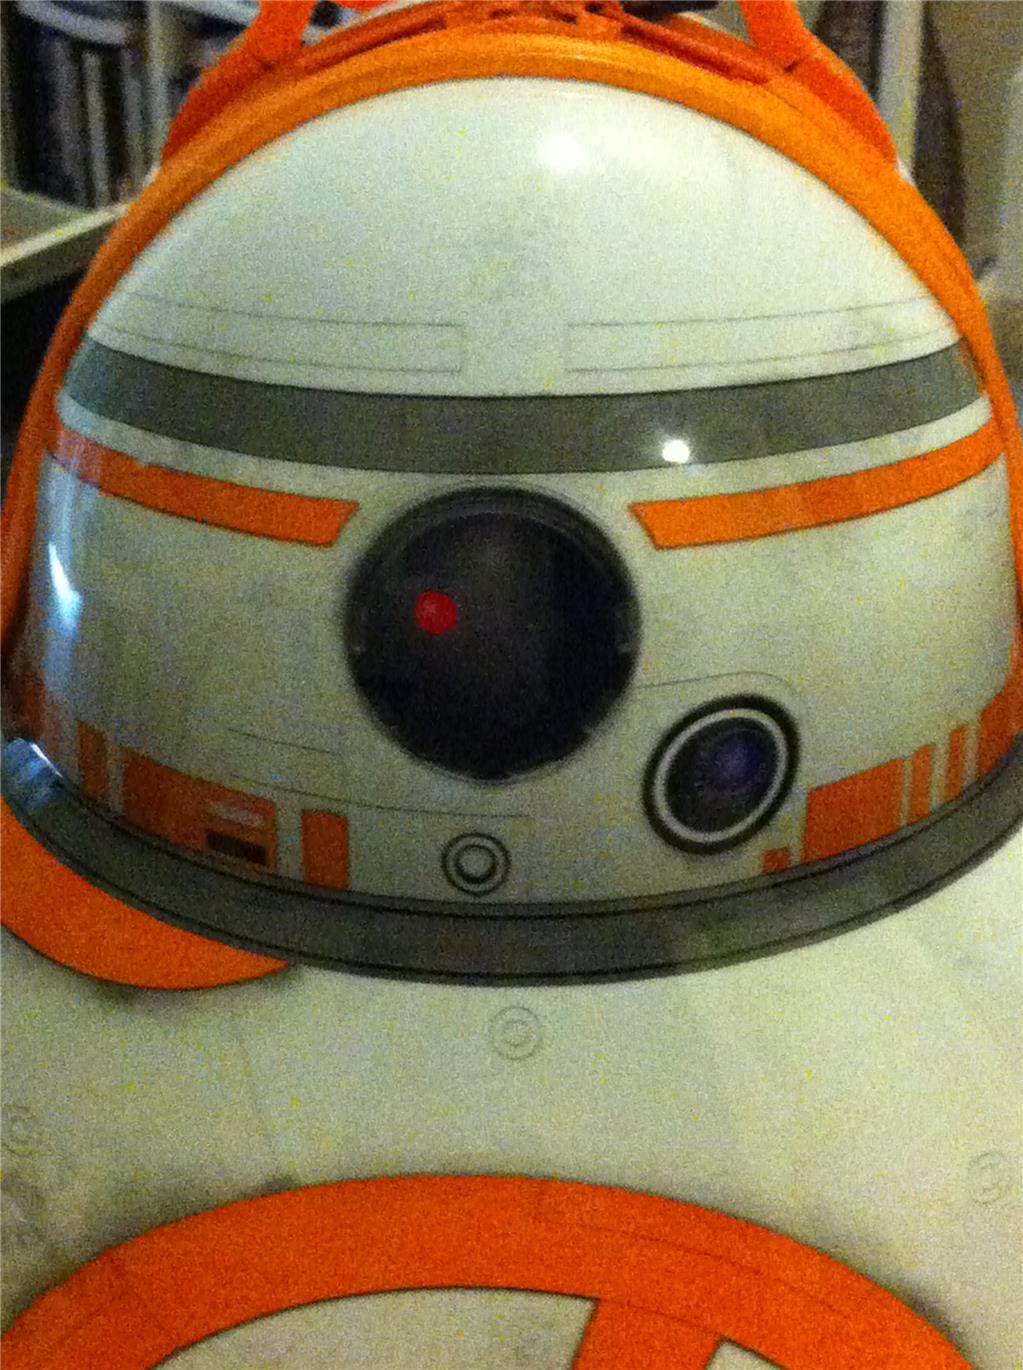
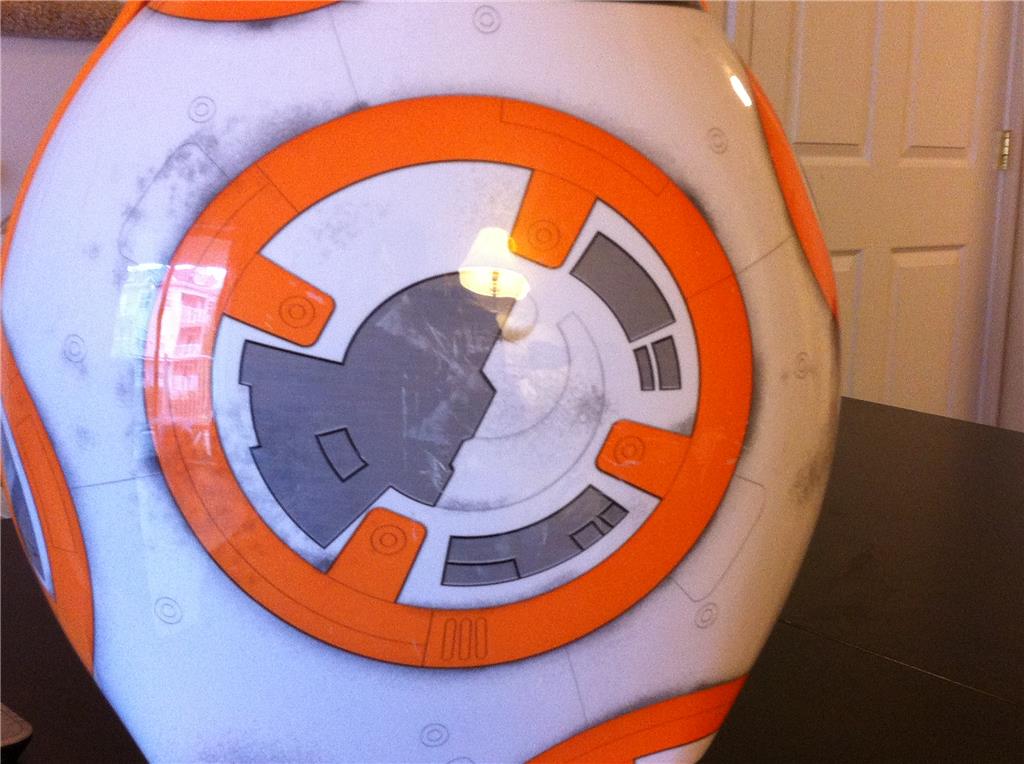
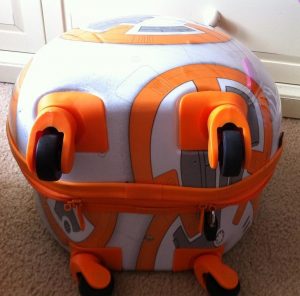
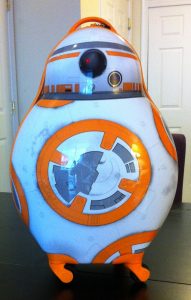
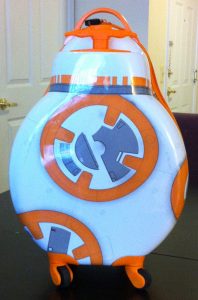
Last year during a weekend trip my little engineer D.J. picked a rolling BB-8 suitcase from a Disney store.
The Disney online store does not carry anymore the suitcase, although you can read a review here: https://gizmodo.com/pack-this-rolling-bb-8-suitcase-for-your-next-trip-to-t-1745678647
The suitcase has been always with him... so i waited patiently for an opportunity to hack the suitcase ....
That day finally arrived...
So this the beginning of our Journey...
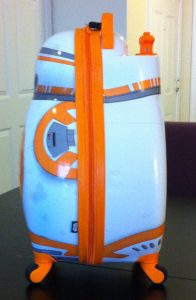
Before:
By ptp
— Last update
Discover more robots
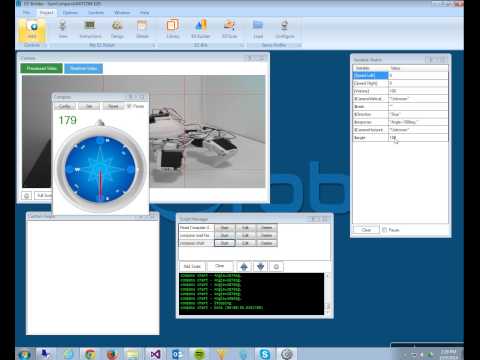
Luis's Using The Sure Dc Ss503v100 With Ezb4 From Ez-Robots
Connect Sure DC SS503V100 compass to EZ-Robots EZB4 via UART: RX/TX wiring, set OPT high to 3.3V, 4ft wire tested,...
Kullthulu's J.A.R.V.I.S The Personal Assistant Bot.
J.A.R.V.I.S. humanoid build: custom AI core, Intel NUC, camera, servos, drivetrain options, and Synthiam ARC for home...
Wmoecke's Yet Another Wall-E (U-Command Wall-E Teardown And...
Convert a Wall-E toy with EZ-Robot/EZ-B: disassembly, gearbox and linkage reuse, servo integration, audio options and...

Chapter 1 - Power
I want to create a robot that moves, I will need a portable power source i.e. Battery.
I may be wrong in generalizing, but, this is most important choice and is the biggest constrain in every project. If you need more computation you add powerful CPU, if you need more torque you add stronger motors, but every-time you increase the specs you need more power.
The robot will be carry-on baggage, so we need to check the airline guidelines or the safety and standard's authority: FAA
https://www.faa.gov/about/office_org/headquarters_offices/ash/ash_programs/hazmat/passenger_info/media/Airline_passengers_and_batteries.pdf
I want the safest type, there are different types of Lithium batteries: Metal, Ion, Polymer, Iron phosphate (LiFePO4) and some of them are inherently safe, others not really, all of them requires airline approval.
I want to avoid an argument with the airline... Sealed lead acid battery (SLA) it is.
There is another requirement: no more than 100 watts and 12 volts (no reference to other voltages), once again let's stick to the rules.
100 watts is more or less 12 v x 8 Ah, anything less than 8 Ah is good too.
Some valid choices:
Power-Sonic PS-1280 F1 Sealed Lead Acid Battery
ExpertPower 12V 7 Amp EXP1270 Rechargeable Lead Acid Battery
I'll go with 8 Ah specs: Power Sonic PS-1280
This will add 5.60 lbs (2.54 Kg) to our suit case !
After a trip to the homedepot:
12v/8A Battery with a wood/metal frame:
*) later I'll replace the frame with a 3d printed version.
The battery frame sits on top of the wheels:
Chapter 2 - Motors
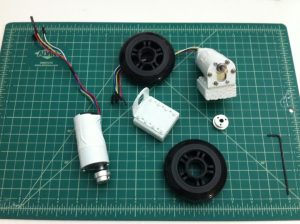
I need to replace the suitcase front wheels.
I want to avoid extra holes or heavy modifications, so the motors will be outside.
Parts:
2 x 12v motor w/ 131:1 metal gearbox, 80 RPM, quad encoder, 8400 CPR
1 x Stamped Aluminum L-Bracket Pair
2 x Aluminum Scooter Wheel Adapter for 6mm Shaft
2 x Scooter/Skate Wheel 84x24 mm
Motor specs: Current: stall: 5A@12V, free run: 0.3A Encoders: 8400 CPR very good for odometry and PID controller.
Note 1: I picked the slowest and high torque from Pololu's available options, no need for extra RPMs unless you want a racing robot. If you plan to build an autonomous robot, monitoring, analyzing and take decisions take time.

POC: Brackets painted and motors with white tape. I added a wood square to interface between the aluminium bracket and the suitcase.
DJ painting, he does not have a clue what's coming.Chapter 3 - HID (Human interface device)
We need to interact with the robot !
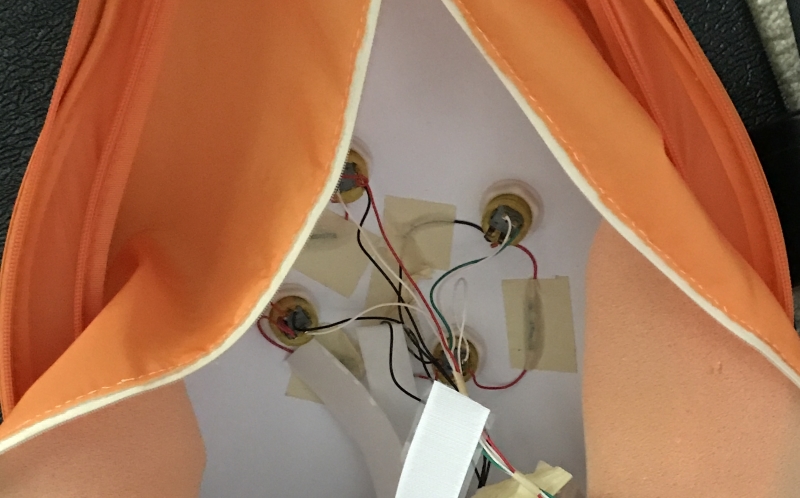
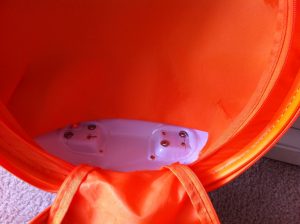
We need some buttons, leds and a screen. We have some serious constrains: I can't damage the suit case, small area to work, and a lot of pressure!
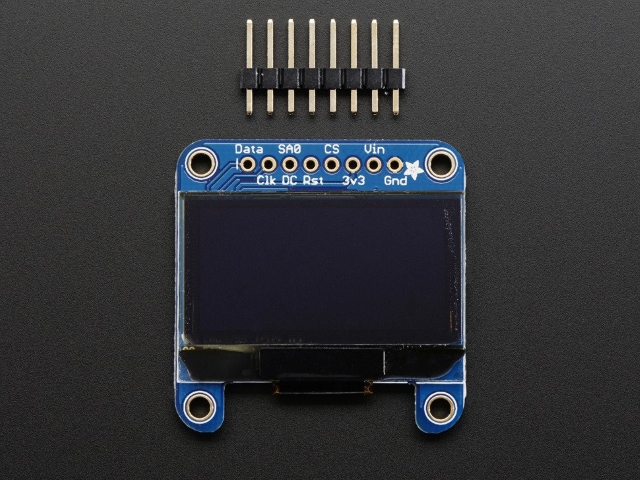
Oled screen location:

Monochrome 1.3" 128x64 OLED graphic display https://www.adafruit.com/product/938Button/Leds location:

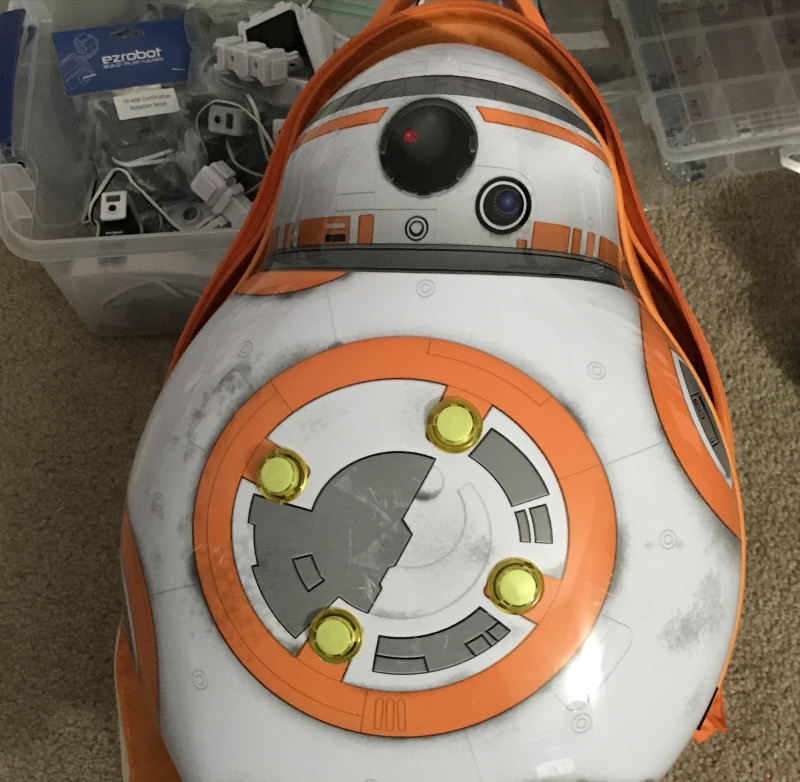
4 x Arcade Button with LED - 30mm Translucent Yellow (No Orange) https://www.adafruit.com/product/3488Operational side:
Front:
(*) I didn't installed the OLED:

I need to be sure is the one. I will wait until i have the software ready.The push buttons will be used:
I like the concept of building blocks:
Power Block DC/DC (StepDown) 12V to 5V Power On/Off the system Power On the RPI (On demand)
Motor Driver Block H-Bridge PID Controller STALL detection
HID Micro-controller 1 Handles the buttons and the leds Validates the power-on/power-off sequences.
HID Micro-controller 2 Handles the OLED Handles SD storage for animations, sounds, menu options Handles the IMU
Main communication hub. Powers on the RPI when needed
EZB
Raspberry PI 3
3D Camera
To be continued...
This is great - although the mention of DJ (your son) keeps confusing me - in a good way! Love it
Pedro, how did I miss this? Did you ever finish him?
I finished the remote part, the day before the travel I replace the DC/DC (5v /5A) with another one (5V/10A), unfortunately the DC/DC was defective and damaged some components.
I planned to install a 3D camera after that, instead and running against time I end up redoing some circuits and the robot was usable via remote control (mobile phone).
I plan to rebuild the missing features.
Cool project indeed!