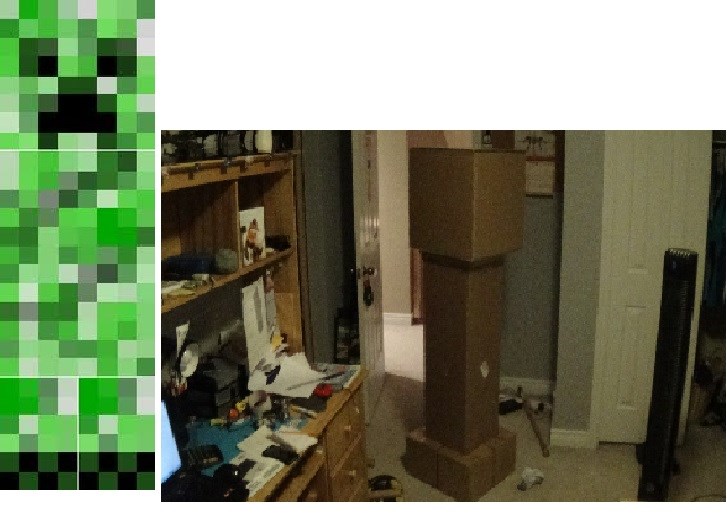
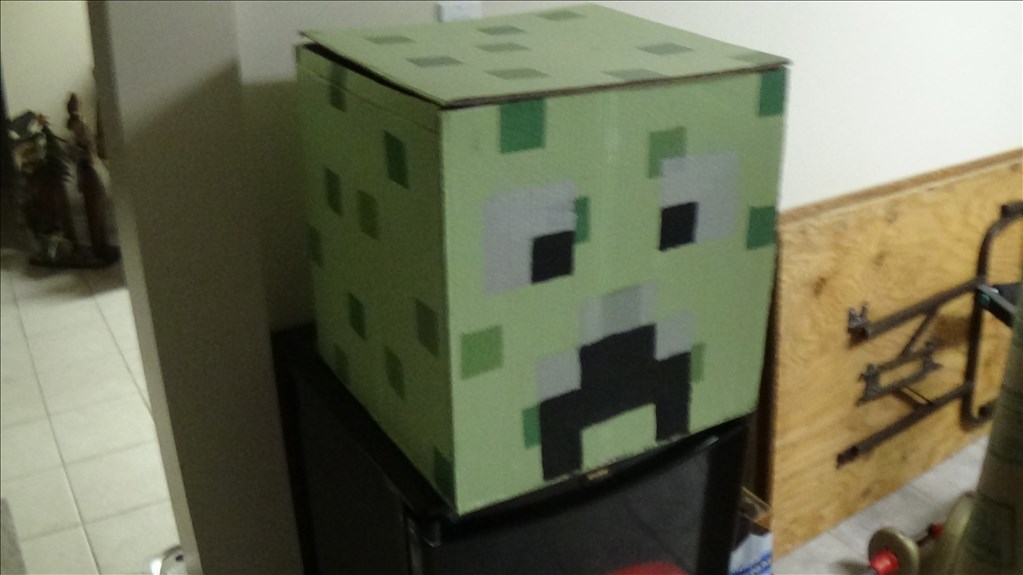
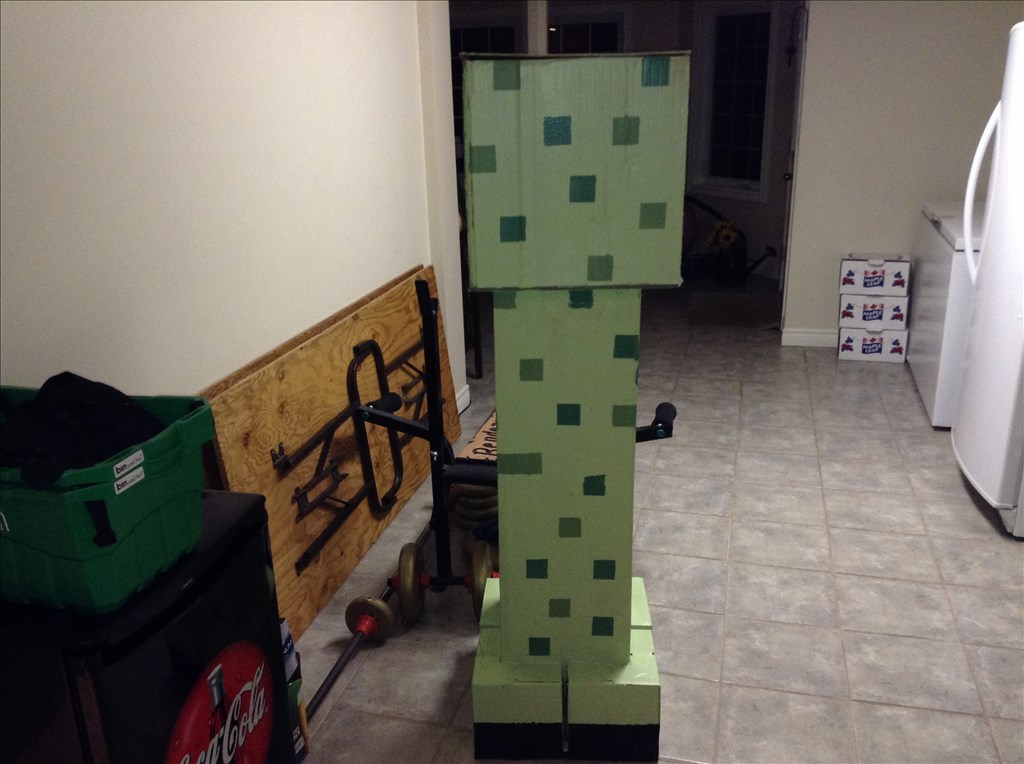
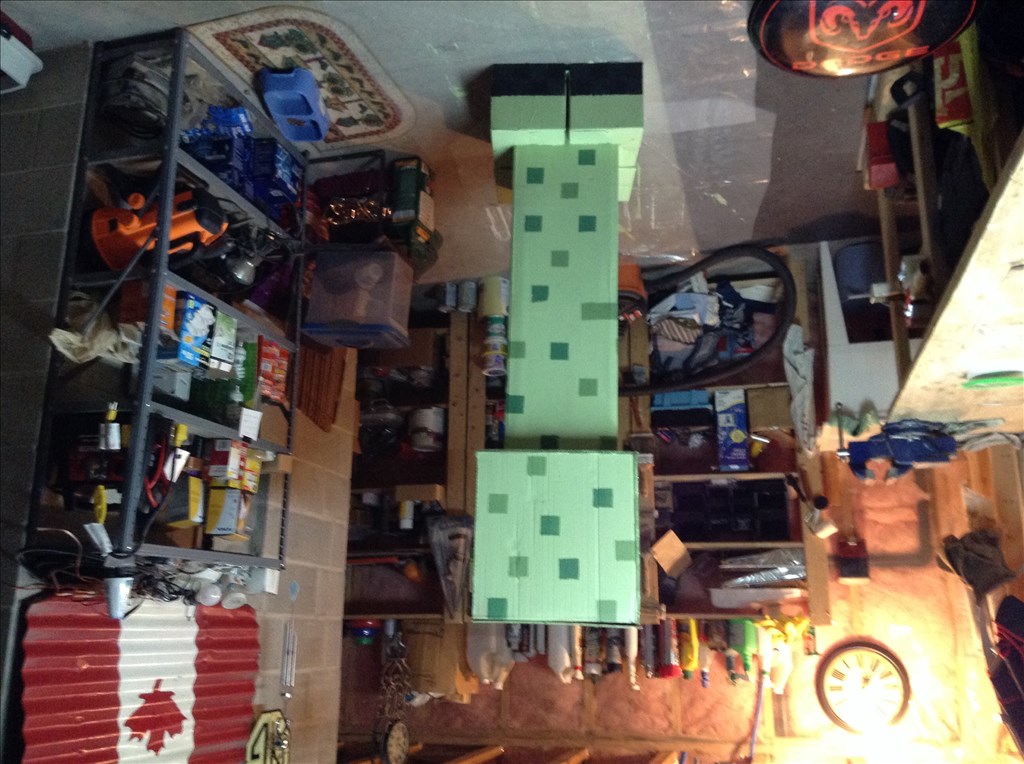
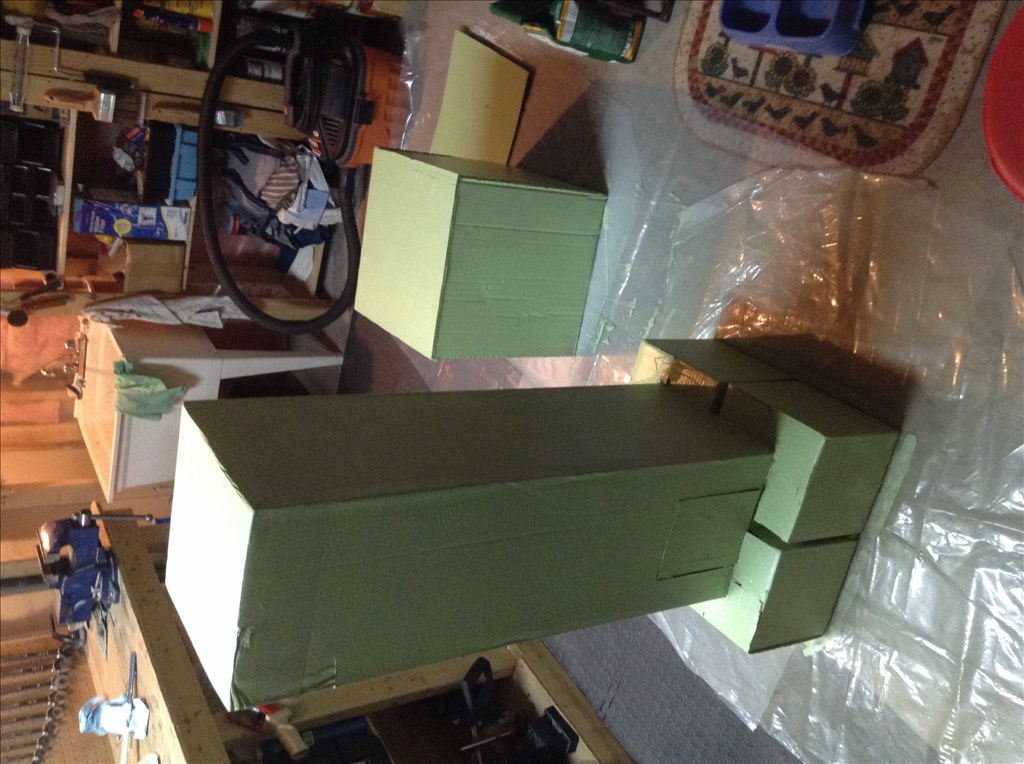
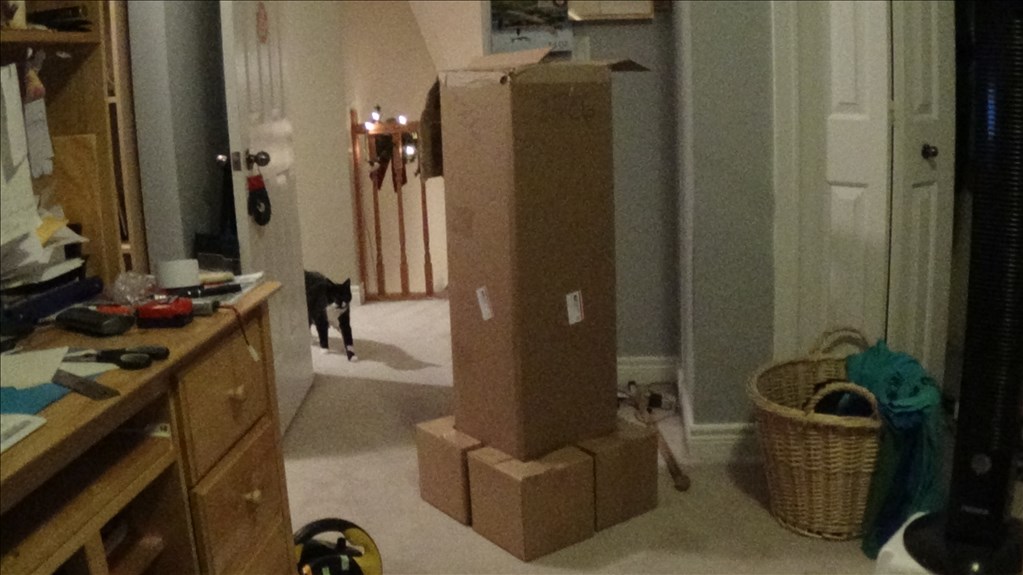
This is the new thread to the Creeper build. A 5ft Minecraft Creeper robot counterpart, made by non-other than me Techno. Minecraft is a hot topic these days and so I thought id combine the worlds best 2 things: Minecraft and Ez-robot
Search stats of "Minecraft Creeper":
[url=http://www.google.ca/trends/explore#q=creeper&date=1%2F2013%2012m&cmpt=q]Creeper search stats]Creeper stats
After researching the topic I found I'm making the third creeper robot in the world. The first one I found was a monster 2-metre tall robot that ran automatously. The second one was a 1-2ft tall creeper made as a high school project, same concept.
Now mine. In between the sizes of both current creepers. Currently 18" wide, 3'7" tall(no head)
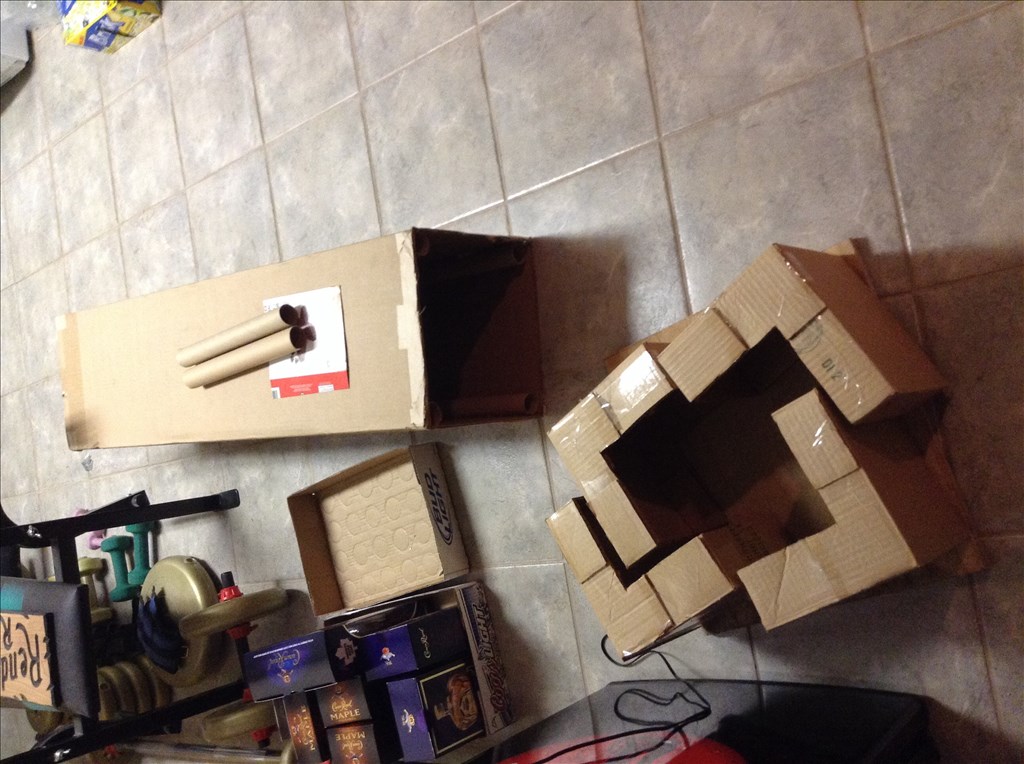
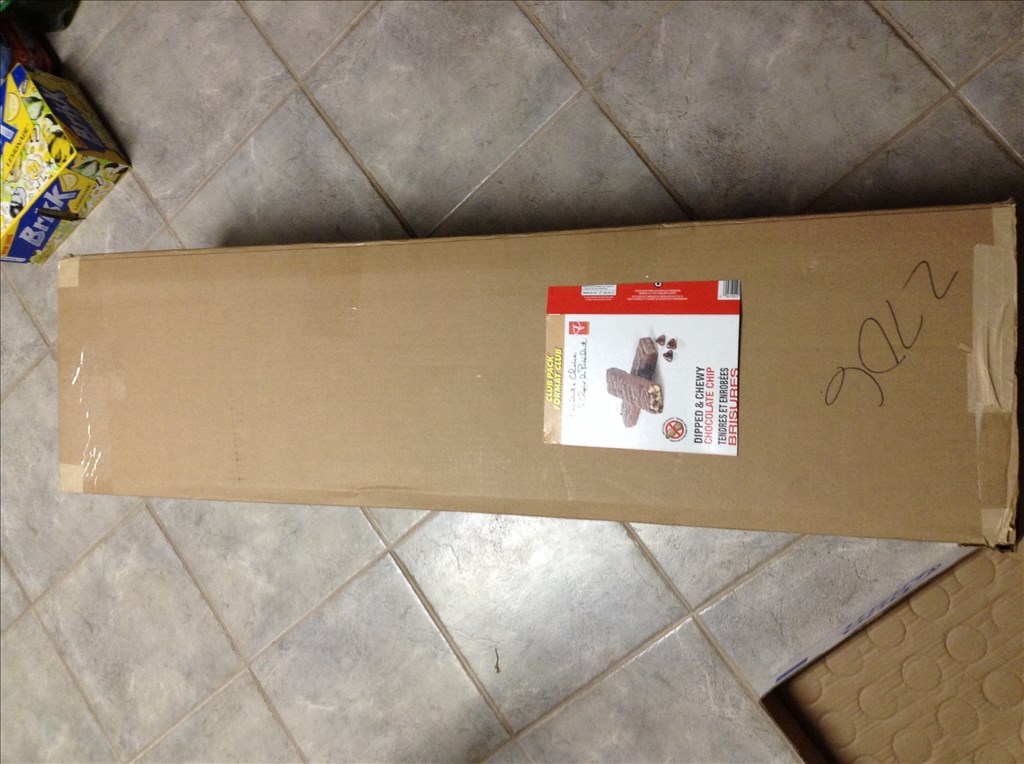
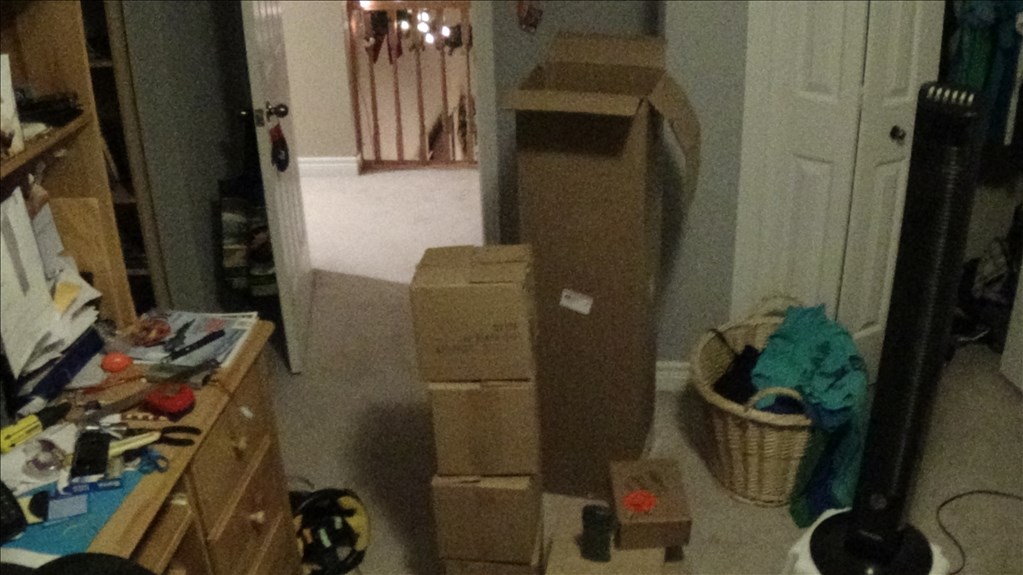
My materials: 1 empty de-odorant thing 1 flashing light board 4 boxes(9" x 9" by 8.5" )-use in making skirt 3 boxes(10" x 12" x 3" )-dunno 1 box(3' 8" x 12" x 12" )-Body Too many LEDs
What I need: Ez-b(bought)-$69 motor controller(bought)-$15 Camera(bought)-Free with points Motors(chosen)-$75: 12v dc motor one sided sticker sheets(45 sheets)-$30 Decals printed green spray paint-$5-25
Hope to have this project finished soon! Approx. Date of finish: January 31, 2014.
Comments Welcome!
I thought about that. I'll just dress up as Steve. My Qr tracking shirt will be toirquois and I'll make a helmet.
When you get that done you can take it to Fan Expo in Toronto. It would be a hit.
I bet! Well, hope to purchase stuff in my need list soon.
Do you guys think wood glue would work well with cardboard gluing? If not, what epoxy or other glue should I use?
Wood glue as in PVA glue will work but it isn't as strong.
If it's cardboard I don't see anything wrong with using hot glue. The glue is likely to be stronger than the materials you are sticking together.
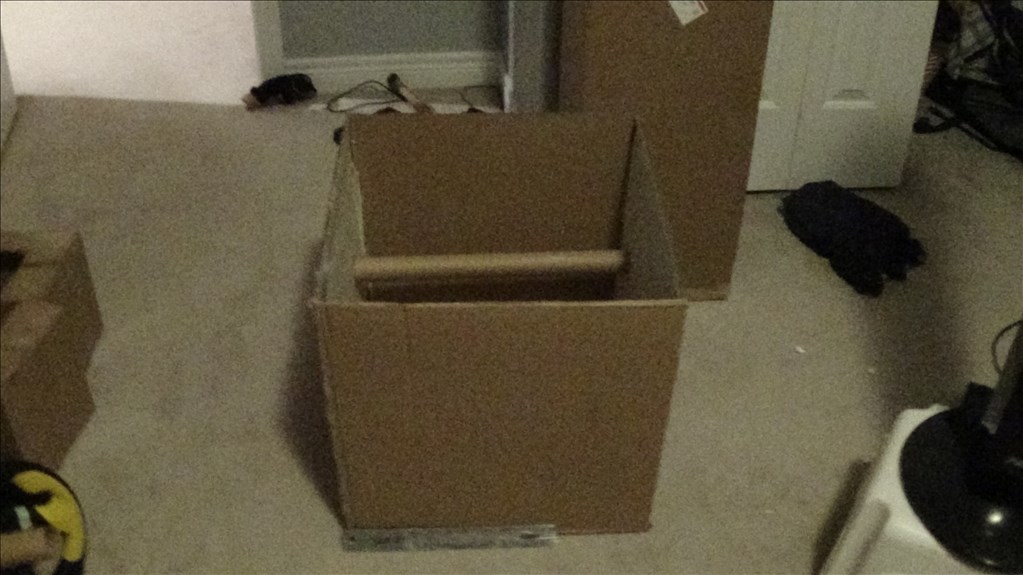
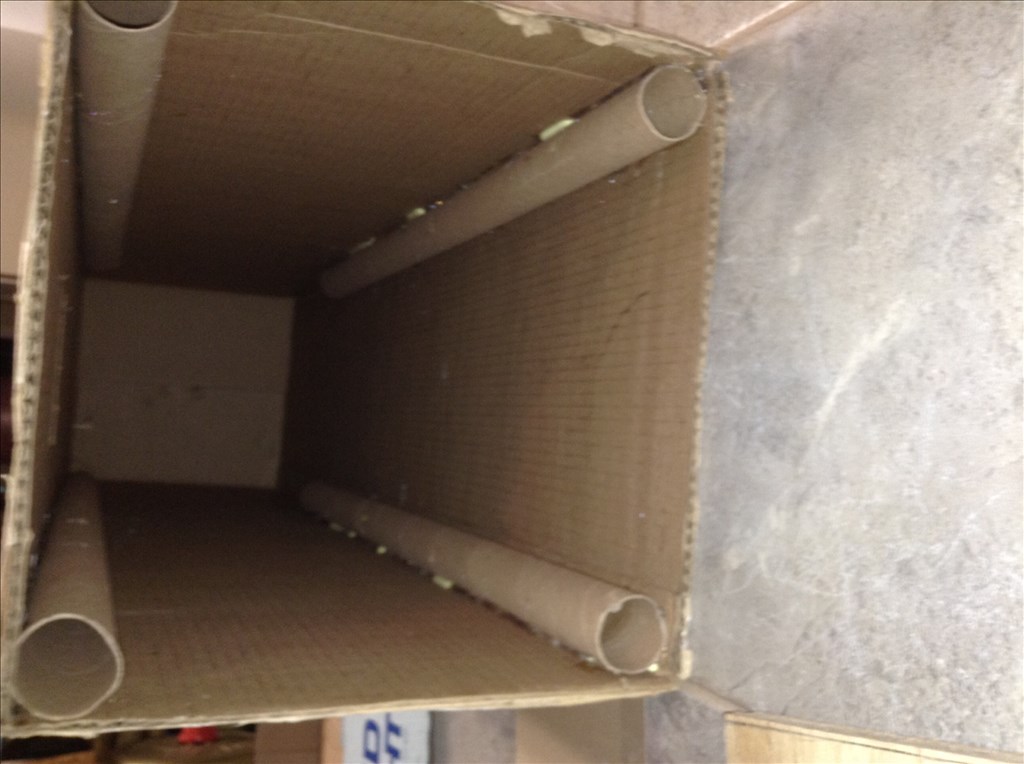
I need to glue the "Feet" to the body and wrapping paper rolls on the inside for structure. Just use hot glue? I guess if a add wires and staples but alone?
Edit: I need to glue cardboard to the wooden platform on the bottom that will support the drive train. It needs to be long lasting.
Looked it up. People saying wood(carpenters) glue or hot glue.
Finished the head. Not putting the top on until I get the turn servo hooked up.
Metal is a ruler.
What do you guys think? Just turning motion or up/down too(the head)? Creepers can do both but the shear weight of the head worries me that the servos won't stand up to the weight. Plus he'll be tall enough that unless he's following a 6 year old, he'll be able to see mostly everything.
@Techno I did not realize you moved your project to this thread. I put a suggestion on your Alex thread. It was meant for this build.
Thanks for the heads up! Good advise. not doing major frame work as the boxes already have structure, more so corner protection and load spreading. Not any "crazy" weight on the tubes.
Looking on the decals and so on. Got a picture and the creeper has a rectangular prism as a body. The head hangs out over the legs on the front but not on the sides. One flaw to my design. This also throws off the dimensions of the squares to where the squares on the head will be bigger than on the body. I need your opinions on whether I should have different sized squares or inaccurate decals.
Looking at it I might go with keeping all the squares the same size and making the proportions wrong. May look better.
that's the 2 metre one I mentioned at the beginning of the thread. Saw a different video on it though.
Hope to get the plywood tomorrow. What do you guys think about making the body detachable from the base? Aka have the creeper clip on, and when I build Alex make them interchangeable? Just an idea.
Maybe make the legs move back/forth when moving so that it looks like he's walking? that would be pretty cool
Thought about it. Lets just worry about getting it moving first! Looking at it, this thing is gonna be huge!
Posted updates to the items list in the first post. Motors are linked now.
Just wondering- is the creeper going to have the computer inside the body, or will it be outside of the unit?
Outside. May put one in later but right now it's all about getting it painted and decaled and mainly the frame.
I really like your idea- especially the interchangeable body idea, great work!
Not sure how i'll design it but I figure it out.
In regards to the interchangeable bodies, I have 2 ideas.
Magnetic strips on the base and bottoms of the bodies. Just set them on top of the base and you're all set. This will also allow for a little forgiveness on your dimensional accuracy when lining the bodies up with the base.
Go with the slots and tab method. Design the bodies with small tabs extending from the bottoms and cut some slots in the base for the tabs to slide into. If you go this route you want to make the tabs a little longer than you might think. You don't want them dragging on the ground but you do want them to extend into the base fairly well. If your tabs are too short they'll pop out all the time. (Unless you design them clip style { , } but if you do that you'll have to flip the base over to un-clip it eveytime you want to change the base.)
Anyway Tech you're really hitting it out of the park with this one. Great concept, then going with the super keen Creeper, (I'm not a Minecraft fan but I don't live in a cave and am aware of its pop-cultural significance.) And the modular base idea is a pretty darn good idea as well.
I can't wait to see your next step.
Thanks! Looking at it, I might build 2 bases for Alex and the creeper so that when one fails I can take the base from the other bot.
Buying spray paint and sticker sheets tonight.
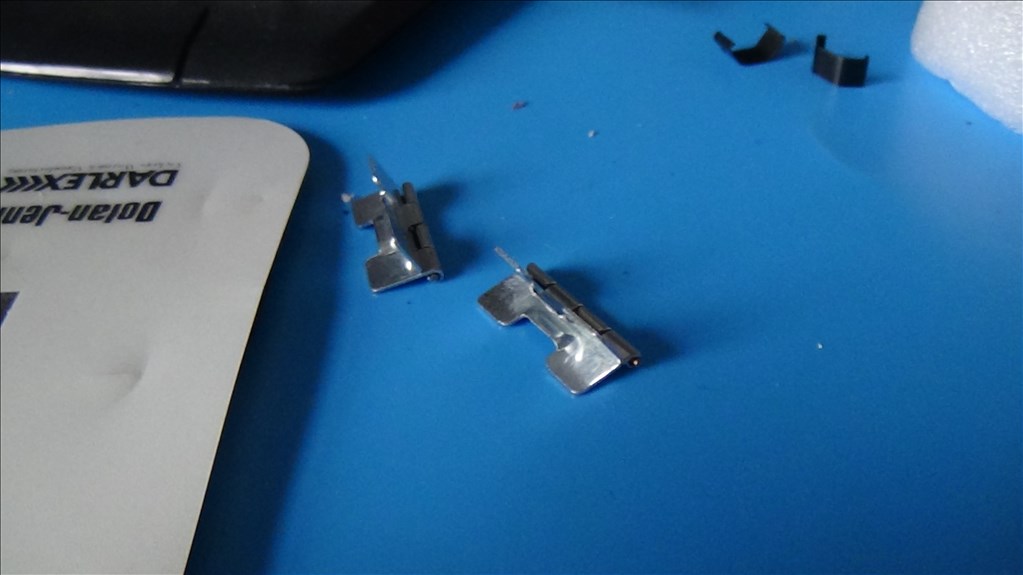
Here's a little idea got got from a ring box. I took the hinges out and I'm going to fit the hinges in the body and make a door on the back to access electronics.
Video update will be up soon!
Here's Video update 1!
My voice wasn't doing so good today but I got through.
Be careful making those access doors. I made mine way too big on my R2 styled project and ruined the structural integrity. It wouldn't hold it's shape under weight. So if you make them make them as small as possible.
Don't worry. I plan on supporting the area I cut for the door. It' thick card board and is pretty strong.
Update: got the base sheet cut and getting ready to mount. Decided not to do interchangeable base due to structure but anyone on the forum is welcome to use the idea. Going to glue tubes in the corner of the body too.
Does this look good for the door? Size alright? Just making a template.
Still wondering on door size. Here's a pic of the corner tubing finished.
You said you're going to reinforce around where you cut the door? Then that should be cool. Personally I'd go a little smaller just because I'm a little gun shy from my last experience. You can always make a hole bigger later but you can't uncut a hole that's too big.
Just my $.02 and like I said I'm still on the super cautious side having messed my last body up. Live and learn I guess. I'm liking your progress.
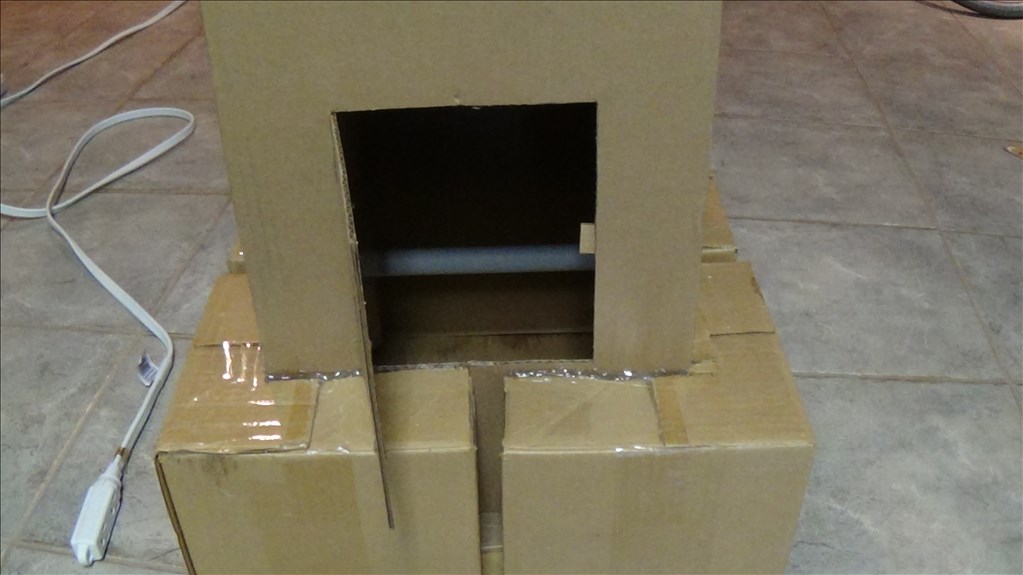
Got the door cut. Put supports around the door. Put the hinges in and all I need to do is paint. Got the paint sorted out so hope to paint tomorrow. Going to order the motors this week. The end of January deadline is looking good!
Great project @Technopro! Recycled, inexpensive , cool and warning pun ahead.... comes with its own moving boxs(for that day when you move out! ) ha ha looking forward to your next update!
iRobot, your gonna like what your about to hear.
So Update: Got the body assembled to the base And will have stapled it on. Hope to paint today.
Picture of the door.
Video update 2 soon to come!
Here's update 2:
Not going to paint today but hope to tomorrow. Nothin' like painting a large creeper robot on Christmas eve!
cool! nice vid ...I suggest you paint the creeper black, put on a couple of cat ears and a long tail, whiskers and call it a Creeper Cat (just kidding) I love how the cat photobombed ya
I'm telling you. Every time I pull out the camera there's the cat! lol.
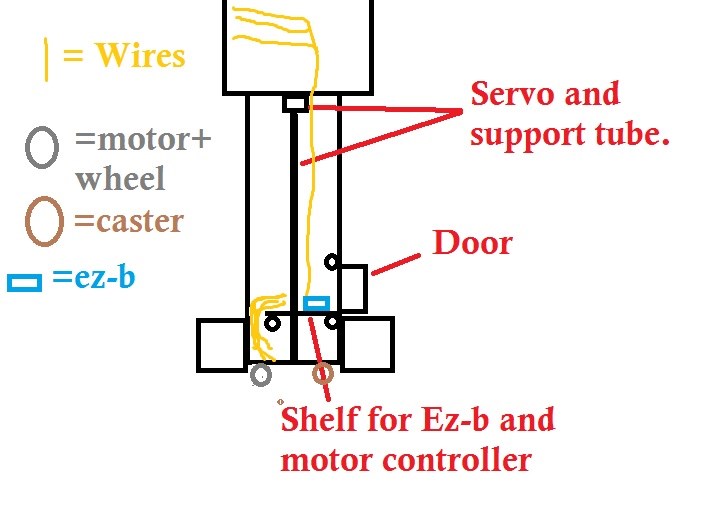
Quick diagram:
Painting to be done by Jan. 6th as I'm on holidays until then. Will update when painted!
I really like your thought process. Seems like you got a good plan. Cant wait to see it creeping around.
Just a thought; You may want to make sure you have some insulation between boards and electrical parts that heat up and the cardboard of your robot. You don't want to start a fire!
Don't worry! I have a plan.
Painted!
Going to paint on details tomorrow. Still trying to figure out how to make glowing face.
Didn't get to paint today. Going to tomorrow. Green turned out brighter than I wanted but Ill fix it.
Got the idea of adding some sort of vacuum and or brush combo to the creeper. (A creeper who cleans up after himself, lol) Any ideas on how I could do this? My idea is either 2 brushes that sweep everything into the centre of the robot which makes it easier for clean up or a tray that picks everything up. Idea's?
Common guys! What do you think?
Maybe look at how to adopt what robotic floor cleaners have. Get a cheap Roomba and take it apart for ideas.
You could incorporate a something like the powerless roller style floor cleaners. Like a Bisil Sweeper or something. The roller brushes basically just brush stuff up into itself. You'd still have to empty it somehow. Maybe line the inside of the base with a garbage bag that all the dirt will get swept up into?
Just looking at that big box base that's the first thing that comes to mind.
Here's a really good car vac that I used to have in my car that only runs off of 12v and can suck up even keys (happened once to me) Maybe just make some sort of brush that goes on the floor, powered by this? It's also small and can hold quite a bit of debris.
The BLACK Collection Car Vac
Update! Got it painted! All I have to do is put the face on and order motors and a servo!
Still looking for ideas on the light up face!
Cupcake, thanks for the link! I'll keep note of that. Is it loud?
Picture that isn't upside down.
looking good tech
It's not too loud, but not as quiet as a roomba. (think of a small handheld vacuum) Then again, you get a ton of suction power (as said before it could lift my key) so it should be able to pick up tons of stuff. Maybe soundproof the body if that isn't too expensive?
Possible.
Update that never happened: (update 3)
So I never got to posting Update 3. Basically where the creepers' at is the paint is finally finished, AKA face is finished. motors and wiring are ready and mounted. 2 or more weeks and ill have the ez-b v4 to get wired in!
Will update when I get my v4!
Here's the Outdated 3rd update!
Hey Tech, I recommend some type of ball bearing caster. They have a smooth true 360 range as opposed to the traditional 180/180 up down/left right that standard casters have. After a few times changing directions, you'll be glad you used them.