


I decided I would start the ALeX project. This was going to be similar to aameralis's lexi 3000 v1, but I cant get into the pages with the pictures due to many pictures, so I'm runnin' solo.
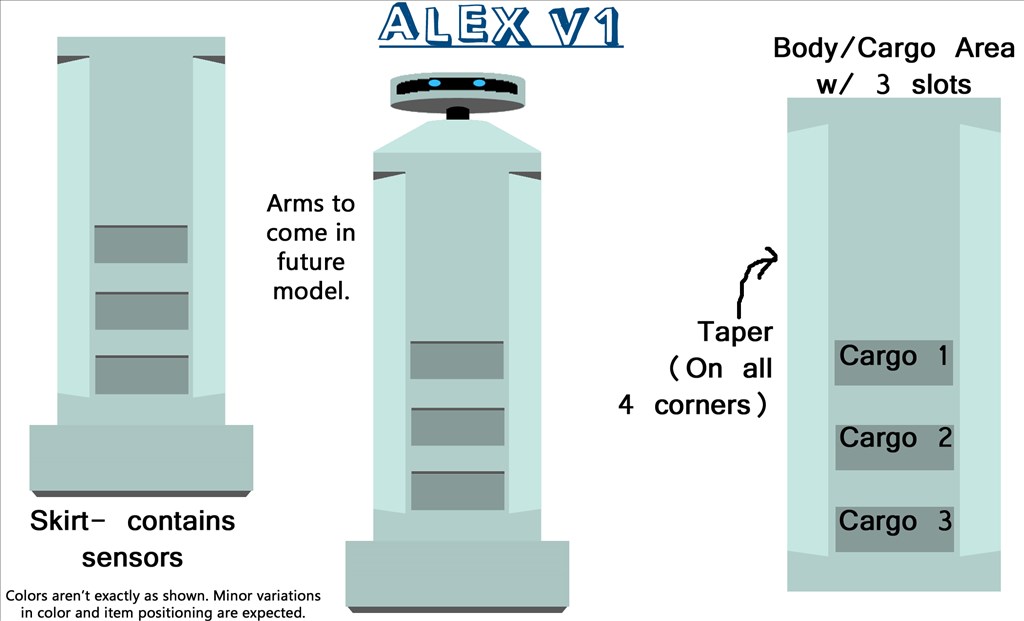
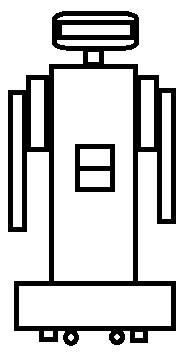
Now Alex. Approx. height when finished: 4.5ft Approx width: ? Weight: 8 pounds or less
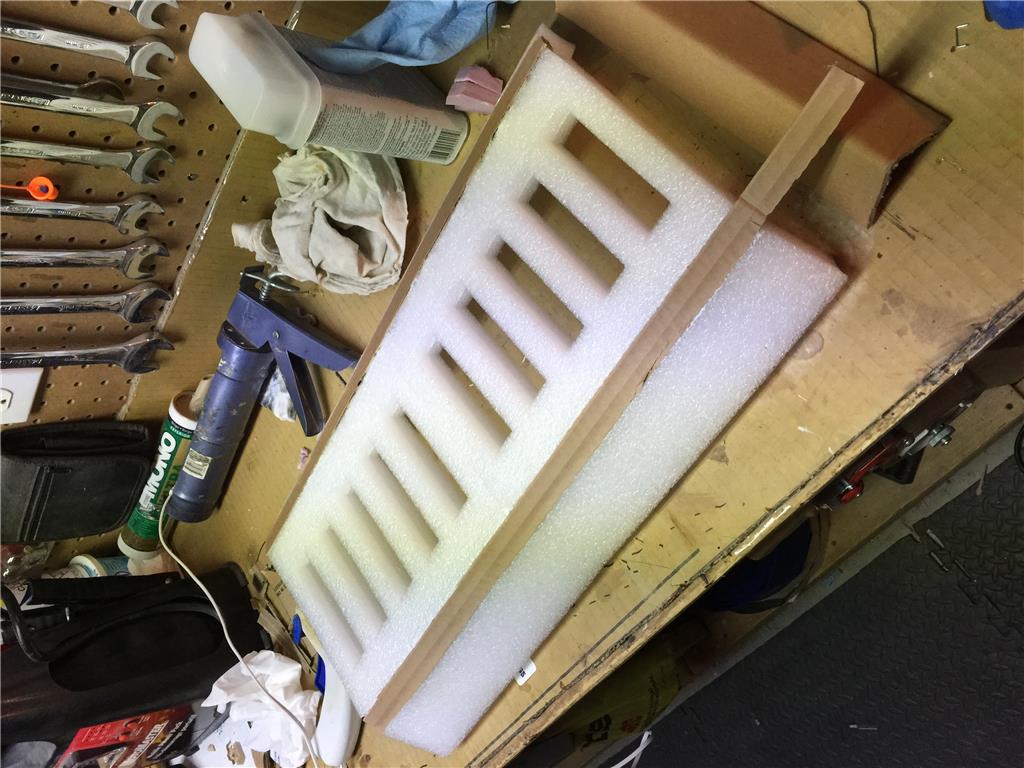
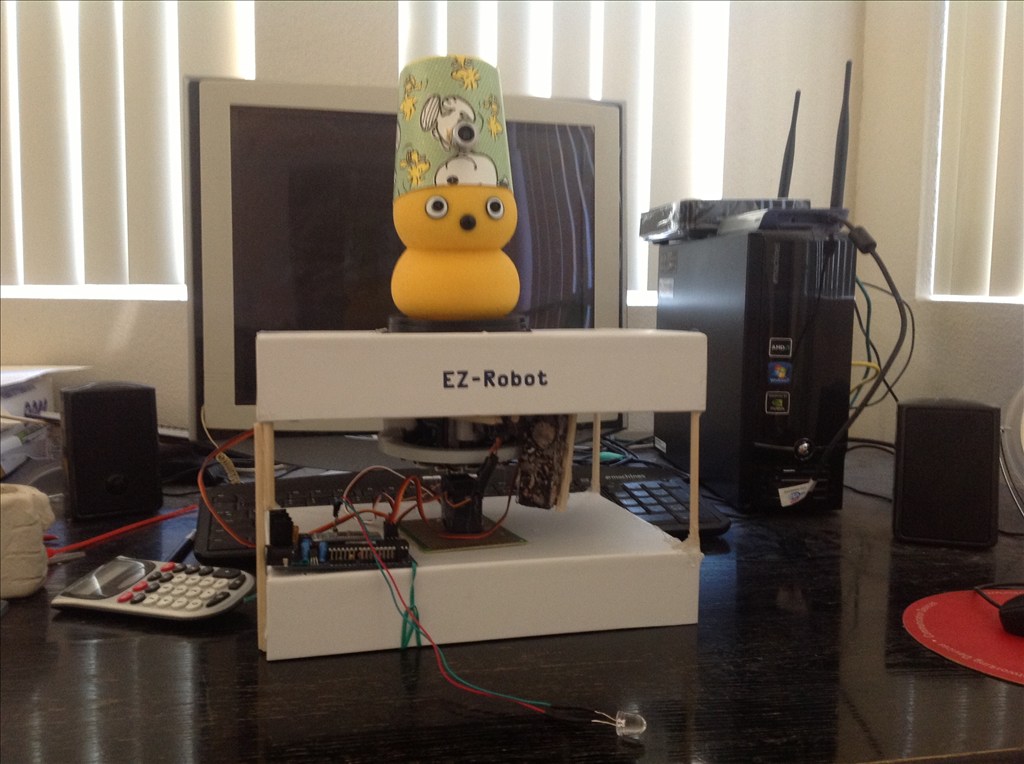
Head will be made of a Lysol wipe container stripped of its rappers. I am planning on building arms for Alex with cardboard but may change material.
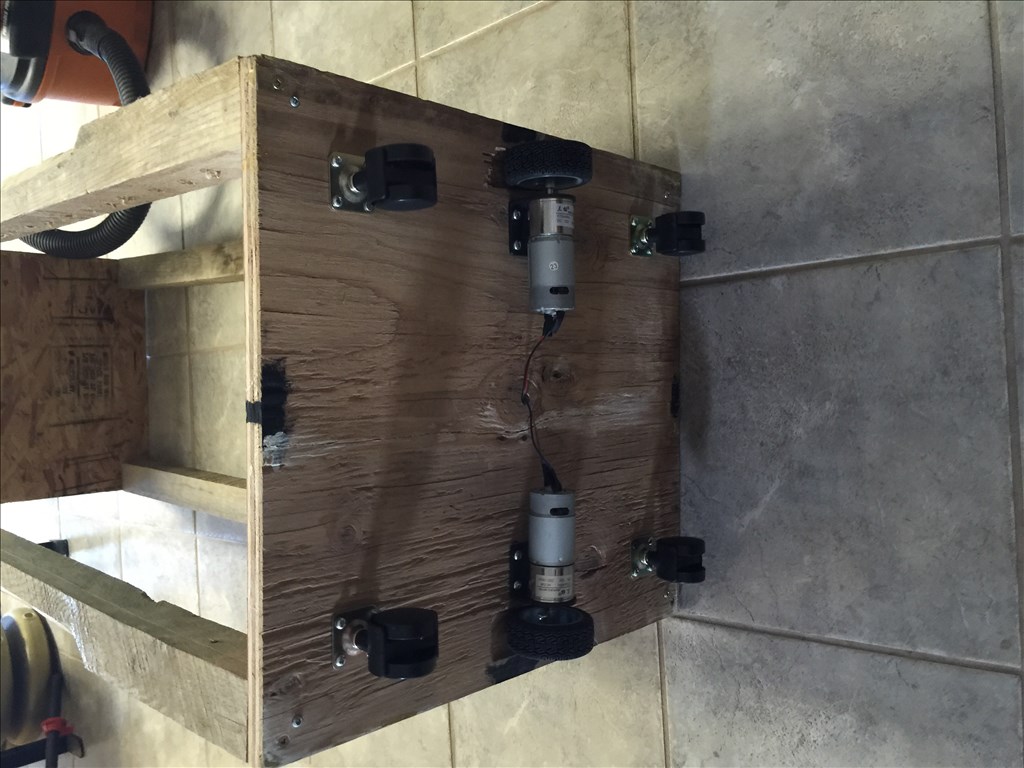
Some robotics parts: Servos: 8 min. Camera: 1 ez-b:1 Battery: 12v SLA motors: 12v 200rpm 2.4kg torque (pwm'ed down)
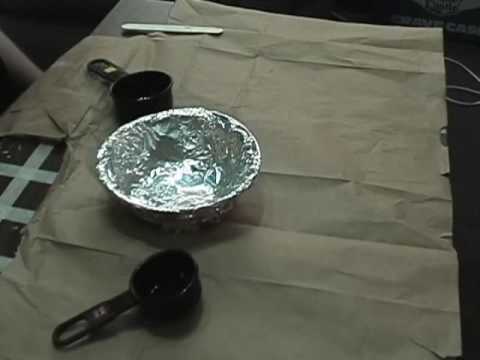
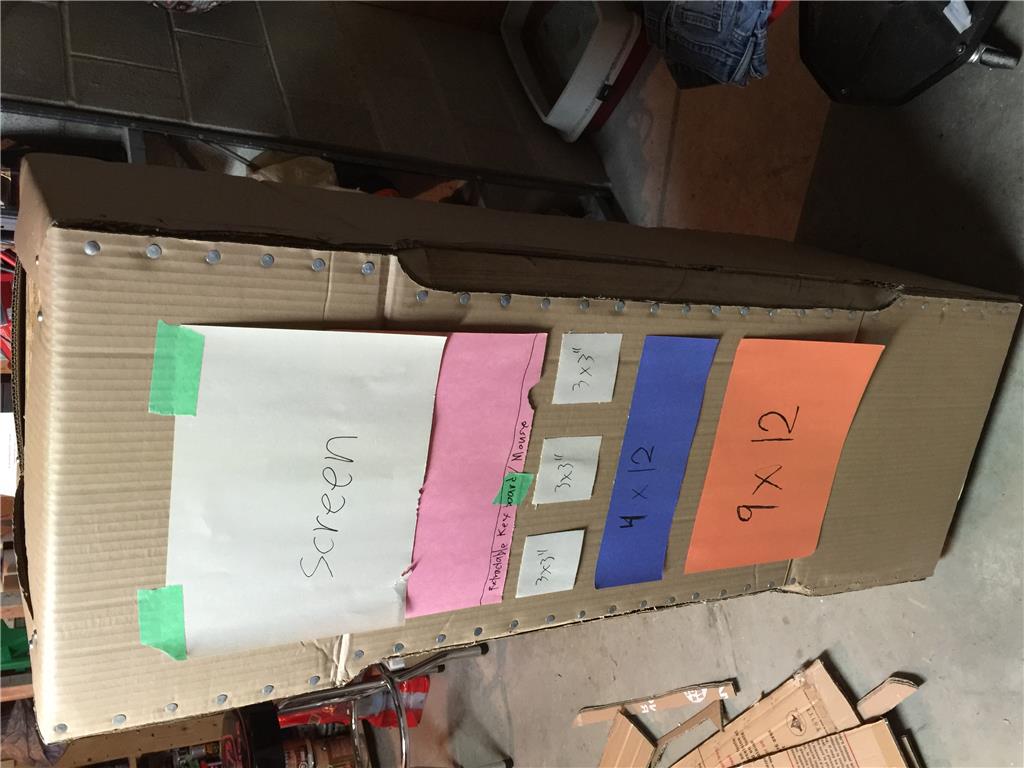
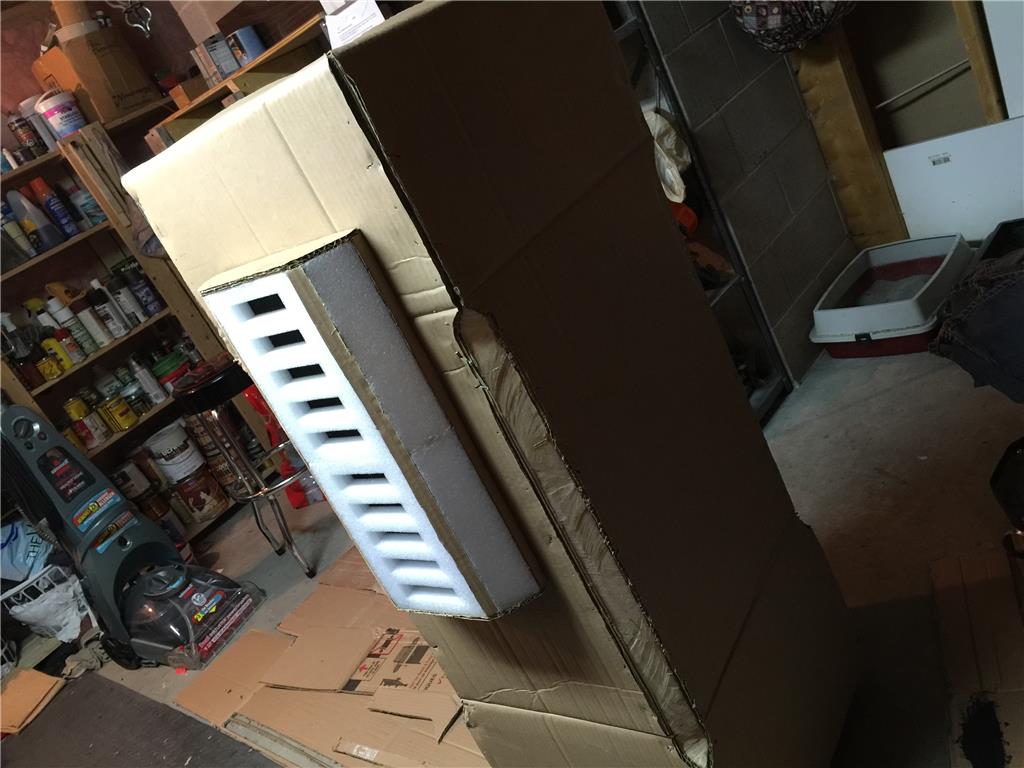
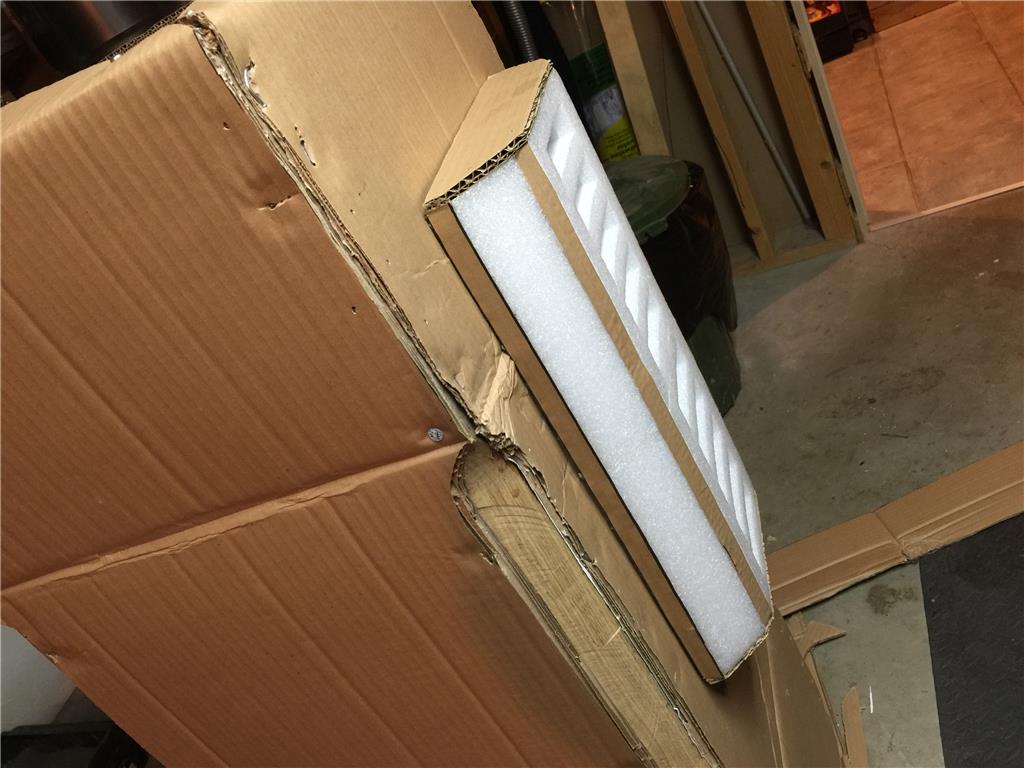
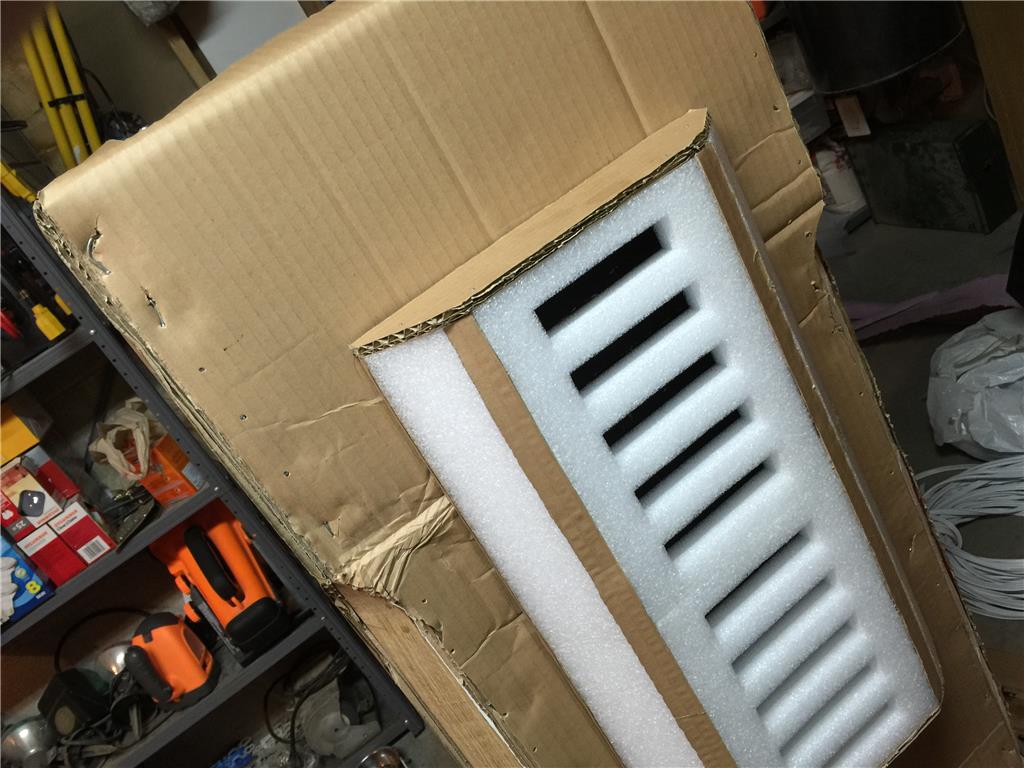
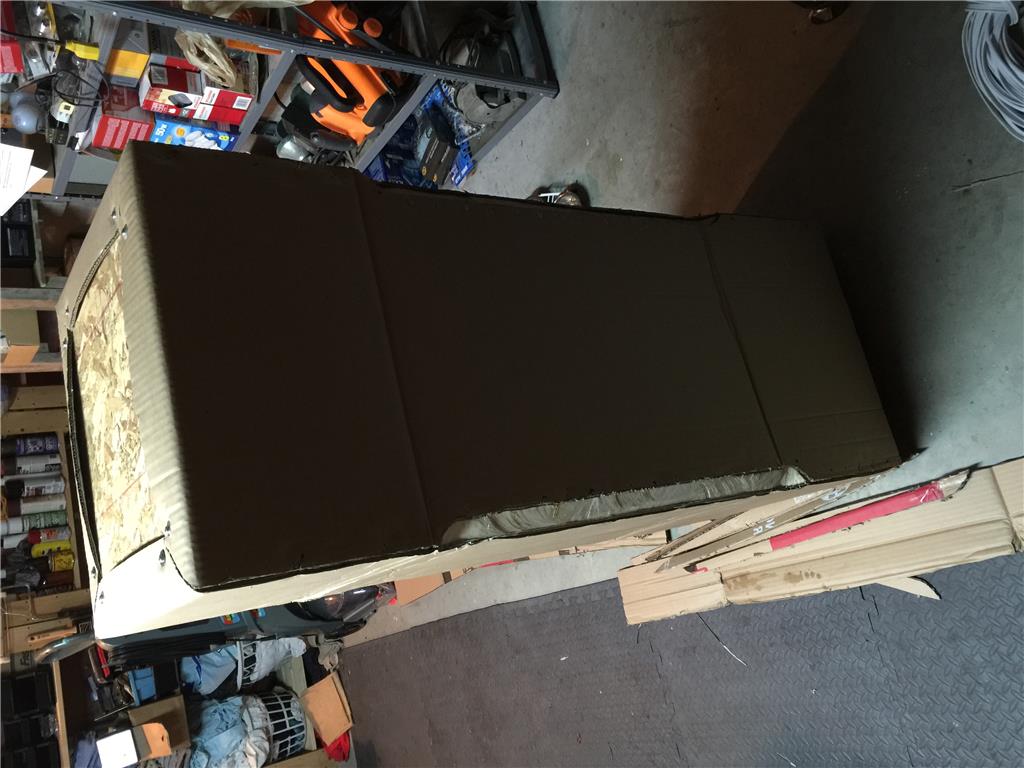
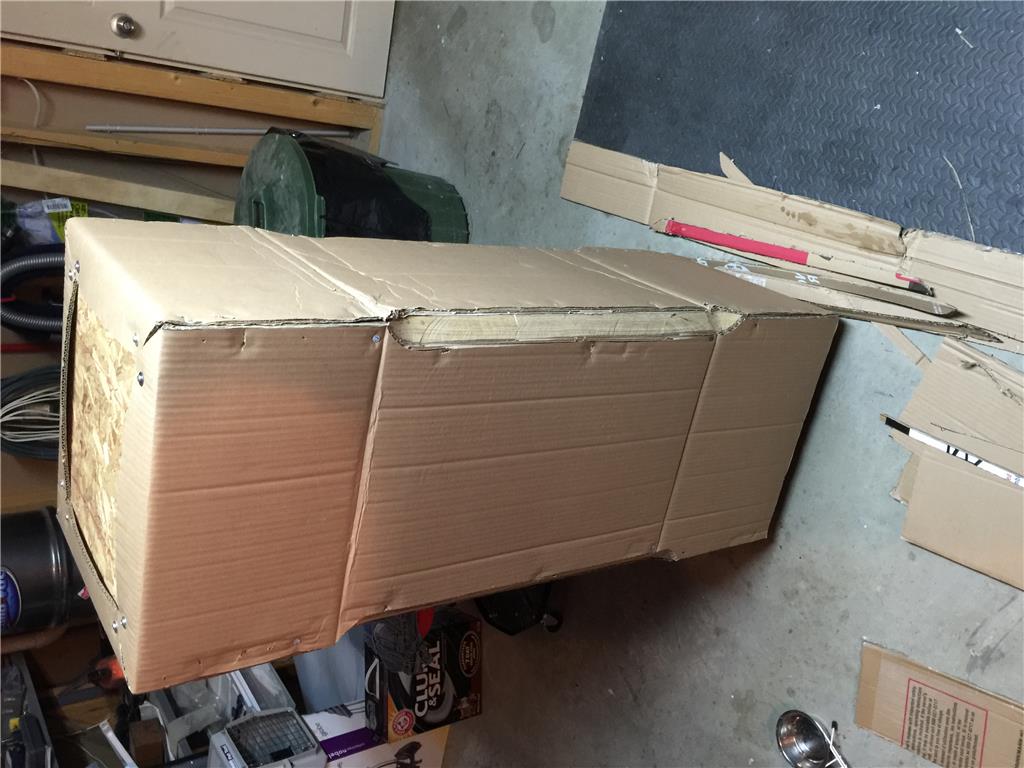
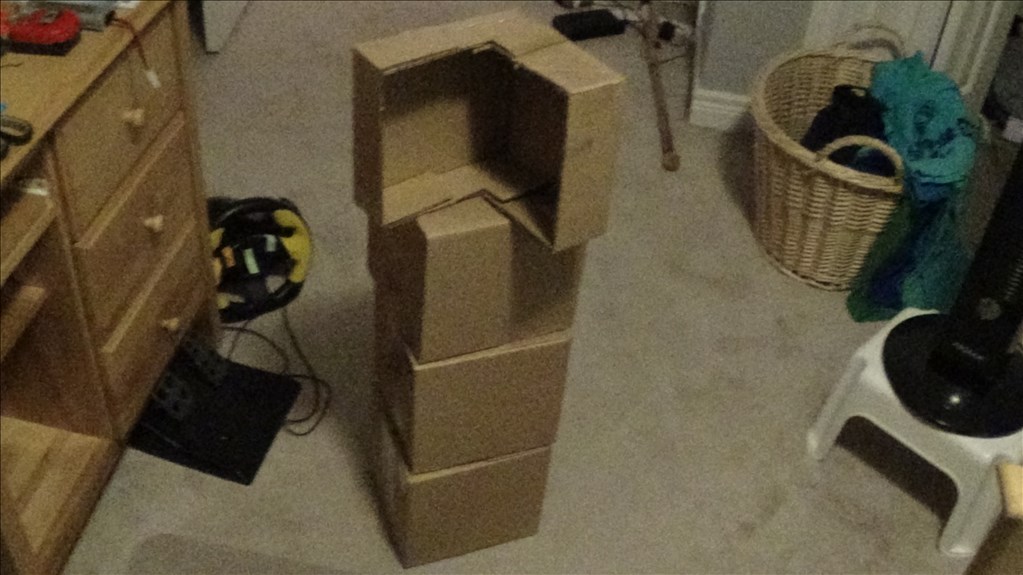
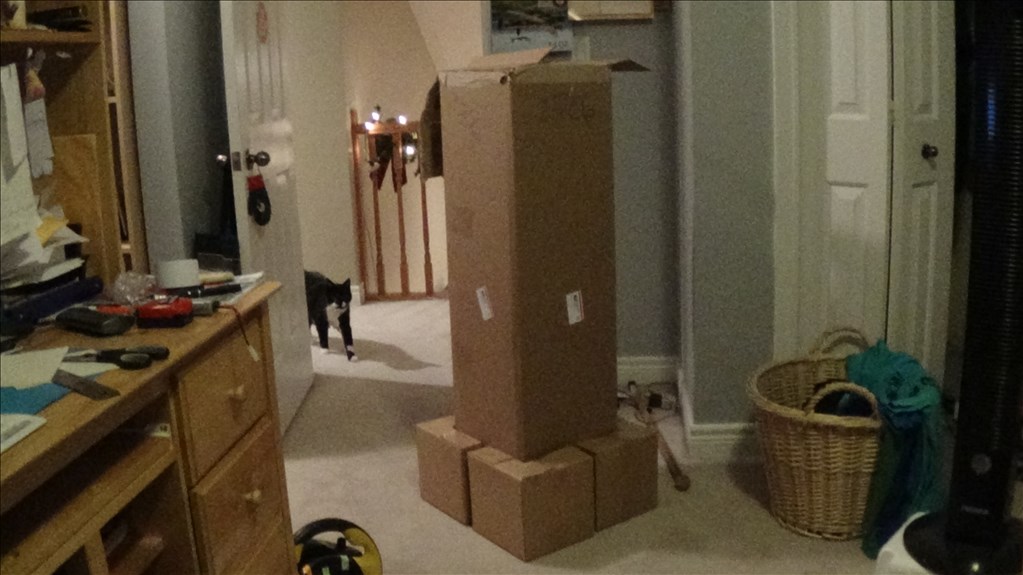
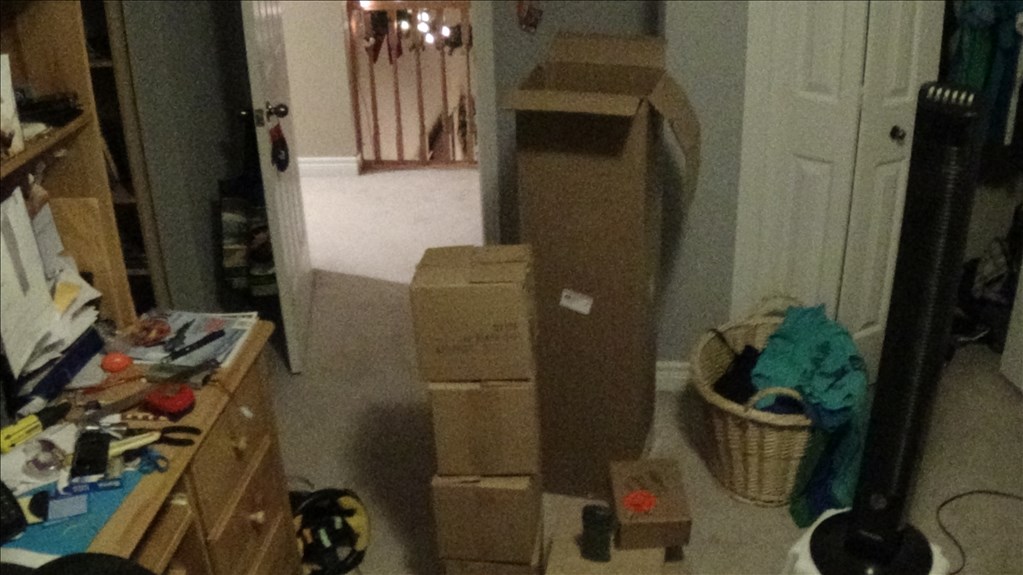
Inventory: 1 empty de-odorant thing(doors in body) 1 flashing light board 4 boxes(9" x 9" by 8.5" )-possible use in making skirt 3 boxes(10" x 12" x 3" )-dunno 1 box(3' 8" x 12" x 12" )-Body Too many LEDs
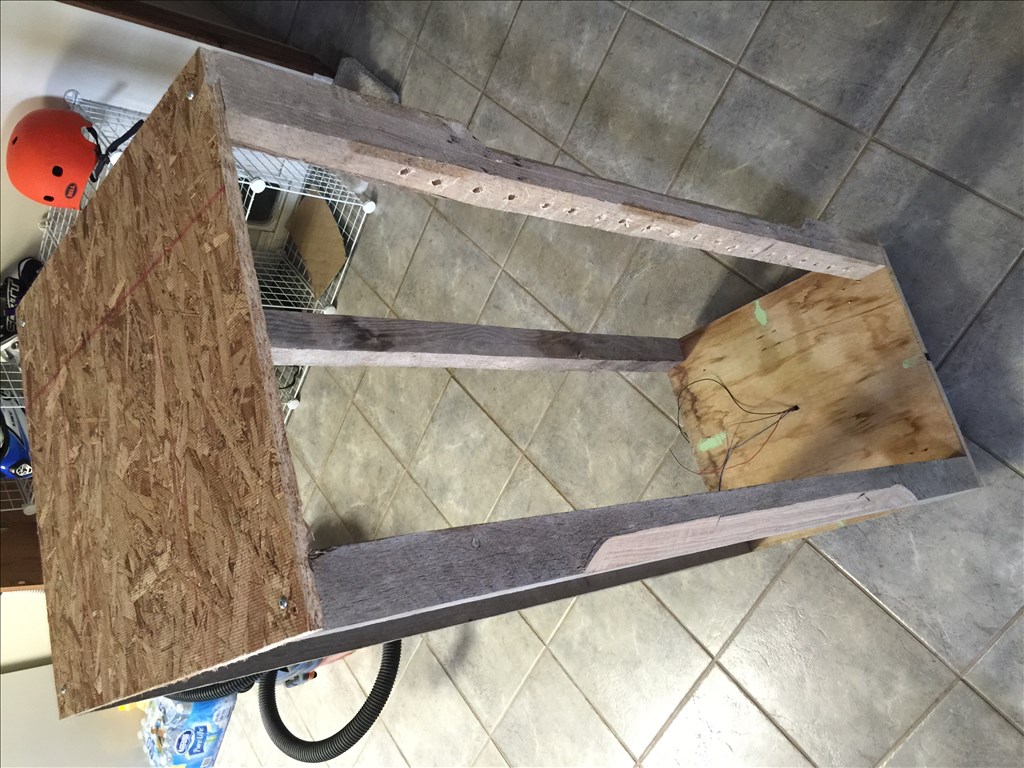
Basic idea of body shape:
Need some pointers on what adhesive to use to attach the parts. Liquid glue? hot glue? wood glue?
I hope to get building soon! Please comment!
Discover more robots
DJ's Master Blaster Robot
Techcrab101's My Robot Keepon

Happy building! Sounds like fun!
Hey bud , is this your first robot? Using cardboard and hot glue is fine for prototyping. You will probably make a dozen changes as you go. Once you have your pieces cut and hot glued together you can use fiberglass resin to make it hard and stiff.. Just brush on a coat on both sides of the cardboard and the inside corners and you will have a plastic like shell. This technique is called composite sandwich layering. You use a wood , foam or even cardboard core and coat both sides with resin. For areas that cracked under pressure you can always reinforce these areas with a bit of fiberglass matt. A yard of fiberglass goes for 6 bucks at walmart or home depot and 34 dollars for a gallon of resin which will go a long long way.
adhesive I use three main kinds for different purposes
epoxy , a rock hard and extremely strong glue. It Is Thick So FILLING Gaps Is Easy And Should Be Used Where Lots Of HOLDING Strength Is needed. Epoxy is somewhat flexible but it will delaminate from the glued part if it is allowed to flex often. The GO Glue is better in case's where the items will flex often.
go glue lock tight acrylic adhesive , comes in a really big bottle as far as glue goes. It is a poly acrylic resin that never completely hardens. I use this to adhere lightweight items to a surface where superglue may not stick , there is a gap or uneven surface. I used this to glue caster wheels to the bottom if my pc and there is no way they will ever come off. The fact the glue doest get rock hard like epoxy means it can handle the flexing of movement without cracking or peeling. The only drawback is to work just as well or better than other glues is that you must apply it liberally. All surfaces must be coated and squeeze it around the edges of the item being glued. The excess glue hardens as one piece and adds to the strength.
cyanoacrylate , CA glue. I use liquid professional lock tight. CA Is Good For GLUEING Very Small Things With LIMITED SURFACE Area That WONT Be Under A Lot Of stress. CA glue doesn't flex well. It will delaminate or cracked if flexed too often.
Since the cardboard will flex, if you do choose to fibre glass it as Josh has mentioned it would almost certainly pay to use the matting on the entire robot. Fibre glass resin with no fibres in is very brittle. It's also very sticky and messy and must be used in open spaces or very well ventilated areas as it is solvent based. And it's also near impossible to sand quickly and creates stupid amounts of very fine dust when sanded.
For the first build use hot glue. You will make changes despite any plans to stick with one idea and keep it. Once that's done then think about strengthening it up.
Hey guys, I found something a little safer than fg resin. It's called aqua resin.
You use fibreglass cloth with it and you get great results.
Think this is the URL. www.aquaresin.com/
Josh, this will be either my second or third robot, depending on roli mega. Think I might work on both at the same time.
What do you guys think?
Well here's my step one: I'm going to make the skirt at the bottom using the 9" x 9" by 8.5" boxes. Will post pic when done.
Spam... How do we report this guy?
Just ignore him, it'll be noticed however if you do feel like reporting it use the Contact Us page to bring it to the EZ-Robot staffs attention.
Well...
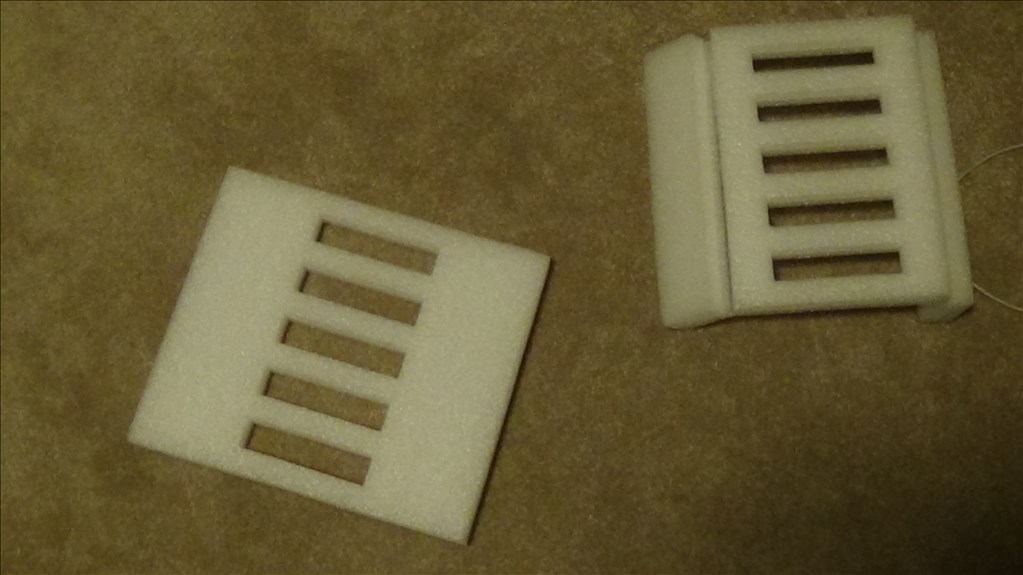
Ok so I finished cutting the skirt.
Test fitted and I have to squeeze to make stuff align. This sparked another idea.
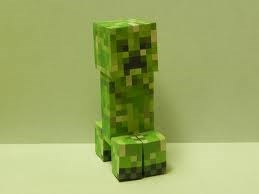
Why not make a Minecraft creeper robot? Minecraft is the hot topic these days and I think it could be cool to make one. Reasons:
What do you think? Yes? No?