I've designed a new neck mechanism for InMoov to add a degree of freedom. It still needs some fine tuning but you'll get the idea.
By bhouston
— Last update
Discover more robots
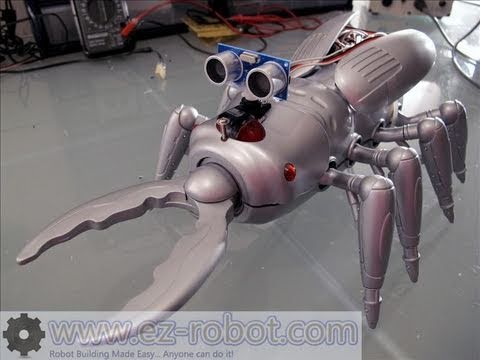
DJ's Scarab Creepy Robot
Scarab robot retrofitted with EZ-B and Synthiam ARC for remote control, HC-SR04 autonomous exploring, voice recognition...
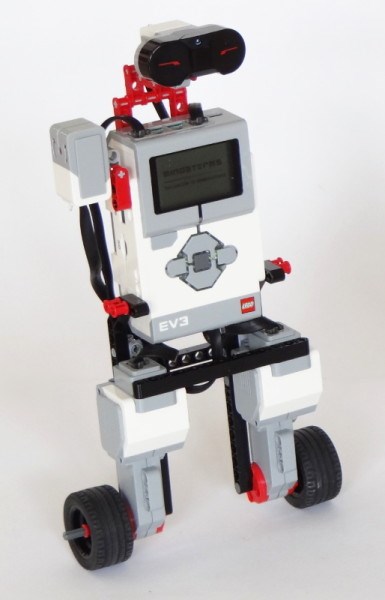
Oldbotbuilder's My 'Bot Wilber (Now Ez Wilber)
Convert LEGO EV3 BALANC3R into EZ Wilber with EZ-B4, camera, speech, voice recognition, IR/RC control, autonomous...
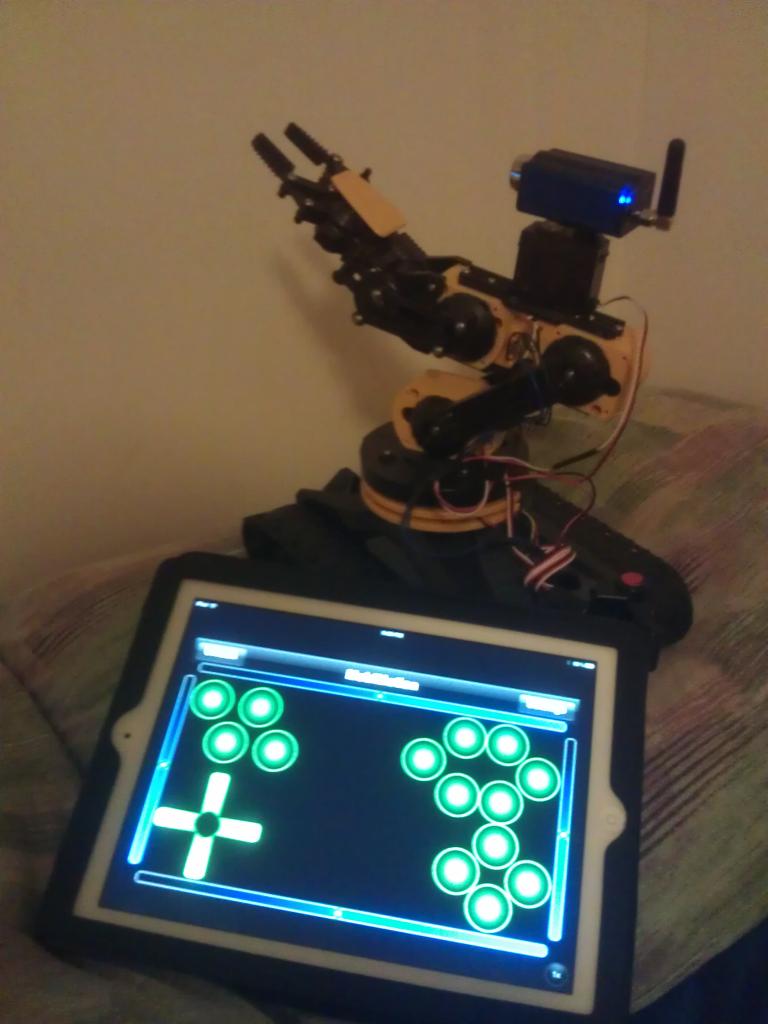
J's Robo Arm
Control a second robot arm from an iPad with the MobiMotion app-drive via accelerometer or joystick; photos show the...

@ David Could you open one of the Bob's stl file from thingiverse https://www.thingiverse.com/thing:845793
and check if the file opens at a normal size?
In my case it looks very small when i open it with my printer SW. tanks
Correction
Forget about testing the file, I have just realize my SW was converting inches to millimeter. It is fix now. sorry
I opened them in netfab and they appear normal. let me try from simplify3d.
These are in inches format instead of mm format. That may be the issue you are seeing.
You are right, I just realize and have adjust my SW. Tanks again
you bet bud.
@Aerius, I'm not sure why the file opens that way. I guess you will have to scale it up. Use this for a reference - The cylindrical part of the Neck Joint Lower part should be 1.2" in diameter. Get this part scaled right and scale up all the other parts the same amount.
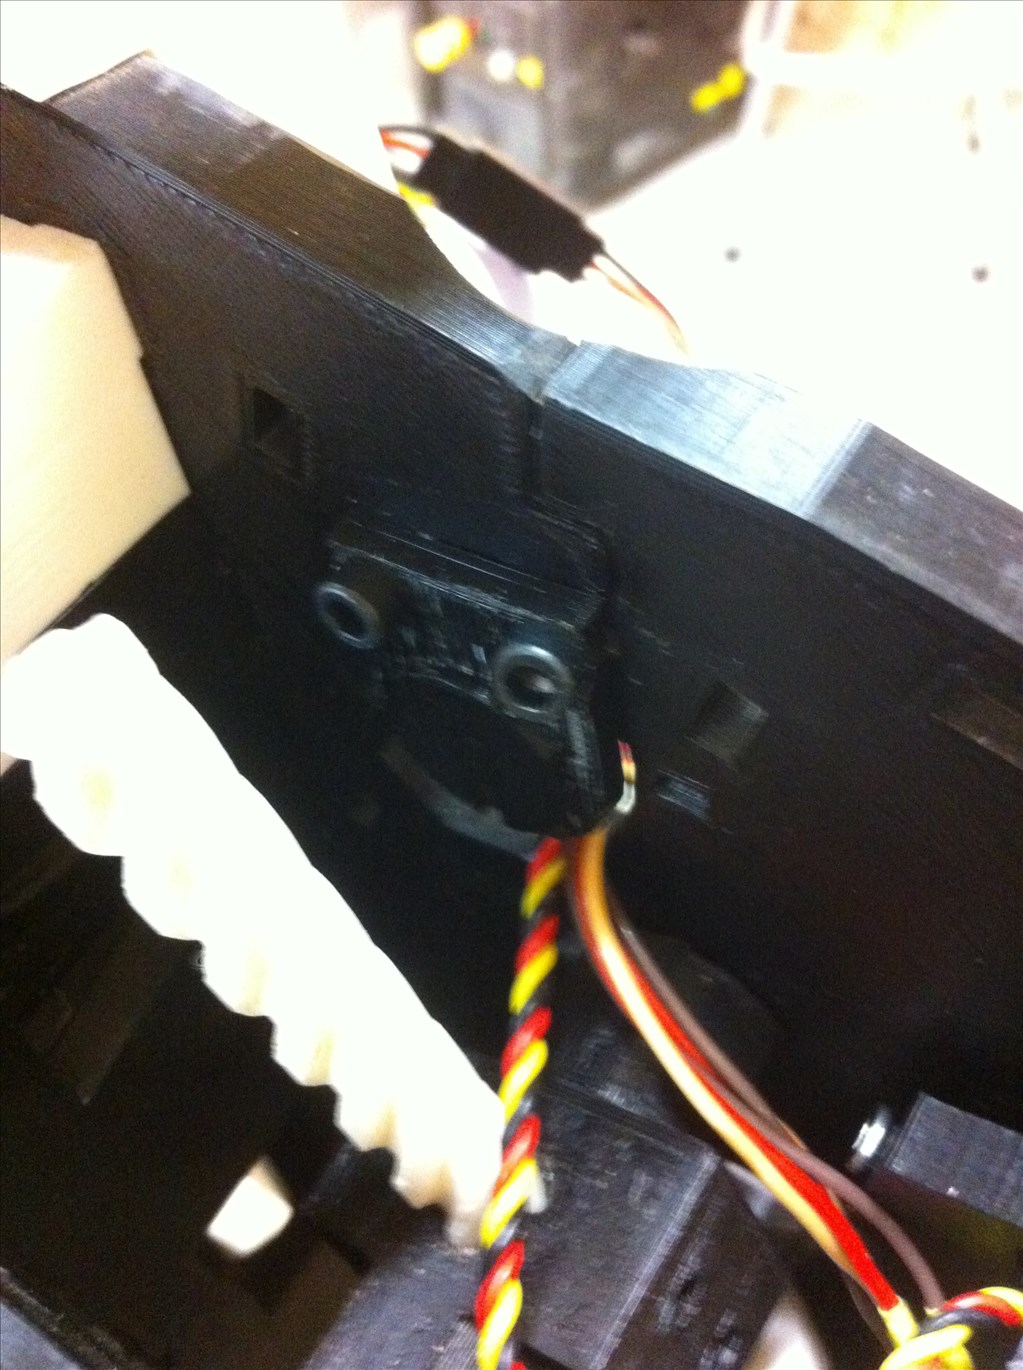
@Dave, The servo holder will hold the HD servos from Ez Robot which is basically the MG995 or the HS 311 or any servo this size. There is one photo on thingiverse that shows the servo Pivot in place. The photo is taken from the back here is another one taken from the front. It's hard to photograph. Drill a couple of holes in the mount and attach to the frontside of HomePlateBack.
Thank you Bob. I will be printing these tonight and will let you know if I run into anything weird.
Thanks again!
Great, let me know how they turn out. Right off the printer the parts will fit very tight so little sanding of the Neck Joint Lower part will be required. I did this so the parts wont have any play in them. Grease all the joints.