
Steps
- Step 1. Loading the Speech Recognition Control.
- Step 2. Explanation of the Speech Recognition Settings.
- Step 3. Speech Confidence Levels.
- Step 4. Setting up your microphone.
- Step 5. Windows Speech Recognition Training.
- Step 6. Changing language for Windows 7 Home Premium.
- Step 7. Pausing and Unpausing Speech Recognition.
- Step 8. Example Script for using Speech Recognition.
- Step 9. Additional information on getting the best out of Speech Recognition.
Step 4. Setting up your microphone.
Before you can use the "Speech Recognition" control with any success, you may need to set up the microphone you are going to use.
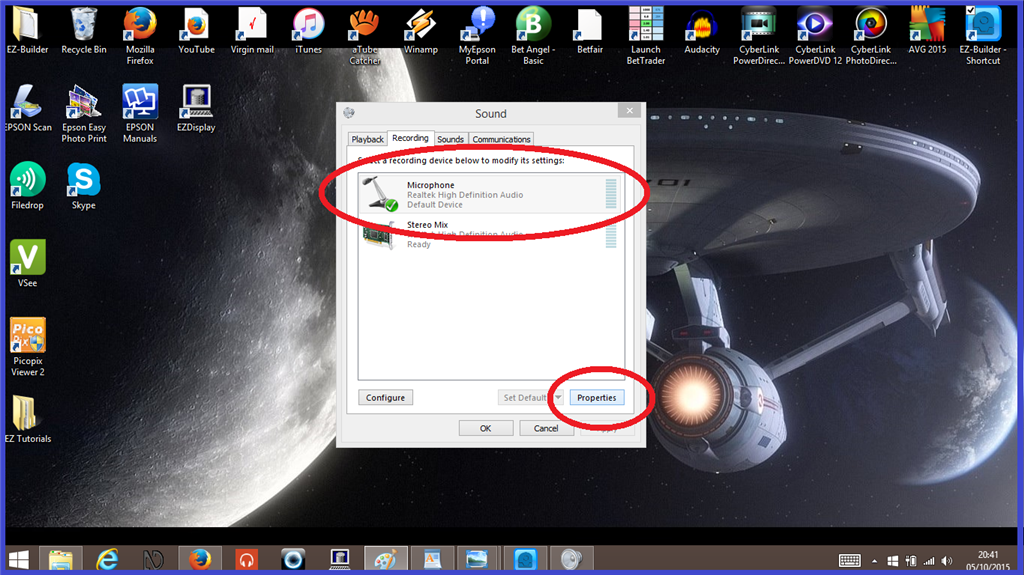
First, you will need to check the microphone levels so your computer can hear you clearly.
1.) Click on the microphone you are going to use, then click on 2Properties".
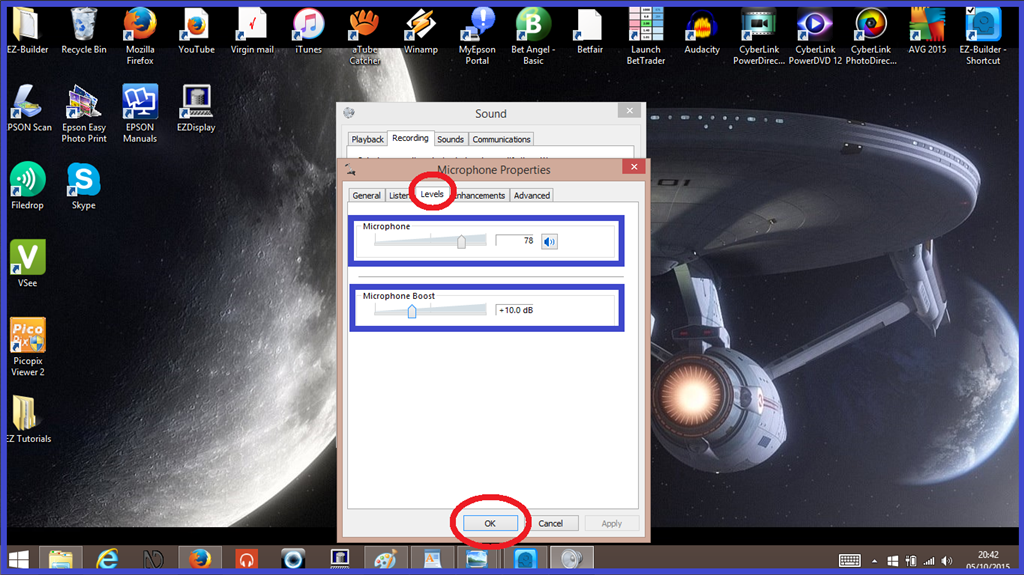
2.) Click on the "Levels" tab), then adjust the microphone levels using the slider controls (Highlighted blue in screen shot). Then click "Save".
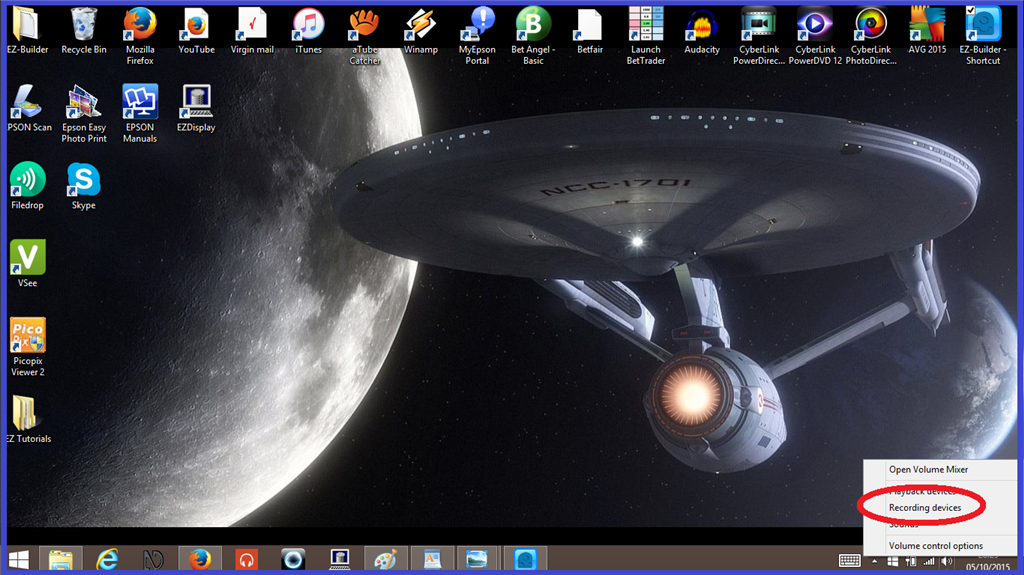
Next, you will need to use the microphone setup wizard.
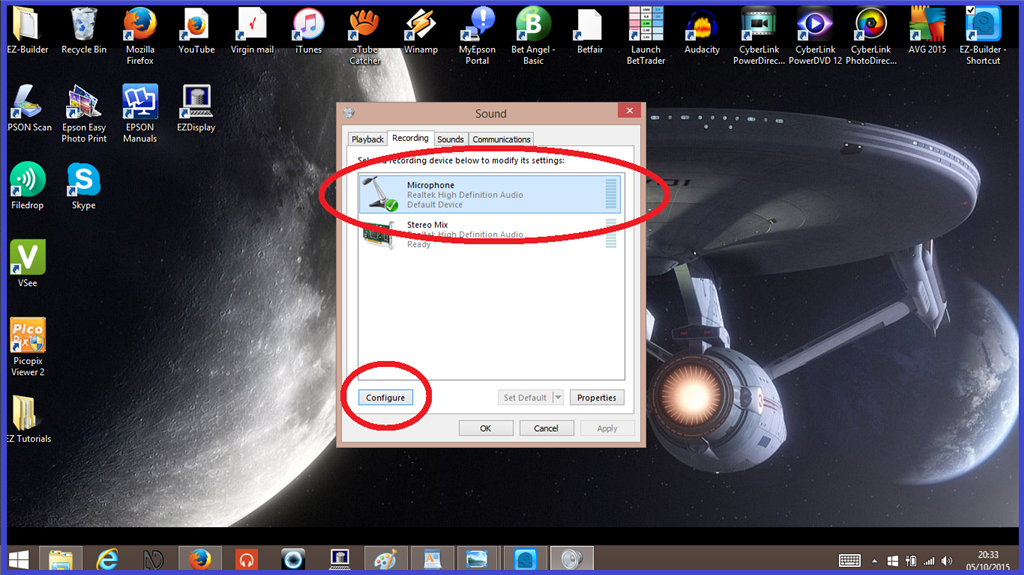
1.) Either right click the speaker icon in your taskbar on your desktop then click on "Recording devices", or click on the "Setup Microphone" tab in the ARC "Speech Recognition" configuration menu.
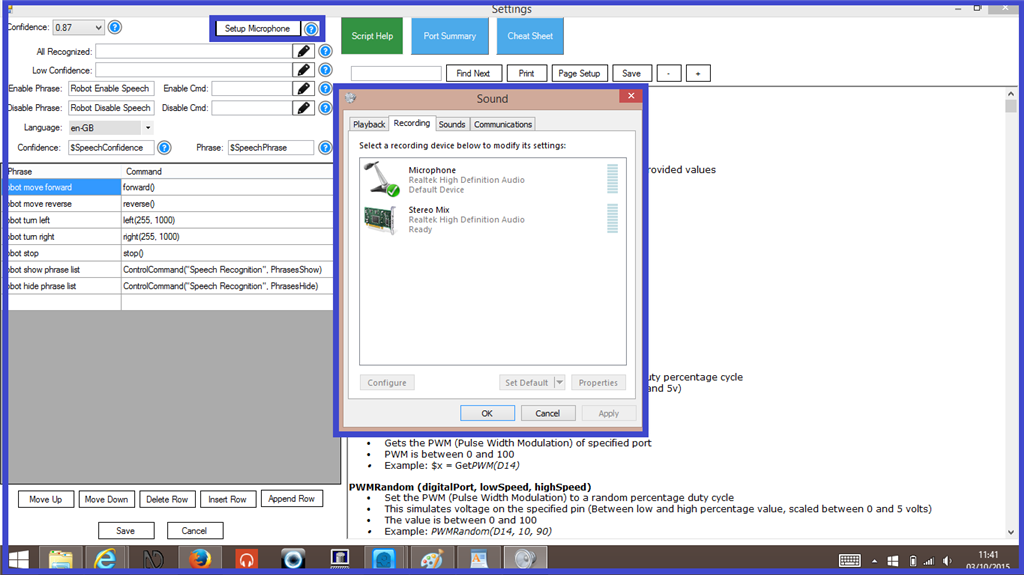
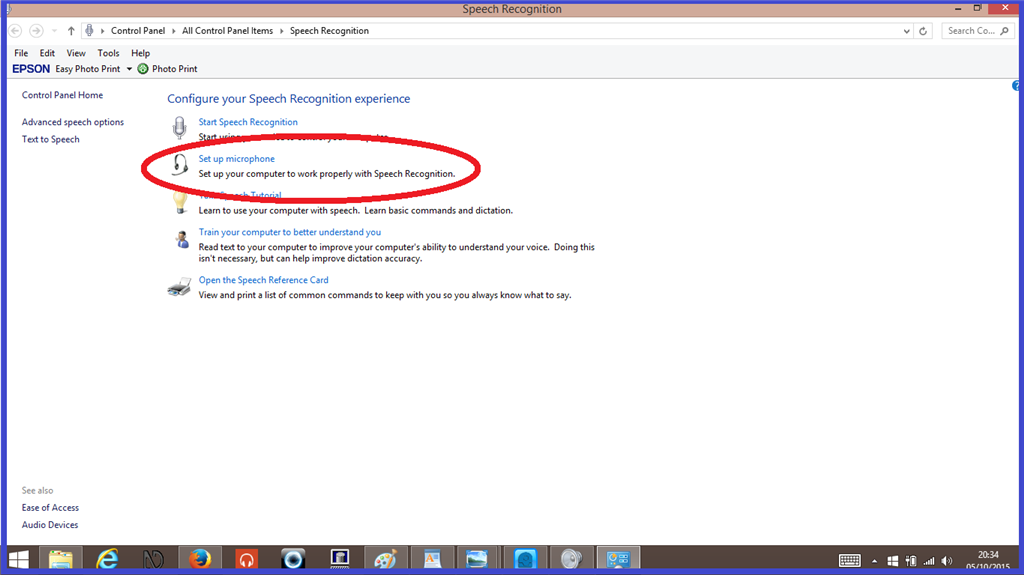
2.) Click once on the microphone you wish to set up, then click "Configure. Then click on "Set up microphone".
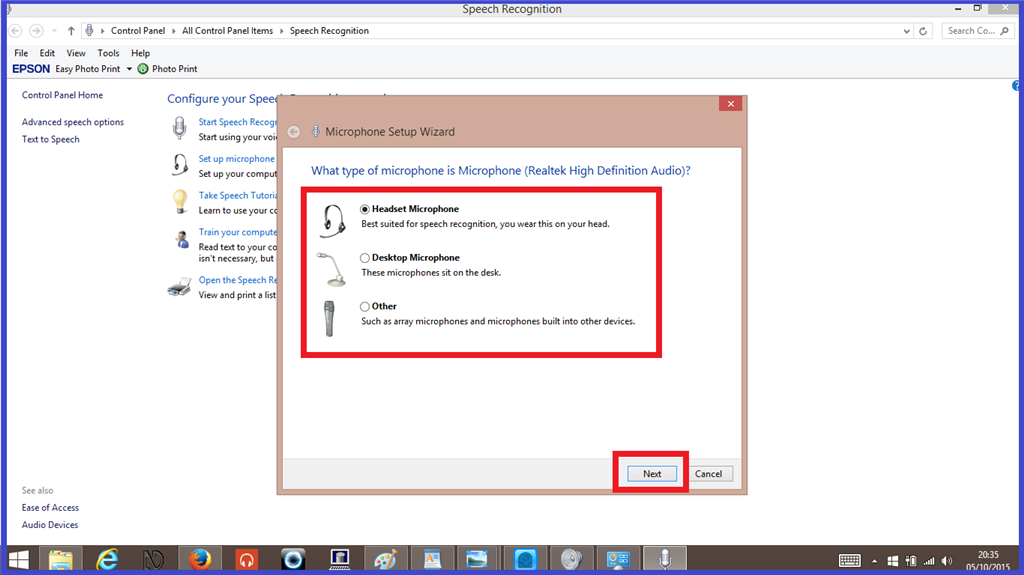
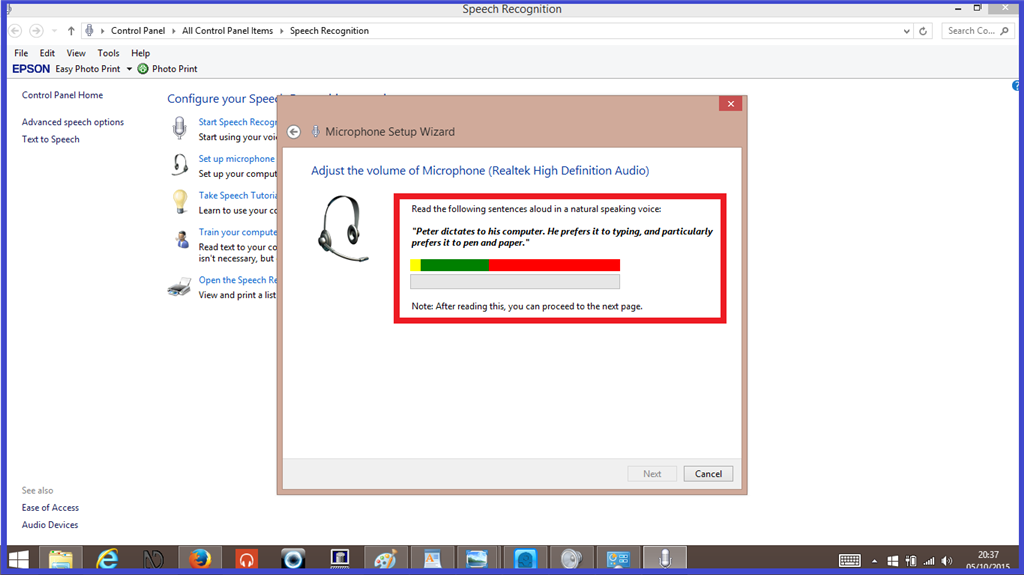
3.) Now choose the type of microphone you are using, then click "Next". On the next page, follow the on-screen instructions, and click "Next".
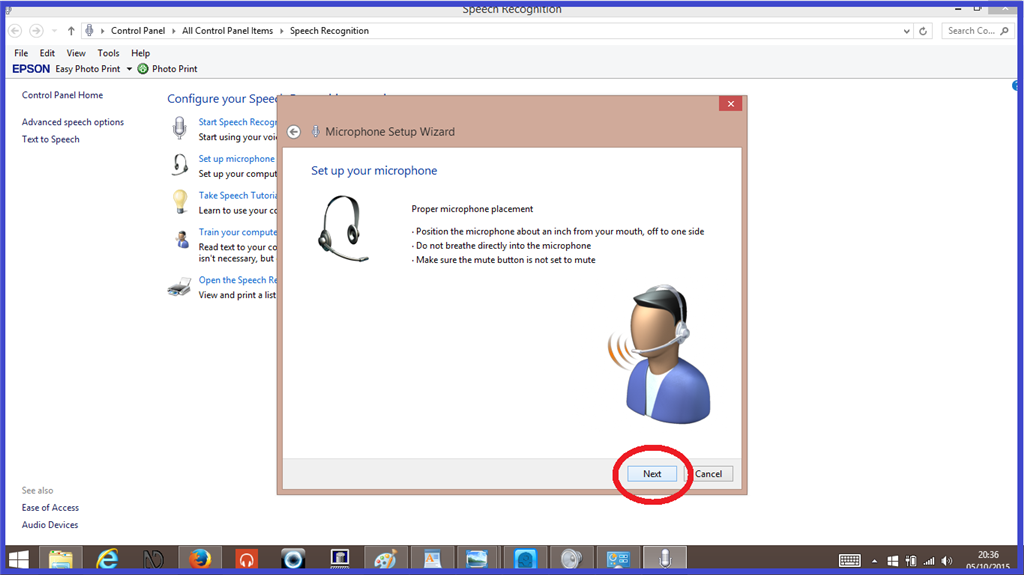
4.) Again, follow the on-screen instructions to verbally set up your microphone.
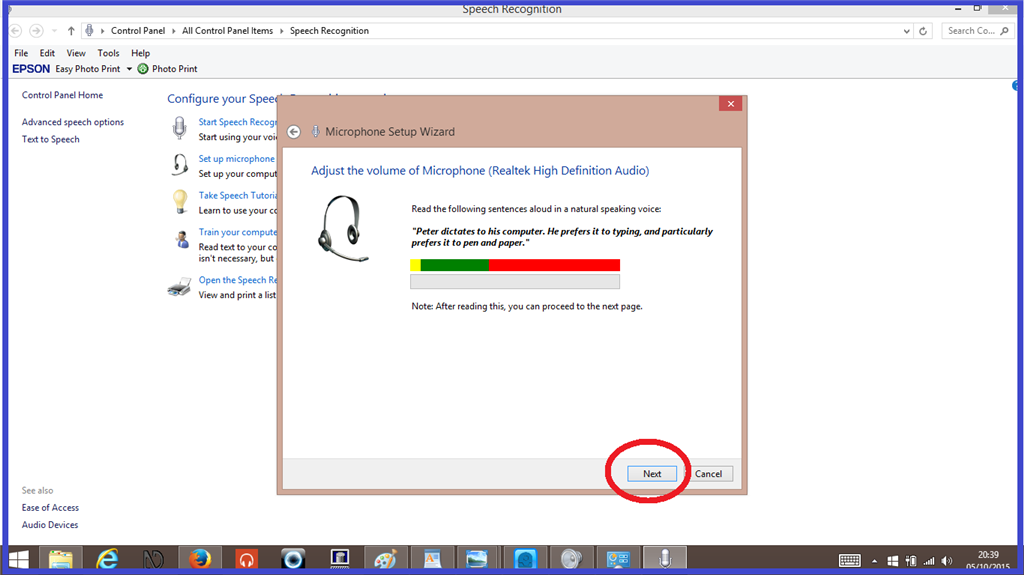
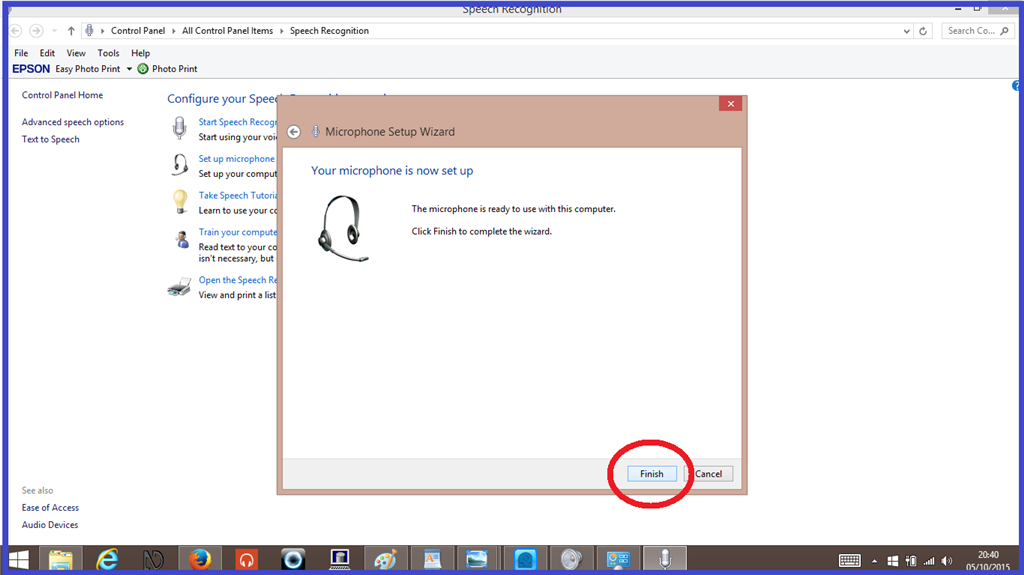
5.) When the setup is successful, the "Next" tab will highlight. Click on it, and in the following window, click "Finish".
Now your microphone is set up, you can proceed to use voice recognition. The next step explains how to train "Windows Speech Recognition"
