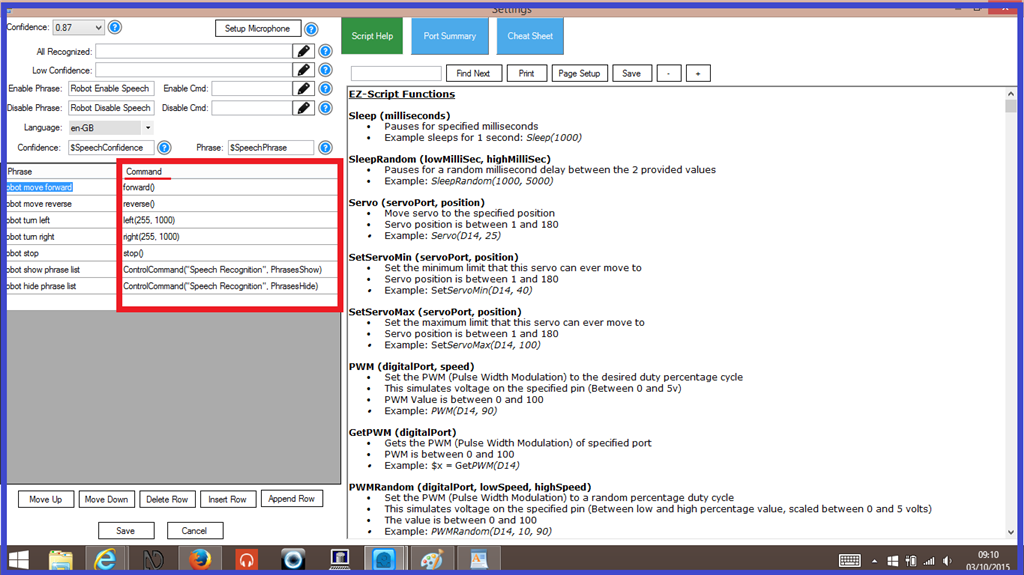
Step 2. Explanation of the Speech Recognition Settings.
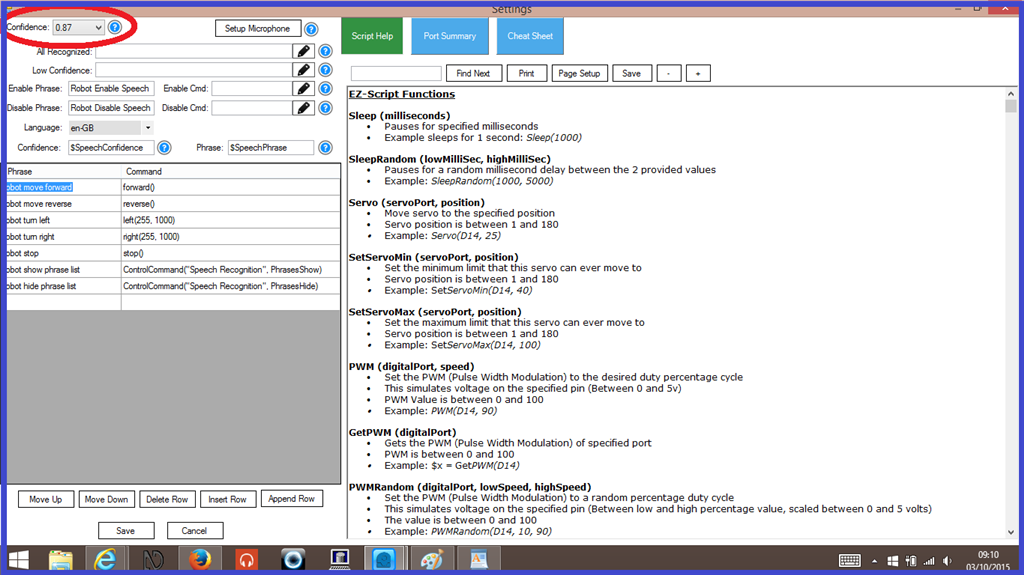
Confidence.
This is a drop down menu that contains different values for adjusting the ability of the computer to better understand what is being said, and match the correct words/phrases spoken by the user. When your computer hears a word or phrase spoken by a user, it will try to correctly match what is said with it's speech recognition library.
The upside to having this setting set to a low number will more easily hear what is said and will try to match it. The down side is that more false positives will occur, meaning it has more chance of misunderstanding what was said.
The upside to having the confidence level set to a high number will reduce the false positives that can be heard and will result in far better accuracy. The down side however, is that there may be times that even if something is correctly, the computer thinks it has misheard you and nothing will happen. There is more information on this in the next step.
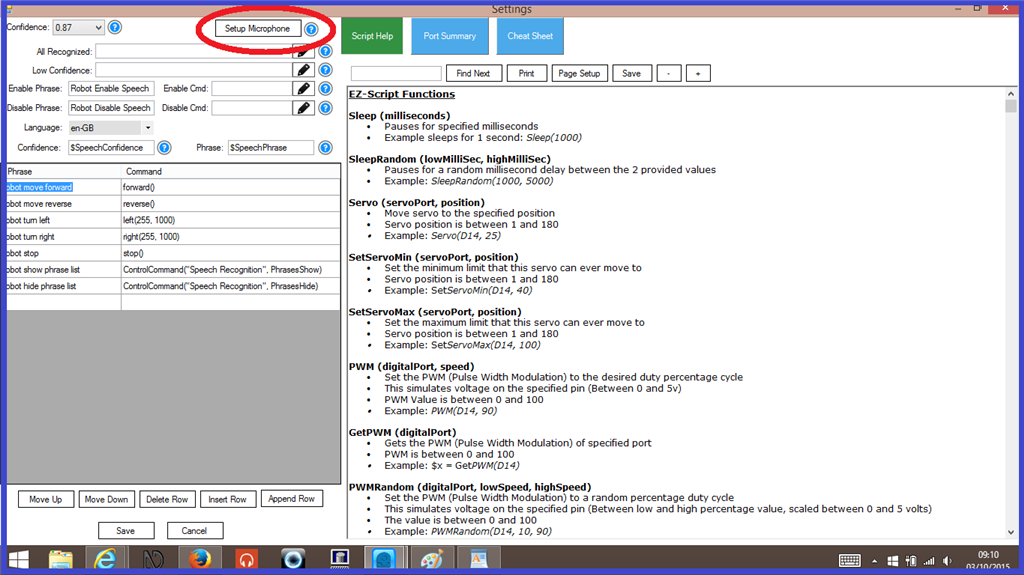
Setup Microphone.
This tab takes you to the microphone settings on your computer. For improved speech recognition accuracy, these settings may need to be adjusted. To do so, start by clicking on "Setup Microphone", then double click on the microphone you wish to use for recognition, then select "Levels" and adjust the microphones volume and sensitivity settings.
An important thing to consider when using speech recognition, is the quality of microphone used. The is more information on this in the last step of this tutorial.
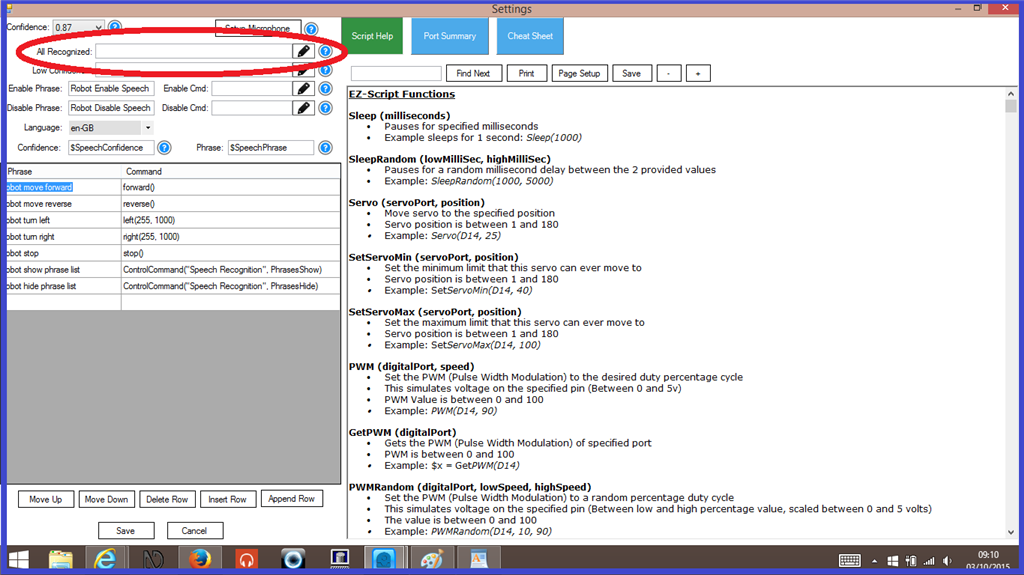
All Recognized.
This is where you can add a single line of script by clicking on the text input box, or a multiline script by clicking on the "pencil" icon. Now, every time any high confidence phrase is heard, this script will run, but will not run on any low confidence phrases.
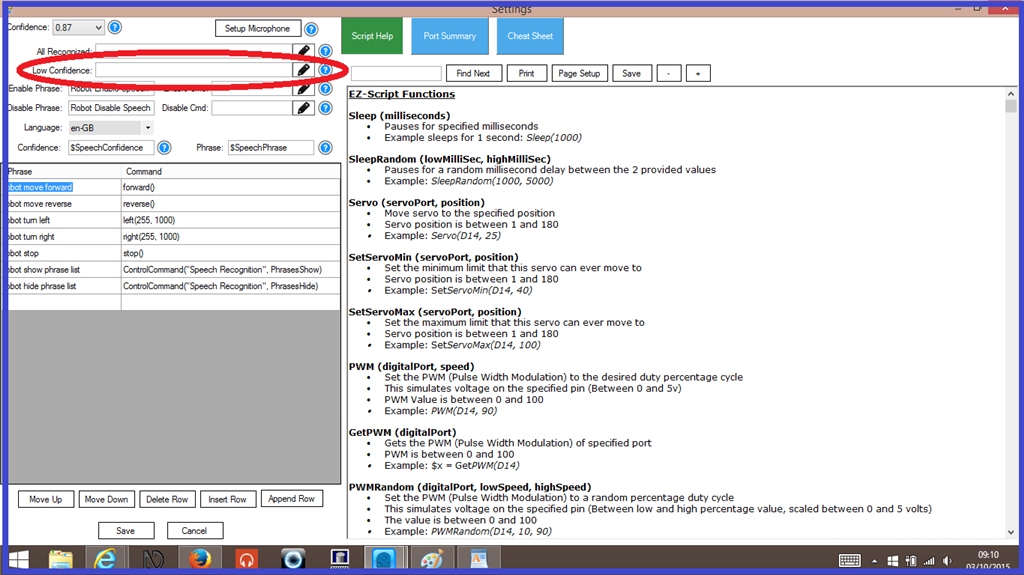
Low Confidence.
Similar to above, any single or multilined script added here will be triggered when a low confidence phrase is heard.
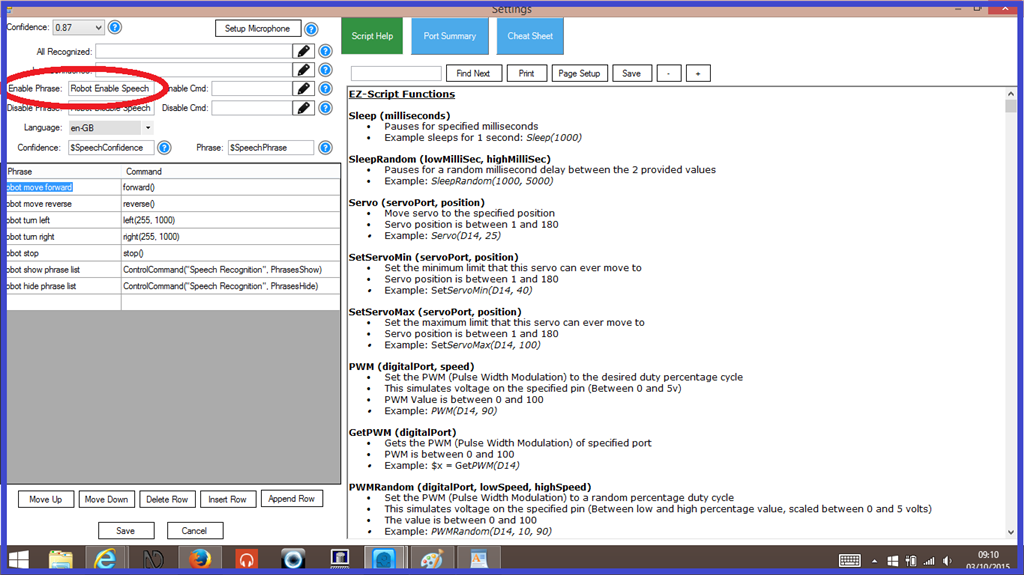
Enable Phrase.
This is a single phrase spoken by the user that will unpause the speech recognition control. When the control is unpaused, the computer is listening for your commands. Simple click on the text input field, and write in whatever phrase you wish to use, for example... "hello robot".
NB: Any text entered here does not need any punctuation or capital letters.
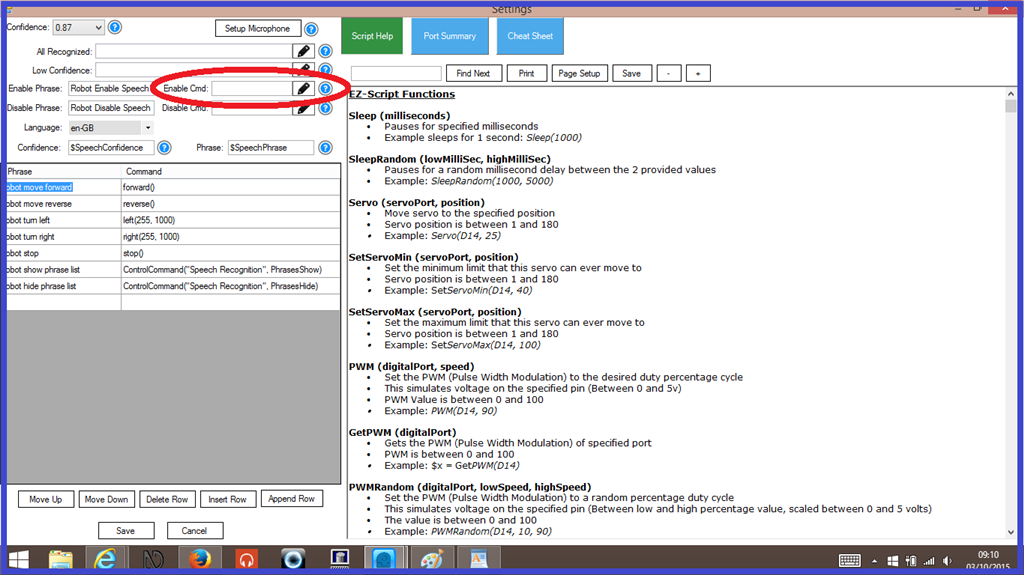
Enable Cmd.
This is where you can add a single line of script by clicking on the text input box, or a multiline script by clicking on the "pencil" icon. When the "Enable Phrase" is recognized, this script will run.
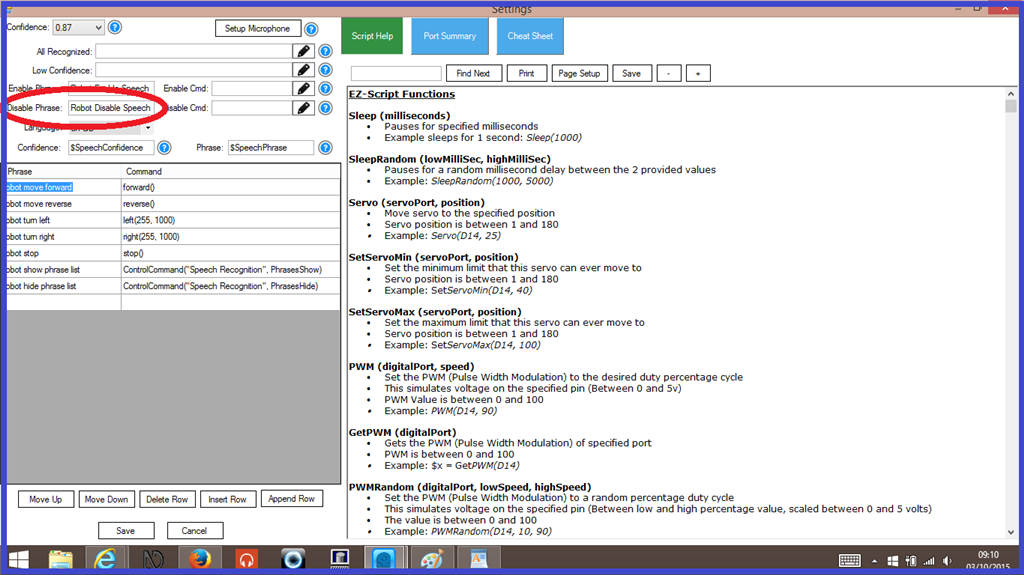
Disable Phrase.
This is a single phrase spoken by the user that will pause the speech recognition control. When the control is paused, the computer stops listening for your commands. Simple click on the text input field, and write in whatever phrase you wish to use, for example... "robot stop listening".
NB: Any text entered here does not need any punctuation or capital letters.
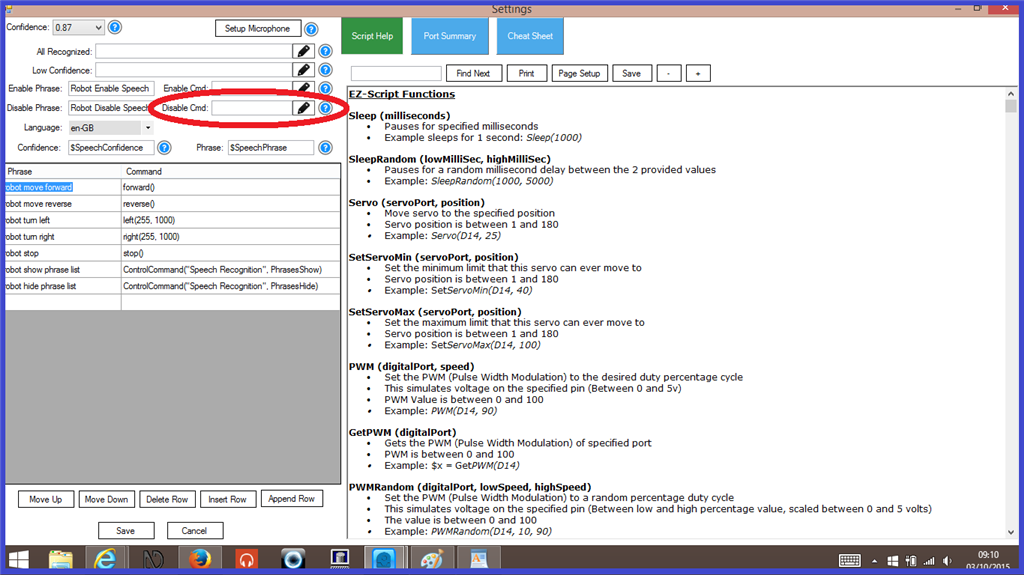
Disable Cmd.
This is where you can add a single line of script by clicking on the text input box, or a multiline script by clicking on the "pencil" icon. When the "Disable Phrase" is recognized, this script will run.
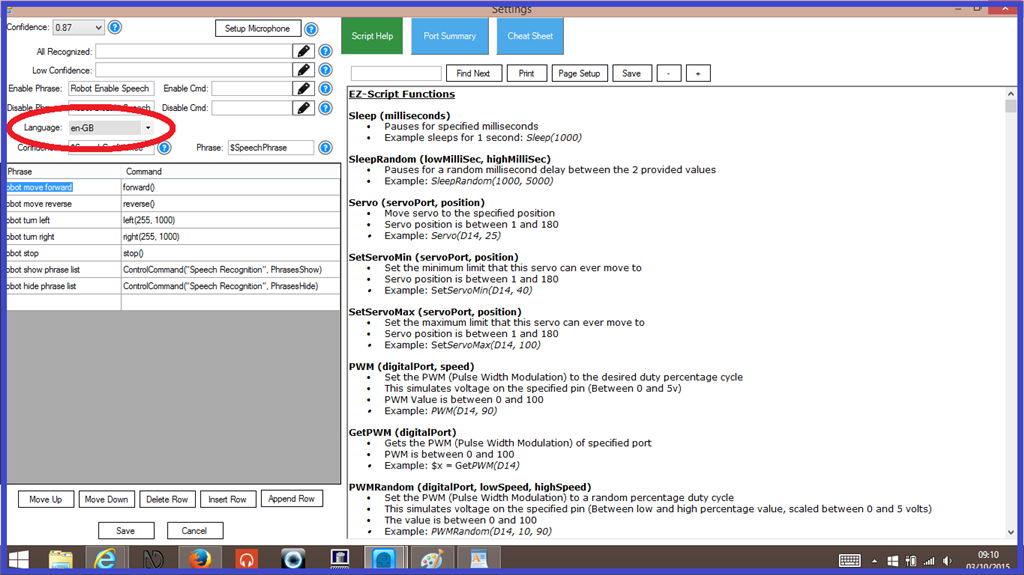
Language.
This is where you can choose your desired speaking language to be used with speech recognition, as long as you have the proper language culture installed on your Windows machine and is correctly set up.
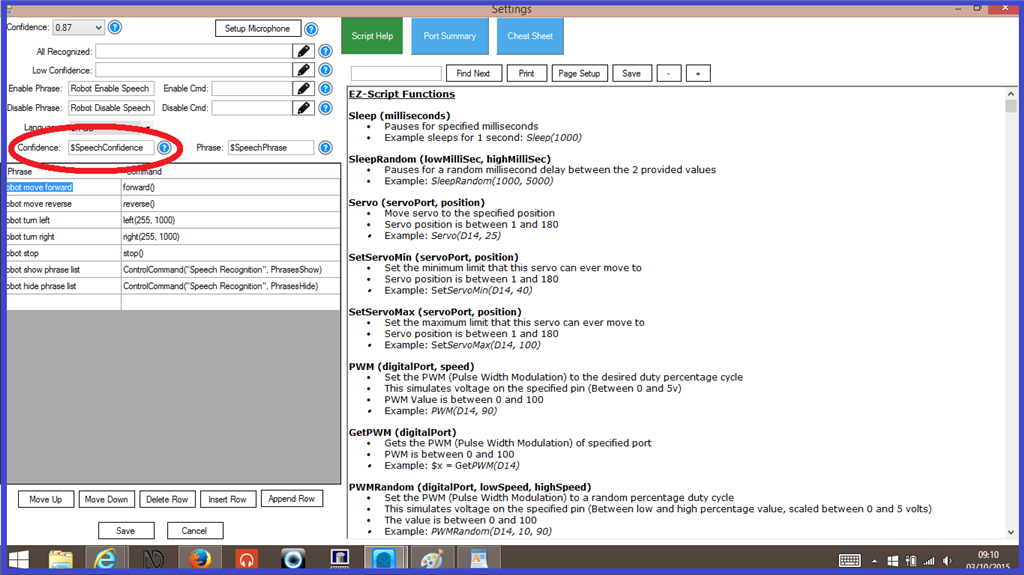
Confidence.
This is a variable where the last recognized phrase confidence level will be stored, and can be used in other scripts in your project.
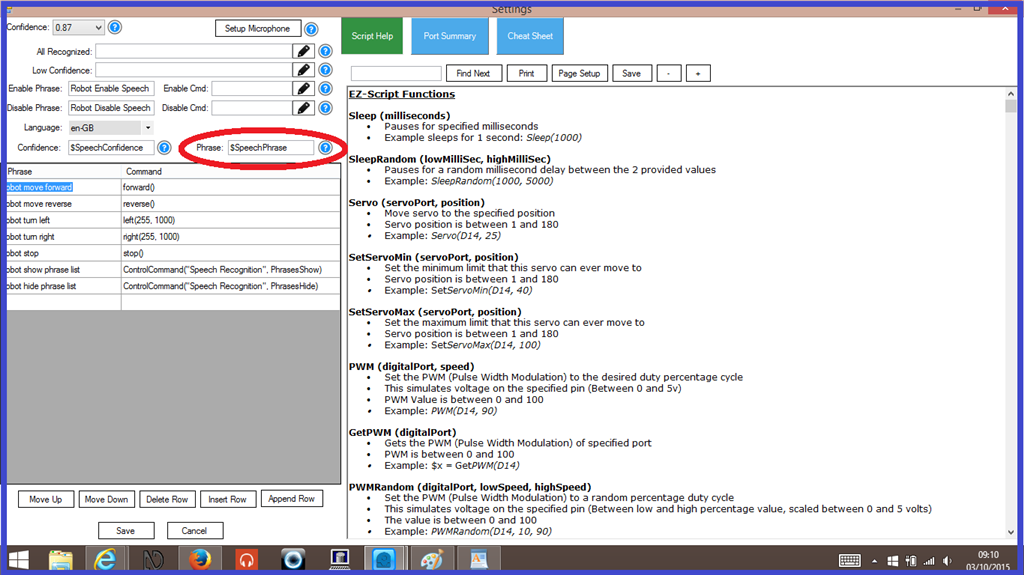
Phrase.
This variable is where all of the phrases that are in your speech recognition control are stored, no matter what the confidence levels are, and can be used in other scripts
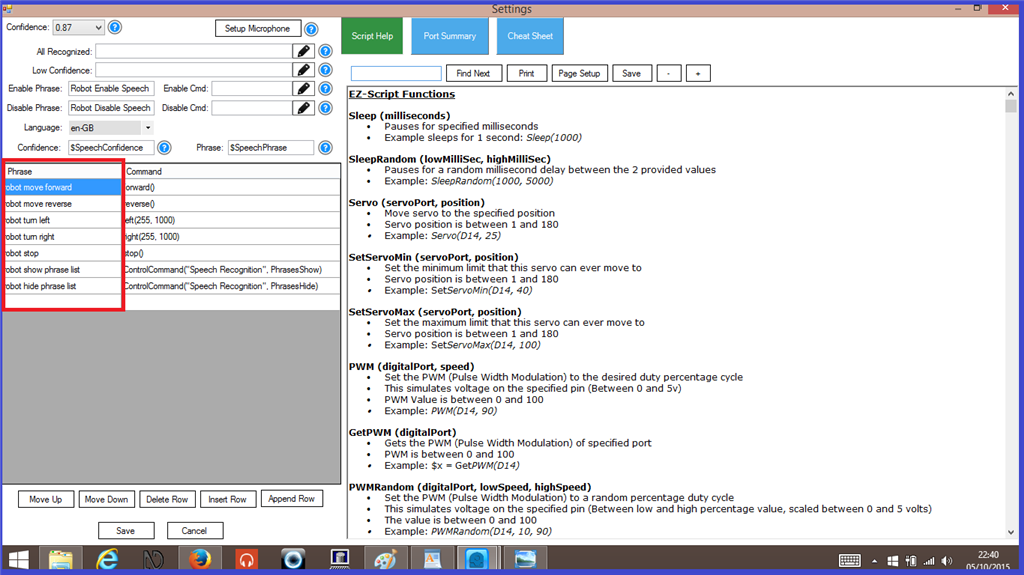
The "Phrase" List.
This is where you add the words or phrases to be spoken by you or other users. The phrase list comes preset with some basic phrases and commands which can be used as is, edited, deleted or added to, As an example, you can write... hello robot.
NB: Any text entered here does not need any punctuation or capital letters.
The "Command" List.
This is where you can add a single line of script by clicking on the text input box, or a multiline script by clicking on the "pencil" icon. When the Phrase to the left of this command is recognized, this script will run. As in our example above, you can add the following script...
Say ("Hello human. It is nice to see you.")
Once this is saved, with the speech recognition control unpaused, you can say "Hello Robot", and if the confidence level is met, your computer will respond with "Hello human. It is nice to see you."
On thing to note, if you use any Say("") commands, unlike the "phrase" lists, you must use punctuation and capital letters where appropriate, otherwise your computer or robot will not speak correctly and you may receive errors.
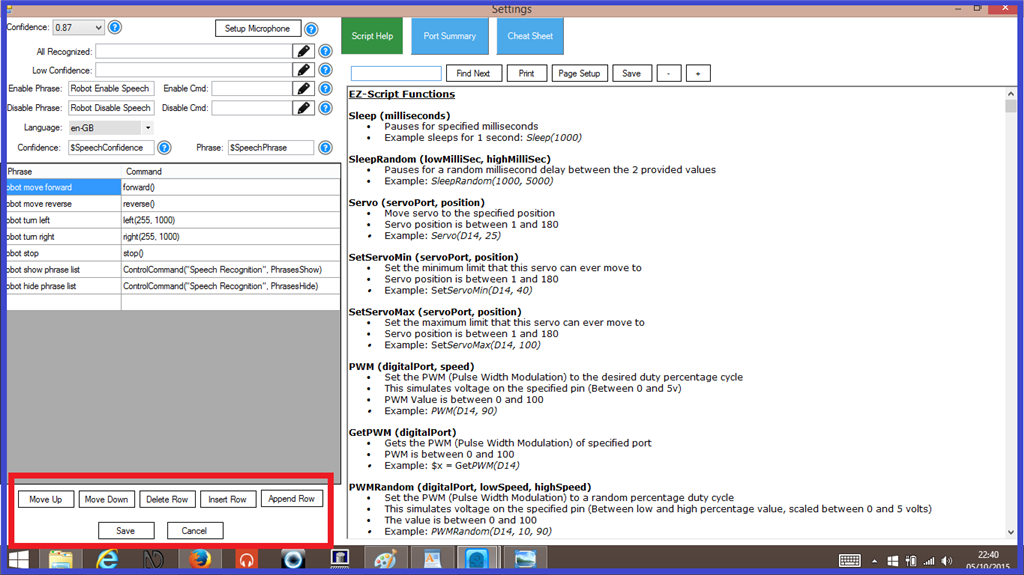
Phrase/Command Editor Tools.
On the bottom or the speech recognition configuration menu. you will see the following selections...
Move Up: Click to highlight the "Phrase", then click on "Move up" to move the line up.
Move Down: Click to highlight the "Phrase", then click on "Move up" to move the line down.
Delete Row: Click to highlight the "Phrase", then click on "Delete" to delete the line (this will delete any scripts saved in the the phrase line too".
Insert Row: Click to highlight the "Phrase", then click on "Insert Row" to add a new phrase/command line above the one you highlighted.
Append Row: Click on "Append Row" to add a new line to the end of the phrase/command list.
Save: Saves any recent changes made to the control editor.
Cancel: Cancels any recent changes made to the control editor
The next step will explain a little more about speech recognition confidence levels.
