Example: EZ-Script/Blockly Edit Control
Throughout ARC controls, you will notice an edit usercontrol which allows single-line, multi-line and Blockly editing for EZ-Script. The usercontrol looks like this...

When holding a single line of Script, it looks like this...

Multi-line script is generated by either syntax editor or Blockly editor, both of which are accessible by pressing the edit button on the control. When holding multi-lines of script, generated from either Blockly or Syntax editing UI, it looks like this...

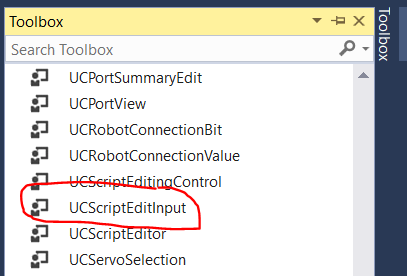
This control can be found as a component within the ARC.exe, and it is called "UCScriptEditInput"
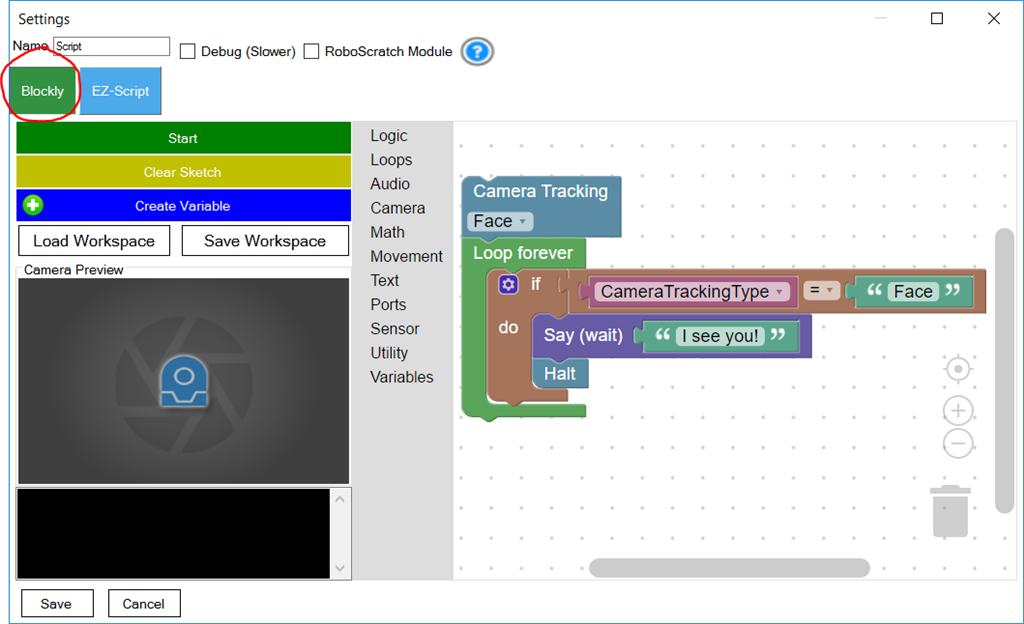
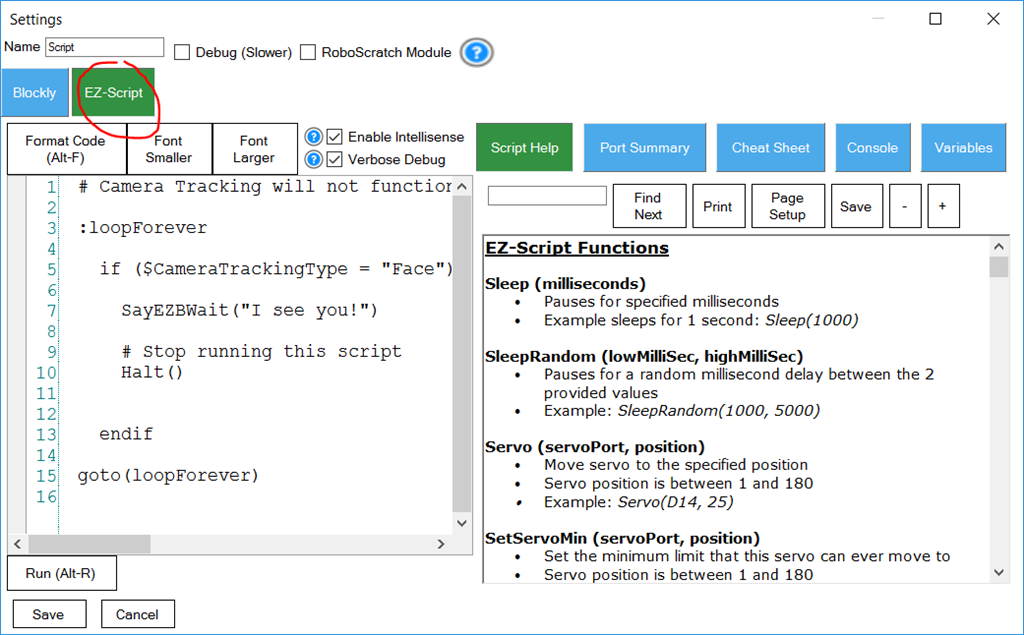
When the edit button of the UCScriptEditInput is pressed, it will display a new window containing both script syntax editor and Blockly code creator. The default view (blockly/syntax) is based on 1) the user's preferred editor from preferences menu, 2) the last saved edit mode. ARC will decide which view to display to the user.
Blockly Tab Of Editor
Script Syntax Tab Of Editor
Loading Saved Code Into UCScriptEditInput Your plugin should be saving code that was created by the user to the project file via the cf.STORAGE option demonstrated in an earlier step of this tutorial. The UCScriptEditInputrequires the loaded data in two formats, the VALUE and XML. The VALUE property contains the raw EZ-Script that was edited using the Syntax Editor. The XML is the Blockly configuration. In the code example below, the UCScriptEditInput is populated by the cf.STORAGE.
public void SetConfiguration(PluginV1 cf) {

      ucScriptEdit1.Value = cf.STORAGE["MyCodeValue"].ToString();
      ucScriptEdit1.XML = cf.STORAGE["MyCodeXML"].ToString();
    }
Saving Code from UCScriptEditInput As you saw from the earlier step, the user code is loaded in two parts, the XML and script. Both of those properties contain the data which will be saved to the cf.STORAGE as well.
    public PluginV1 SaveCode() {

      PluginV1 cf = new PluginV1();

      cf.STORAGE["MyCodeValue"] = ucScriptEdit1.Value;
      cf.STORAGE["MyCodeXML"] = ucScriptEdit1.XML;

      return cf;
    }
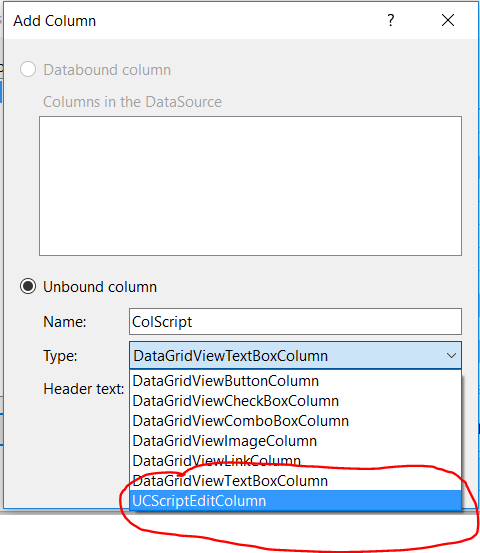
Script Editing in DataGridView Having multiple saved scripts in a DataGridView is possible as well. This allows users to create multiple scripts that could be triggered based on an input, for example. Reference of this behavior is the Speech Recognition or Twitter Recognition controls. They each allow the user to add custom scripts that are triggered on an input (Phrase) value.
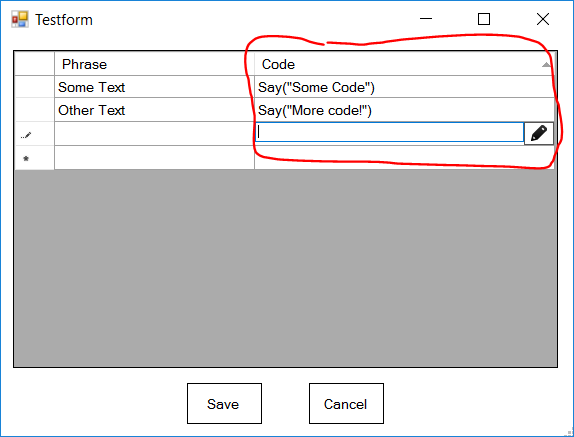
When defining an EZ-Script column for the DataGridView, select the UCScriptEditColumn for the type.
Populating Saved Code Loading user saved code from the project configuration file to UCScriptEditColumn is a little different than loading to a single UCScriptEditInput. The difference is that a UCScriptEditColumn accepts the CODE and XML to be provided in a single class (UCForms.UC.FormScriptEdit.ConfigurationCls) and passed to the VALUE property. In this example below, the saved data is stored as a CustomObjectv2 in the project configuration. As you learned in an earlier step of this tutorial, the CustomObjectv2 will save your custom class using reflection into the project file.
The code below will foreach loop through each item of the saved code class, which contains the Phrase, Code and XML of each user added item in the DataGridView. Notice how the Code and XML are populated to the UCScriptEditColumn within the UCForms.UC.FormScriptEdit.ConfigurationCls class.
using System.Windows.Forms;

namespace EZ_Builder {

  public partial class Testform : Form {

    public class SavedCodeCls {

      public SavedCodeItemCls [] UserCodes = new SavedCodeItemCls[] { };

      public class SavedCodeItemCls {

        public string Phrase = string.Empty;
        public string Code = string.Empty;
        public string XML = string.Empty;
      }
    }

    public Testform() {

      InitializeComponent();
    }

    public void LoadSavedData(Config.Sub.PluginV1 cf) {

      SavedCodeCls savedCode = (SavedCodeCls)cf.GetCustomObjectV2(typeof(SavedCodeCls));

      foreach (var codeItem in savedCode.UserCodes) {

        // Add a new row and get the index of it
        int rowIndex = dataGridView1.Rows.Add();

        // Assign the saved Phrase to column 0
        dataGridView1.Rows[rowIndex].Cells[0].Value = codeItem.Phrase;

        // Assign the saved Code and XML to column 1
        dataGridView1.Rows[rowIndex].Cells[1].Value = new UCForms.UC.FormScriptEdit.ConfigurationCls(codeItem.Code, codeItem.XML);
      }
    }
  }
}
Saving Code We will now expand on the above code example to include a function for saving the user defined rows and code from the DataGridView to the project file.
using System.Windows.Forms;
using System.Collections.Generic;

namespace EZ_Builder {

  public partial class Testform : Form {

    public class SavedCodeCls {

      public SavedCodeItemCls [] UserCodes = new SavedCodeItemCls[] { };

      public class SavedCodeItemCls {

        public string Phrase = string.Empty;
        public string Code = string.Empty;
        public string XML = string.Empty;
      }
    }

    public Testform() {

      InitializeComponent();
    }

    public void LoadSavedData(Config.Sub.PluginV1 cf) {

      SavedCodeCls savedCode = (SavedCodeCls)cf.GetCustomObjectV2(typeof(SavedCodeCls));

      foreach (var codeItem in savedCode.UserCodes) {

        // Add a new row and get the index of it
        int rowIndex = dataGridView1.Rows.Add();

        // Assign the saved Phrase to column 0
        dataGridView1.Rows[rowIndex].Cells[0].Value = codeItem.Phrase;

        // Assign the saved Code and XML to column 1
        dataGridView1.Rows[rowIndex].Cells[1].Value = new UCForms.UC.FormScriptEdit.ConfigurationCls(codeItem.Code, codeItem.XML);
      }
    }

    public Config.Sub.PluginV1 GetSavedData() {

      var cf = new Config.Sub.PluginV1();

      List items = new List();

      foreach (DataGridViewRow dgvr in dataGridView1.Rows) {

        // Check if this row is valid by seeing if any necessary columsn are null
        if (dgvr.Cells[0].Value == null)
          continue;
        else if (dgvr.Cells[1].Value == null)
          continue;

        // Get the values of each column
        var phrase = dgvr.Cells[0].Value.ToString();
        var code = (UCForms.UC.FormScriptEdit.ConfigurationCls)dgvr.Cells[1].Value;

        // Assign the values (code, xml and phrase) to the item
        var codeItem = new SavedCodeCls.SavedCodeItemCls();
        codeItem.Code = code.Code;
        codeItem.XML = code.XML;
        codeItem.Phrase = phrase;

        // Add the item to the list
        items.Add(codeItem);
      }

      // Assign the list of code items to the array within the master clas
      SavedCodeCls savedCode = new SavedCodeCls();
      savedCode.UserCodes = items.ToArray();

      // Add the master config class to the project configuration as a custom object
      cf.SetCustomObjectV2(savedCode);

      return cf;
    }
  }
}

Thanks for the quick response.
This what happens when you are working on robotics when its way past your bed time.
You miss the obvious
No problem - i get it
Sorry but can I ask you something why I didn't see the ARC library when I added visual studio even though I set up the C ++. DLL library and there's another way to execute it and send / receive console in out but I don't know how to do it with EZ_builder?Please follow the tutorial. It’s impossible to know why you’re plug-in isn’t showing up without asking you if you followed each step of the tutorial . Reviewing your screenshots, it doesn’t appear as if any of the tutorial steps have been followed.
Hi i fixed it. thanks
Hello, I am trying the tutorial to get the robot to speak. I am using Visual studio. Currently, the sound is output from the pc instead of the robot. Is there a code I can attach so that the sound comes from the robot speakers instead of the pc?
Look in this tutorial for the step labeled "output audio from ezb". It’s lower down in the list. There’s instruction examples for either playing audio (ie mp3) or text to speech.
Error: the referenced component" EZ_builder,EZ_B" could not be found, DJ Sure i hope you can help me !

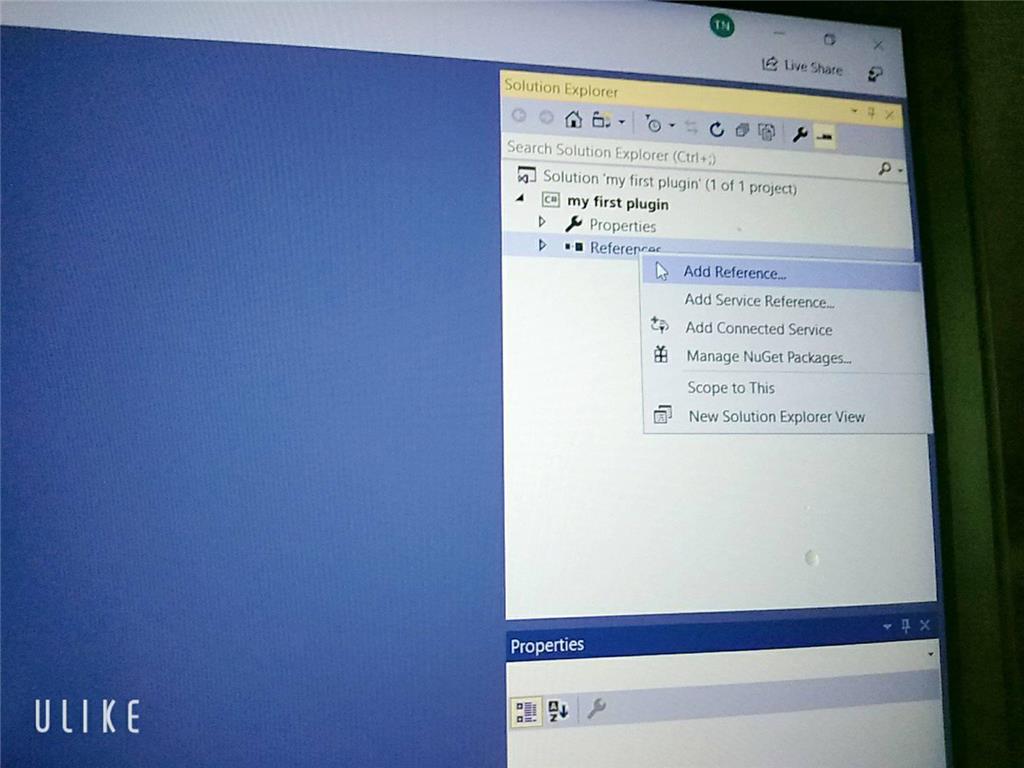
Joinny, you have to add the referencing by following the instructions in this tutorial. They are outlined with step by step to easily follow. Click add references, and browse to the appropriate files as directed in the tutorial. I can’t write anything clearer in response. The step to add references is incredibly clear but you’re skipping it.