


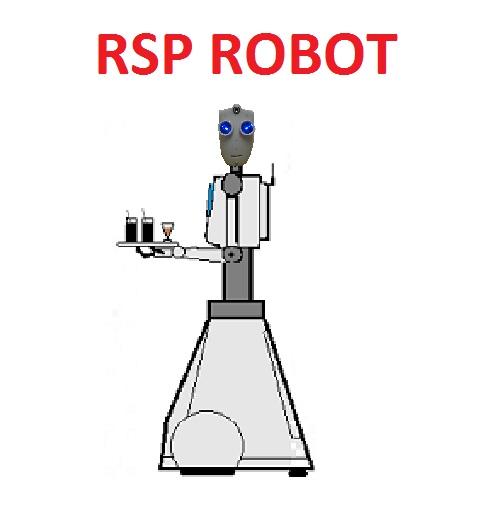
Hi all! I'm excited to share this project with you, this is the robot RSP, I bought my second ez-b (v3) and having checked with my first robot(MY ROBOT)
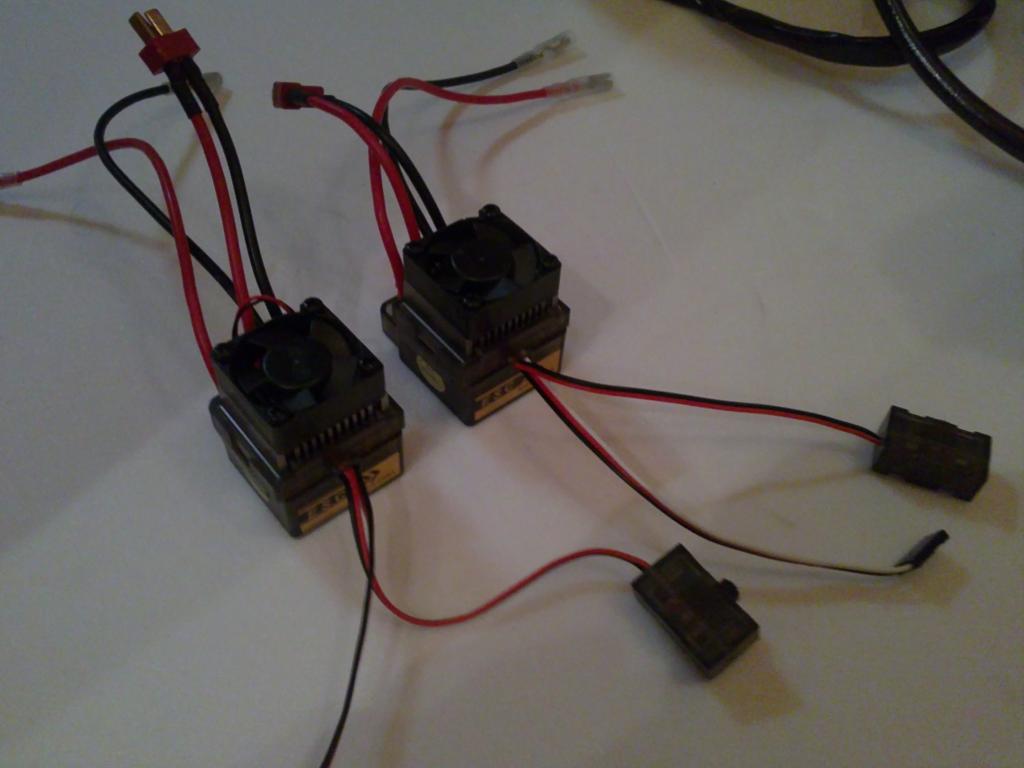
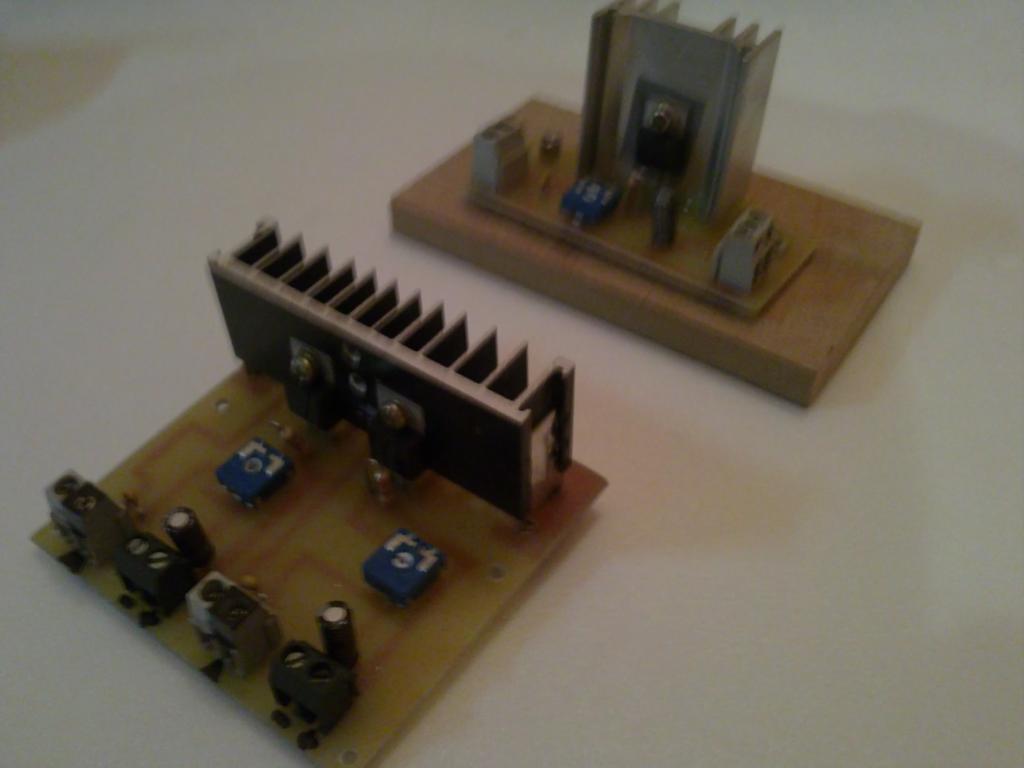
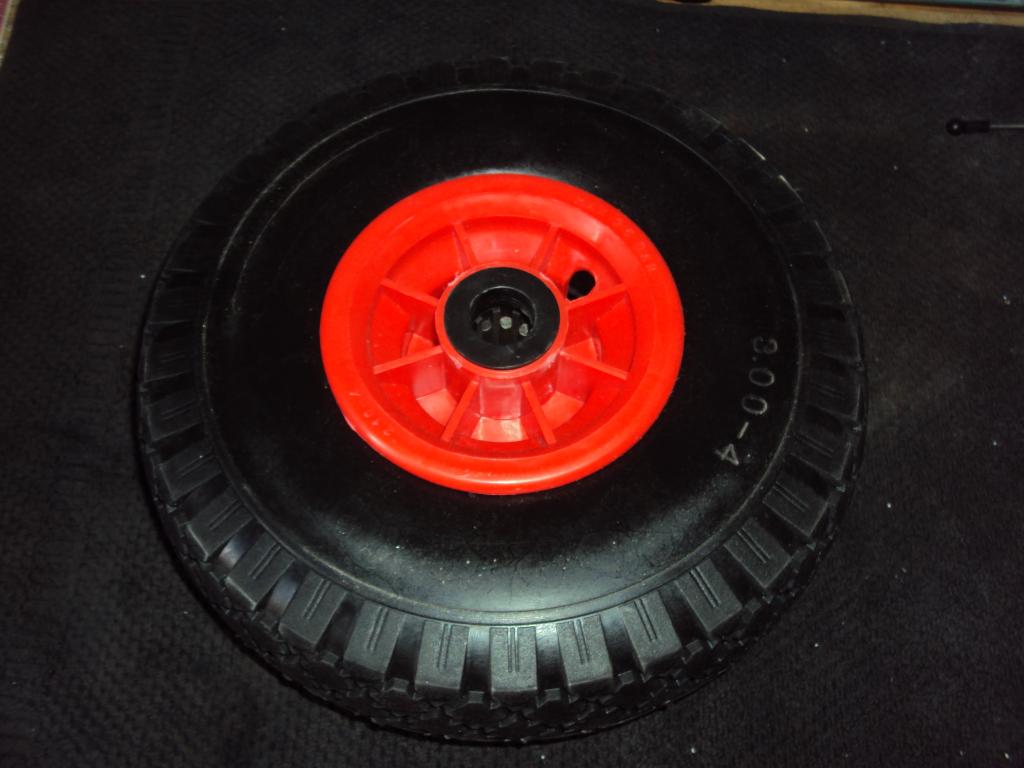
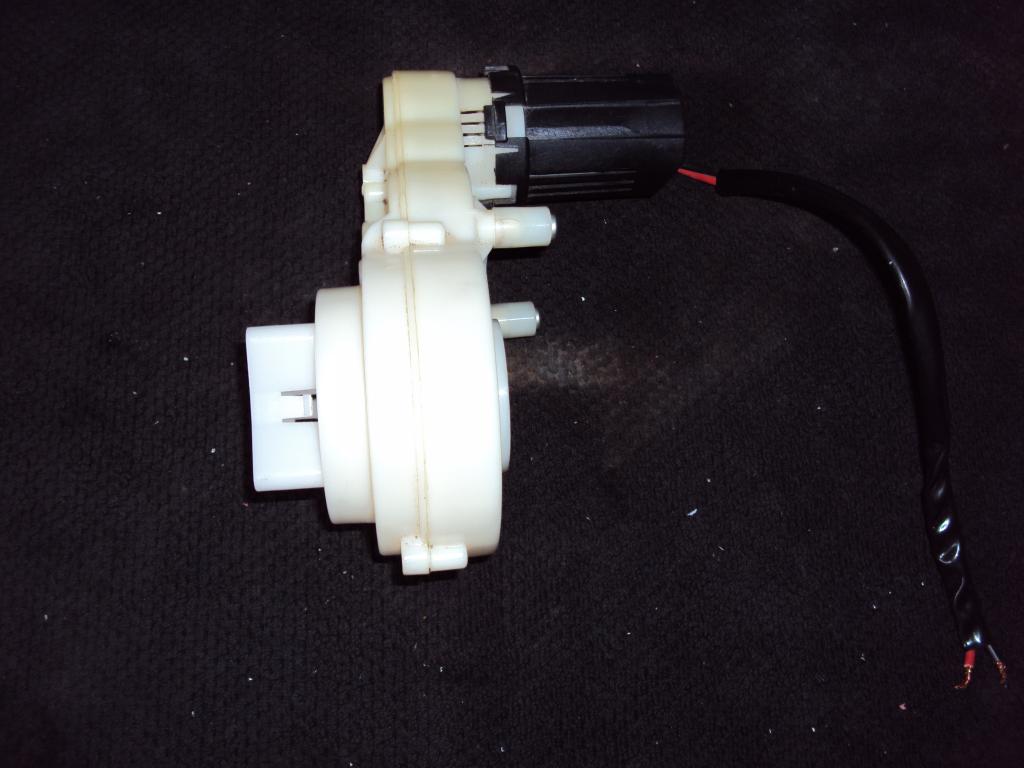
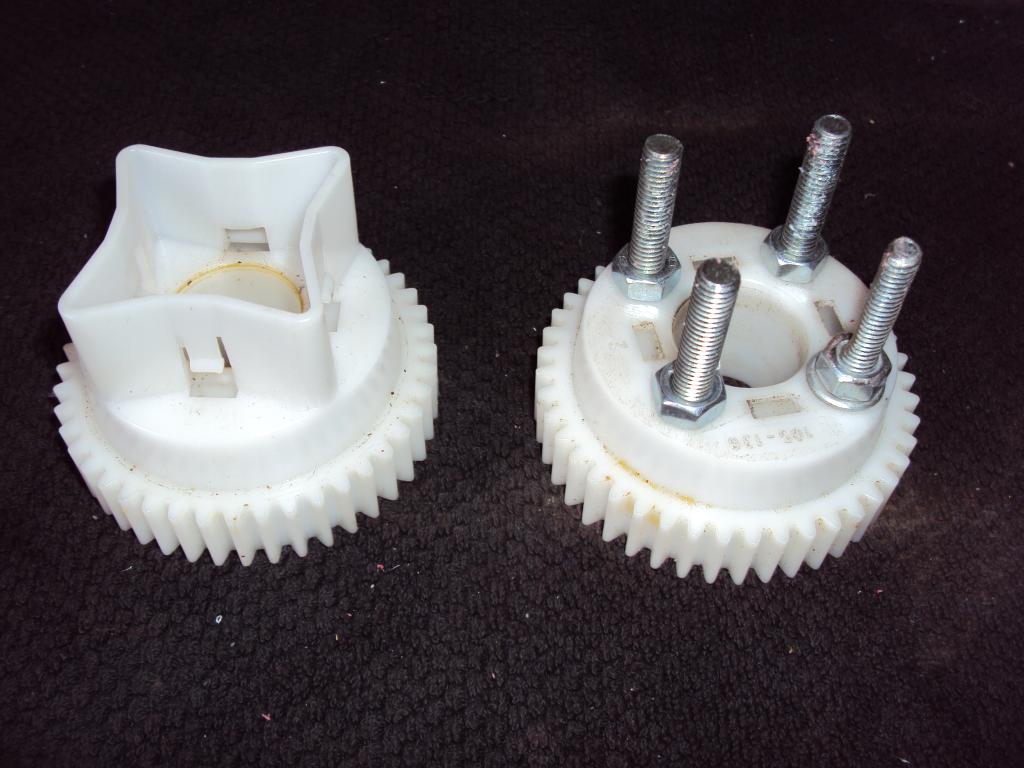
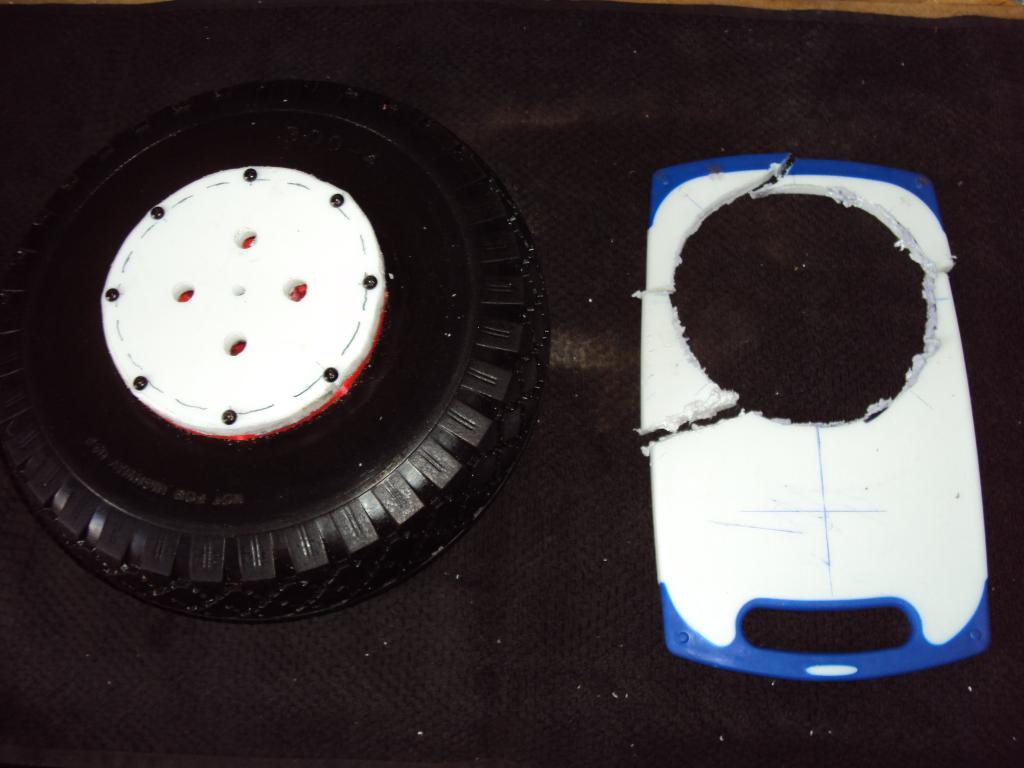
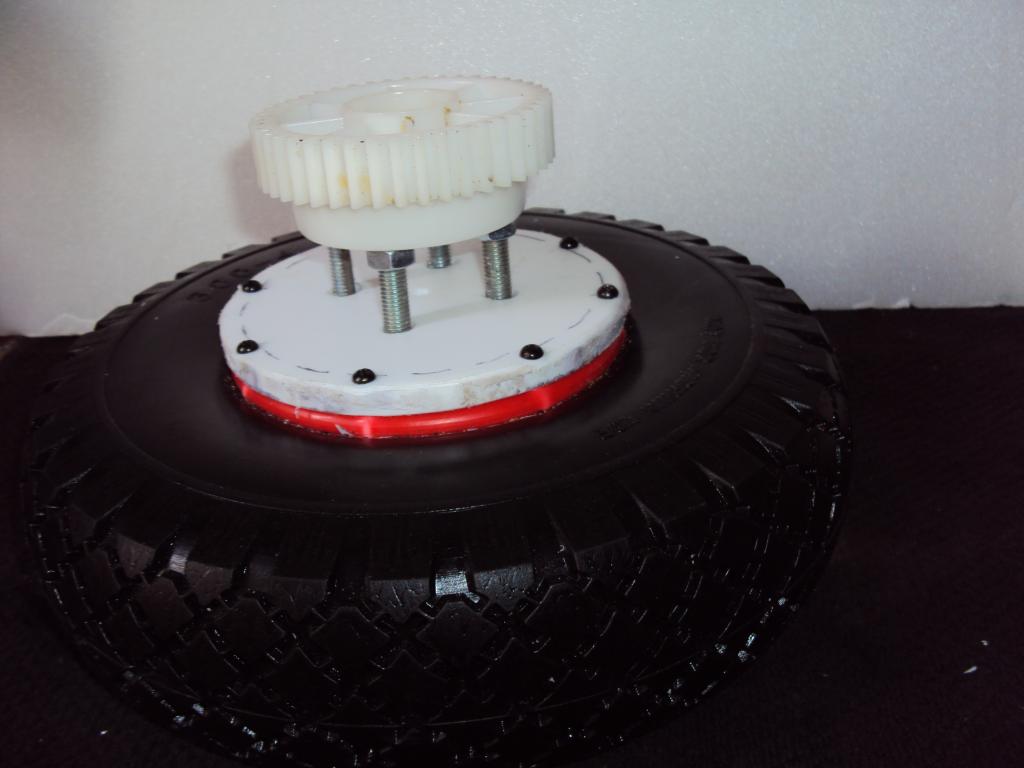
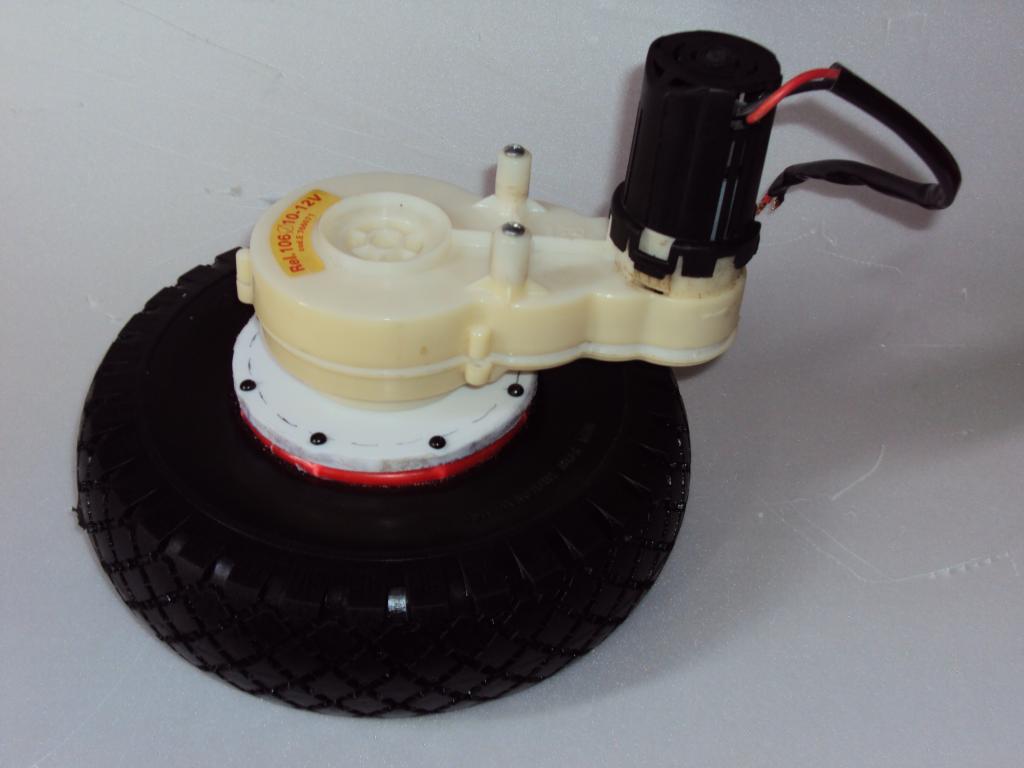
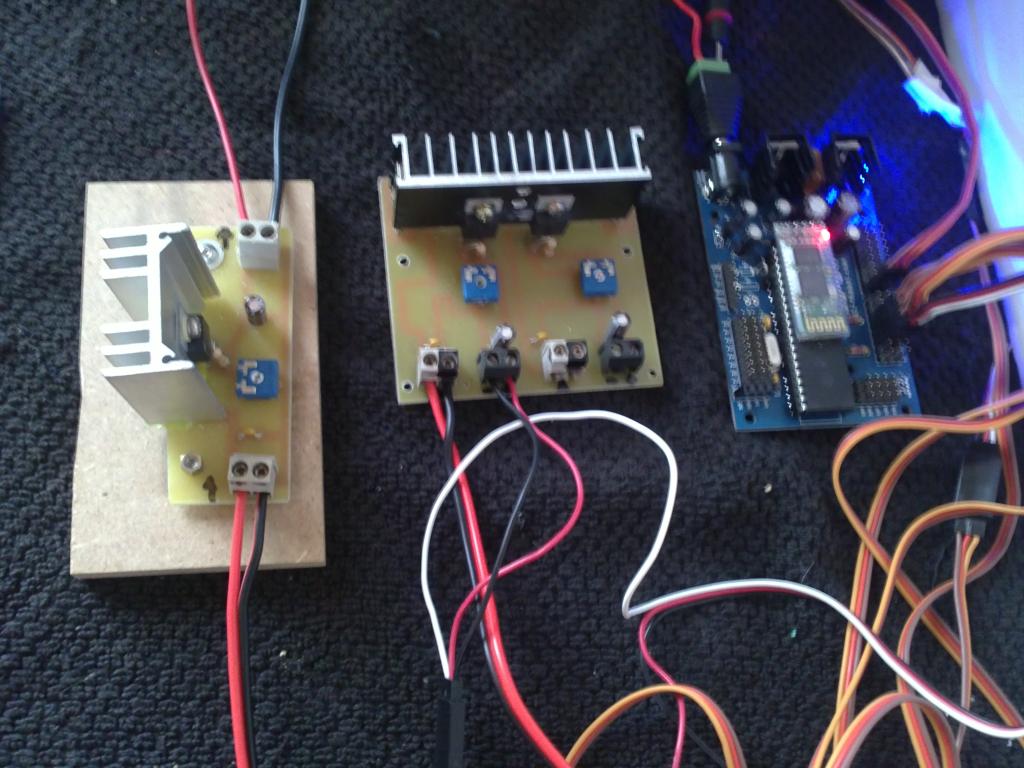
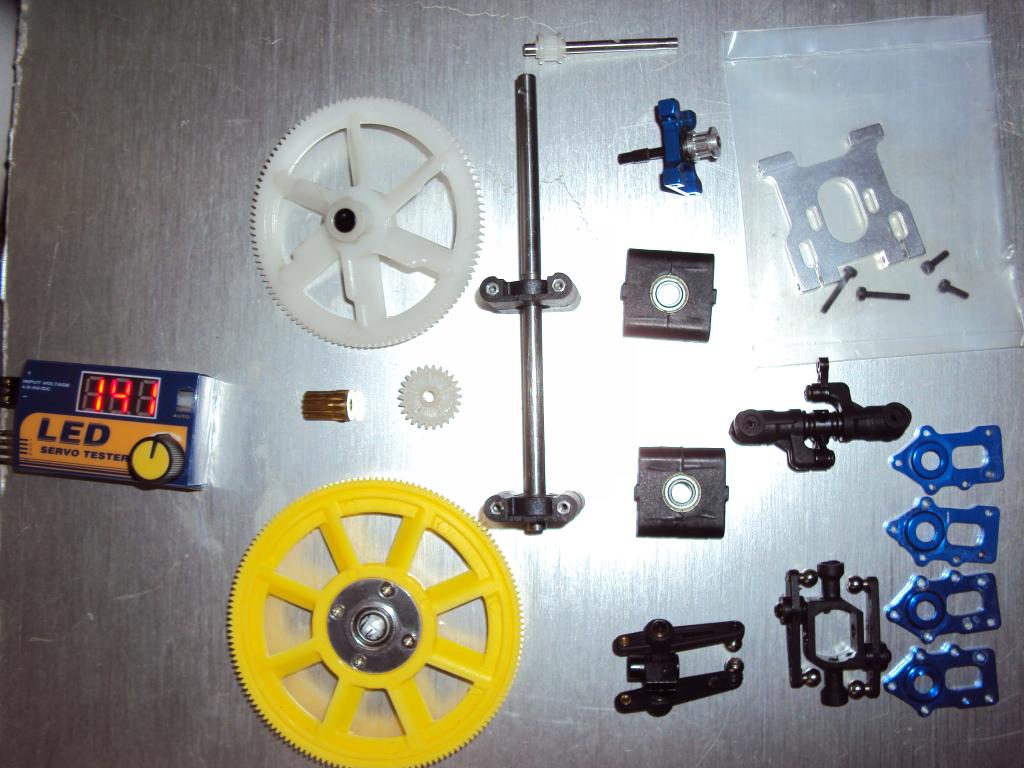
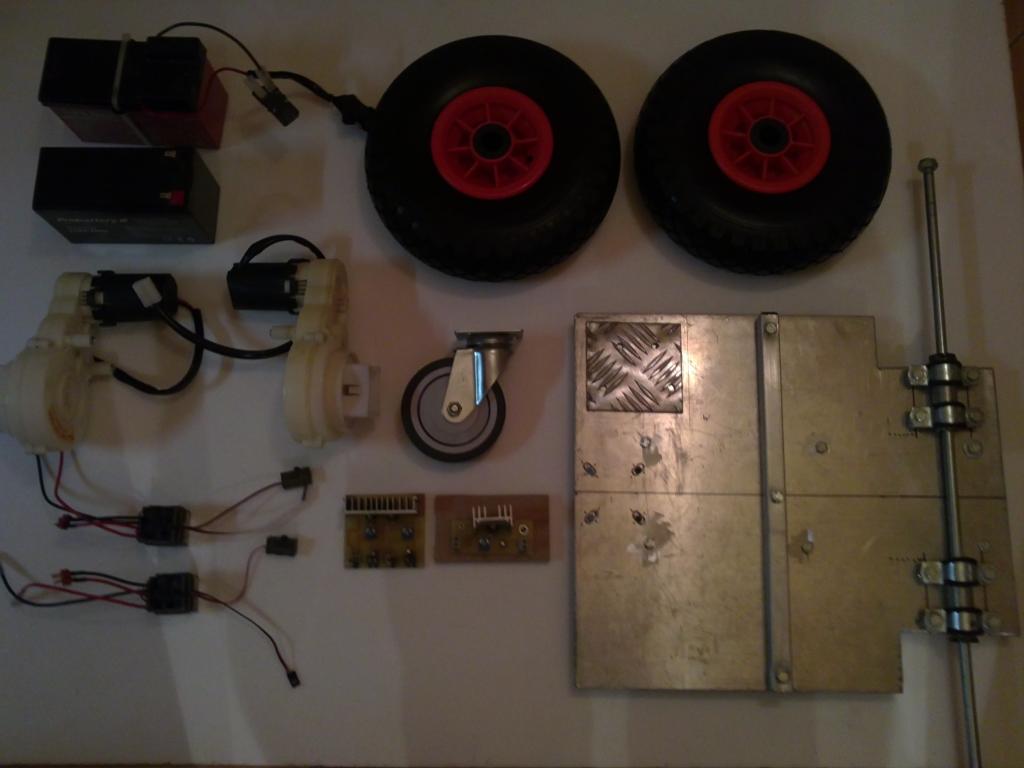
, I decided to undertake a larger project, its height will be of 5.4 feet (1.65 m), currently under construction I have the head, and gathered the materials for the traction system, some voltage regulators, 2 rc esc, several batteries, etc..
I enclose a drawing of how it will look when completed and some photos and video. I hope this project will have a mutual sense of teaching and learning for the entire community that will inspire others and that I may be inspired by all your valuable ideas, more information soon.
By R2D2
— Last update
Discover more robots
DJ's Elastic Band Shooter
Elastic band shooter for hexapod in Synthiam ARC: servo uses a hexapod leg to raise/lower the body for vertical aiming....
Rgordon's Magnus The 6 Ft Robot
Magnus: a 6 ft, 300 lb humanoid using wheelchair motors to drive tank treads; builder exploring E Z Robot kit and...

Smarty's Ez-Robot Halloween Witch Esmeralda
Esmeralda the Witch prop: 180 cm tall, 6.6 kg, PIR sensors, camera, light & sound sensors, loud onboard sound system...

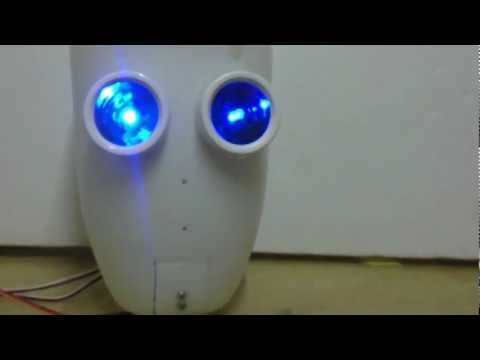
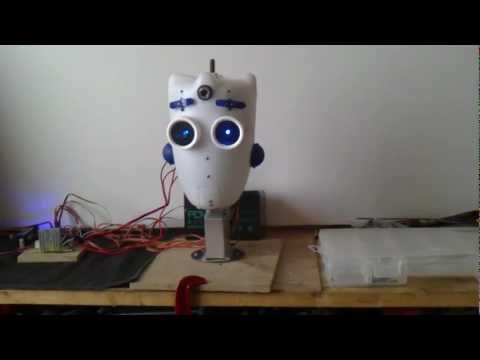
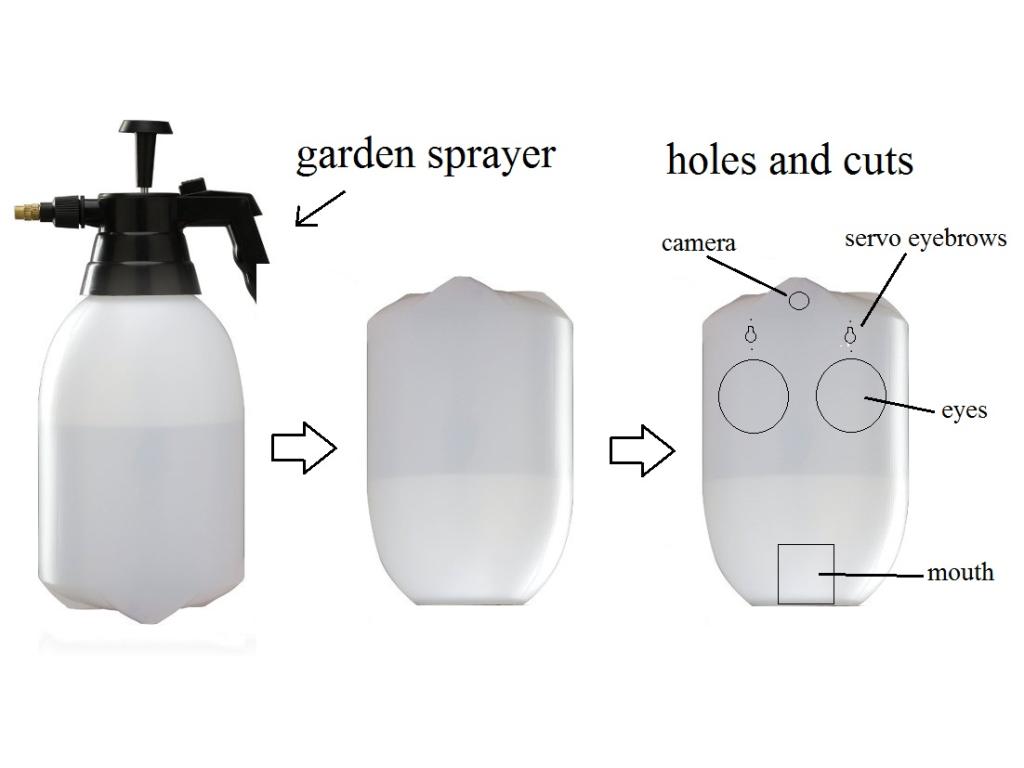
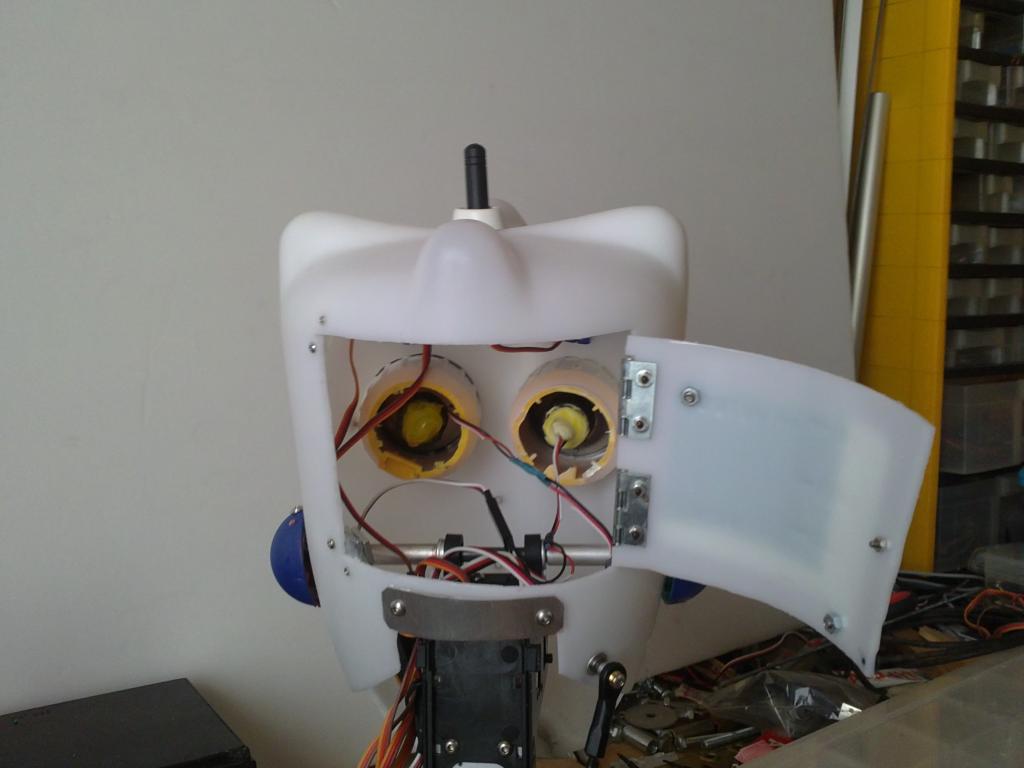
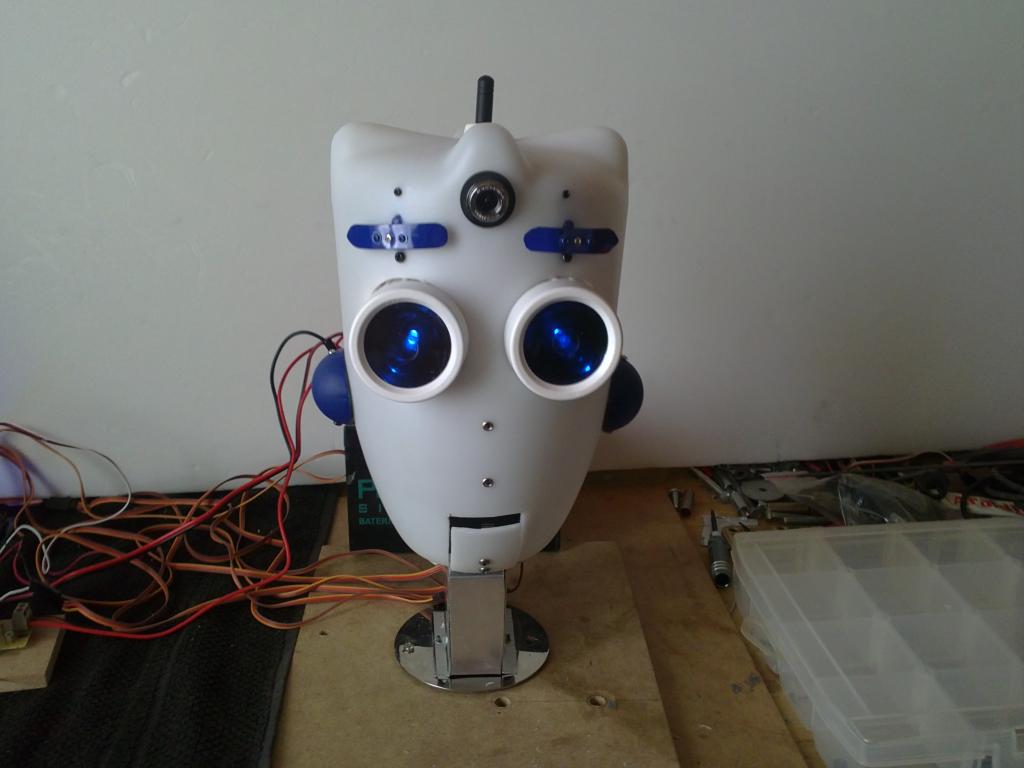
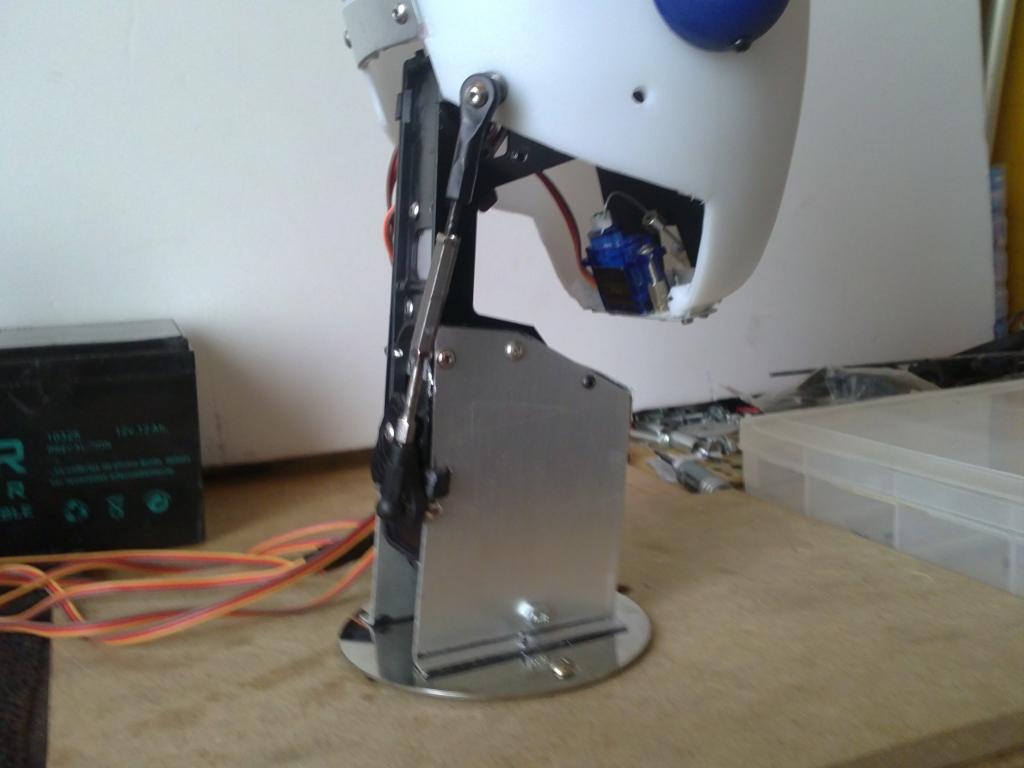
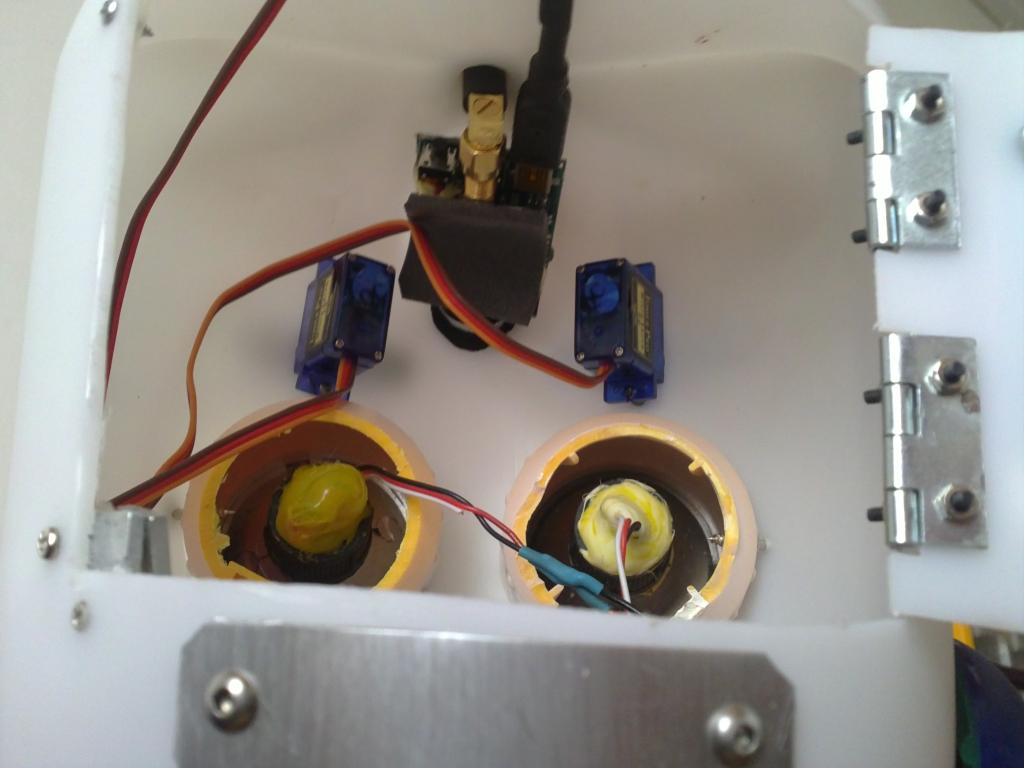
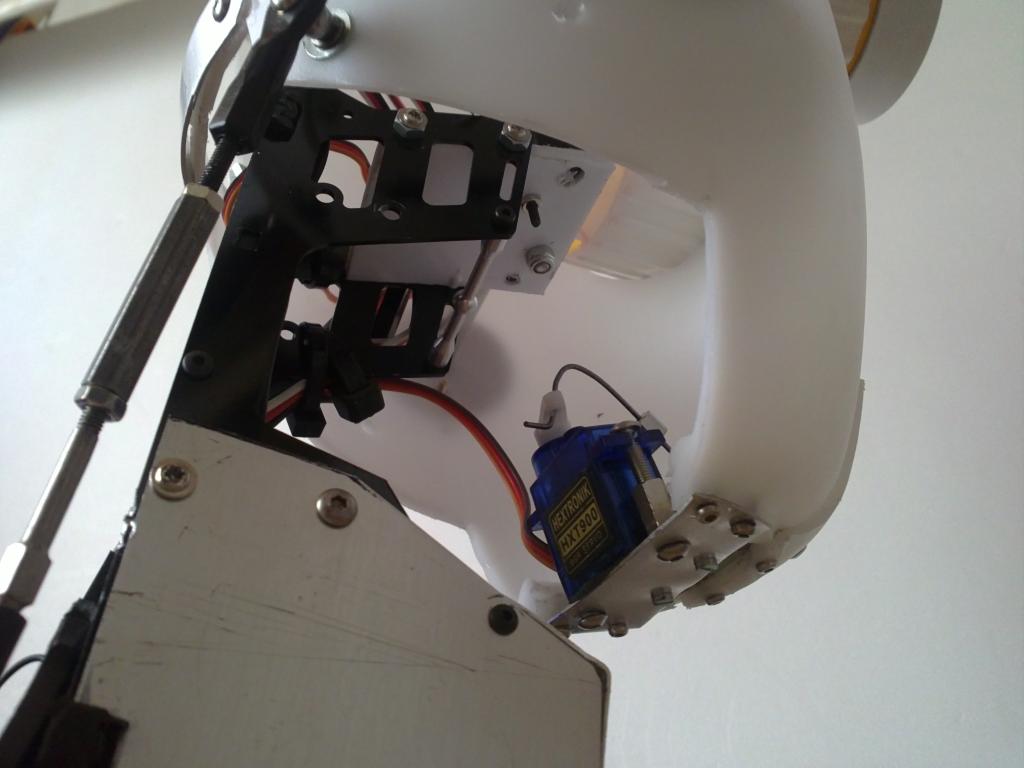
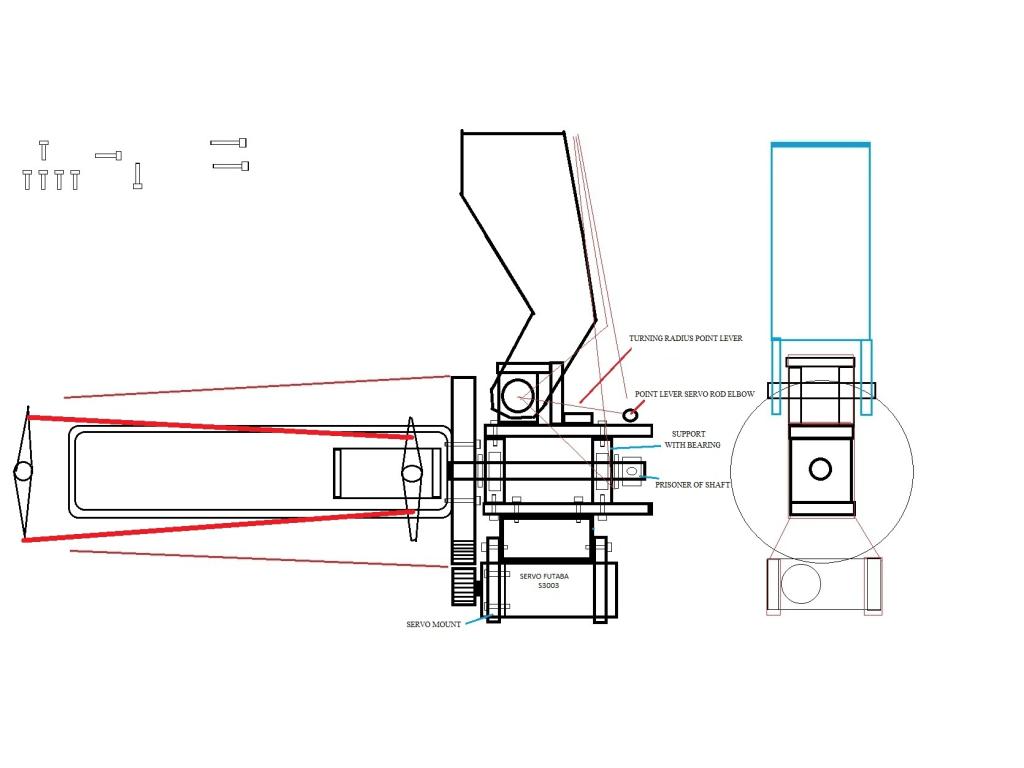
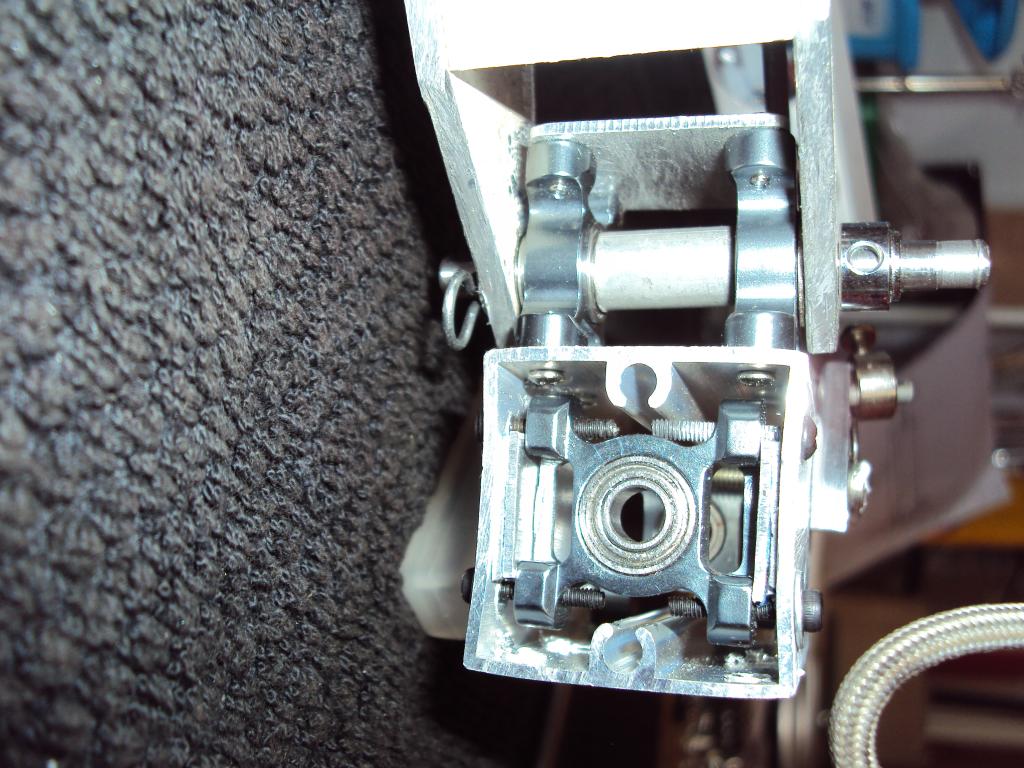
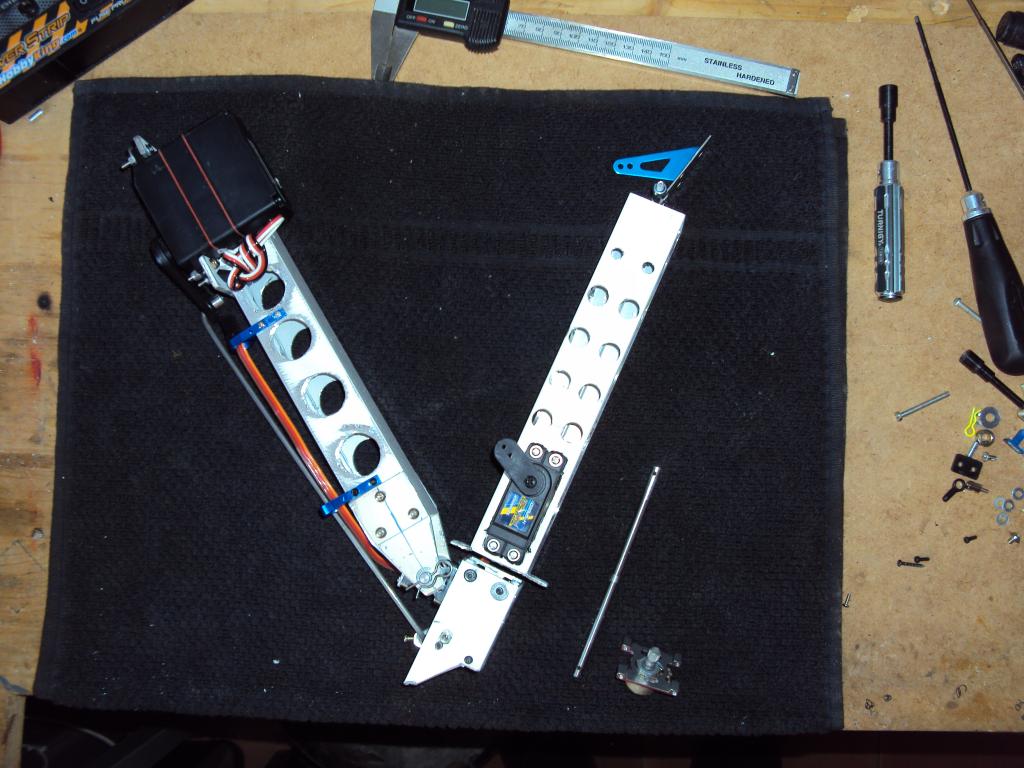
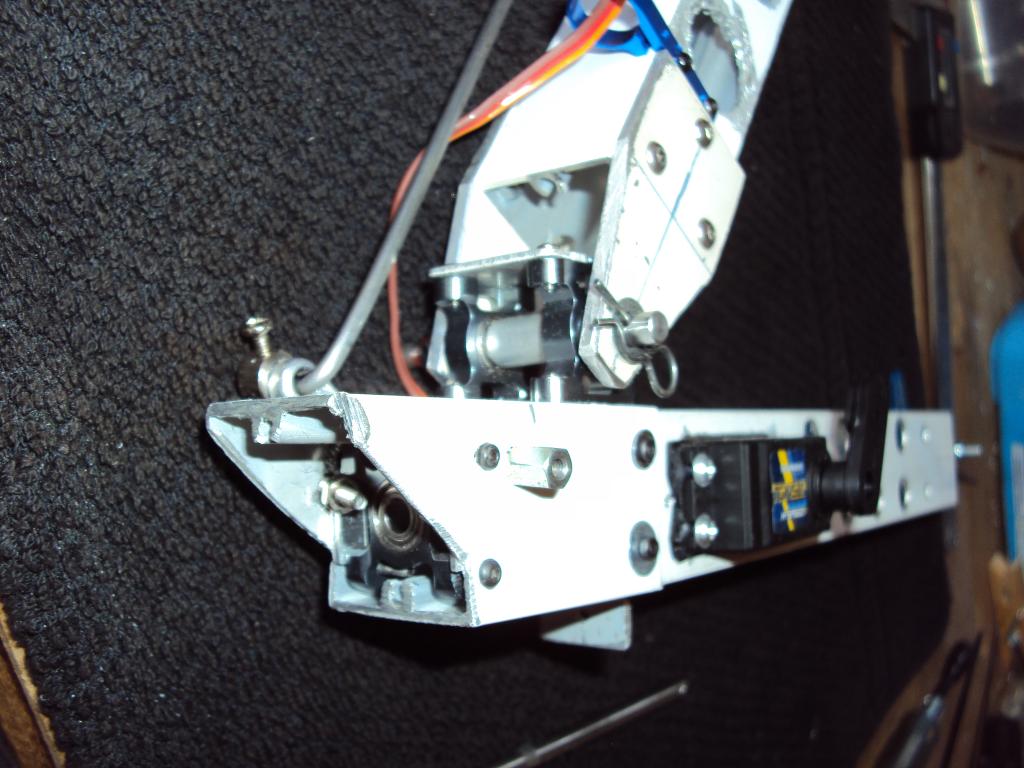
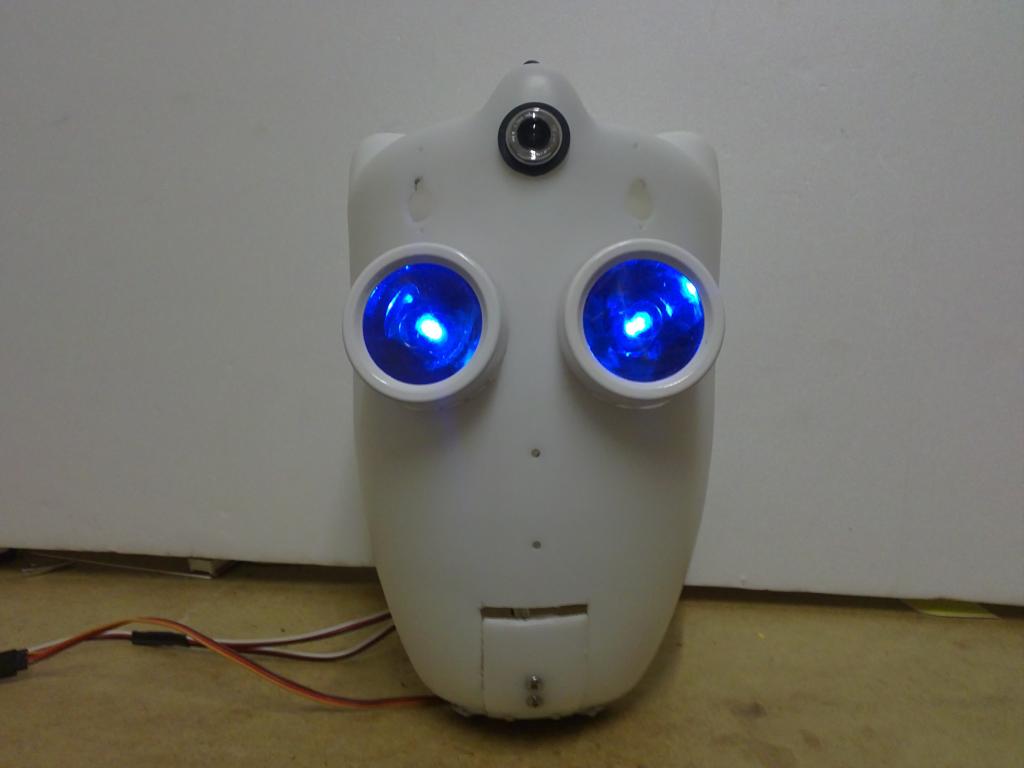
From the gate to access the servos, eyes, camera and support for pitch axis. The pitch axis is a tube of carbon fiber pieces 8mm 10mm aluminum tube and washers to center its position. This shaft is mounted on a shaft of a car rc. The stand has two bearings to rotate smoothly and the center of gravity of the head has been taken into account for the weight distribution. Being very close to the equilibrium point the servo has to make less effort. Despite my efforts to remove all buzz neck servo, some head positions produce slight buzz, which is not a problem implementing the option "auto relase." After one second the servo is muted.
yep! Looks are important! Thanks for the info. I will continue to follow this.
Mel
I sort of have an understanding of the face, eyes, brows, etc.
But, I would like to have more detailed pictures of the neck mechanism and the jaw mechanism. Perhaps some brief details on it. It looks like you have two or three servos in the neck. I see where the bottom one moves the chin up and down. I just don't understand how it is all hooked up and works.
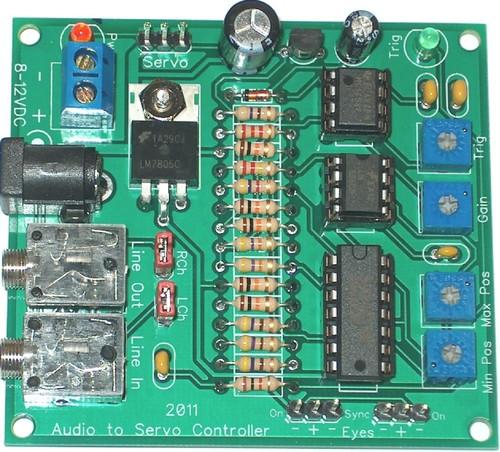
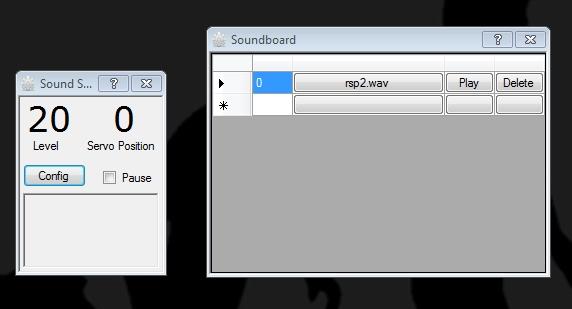
Also, is the audio board required? Doesn't the EZBoard have a section on board to do this?
thanks,
Mel
ok, I looked at the drawing and I understand a little better. You are pivoting the head by the EARS. The bolt going through there is letting the head title up and down. Excellent! Now, WHERE did you find the bracket that attaches the head to the base? More details on those materials, please. I think you have an Excellent plan. I would place nonleakable Jet-ski batteries in the bottom. That's what I did with Leaf after a sealed battery burnt a hold in the floor in my office. Right through the carpet and the wood in a circle about 6" wide. With the Jetski, I can turn them upside down right side up and lay them on their sides and they will work and not leak.
Mel
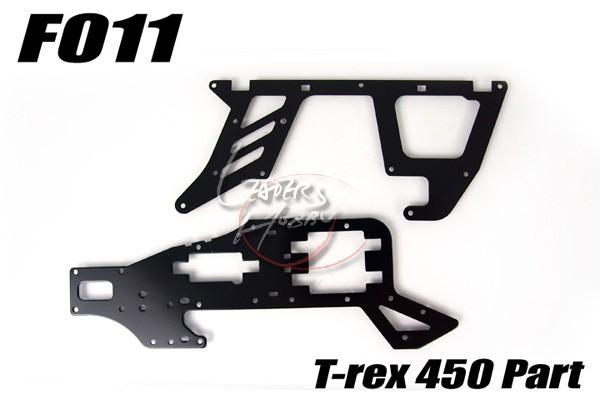
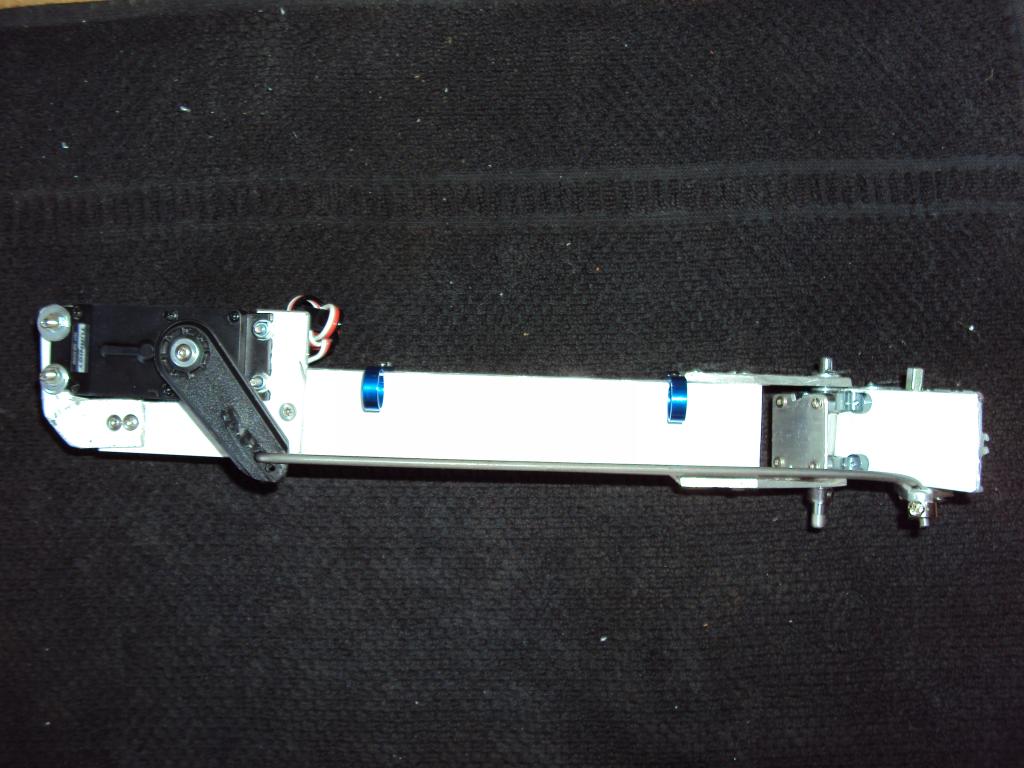
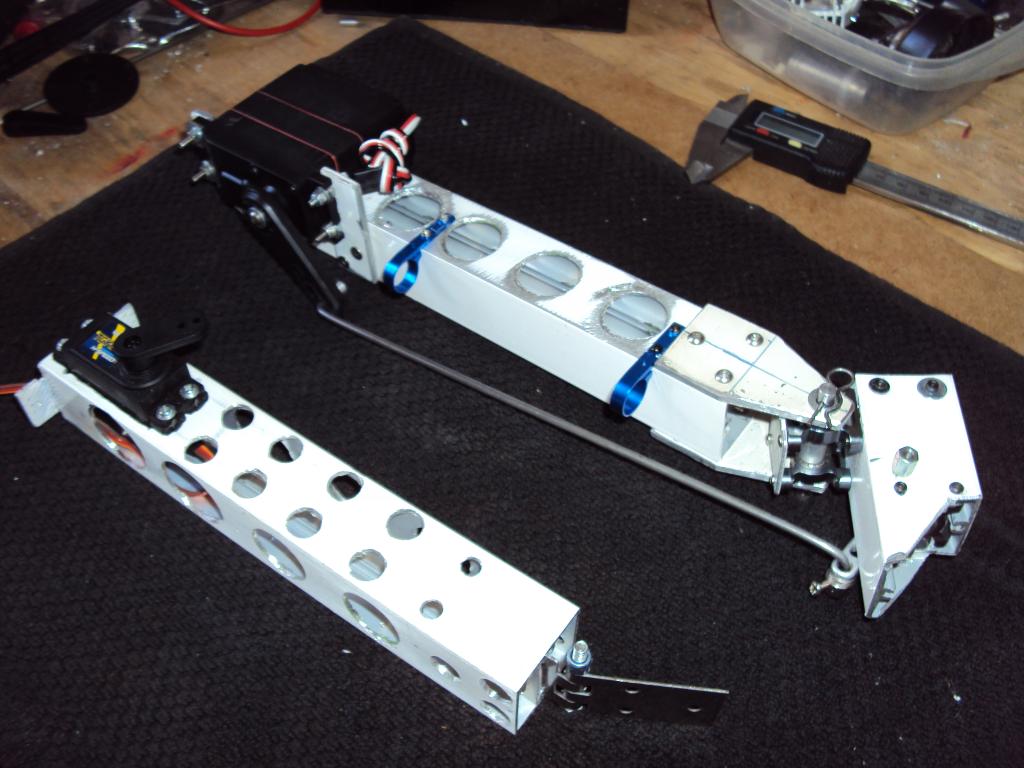
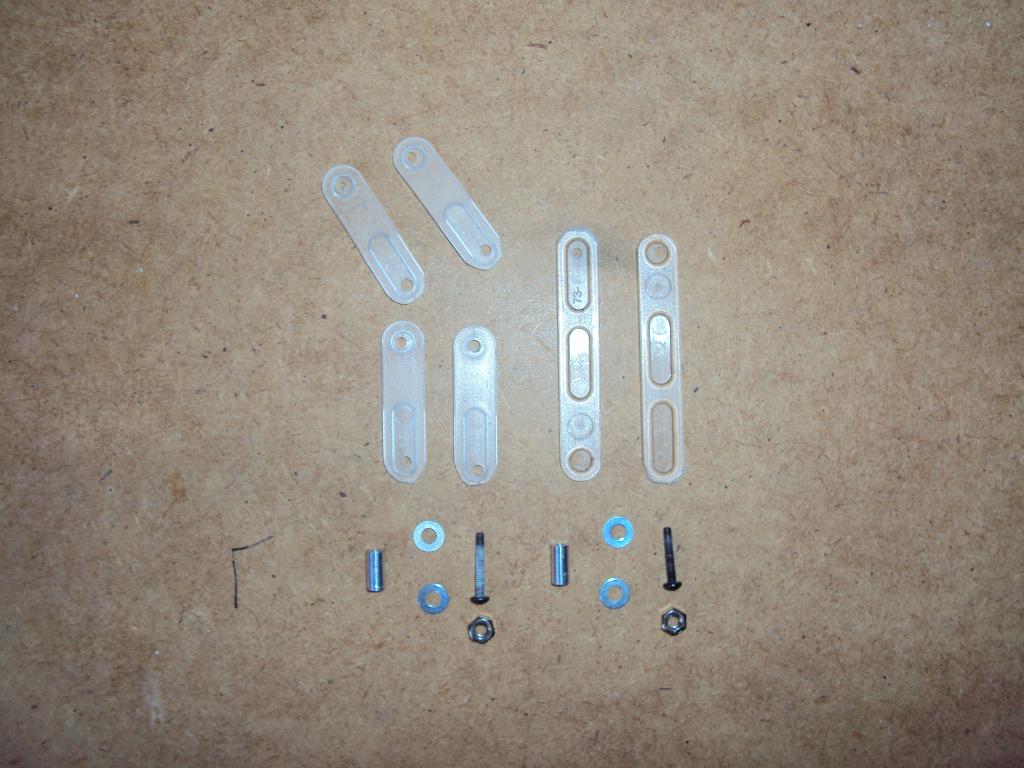
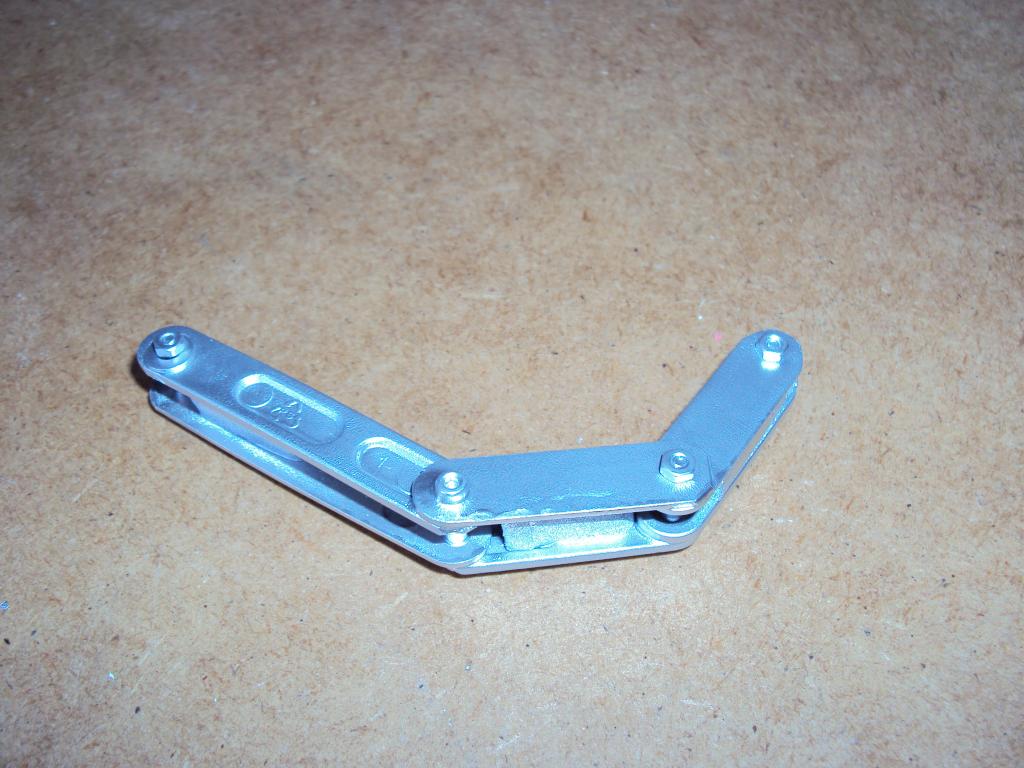
MovieMaker: The support between the head and the base is half a size 450 helicopter chassis, I used this because I needed a trip up front-back and a vertical support from the neck not allowed me the desired travel because the jaw had hit straight support. This support has required modifications and additions of aluminum, if you are in a similar situation can manufacture all-aluminum support by two equal pieces and put them together with screws or threaded spacers.
By the way Mel does not need the audio board, ez-b incorporates the function: Sound servo simply look at the tutorial, this function gives a servo motion as a function of sound received by the microphone of the pc or pc audio input, greetings.
Sound Servo
R2, you are a Genie -ous! That was GREAT!!! And, so is D.J.!
Mel
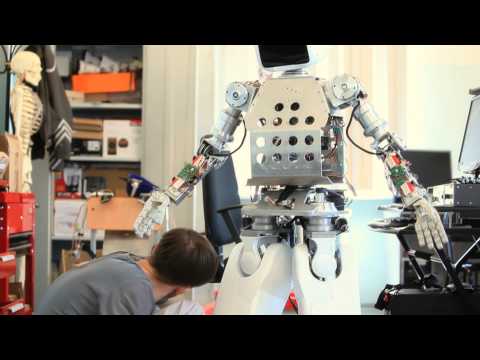
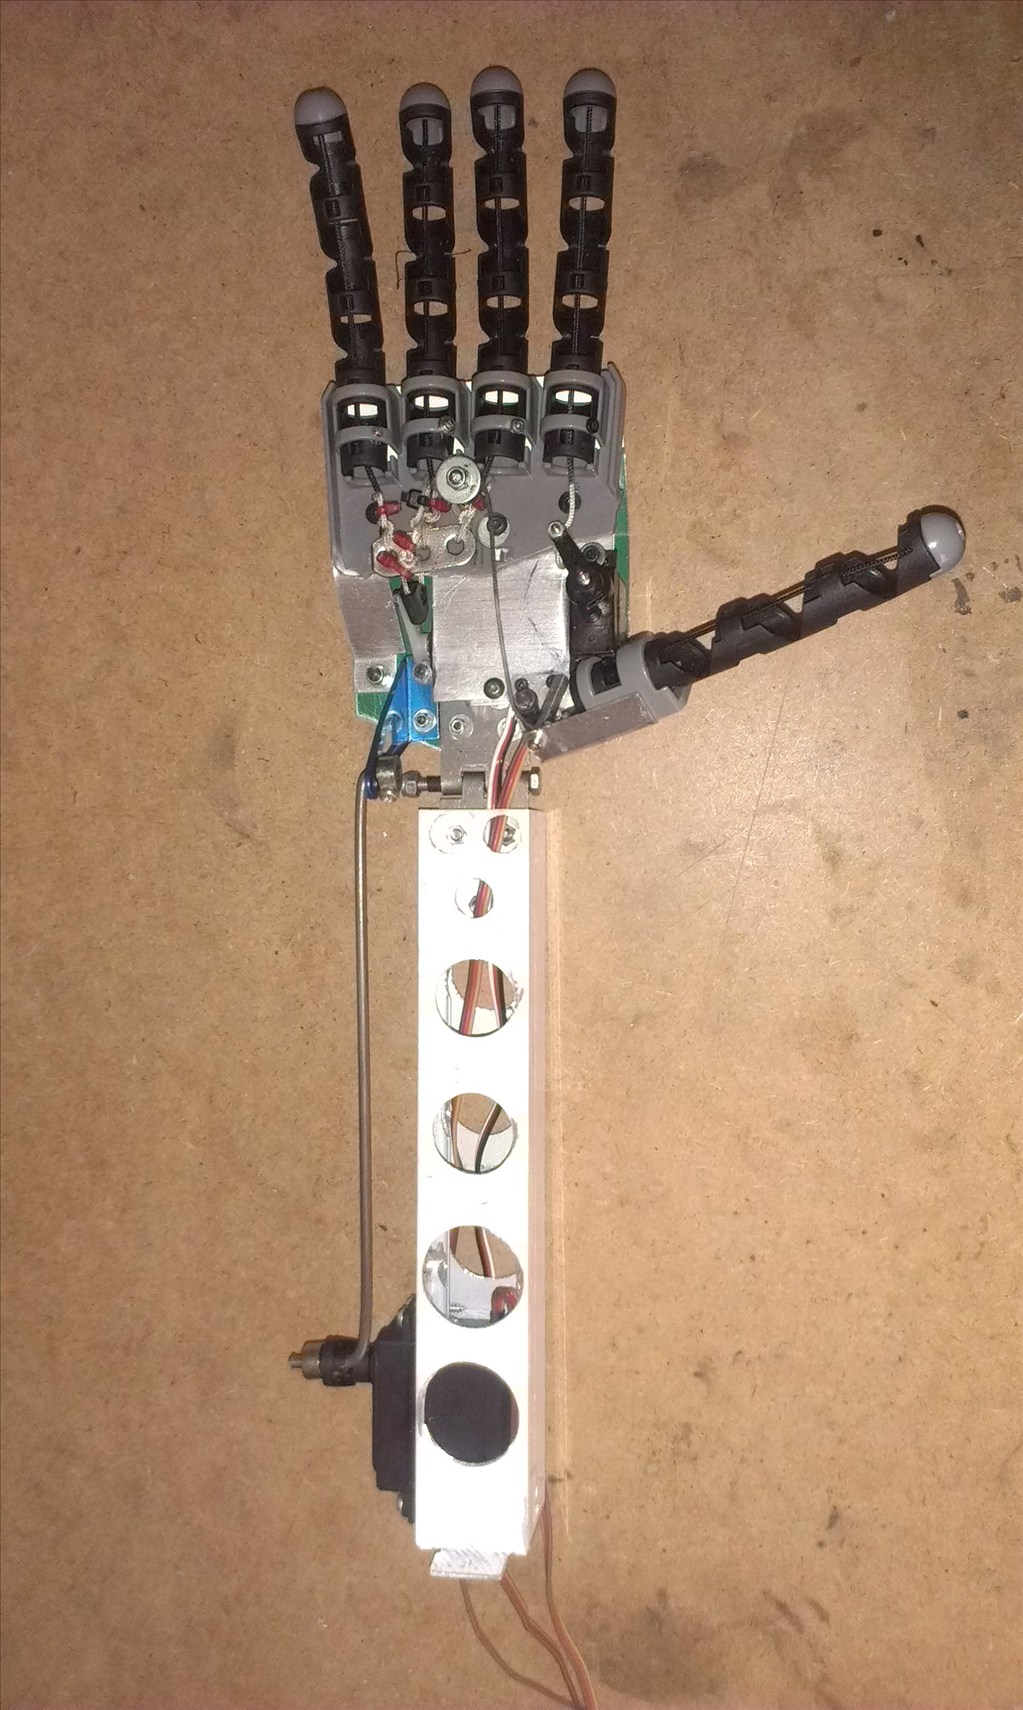
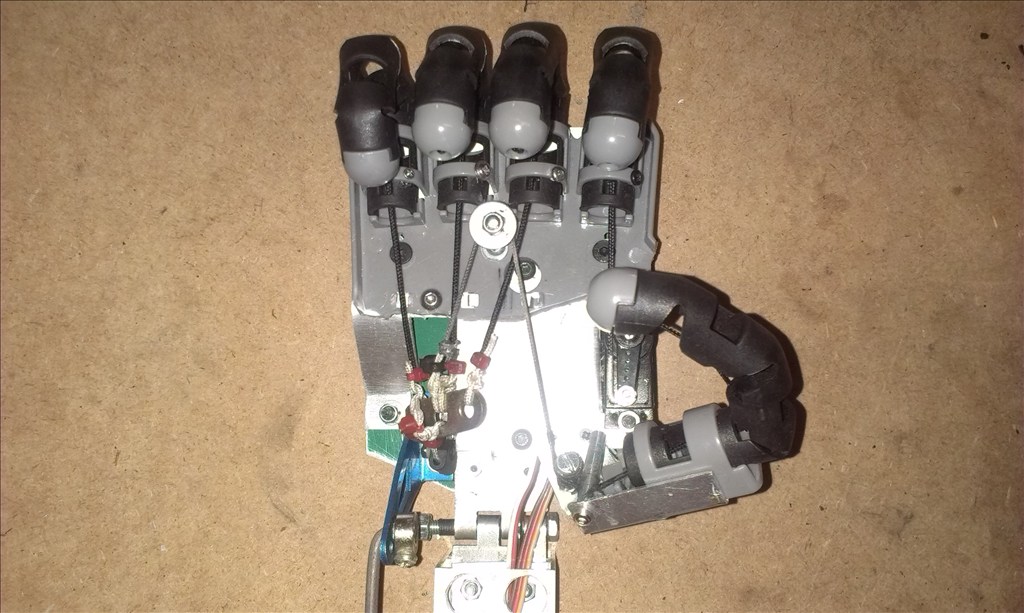
Simply stunning! Russian robot ar-600 looks like a clone of the ASIMO robot is to be a source of inspiration for me in the design of the arms, you can see the axis of rotation and servos that move the fingers in great detail.