


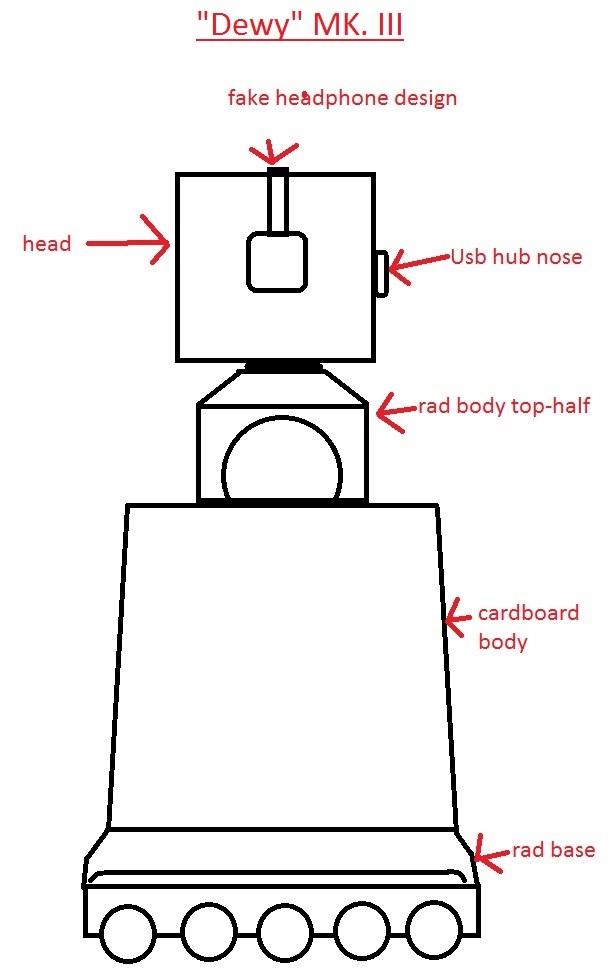
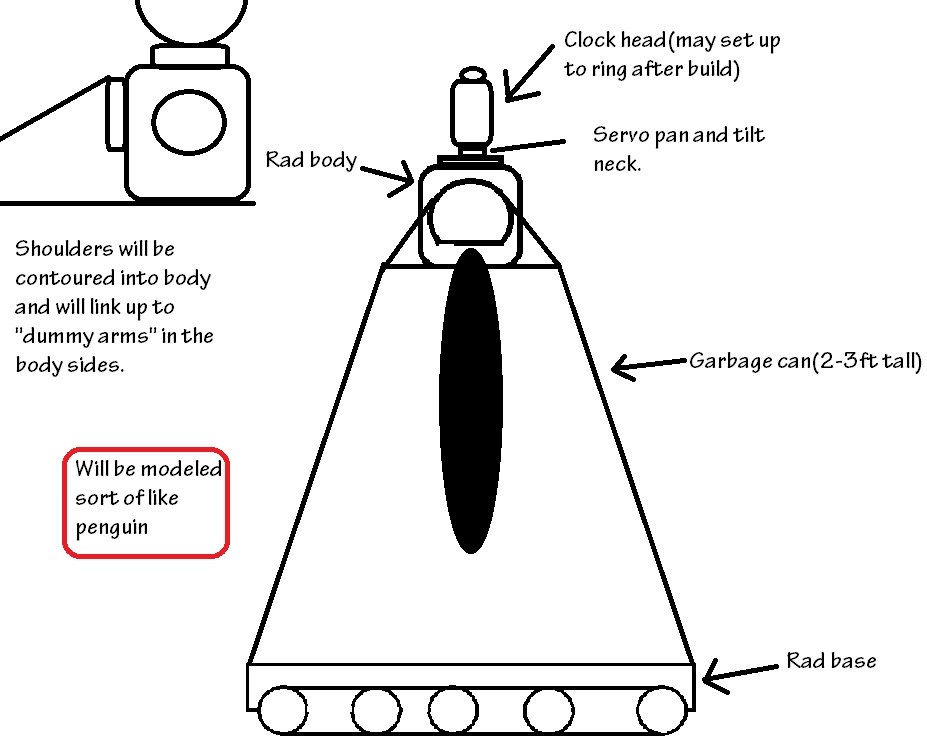

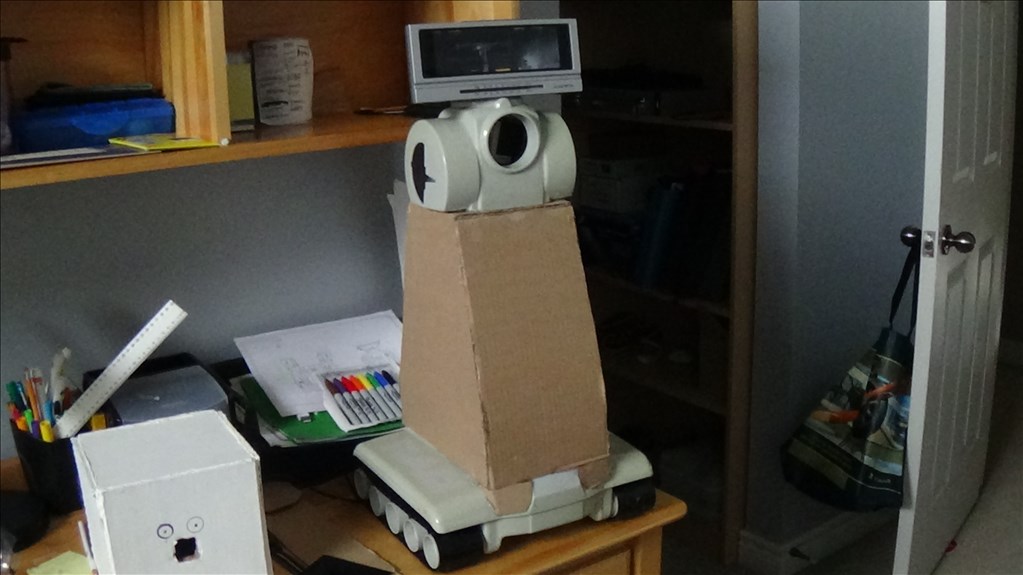
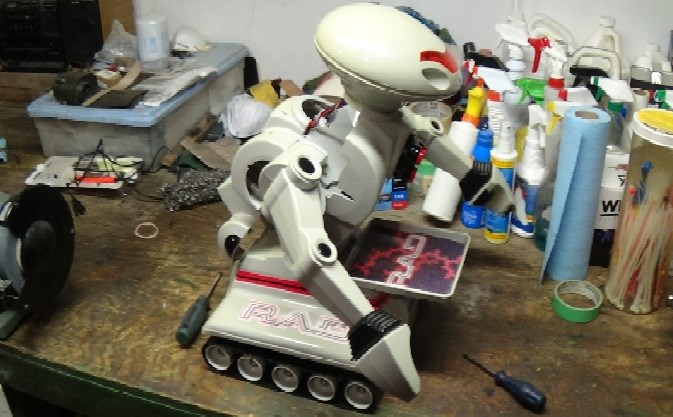
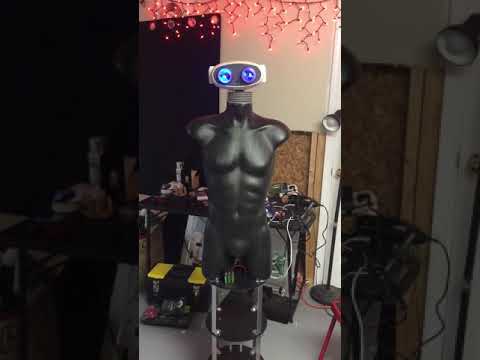
This is the thread for my current project Dewy. He is a tall robot that uses RAD parts and models a omnibot in a way.
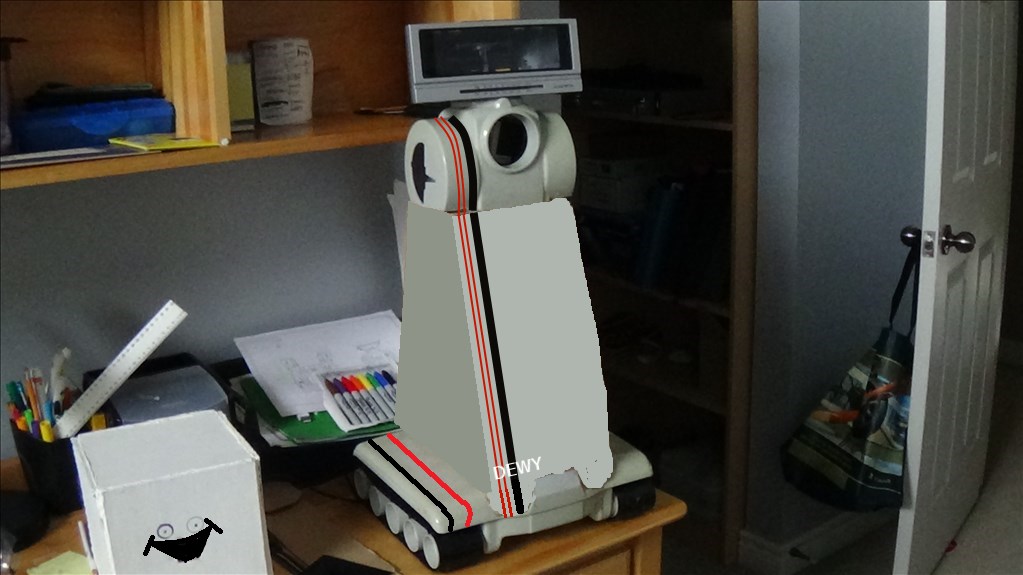
For showcases sake:

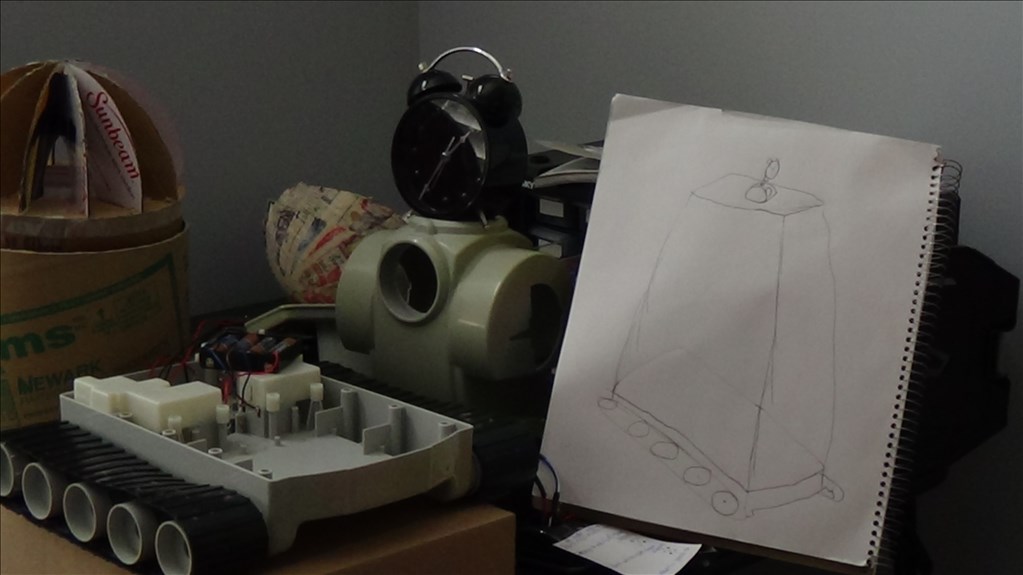
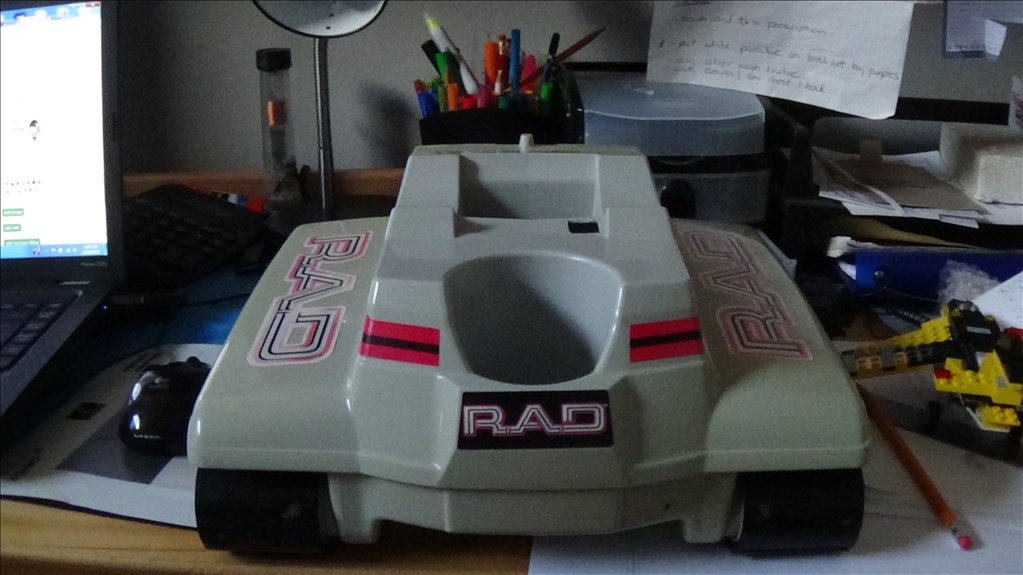
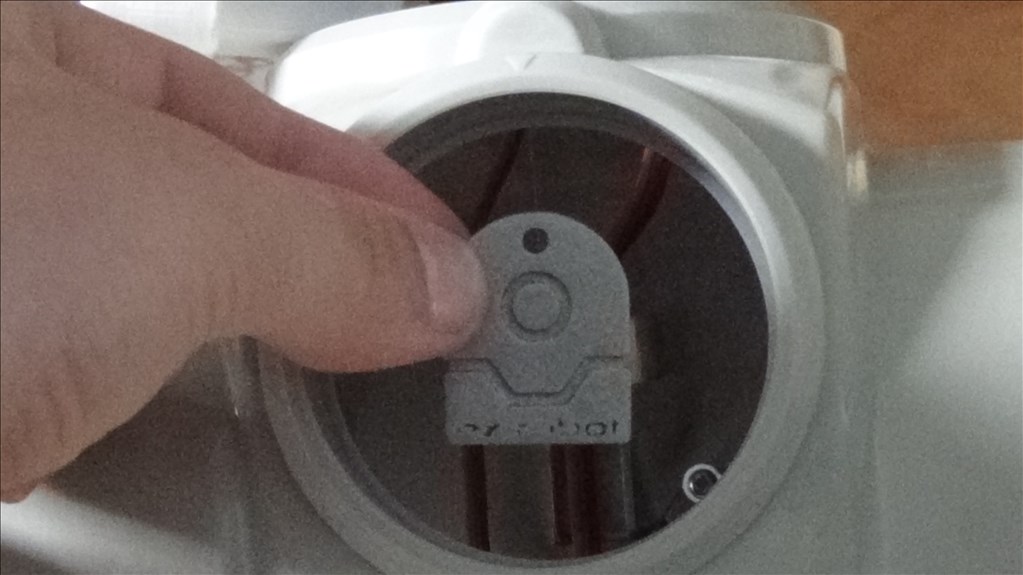
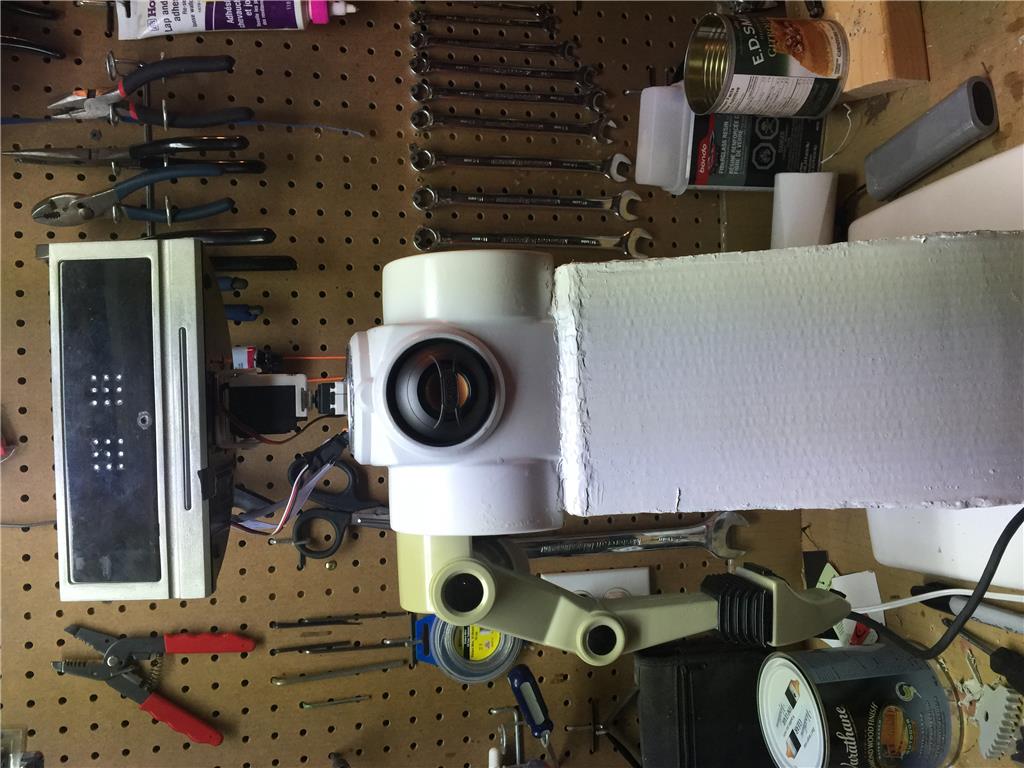
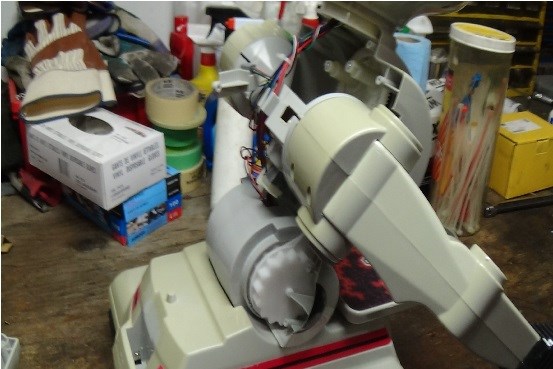
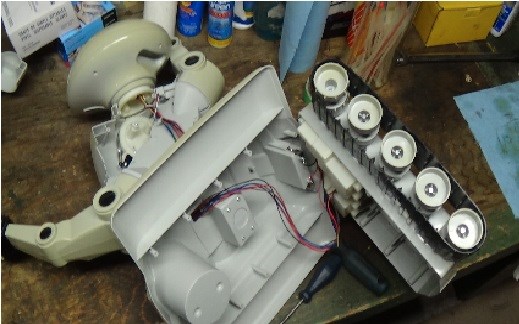
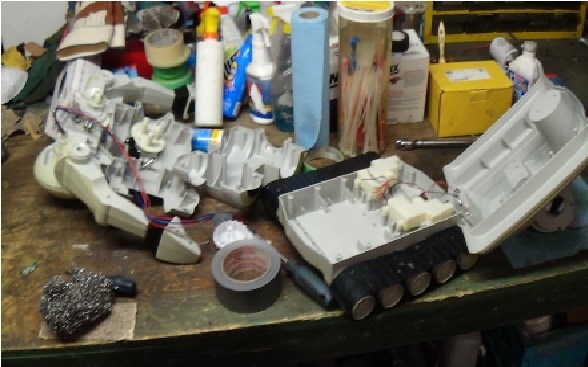
Here's the process of tearing down the RAD.
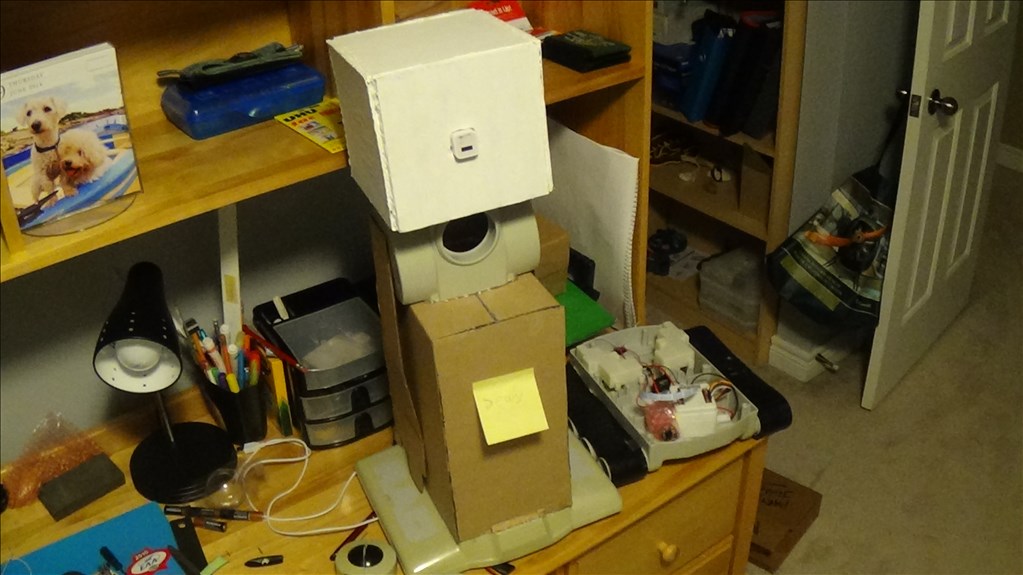
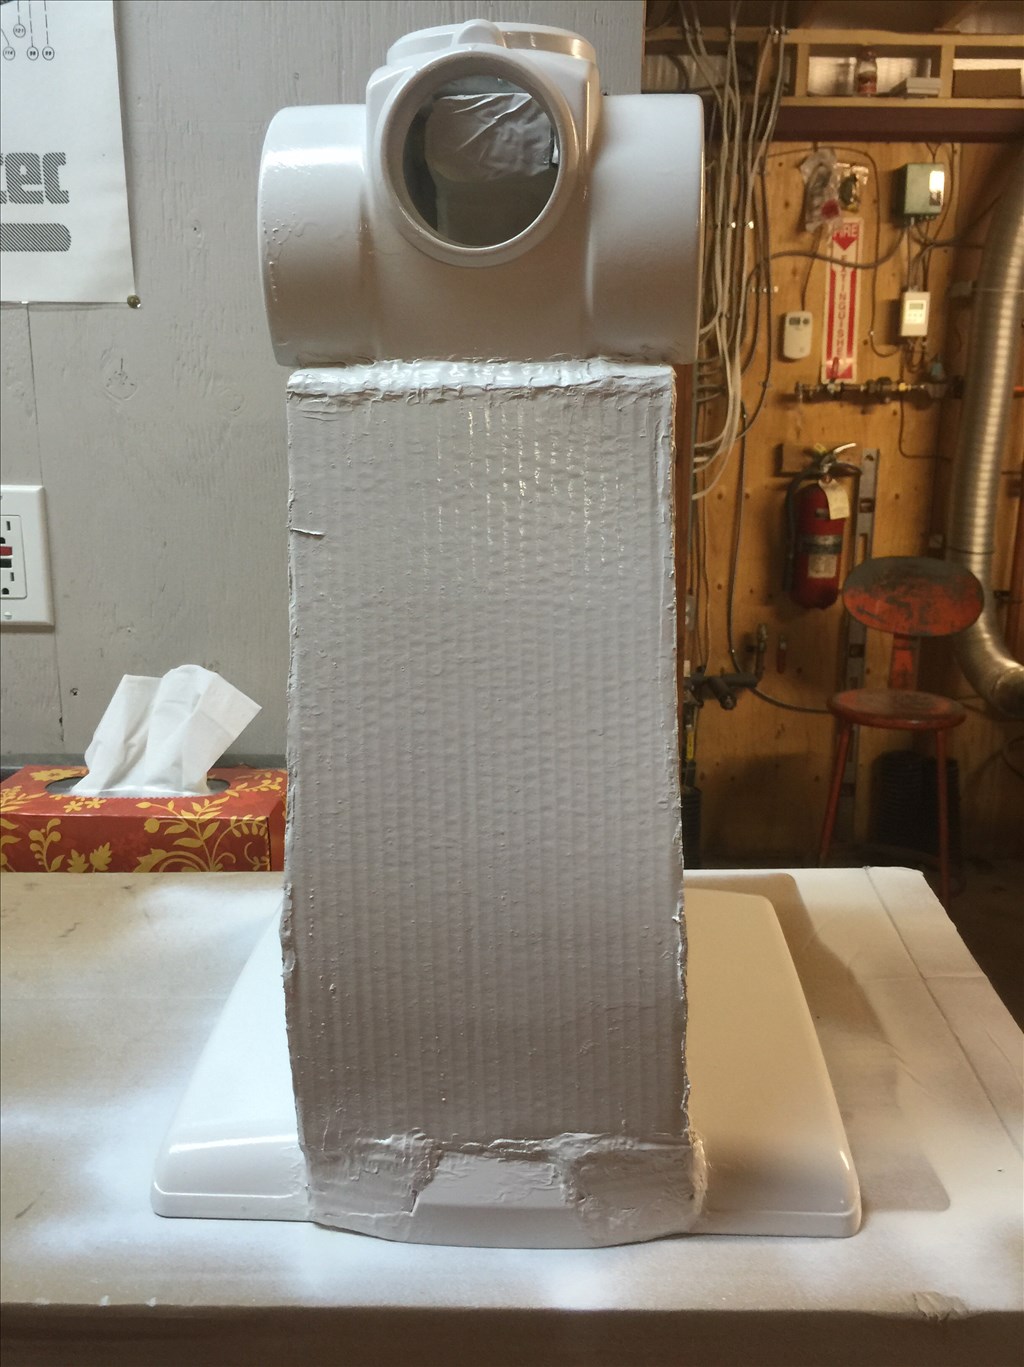
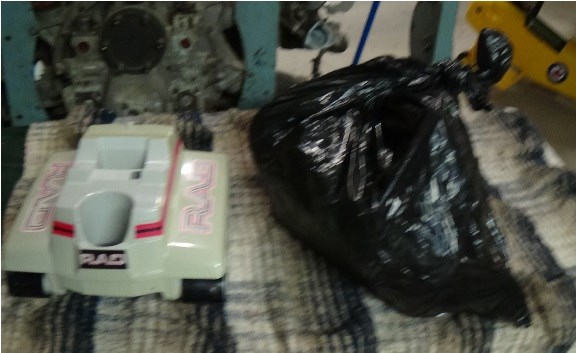
Here's where I finished off.
By CardboardHacker
— Last update
Discover more robots
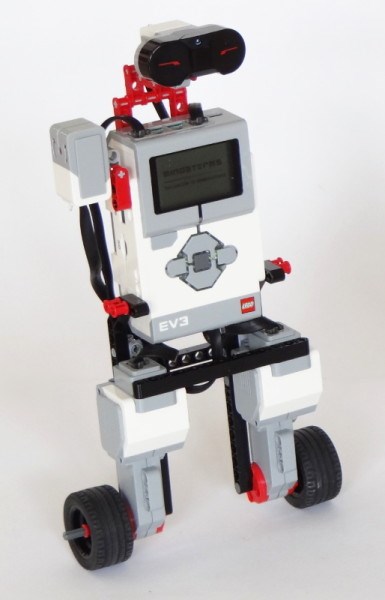
Oldbotbuilder's My 'Bot Wilber (Now Ez Wilber)
Convert LEGO EV3 BALANC3R into EZ Wilber with EZ-B4, camera, speech, voice recognition, IR/RC control, autonomous...

Mickey666maus's UNITY LINK / ARC
Link Unity 3D to Synthiam ARC using Flask and Python to send virtual servo positions to real servos, sync motion via COM...
Kullthulu's Artemis - The Household Service Bot
Artemis robot: Max '99 platform with EZBV4, pan/tilt servos, 3Dprinted arms, camera for object tracking/face...

I like the way you put the garbage bag to give the end of the story closure. You are a good visual story teller.
Right now im deciding if I want rover to be able to serve drinks. Anyways, Still looking for ideas on what to do with the gapping hole on top of him. And if anyone thinks they have an idea for a cool detailing design please let me know.
Here's the new high res. pic for the showcase.
Edit: I just noticed, does anyone see the cat/polar bear face like design of the front? Hmmmmmm...
Looks almost like how Jarvis has remained since I started him, although I have removed the cup holder and battery box.
Have you hooked it up and got just the base moving yet? I ask because Jarvis bounces about quite a lot without the weight of the robot's torso and head on it, this may just be my RAD base, the tracks or something else but it may be common since there is less weight to help transfer the power.
If you are just keeping the base what I would do is remove the cup holder, the battery box and the slot where the torso fits in, shape some cardboard or whatever over the holes on the outside and fibreglass from the inside, this will give a nice finish on the outside, a touch of bondo to smooth it all out and you will have a nice looking base to work with.
Plan the insides well though, I didn't and have ended up with some wasted space and the need to attach the battery to the top half of the base by way of milliput and making a small battery slot for the LiPo (I'm sure there are photos in my Jarvis showcase if you want to see how I've done it).
I did something similar with
Robo-RAD
Thanks for the tips Rich. I don't have any electronics yet so this is just a get it started topic. come December ill be posting like crazy due to the madness of electronics ill be getting. Ill end up spending probably all my savings($400) on all the stuff.
one question. What does that bar/axle running across the back do? Support? Just wondering.
Yeah, that is the rear axle and is there to support the drive wheels and gears.
OK, thanks.
Looking at it, could the motors withstand 8.4v 1.6AH? if not I can pwm them down.
Also, does anyone have ideas for what I could use the rest of the body for?(parts or the whole thing)
I'm sure I read Josh has used 12v on them and someone else has PWMed 12v down to 6V with great results.
I've supplied mine with a 2S LiPo which is 8.4v when fully charged.