

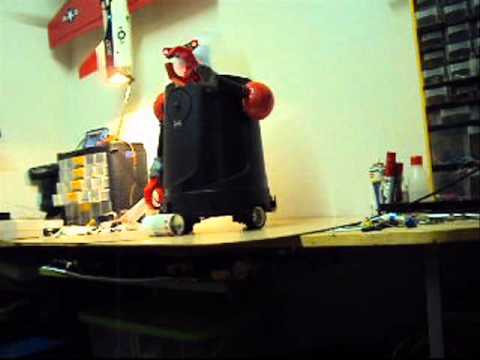


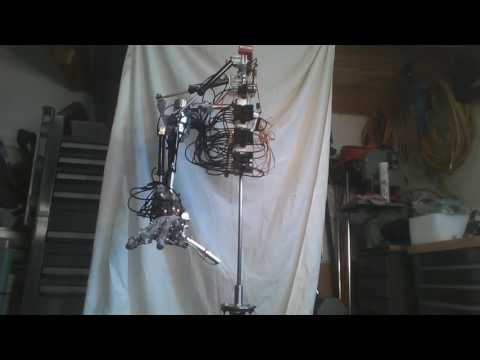
Hello, greetings to all robot builders, I am eager to receive the board ez-b, to give life to my butler robot, robot weighing 2.5 to 3 kg, the wheel servos are 15kg of torque, modified for continuous rotation, arms and head as well these servos, body materials are cheap and easy to find, I have a lot of ideas for the project that I'd like to share. Ping 3 sensors and 1 sharp infrared, head with 2-axis motion, arms opening and closing hands, voice, etc. .. And all thanks to the fantastic product ez-b, which by its ease and flexibility, have encouraged me with this project, since my childhood I came in my mind. Here is a video with the current assembly.
By R2D2
— Last update
Discover more robots
Ezang's Mr. Conehead Video For You To Watch In 2019
Mr. ConeHead 2019 video to watch, hope it's not too long
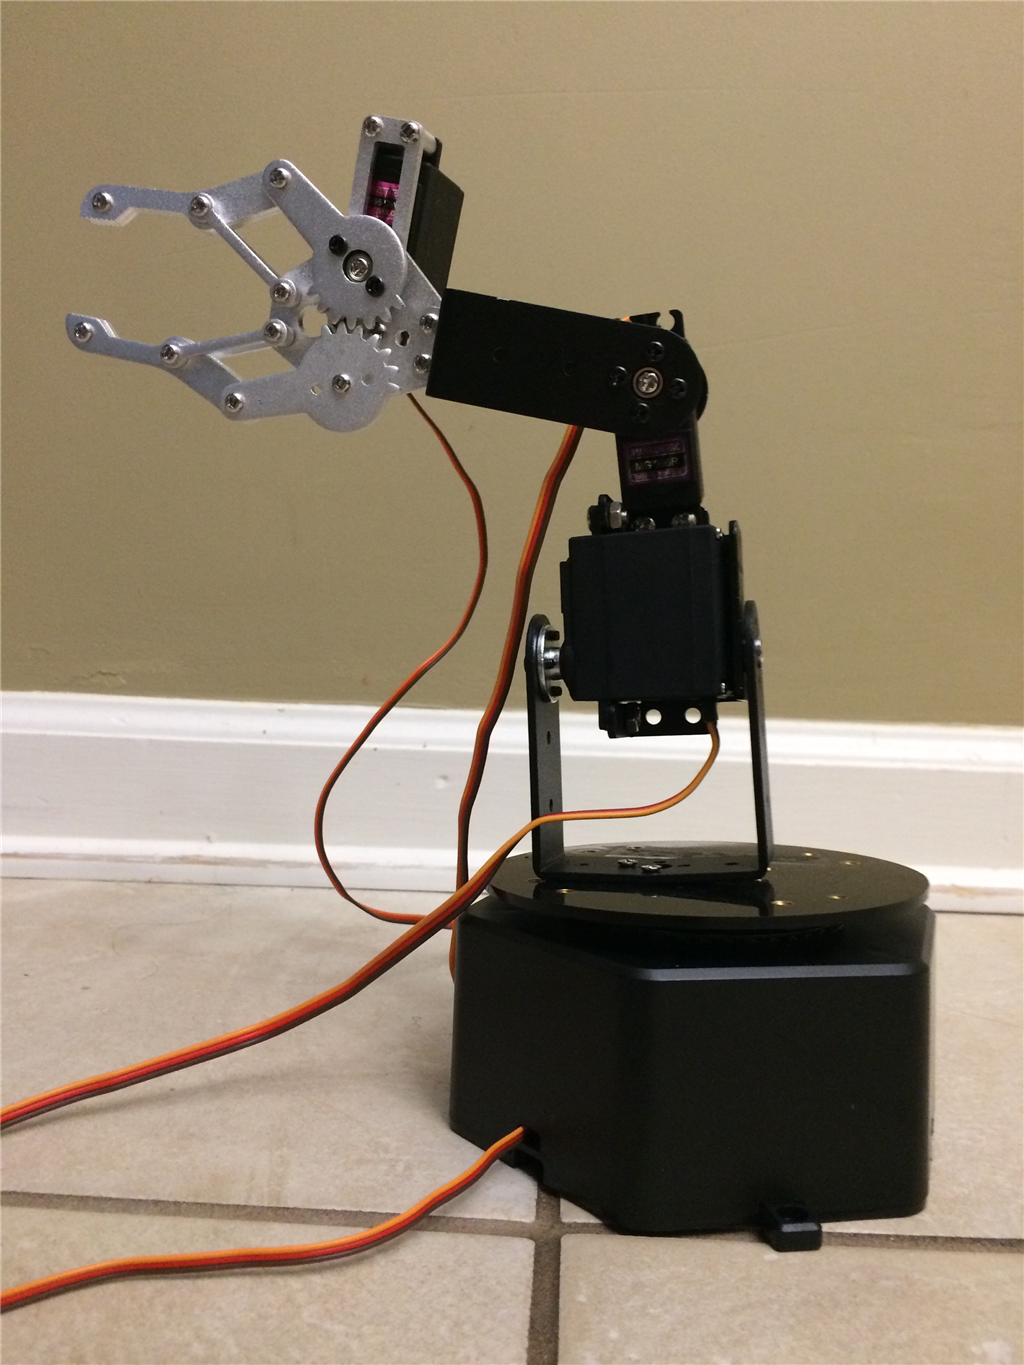
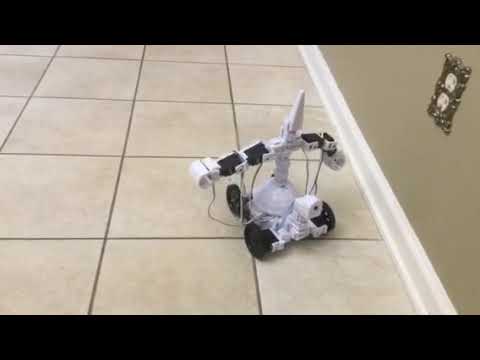
Ezang's My New Robot Arm On ARC
New robot arm in EZ-Builder with a gripping personality-demo video coming next week.
Cliffordkoperski's Hydrualic Arm And Hand
Hydraulic system operated with EZB4 controller

That is wicked cool!! Building the robot from a garbage bin is genius. The arms are great also. Where did you find the arms?
The arms are toys shop in Spain: Toys 'R' Us Price $ 6. They are easy to modify, and hands are empty, ideal for installing any pressure sensor, if you find them in Canada I can send you some, here is a mountain of robot arms in the store.
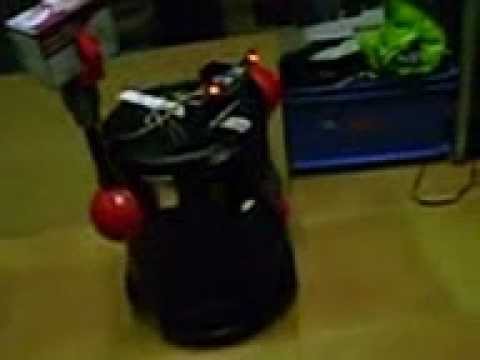
The project is moving forward! I tested the main features of the ez-b on my robot, and make a perfect marriage! This is just the beginning, the vision and speech, as well as other tricks are in future project. Very good, DJ Sures, I'm having a good time! Good job!
LOL This robot is absolutely cool! I really like the originality and custom build. He has a great personality
Congrats!
That is an amazing custom build. What tools and materials did you use and how much did they cost?
Sorry so long to answer, I've been offline a while, the total project cost is 270 dollars (to date) included ez-b board, servos, sensors, battery, LEDs, cables, swichs, and his body, bucket trash and a bowl (plastic), some aluminum and bolts, etc.. Tools: soldering tin hot glue gun, Cutex, and the best and most useful of all: the reamer radio control car bodies, is a sharpening and rotating for 1 to 15mm holes in plastic, but works on thin aluminum, wood, rubber, etc. This tool will recommend it to all robot builders have to work in plastic, this is:
www.hobbyking.com/hobbyking/store/__11449__Knife_Edge_Reamer_0_5_10mm. html
Hi robot builders! I hope to help or inspire other builders, the latest progress on my robot. Collision sensors in the lower body and a new ultrasonic sensor. When browsing the home is a small object or low-rise, the head sensor does not cover this need, this fixes the problem.
I created two small programs in sensors to detect collision left and right, change the path of the robot.
The ultrasonic sensor lower on the radar is set to change course . current setup ARC:
Greetings from Mallorca, Spain.
Congratulations! This really looks good! You really made it look polished and not from a garbage can at all! I LOVE IT!